Moon and Stars Light-Up-Jar Tutorial
Hello my Creative Friends,
I hope you are all Well. In Today’s Tutorial I will show you how I made a Moon and Stars Light-Up-Jar. It is a great way to Re-Purpose a Jar and Personalise it for Someone Special in your Life. I will show you how I made the Moon and Star elements from Moulds and Clay. I hope it inspires you to get Creative and D.I.Y. some Gifts this year.
Preparing the Jar for Crafting
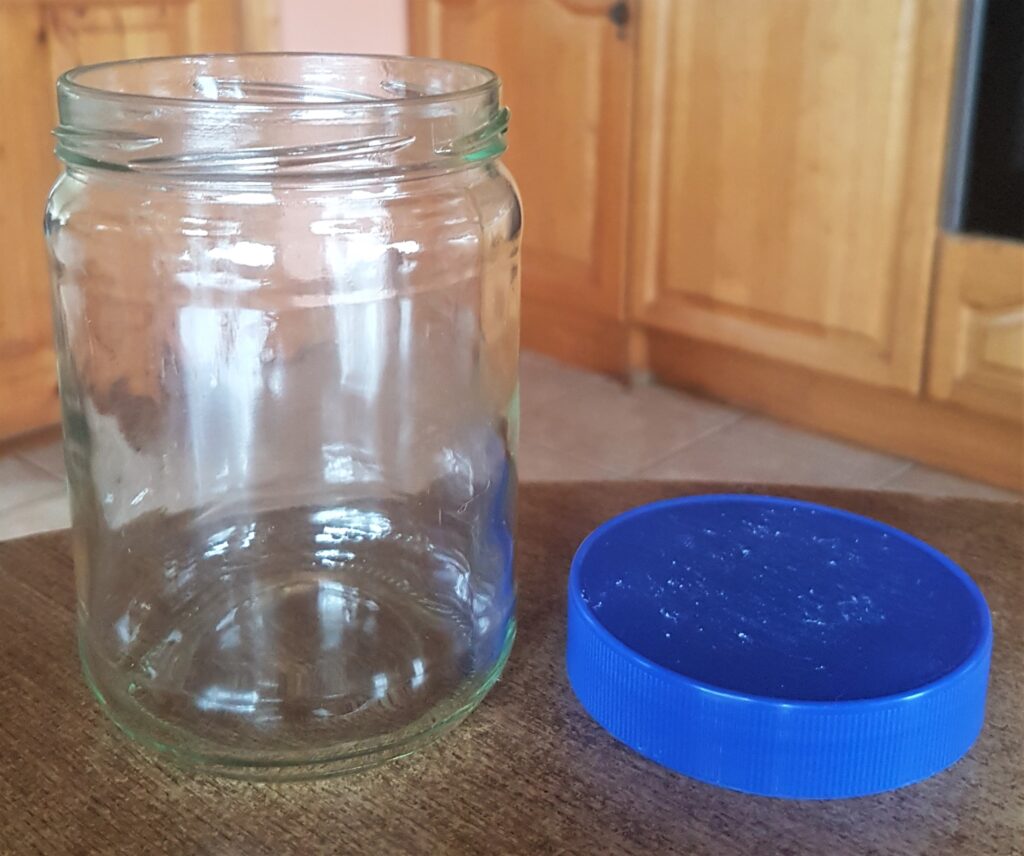
I had an old Peanut Butter Jar in my Craft Supplies; I already had it cleaned out. I soaked the Jar and Lid in the Sink with Warm Water and Washing-Up-Liquid for an Hour to help soften the label on the outside of the Jar and on the Lid. I then scrubbed the labels off, rinsed and dried the Jar and Lid.
Priming the Lid of the Jar
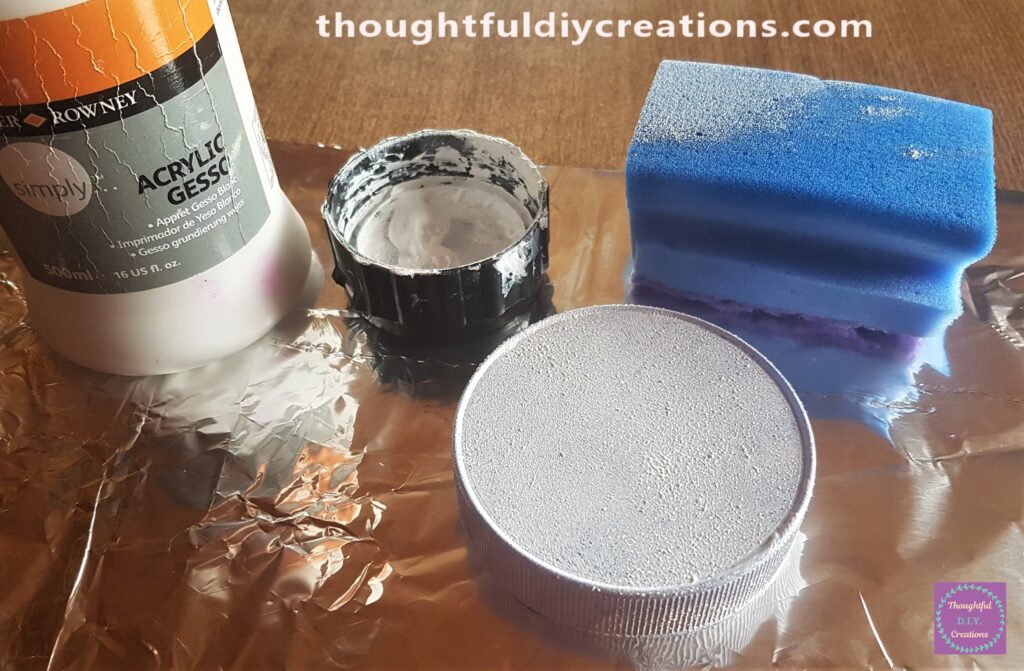
I put some Tin Foil on the Table to keep it clean. I got my ‘Acrylic White Gesso’ and poured some into the lid of the Tub. I got my Sponge and dipped it into the Gesso and dabbed it onto the Lid of the Jar. I repeated this until I had one layer of Gesso on the Sides and Top of the Lid. This Primes the Lid, takes away the Blue Colour, and helps other mediums such as Paint adhere better to the surface.
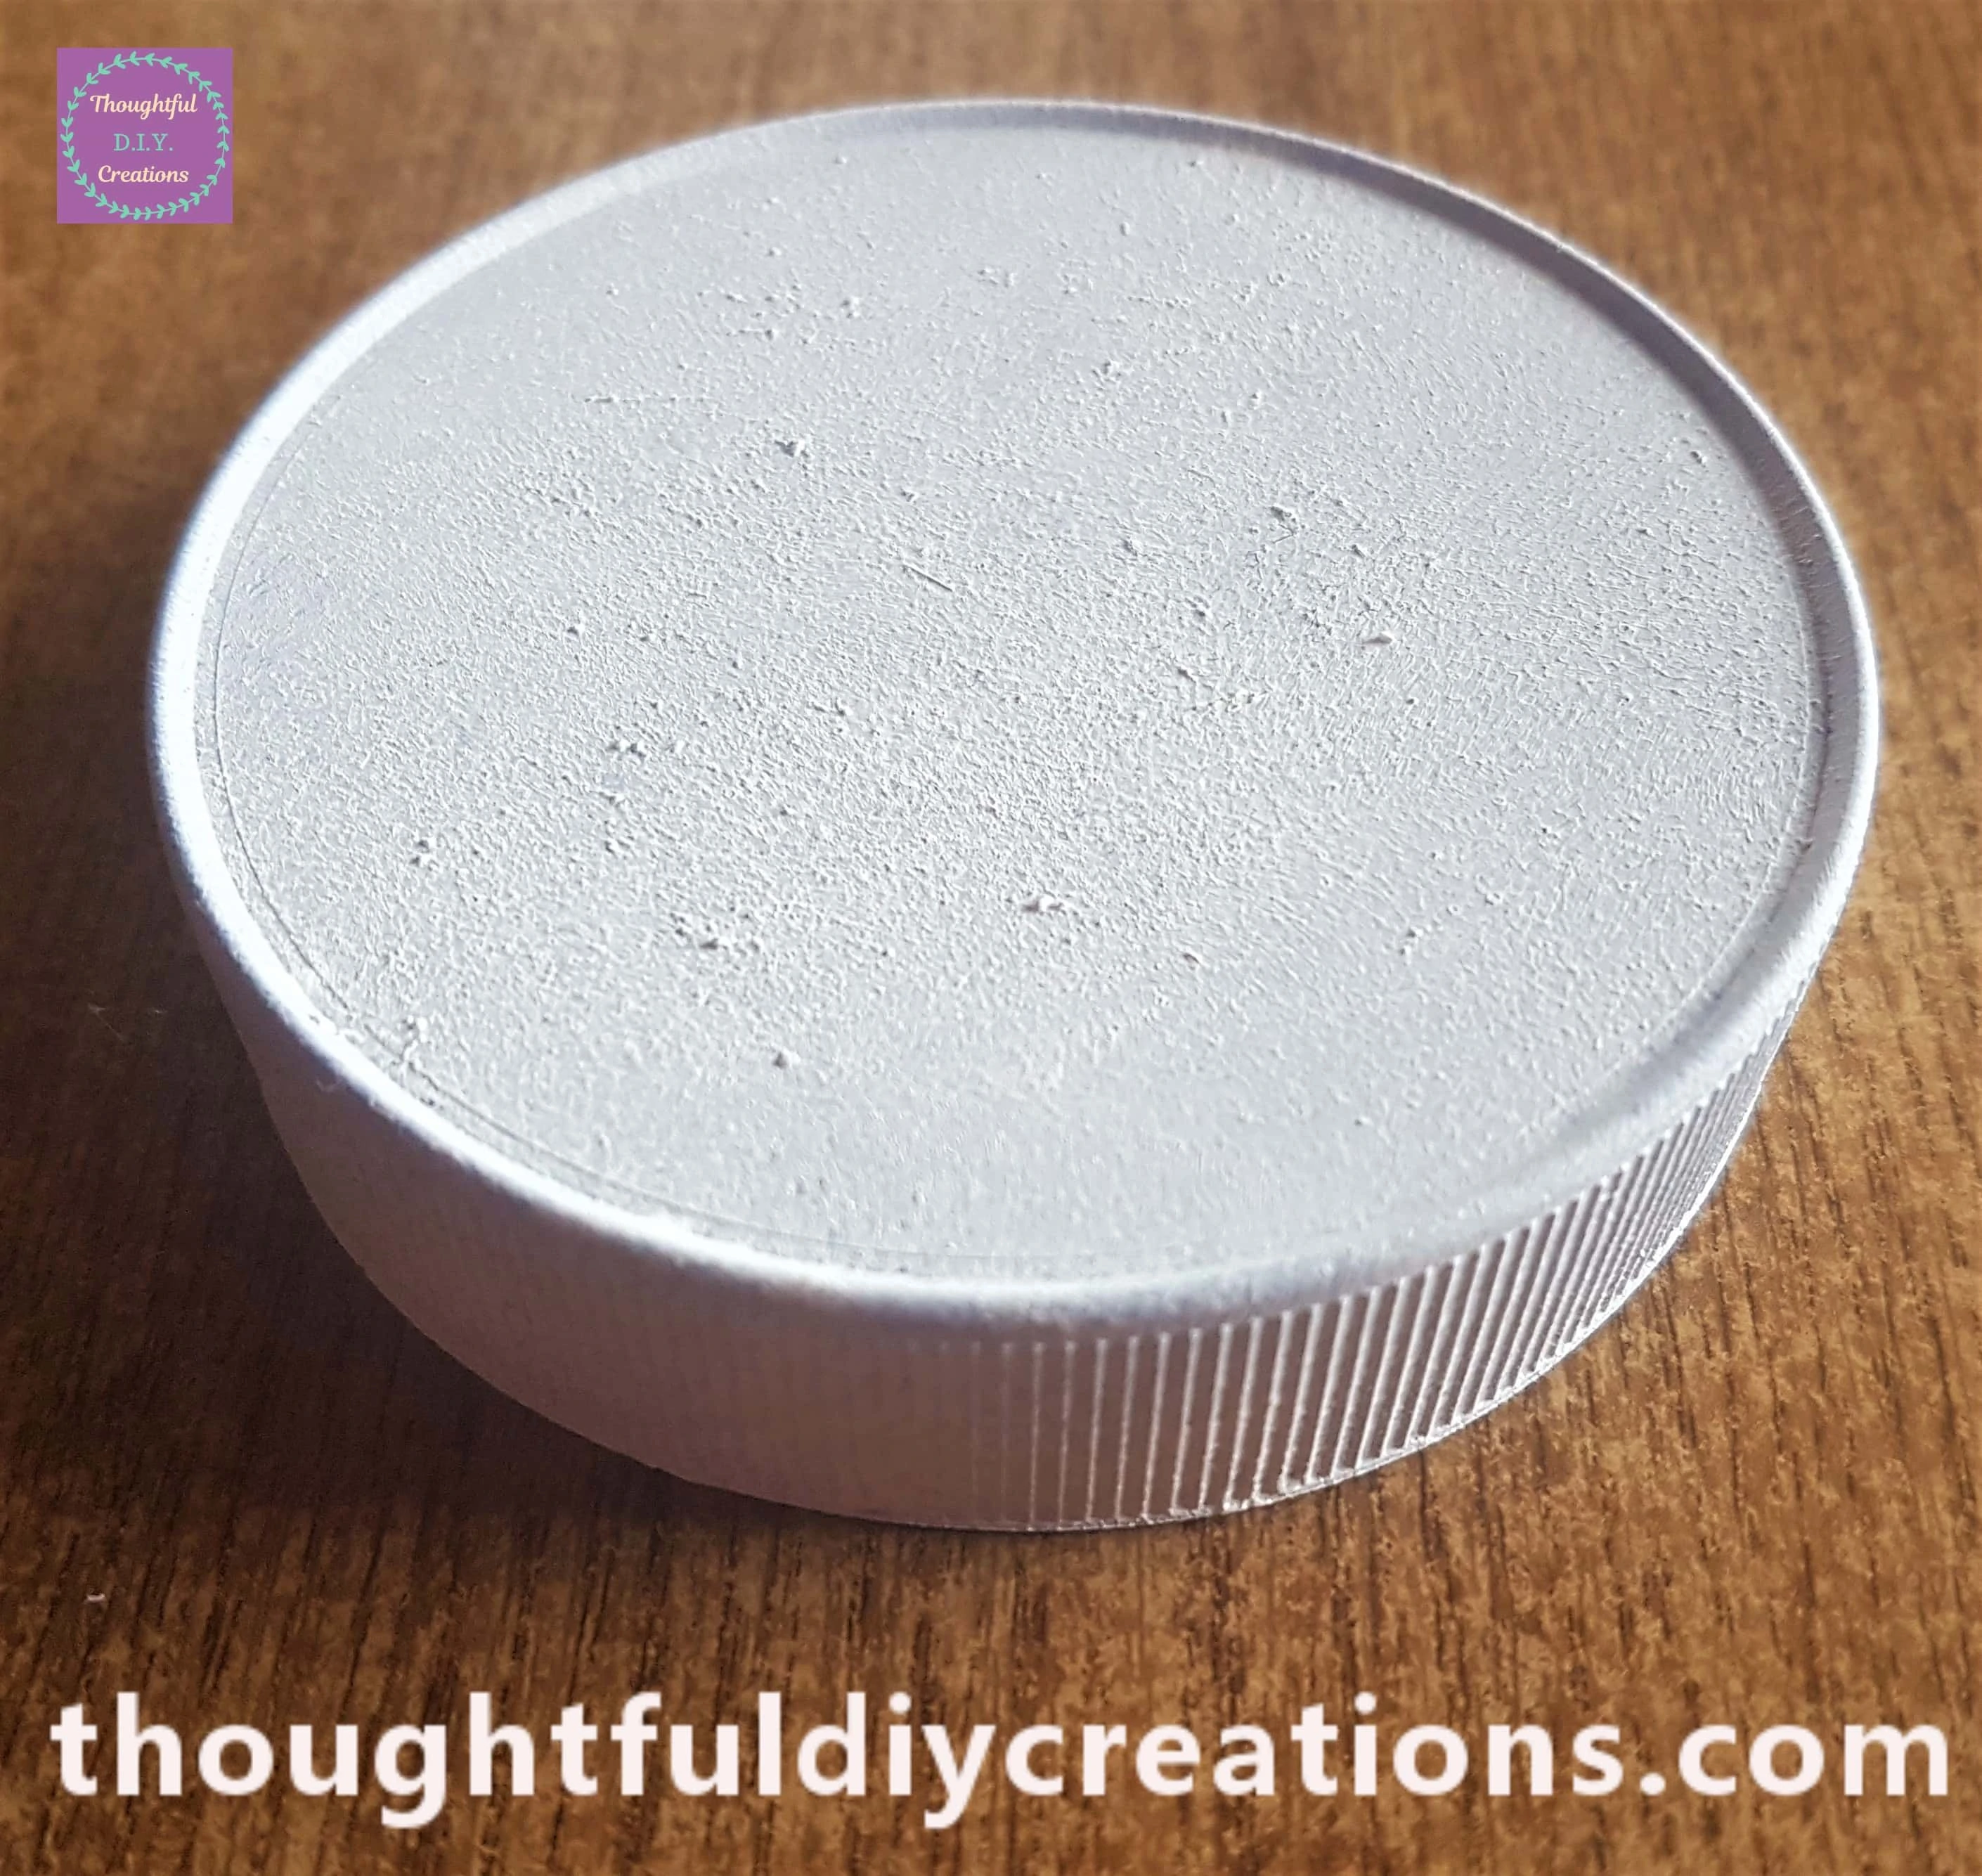
About 30 minutes later I applied a Second Layer of Gesso to the Lid with the Sponge.
Painting the Lid White
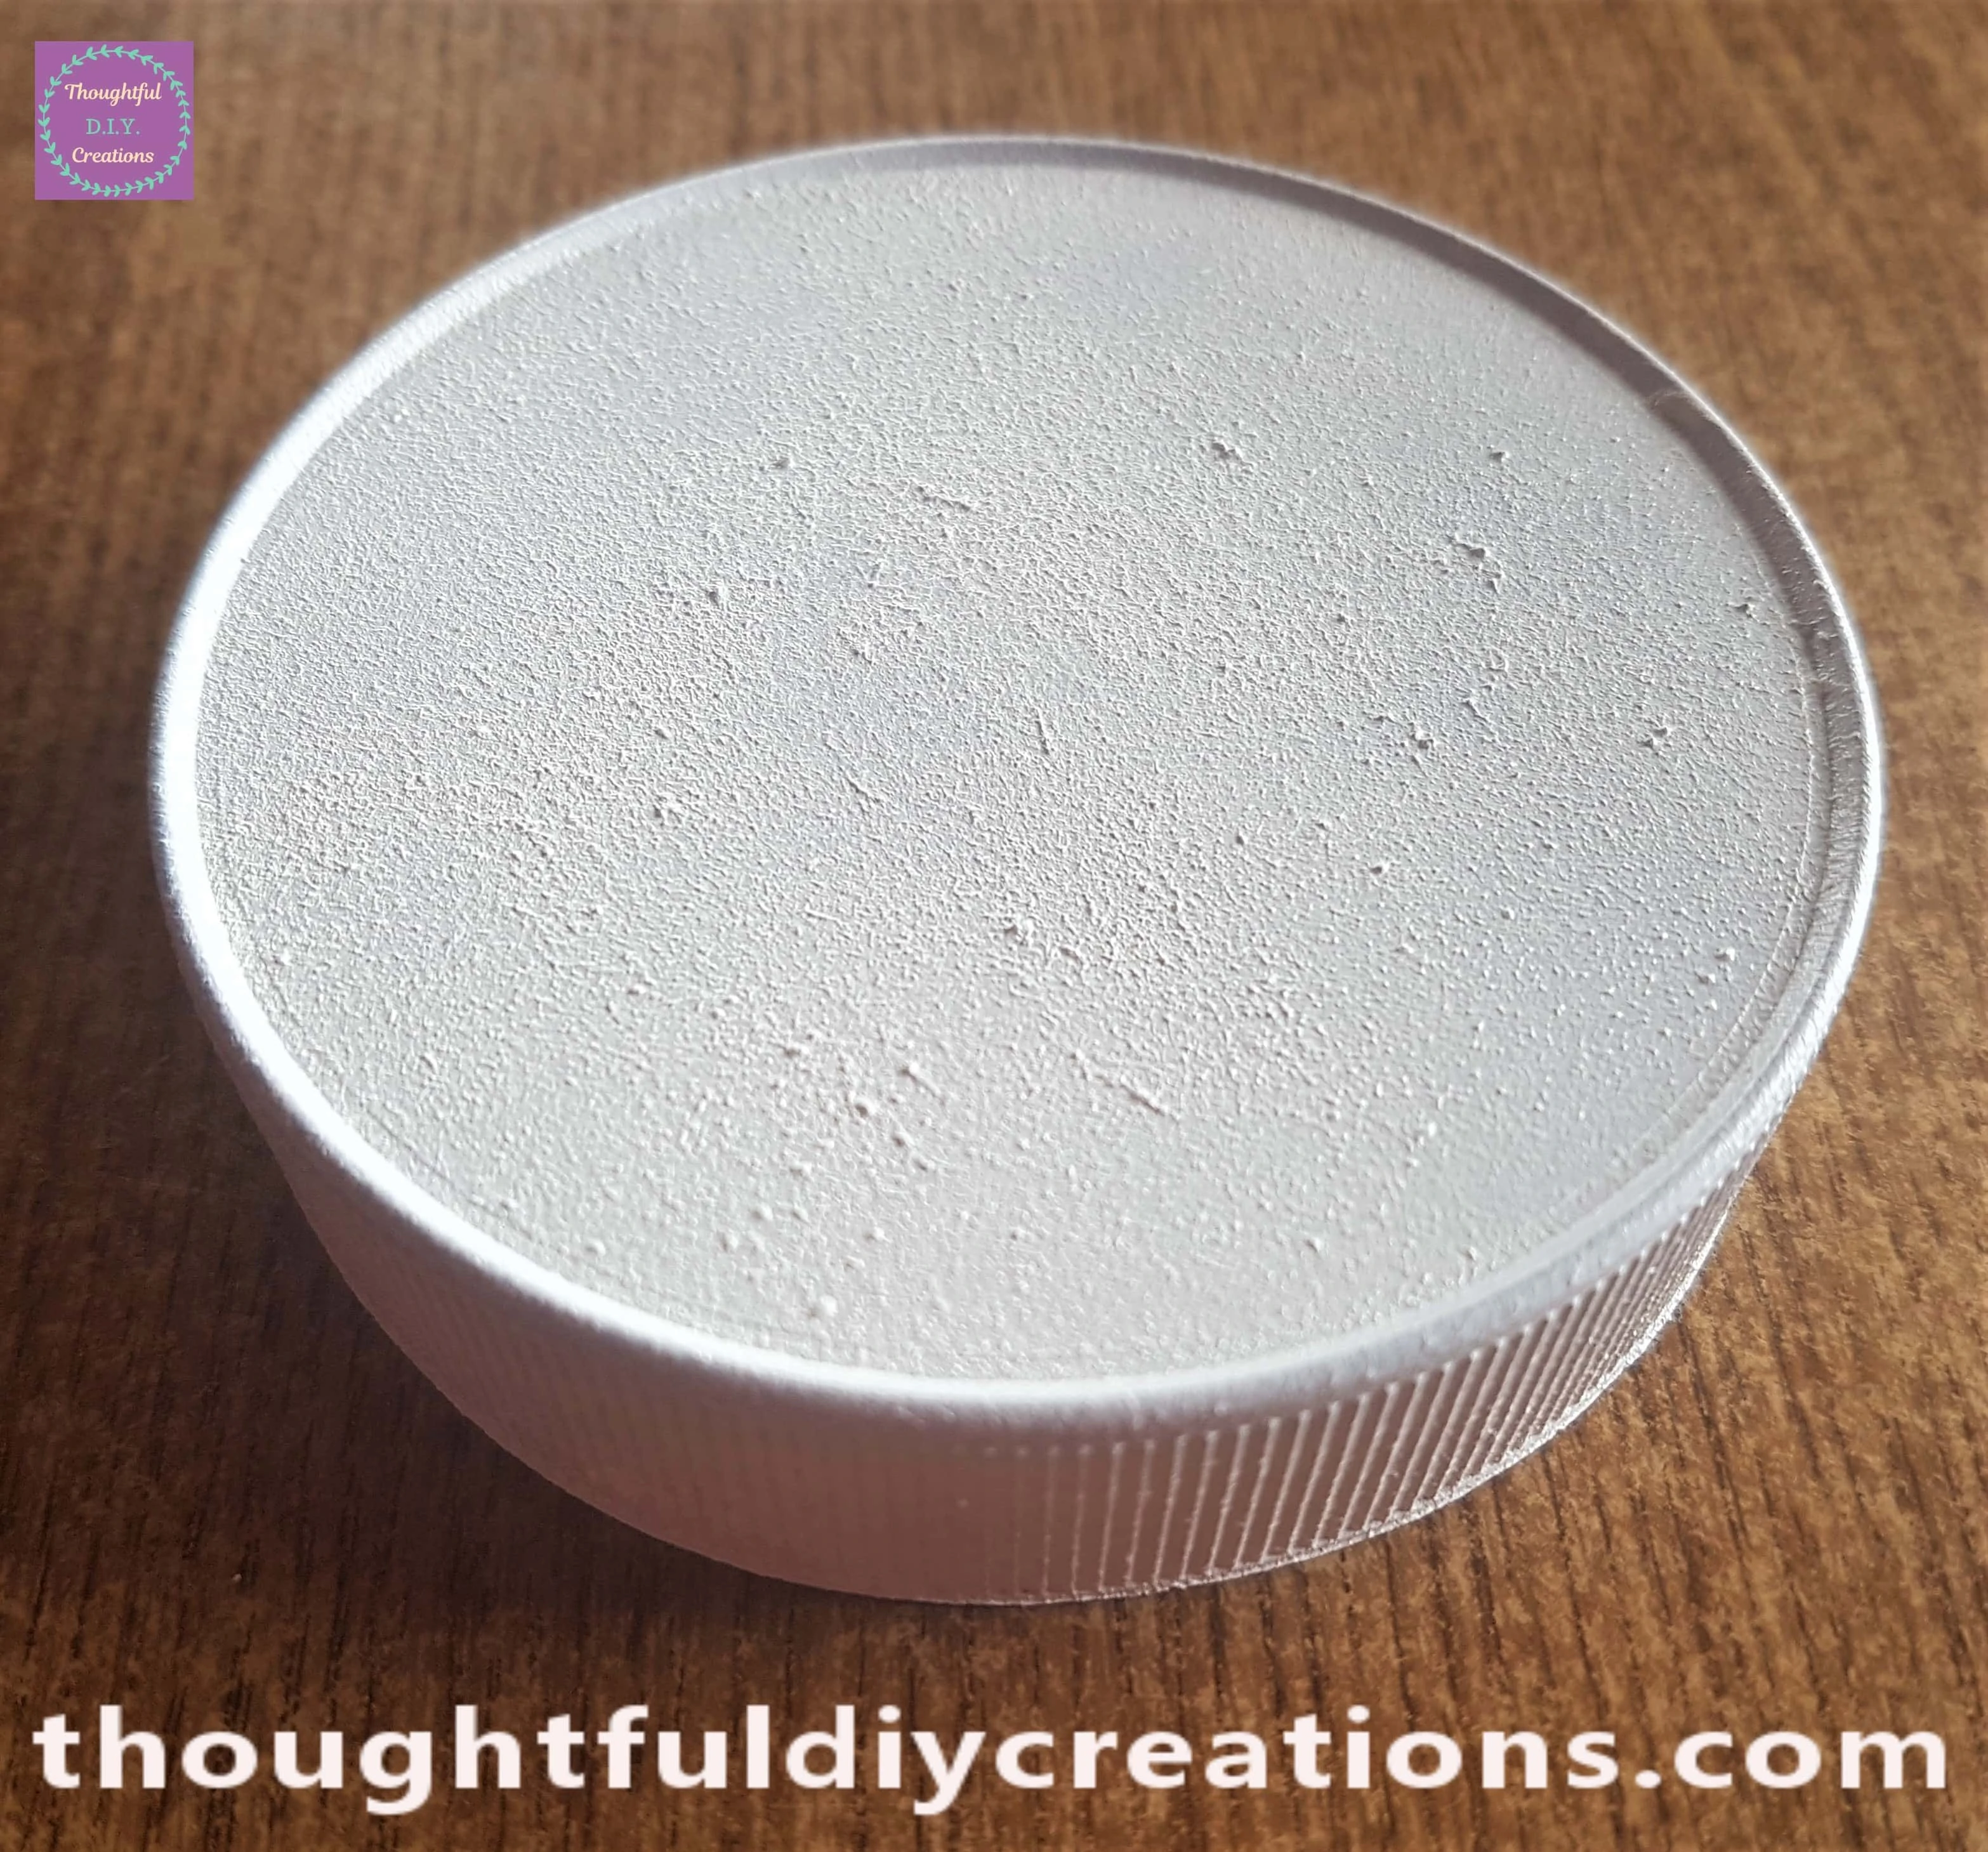
An Hour later I got my ‘White Acrylic Paint’ and Painted a layer onto the Lid with the Sponge.
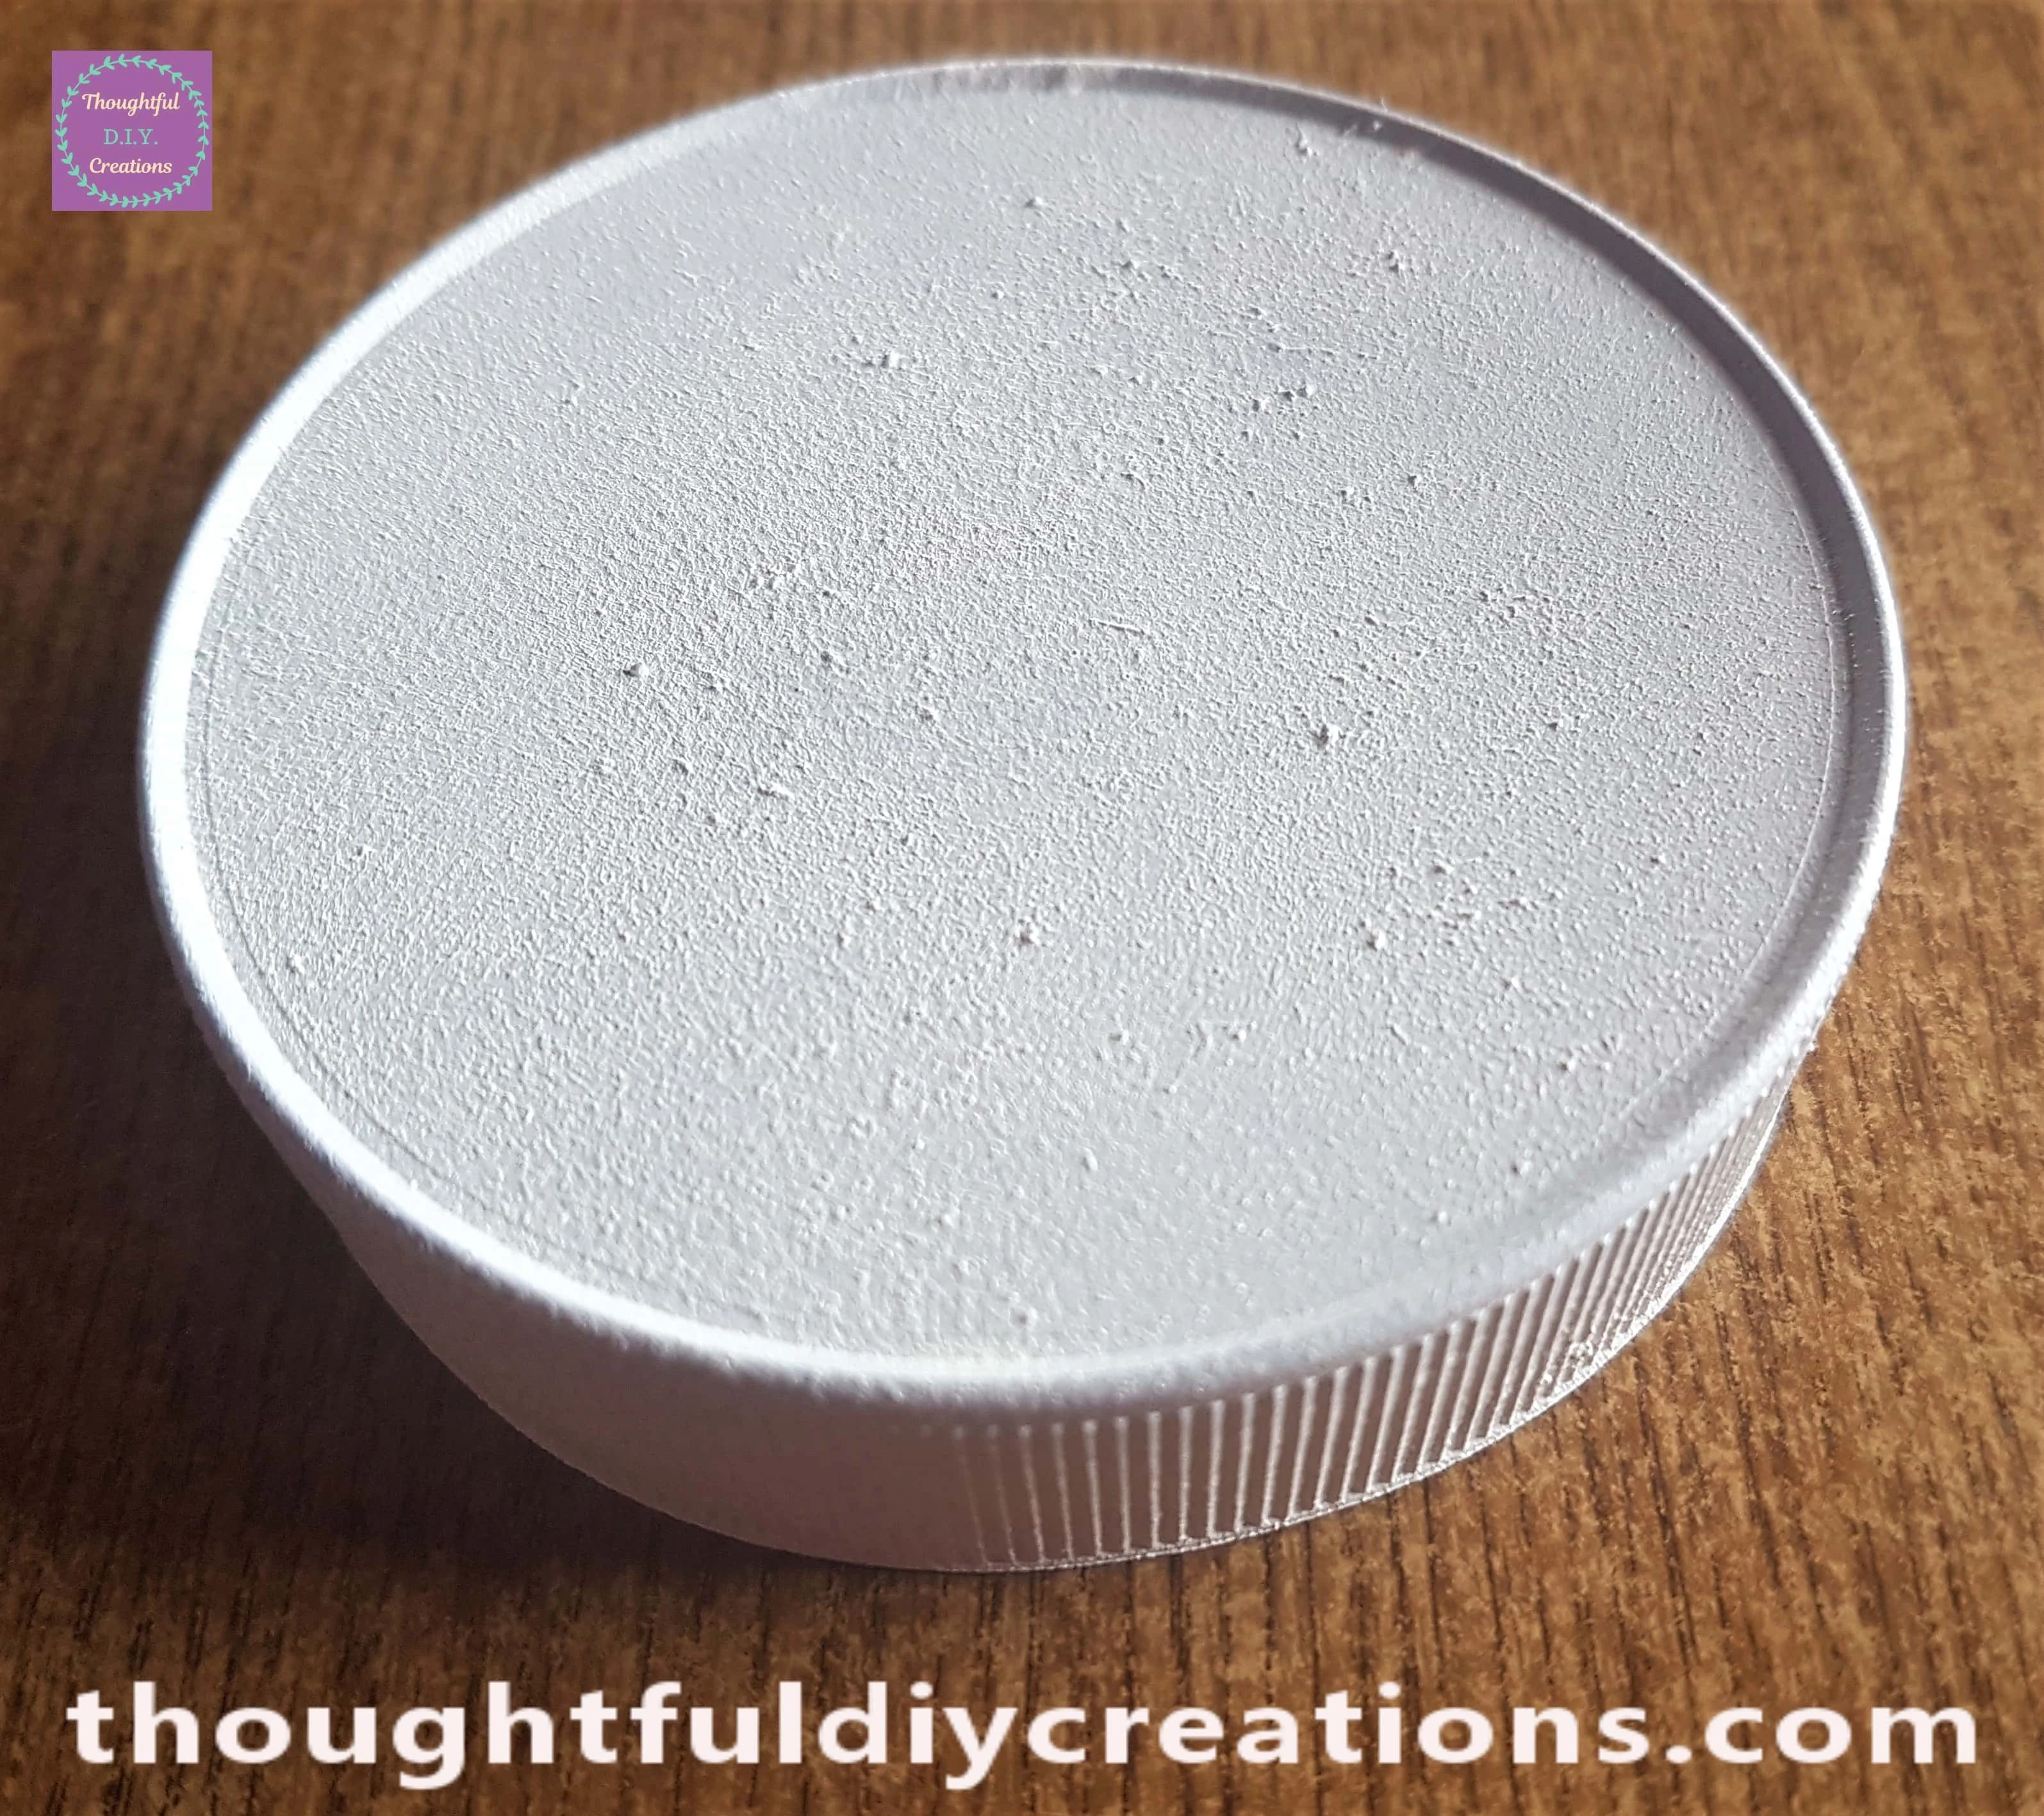
I painted one more layer of the White Paint onto the Lid when the first layer was fully dry.
Mixing Paint for the Jar
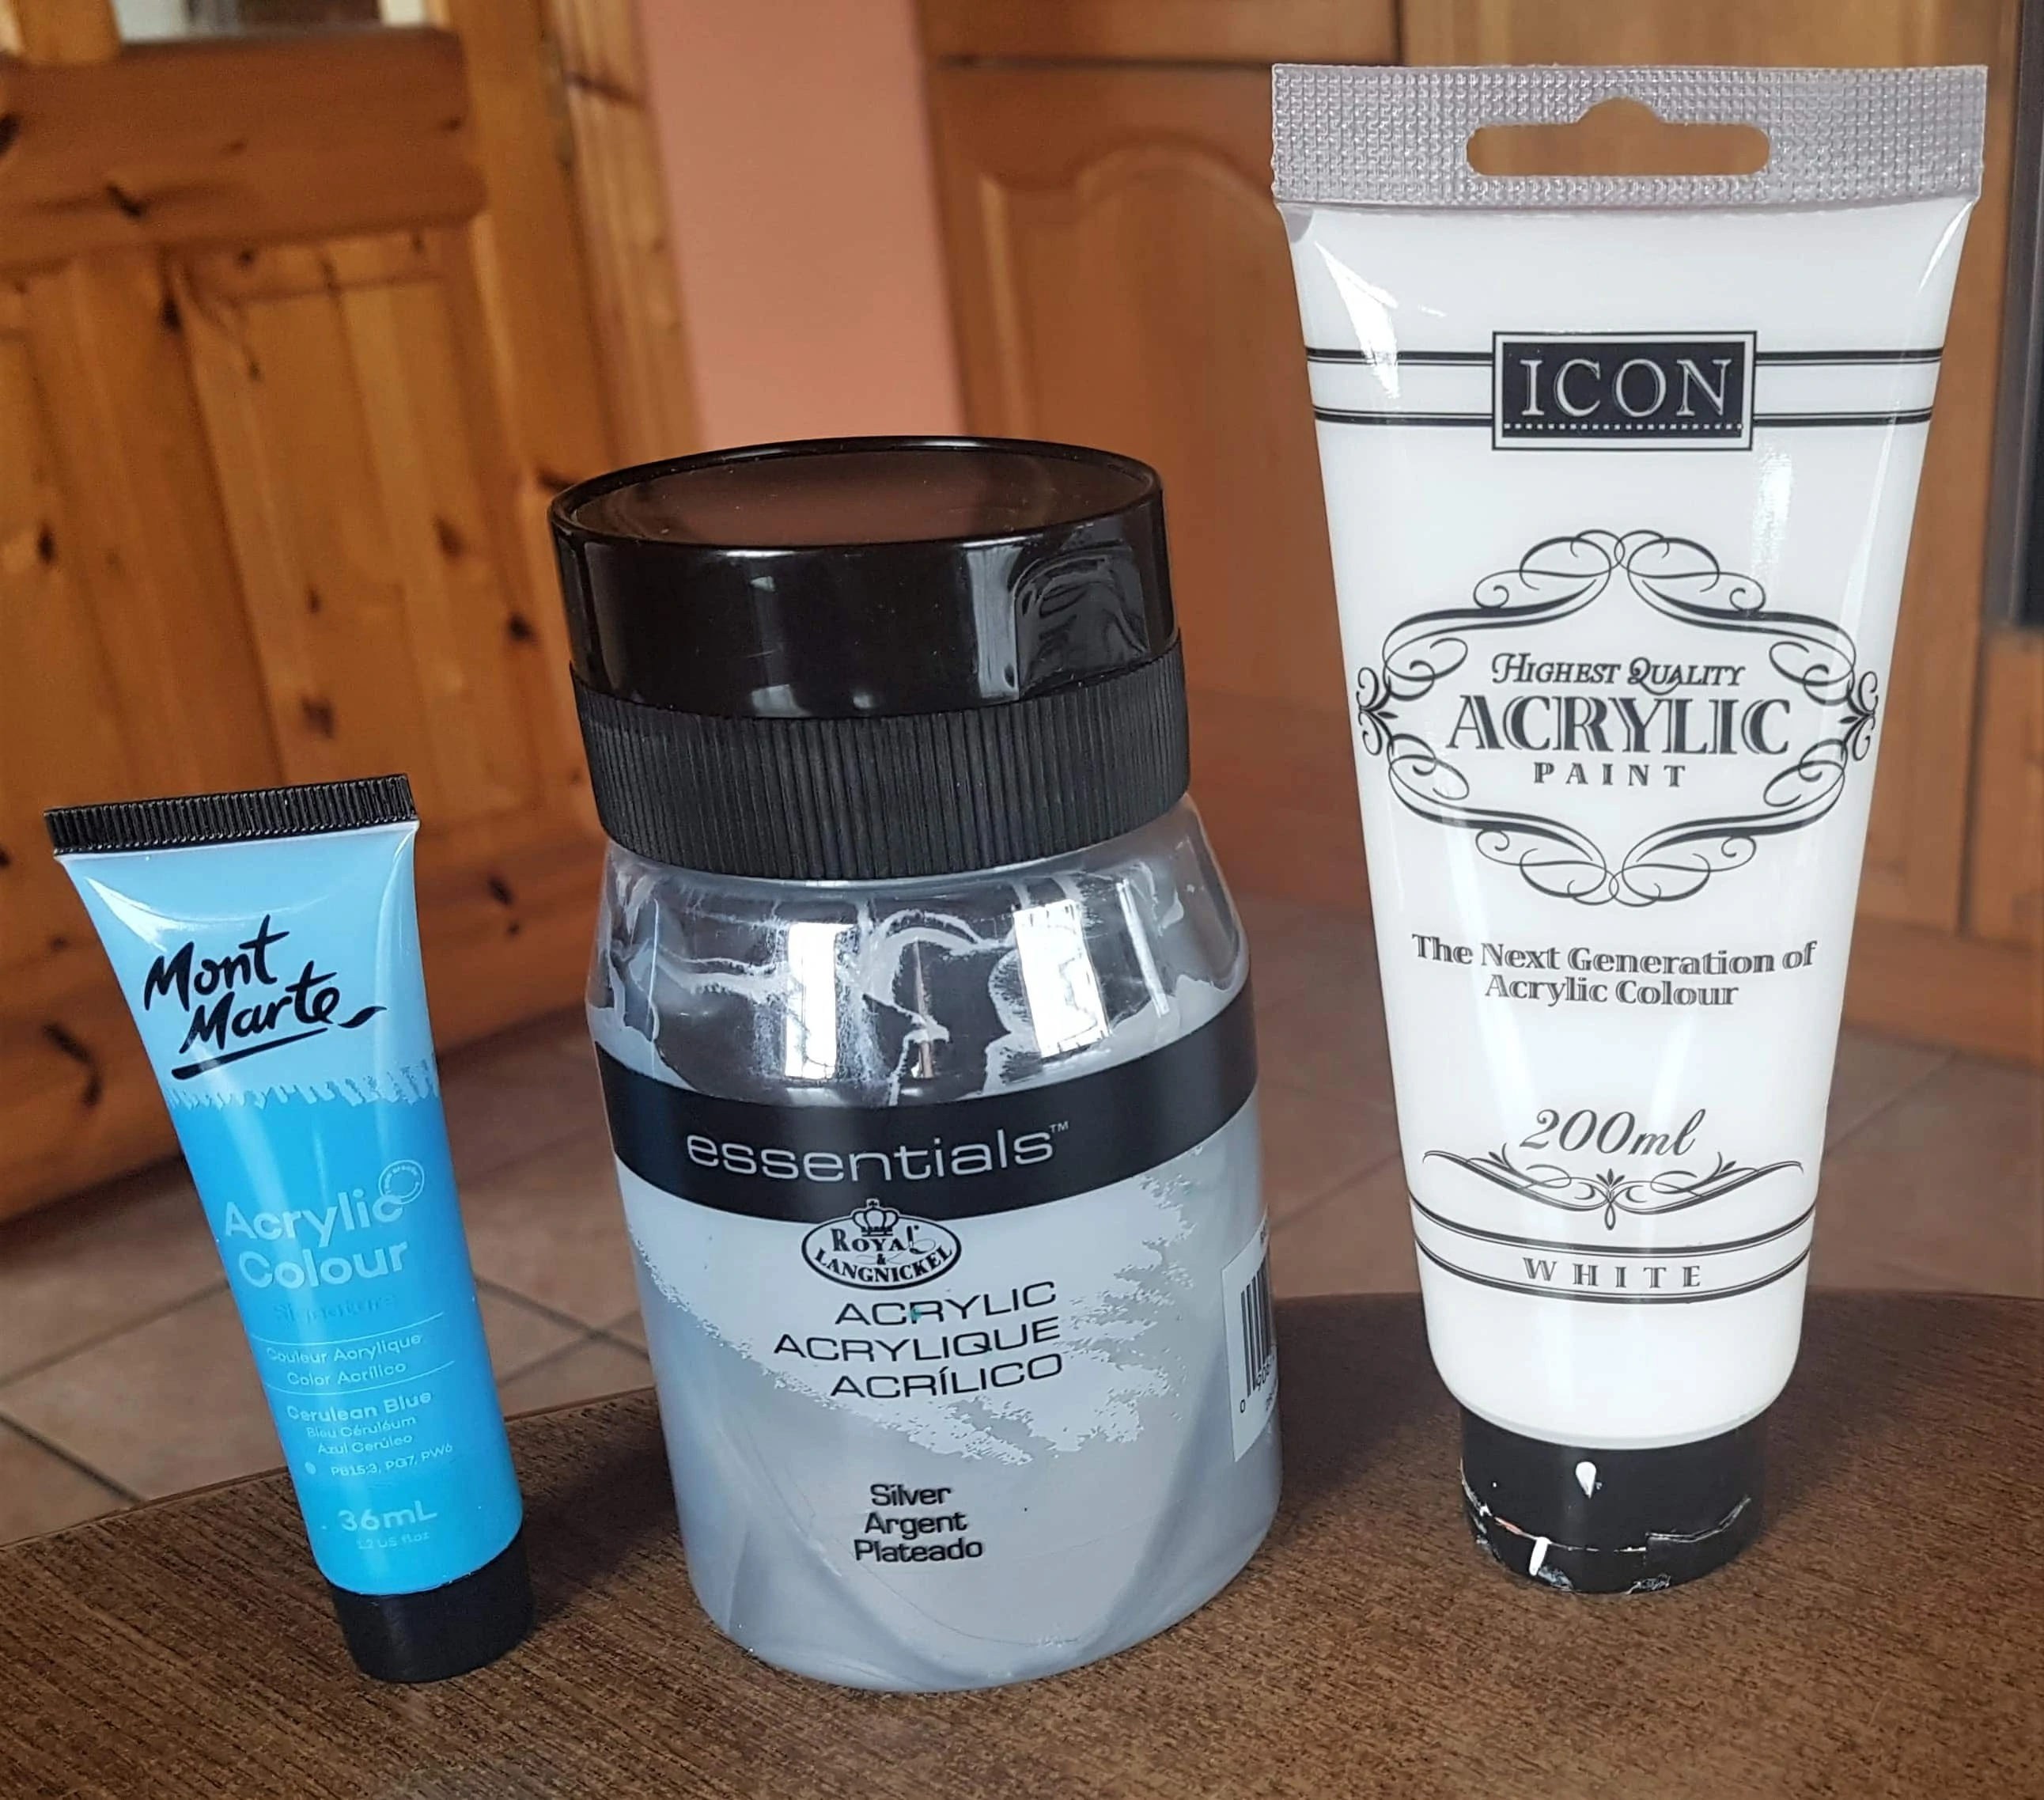
I got Light Blue, Silver and White Acrylic Paint from my Supplies.
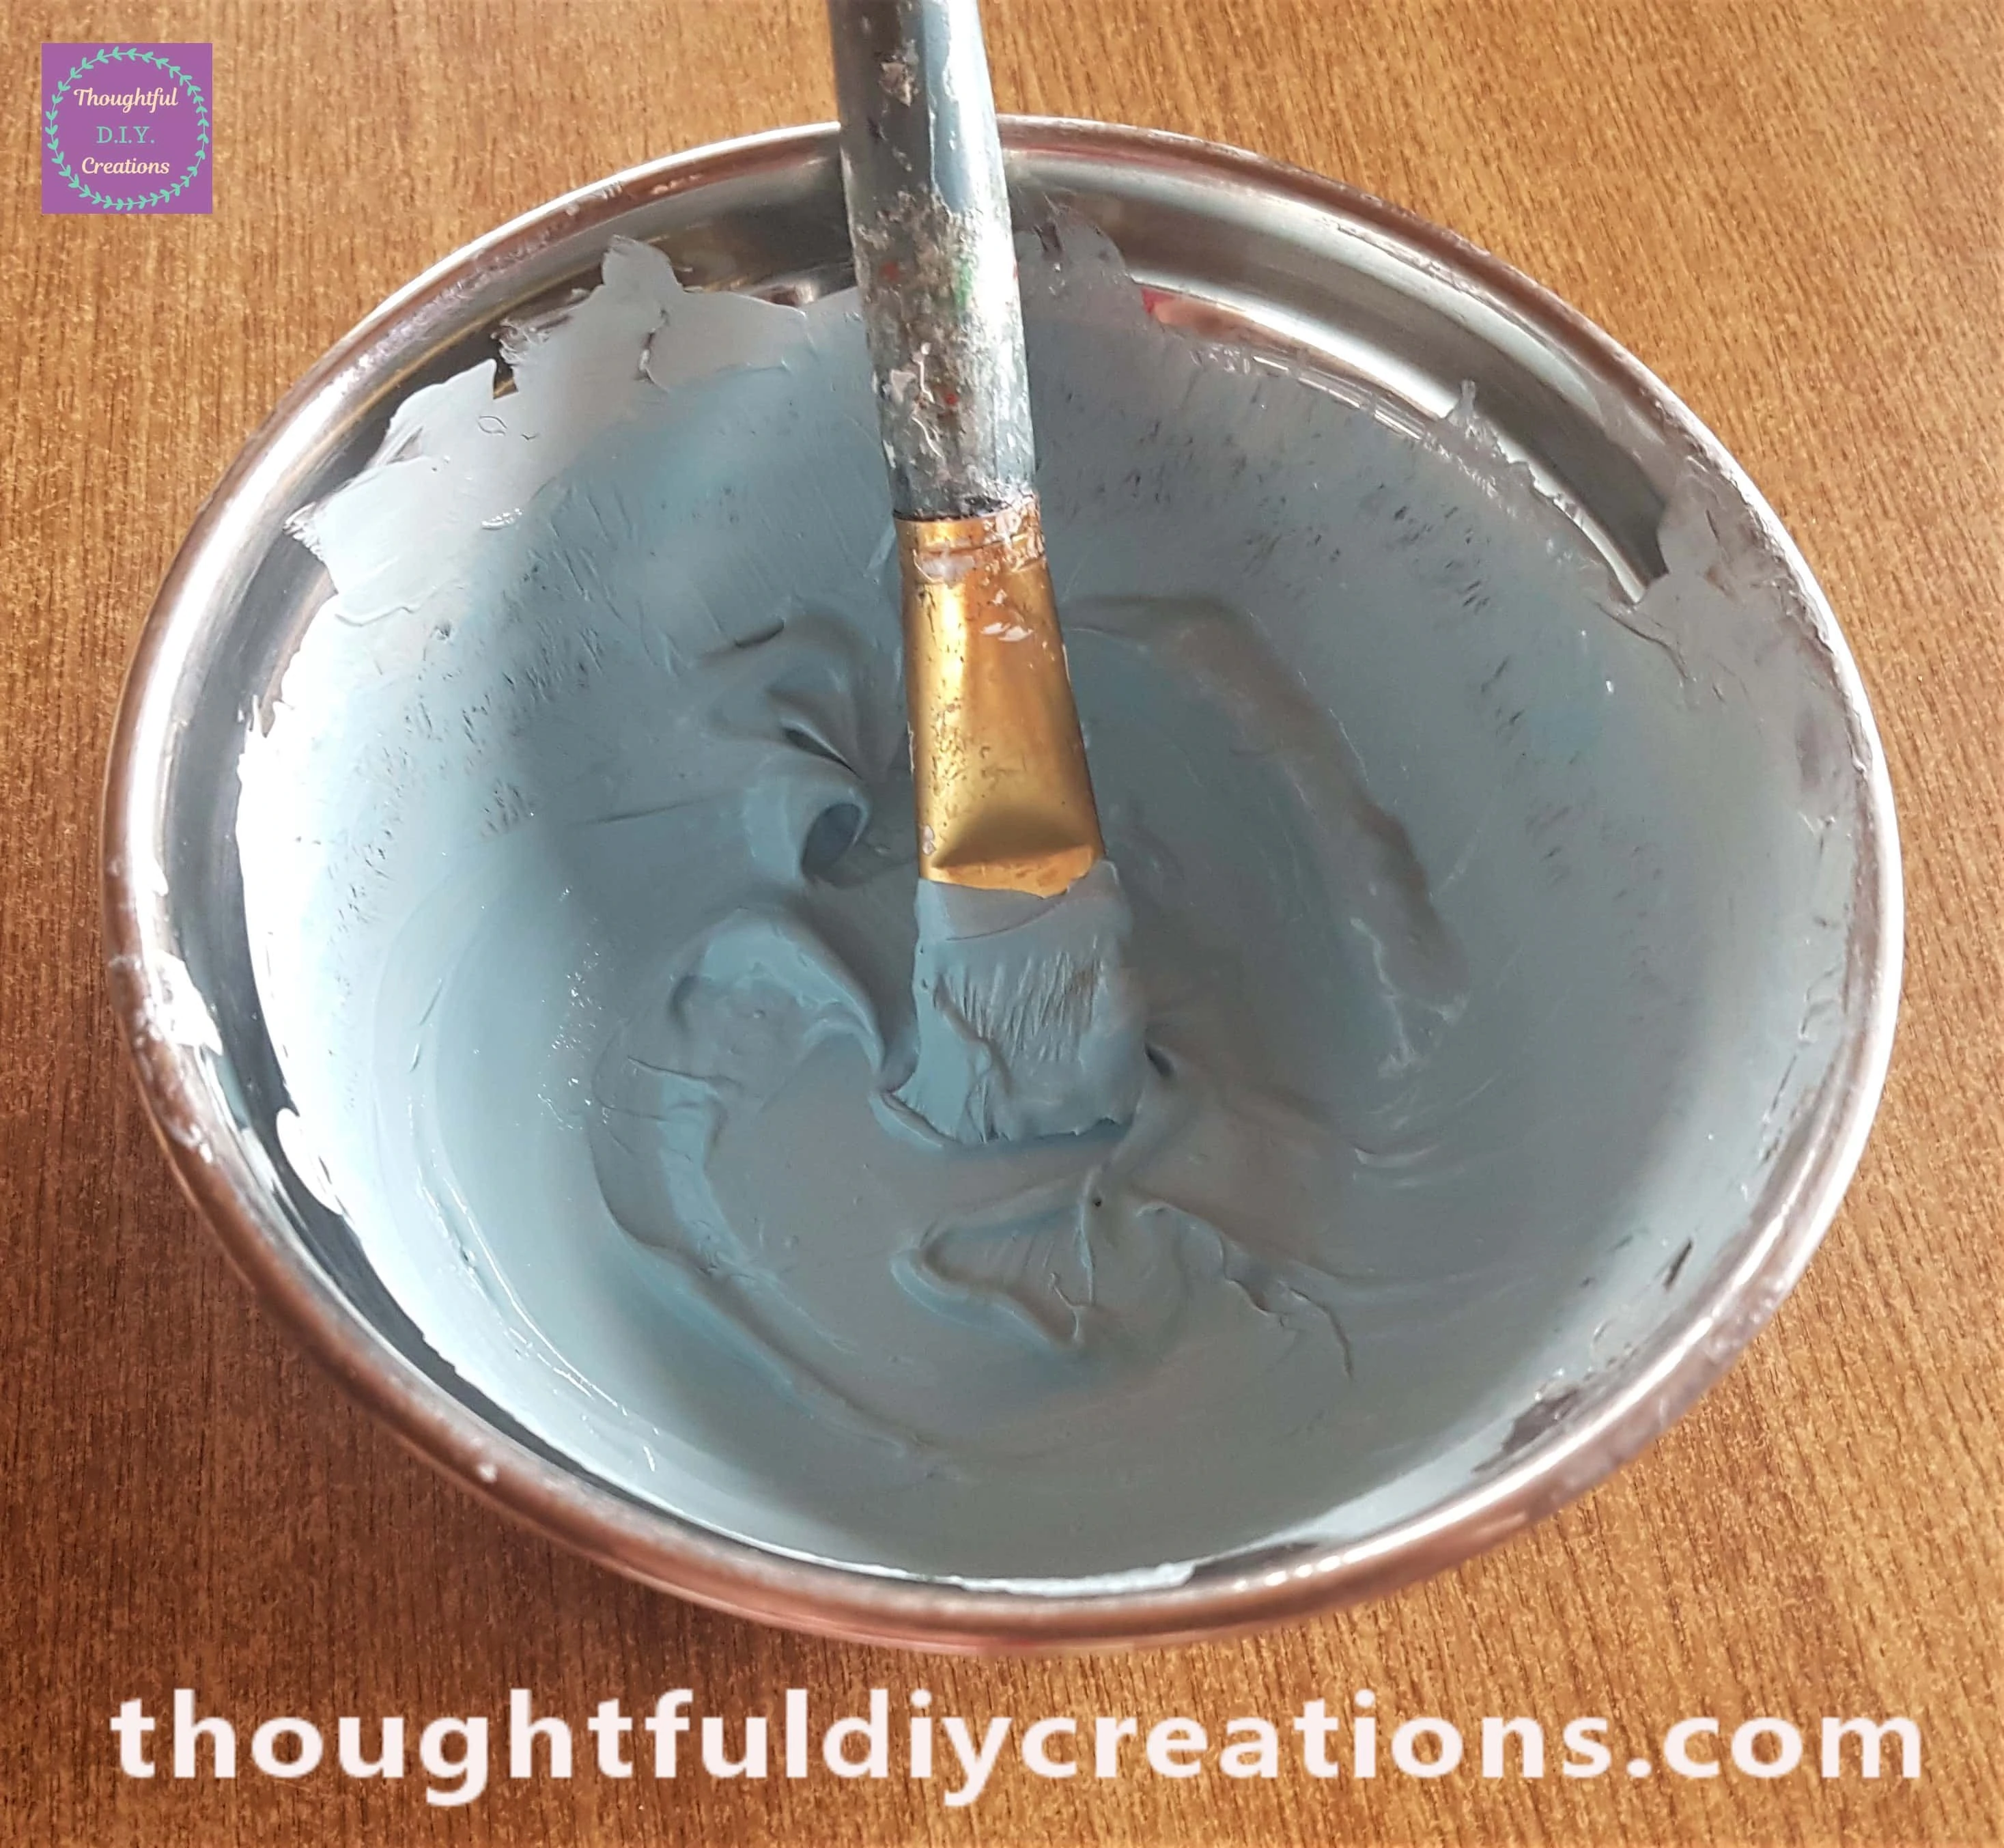
I wanted a Pale Blue Shade of Paint; I poured random amounts of each of the Paints into a Bowl and mixed them together with a Paintbrush until I had made my desired colour.
Painting the Jar with the Sponge
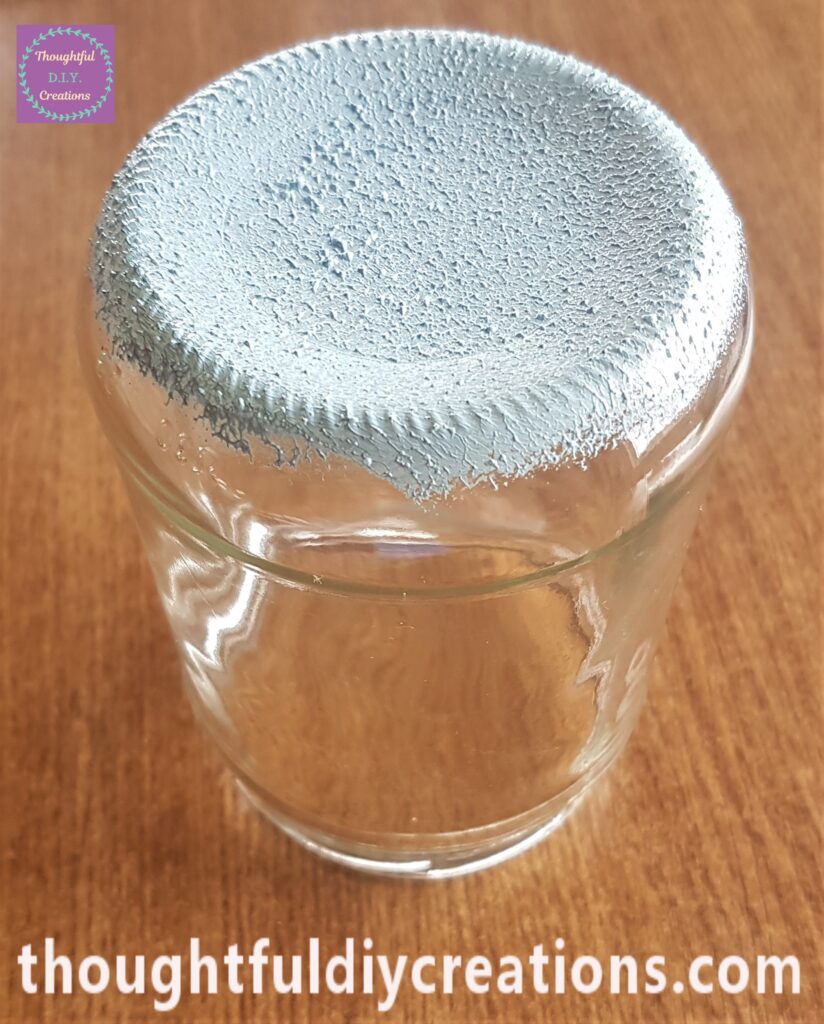
I put the Jar upside down on the Table. I got another Sponge as the other one was wet from cleaning it after Painting the Lid White. I again used the soft part of the sponge. I started with the bottom of the Jar and dabbed the Paint all around it with the sponge.
I then moved on to the Side of the Jar and added more Paint in the same way with the sponge. The Sponge adds a lovely soft, textured effect and is easier to apply than a Paintbrush as it doesn’t leave any brushstrokes.
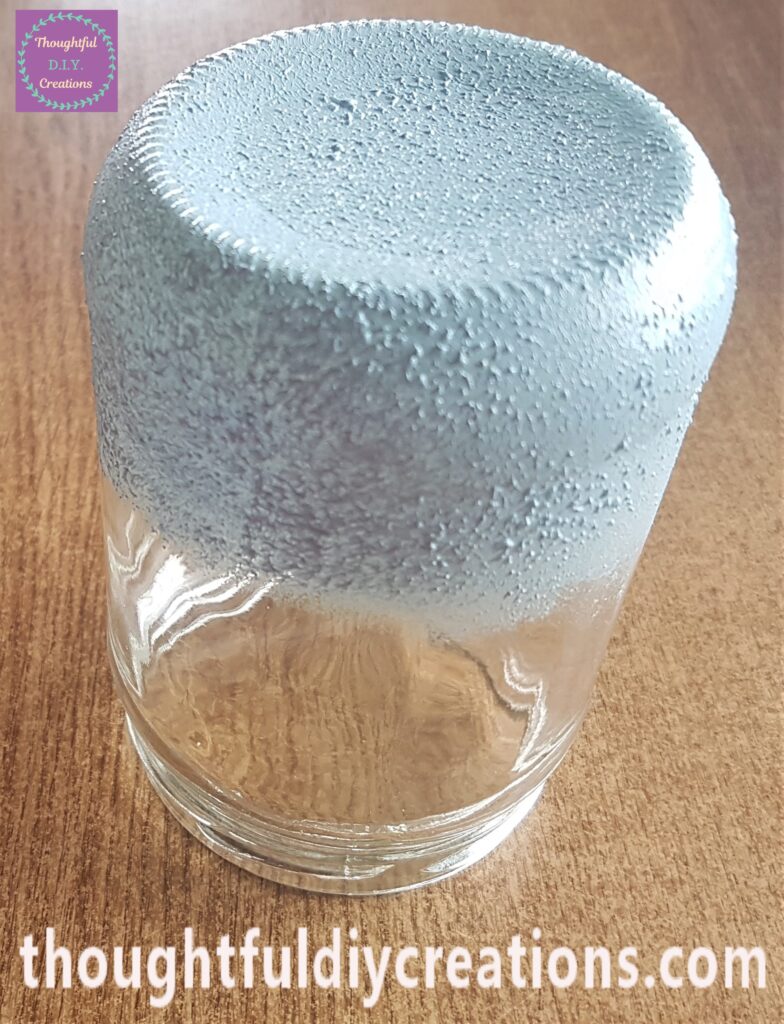
I lifted the Jar off the Table and put my left hand in a Fist shape and put it inside the Jar. I continued Painting with the Sponge using my right hand until I had a full even layer of Paint all over the Jar. I then carefully removed my left Arm and gently placed the Jar back on the Table to dry.
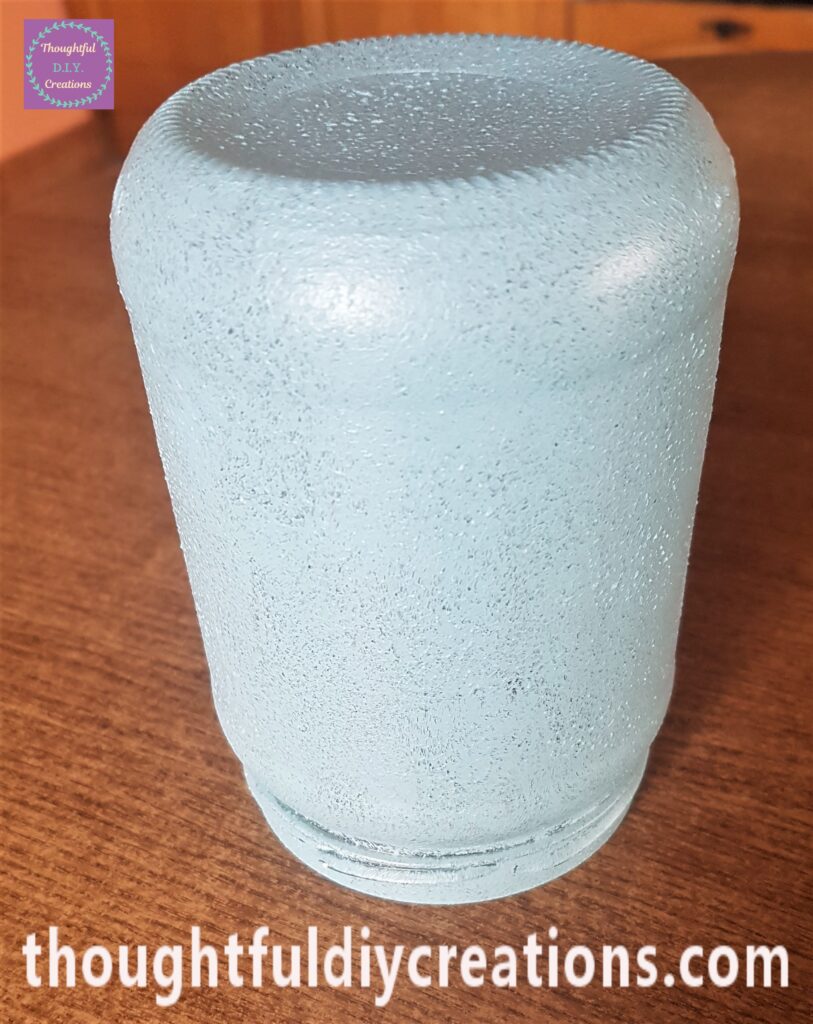
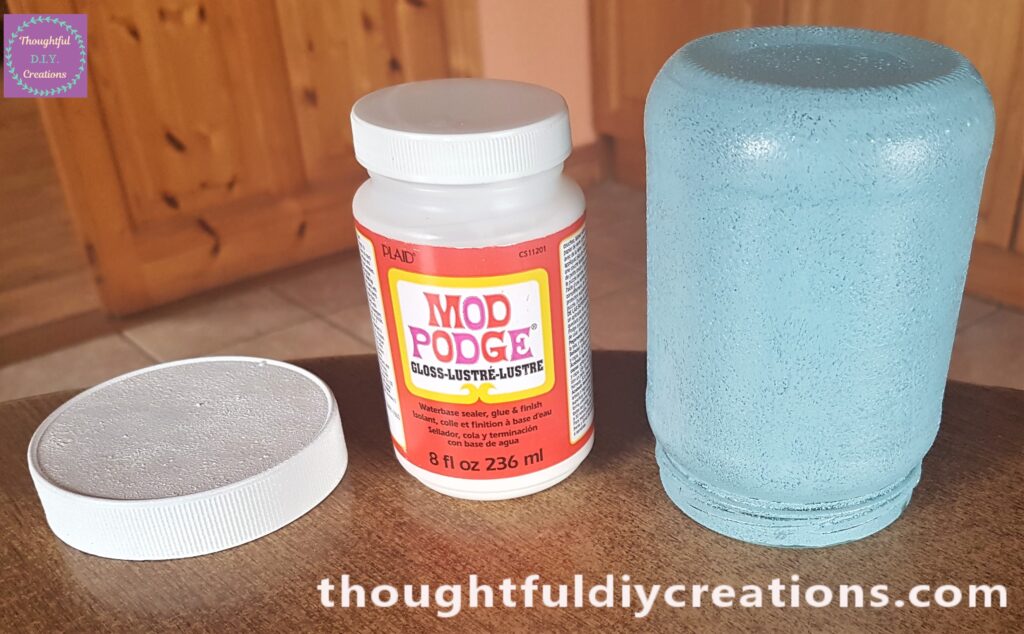
That night I added a layer of Mod Podge on the Top of the Lid and the Bottom and Sides of the Jar to Seal the Paint.
Making Moon and Stars Moulds for the Lid
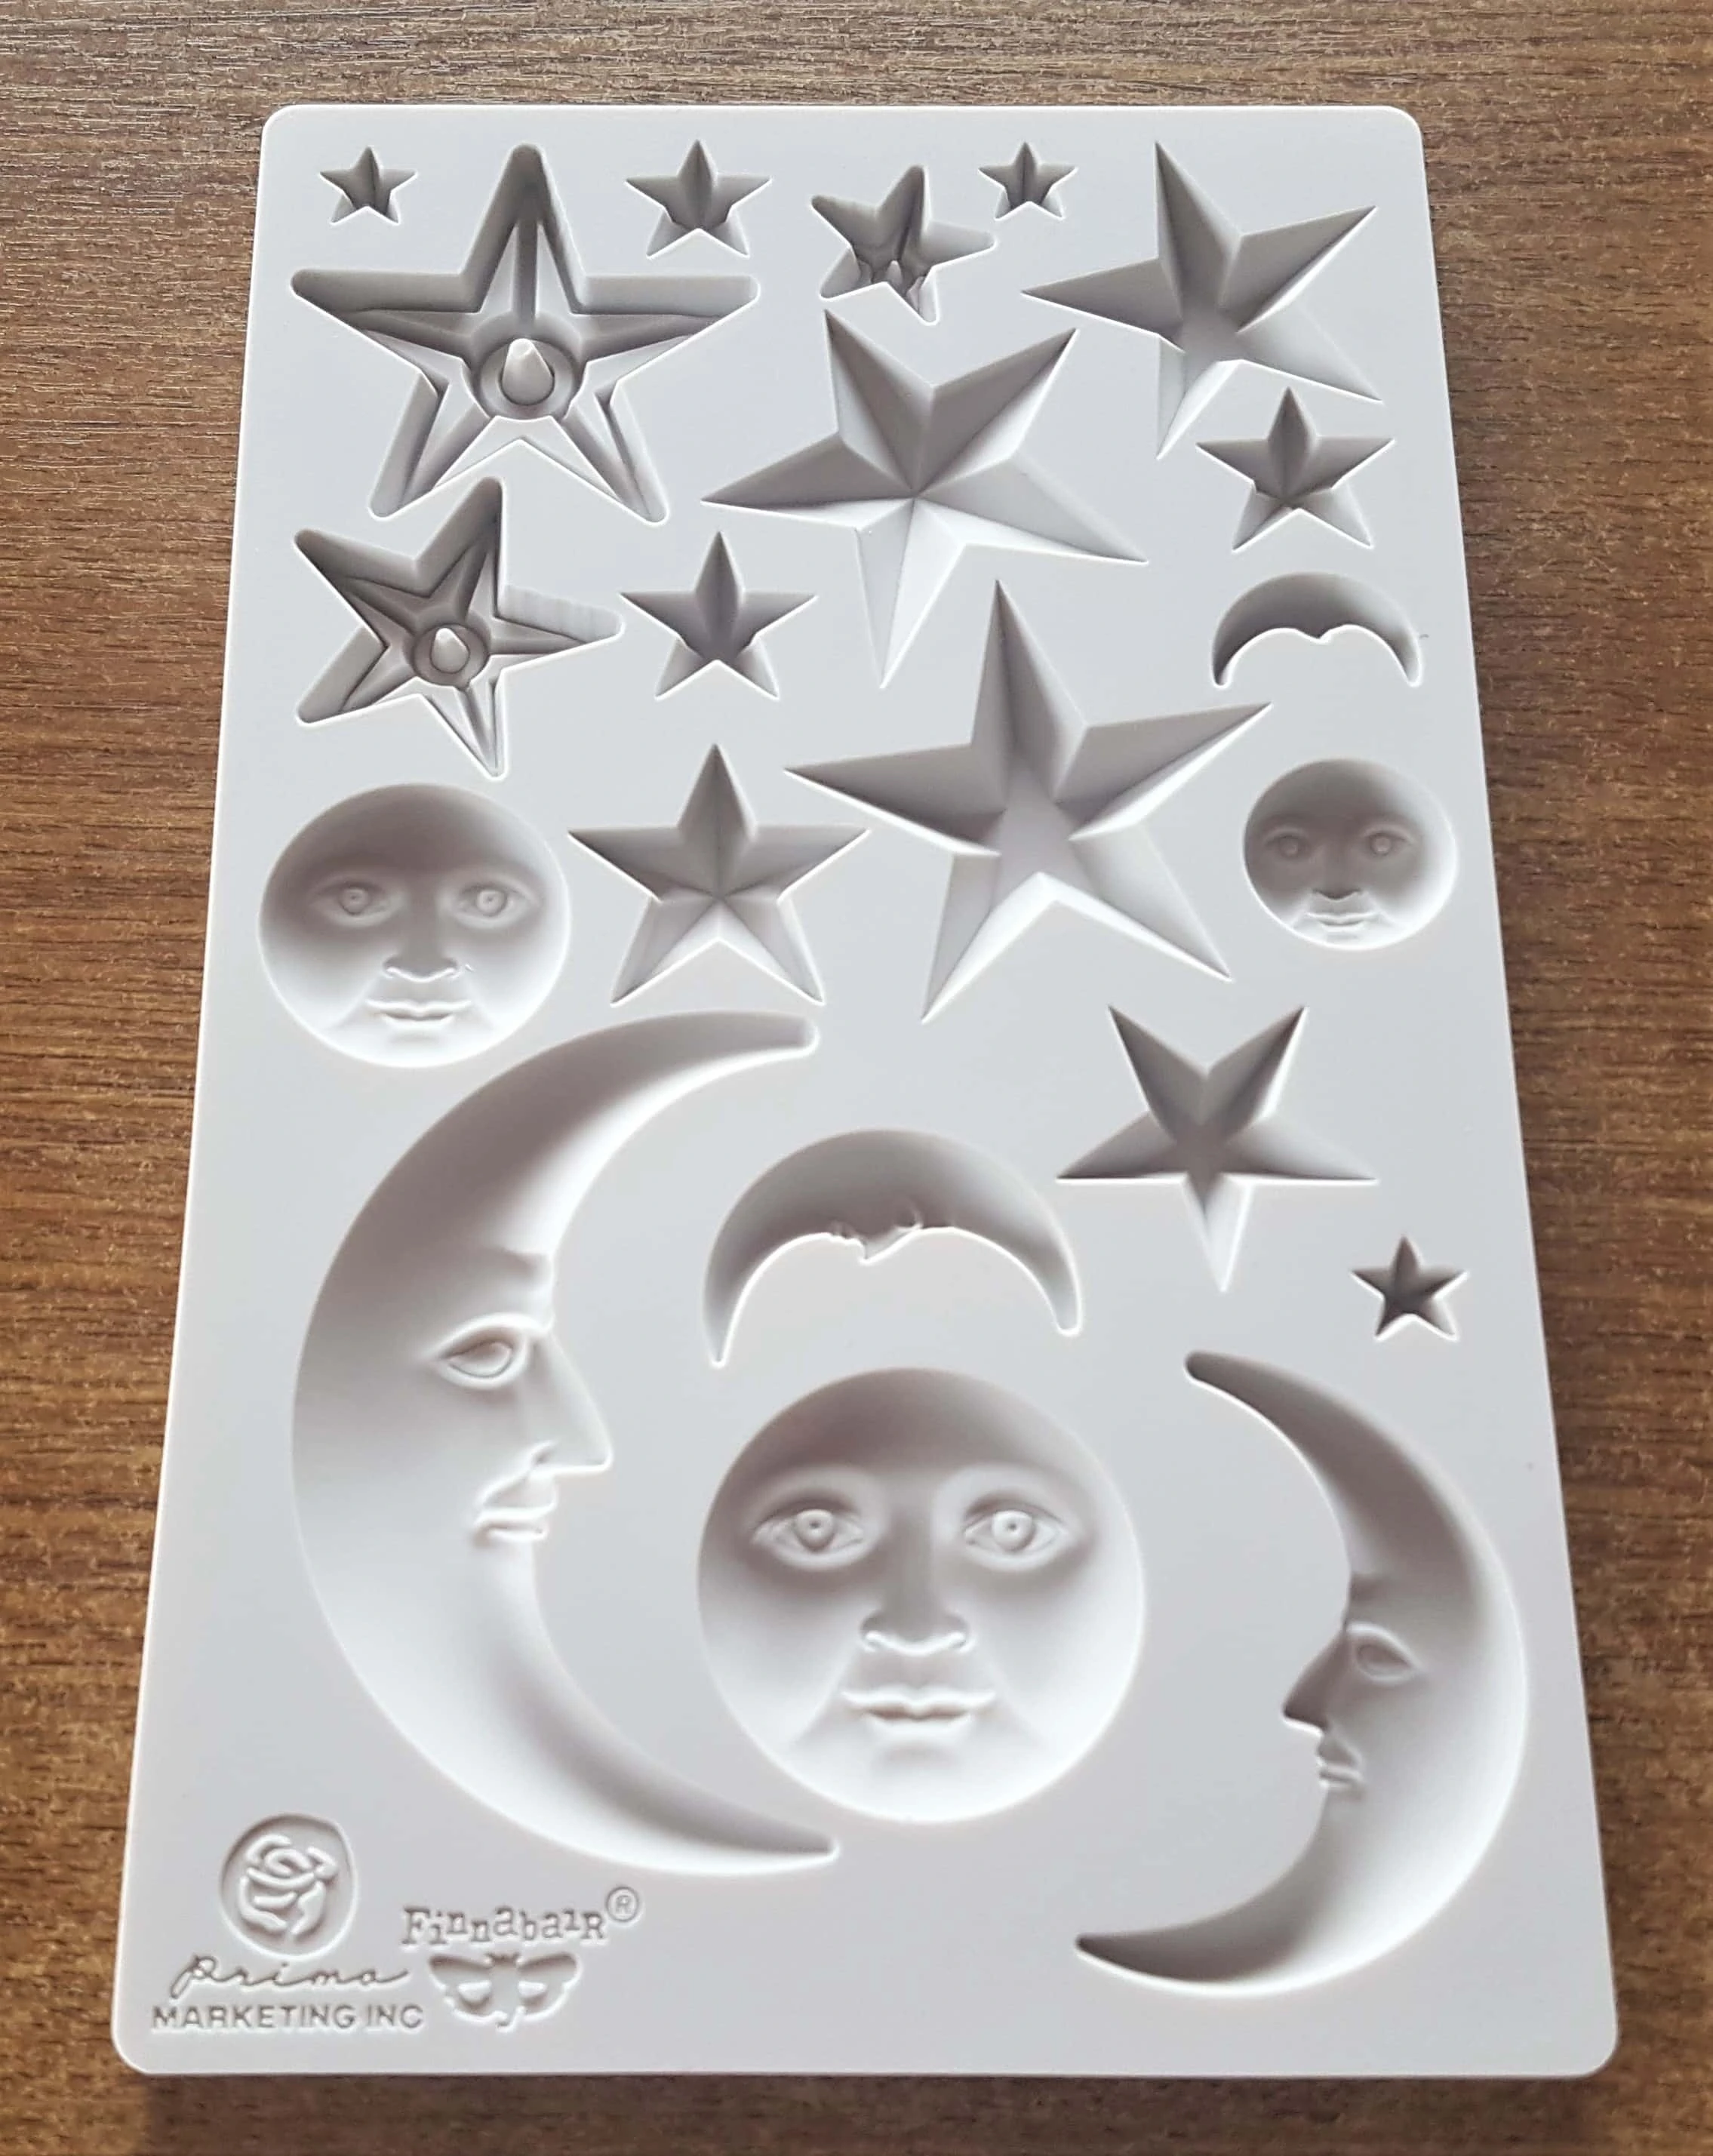
The next Day I got my ‘Stars and Moons Moulds’ out of the Pack.
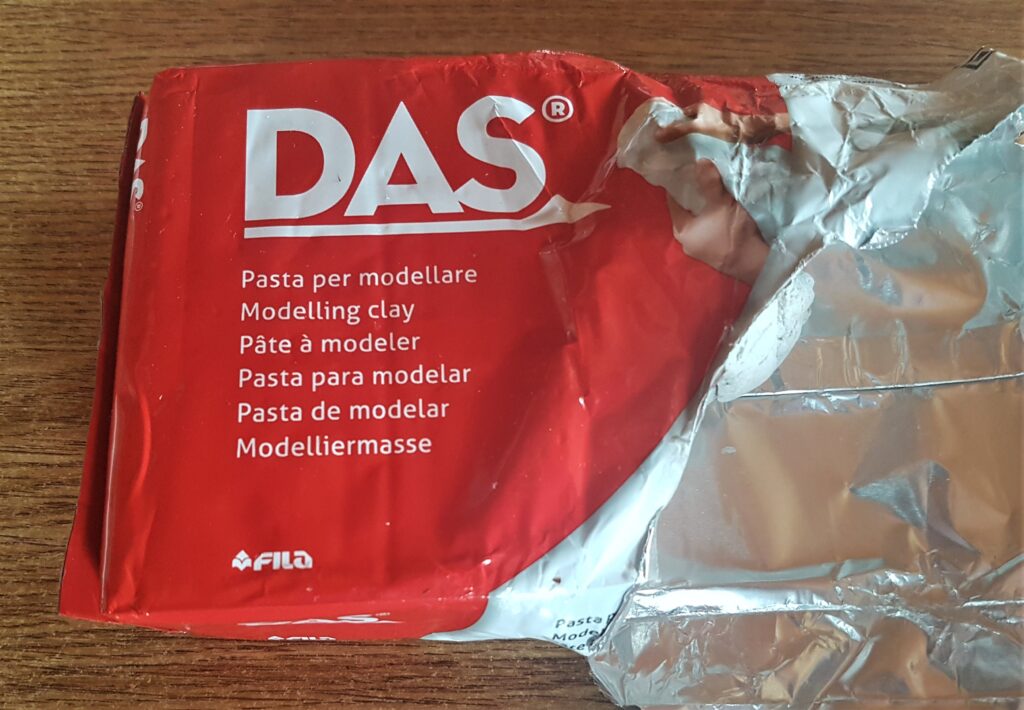
I also got my ‘DAS Air-Dry Clay’.
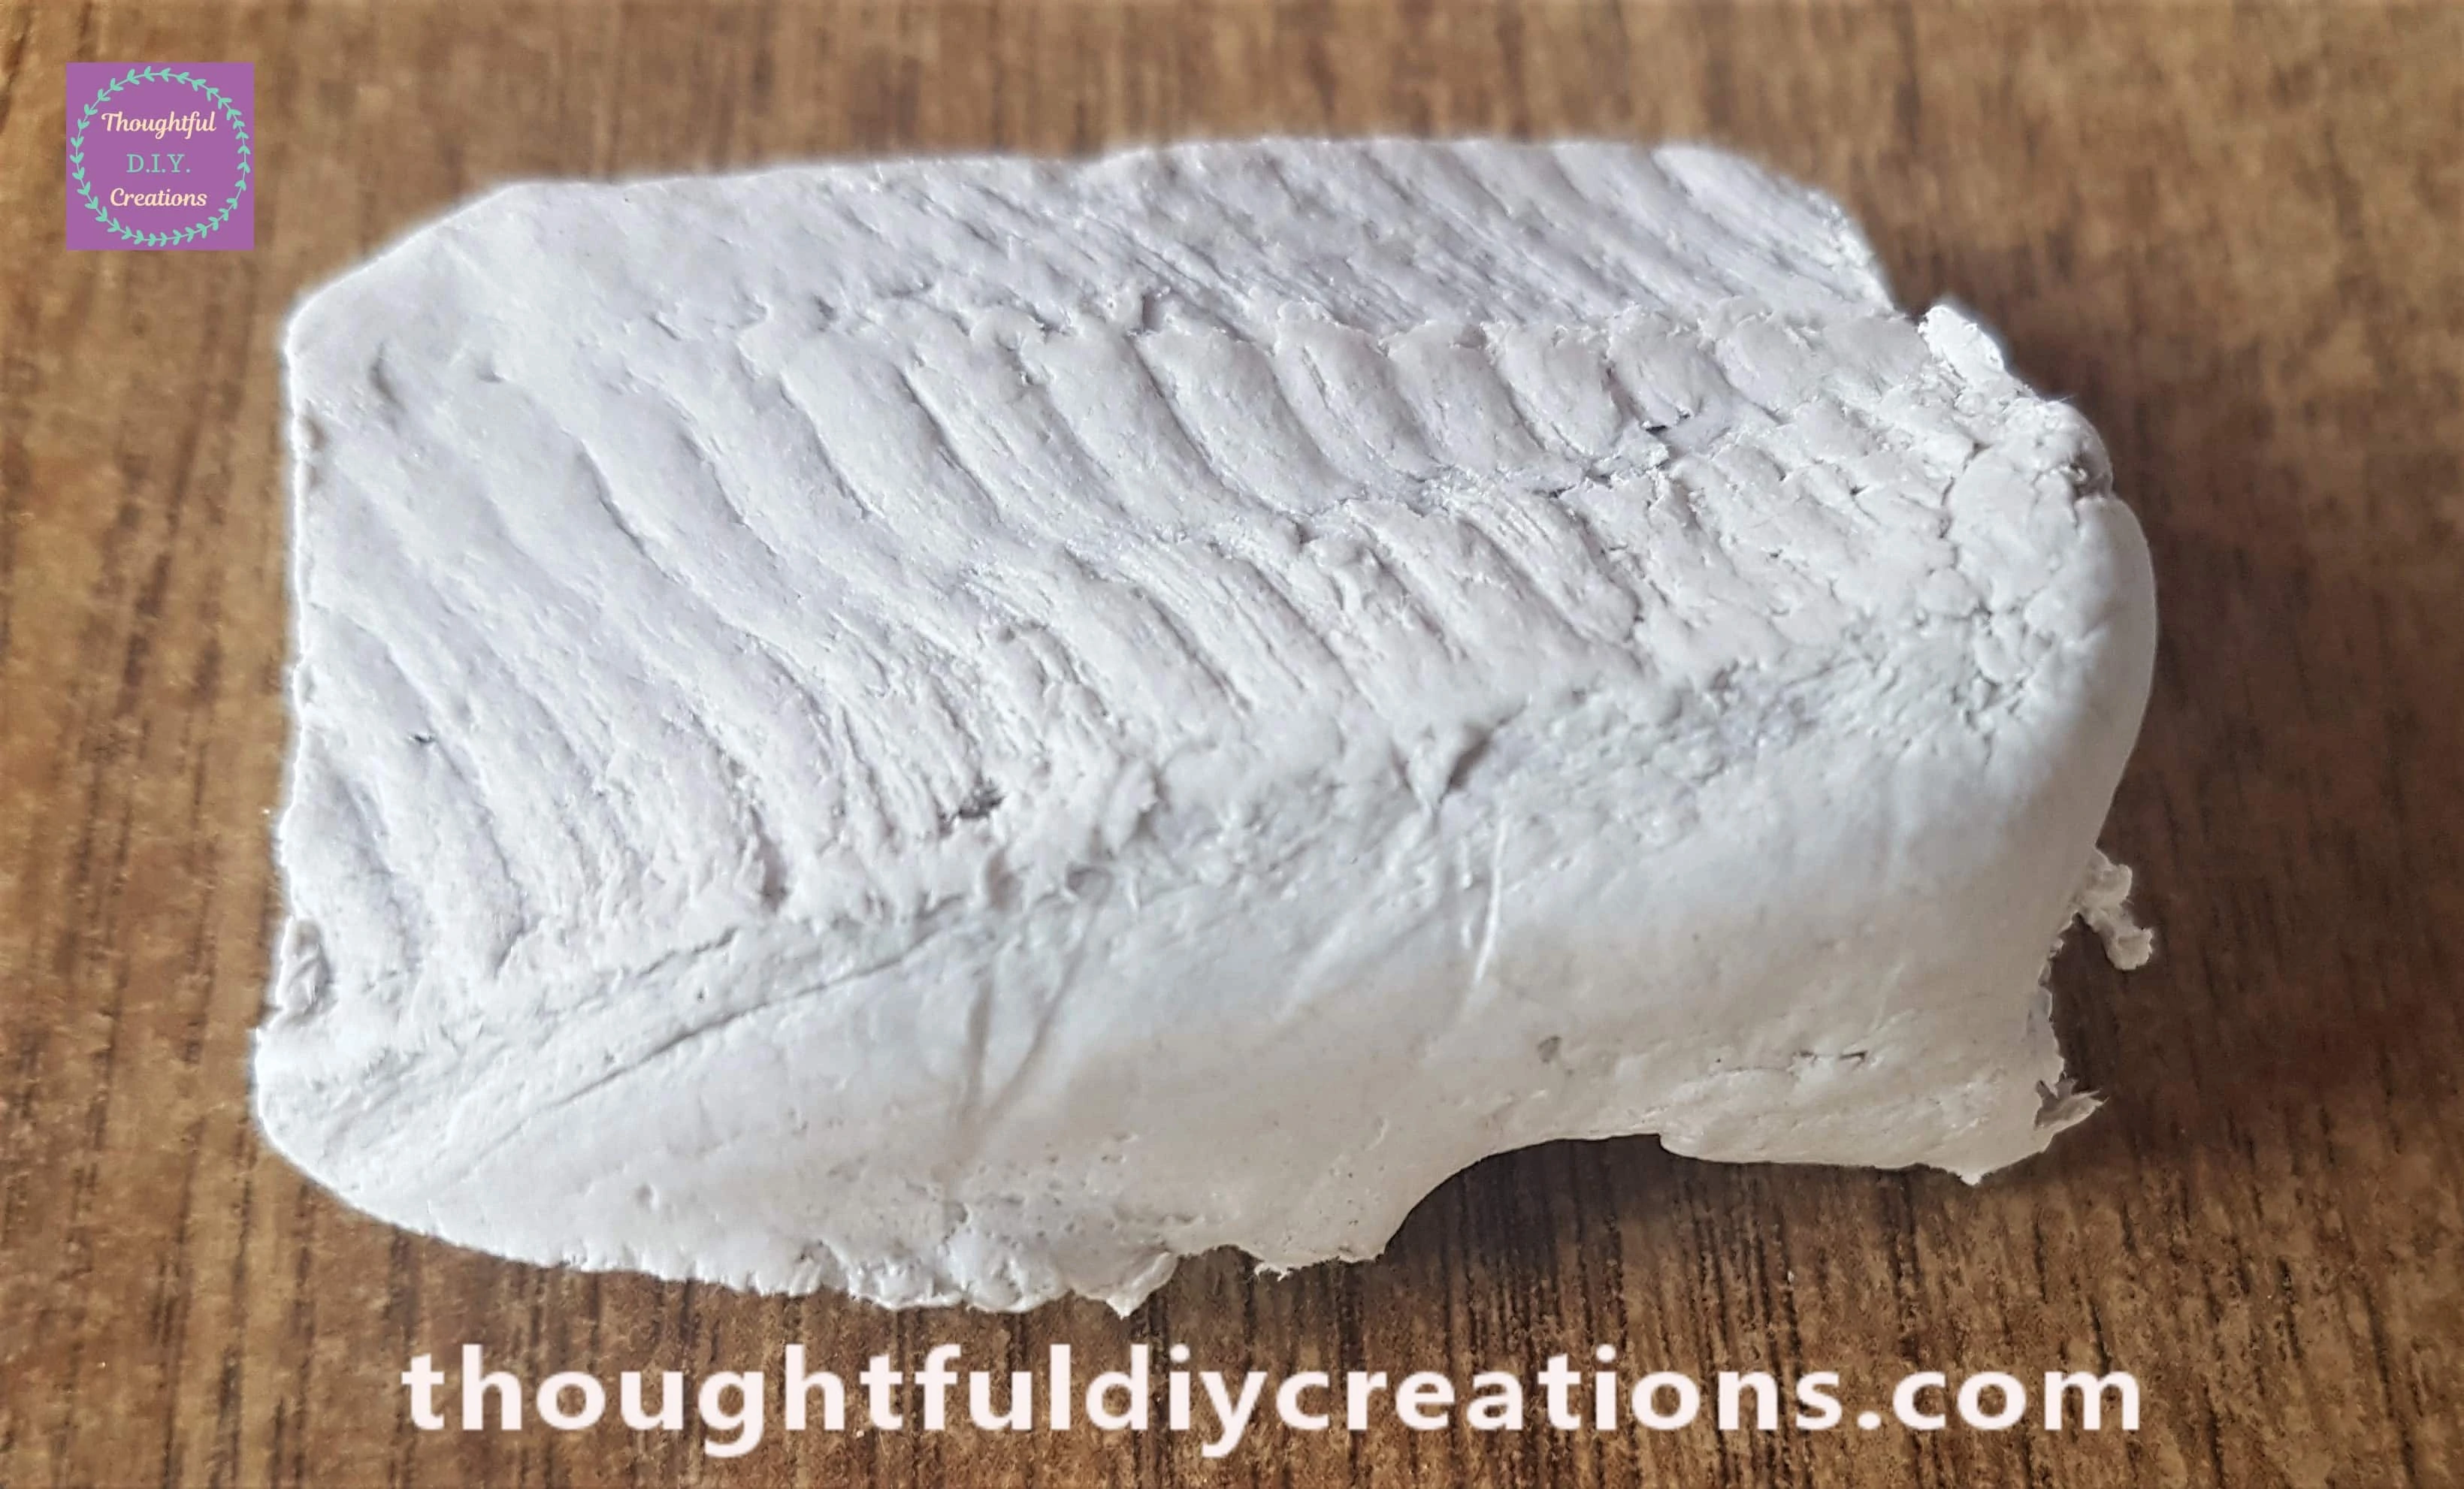
I cut a section of the Clay using a Knife.
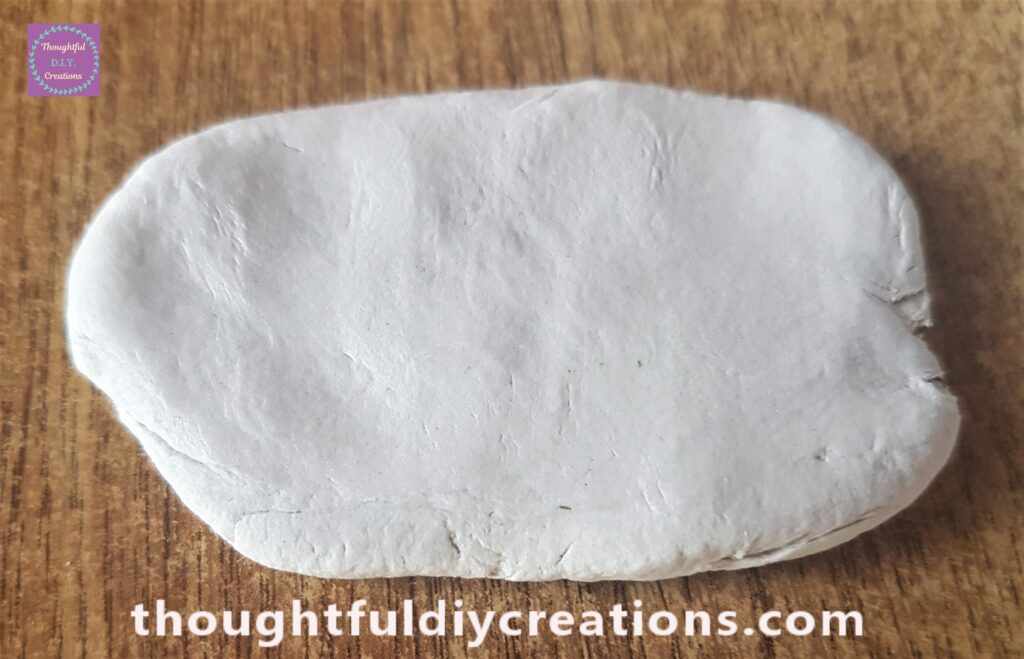
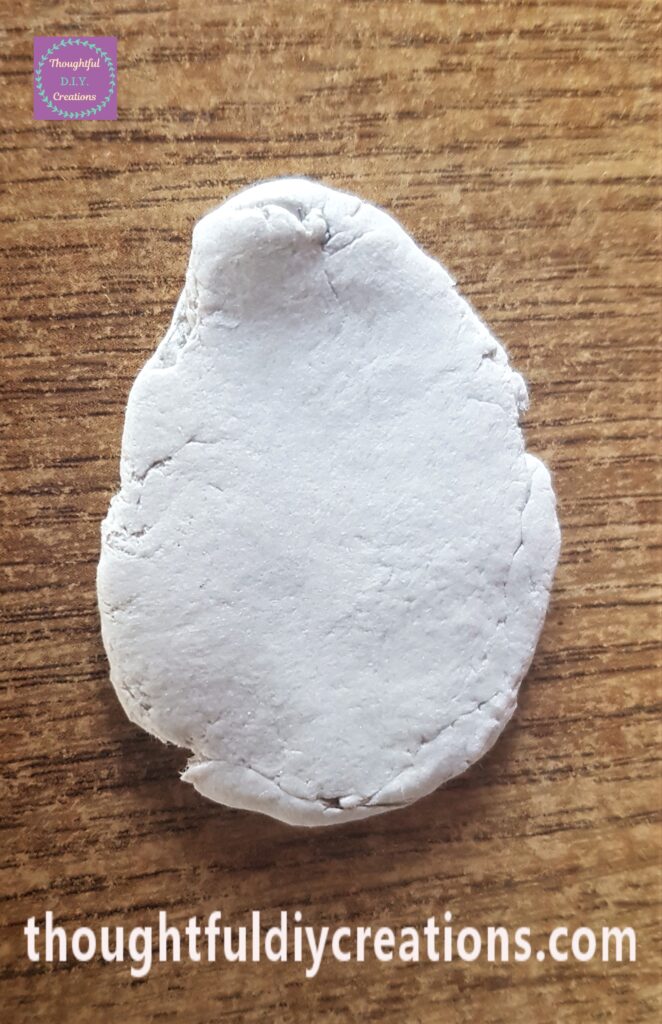
I smoothed and flattened the Clay out using my hands.
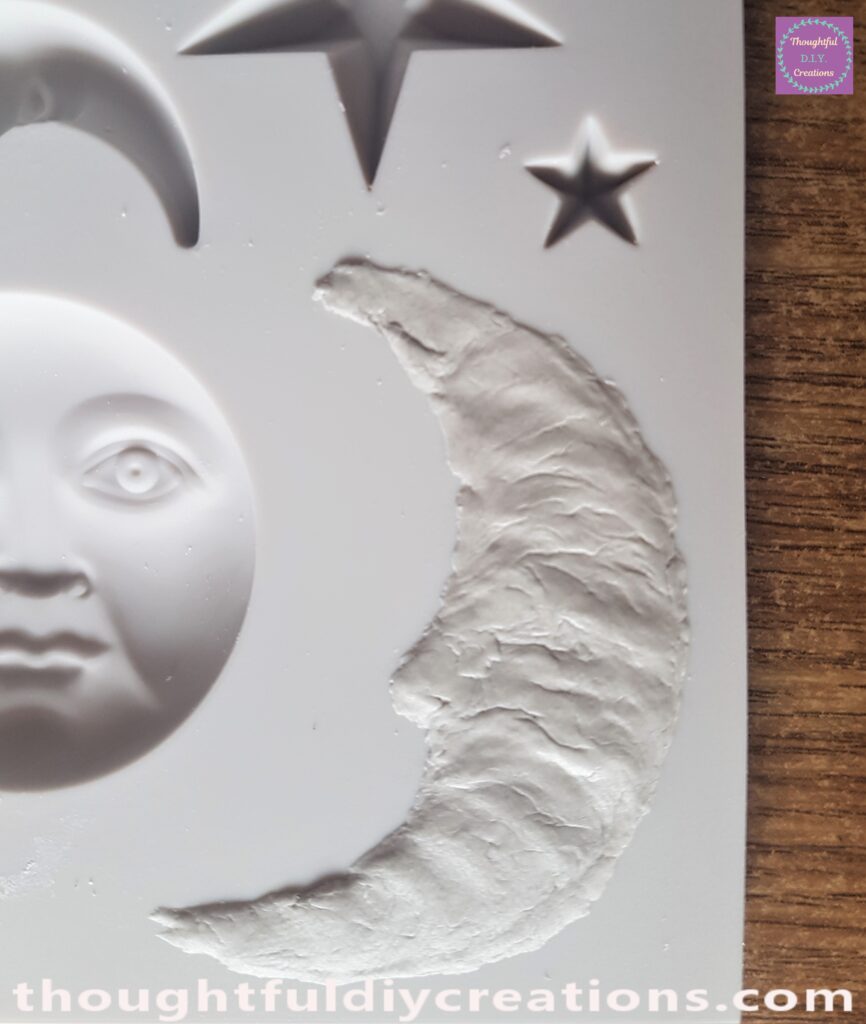
I pressed the Clay into the Moon on the bottom right hand side of the Mould.
I turned the Mould upside down and pressed the back of the Moon Mould from the top to the bottom to carefully remove the Clay Moon.
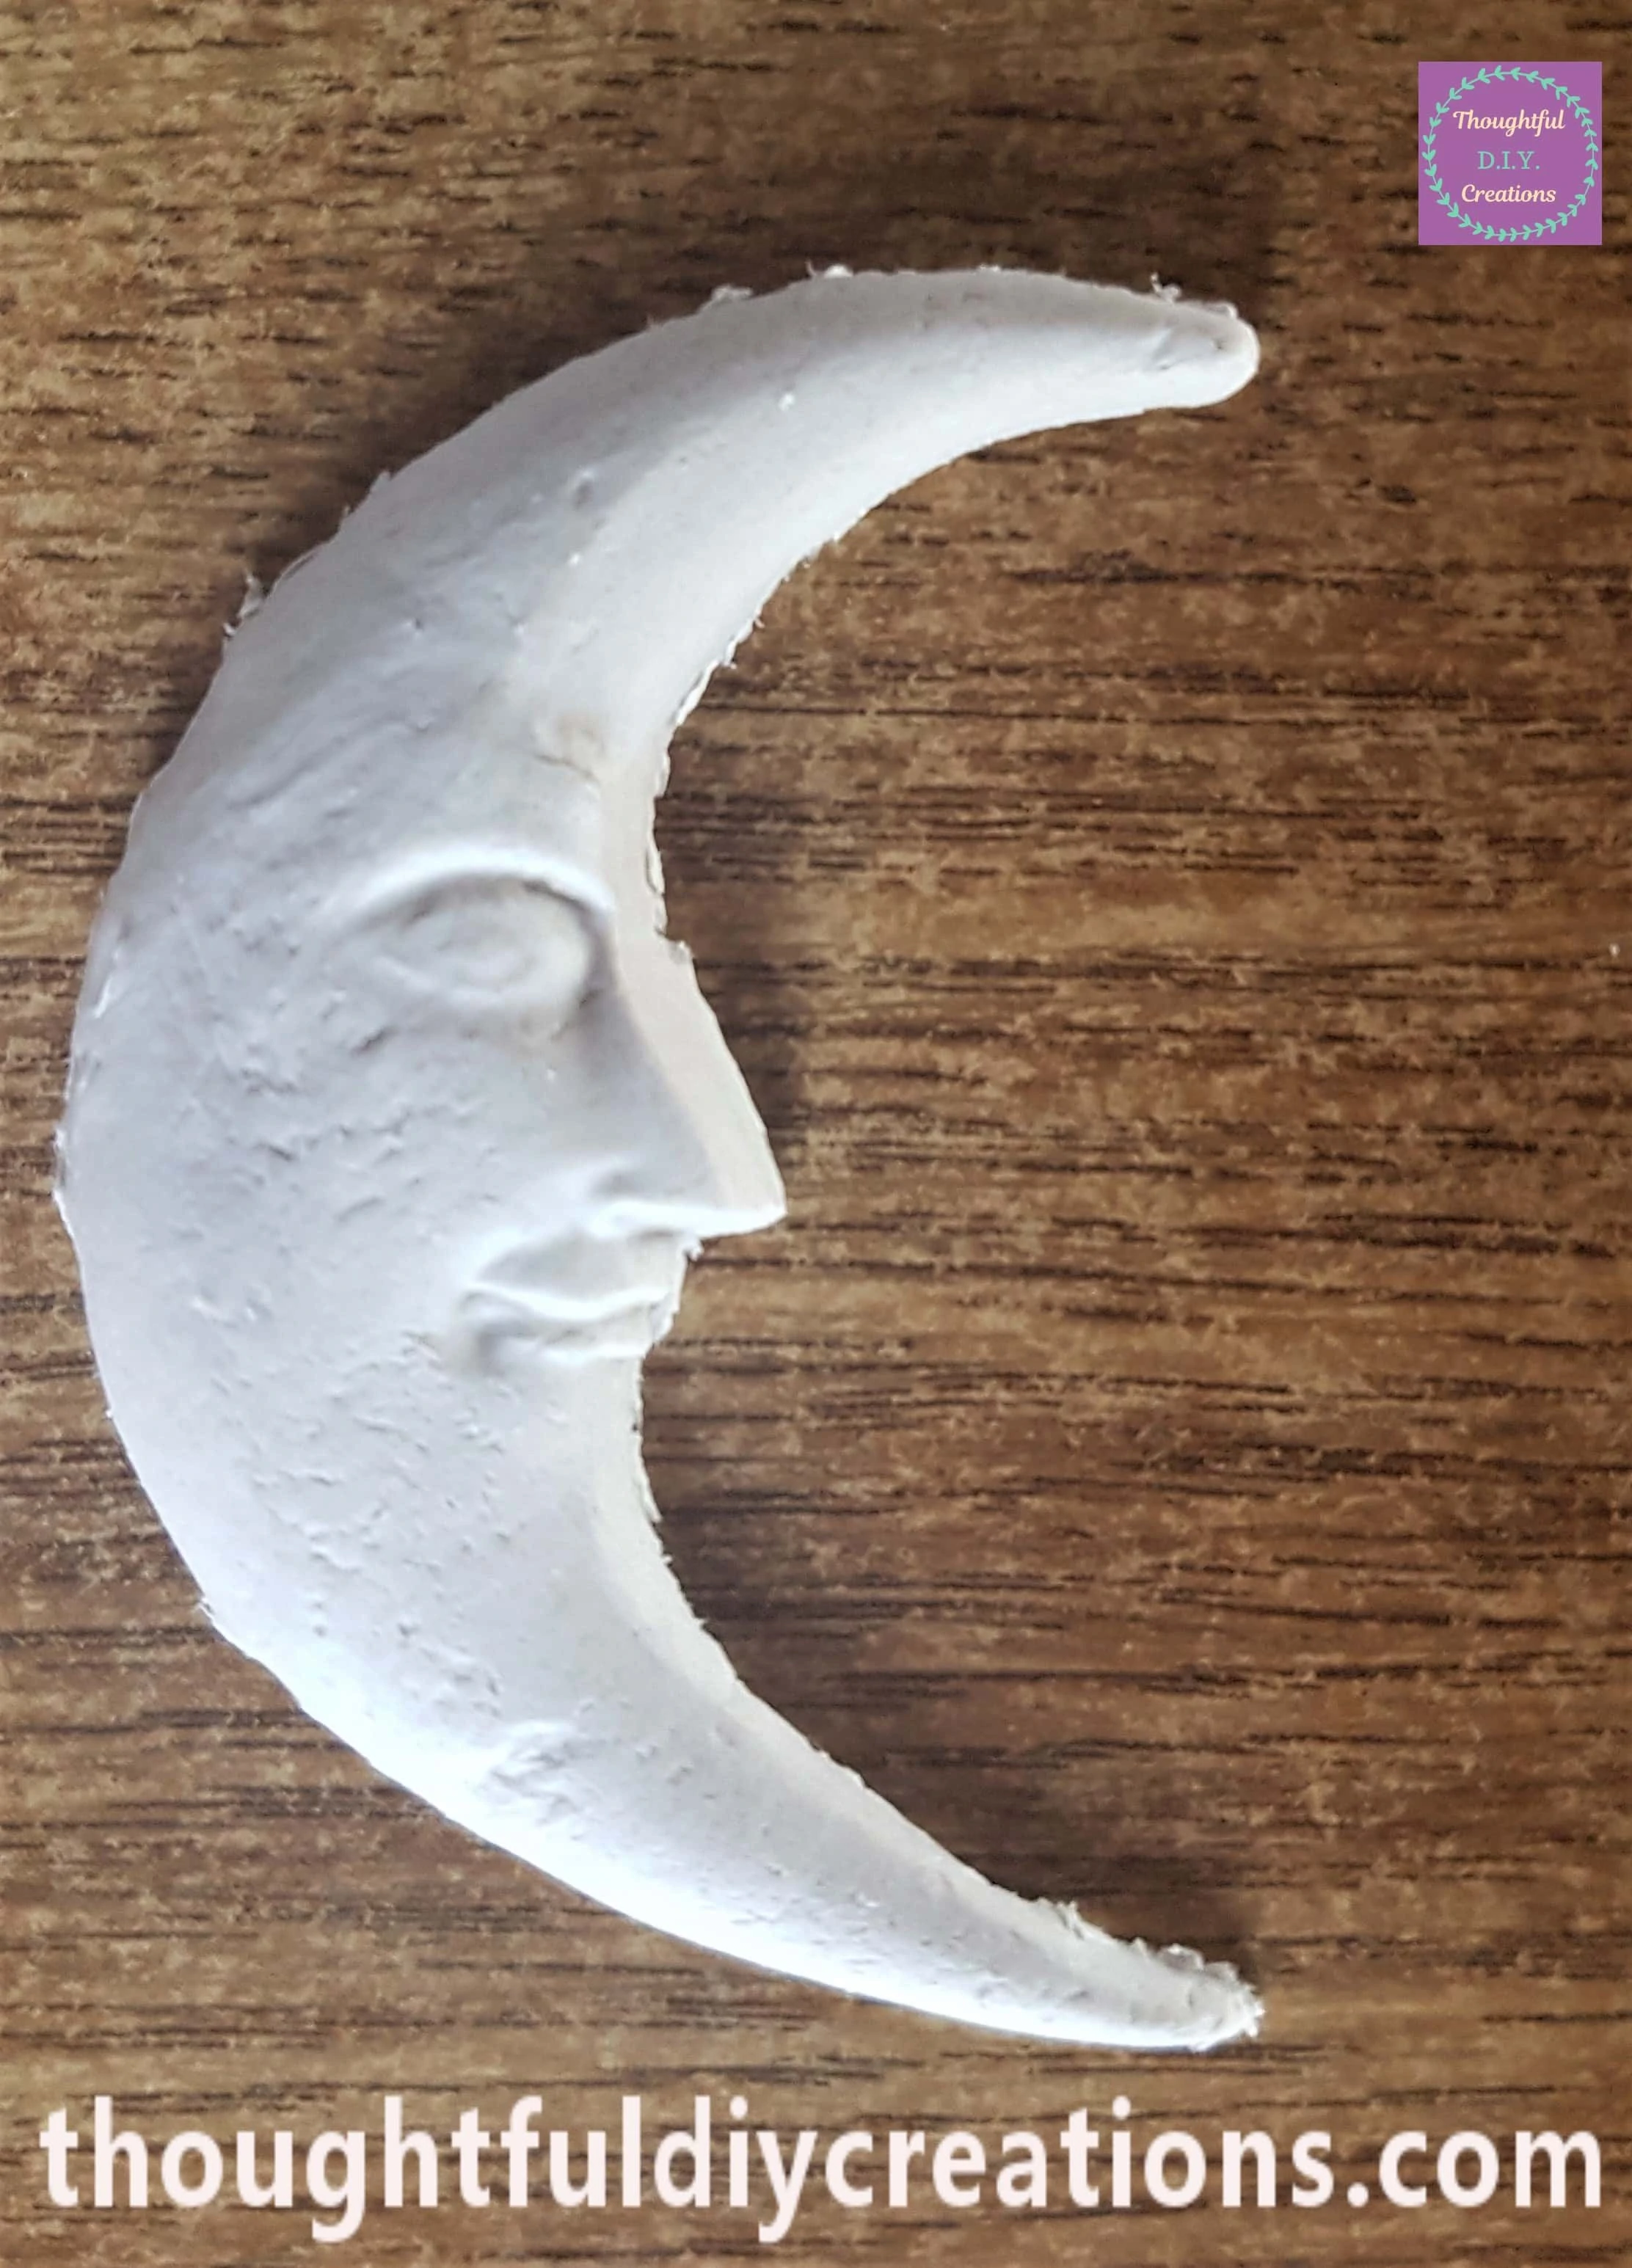
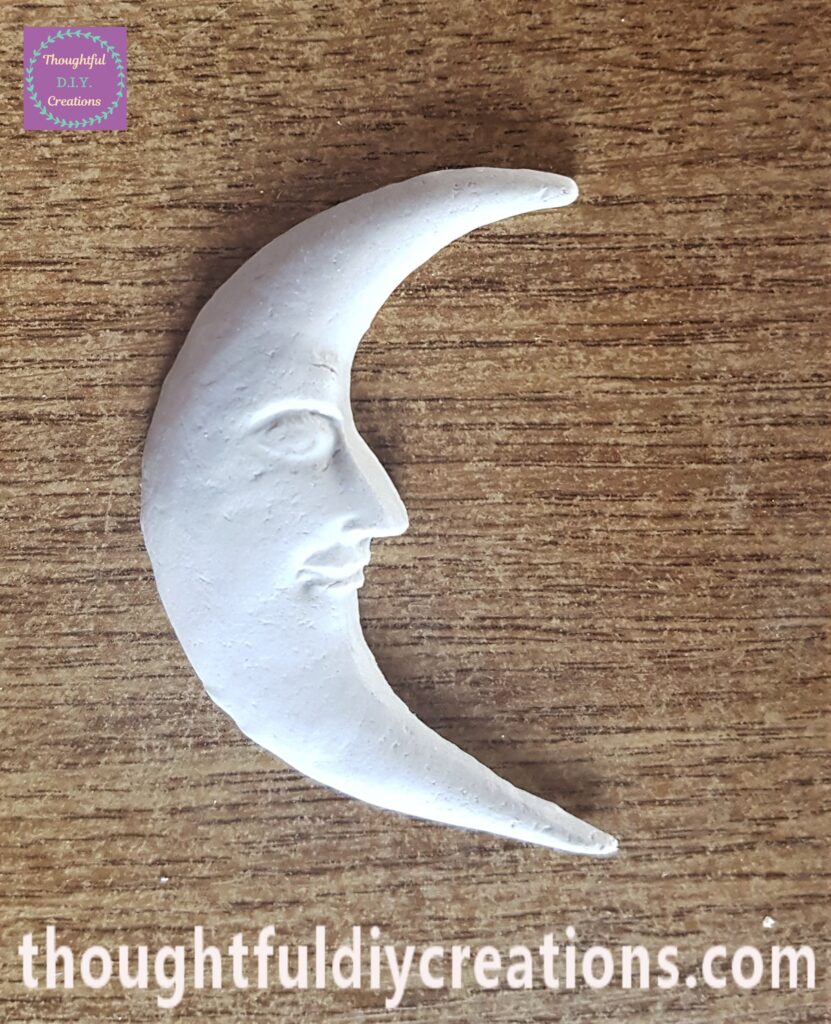
I got a Glass of Water and a small fine tipped Paintbrush. I dipped the Paintbrush into the Water and smoothed out any lines in the Clay Moon resulting in a cleaner appearance.
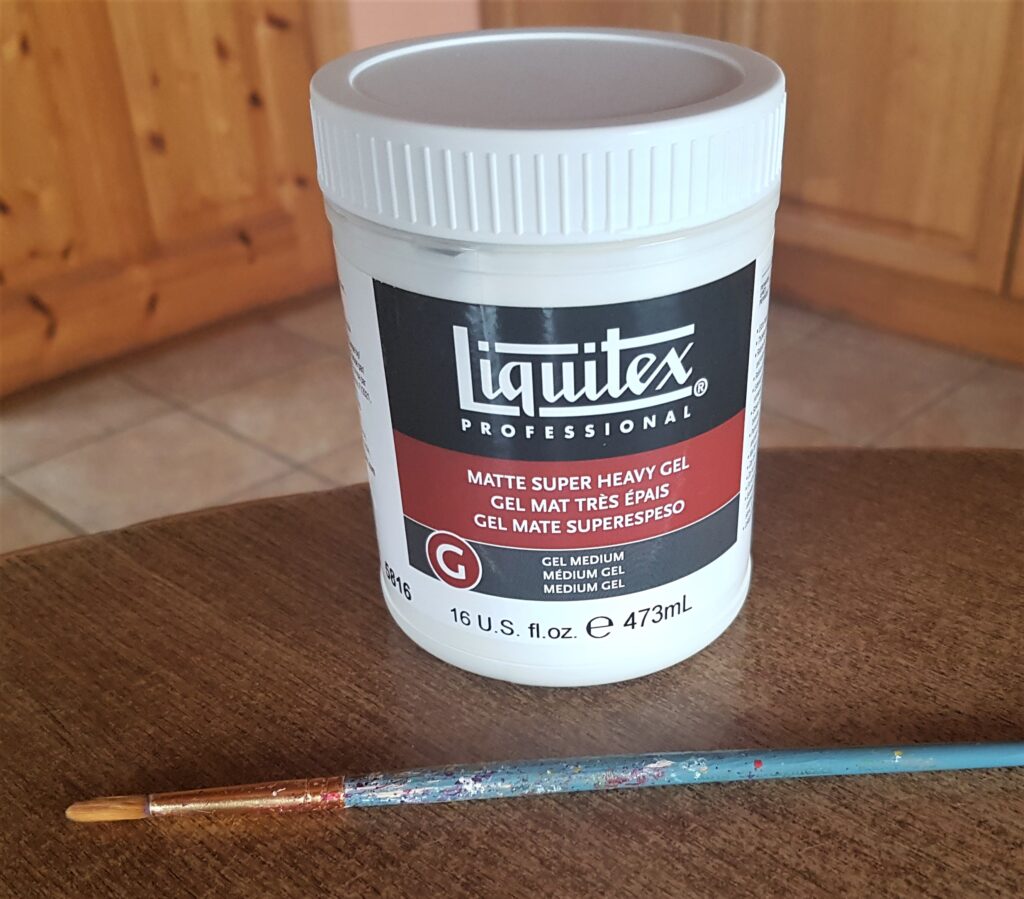
I got my ‘Matte Super Heavy Gel’ (Glue) and a Paintbrush.
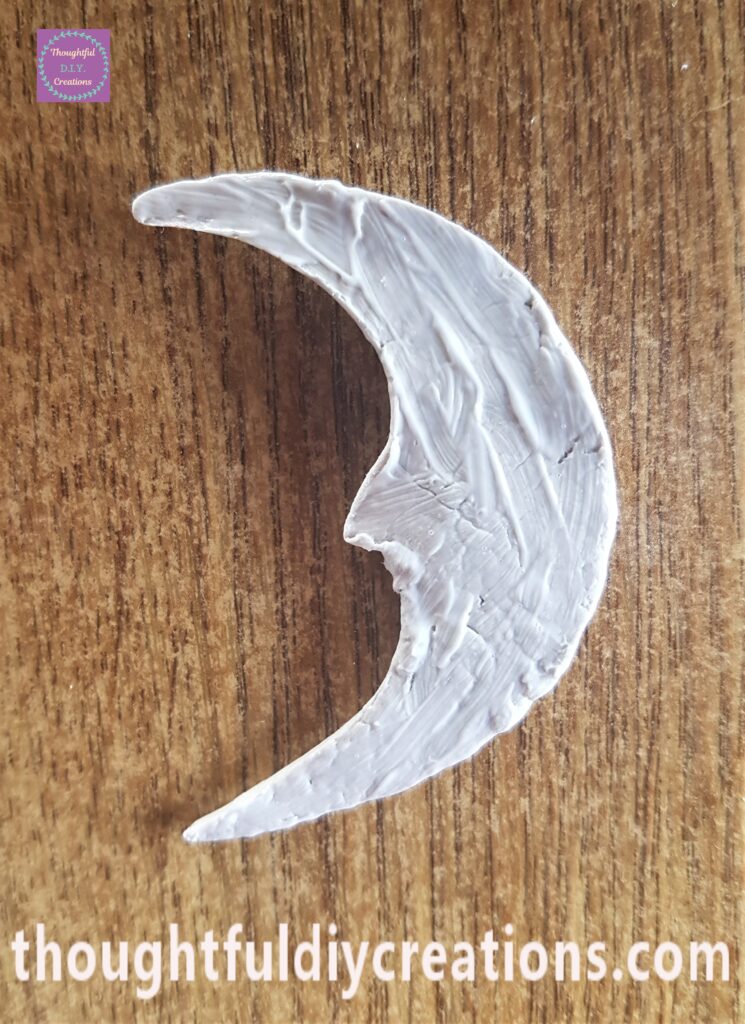
I put a nice amount of the Glue all over the Back of the Moon.
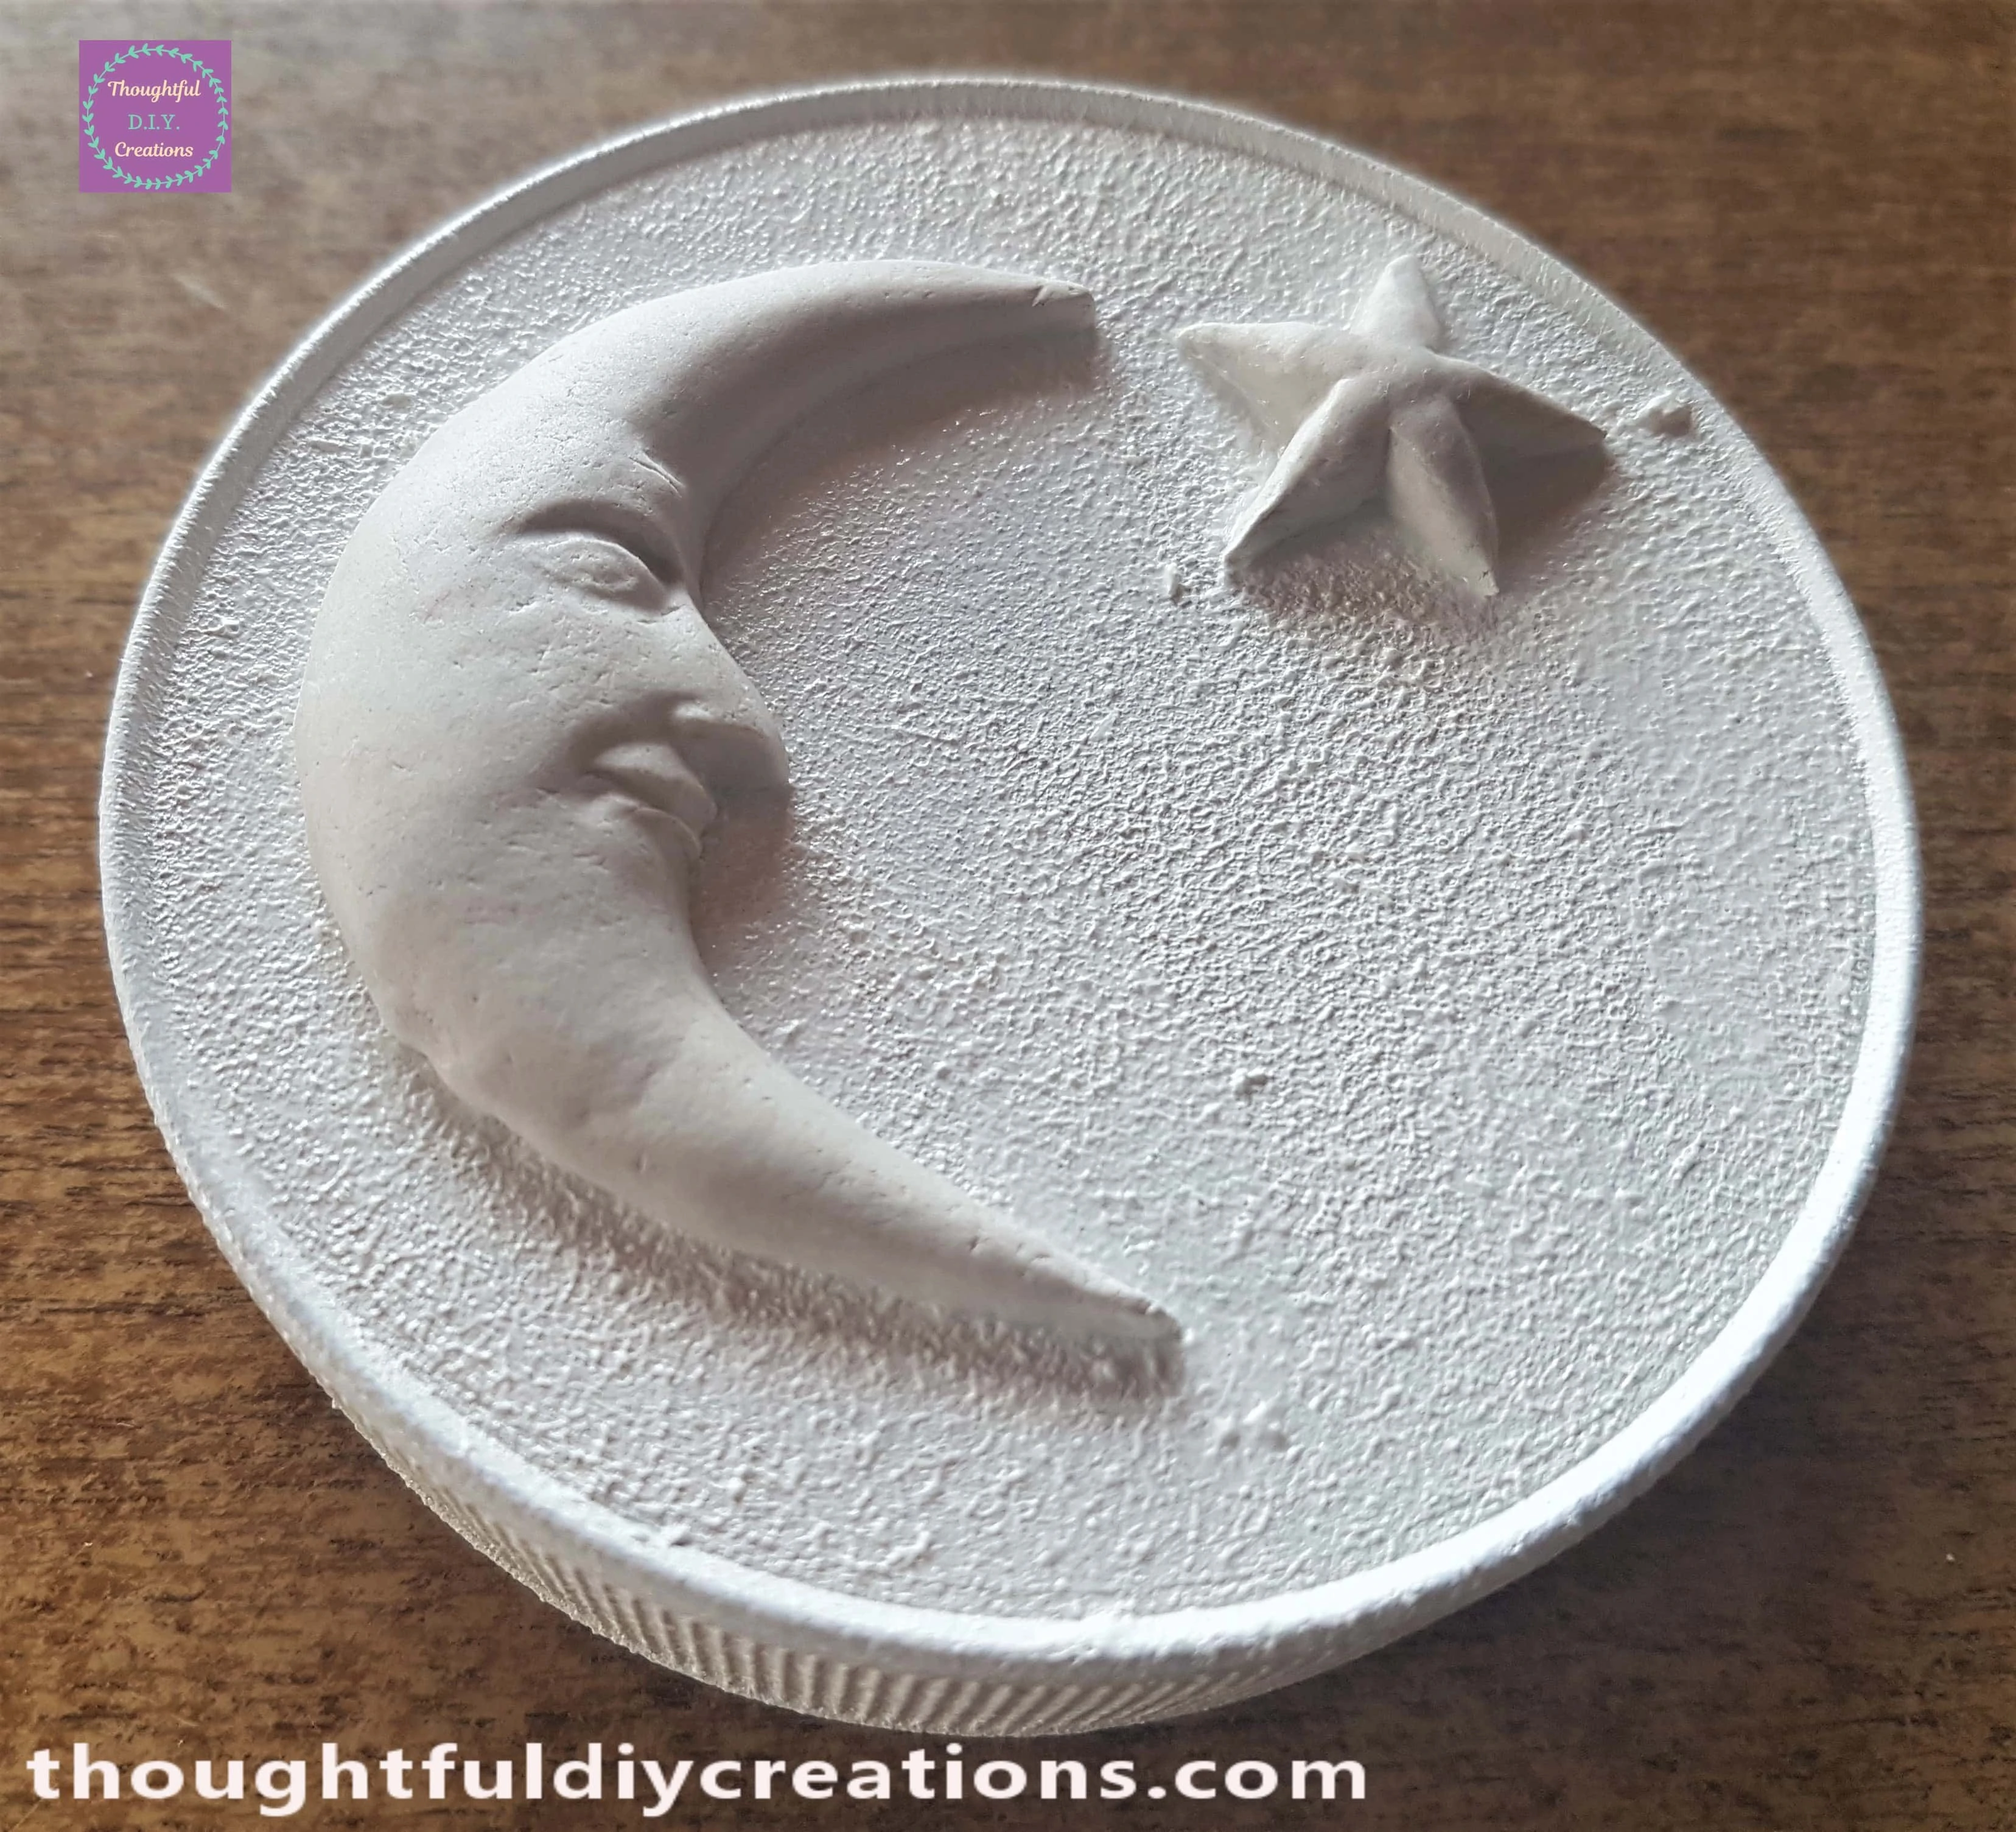
I attached the Clay Moon to the Lid of the Jar.
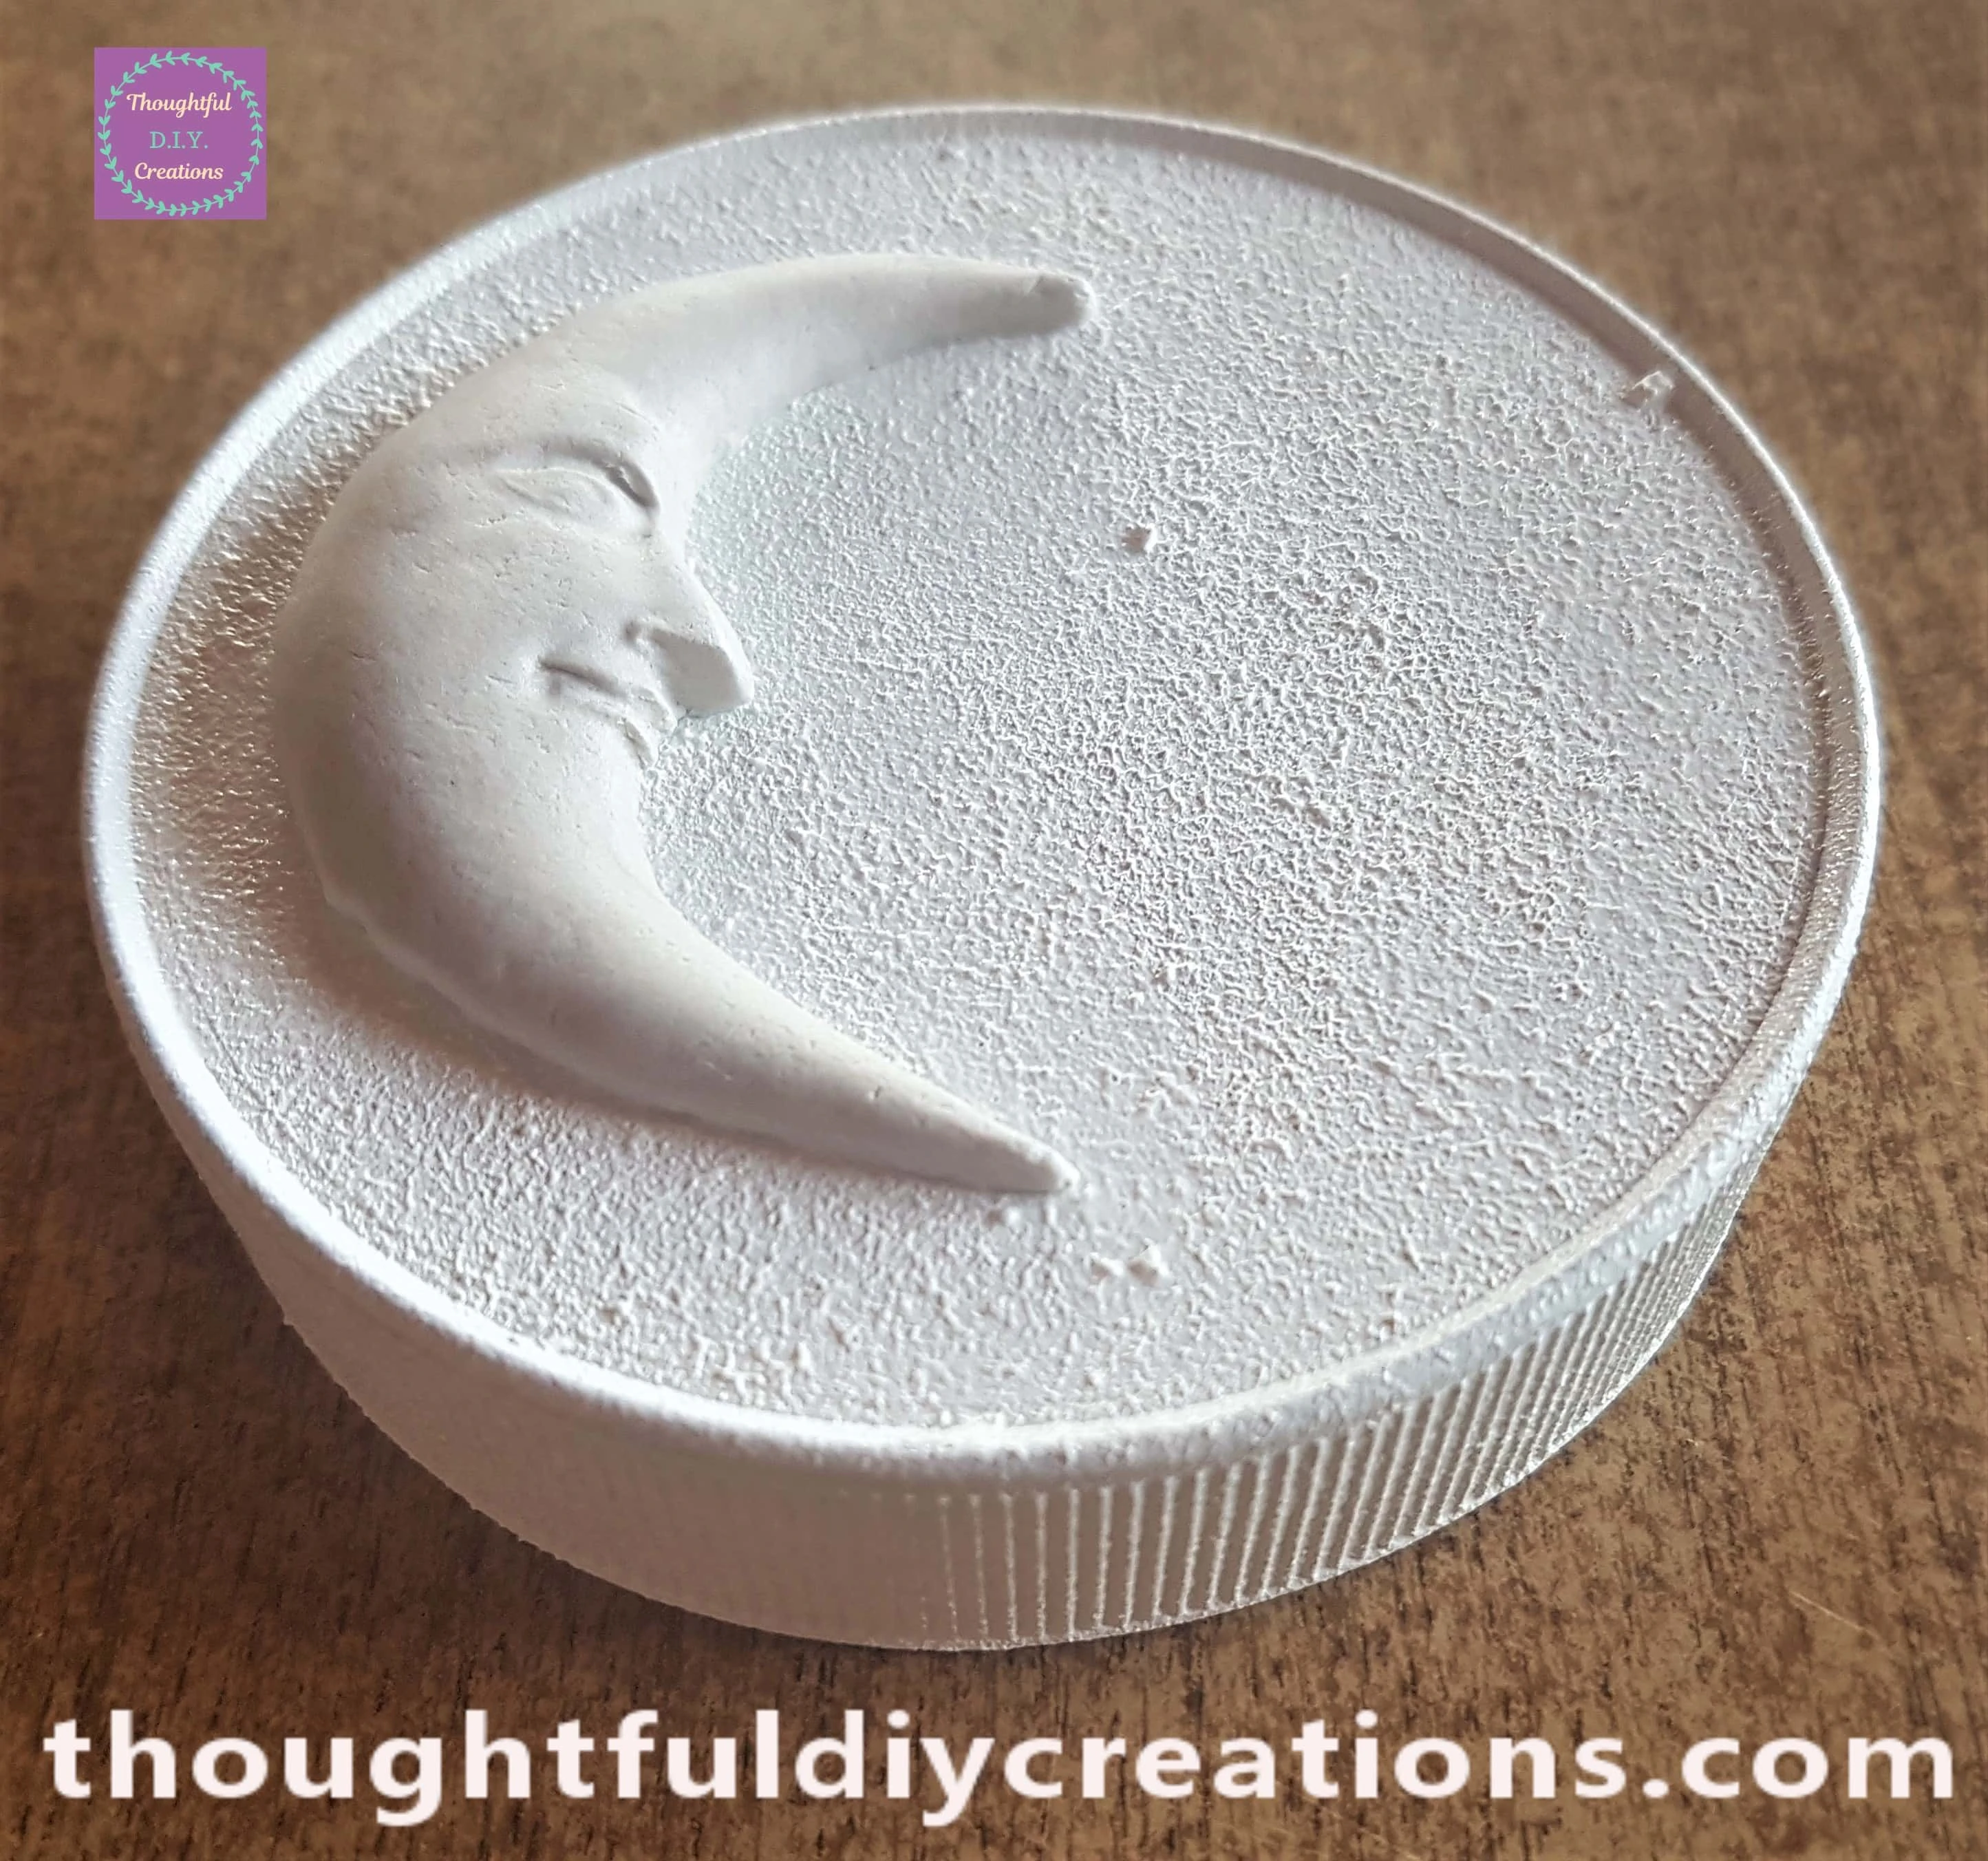
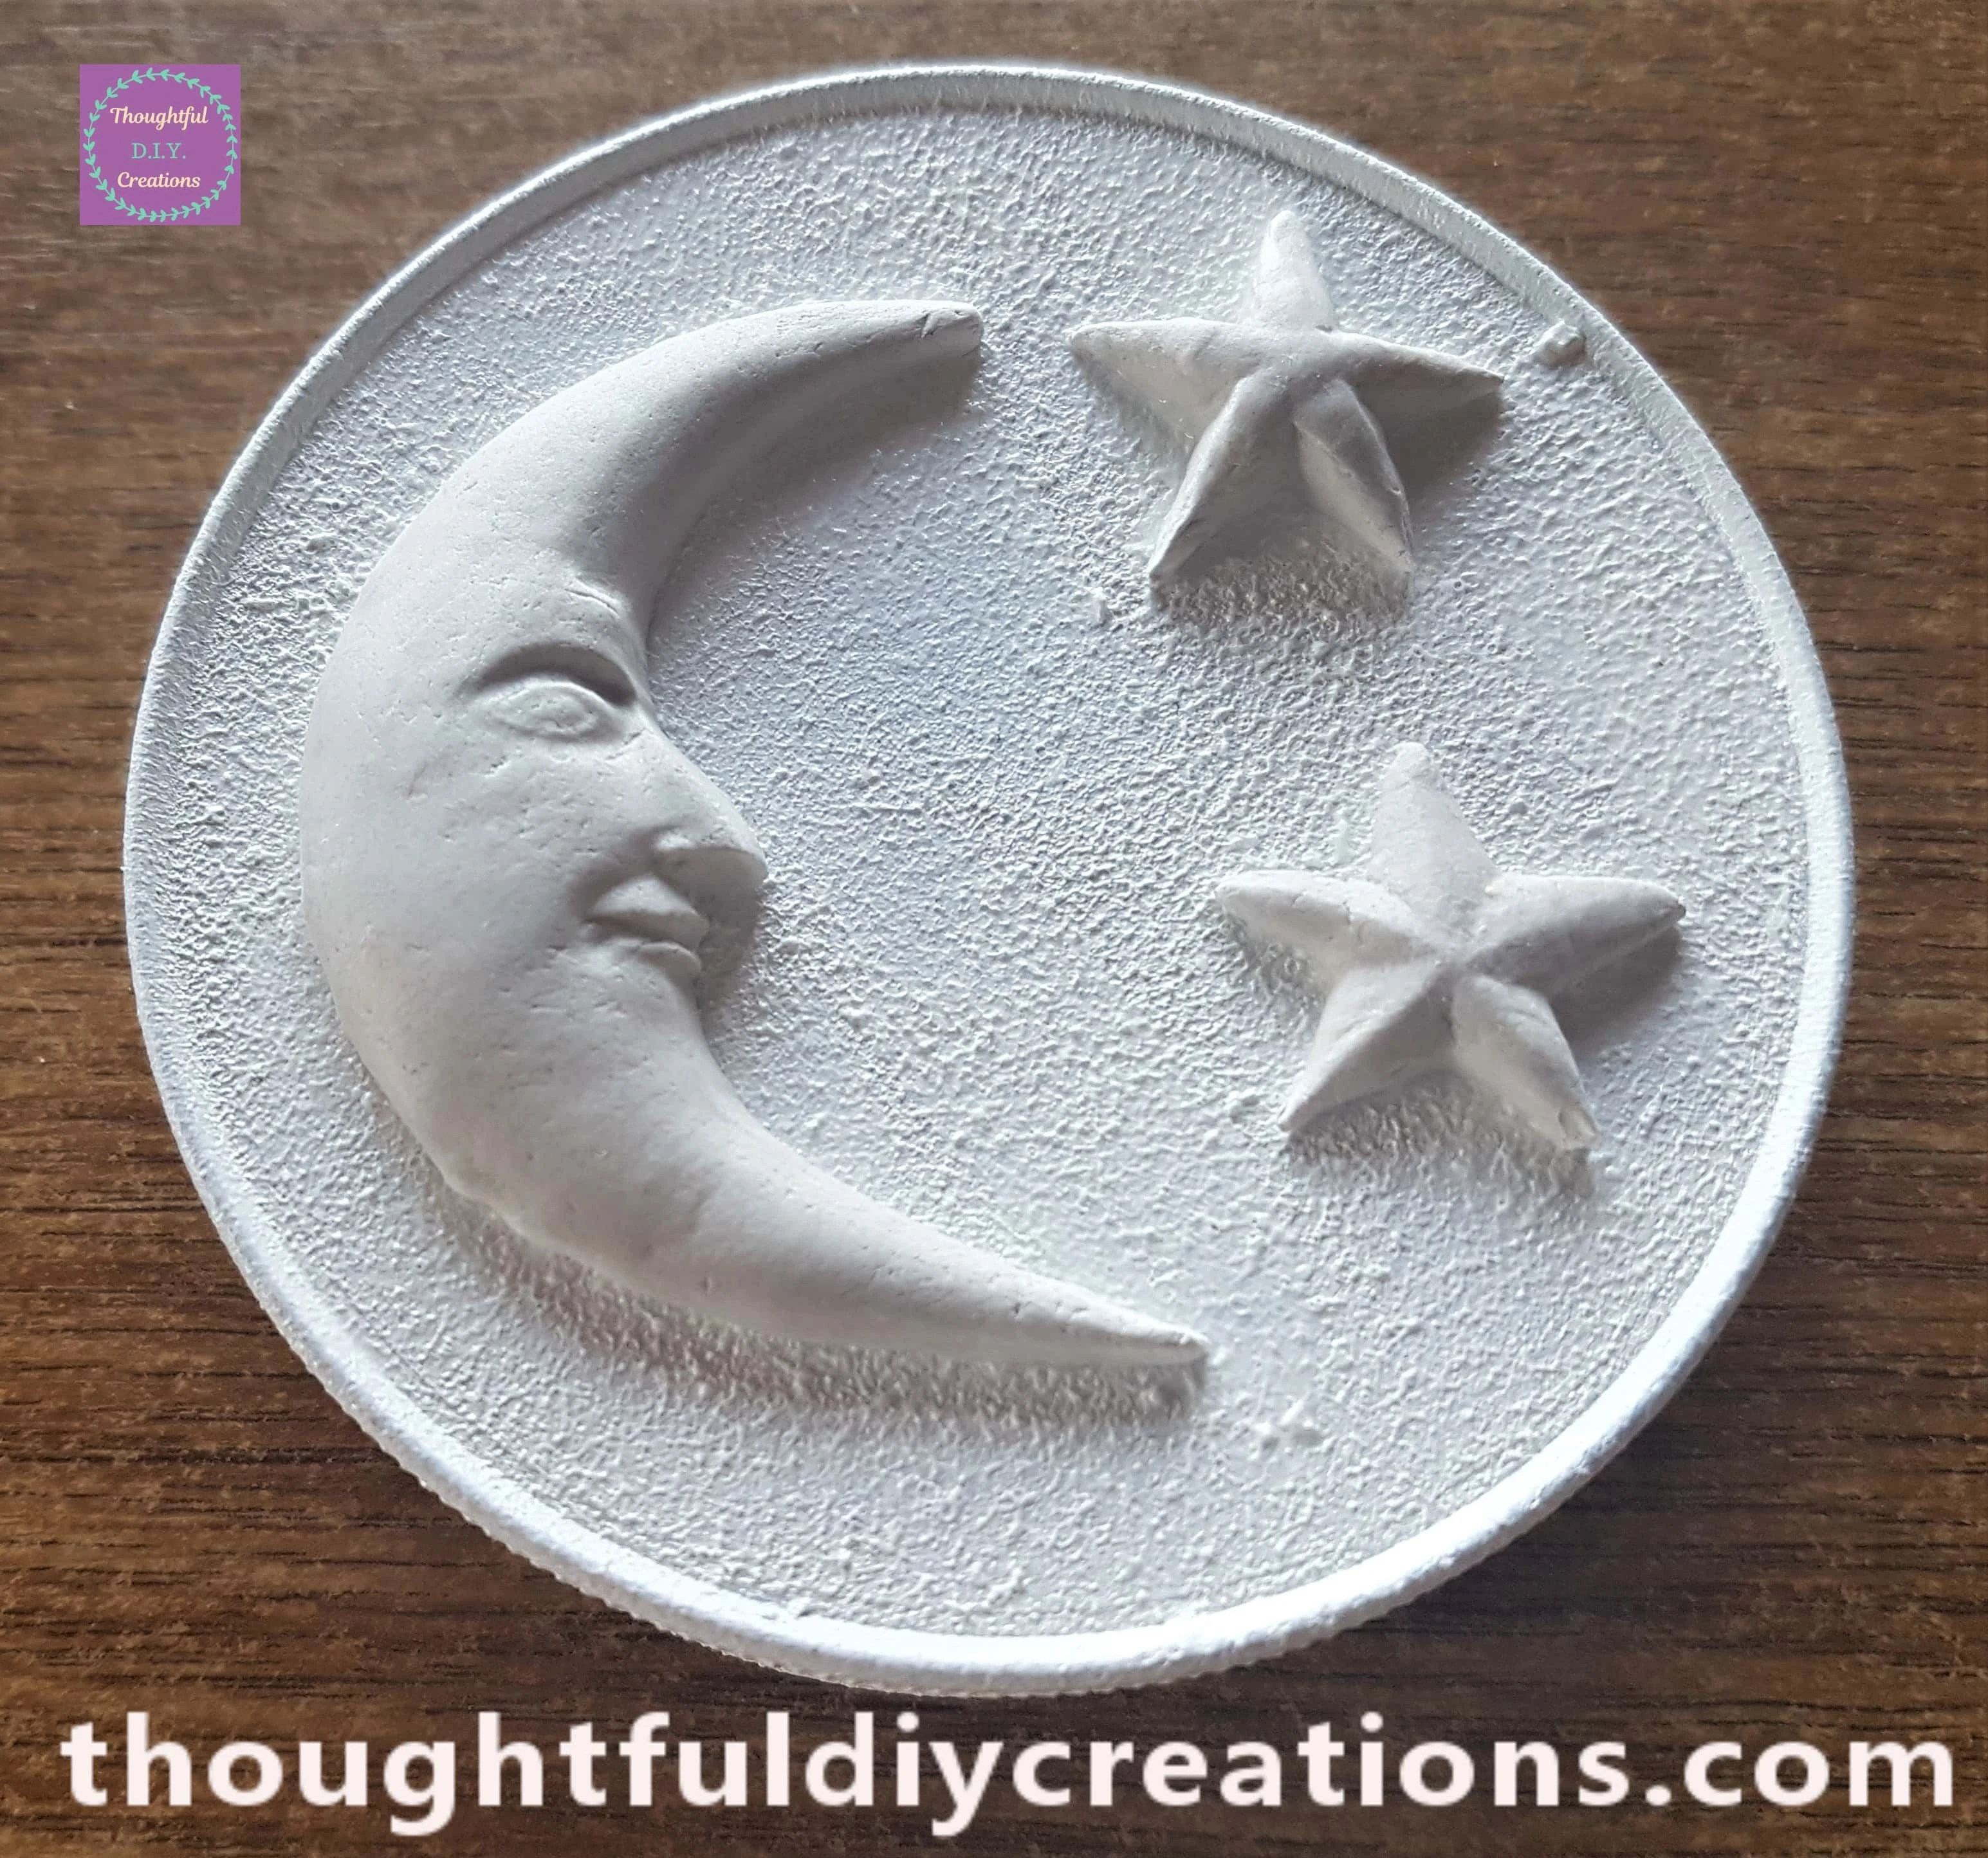
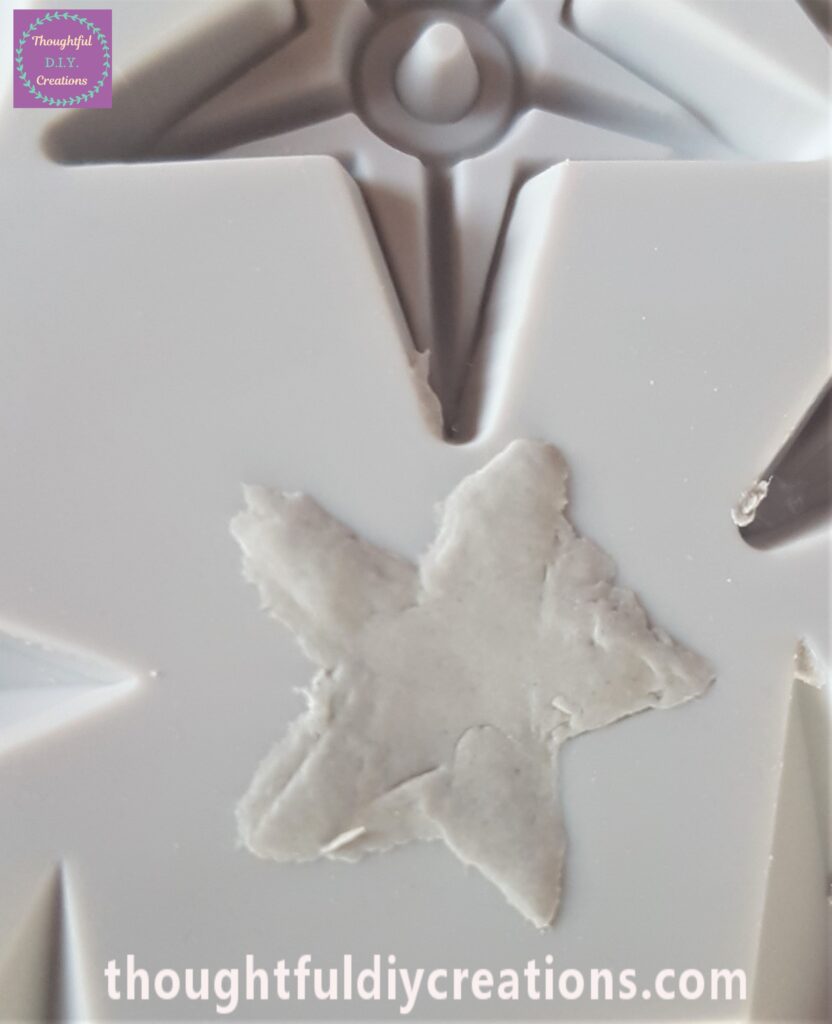
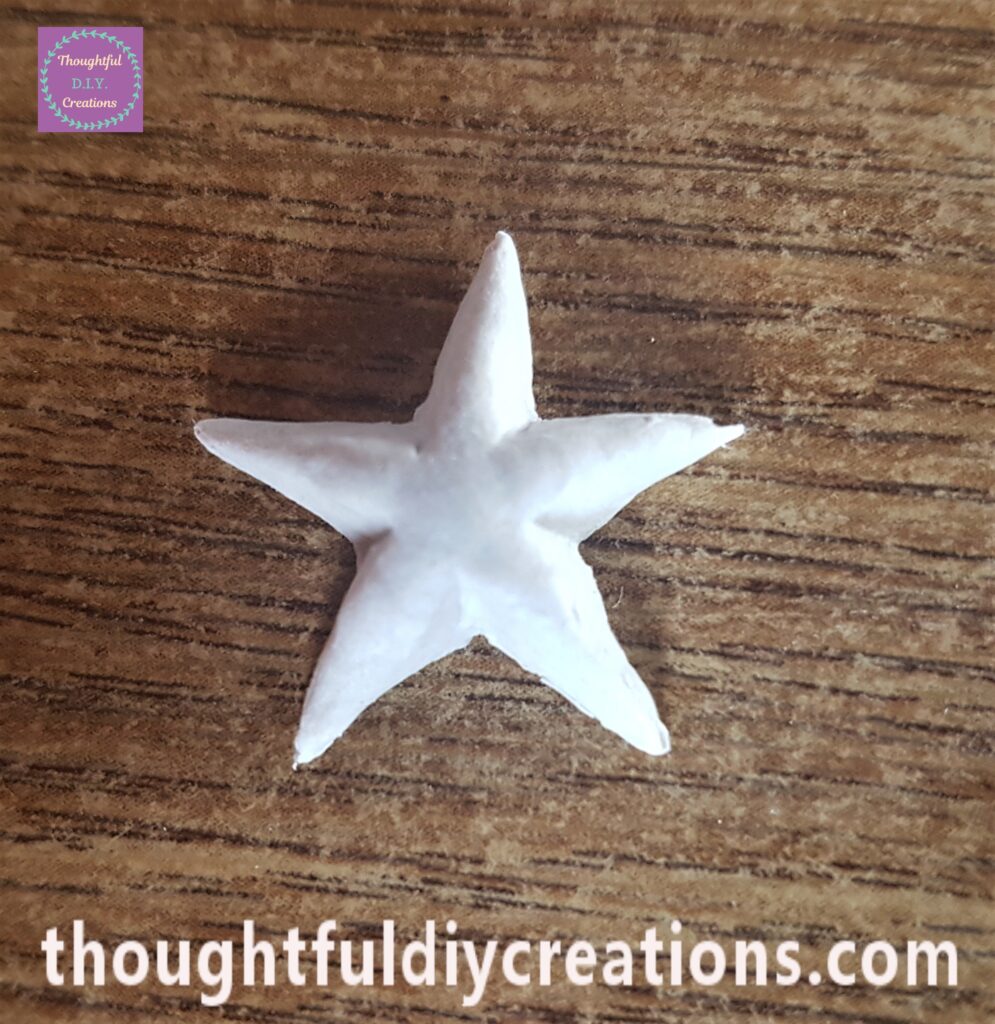
I got a small amount of Clay and smoothed it out. I pressed it into a Star Shape on the Mould. I removed the Clay Star, cleaned it with water and attached it to the Lid with the Glue.
Tip: You can sprinkle a small amount of Cornflour into the Moulds before you add the Clay; this makes it easier to remove the Clay Mould and to keep it’s shape.
I added another Clay Star to the Lid under the first Star.
Making Moon and Stars Moulds for the Jar
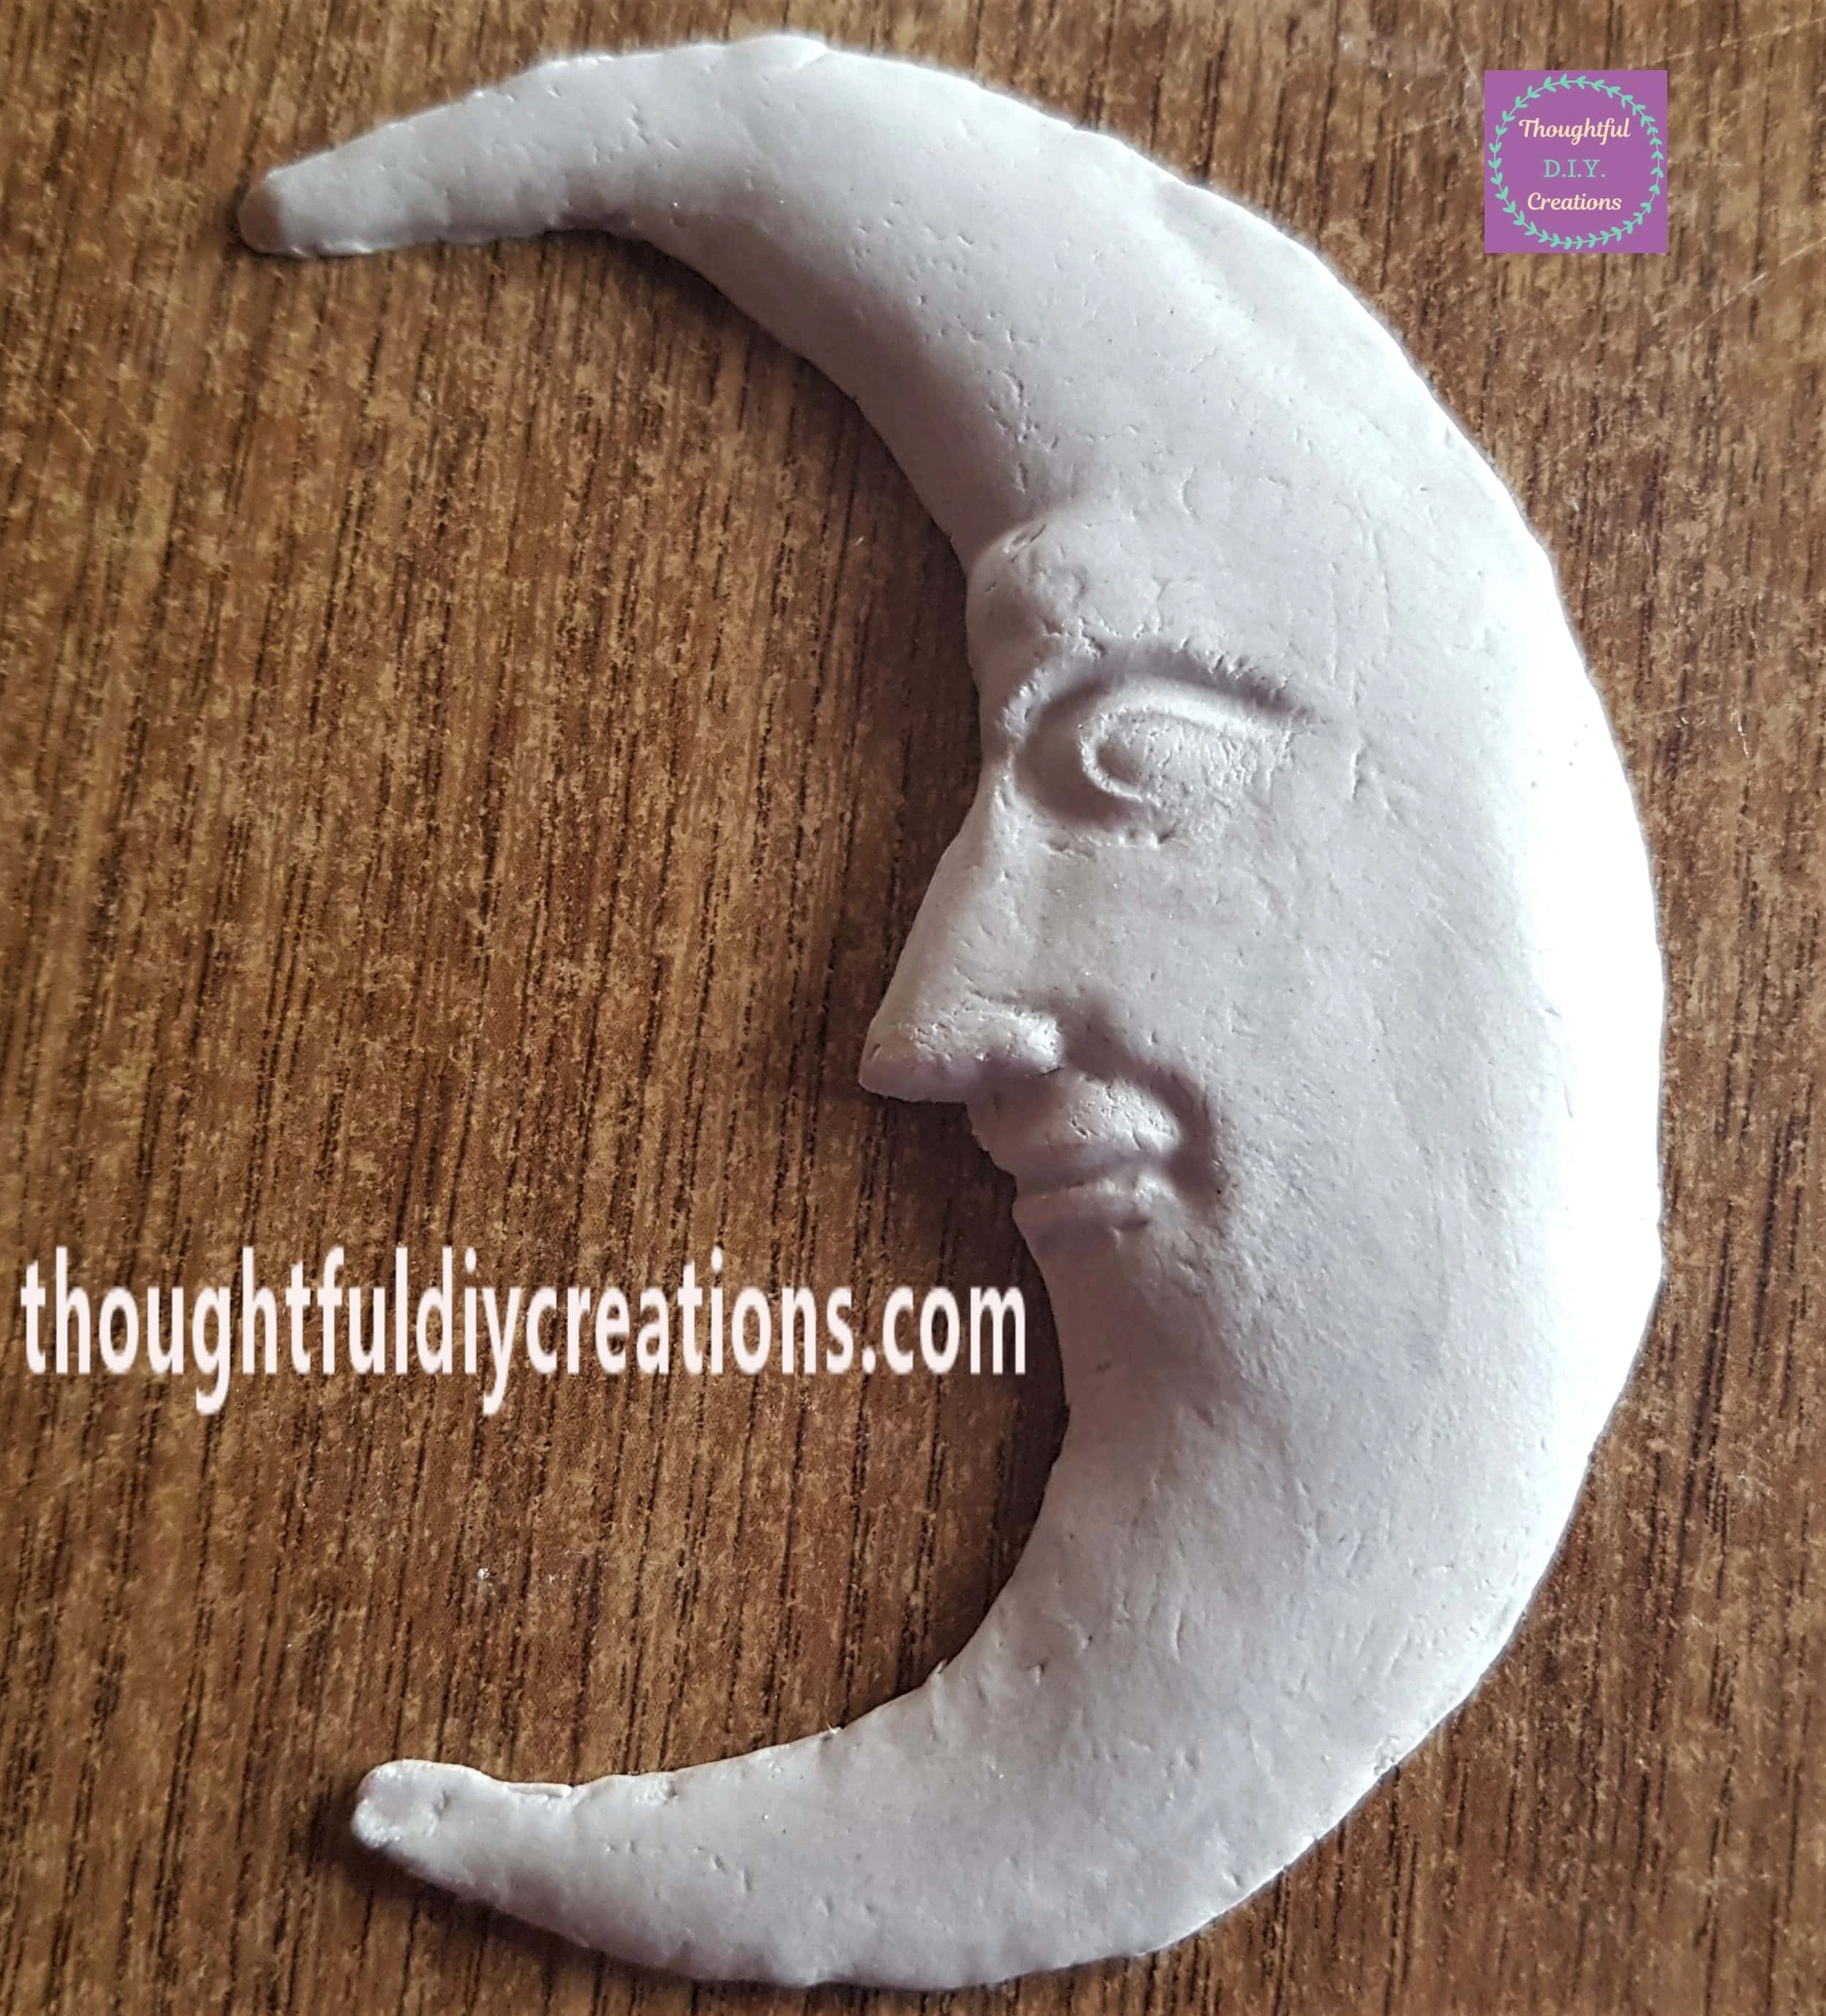
I Cut a bigger section of Clay and smoothed it out. I pressed it into the Biggest Moon Shape on the Mould.
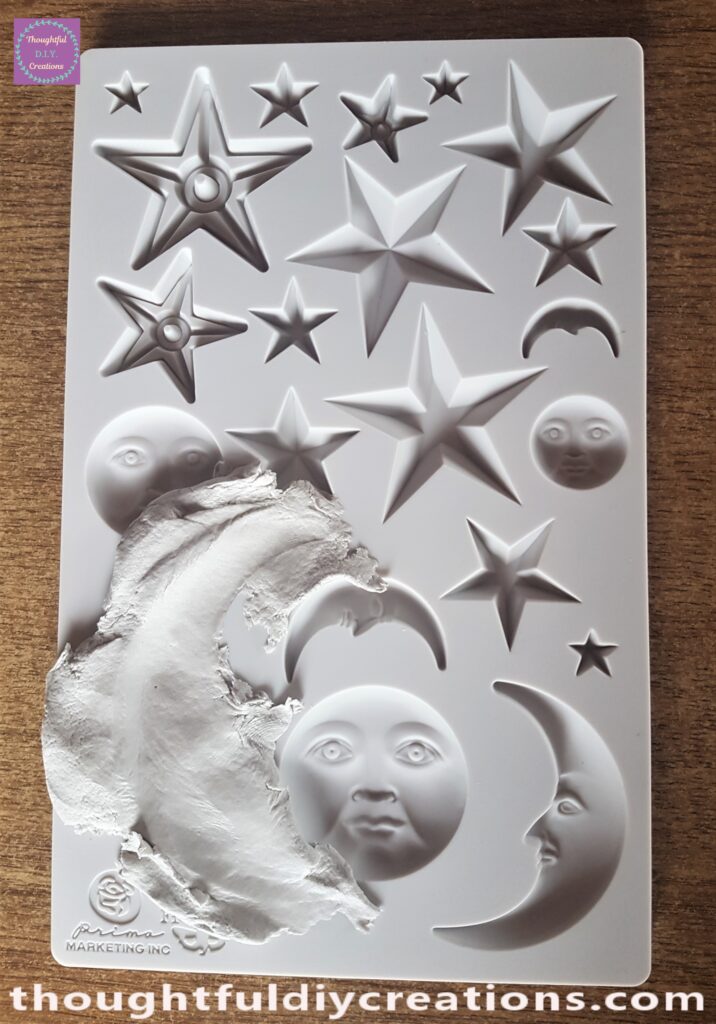
I removed the excess Clay around the Moon with a ‘Steel Kidney Scraper’. You can use a knife or flat object if you don’t have the kidney scraper.
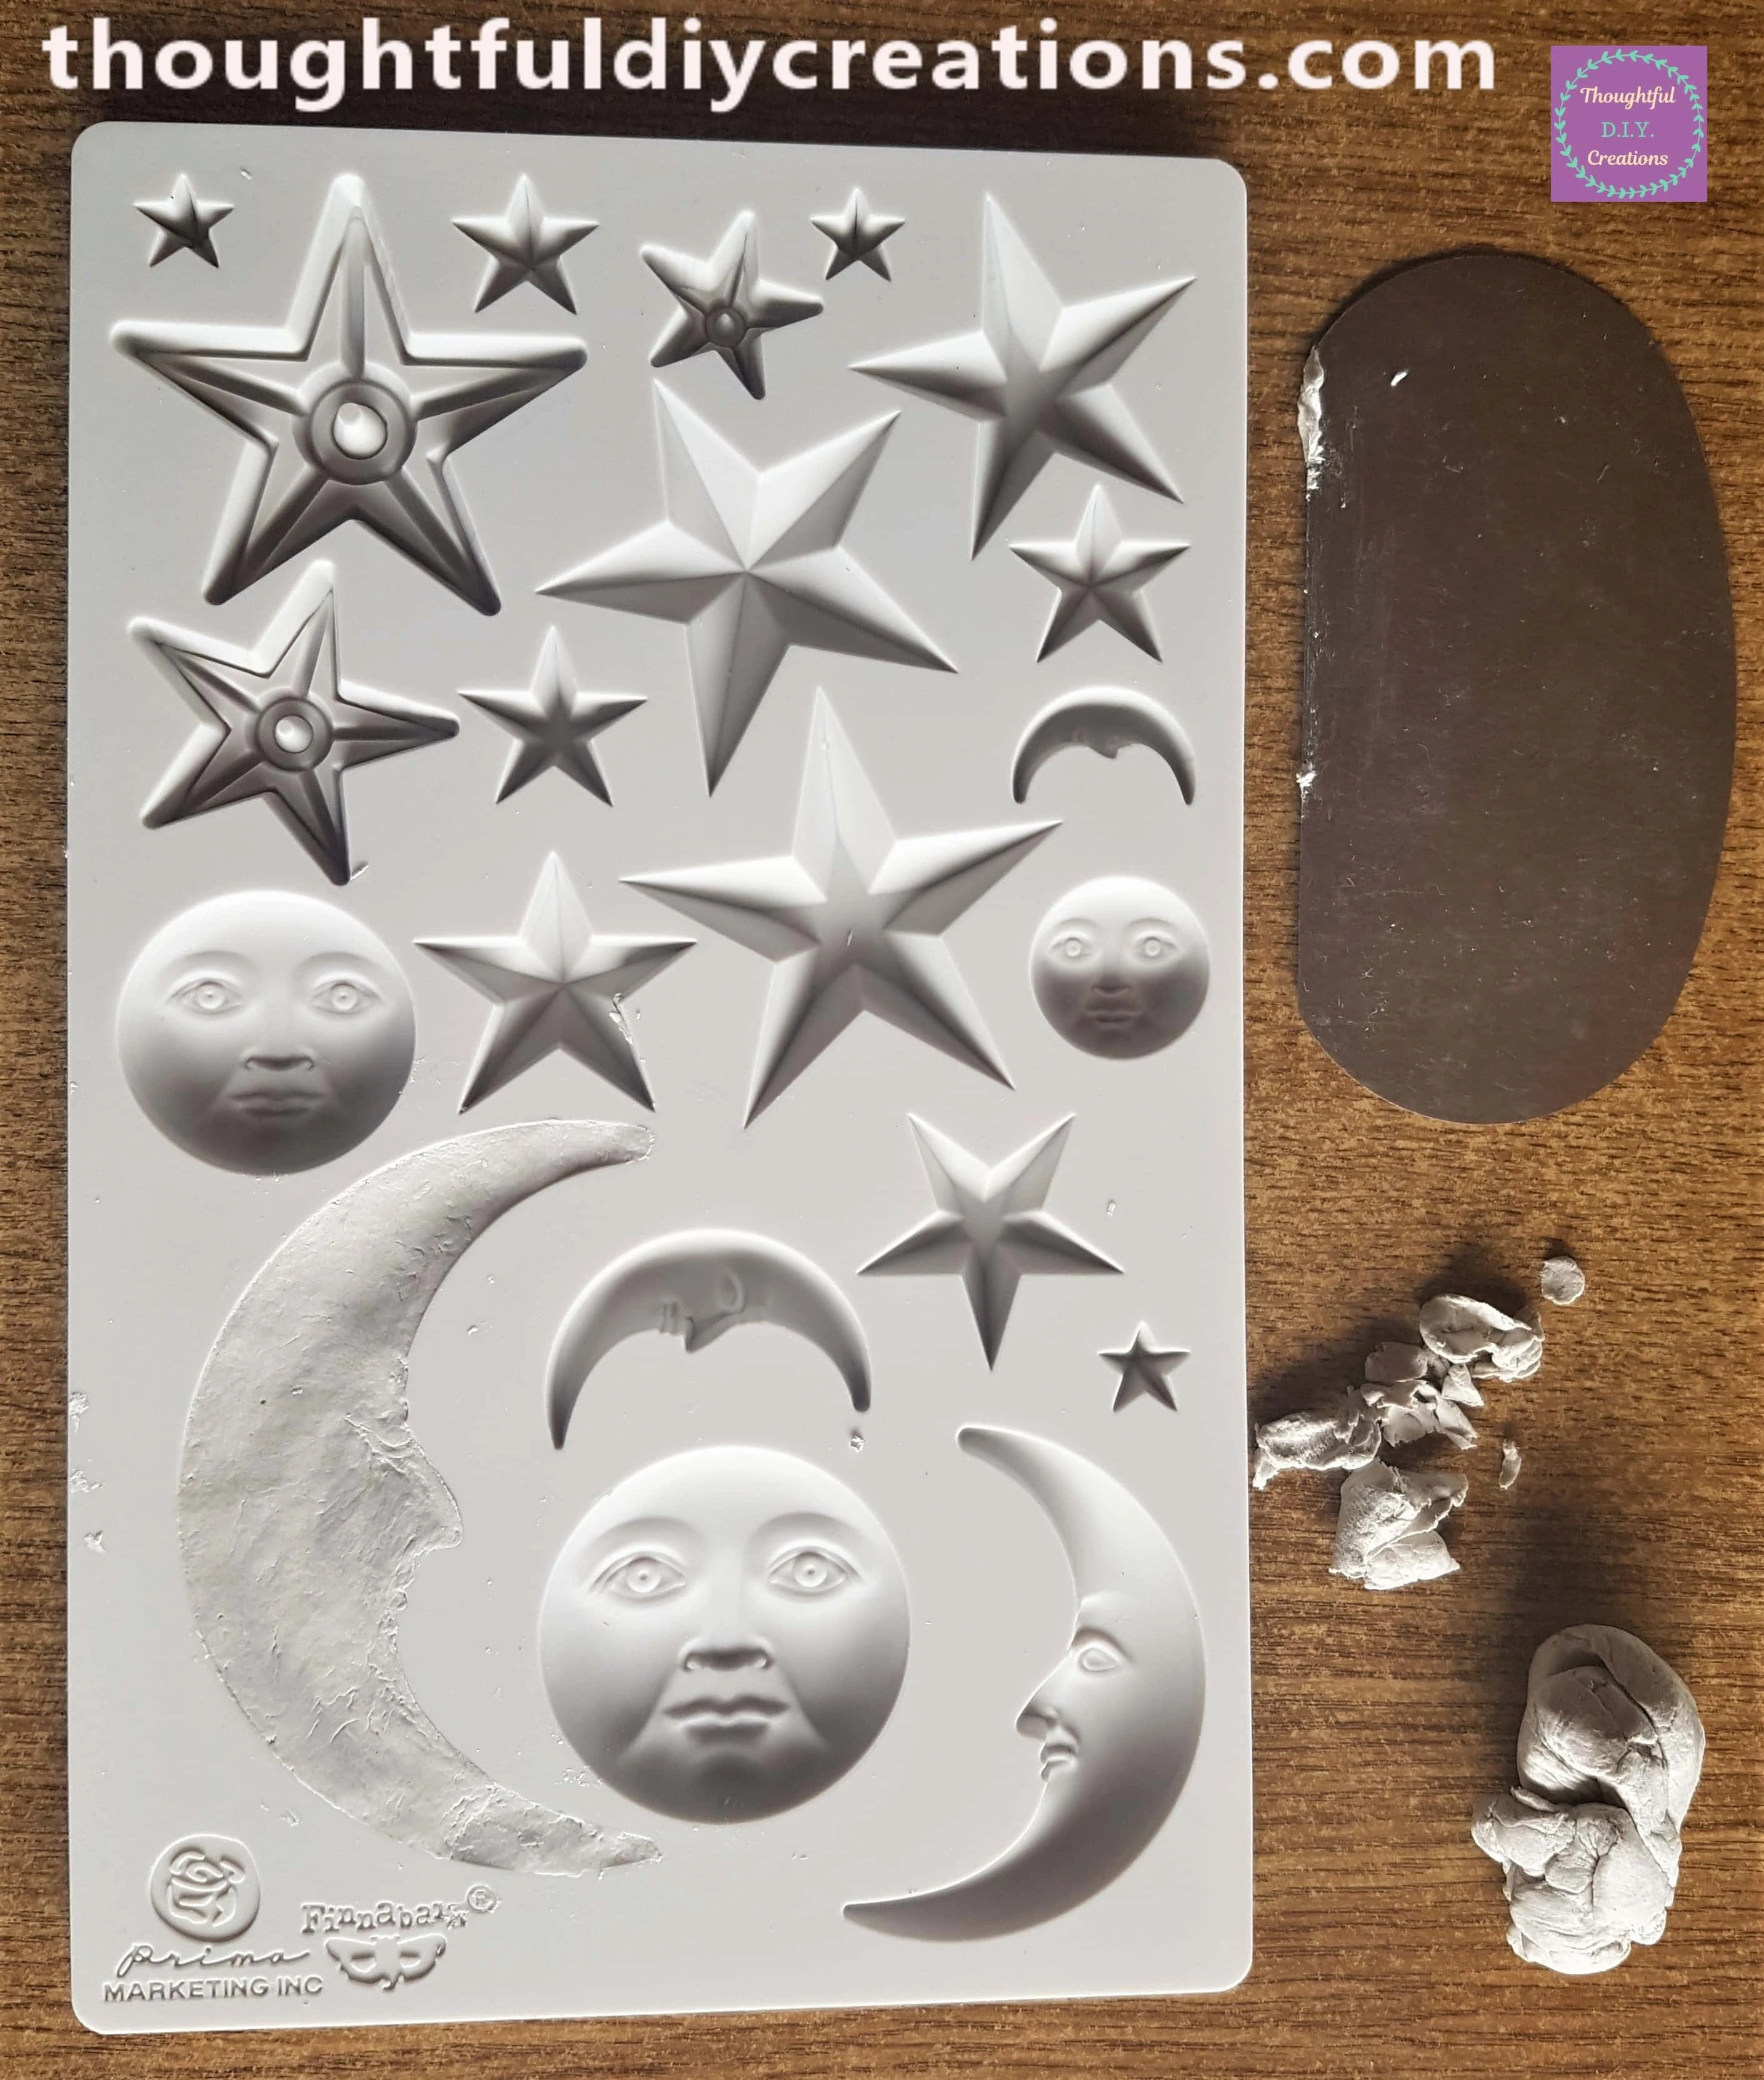
I turned the Mould over and pressed the Back of the Moon to remove the Clay Moon. I tidied it up with a small amount of Water and a Paintbrush. I added the ‘Matte Super Heavy Gel’ to the back of the Clay Moon.
I put the Jar laying down on the table and put props each side of it to prevent it from moving. I then attached the Clay Moon to the front of the Jar.
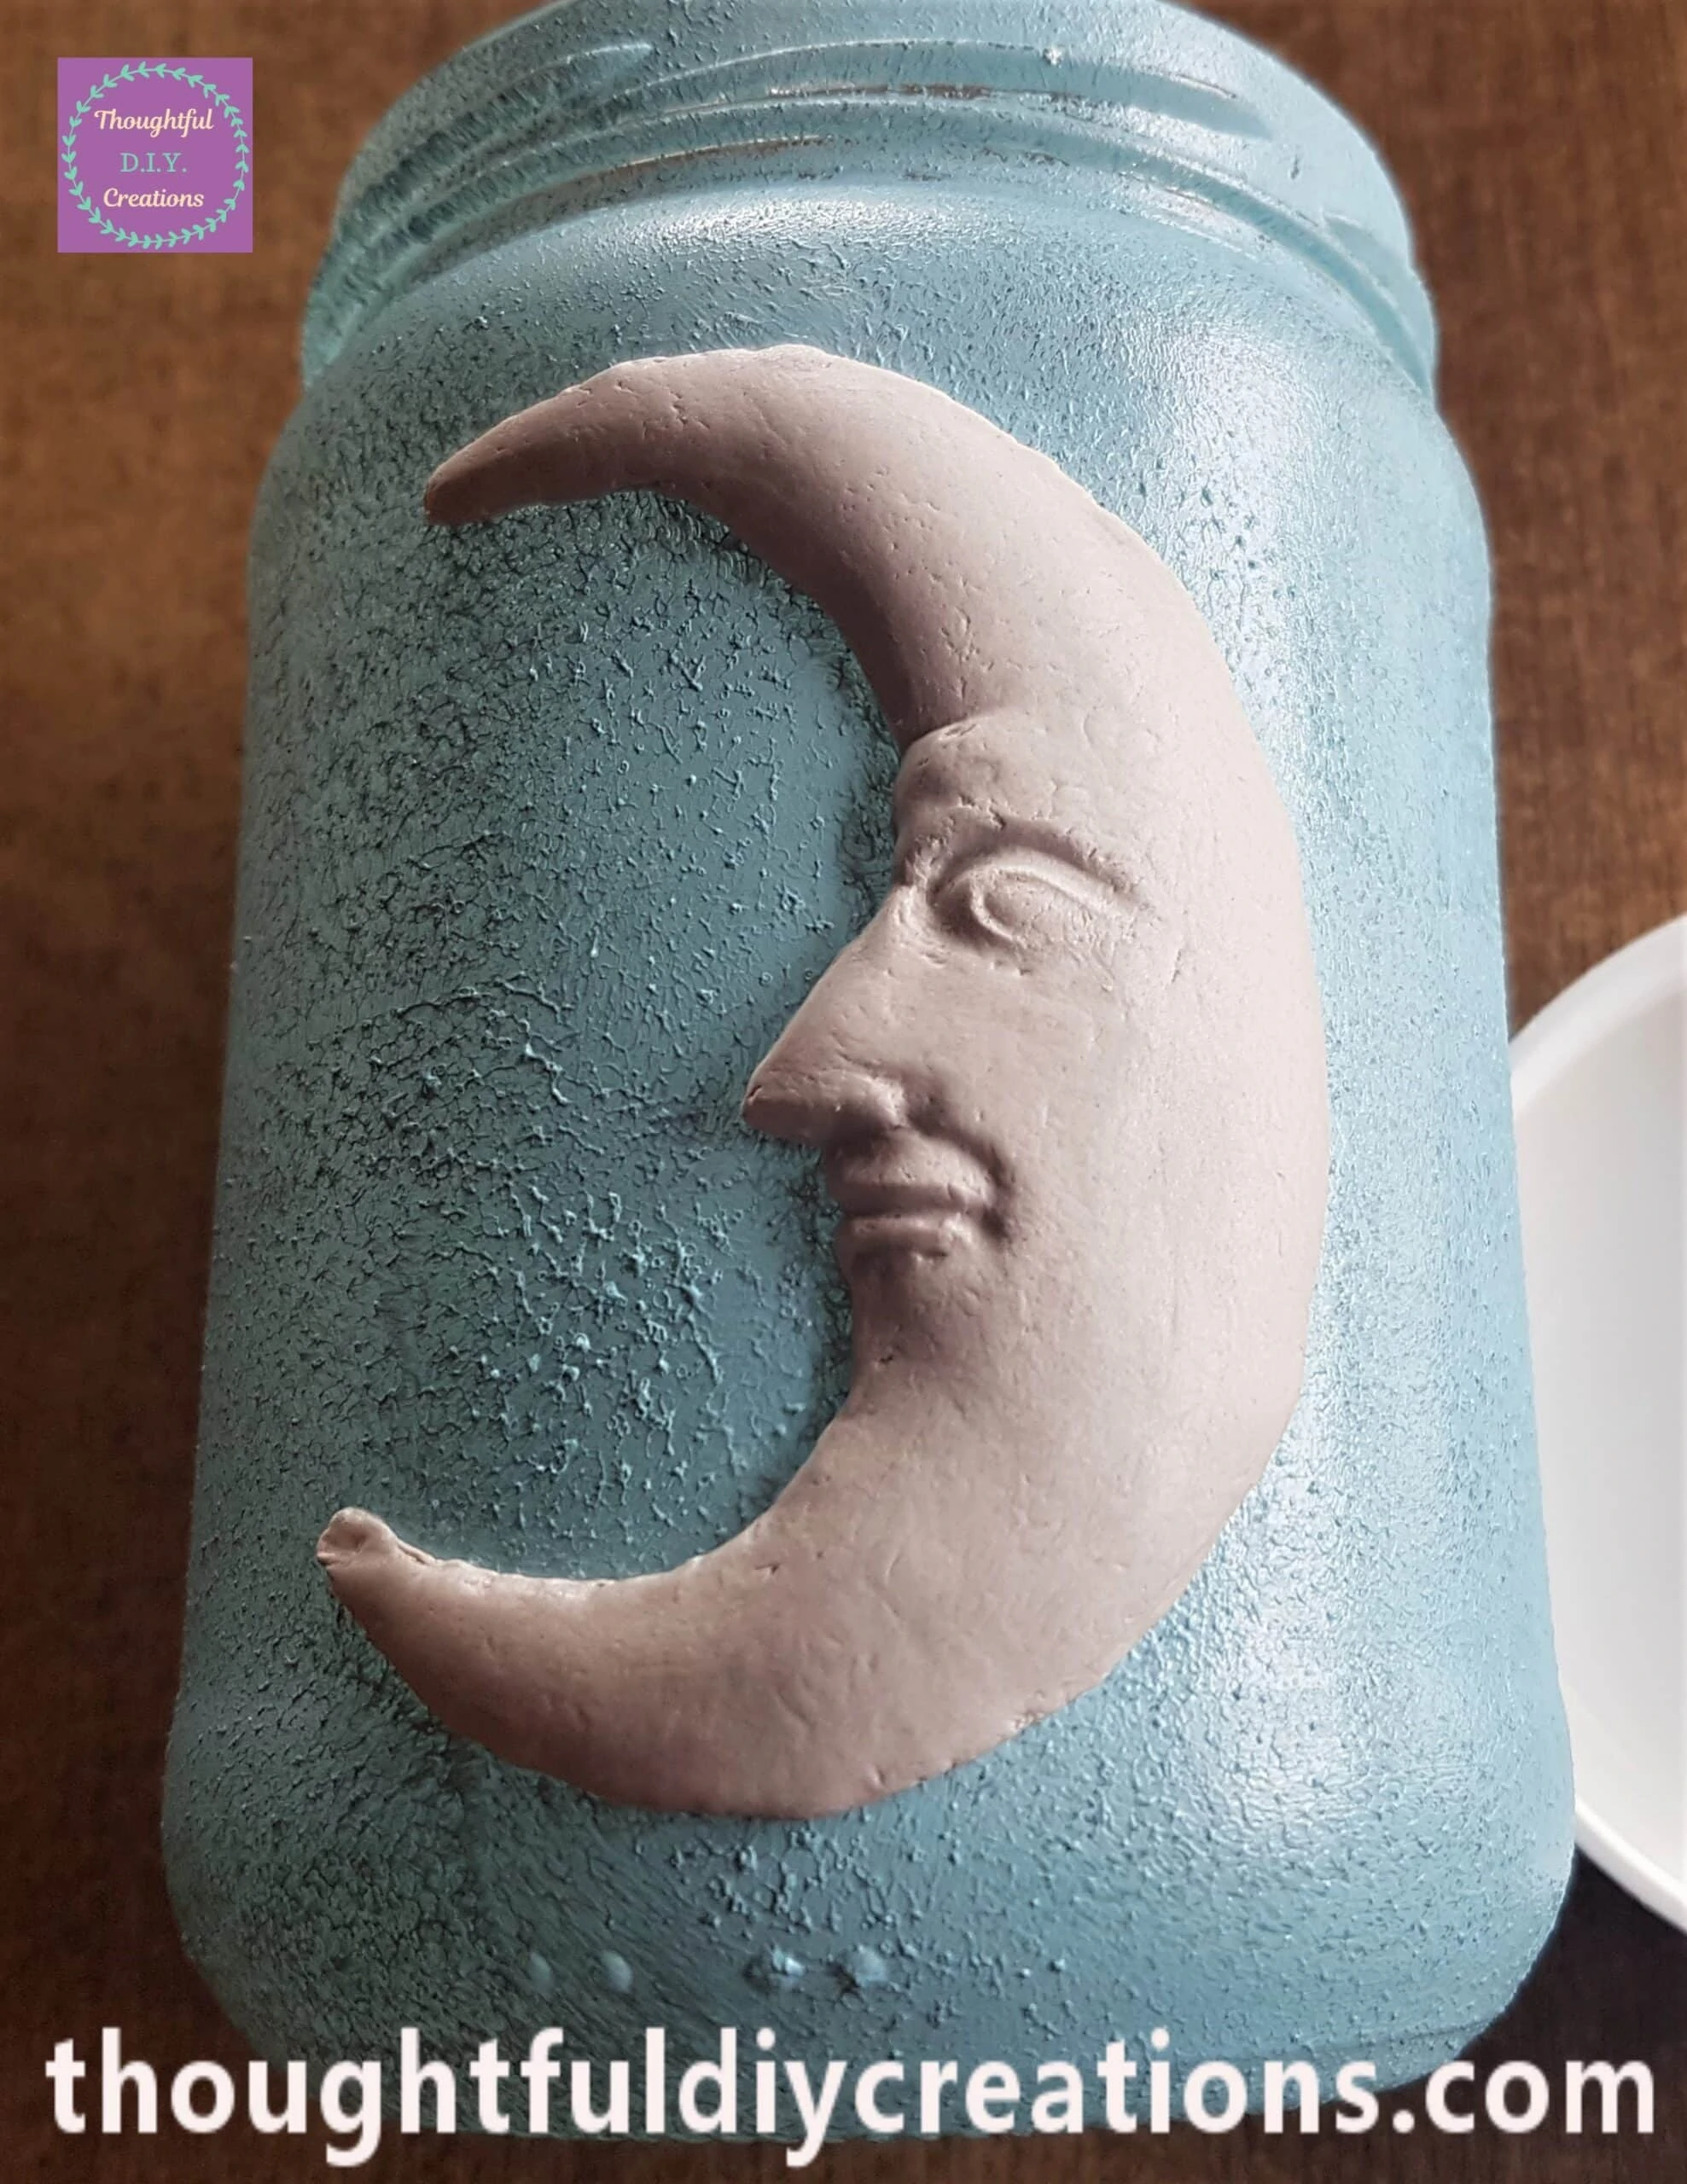
I left the Jar laying down overnight to allow the Glue on the back of the Moon to dry fully. The next day I removed the Paint from the top of the Jar with a Baby Wipe as Paint was coming off it when I twisted the Lid back on.
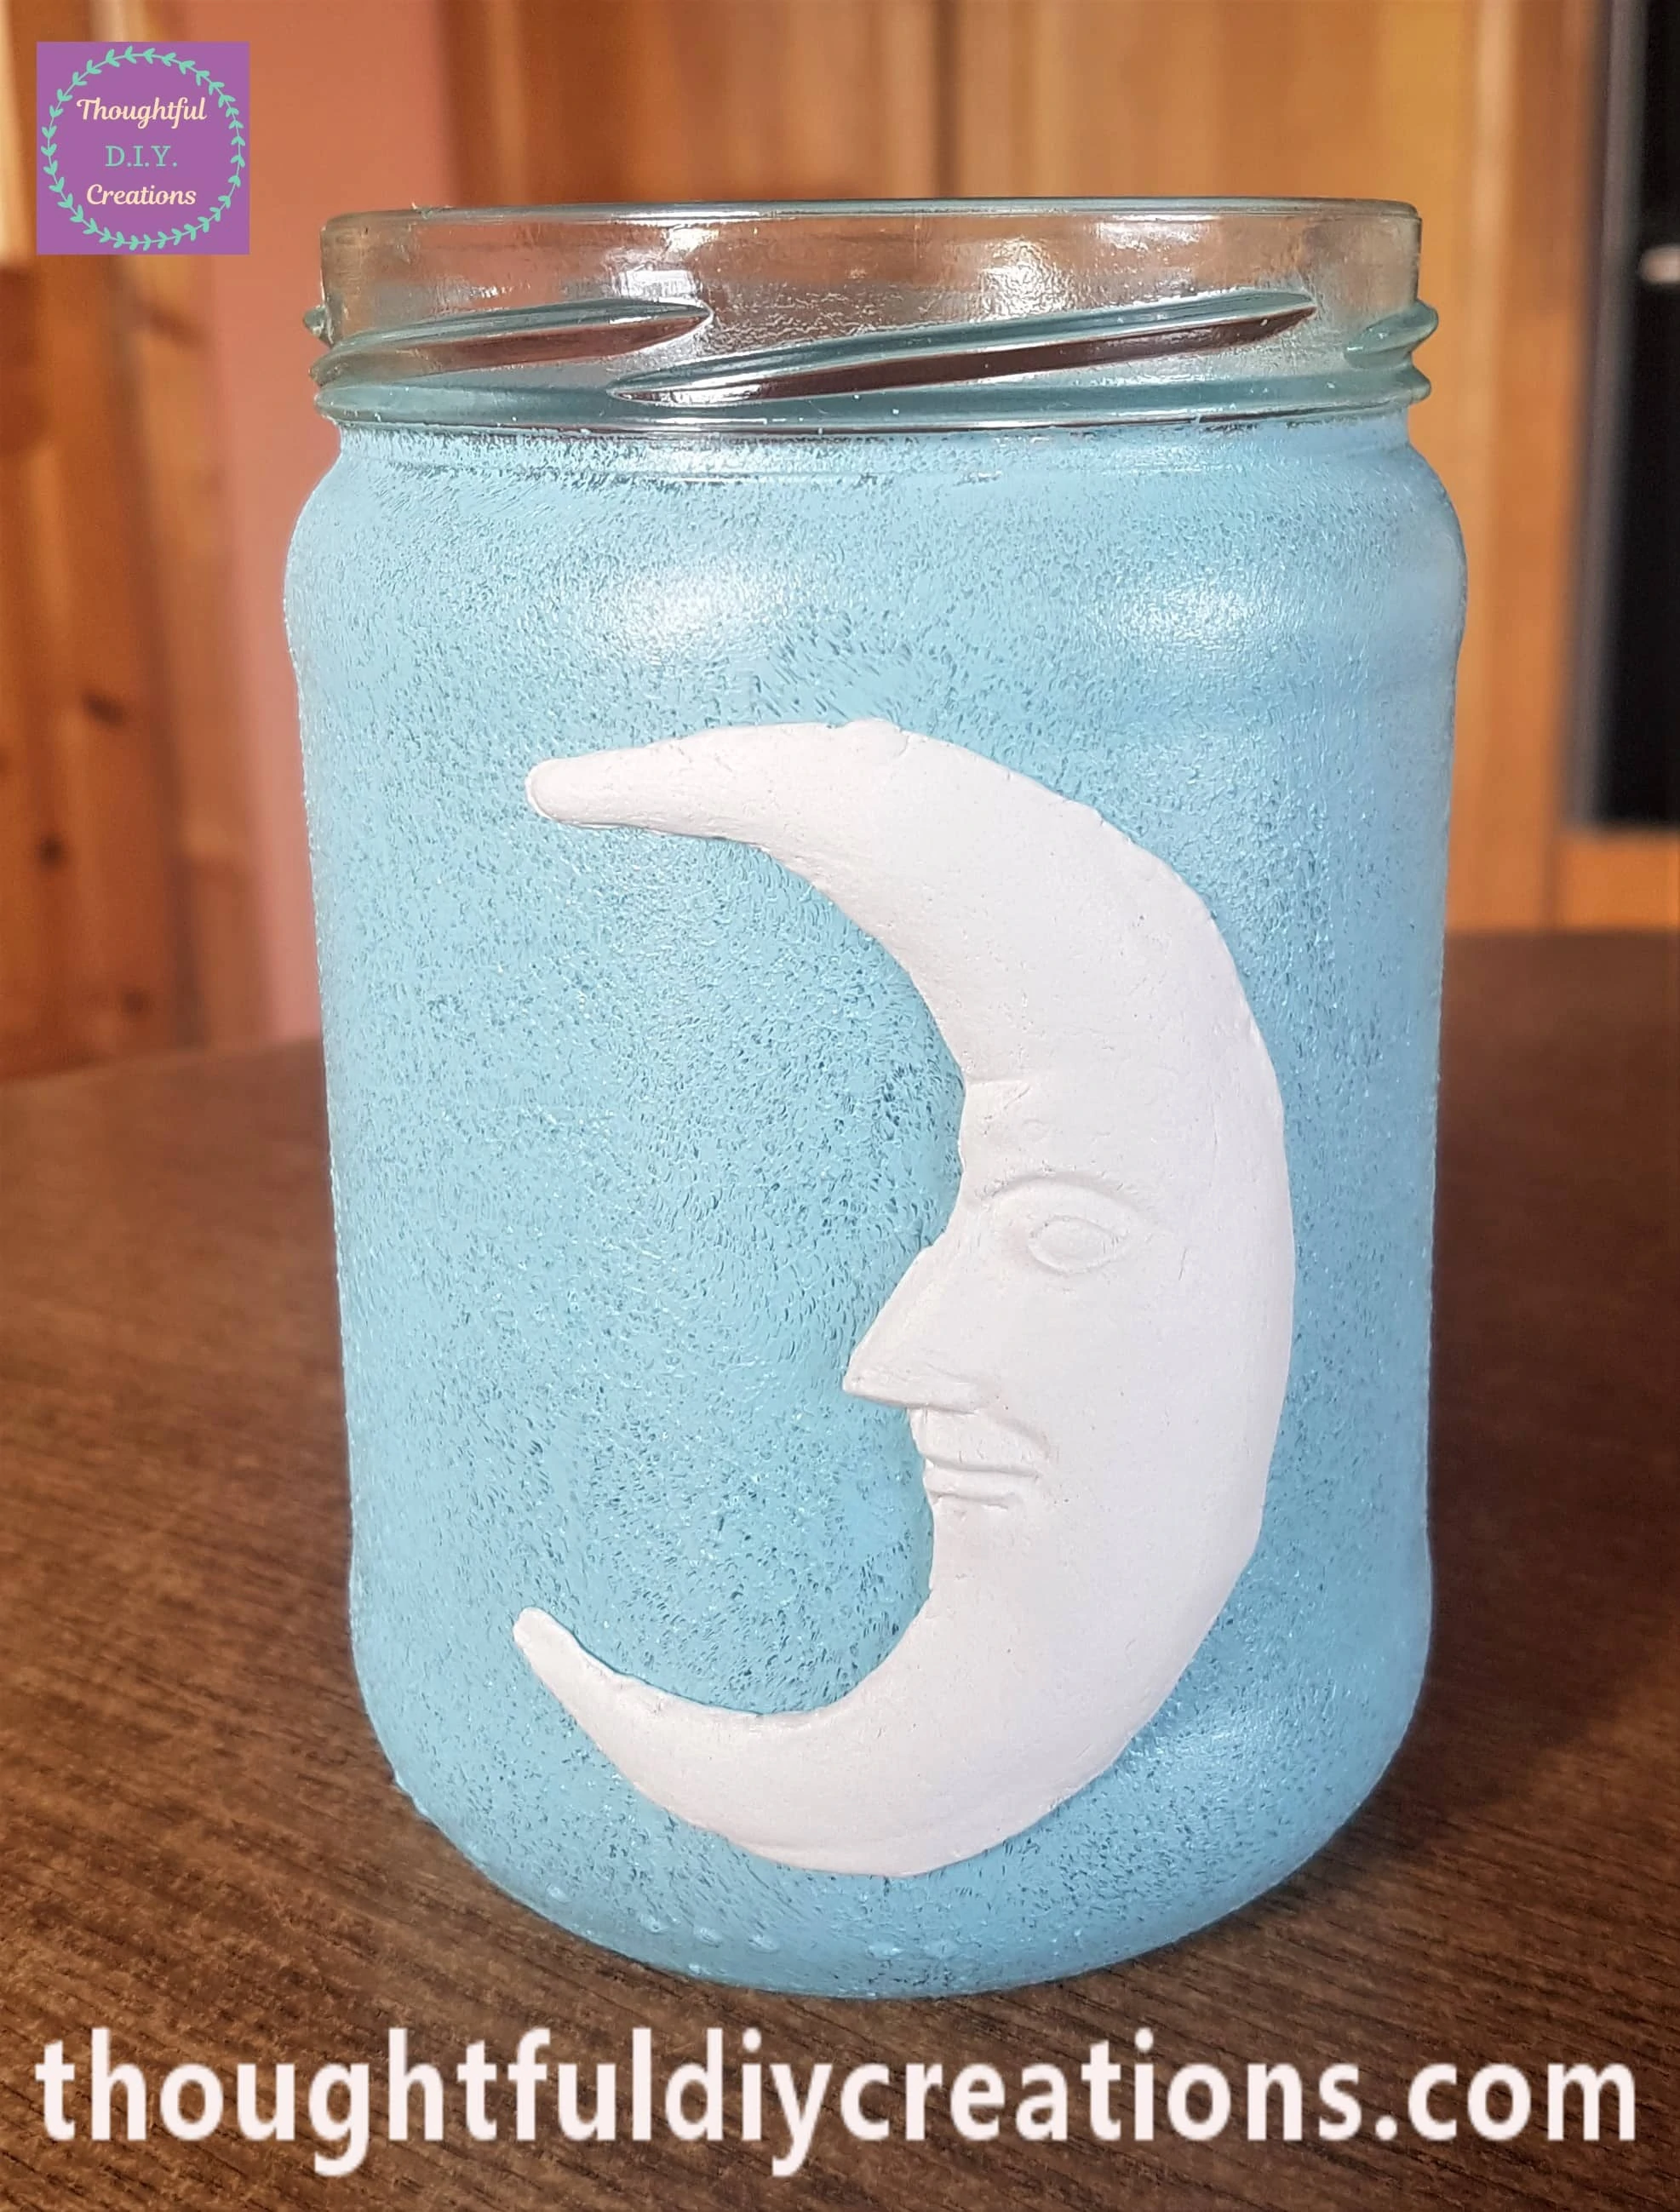
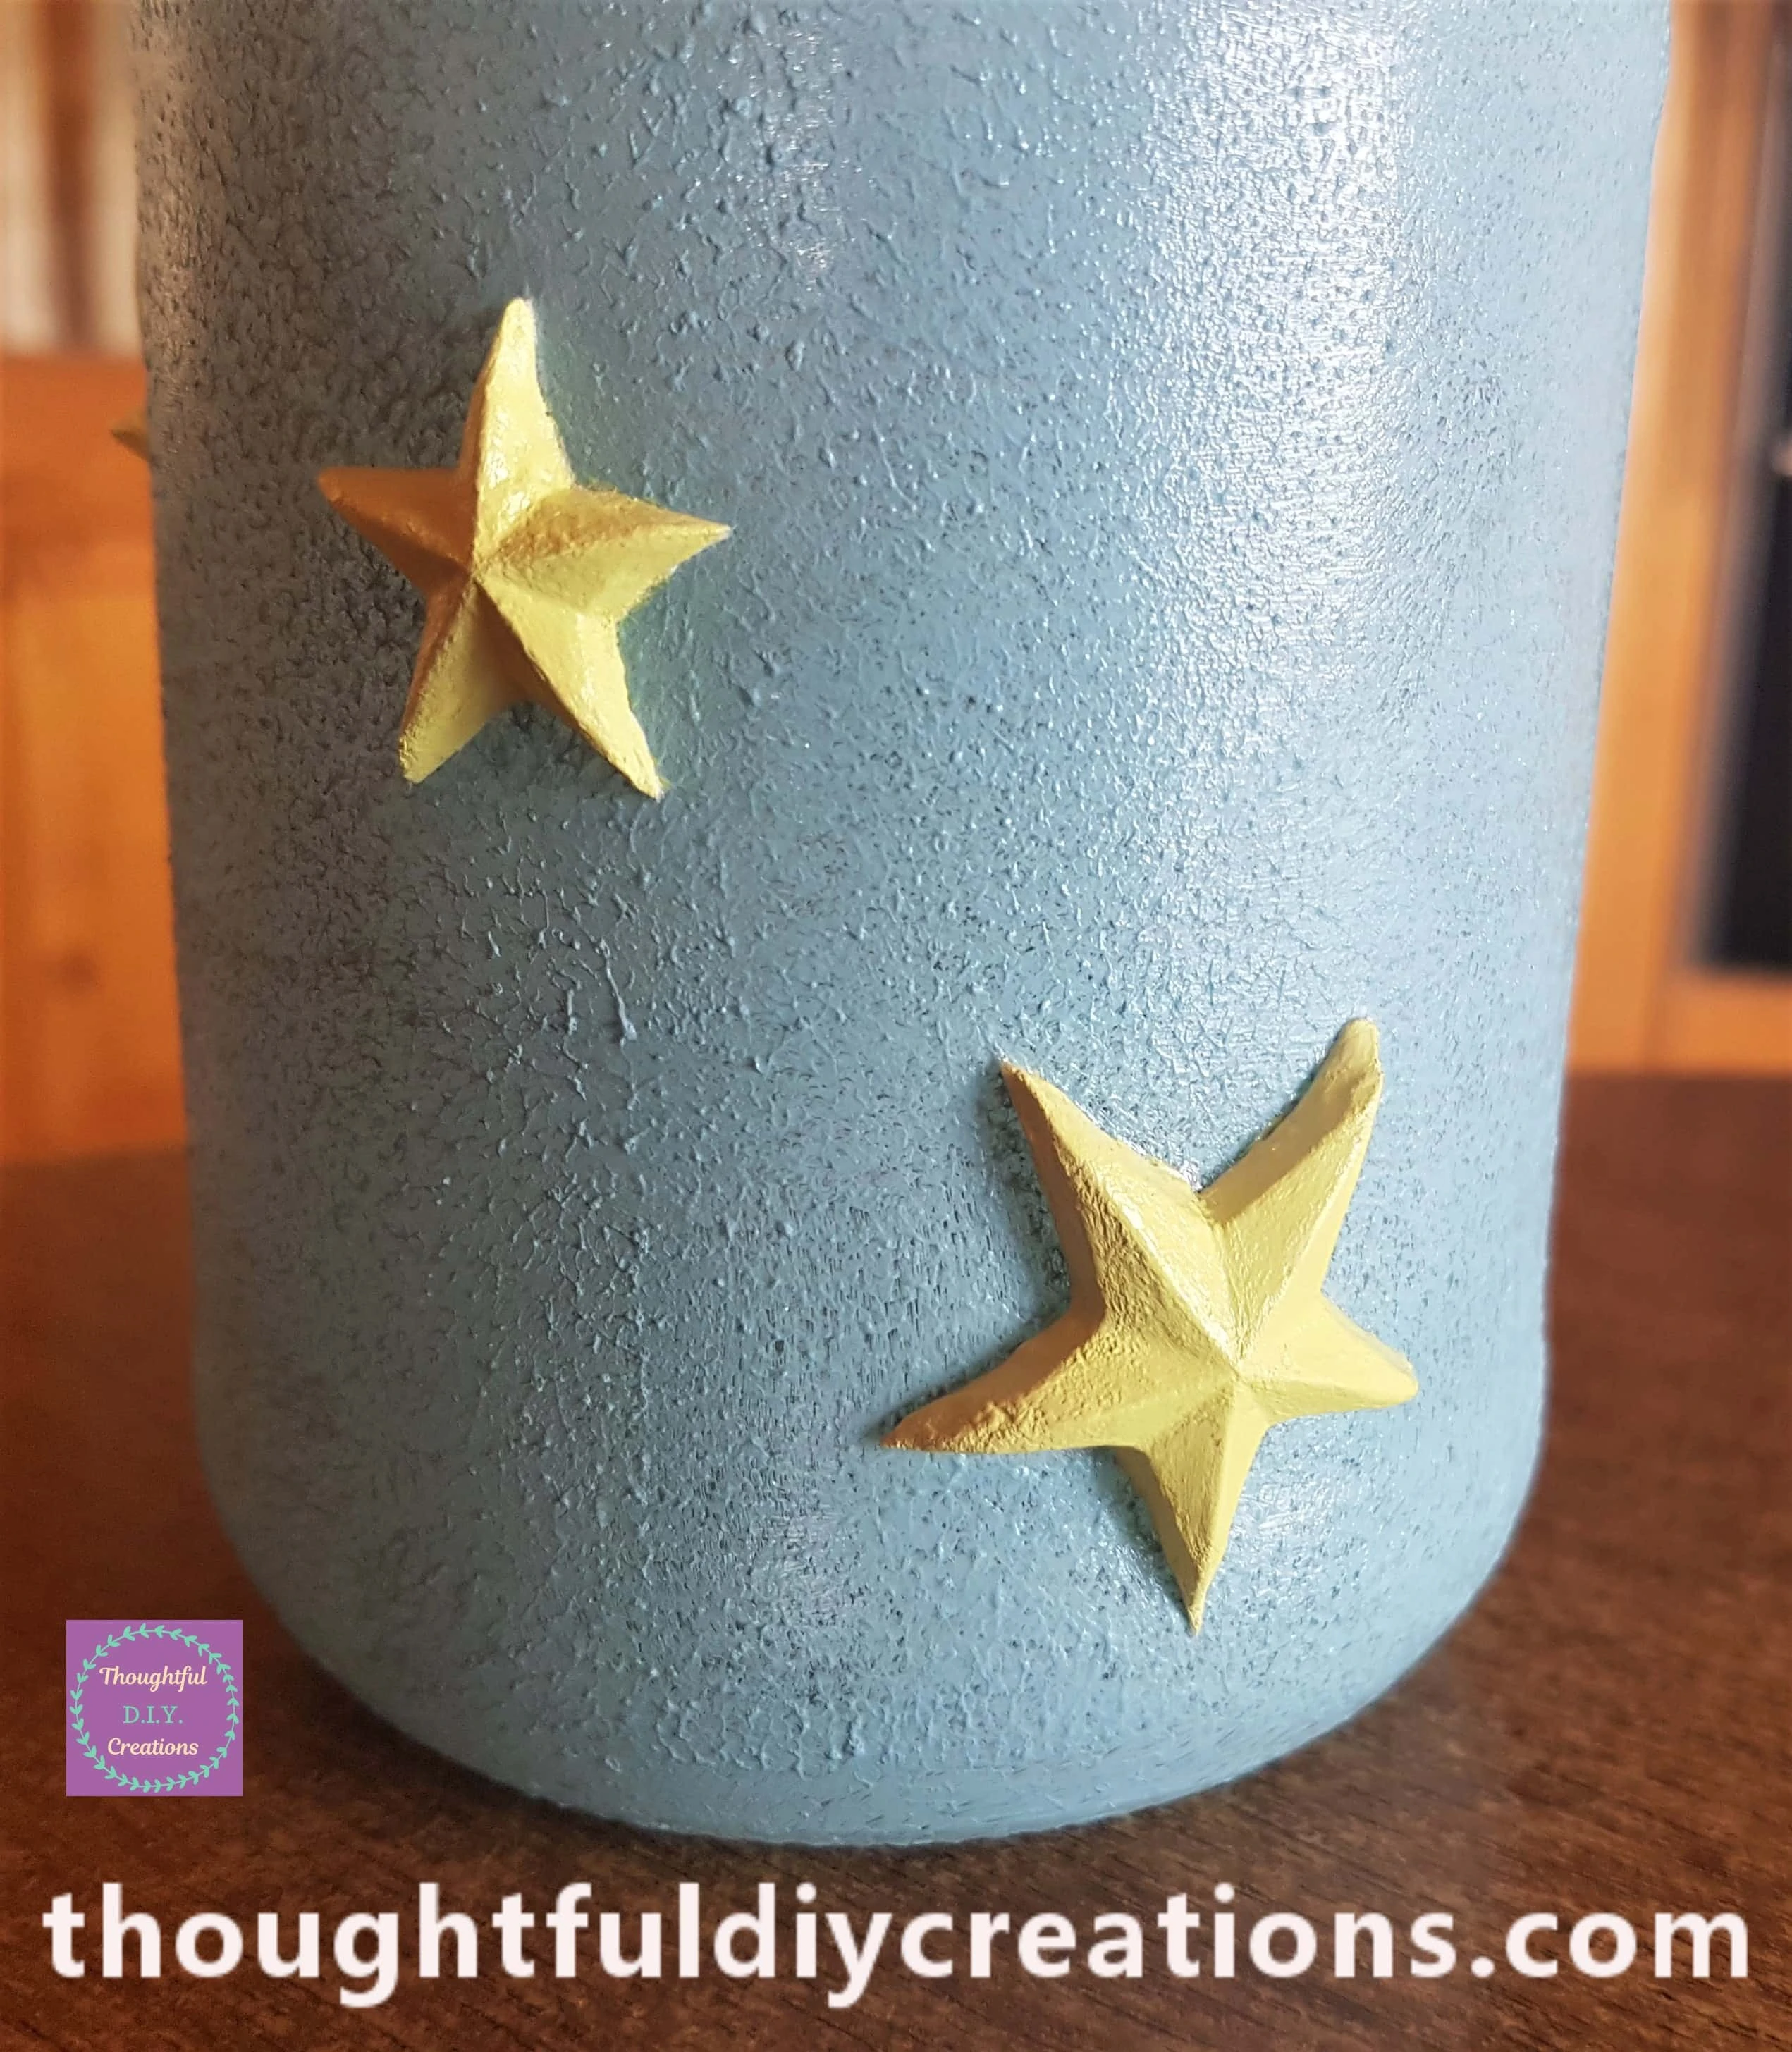
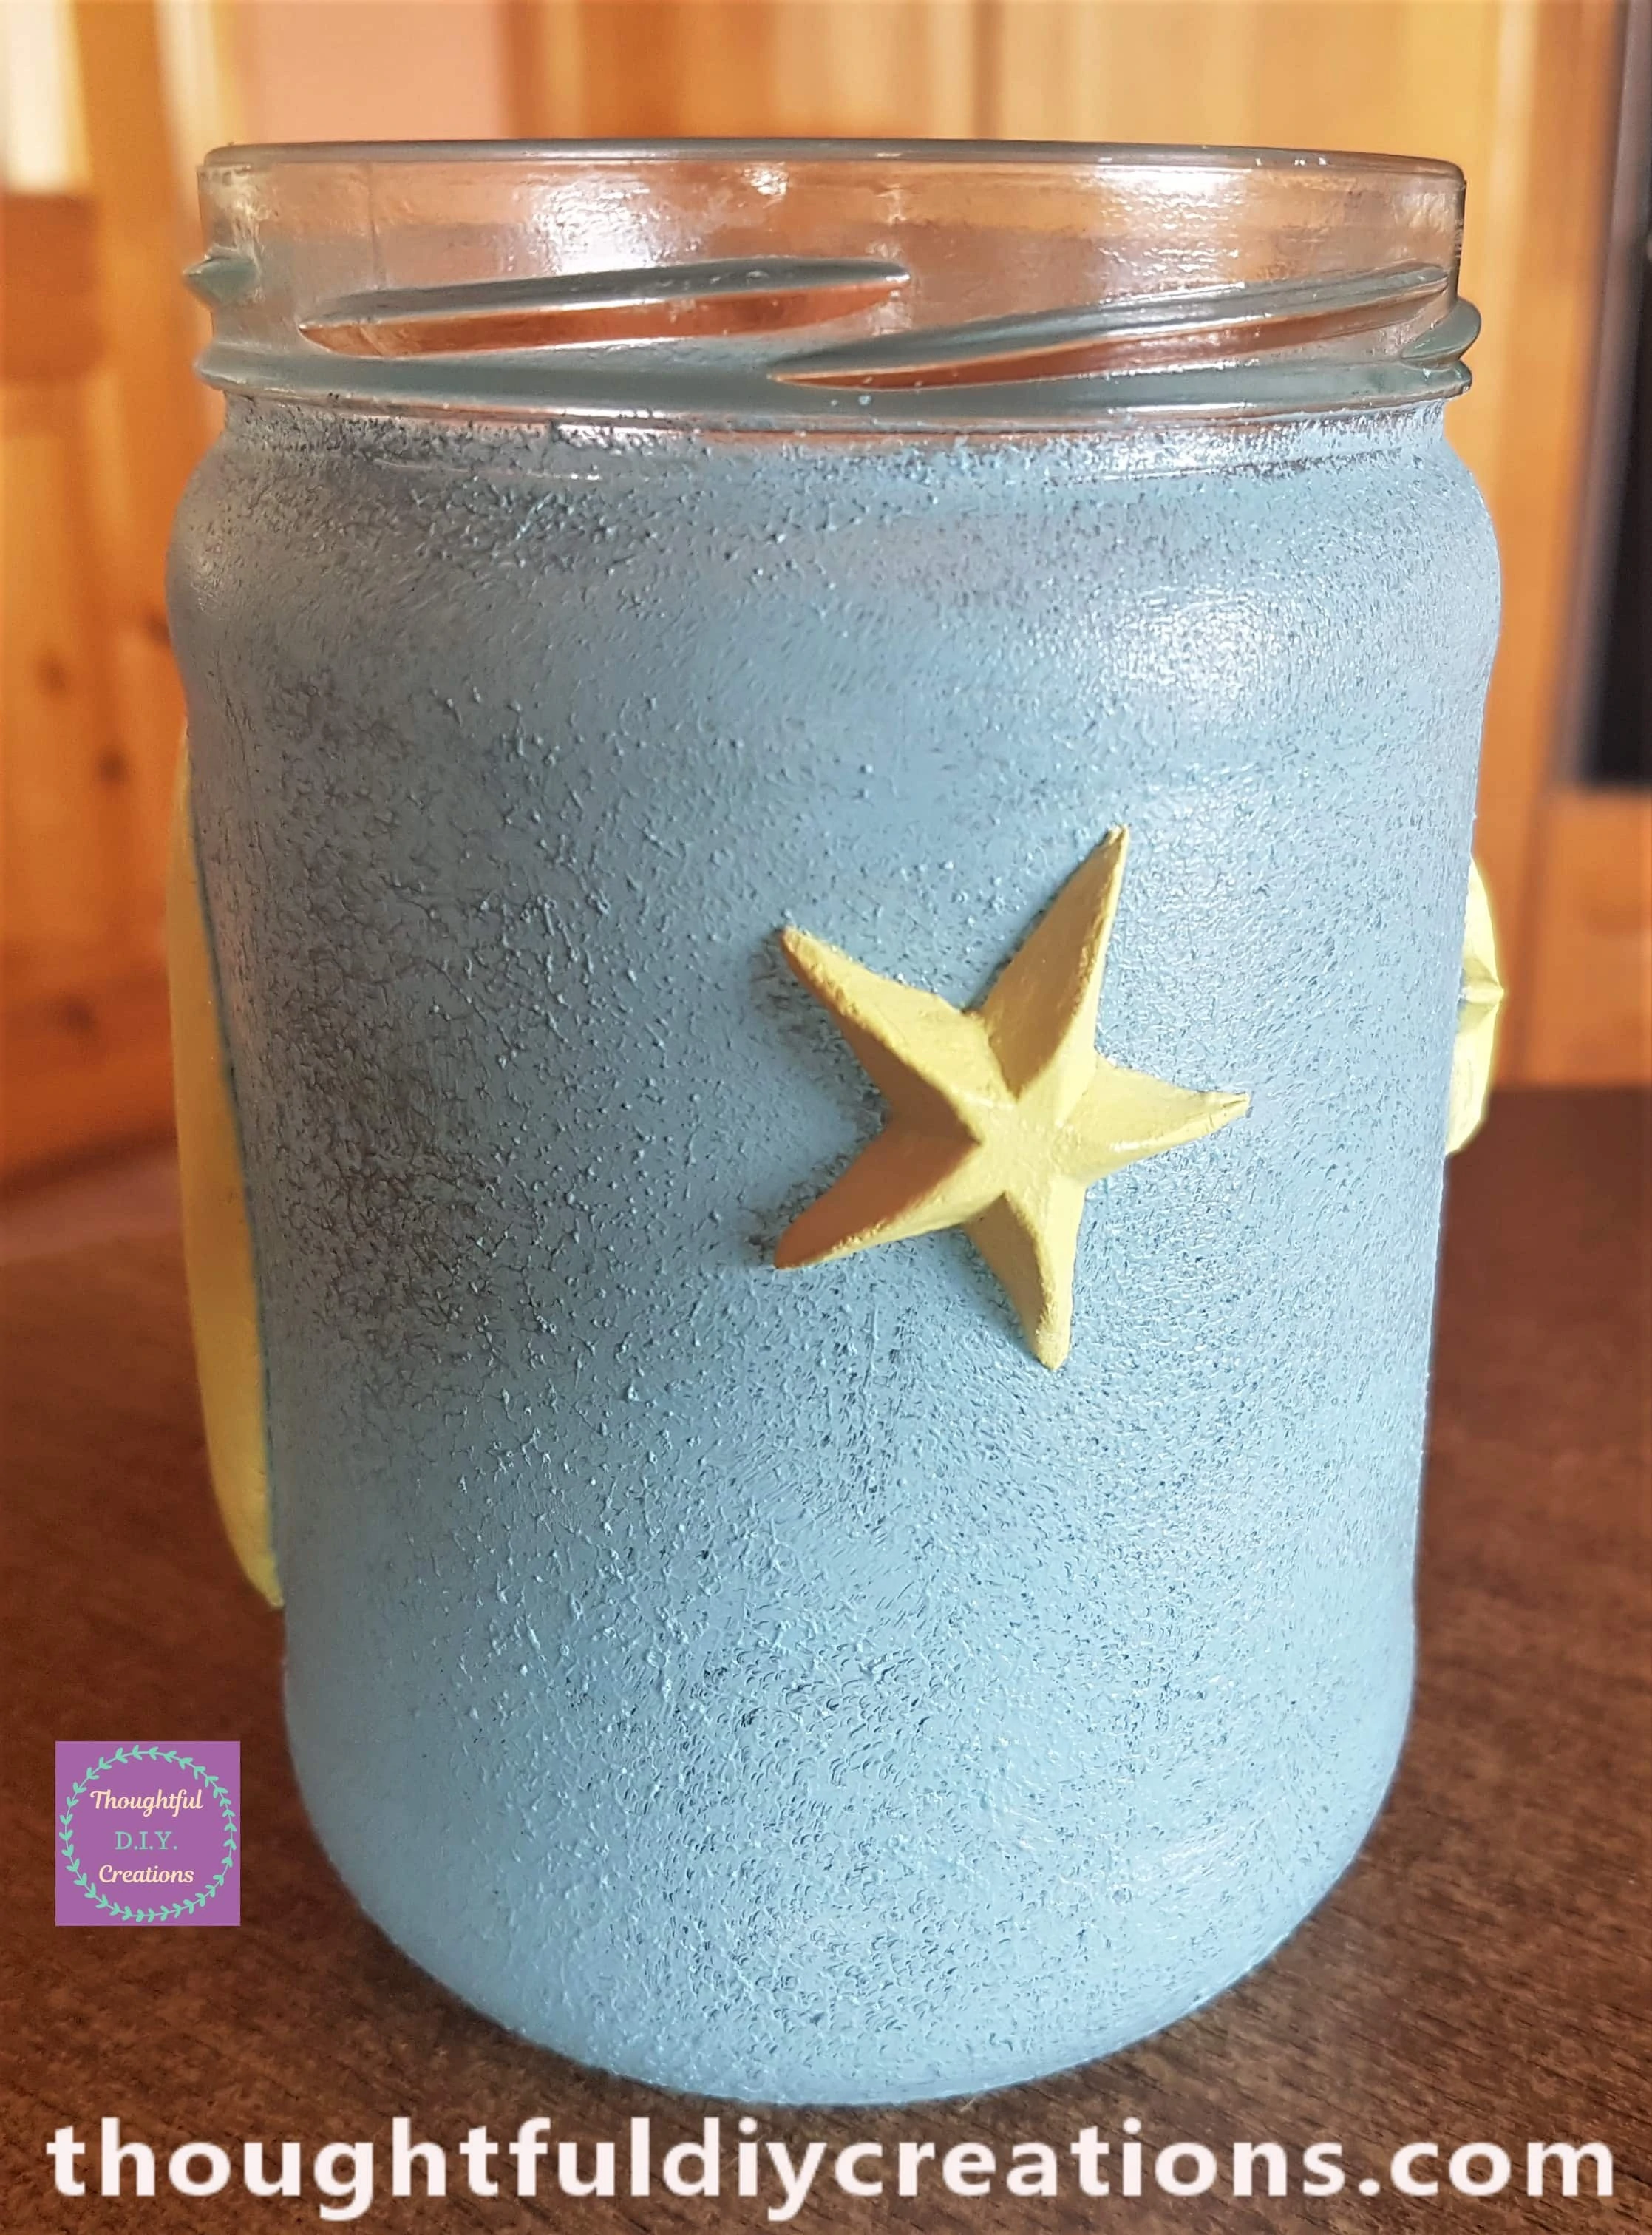
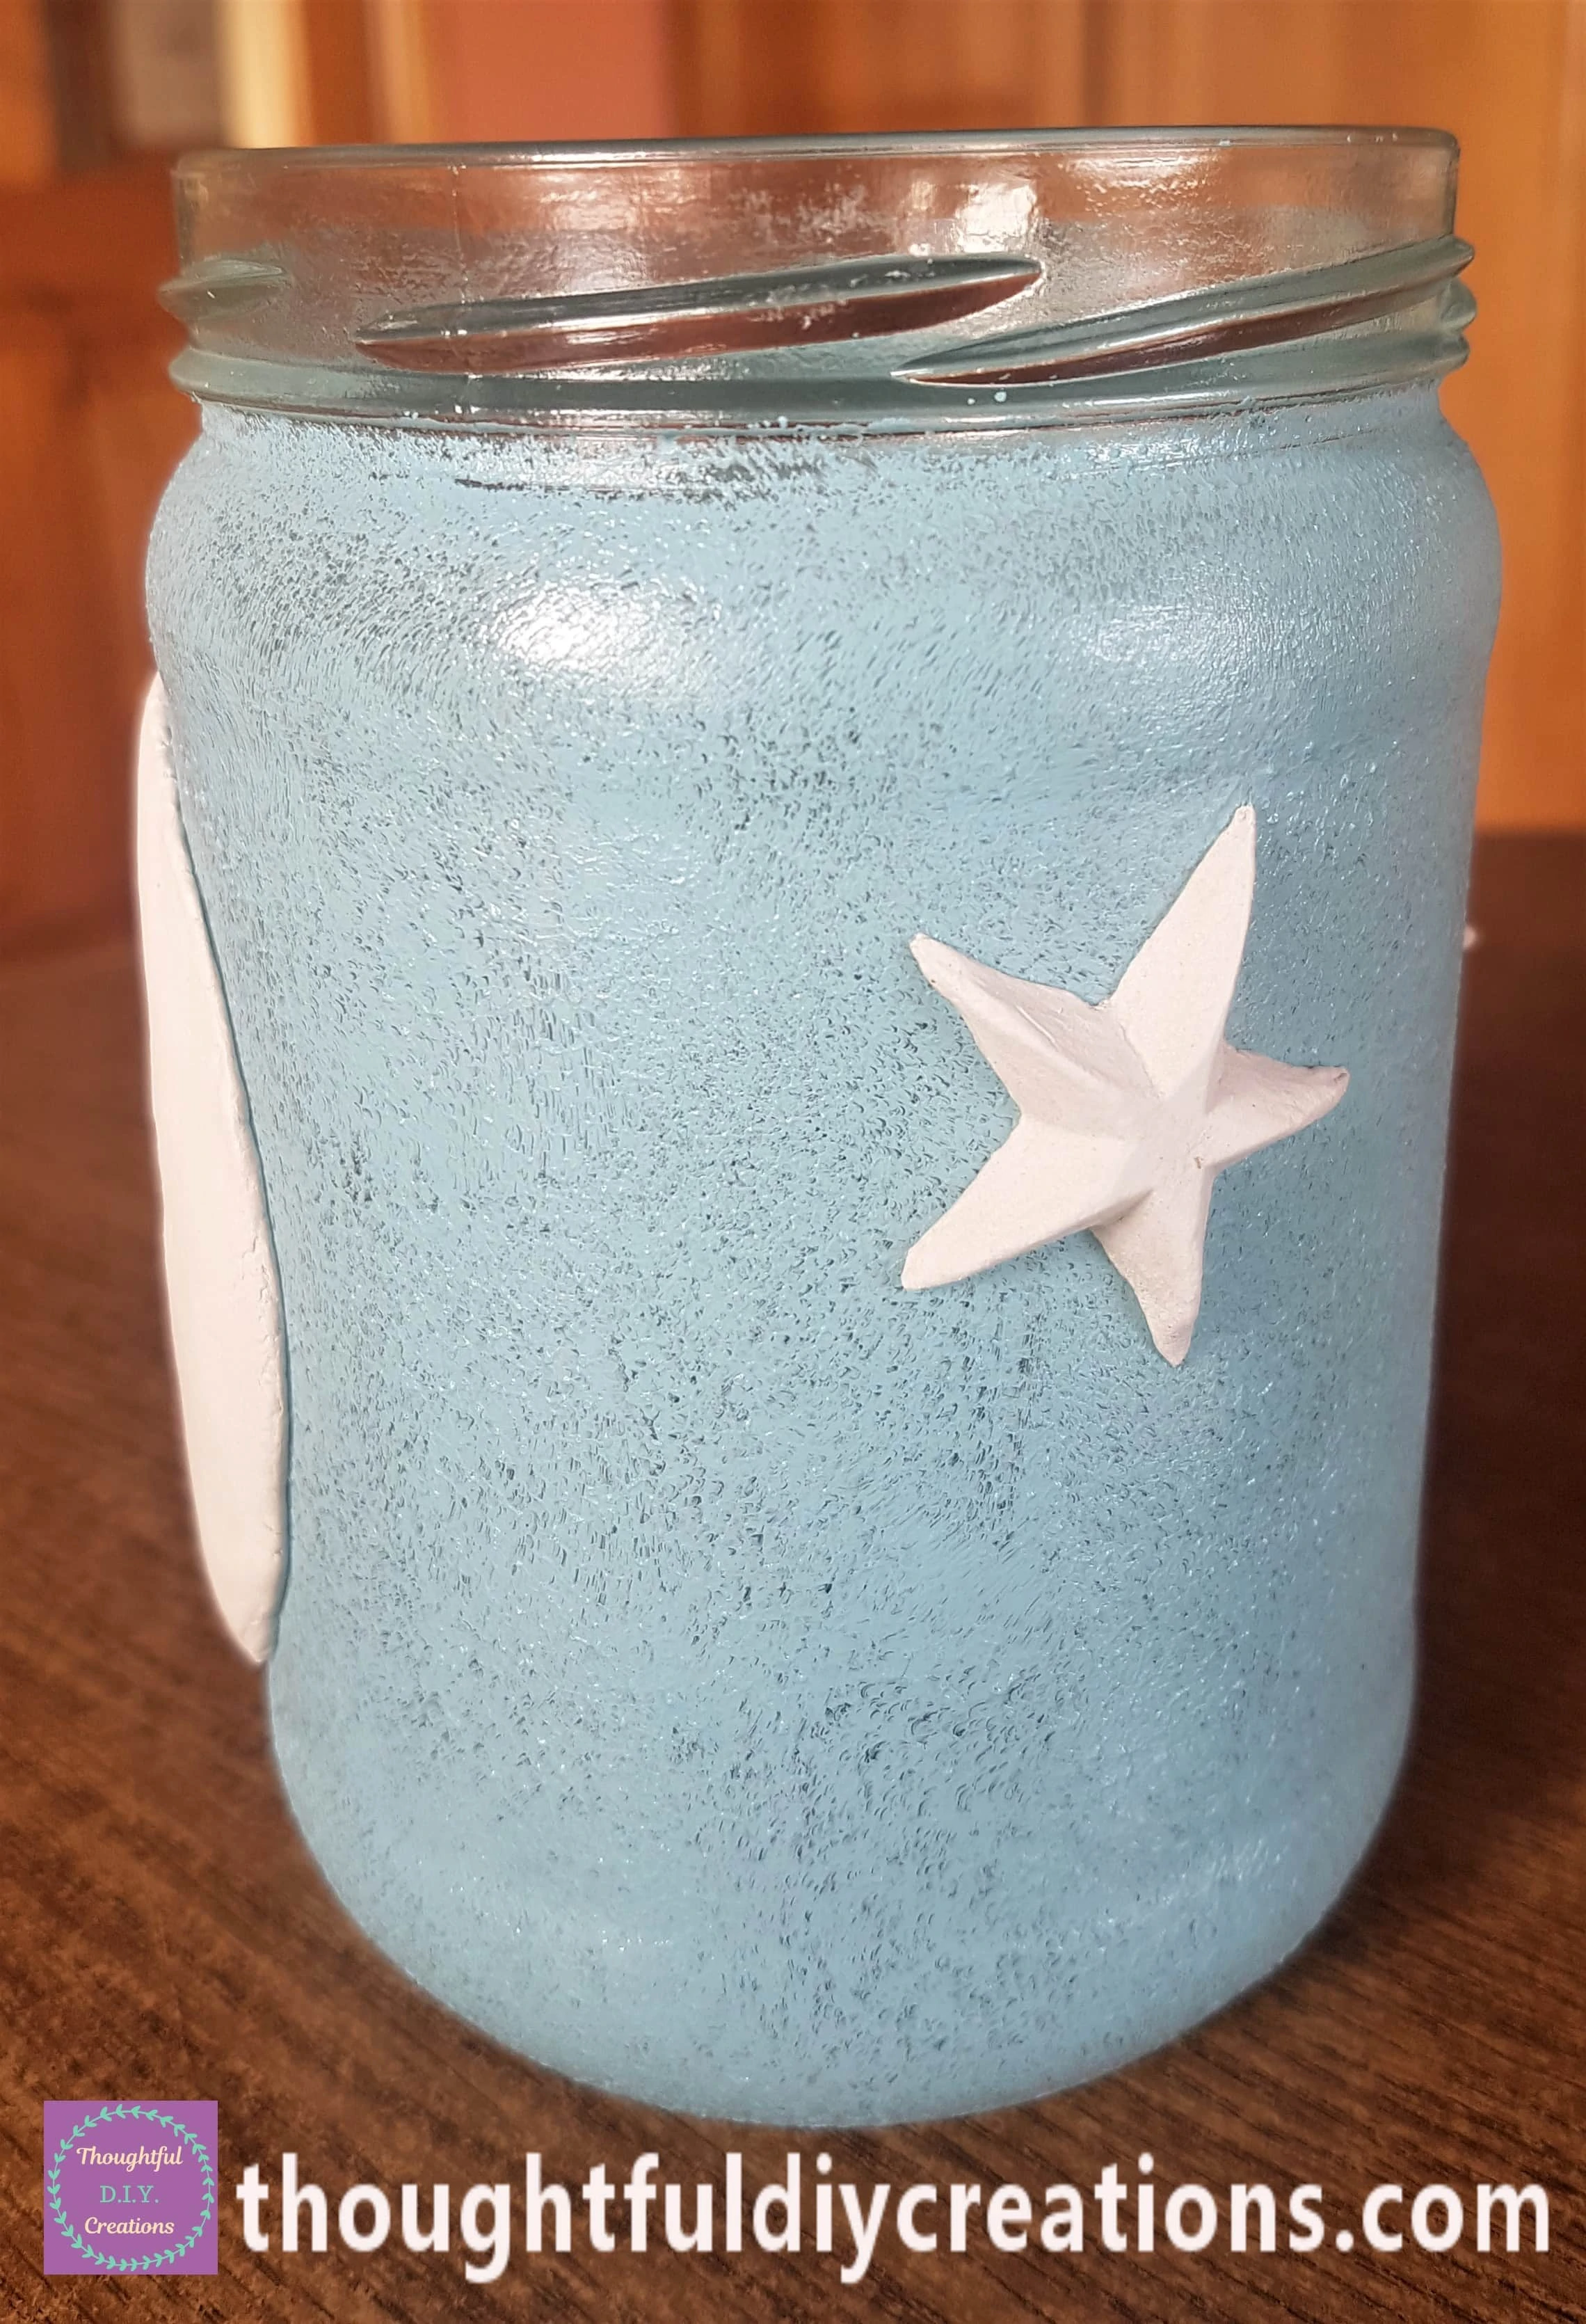
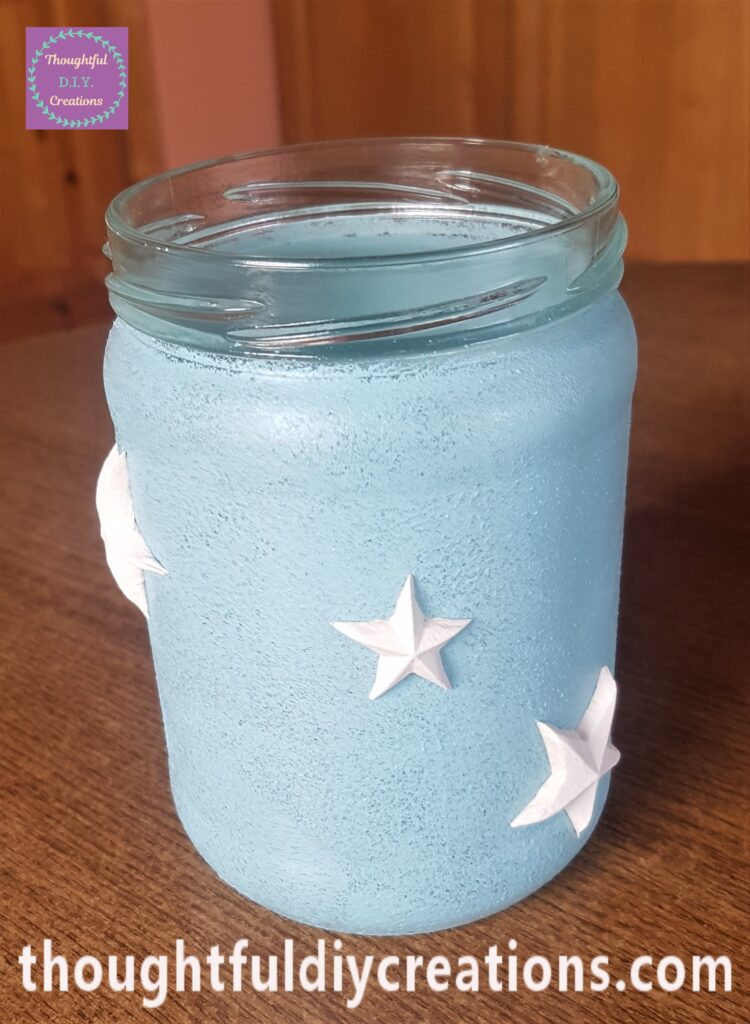
I added three Clay Stars to the Back of the Jar; two bigger stars with a smaller one in the center.
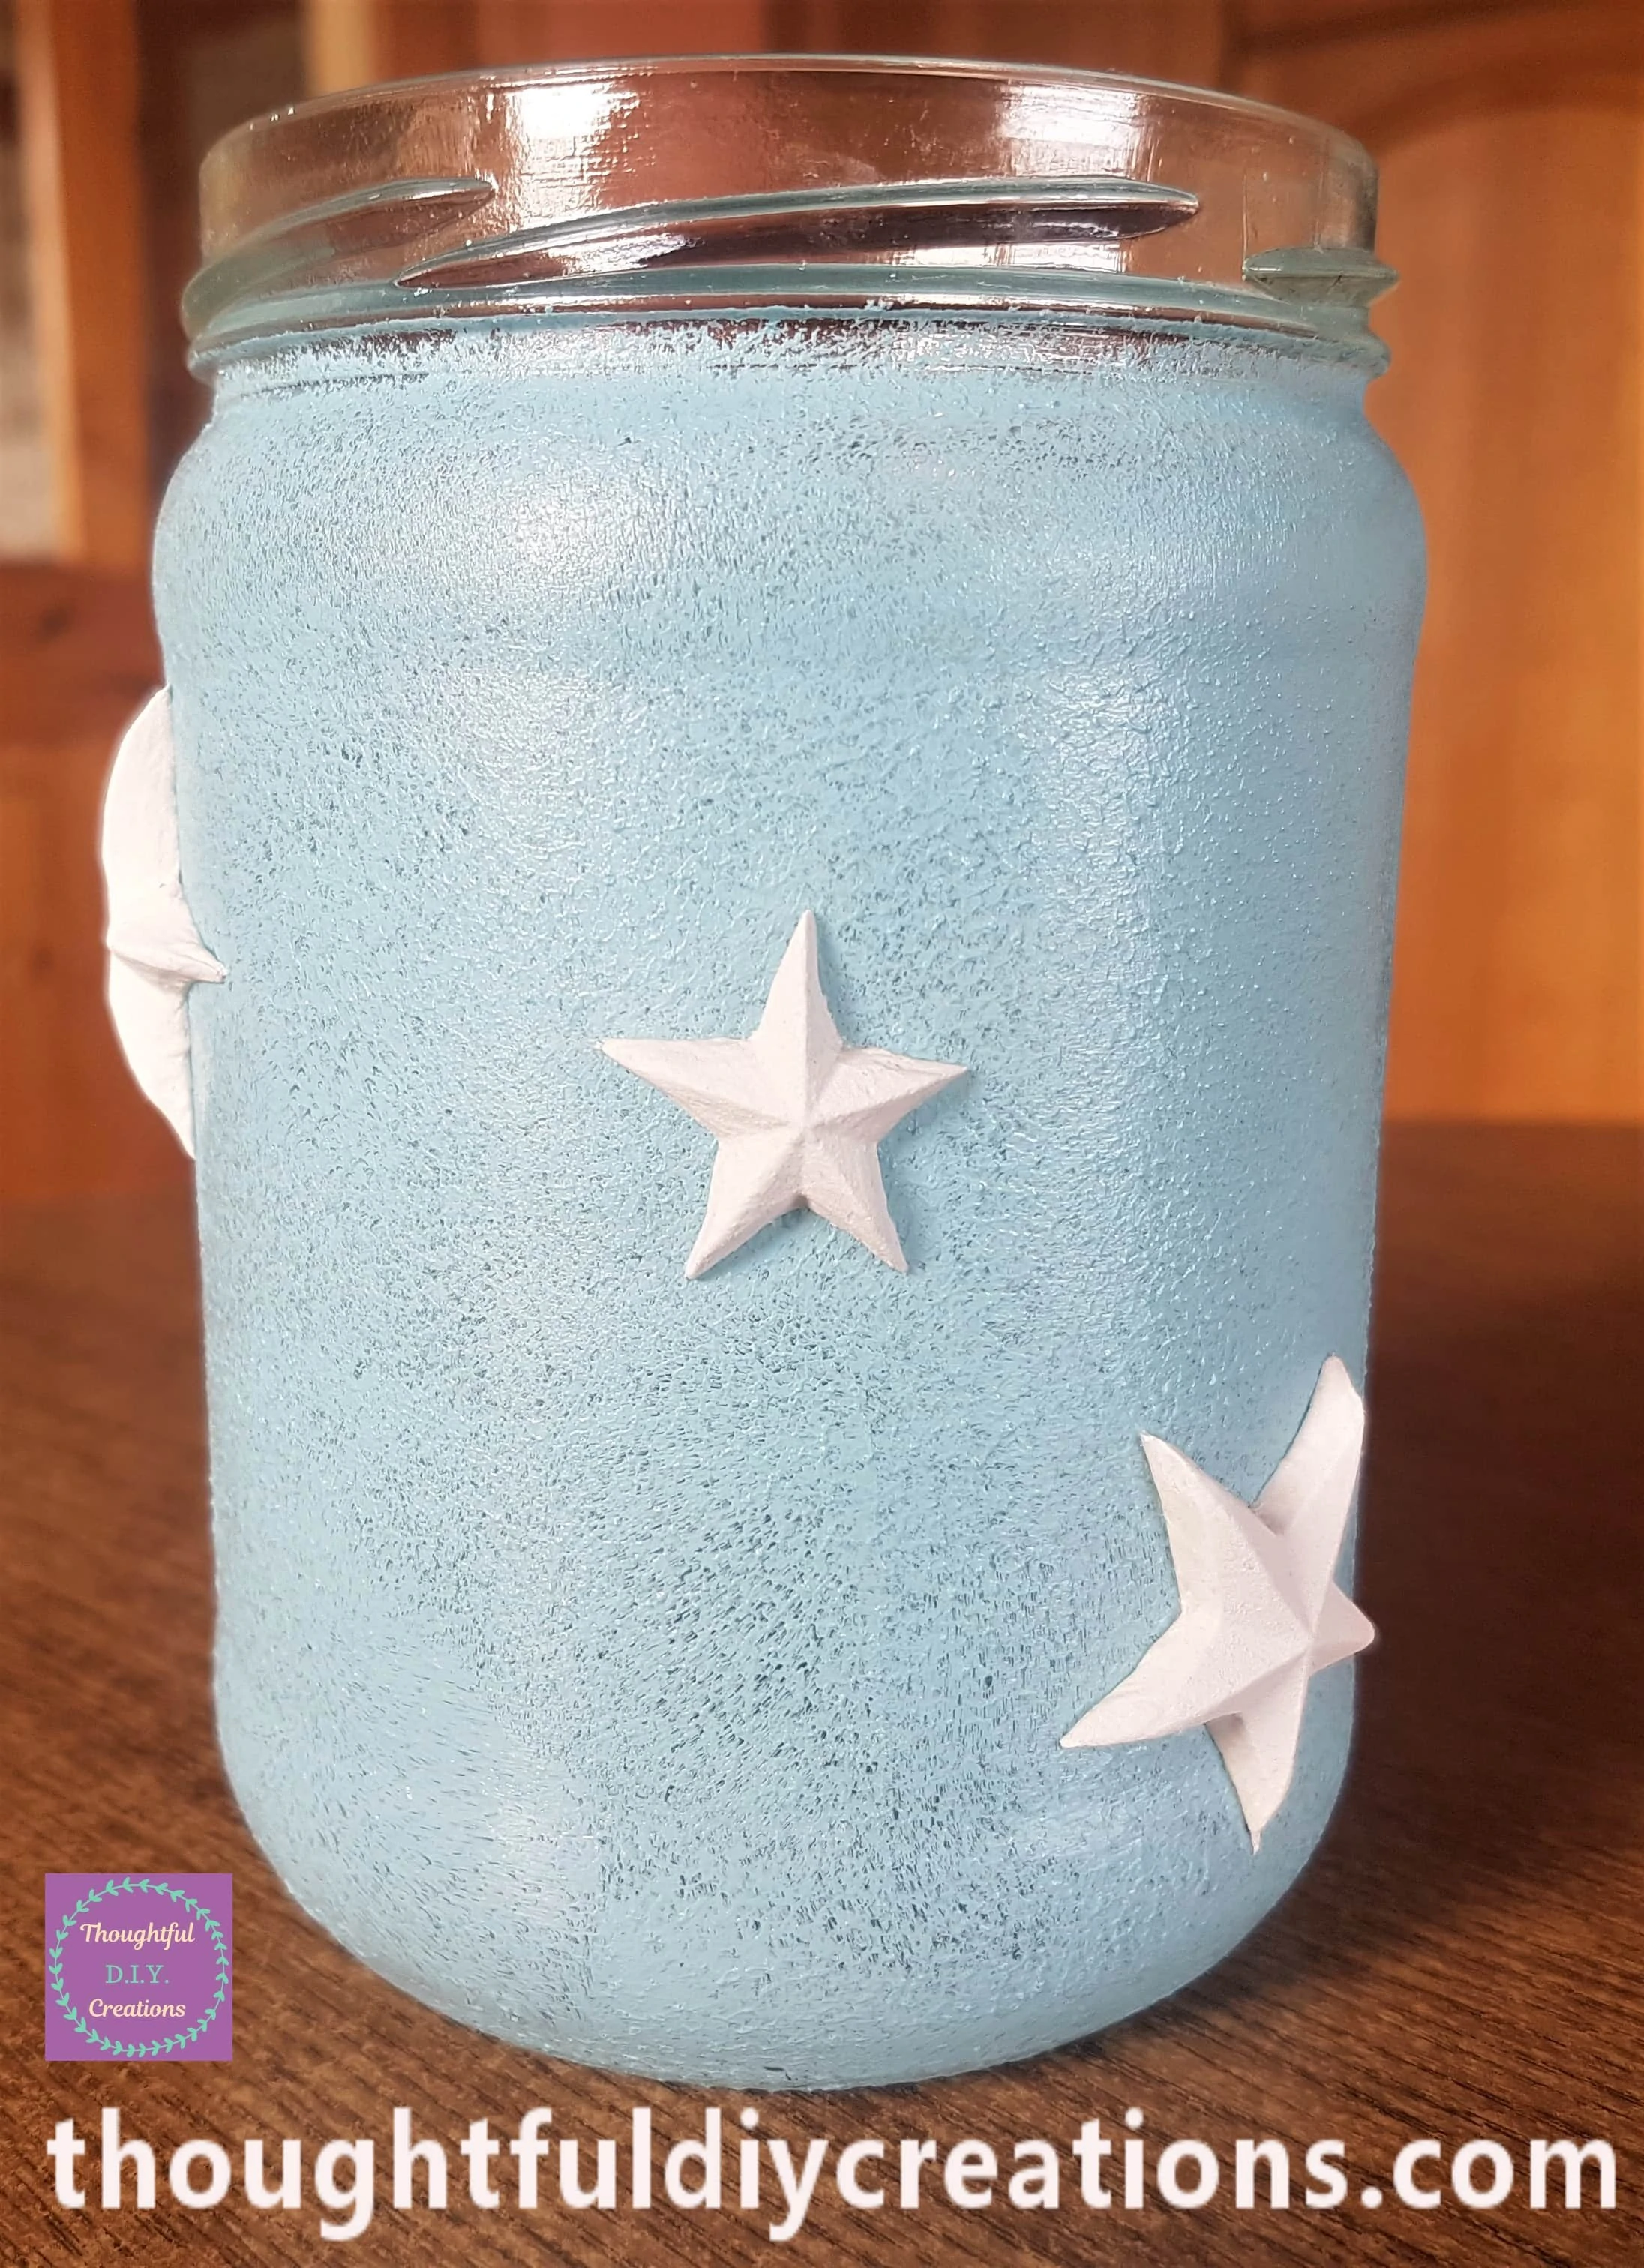
Below are photographs showing different angles of the Stars.
This Completed adding Clay Moulds to the Lid and Jar.
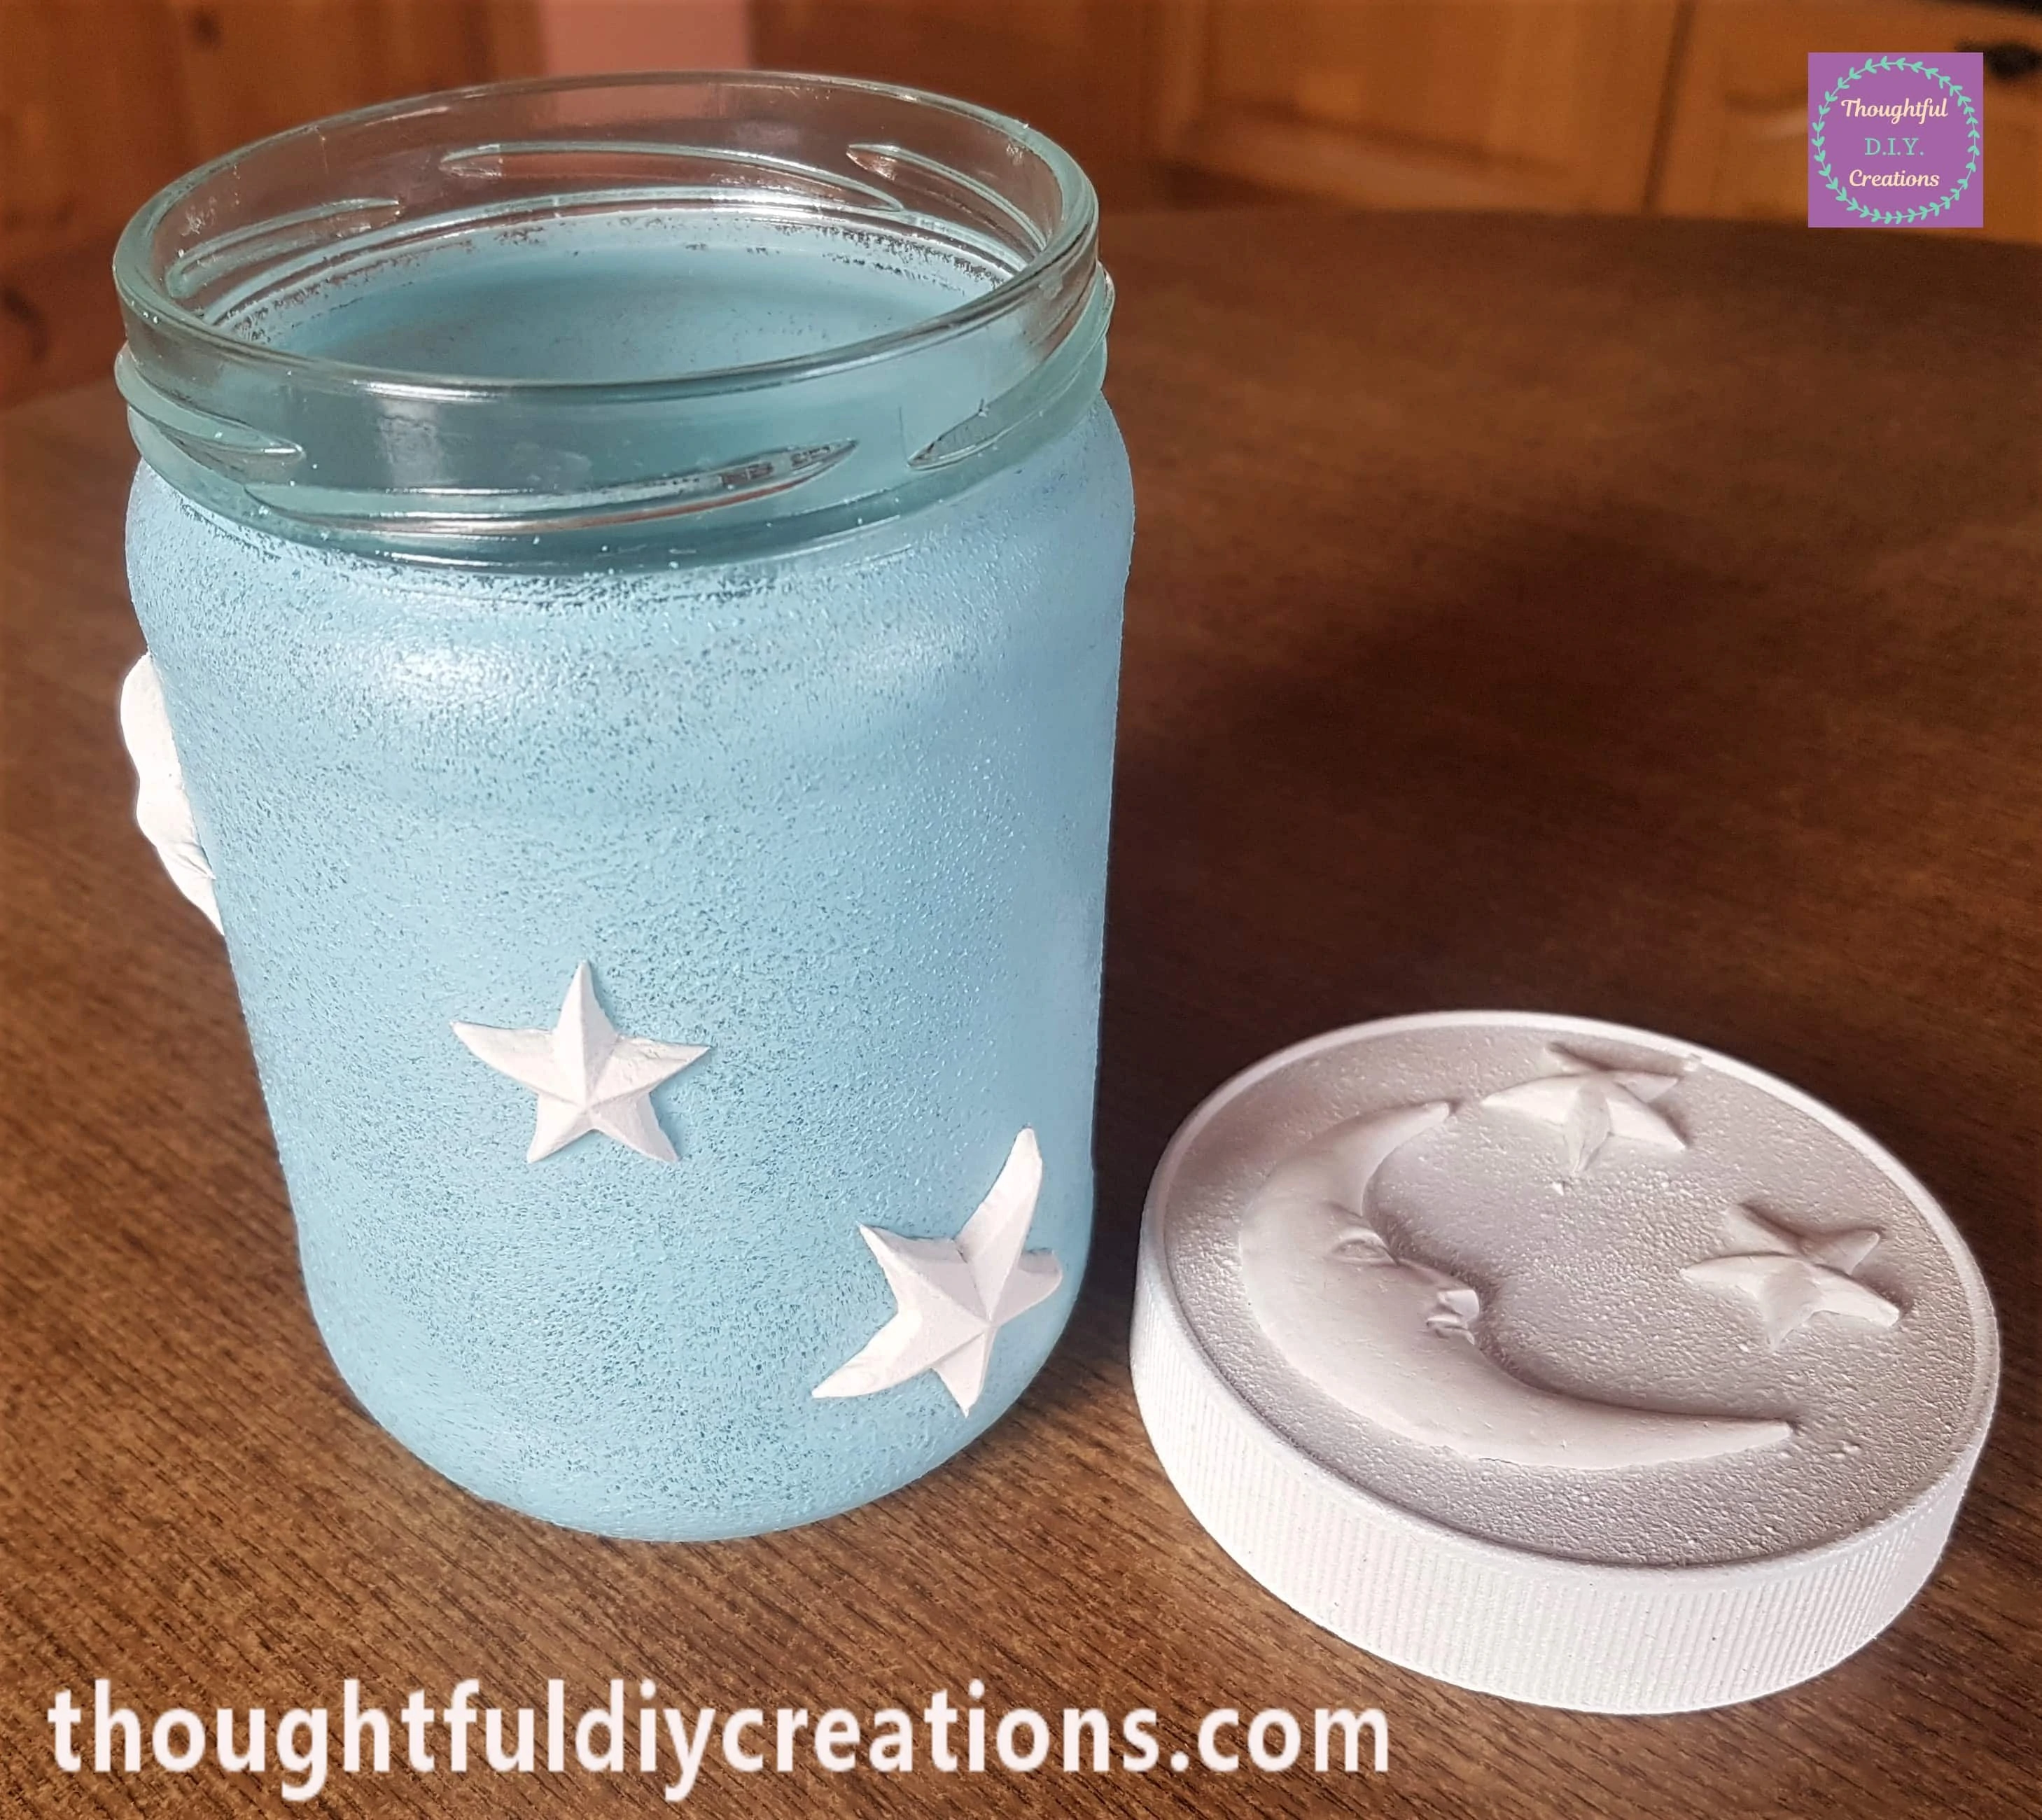
The Moon and Stars Moulds on the Lid and front of the Jar.
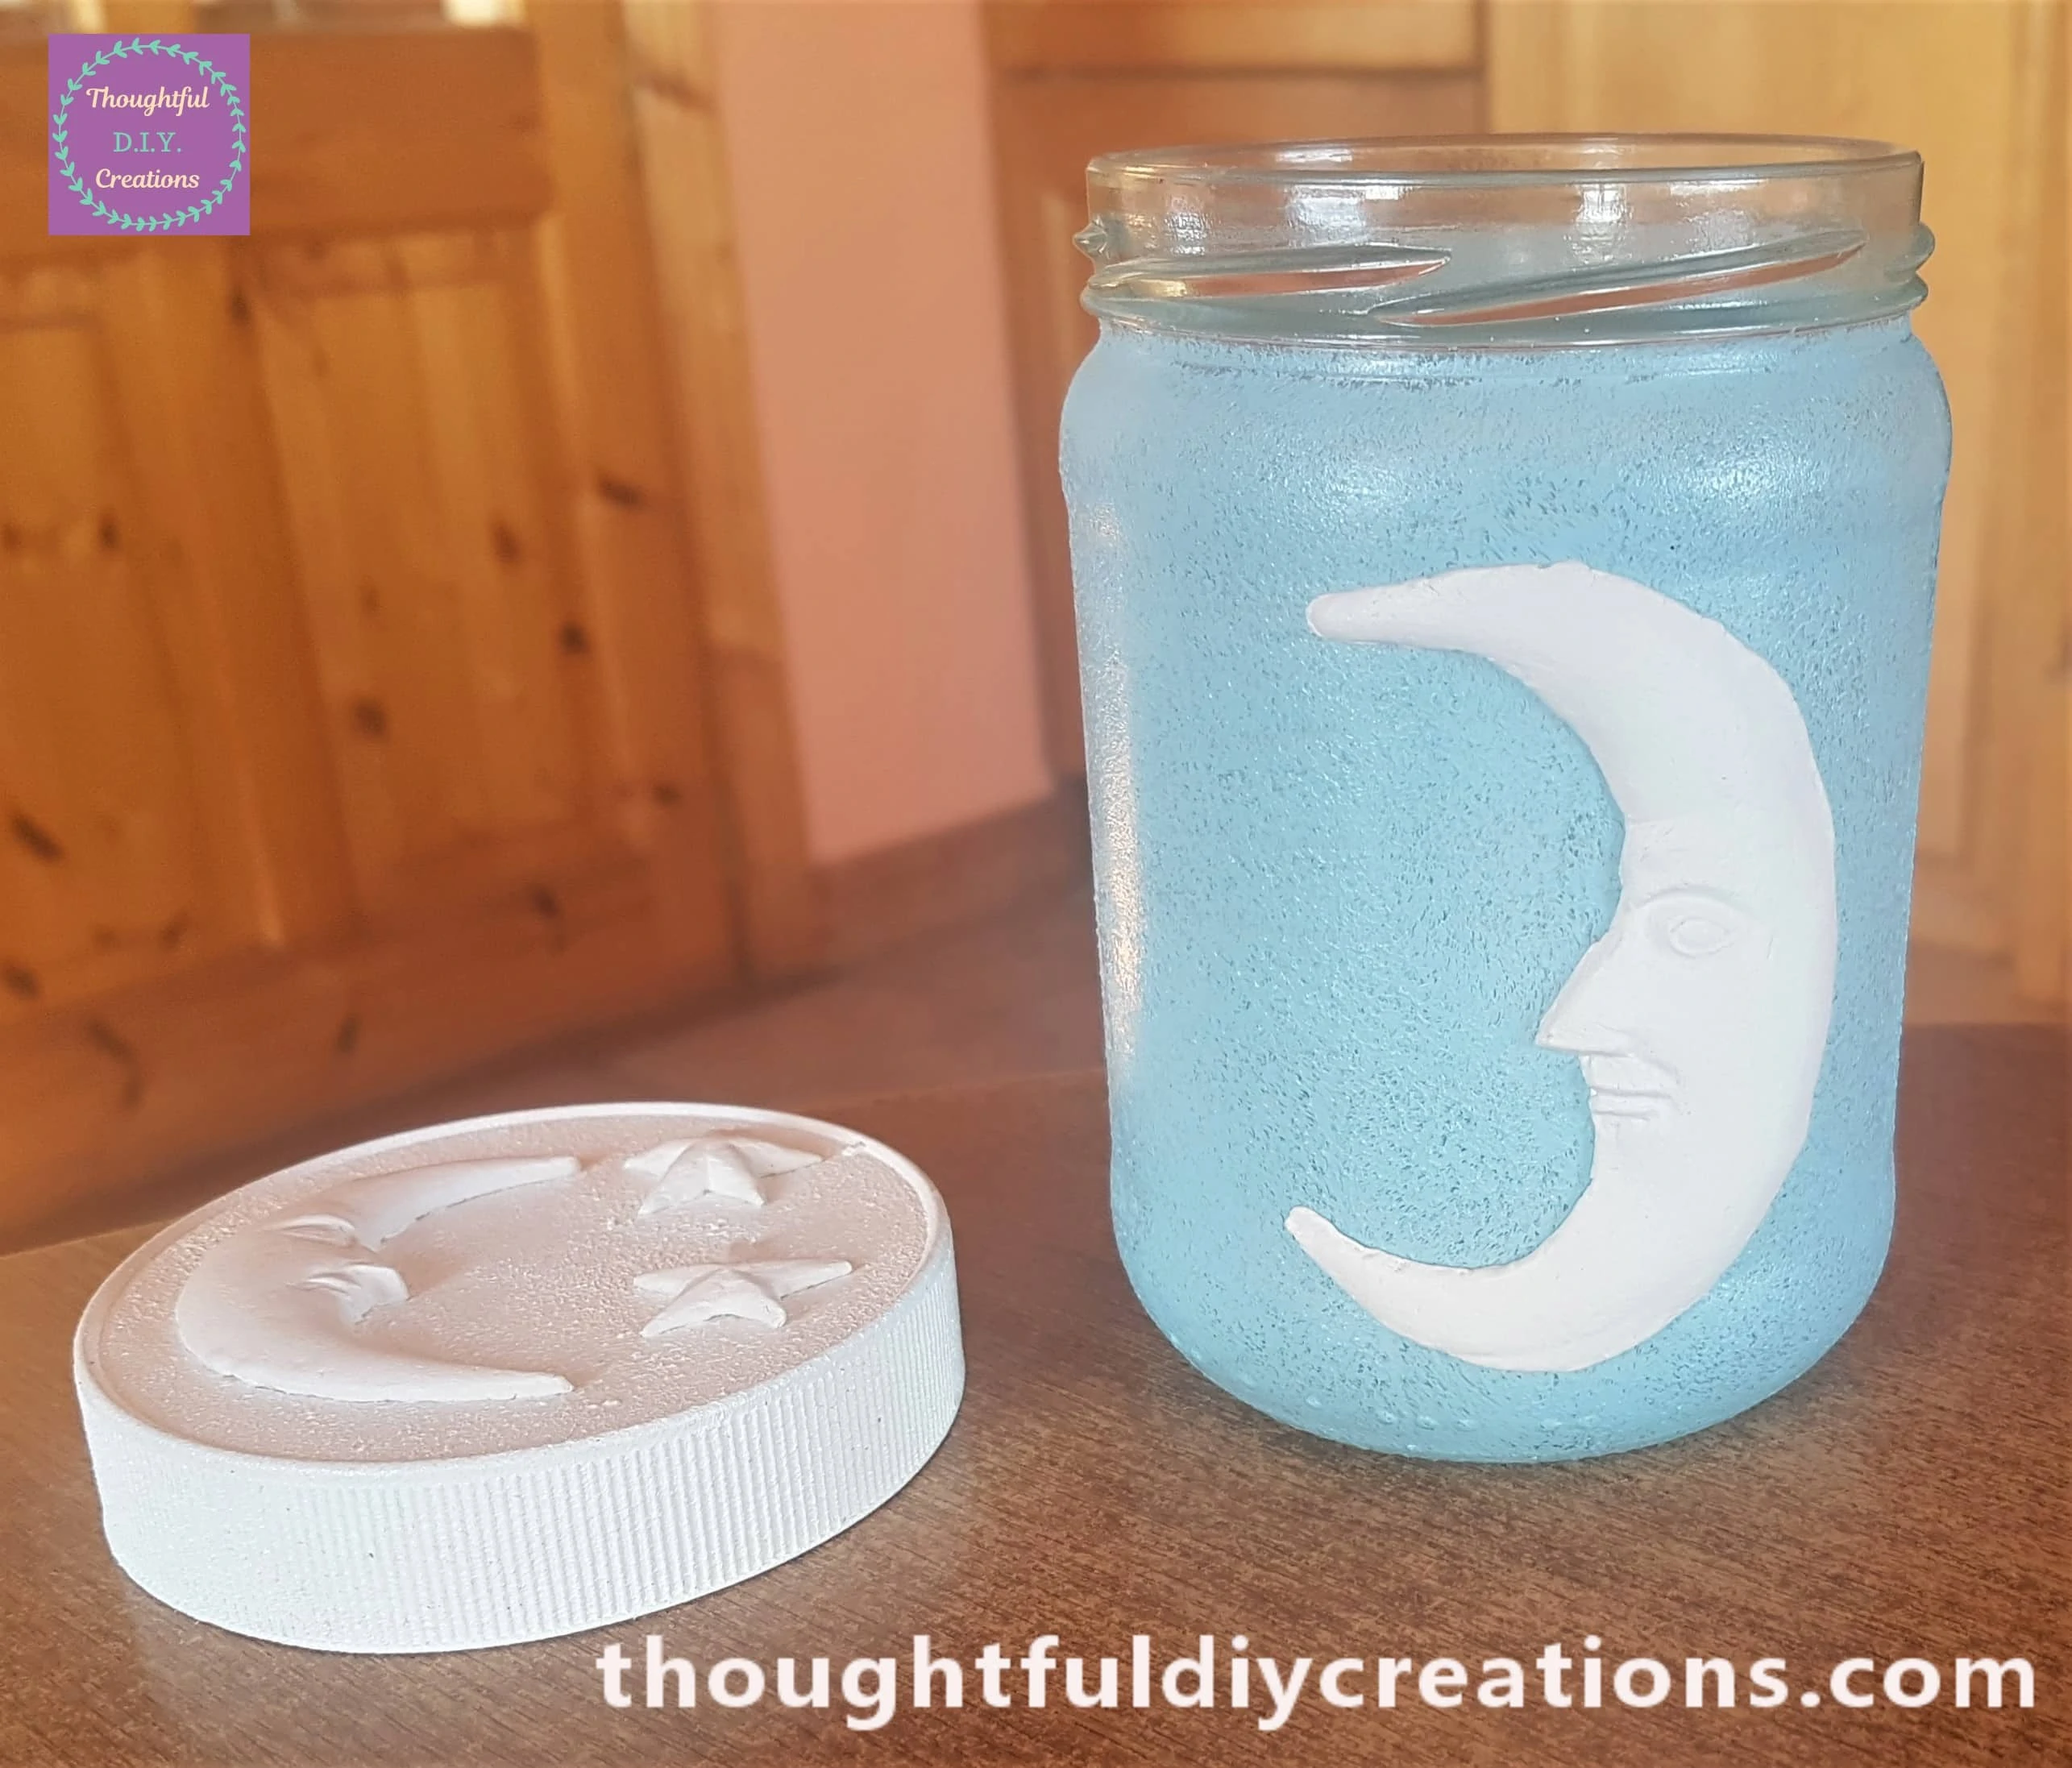
I allowed a Week for the Clay Moulds to fully Air-Dry. You don’t really have to wait this long I just prefer giving them the extra time before moving on to the next step.
Adding Gesso to the Moon and Stars
I added a layer of ‘Acrylic White Gesso’ using a small fine- tip paintbrush to the Moon and Stars on the Lid, to prime them.
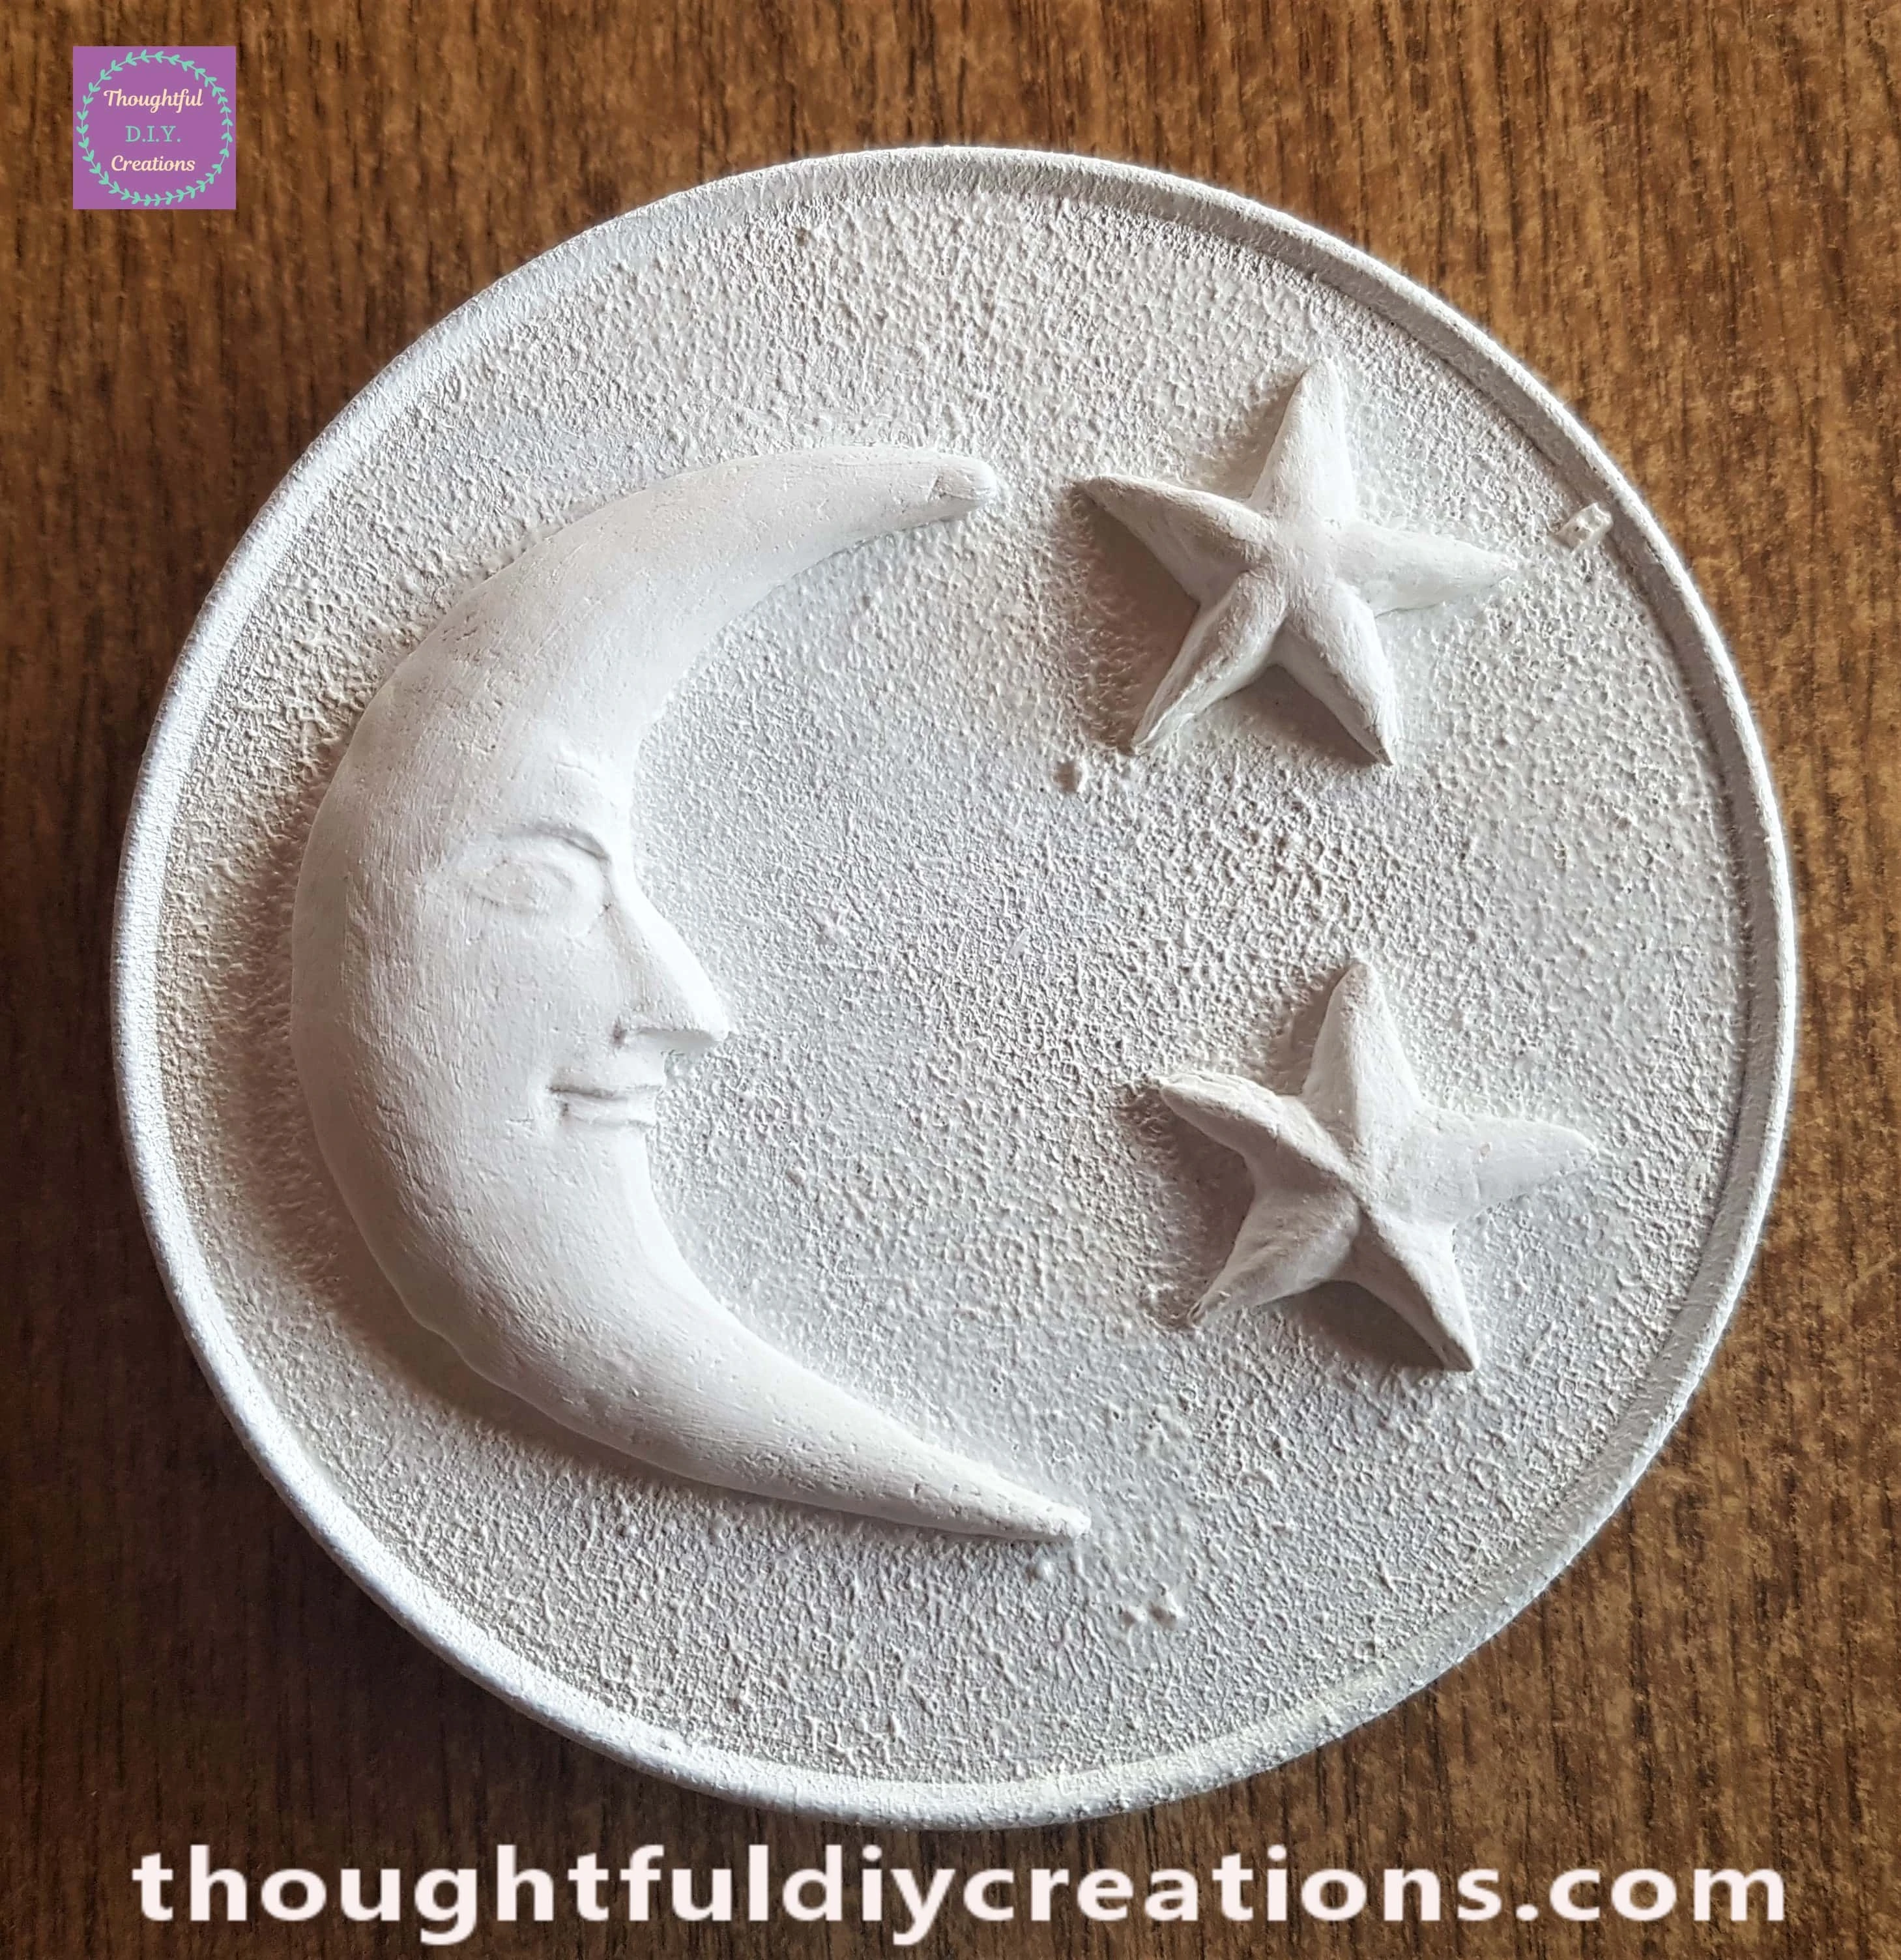
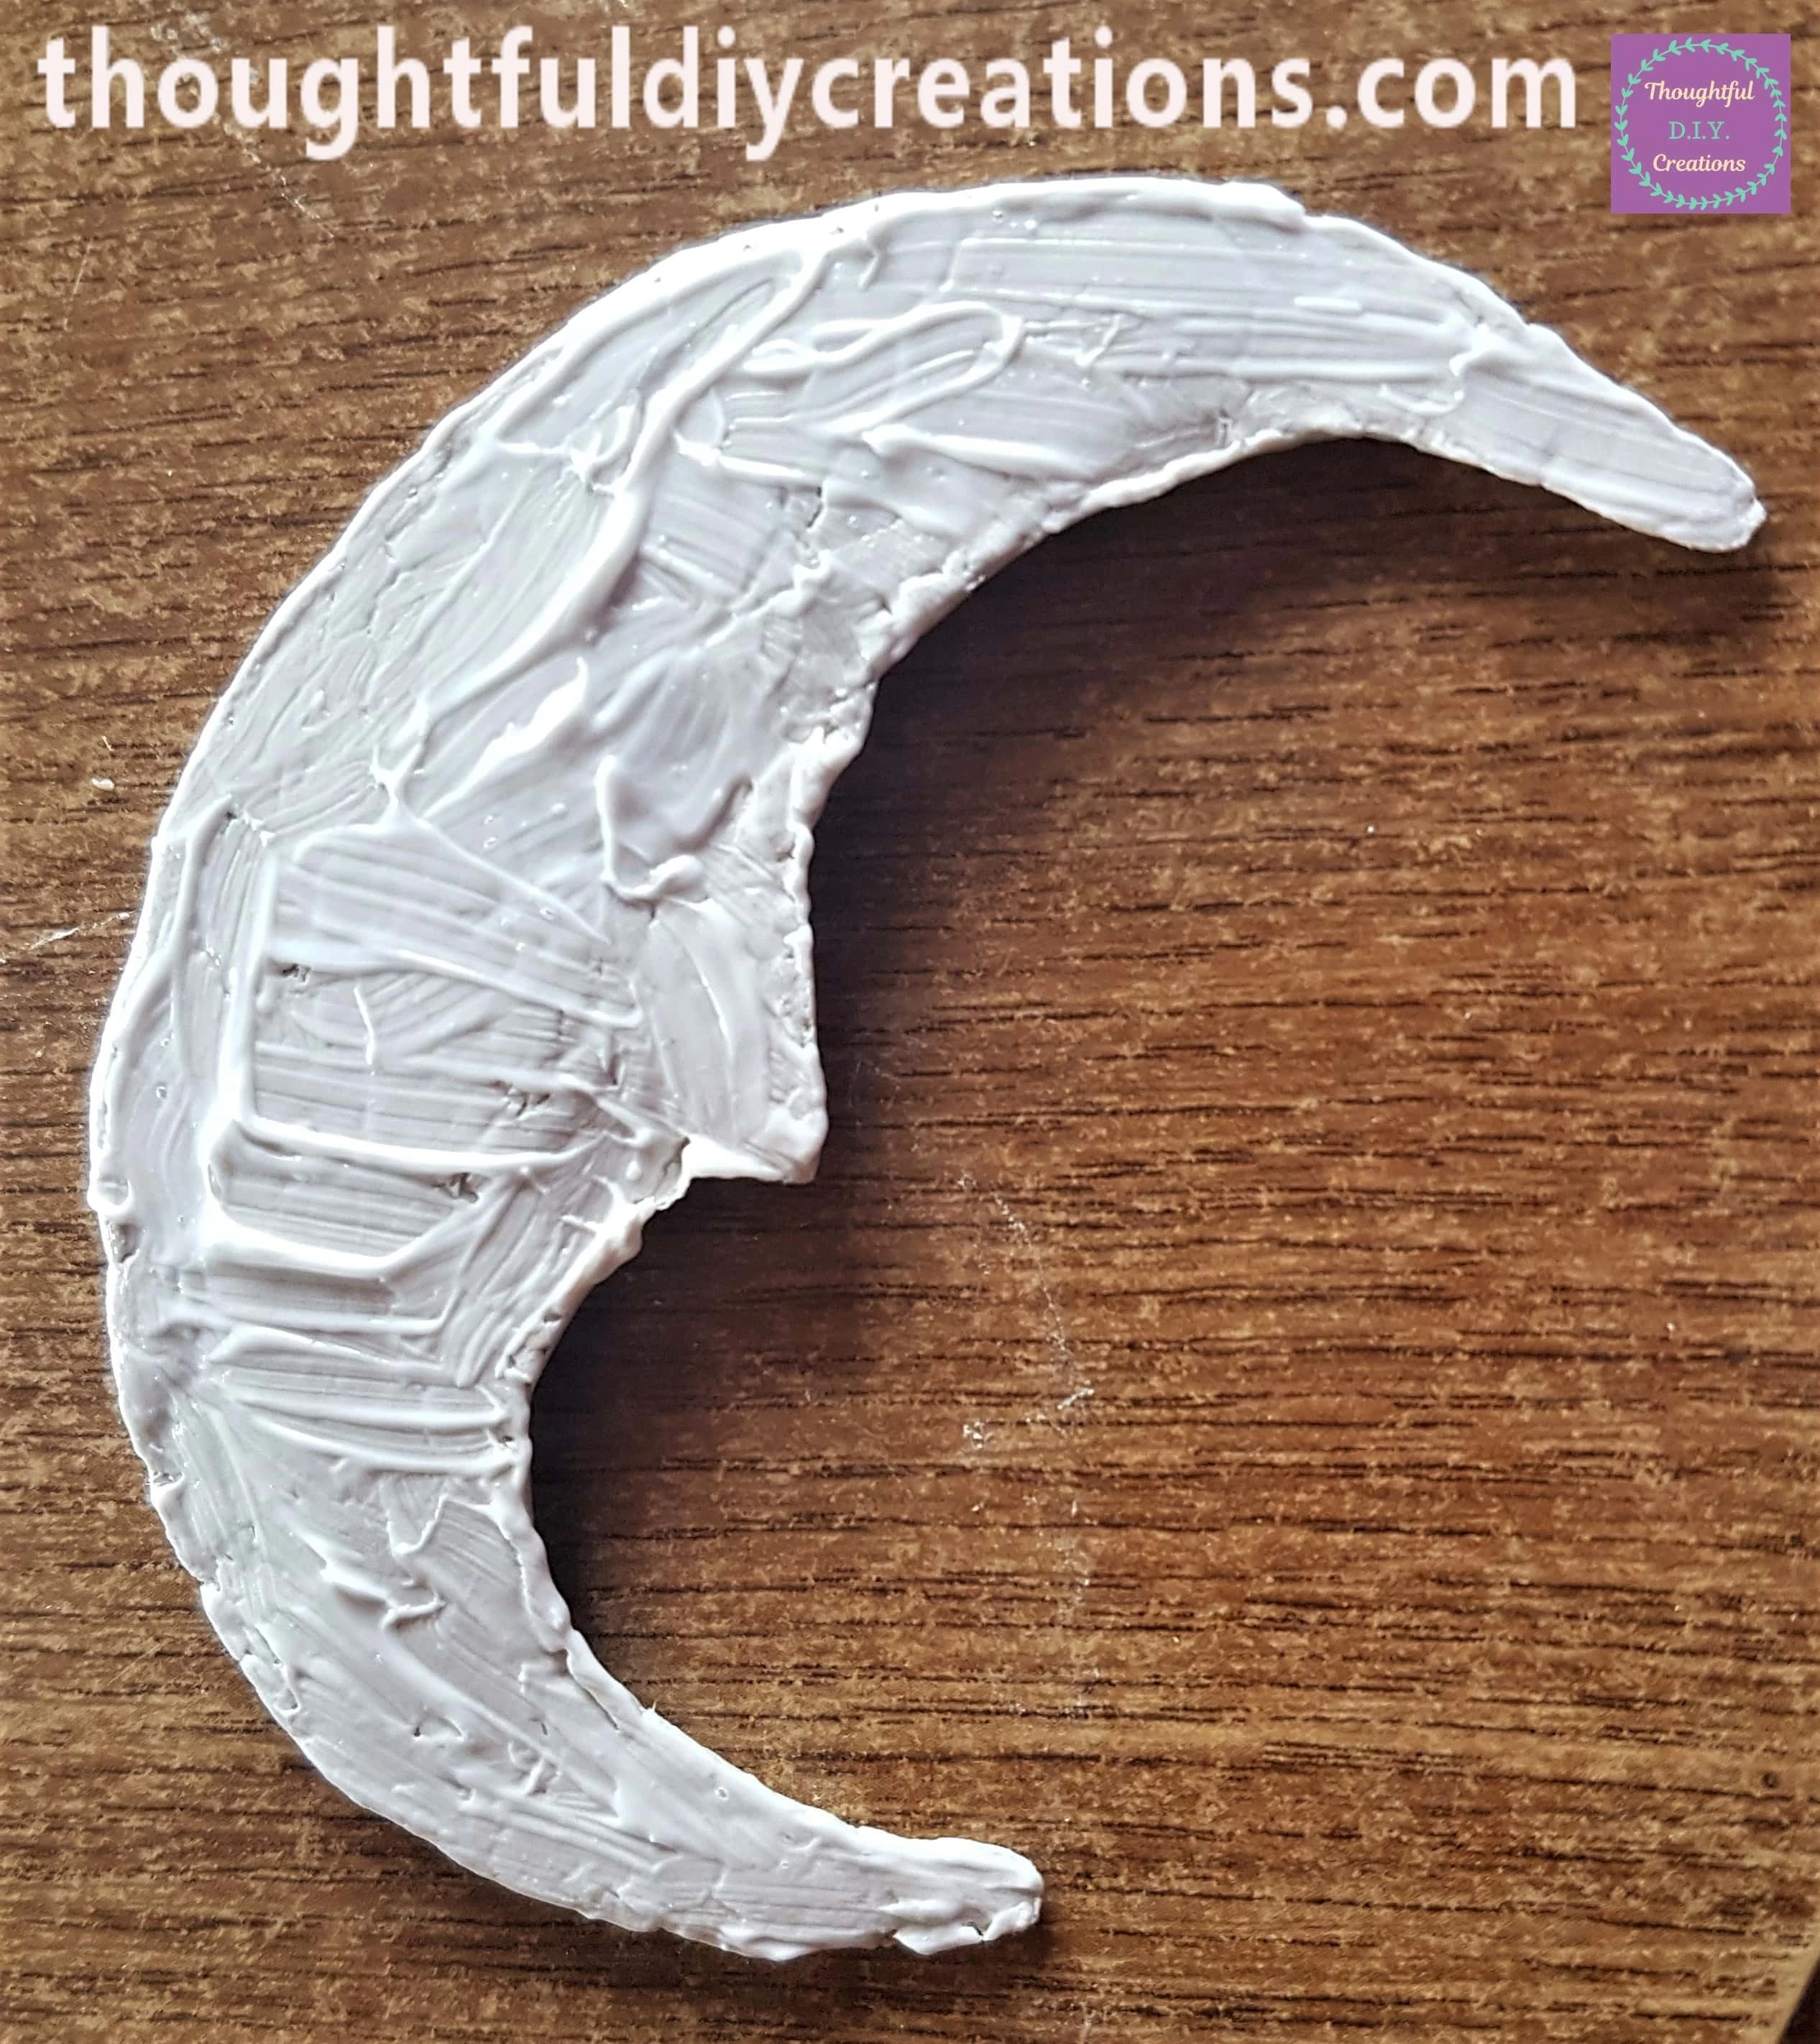
I applied Gesso to the Moon on the Jar.
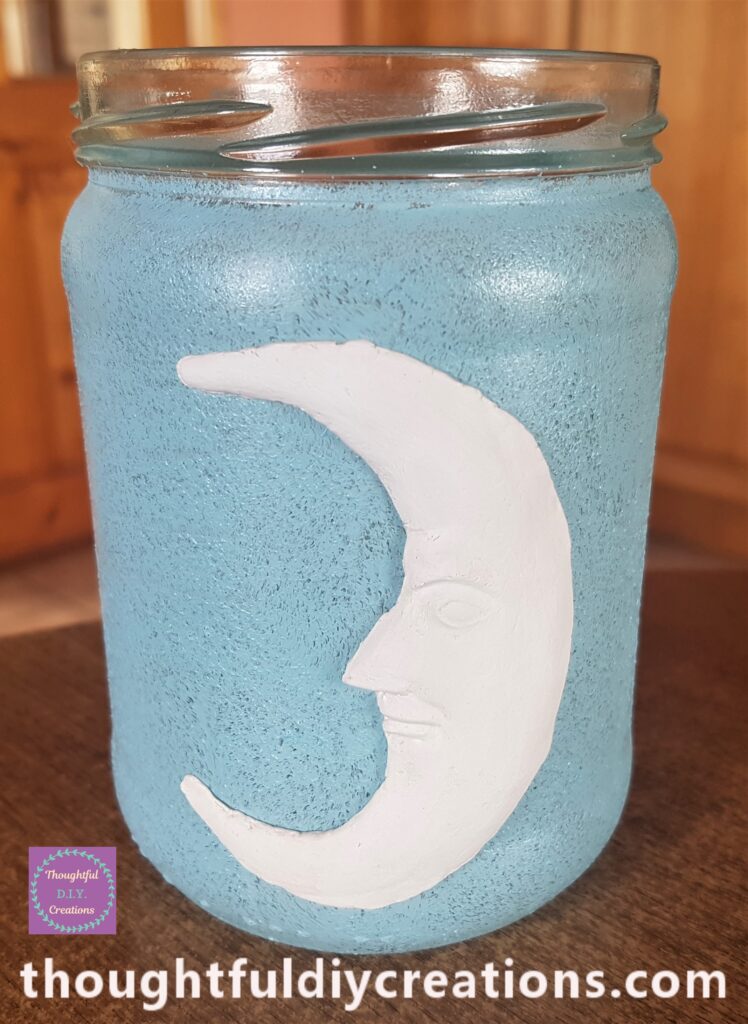
The Stars on the Back of the Jar were also primed with Gesso.
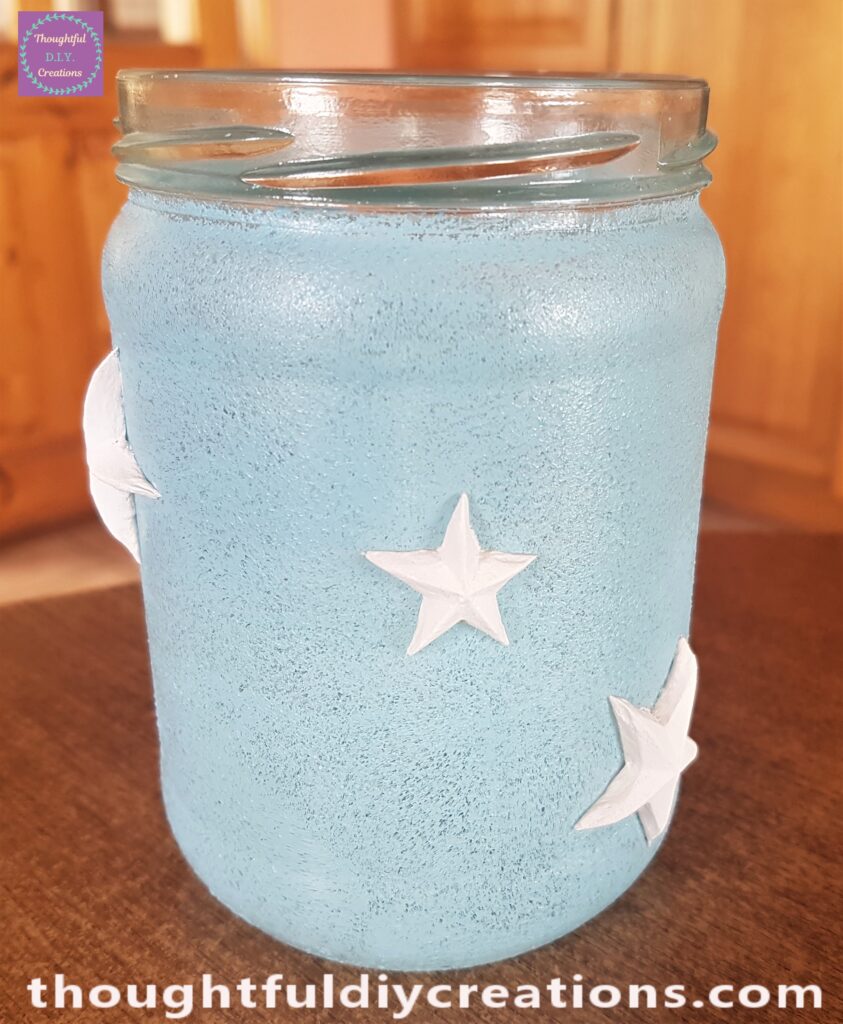
Painting the Moon and Stars
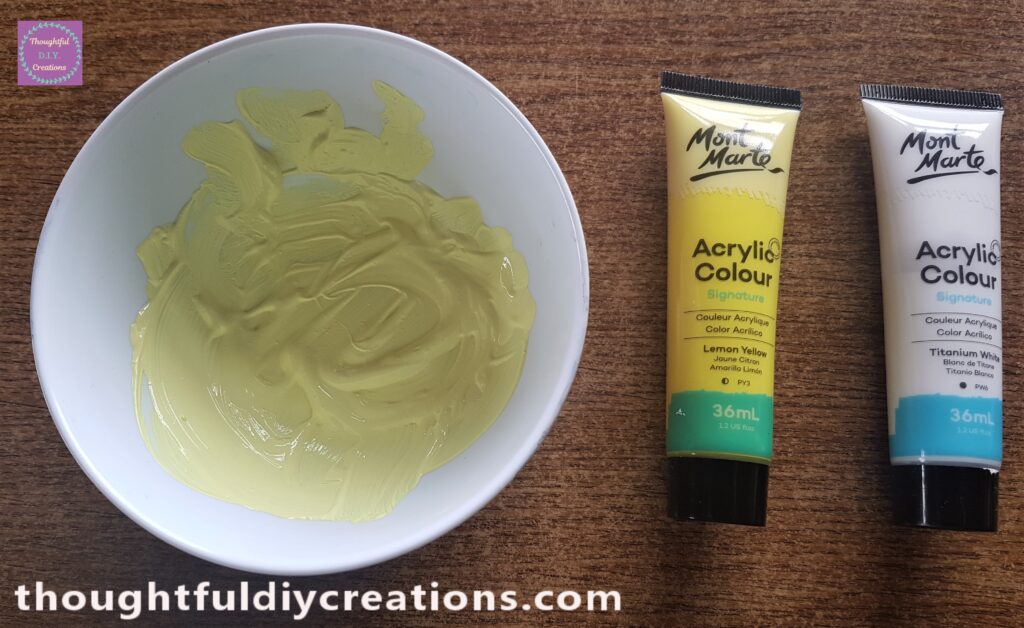
I mixed ‘White Acrylic Paint’ with ‘Lemon Yellow’ to make a Paler Shade of Yellow Paint.
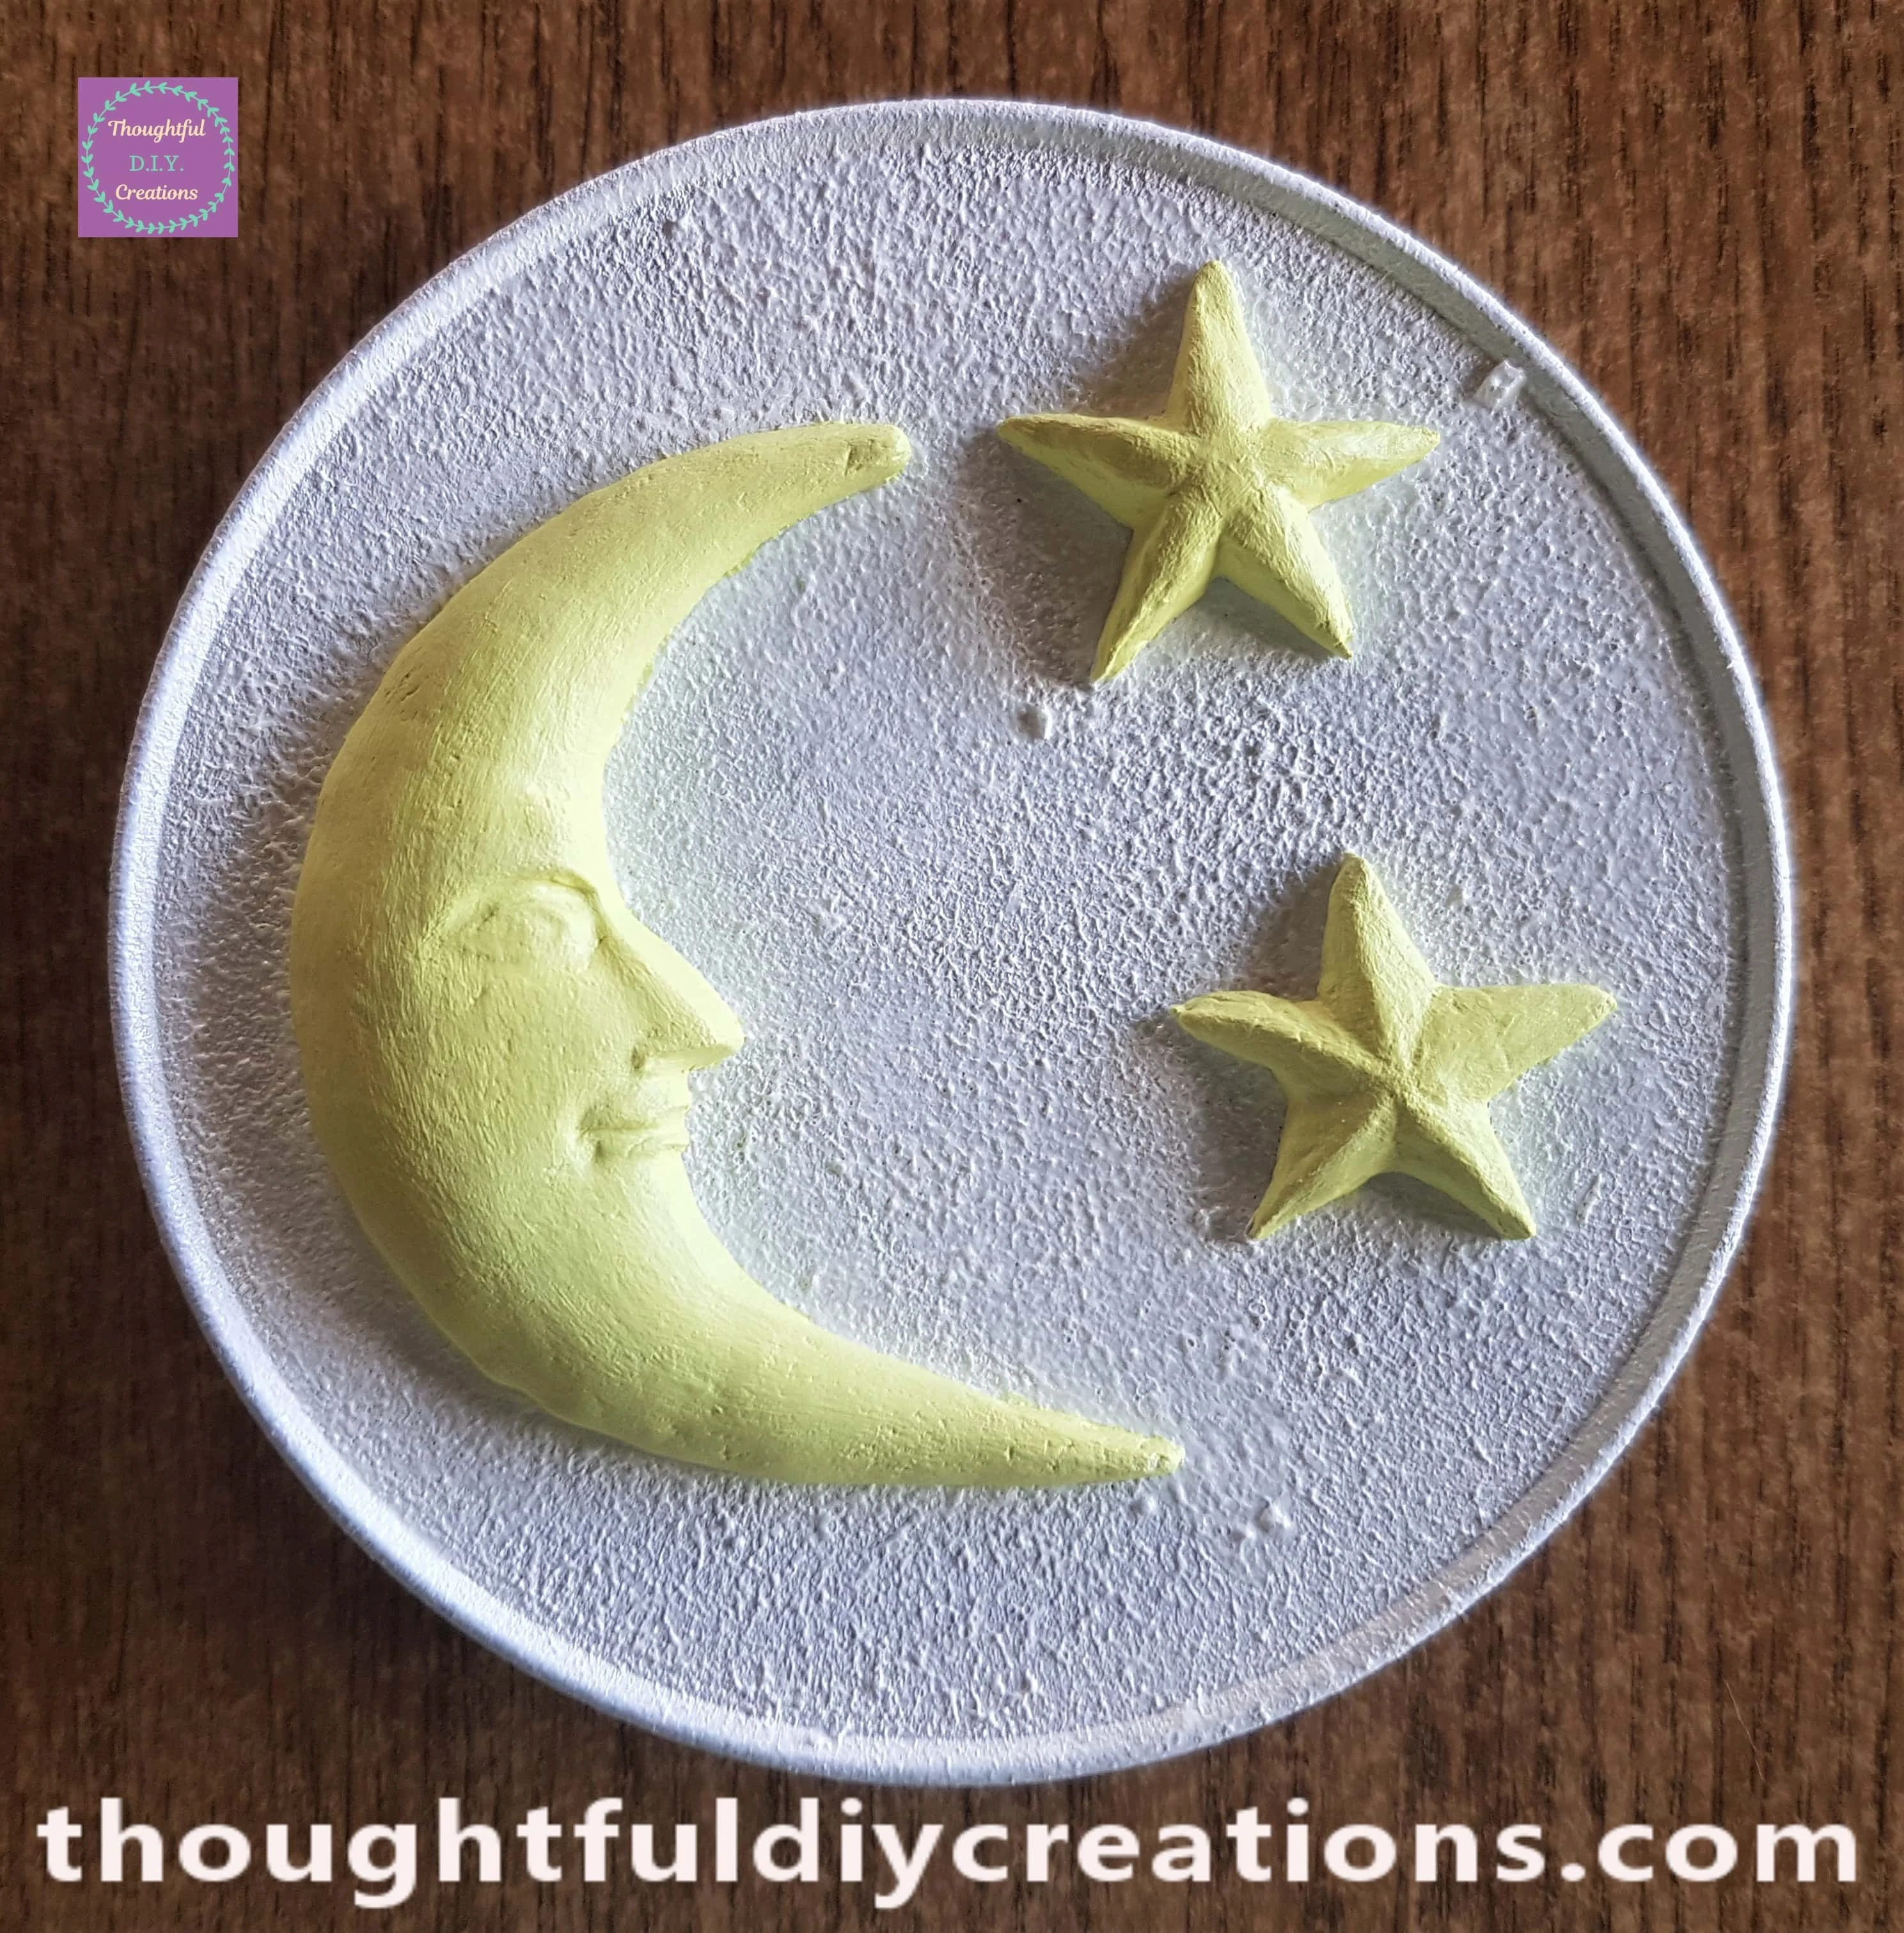
I Painted two layers of the Yellow Paint onto the Moon and Stars on the Lid leaving an hour between each layer.
I also Painted 2 layers onto the Stars on the Jar.
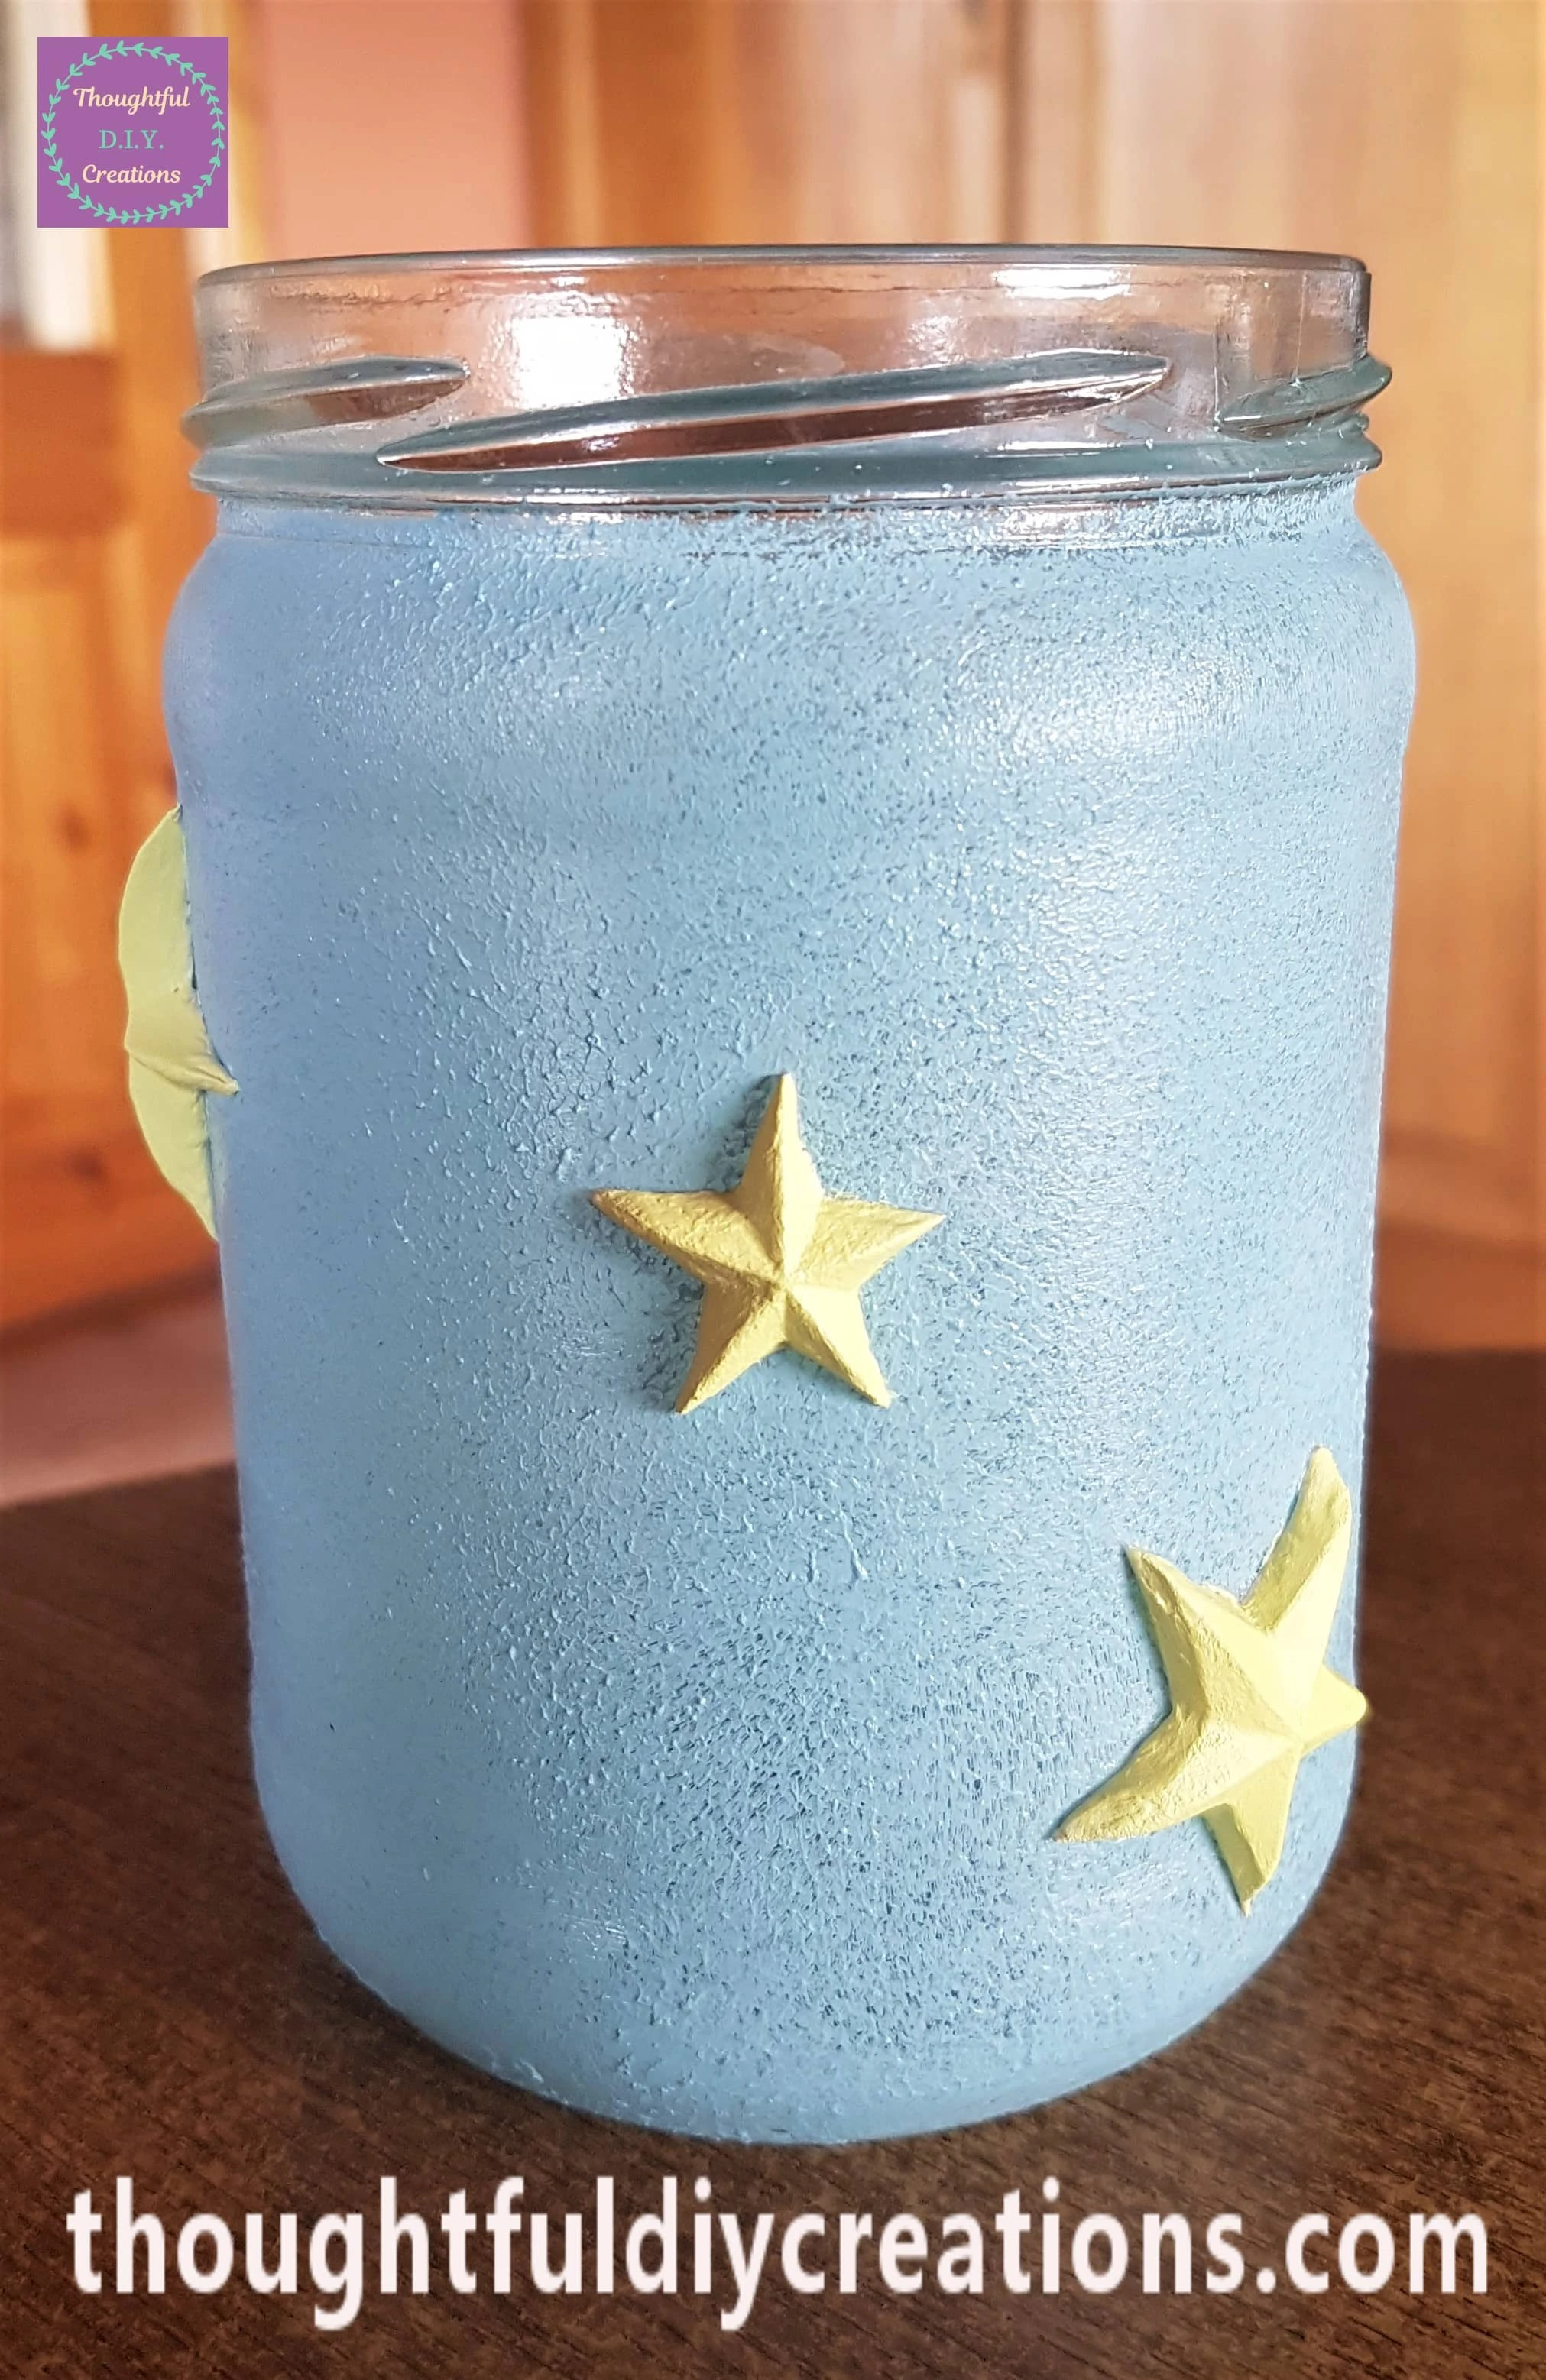
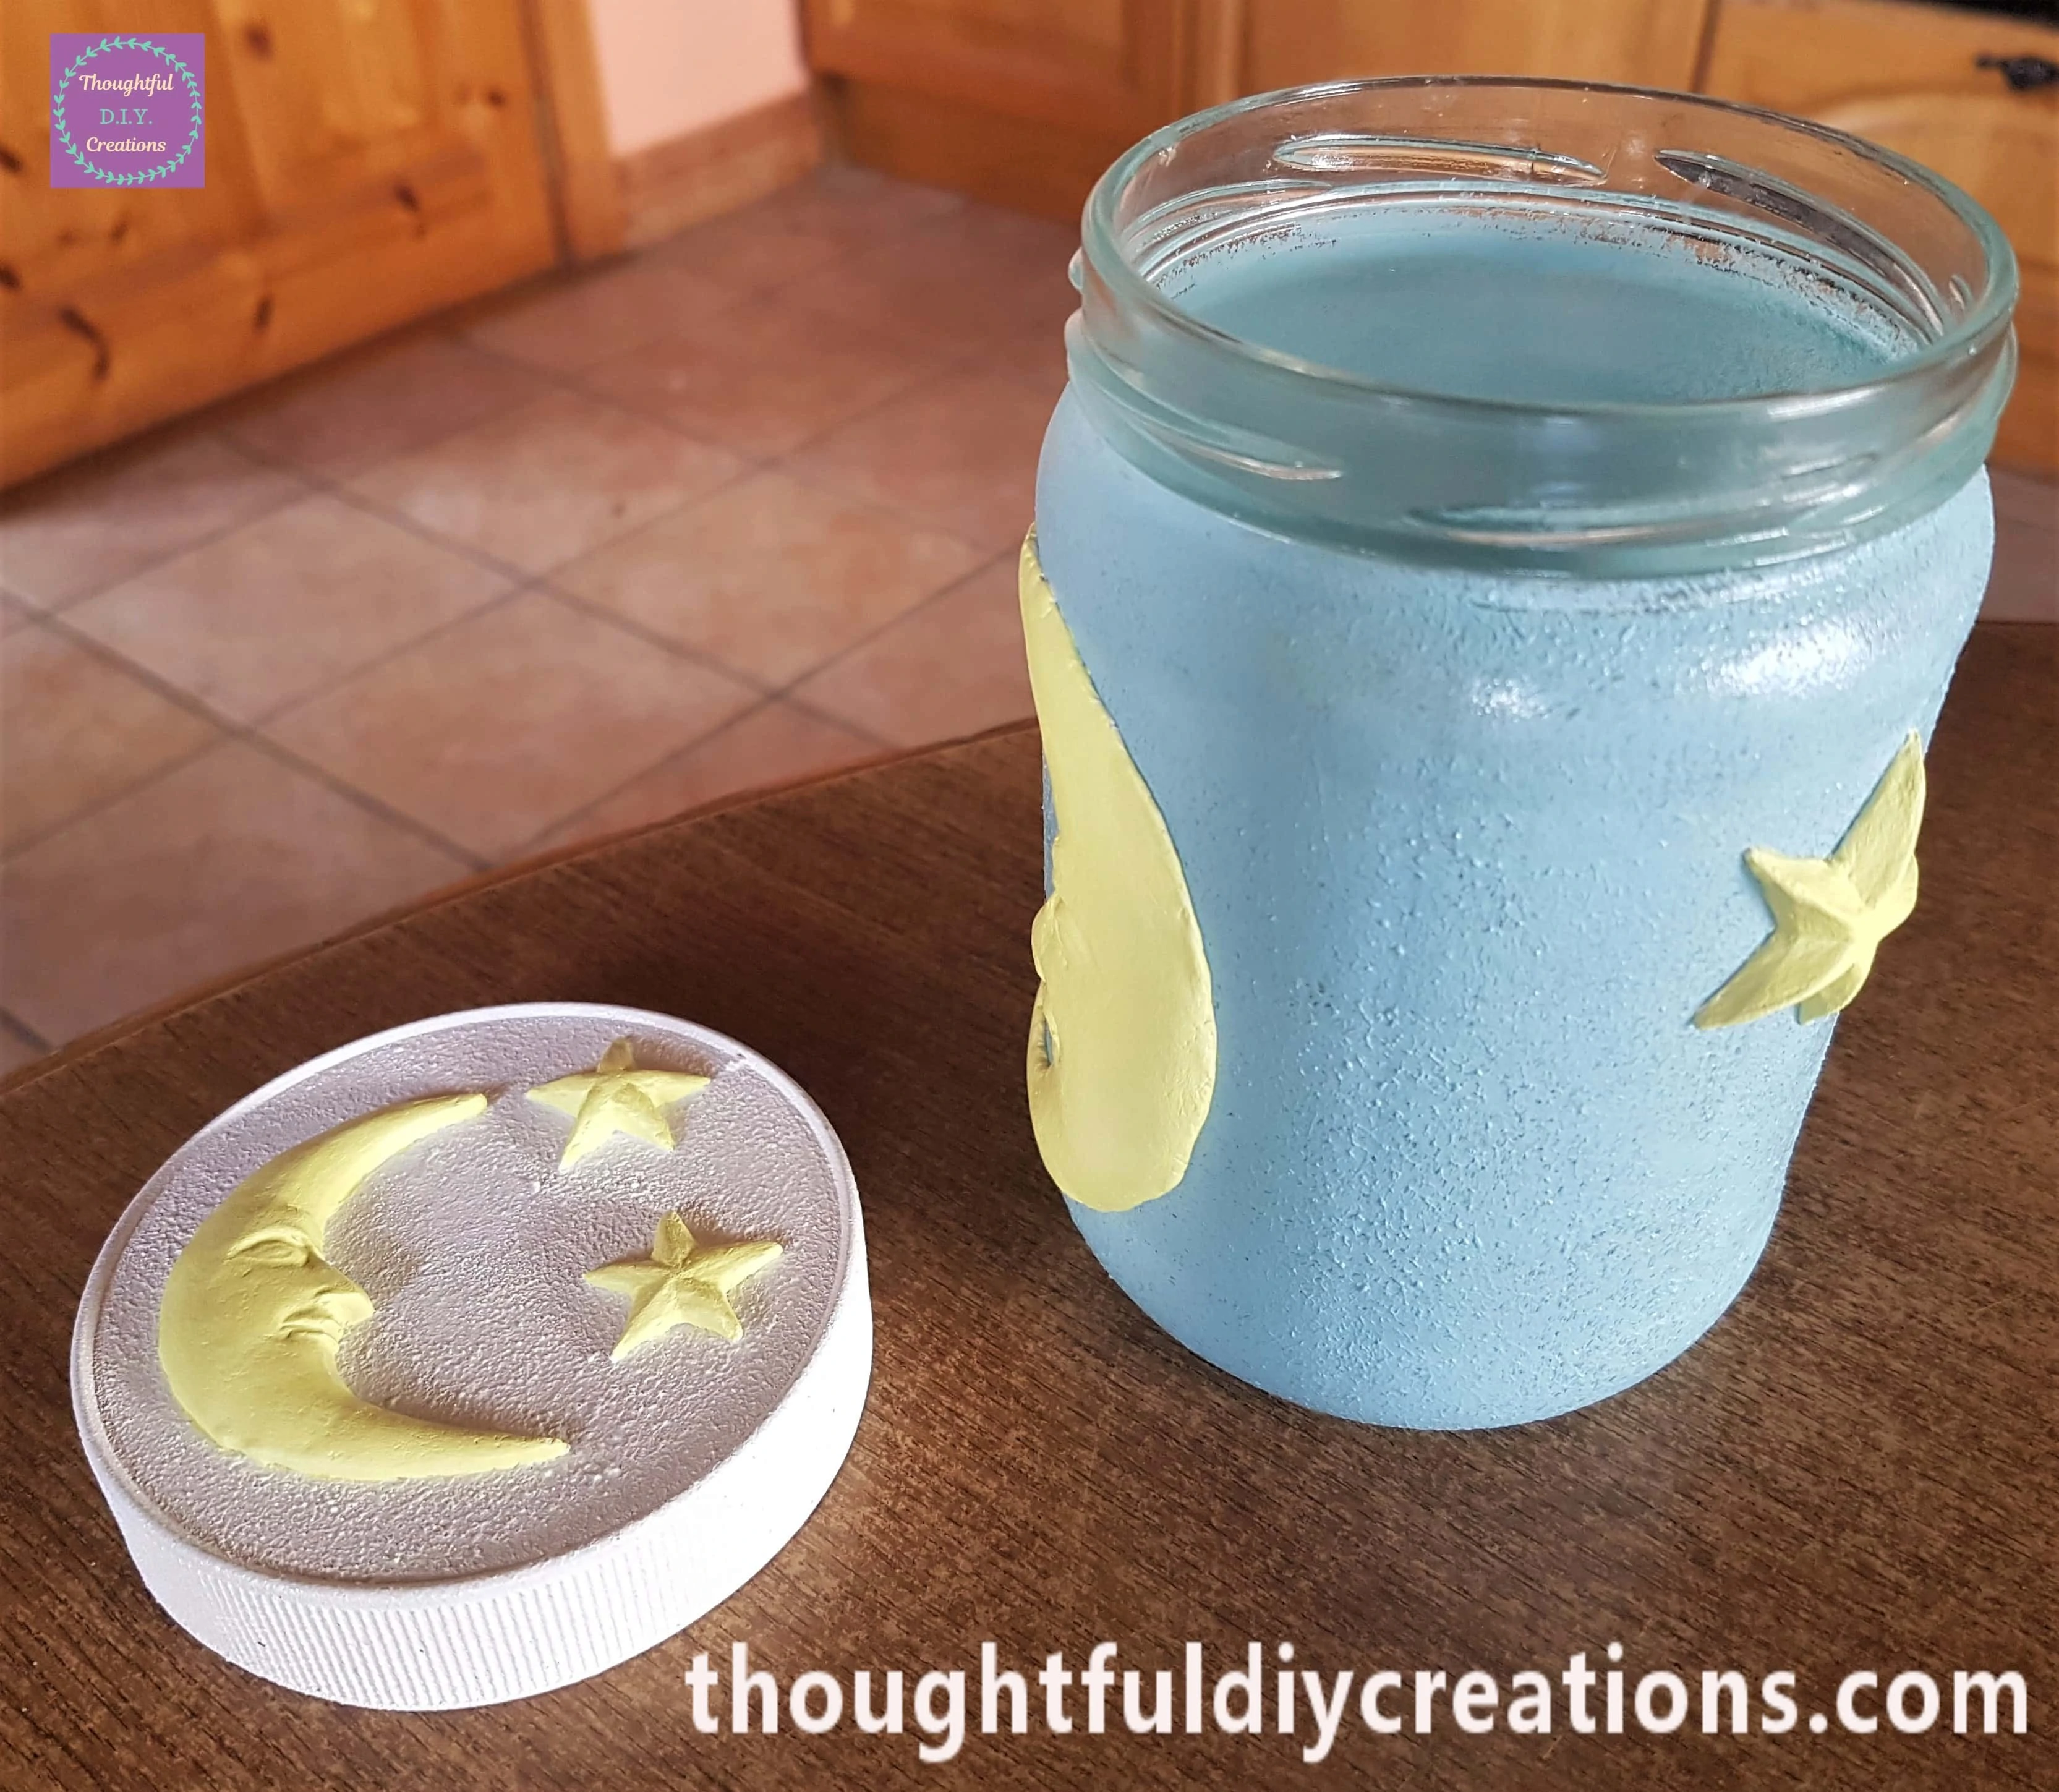
The Lid and Jar after the Moon and Stars were Painted Yellow.
Adding a Quote onto the Jar
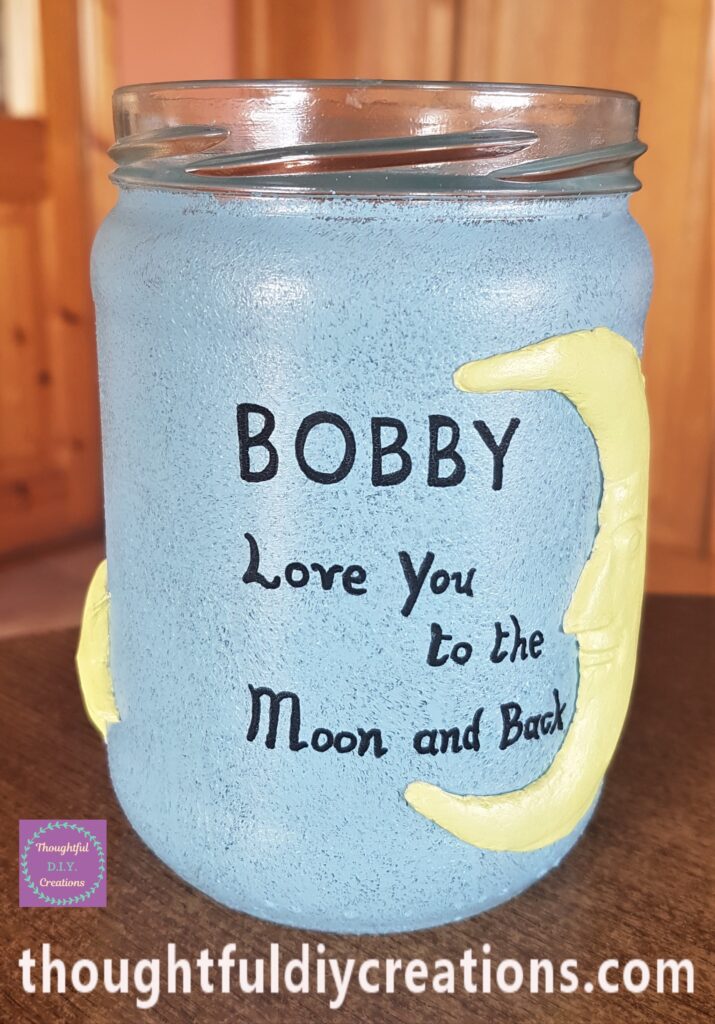
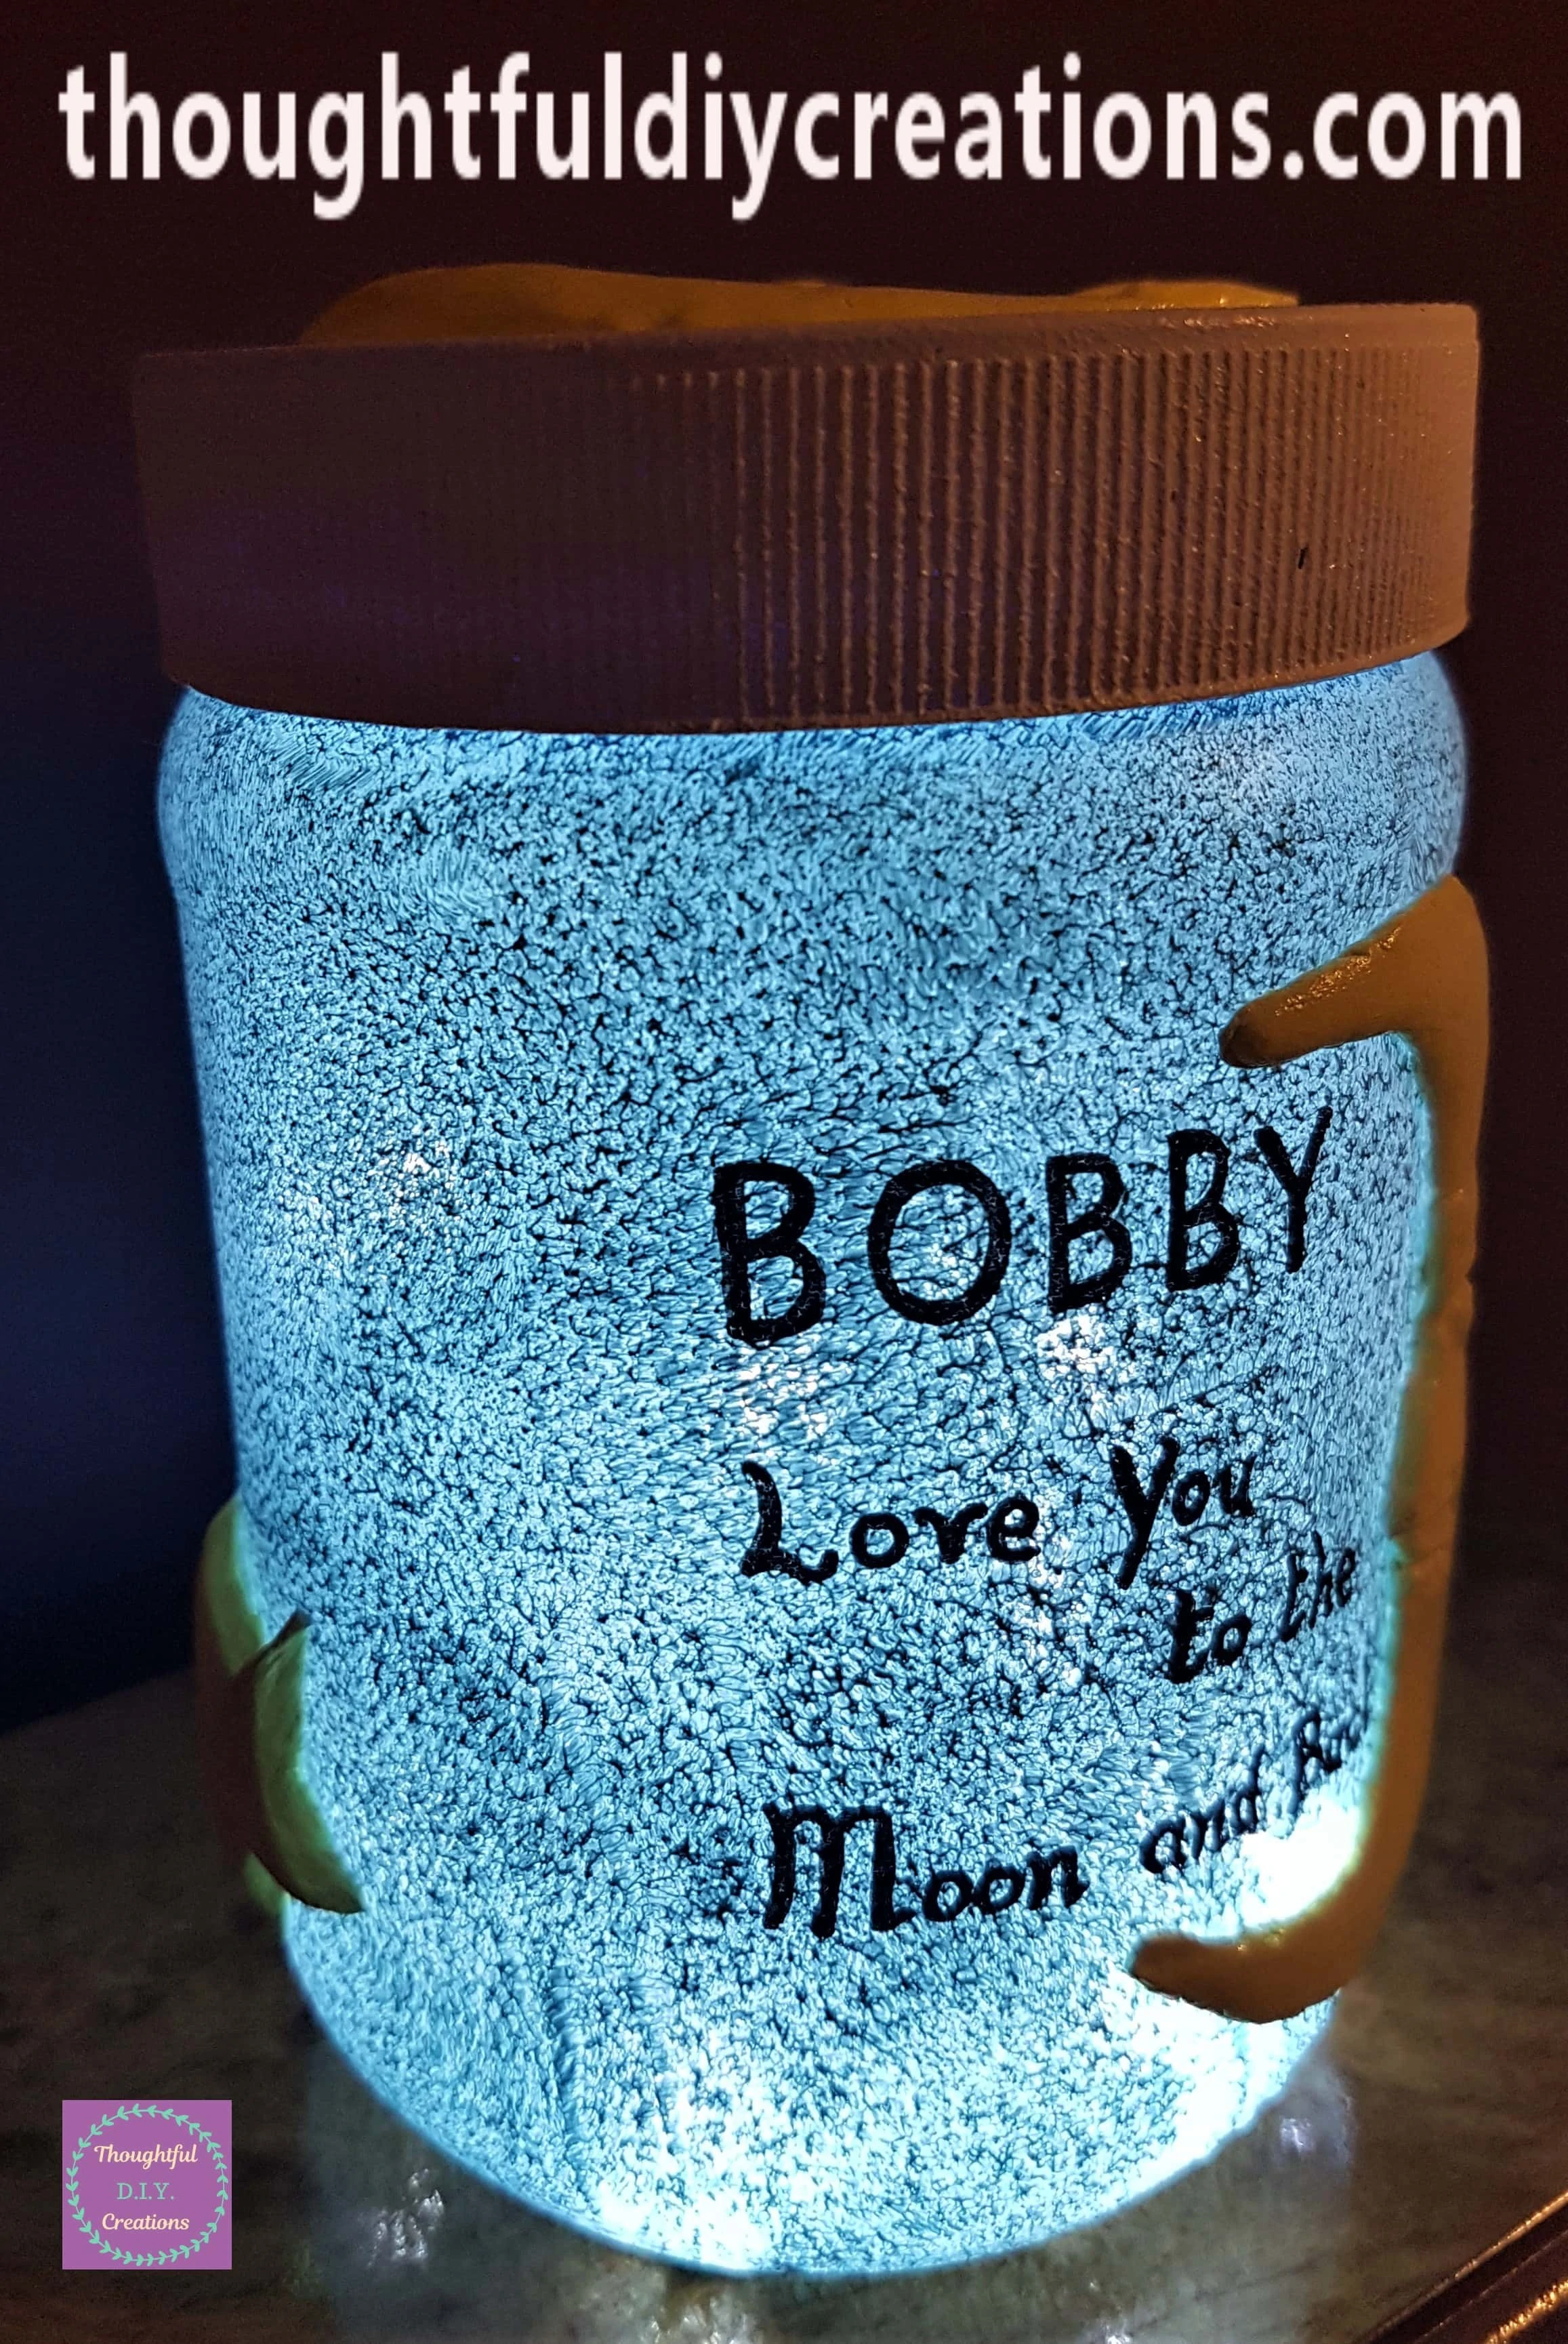
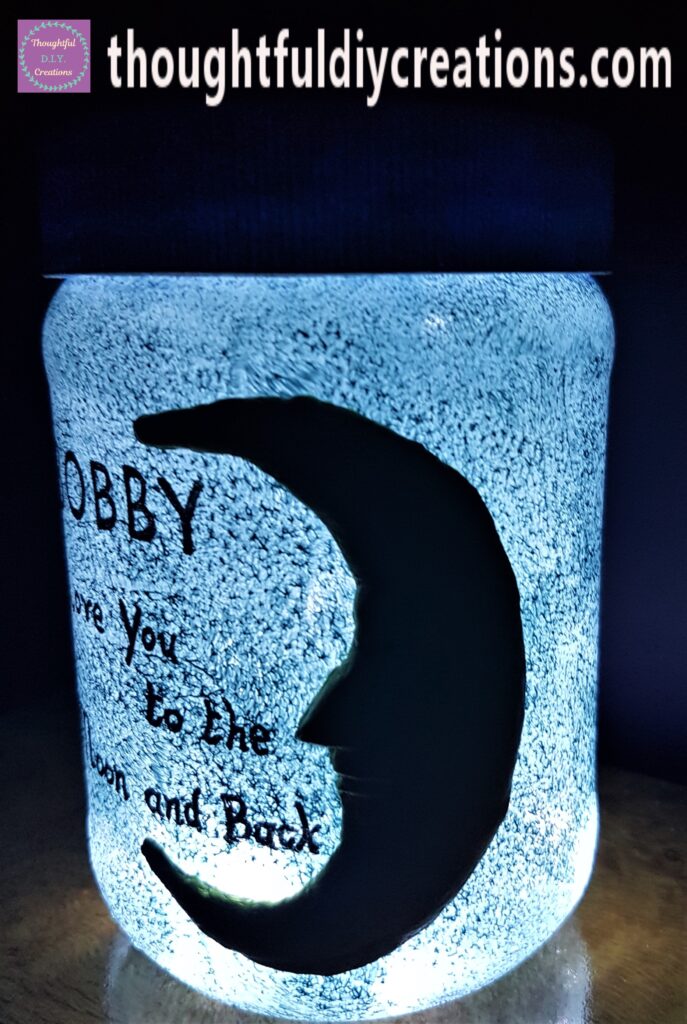
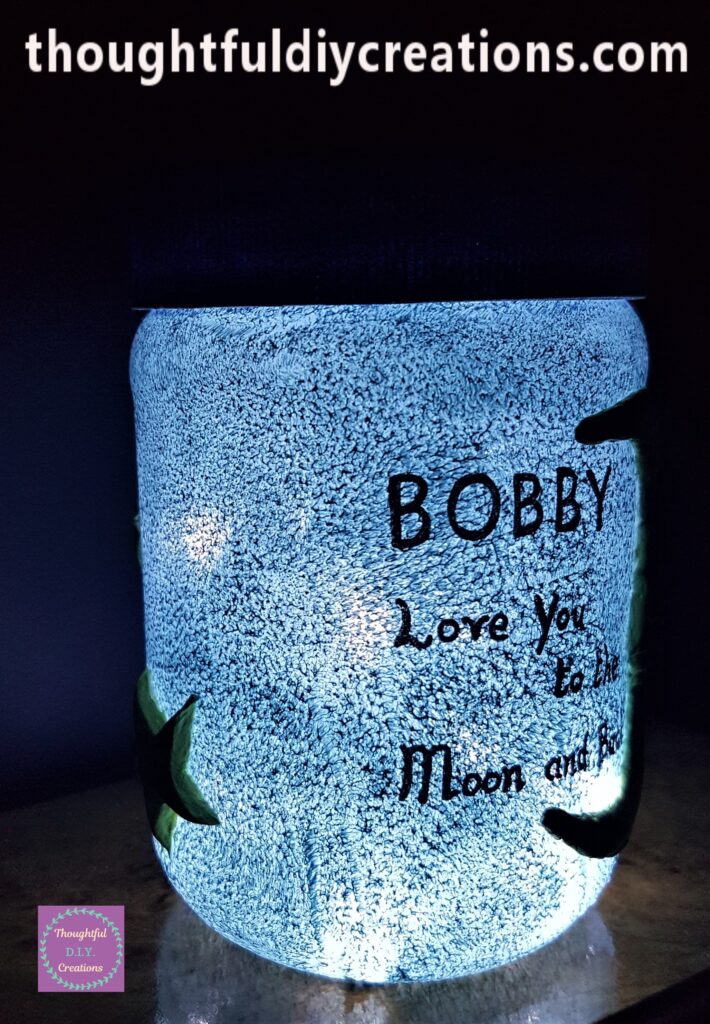
That evening I got my ‘Black uni POSCA Acrylic Paint Pen 0.7mm’ and wrote ‘BOBBY Love You to the Moon and Back’ on the front of the Jar beside the Clay Moon.
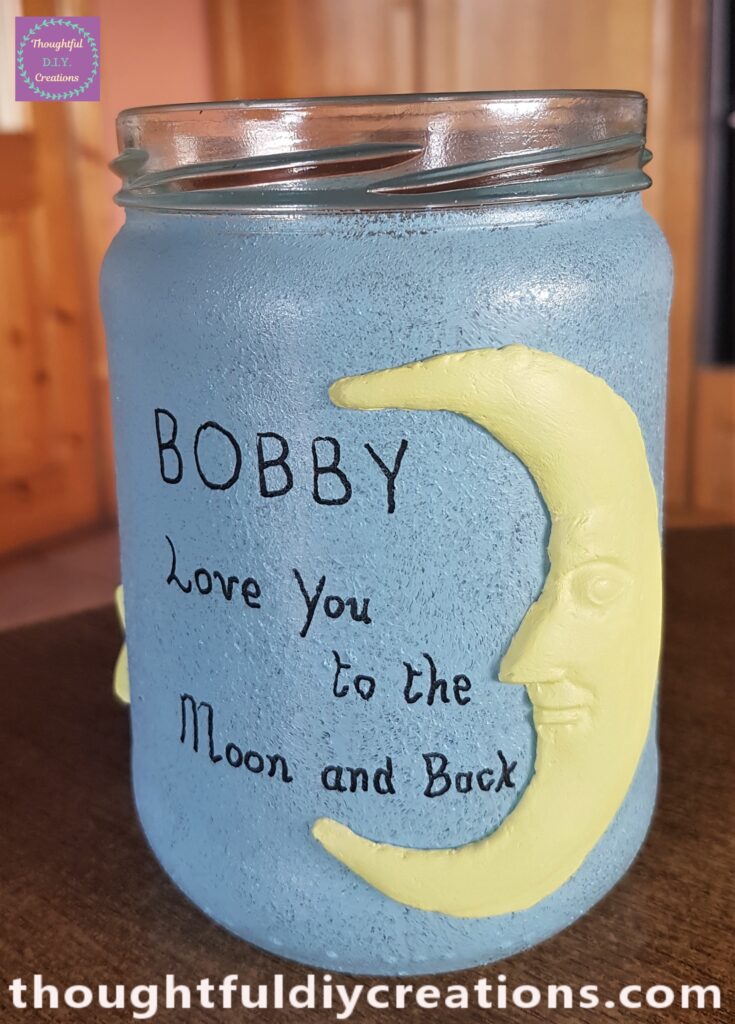
An hour later I added another layer of the Paint Pen over the Font to make it more visible.
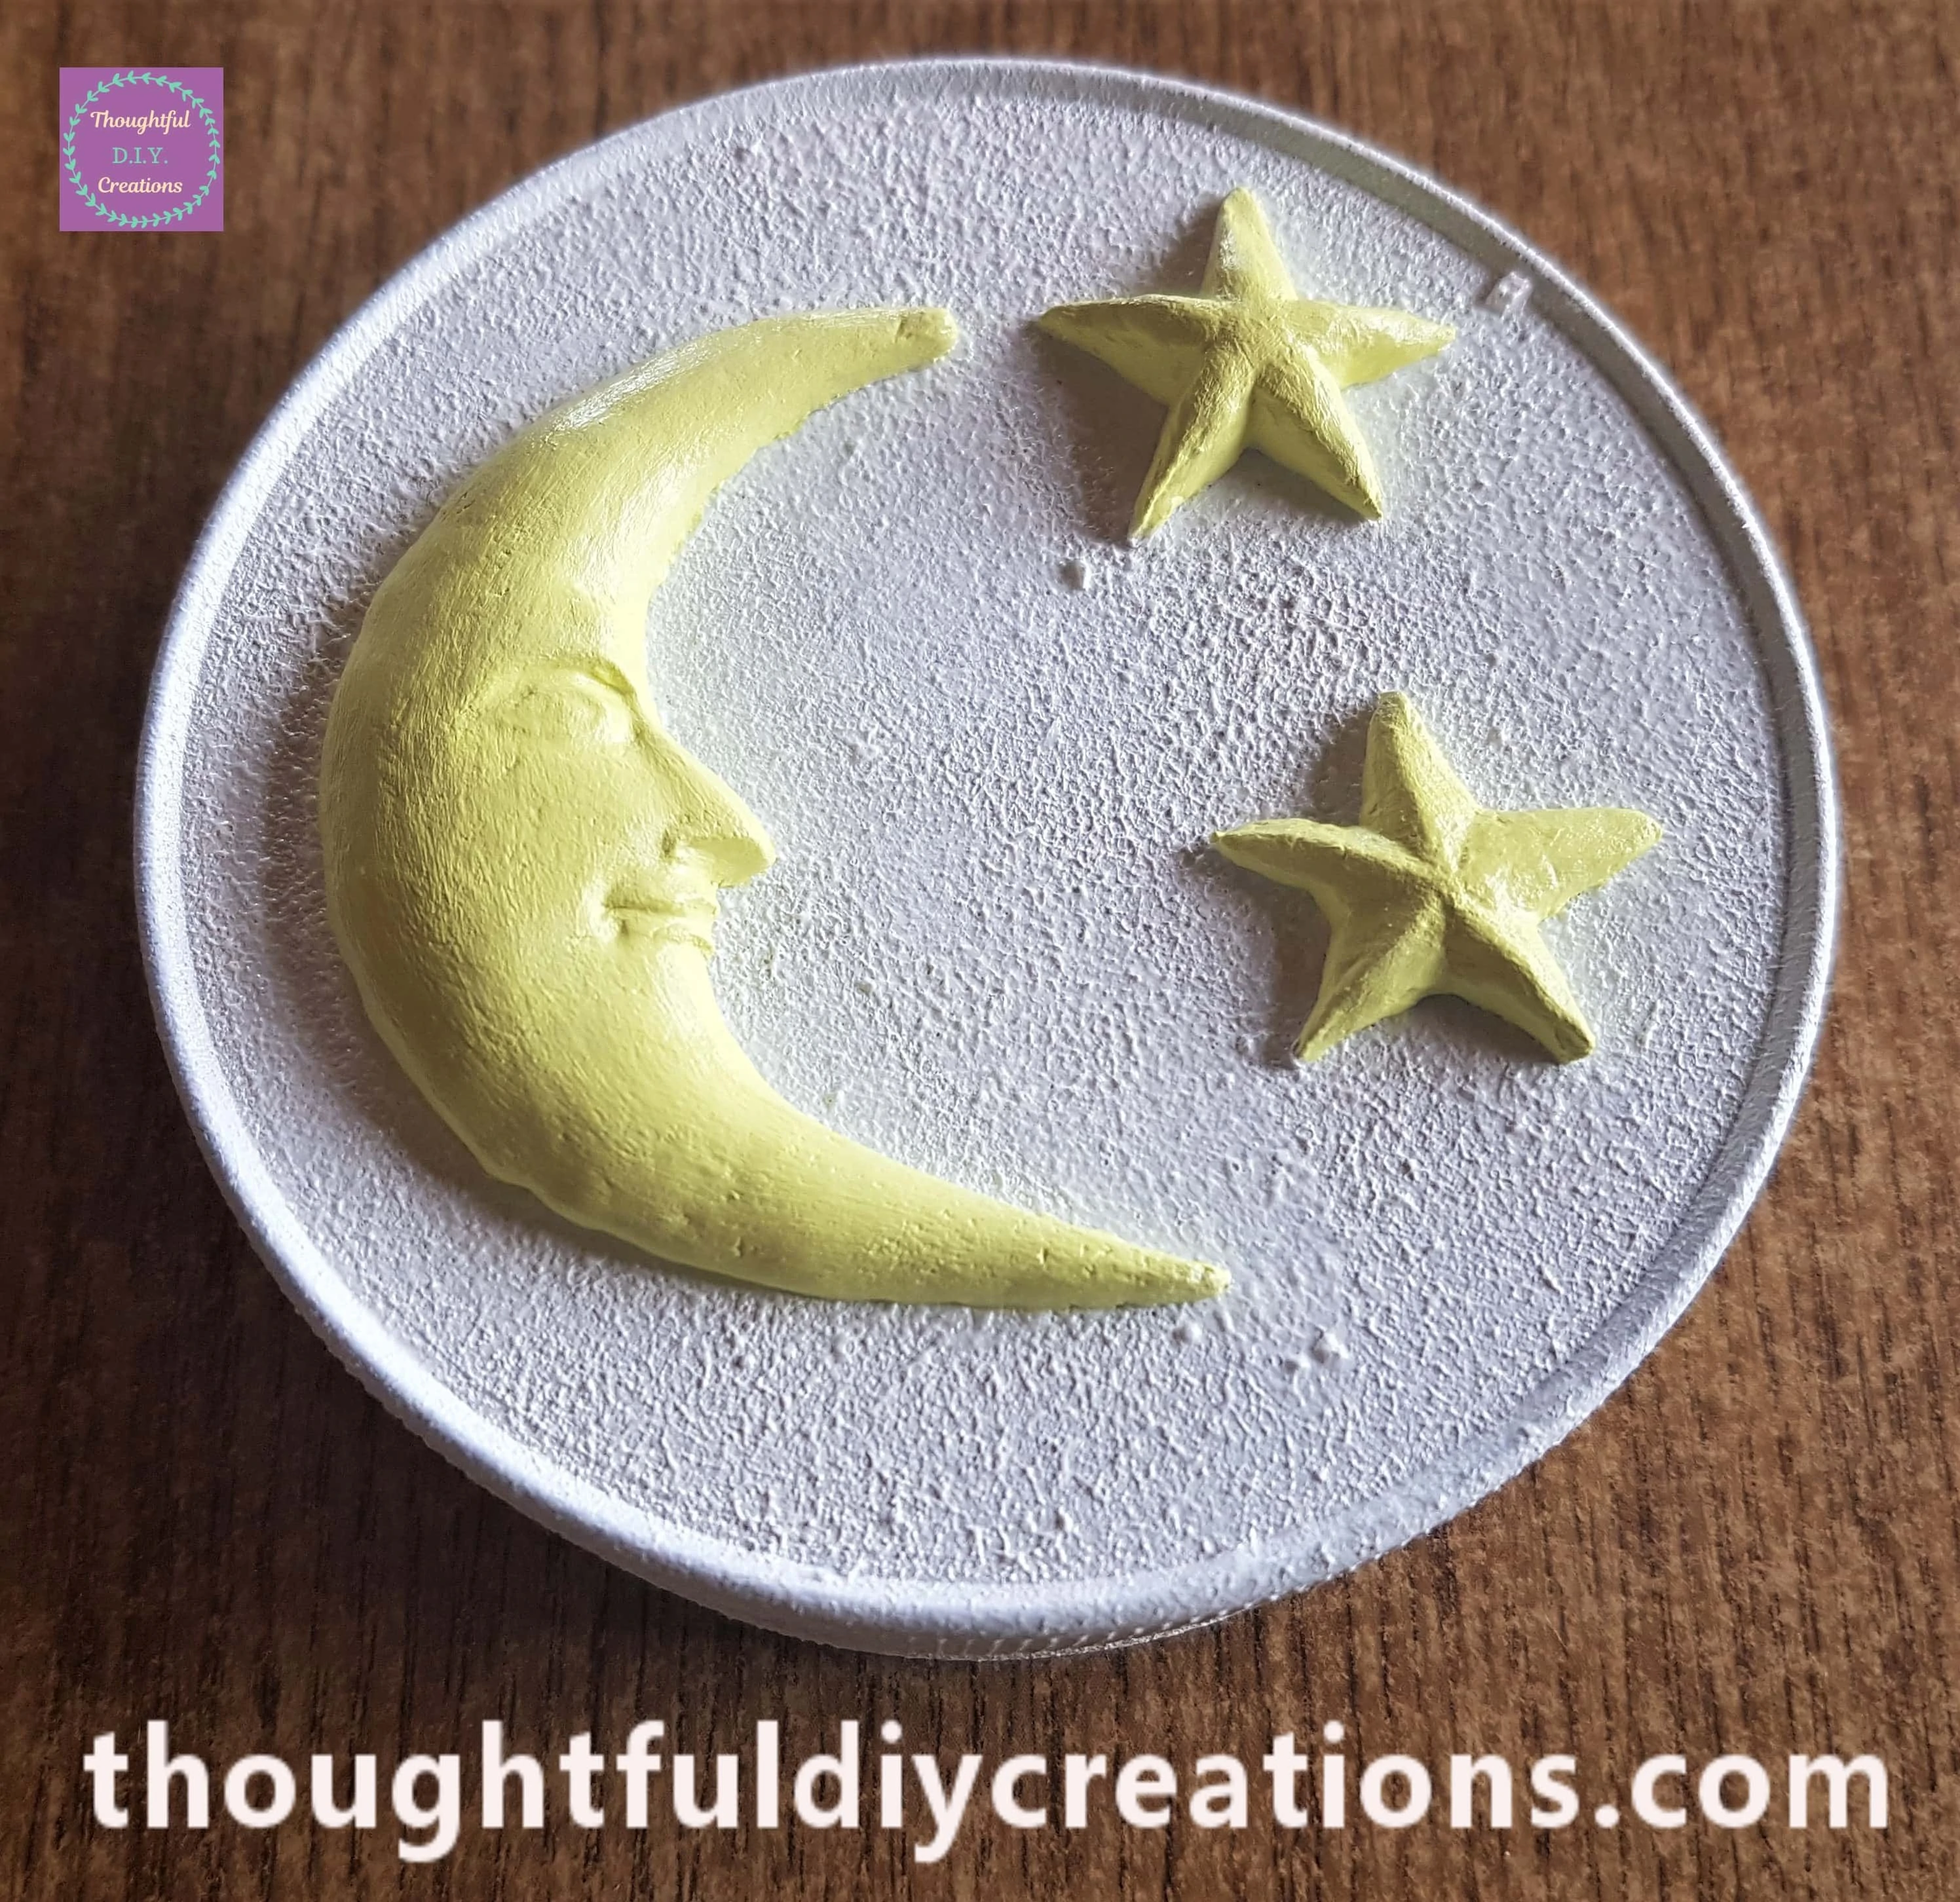
The following day I applied ‘Mod Podge Gloss’ over the Moon and Stars on the Lid to Seal them and add a subtle shine.
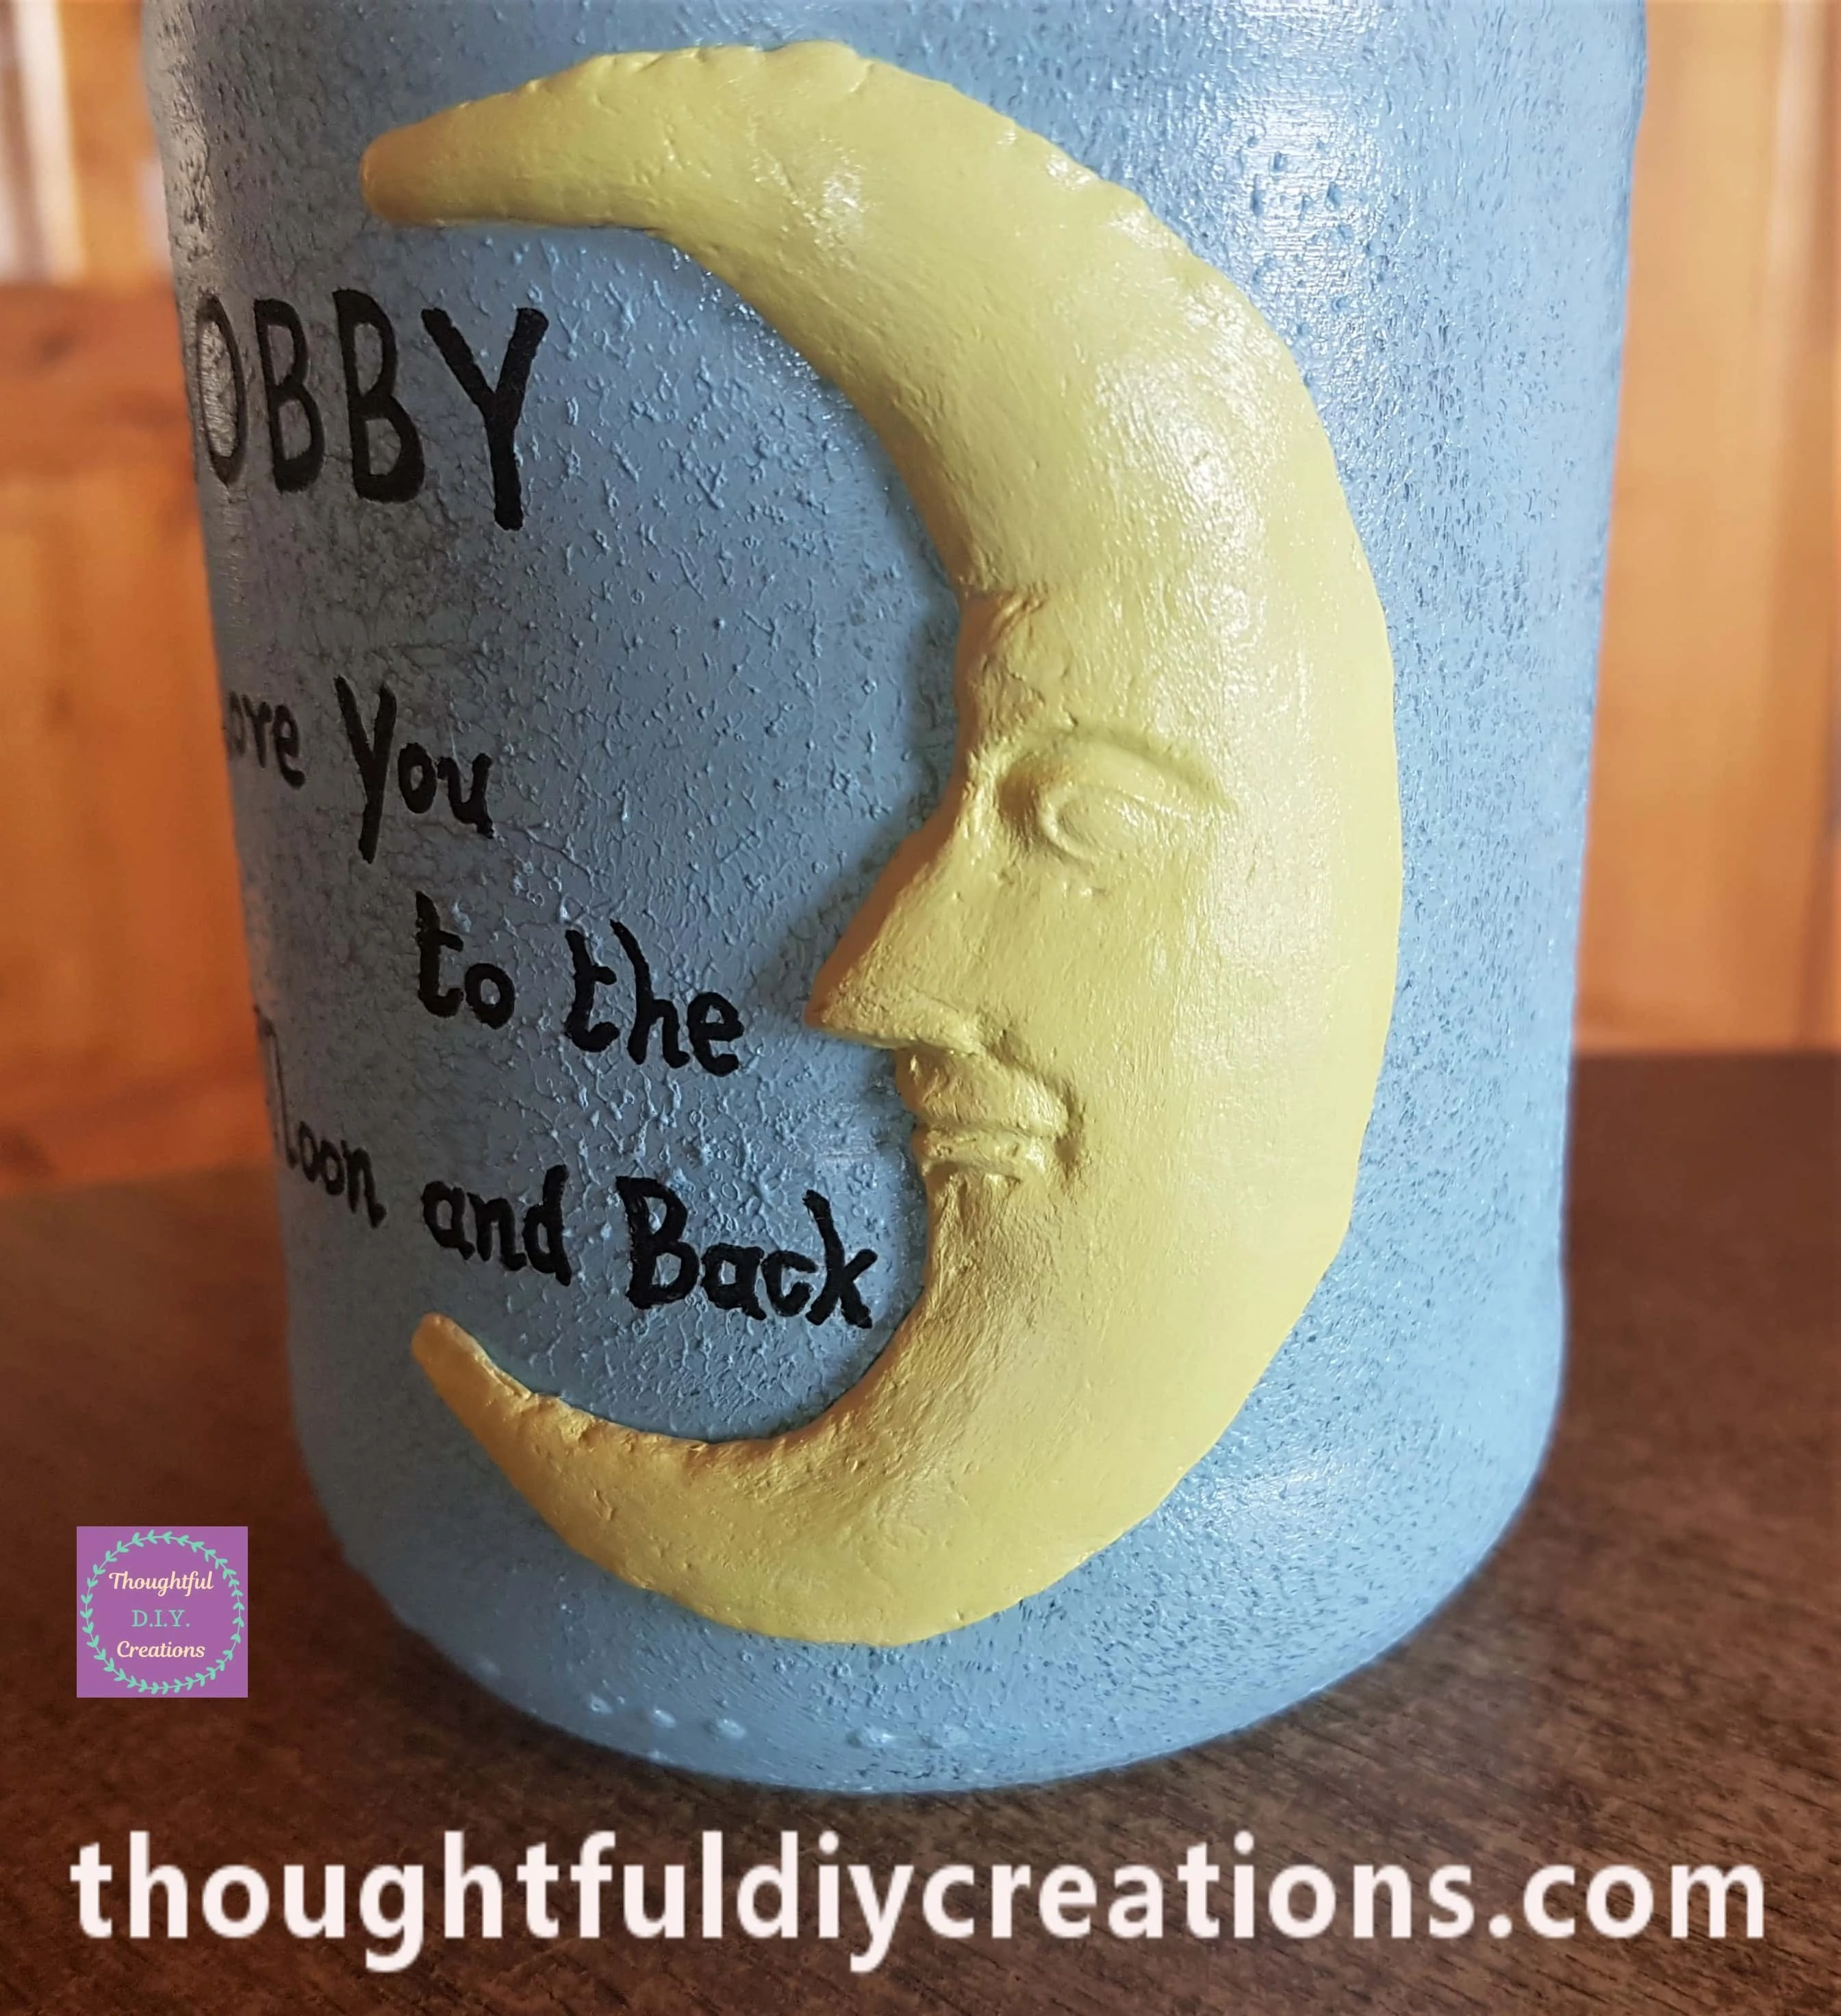
The Moon on the Jar after being Sealed.
The Stars on the back of the Jar with added shine.
Finishing Touch to the Moon and Stars Jar
I placed a Pack of Battery operated Lights into the Jar and switched them on.
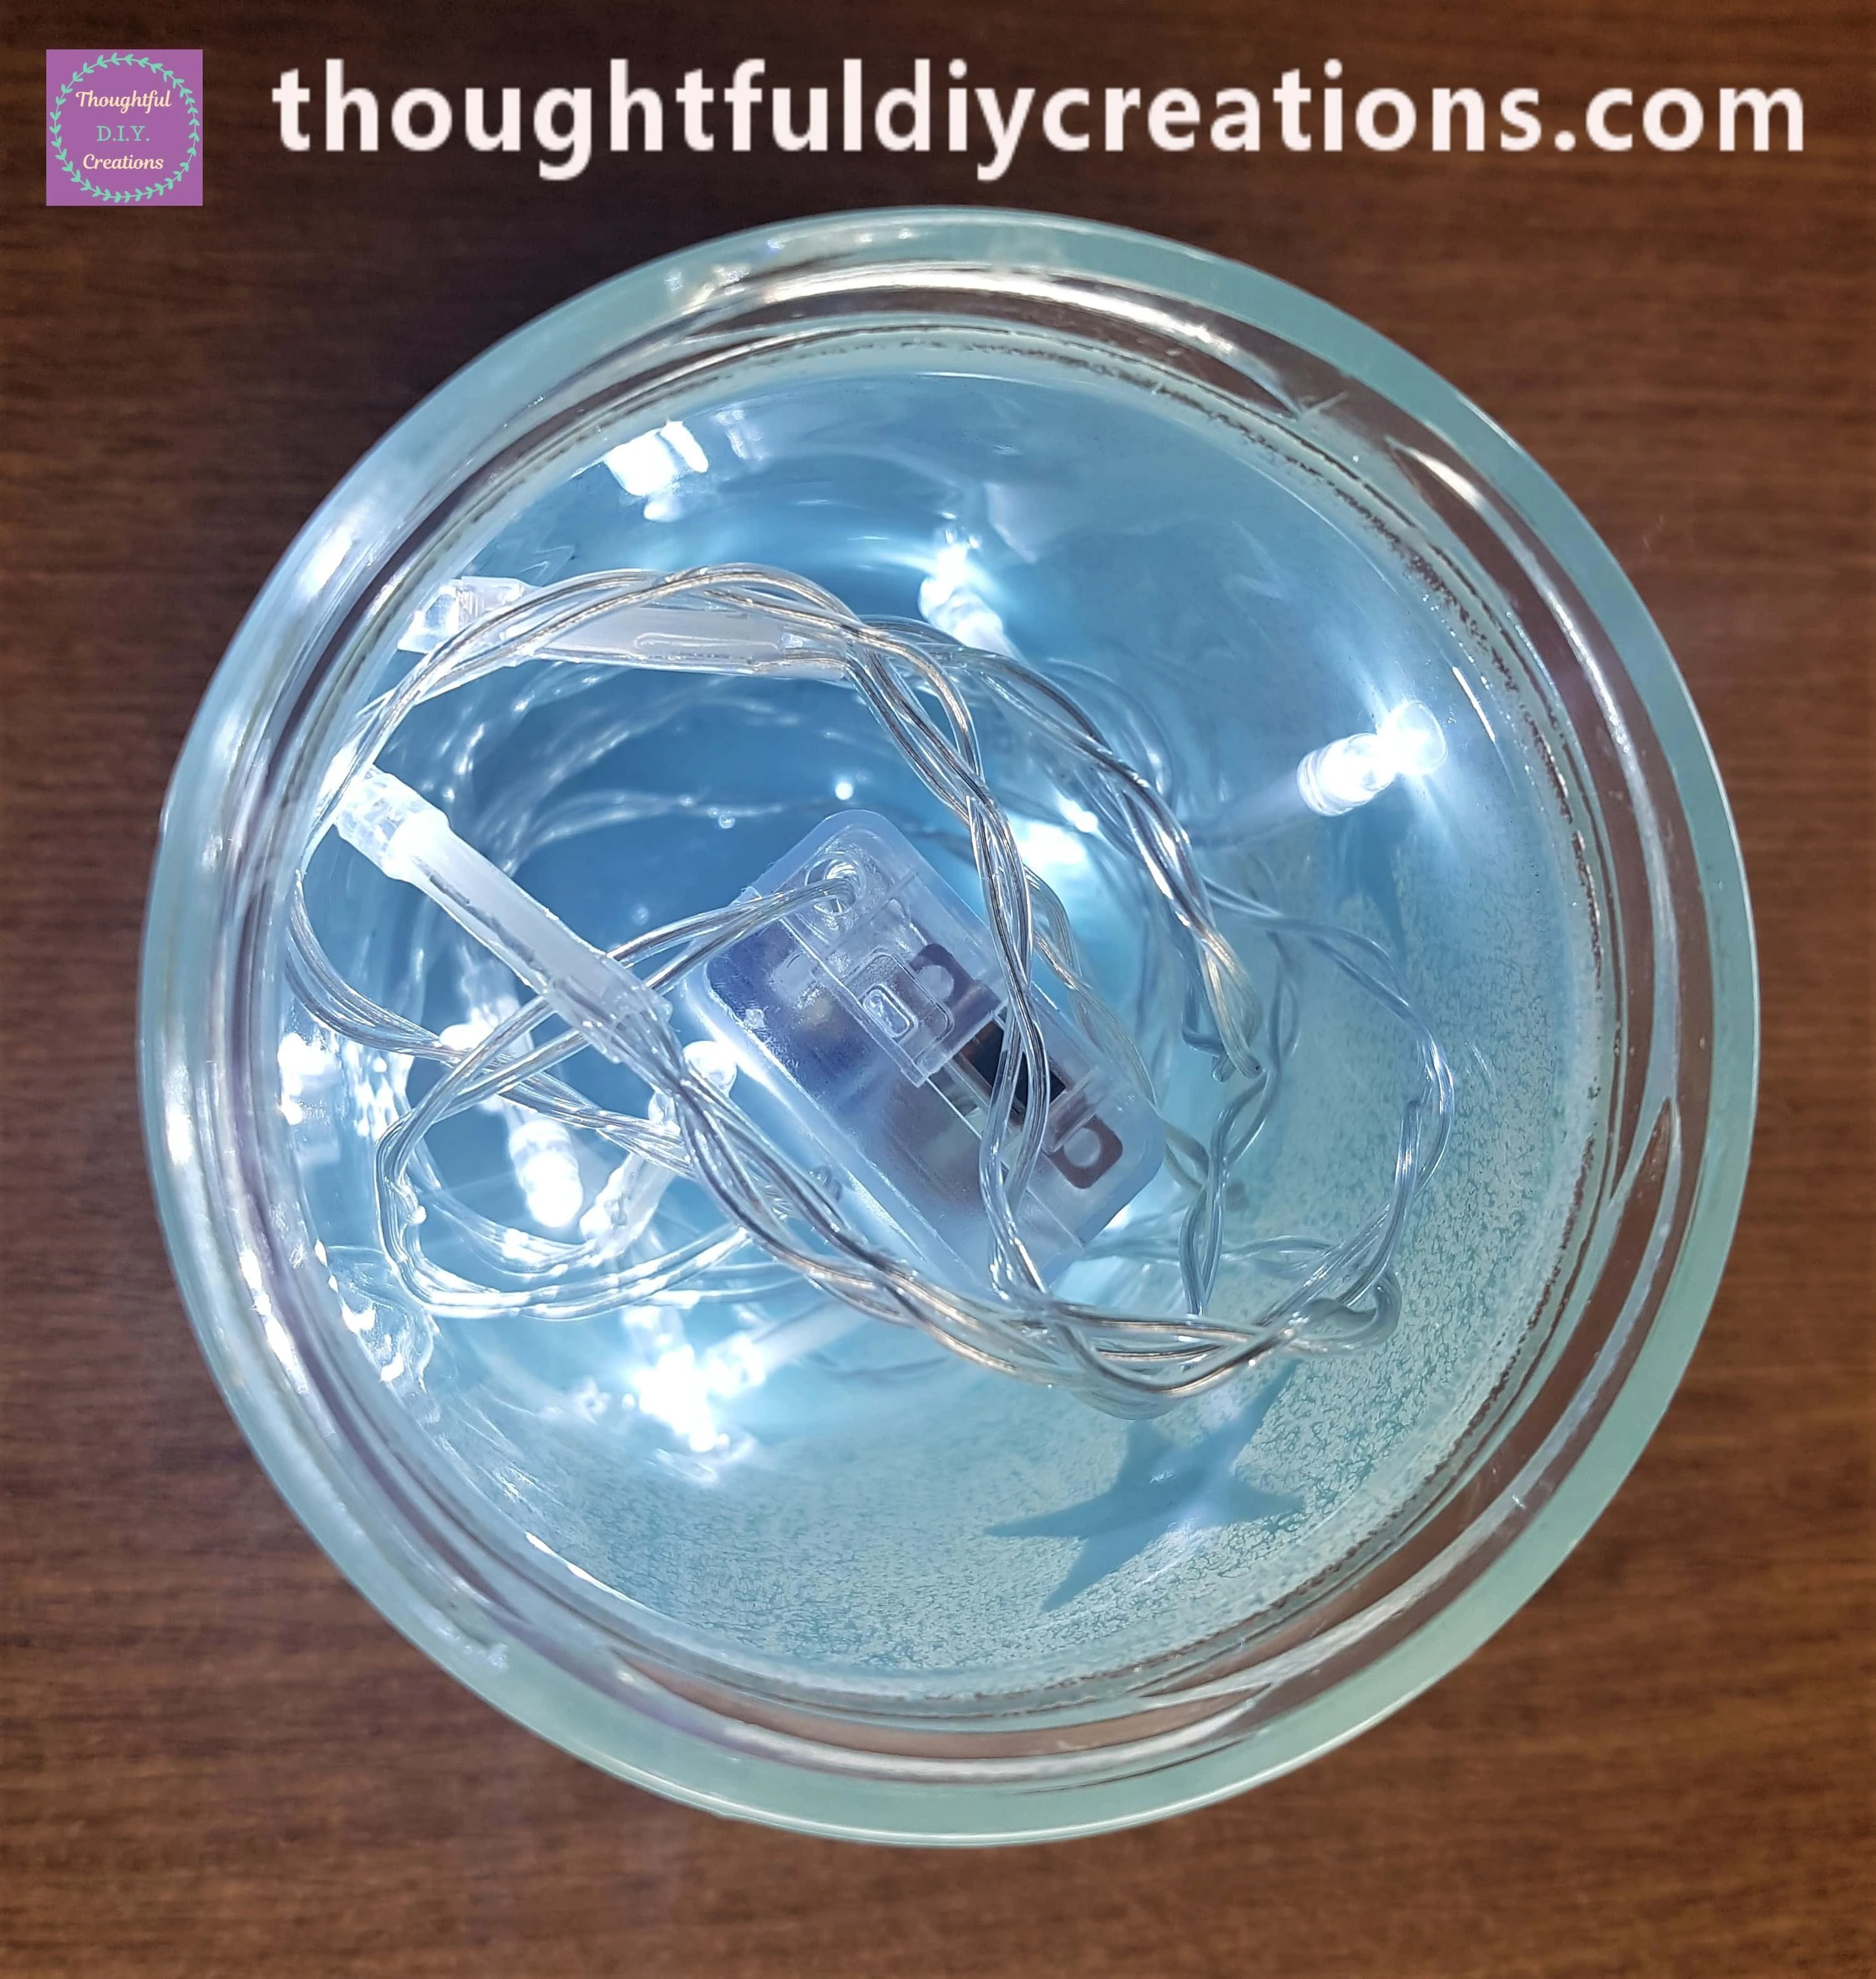
I put the Lid back on the Jar.
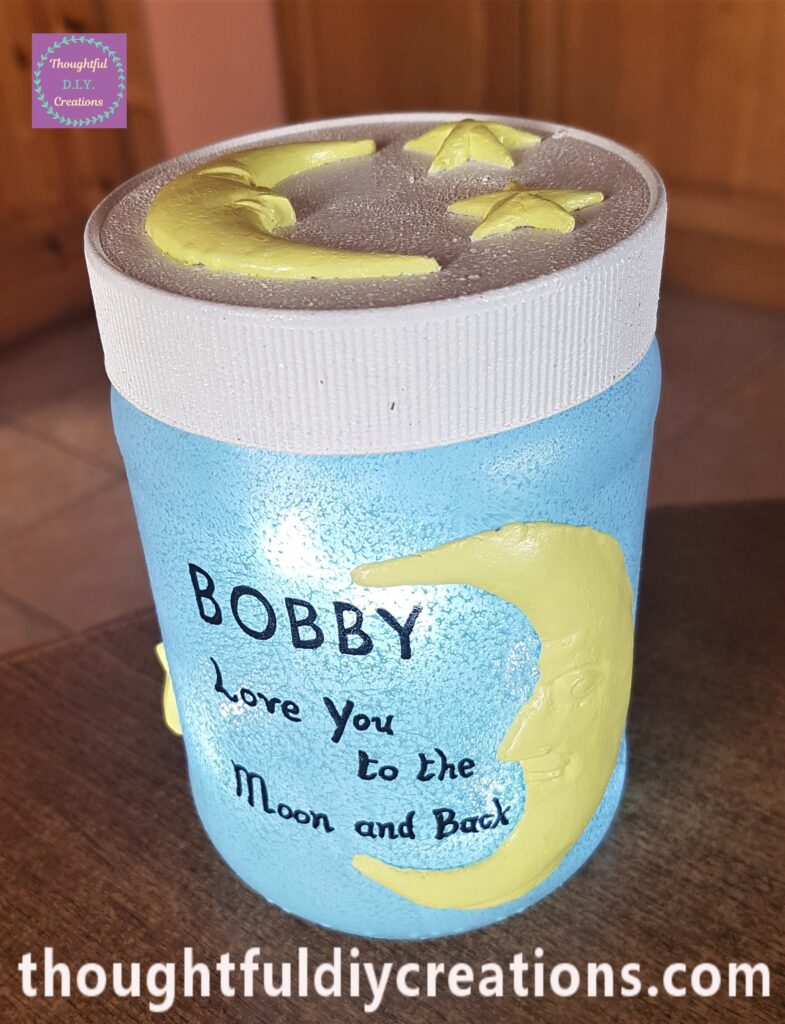
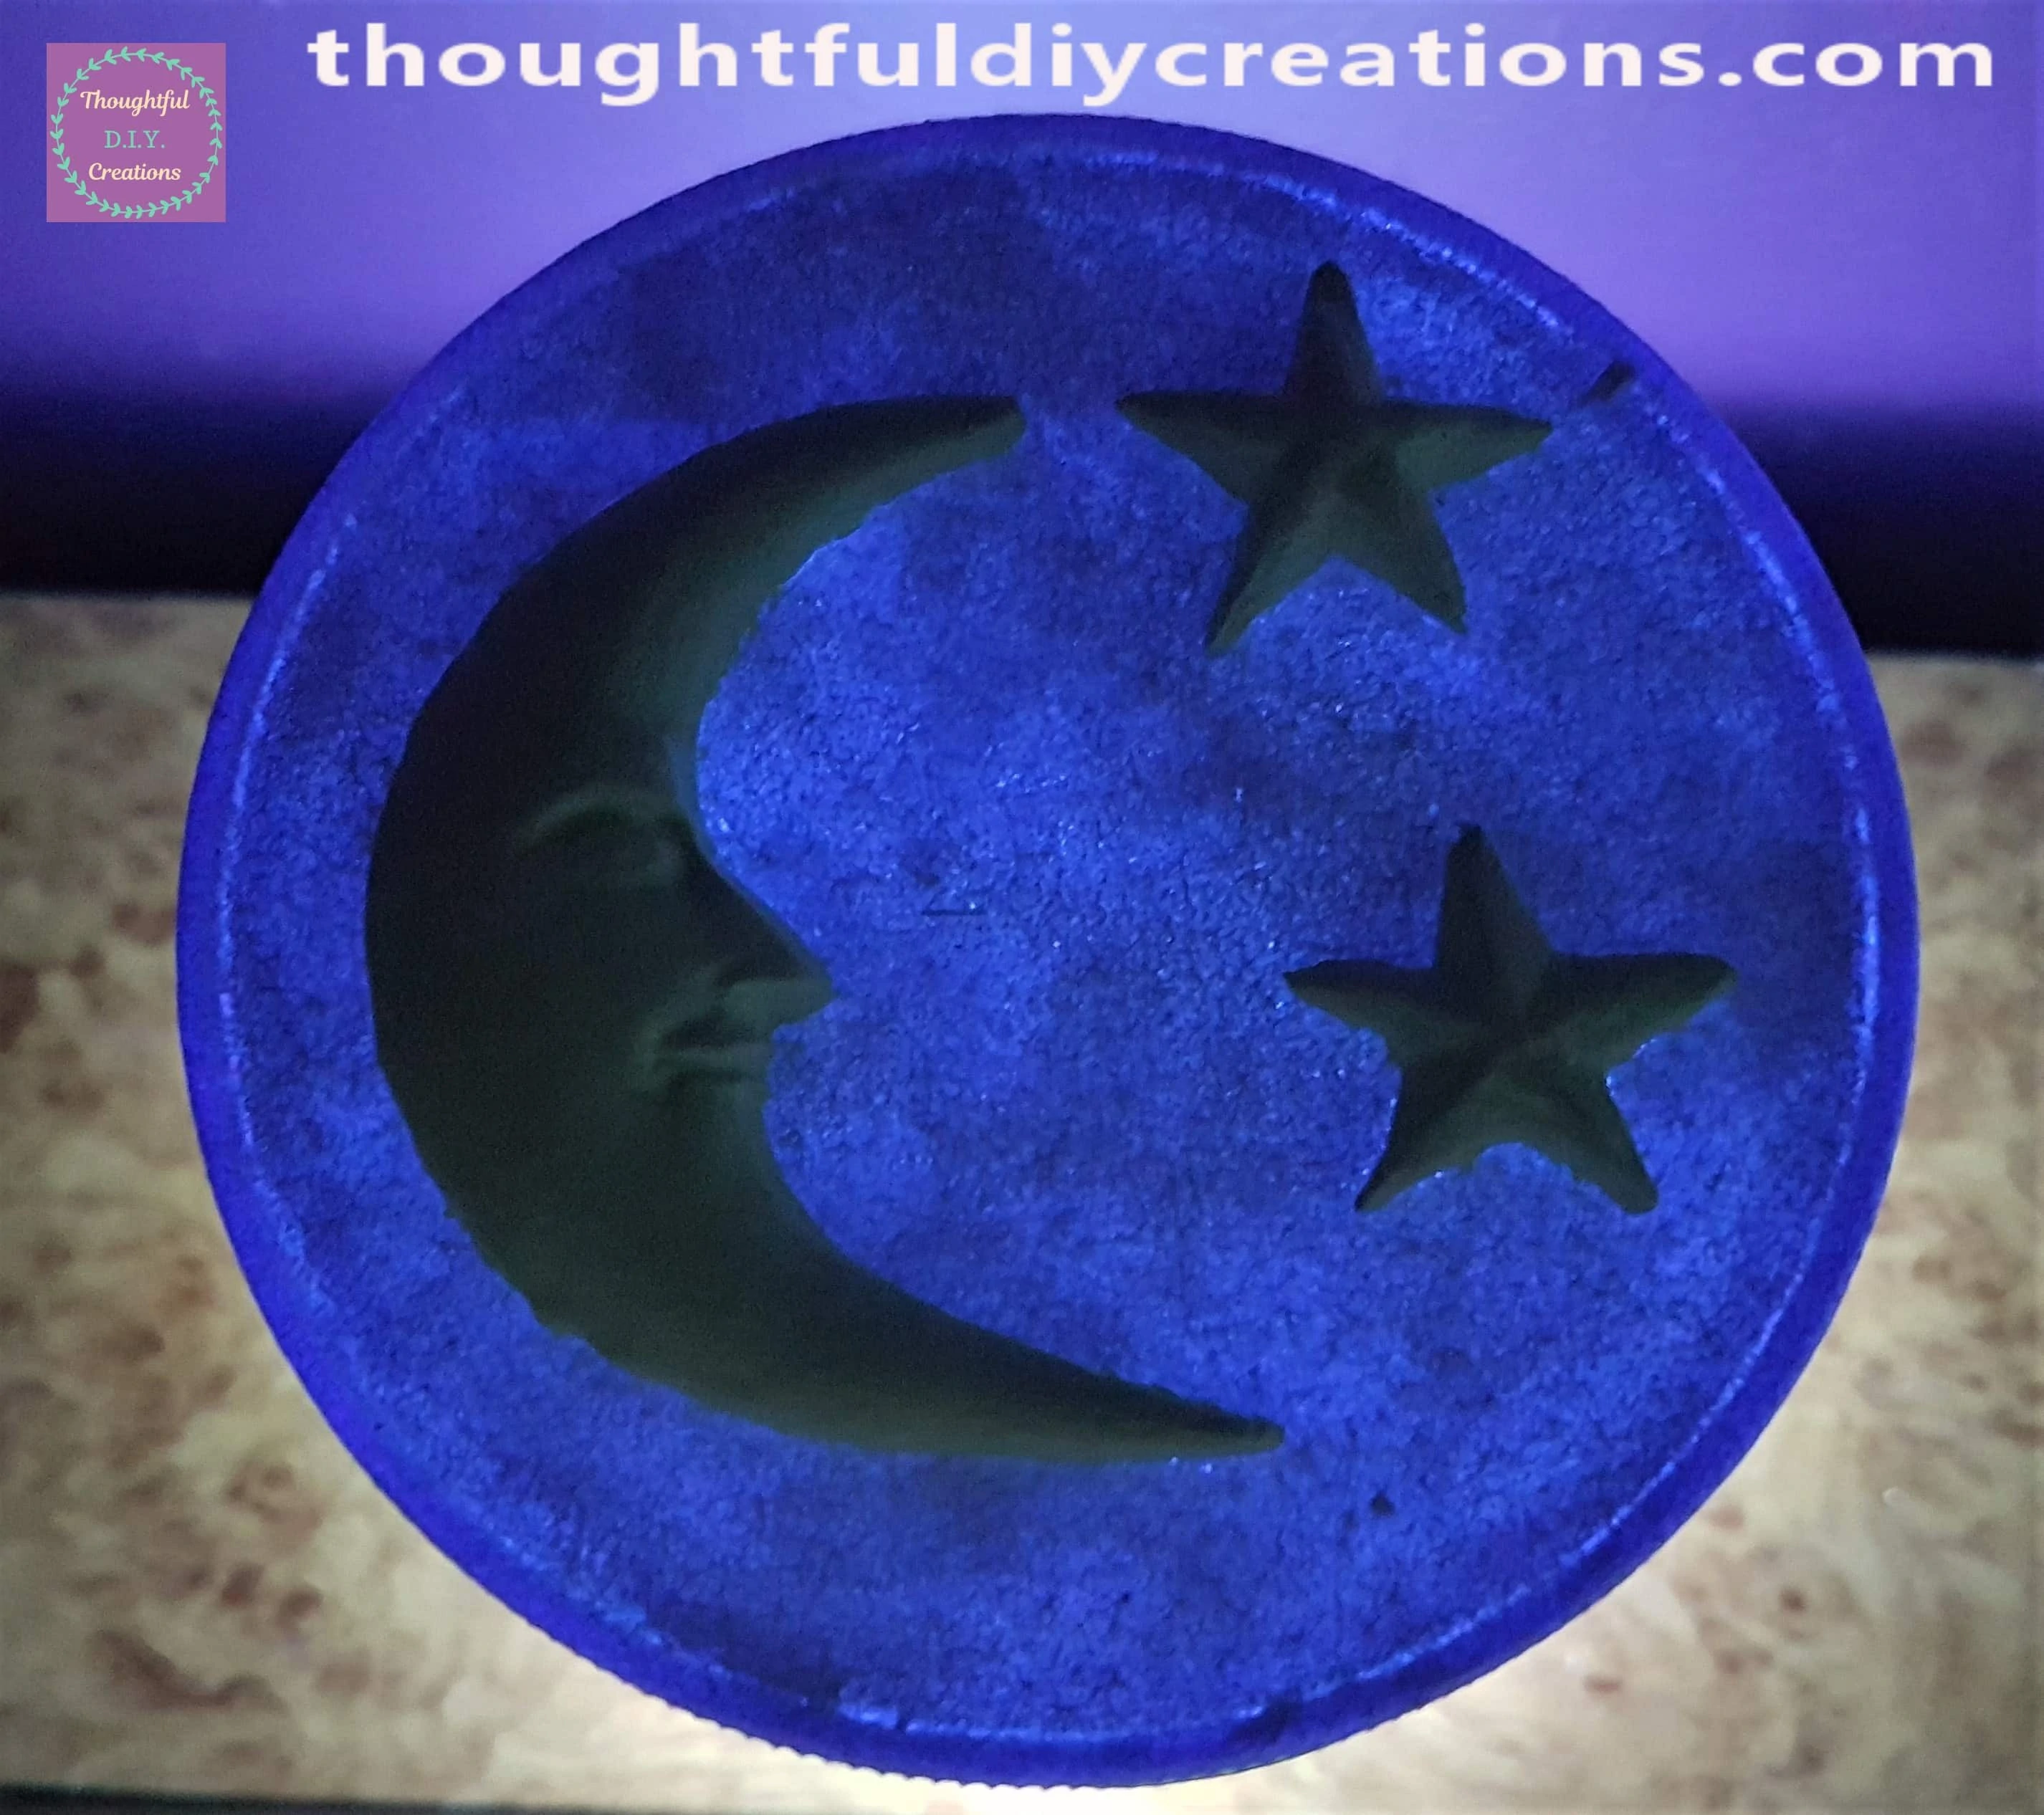
I turned the battery lights off and put back on the lid and took a photograph. This Completed the Moon and Stars Light-Up-Jar.
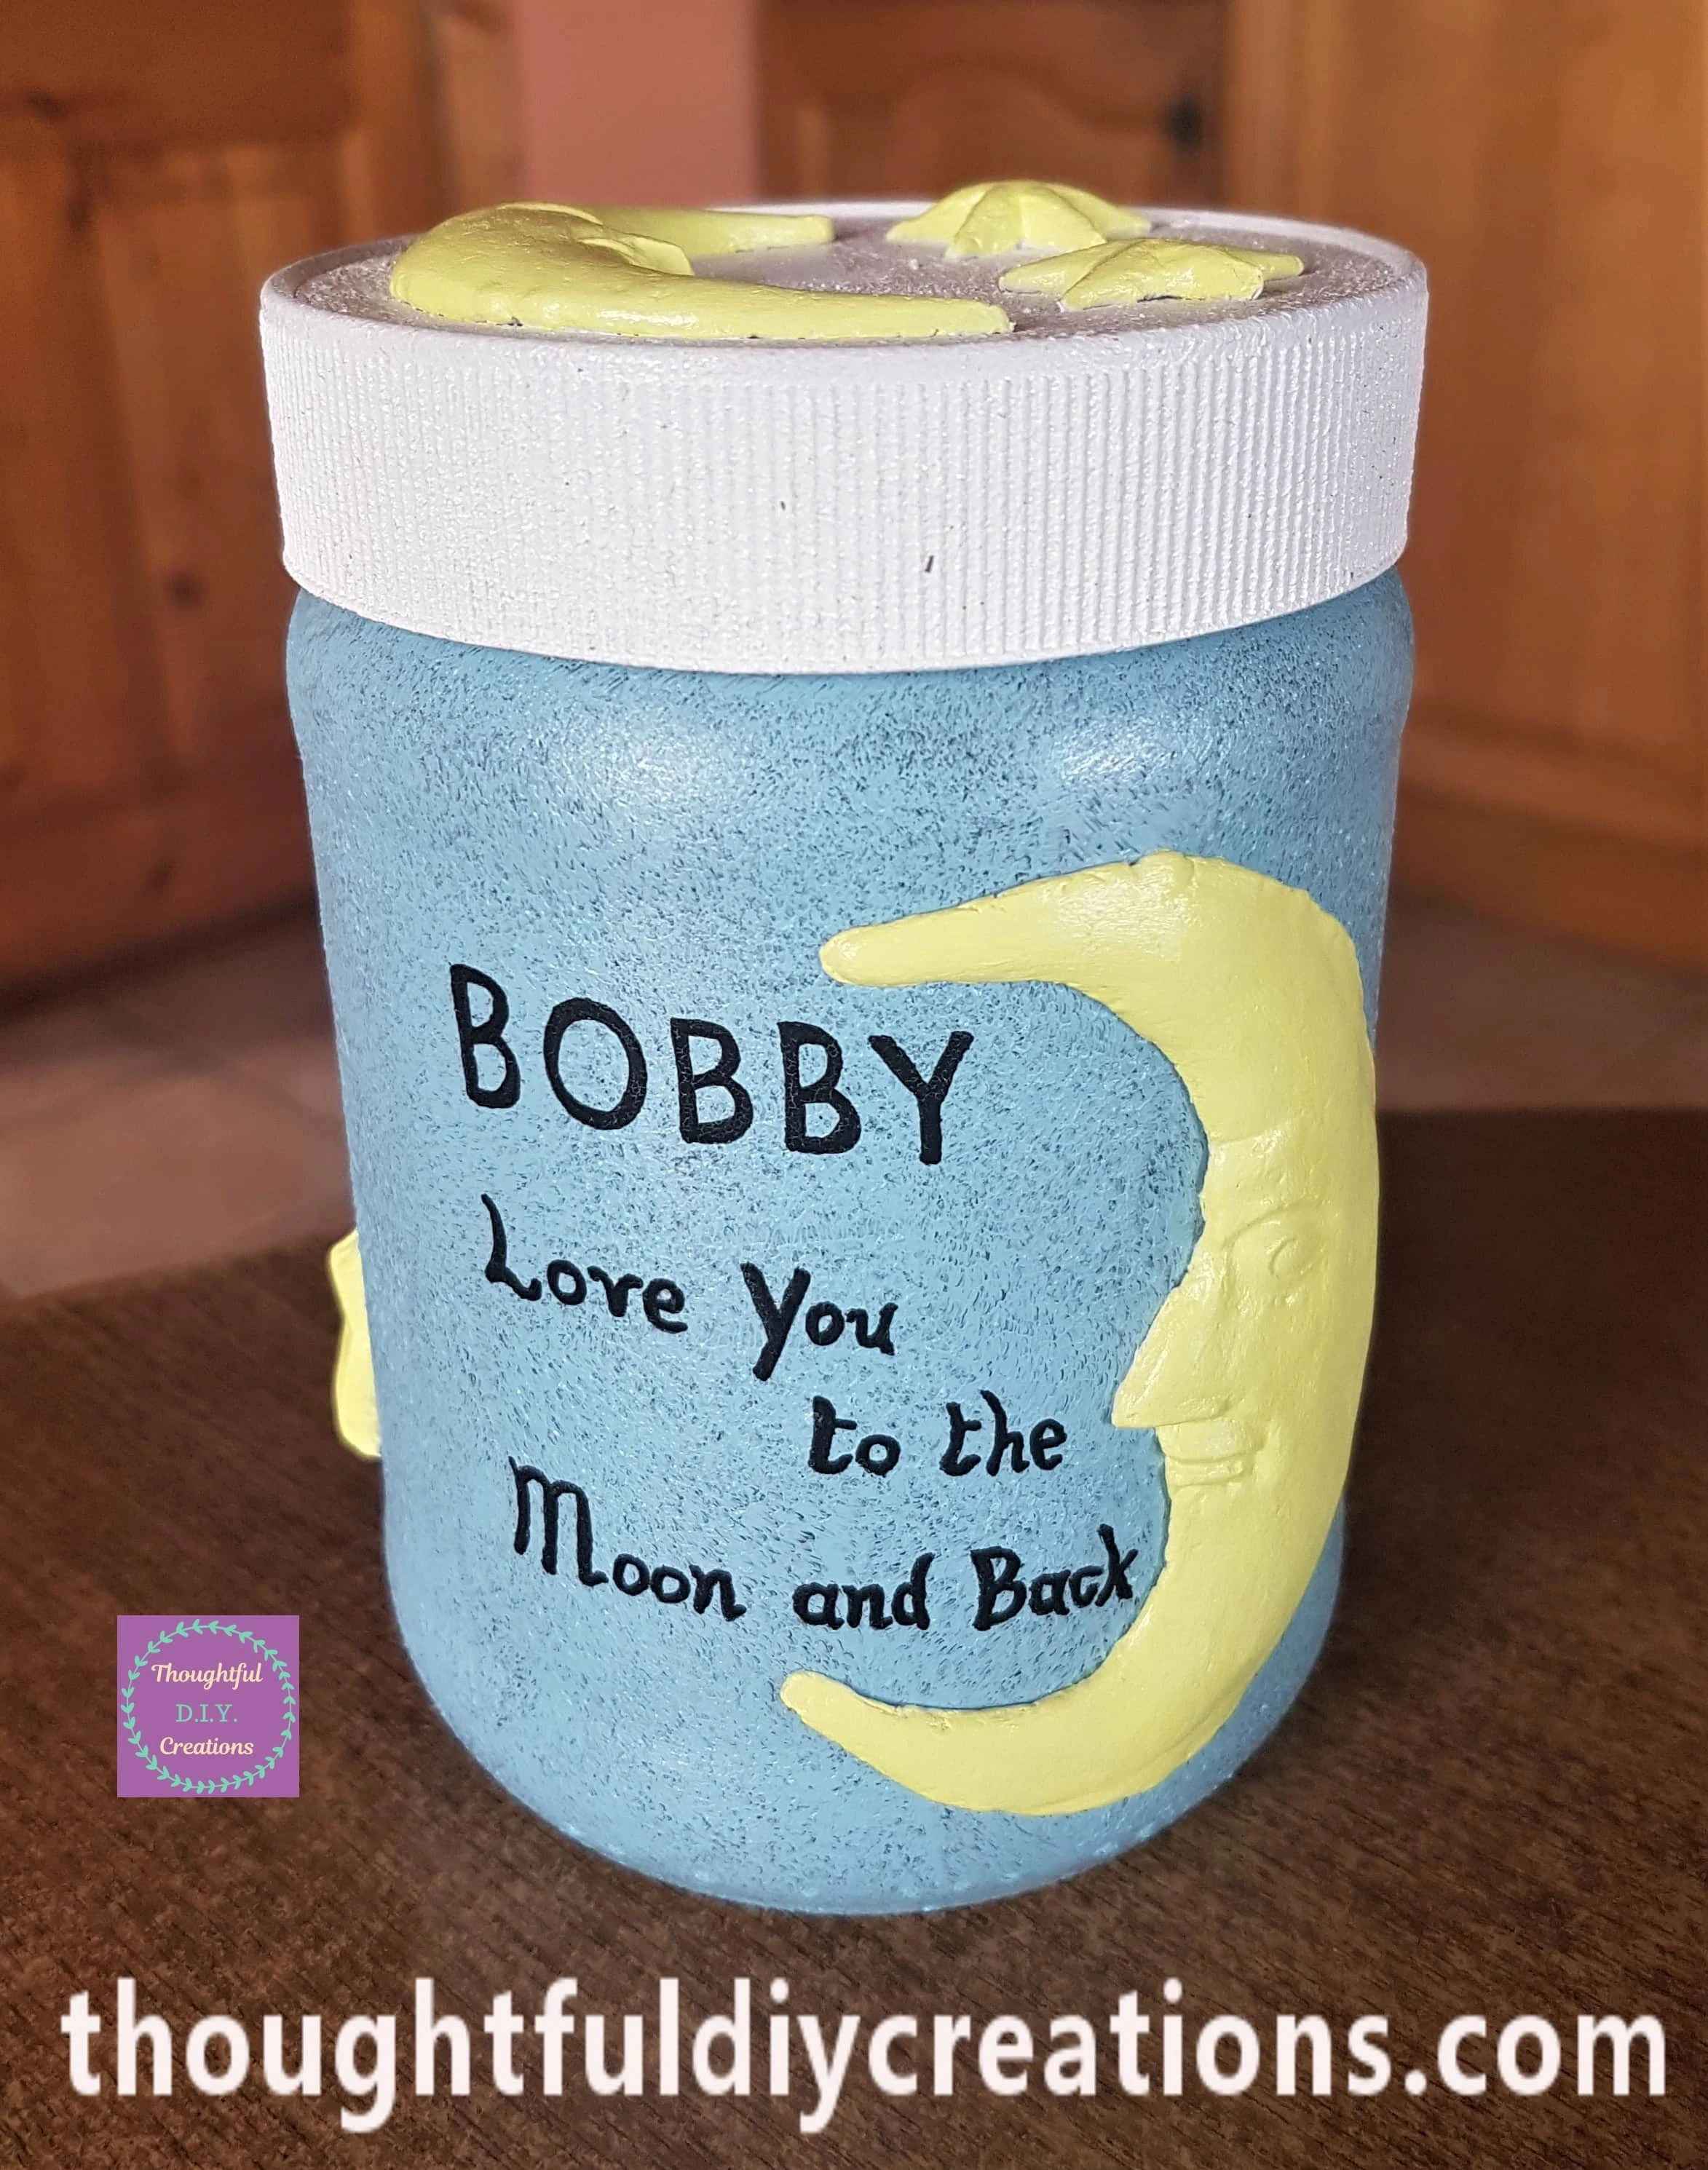
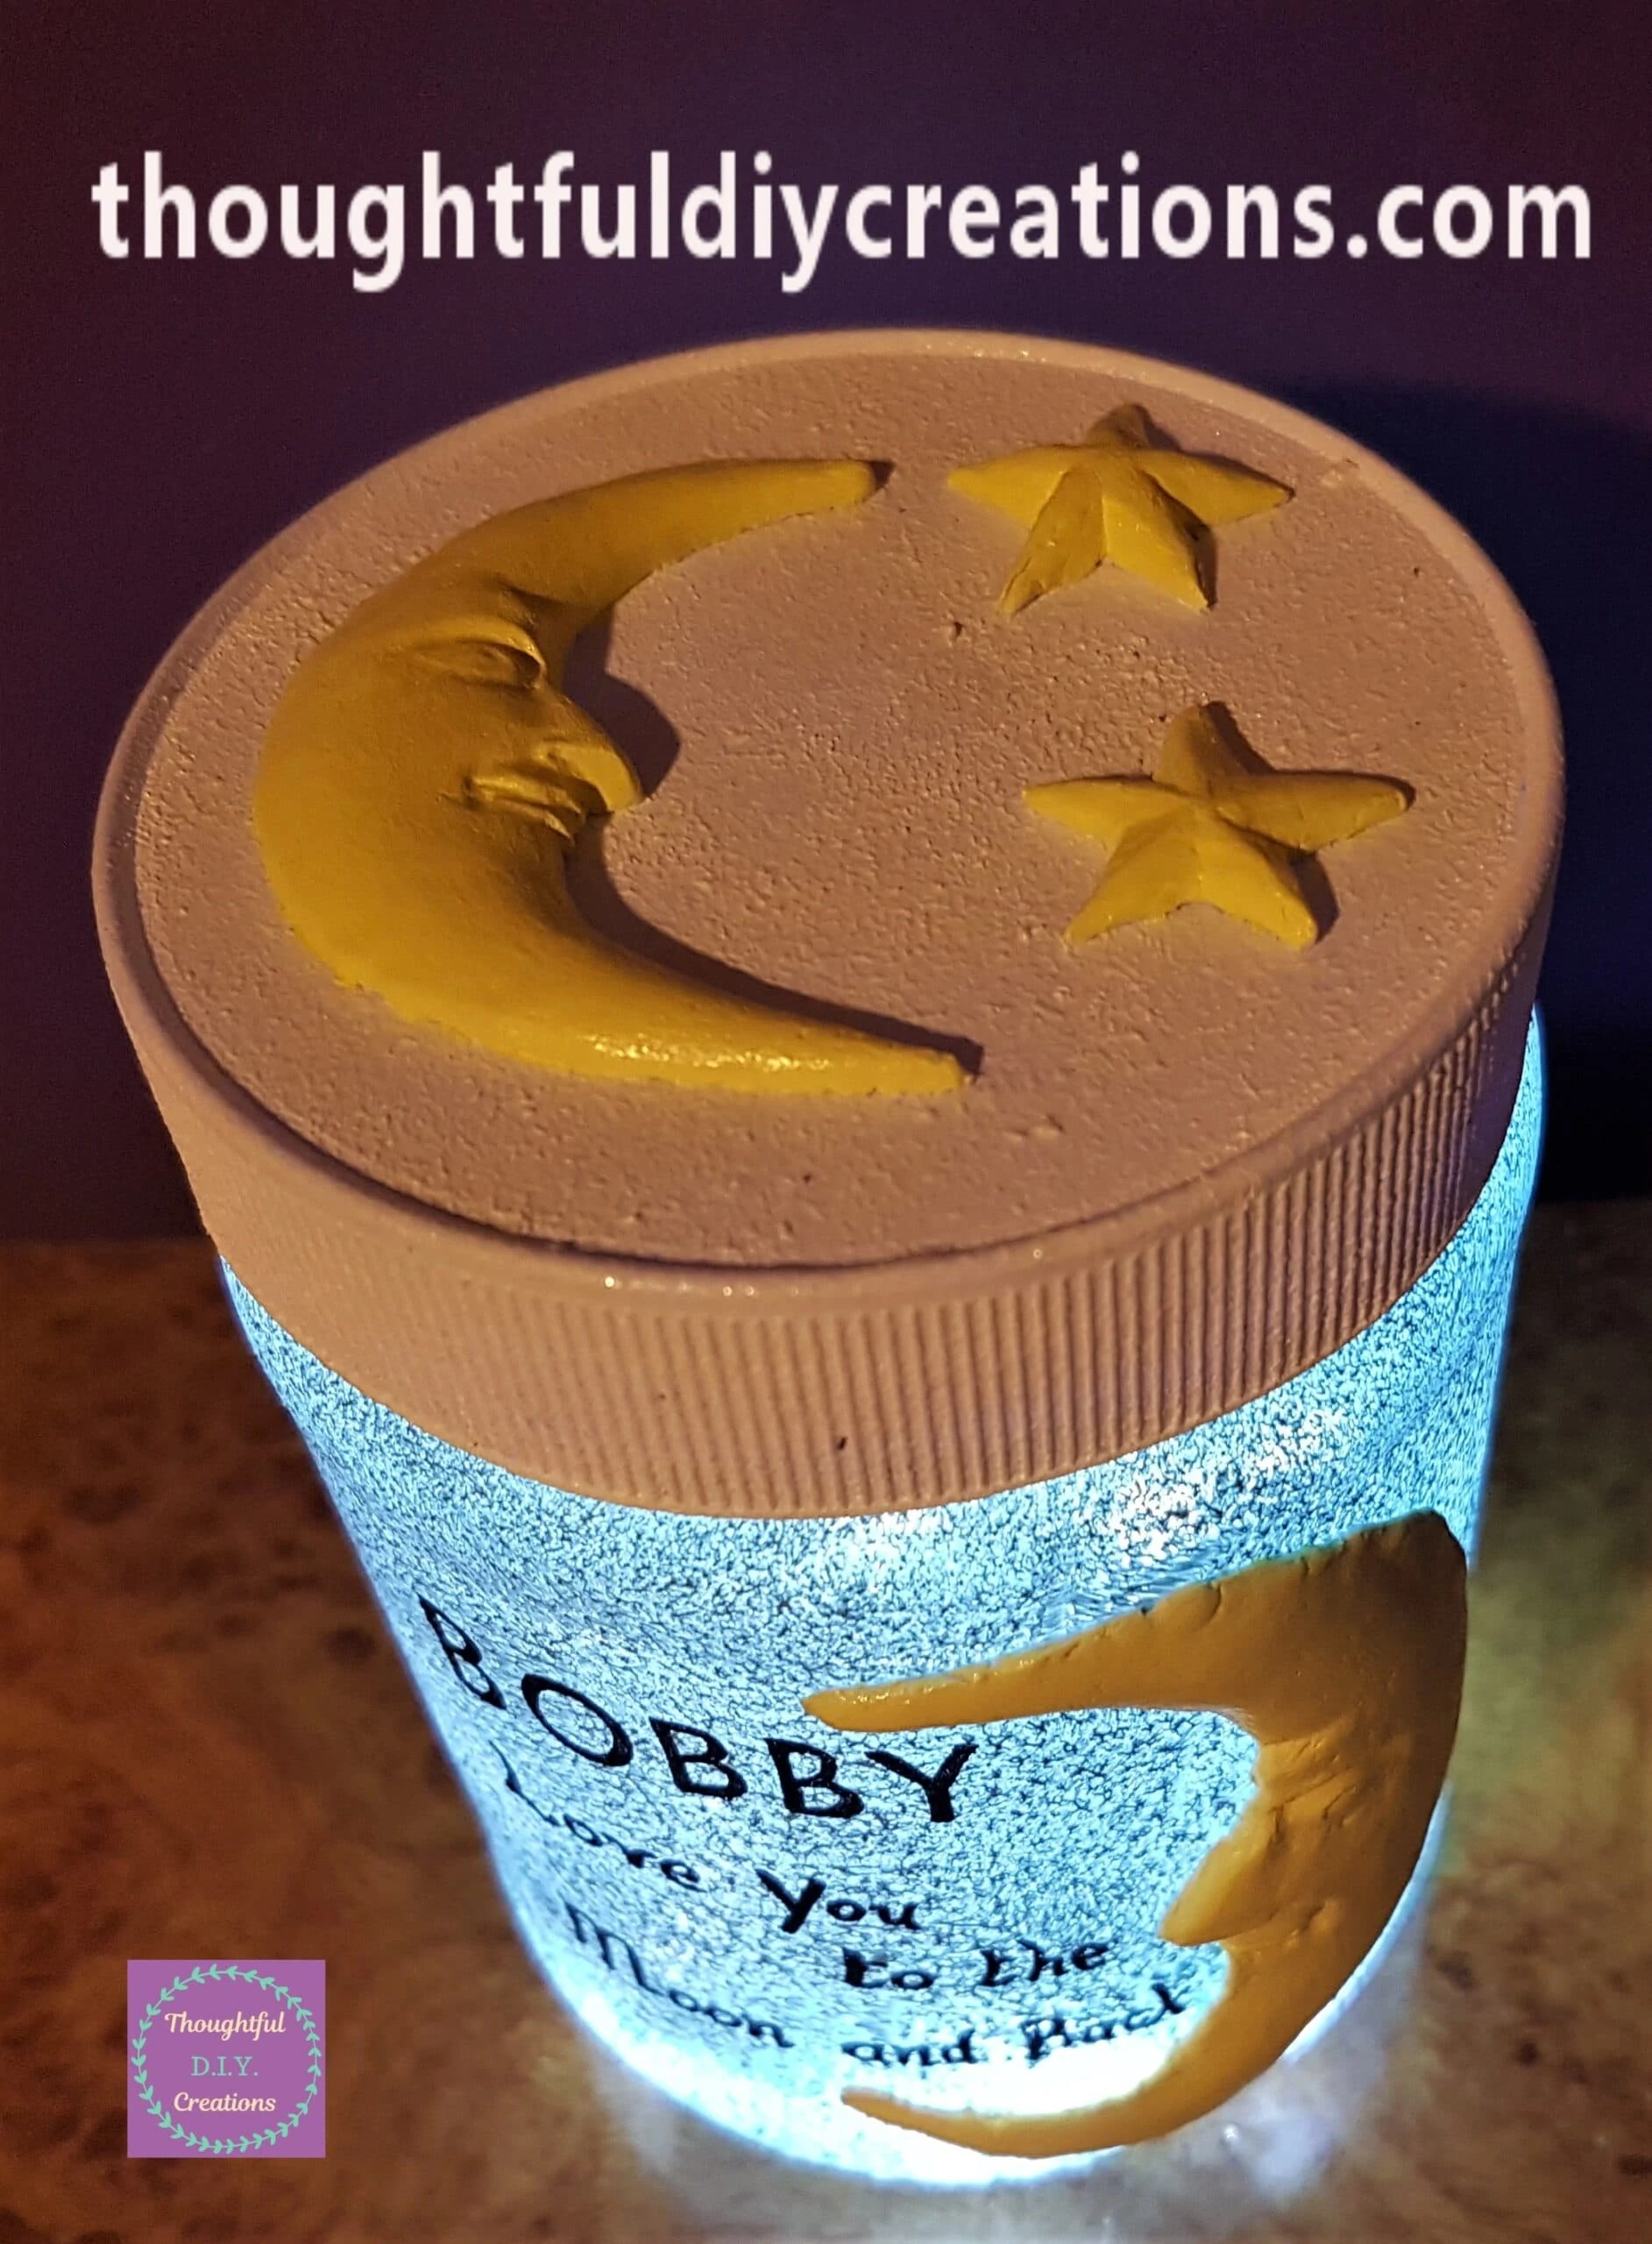
A closer look at the front of the Jar.
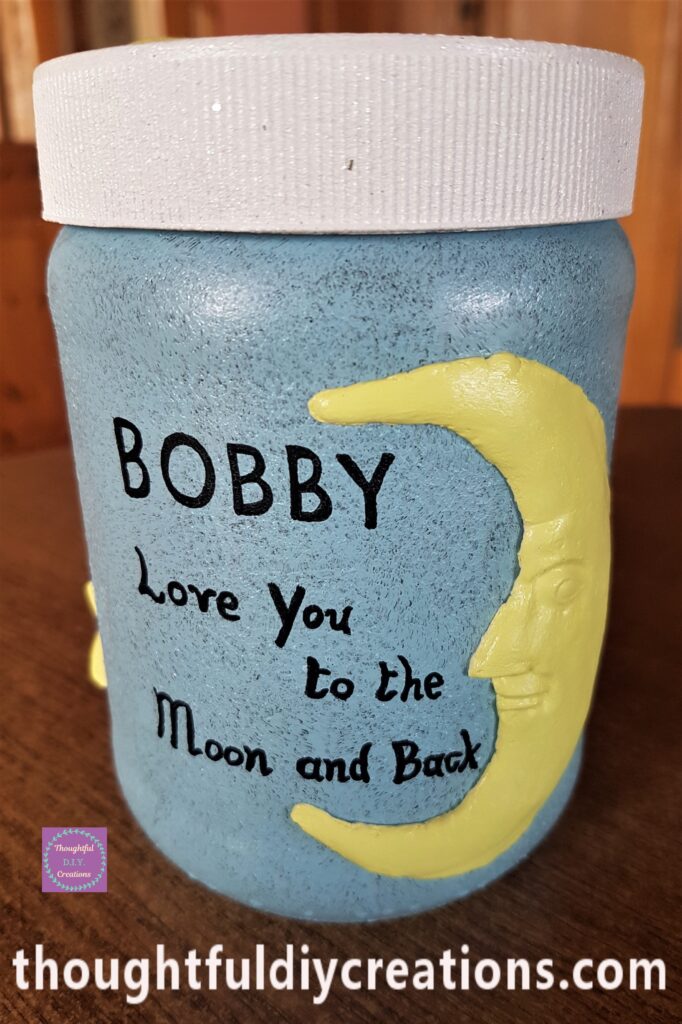
At Night Time I put the Jar in my Bedroom. I turned the battery lights on as well as my Bedroom Ceiling Light.
This is the Moon and Stars Jar from different angles with the Bedroom Light On.
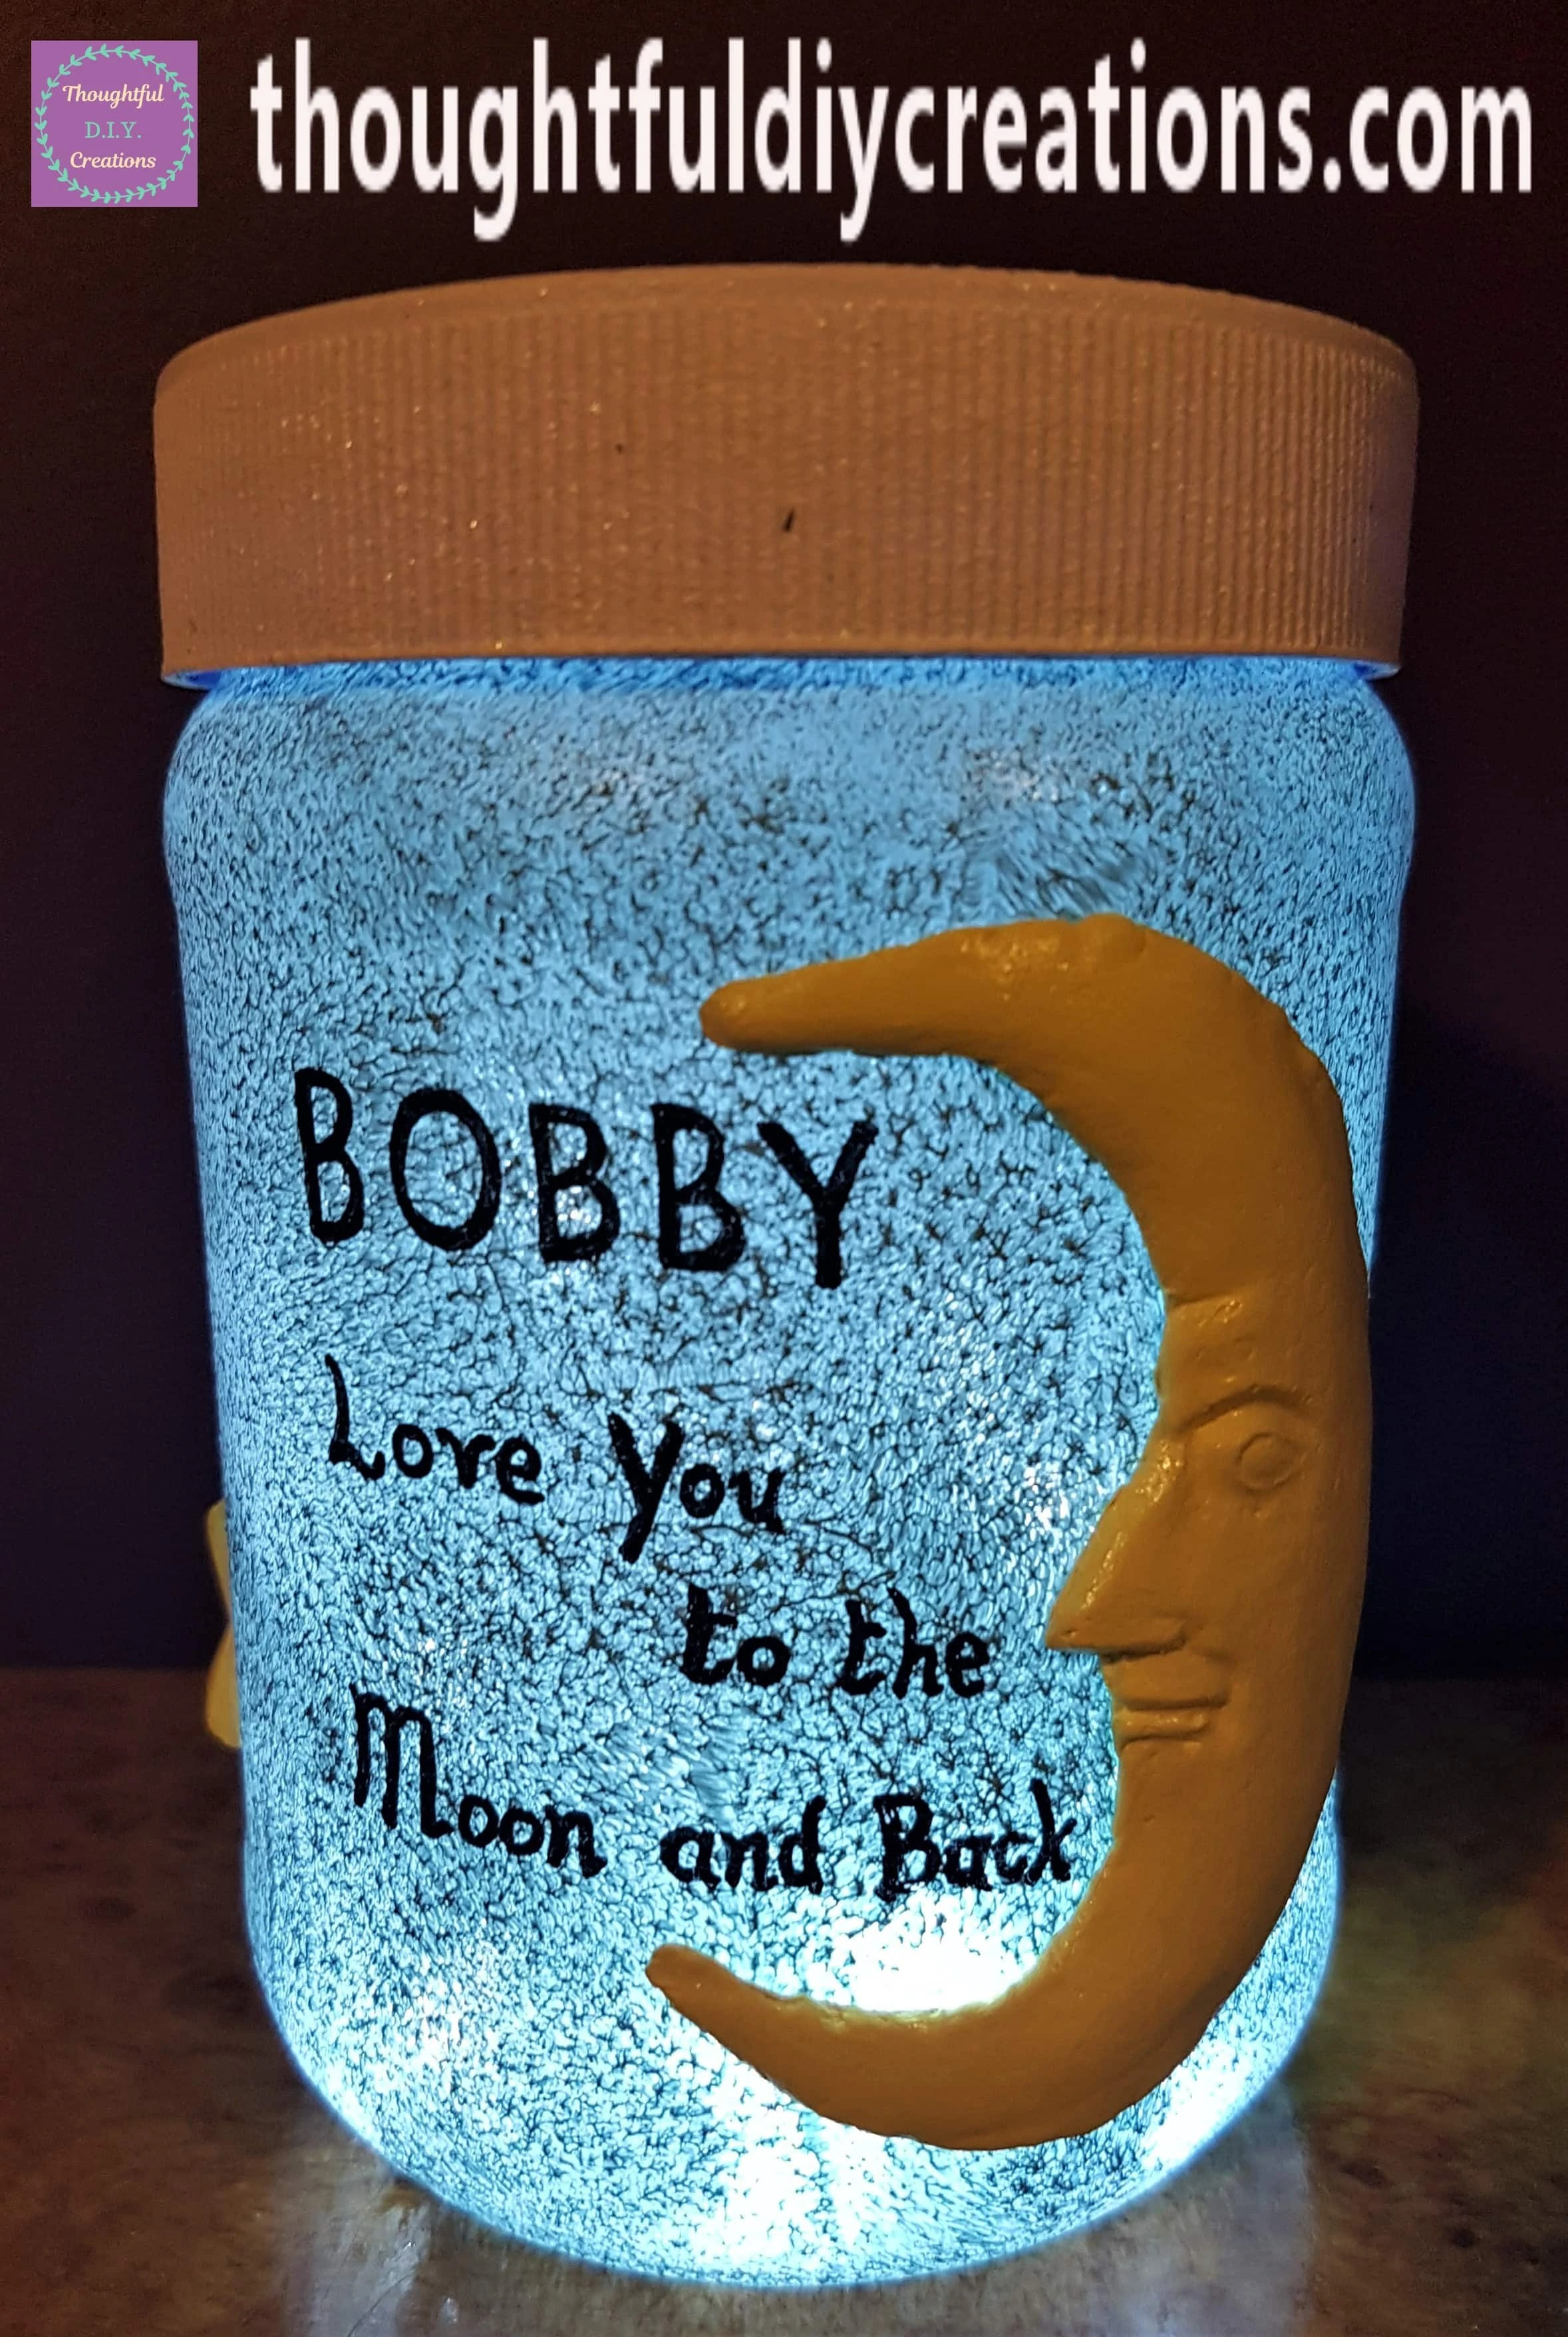
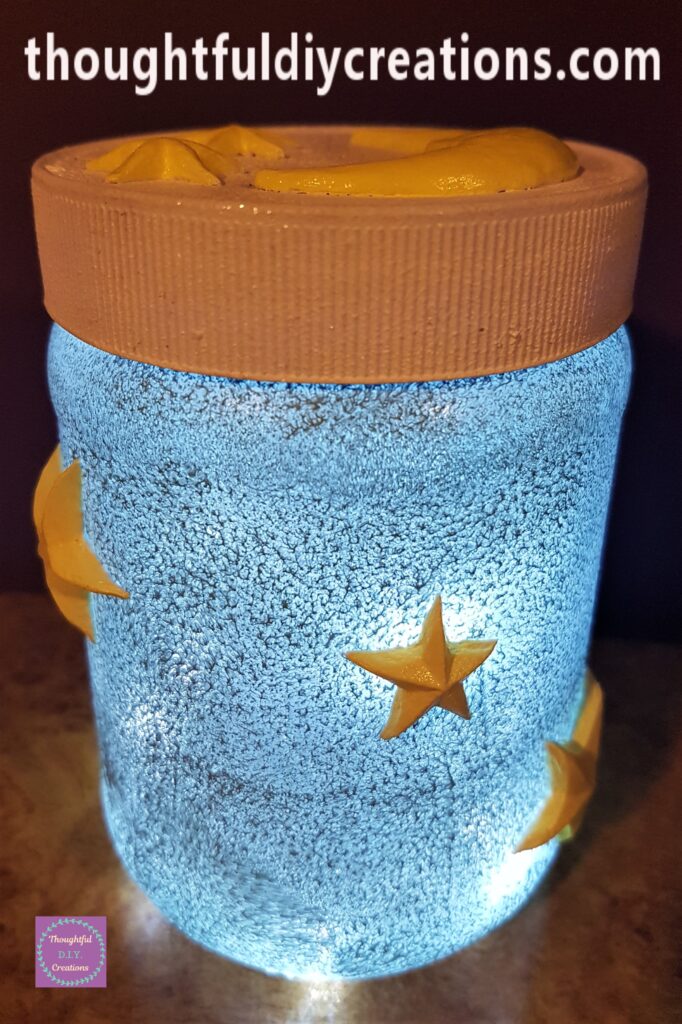
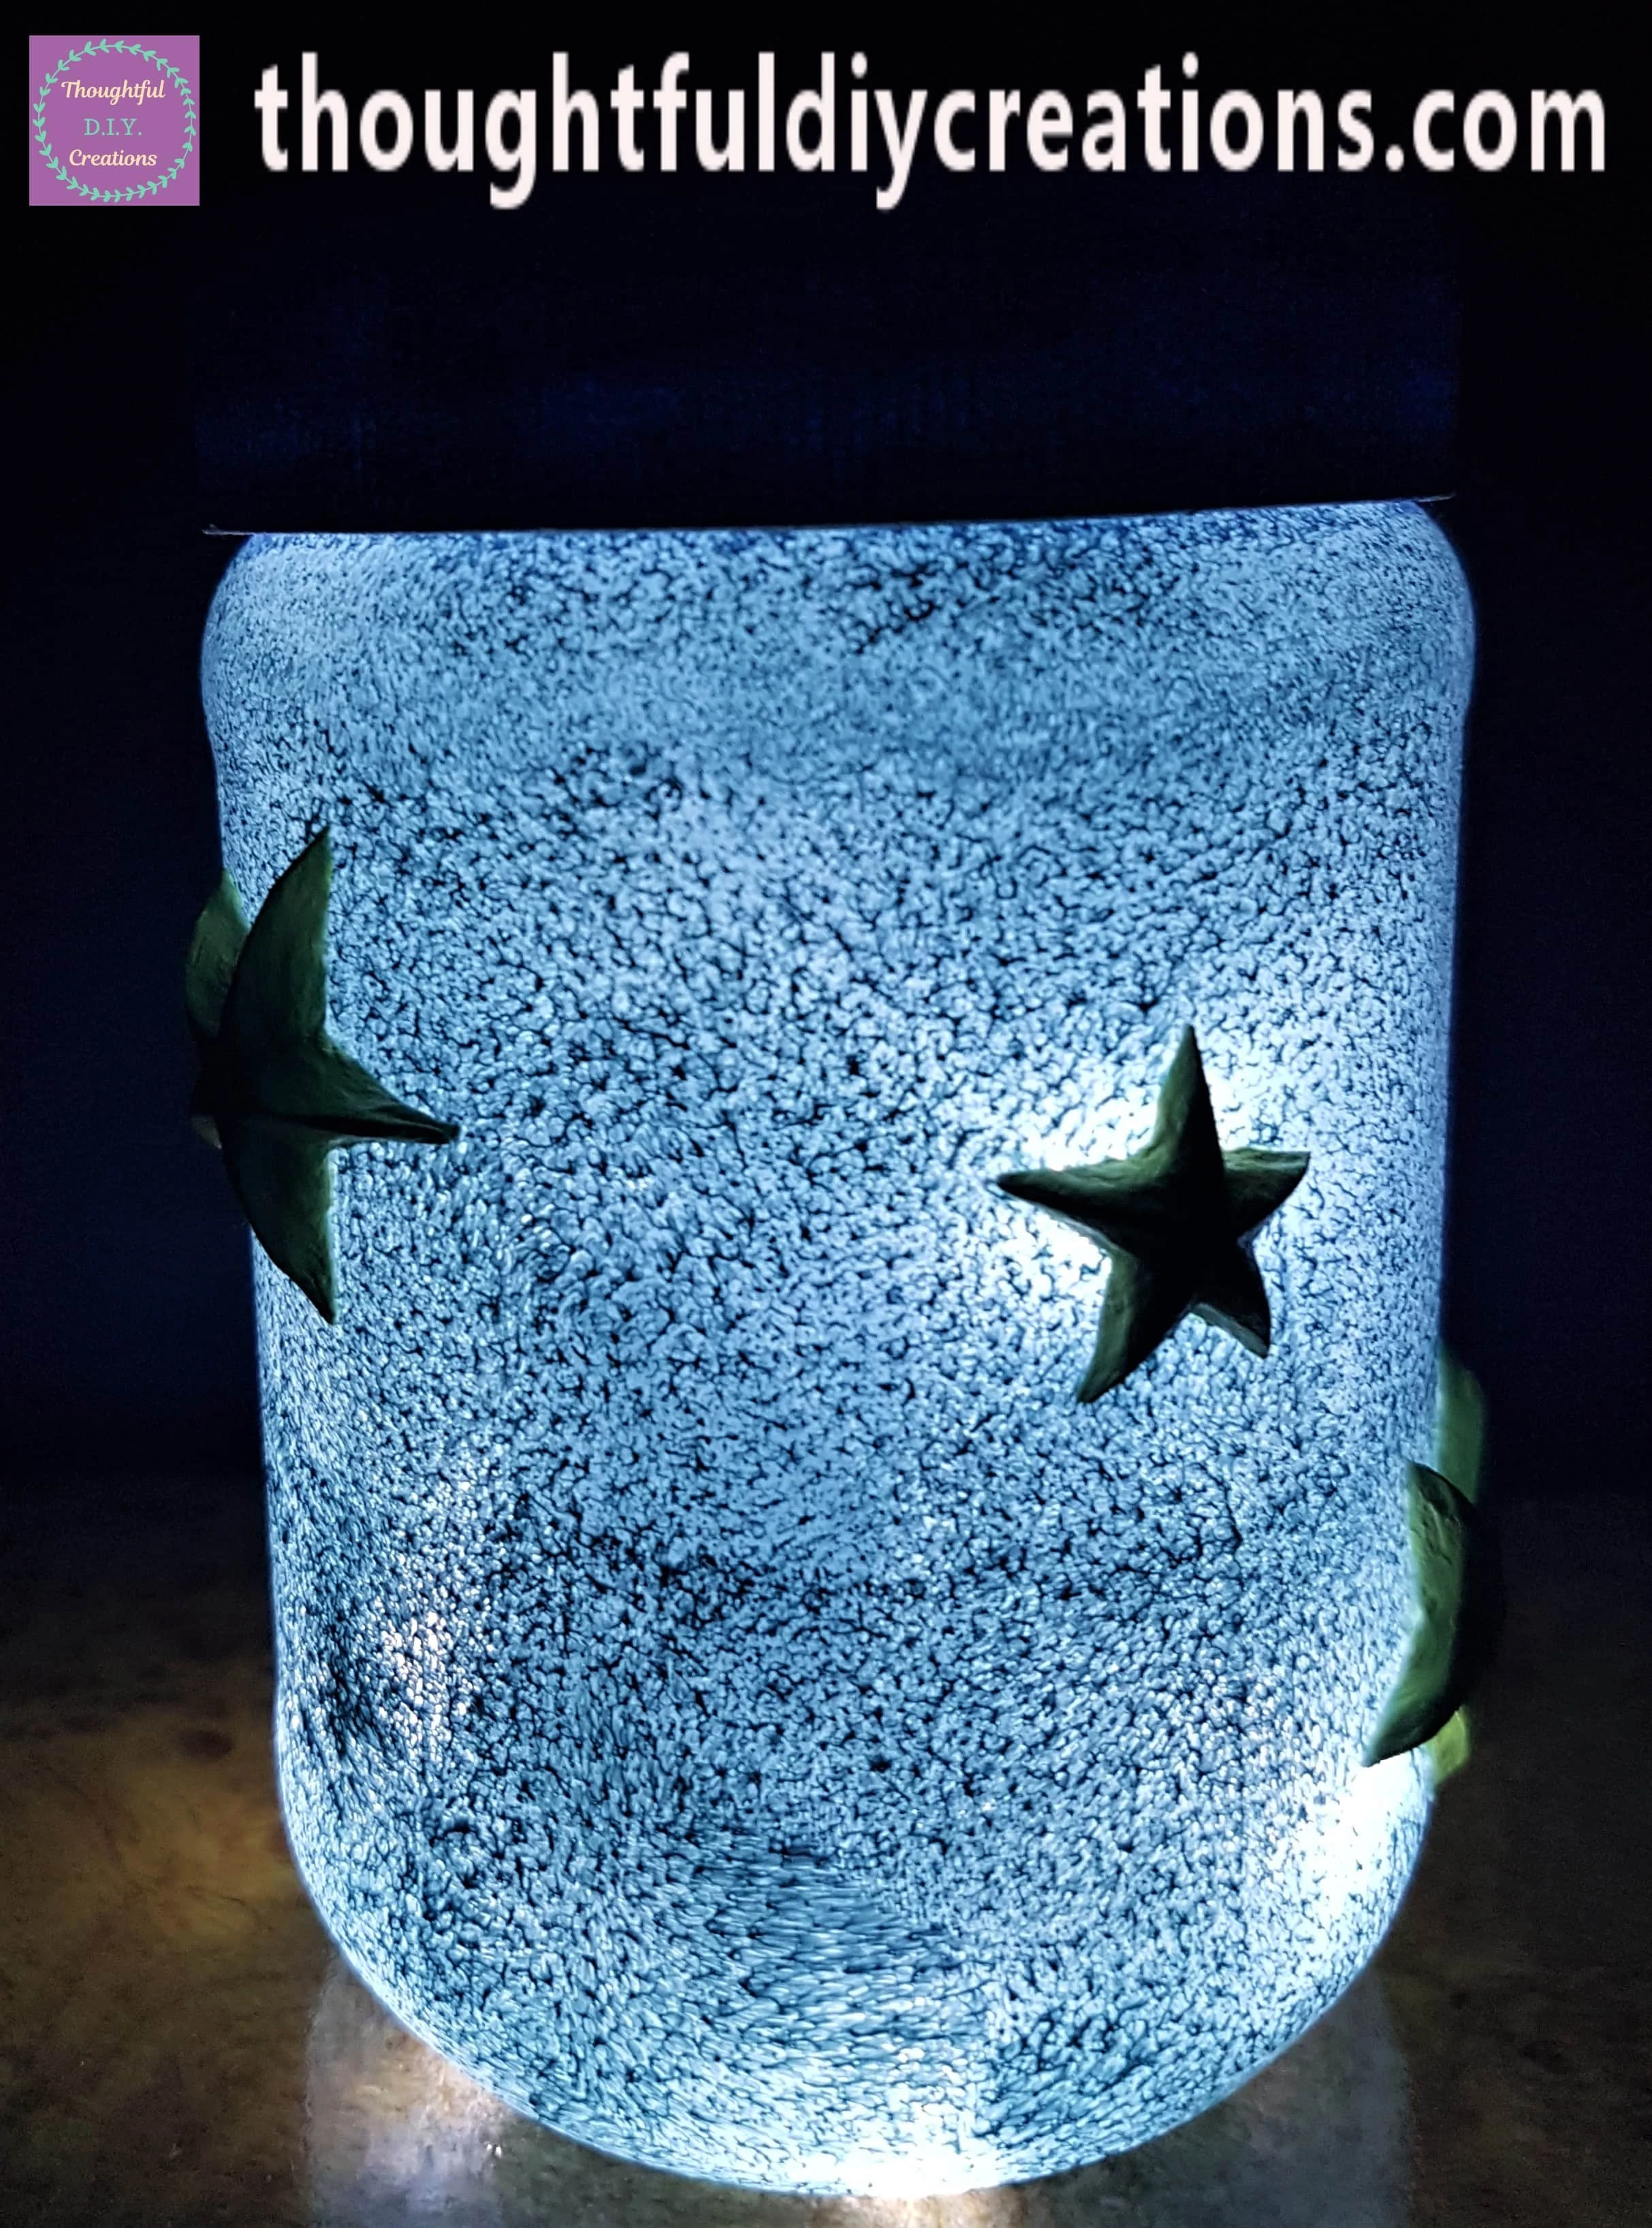
I turned the Bedroom Light off and took a Photograph of the Jar with just the Battery lights turned on.
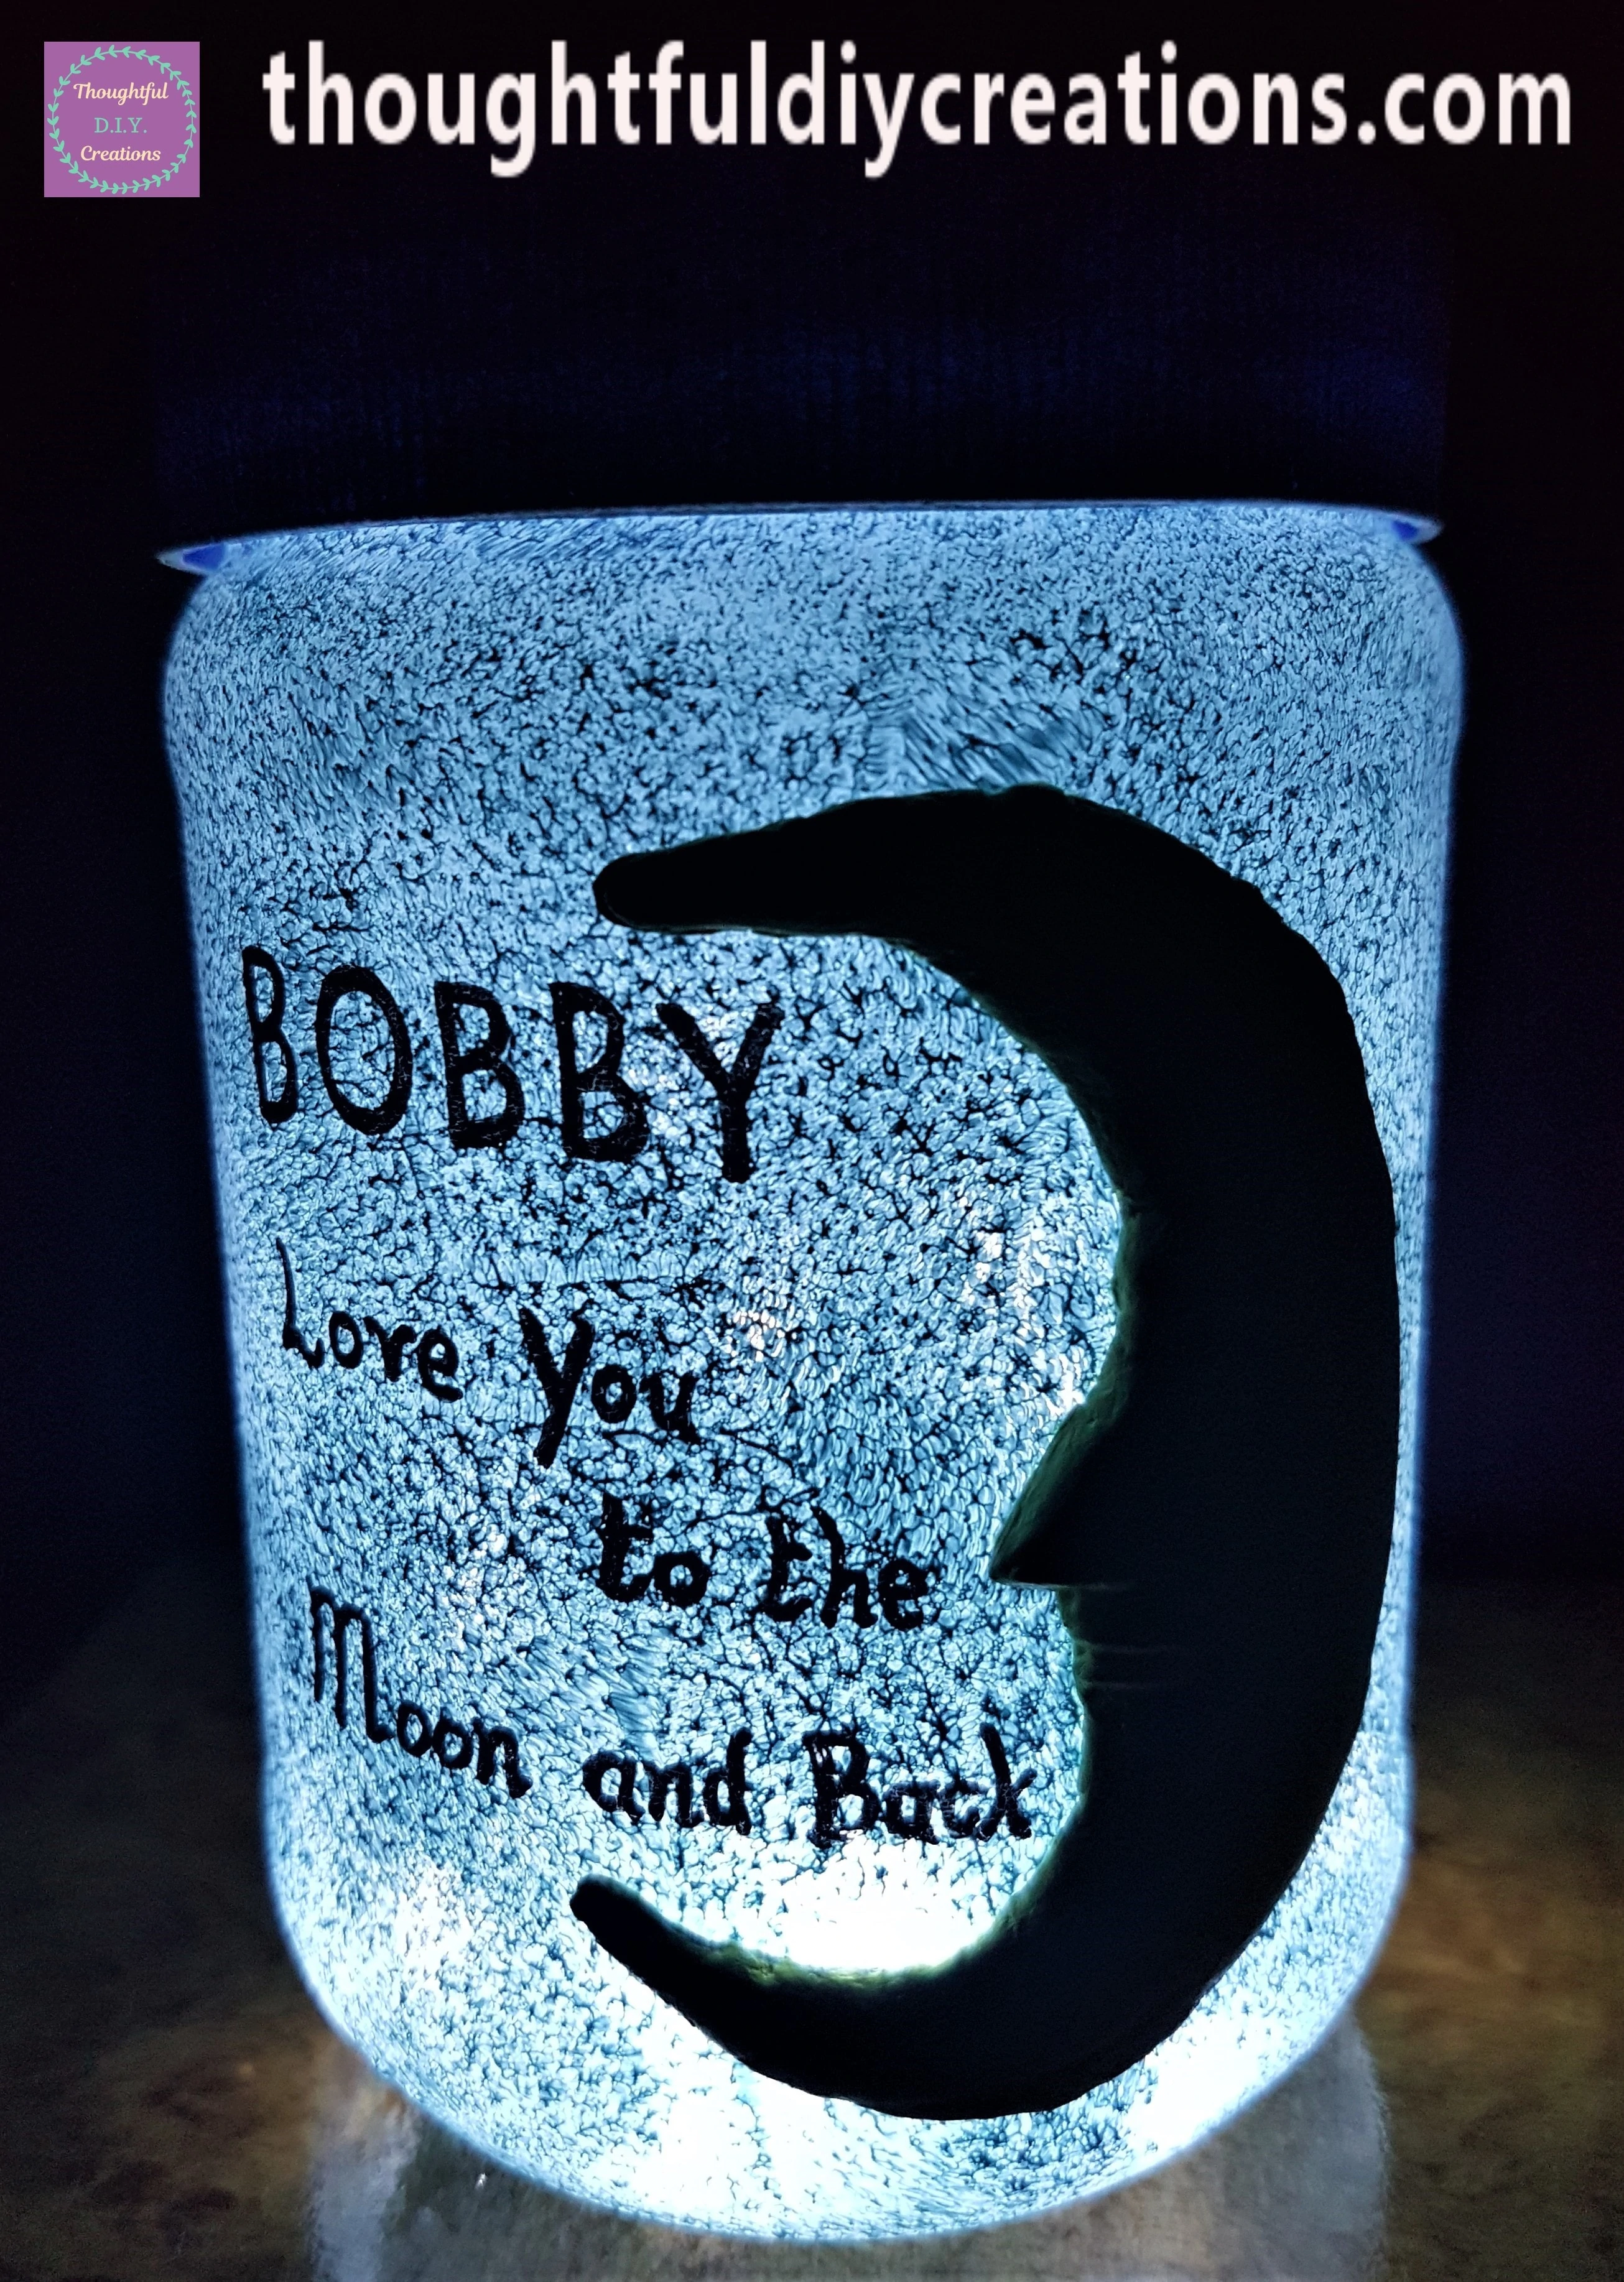
Here it is from different angles.
Conclusion
I am thrilled with how the Moon and Stars Light-Up-Jar turned out. It took a while to make from Start to Finish but I think all the effort was worth it. I love that it looks good both during the day and at night. The lights give it the final touch and I love how they’re visible through the Paint.
This Jar can be made for anyone at any Age as the Quote is so Popular the past few years. It is also a lovely, thoughtful Sentiment and would be a meaningful Gift for anyone special in your life; Partner, Child, Grandchild, Niece, Nephew, Sibling etc.
It would also be perfect for a Nursery especially as the Sky / Clouds can be a Poplular choice as the theme for the Room. This Craft would also be beautiful in a Nursery: Moon & Stars Wall Decor.
You can change the Colours of the Paint to suit your Room Decor. I liked the Blue and White to represent the Sky and Clouds during the Day. I wouldn’t choose anything too dark though especially if you want to add lights as they might not be seen through dark paint on the Jar.
I hope you enjoyed this Weeks Tutorial and learned something new. Let me know if you give this Craft a go; I’d love to know how it turned out for you.
If you have any questions don’t hesitate to ask; just fill out the Comment Box below this Blog Post and I’ll get back to you as soon as possible.
Thank You so much for taking the time to Read my Blog.
Always Grateful,
T.D.C.
xoxox


-0 Comment-