Christmas Frame D.I.Y. Tutorial
Hello my Creative Friends,
I hope you are all Well. In Today’s Tutorial I will show you how I made a Christmas Frame out of an old Pyjamas Top and Accessories. I hope it inspires you to get Creative this Season with your Home Decor or Gift Ideas.
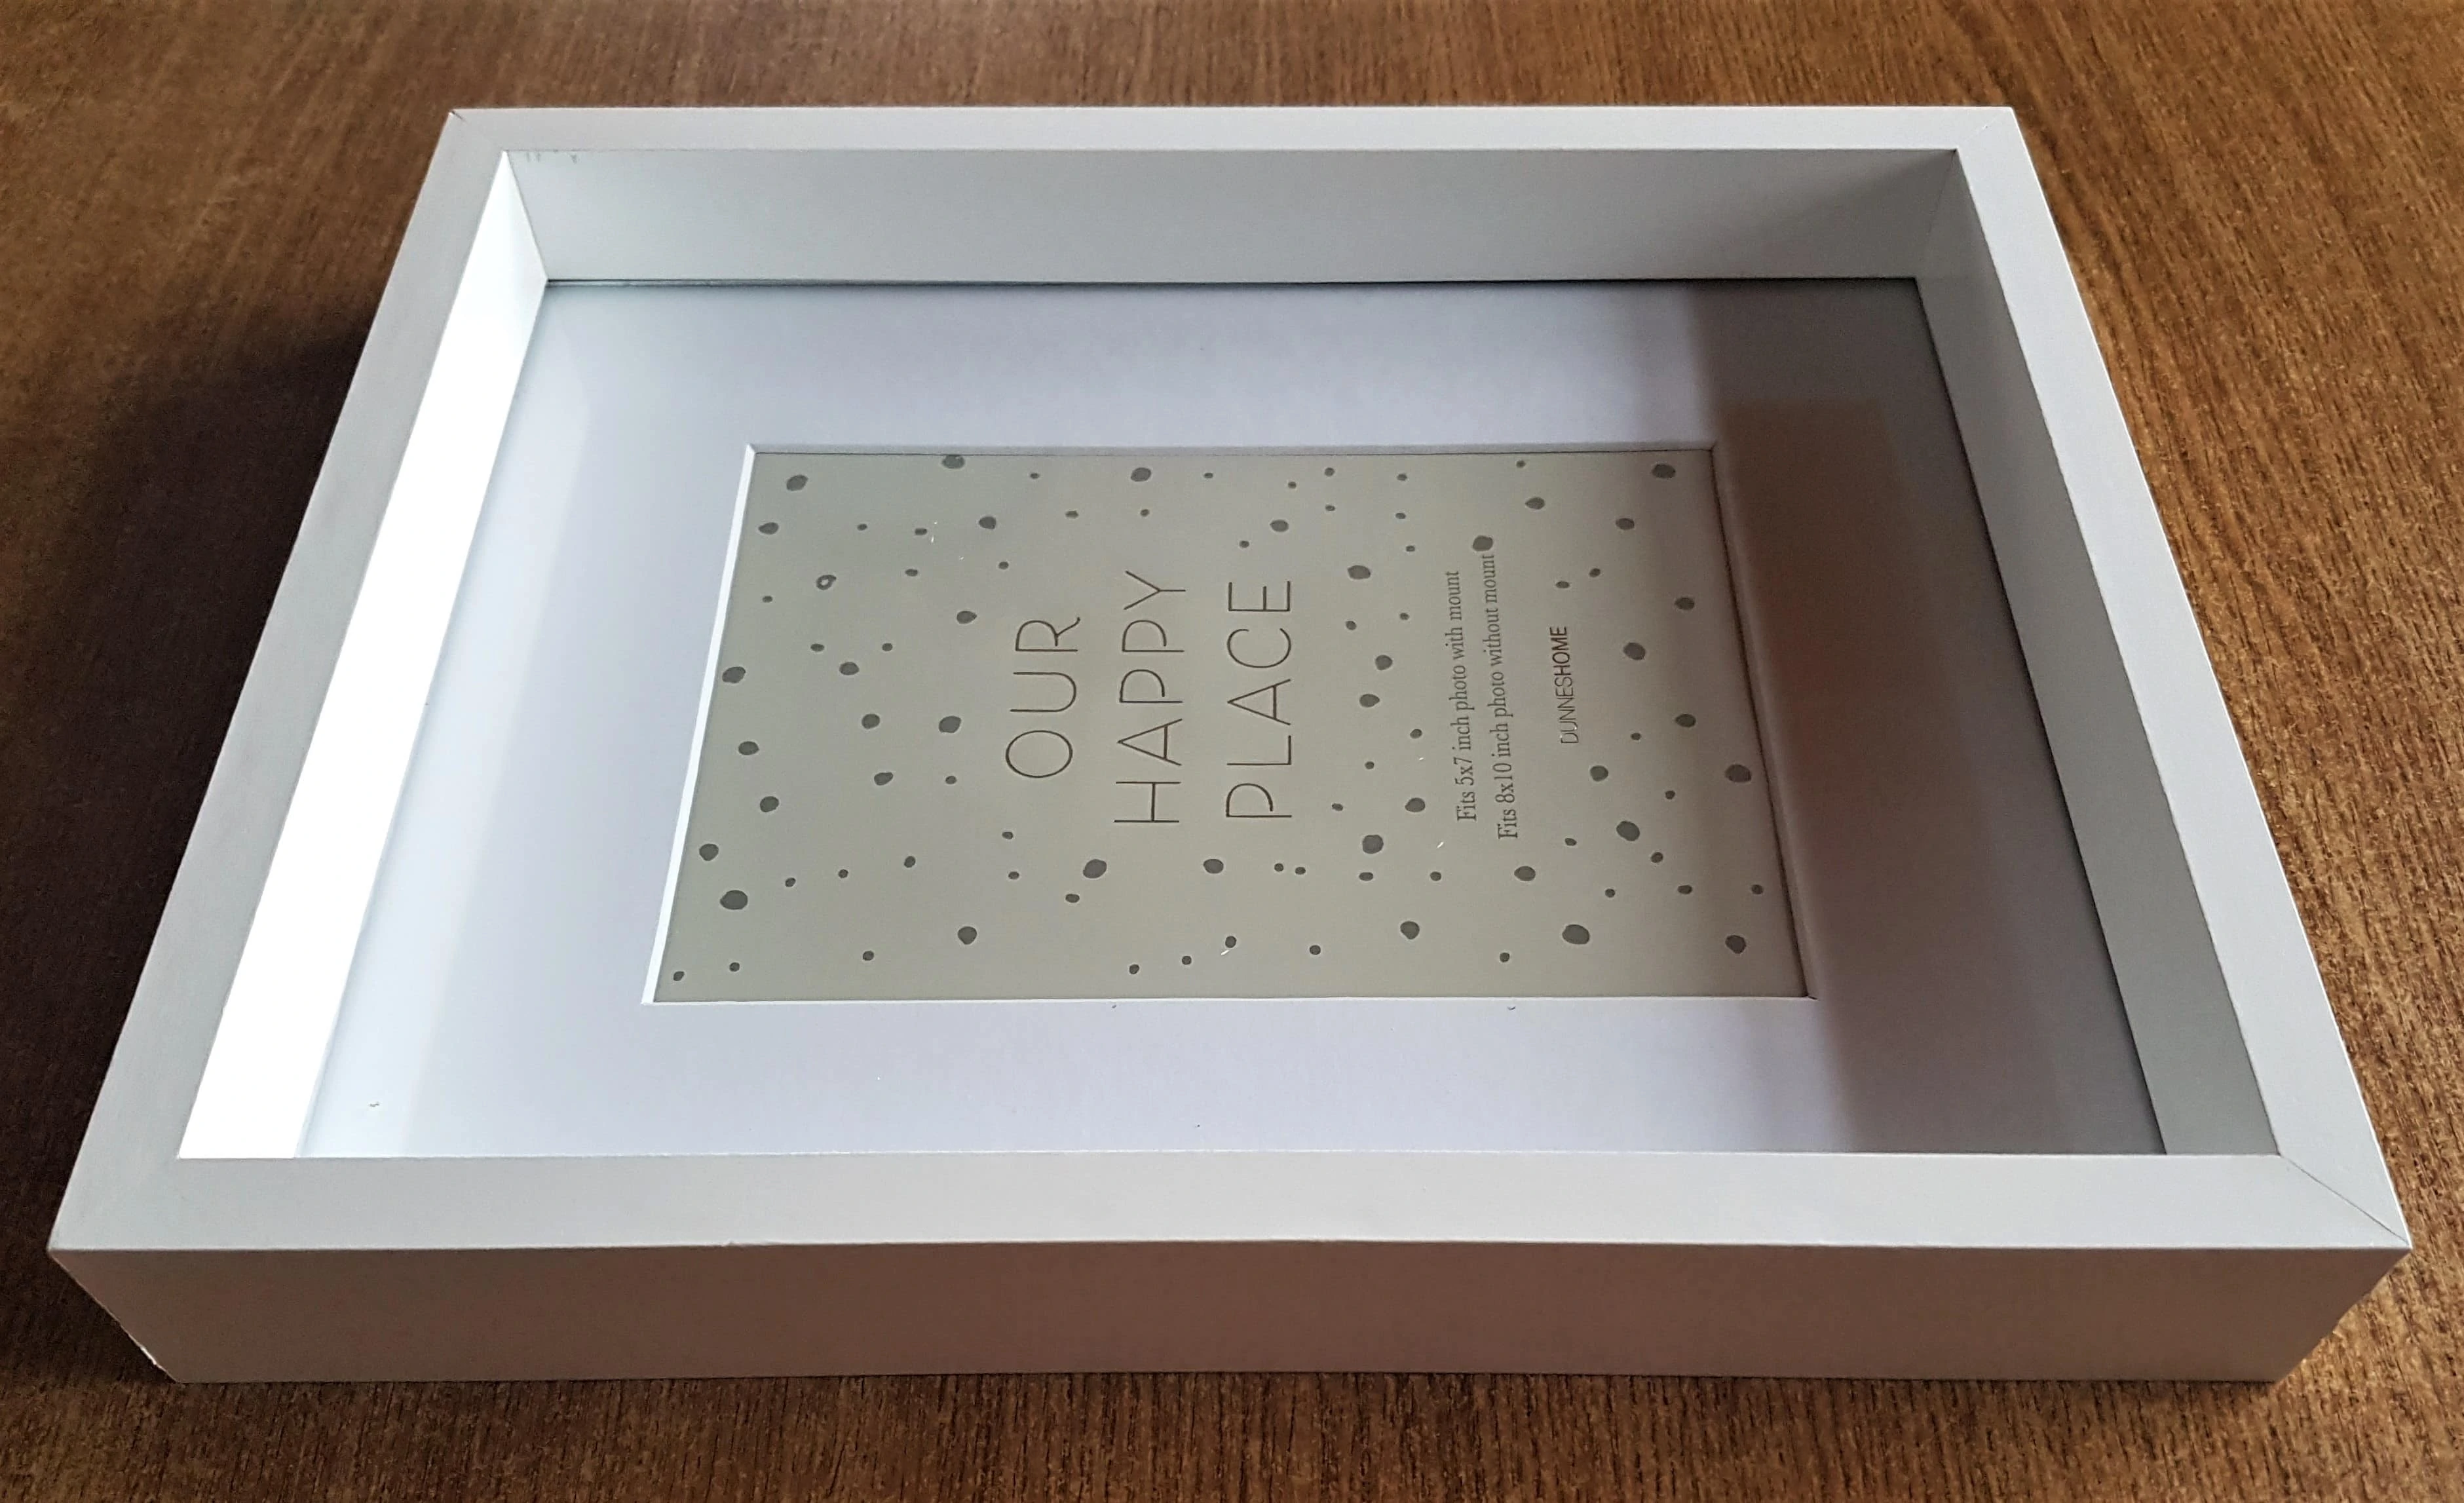
Frame for Crafting
I bought a White Shadow Box Frame measuring 8 and 3/4 Inches by 10 and 3/4 Inches. It can be used in Portrait or Landscape. You can add a 5″ x 7″ Photo inside.
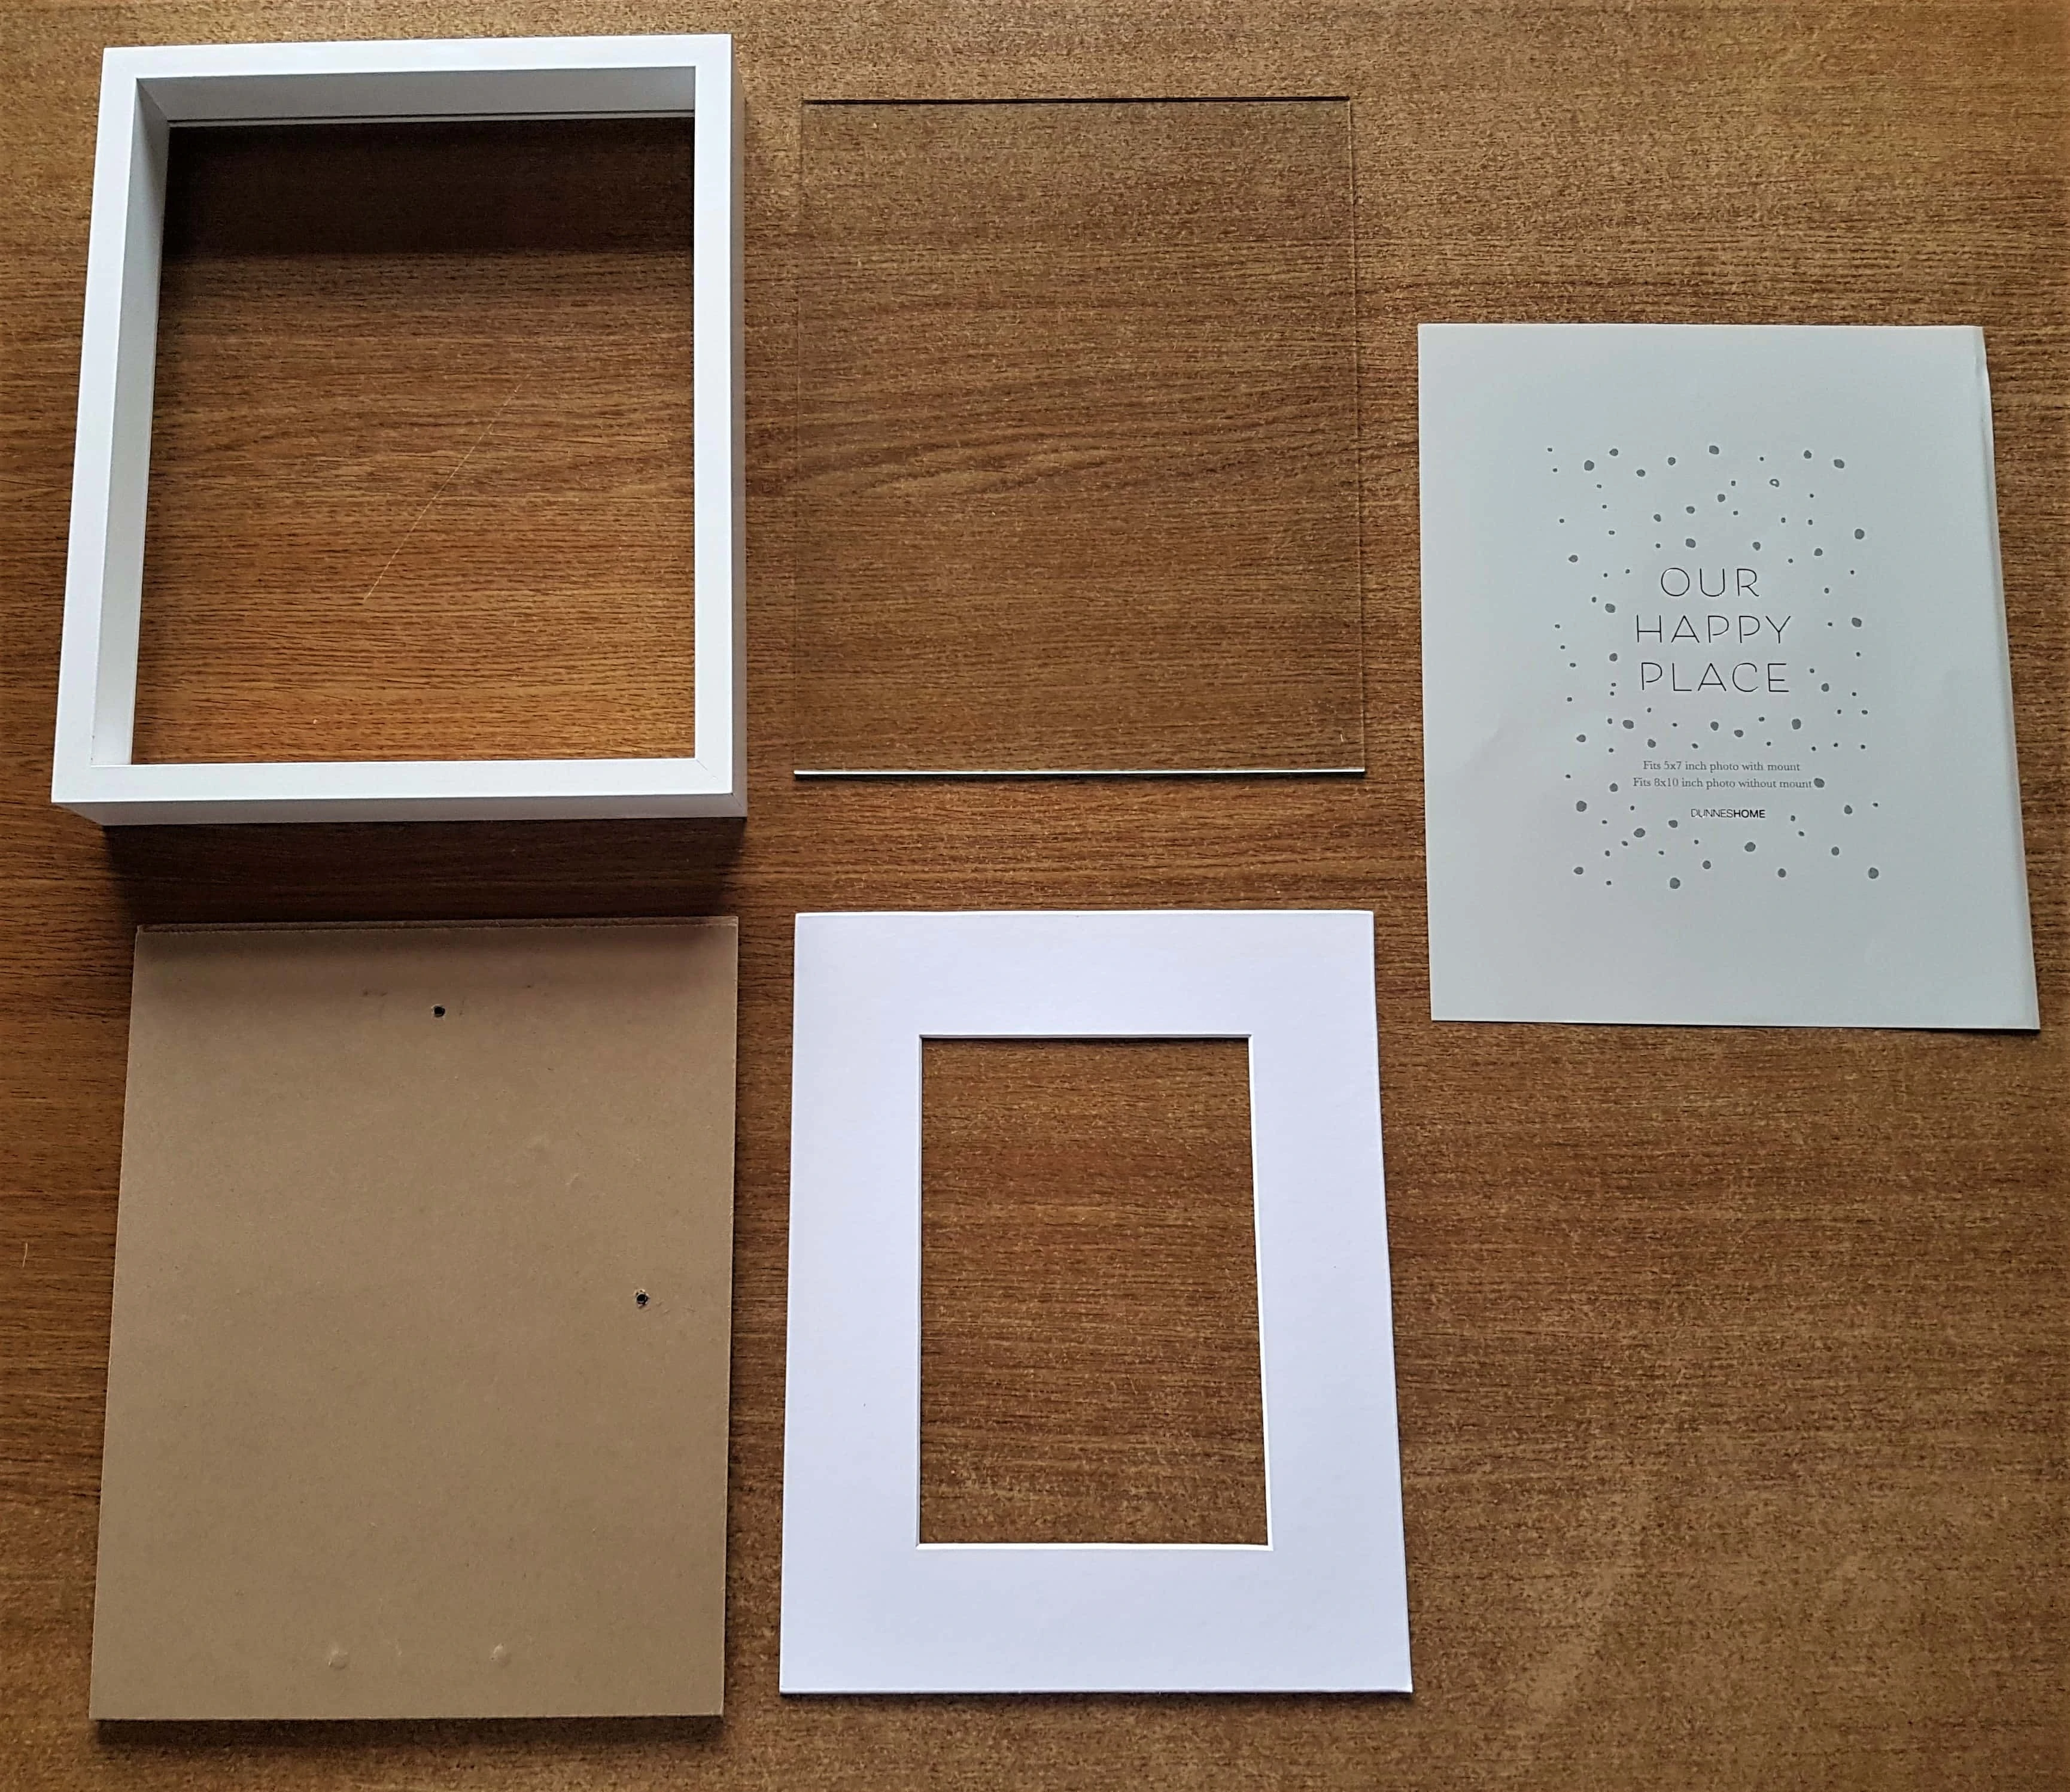
I opened up the Frame and removed all the Pieces.
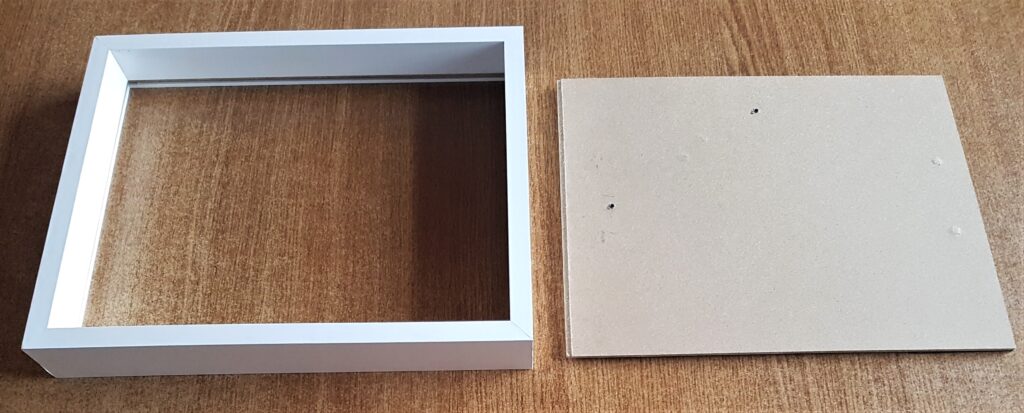
I will just be using the Frame and the Backing Board for my Christmas Frame Craft.
Preparing the Fabric for the Frame
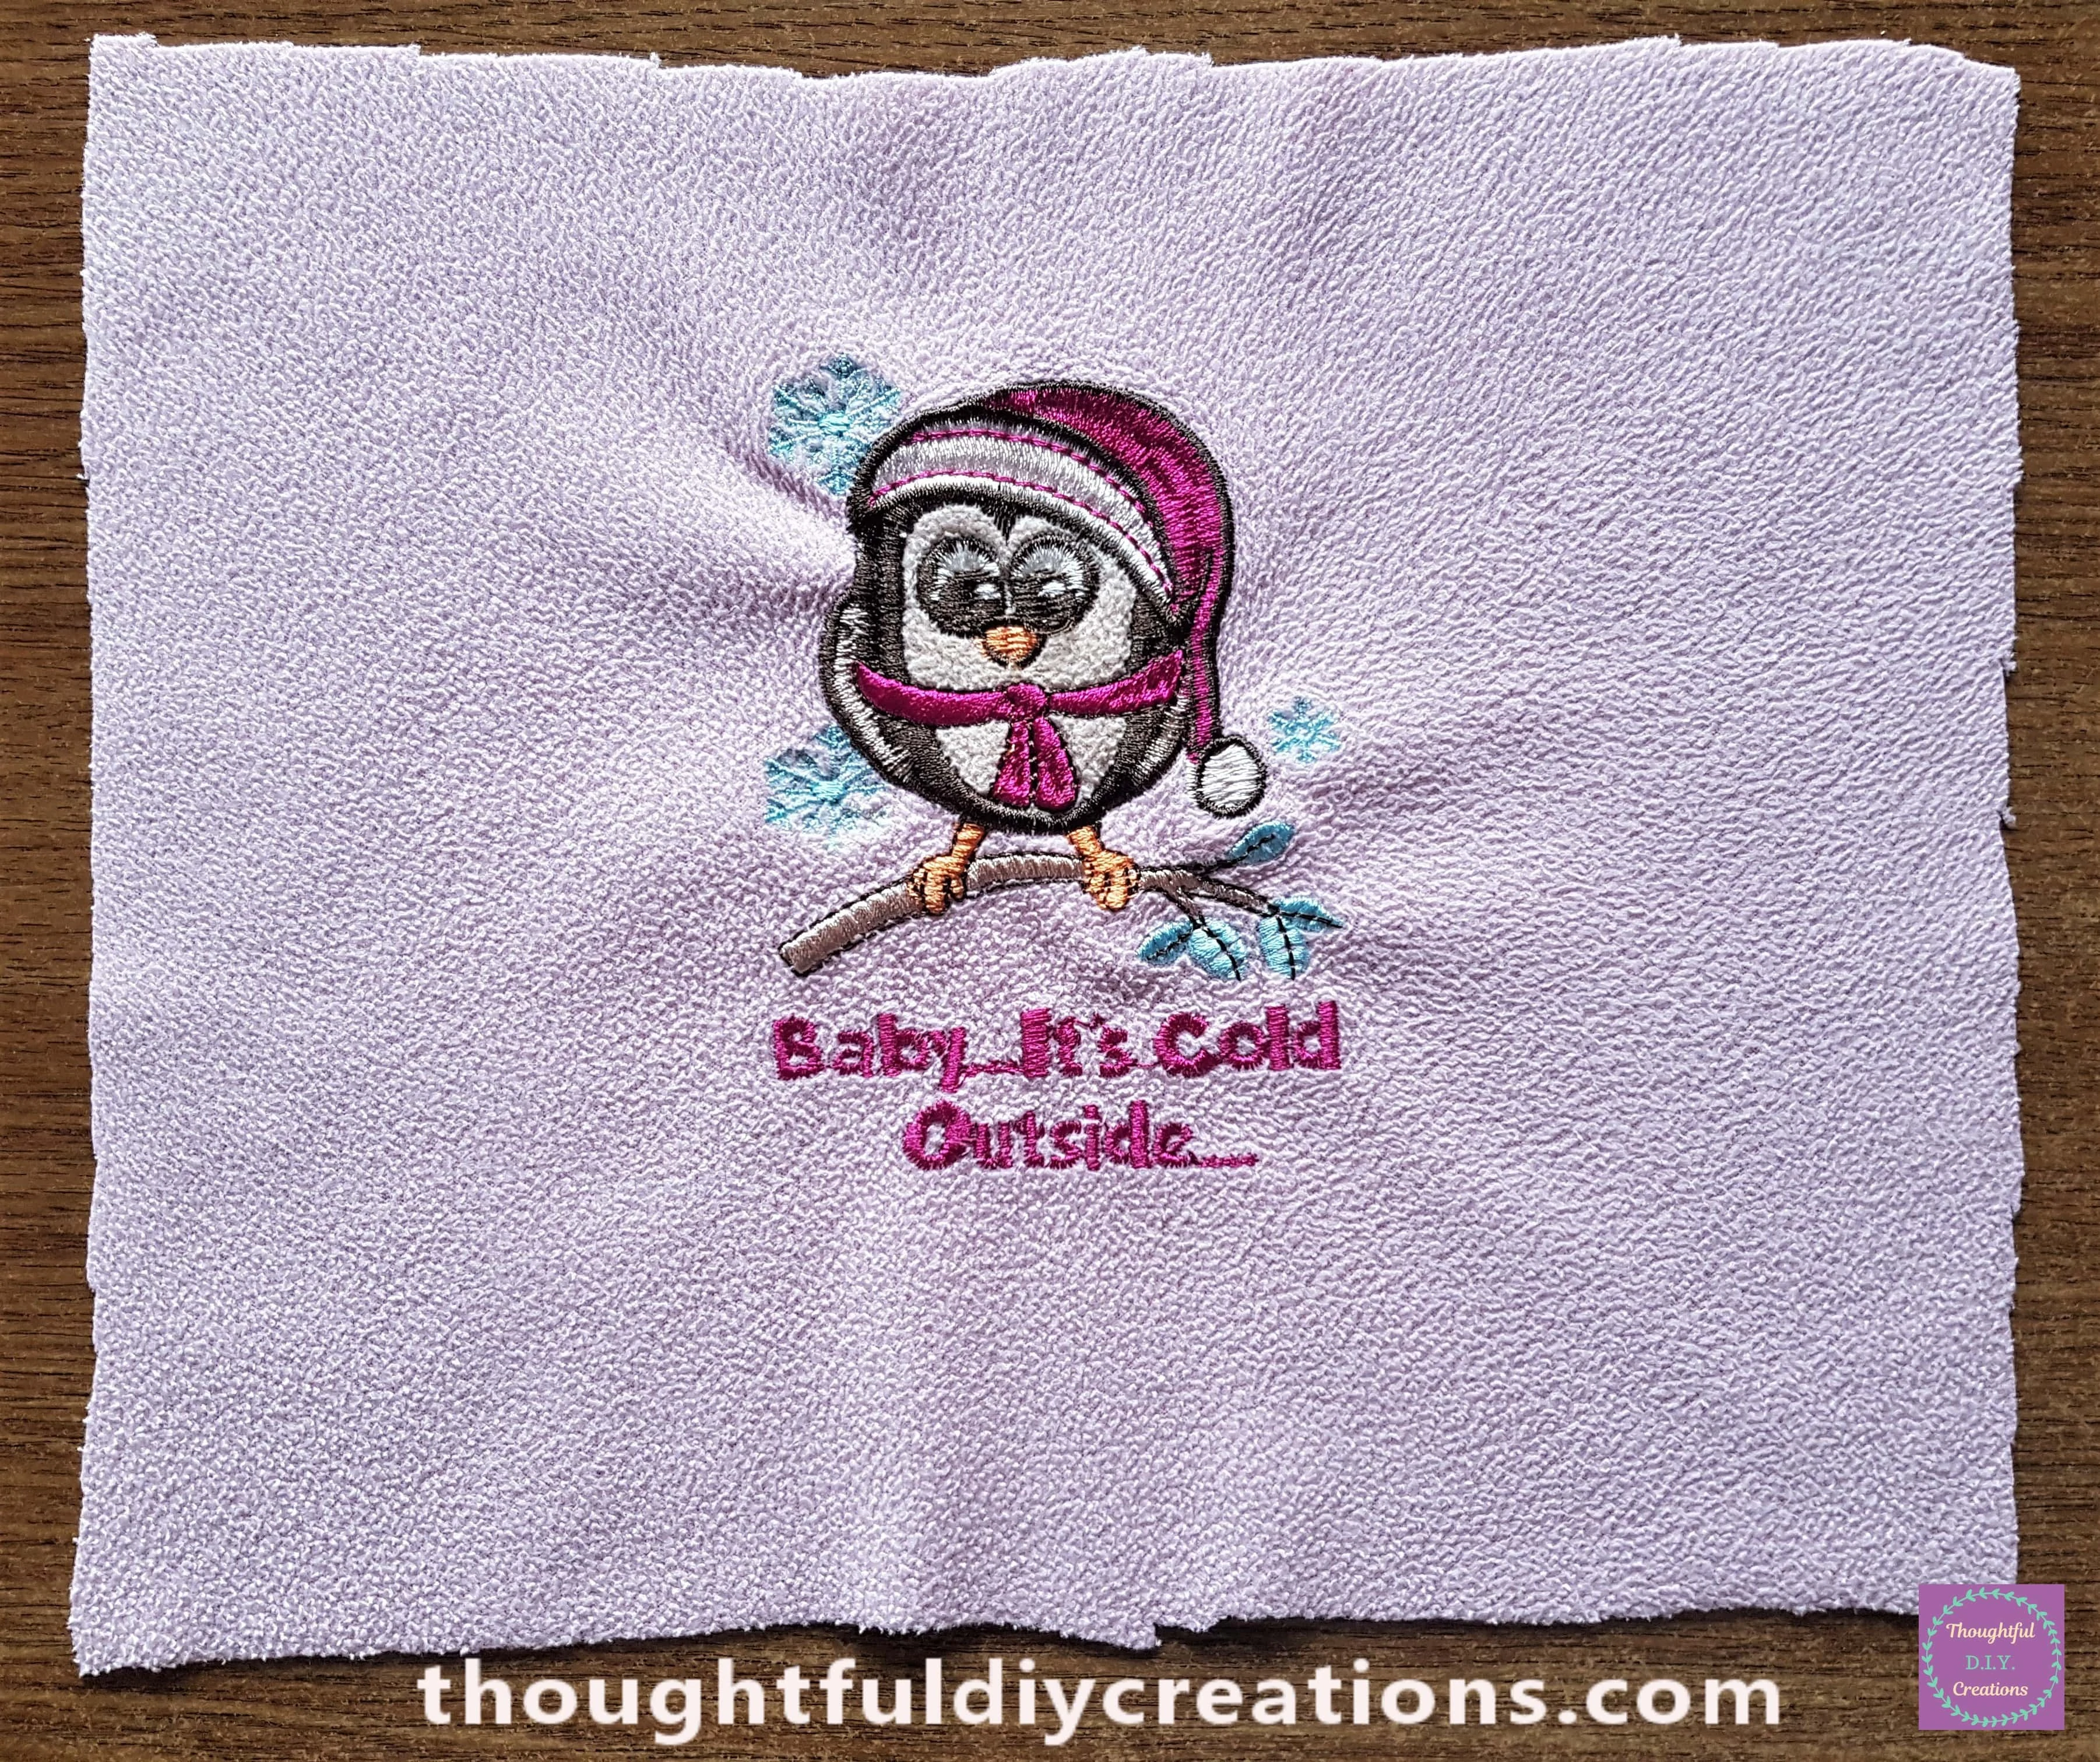
I had an old Christmas Pyjamas Top in my Fabric Supplies. I loved the Cute Image of the Owl and thought it would be adorable to add to my Crafts and have it on Display.
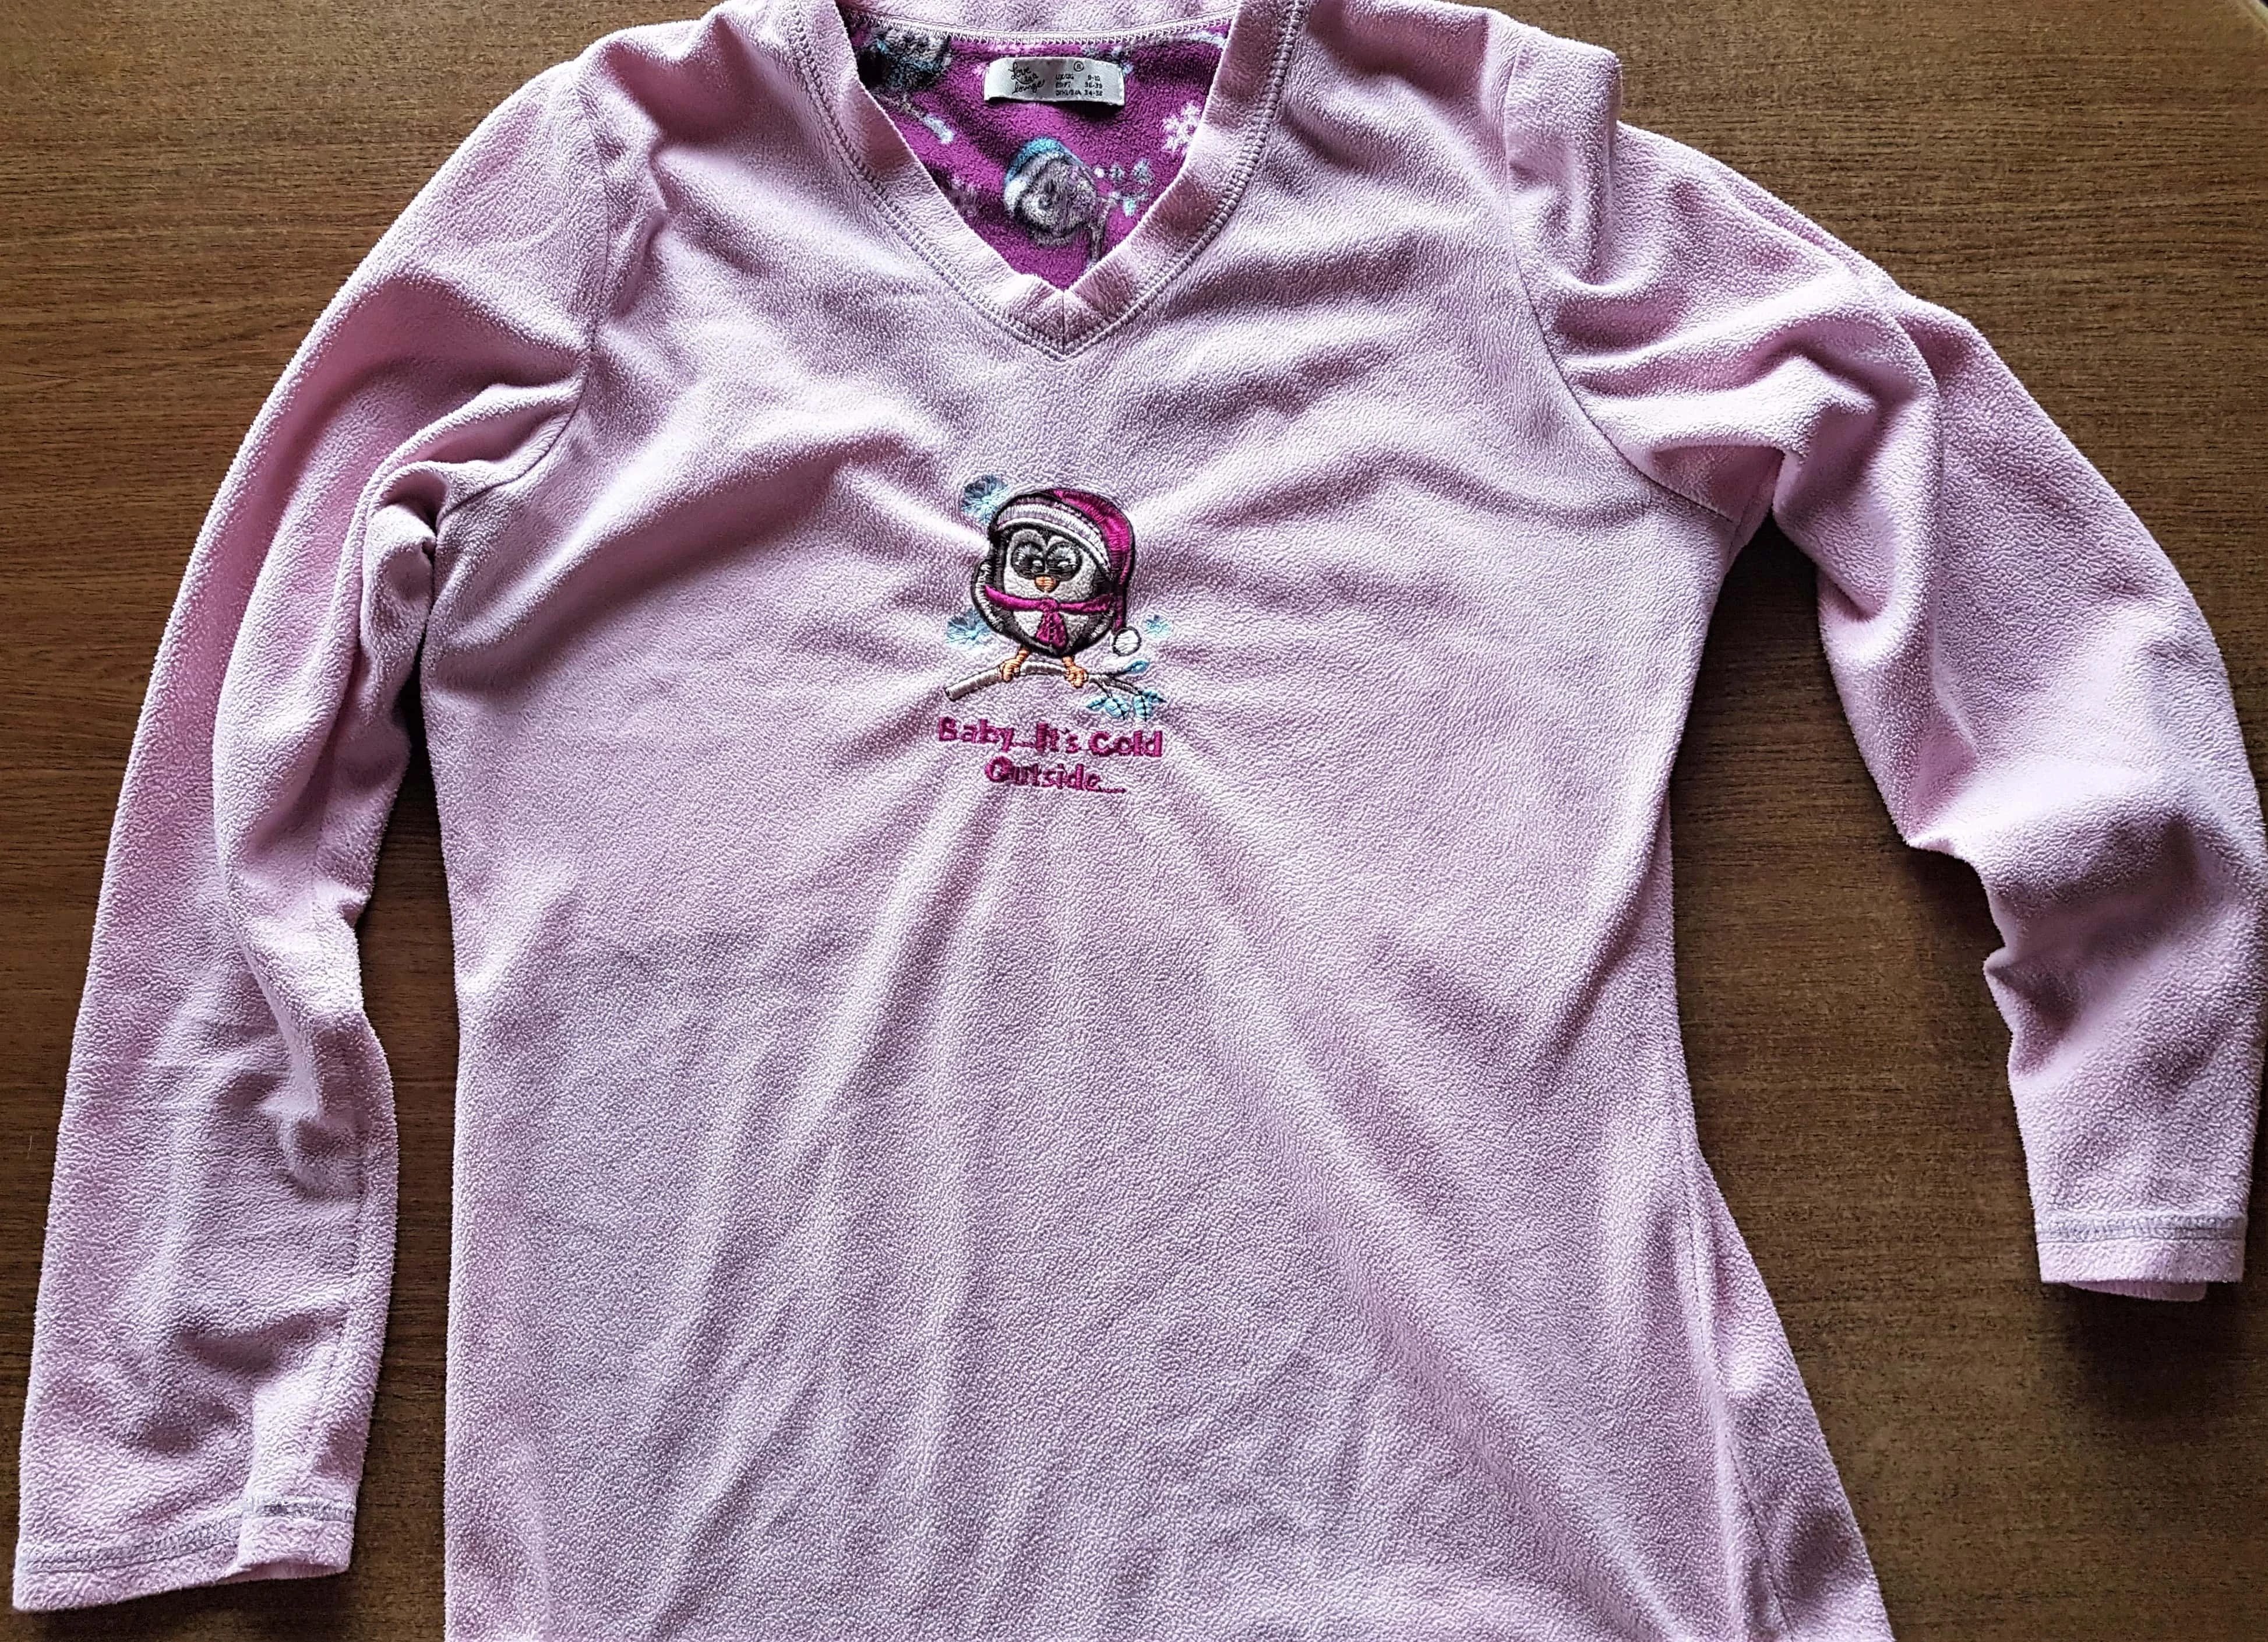
I cut out the top front section of the Pyjamas Top.
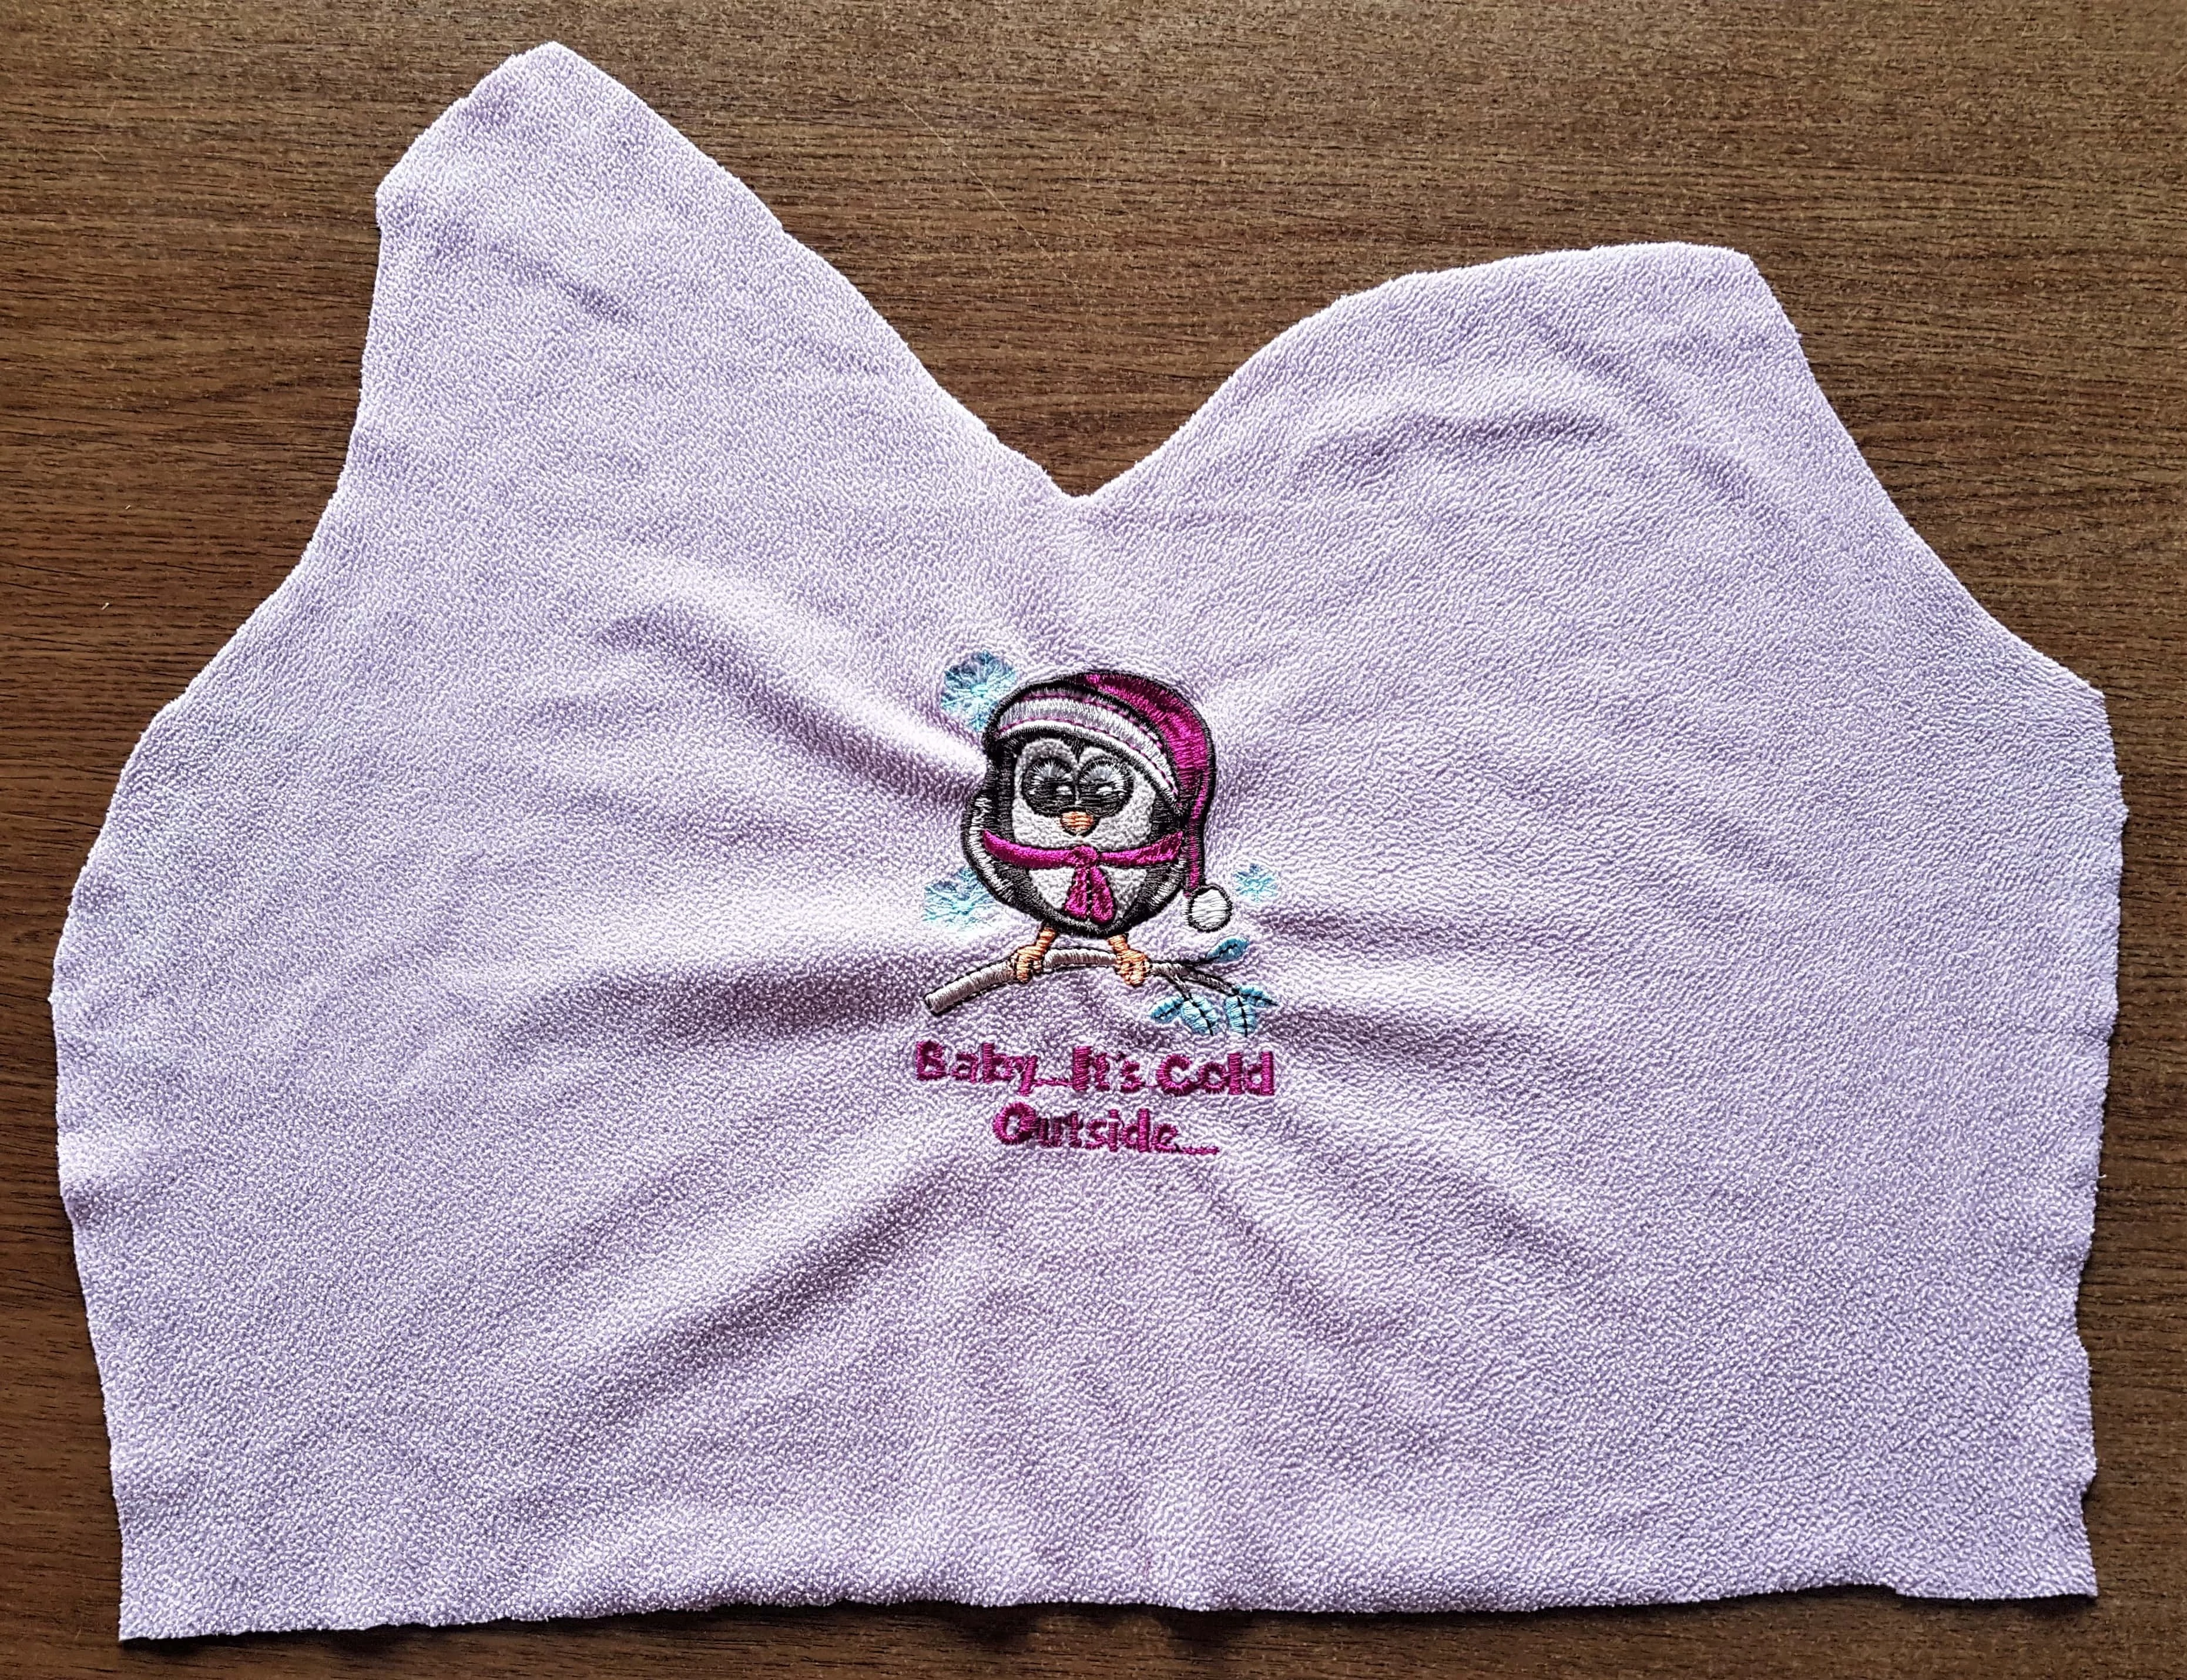
I placed the Cut out Fabric where I wanted it on top of the Backing Board from the Frame.
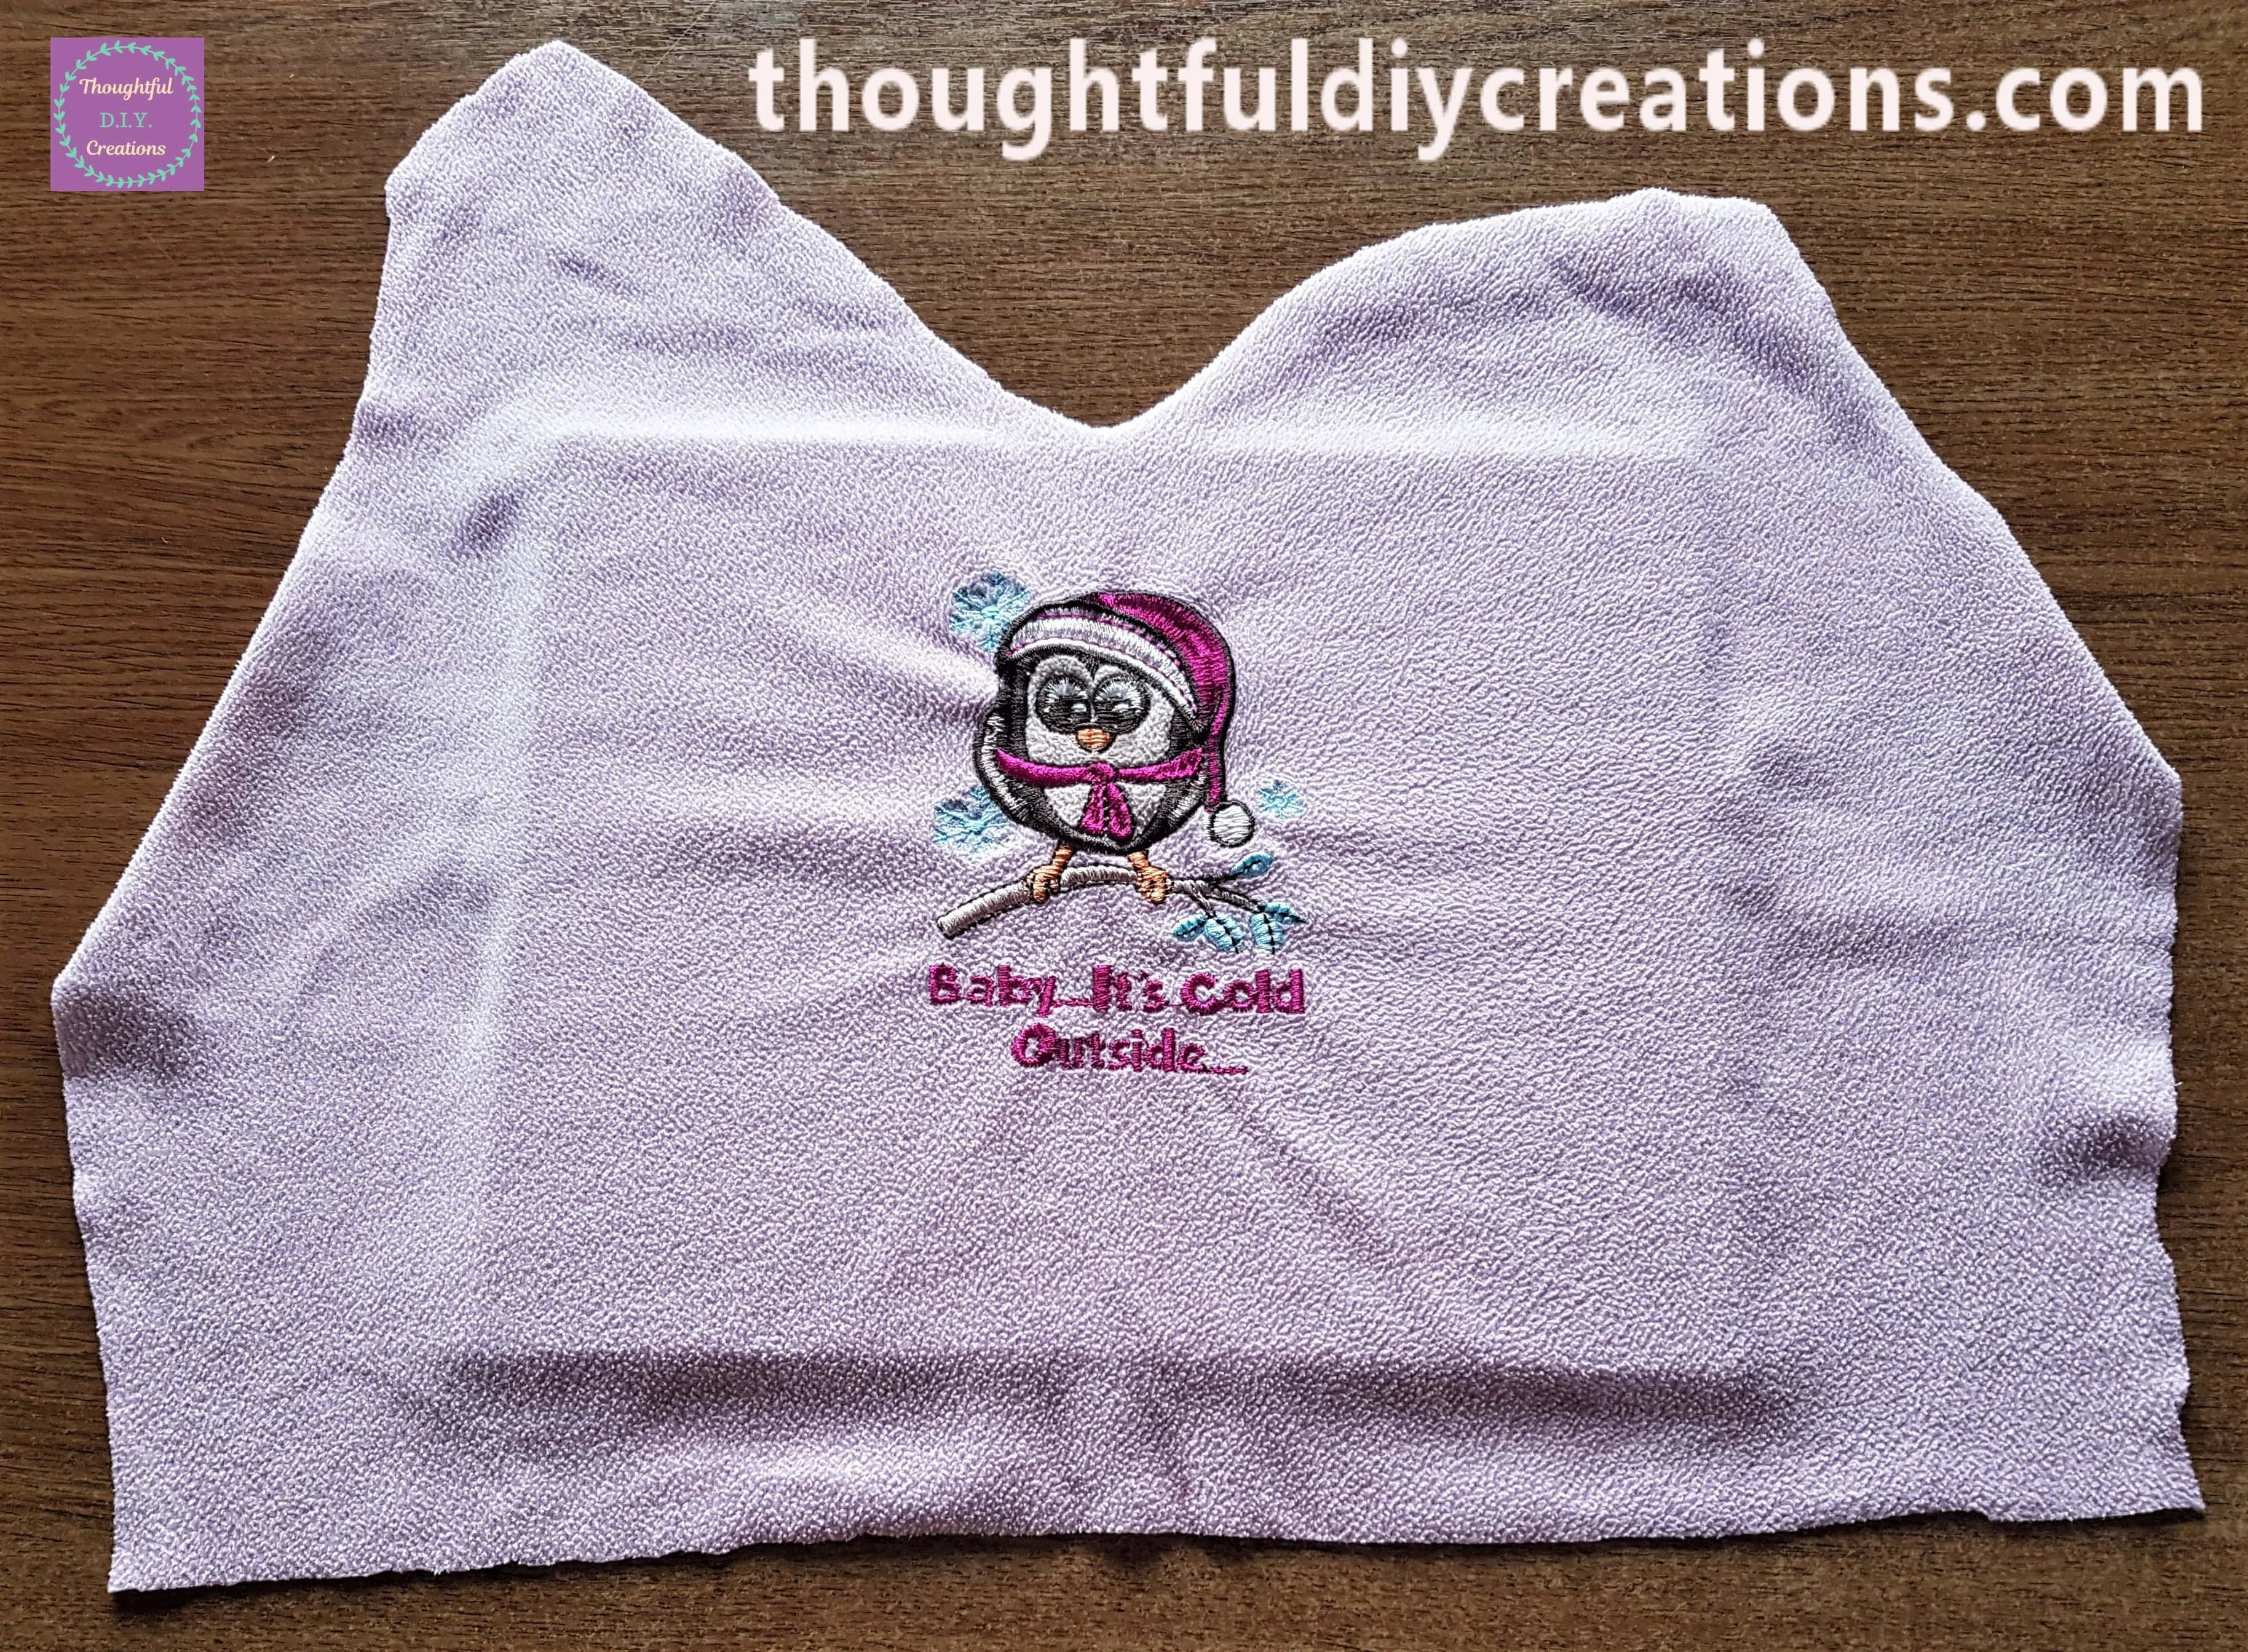
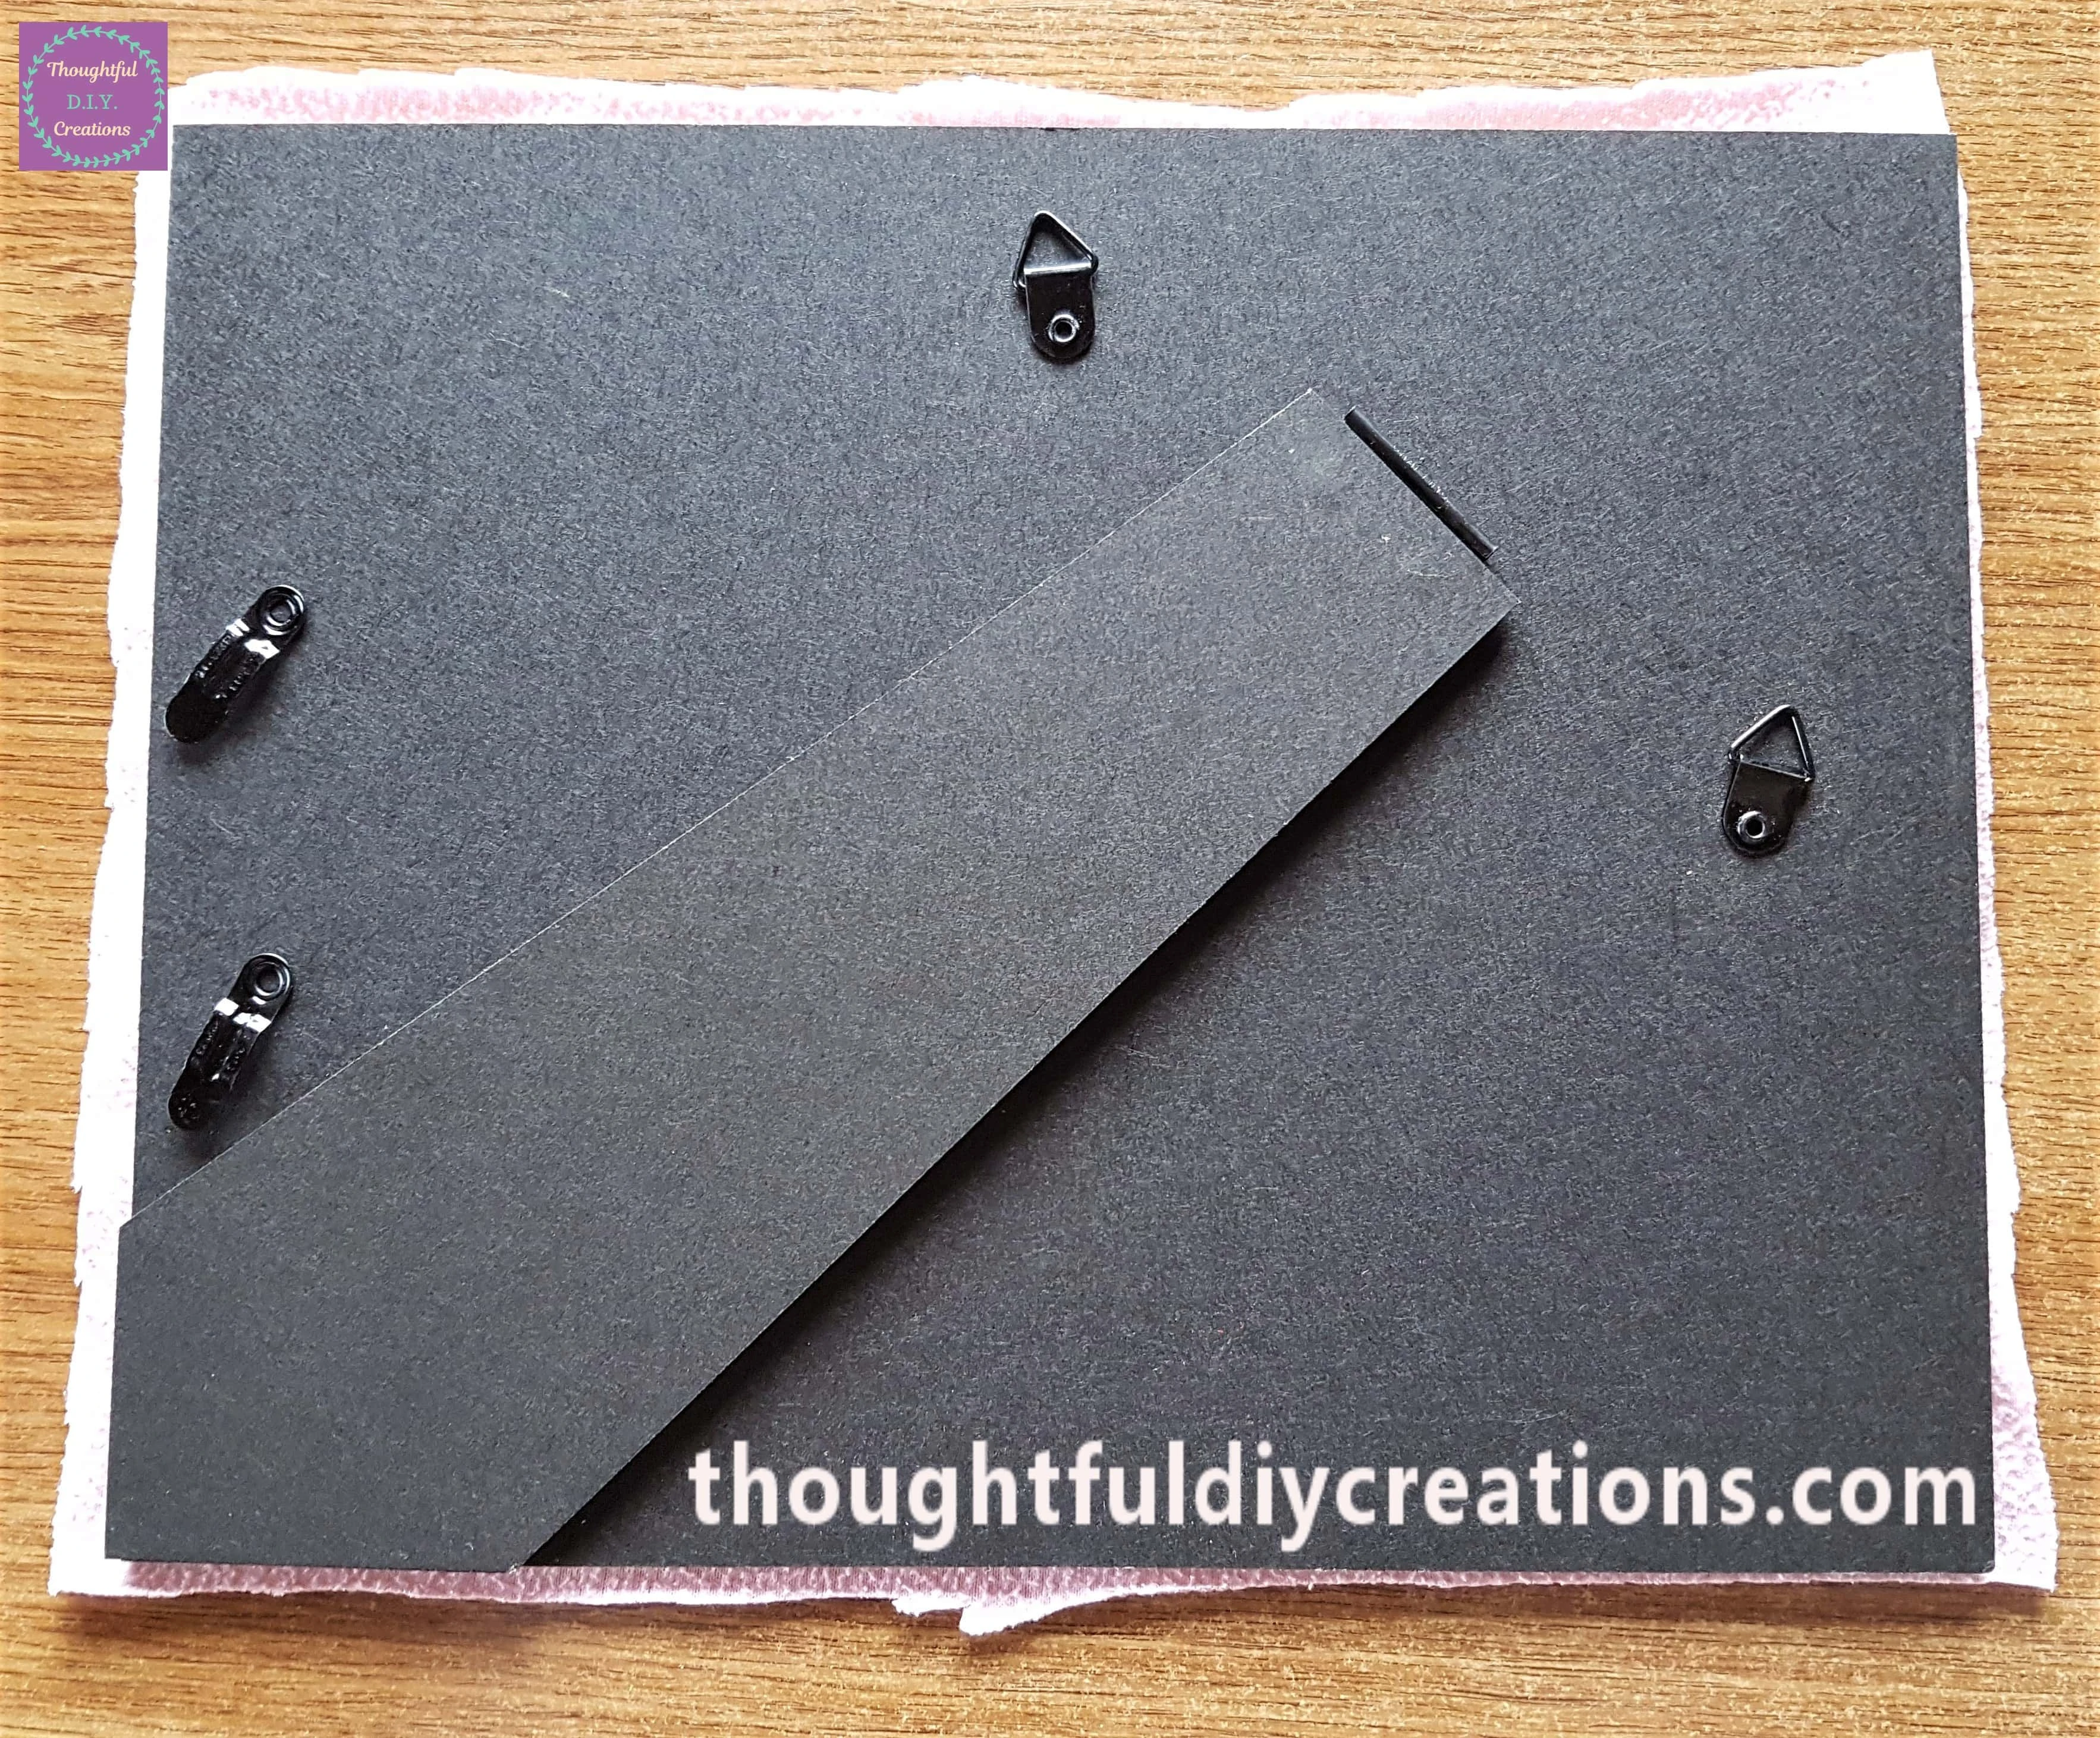
I turned the backing board over and cut the fabric around the frame.
I Ironed the Fabric on the Wool Setting with No Steam.
Attaching the Fabric to the Christmas Frame
I Plugged in my Hot Glue Gun with Clear Glue Stick inside and let it heat up for 5 minutes. I placed the Fabric on the backing board and turned the top left corner of the fabric back.
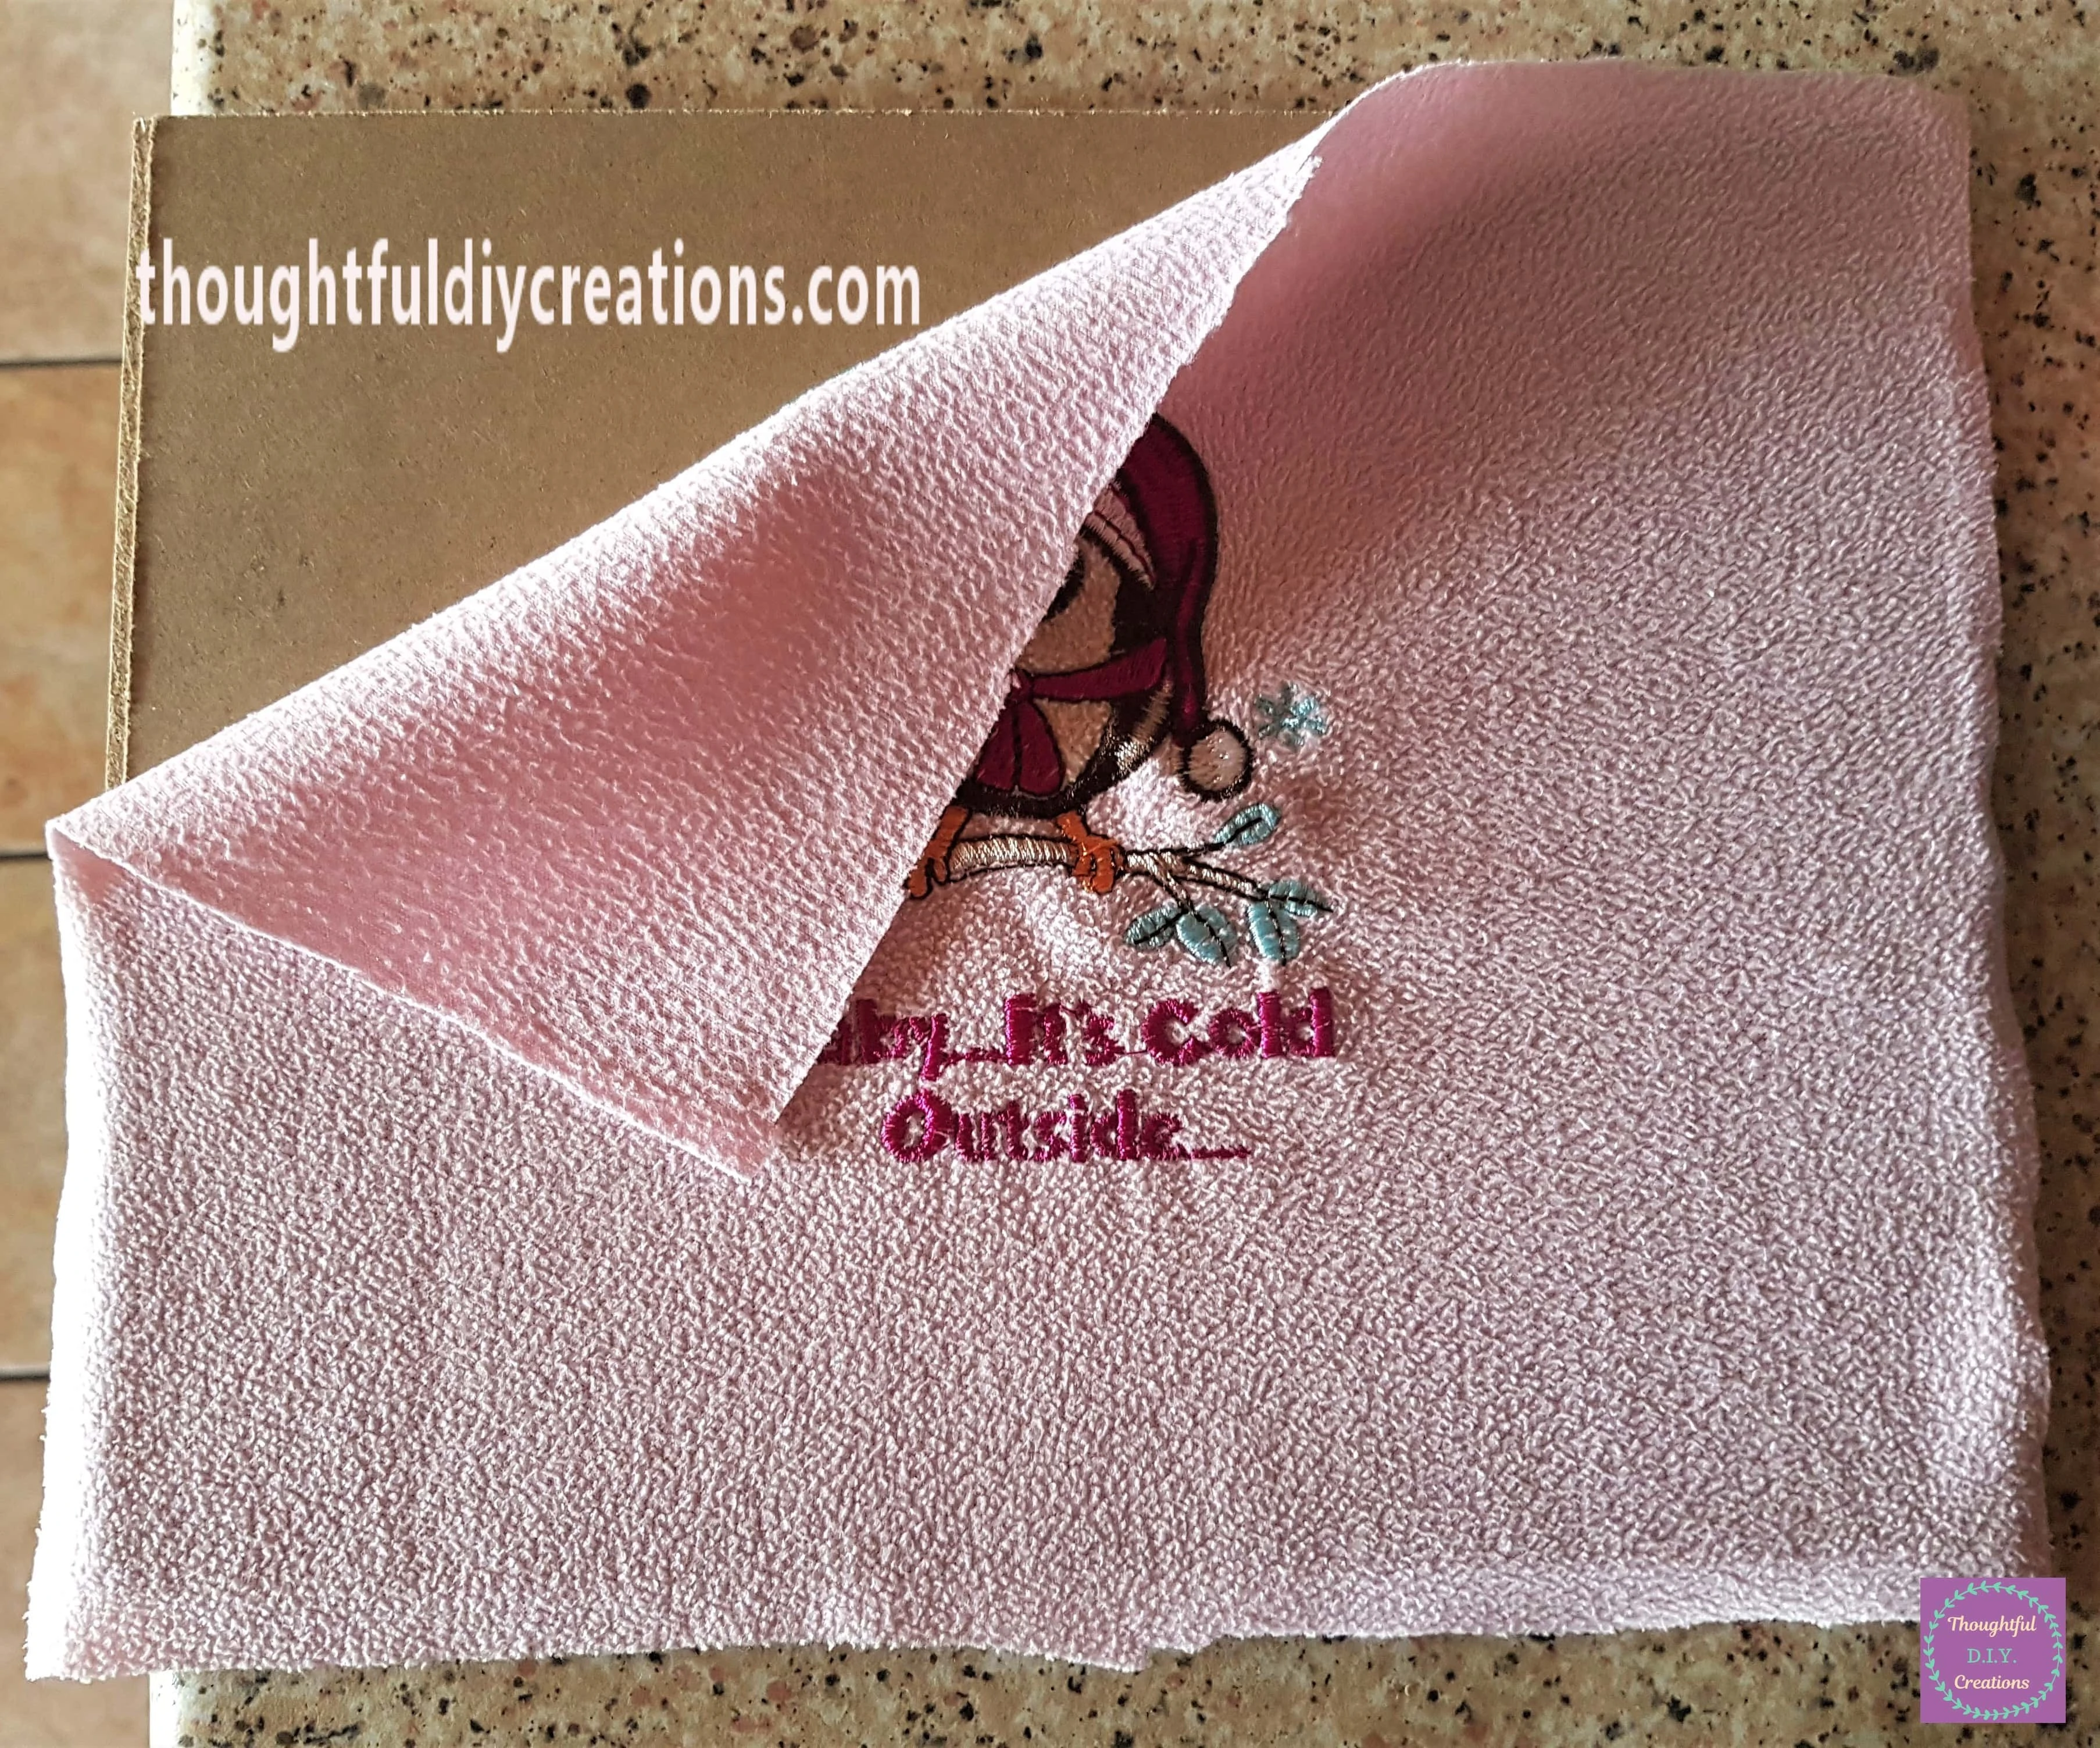
I put a strip of hot Glue along the Top Left hand side to the center of the Backing board. I then held the Fabric into the Glue for a few seconds. I then turned the top right hand side of the fabric back and put a strip of hot glue along the rest of the top part of the board. I again held the fabric over the Glue to attach it to the board.
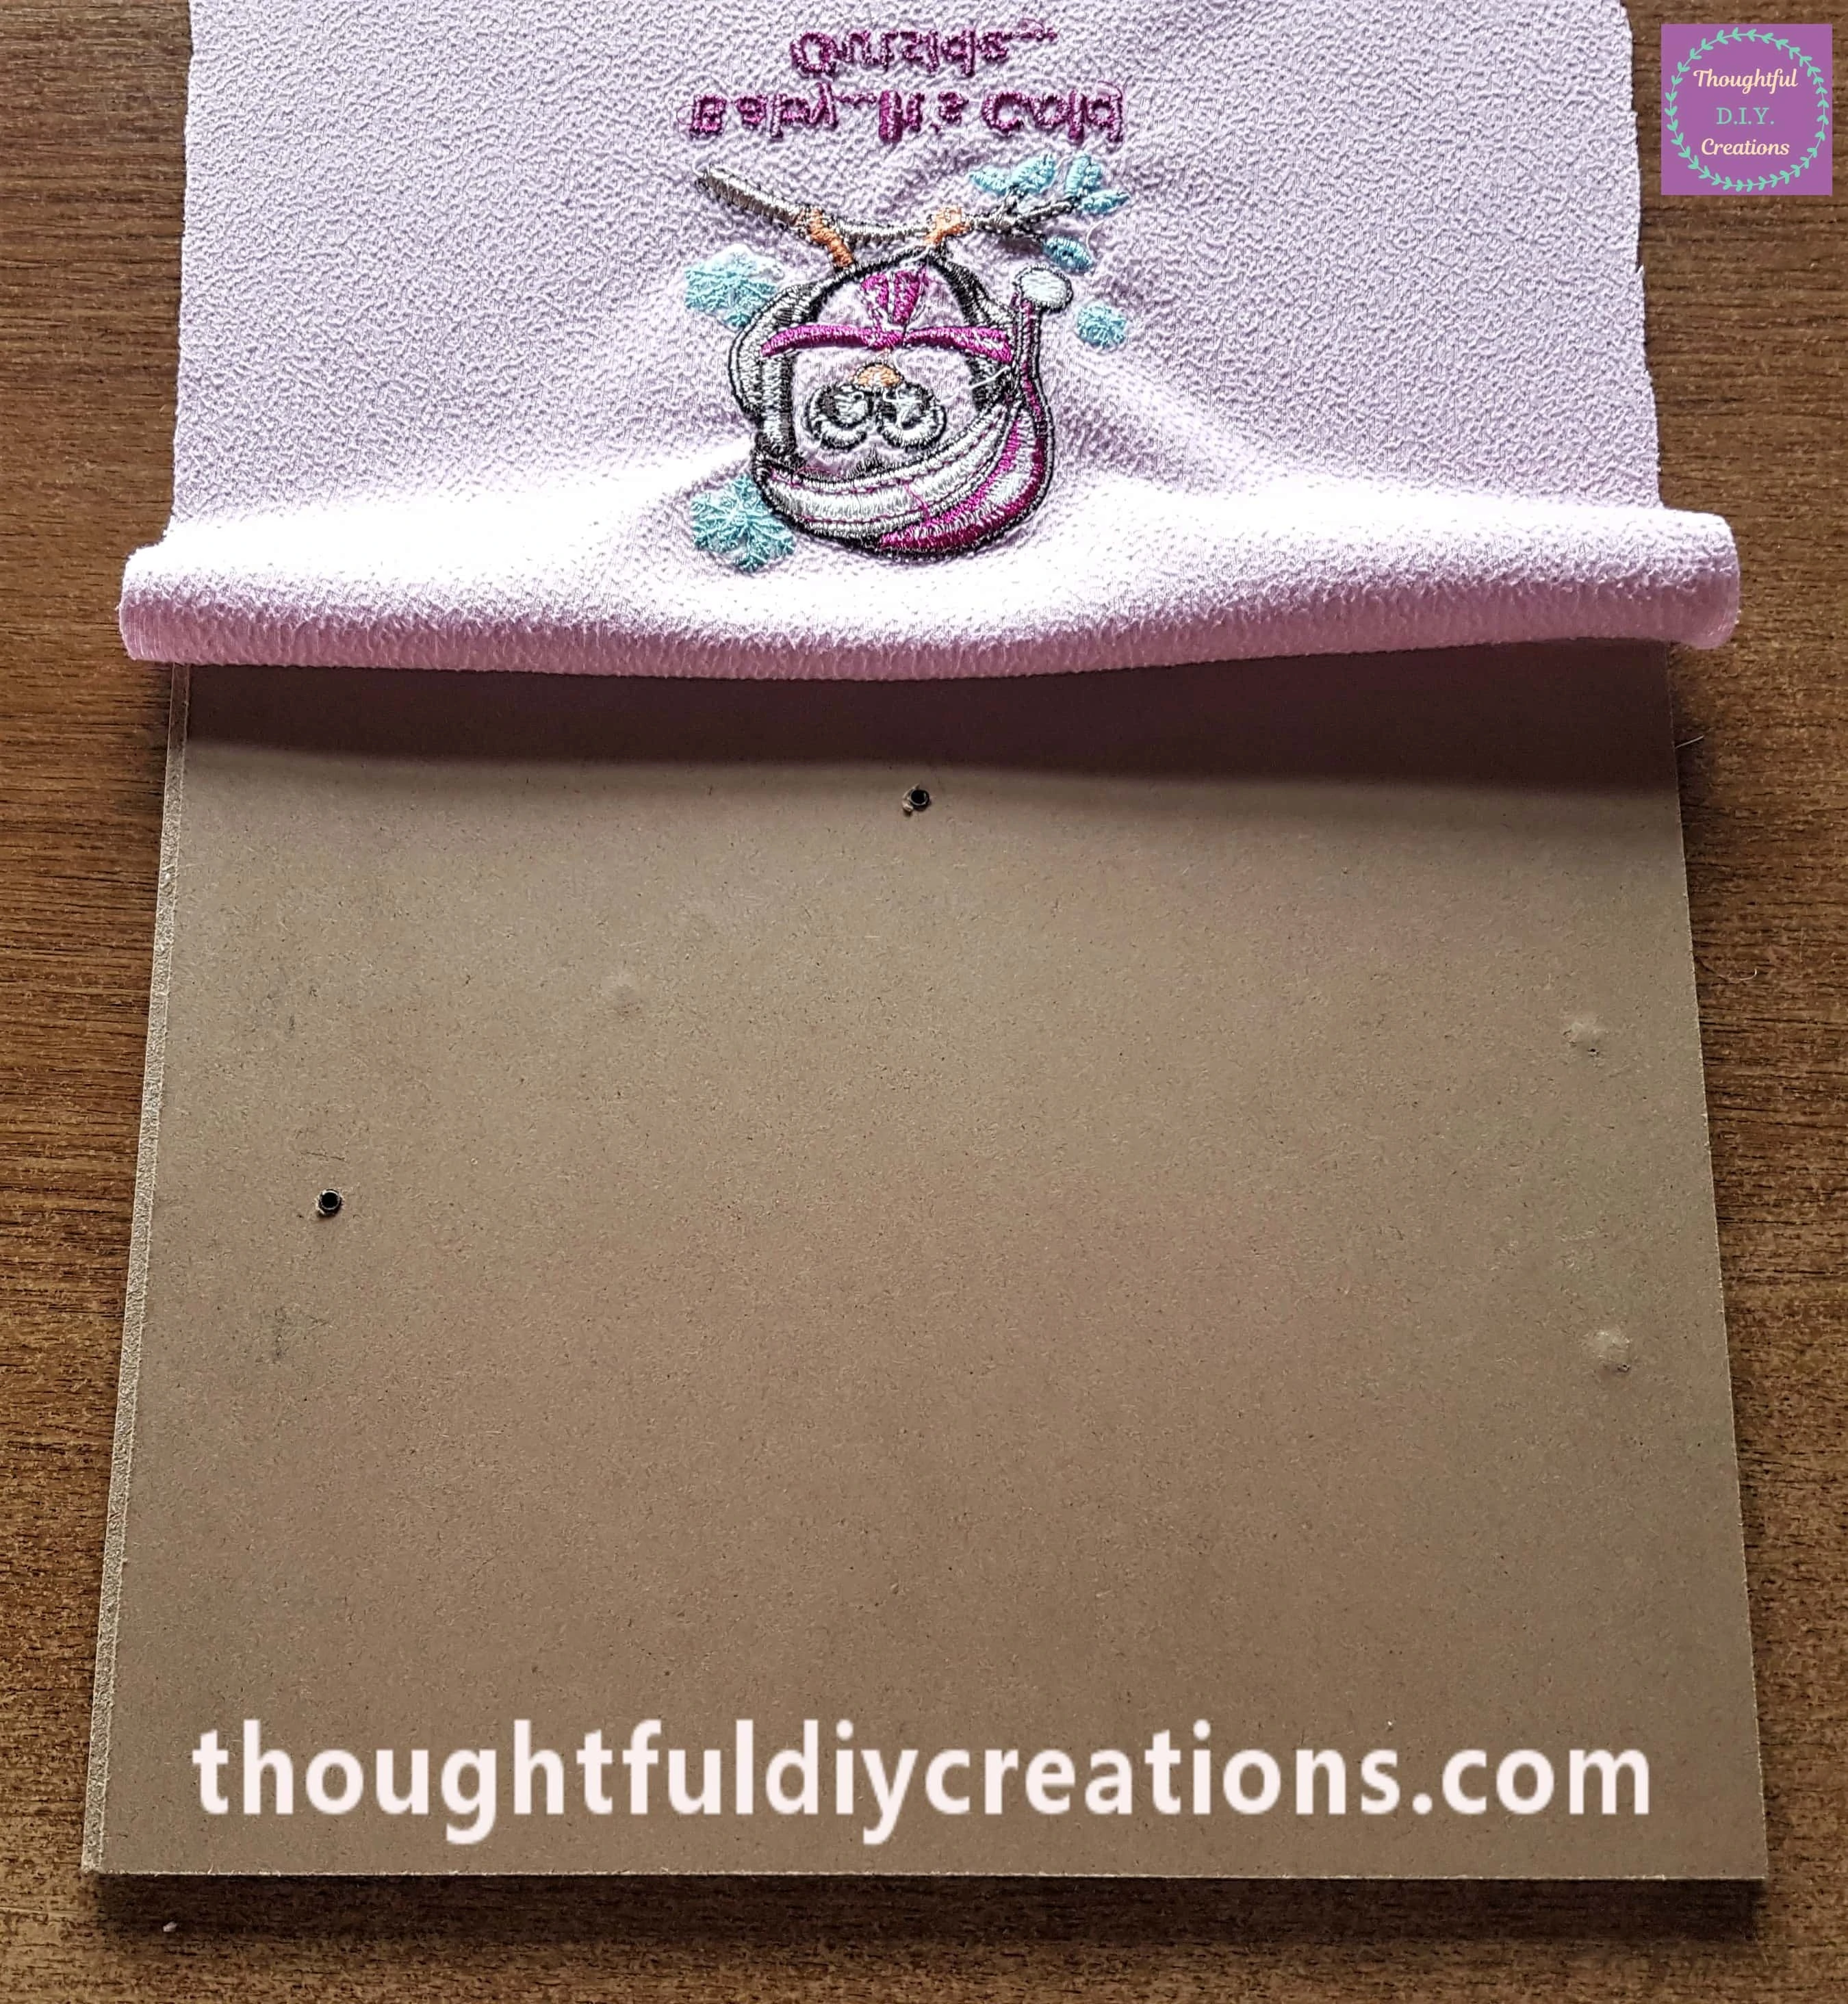
I continued adding Hot Glue to the edges in sections until the fabric was attached to all 4 sides of the backing board.
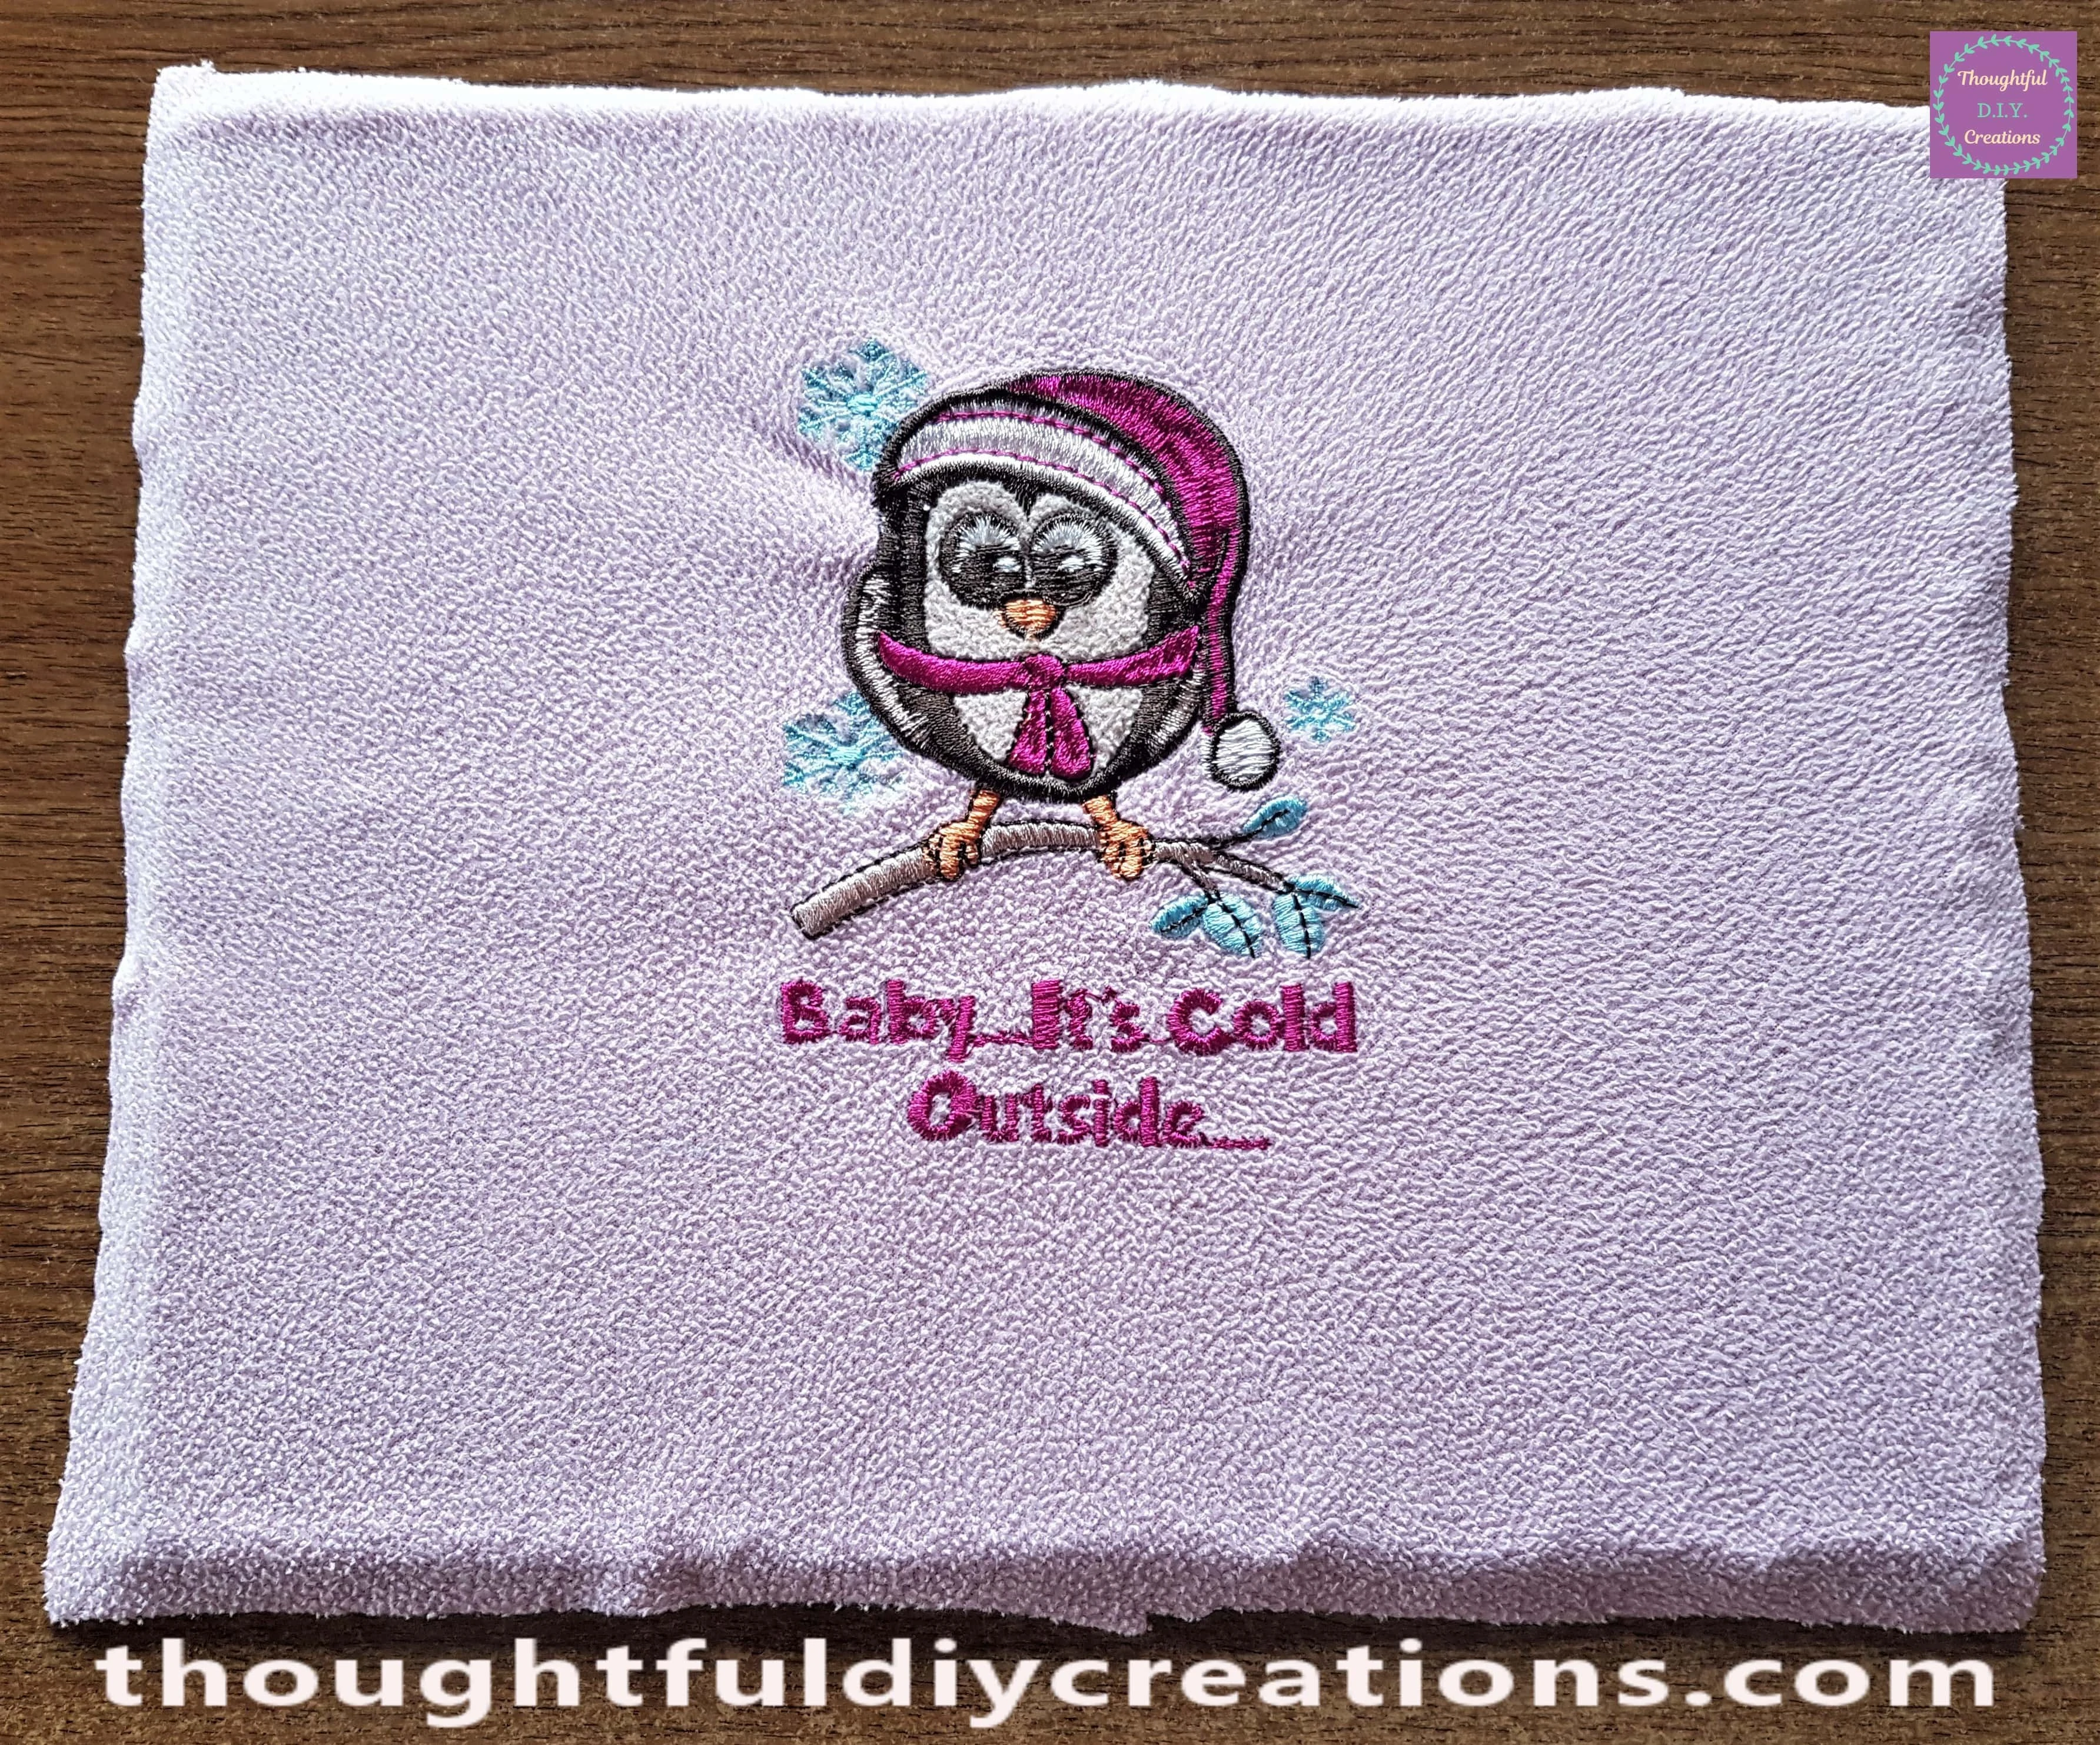
This is the back of the Christmas Frame with the Fabric attached.
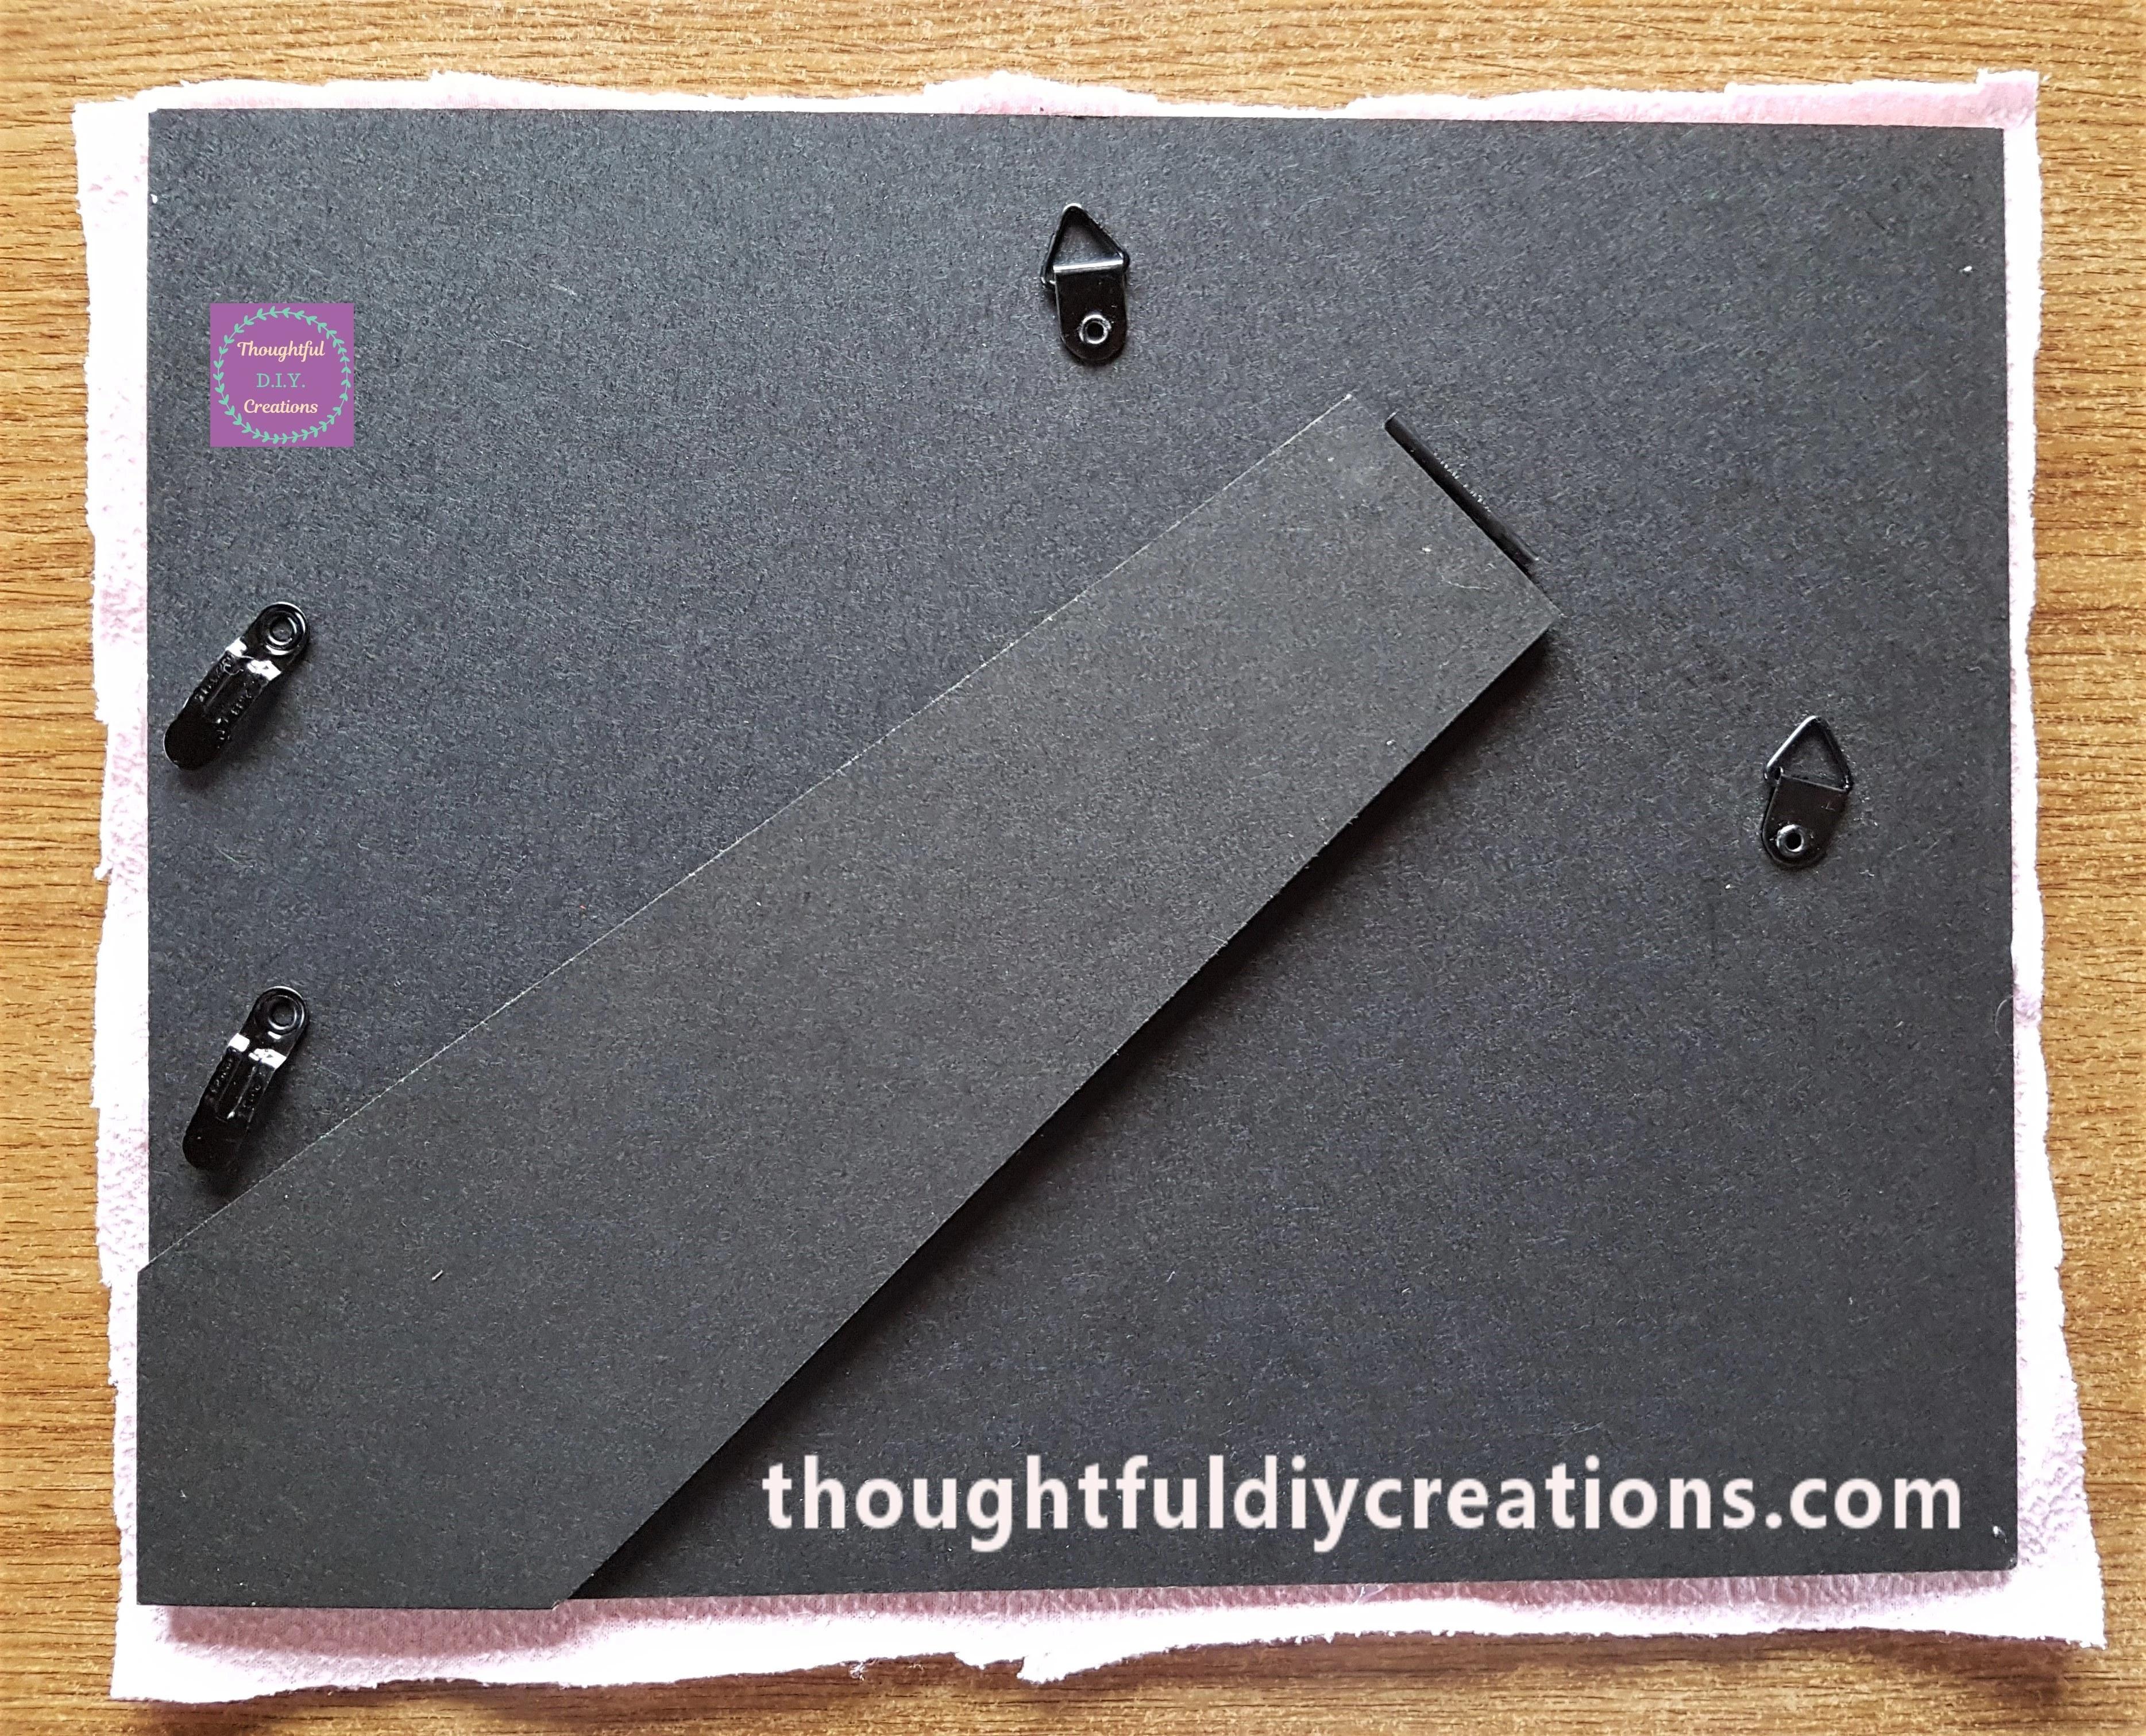
I cut the excess fabric around the edges and put the Backing Board back into the Frame.
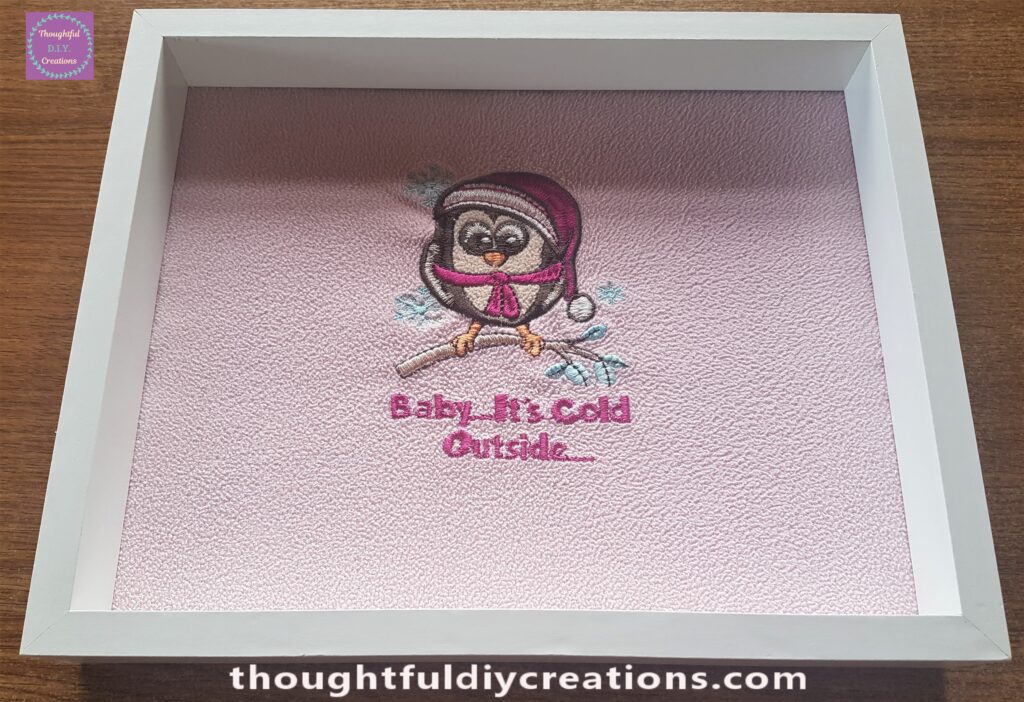
Decorating the Fabric with Stickers
I got my Pack of Star Stickers.
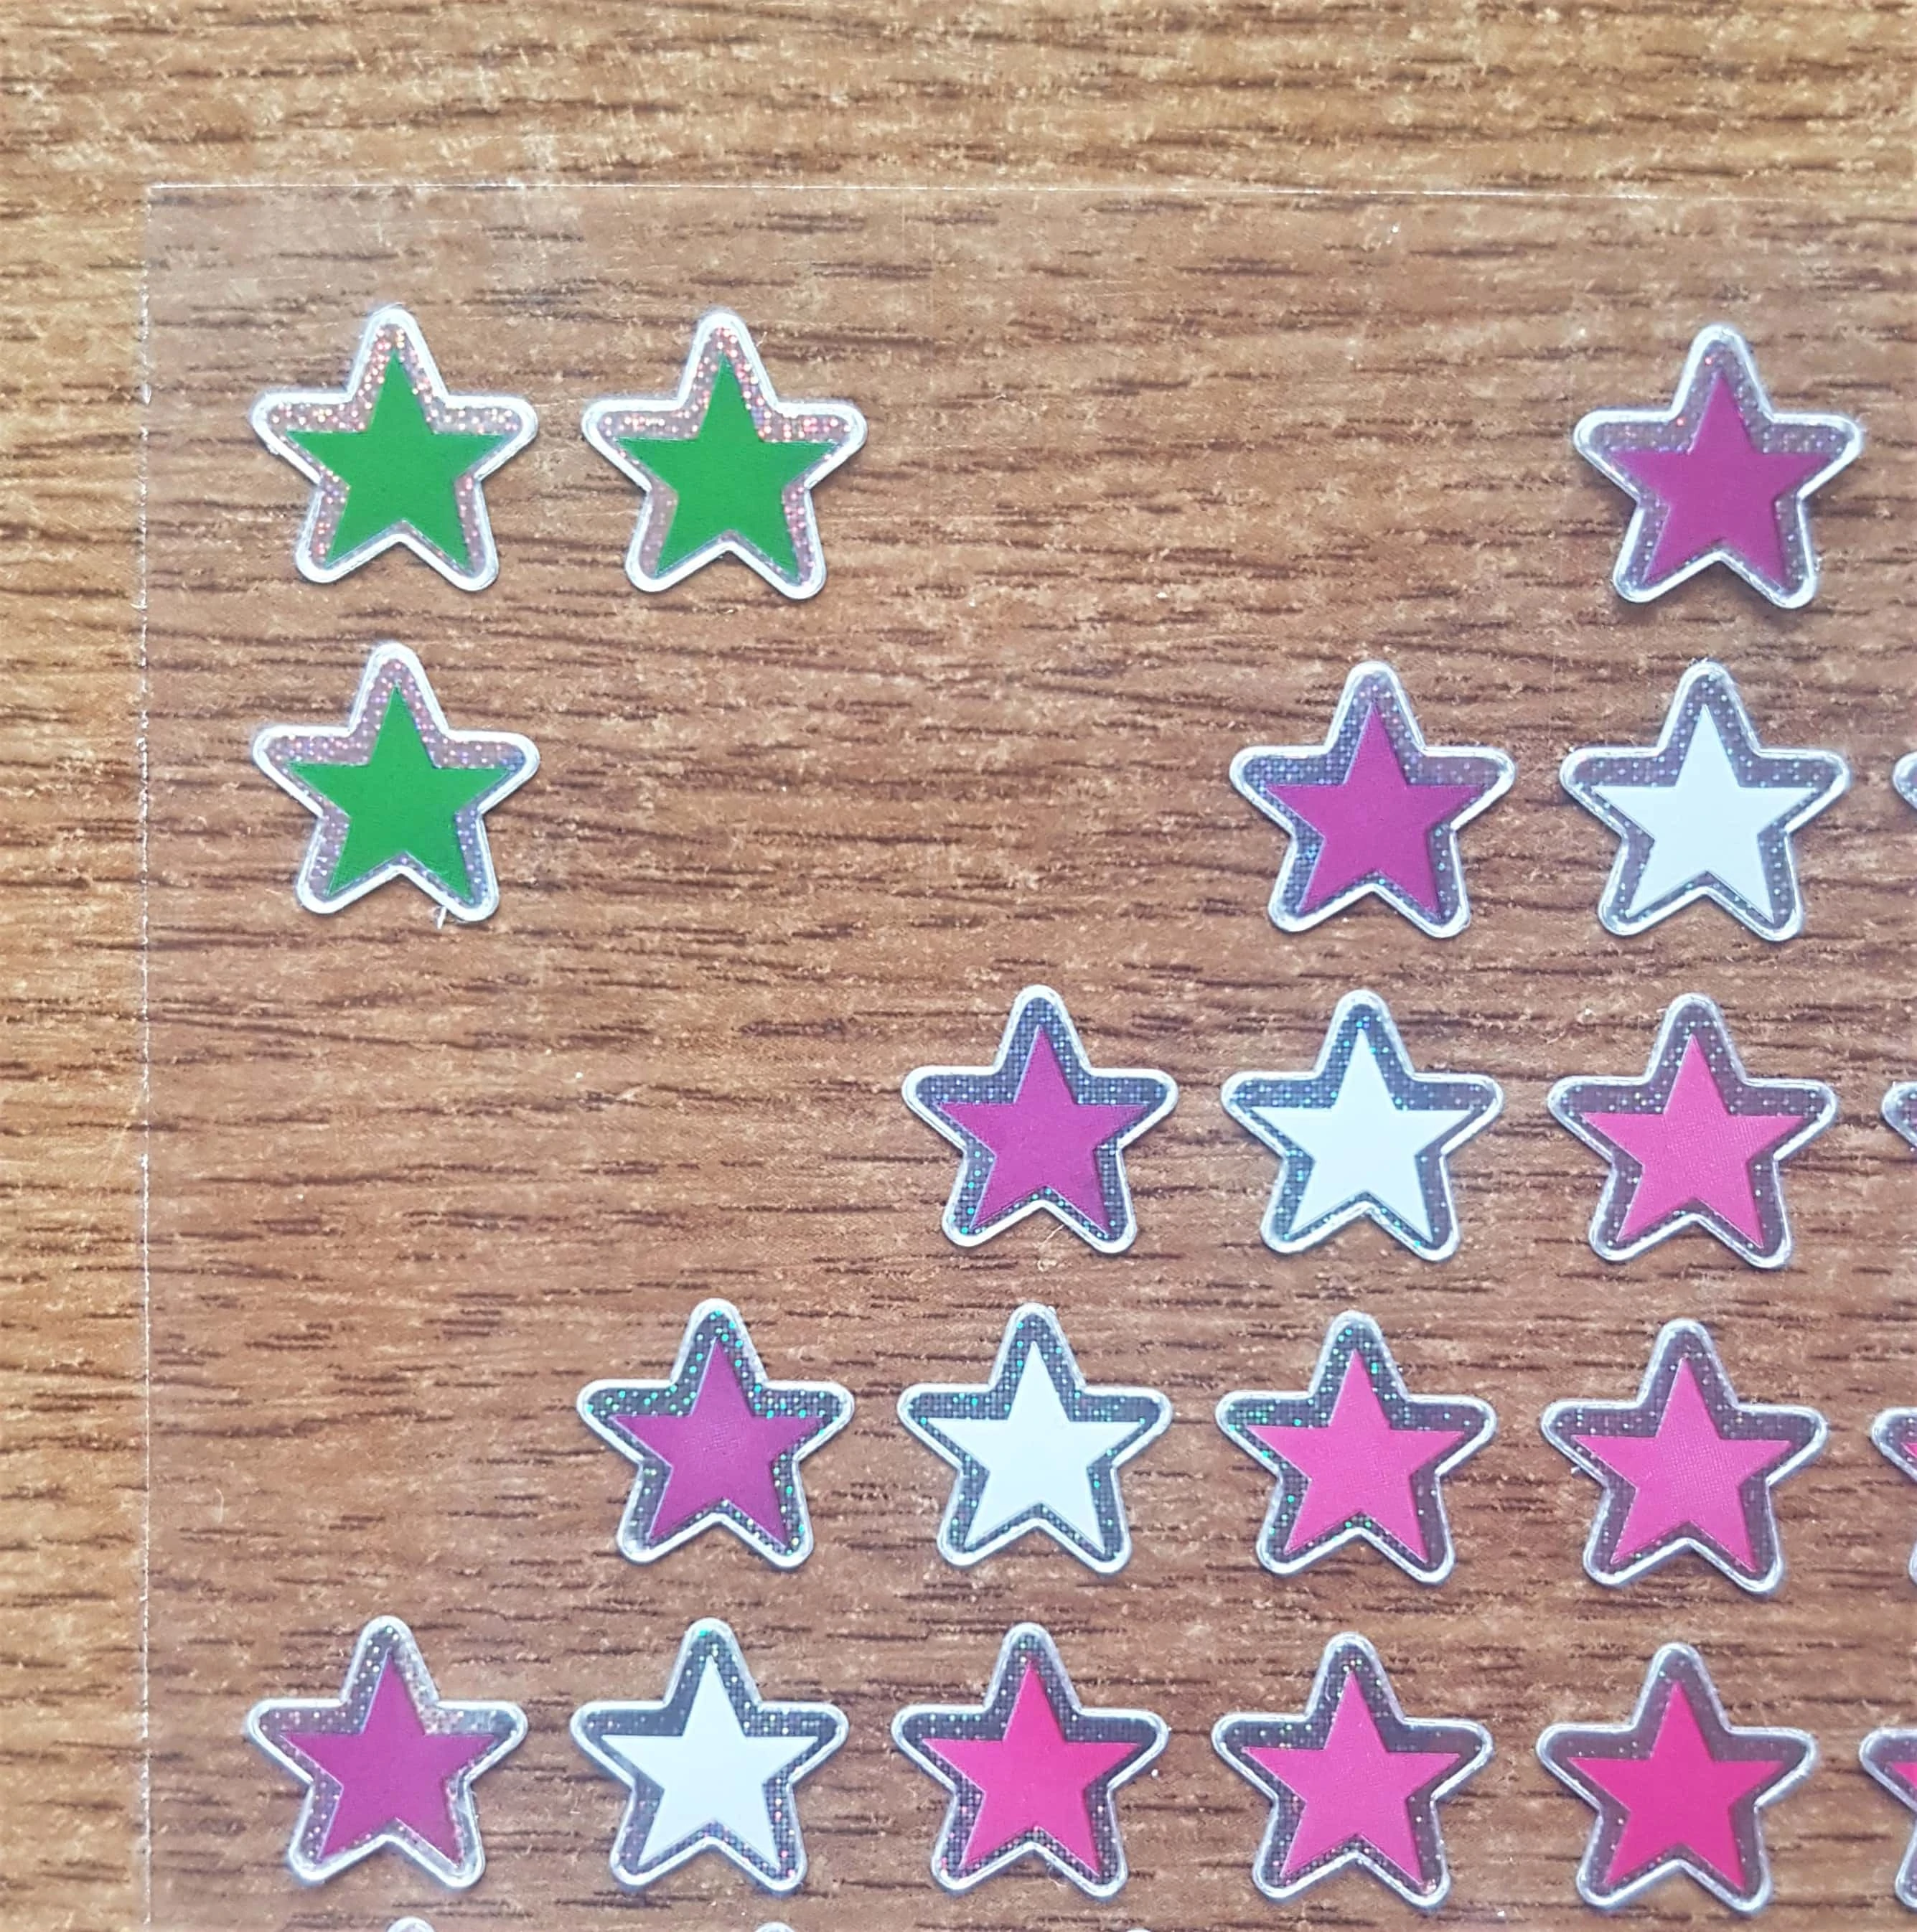
I put some Dark Pink and White Star Stickers randomly on the Fabric to complement the Owl’s Hat and Scarf as well as the Frame.
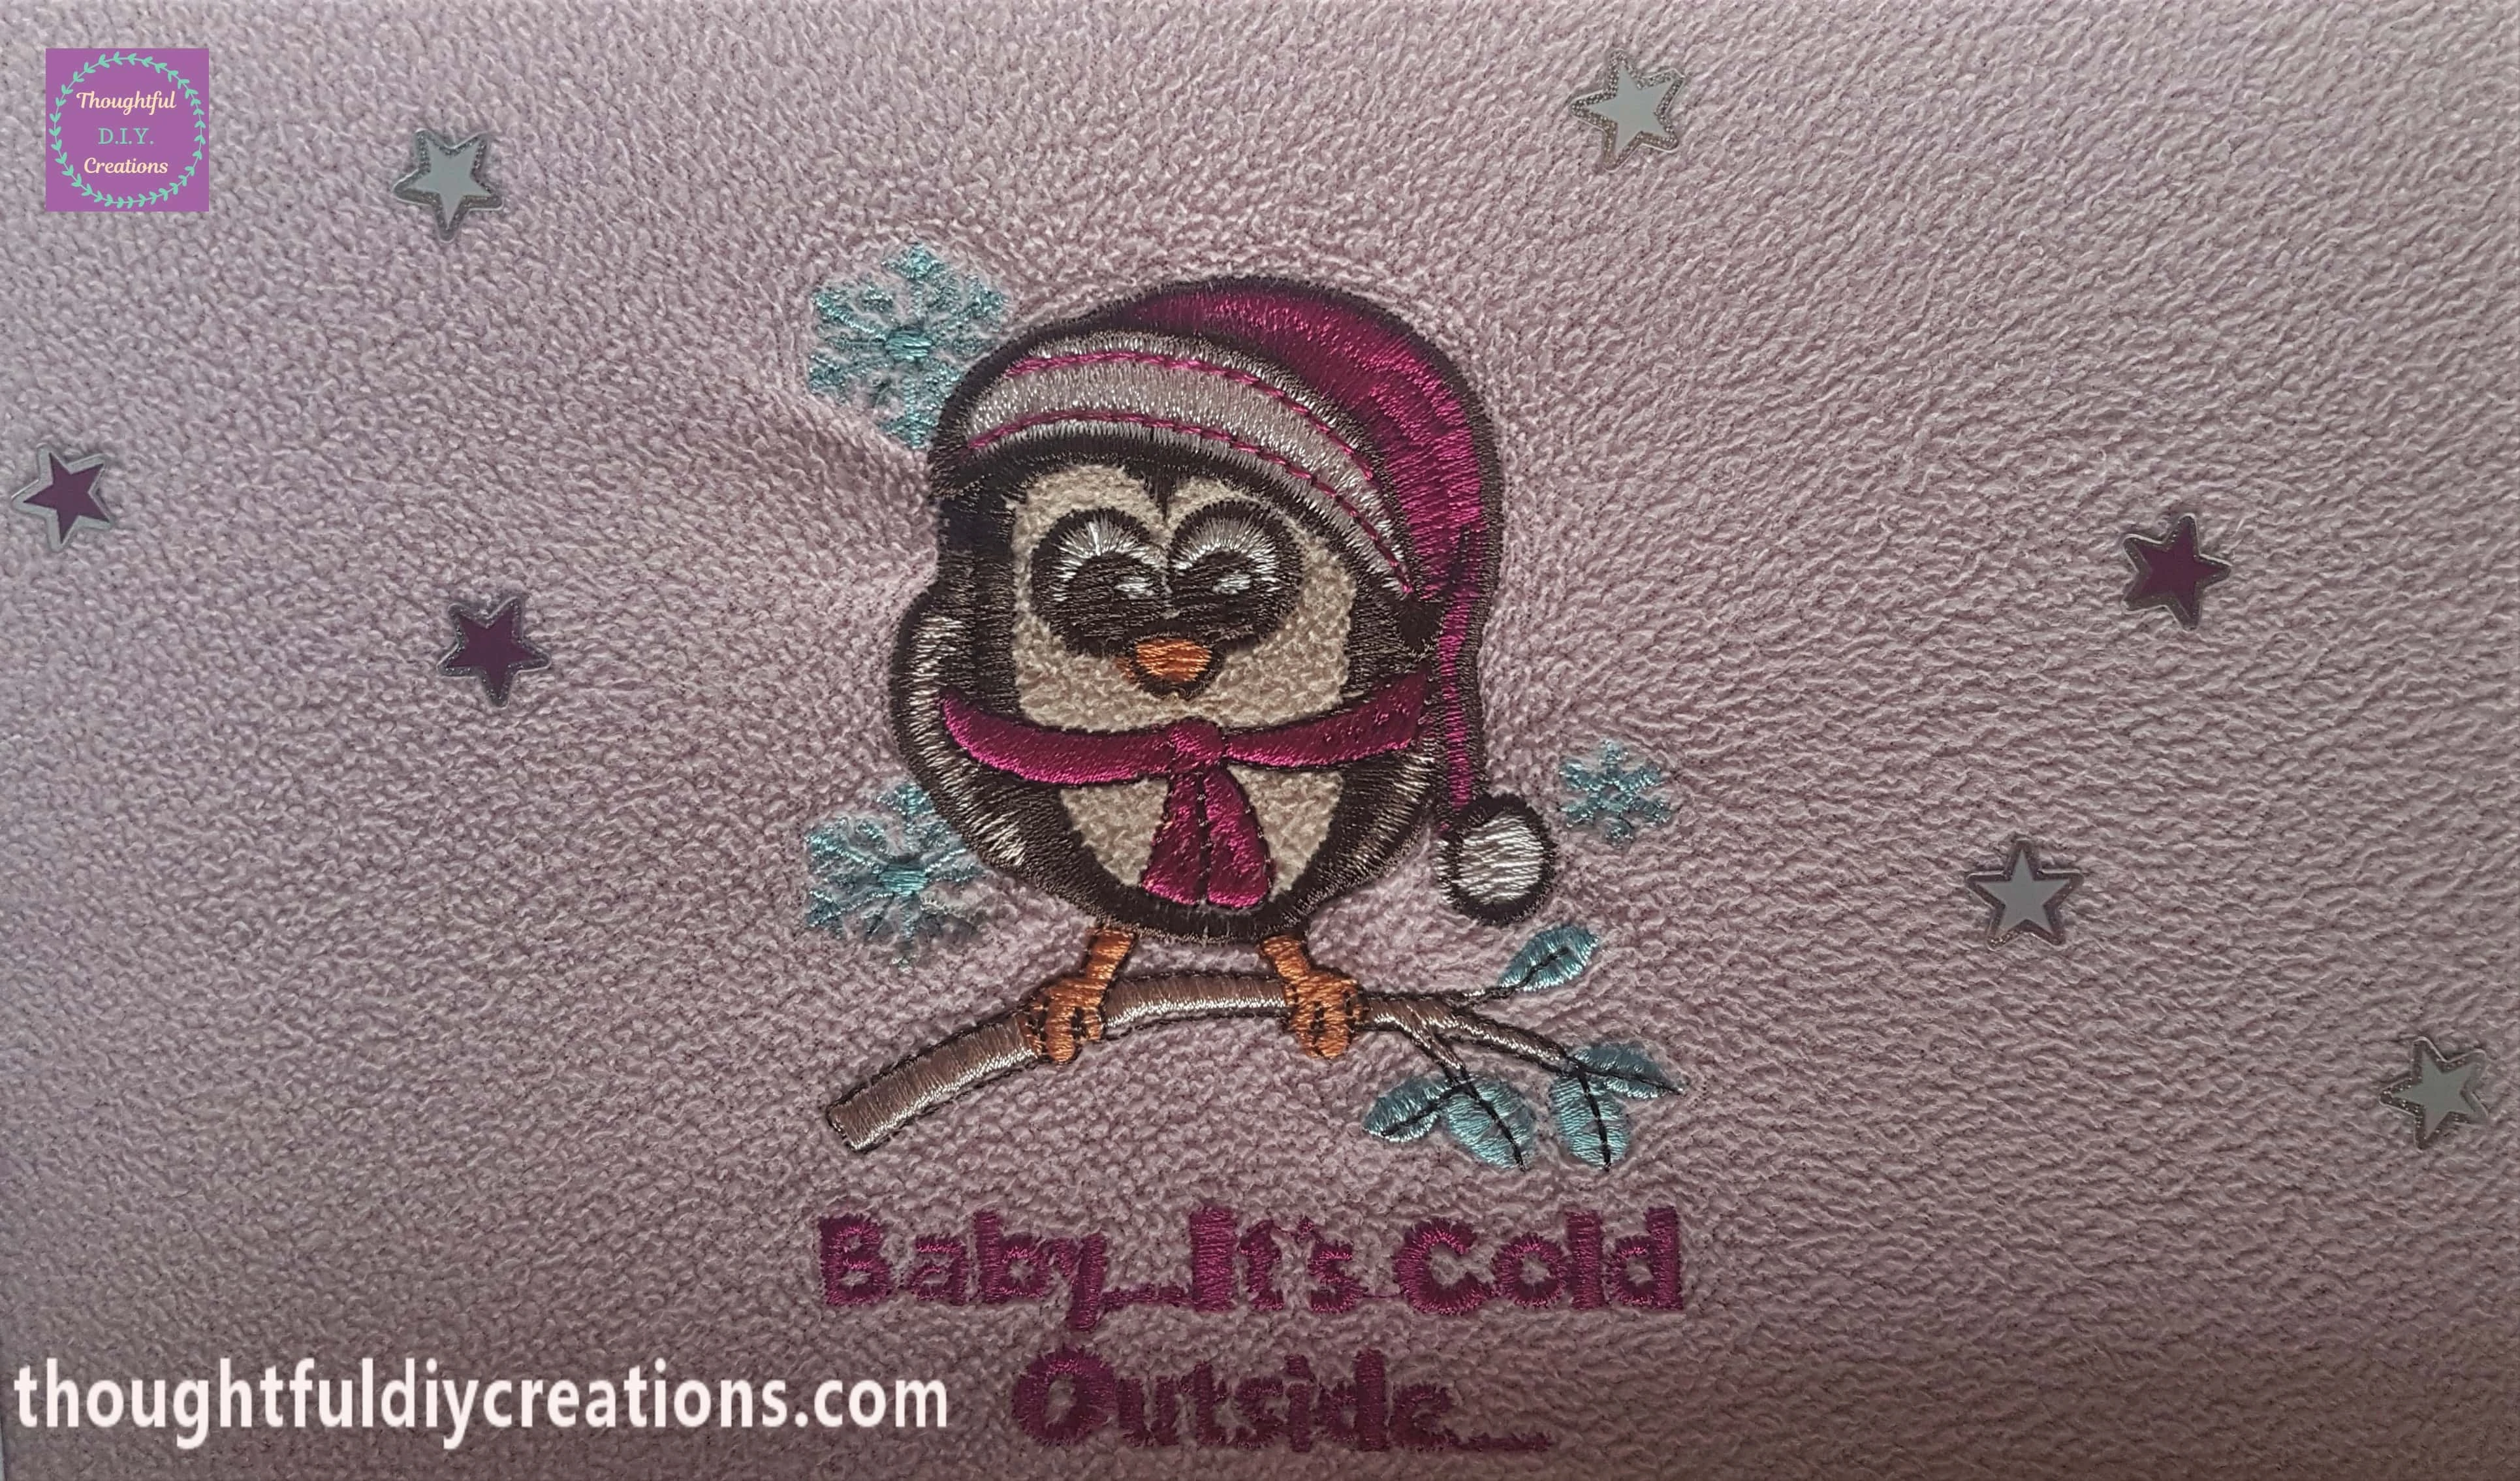
I cut out 2 Snowflakes which were on the top, back inside part of the Pyjamas Top. I attached them to the Fabric with Mod Podge and a small Paintbrush.
Painting Bells for the Frame
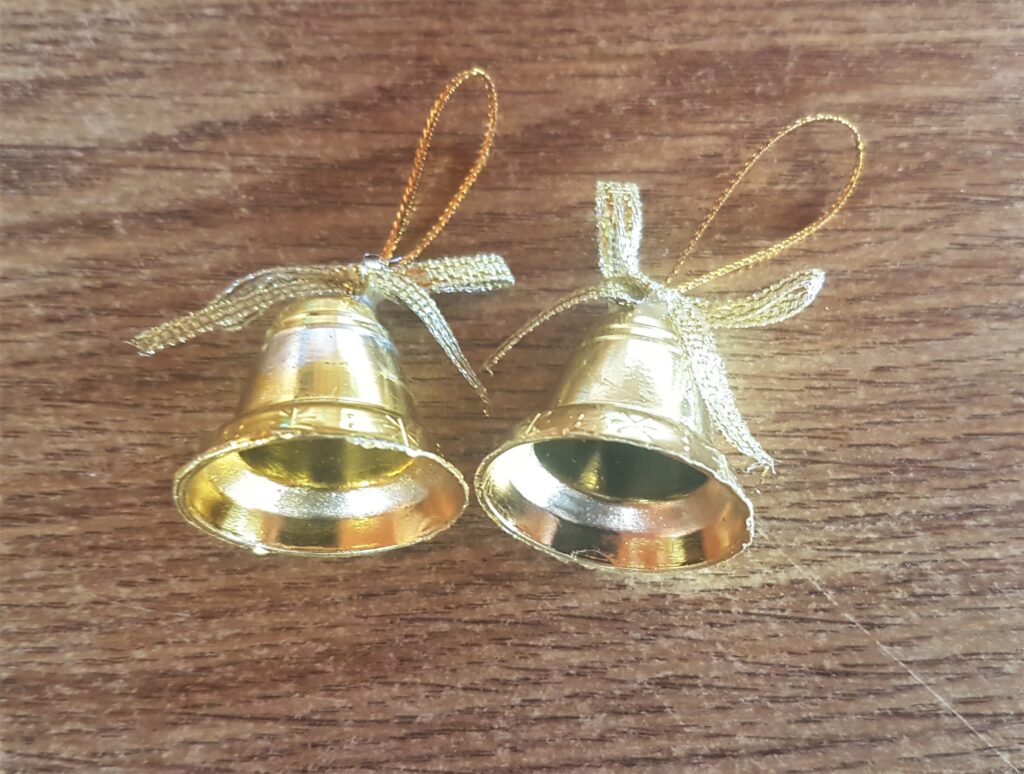
I got 2 Gold Bells out of the Pack.
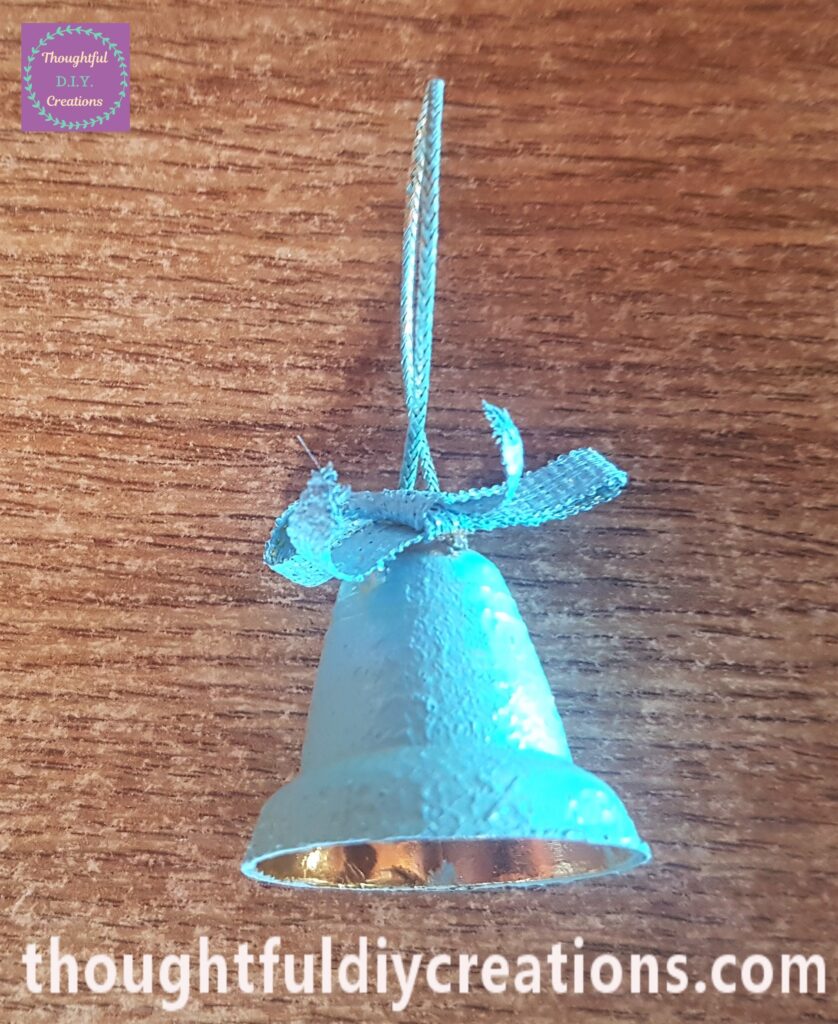
I mixed ‘Cerulean Blue’ and ‘White’ Acrylic Paint together to make a lighter Shade of Blue. I painted one Bell this Colour using a Sponge with a Handle. I applied two layers leaving an hour between each layer.
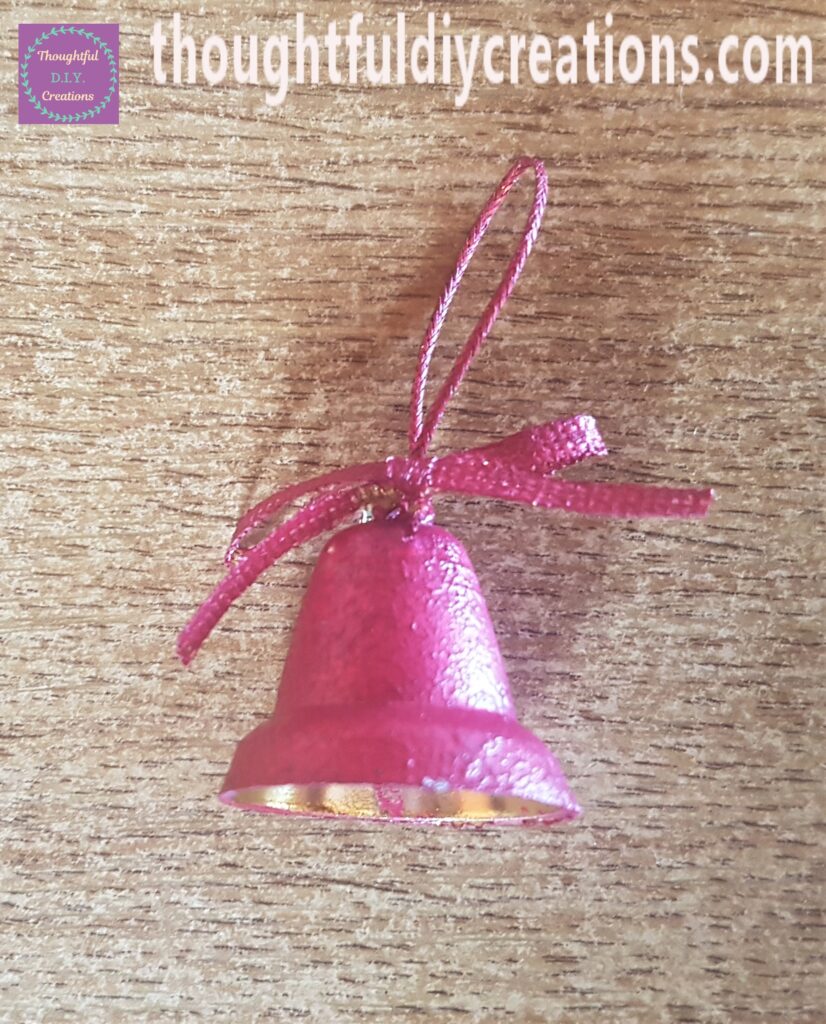
I Painted the second Bell with ‘Magenta’ Acrylic Paint. I again applied two layers with an hour gap between the layers.
Gluing the Bells to the Christmas Frame
I put Hot Glue on the Top Right Hand Corner of the Frame and attached the String of the Blue Bell into the Glue.
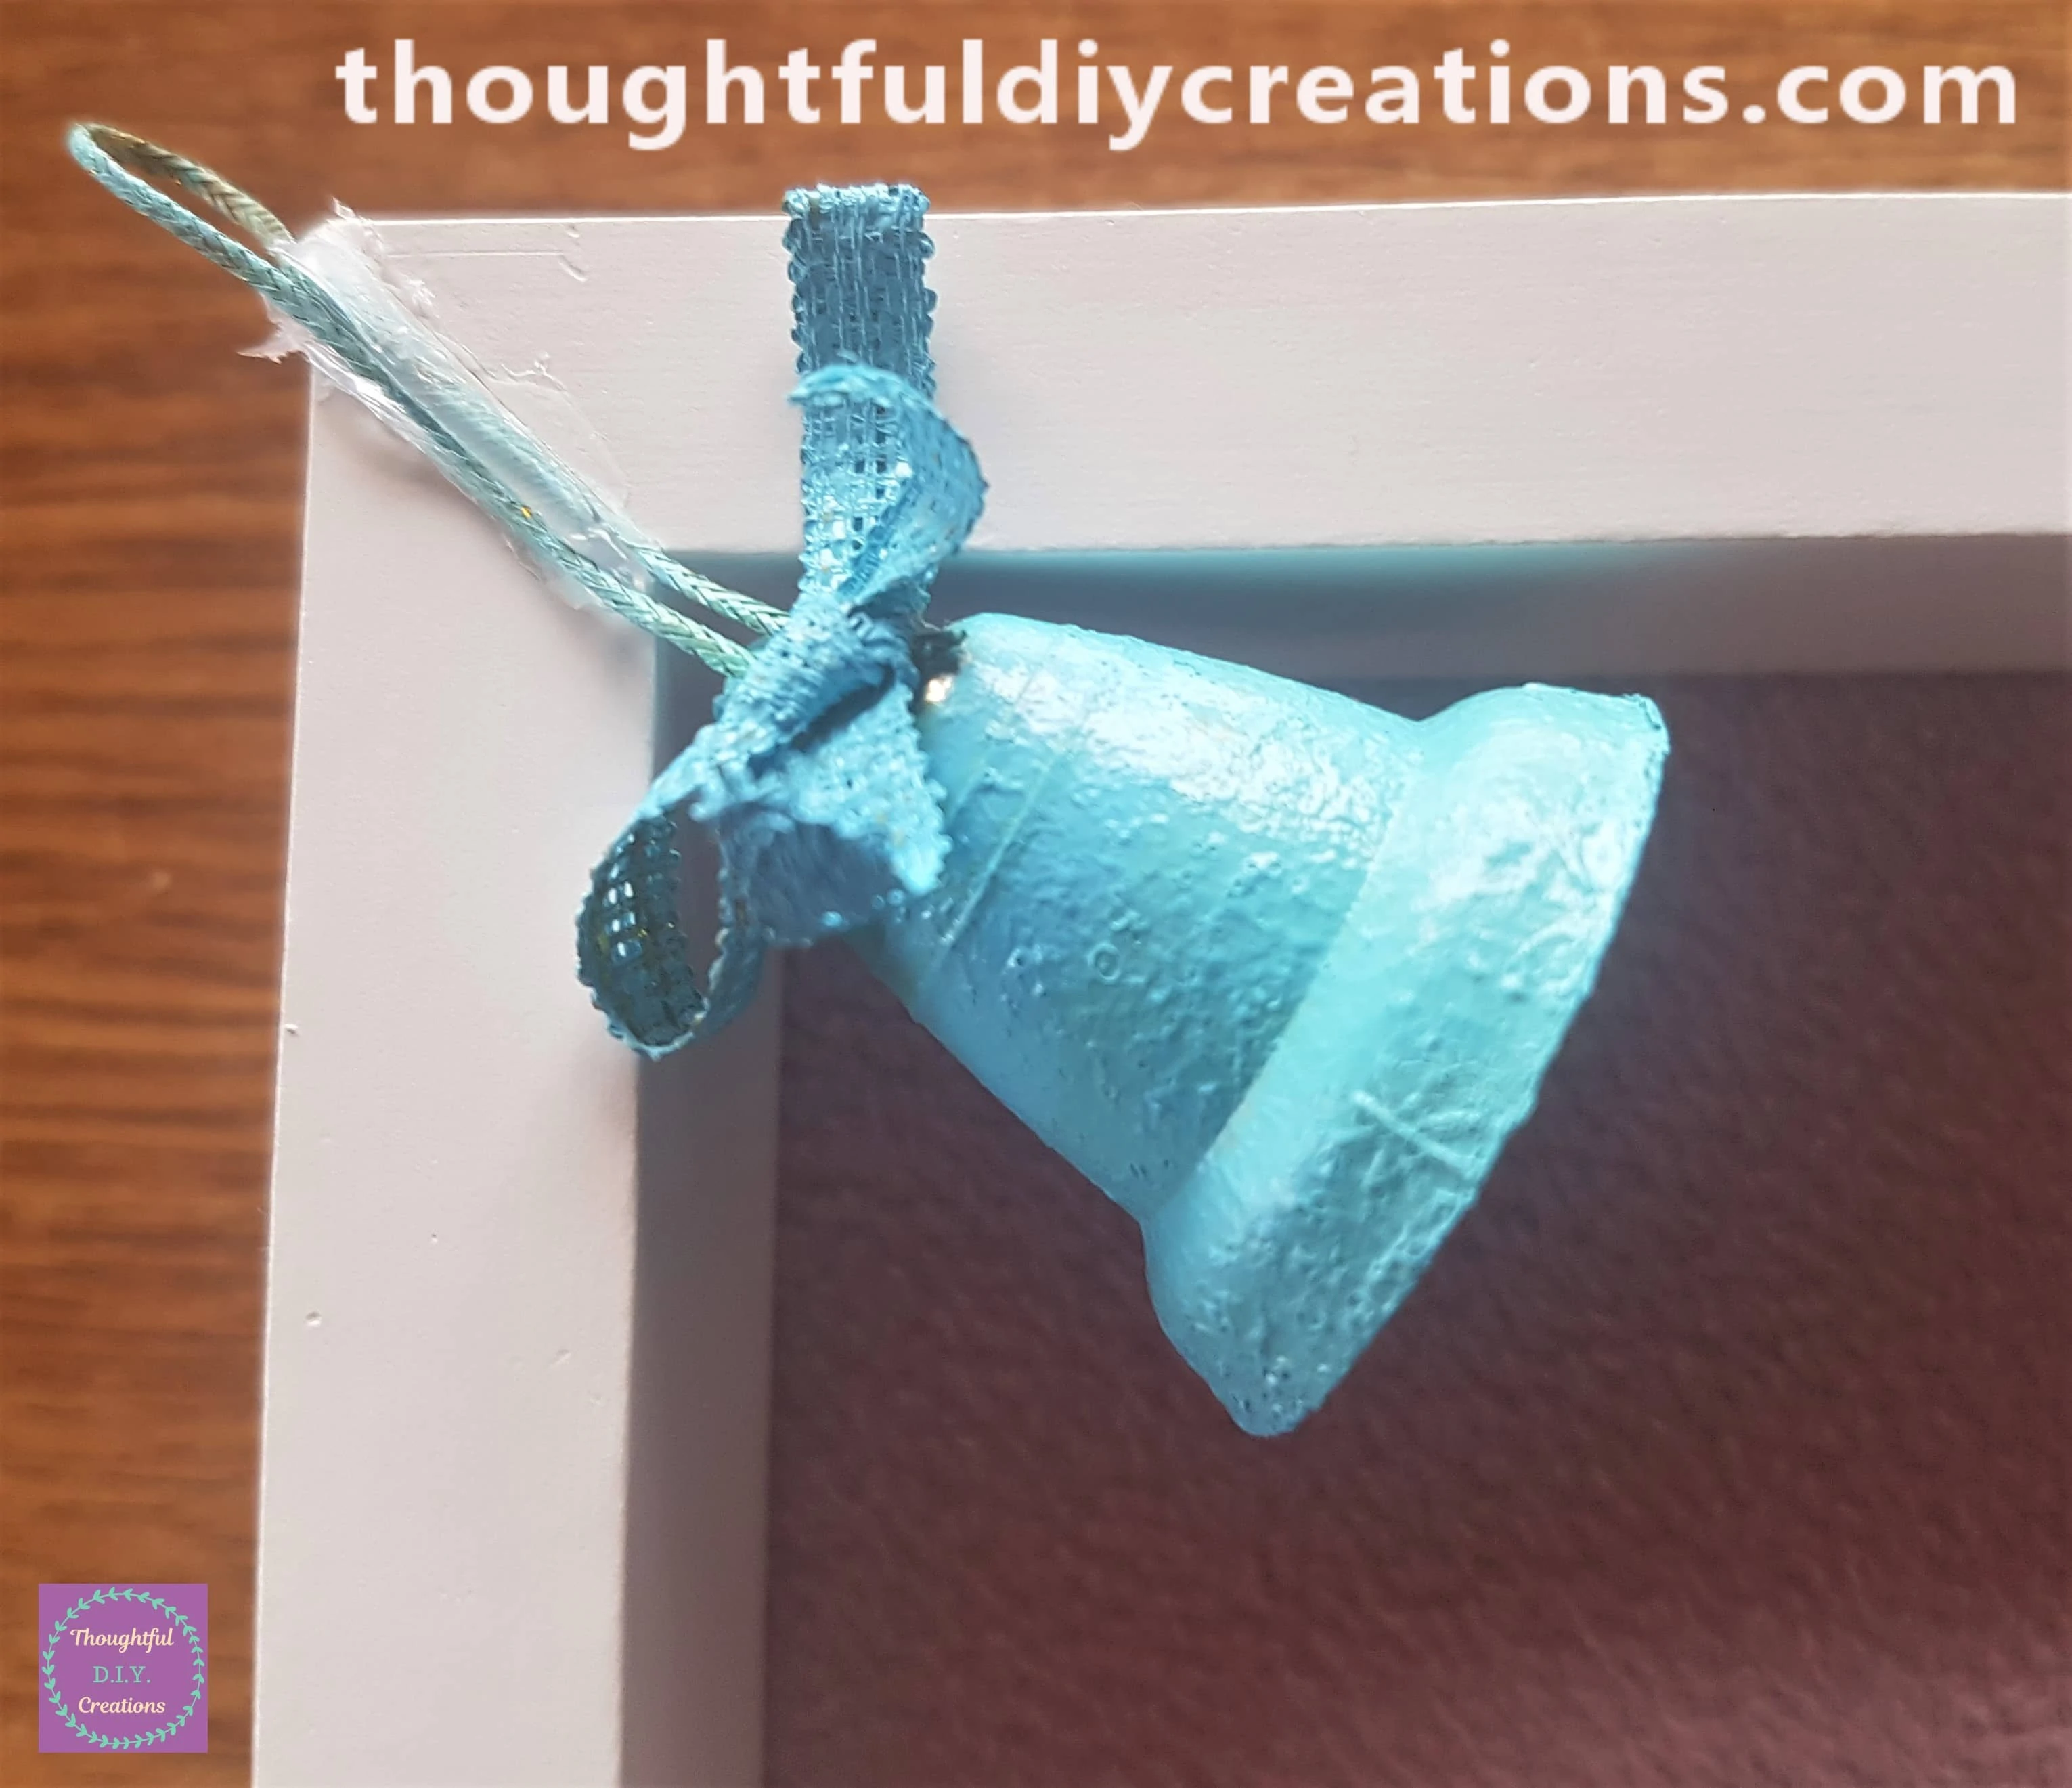
I put Hot Glue on the Top Left Corner of the Frame and Put the String of the Pink Bell into the Glue to attach it.
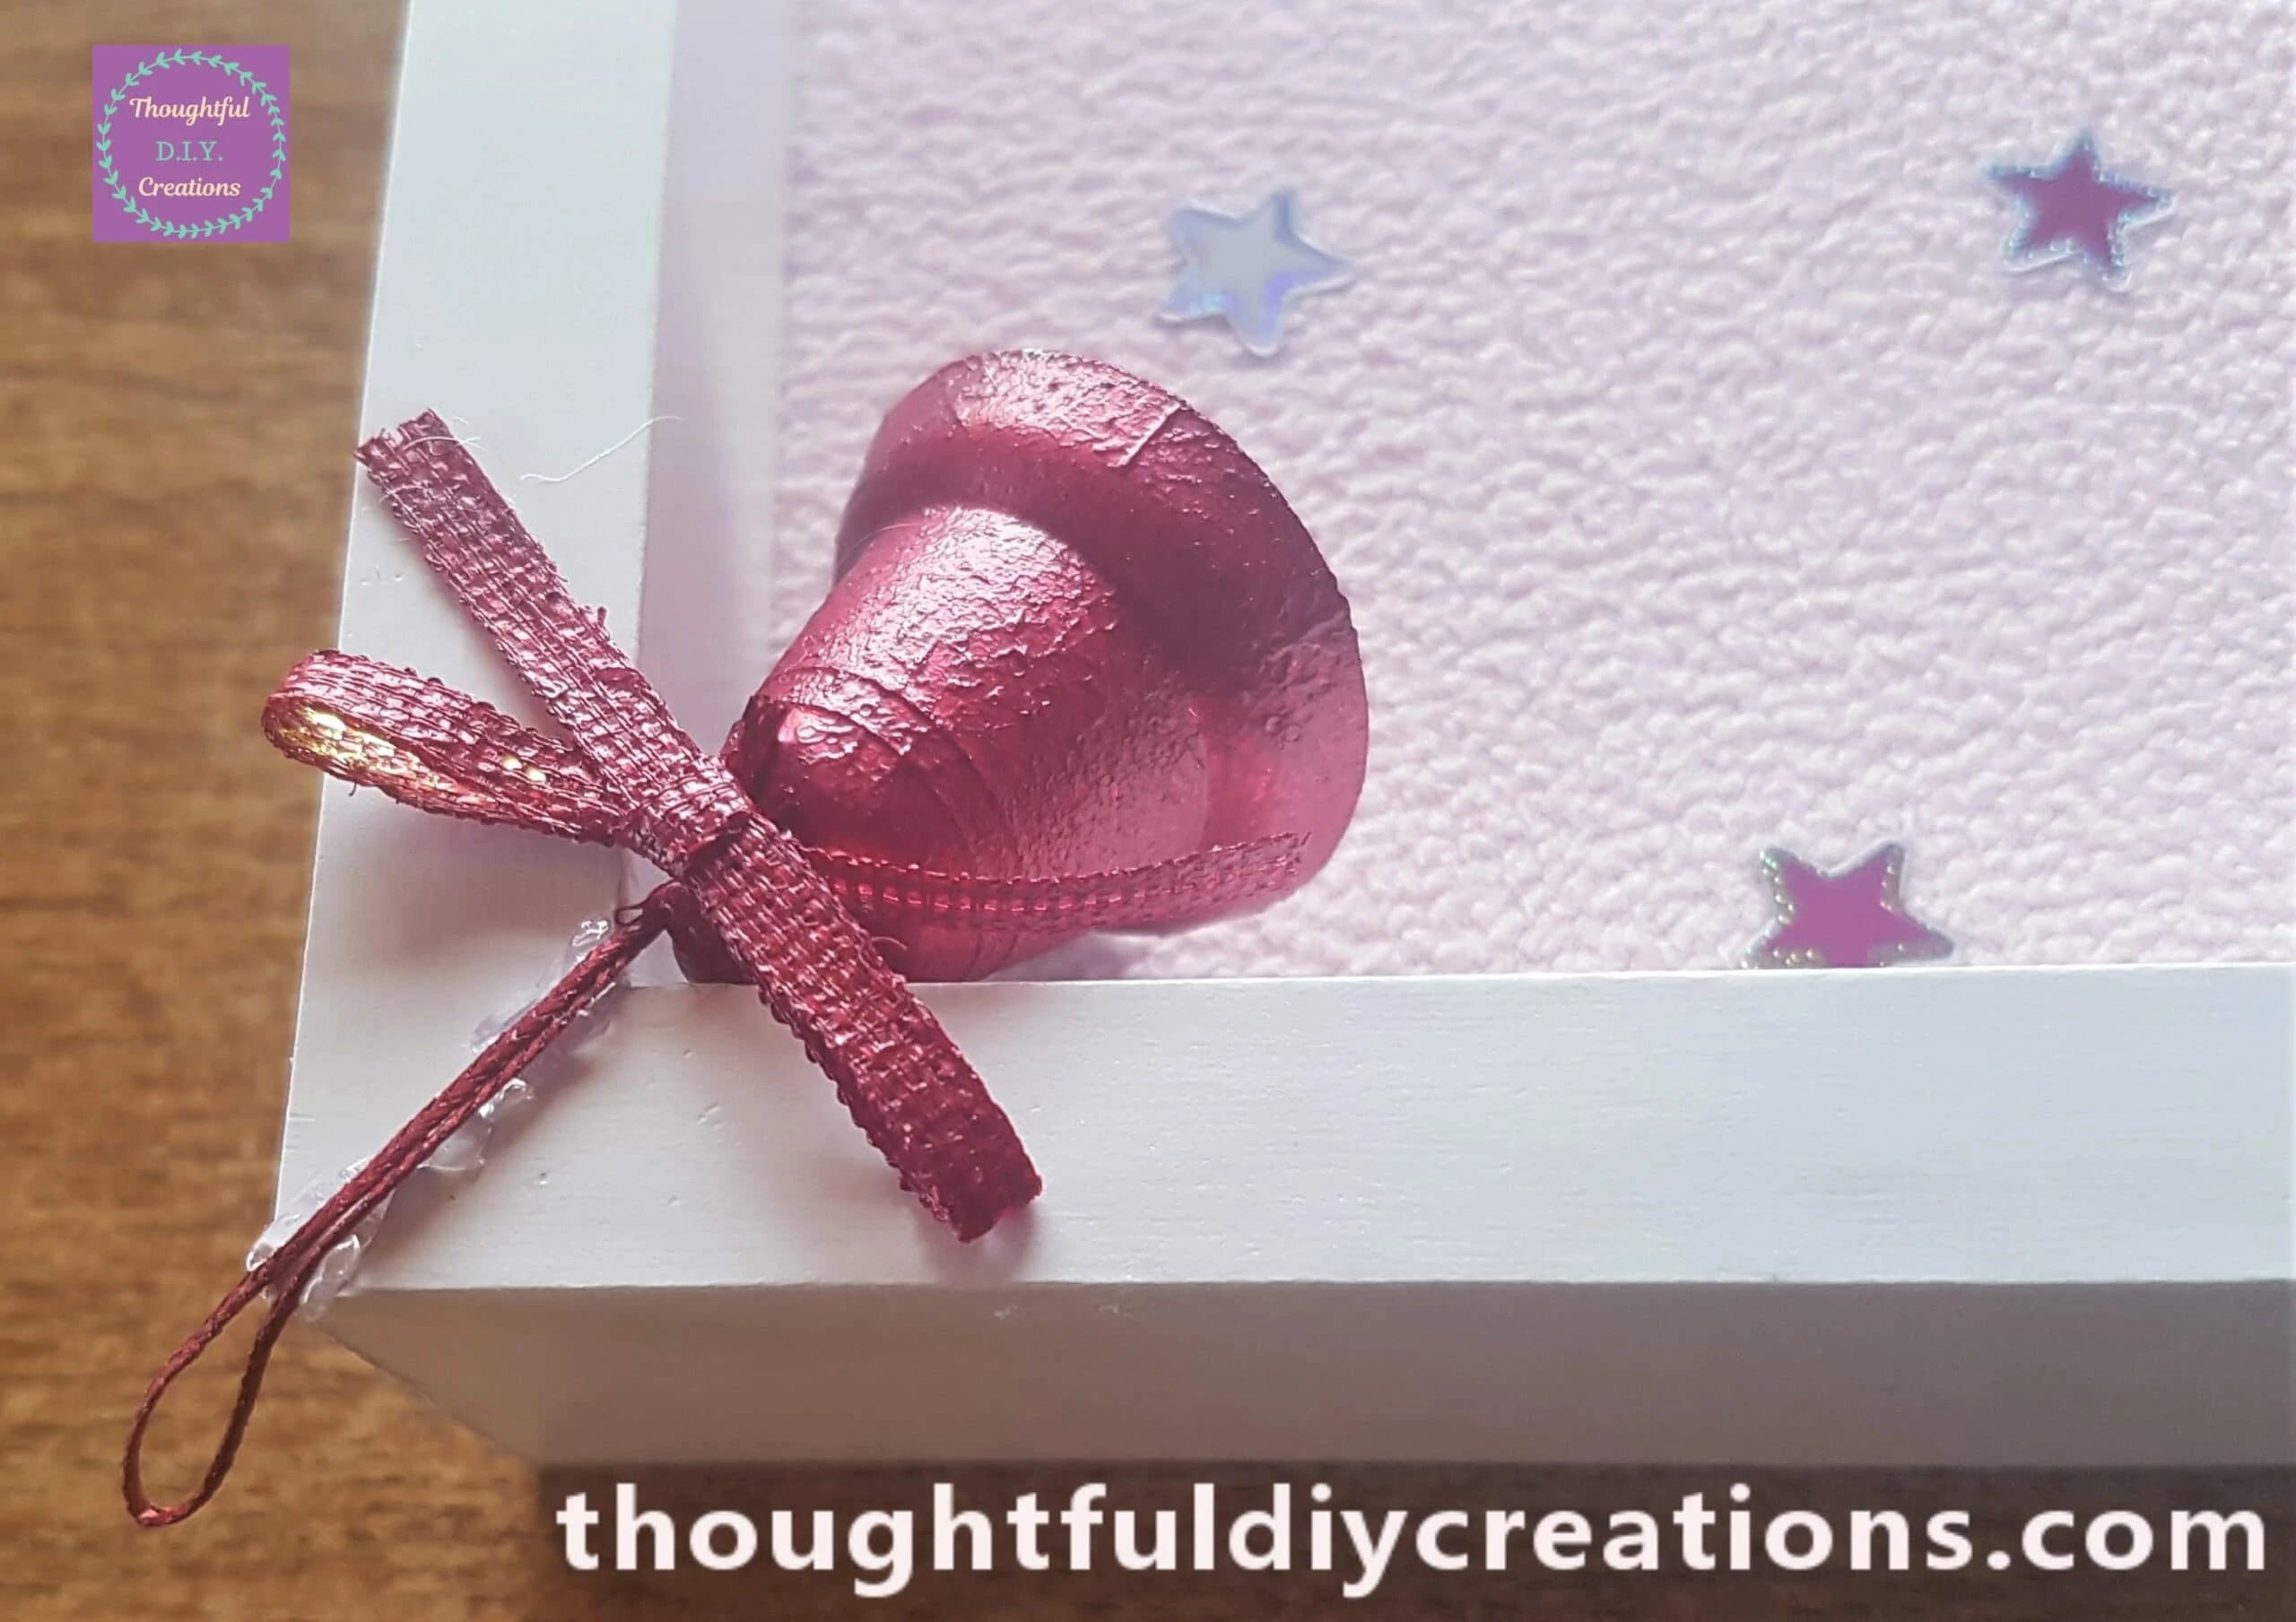
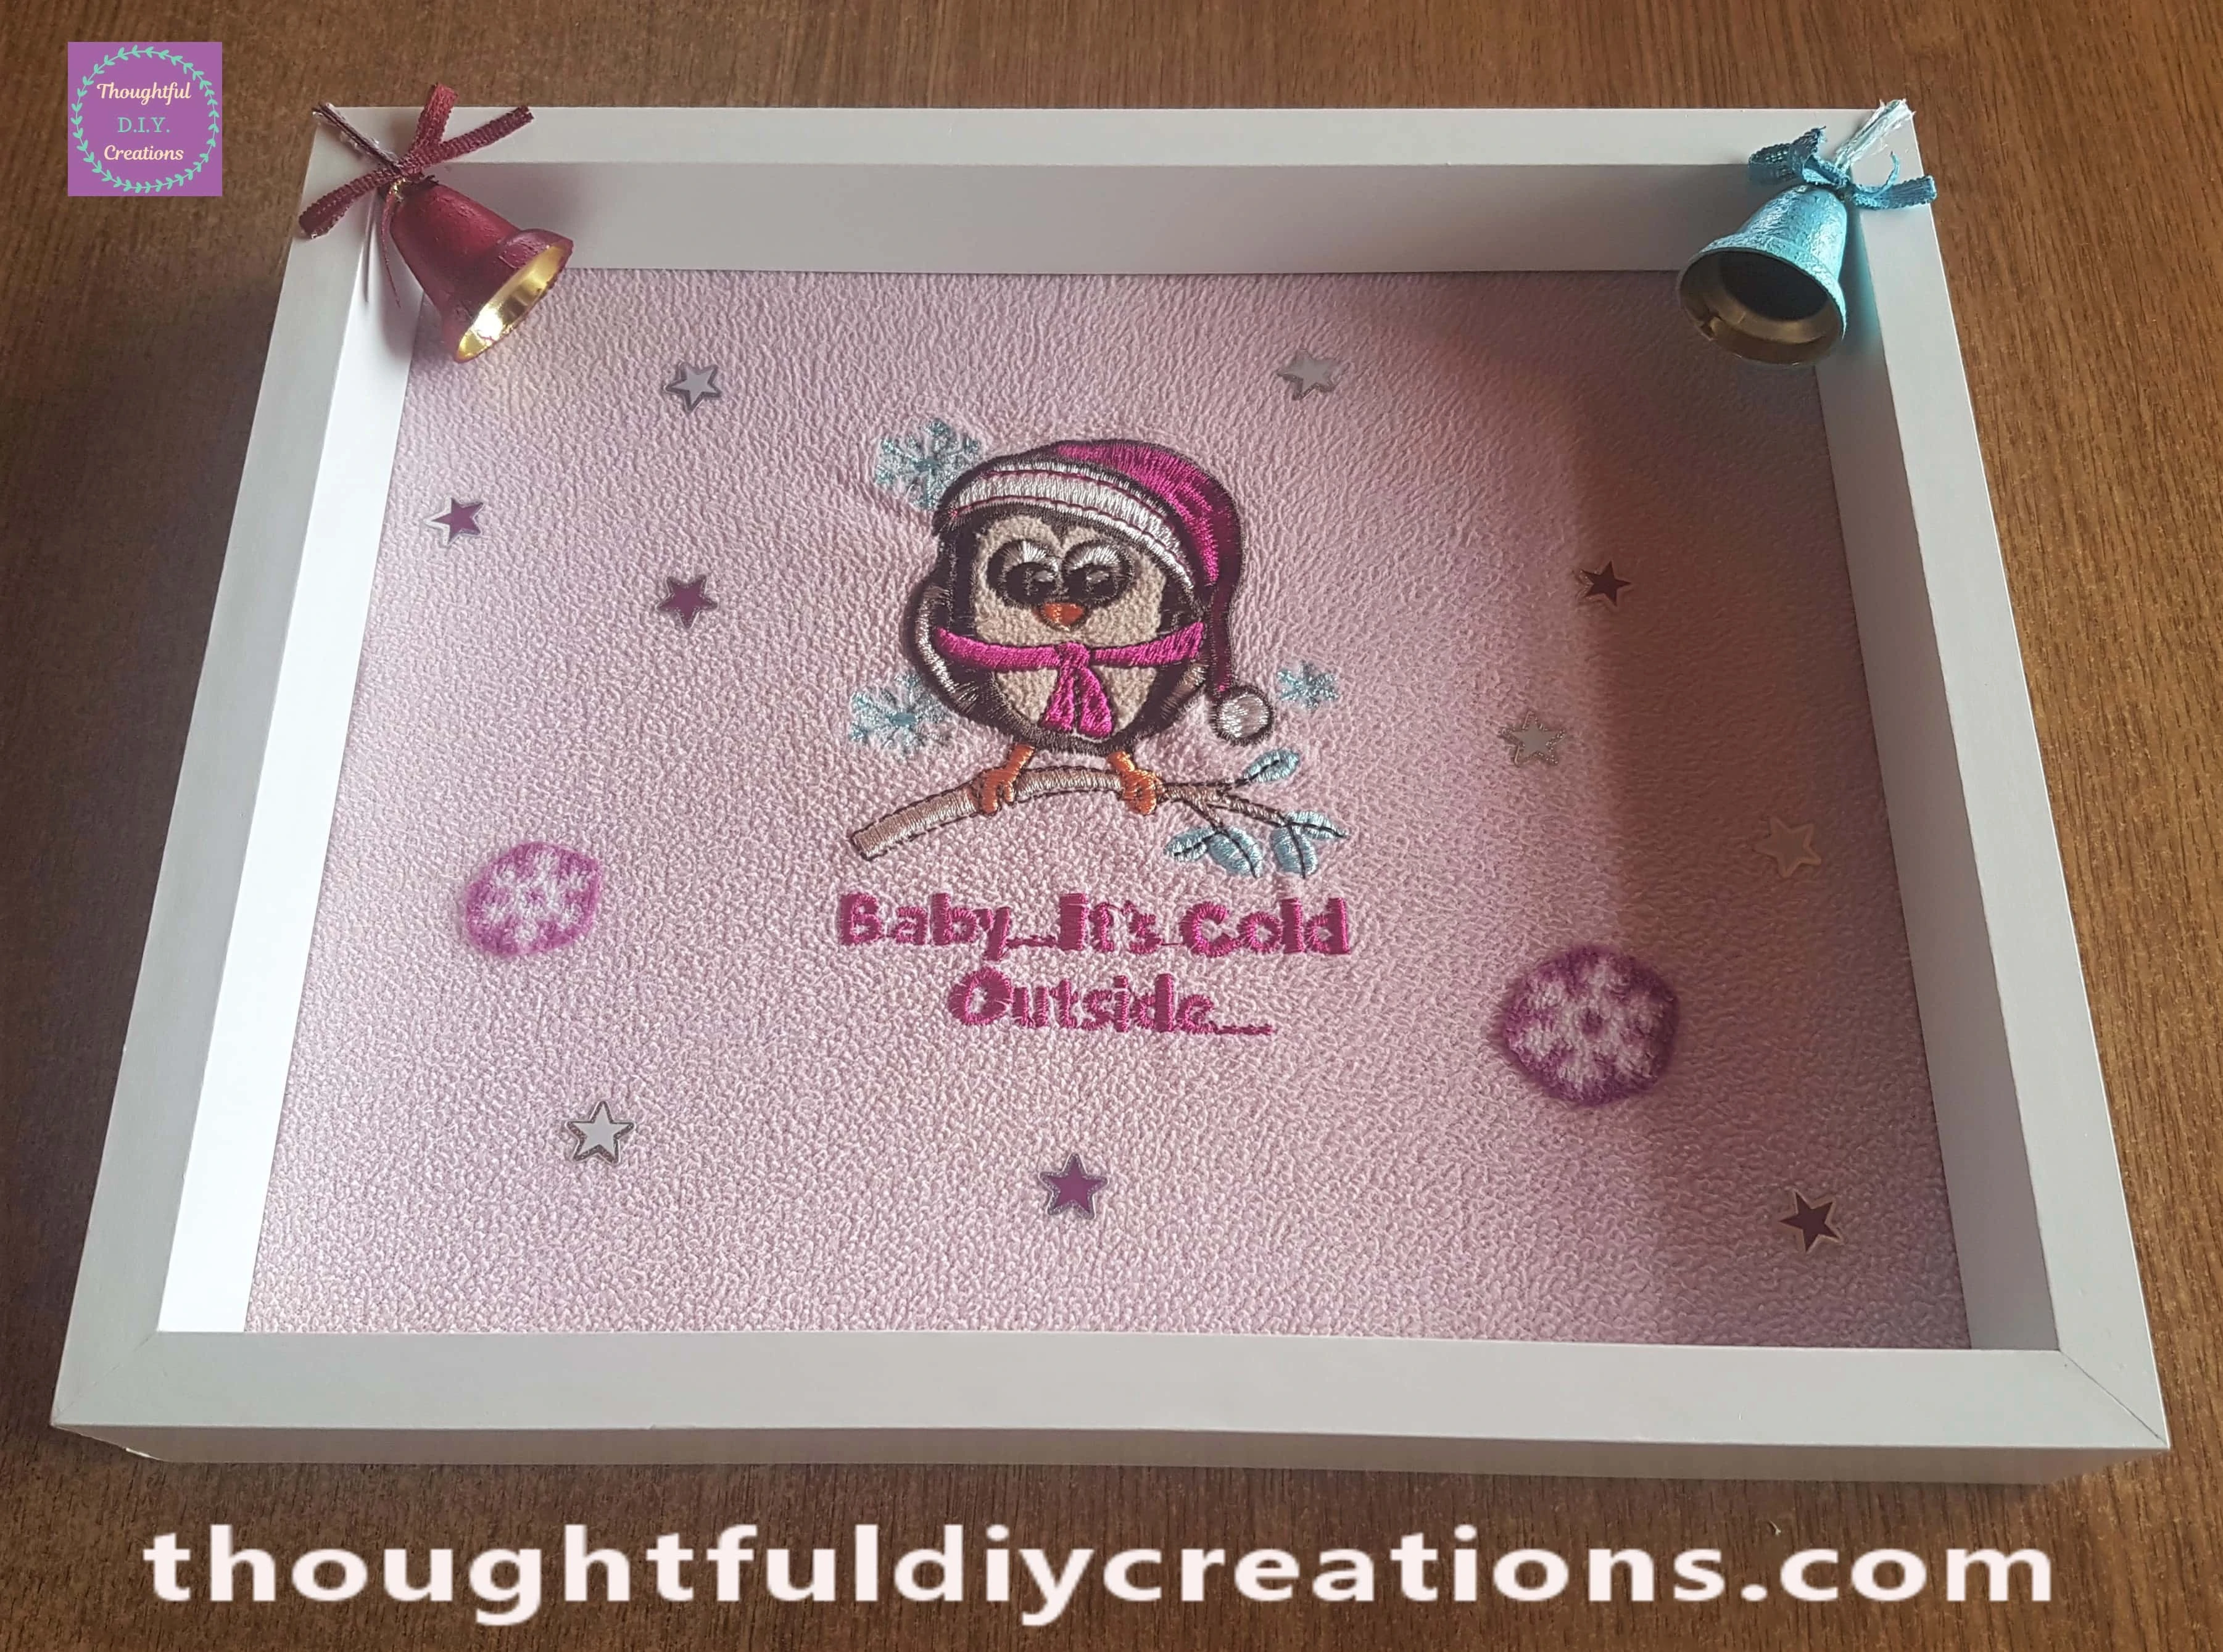
I cut the excess string from the top of the Bells. Below is the Christmas Frame with the Bells attached.
Making Blue and Pink Snowflakes
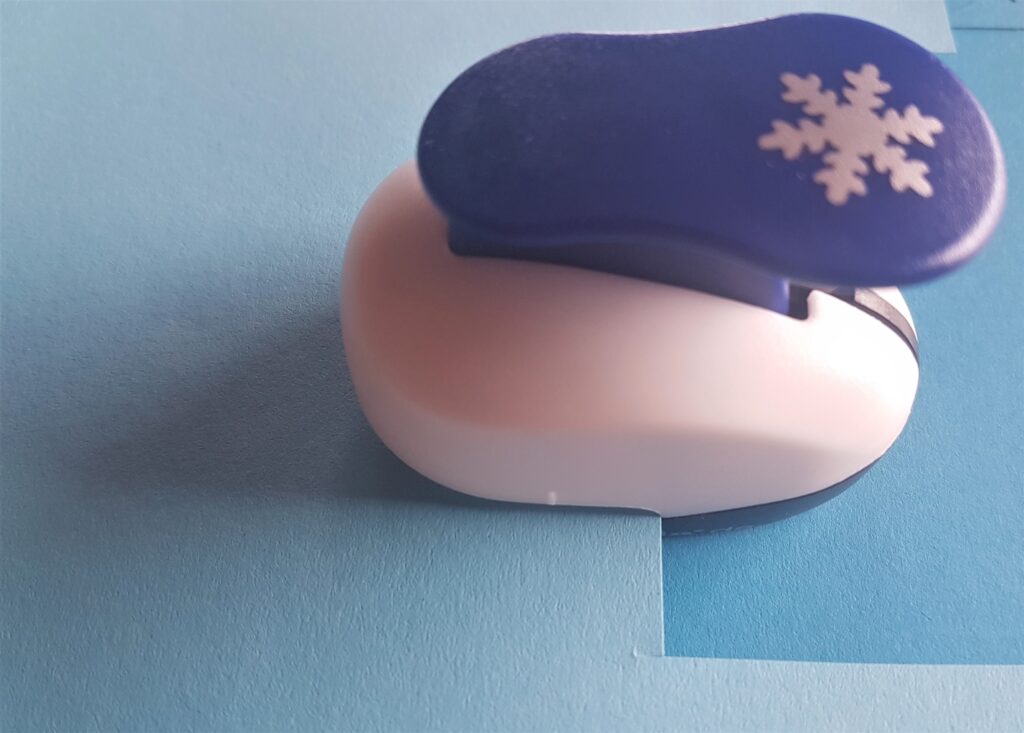
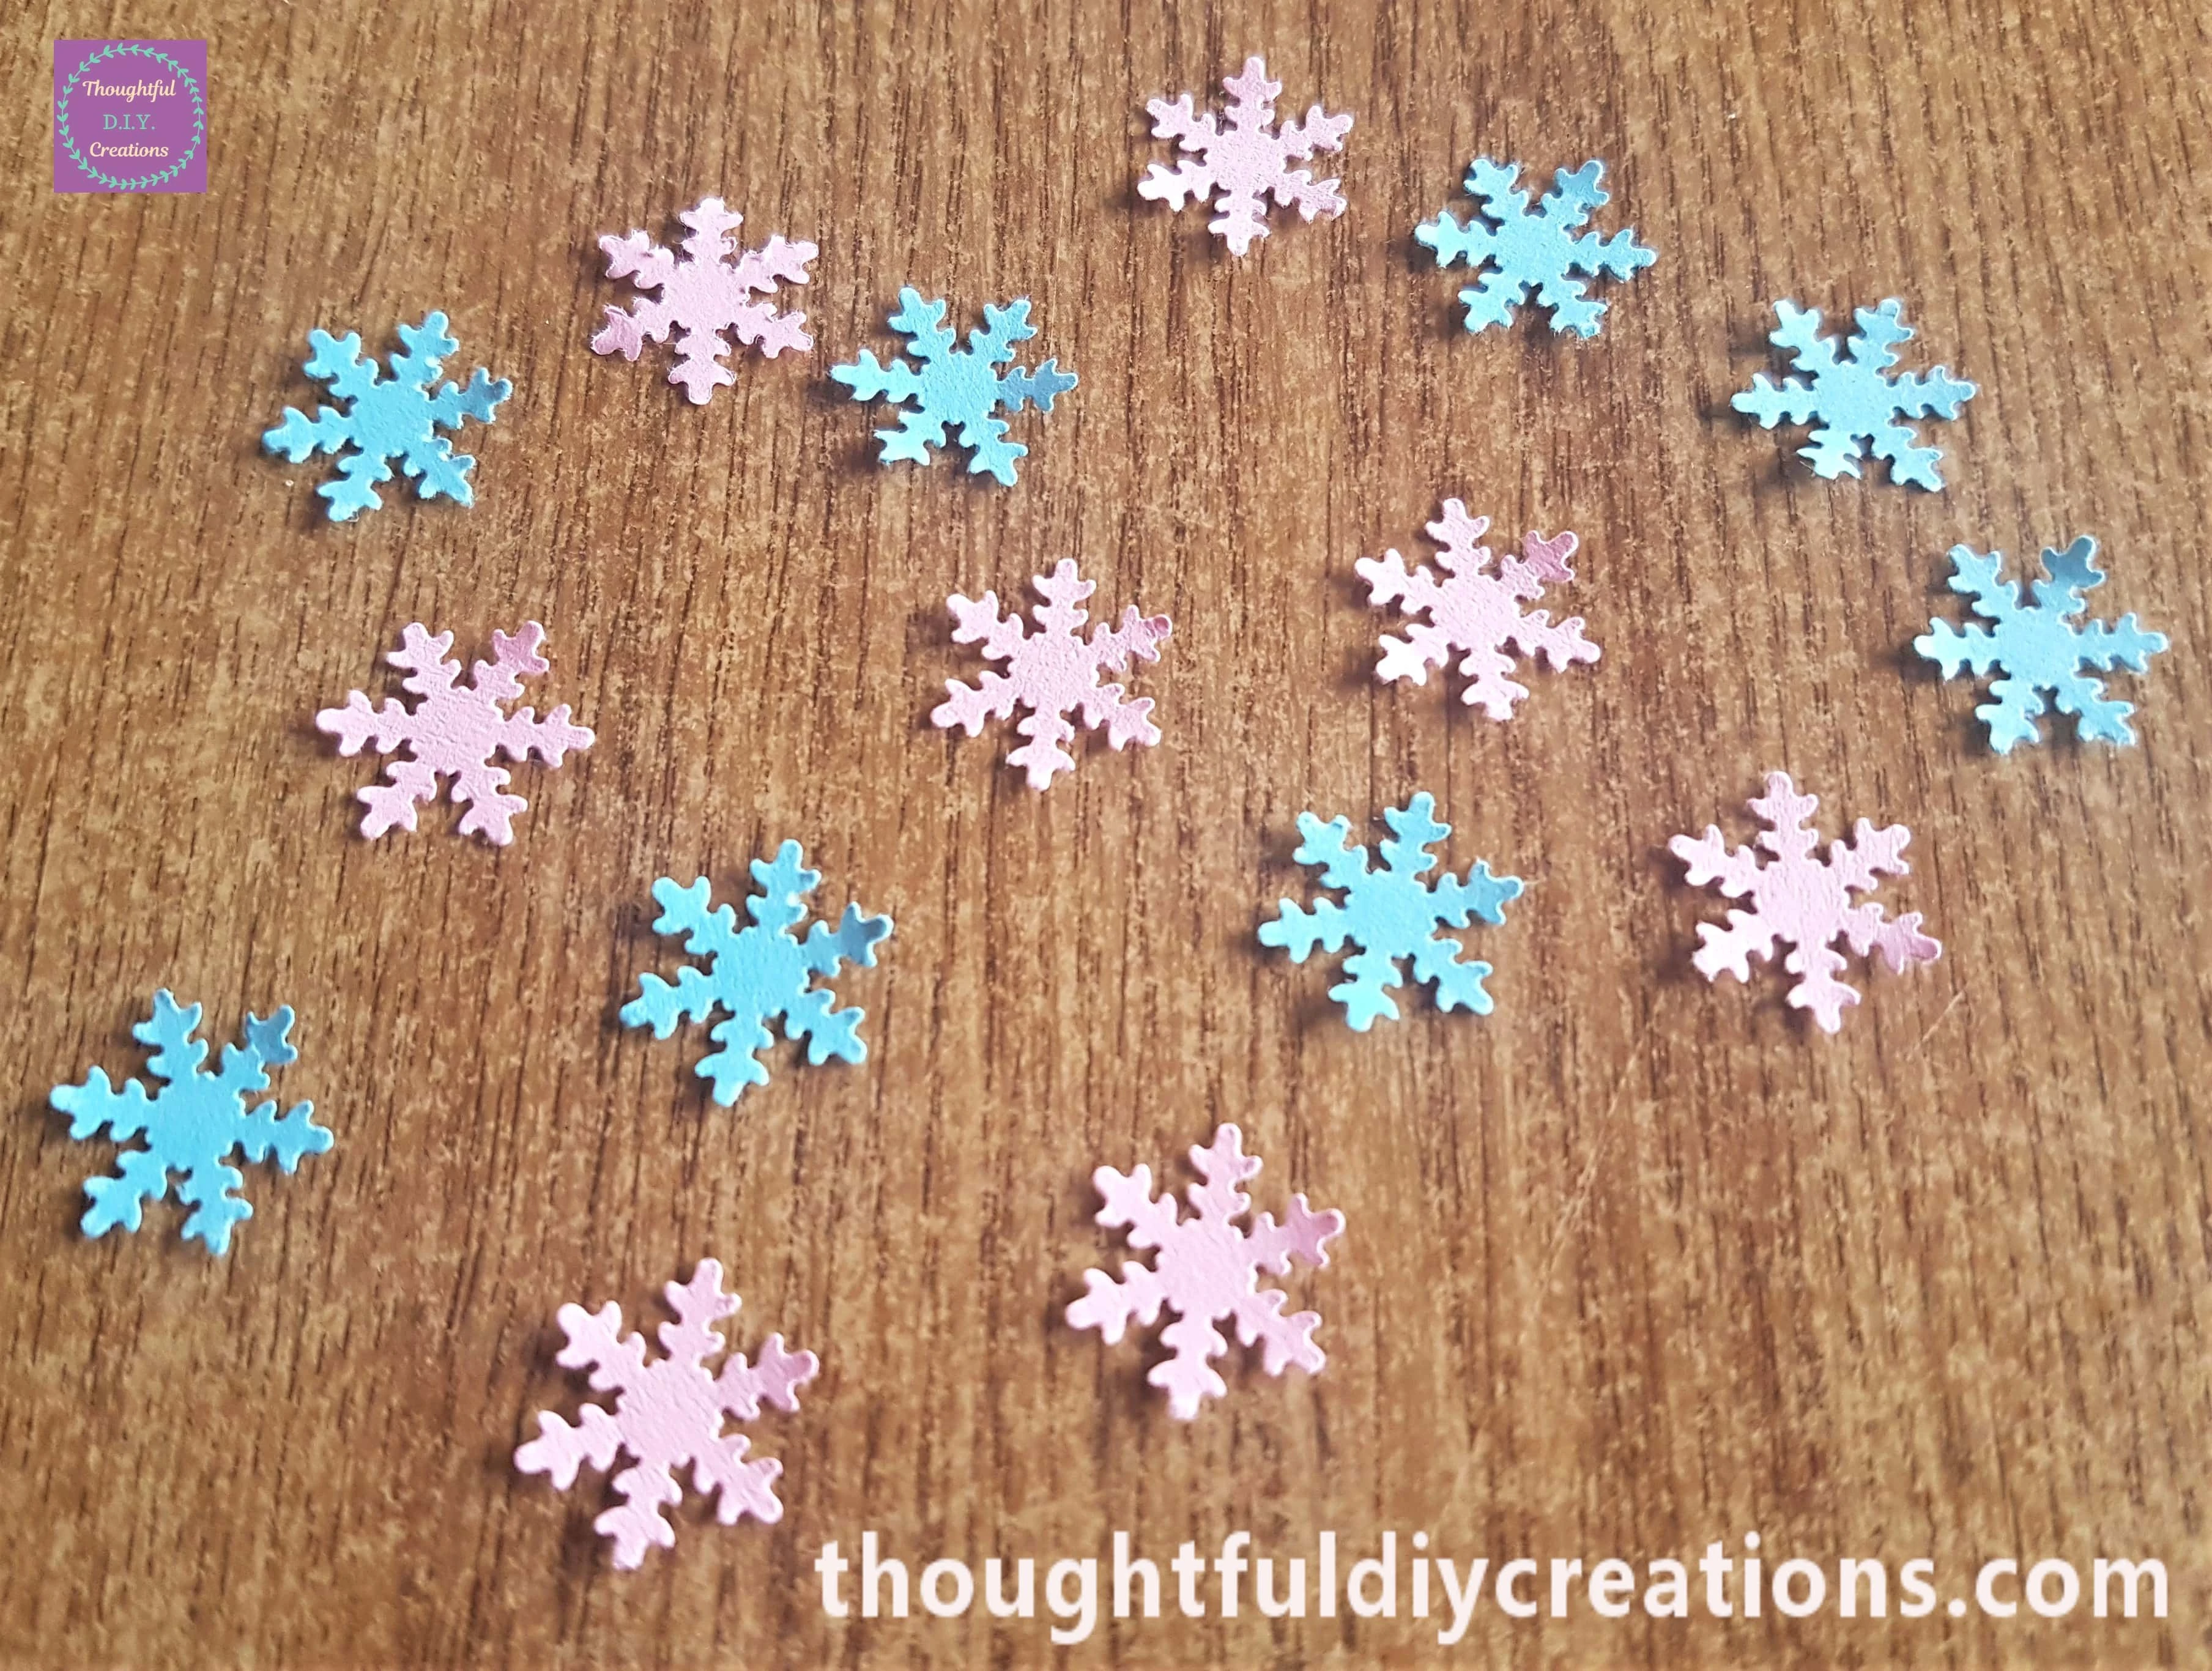
I got my Snowflake Punch and Light Blue Paper 135 gsm.
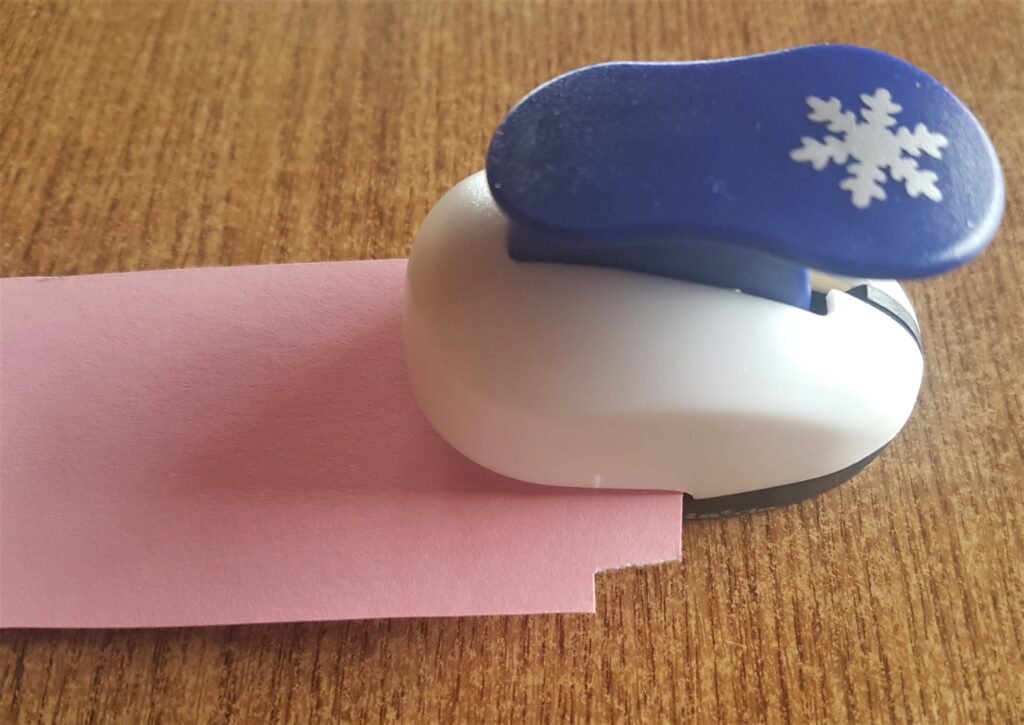
I also Punched some Snowflakes out of Light Pink Paper.
Here are the Blue and Pink Snowflakes from using the Punch.
Adding the Snowflakes to the Christmas Frame
I put Mod Podge onto the back of a Pink Snowflake with a small paintbrush and attached it to the right side of the Frame.
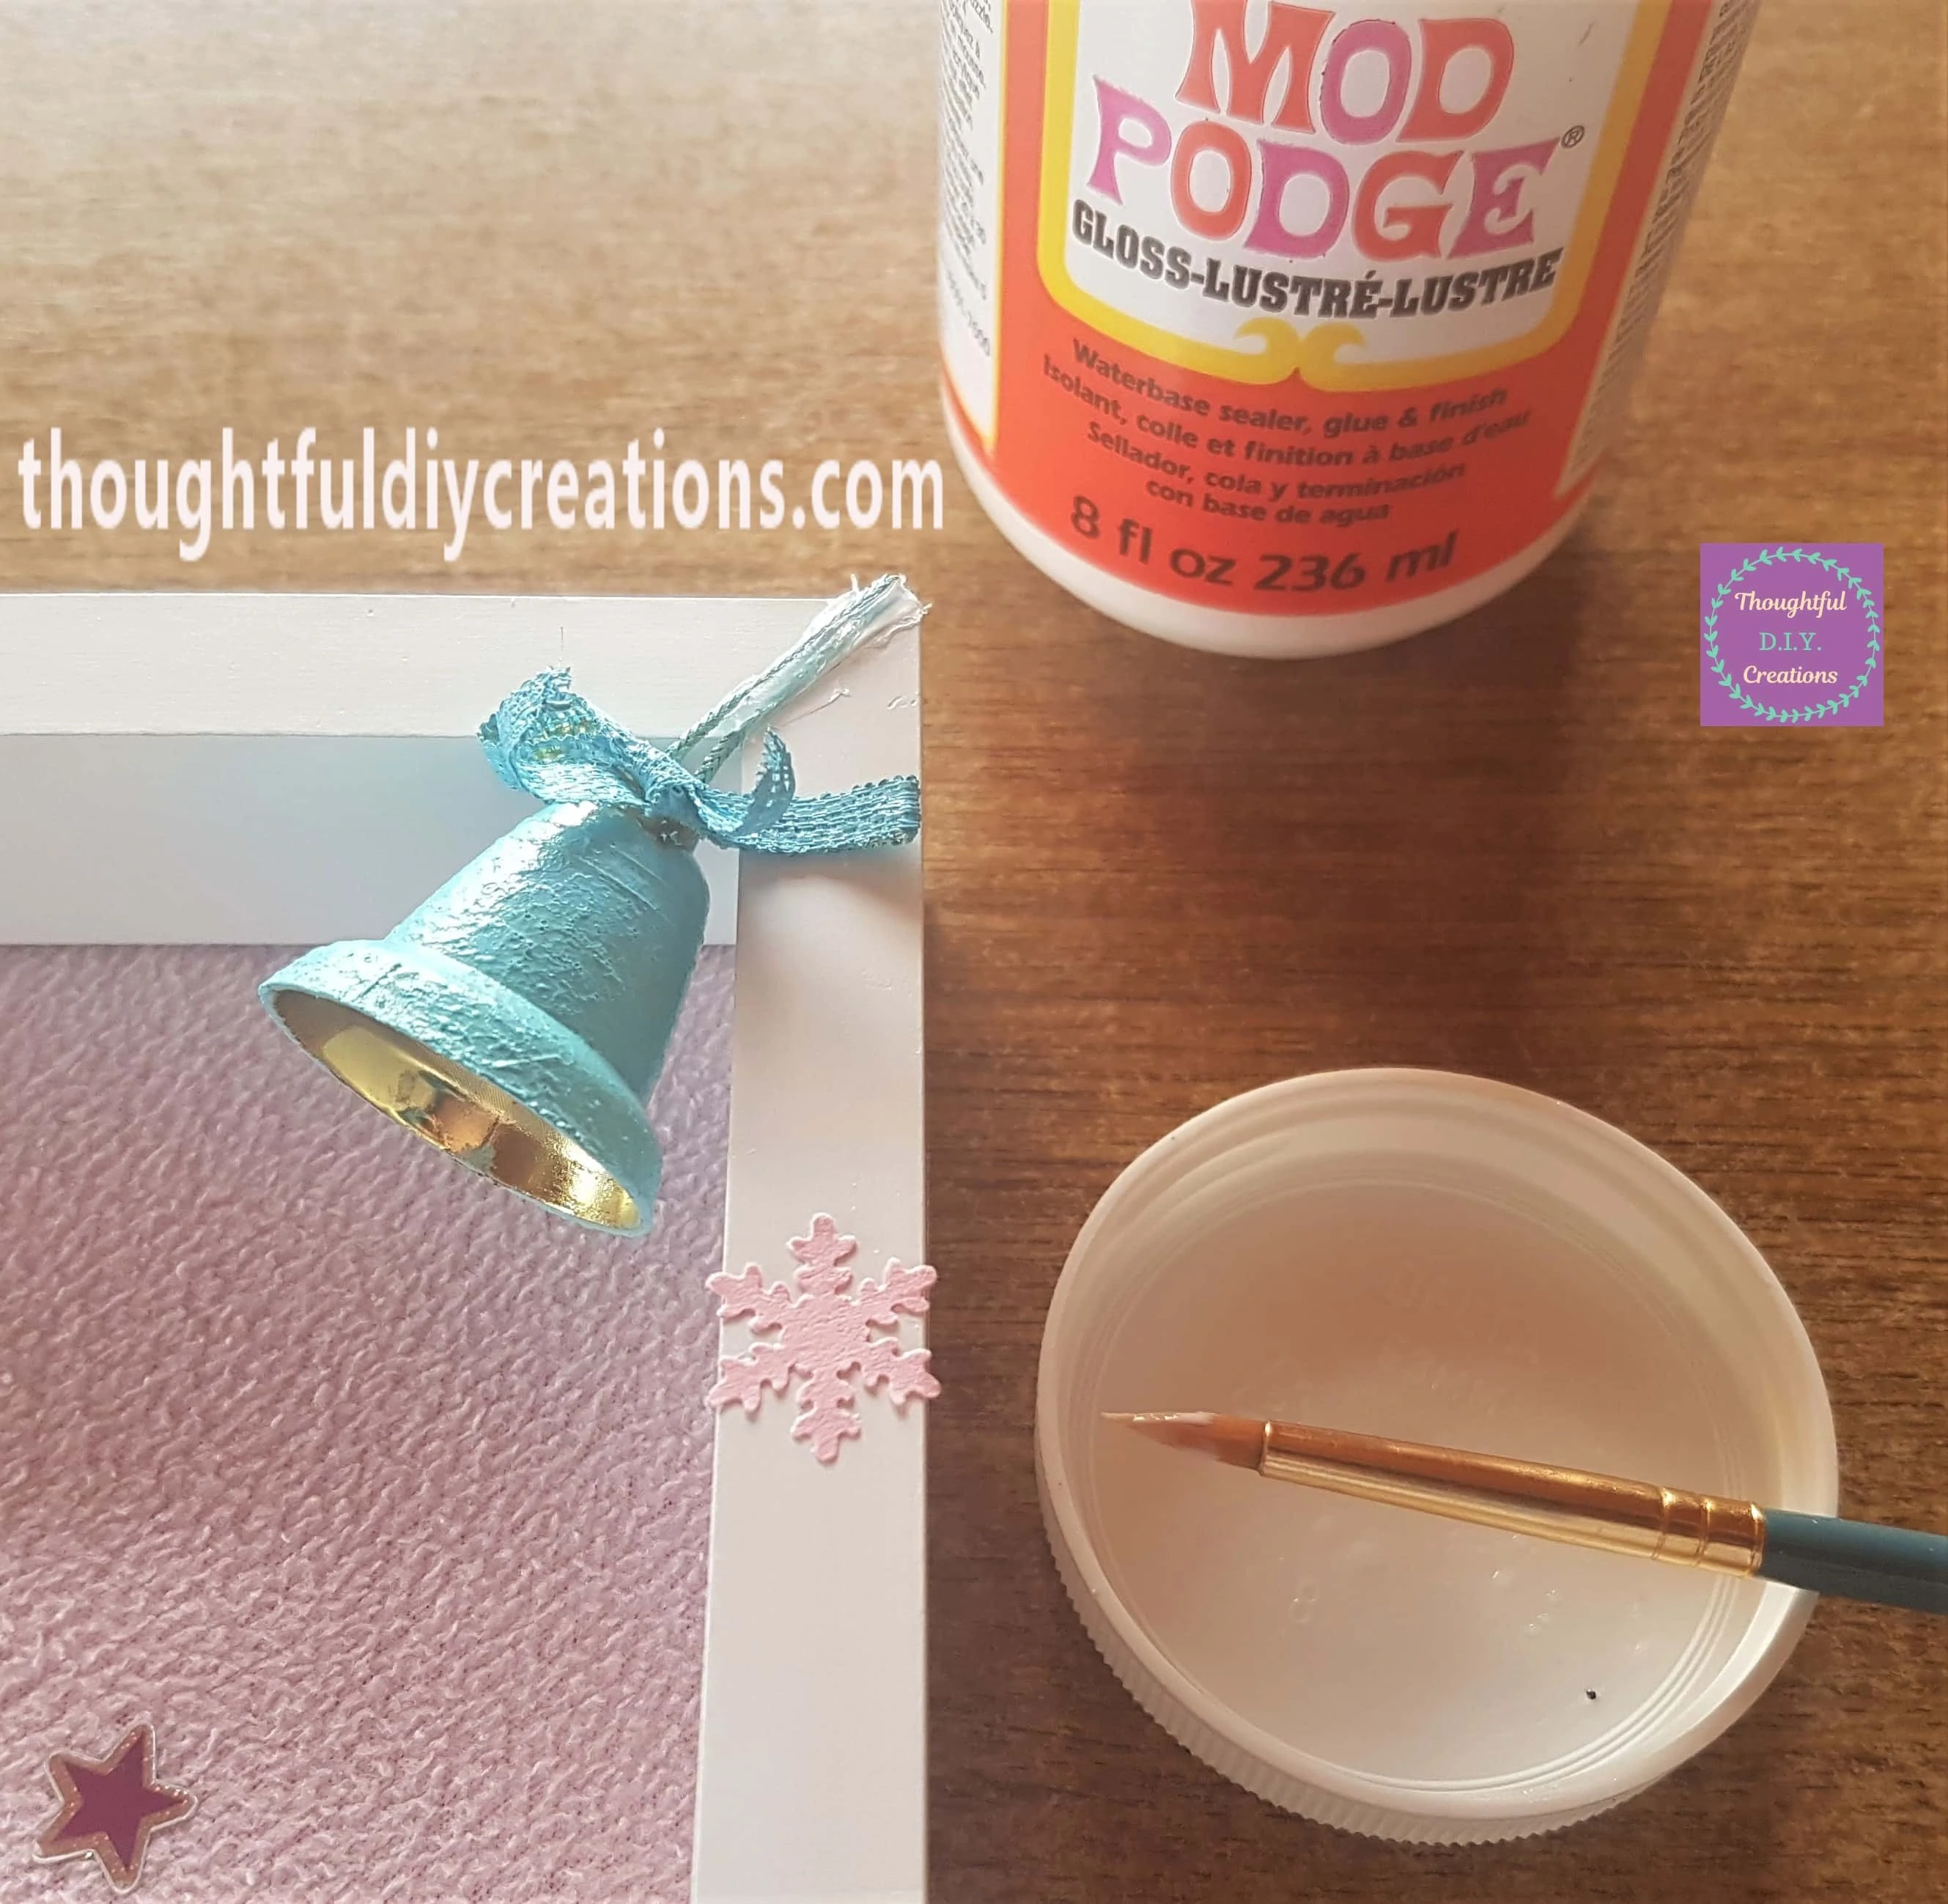
I left about an Inch of a gap and then attached a Blue Snowflake to the Frame.
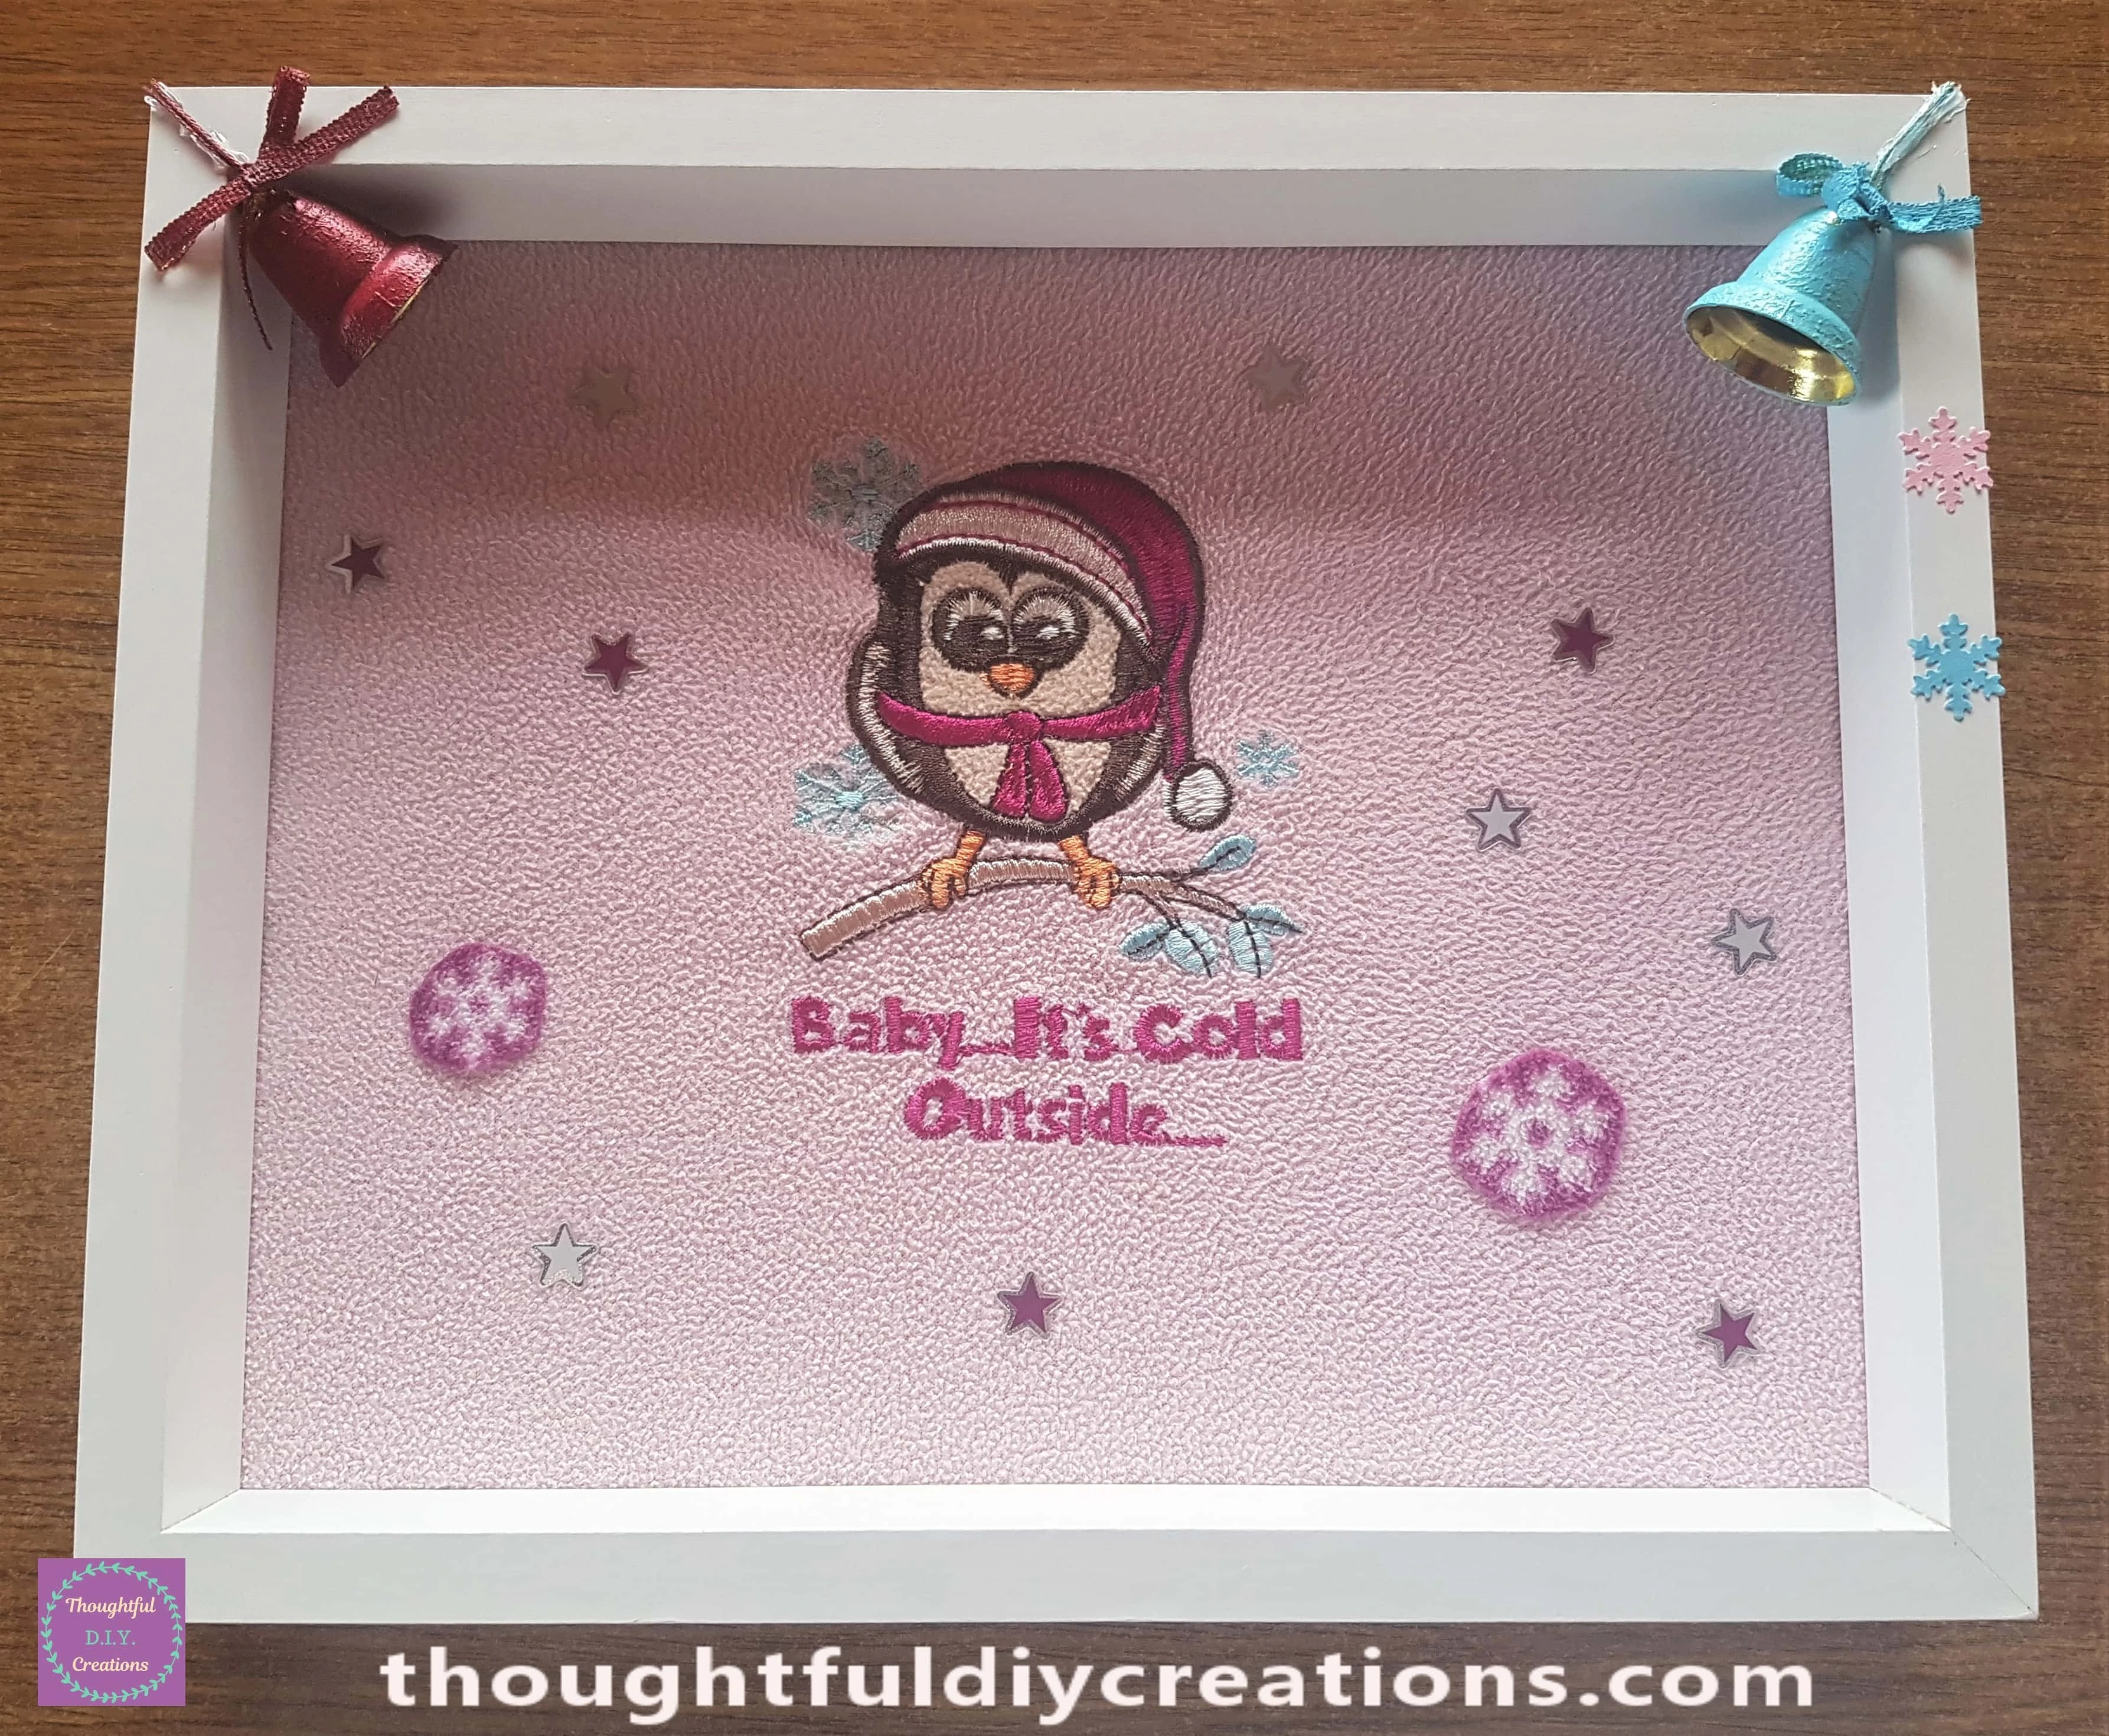
I added 5 Snowflakes to the right side of the Frame altogether alternating between the Colours.
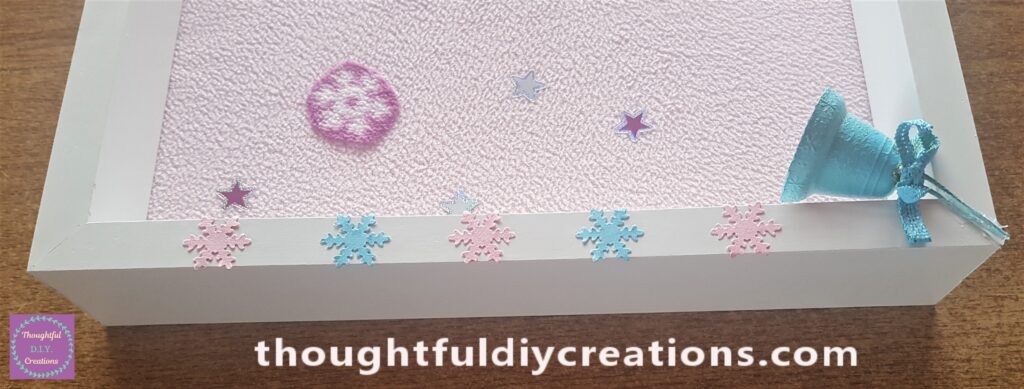
I repeated the process on the left side of the frame using opposite colours to the right side.
Gemstones for the Snowflakes
I got my Pack of Clear Gemstone Stickers.
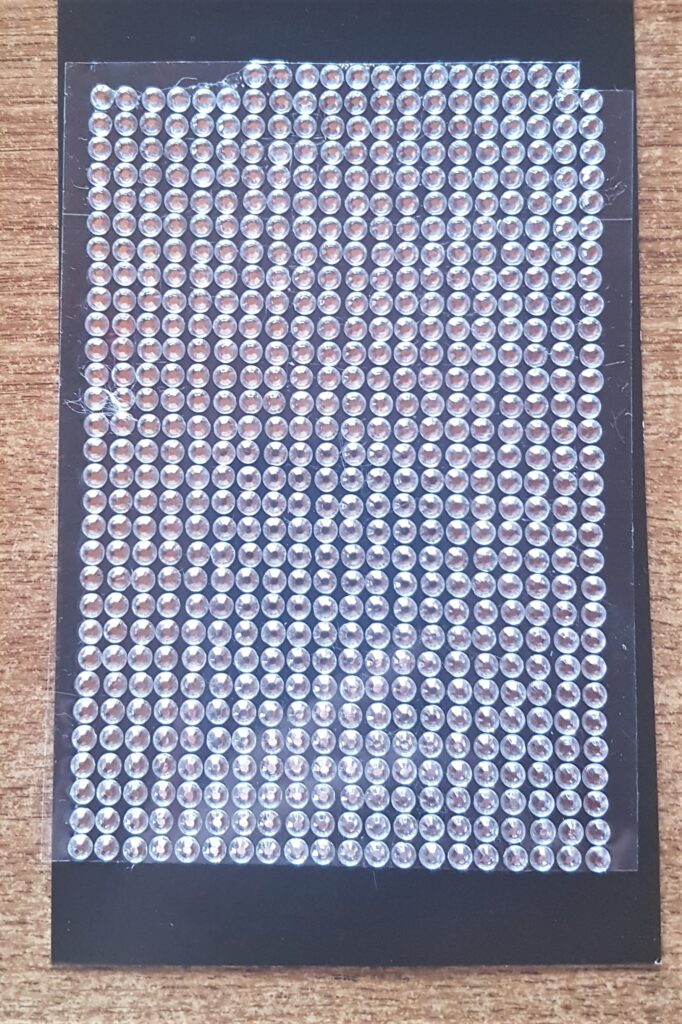
I added a Clear Gemstone Sticker to the center of each Snowflake.
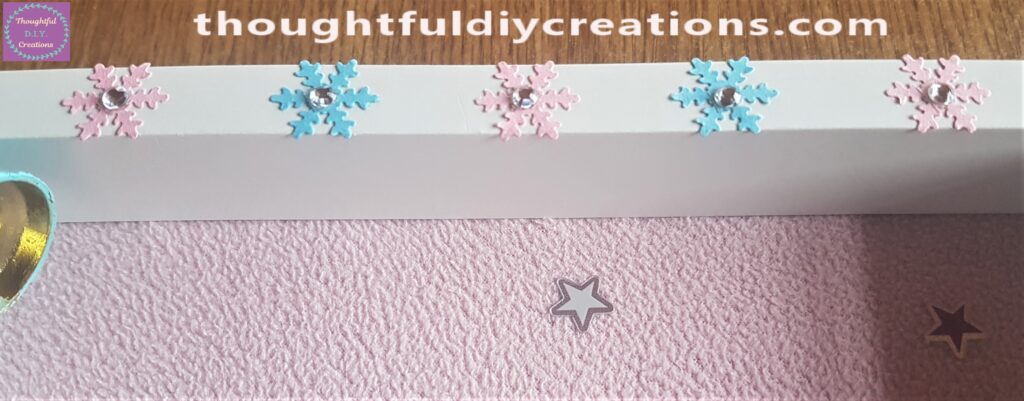
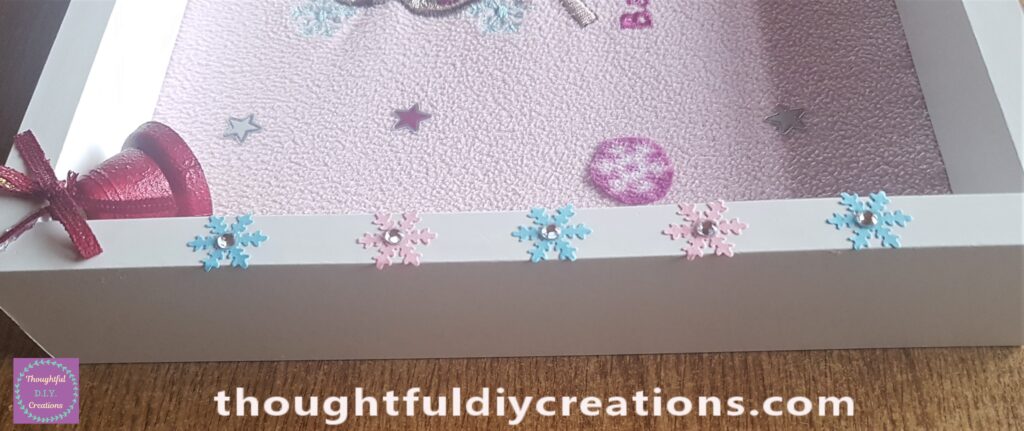
I glued more Snowflakes to the Top of the Christmas Frame.
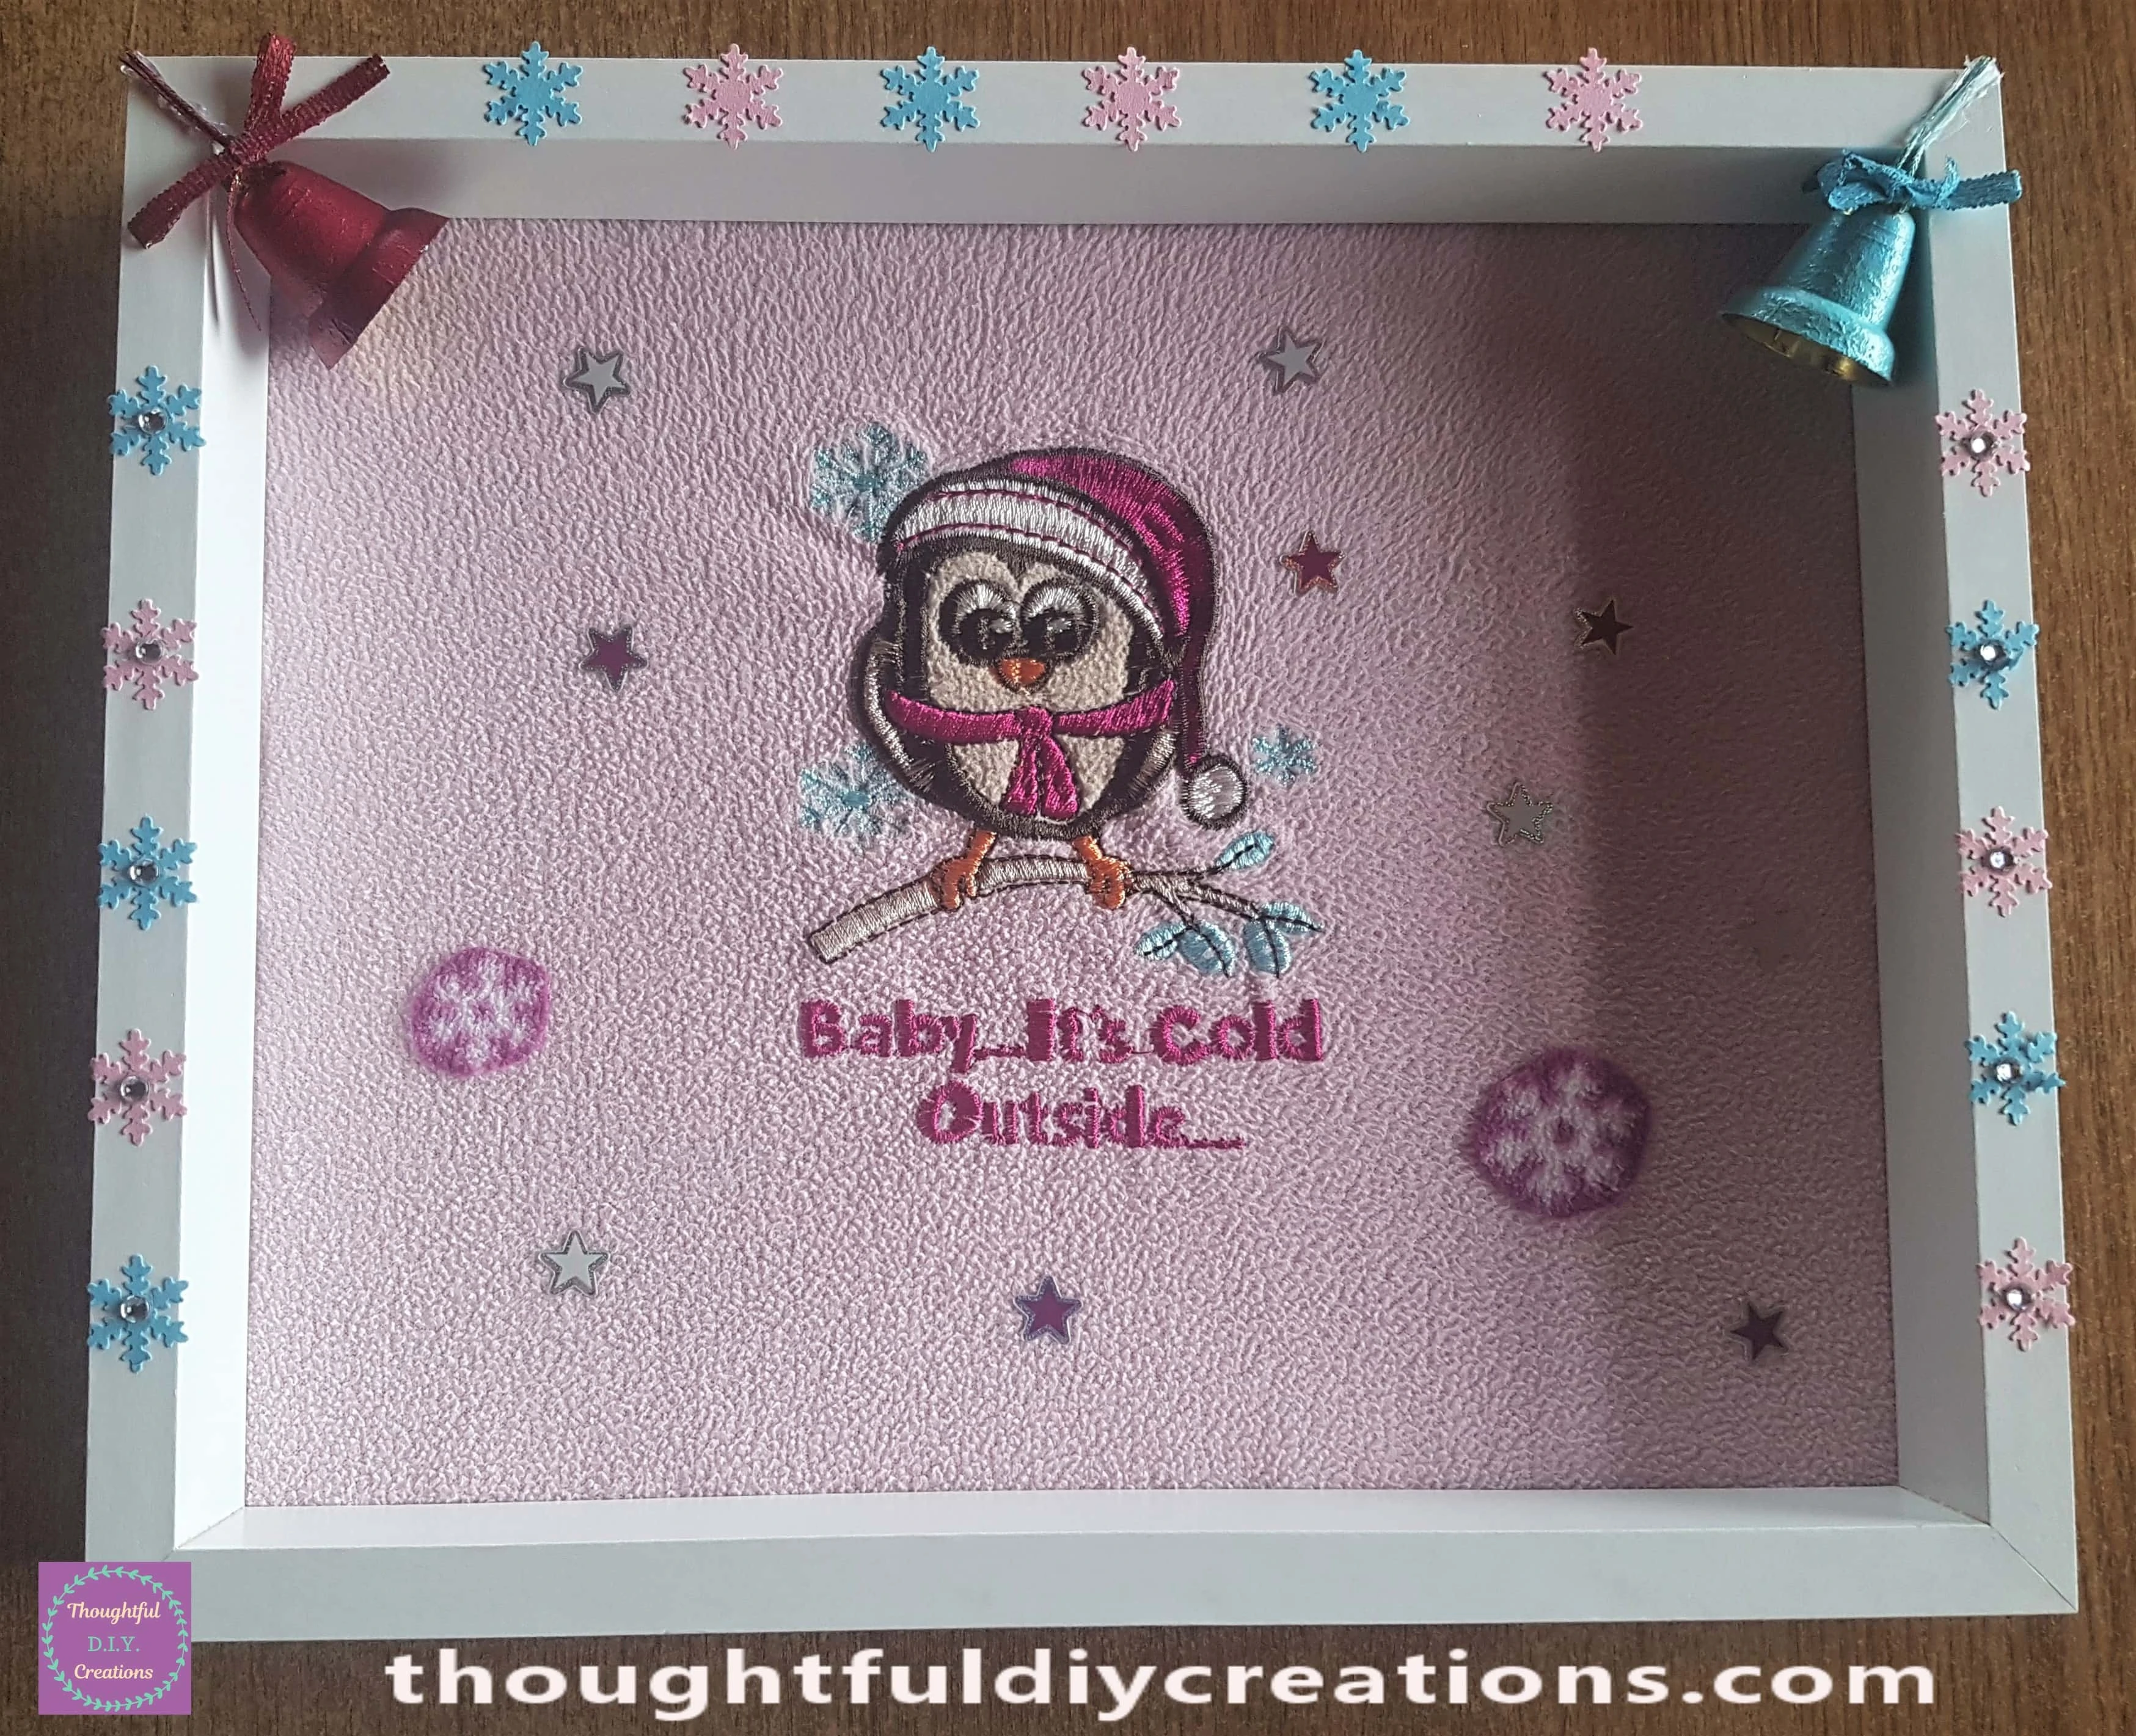
I also added a gemstone to the middle of each snowflake.
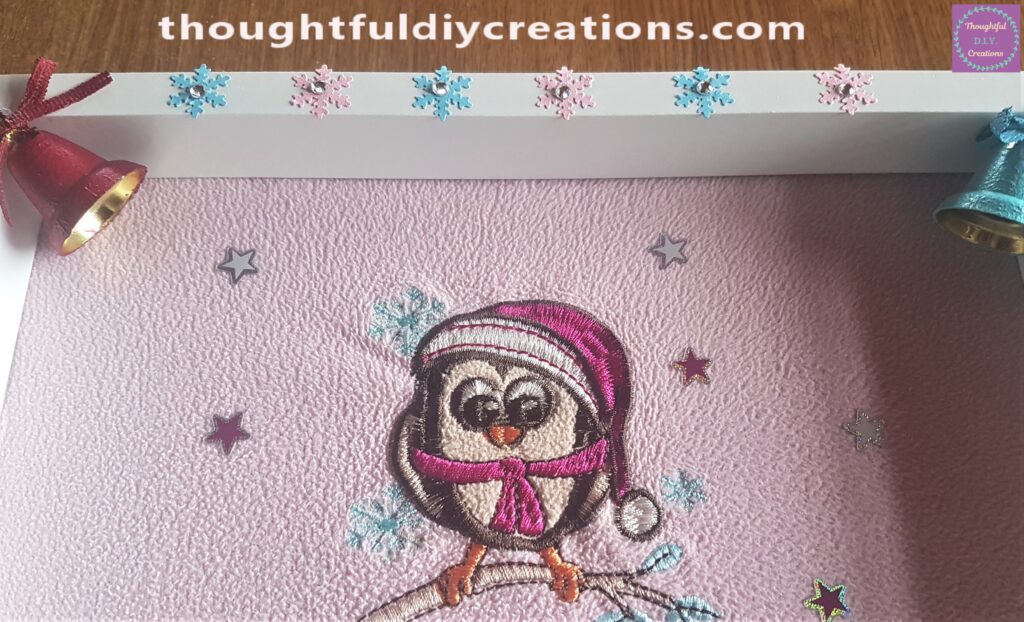
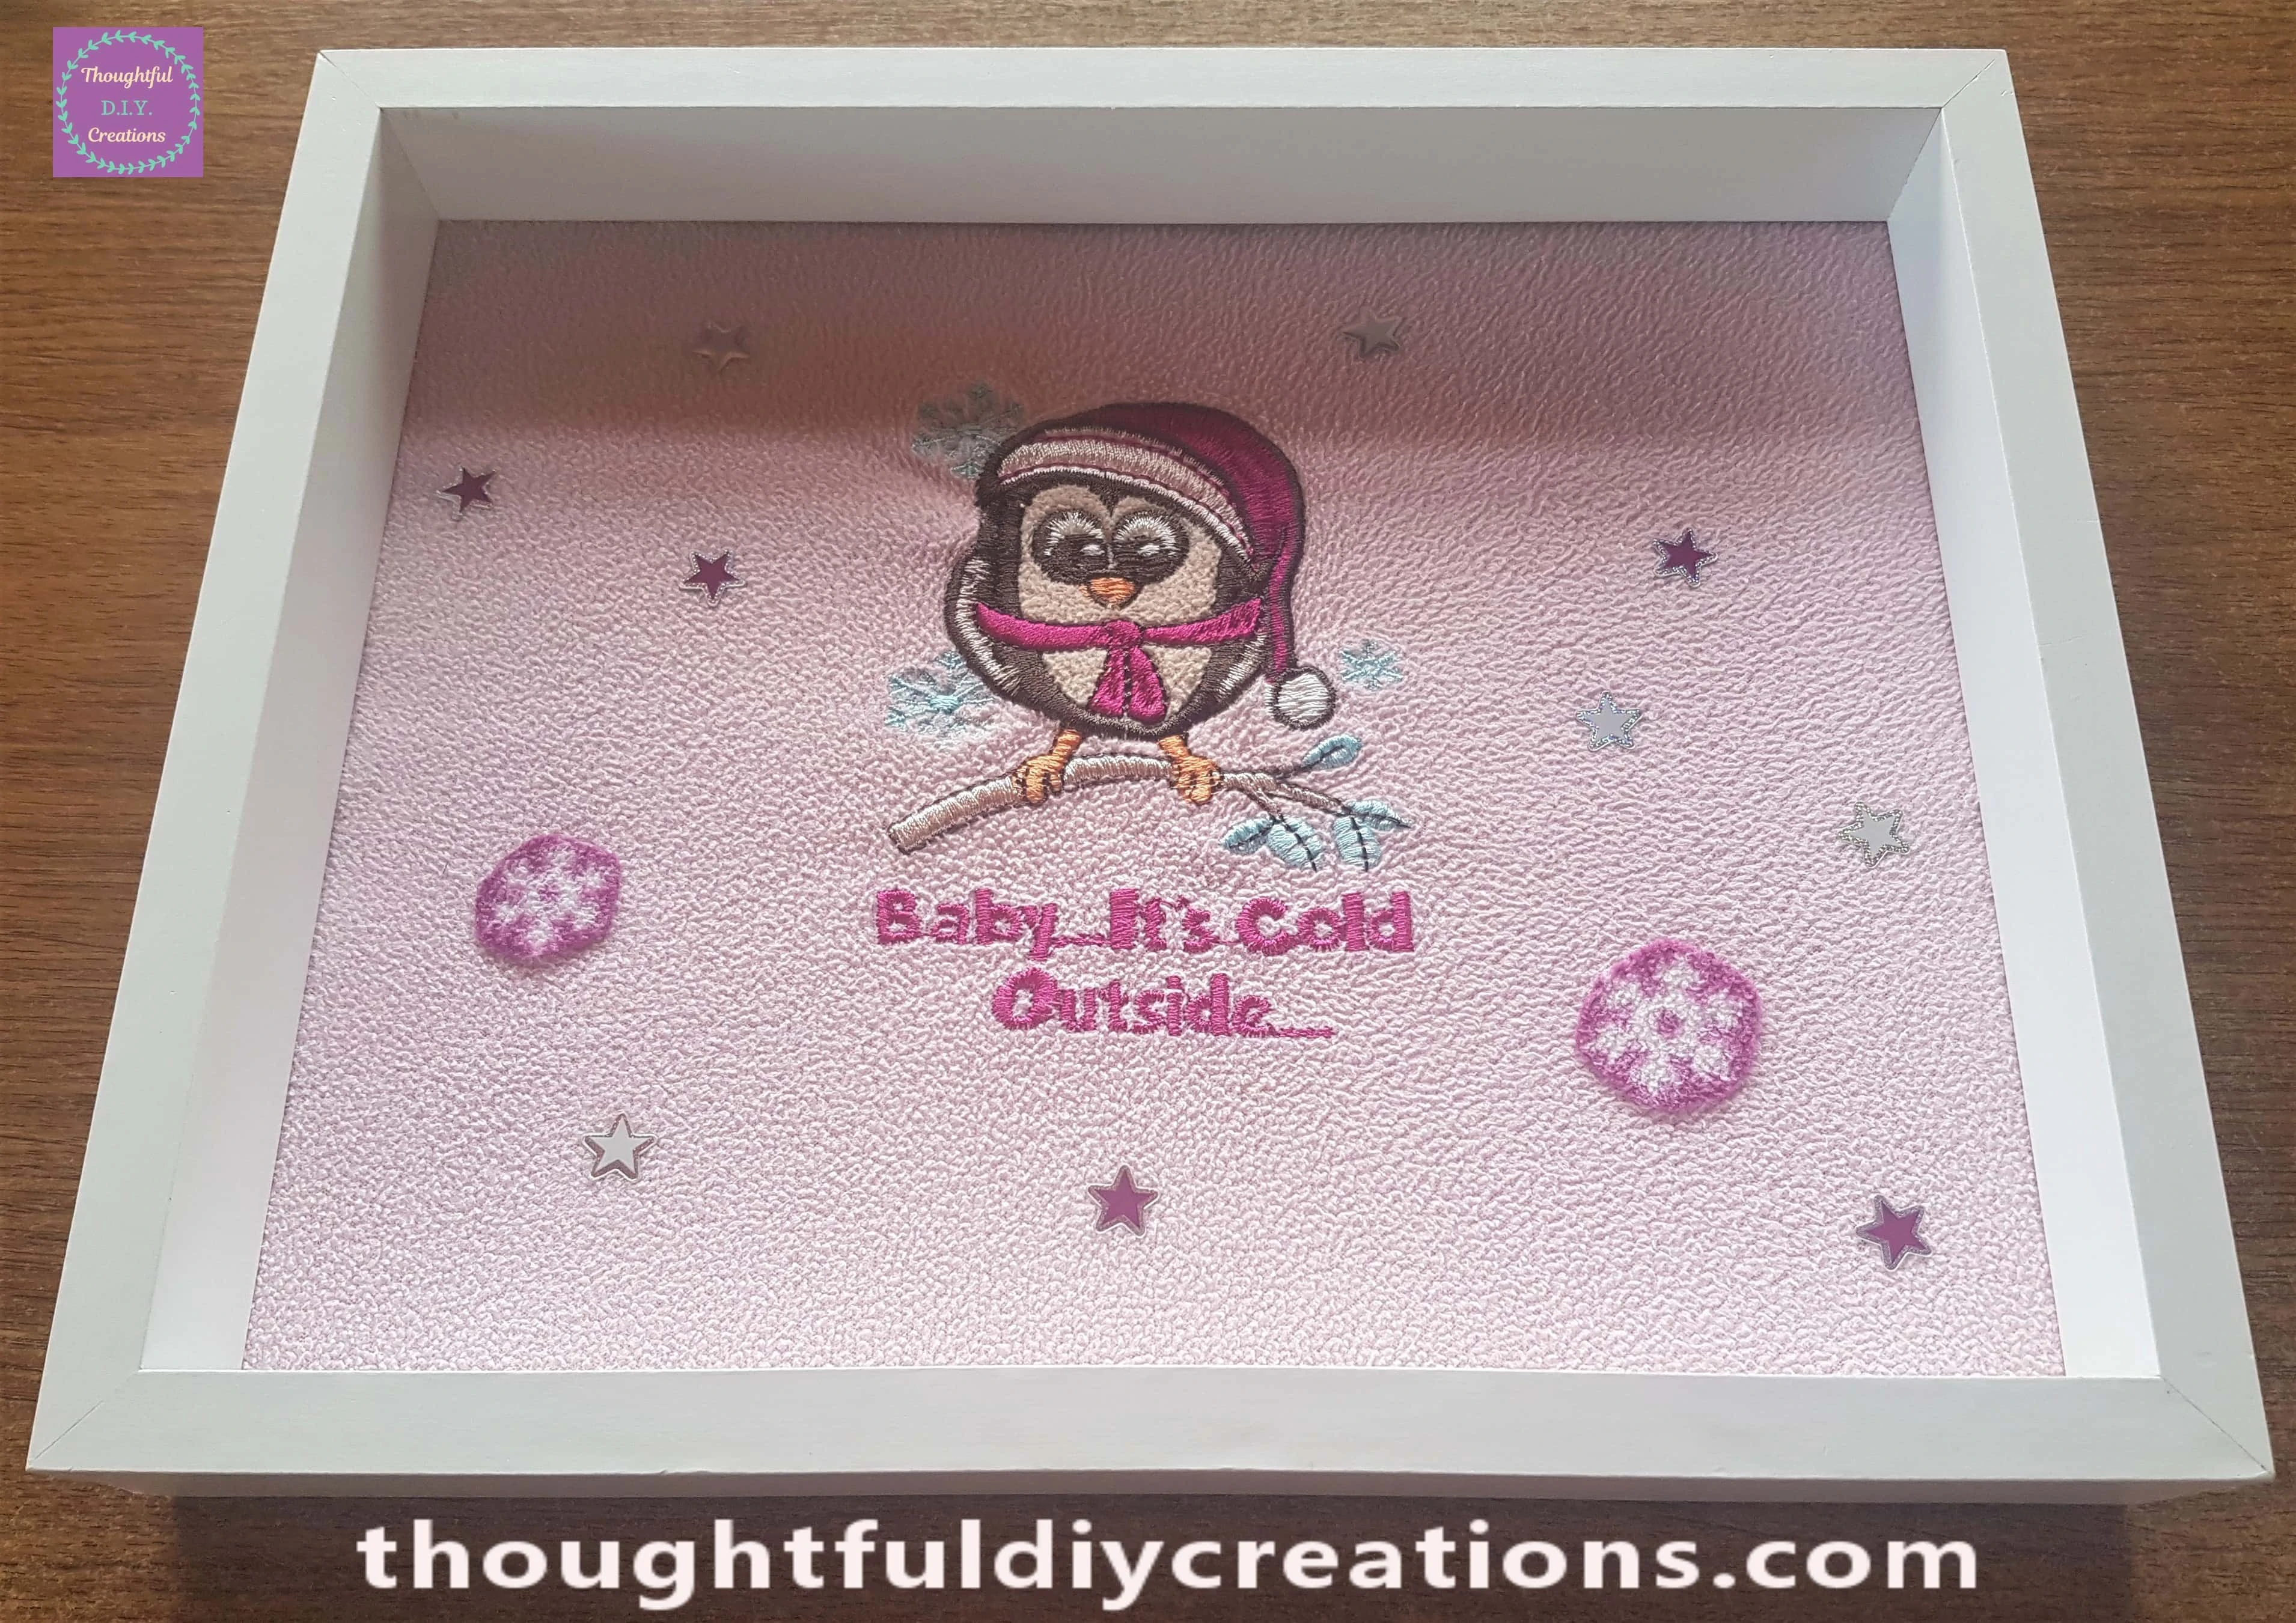
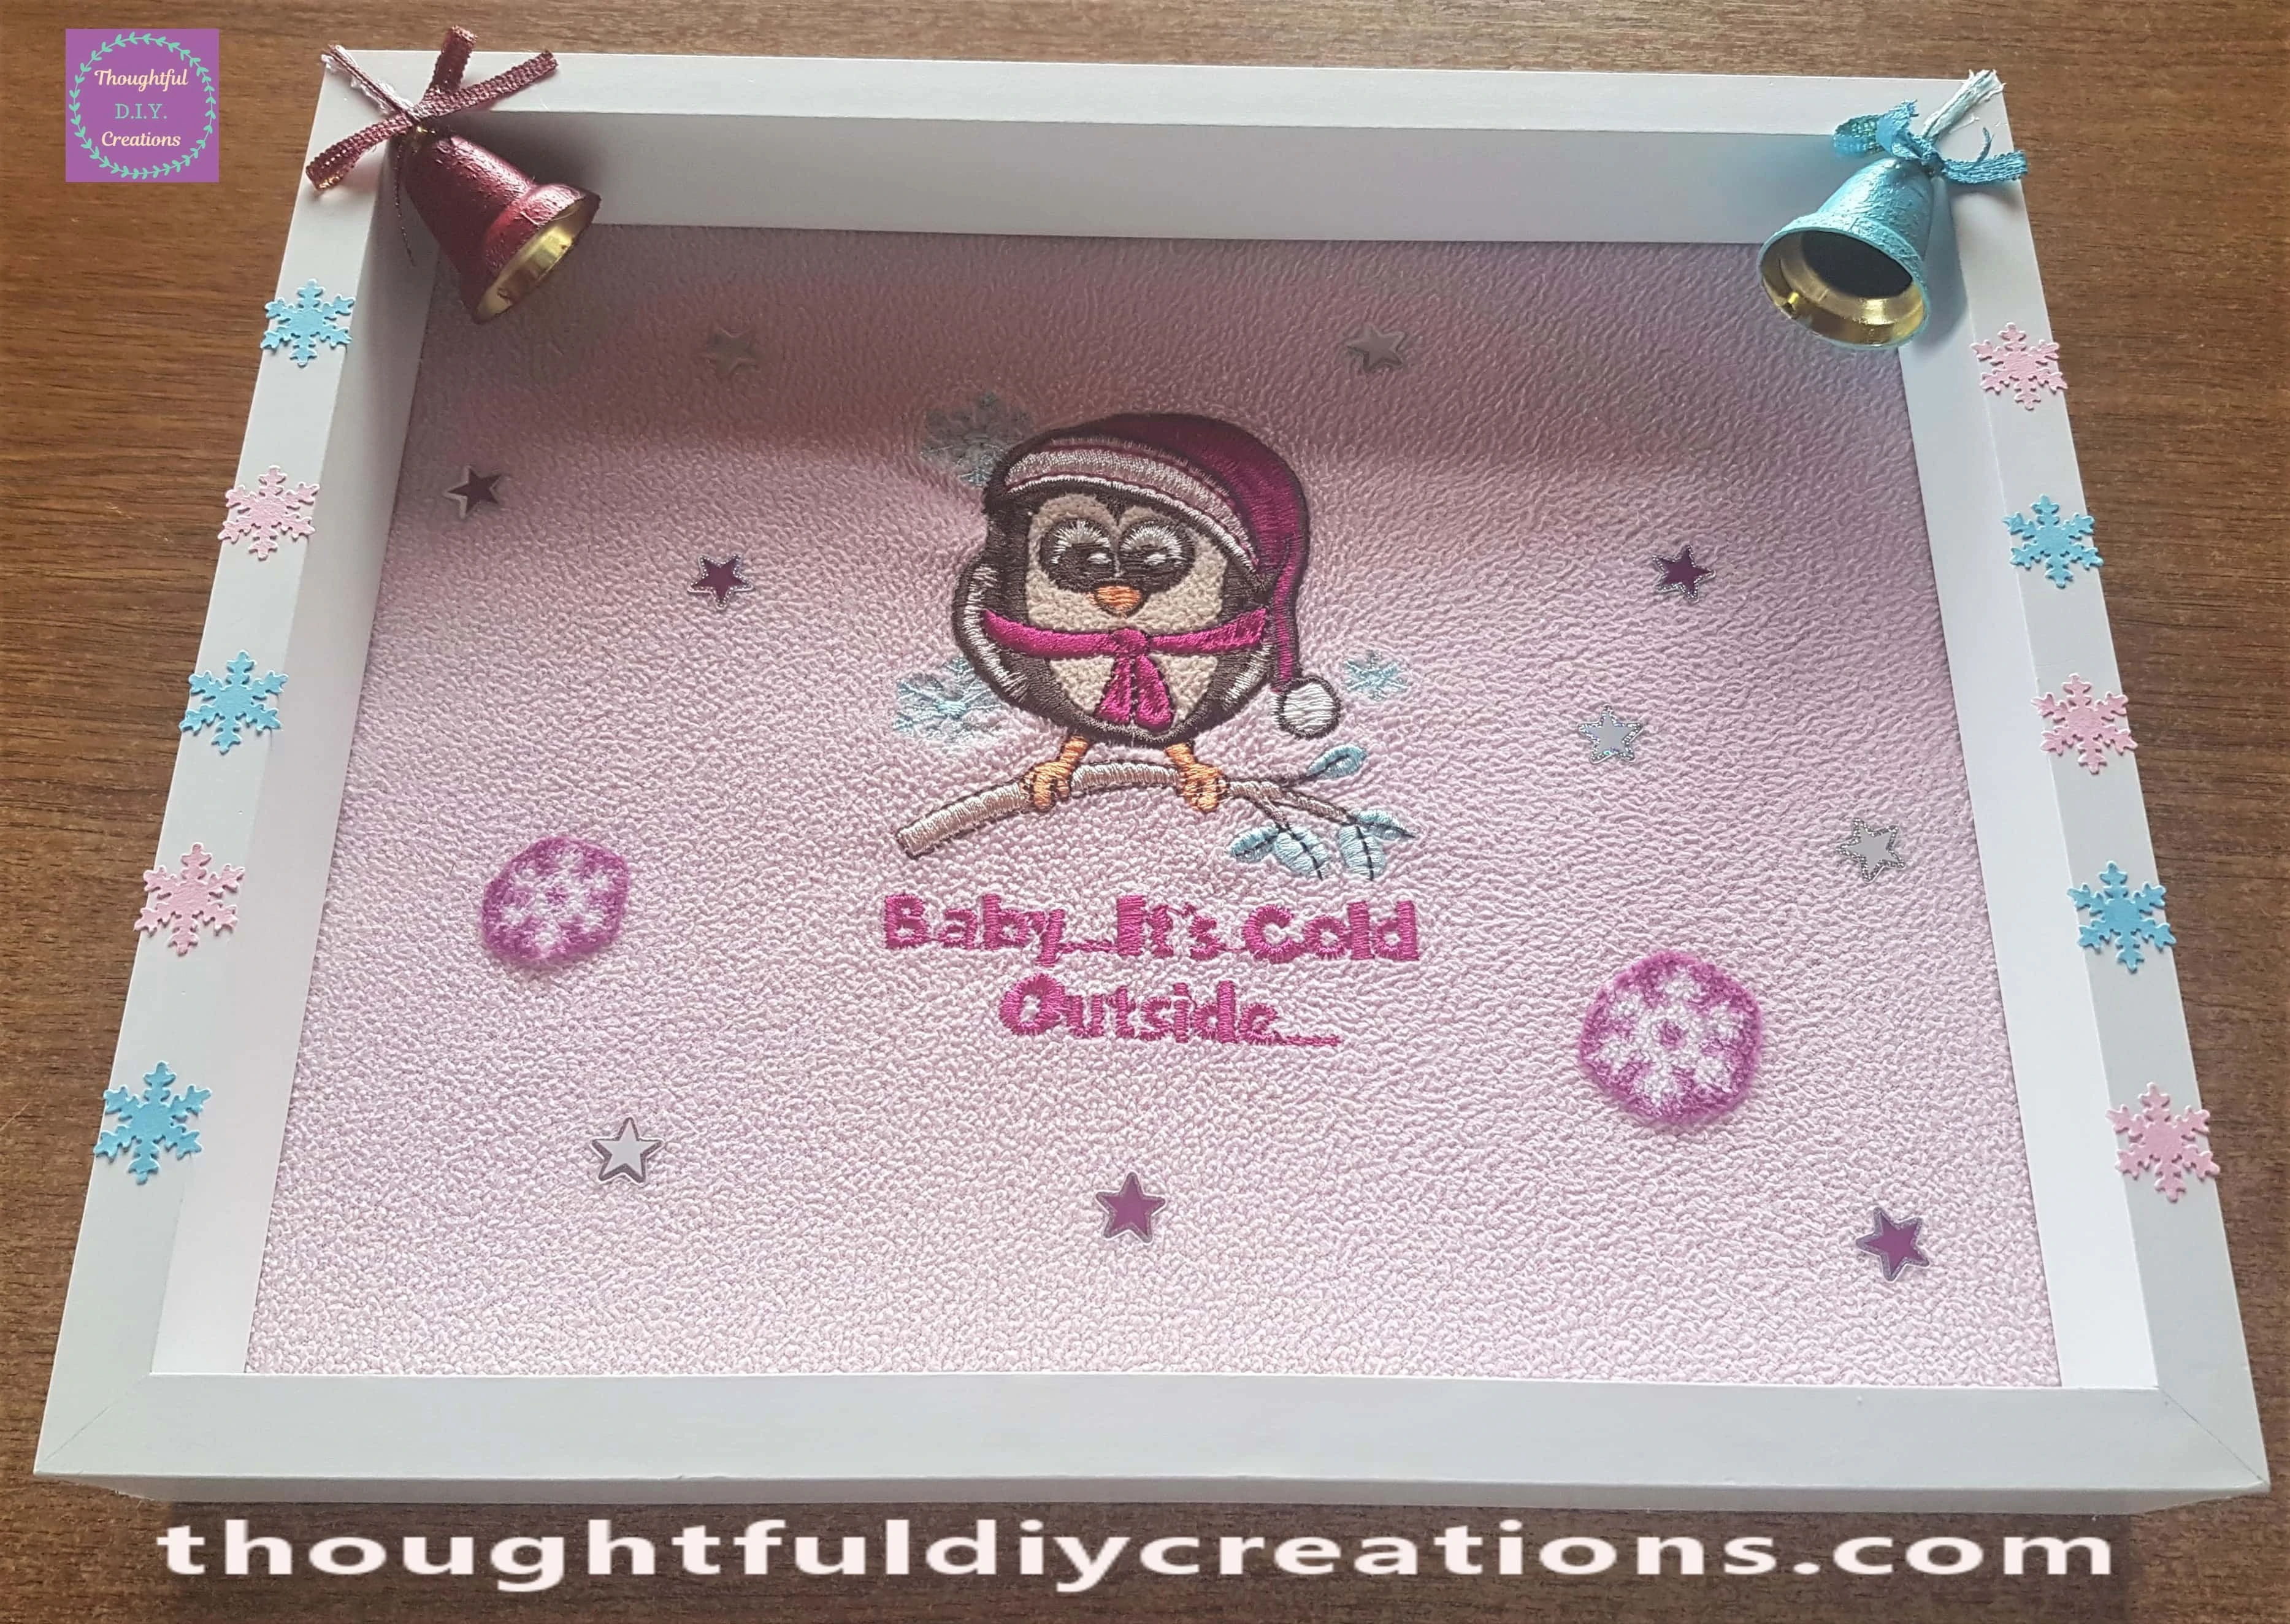
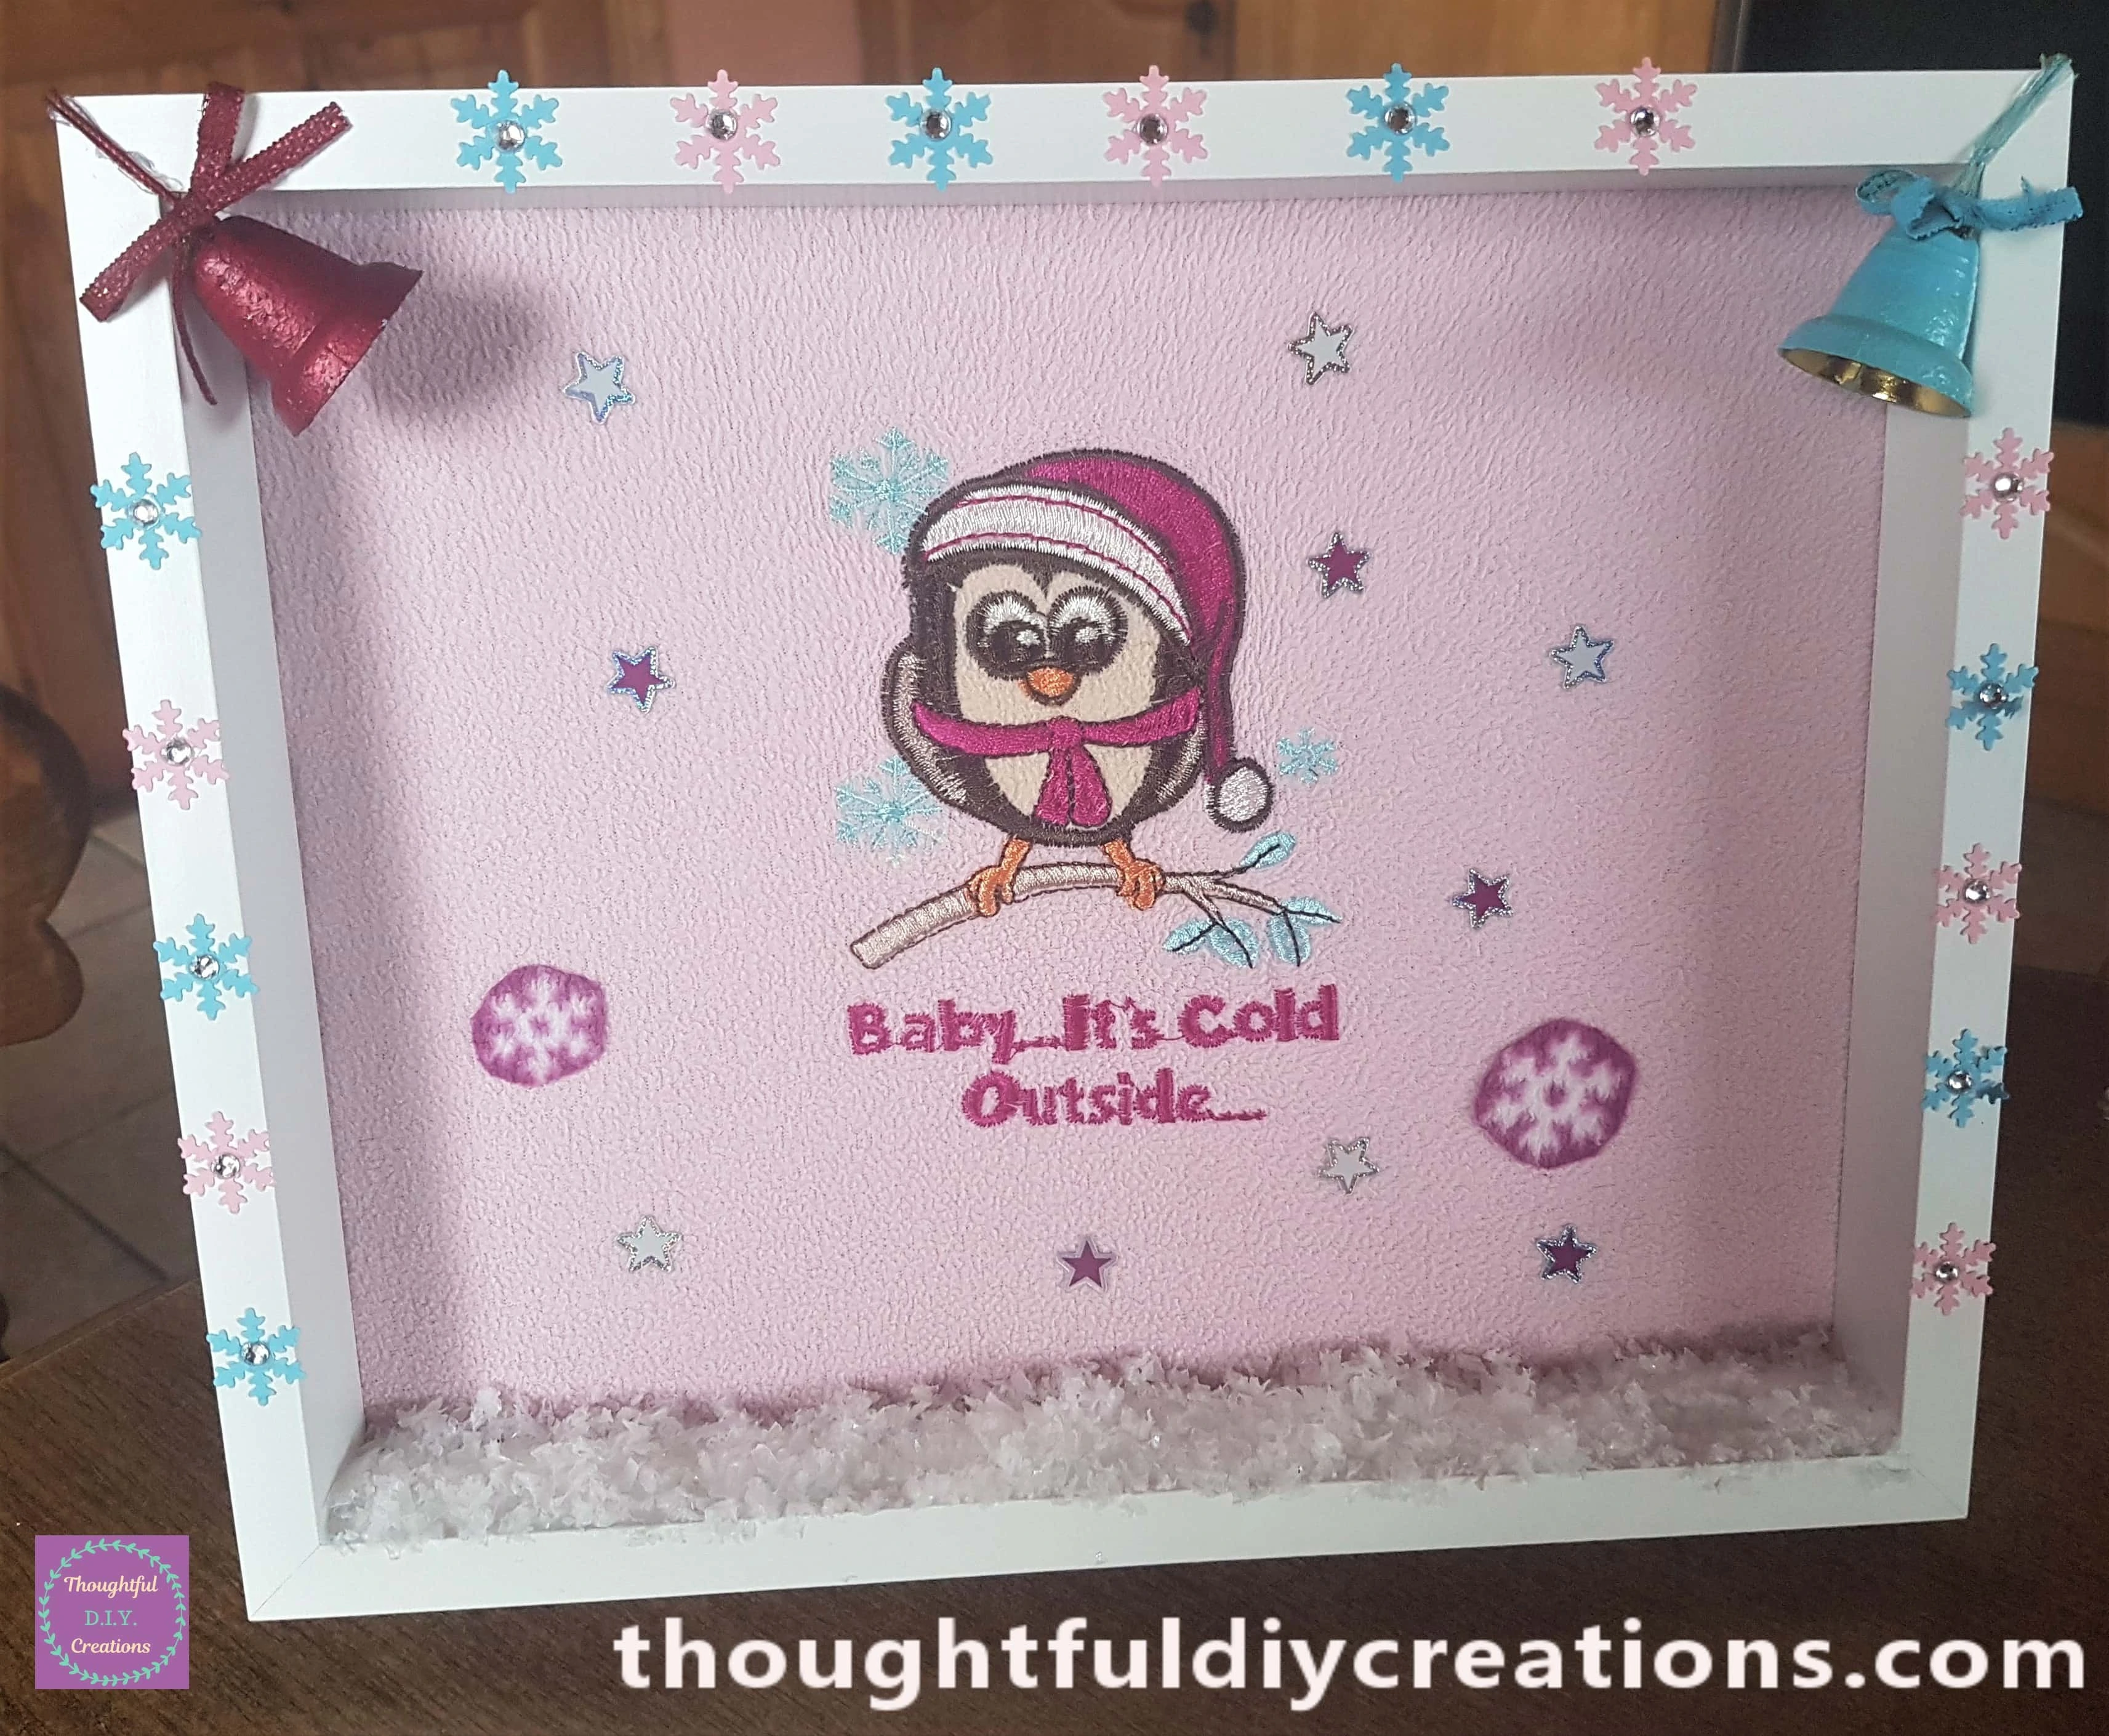
Here is a full view of the Craft so far.
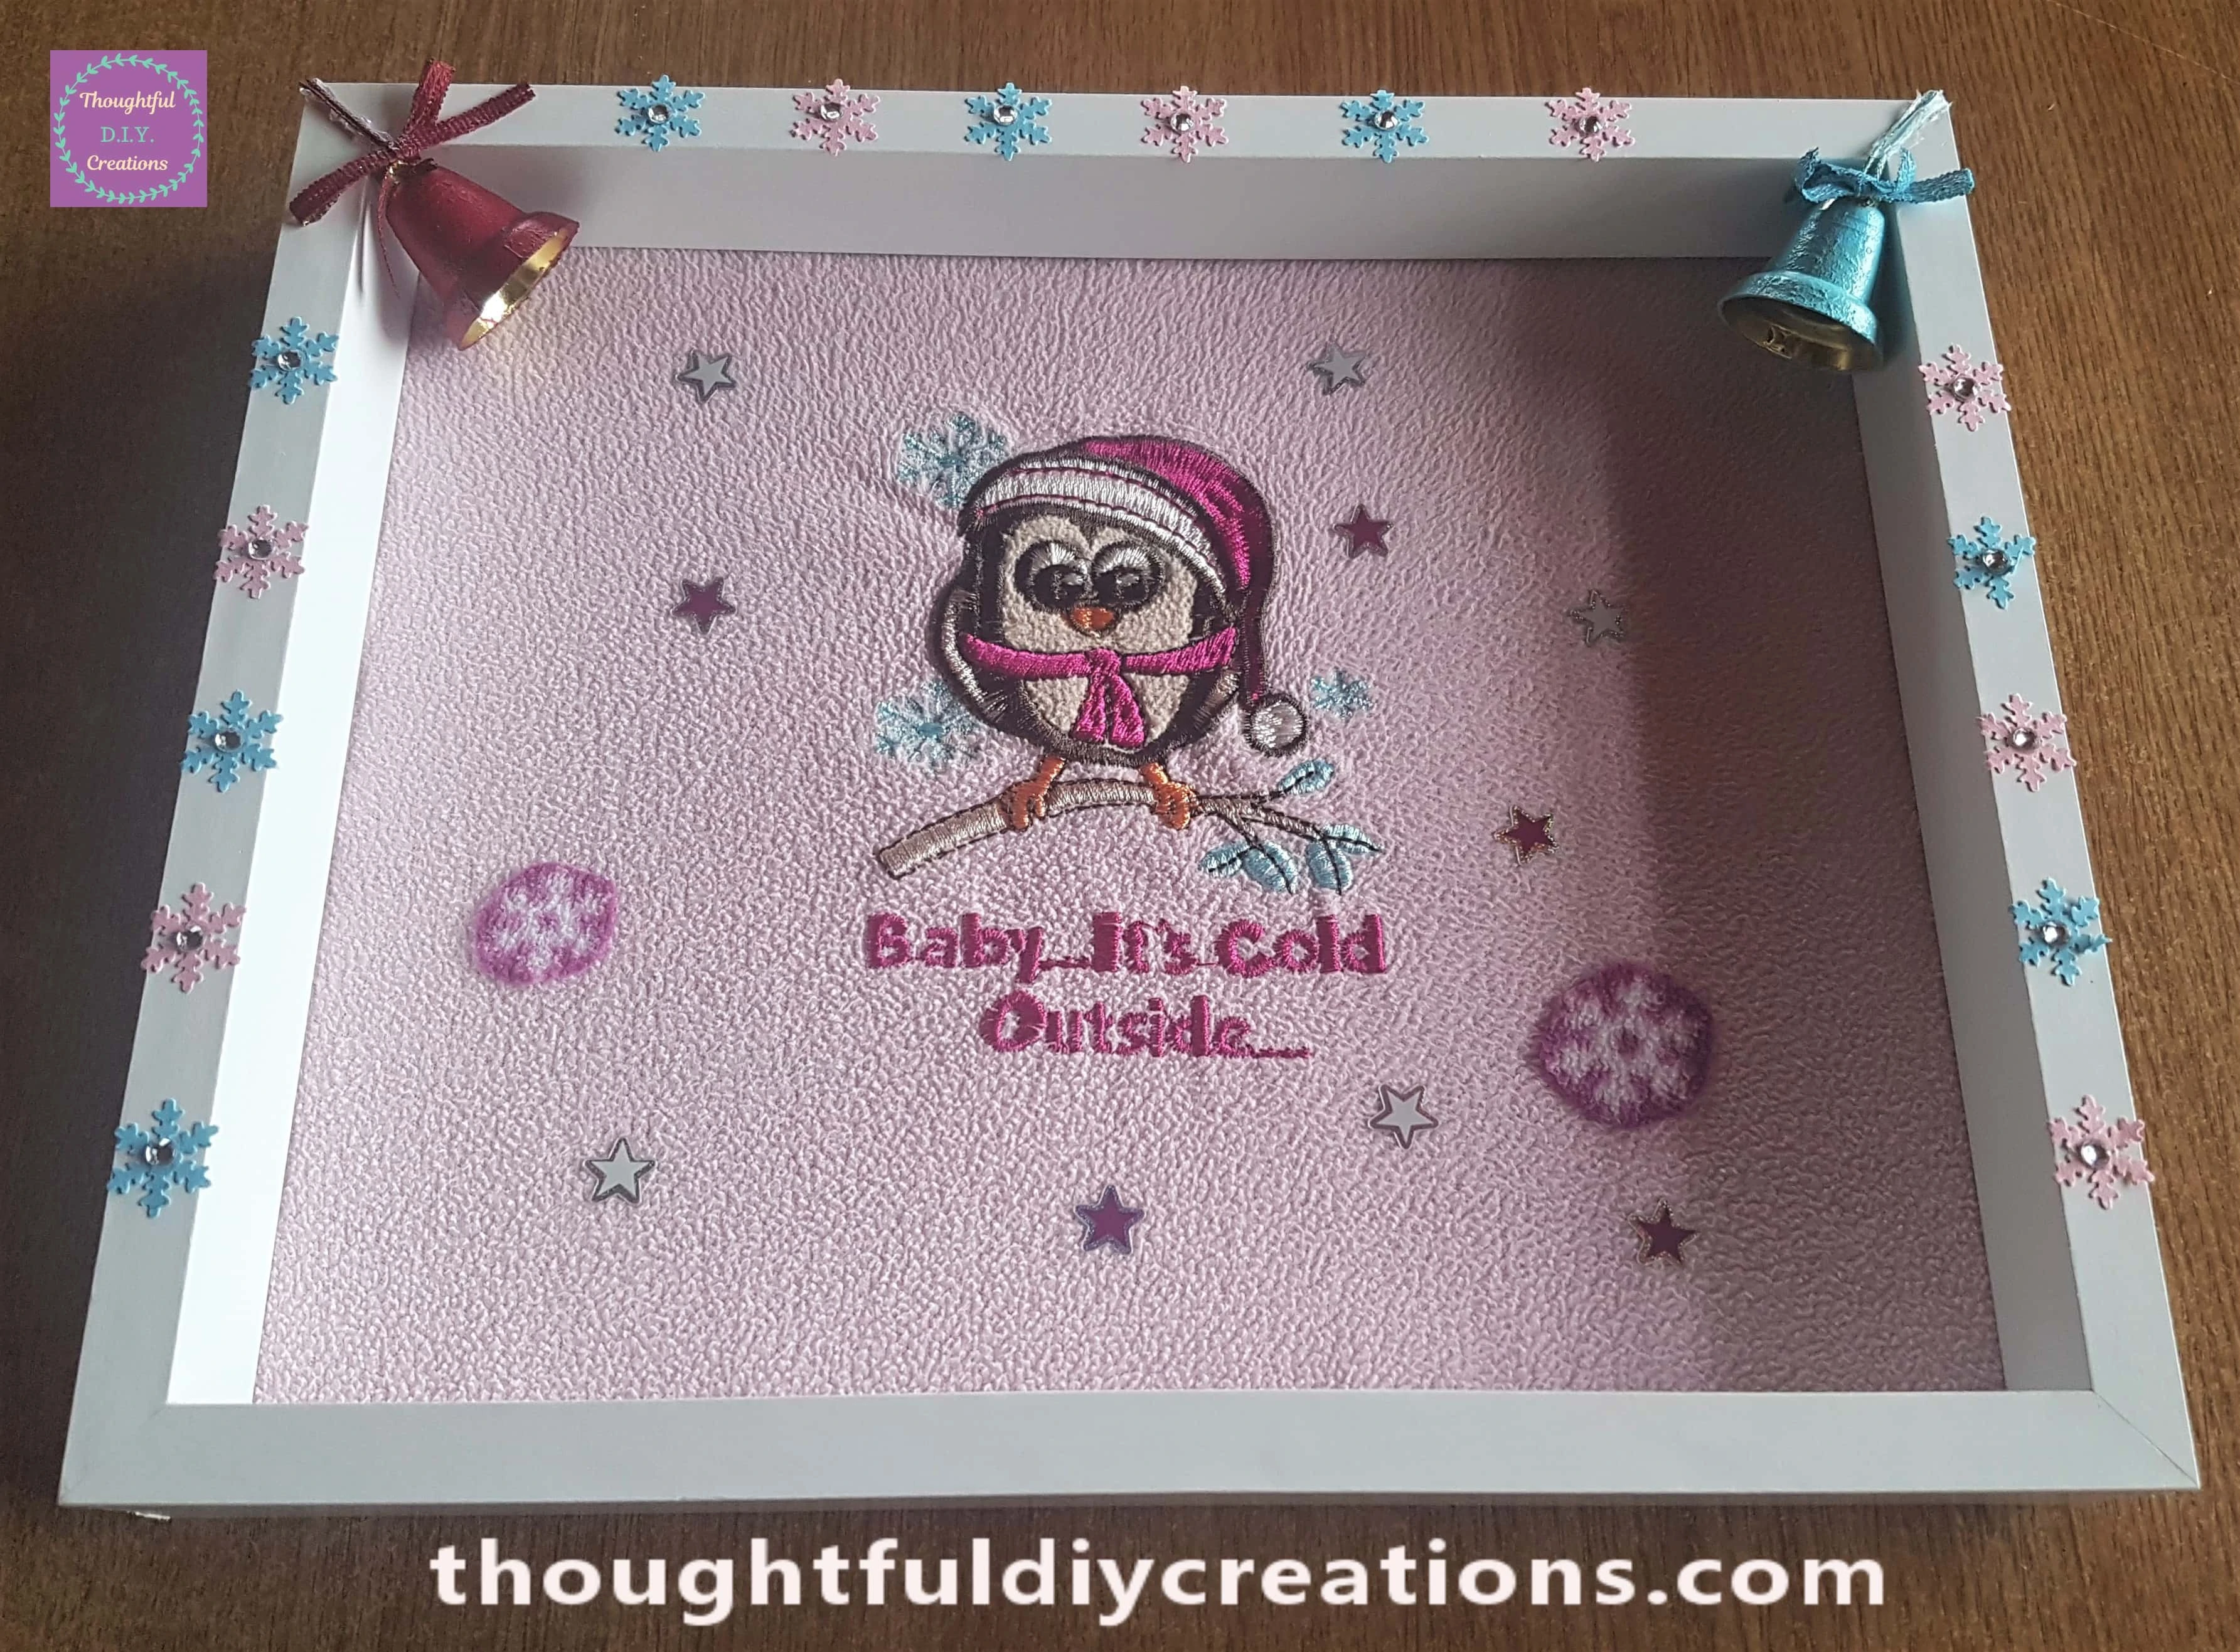
Decorating the Frame with Snow
I got my Pack of Snow Confetti from my Supplies.
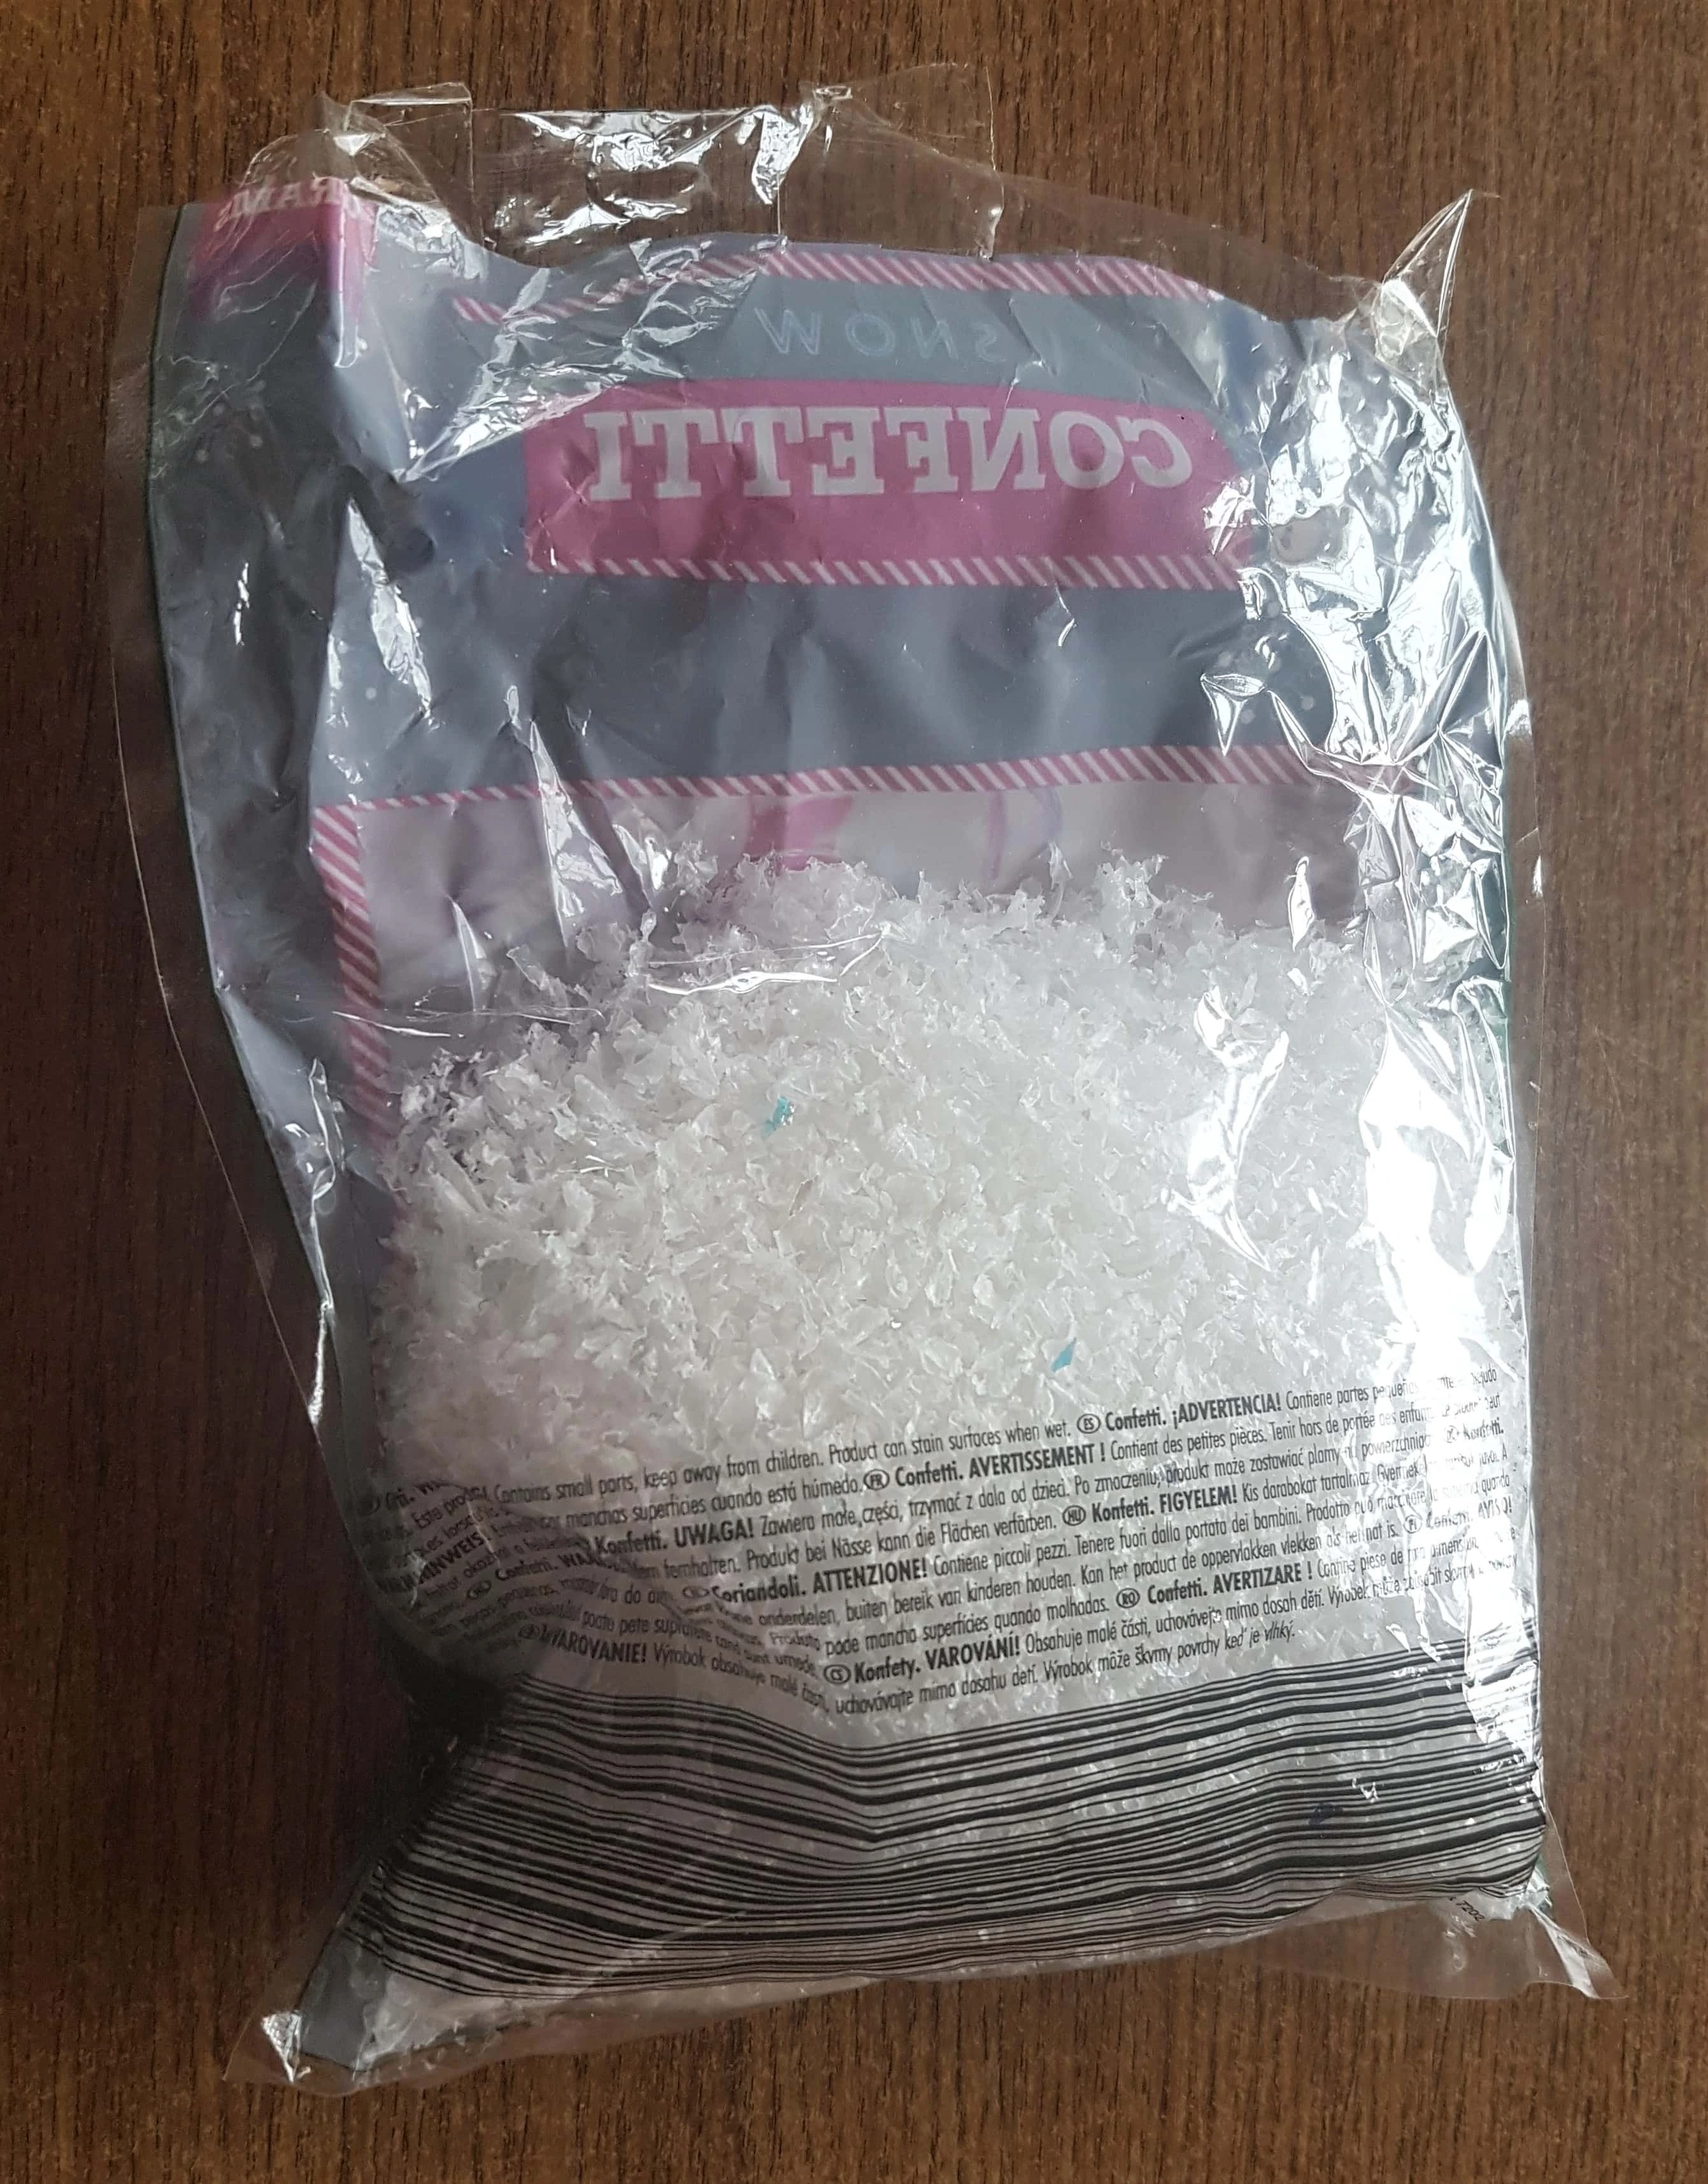
I put Mod Podge onto the first section on the bottom part of the Frame with a Paintbrush and added the Snow Confetti to it.
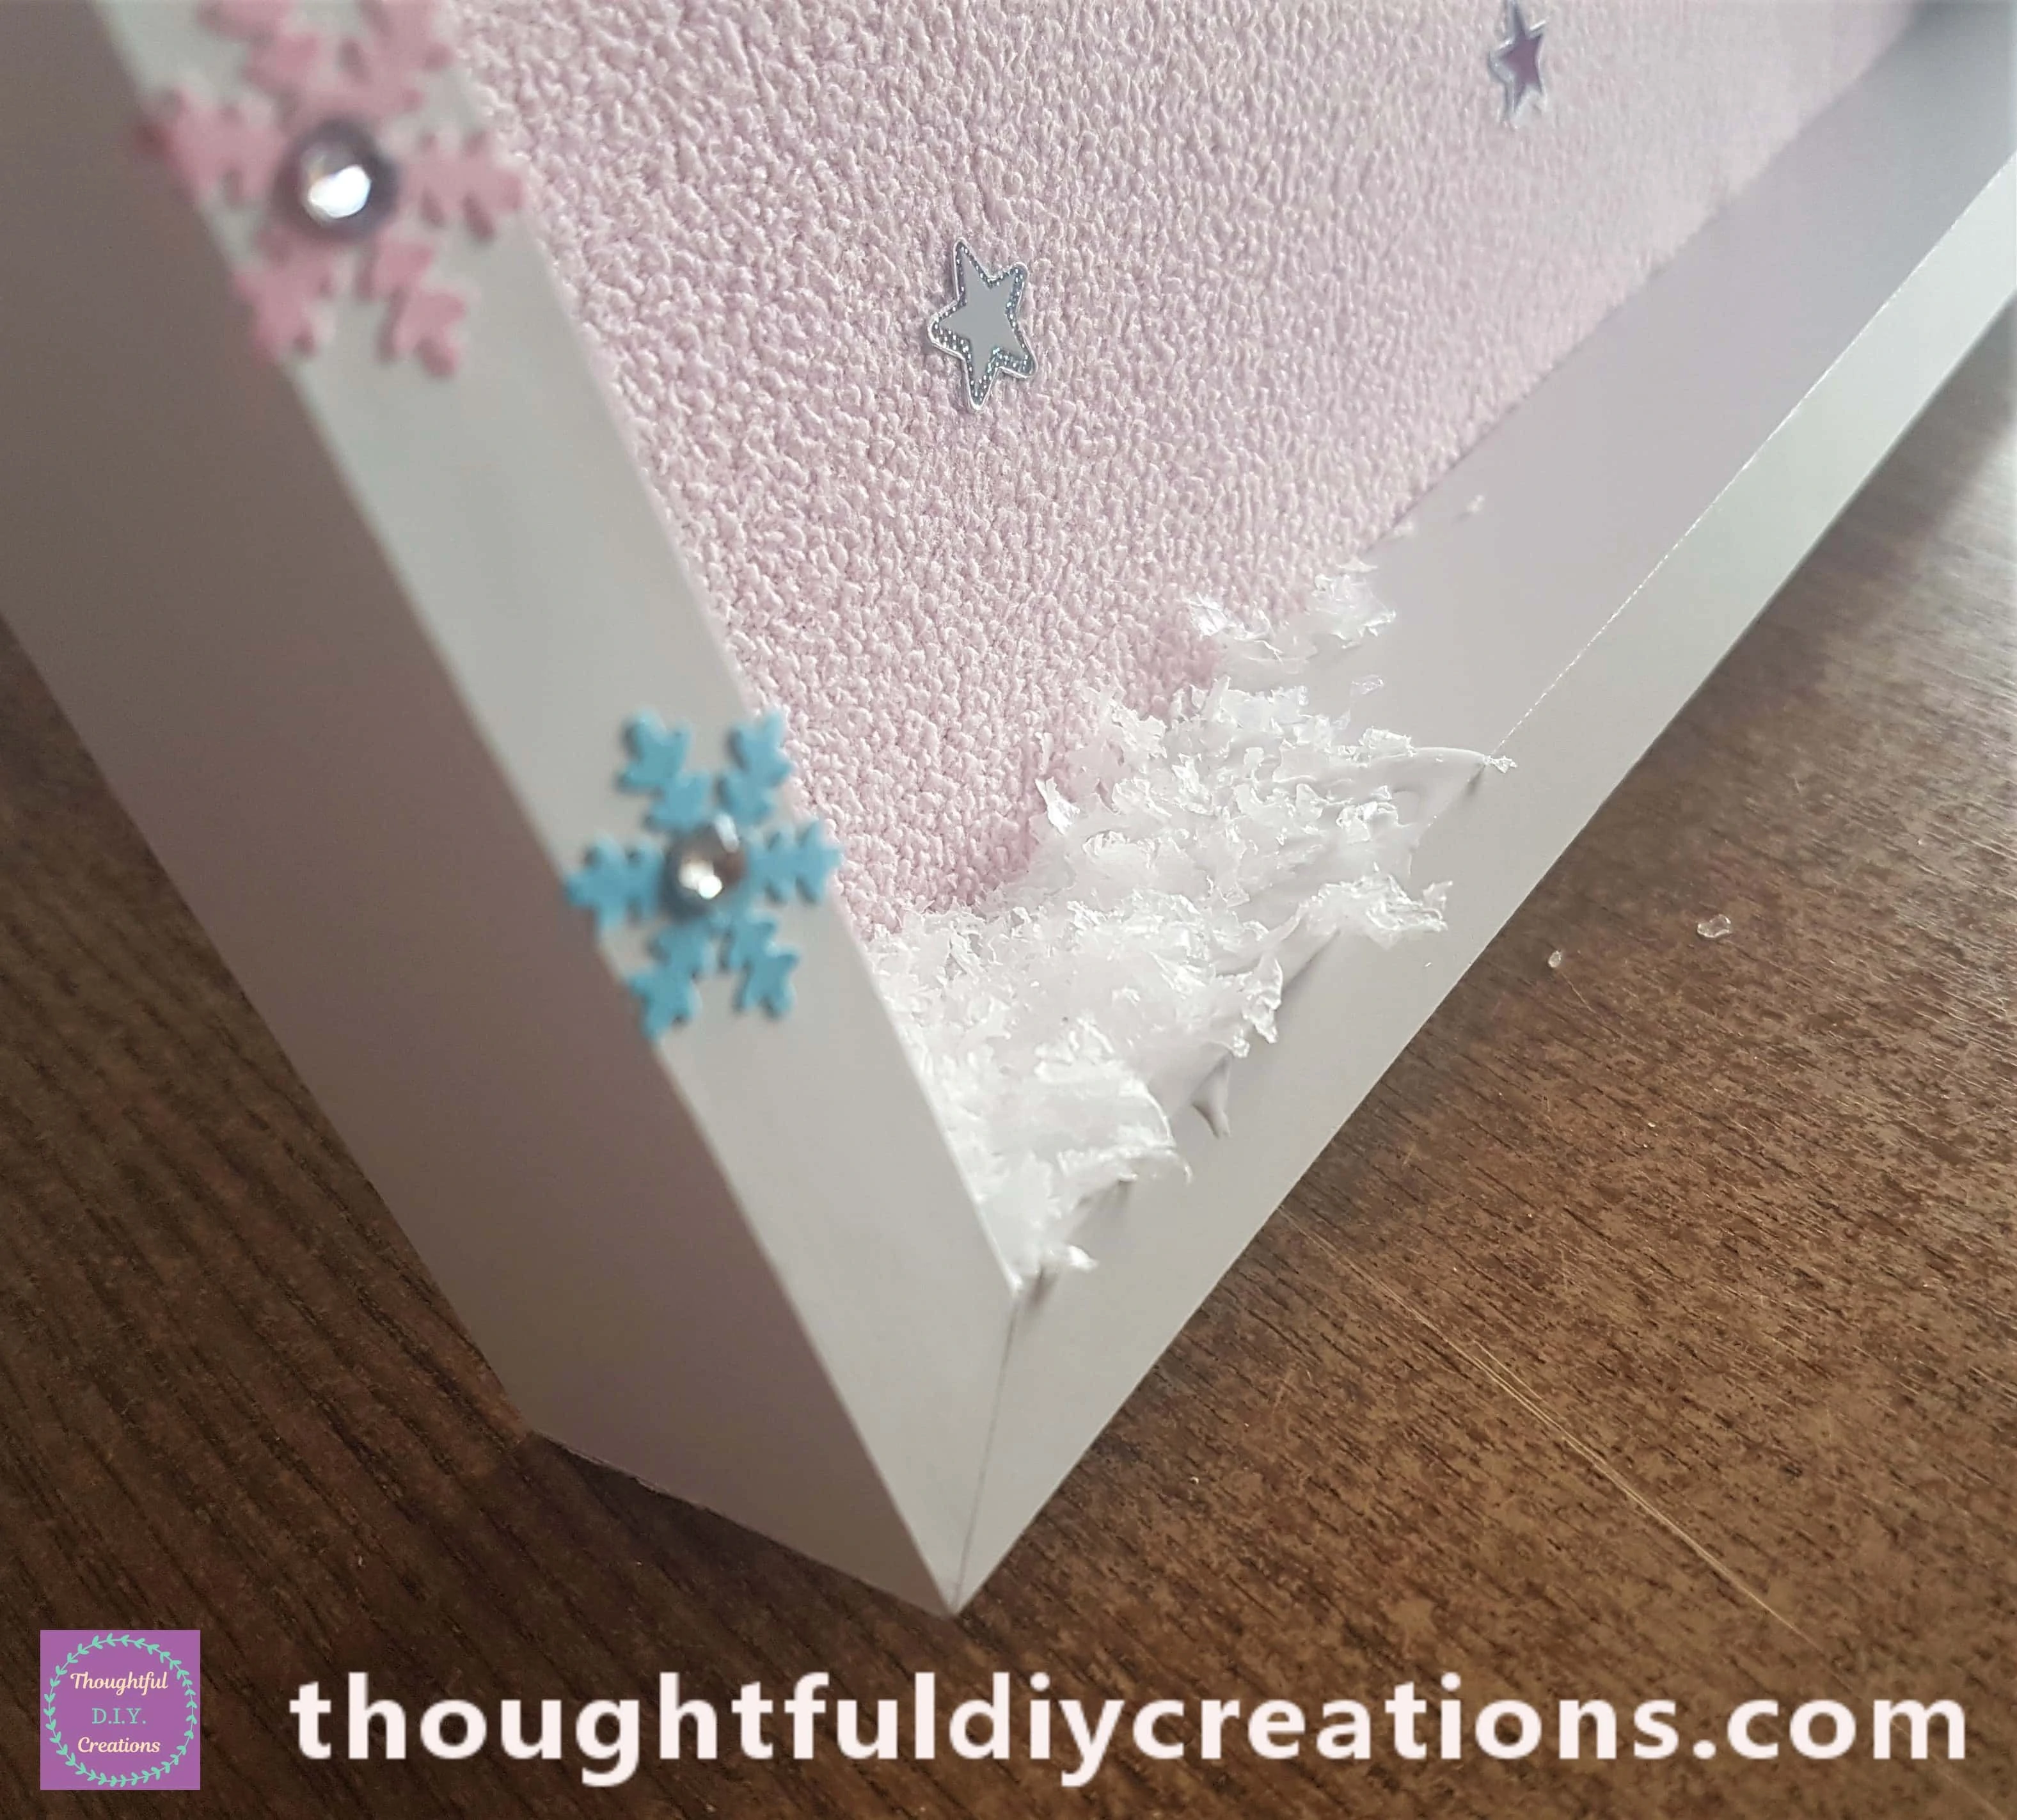
I continued adding the Mod Podge and Snow Confetti in sections until the bottom part of the frame was covered.
Finishing Touches to the Christmas Frame
I got a tub of Snow Paste and a Wooden Spatula.
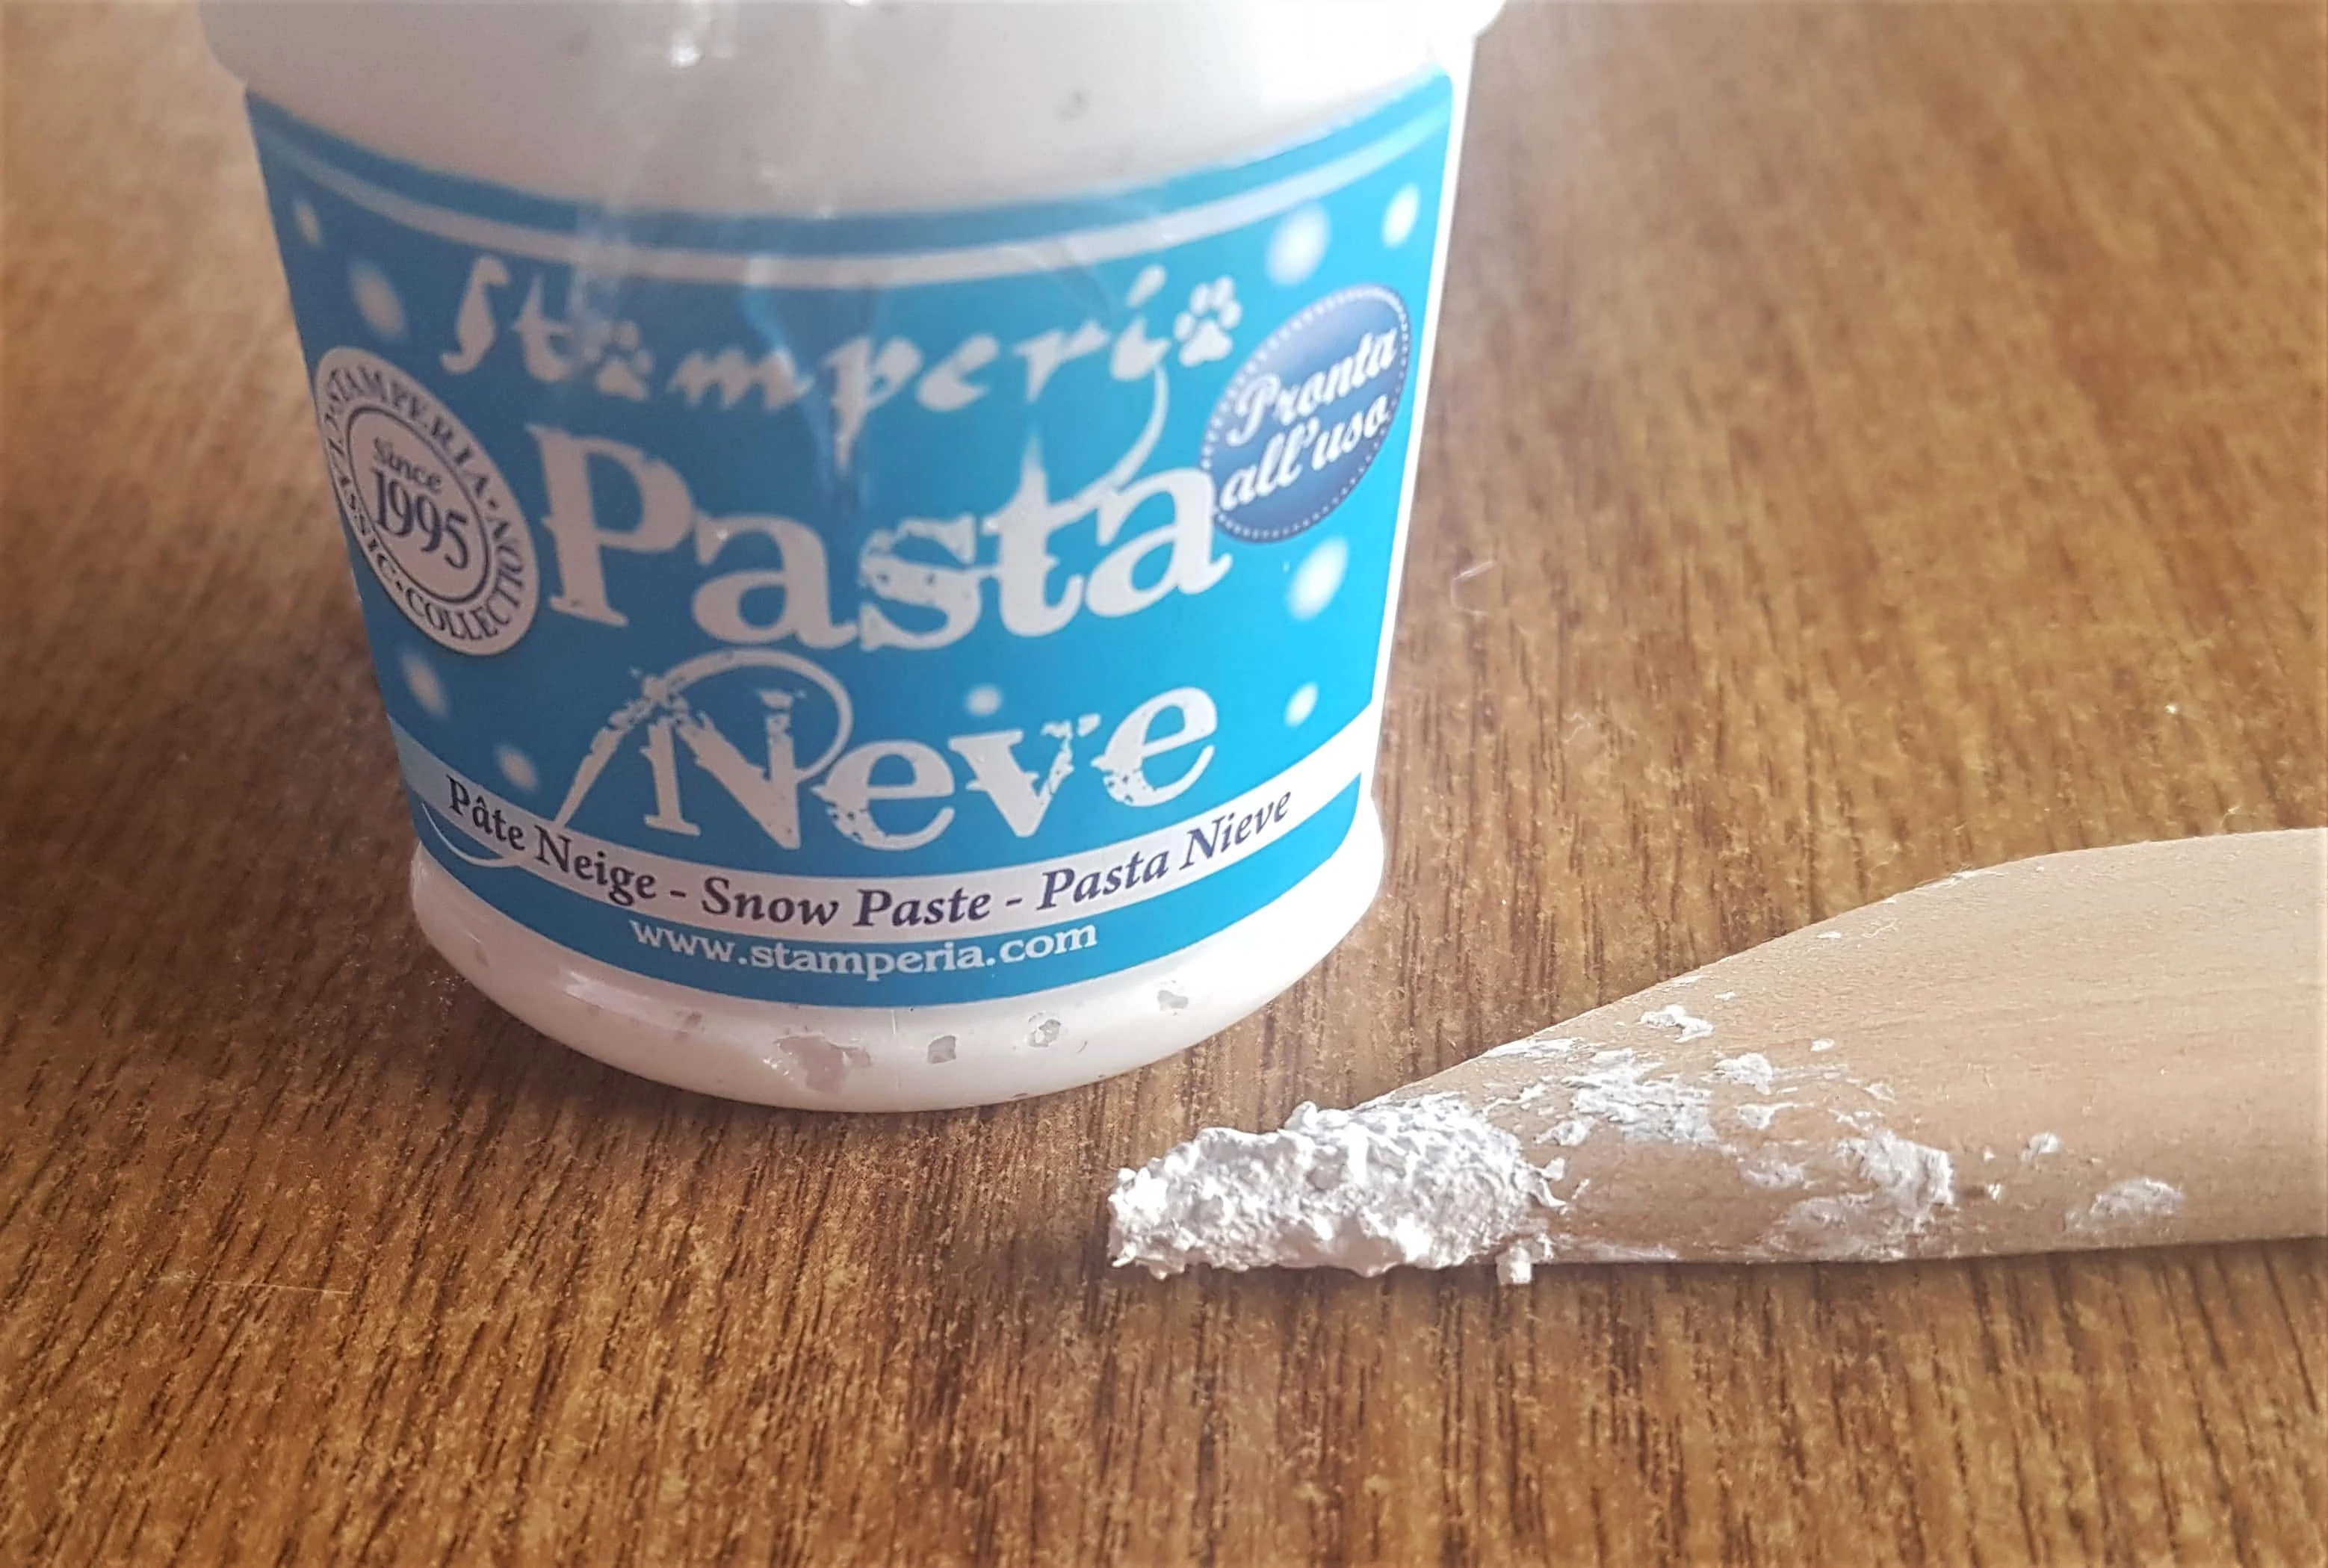
I put a dollop of Snow Paste onto the Pink String of the Bell to cover up the Hot Glue and add a Snowy effect to the top of the Frame.
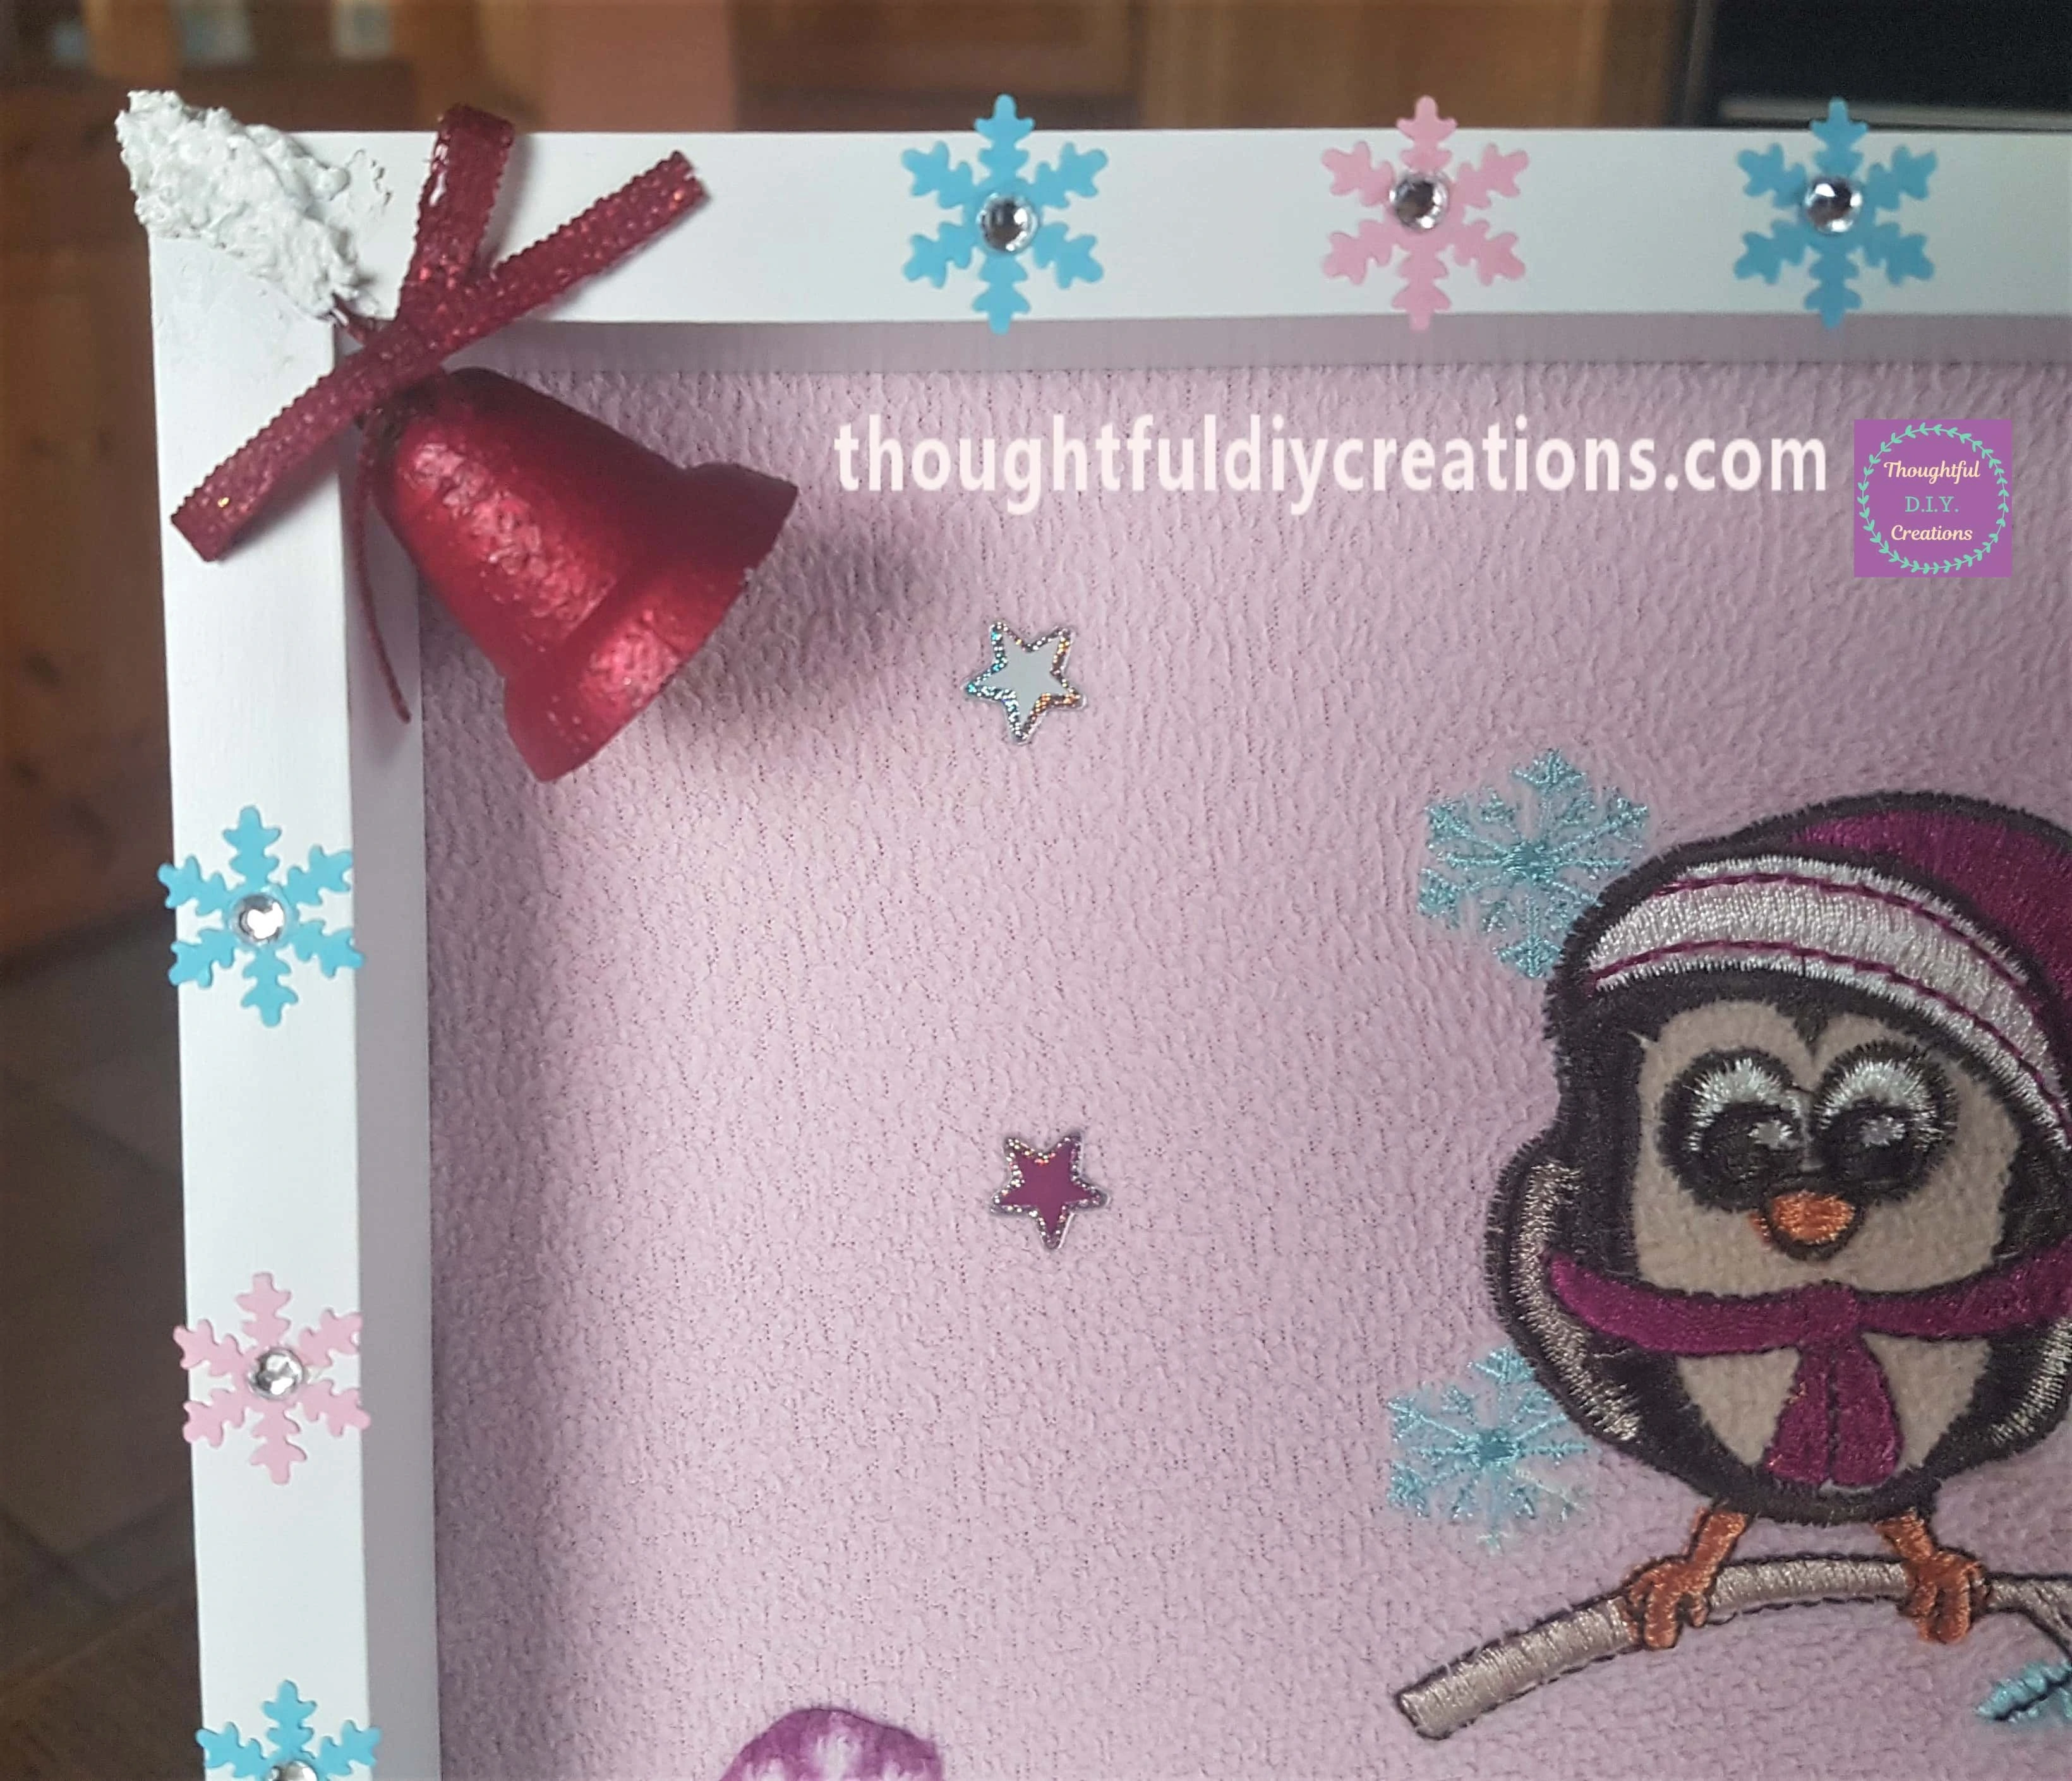
The Snow Paste was also added to the Blue String on the other Bell.
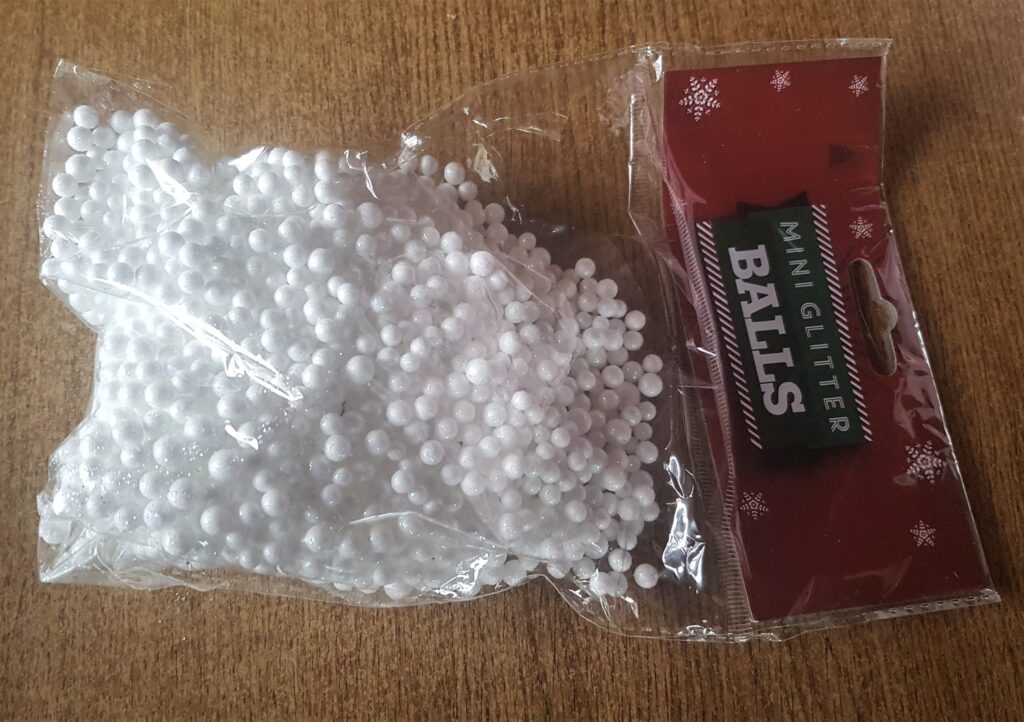
I got my Pack of Mini Glitter Balls.
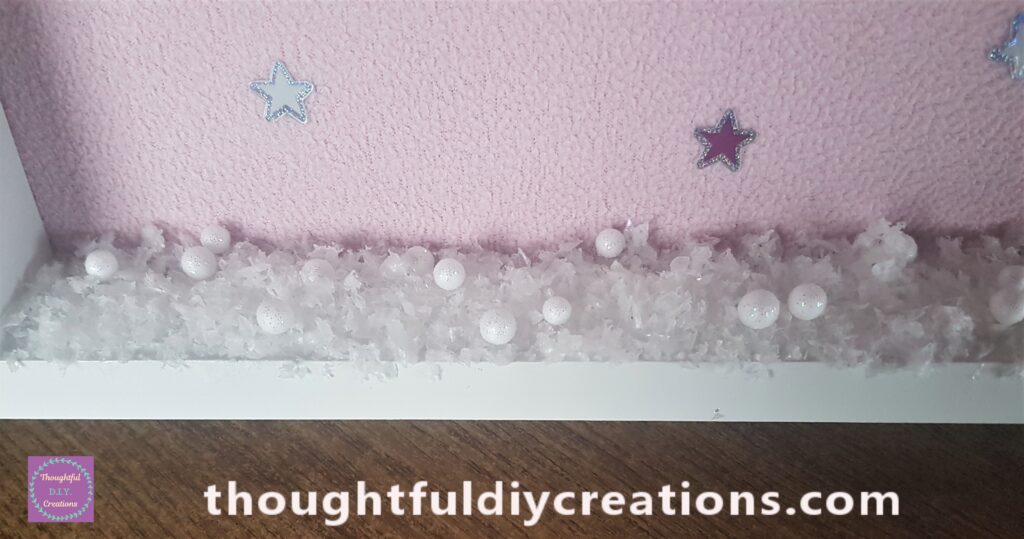
I added some randomly to the bottom part of the Frame.
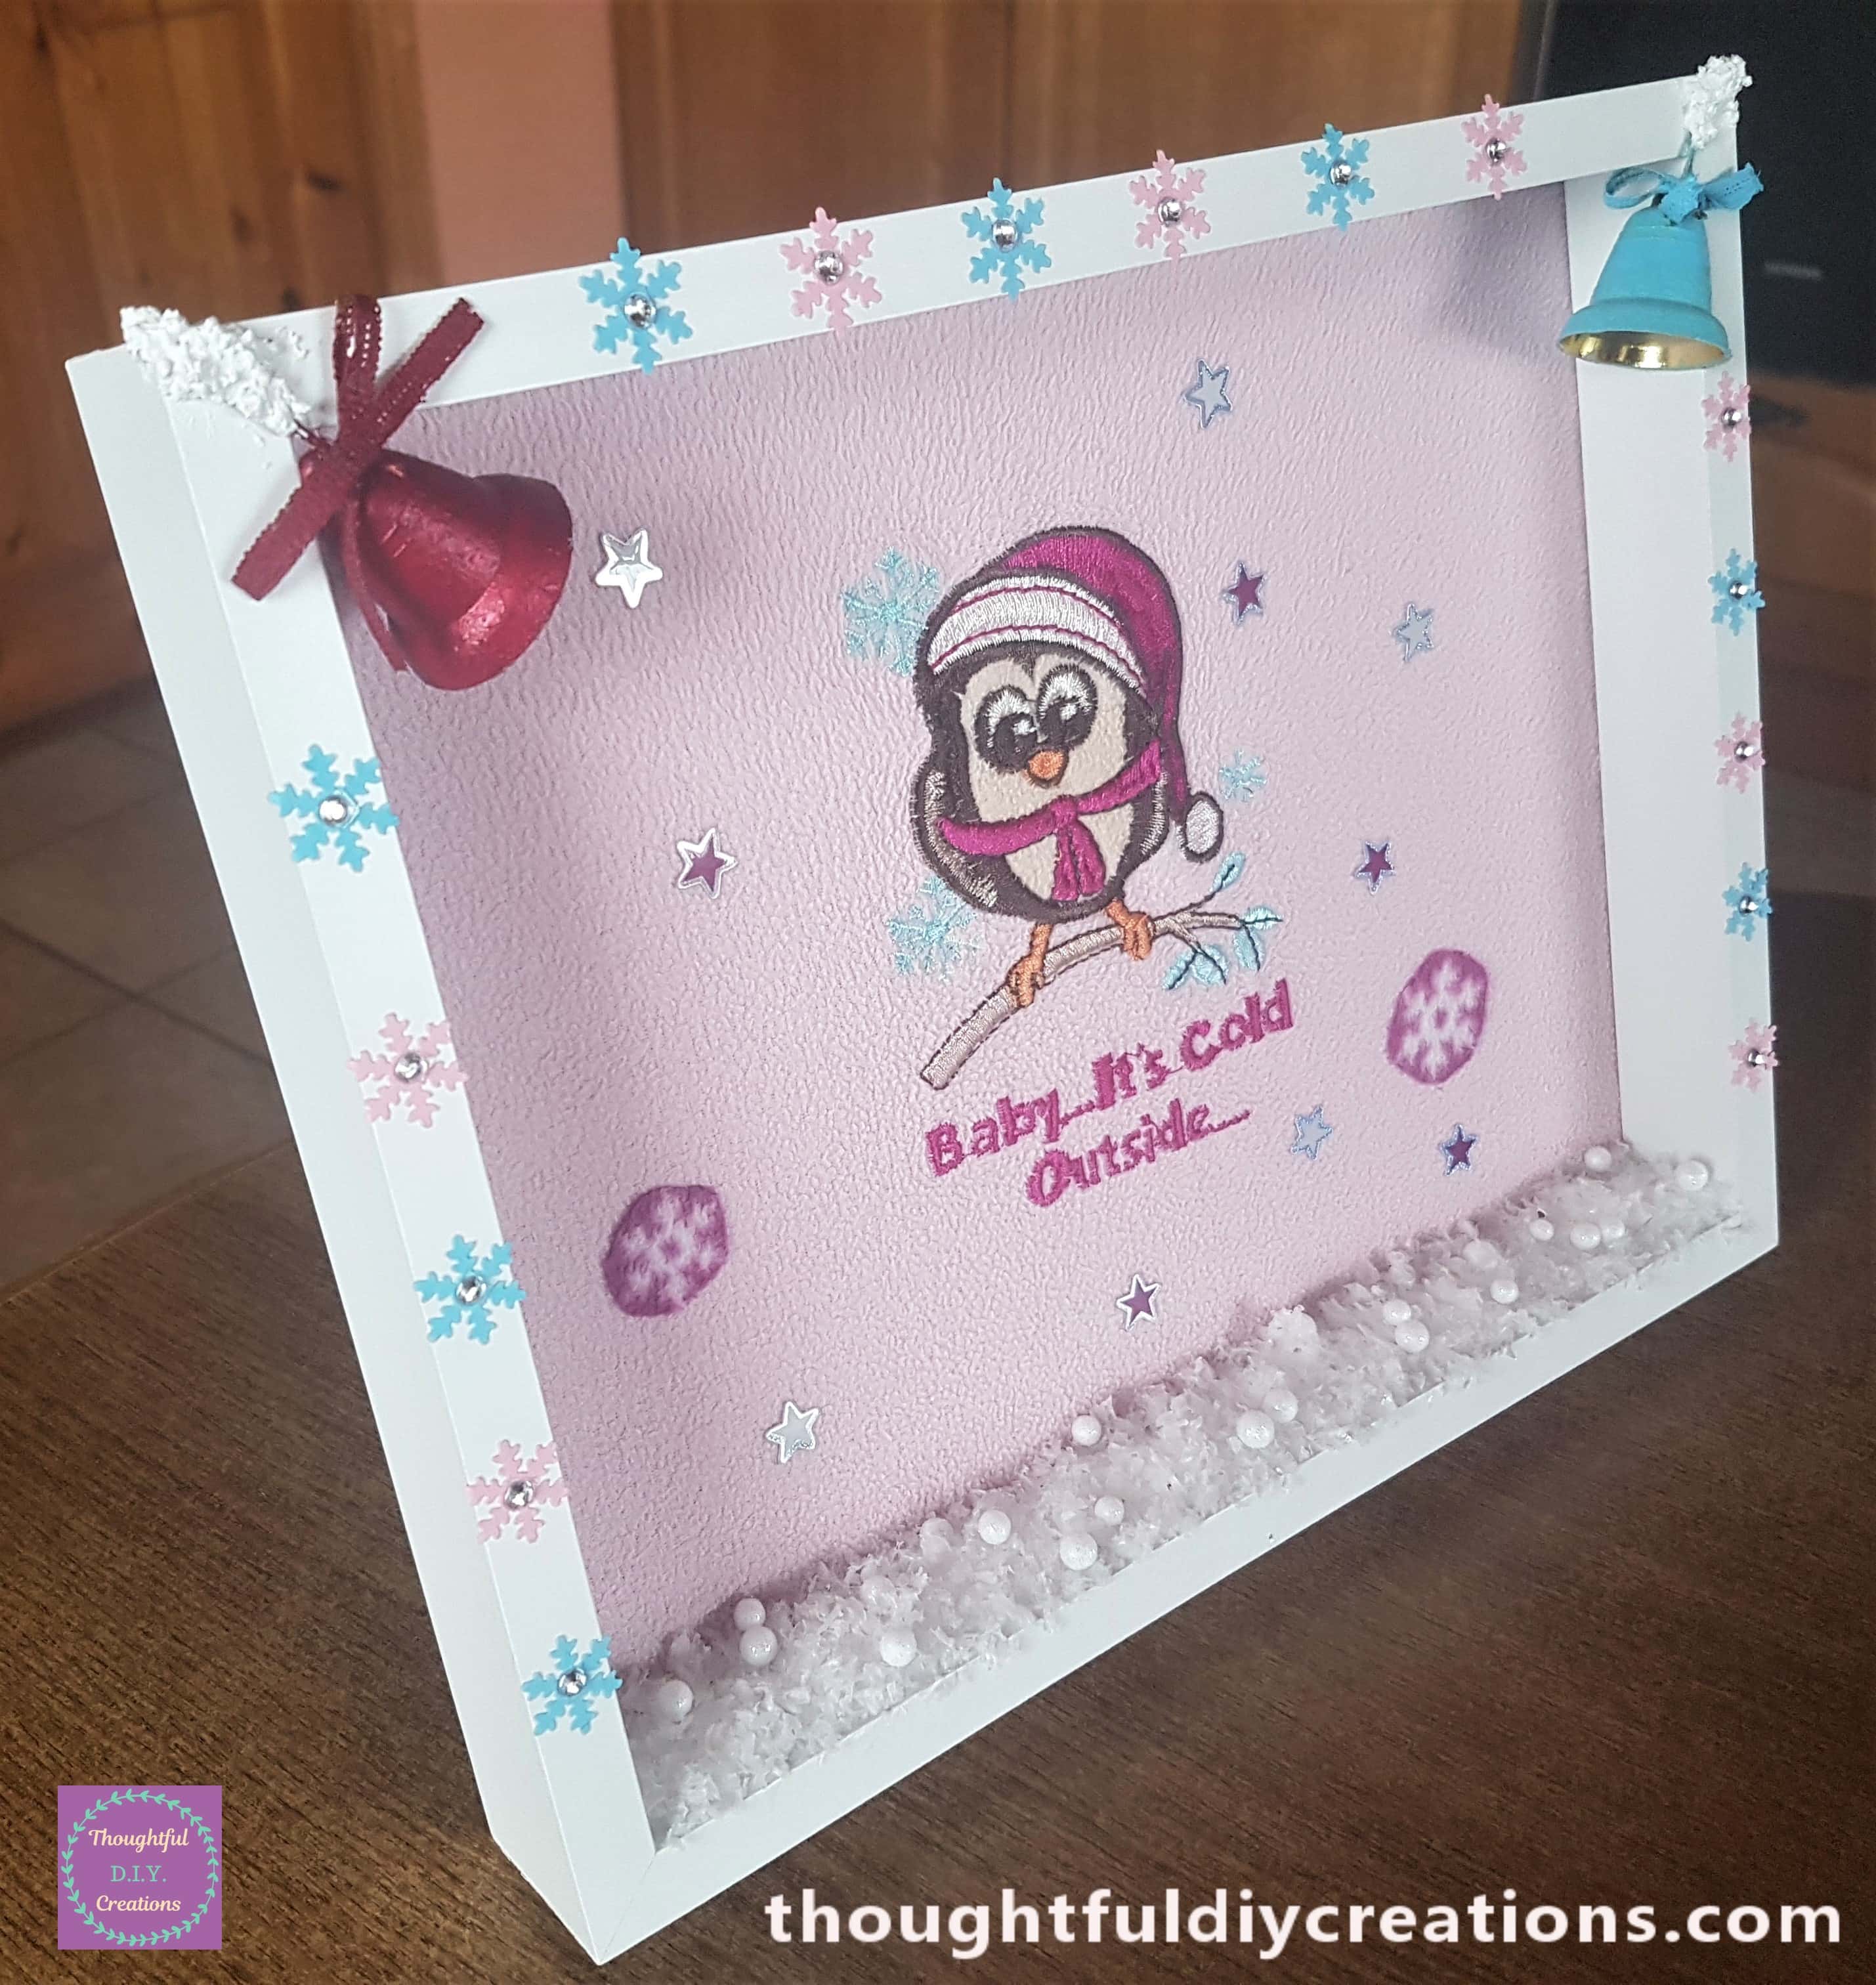
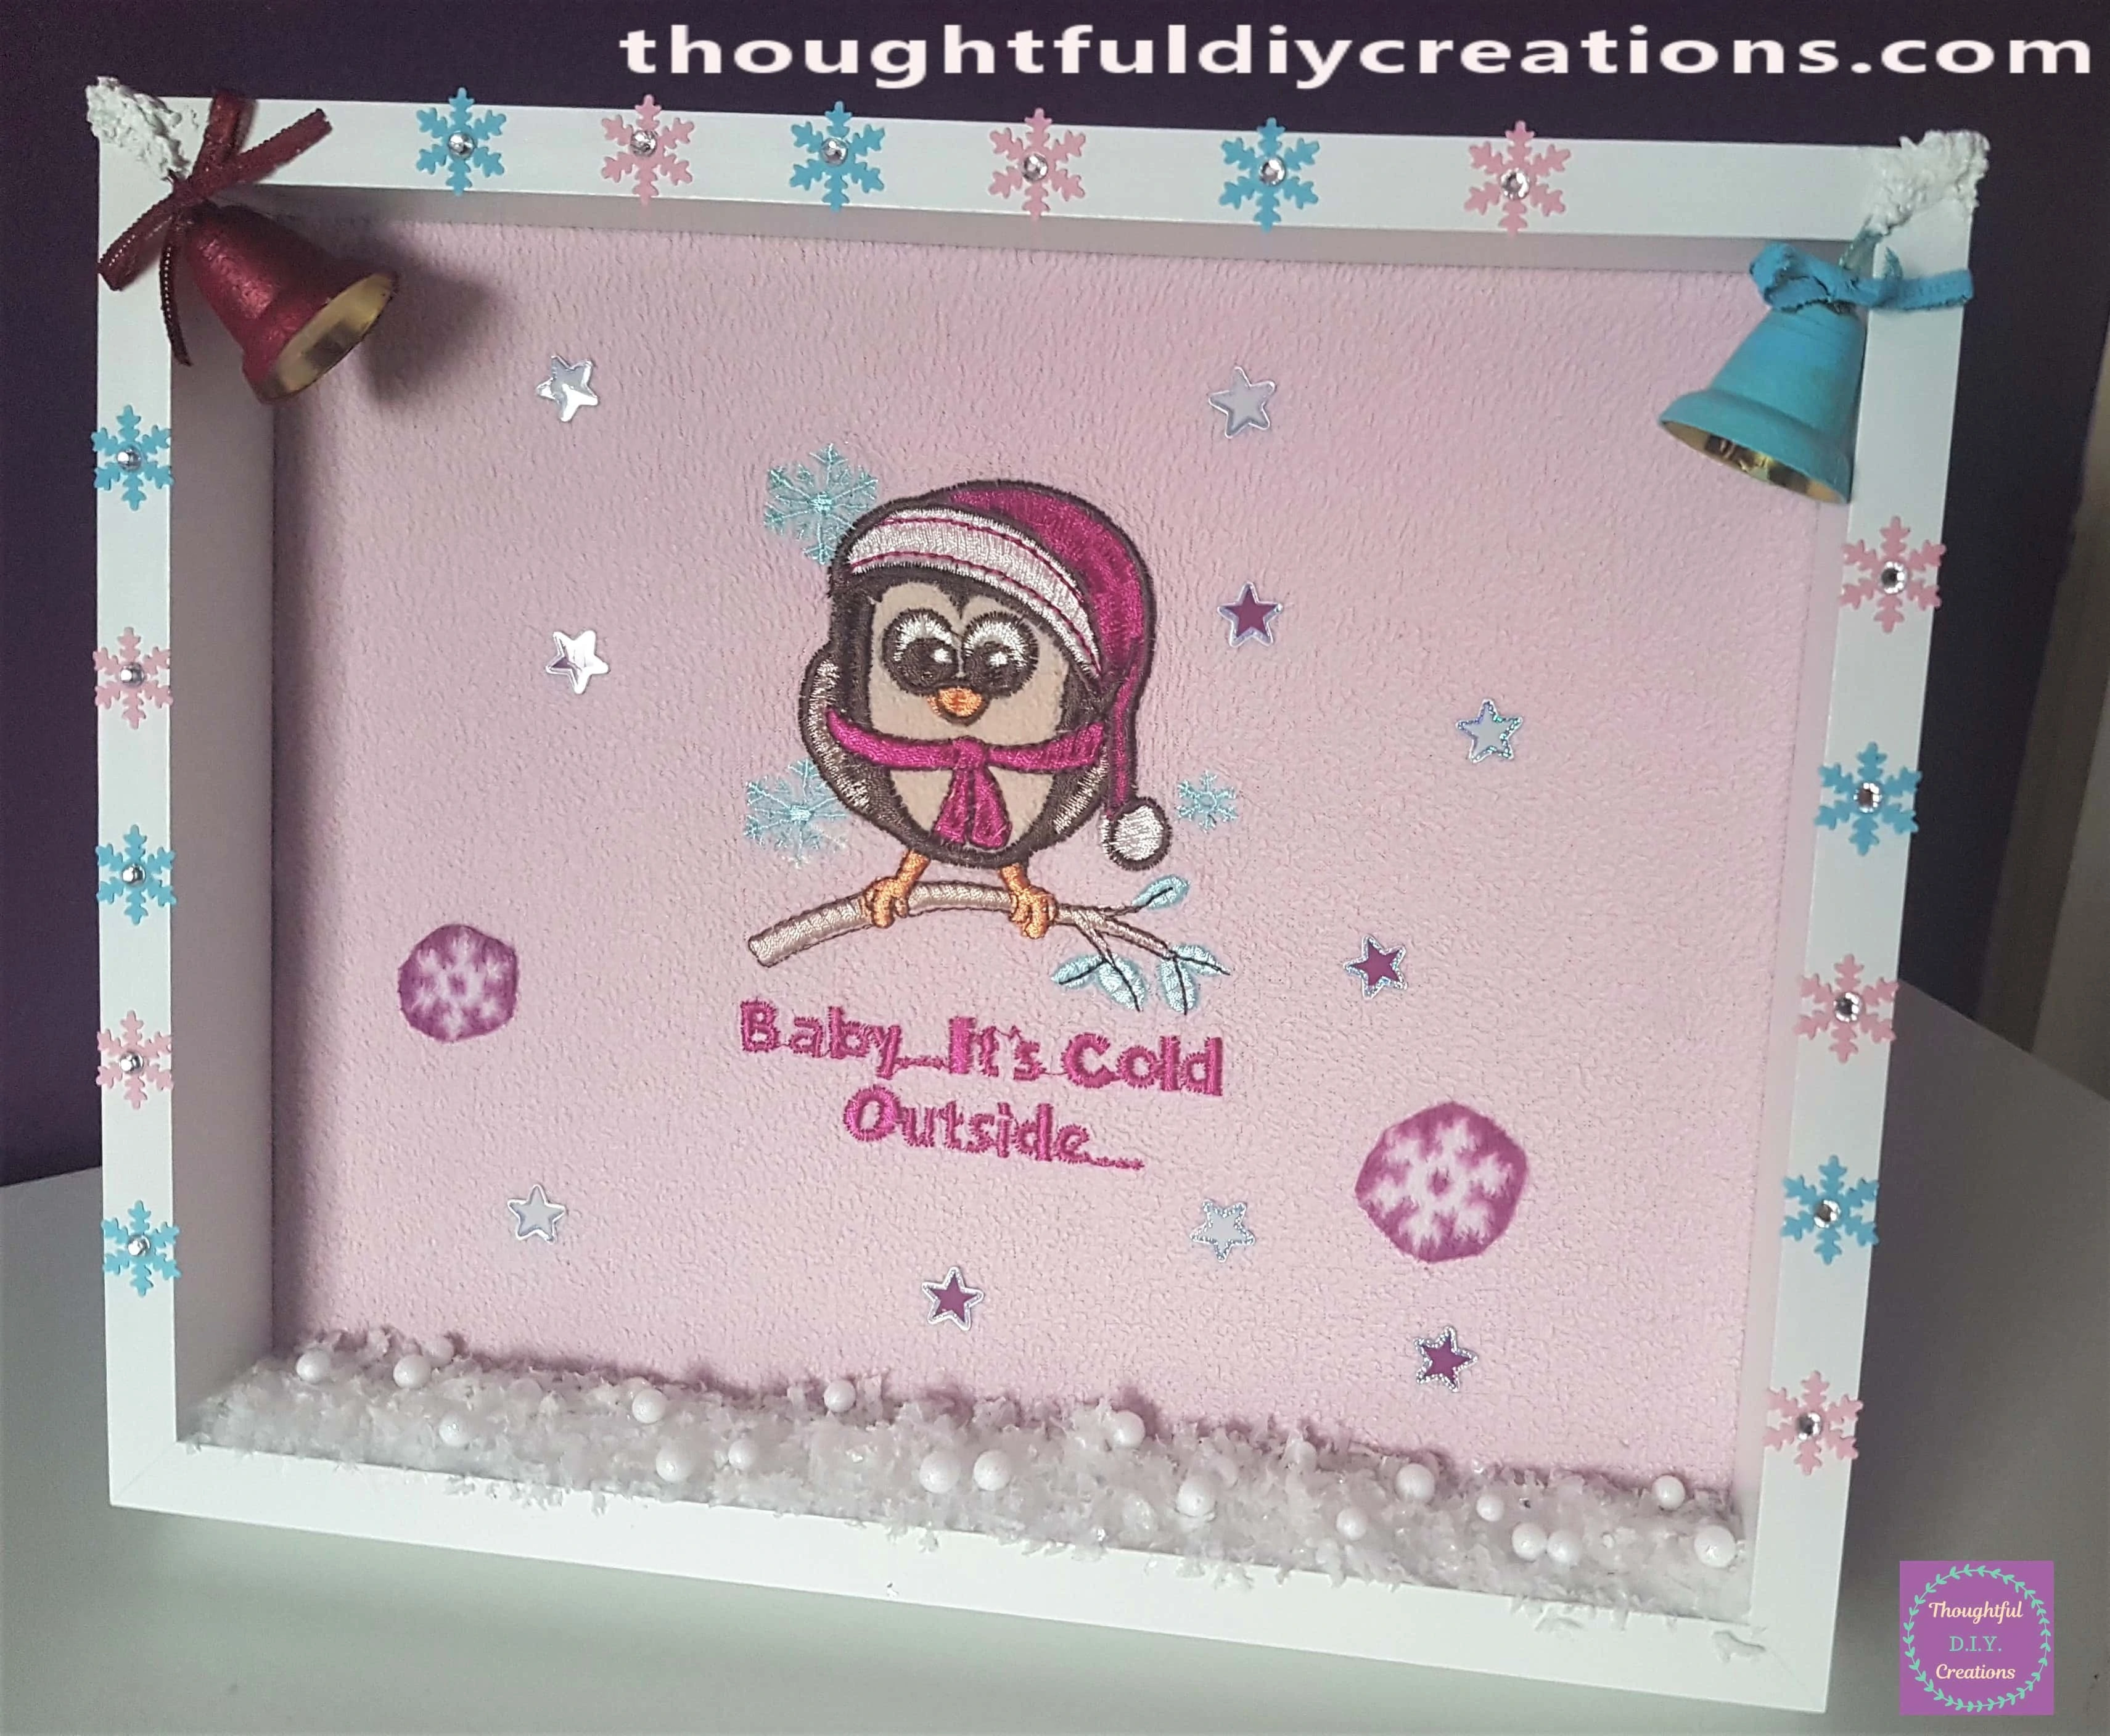
This Completed my Christmas Frame Craft.
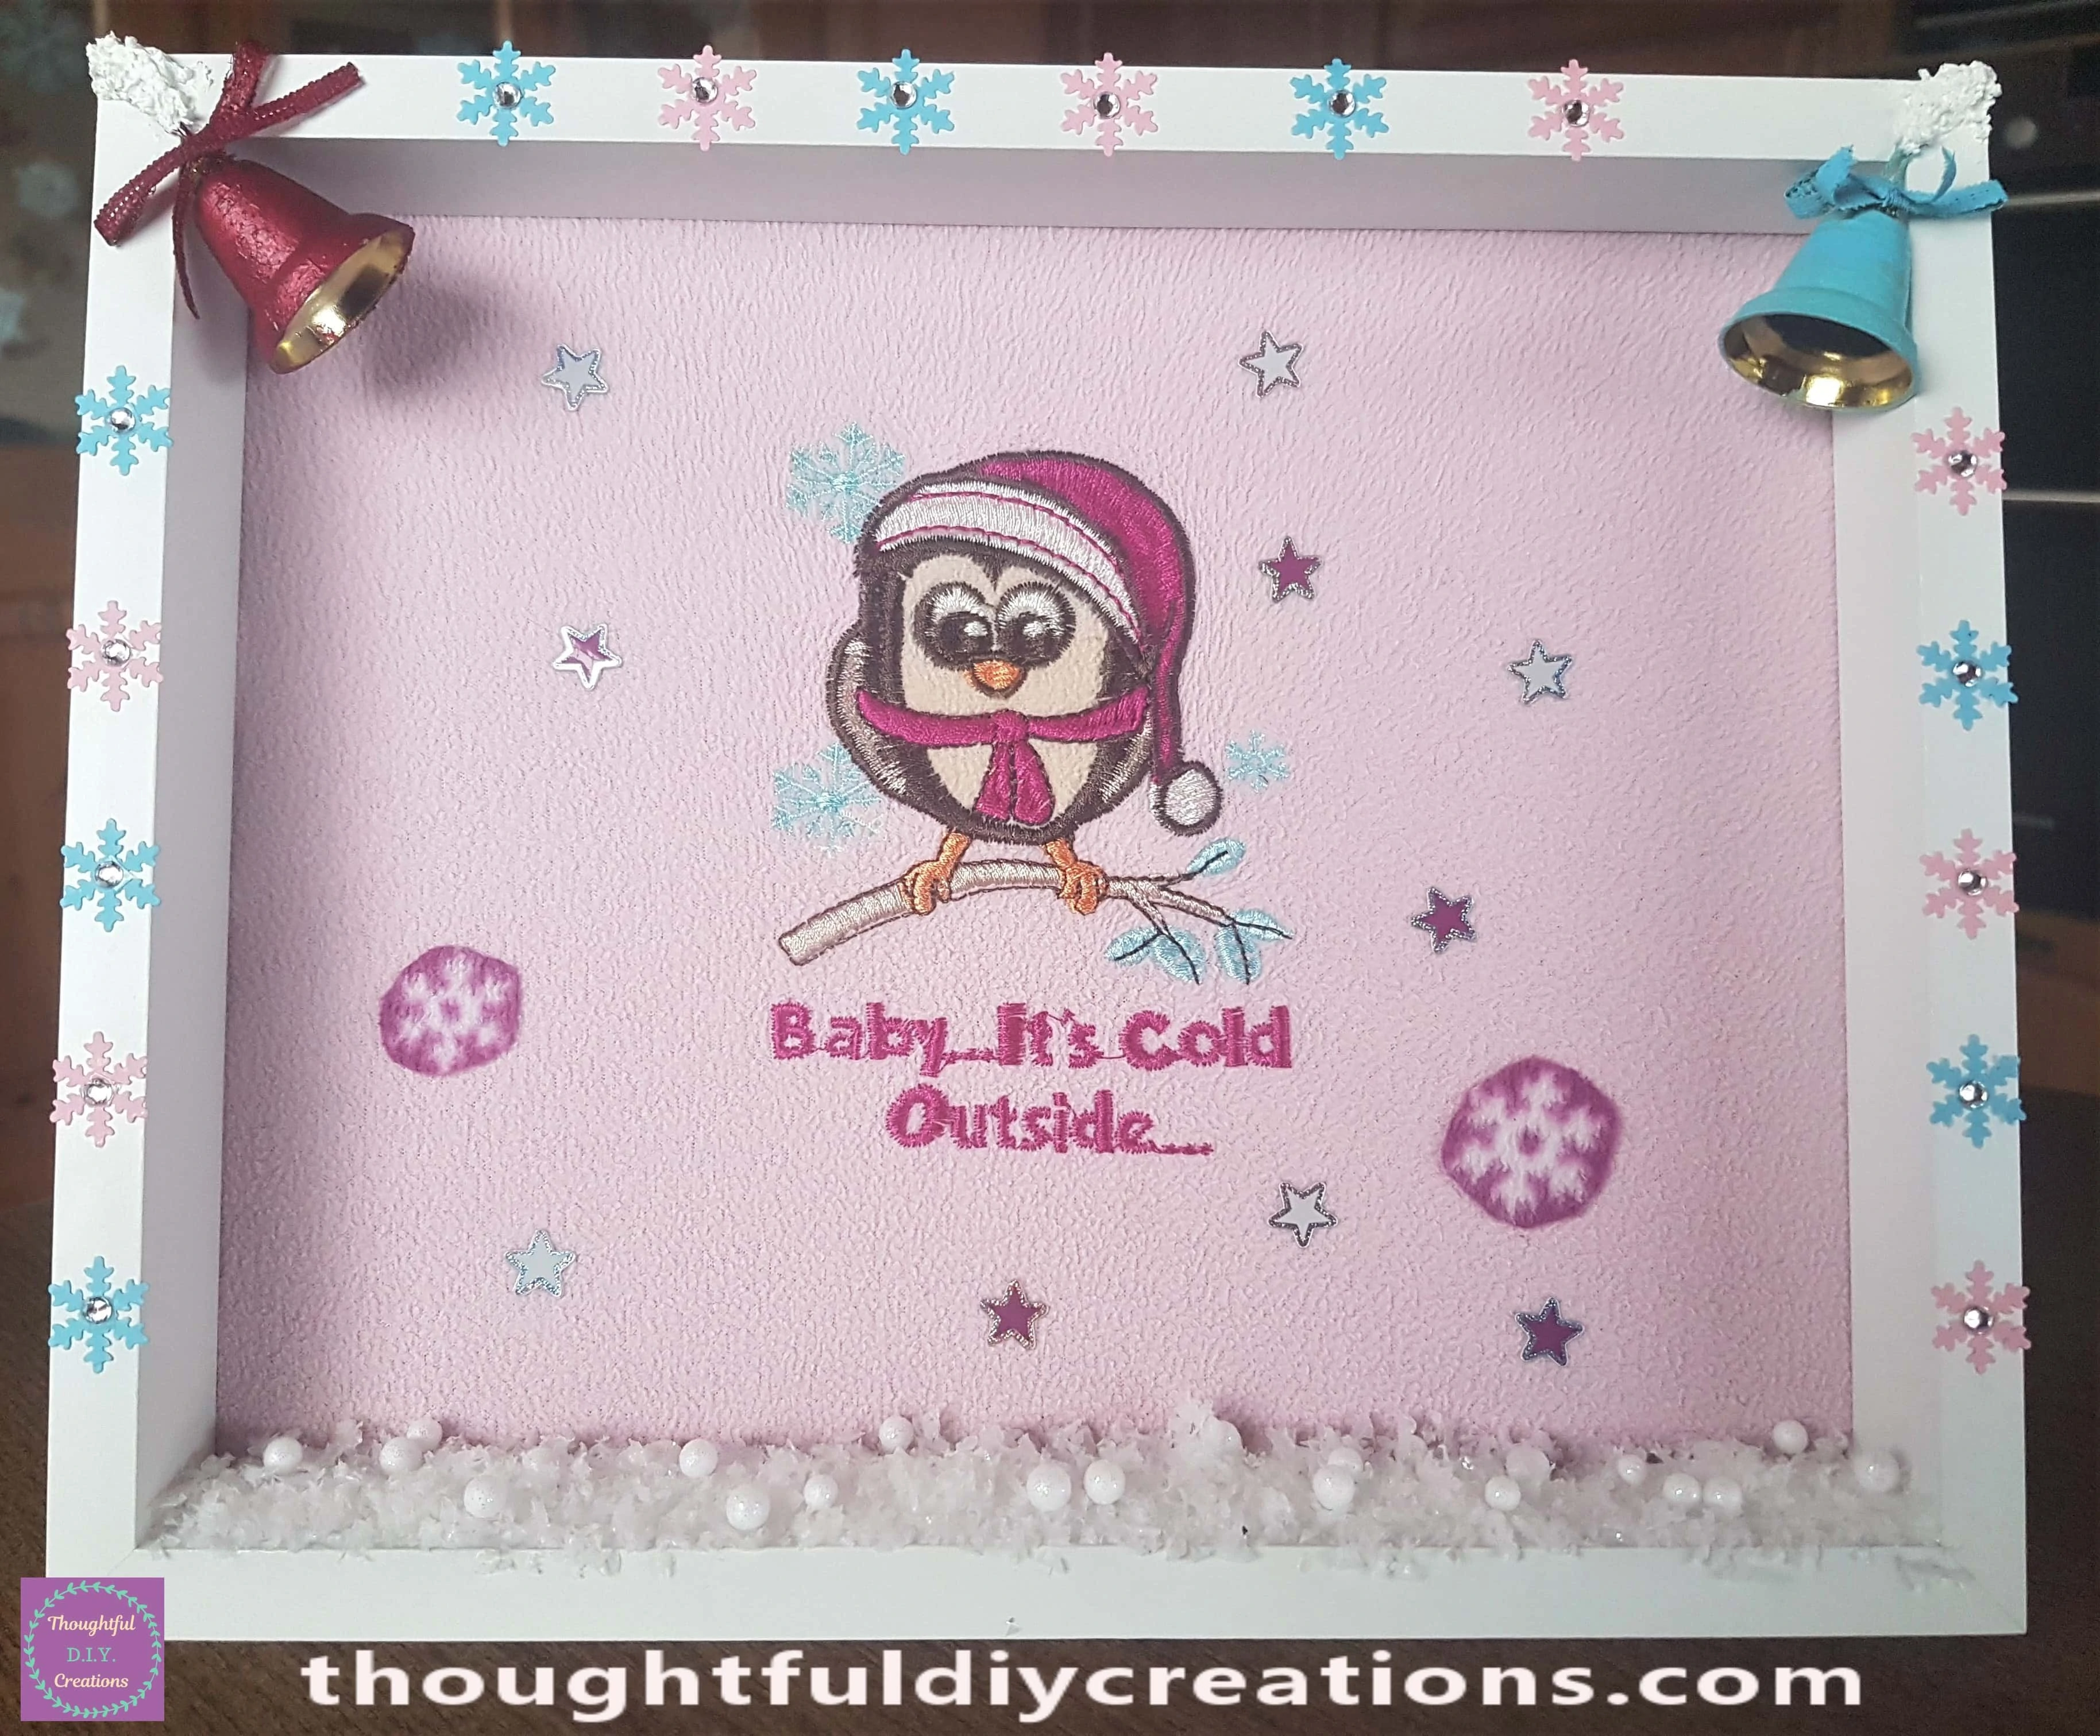
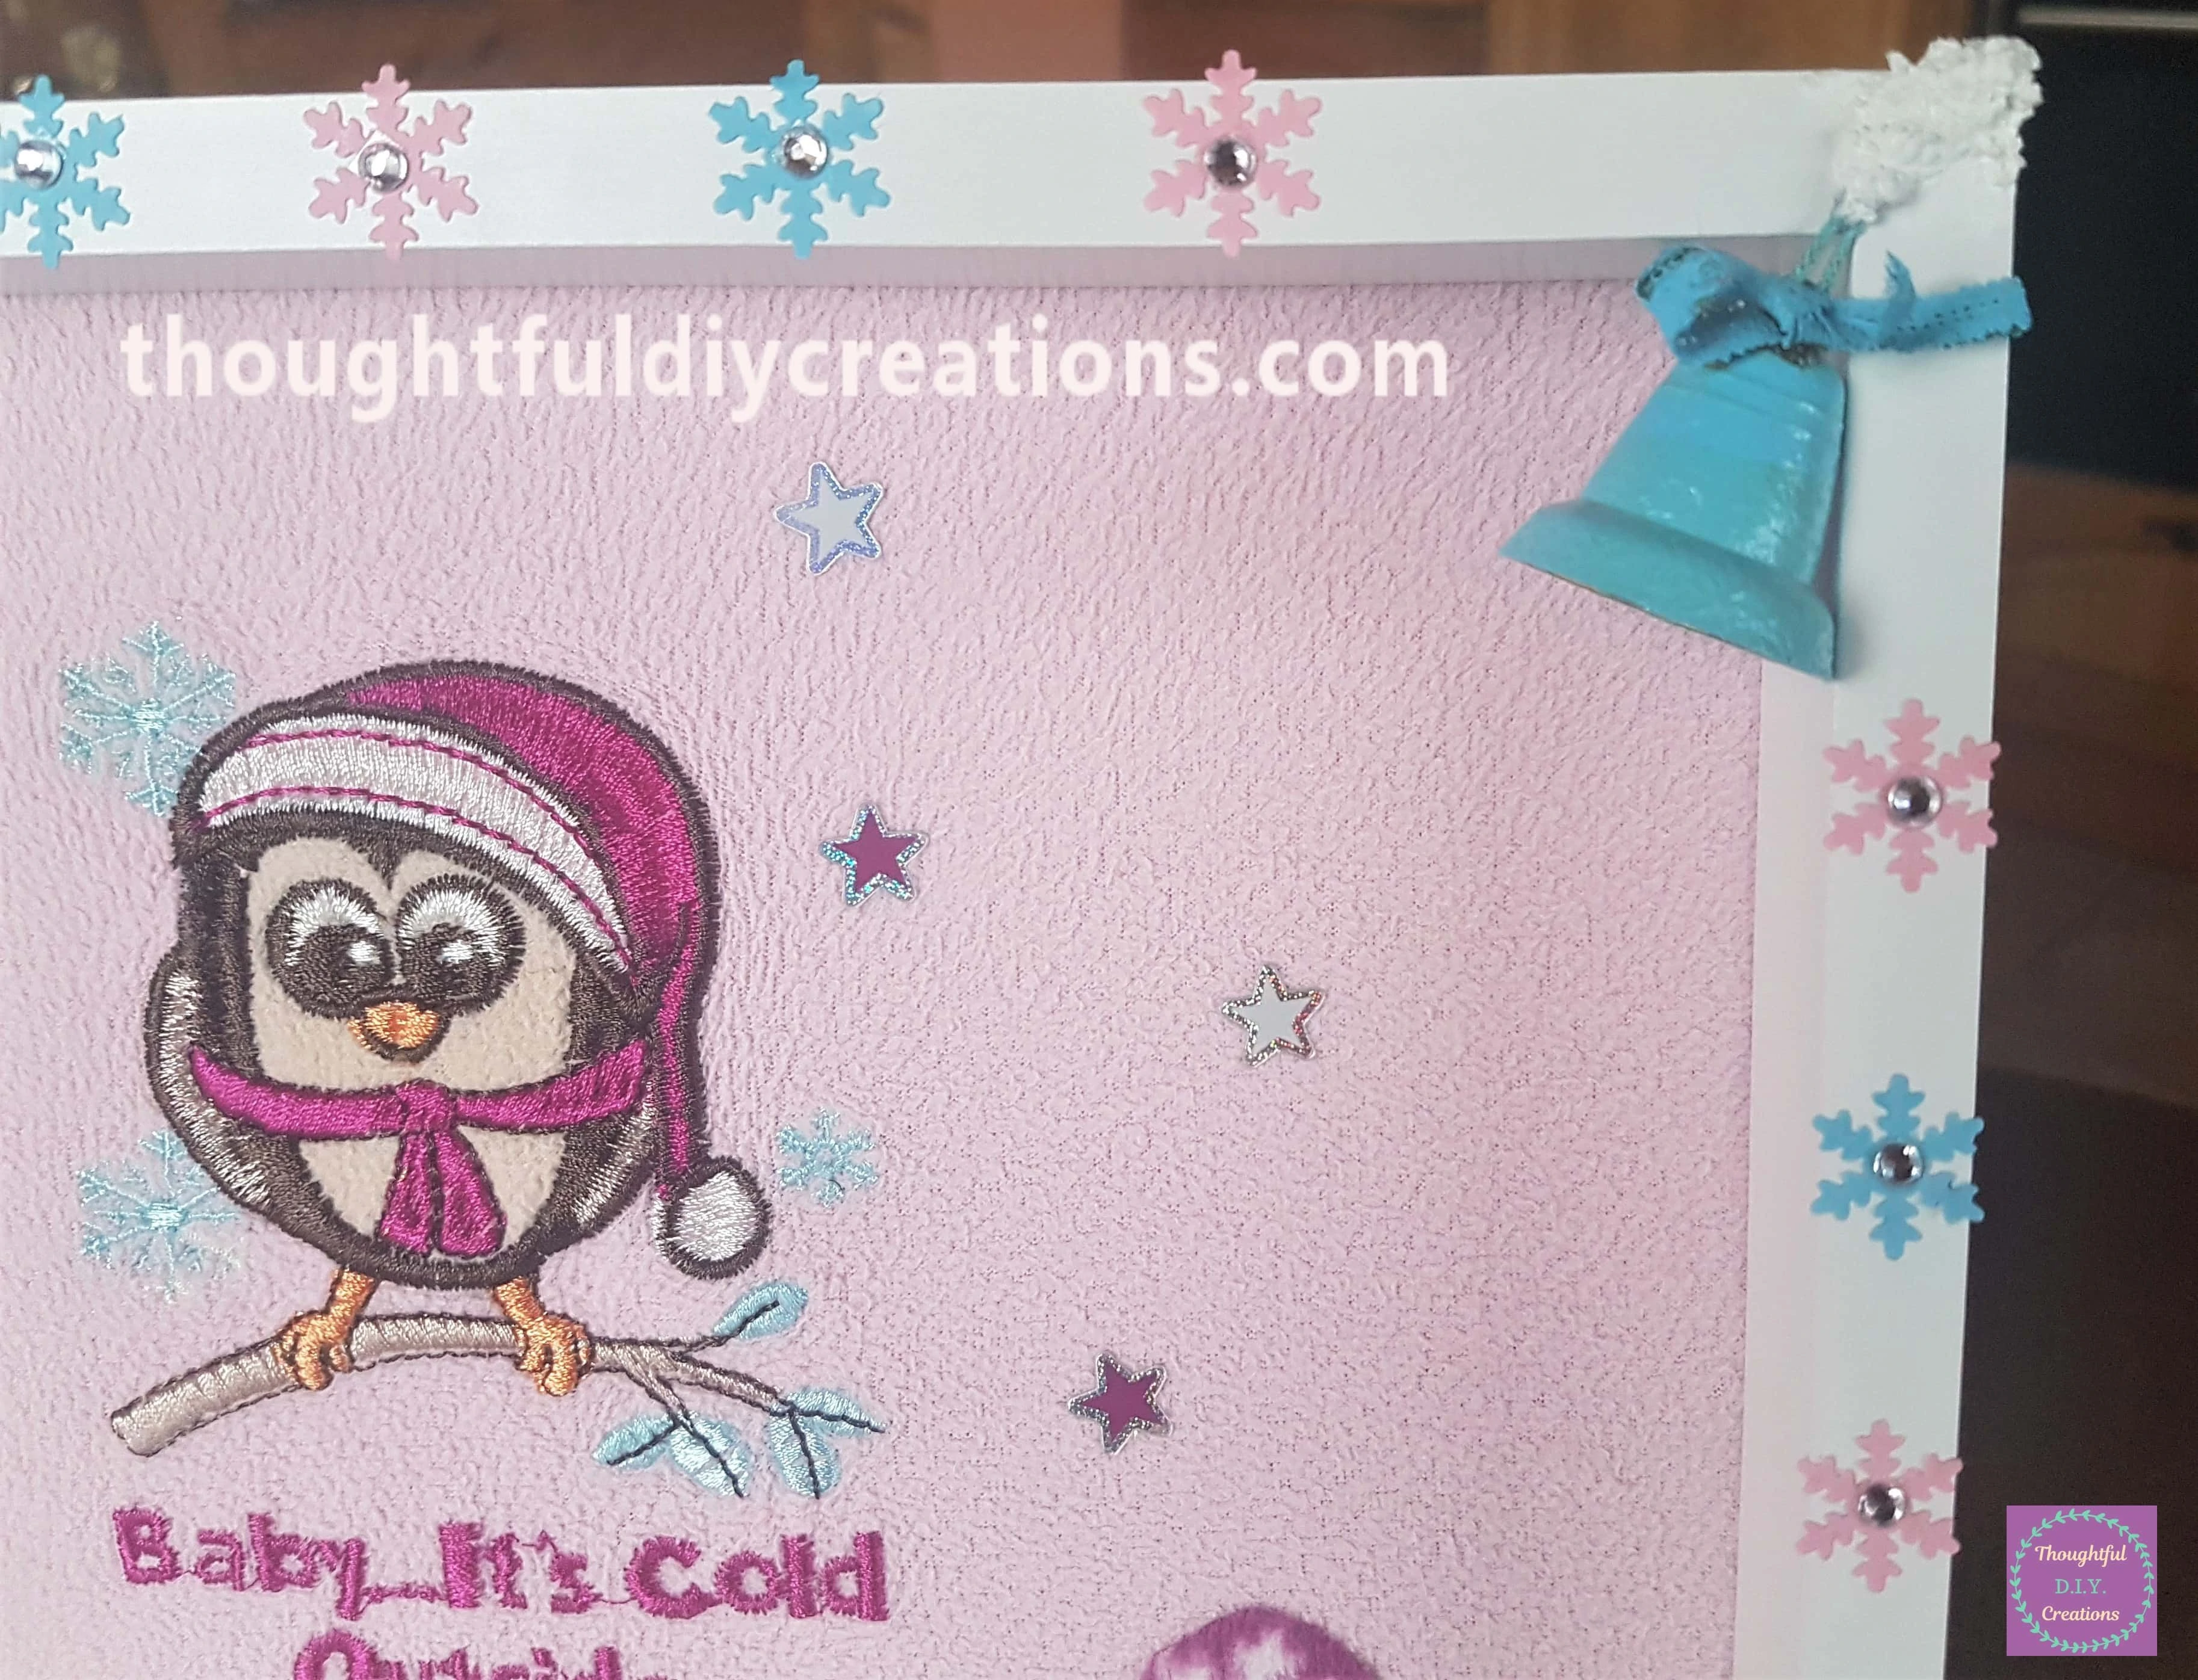
A closer look at the Owl on the Frame.
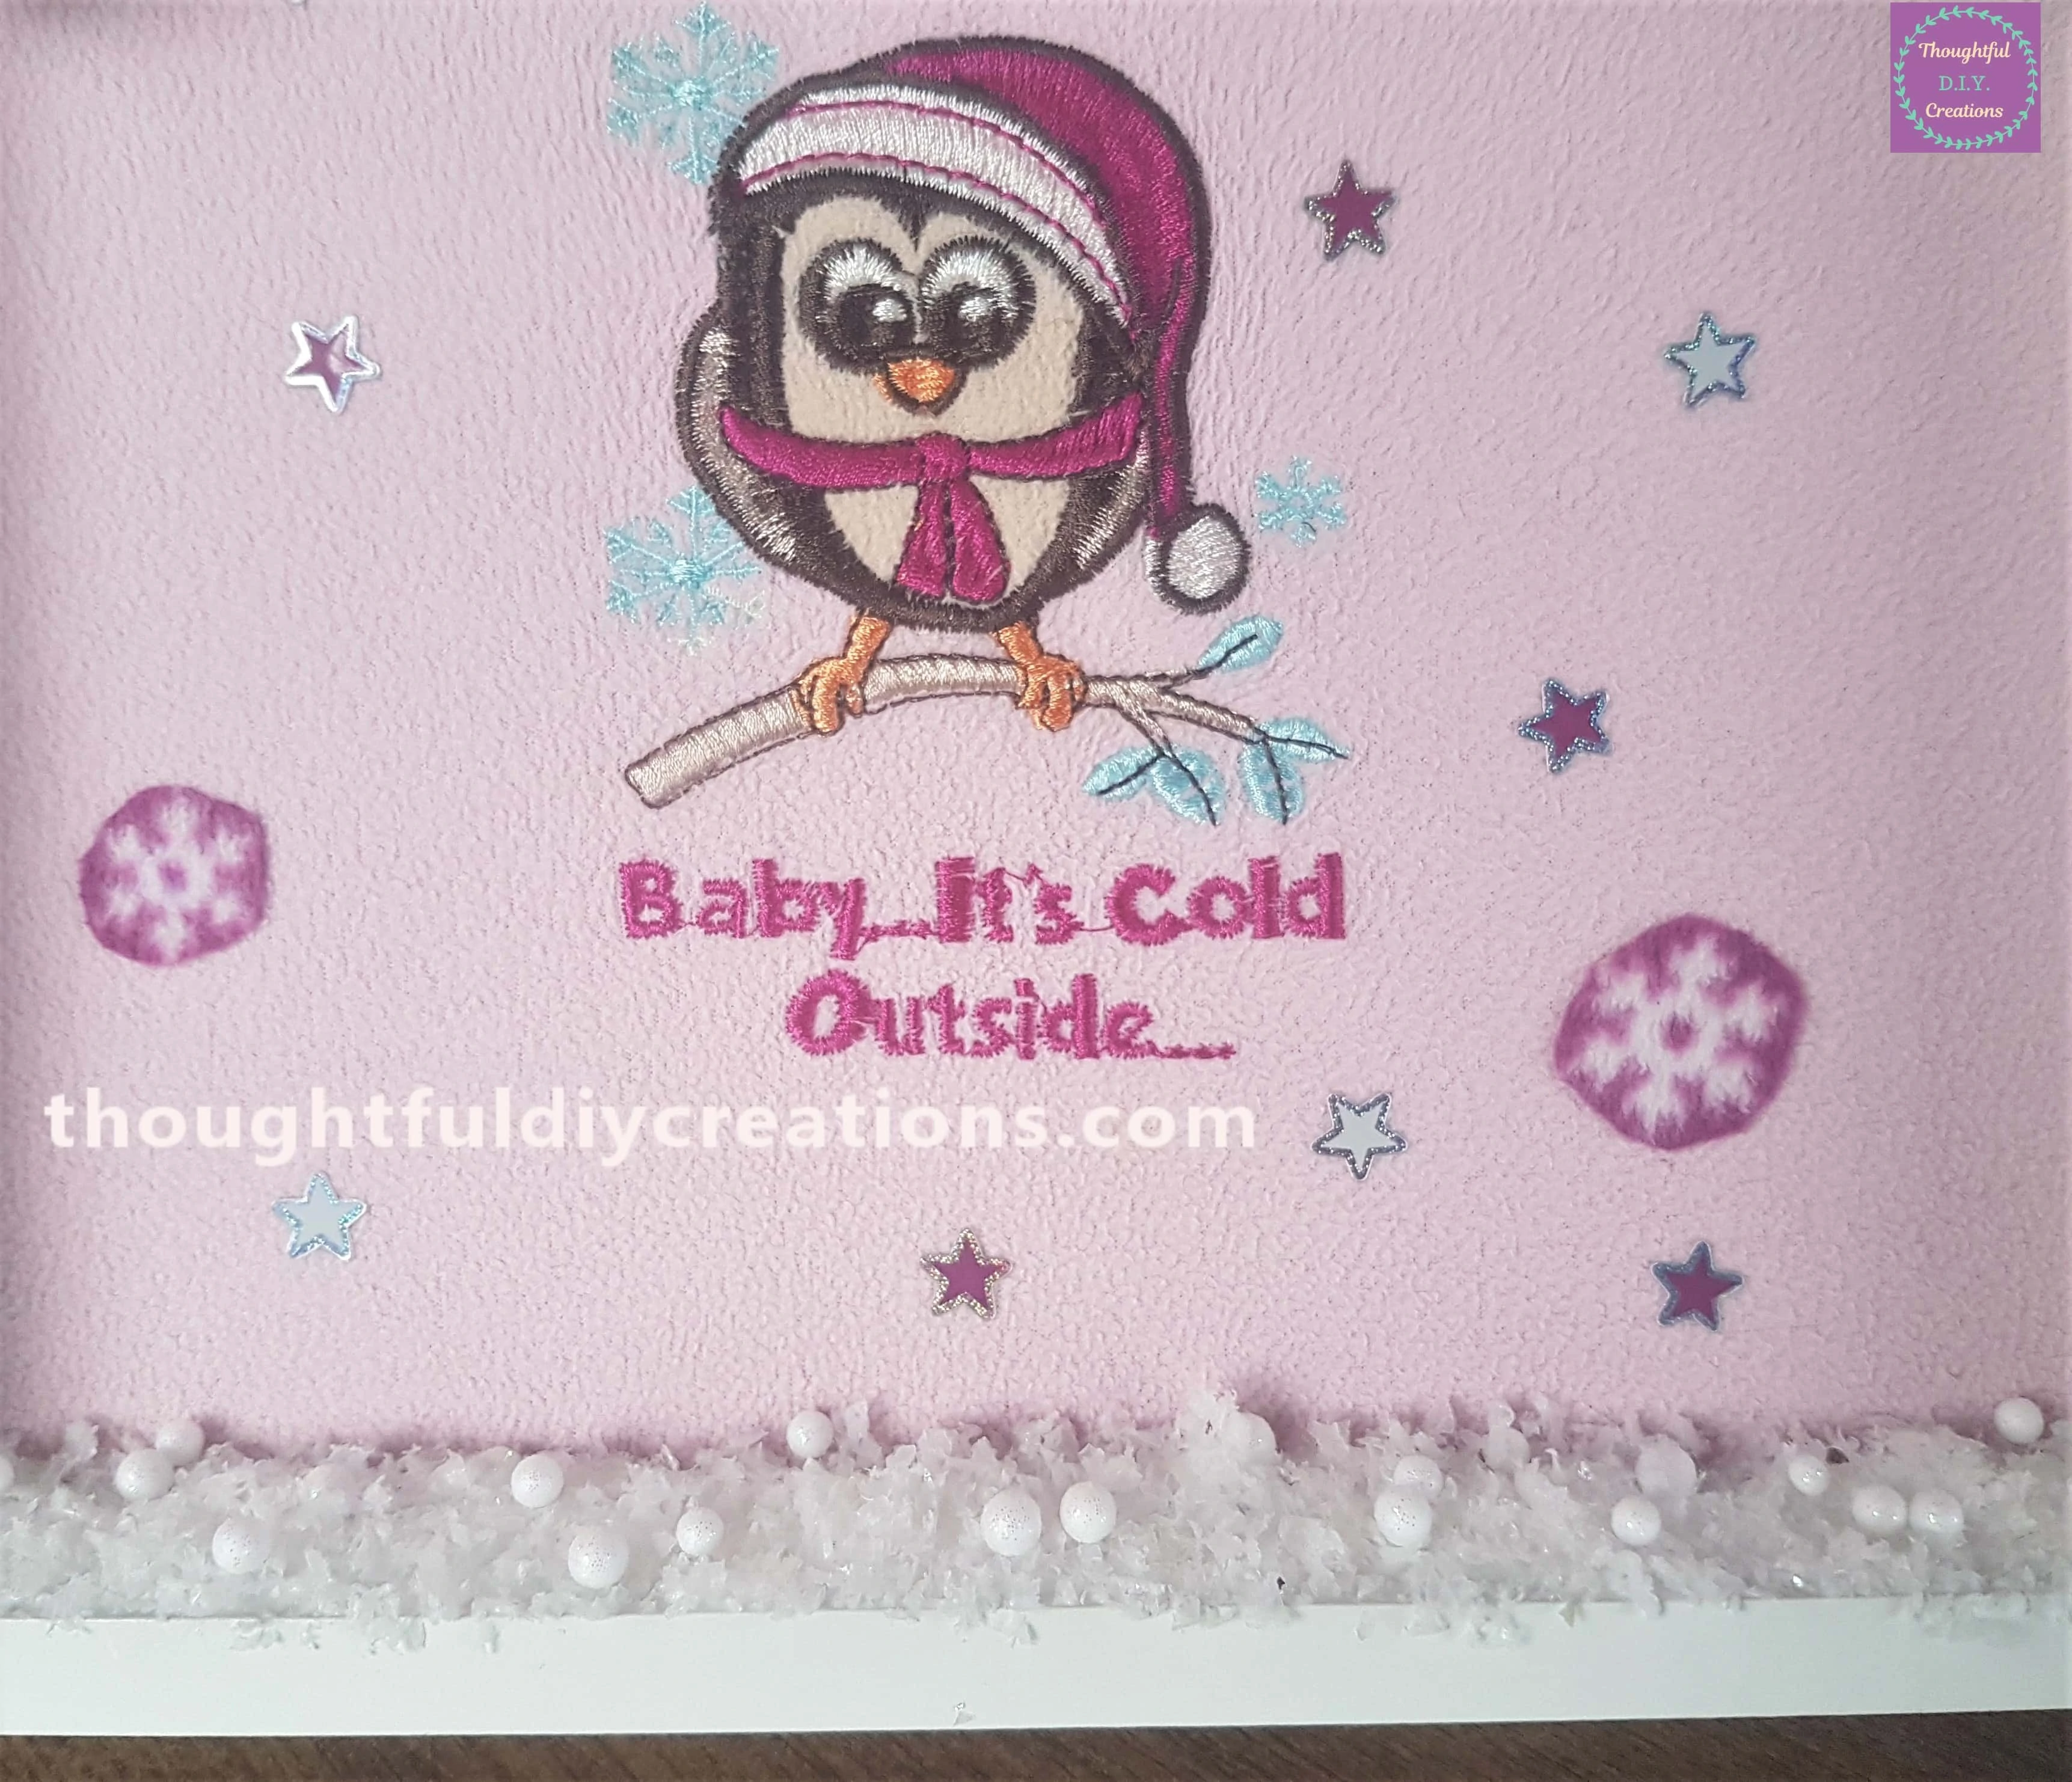
The D.I.Y. Christmas Home Decor Piece on the Table.
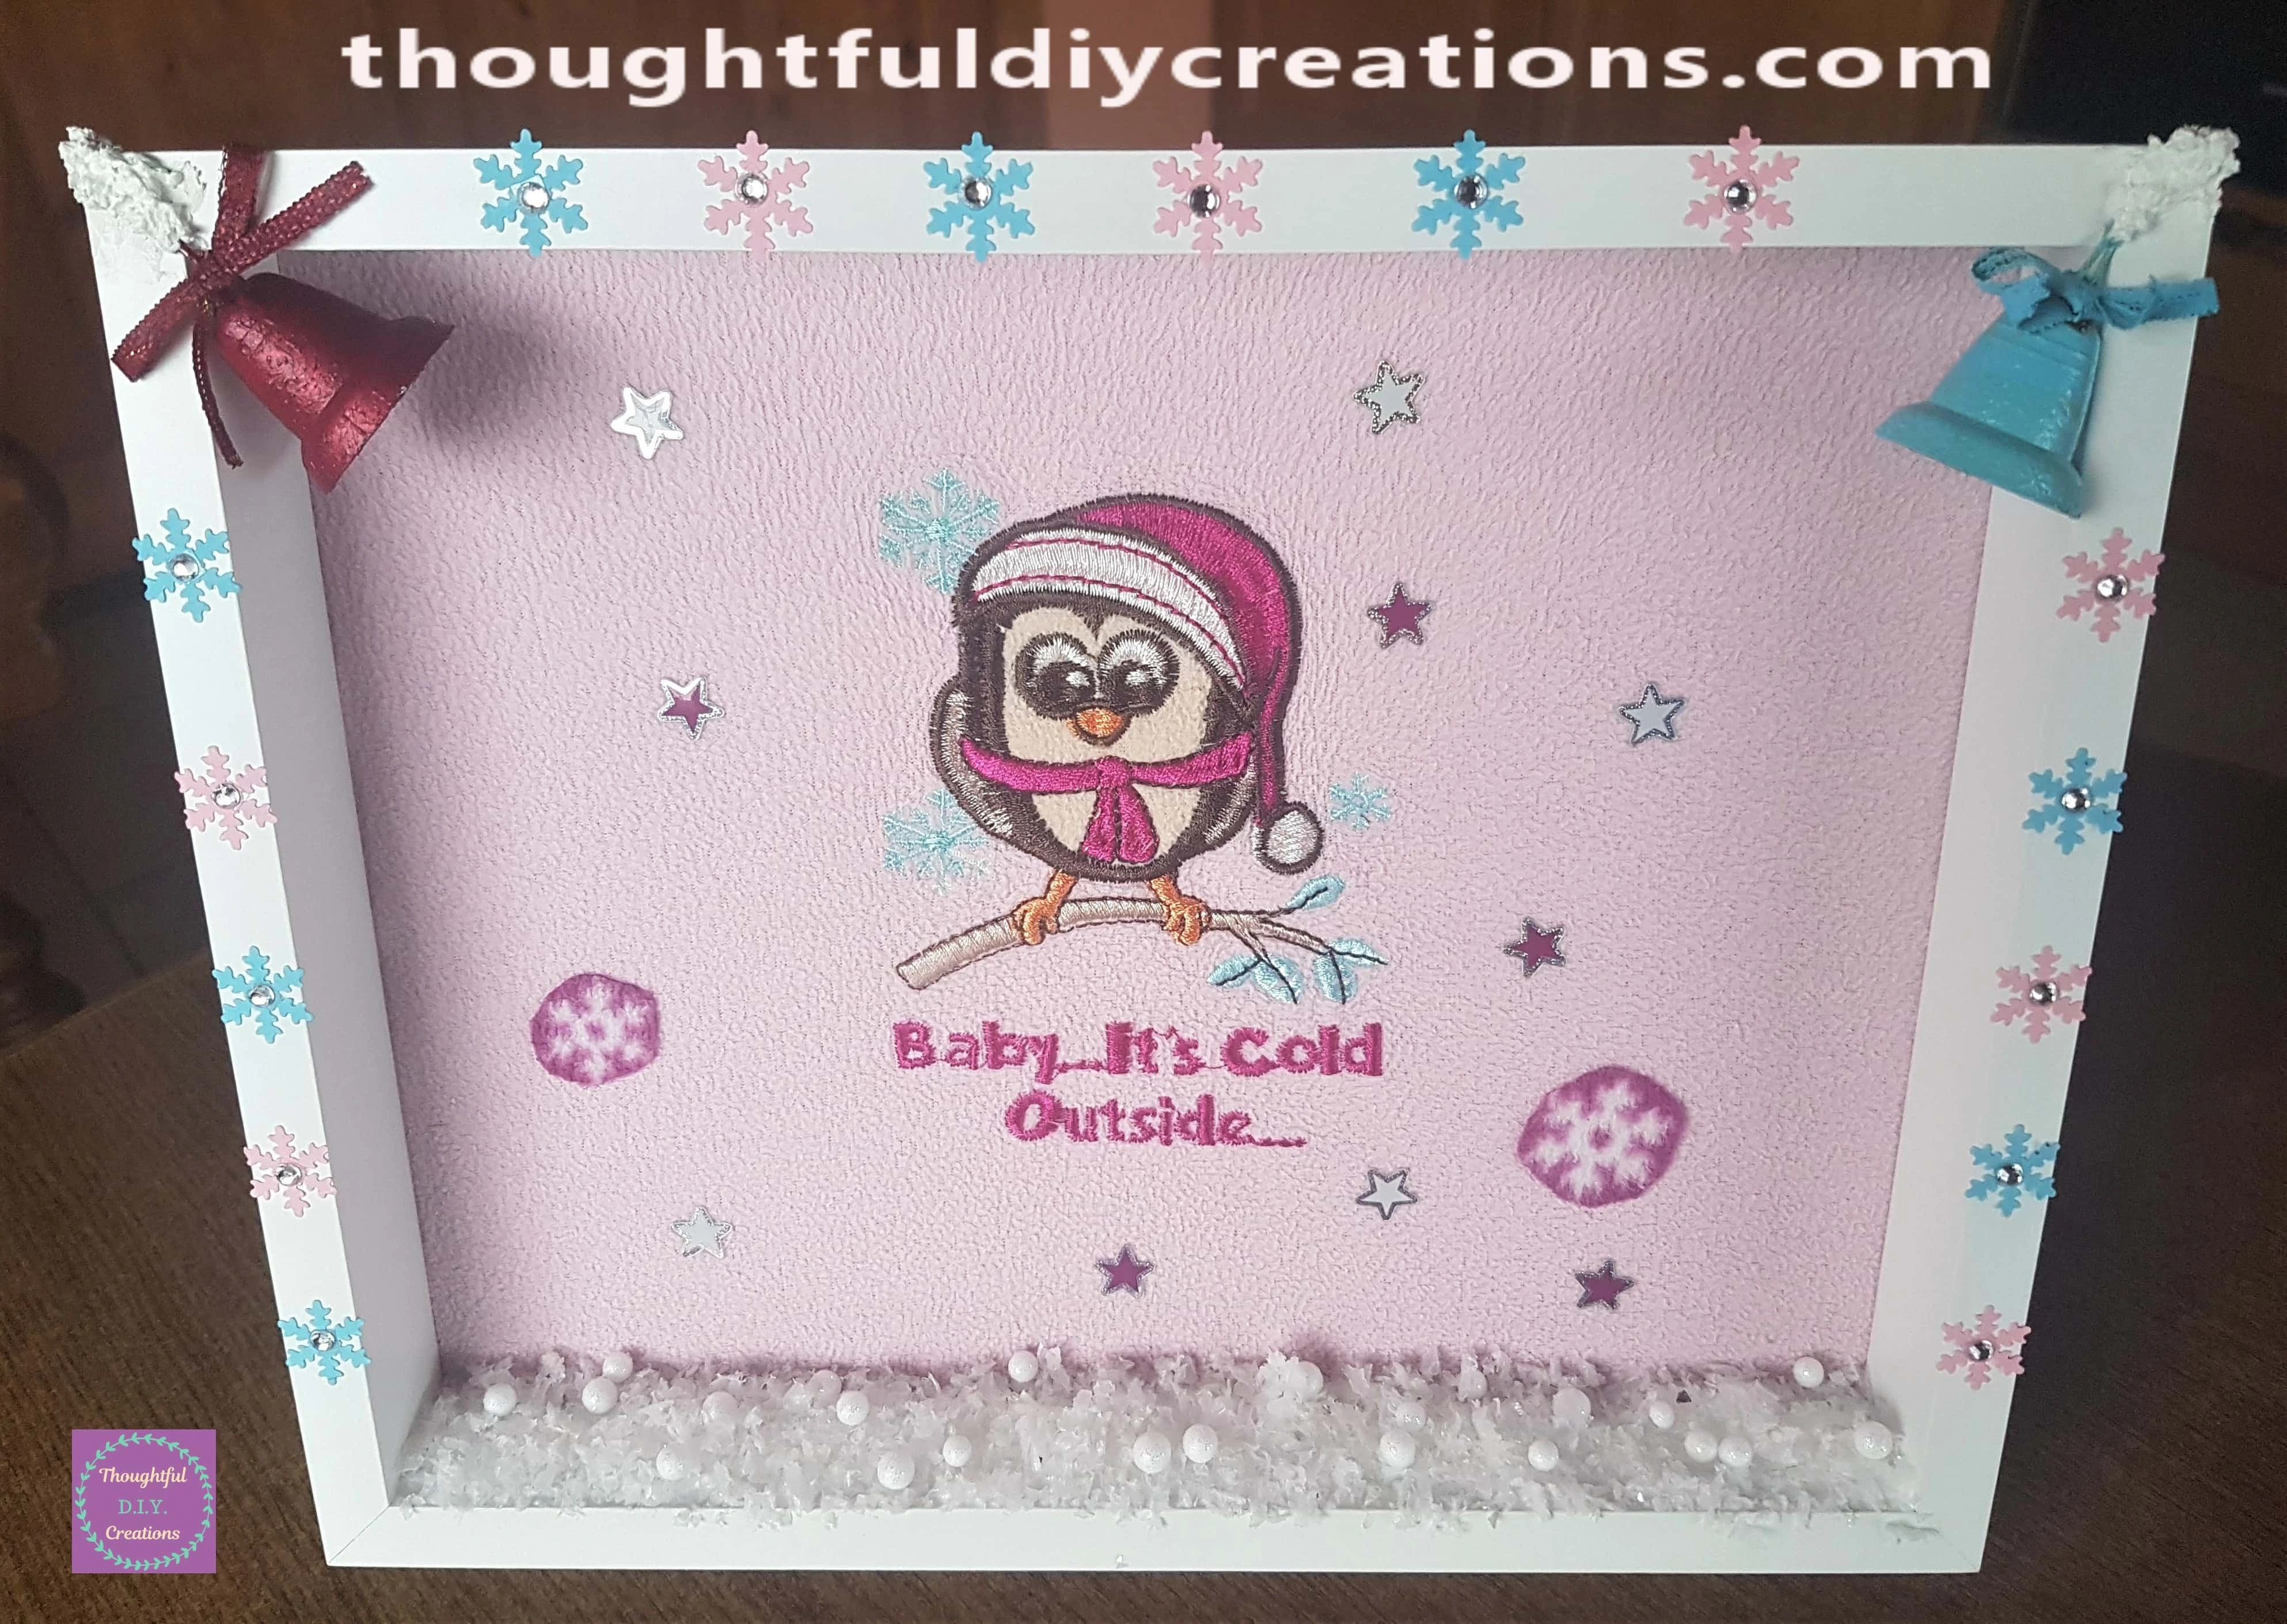
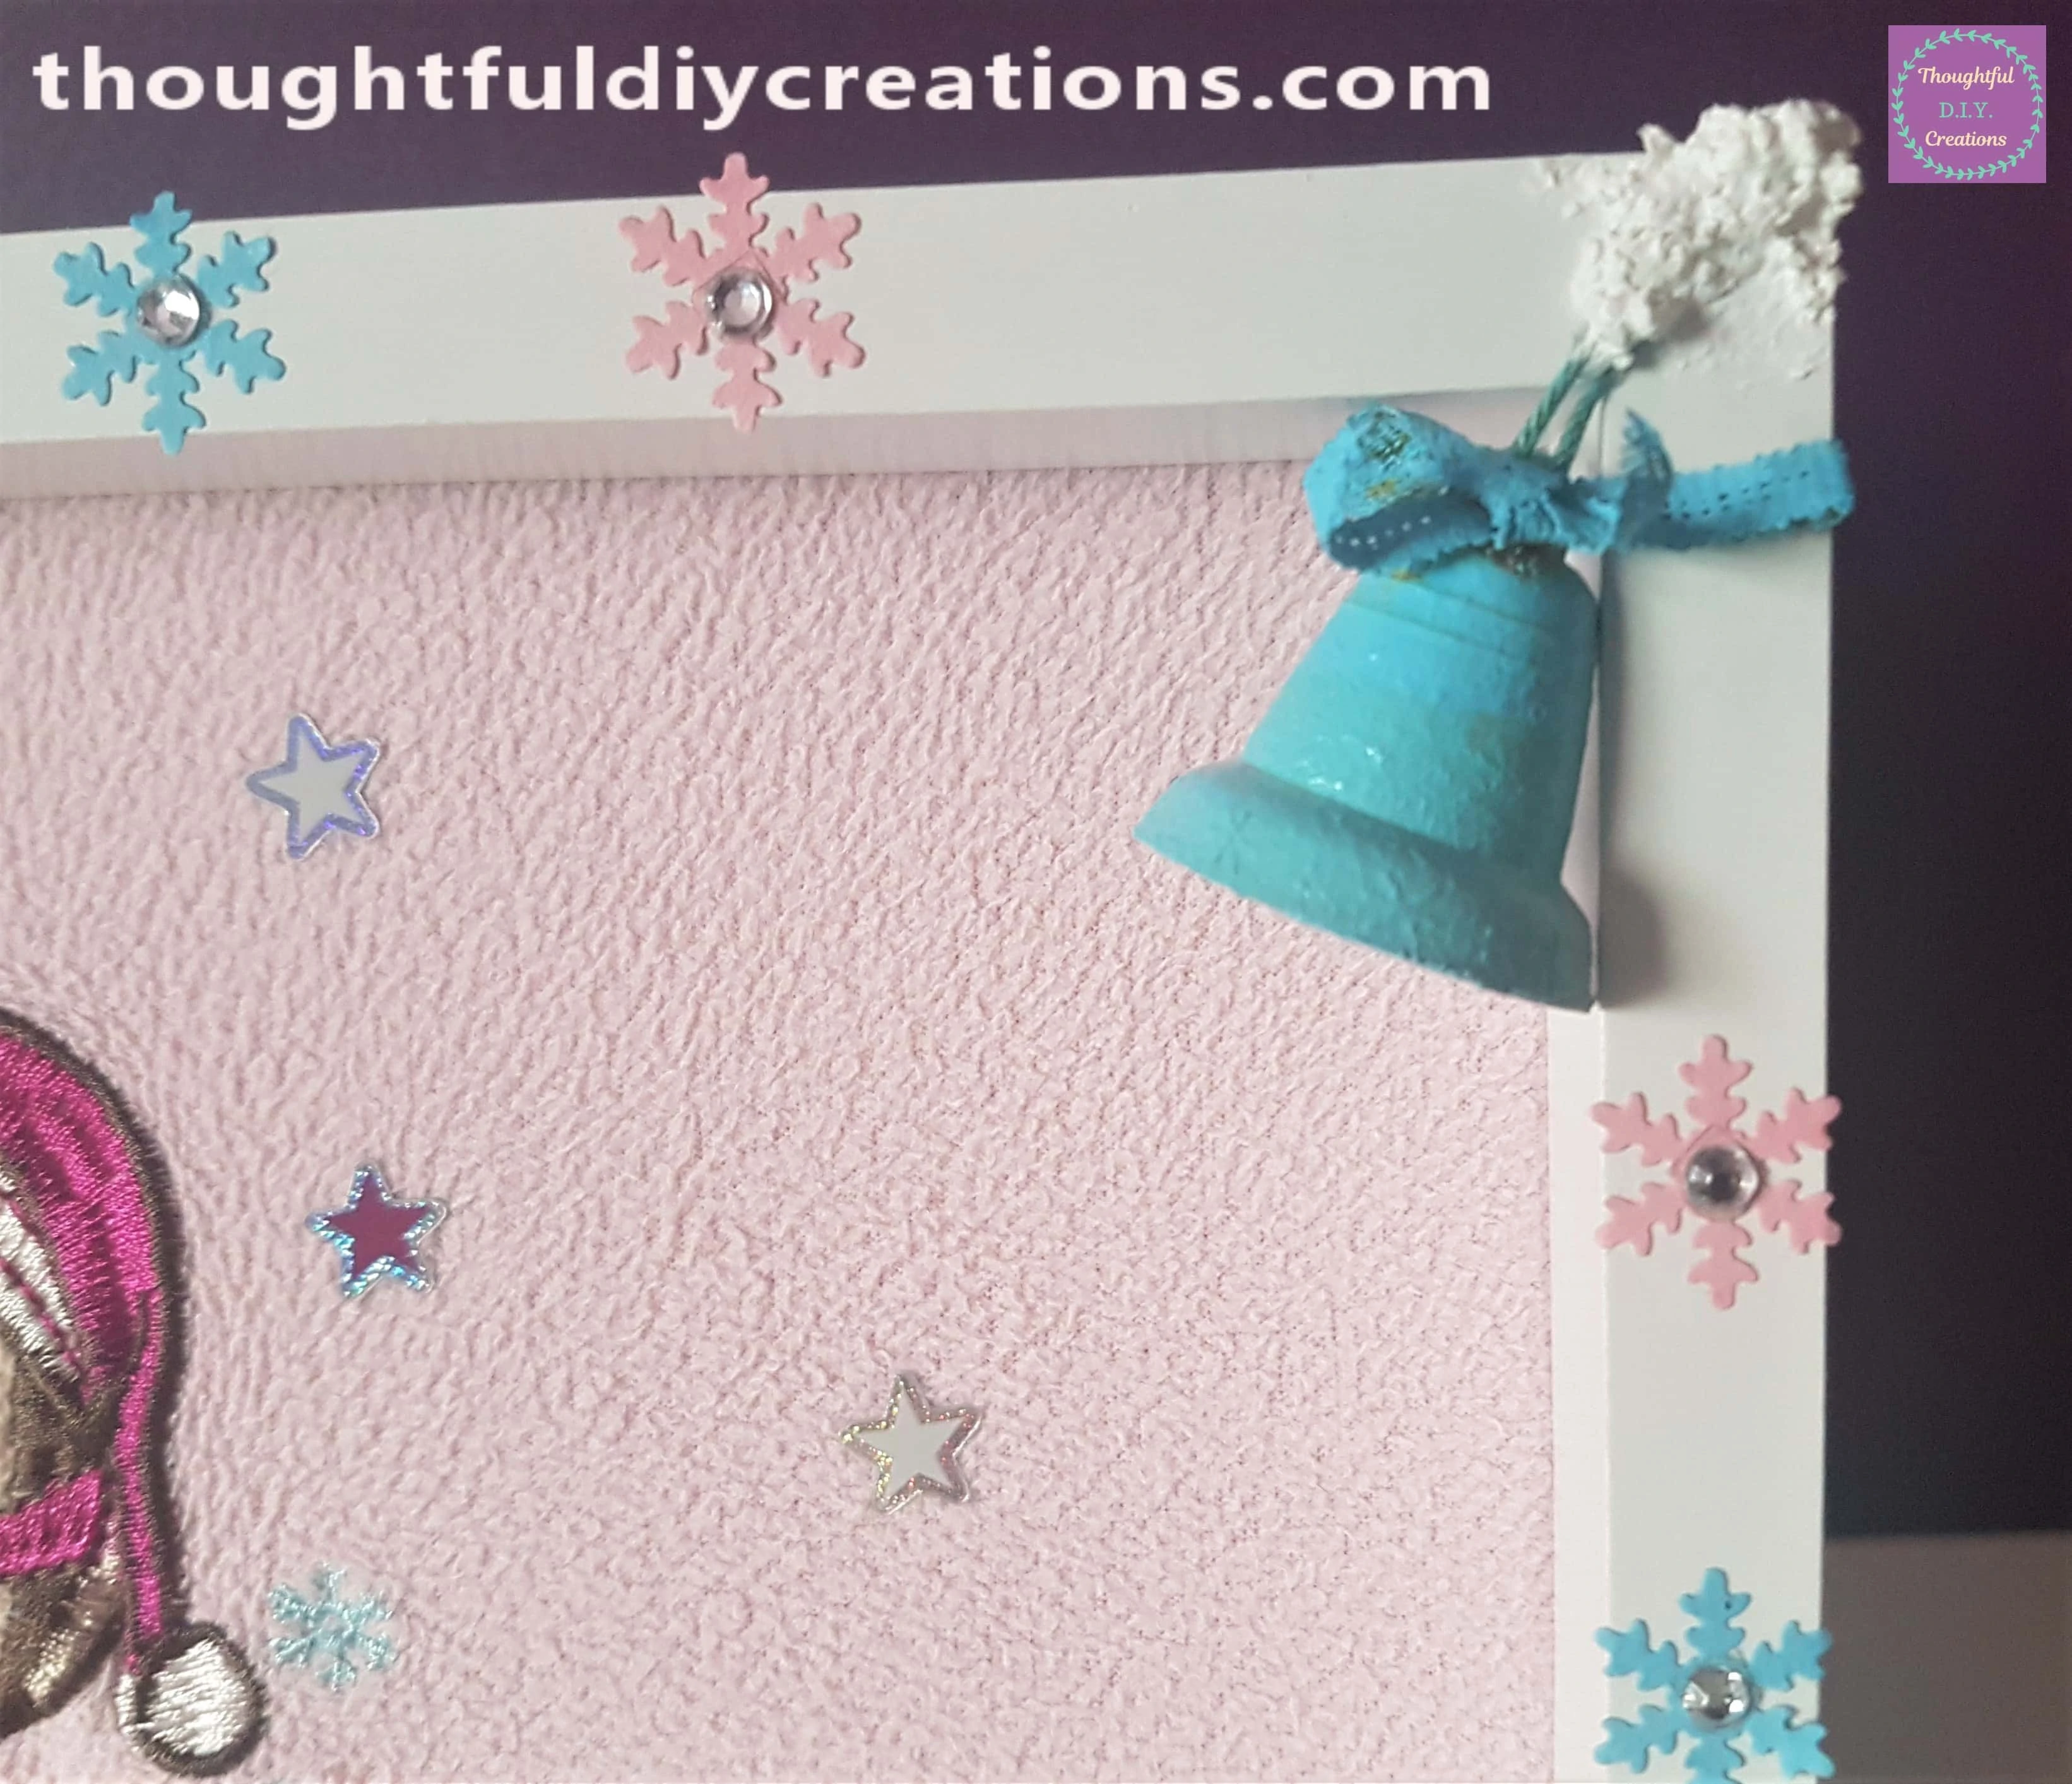
The Blue Bell and Snowflakes.
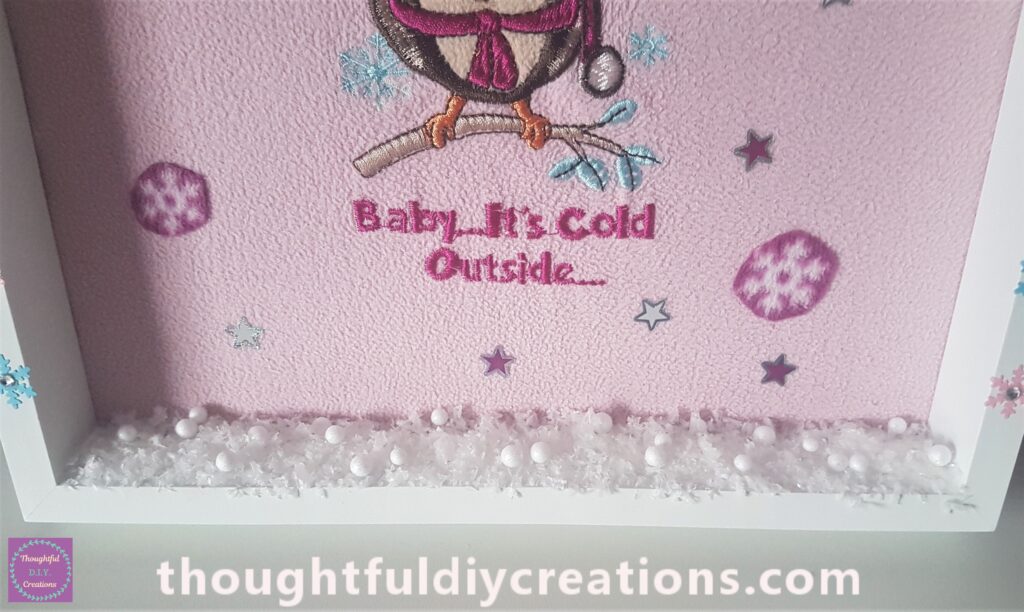
The Lower Part of the Frame.
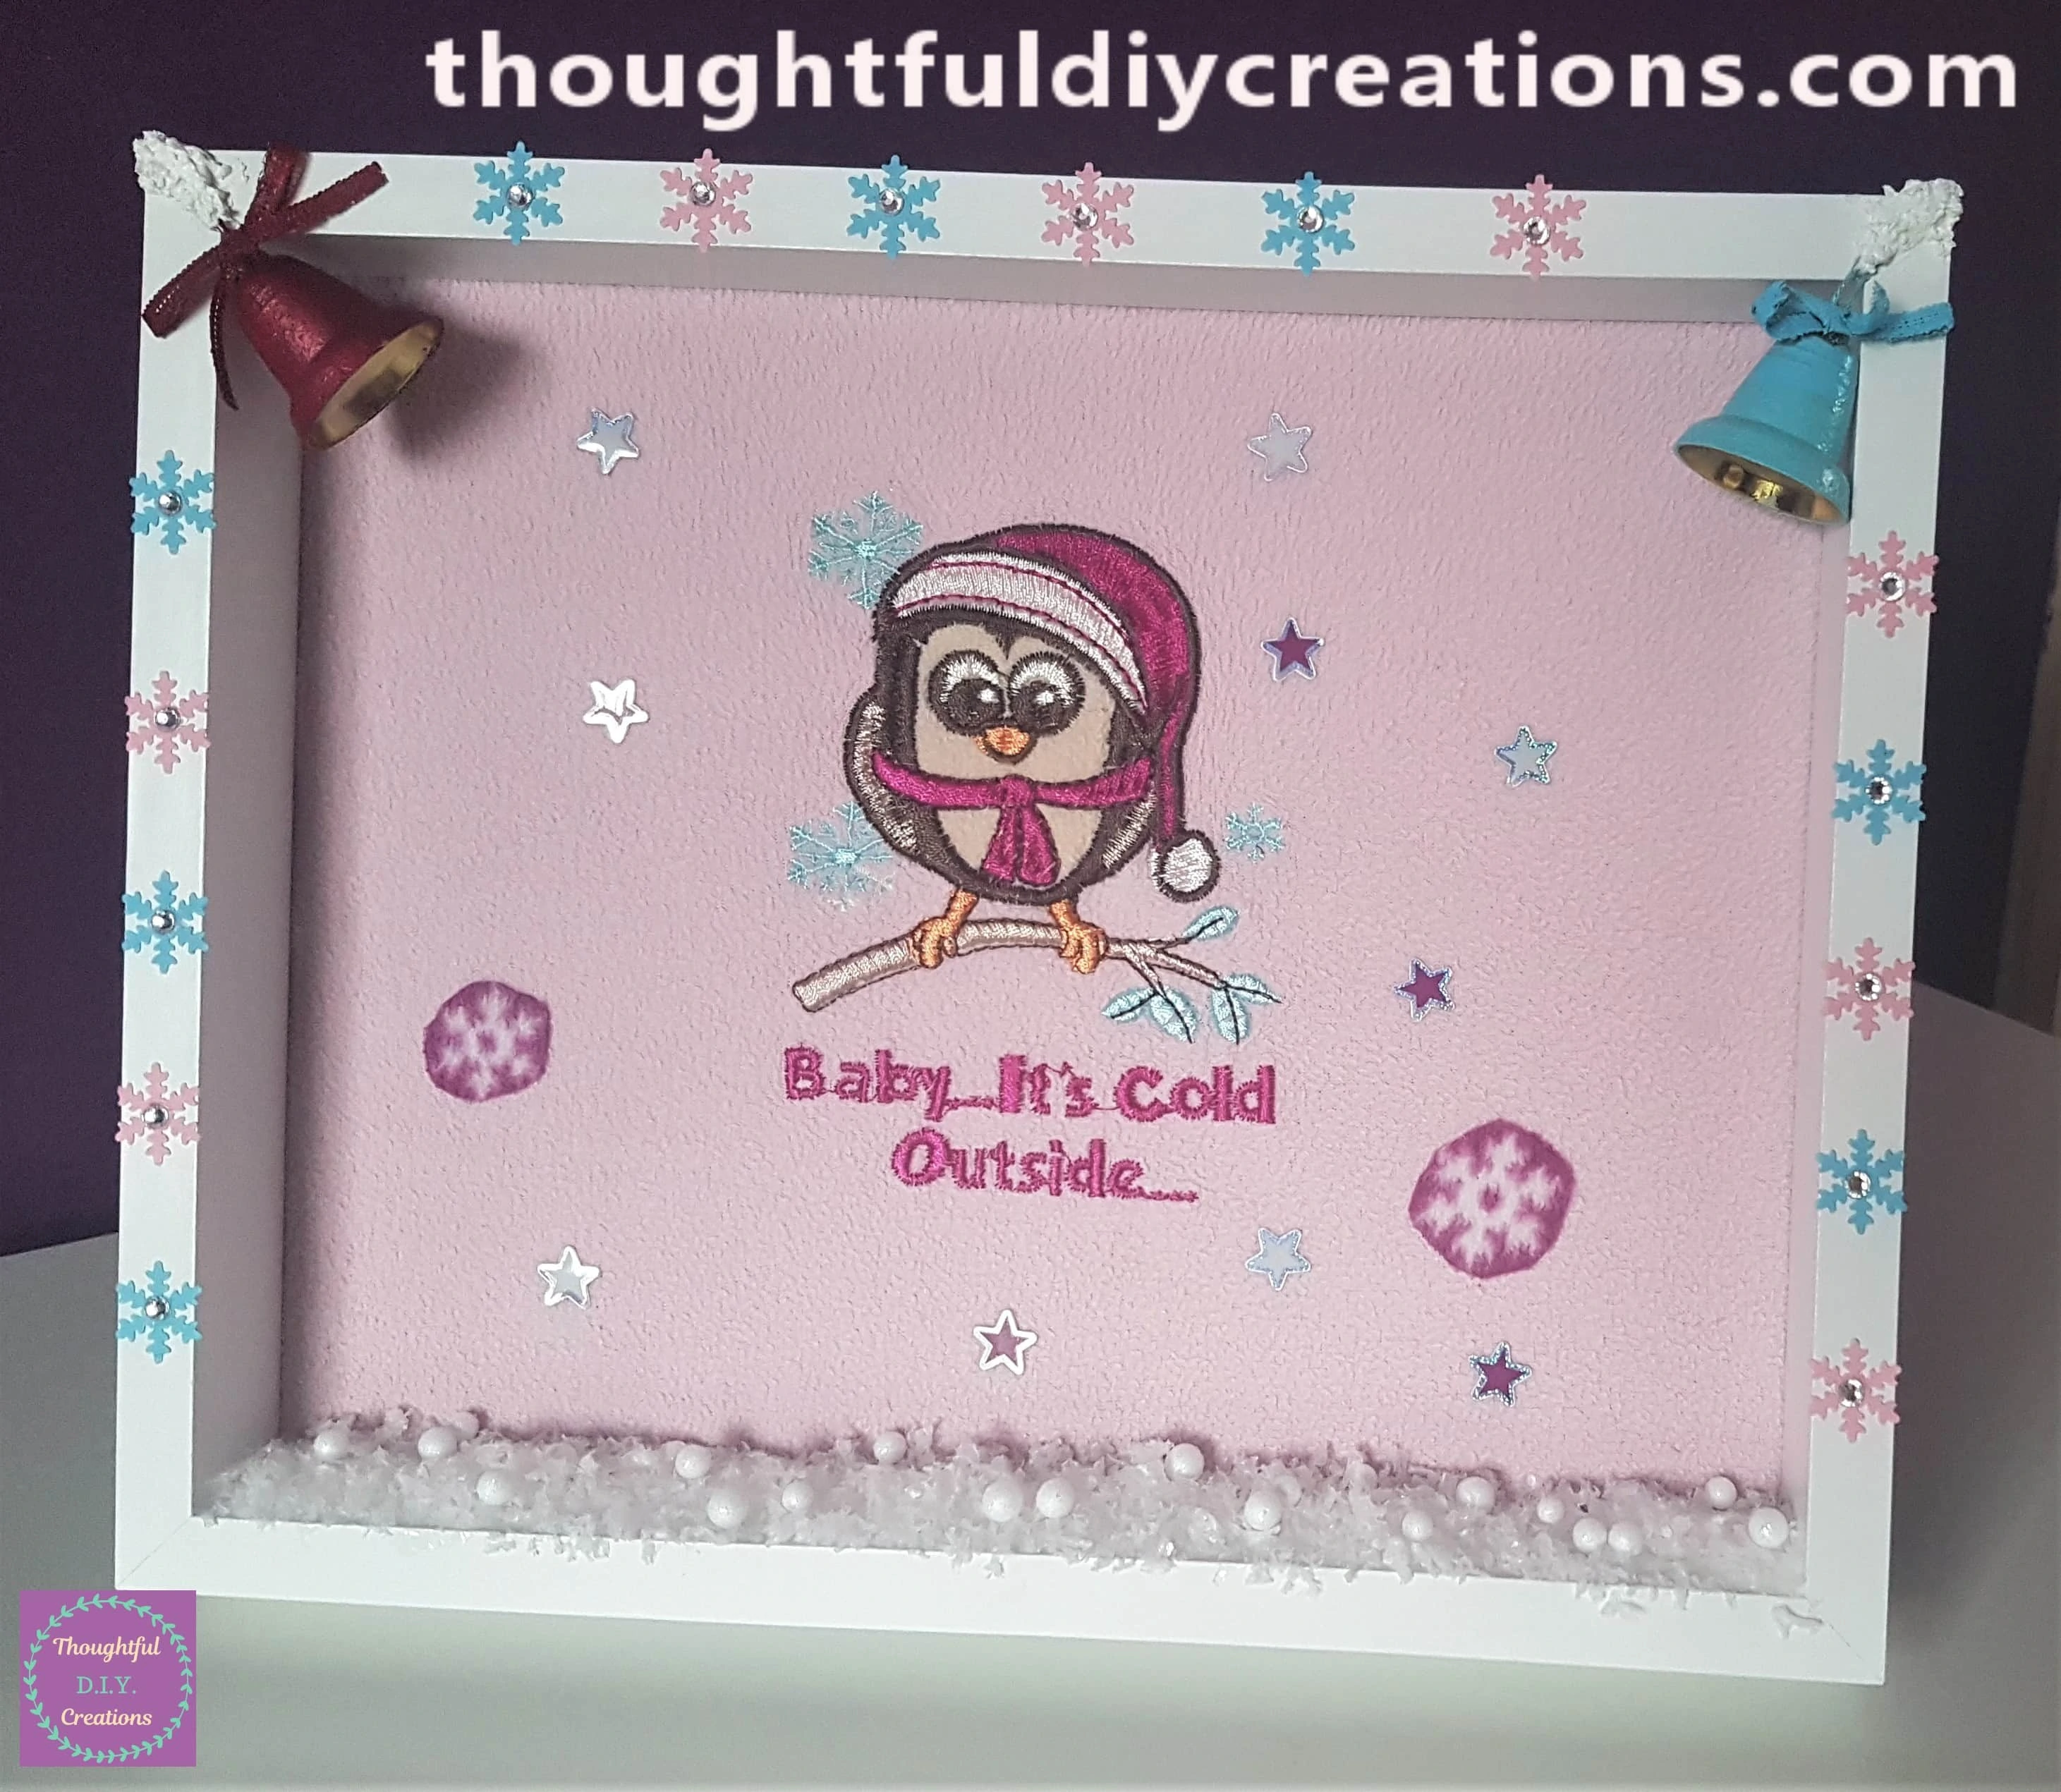
The Final Image of the Christmas Frame.
Conclusion
I adore the Christmas Frame and I’m so glad I got to make use of an old Pyjamas Top. I think the fluffy texture from the Pyjamas adds to the warm, cosy vibes of Christmas. The Snowflakes were the perfect size to add a border around the Frame and I love the bling to embellish them. The Snow really brings everything together and complements the White Frame.
I love the Pastel and Feminine Colours and I really like how you can decorate for Christmas using your favourite Colours and not just the Traditional Christmas Colours. I think it’s nice to add a bit of your Personality and Style into your Home when Decorating for the changing Seasons or just in general.
Here is a Personalised Christmas Frame I made last Year. Snowman Family Frame.
I hope you enjoyed this Weeks Tutorial and learned something new. Let me know if you will attempt to make this or something similiar. If you have any Questions just fill out the Comment Box below this Blog Post and I’ll get back to you as soon as I can.
Happy Crafting Everyone.
Thank You so much for Taking the Time to Read my Blog.
Always Grateful,
T.D.C.
xoxox


-0 Comment-