Memo Board – Easy D.I.Y. Tutorial
Hello my Creative Friends,
I hope you are all Well. In Today’s Tutorial I will show you How I made a Memo Board using mainly Re-Purposed Household Materials. It is a Quick and Easy Craft to make and I hope it provides you with some Ideas if you would like to Create your own Memo Board for your Home or Office.
Making the Base of the Memo Board
The Cardboard I am using as the Base for my Board is the Box from my Laptop; it is a thick, sturdy Cardboard.
I wanted my Memo Board to be around the A4 Size so I put an A4 Pad on the Cardboard and got a Pen ready to trace around it.
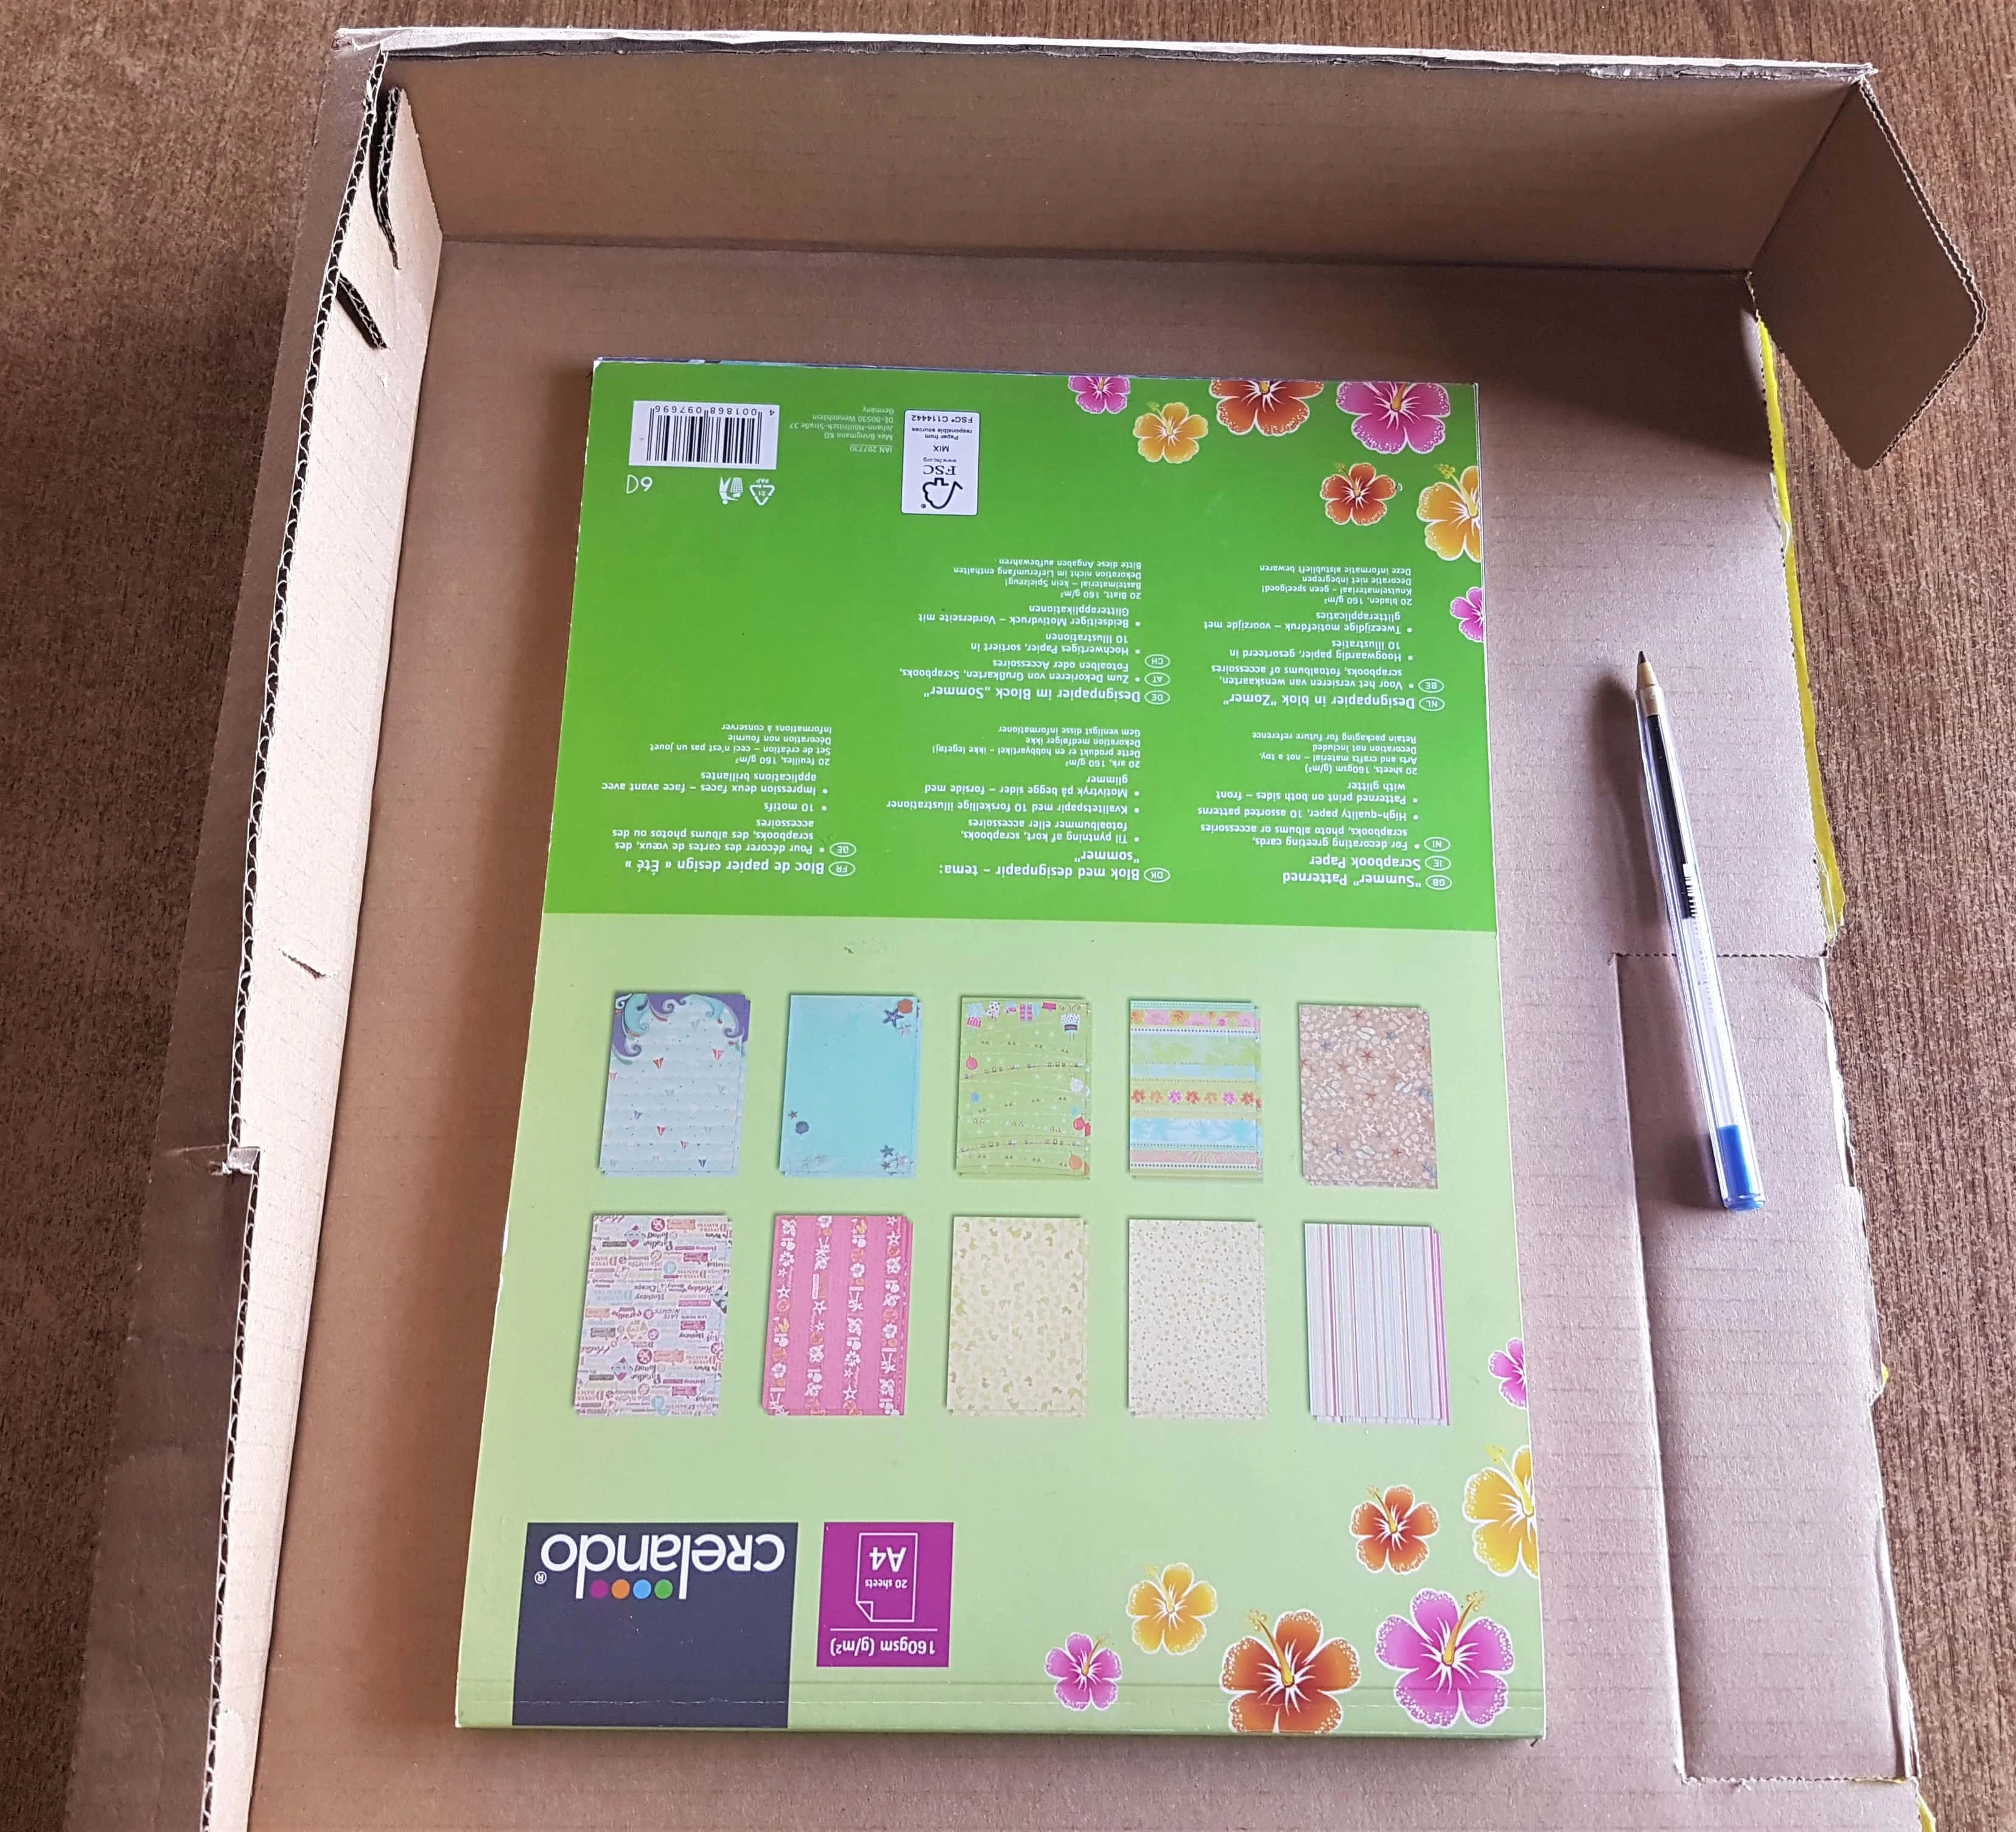
I made the Outline of the Paper Pad with the Pen on the Cardboard Box.
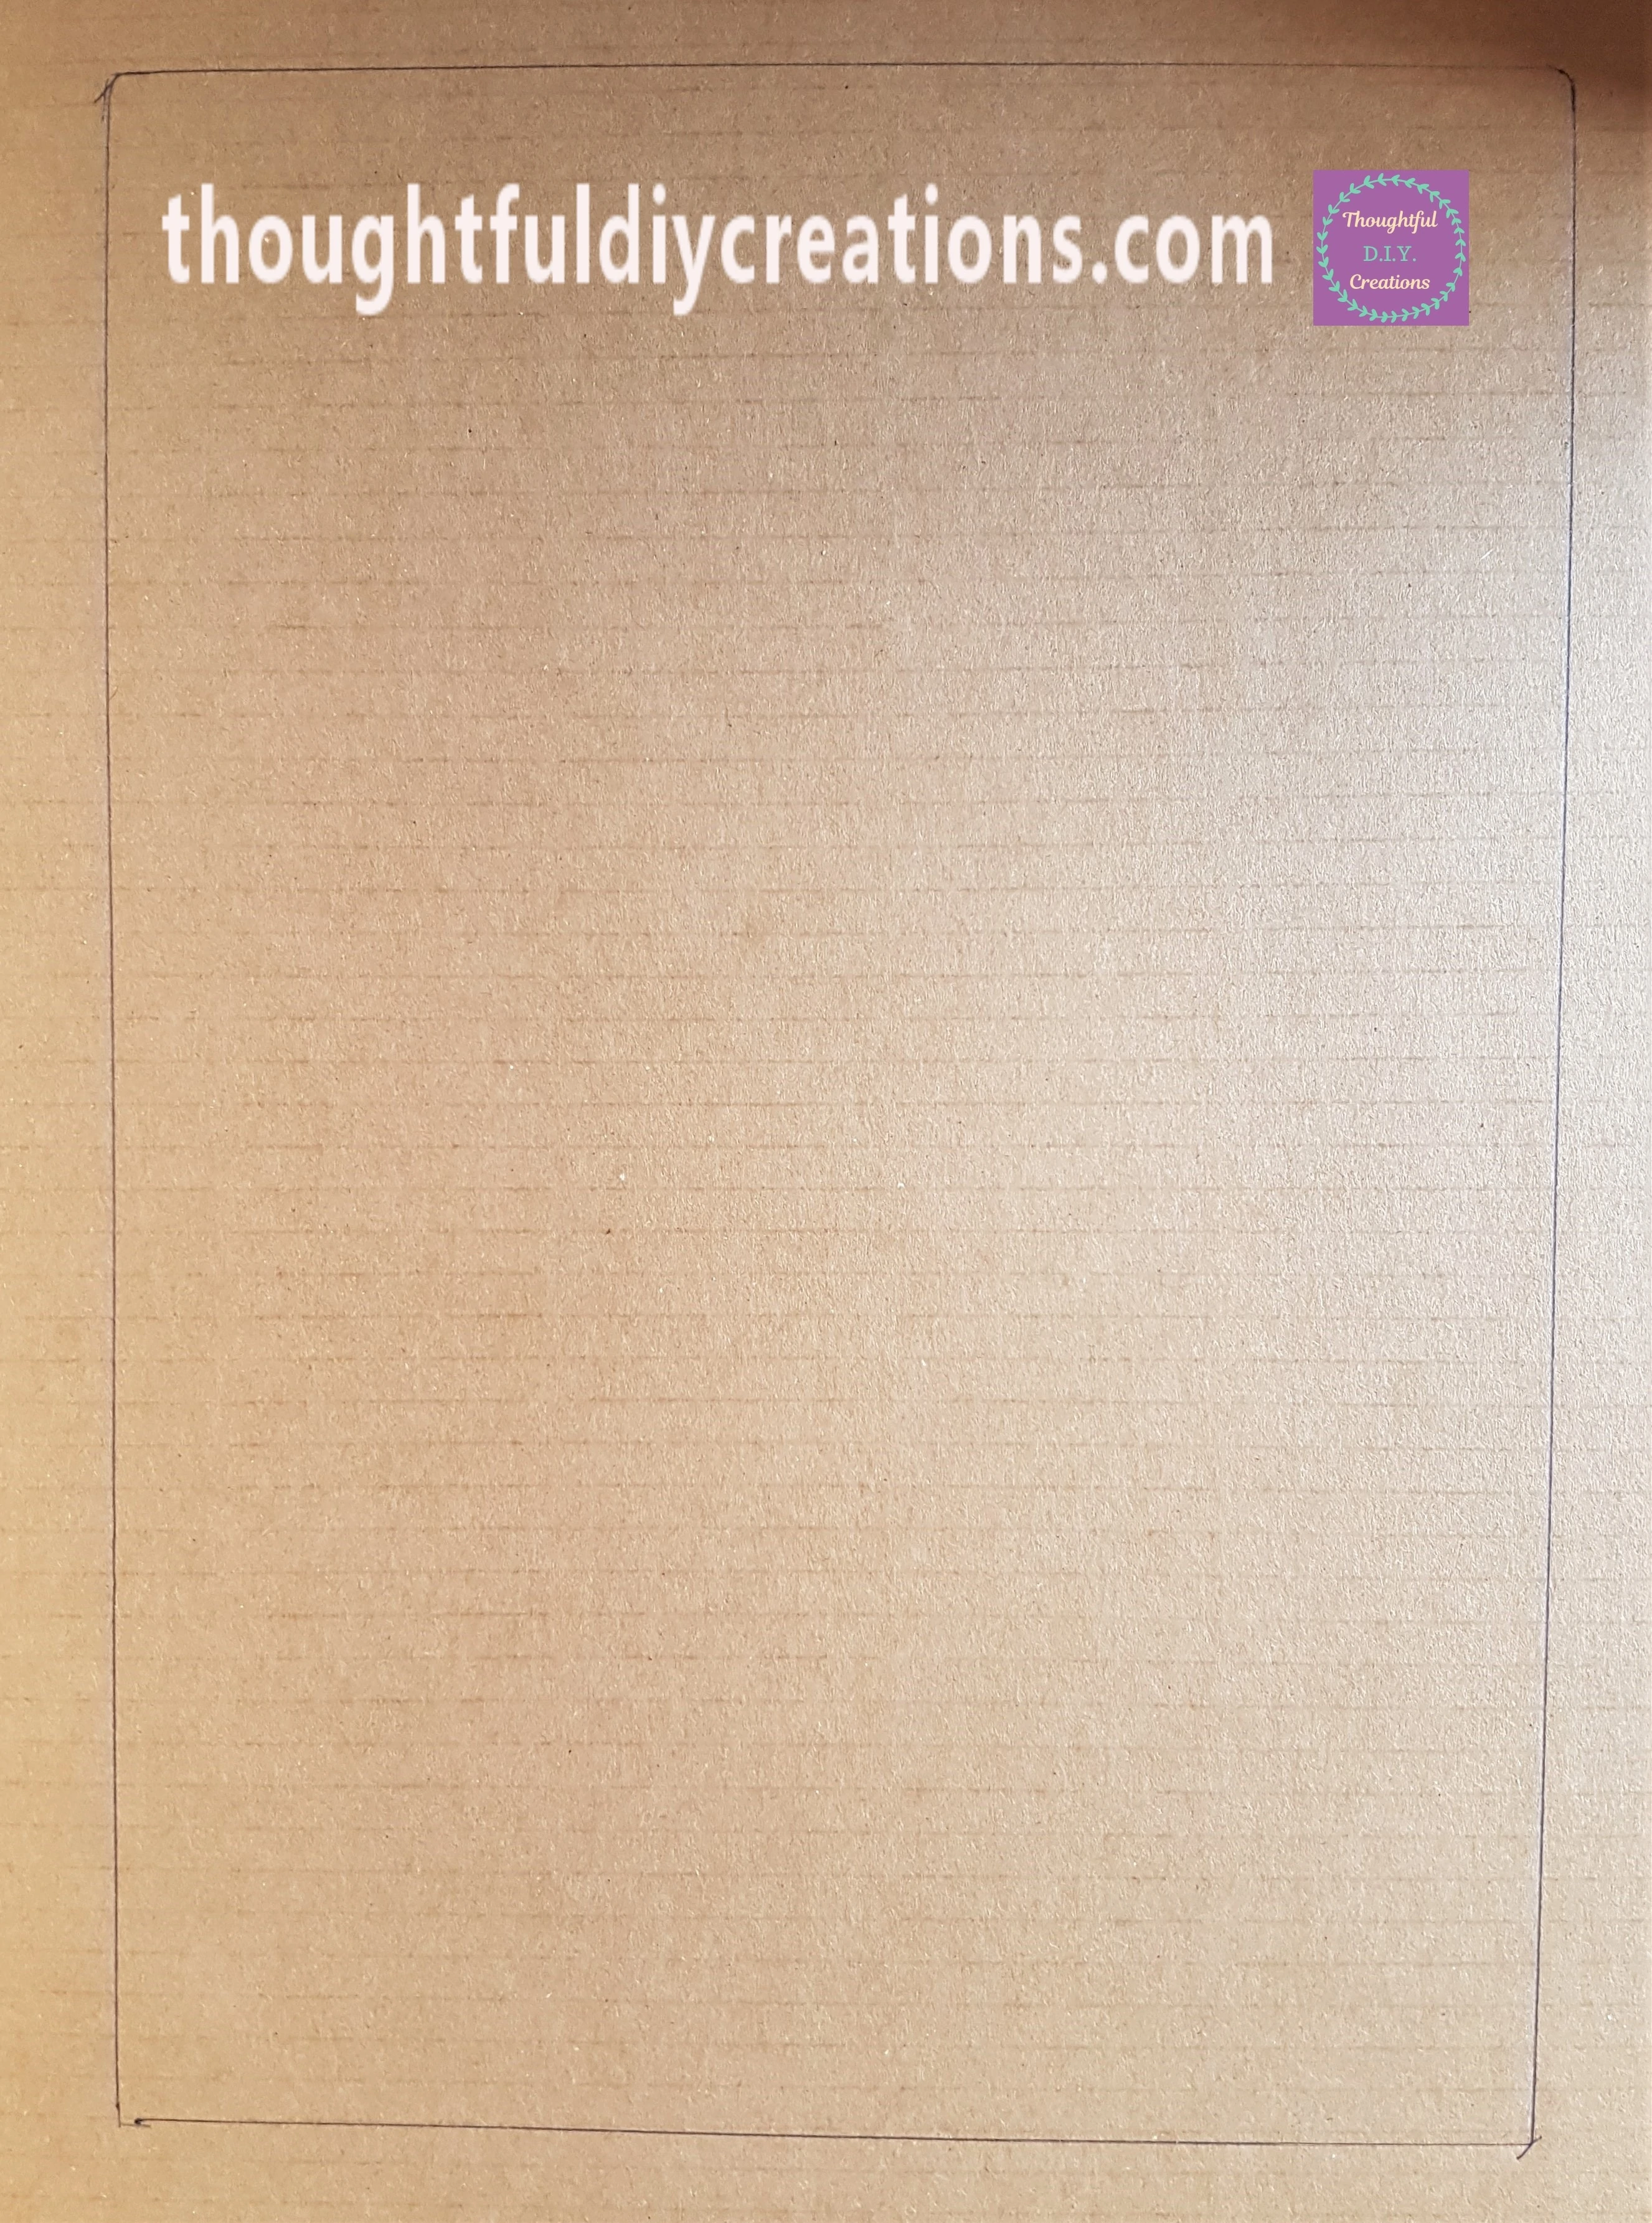
I Cut around the Lines using a Strong Scissors; you could also use a Craft / Utility Knife with something underneath the Cardboard to protect the Table.
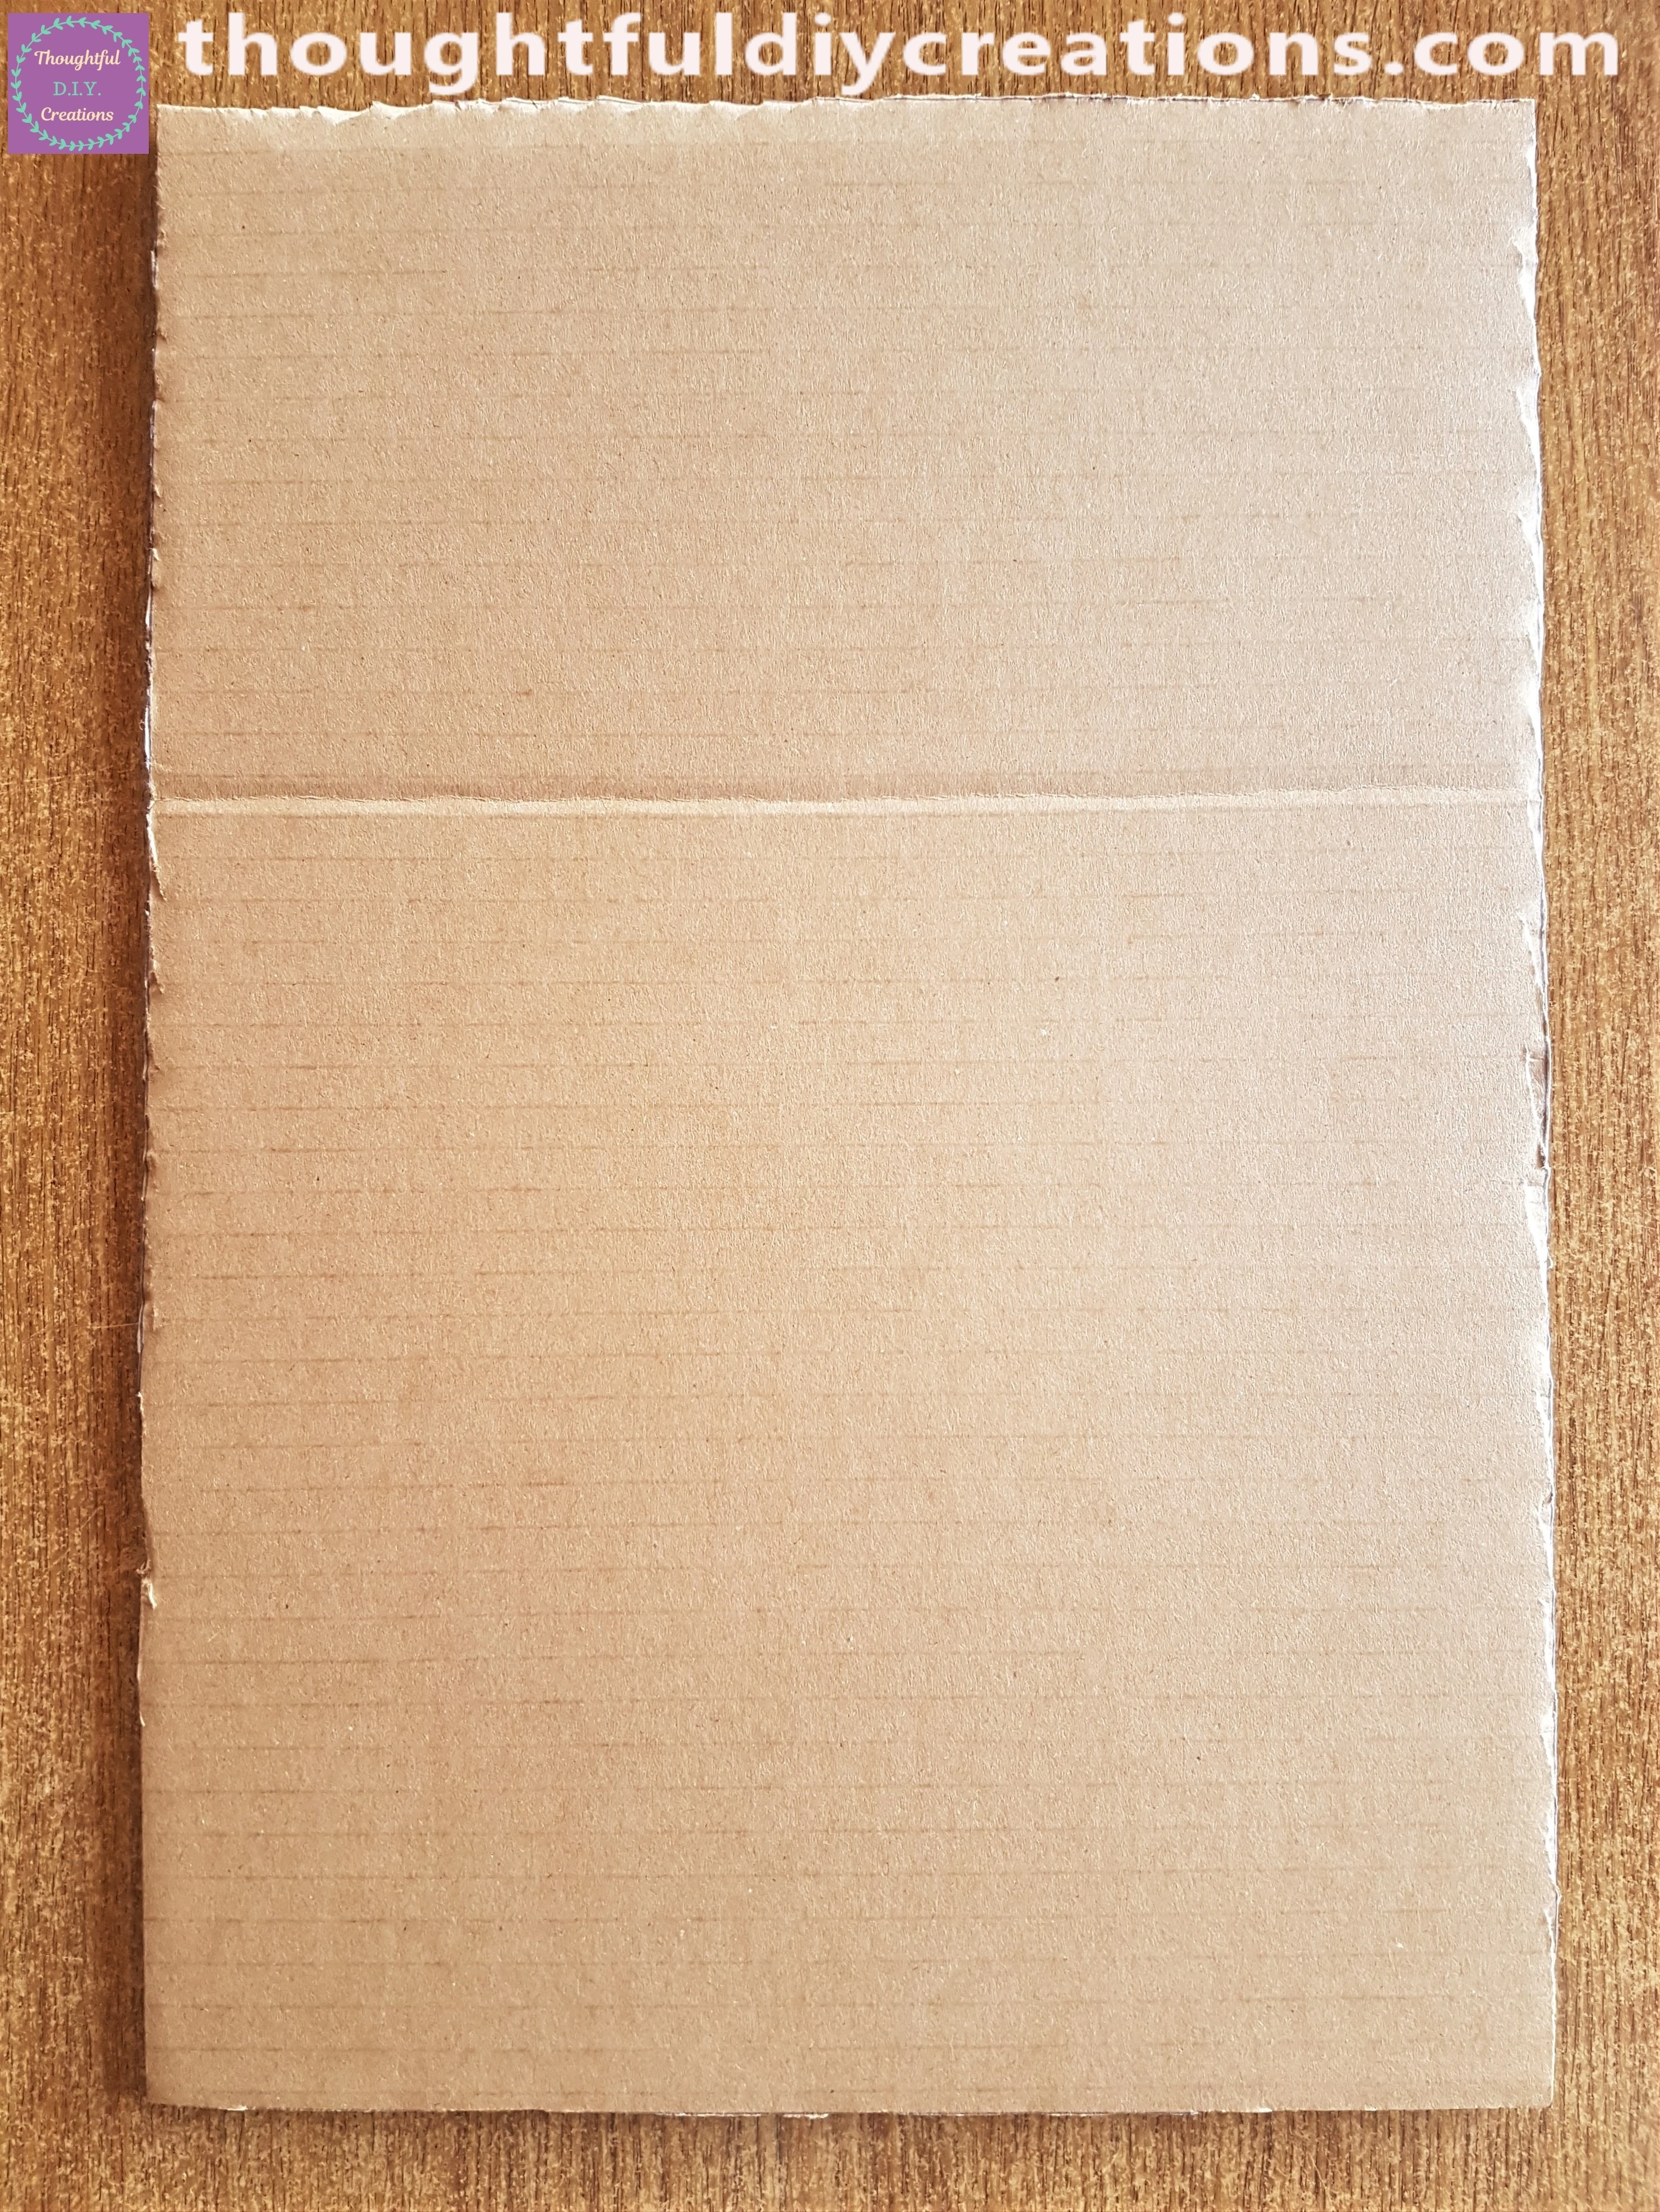
Covering the Memo Board with Fabric
I had an old T-Shirt in my Fabric Supplies; it had a hole in it but I thought it could be used in my Crafts instead of throwing it in the Bin.
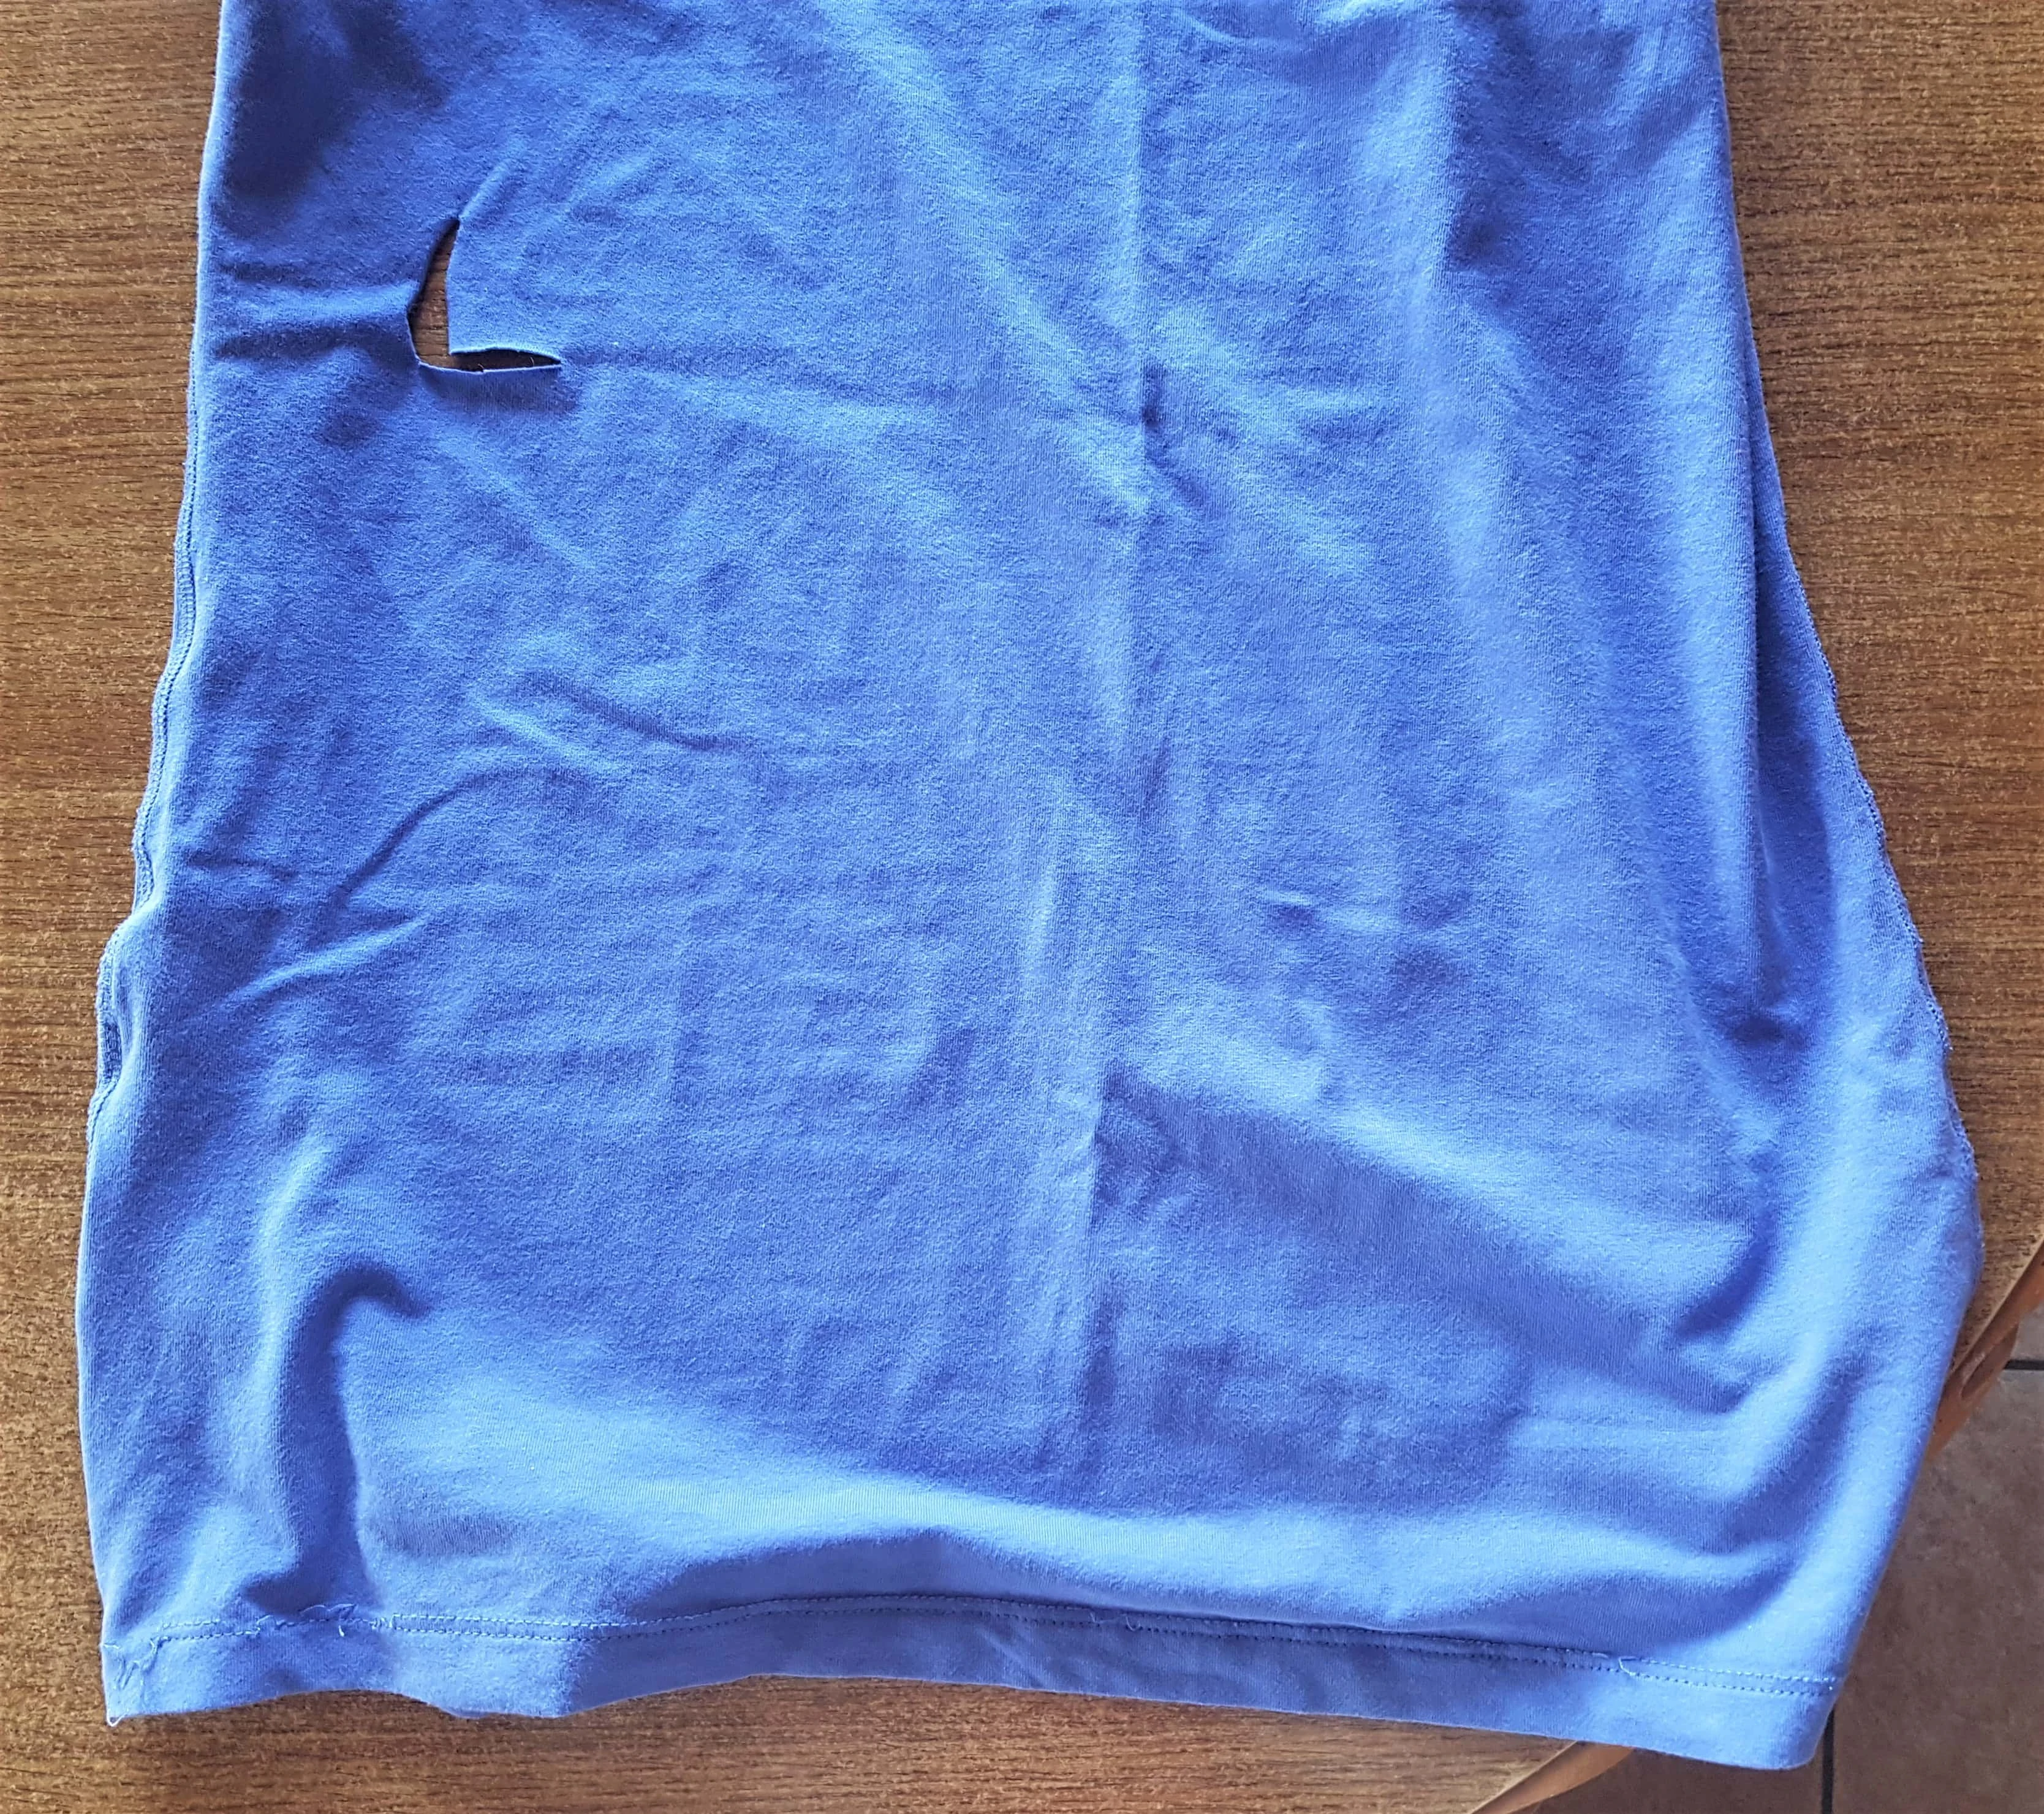
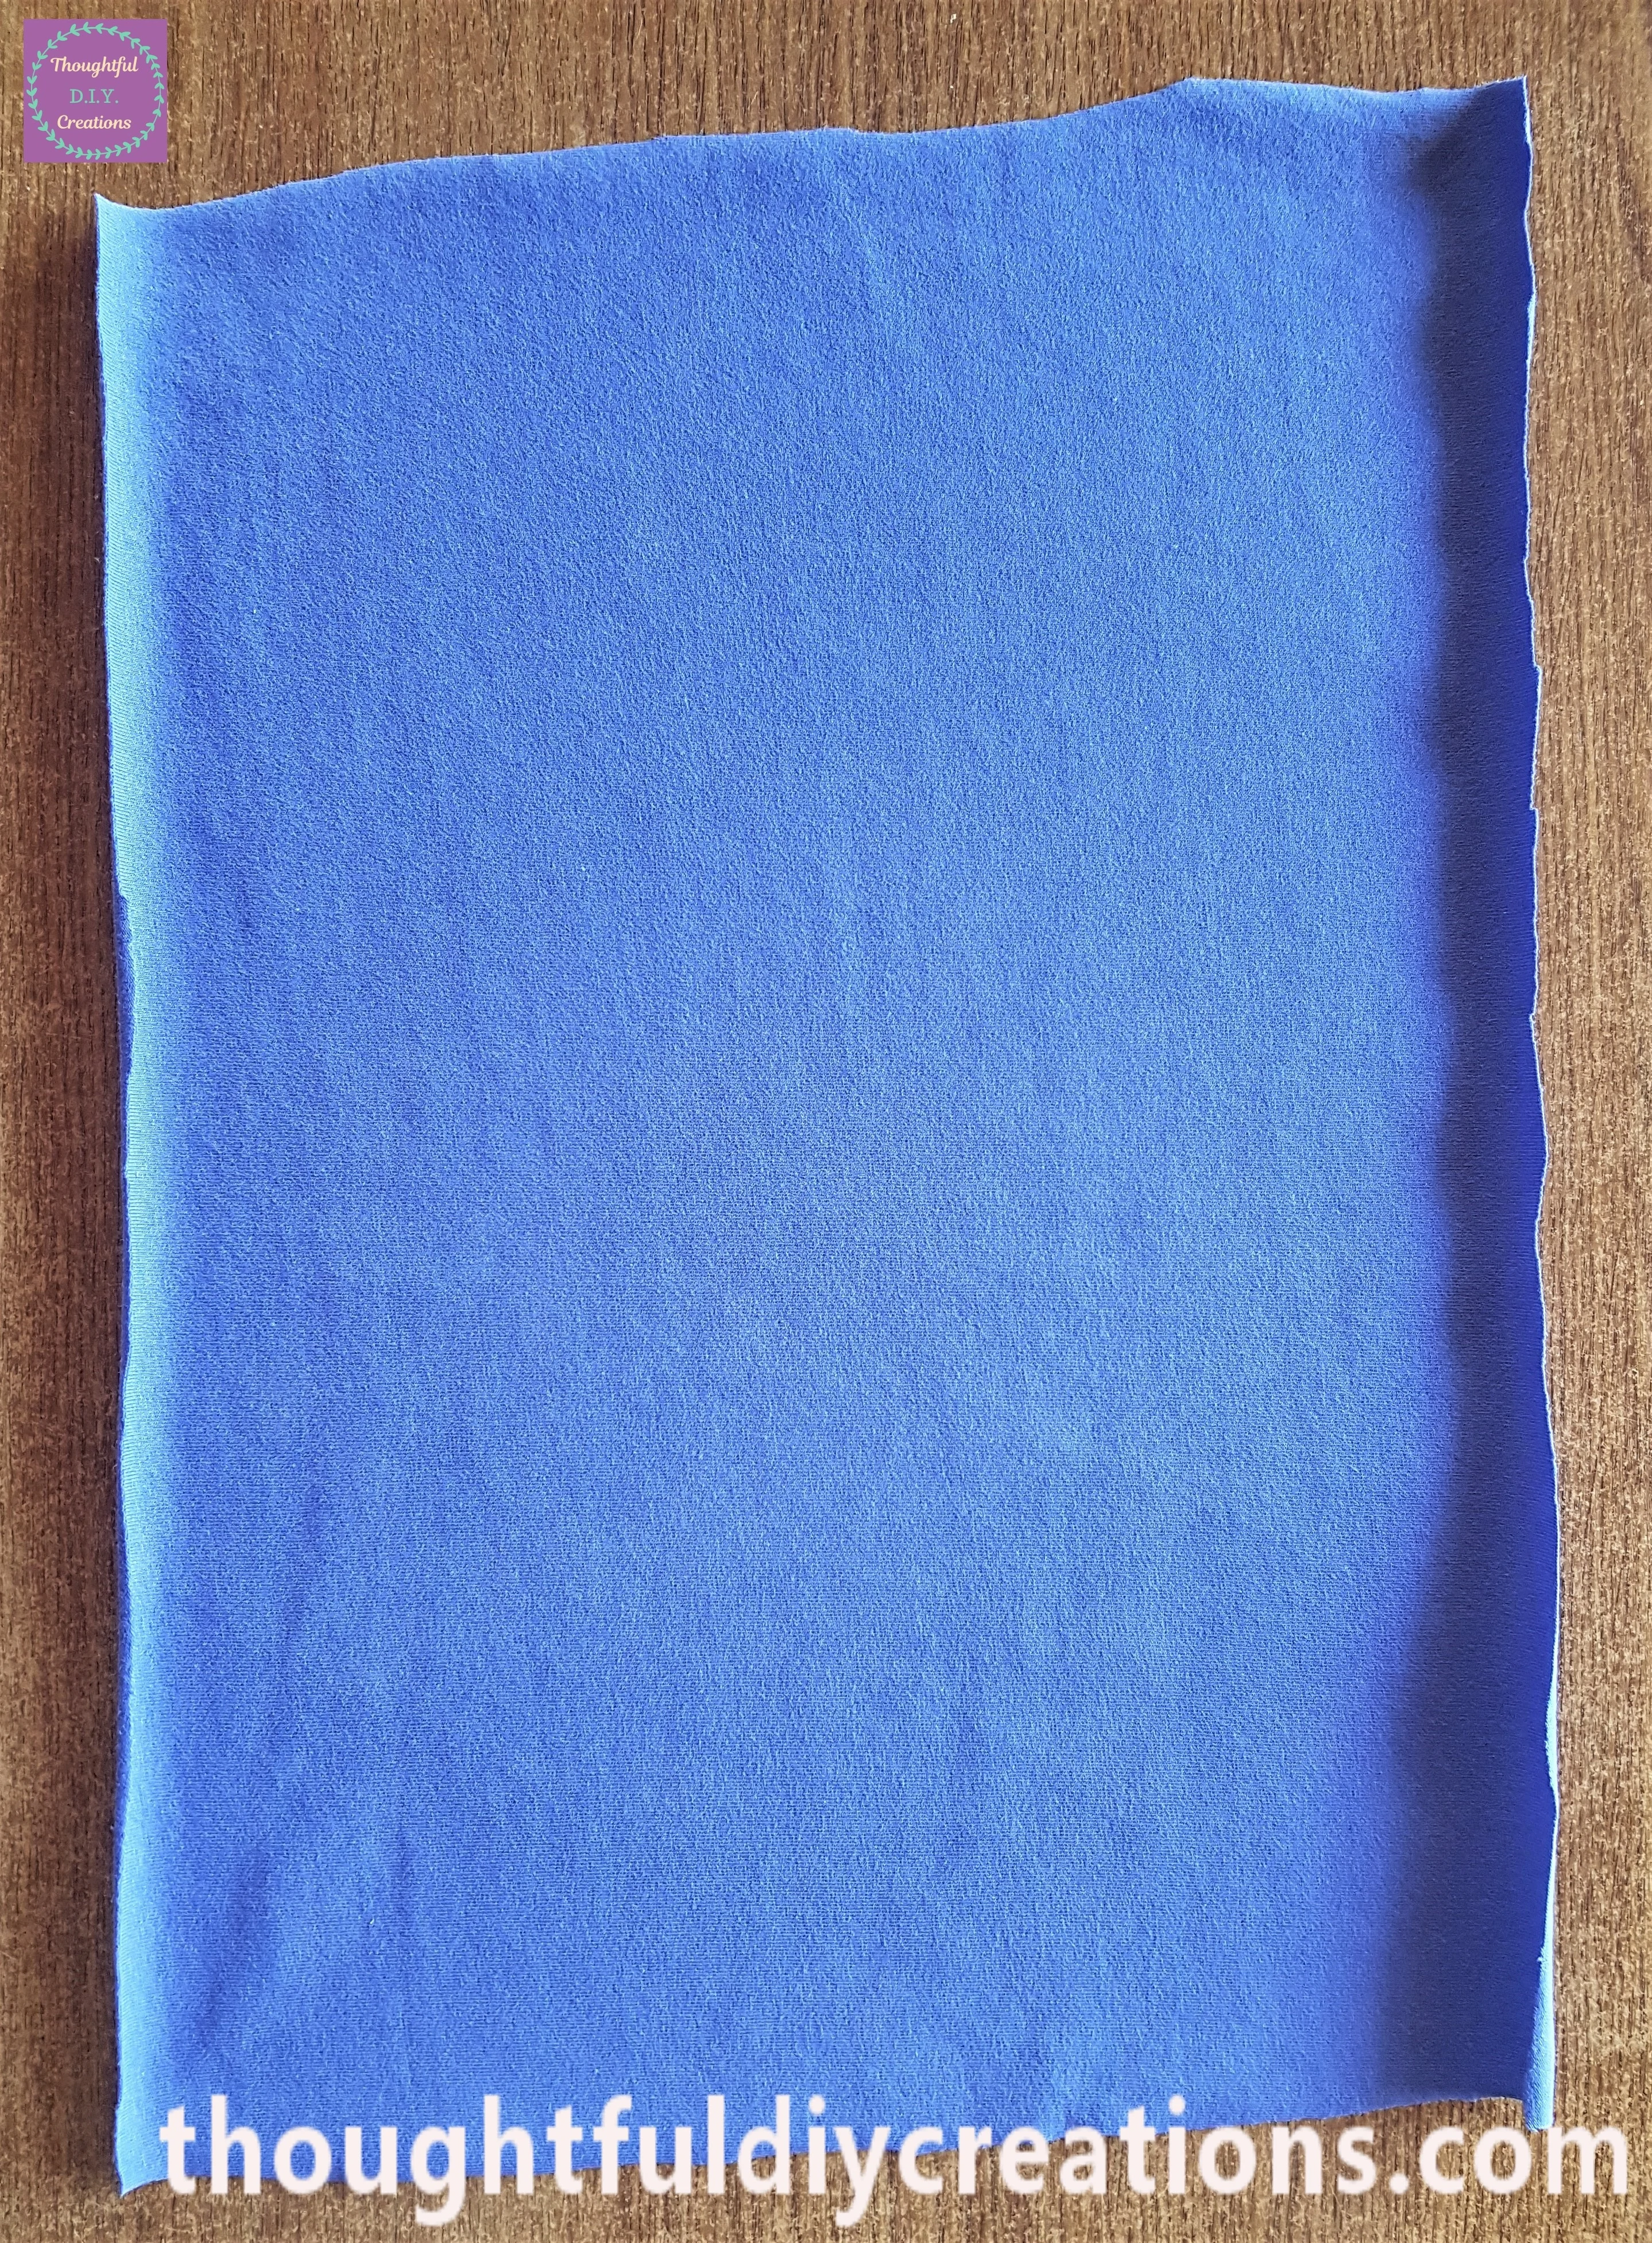
I put the Cardboard on top of the T-Shirt and Cut around it leaving extra room for a Border around the 4 Sides. I Ironed the Material on a Low Setting with No Steam.
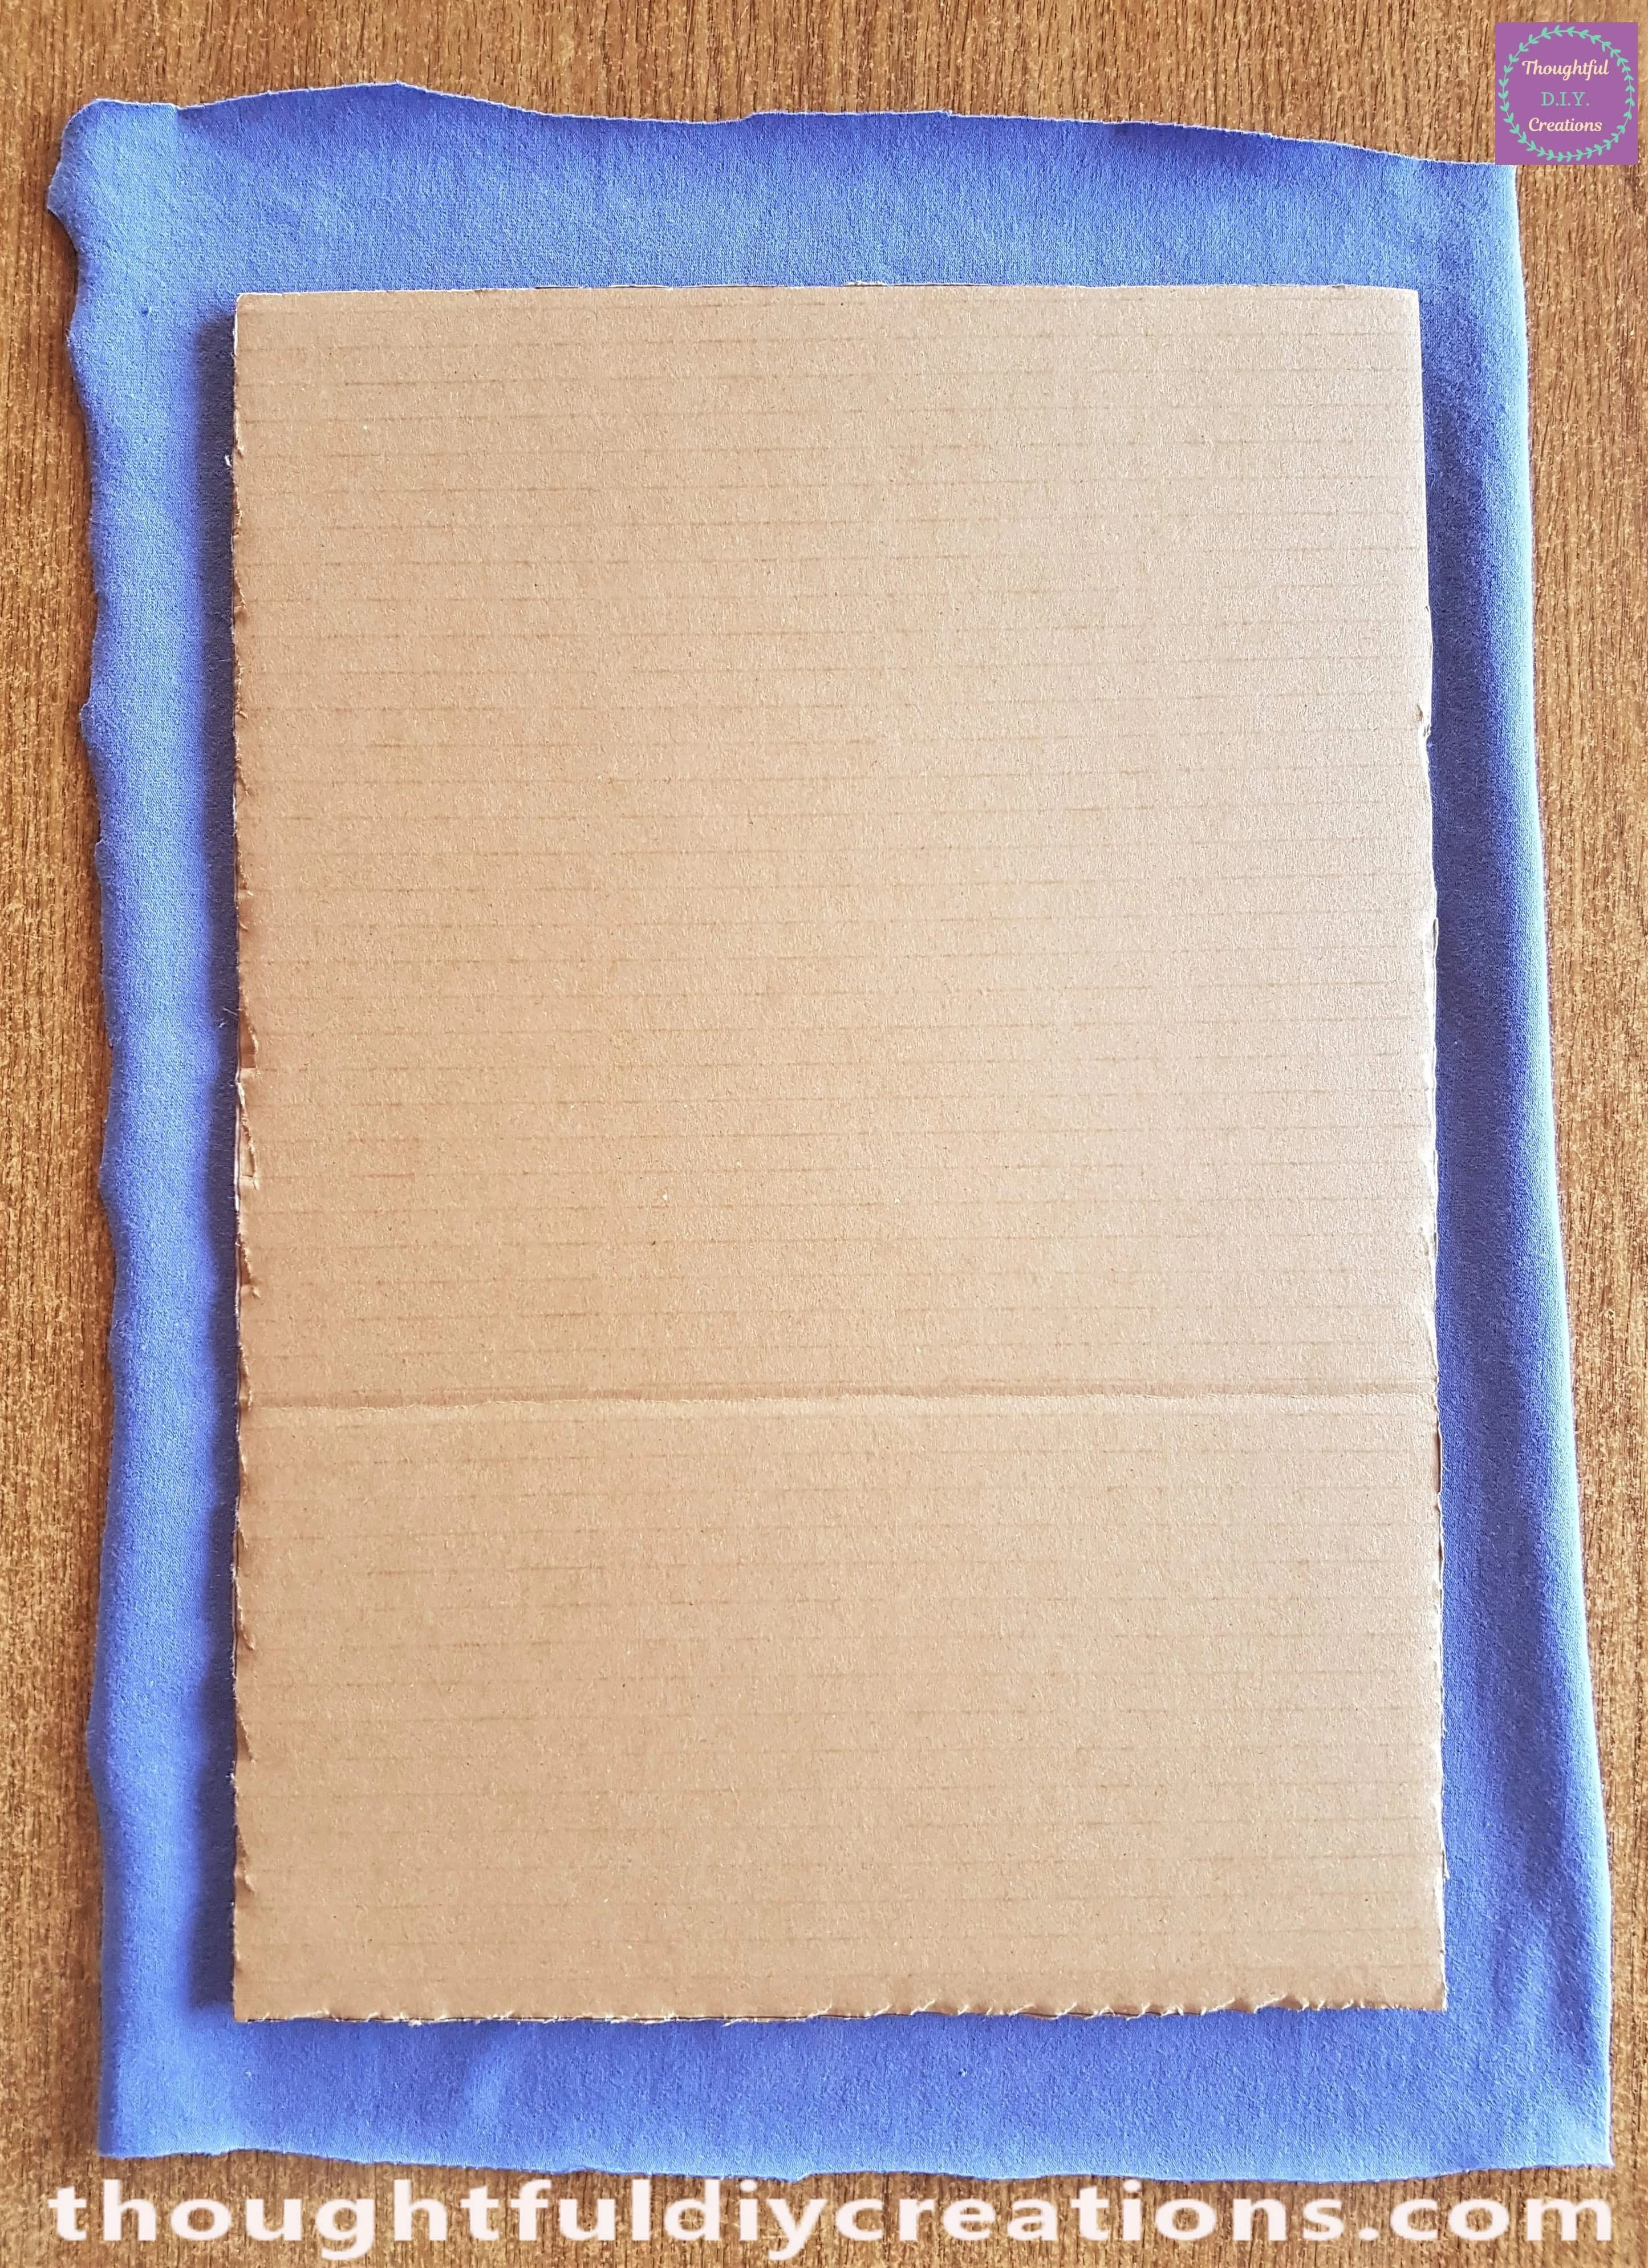
I put the Cardboard on the back of the Material.
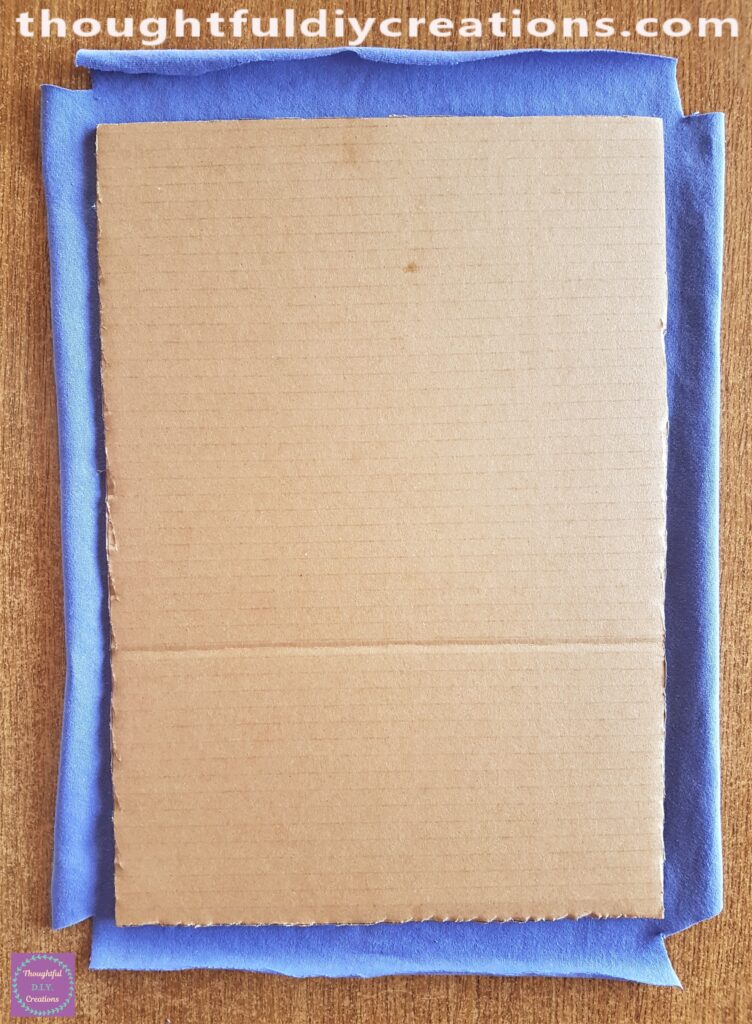
I Cut out the Edges of the Material to prevent the fabric from overlapping and bulging.
I Plugged in my Hot Glue Gun with Clear Glue Stick inside and let it heat up for 5 minutes.
I then applied a Line of Clear Glue along the back edge of the Cardboard and attached the Material to the Hot Glue.
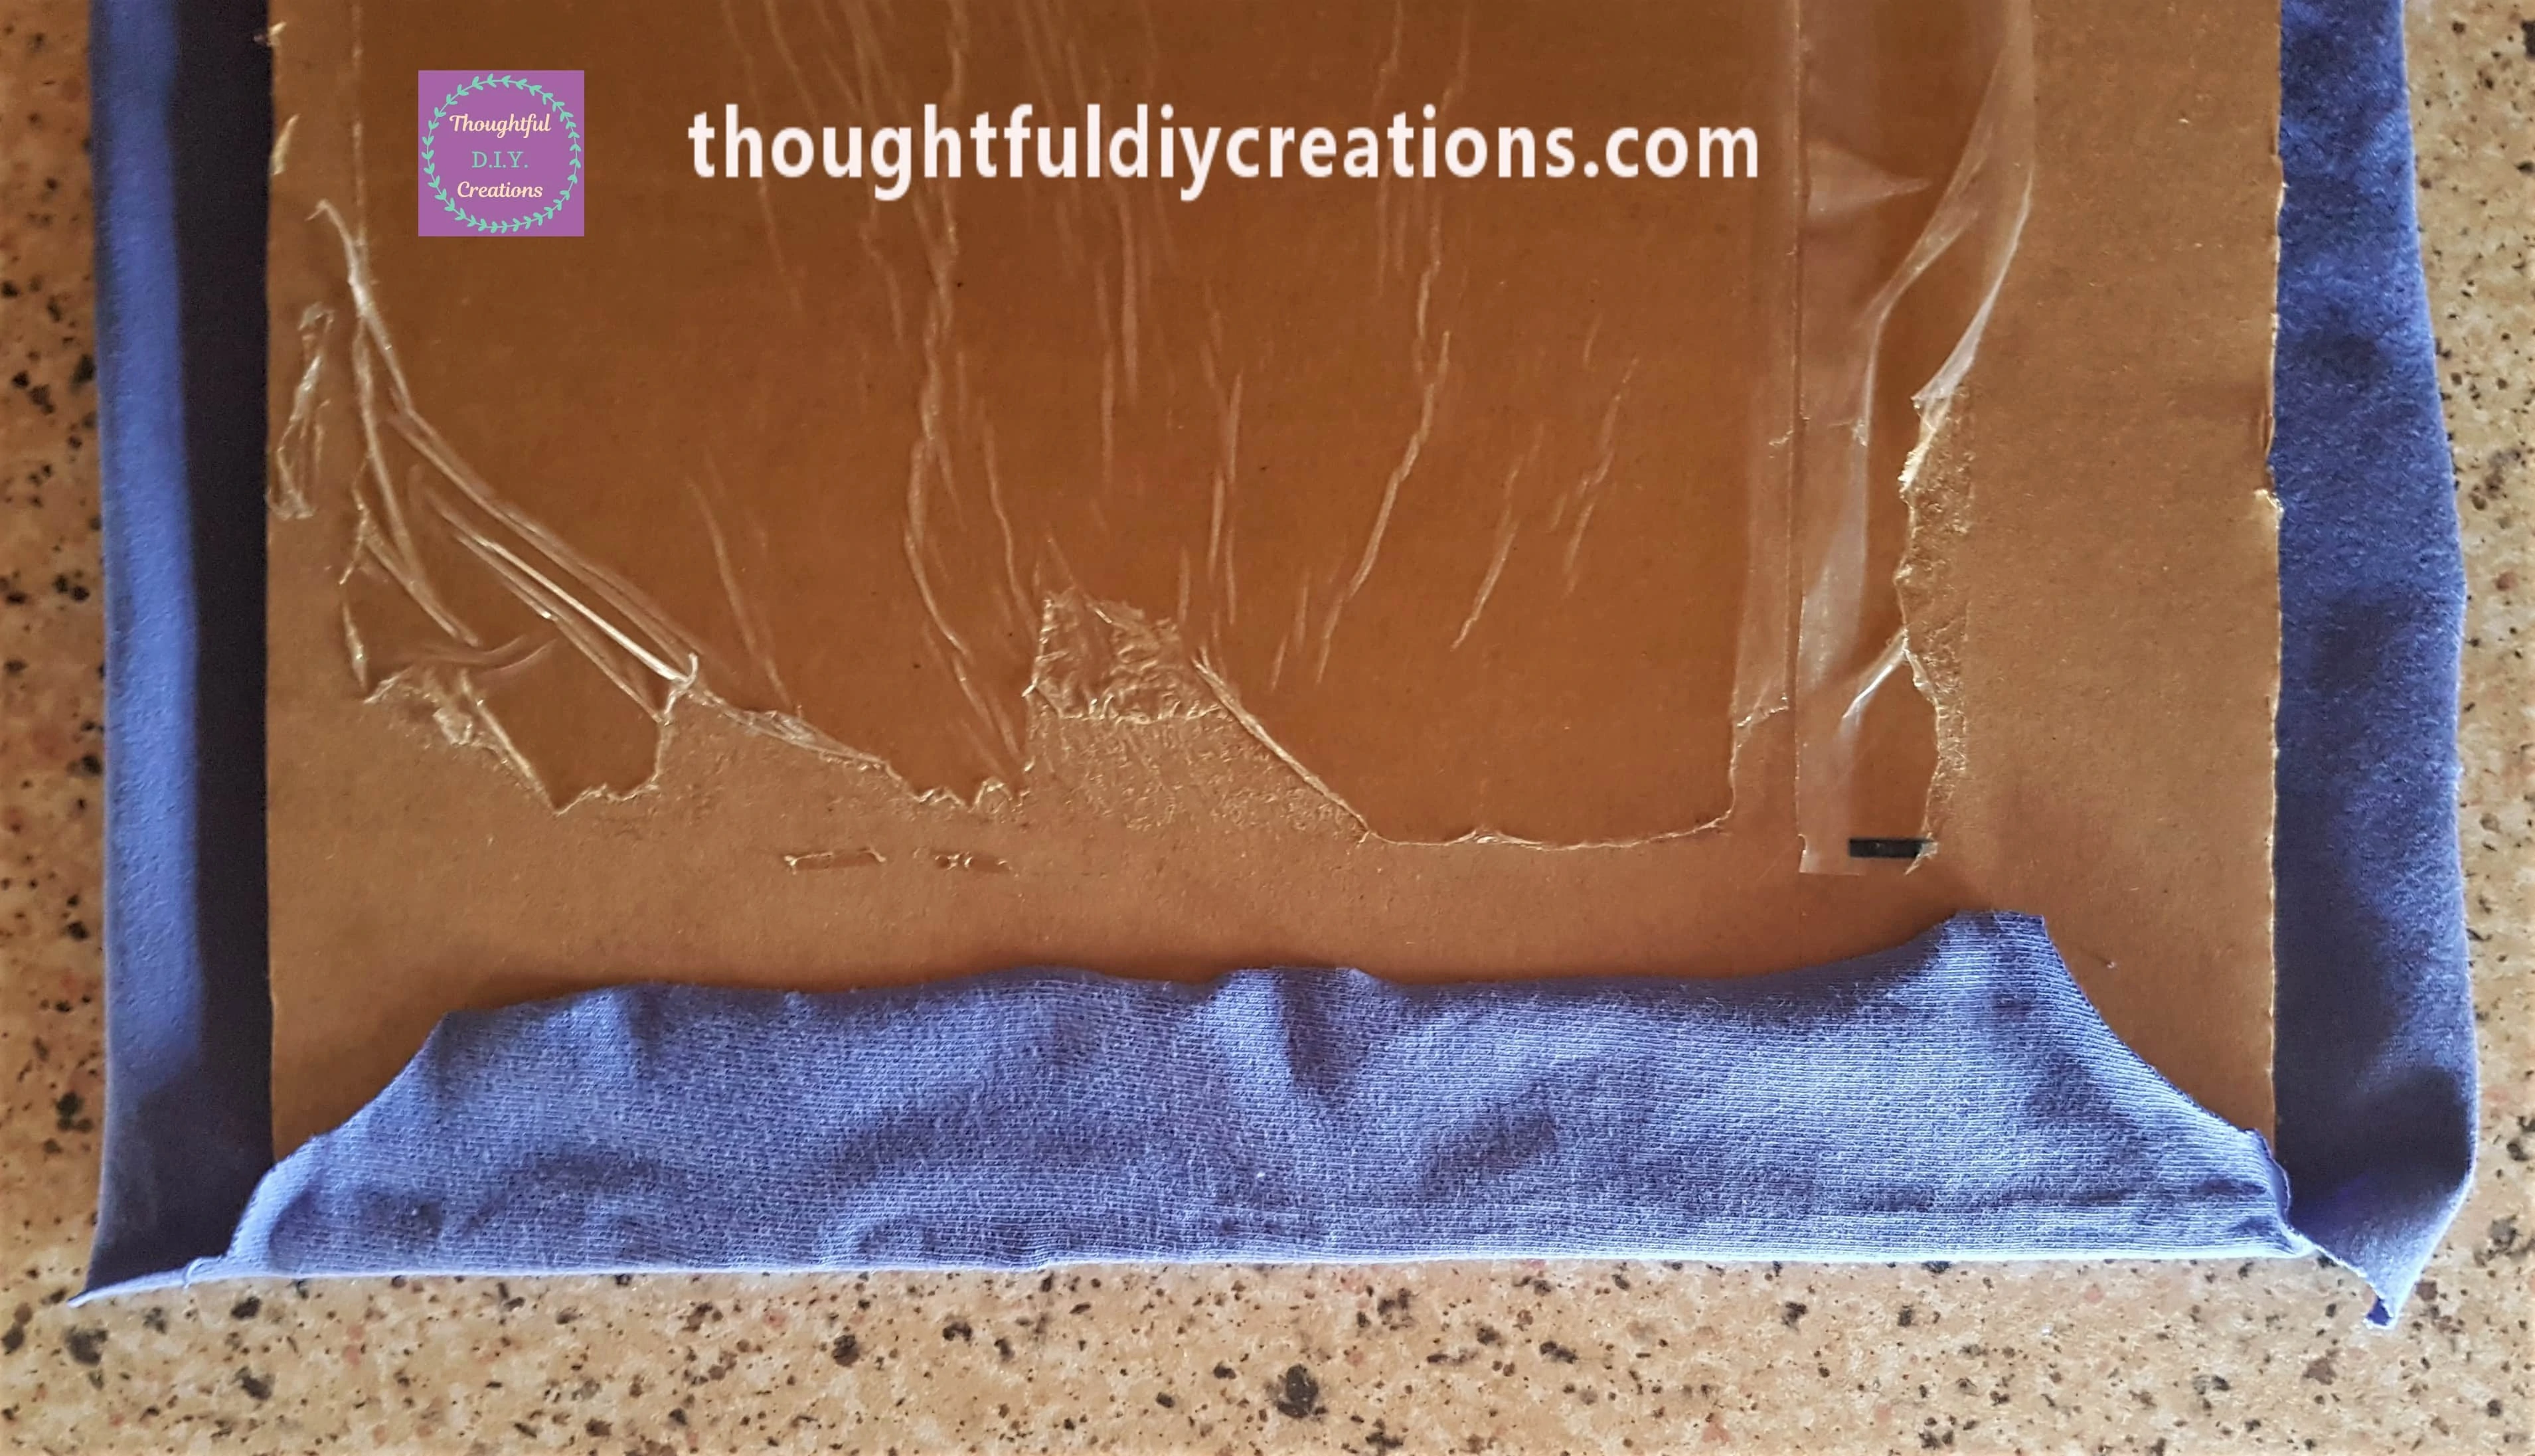
I repeated this Step on the long Side of the Cardboard. I cut away any excess Material.
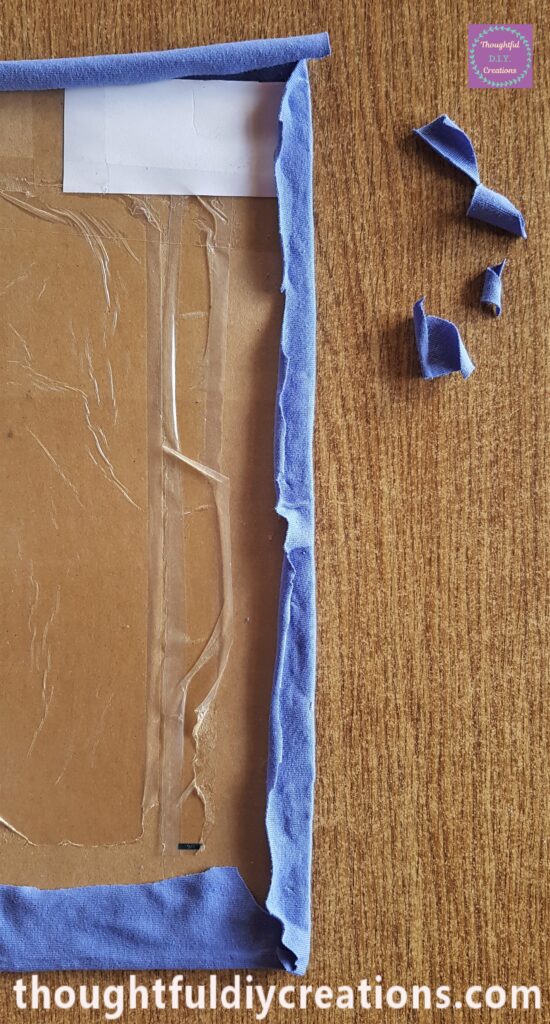
I Continued until all 4 Sides of the Material was attached to the back of the Cardboard with the Hot Glue.
This is how the Front of the Memo Board is looking so far.
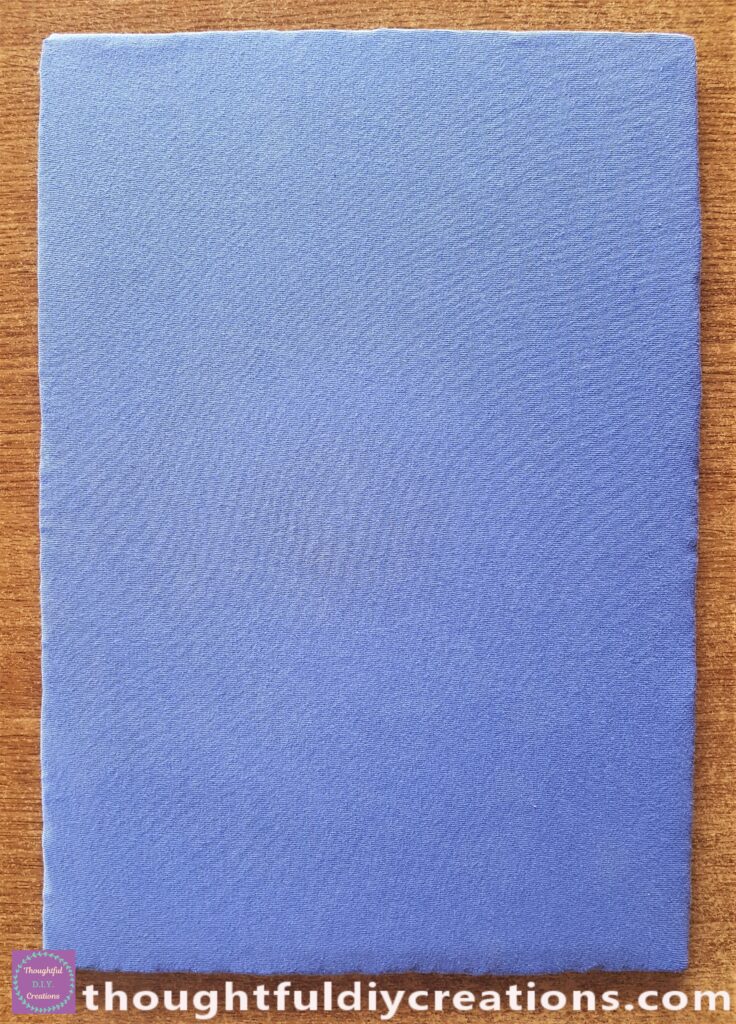
Embellishing the Memo Board
I got my 3-D Butterfly Wall Stickers. I also used these Stickers for my Butterfly Canvas Tutorial.
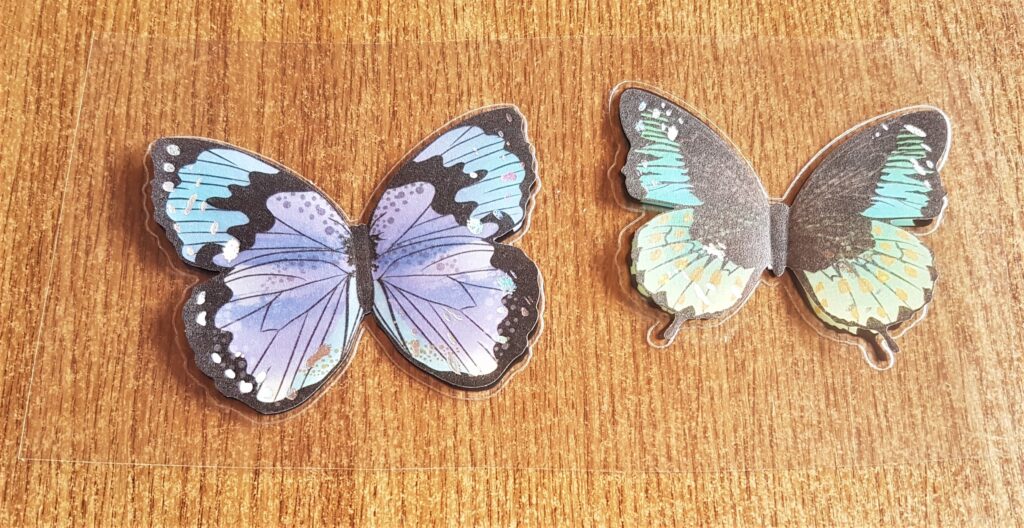
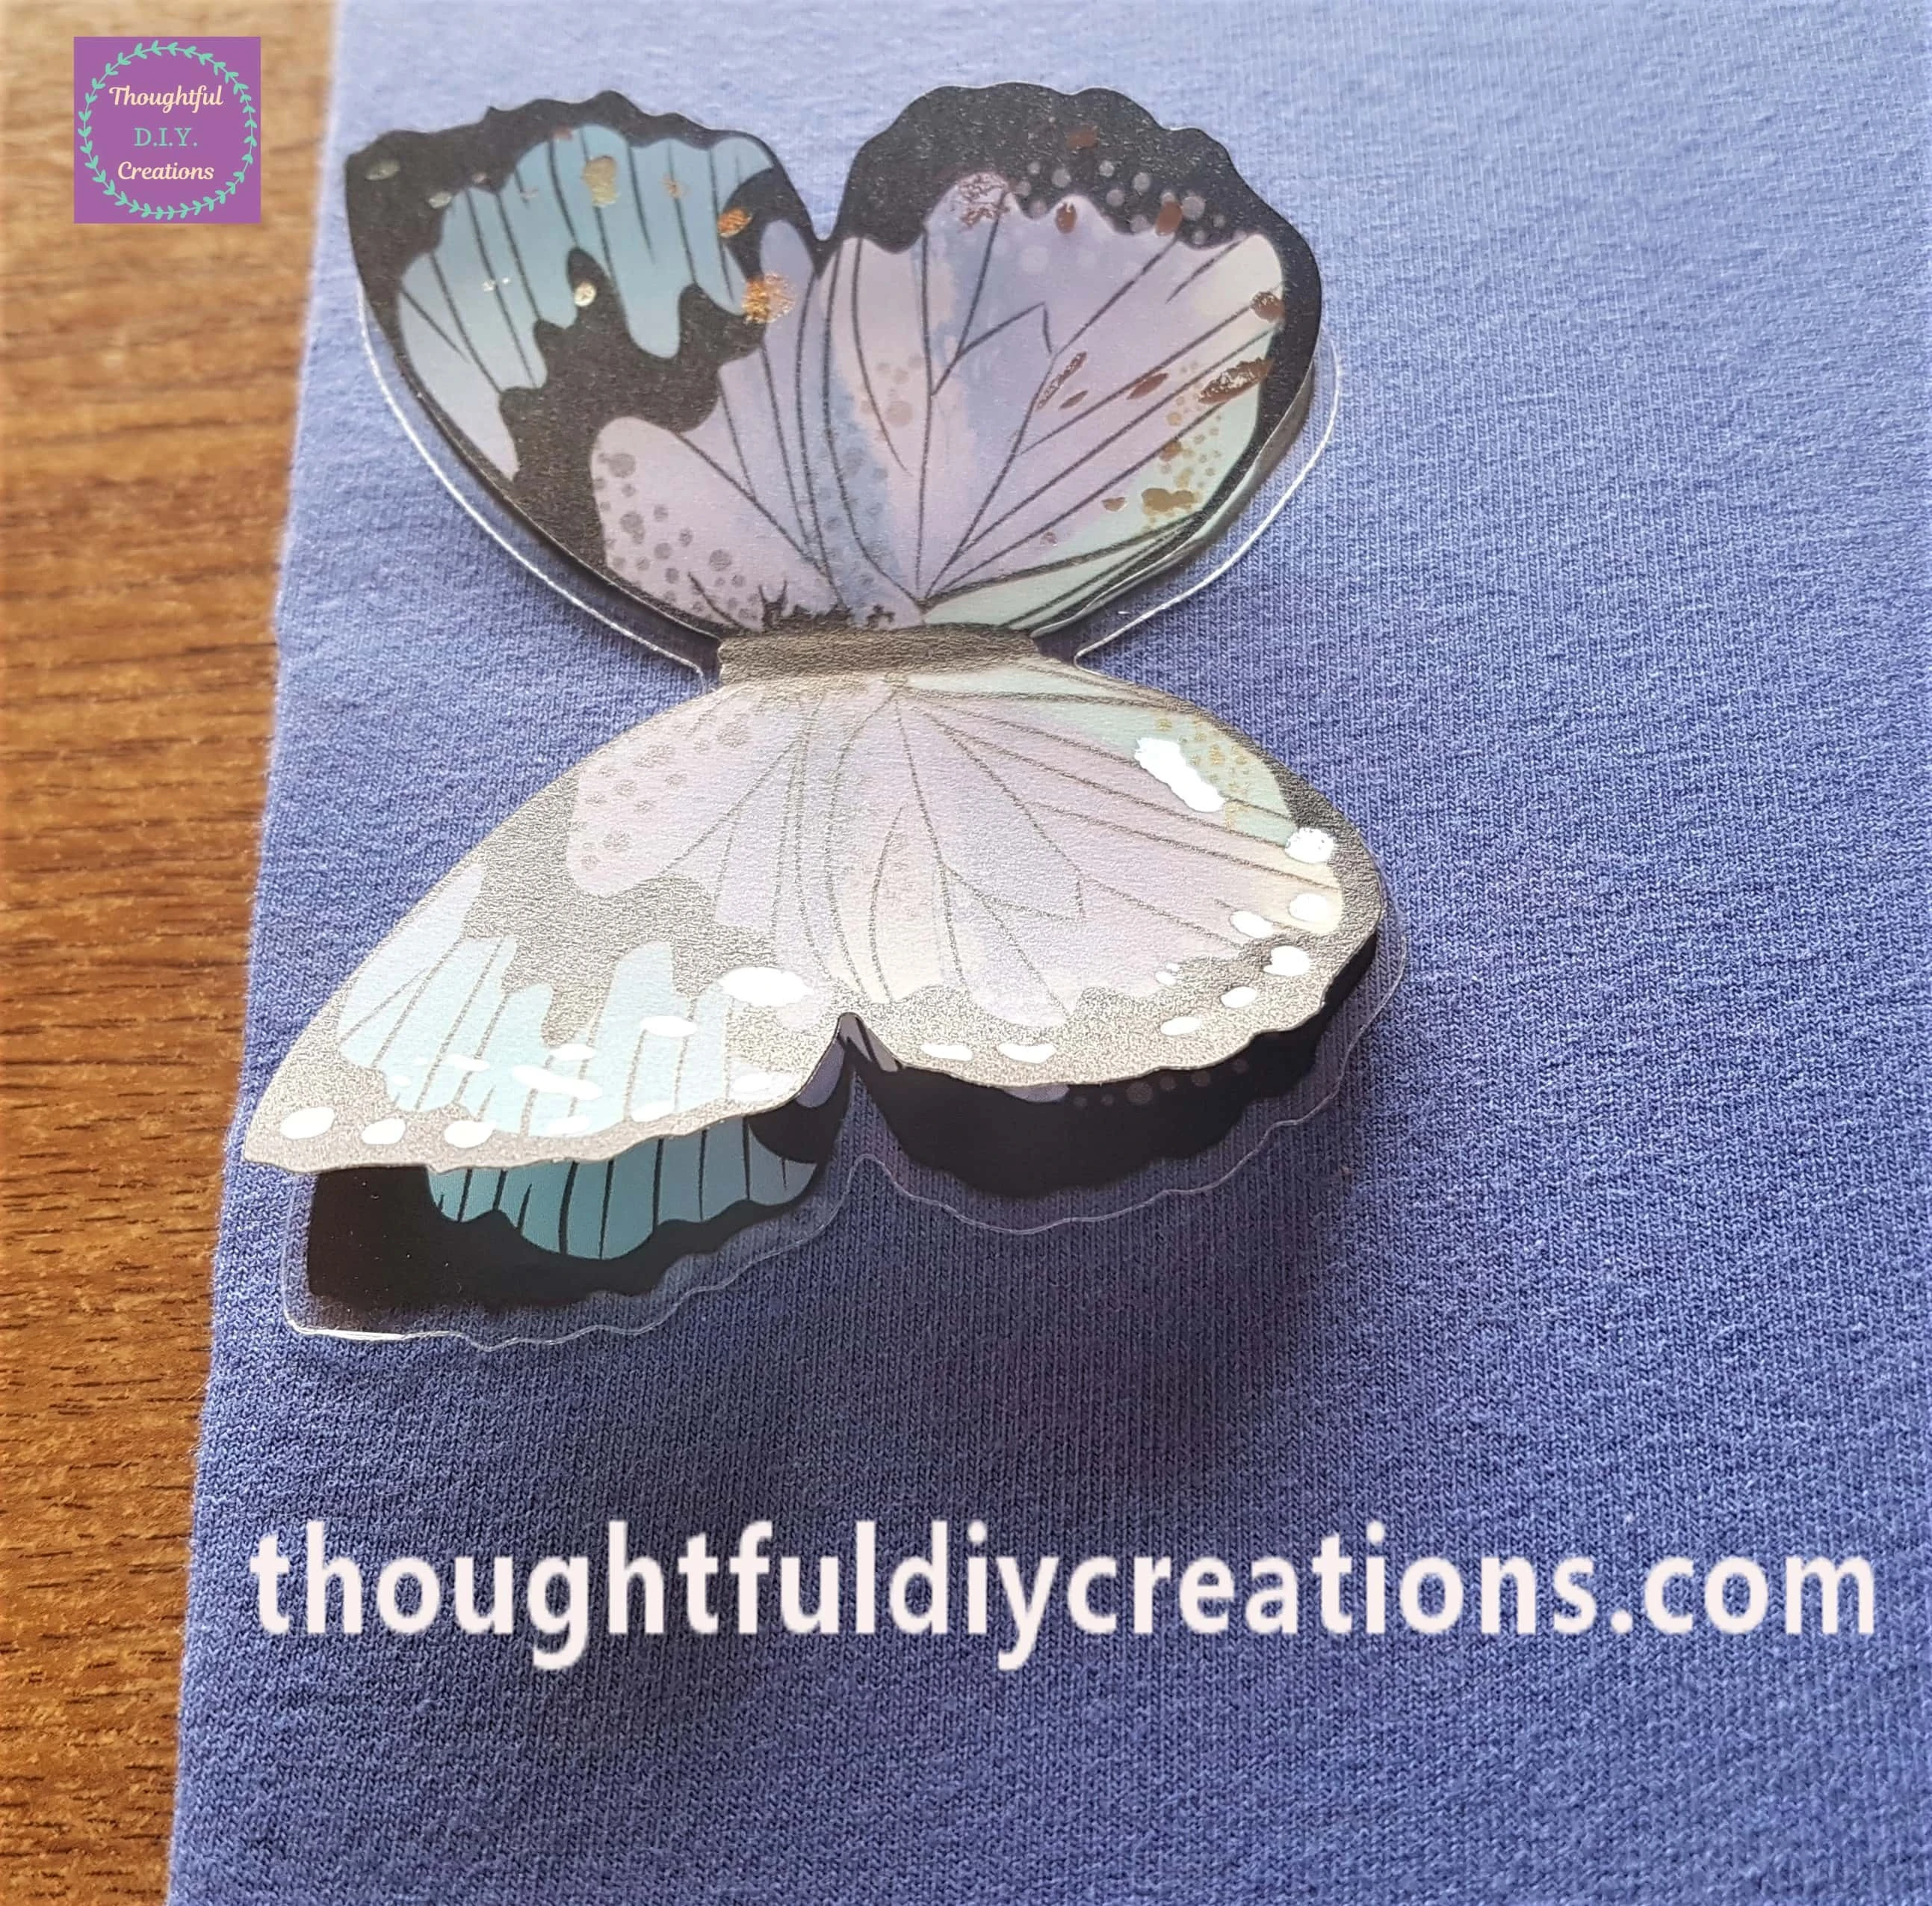
I attached the Blue and Black Butterfly Sticker to the Top Mid-Section of the Memo Board.
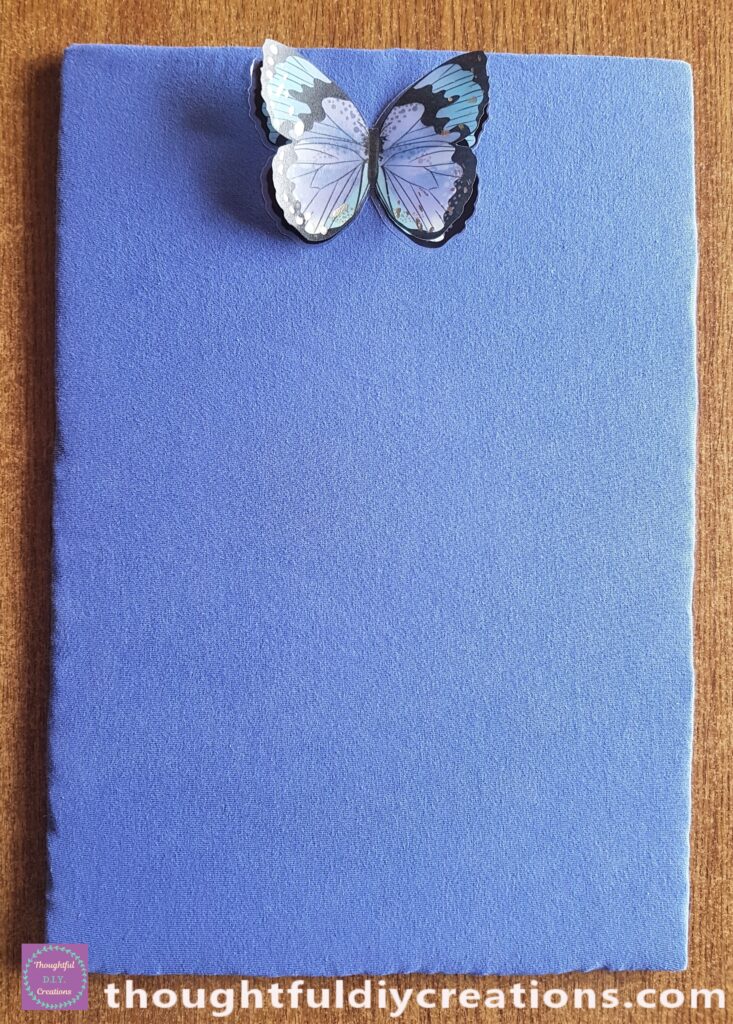
A Side angle of the 3-D Butterfly.
Attaching String to the Board
I got my Roll of Cream Cord.
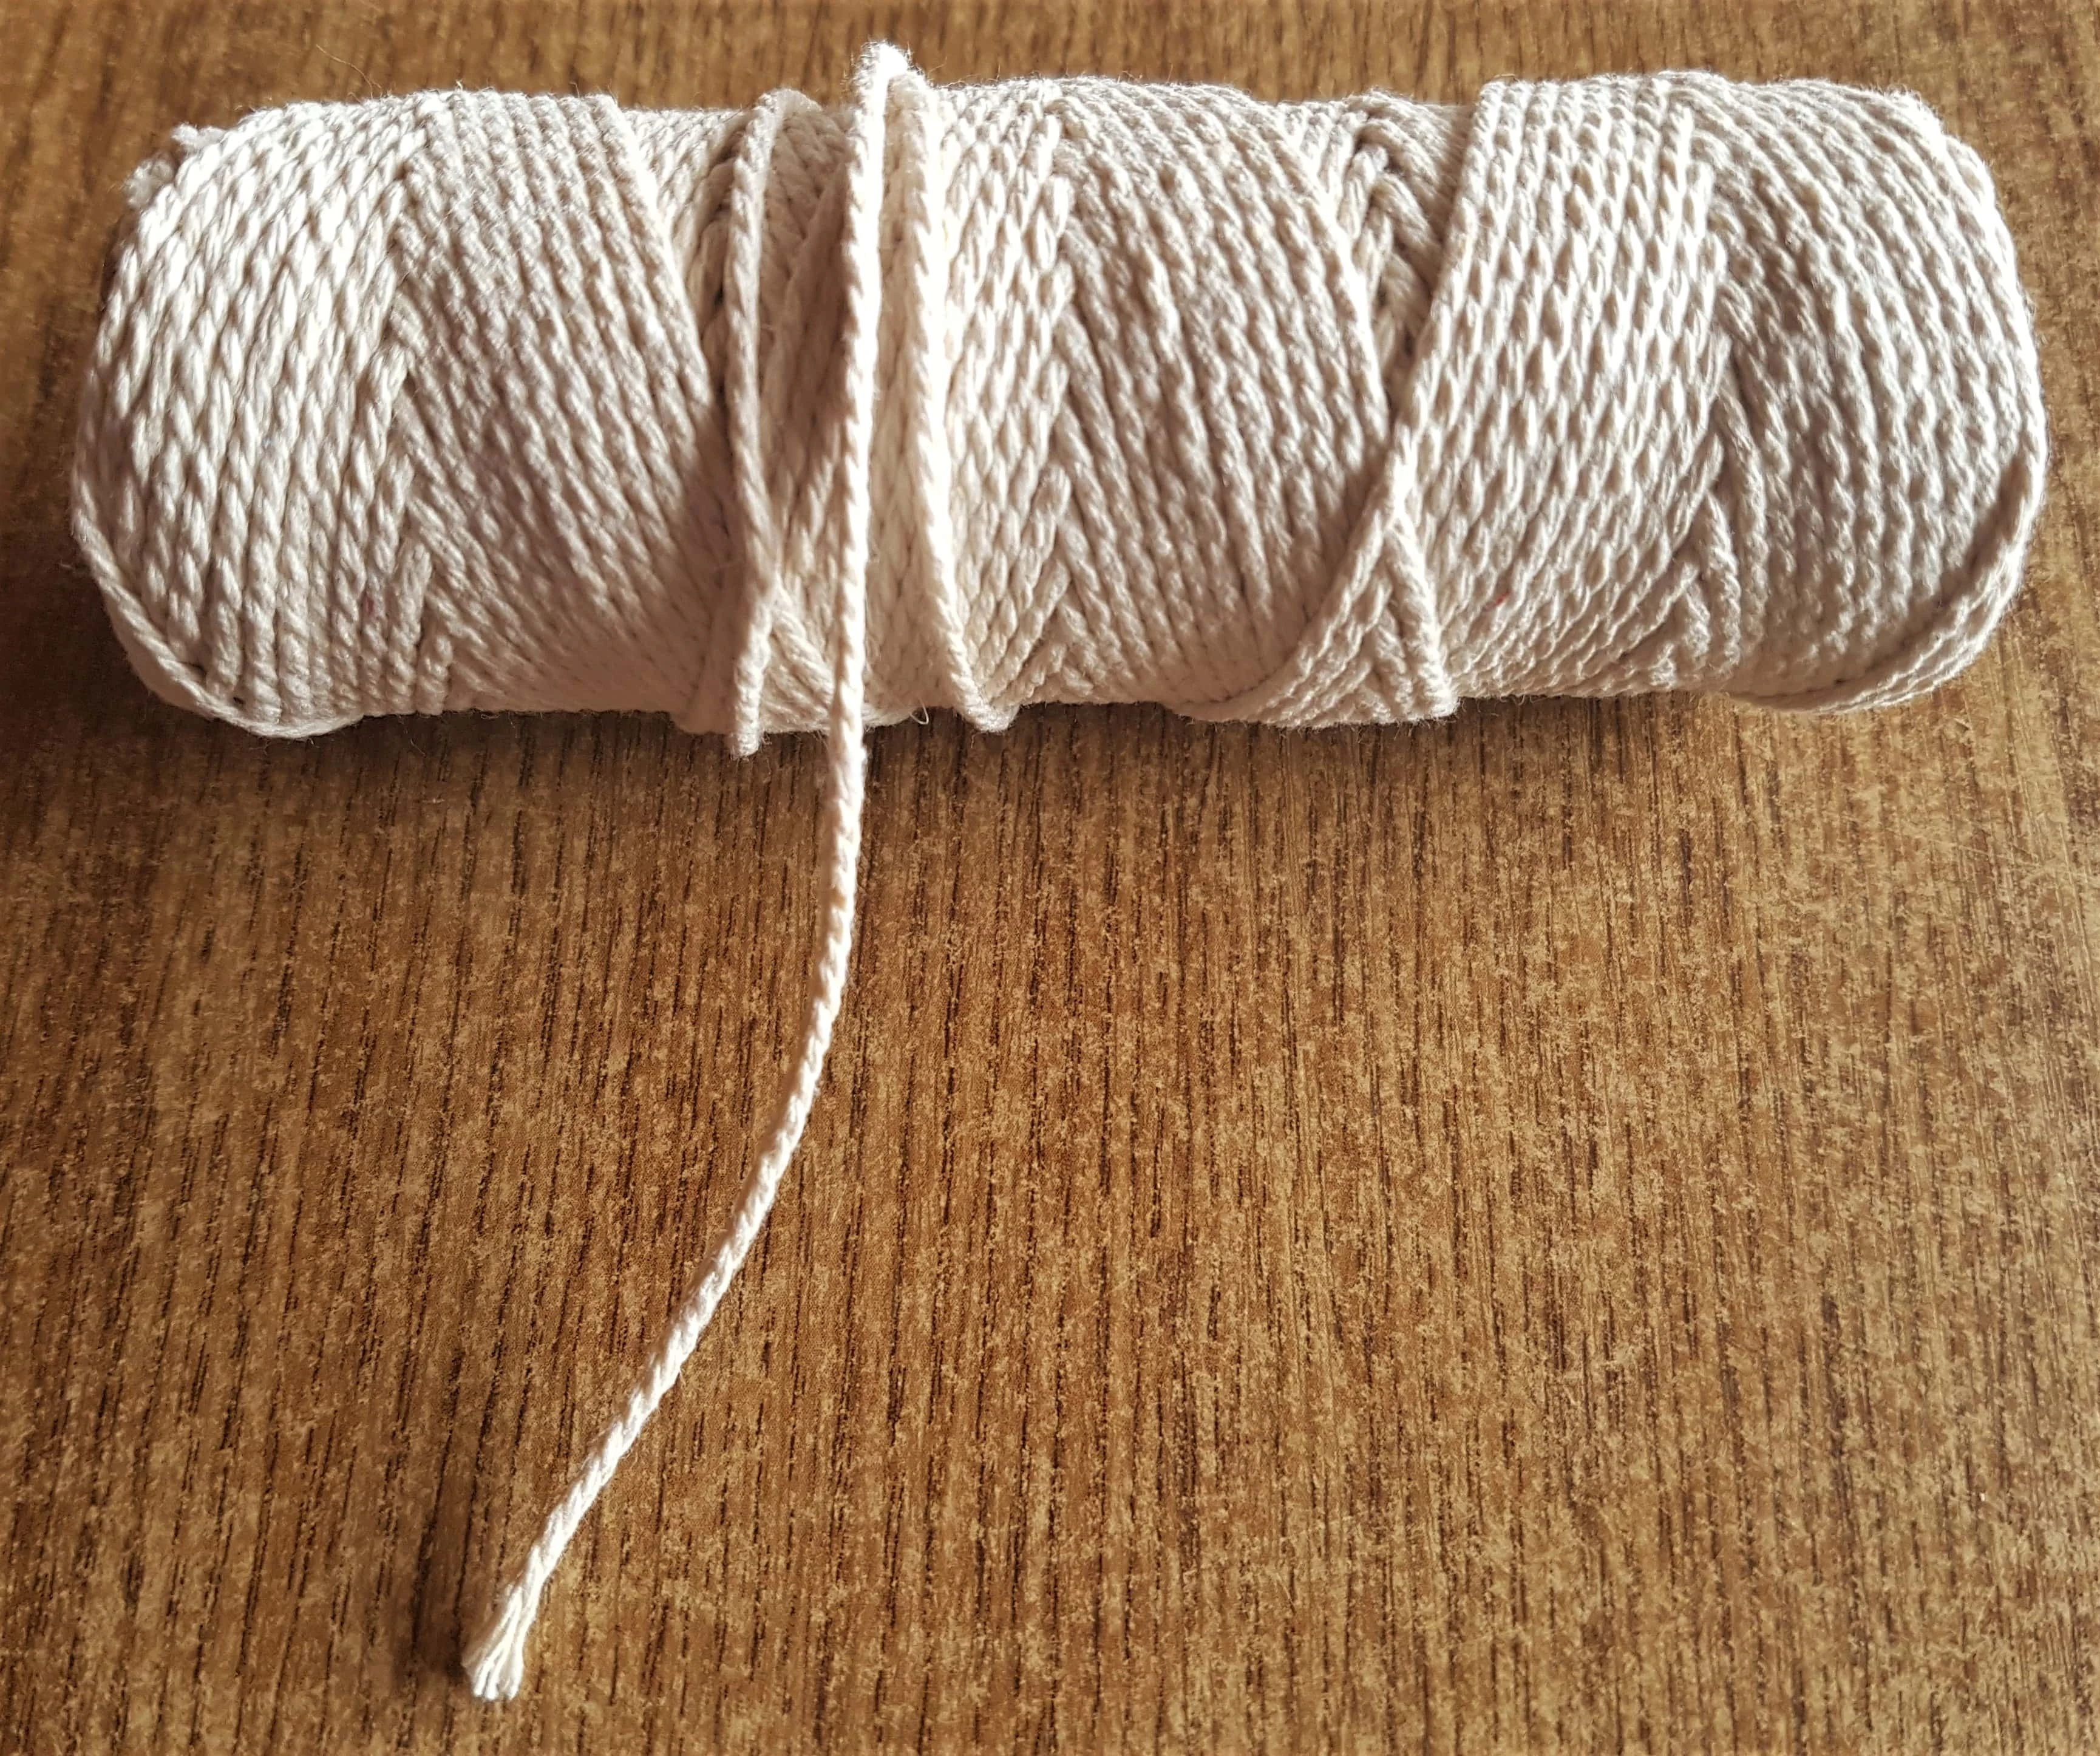
I Cut out 2 lengths of the String for the Memo Board.
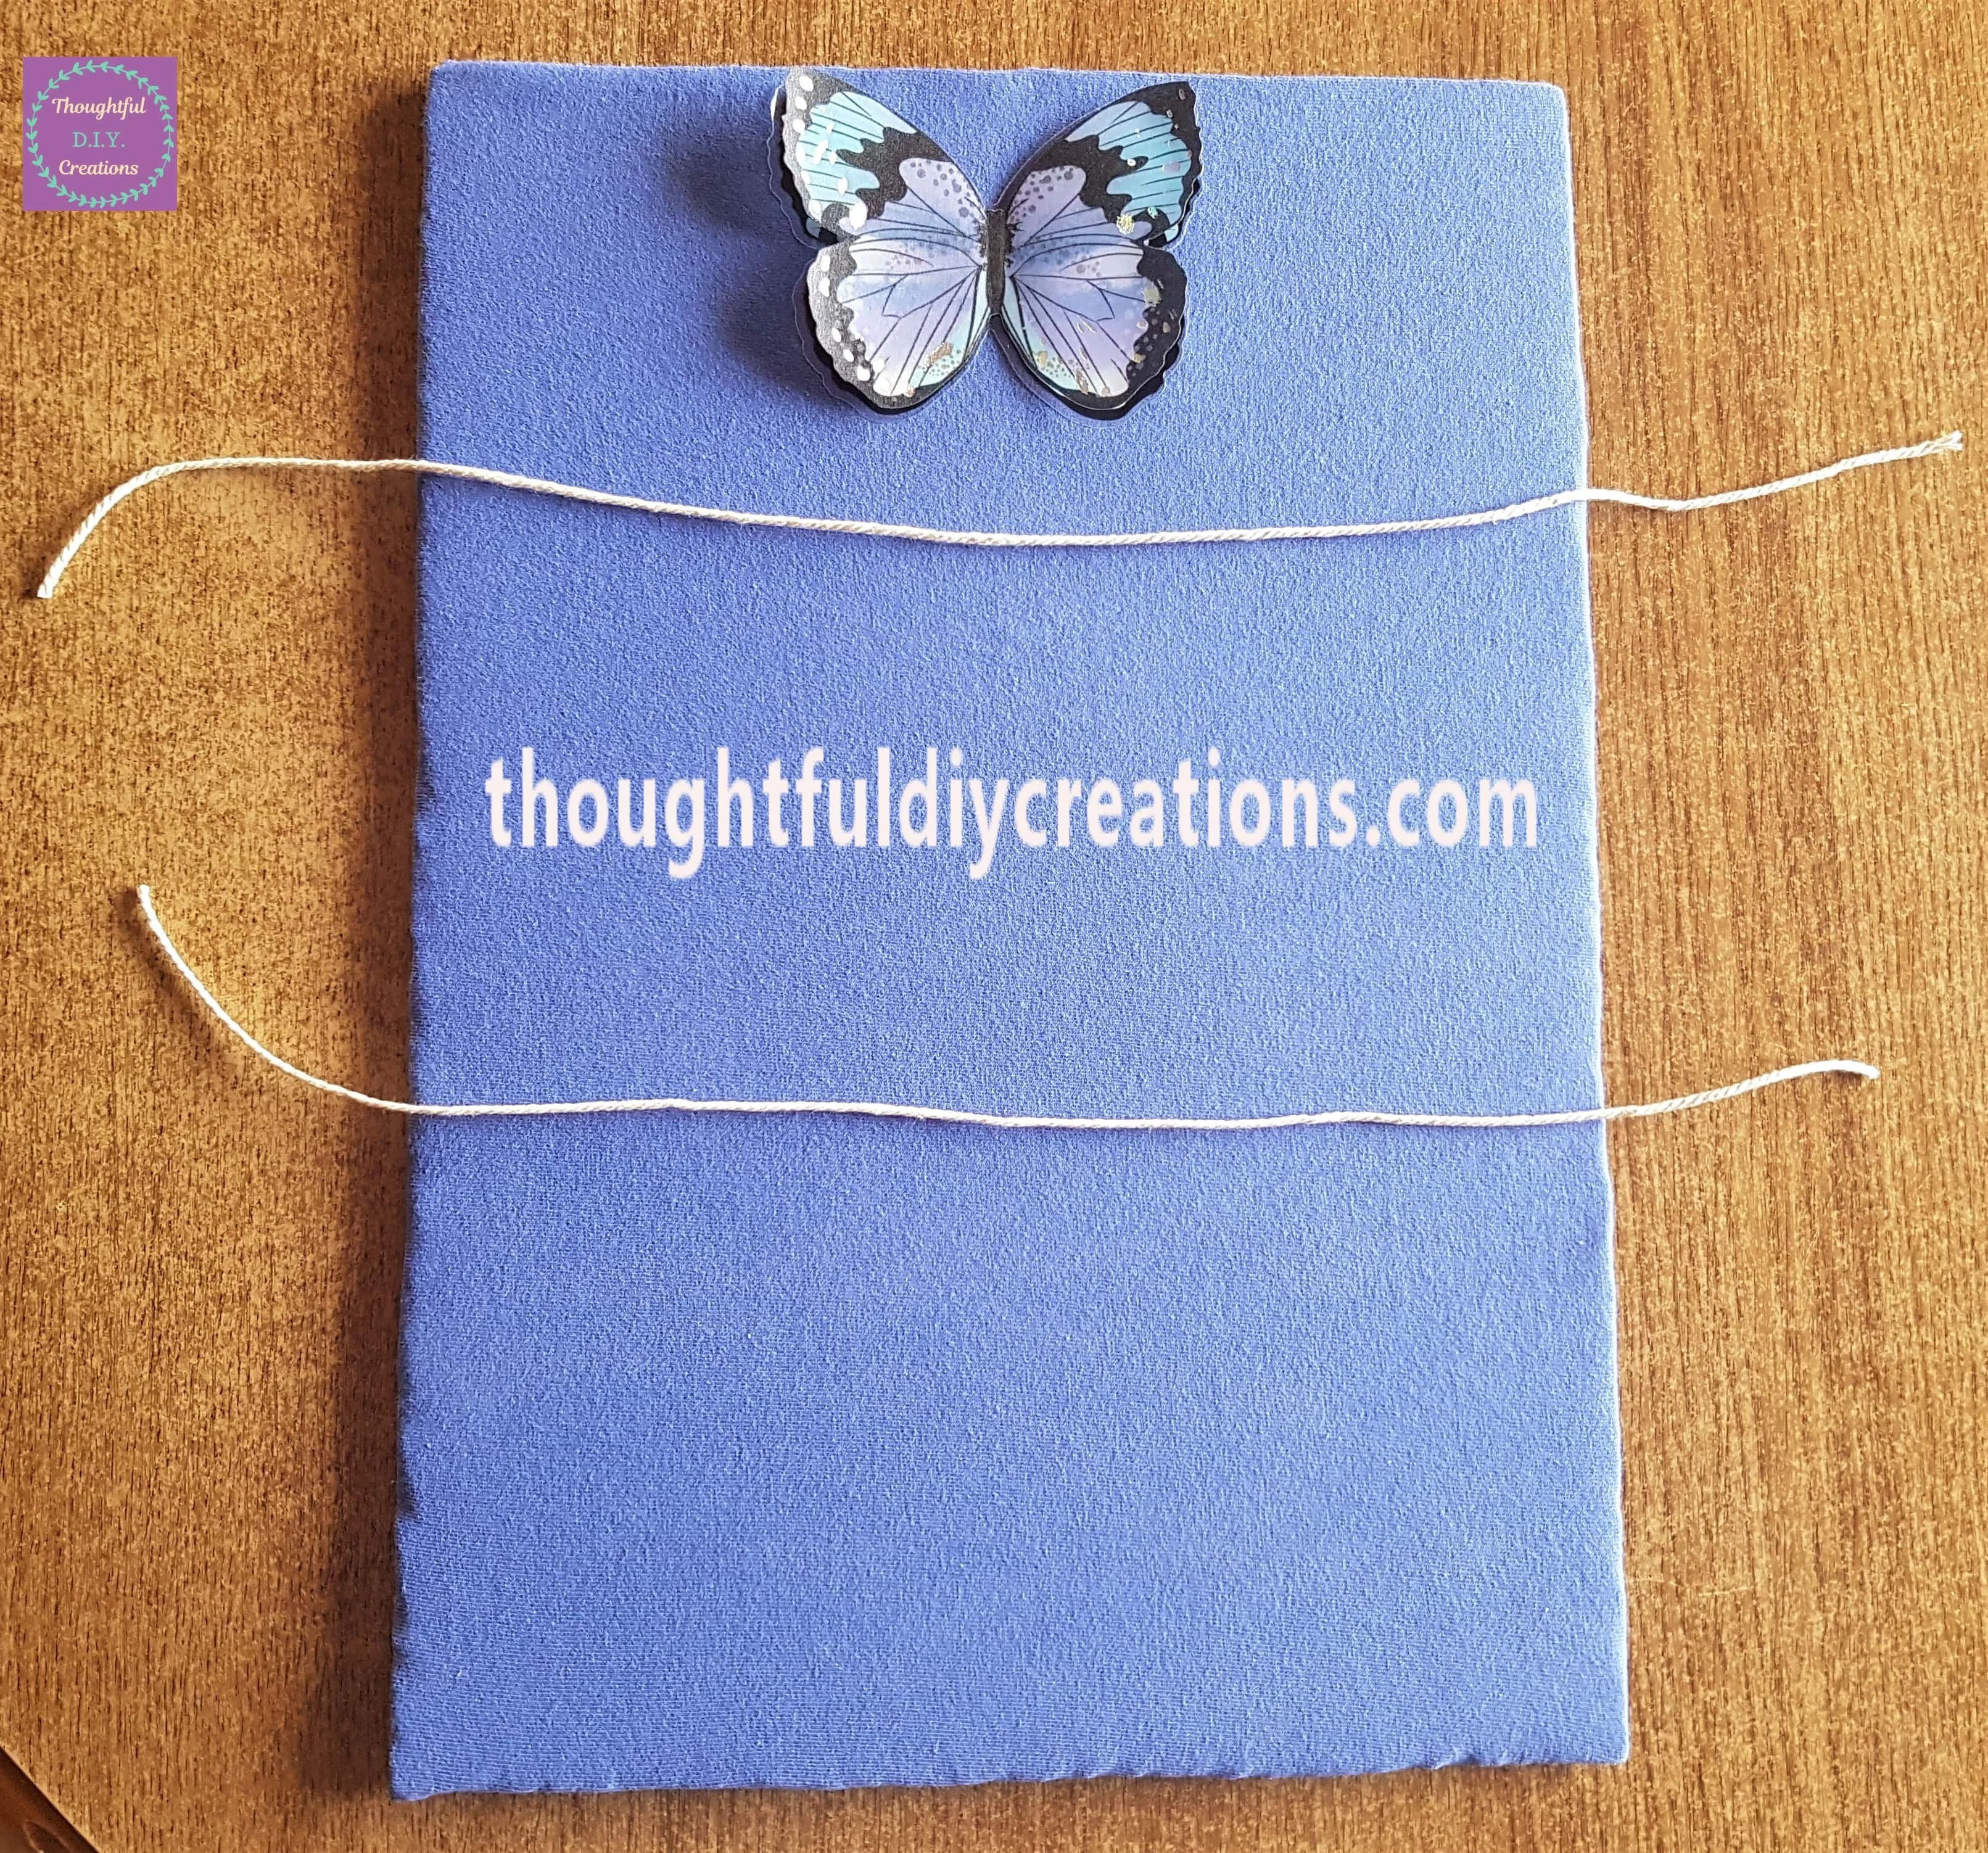
I attached the first string to the back of the Cardboard using Hot Glue.
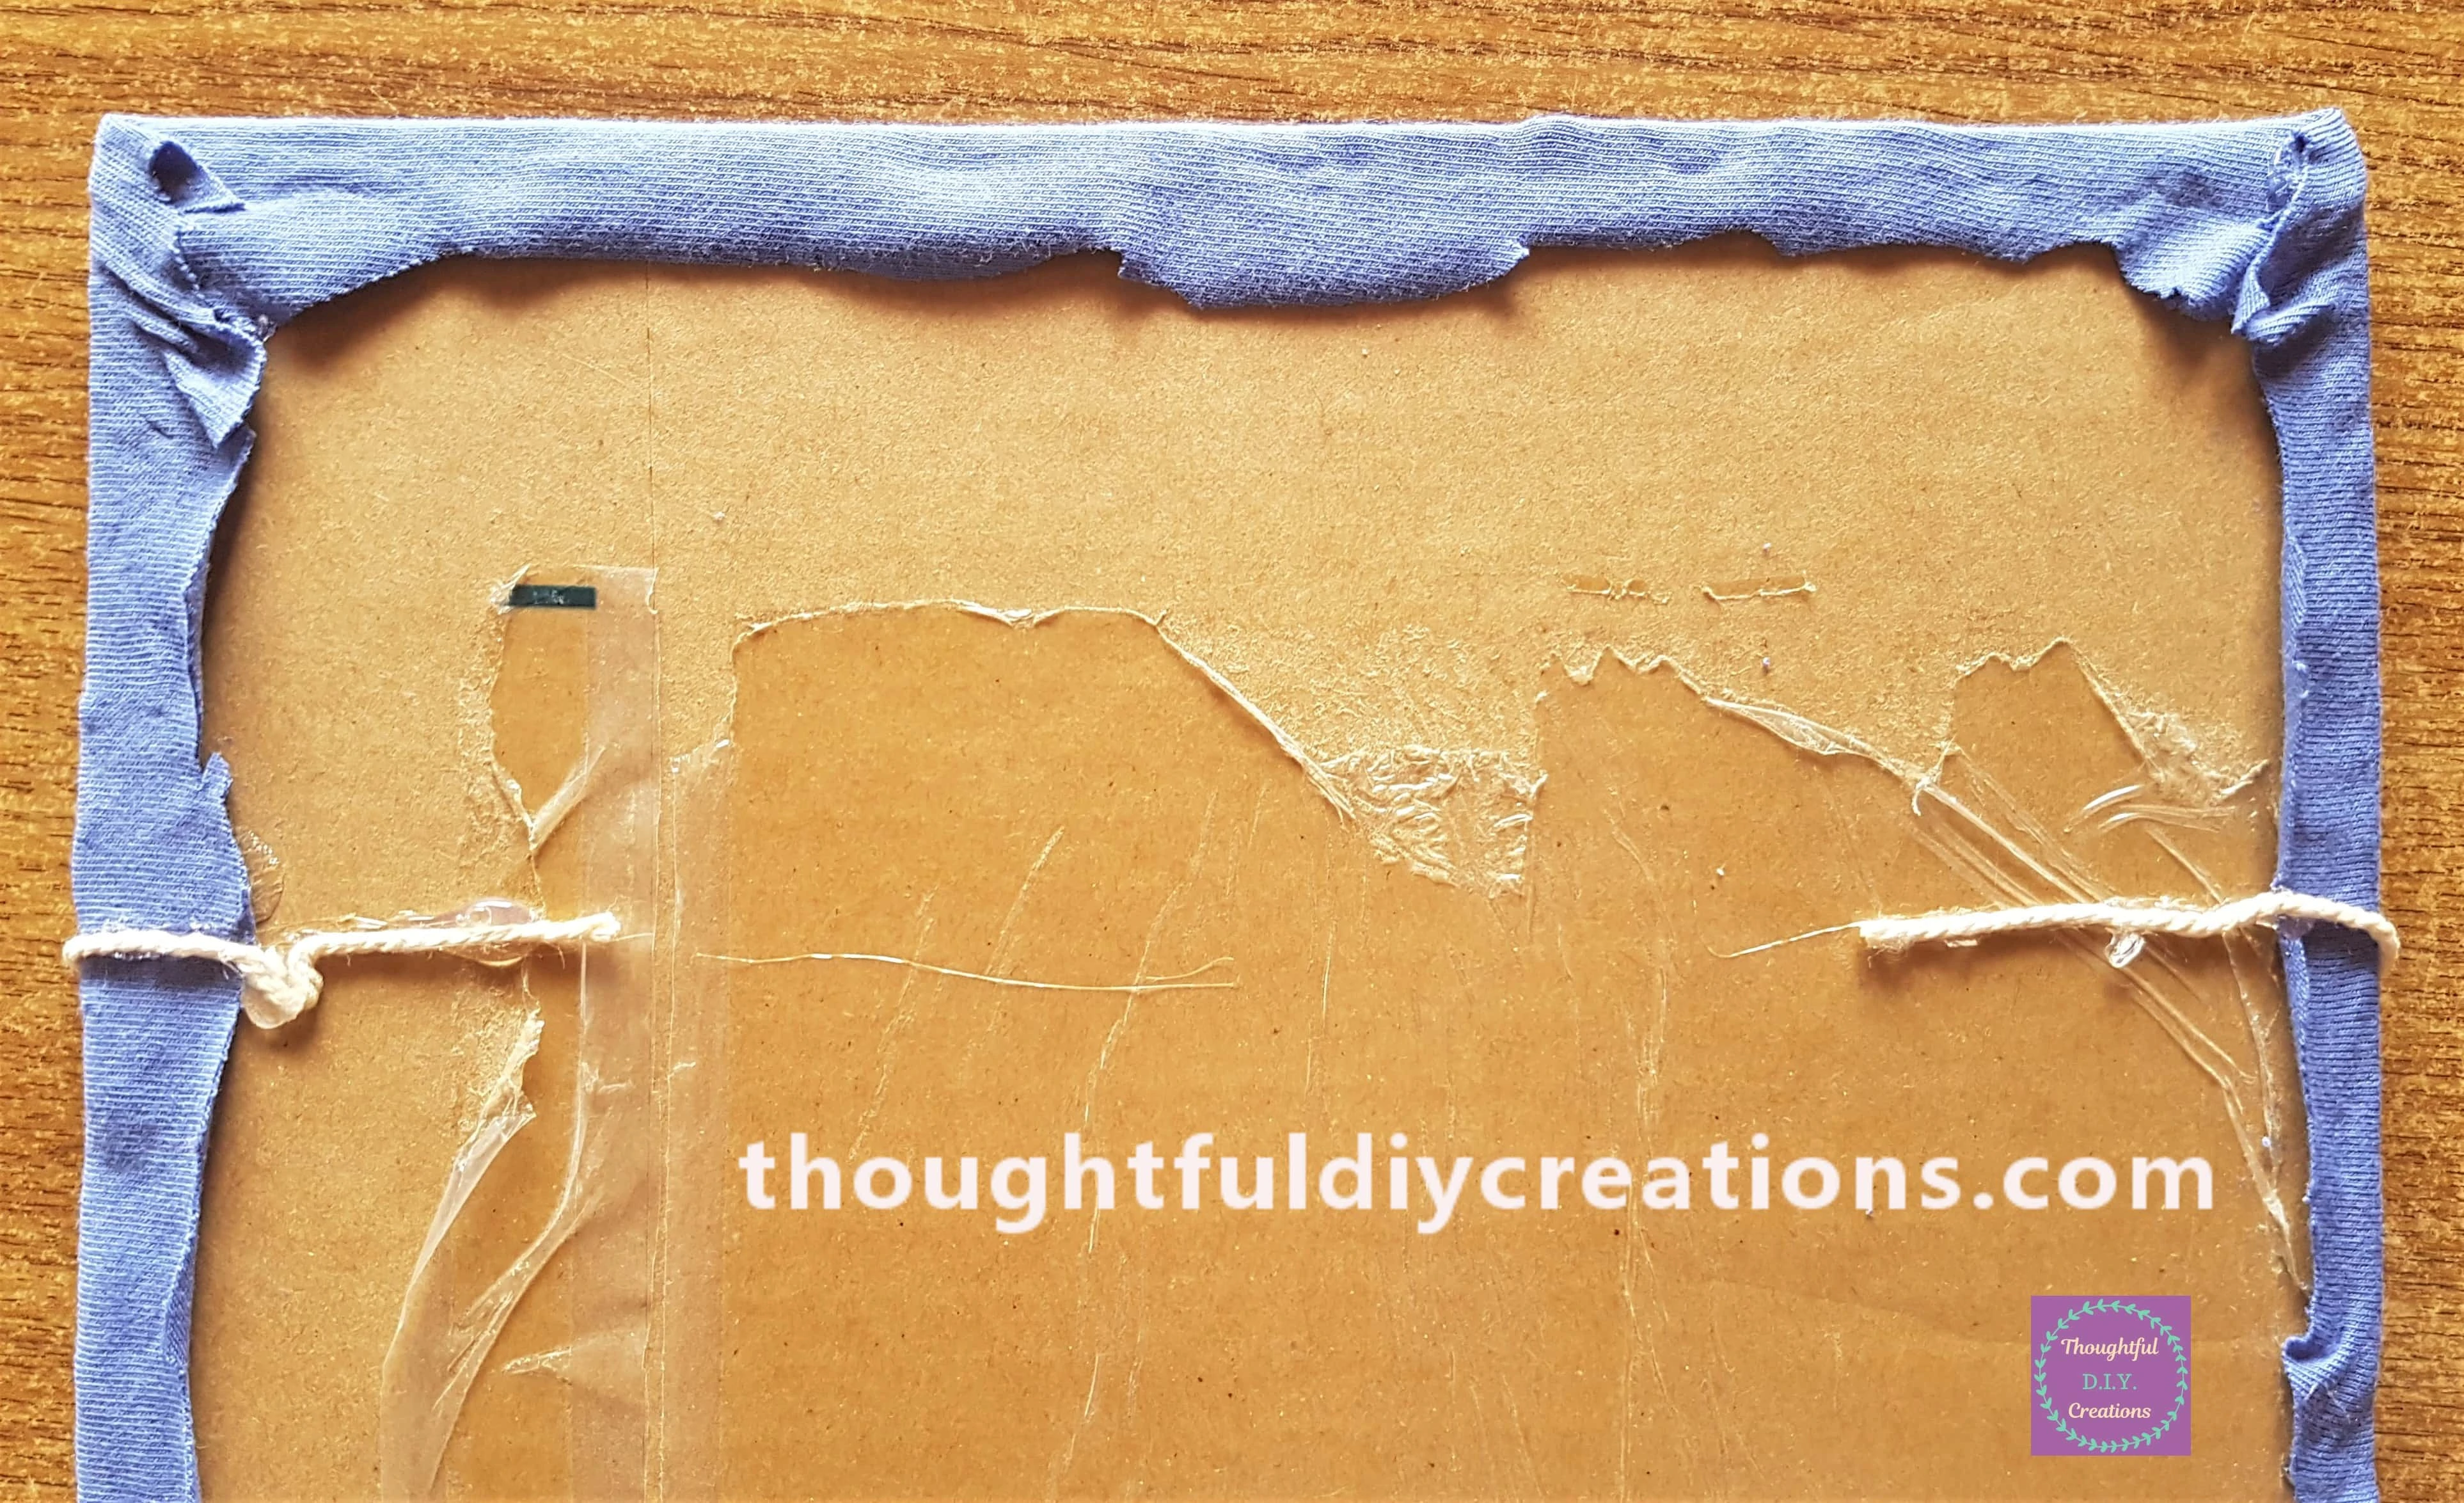
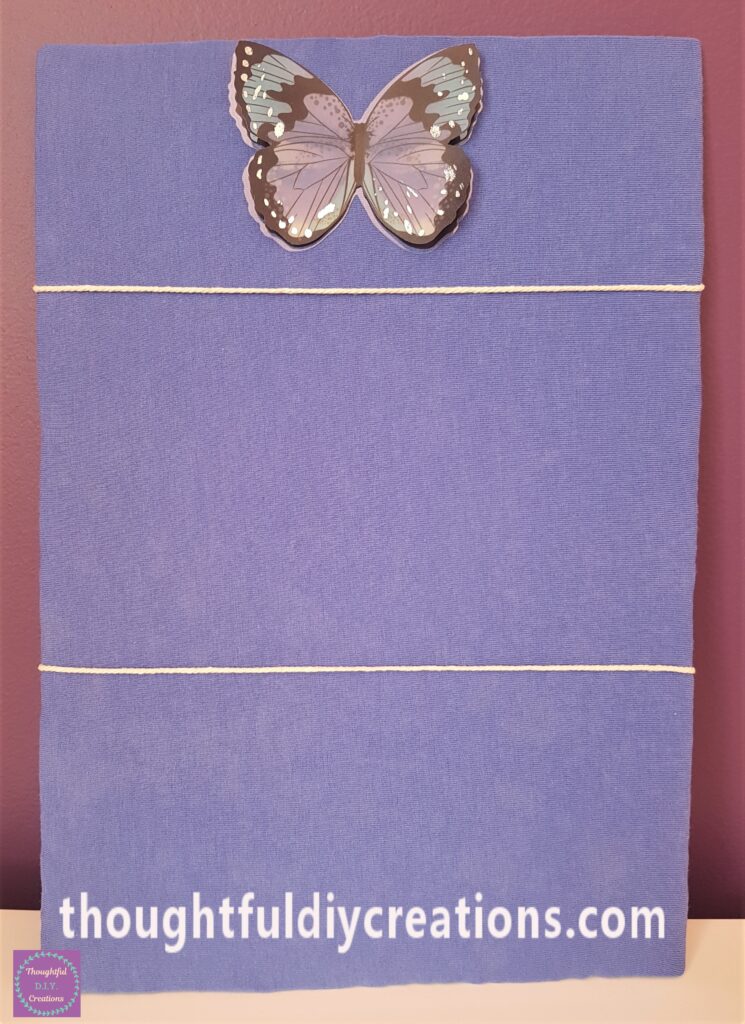
The front of the Memo Board with the String glued to the back.
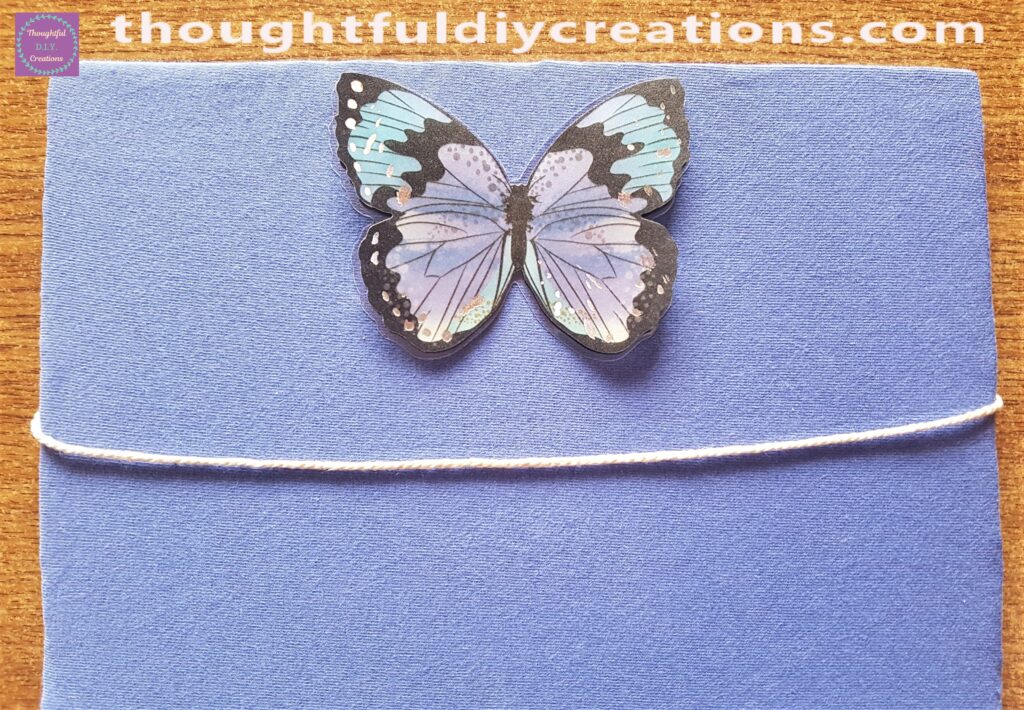
I attached the second string to the back of the Cardboard in the same way.
Cutting Out Positive Affirmations
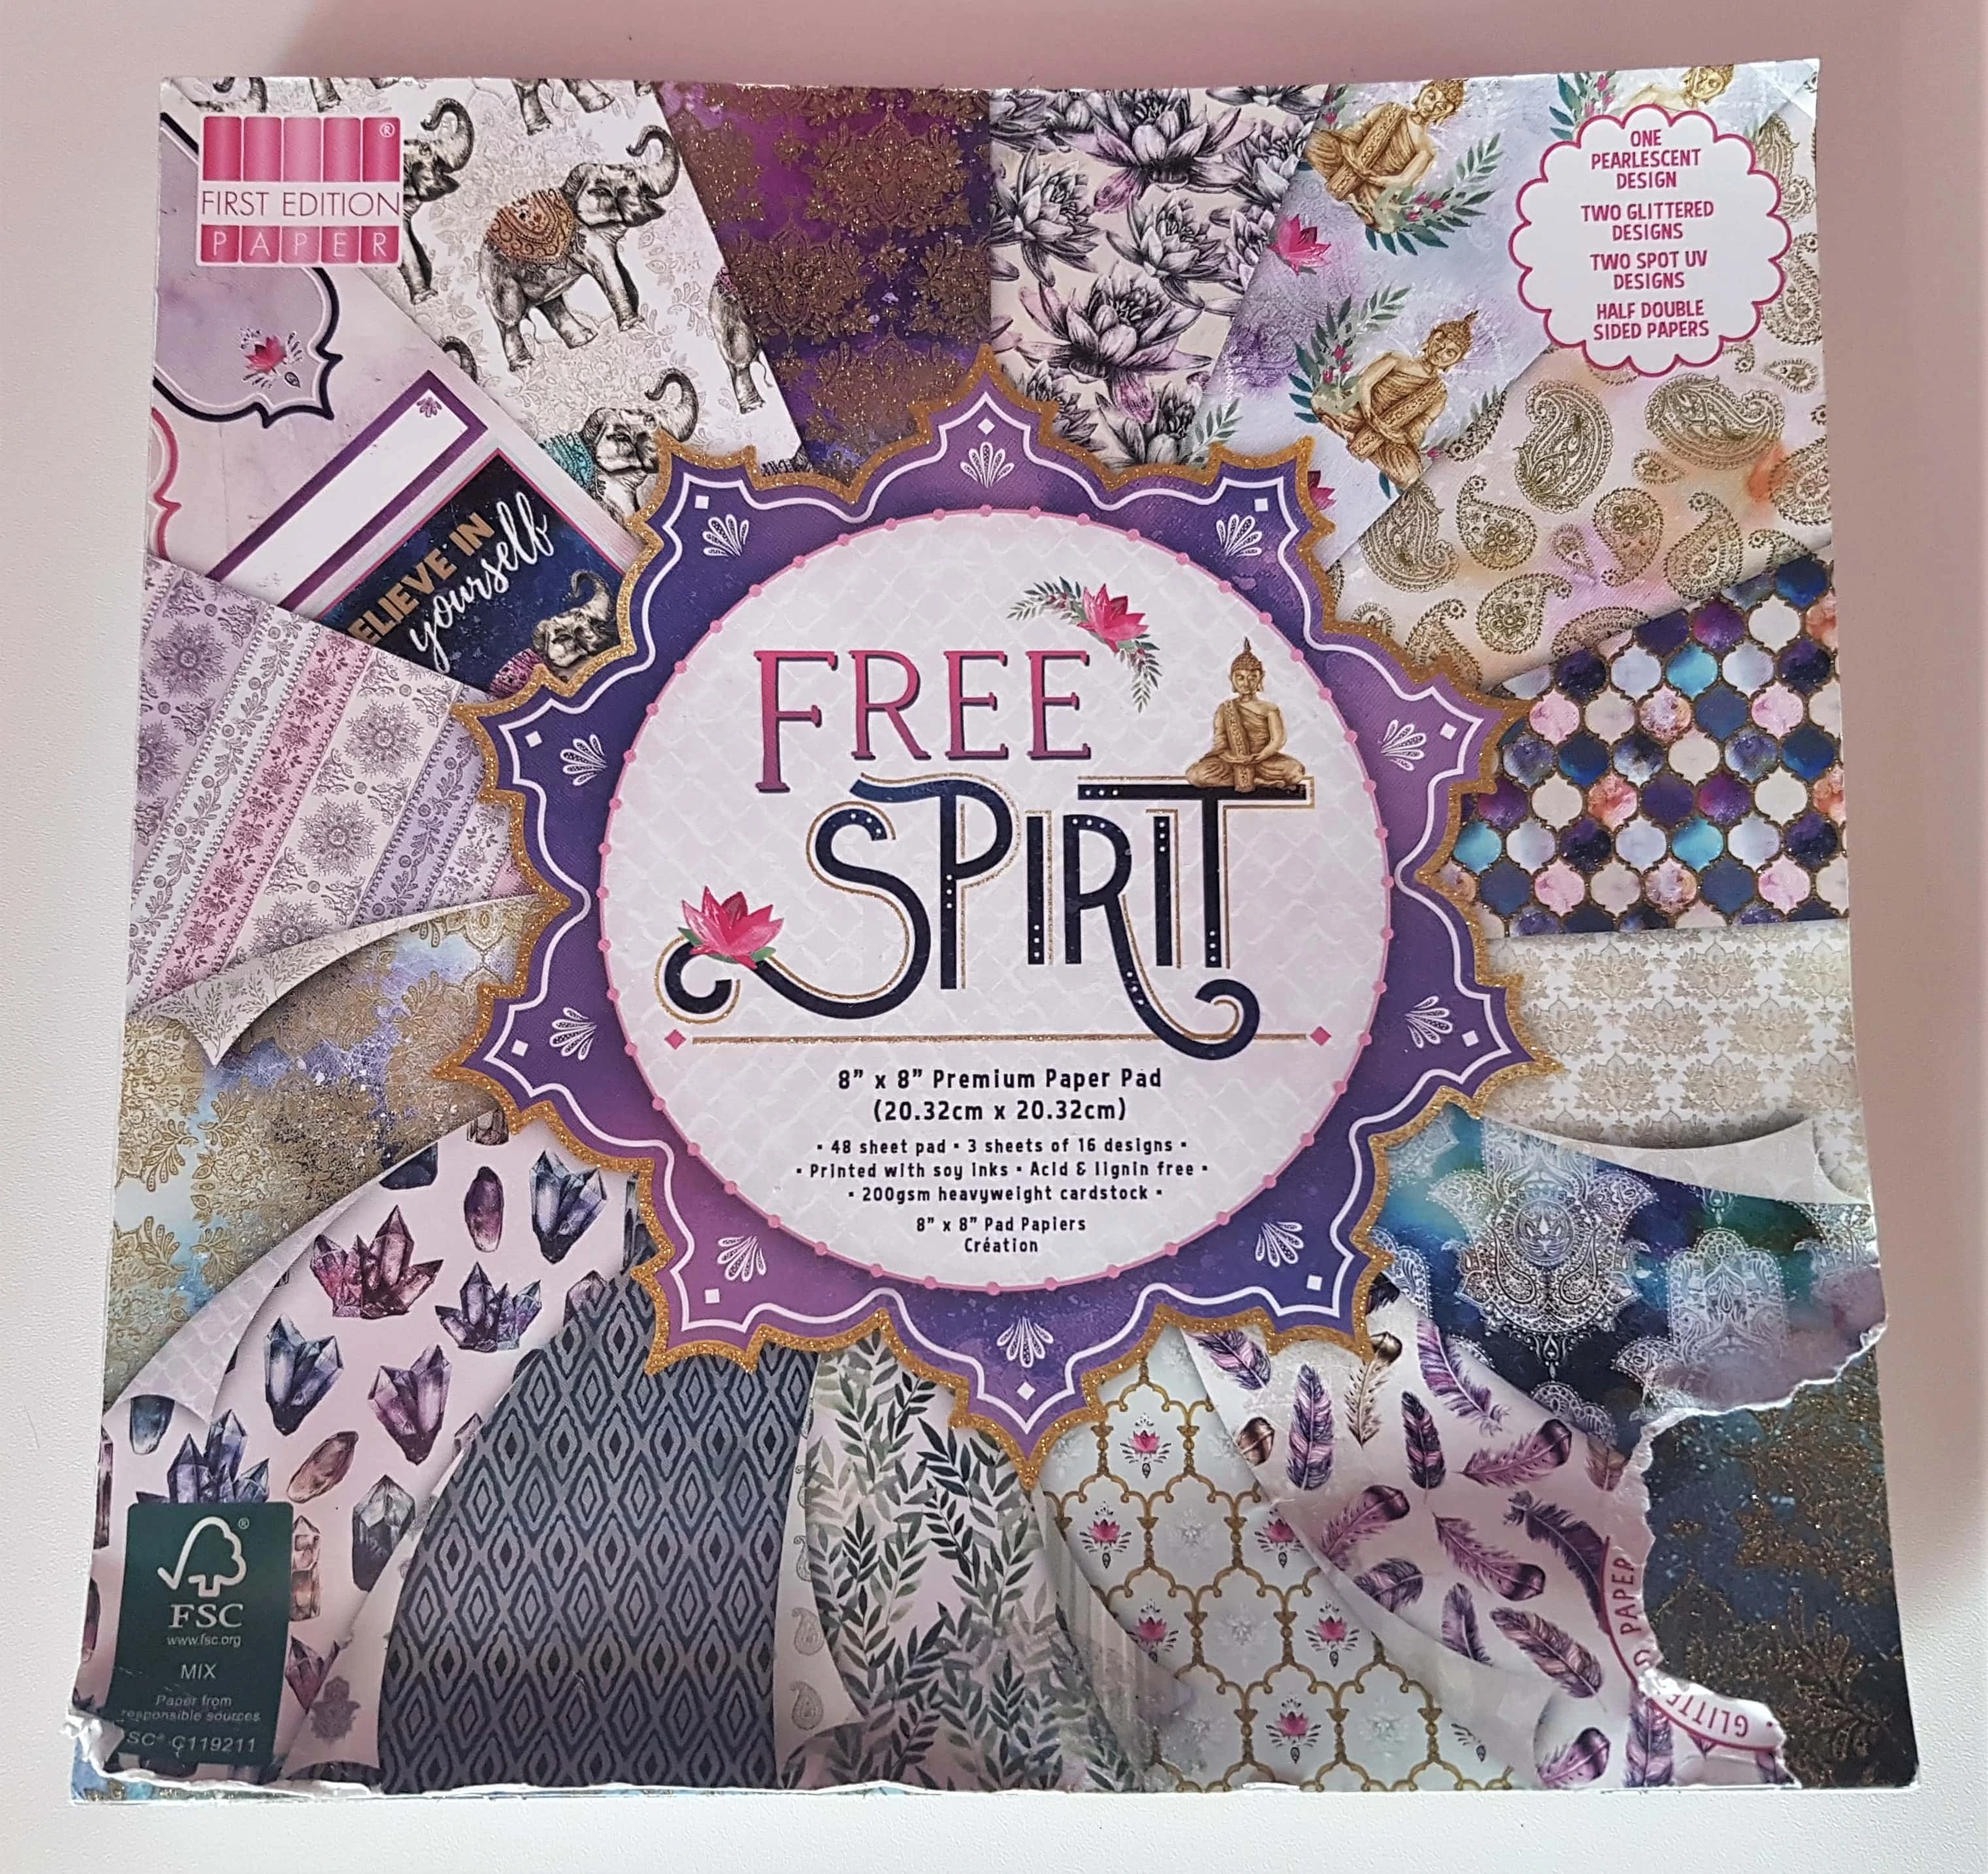
I got my ‘Free Spirit’ 8″ x 8″ Premium Paper Pad by ‘First Edition’.
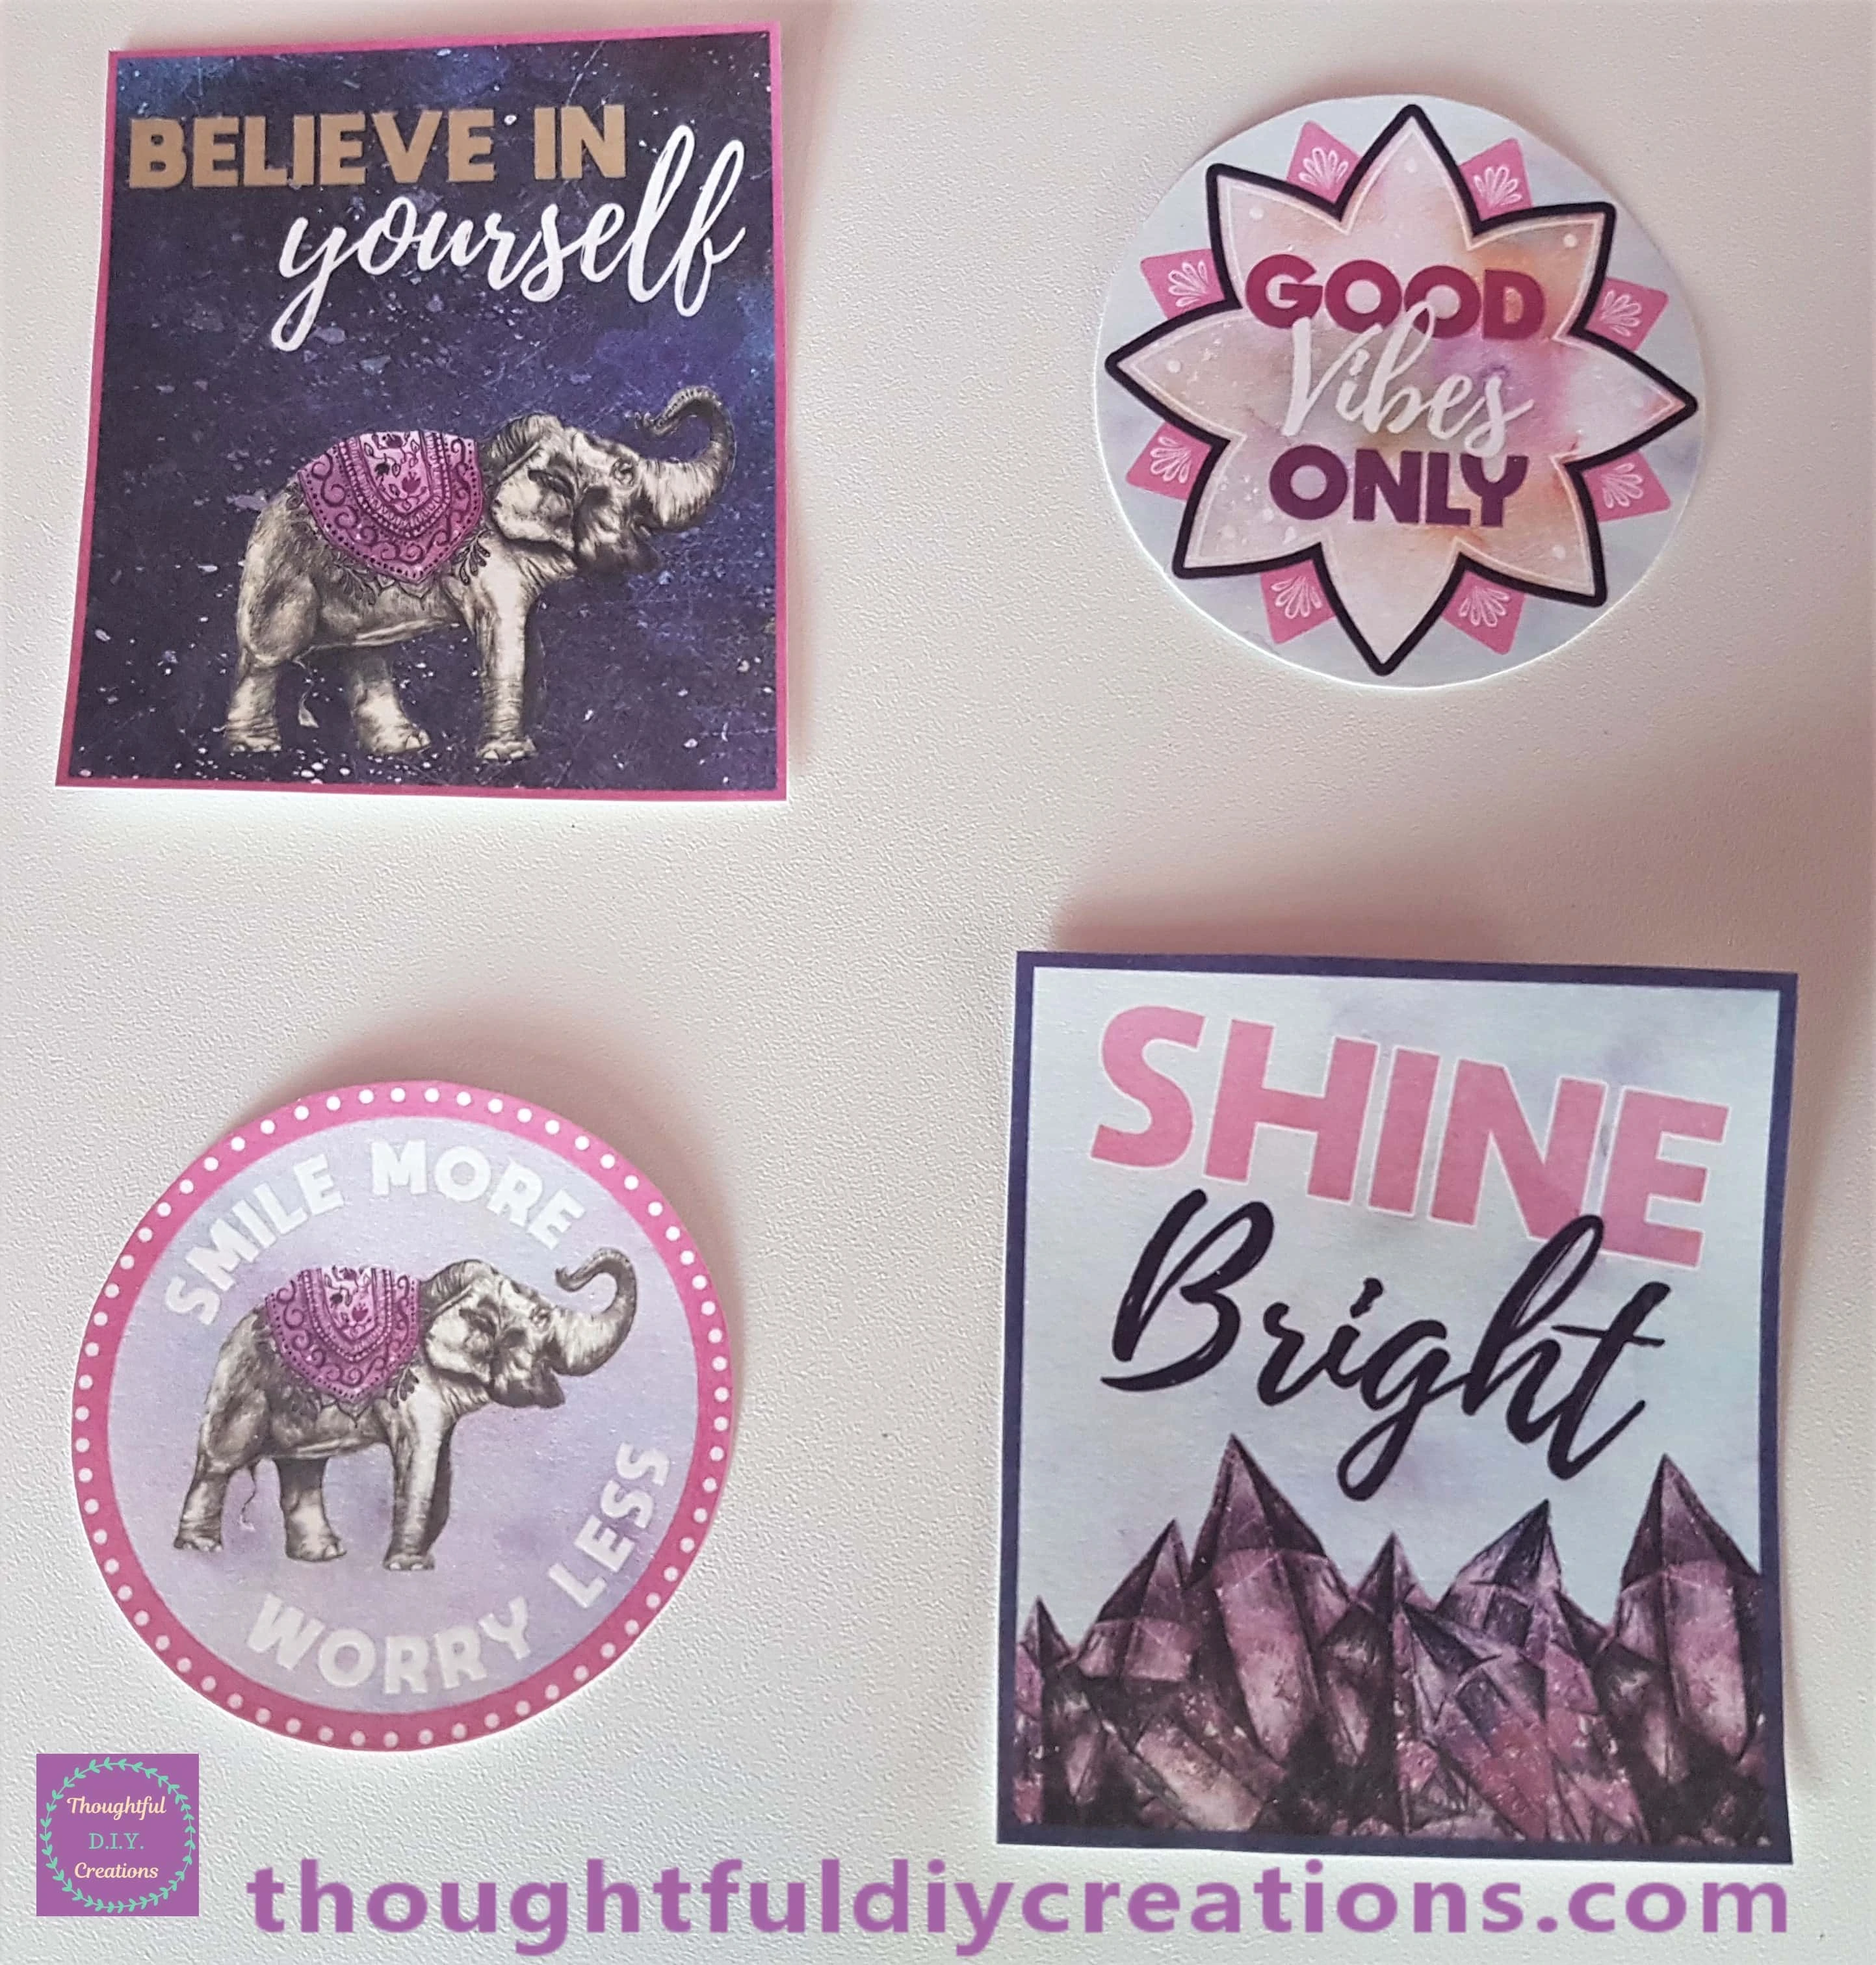
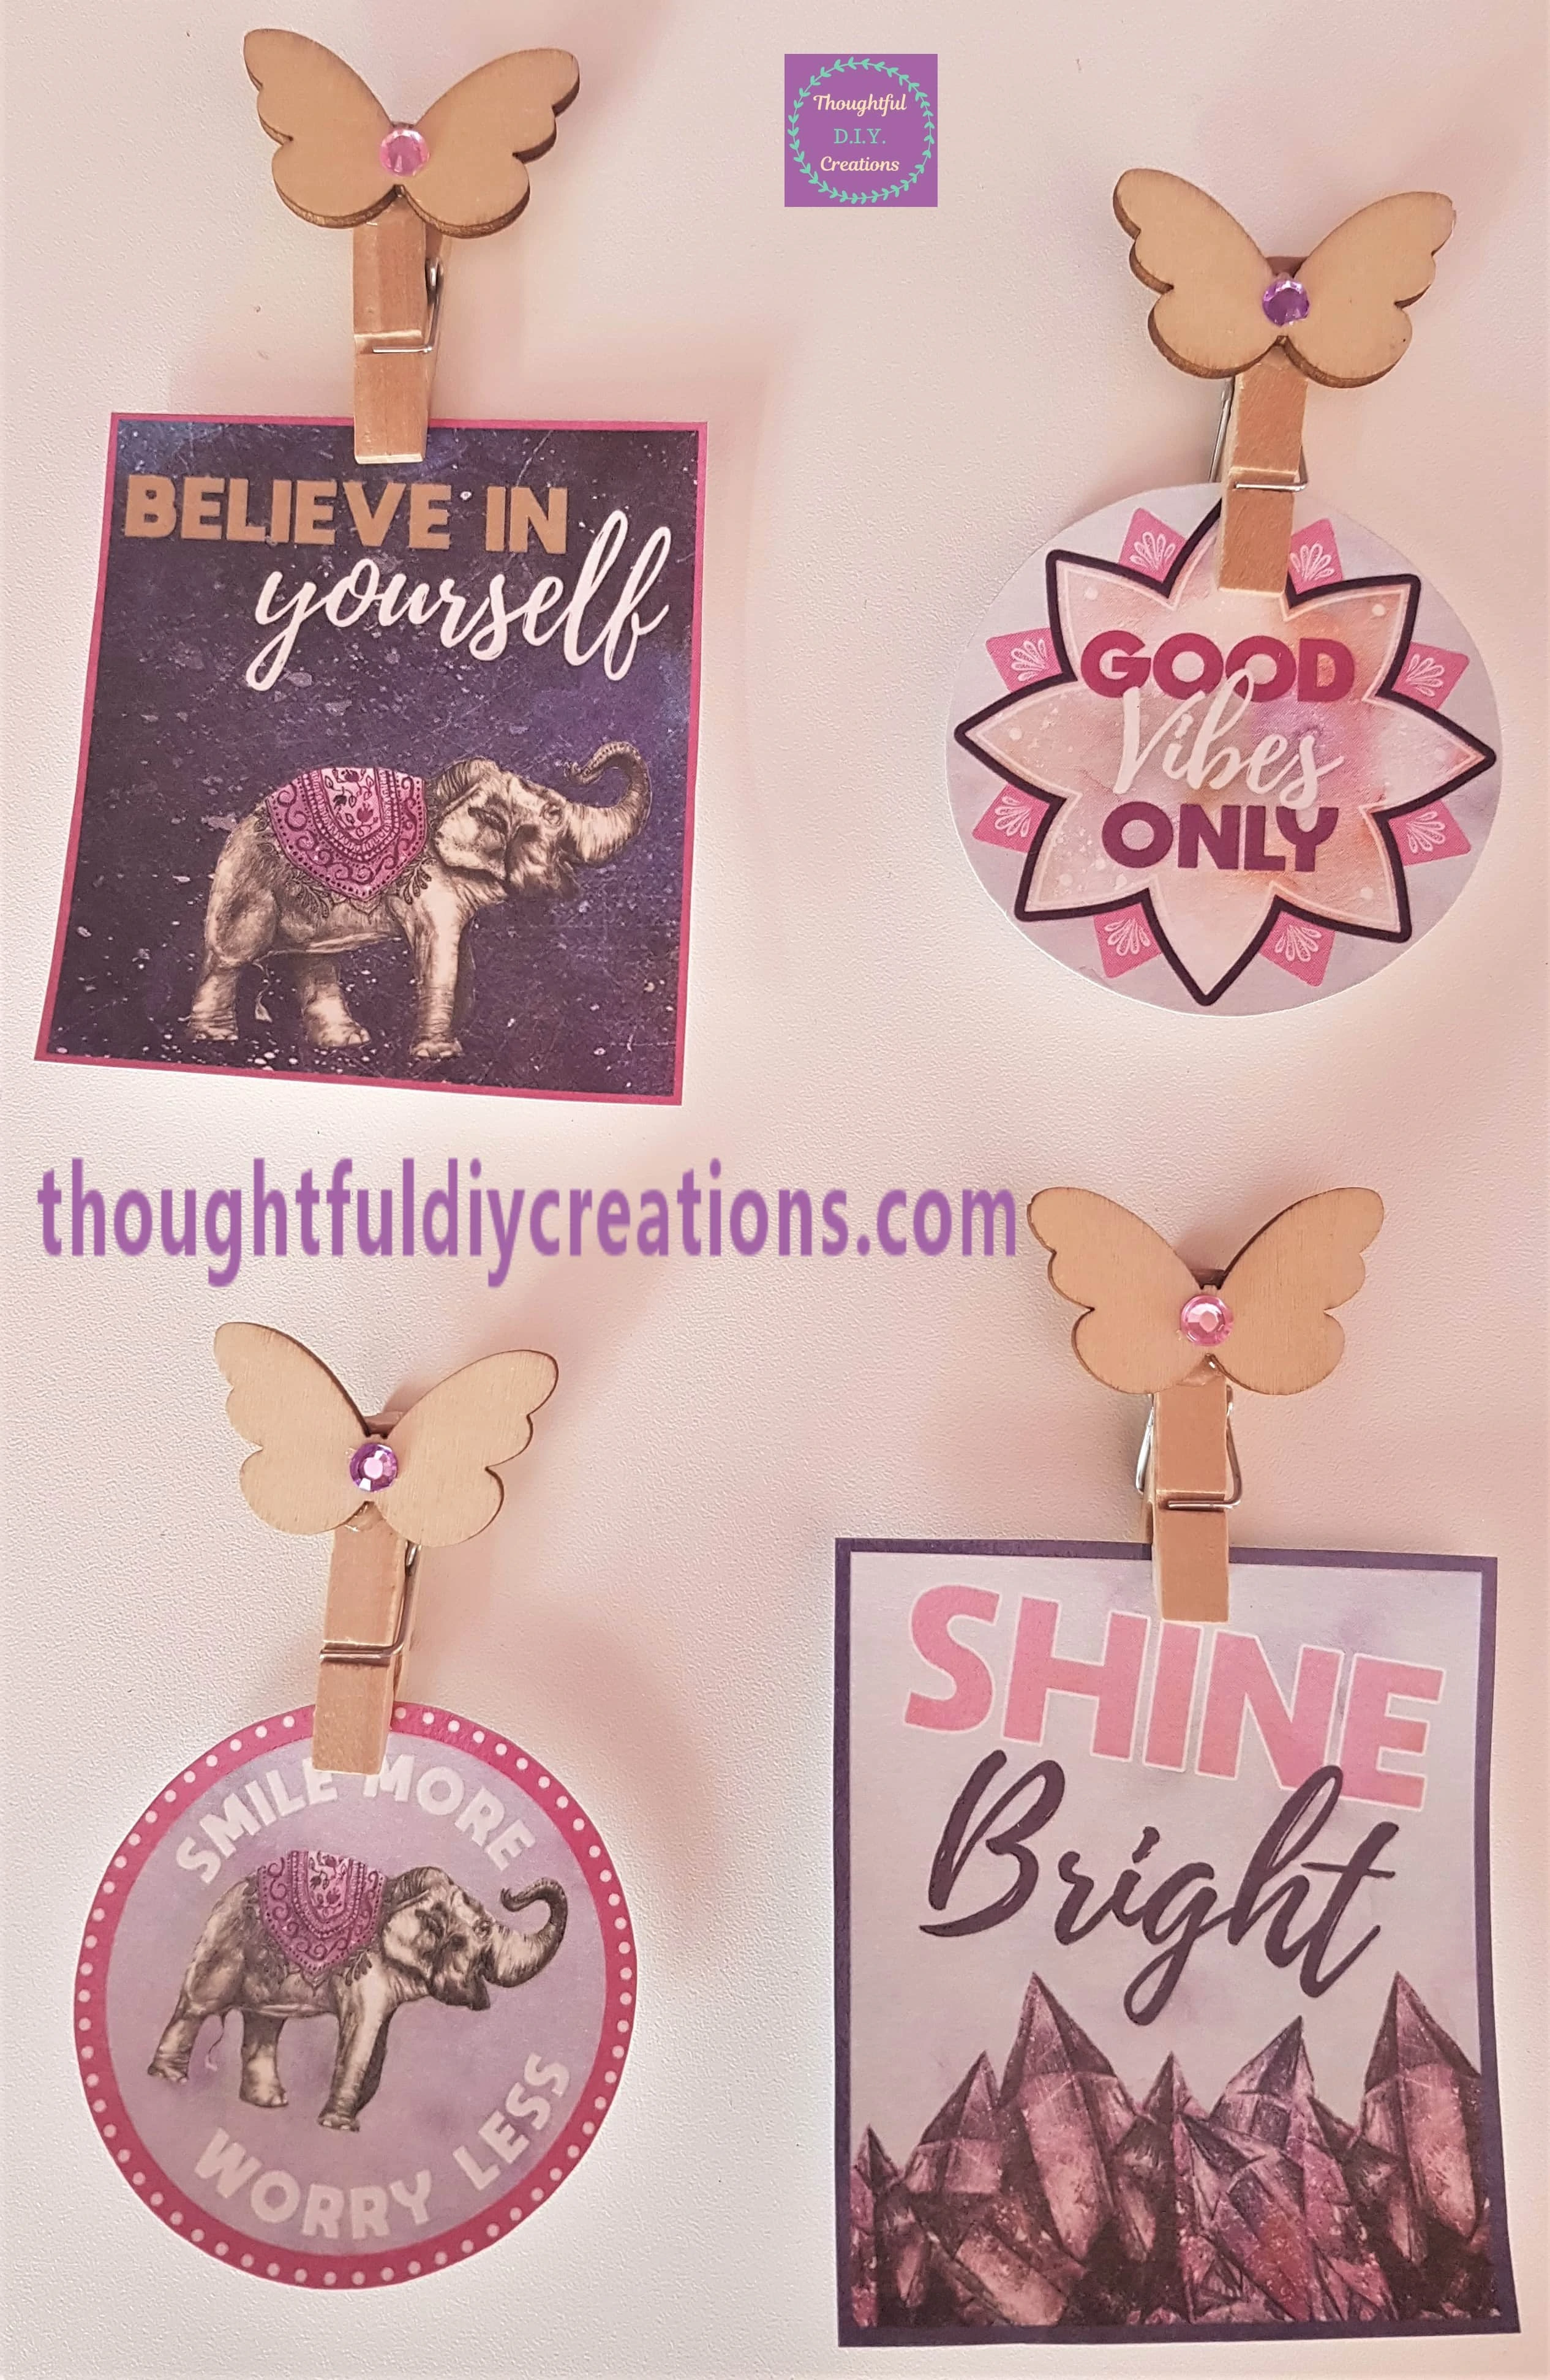
I chose to use the Page of Positive Affirmations for this Craft.
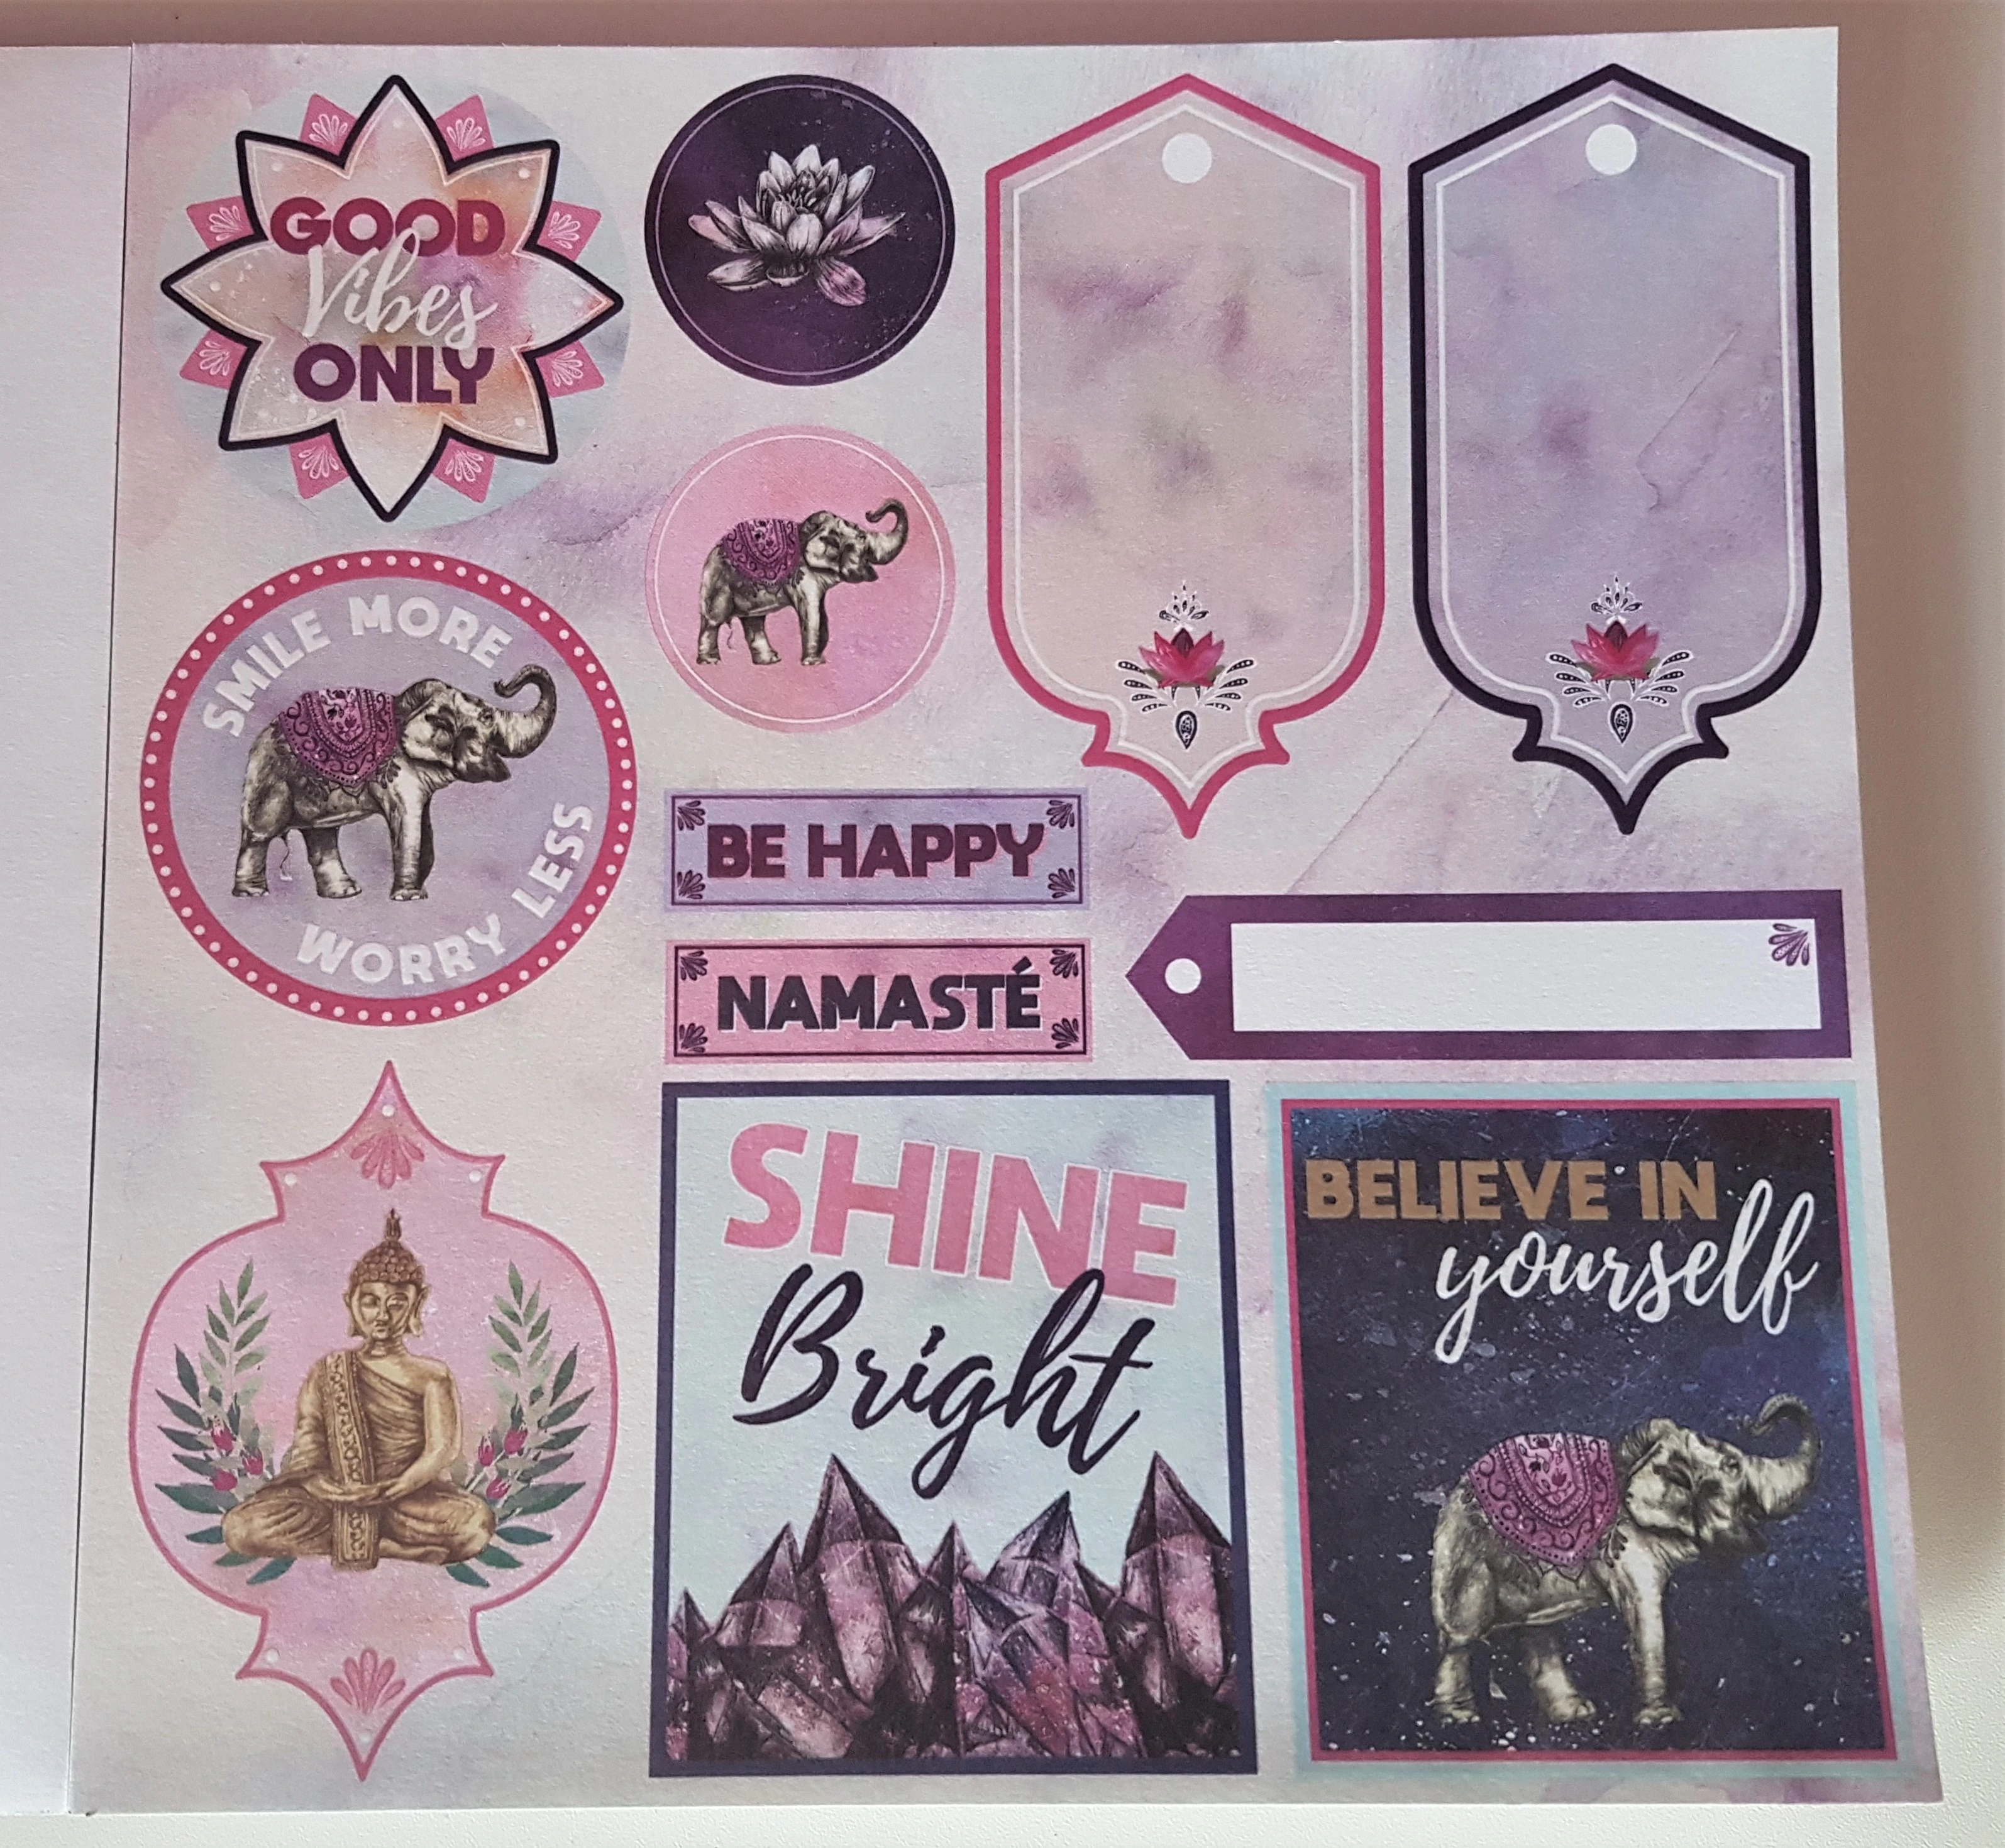
I Cut out 4 of the Quotes using a small sharp scissors.
Decorating Pegs for the Memo Board
I got my Bag of 20 Butterfly Pegs. I bought them in ‘Dealz’ in the Wedding Section.
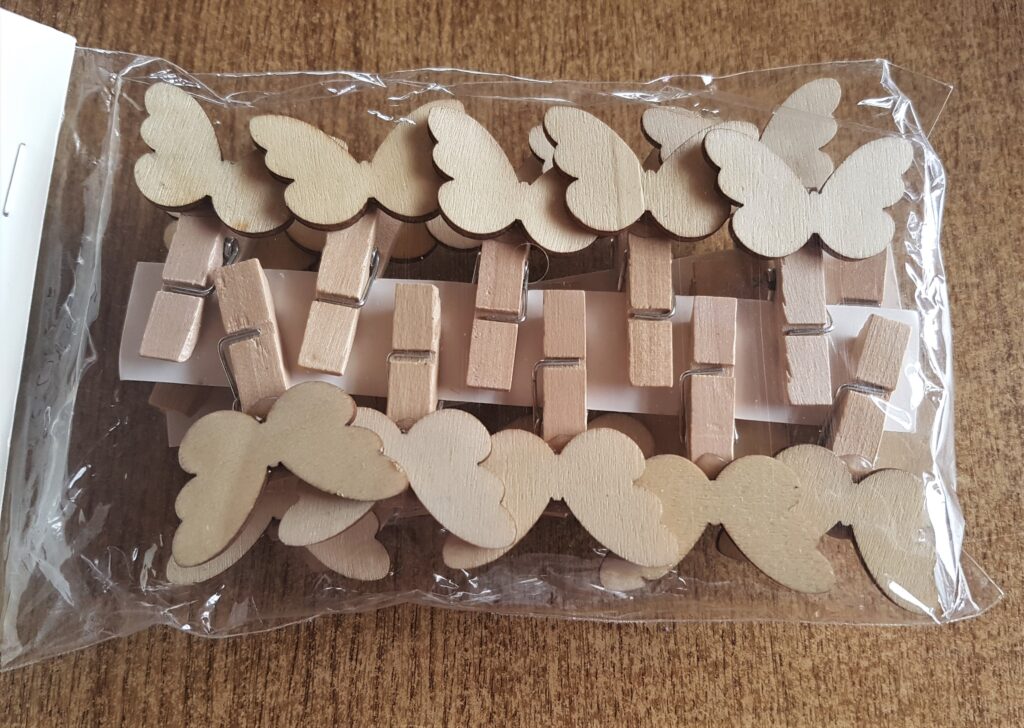
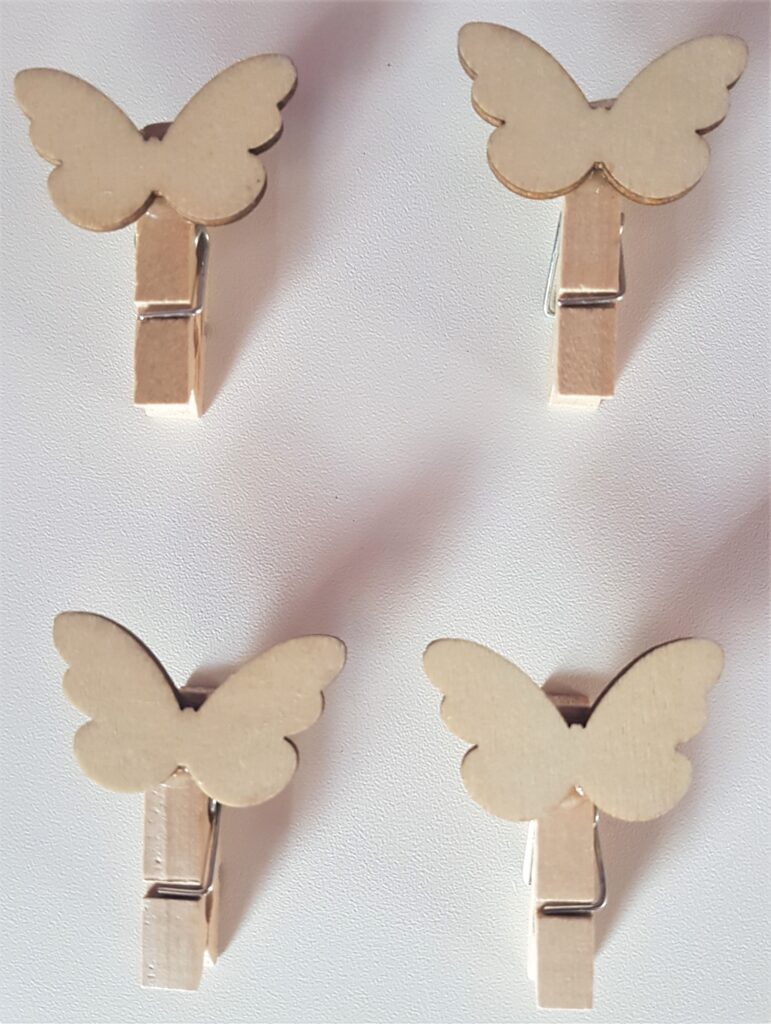
I removed 4 of the Pegs from the Pack to use for my Affirmation Cards.
I got my Self-Adhesive Gemstones.
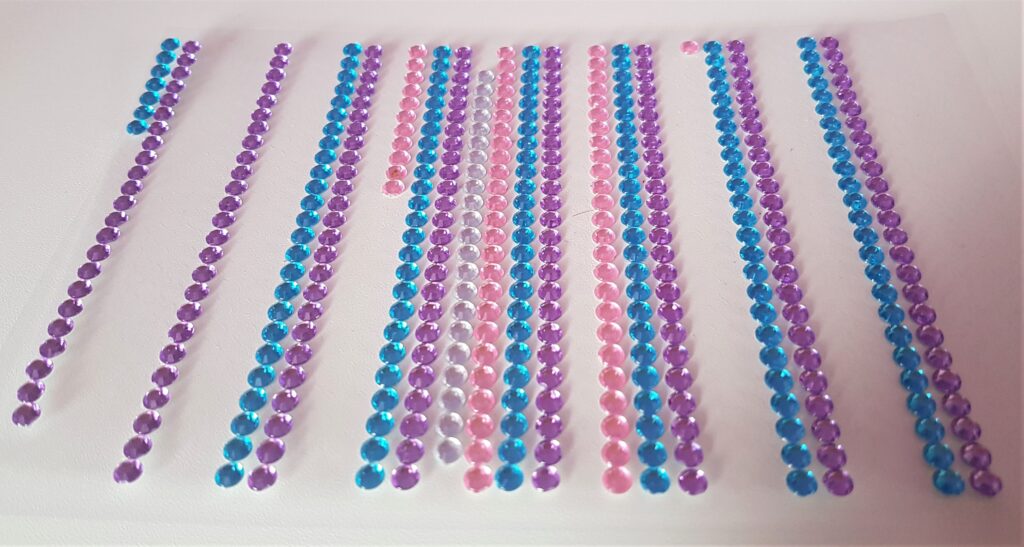
I added 2 Purple Gemstones to 2 of the Pegs and 2 Pink Gemstones to the other 2 Pegs.
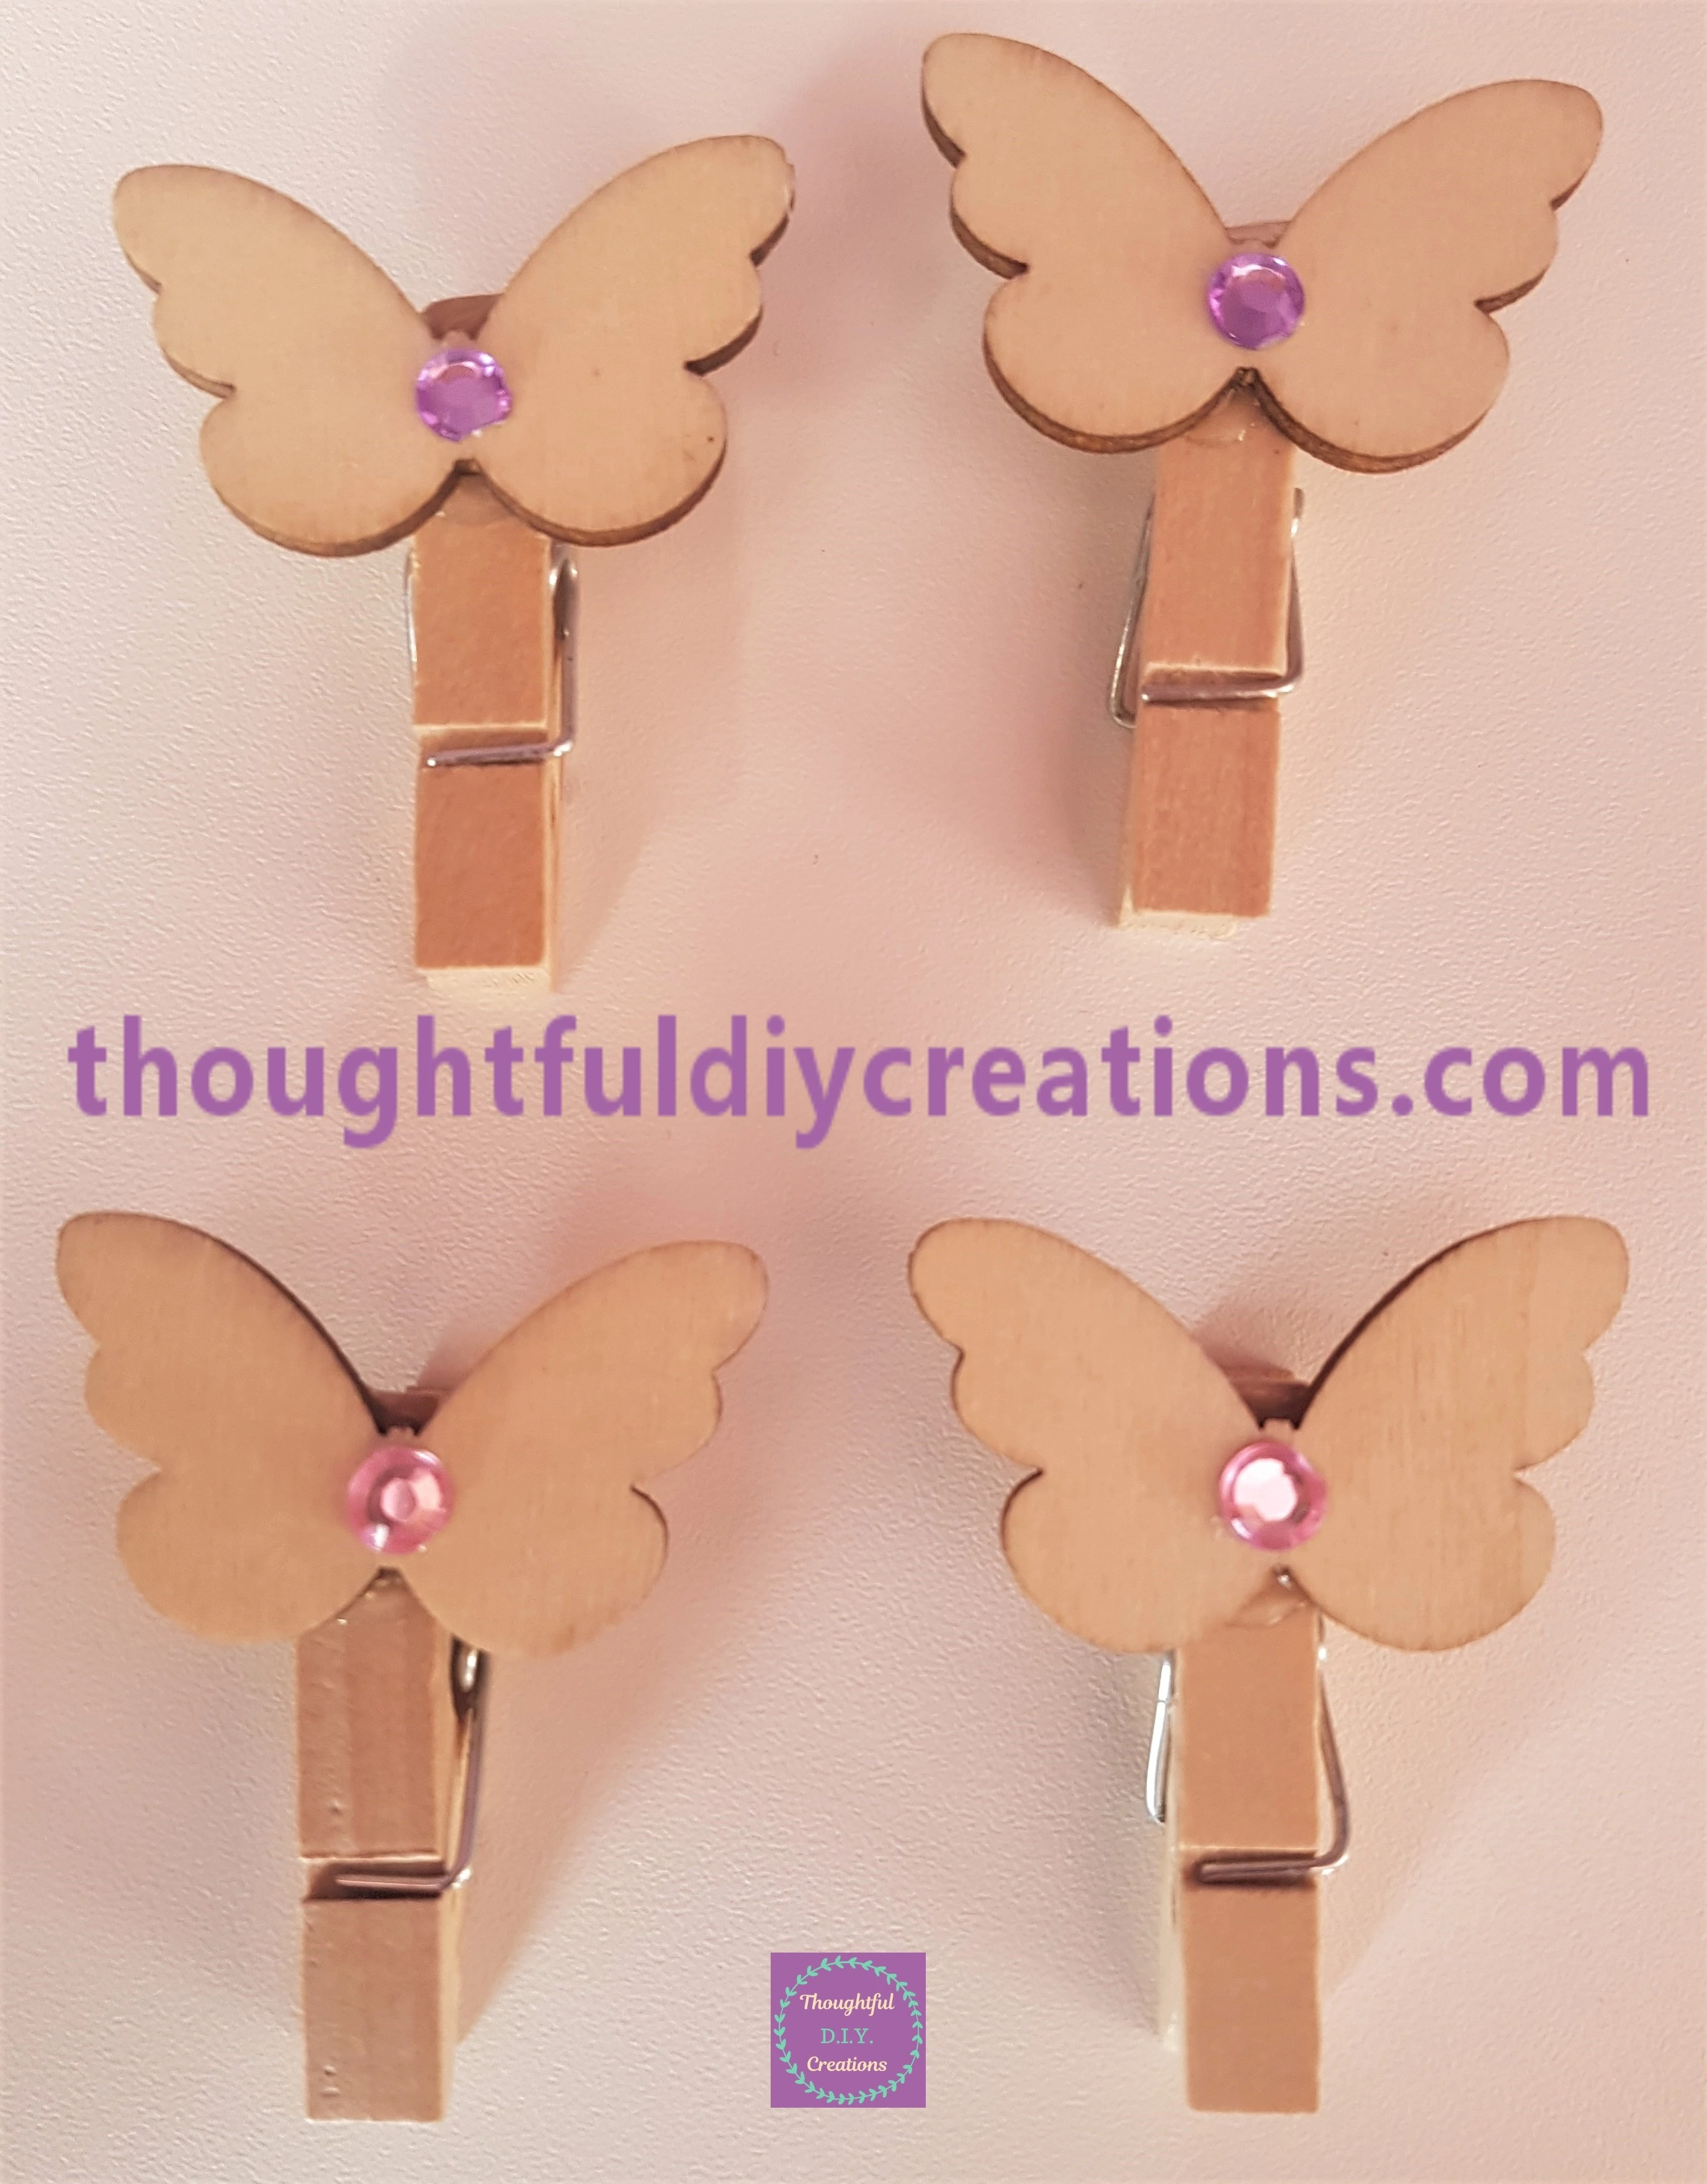
Adding the Finishing Touches
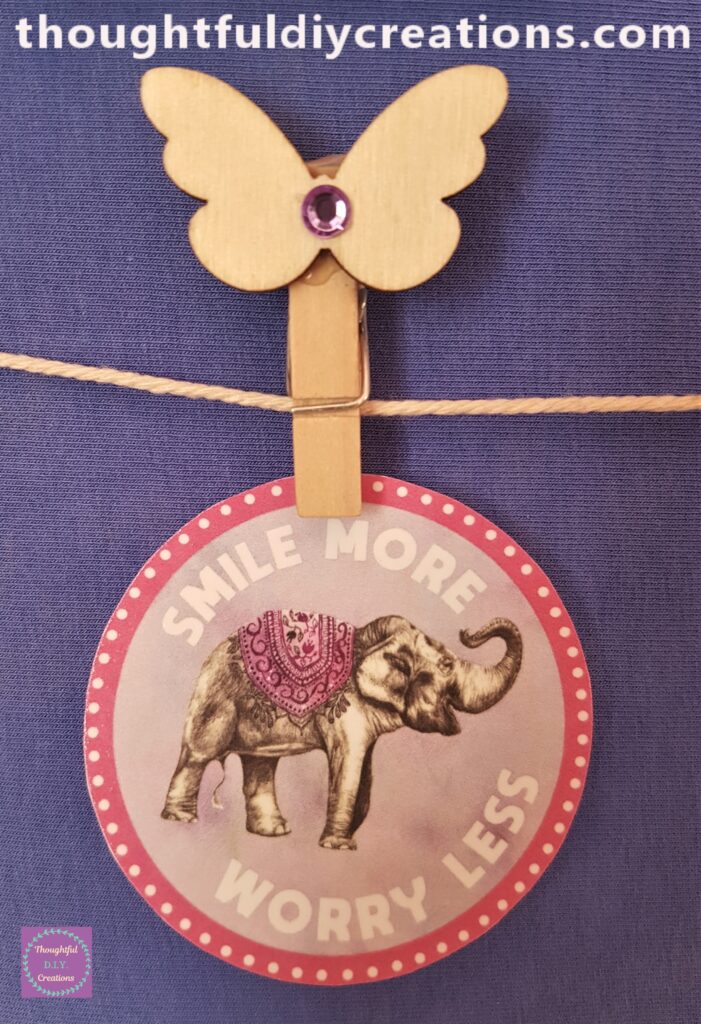
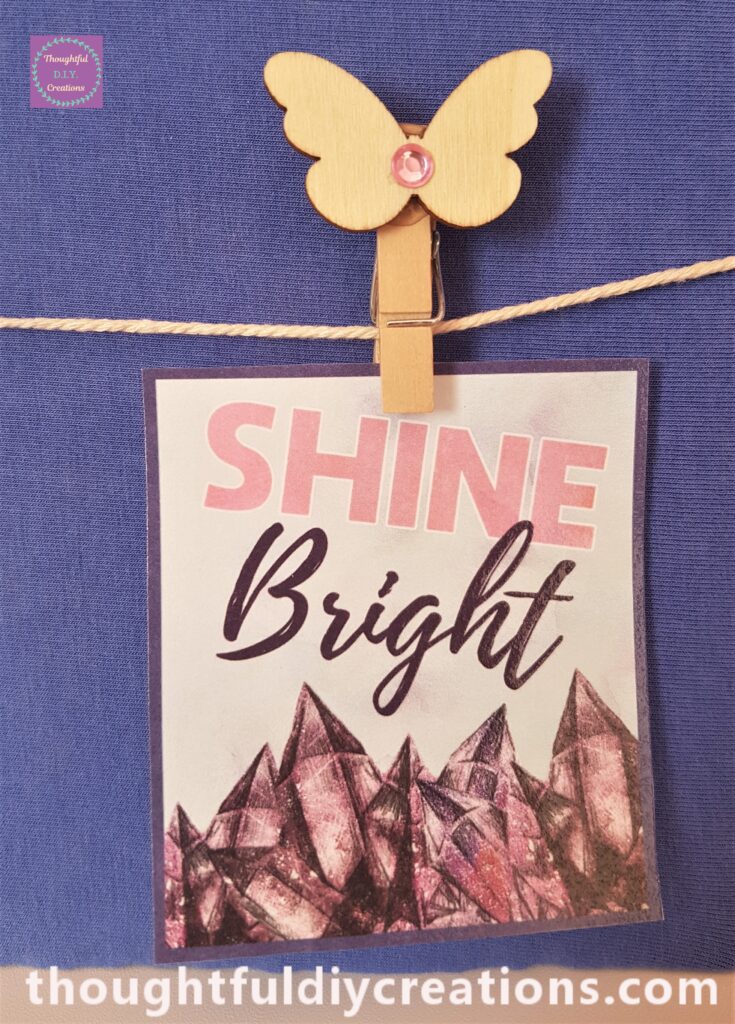
I put a Peg on each of the Affirmation Cards.
I attached 2 Pegs to each of the Strings on the Memo Board.
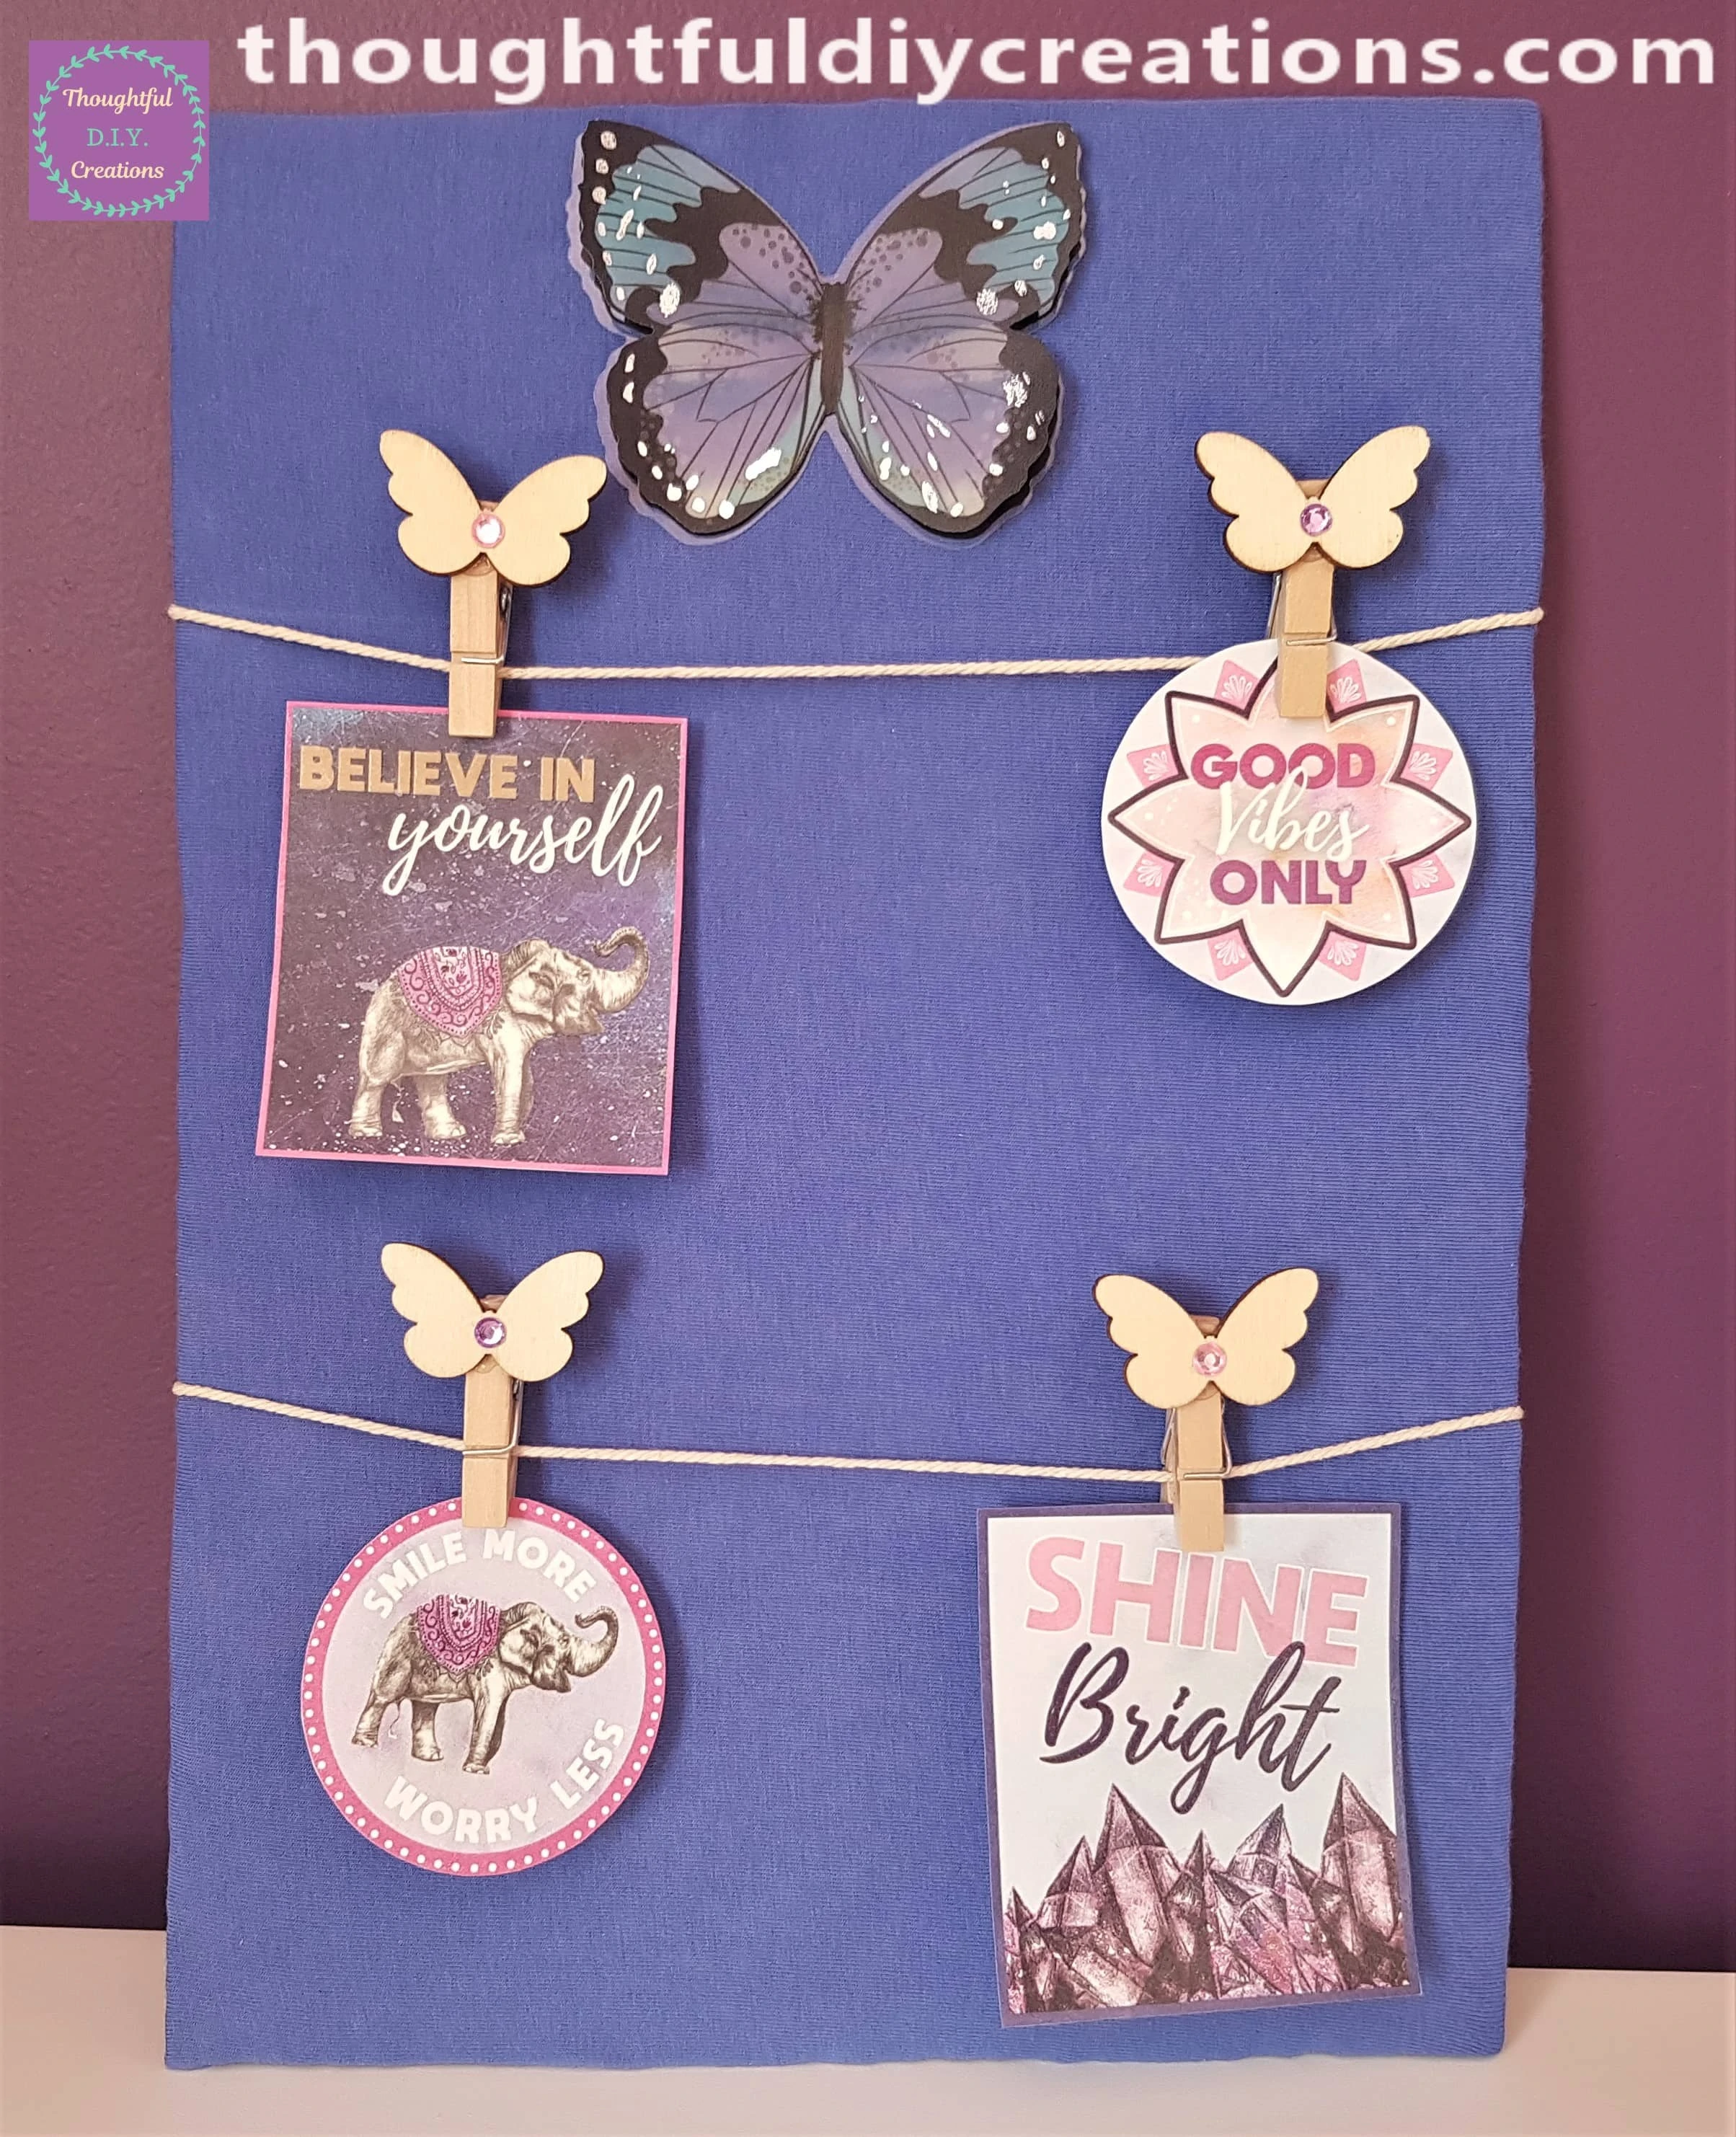
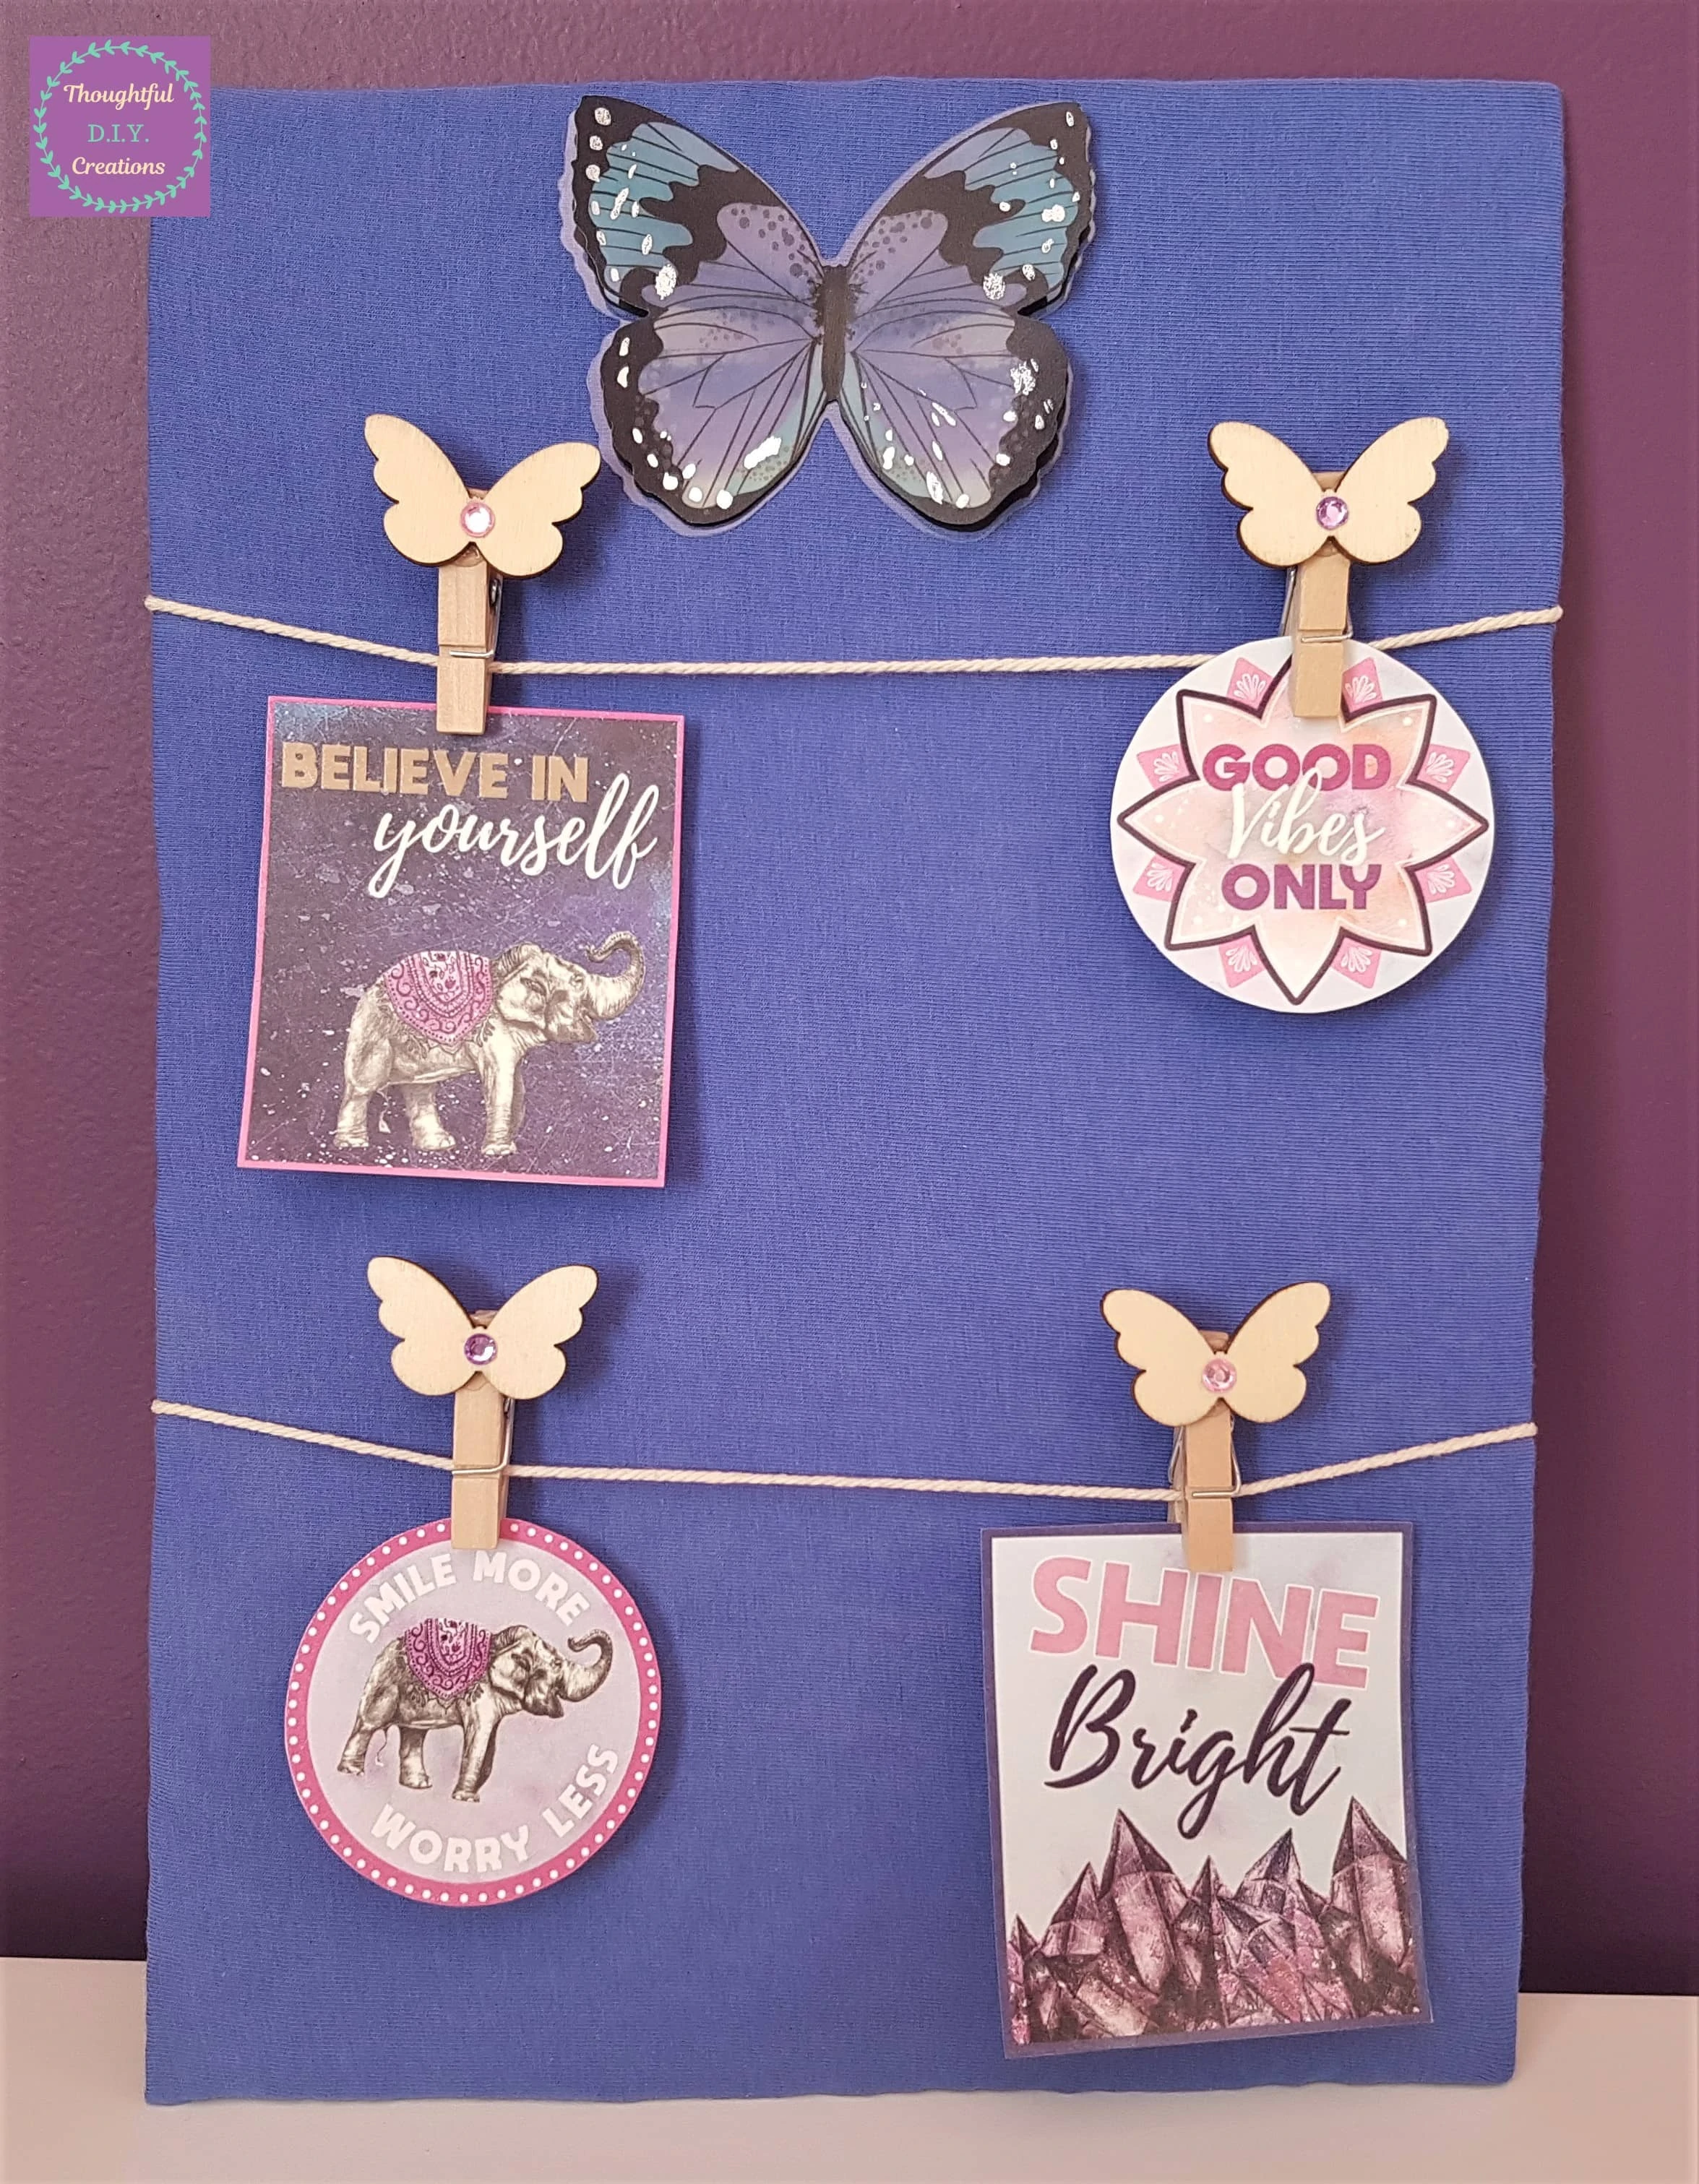
This Completed my Memo Board.
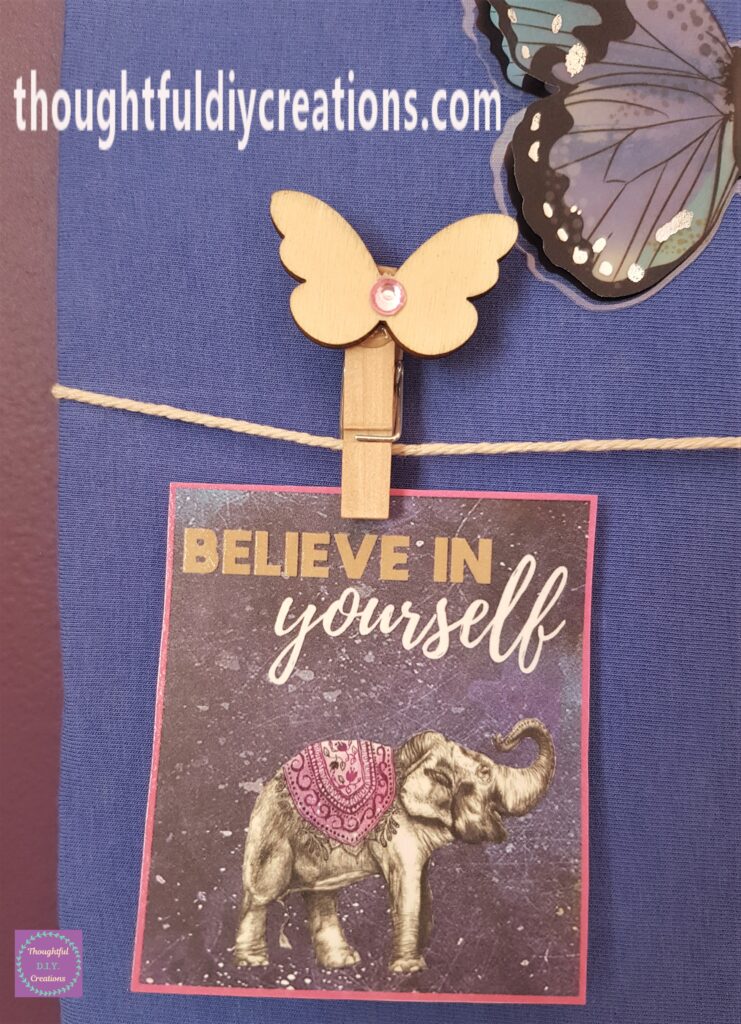
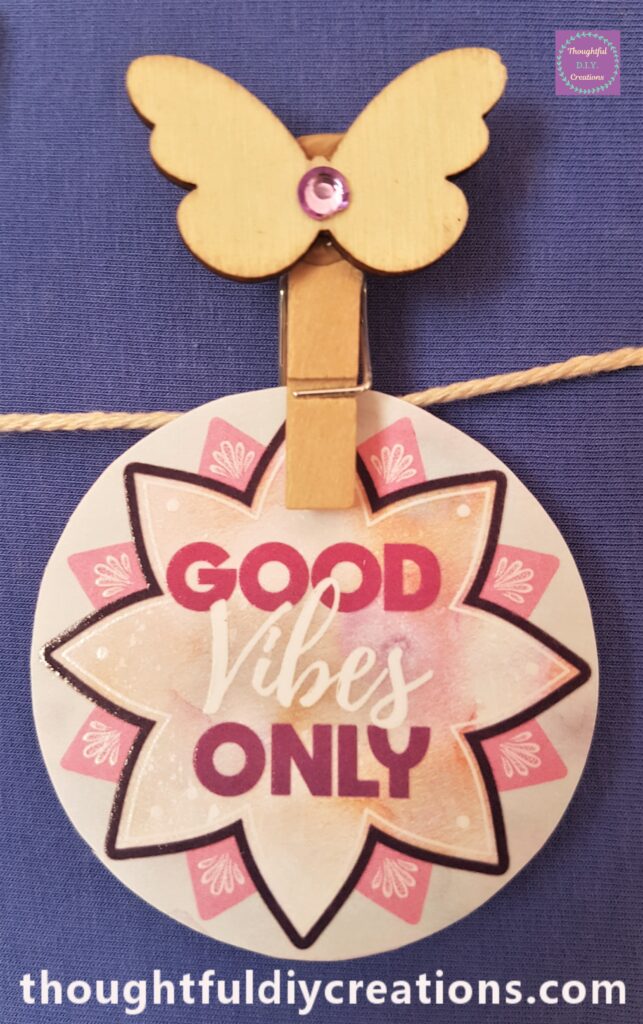
Here is the Top half of the finished Craft.
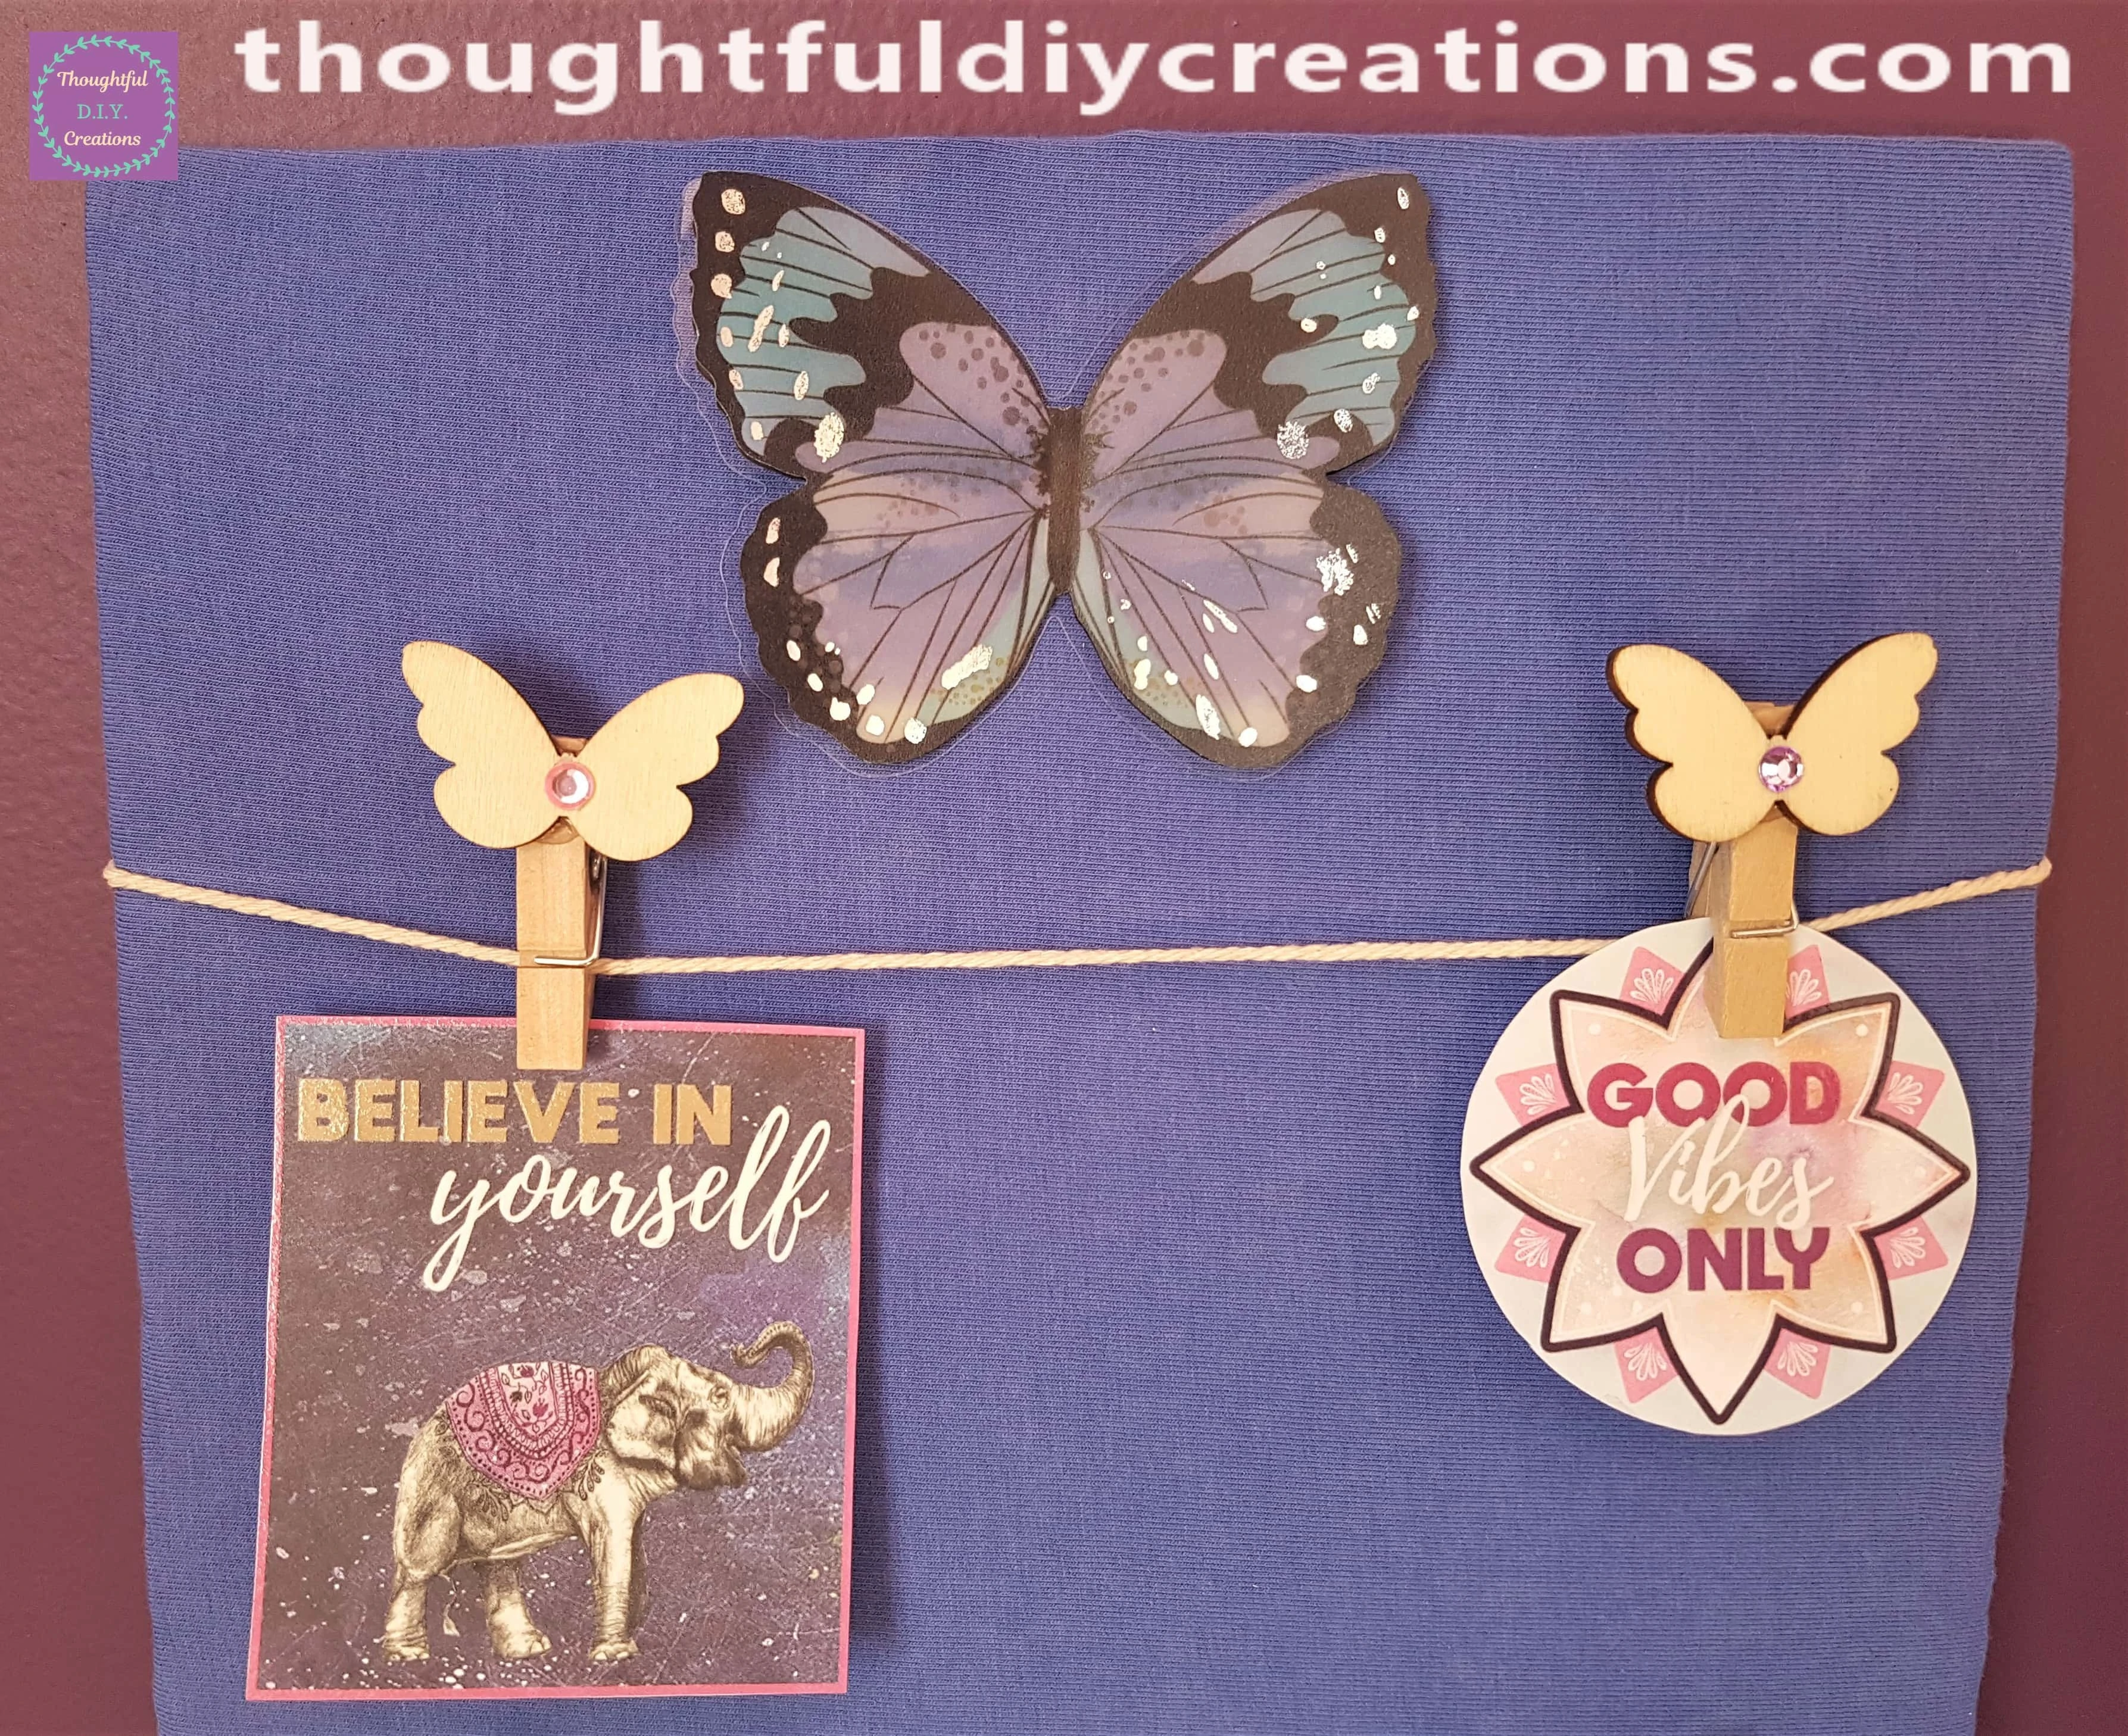
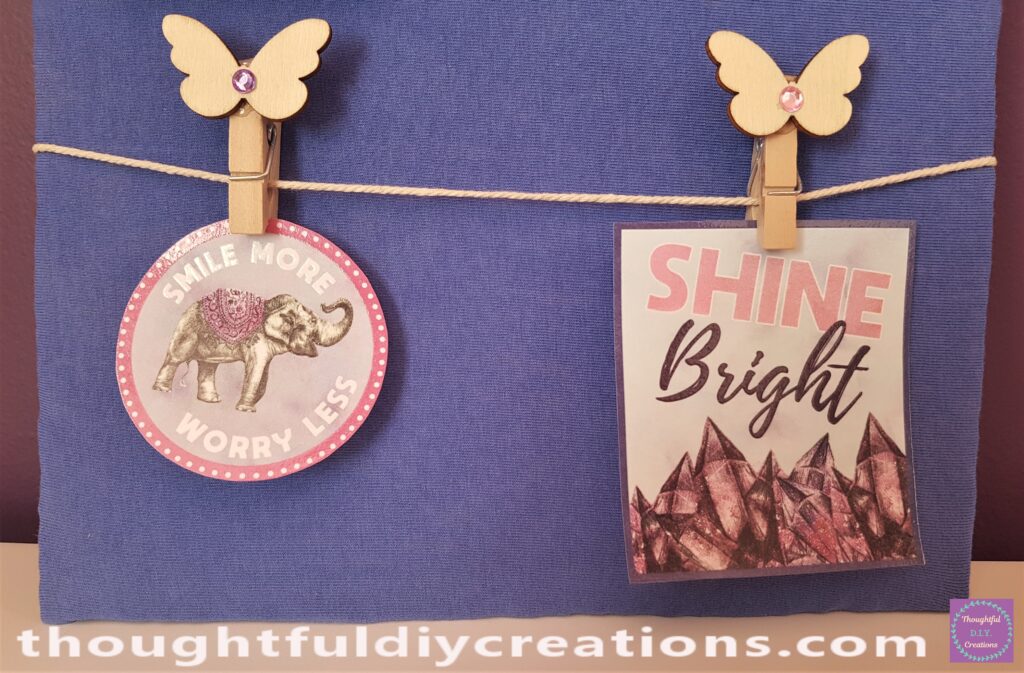
The Lower part of the Board.
The Final Image of the Memo Board.
Conclusion
I am really Pleased with the Outcome of my Memo Board. I like the Simplicity of it but it is also practical and pleasing to the eye.
Looking at Positive Affirmations are a great Incentive for achieving Goals, as well as improving your Mood and Encouraging you to Believe in Yourself and your Dreams.
The Memo Board could be used for Displaying Photographs or Shopping / To Do Lists. They could be made in bigger Sizes to Display Childrens Drawings or Artwork.
I hope you enjoyed this Budget Tutorial and learned something New.
Thank You So Much for taking the Time to Read my Blog.
Always Grateful,
T.D.C.
xoxox


-0 Comment-