Fairy Cottage & Garden Tutorial
Hello my Creative Friends,
I hope you are all Well. In Today’s Tutorial I will show you How I Made a Fairy Cottage and Garden. I hope it Inspires you to make one for Yourself as they are so Magical to look at and to have in your Home.
Teacup and Saucer
I bought my Mam this massive Teacup and Saucer a few Years ago for Mother’s Day; It had real Flowers Inside. There hadn’t been anything in it for a while and I thought a Fairy Garden Inside it would look adorable.
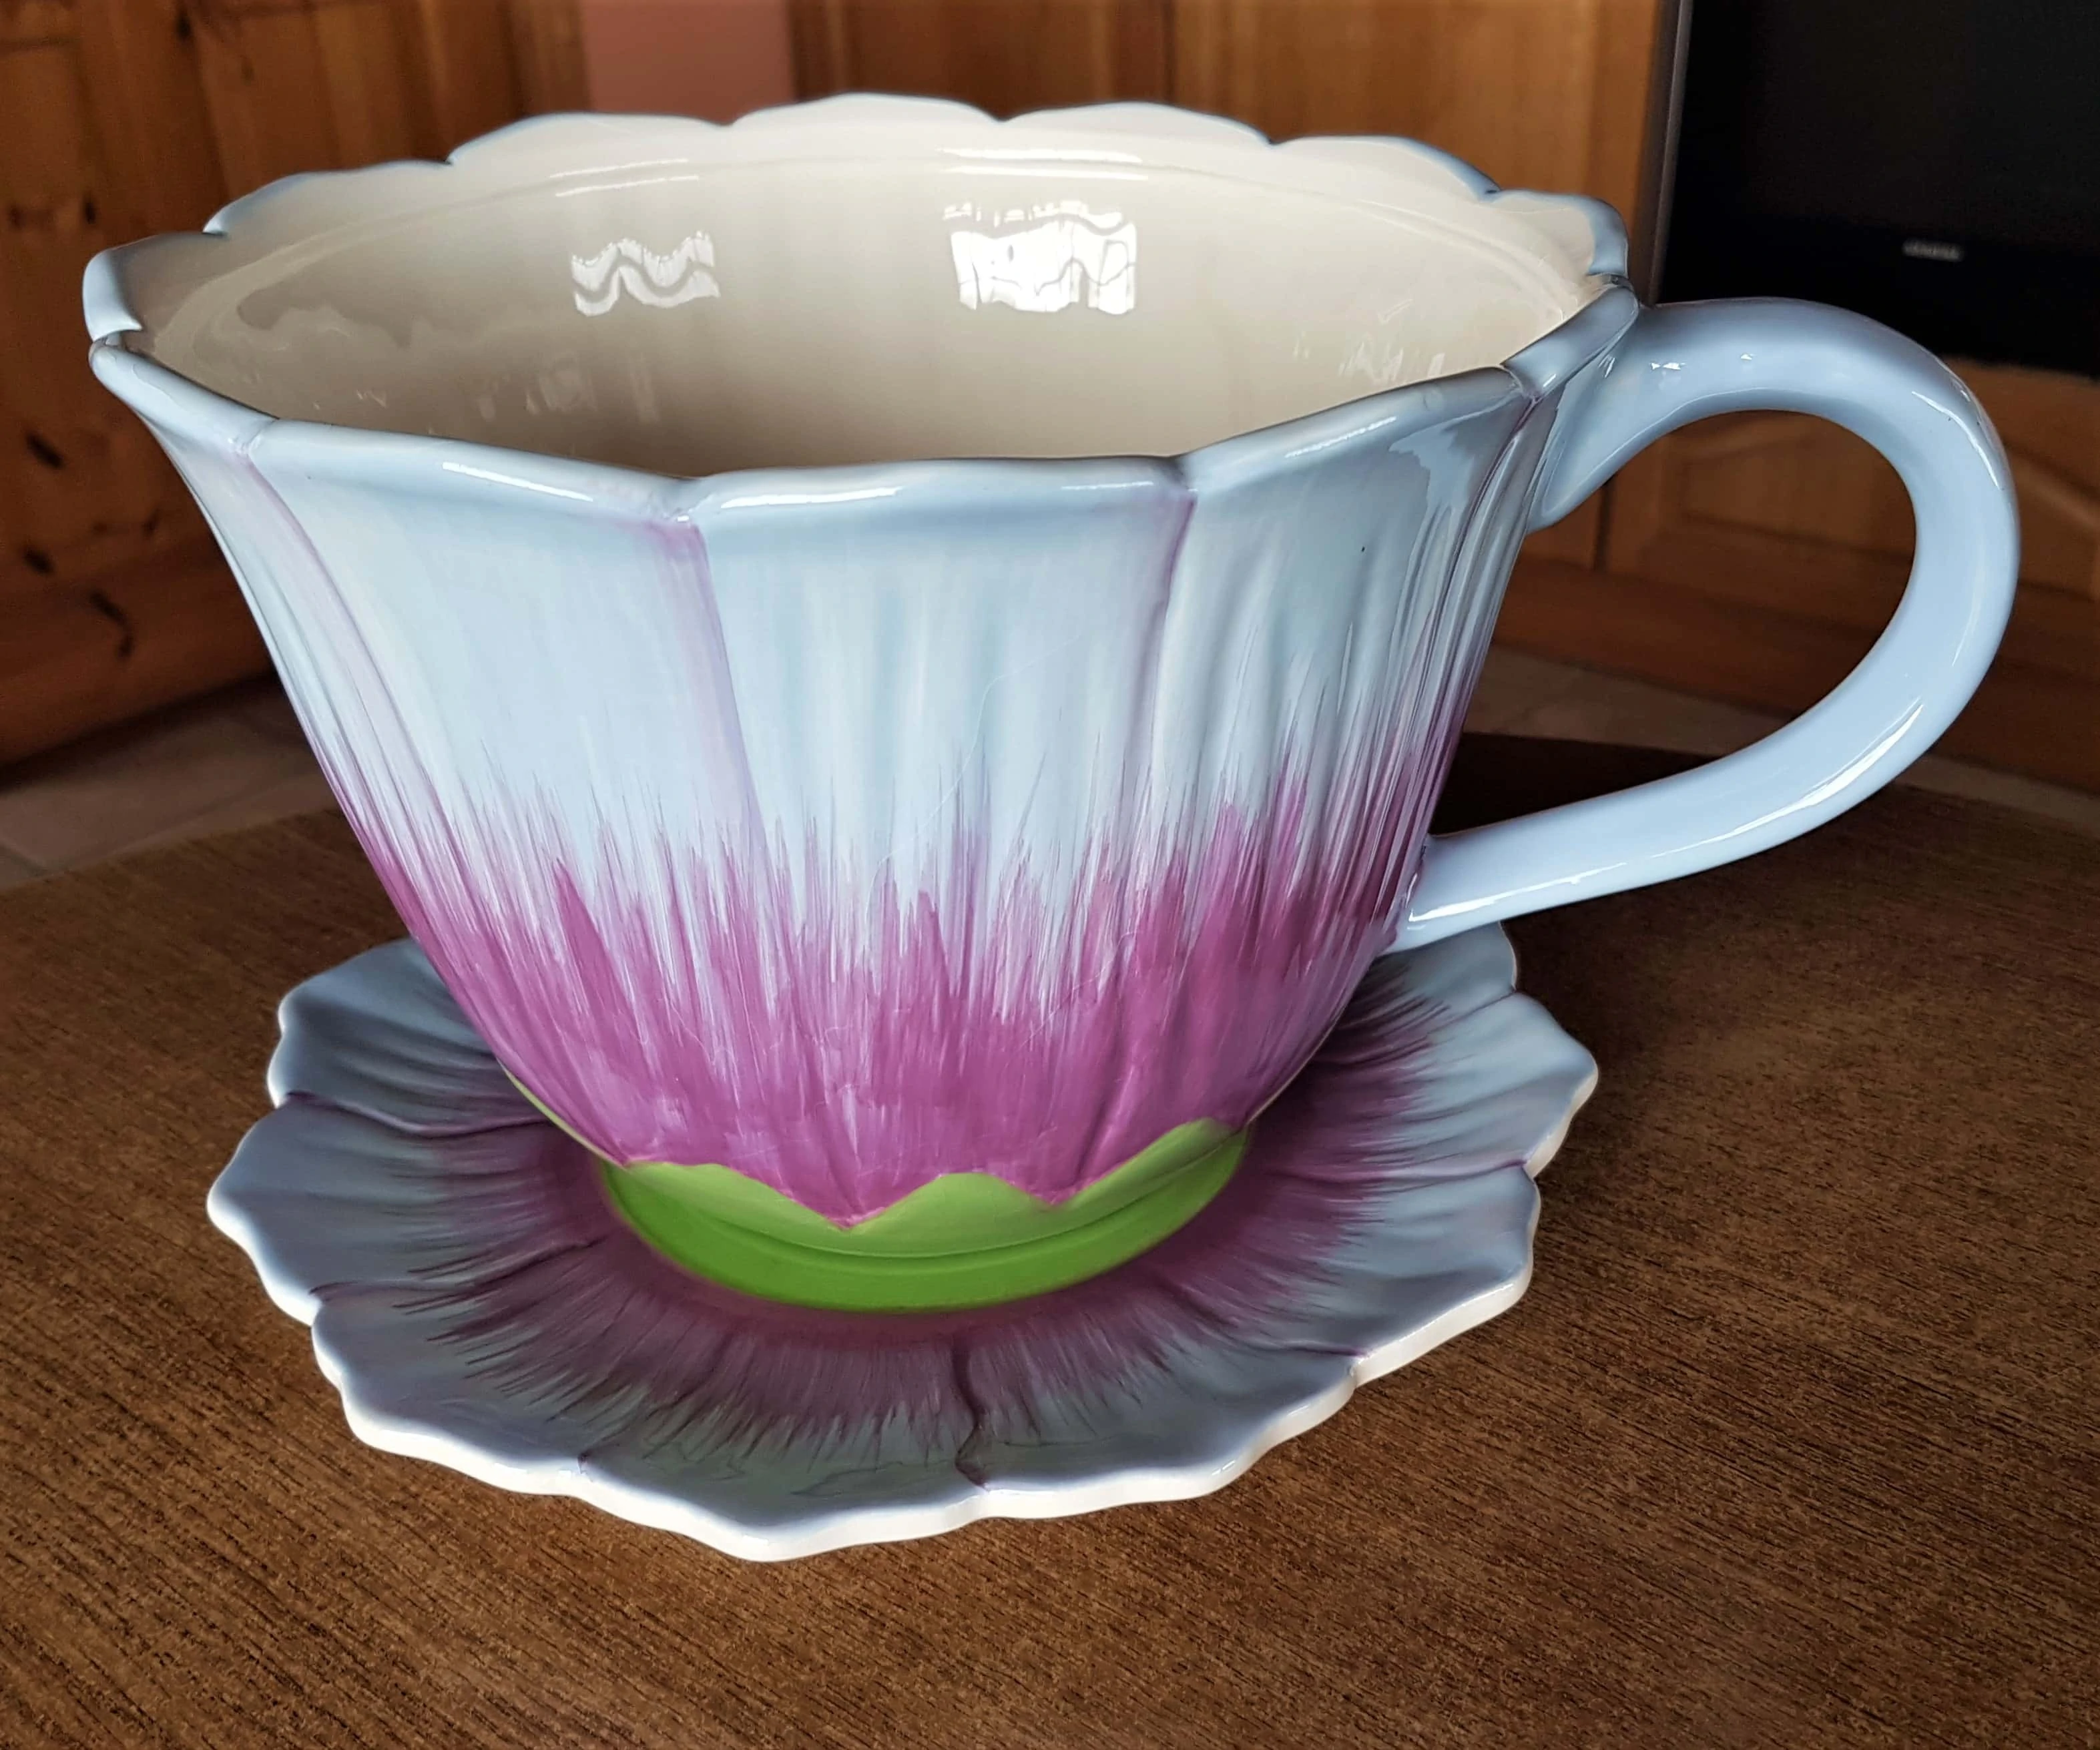
A Closer look at the Cup and Plate; isn’t it so Pretty?
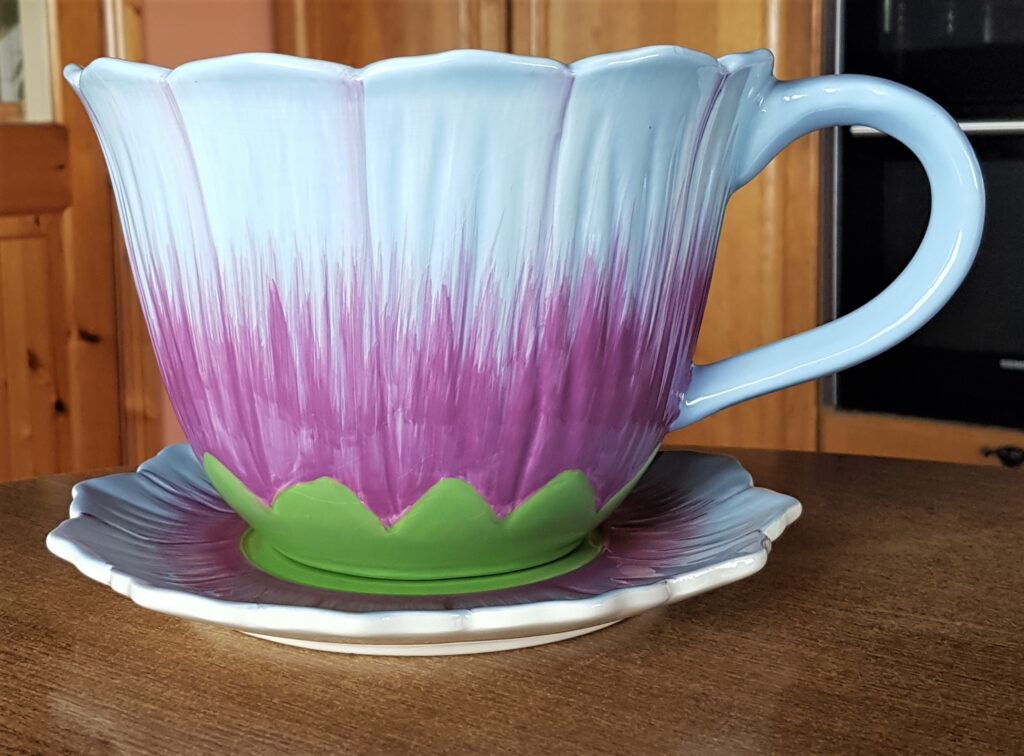
Adding Height Inside the Teacup
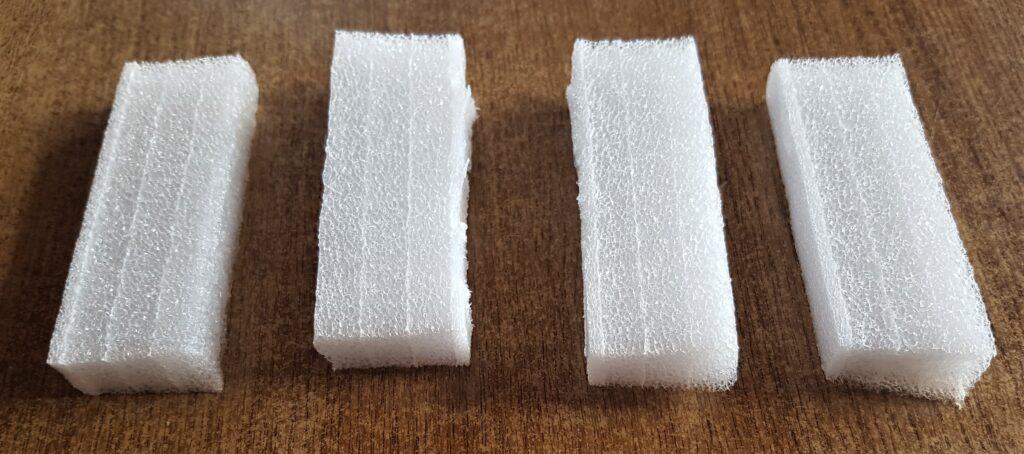
I got my Foam pieces that I had in my Supplies. These were from my Laptop Box.
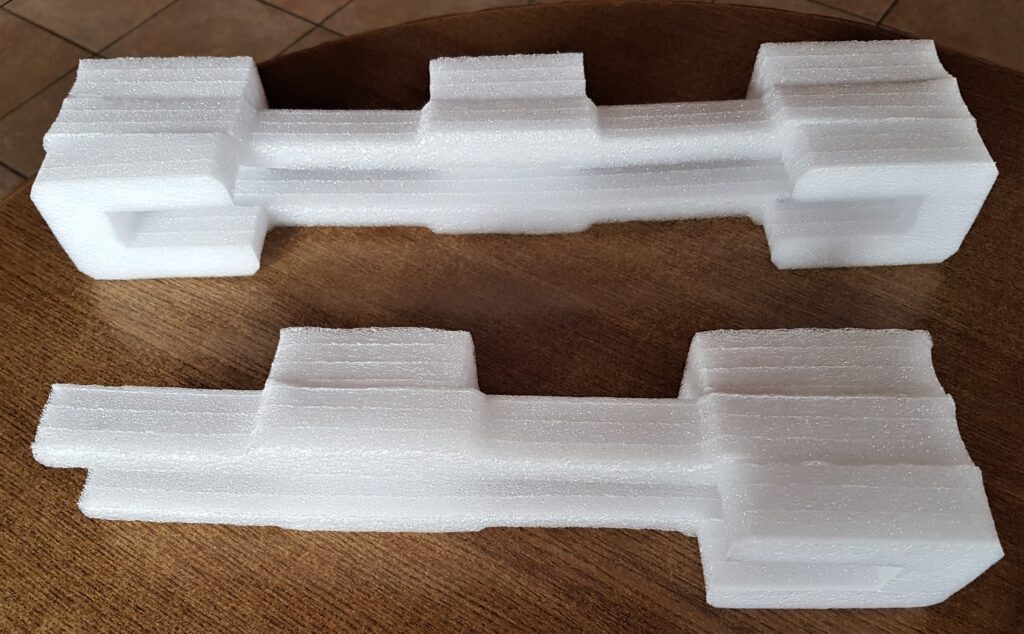
I Cut off one of the bigger ends of the Foam.
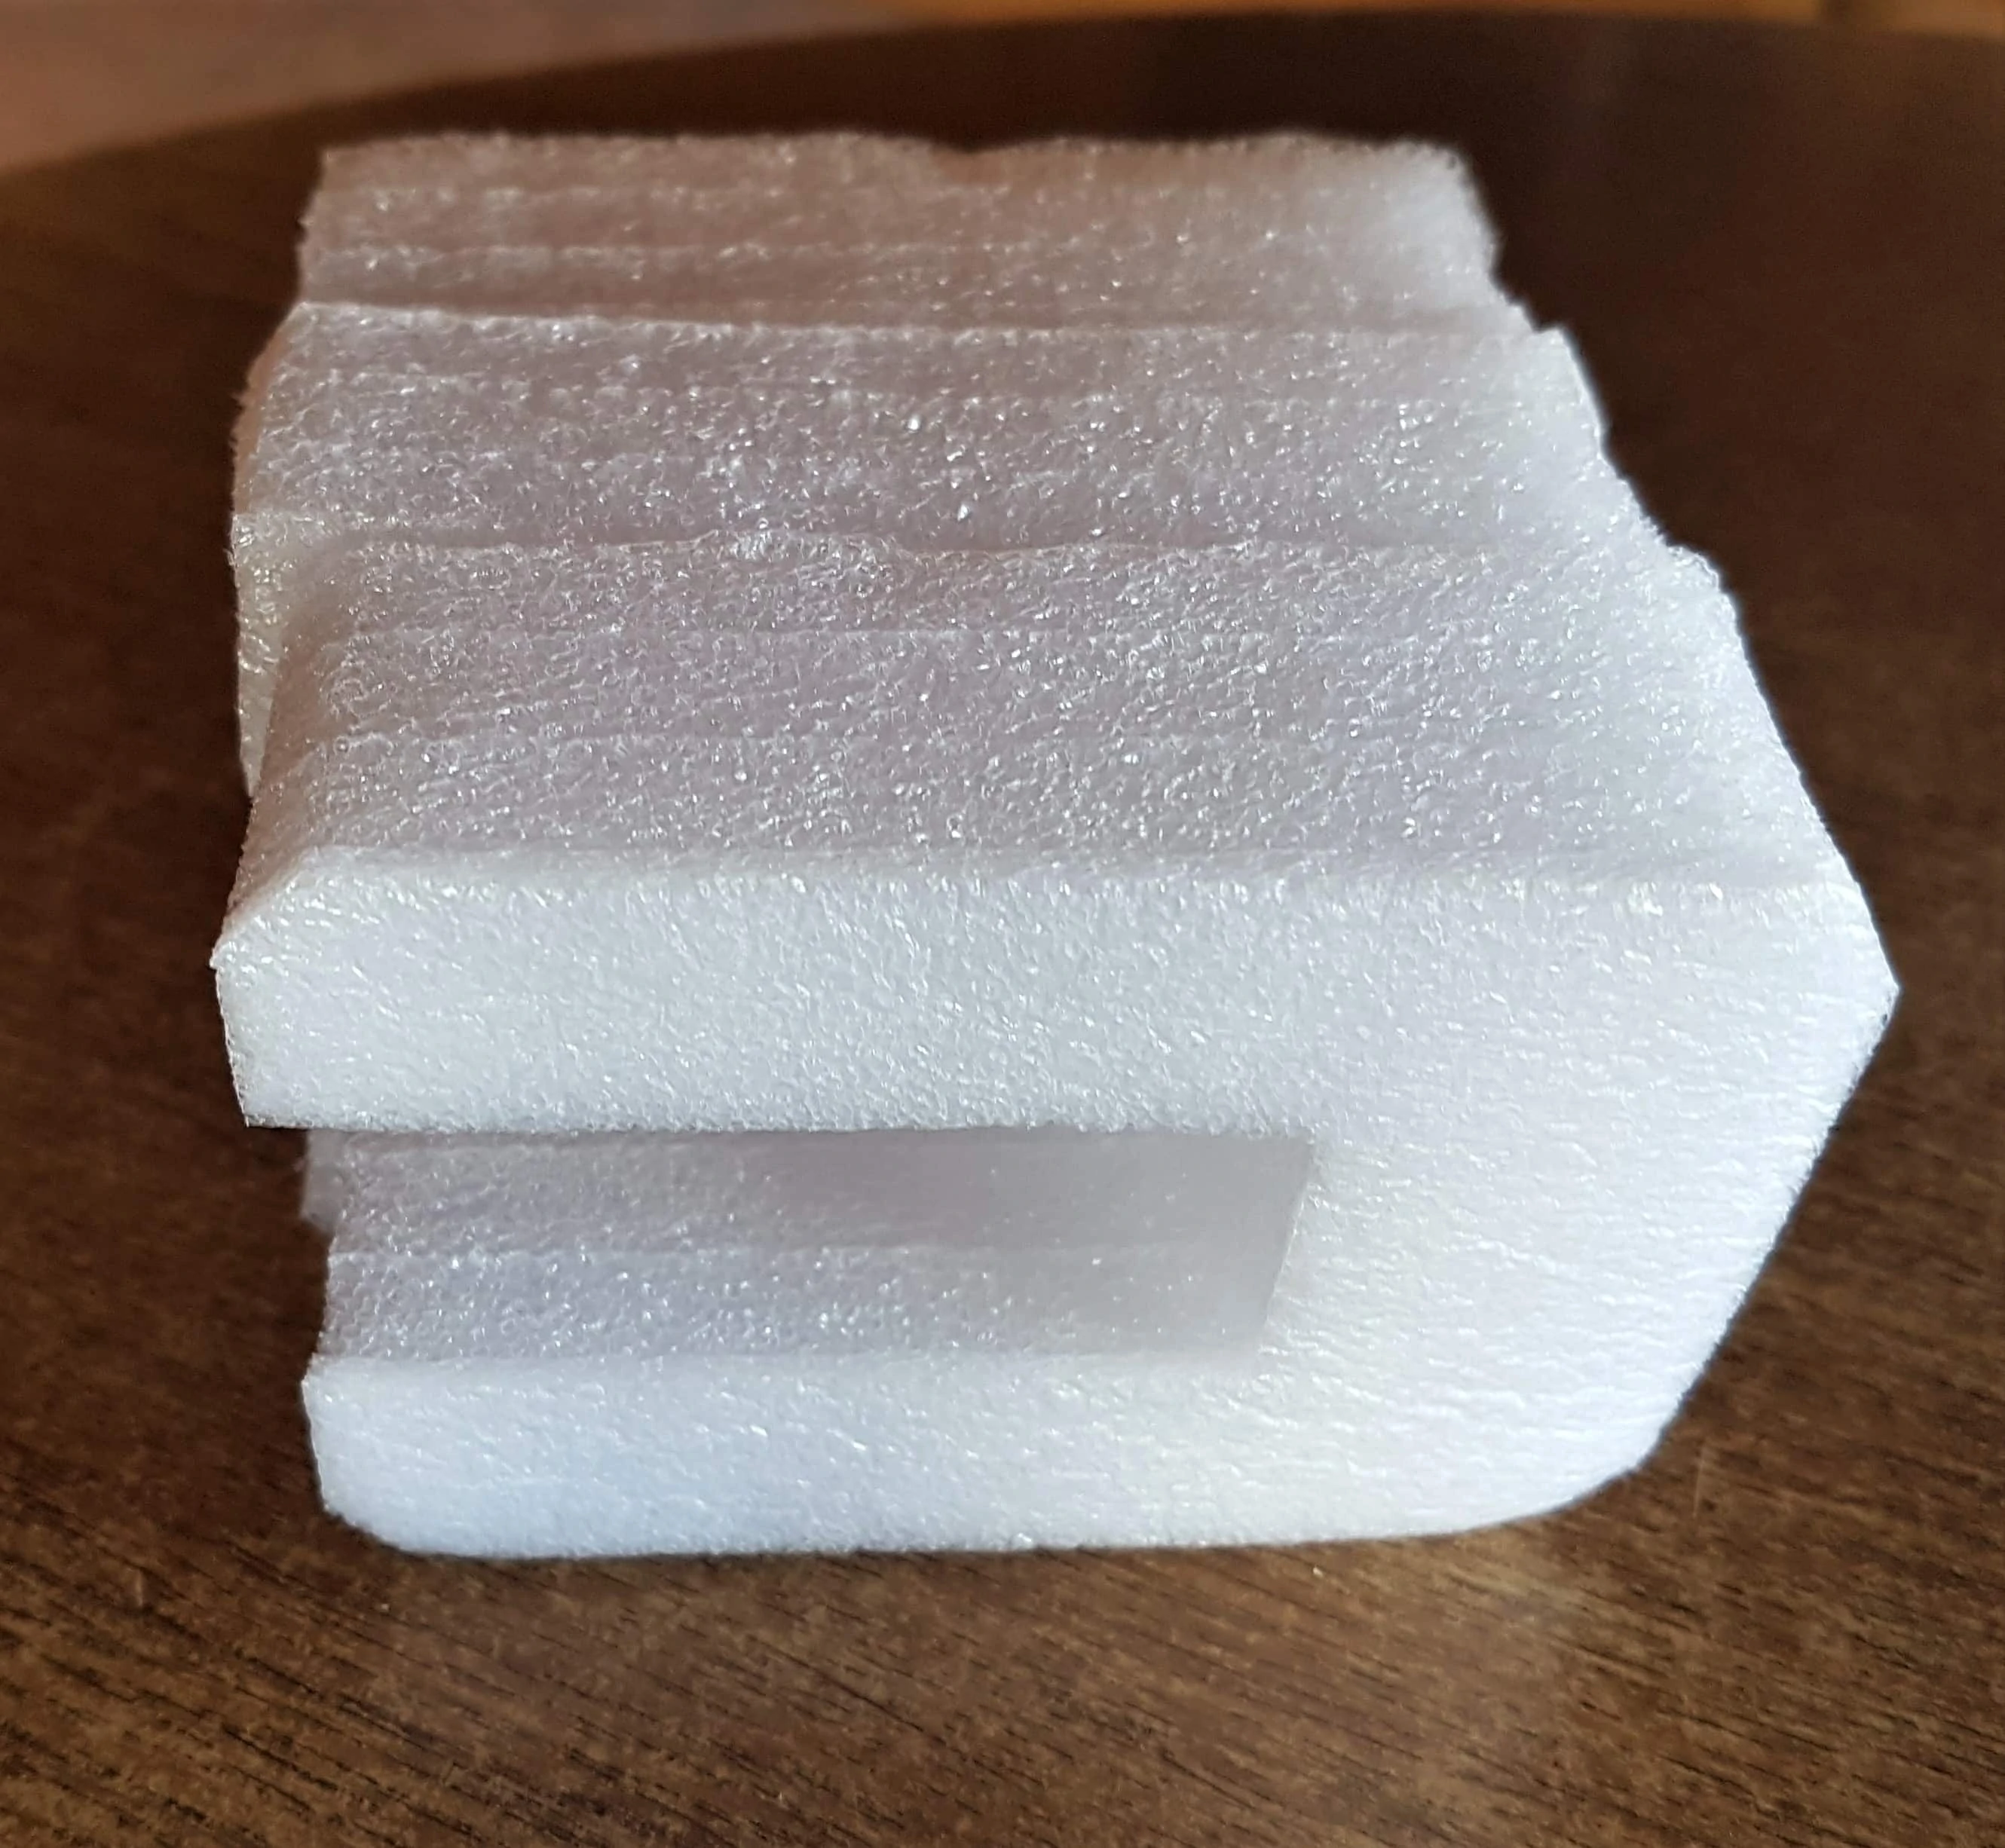
I then Cut 4 pieces off the first long piece that I had Cut the bigger end from.
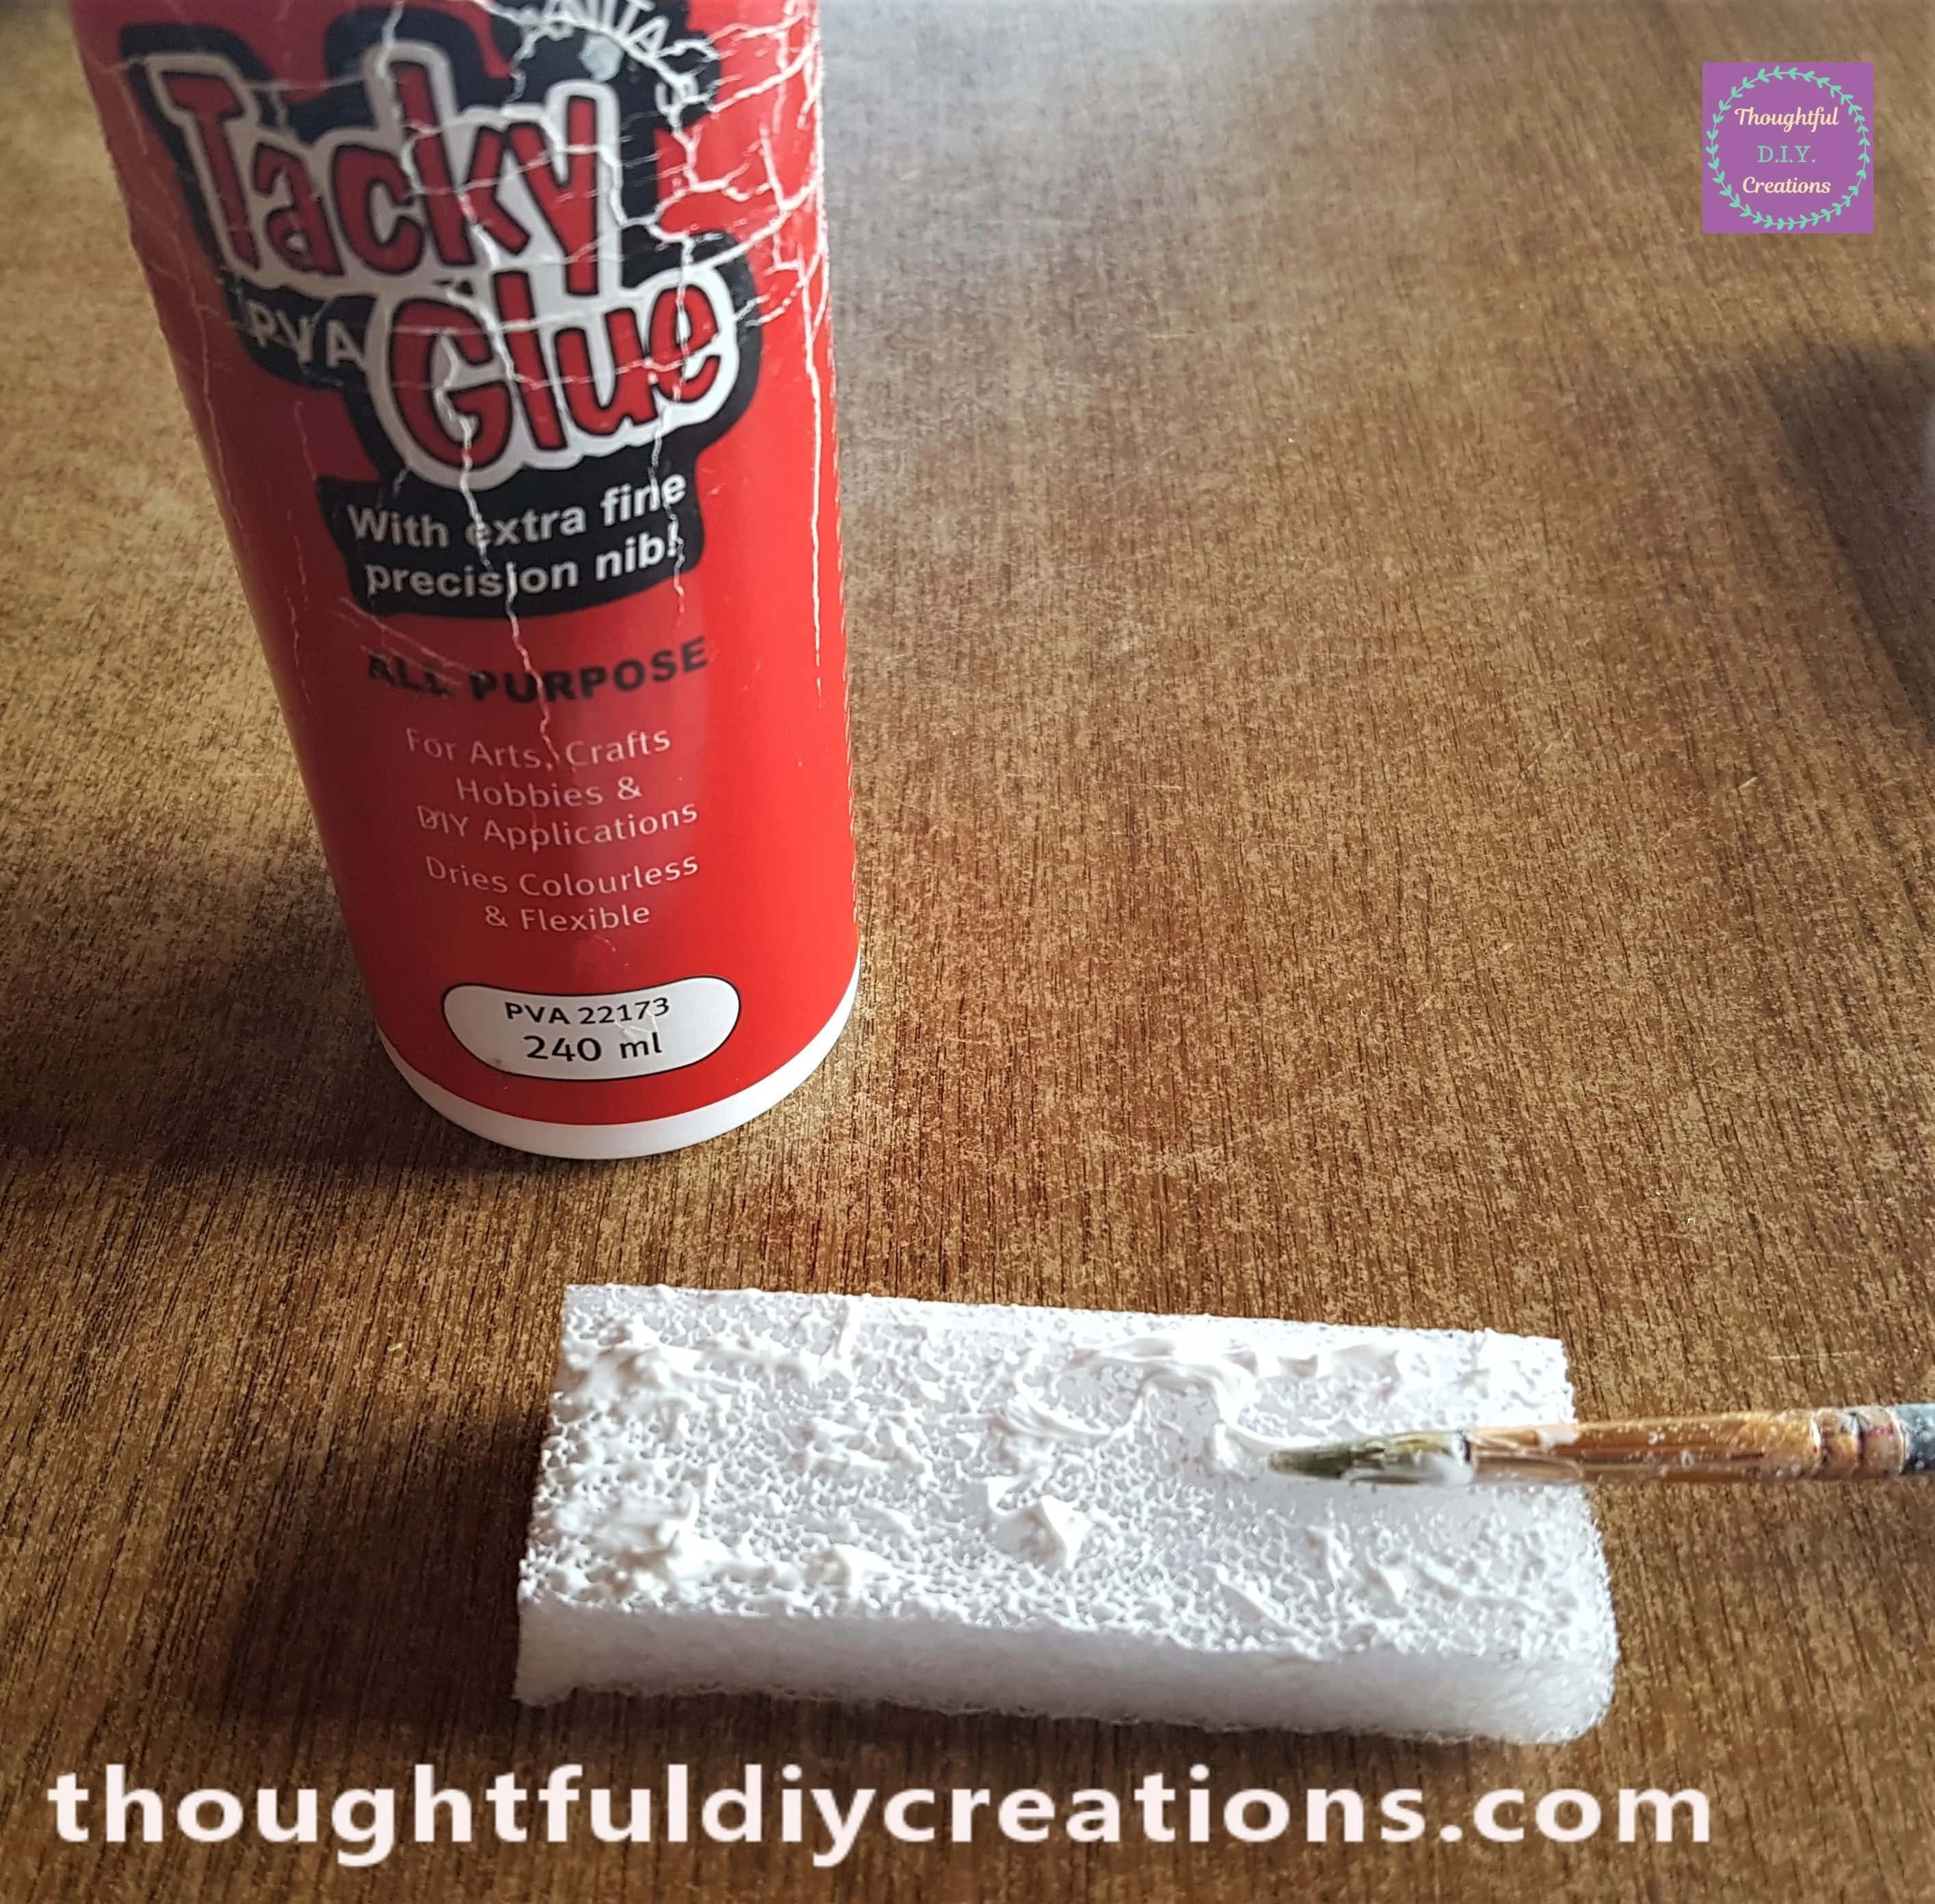
I put ‘Anita’s Tacky PVA Glue’ all over one Side of the Foam Piece with a Paintbrush.
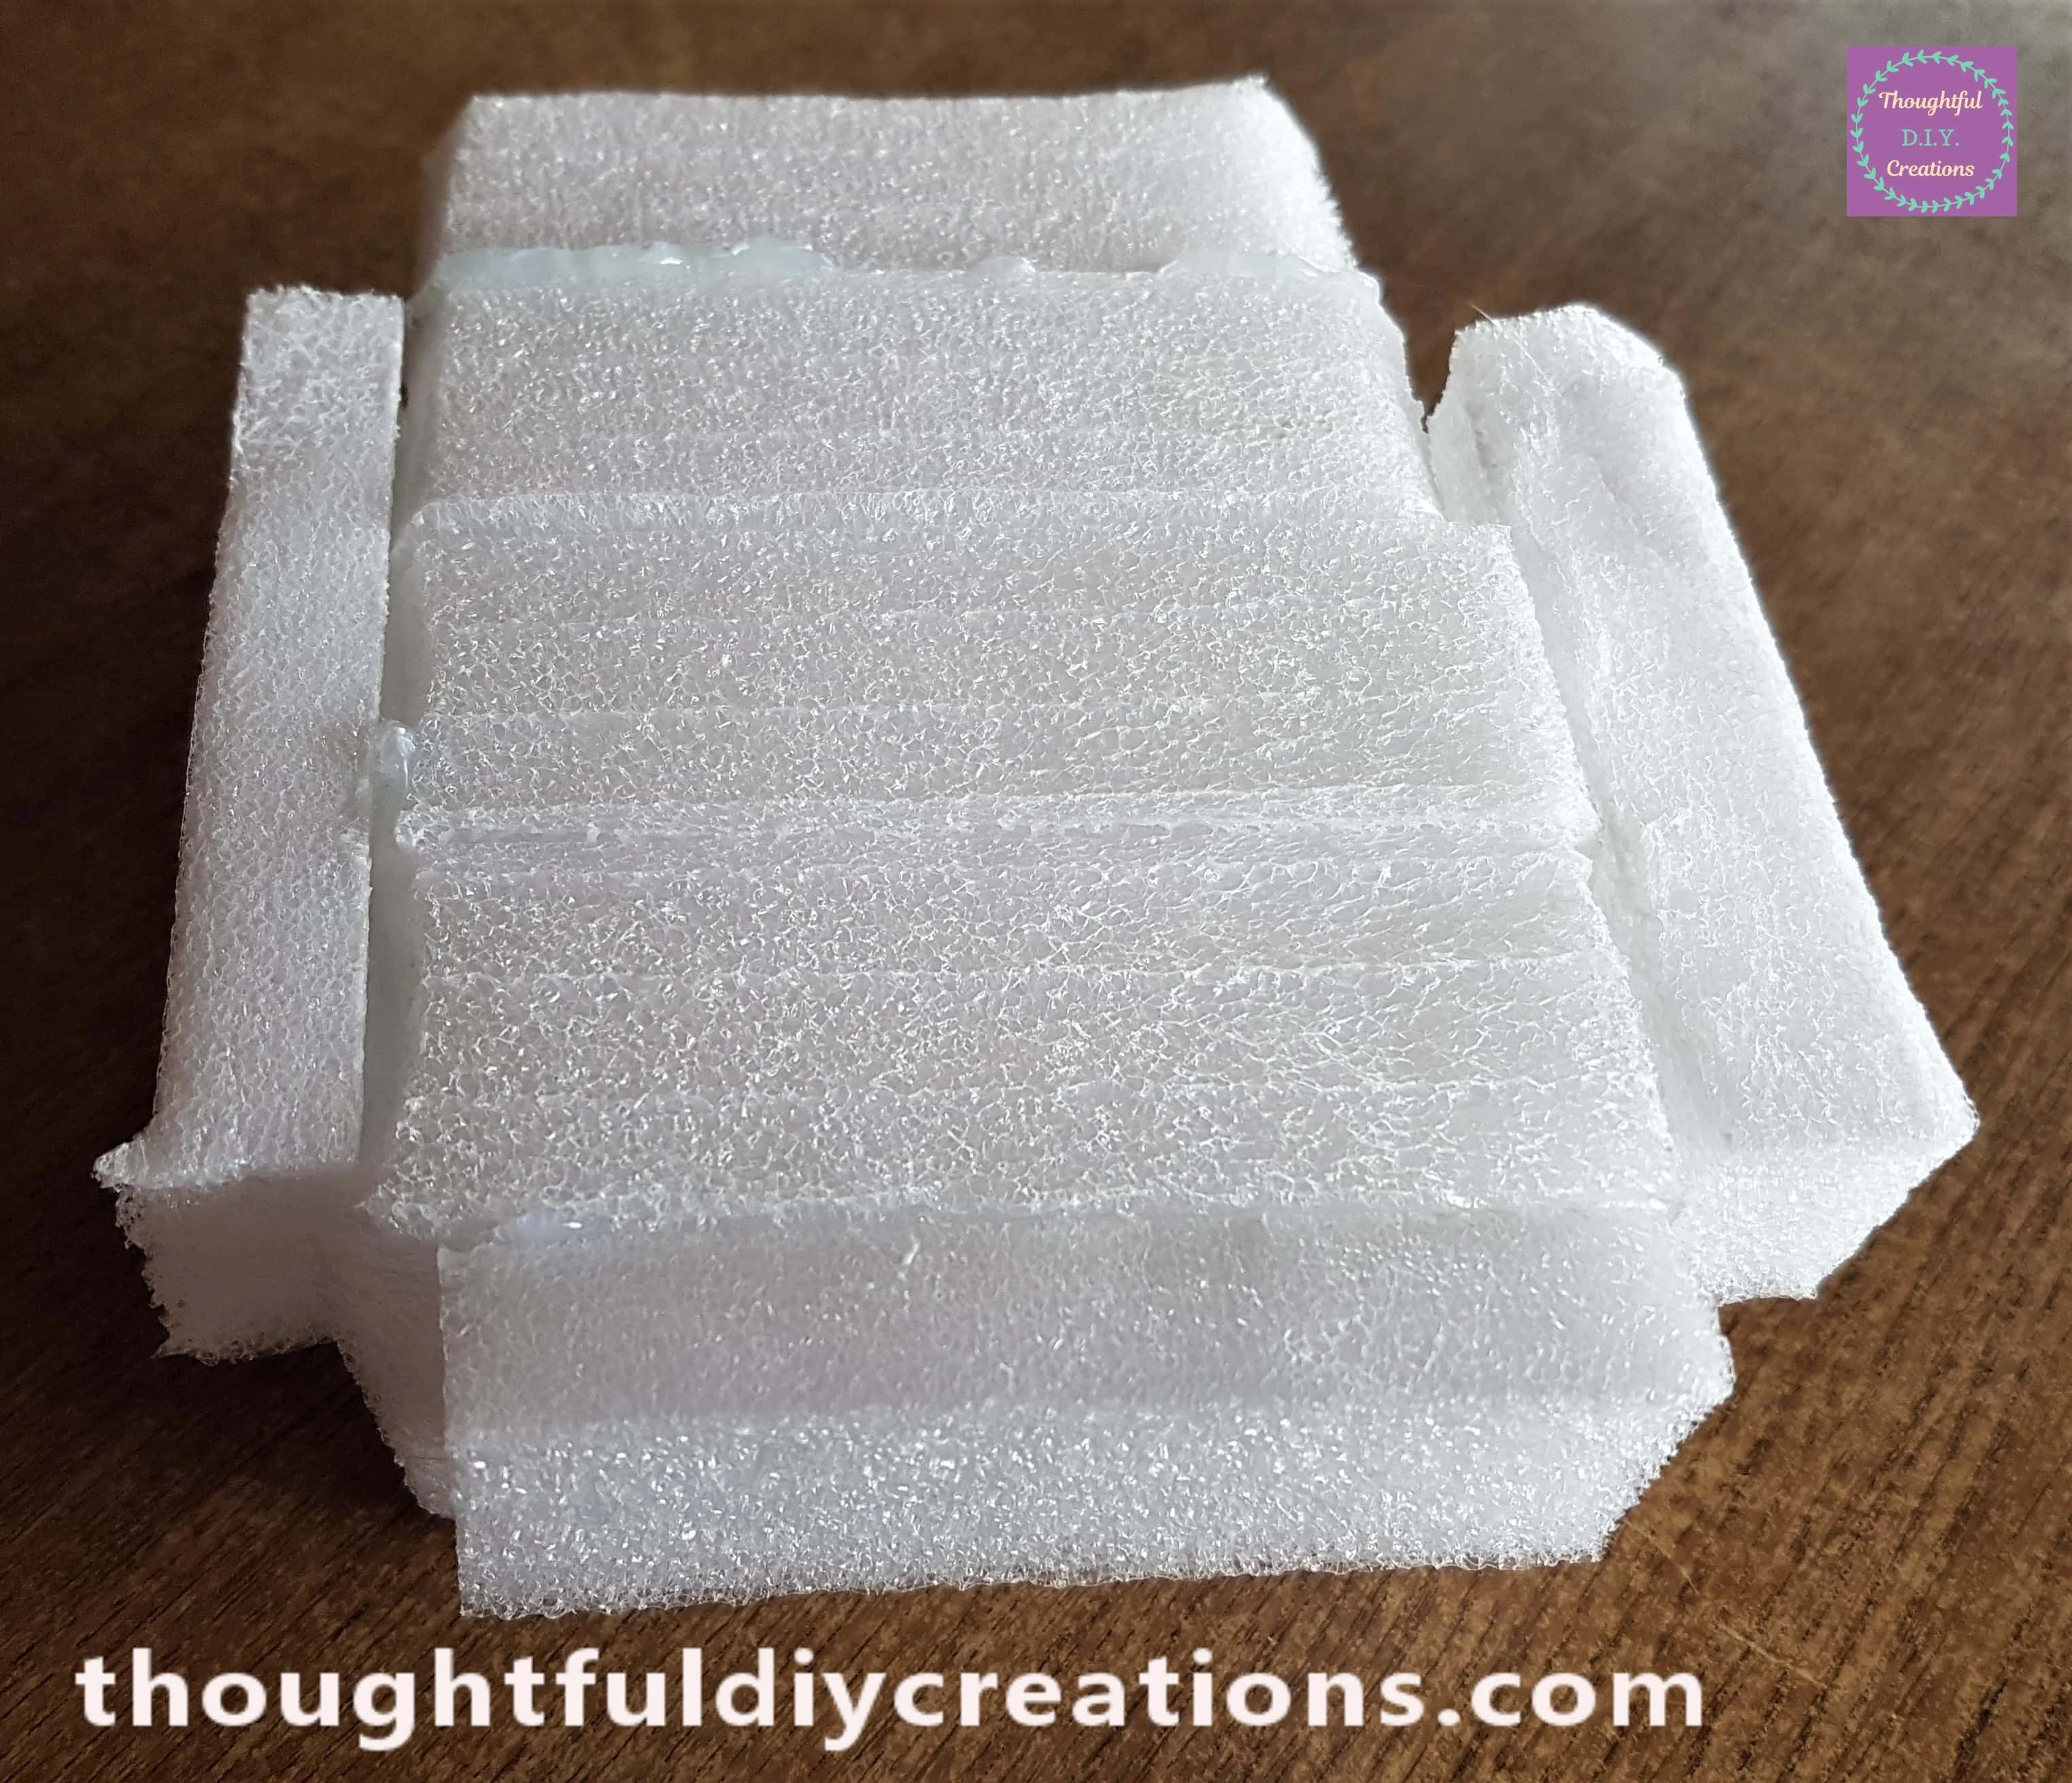
I held the Foam piece to the top Side of the bigger Foam Piece that I had Cut off earlier. I repeated this Step with the other 3 foam pieces; I attached them to each top Side of the bigger Foam. I held them in place for about 30 seconds for the glue to attach to the foam.
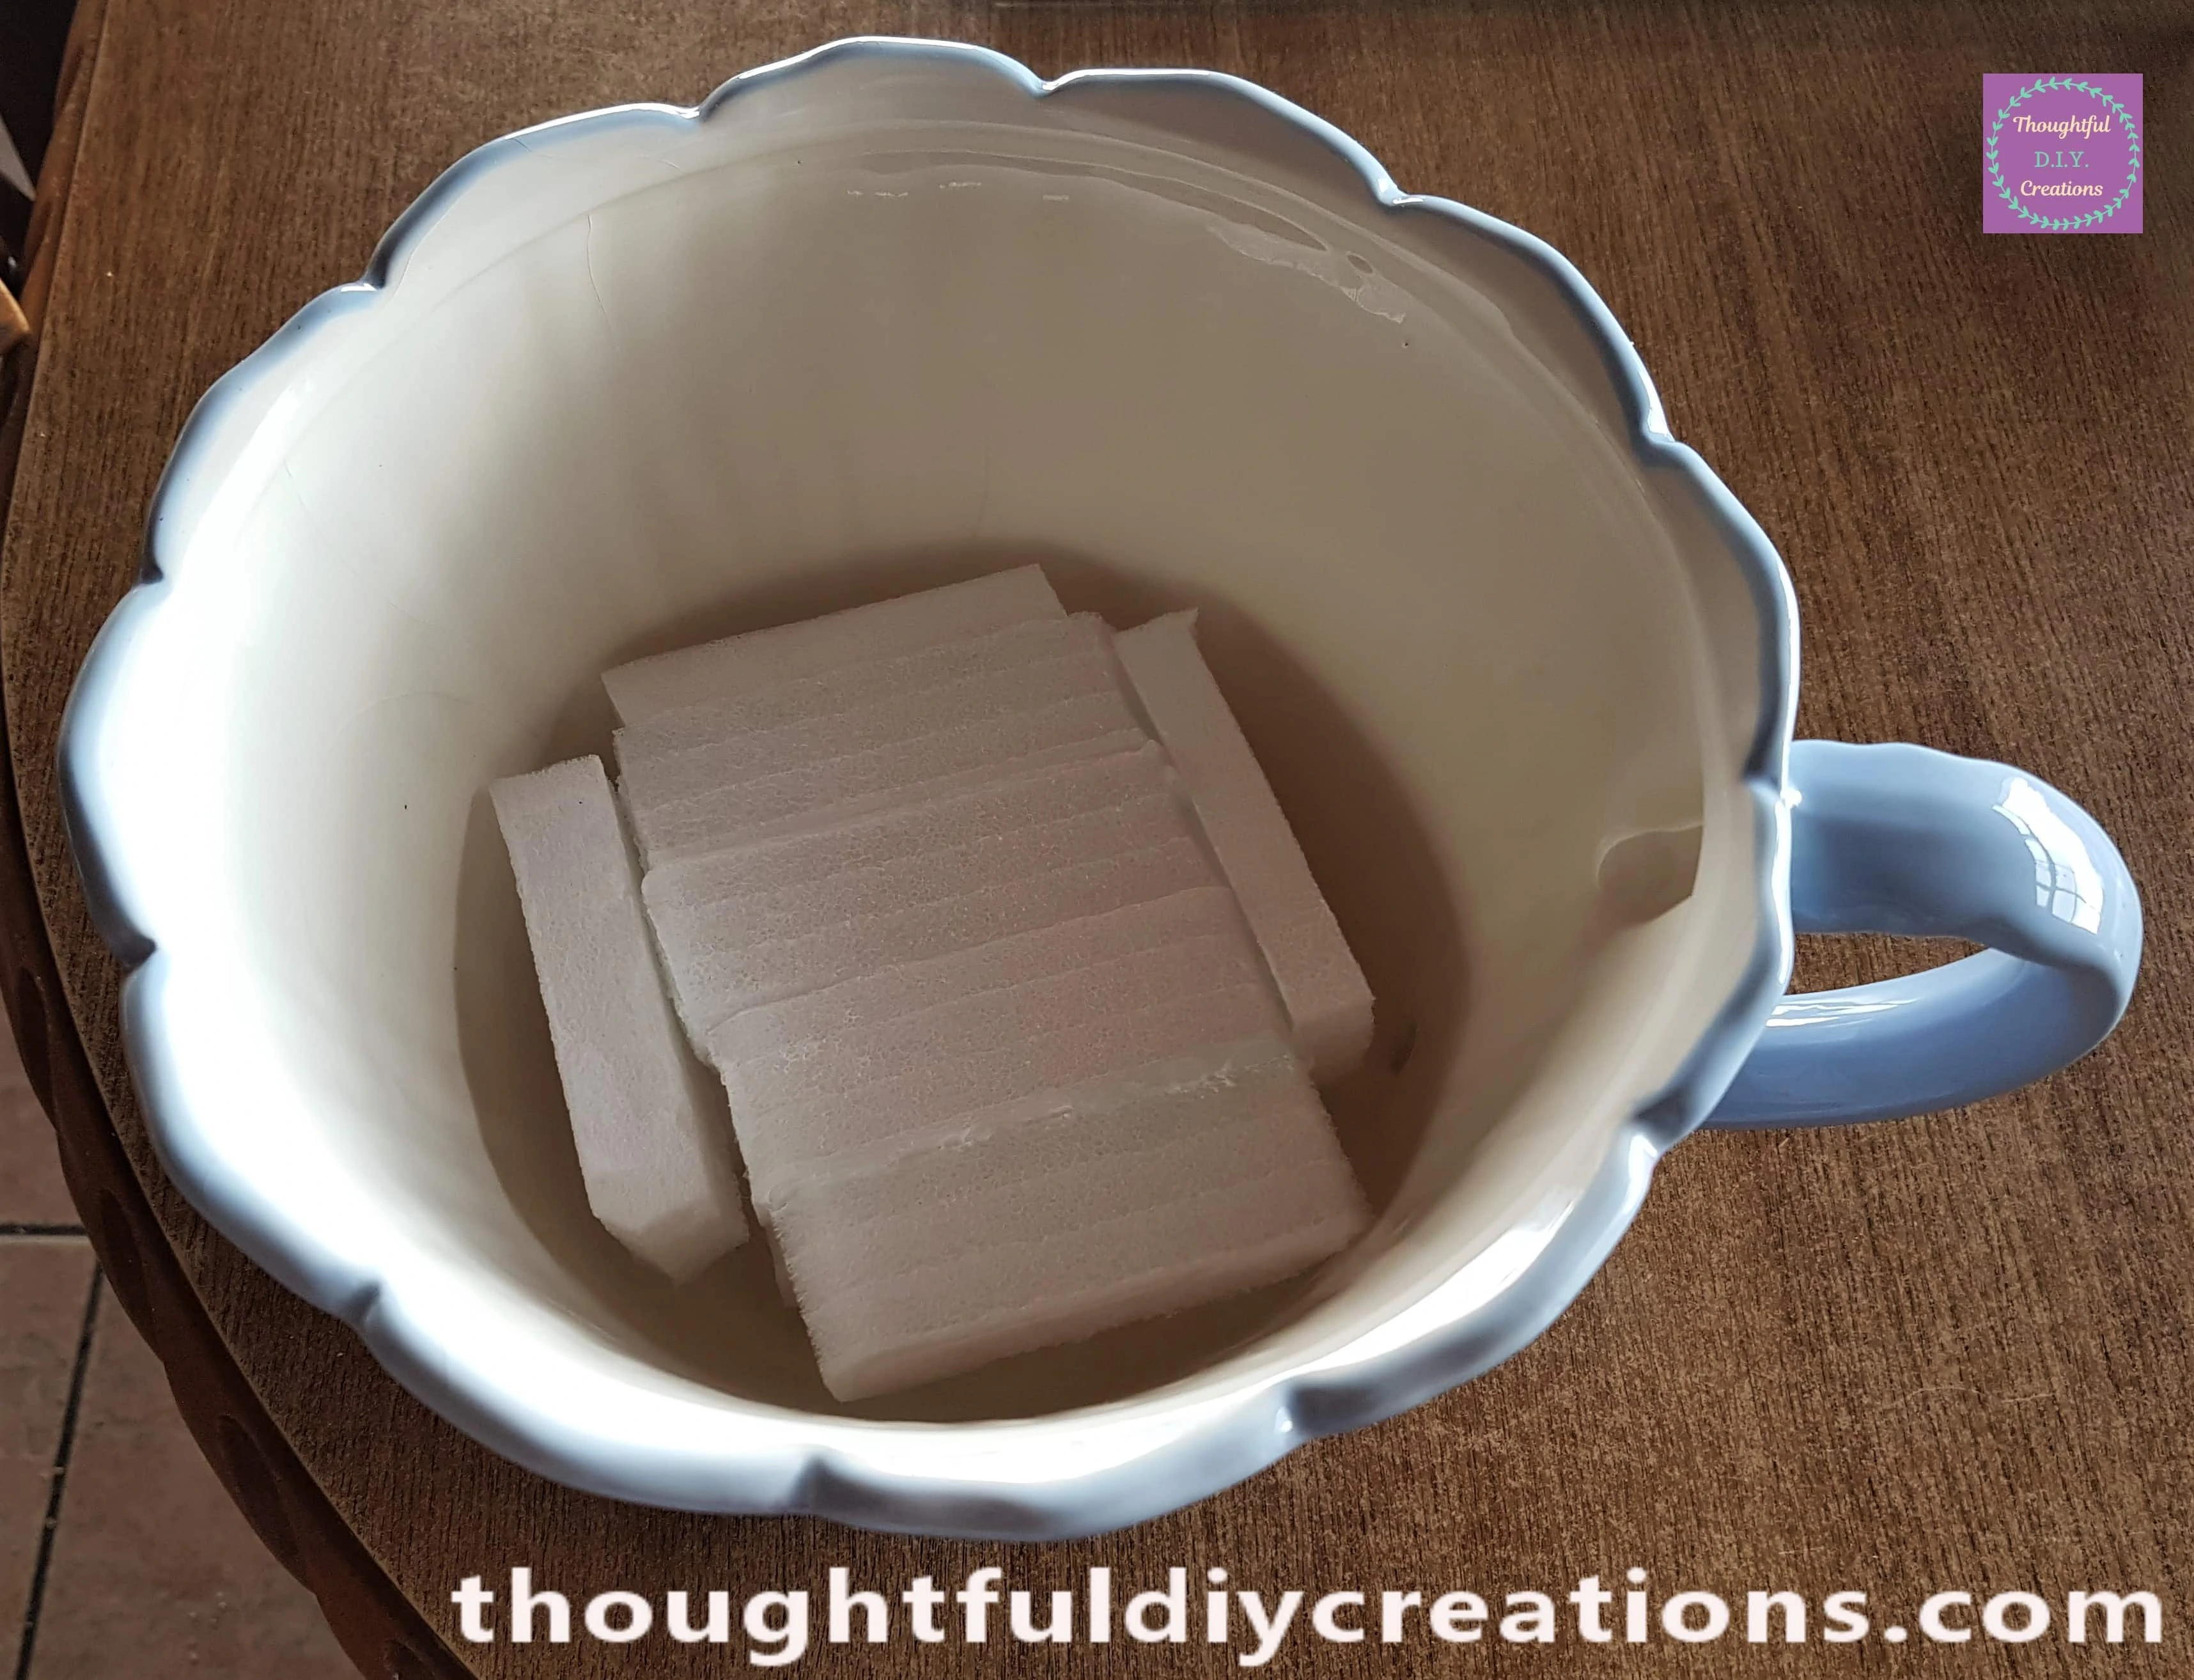
I added Hot Glue from my Hot Glue Gun to the bottom of the Foam and then I placed it inside the Cup to ensure it stays in place. The Foam added height to the Teacup.
Making a Flat Base for the Garden
I got a Piece of Cardboard and roughly drew around the inside of the Teacup with a Pencil.
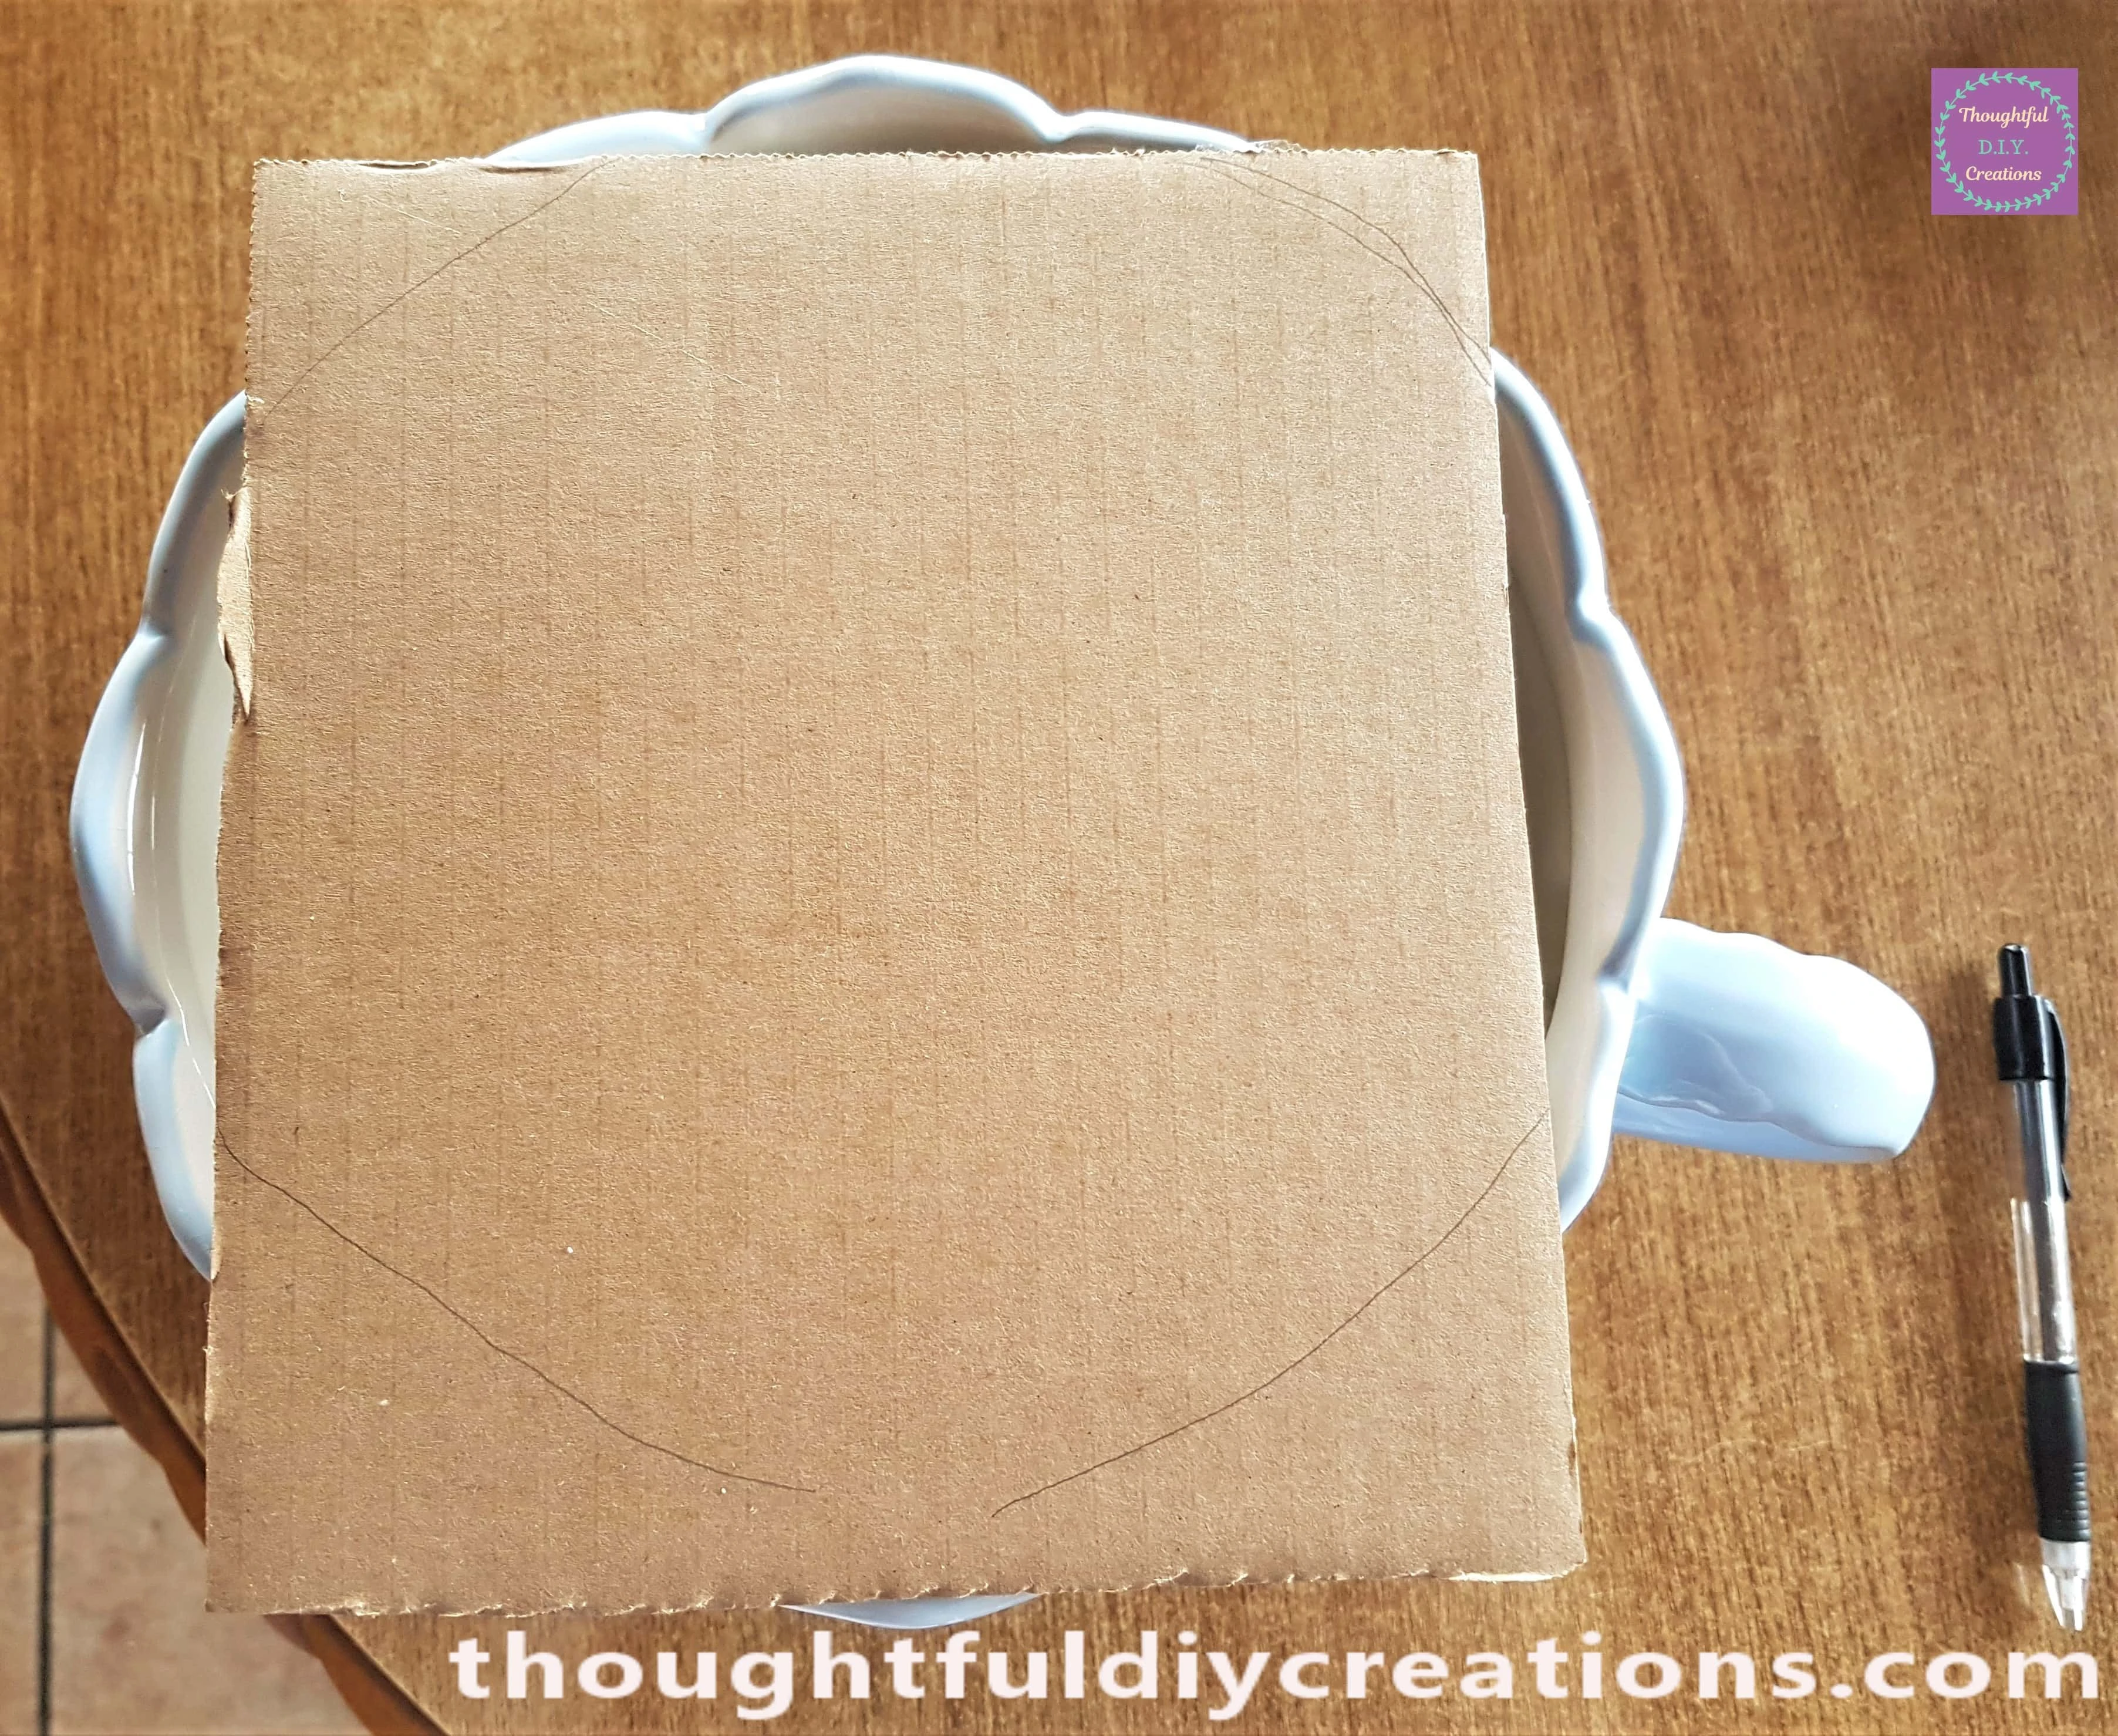
I Cut around the measurements on the Cardboard and made a circular Shape.
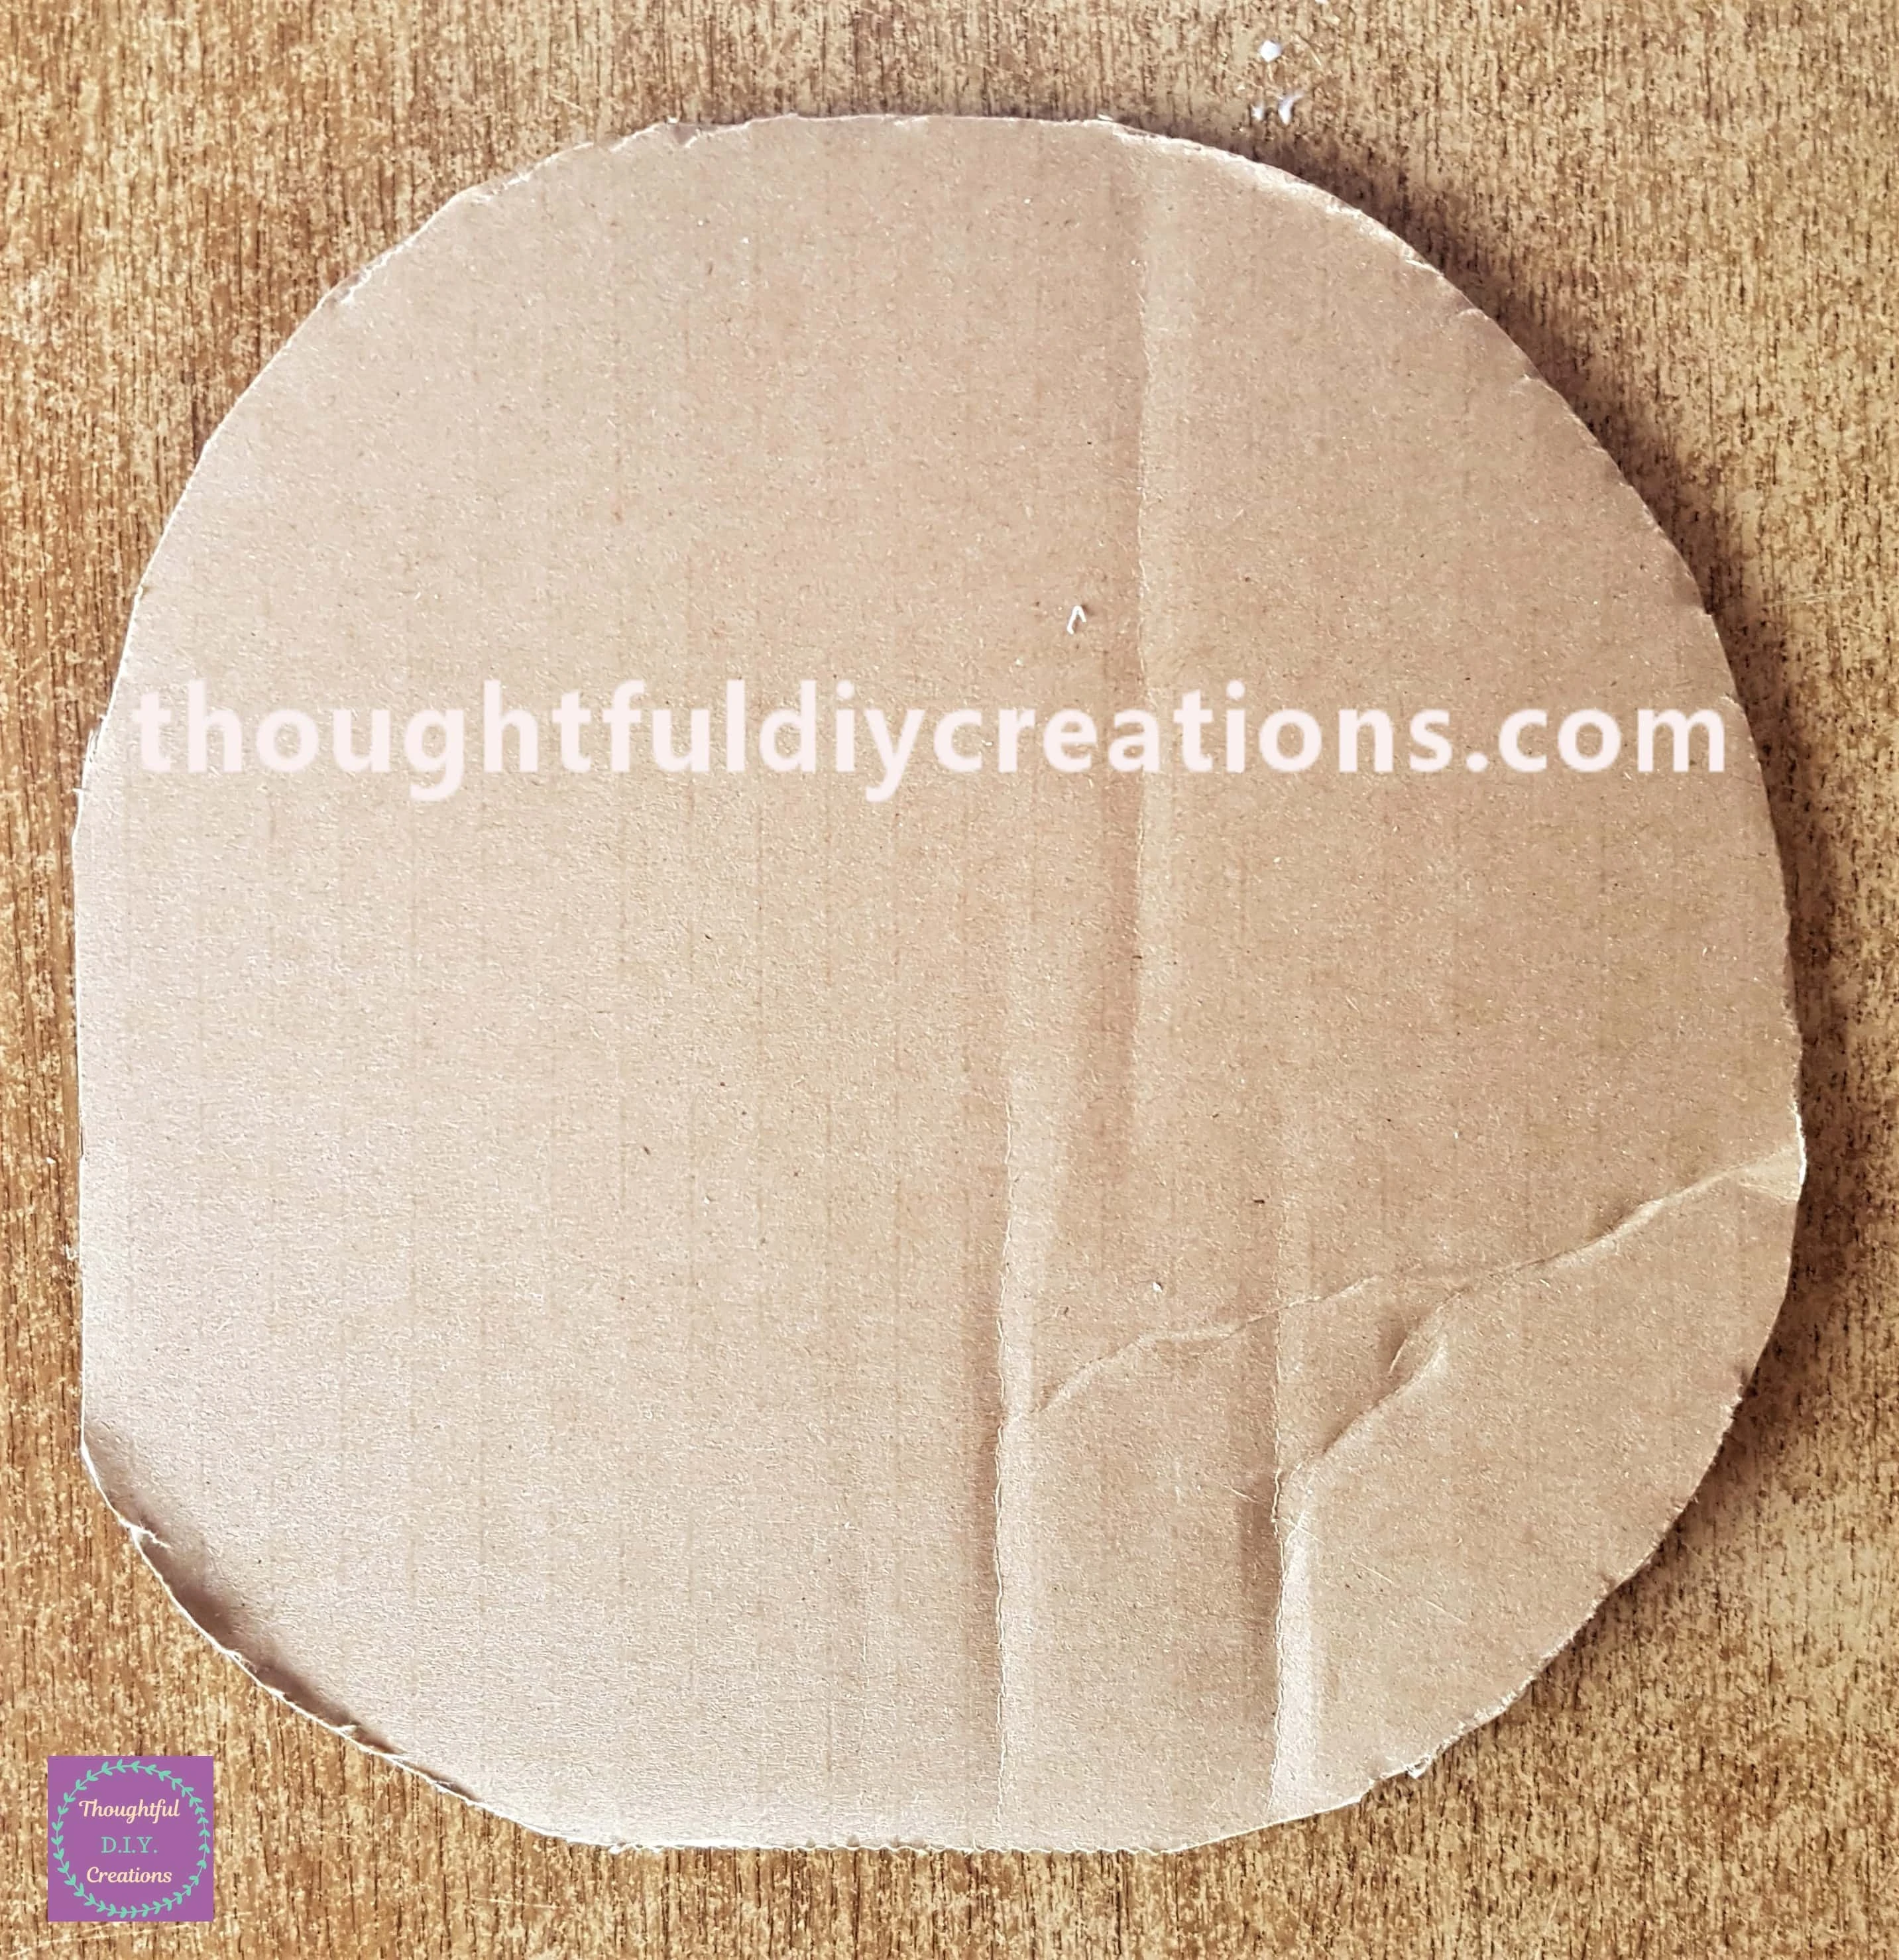
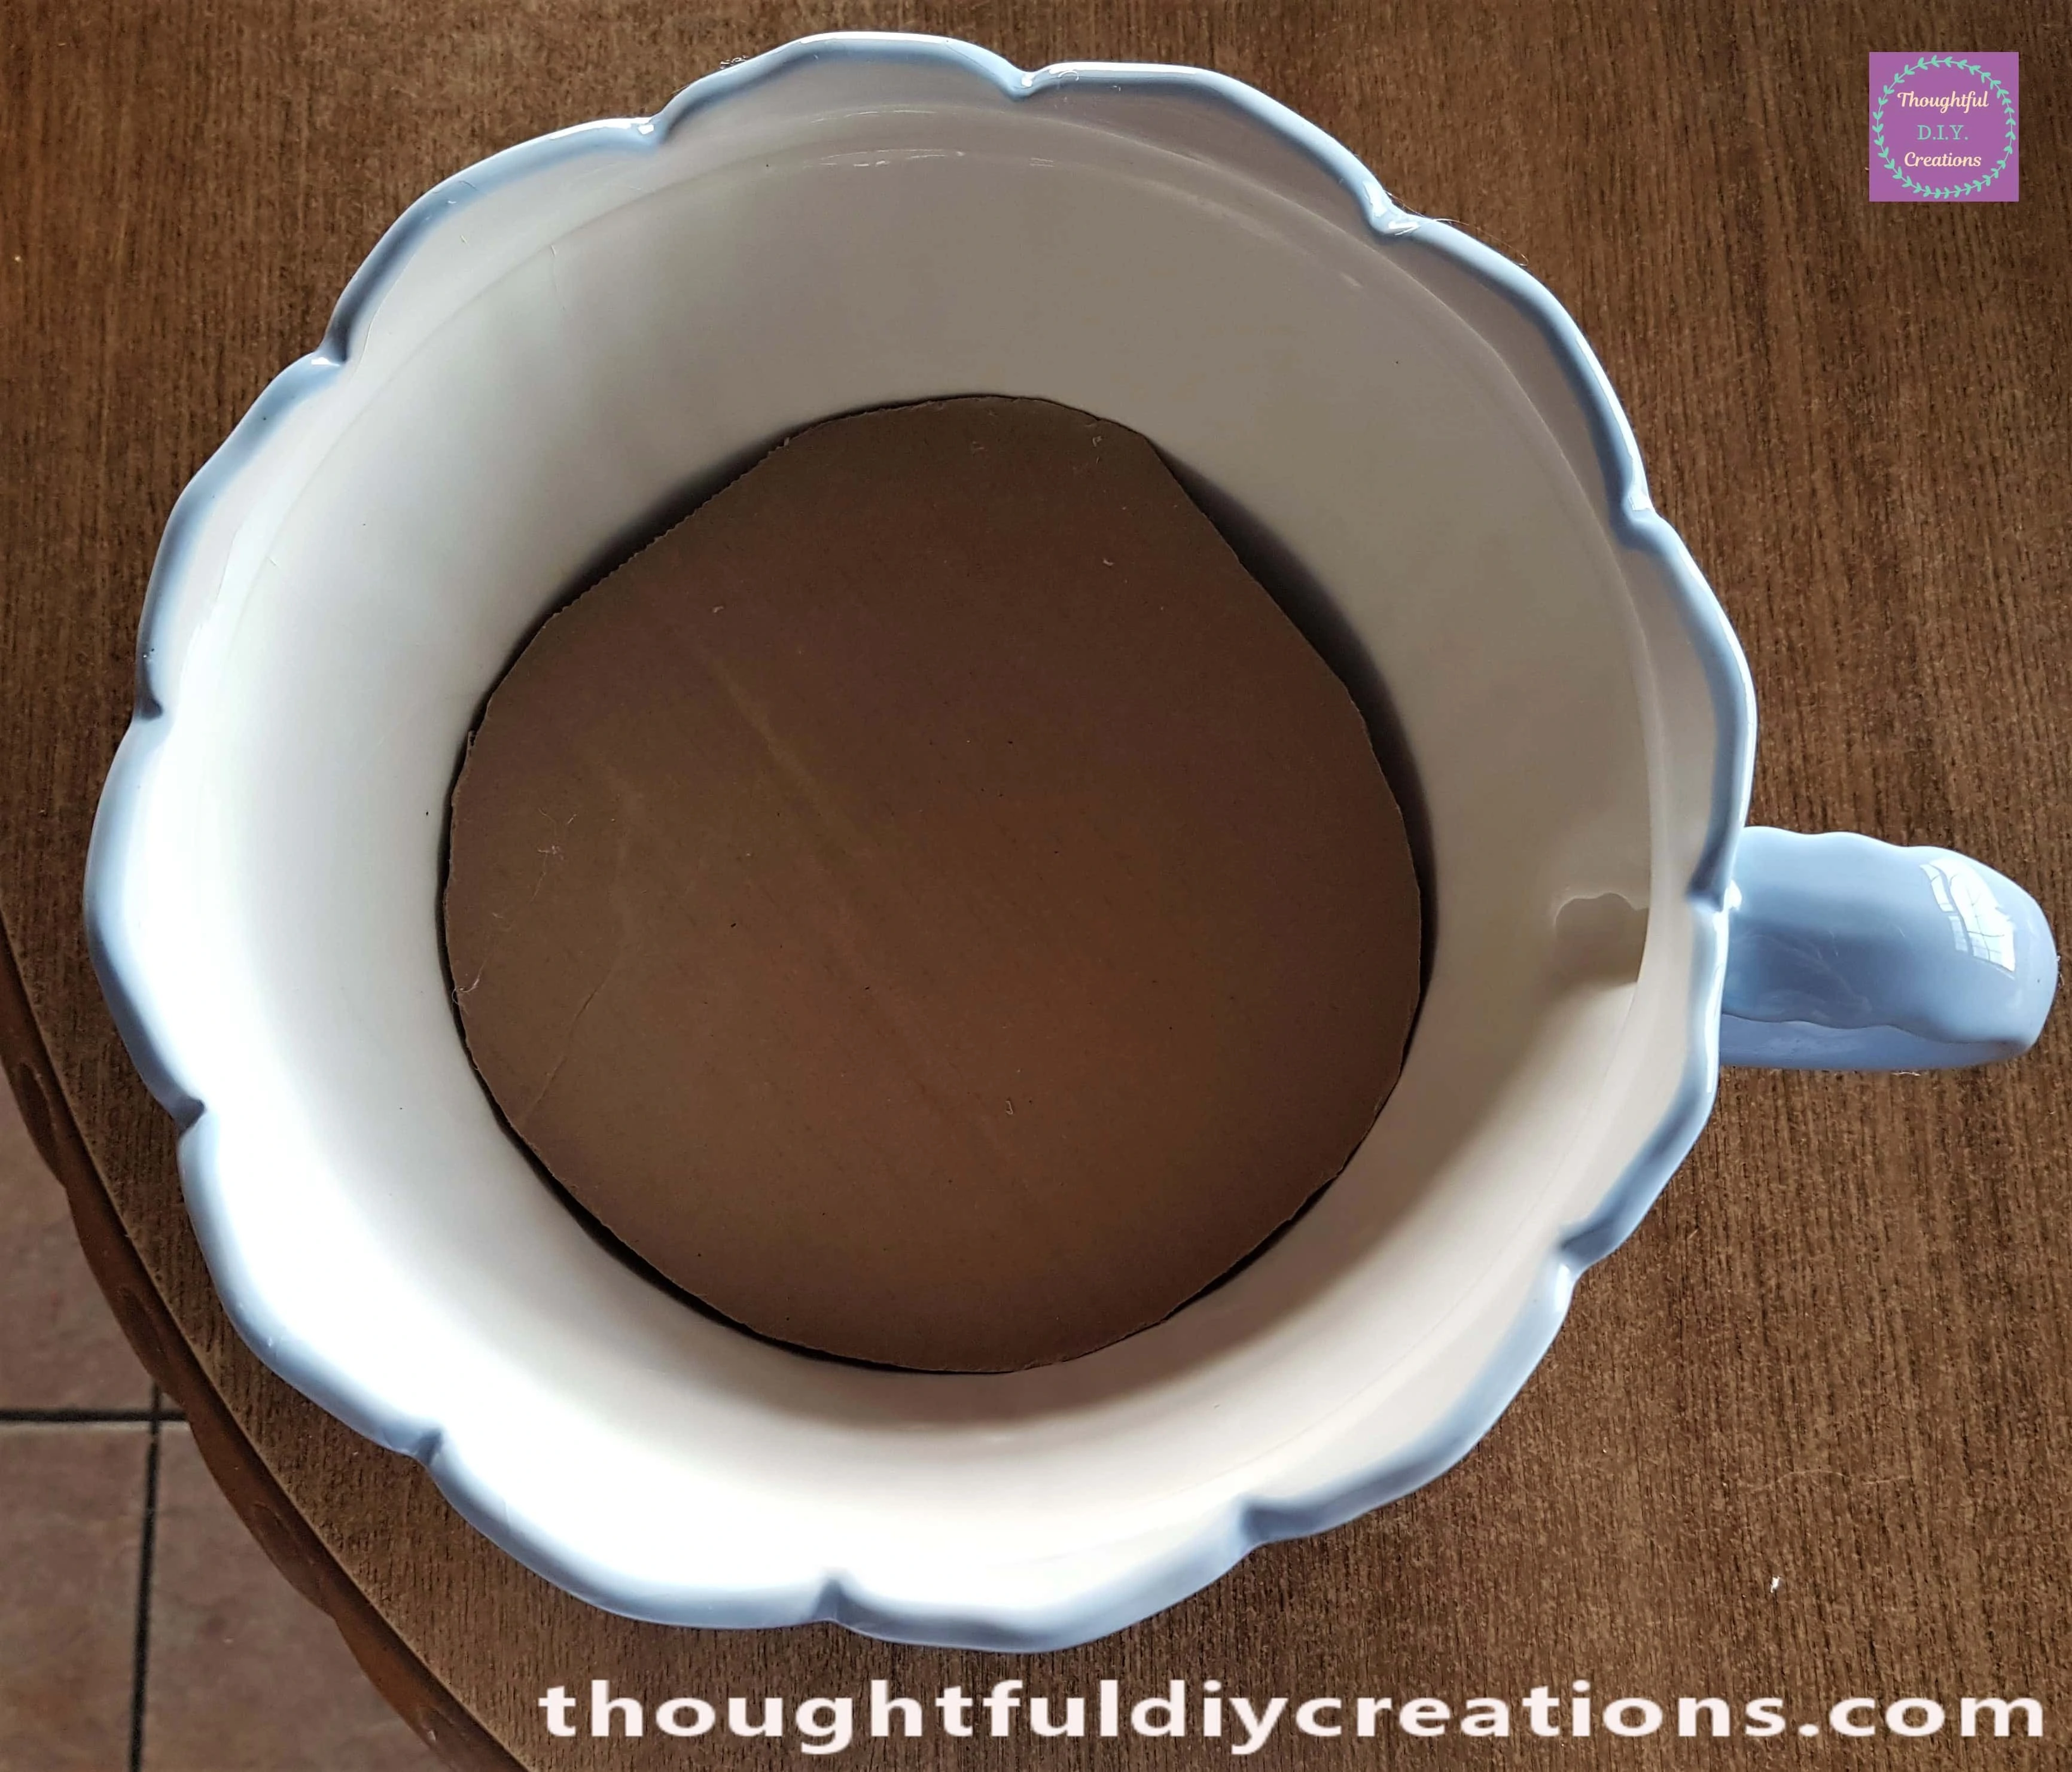
I put some Hot Glue on the Bottom and edges of the Cardboard and then placed it into the Teacup and held it on top of the Foam. This provided a Flat Base to work with for the Fairy Garden.
A Hill at the Top of the Garden
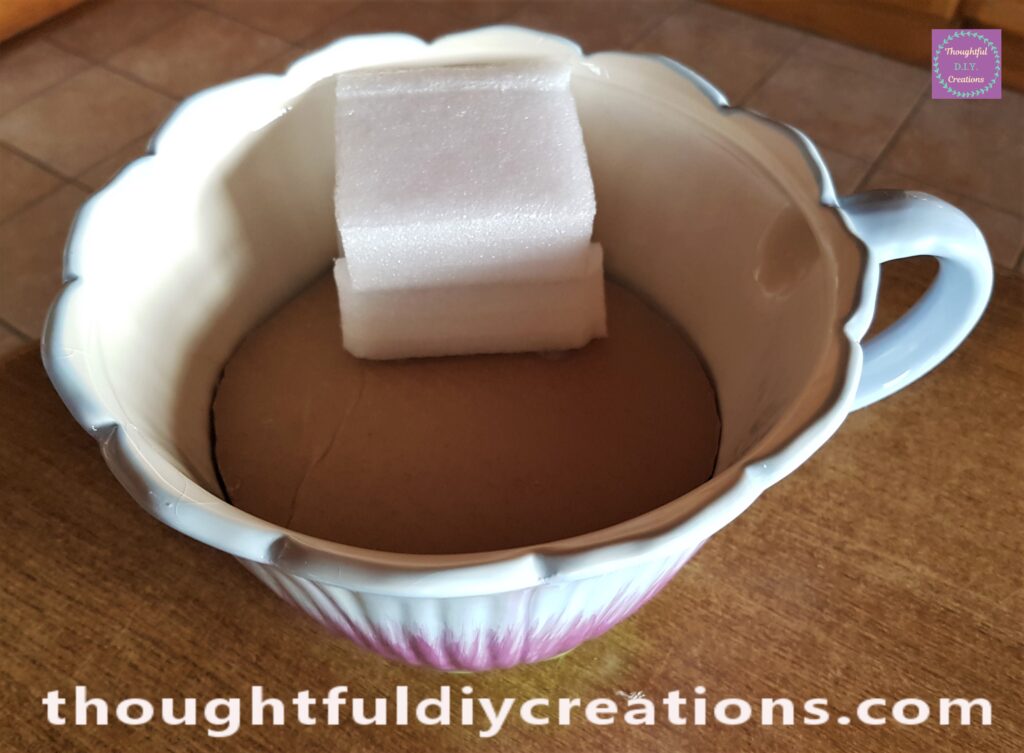
I Cut off the other big Side of Foam and Hot Glued it to the Cardboard at the back of the Teacup. This will provide another height level to the Fairy Garden; adding more interest.
Making Steps for the Fairy Cottage Garden
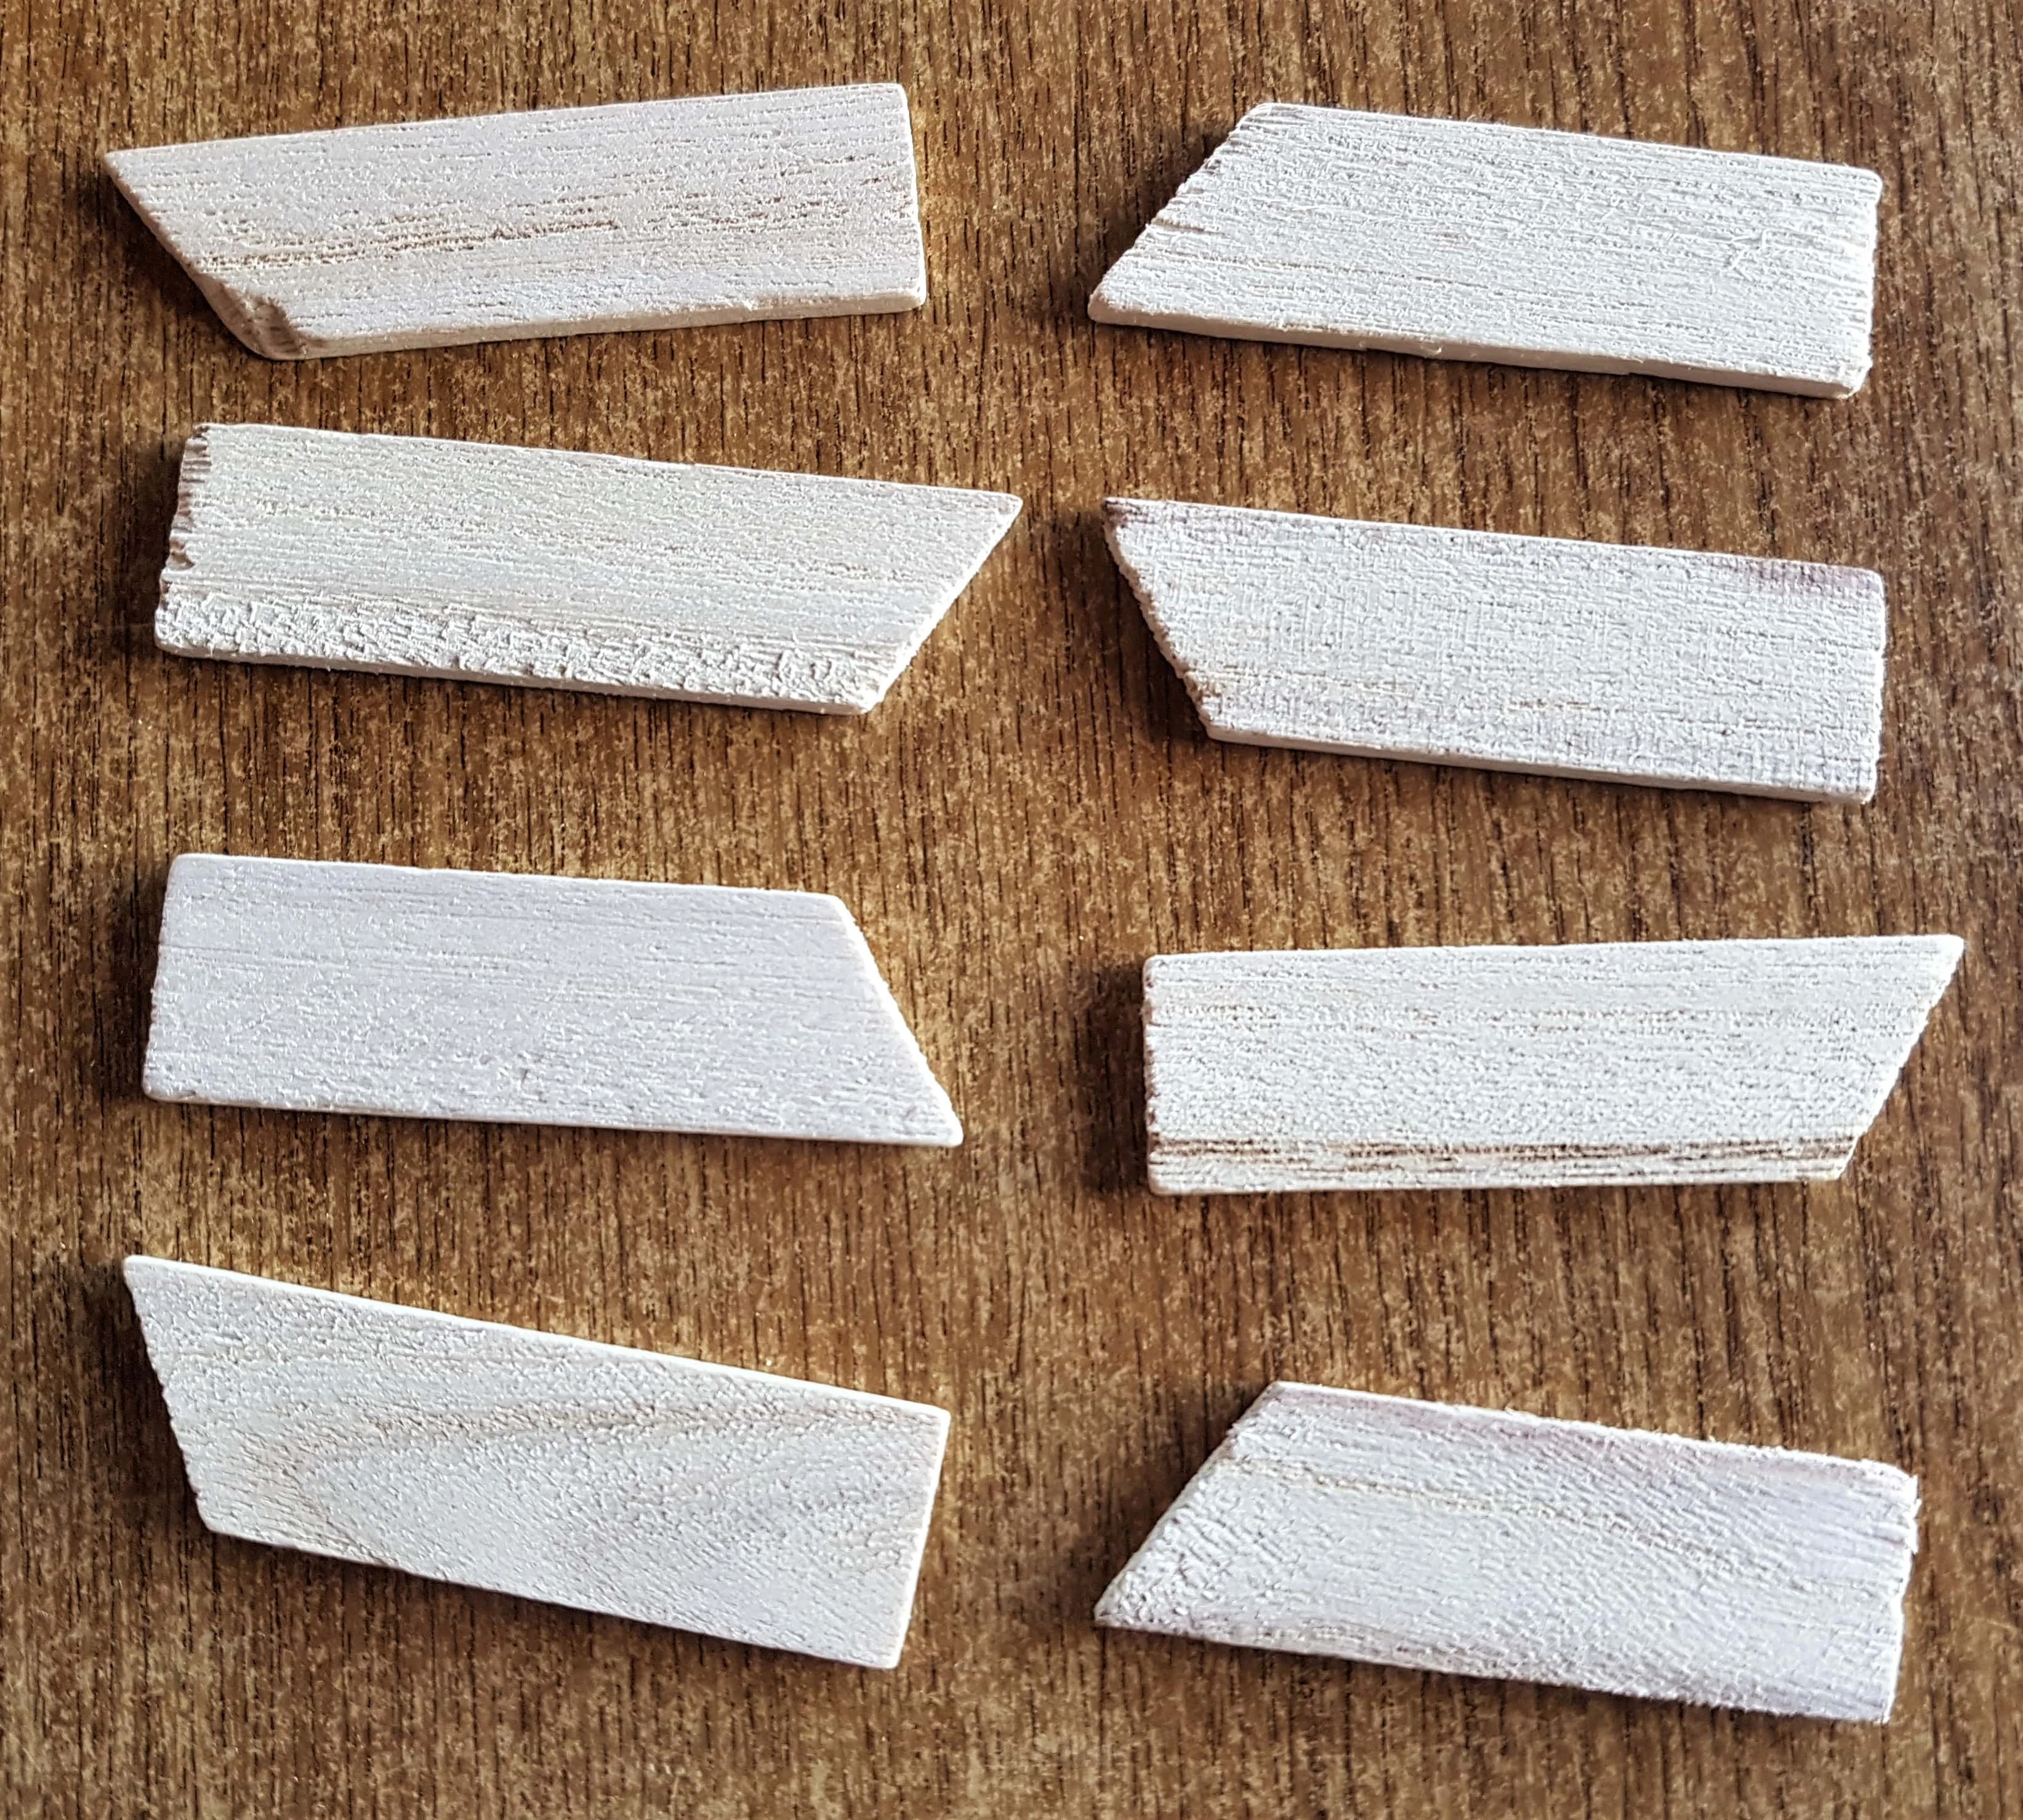
I got my Pack of Wooden Pieces; these come with every Canvas I’ve bought; they come in really handy for Crafts.
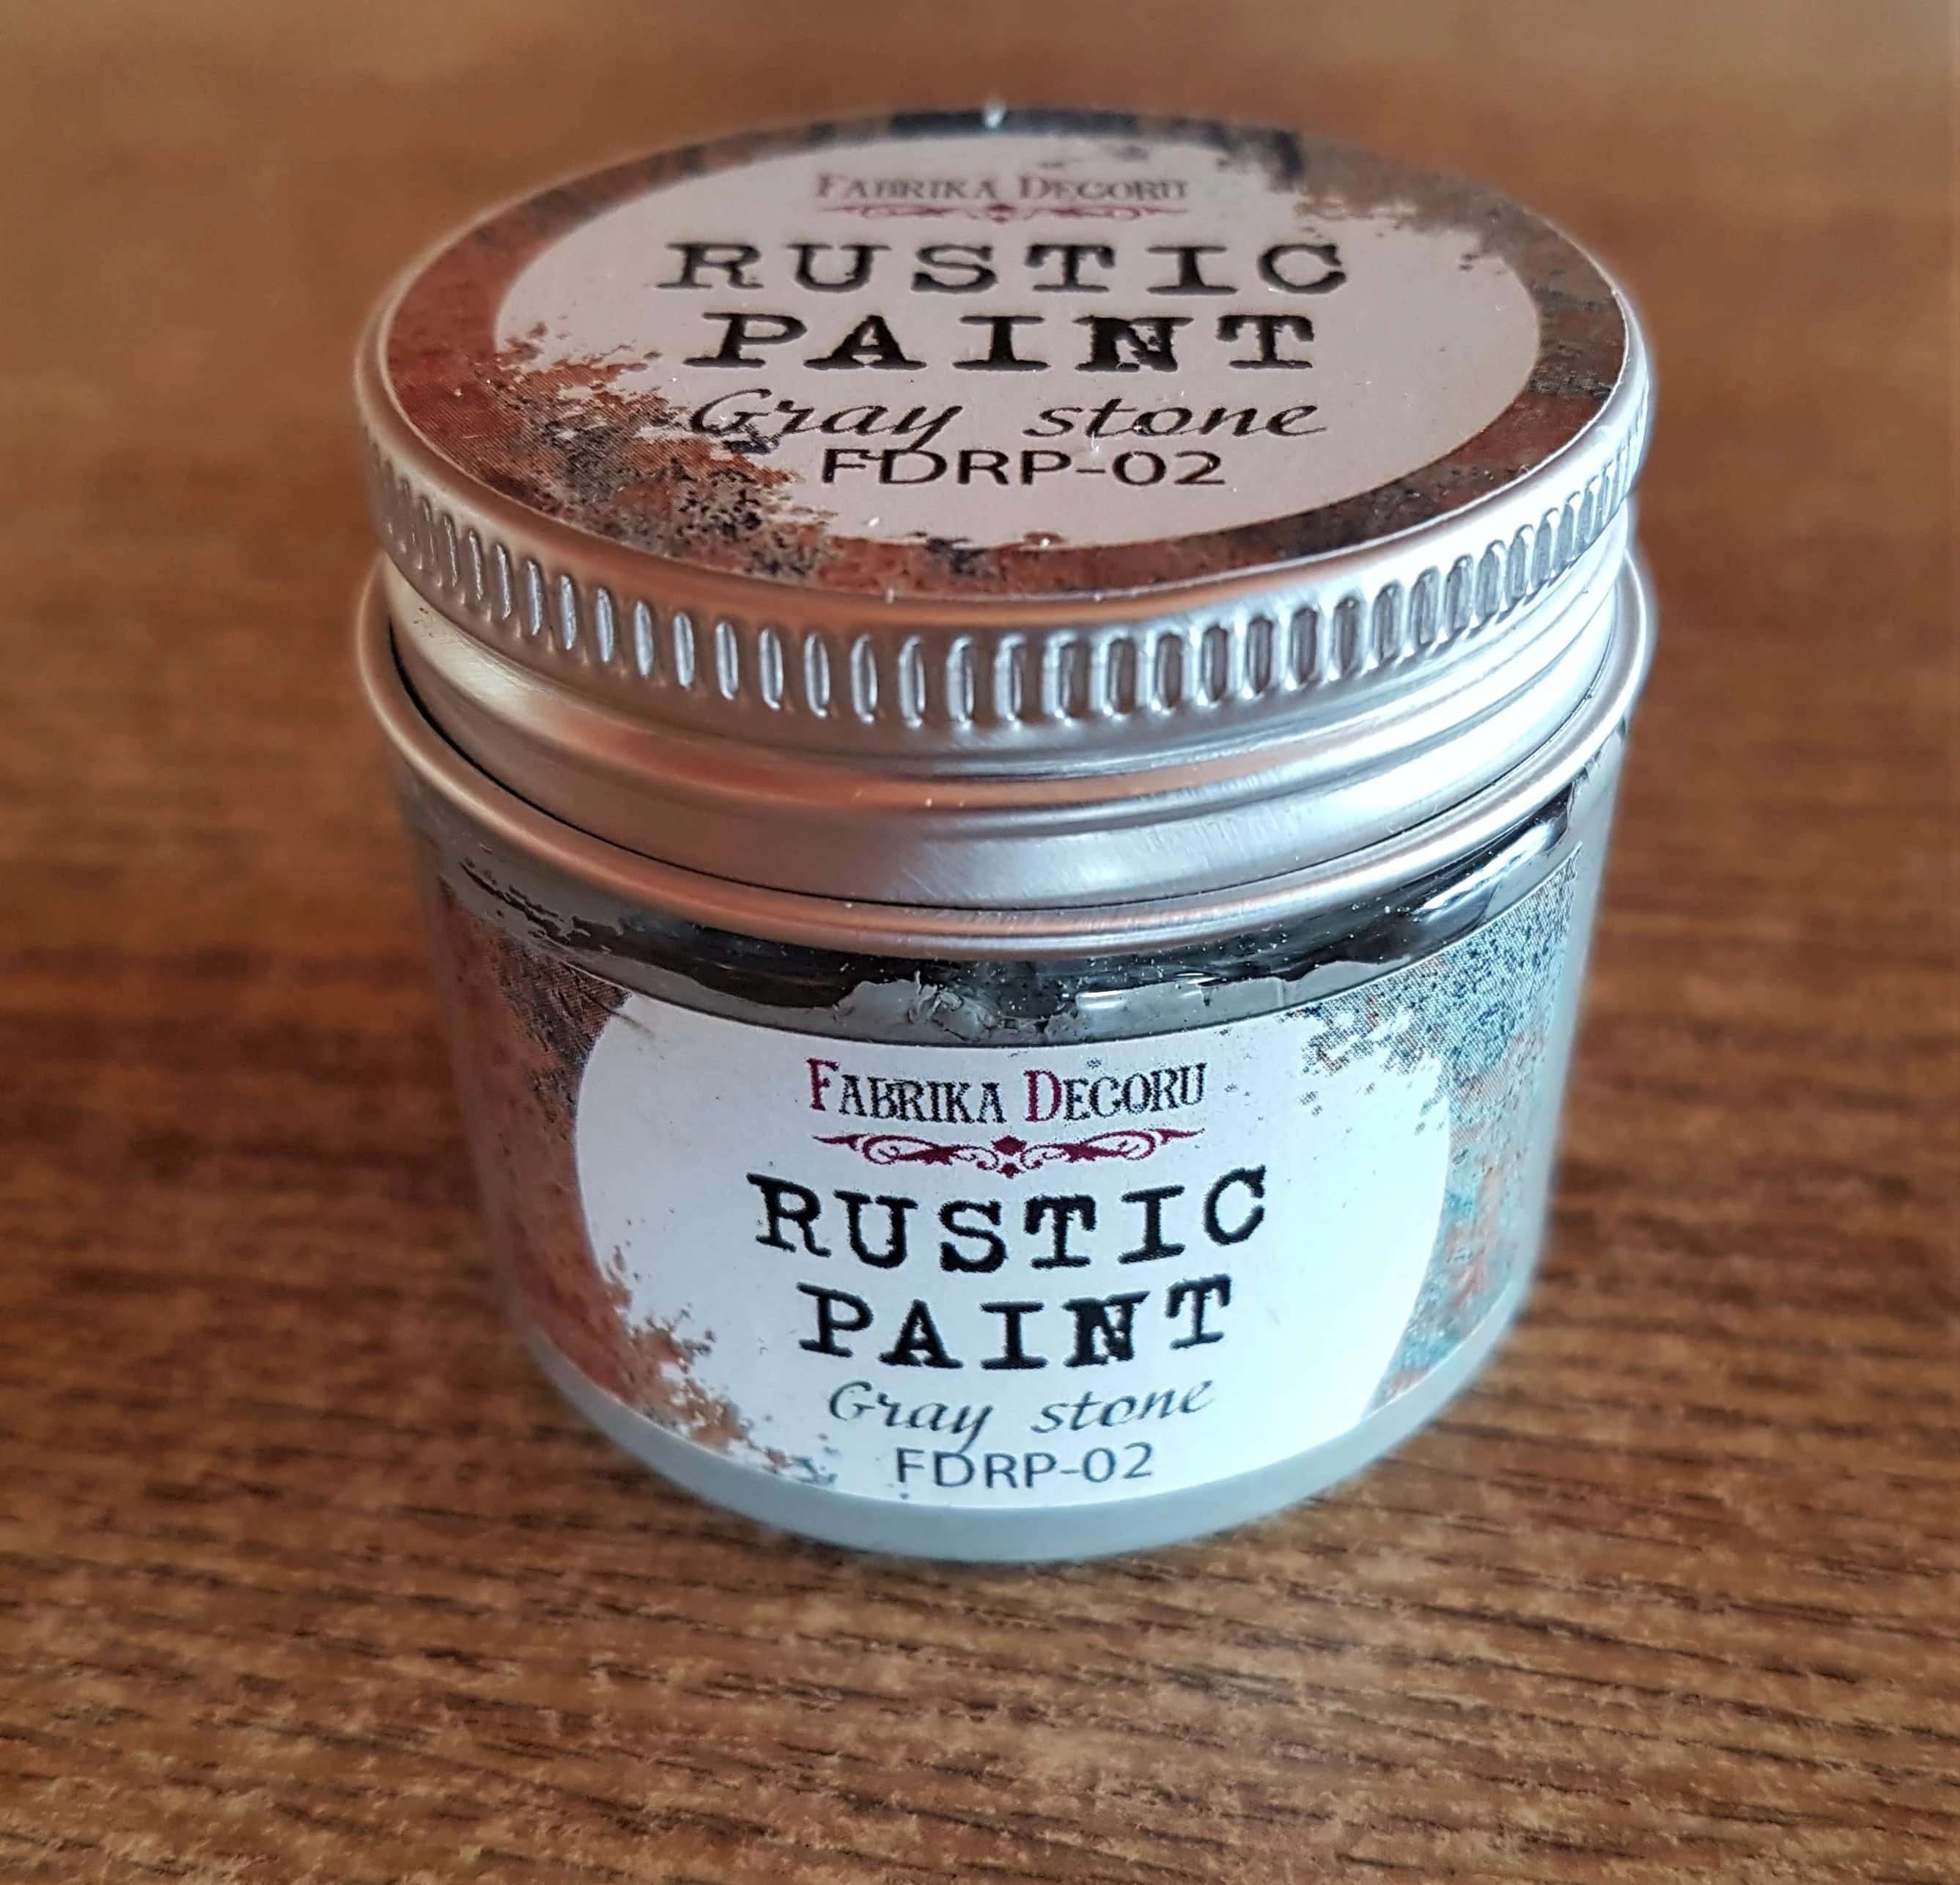
I got my ‘Gray Stone’ effect Rustic Paint.
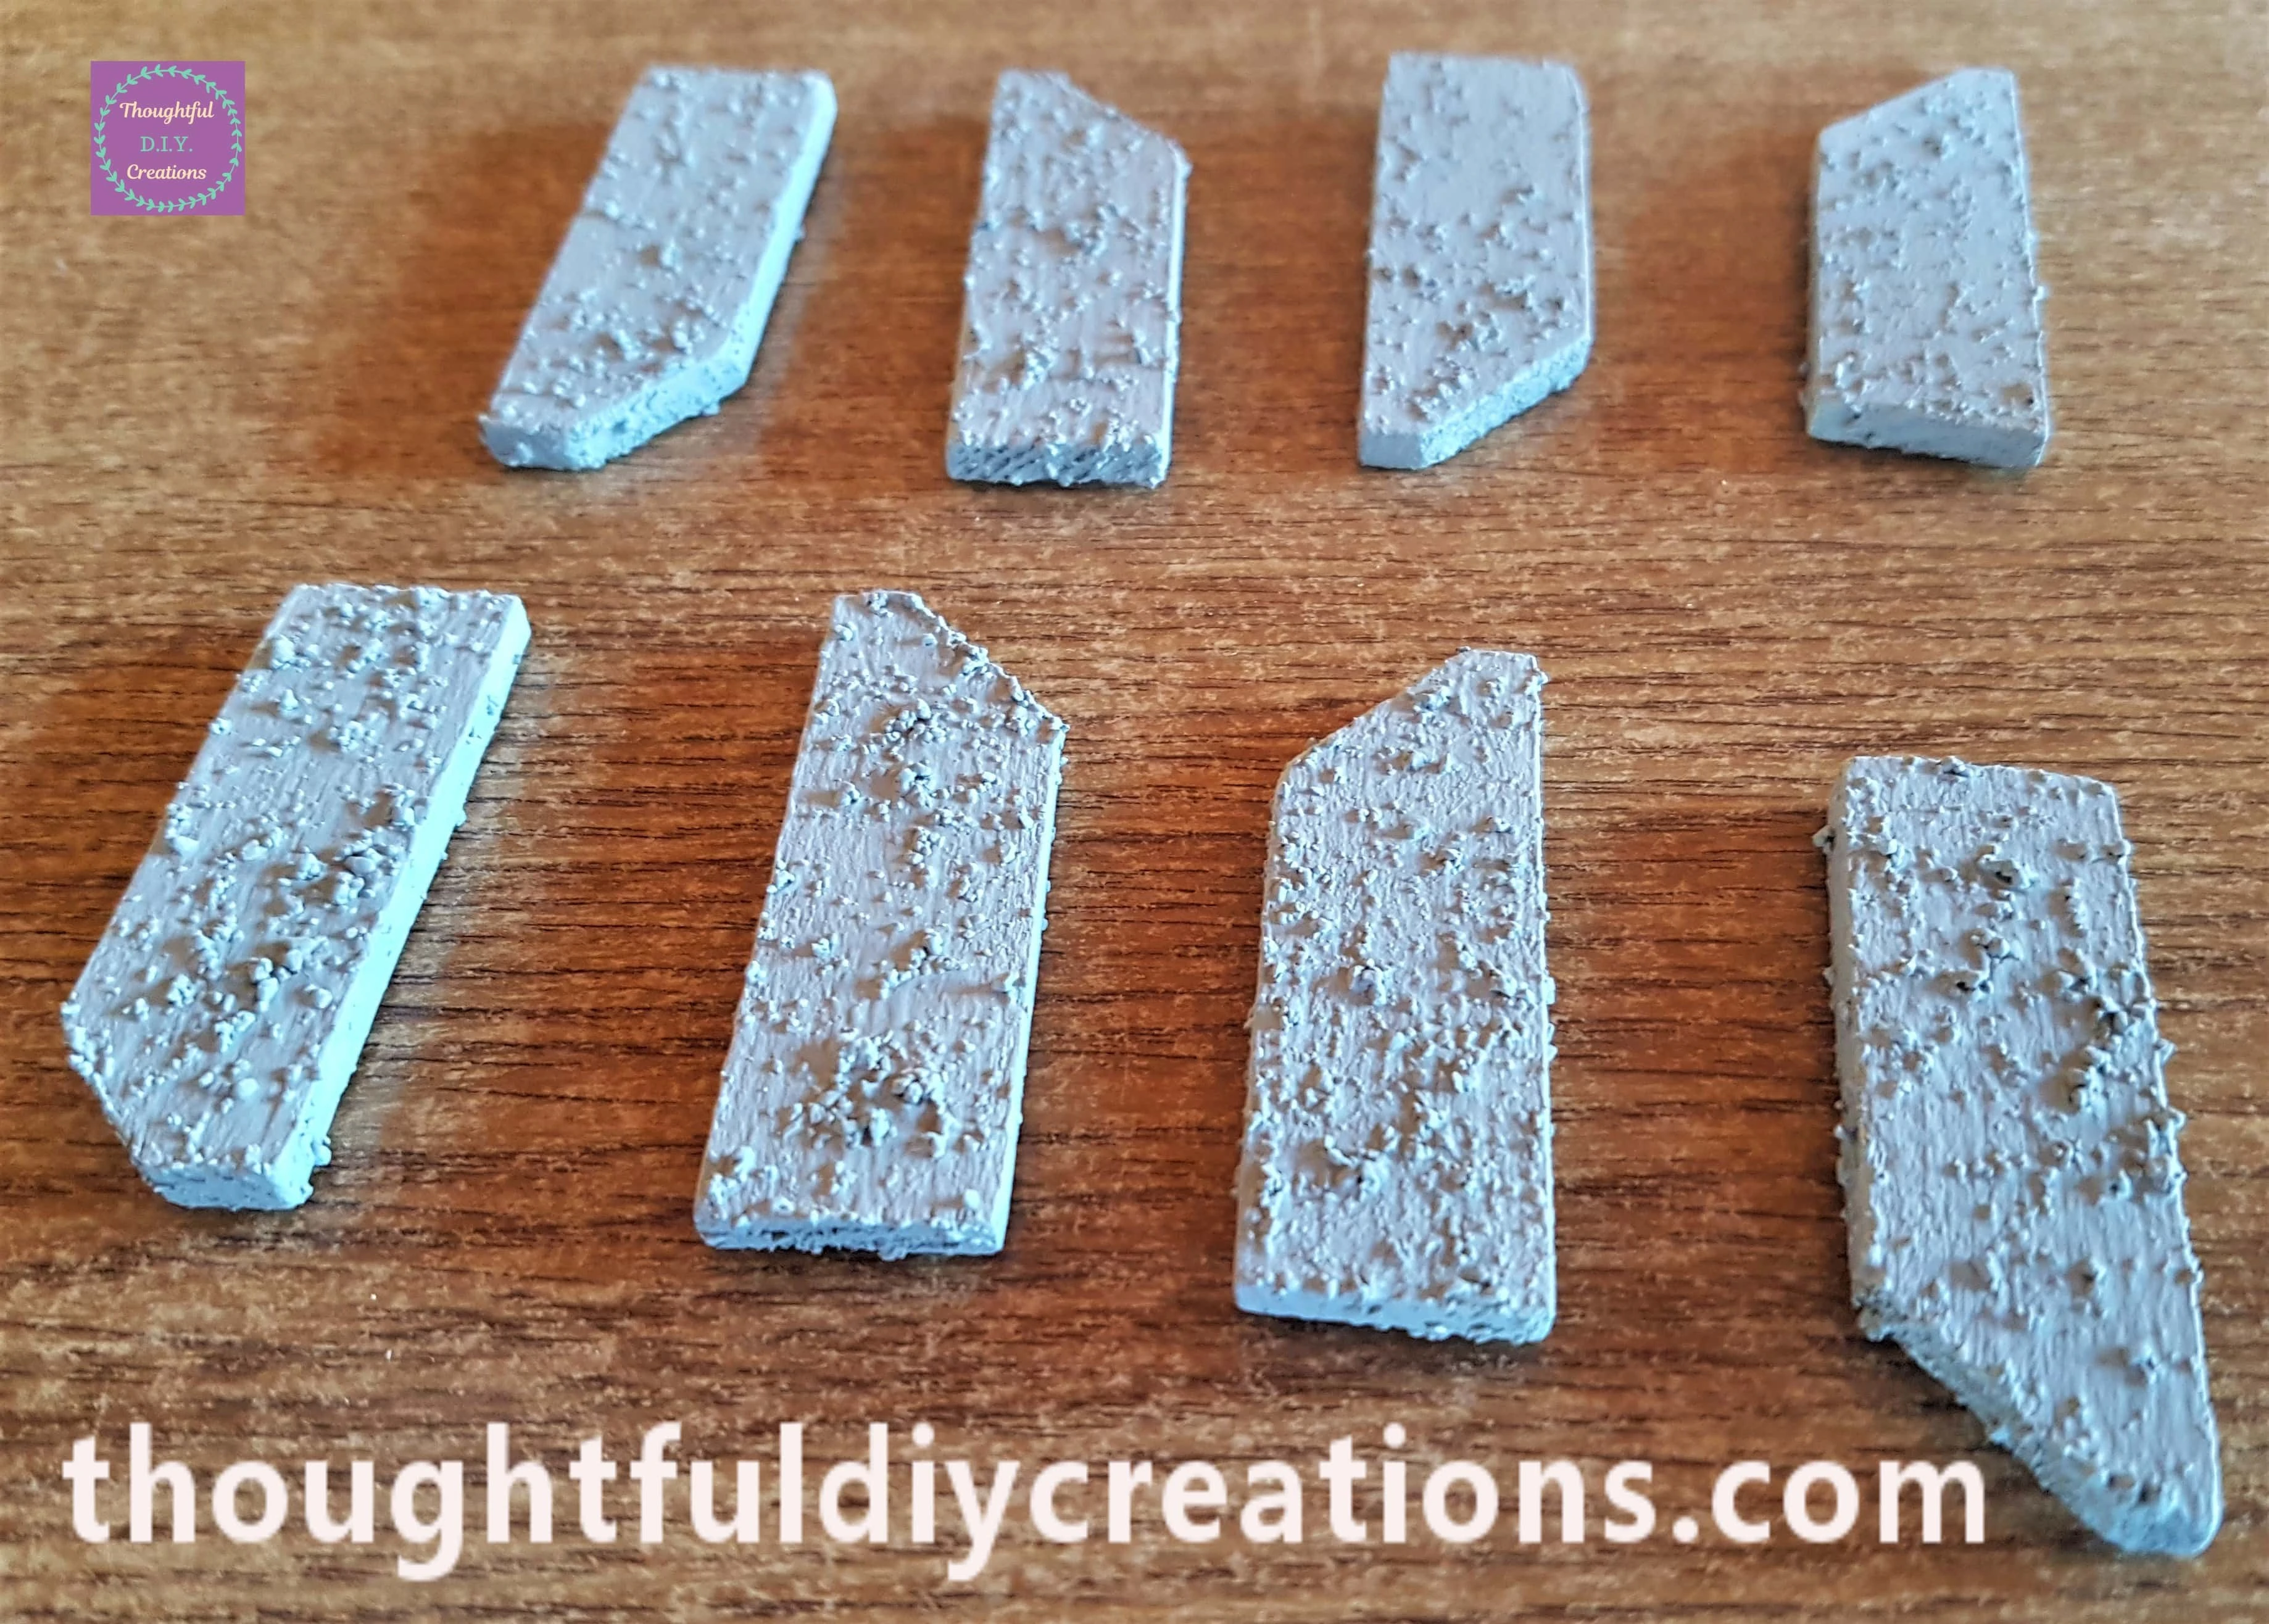
I Painted 2 layers all over each Wooden Piece leaving an Hour drying time between layers.
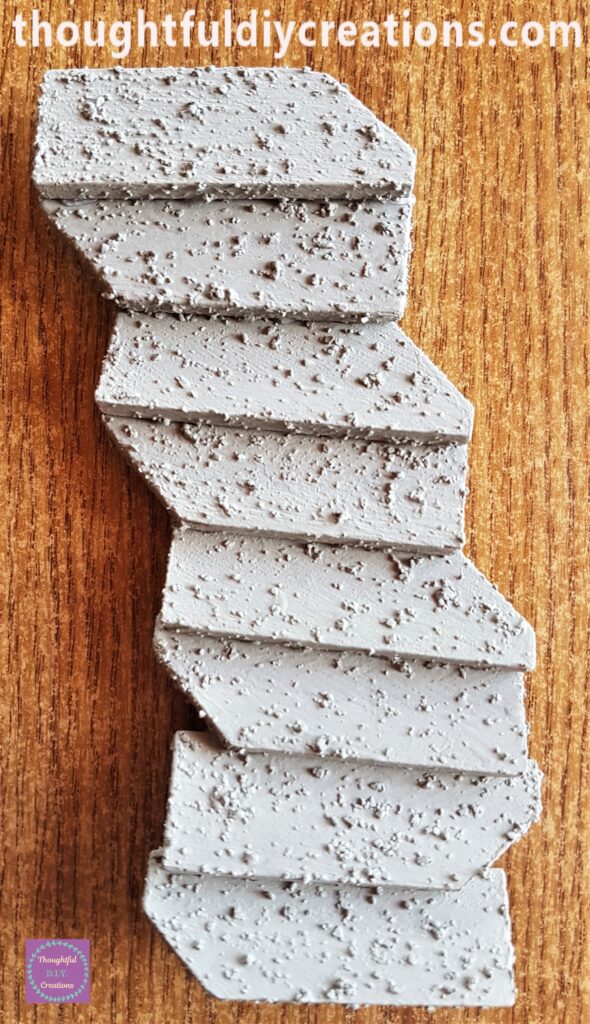
I Hot Glued the bottom edge of one piece to the top edge of the next piece and continued until they were all attached to each other.
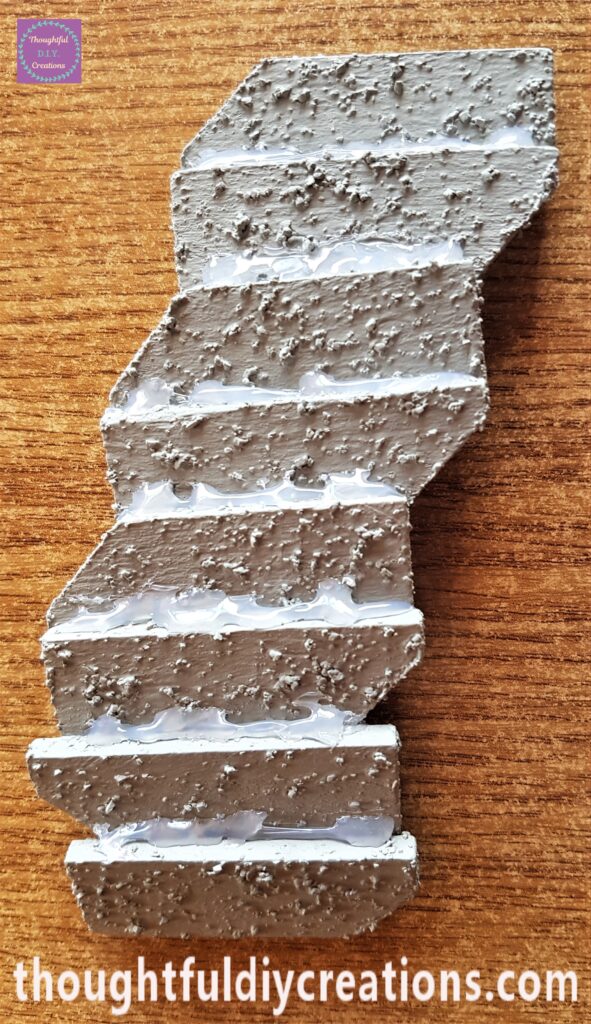
The front View of the Steps glued together.
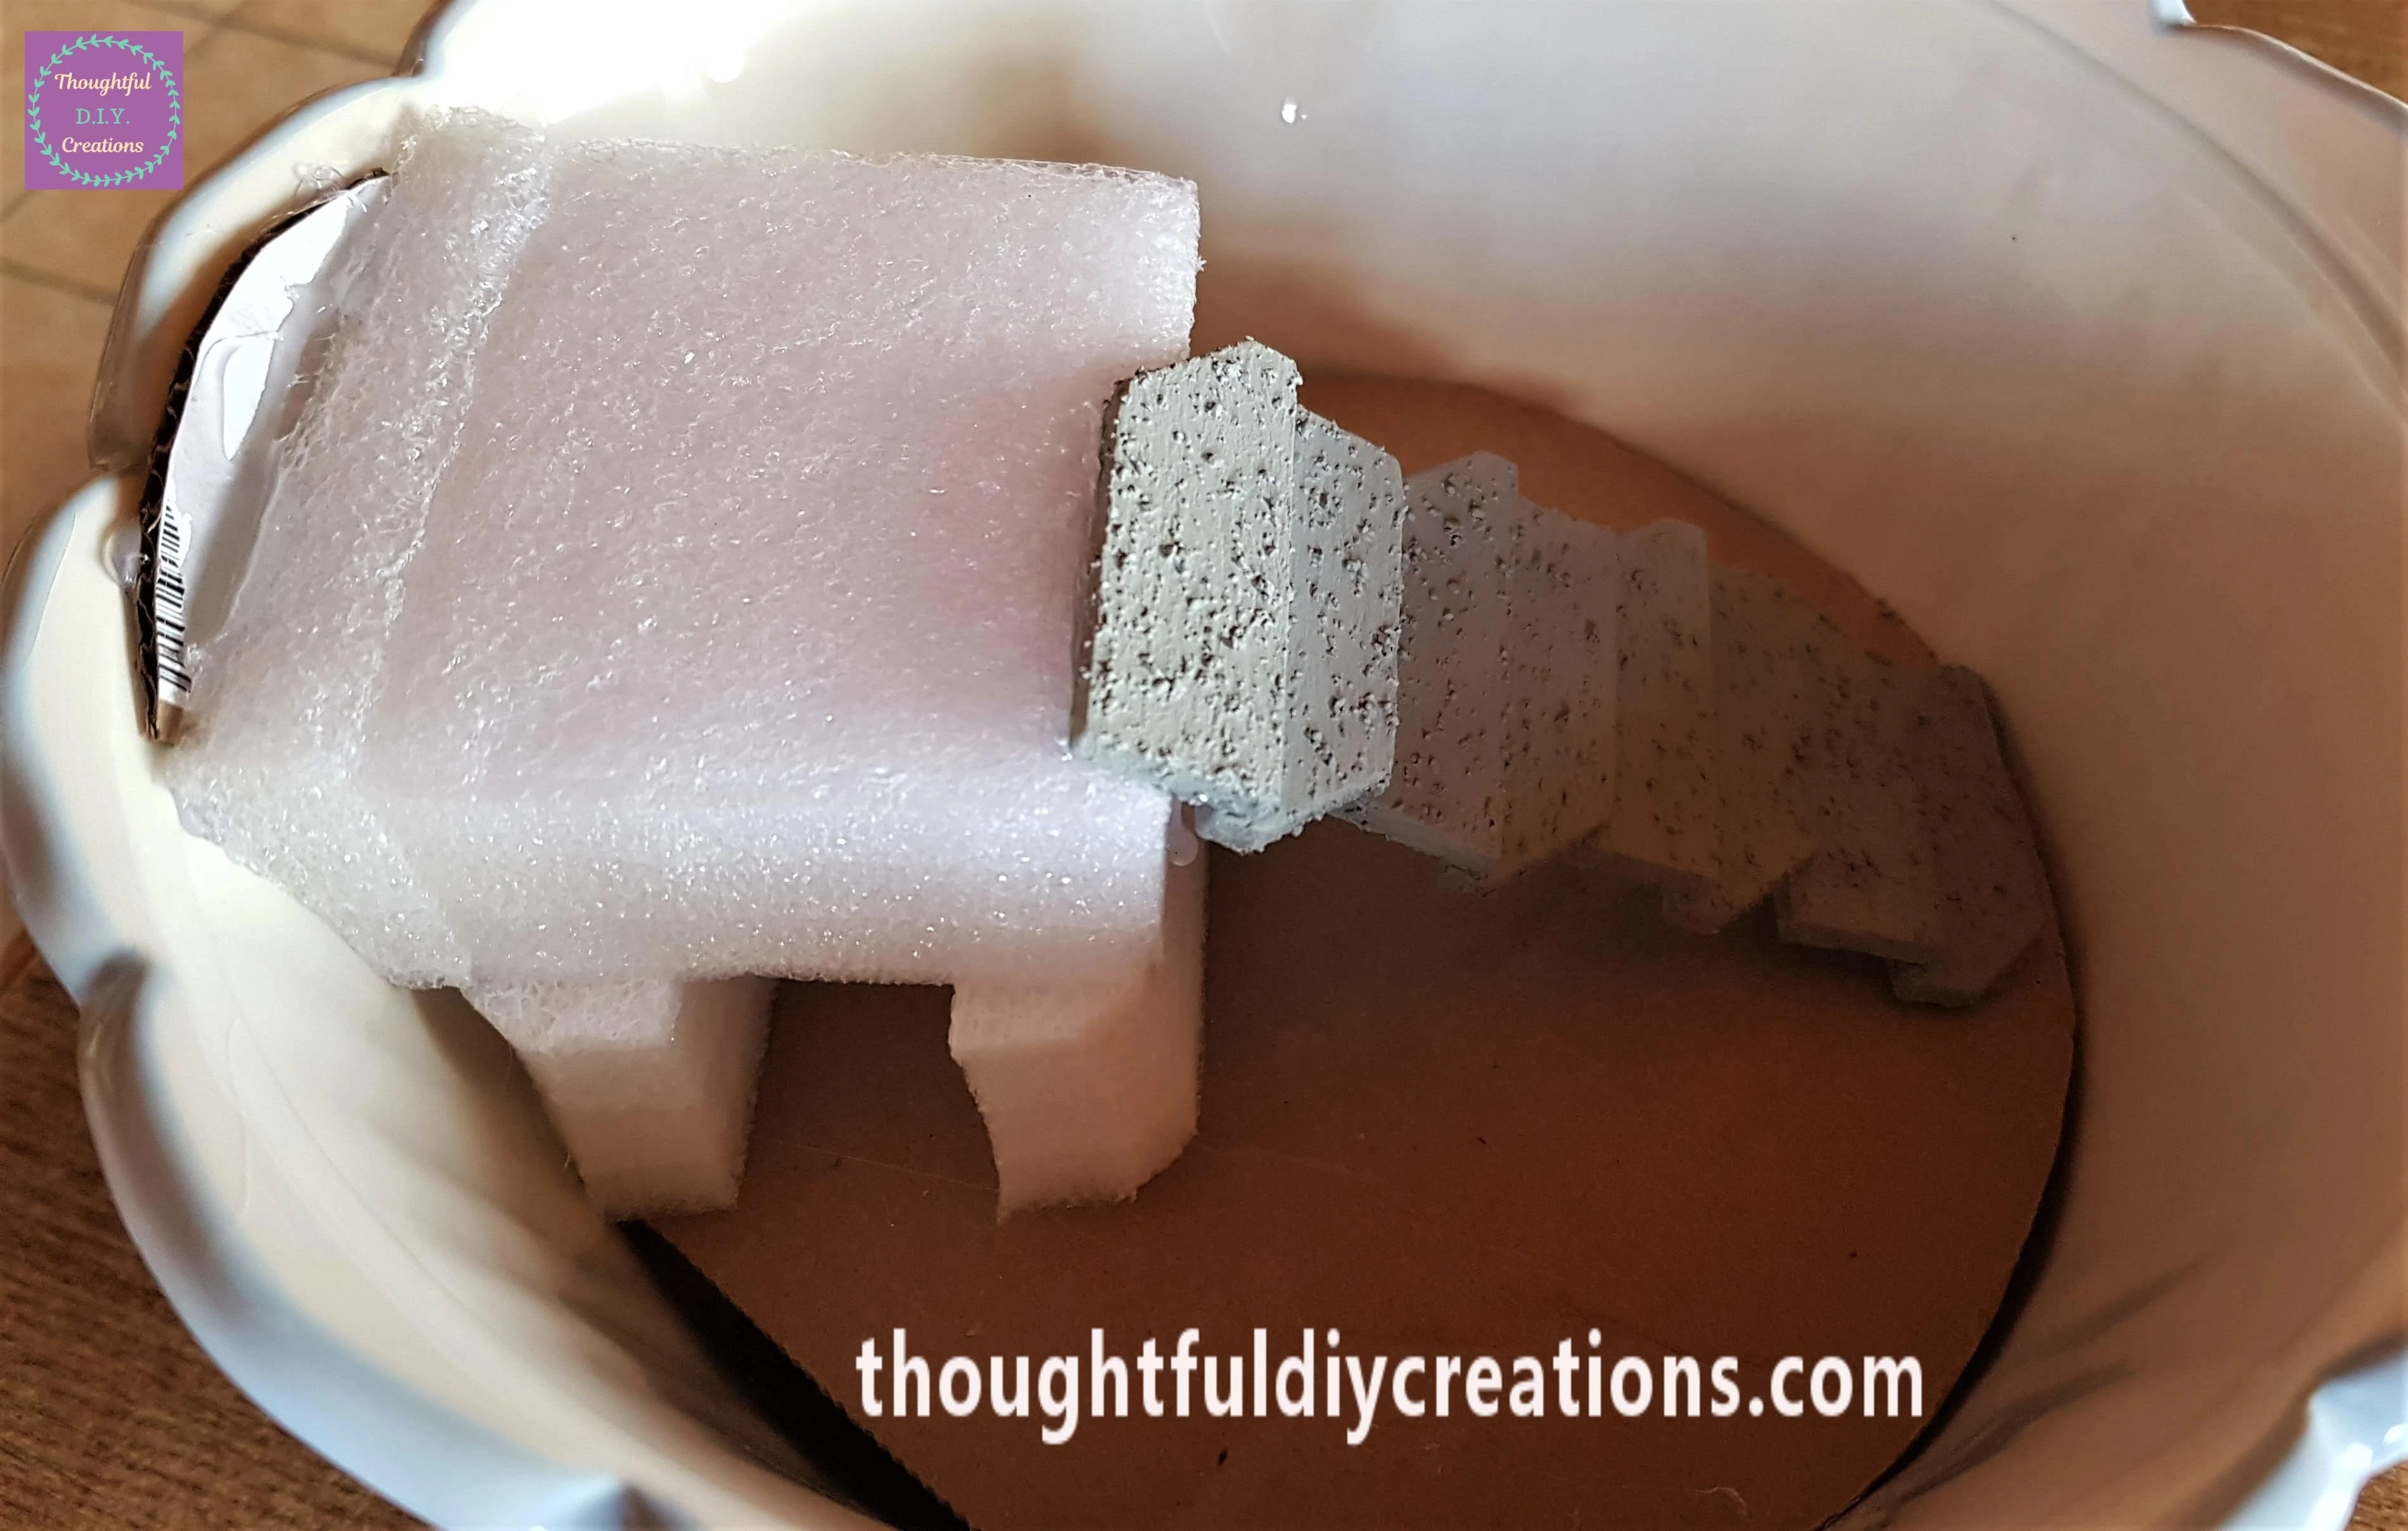
I put Hot Glue under the Top and Bottom Step and Secured them inside the Teacup.
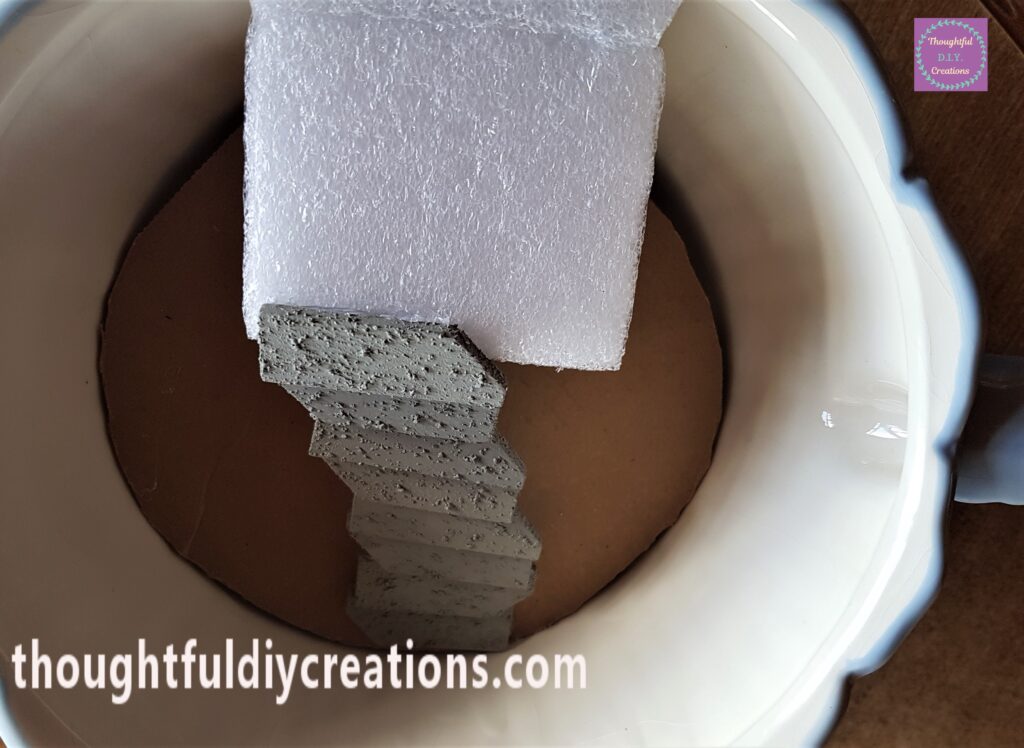
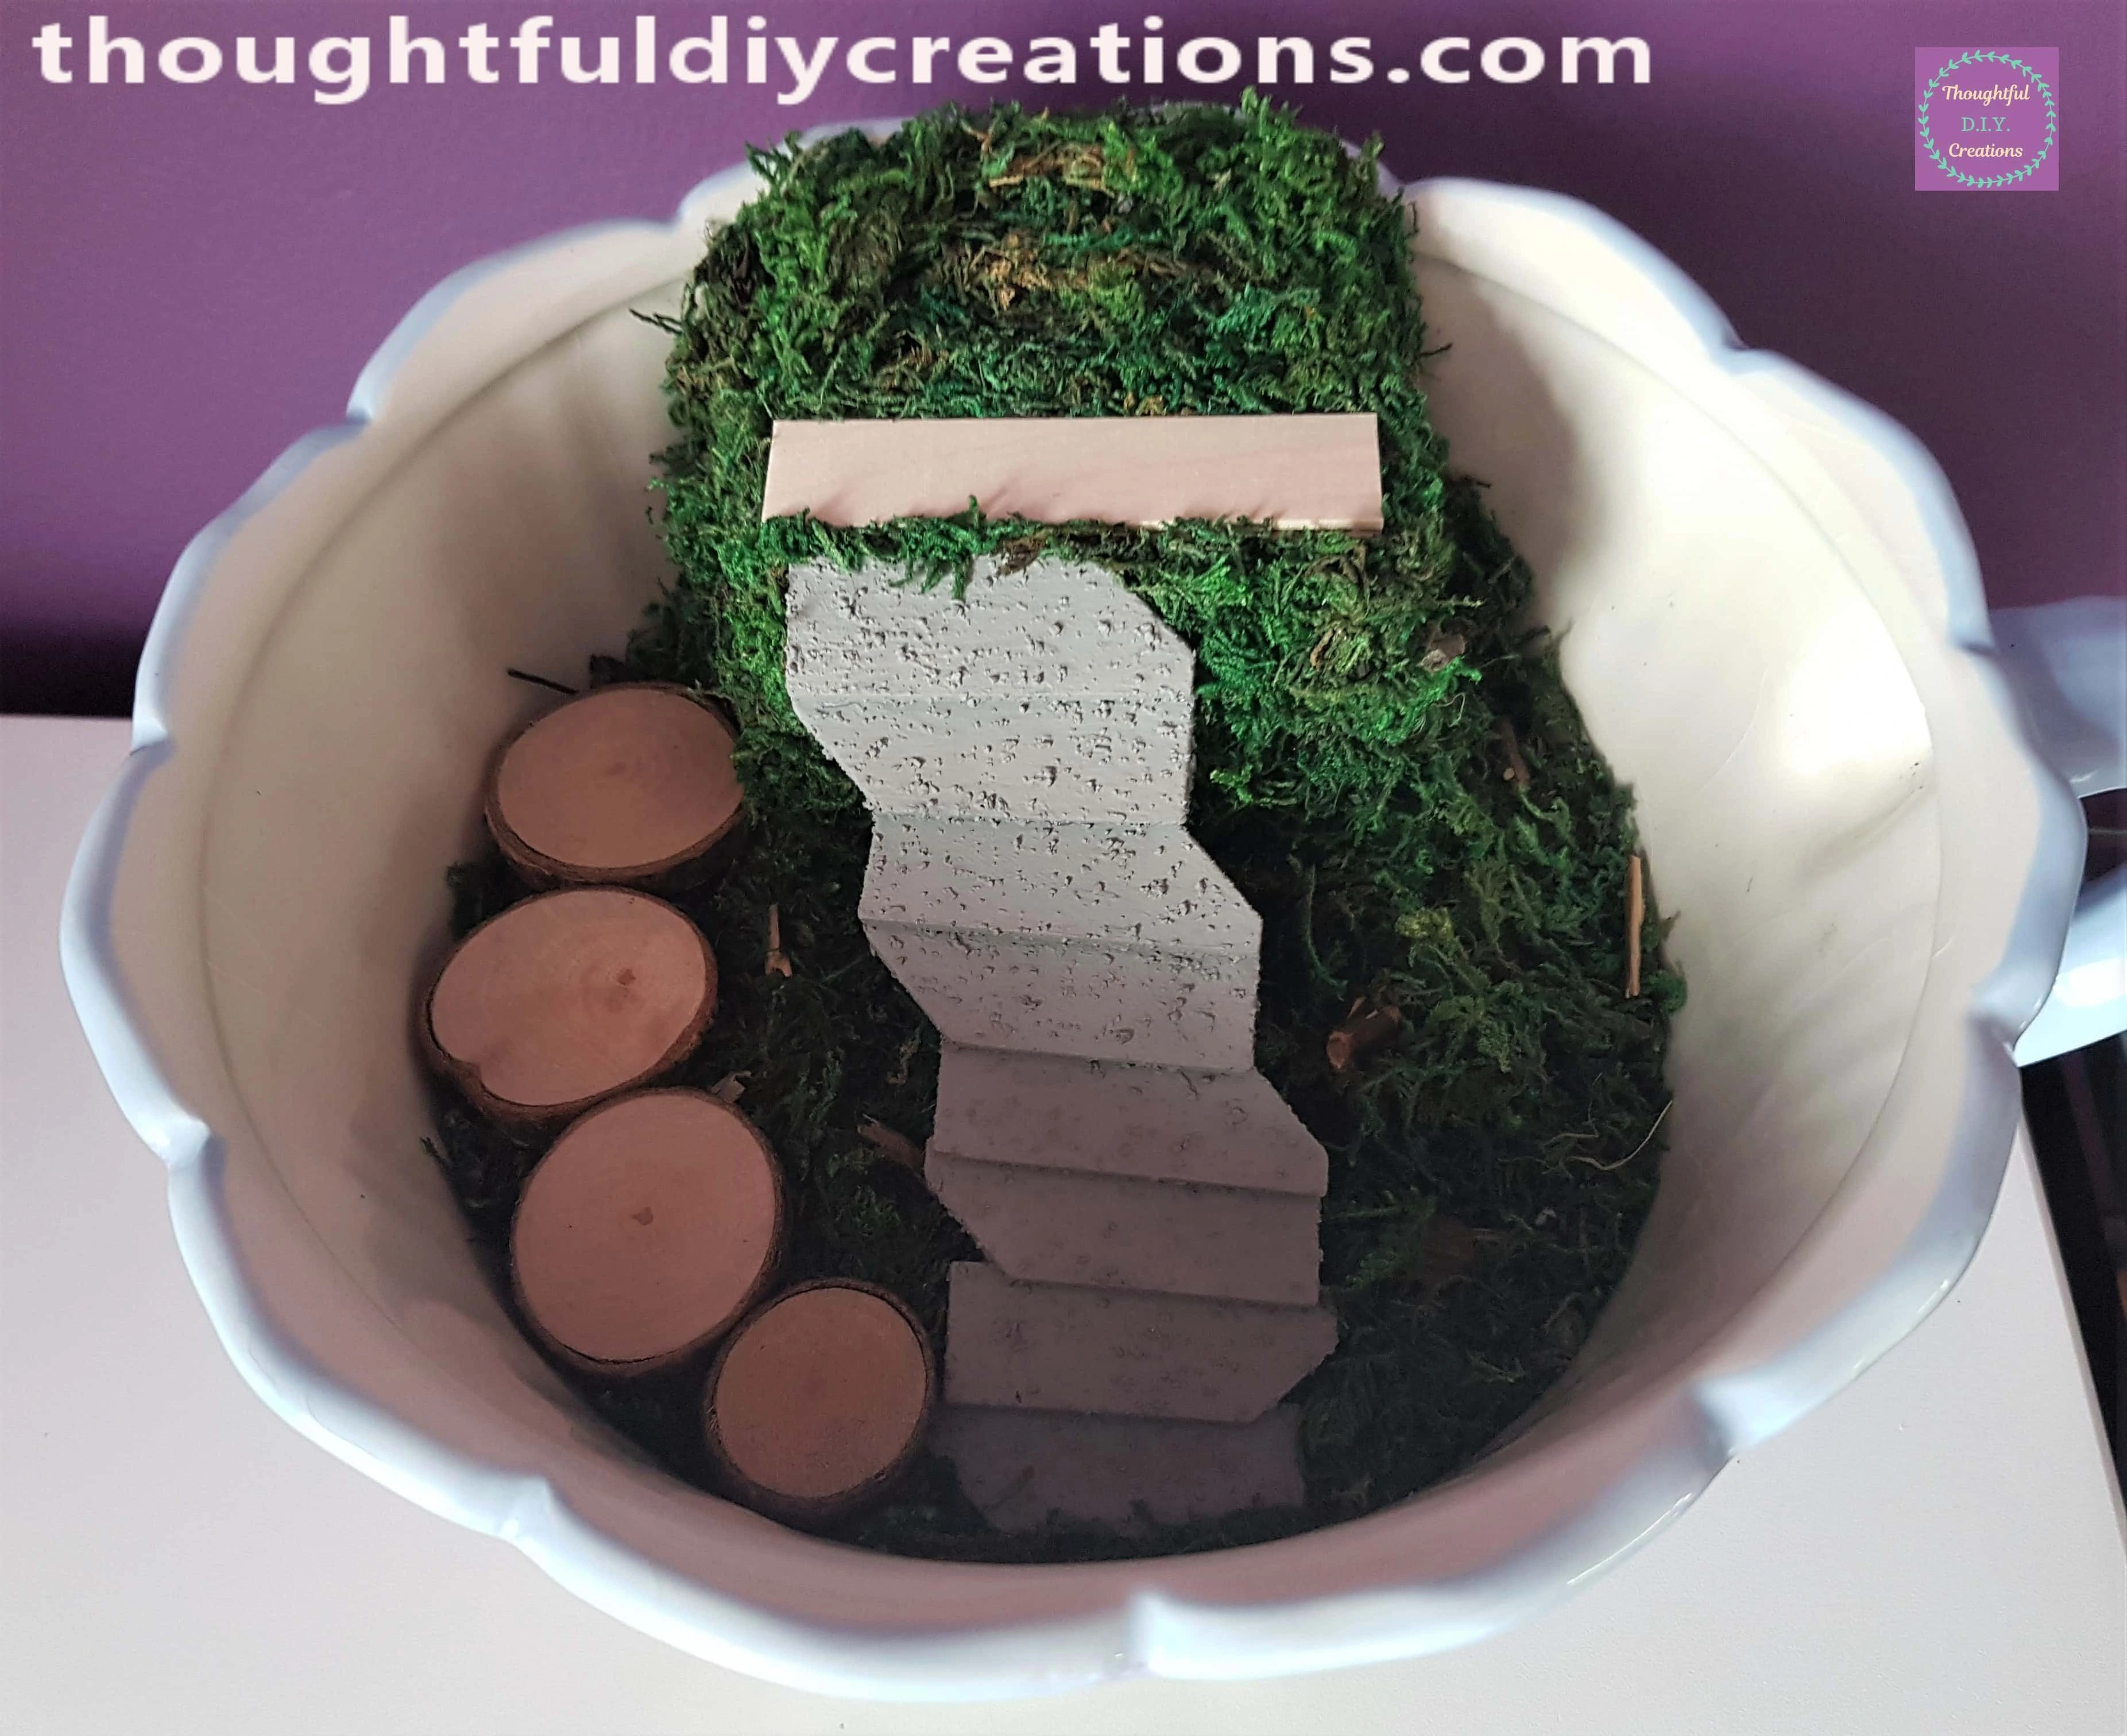
Looking down into the Fairy Garden.
A Path for the Fairy Cottage
I got 3 Jumbo Lollipop Sticks from a Wooden Craft Pack.
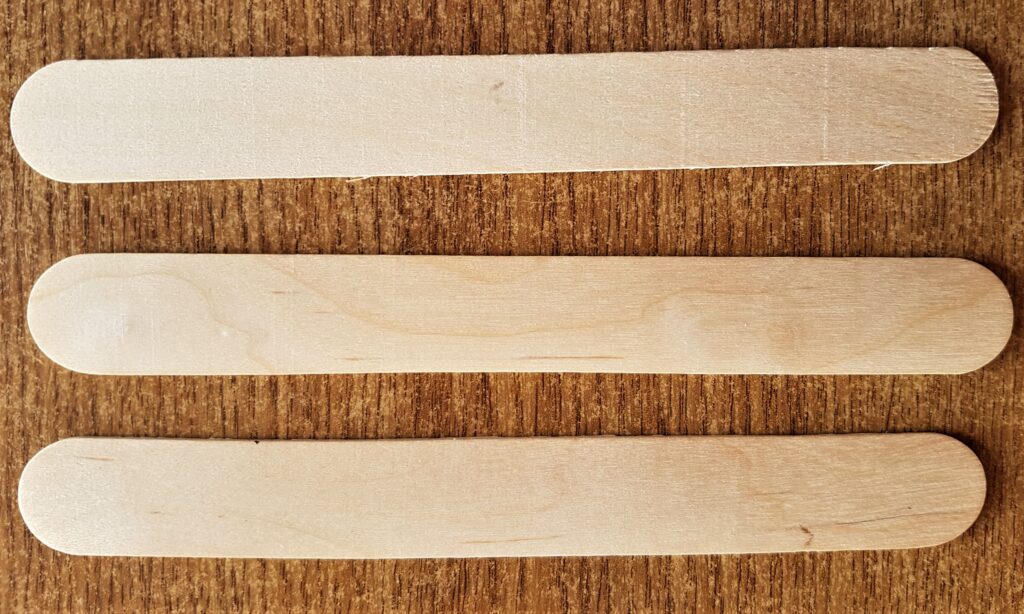
I marked the measurements on each of the Sticks with a Pencil the same width as the Foam on the Hill in the Fairy Garden.
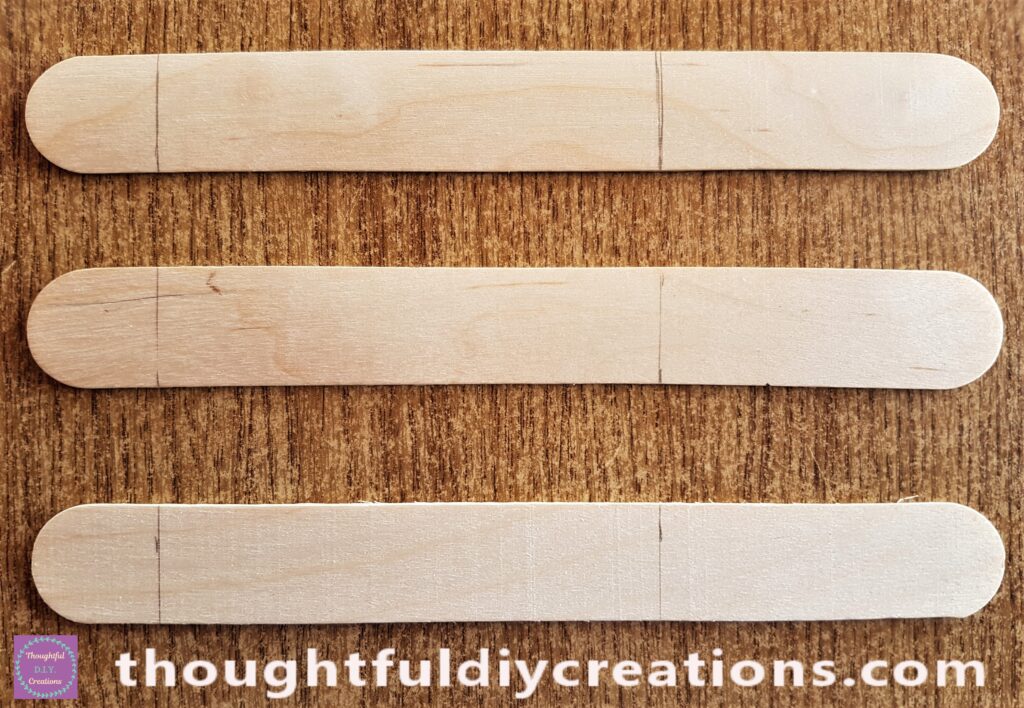
I Cut along each of the Lines.
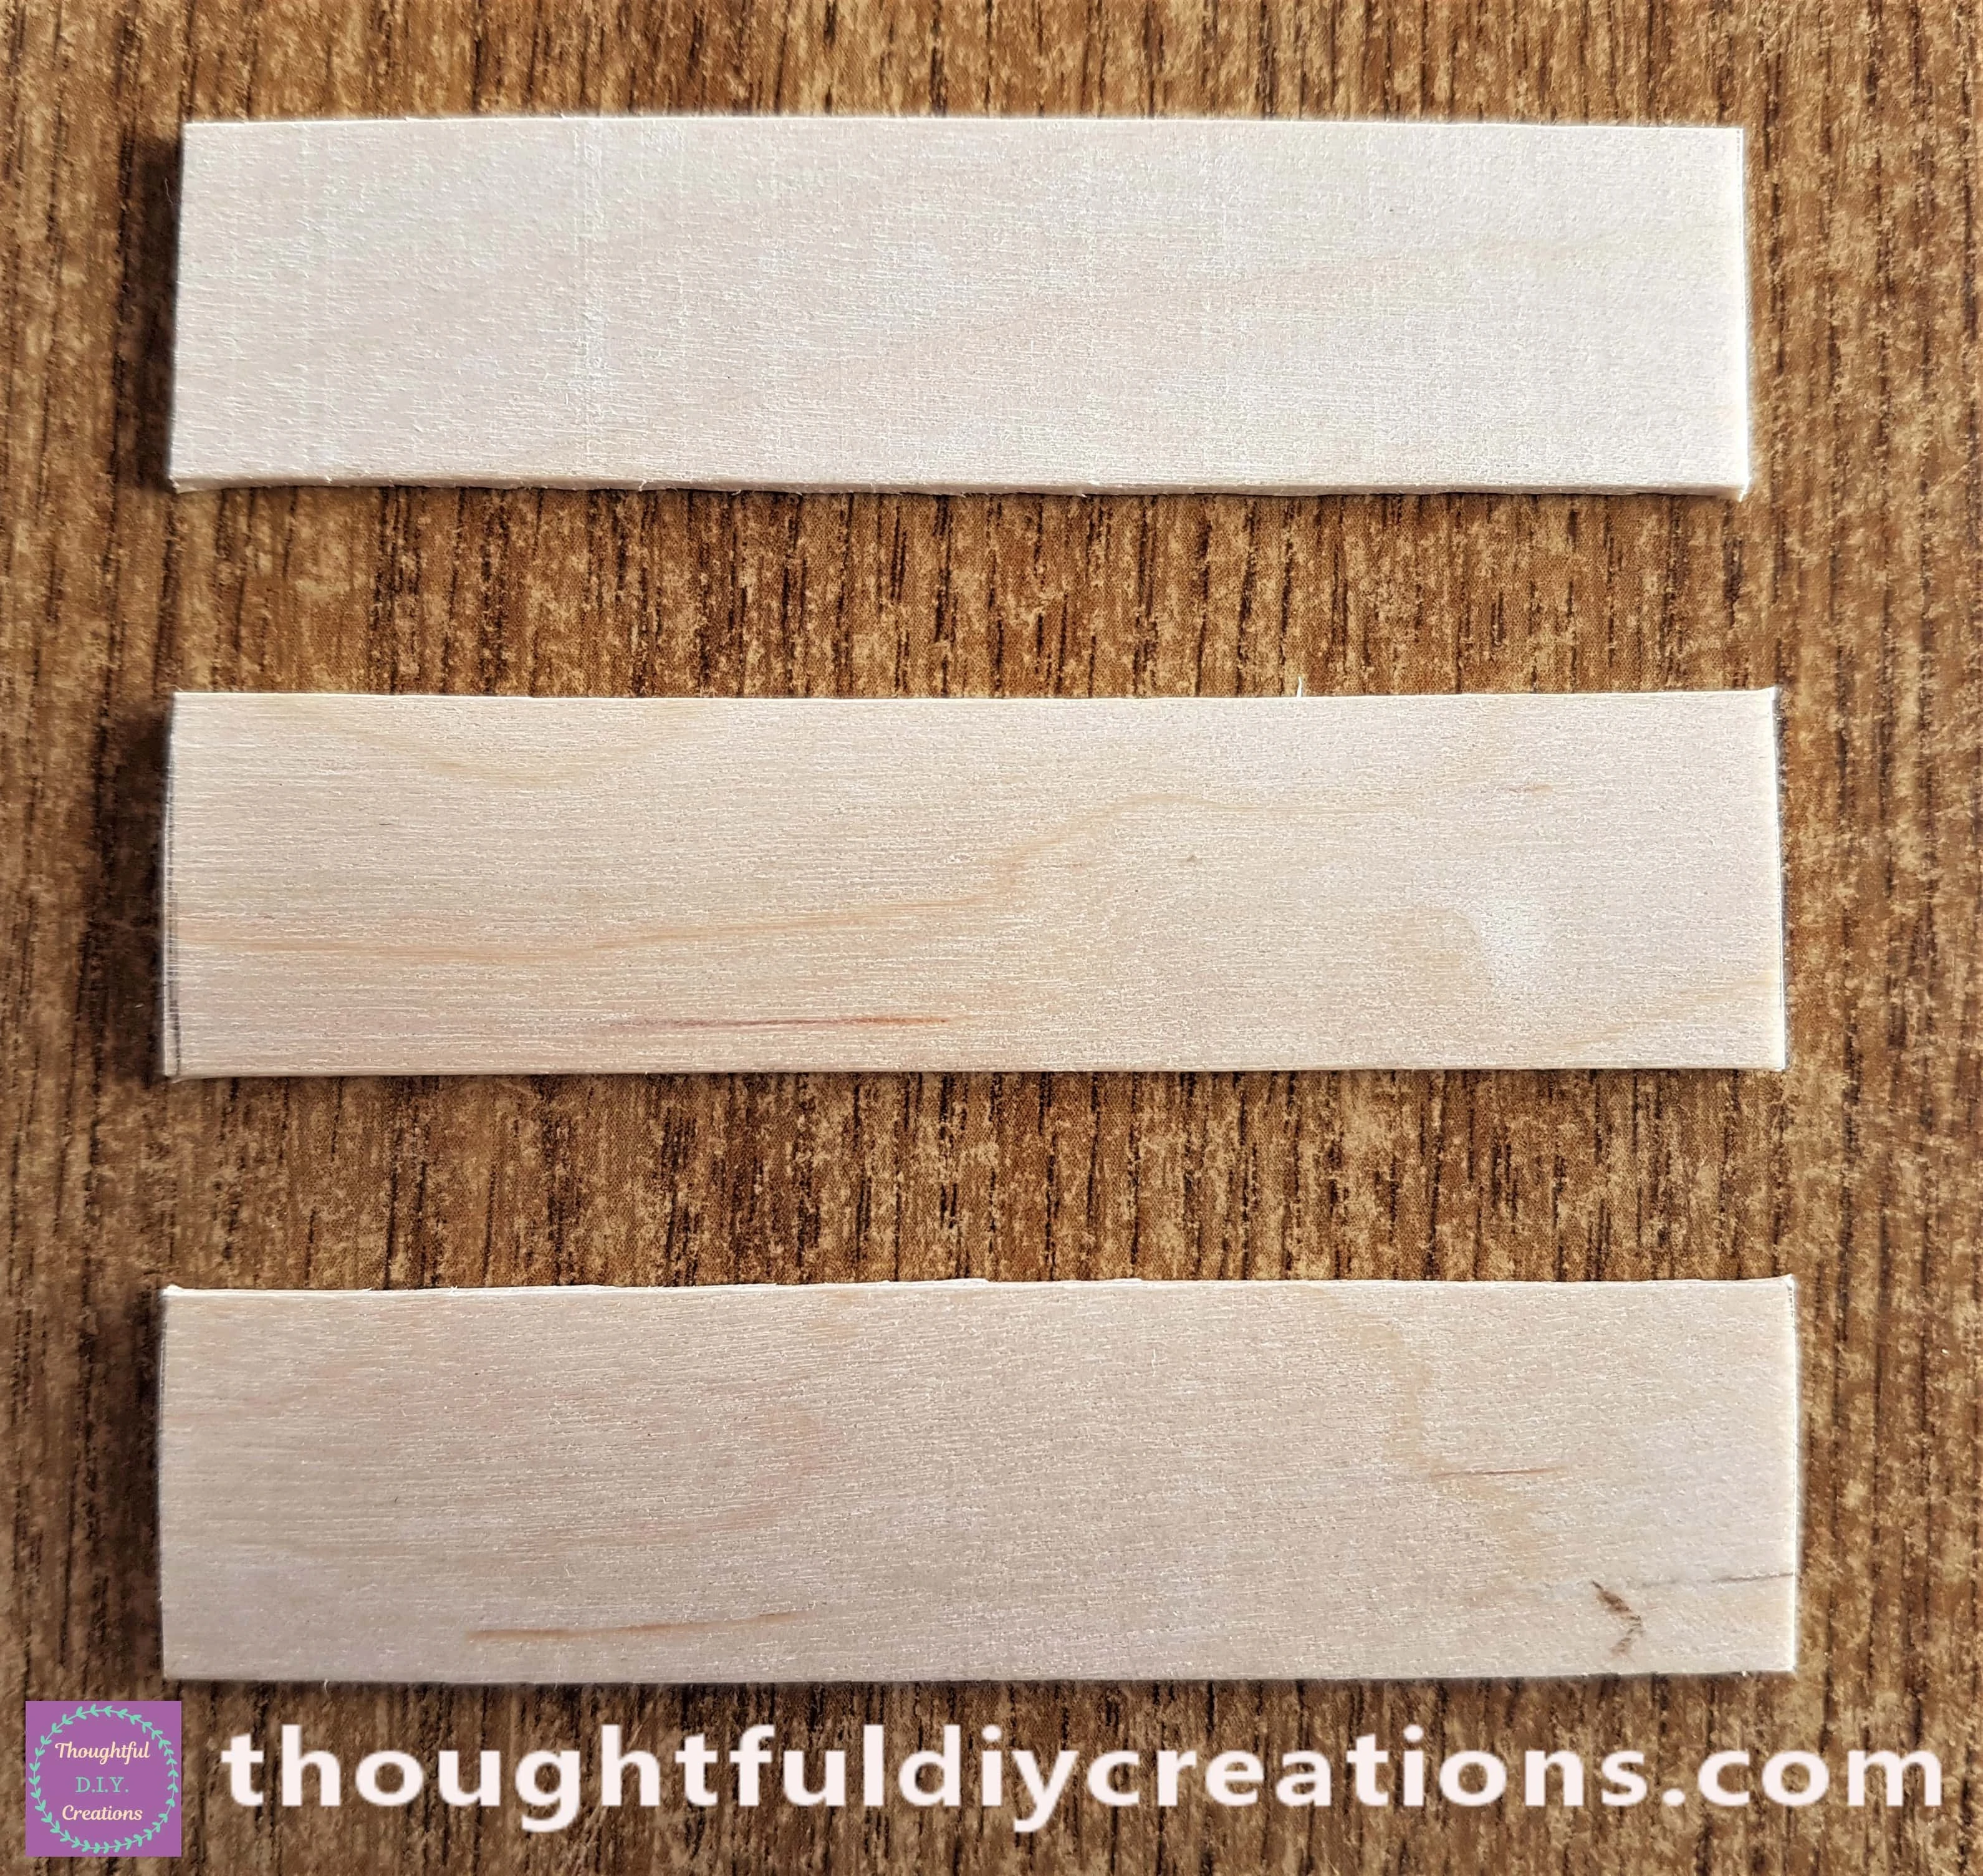
I Hot Glued them one-by-one to the Foam; they were now the same height as the Steps.
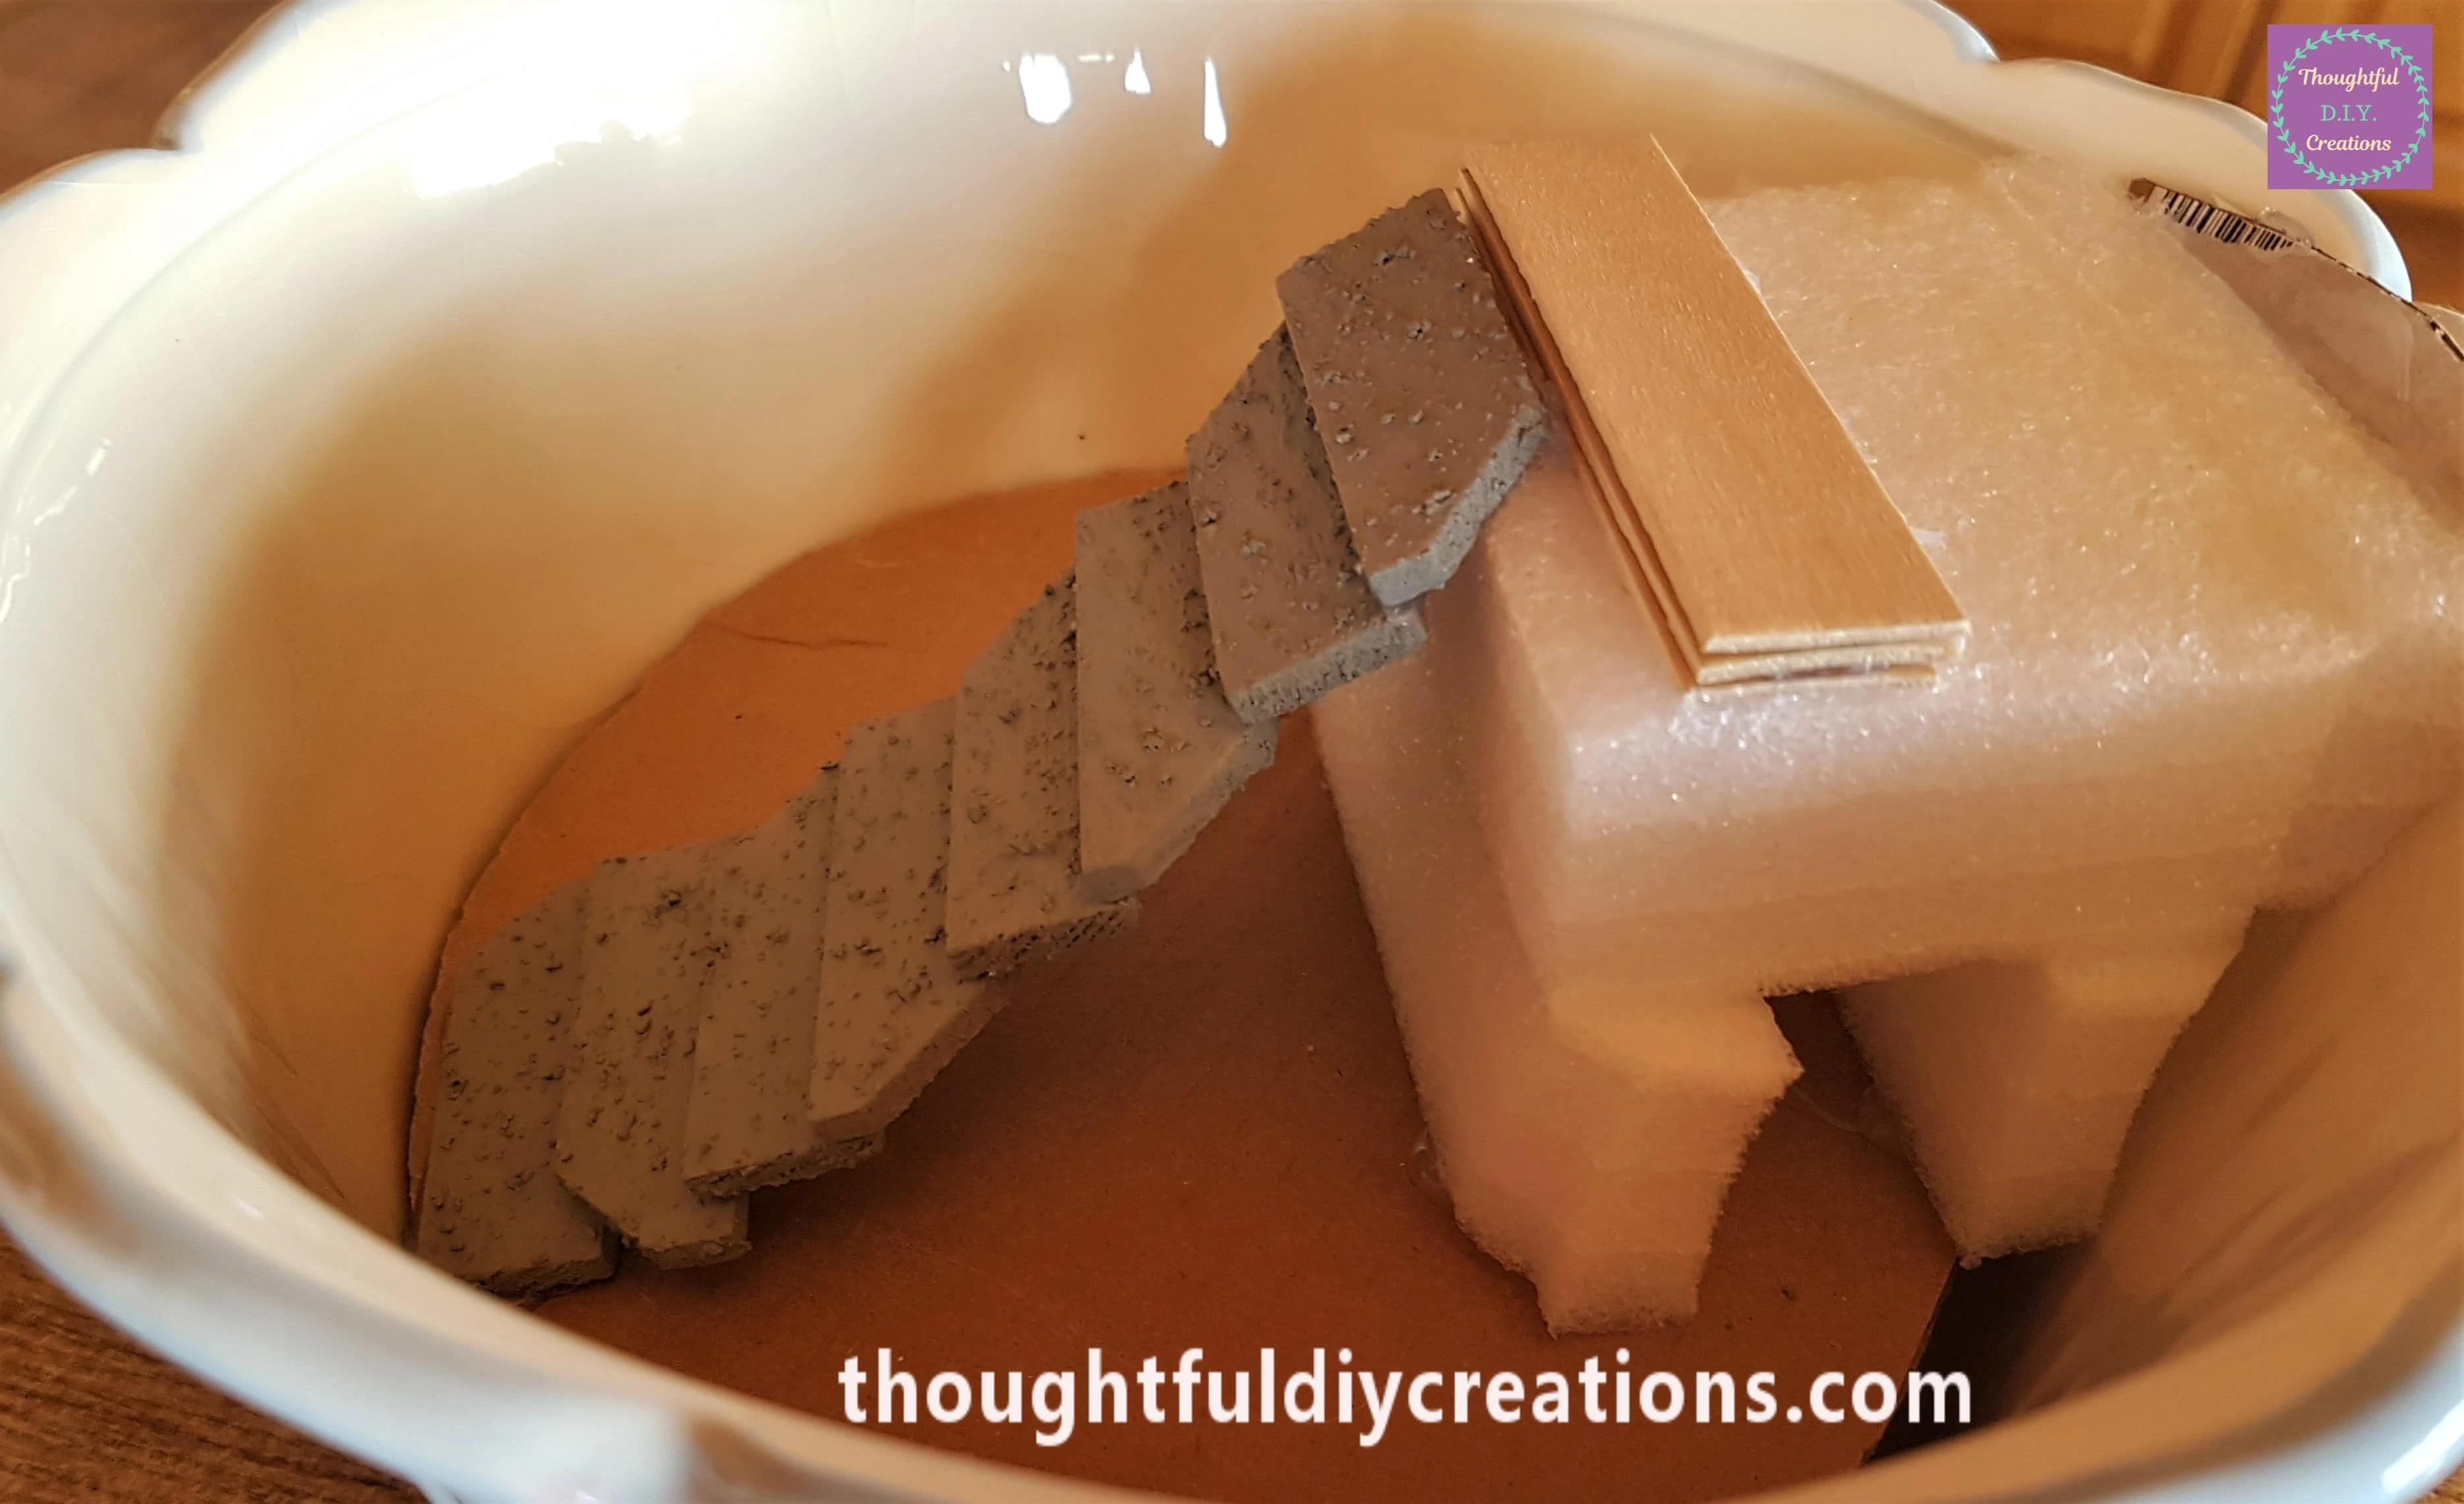
Covering the Fairy Cottage Garden with Moss
I got my Bag of Dried Moss.
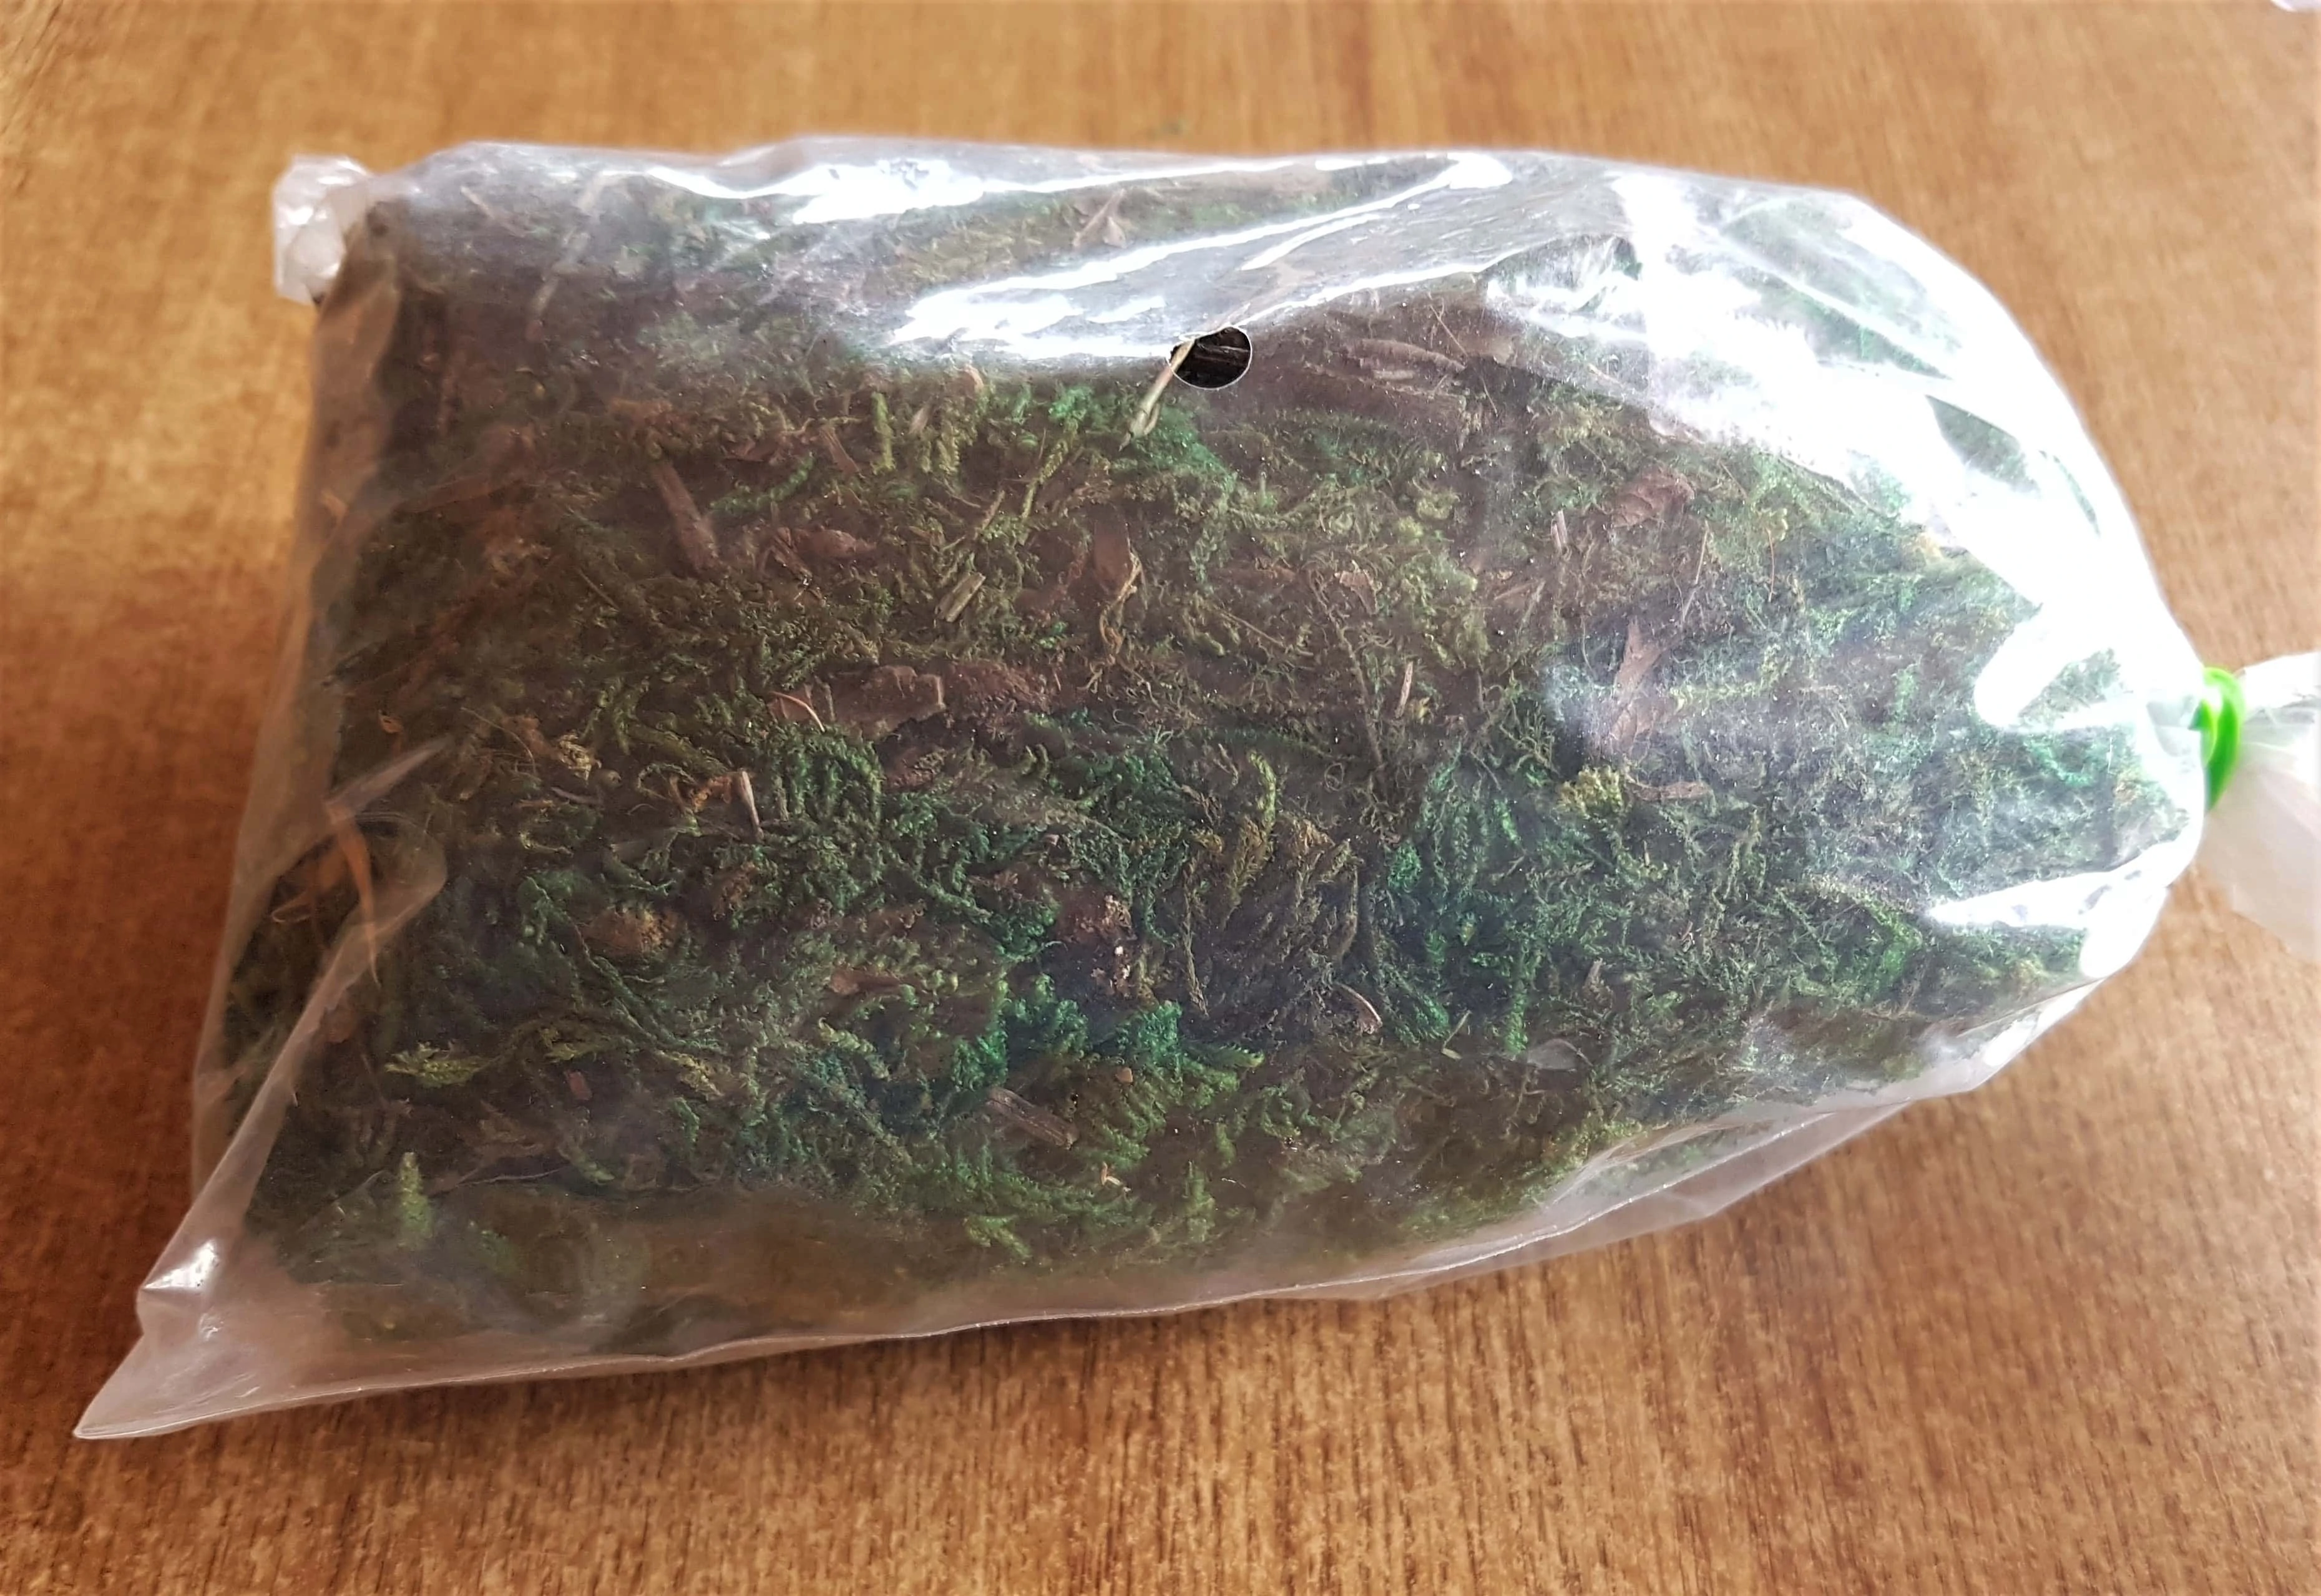
I Hot Glued small sections of the Moss at a time to the Top of the Foam.
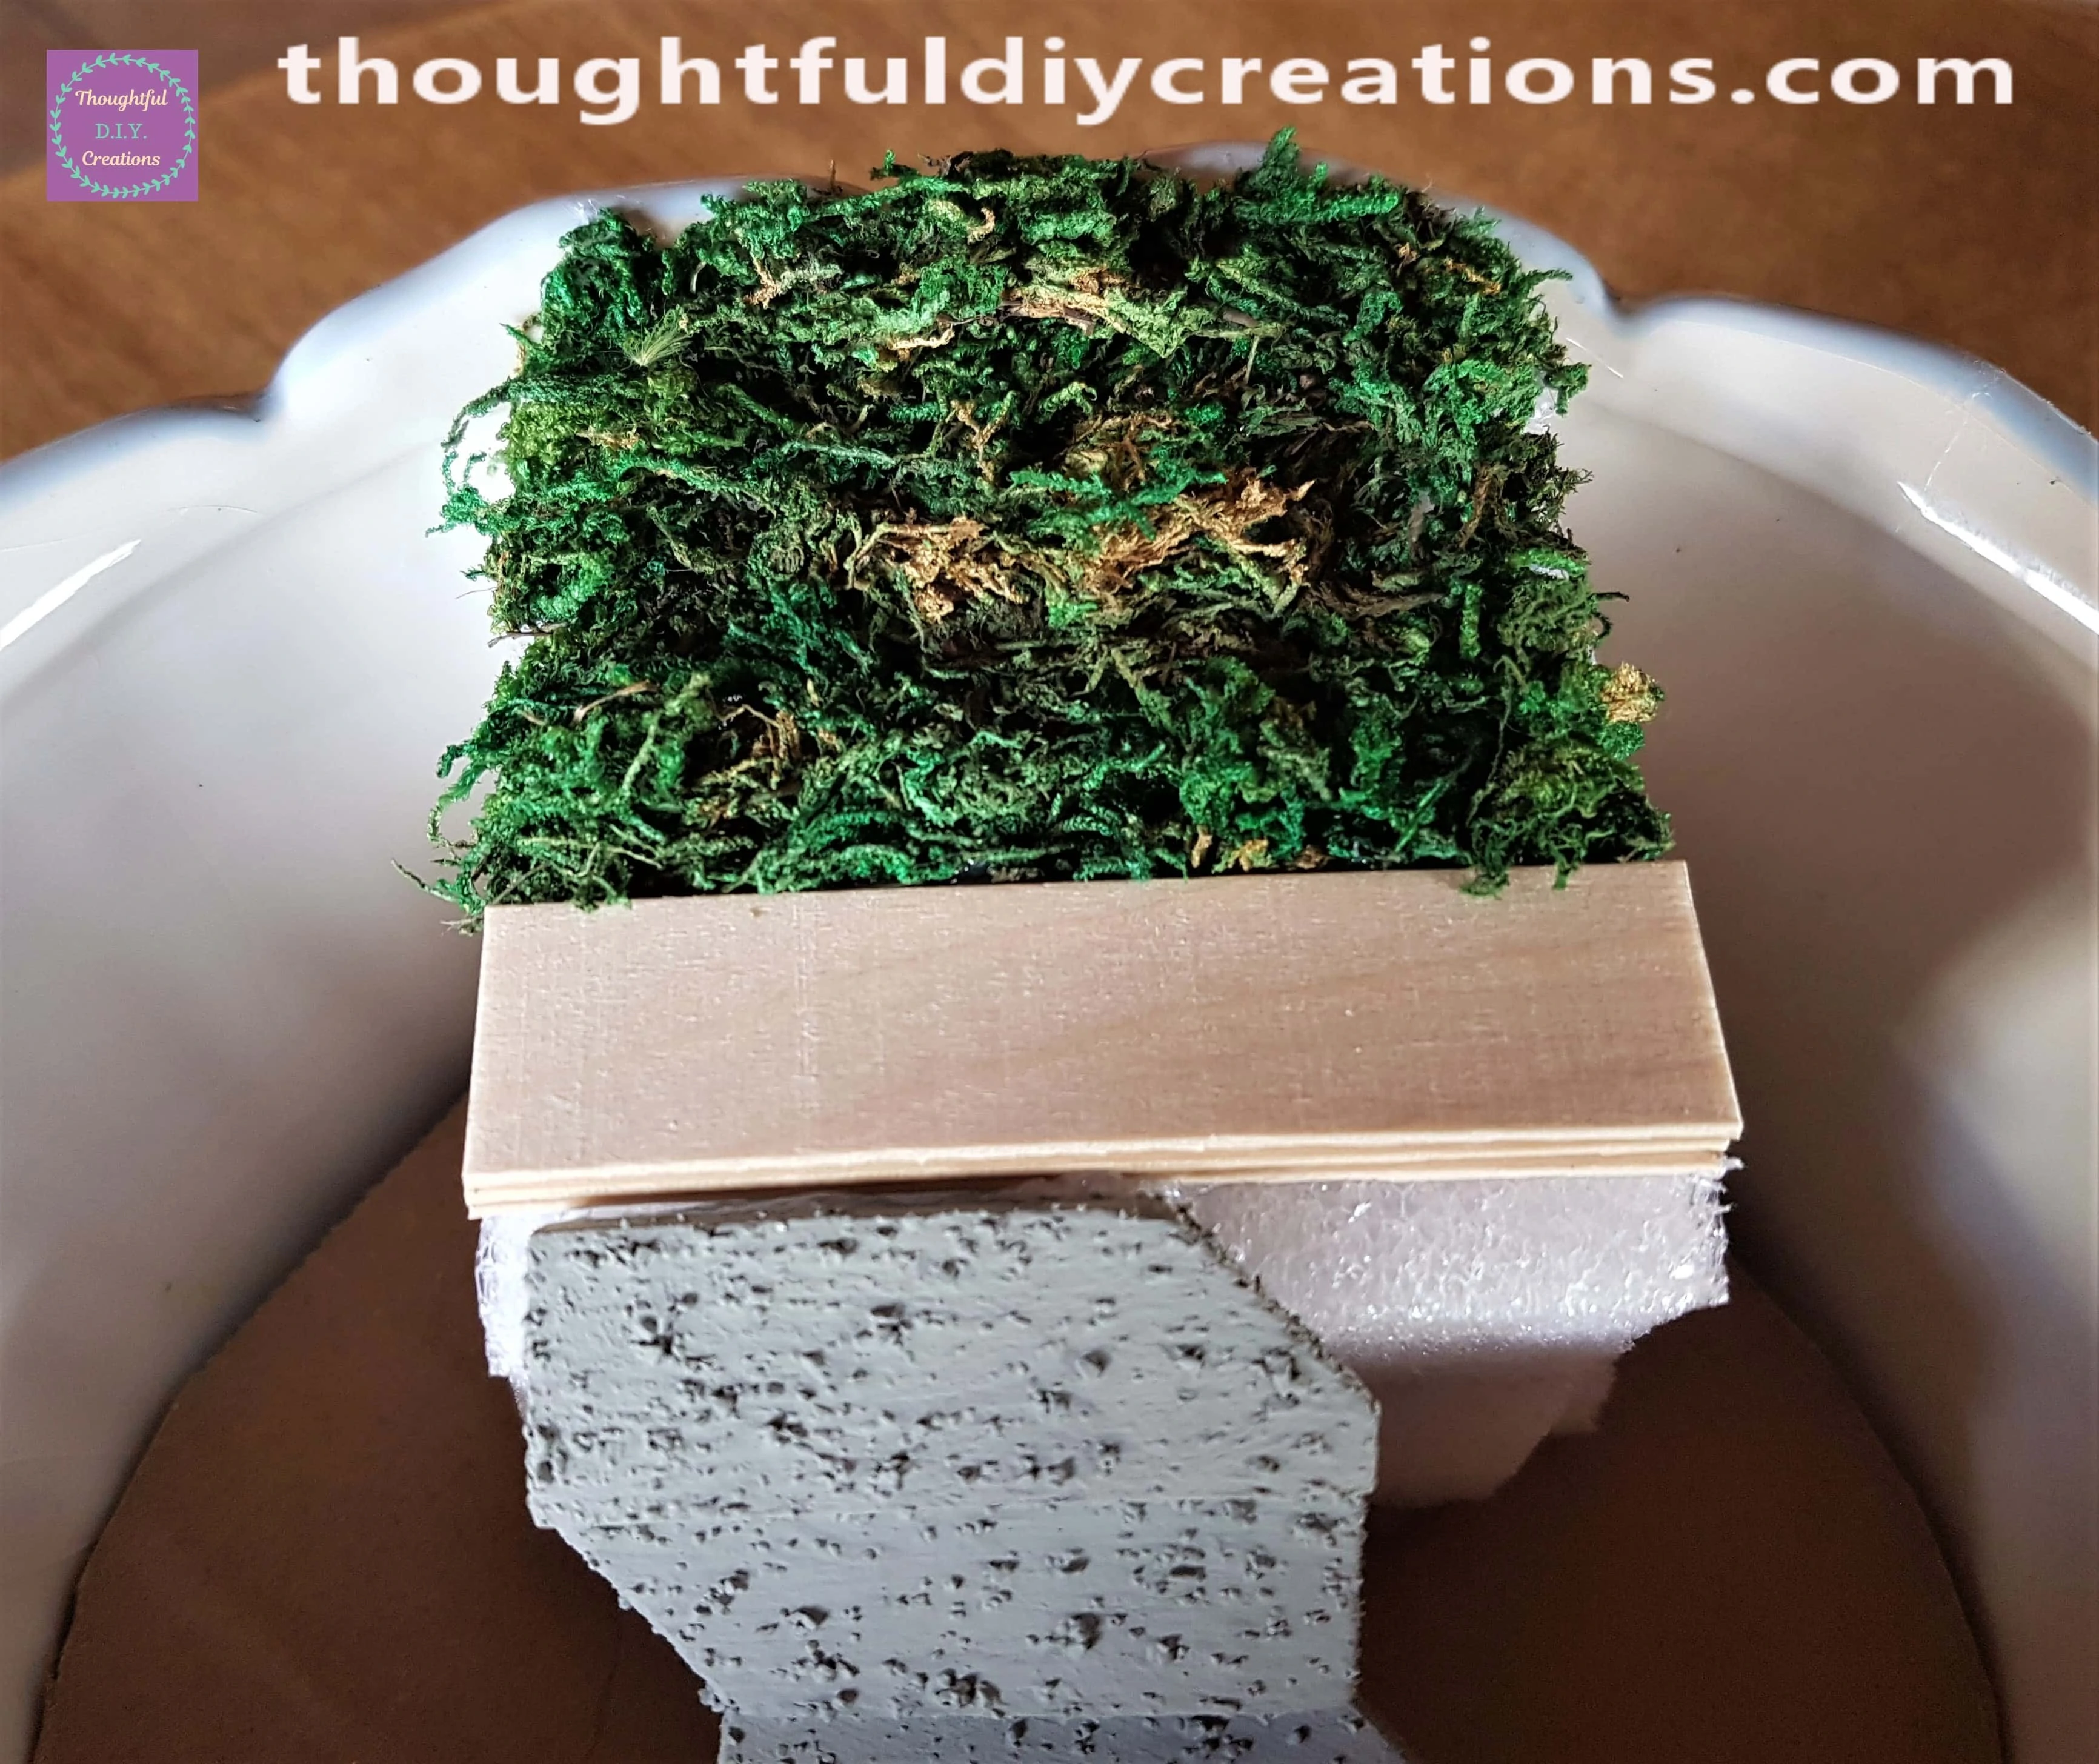
I then filled in the gap between the Path and the Steps and began to work downwards on the right Side of the Foam.
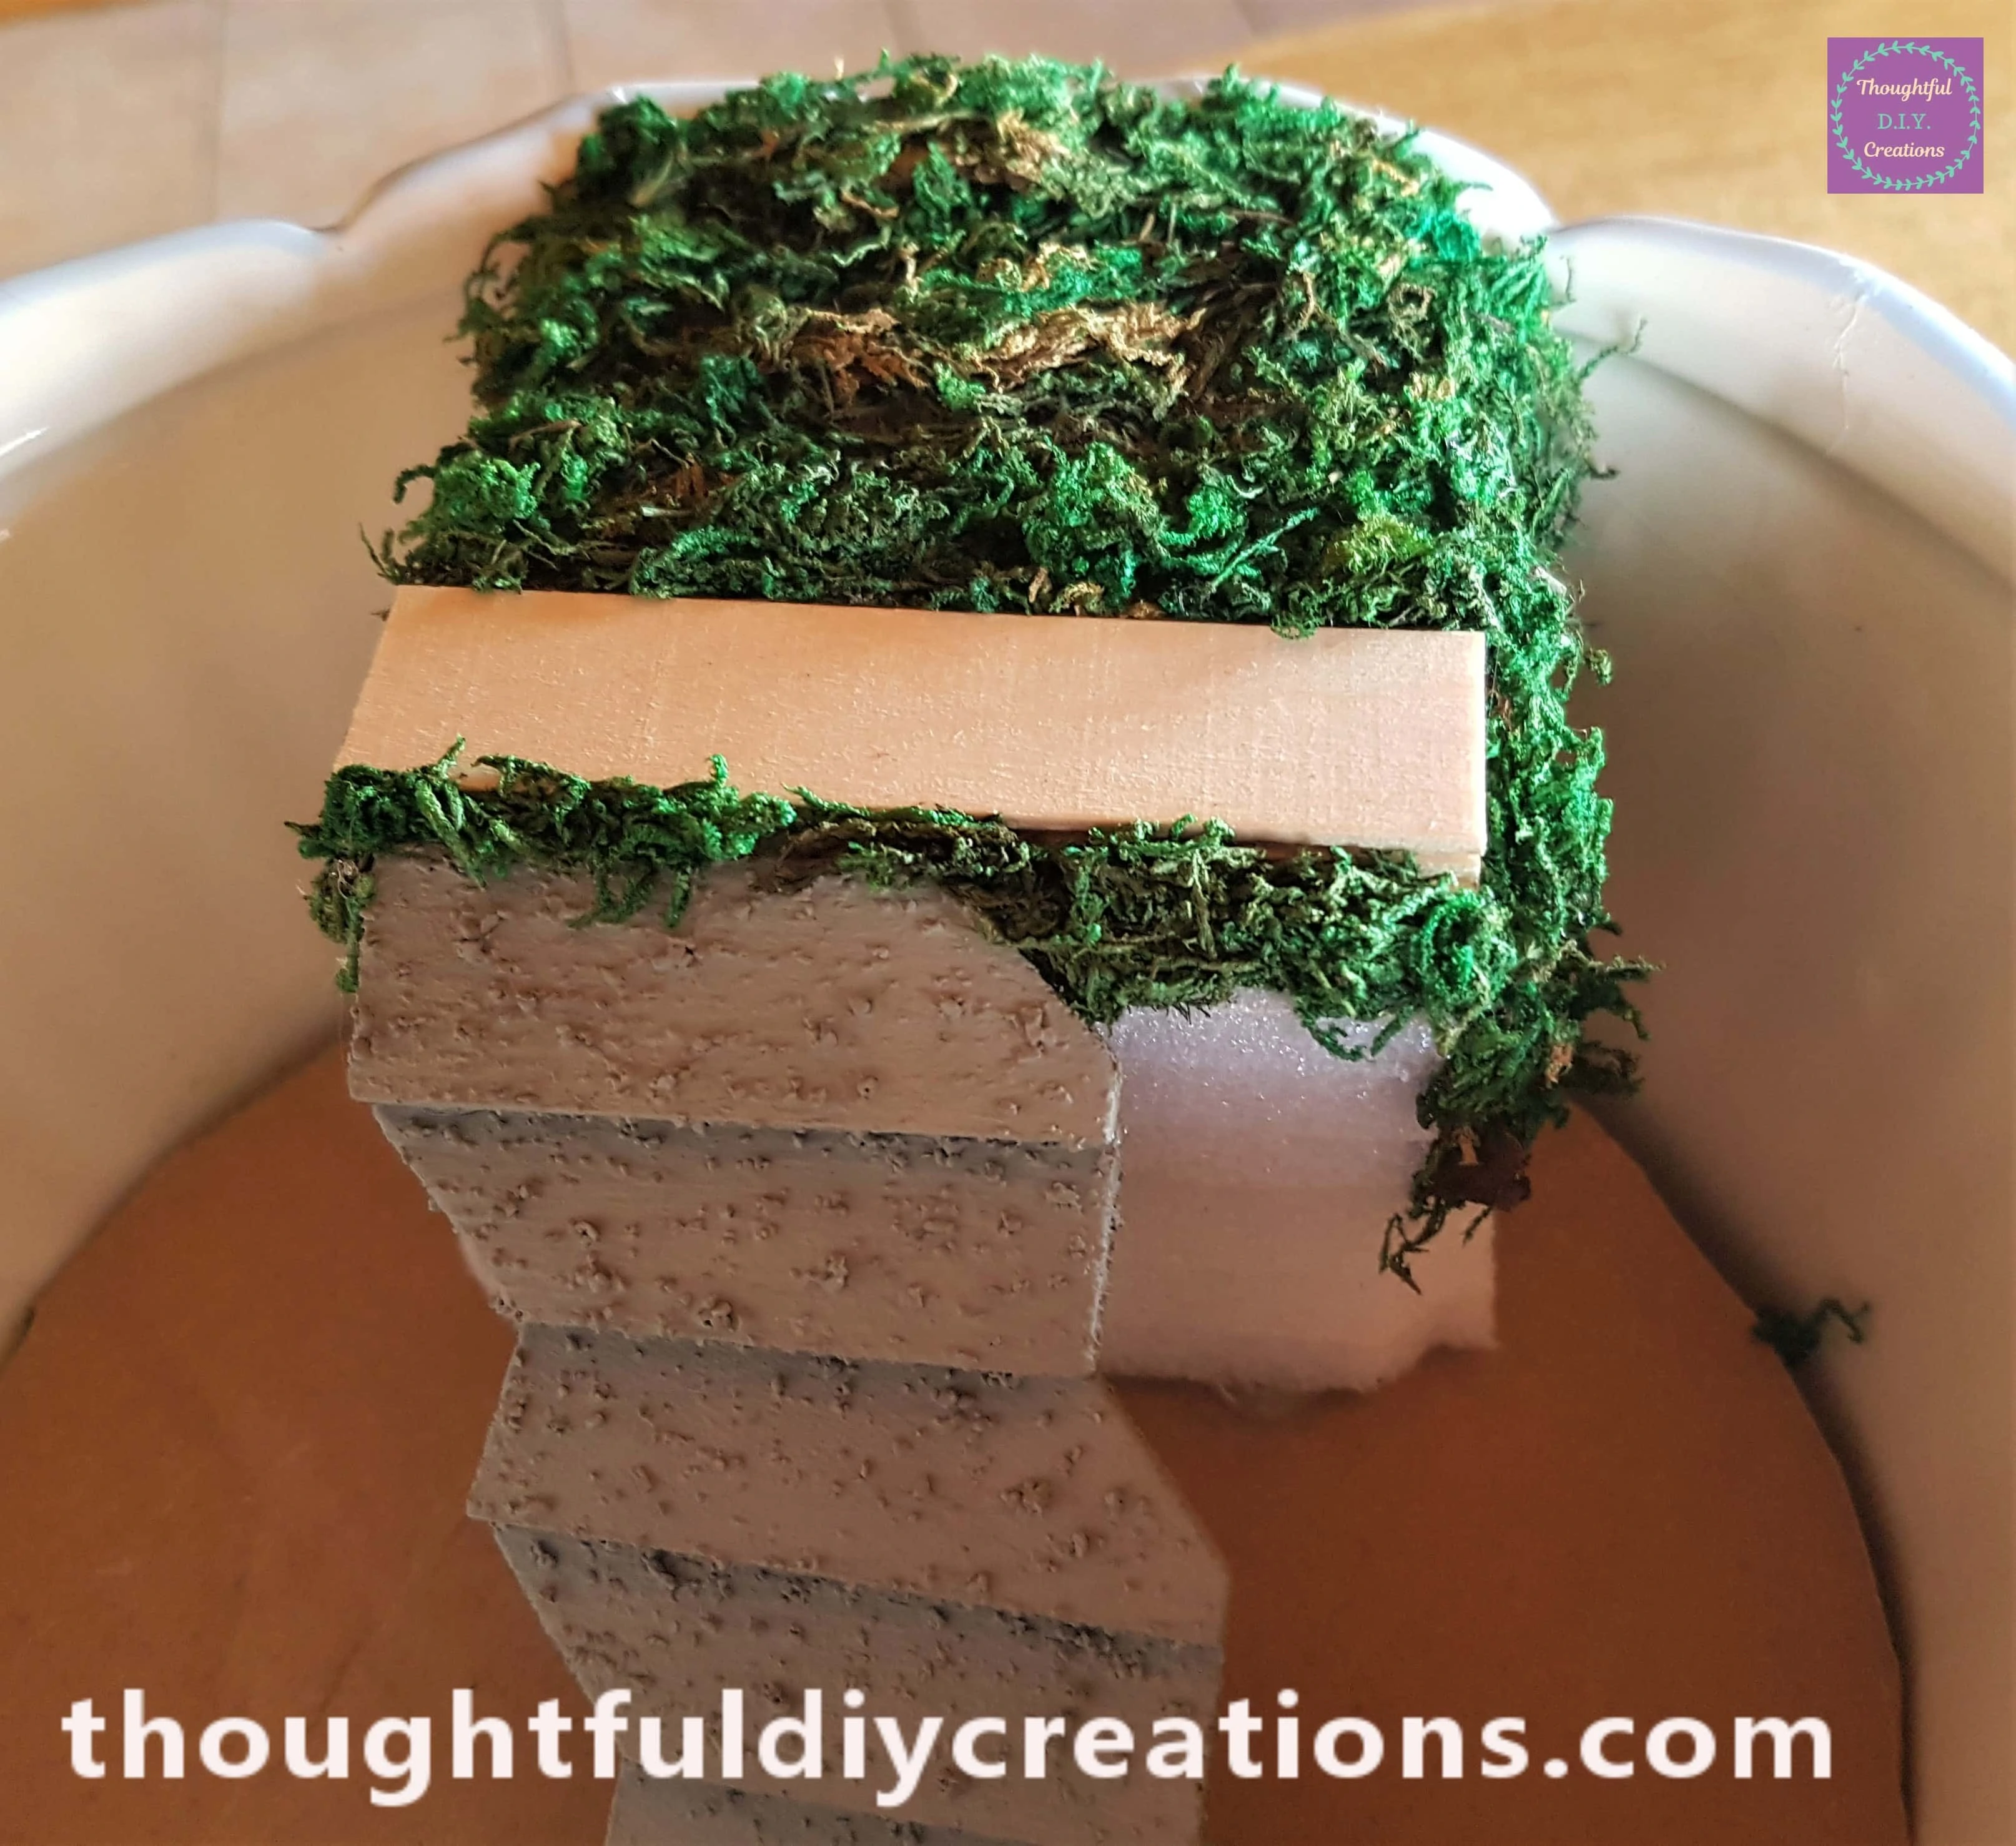
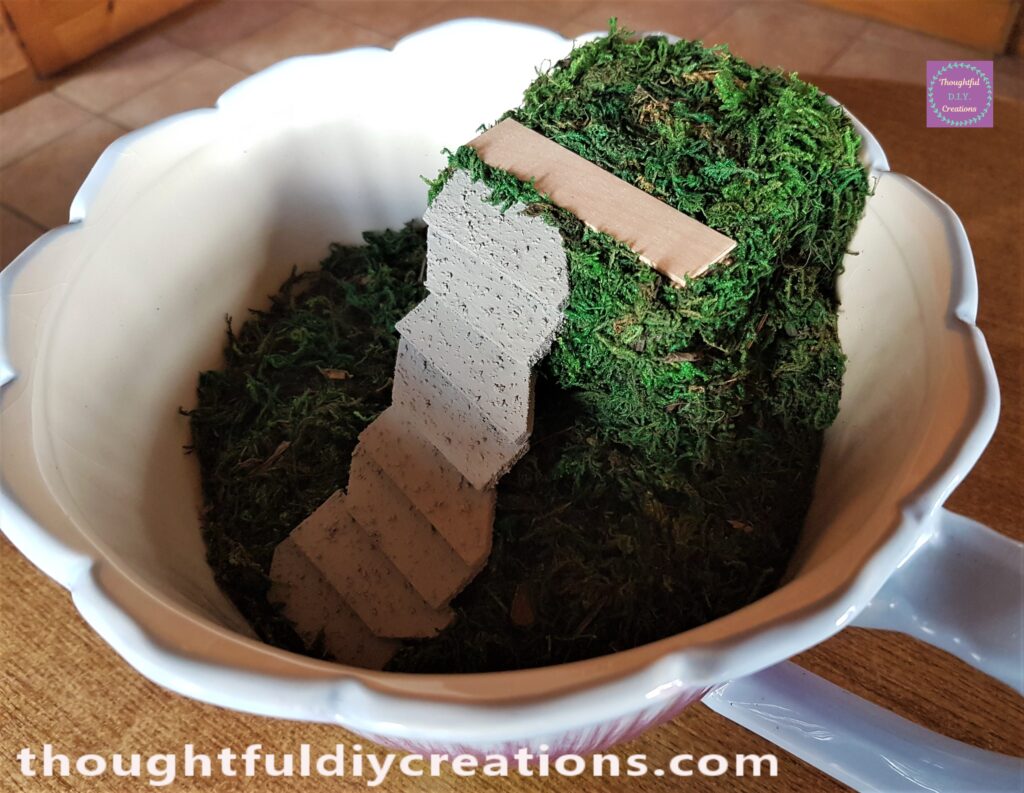
A Side View of how it’s all coming together.
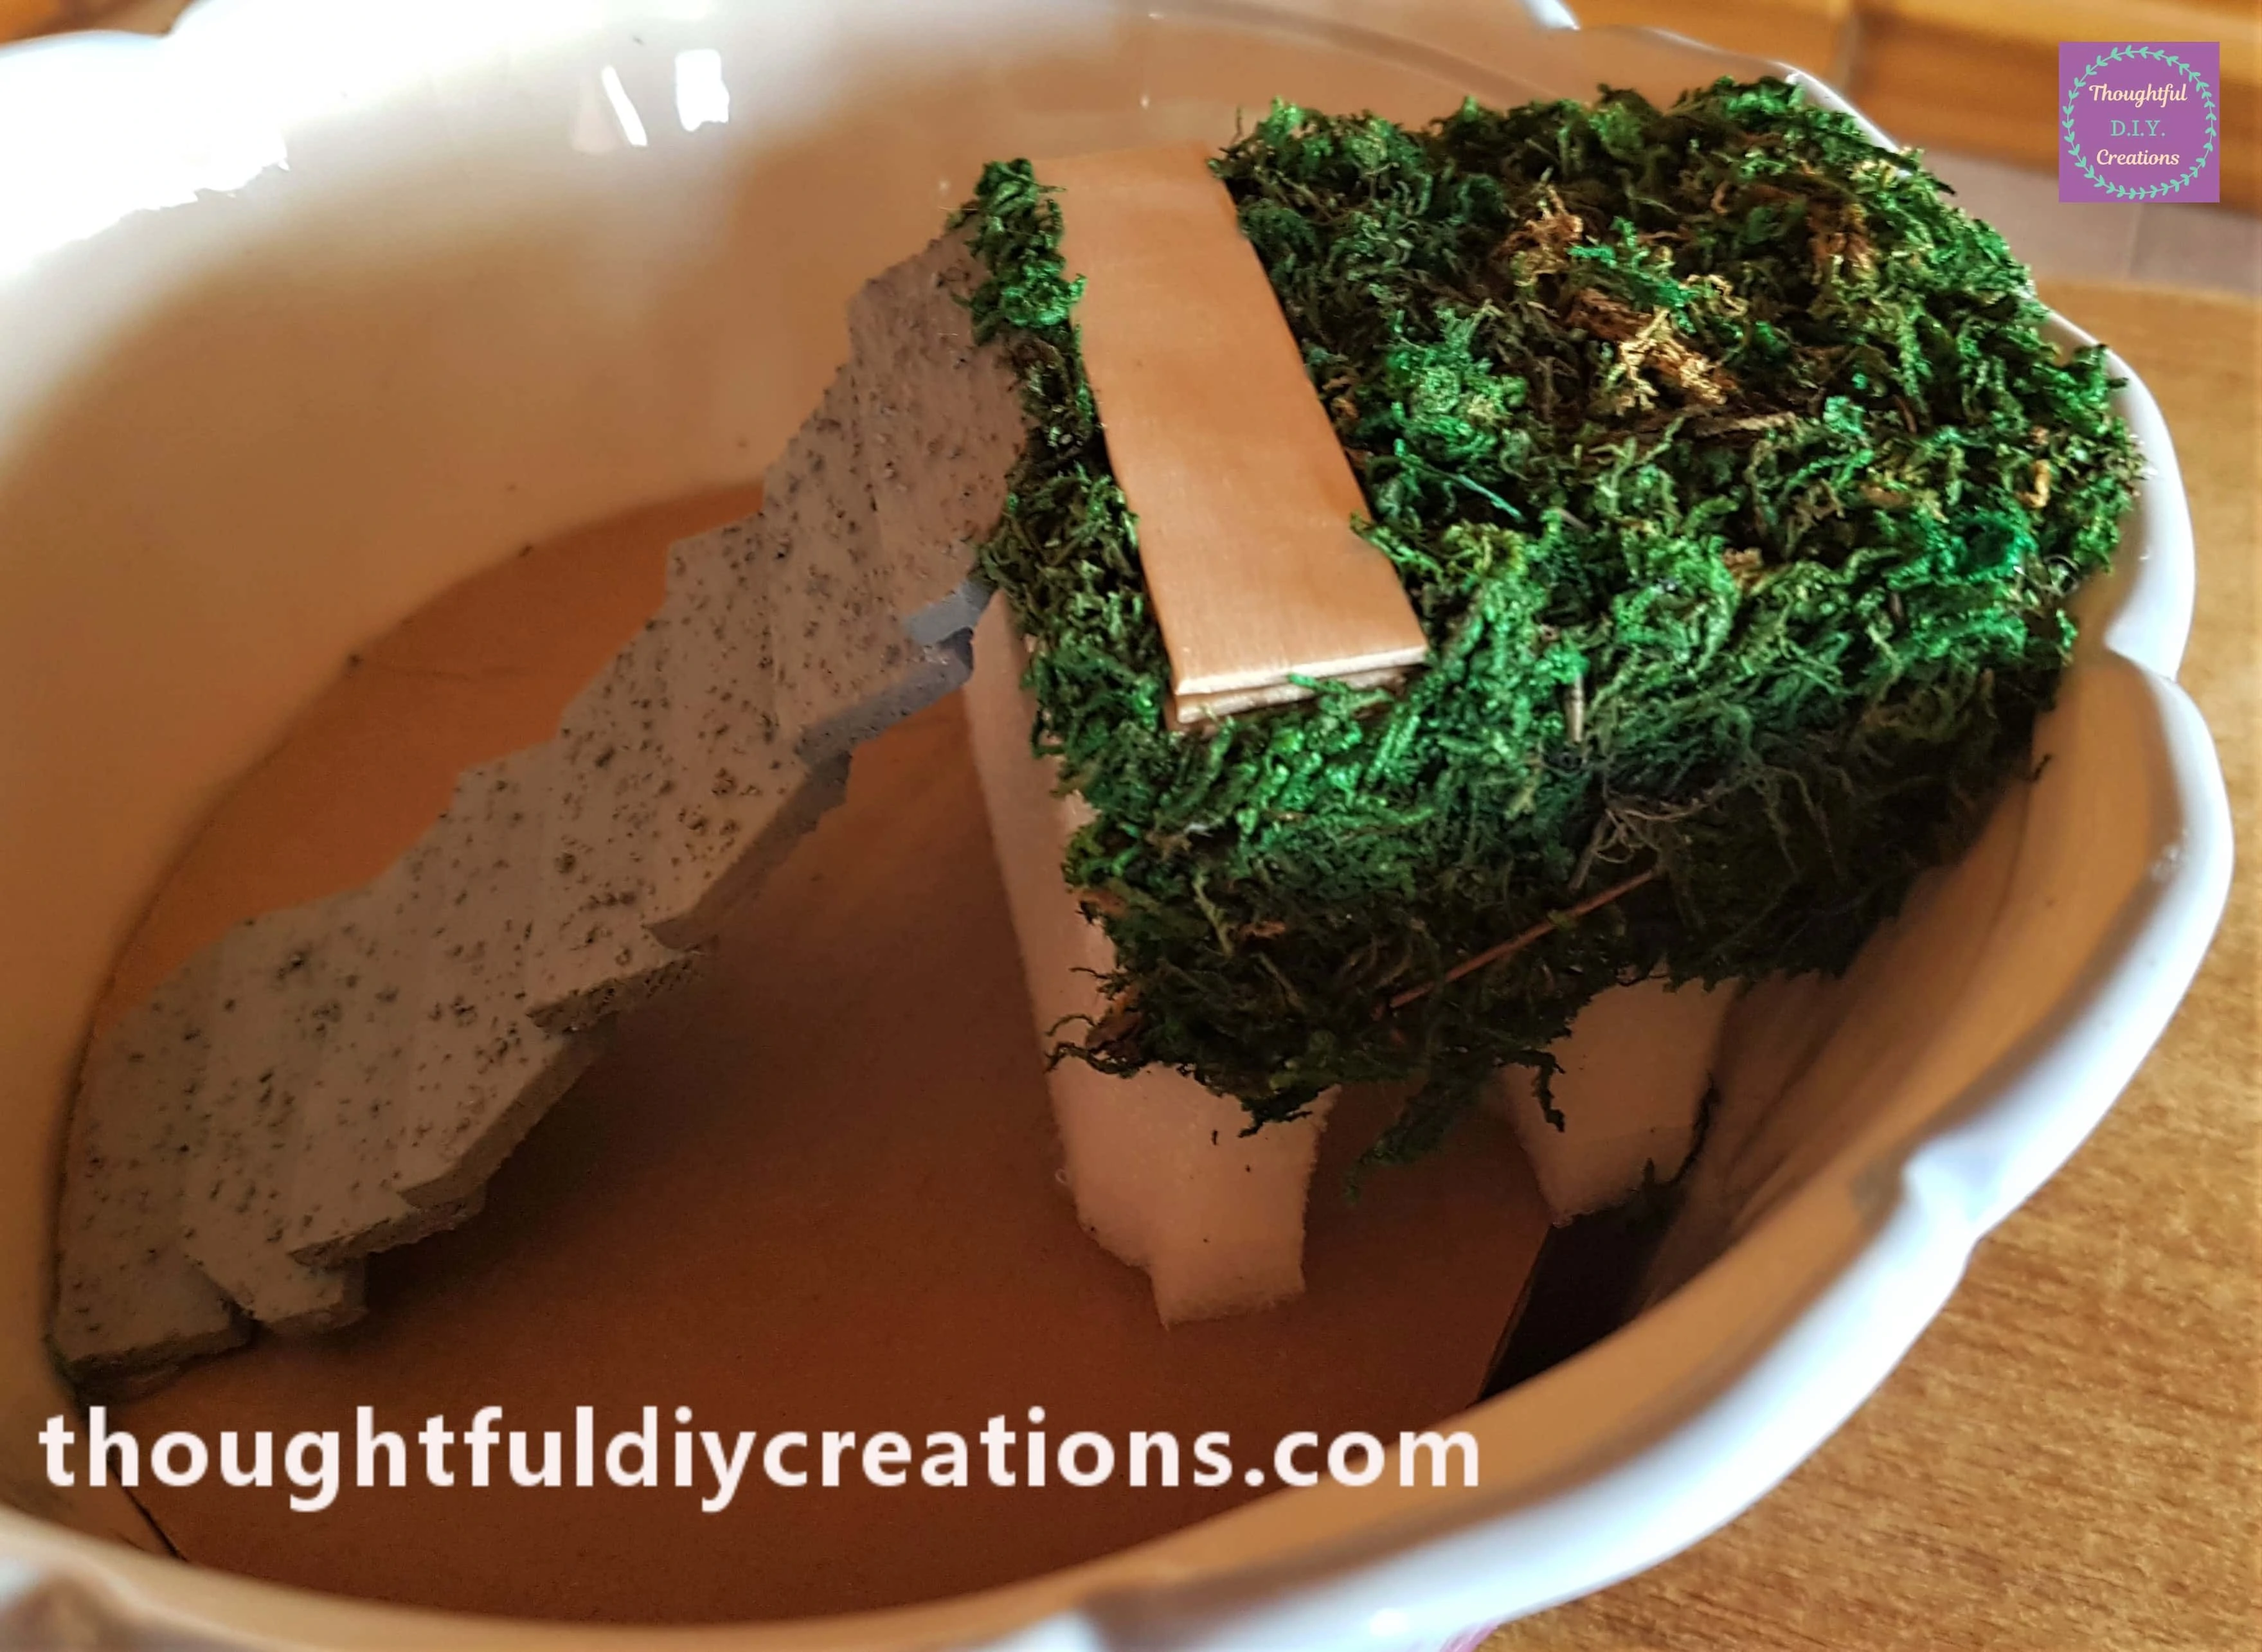
I Continued to add more Moss to the right Side, underneath the Steps as well as the left Side of the Foam.
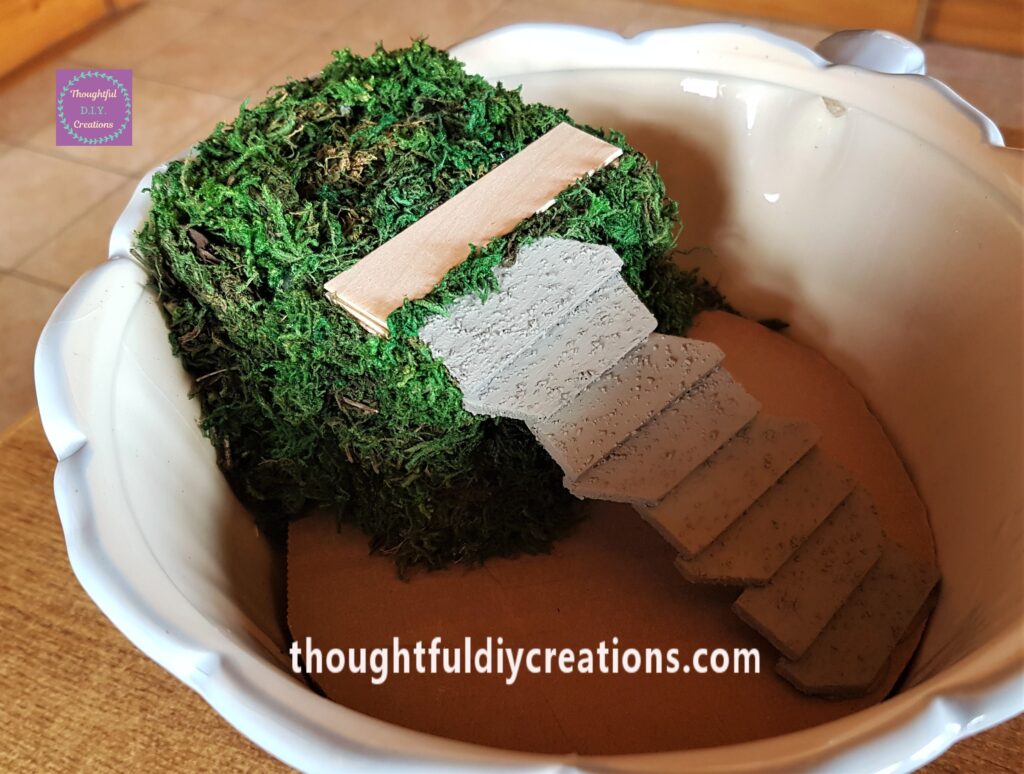
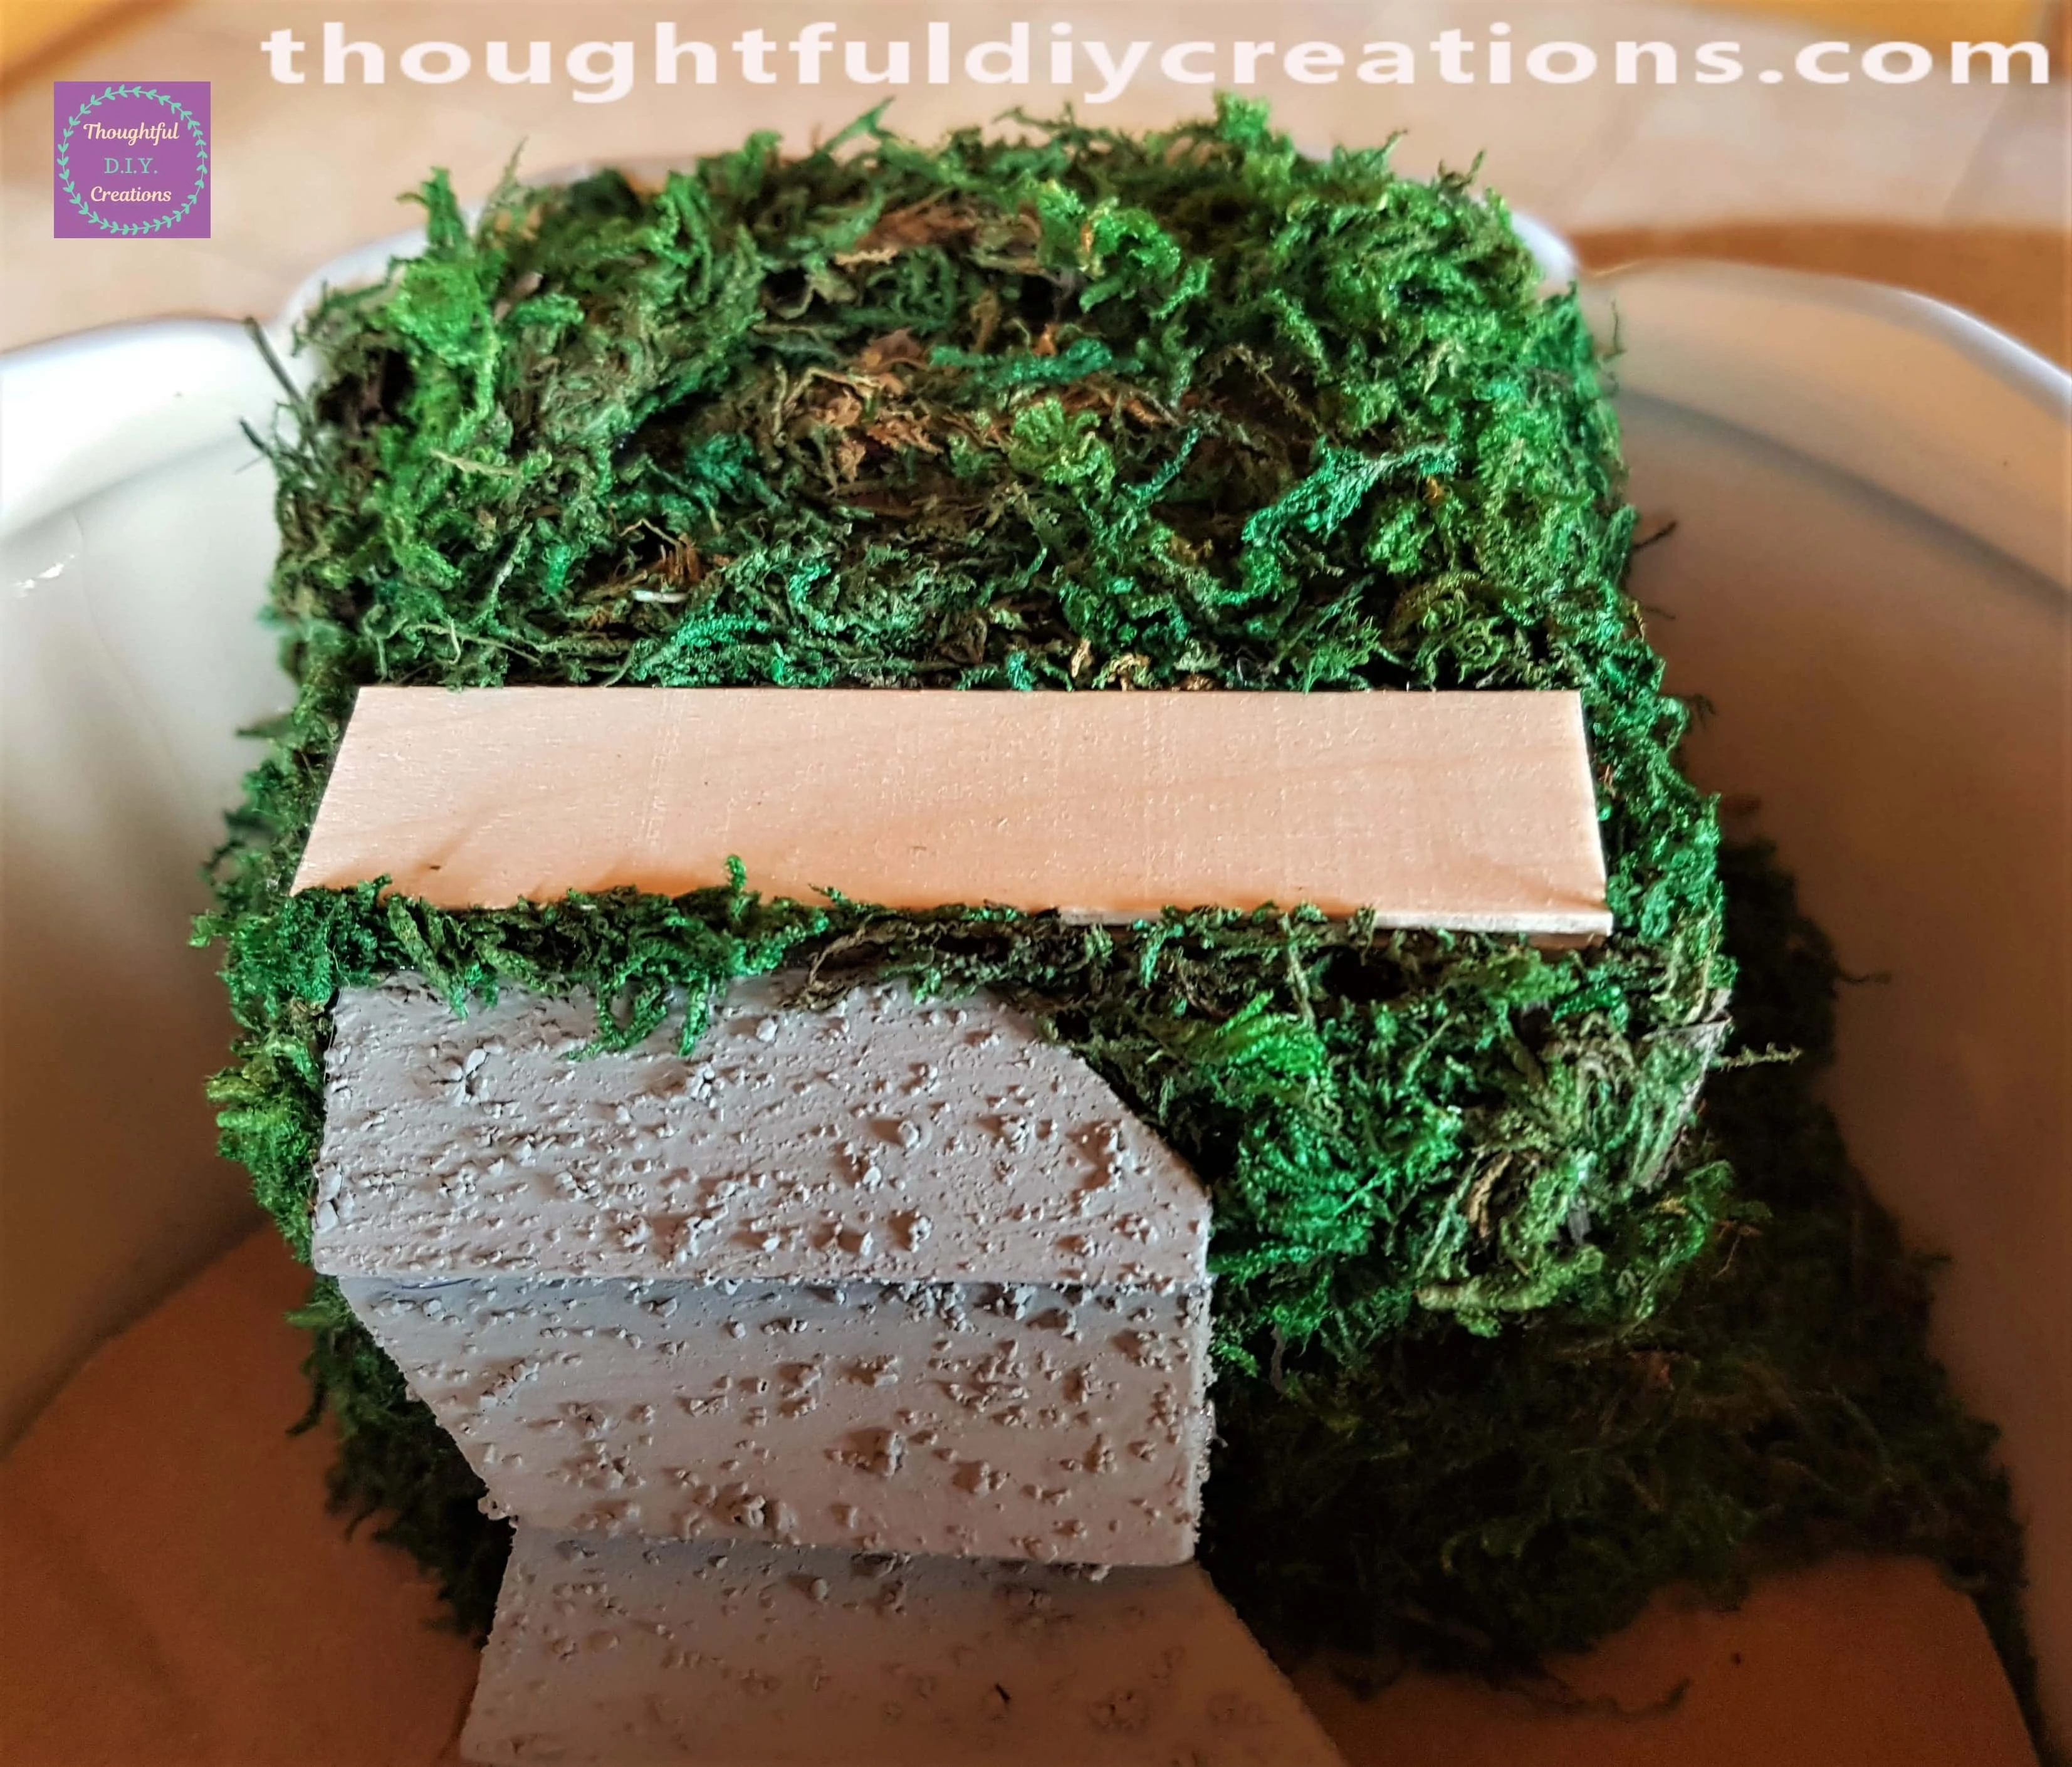
Finally I added Moss all over the Cardboard and filling in any Gaps in the Teacup.
Cutting Wooden Pieces for the Fairy Cottage
I got my Wooden Craft Pack; I got the Jumbo Lollipop Sticks I used earlier from this Pack.
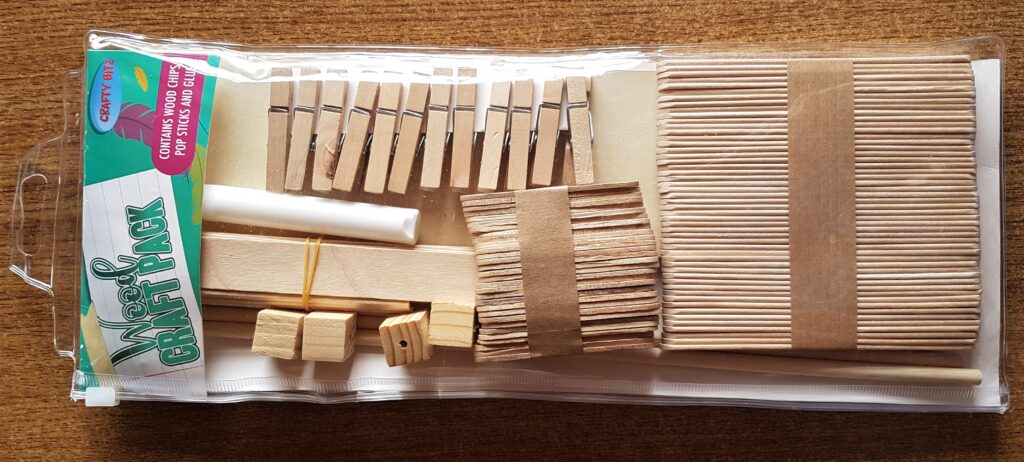
There was One Wooden Board in the Pack; I thought this would be perfect for making the Fairy Cottage. I used a Saw to Cut out the Following Measurements.
I made the Sides of the Cottage 7cm in Height (at the top Center) and 5cm in Width. The Front and Back of the Fairy Cottage are 4.5cm in Height and 7cm in Width.
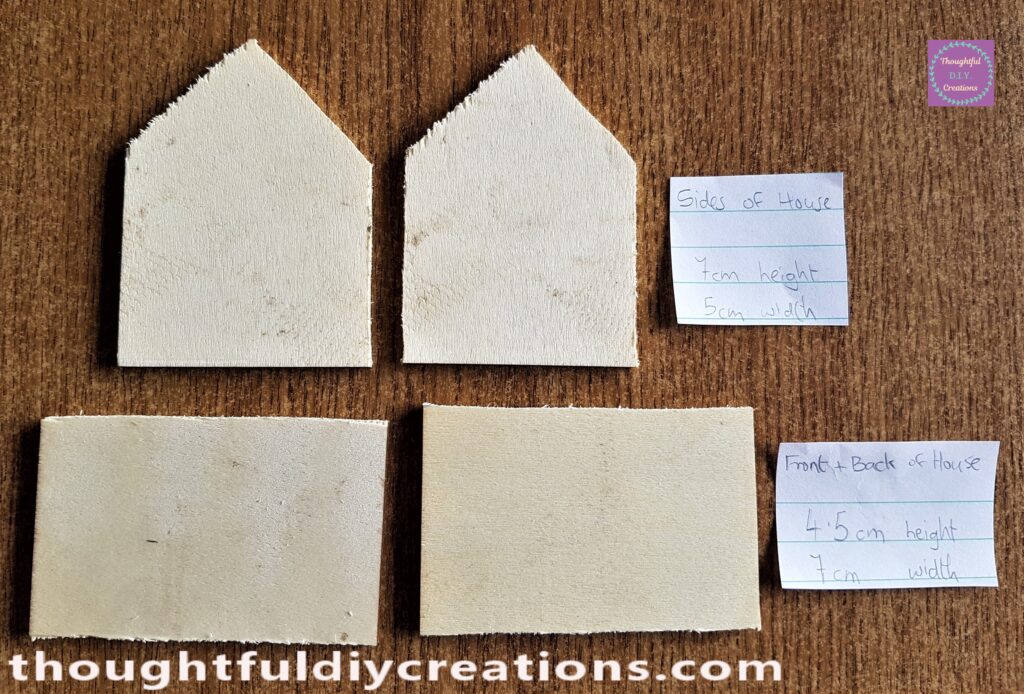
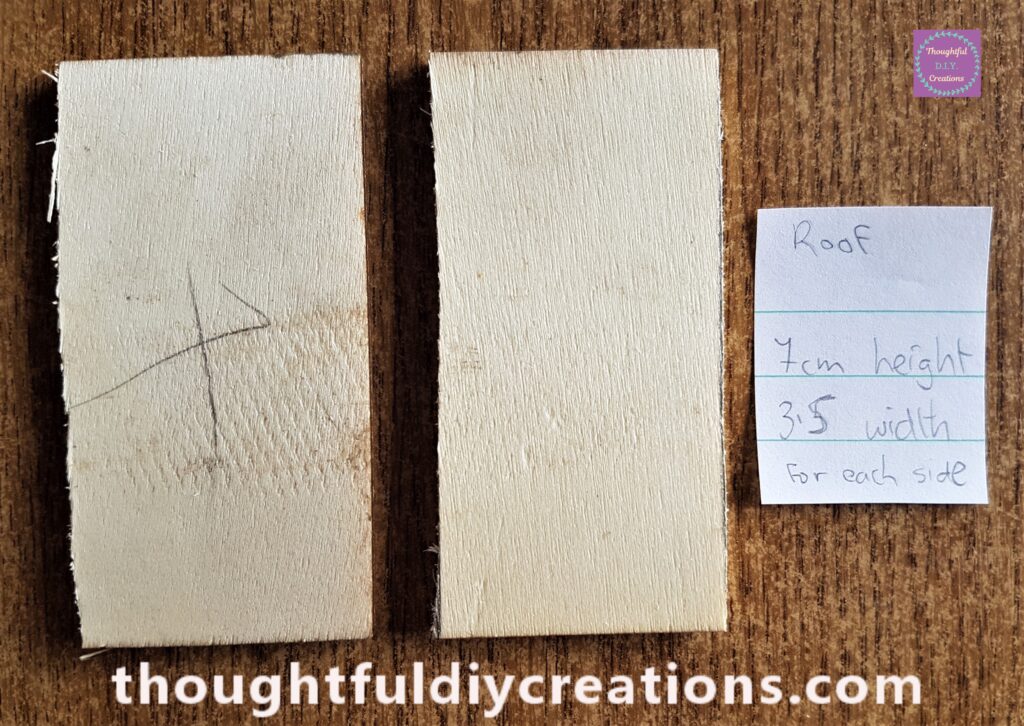
The Roof for the Fairy Cottage measures 7cm in Height and 3.5cm in Width.
Assembling the Fairy Cottage
I Hot Glued one Side of the Cottage to the Back of the Cottage. I added more Hot Glue to the edges inside the Fairy Cottage for re-inforcement.
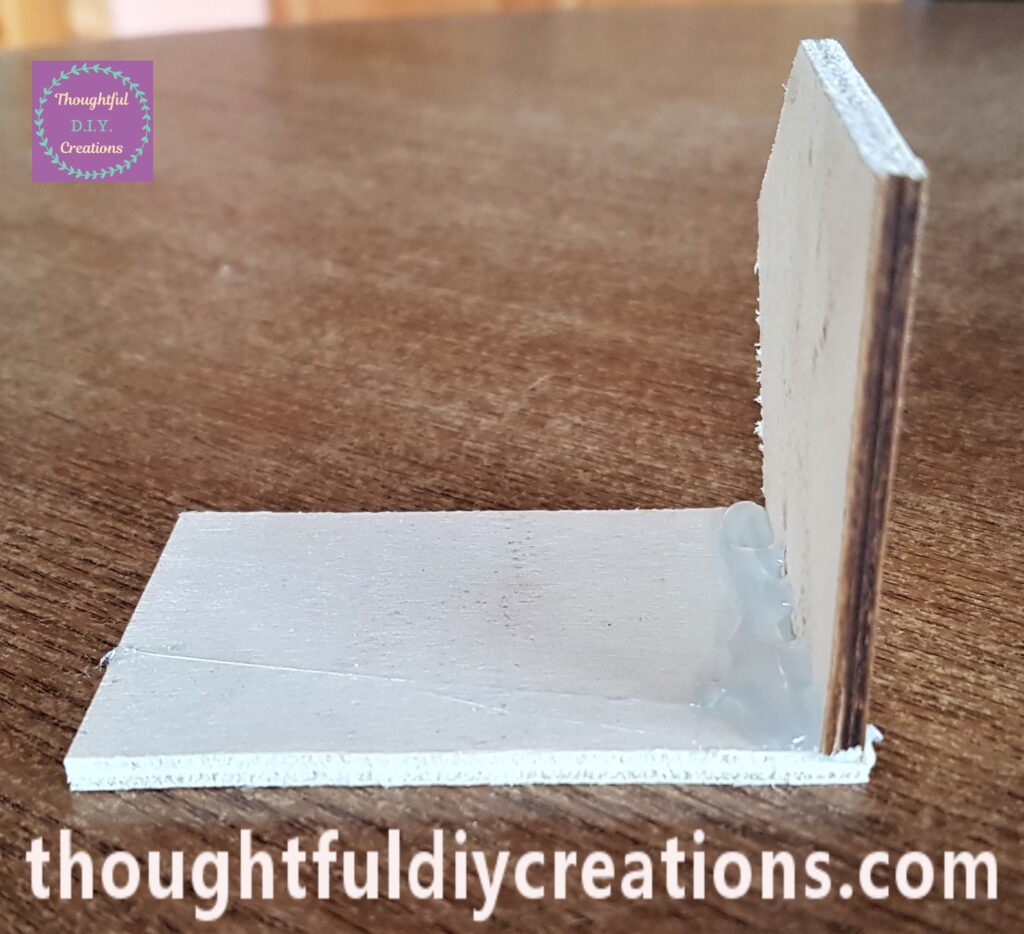
I Hot Glued the Front of the Fairy Cottage to the Side.
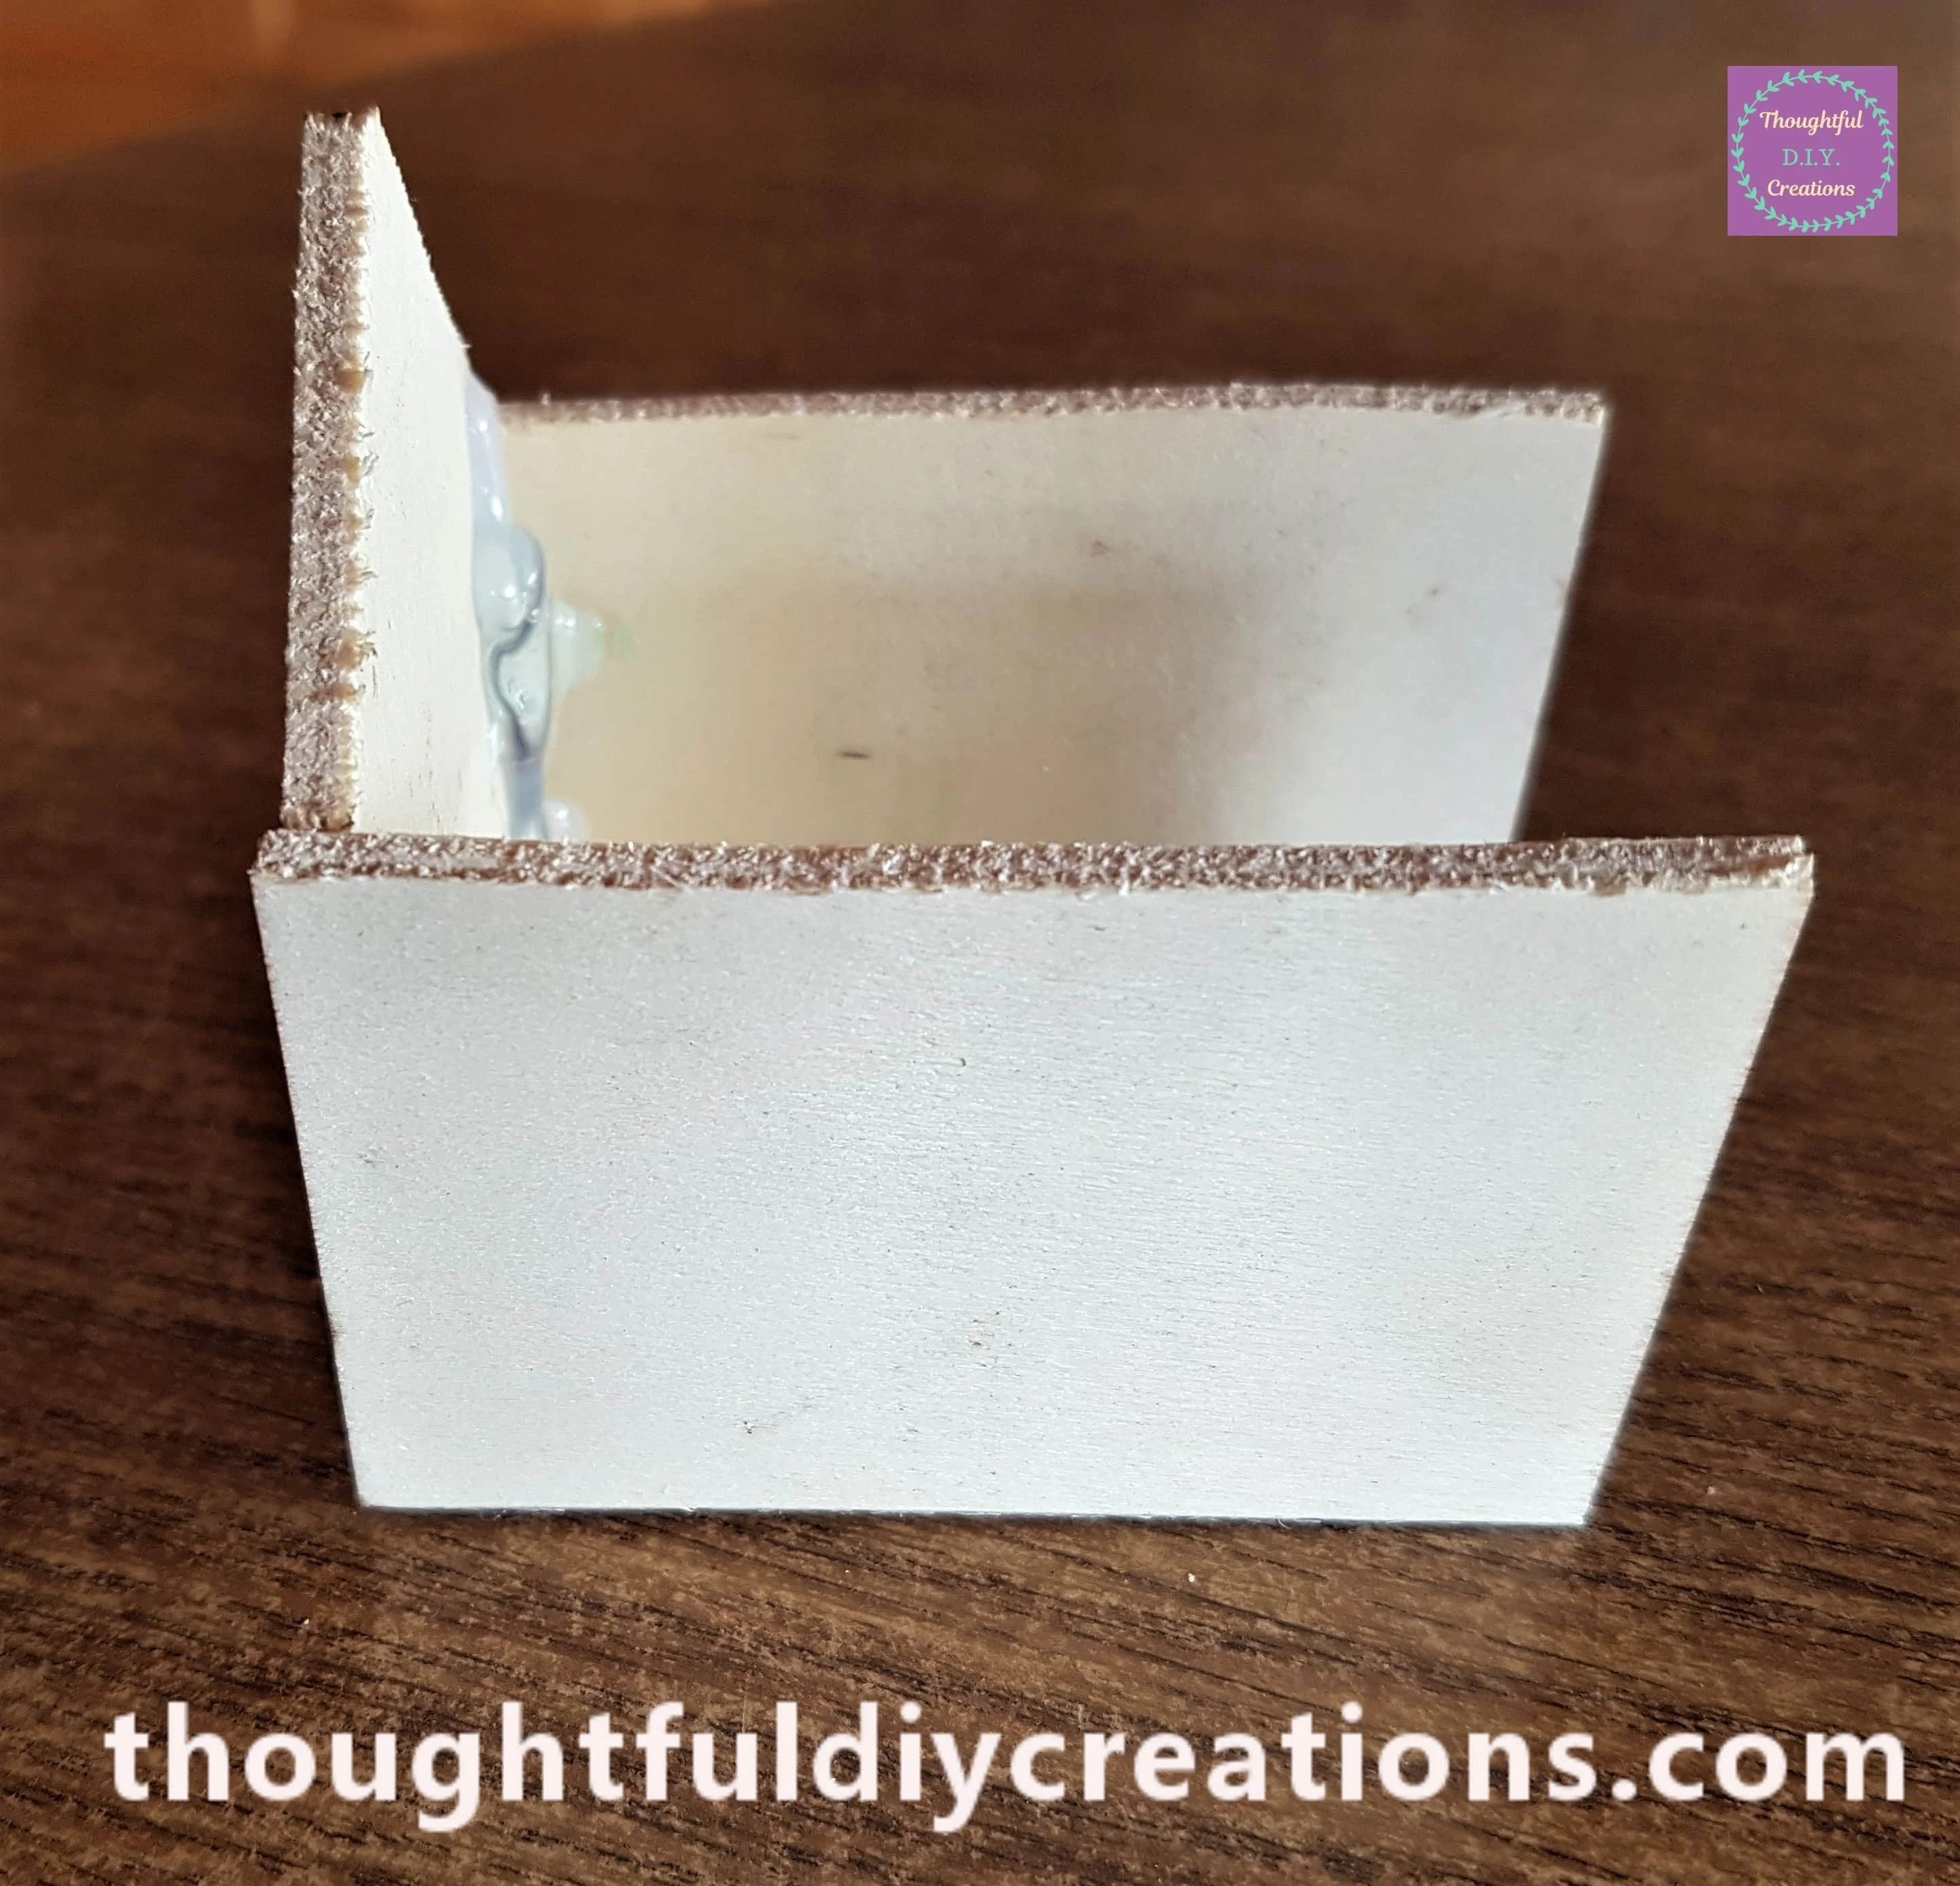
The second Side of the Cottage was Glued to the edges of the Front and Back of the Cottage. More Hot Glue was added inside the Fairy Cottage for added staying power.
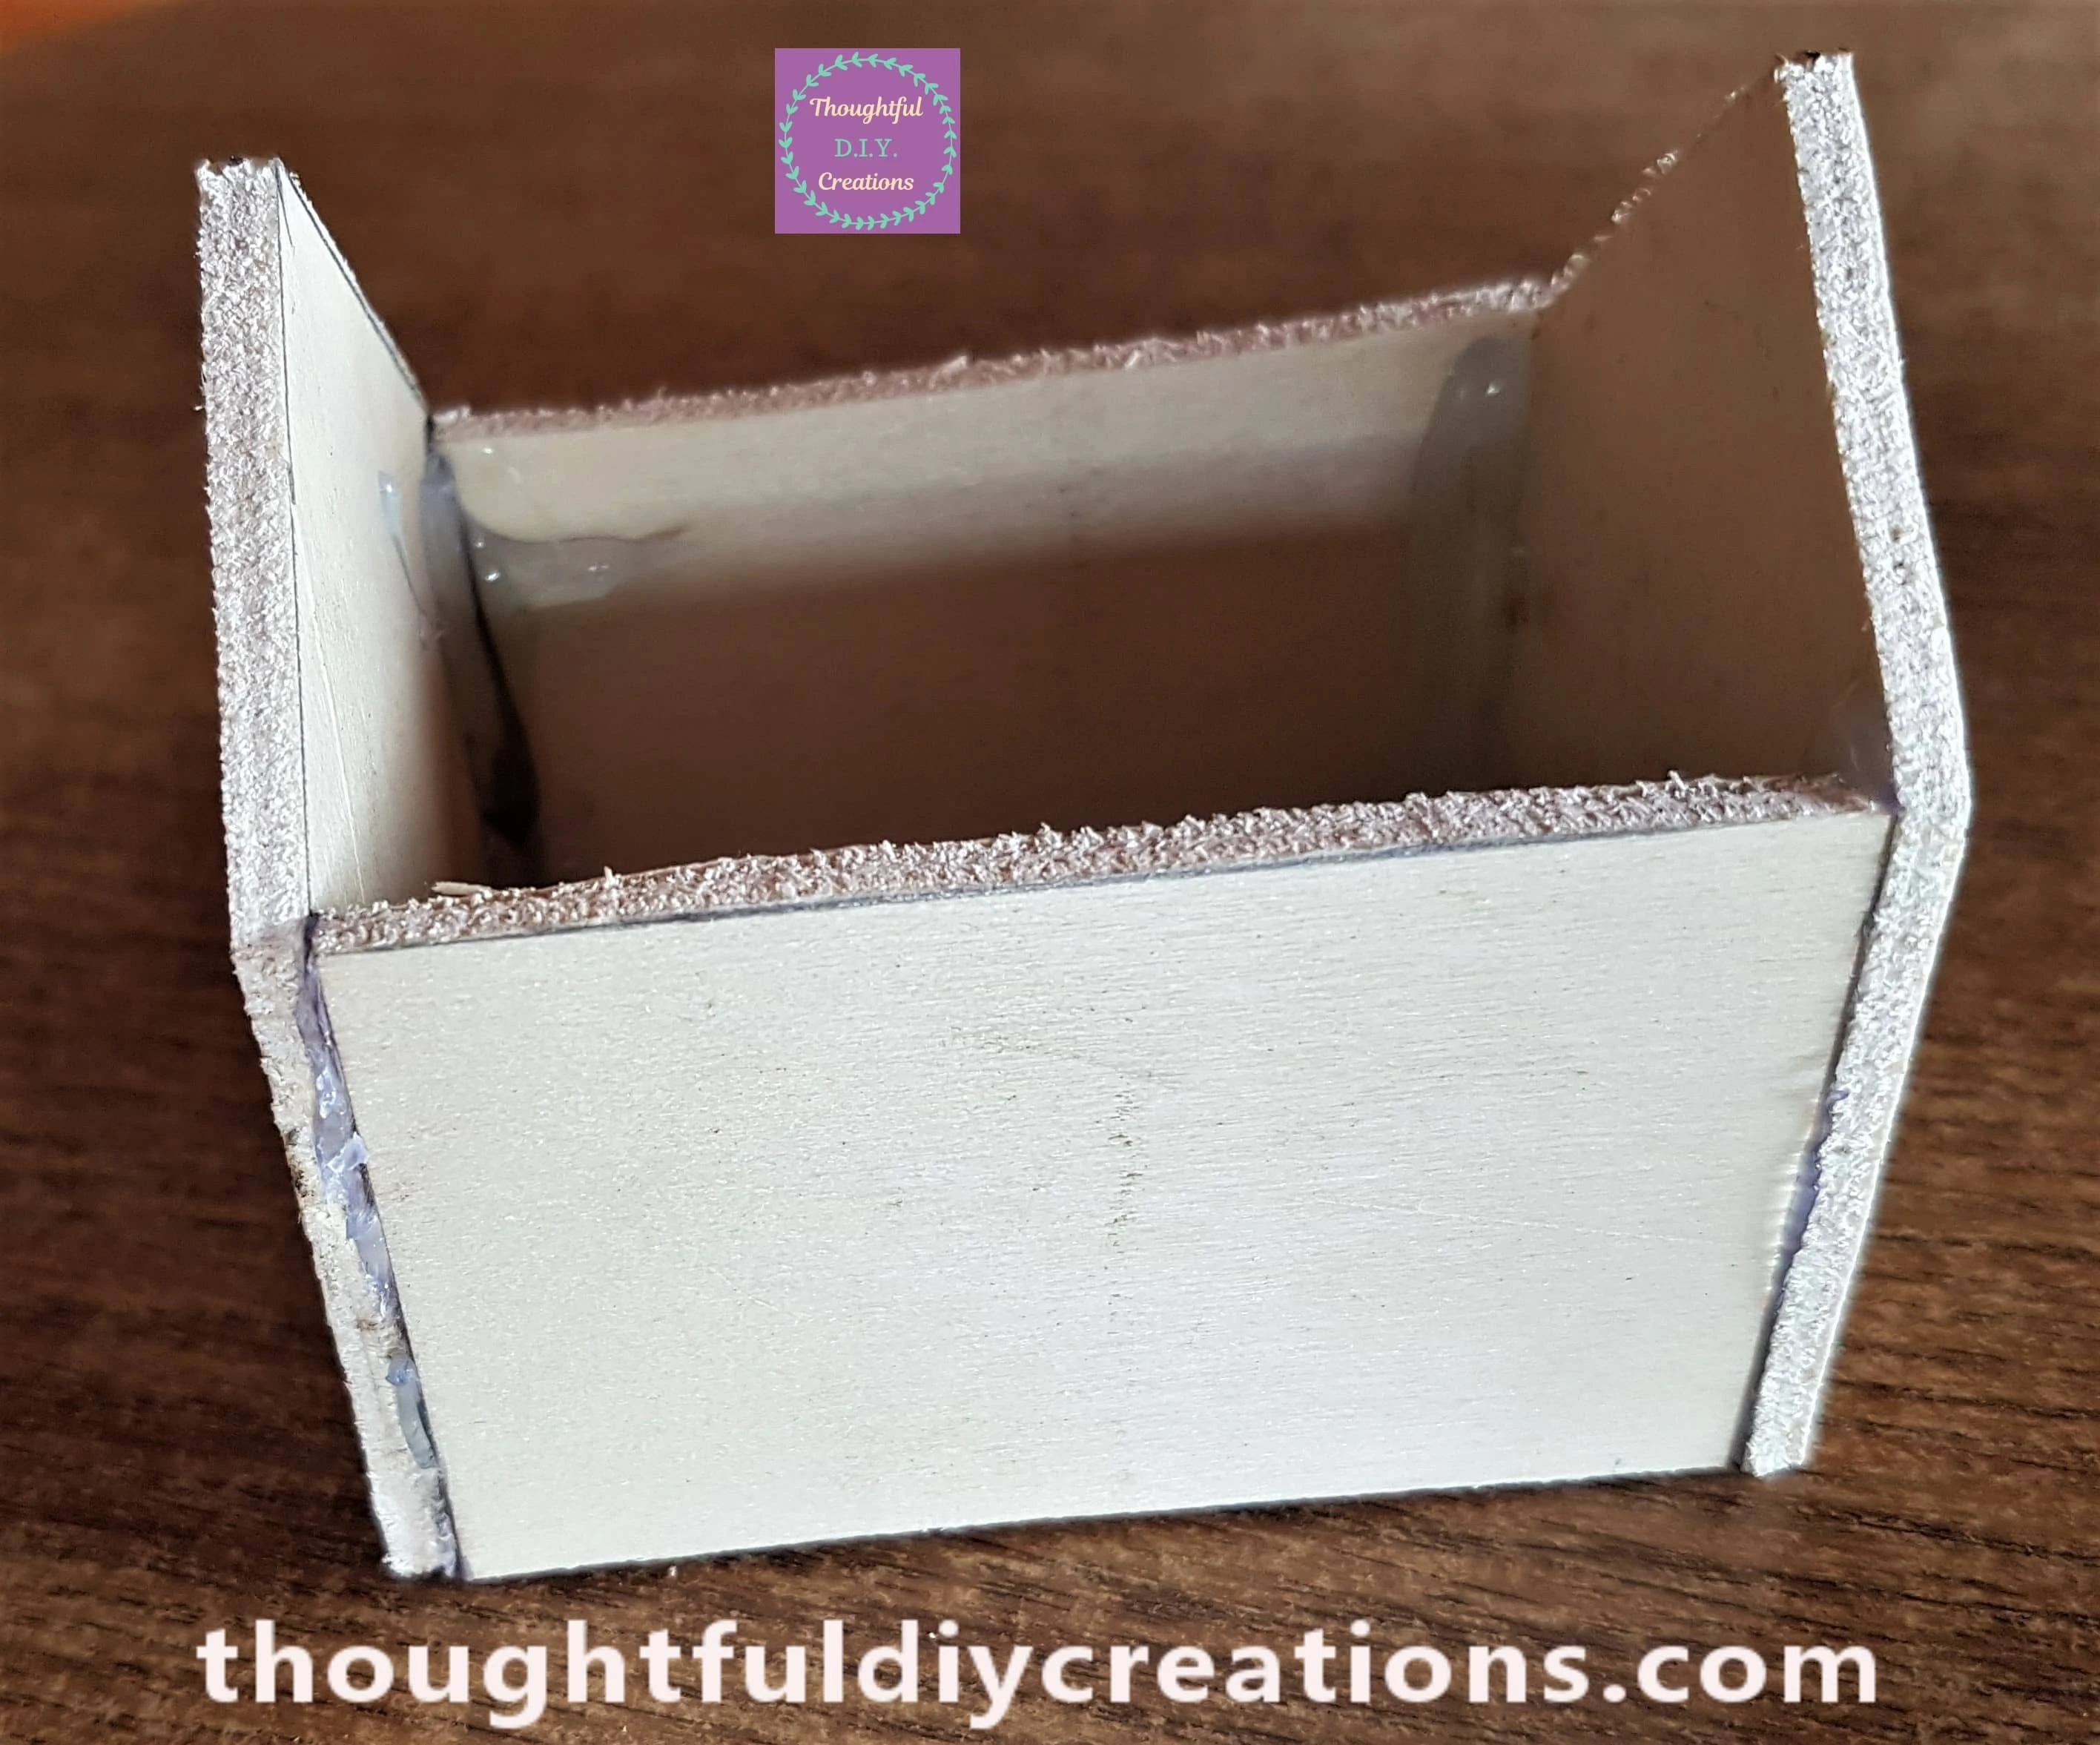
Each edge of the Roof Pieces were Hot Glued in place.
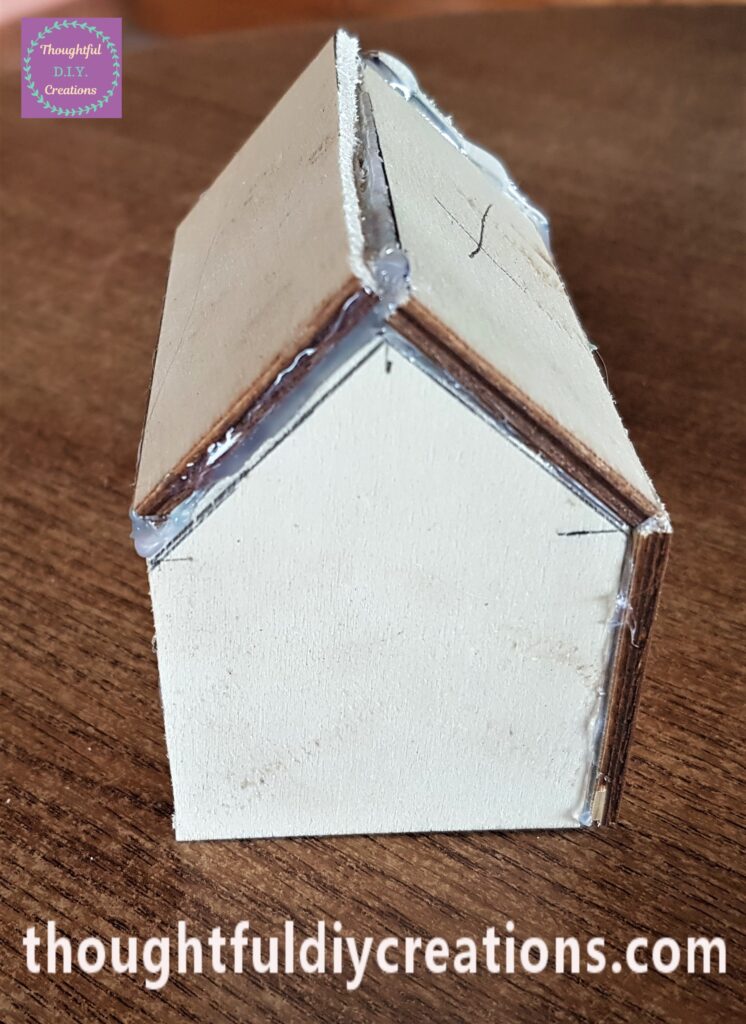
Making the Windows & Doors for the Fairy Cottage
I got 4 mini wooden sticks from the Craft Pack.
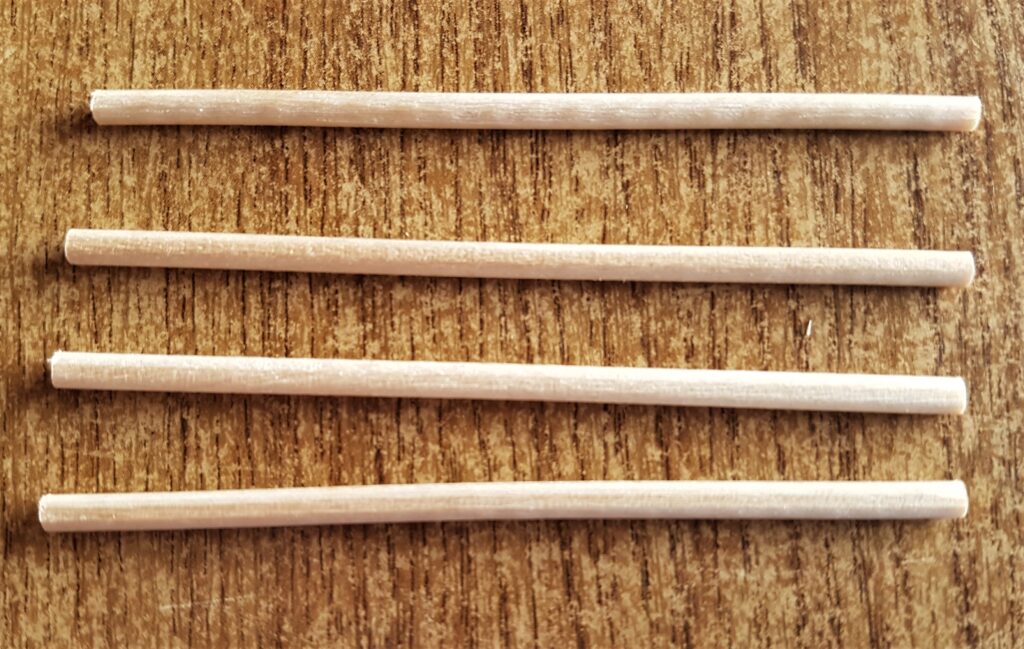
I marked one of the sticks at 1.5cm for the Windows.
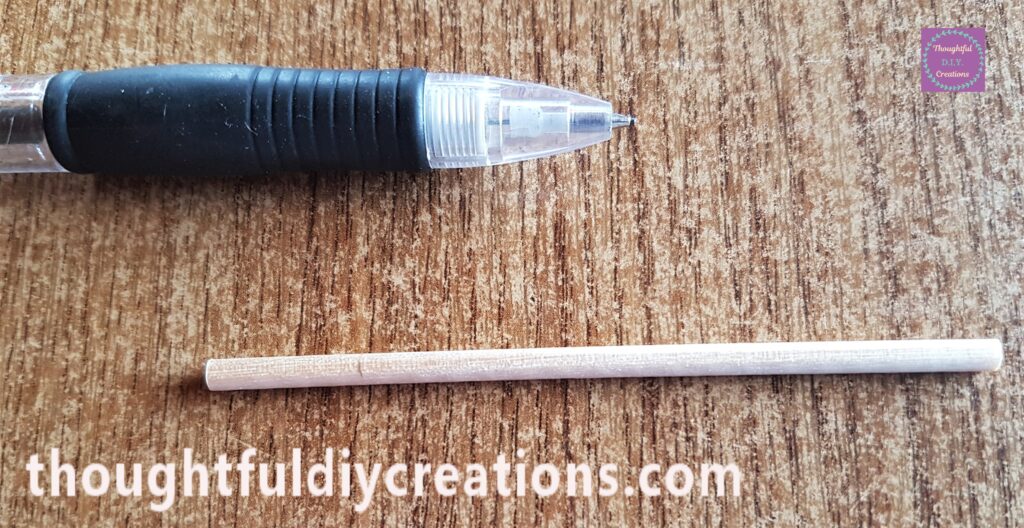
I Cut it off at the measurement.
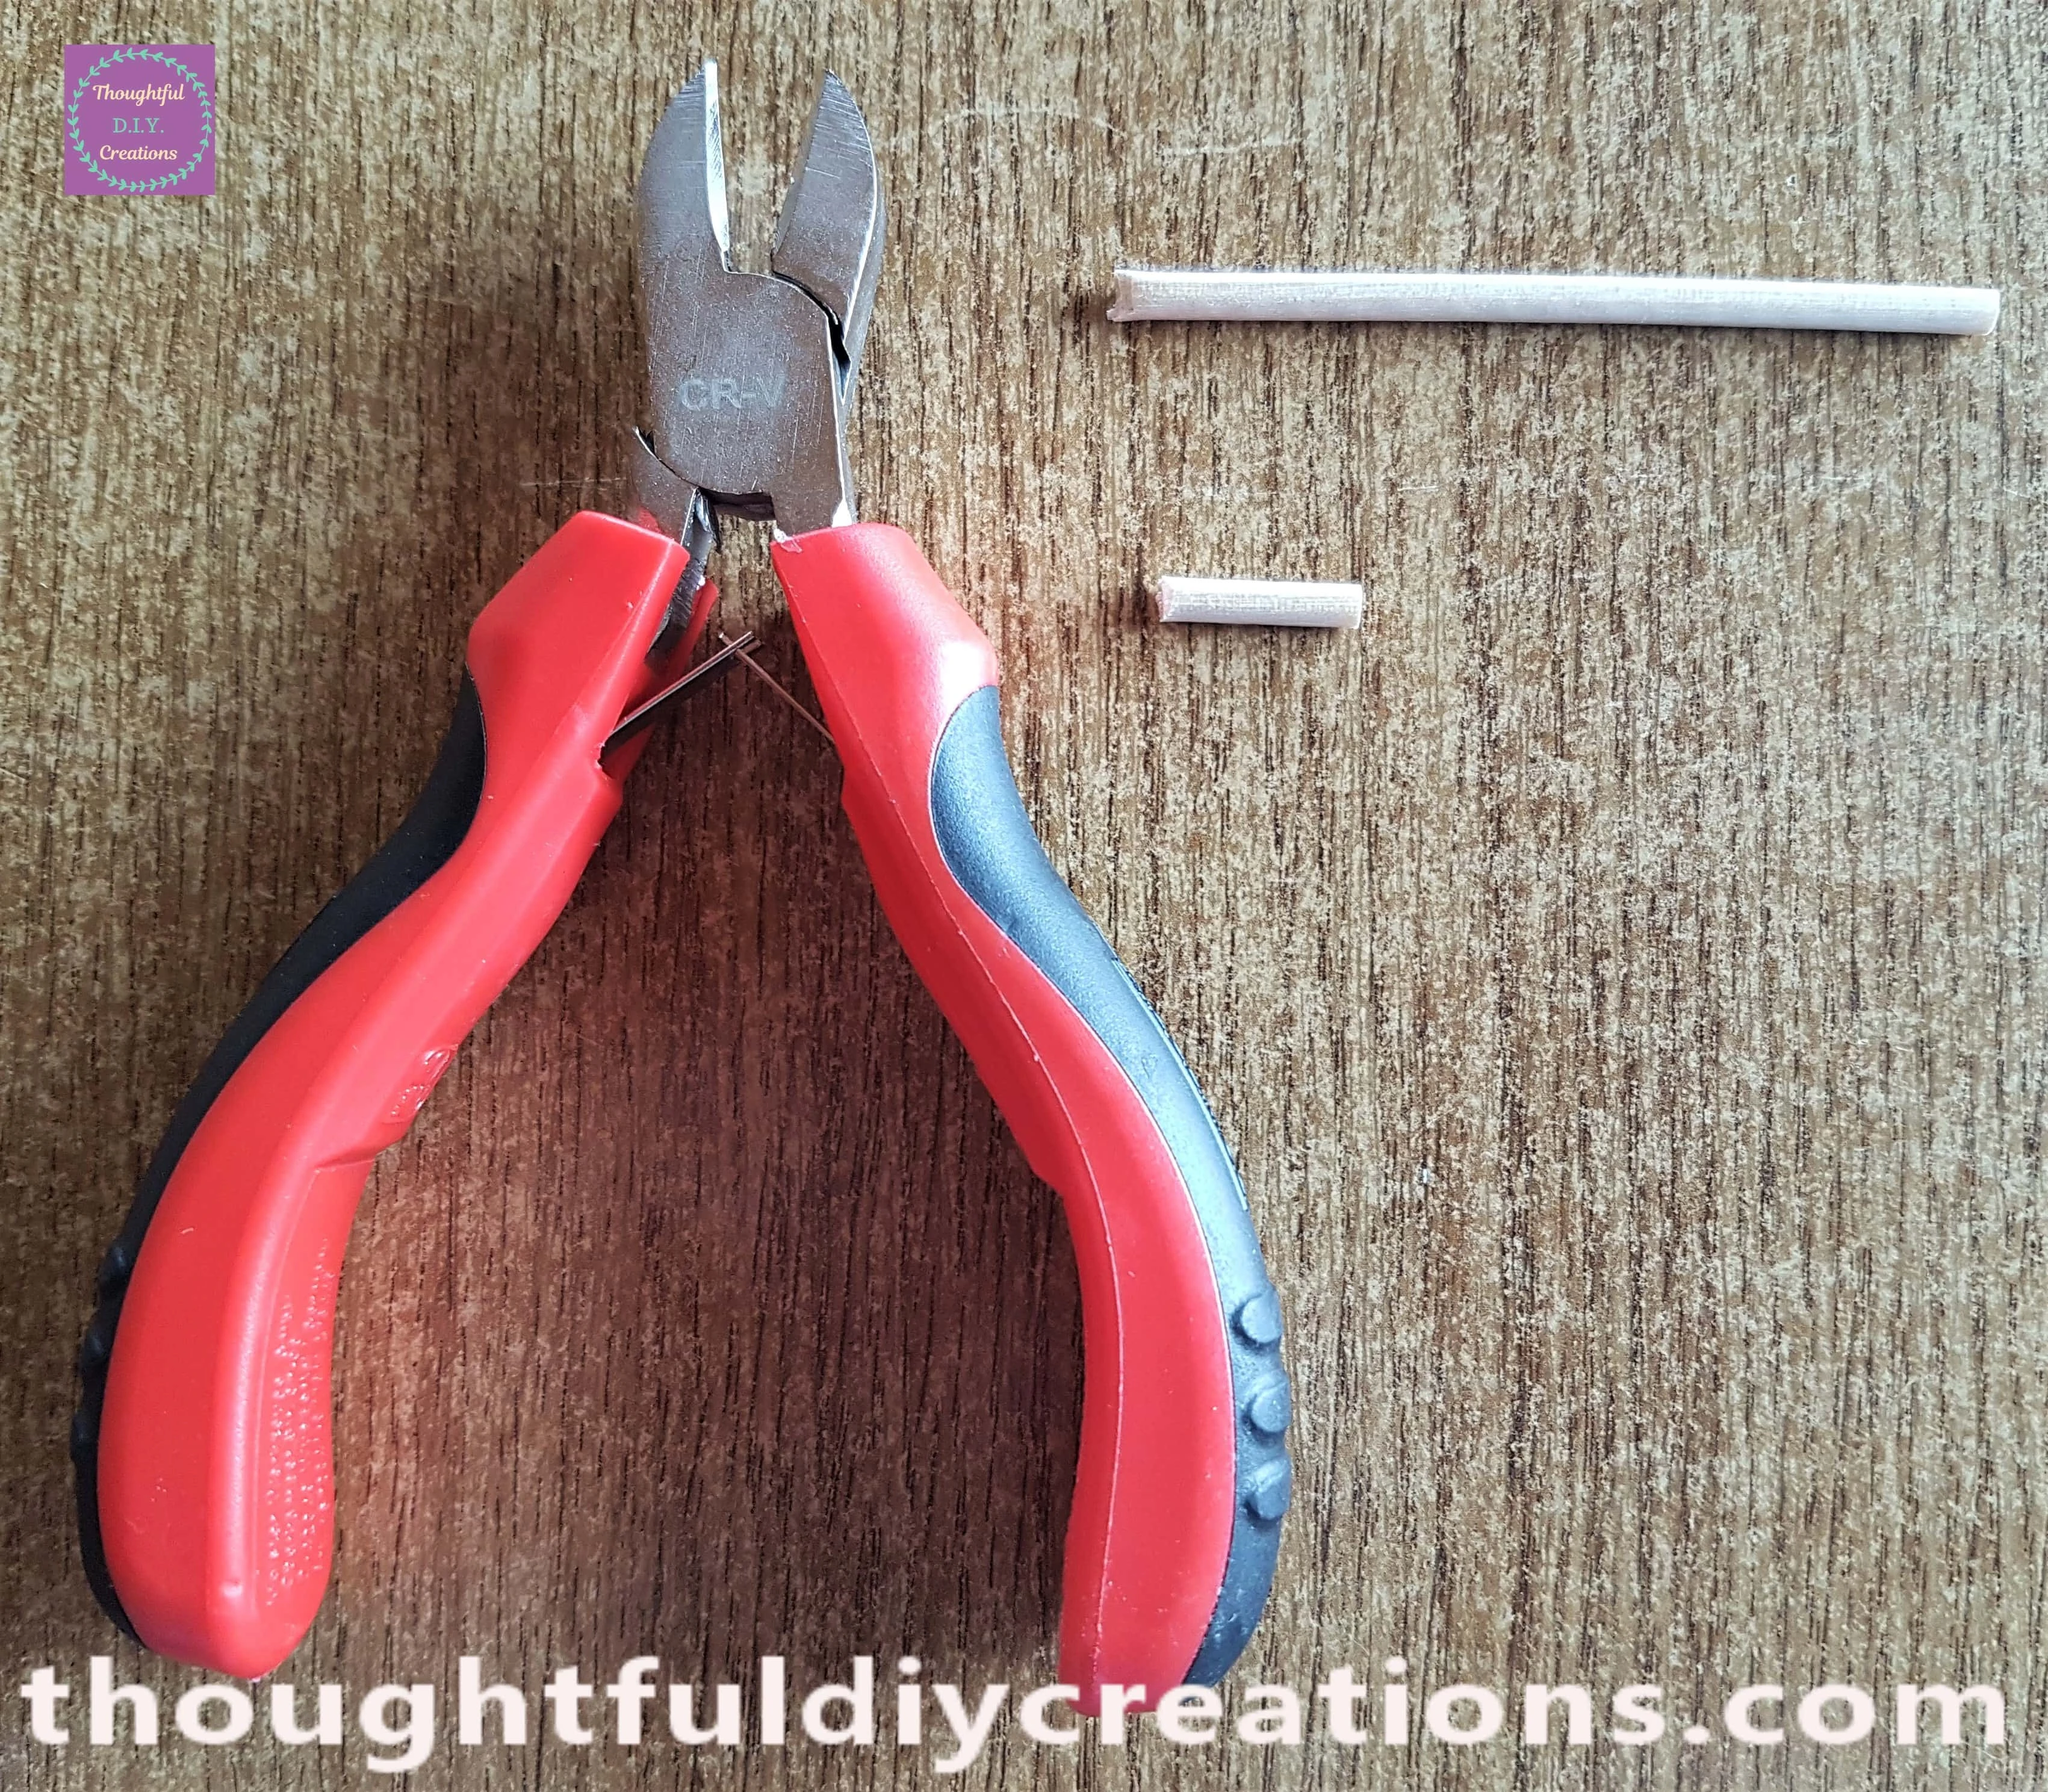
I made a mark on another mini stick at 3cm for the Door.
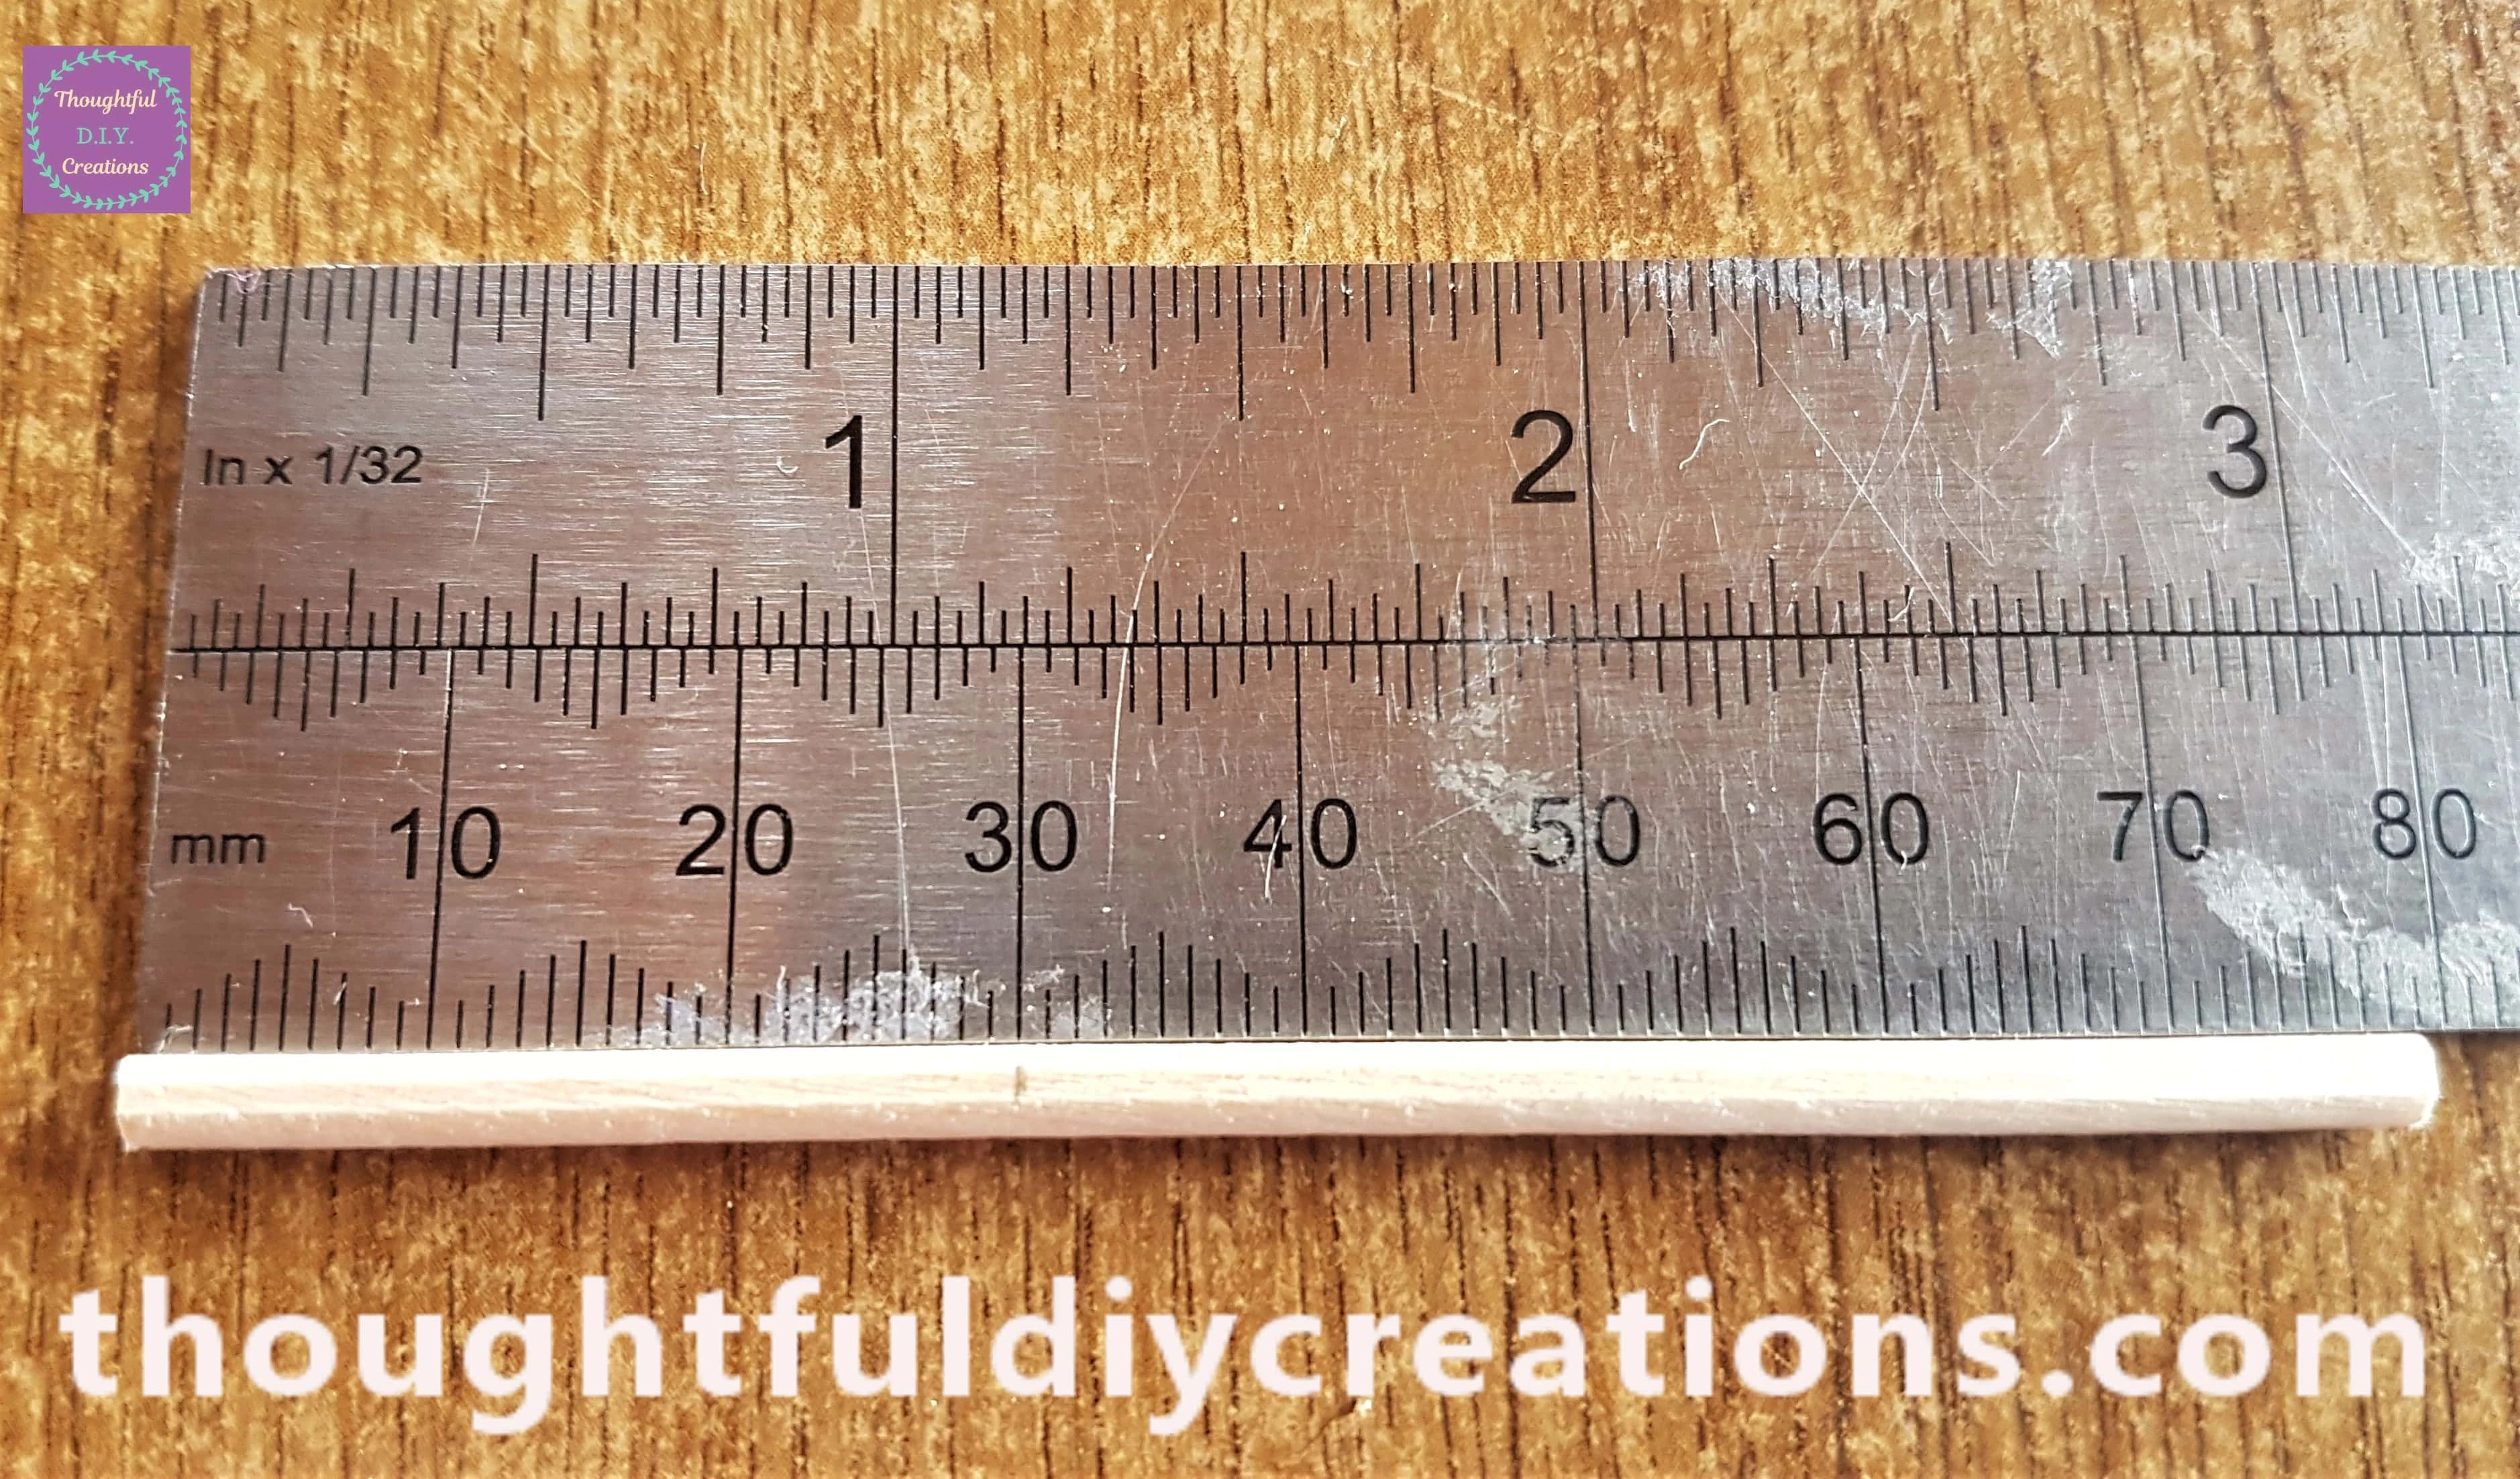
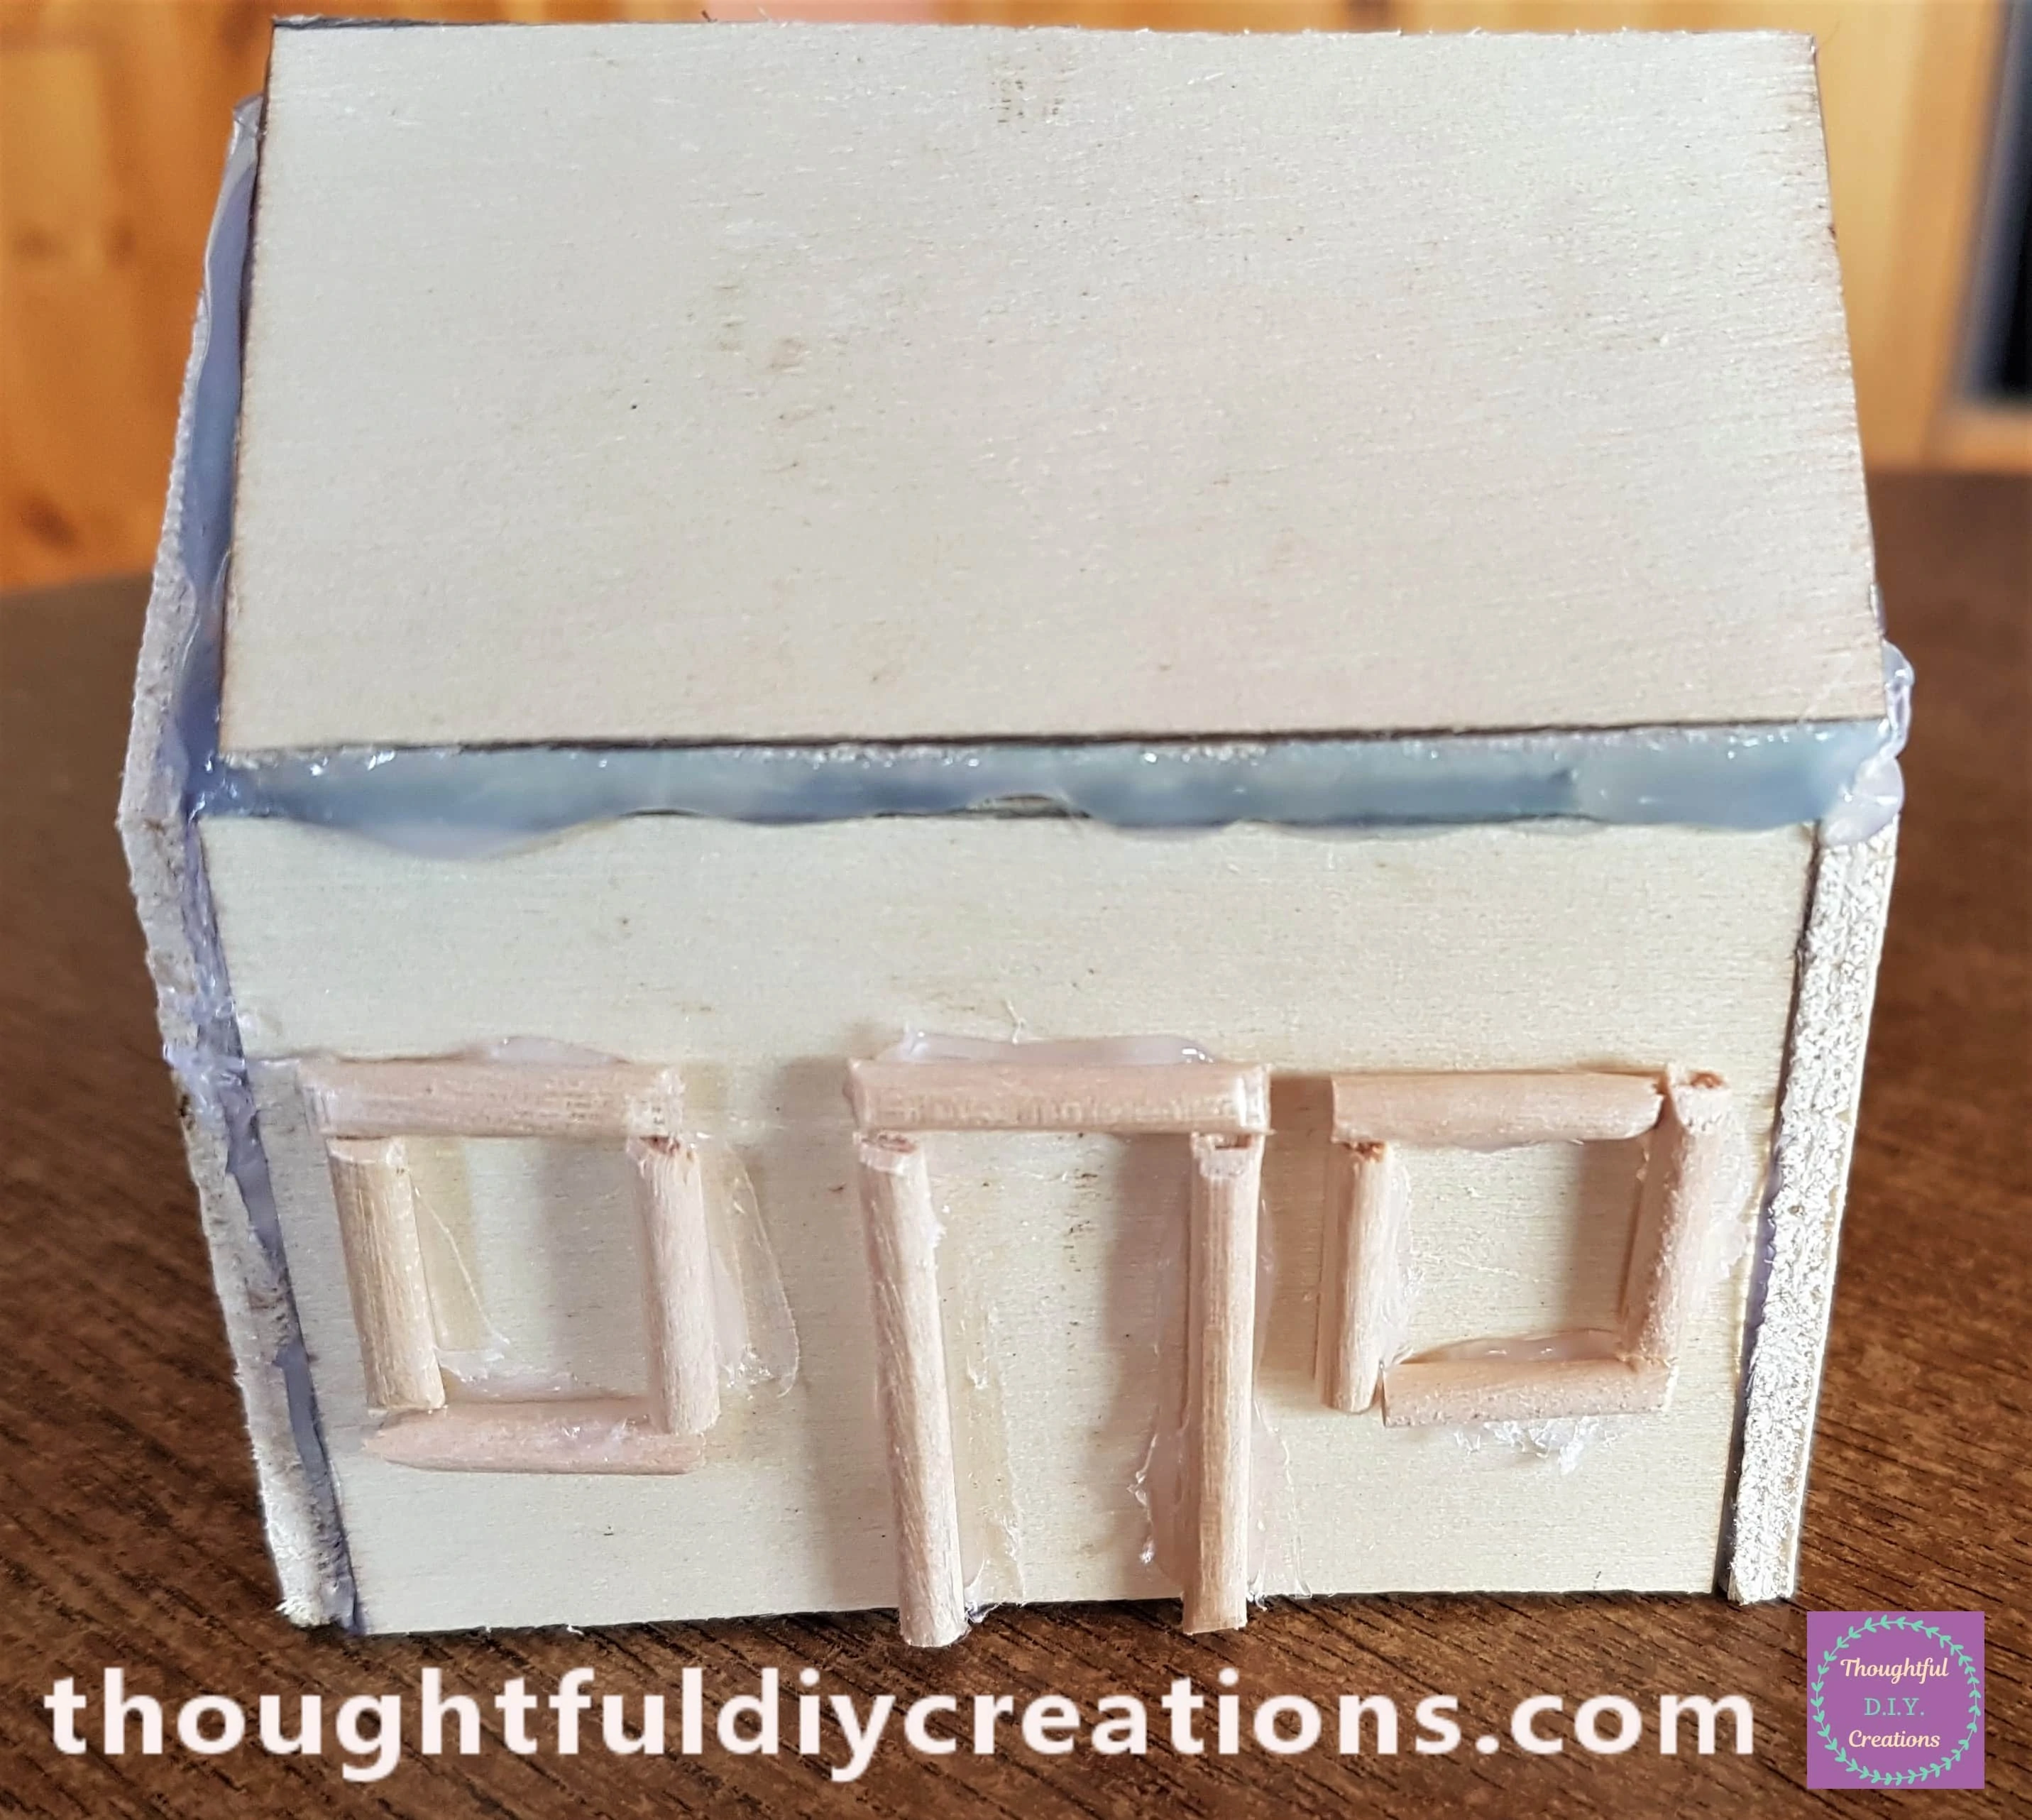
I Hot Glued each piece to the Fairy Cottage. Each Window measures 1.5cm as well as the width of the Door.
Painting the Fairy Cottage
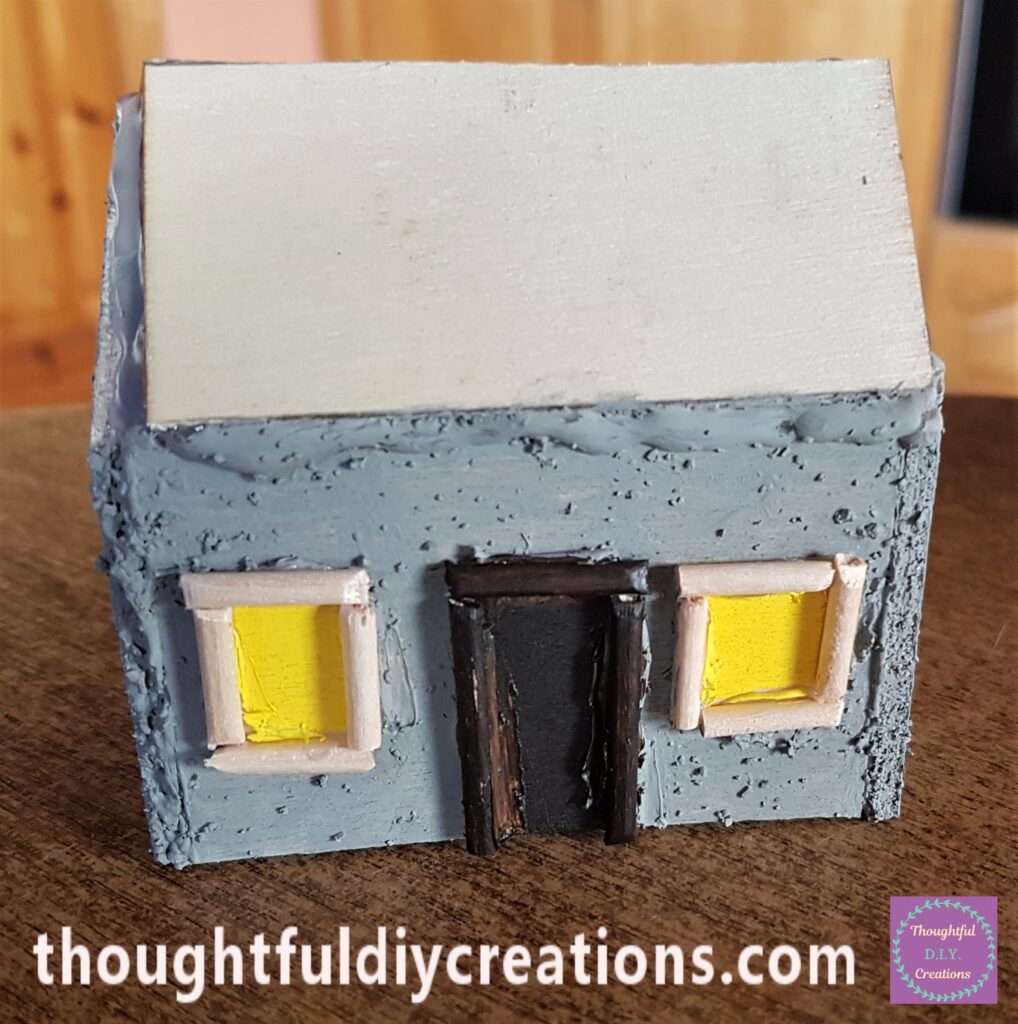
I Painted One layer of the ‘Gray Stone’ Paint onto the Fairy Cottage. I used a Paint Pen in Yellow to Paint the inside of the Windows and Brown Acrylic Paint and a small Paintbrush to Paint the Door and Frame.
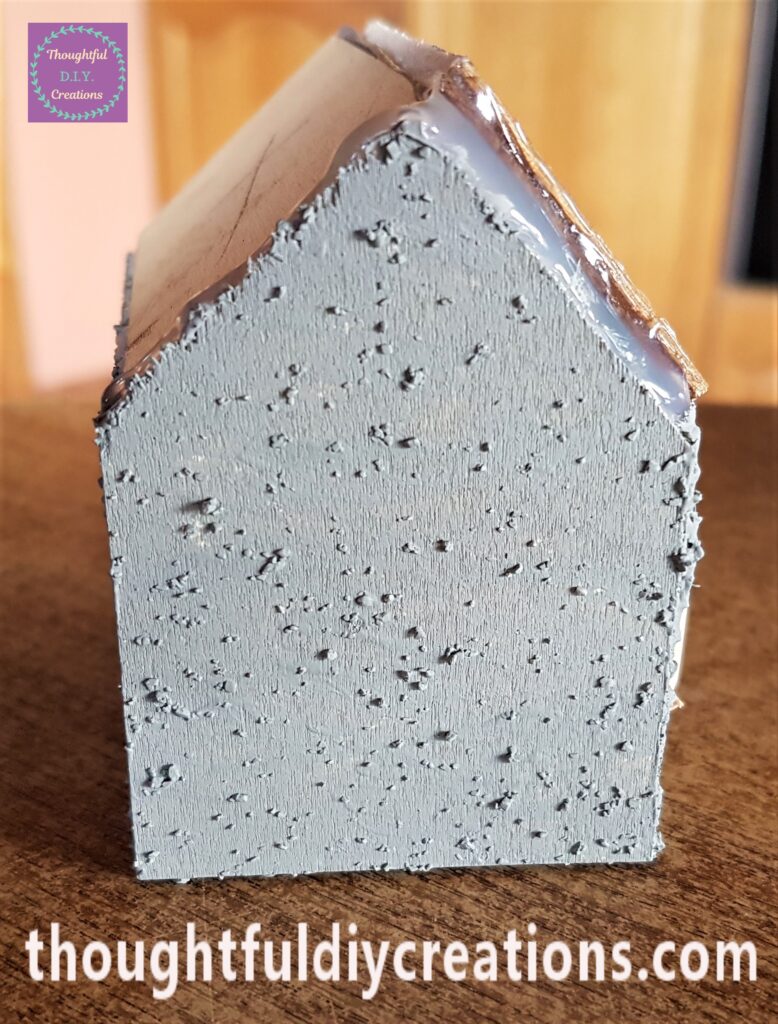
The Side of the Fairy Cottage.
Supplies for the Roof and Chimney
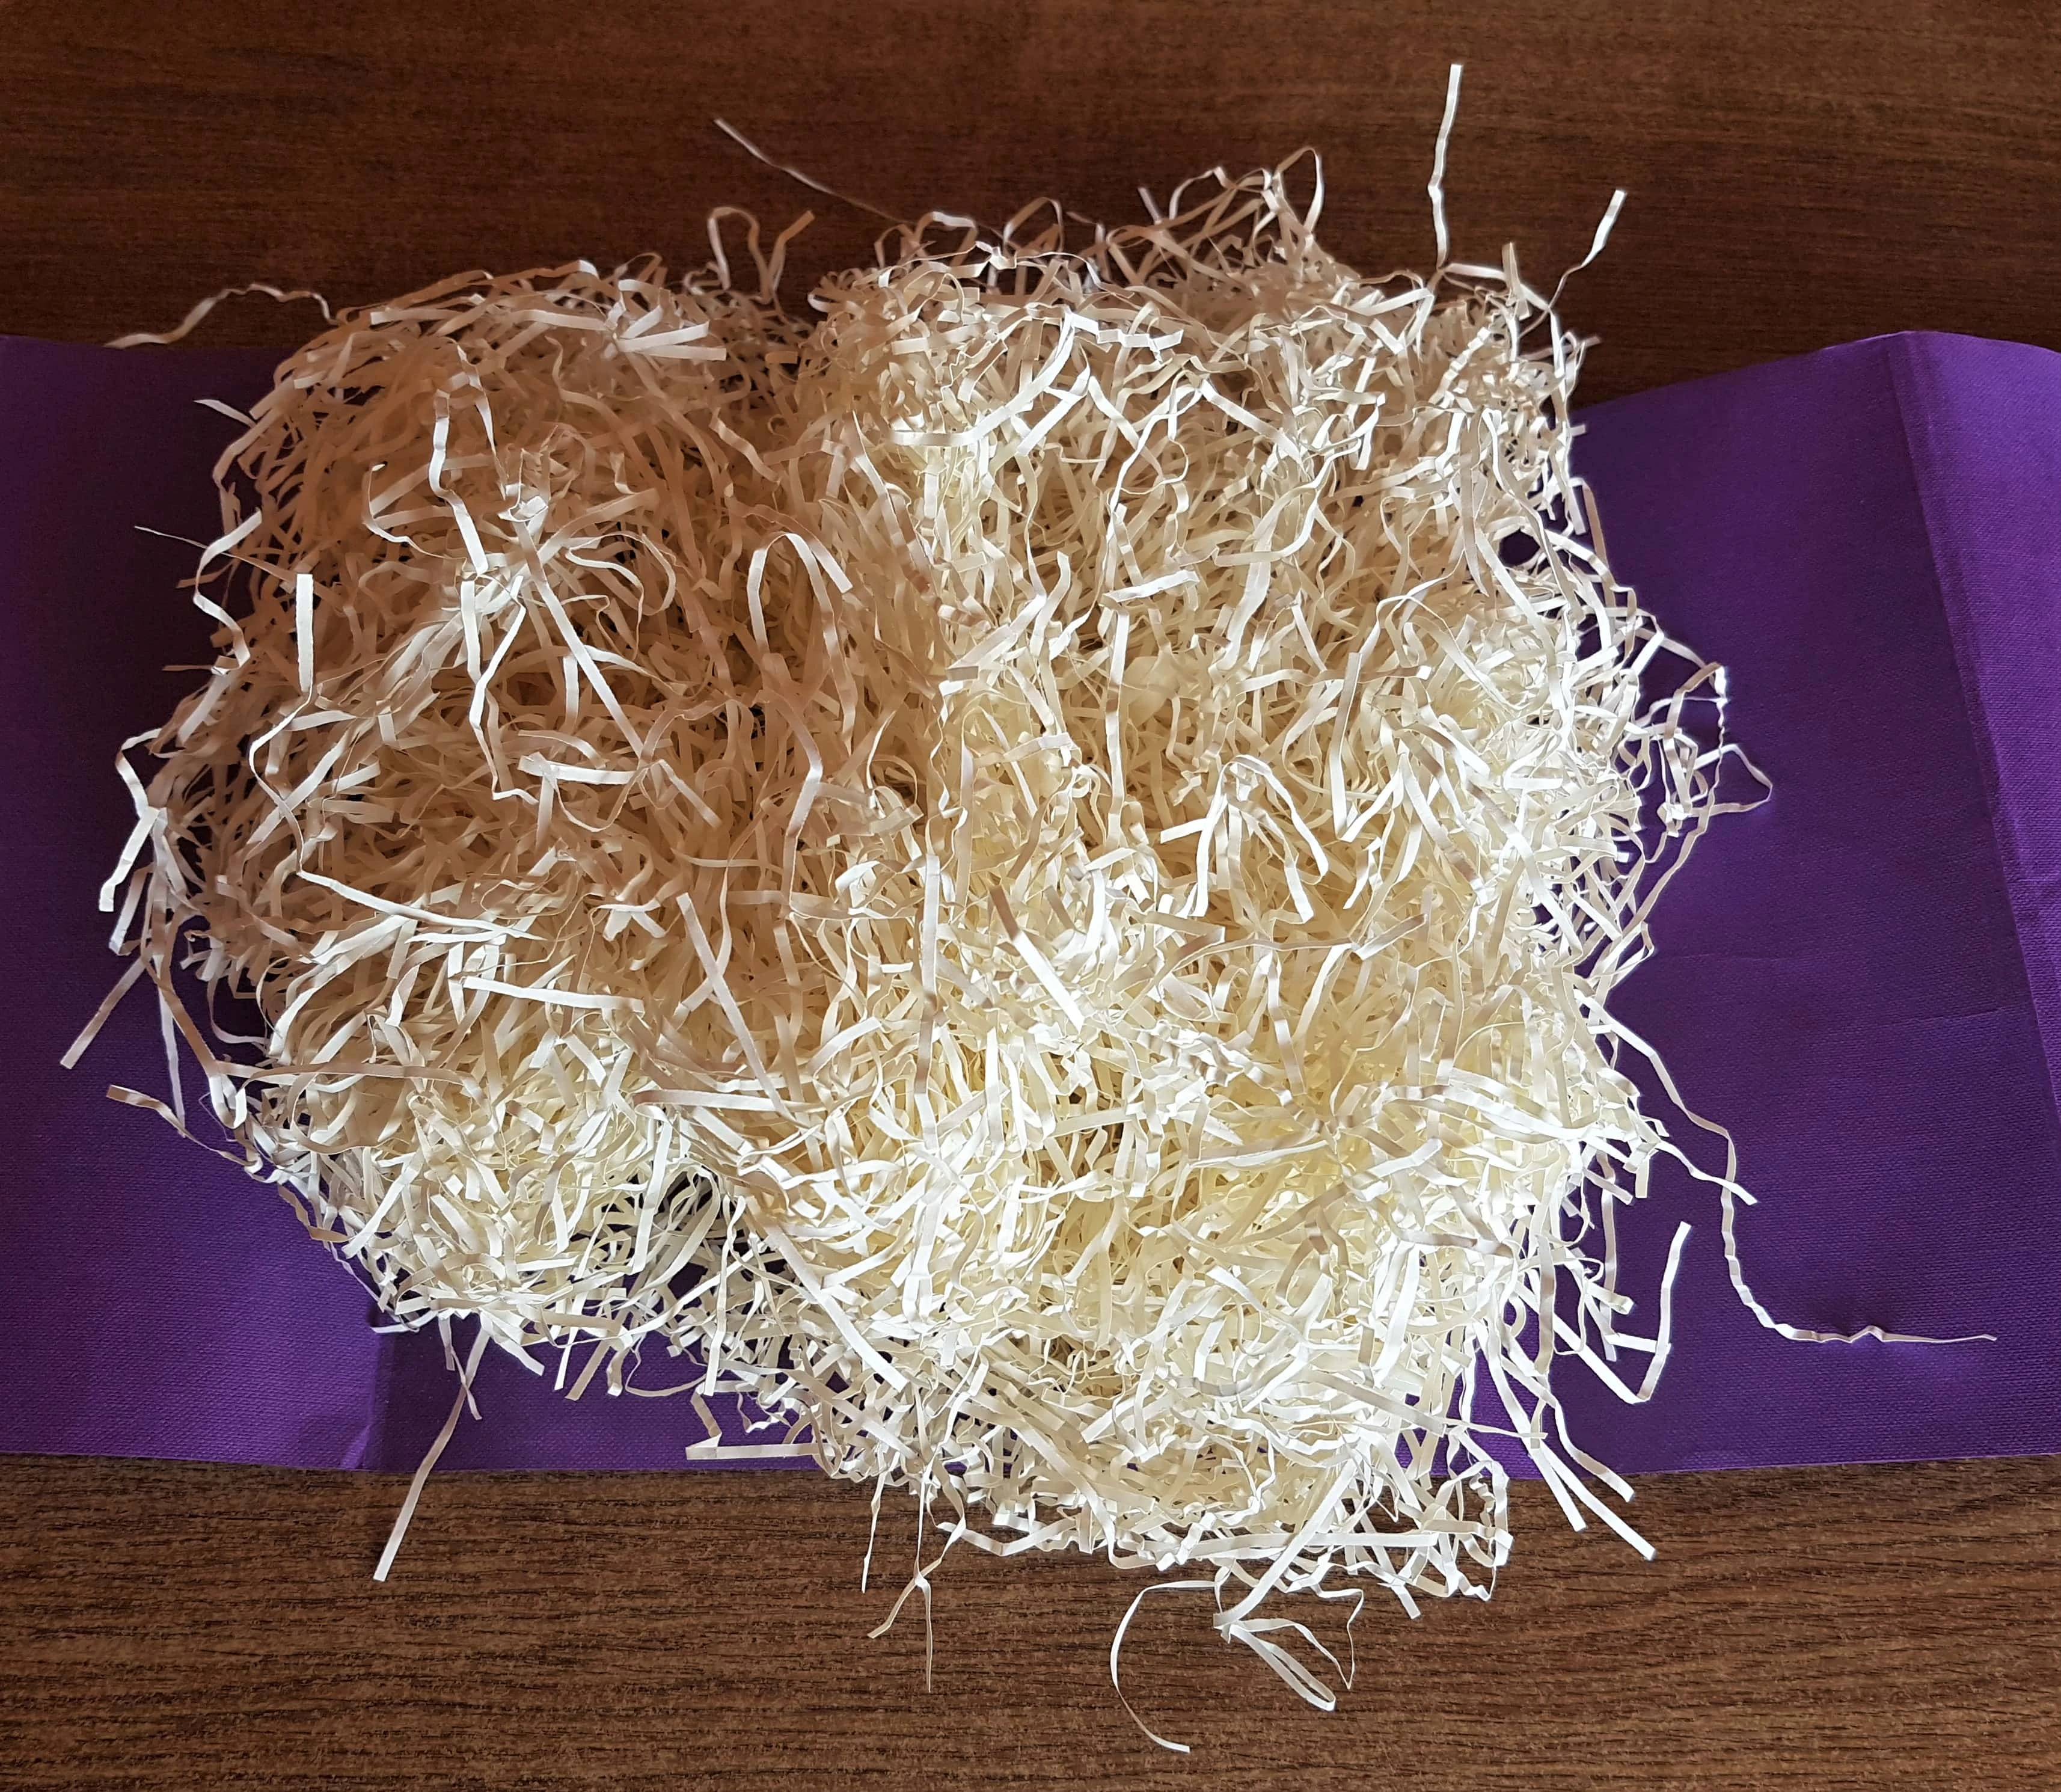
I got my Raffia from my Supplies for the Roof of the Fairy Cottage. This had come in a Beauty Gift Box.
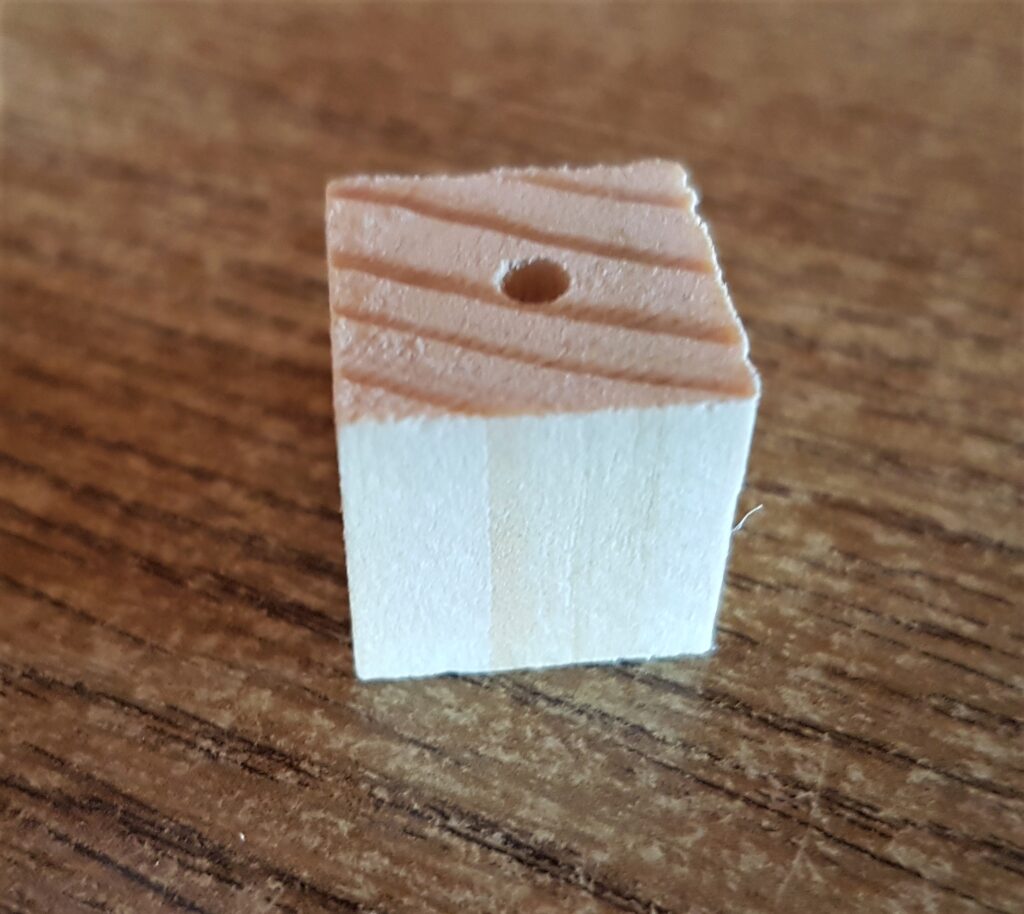
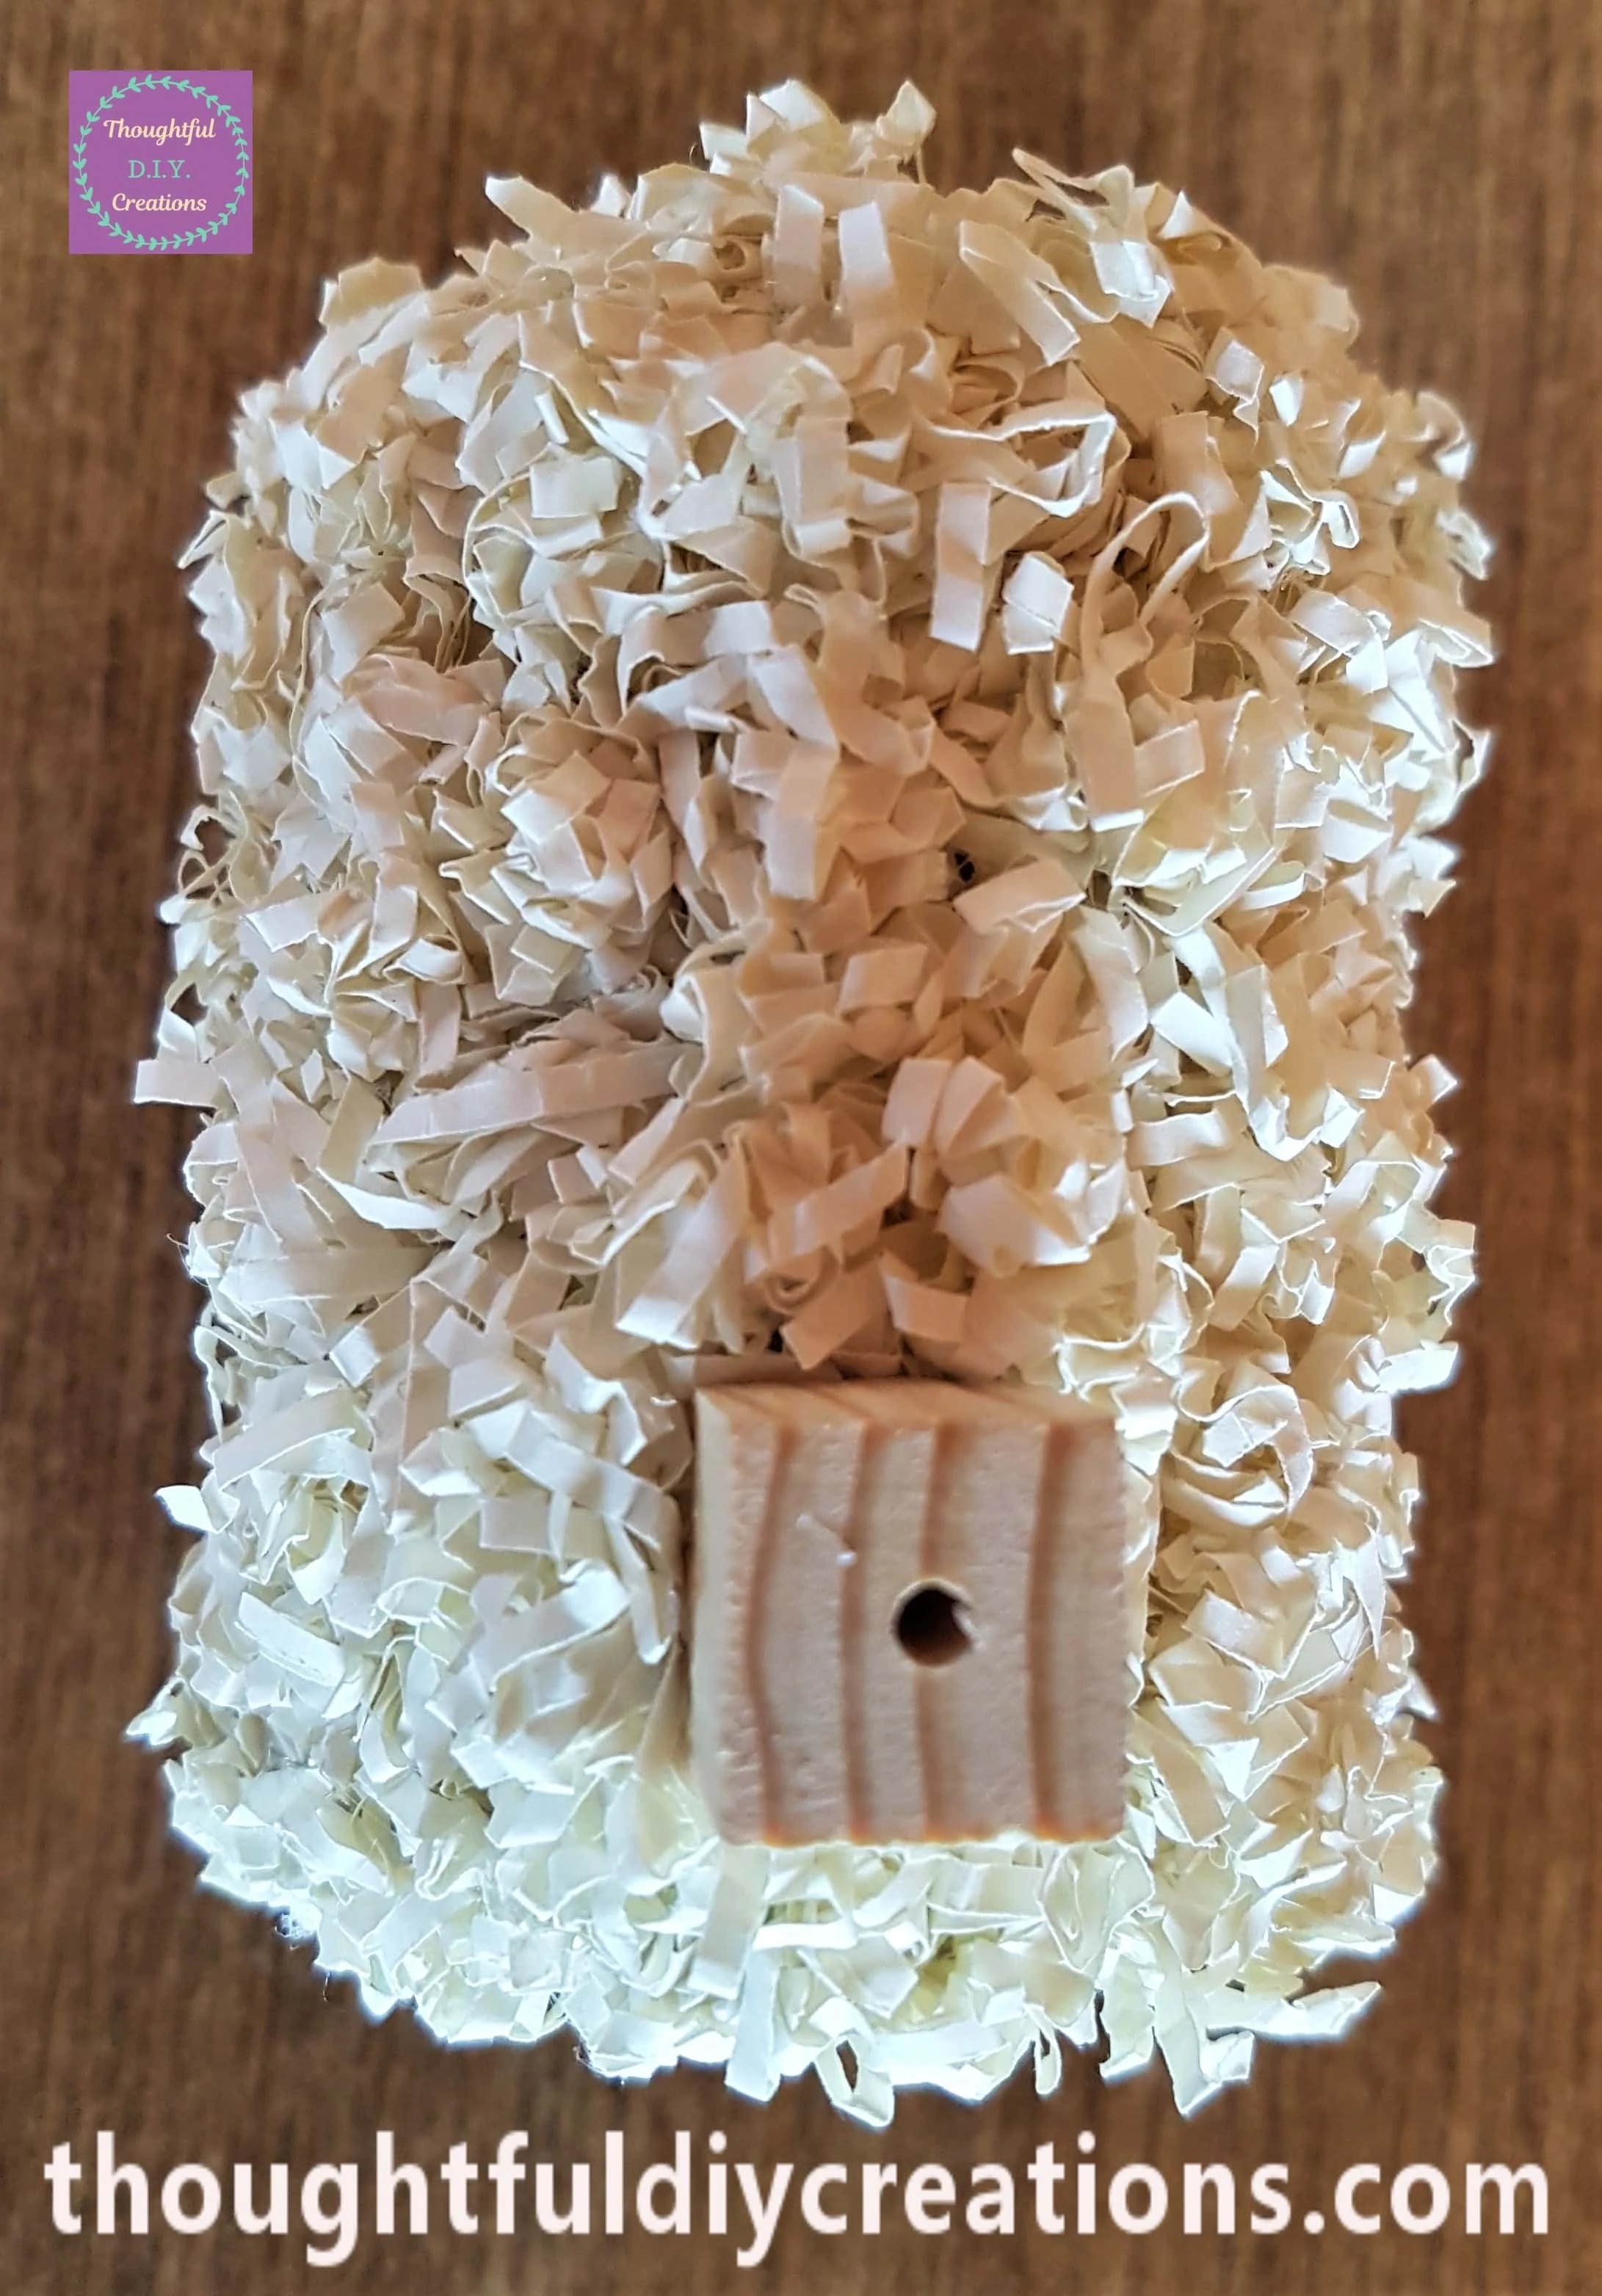
I got a small Cube shape with a hole in one side from the Wooden Craft Pack for the Chimney.
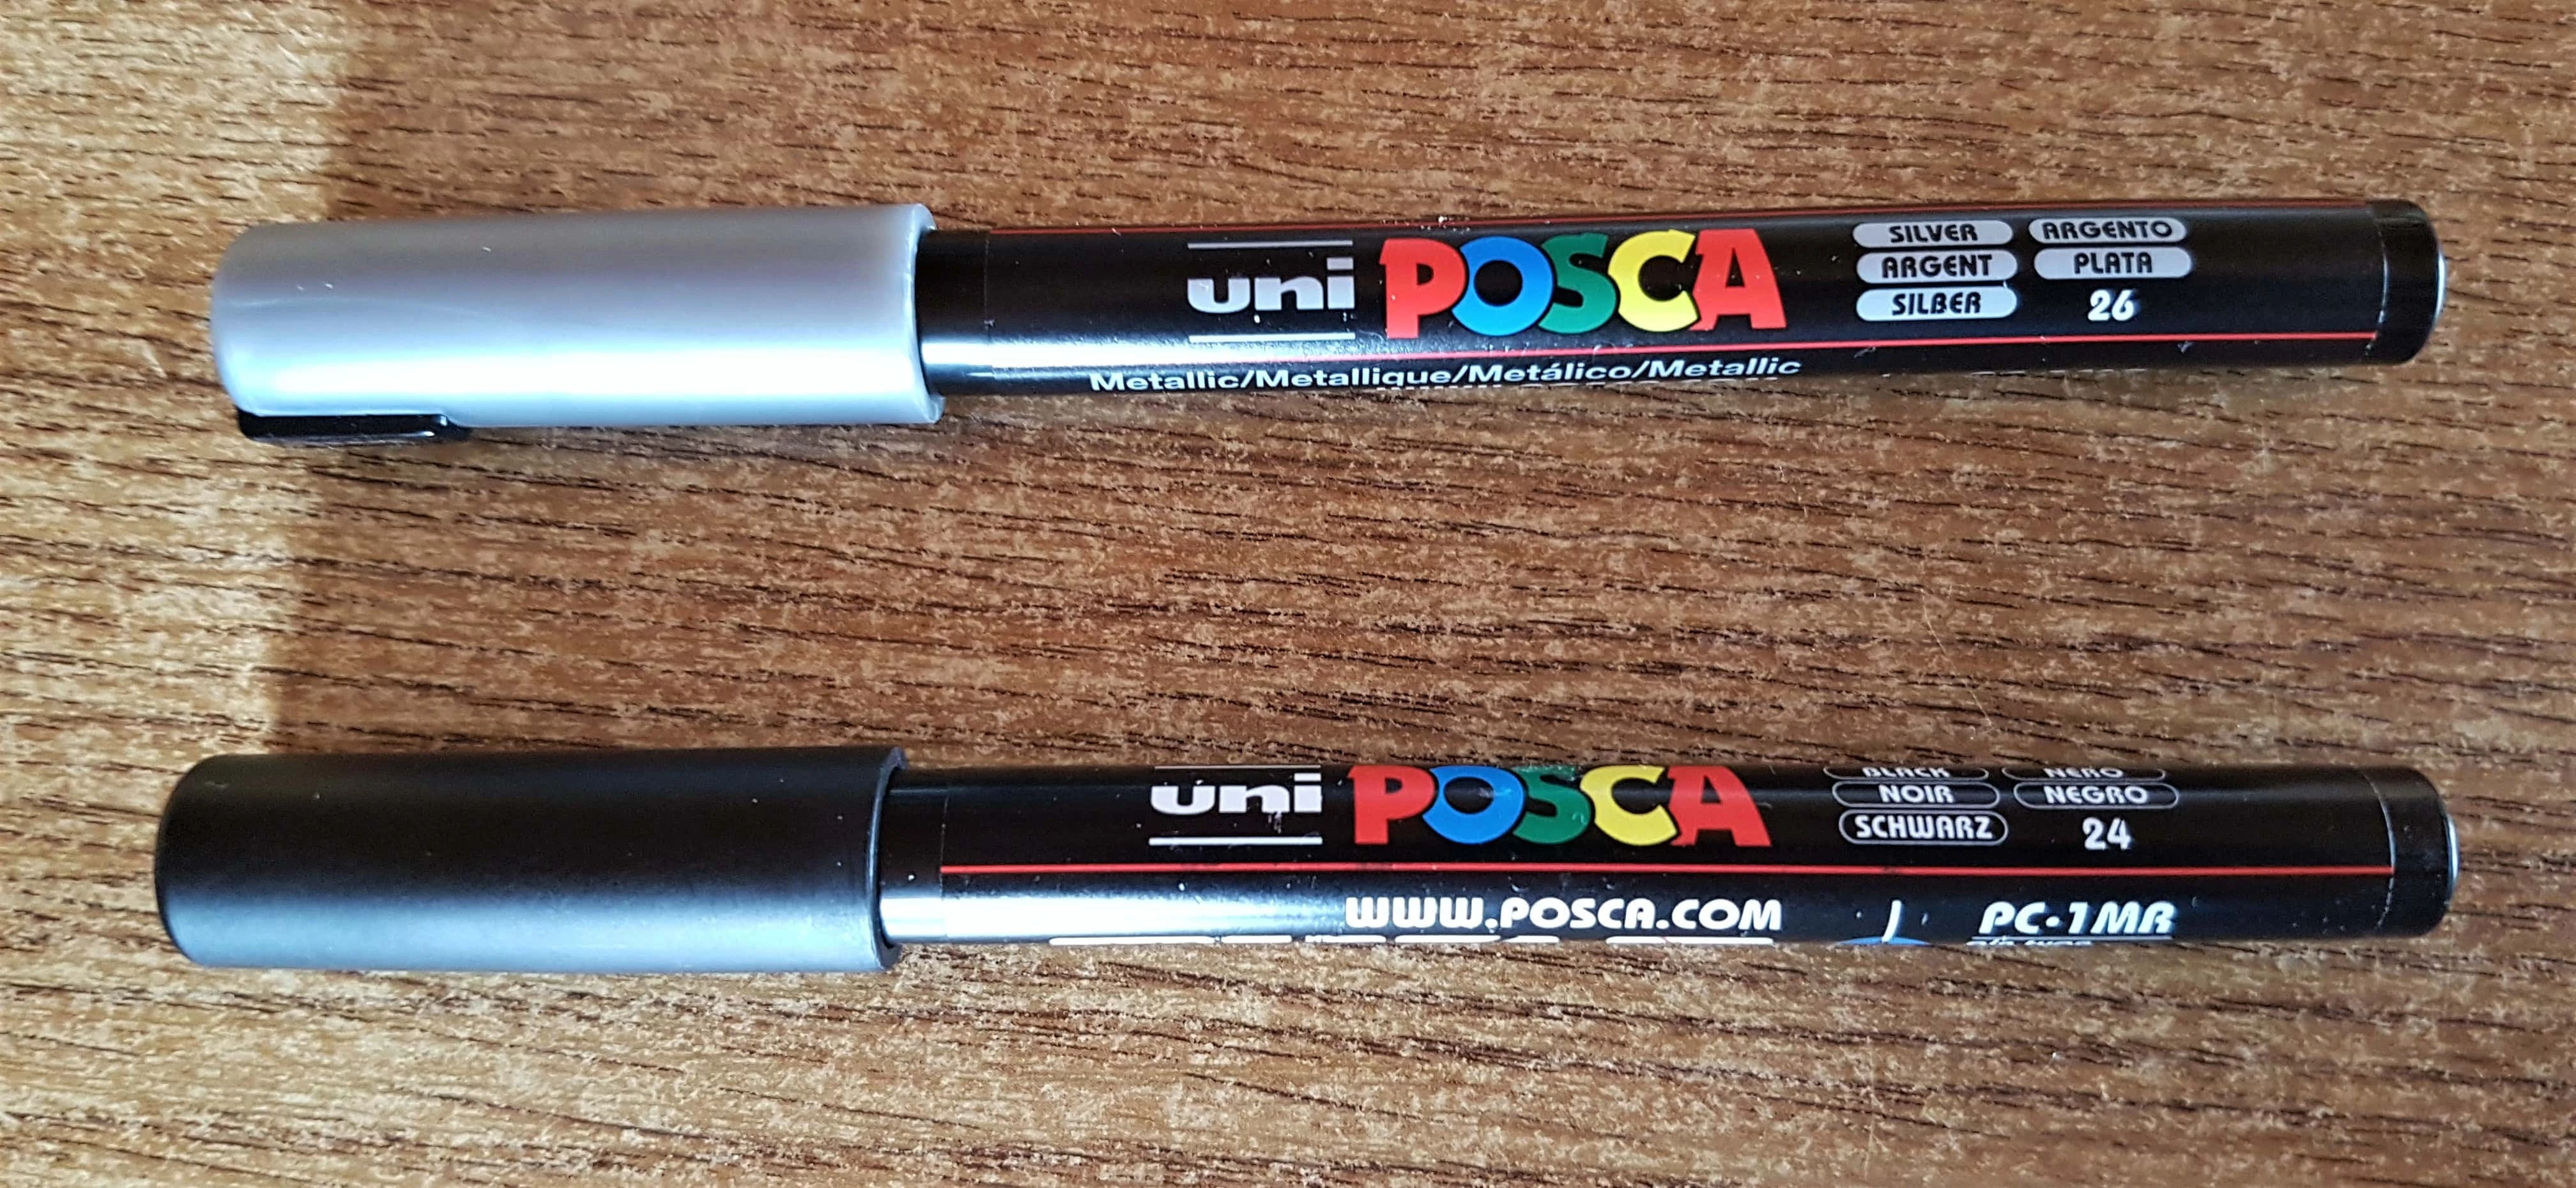
I used my Silver Paint Pen for the Door Knob and my Black Paint Pen to draw the Windows.
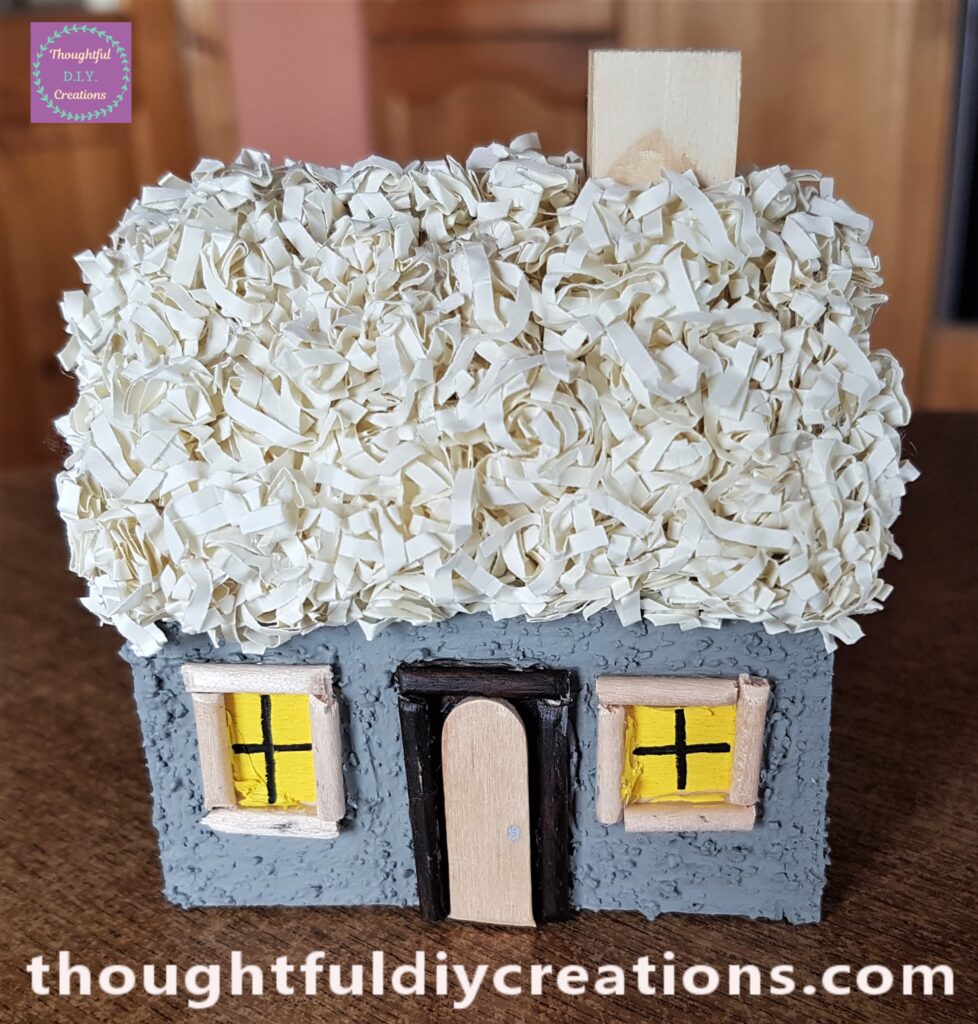
I Painted 2 more Layers of the Gray Paint onto the Fairy Cottage. I then attached the Raffia; I scrunched up a few pieces at a time and Hot Glued them to the Roof and then moved onto the next section.
I attached the Chimney next and finally the detail to the Windows and Door. I thought the Brown on the Door was a bit much so I cut the end of a lollipop Stick and Hot Glued it over the Door. I thought this Complemented the Window Frames, the Roof and Chimney.
The Back of the Fairy Cottage.
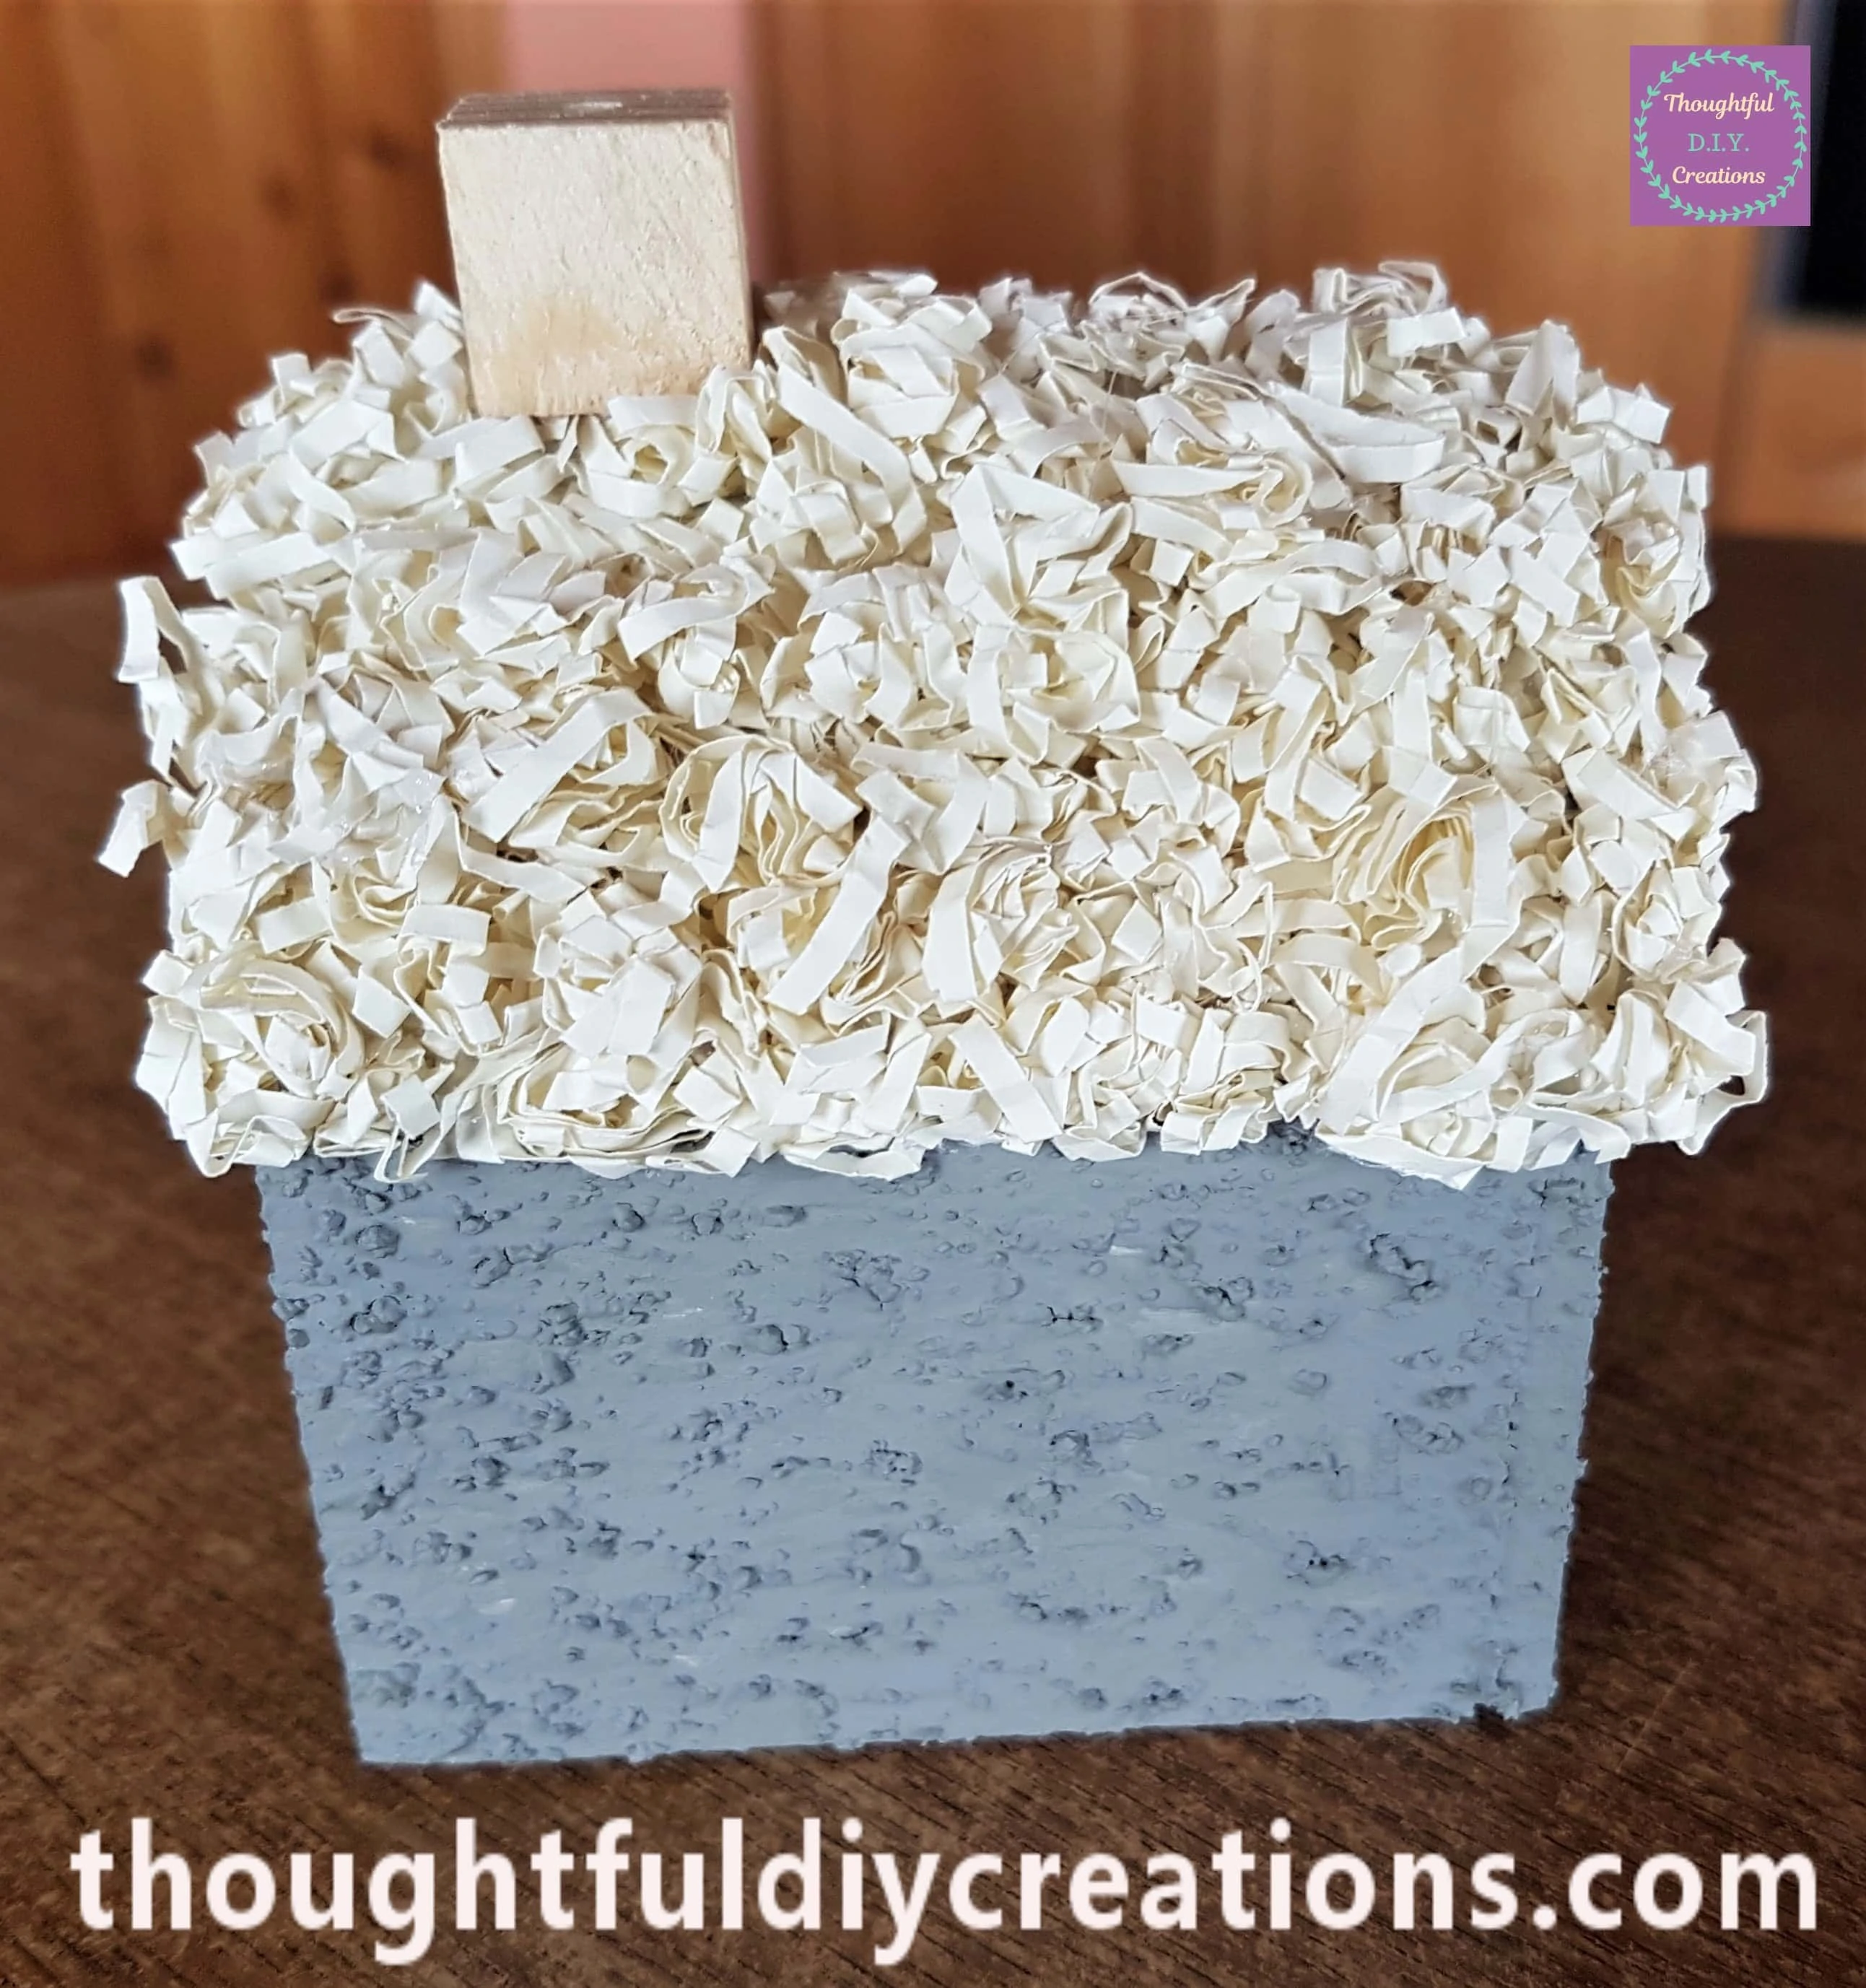
The Side of the Cottage.
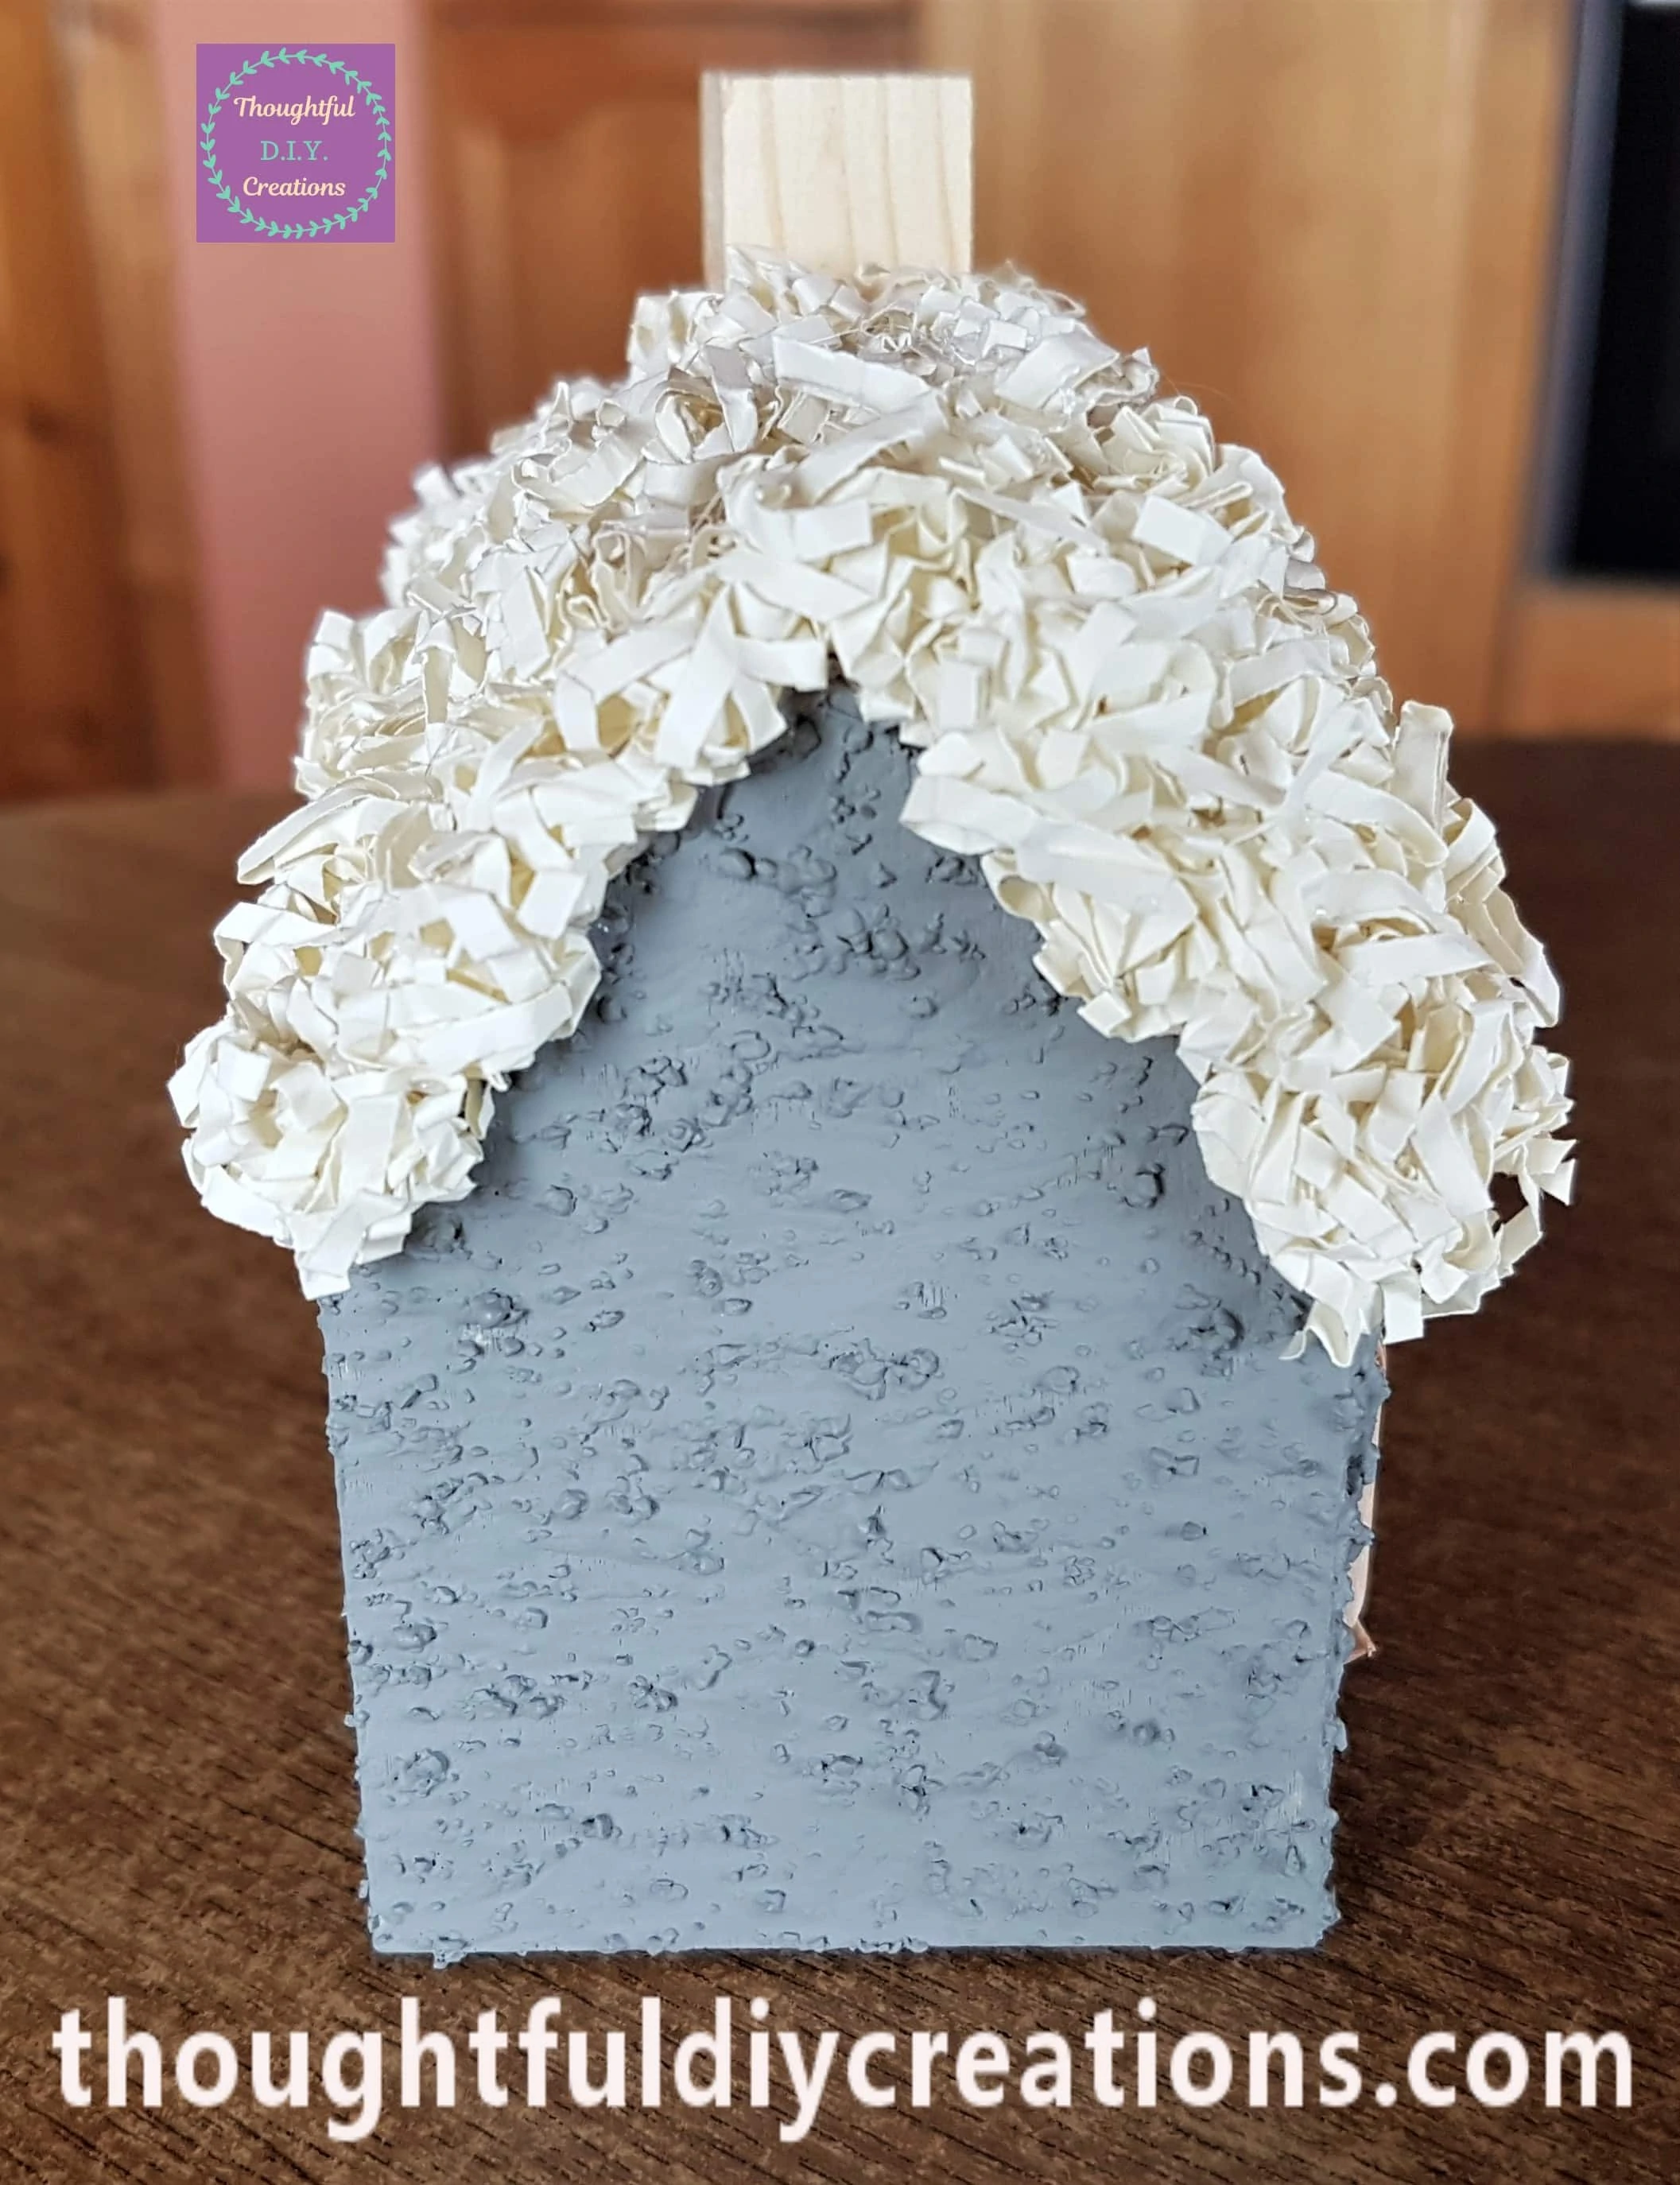
Looking down on the Roof.
Finalising the Fairy Cottage
I got my Pack of Bamboo Skewers.
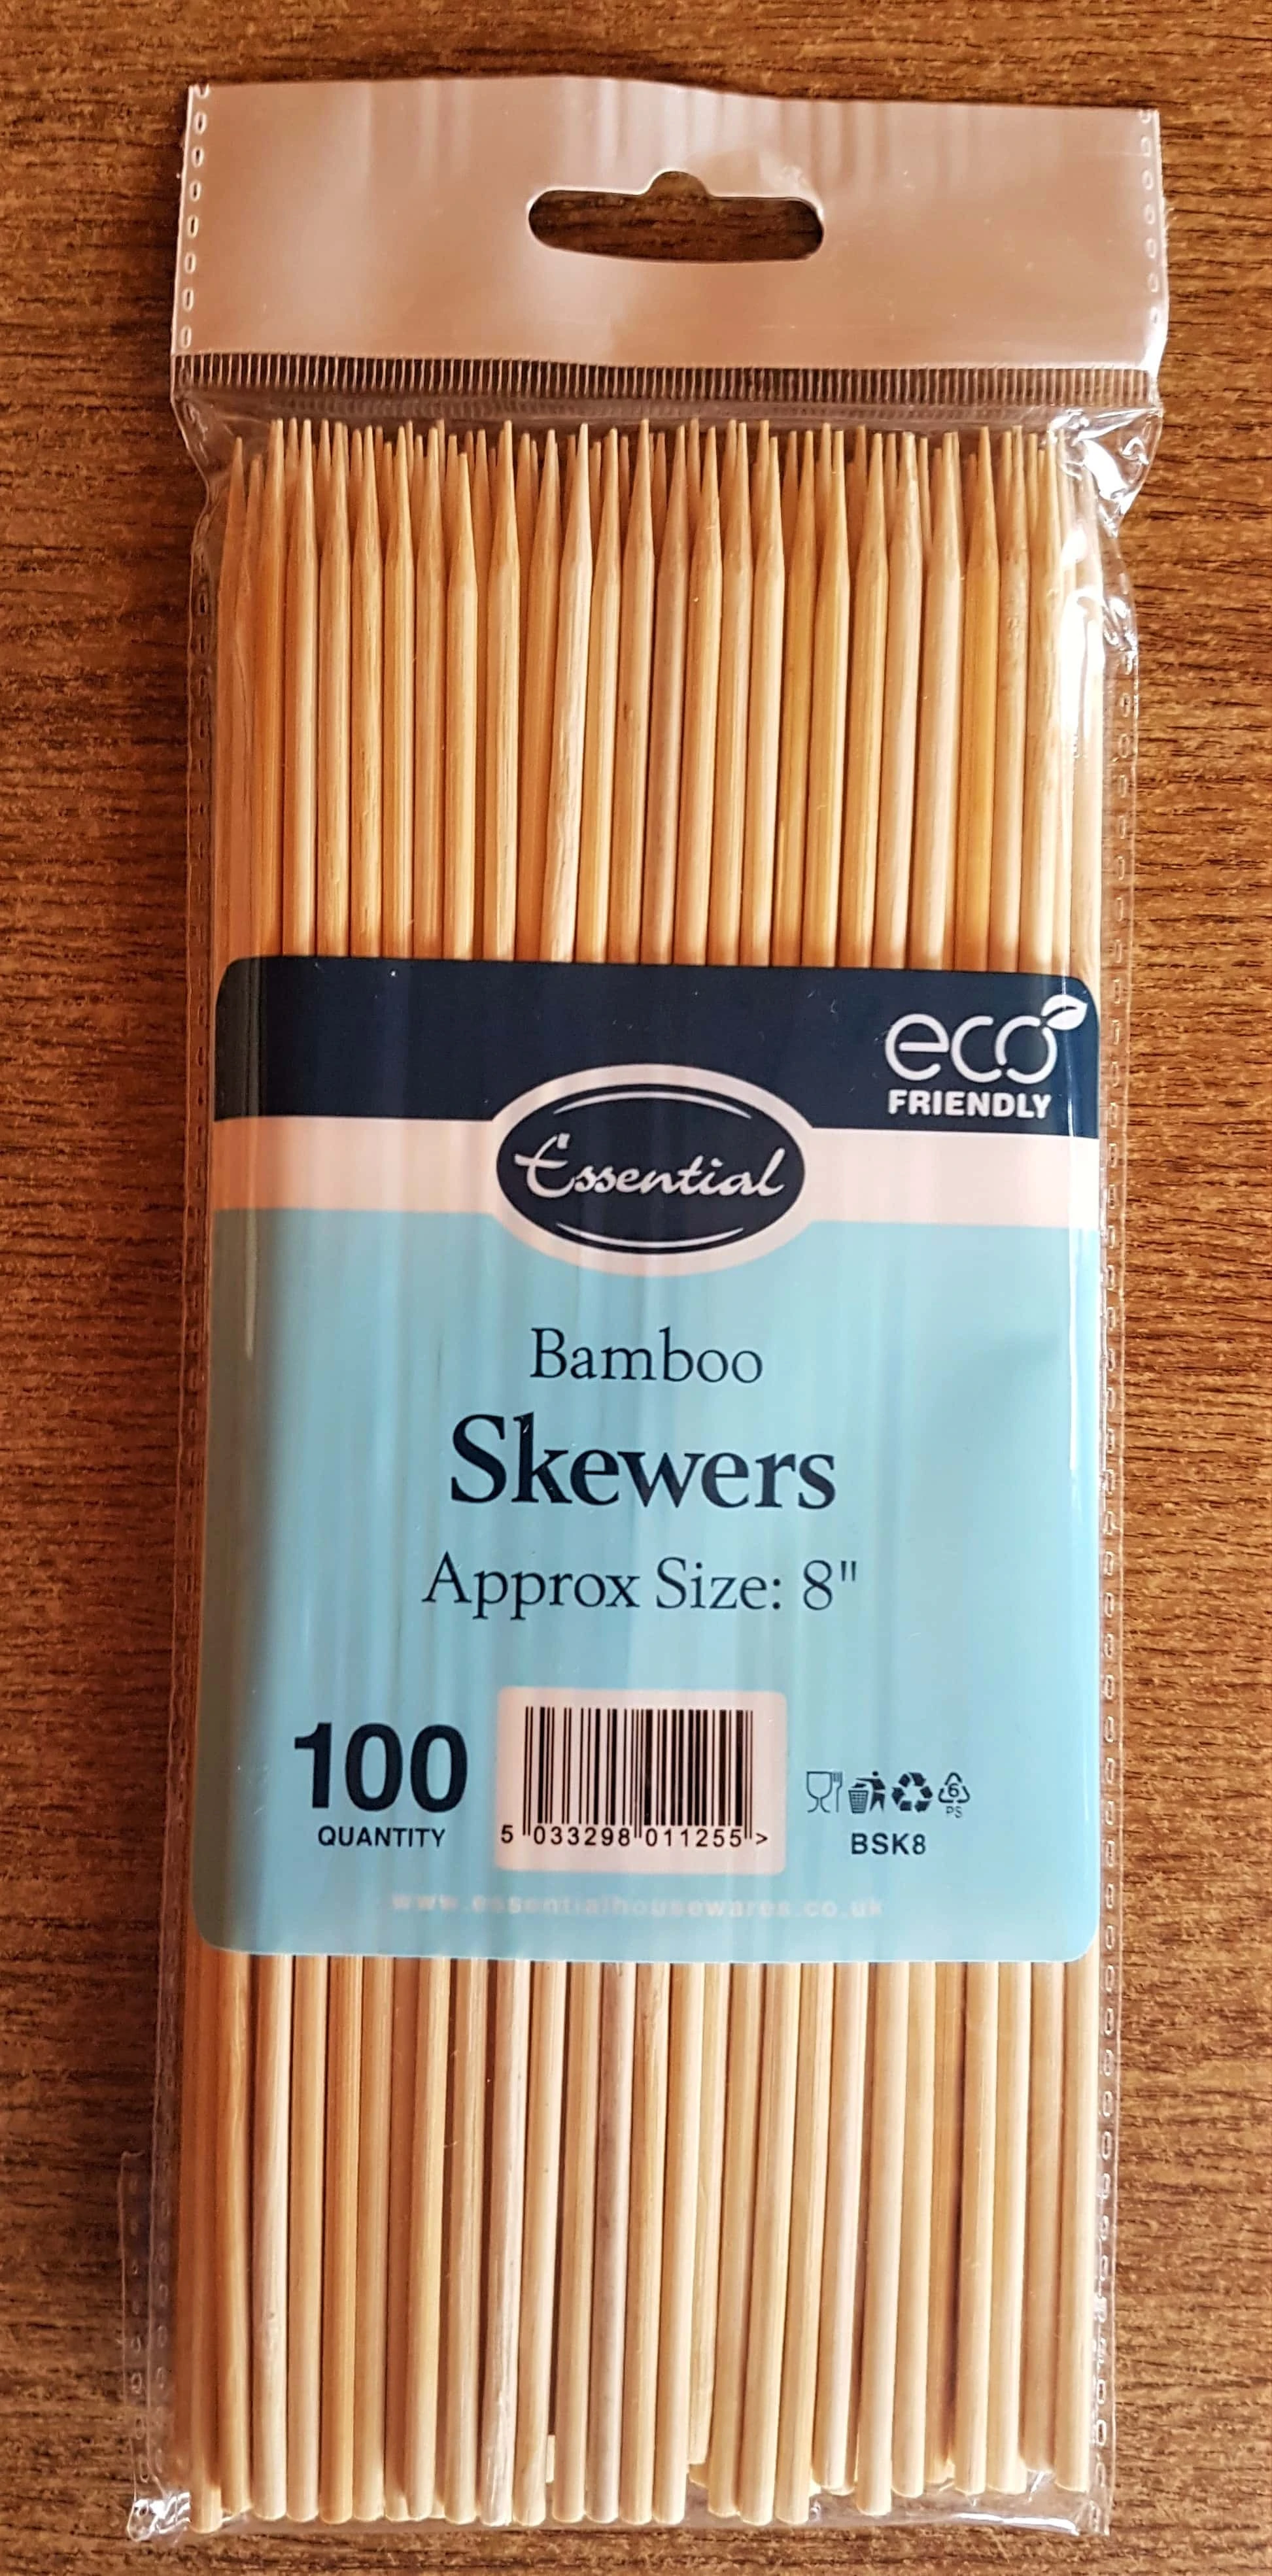
I removed One from the Pack.
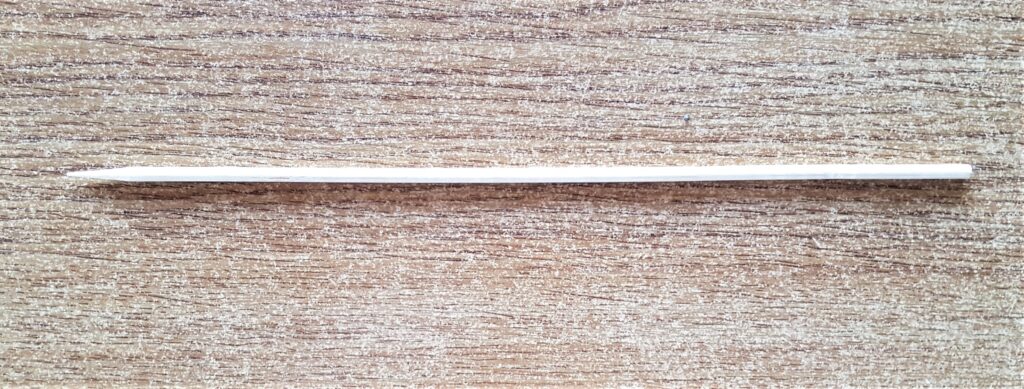
I Snipped off a small section.
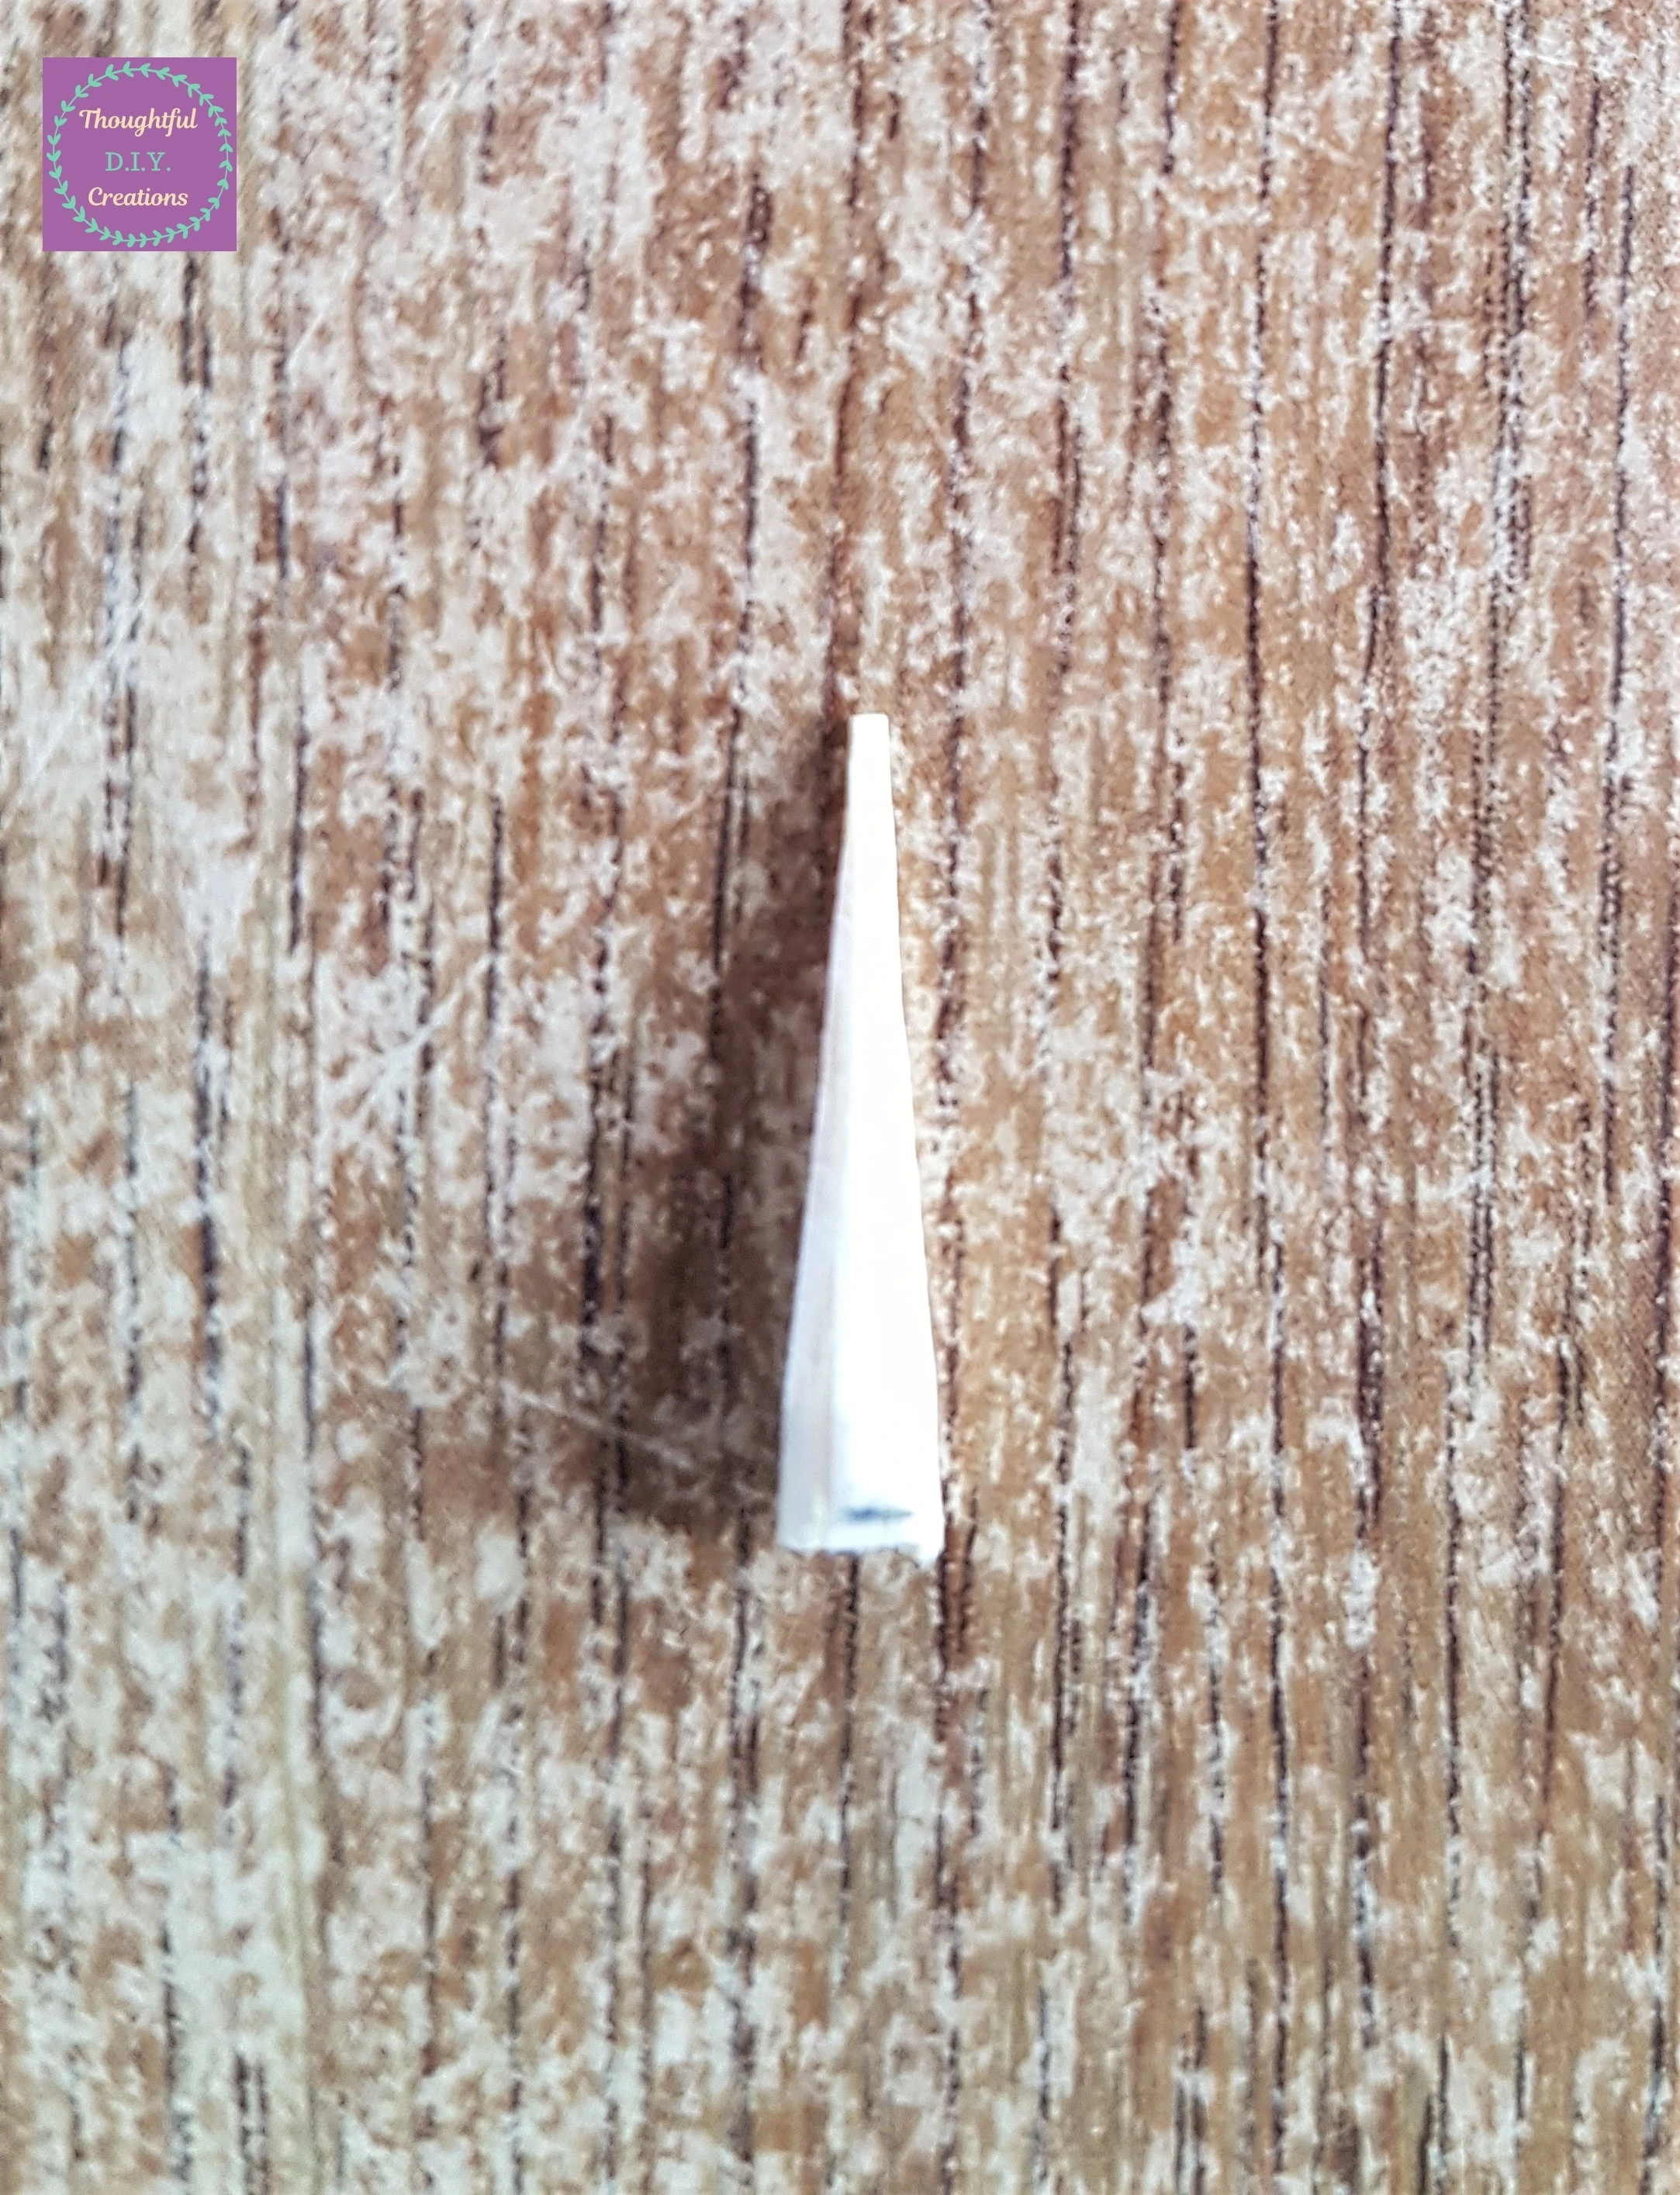
The Pointed end fit perfectly into the Hole in the Cube. My Chimney was now Complete.
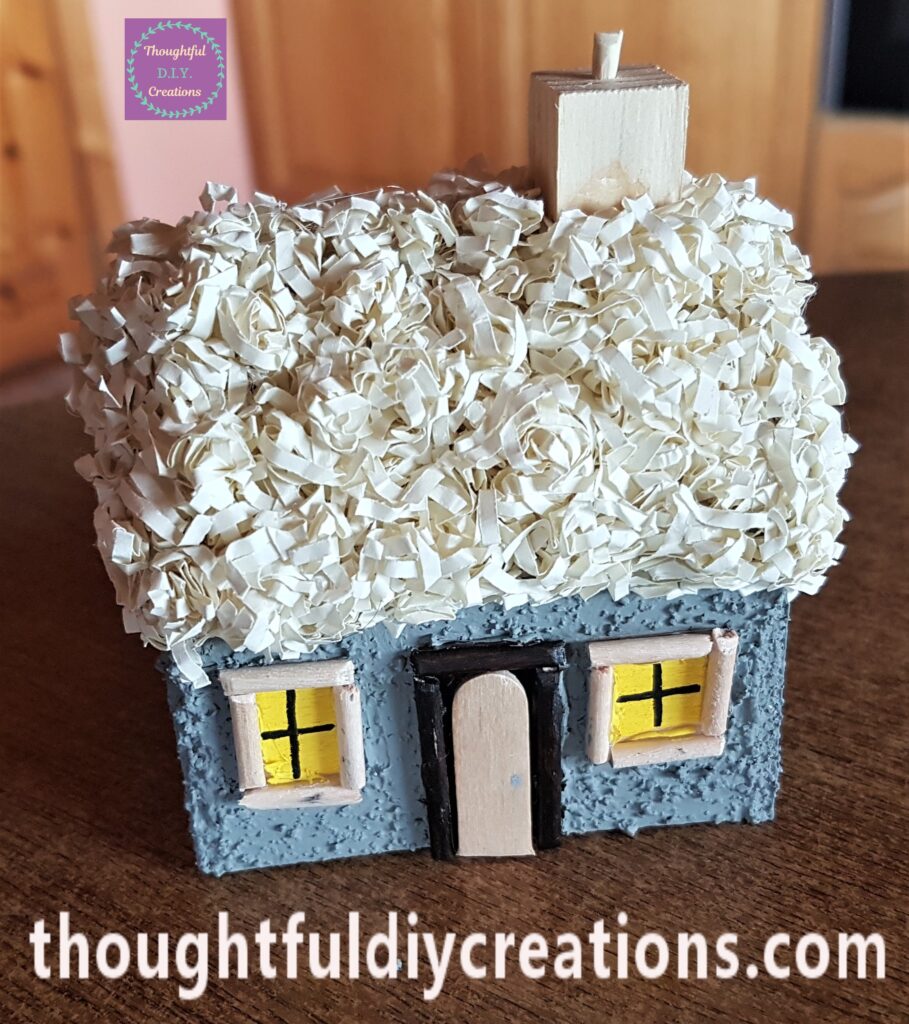
Decorating the Fairy Garden
I got my last 4 Wood Slices from the Pack.
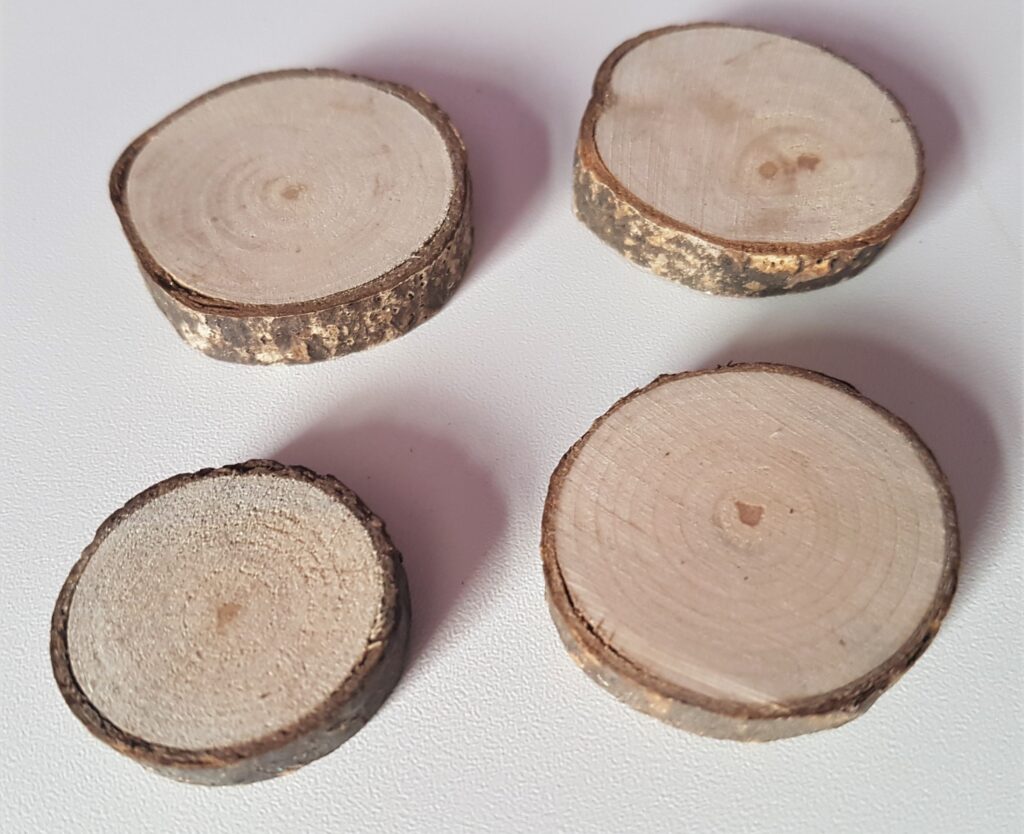
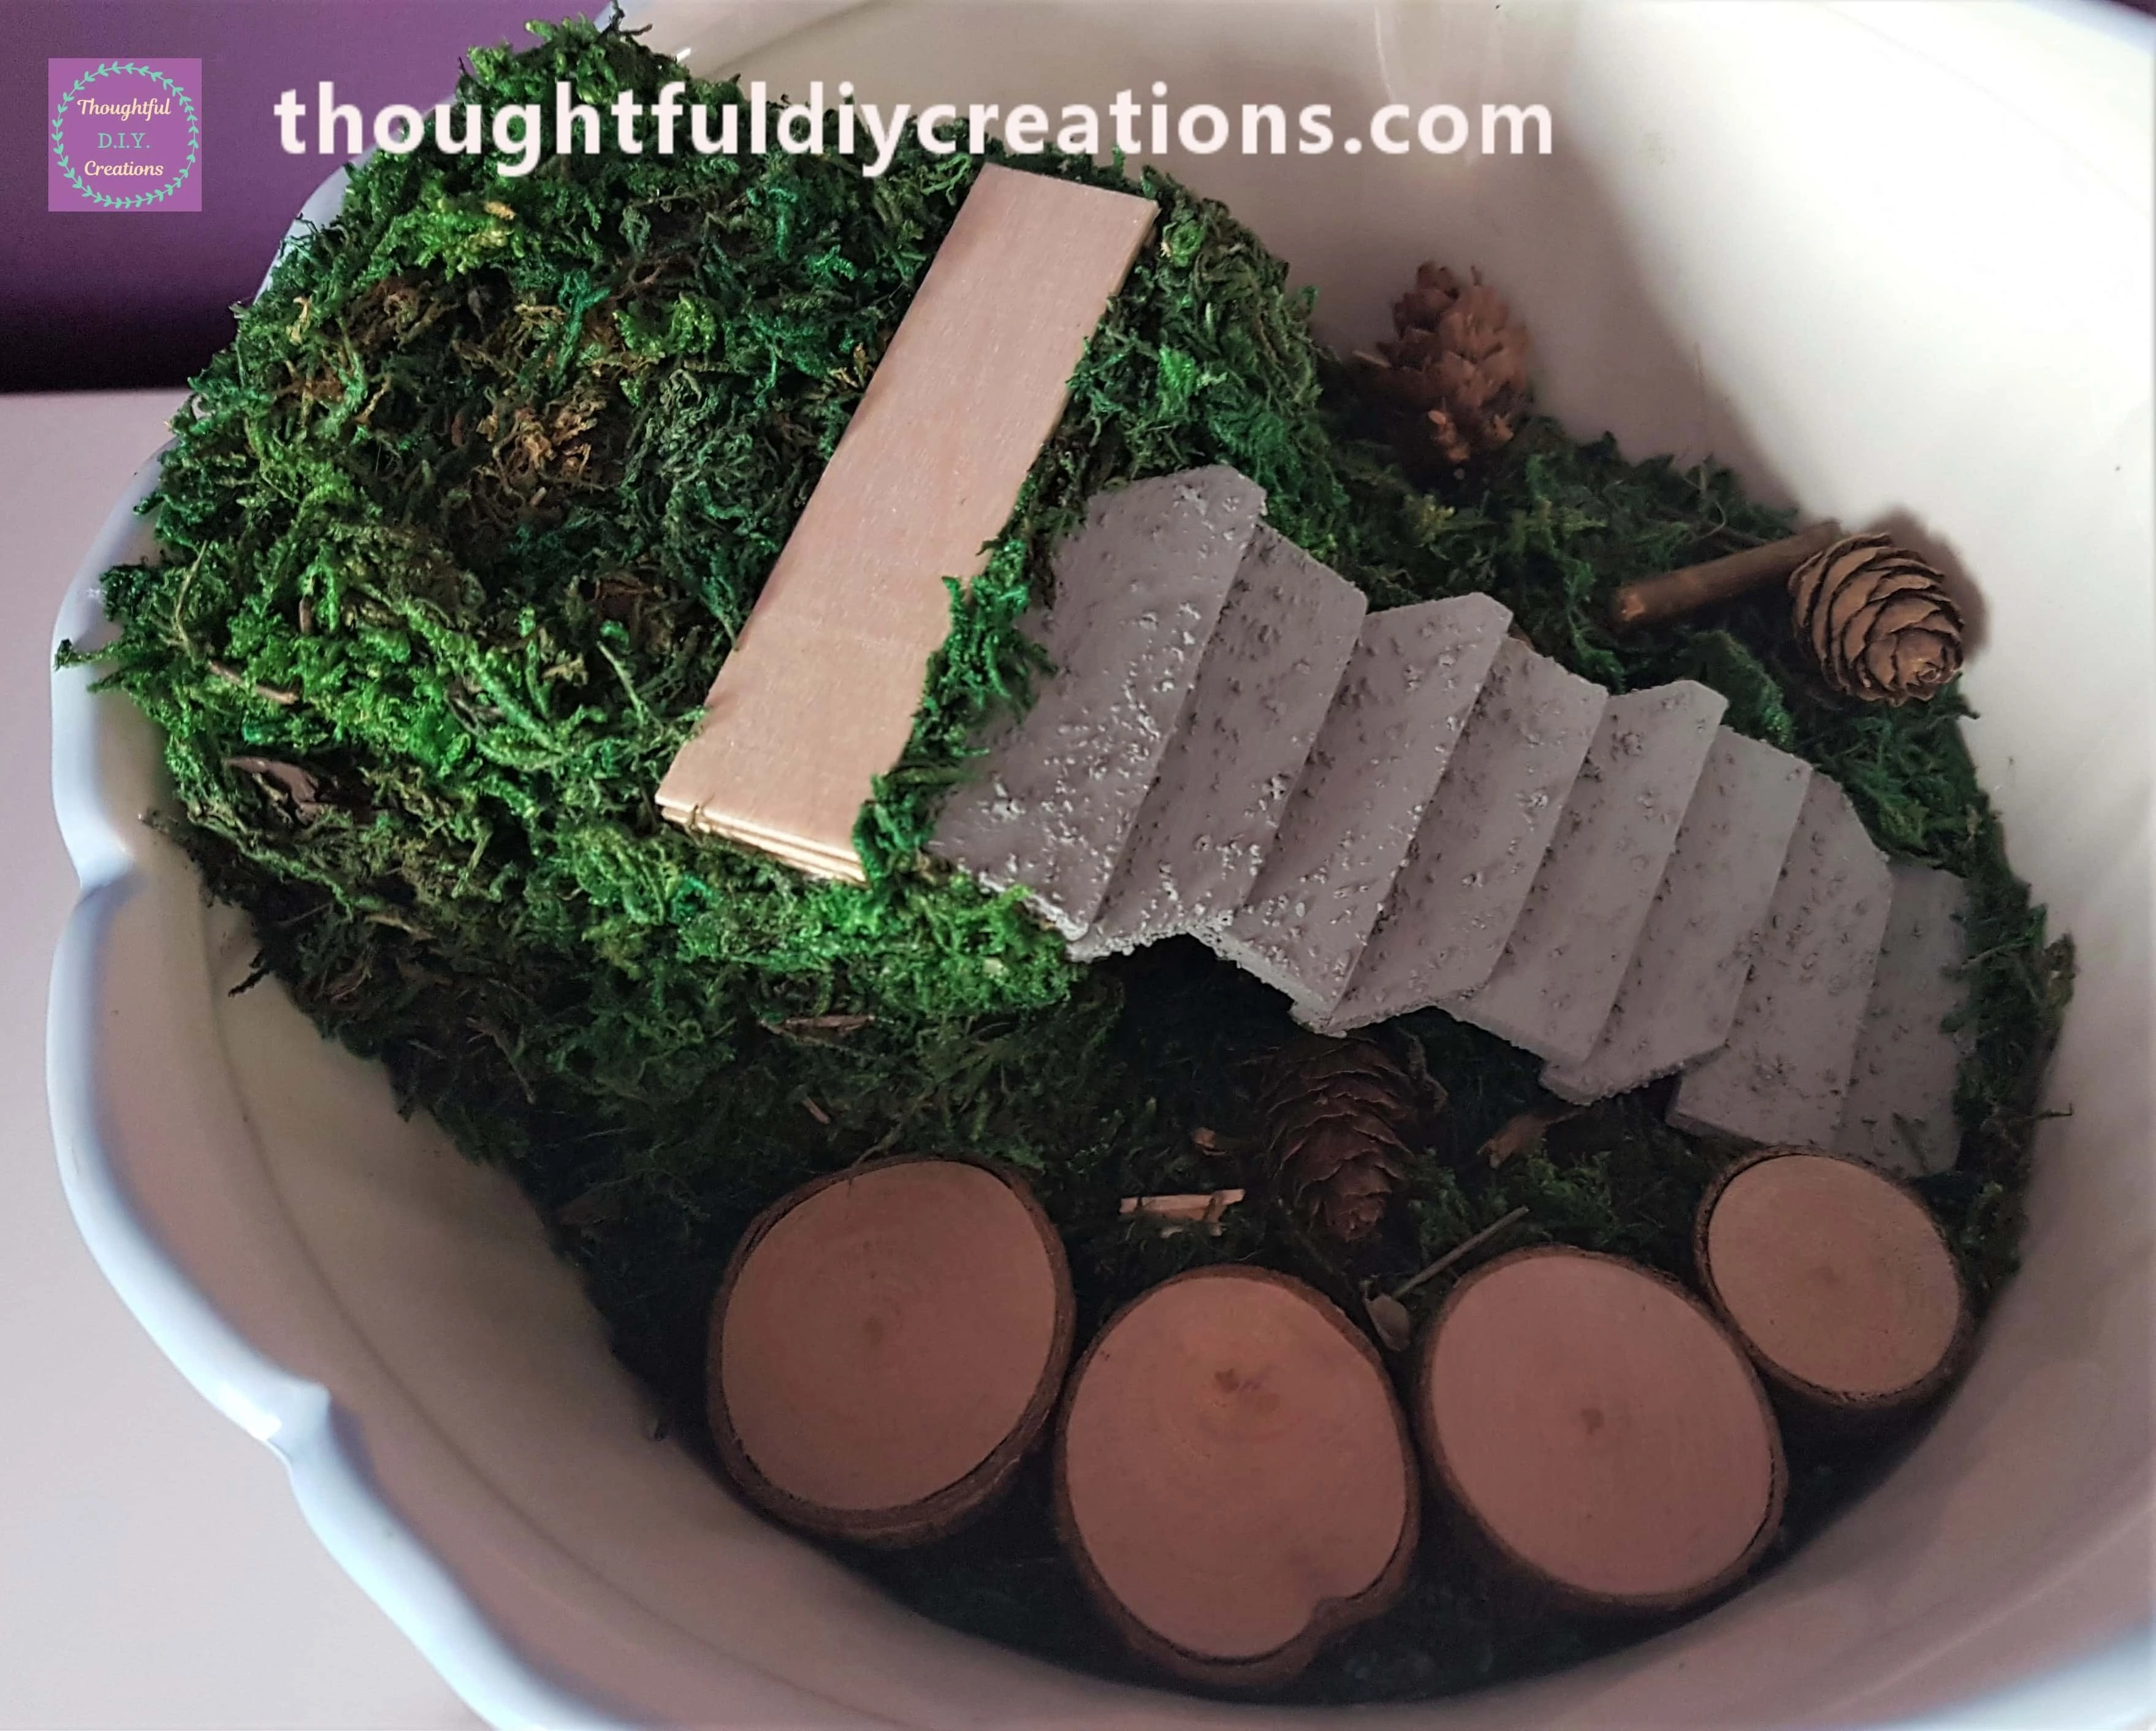
I placed them into the Fairy Garden making a Walkway.
I scattered a few mini Pine Cones randomly in the Garden.
Making the Fairy Cottage Sign
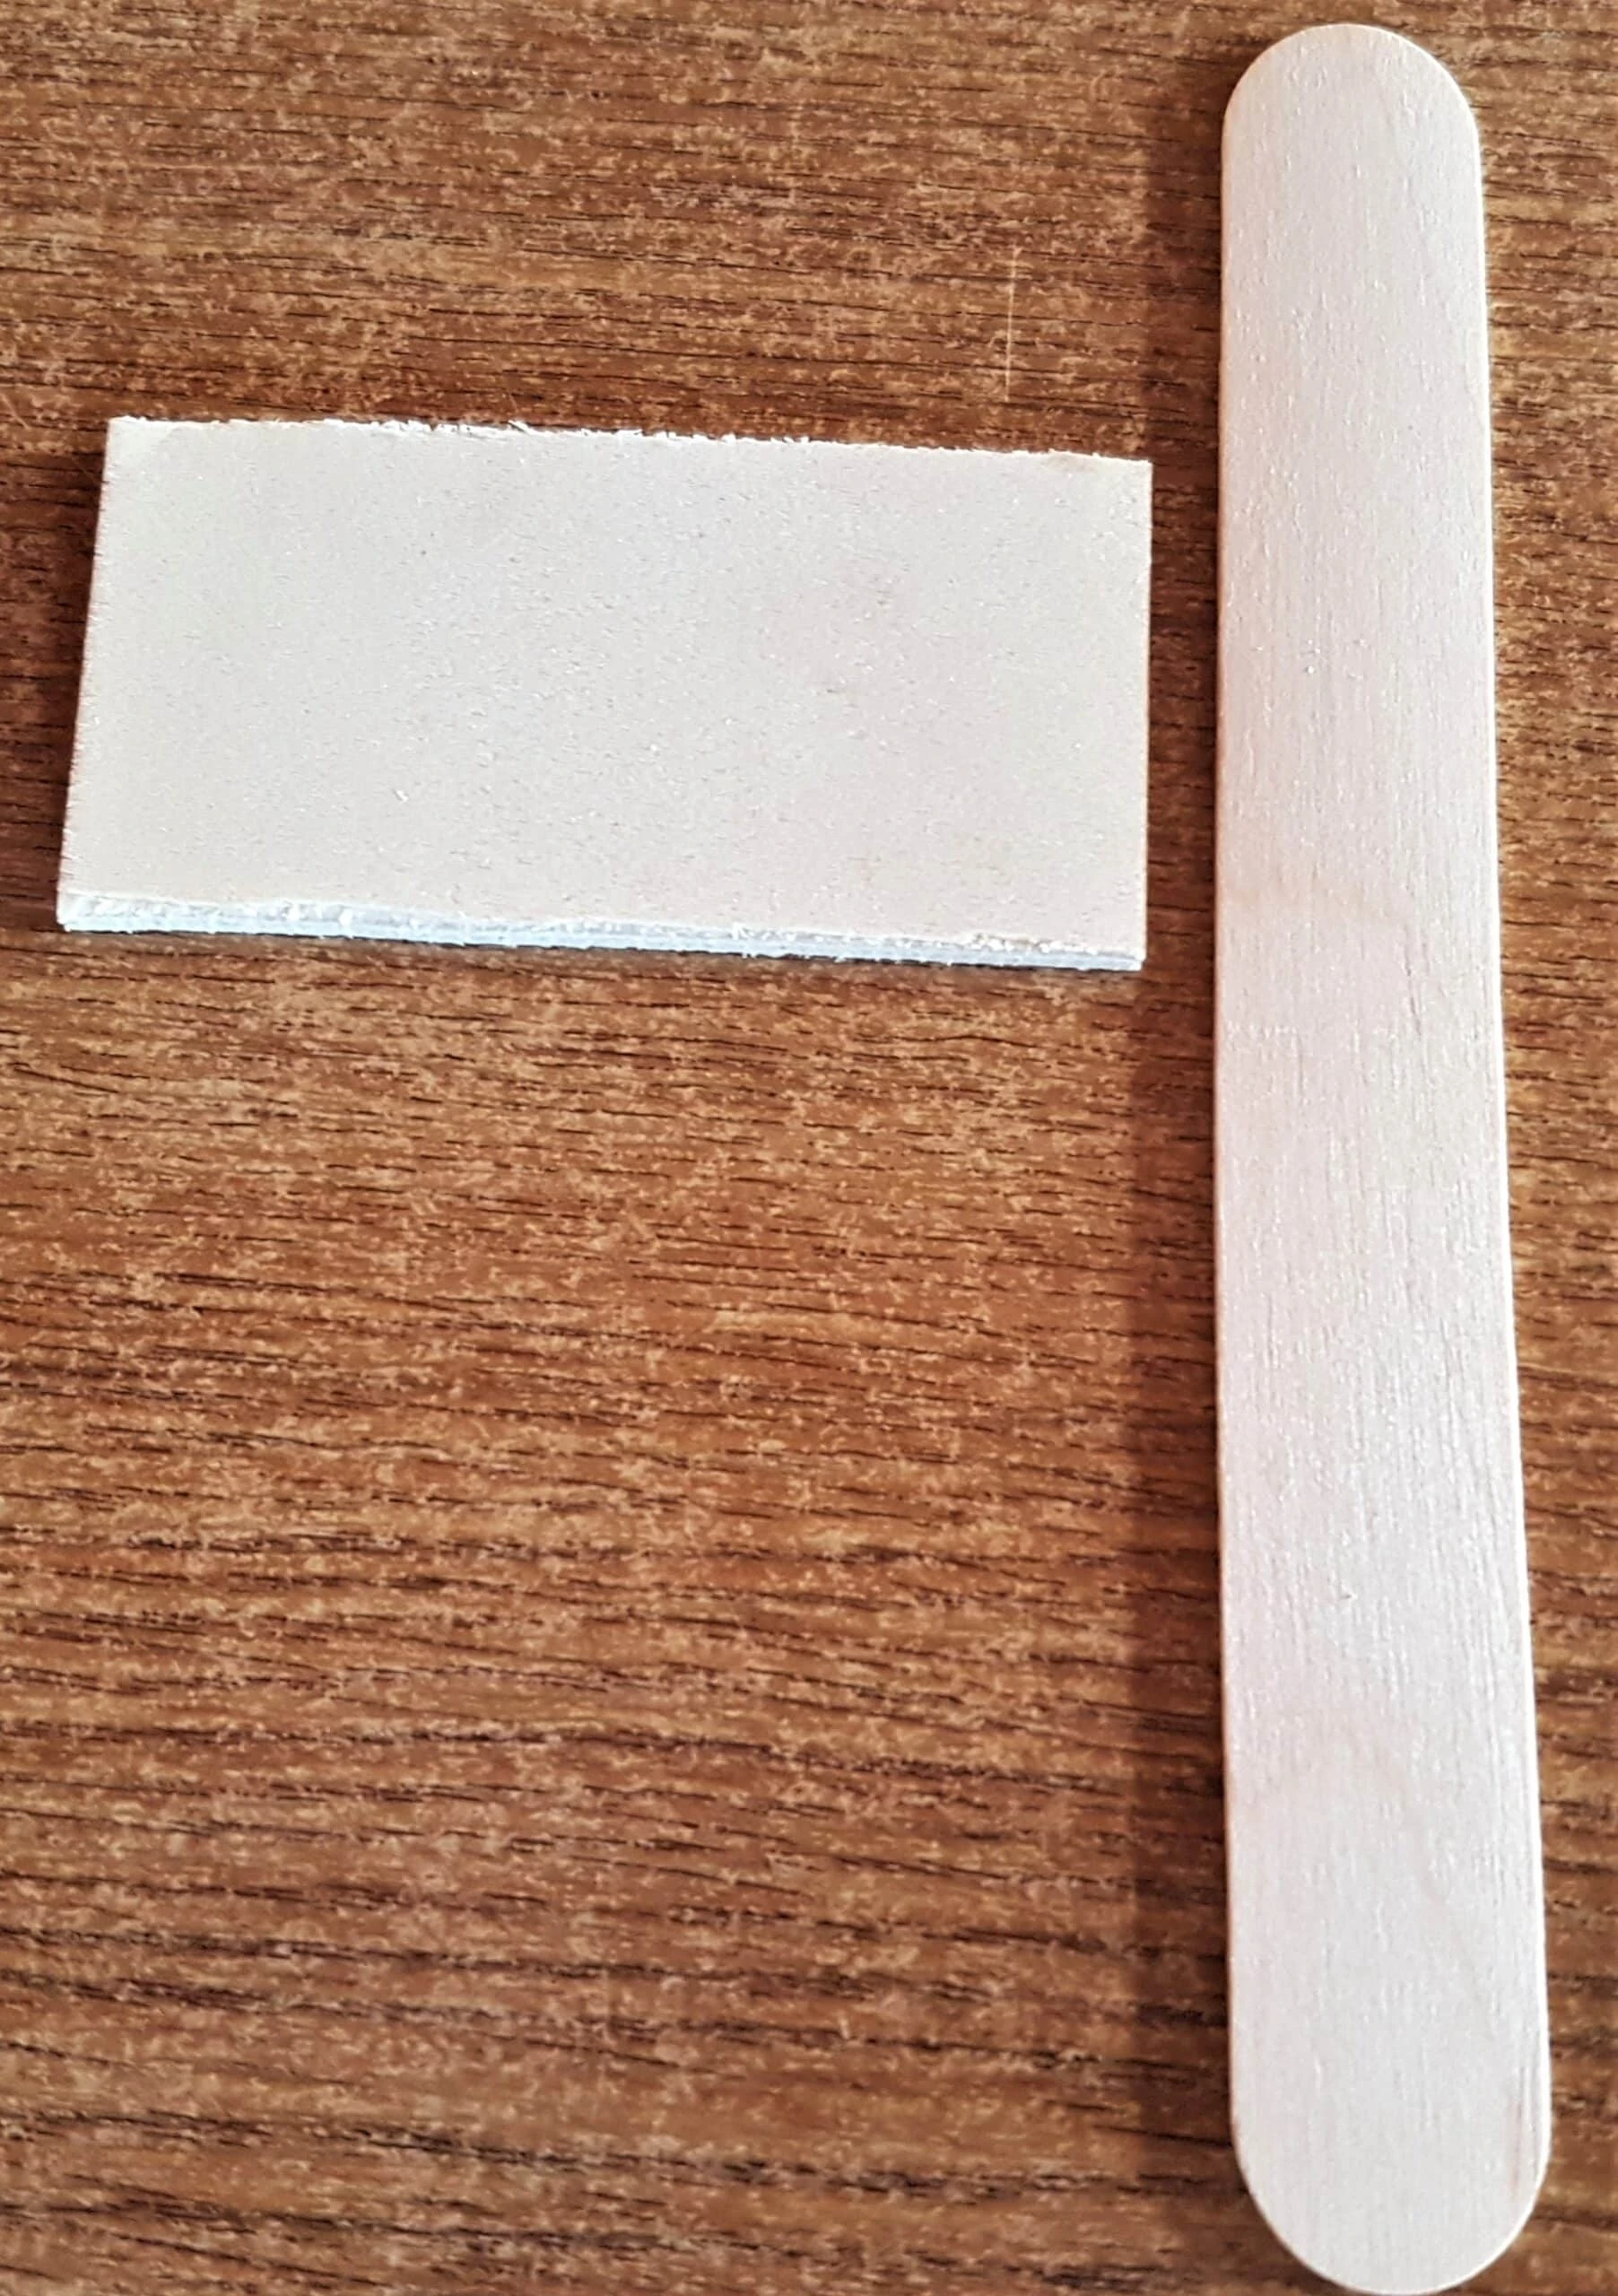
I got the last Scrap piece of Wood that was left over from making the Fairy Cottage and a Jumbo Lollipop Stick.
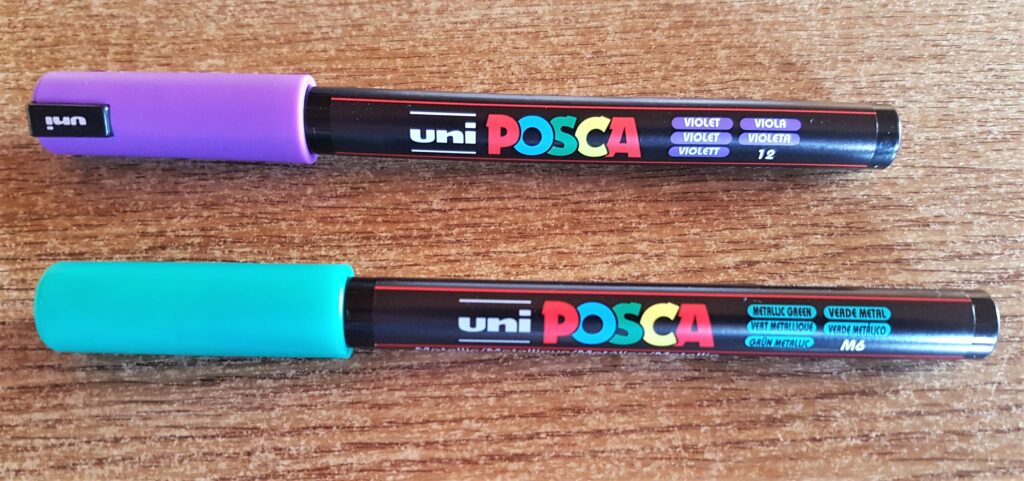
I got my Violet and Metallic Green Acrylic Paint Pens.
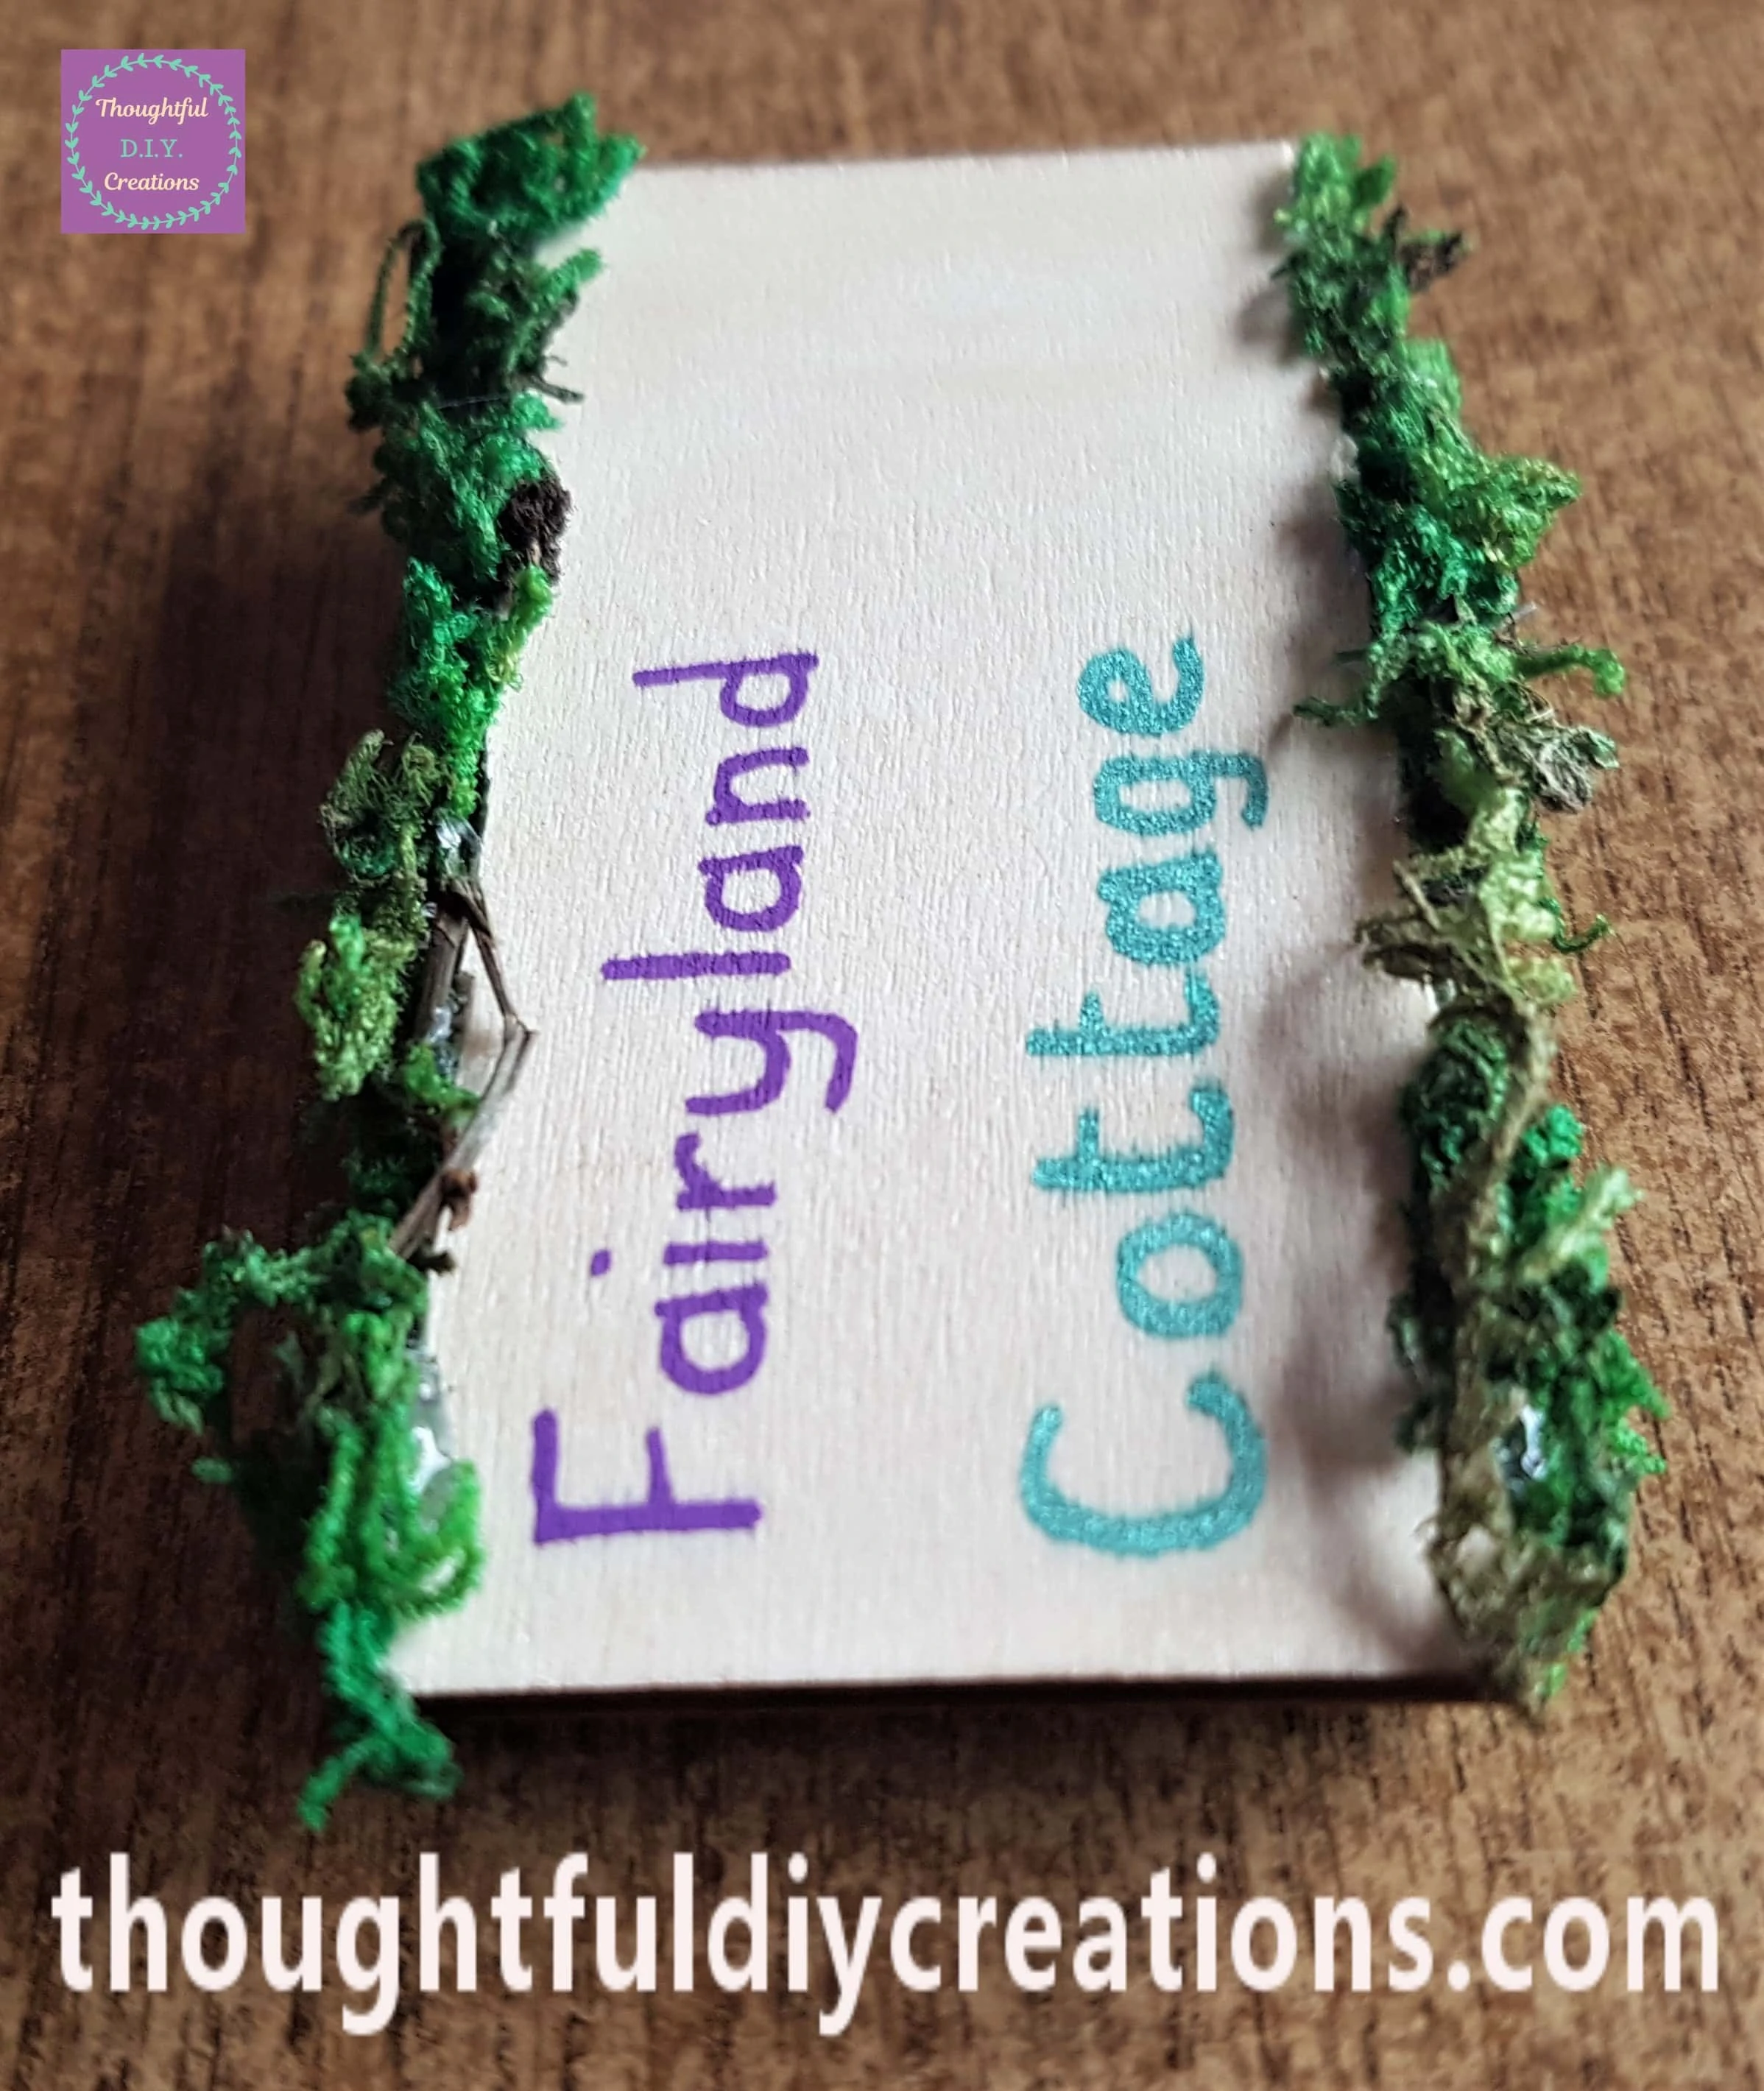
I wrote ‘Fairyland Cottage’ on the Wood using the Paint Pens and Hot Glued some Moss on the Top and Bottom of the Sign.
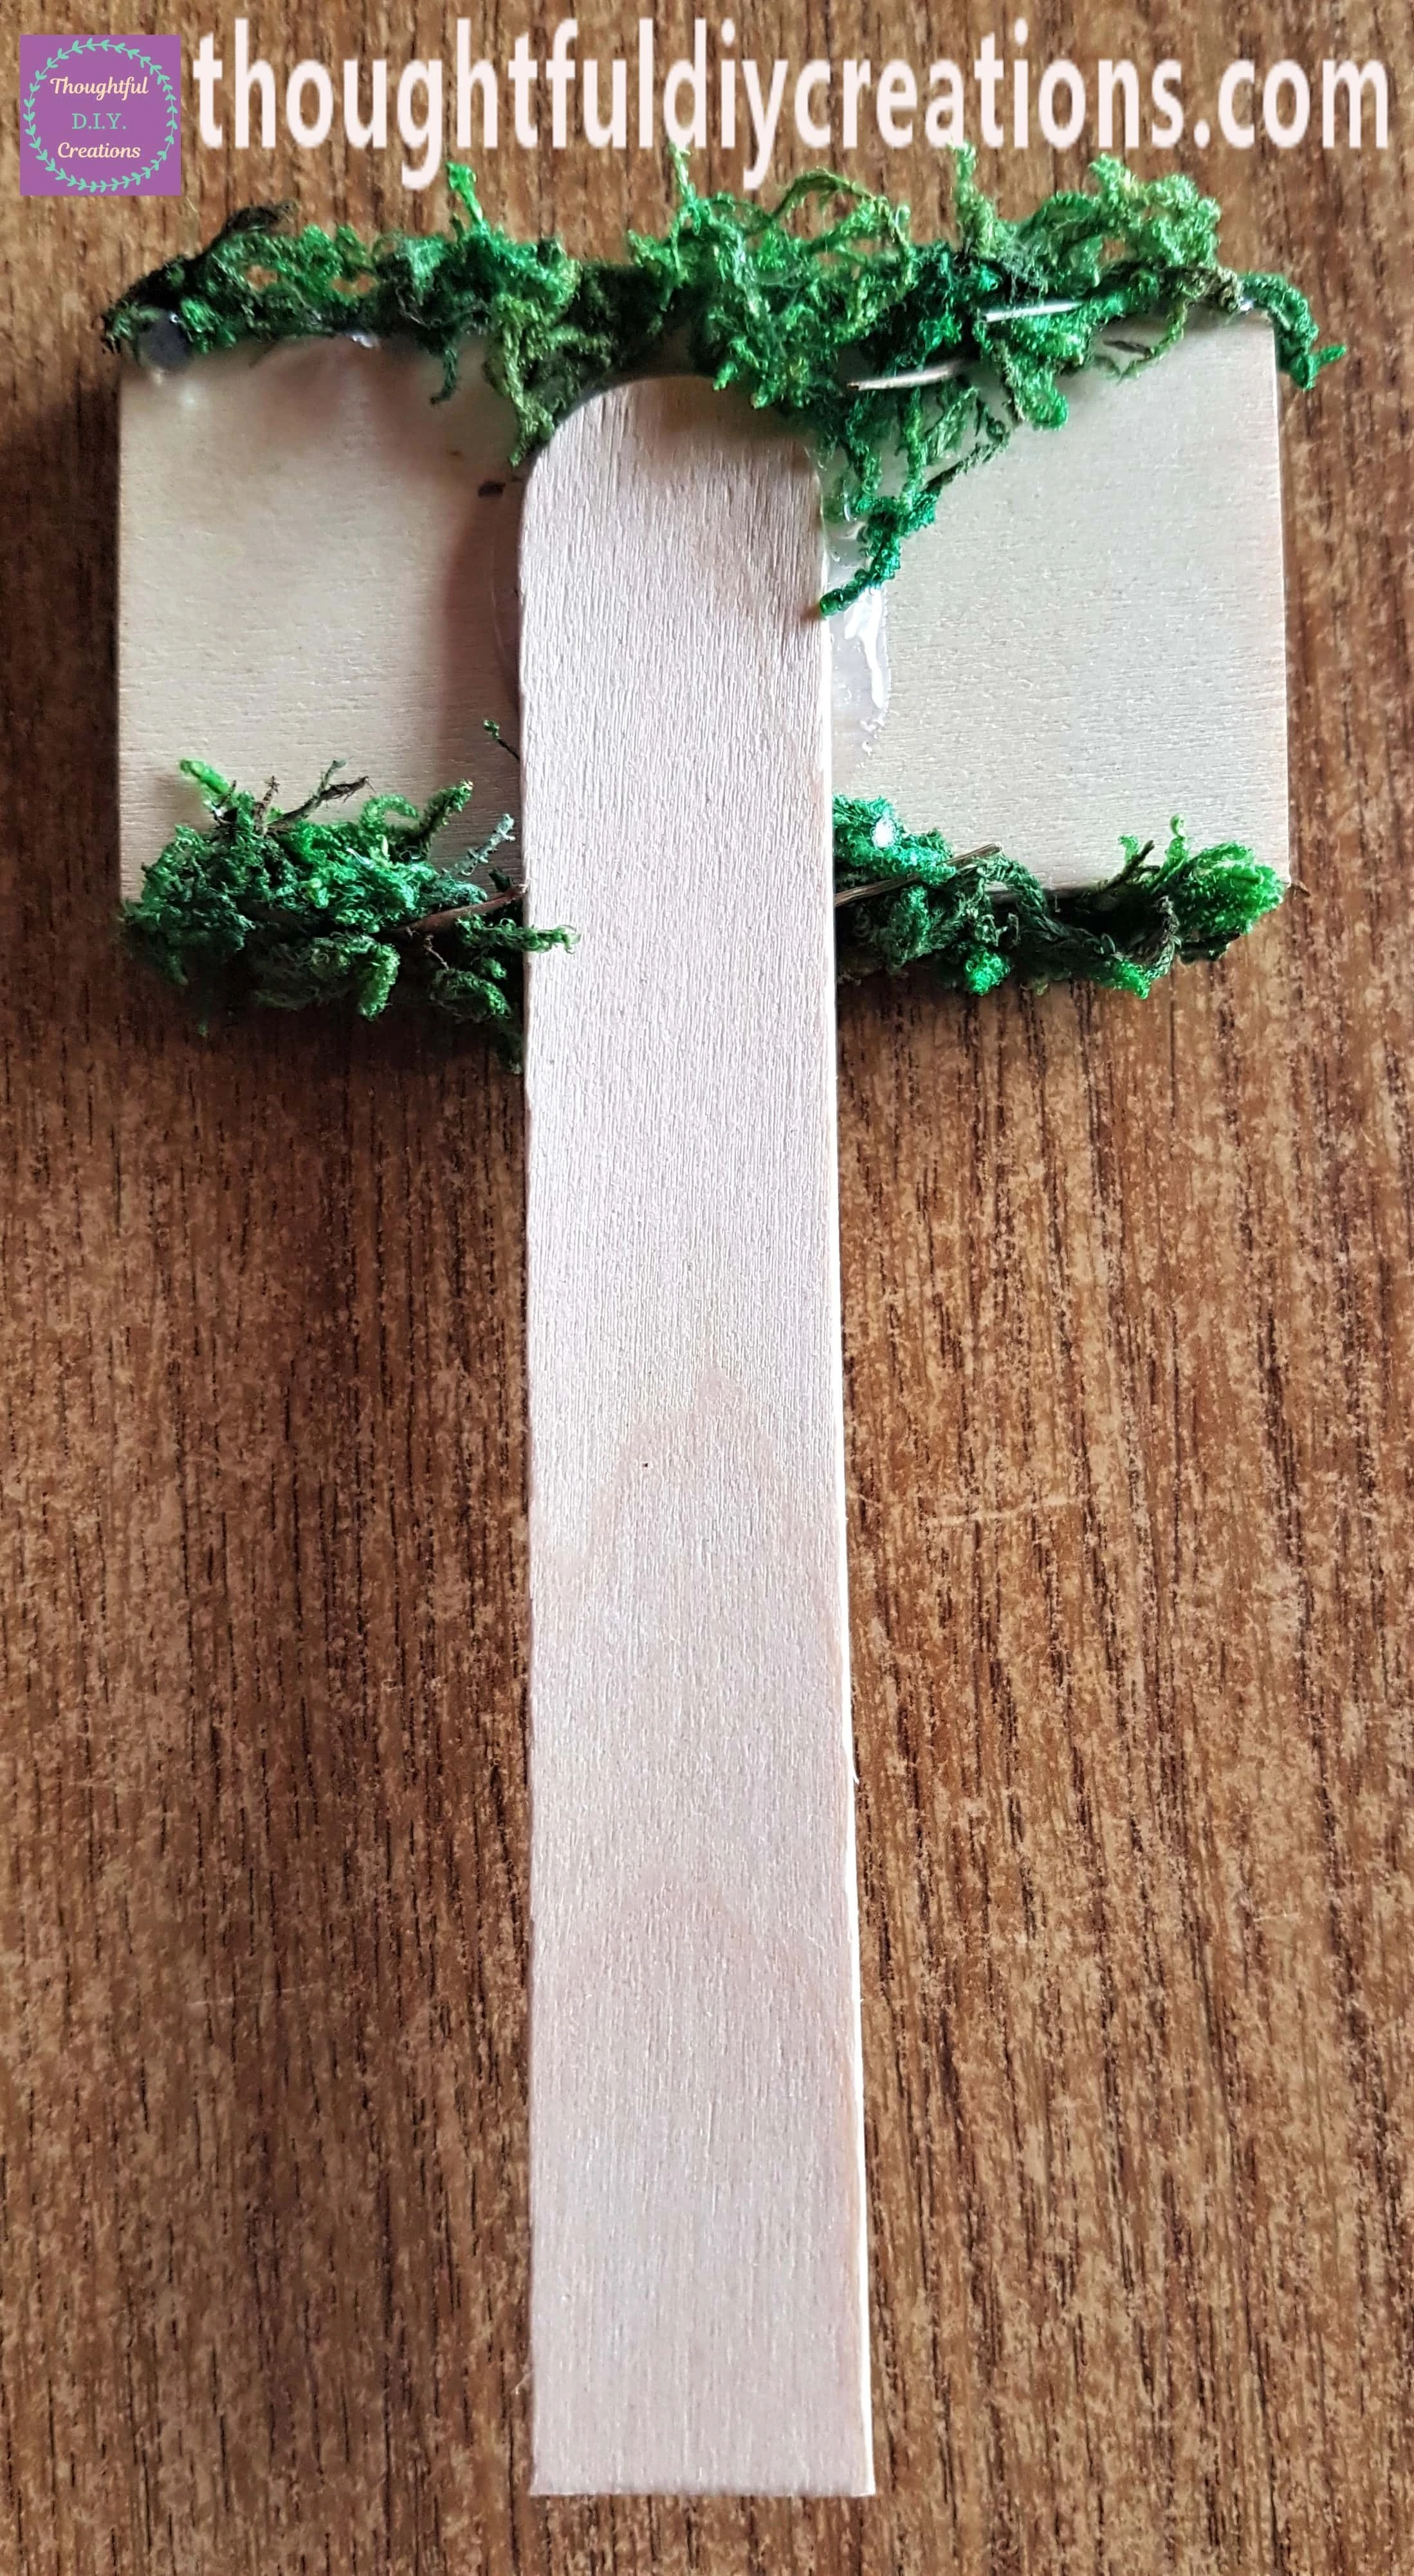
I Hot Glued the Lollipop Stick to the Back of the Sign.
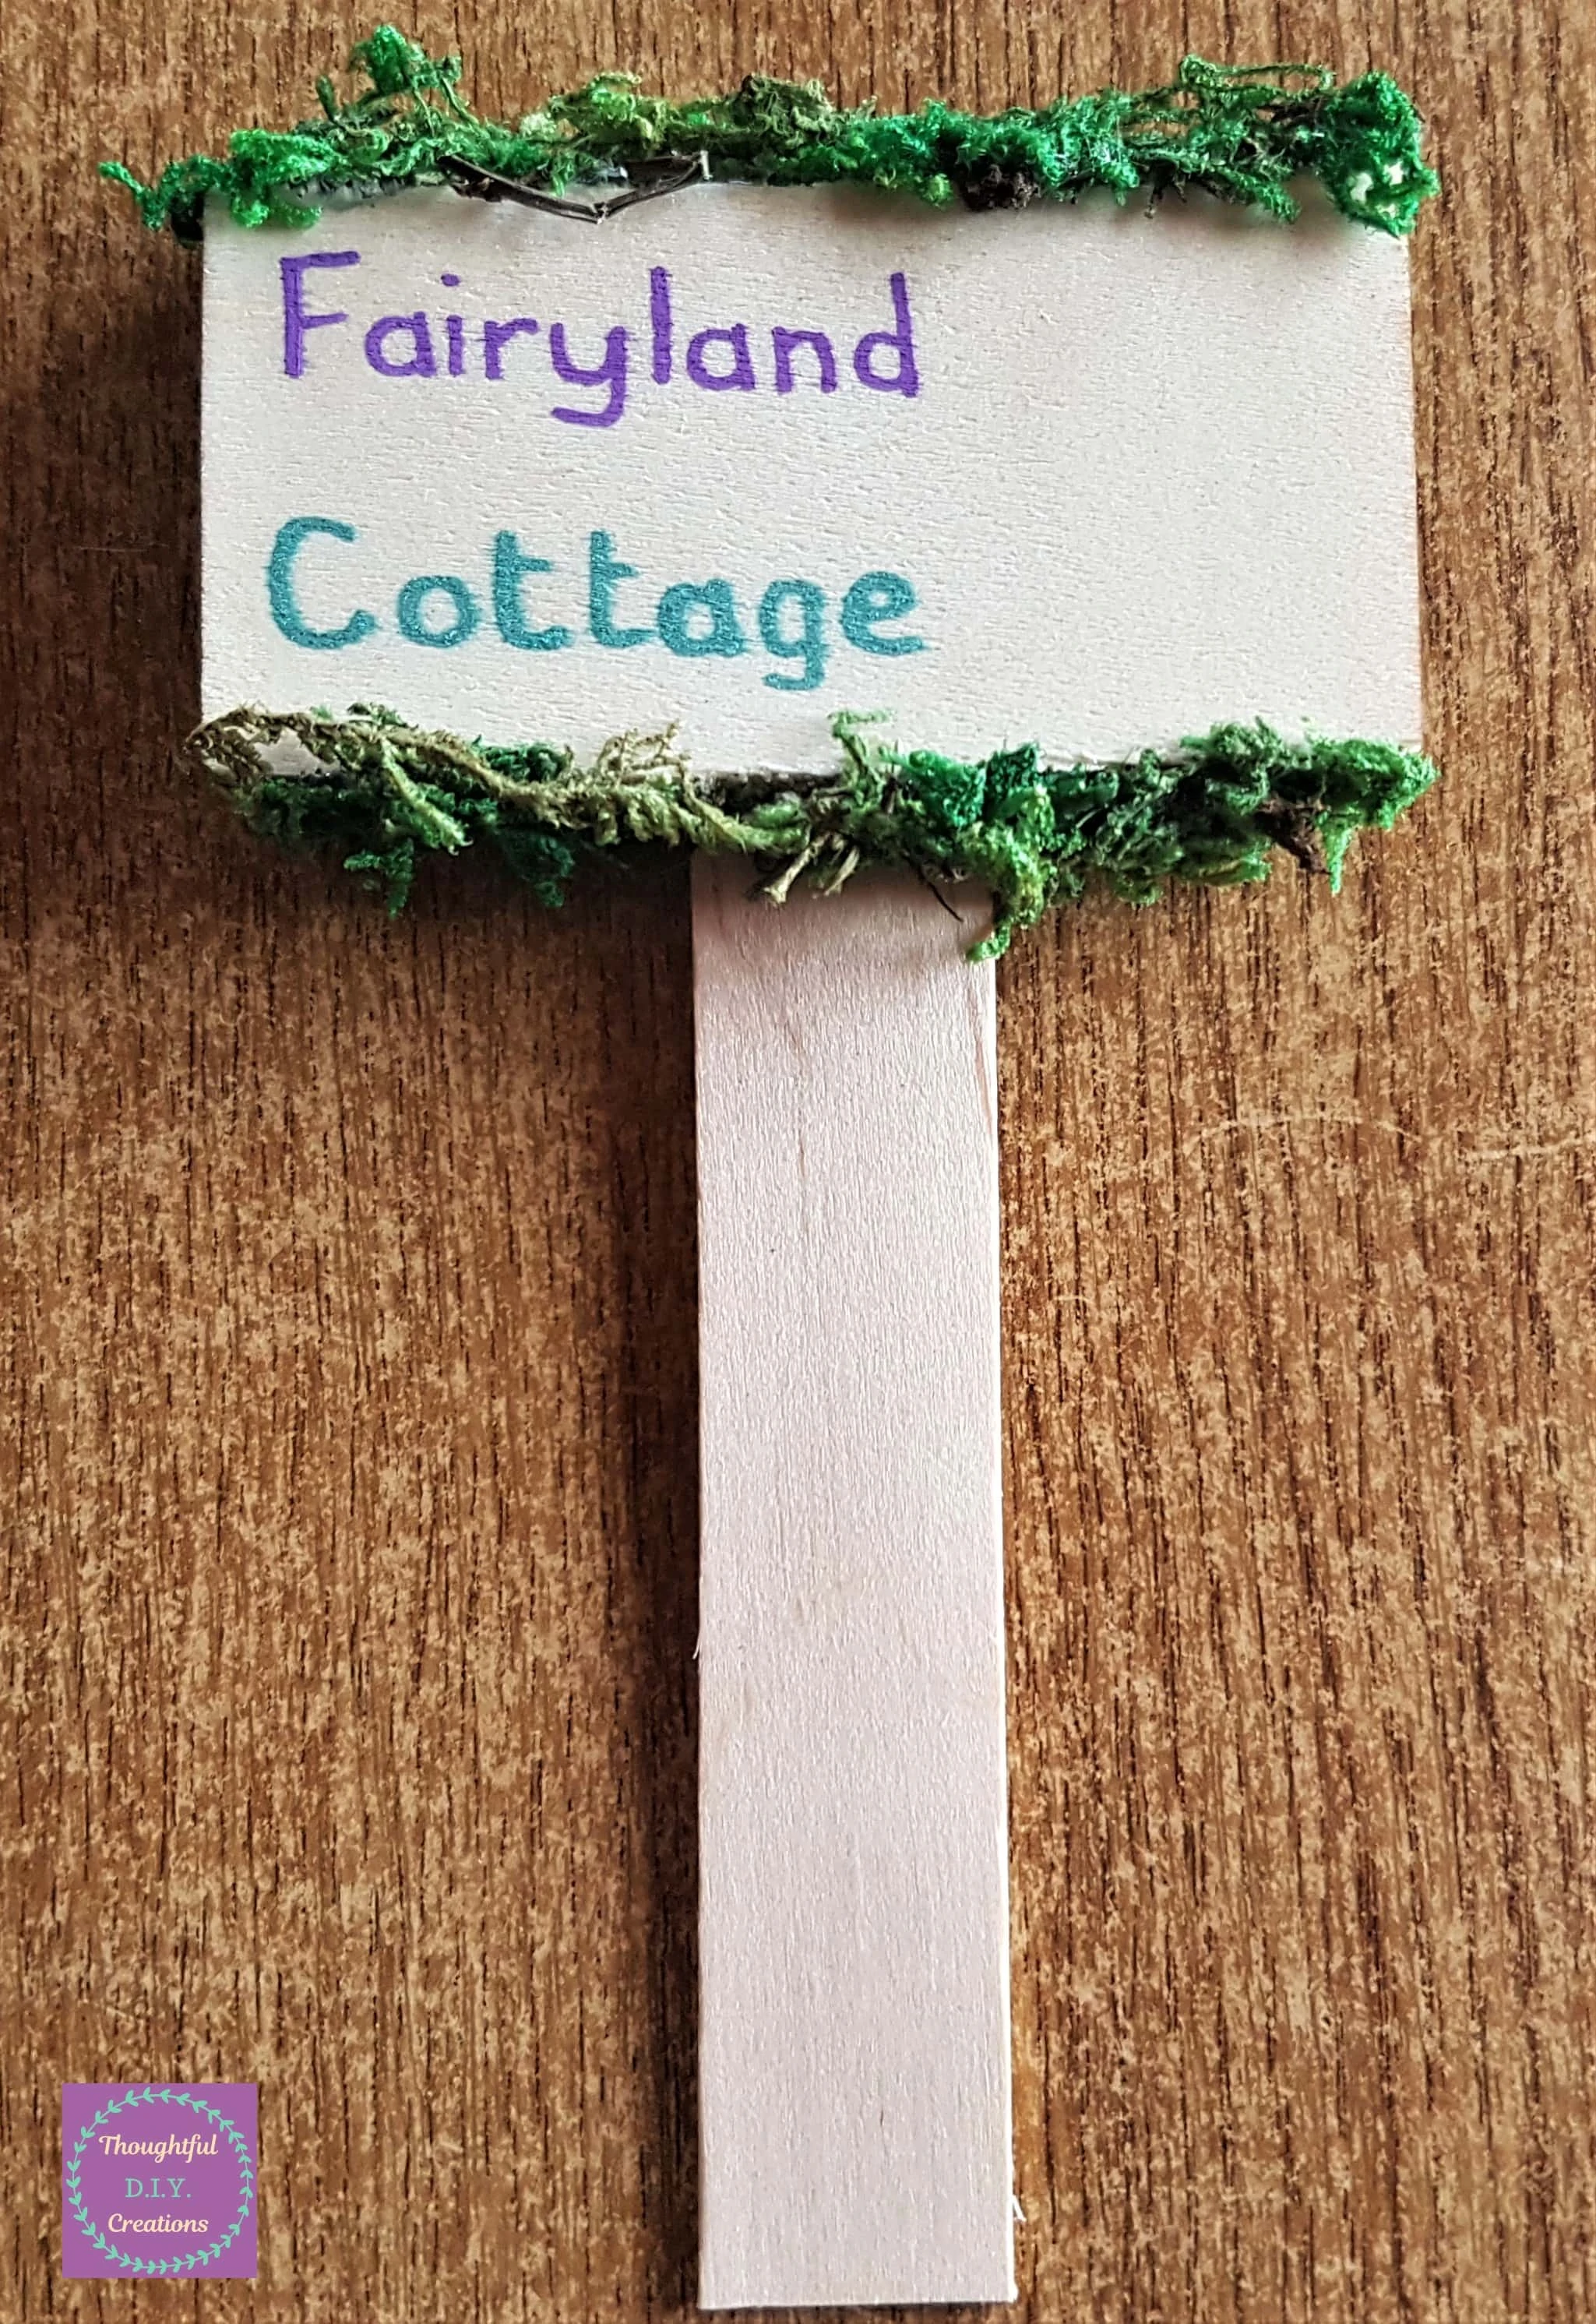
I added a Fairy Silhouette to the Sign and some Stickers to the Sign-Post.
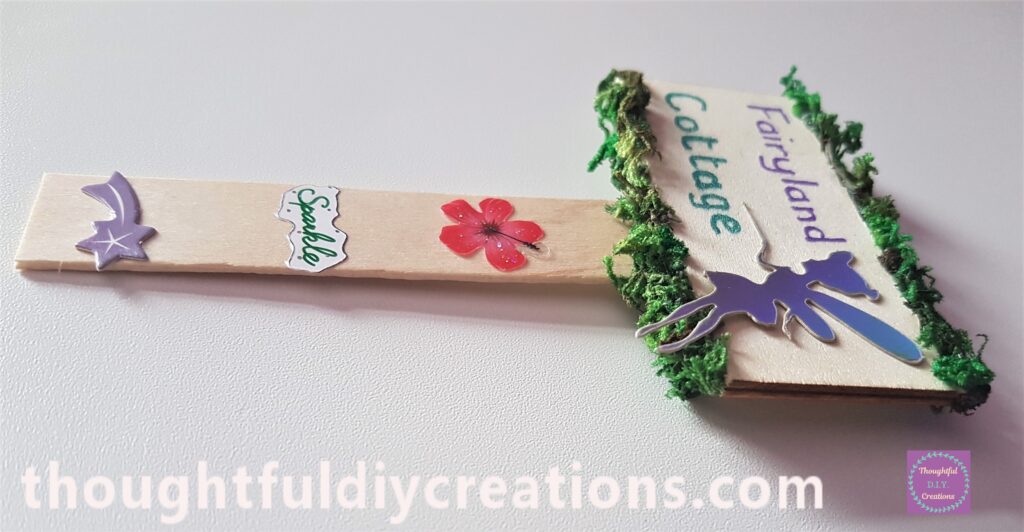
I Hot Glued the Lollipop Stick to One of the Wood Slices and added Moss to Cover the Glue.
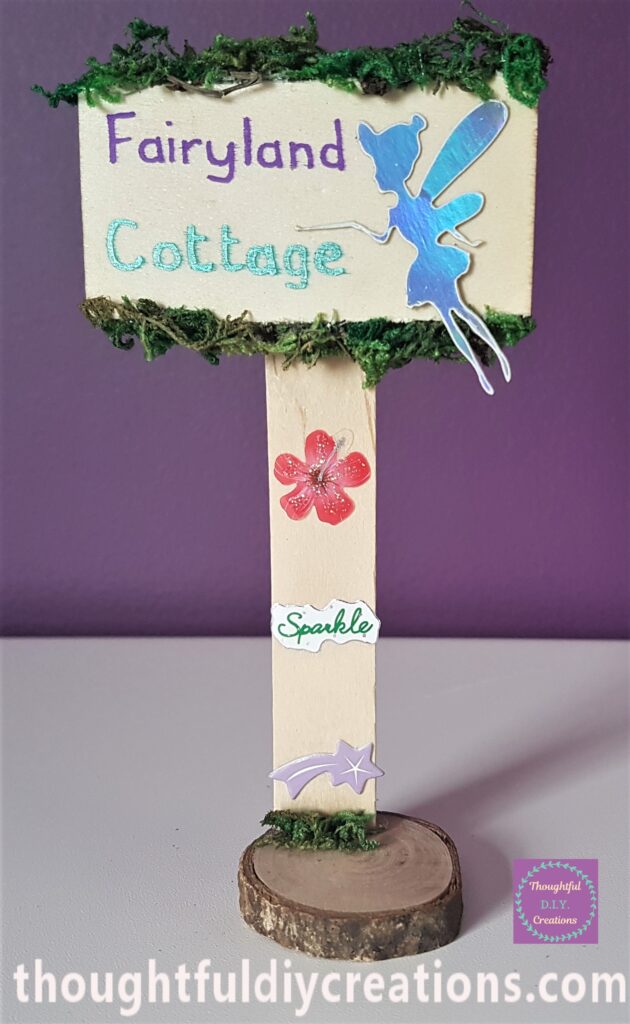
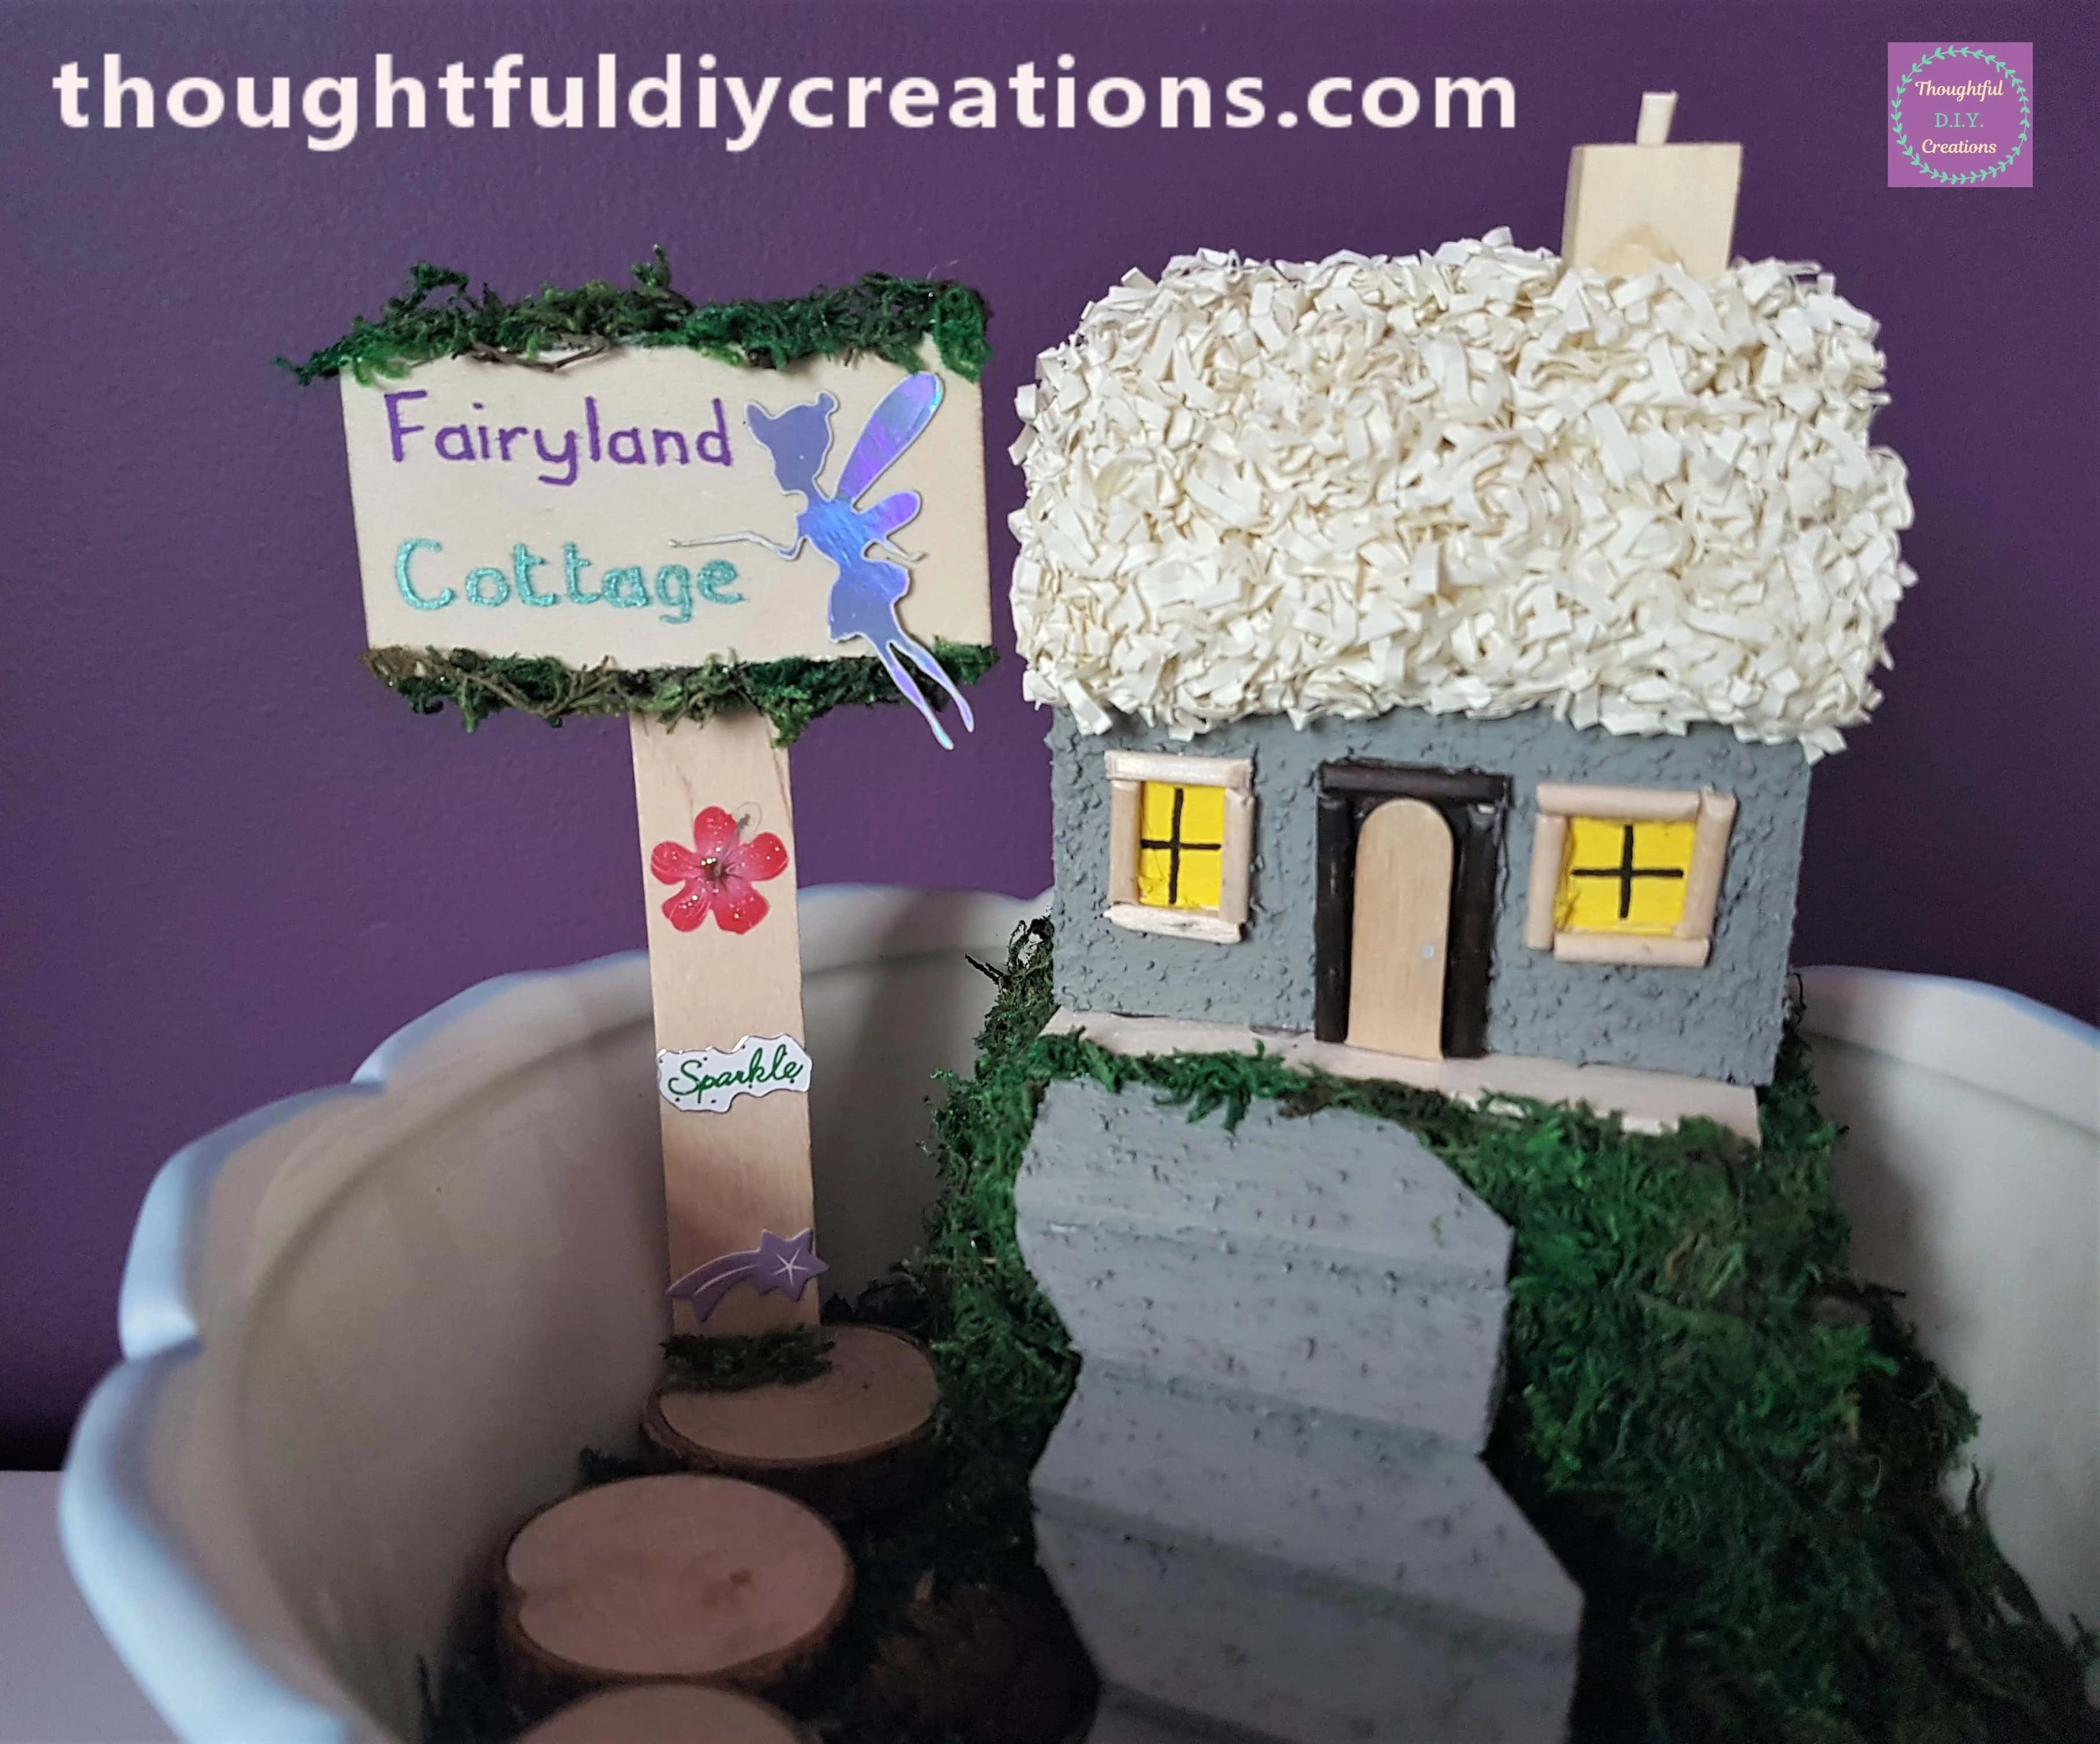
I Hot Glued the Fairy Cottage to the Top of the Hill and placed the Sign beside the Cottage.
Finishing Touches to the Fairy Garden
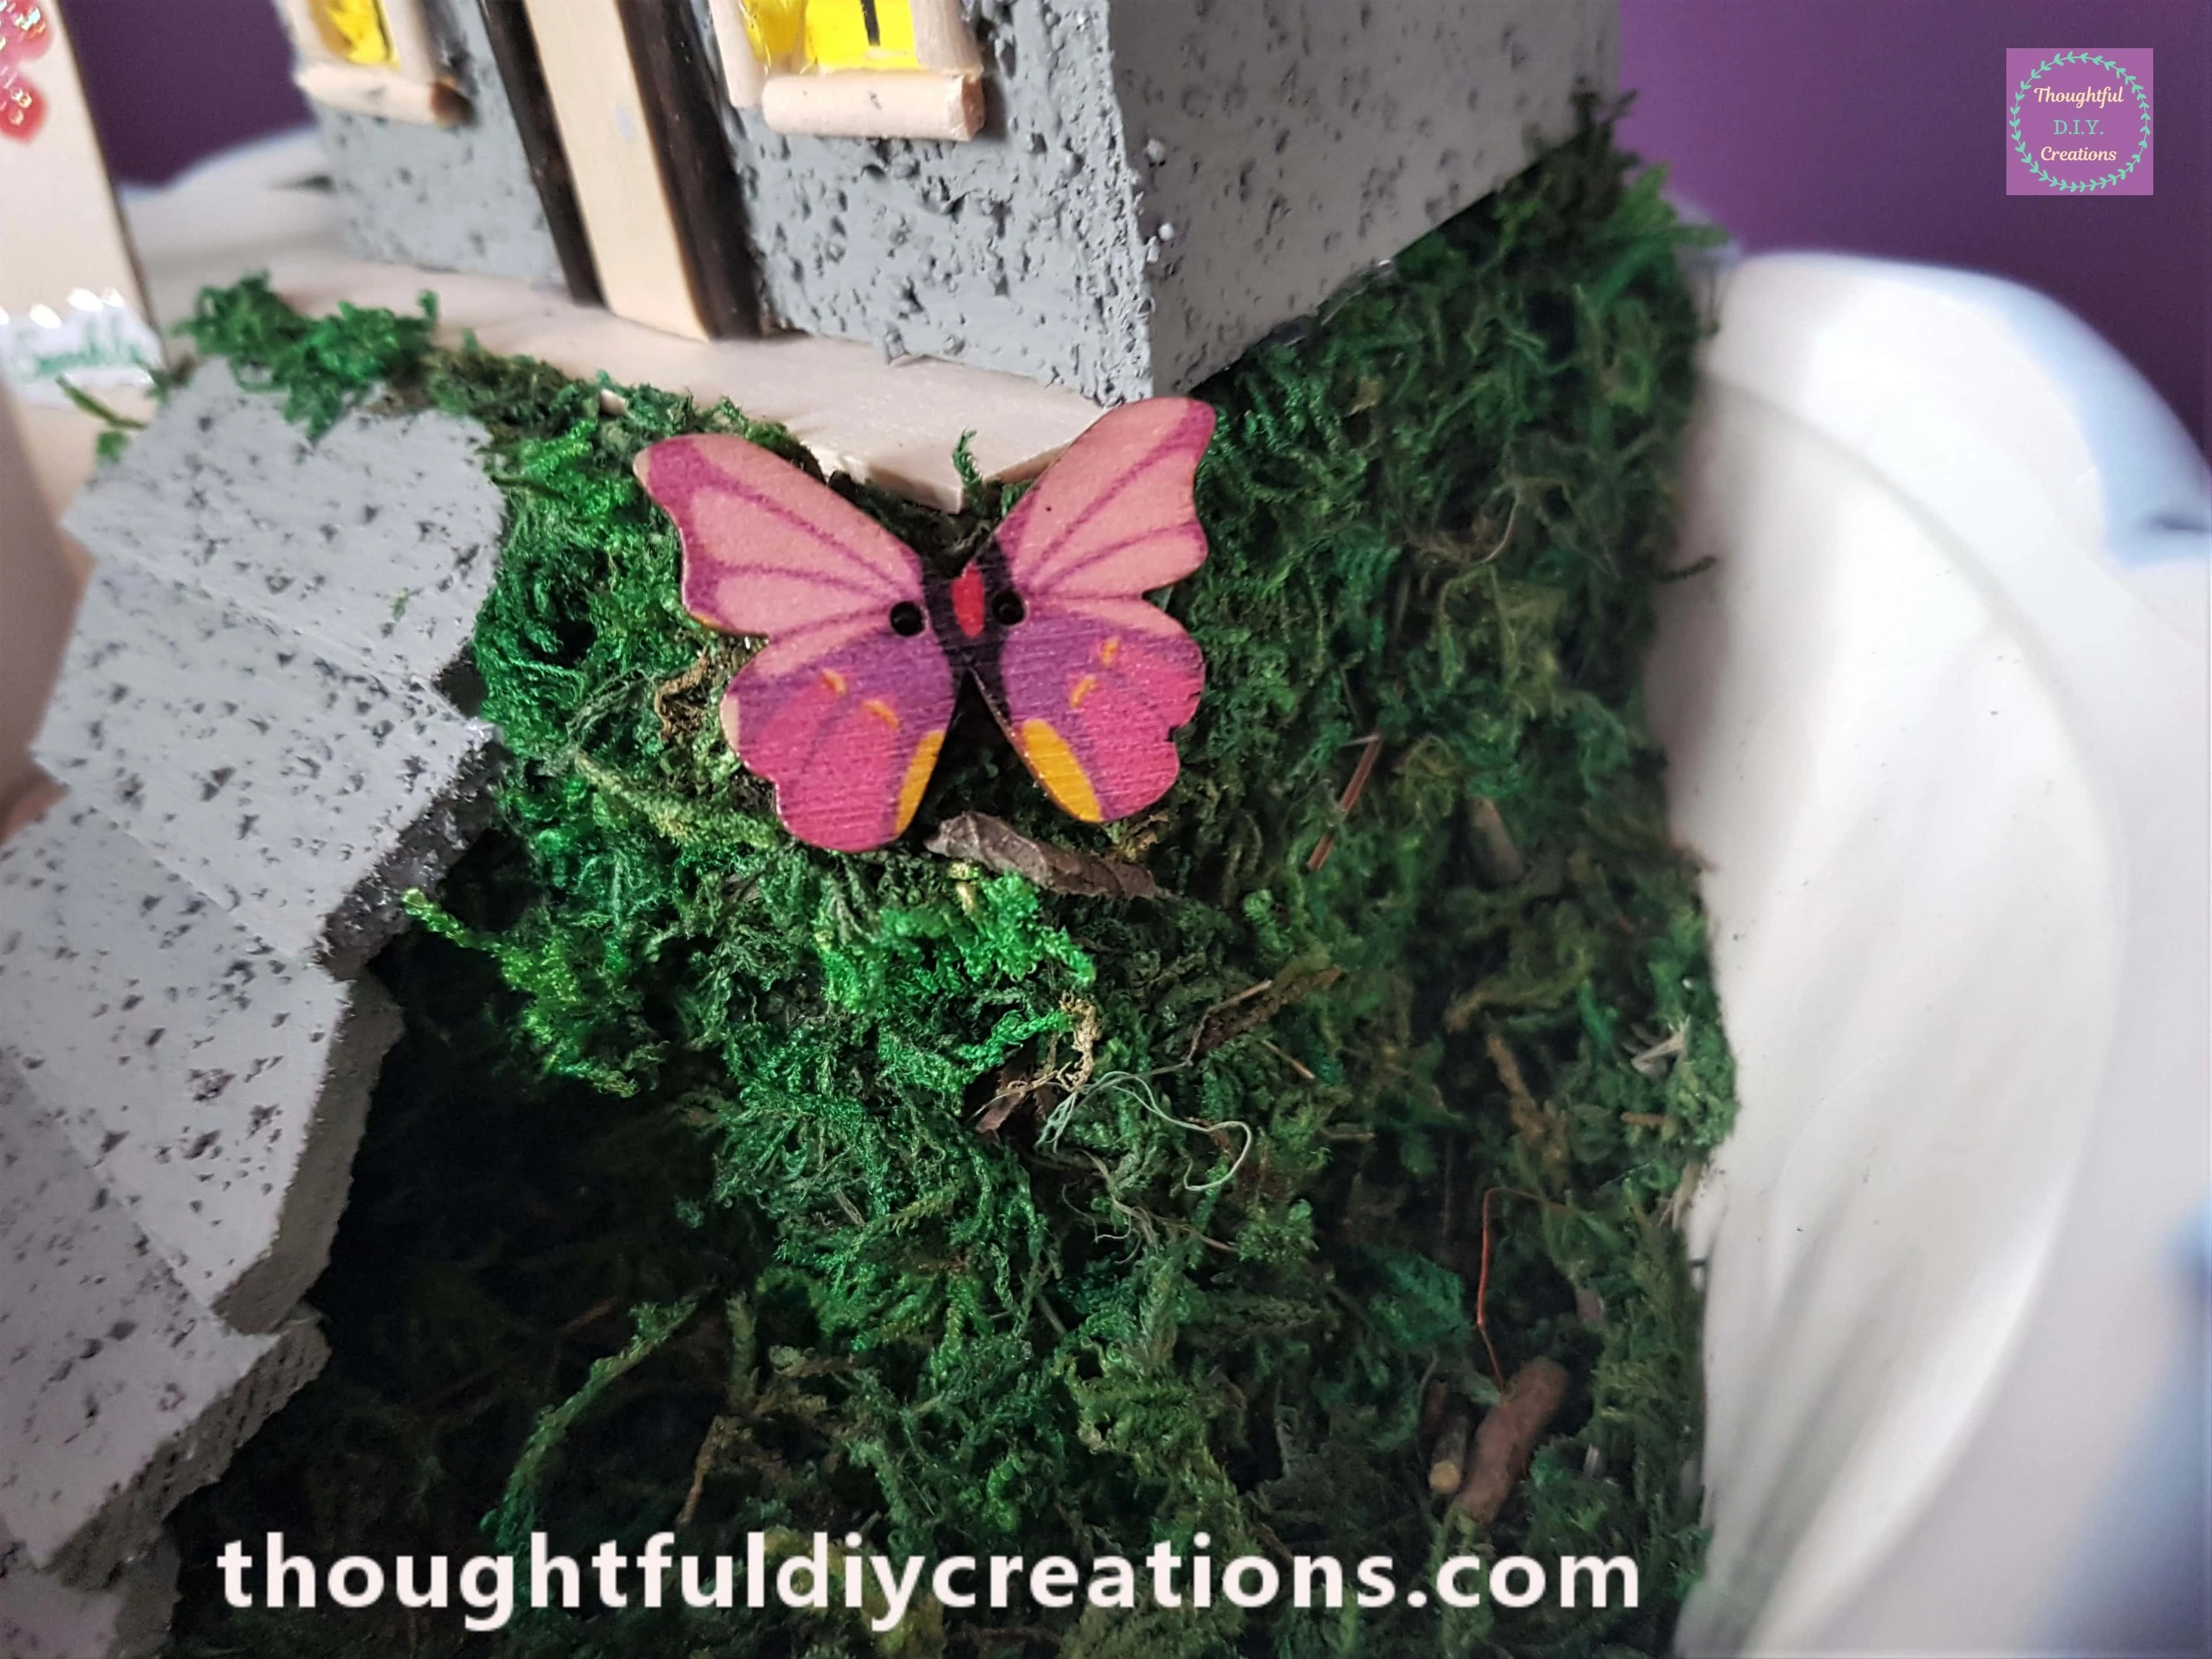
A Pink Wooden Butterfly was Glued to the edge of the Hill.
I Cut off some Leaves from a Bunch of Artificial Flowers.
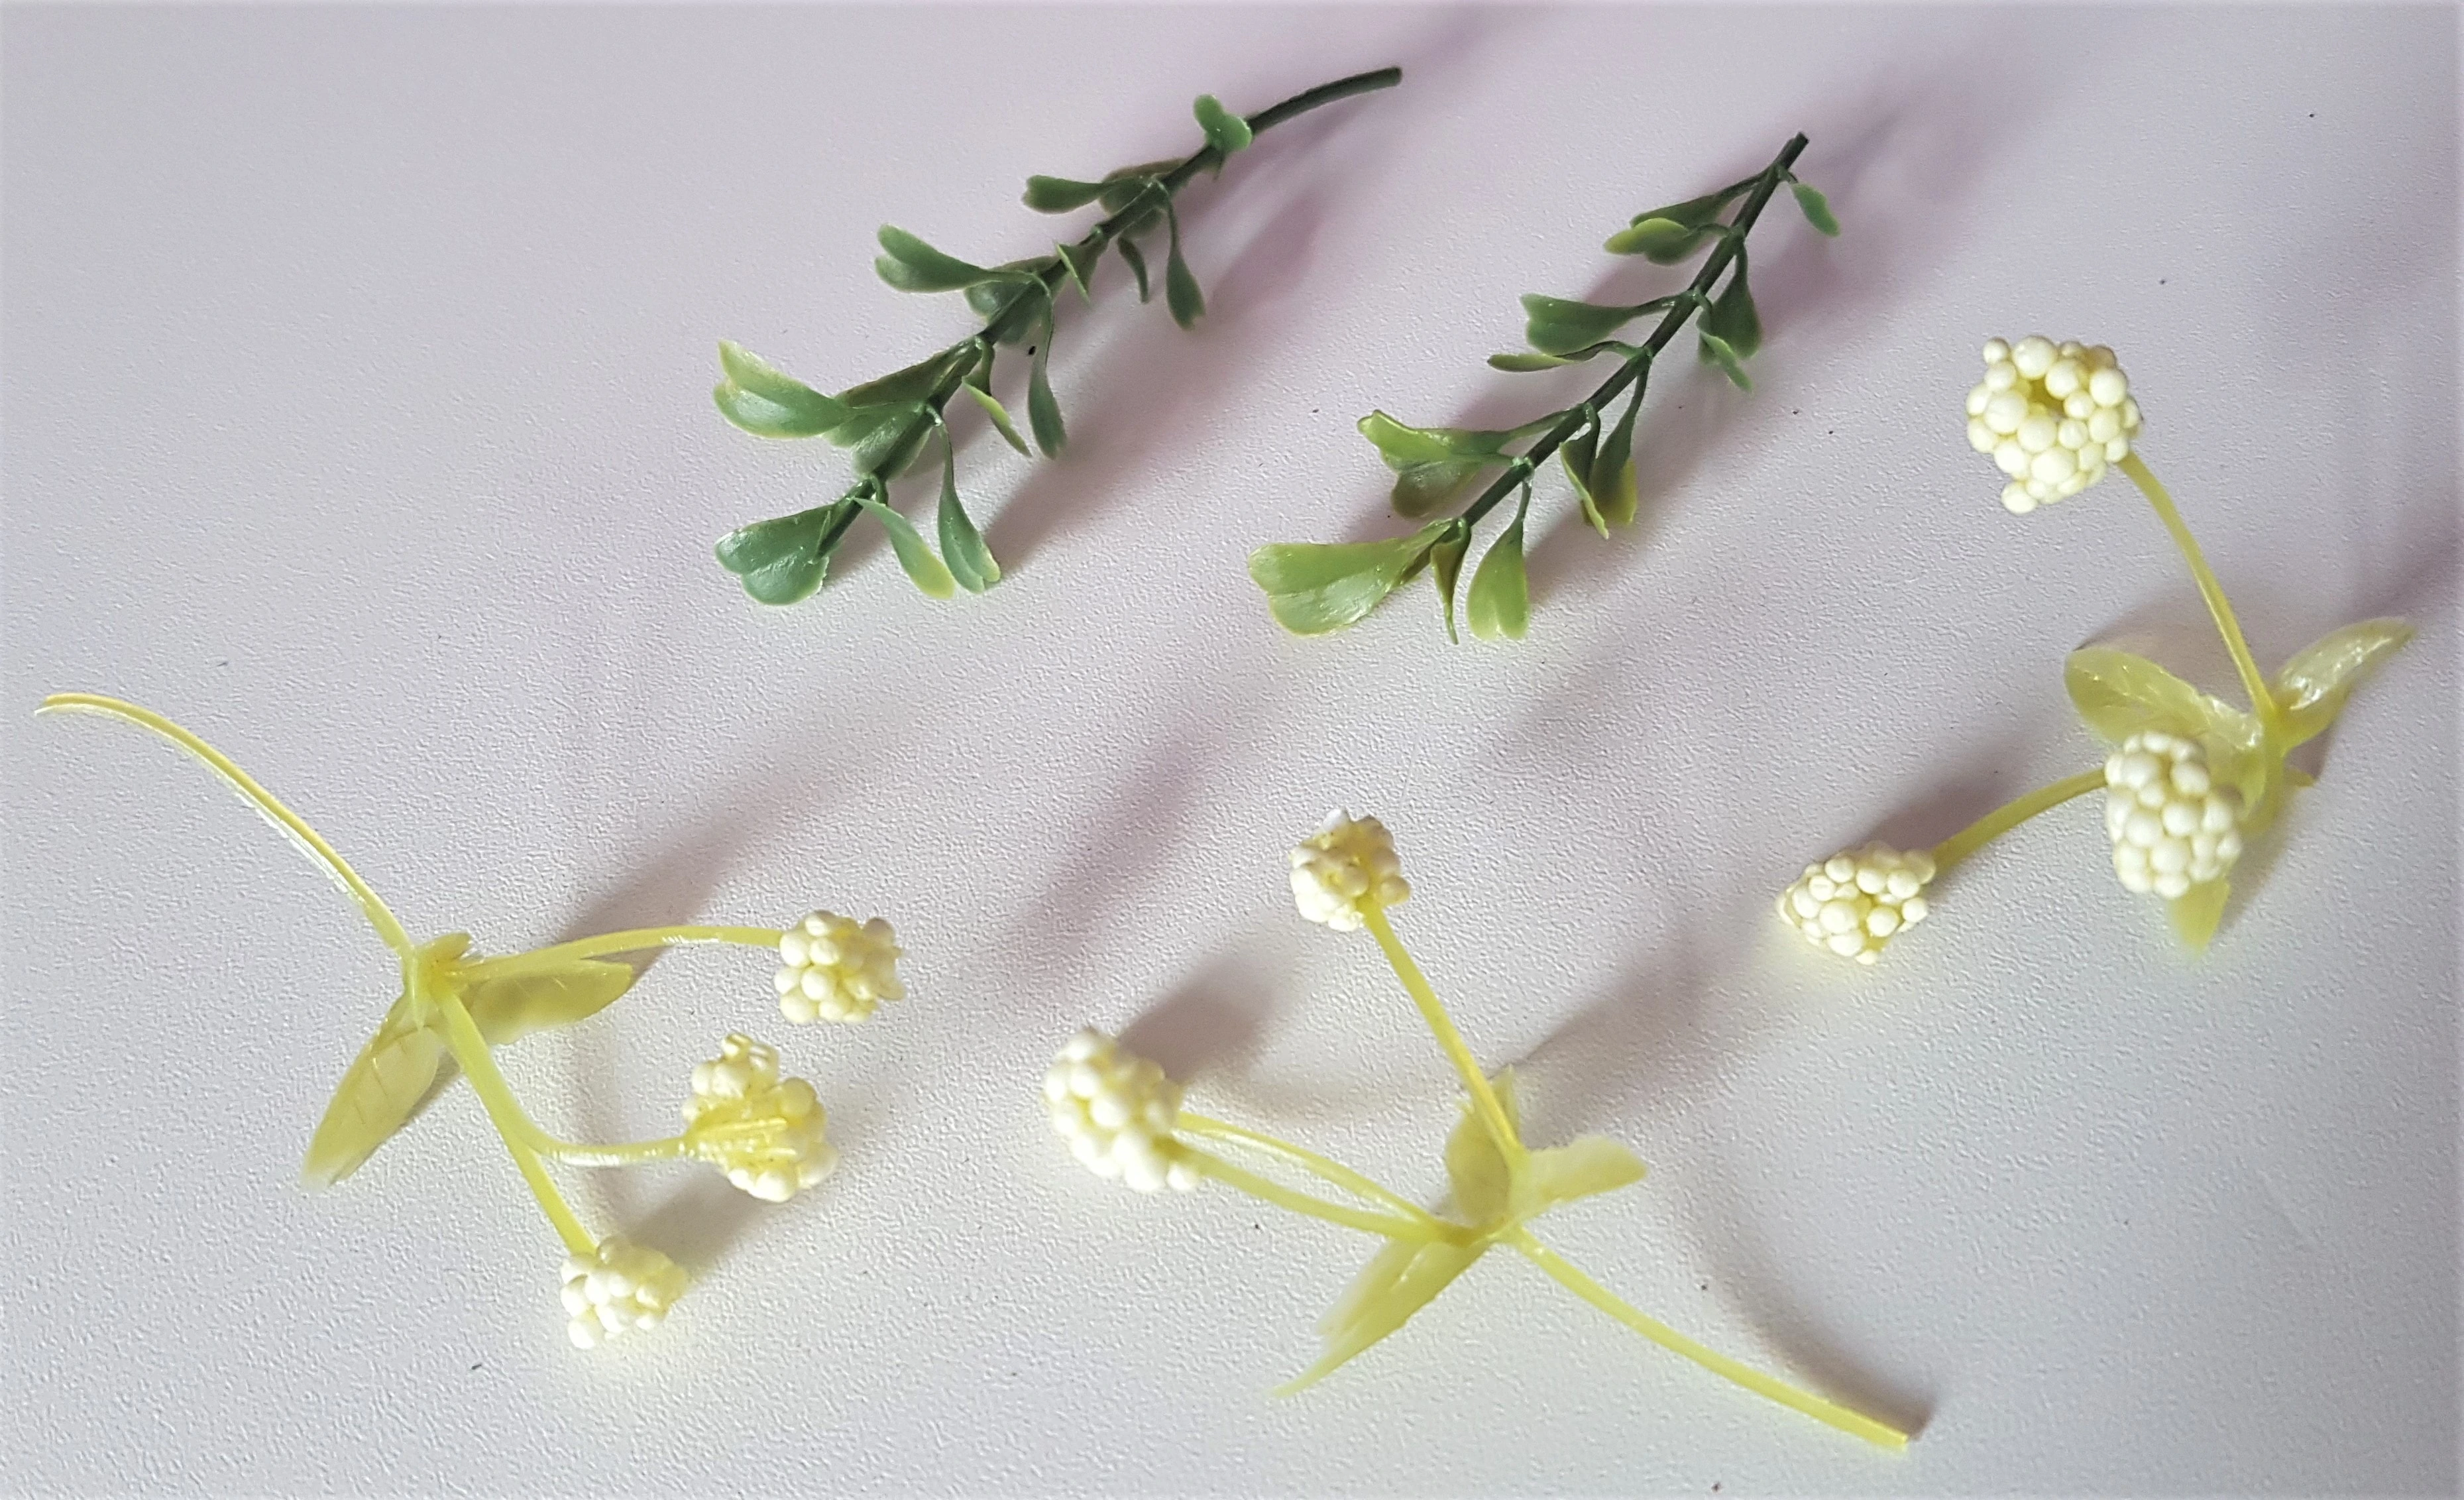
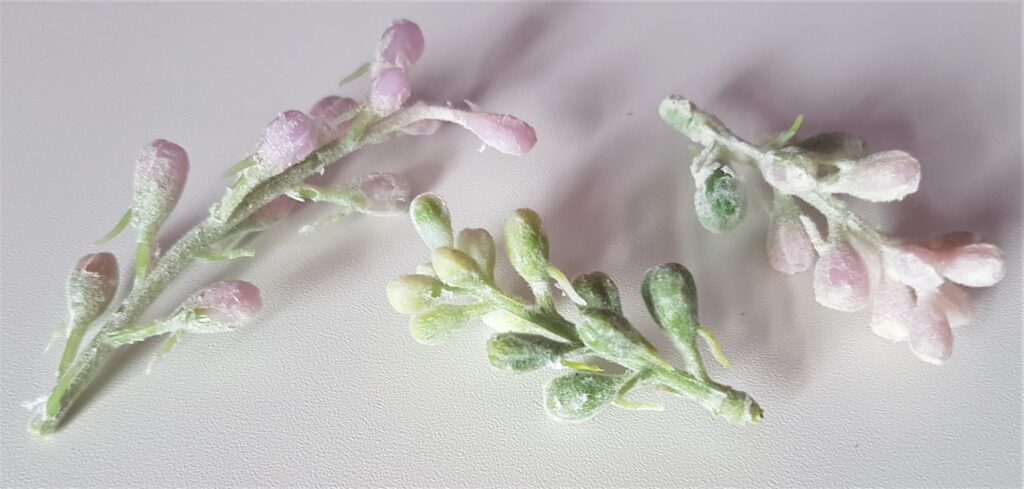
I also Cut some Purple and Green Flower Buds.
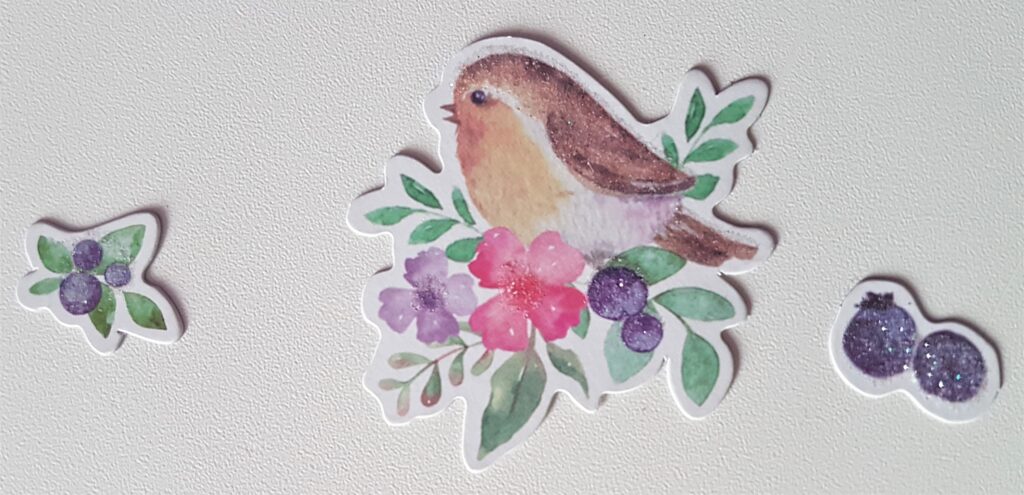
I got a Picture of a Bird and Flowers as well as Berries from an Ephemera Pack.
I put a dab of Hot Glue on the end of everything except the Berries and poked them into the Moss. I placed the berries randomly in the Garden.
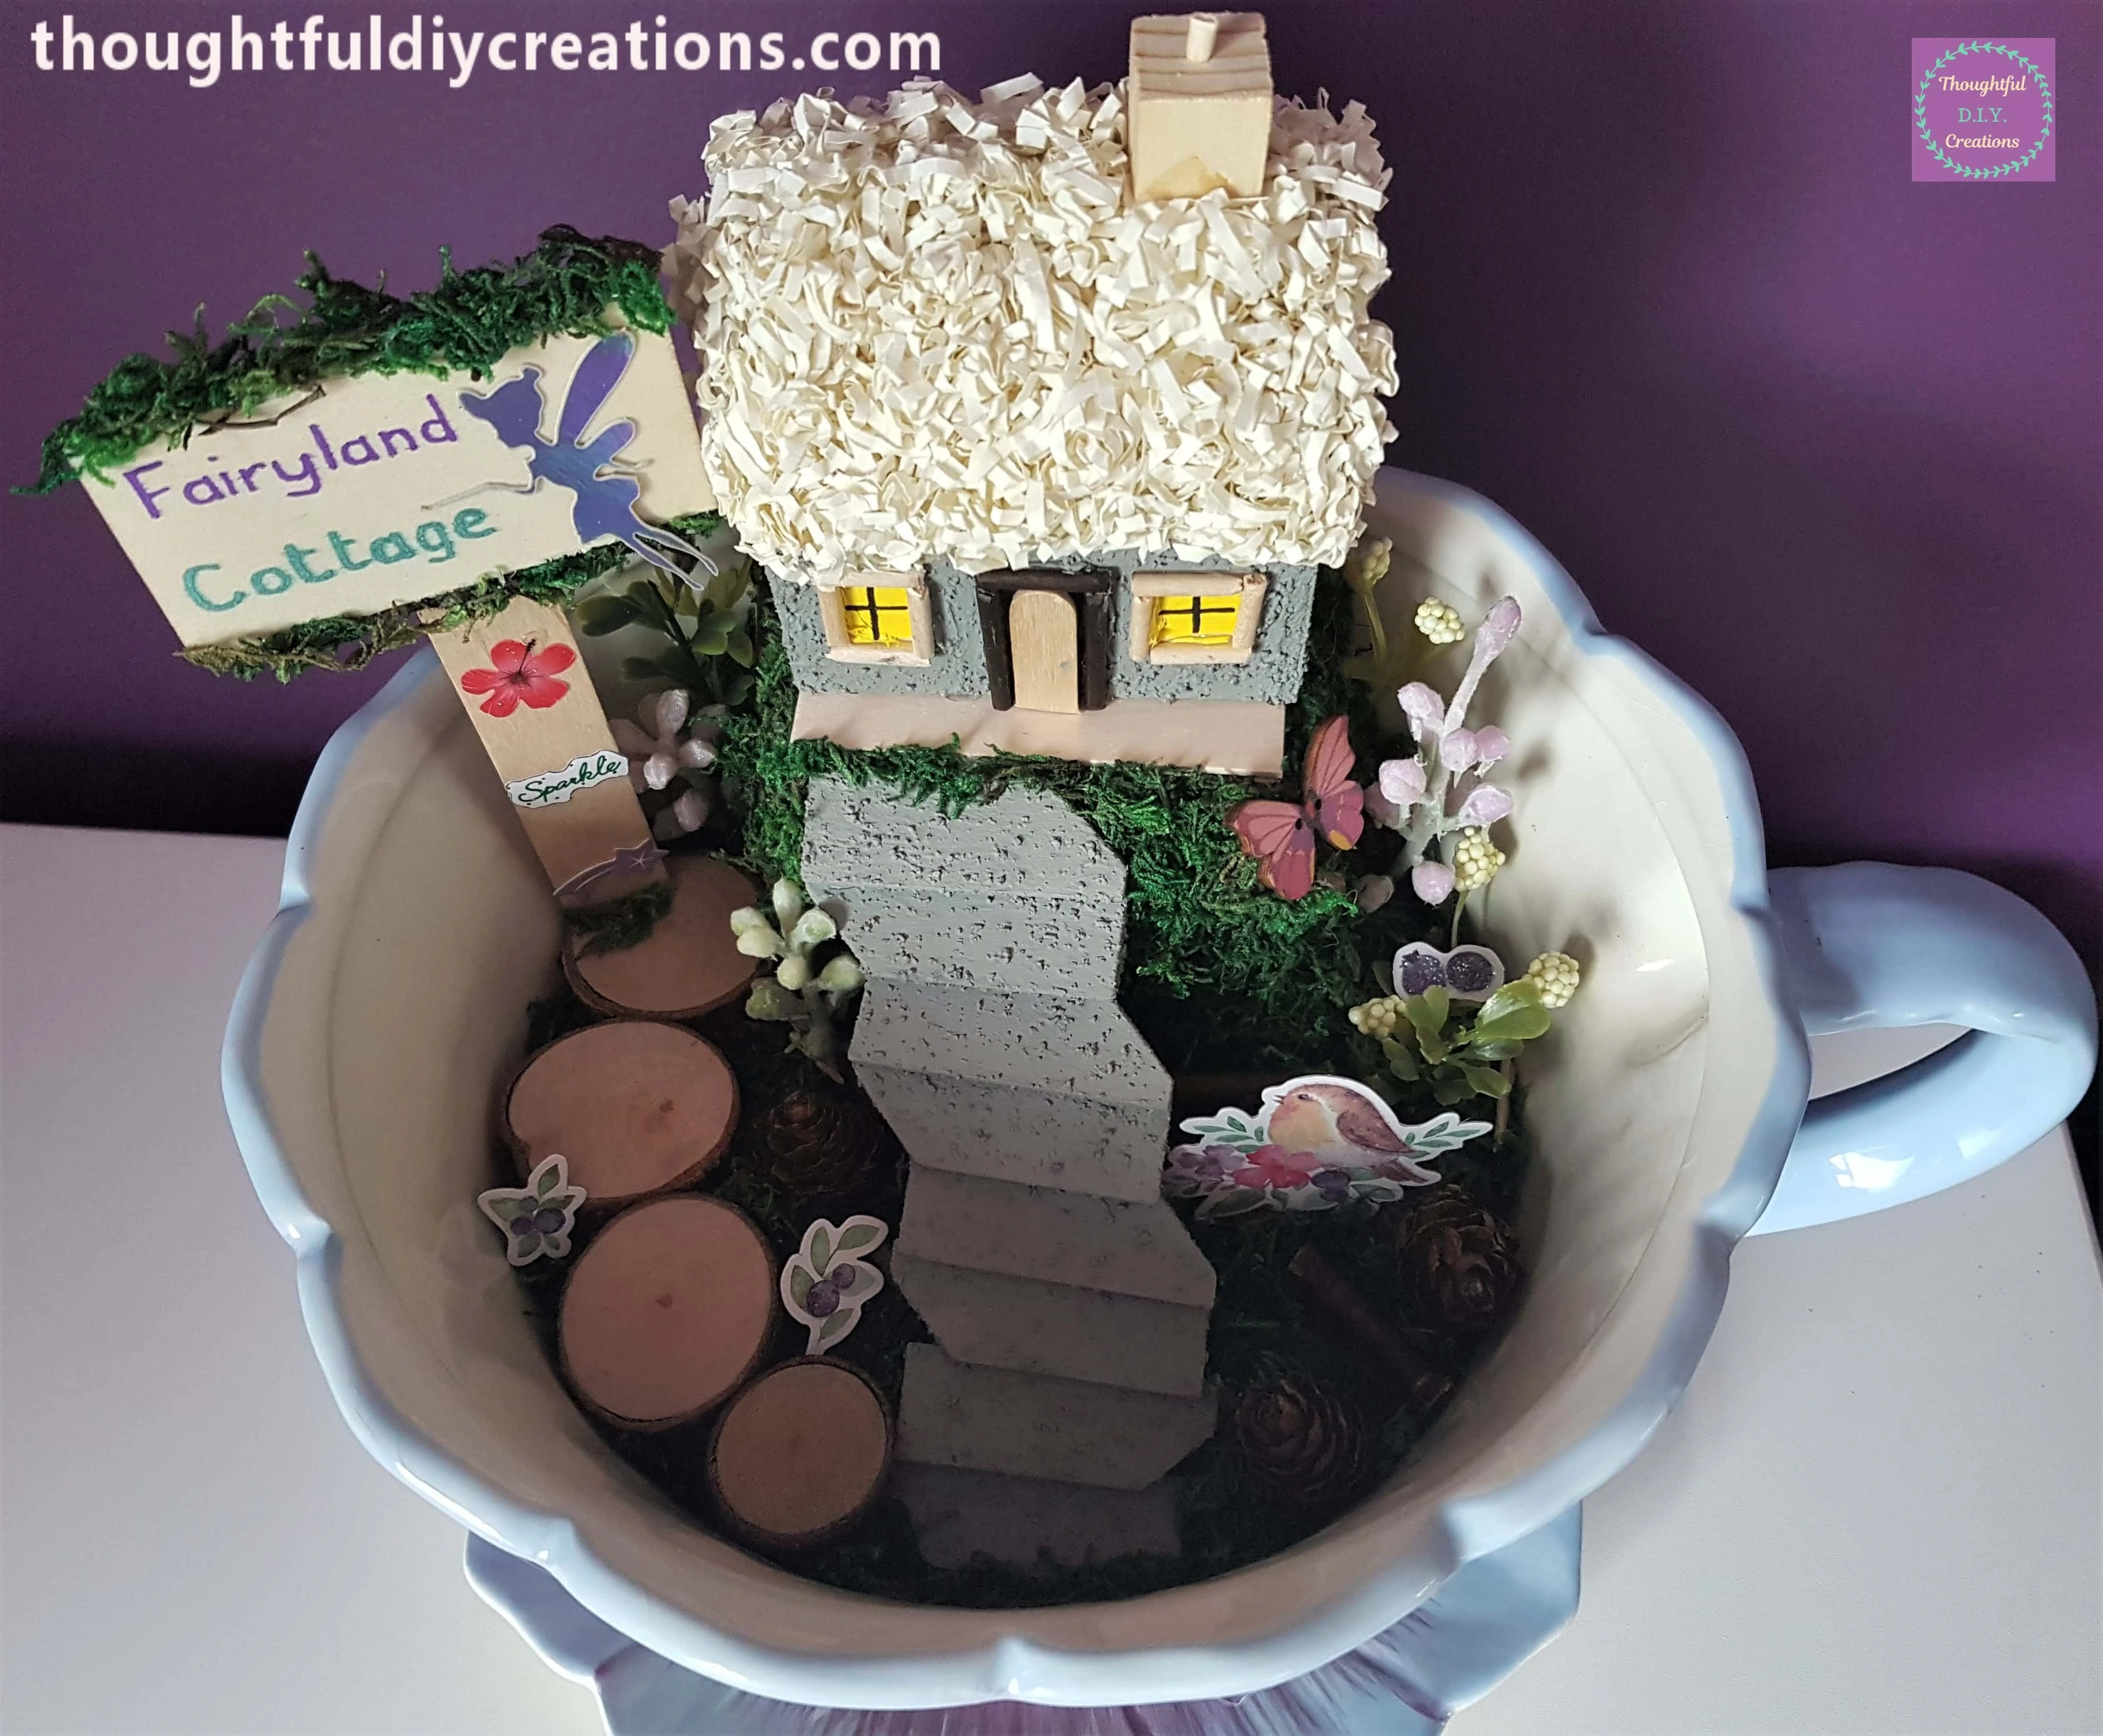
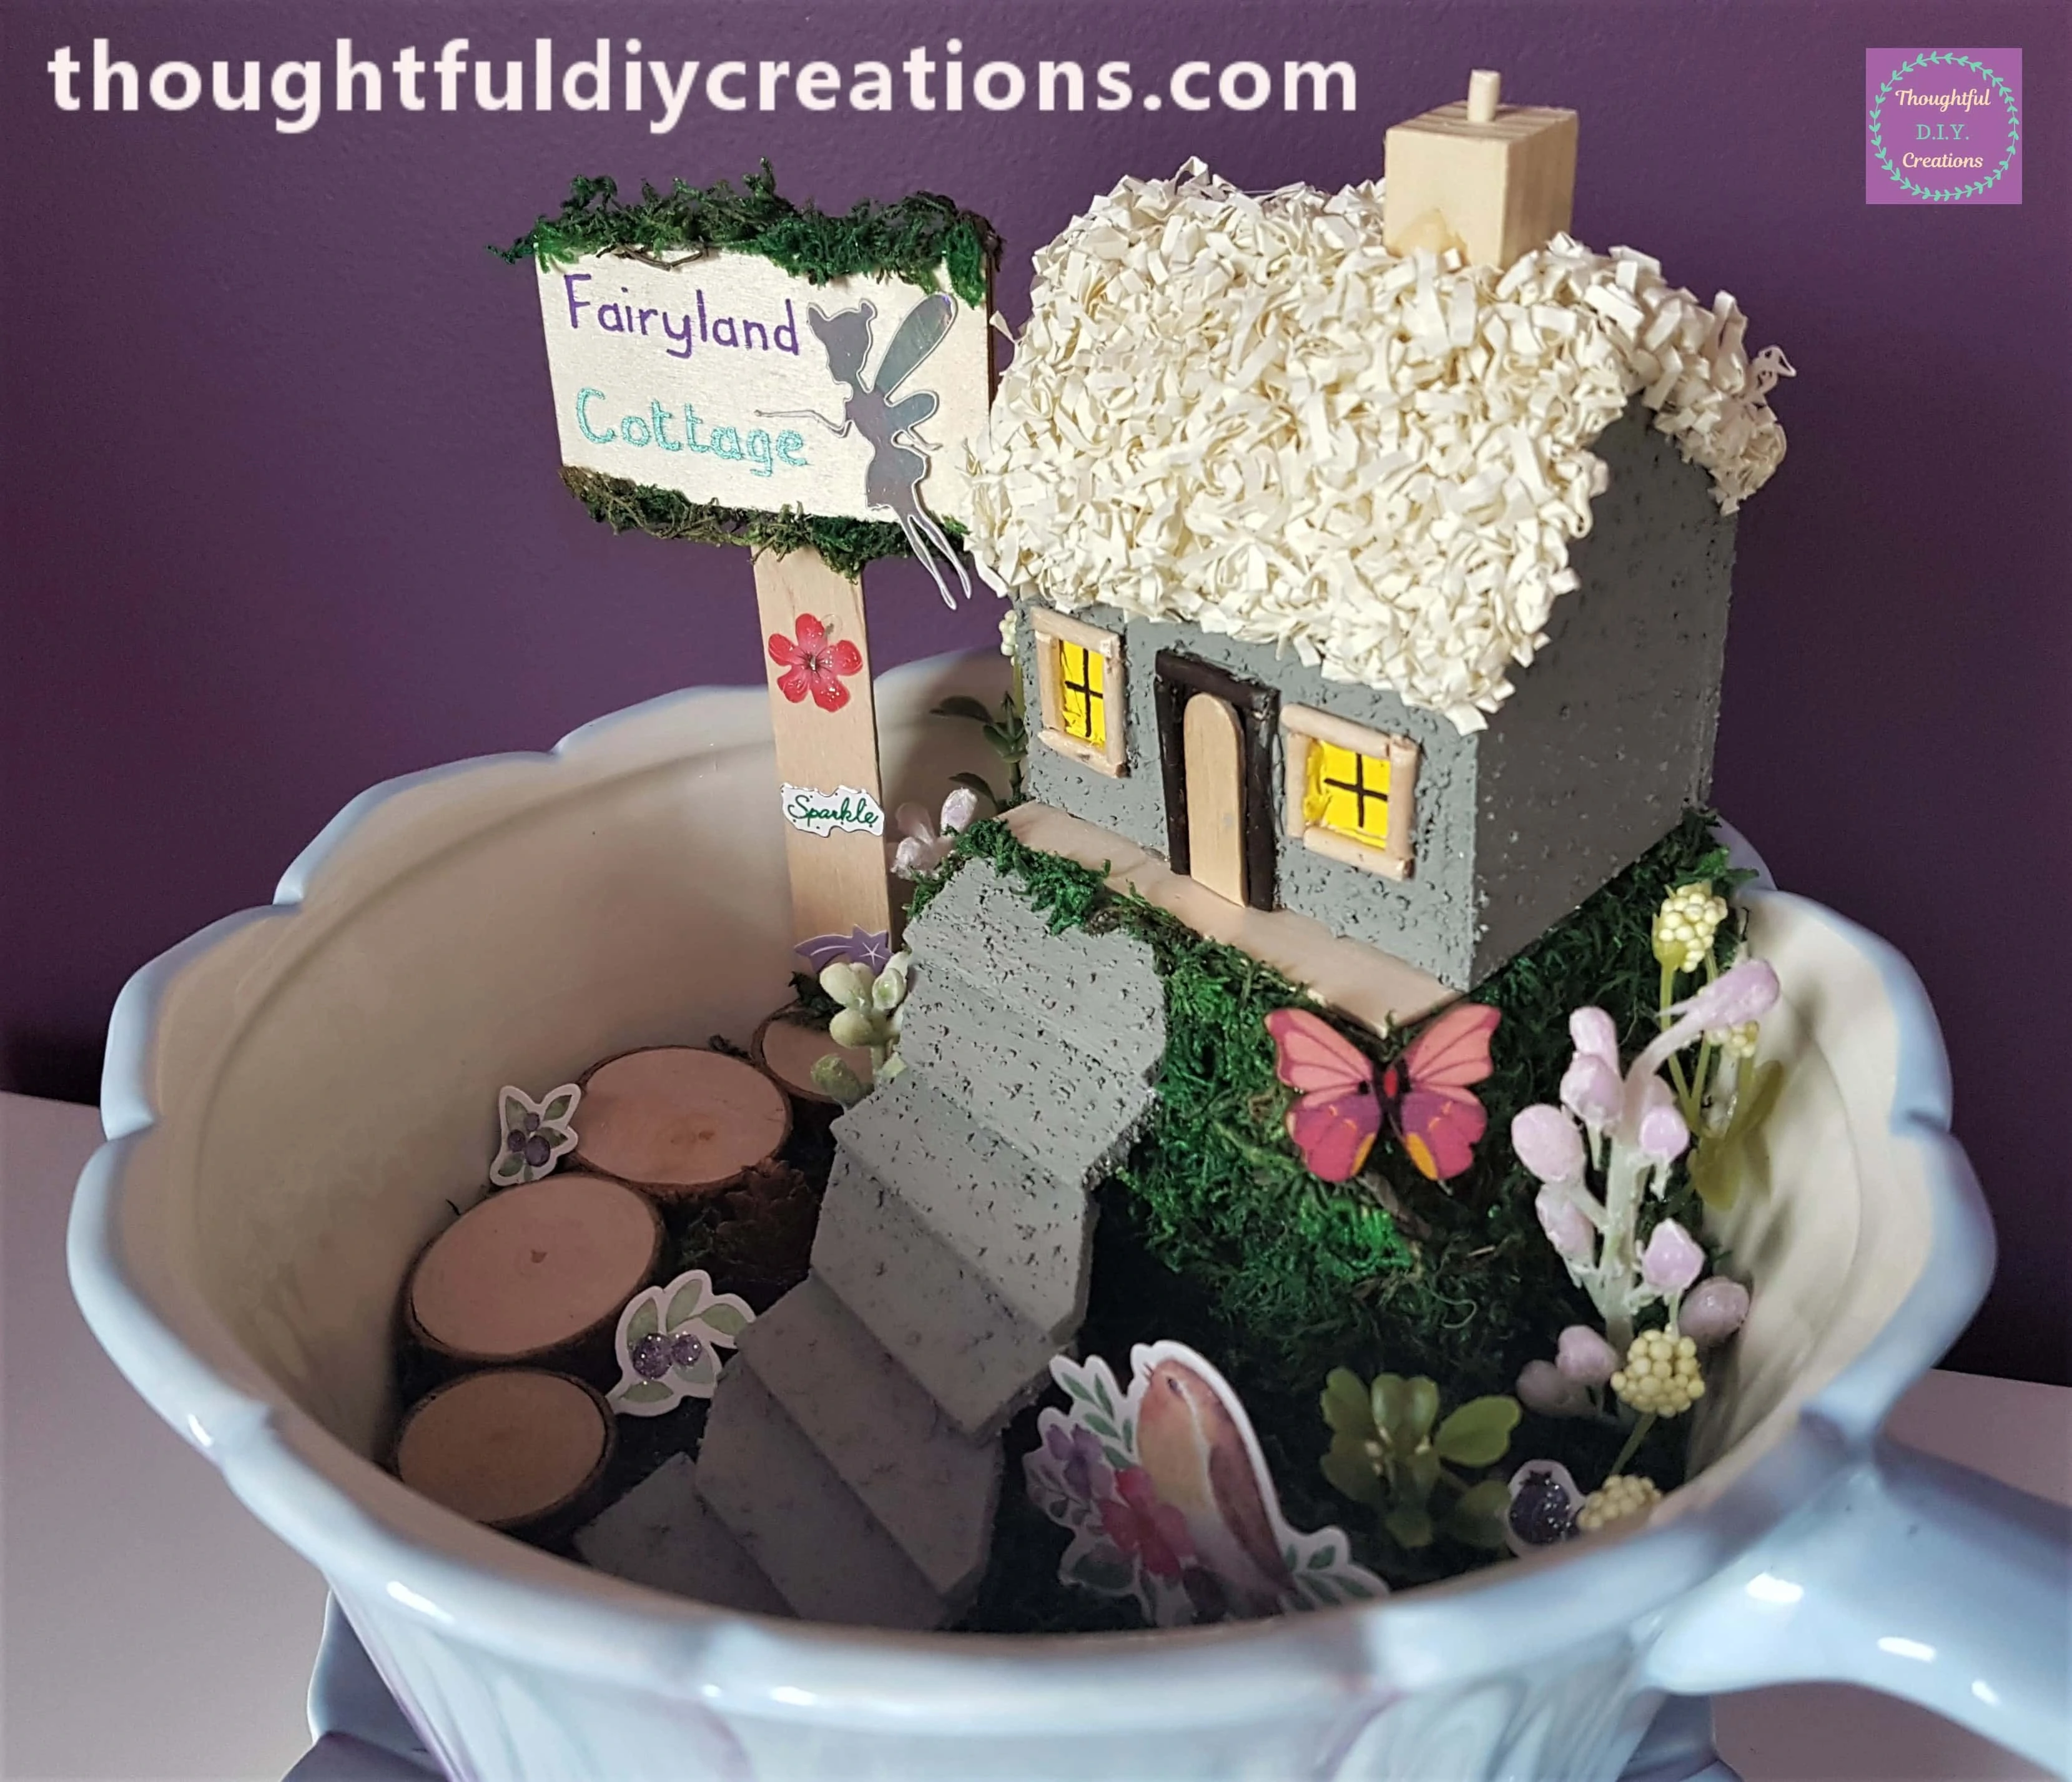
This Completed my Fairy Cottage and Garden.
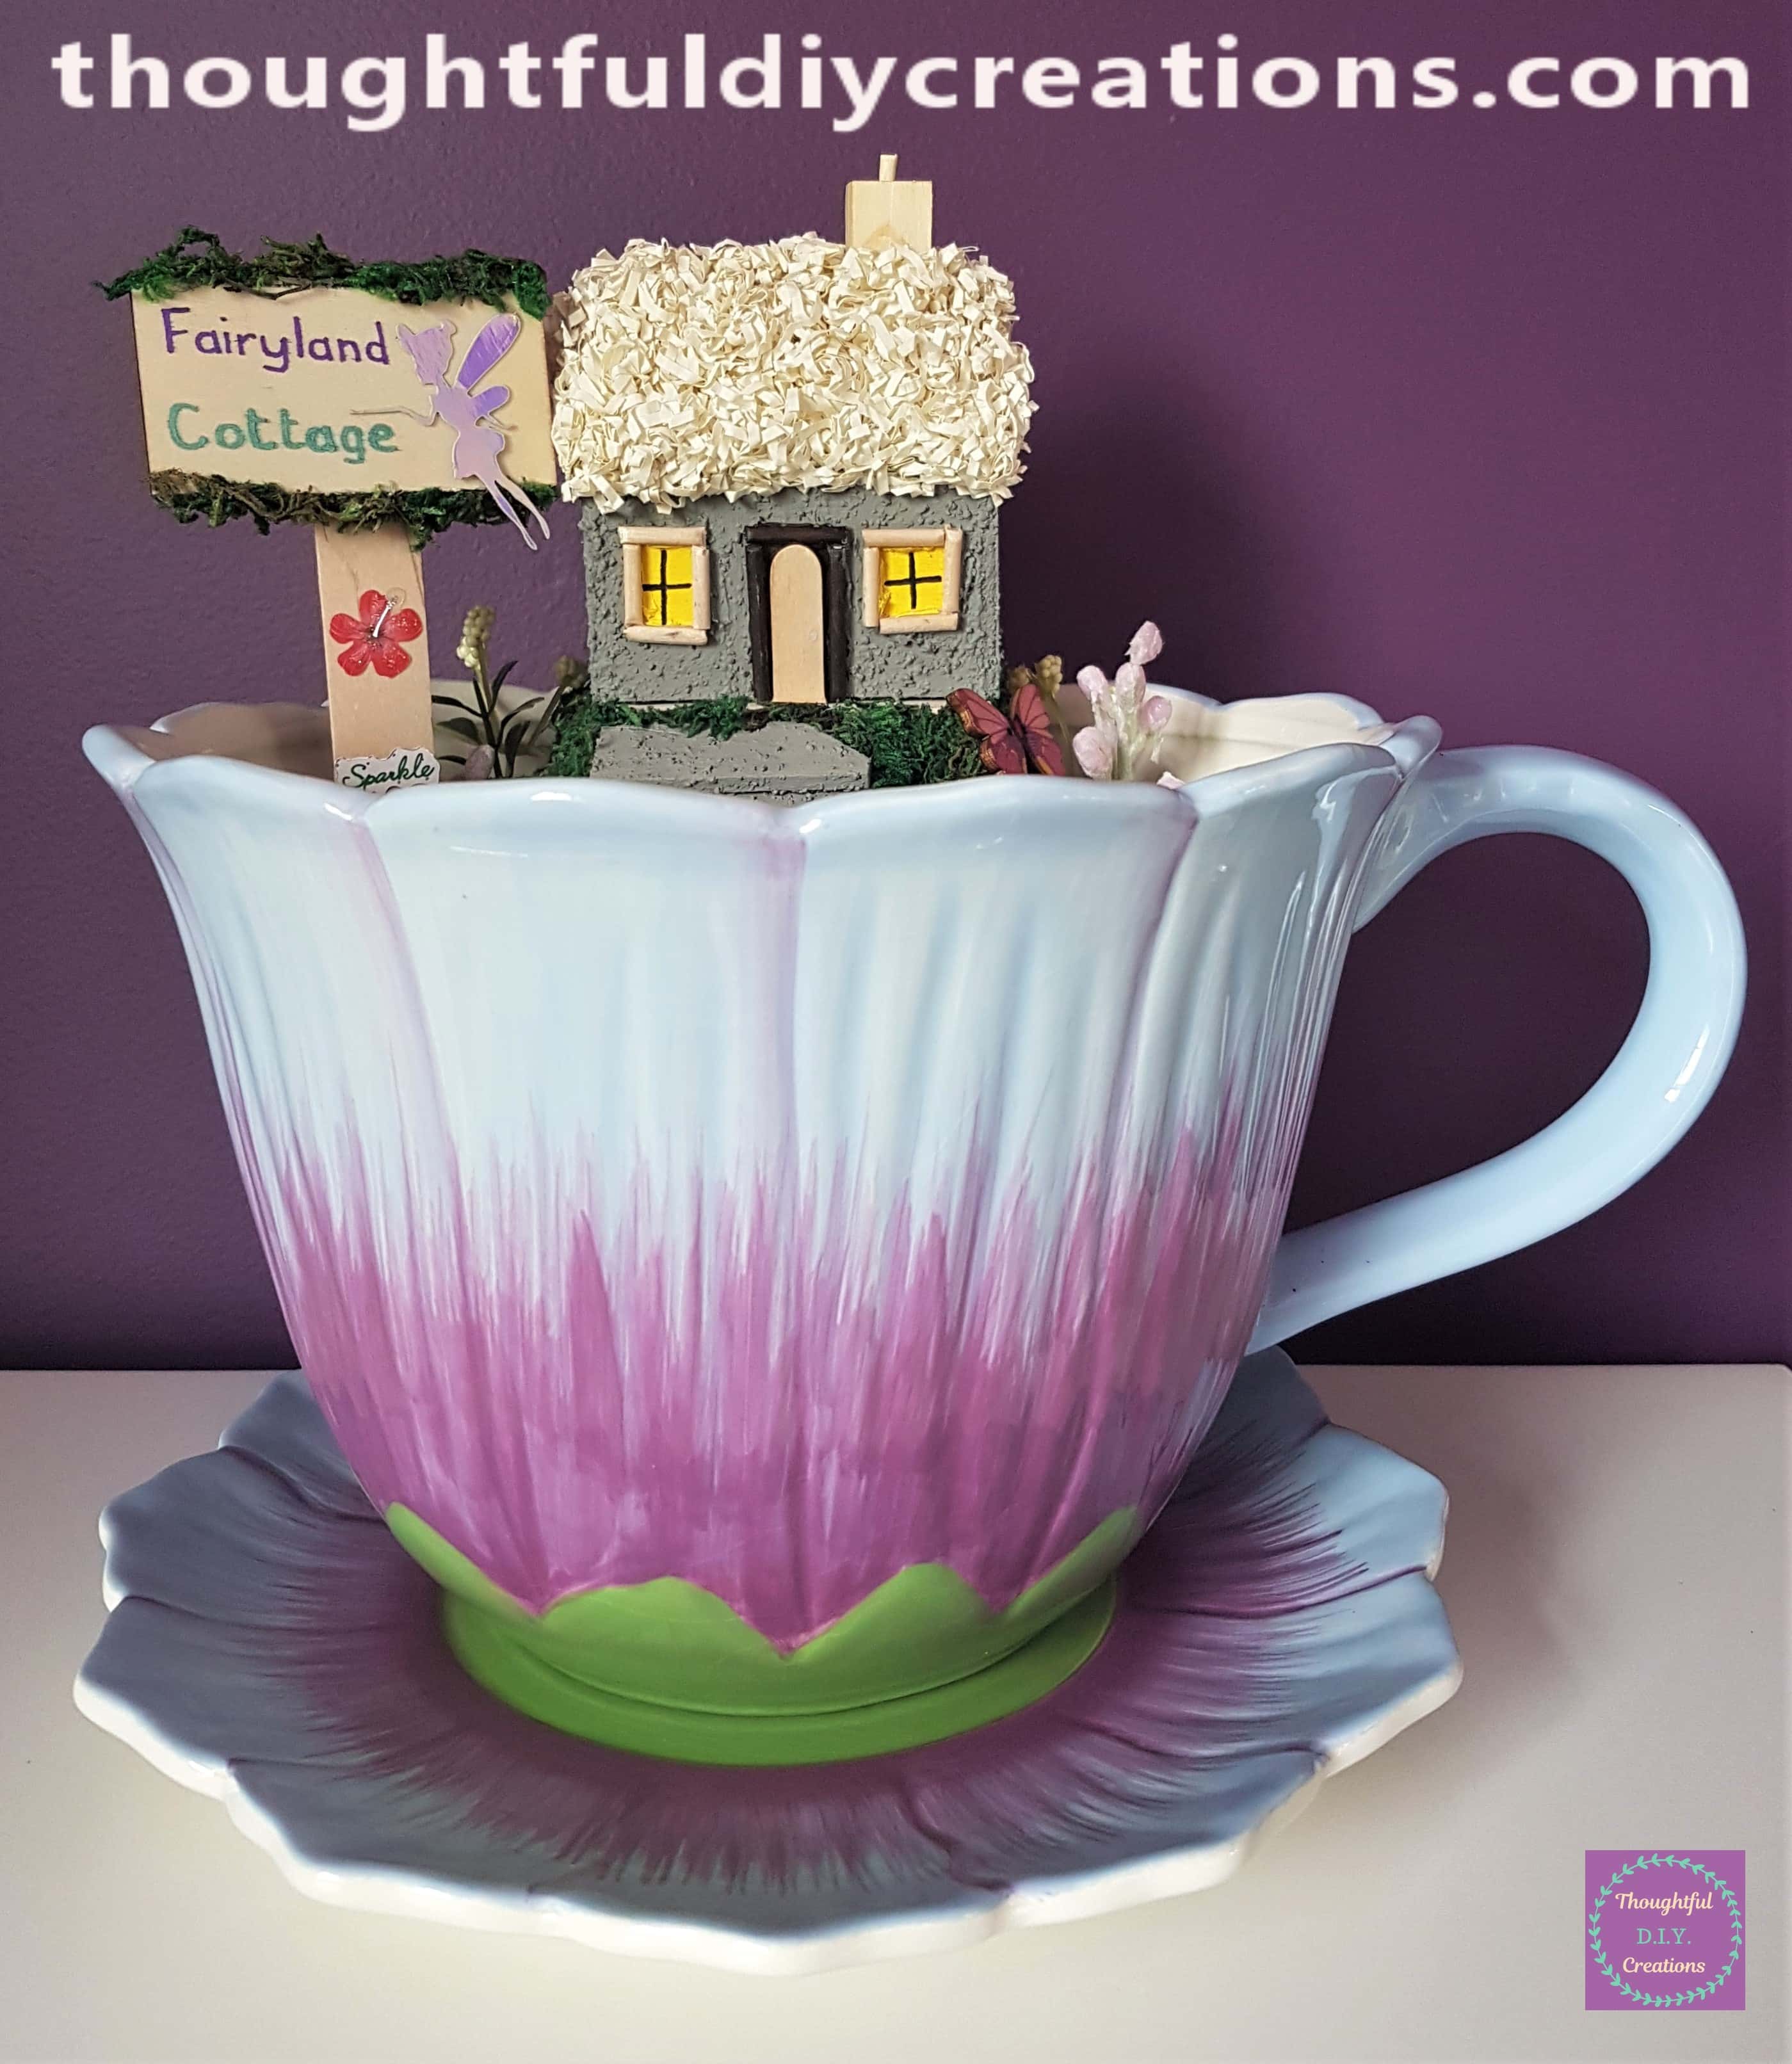
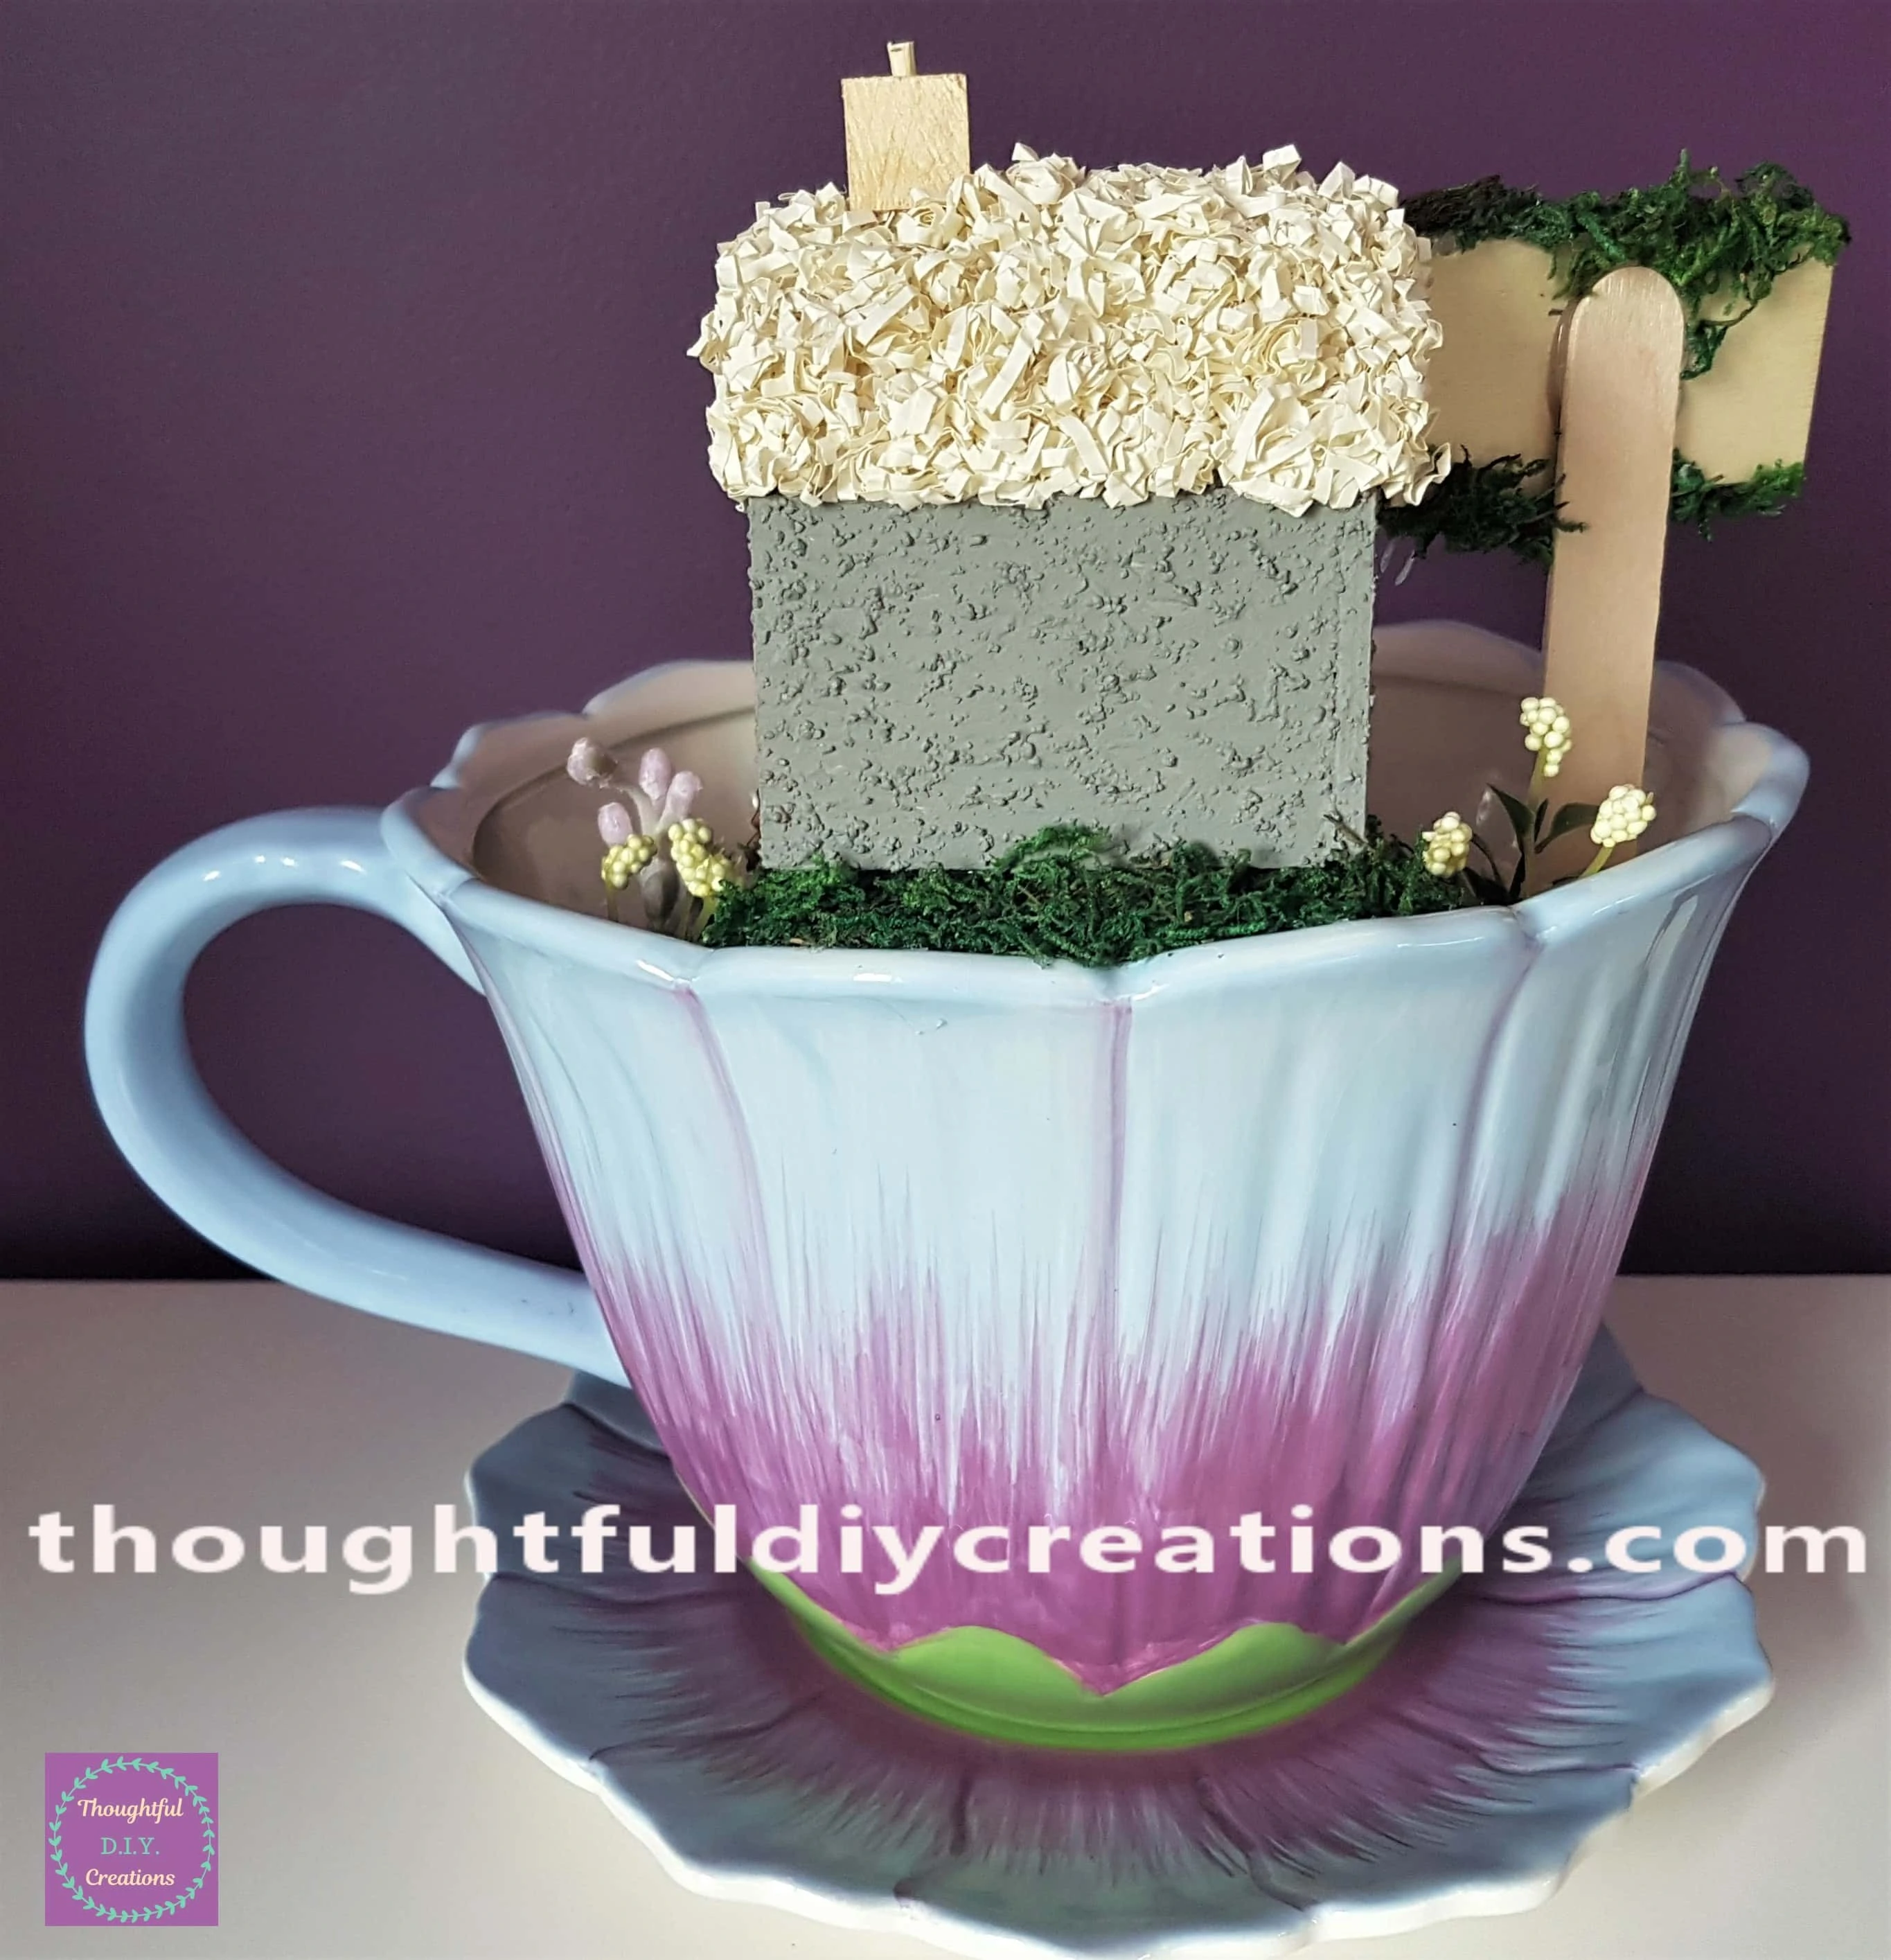
The Back of the Teacup.
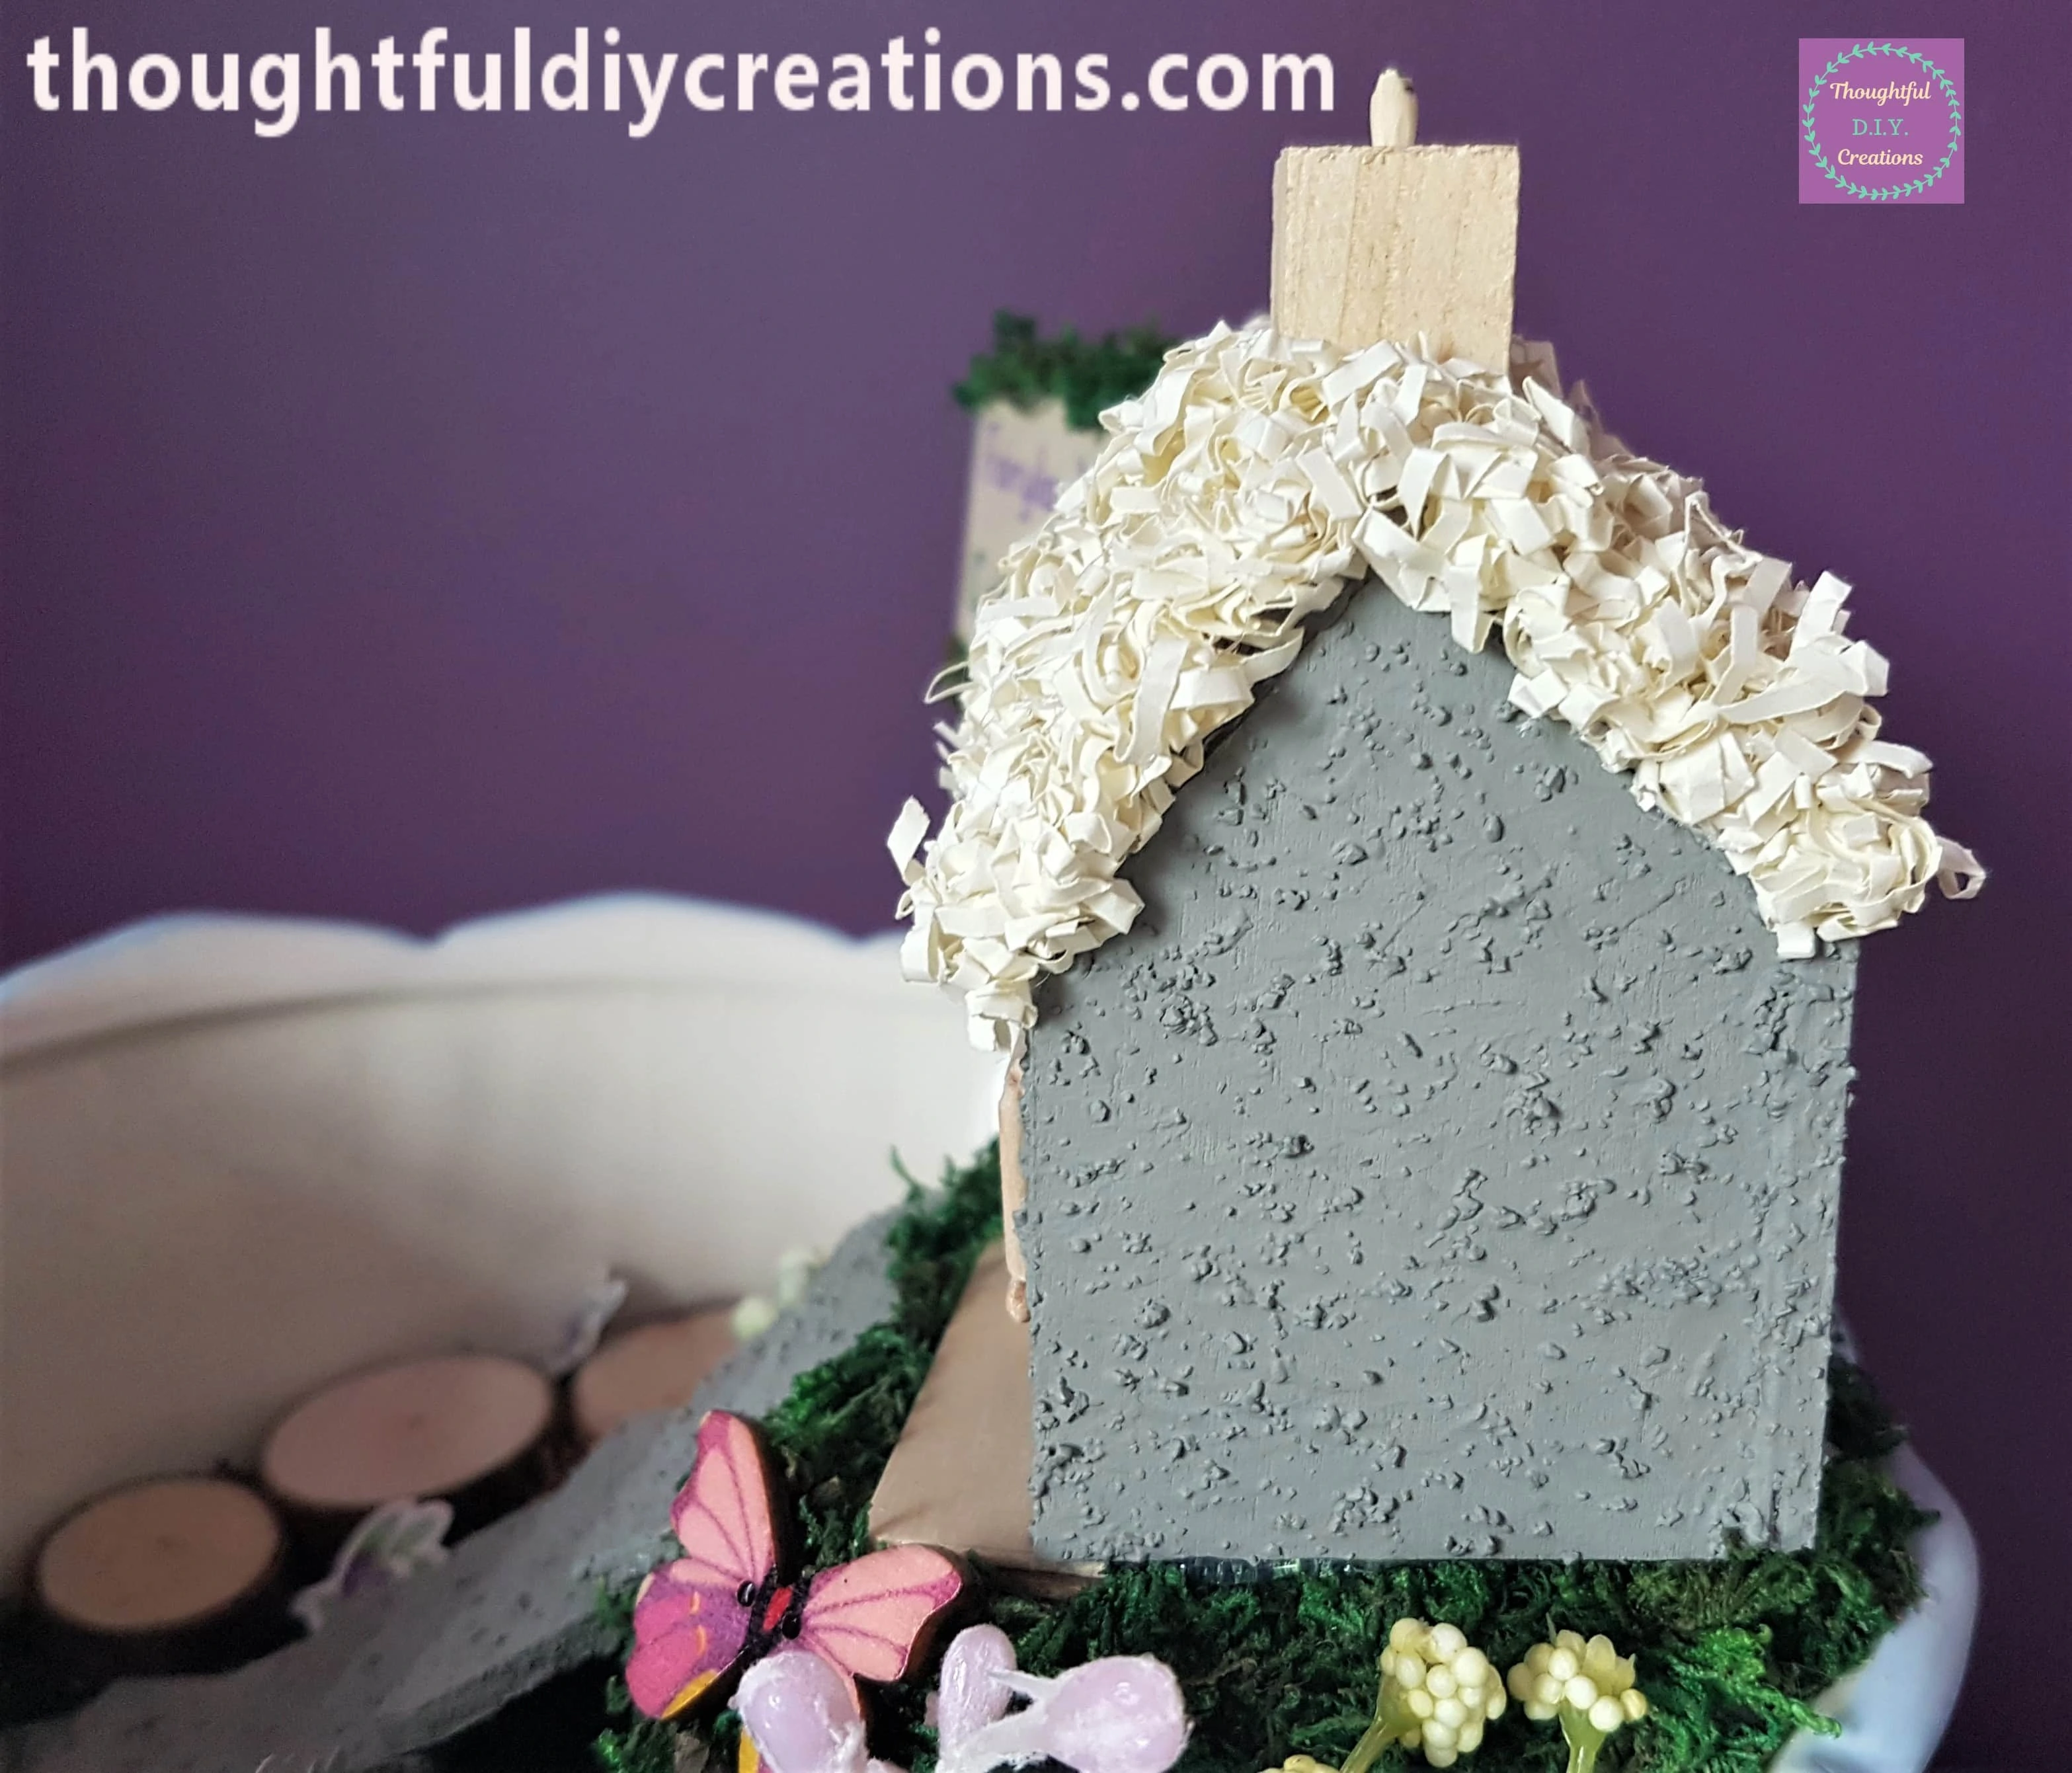
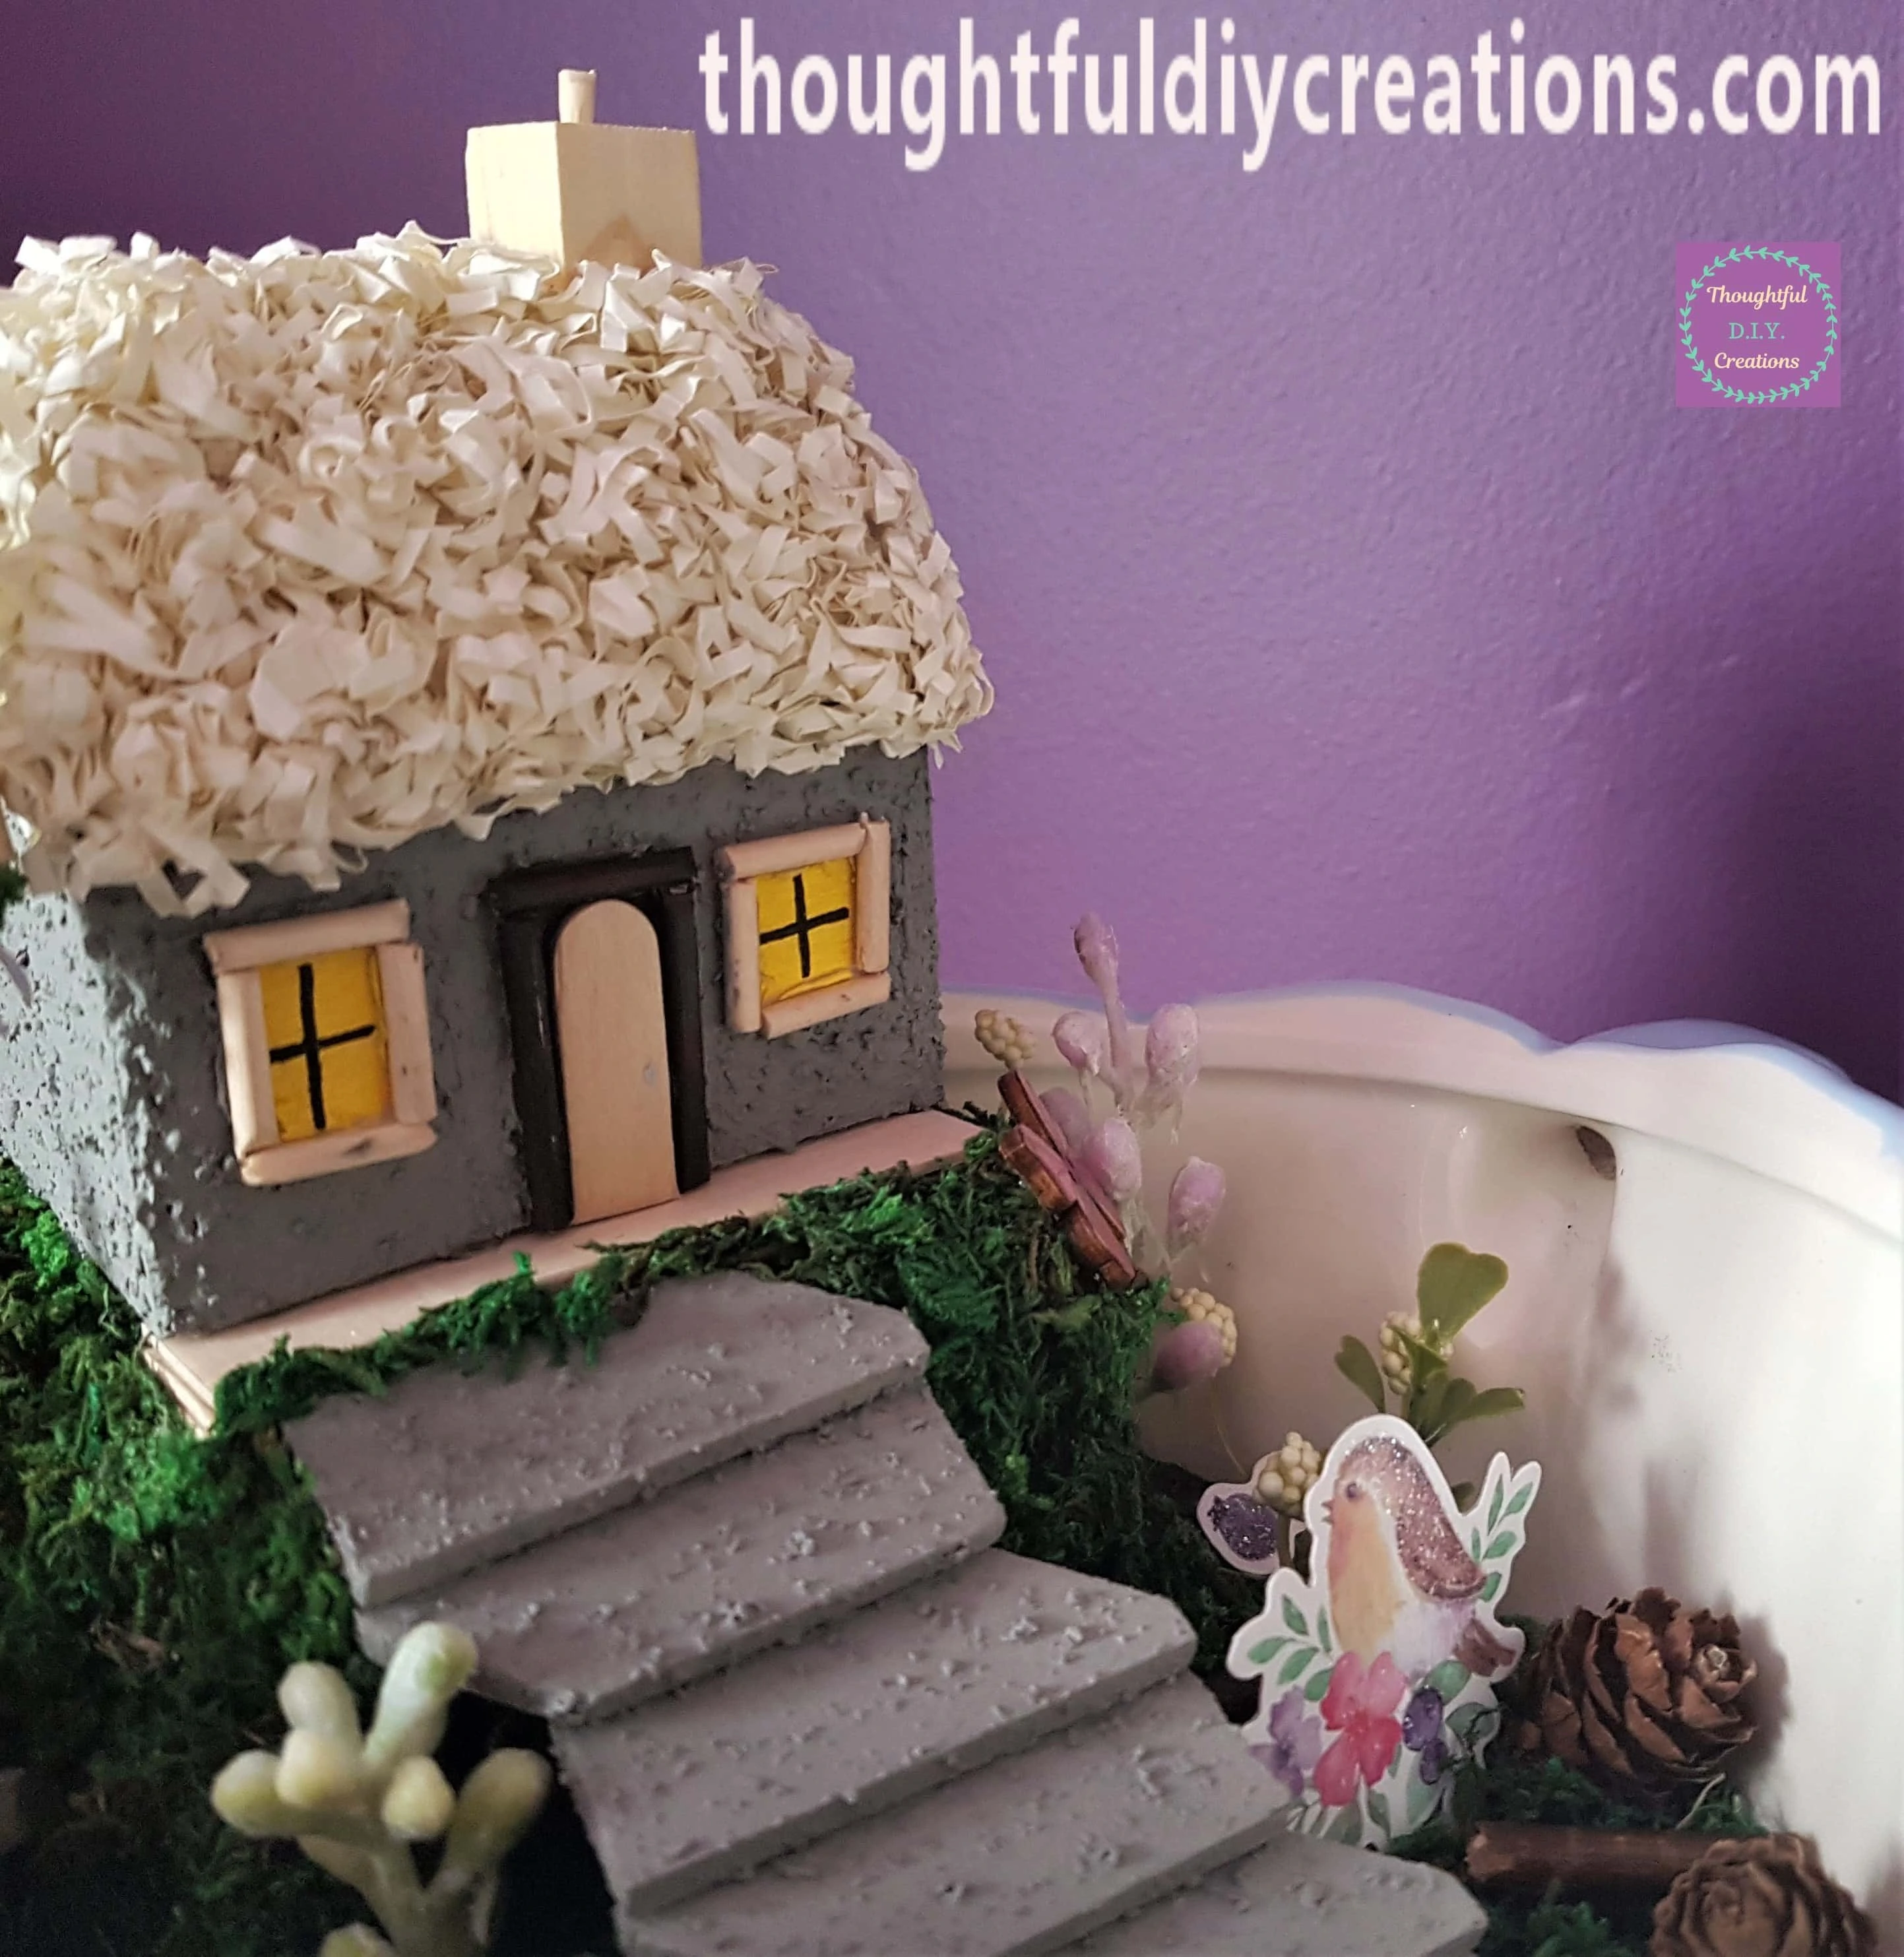
A Side View of the Cottage.
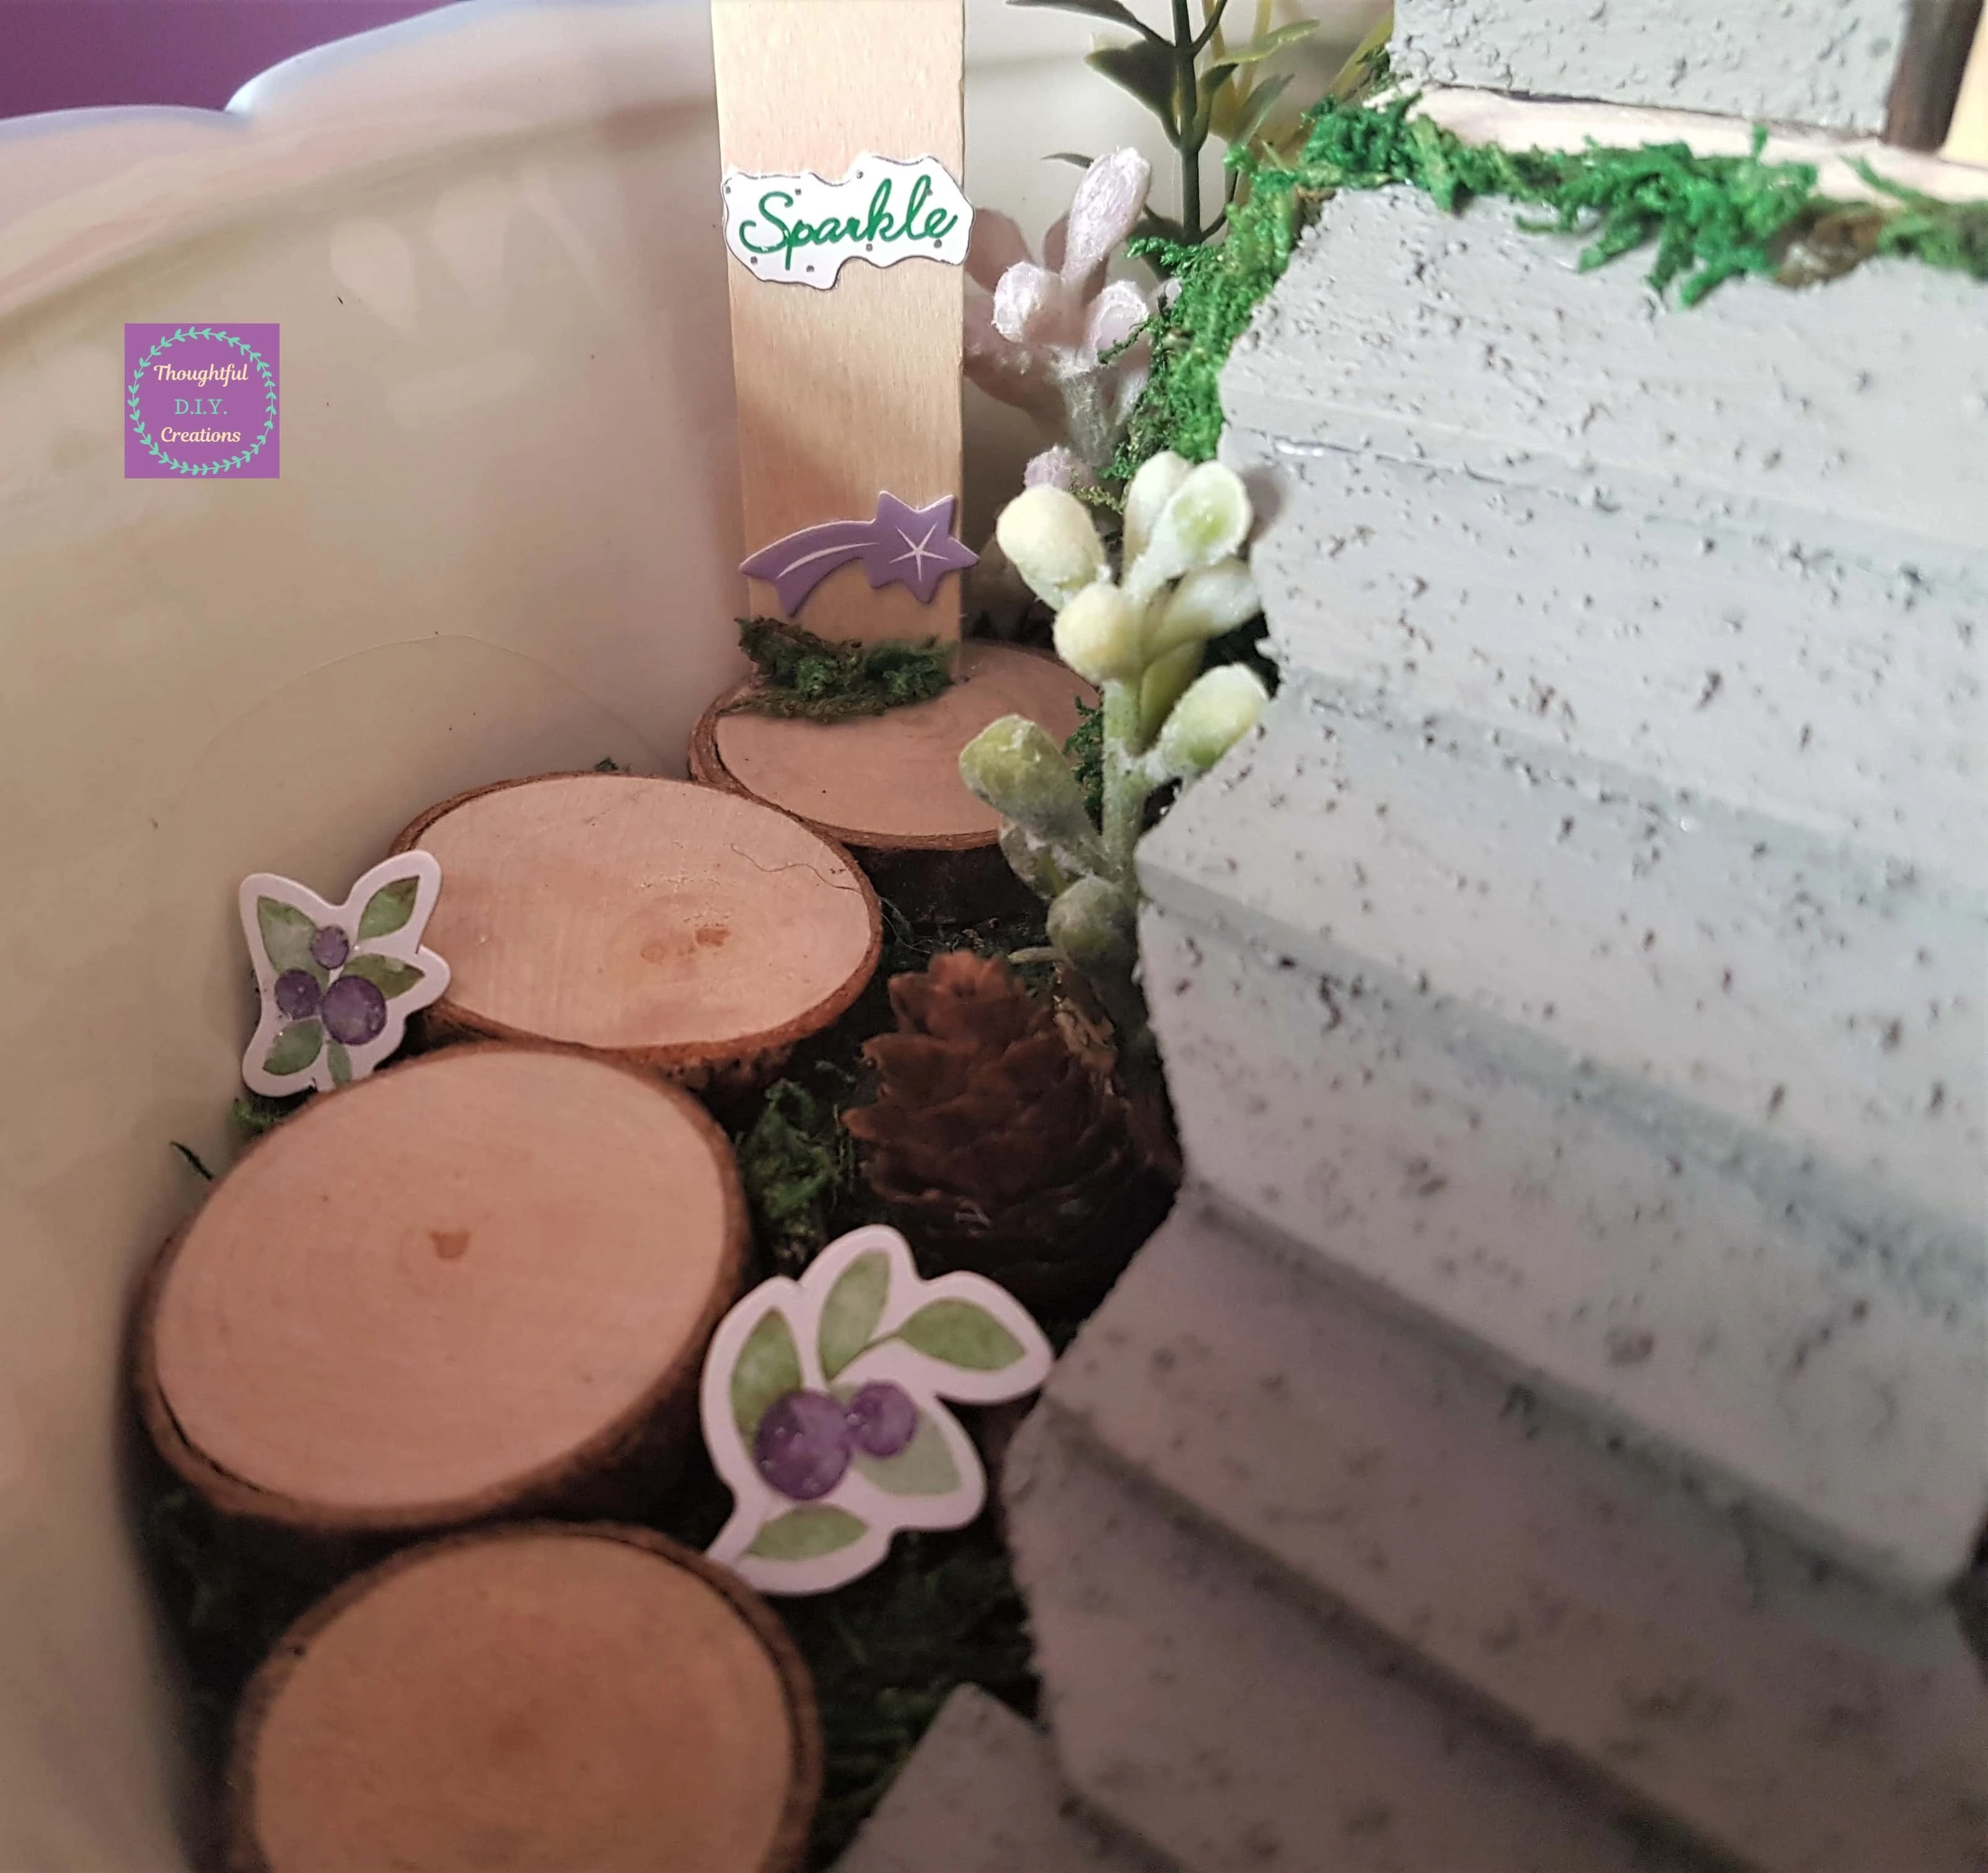
The Steps and Wood Slice Walkway.
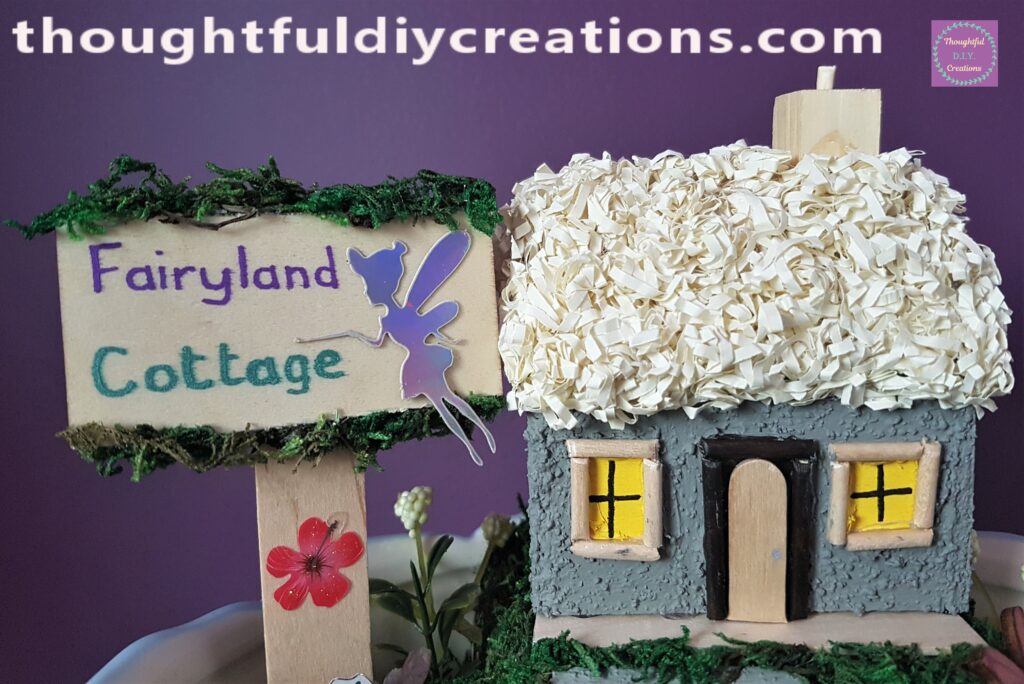
A Closer look at the Sign and Cottage.
The pretty Nature in the Garden.
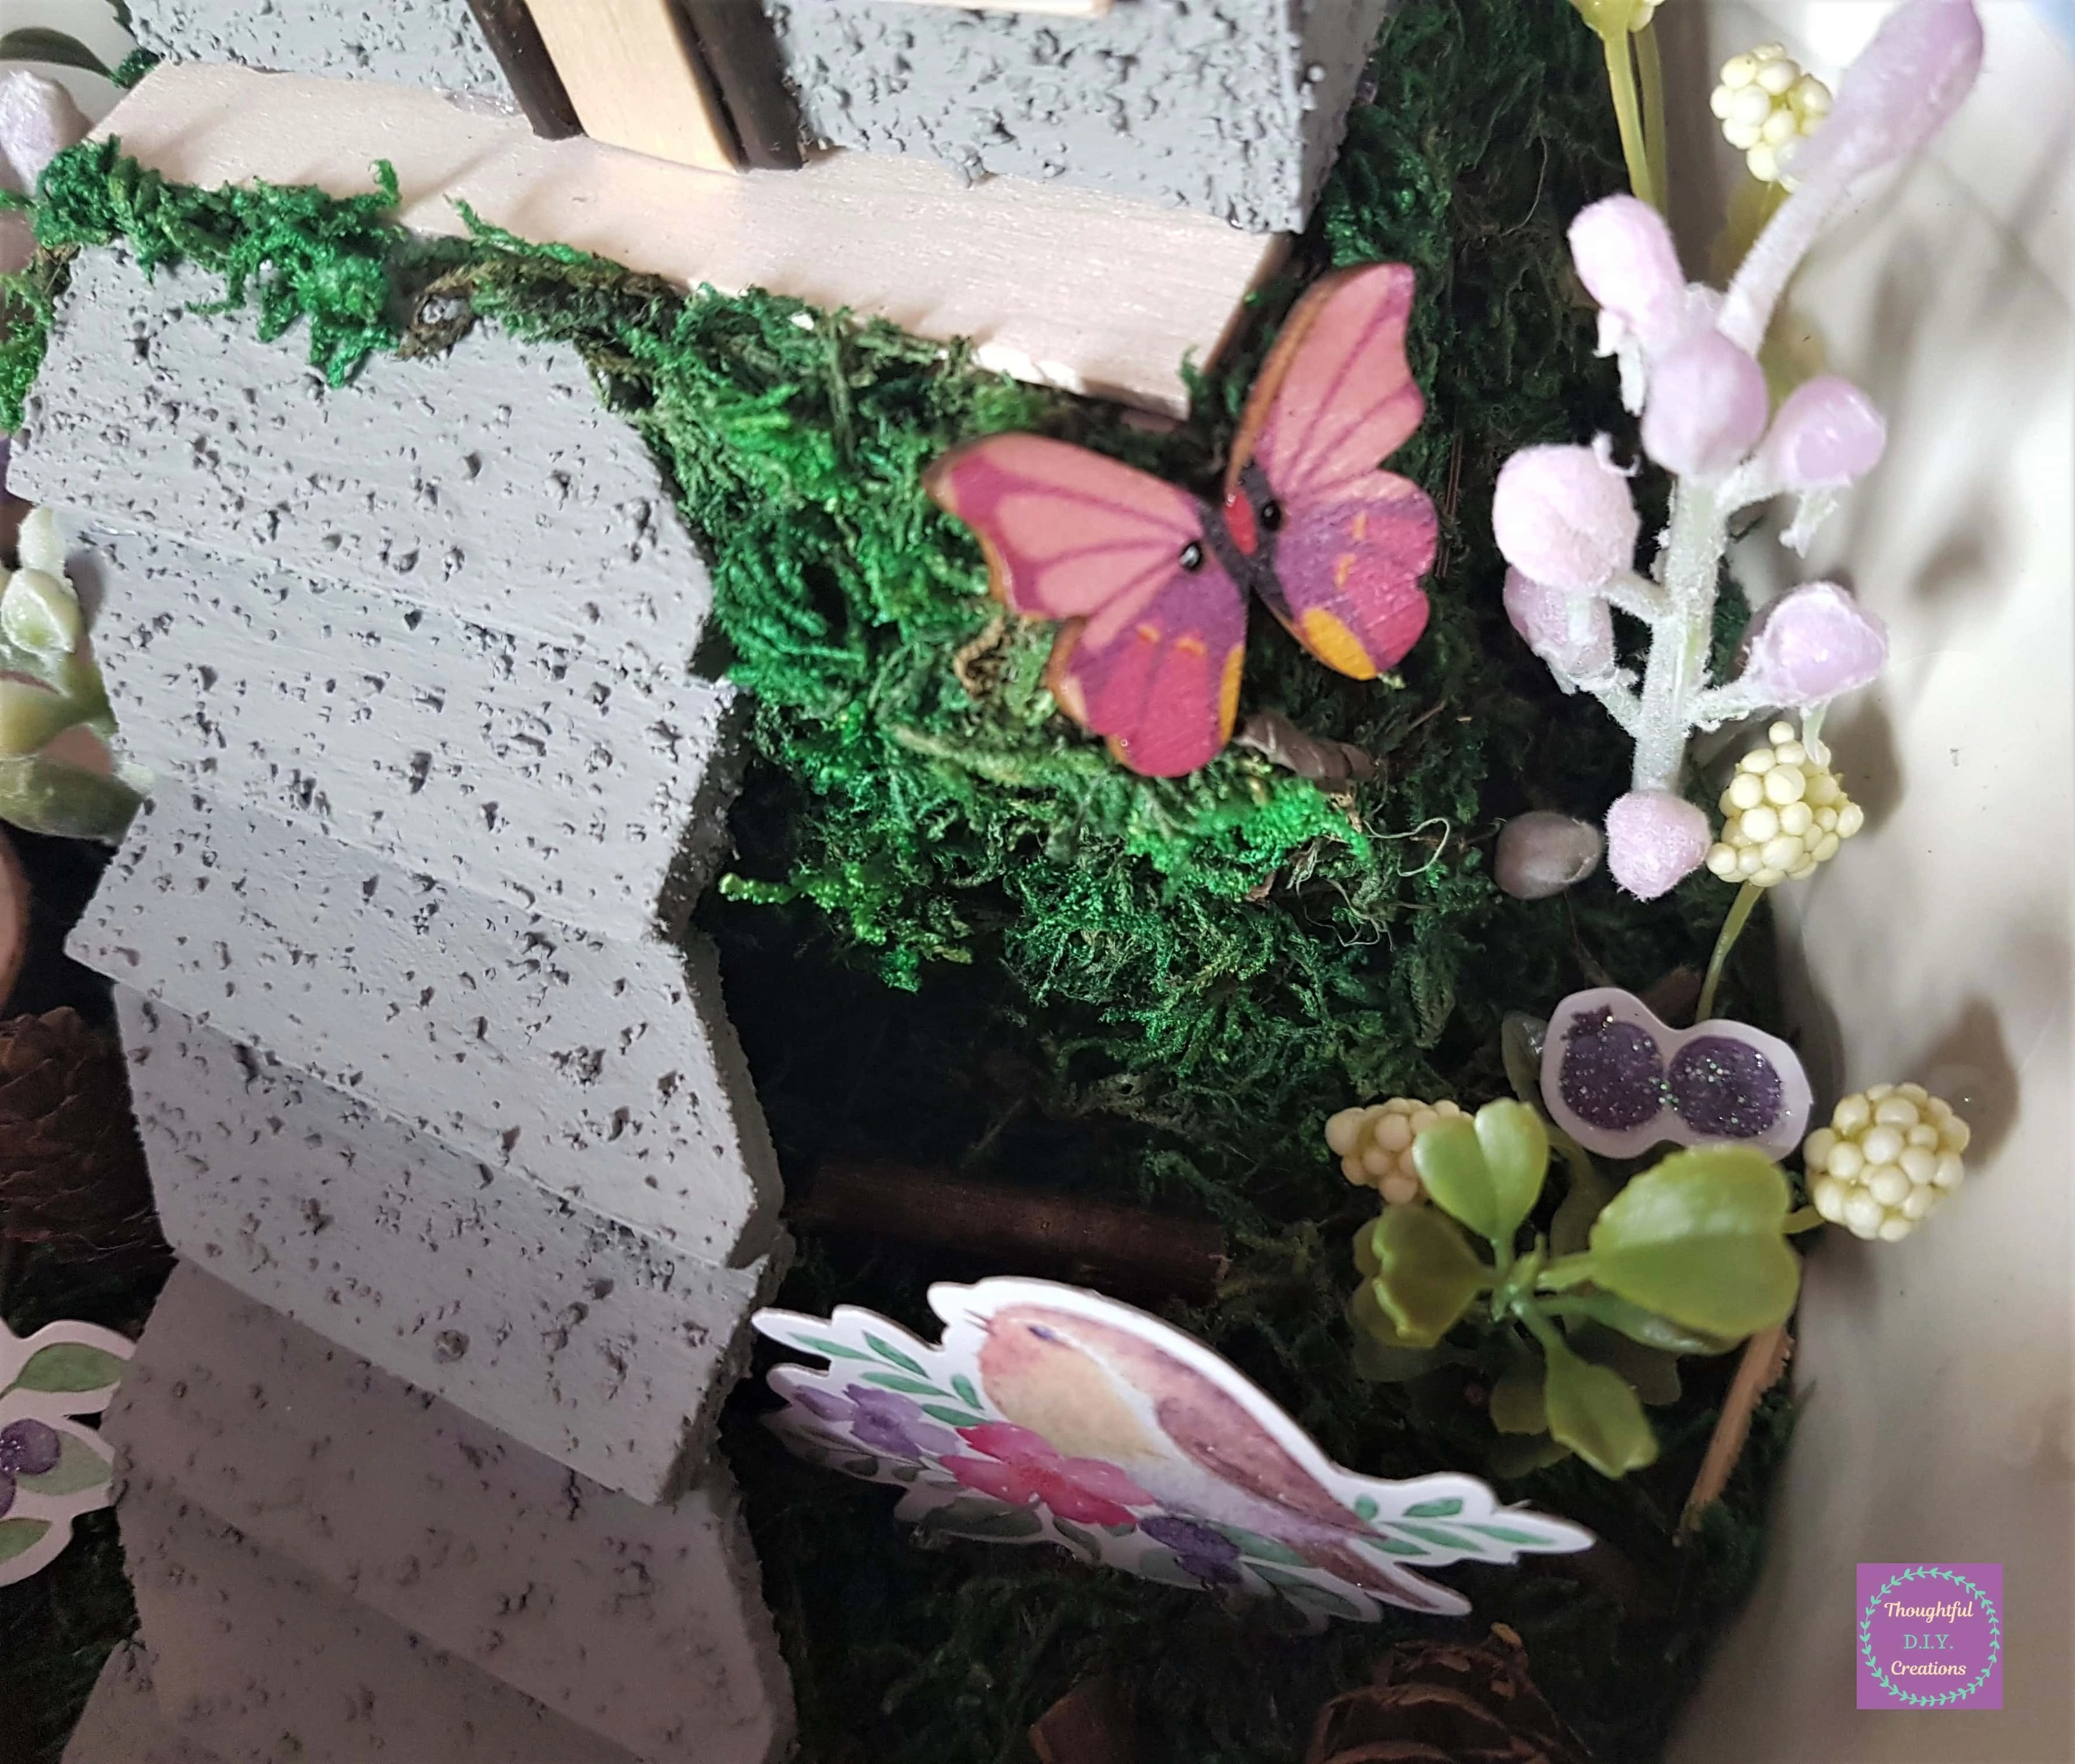
A Side Angle of the different pieces.
The Final Image of the Teacup Garden.
Conclusion
I am delighted with the Outcome of my Fairy Cottage and Garden. I never made a little Wooden House before and my measurements weren’t perfect but I think it all came together in the end.
I love the Raffia that I used for the thatched Roof. It’s great when you can Re-Purpose or Up-Cycle materials for different uses instead of throwing them in the Bin. The Cardboard and Foam are also perfect examples of Re-Using Packaging from Products for your Crafts.
I adore the Natural Colours and Textures of the Moss, Wood Slices and Pine Cones. The Grey Paint gave a realistic Stone effect to the Cottage and Steps.
The Bird, Butterfly and Flowers added a Pop of Colour to the Garden. There is Something so Magical about Fairies and Fairy Gardens. They can be Made using Basic and Budget materials. You can make little furniture for them; the Options are endless and only limited by your Imagination.
For more Fairy Crafts check out my other Tutorials; Fairy Scrapbook Layout and my other Fairy Garden.
Thank You So Much for taking the Time to Read my Blog.
Always Grateful,
T.D.C.
xoxox




-0 Comment-