Summer Garland : Quick Craft Tutorial
Hello my Creative Friends,
I hope you are all Well. In Today’s Tutorial I will Show you How I made a Summer Garland. It is such a Quick, Easy and Fun Tutorial. It would be the perfect Craft for Older Children or Teenagers; and they can then Display the Garland in their Bedroom for the Summer Months, and it’s small enough to put away in a Drawer / Box when the Season changes and keep it Safe until the following Year.
Summer Paper Pad
I got my ‘Tropical Patterned Scrapbook Paper Pad’ from my Supplies.
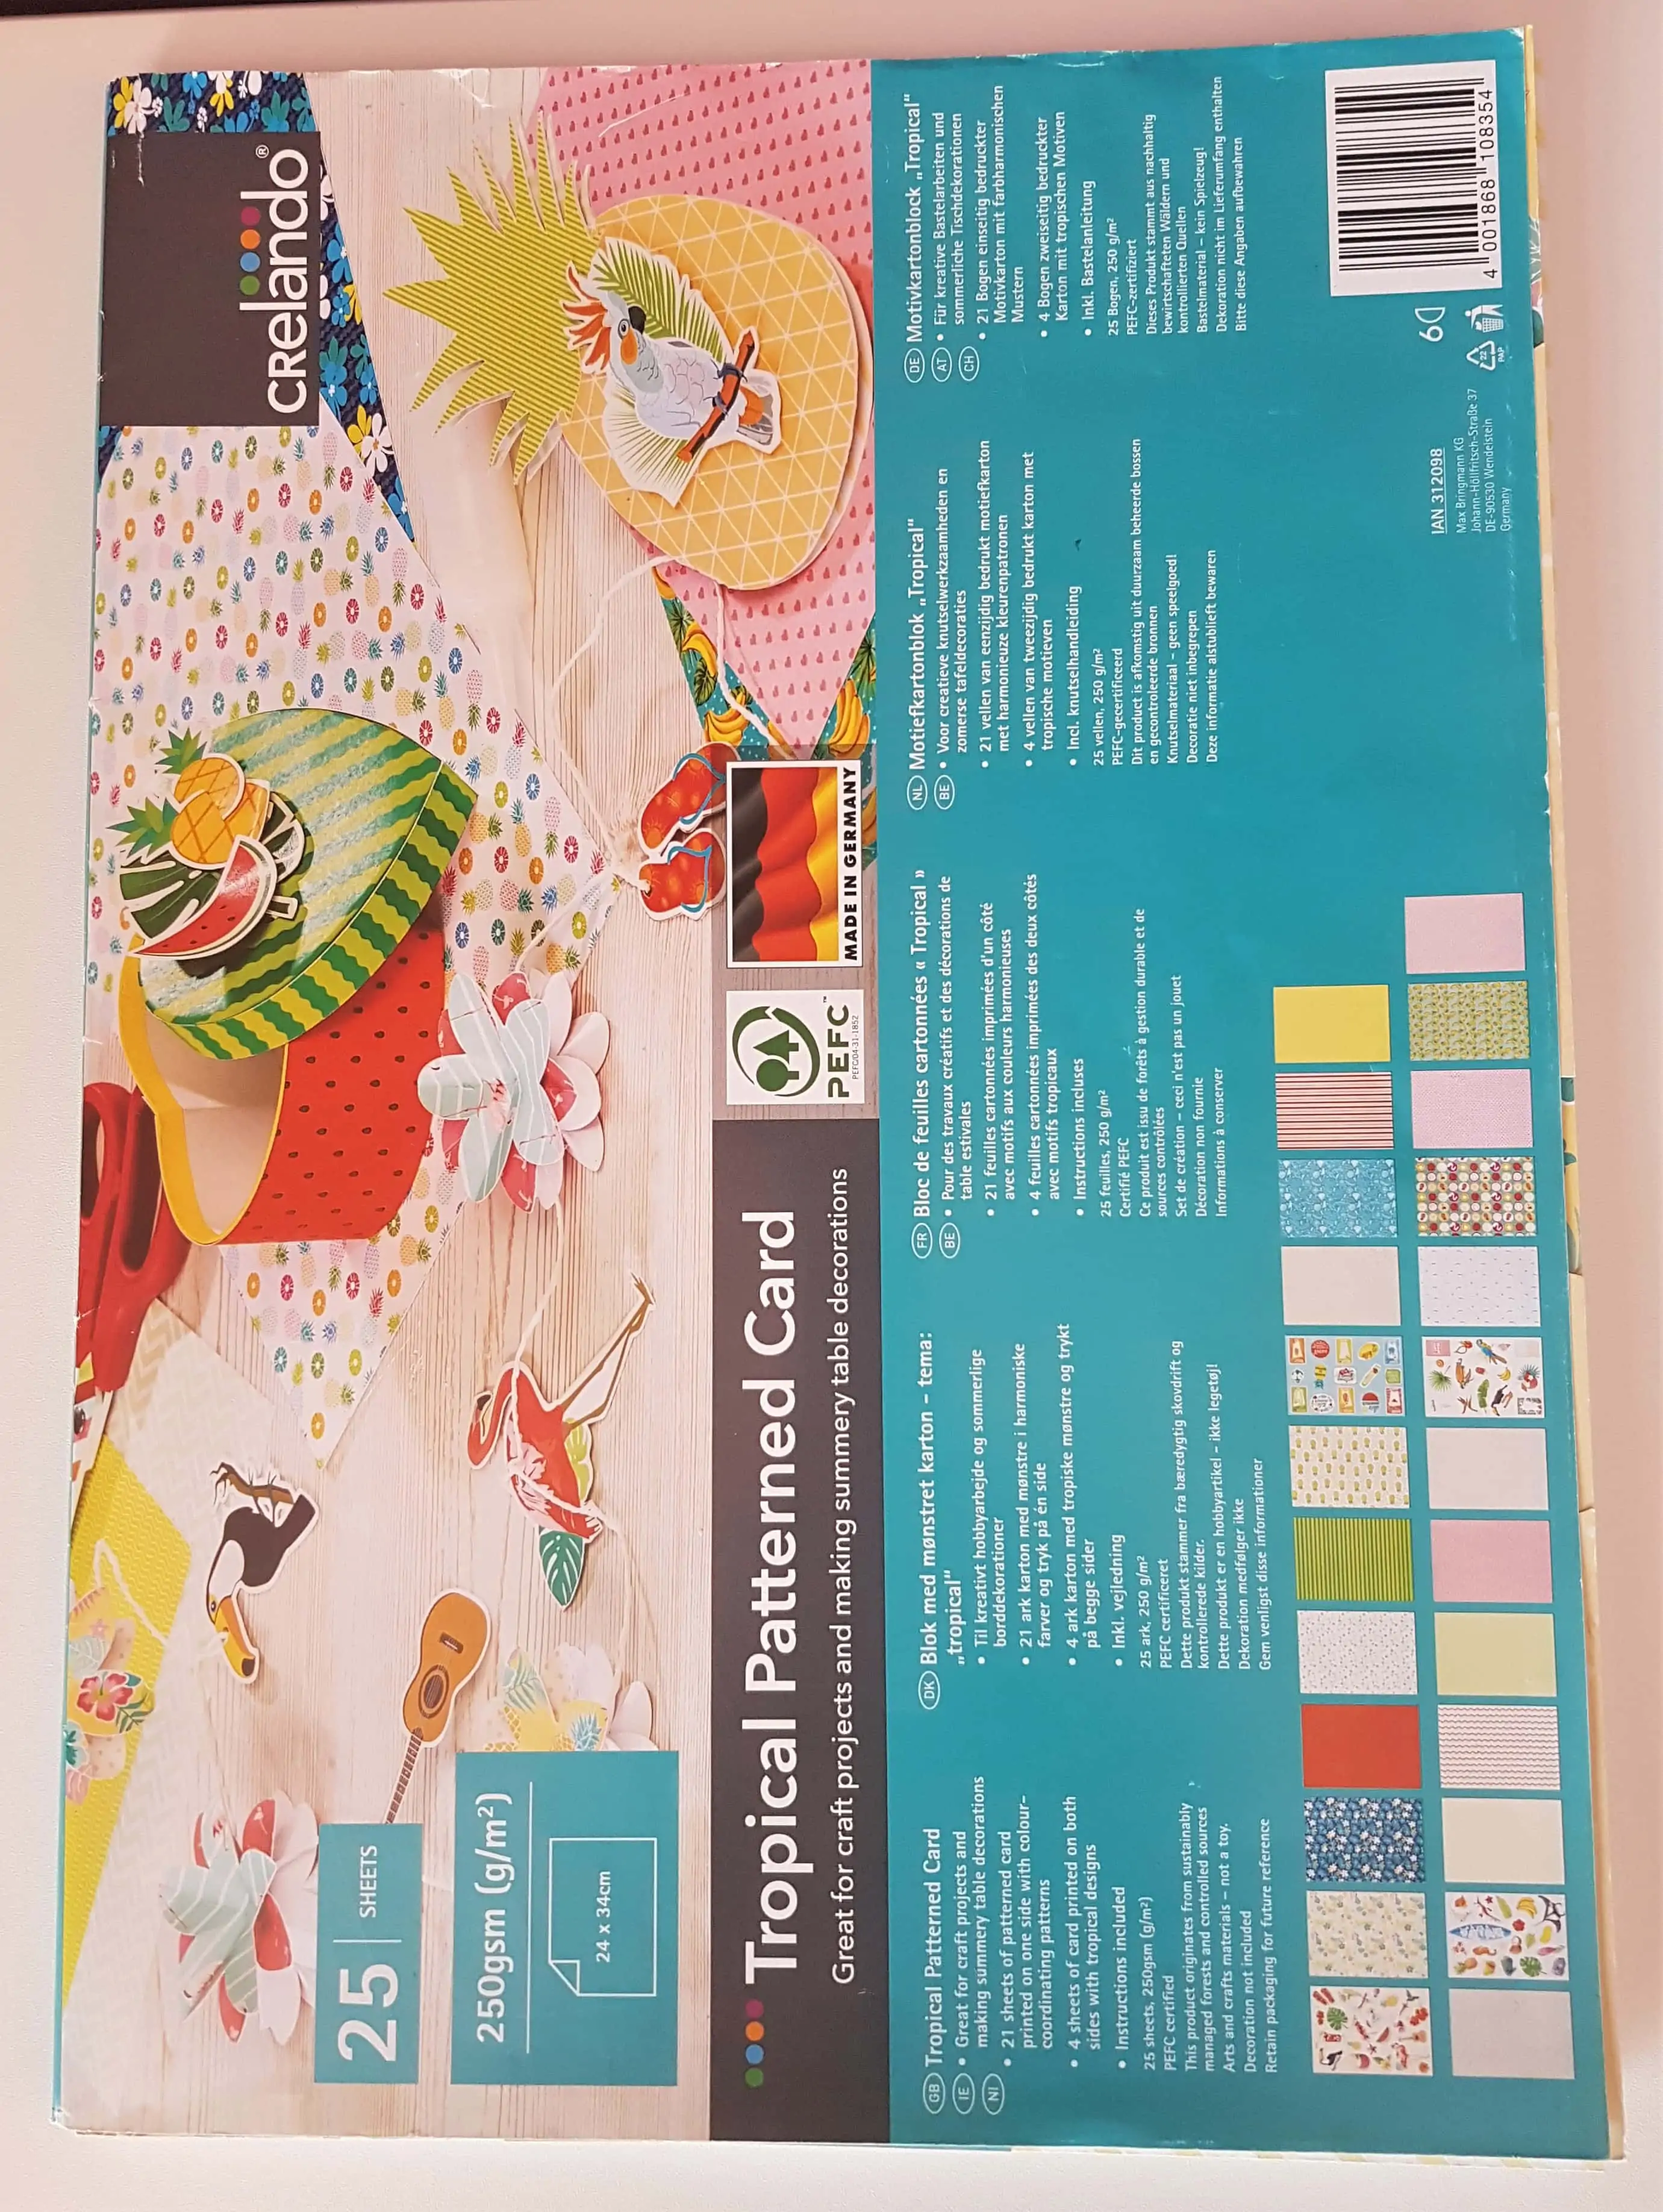
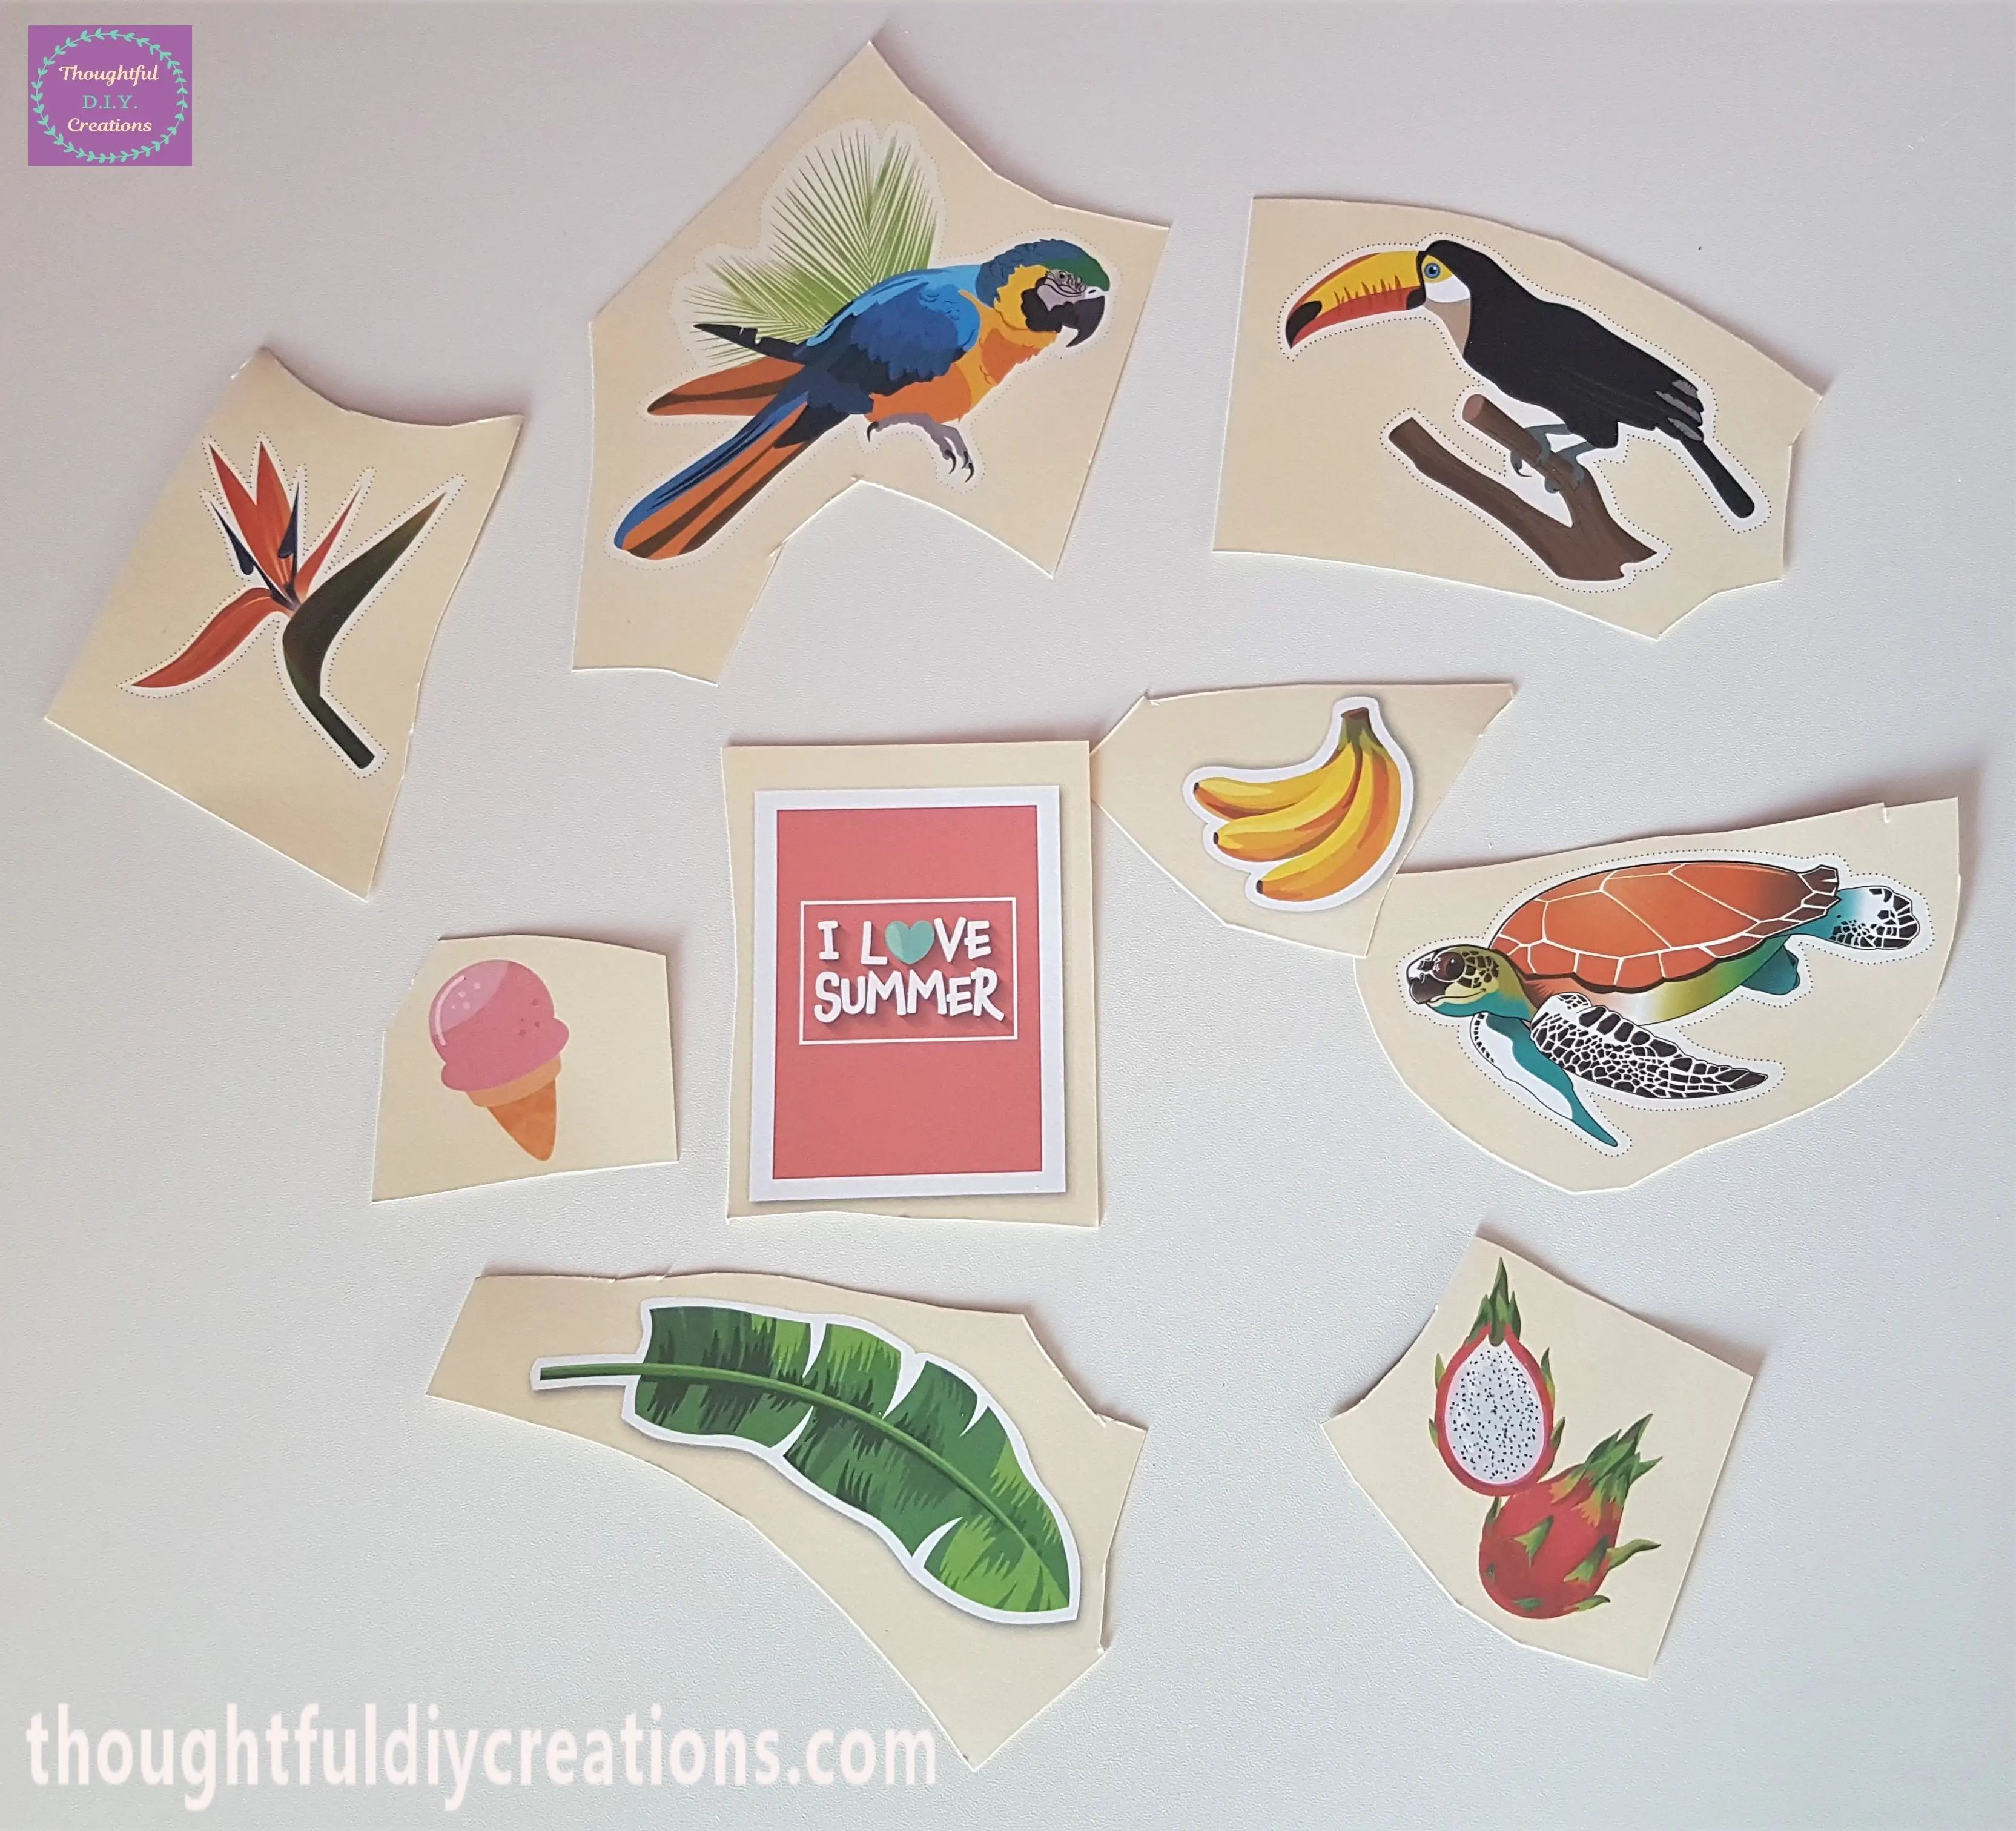
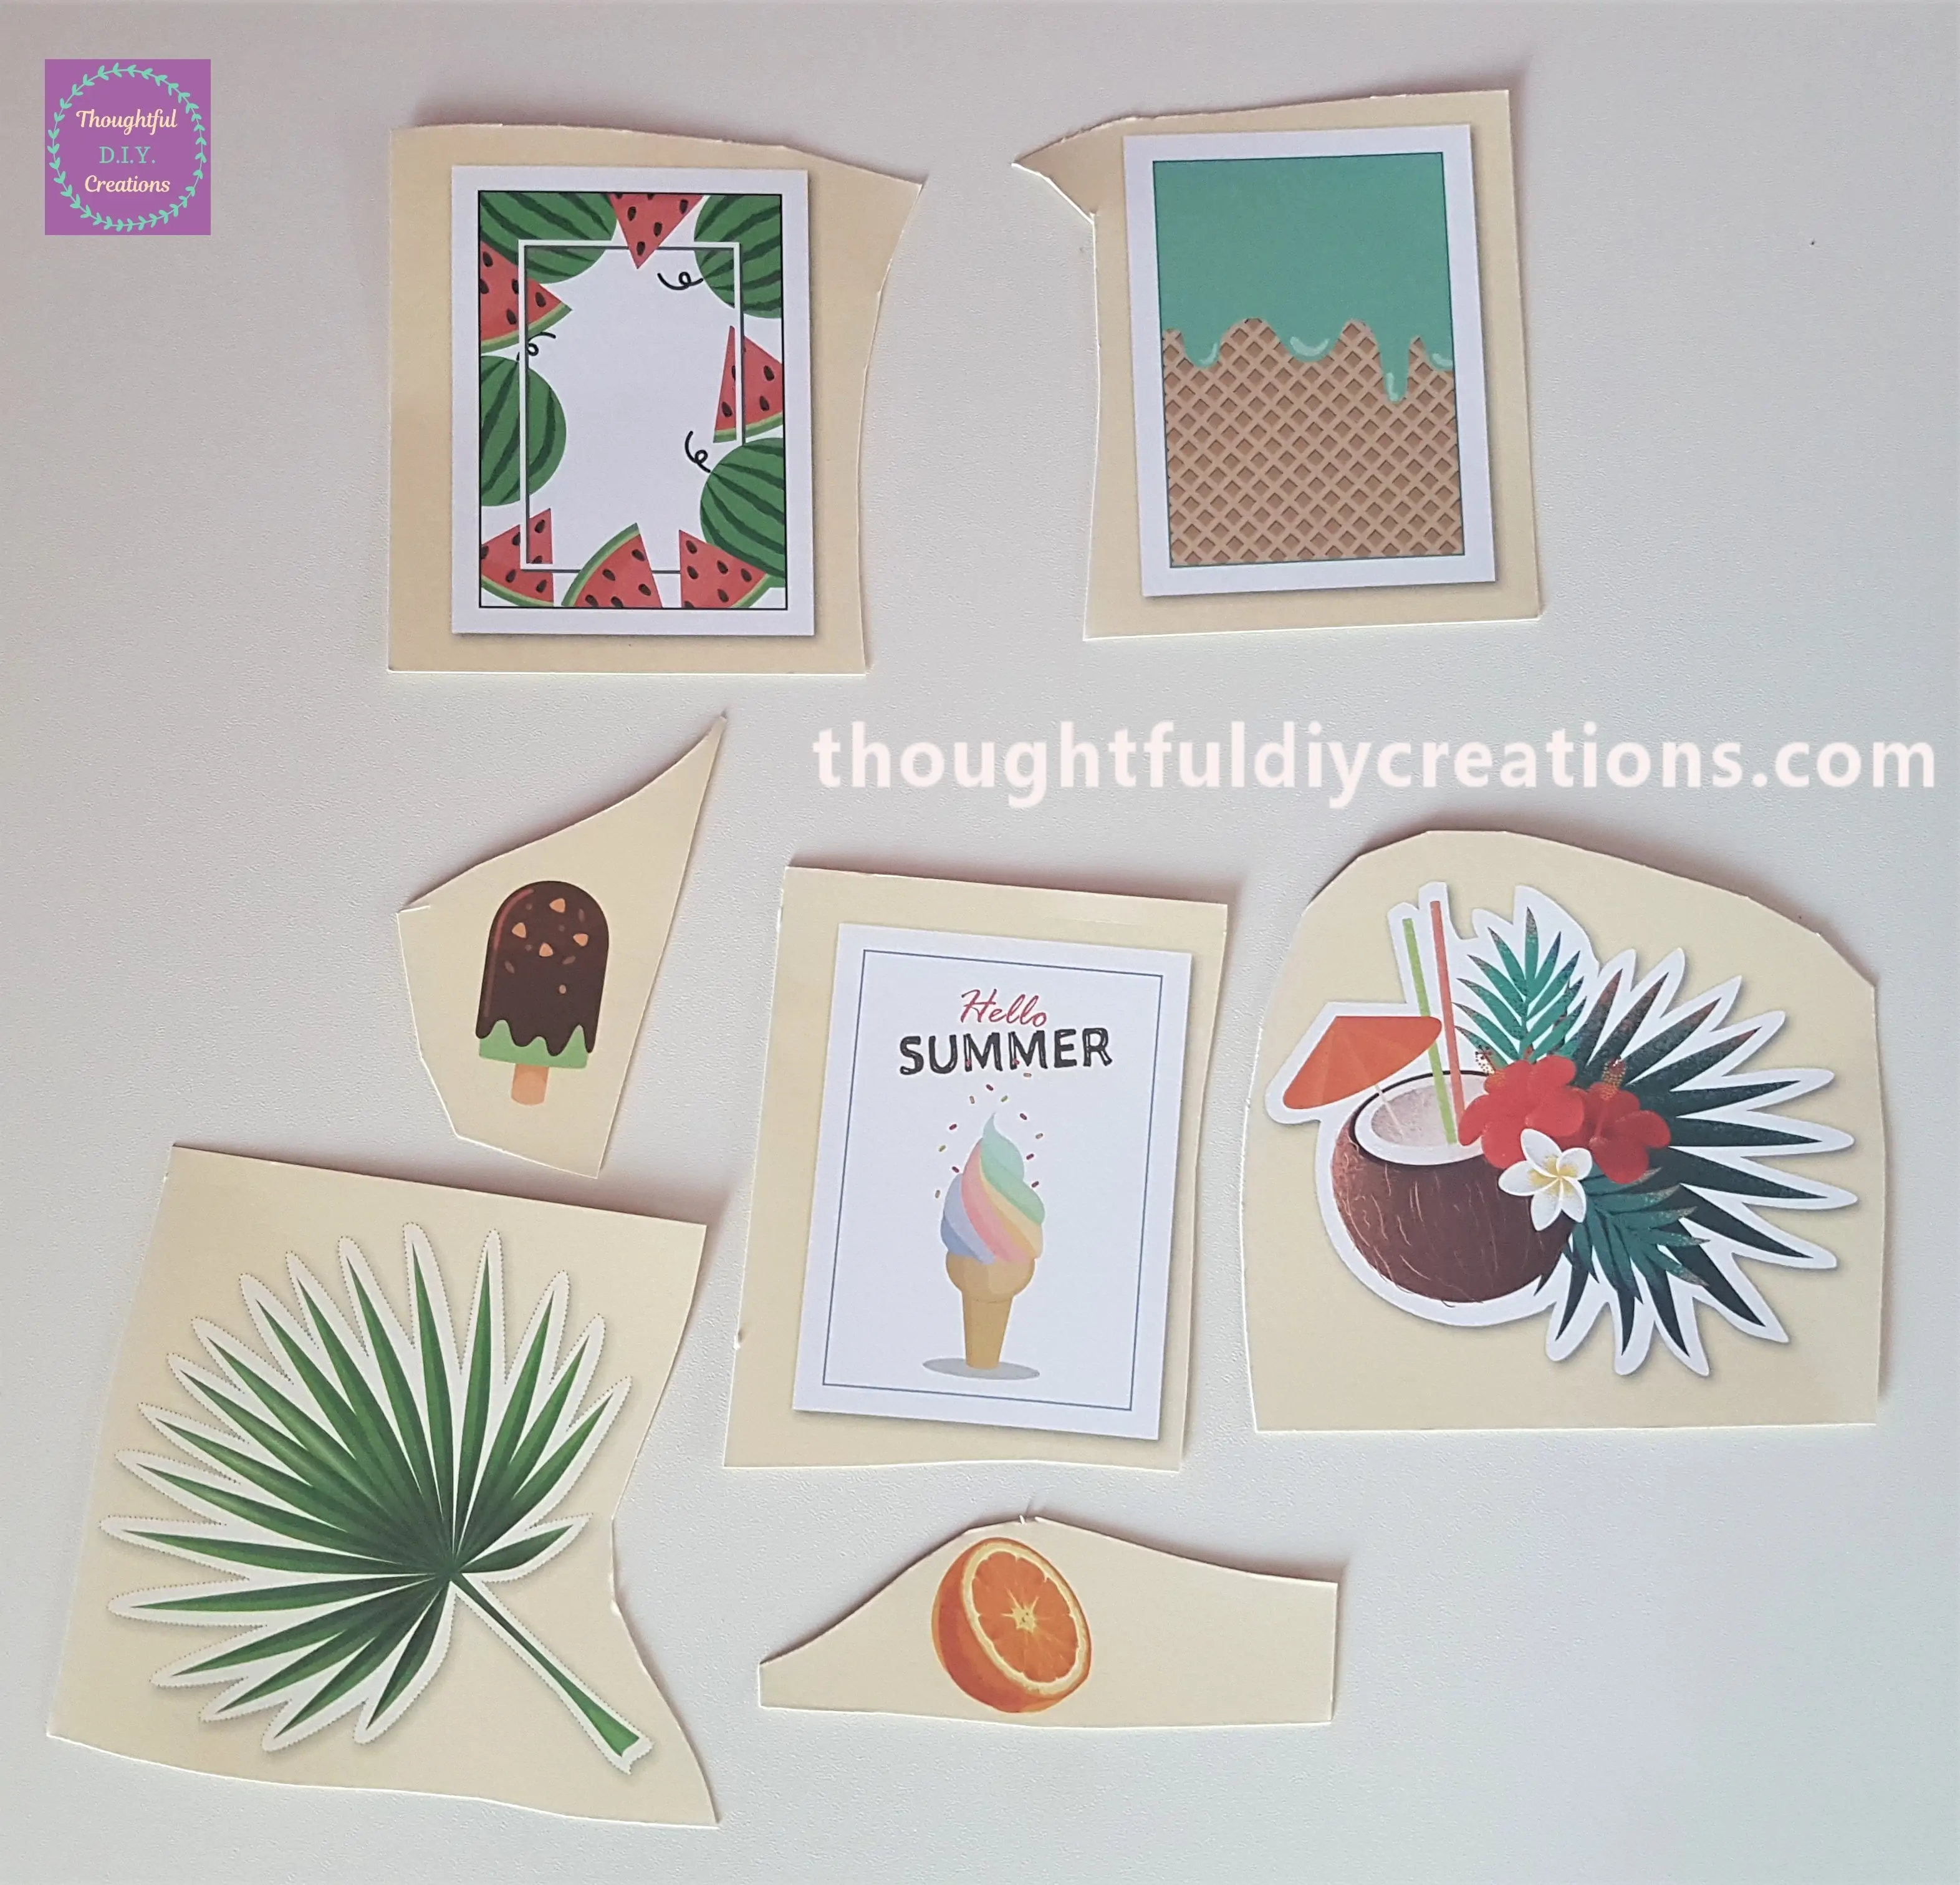
I roughly Cut around each Summer Image from a few Pages in the Pad.
Cutting Out the Summer Images
I then Cut around each Picture using a Small, Sharp Scissors.
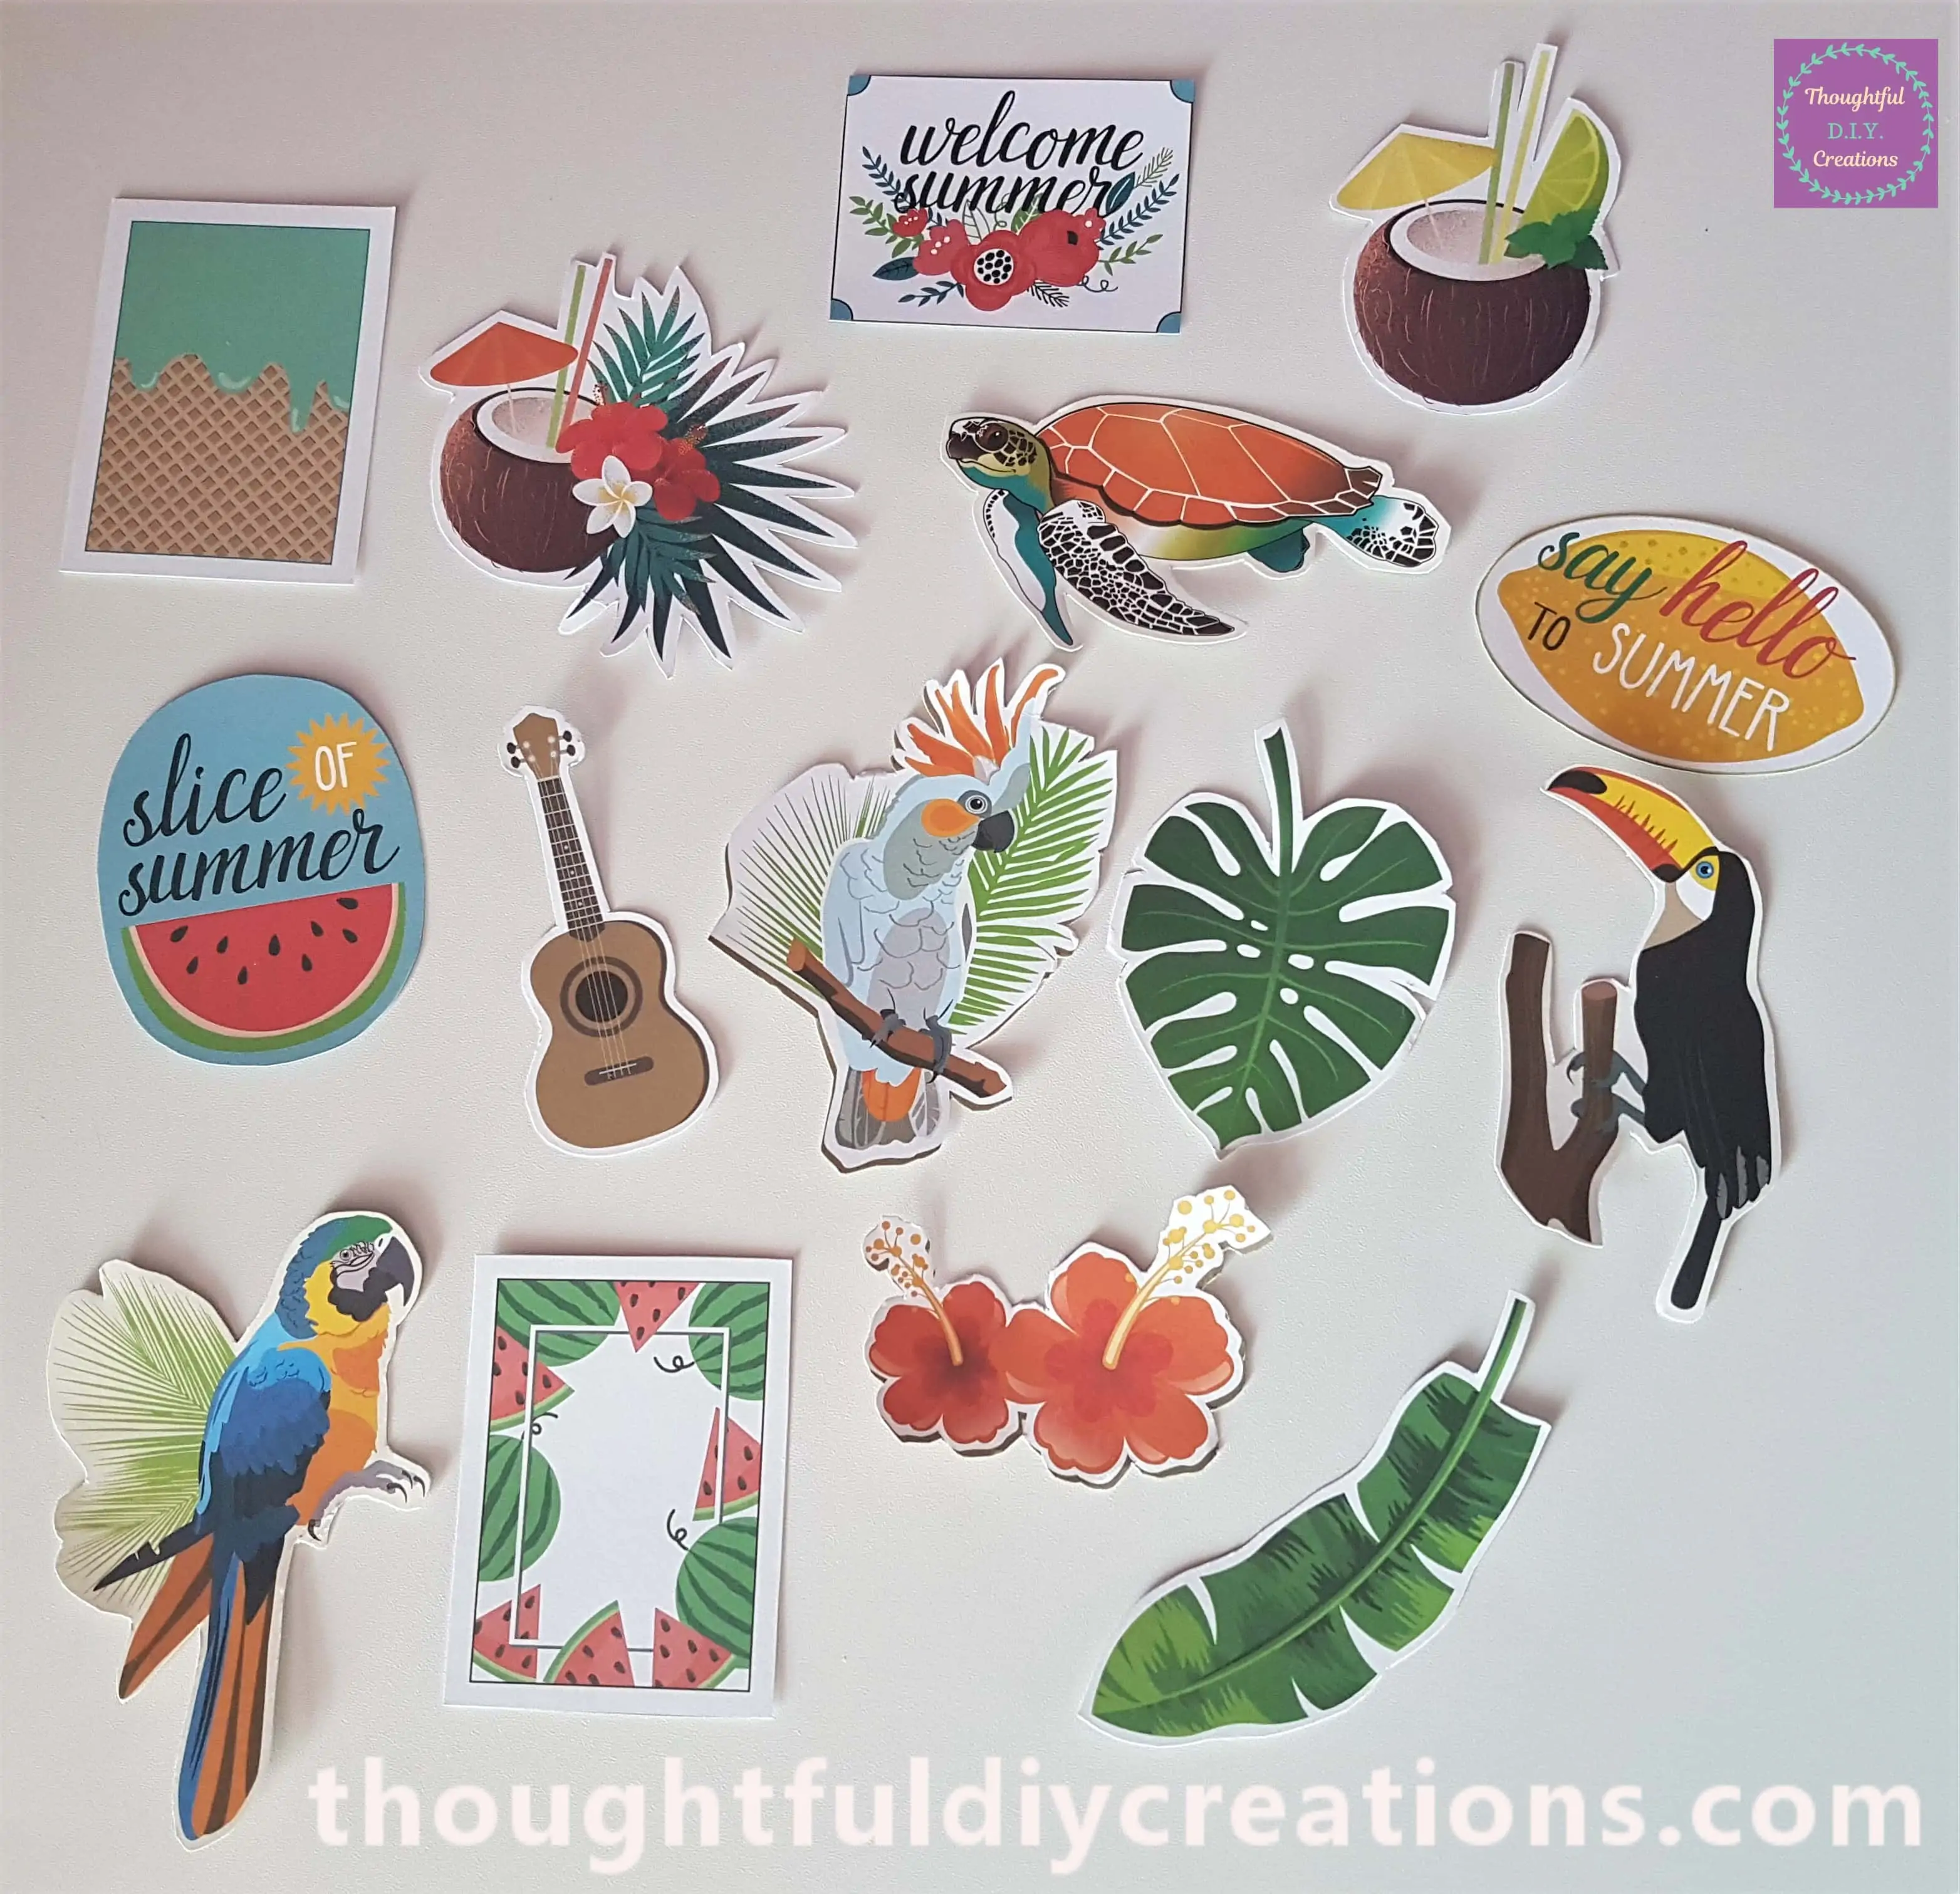
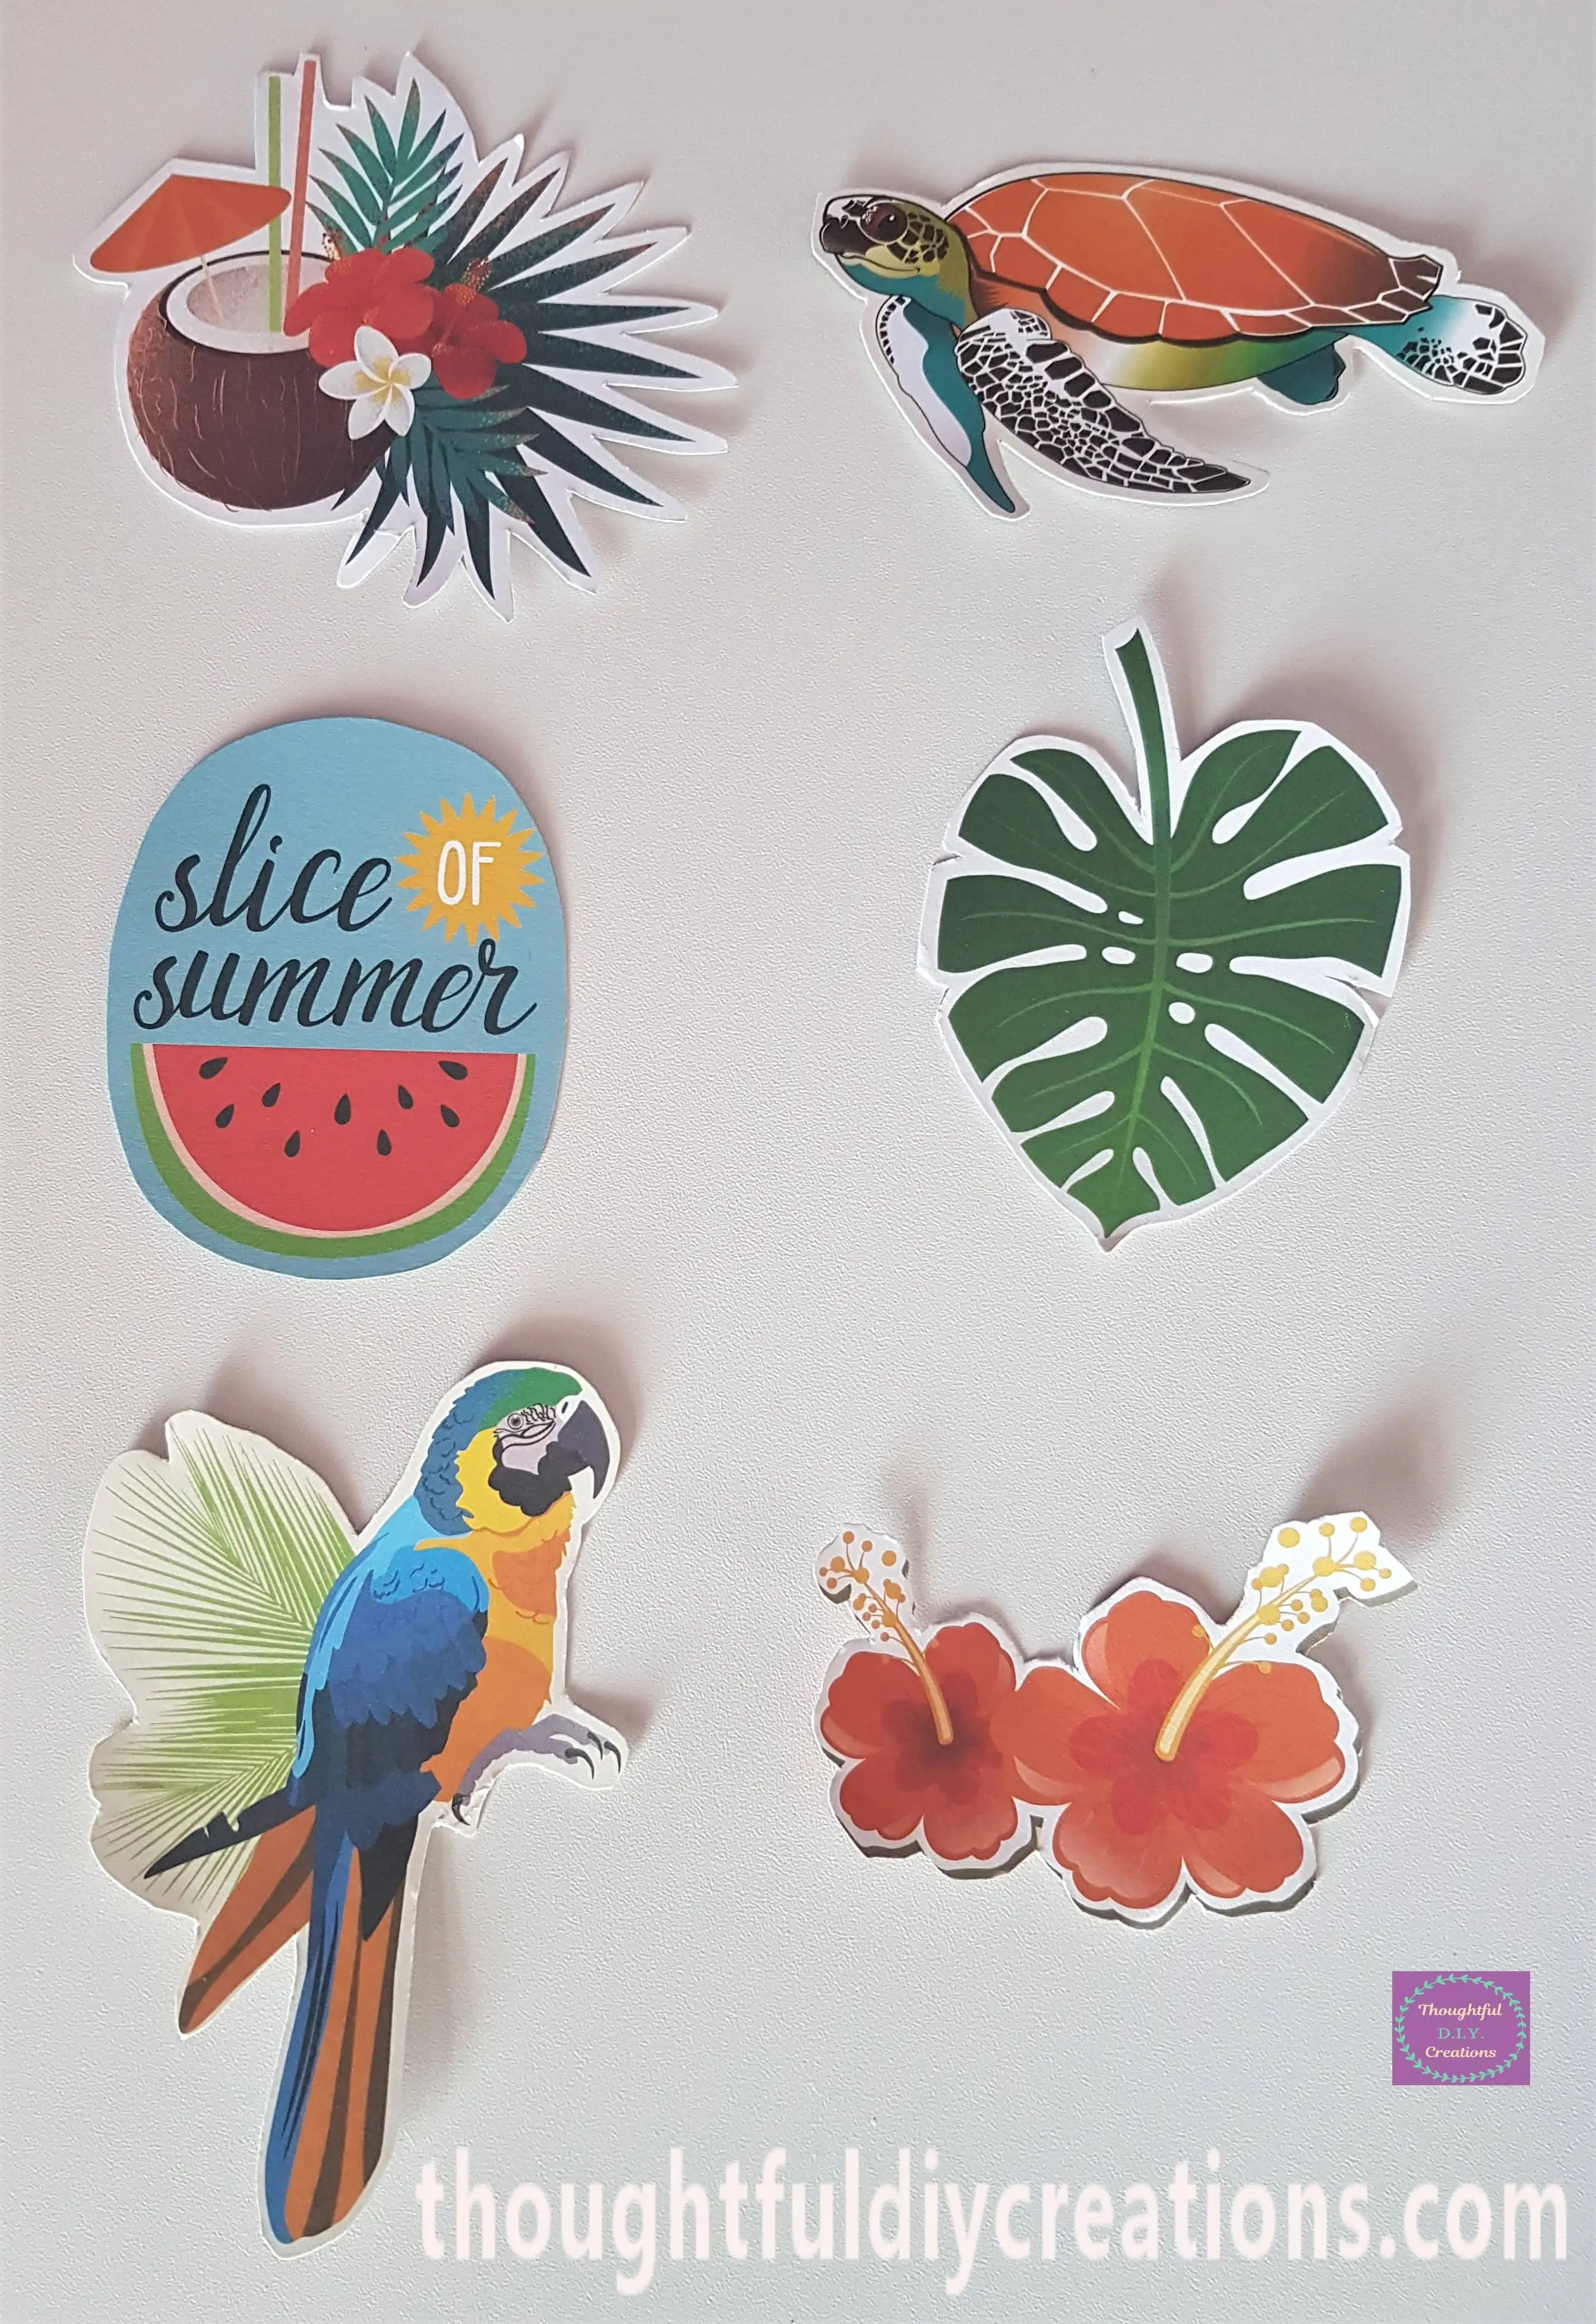
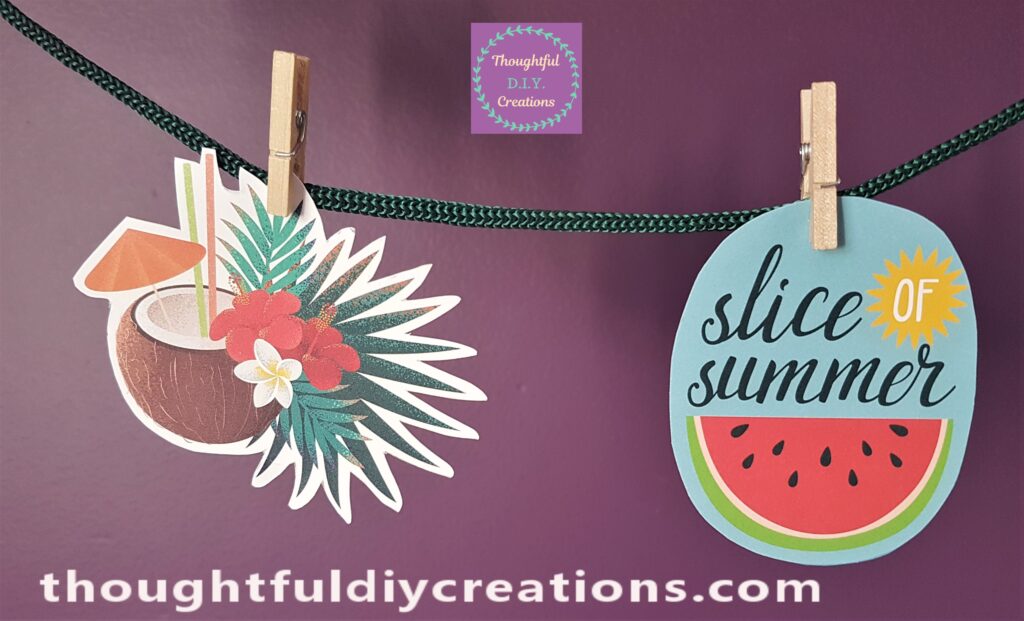
I Chose my 6 Favourite Images to use for my Summer Garland.
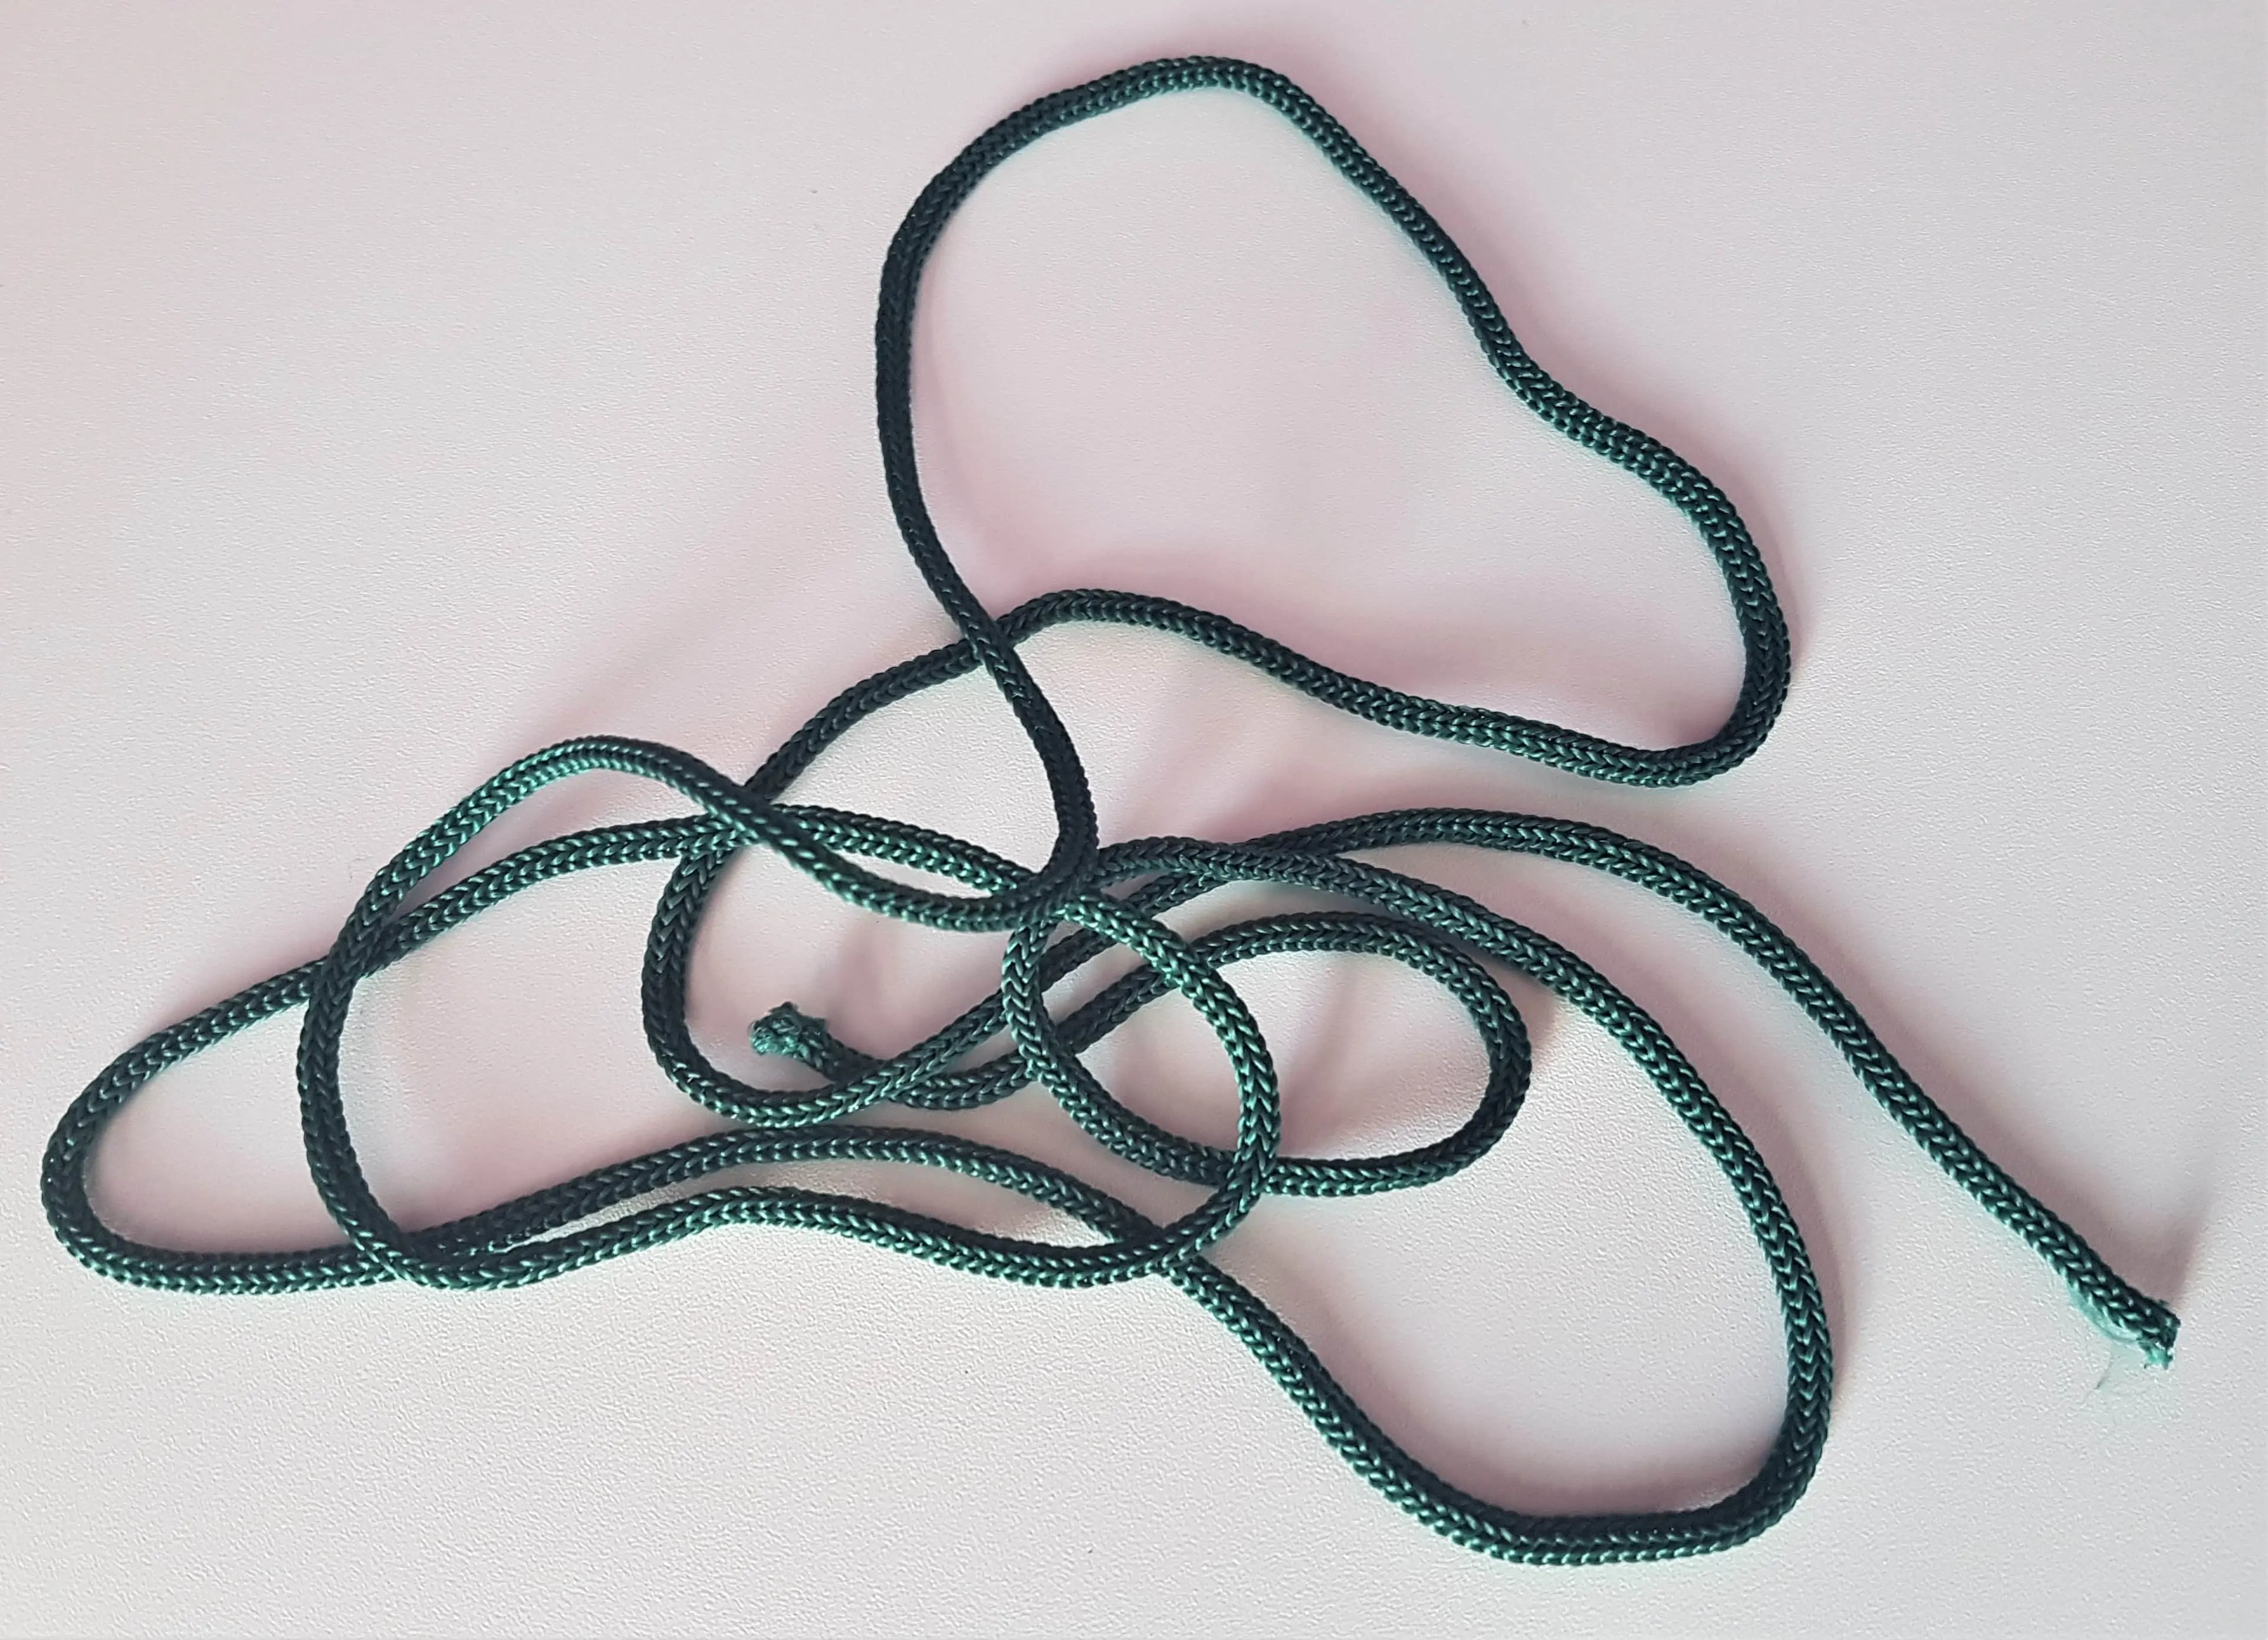
Rope for the Garland
I had a Green Rope in my Ribbon Box. I thought this would be nice and Strong to hold the Images.
Mini Pegs
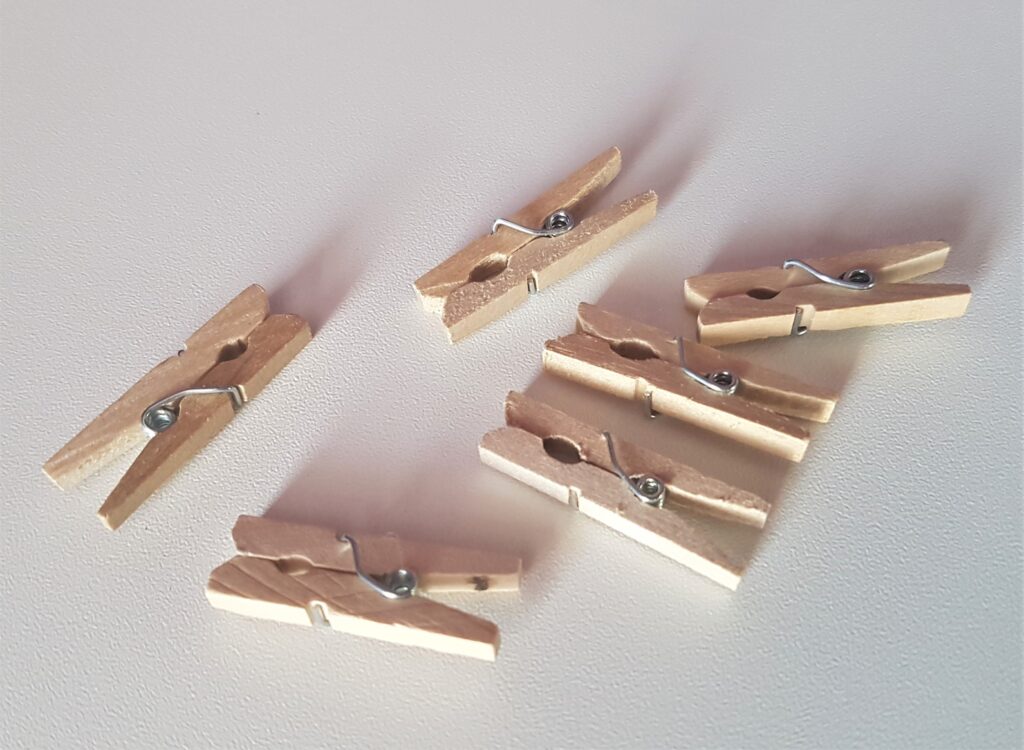
I had 6 Mini-Pegs in my Craft Supplies. These came with Frames which I had Bought and Re-Purposed, and kept the Pegs. Butterfly Frame.
Shelf to Display the Summer Garland
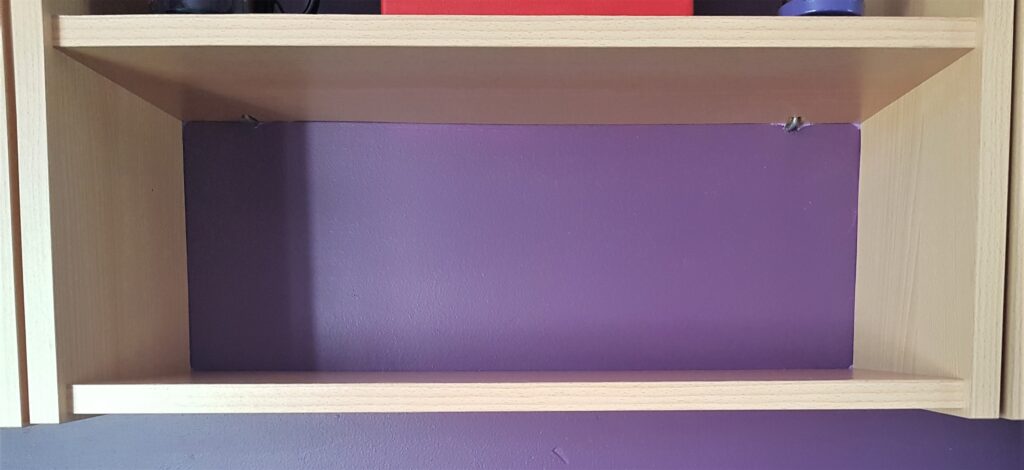
I Cleared One of my Shelves; this is where I will Display my Garland.
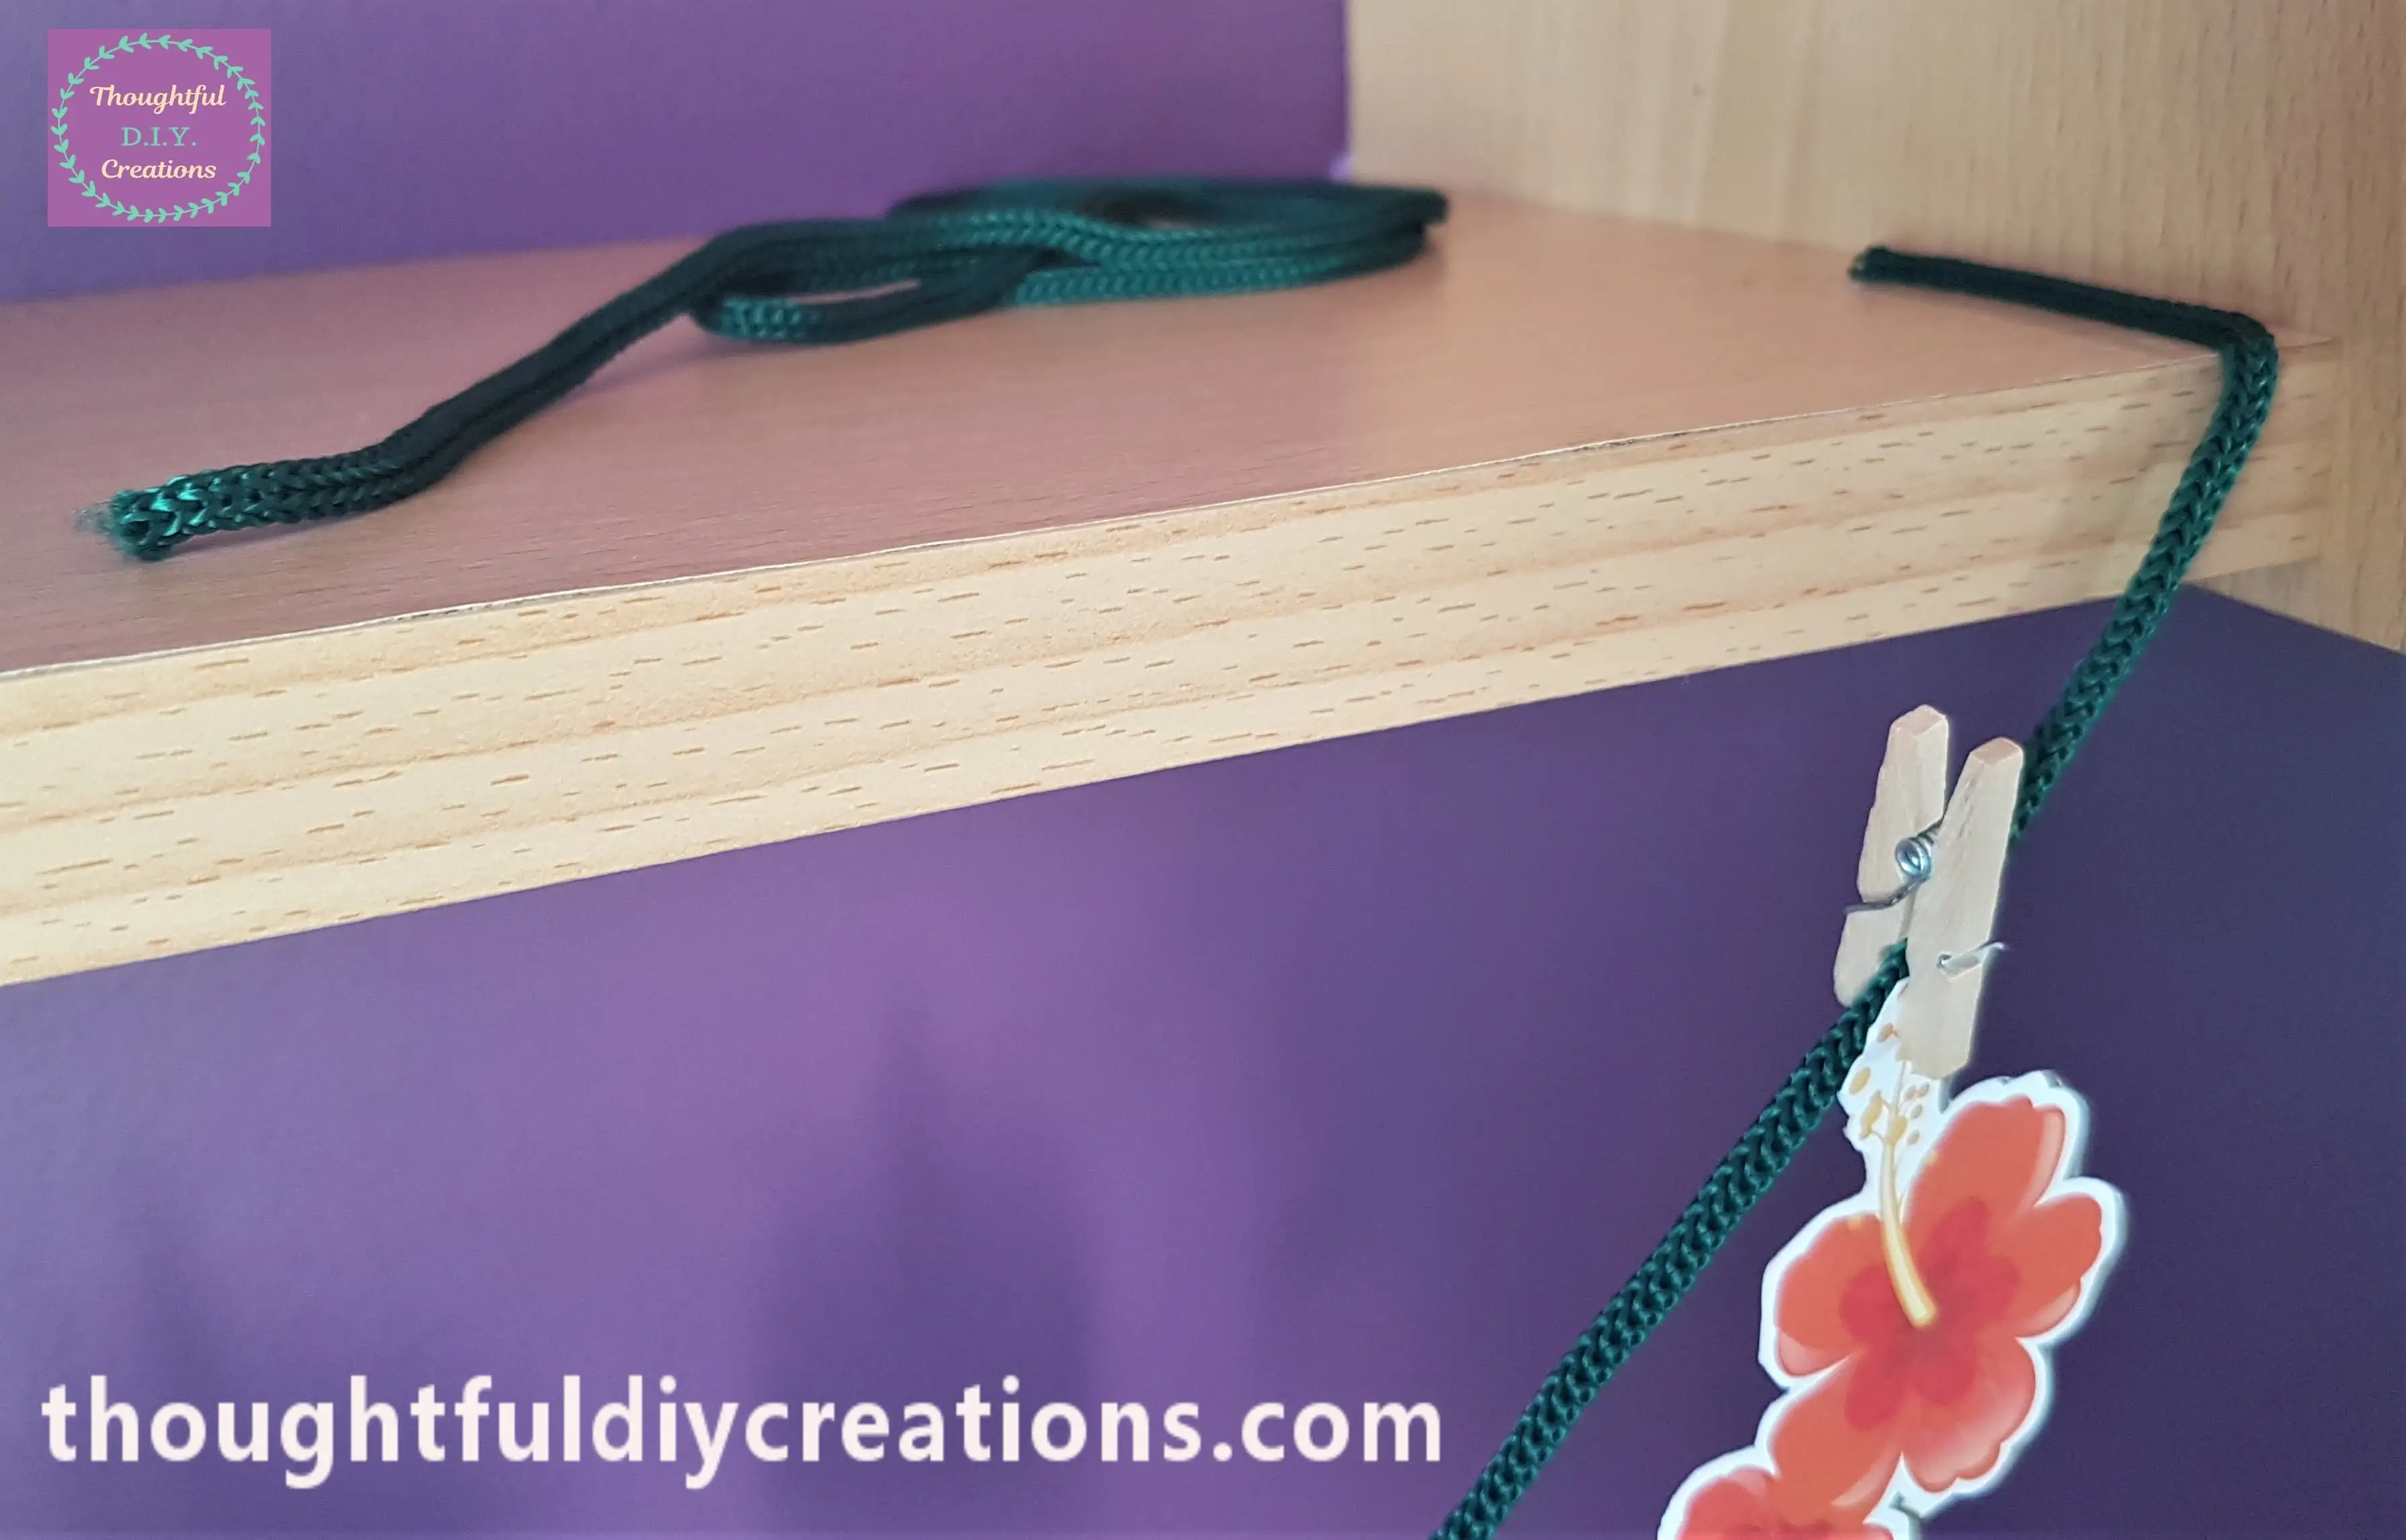
Attaching the Rope to Double-Sided Tape
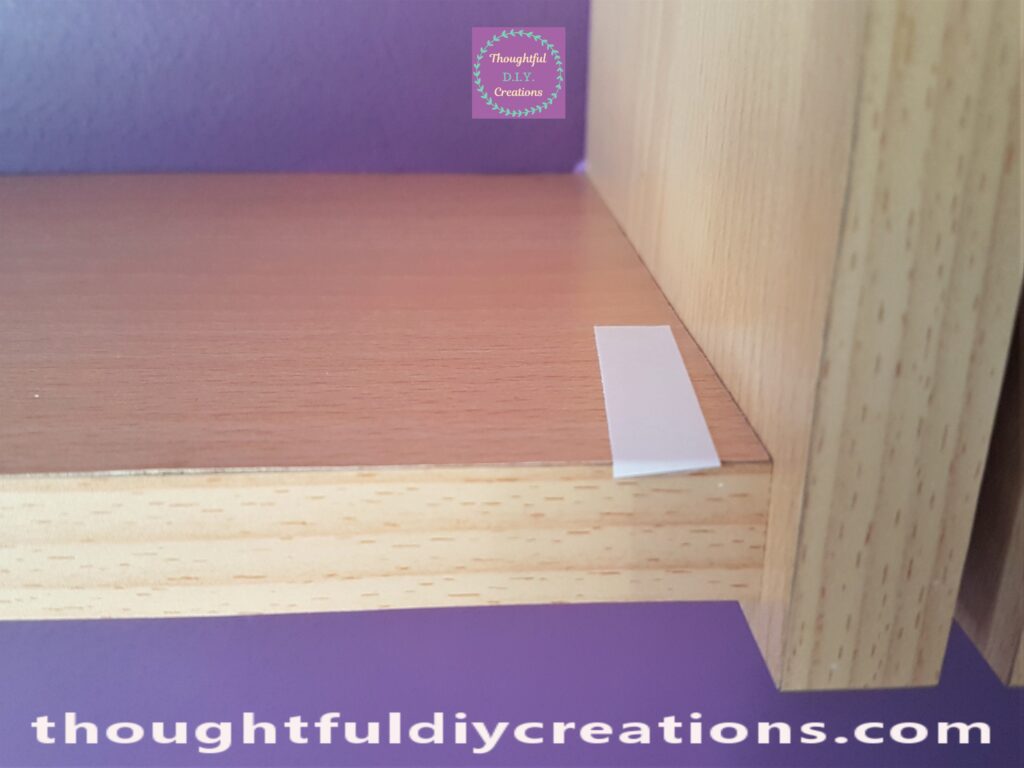
I Cut a section of Double-Sided Tape and pressed it down tight to the Inside of my Shelf.
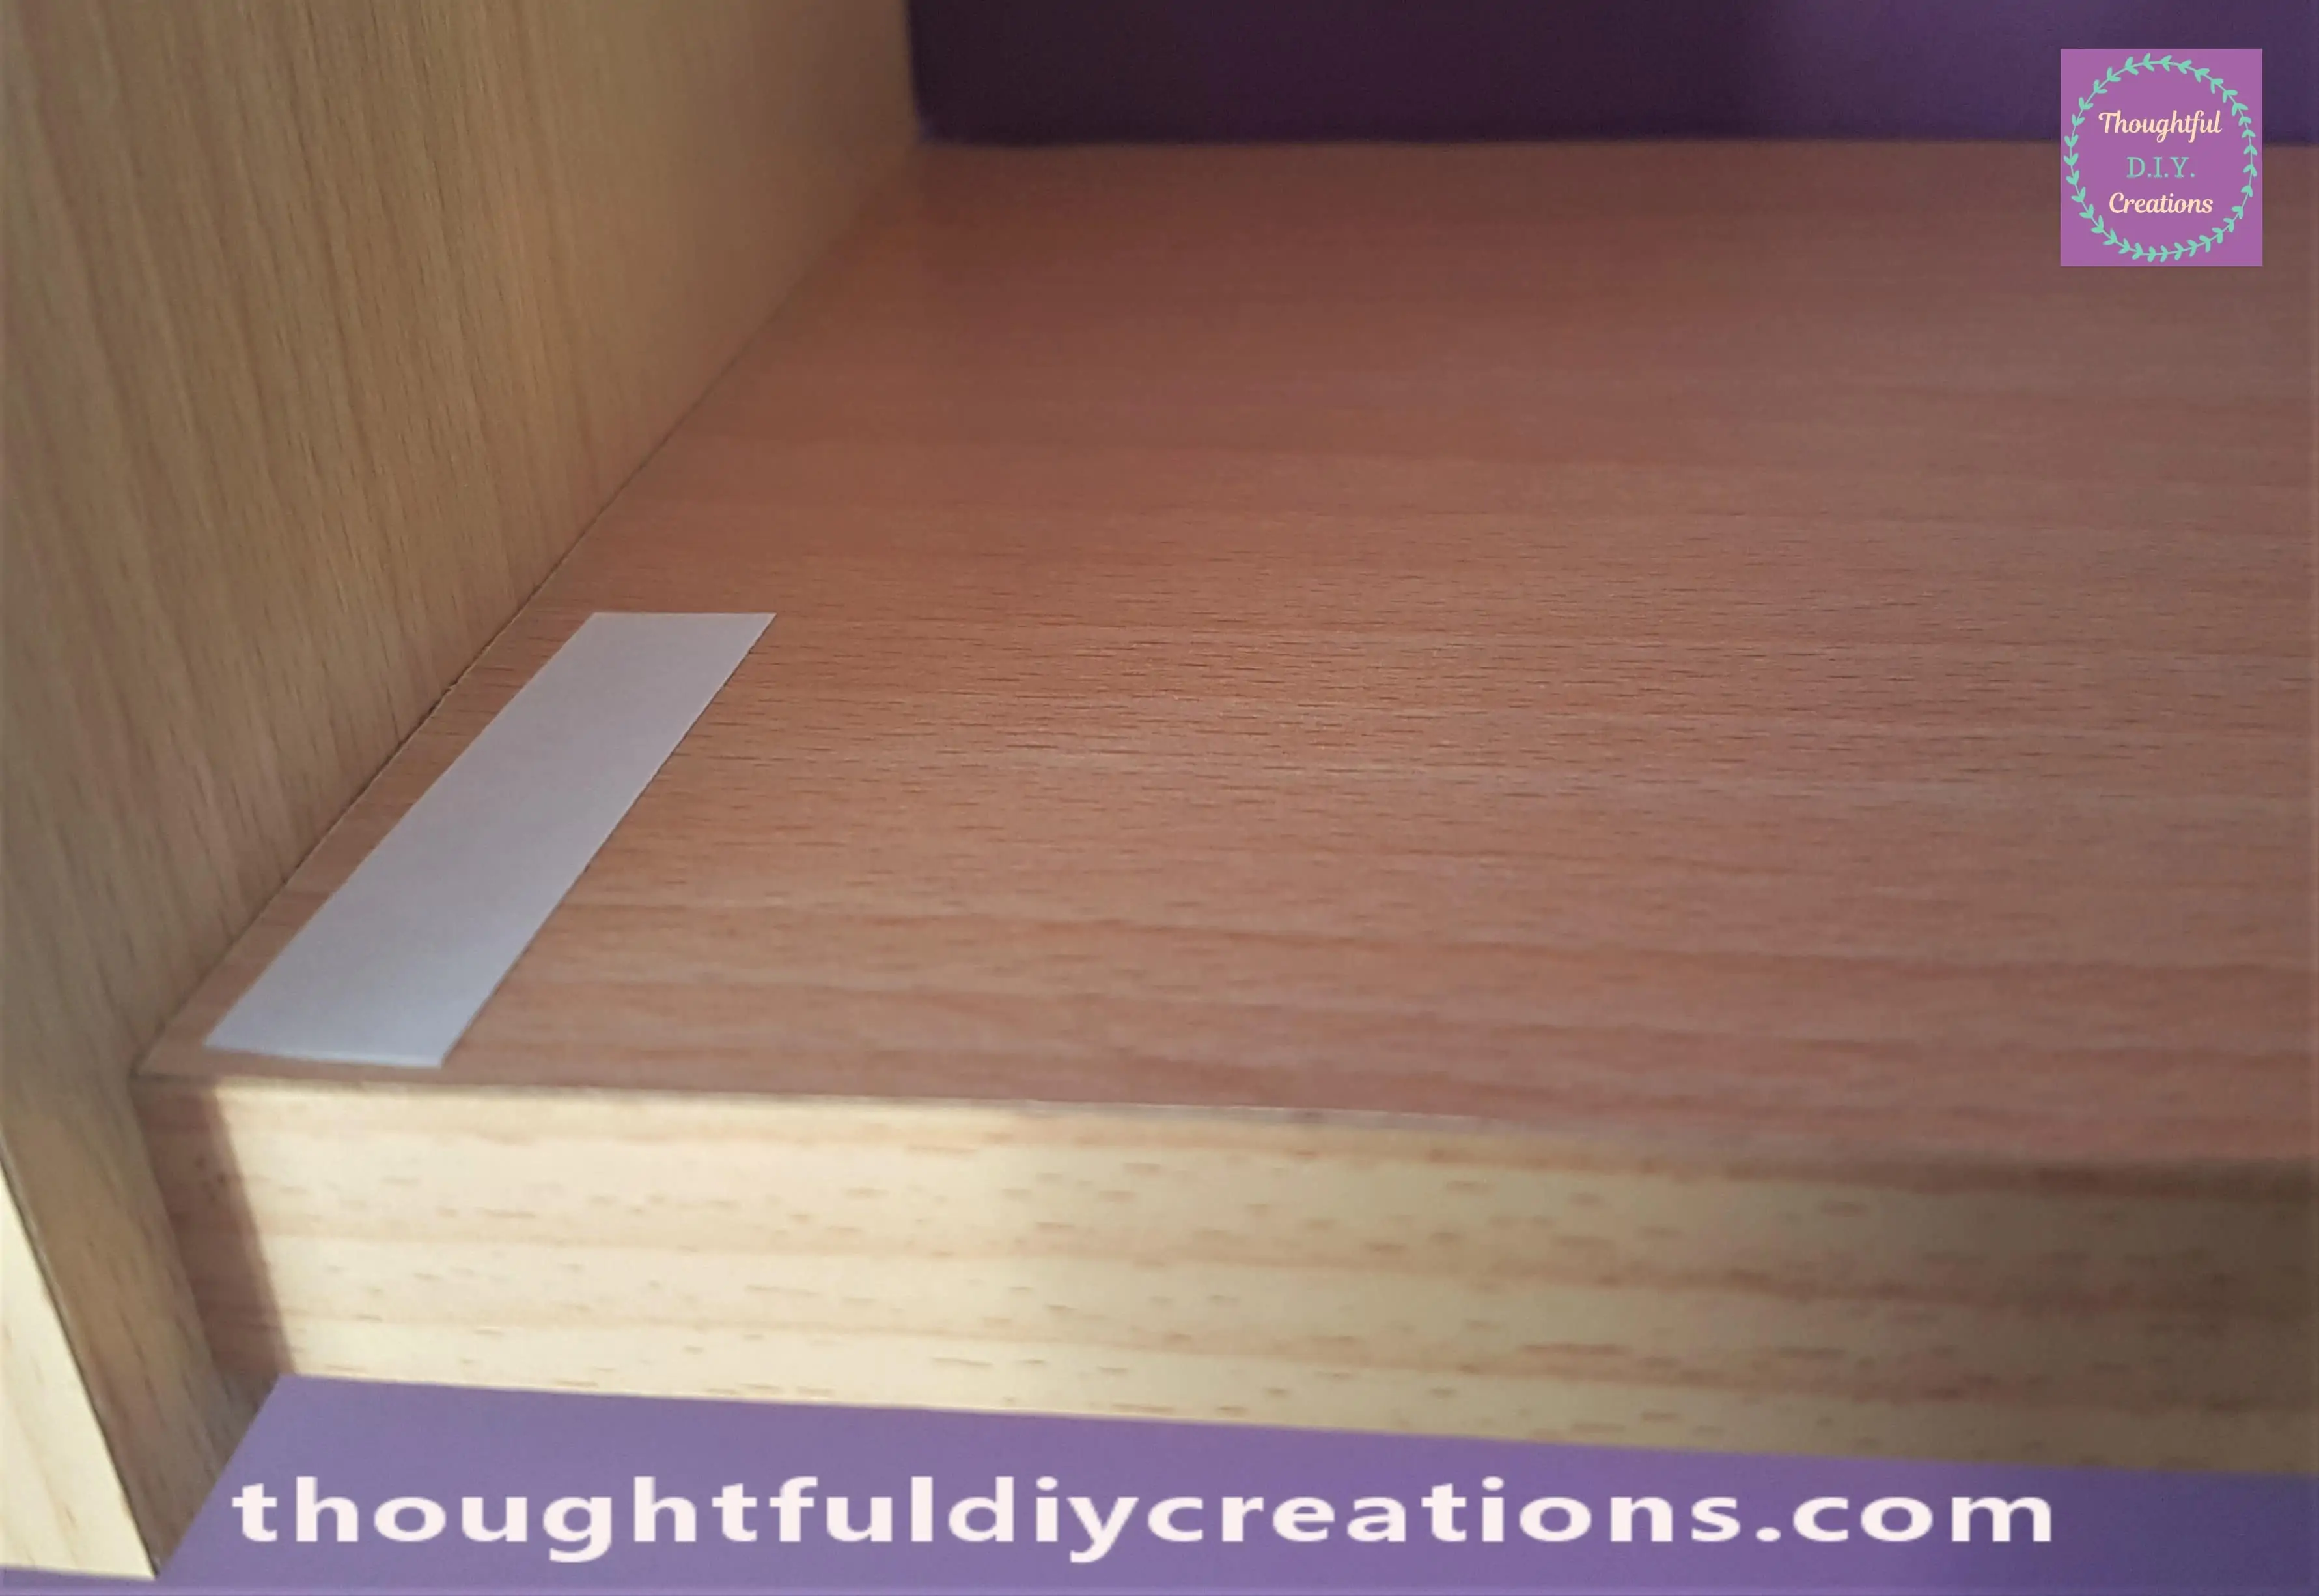
I removed the White Backing from the Tape; you are left with Clear Tape which is sticky on both Sides.
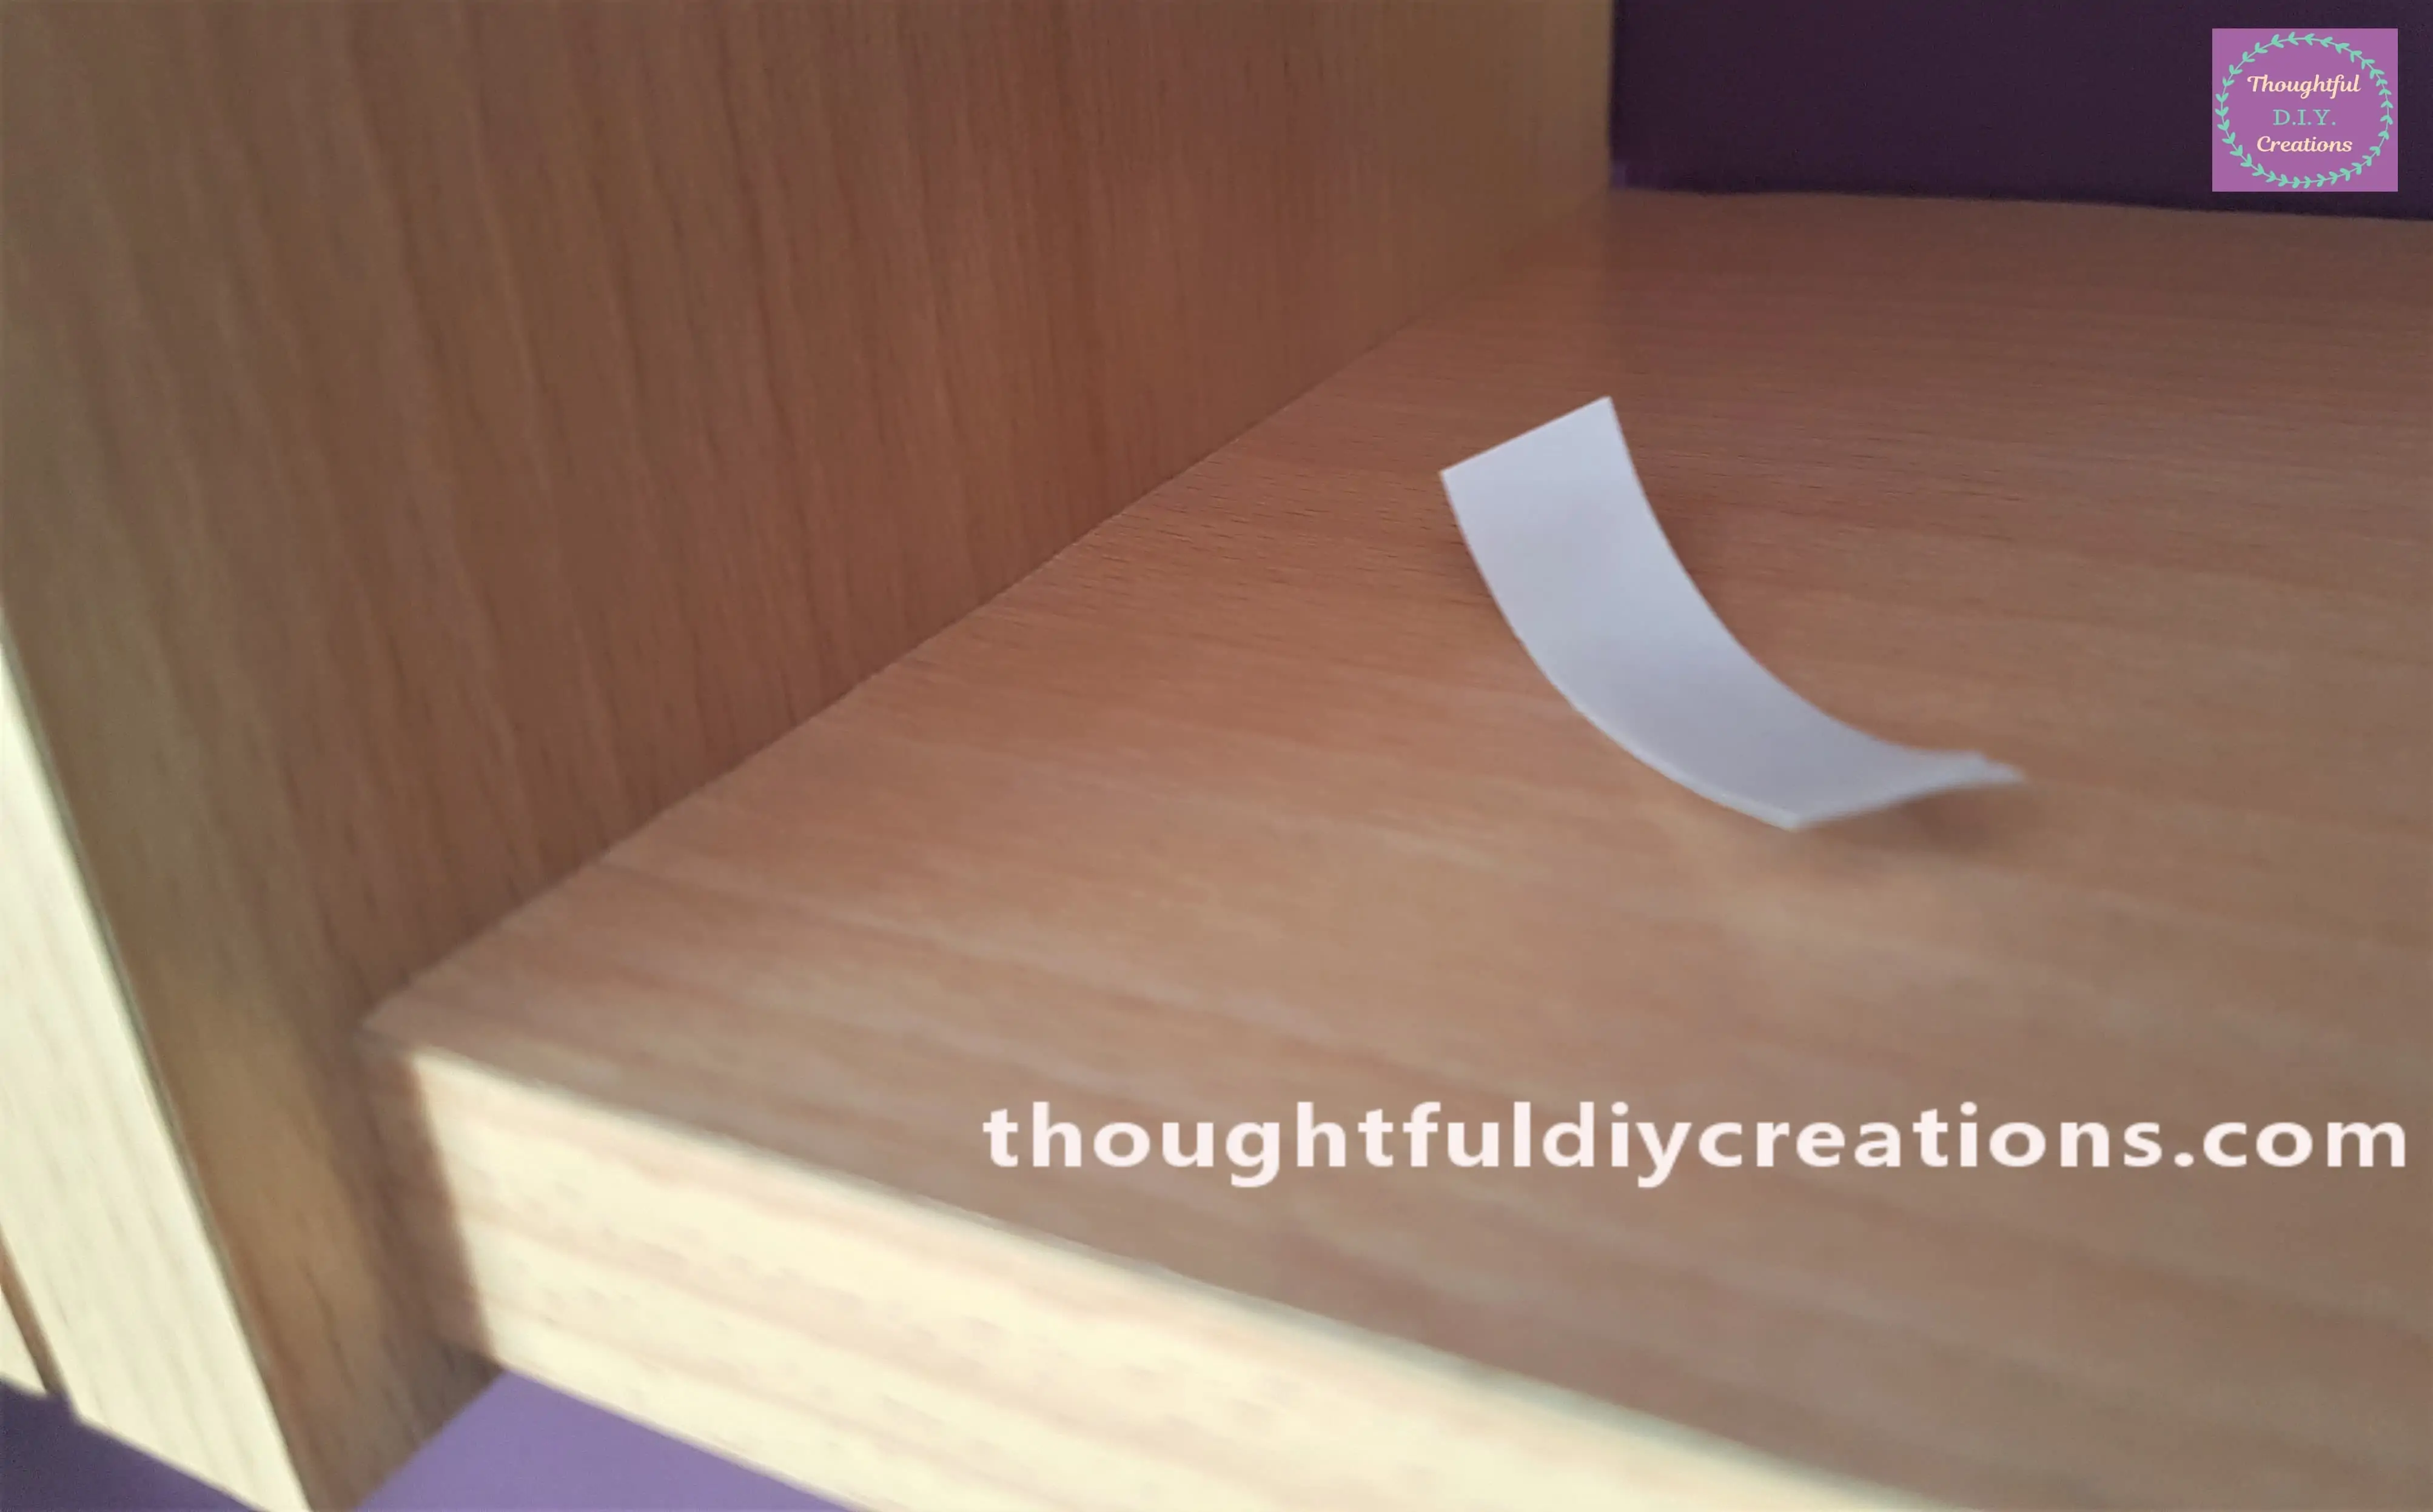
I pressed the end of the Green Rope into the Double-Sided Tape and held it in place for a few Seconds.
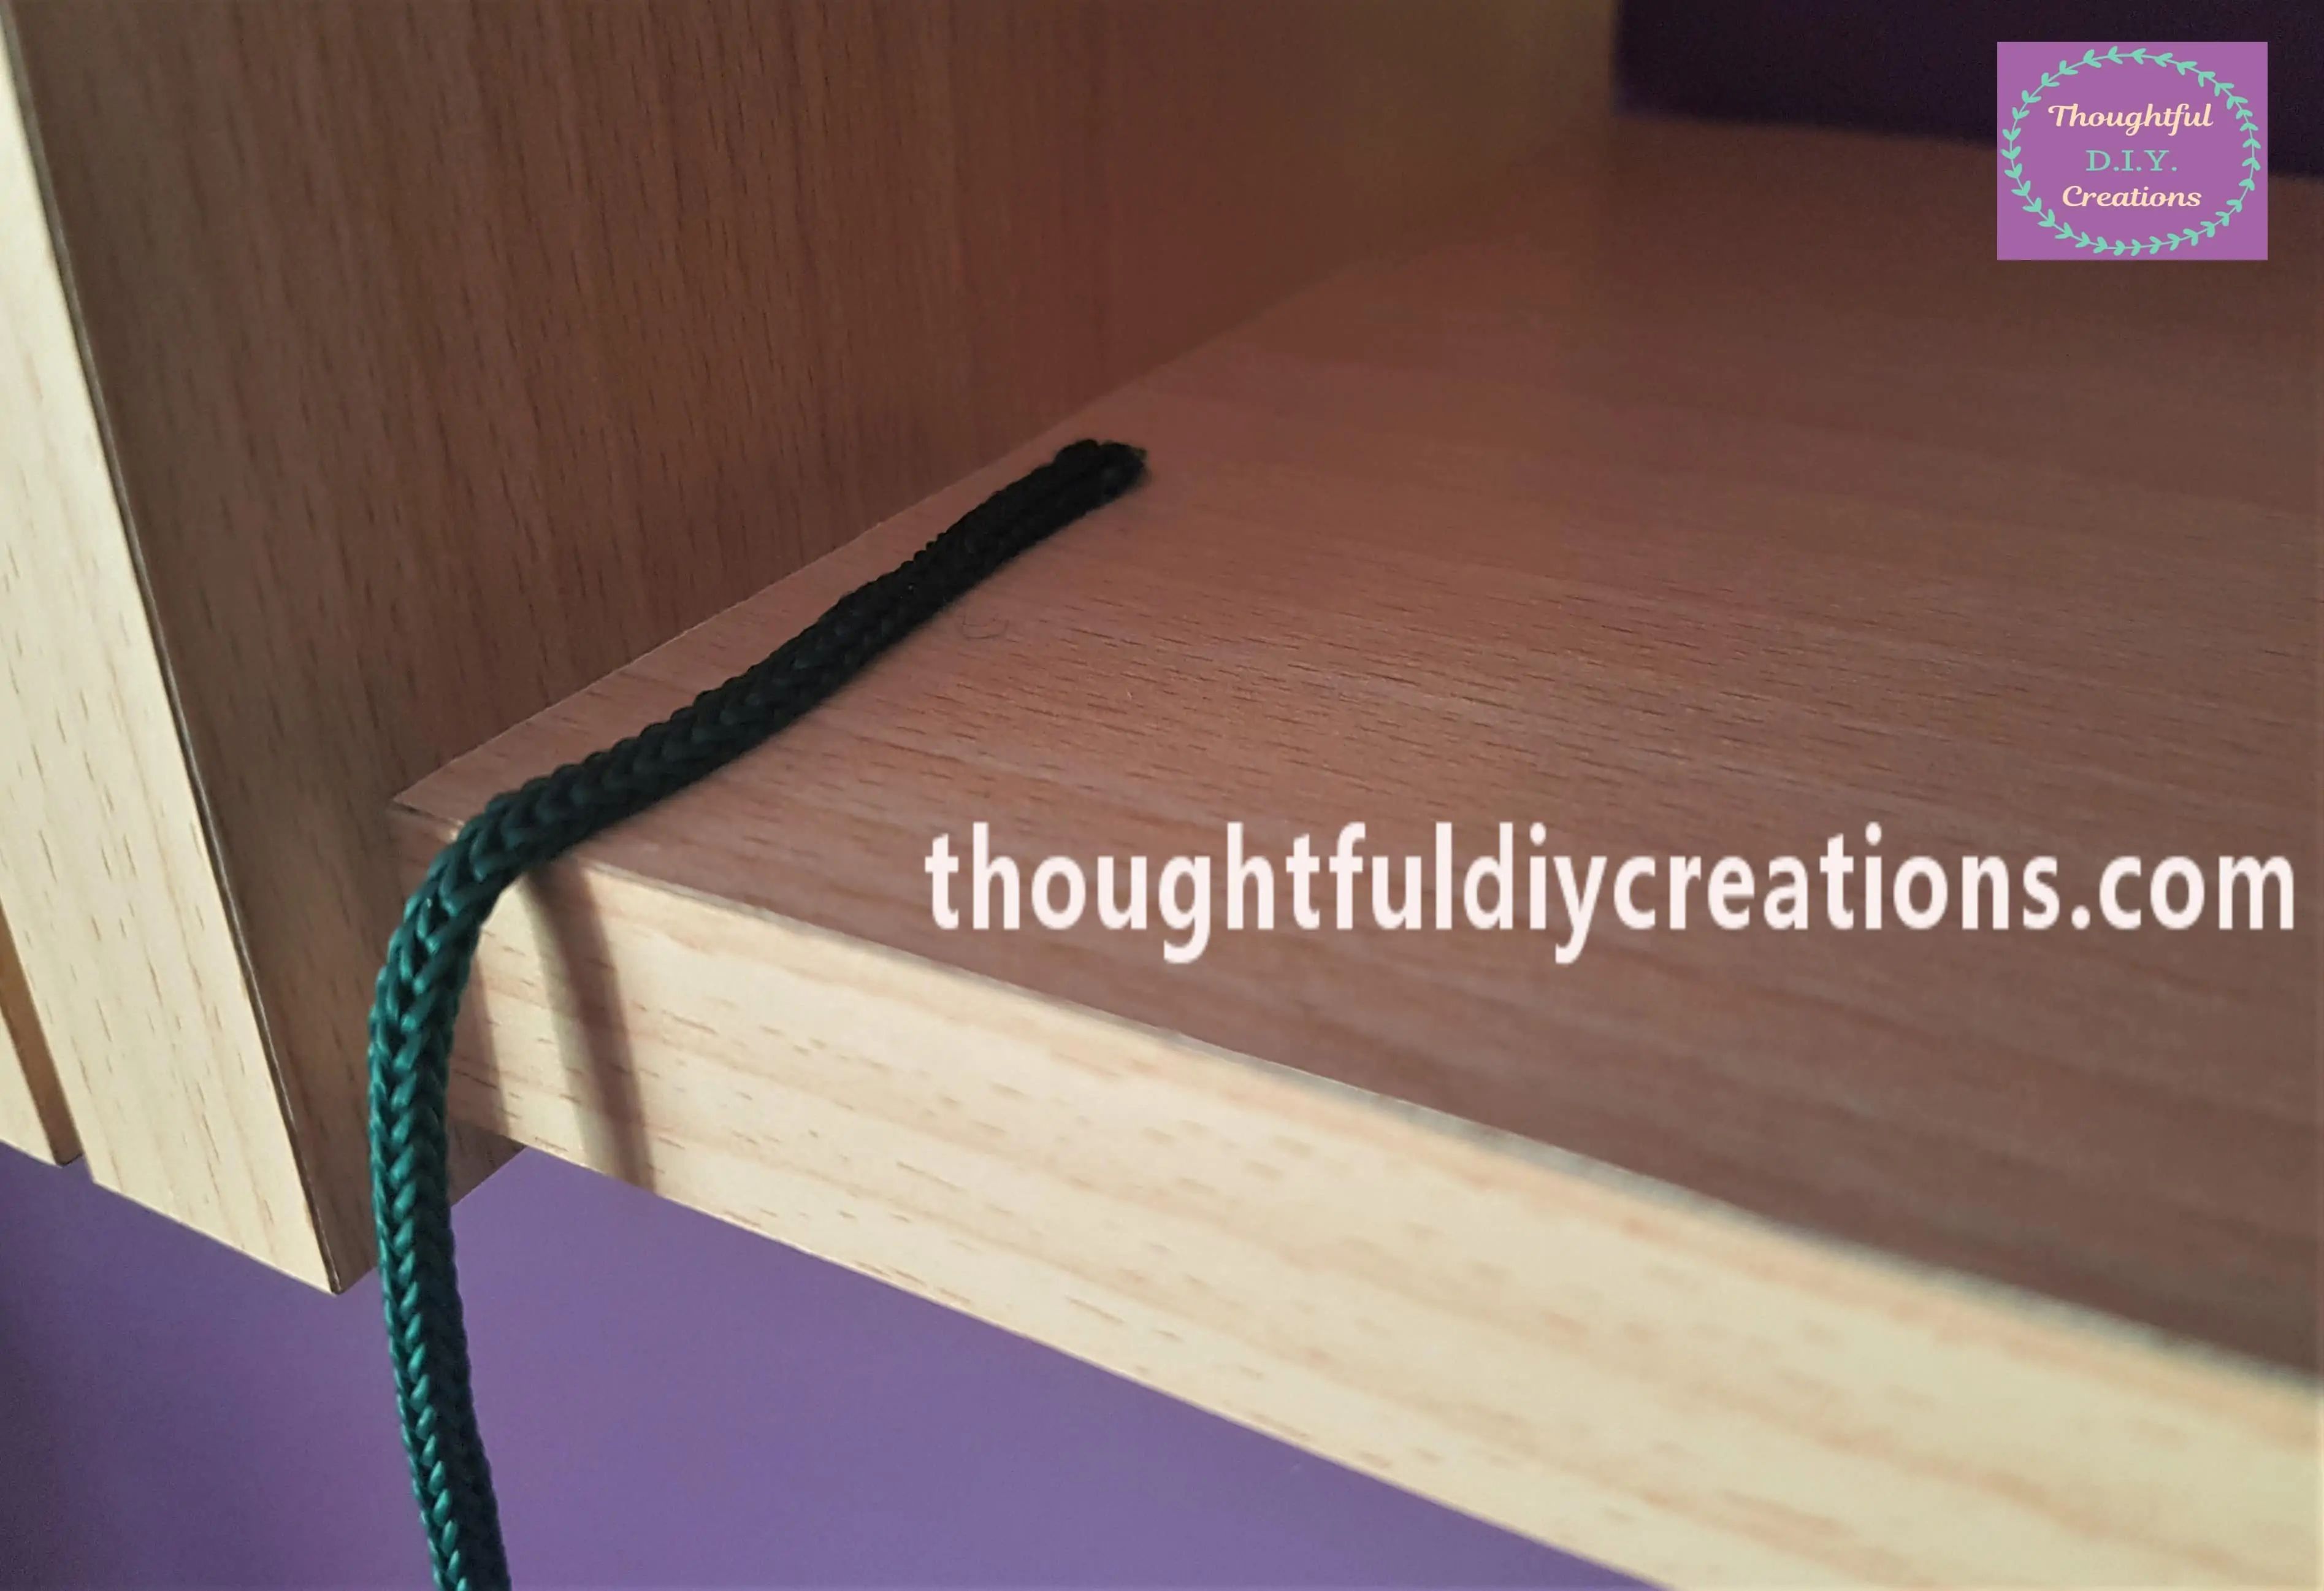
I put another Section of Double-Sided Tape on the other Side of the Shelf.
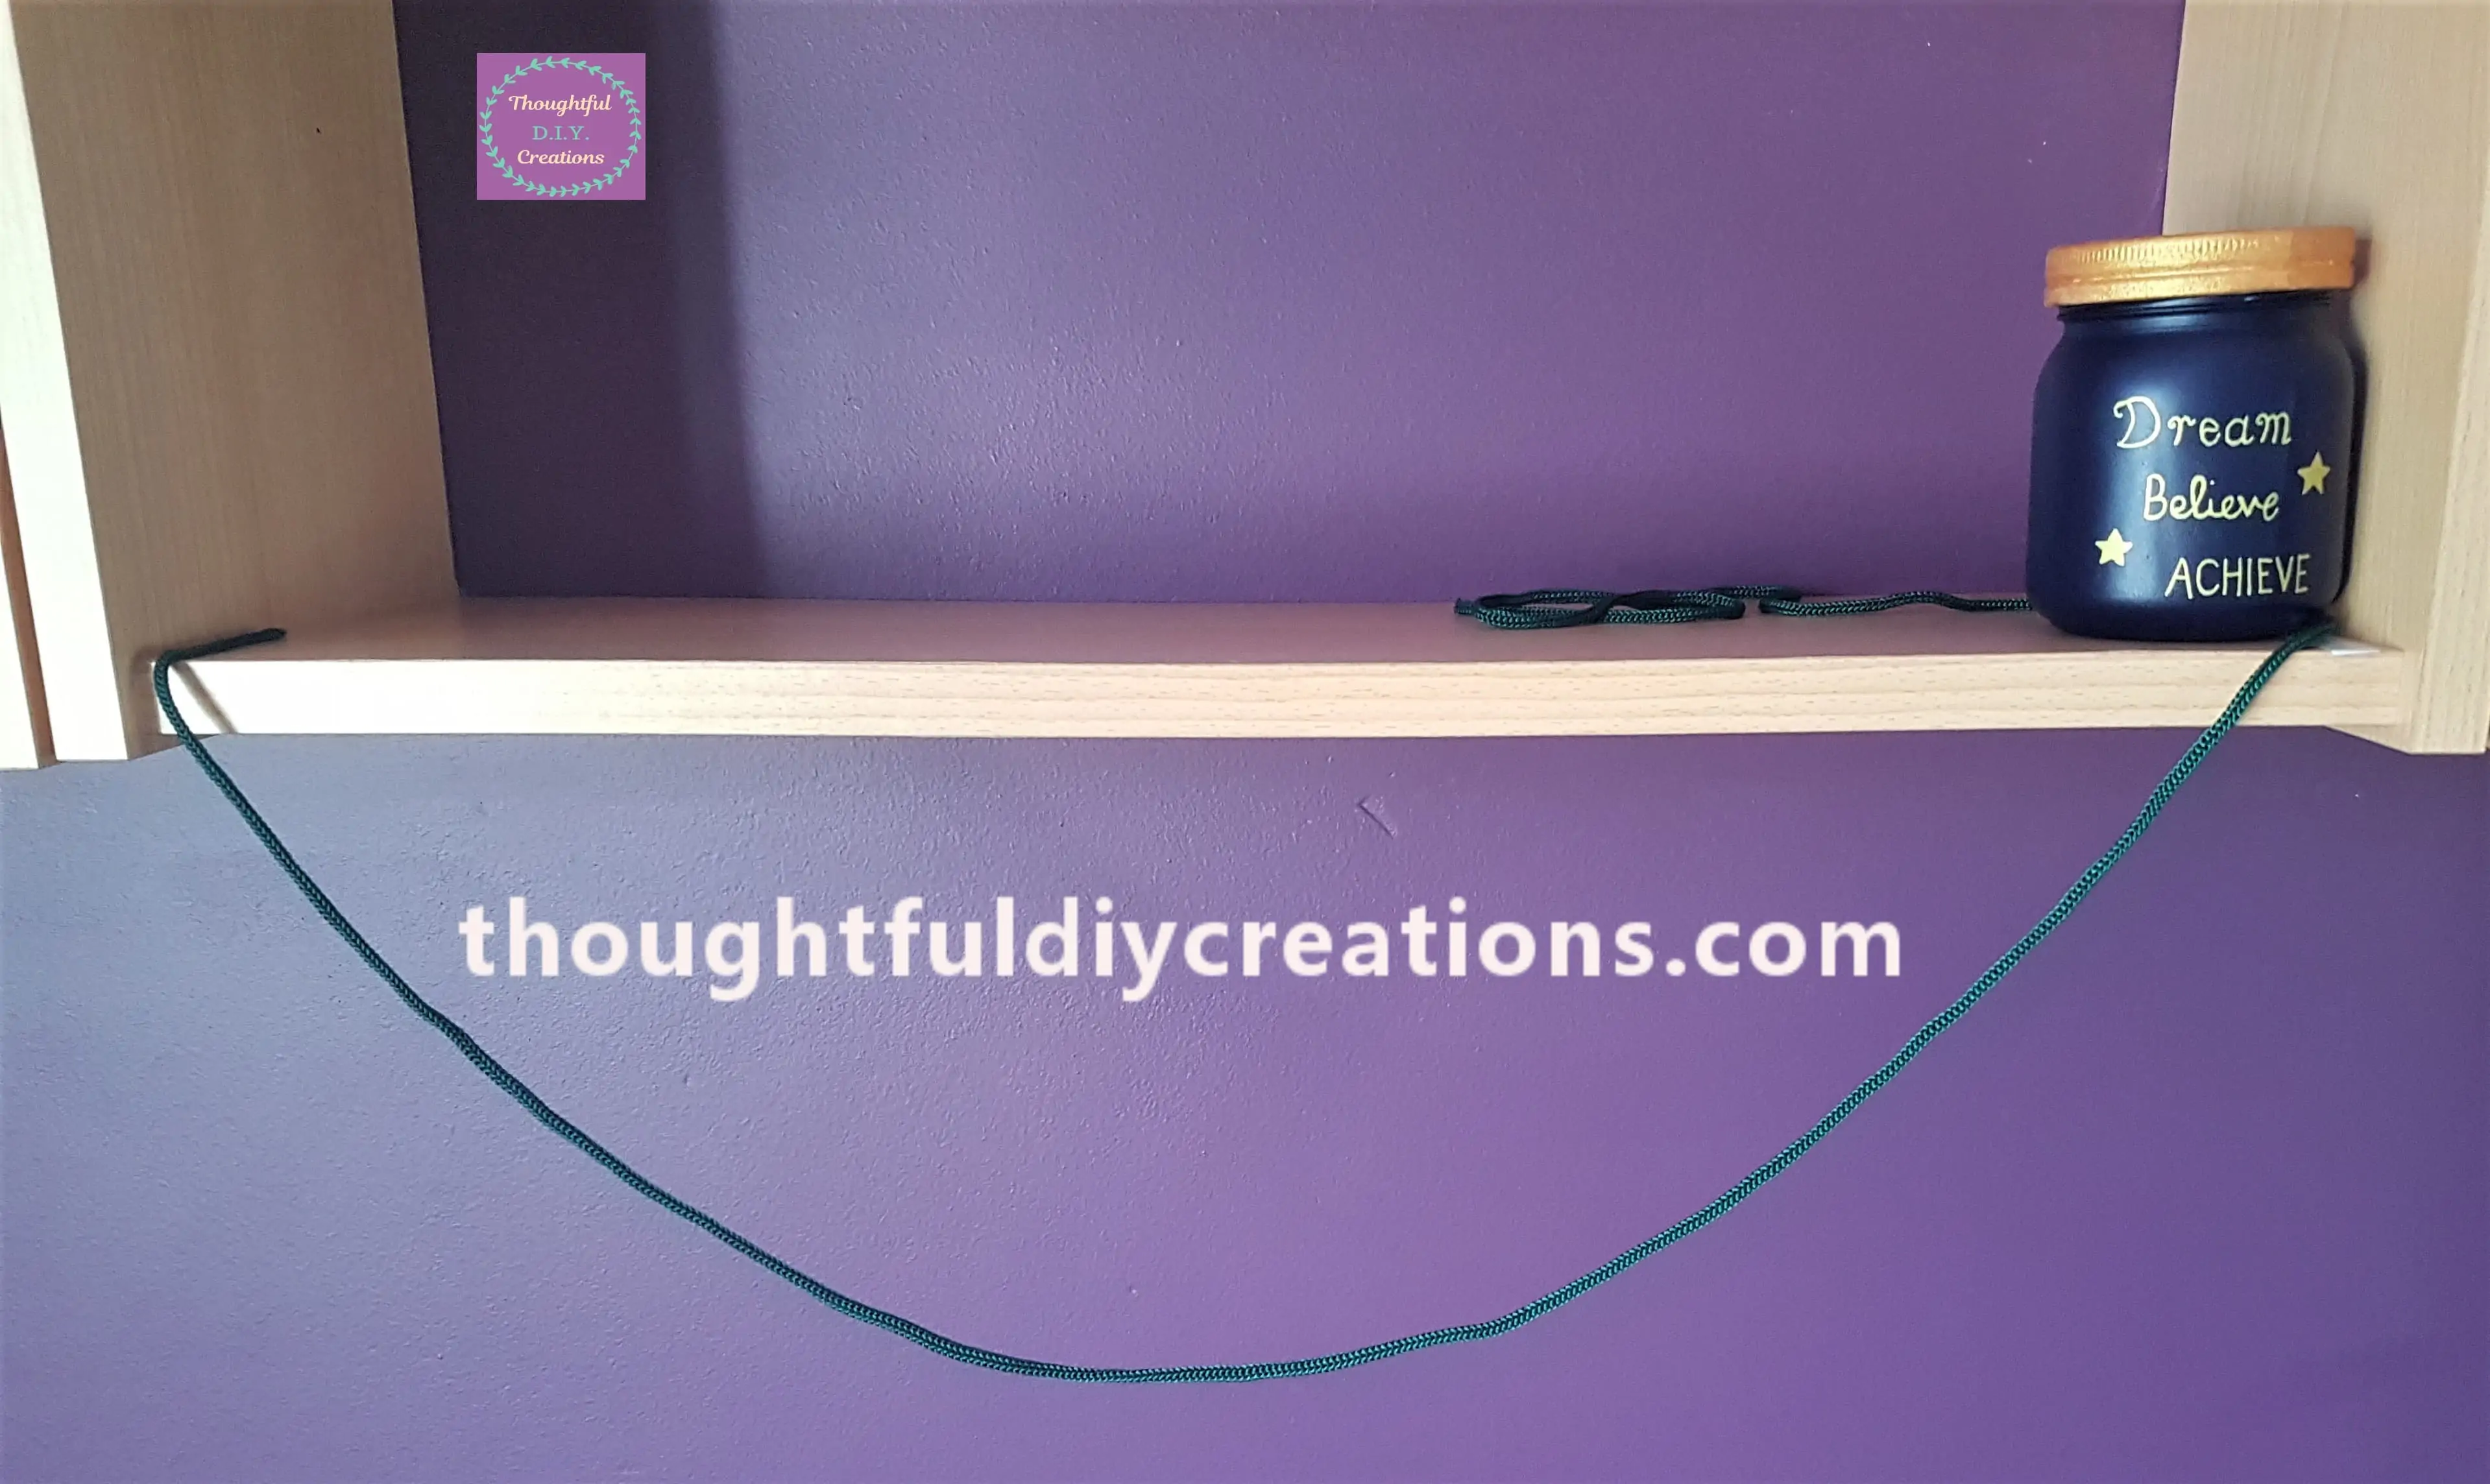
I put a Jar on Top of the White Tape and Rope as I’m not sure what length I need the String to be on this Side yet.
Attaching the Summer Images to the String
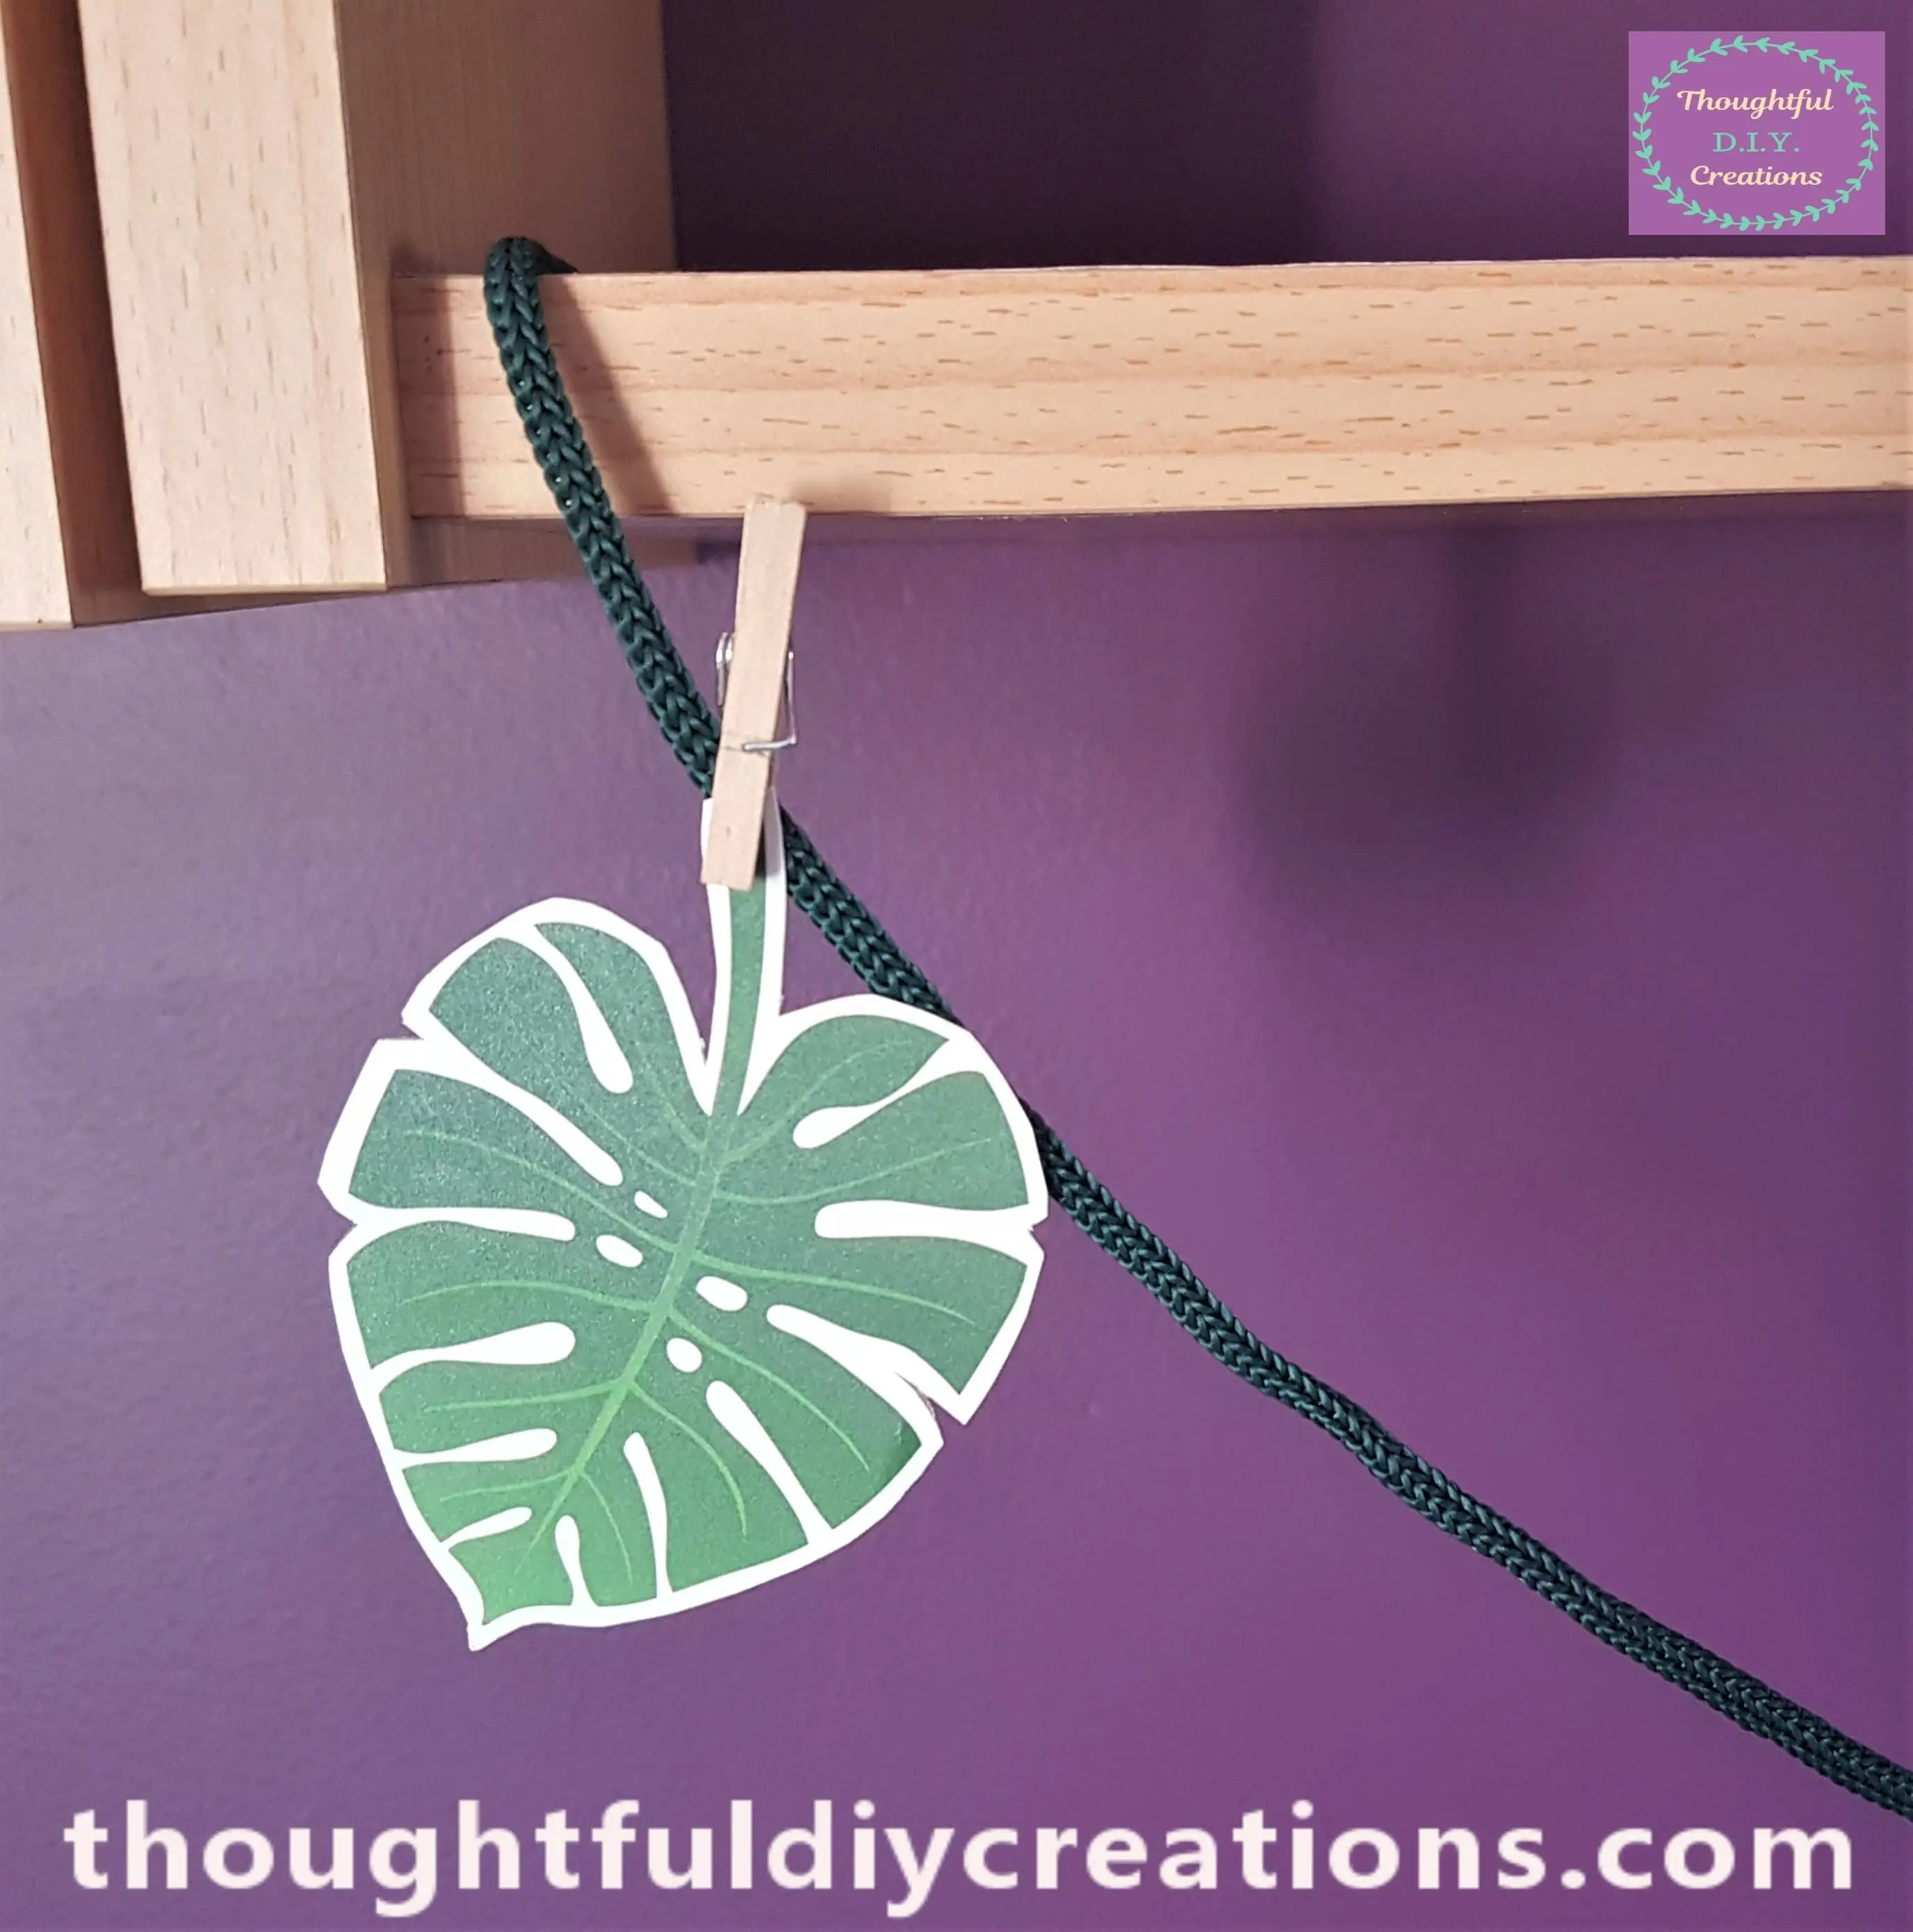
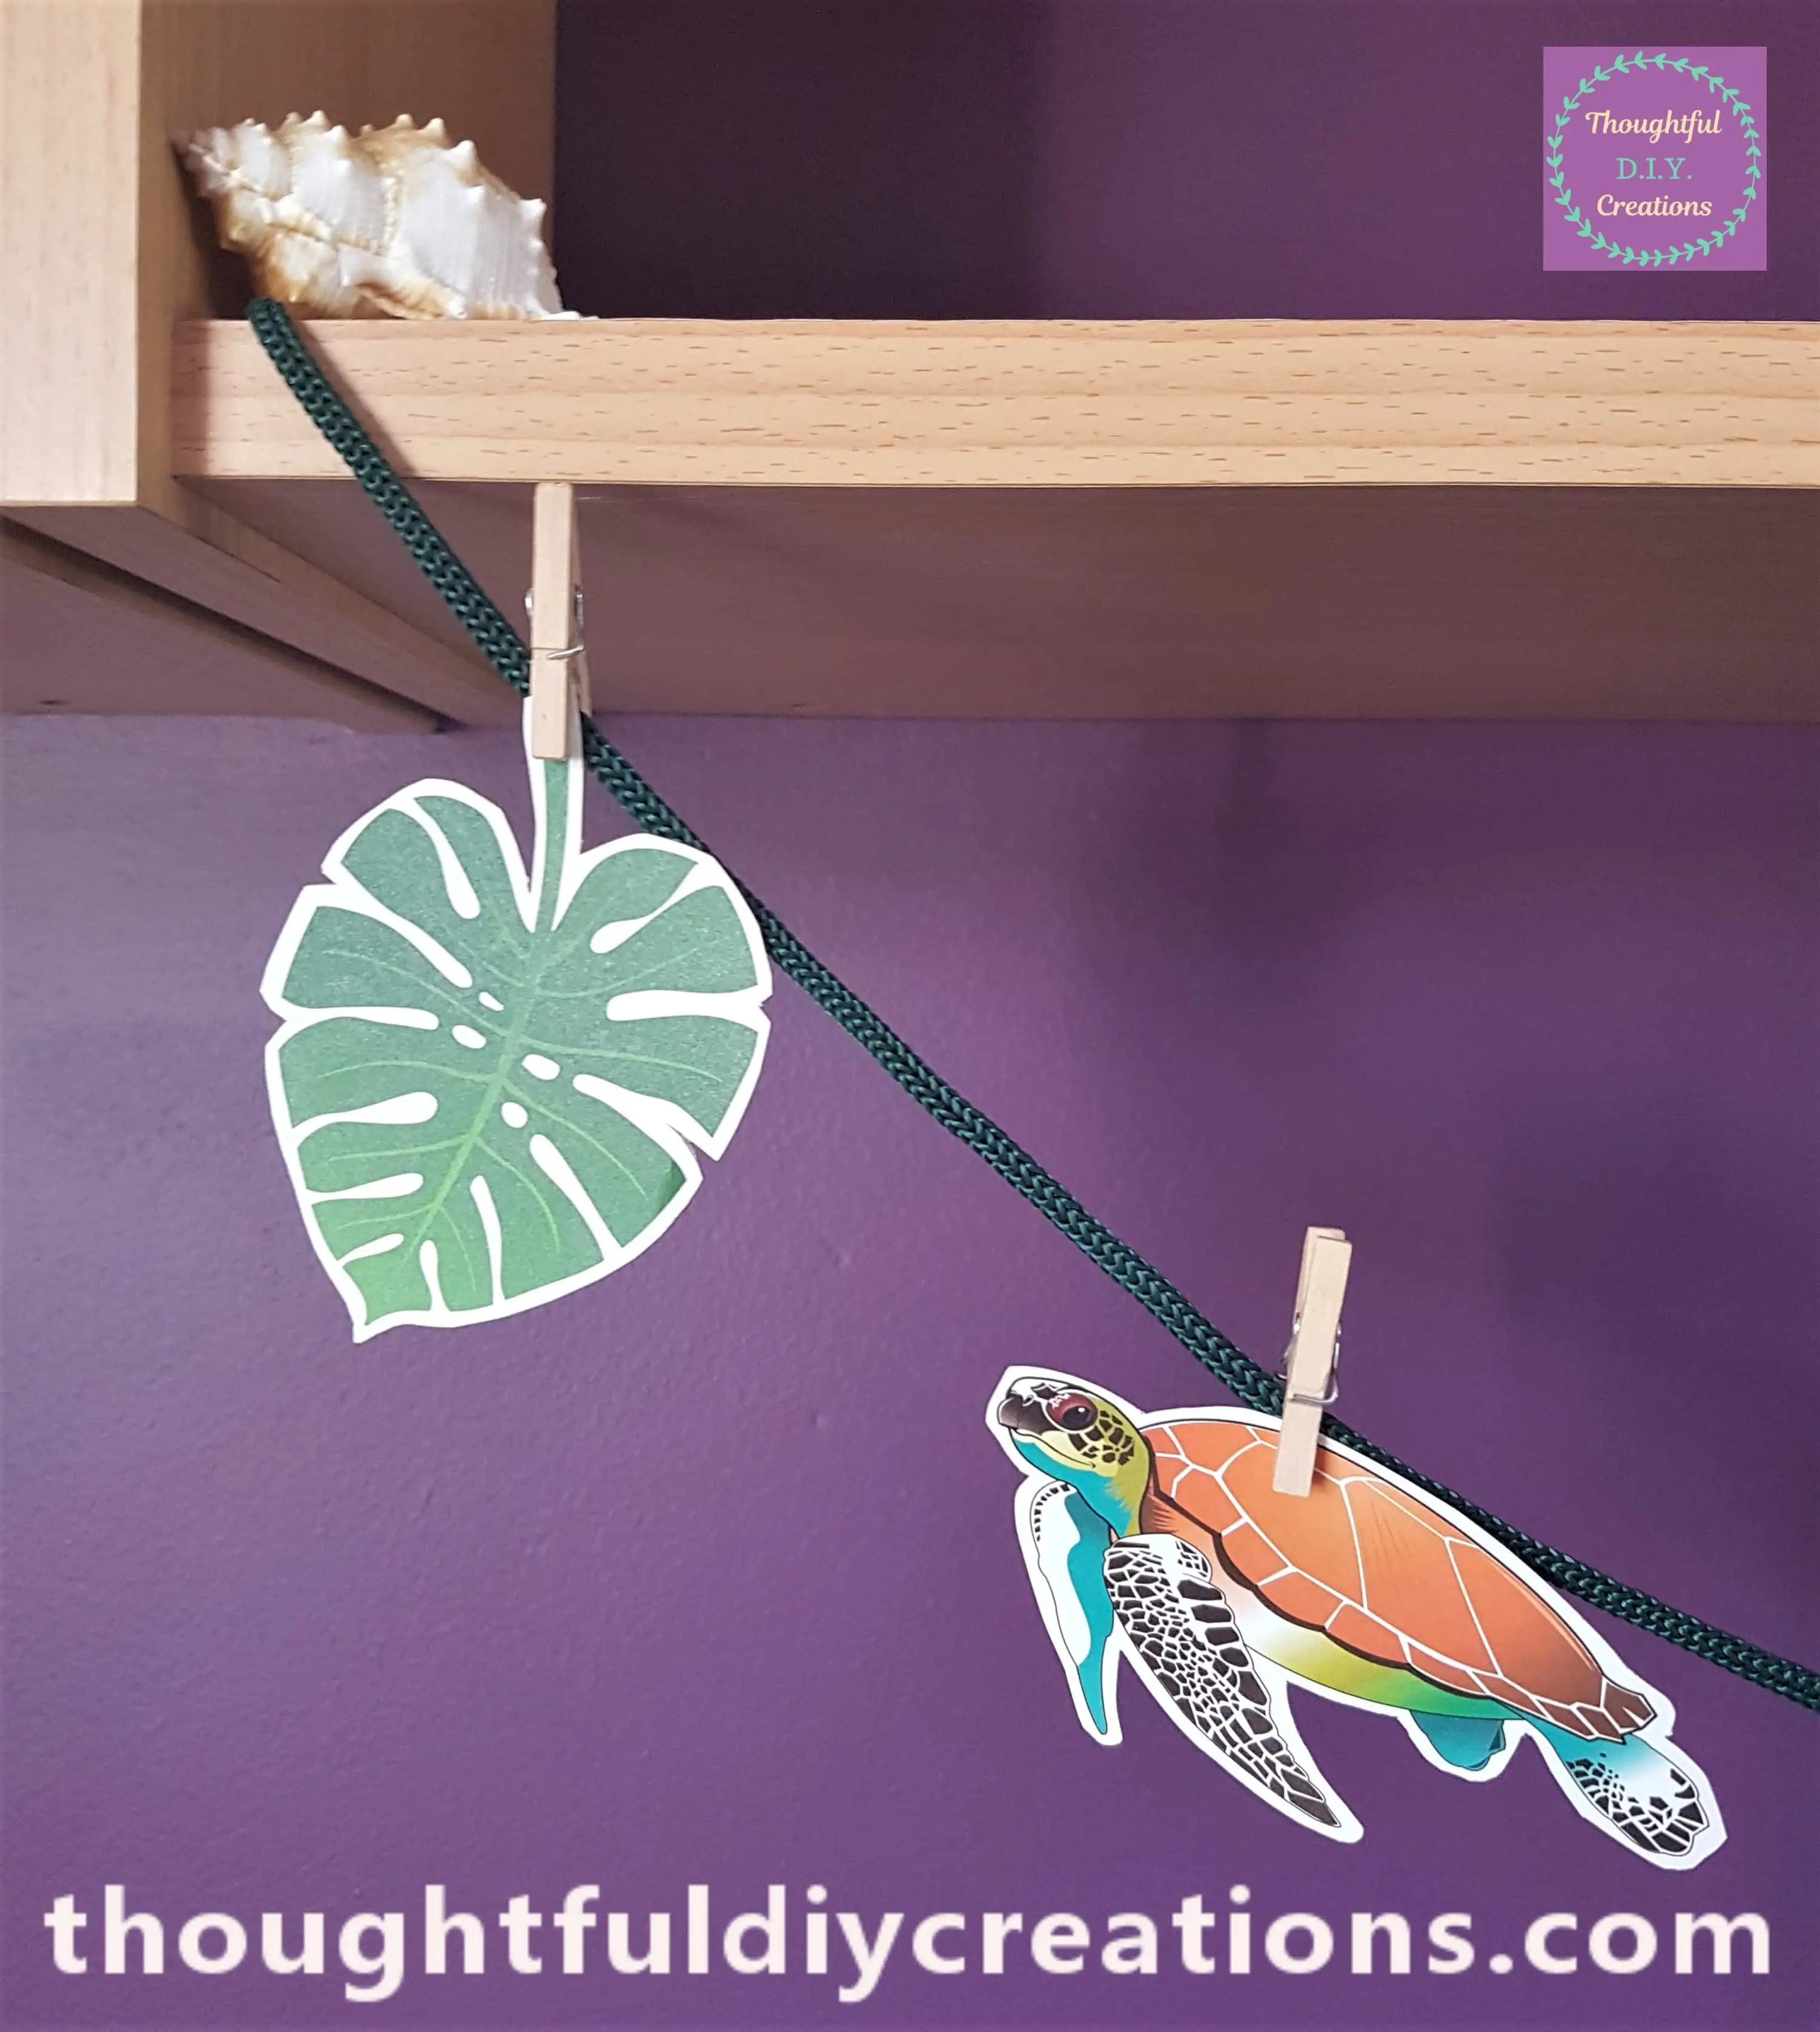
I put a Peg on a Picture of a Leaf on the Rope to begin my Summer Garland.
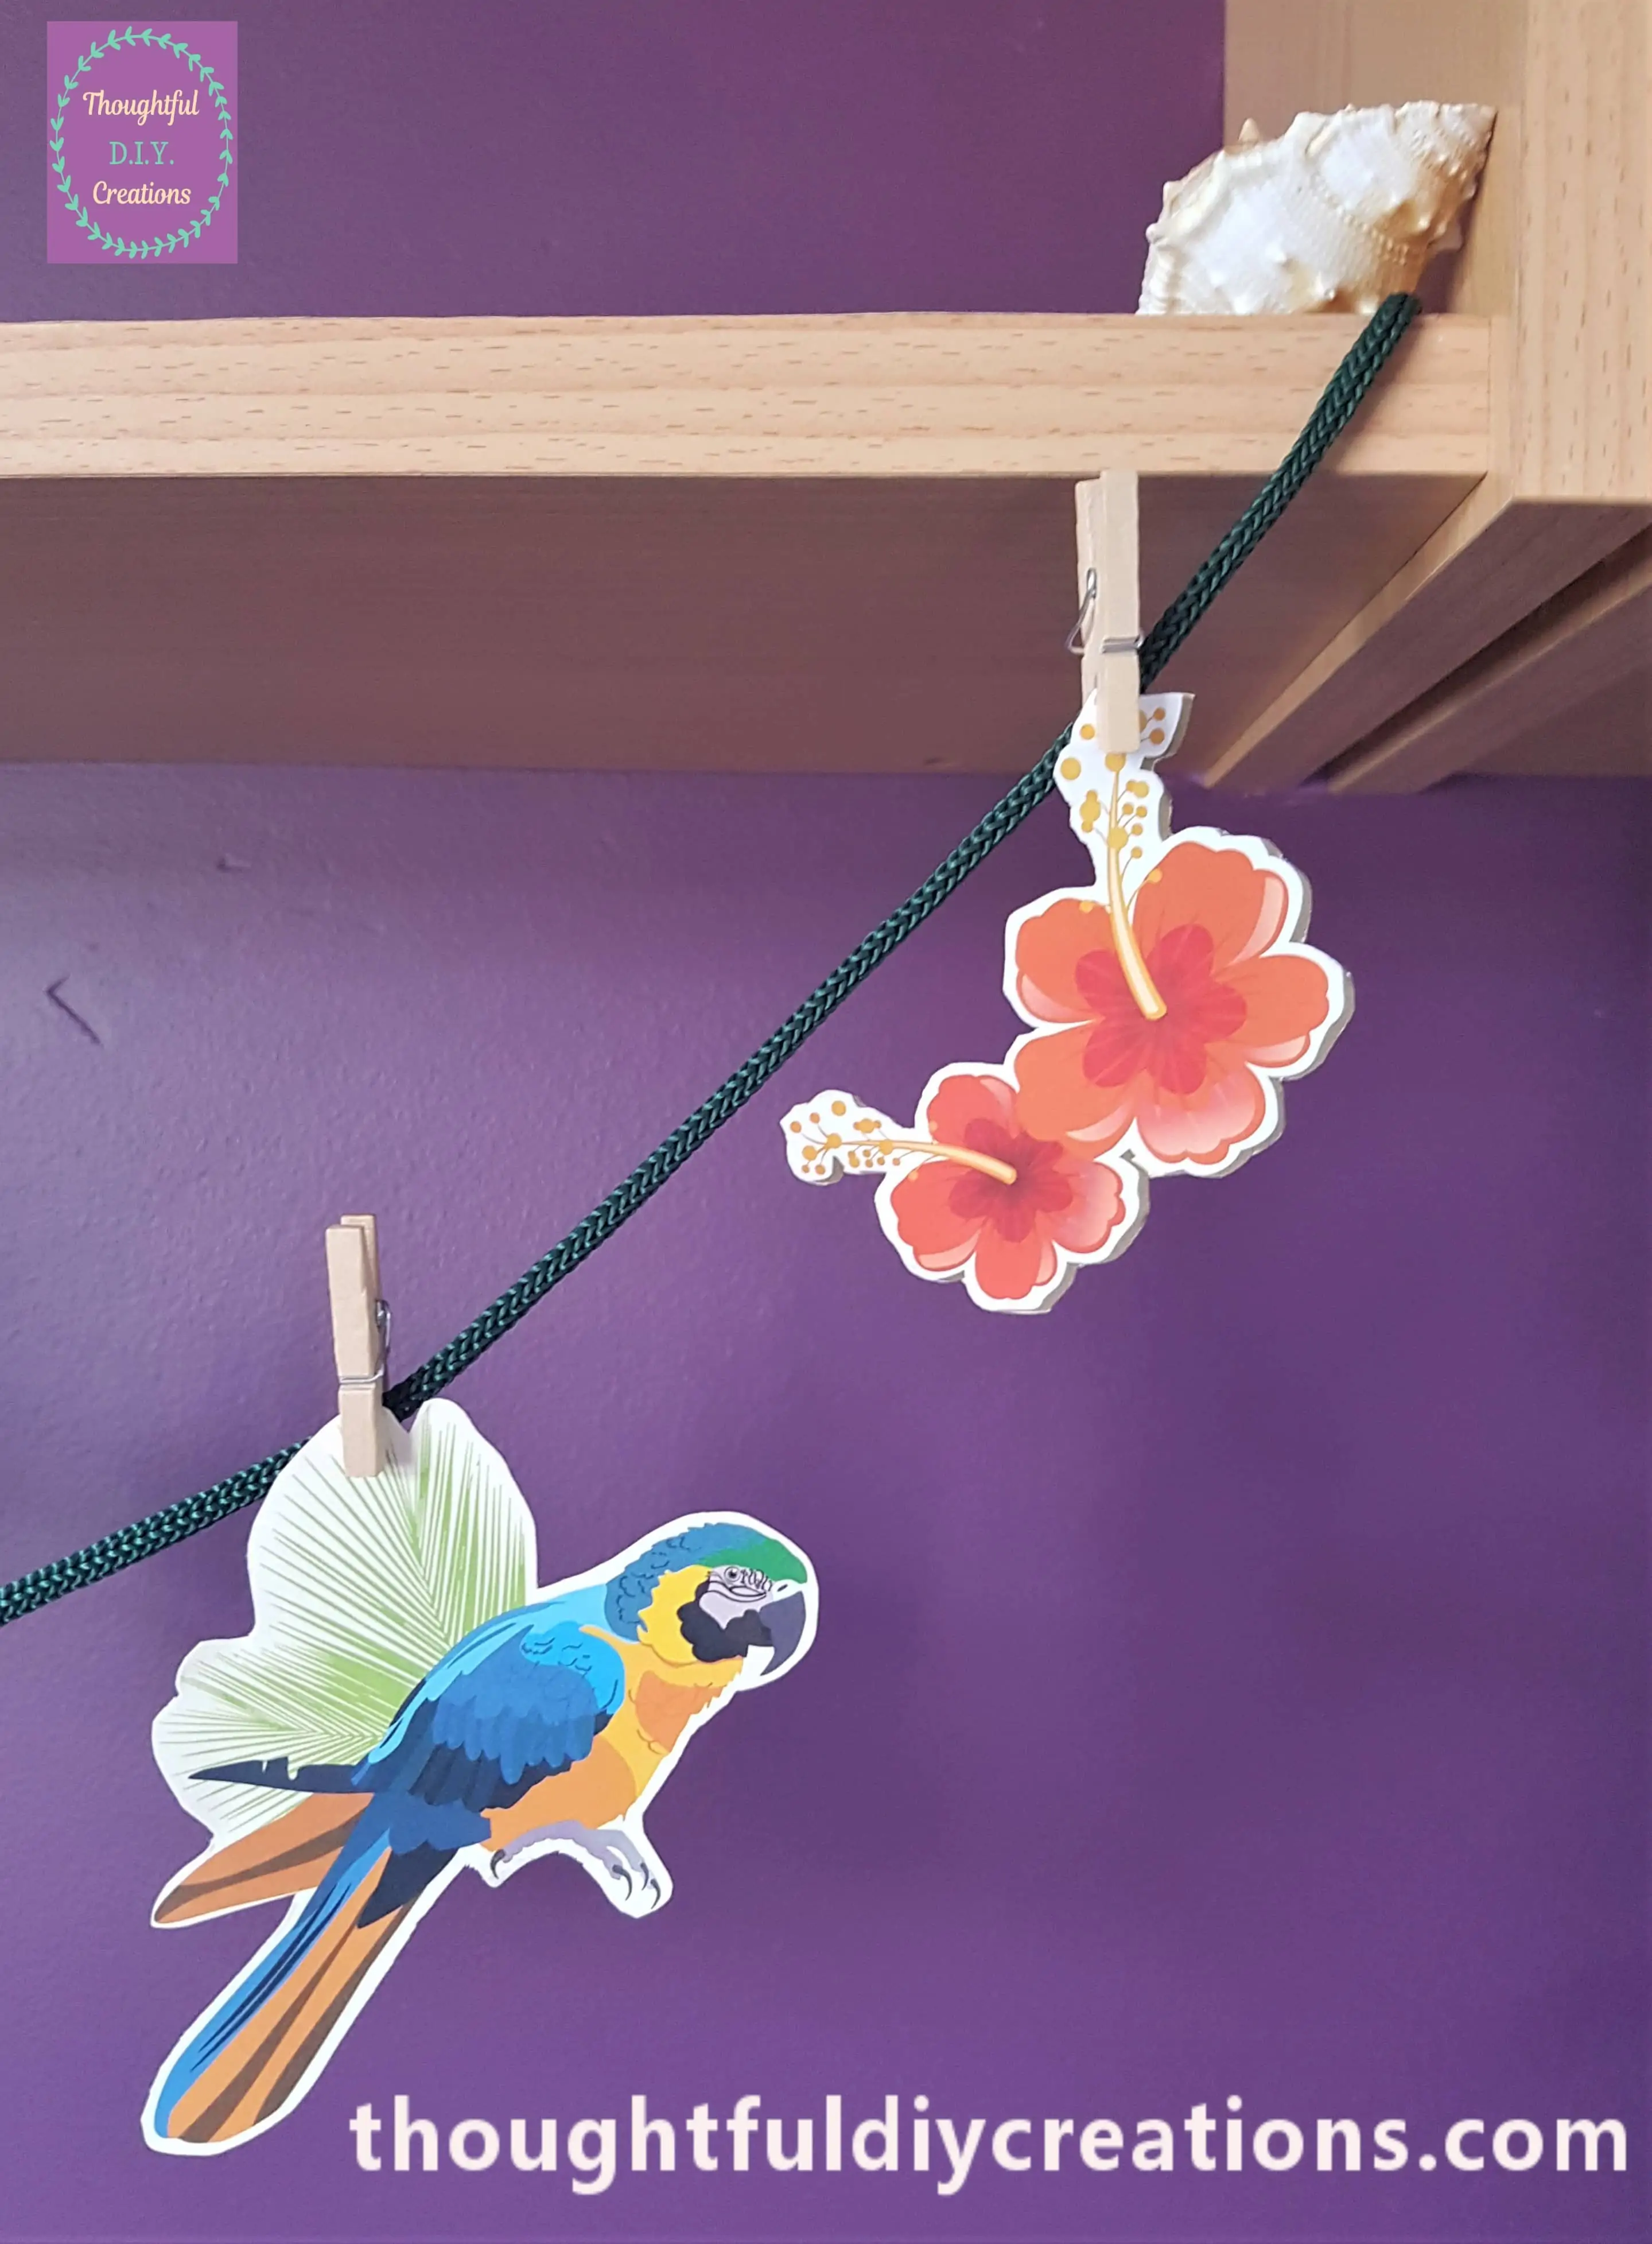
I added the next few Pictures to the Garland leaving an even amount of Space between each Image.
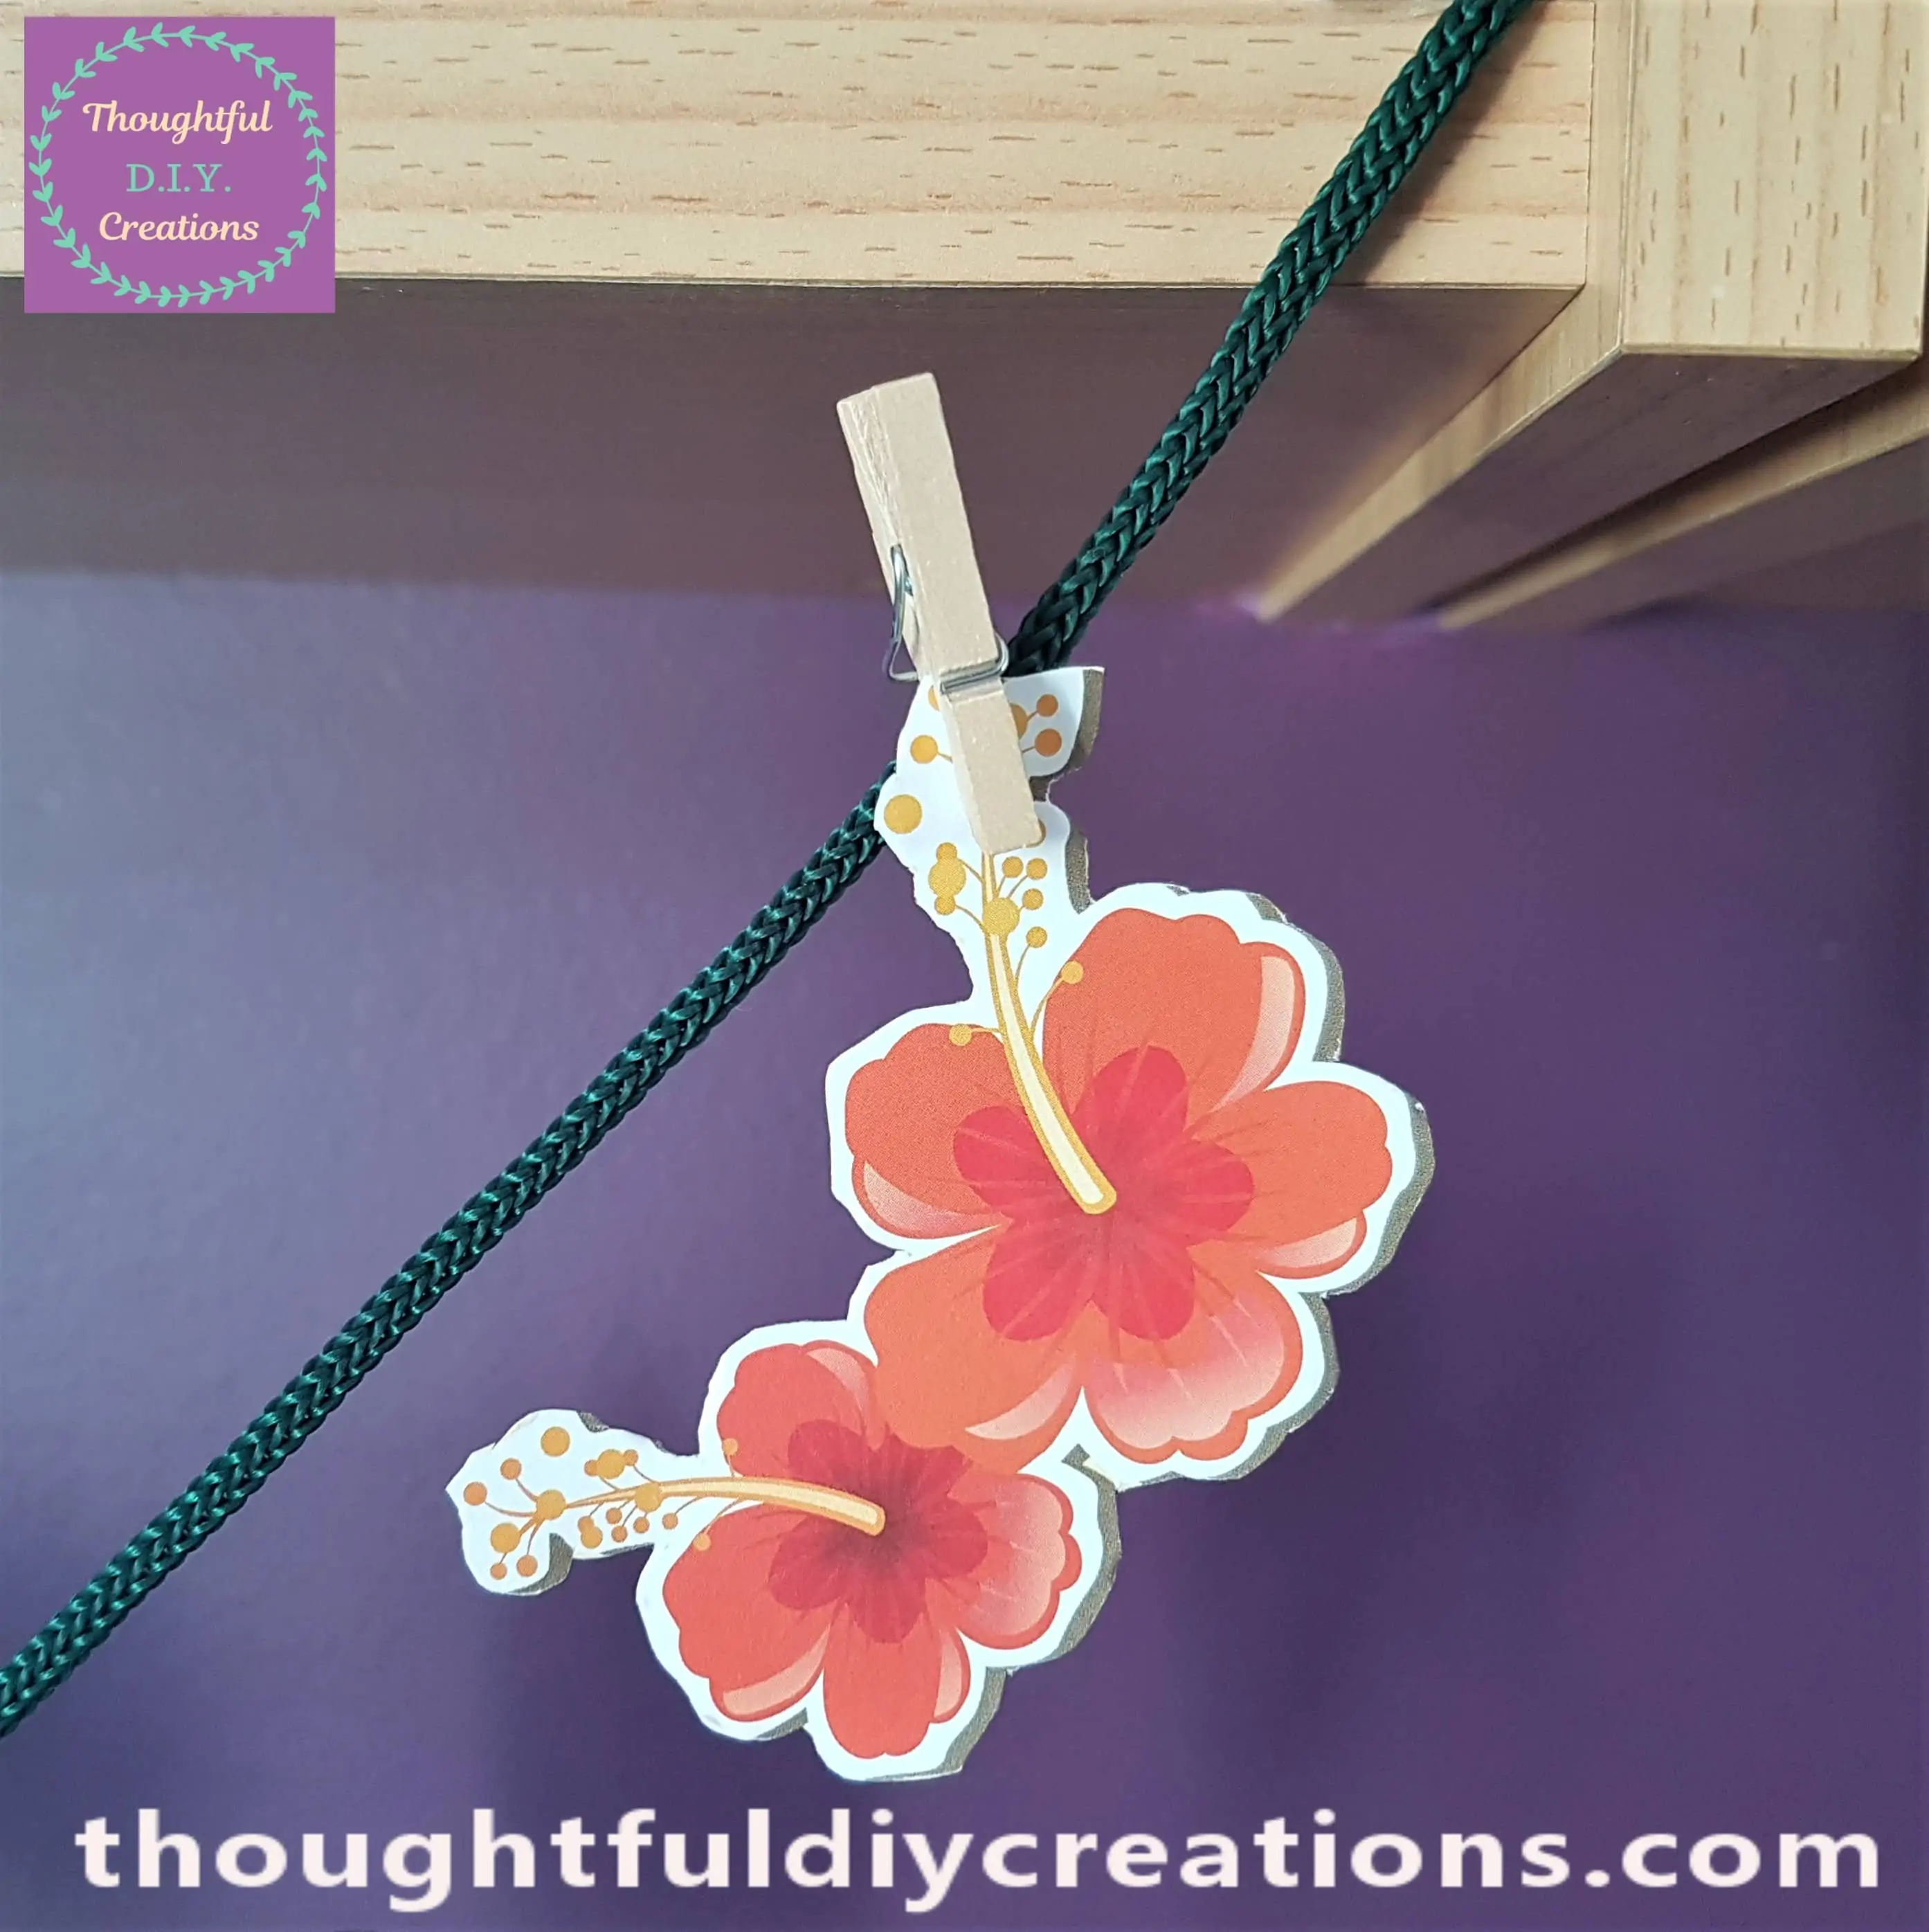
The Peach Flowers were the last Picture added to the Garland.
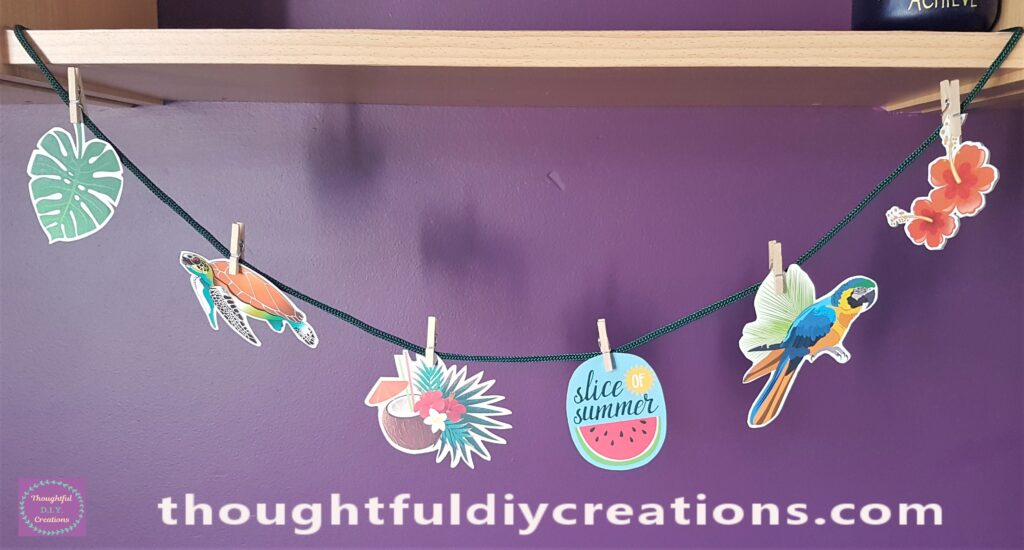
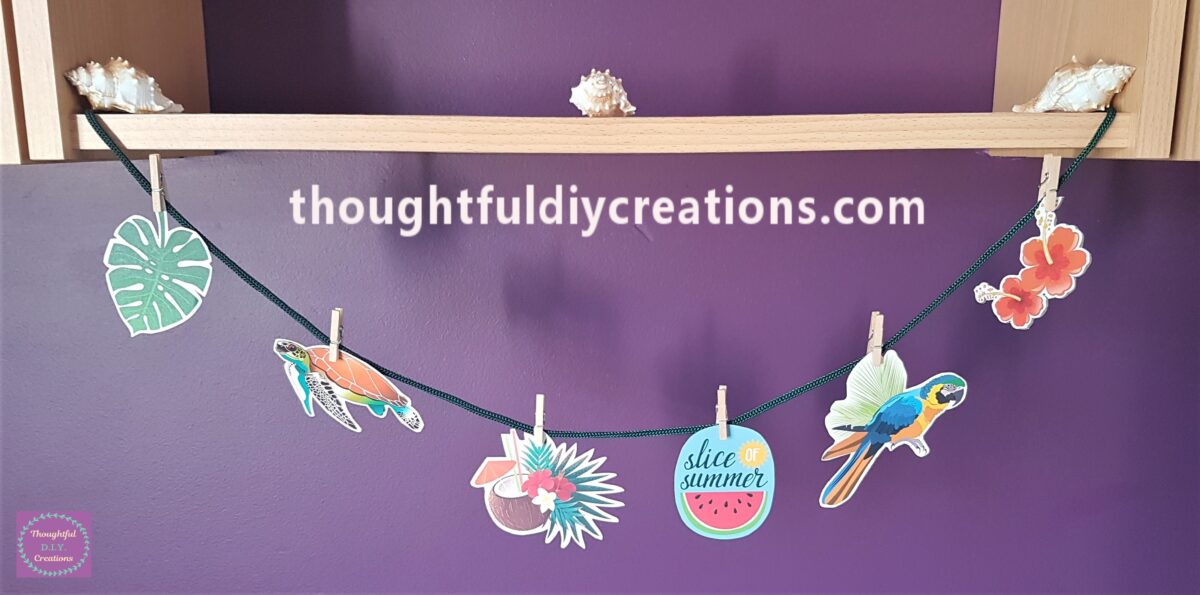
Here are all 6 Images attached to the Green String.
Cutting the Other End of the Garland
I moved the Jar, Cut the Green Rope, took the White Backing off the Tape and pressed the Rope into the Tape.
Finishing Touches to the Summer Garland
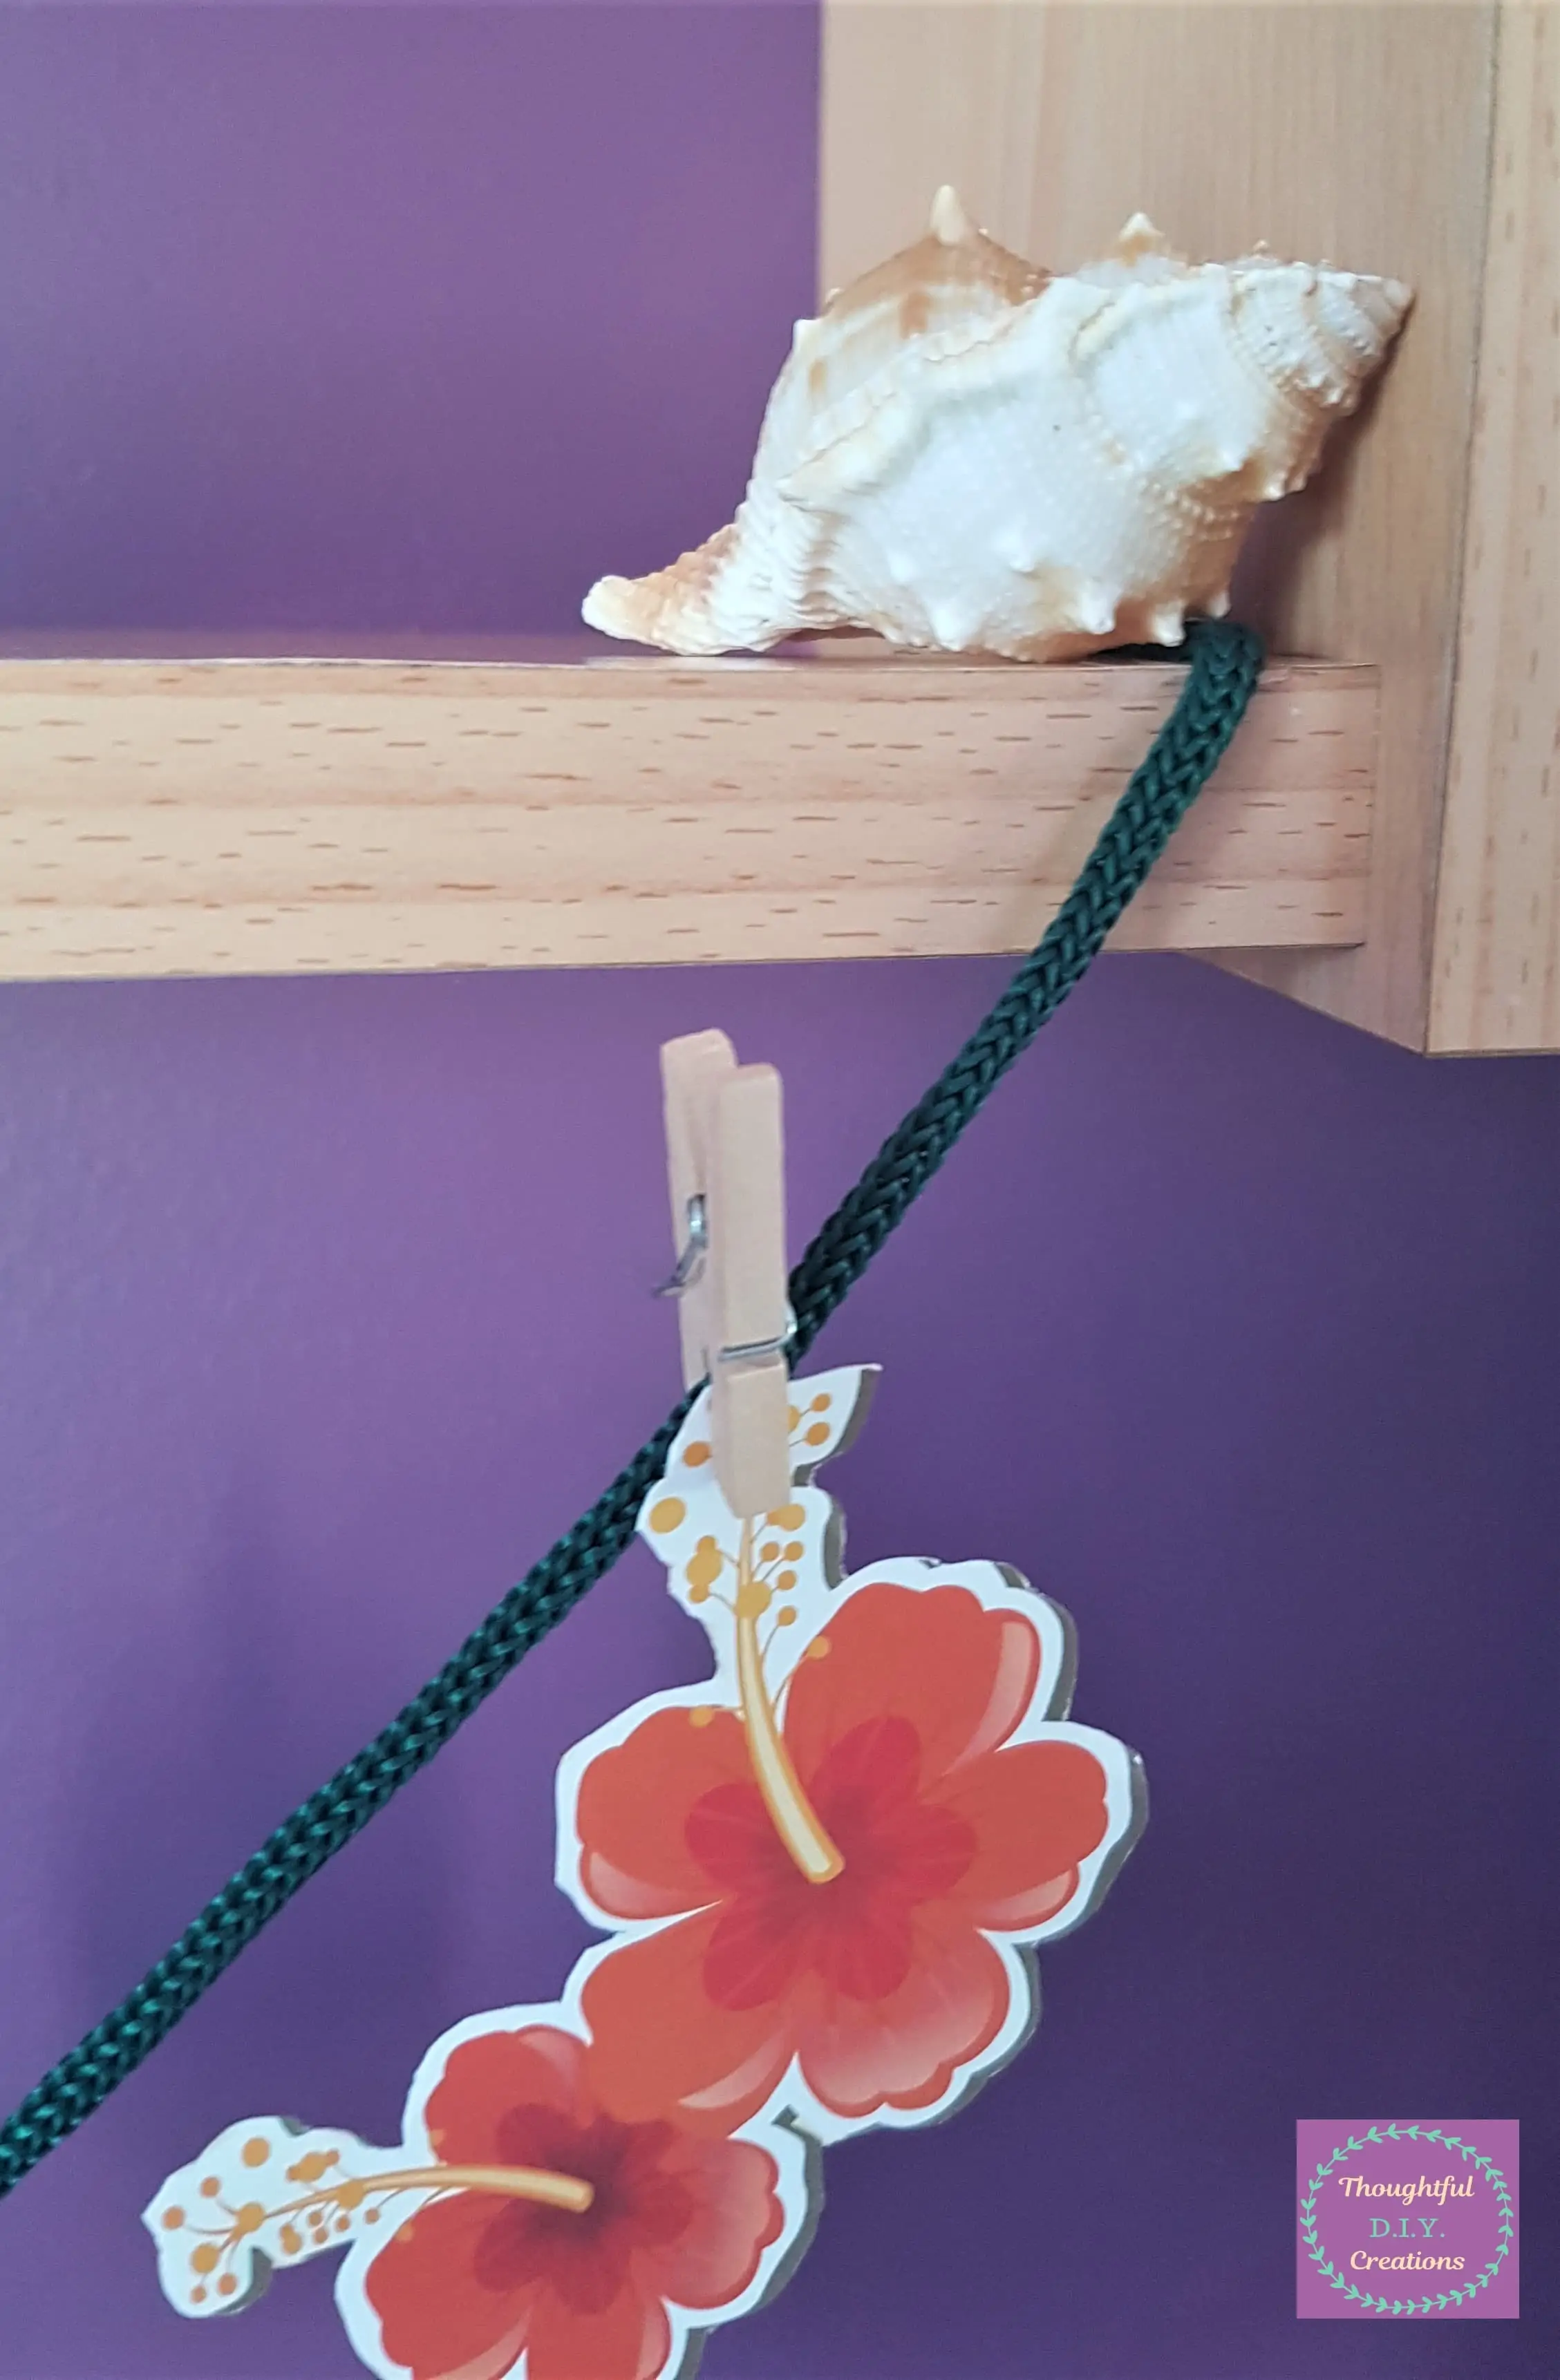
I placed a Shell on top of the Rope to add to the Summer Theme.
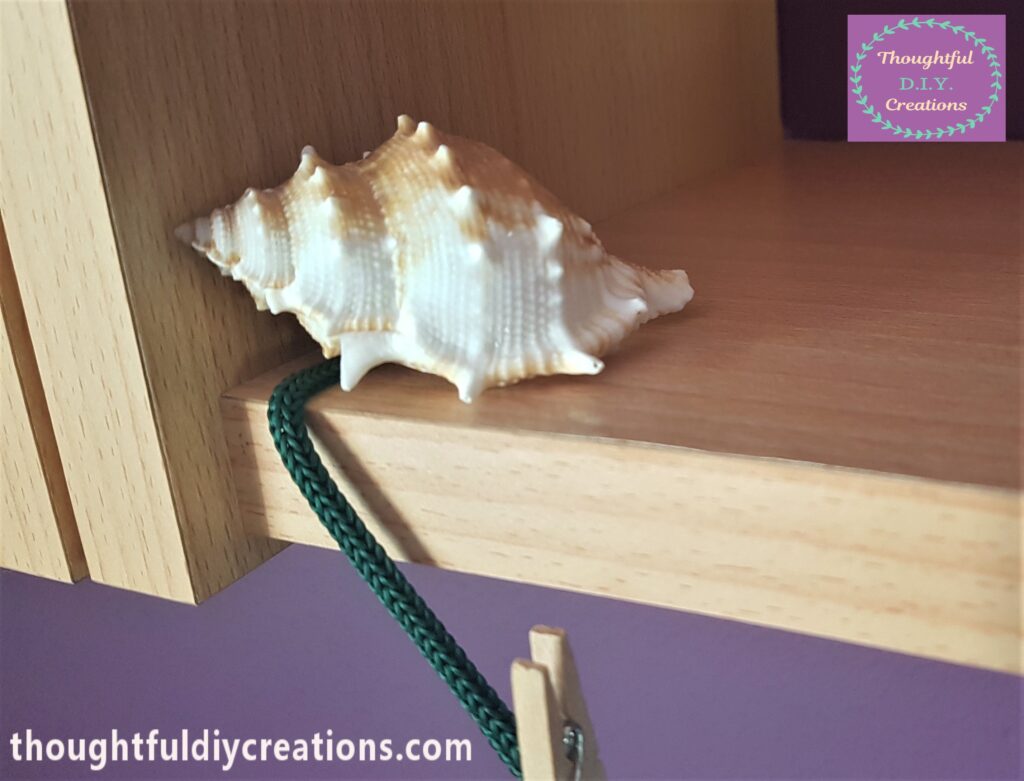
I put another Shell on the other end of Rope.
Finally I placed a Shell in the middle of the Shelf.
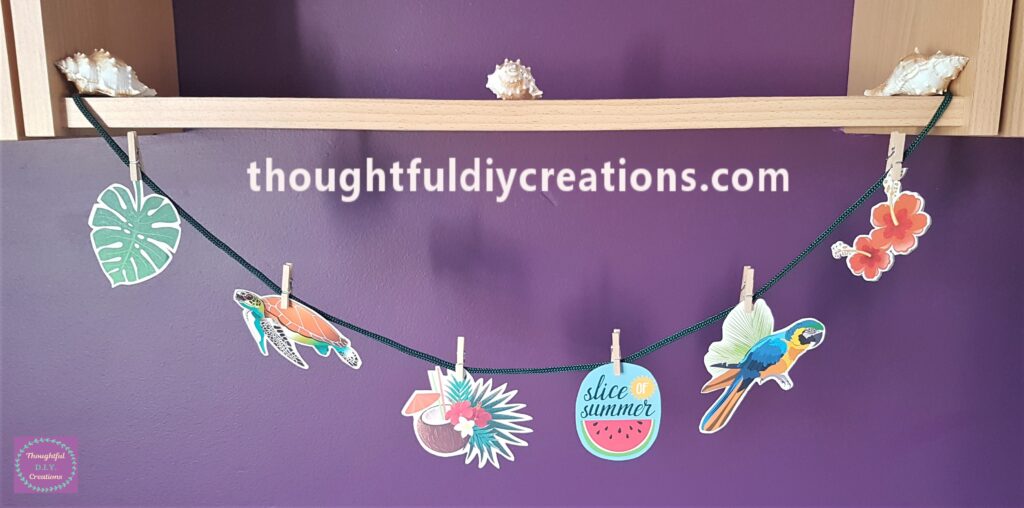
This Completed my Summer Garland.
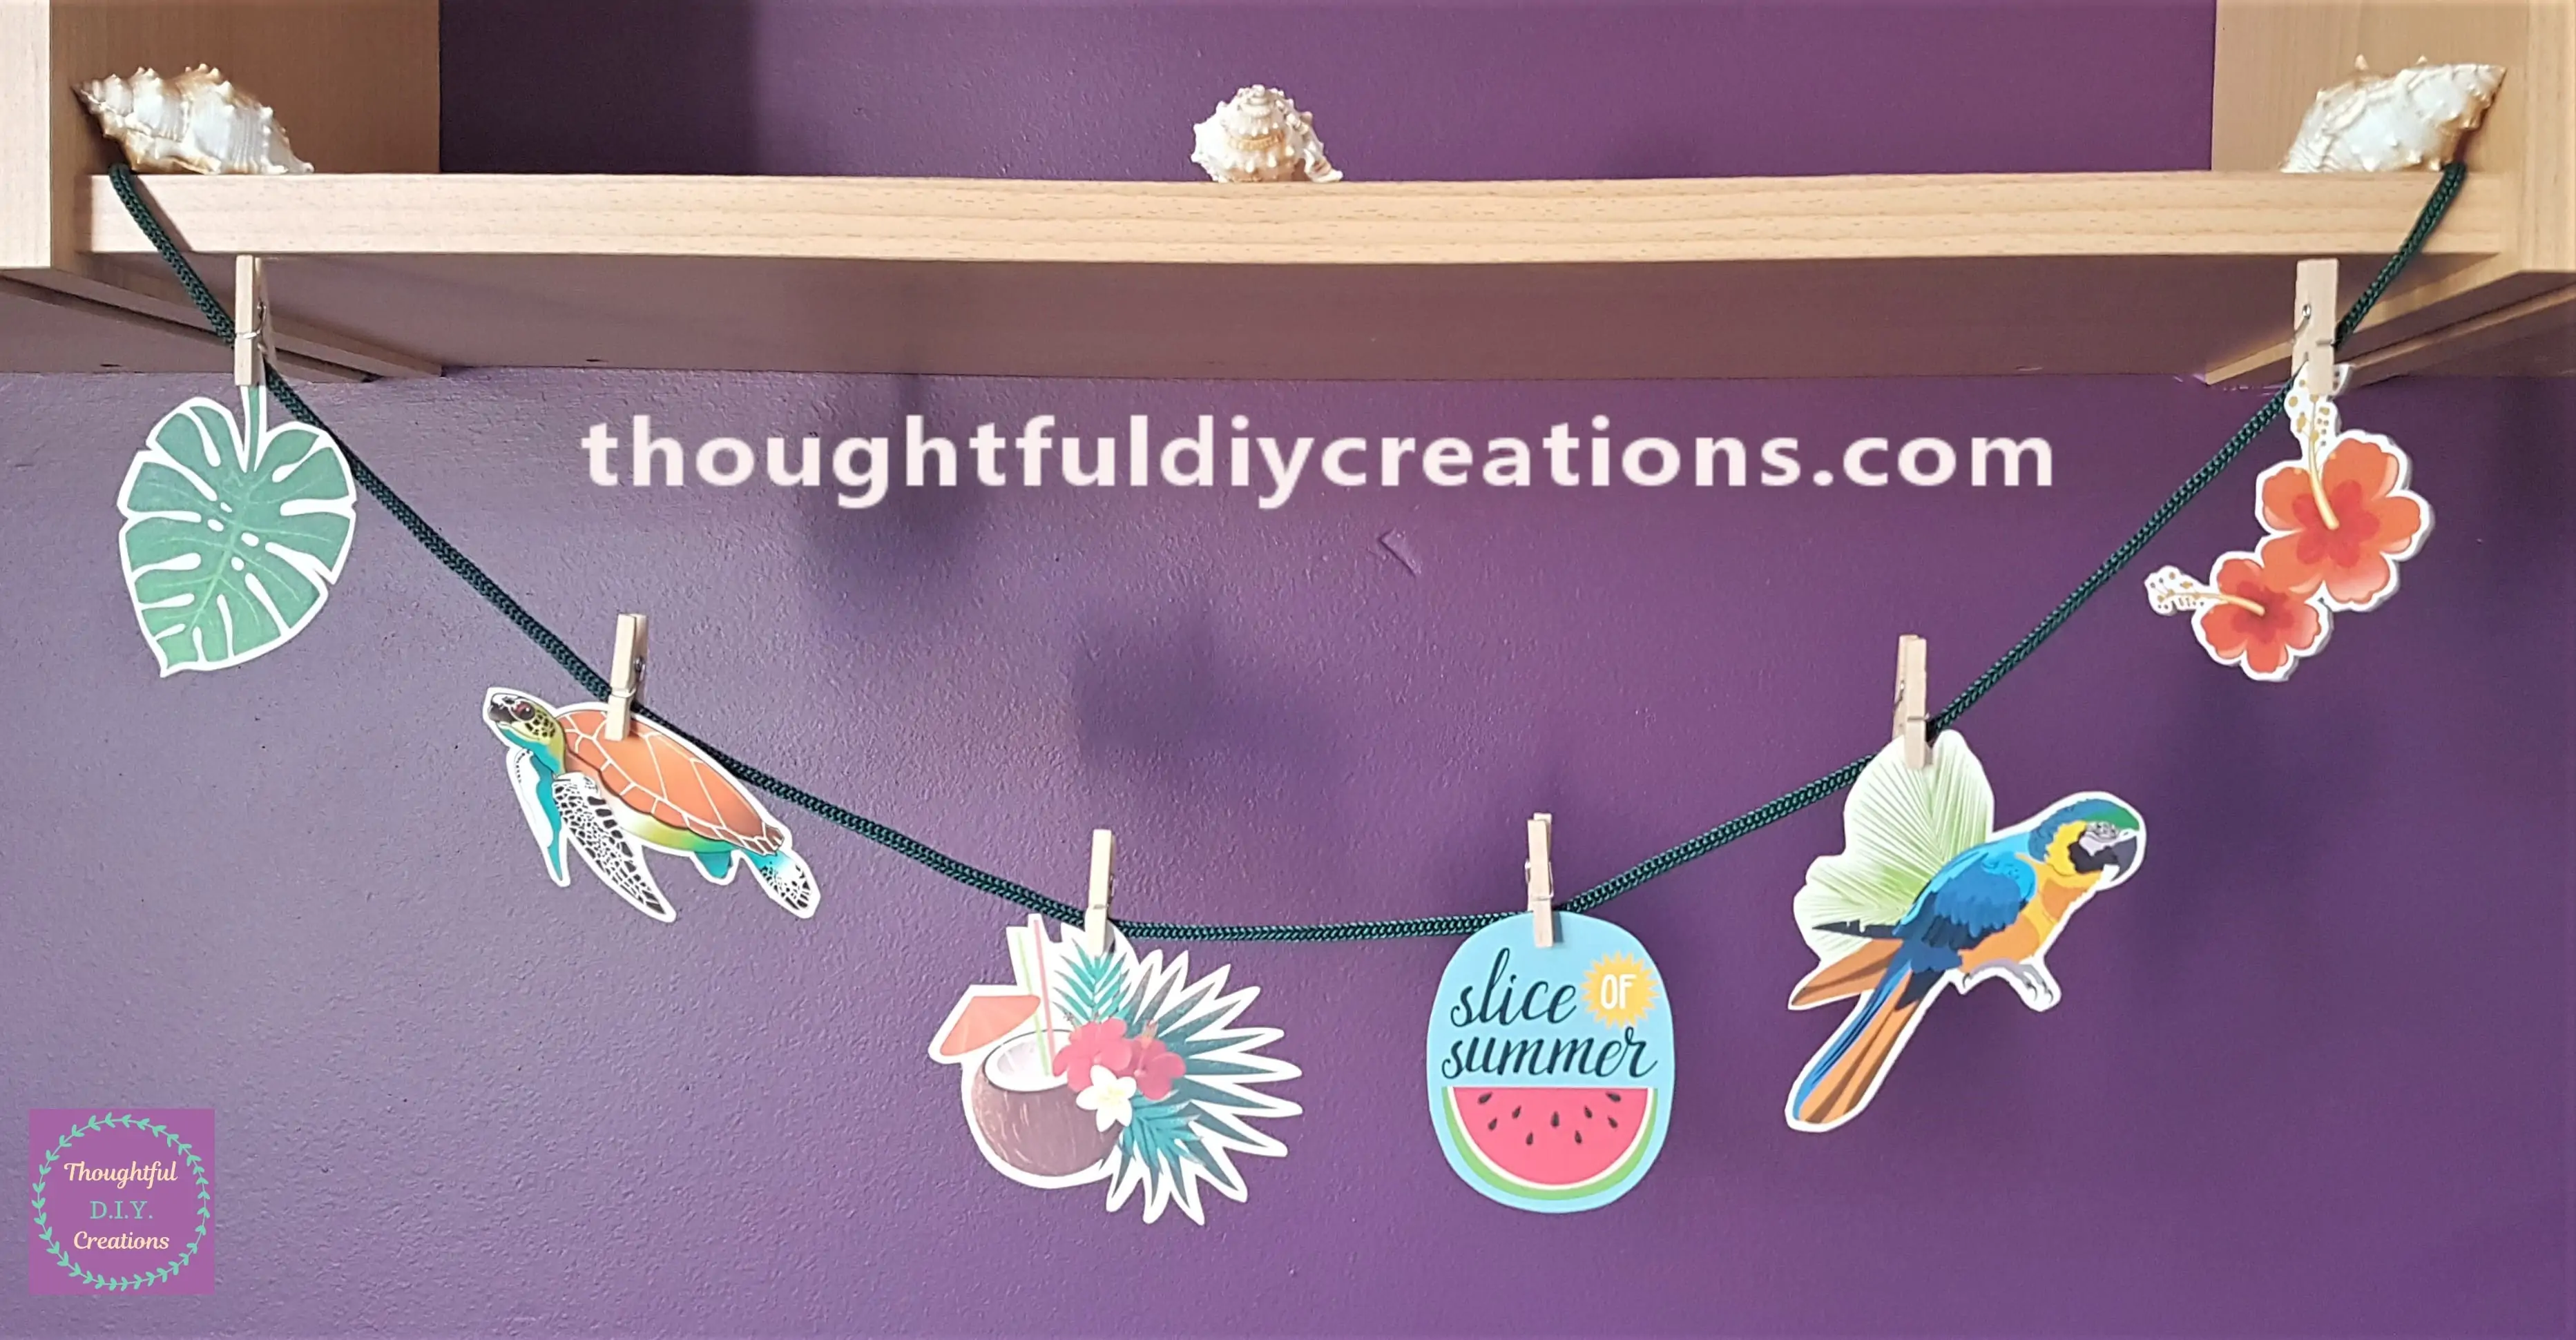
A Closer look at the Finished Craft.
Conclusion
I Love How Simple this Craft is to Create from Start to Finish. I think it’s a great way to Display the gorgeous Images that come in Scrapbook Paper Pads, instead of just using them to make Cards. It’s nice to have them on Display and enjoy the Colourful, Summer Vibes they provide from looking at them.
The Garland could be used as a Photo Backdrop if you are having a Summer Party / Garden Party or Birthday Party; if it’s in the Summer Months. It’s a Budget Craft for D.I.Y.ing your own Decor and you can also have Fun making them and Customising / Personalising them to your own needs. You also have the Satisfaction of saying you made them yourself whenever anyone Compliments your Decorations.
If you would like more Summer Crafts Inspiration, Check out my previous Tutorials here; Message In A Bottle, and D.I.Y. Cocktail Menu.
Thank You So Much for taking the Time to Read my Blog.
Always Grateful,
T.D.C.
xoxox

-0 Comment-