D.I.Y. Halloween Stones
Hello my Creative Friends,
I hope you are all well. In Today’s Tutorial I will show you how to decorate your own Halloween Stones. It is a fun, and budget friendly Craft as the only supplies needed are Paint and Paint Pens or Paint Markers. It is a child friendly craft and you can have fun going for a walk in nature together and collecting the stones.
Preparing the Stones for Painting
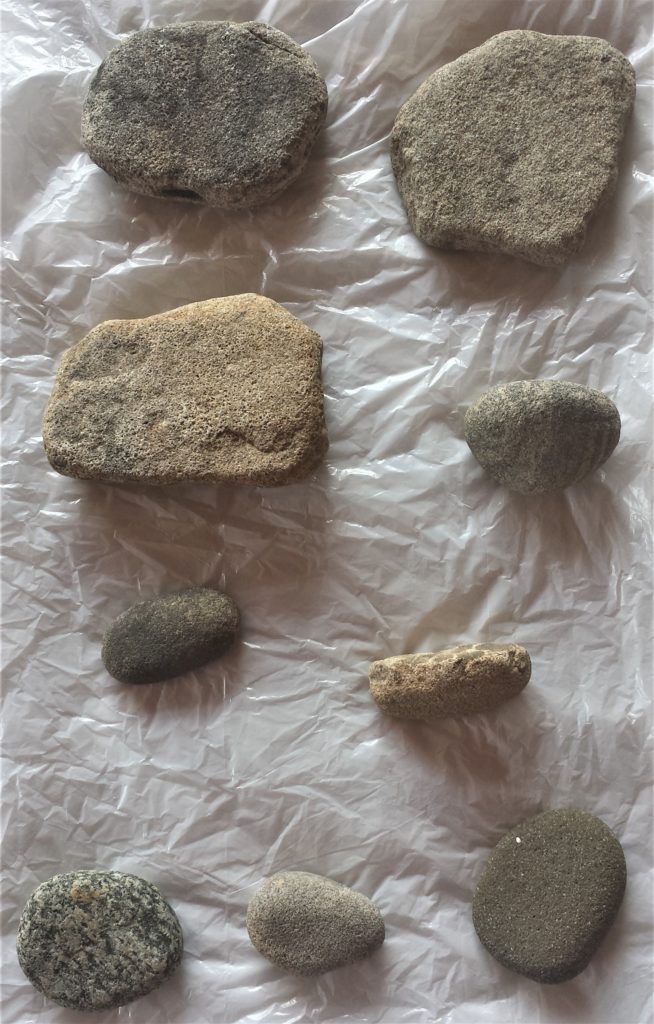
I went for a walk and collected a variety of stones. I picked different size and shape stones. Choose whatever you are drawn to; they don’t have to be perfect as you will be changing the entire look of them anyway. If you see any unusual shapes they can work for different Halloween characters.
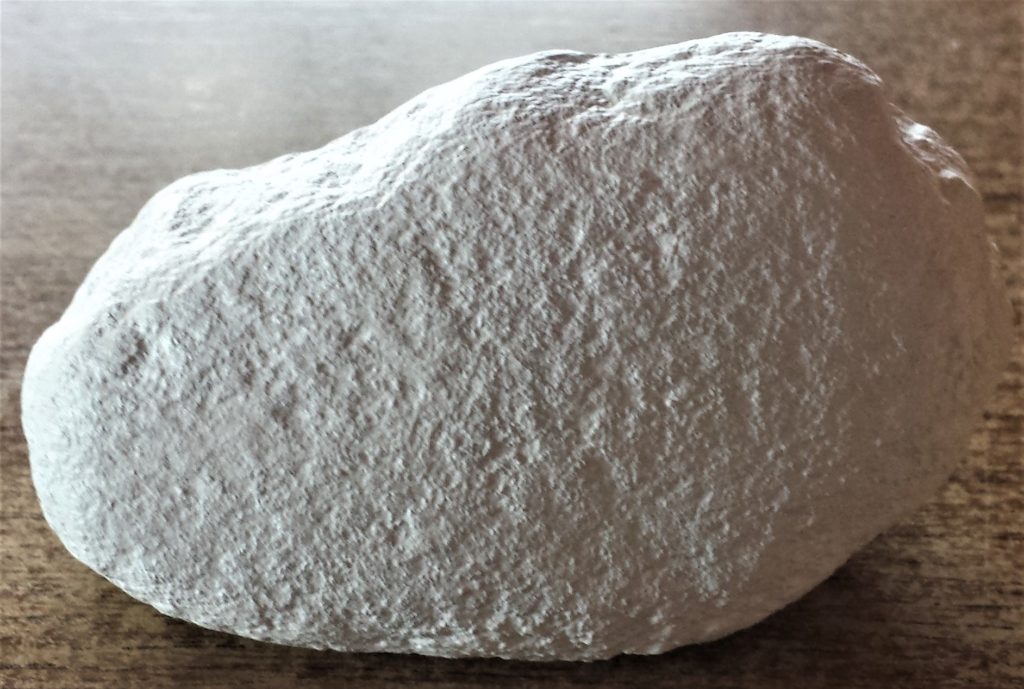
I picked nine stones from my collection and washed them with warm water and a cleaning brush. I held each stone one-by-one over a basin of water, dipped the brush into the basin and scrubbed the stone. I then left the stone down on a towel I had laid out, and continued until I had each stone washed. I let the stones dry fully on both sides.
Painting the Stones
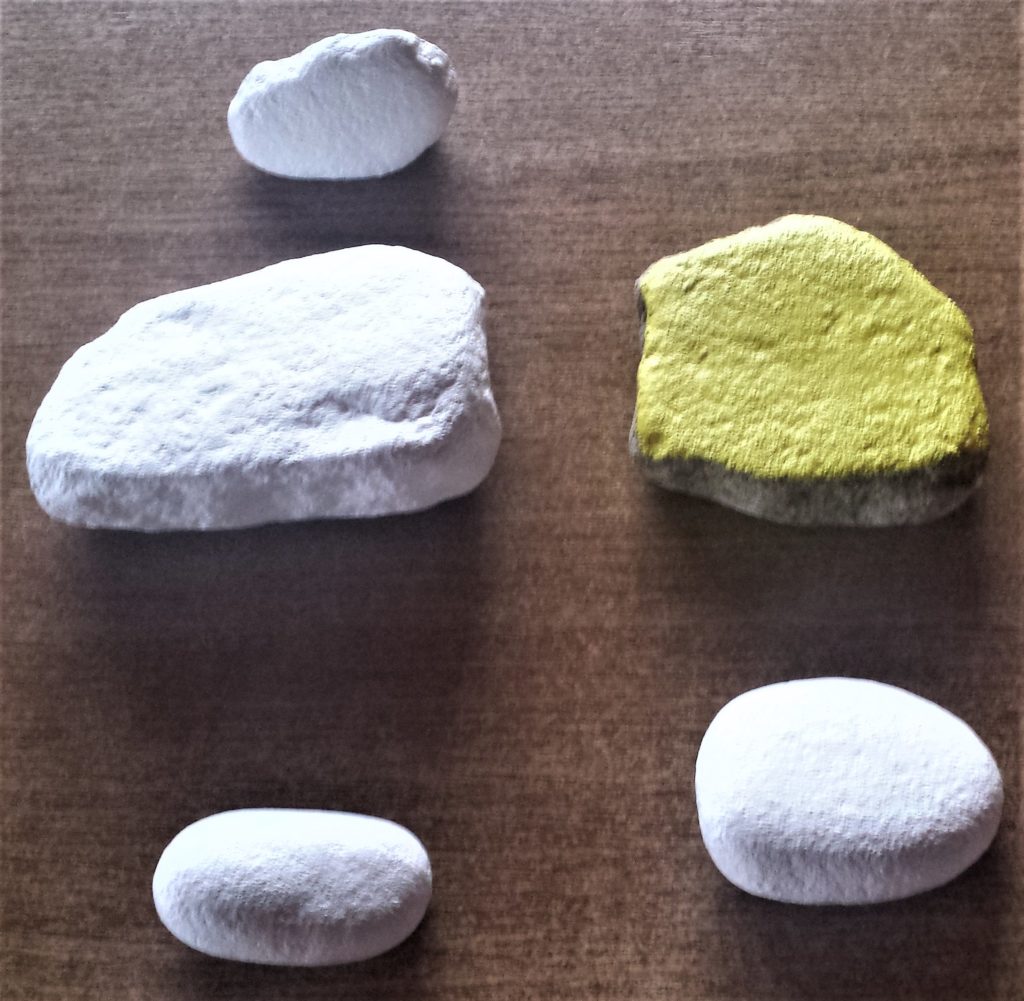
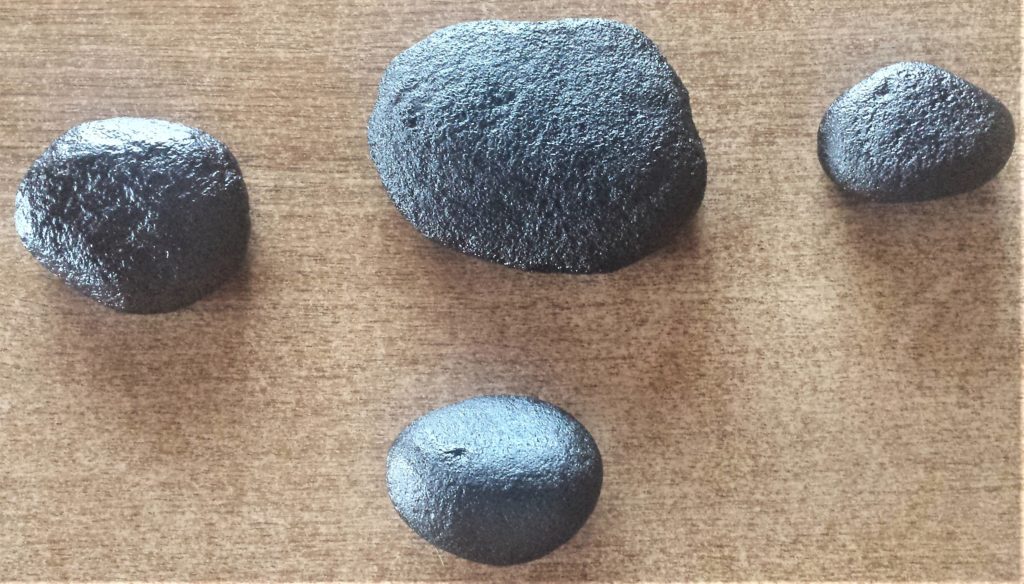
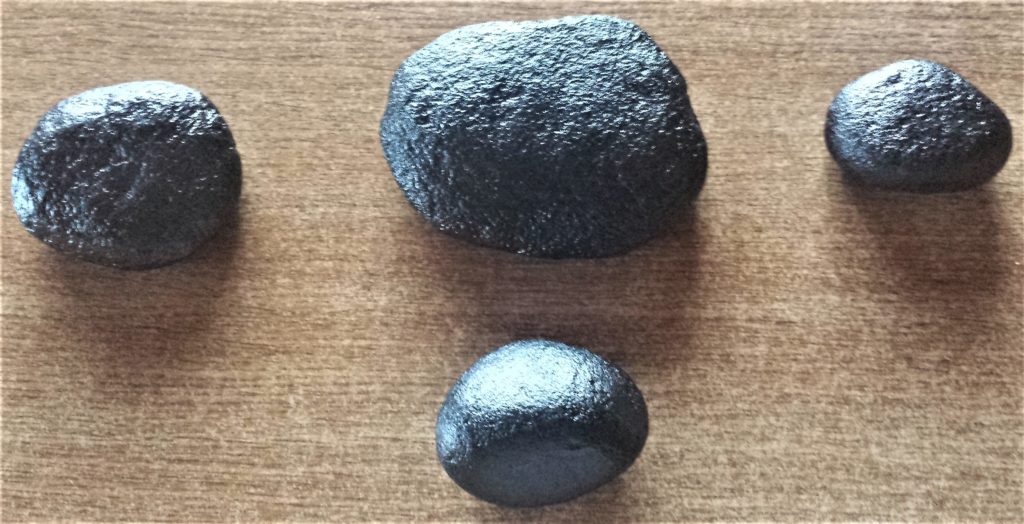
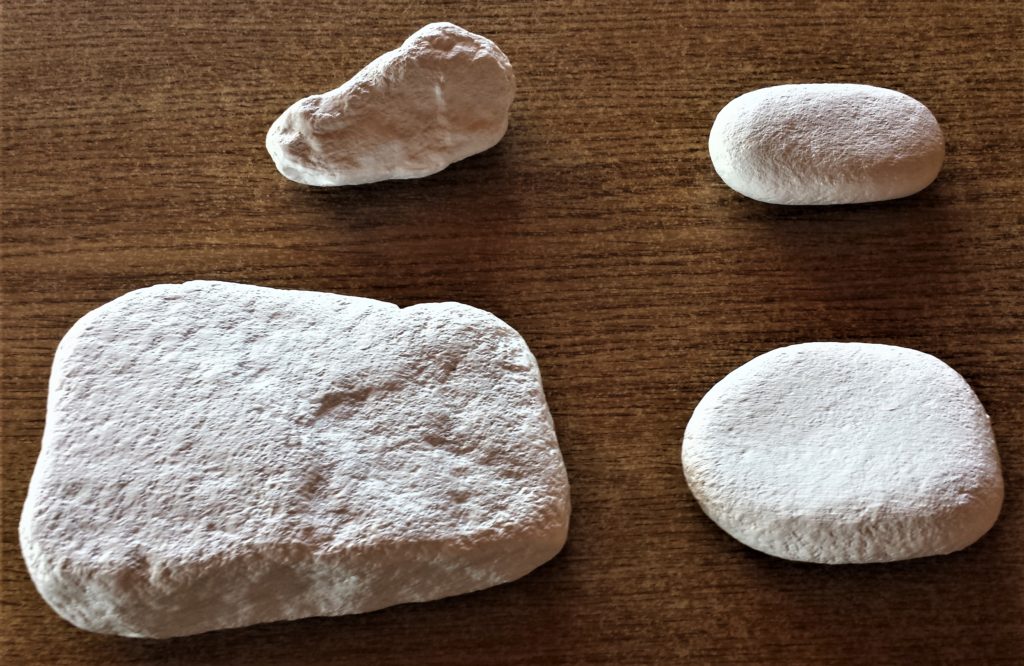
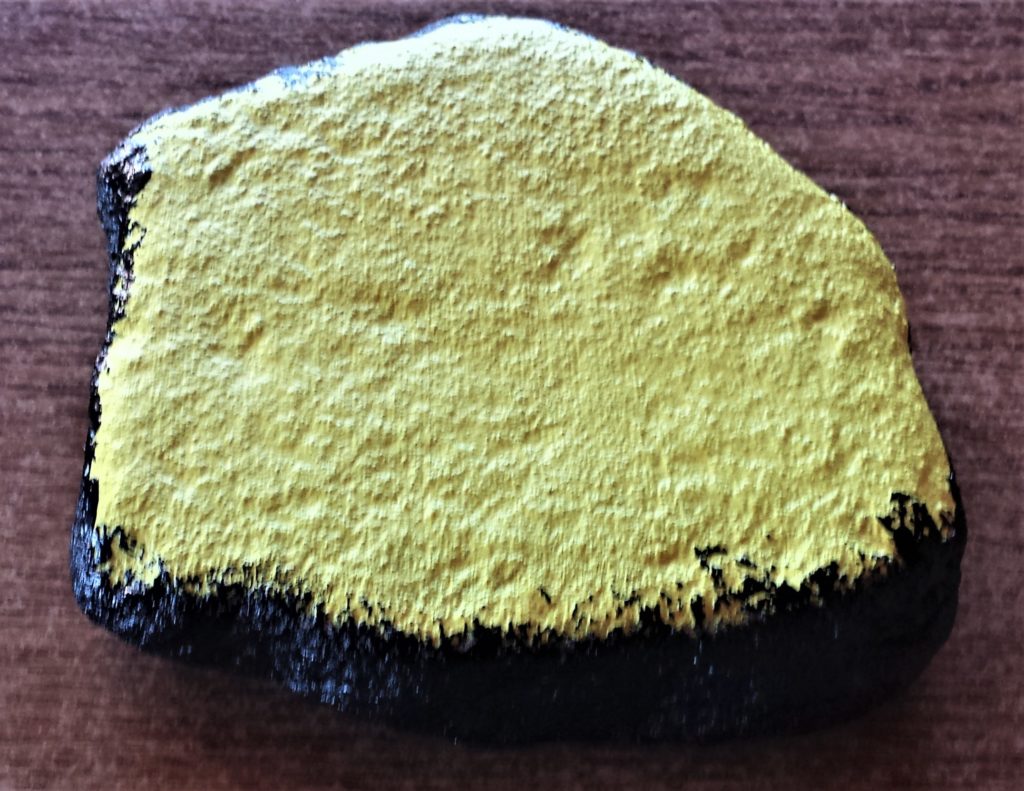
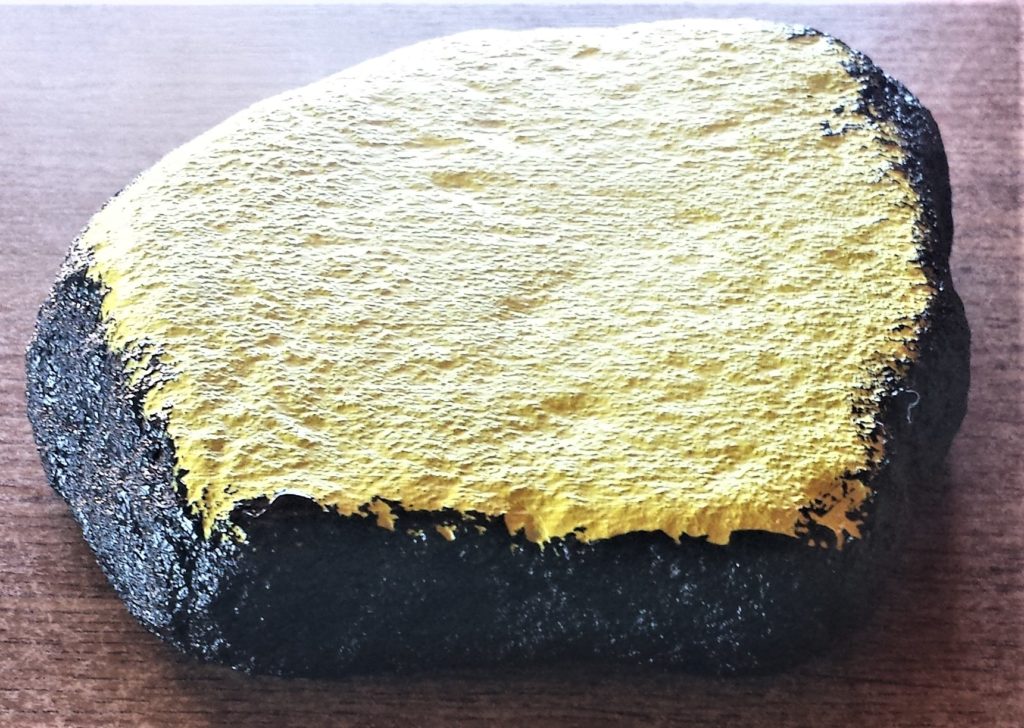
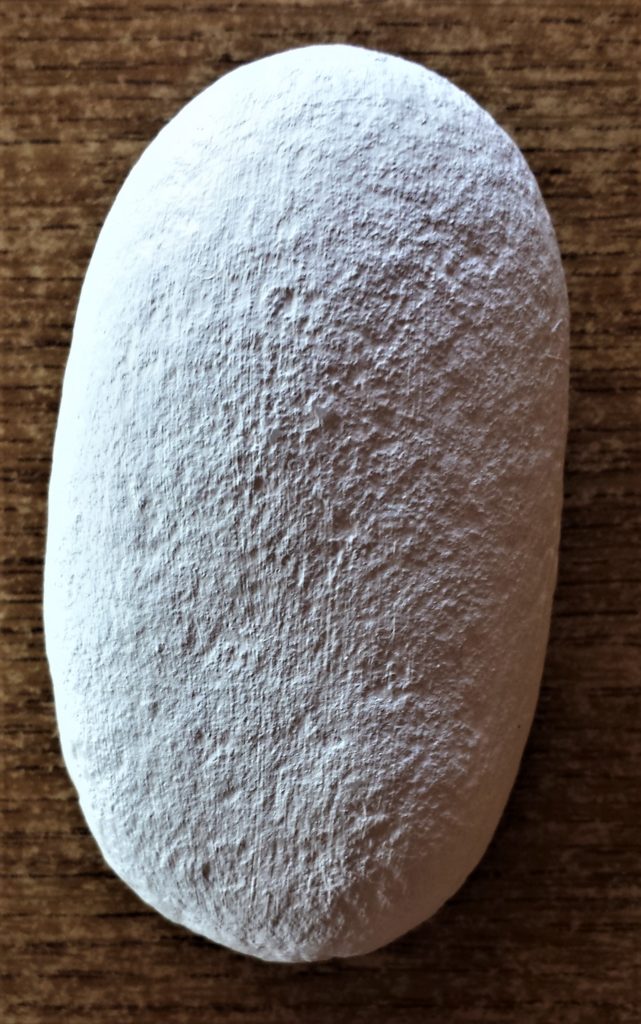
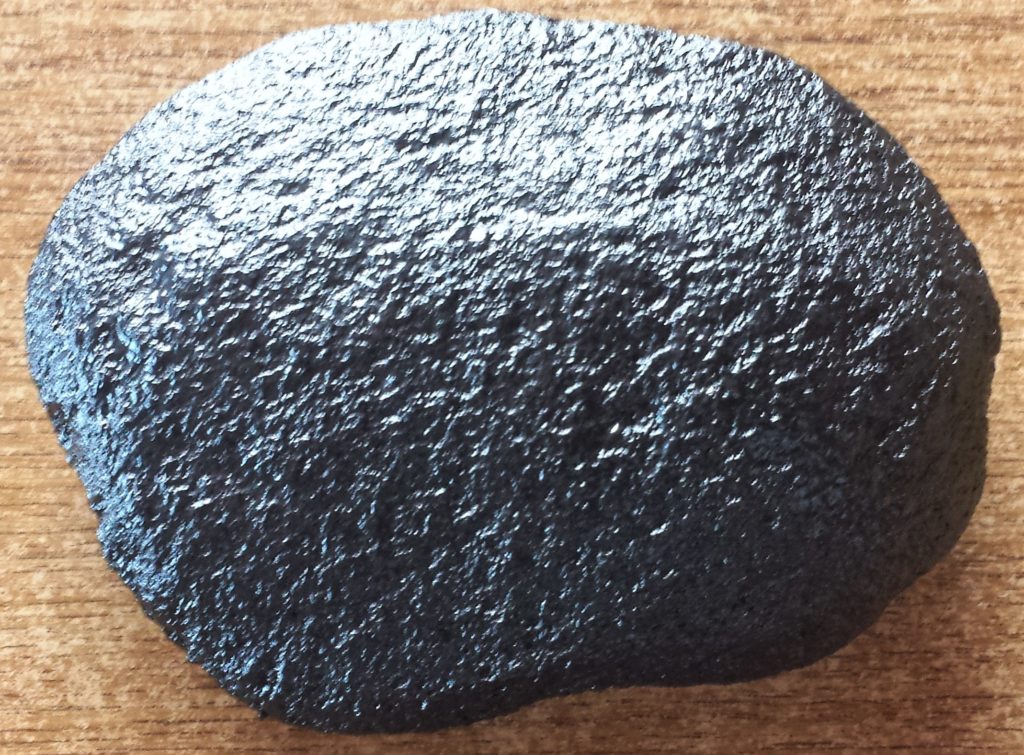
I painted the Stones with Black, White and Yellow Acrylic Paint. Acrylic Paint Set. I painted four of the stones white, four of the stones black and one stone yellow. You can use whatever colours you like when painting your Halloween Stones, you can mix it up if you like or paint them all one colour and use different colour paint pens to decorate.
I had three paintbrushes; one for each colour of paint. Paint Brushes Set. I started with the white first and painted the first layer of paint onto the front and sides of each stone. I had a glass of water beside me and when I was finished painting the white stones I put the paintbrush into the glass of water. I painted the yellow stone next and put the paintbrush into the water. I then painted the black stones. I now had the first layer of paint on each stone. I cleaned my glass and paintbrushes, and allowed time for the paint on the stones to dry.
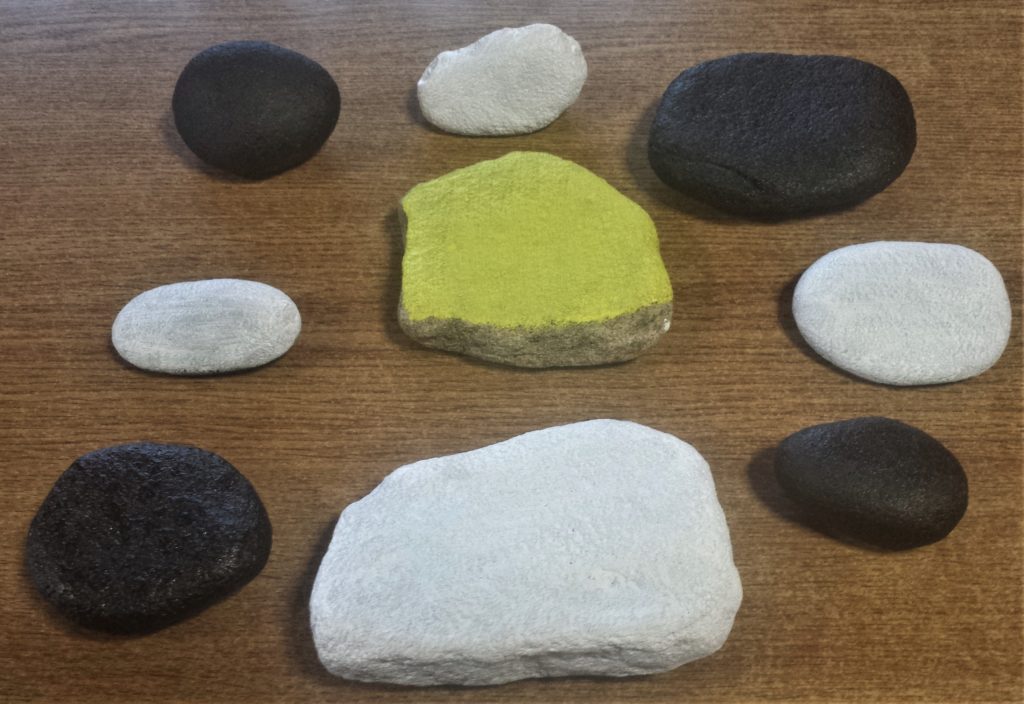
After an hour I applied the second coat of paint to each stone. Acrylic Paint Set.
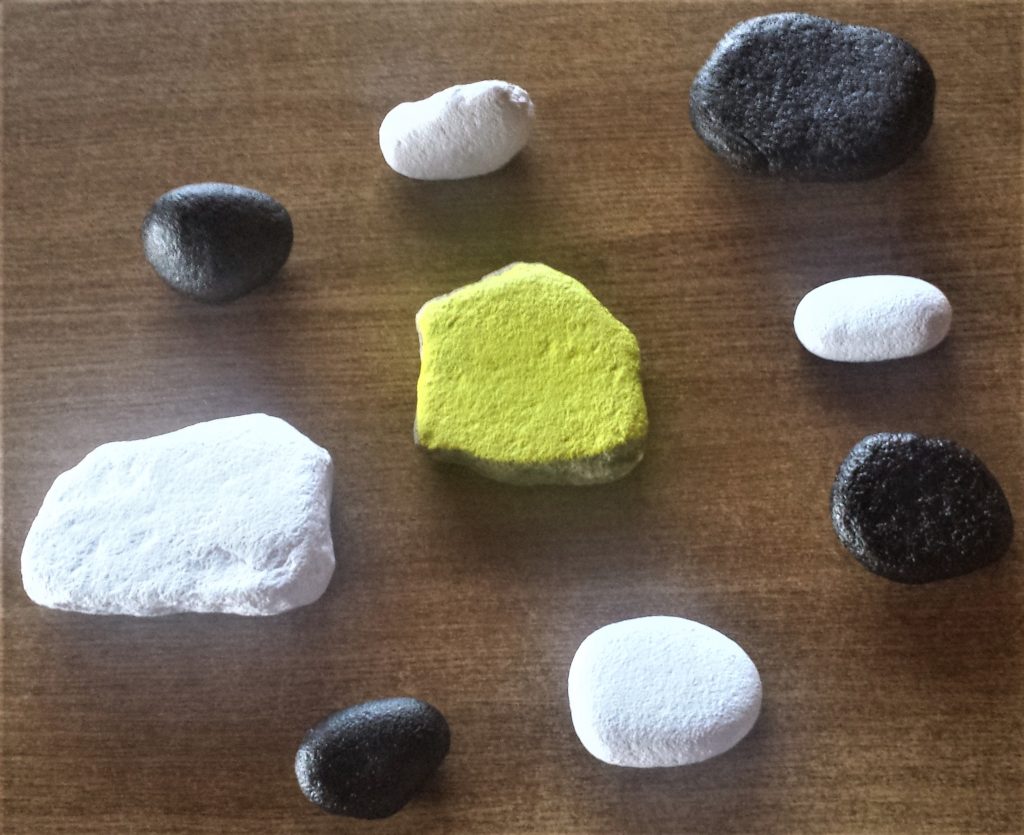
The black stones were nice and vibrant and did not need another layer of paint. I gave the white and yellow stones a third layer of paint.
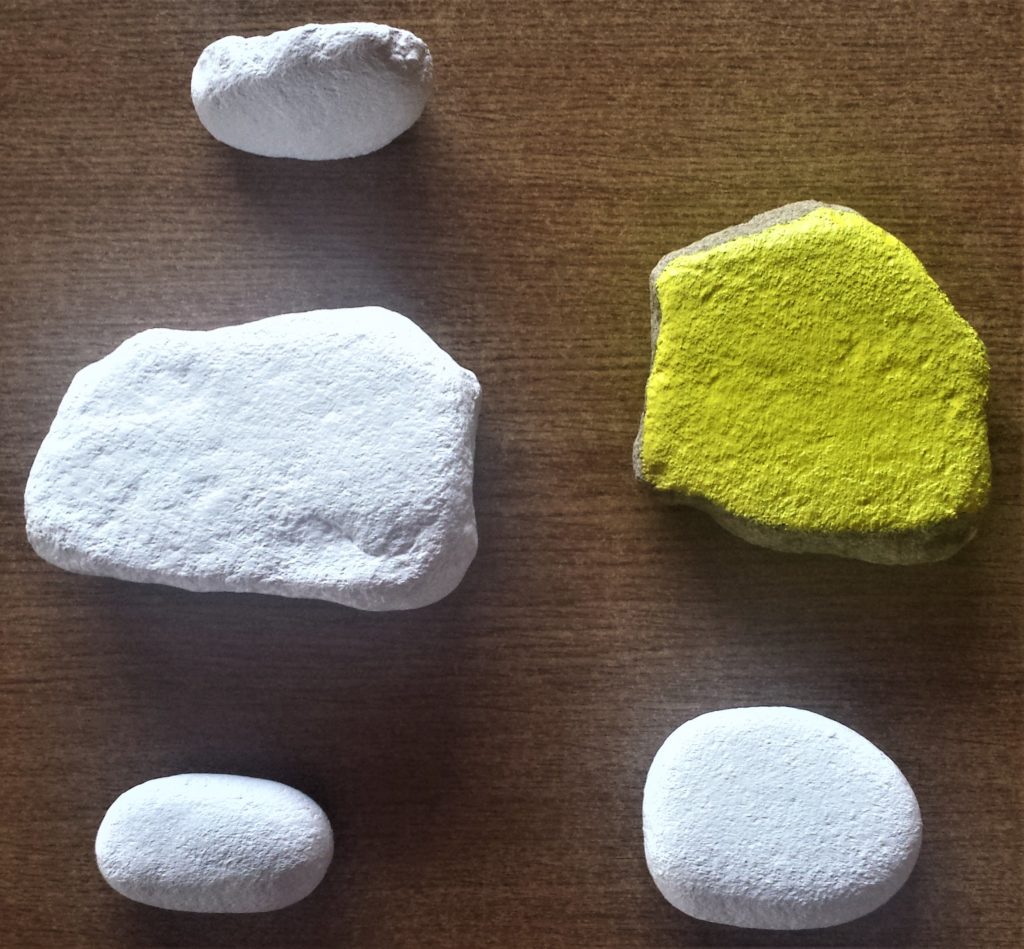
I applied a fourth and final layer of yellow and white paint to the stones when the third layer was fully dry. Acrylic Paint Set.
Painting the Back of the Stones
I left all of the stones to dry overnight. The next day I applied two coats of black paint to the back of the stones.
Paint Brushes Set.
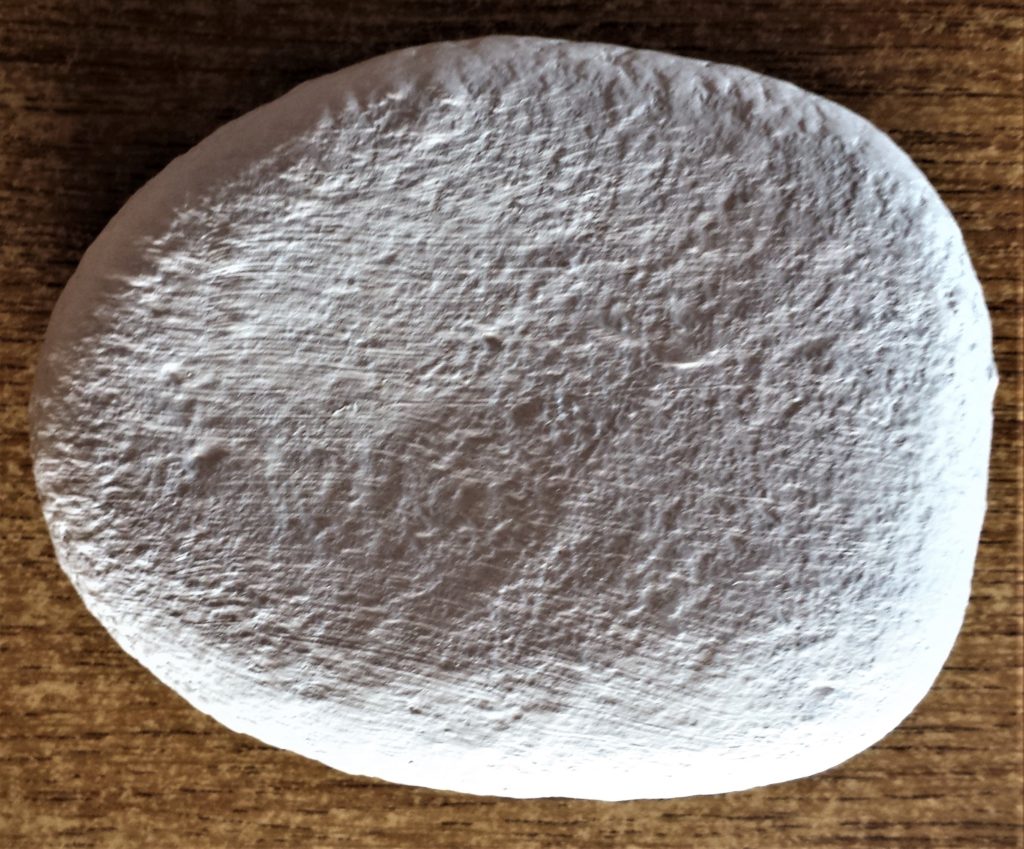
I painted four layers of white paint to the back of the white stones leaving an hour drying time between each layer.
I painted the back and sides of the yellow stone black. I applied two coats of black paint.
You don’t have to paint the back of your stones if you don’t want to. You could leave it and have the natural stone texture on the sides and back and your Halloween design on the front, some people like the contrast between the two looks. It’s personal preference, you can do whichever you prefer, or have a mixture of both fully painted and half painted stones.
Halloween Stone One : Ghost Stone
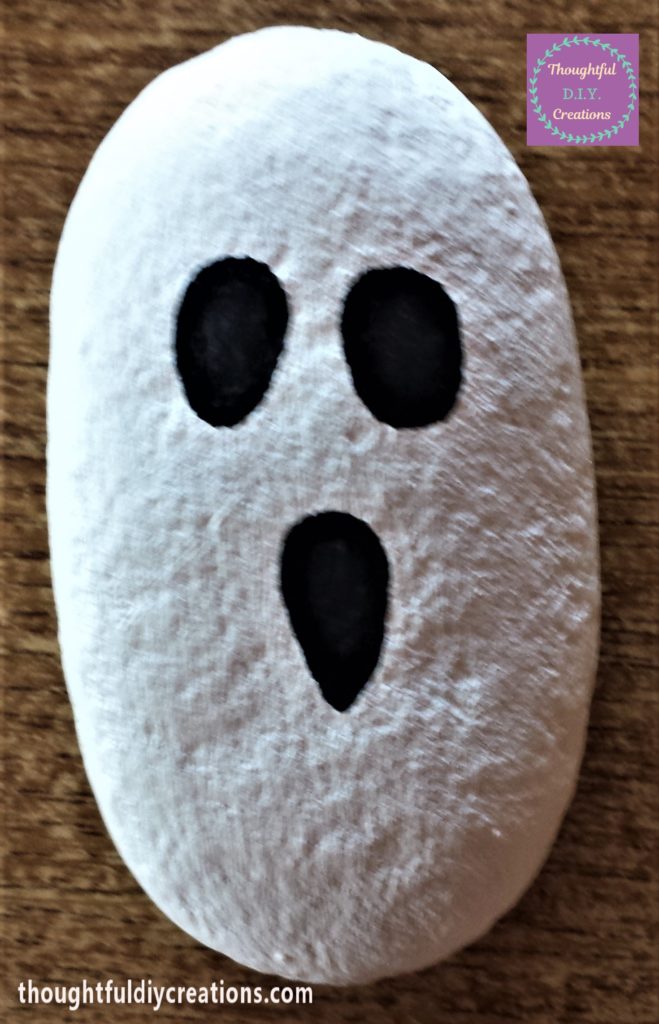
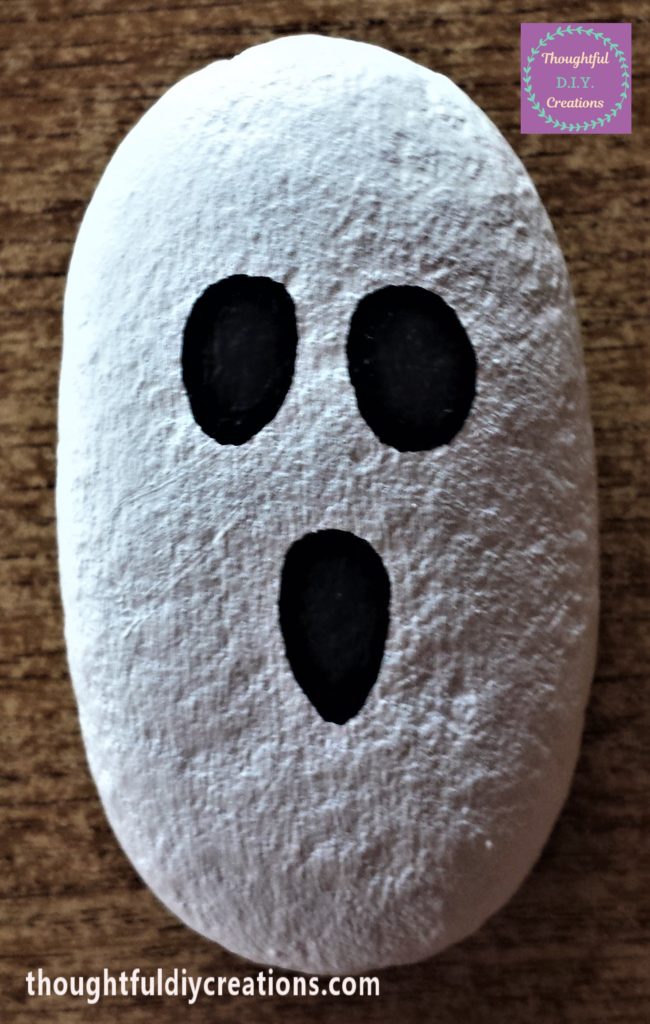
I started with a small white stone and decided to turn it into a ghost. I used a uni POSCA Paint Pen in Black 0.7 mm. I drew the eyes and mouth and coloured them in using the paint pen. I added another layer with the paint pen when it had dried and this completed the ghost stone. Uni Posca Paint Pens.
Halloween Stone Two : ‘BOO’
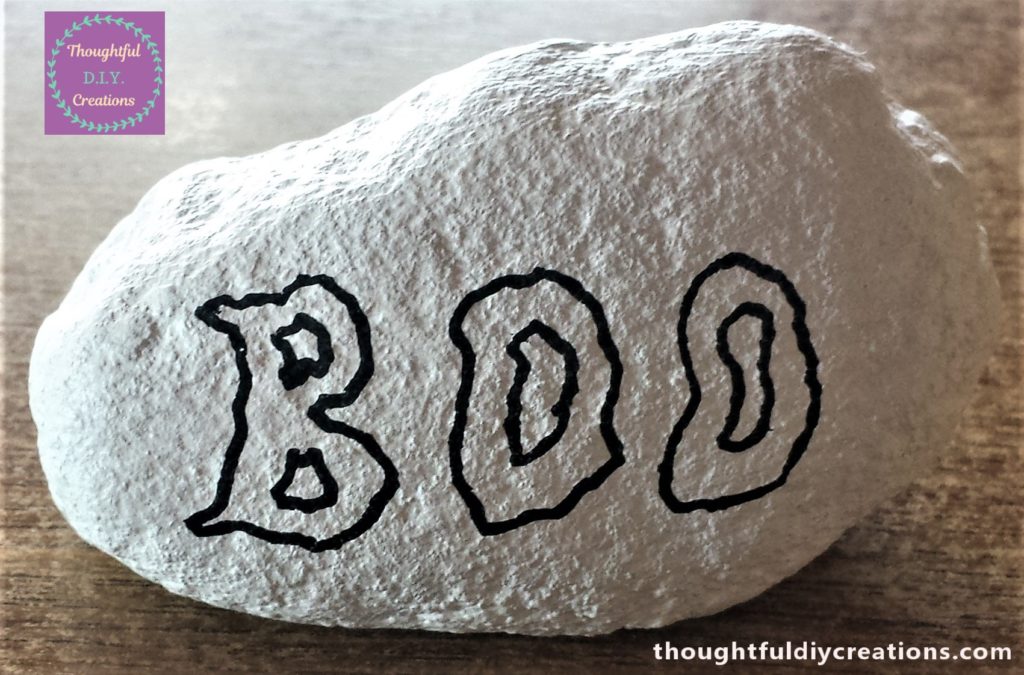
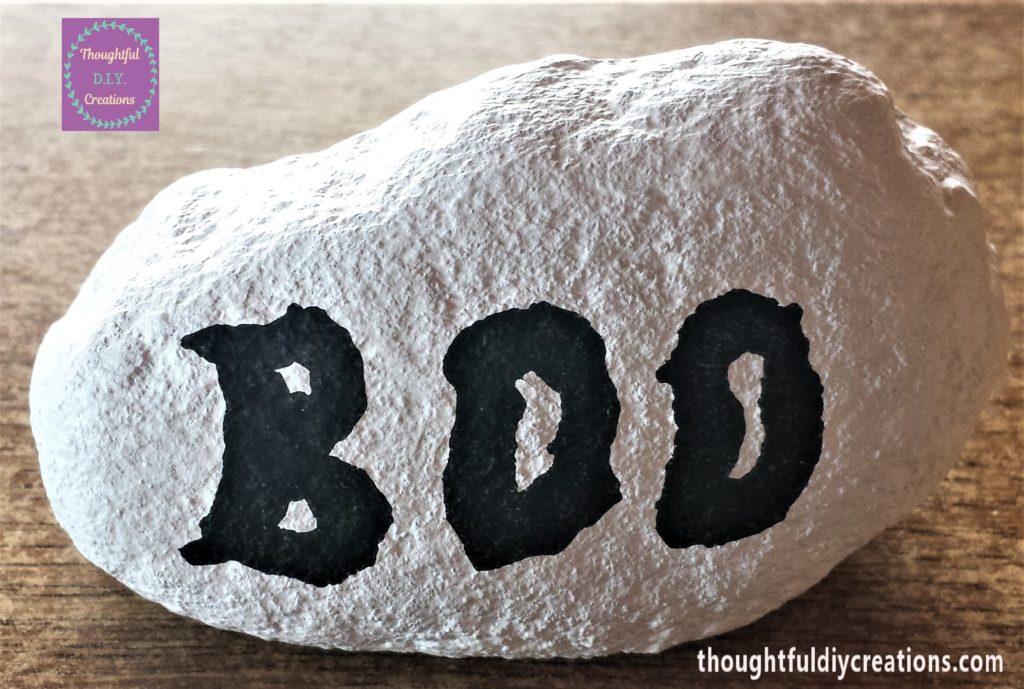
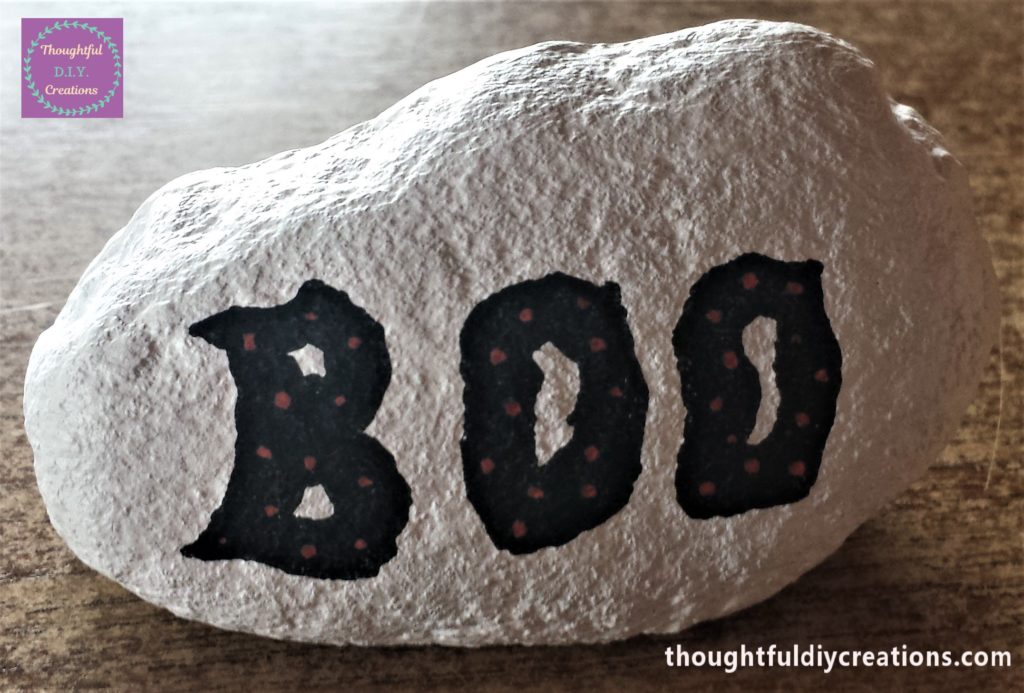
For my next stone I wrote the word ‘BOO’ with the black paint pen. I coloured it in and when it was dry I added red dots around the letters using an Acrylic Paint Marker in Red 2-3mm. Another idea would be to write the word ‘Boo’ with the Red Paint Marker to resemble blood. Acrylic Paint Markers.
Halloween Stone Three : Witch’s Hat
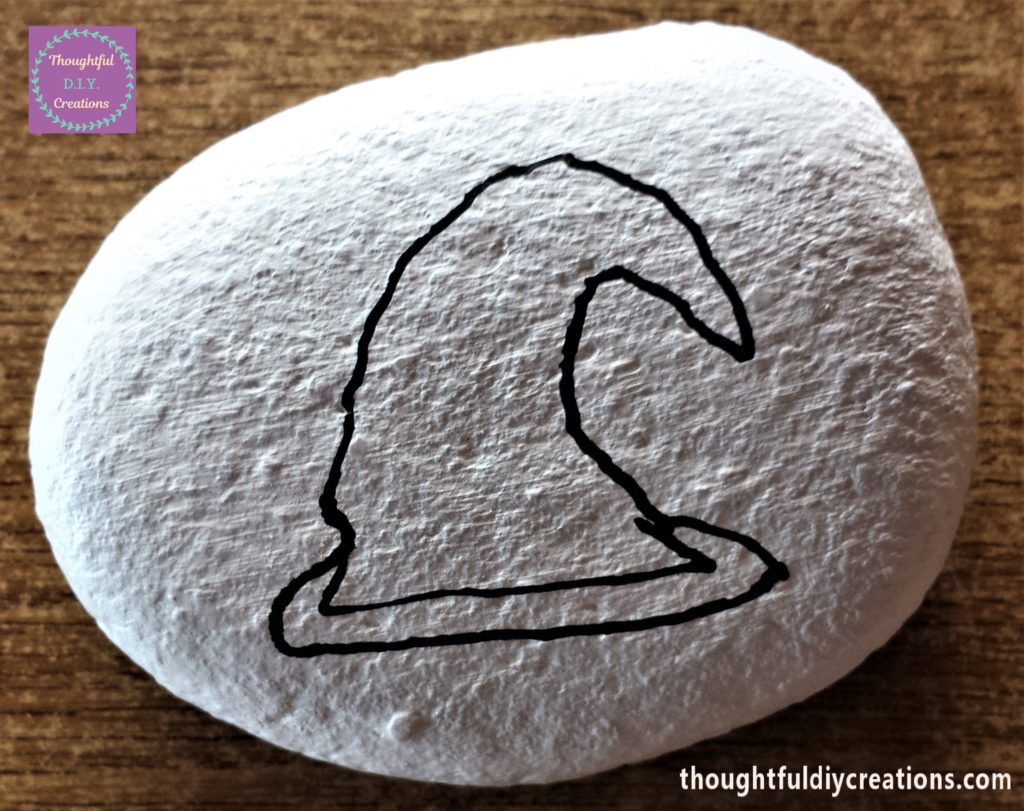
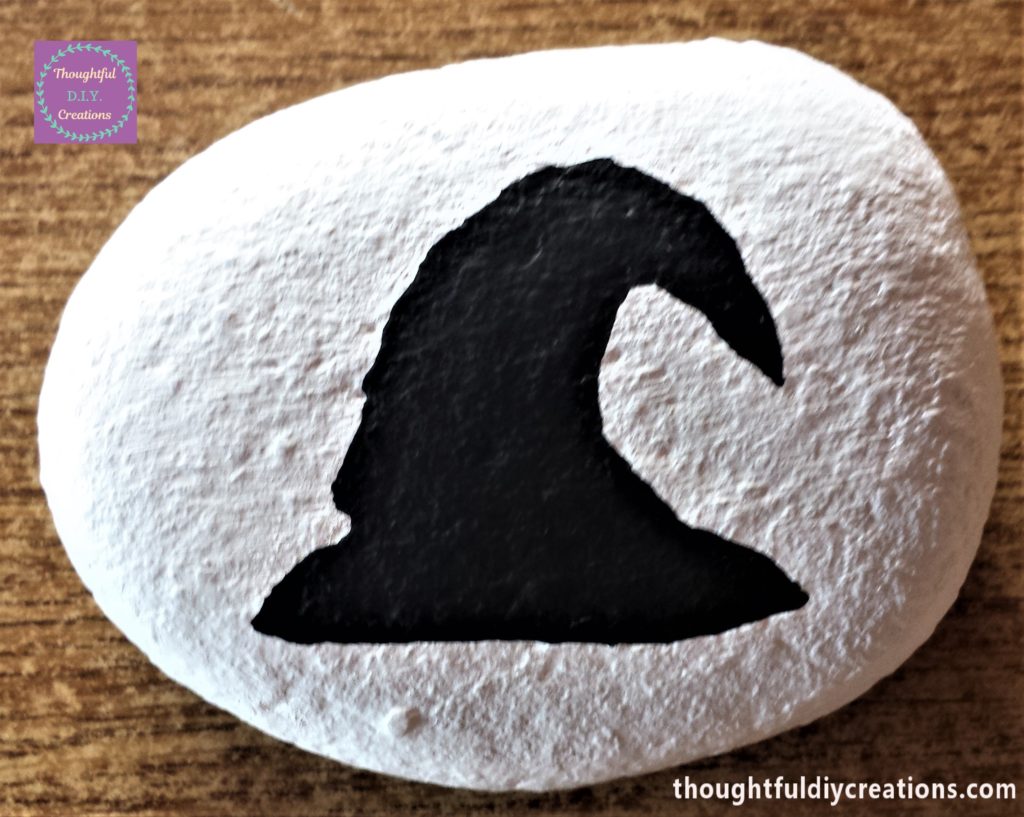
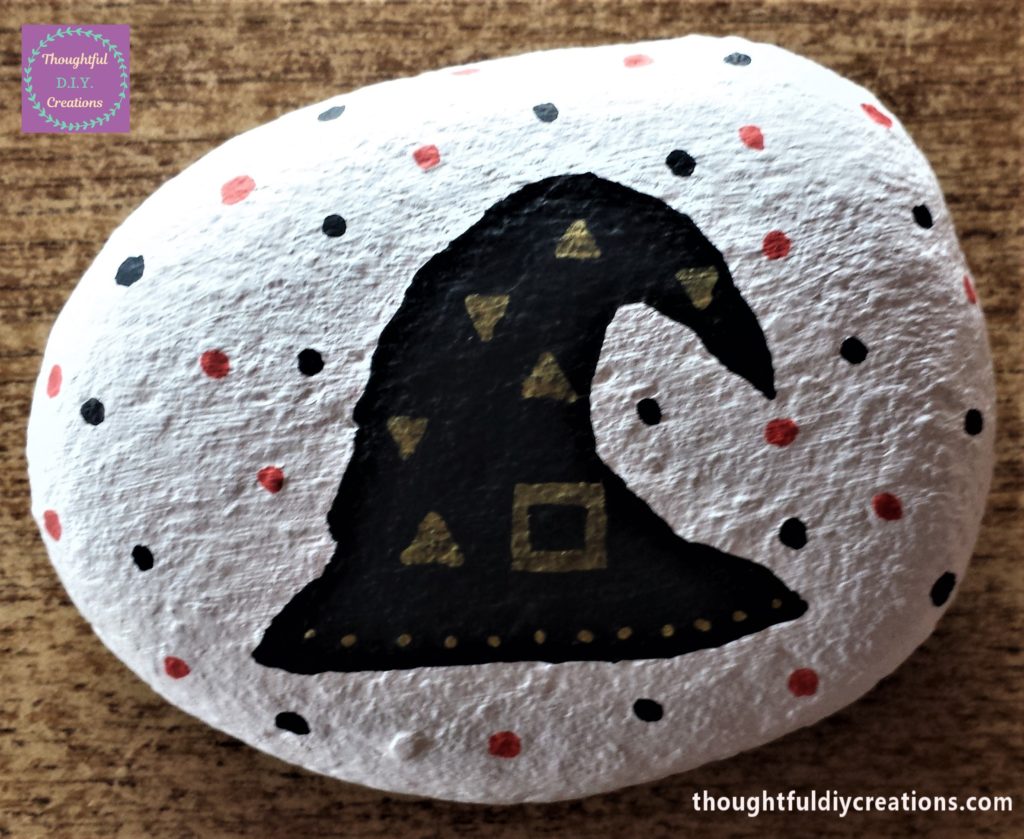
I drew a Witch’s Hat on the third white stone. I drew it and coloured it in with the black paint pen and when it was dry I used a Gold uni POSCA Paint Pen 0.7 mm to draw and colour triangles and a buckle on the hat as well as dots around the edge of the hat. I decorated the rest of the stone by putting random polka dots with the Red and Black Acrylic Paint Markers. This completed the third Halloween stone. Uni Posca Paint Pens.
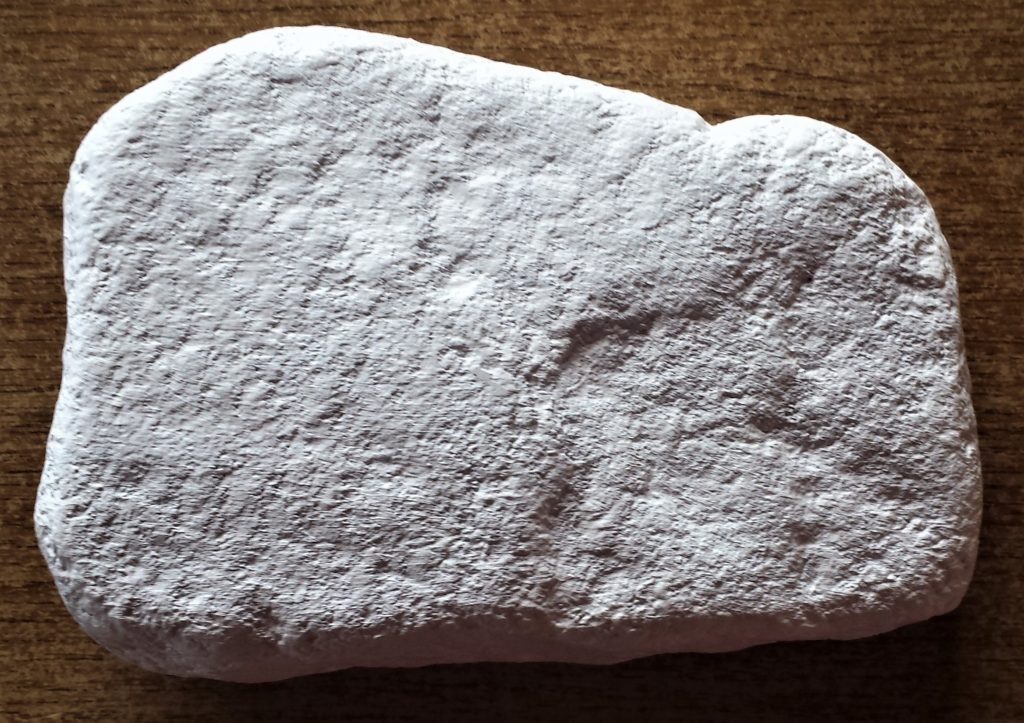
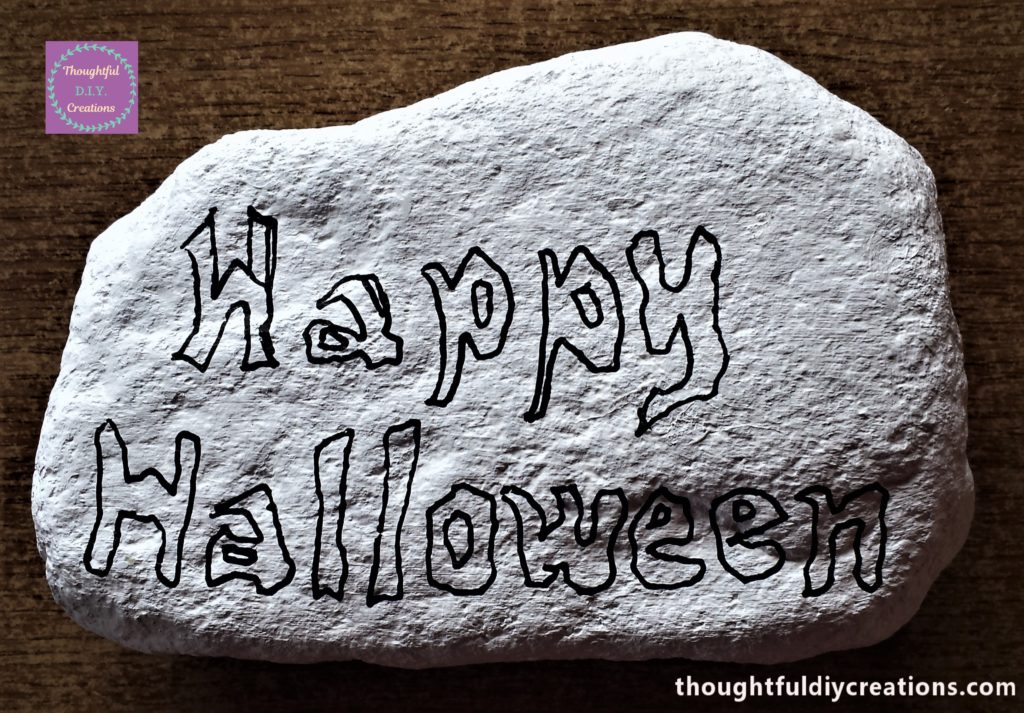
Halloween Stone Four : ‘Happy Halloween’
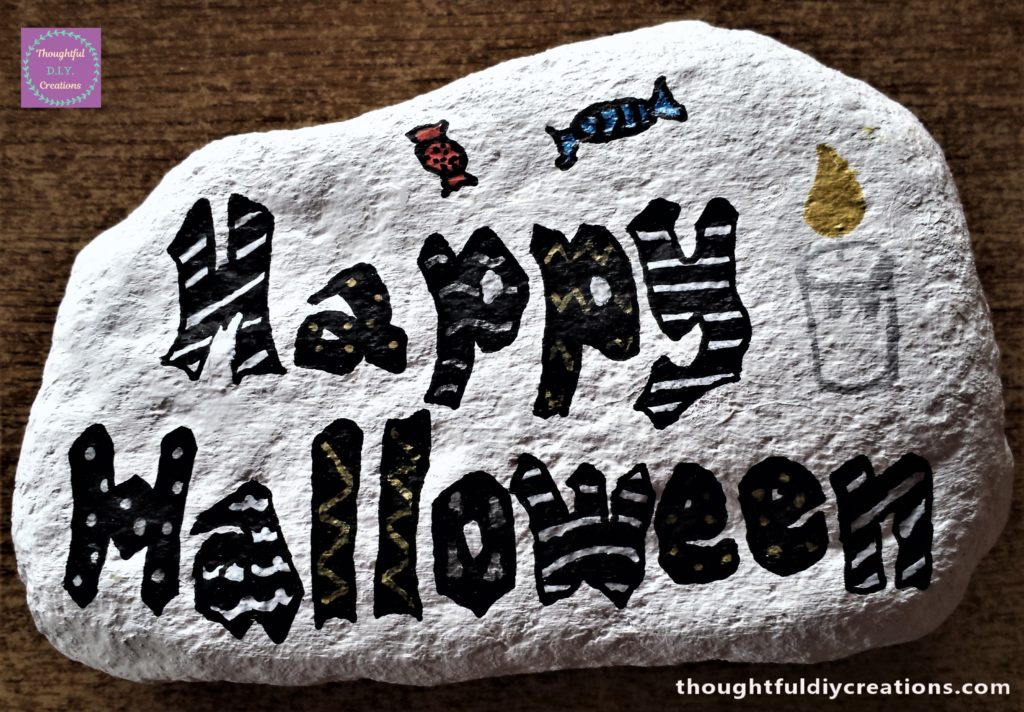
For my last white stone I wrote the words ‘Happy Halloween’ with the black paint pen and coloured in the letters. I wrote the letters in a messy style to tie in with the Halloween Theme. Don’t worry about having good handwriting as the messier it looks the better. Acrylic Paint Markers.
I then used my white, silver and gold paint pens and drew designs on each letter; lines, dots, curved and zig-zag lines. I drew a candle with the silver paint pen and coloured the flame with the gold paint pen. I drew two sweets at the top of the stone with the black paint pen and coloured them in using a red and blue paint marker, the black dots and lines were done with the paint pen. This completed the white stones. Uni Posca Paint Pens.
Halloween Stone Five : Spider
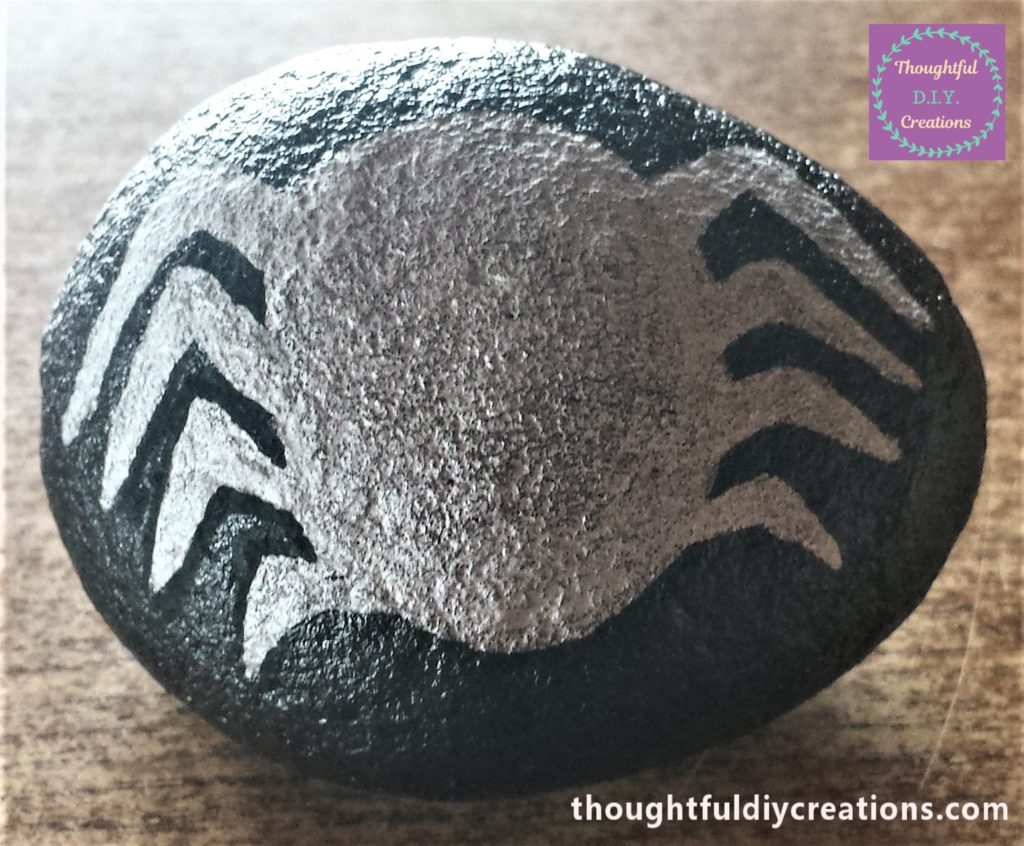
I drew and coloured in a spider using a silver paint pen on my first black stone. I done two full layers with the paint pen. If you make any mistakes while drawing your design you can just go over the silver with the black paint pen.
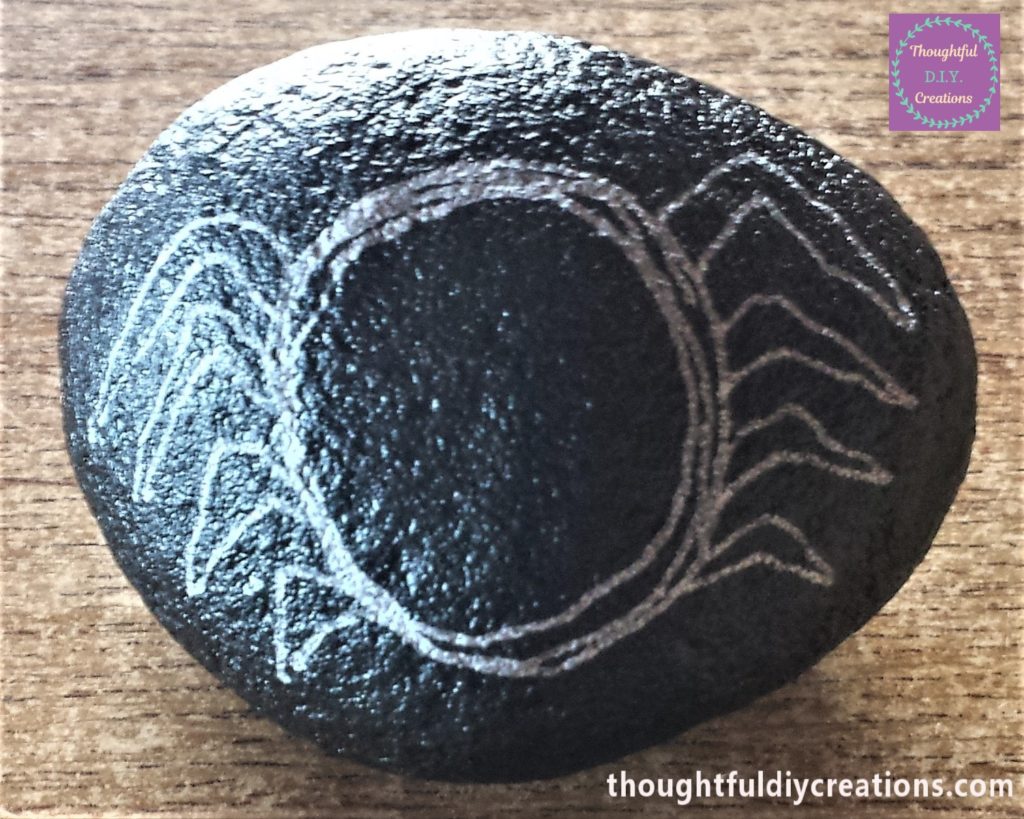
Halloween Stone Six : Spiderweb
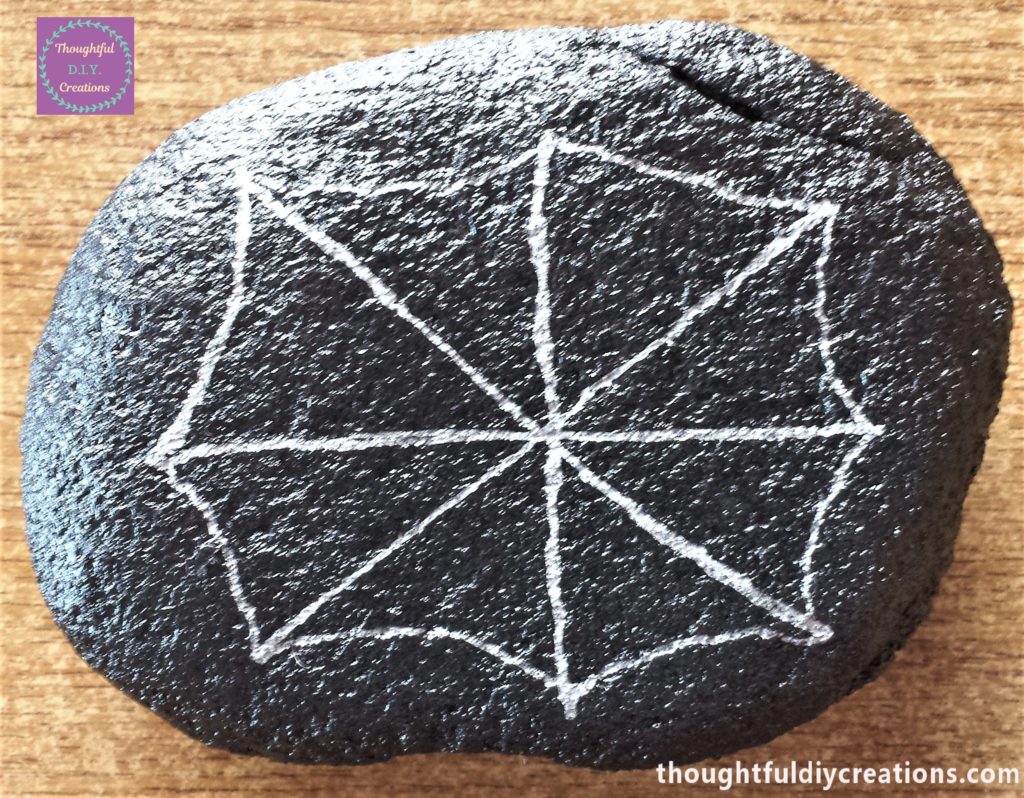
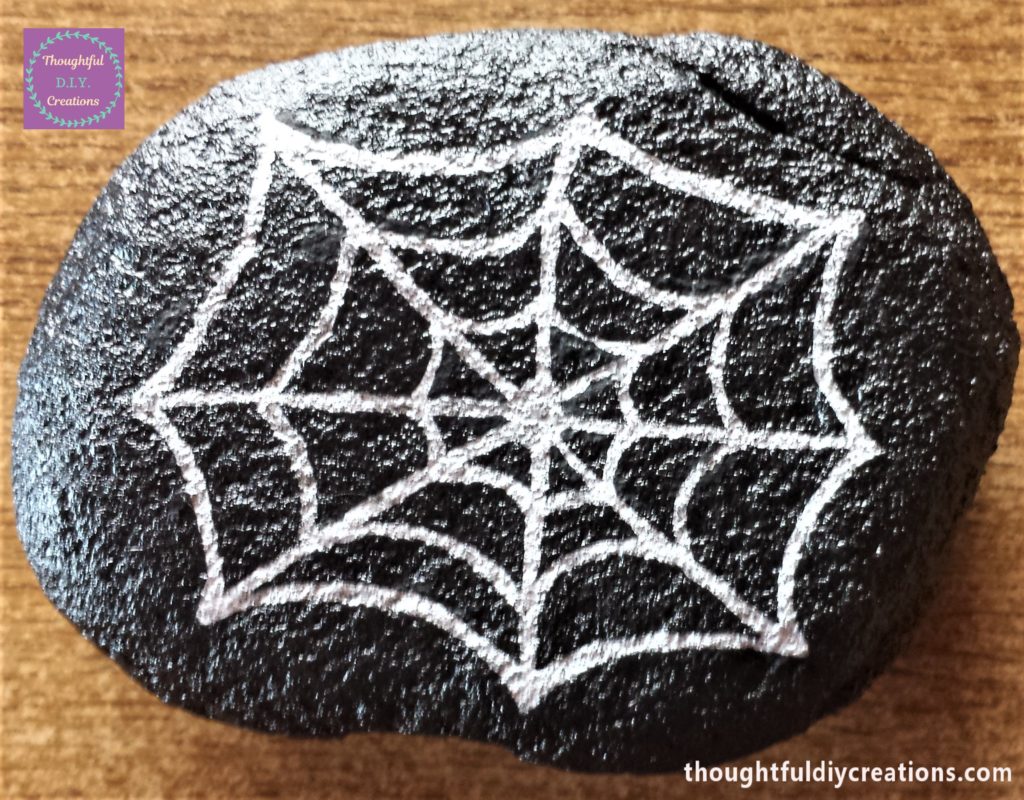
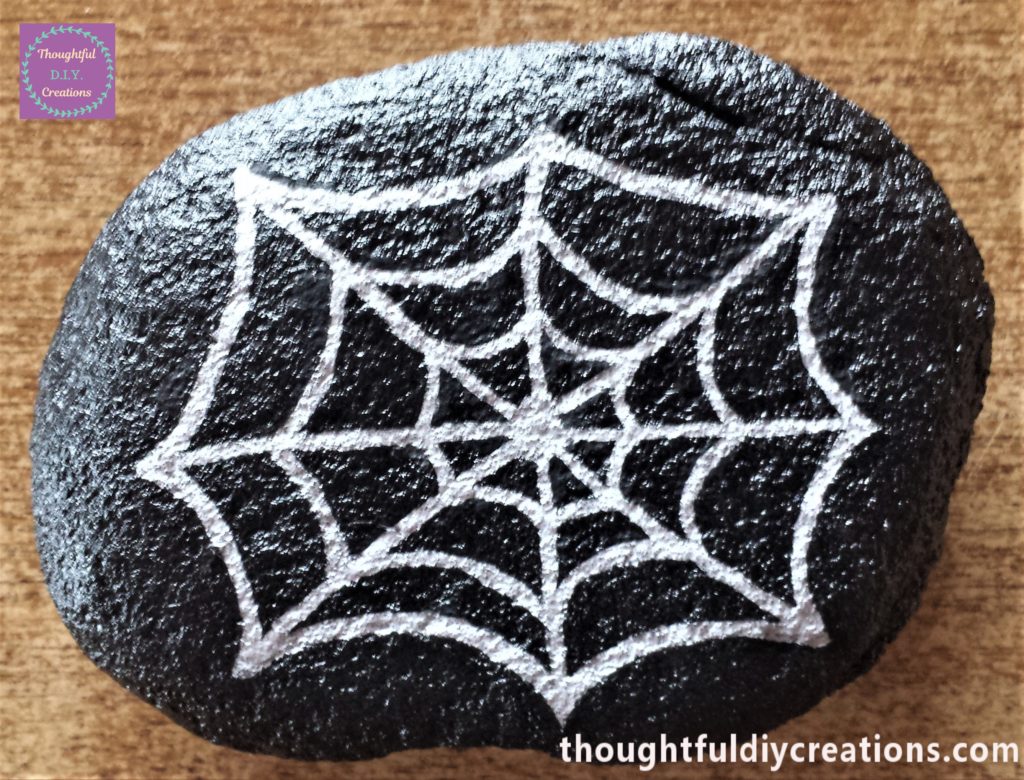
For the second black stone I drew a spiderweb using the silver paint pen. I drew four lines on the stone all linking in the middle, I then drew the curved lines and joined them to each line to form a web. I drew a circle in the middle of the web and drew more curved lines to finish the web. I done two more layers using the paint pen to complete the spiderweb.
Halloween Stone Seven : Bat
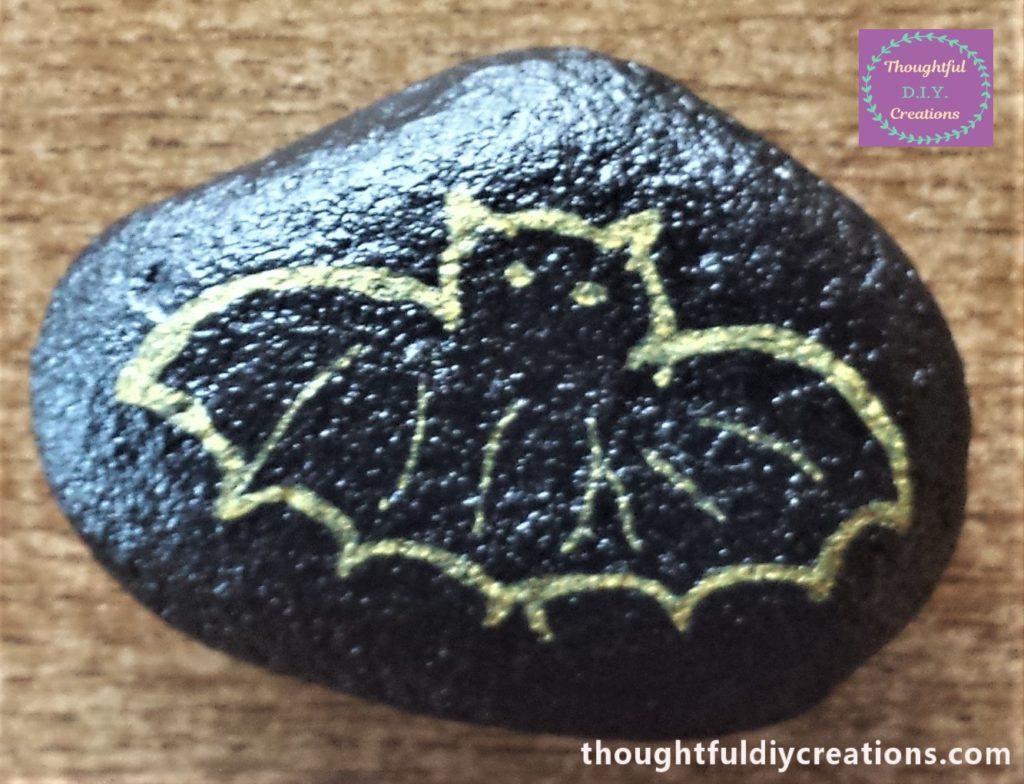
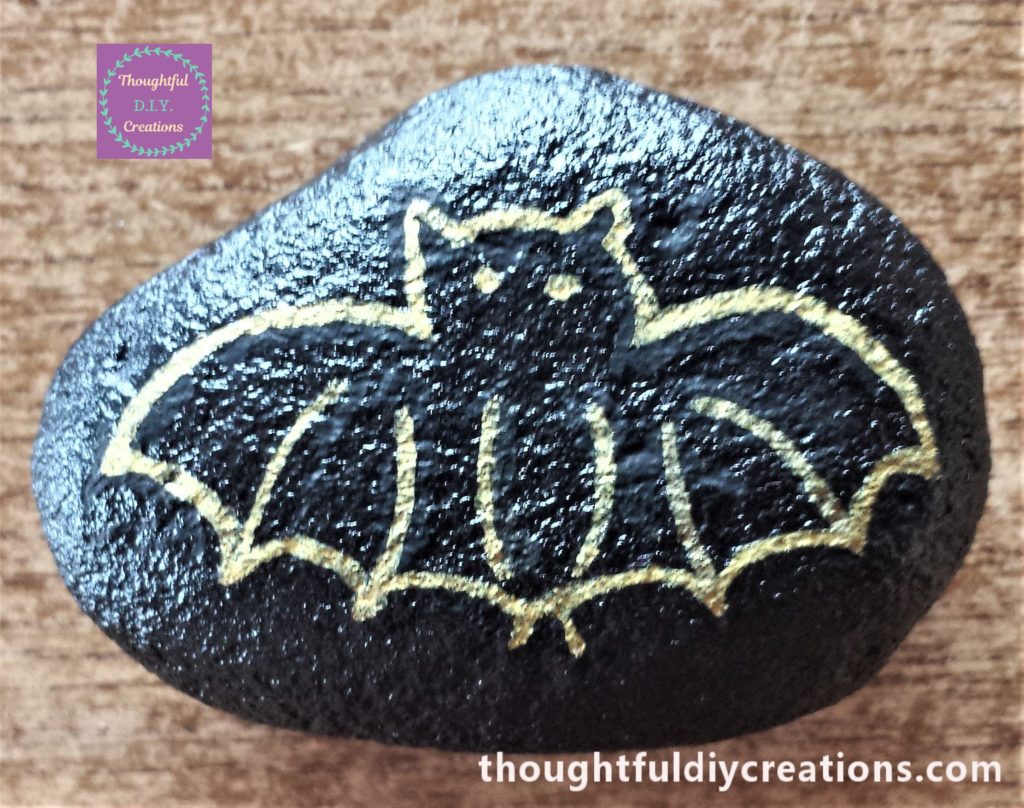
I drew a bat on the third black stone. I used the gold paint pen. I drew the outline of the bat, and put two dots for eyes, and added curved lines for the bat’s body and wings.
Halloween Stone Eight : Pumpkin
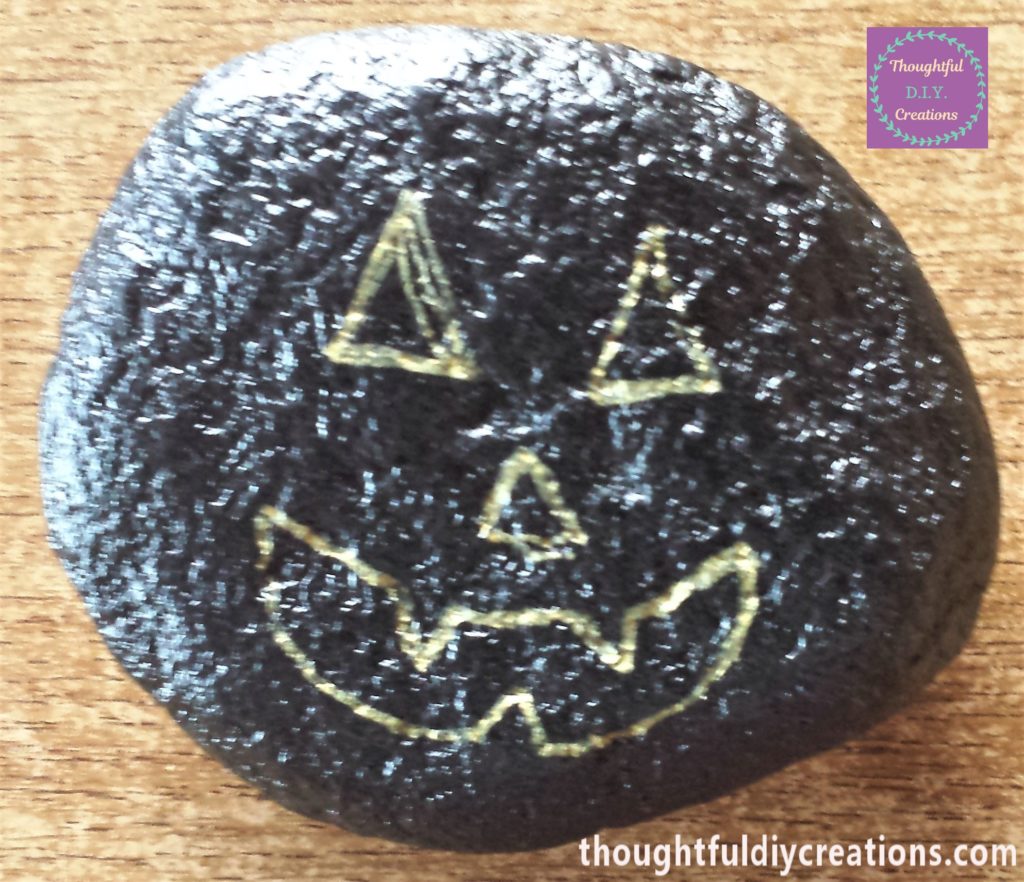
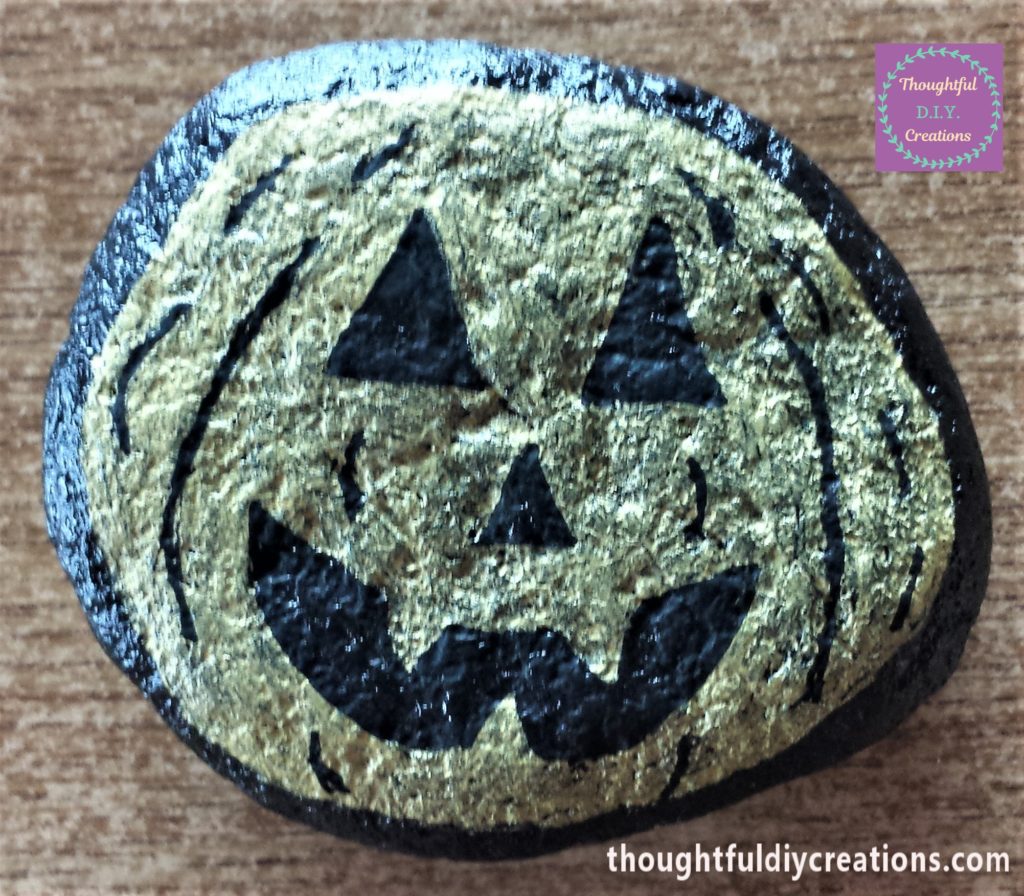
I drew a pumpkin on my last black stone. I used the gold paint pen. I drew two triangles for the eyes, a smaller triangle for the nose curved lines and triangles for the mouth. I coloured the pumpkin in gold. I added black lines with the black paint pen to complete the pumpkin. Uni Posca Paint Pens.
Halloween Stone Nine : Halloween Scene
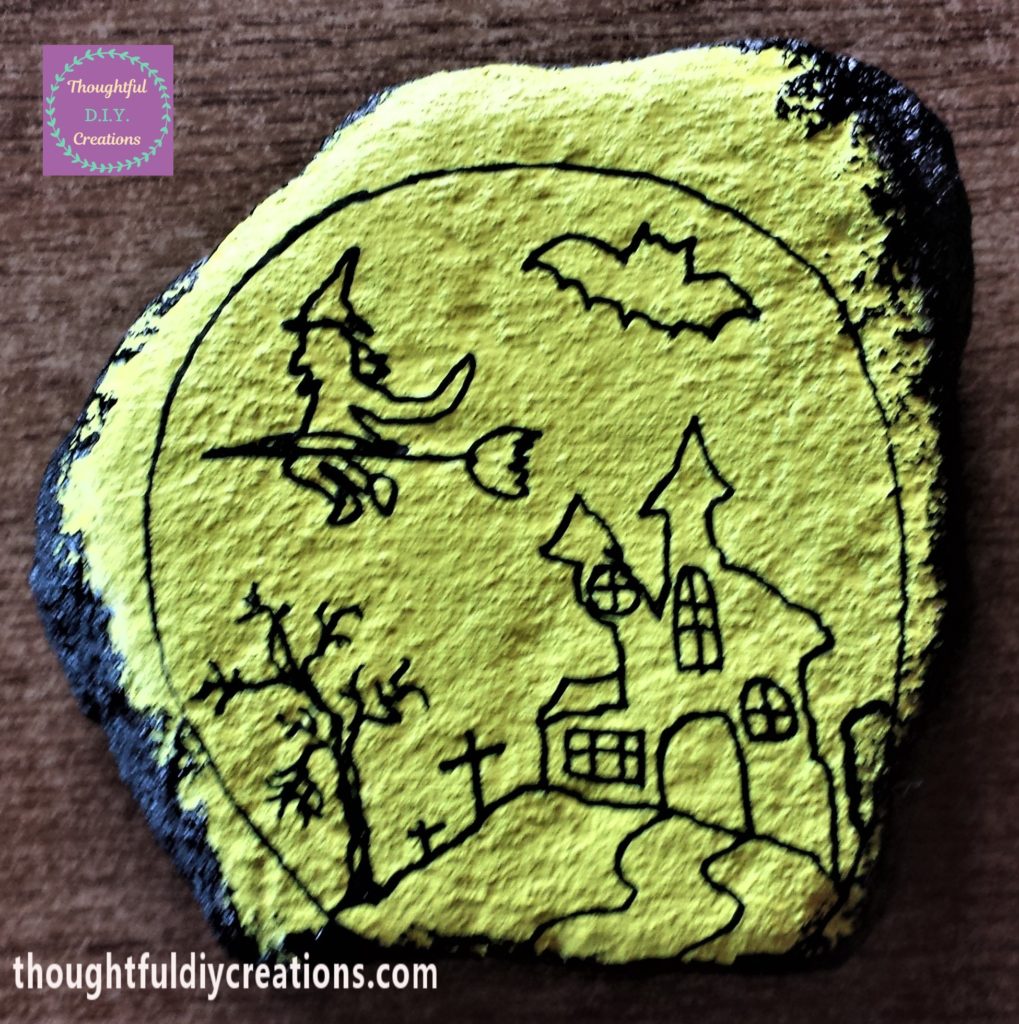
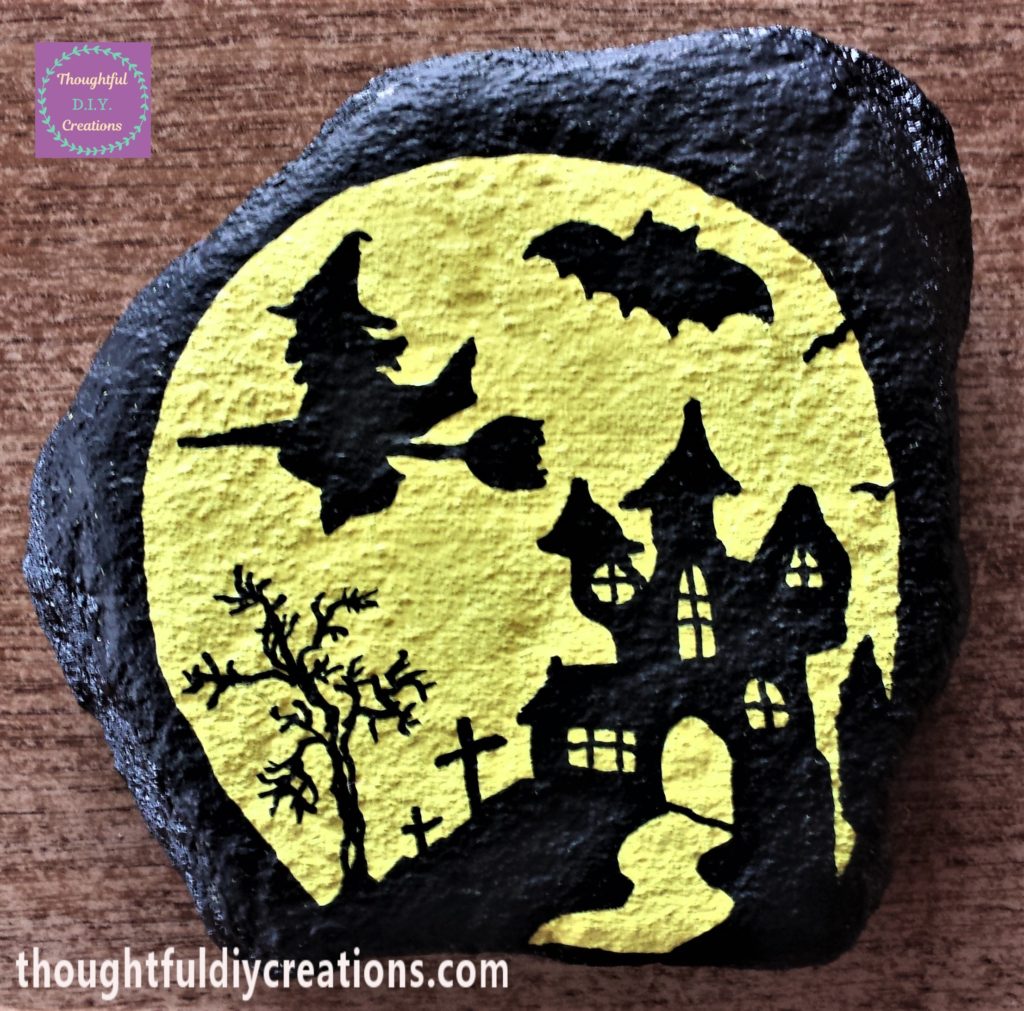
I drew a Halloween Scene on the yellow stone. I used the black paint pen. I drew a circle on the stone to form the moonlit sky. I then drew a hill at the bottom of the stone, the silhouette of a house, a pathway and crosses on the ground for gravestones, a bat, a witch on a broom, I added a tree and the outline of birds and finished with a tree beside the house. I done a rough outline to start and filled in the details with my second layer. I used the black paint pen to fill in the outside of the moon.
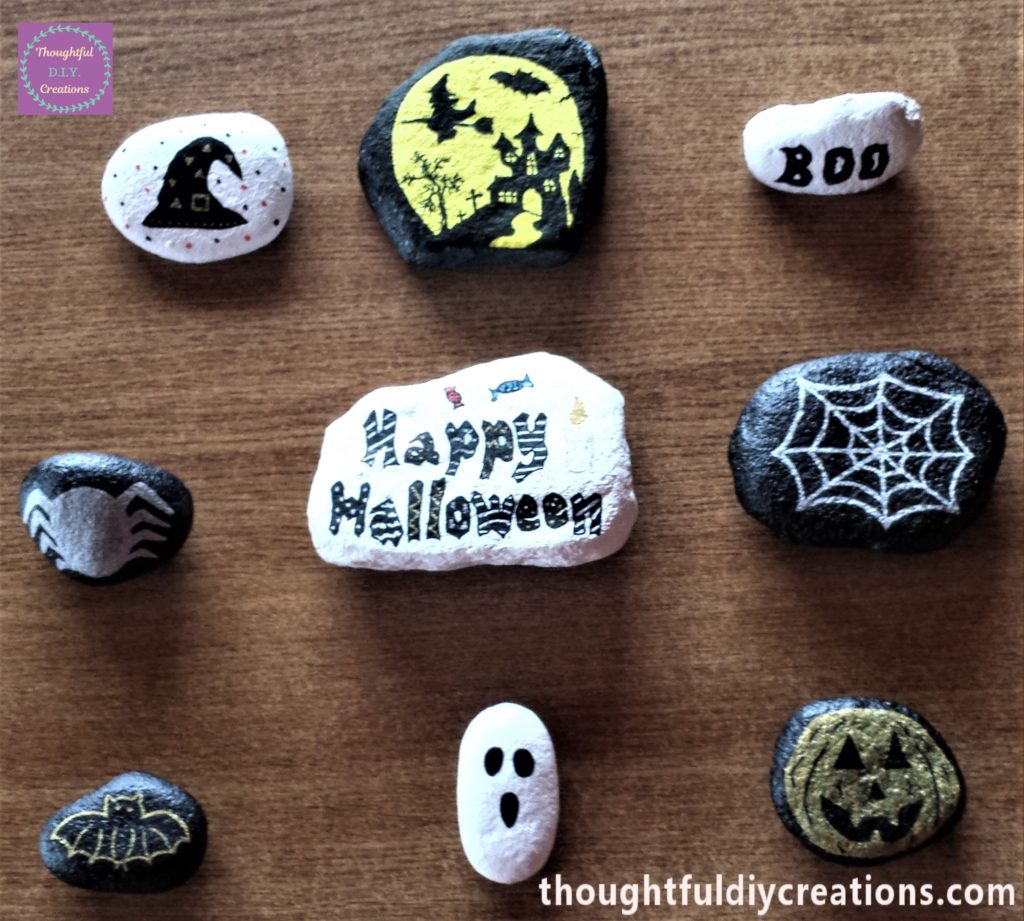
This completed all the Halloween Stones. This is the end result with all the stones together.

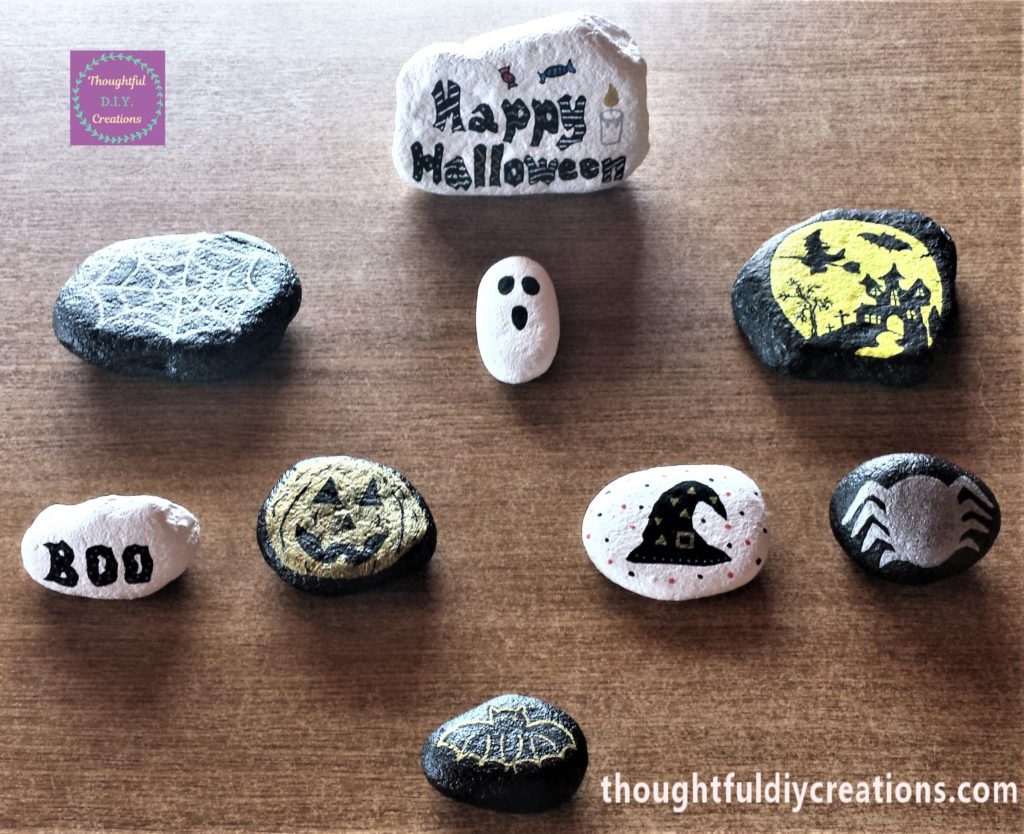
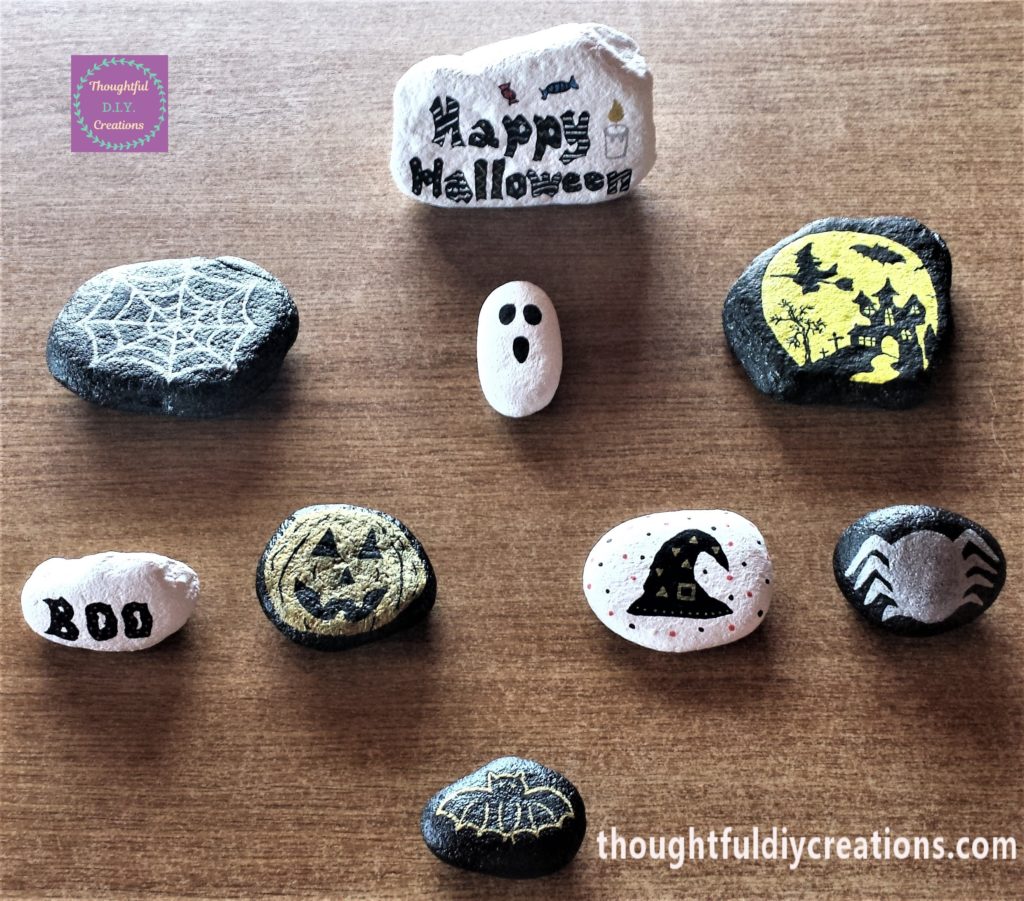
This is the final result with the stones arranged in a different order and the ‘Happy Halloween’ stone standing up.
Conclusion
I was happy with the outcome of my Halloween Stones. I like that they are different shapes and sizes; I think they complement each other. They can be grouped together or dotted around your home alone or in pairs; you can play around with the placement and make as many stones as you want.
Have you ever painted Halloween Stones before? It is a quick, fun, and a budget friendly option to add D.I.Y. Halloween Decor to your home.
It is so versatile as you can add different Halloween characters to your stone decorating. If you have green, purple and orange paint markers you could draw Frankenstein, a Witch, and a traditional Pumpkin. Acrylic Paint Markers.
Children could help with this Craft activity too. Very small children could be supervised to paint the solid colour onto the stone. Older children could draw their design onto the stone with a pencil to use as a guideline, then use different paint pens to colour it in.
It is a good way to keep children entertained while they are on their Halloween Holidays. It is a good activity to do when they can’t go outside because of bad weather. I’m sure they would love to have their Crafts on show and feel proud that they made it themselves.
The more Artistic you are the more you can add to your designs, they can be as simple or detailed as you like or are comfortable doing. If you practice on paper first it might make it easier if you haven’t drawn on stones before.
Another idea would be to look at pictures as a reference if you don’t want to draw freehand. You can look up ‘Pinterest’ or ‘Google Images’ for inspiration, or look at Halloween decorations you already have in your home.
You could just write Halloween phrases such as ‘Hocus Pocus’, ‘Trick or Treat’, ‘Caution’, or ‘Danger’ if you don’t want to draw anything. The options are endless.
Some more of my Halloween Crafts include; Halloween Jars, or Halloween Sign.
I hope you enjoyed this Week’s Halloween Stones Tutorial and it provided some inspiration for your Halloween Crafting. If you have any questions please write them in the Comment Box below and I’ll answer them as soon as I can. Happy Creating Everyone.
Thank you so much for taking the time to read my Blog.
Always Grateful,
T.D.C.
xoxox


-0 Comment-