Christmas Scene Jar
Hello my Creative Friends,
I hope you are all well. In Today’s Tutorial I will show you how to make a Christmas Scene Jar. It is up-cycling and transforming a Candle Jar into a festive Christmas Display. I hope you enjoy the Tutorial and try some Christmas Crafting this season.
Preparing the Candle Jar
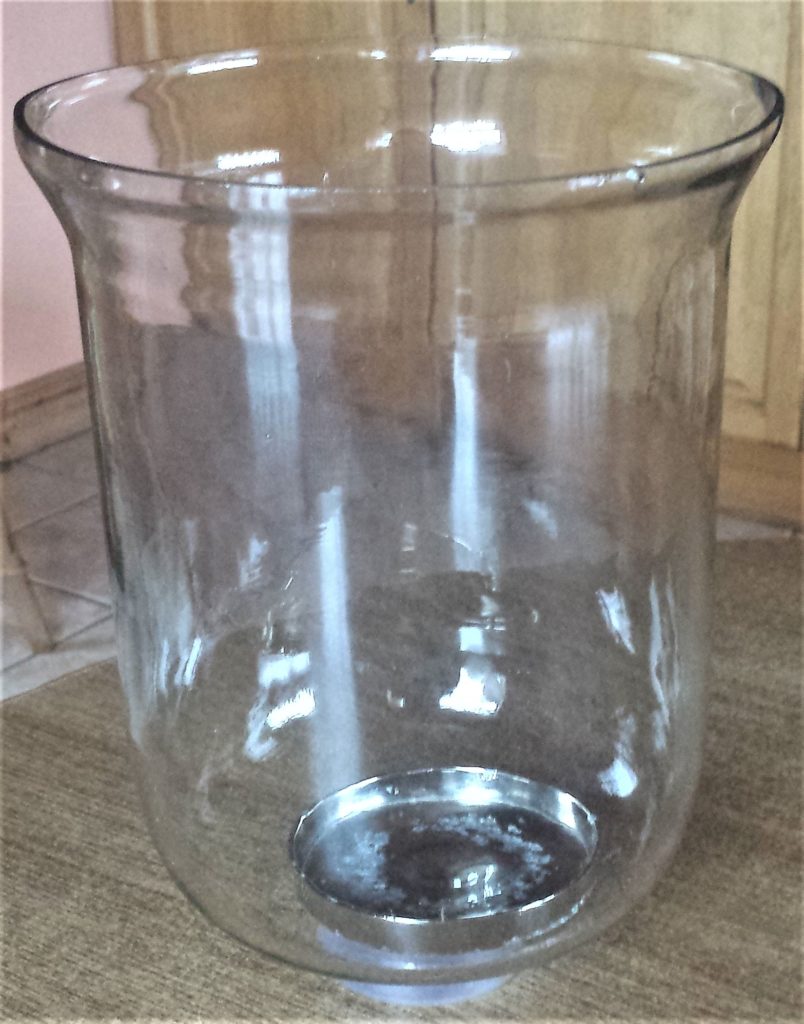
I had an old Candle Jar which wasn’t being used. I loved the size and shape of it but I thought it looked a bit plain and wanted to make it more of a center-piece. Glass Jar With Glass Lid.
I washed the Jar in the sink with hot water and washing up liquid.
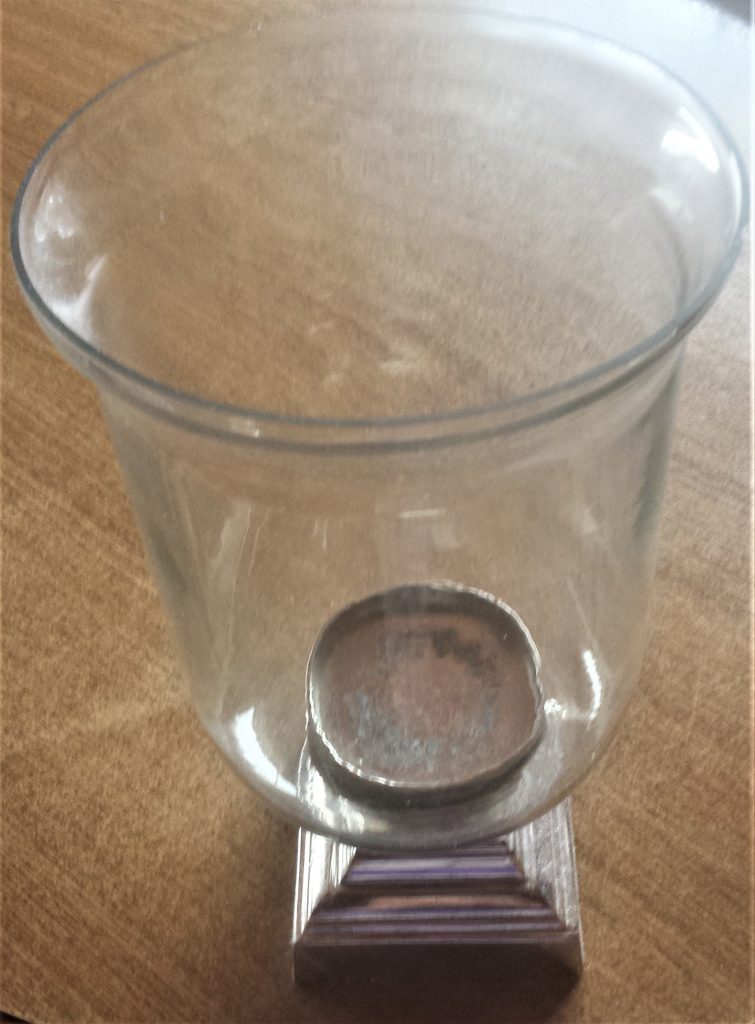
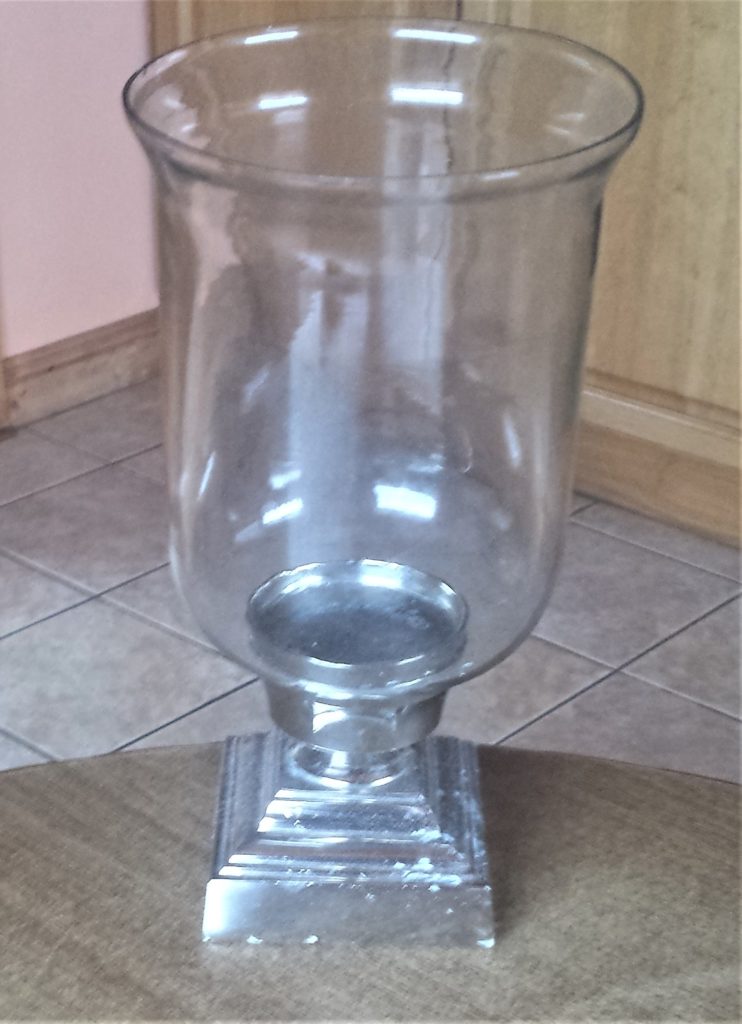
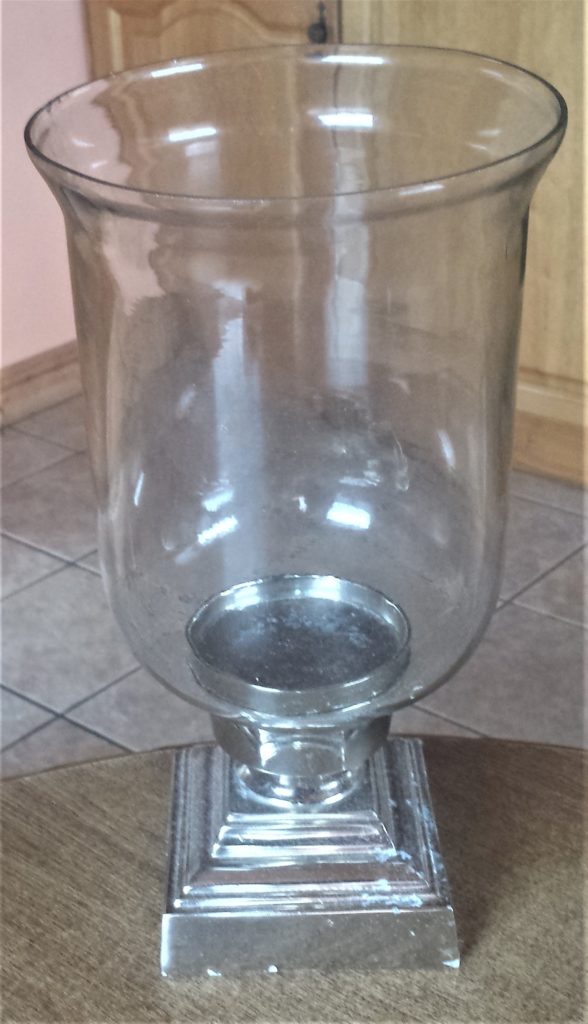
The bottom part of the jar needed improving as the paint had started to peel at 2 of the sides. Glass Jar With Glass Lid.
Taking the Candle Jar Apart
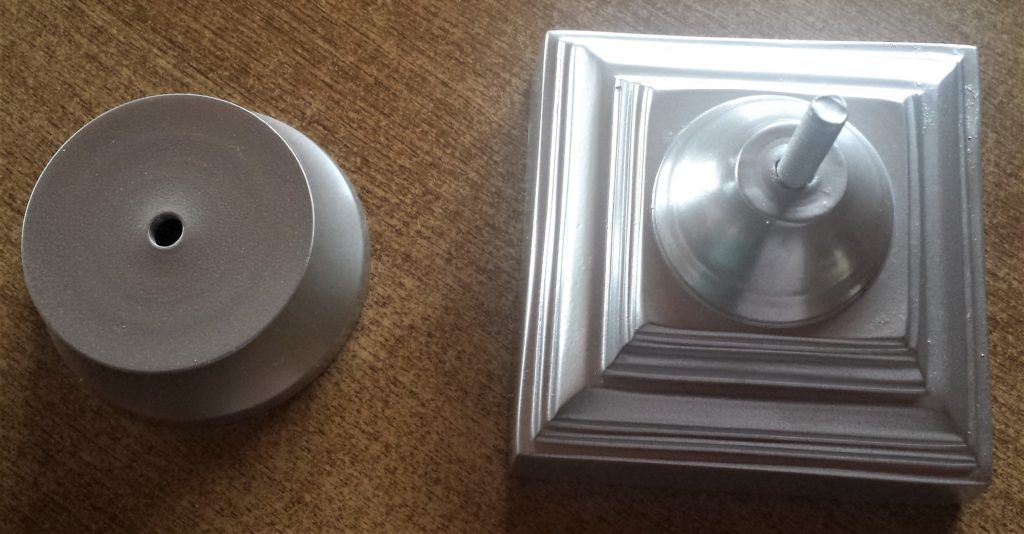
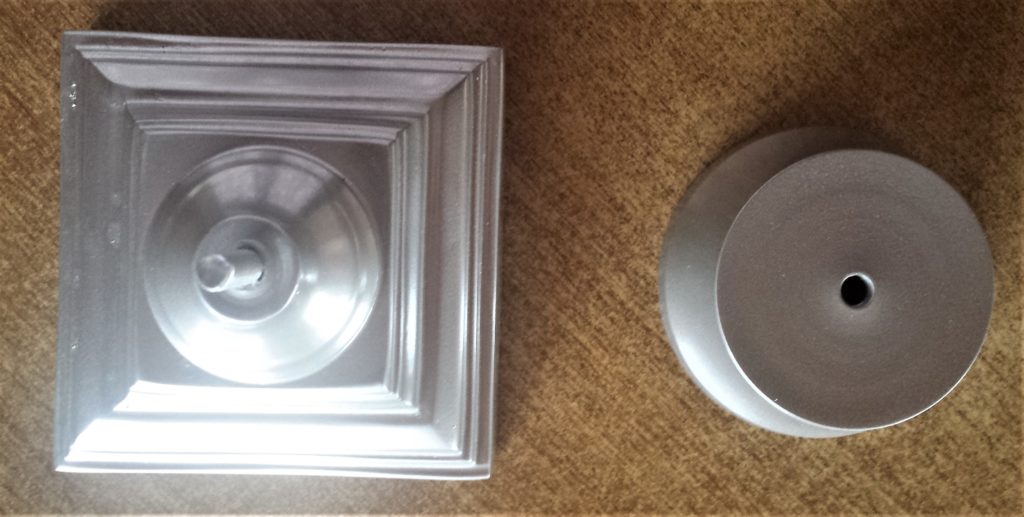
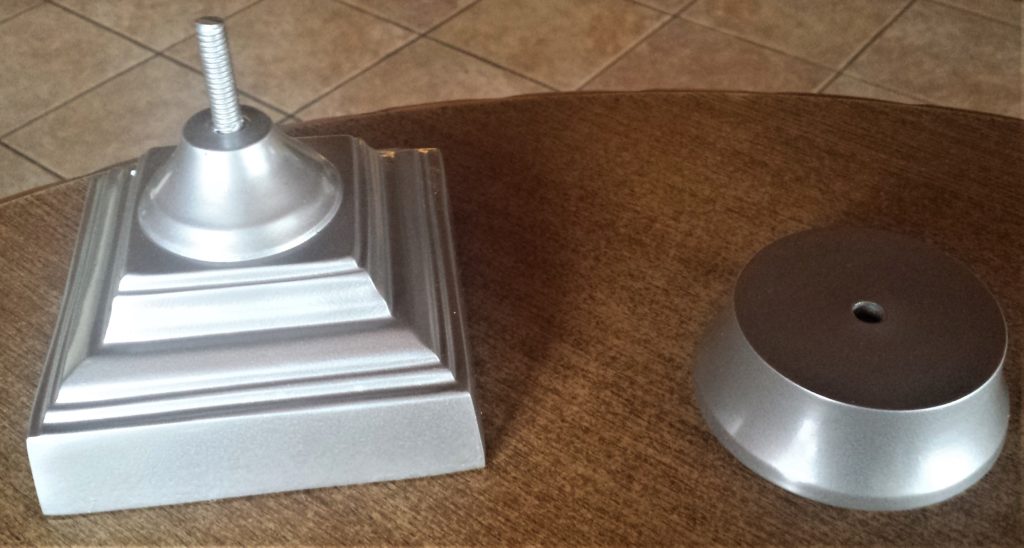
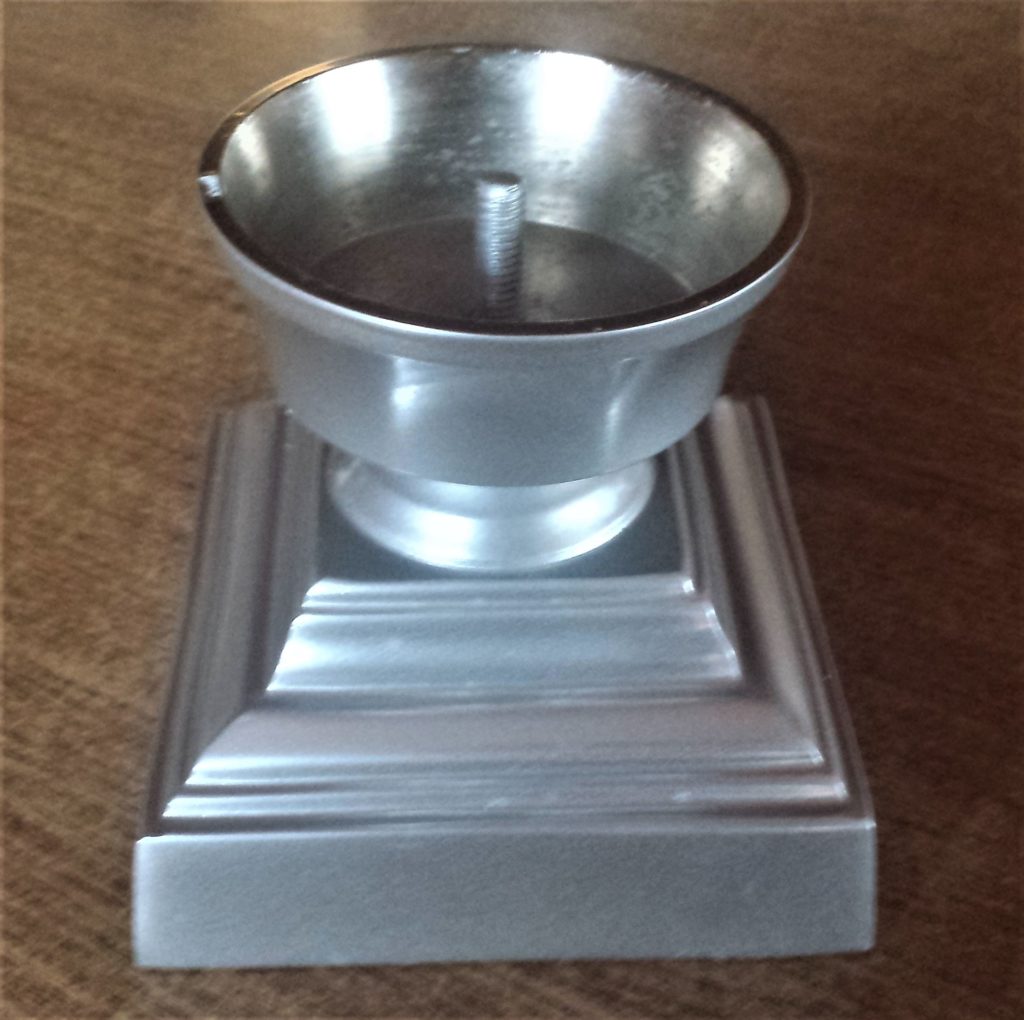
There are 3 pieces screwed together in this jar; the piece inside the jar and the 2 bottom pieces. I twisted the jar until the bottom pieces came off.
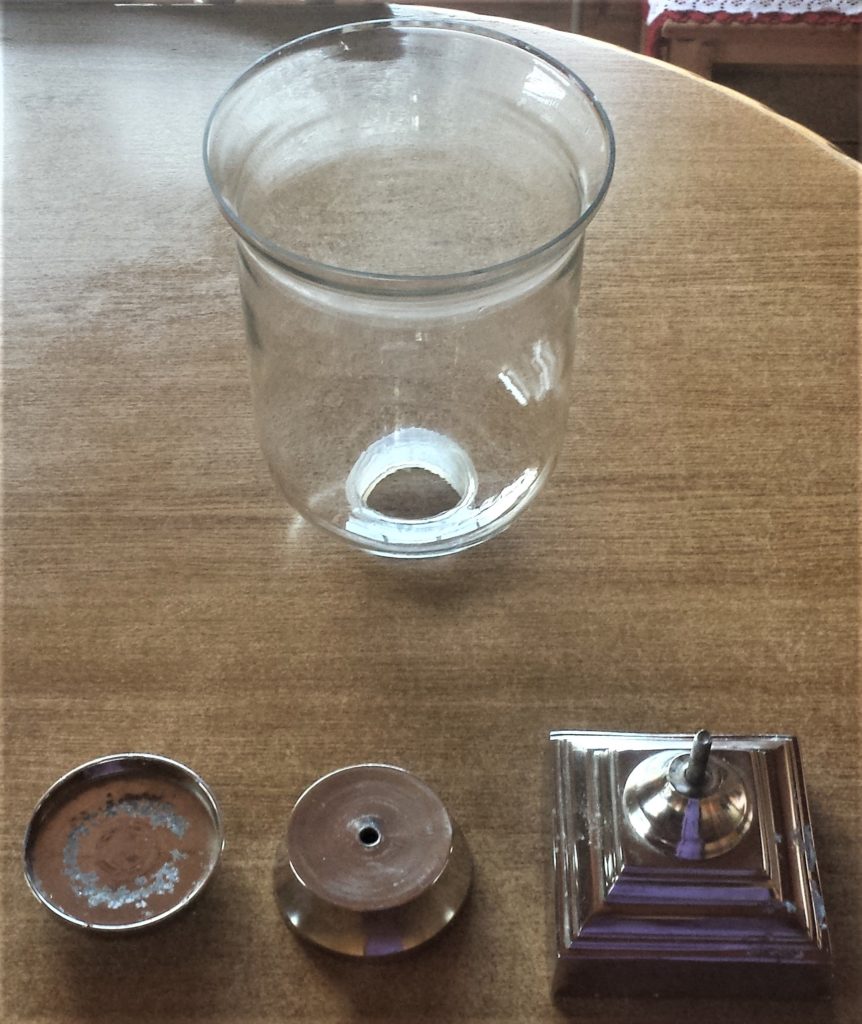
I decided to spray paint the 2 bottom pieces. I didn’t do anything with the piece for inside the jar as it will be completely covered and won’t be seen.
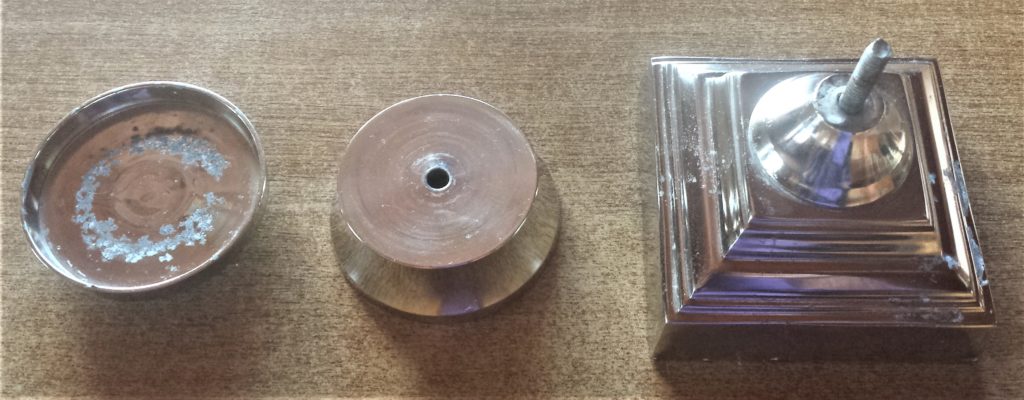
Preparing the Candle Jar for Spray Painting
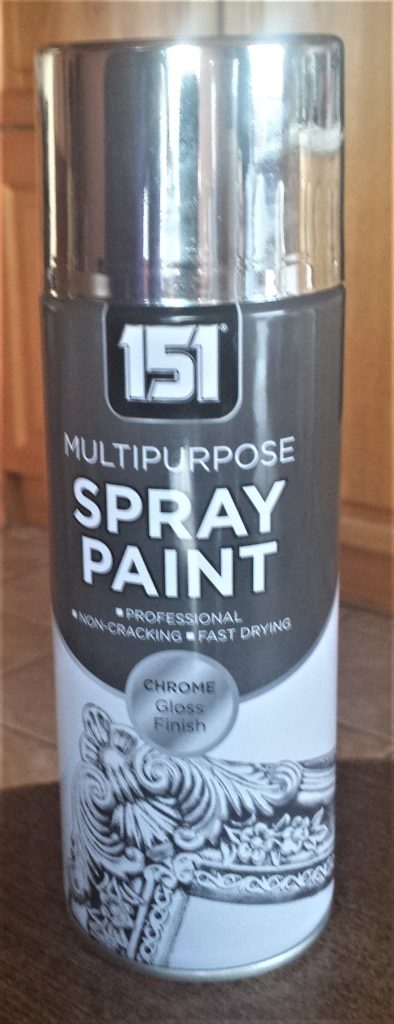
The Spray Paint I used was a Multi Purpose Spray Paint in a Chrome Gloss Finish. Spray Paint Silver Chrome.
I brought the 2 pieces of the base of the jar out to the shed. I put them on a sheet of cardboard on a table.
* Always Spray Paint in a well ventilated area. Have doors or windows open and leave the area as soon as your finished spray painting.
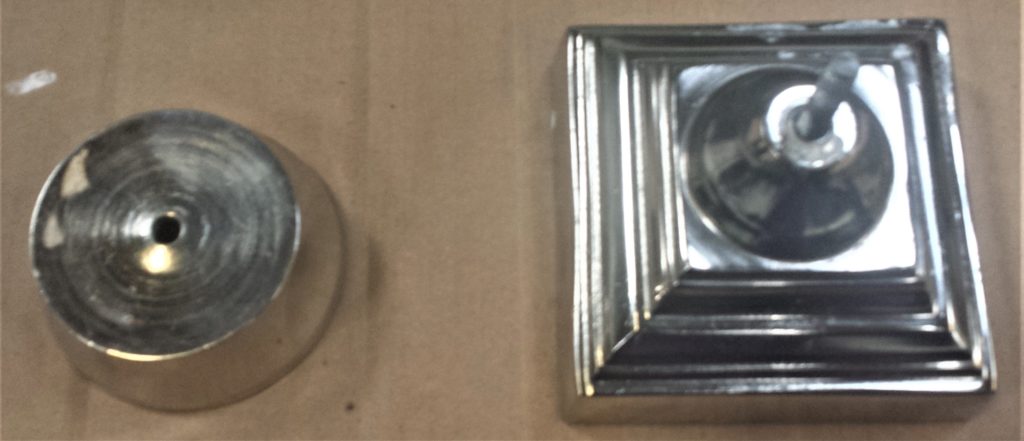
Spray Painting the Base of the Candle Jar
I shook the spray can from side-to-side for about a minute. I sprayed every angle of the 2 pieces giving the can a quick shake before I moved on to the next angle. I held the spray can about 30 cm away from the candle jar pieces.
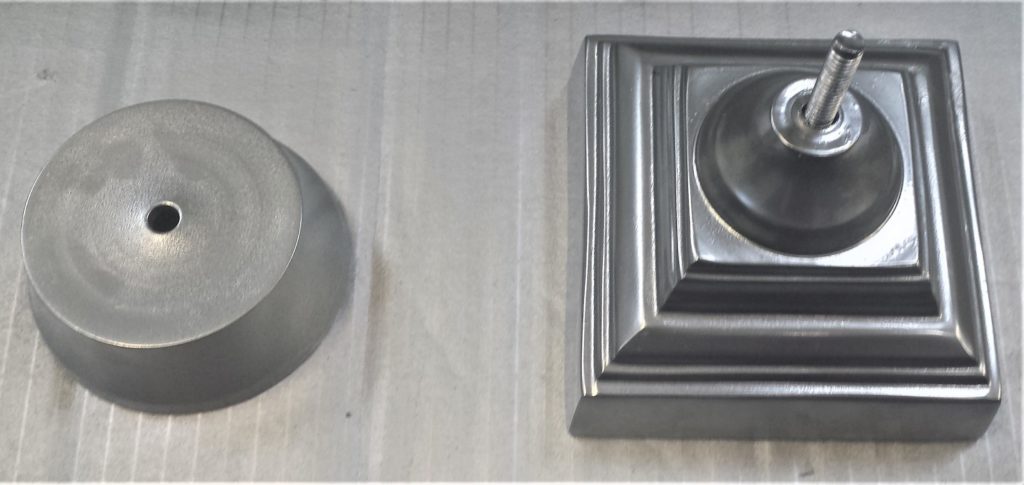
After an hour I went back out to the shed and gave each candle jar piece a second coat of spray paint. Spray Paint Silver Chrome.
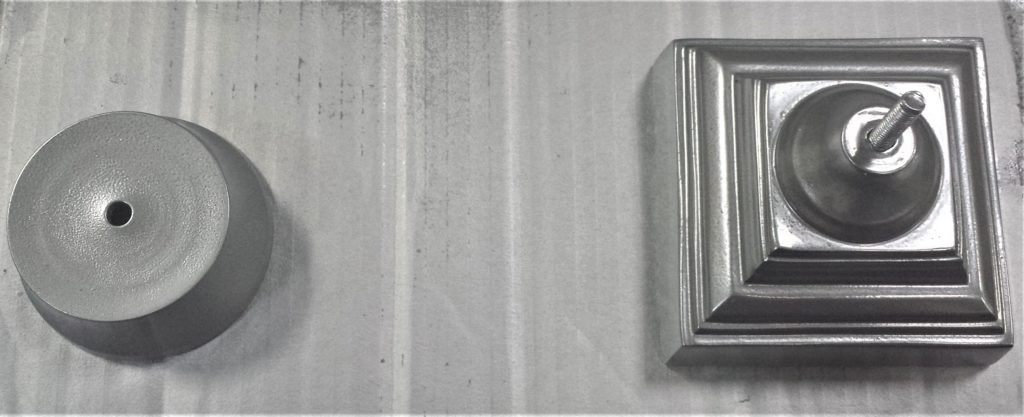
I waited another hour and then applied the third and final layer of spray paint.
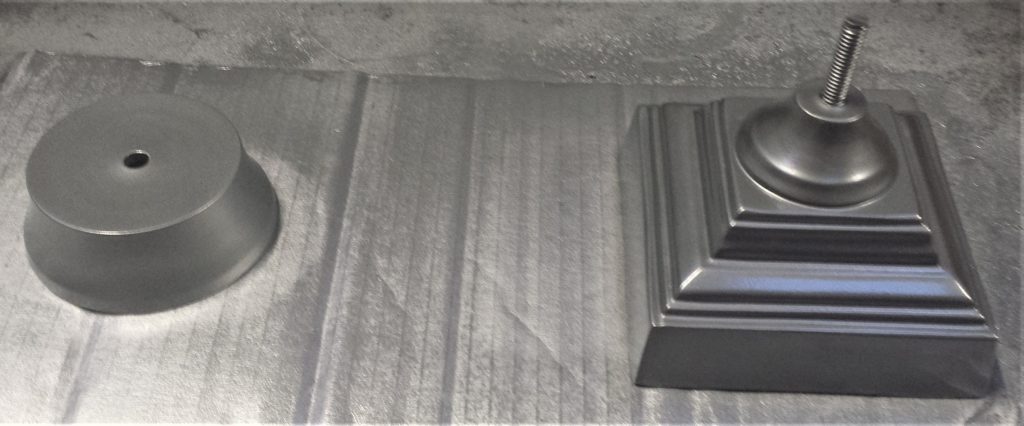
I left the Candle jar pieces in the shed to cure for 48 hours after the final coat of spray paint.
After the 2 days I brought the spray painted pieces back inside.
Attaching the Base back to the Candle Jar
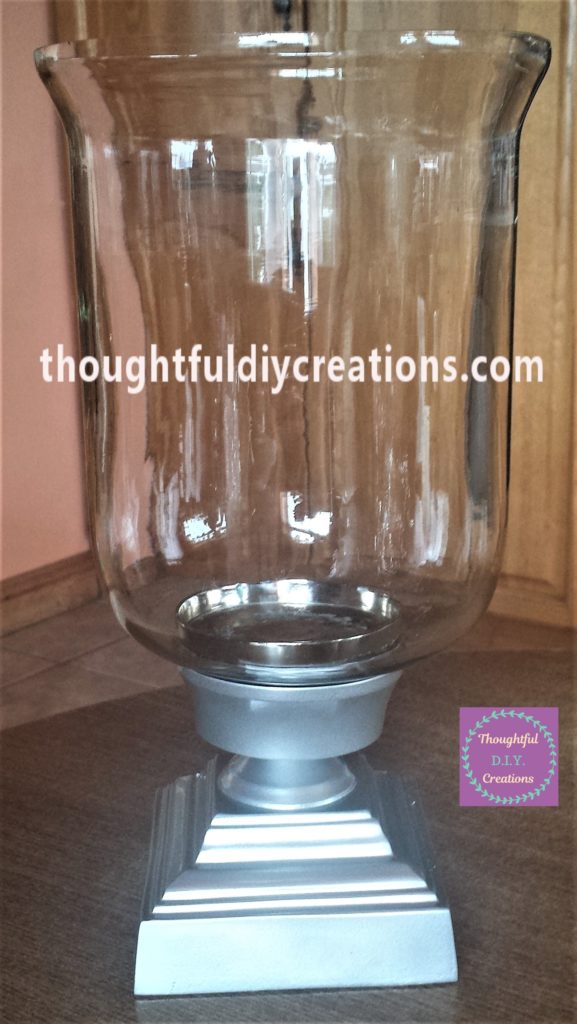
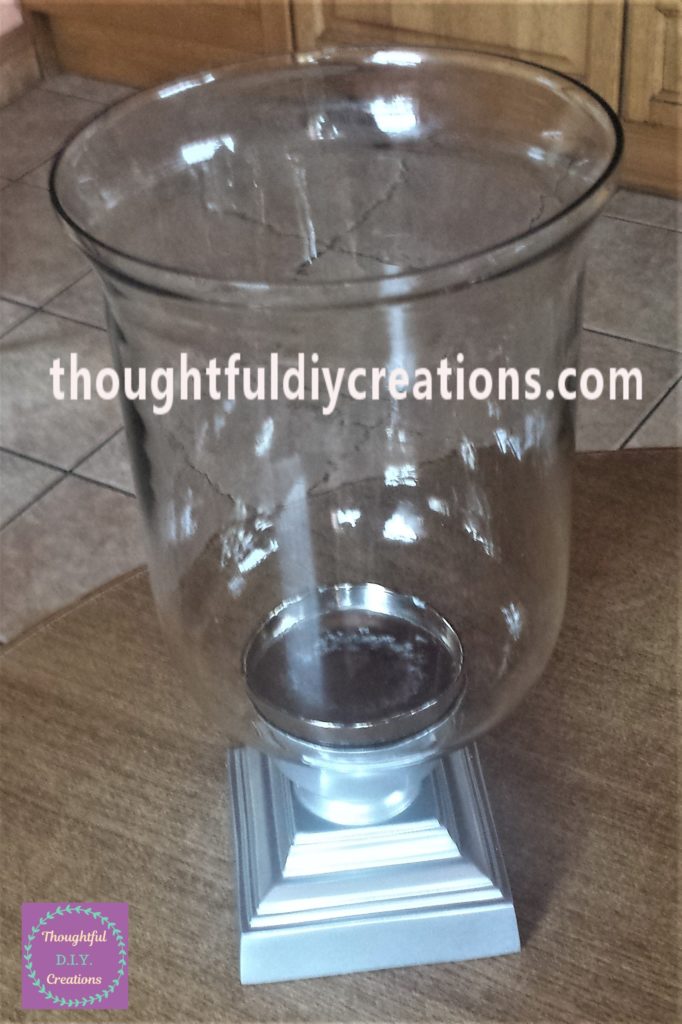
I put the Candle Jar back together again by screwing back on the pieces.
Adding Snow to the Candle Jar
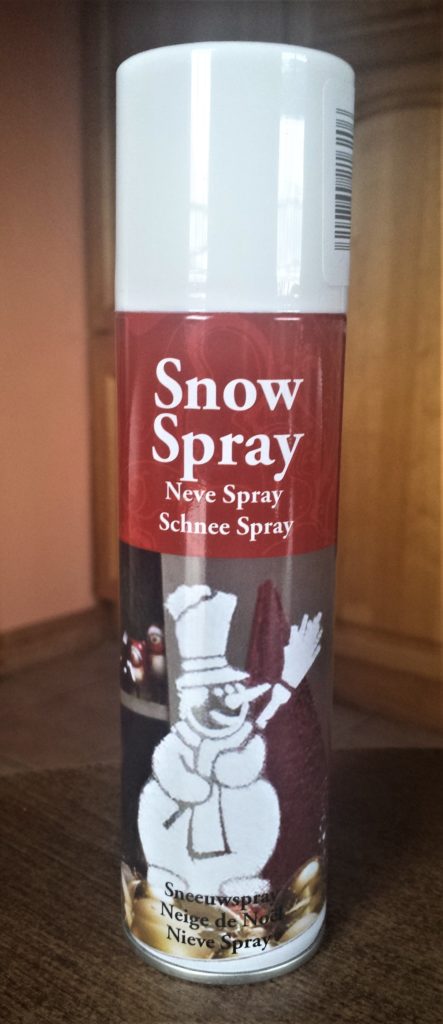
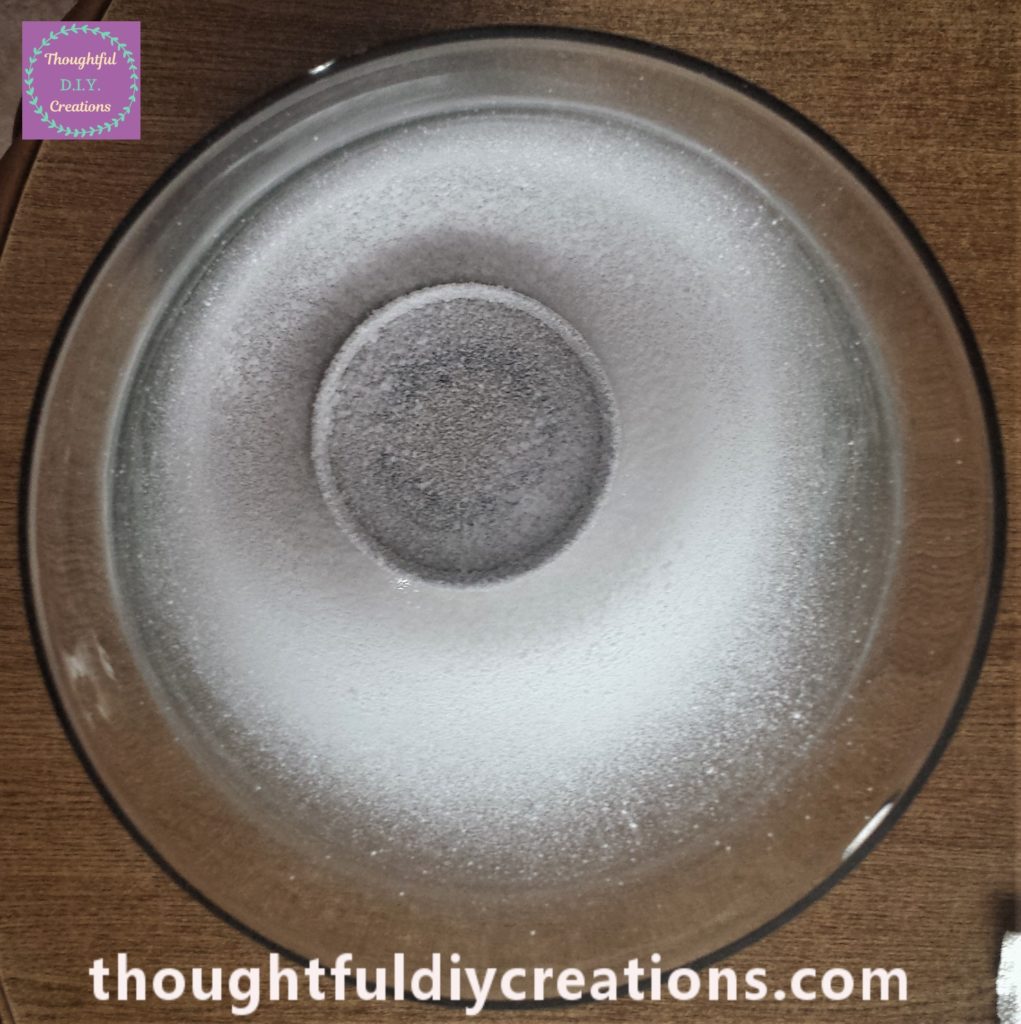
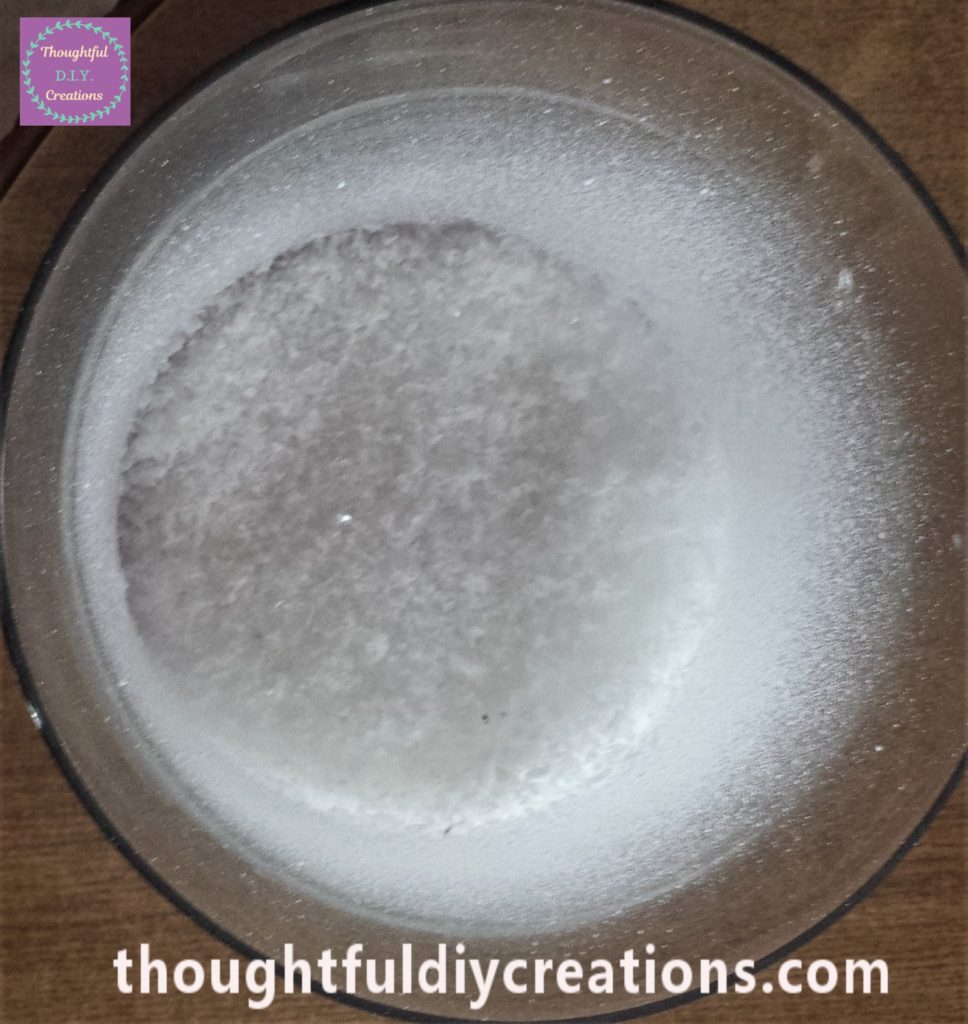
I sprayed Snow Spray in the bottom of the glass jar and around the inside of the sides of the jar. Snow Spray.
I let the snow spray set for 45 minutes.
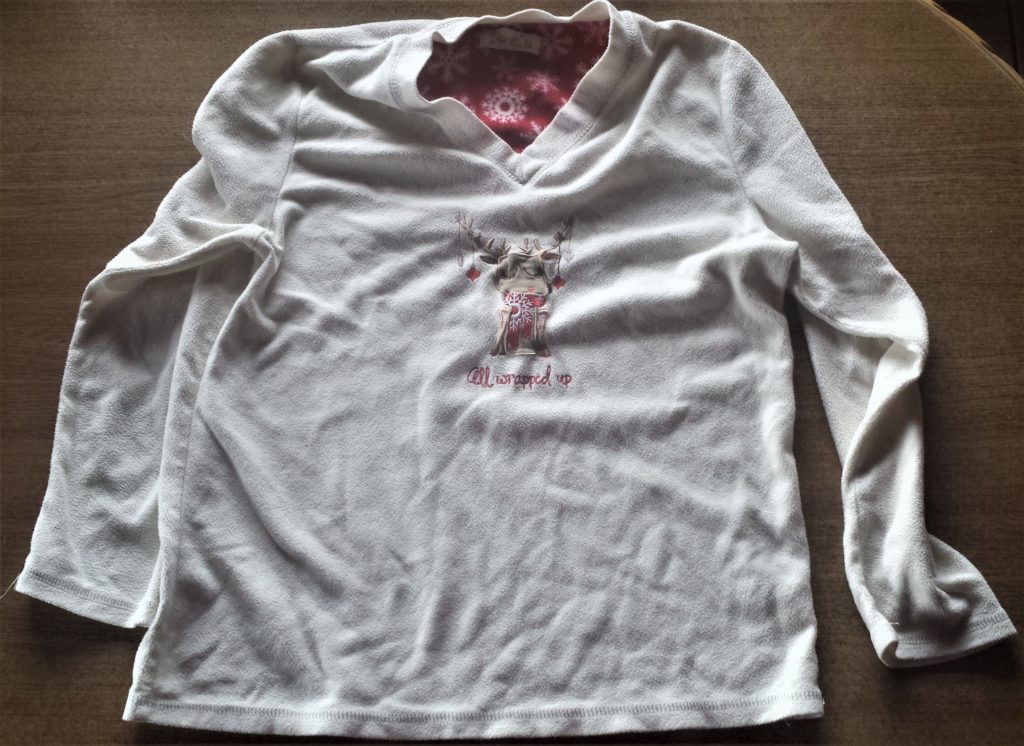
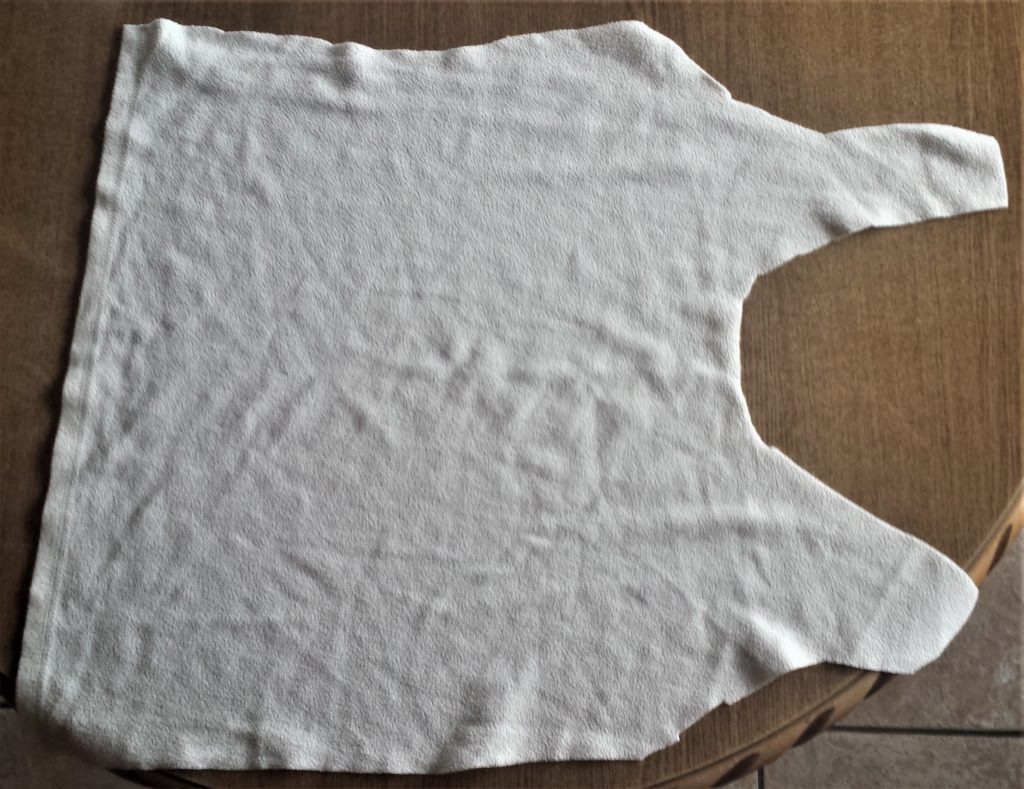
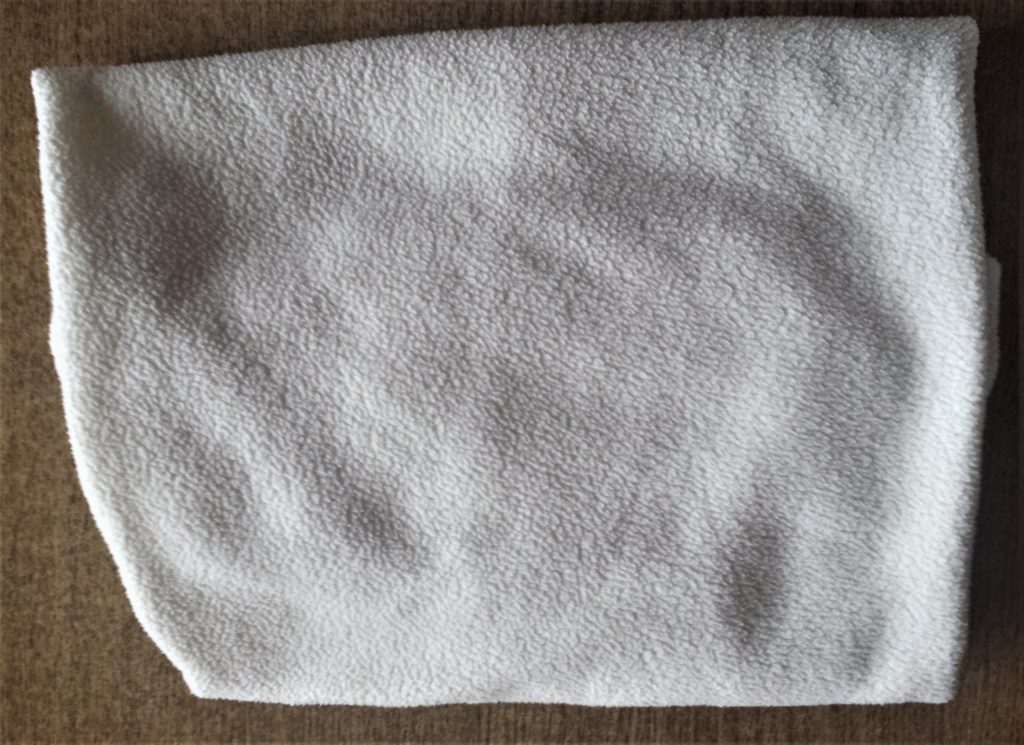
I wanted to have a bit of height in the Glass Jar for my Christmas Scene. I had an old pyjamas top which no longer fit me, it was a cream/white colour so it went with the theme, it will be mostly covered anyway so it doesn’t have to be an exact match.
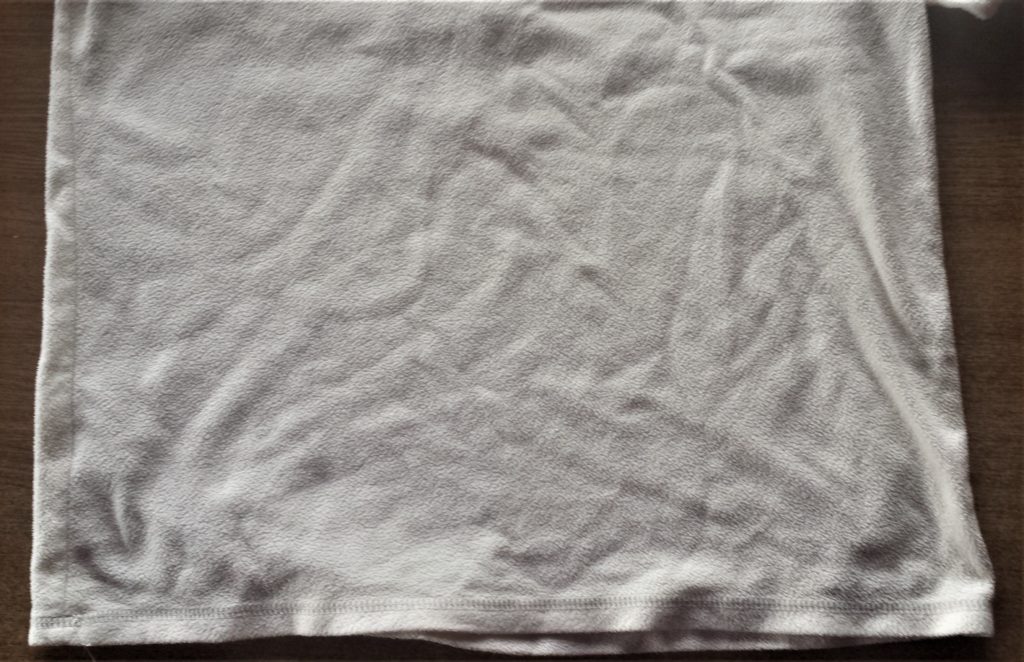
I cut a section of the top and folded it over a few times.
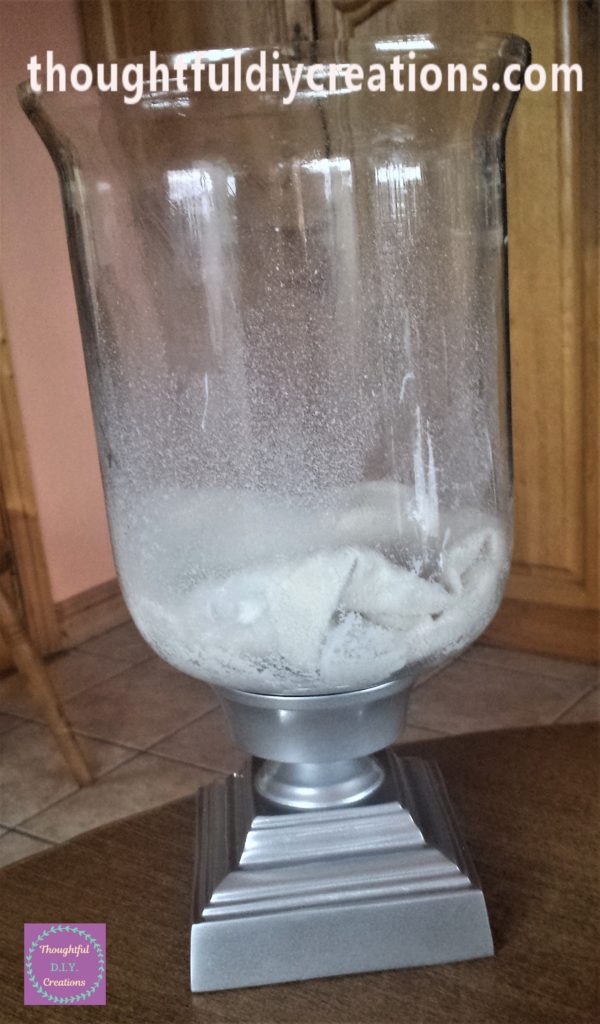
I plugged in my hot glue gun and let it heat up for 5 minutes. I put hot glue on the edges of the top. I tried to put hot glue inside the glass jar but it was too awkward so I poured some of ‘Anita’s Tacky PVA Glue’ into the jar around the edges. I spread the glue around using a flat paintbrush. I placed the pyjamas top inside the glass jar and held it in place for about 20 seconds. Anita’s Tacky PVA Glue.
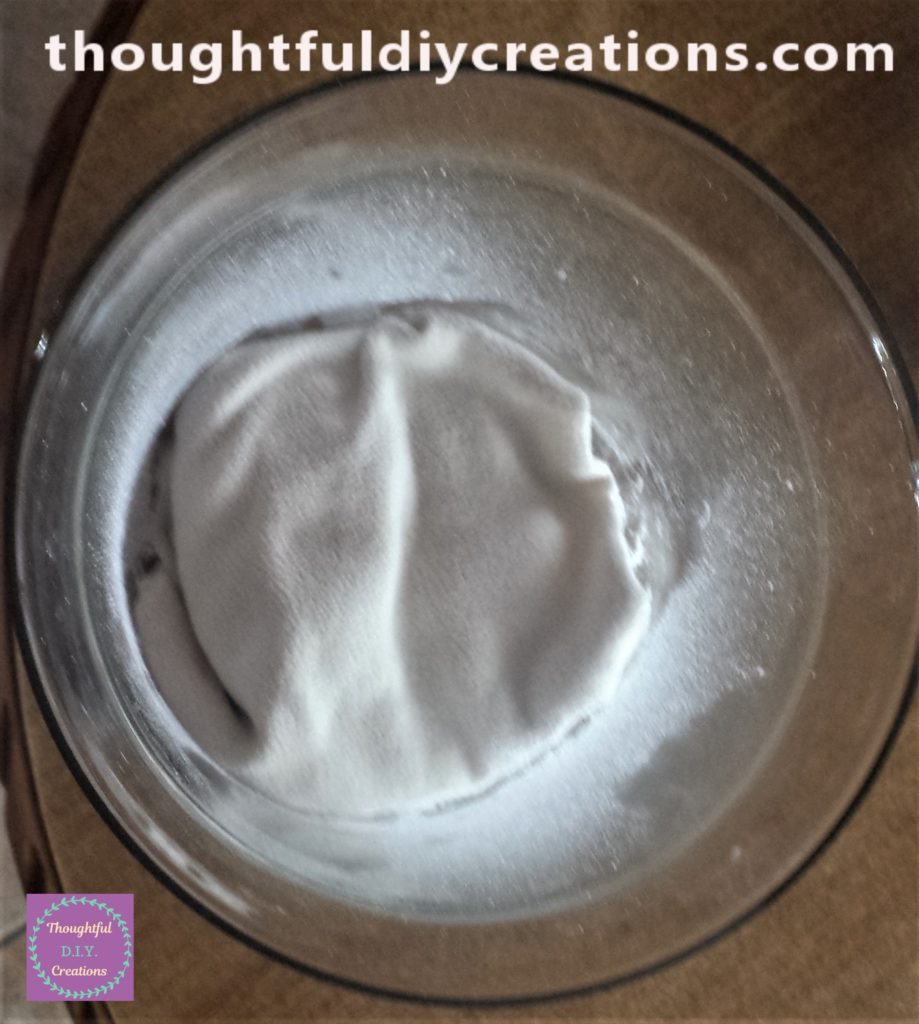
I added more snow spray on top of the pyjamas top and around the sides of it. Snow Spray.
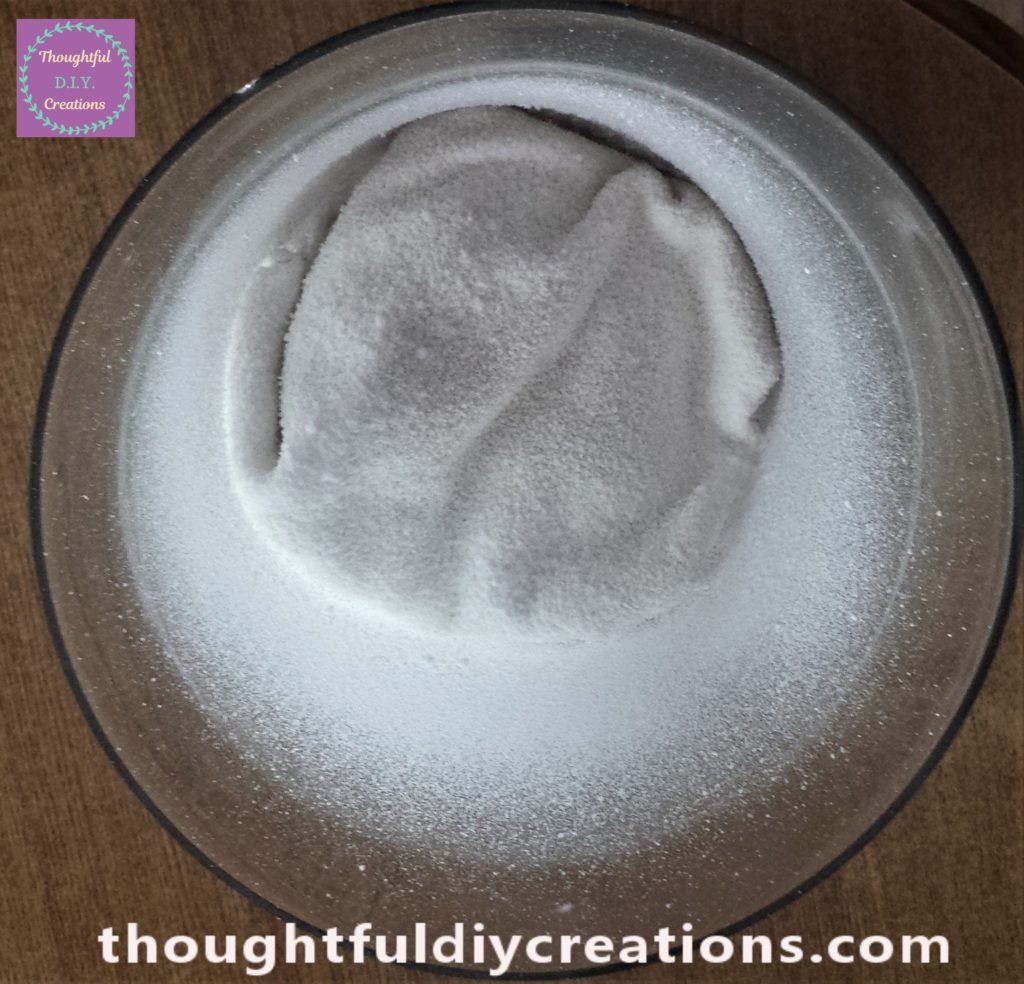
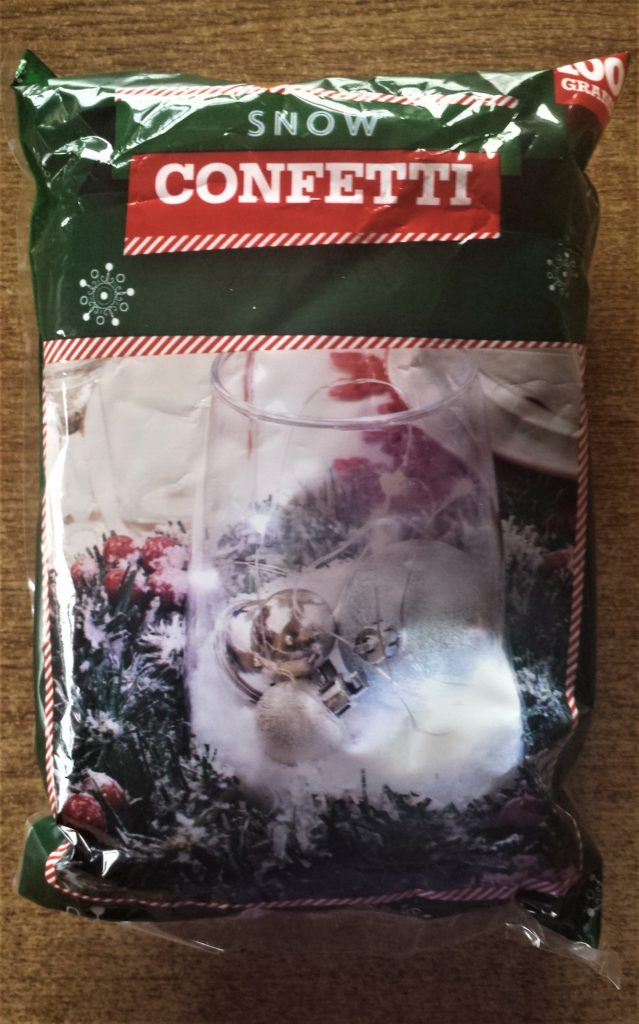
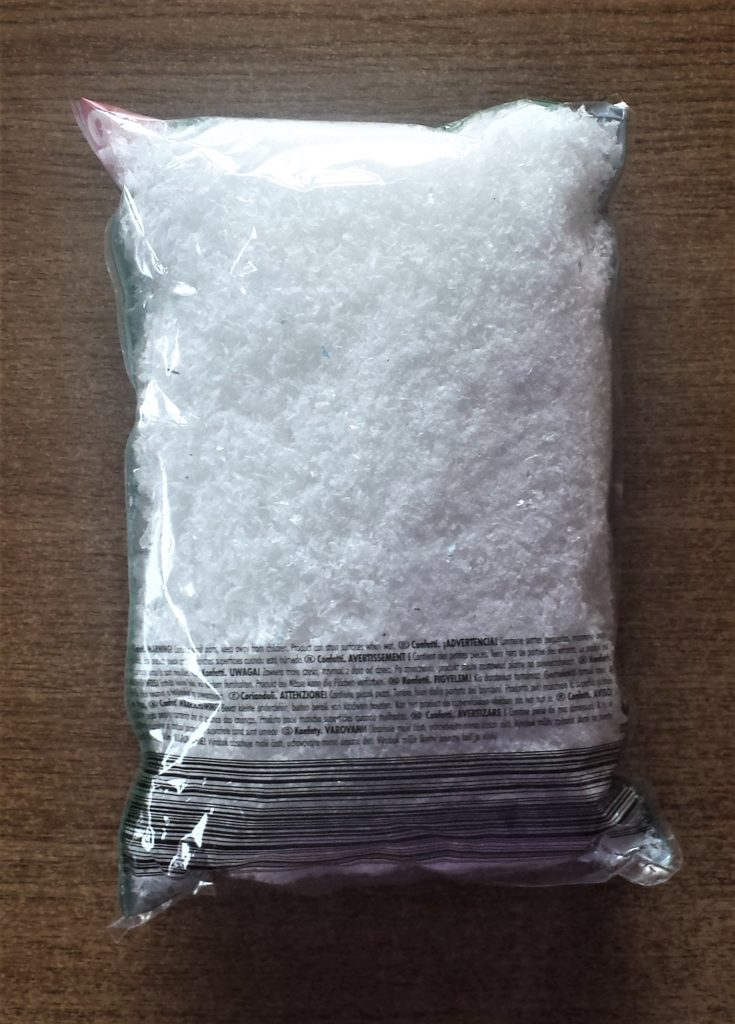
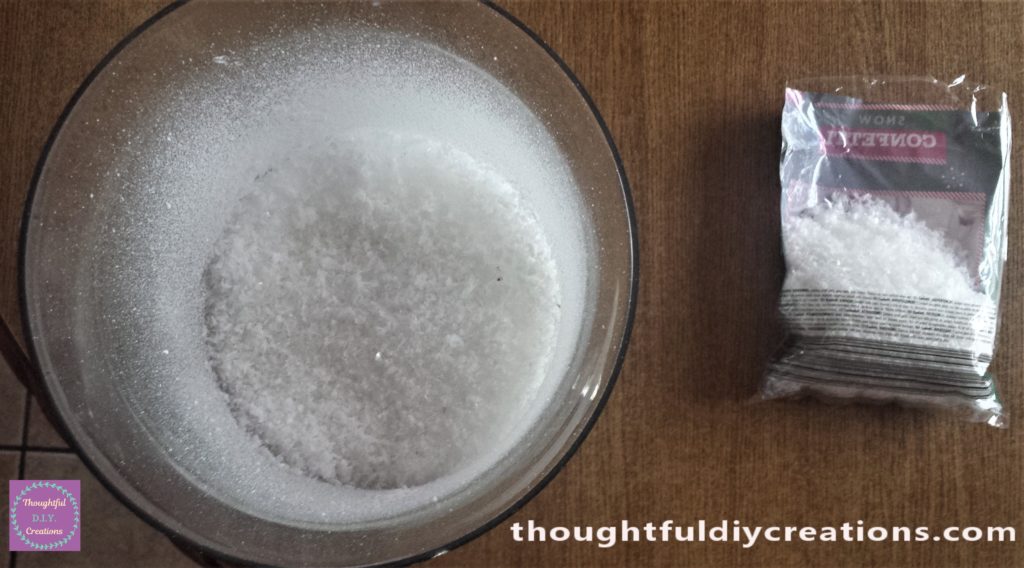
I poured some Snow Confetti on top of the pyjamas top. Sparkling Snow.
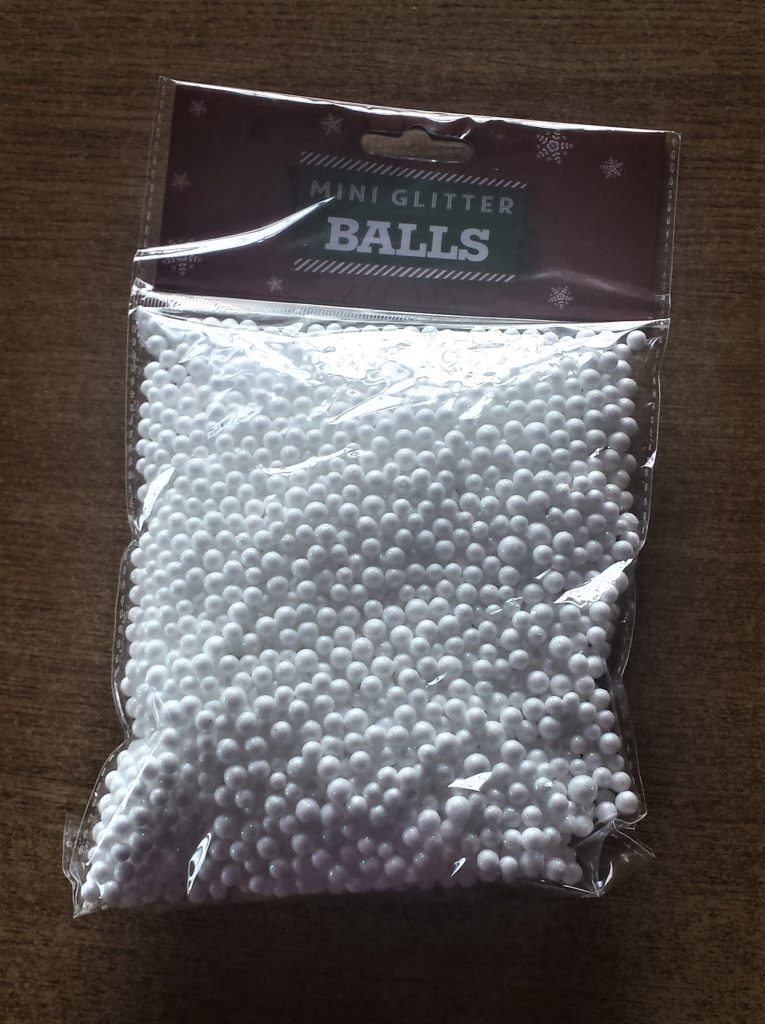
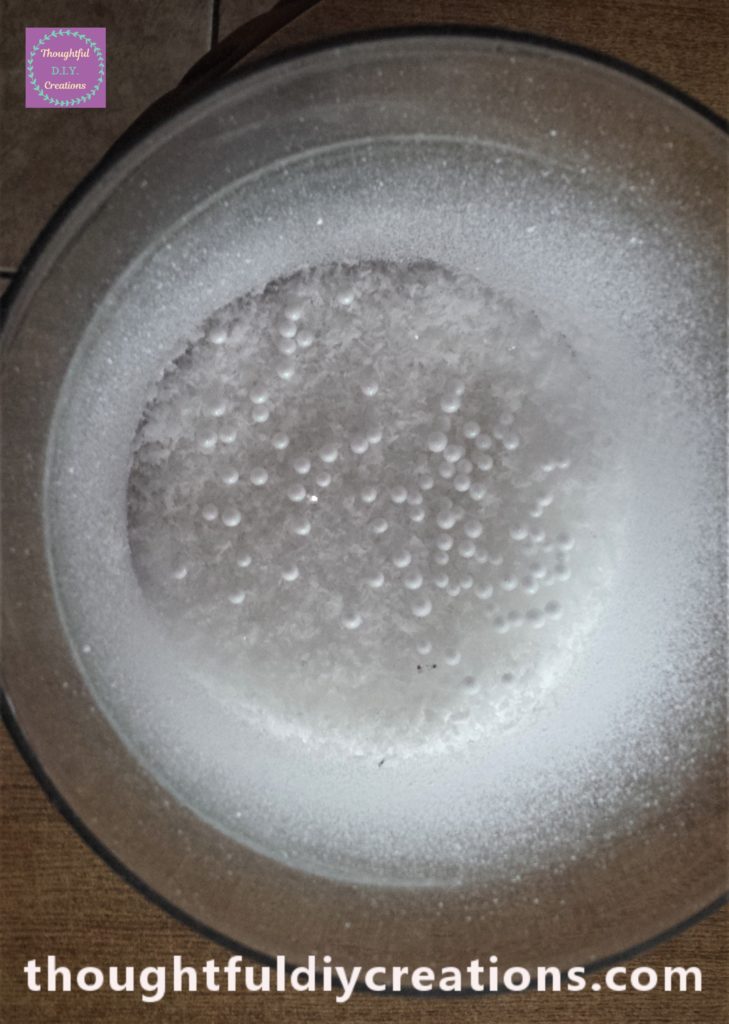
I added a handful of Mini Glitter Snow Balls into the glass jar. White Mini Fluffy Pom Pom Snowballs.
Christmas Decorations for the Christmas Scene
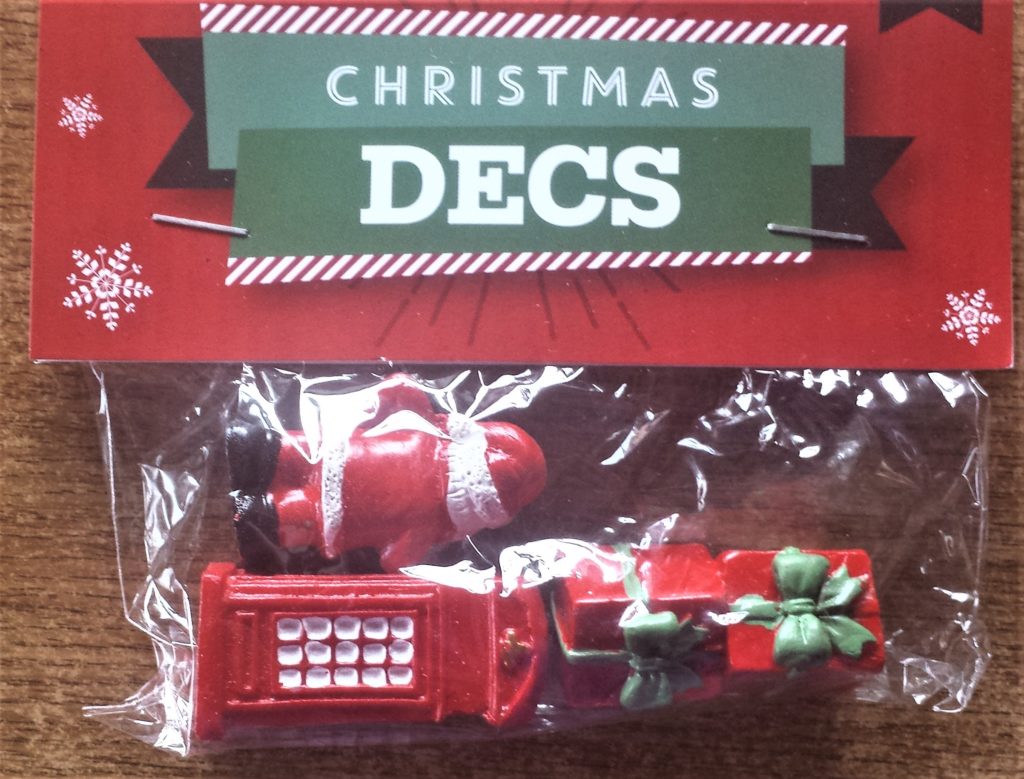
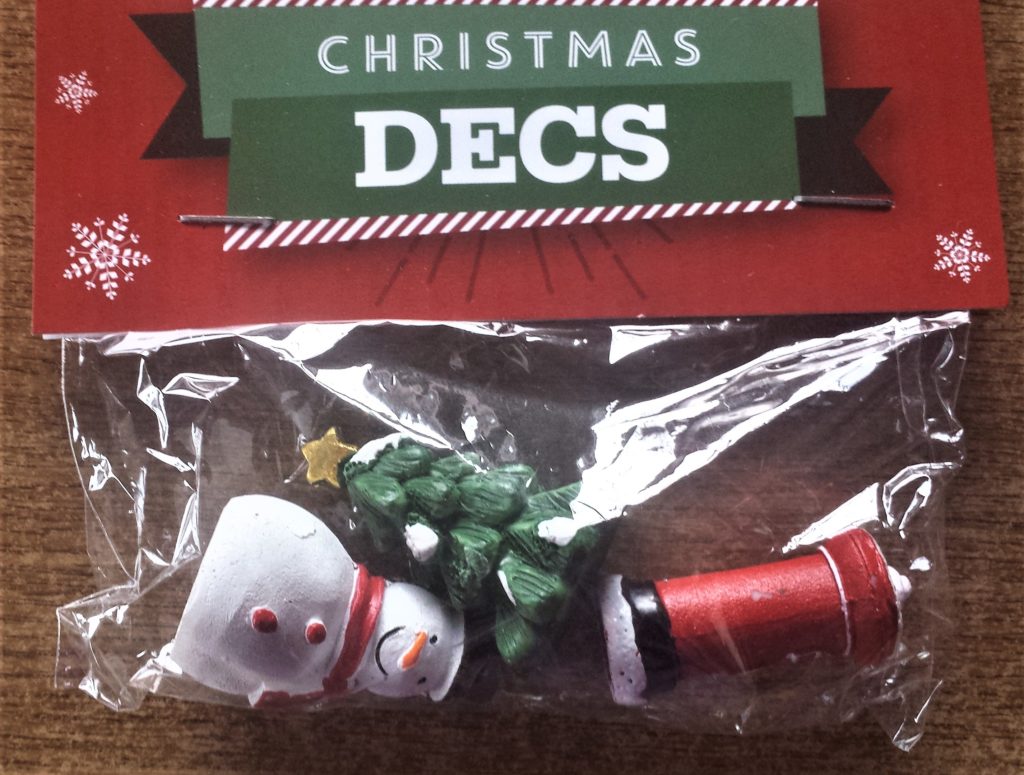
I had an old set of Christmas miniature figures that were for decorating the top of a cake. I am going to use these for the Christmas Scene inside the jar. Christmas Miniature Ornaments.
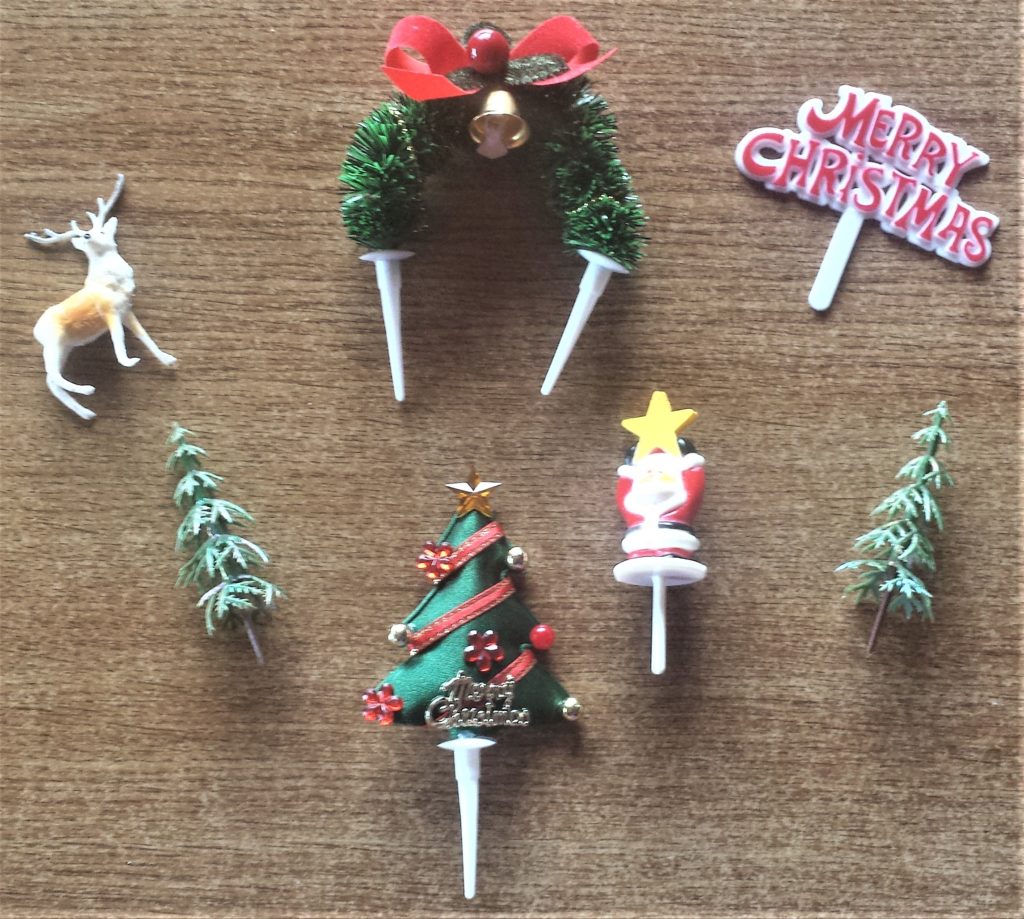
I also bought more decorations to add to the Christmas Scene. Christmas Miniature Ornaments.
Adding the Christmas Scene to the Jar
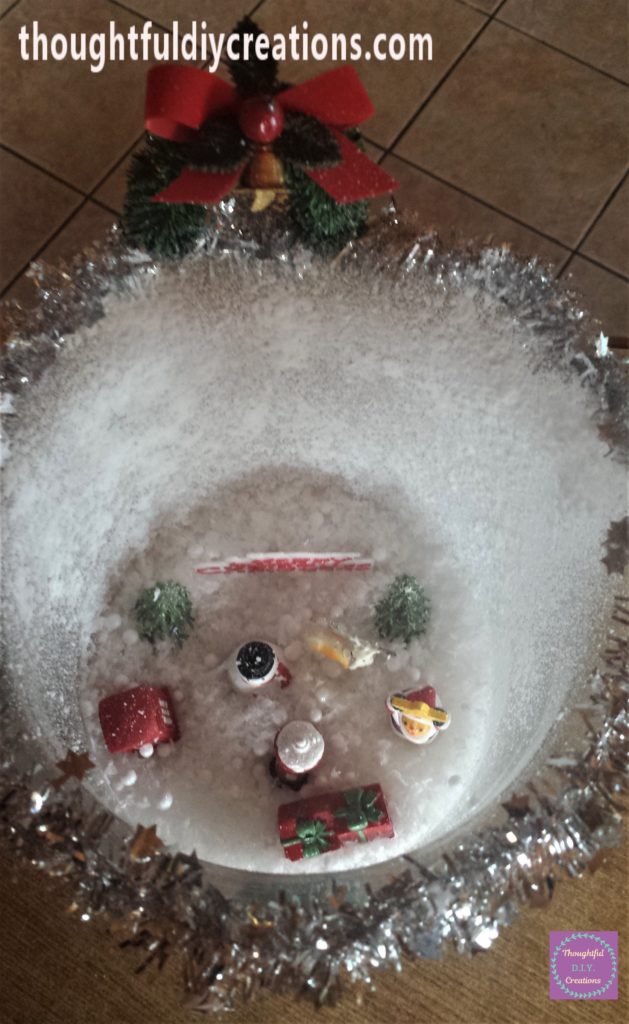
I pressed the ‘Merry Christmas’ sign down into the snow.
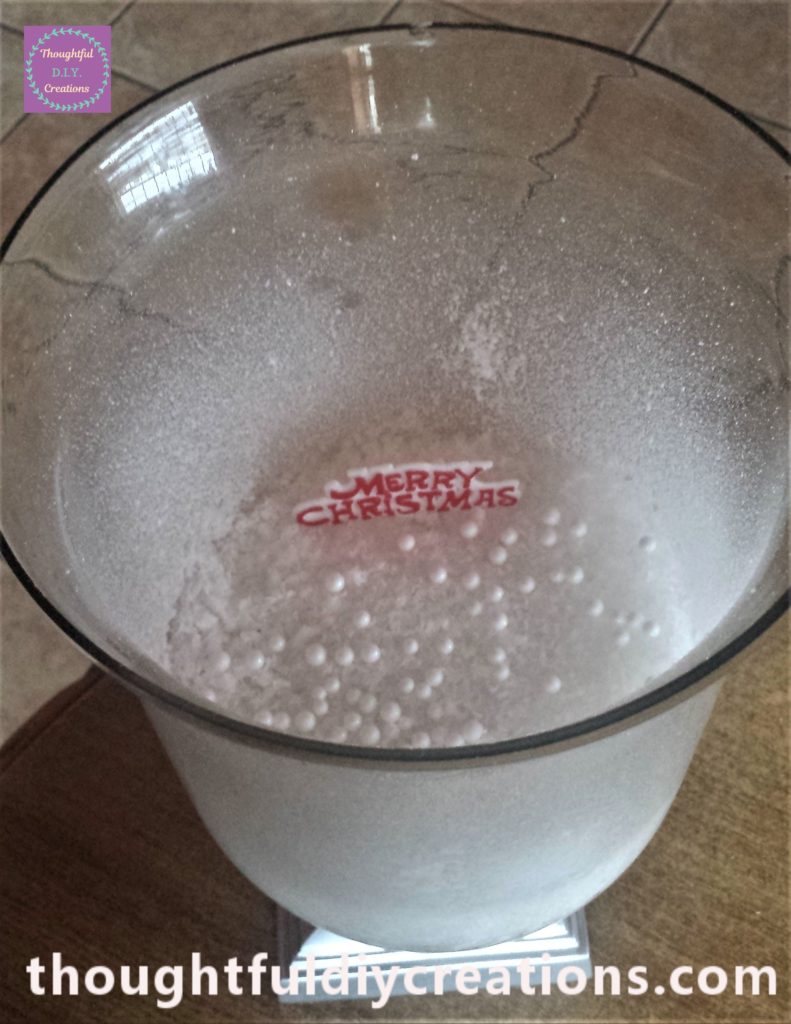
The Santa Claus figurine was added next.
Penguin Miniature Figurine.
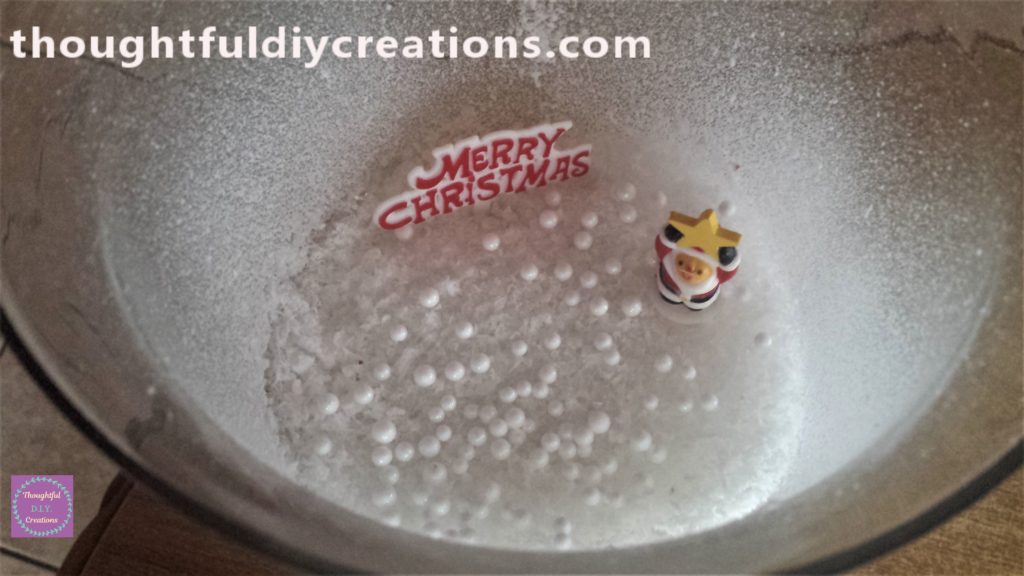
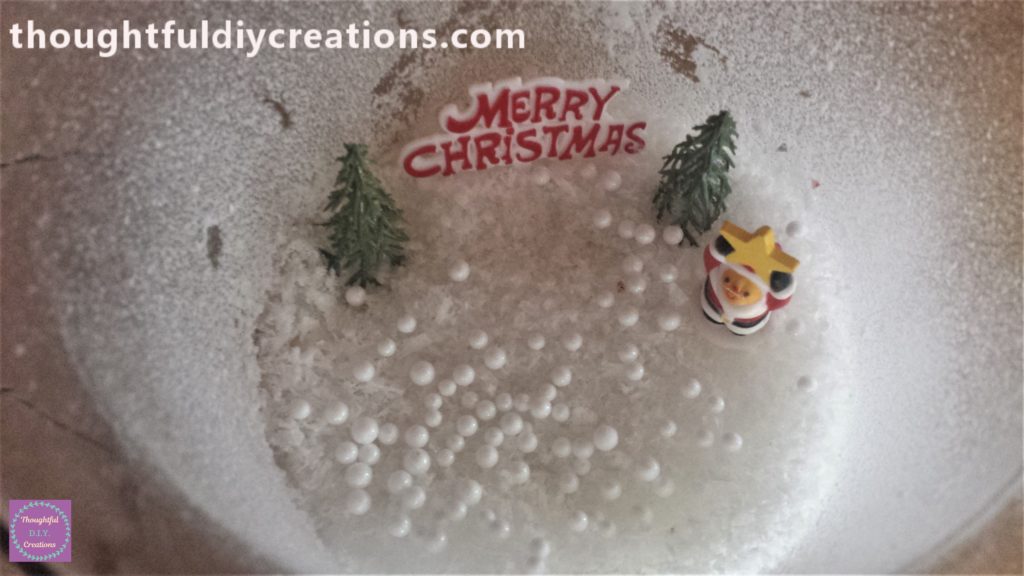
I put a Christmas tree each side of the ‘Merry Christmas’ sign. Christmas Miniature Ornaments.
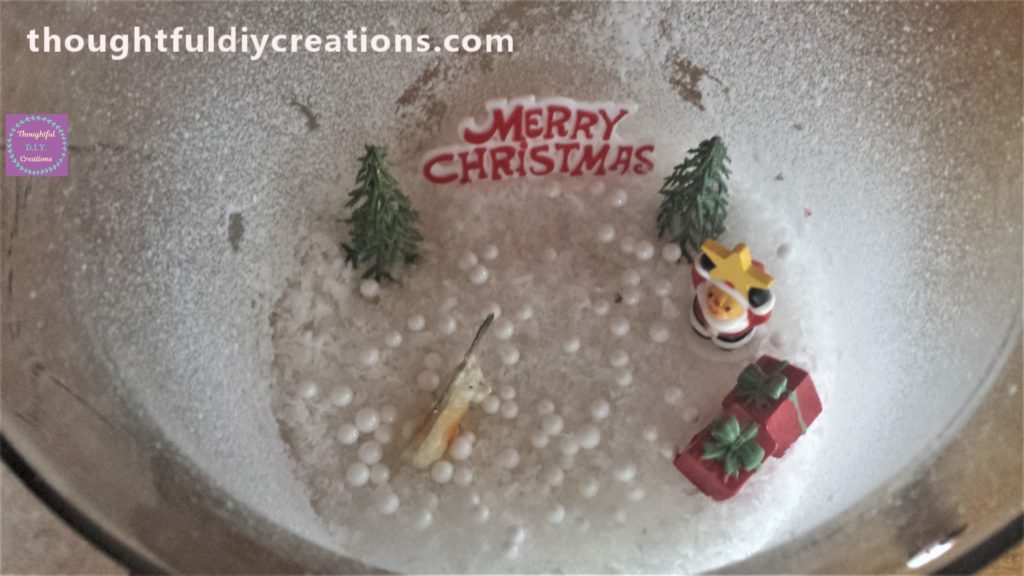
I added a Deer and Christmas Presents to the Christmas Scene. Penguin Miniature Figurine.
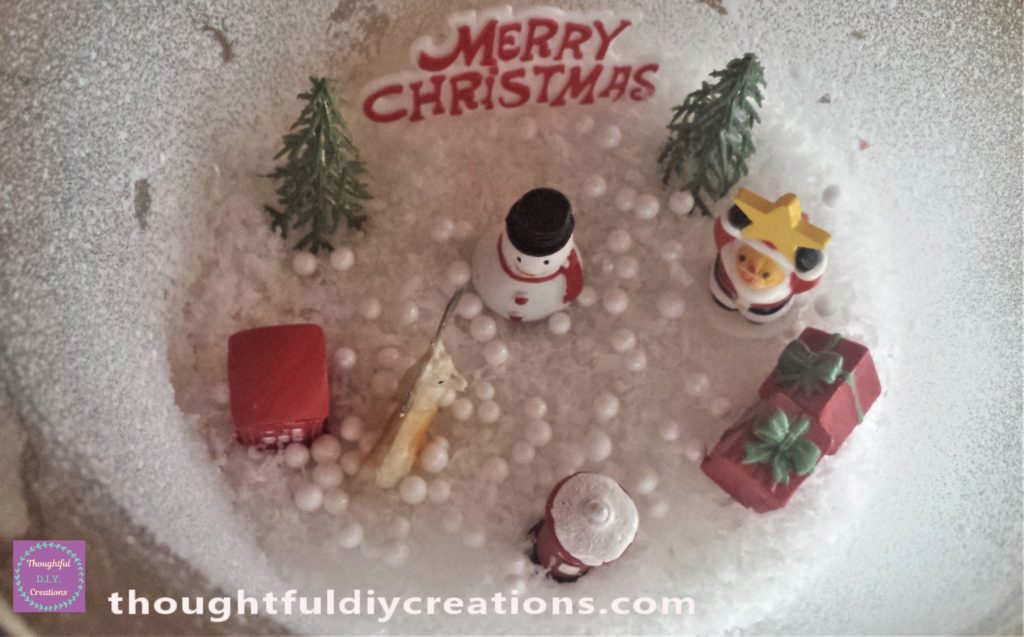
The Christmas Scene was completed by the additions of a Telephone Box, a Snowman and a Post Box.
Tinsel for the Top of the Jar
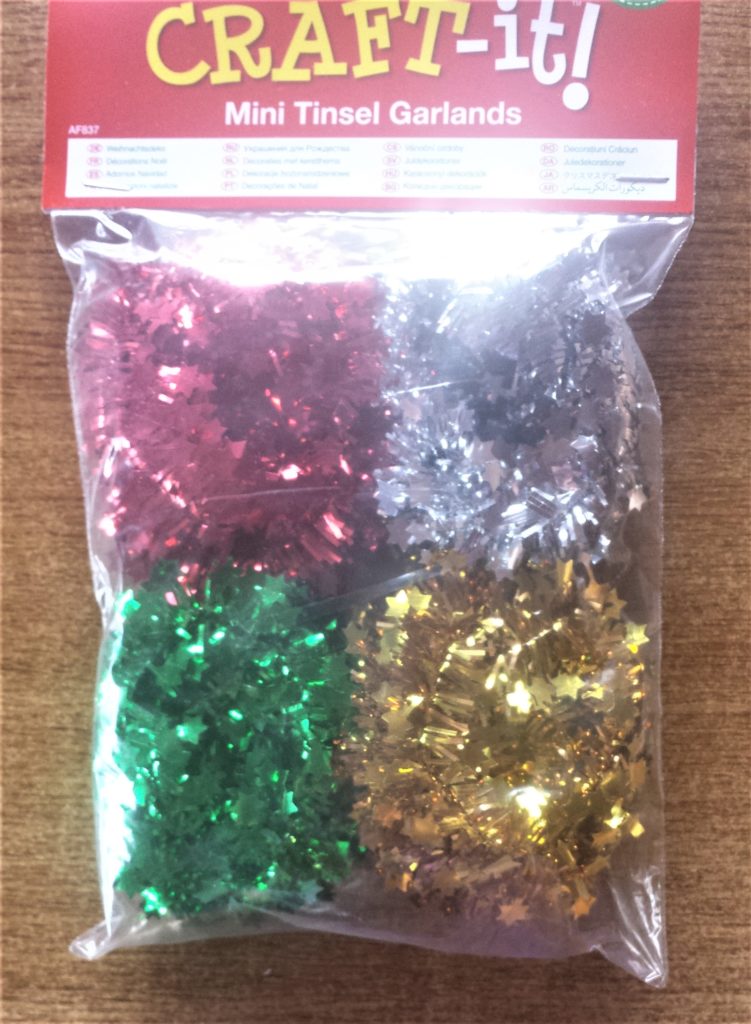
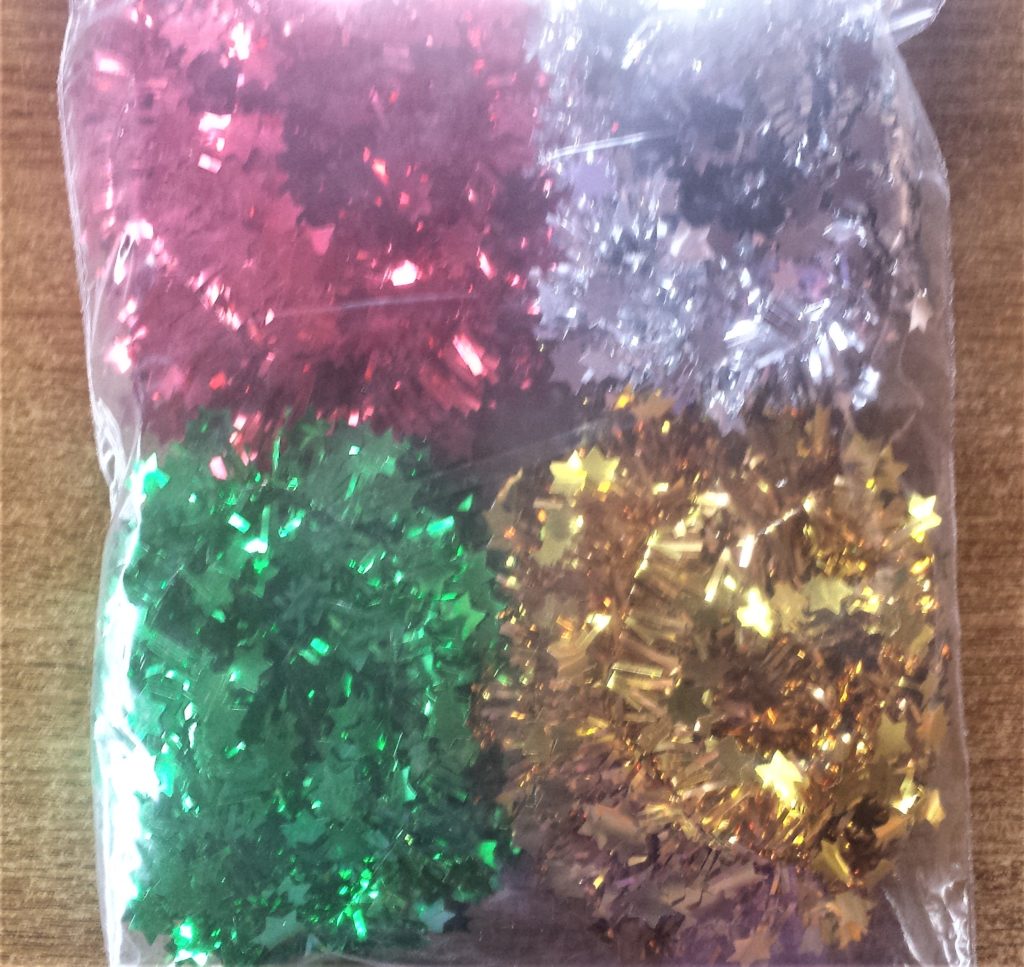
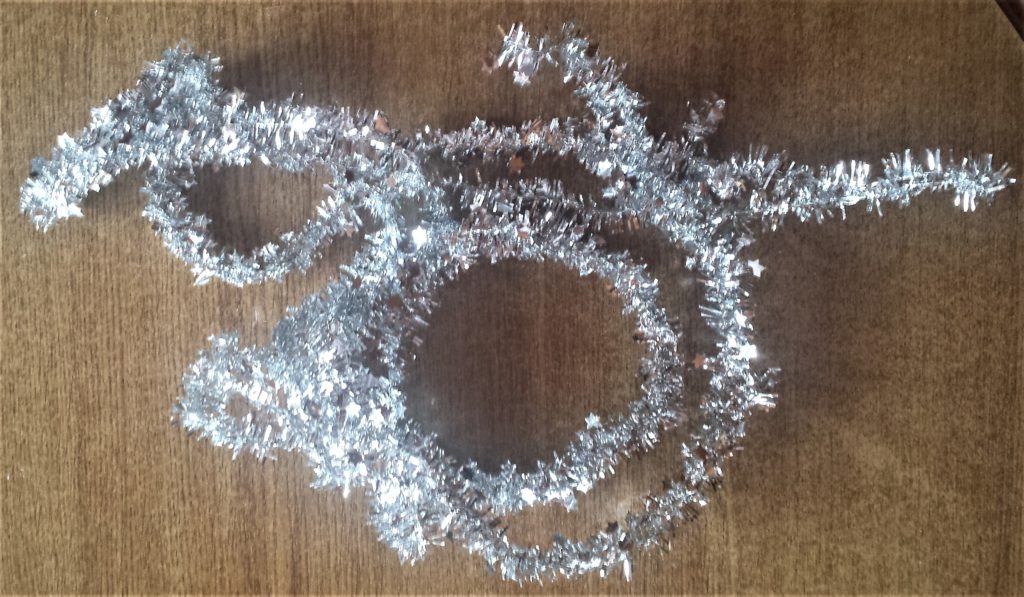
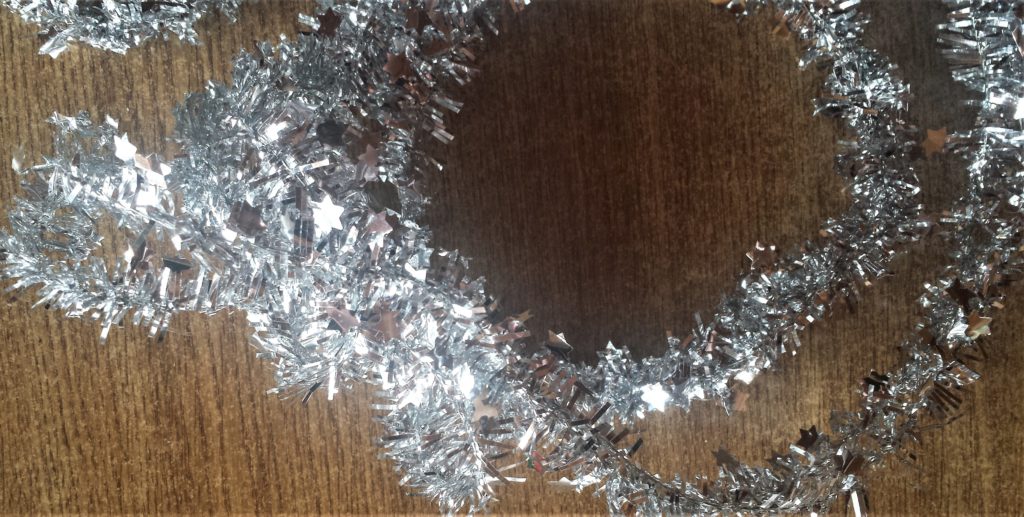
I bought a Pack of Mini Tinsel Garlands. I thought the silver coloured one would look lovely on the top of the glass jar. Star Mini Garland Tinsel.
I put hot glue on the glass and added the tinsel over it and held it in place for a few seconds. I worked in sections; I would add a small amount of glue, then the tinsel. I repeated this until there was tinsel all around the glass edge. I then cut off the excess tinsel. Hot Glue Gun.
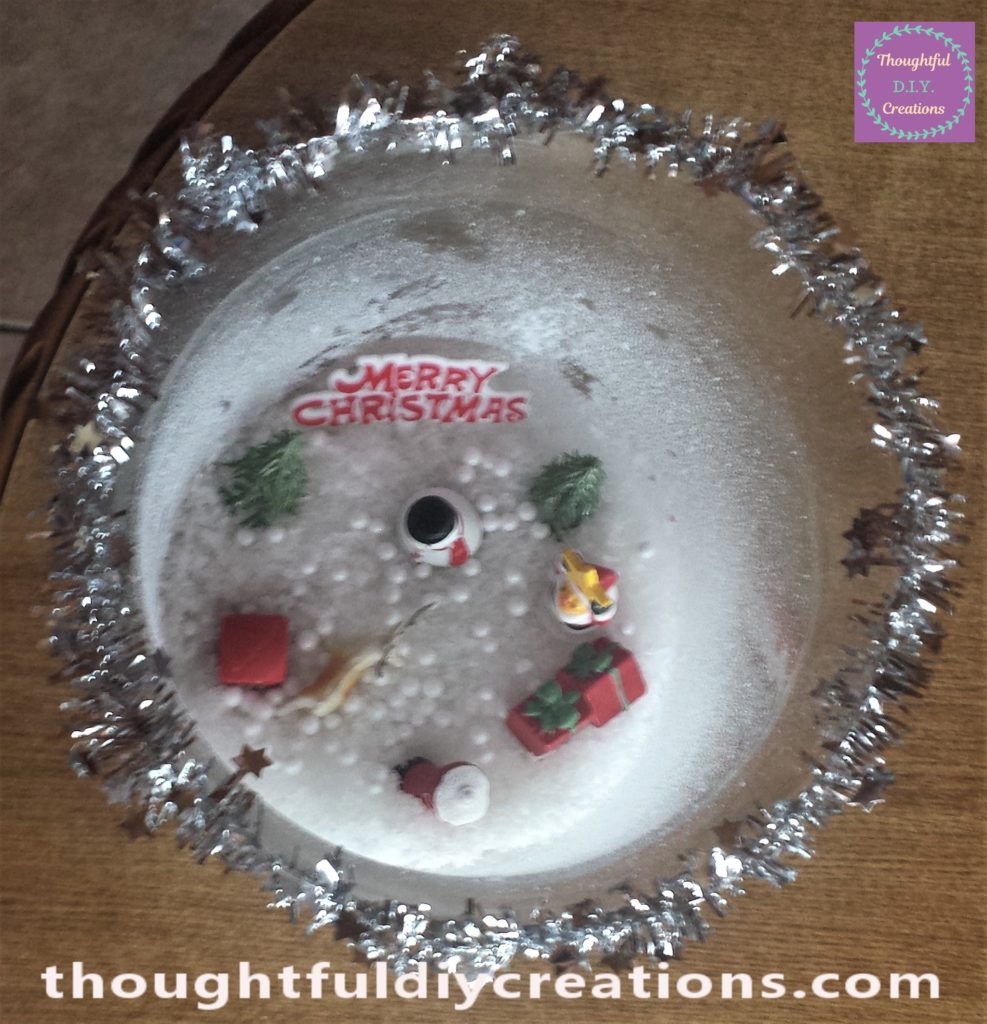
I added another layer of tinsel over the first layer in the same way. Star Mini Garland Tinsel.
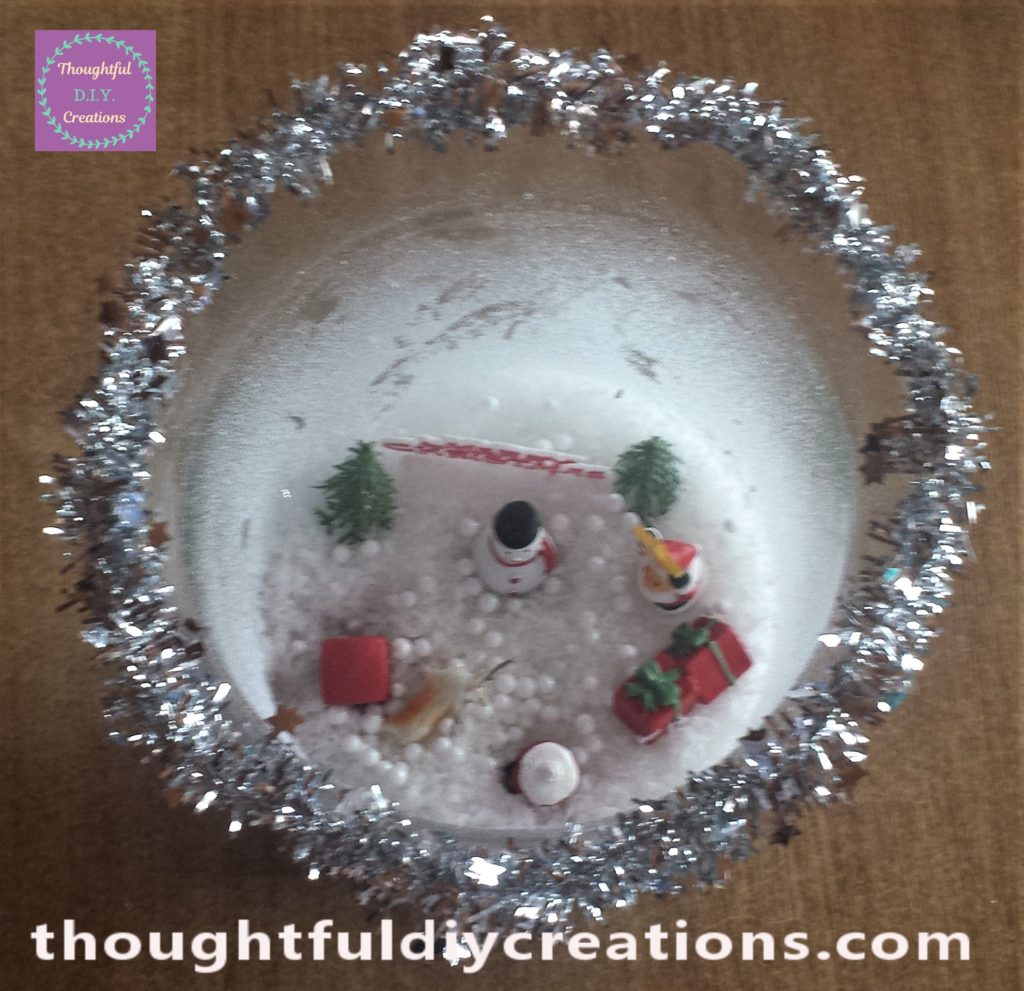
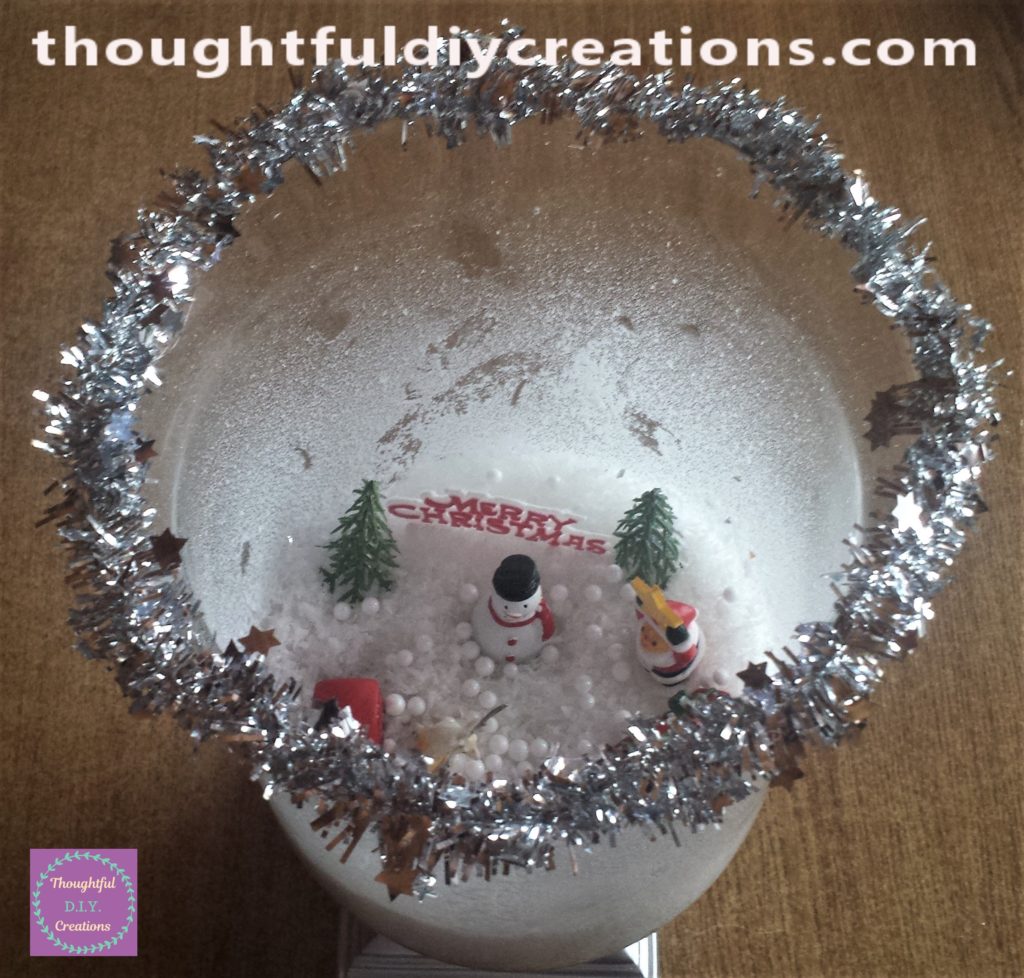
Adding Decorations to the Christmas Scene Jar
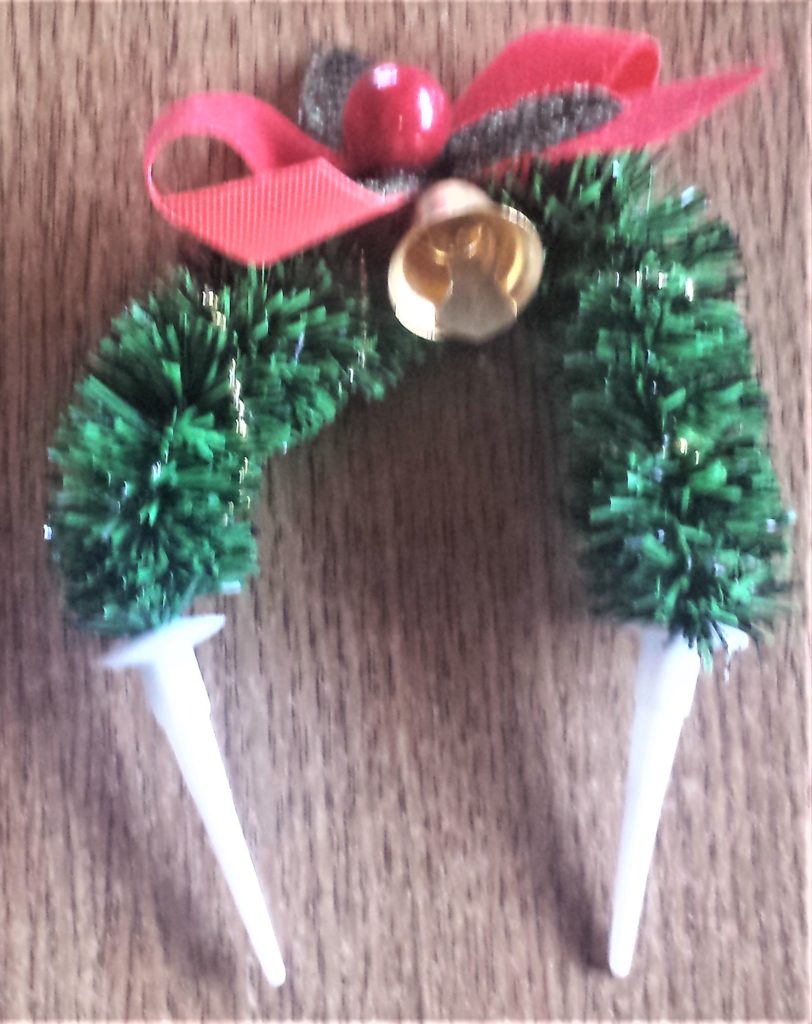
I cut the white plastic props off the green archway decoration.
I put hot glue under each arch and held them onto the tinsel in the mid-section on the back of the jar. Hot Glue Gun.
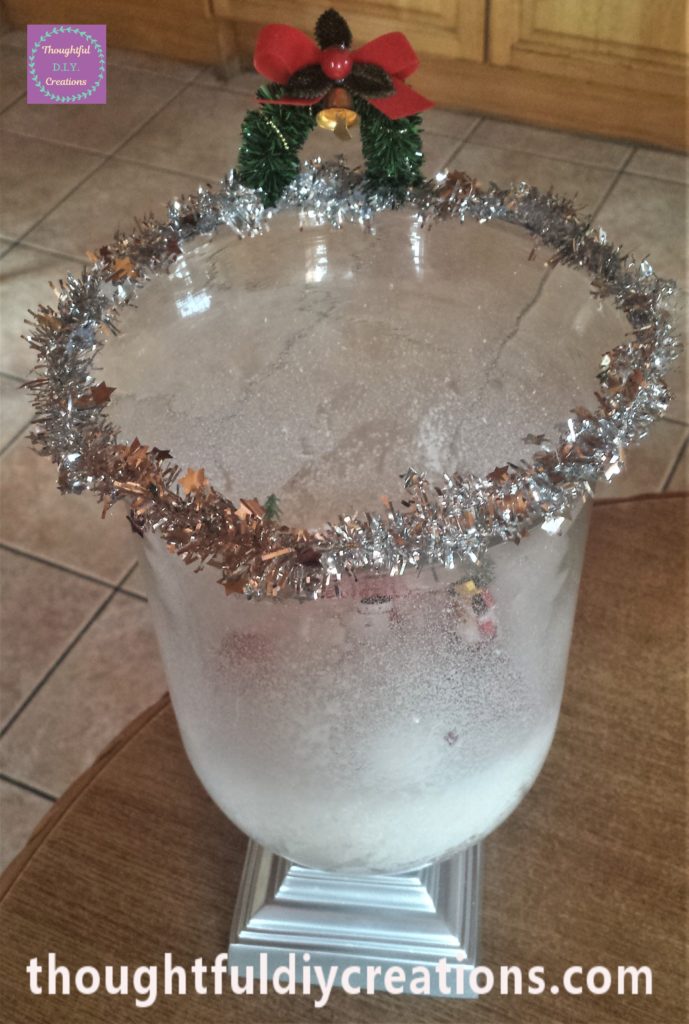
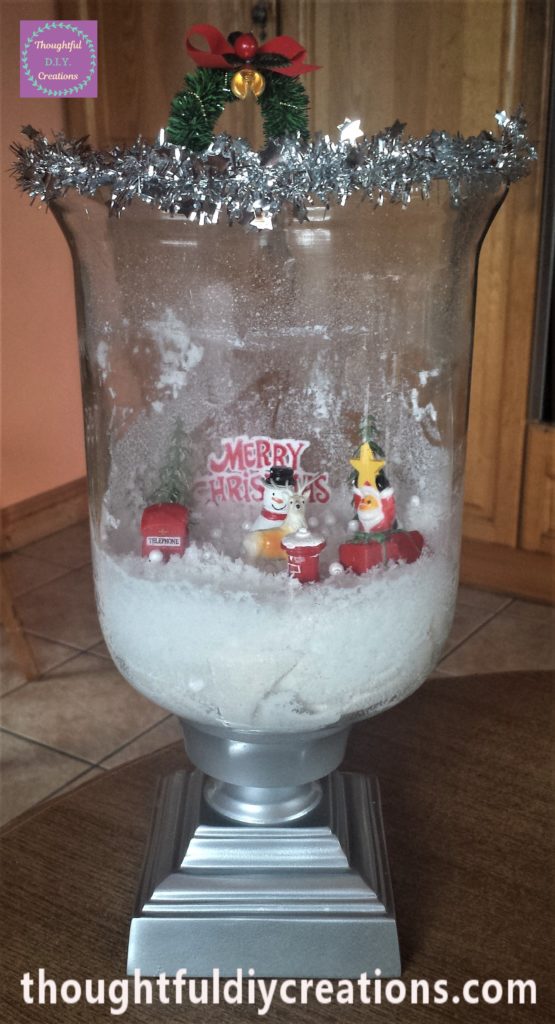
The Christmas Scene wasn’t visible through the snow spray so I used a baby wipe and wiped the snow off the inside front of the glass jar in the mid-section. I left some of the snow at the top section as well as on the bottom to frame the jar.
I liked the arrangement of the Christmas Scene, I was happy with the placement so I took out all the Christmas decorations from the glass jar and put them in order on the table. I will add some glue to them to keep them secure.
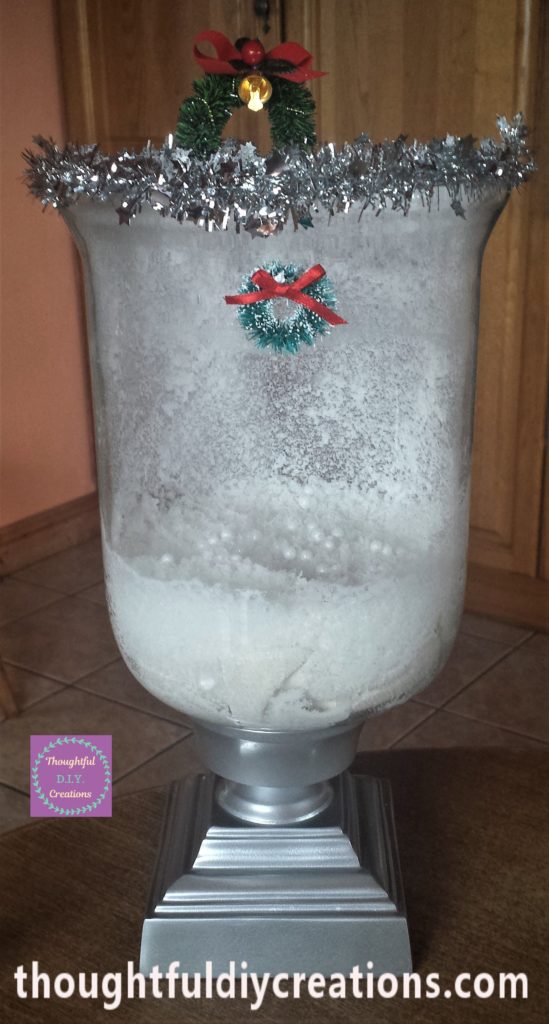
I added more Snow spray to the back of the inside of the jar. I sprayed up to the tinsel and this created a Winter Wonderland appearance to the jar. Snow Spray.
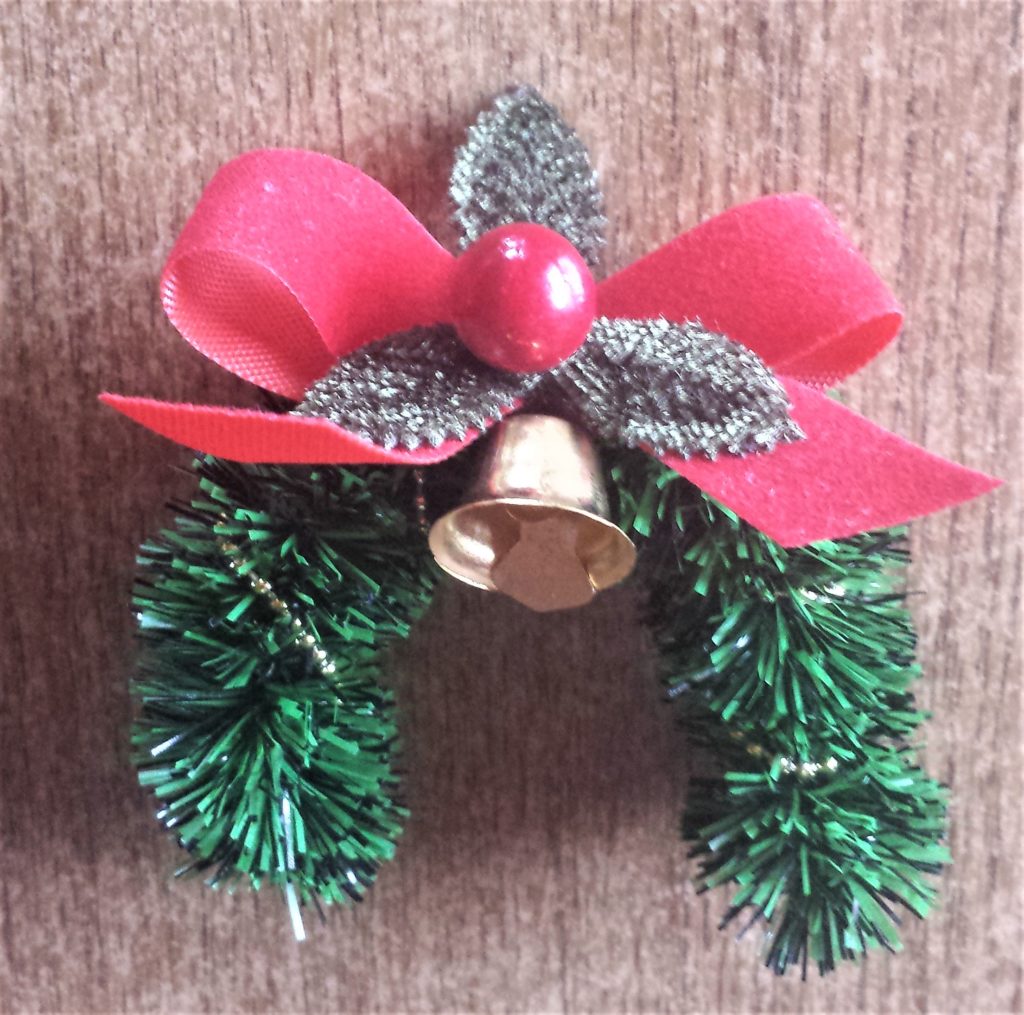
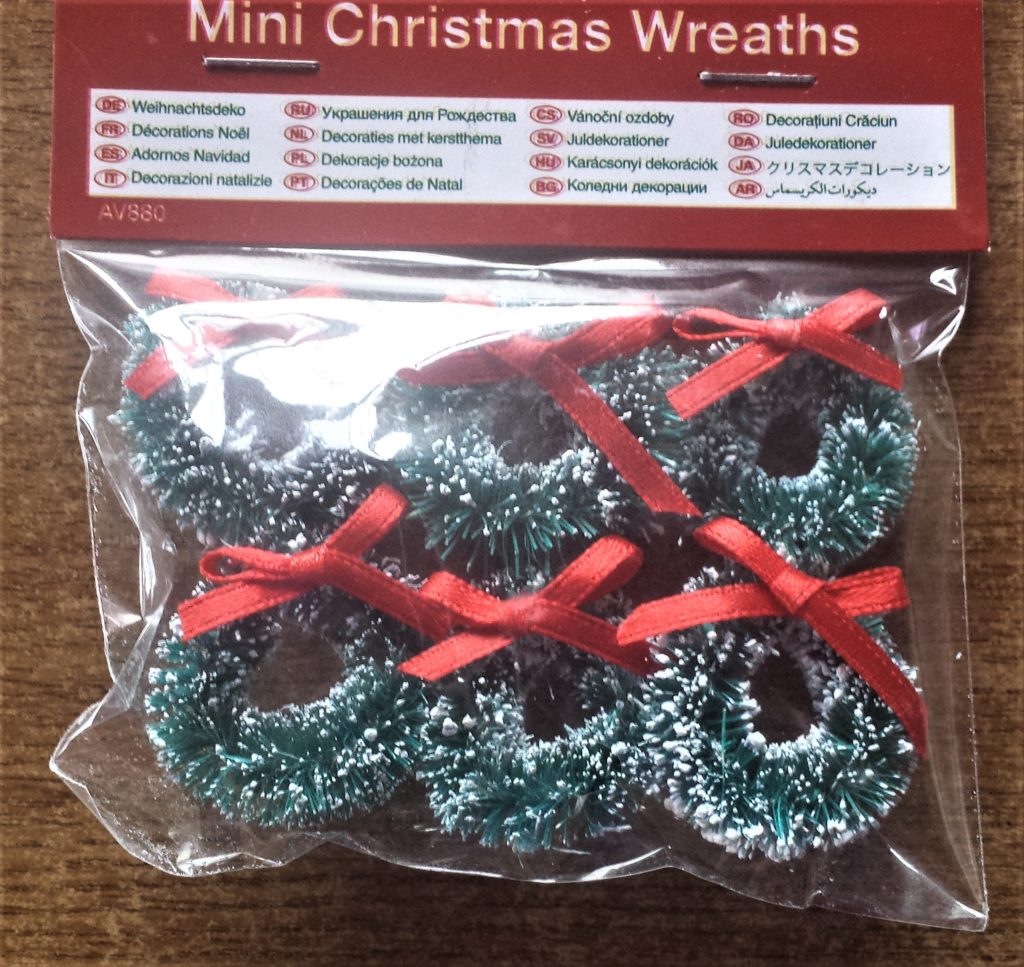
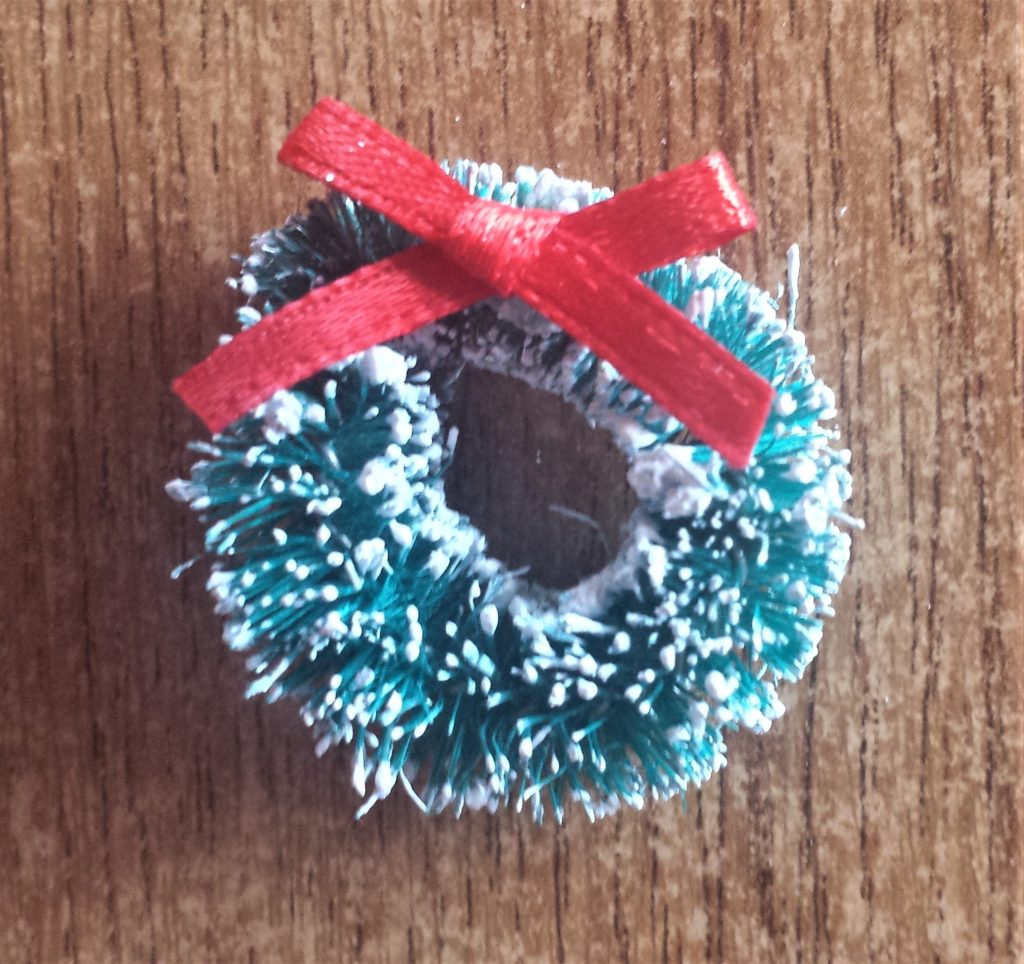
I had a pack of Mini Wreaths and decided to add one to the glass jar. Mini Christmas Wreaths.
I put hot glue on the back of the wreath and attached it to the top mid-section on the front outside of the jar. Hot Glue Gun.
Gluing the Christmas Scene into the Jar
I added the Christmas Scene back into the jar by putting some hot glue on the bottom of each of the Christmas decorations and holding them in place in the jar for a few seconds. Hot Glue Gun.
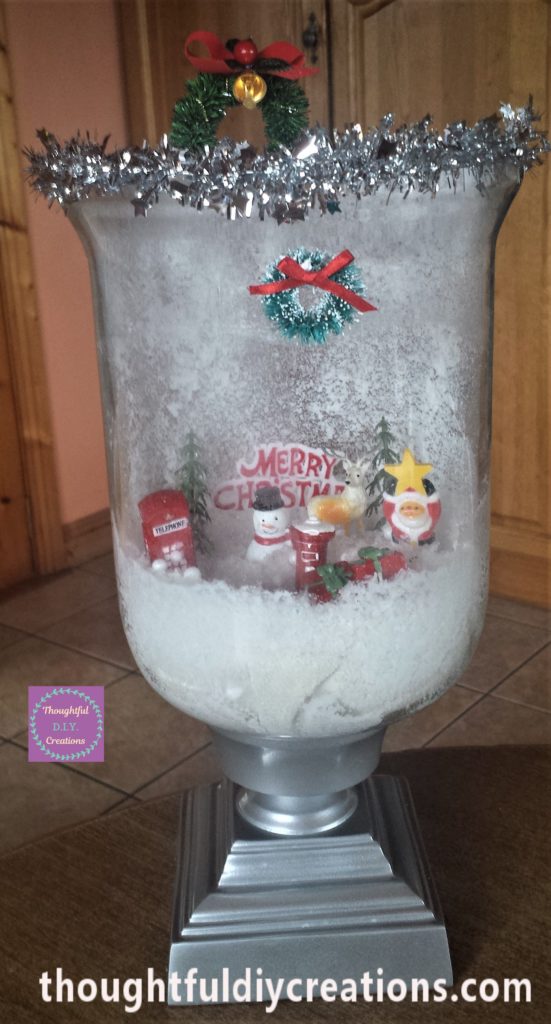
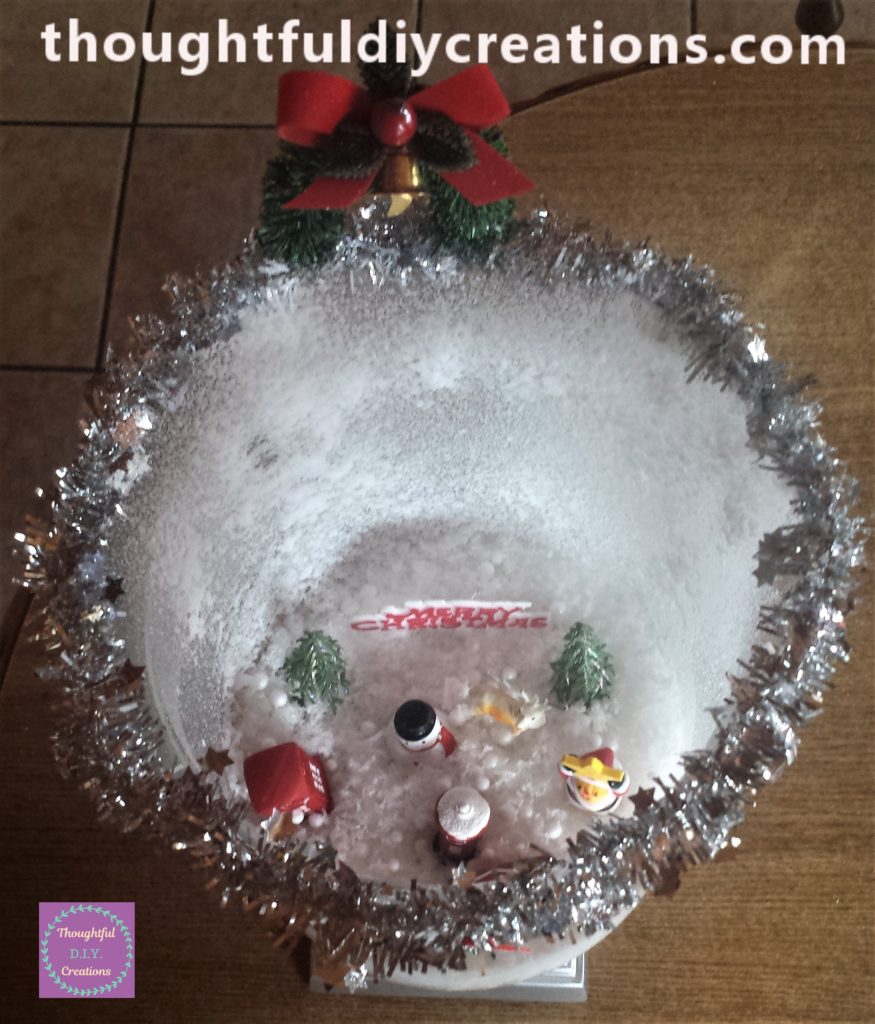
I added a little bit more snow spray to the inside back of the jar, a few specks of the snow spray landed on top of the Christmas decorations and I think this added to the Christmas Scene and made it look realistic. Snow Spray.
Wrapping Lights around the Christmas Scene
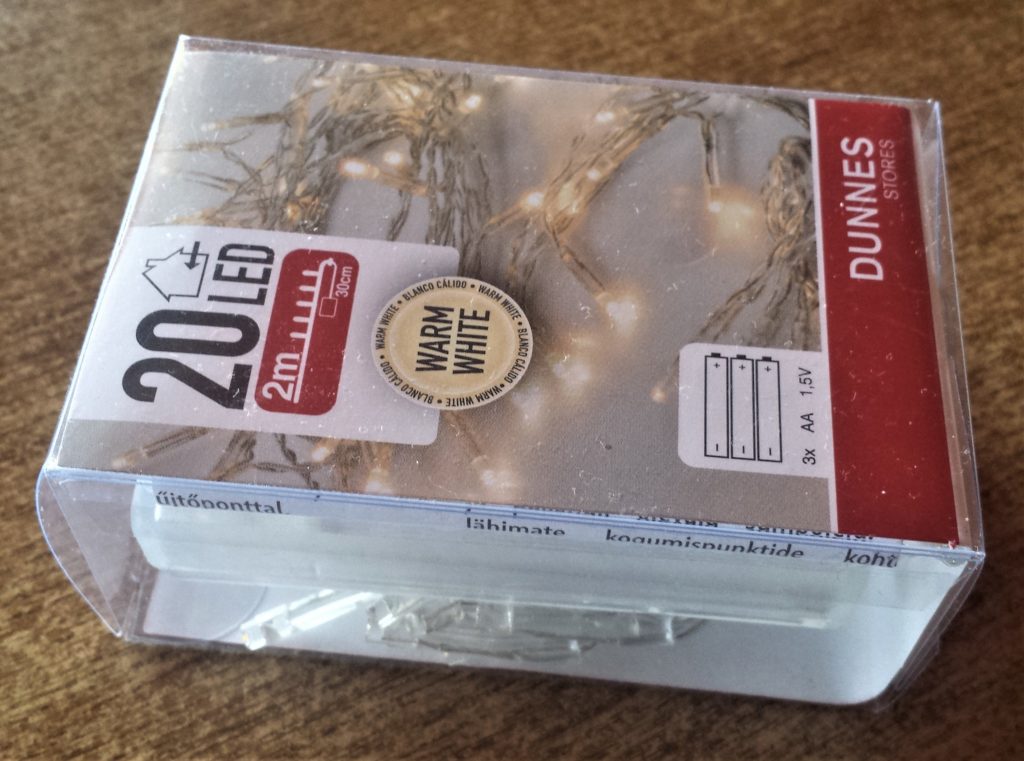
I bought a pack of ’20 LED Warm White String Lights’ and thought they would finish off the Christmas Scene Jar.
String Lights Warm White.
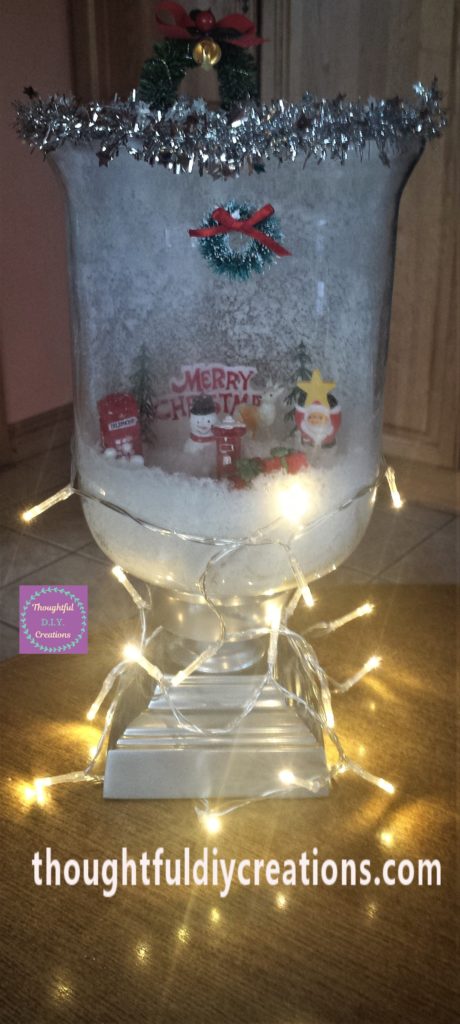
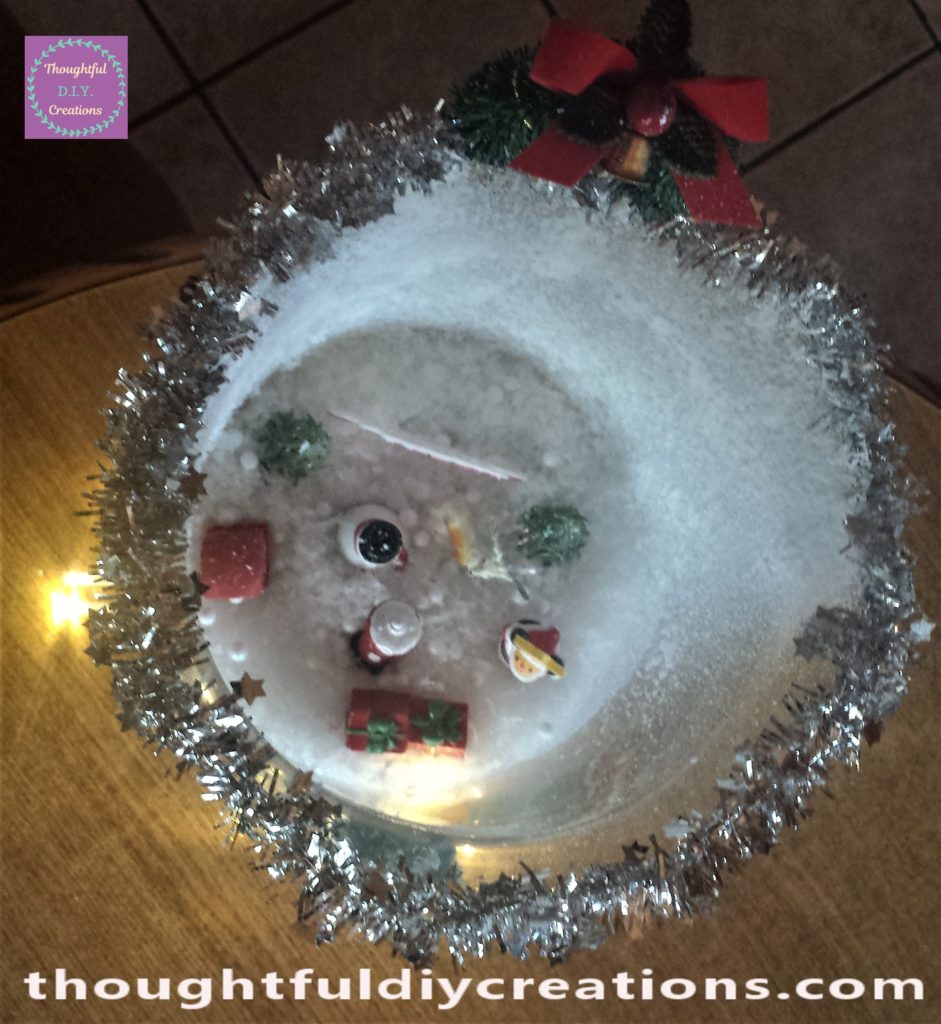
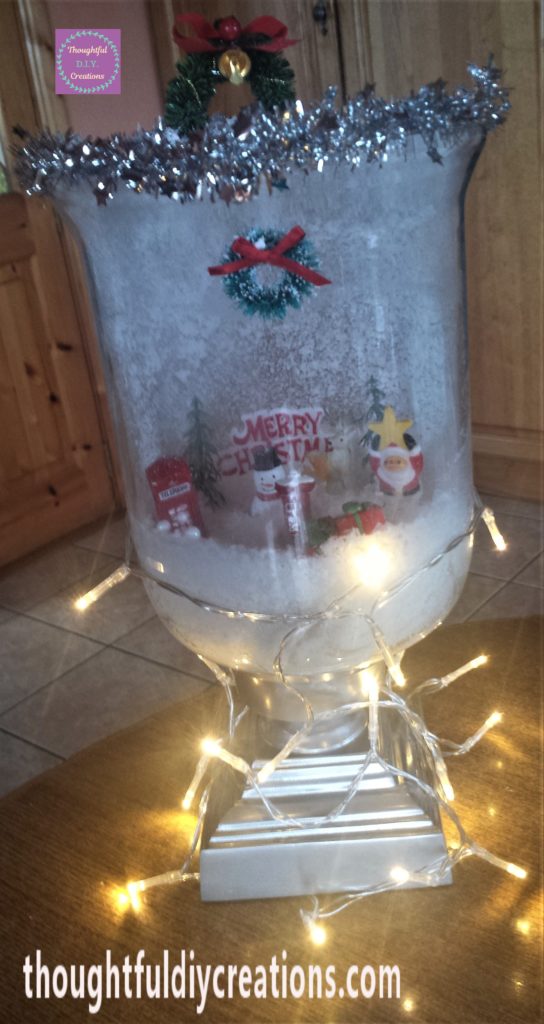
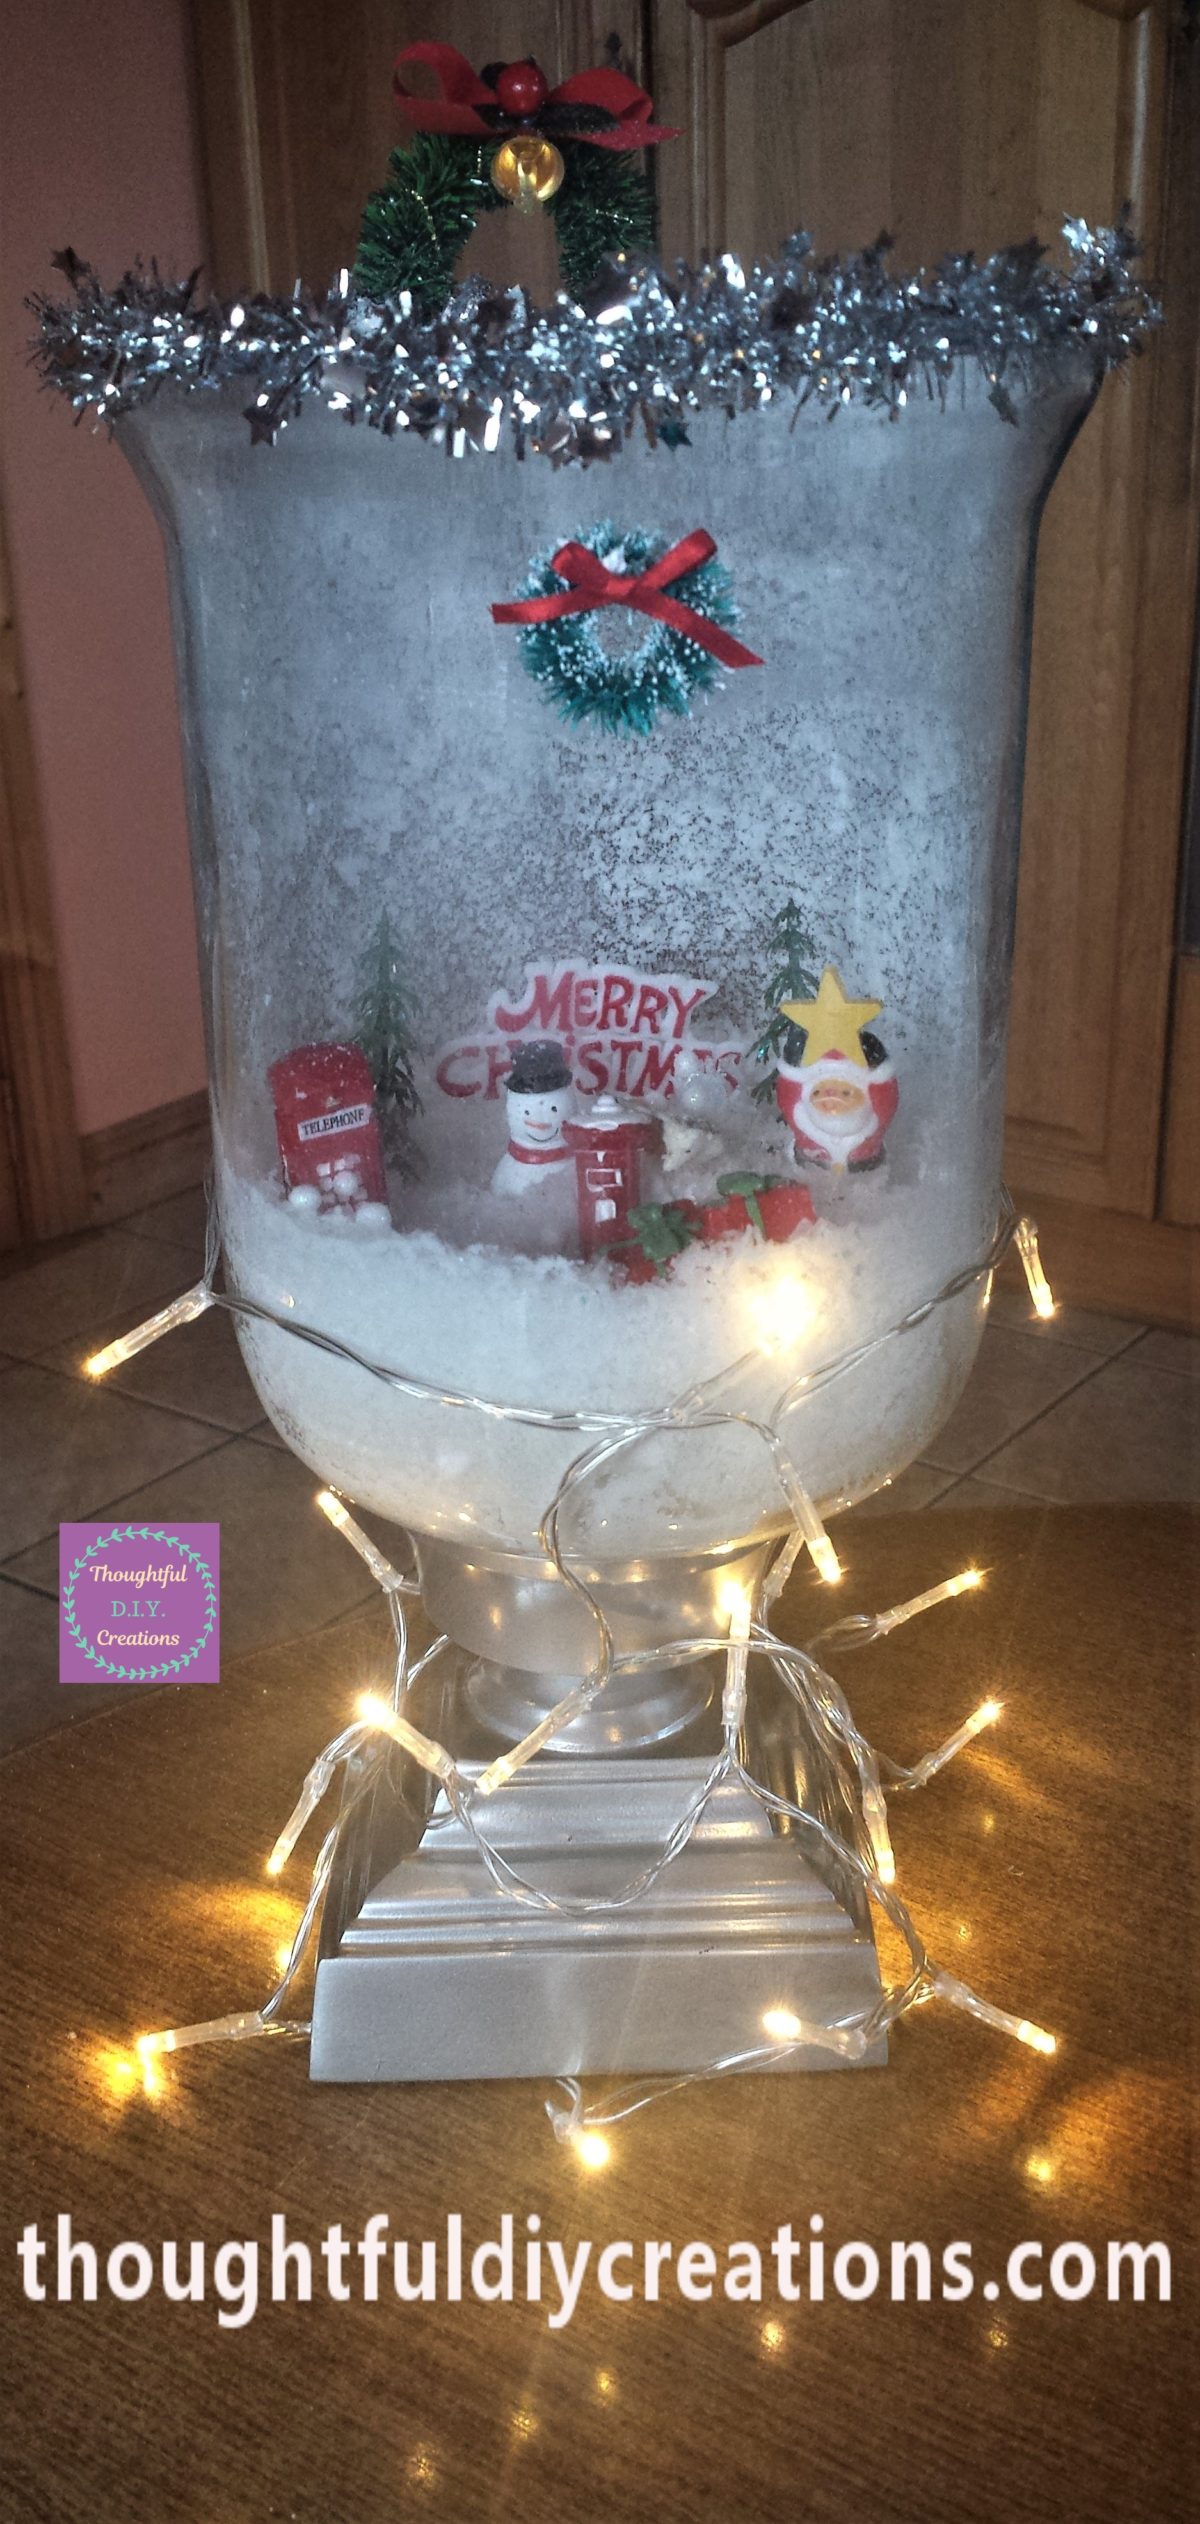
I added the string lights around the bottom part of the jar and brought them up to the snow scene. I put a tiny bit of hot glue to the lights on the glass part of the jar and left the rest of the lights to be more of a relaxed style by wrapping them loosely around the silver stand and tucked some under the corners. I put the battery pack underneath the bottom of the silver base of the jar to conceal it. Fairy String Lights.
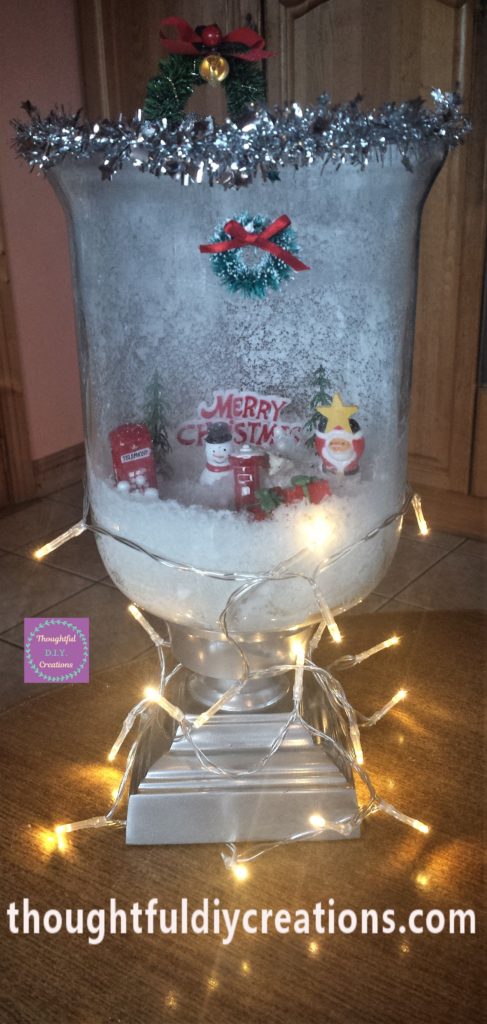
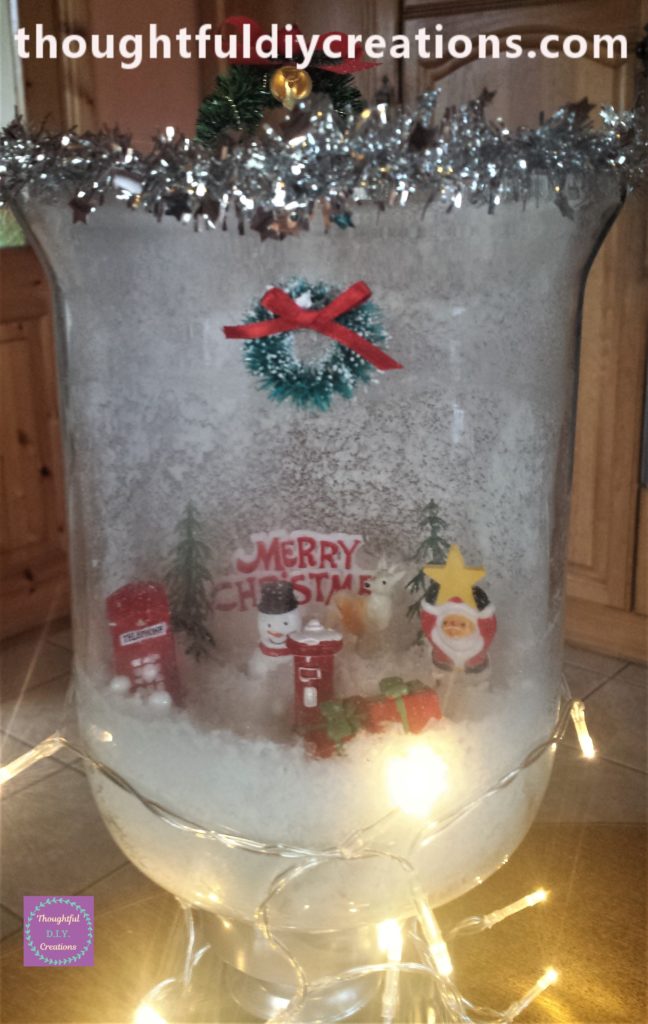
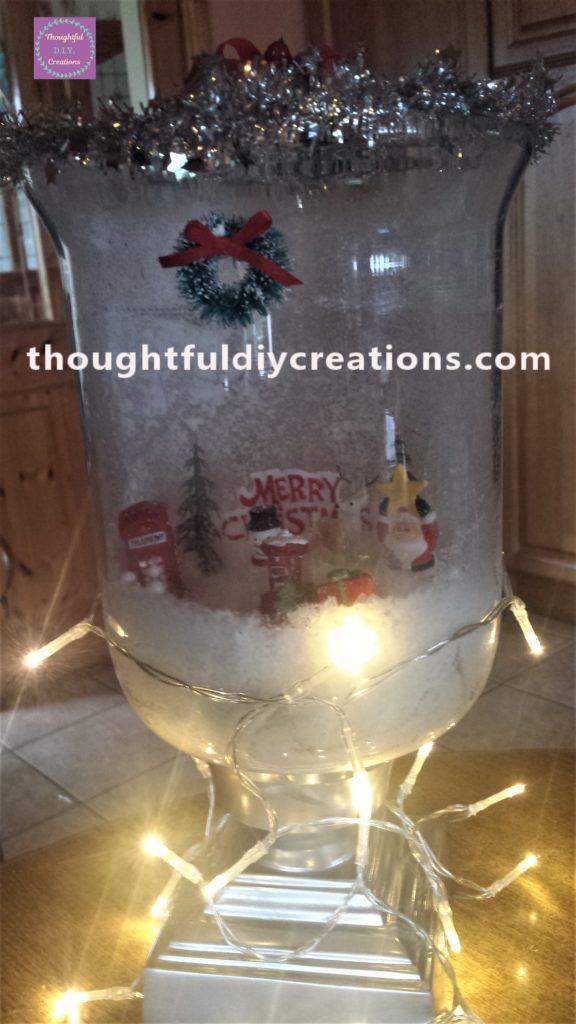
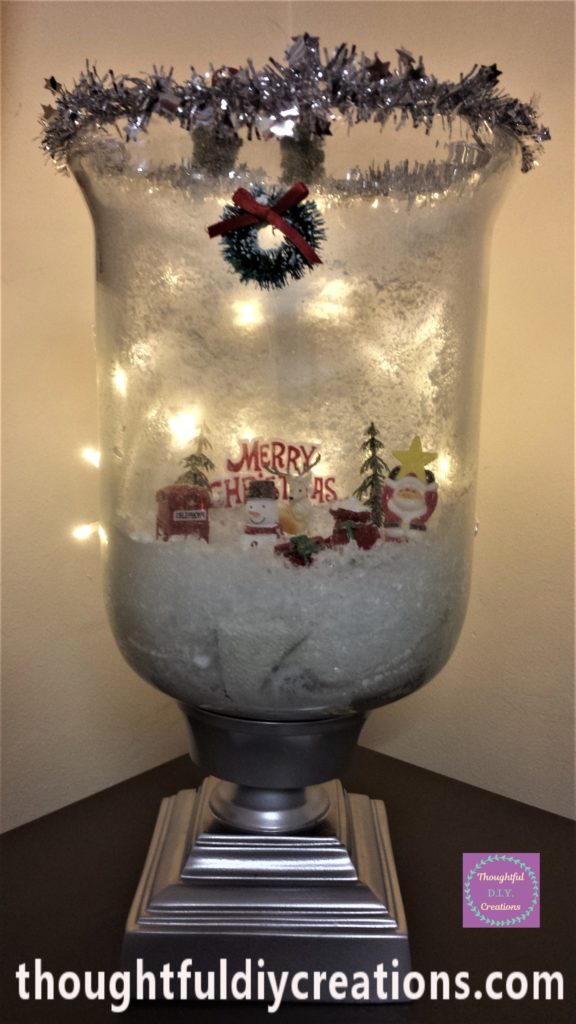
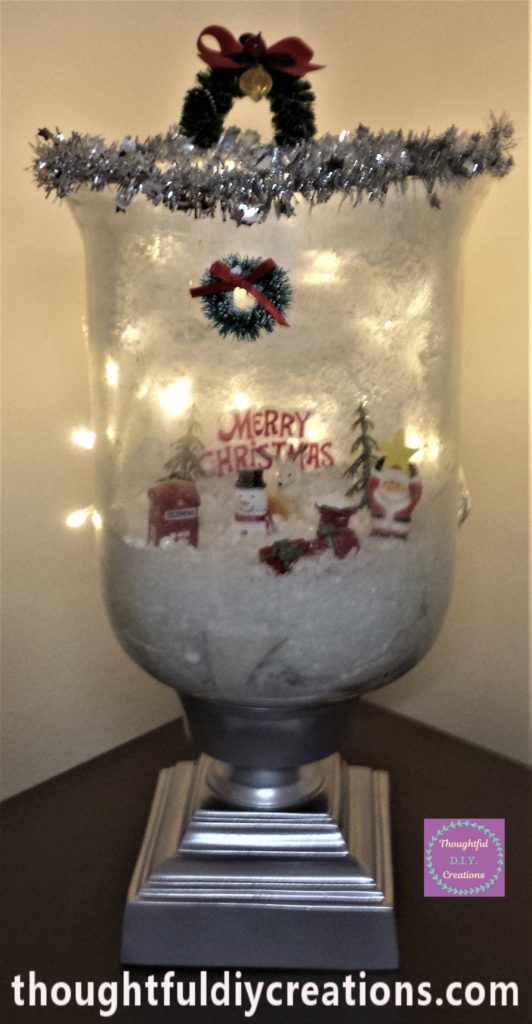
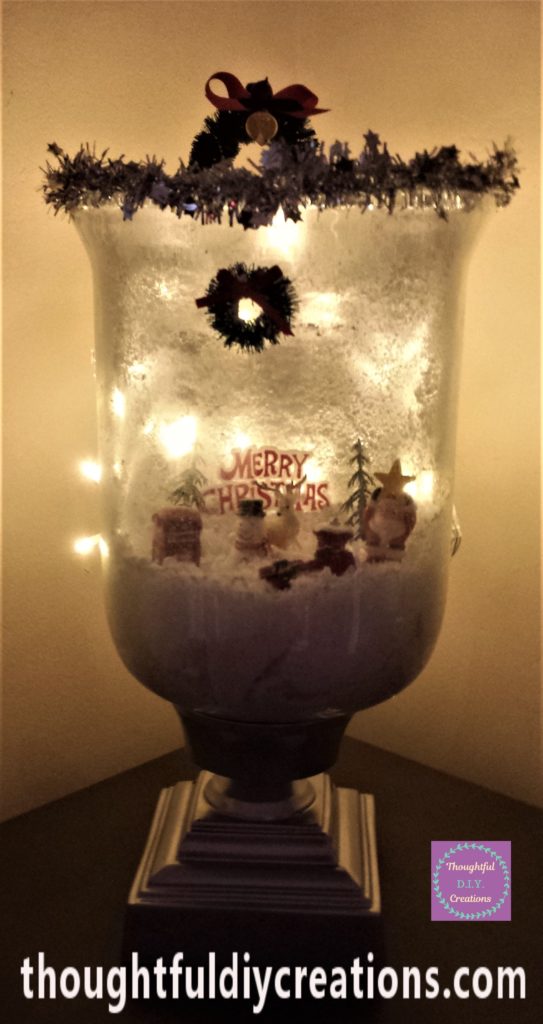
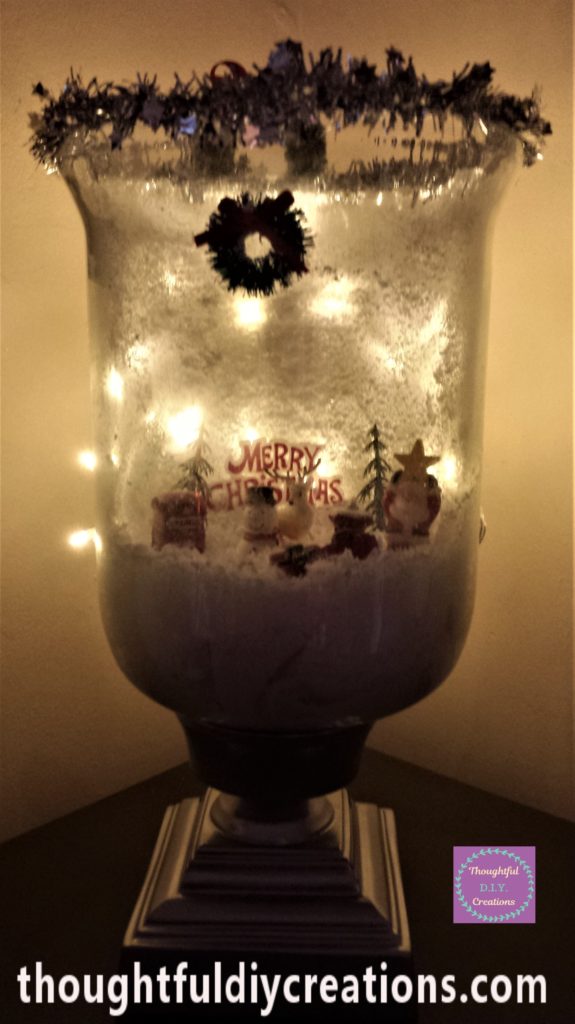
This completed the Christmas Scene Jar. Here are some more images of the final outcome of this craft.
Conclusion
I love how the Christmas Scene completely changed the Candle Jar. It gave it a new lease of life. I love the colour of the chrome spray paint, it’s amazing how spray paint can make something look more luxurious and expensive. I think the silver tinsel really complemented the spray painted base of the jar.
I adore the snow effect on the jar. I think the combination of the Snow confetti, mini glitter snowballs and the snow spray worked well together. I like the texture and how magical it looks.
I love that I got to up-cycle the candle jar and baking decorations. I hope it inspires you to have a look at what you already have in your home with fresh eyes and see how you can change it’s use or appearance.
I think Christmas lights finish off any decor and make them stand out. I loved the addition of lights to the Christmas Scene Jar. The lights could also be placed at the back of the jar to light up the Christmas scene. I might play around with them more but for now I’m happy with it’s appearance. I haven’t put up my Christmas Decorations just yet, but I will probably put a snow blanket on a table and display the Christmas Scene jar on it along with some other D.I.Y. Christmas Decor I have made.
UPDATE: I placed the lights to the back of the jar, I put small pieces of sellotape on parts of the wire to hold the lights in place. I preferred the look of the lights on the back of the jar as it lit up the Christmas Scene and the base of the jar was on display. I also think it looks cleaner with the wires covered up.
I hope you enjoyed this week’s Christmas Tutorial. I can’t believe it’s less than a month to Christmas. Have you got all your shopping and decorating done? I haven’t yet, it will all work out in the end, it always does. Are you super organised at this time of year or are you more last minute and laid-back about it all?
If you have any questions on this craft, feel free to fill out the Comment Box below with any queries and I’ll get back to you as soon as I can.
Thank you so much for taking the time to read my Blog.
Always Grateful,
T.D.C.
xoxox


-0 Comment-