D.I.Y. Personalised Child’s Frame
Hello my Creative Friends,
I hope you are all well. In Today’s Tutorial I will show you how to make your own Personalised Child’s Frame. It is a fun, easy craft and I hope you get some ideas from the tutorial.
Frame for the Craft
I bought a wooden frame, I liked the size of the frame and thought it would be perfect for displaying a Name. Shadow Box Frame.
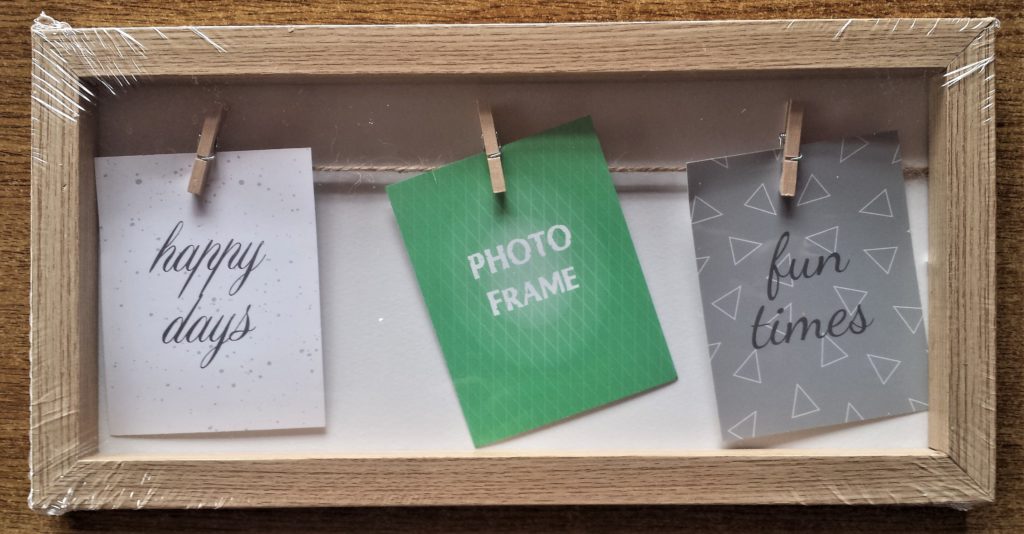
I removed the Plastic wrapper from the frame. I opened up the frame by removing the staples on the back of the frame with a sharp knife. I won’t be using the mini pegs, string and paper for this craft, so I took them out of the frame.
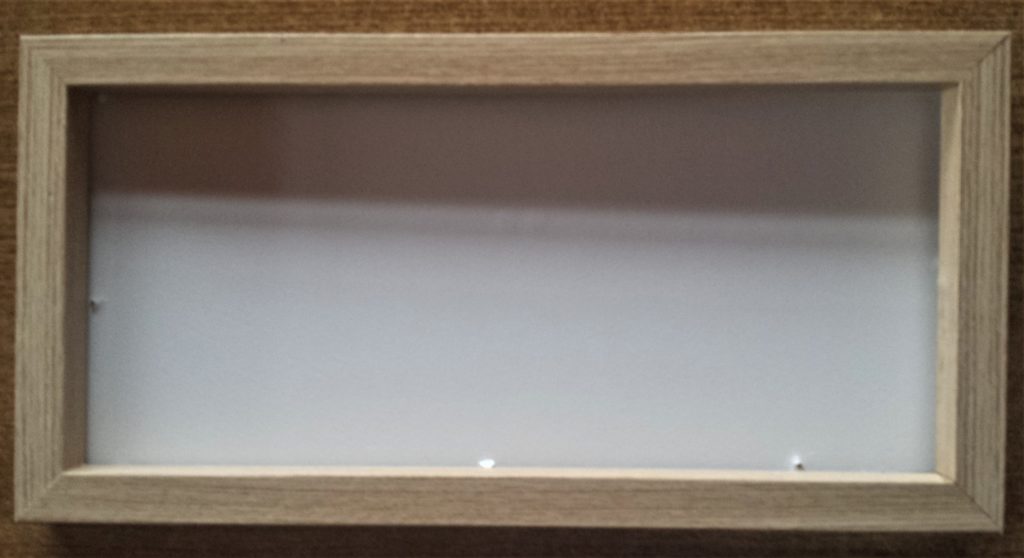
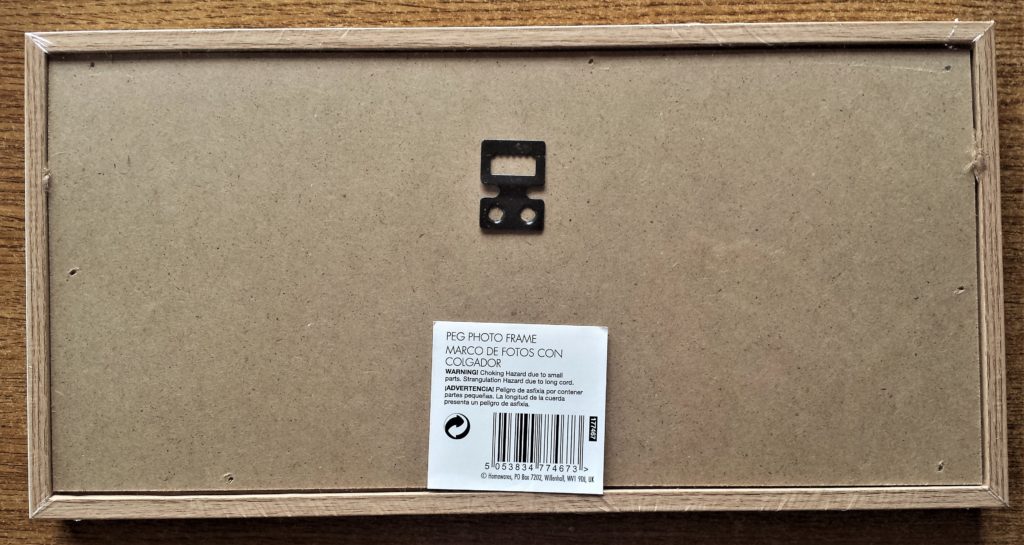
As this D.I.Y. Personalised Child’s Frame is for a little girl I thought the frame would look better white. I decided to spray paint it white to make it appear more girlie and bright.
I brought the wooden frame out to the shed. I put it facing upwards on a strong sheet of cardboard on a table.
Spray Paint Recommendations
Always Spray Paint in a well ventilated area. I done mine in a big open shed and had the door behind me wide open. If there are windows nearby keep them open and leave the area as soon as you can after spray painting. You don’t want to be inhaling any unwanted fumes.
Spray Painting the Personalised Child’s Frame
I shook the Can of White Spray Paint from side-to-side for a minute. I took the lid off the can and held the spray can about 30 cm away from the frame. I sprayed the four sides on the inside of the frame. I then gave the spray can a quick shake and then sprayed the four sides of the frame. I gave the can another quick shake and sprayed the four sides on top of the frame. This completed the first layer of white spray paint on the frame. Spray Paint White.
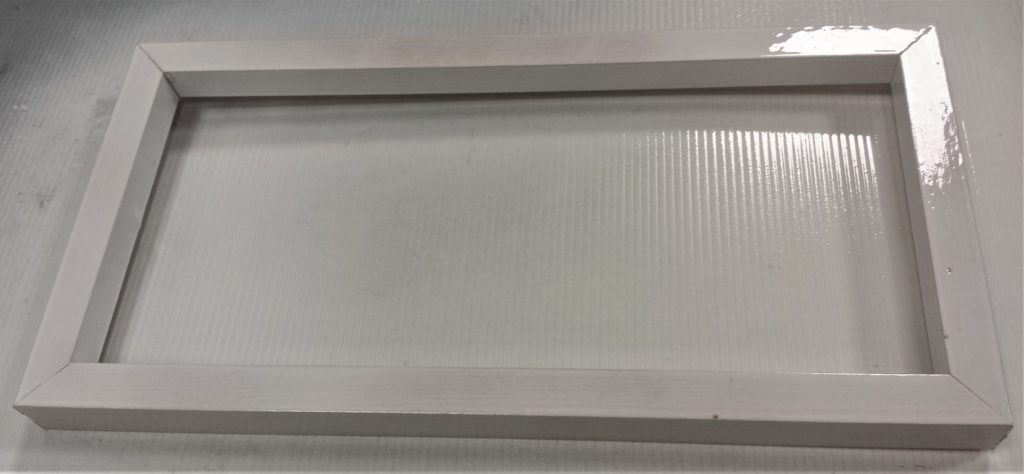
After an hour I returned to the shed and applied the second layer of spray paint to the frame using the same process as the first layer.
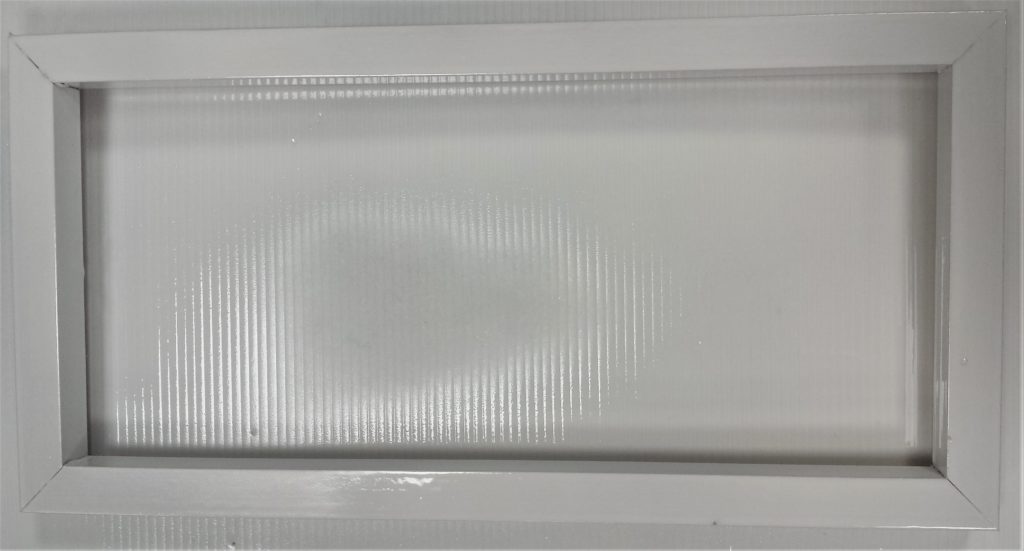
An hour later I applied the third and final layer of spray paint to the frame. Spray Paint White.
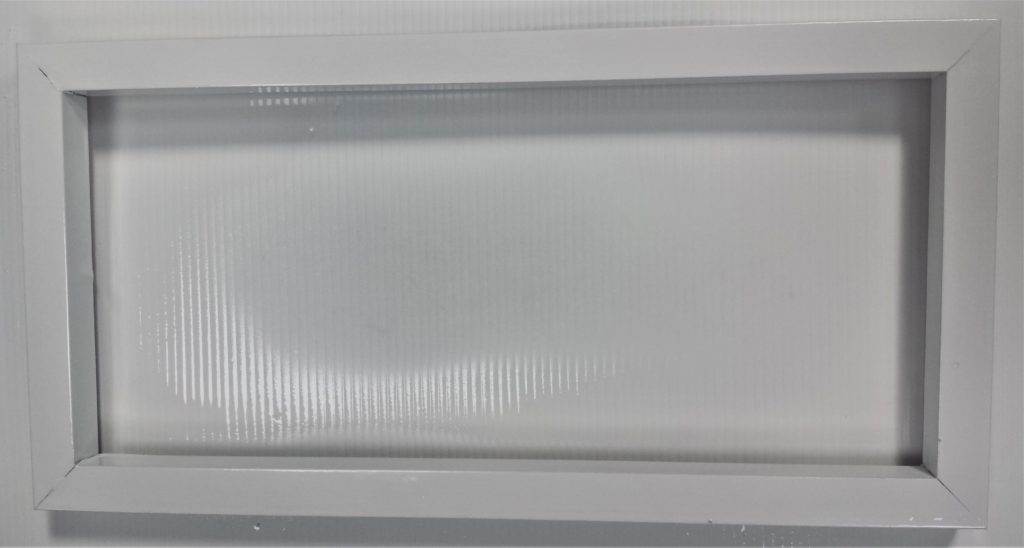
Spray Painting the Back of the Frame
The next day I went back out to the shed to spray paint the back of the frame.
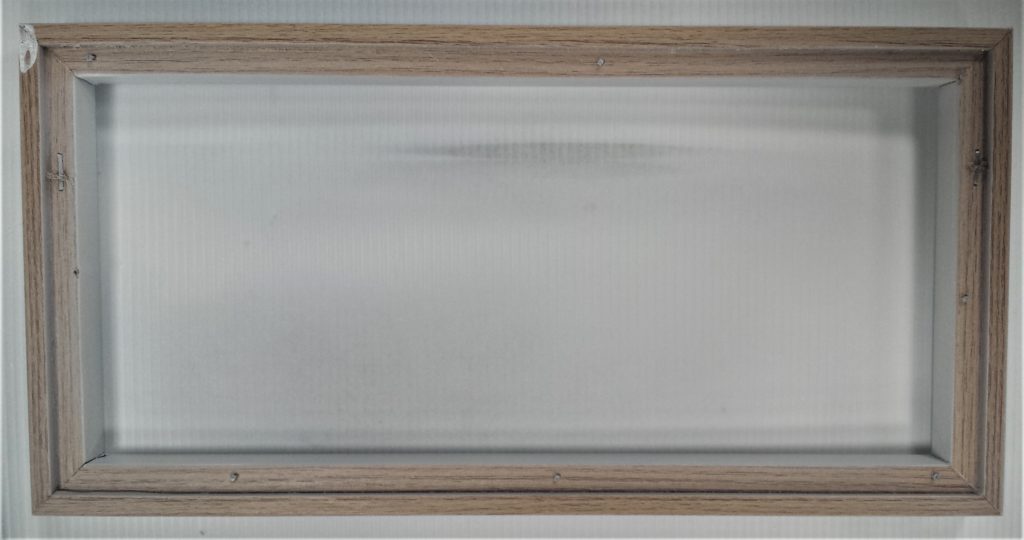
I also applied three layers of spray paint to the back of the frame. Here it is after the first layer of spray paint.
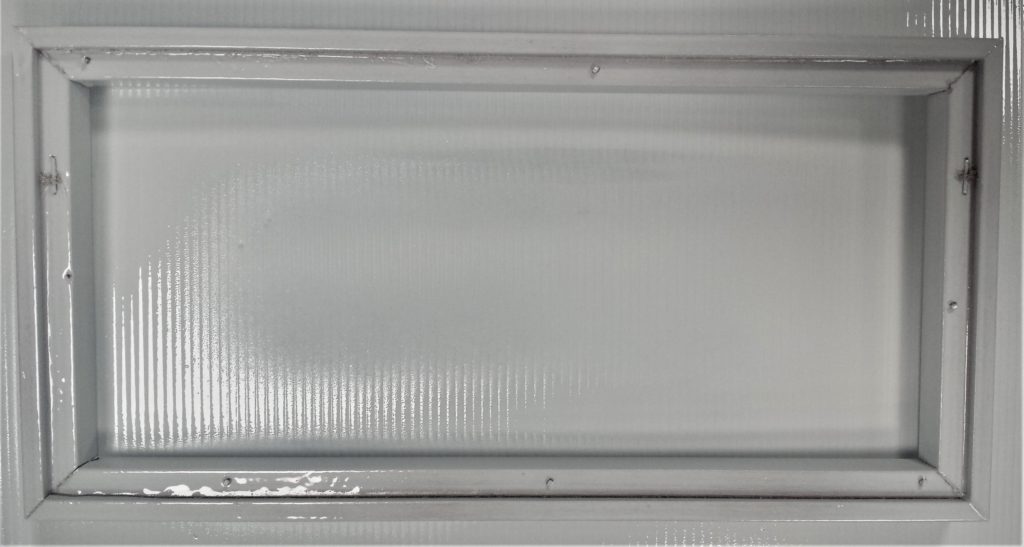
An hour later I sprayed the second coat to the frame. Spray Paint White.
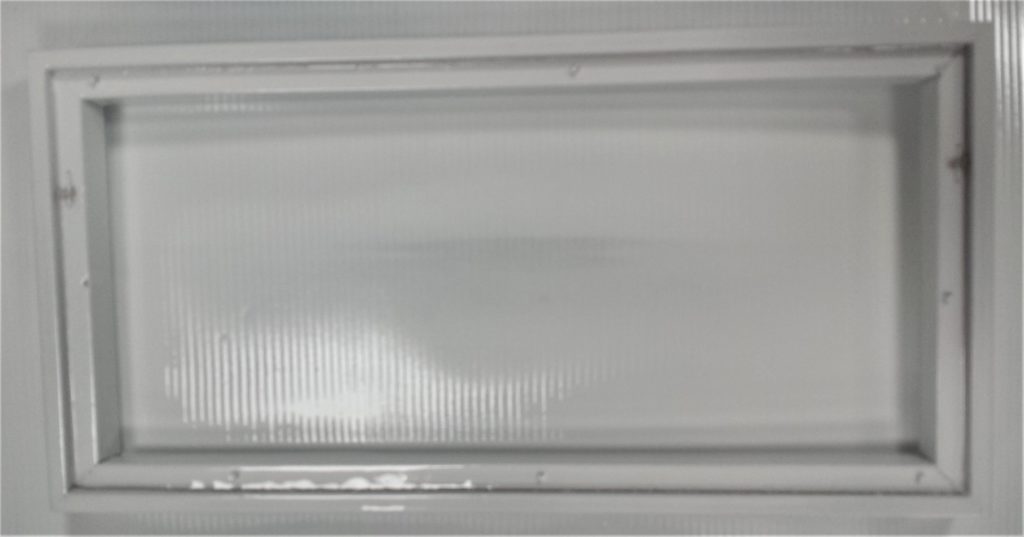
After another hour the final layer of spray paint was applied to the back of the frame.
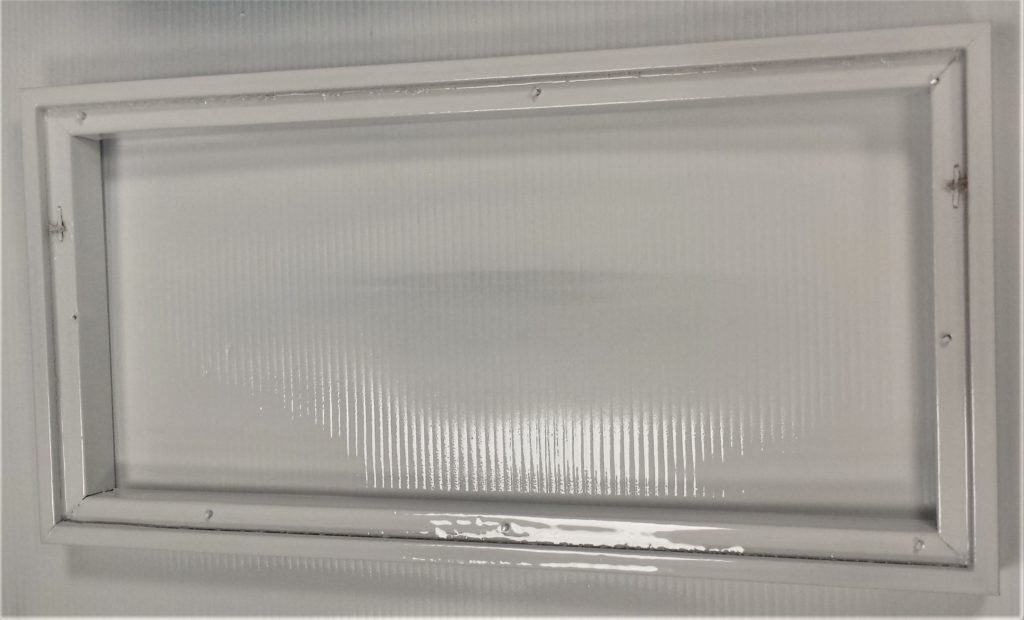
Sealing the Personalised Child’s Frame
The next day I applied a coat of ‘Clear Lacquer Spray Paint’ to the front and sides of the frame to seal the white spray paint and prevent it from chipping. Clear Coating Aerosol Spray.
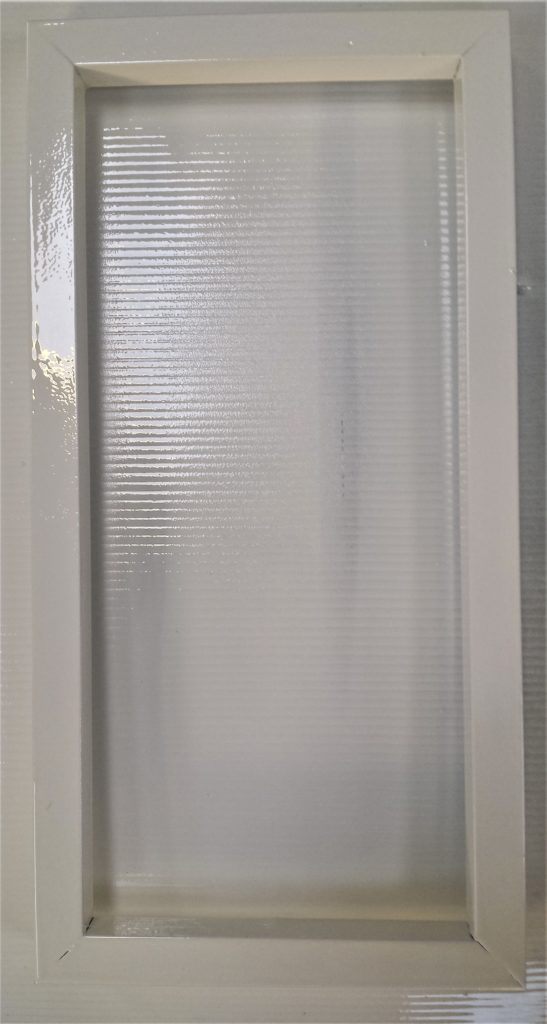
I left the frame in the shed for 48 hours to cure. I then brought the frame back inside after the two days.
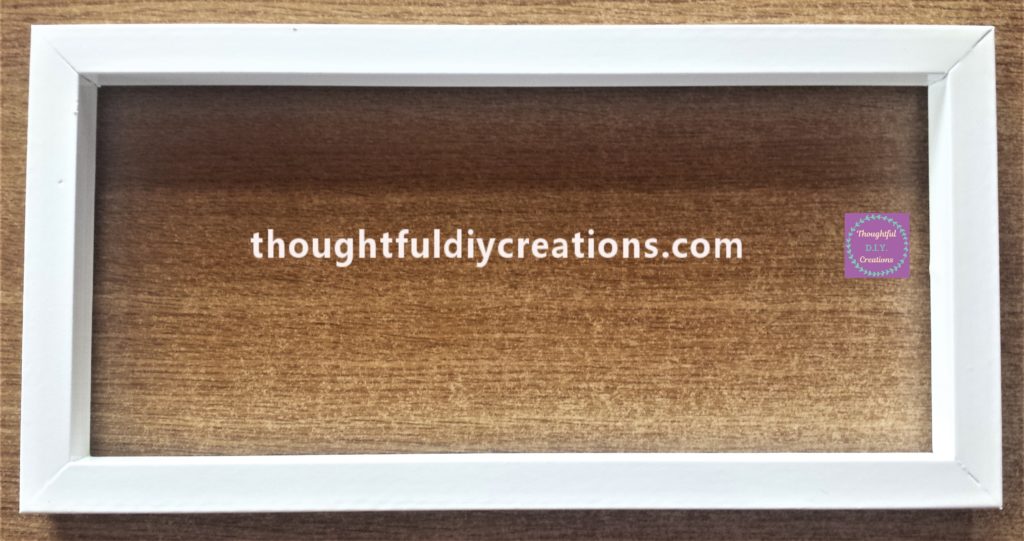
Paper for the Background of the Frame
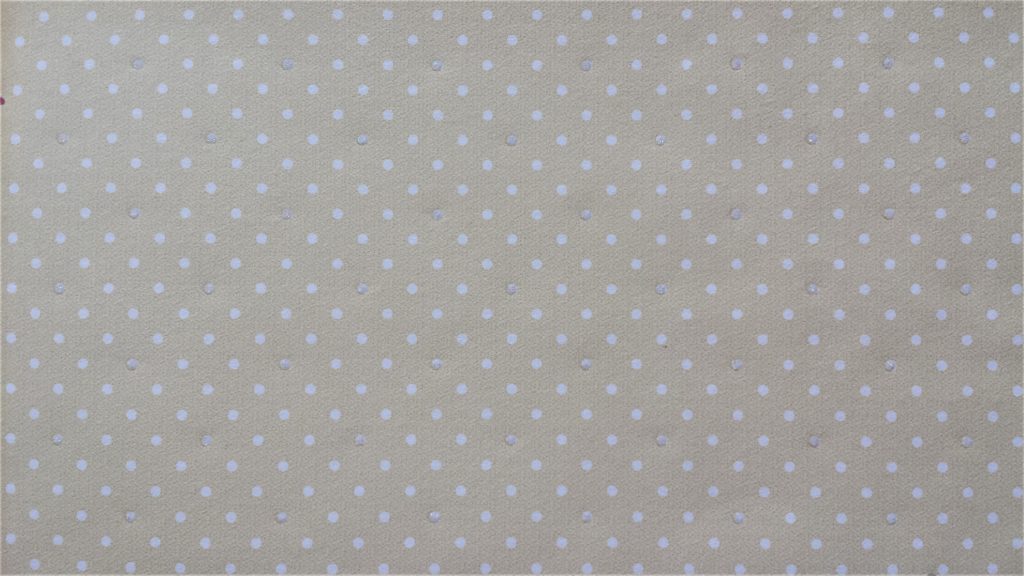
I thought a neutral colour would be a good choice for the background of the frame. I had a spring themed paper pad which was perfect for this craft. I chose a yellow and white polka dot page to use out of the pad. Cardstock Textured Pastels.
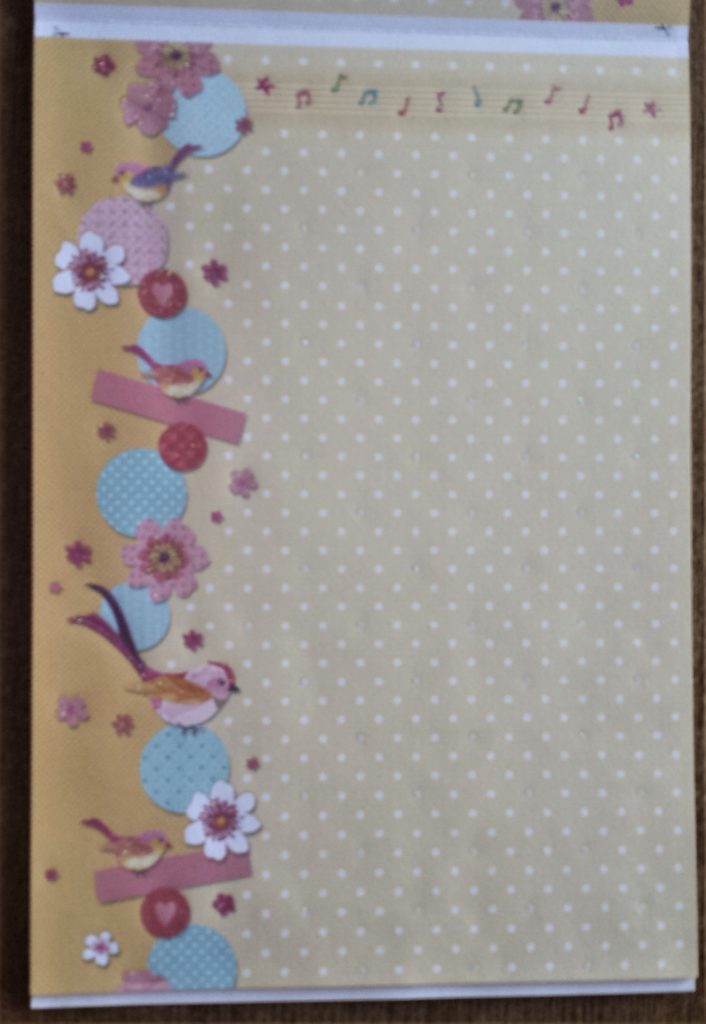
I won’t be using the bird and floral part of the page for this craft, just the yellow and white polka dot print.
Attaching the Paper to the Frame
I turned the paper pad sideways and put the backing board from the frame on the page. I drew around the backing frame onto the polka dot page using a pencil to get the correct measurements.
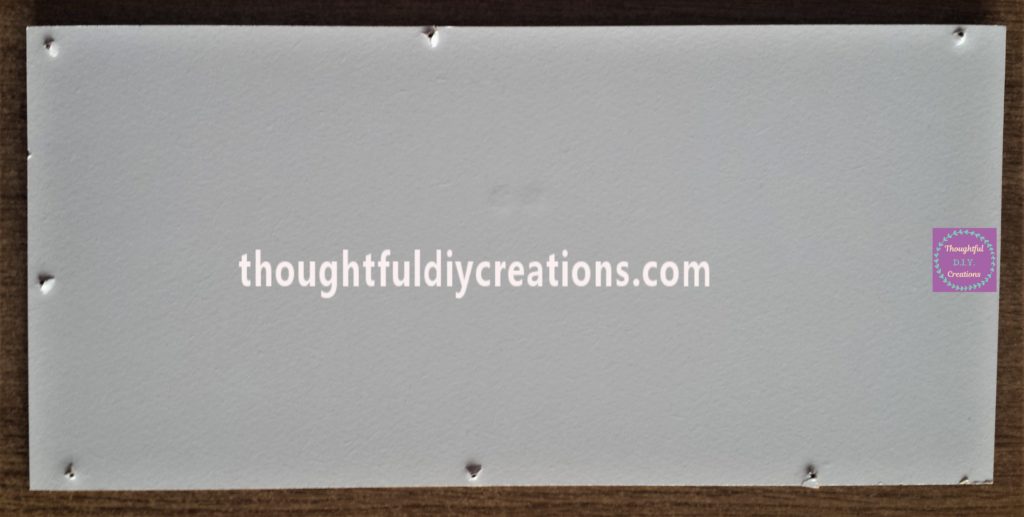
I cut out the frame measurements on the polka dot page using a scissors.
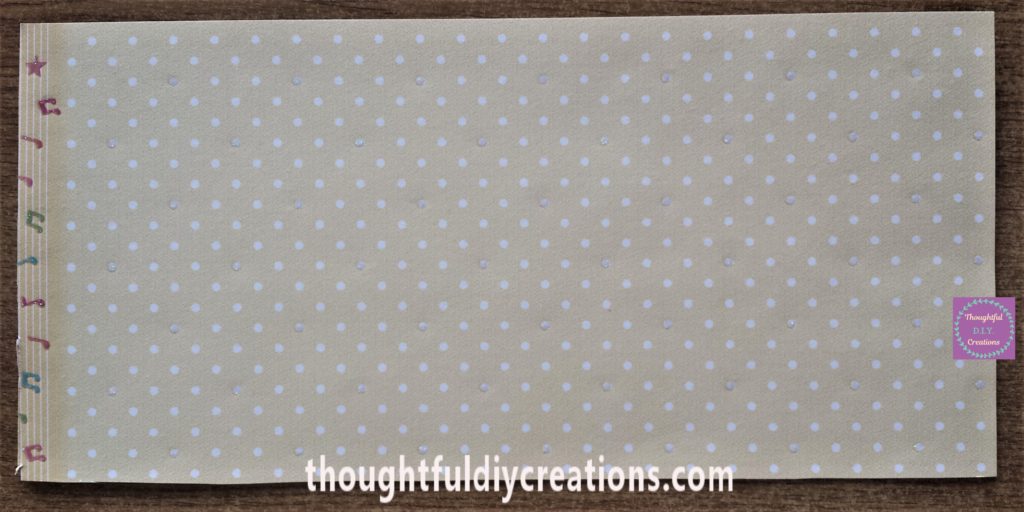
I put double-sided tape on the backing board of the frame. Double Sided Tape.
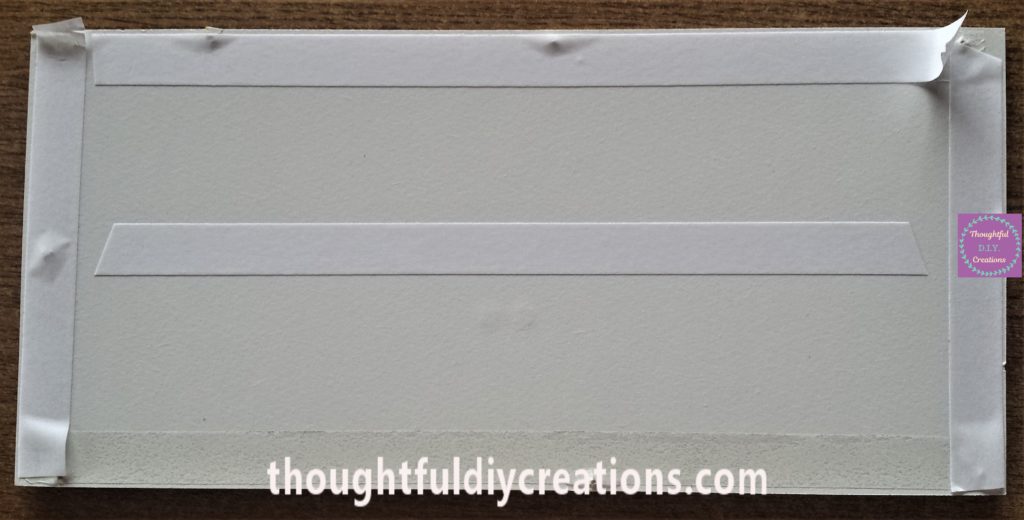
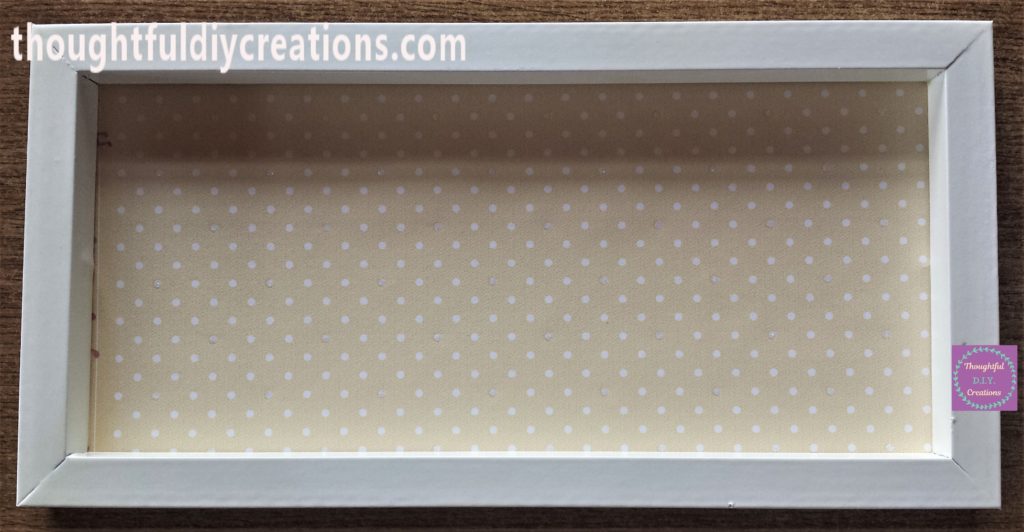
I removed the backing on the double-sided tape. I then carefully attached the polka dot page to the backing of the frame.
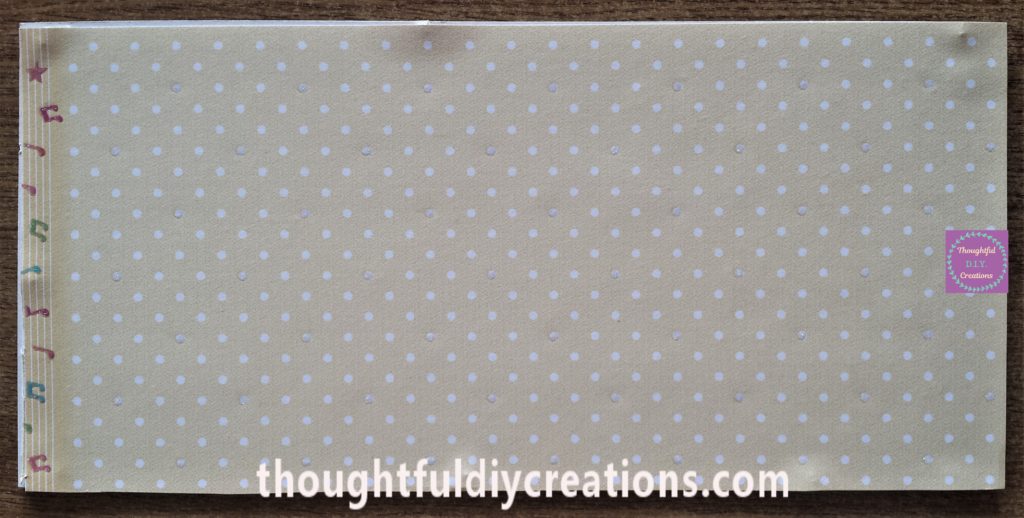
Stickers for the Personalised Child’s Frame
I bought an Alphabet Wall Sticker Pack to personalise the name for this D.I.Y. Personalised Child’s Frame craft. I thought they were really cute and the perfect size for the frame. Alphabet Wall Decals.
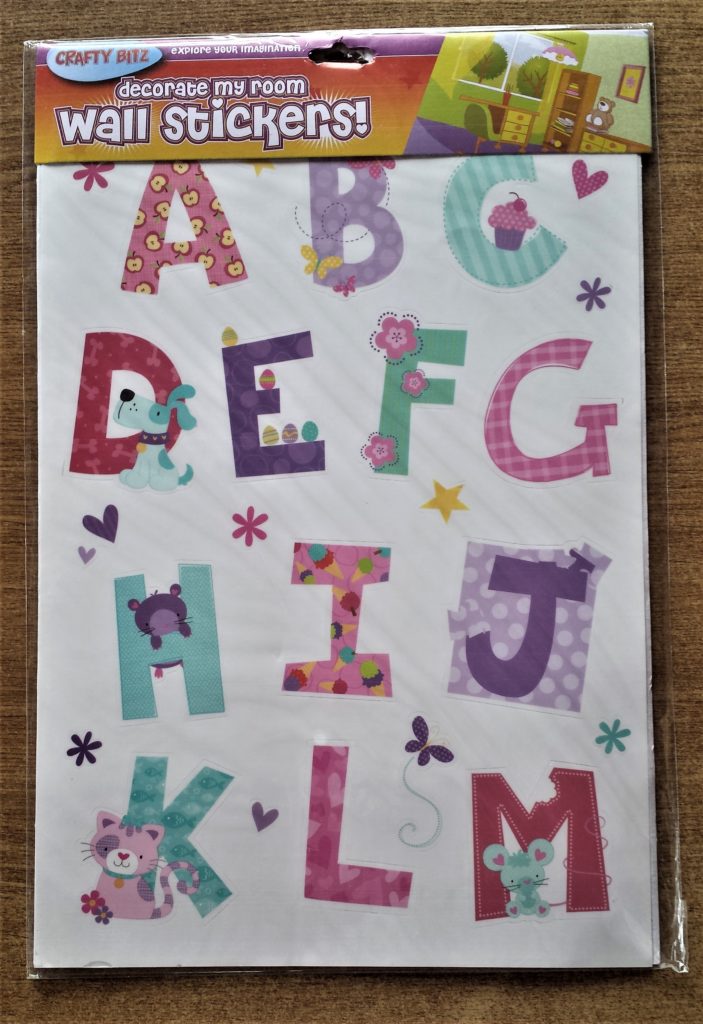
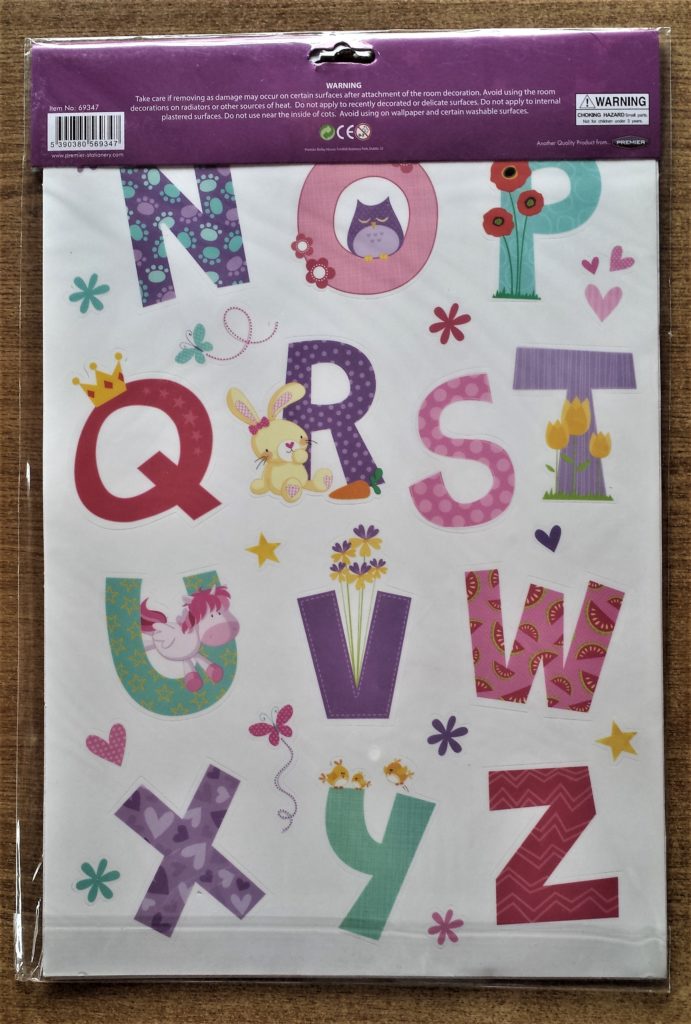
I’m spelling out the Name KATE for this frame but I didn’t want the letters T and E to be the same colours so I bought a different design Alphabet Wall Sticker Pack to ensure each letter was a different colour and for the Name to stand out more. Alphabet Letter Stickers.
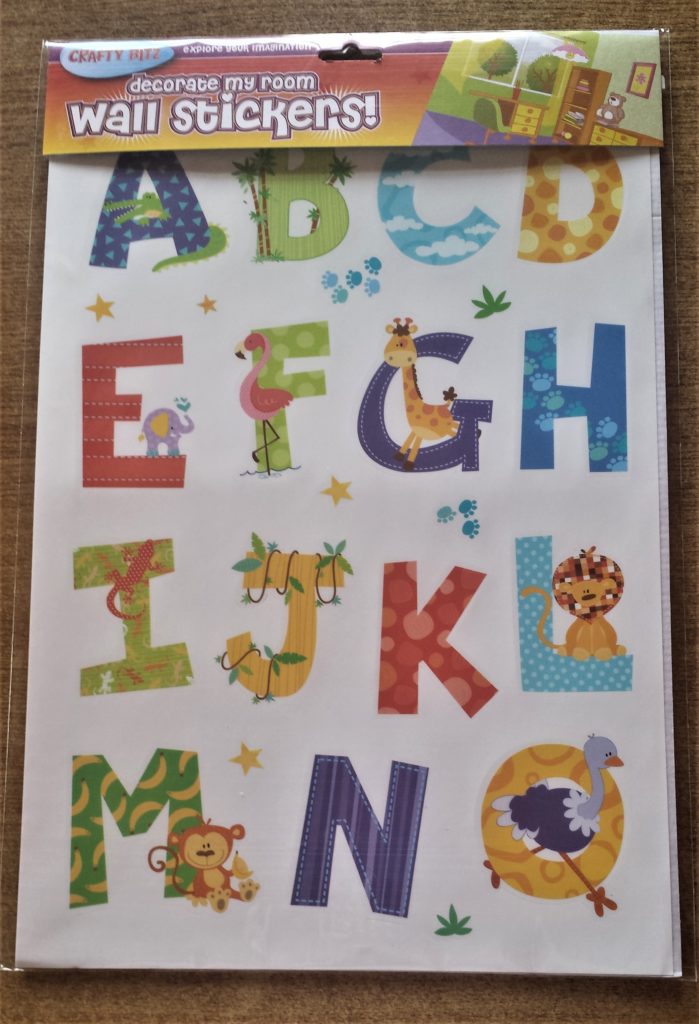
I cut out each letter I needed.

Putting the Frame back Together
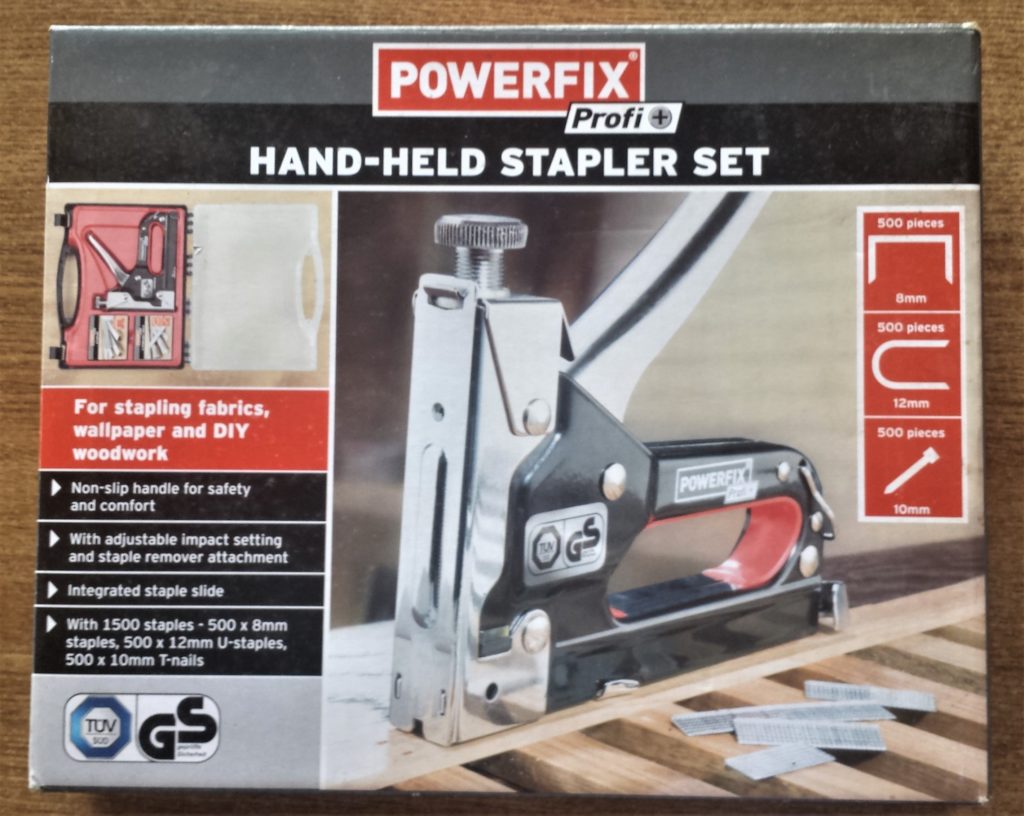
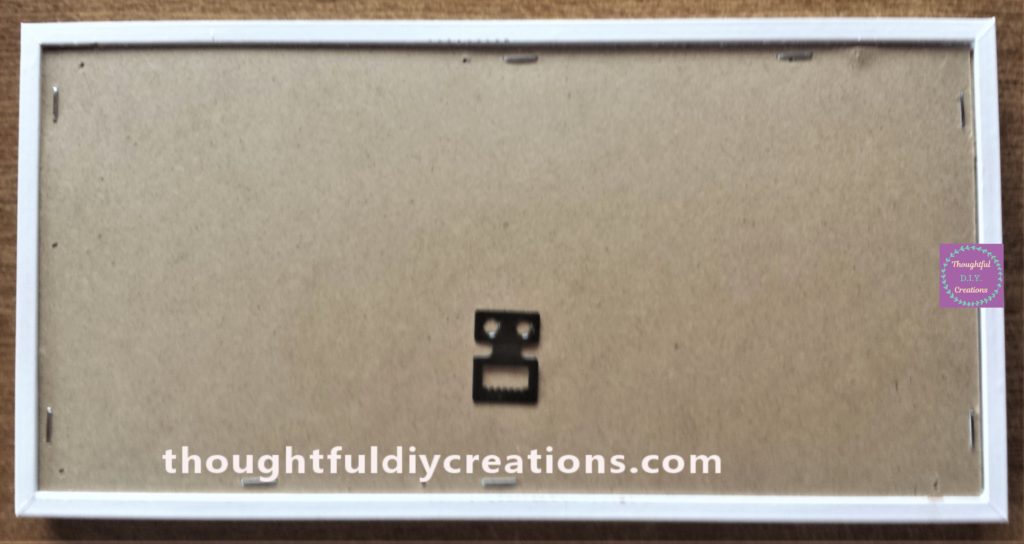
I put the frame over the backing board of the frame. I used my Hand-Held Stapler to staple the board back to the frame. Staple Gun with Remover.
Adding the Name to the Personalised Child’s Frame
I put the cut outs of the letters on the frame to give an idea of how they will look when stuck down.
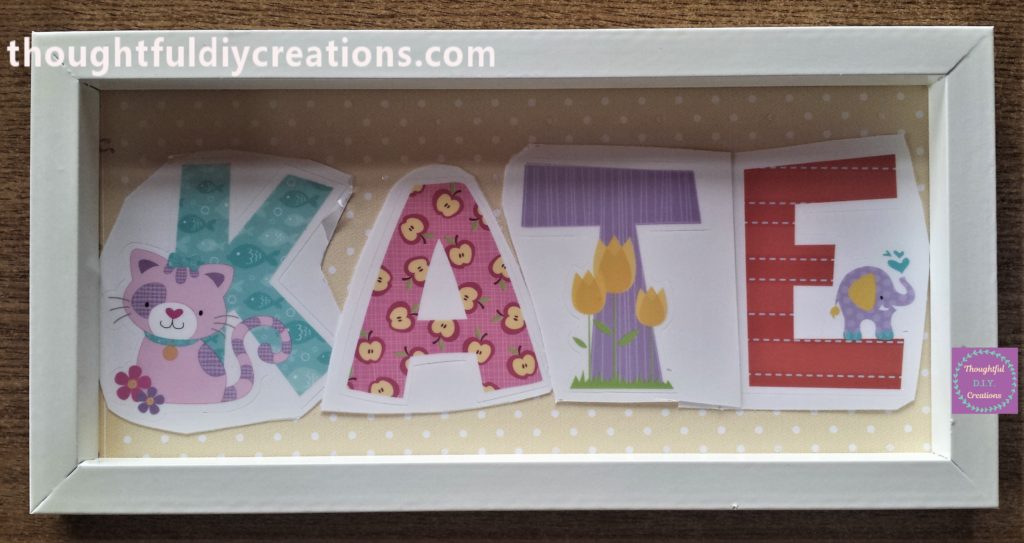
I was happy with how it was coming together. I removed each sticker one-by-one from their backing and stuck them to the polka dot paper in the frame.
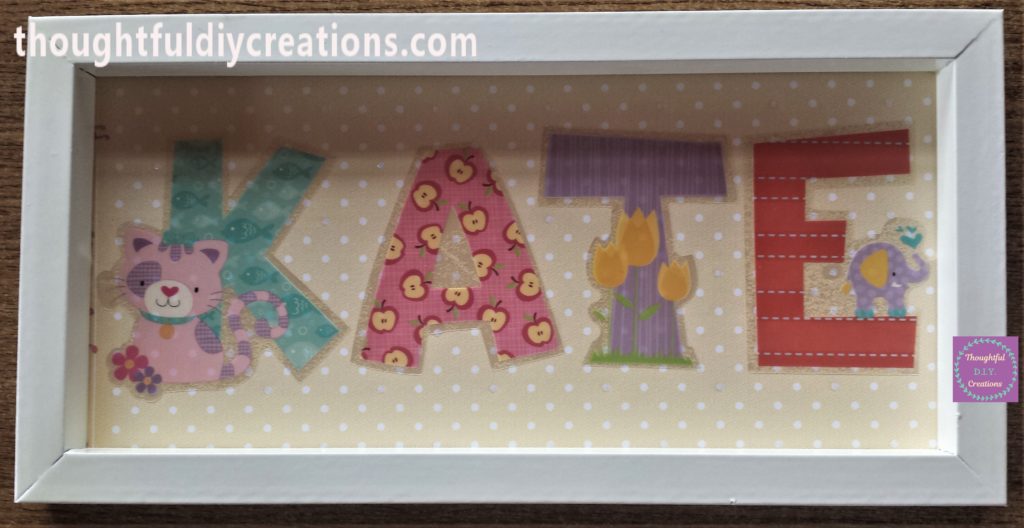
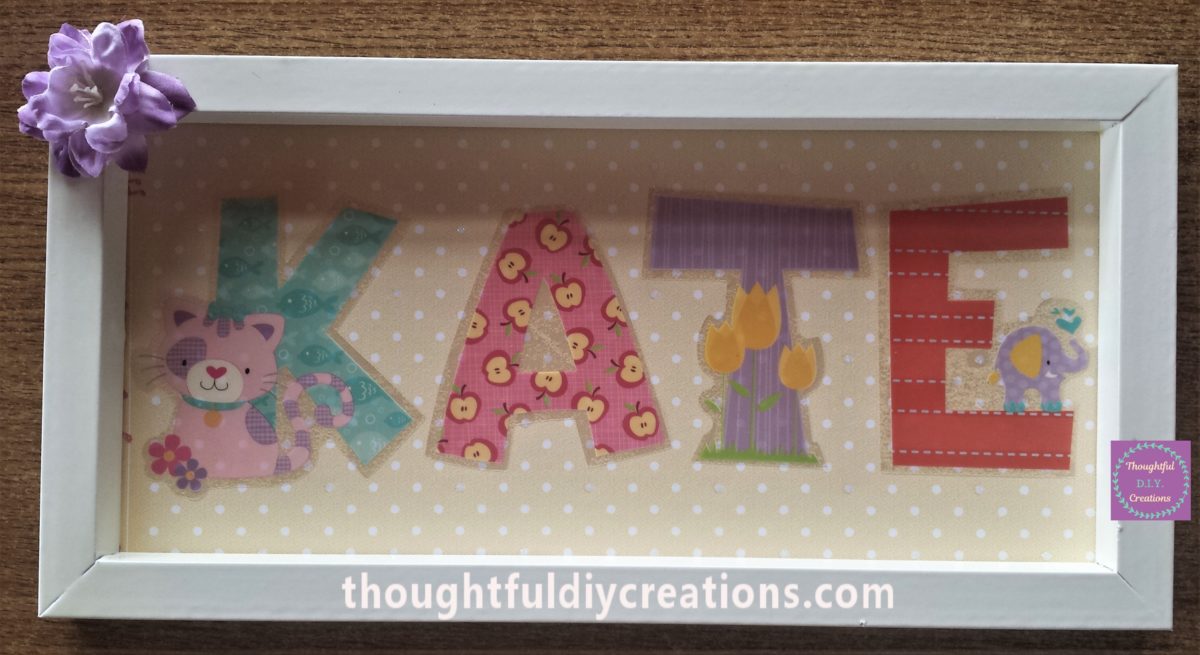
To finish off the D.I.Y. Personalised Child’s Frame I hot glued a purple flower to the top left corner of the frame. Silk Flowers.
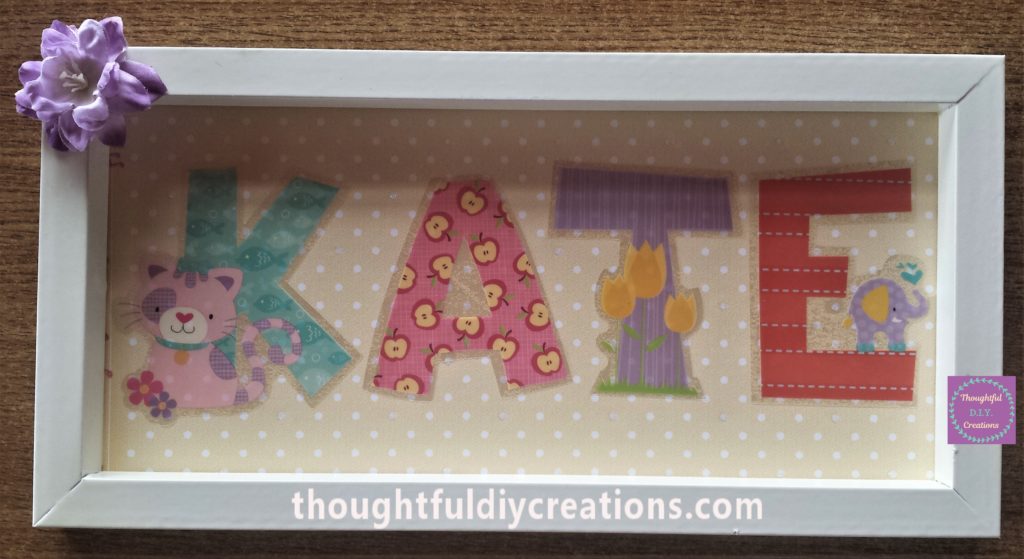
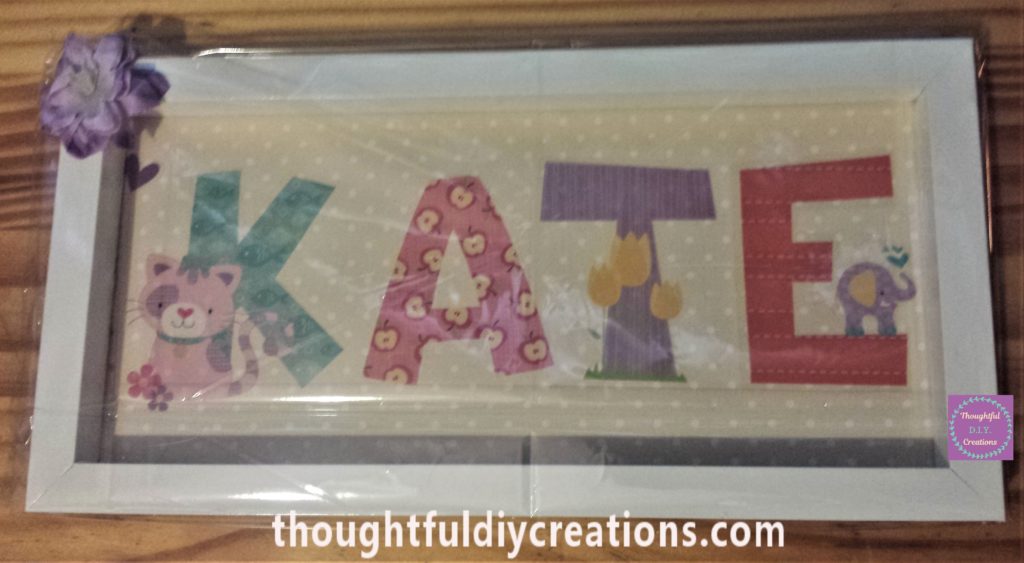
This completed the personalised frame. I wrapped it in clear cellophane to present it to the recipient. Clear Cellophane Roll.
Conclusion
I was really pleased with the outcome of the Personalised Child’s Frame. I love how you can change the whole look of a frame with spray paint. I think the stickers are adorable and everything complements one another.
I hope it inspires you to make a personalised frame for your own children, or nieces, nephews, or grandchildren. It doesn’t require many materials and you can make them as personal as you like.
It would be the perfect craft for a child that has a unique name and can’t be bought in the personalised section in most stores. It is also a good craft for a child’s name that you have chosen to spell differently than how it is usually spelt.
It would make a thoughtful D.I.Y. gift for a friend, family member, work colleague or neighbour who recently had a baby. It would make adorable Nursery Decor. It could be hung up on the wall or on the Door.
The frame could also be made for older children. You could replace the stickers for wooden alphabet letters. They can be purchased in various degrees of thickness and sizes. They could be hand painted and decorated or left natural. Wooden Letters and Numbers Set.
The frame could be completely personalised to whatever the child is interested in. If the child loves disney you could add their favourite Disney Characters colours or Disney embellishments around the frame. If the child loves pirates you could add 3-D Stickers of a sword, treasure chest, parrot etc. around the child’s name or on the outer frame. Pirate Paper Pack.
I hope I provided some ideas for your D.I.Y. Crafting. If you have any questions just ask and I’ll reply as soon as I can. Let me know how you get on if you decide to make a frame, I’d love to hear how it went. Happy Creating Everyone.
Thank you so much for taking the time to read my Blog.
Always Grateful,
T.D.C.
xoxox


-0 Comment-