D.I.Y. Stone Canvas
Hello my Creative Friends,
I hope you are all well. In Today’s Tutorial I will show you how to make a D.I.Y. Stone Canvas. The Canvas I made spells out the word ‘DAD’ but you can change the word to suit your own requirements. It is a fun, quick and easy craft to complete and I hope it inspires you to get creative.
Canvas Board for the Craft
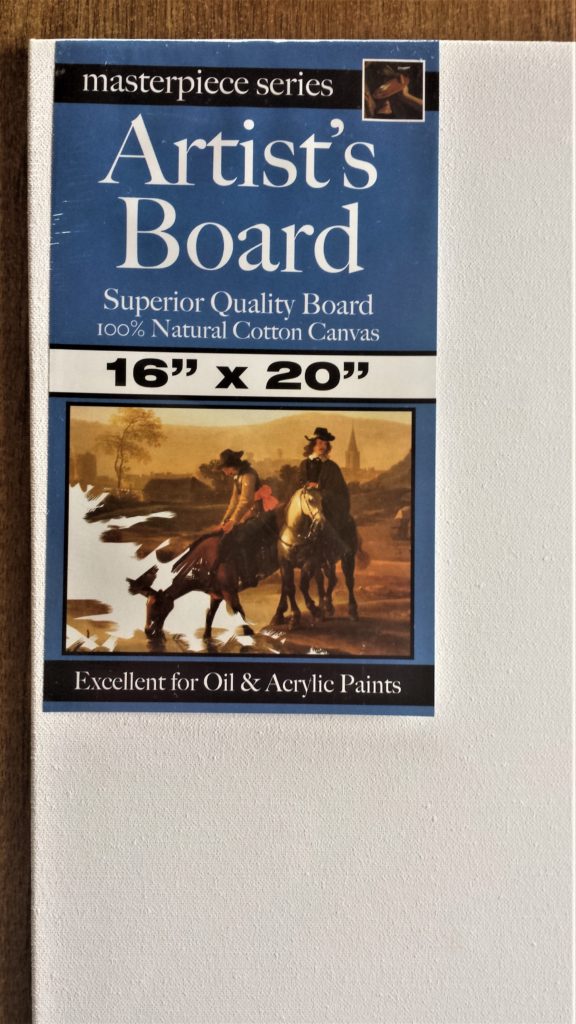
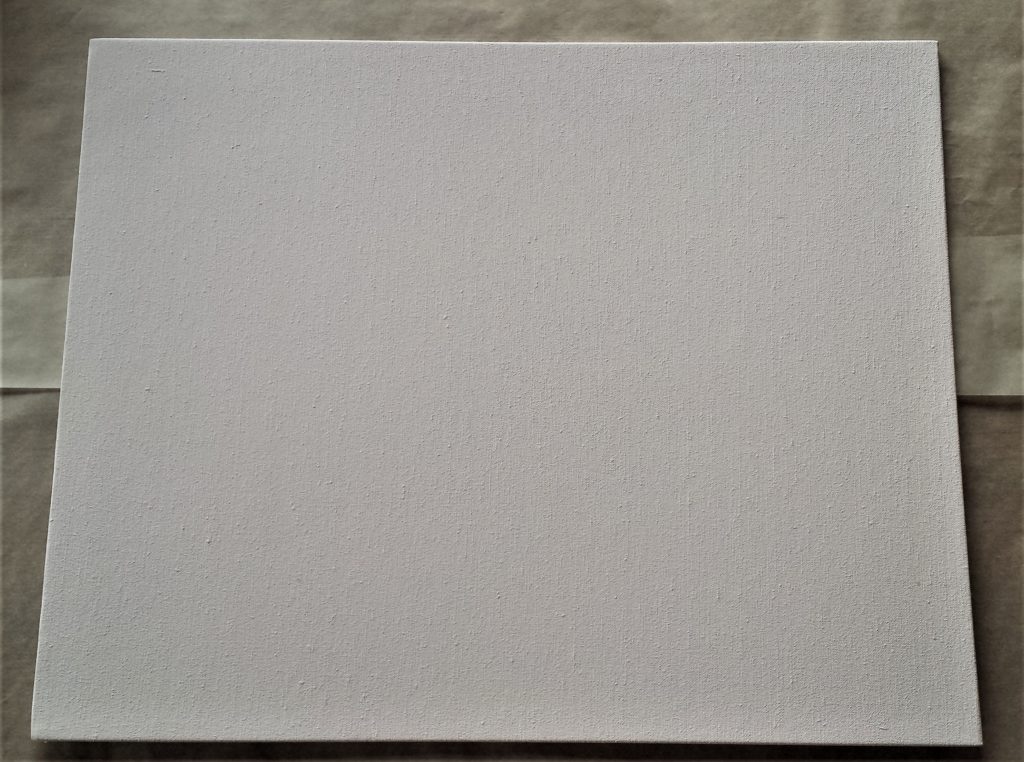
I bought a 16″ x 20″ Artist’s Board which is 100% Natural Cotton Canvas. Darice 16 by 20 inch Canvas.
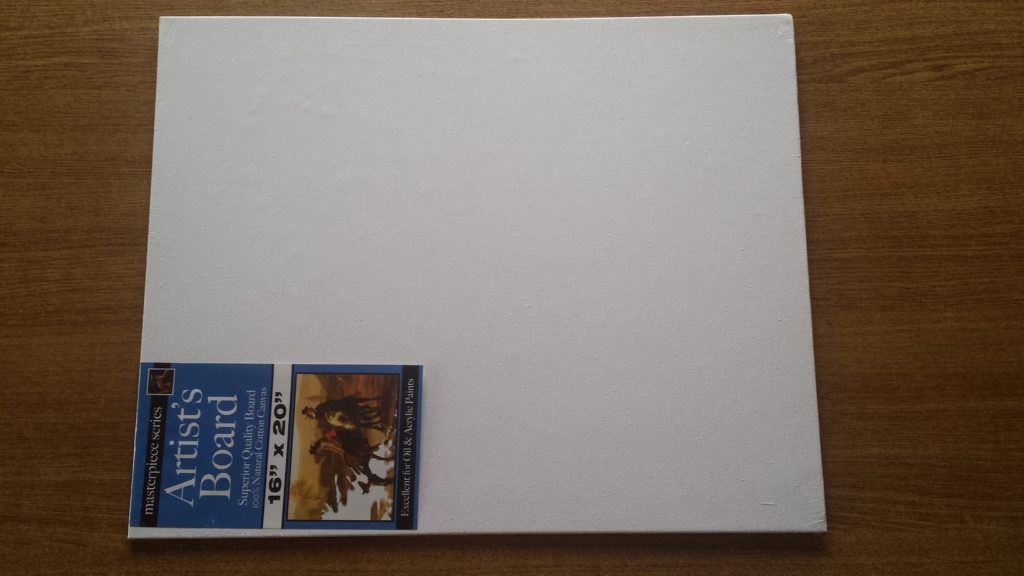
I turned the Canvas Board sideways and this is the way I will be using it. Darice 16 by 20 inch Canvas.
Paint for the D.I.Y. Stone Canvas
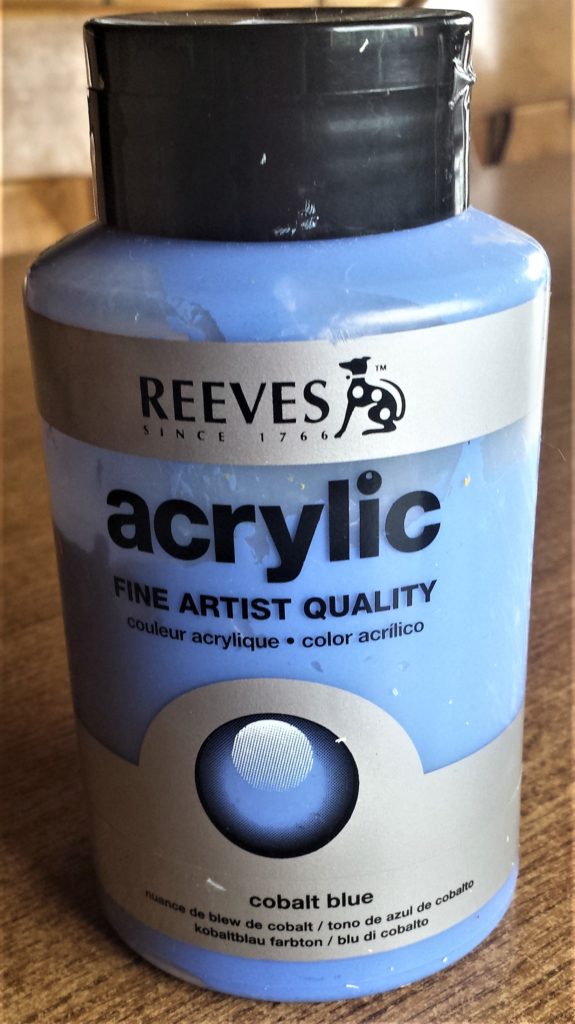
The Paint I used for the Canvas Board was ‘Cobalt Blue’ Fine Artist Quality Acrylic Paint. Acrylic Paint, Cobalt Blue.
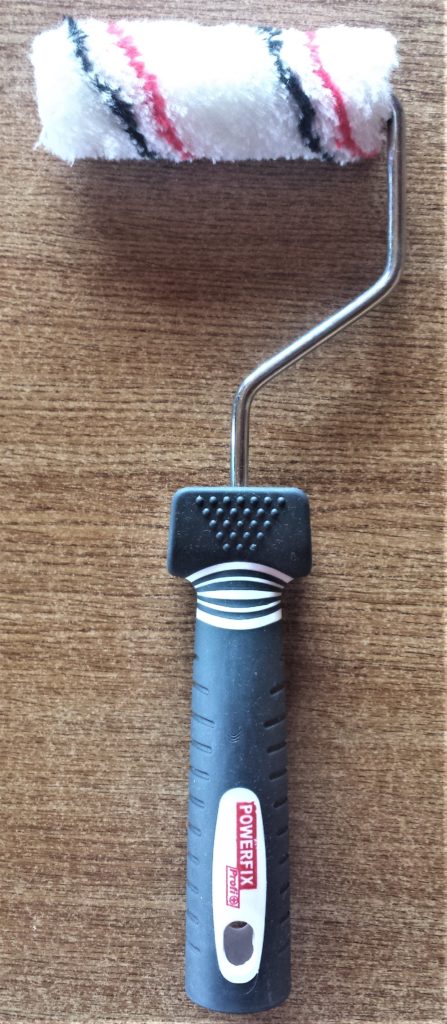
Mini Paint Roller
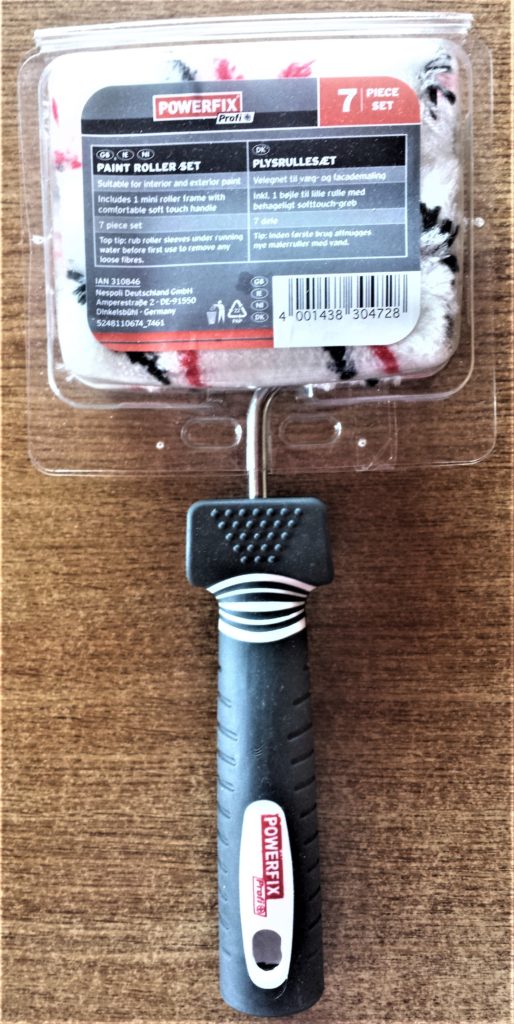
To Paint the Canvas Board I used a Mini Paint Roller. Foam Paint Roller.
Setting Up for Painting the Canvas
I put a couple of sheets of ‘Baking Parchment Paper’ on the Table to protect it. I held them down on the sides with random kitchen objects. I removed the plastic packaging from the Canvas Board and put the Canvas on top of the Baking Paper. Reynolds Parchment Paper.
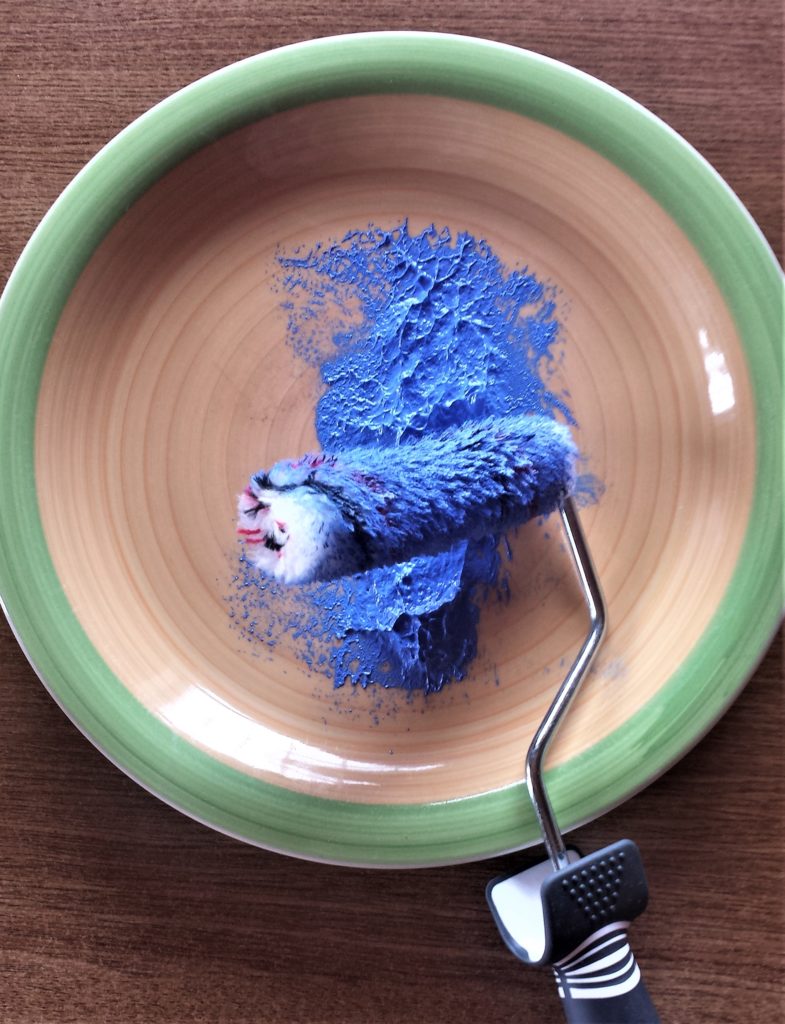
I poured some of the blue paint onto a plate. I rolled the mini roller over the paint.
Painting the D.I.Y. Stone Canvas
I painted the first section of the Canvas Board by rolling the roller up and down in a straight line and distributing an even amount of paint onto the canvas. Foam Paint Roller.
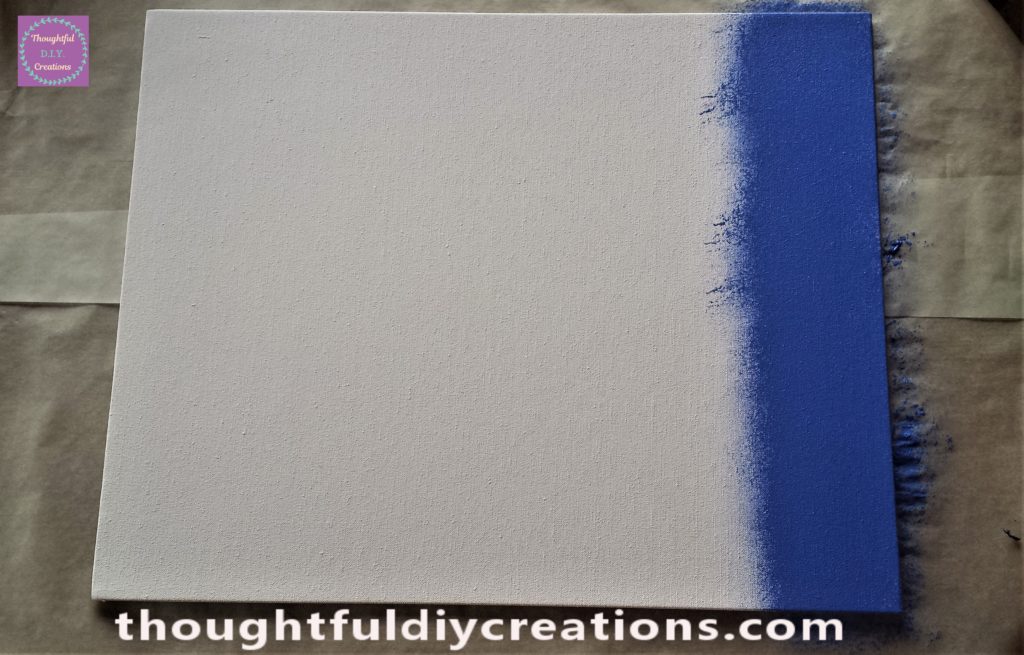
I rolled the mini roller over some more paint on the plate and then painted the next section of the canvas.
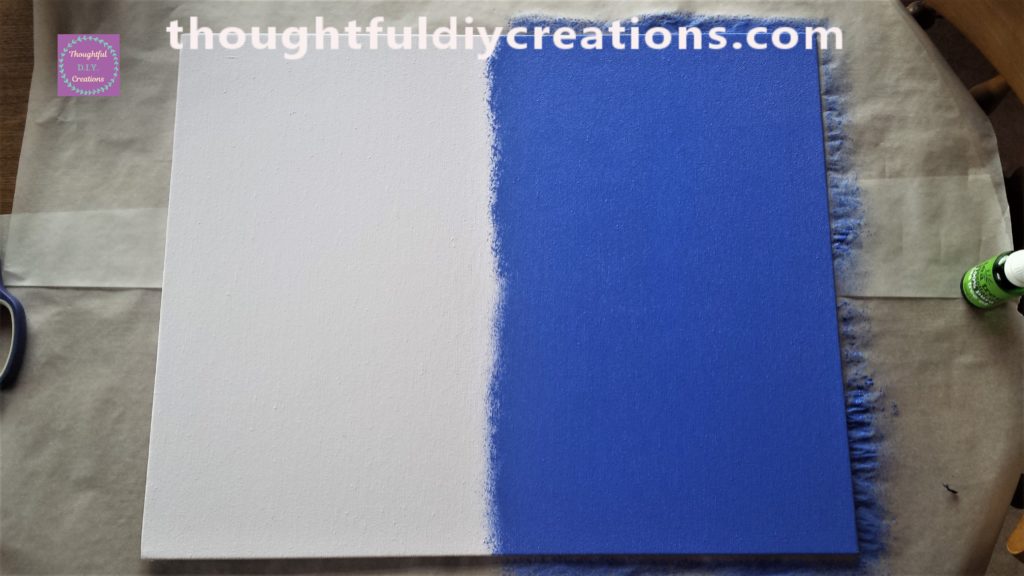
I continued with this process until I had one full layer of paint on the Canvas Board. Acrylic Paint, Cobalt Blue.
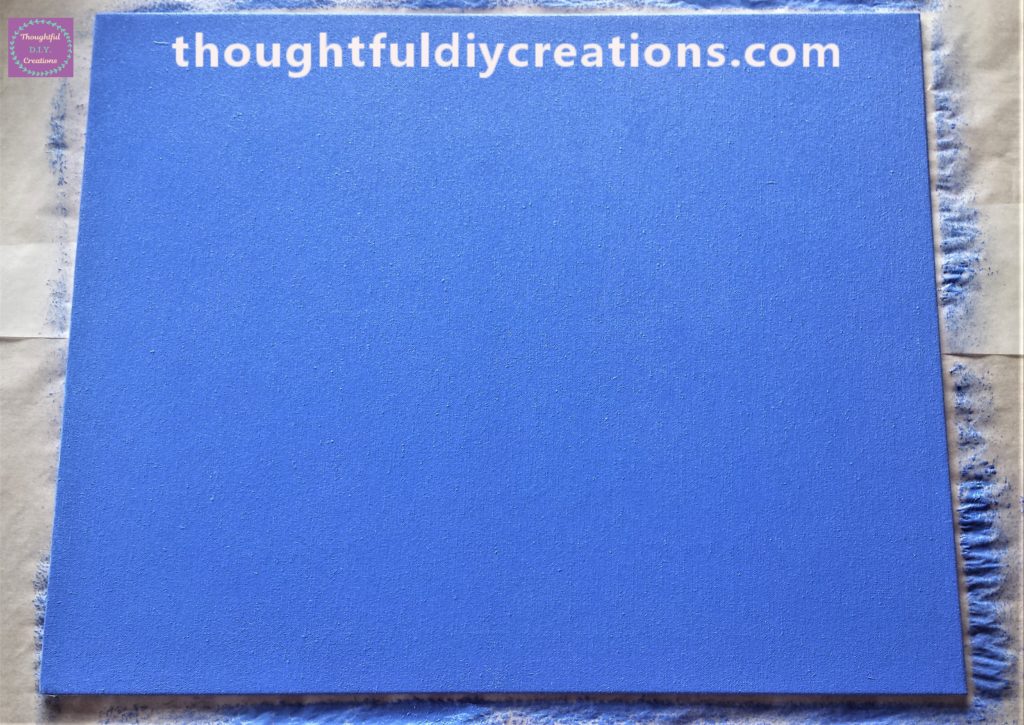
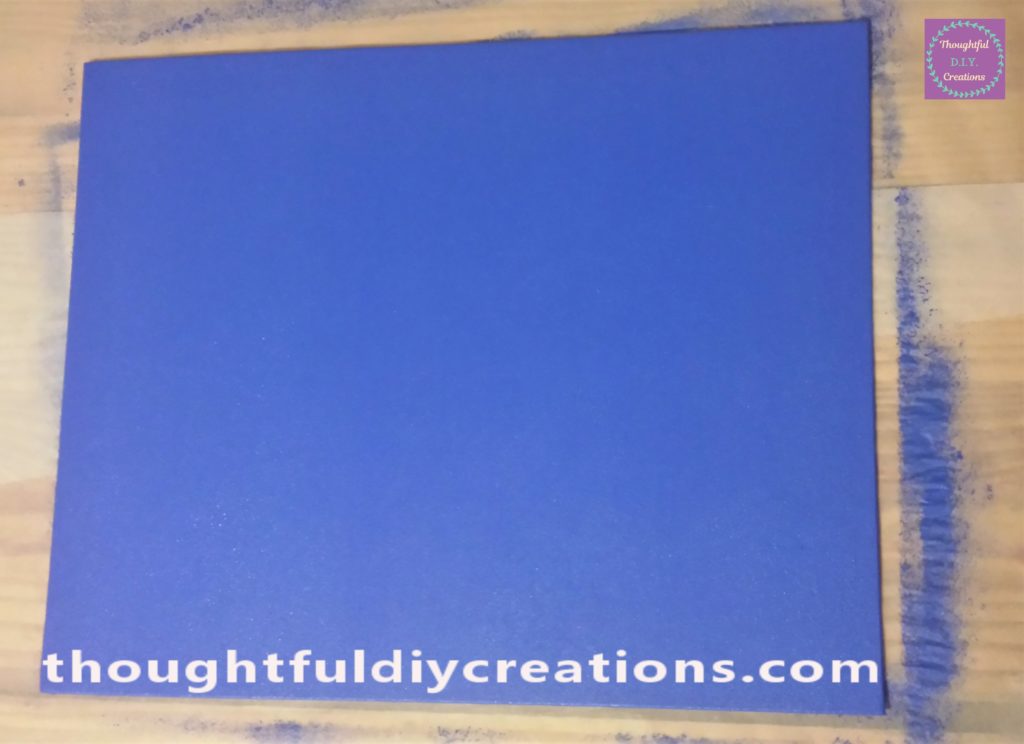
I waited about 30 minutes for the paint to dry. I then applied a second layer of blue paint onto the Canvas Board.
Garden Stones
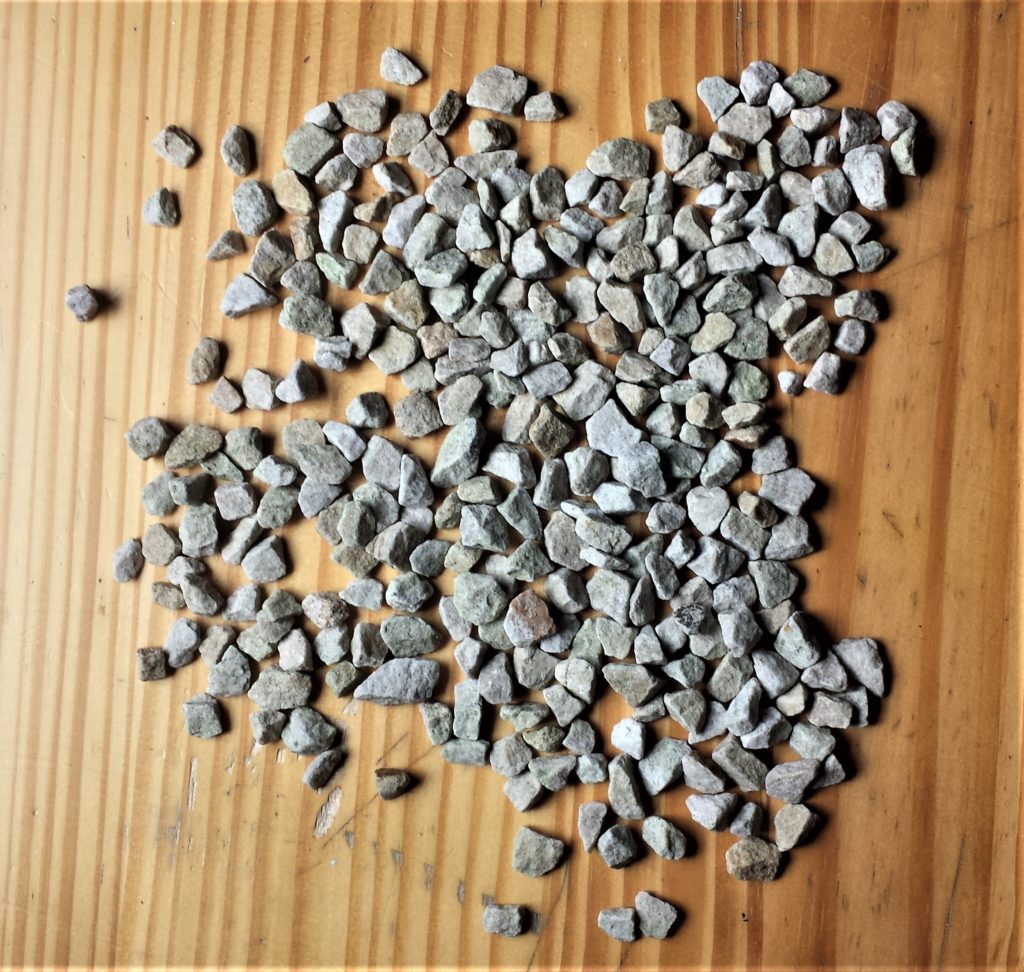
I had a bag of garden stones that I thought would be eye-catching if used as Wall Decor in a Craft. I thought the natural colours of the stones would complement the blue on the canvas. Decorative Stones.
To ensure they were clean enough for crafting I soaked them in a container with warm water and washing-up-liquid for a couple of hours.
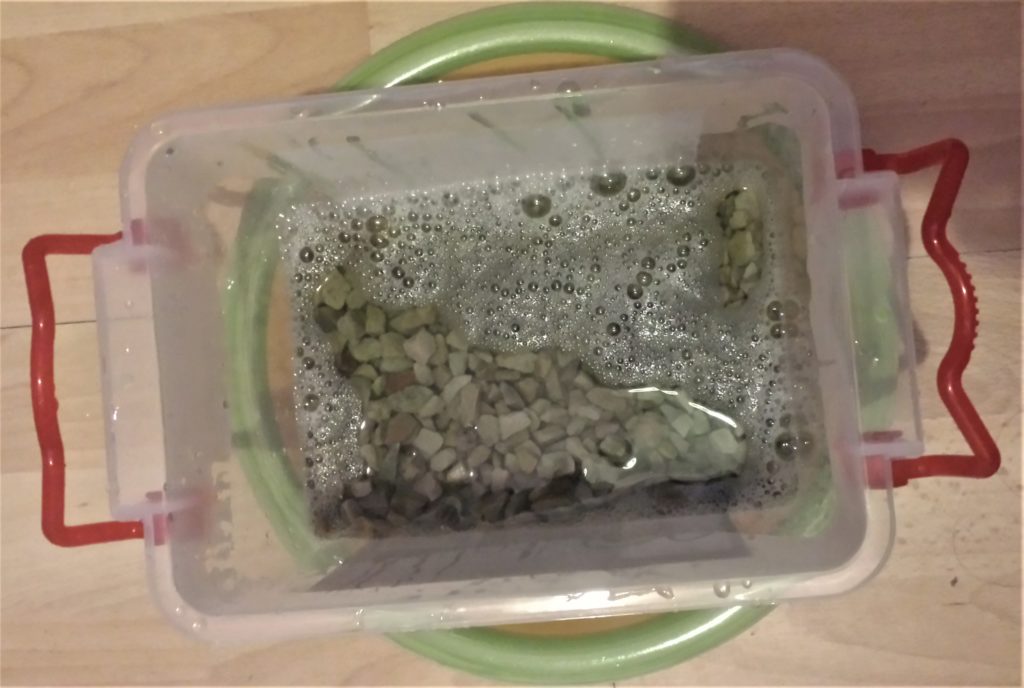
I then rinsed them with warm water and displayed them out on a towel overnight to dry fully. Decorative Stones.
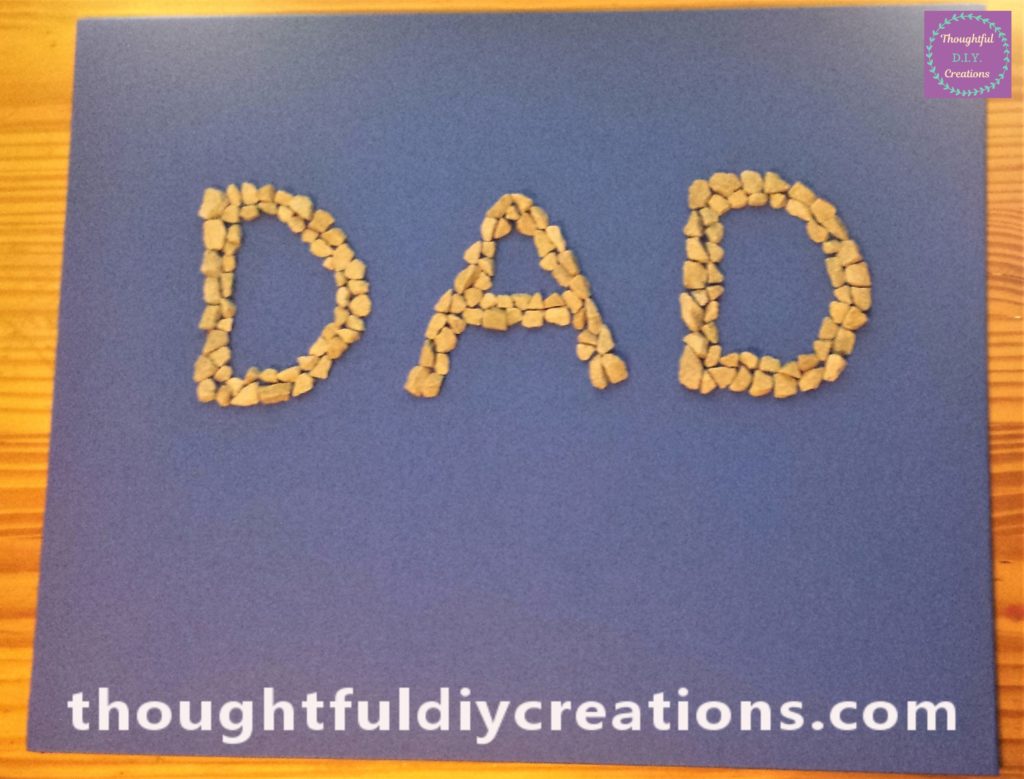
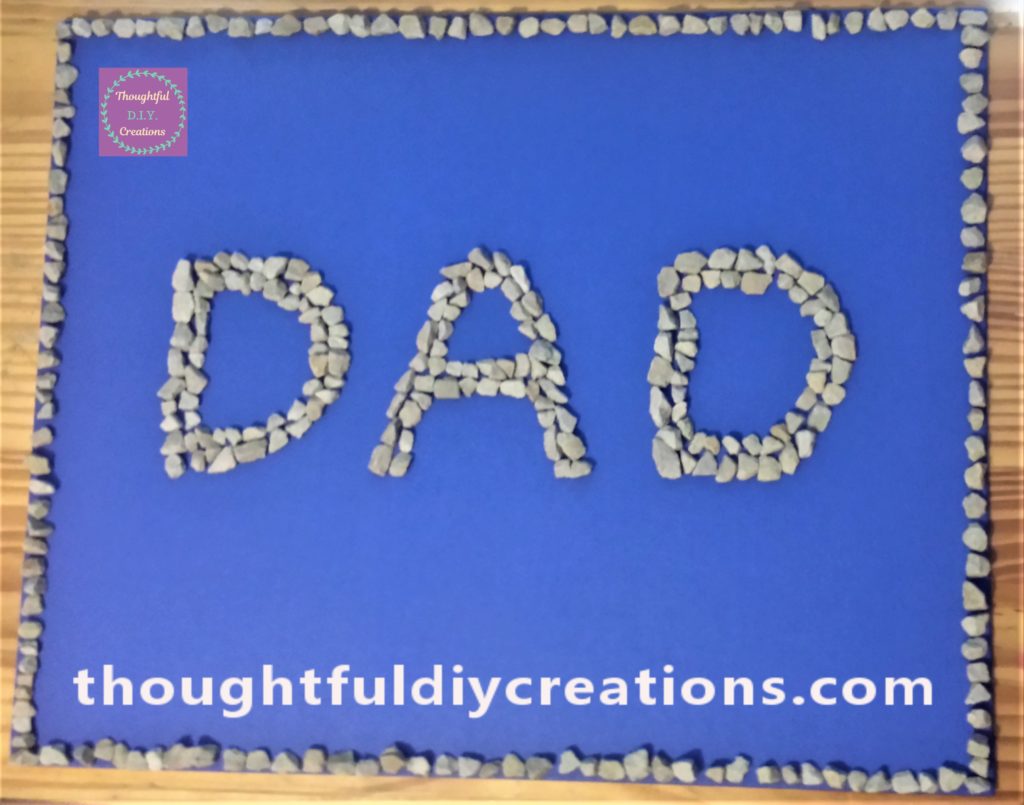
I practiced the layout of the stones on the canvas board.
Attaching the Stones to the Canvas
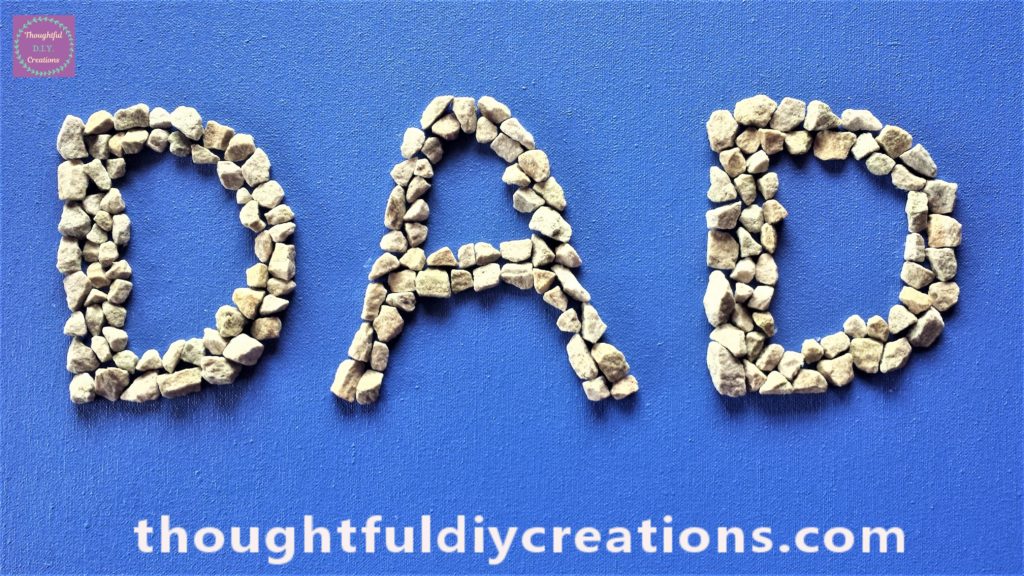
I removed the stones from the border as they would be in the way when attaching the stones in the center of the canvas. I was happy with the layout of the word ‘DAD’ so I glued each stone to the Canvas Board using Wood Glue. Titebond Premium Wood Glue.
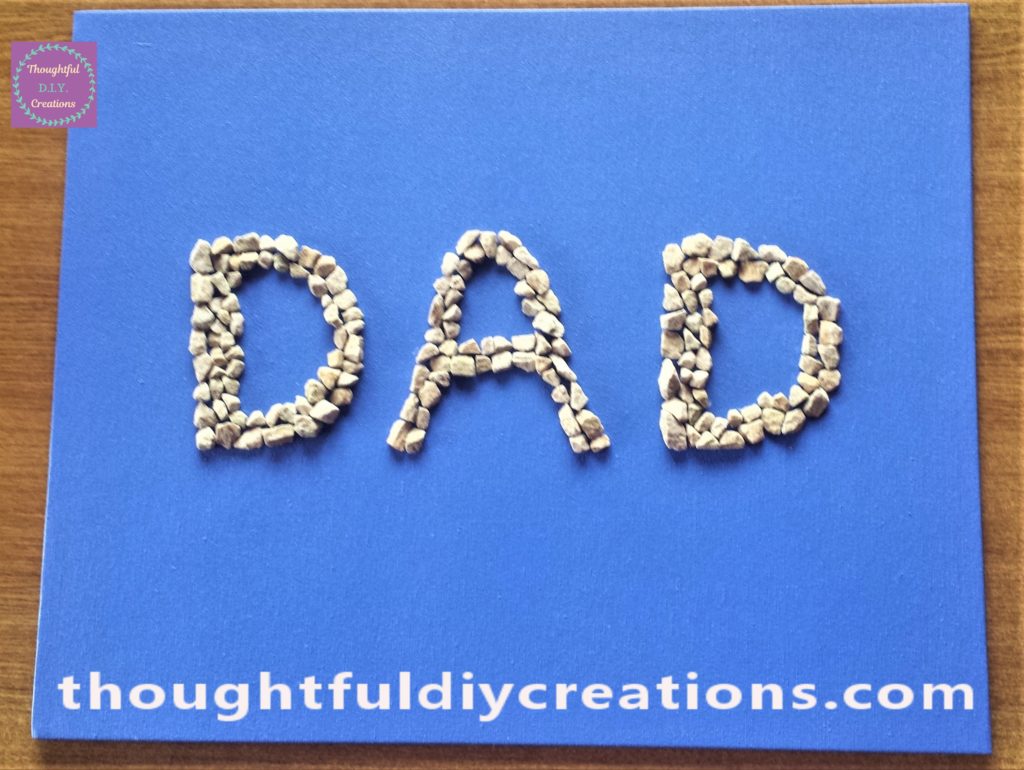
I applied the wood glue to the back of each stone using a small paintbrush. I held the stone in place on the board for about 20 seconds. I then moved onto the next stone and repeated this process until every stone was glued to the canvas board.
Finishing the D.I.Y. Stone Canvas
I thought the full border of stones was a bit much so I changed it to the four corners filled with stones in a triangle shape.
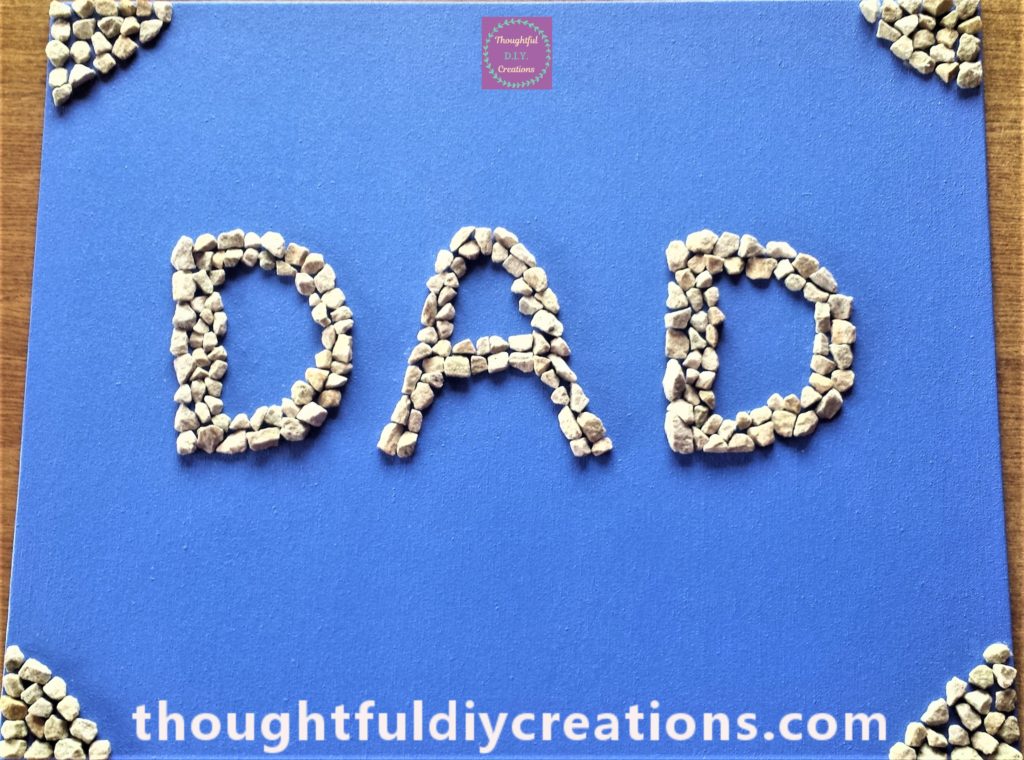
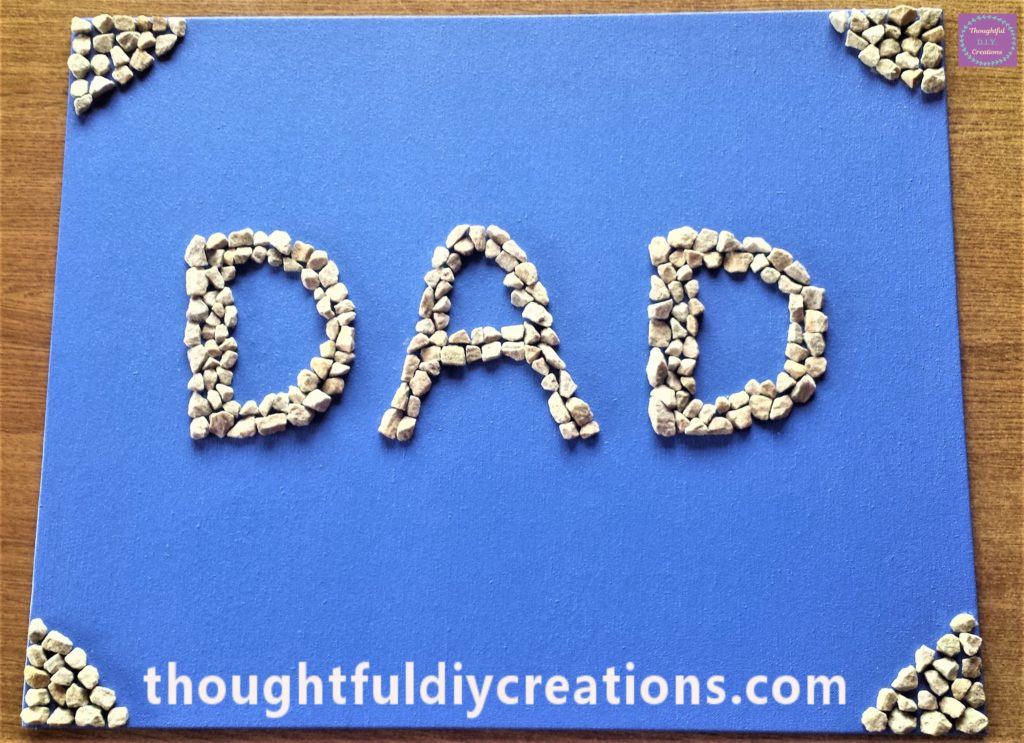
I felt this framed the canvas without taking anything away from the ‘DAD’ in the center of the canvas. I think it complements it more. I added wood glue to the back of each stone and adhered them to the canvas. I left the canvas laying flat on the table for 24 hours to ensure the stones were completely attached before standing it up or moving it. Titebond Premium Wood Glue.This completed the D.I.Y. Stone Canvas.
Conclusion
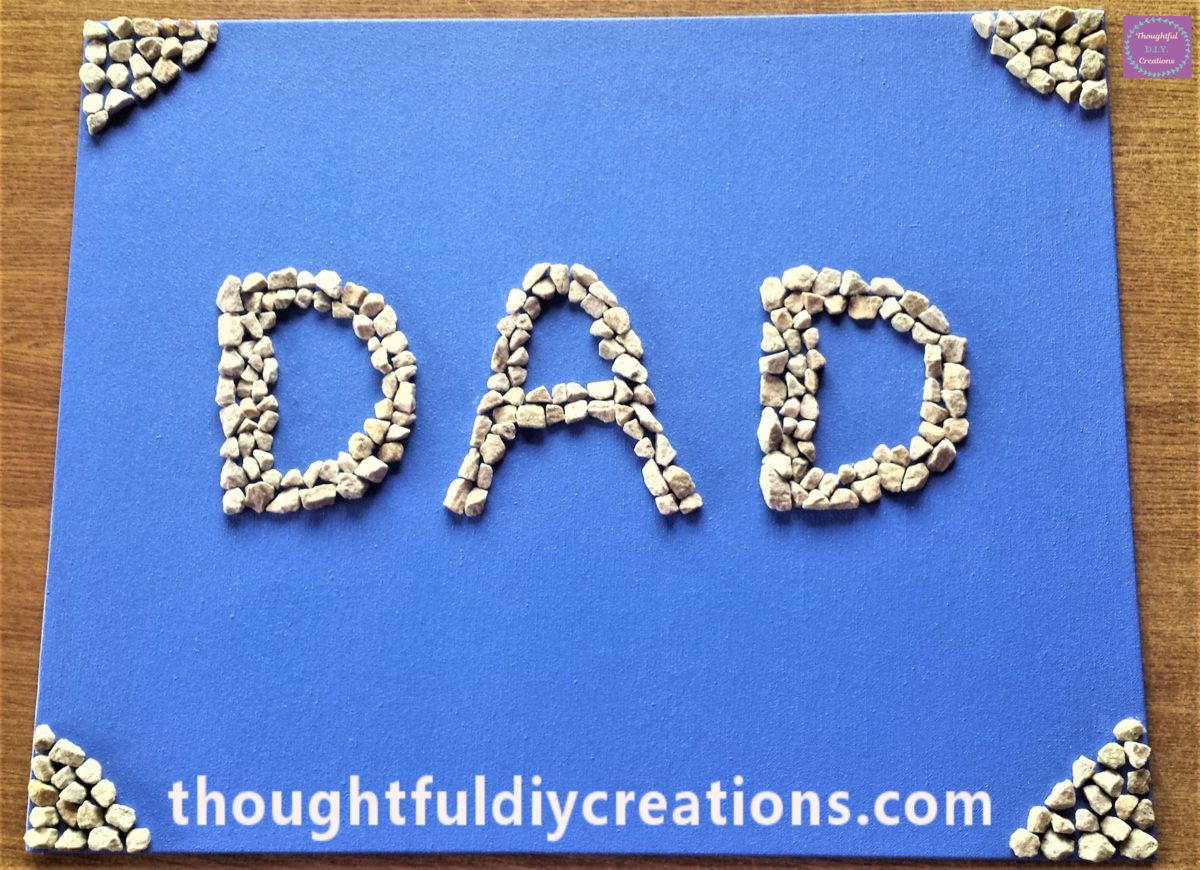
I was very happy with the final result of the D.I.Y. Stone Canvas. I think the stones add a nice rustic appearance. I like the natural shapes and texture of the stones. I think they are a good addition to a Male Craft as it can sometimes be hard to make a craft that a man would like to have on display. I think this would appeal to them. I like the simplicity of this craft, I didn’t want to add too much to it.
Here are some more Stone Crafts; Positive Quote Stone Art, or Home Decor Stones.
The D.I.Y. Stone Canvas could be attached to the wall using Command Strips or it could lean against the Wall on top of a Chest of Drawers or Console / Display table. It could be put up on display in the shed / garage. Another place could be in a Man Cave or Games Room if they have one. Command Large Frame Hanging Strips.
This is a Child-Friendly Craft as it doesn’t require spray paint, hot glue or any electrical equipment. You could make it into a fun day out and go for a walk to collect small stones if you don’t want to buy them. I’m sure children would love hand-picking different stones and collecting them in a bucket. They would definitely enjoy the washing of the stones; anything that involves water and splashing; just put an apron or old clothes and disposable gloves on them, give them a hand held bristle brush and let them enjoy the cleaning process.
The mini roller would be perfect for little hands to get involved with this project, it’s also the cleanest option. If this craft was from young children you could add the words ‘DAD Rocks’ on the Canvas. You don’t have to add it all in stones, it’s up to you, you could add the ‘Rocks’ part with Paint Markers or coloured Paper.
Another idea would be to add a few photographs around the Canvas with the Dad and Child or each child if there are more than one.
This Craft is so Versatile, it would be the perfect D.I.Y. Gift for the Nature Lover in your life. Anyone that loves going for Walks, Gardening, or Works outside would appreciate a bit of the outdoors added to their Home Decor.
The Stones could spell out Someone’s first Initial of their Name if you didn’t have room to spell out their full name. It could also be for a Couple, you could spell out ‘E & H’ for instance out of the stones. It could make a thoughtful D.I.Y. Engagement, Anniversary, or New Home Gift especially if the stones were from somewhere special to the couple.
I hope you enjoyed this Weeks Tutorial and got some ideas from it for your own Crafting. If you have any questions or anything to add on this Topic just fill out the Comment Box below, and I’ll be sure to reply.
Thank you so much for taking the time to read my Blog.
Always Grateful,
T.D.C.
xoxox




-0 Comment-