Easy Easter Jars Craft
Hello my Creative Friends,
I hope you are all Well. In Today’s Tutorial I will show you how to make your own Easter Jars. They are easy to make as well as being budget friendly. It is a great way to spend an afternoon and you will have your very own handmade Easter Decorations to display each year.
Jars for Crafting
I had a variety of washed jars in my craft supplies. I think they are a great item to re-use. The options are endless with how you can transform them. I chose 3 Jars to use for Easter Crafting.
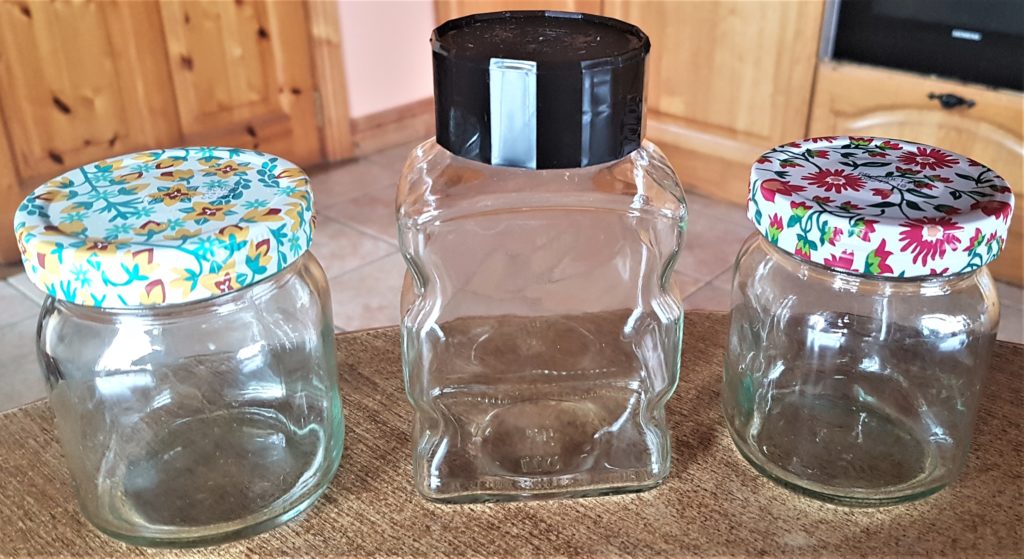
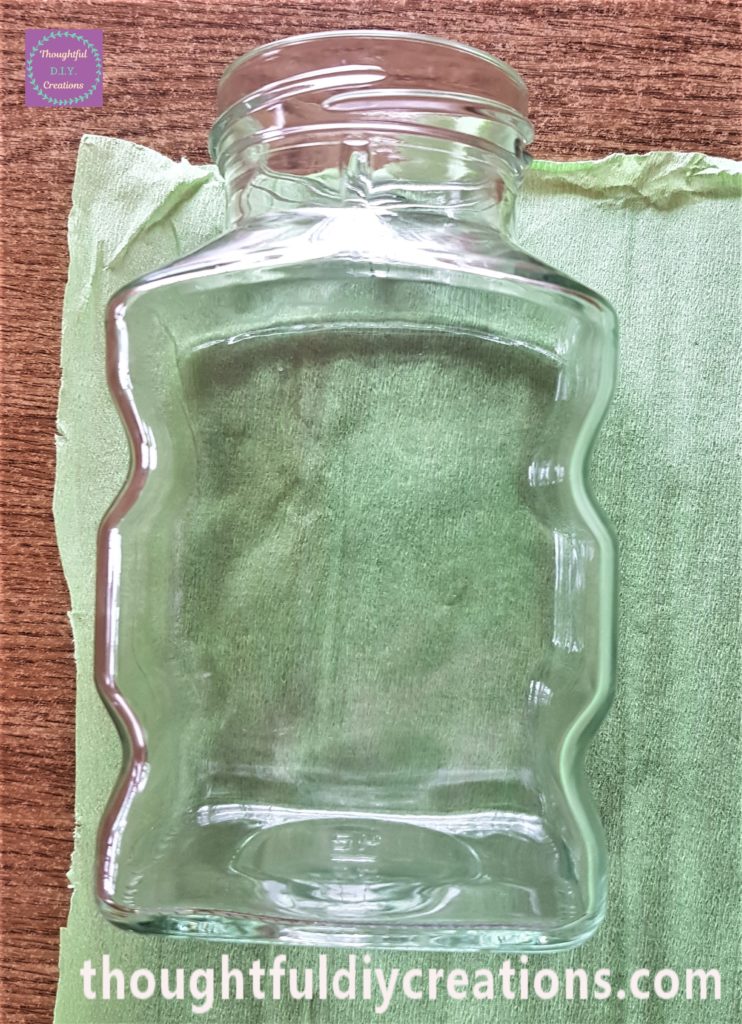
The 2 smaller jars were Jam Jars and the bigger jar in the middle was a Coffee Jar. I had soaked them in the sink with warm water and washing-up-liquid for an hour to soften the labels. I then peeled off the labels, rinsed and dried the jars.
Crepe Paper for the Easter Jars
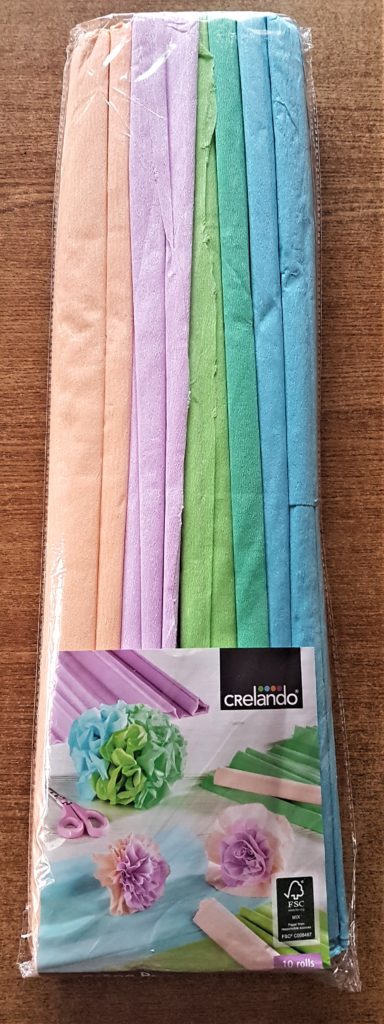
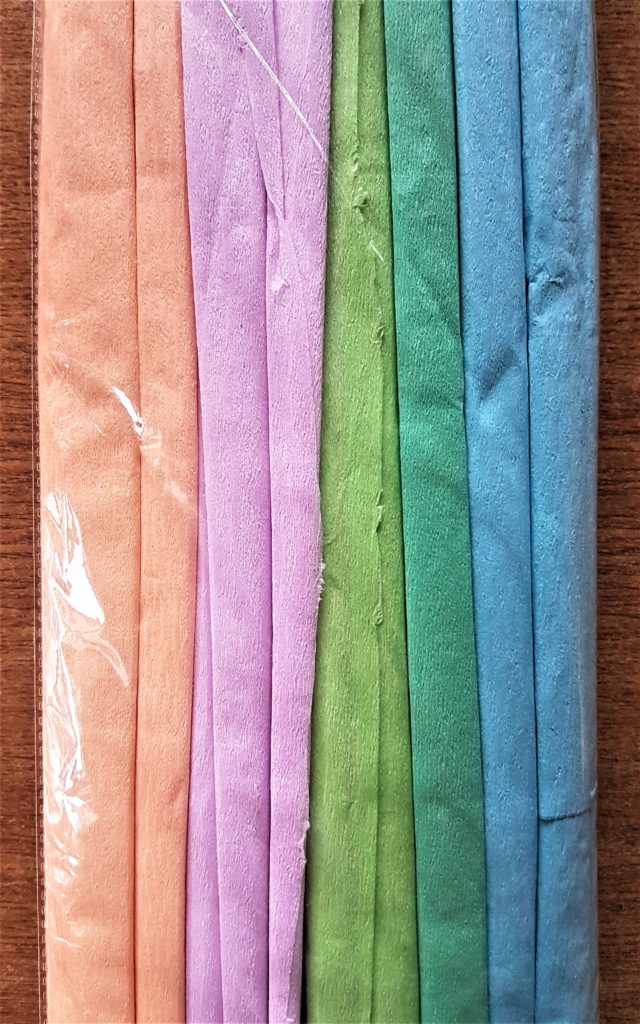
I had a Pack of Crepe Paper that I didn’t use much. I wanted to make use of it and I thought the pastel colours would be perfect for Spring / Easter Decor. Pastel Tissue Paper.
Making the Easter Jars No:1
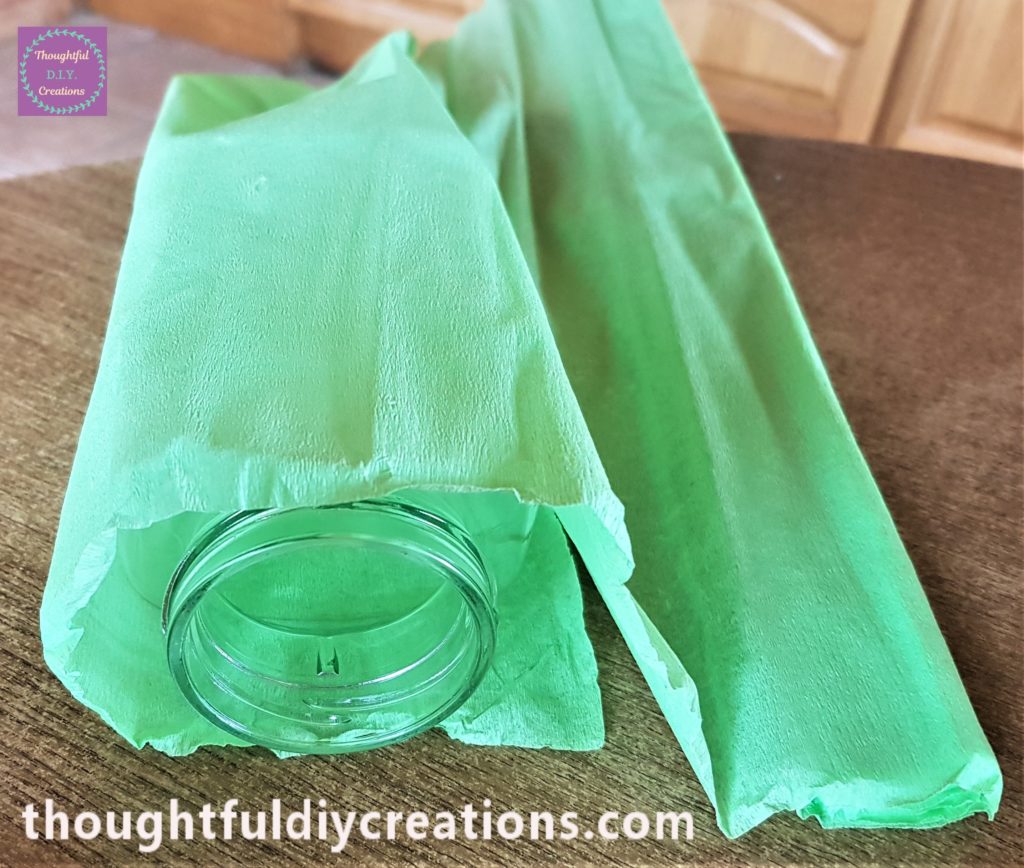
I chose blue crepe paper for the first small jar. I put the jar face down on the crepe paper to get the lenght of the jar.
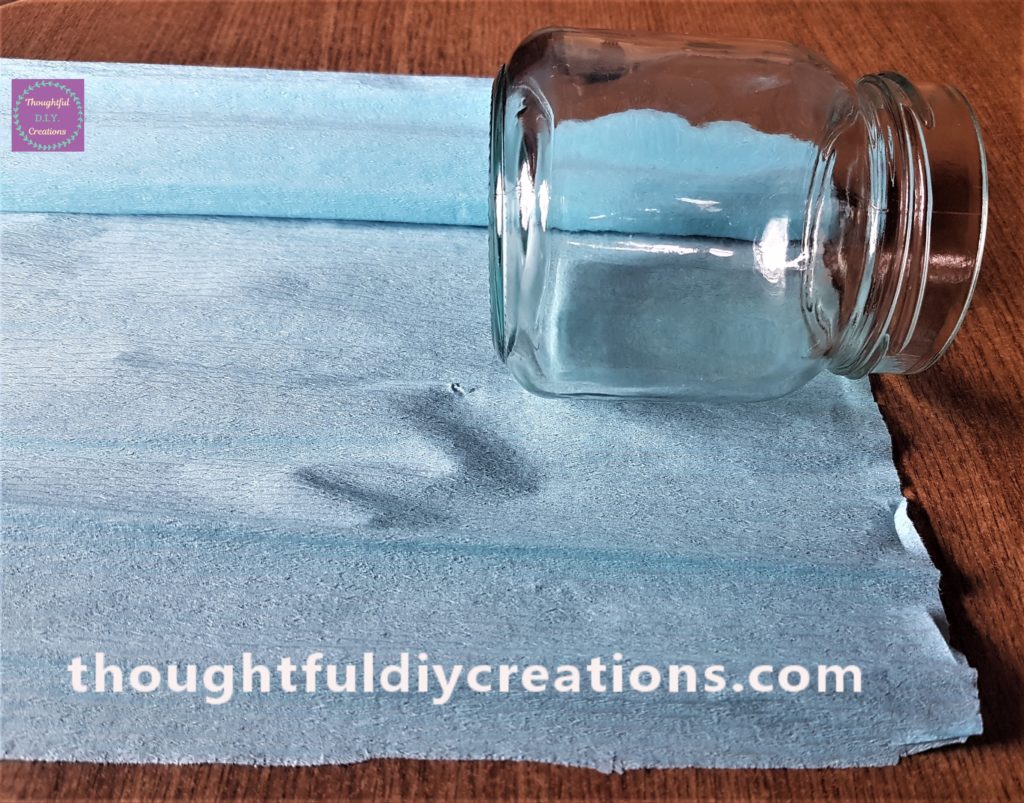
I cut a section on the crepe paper to mark for the length. I then wrapped the crepe paper around the jar to get the width. Pastel Tissue Paper.
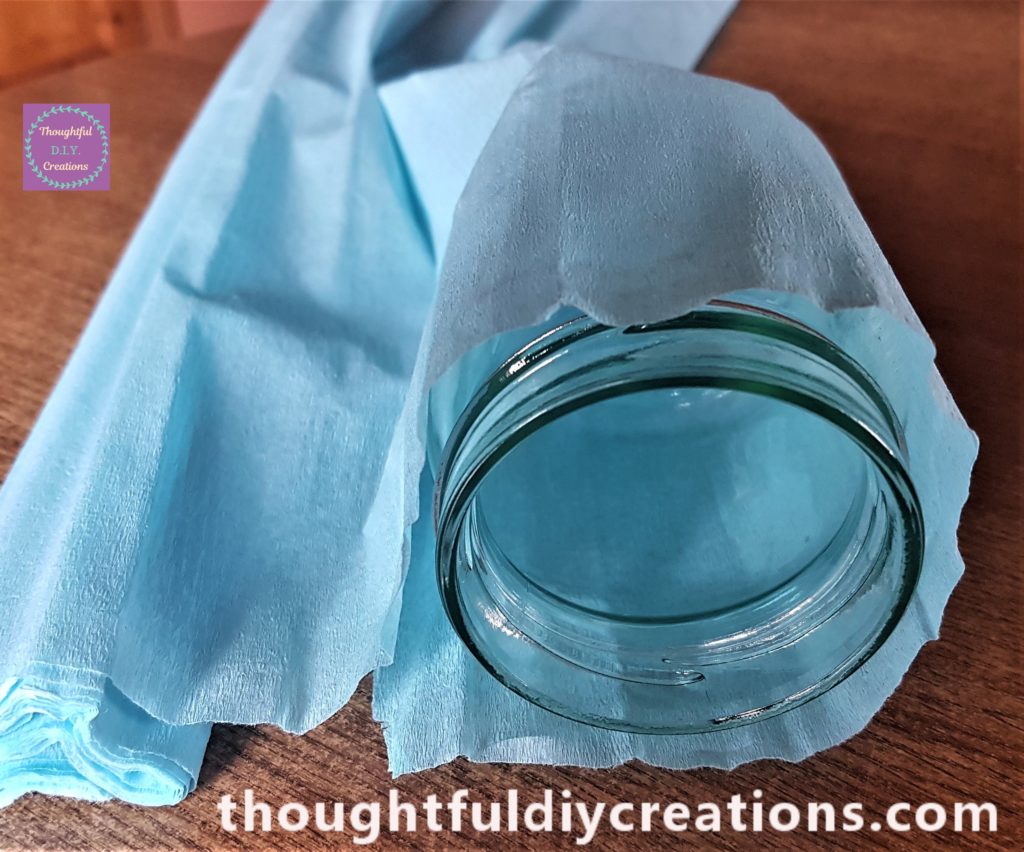
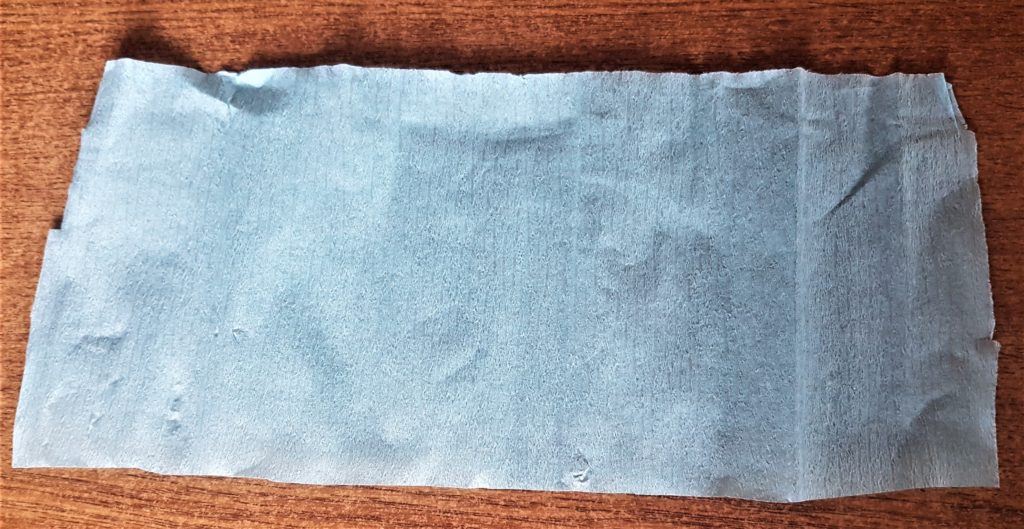
I cut a section of the crepe paper to mark the width. I then removed the jar and cut across both cut marks on the crepe paper.
I got my White PVA Craft Glue. PVA Glue.
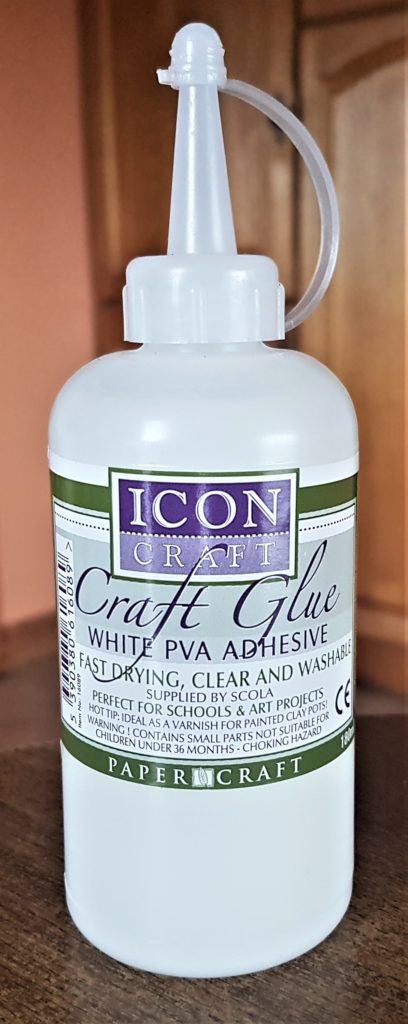
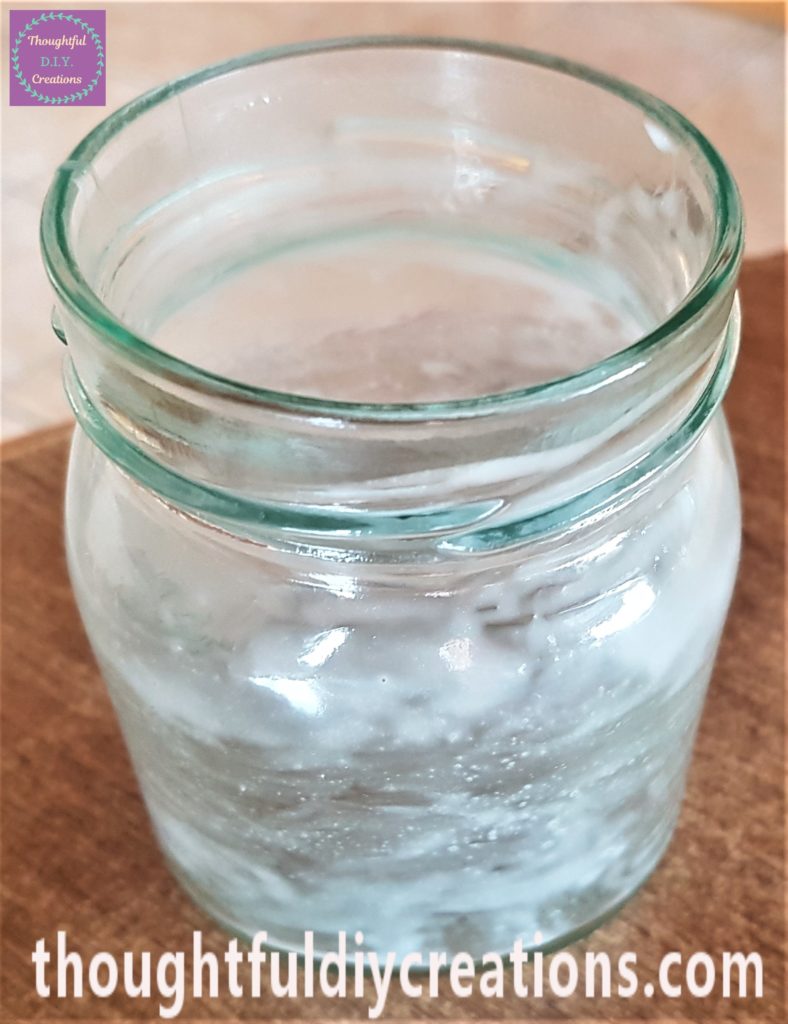
I got a small paintbrush, removed the lid from the glue and dipped the paintbrush into the glue and spread it evenly on the inside of the jar until the sides of the jar were covered with glue. PVA Glue.
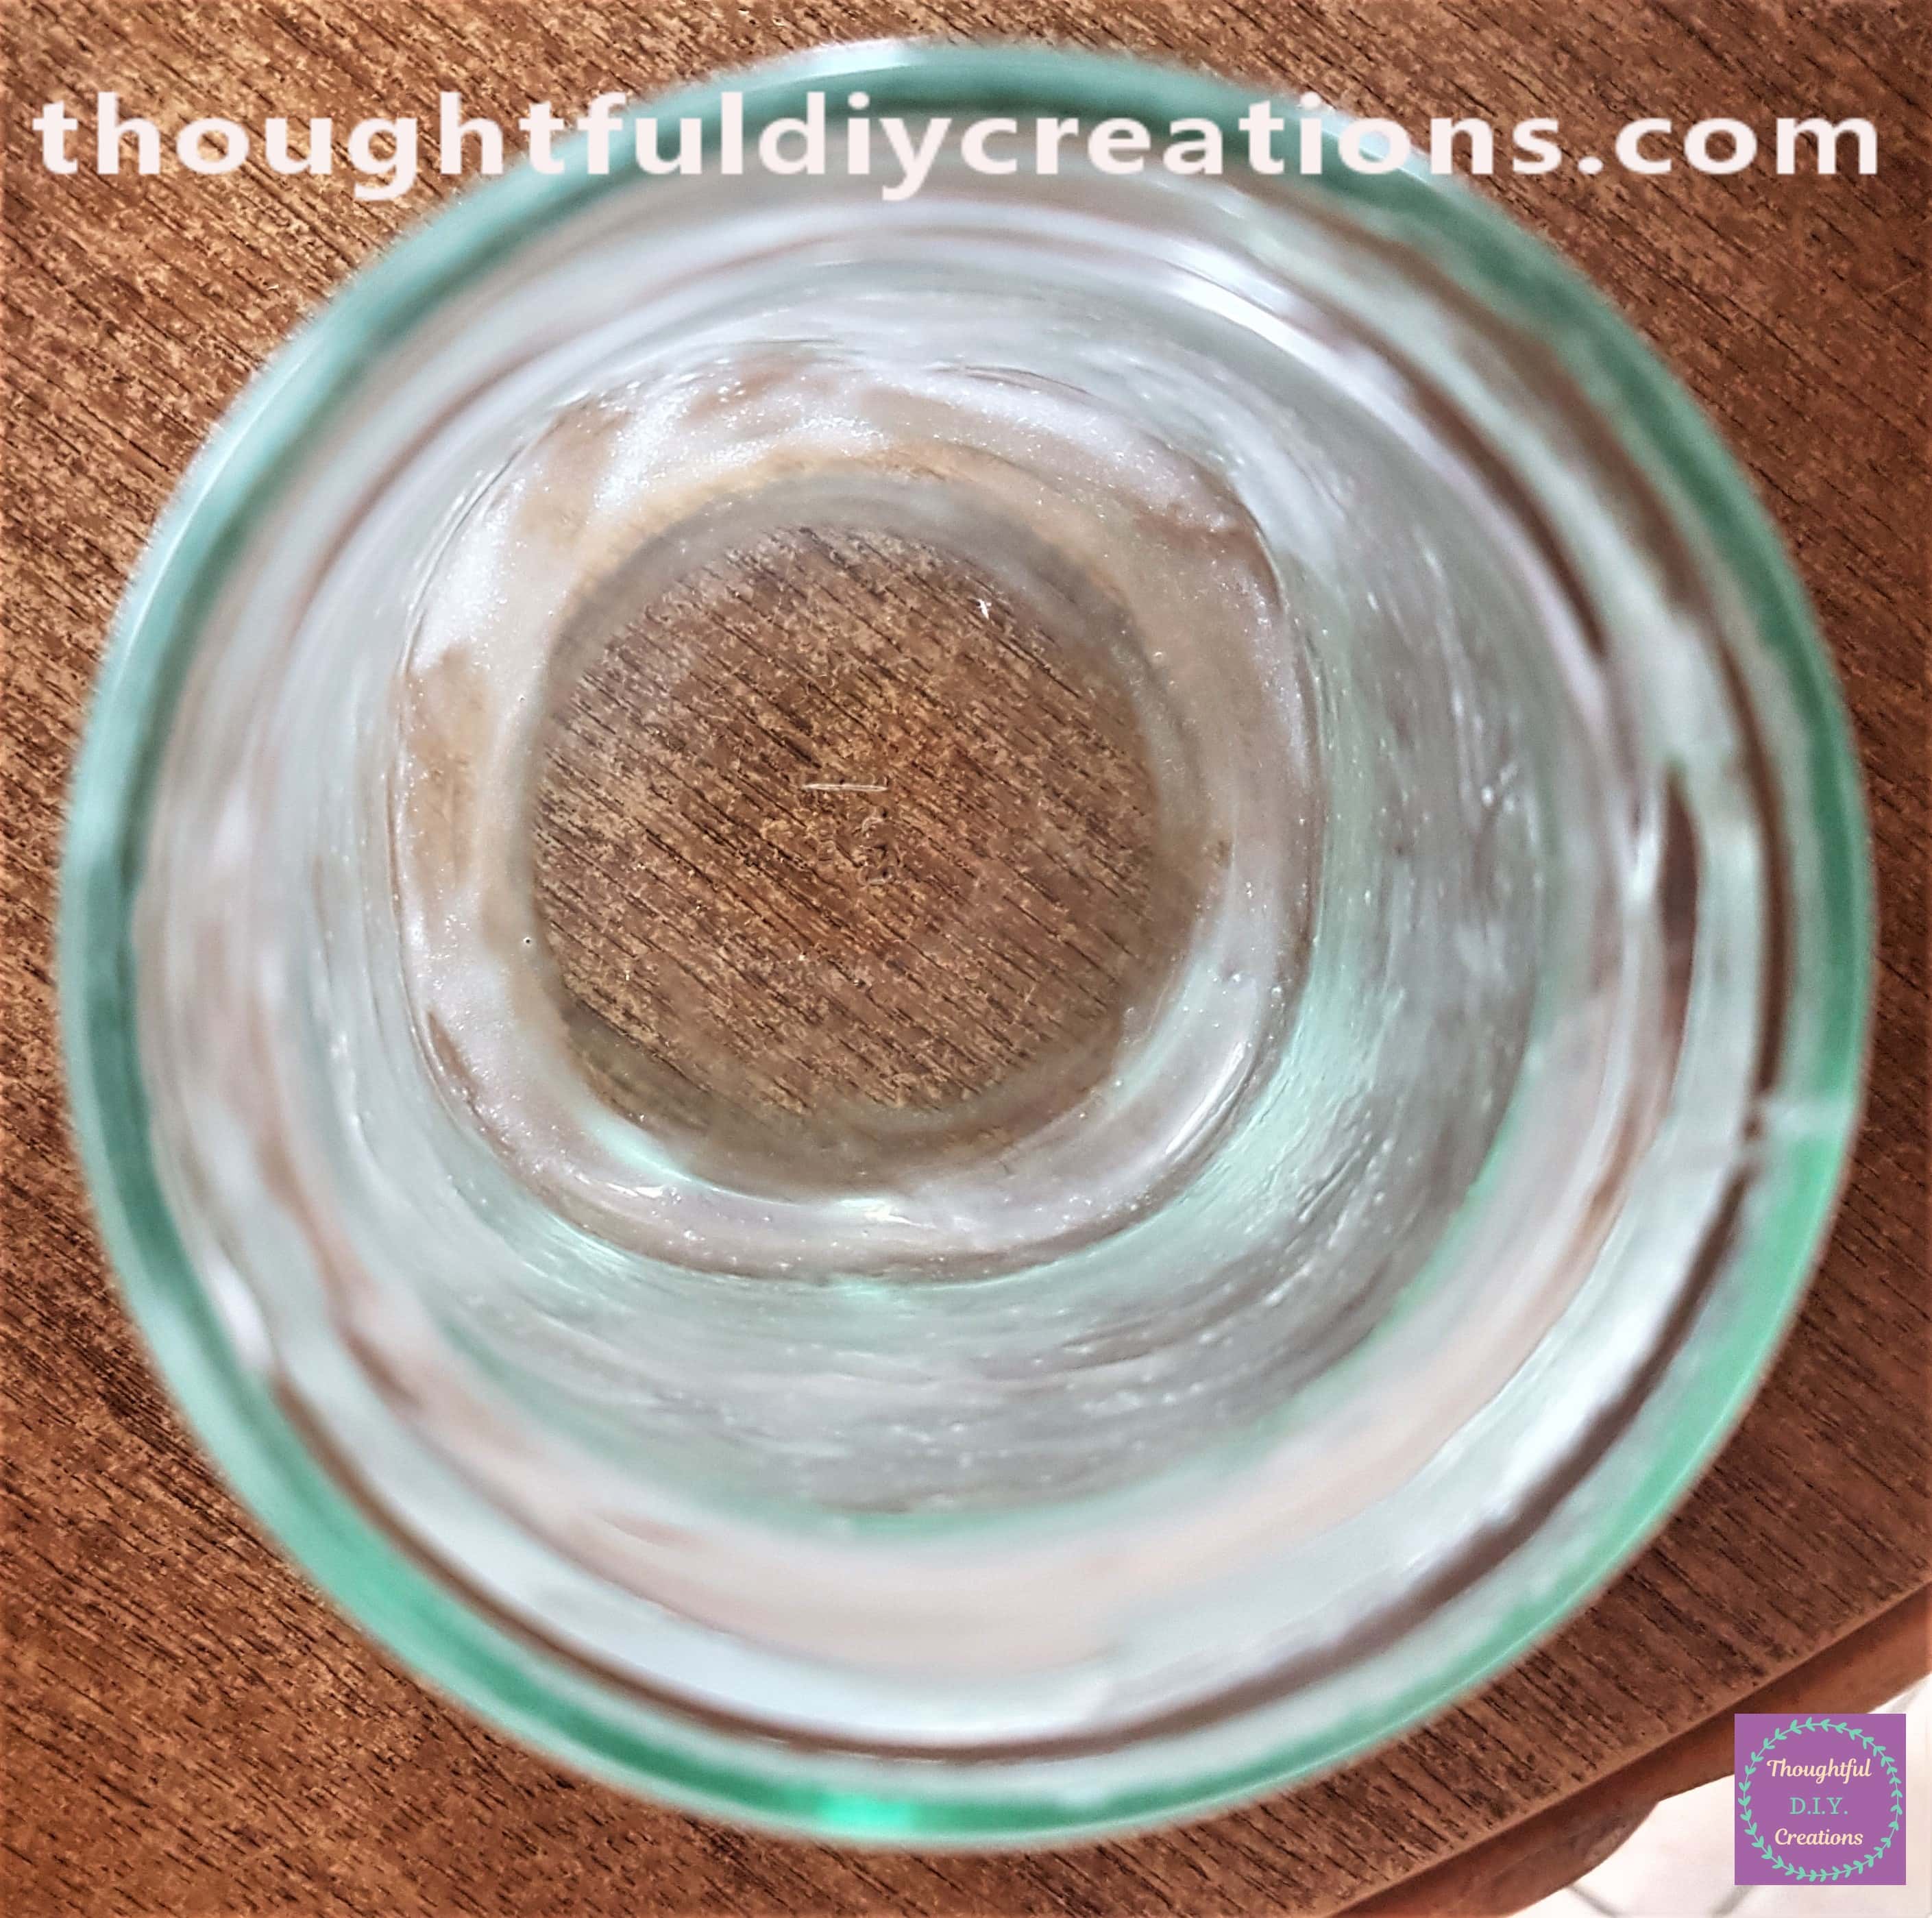
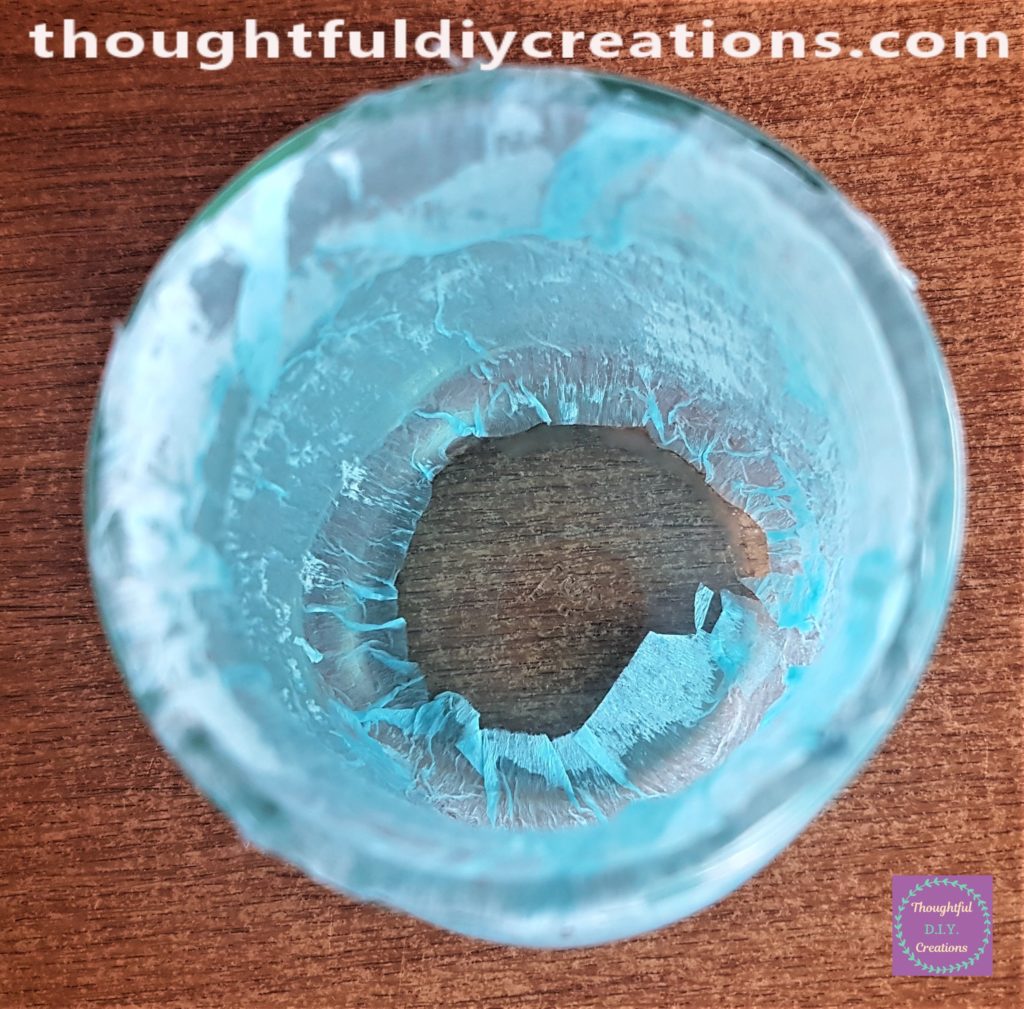
I got the cut section of blue crepe paper and placed it into the jar. I pressed the crepe paper to the bottom of the jar with the handle of the paintbrush. I then smoothed each section of crepe paper to the jar using my fingers. I cut the excess crepe paper from the top of the jar using a scissors.

Making the Easter Jars No:2
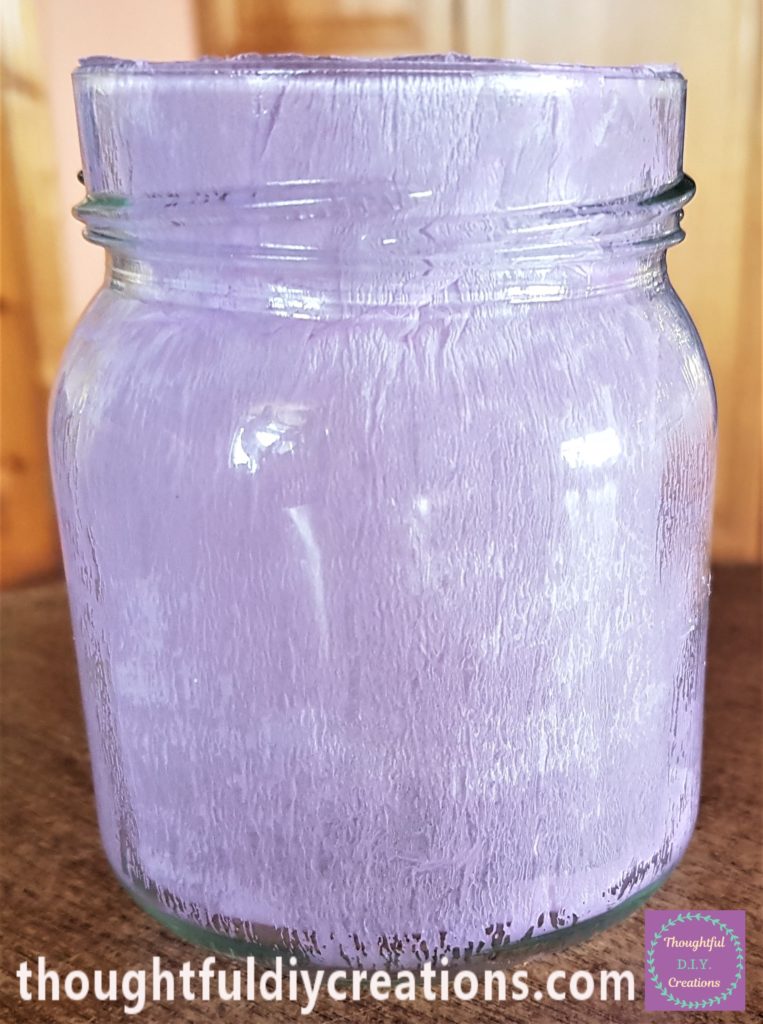
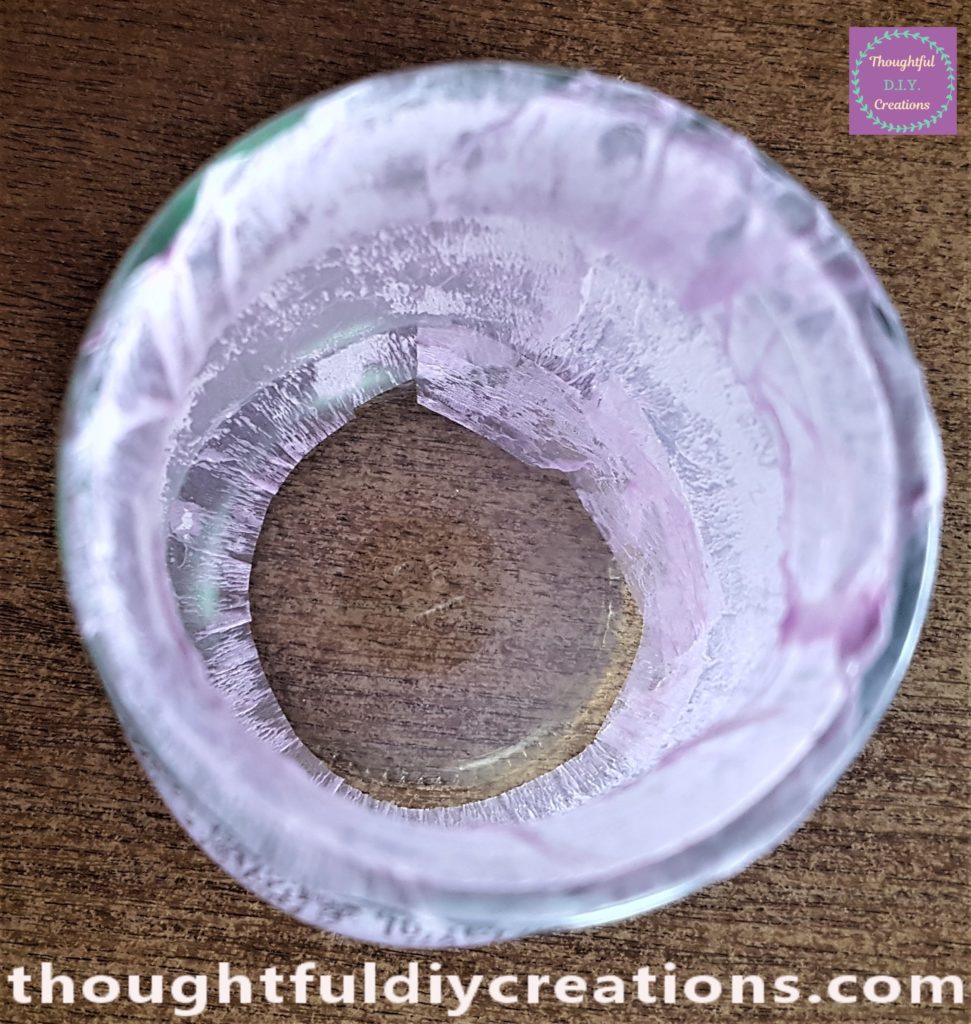
I repeated the same steps with the other small jar. This time I used Pink Crepe Paper. Pastel Tissue Paper.
Making the Easter Jars No:3
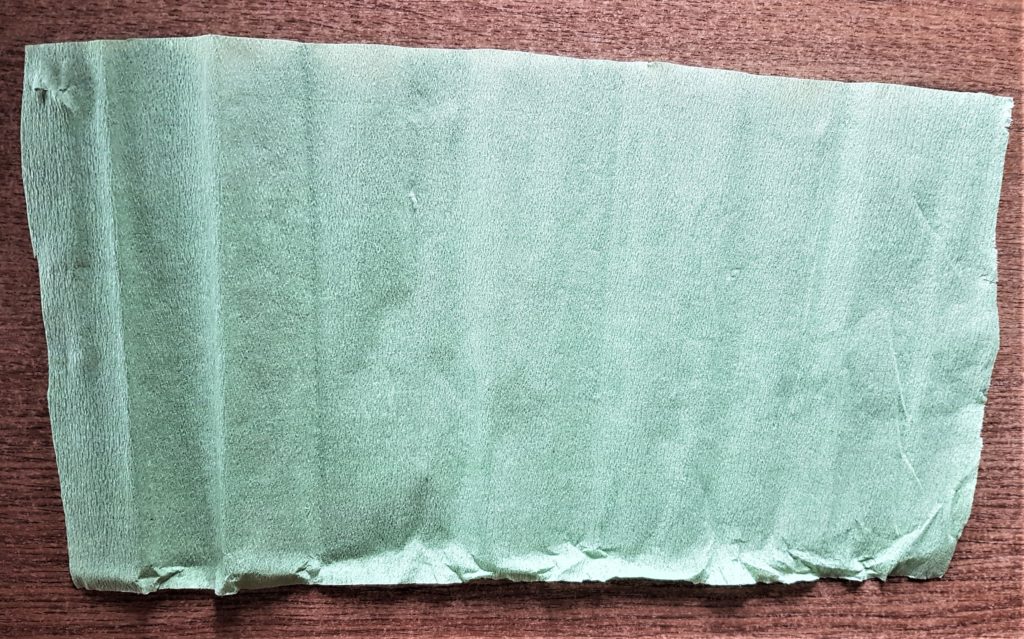
I applied the same steps with the bigger jar. I chose green crepe paper for this jar.
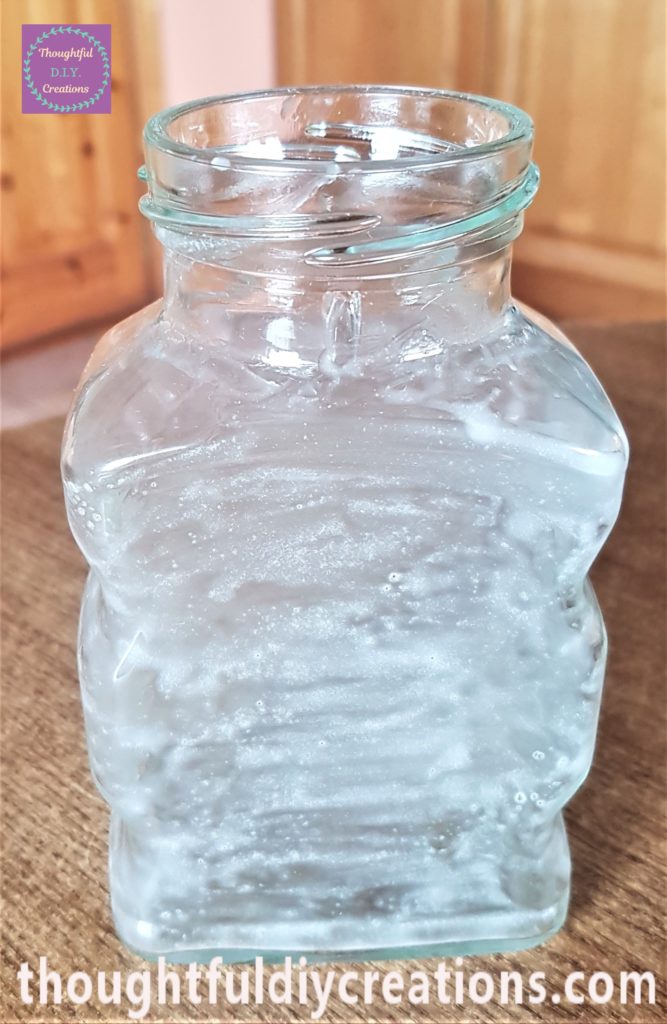
I again applied PVA Glue to the inside of the jar using a paintbrush. PVA Glue.
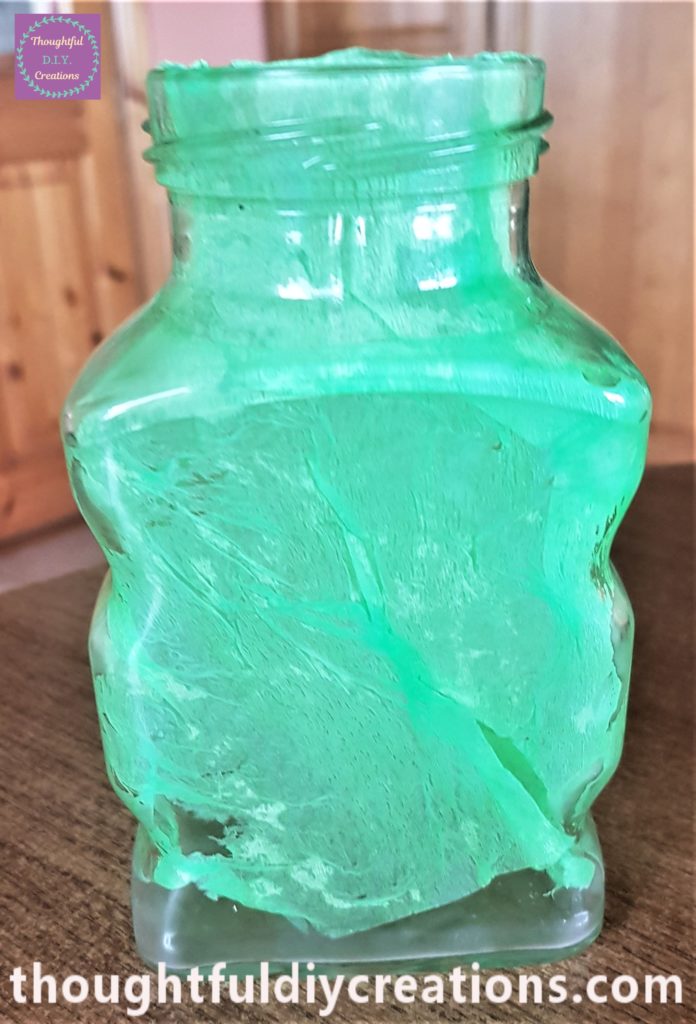
I placed the green crepe paper inside the jar. As the jar was bigger it was a bit harder to get the crepe paper to the bottom of the jar. I smoothed as much of the crepe paper as I could to the jar. Pastel Tissue Paper.
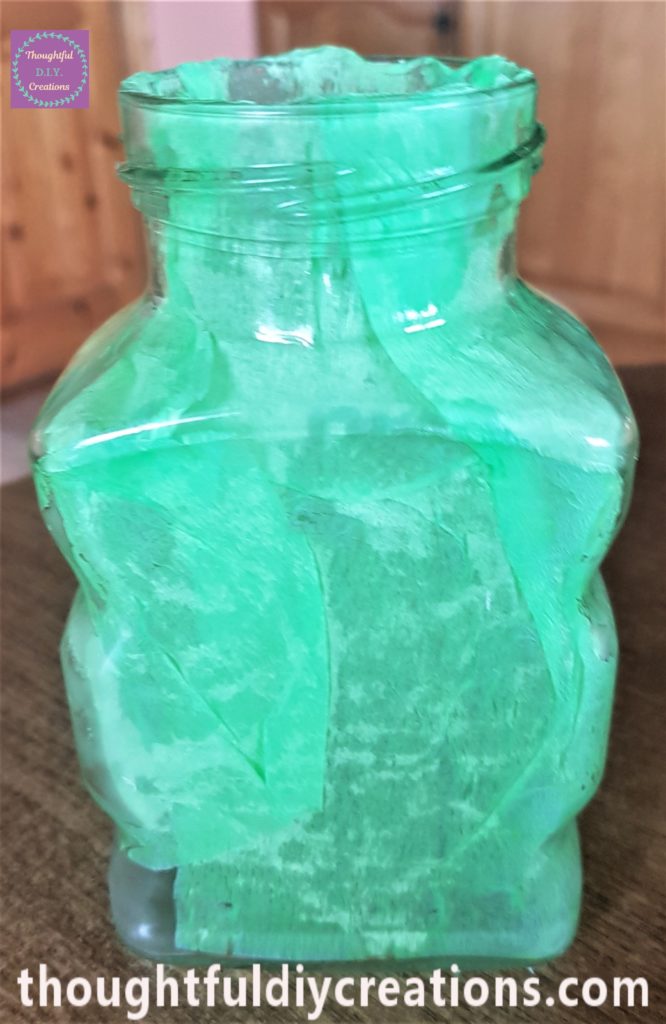
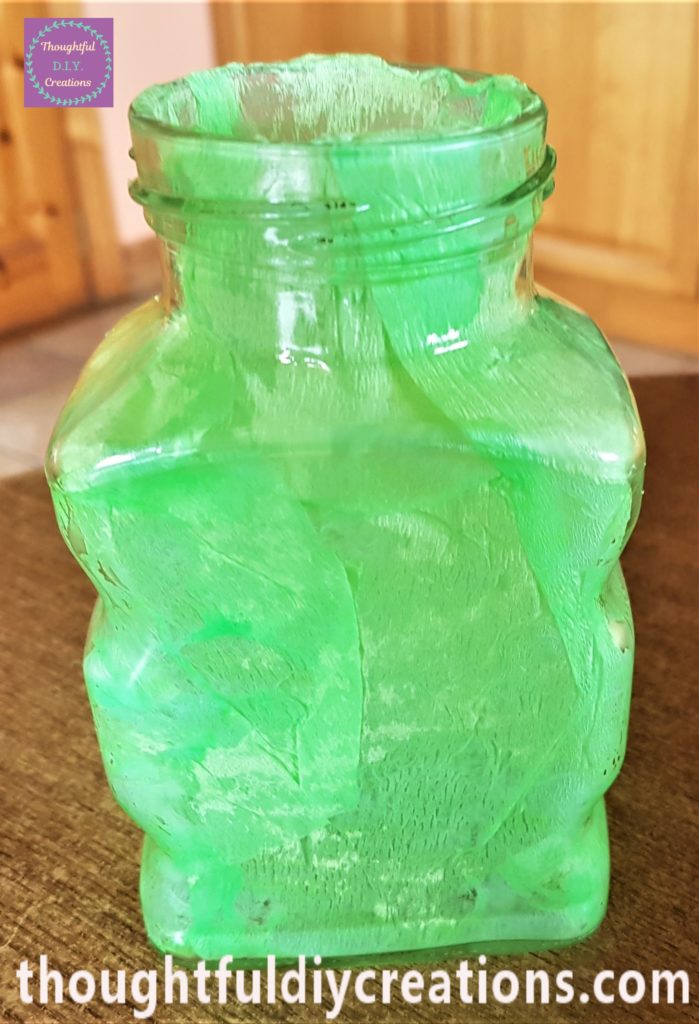
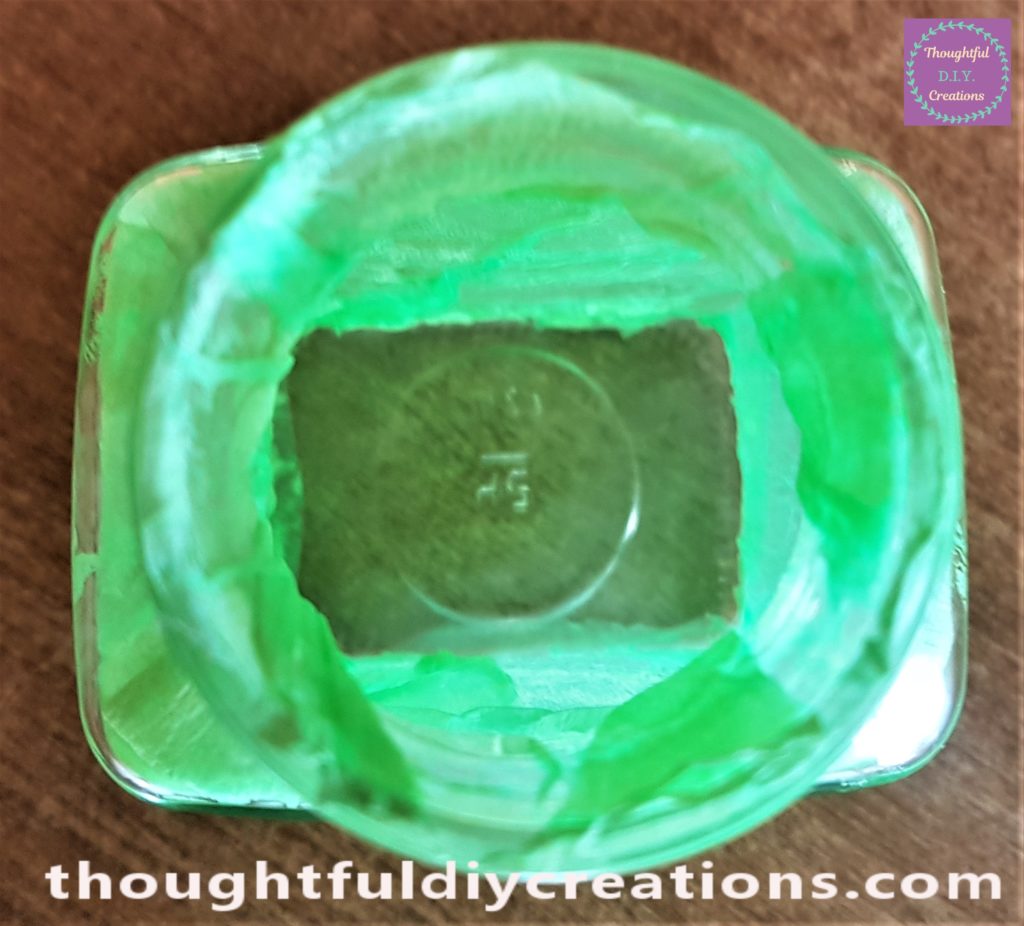
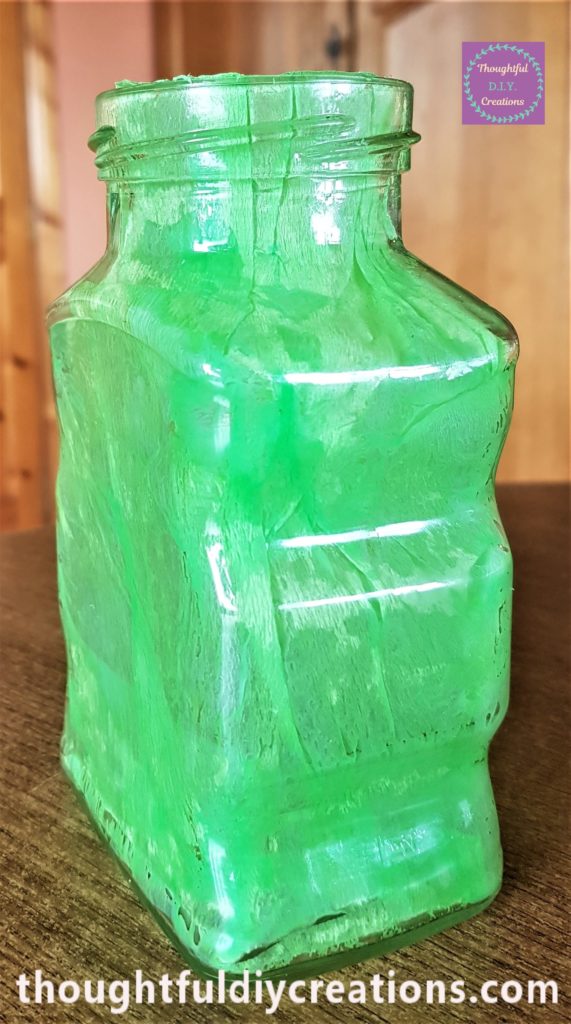
I then cut more green crepe paper and filled in the gaps on the jar. I put the cut piece of crepe paper into the bottom of the jar and then held it to the gap on the jar with the handle of the paintbrush. I added a little more glue over the crepe paper to keep it in place. I did this until each side of the jar was covered with crepe paper.
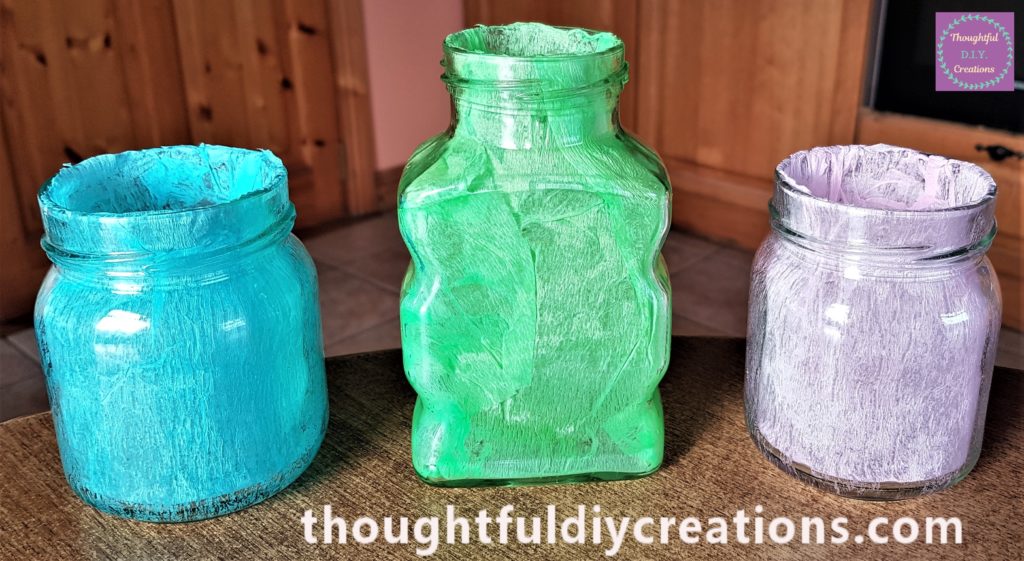
I now had all 3 jars covered with crepe paper.

Decorating the Lid of the Middle Jar
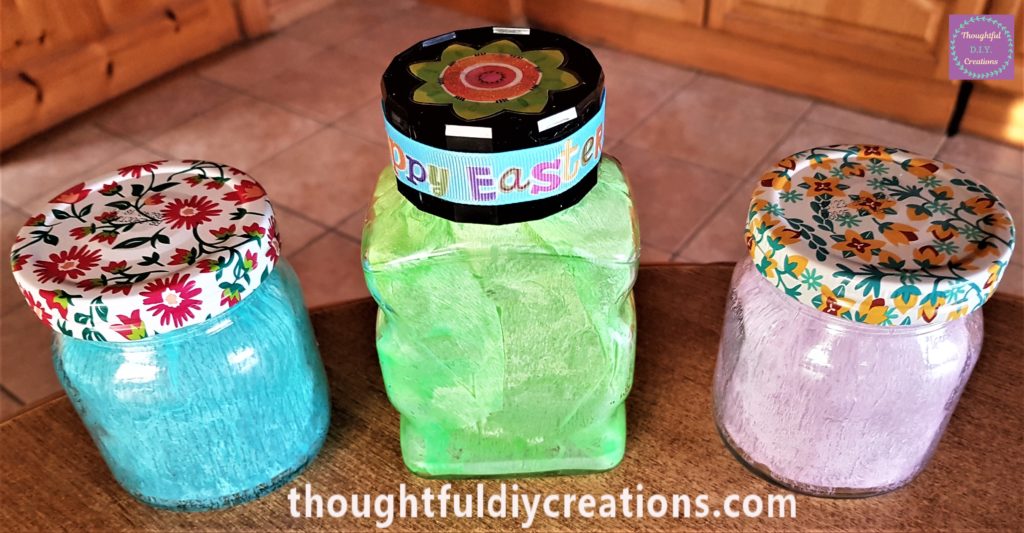
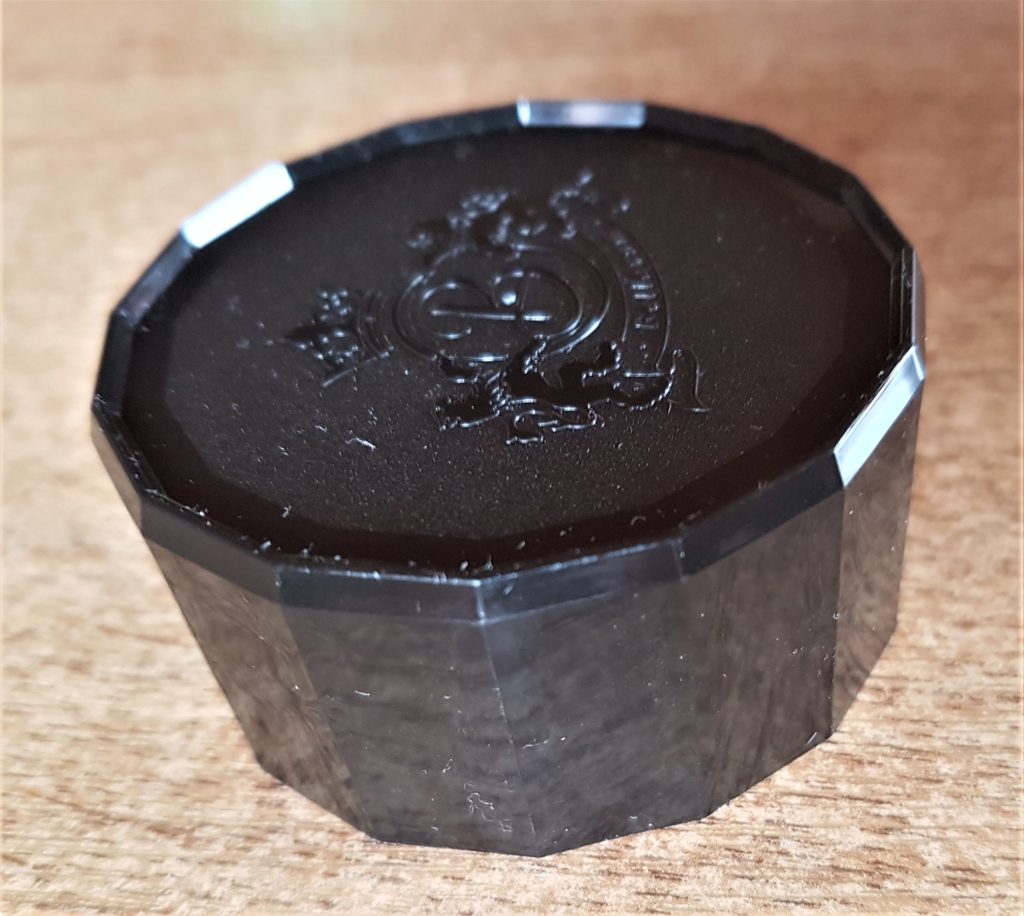
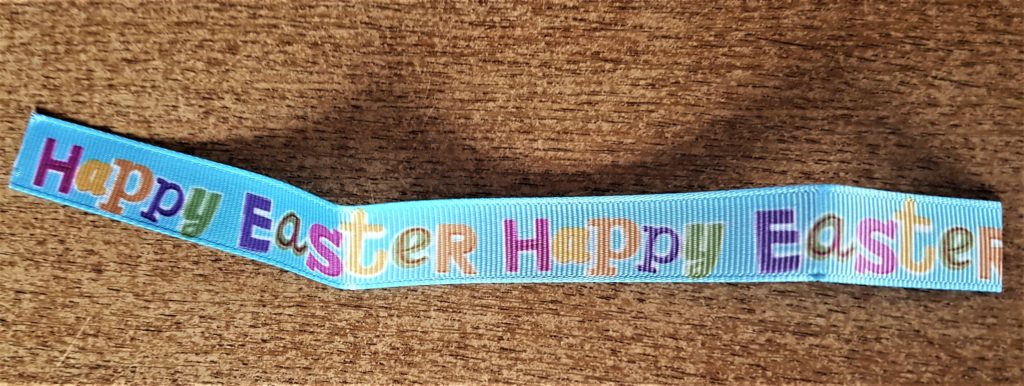
I allowed the glue to dry fully overnight. I am leaving the 2 flower lids as they are because I think they blend in with the Easter theme. I decided to decorate the black lid. I had a Pack of Easter Ribbons that I thought would complement the lid. Decorative Easter Ribbons.
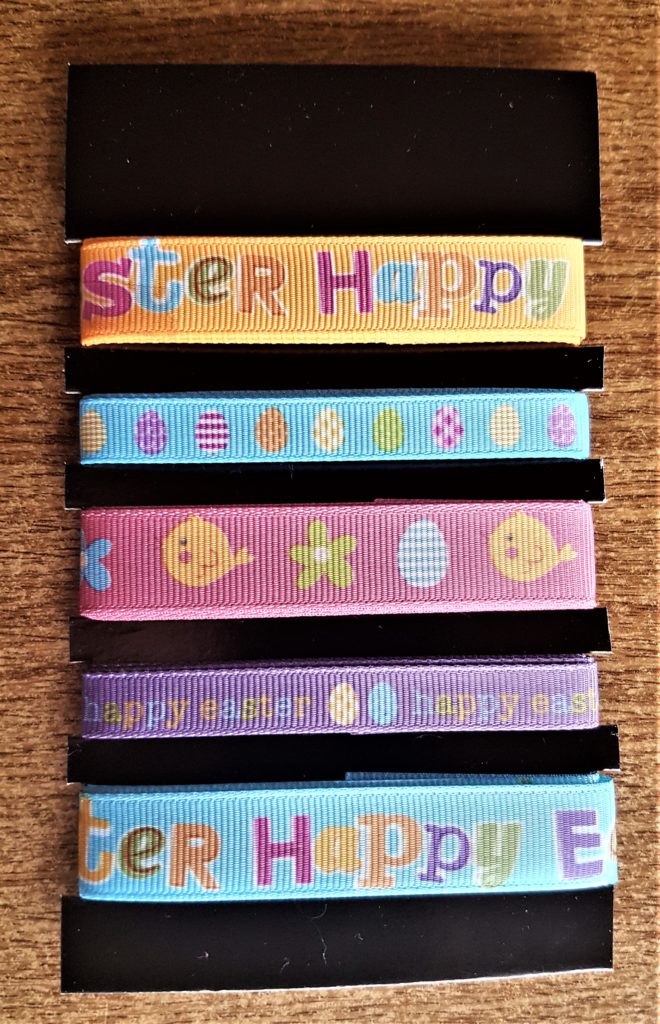
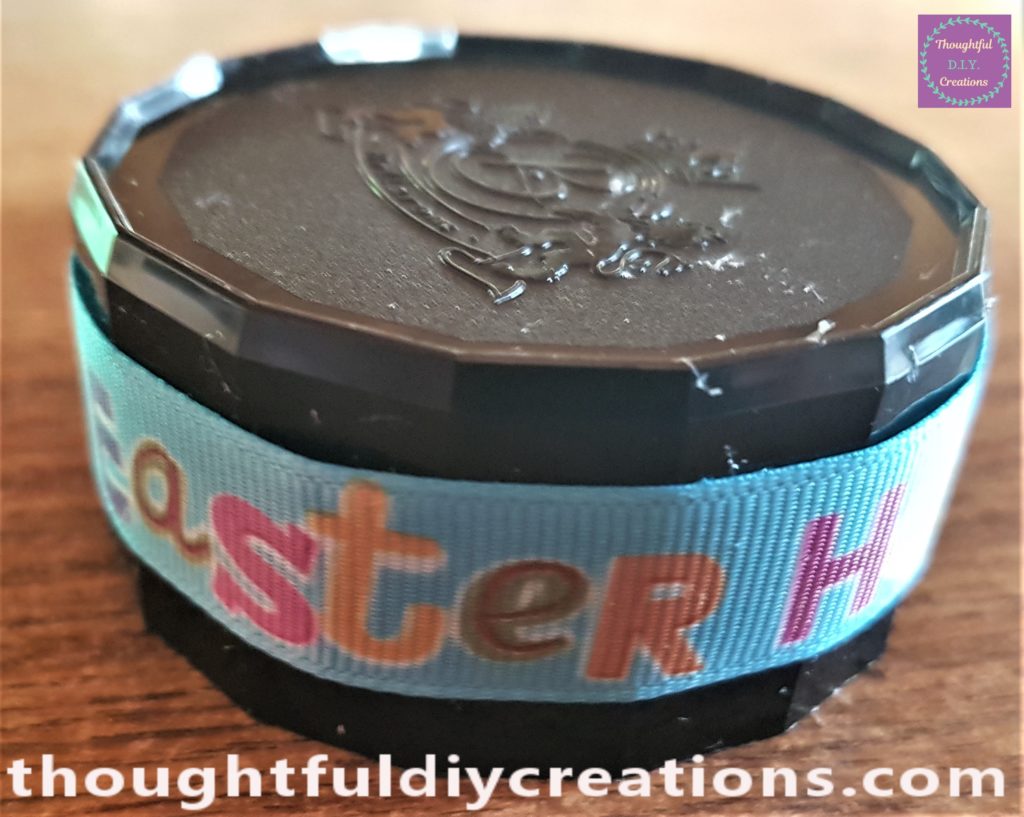
I chose the last blue ‘Happy Easter’ ribbon. I measured it around the side of the lid and cut it. Decorative Easter Ribbons.
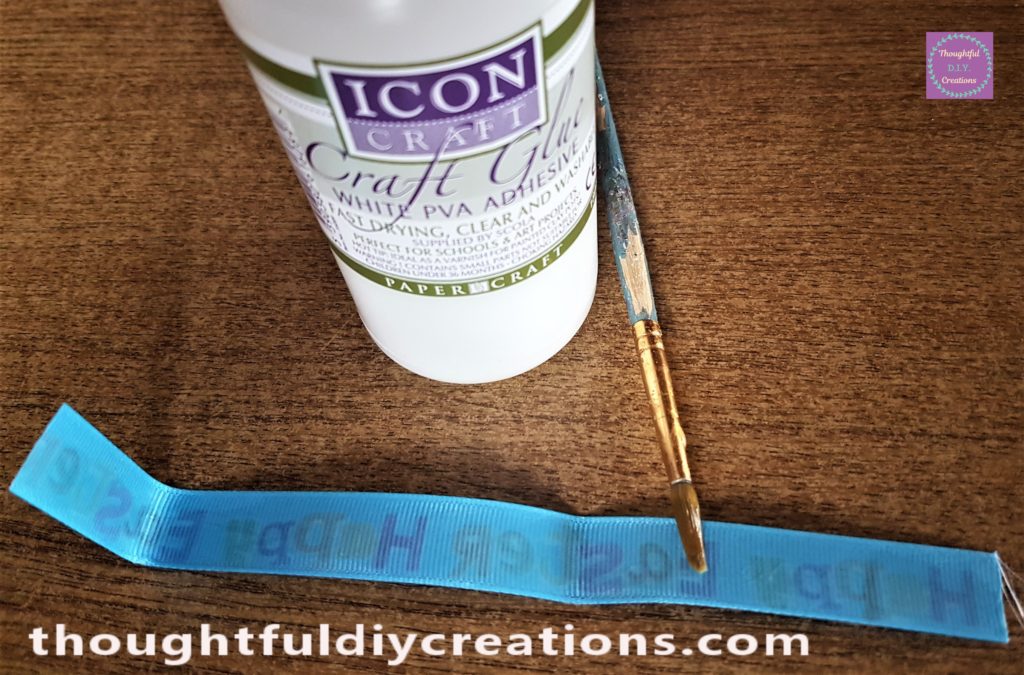
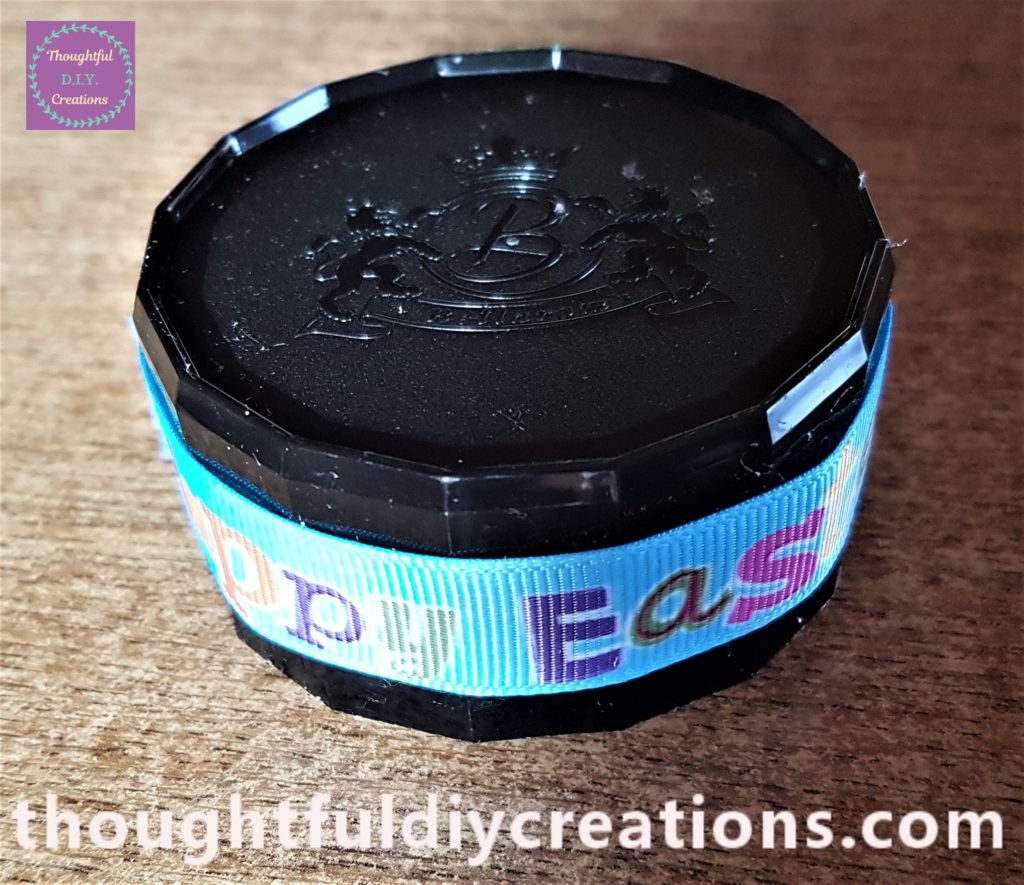
I put PVA Glue on the back of the ribbon with a small paintbrush. I then attached the ribbon to the side of the black lid. PVA Glue.
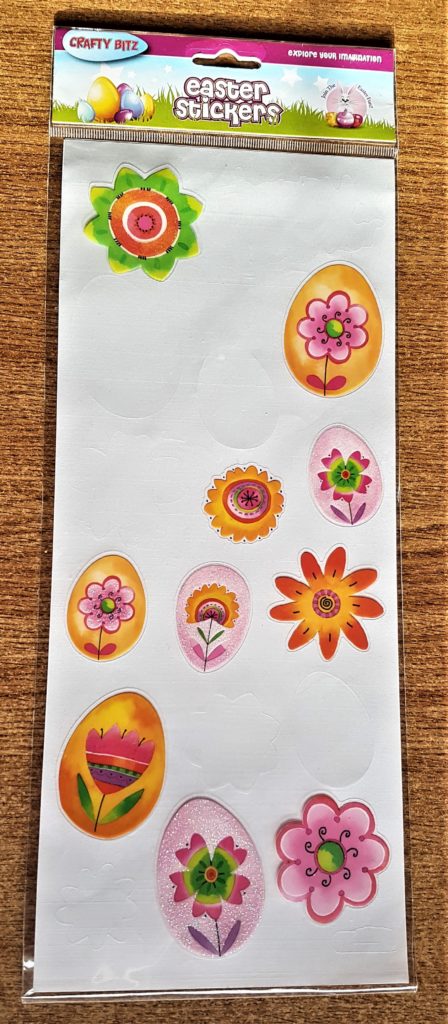
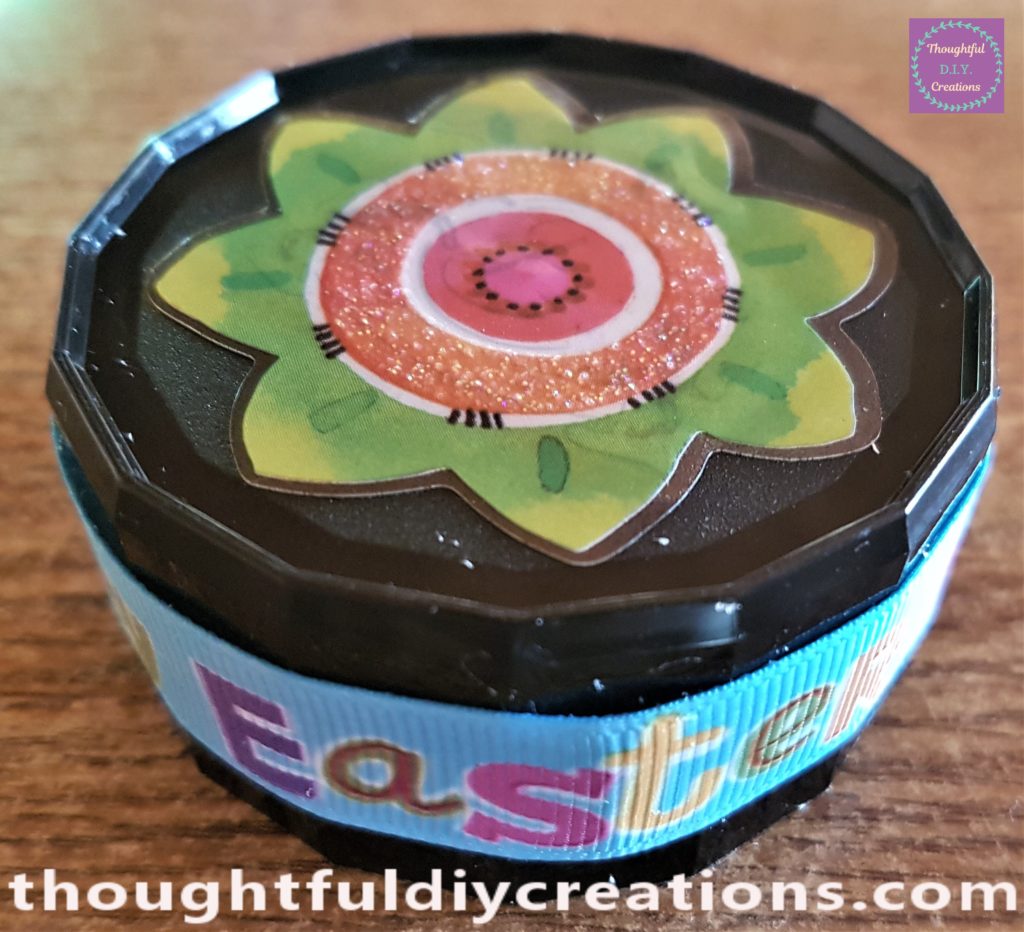
I wanted to cover up the logo symbol on the front of the lid so I had a look in my supplies. I found some Easter Stickers. I chose a flower which was the perfect size and the colour matches the jar. Easter Stickers Pack.
This is the decorated lid with the 2 flower lids. Easter Stickers Pack.

Printing the Silhouettes for the Easter Jars
I wanted to decorate the Easter Jars with Easter inspired pictures. I looked up Google Images. I typed ‘Bunny Silhouette’ into the Search Bar. I found a free-to-use Image I liked. I saved it to my Computer. I then typed ‘Lamb Silhouette’ and ‘Easter Chick Silhouette’ and saved the images I liked best.
I Clicked ‘My Documents’ and clicked the first image I had saved. I pressed the Shift Key on my computer and highlighted the other 2 images. I right-clicked my mouse and clicked Print from the options. I clicked the Size Wallet (9) and unticked the Box that says ‘Fit Picture to frame’ to ensure I wouldn’t lose any of the image. I clicked Print when I was happy with everything and printed the images on regular printer paper. Printer Paper Pack.
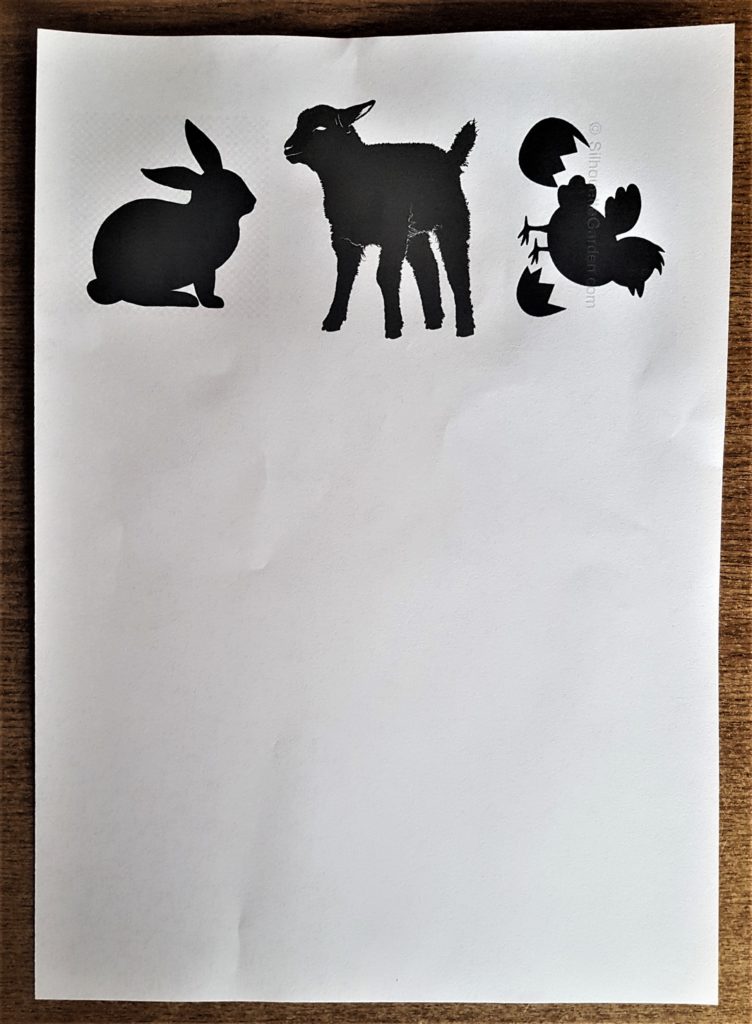
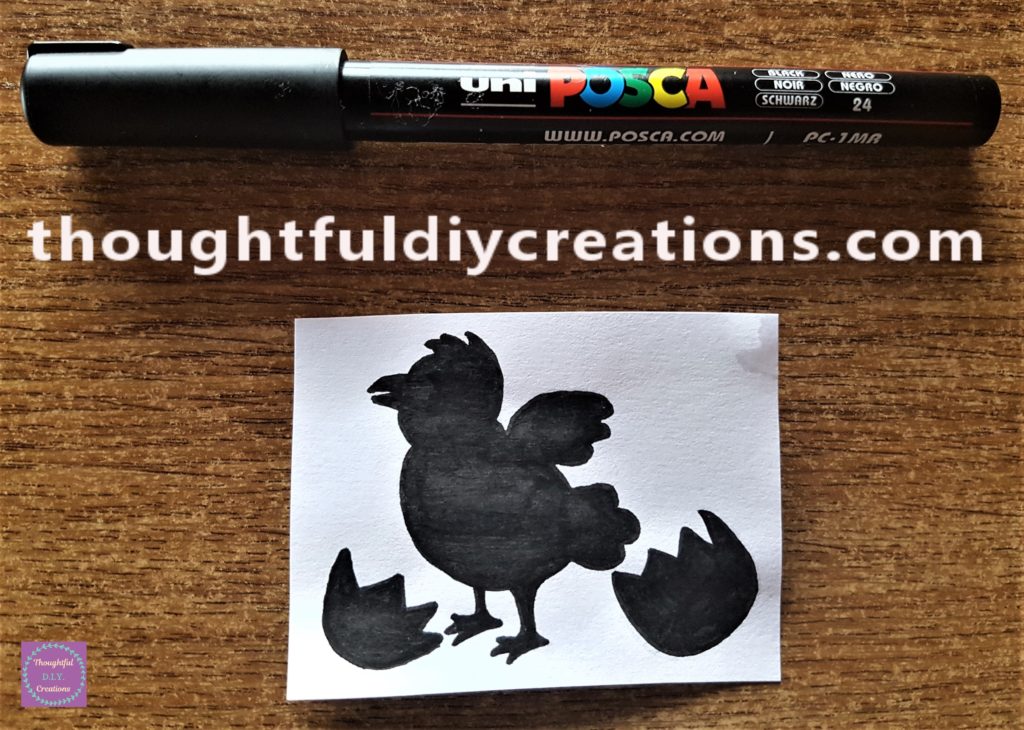
I cut around each image. I wanted the Easter chick to face the other way on my jar so I turned the image around and traced over the image and filled it in with a ‘uni POSCA Paint Pen in Black 0.7mm’. Uni Posca Black Paint Pens.
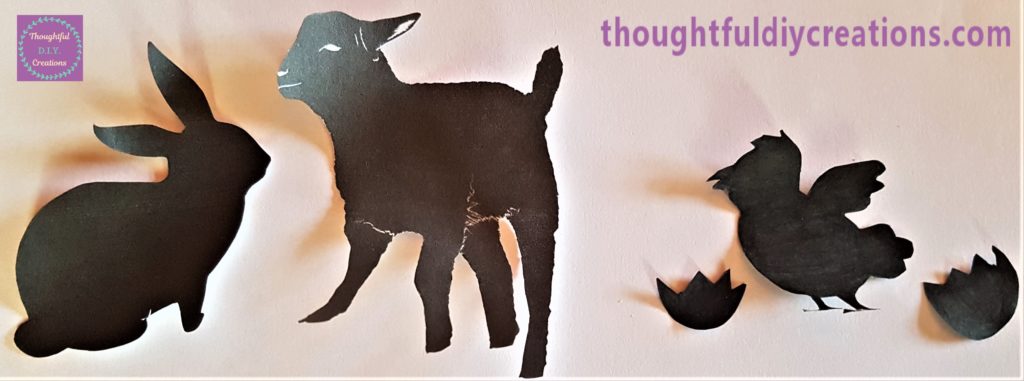
I cut out each of the Silhouettes using a small, sharp scissors.
Easter Jars the following Day
The glue dried nicely to the jars overnight. This is how they looked the next morning.
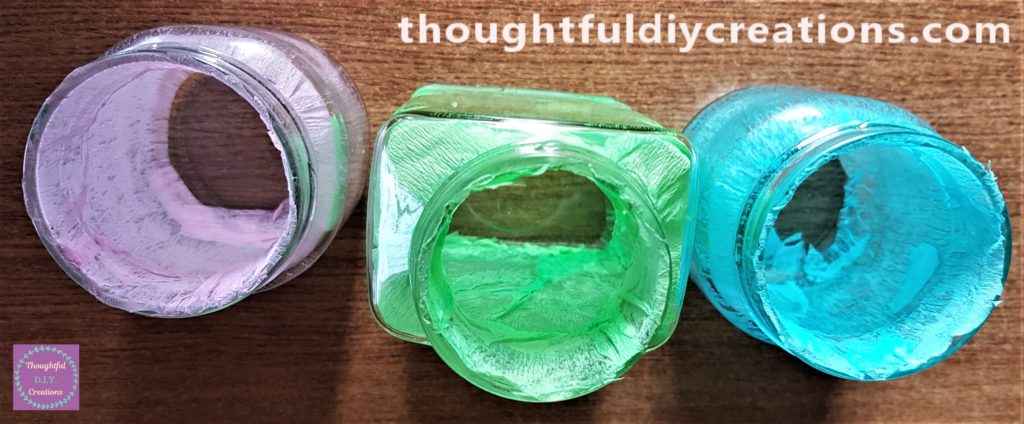
I put the lids back on each of the jars.
Attaching the Images to the Jars
I put Pritt Stick on the back of the Bunny Silhouette. Pritt Stick.
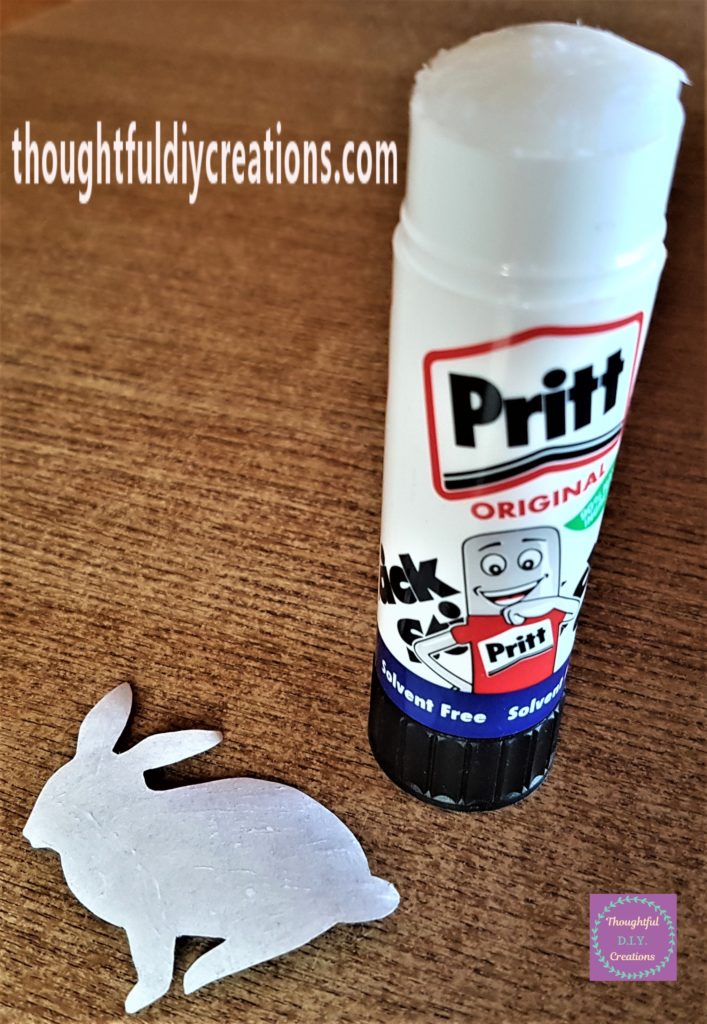
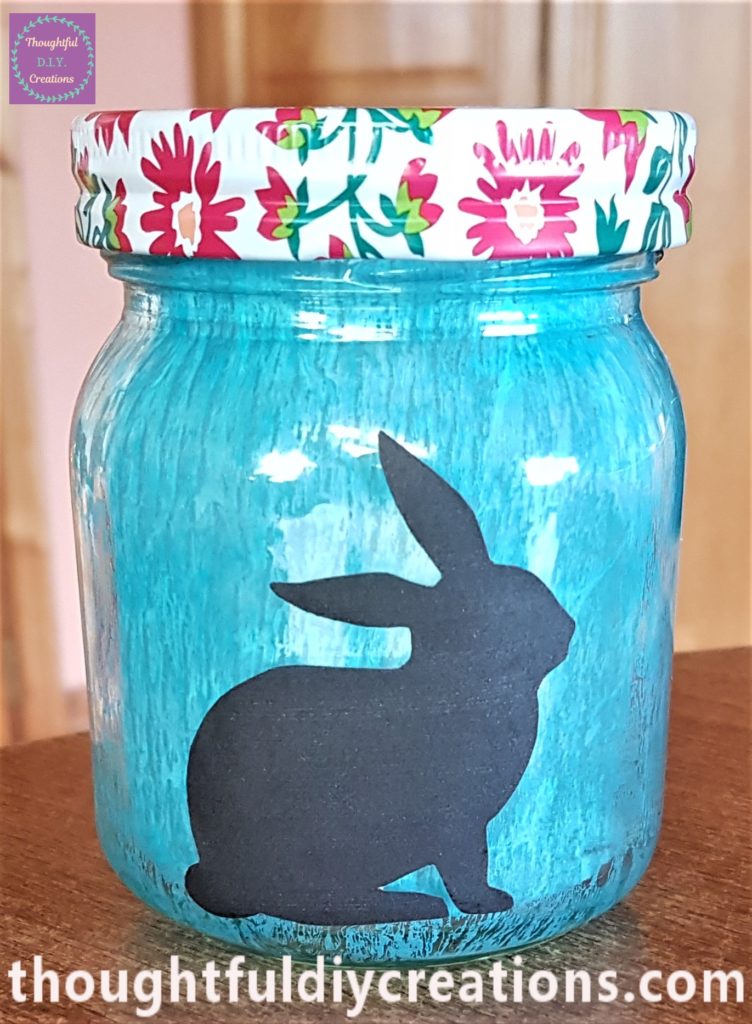
I attached the Bunny Image to the first of the Easter Jars.
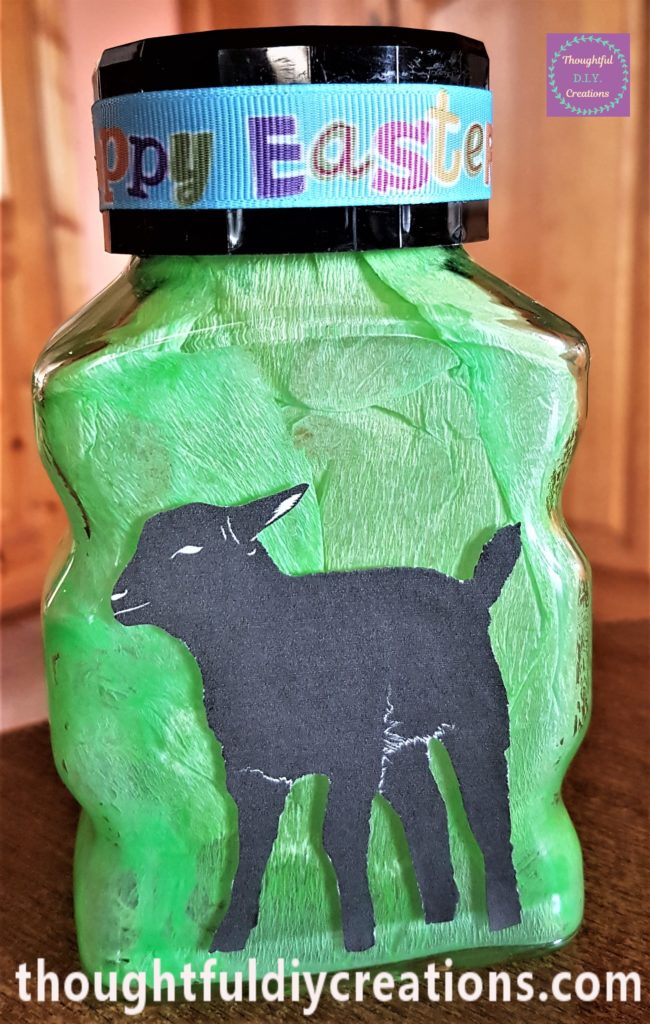
I adhered the Lamb Silhouette to the second of the Easter Jars.
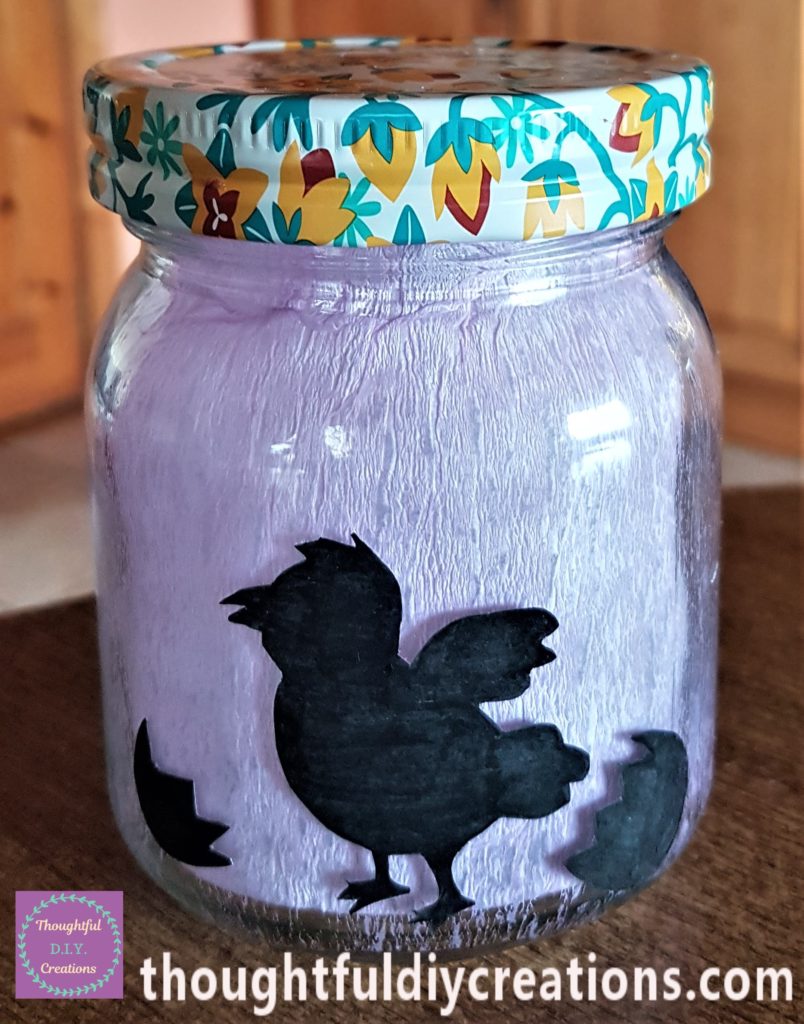
I attached the Egg and Chick Silhouette to the last of the Easter Jars. Pritt Stick.
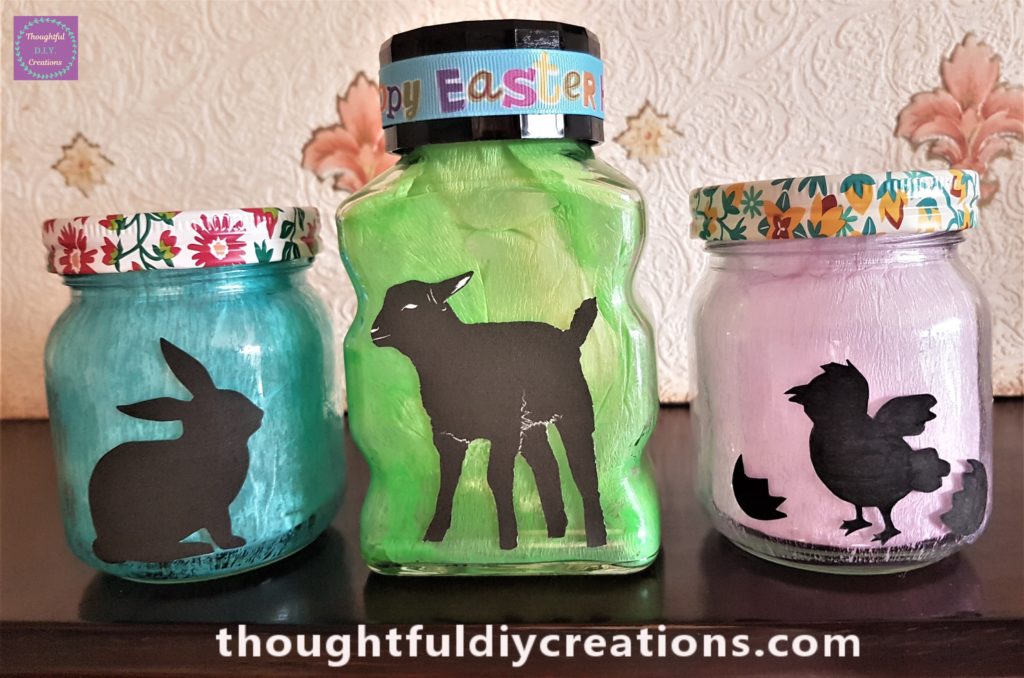
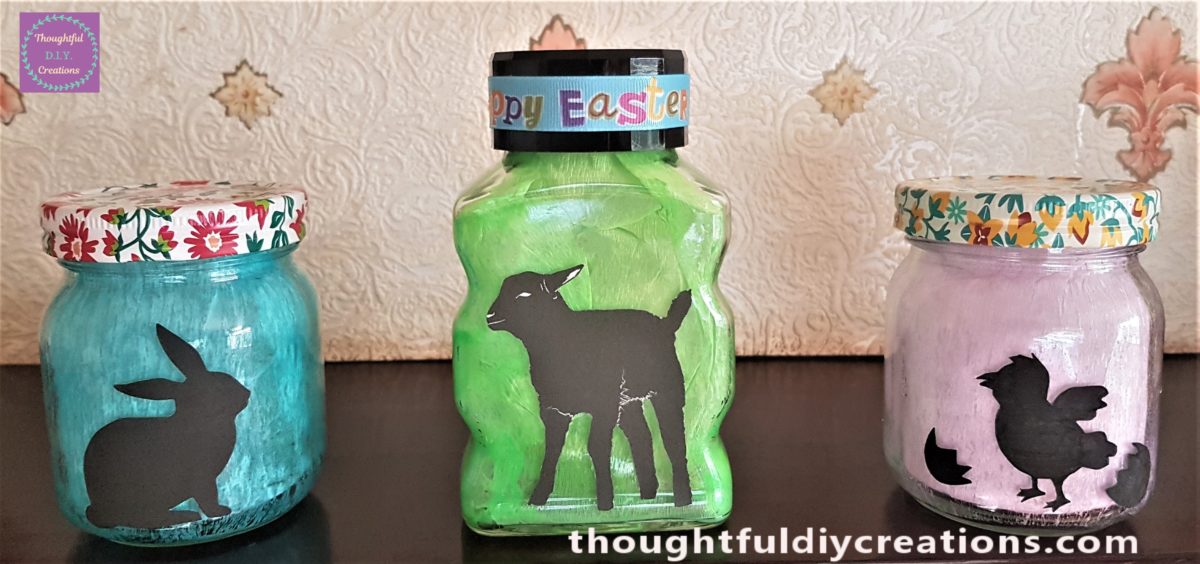
This Completed the Easter Jars Craft.
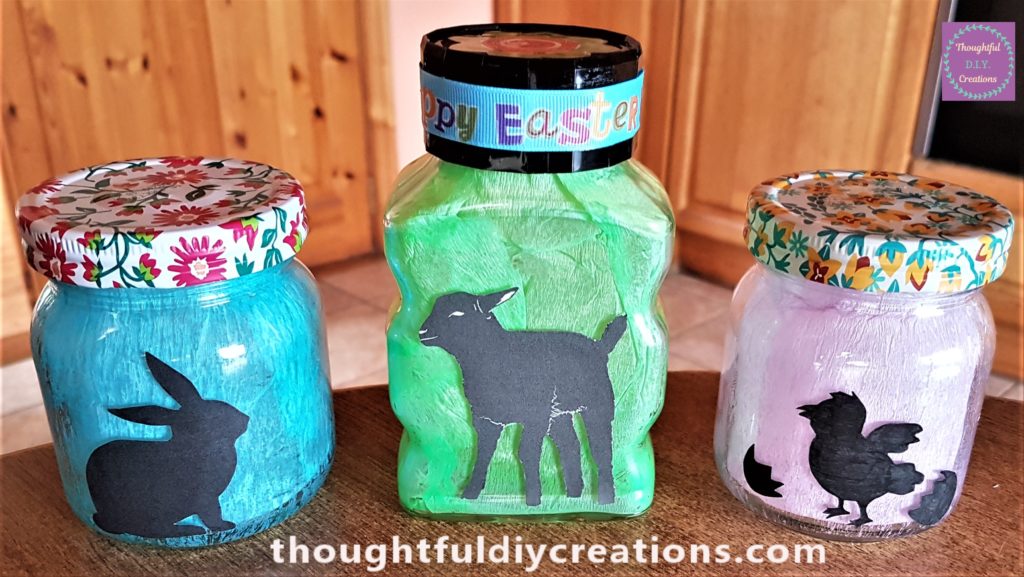
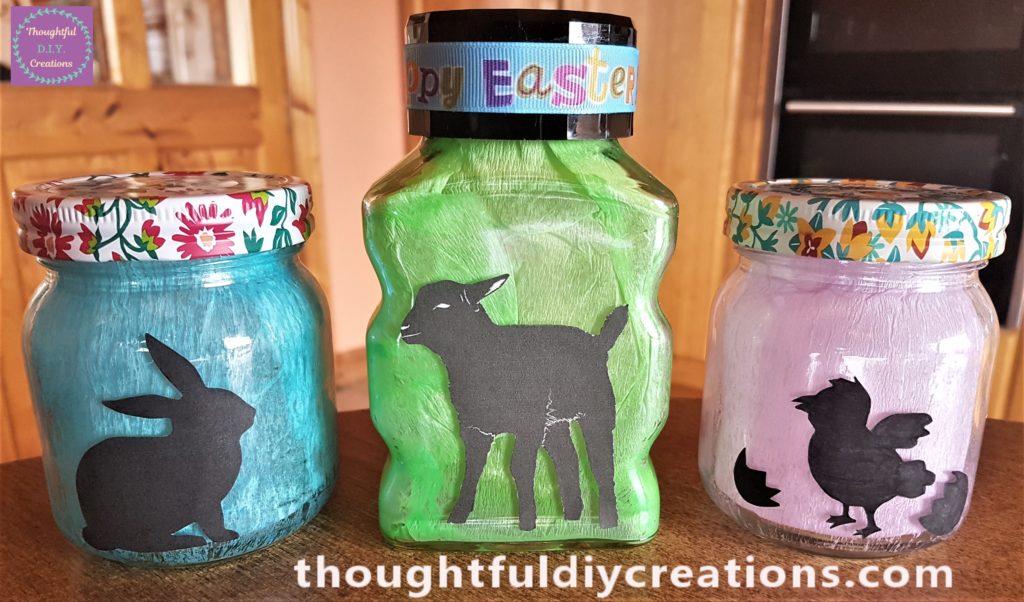
Here are some more Images of the finished Easter Jars.
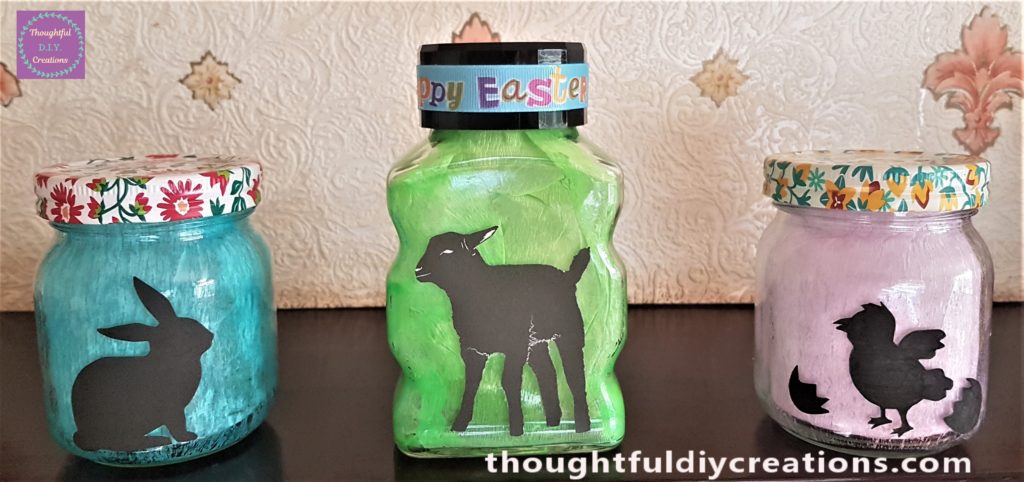
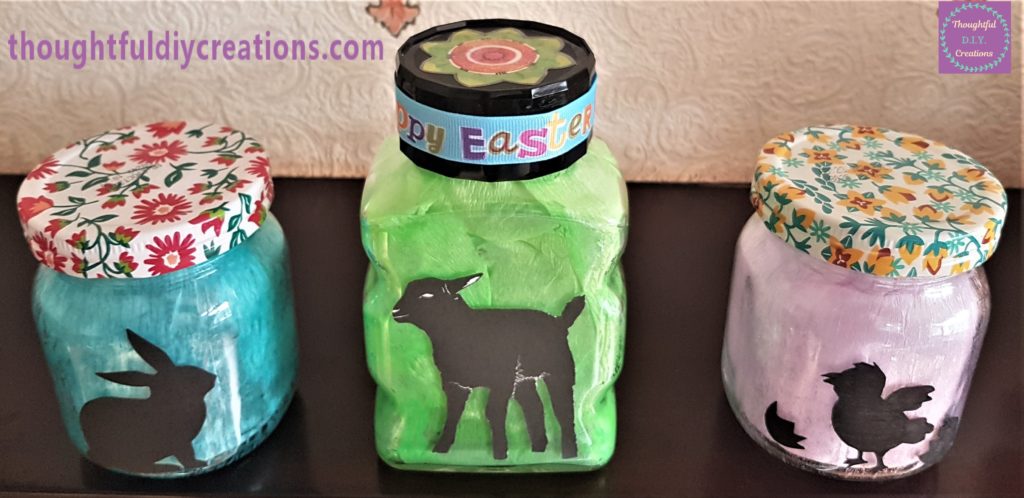


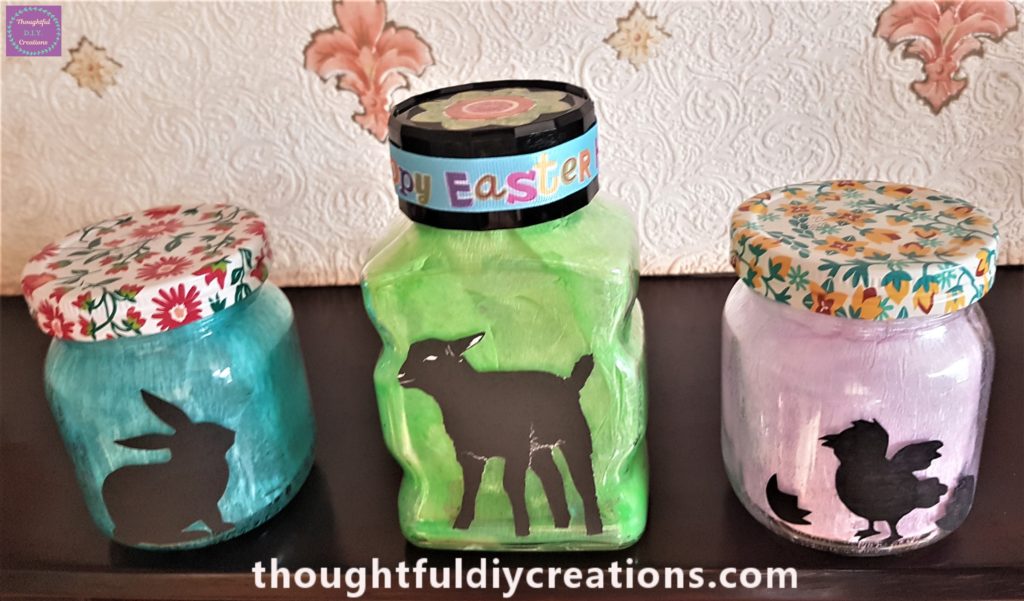
Conclusion
I was really happy with the final result of my Easter Jars. I love how they are a budget craft option as Seasonal Decor is only on display for a few weeks a year. There is no need to spend a fortune on shop bought displays when you can get the satisfaction of making your own.
I love that I got to re-purpose my glass jars. It can be such a shame to throw them out, I know you can’t collect and keep them all but it’s great to be able to up-cycle some of them into a piece of Home Decor.
I hope you enjoyed this weeks Tutorial and you got some ideas for your own Easter Crafting. If you have any questions just fill out the Comment Box below this Blog Post and I’ll be sure to reply.
Do you decorate for Easter? You don’t have to go mad re-arranging everything, you could just have one particular table or shelf in your home that you re-order every couple of months. I think it’s a nice way to embrace the changing seasons by mixing and matching a few ornaments here and there.
As usual this is a Versatile Craft. You can print out different images than what I chose for my jars. You could use different size jars, different colour crepe paper. You could tie Easter ribbons around your jars or cream cord for a rustic / farmhouse appearance. You could decopage your jars or lids with Easter inspired Rice Paper. Have fun making in your own style. Happy Crafting Everyone.
Thank you so much for taking the time to read my Blog.
Always Grateful,
T.D.C.
xoxox


-0 Comment-