Up-Cycled Plastic Heart
Hello my Creative Friends,
I hope you are all well. In Today’s Tutorial I will show you how I up-cycled a plastic heart I had bought and turned it into 2 heart bowls. They now look elegant to have on display anywhere in the home. I hope it encourages you to have a look at what you already have in your home and give it a new purpose and lease of life. It only requires a few materials to up-cycle this heart craft. I hope you enjoy it and try out something similiar for your own home.
Heart for Crafting
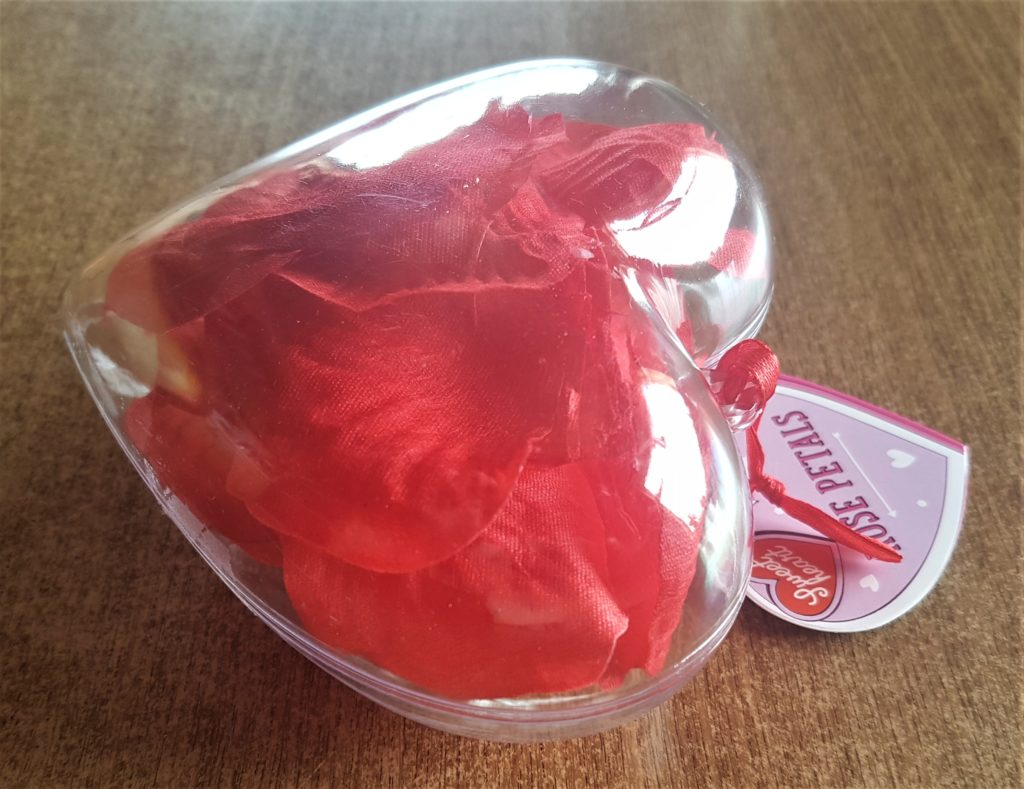
I bought a Plastic Heart with Rose Petals inside before Valentines Day. I wasn’t sure what to do with it at the time, I was looking through my supplies last week and decided to up-cycle it into something useful. Clear Heart Shape Ornaments.
Preparing the Heart for Up-Cycling
I opened up the plastic heart and removed the rose petals. Clear Heart Shape Ornaments.
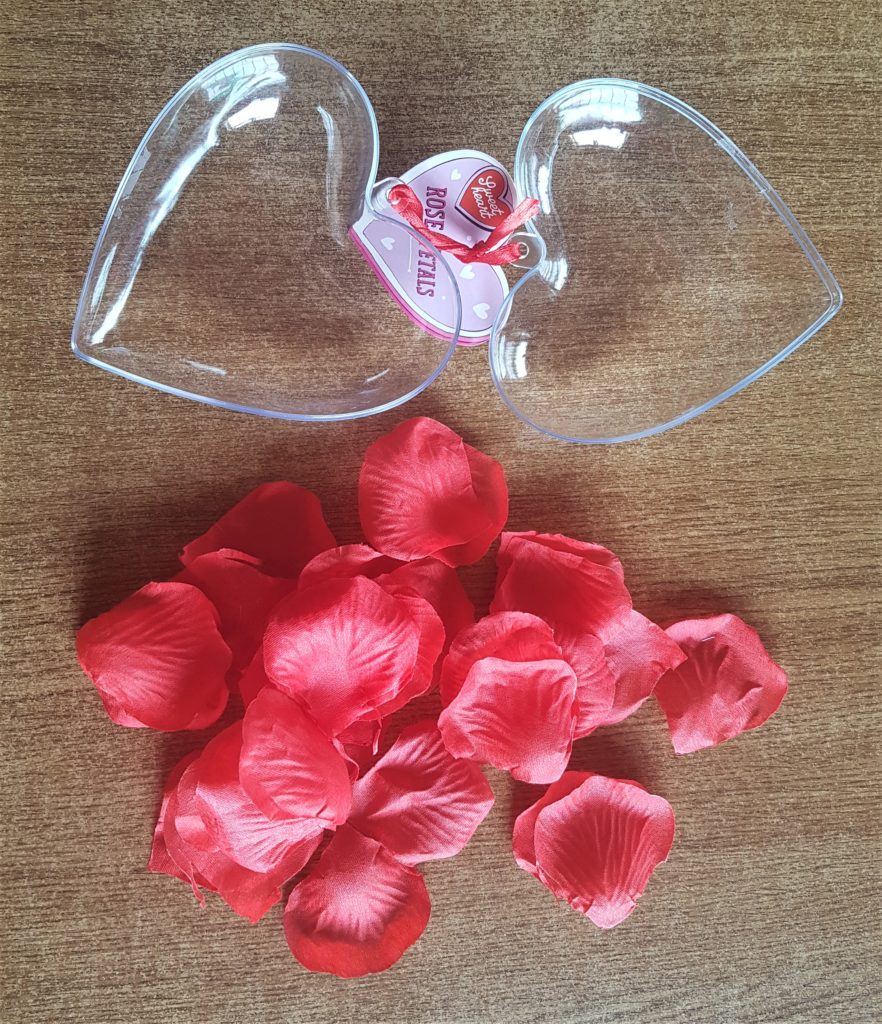
I put away the rose petals as I won’t need them for this craft. I cut off the ribbon and tag and discarded them. I then peeled off the sellotape that was on the edges of the hearts and soaked the plastic hearts in the sink with warm water and washing- up- liquid for about 20 minutes. I then rinsed and dried the hearts.
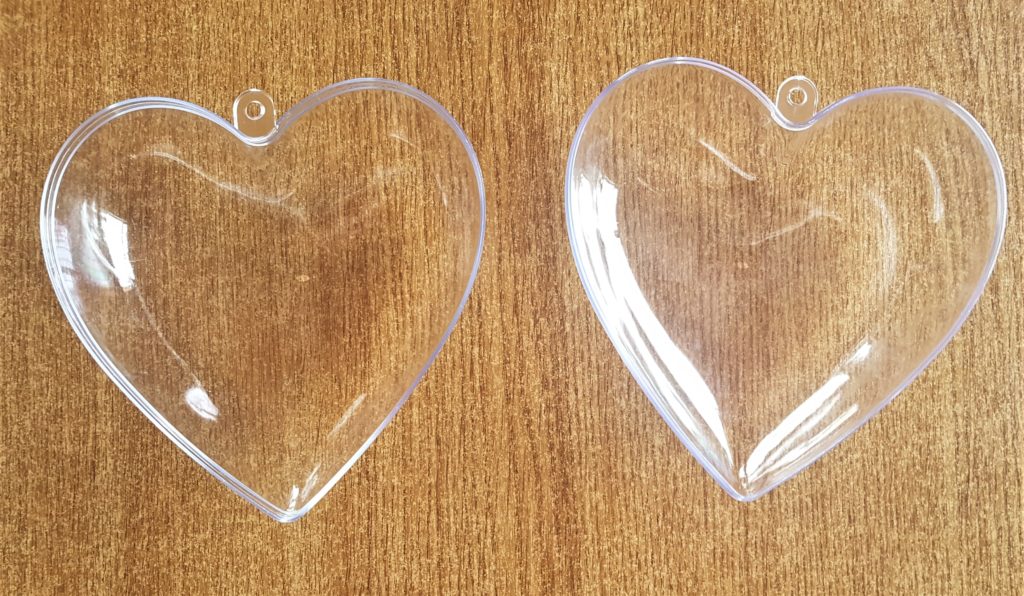
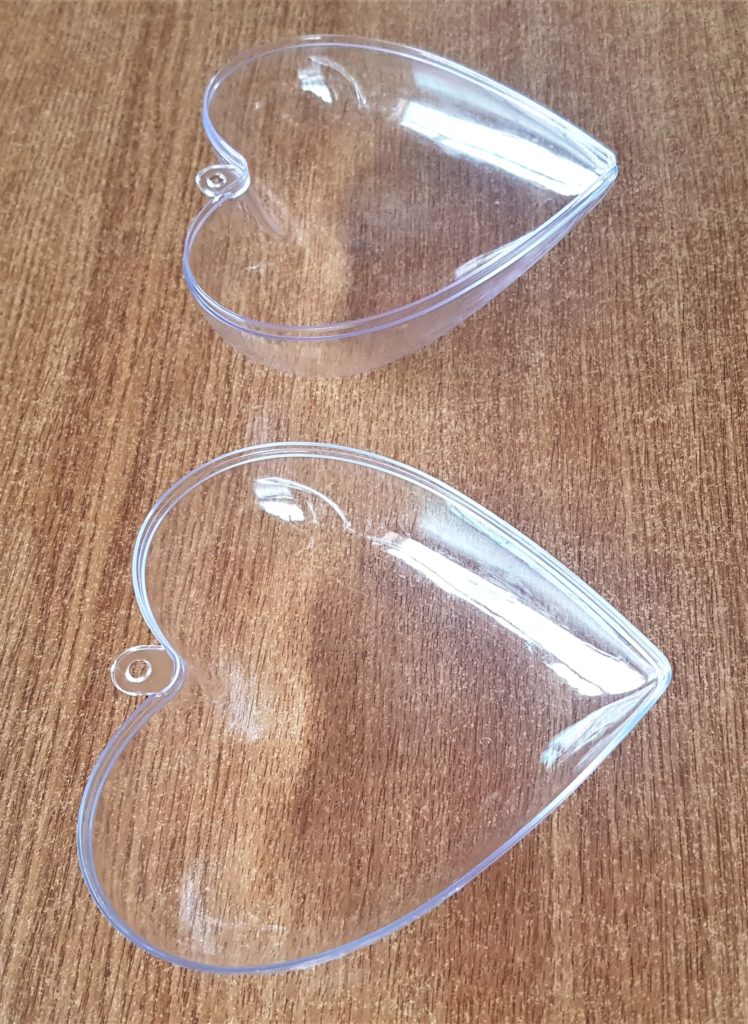
A side angle of the hearts after being washed and dried. Clear Heart Shape Ornaments.
Spray Painting Recommendations
Always Spray Paint in a well ventilated area. Open windows and doors and leave the area as soon as you can. Read the instructions and precautions on the can to ensure all safety measures are completed.
Spray Painting the Heart
I brought the 2 hearts out to the shed to Spray Paint. I put them on the table as this is at a nice height to spray paint. The Spray Paint I used was ‘RUST-OLEUM PAINTERS Touch Multi Purpose Paint in Winter Grey’. Rust-Oleum Winter Grey.
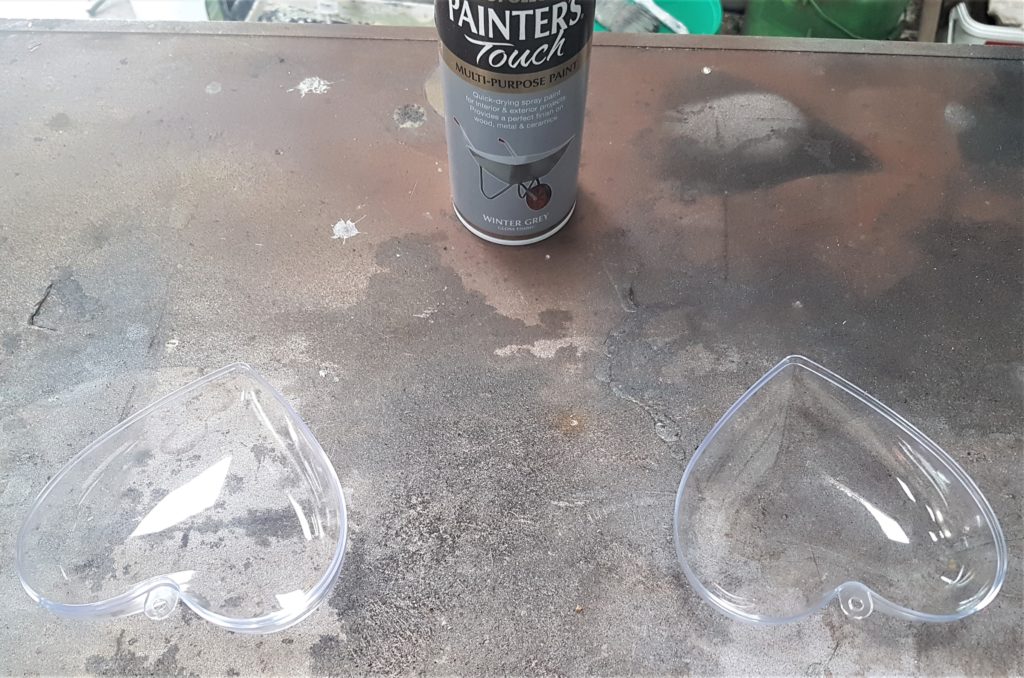
I shook the can of spray paint from side-to-side for a minute. I removed the lid and held the can about 30cm away from the heart. I pressed the nozzle of the can down and sprayed the inside of the heart. I then shook the can again for a few seconds and sprayed the inside of the second heart. Rust-Oleum Winter Grey.

I applied the second coat of spray paint to the hearts an hour later.
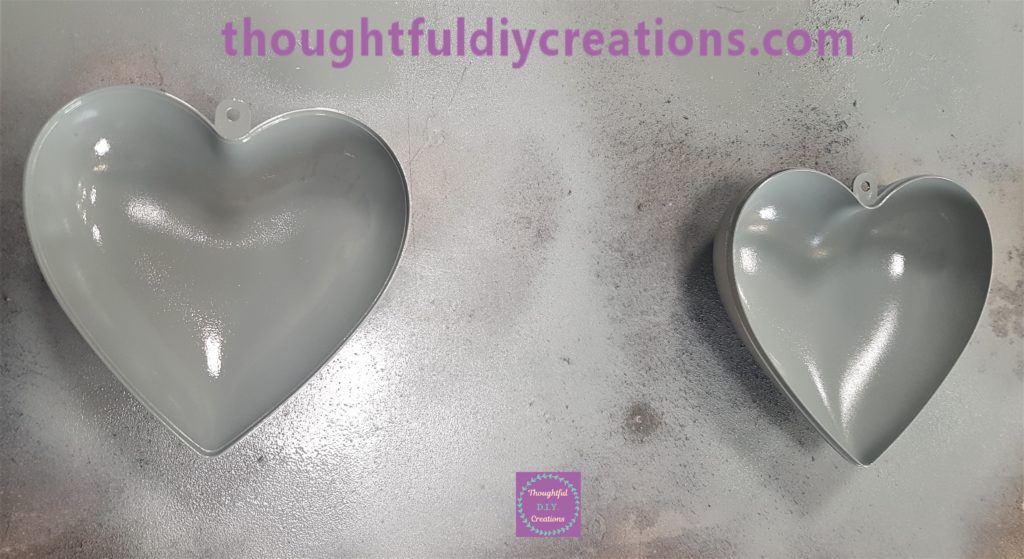
The third and final layer of spray paint was completed after another hour.
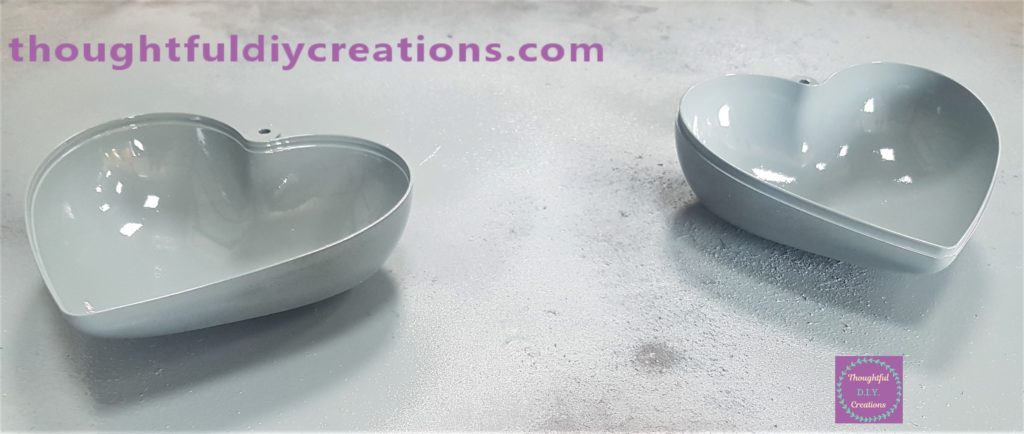
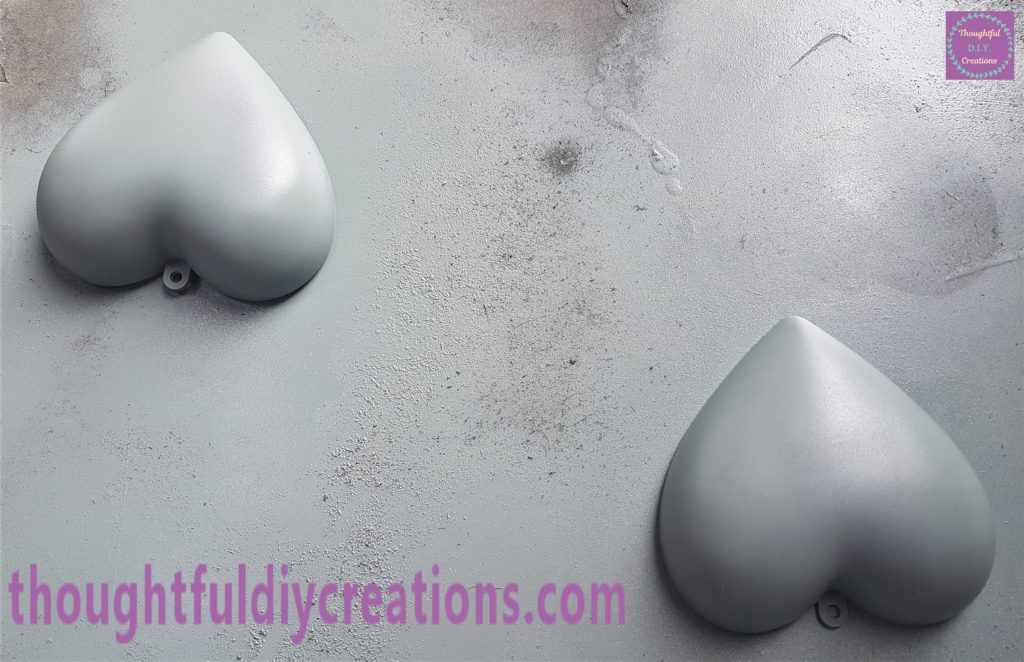
The next day I turned the hearts over on the table and spray painted the outside of the hearts. Rust-Oleum Winter Grey.
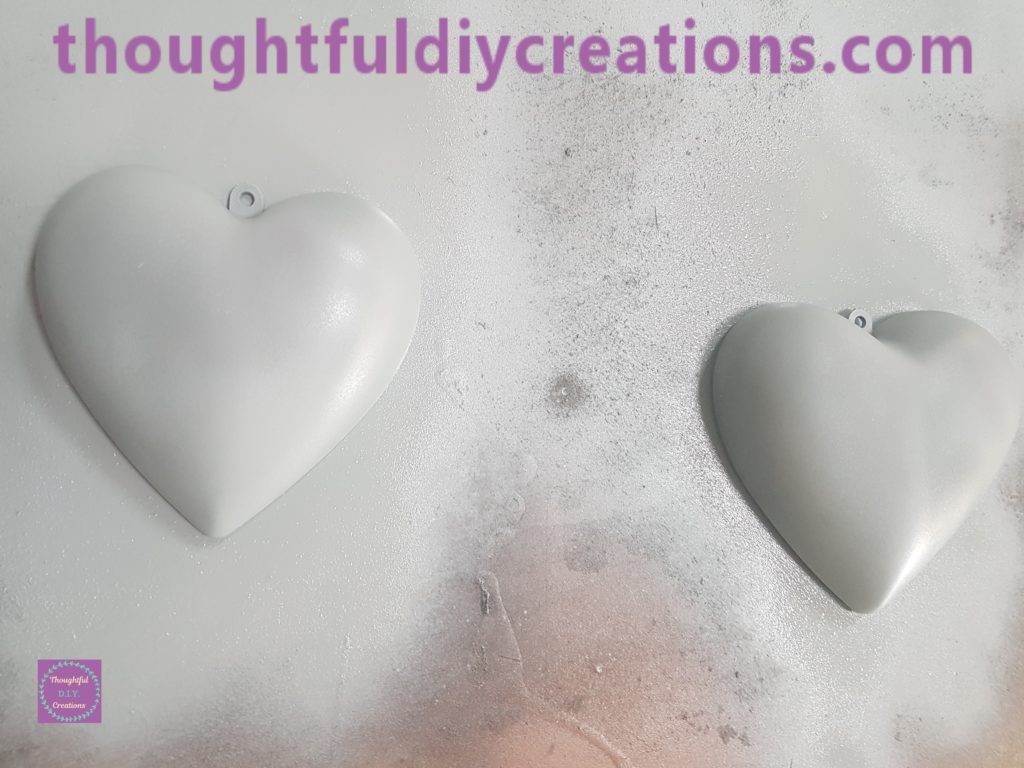
An hour later I applied the second layer of grey spray paint to the hearts.
Adding Top Coat to the Up-Cycled Heart
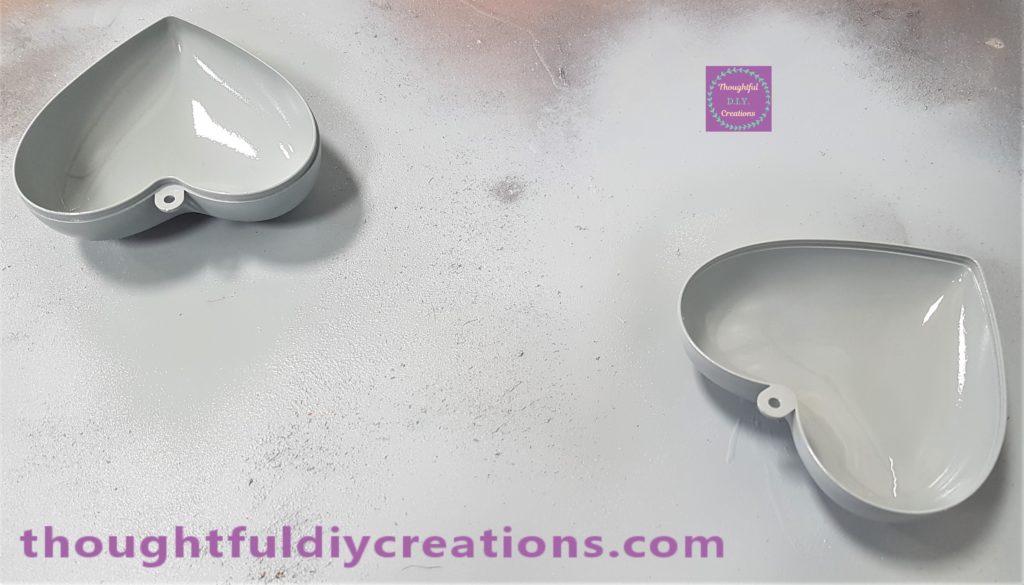
I sprayed a ‘Clear Gloss Top Coat’ on the inside of the hearts the following day. Crystal Clear.
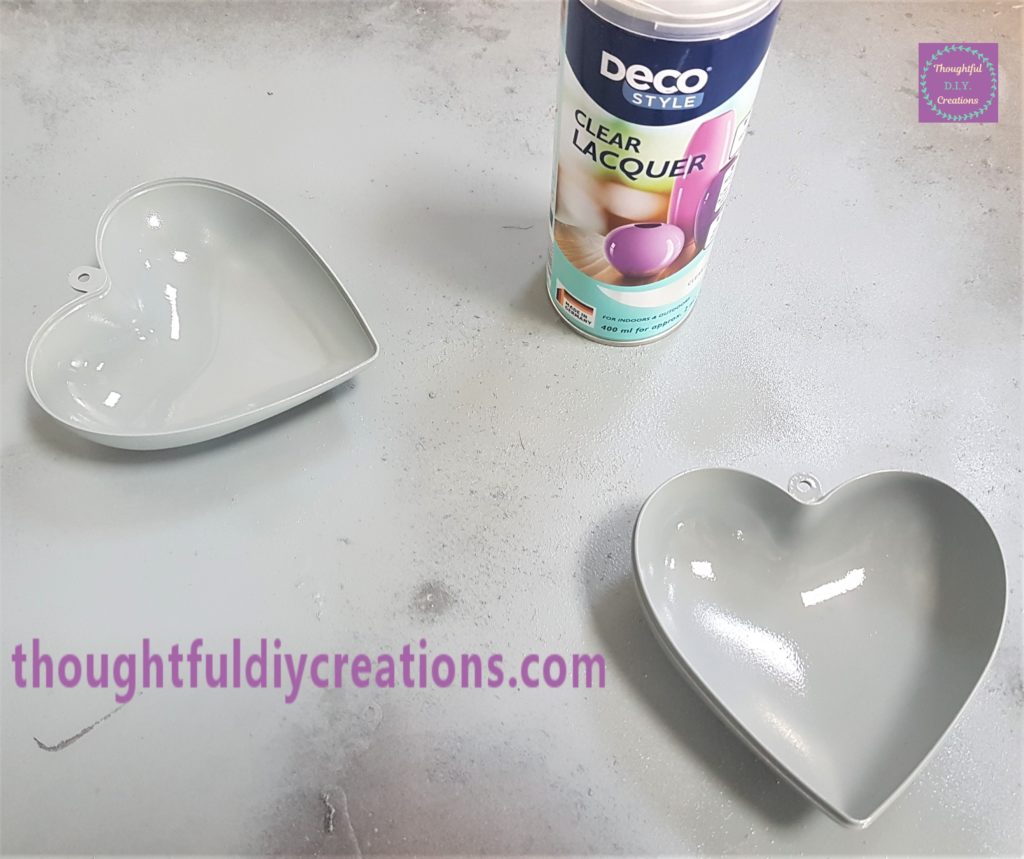
I sprayed a second layer of the top coat an hour later.
A few hours later I put a white plastic bin bag on the table. I turned the hearts over onto the plastic bag to prevent the spray paint from sticking to the table. I sprayed a layer of top coat onto the outside of the hearts. Crystal Clear.
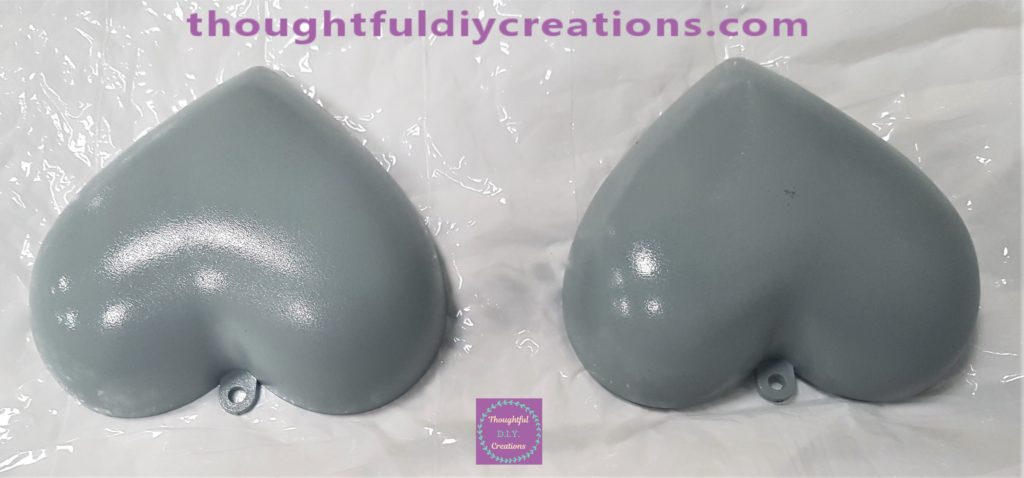
I left the hearts in the shed to cure for 48 hours after the final coat of spray paint was applied.
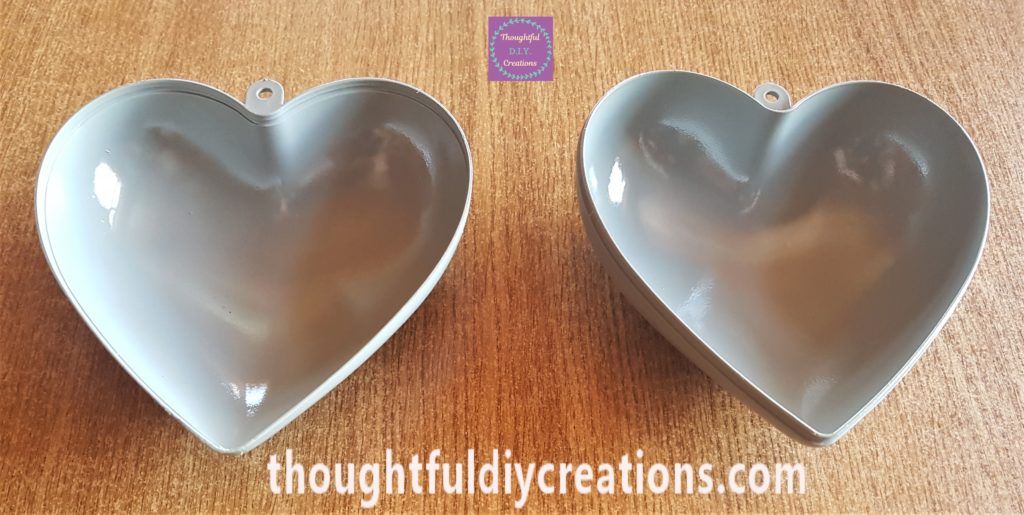
I brought the hearts back inside 2 days later. I was really happy with their appearance.
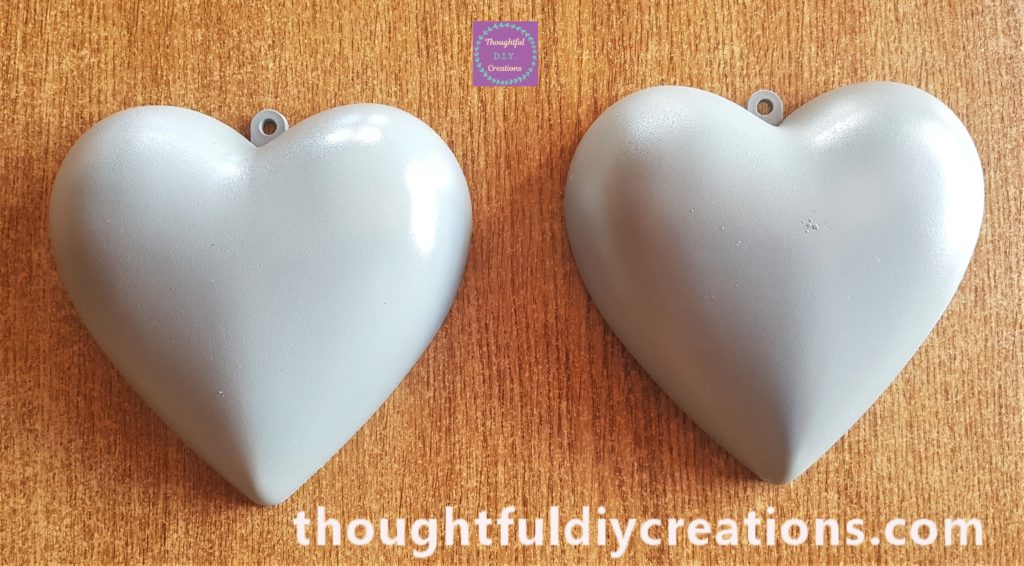
This is a side view of the spray painted hearts.
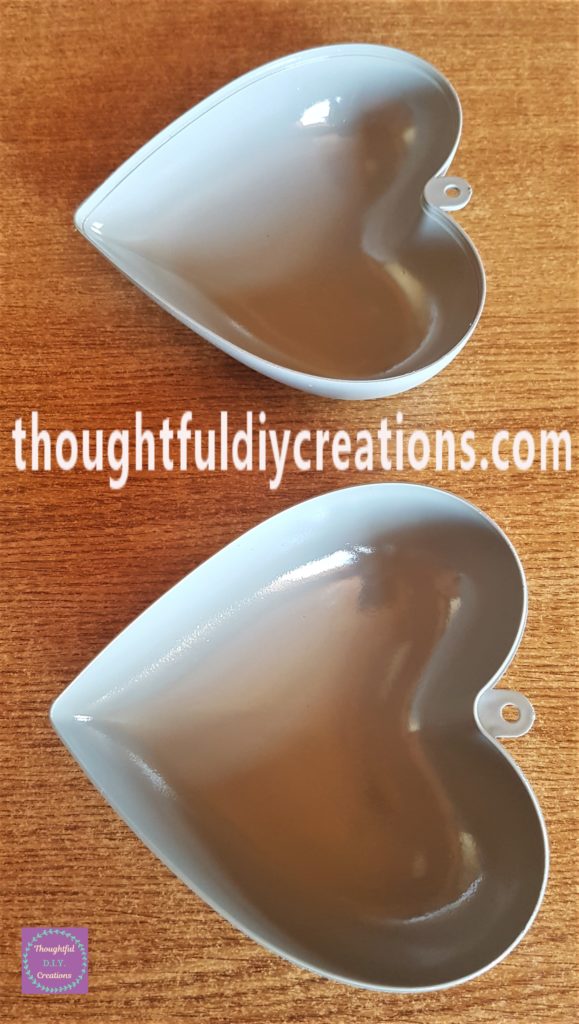
The hearts turned upside down.
Attaching Gemstones to the Hearts
I got my pack of ‘Clear Self-Adhesive Gemstones’ from my supplies. Gemstones Clear.
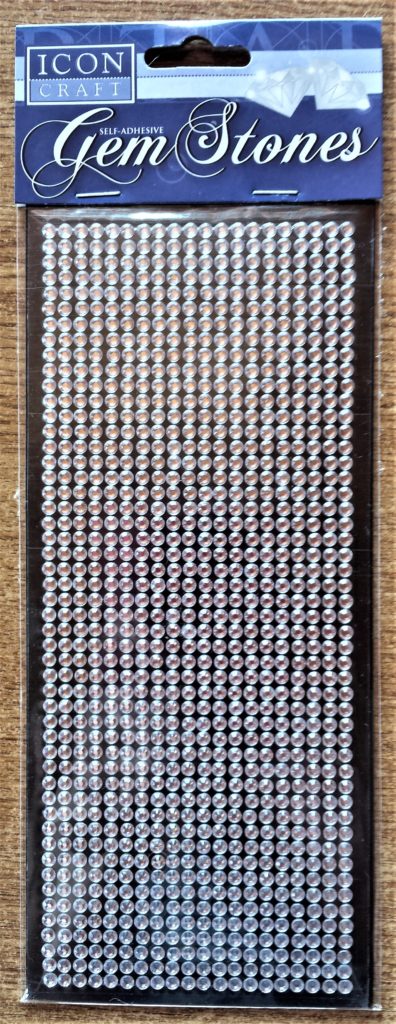
I cut off a strip of gemstones and removed the sticky backing gemstones from the clear backing and attached it to the top inner edge of the heart. I added another strip of gemstones to the heart beside the last gemstone of the first strip. Gemstones Clear.
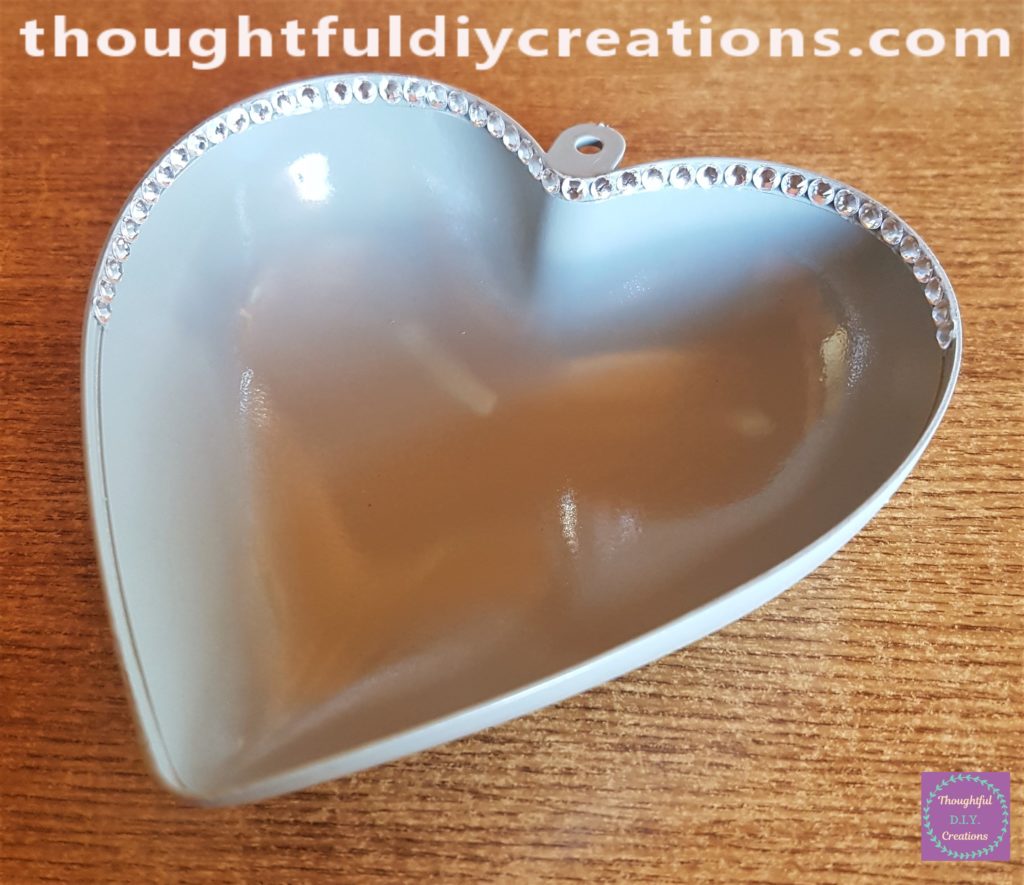
I continued adding gemstones until the top inner edge of the heart was completed.
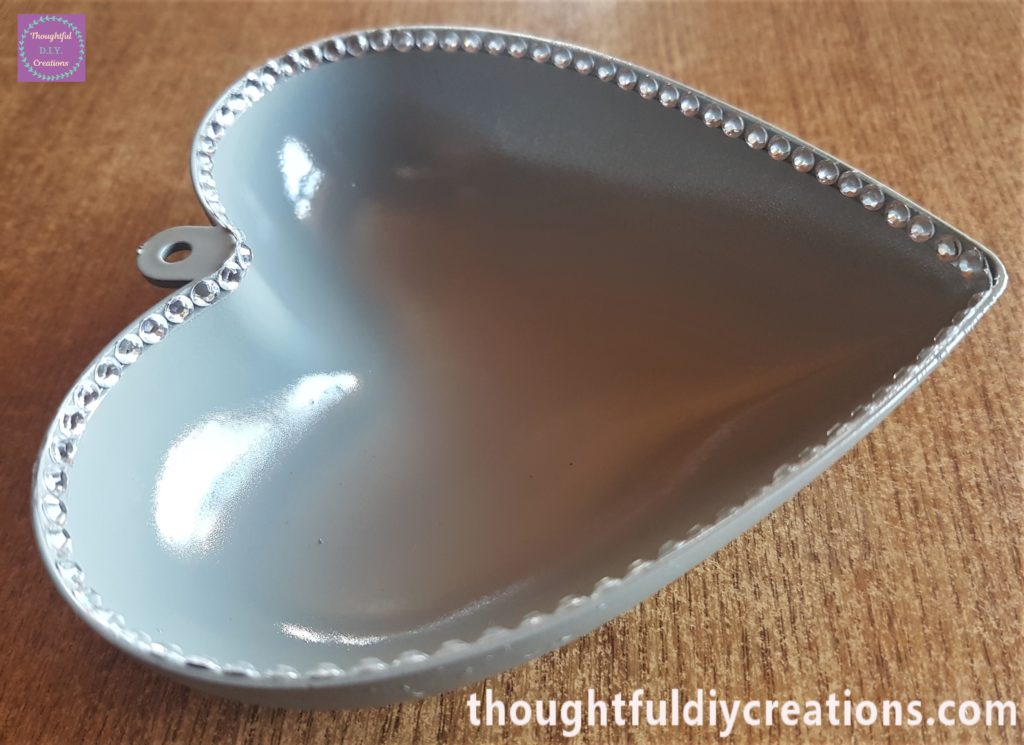
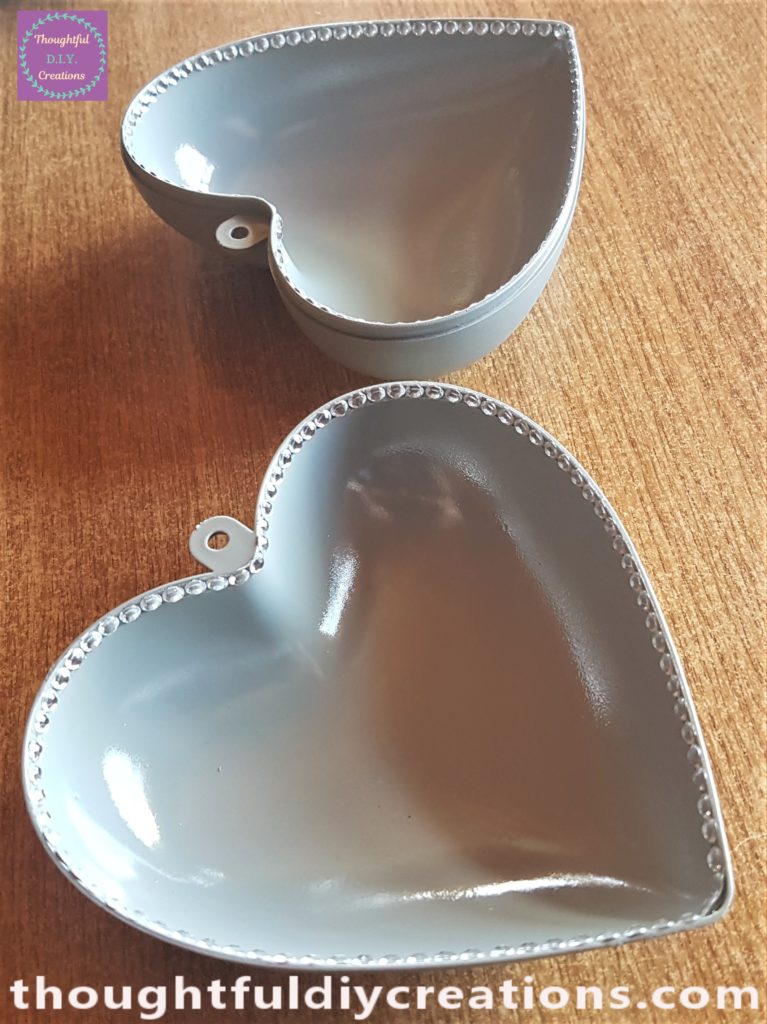
This is the first heart filled with gemstones beside the second heart without any gemstones.
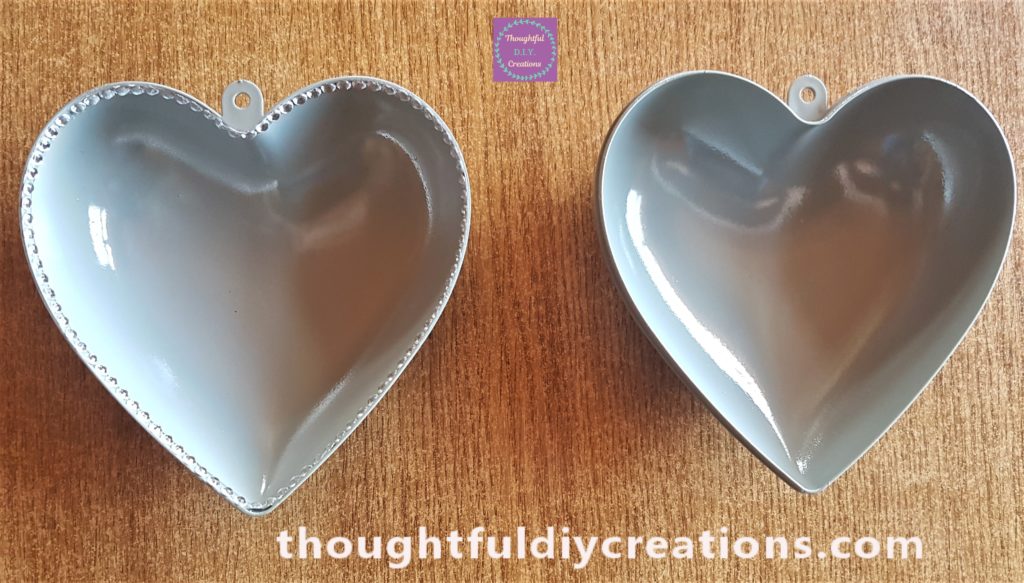
I repeated the same process with the gemstones on the second heart. Gemstones Clear.
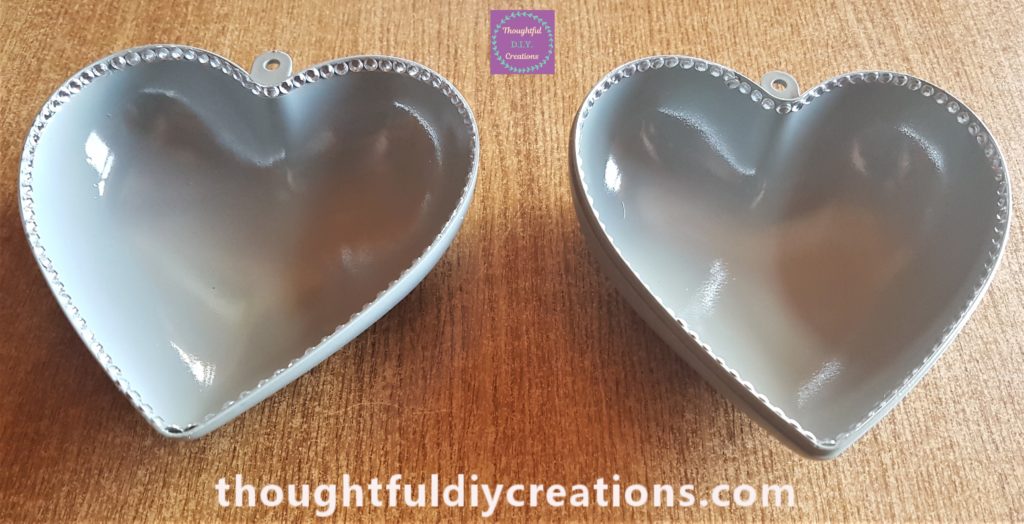
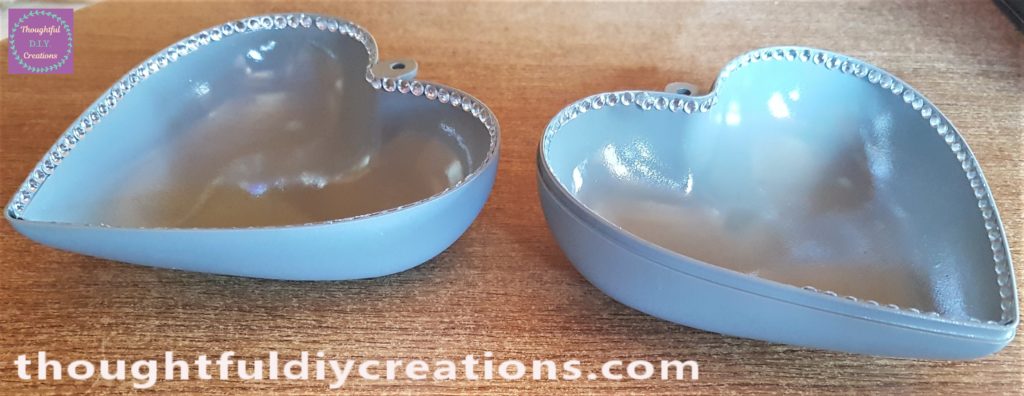
A side angle of the gemstones added to the 2 hearts.
Flowers for the Up-Cycled Heart
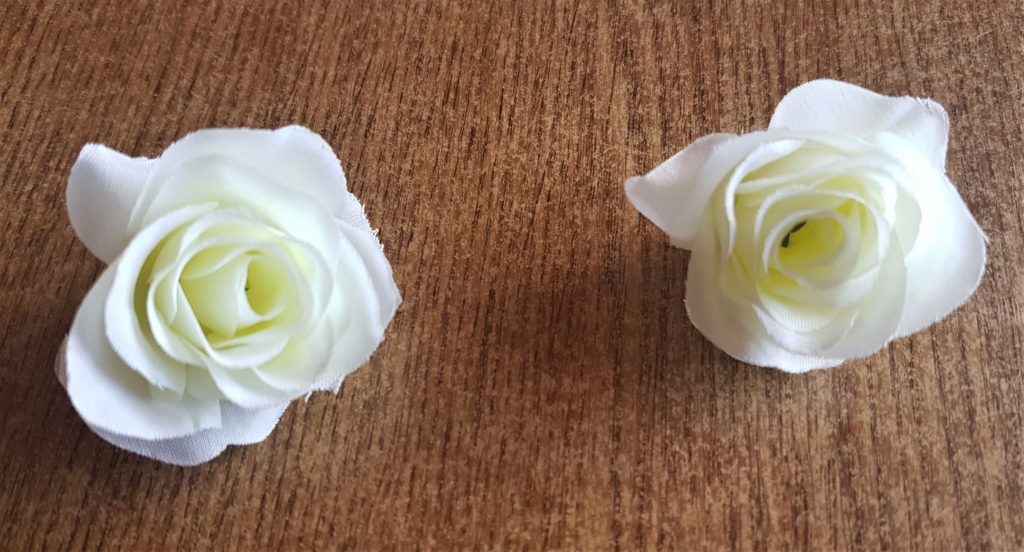
I plugged in my hot glue gun and let it heat up for 5 minutes. I had a bunch of artificial flowers. I pulled 2 heads from their stems and cut off the excess stalk. Hot Glue Gun.
I put a dab of hot glue on the bottom of the flower head and attached it to the mid-section of the heart. Hot Glue Gun.
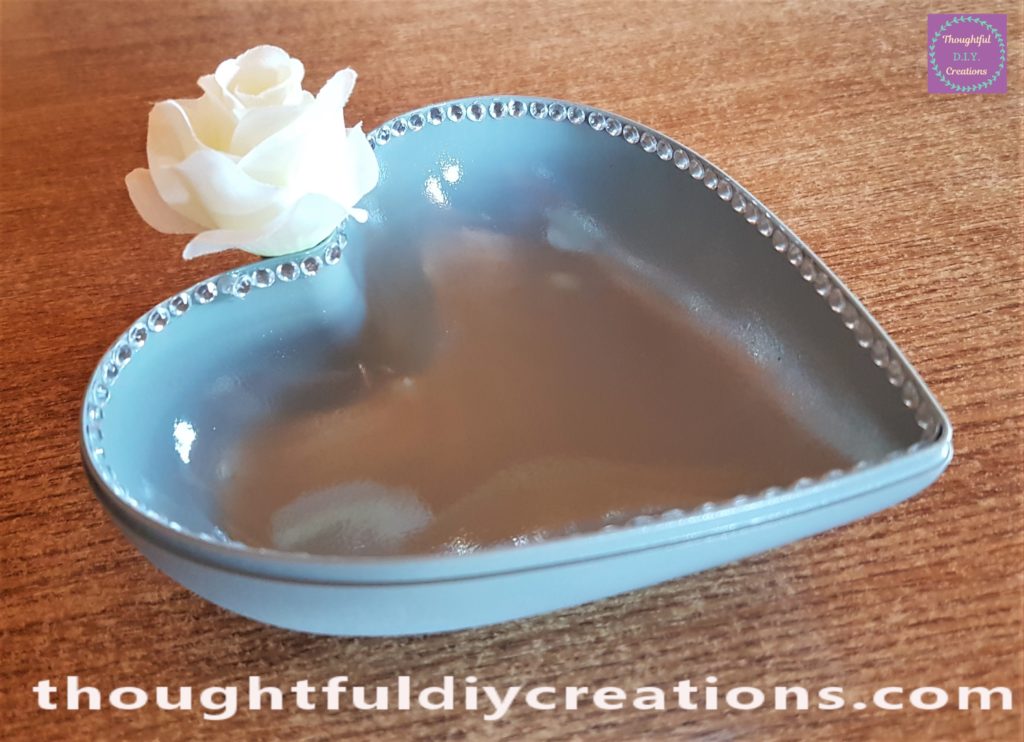
I repeated this step with the second flower and heart. Foam Rose Head.
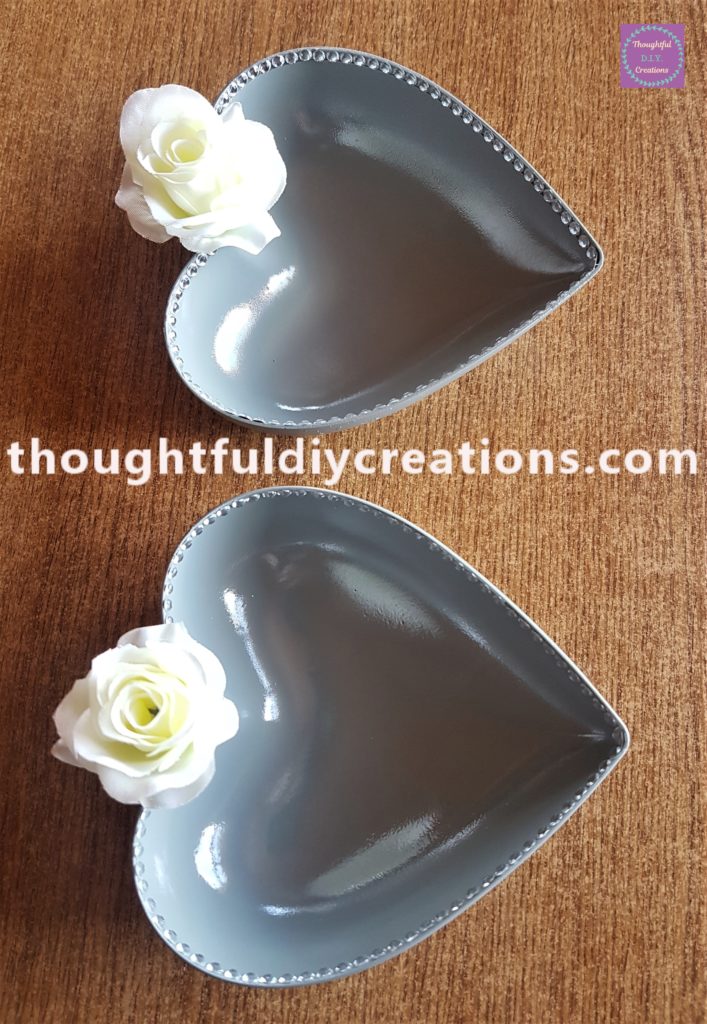
A front view of the hearts with flowers attached. Foam Rose Head.
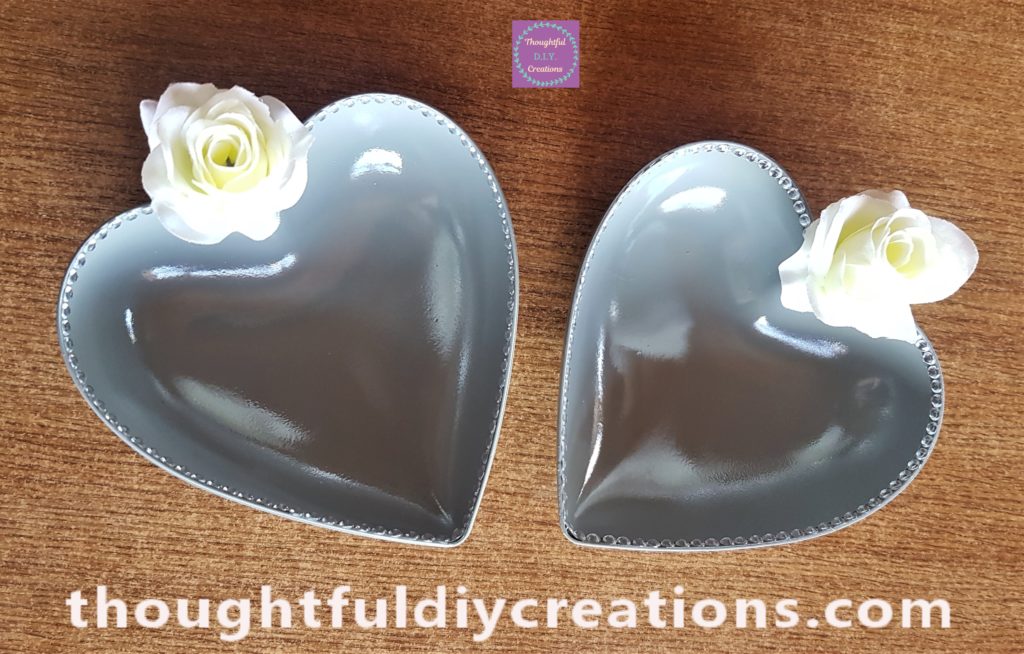
Finishing Touches to the Up-Cycled Heart
I thought it would add to the hearts if I put the gemstones on the top outer edge. I added a strip of gemstones to the bottom of the heart. Gemstones Clear.
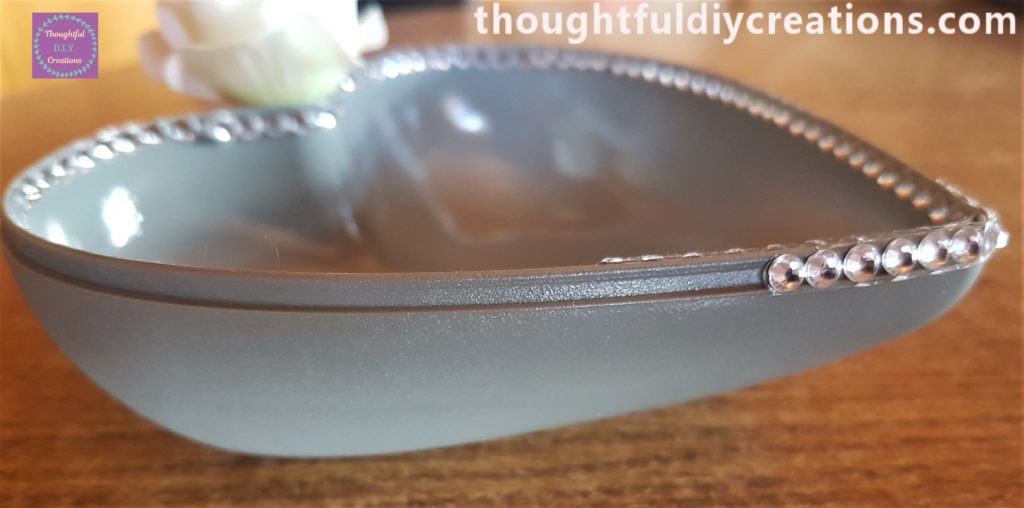
I continued adding the gemstones until the top outer edges of both the hearts were filled. Gemstones Clear.
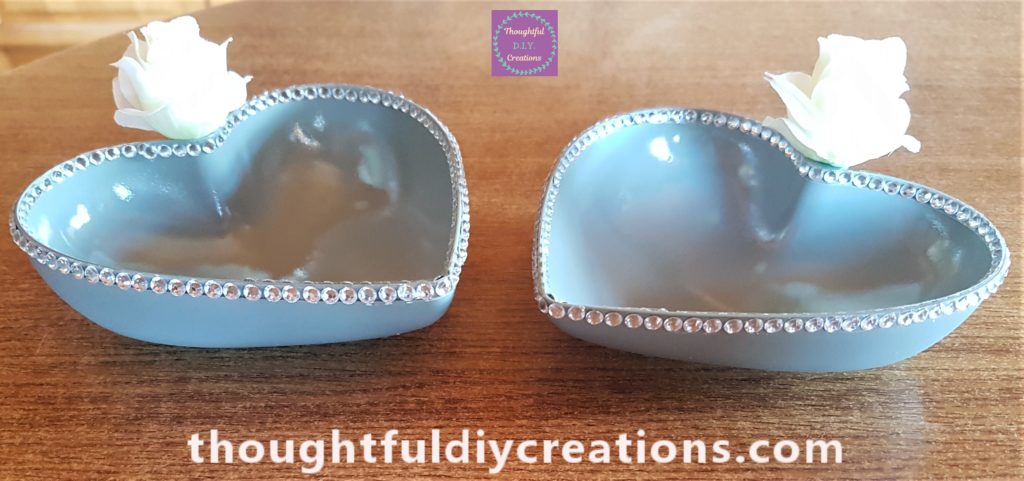
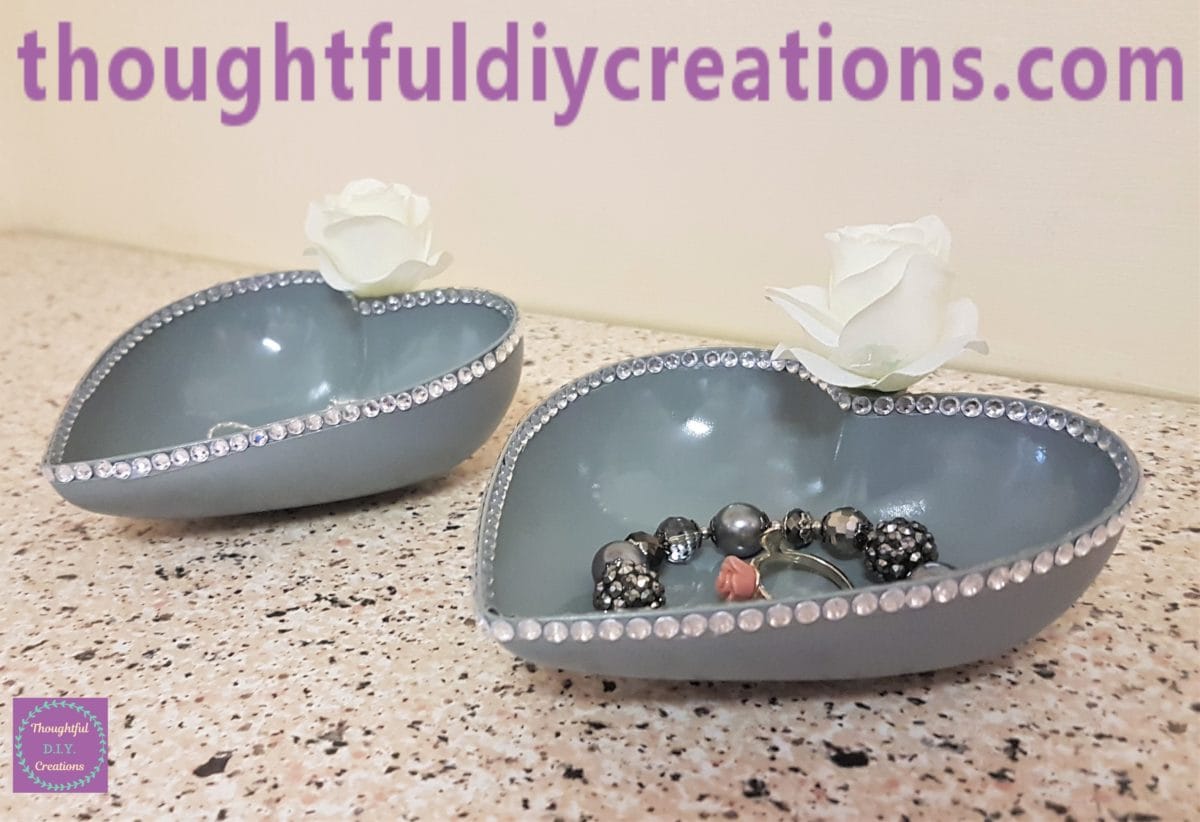
This Completed the Up-Cycled Plastic Heart.
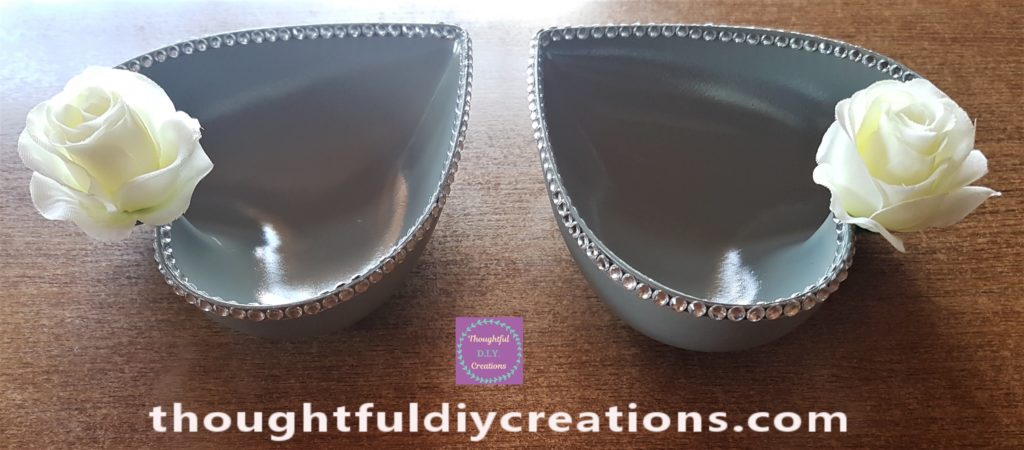
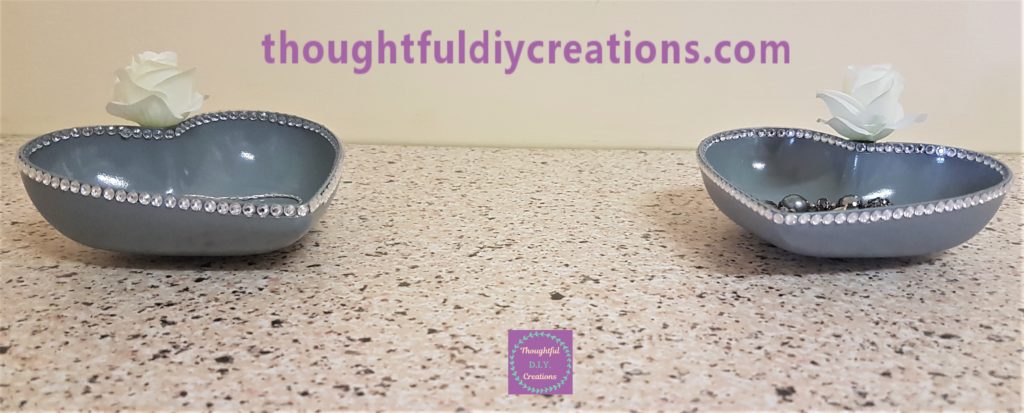
A side view of the finished craft. Foam Rose Head.
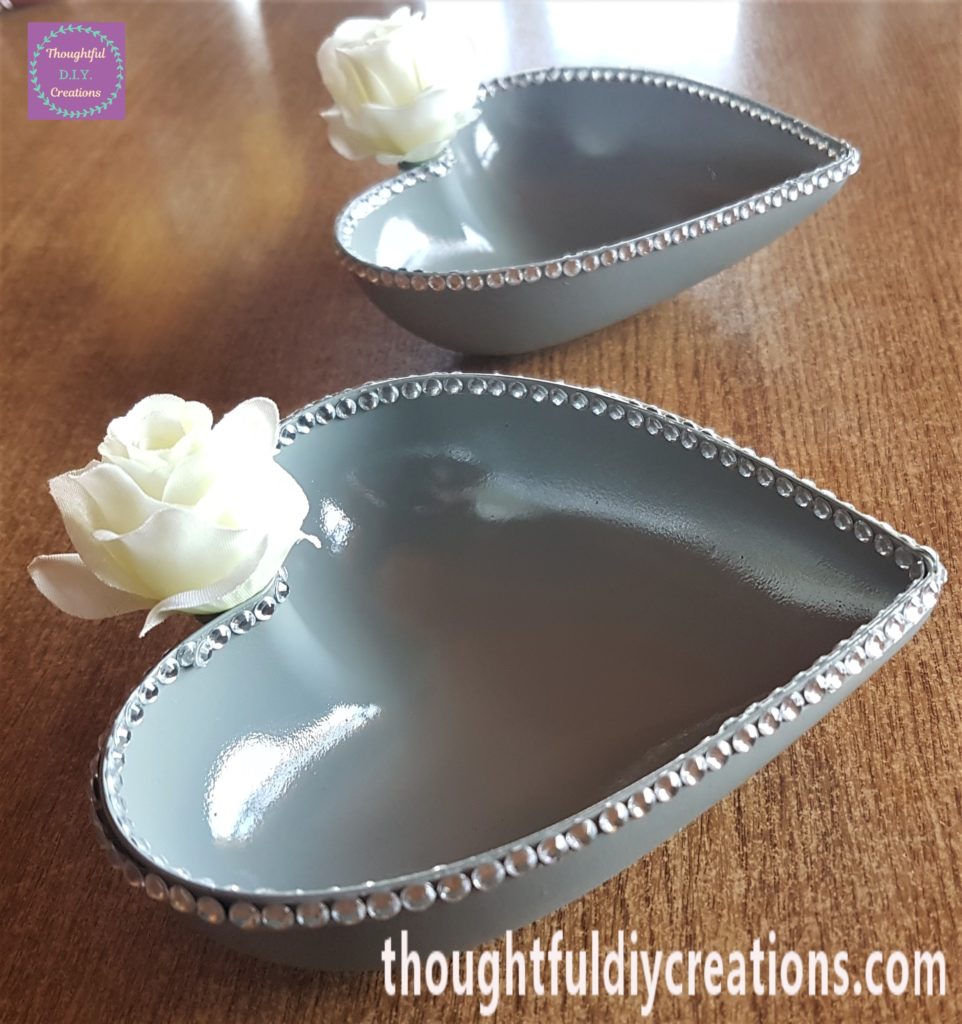
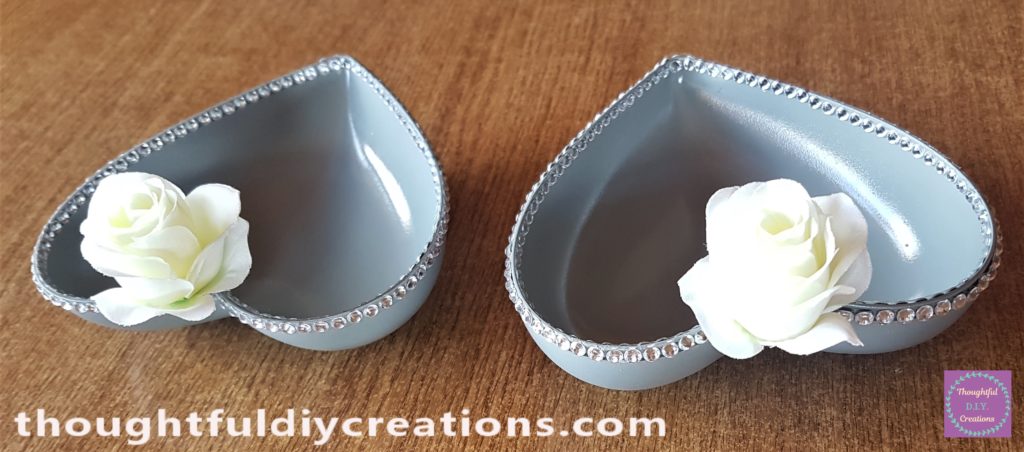
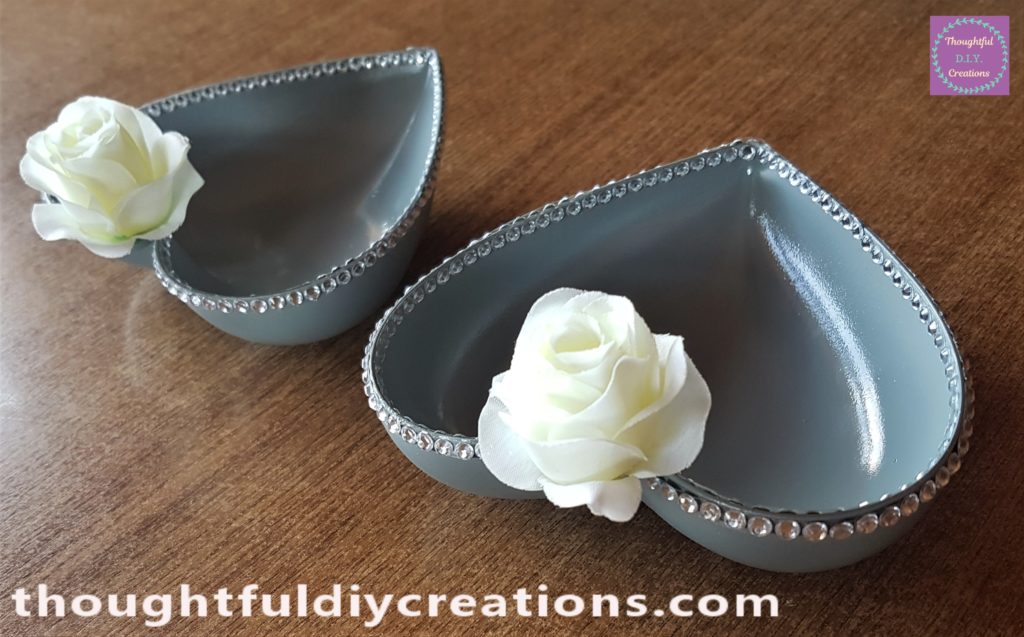
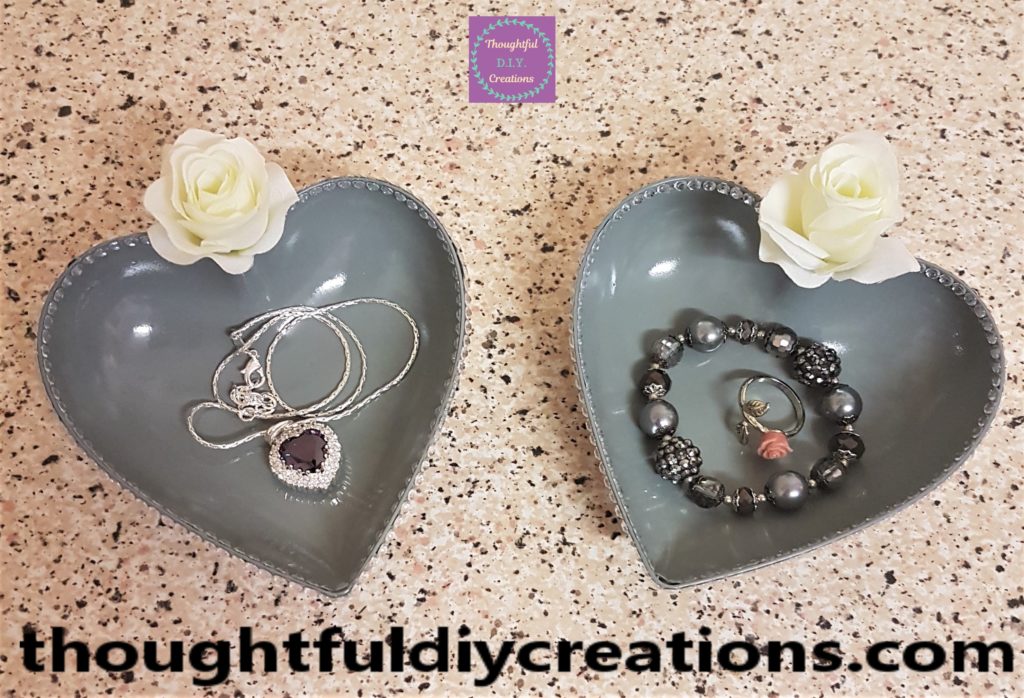
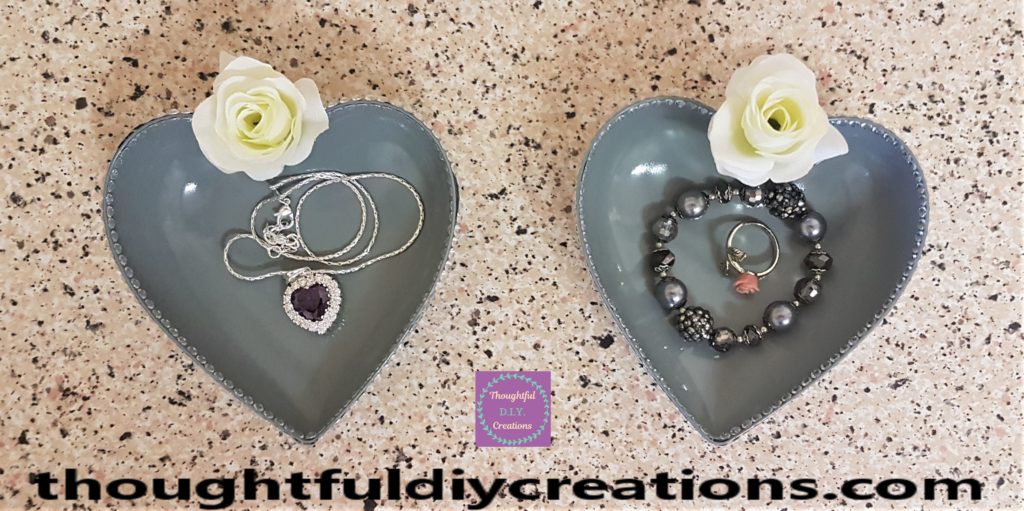
I put a Chain into one of the Hearts and a Bracelet and Ring into the other Heart.
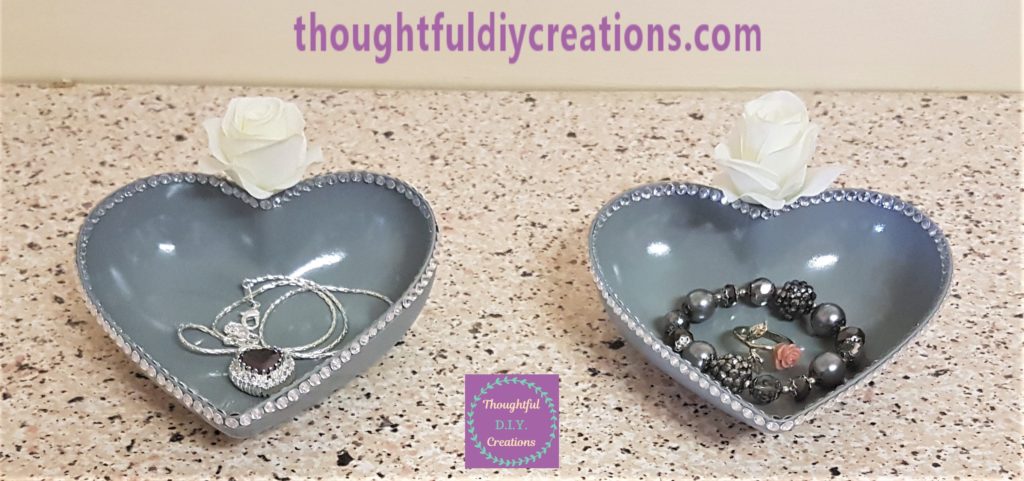
Here are some more images of the Up-Cycled craft on display.
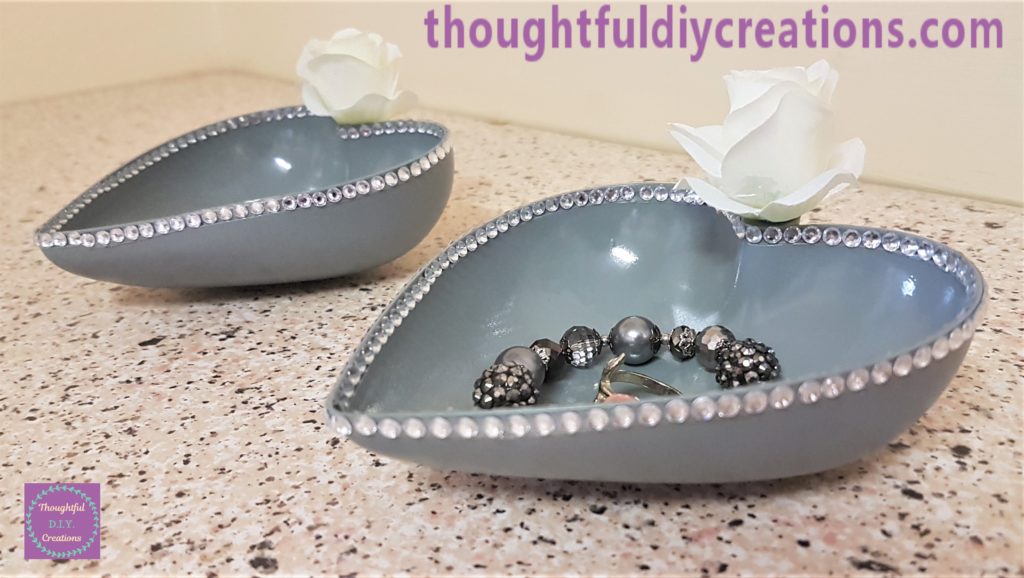
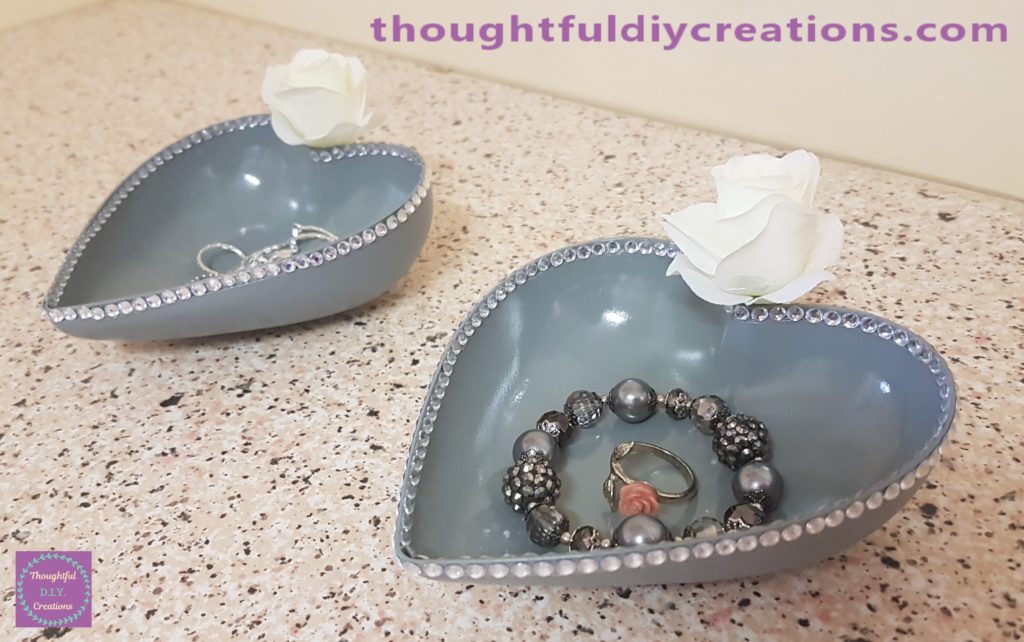
A front view of the jewellery in the up-cycled hearts.
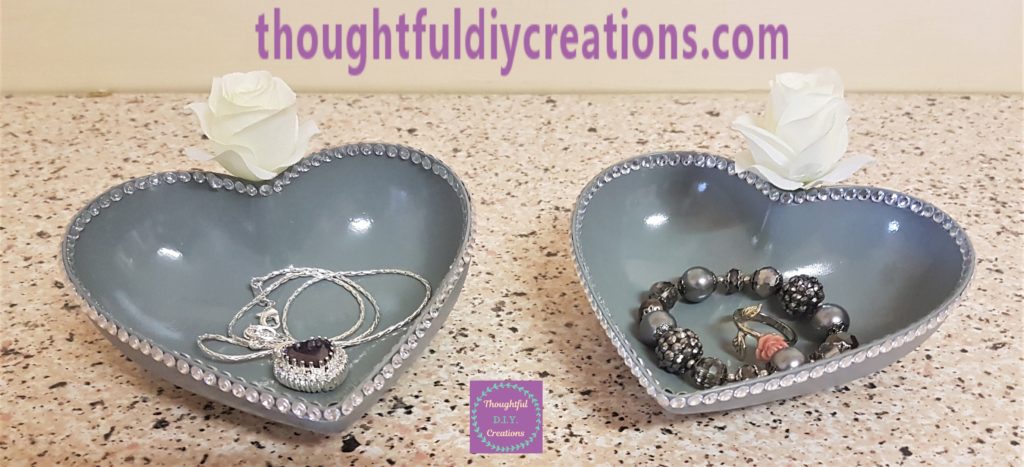
The back of the spray painted hearts.
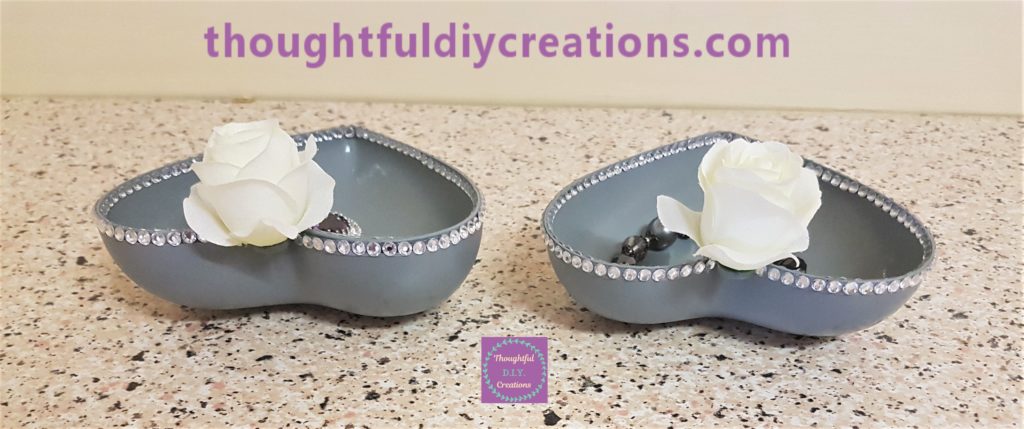
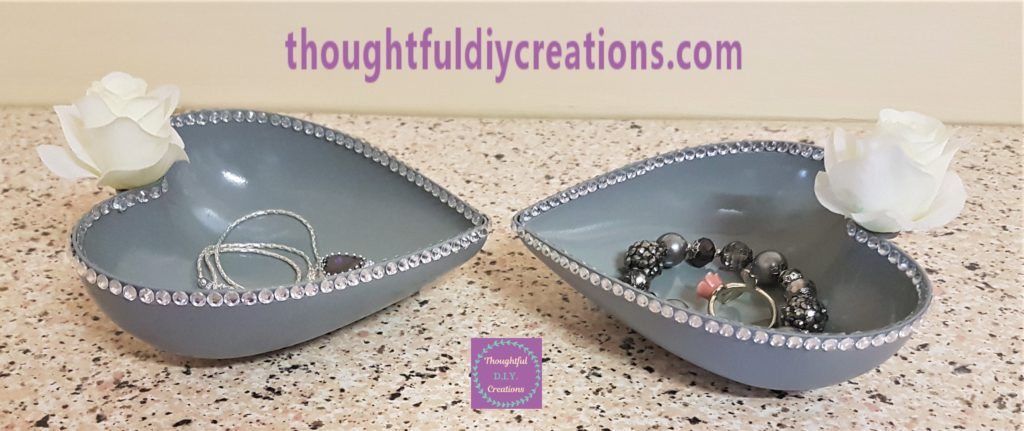
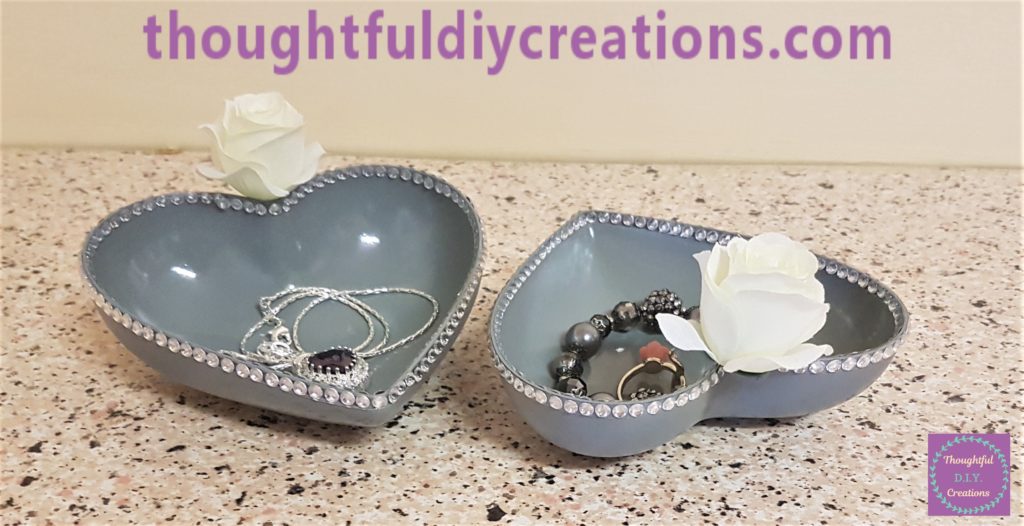
The up-cycled hearts facing each other.
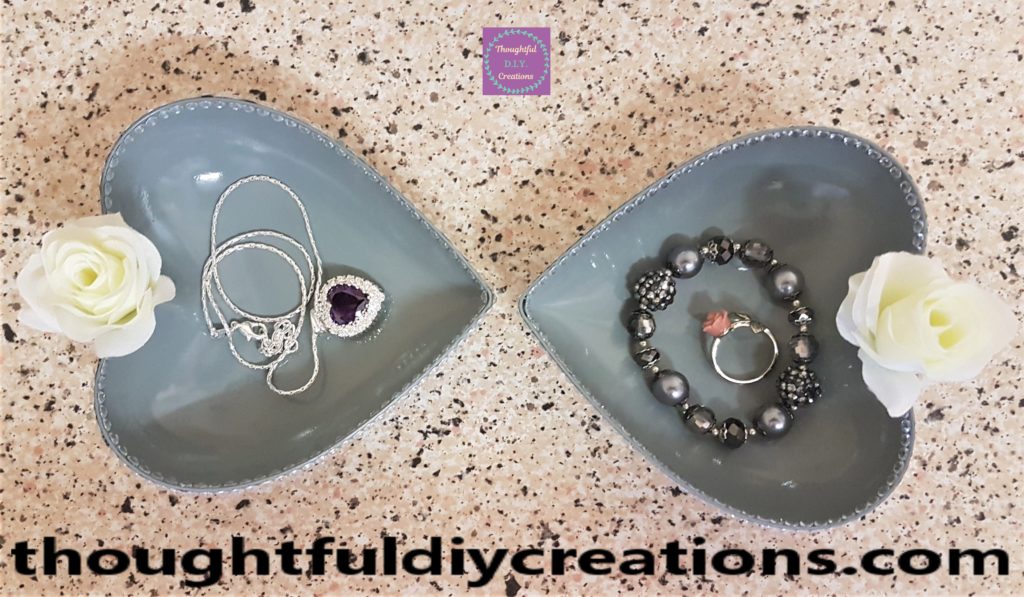
Side angle of the hearts.
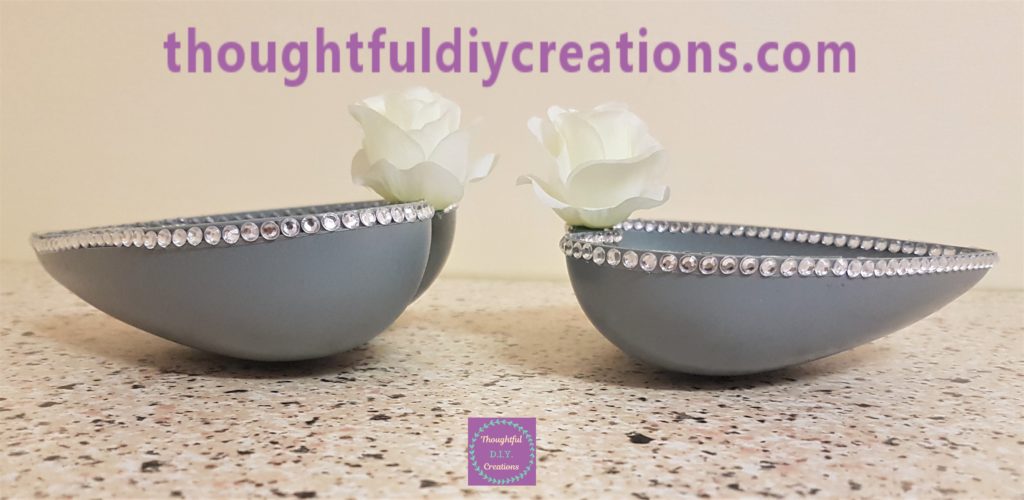
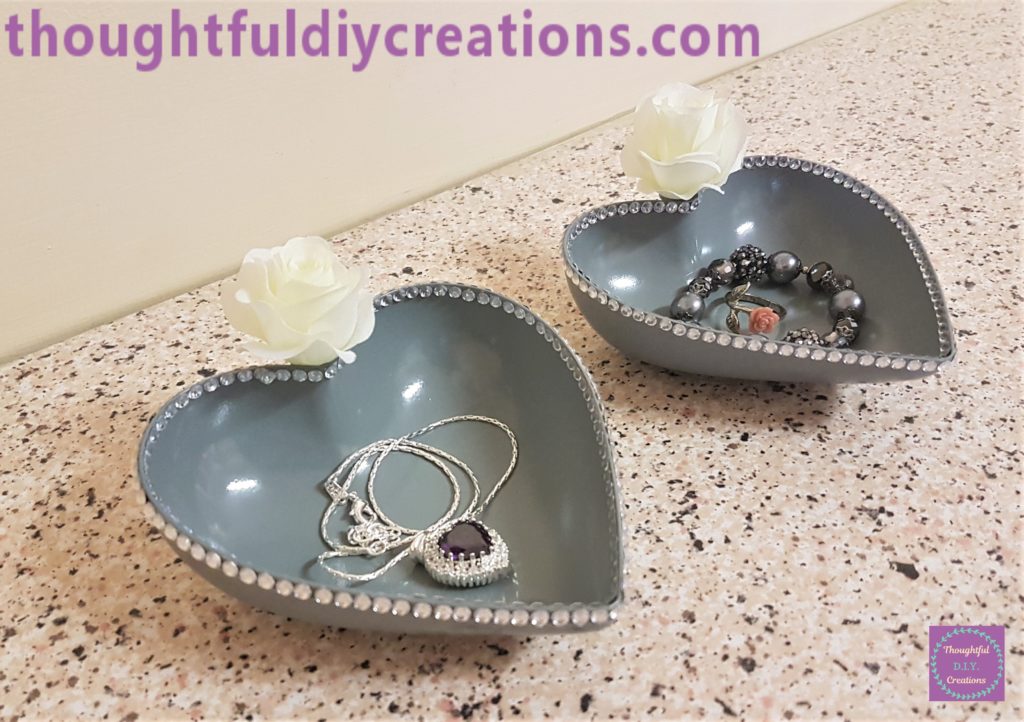
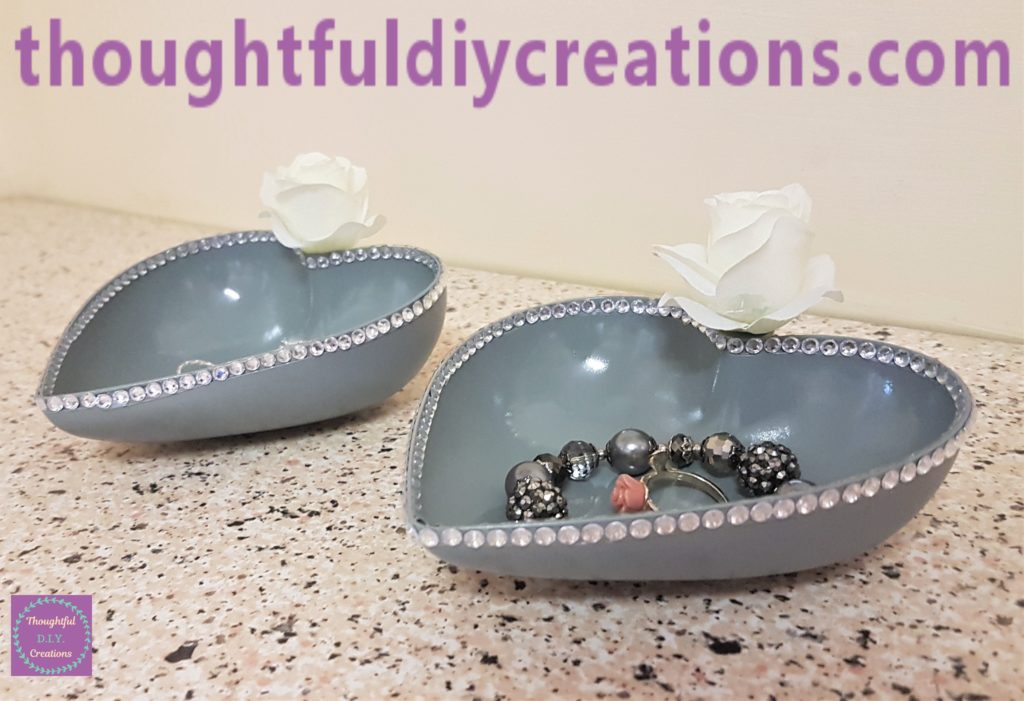
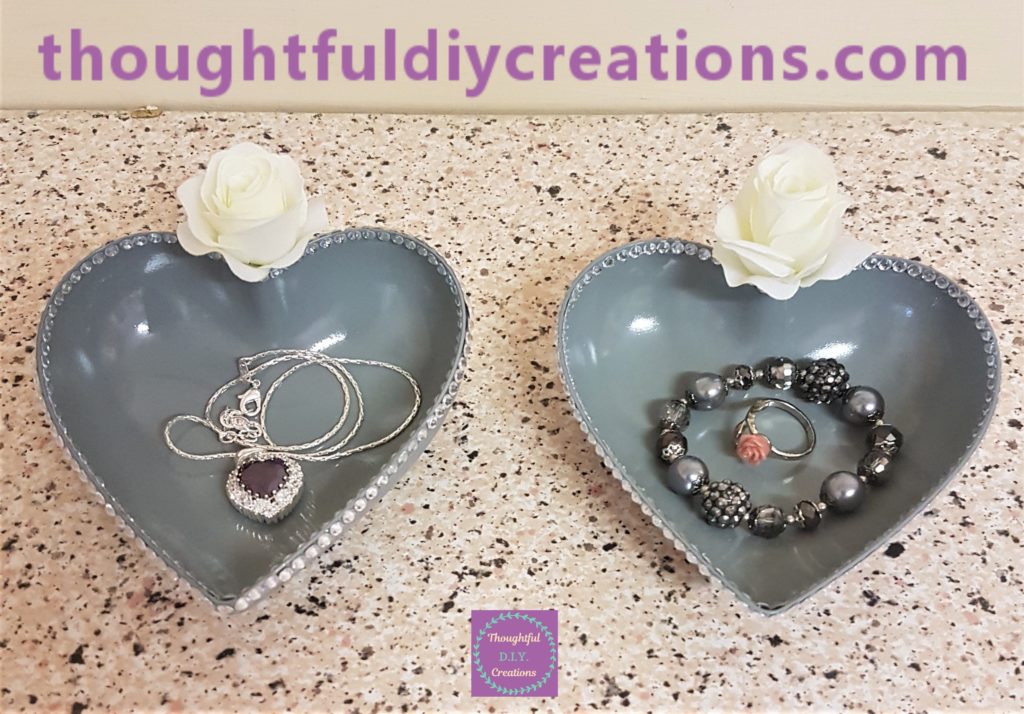
The final image of the up-cycled plastic heart.
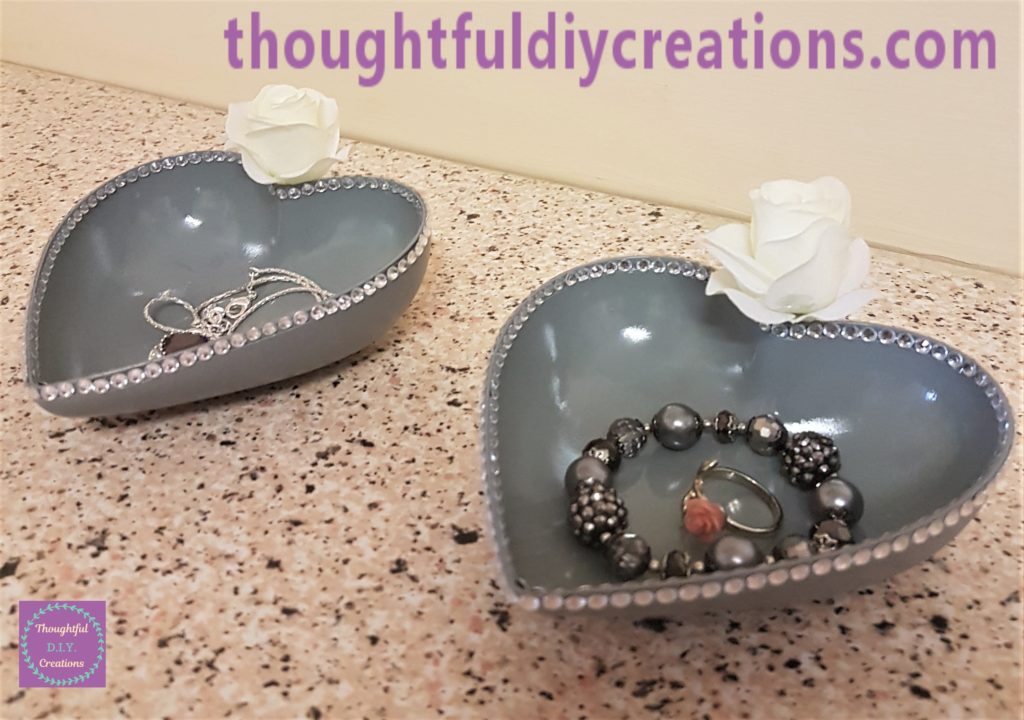
Conclusion
I am so pleased with how the hearts are transformed compared to what it looked like before I started. It’s amazing what a can of Spray Paint and 2 accessories can do to completely change the appearance of an object. I think the hearts look pretty and elegant while also having a purpose for displaying items. I love the neutral, timeless colours and they will match any room in the home.
This would make a thoughtful D.I.Y. Gift Idea for Mothers Day, the hearts can hold Jewellery, Keys, Earphones, Crystals, or anything small your Mother would want to put in it.
It would also suit for numerous other occasions. It would be a thoughtful handmade gift for a Wedding. The bride and Groom could have a Heart each for their bedside lockers. They can put their Wedding rings in it at night or their watches.
It would also be perfect for Valentines Day. The hearts could hold wrapped chocolates and be displayed on a table. As it’s spray painted only put in sweets with wrappers on them. It would look romantic for a night in watching a film.
It would also be a Creative gift for an Engagement, New Home, Anniversary, or Birthday. A friend could make it for themselves and their close friend and have a heart each. The options are endless.
I hope I provided some budget ideas for your Arts and Crafts. If you have any questions just fill out the Comment Box below this Blog Post and I’ll get back to you as soon as I can. Let me know if you make something similiar, I’d love to know how it turned out for you.
Thank you so much for taking the time to read my Blog.
Always Grateful,
T.D.C.
xoxox

-0 Comment-