Cocktail Menu Sign – Easy D.I.Y. Tutorial
Hello my Creative Friends,
I hope you are all well. In Today’s Tutorial I will show you how I made a Cocktail Menu Sign. It is made from Cardboard making it a Budget Craft to create and add to a Home Bar, Beer Garden Decor, She Shed etc. It can be changed to suit your preferences e.g Gin Menu, Beer Menu, Wine Menu etc. I hope it provides some ideas or inspiration for your Summer Crafting.
Paper for the Cocktail Menu Sign
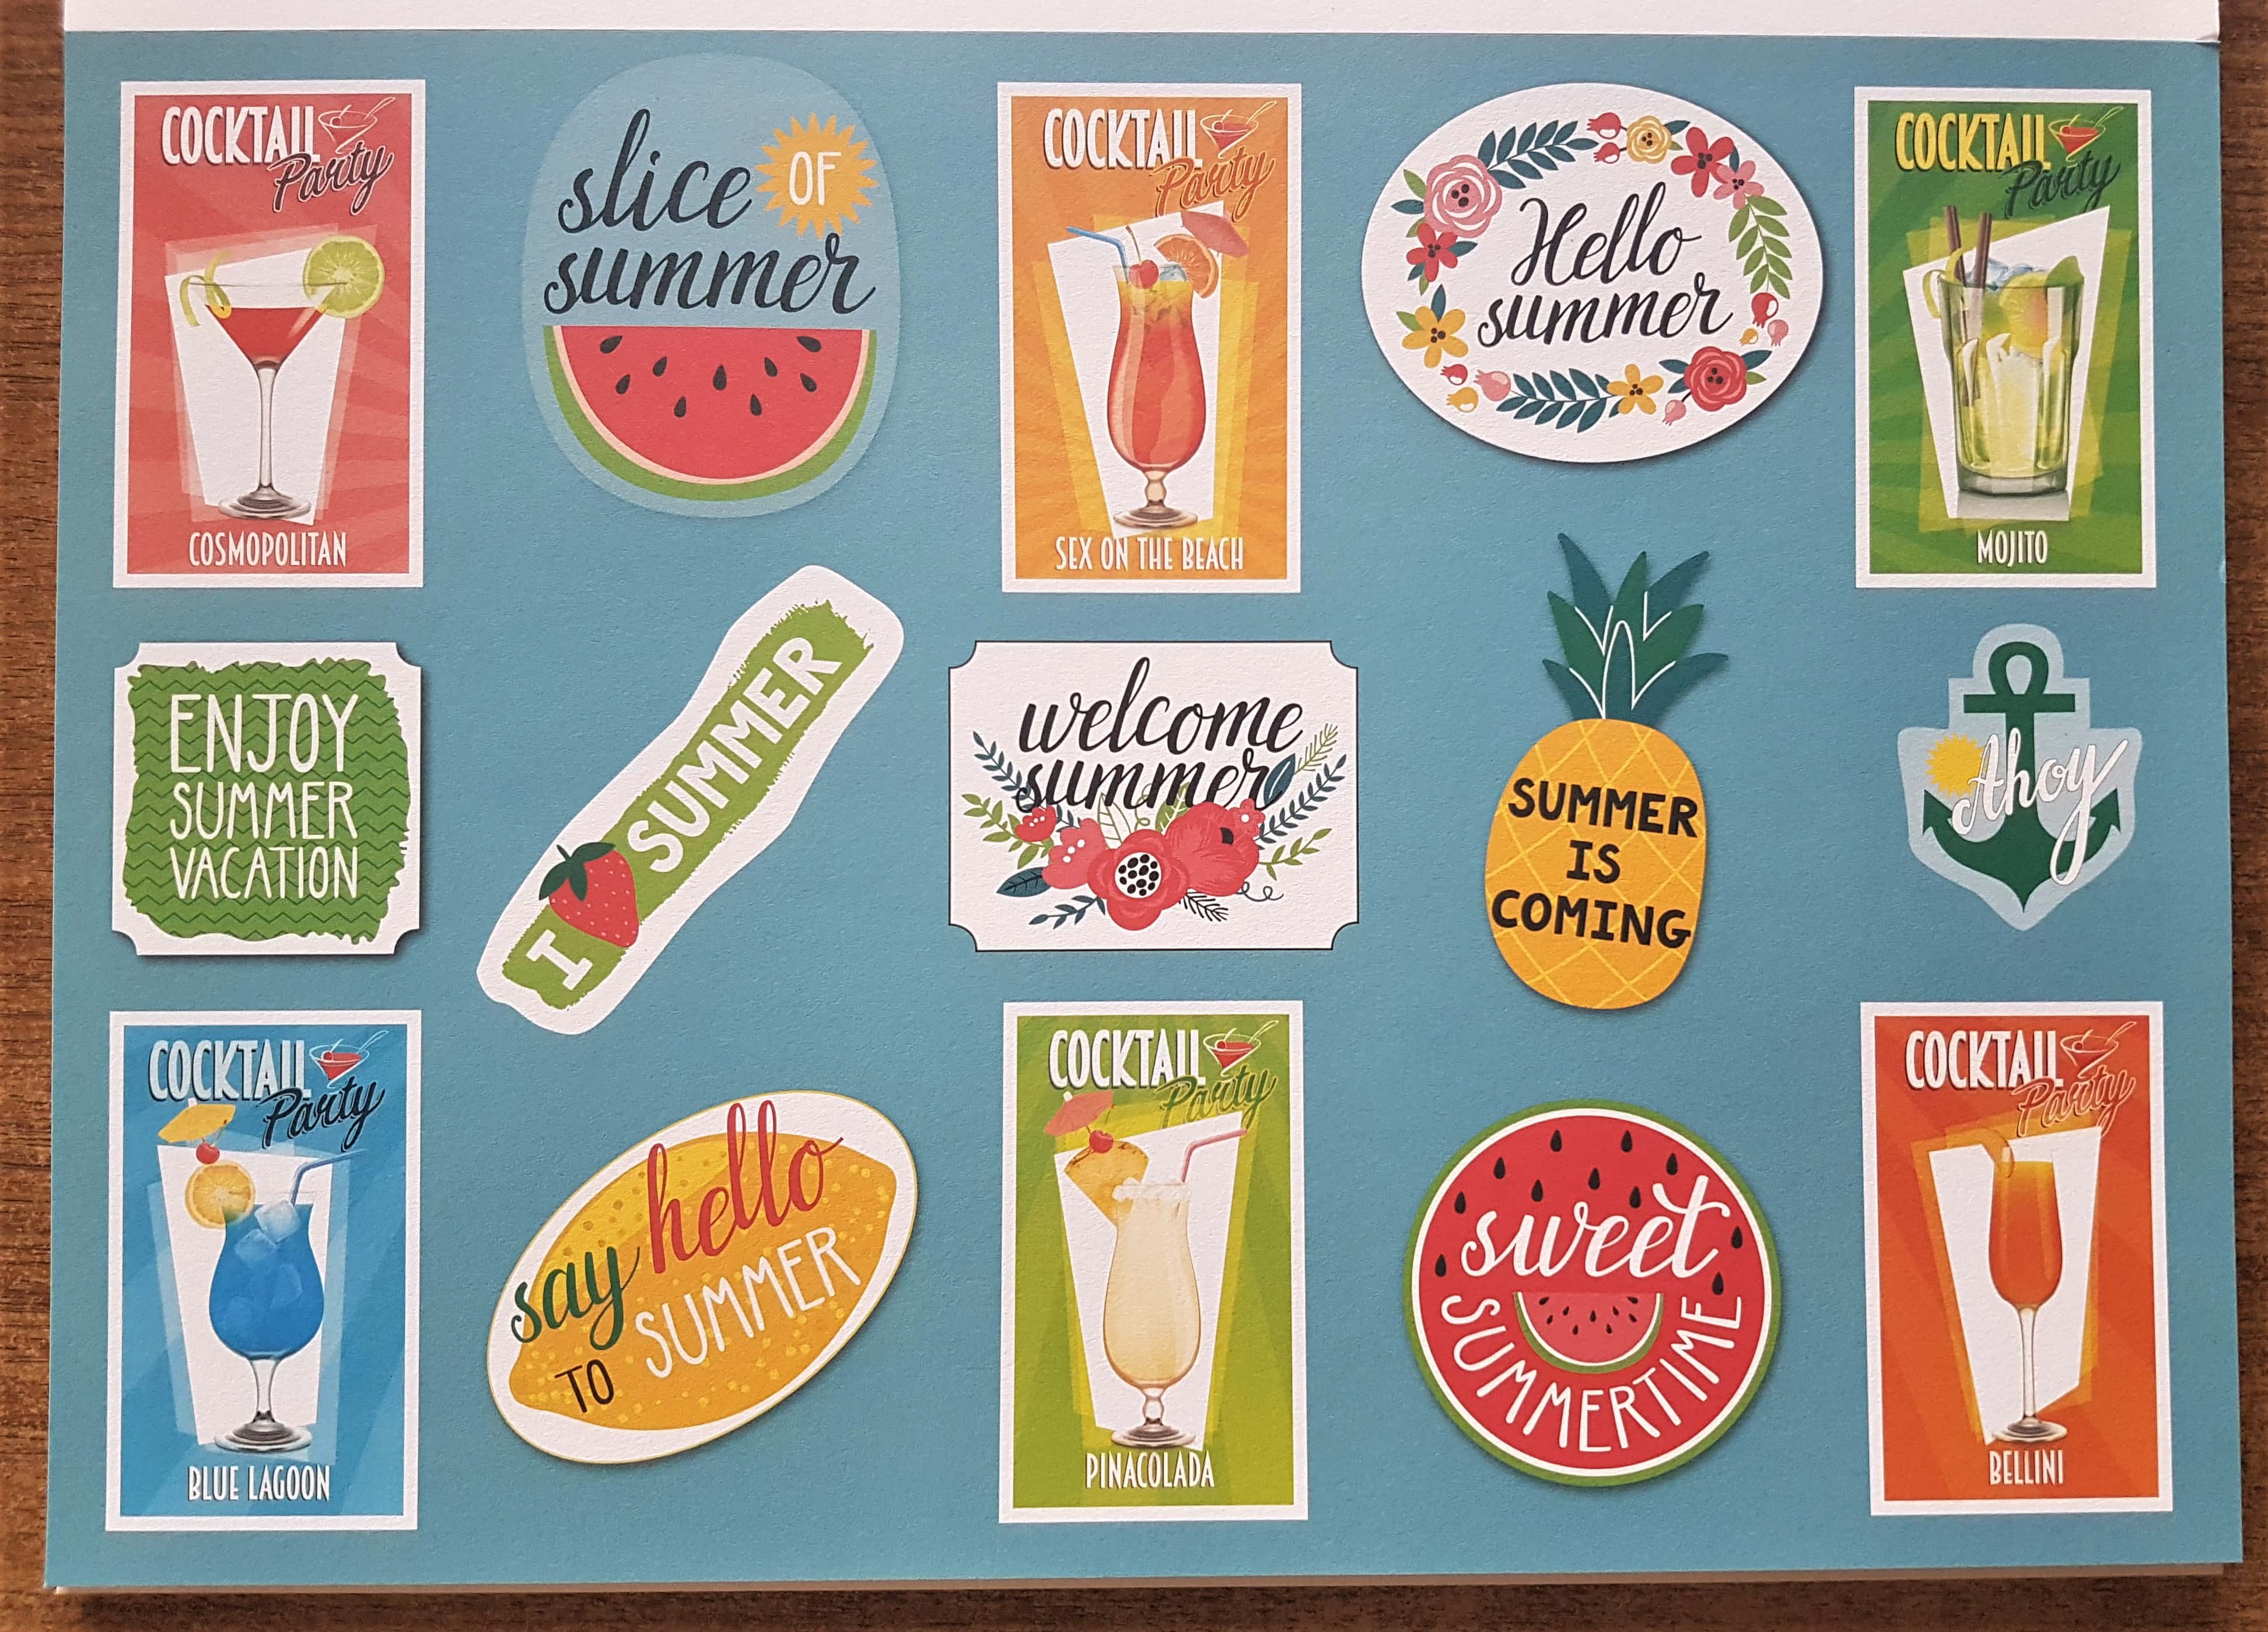
I have a 250 gsm Summer Paper Pad 24 x 34 cm. I loved all the Cocktail Images on this Page and wanted to make a Summer inspired Craft with them. Cocktail Drinks Decals.
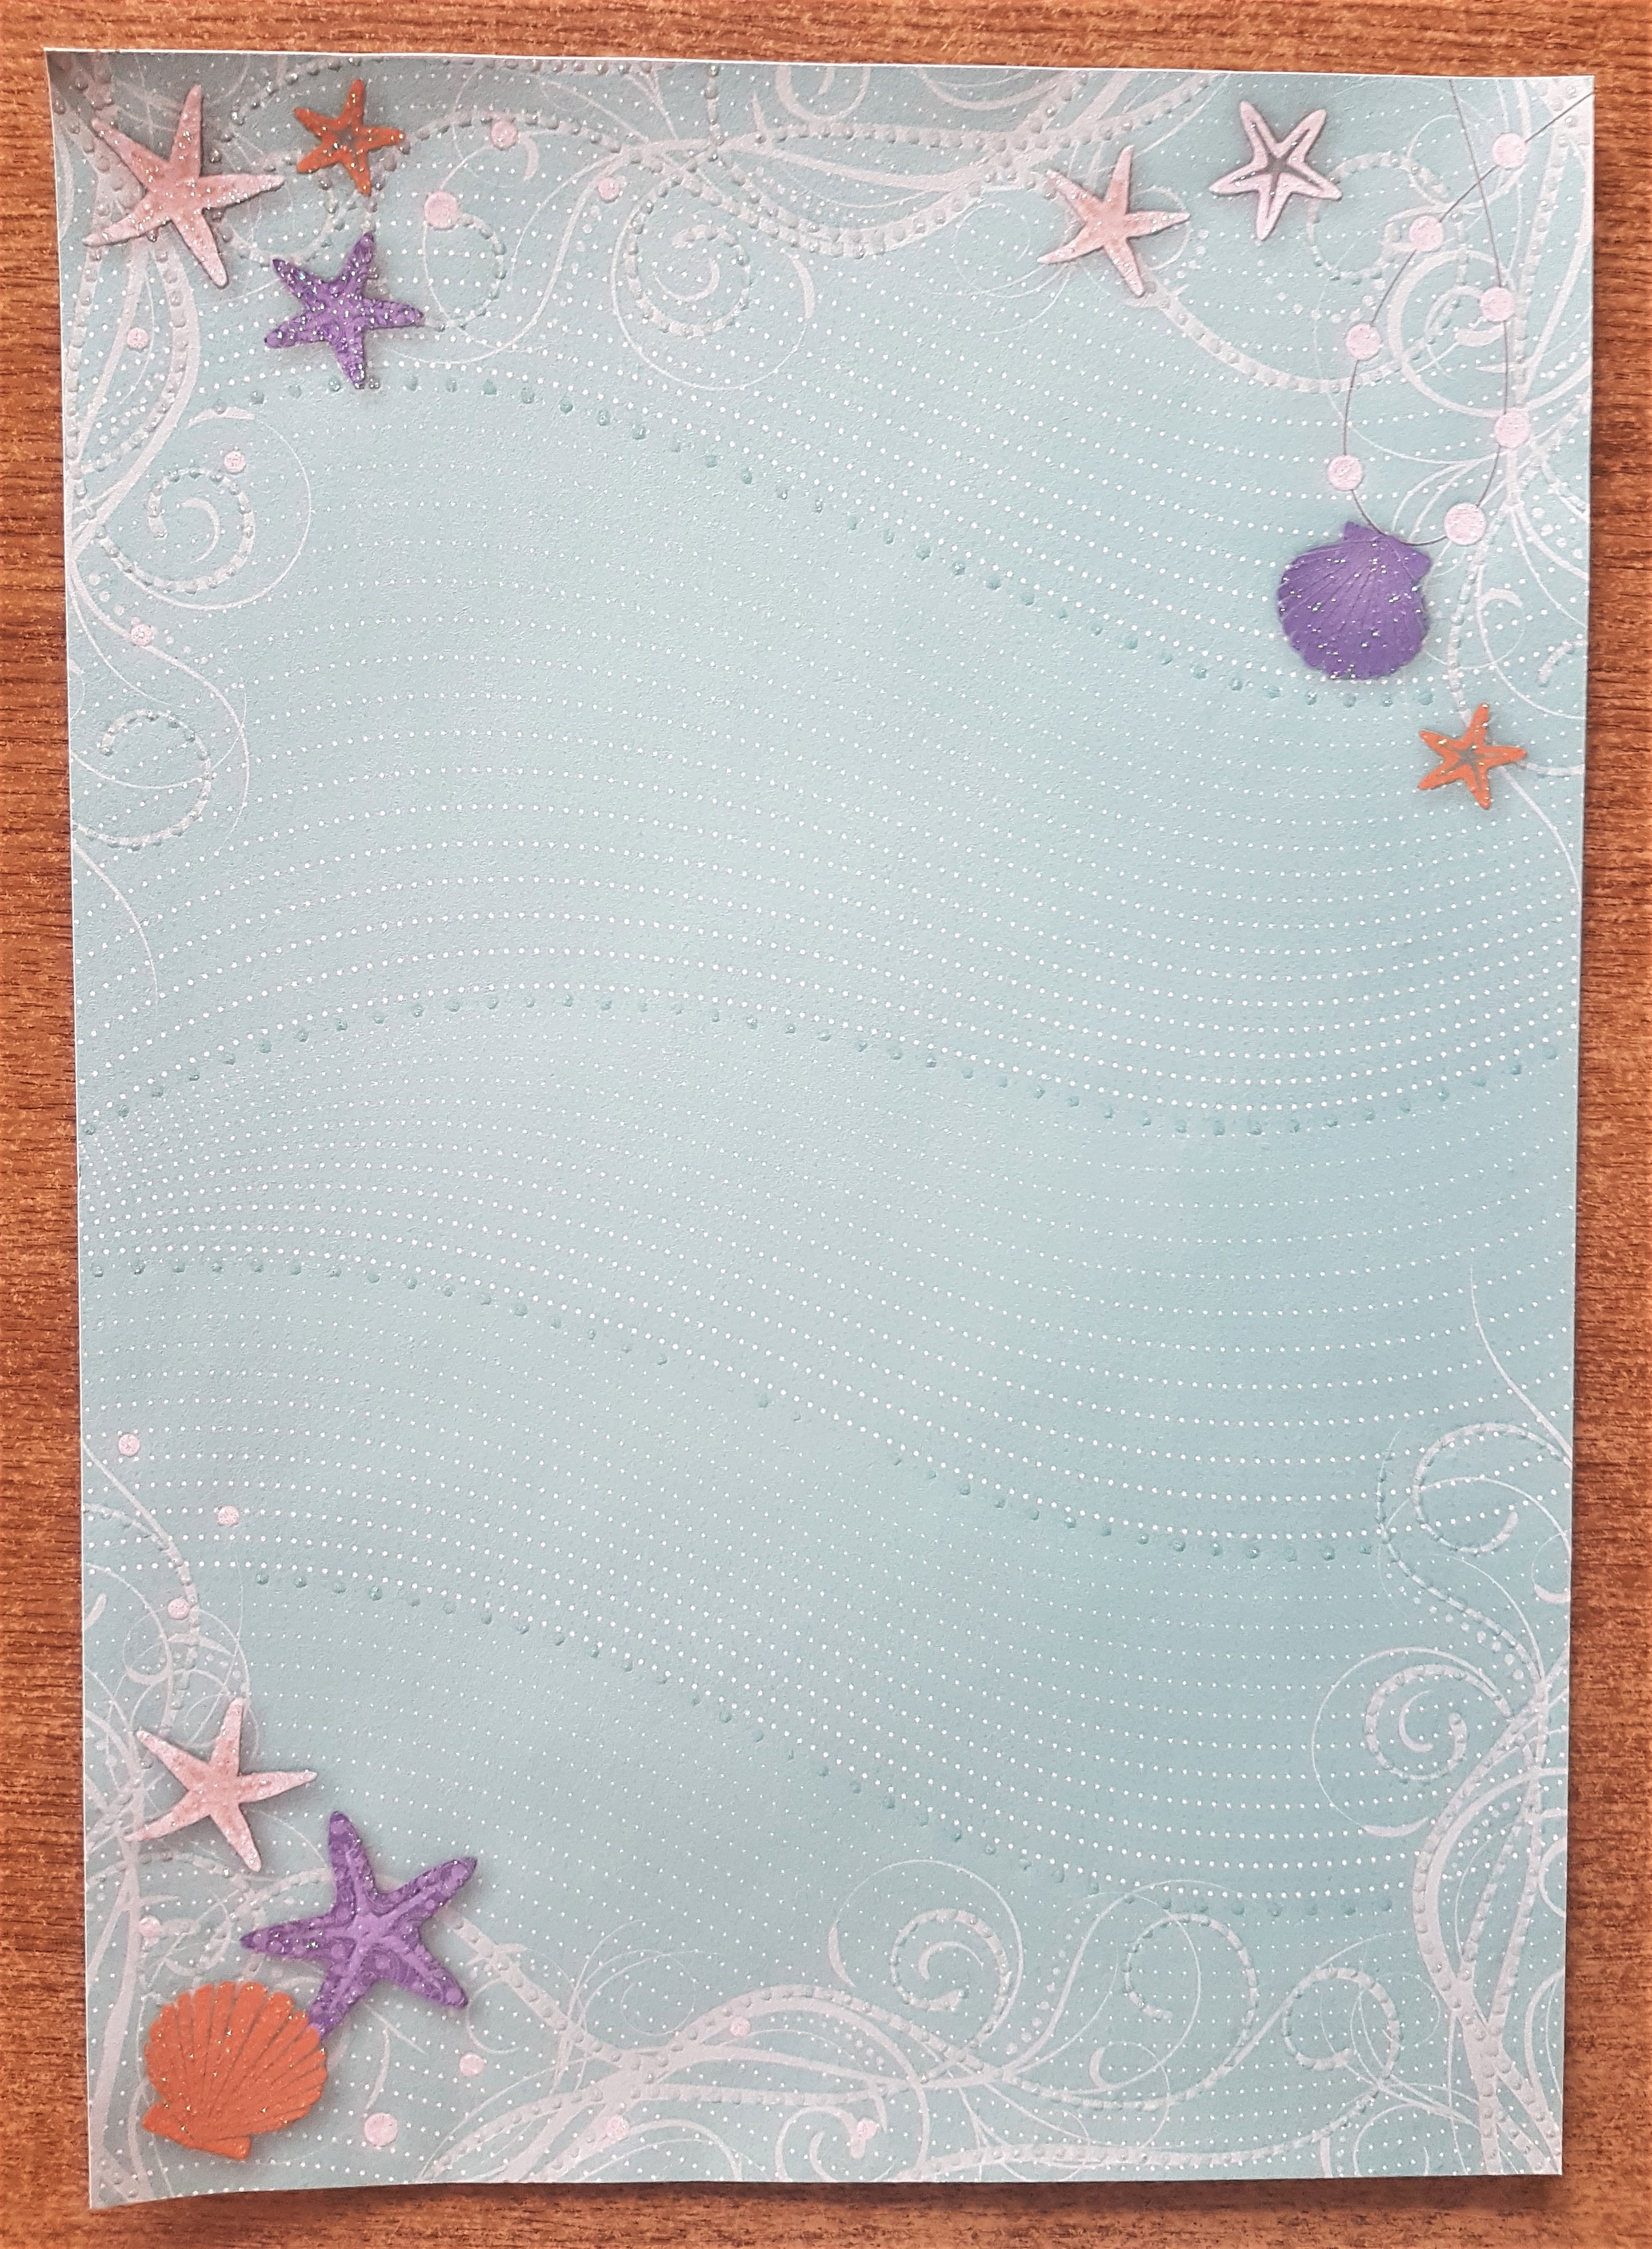
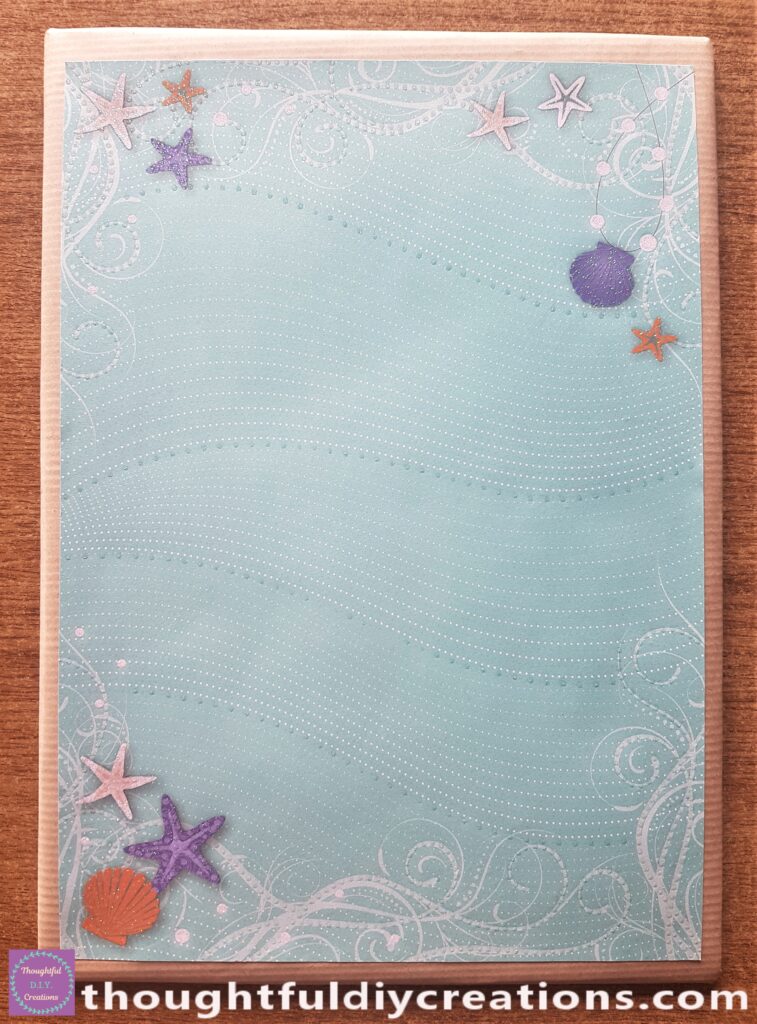
I also have an A4 Summer Paper Pad 160 gsm. I thought this Beach Page could work as a Background Page for the Summer Cocktails. PAPER Sound of Summer.
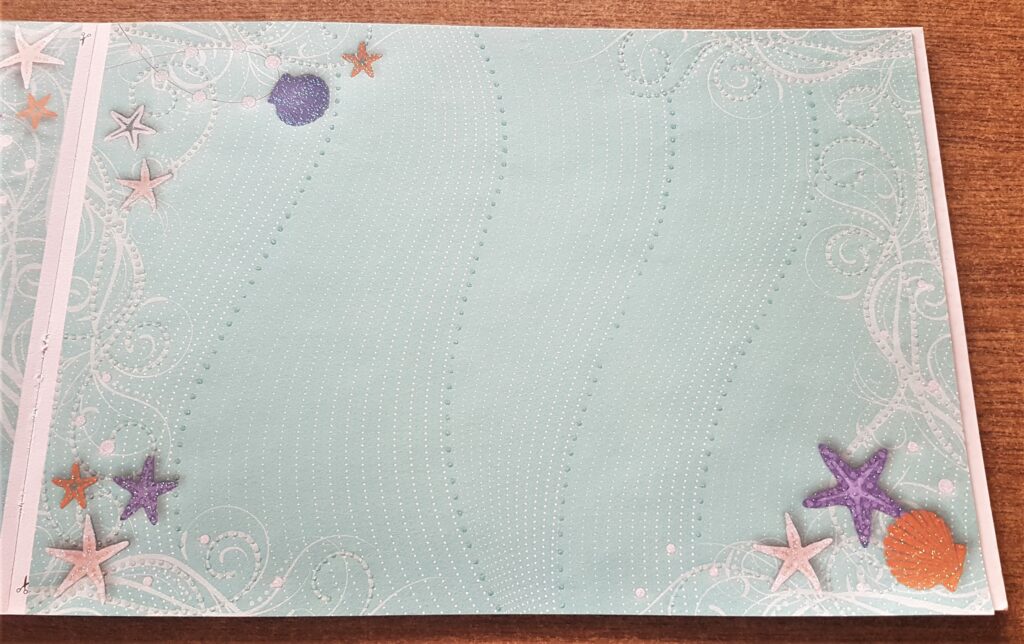
I cut the A4 Beach Page out of the Paper Pad. PAPER Sound of Summer.
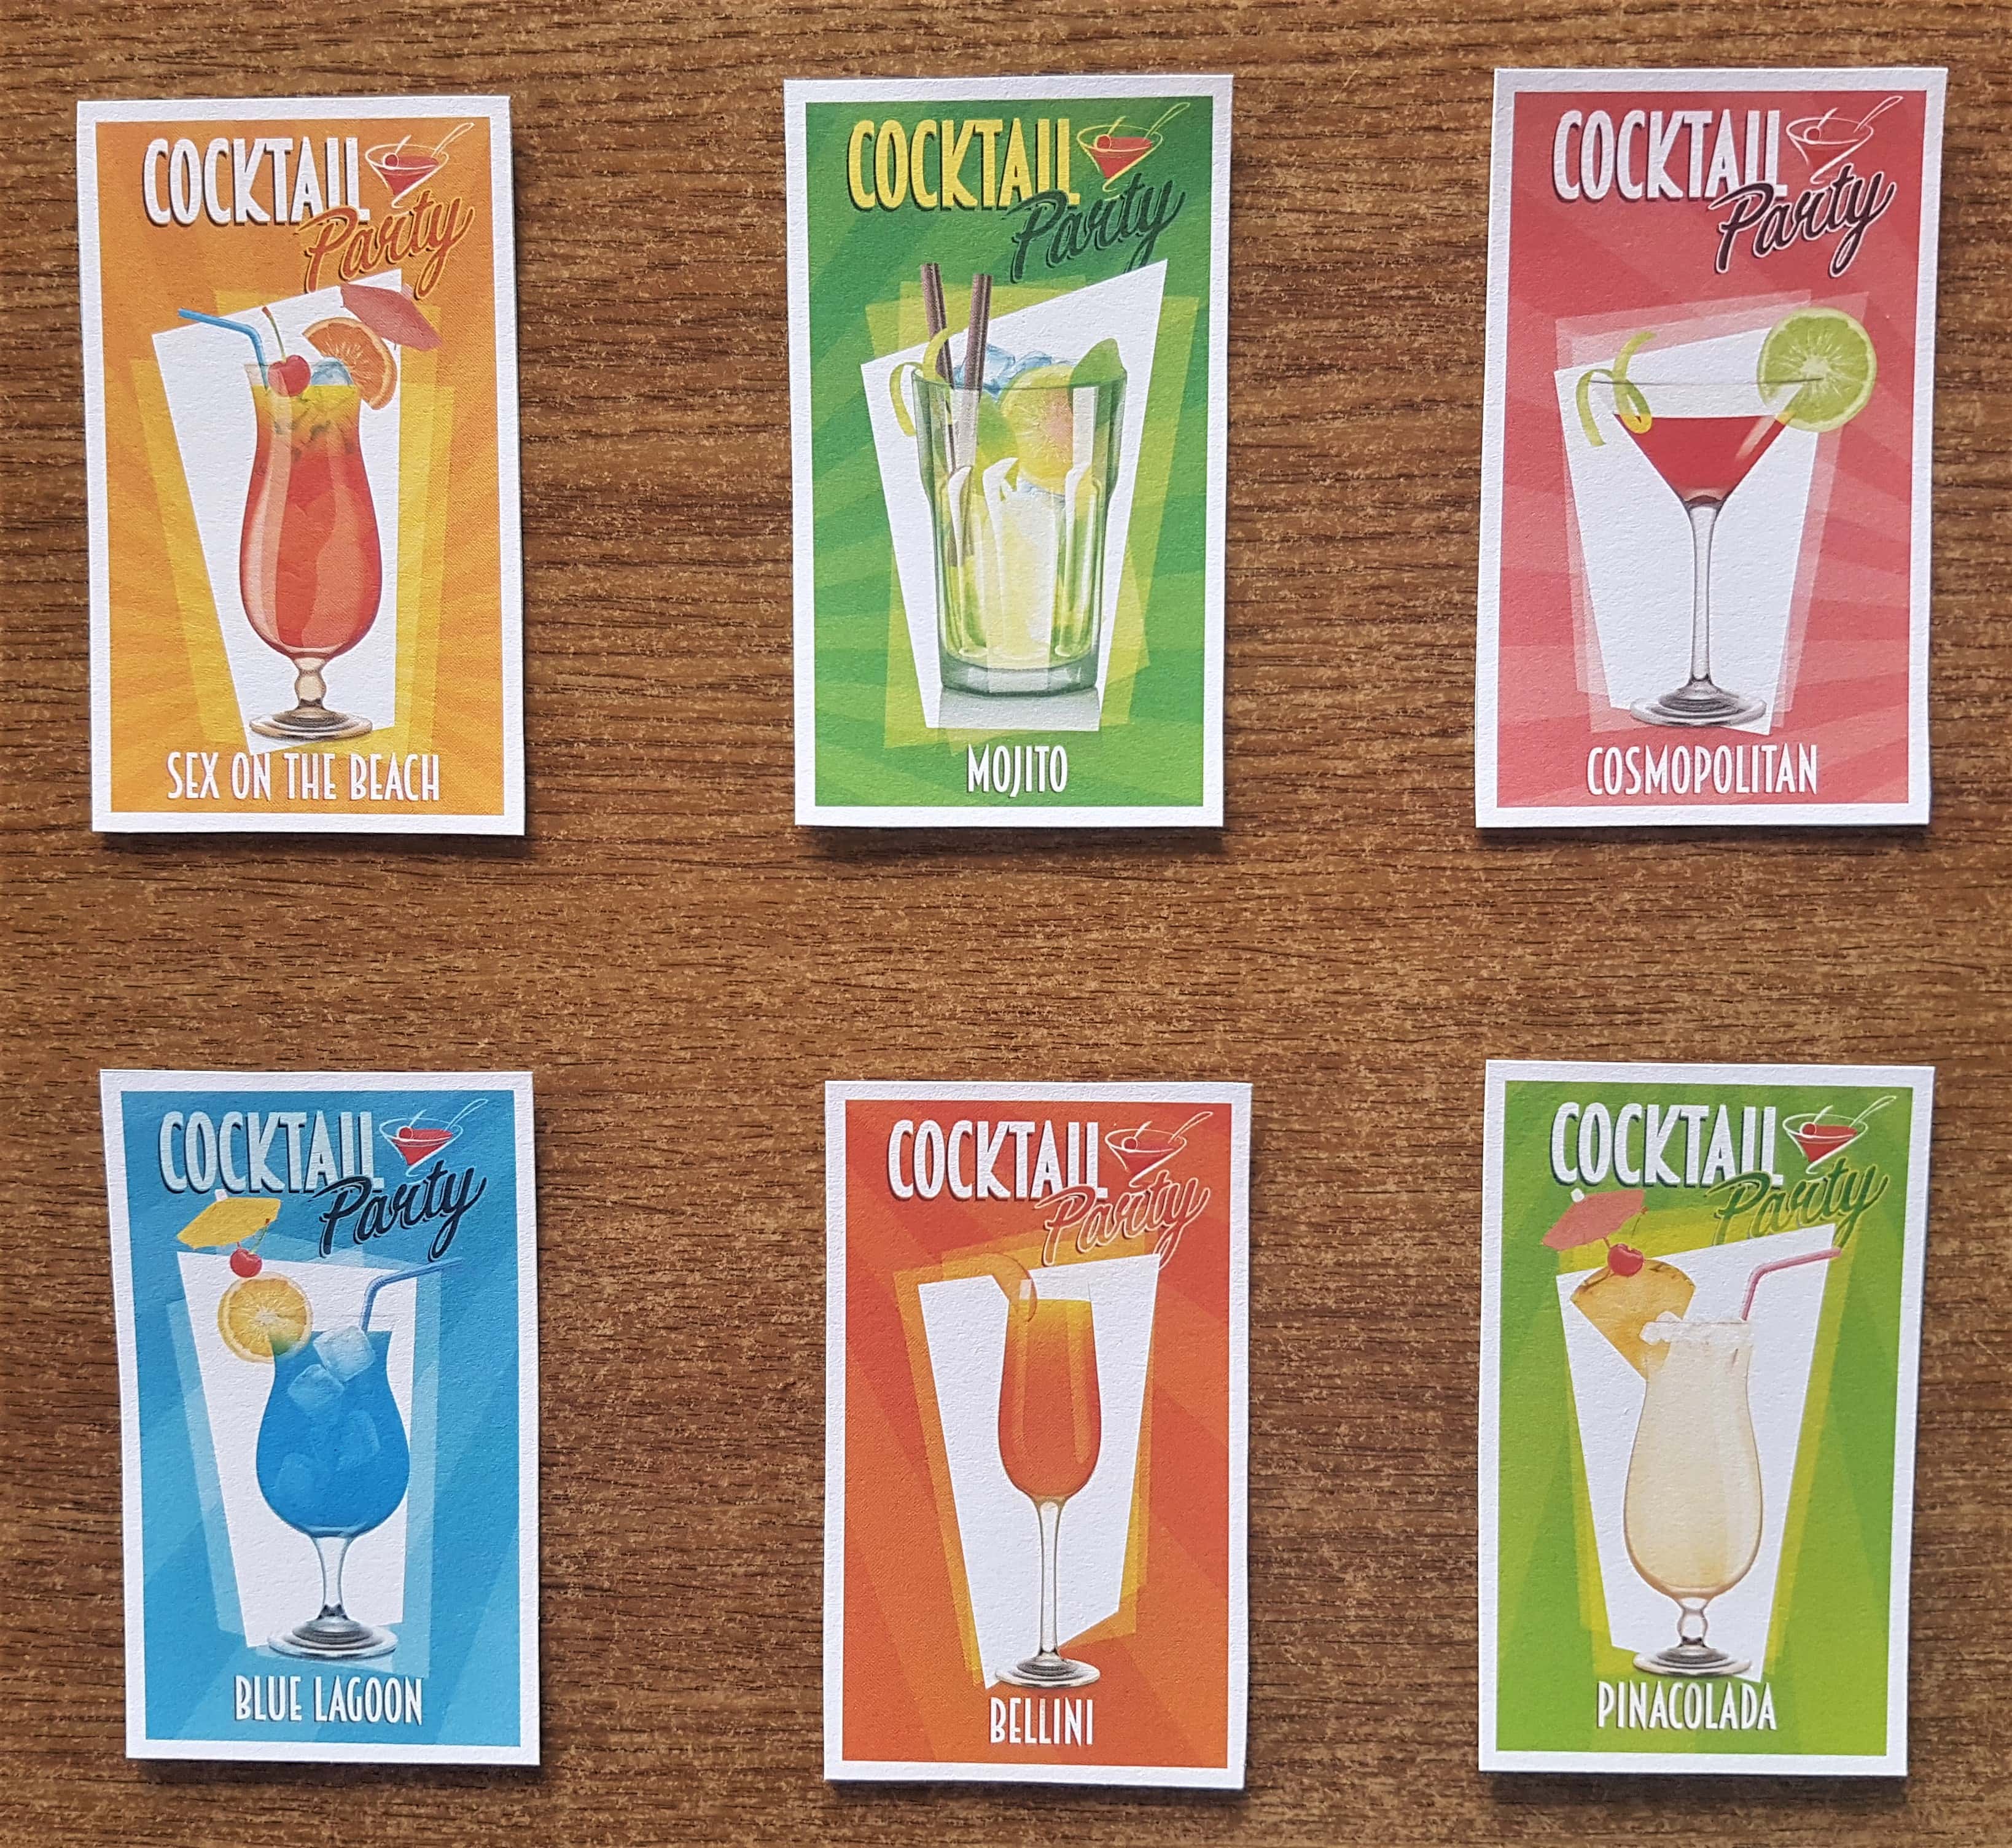
I also cut out the 6 Cocktails from the bigger Paper Pad. Cocktail Drinks Decals.
Cardboard for the Sign
I have a Laptop Box which is made of strong Cardboard. I thought it would be perfect for the base of my Cocktail Menu Sign.
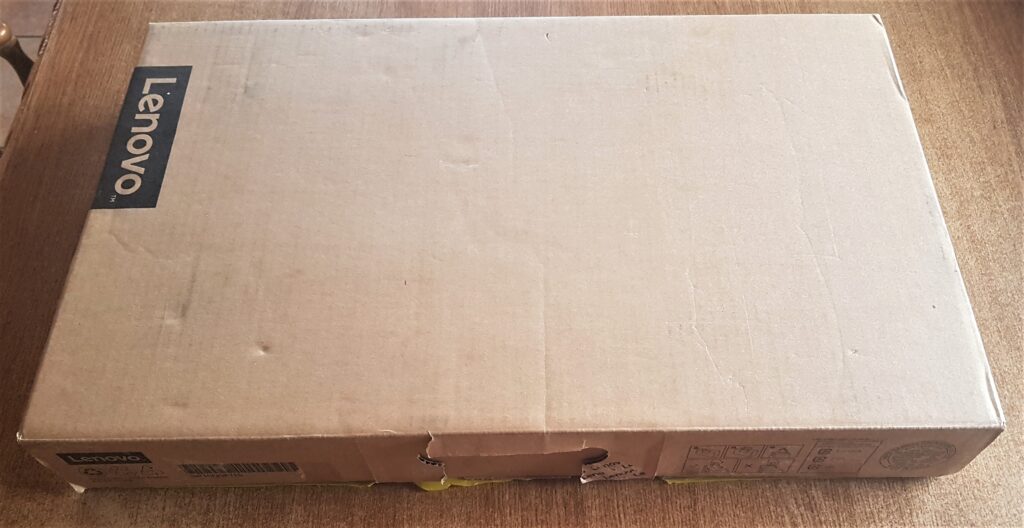
I put the Beach Page on top of the Cardboard Box and made measurements around the box to be a little bigger than the Beach Page giving it a border. I drew the lines on the Box with a pencil and ruler to cut out. PAPER Sound of Summer.
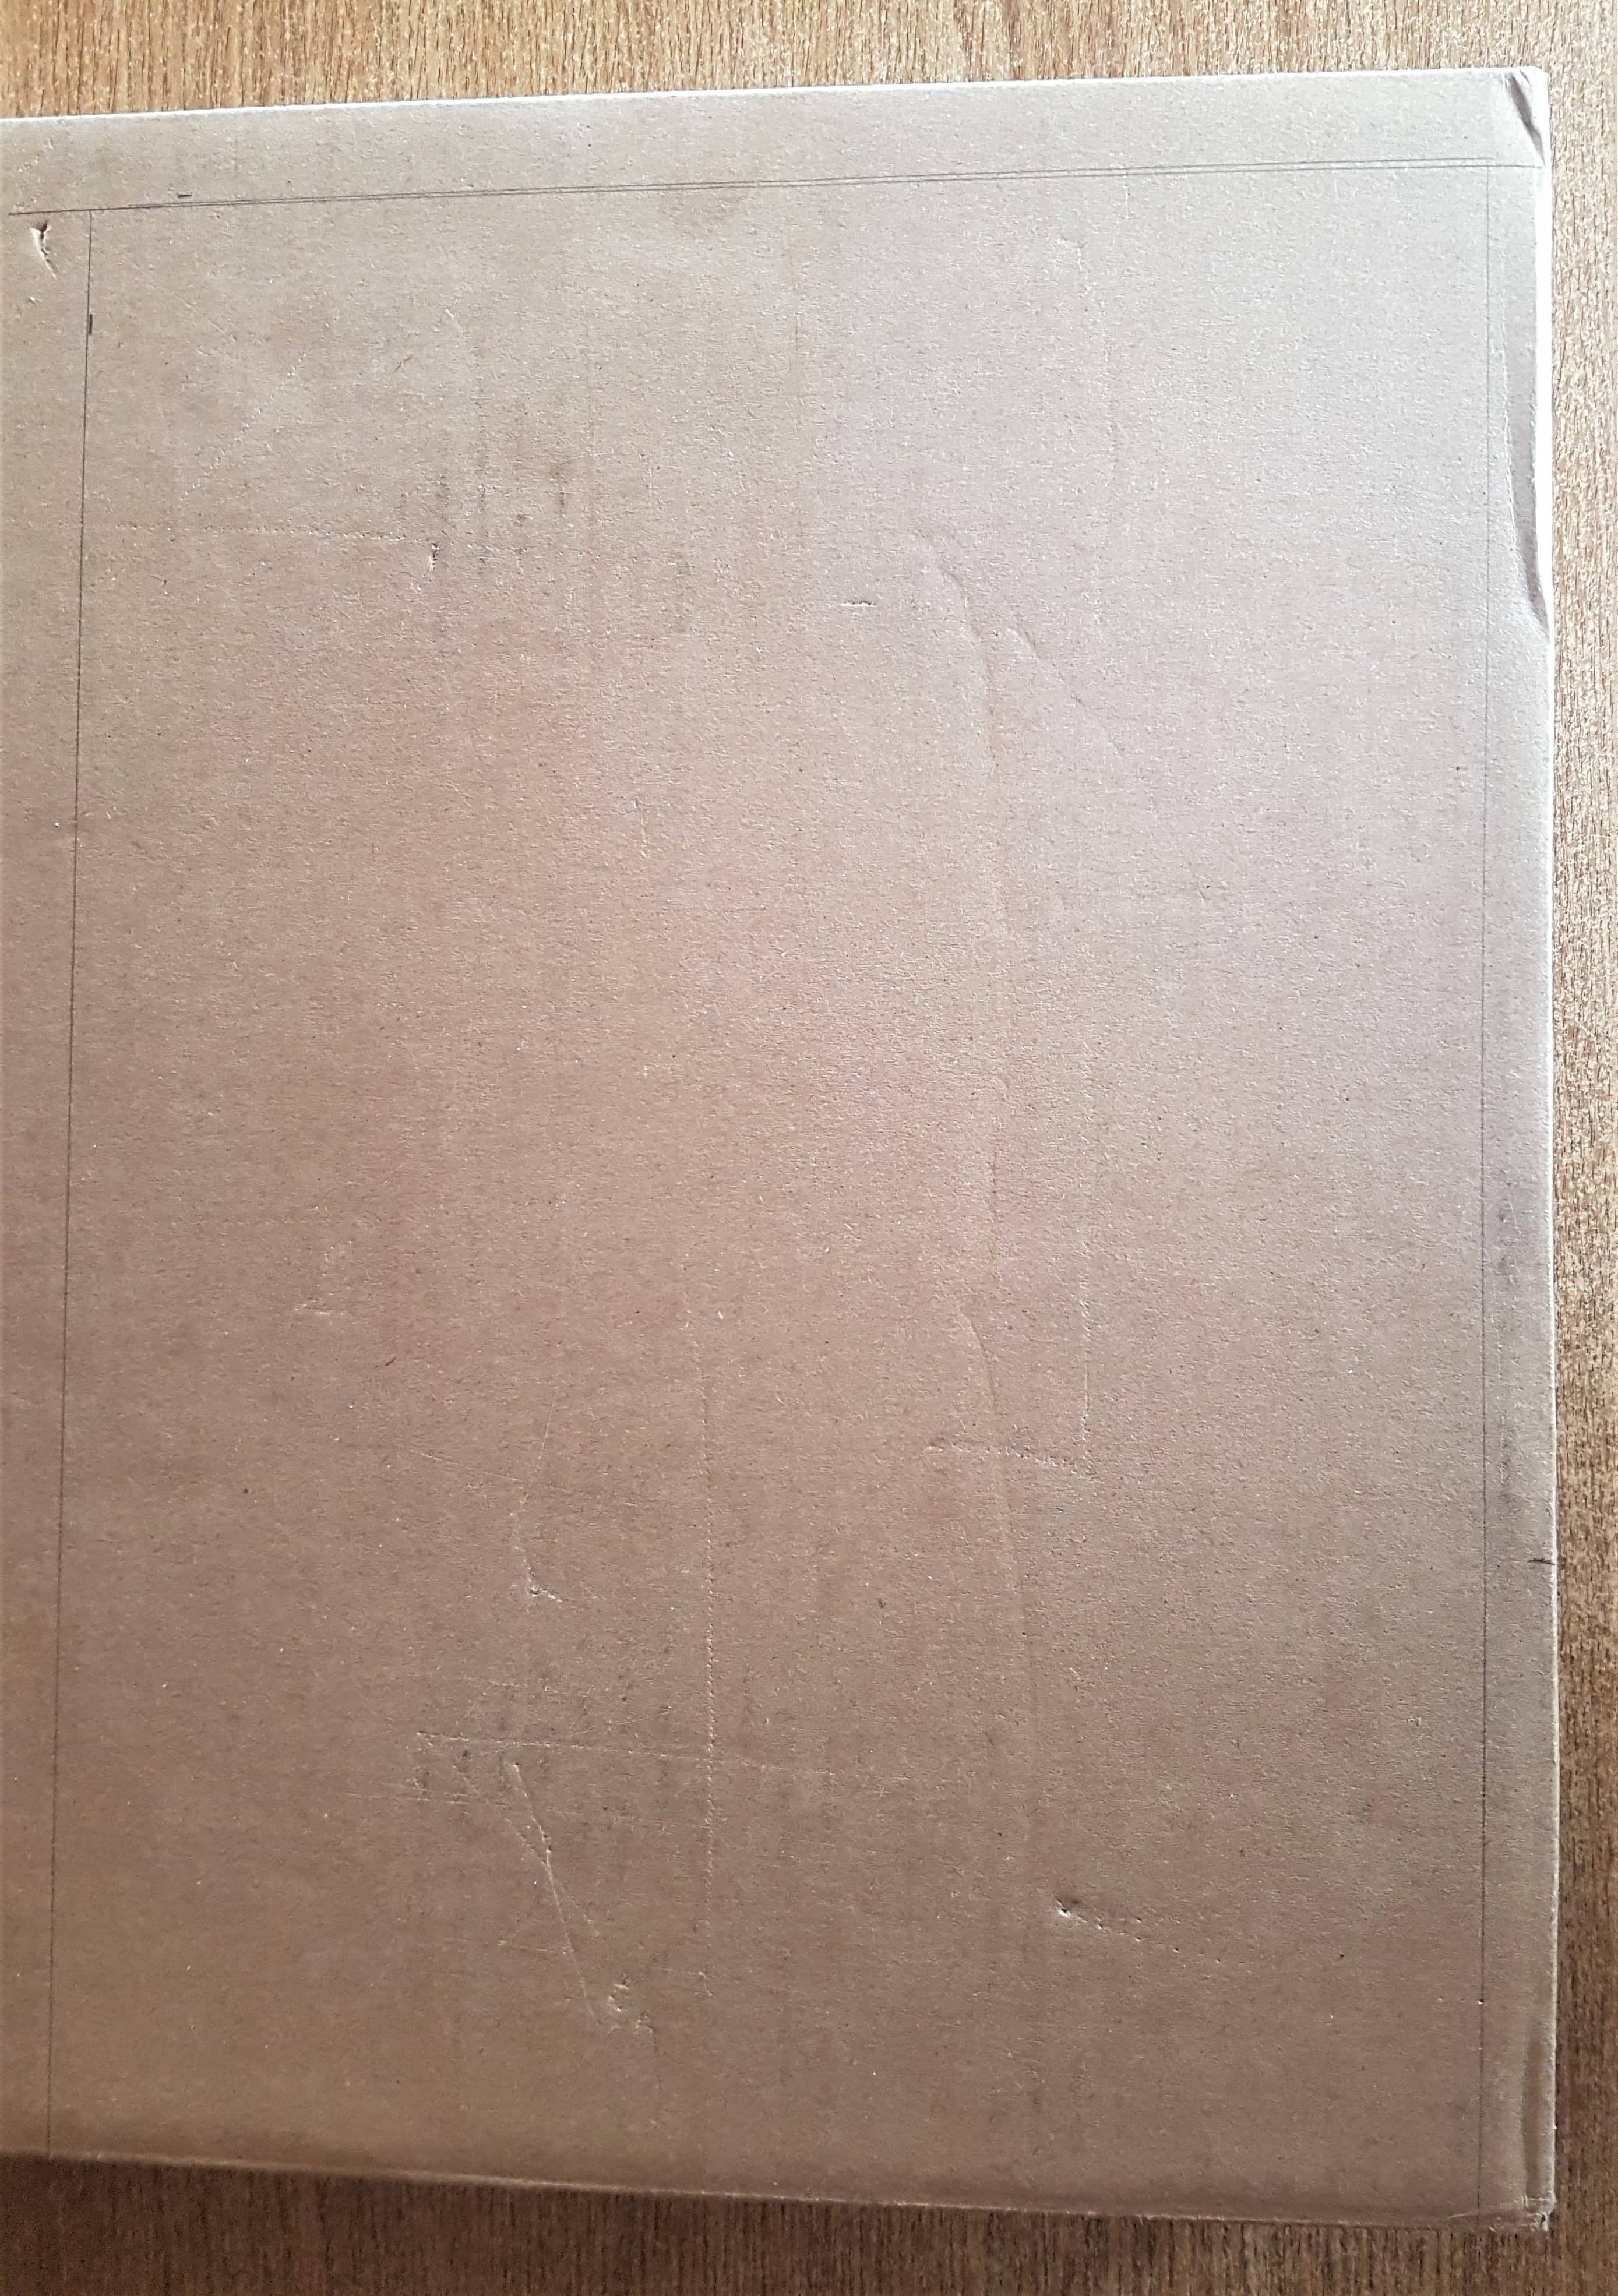
I cut out the Cardboard using a strong Scissors.
Covering the Base with Brown Paper
I got my roll of Brown Paper. Roll of Brown ECO Kraft Paper.
I cut a section of Brown Paper big enough to cover the Cardboard Base front and back. Roll of Brown ECO Kraft Paper.
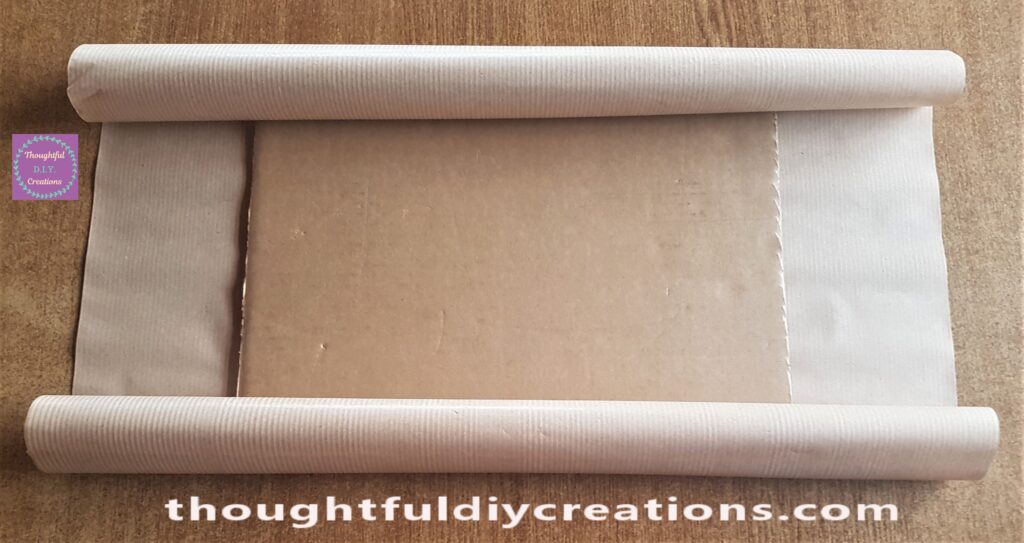
I put Pritt Stick along 1 edge of the Brown Paper and attached it to the other edge on the back of the cardboard. I cut off some excess brown paper on the top and bottom. This is a side angle of the brown paper on the cardboard. Pritt Stick Glue.
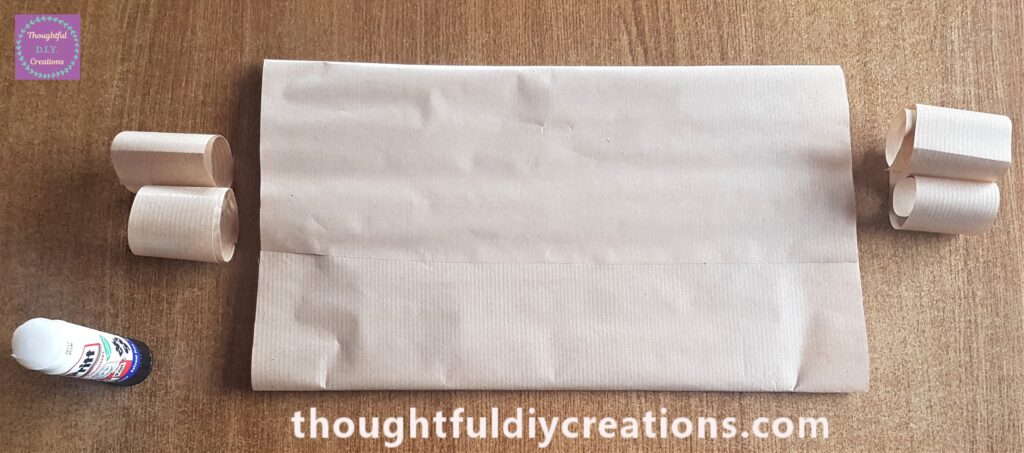
I folded in the top and bottom corners like I was wrapping a present and put Pritt Stick along the edges and glued them to the back of the cardboard base. Pritt Stick Glue.
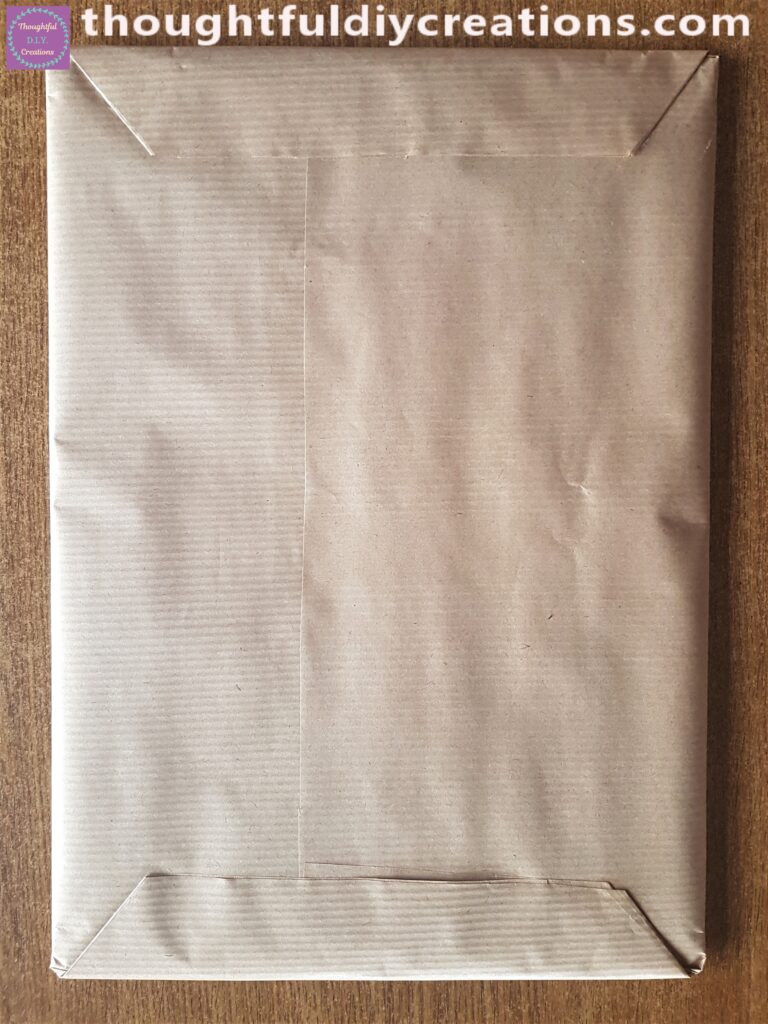
This s the Front of the Cardboard now covered with Brown Paper. Roll of Brown ECO Kraft Paper.
Attaching Paper to the Cocktail Menu Sign
I put Pritt Stick on the back of the Beach Page and attached it to the front of the Brown Papered Cardboard Base. I like the Brown Paper border I think it looks like Sand and goes well with the Blue on the Page. PAPER Sound of Summer.
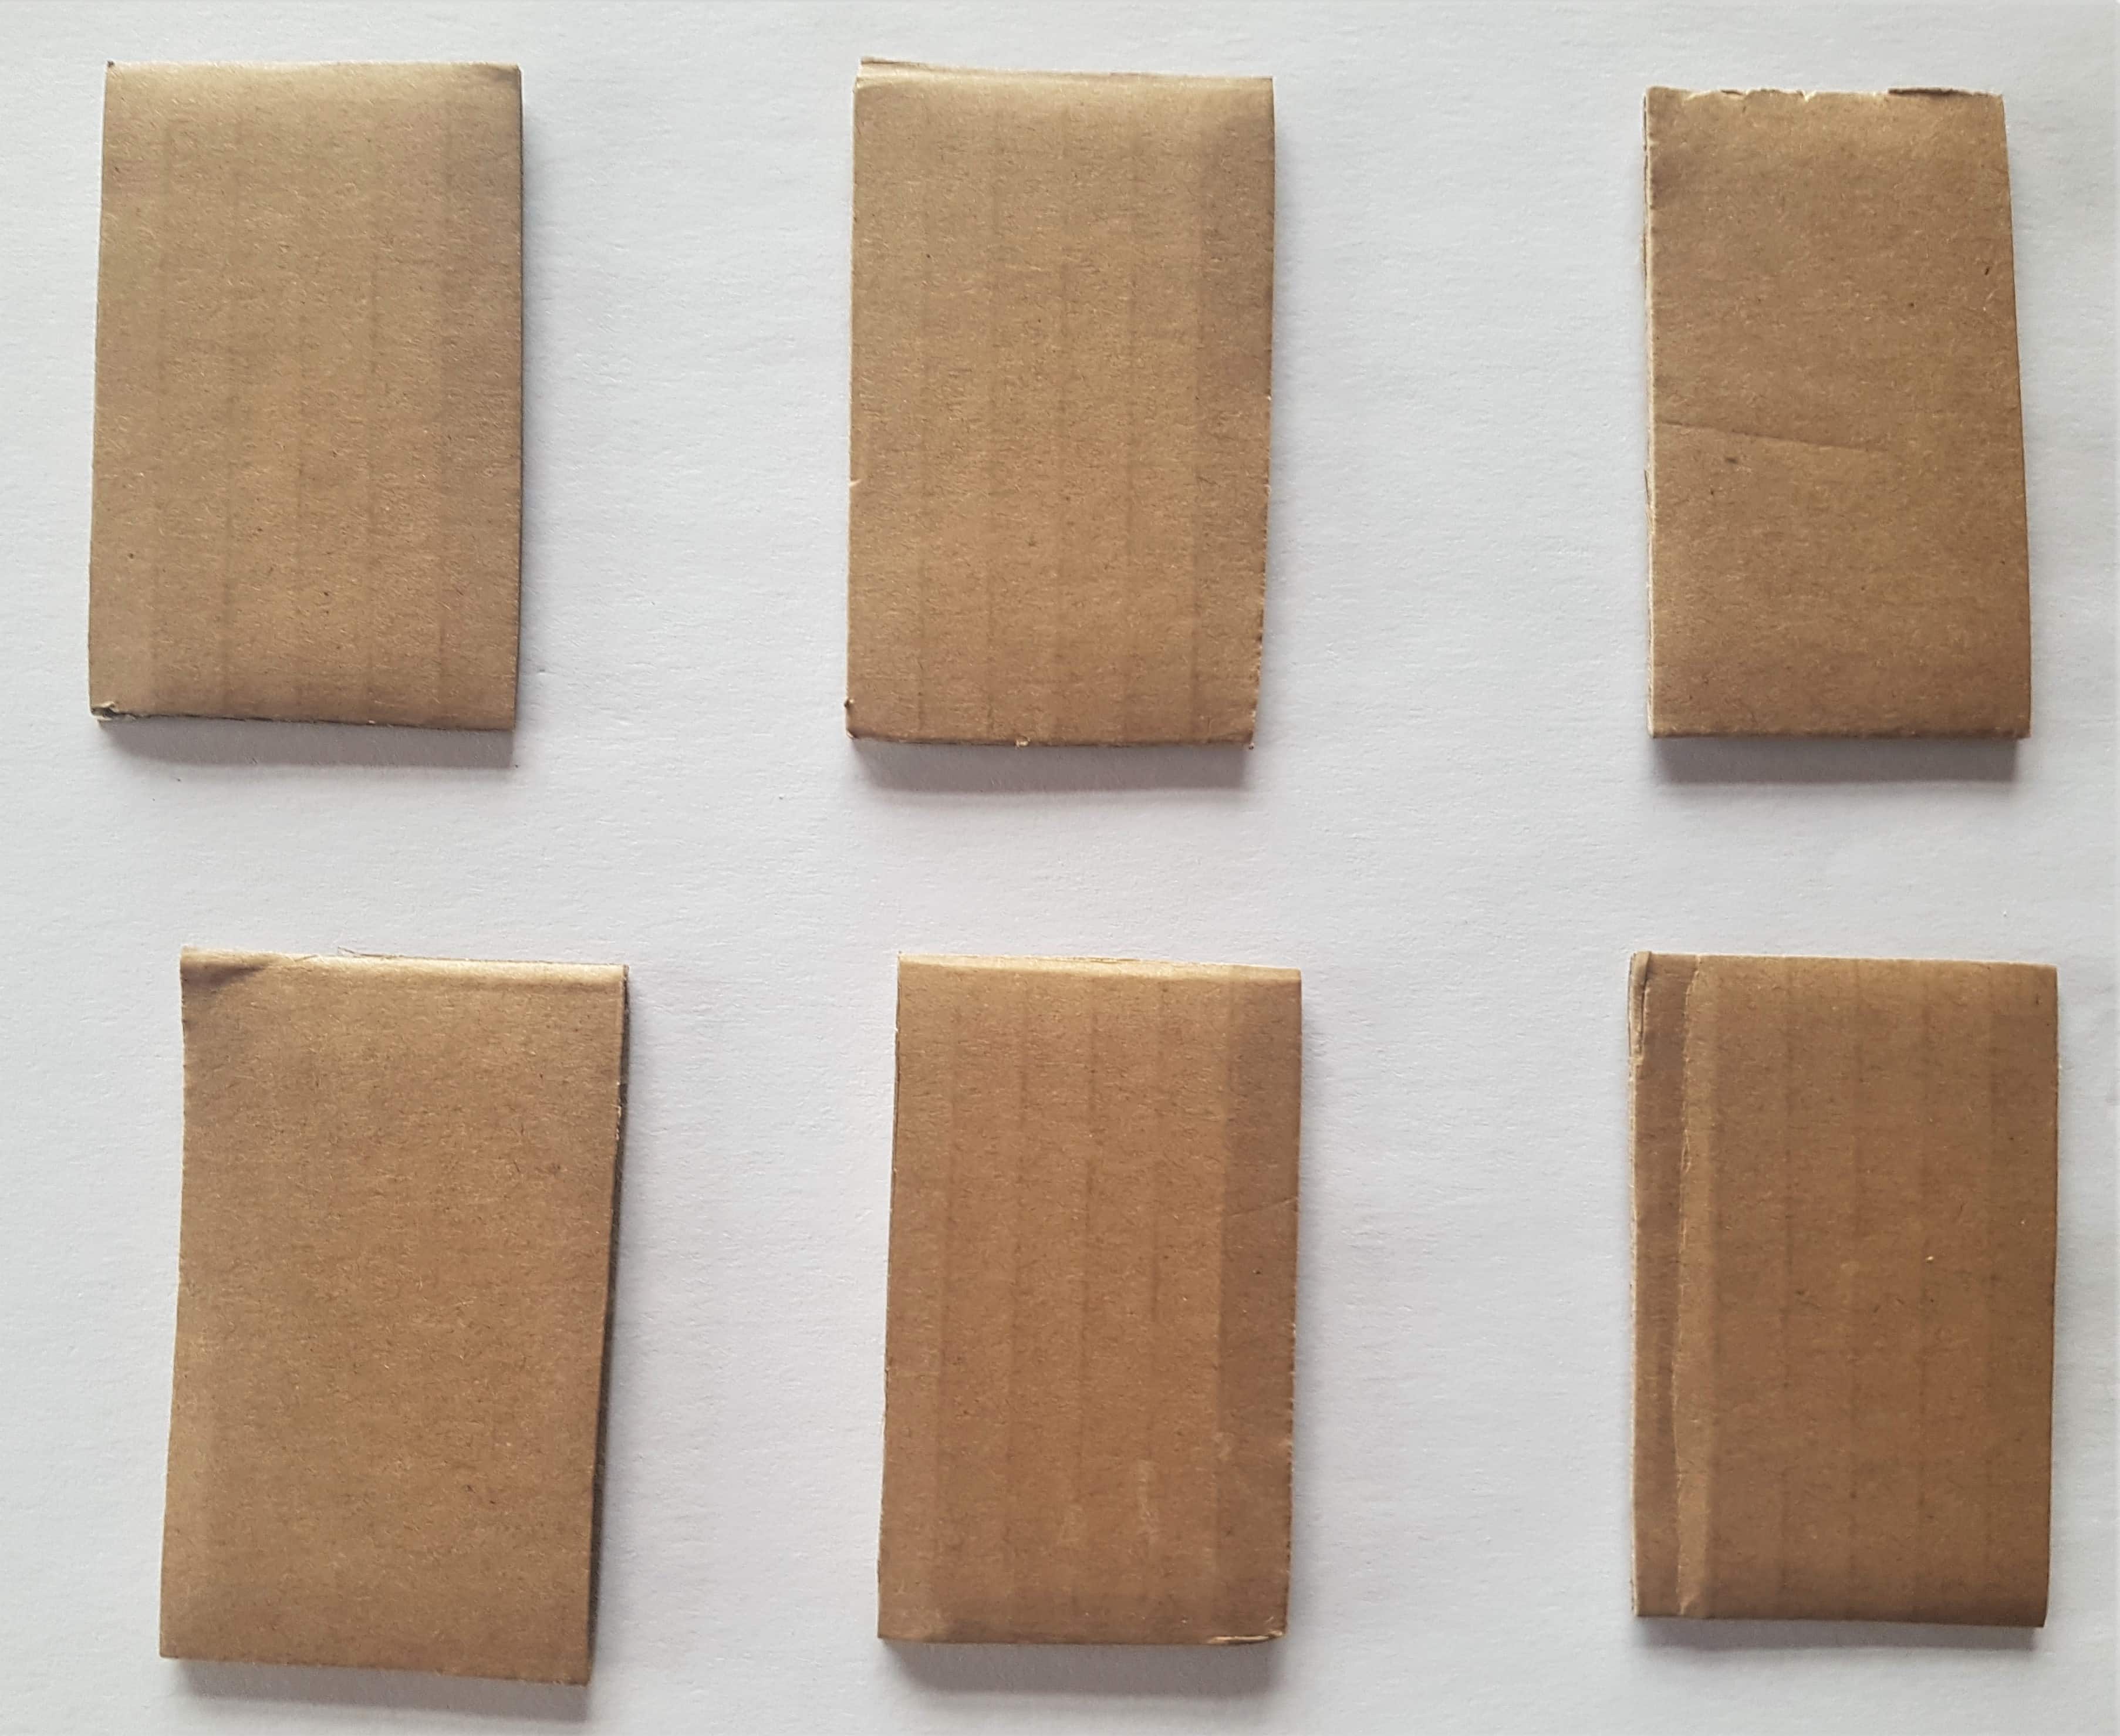
Preparing Cardboard for added Dimension
I cut out 6 Rectangle shapes from the Cardboard from the Laptop Box. These are for adding dimension to the Cocktail Pictures.
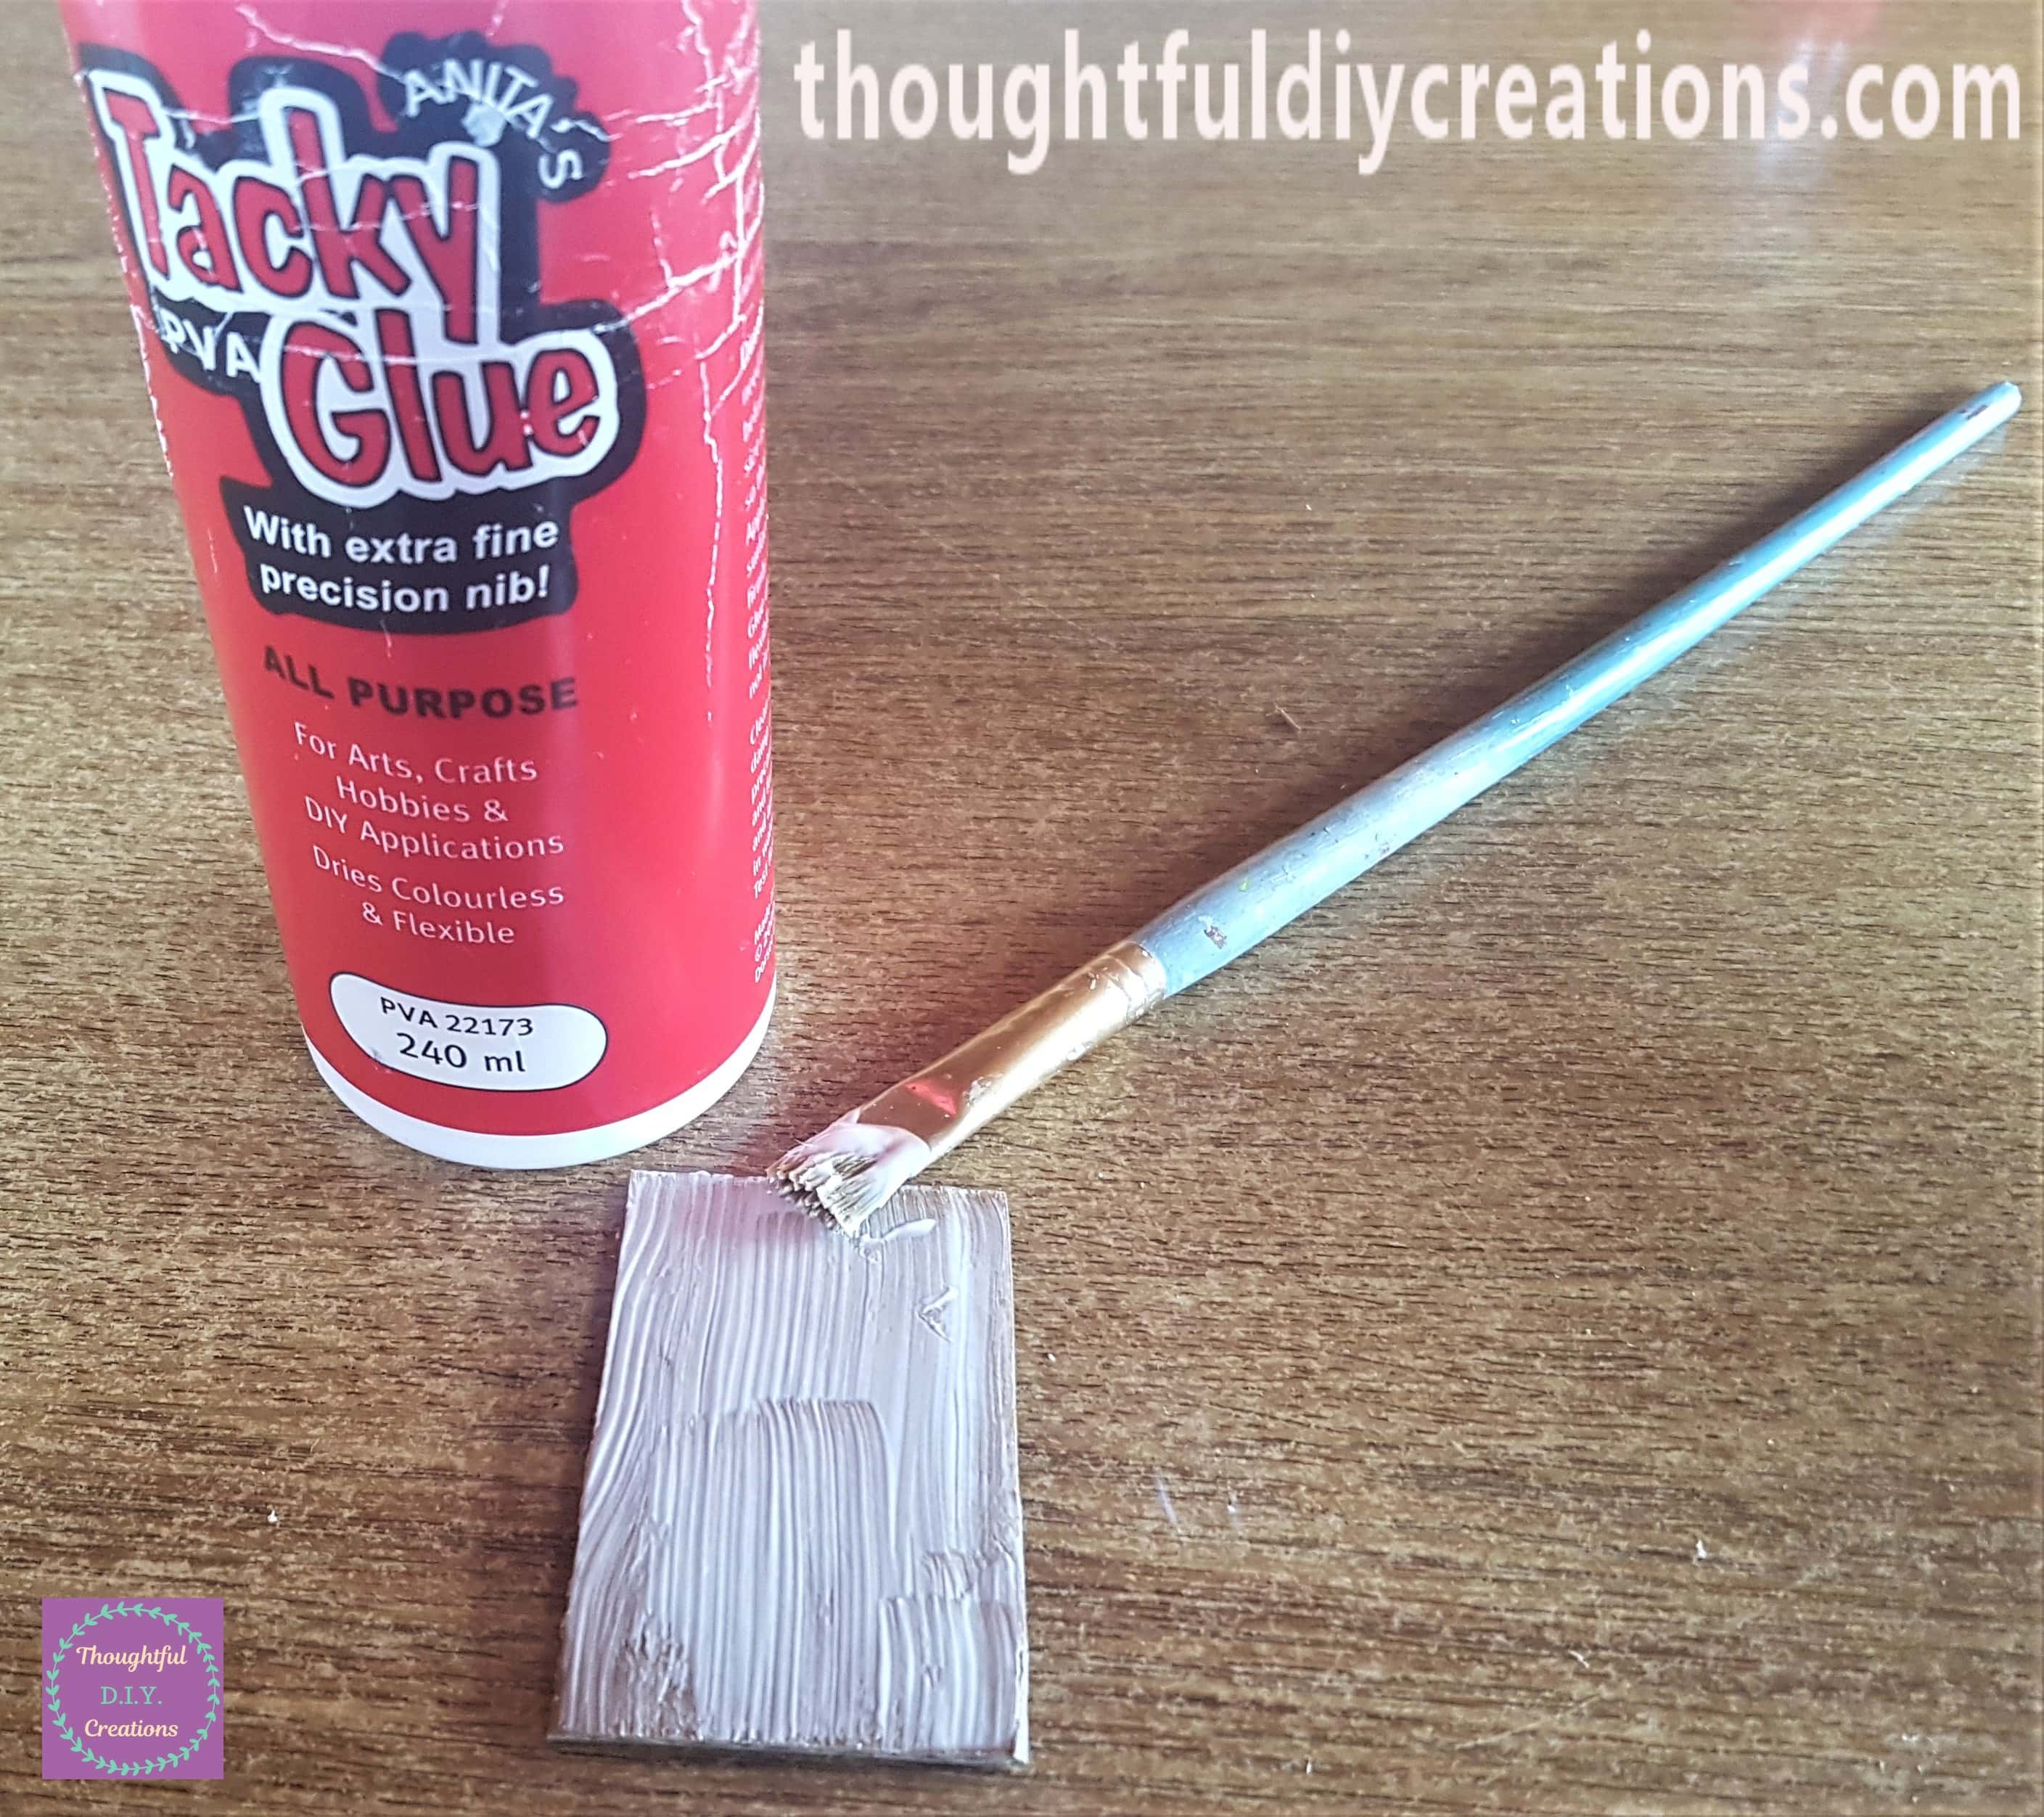
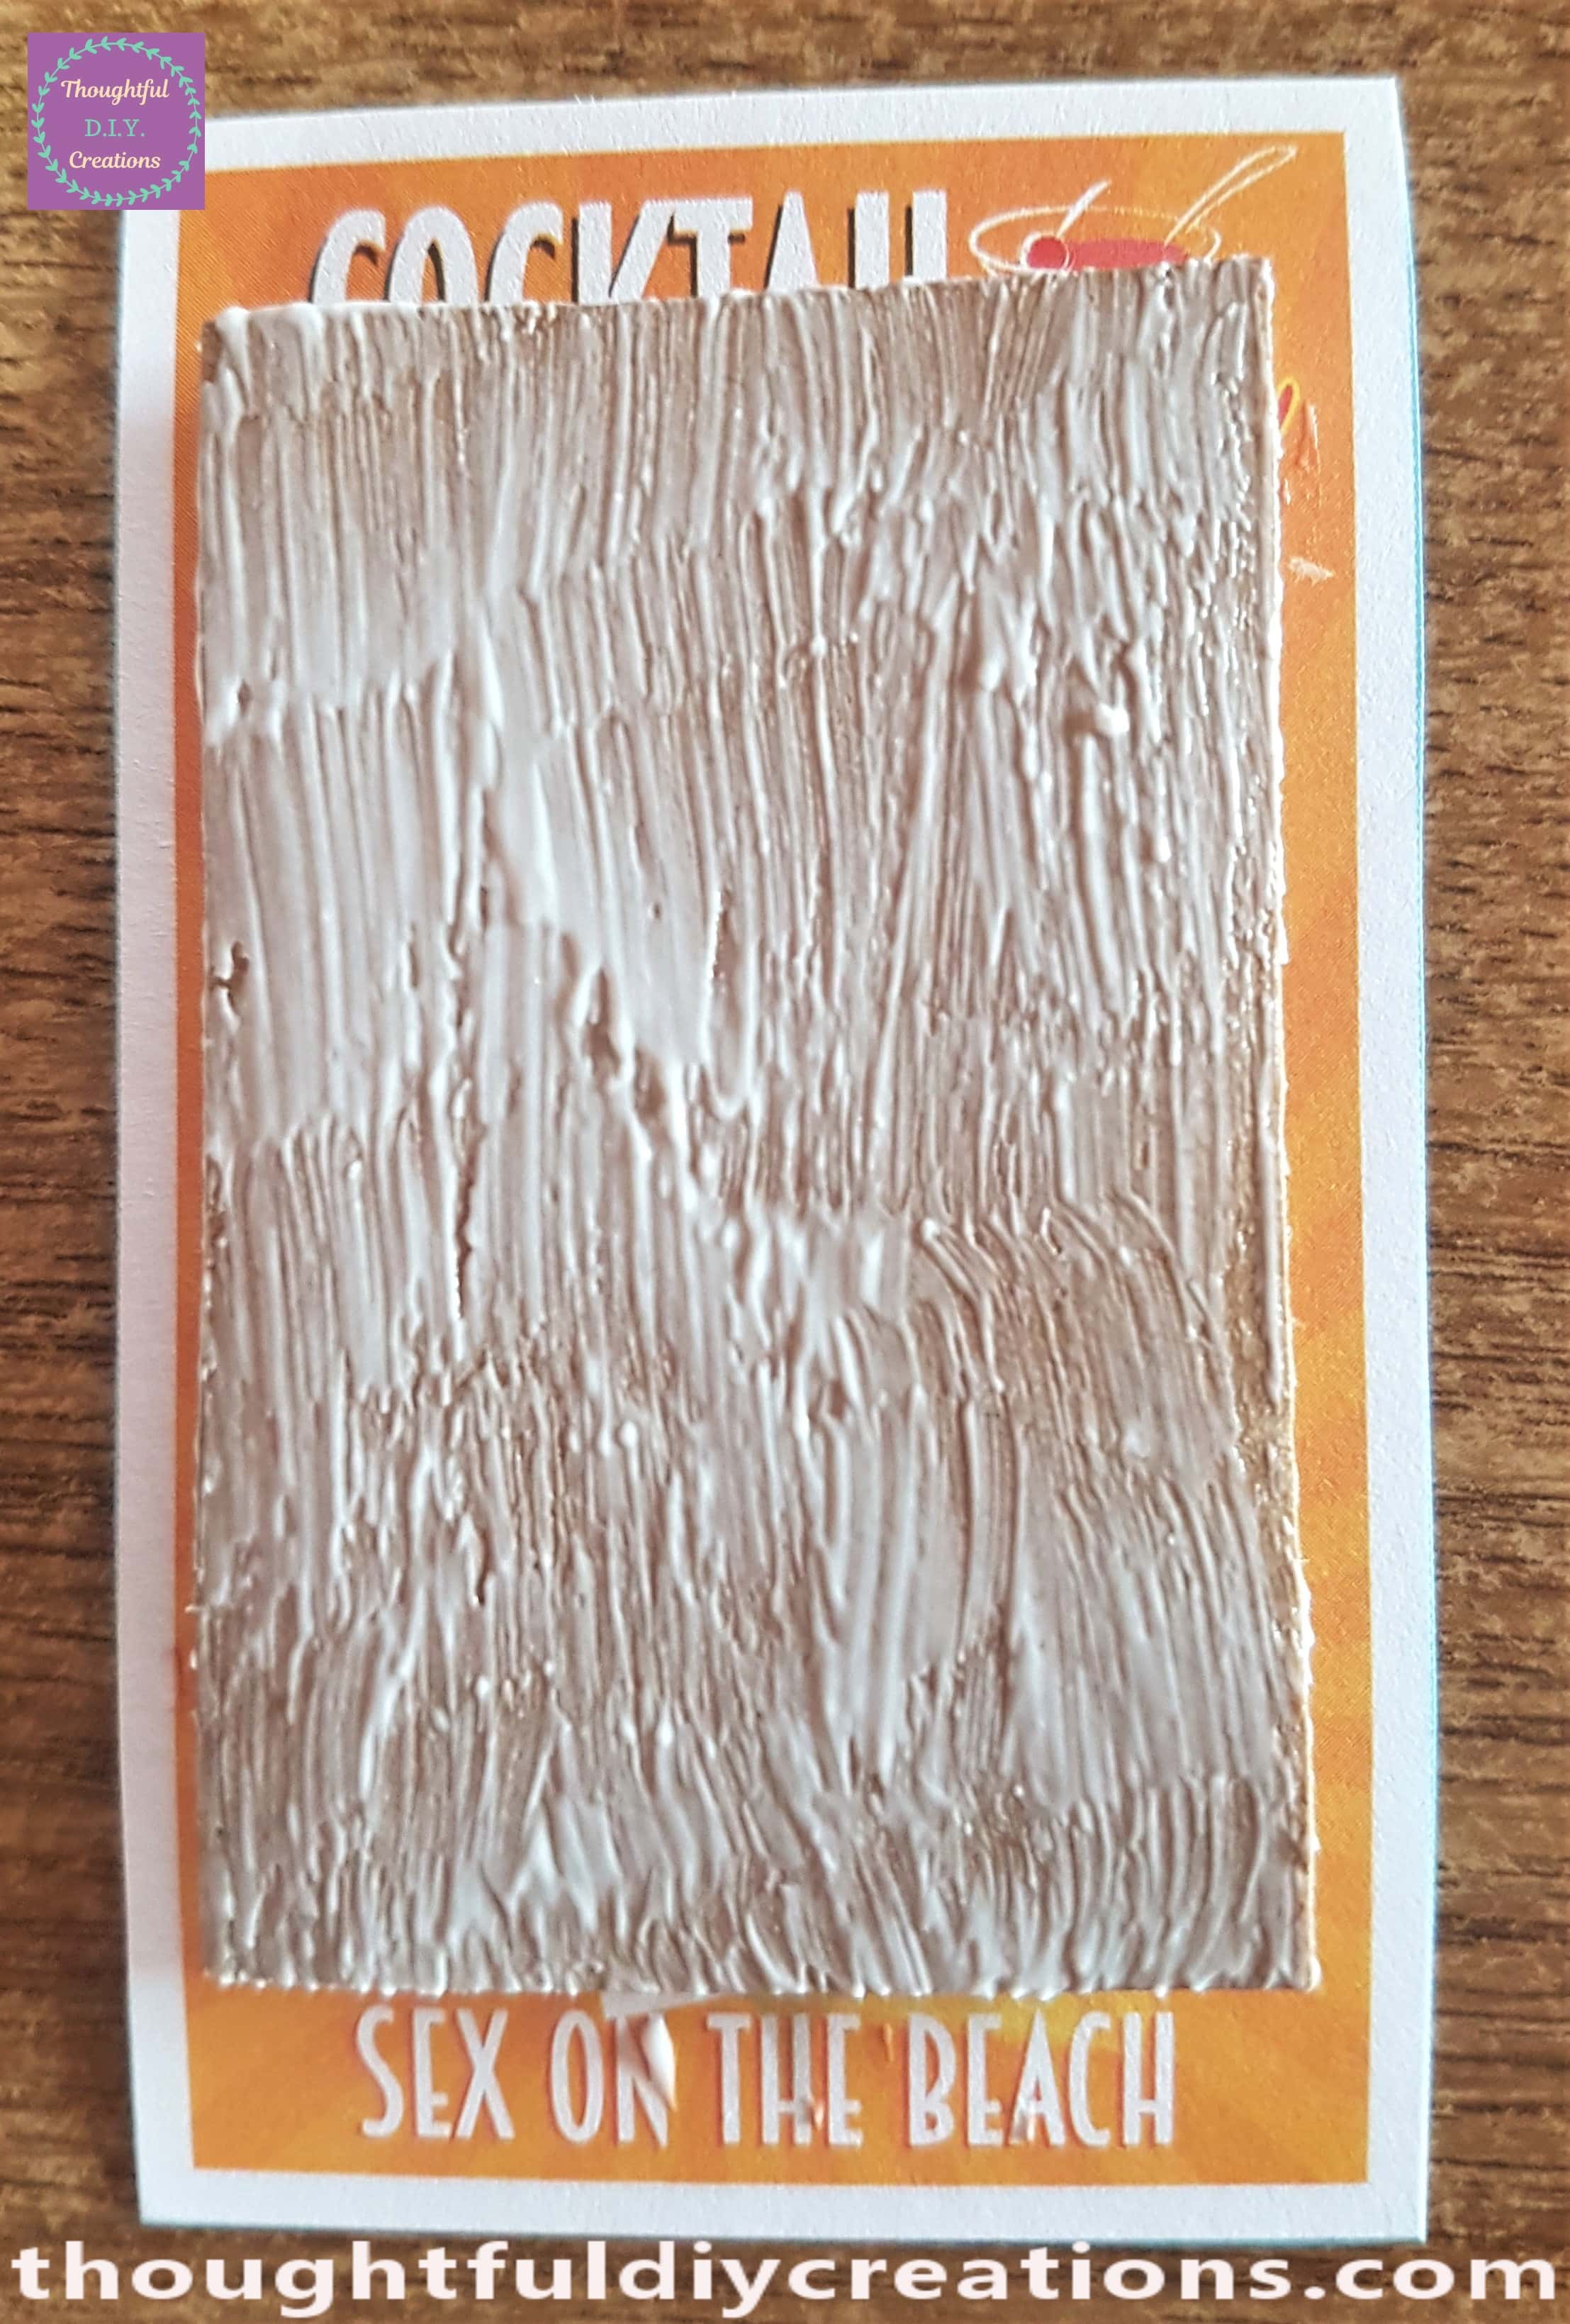
I put ‘Anita’s Tacky PVA Glue’ all over the Cardboard with a Paintbrush. Anita’s Tacky PVA Glue.
I attached the glued Cardboard to the back of the first Cocktail Picture. Cocktail Drinks Decals.
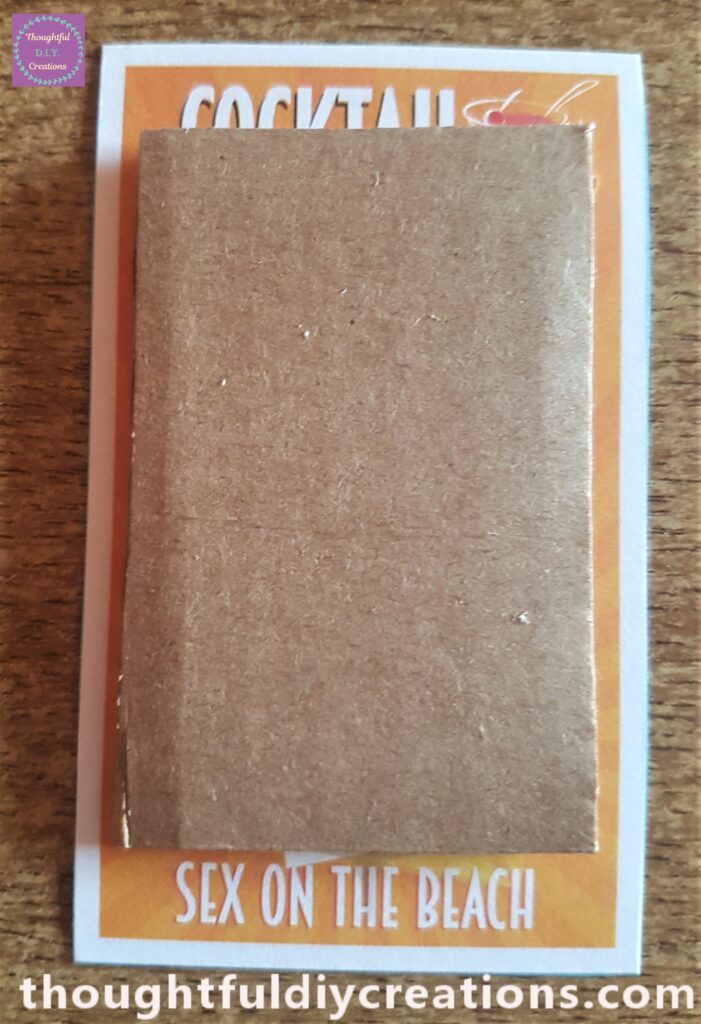
I put more Glue on the other side of the Cardboard Rectangle. Anita’s Tacky PVA Glue.
Attaching Images to the Cocktail Menu Sign
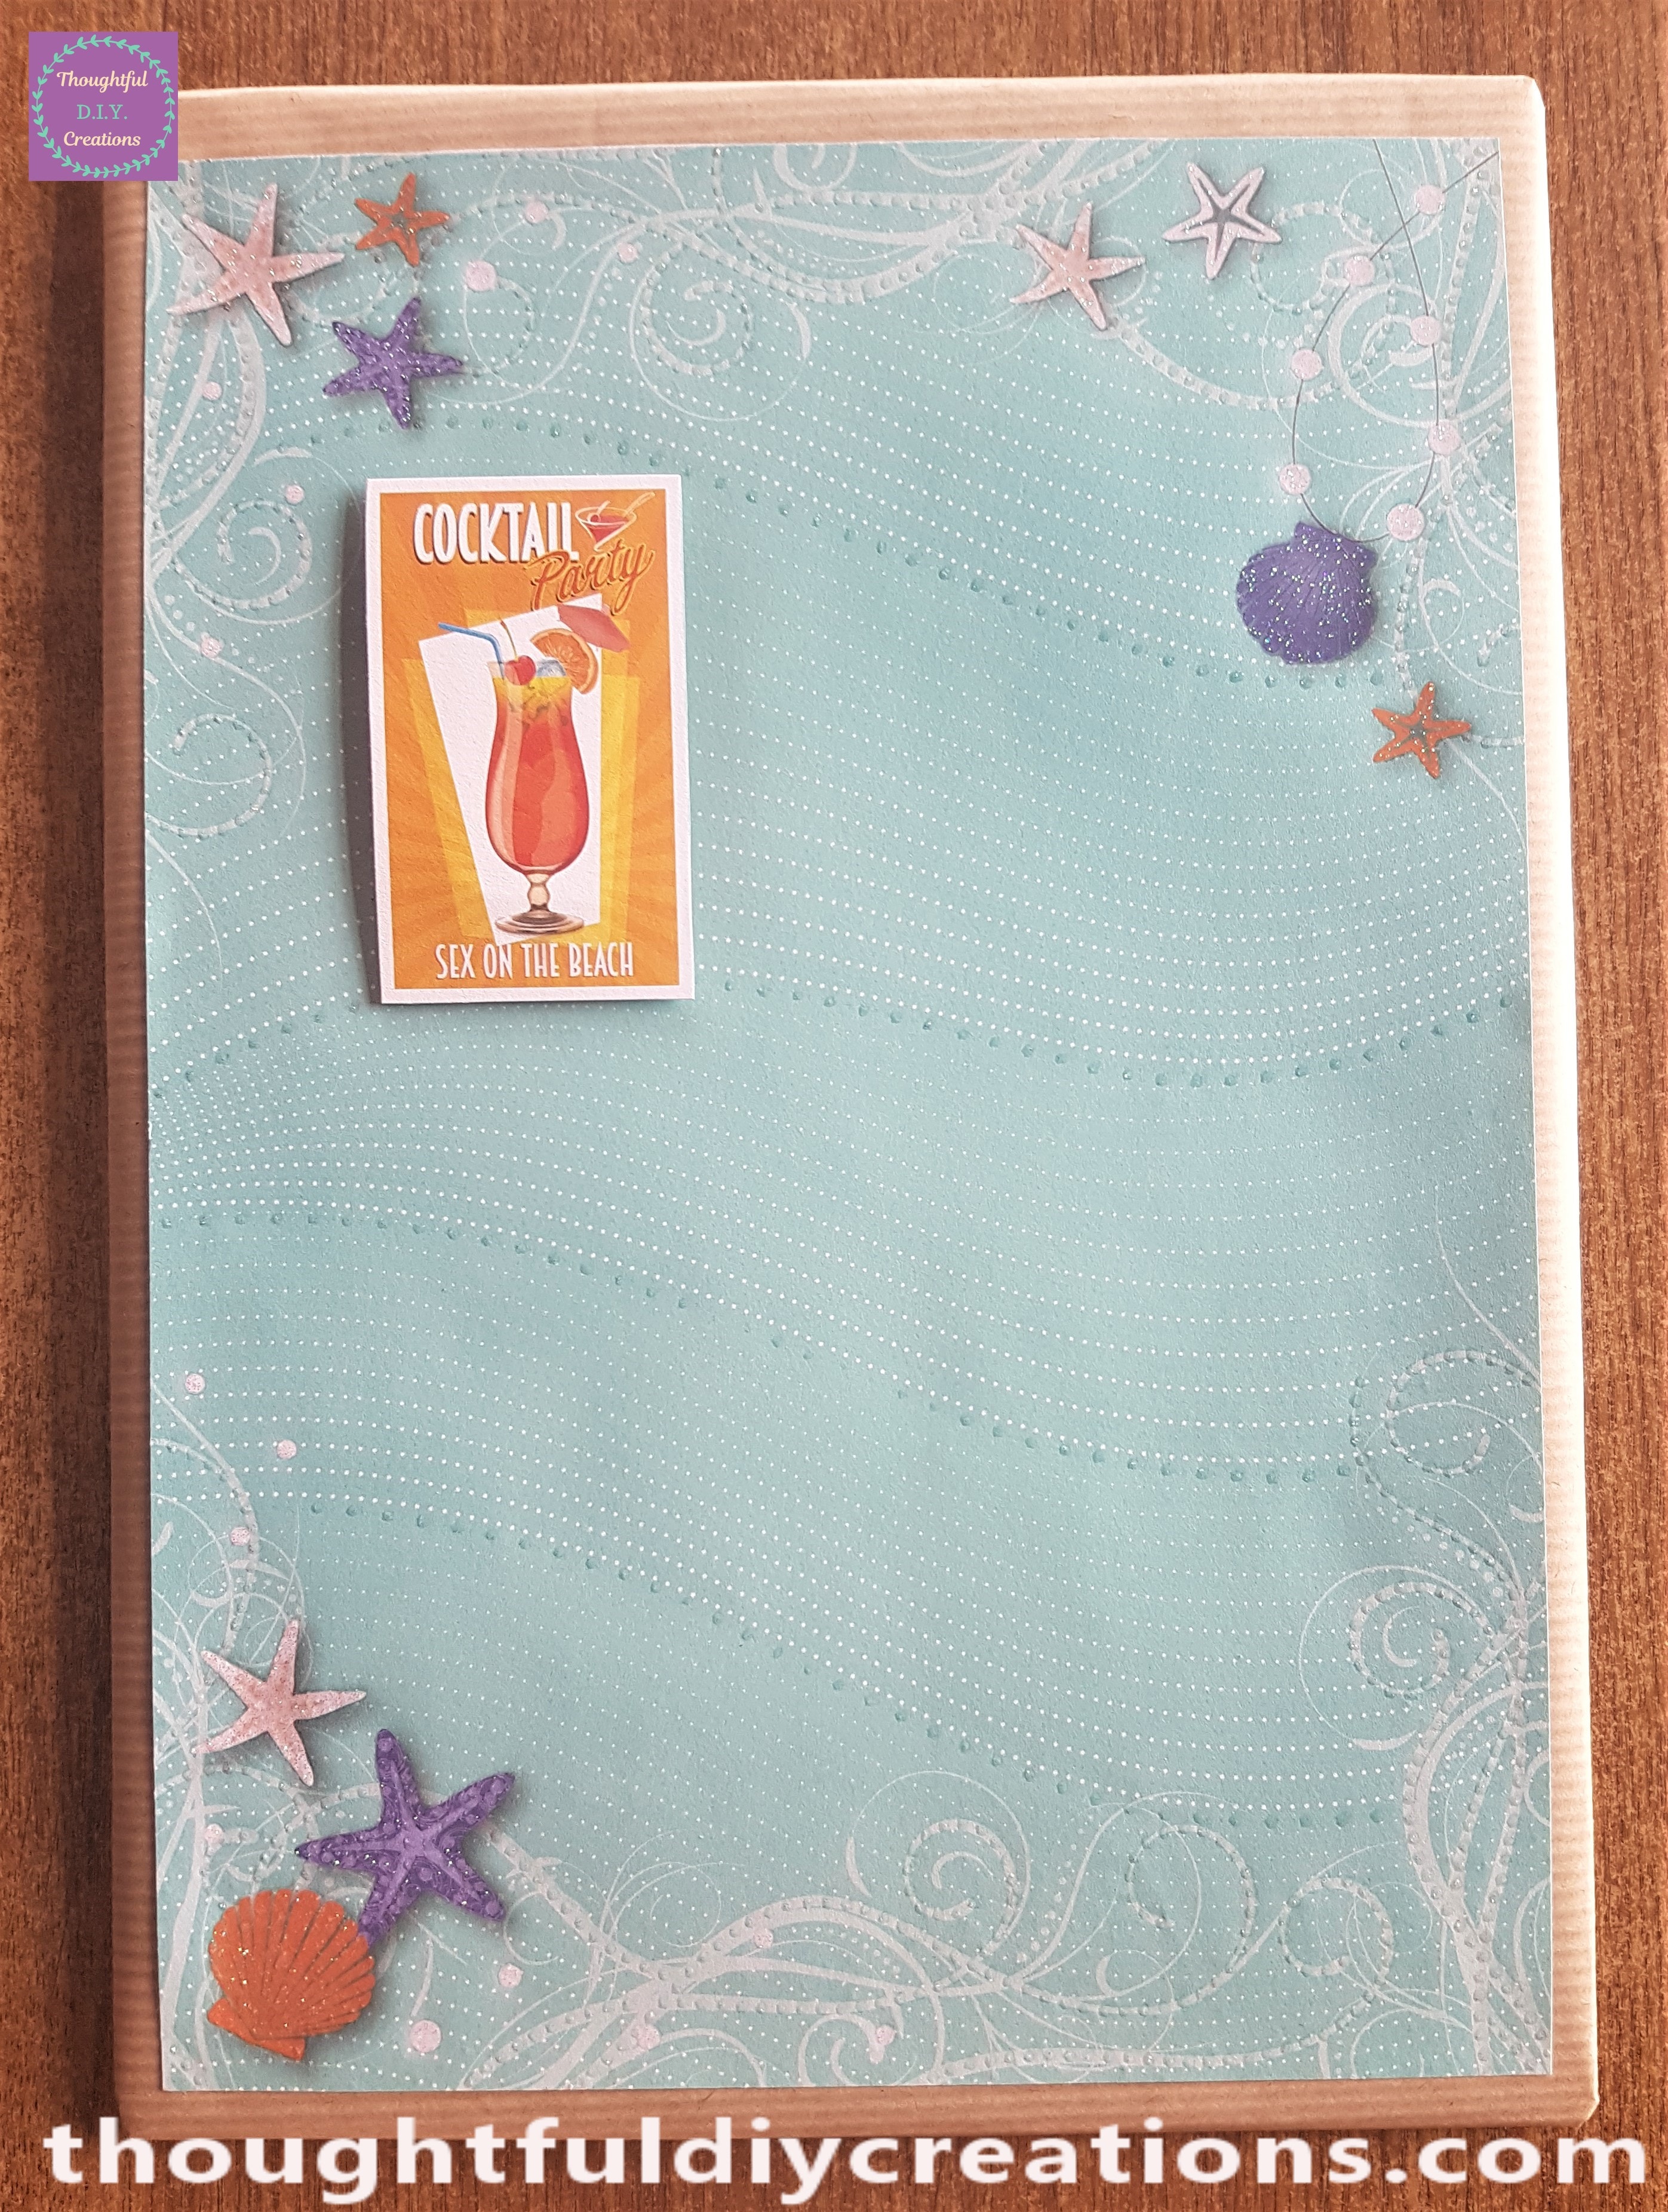
I attached the first Cocktail Image to the Blue Page and held it in place for a few seconds.
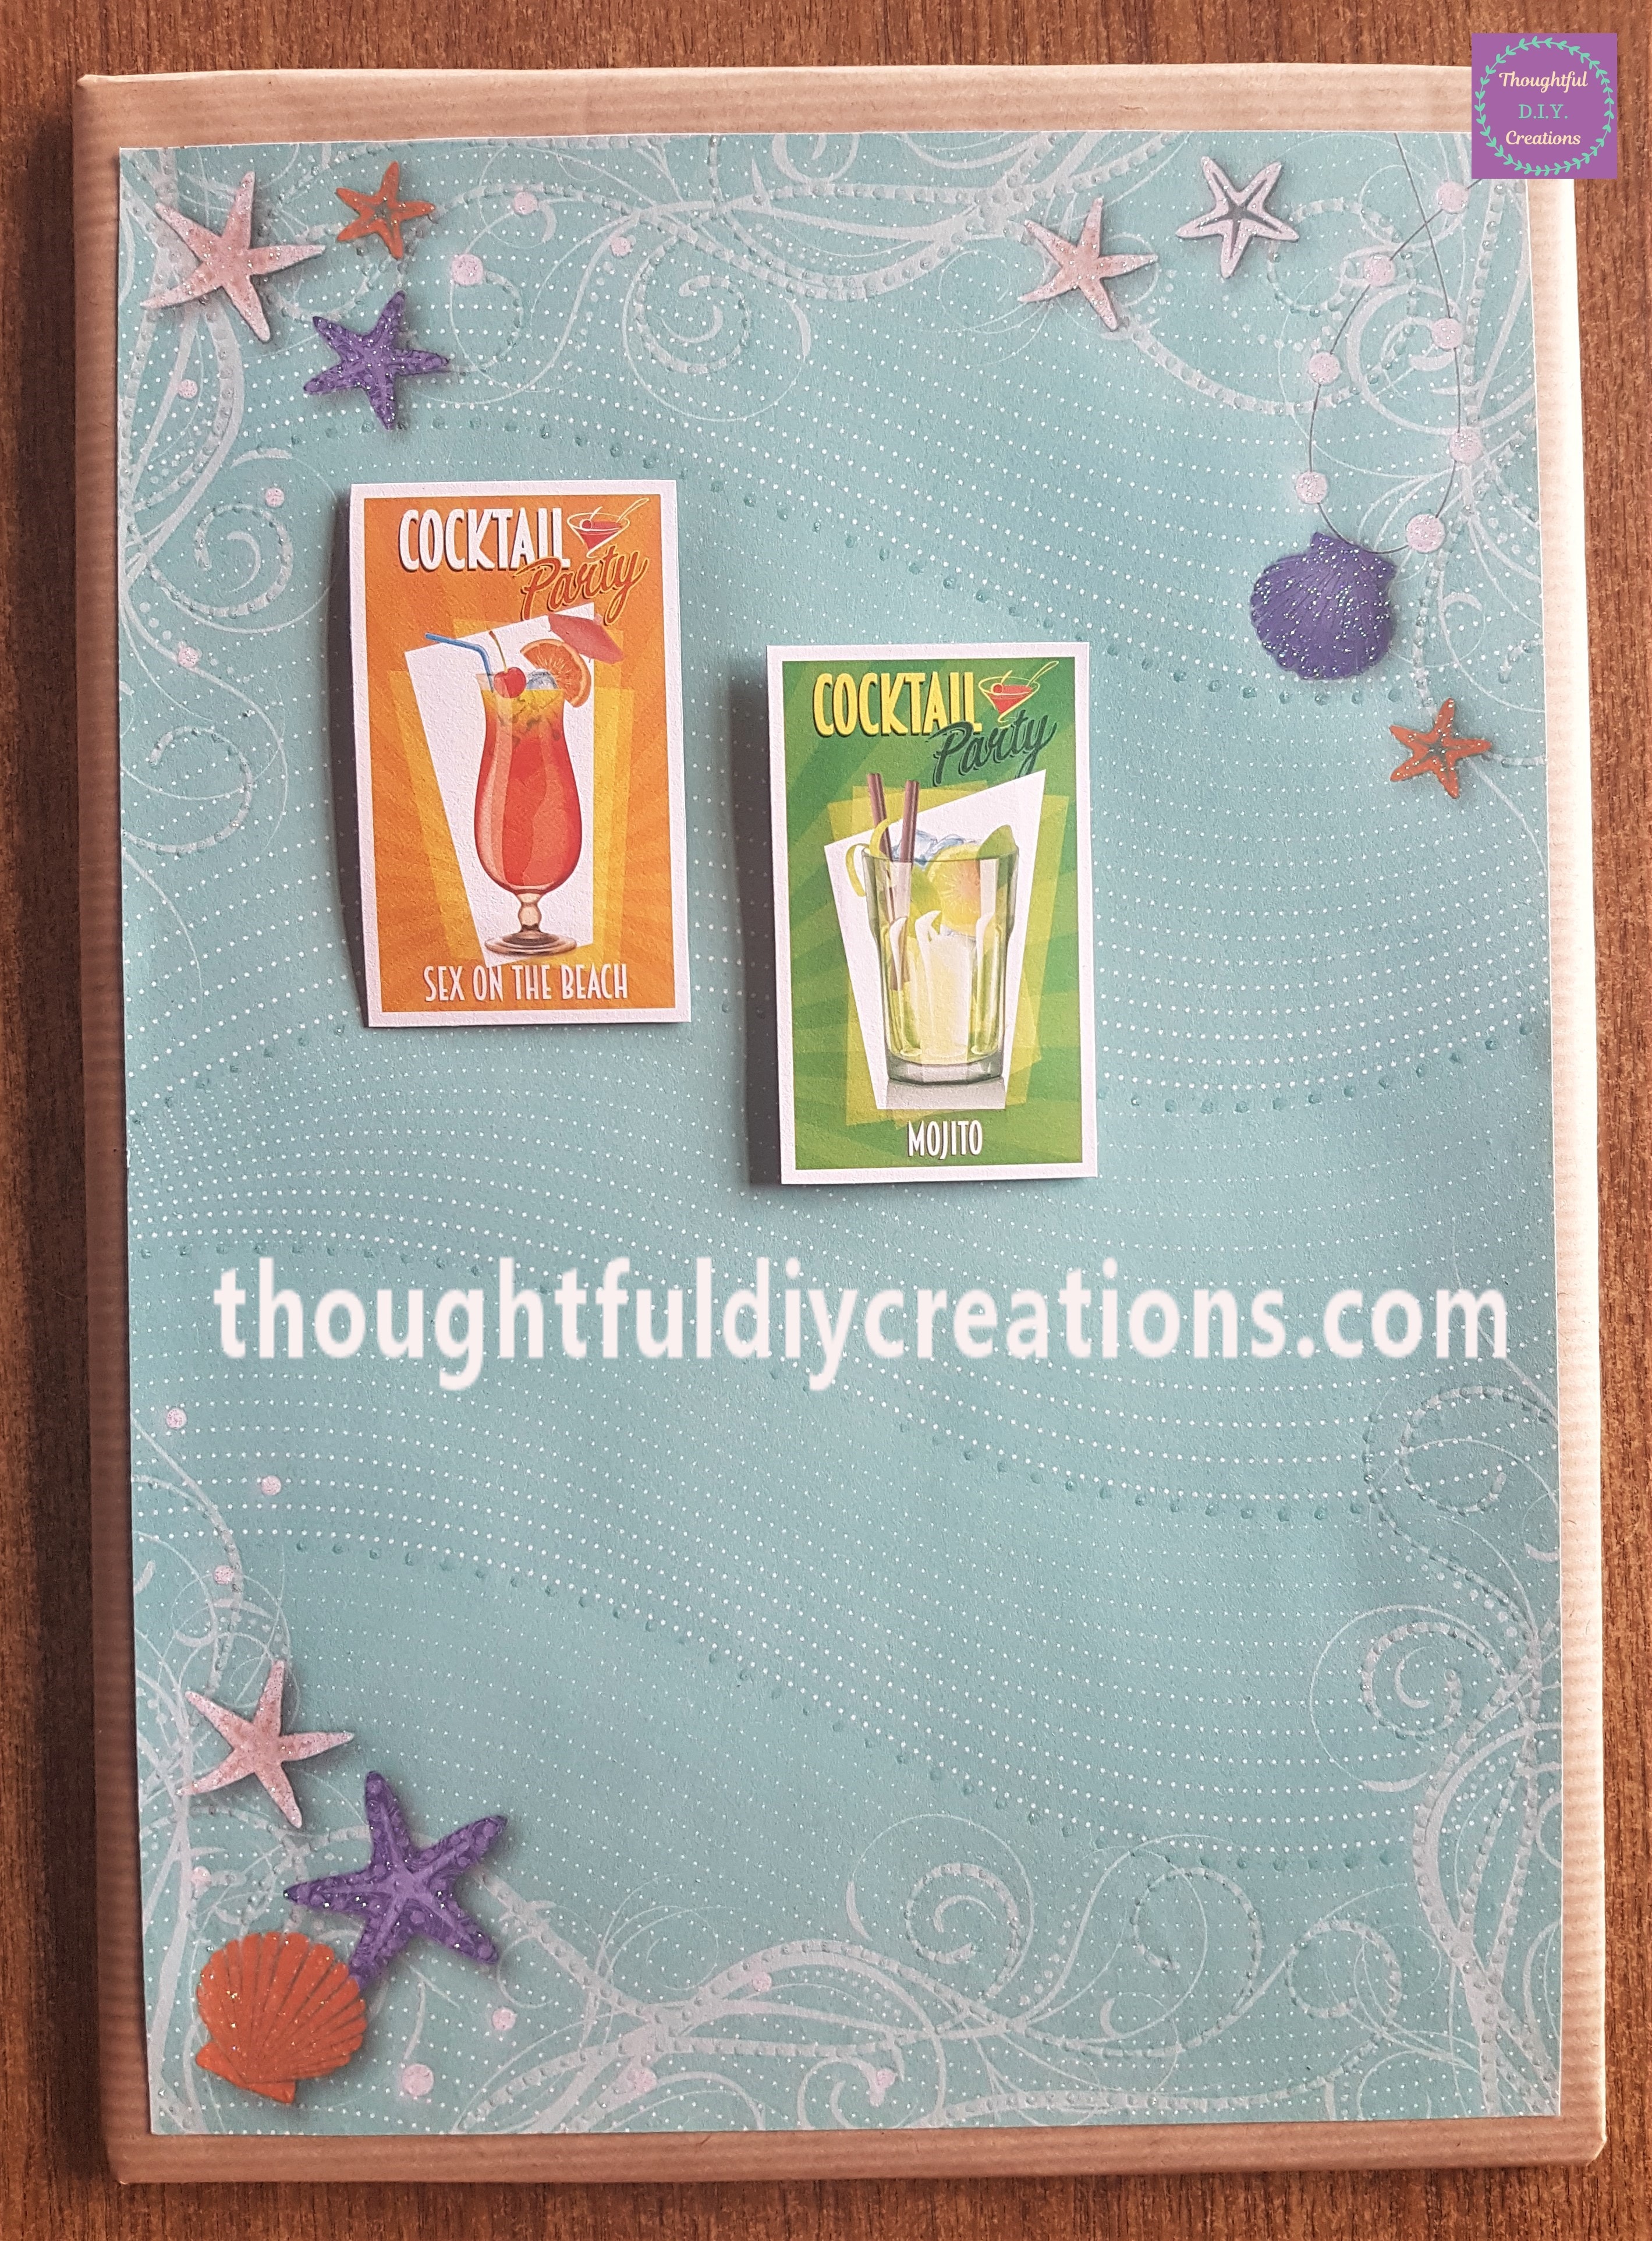
I repeated the same steps with gluing the Cardboard Rectangles to the Cocktail Images and attached them one-by-one to the Blue Page. Anita’s Tacky PVA Glue.
I attached the third Cocktail Image to the right-hand side of the Page. Cocktail Drinks Decals.
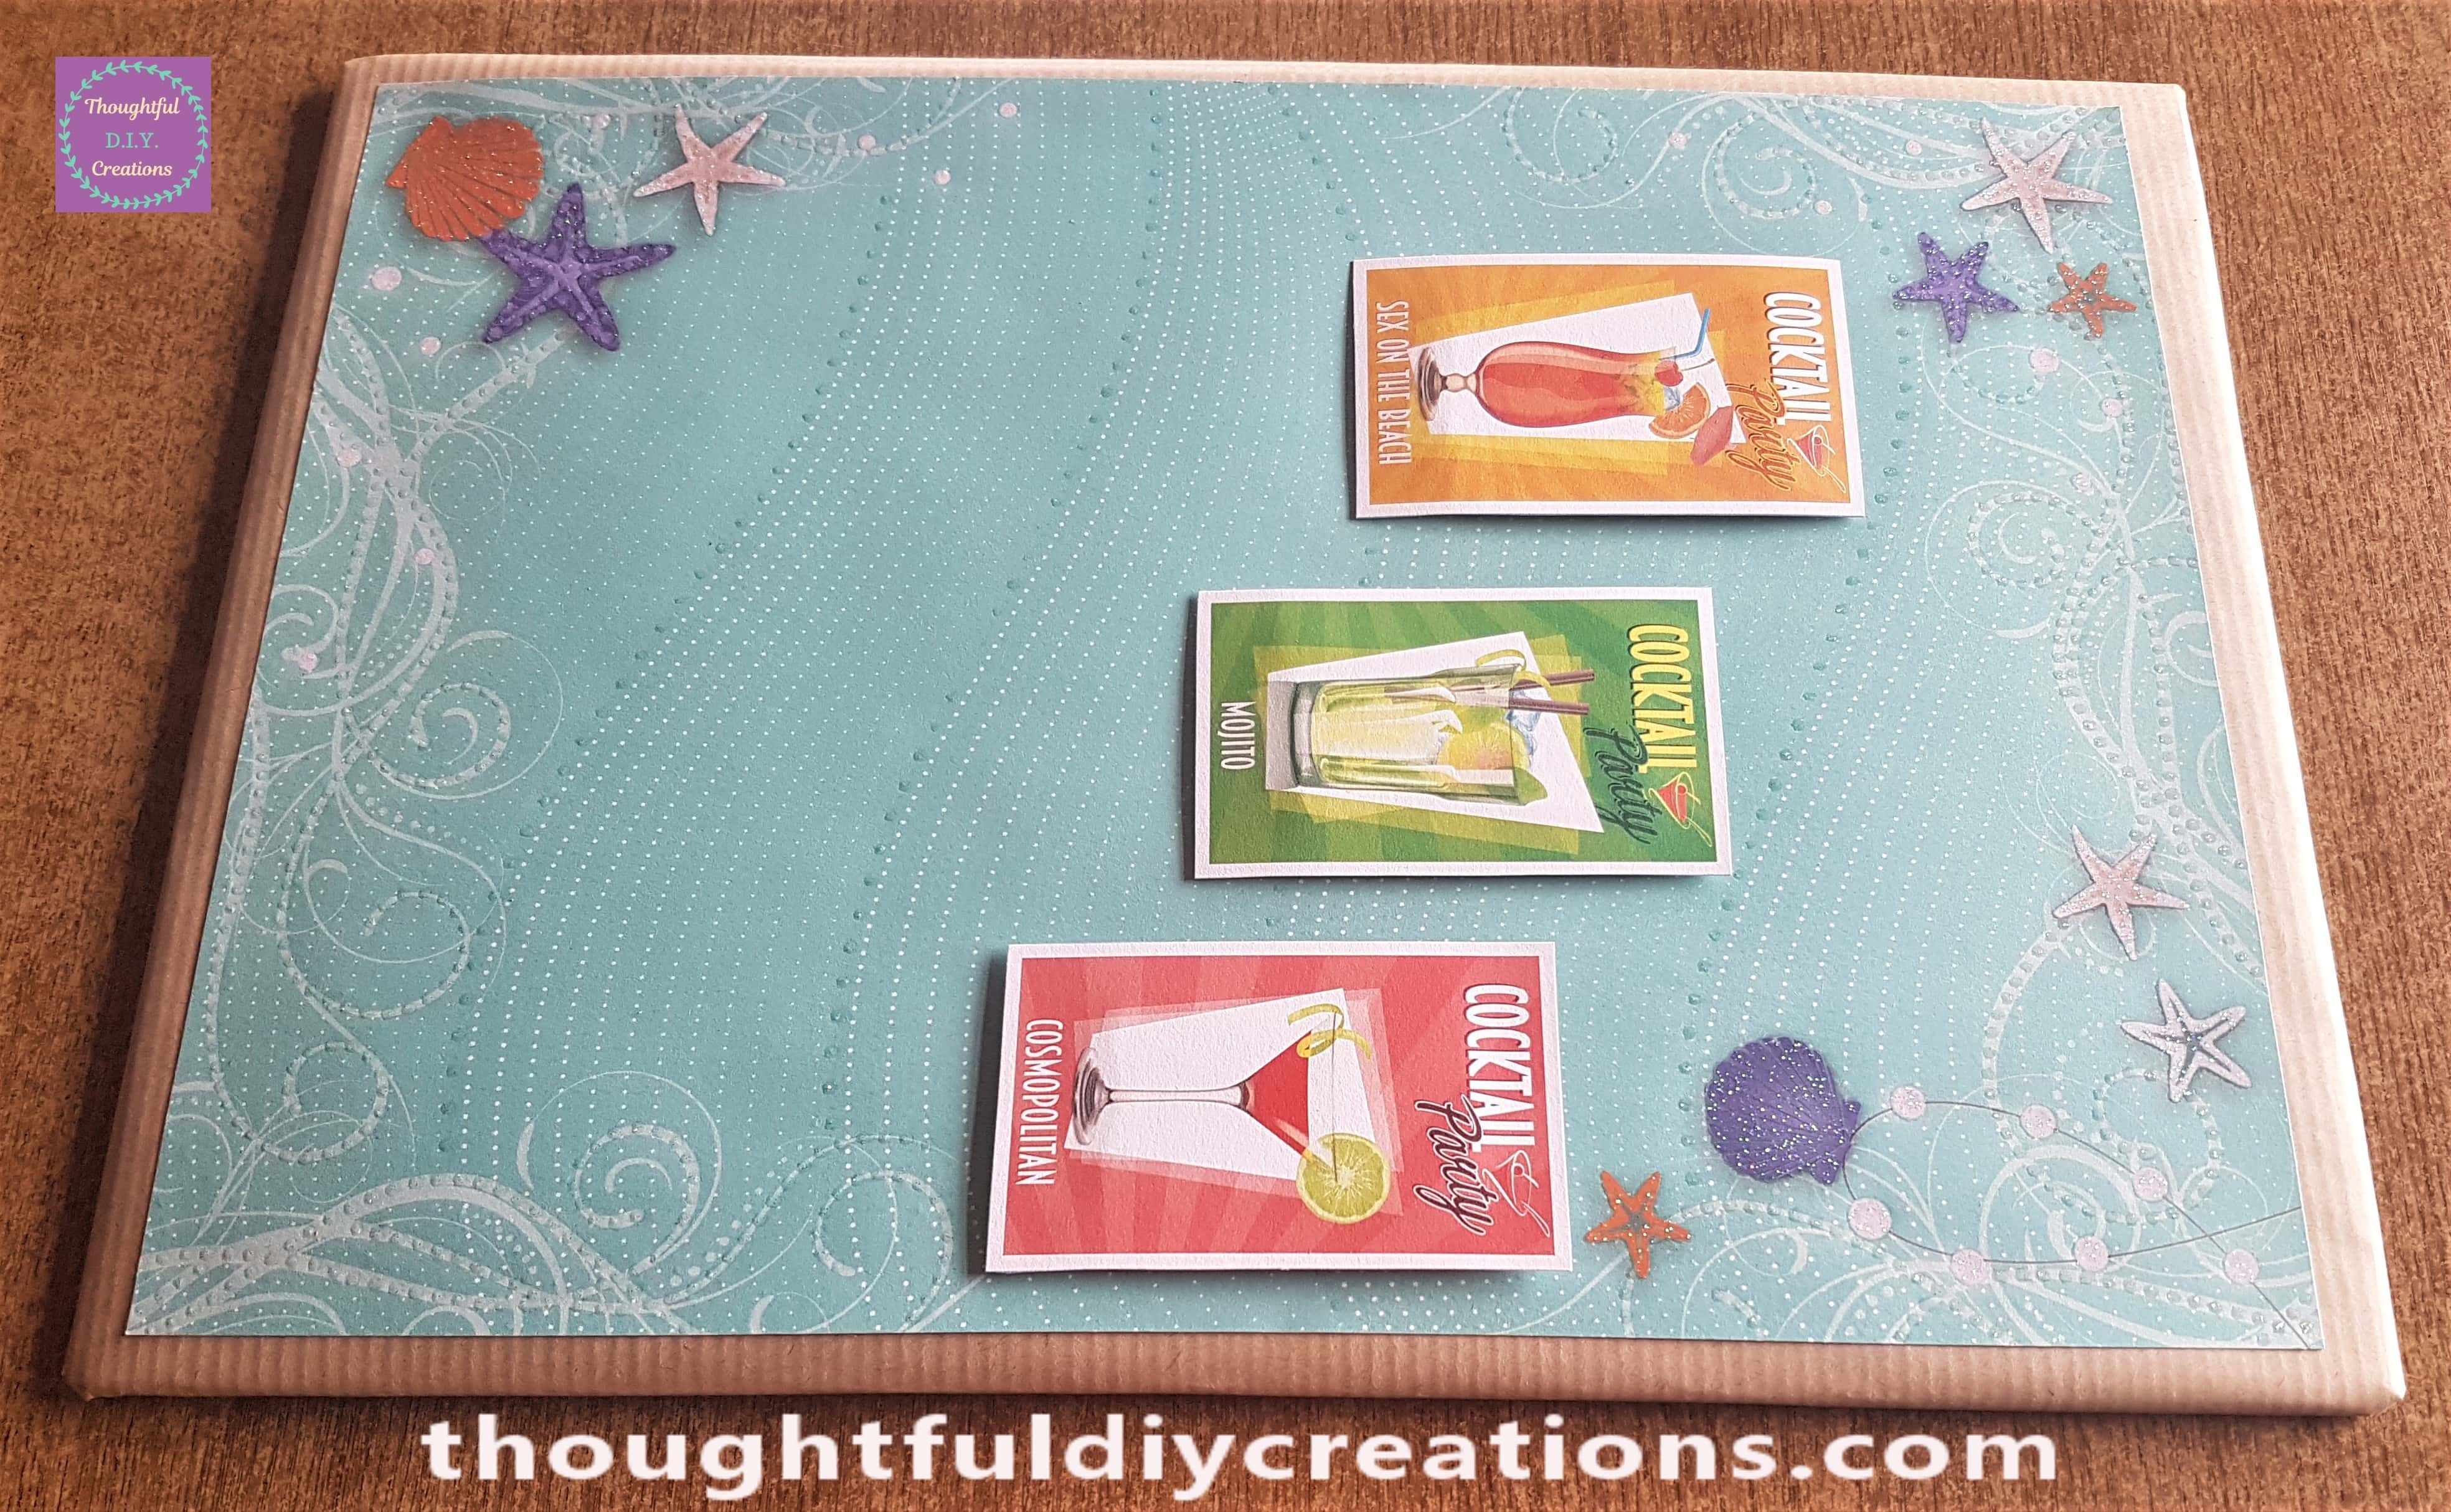
I glued the fourth Cocktail Picture under the first Cocktail Picture. Anita’s Tacky PVA Glue.
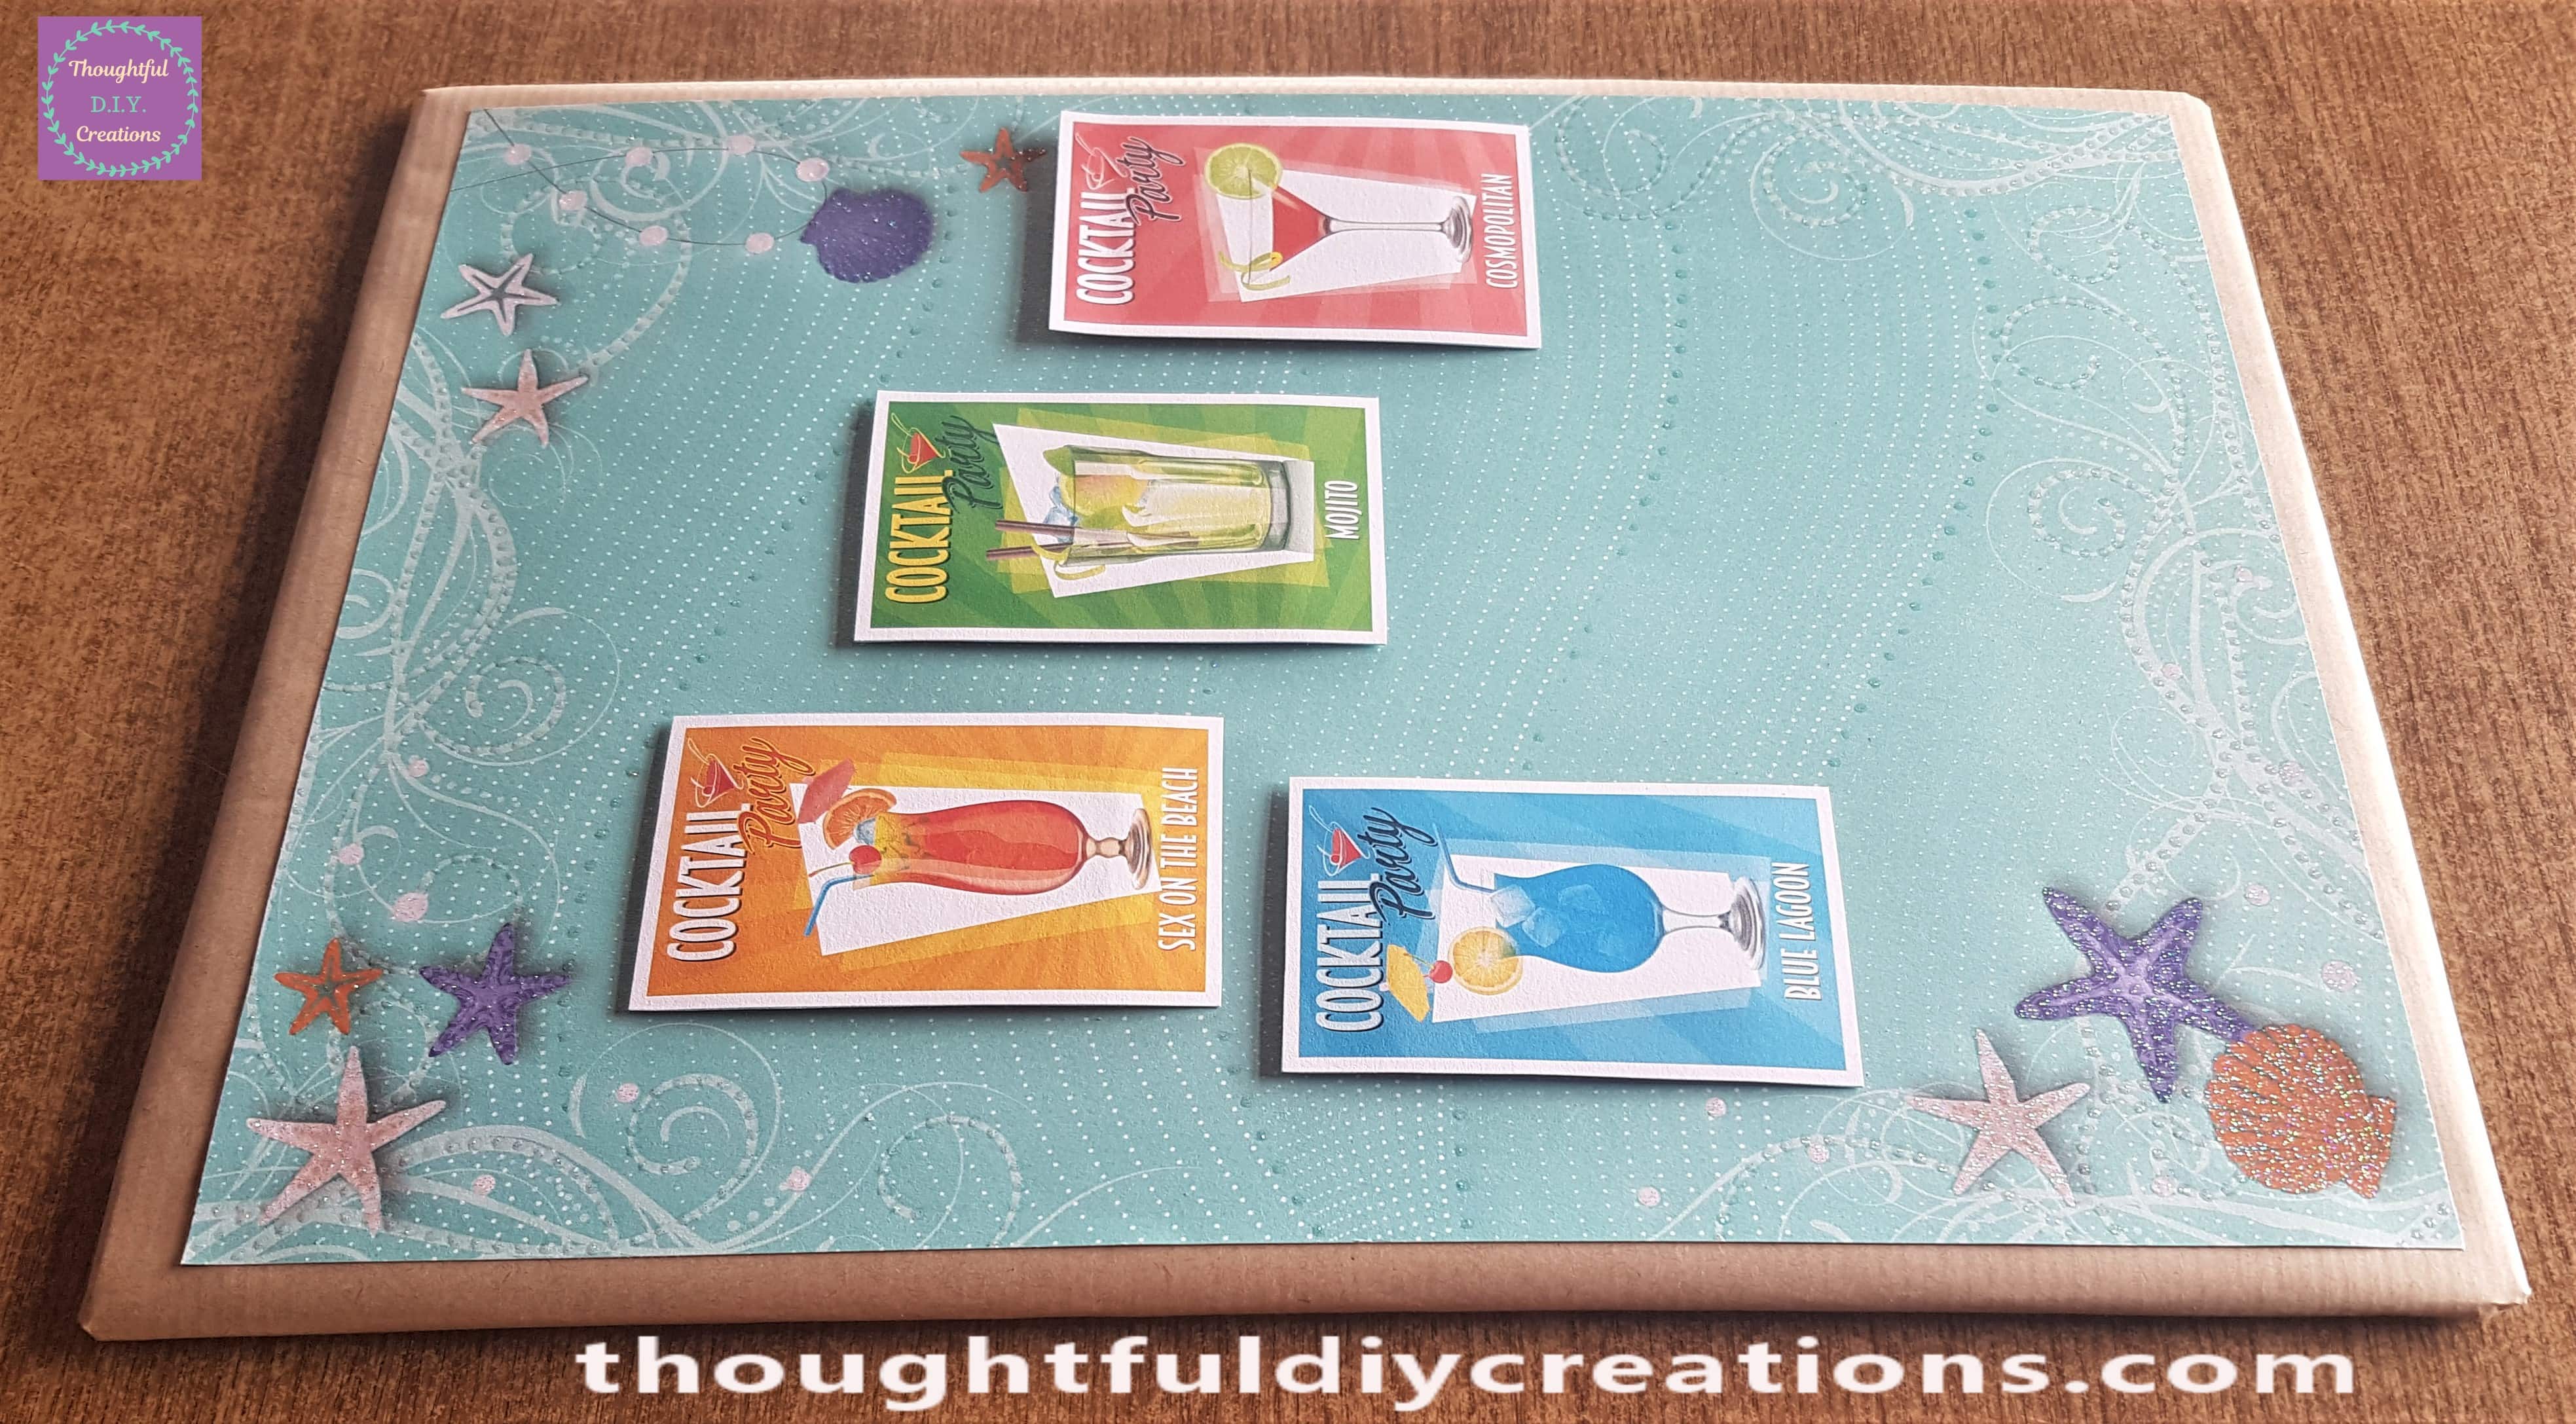
The fifth Image added to the Cocktail Menu Sign.
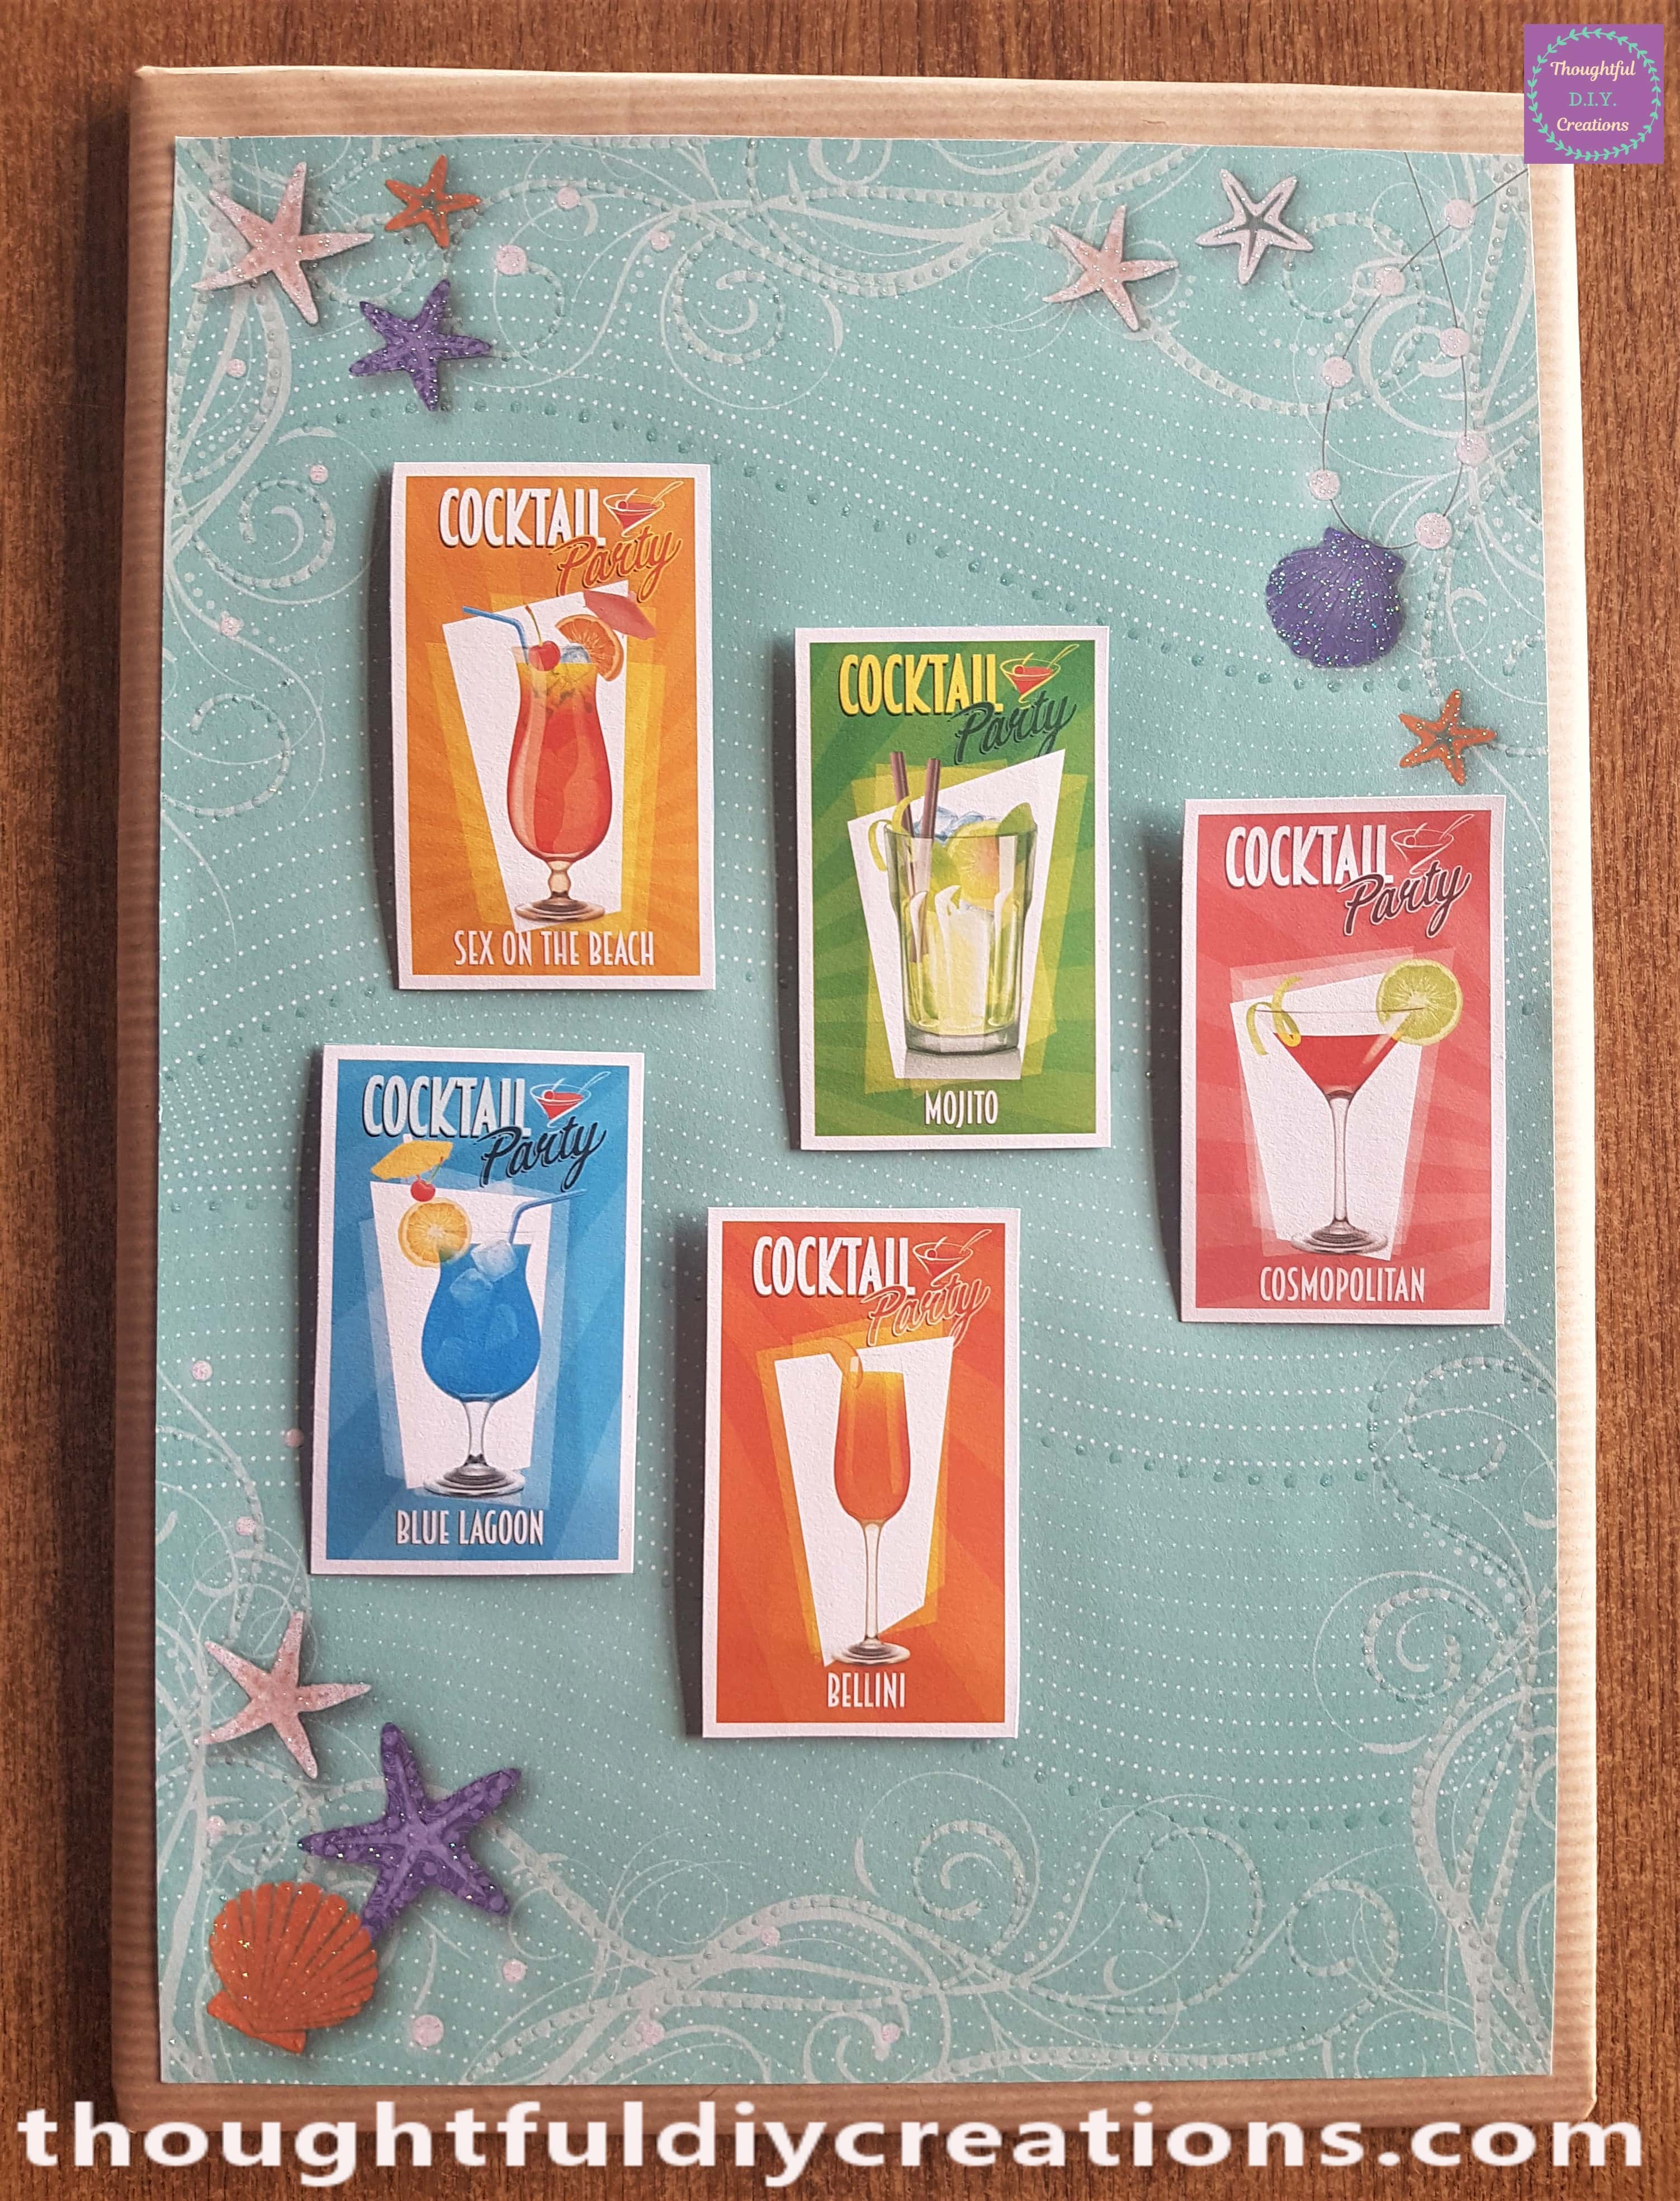
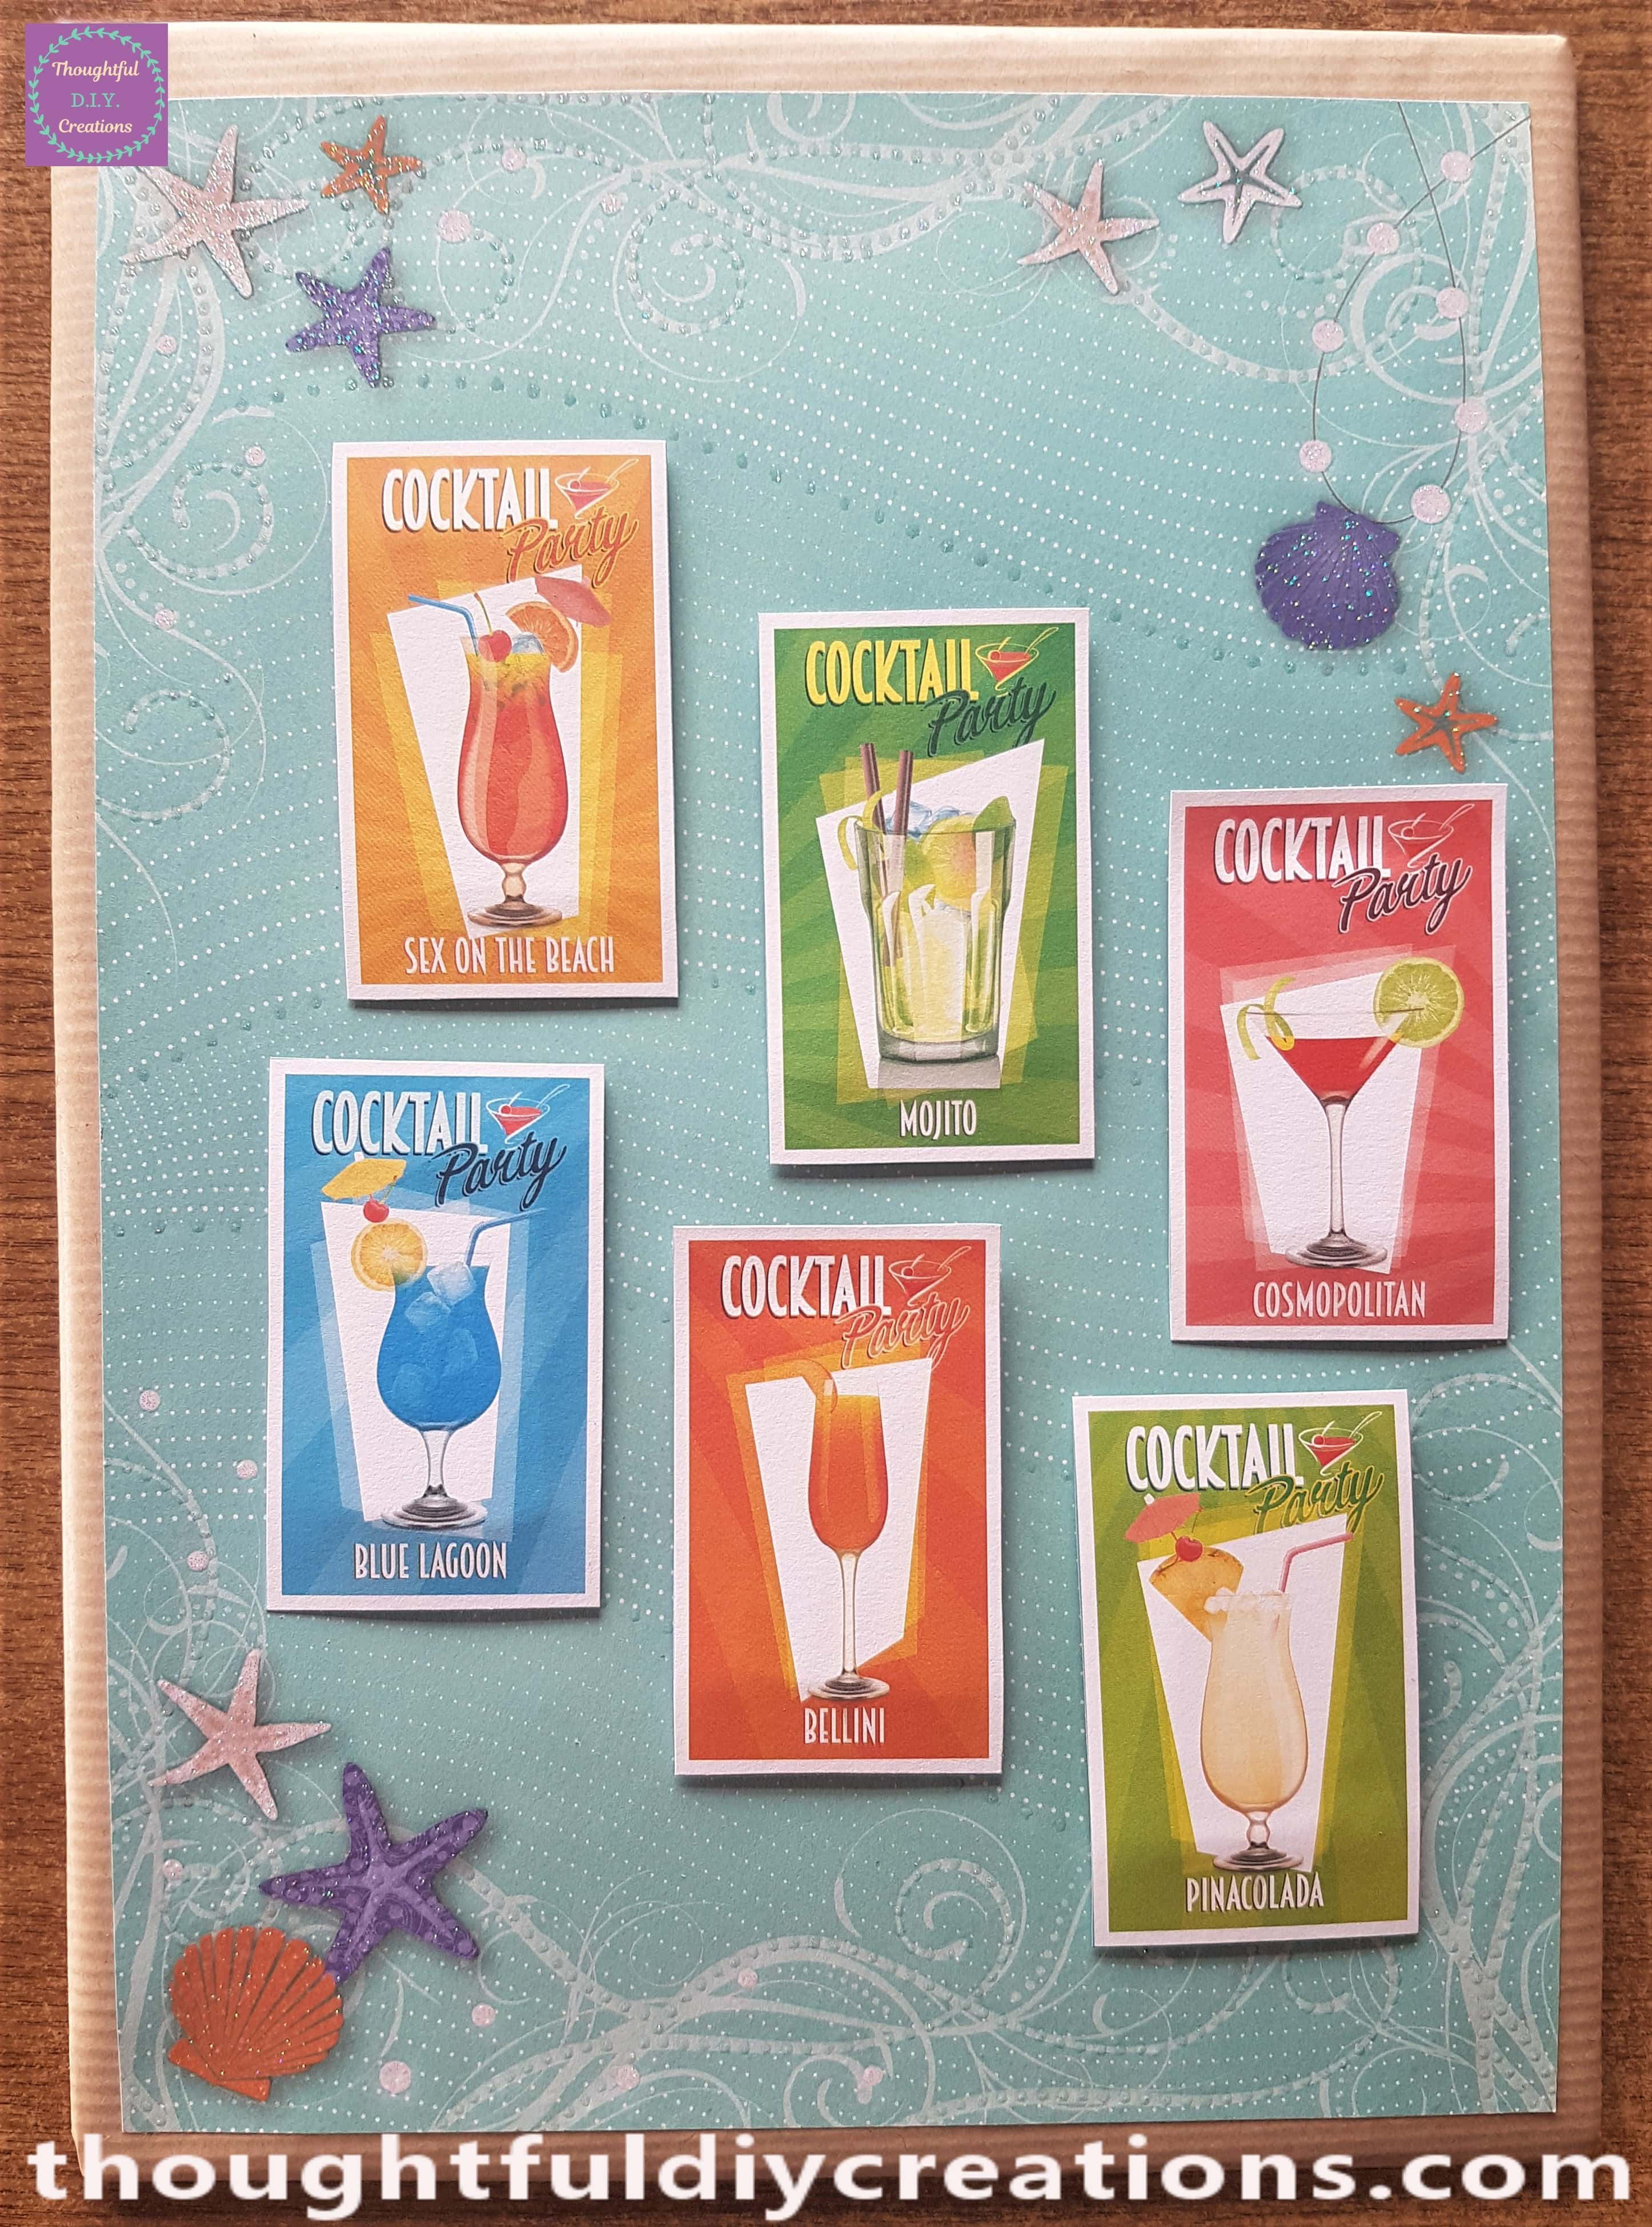
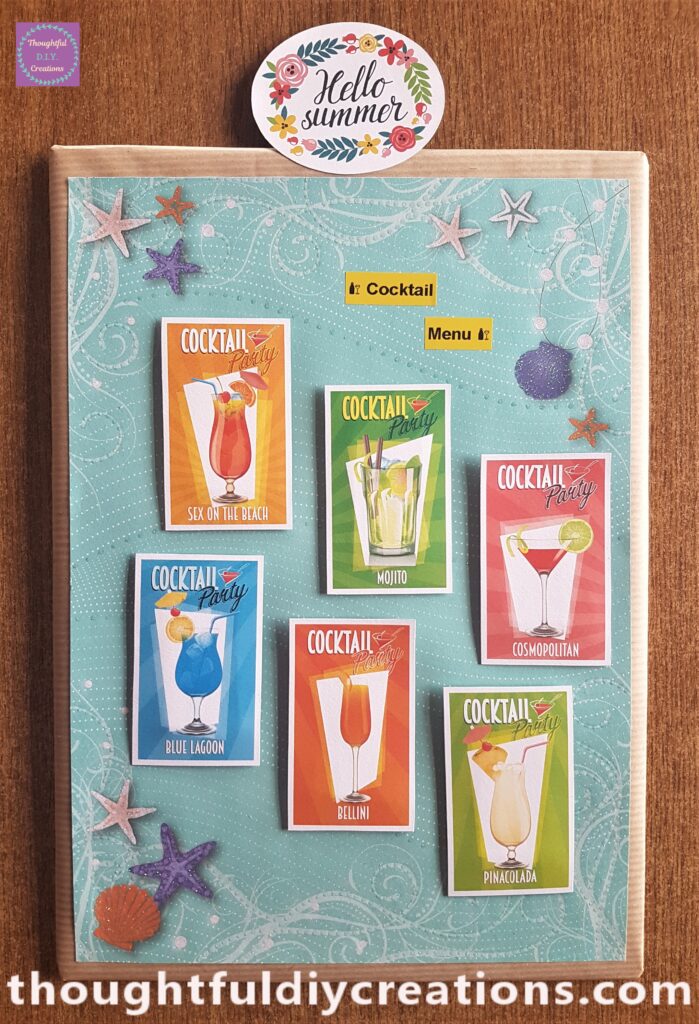
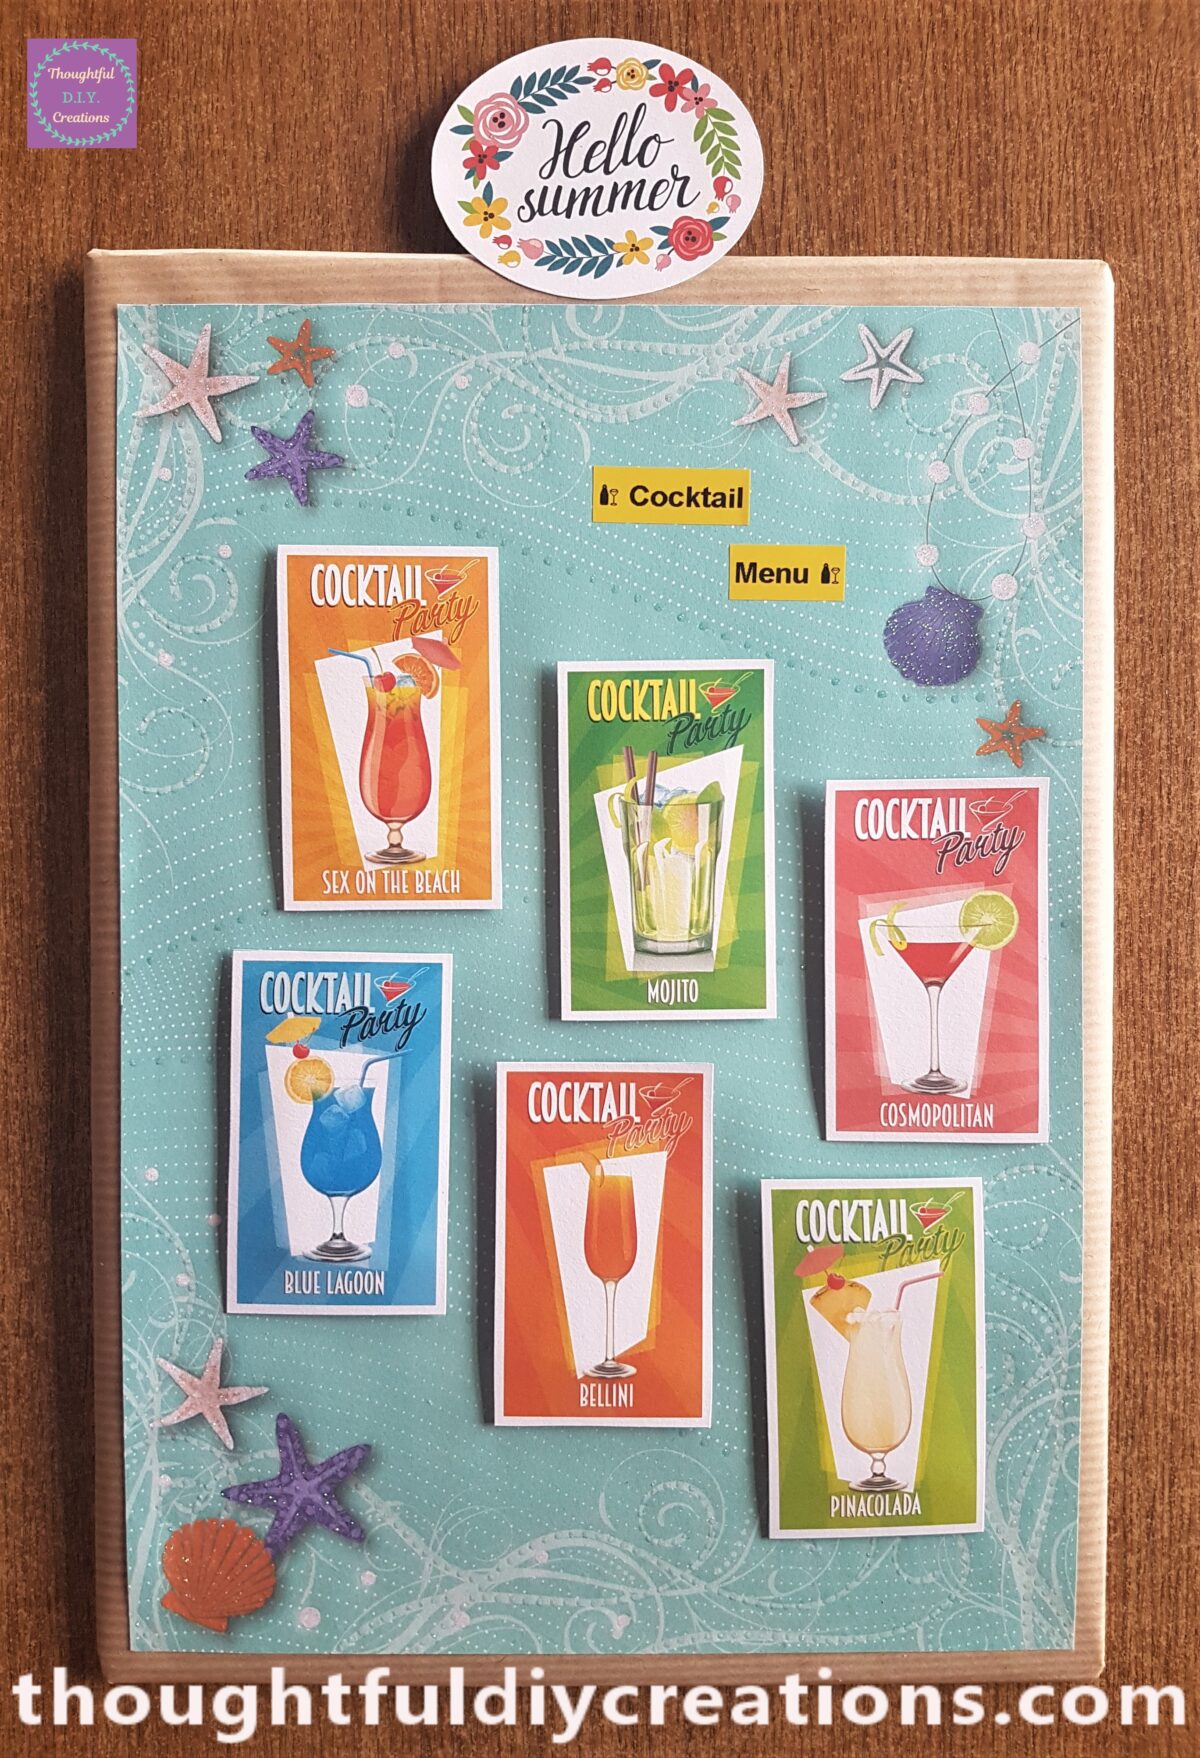
This is a full view of the Cocktail Menu Sign with all the Images attached. Cocktail Drinks Decals.
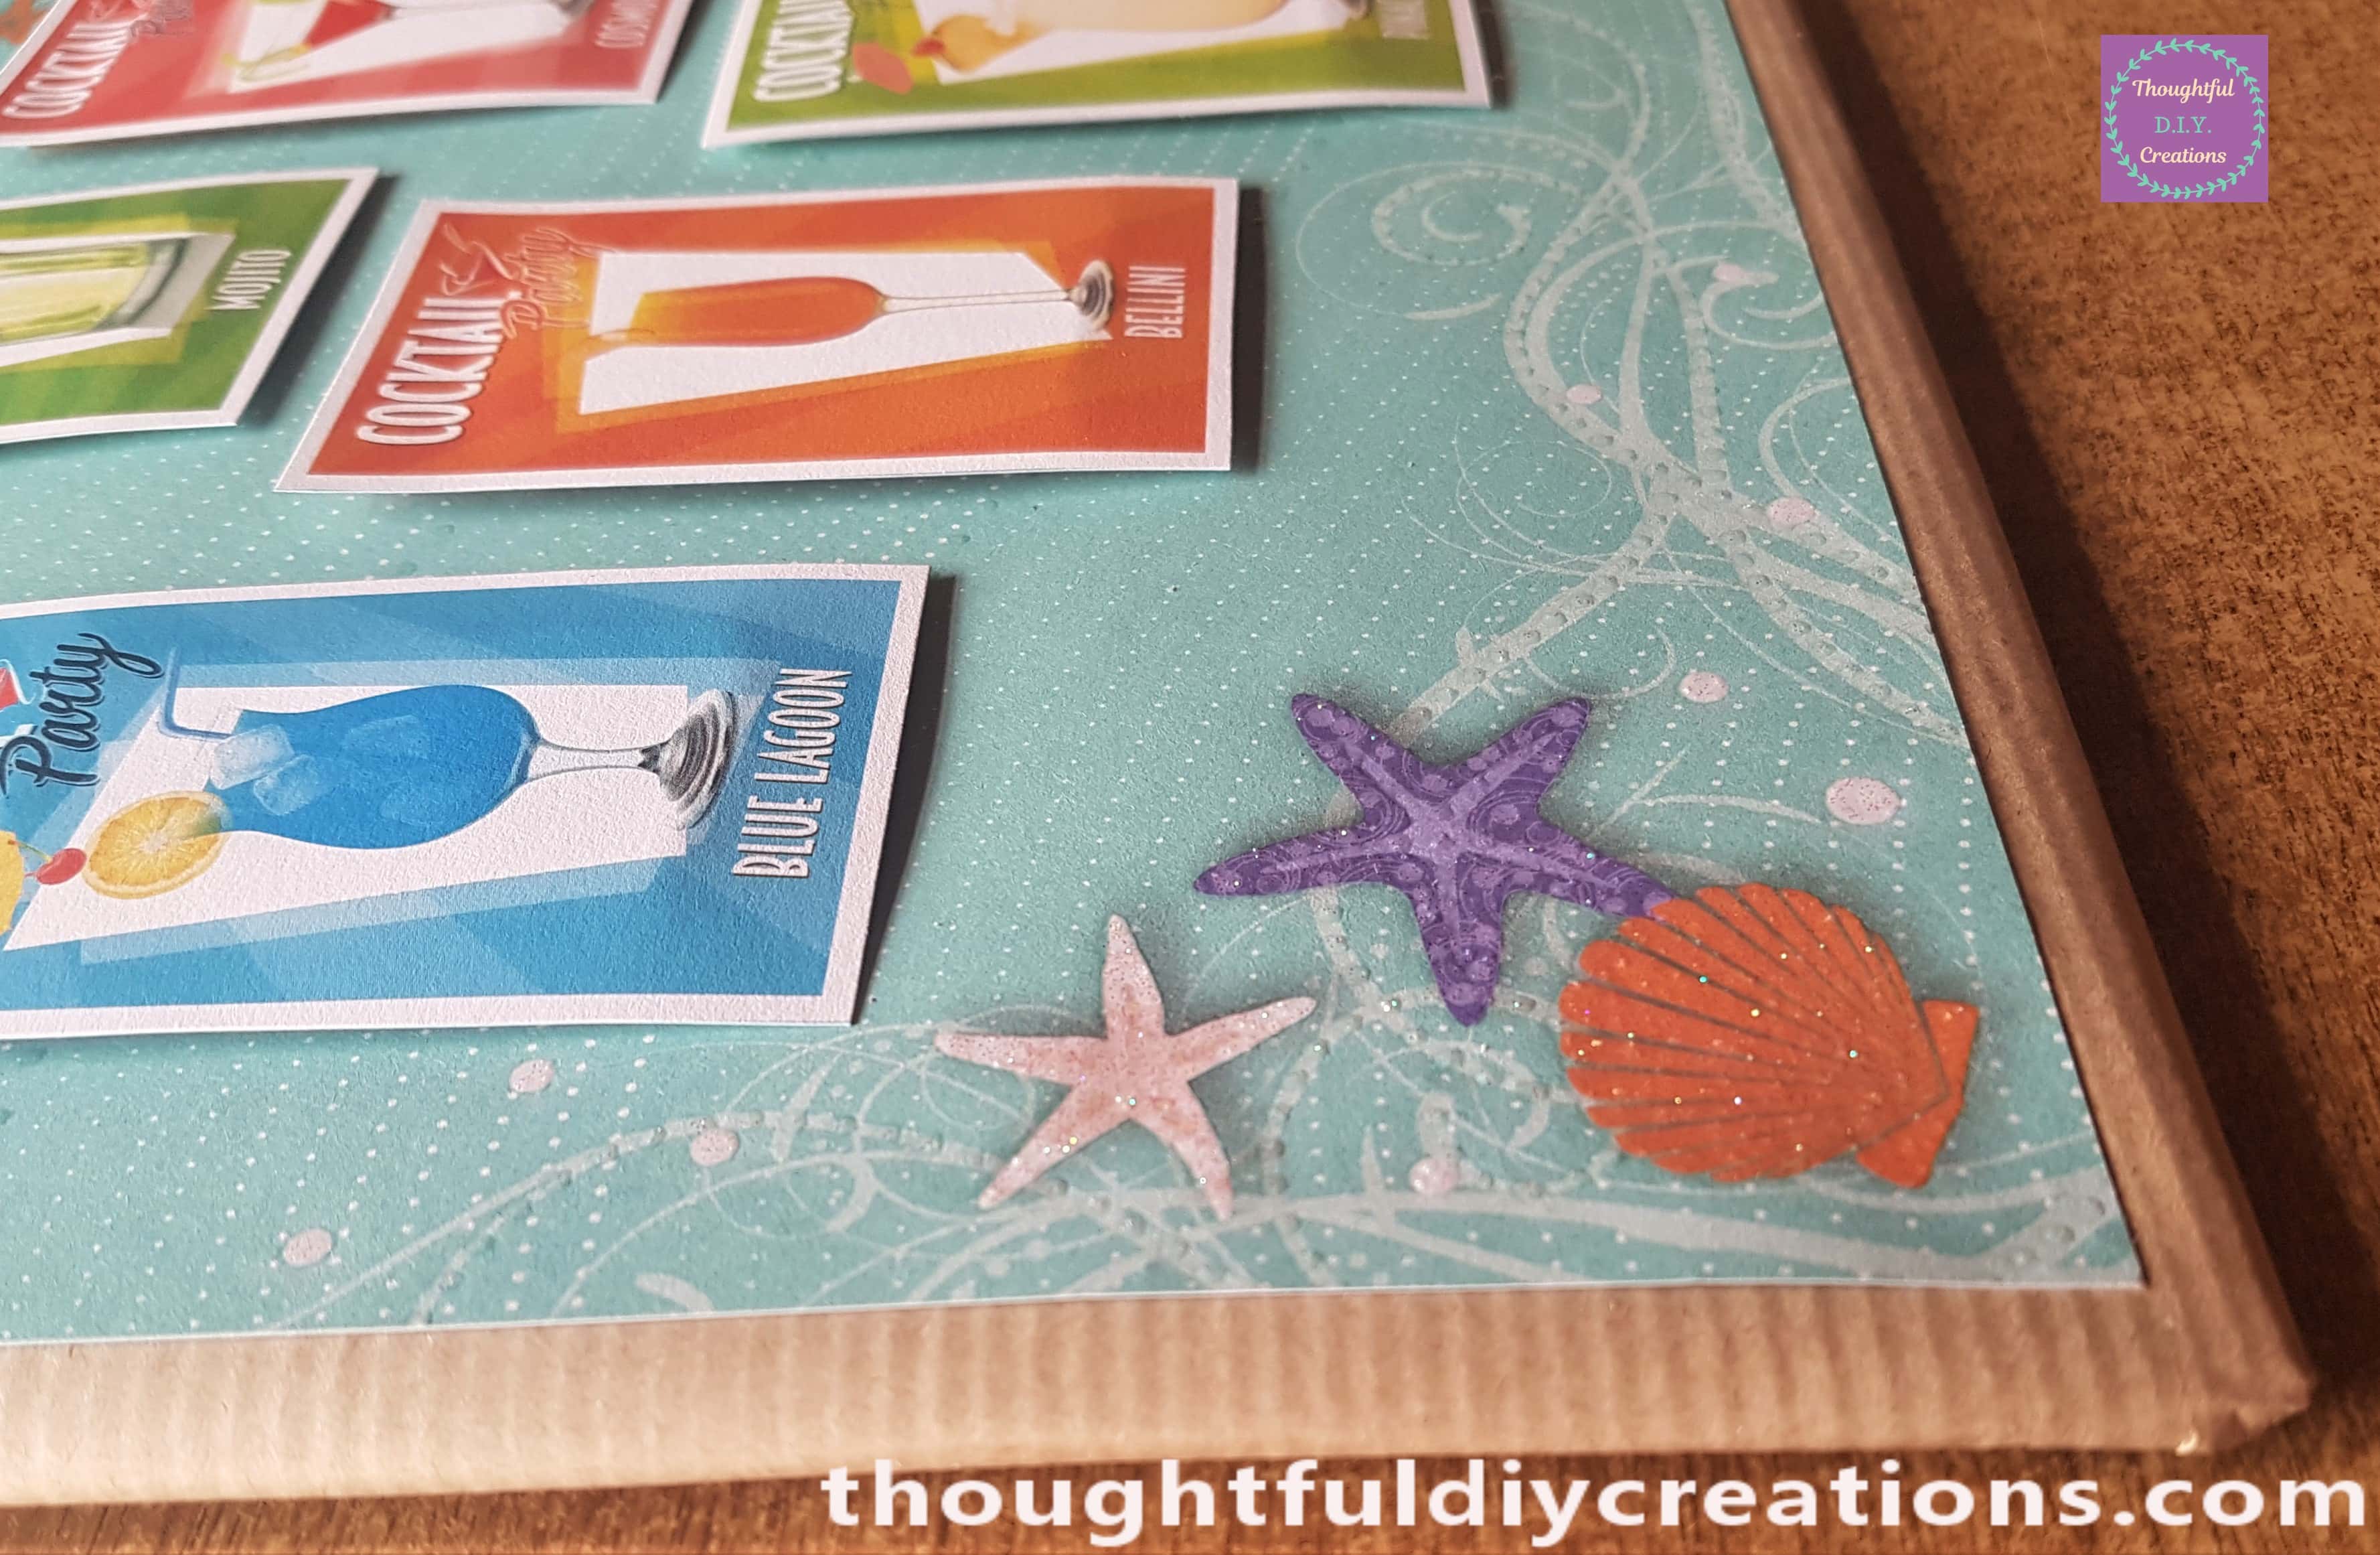
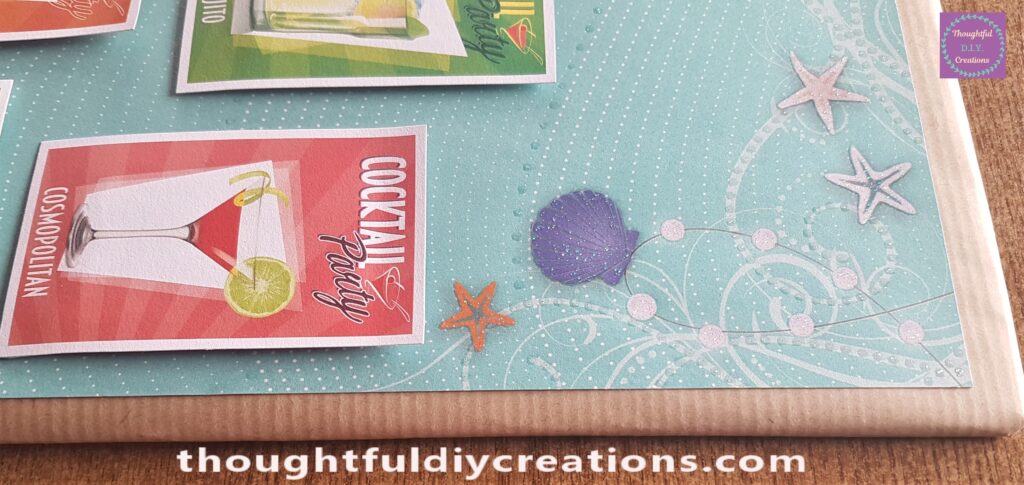
Below is a close-up of the bottom left-hand corner of the Sign.
This is the top right-hand corner of the Cocktail Menu Sign.
Adding a Label to the Craft
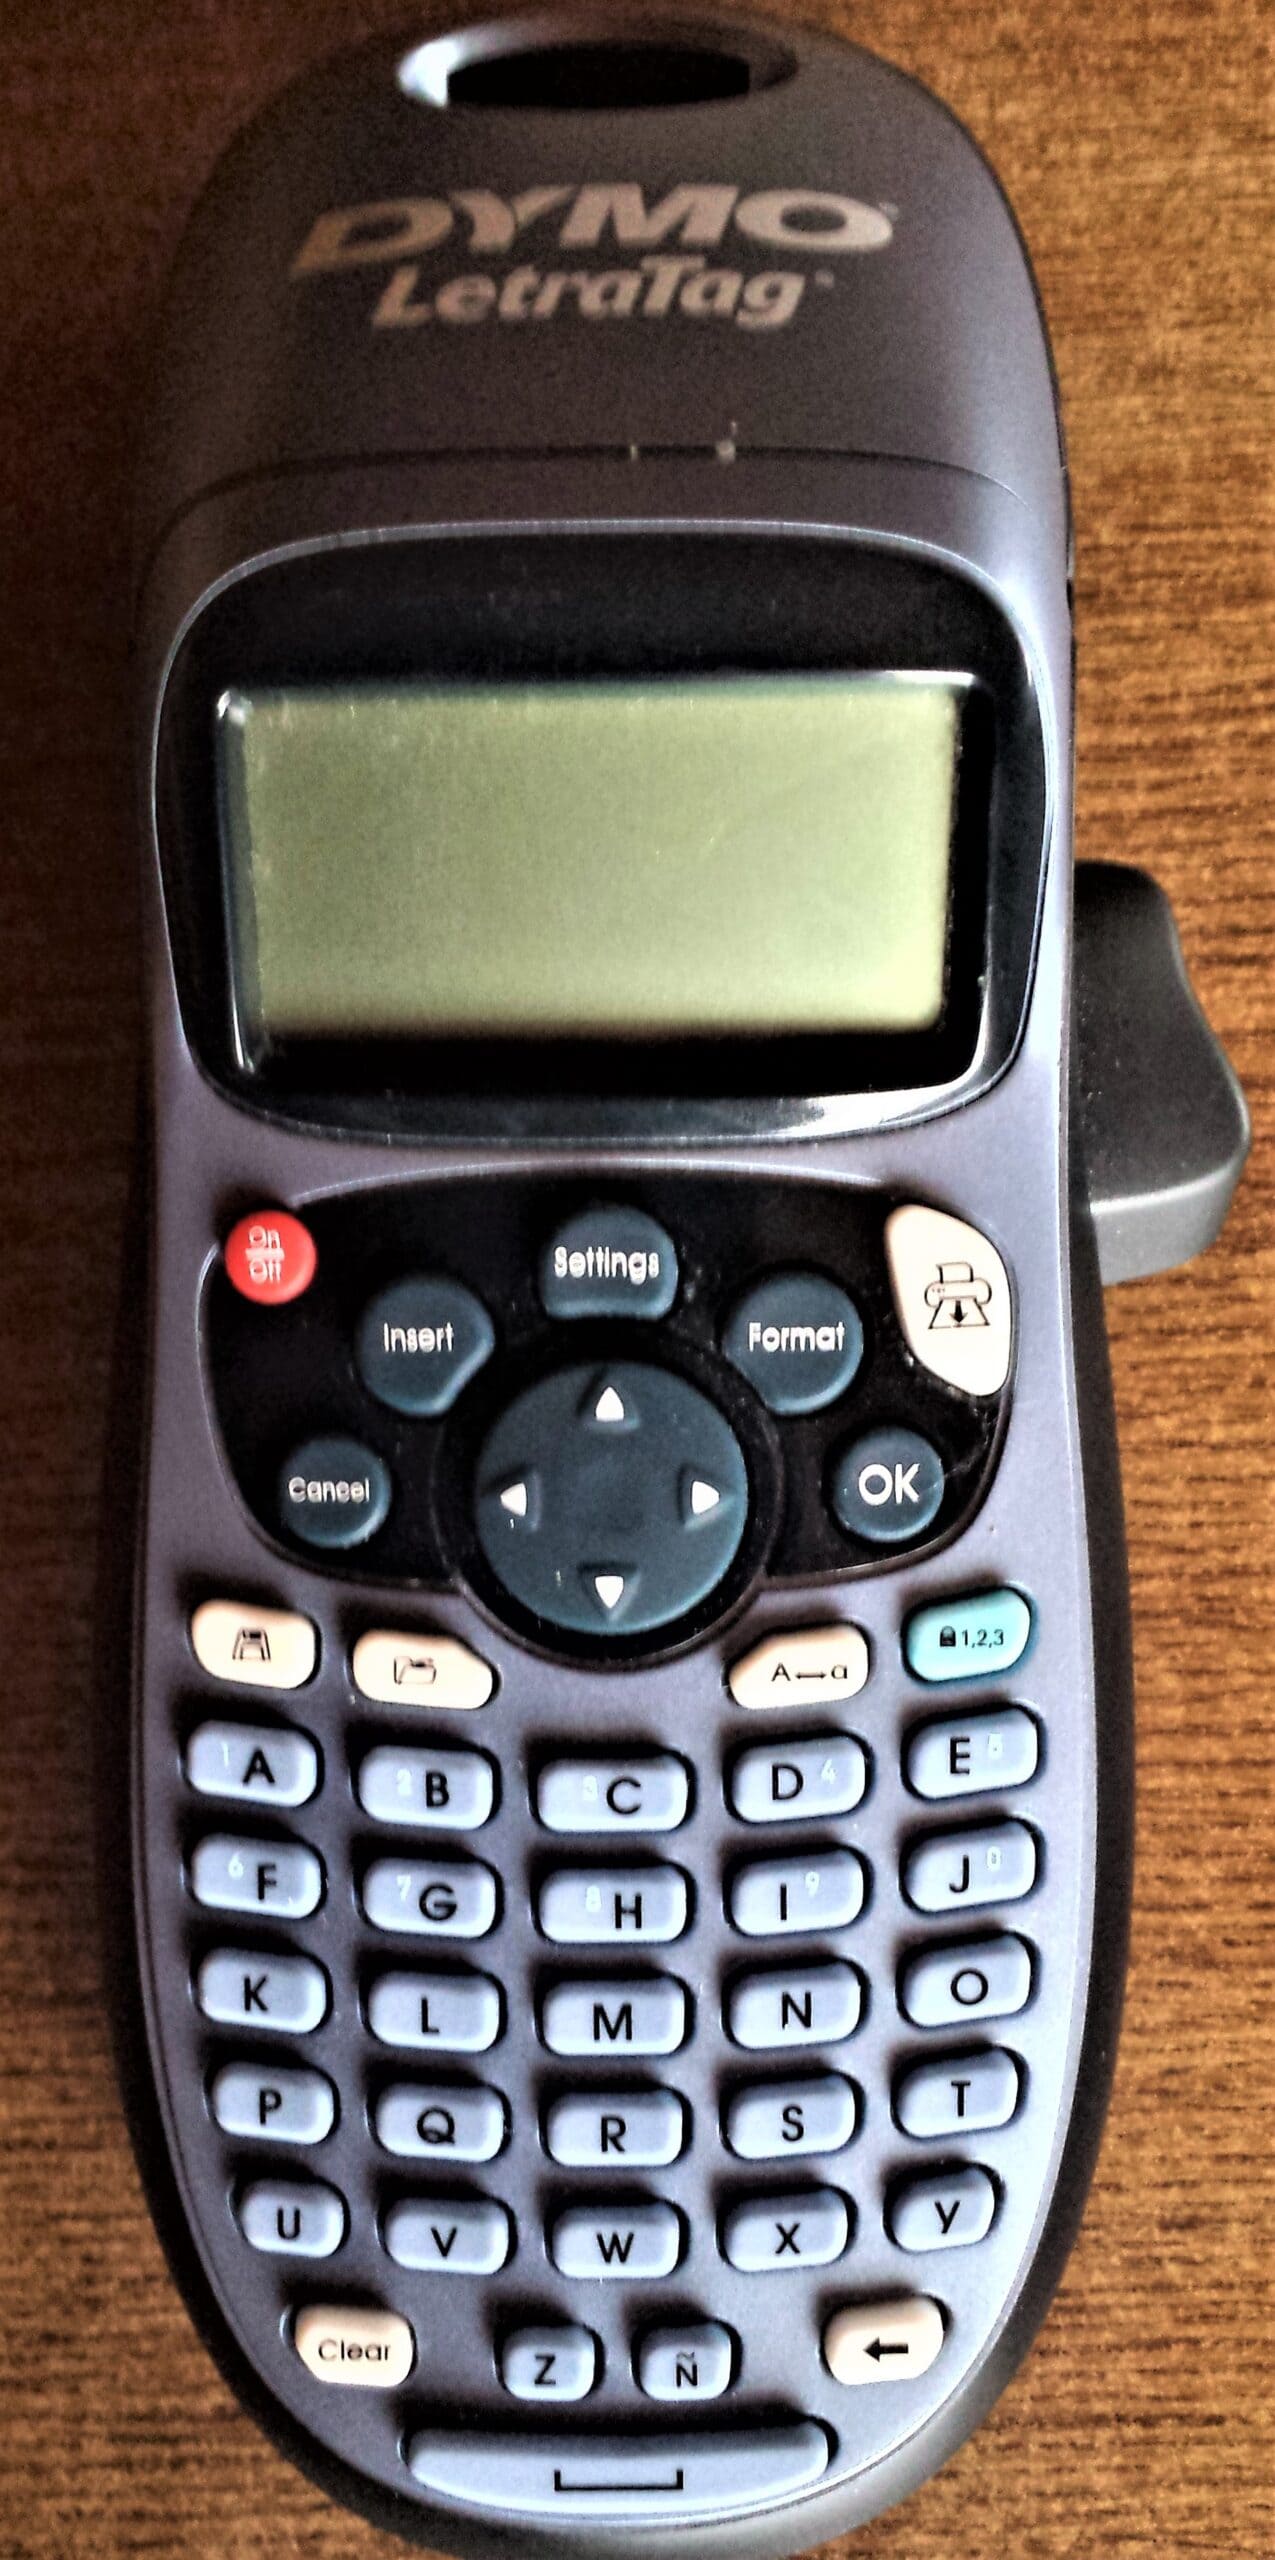
I got my ‘DYMO LetraTag Label Maker’. Dymo Label Maker.
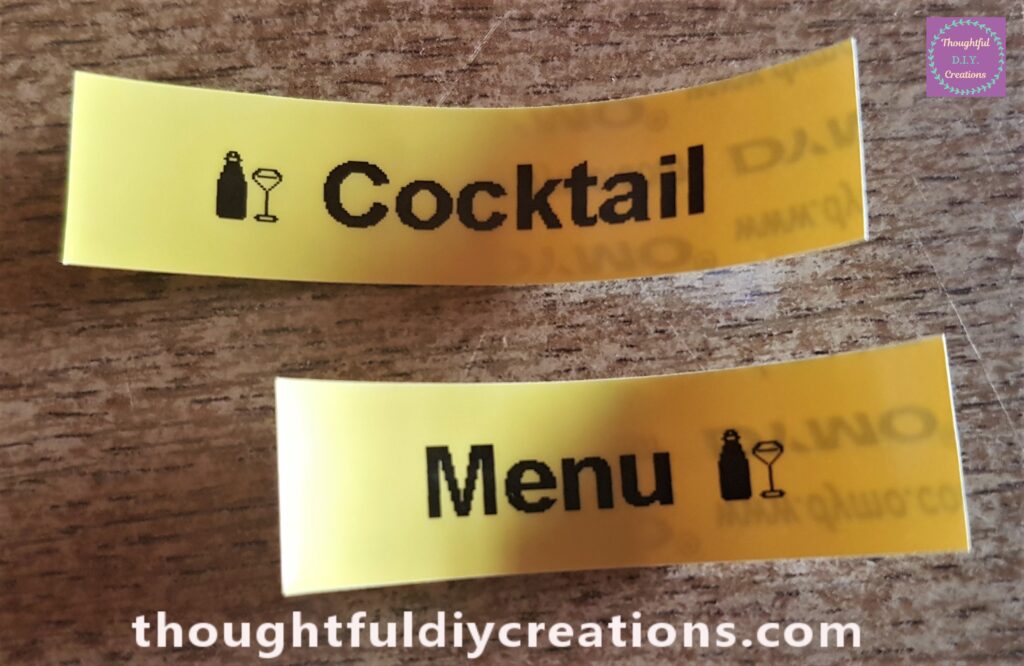
I Printed the words ‘Cocktail’ and ‘Menu’ with the Label Maker. I put my ‘Yellow Plastic Tape Roll’ into the top of the Label Maker, clicked it into place and closed the top cover. (You can get different Colour Label Backgrounds for the Label Maker). They are so easy to use and so handy to have for Making Cards, Crafts, or labelling anything in your Home and Shed.
This is how I made the Label. I pressed the ‘Insert’ Button, then chose ‘Symbols’ from the options, I then scrolled until I found the ‘Cocktail Mixer Bottle and Glass’ Image, I pressed OK. I pressed the Space Bar button. I pressed the ‘Format’ button. I clicked ‘Size’ from the options and chose Size ‘Large’. I wrote the word ‘Cocktail’. I then pressed the White ‘Print’ button. I pressed in the handle on the right-hand side of the Label Maker, this cuts the print-out. I repeated this process with typing out the word ‘Menu’. Dymo Label Maker.
I cut the width of the labels.

I removed the backing from the labels and attached the sticky side to the top of the Cocktail Menu Sign. Dymo Label Maker.
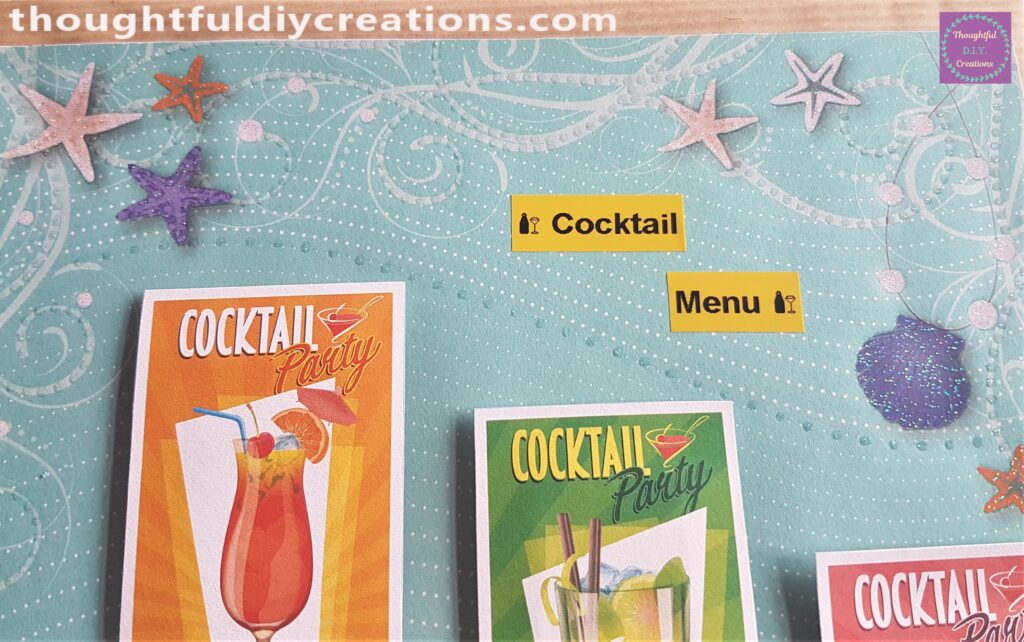
Here is a full view image of the Cocktail Menu Sign so far.
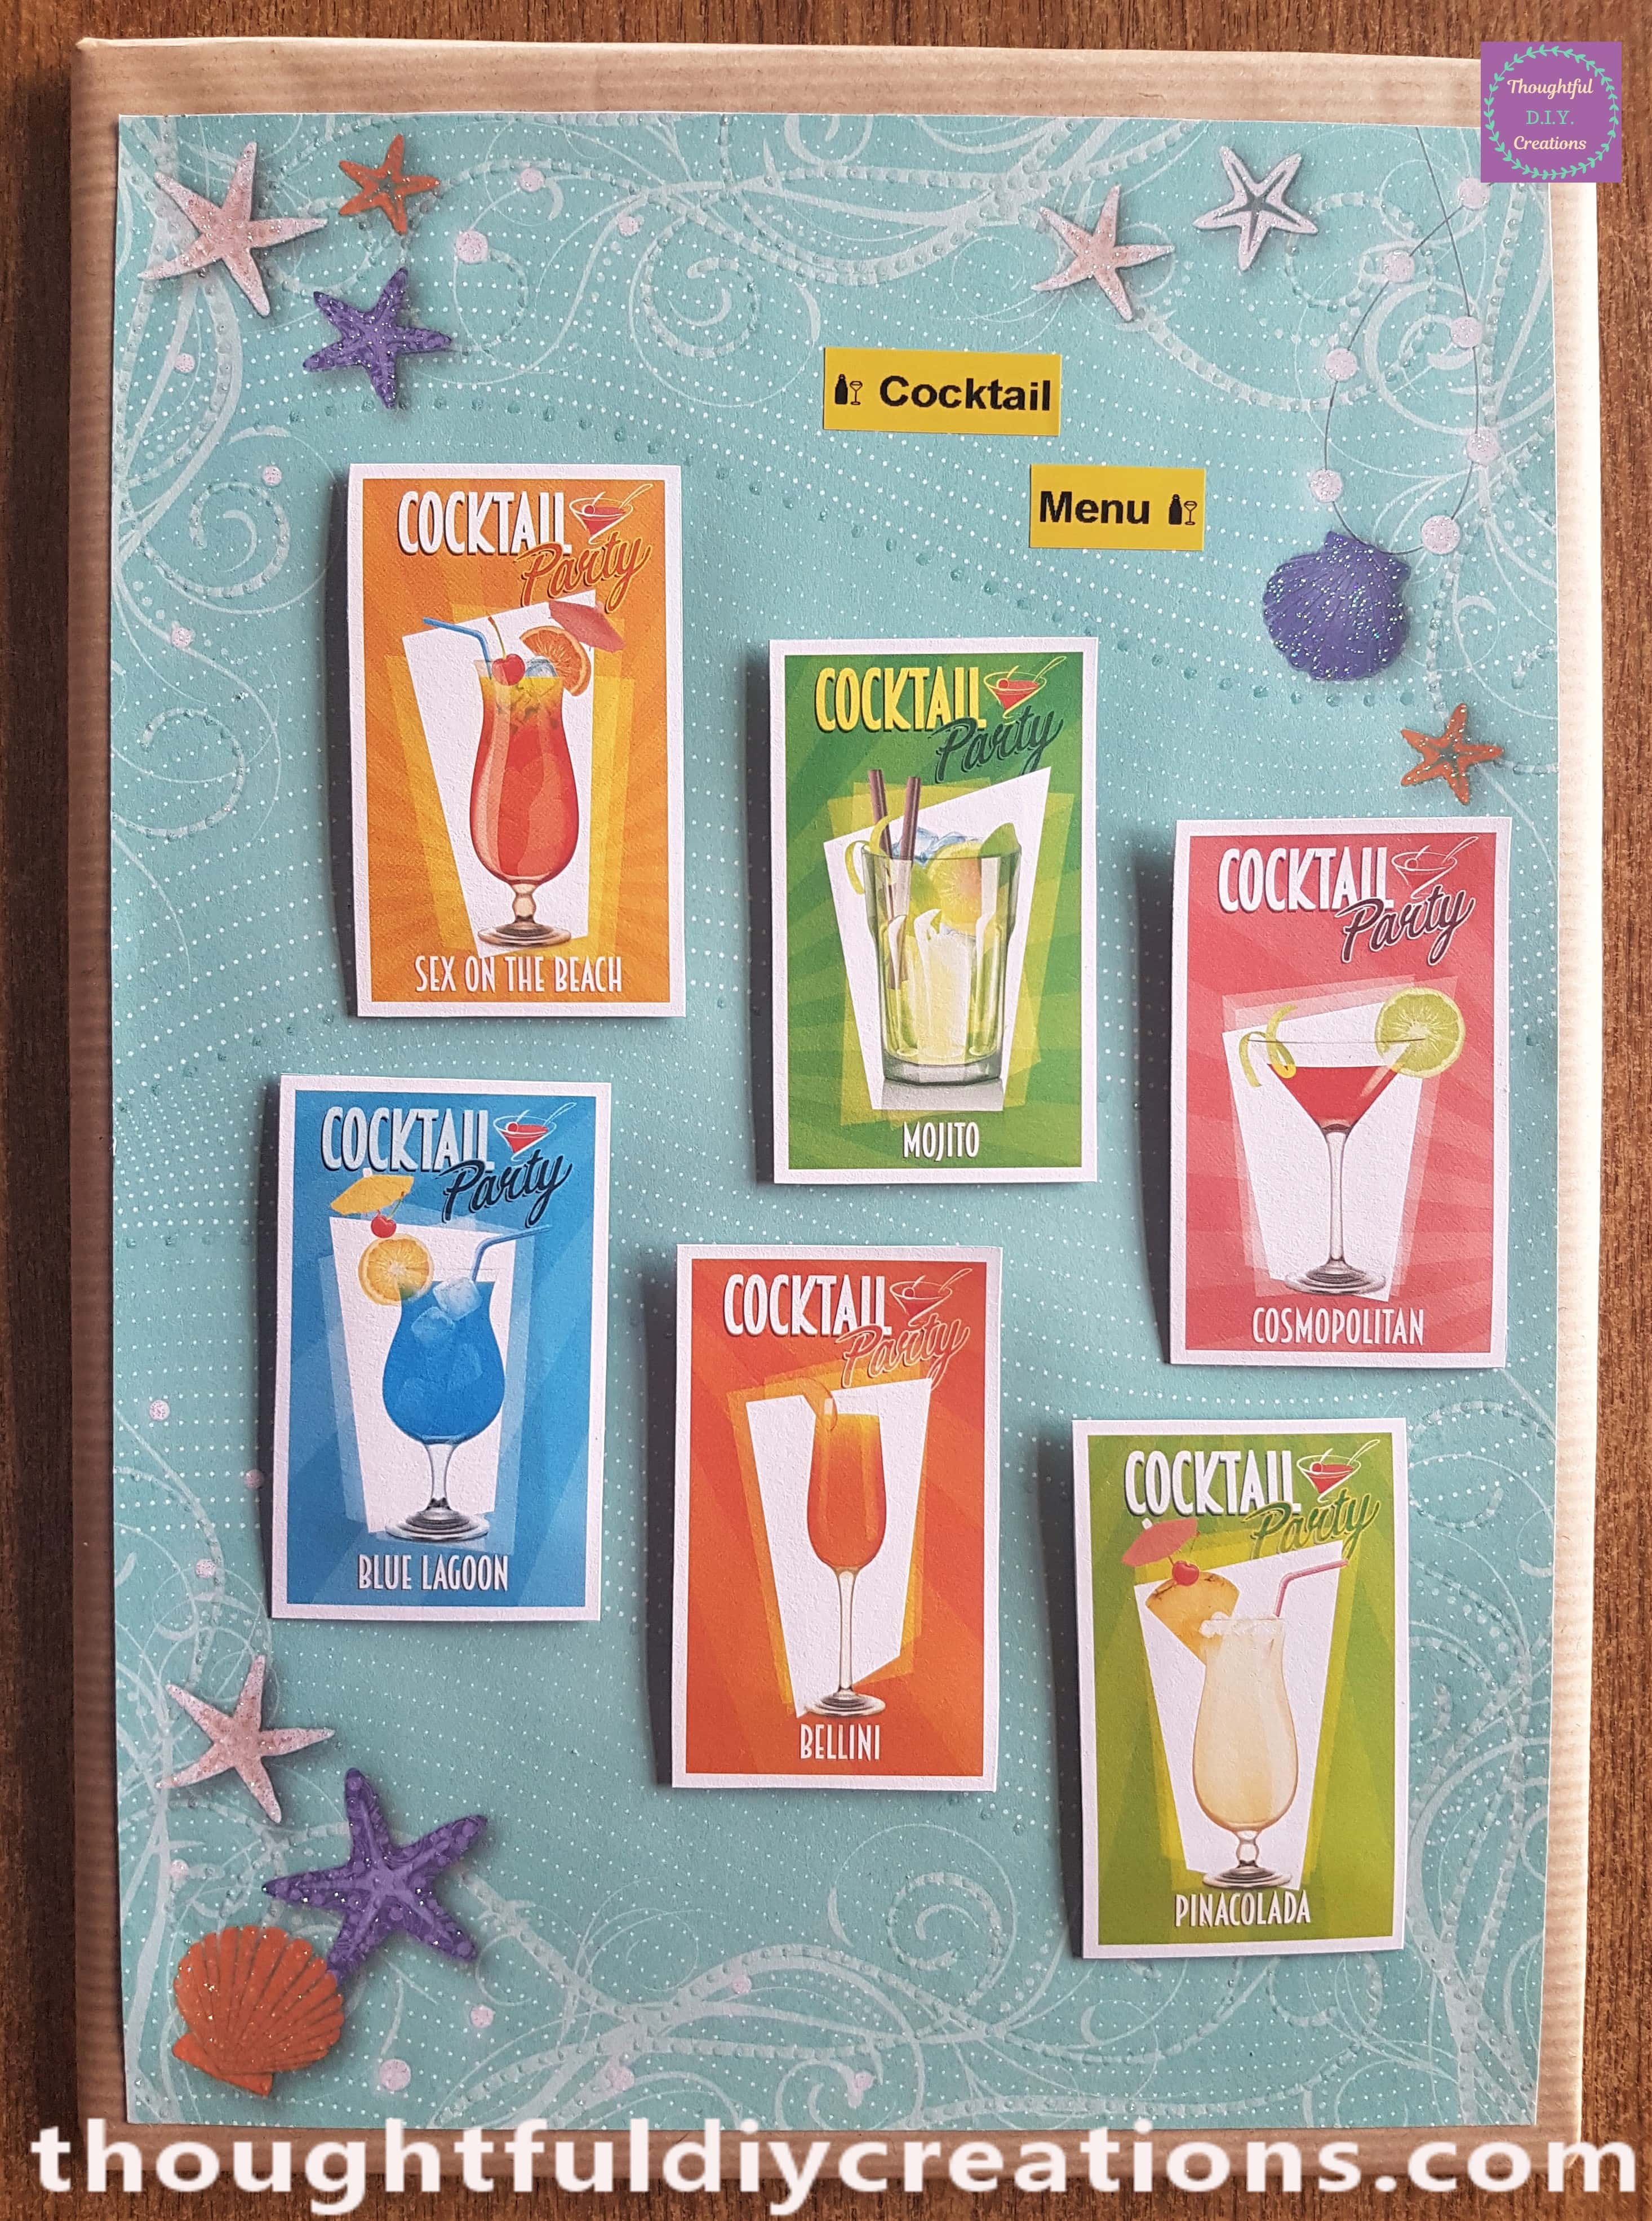
More Colour added to the Sign
I tore out the ‘Hello Summer’ Picture that was on the same page as the Cocktail Images in the bigger Paper Pad.
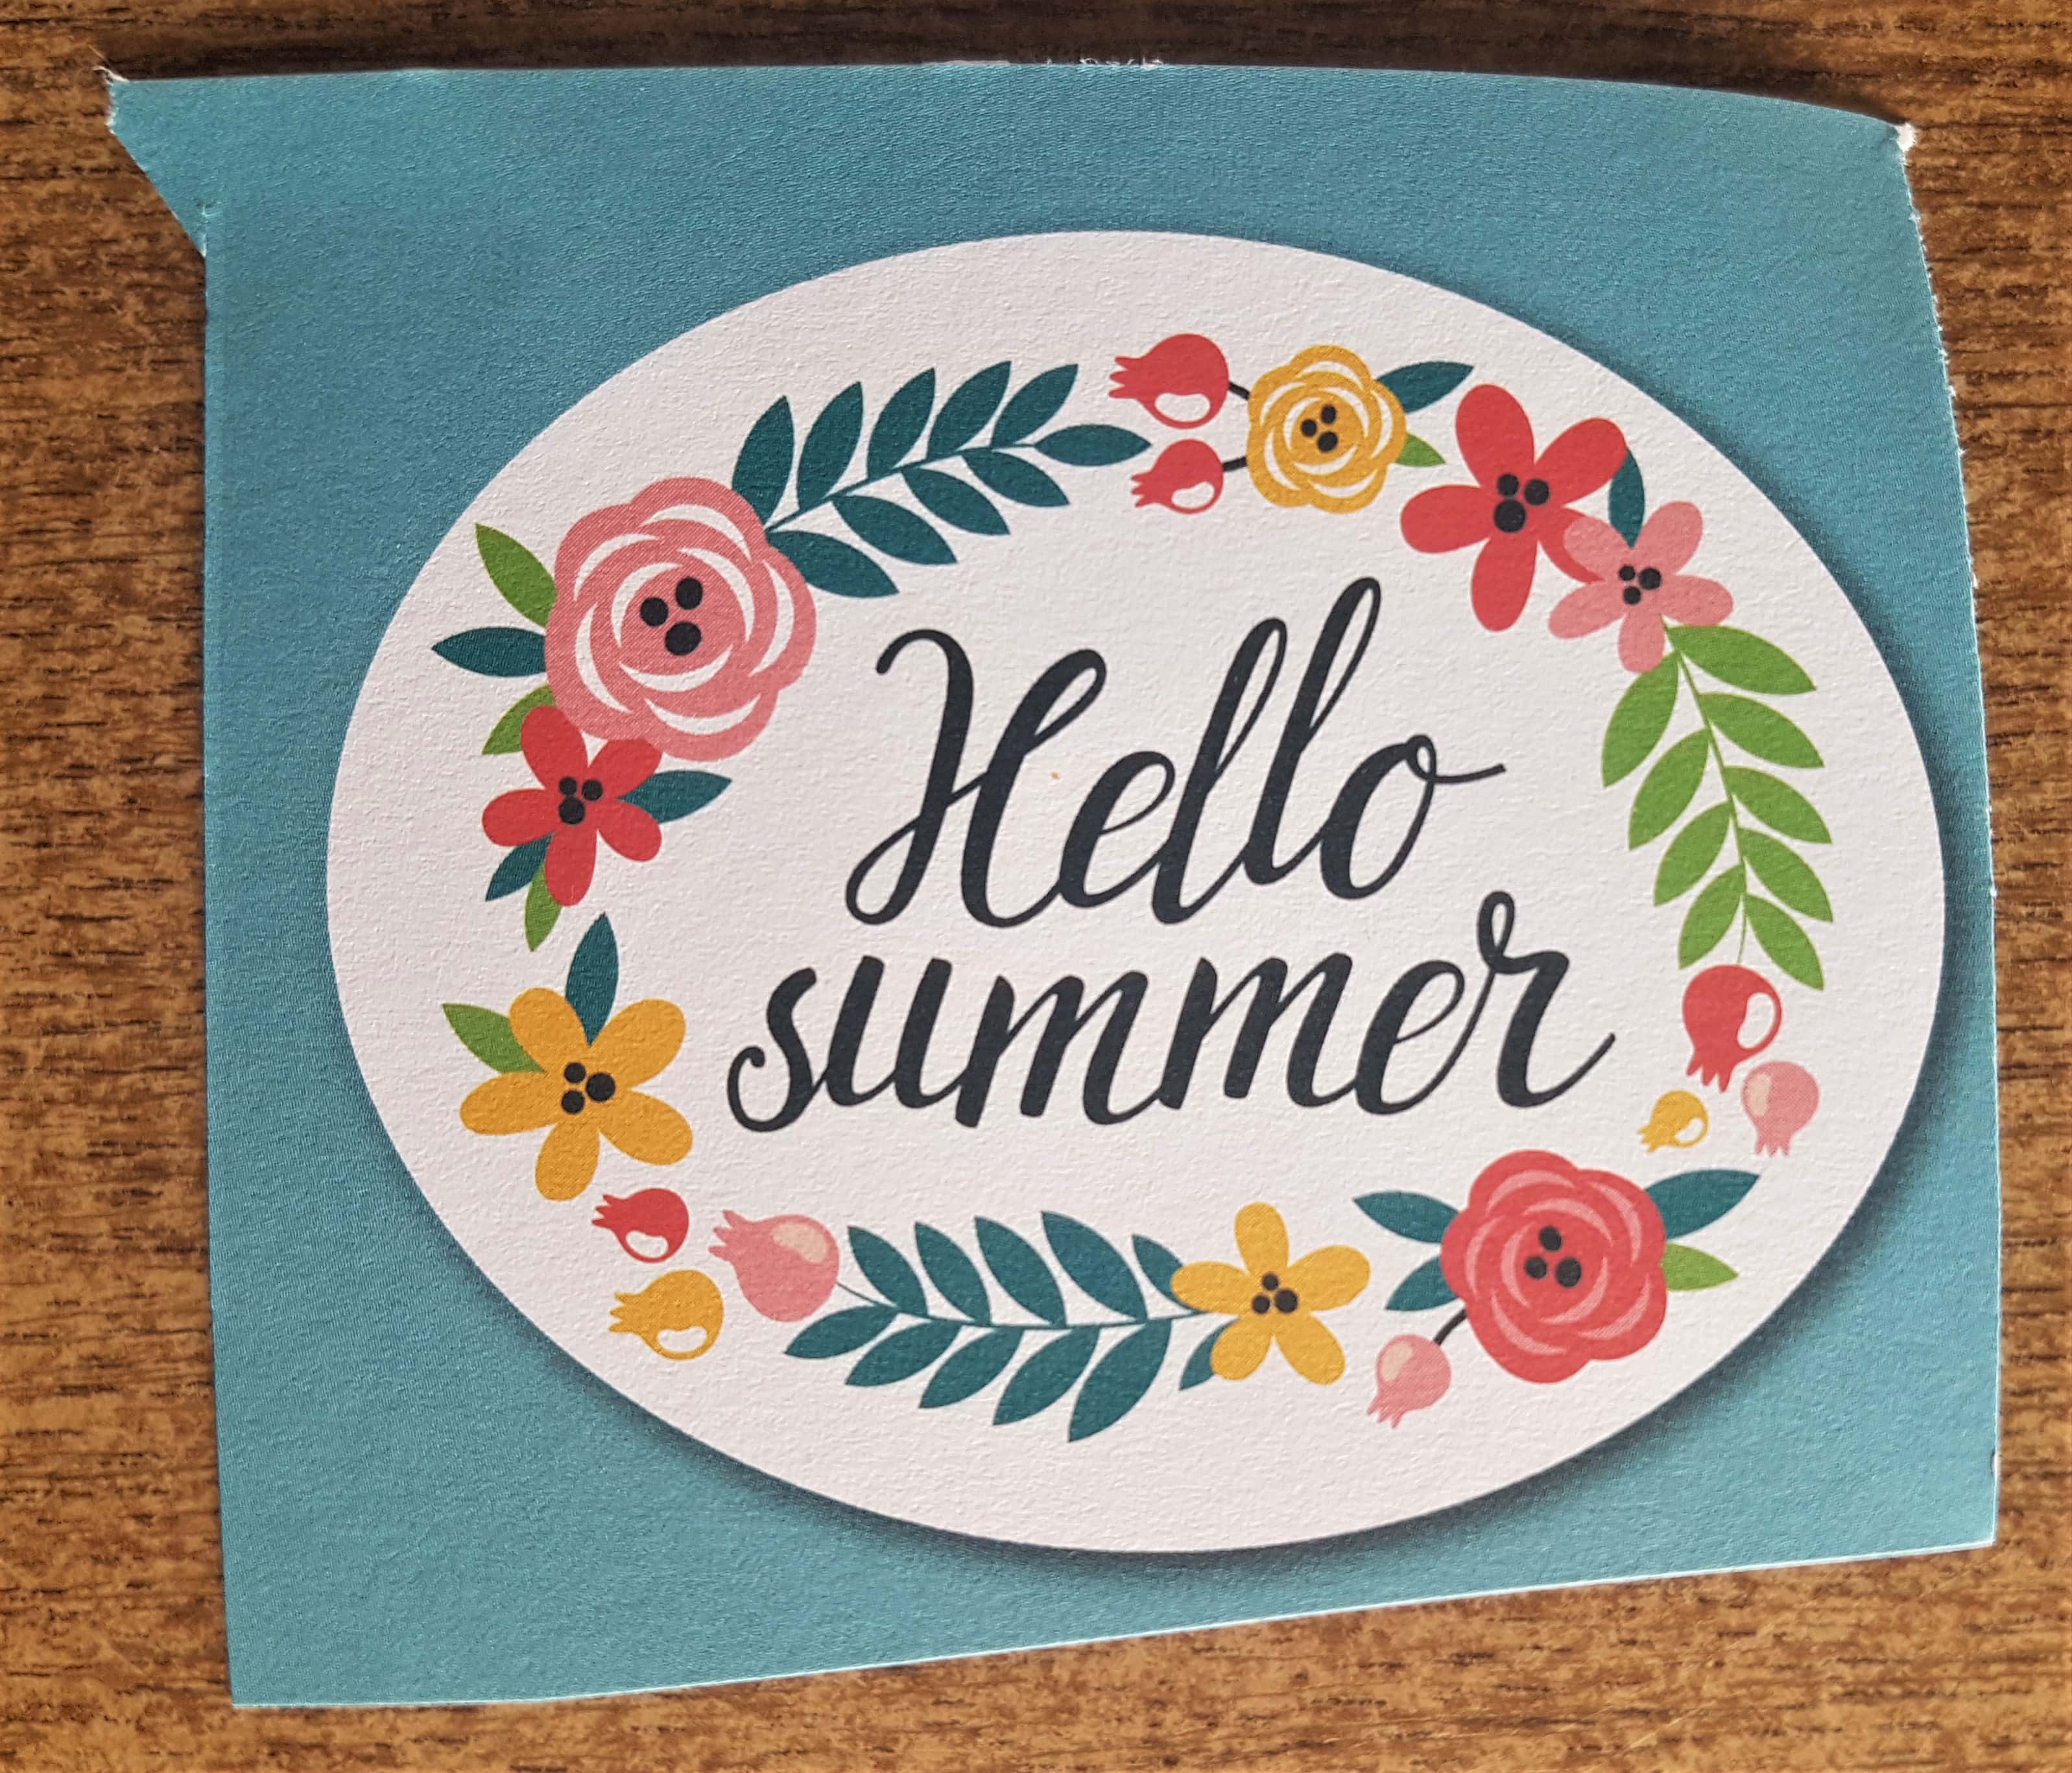
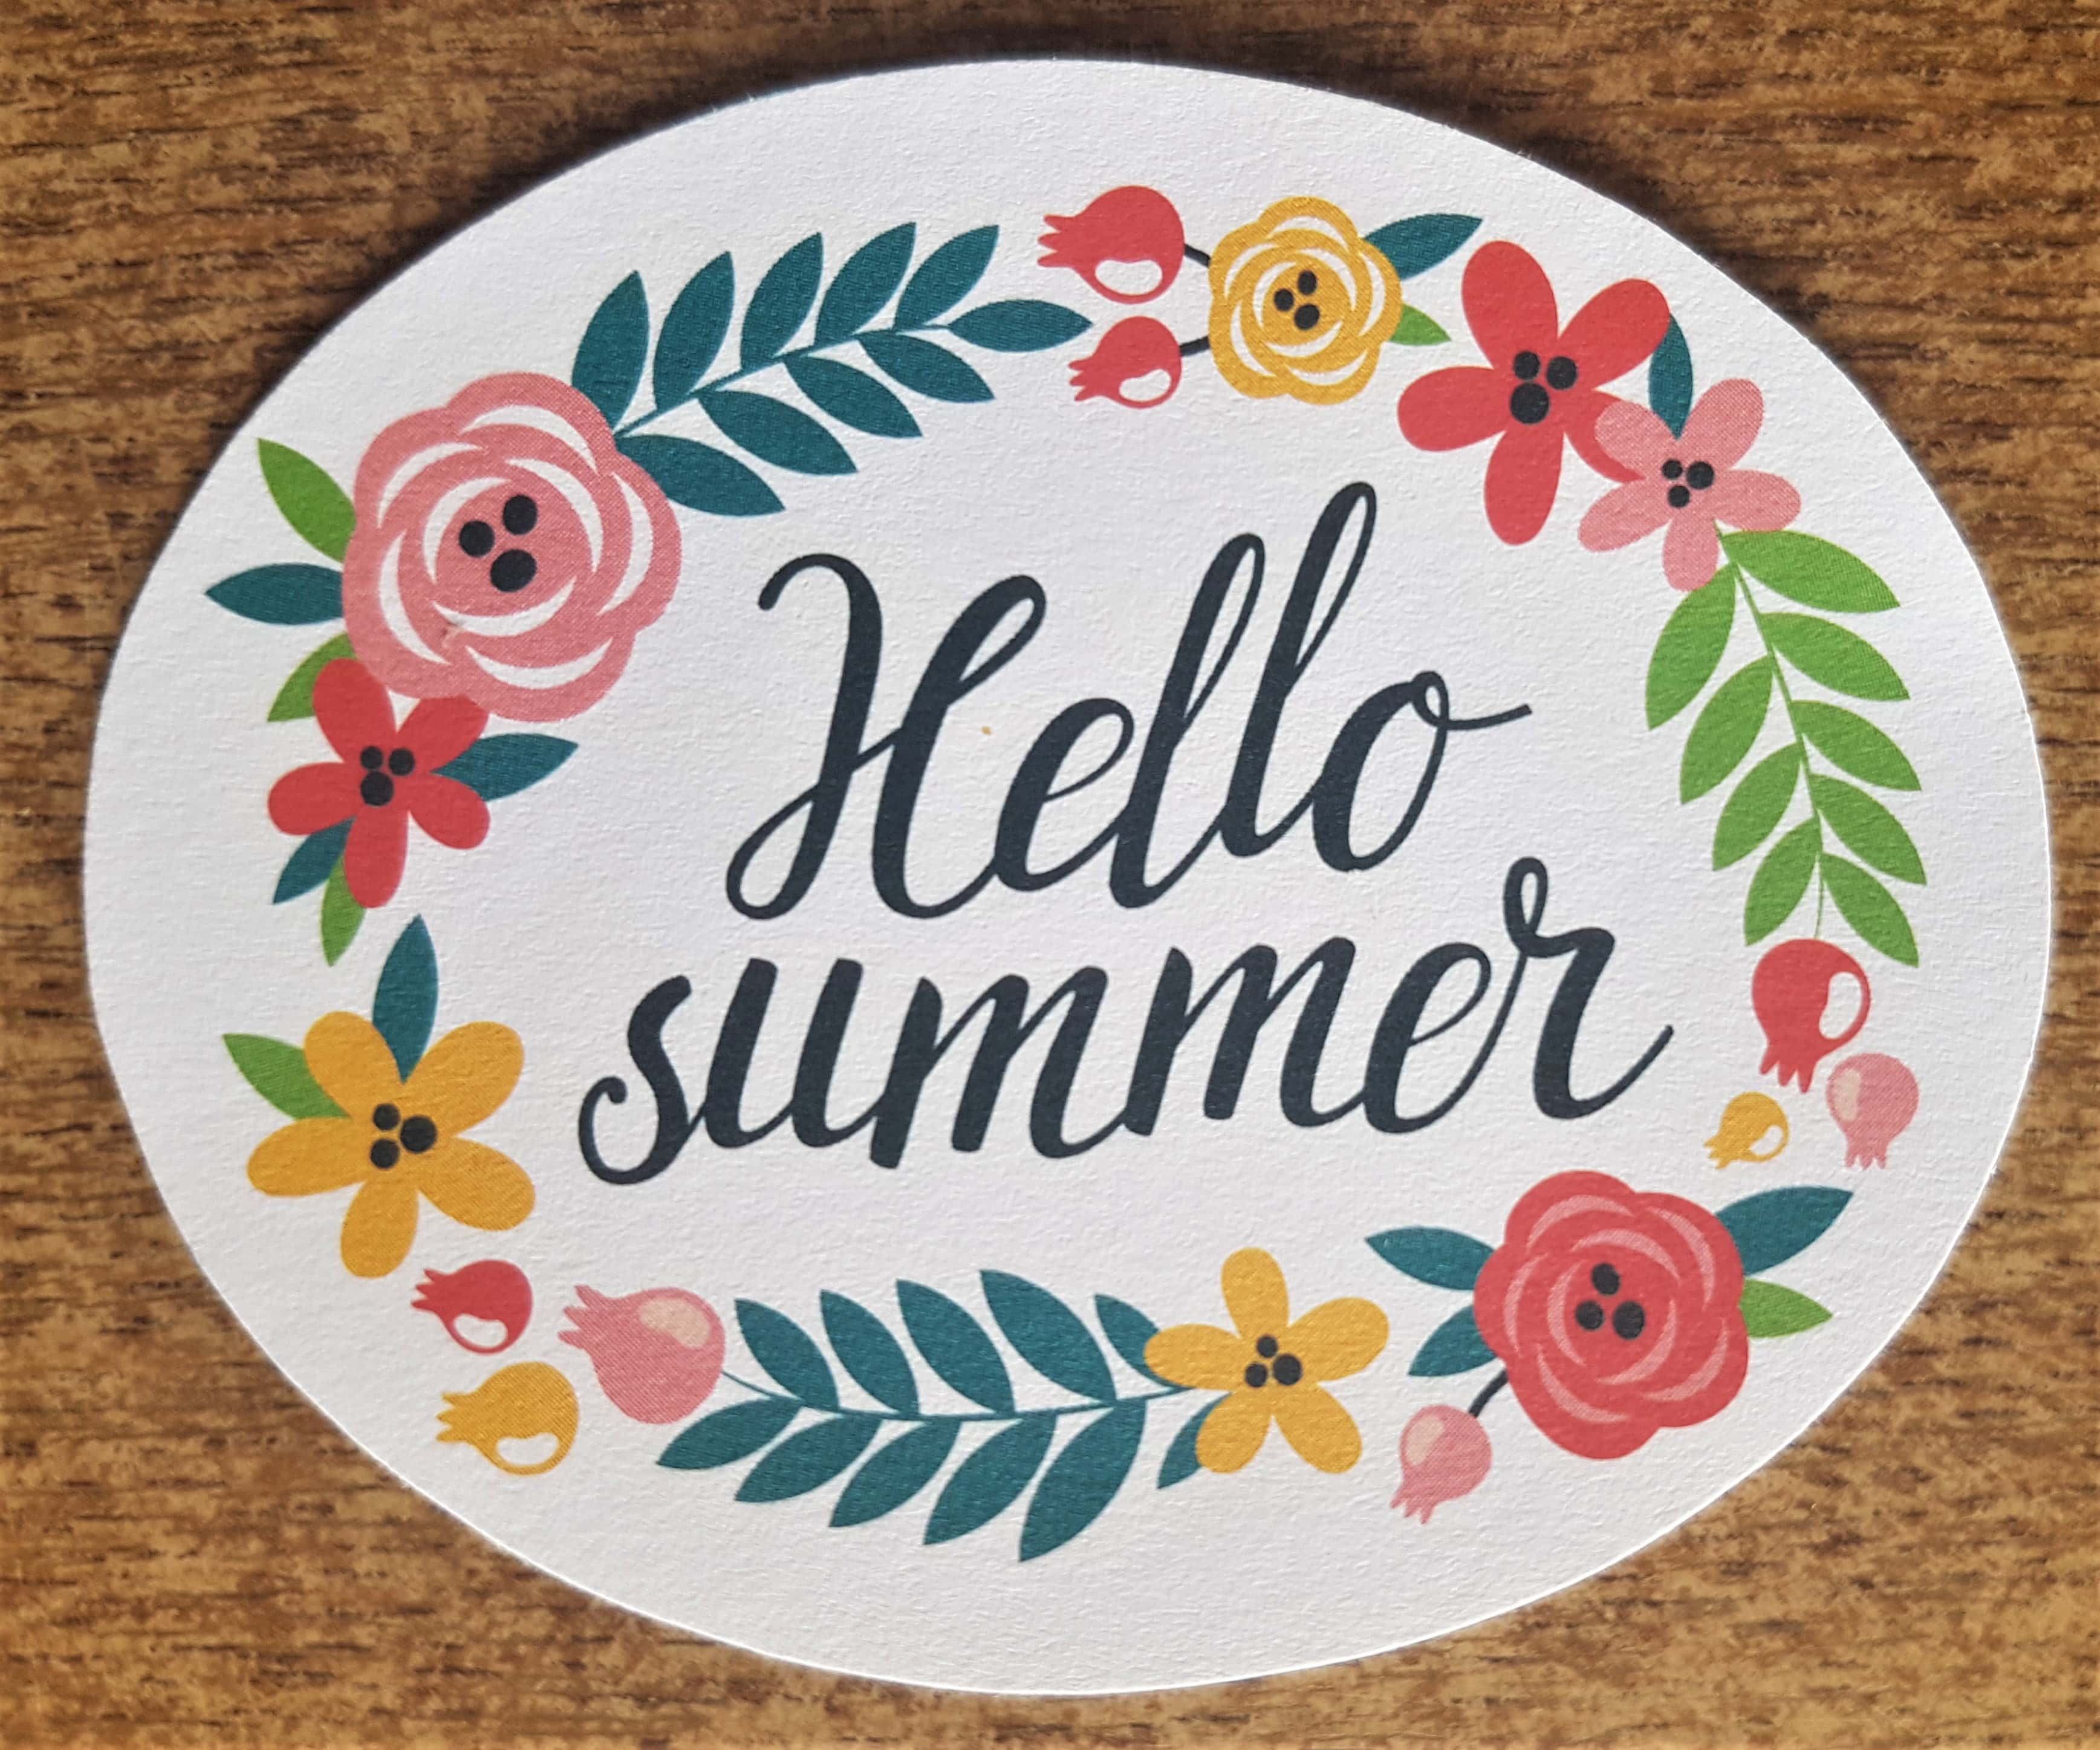
I cut out the Image.
I put Pritt Stick all along the bottom on the back of the Image and attached it to the top mid-section of the Cocktail Menu Sign. Pritt Stick Glue.
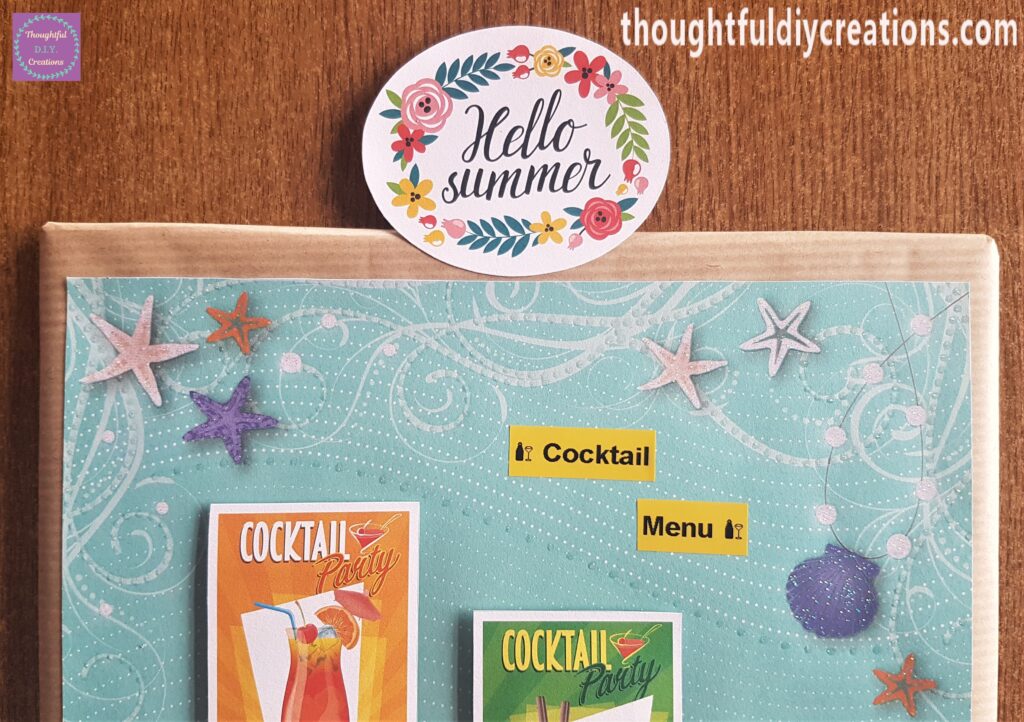
This is the full view of the Cocktail Menu Sign.
Finishing Touches to the Cocktail Menu Sign
I cut out a section of Cardboard from the Laptop Box.
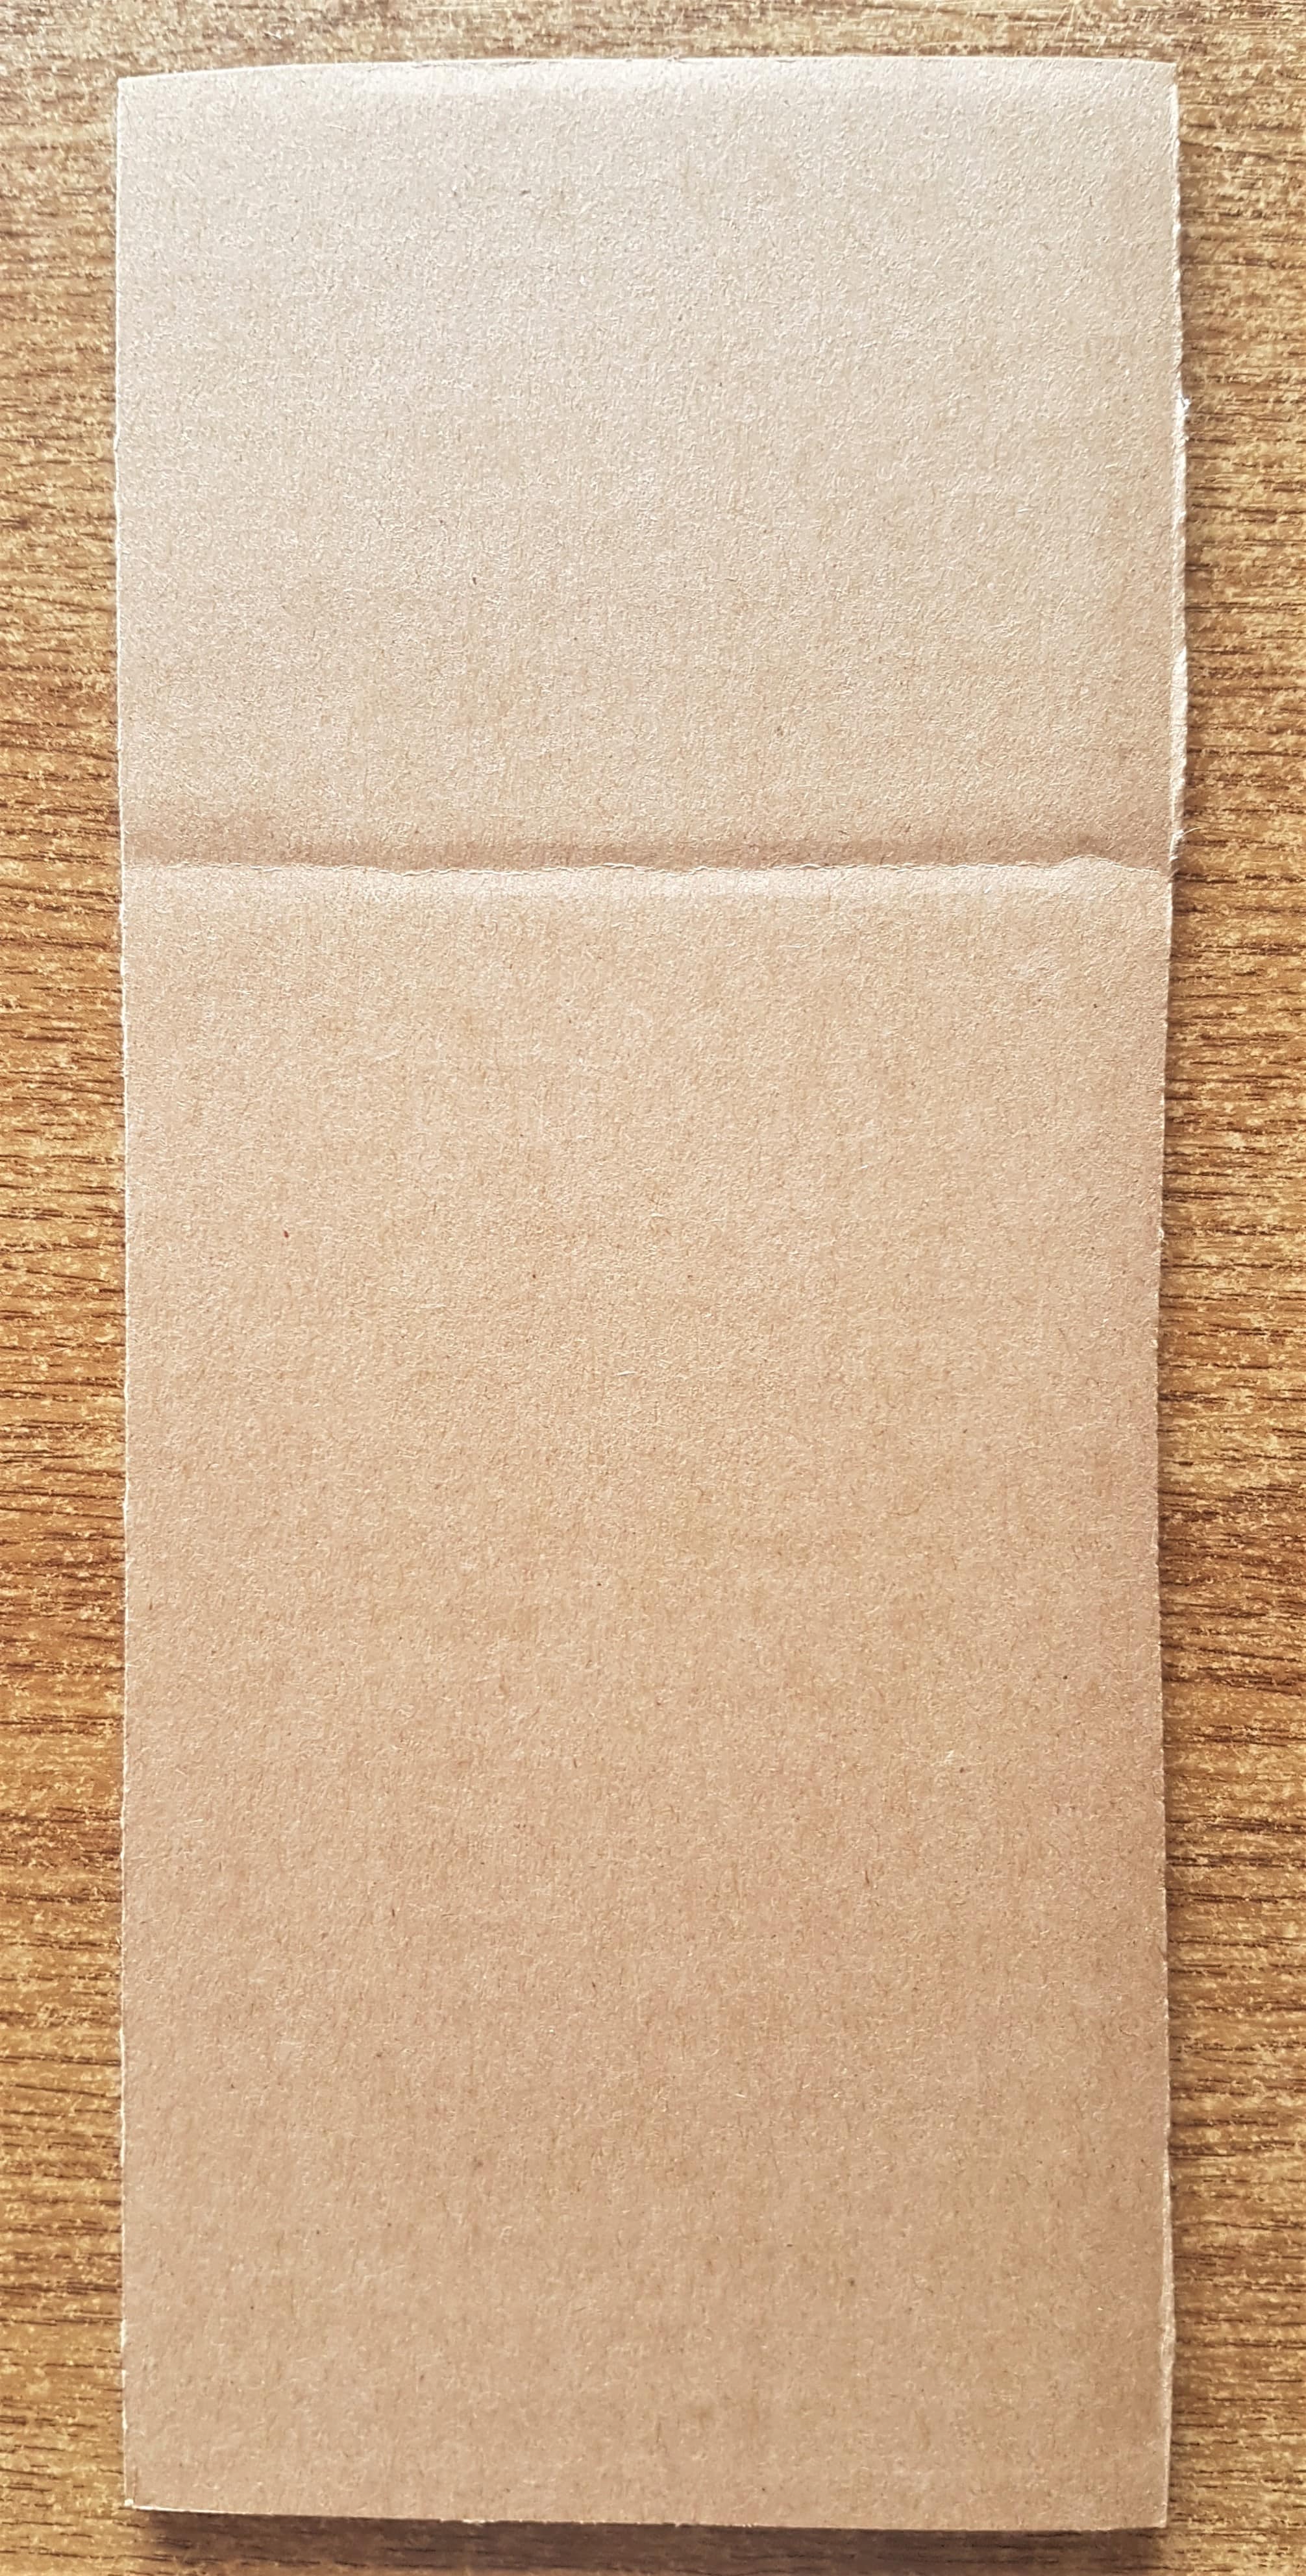
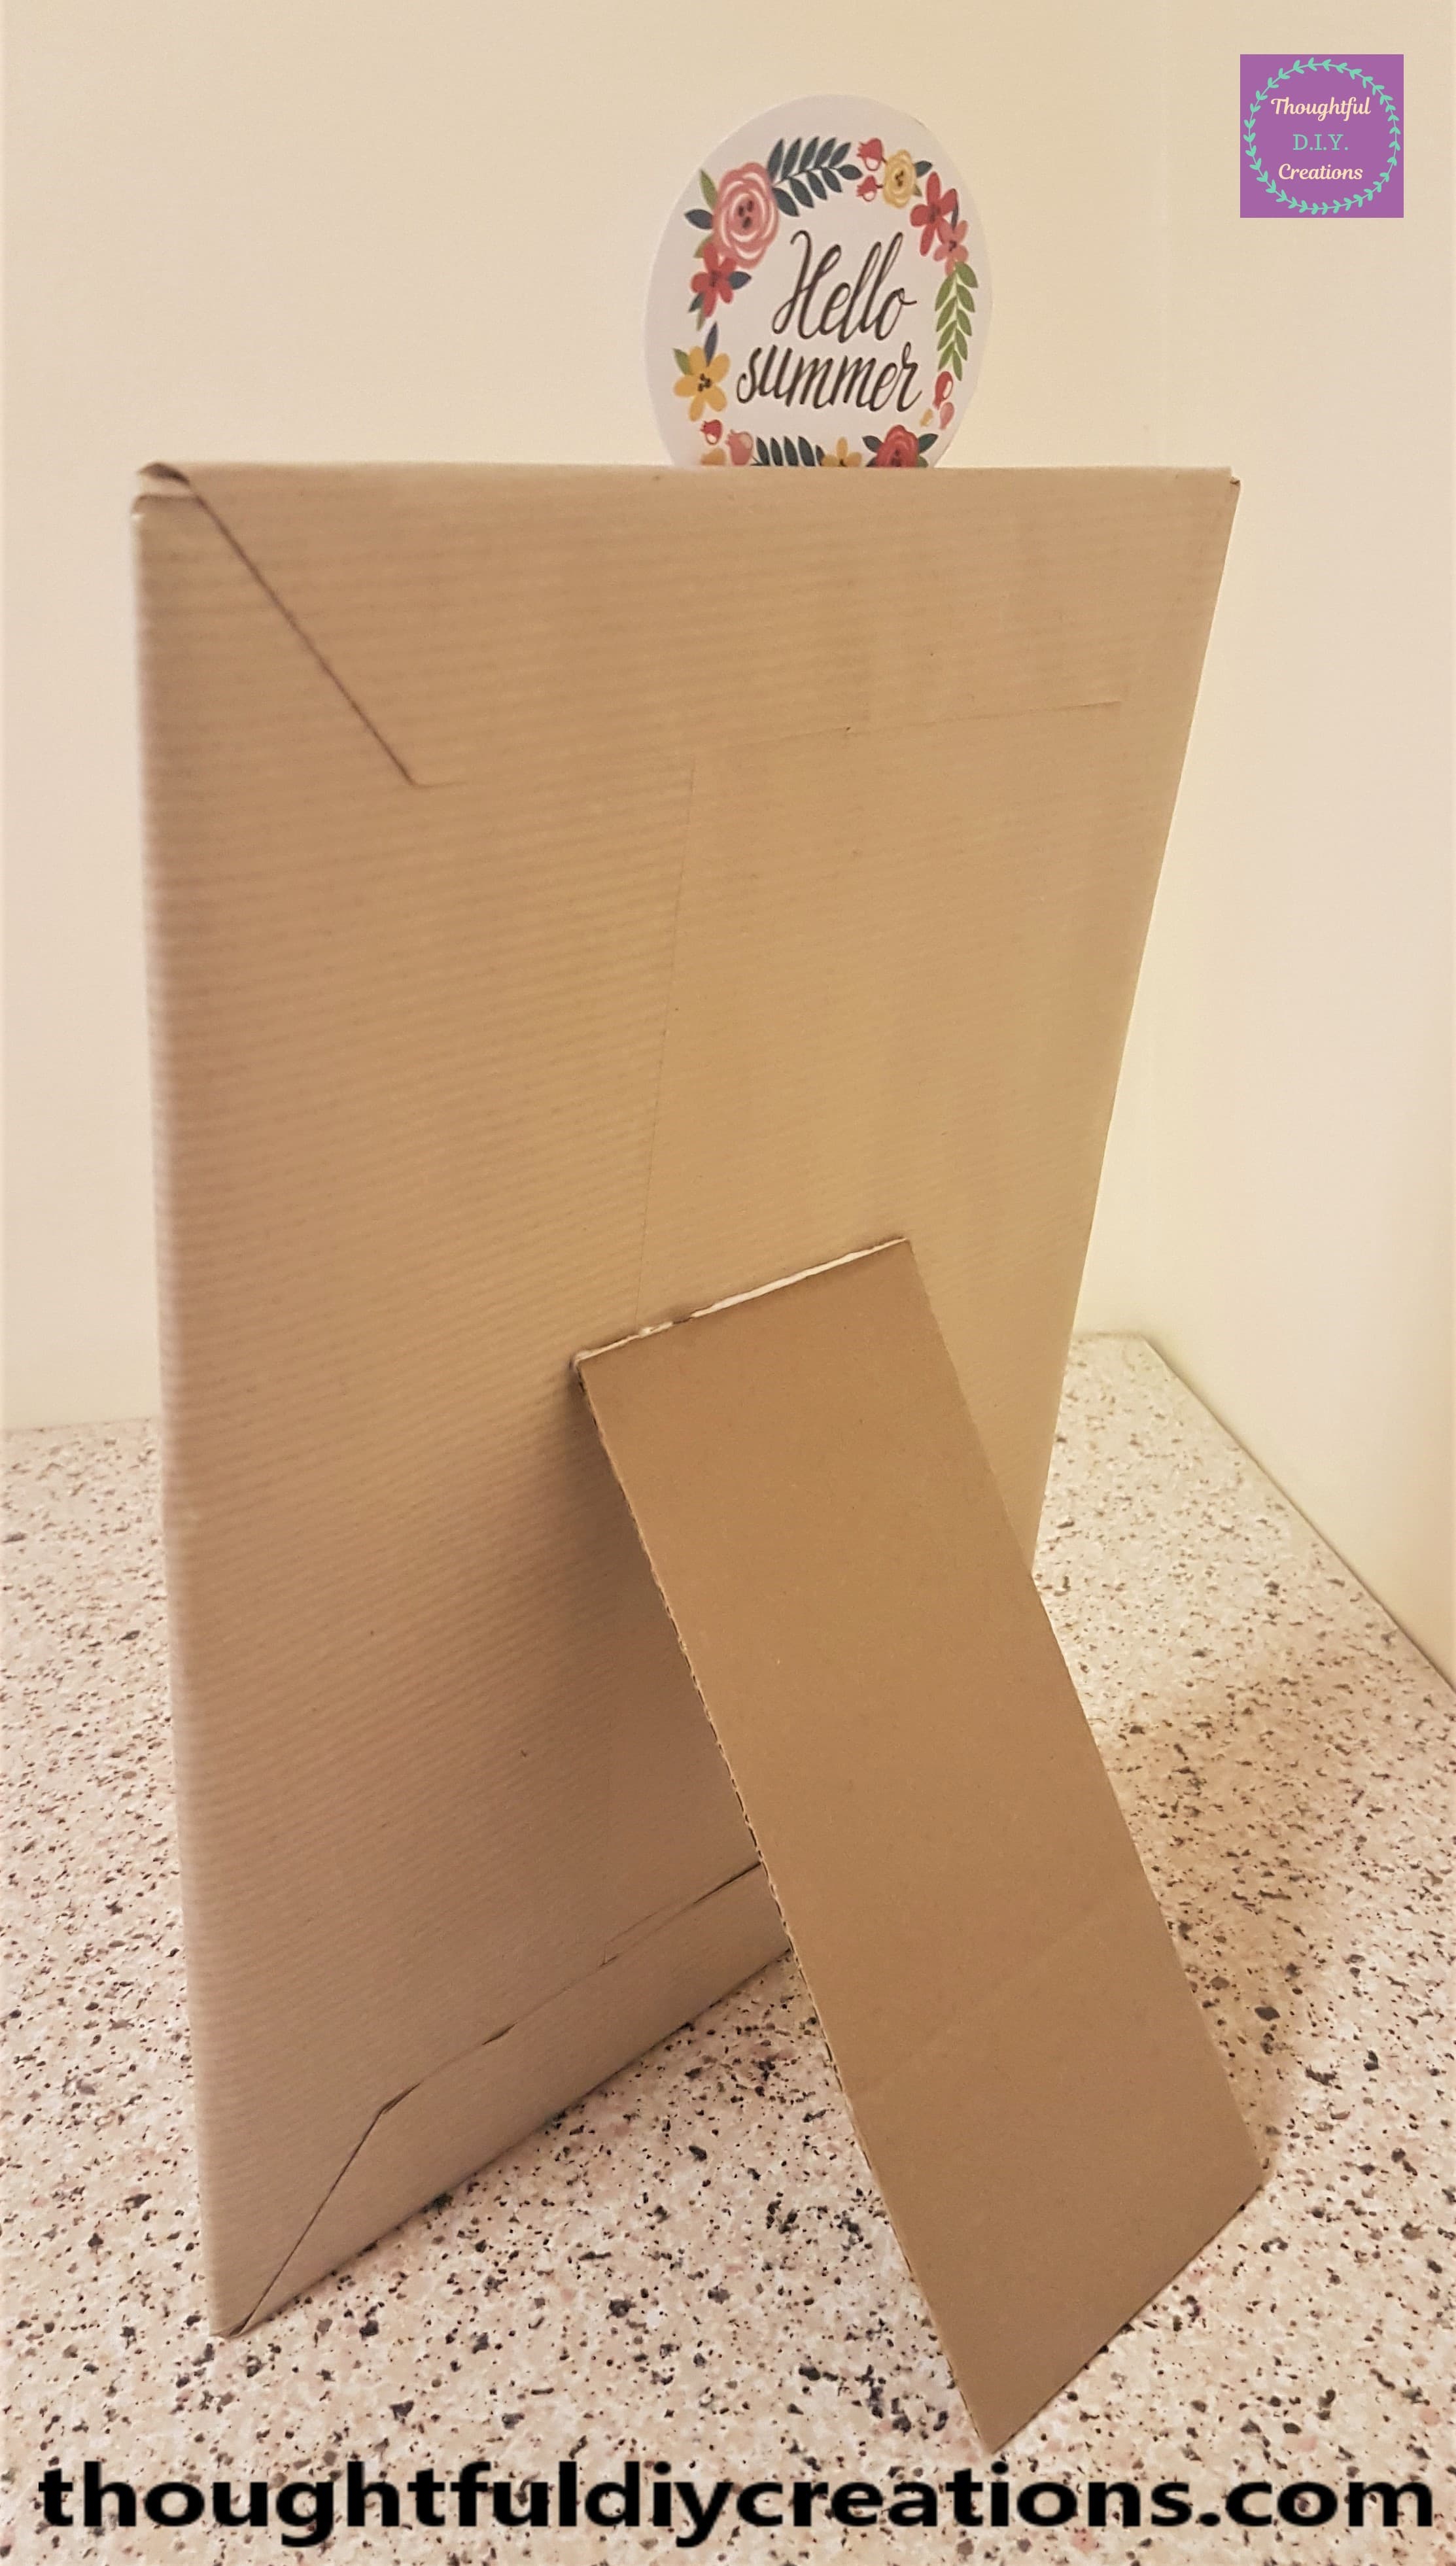
I put a generous amount of ‘Anita’s Tacky PVA Glue’ on the top and the top side of the Cardboard and held it to the back mid-section of the Cocktail Menu Sign. This is to enable the Sign to stand on it’s own. Anita’s Tacky PVA Glue.
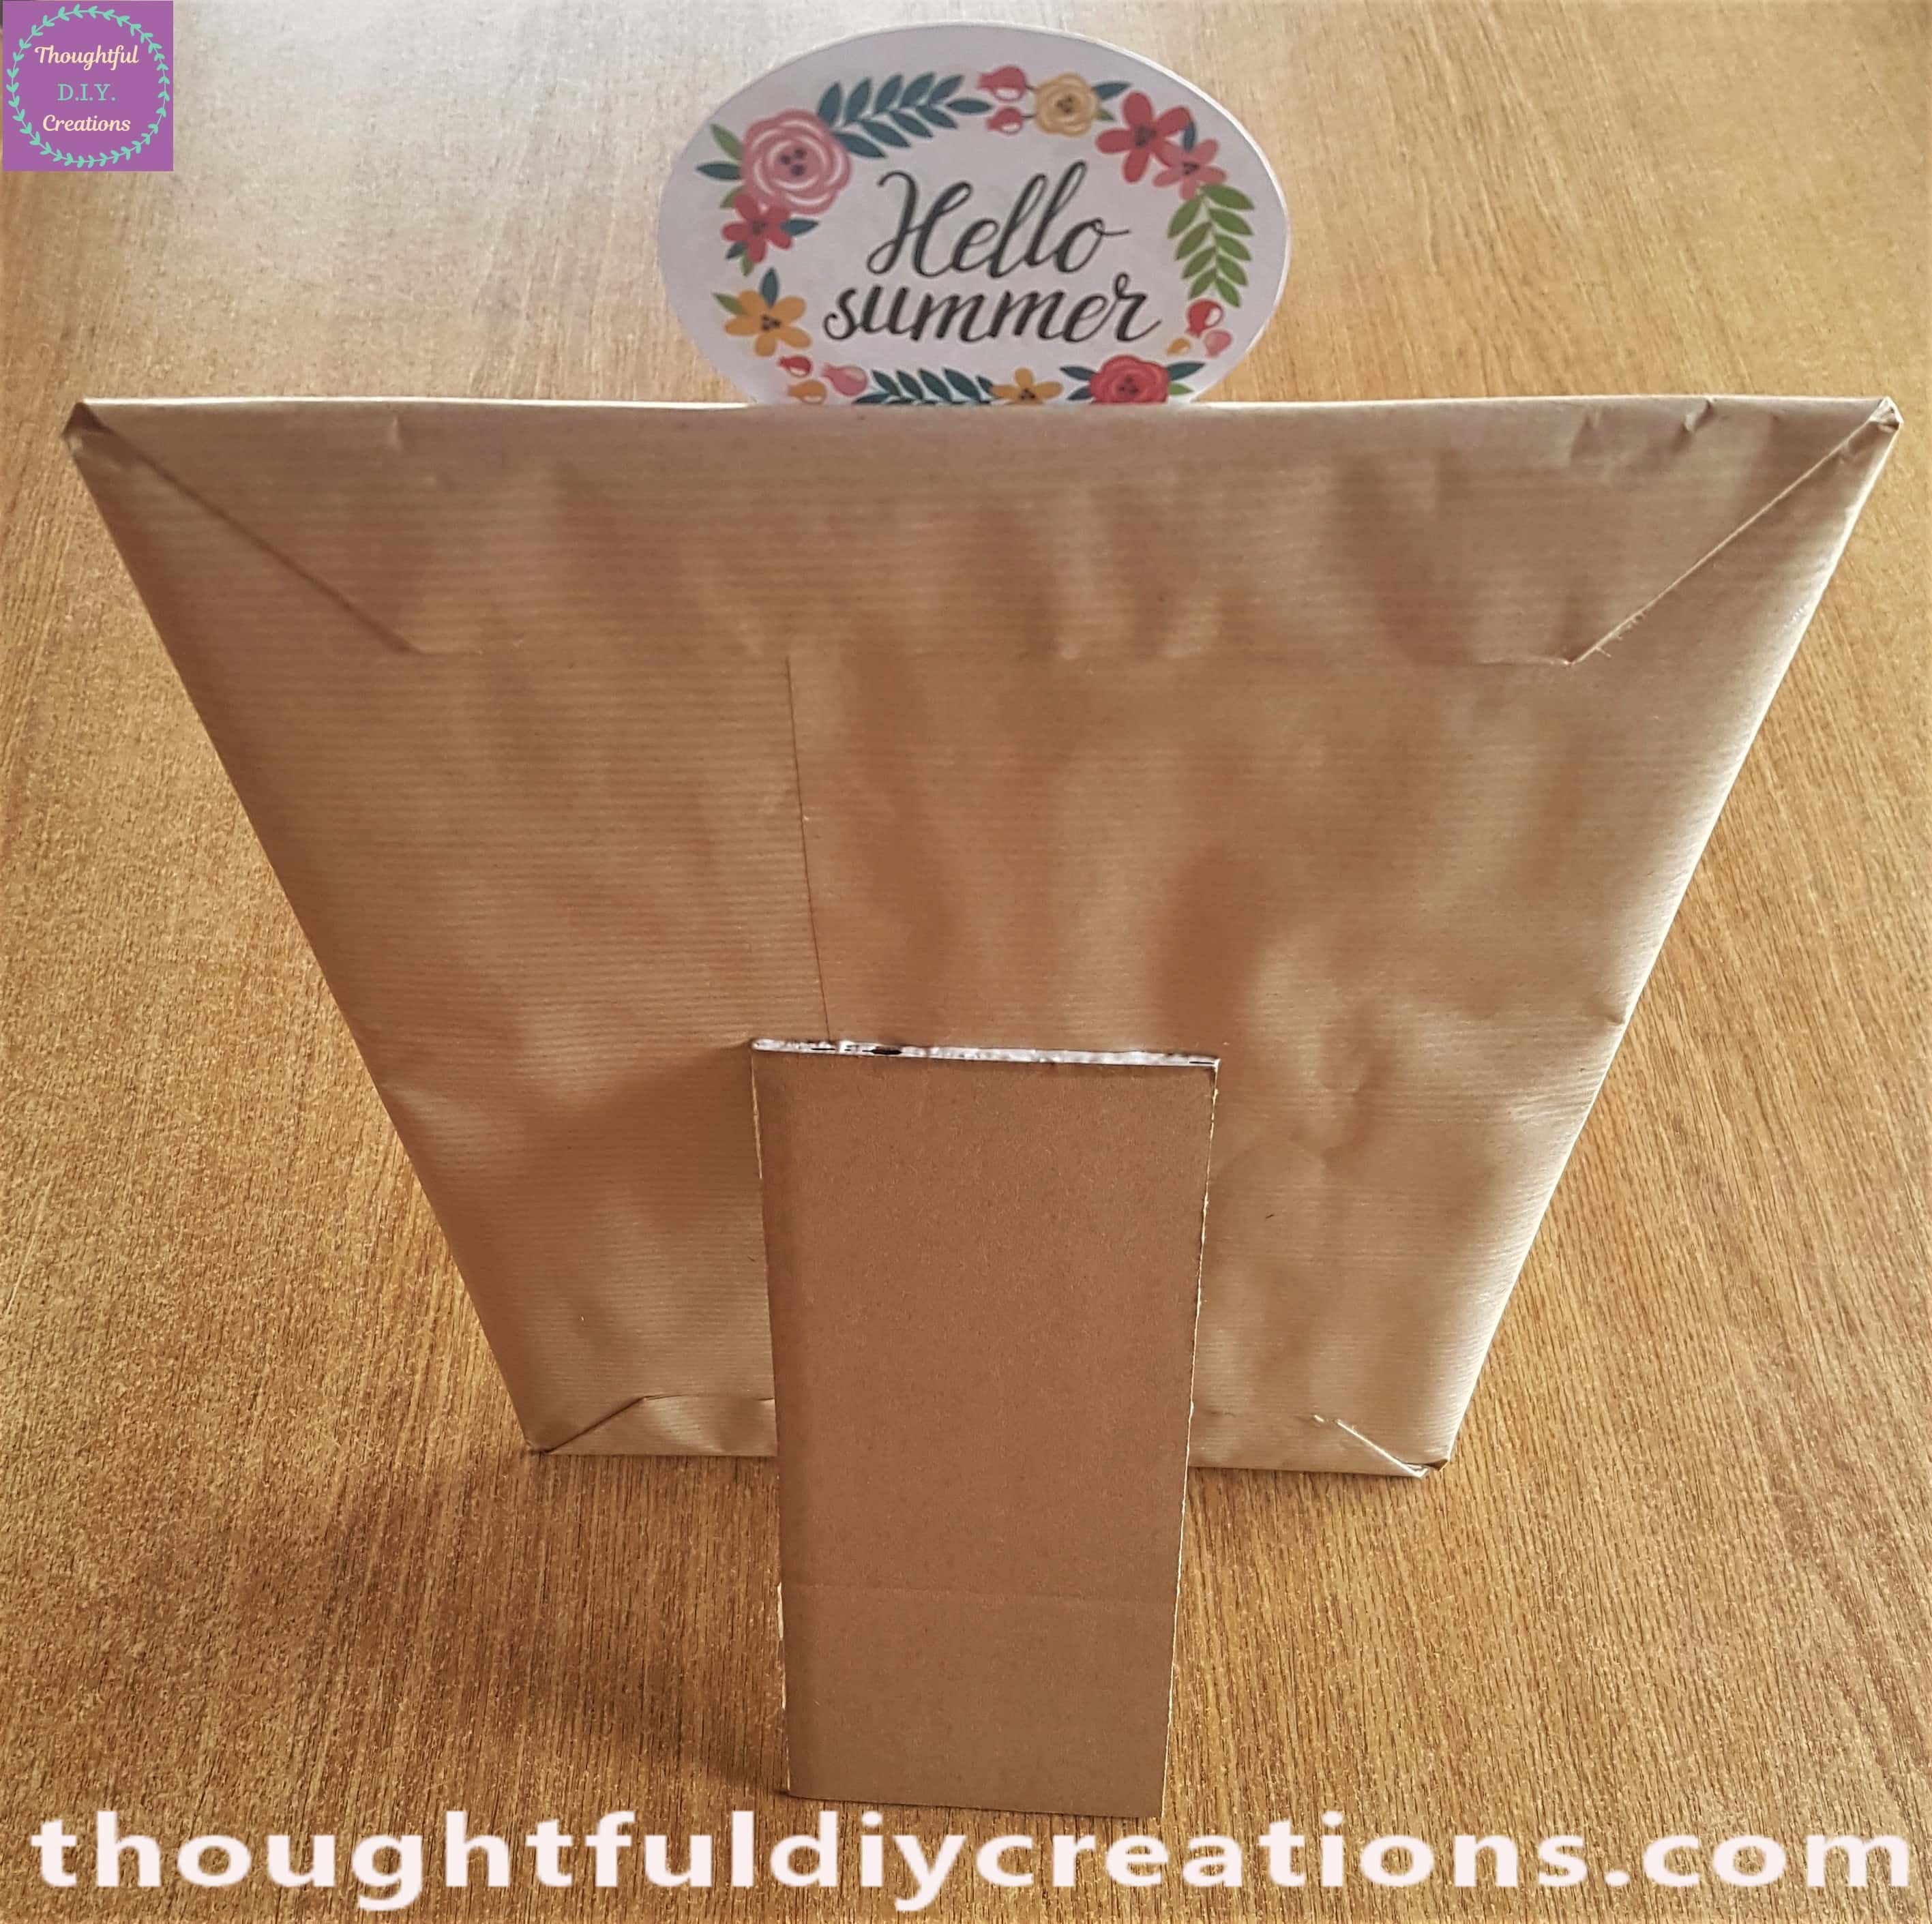
I put the Pritt Stick Bottle standing behind the Cardboard Stand and put the Tacky Glue Bottle laying down between the Sign and Stand to help hold it in place. I left it for about 30 minutes for the Glue to set. I took this photo after I removed the Pritt Stick and Tacky Glue Bottle.
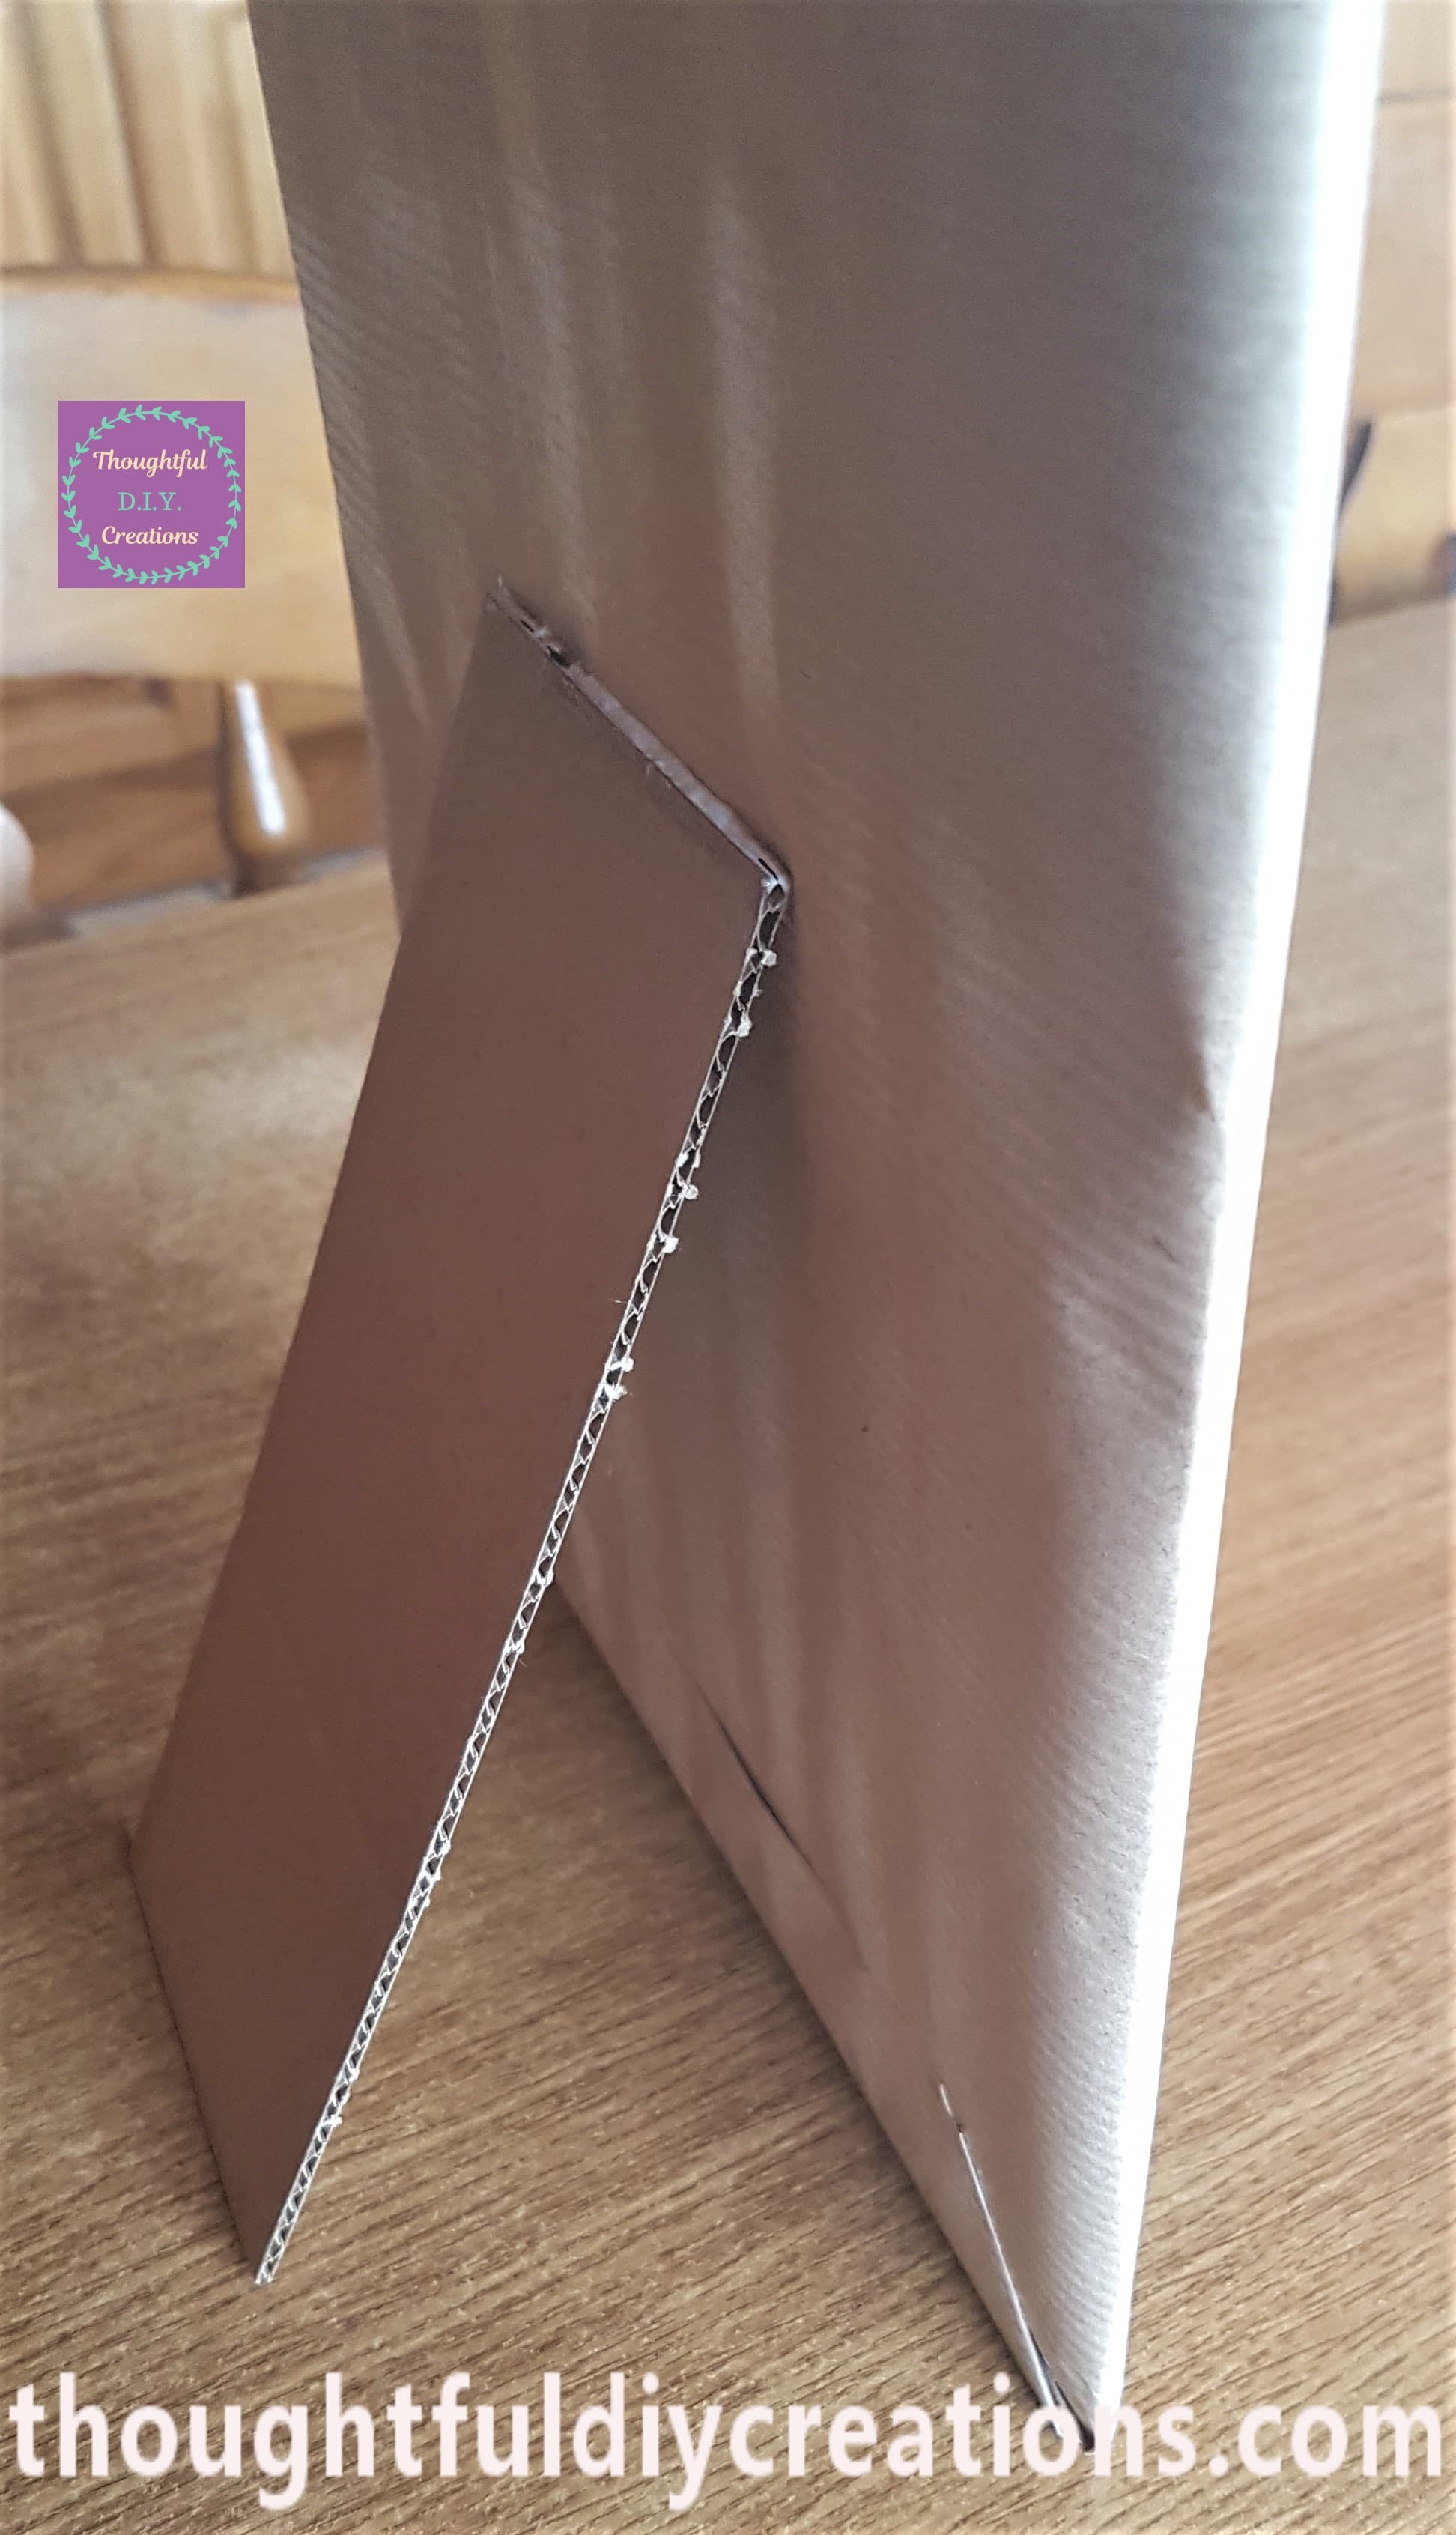
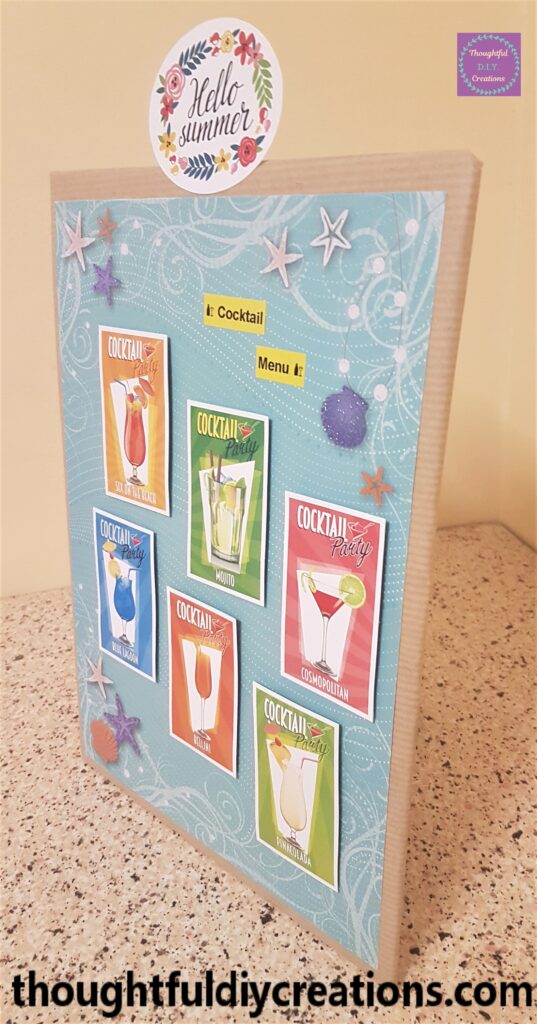
This Completed my Cocktail Menu Sign.
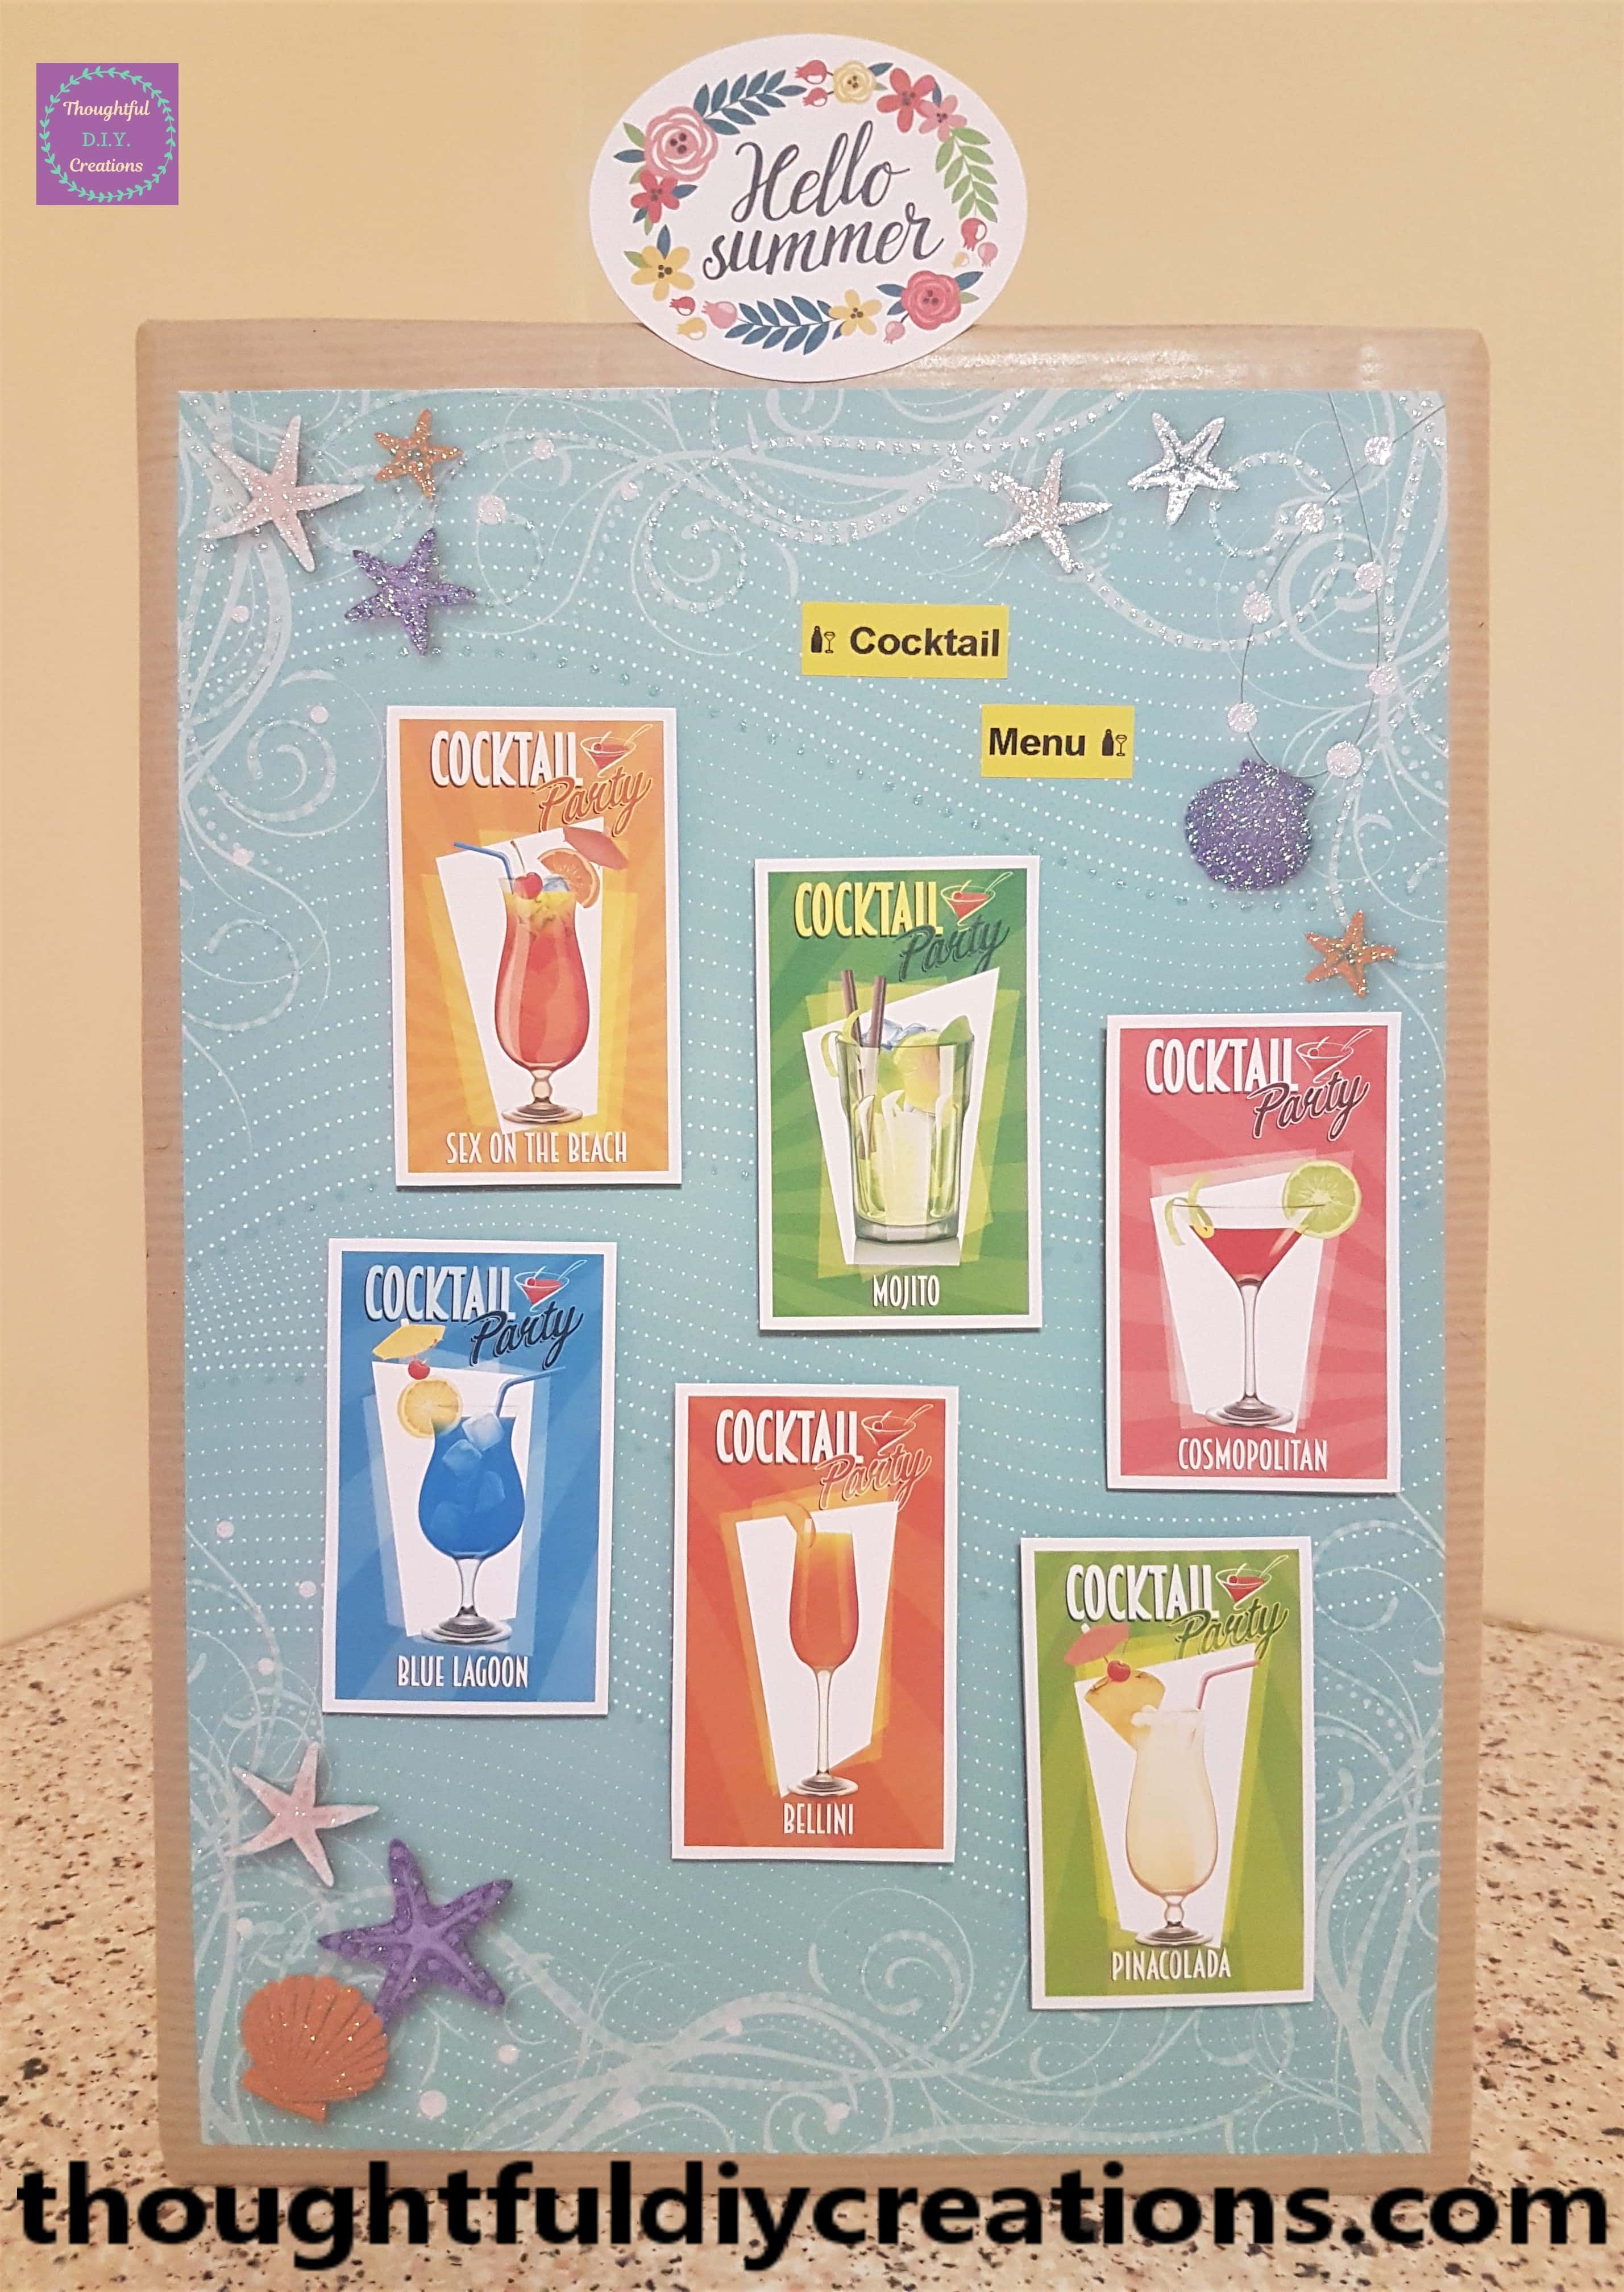
A full side view angle of the Completed Craft.
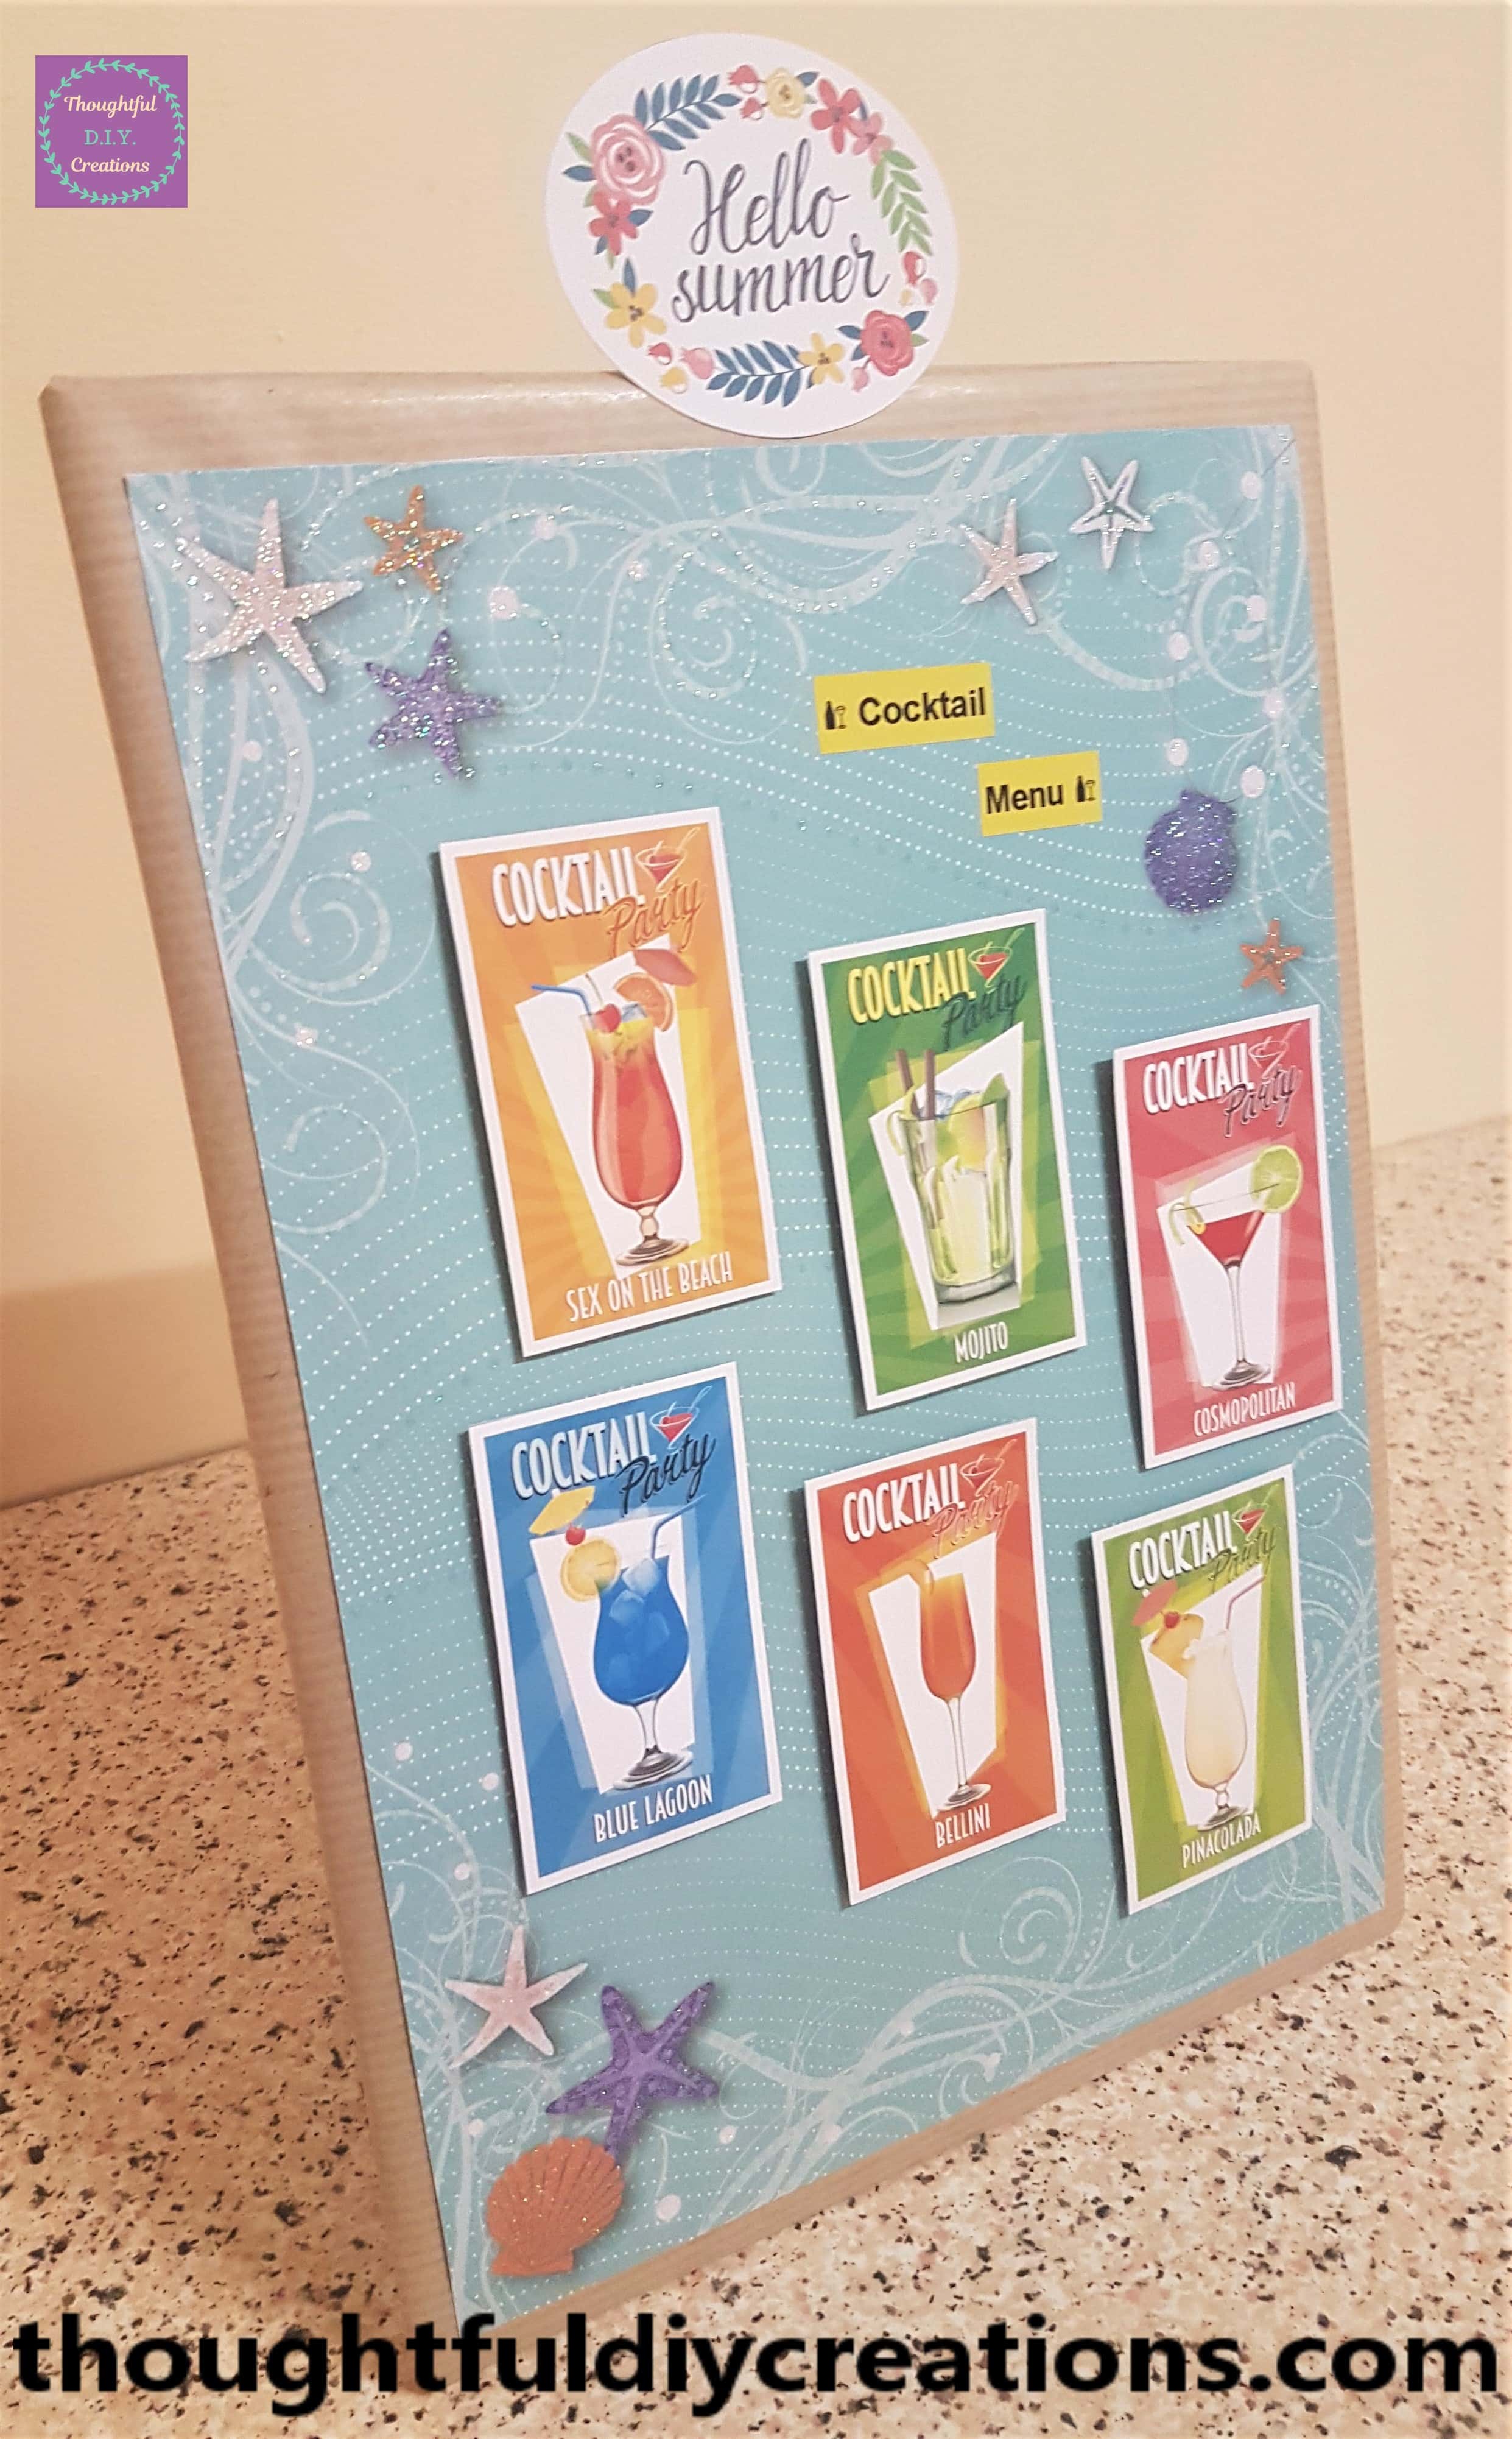
The other side of the Sign.
The Back of the Cocktail Menu Sign.
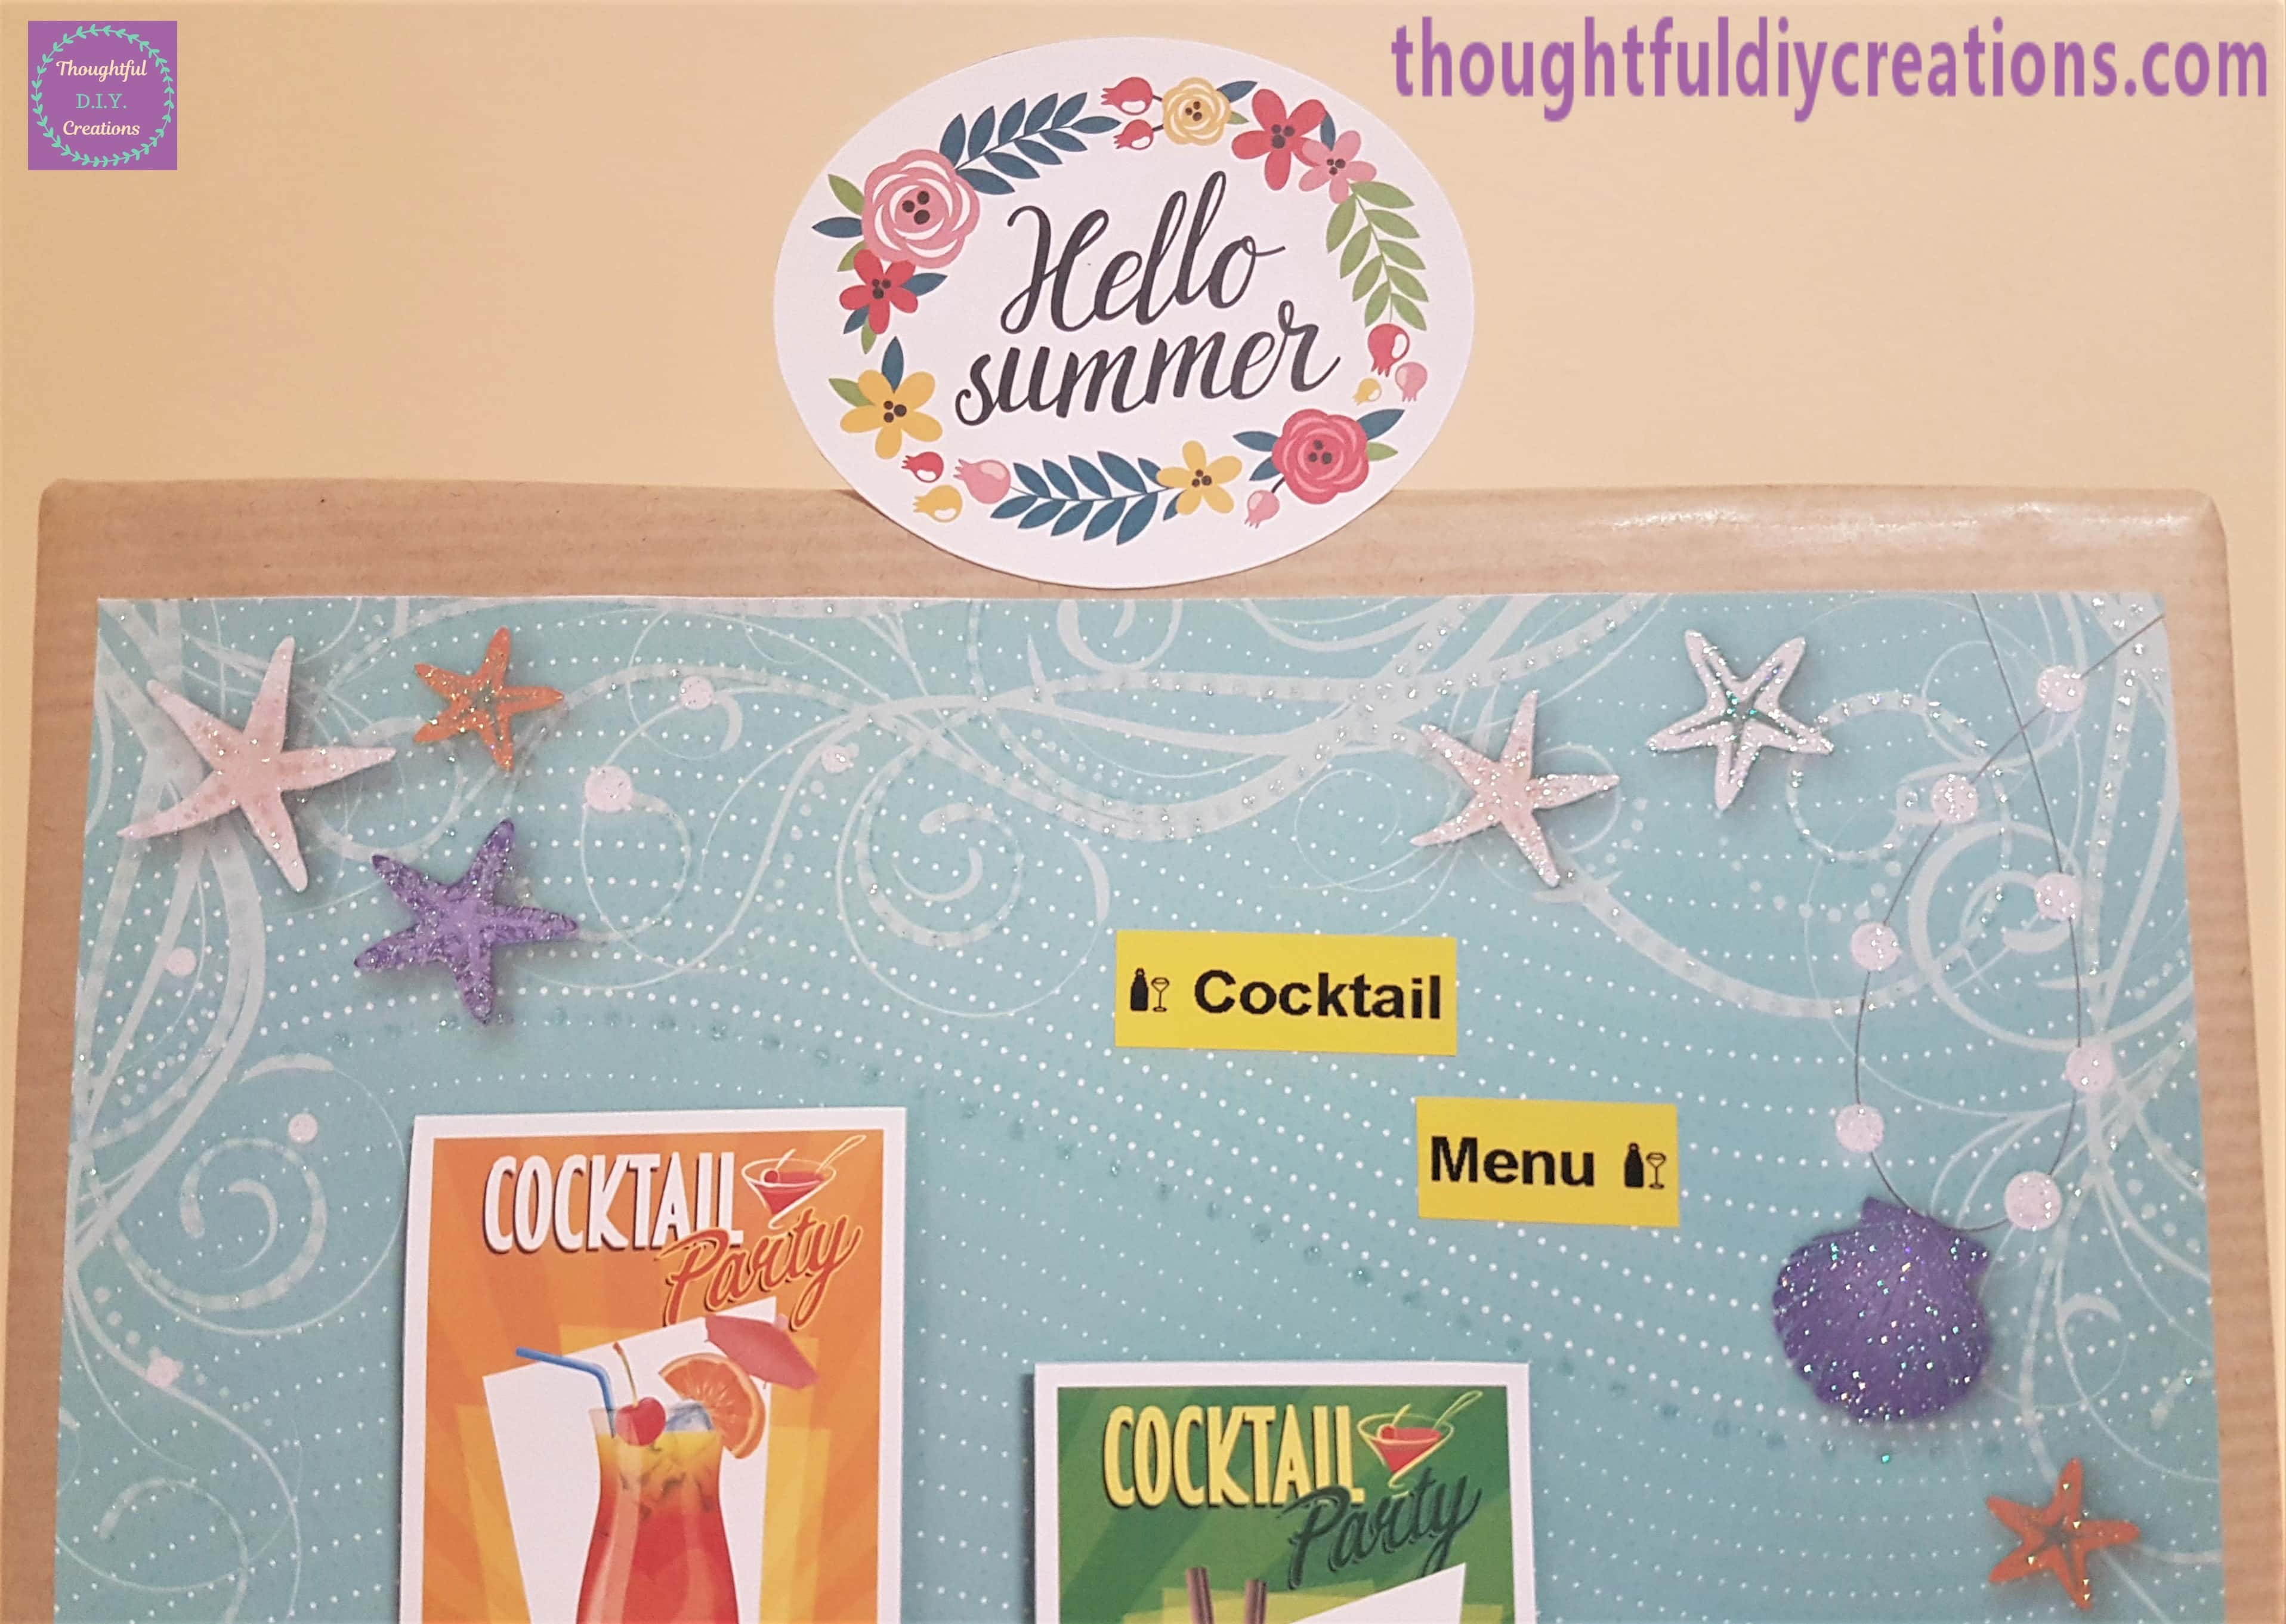
This is a closer look at the top half of the Summer Craft.
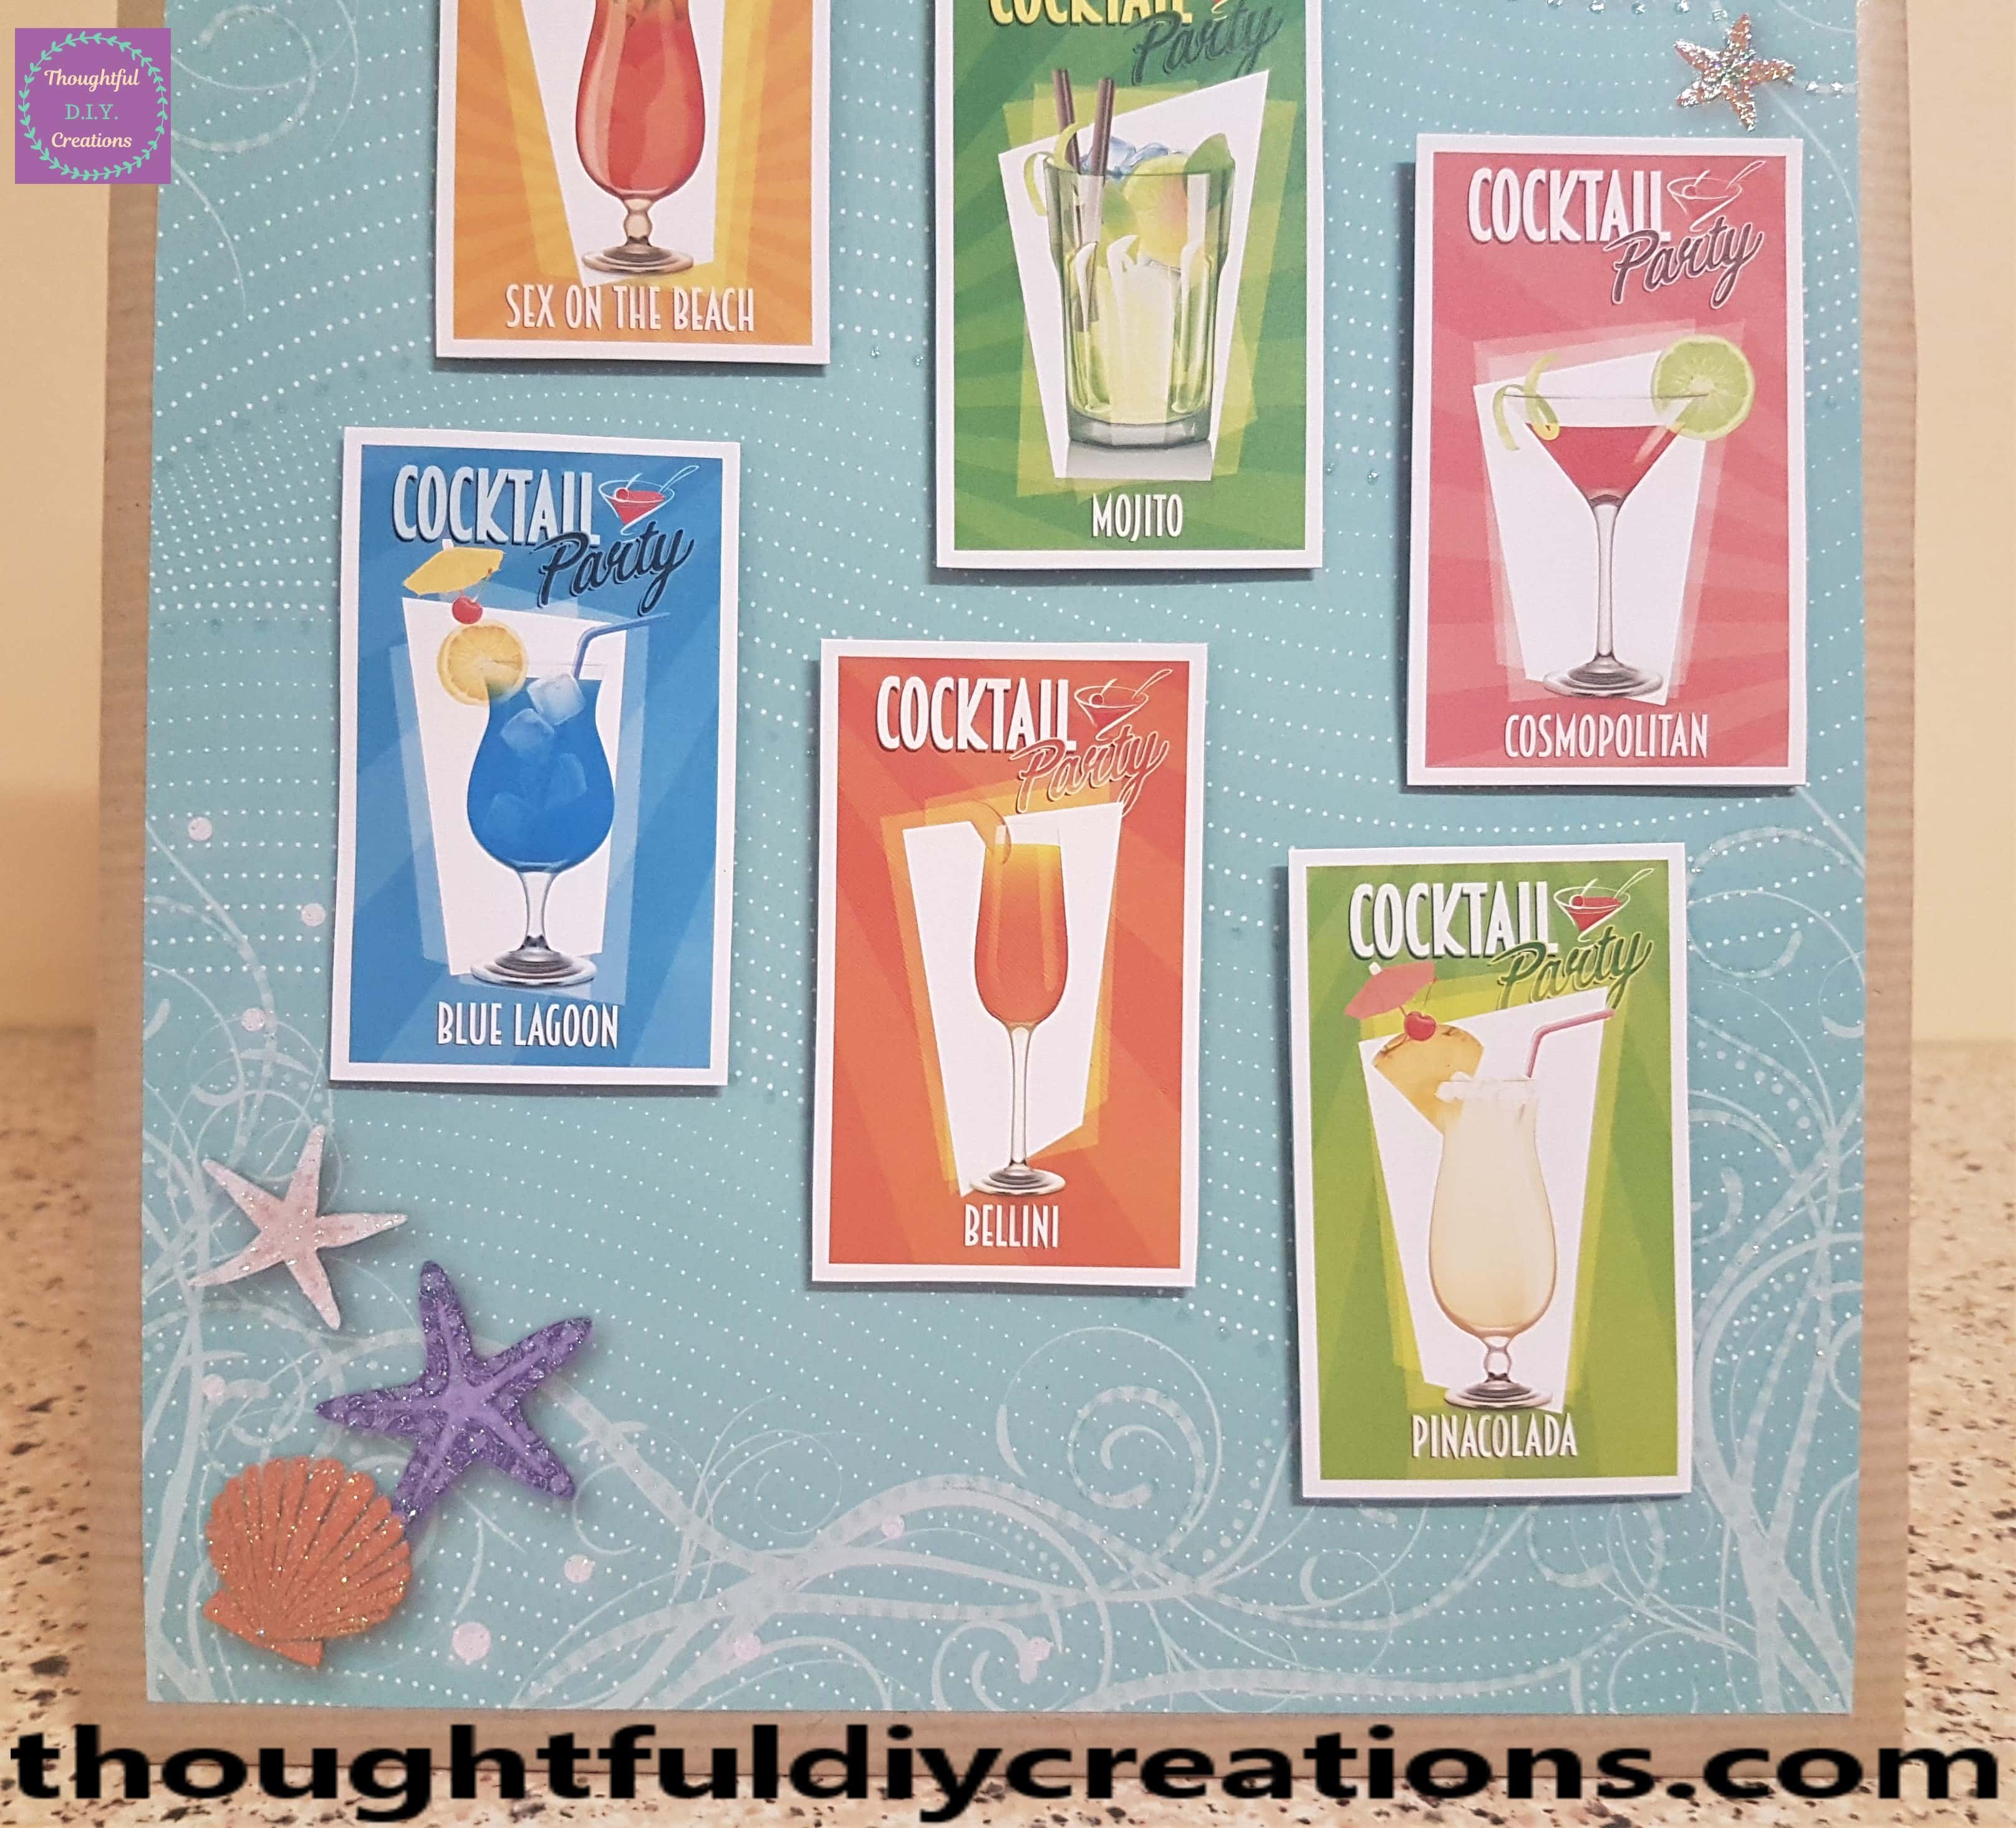
The lower part of the Menu.
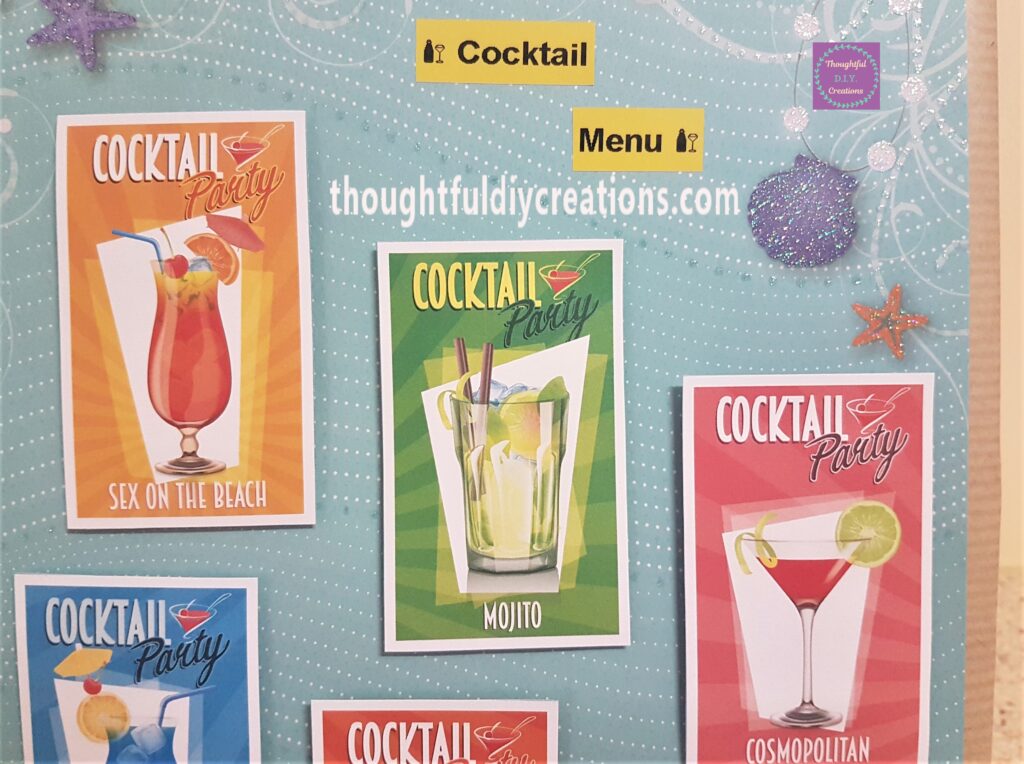
Another Image of the Cocktails.
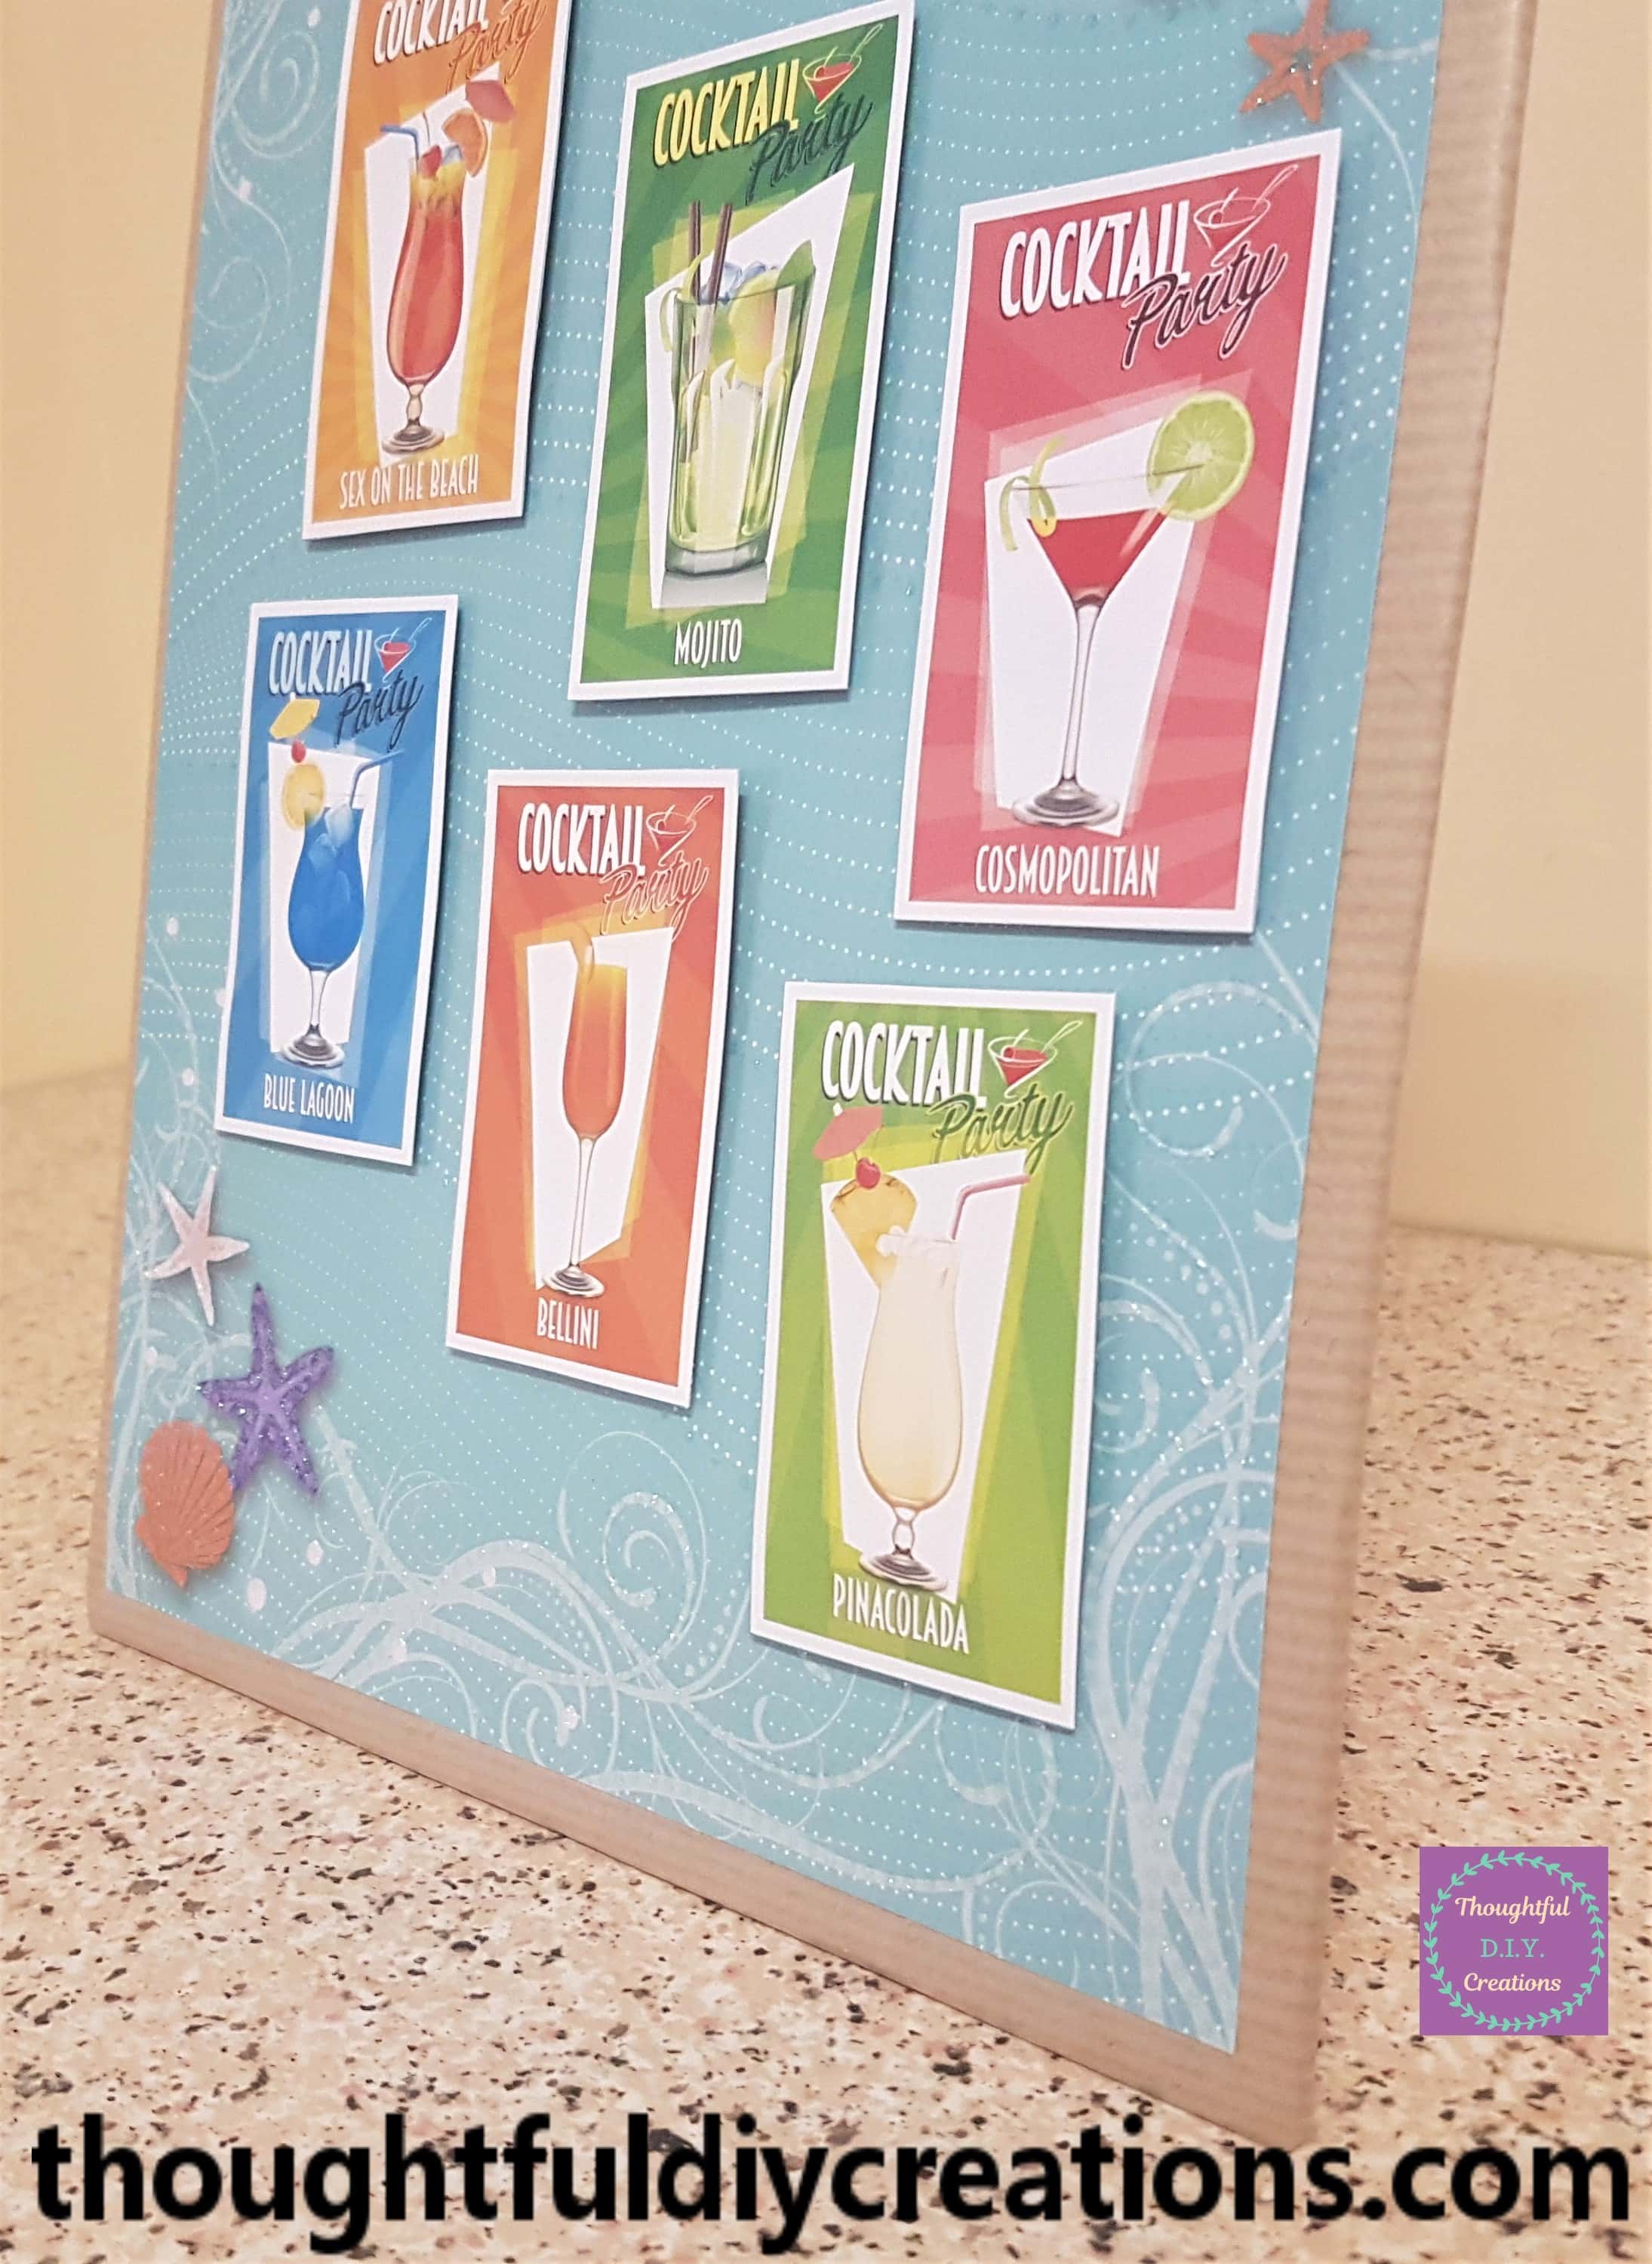
The Final Image of this Craft.
Conclusion
I was happy with how my Cocktail Menu Sign turned out. I love how it was easy to make, only required a few Materials and yet it can really add Fun Decor to a Home Bar, Beer Garden, Man Cave, Renovated Attic / Basement or any space in your home where you can have a few Drinks and entertain Family or Friends. It doesn’t have to be a dedicated room. The Sign can easily be put away during the Day and put up at Night when you have Guests over.
The Sign could be Personalised with your own Names for Drinks with the Label Maker. It would add a personal touch for a Hen Night / Stag Night, or an Adult Birthday Celebration / Graduation from College.
You could write out the Ingredients and Method of Making the Drinks on your Computer, print them out in even Size Sections, laminate them and add them to your Sign.
I hope you enjoyed my Budget option of Making a Sign. If you have any questions or anything to add on the Topic just fill out the Comment Box below this Blog Post and I’ll get back to you as soon as I can.
* Always Remember to Drink Responsibly.
Thank you so much for taking the time to Read my Blog.
Always Grateful,
T.D.C.
xoxox

-0 Comment-