Handmade Card Tutorial
Hello my Creative Friends,
I hope you are all well. In Today’s Tutorial I will show you a Step-by-Step Handmade Card that I made recently. It is a Simple, fuss free Card and I hope you get some ideas from how I make mine. You can use whatever Colour Card Base and Pictures you like to suit your Occasion and preferences.
Base for Handmade Card
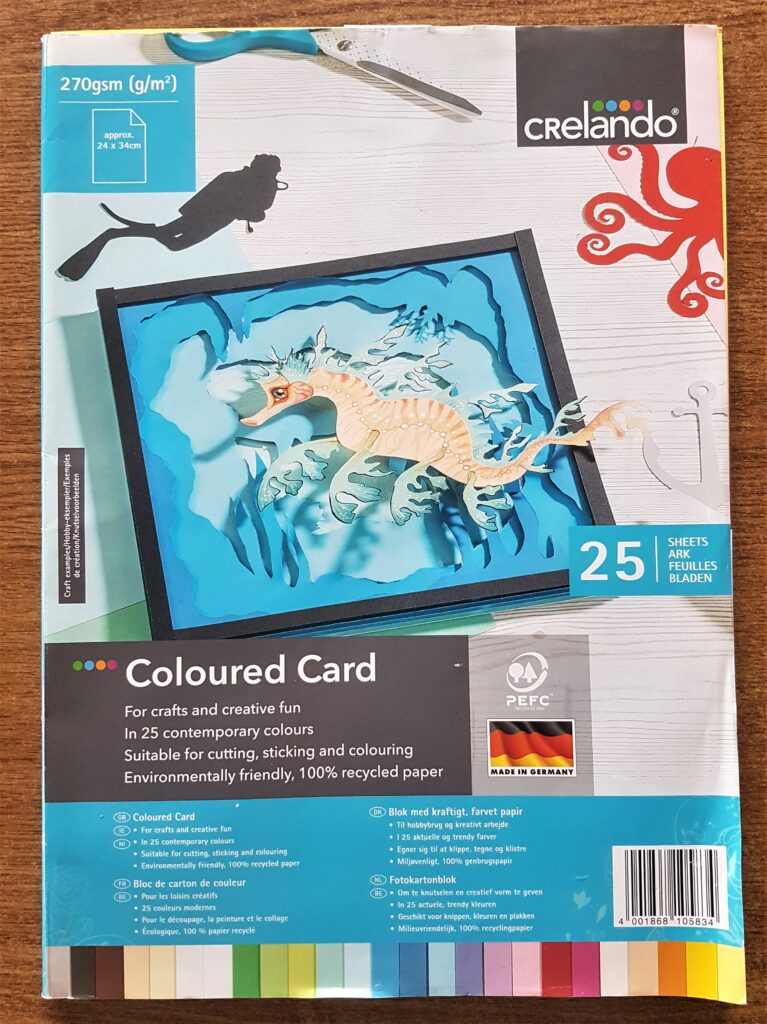
I got my Coloured Card Pad which is 270 gsm. This is a nice strong Card for the base. I wouldn’t use anything under 200 gsm as it might be too flimsy to stand up especially after adding embellishments.
I chose a Light Purple Colour for my Card. I removed it from the Pad.
I folded the Card in half and pressed down along the fold to give it stability.
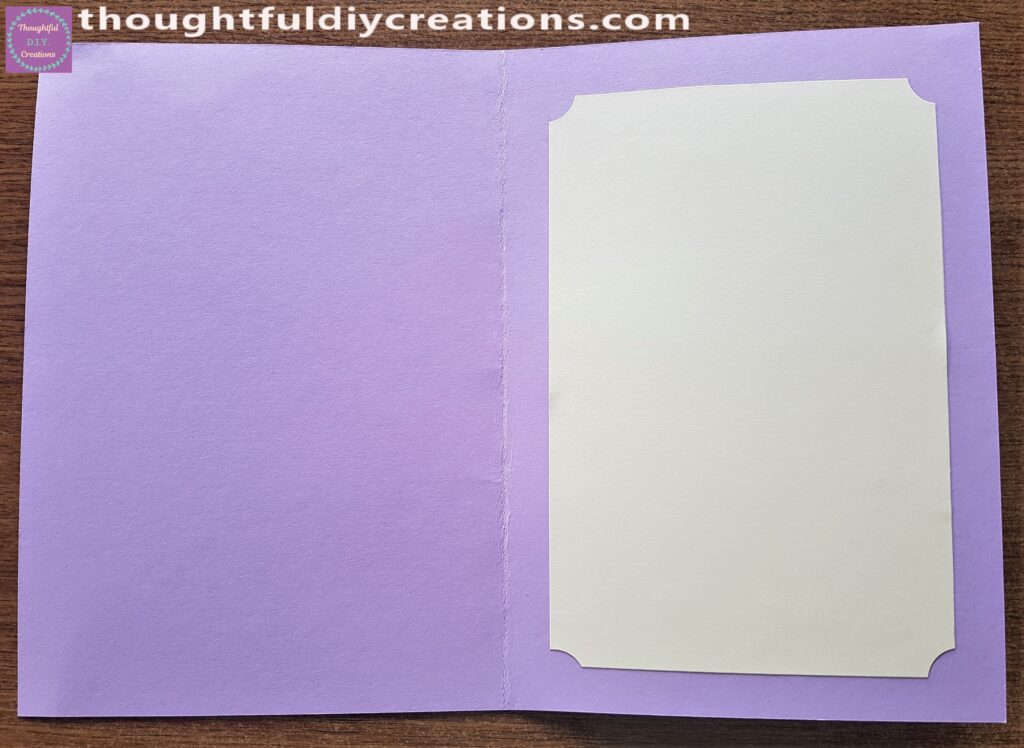
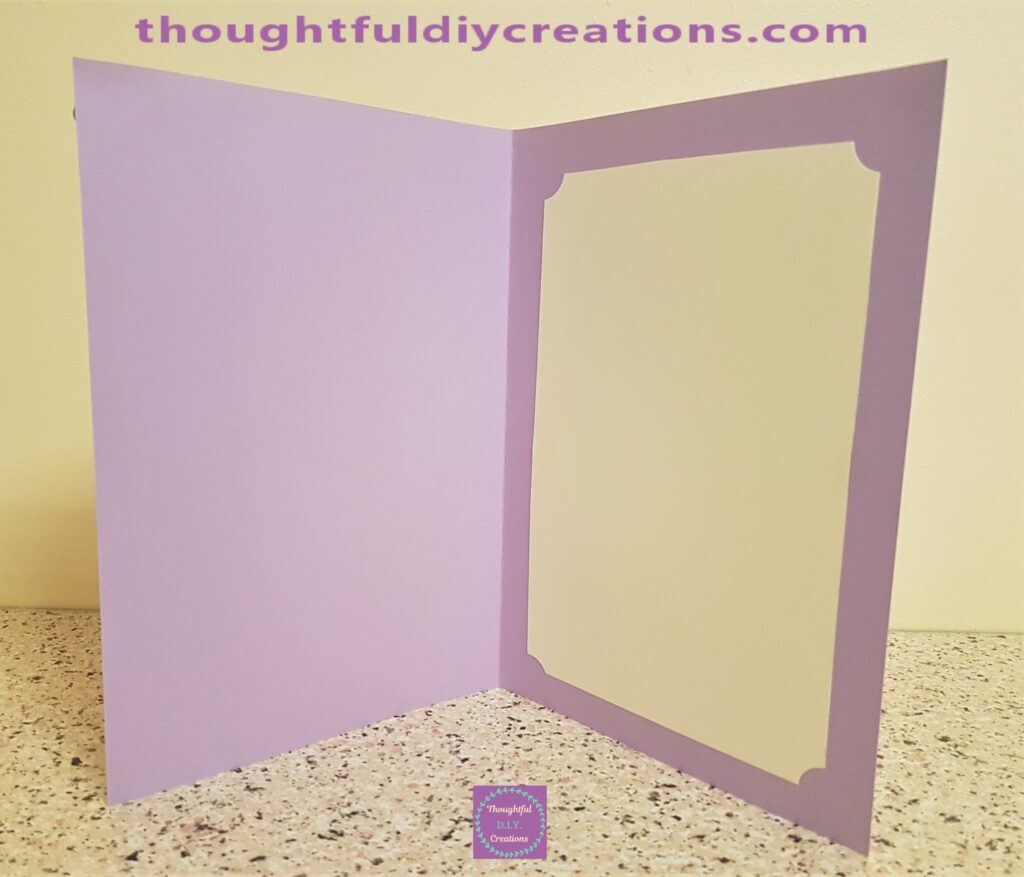
This is the inside of the Card with the fold in the center.
Second Layer of Paper for the Card
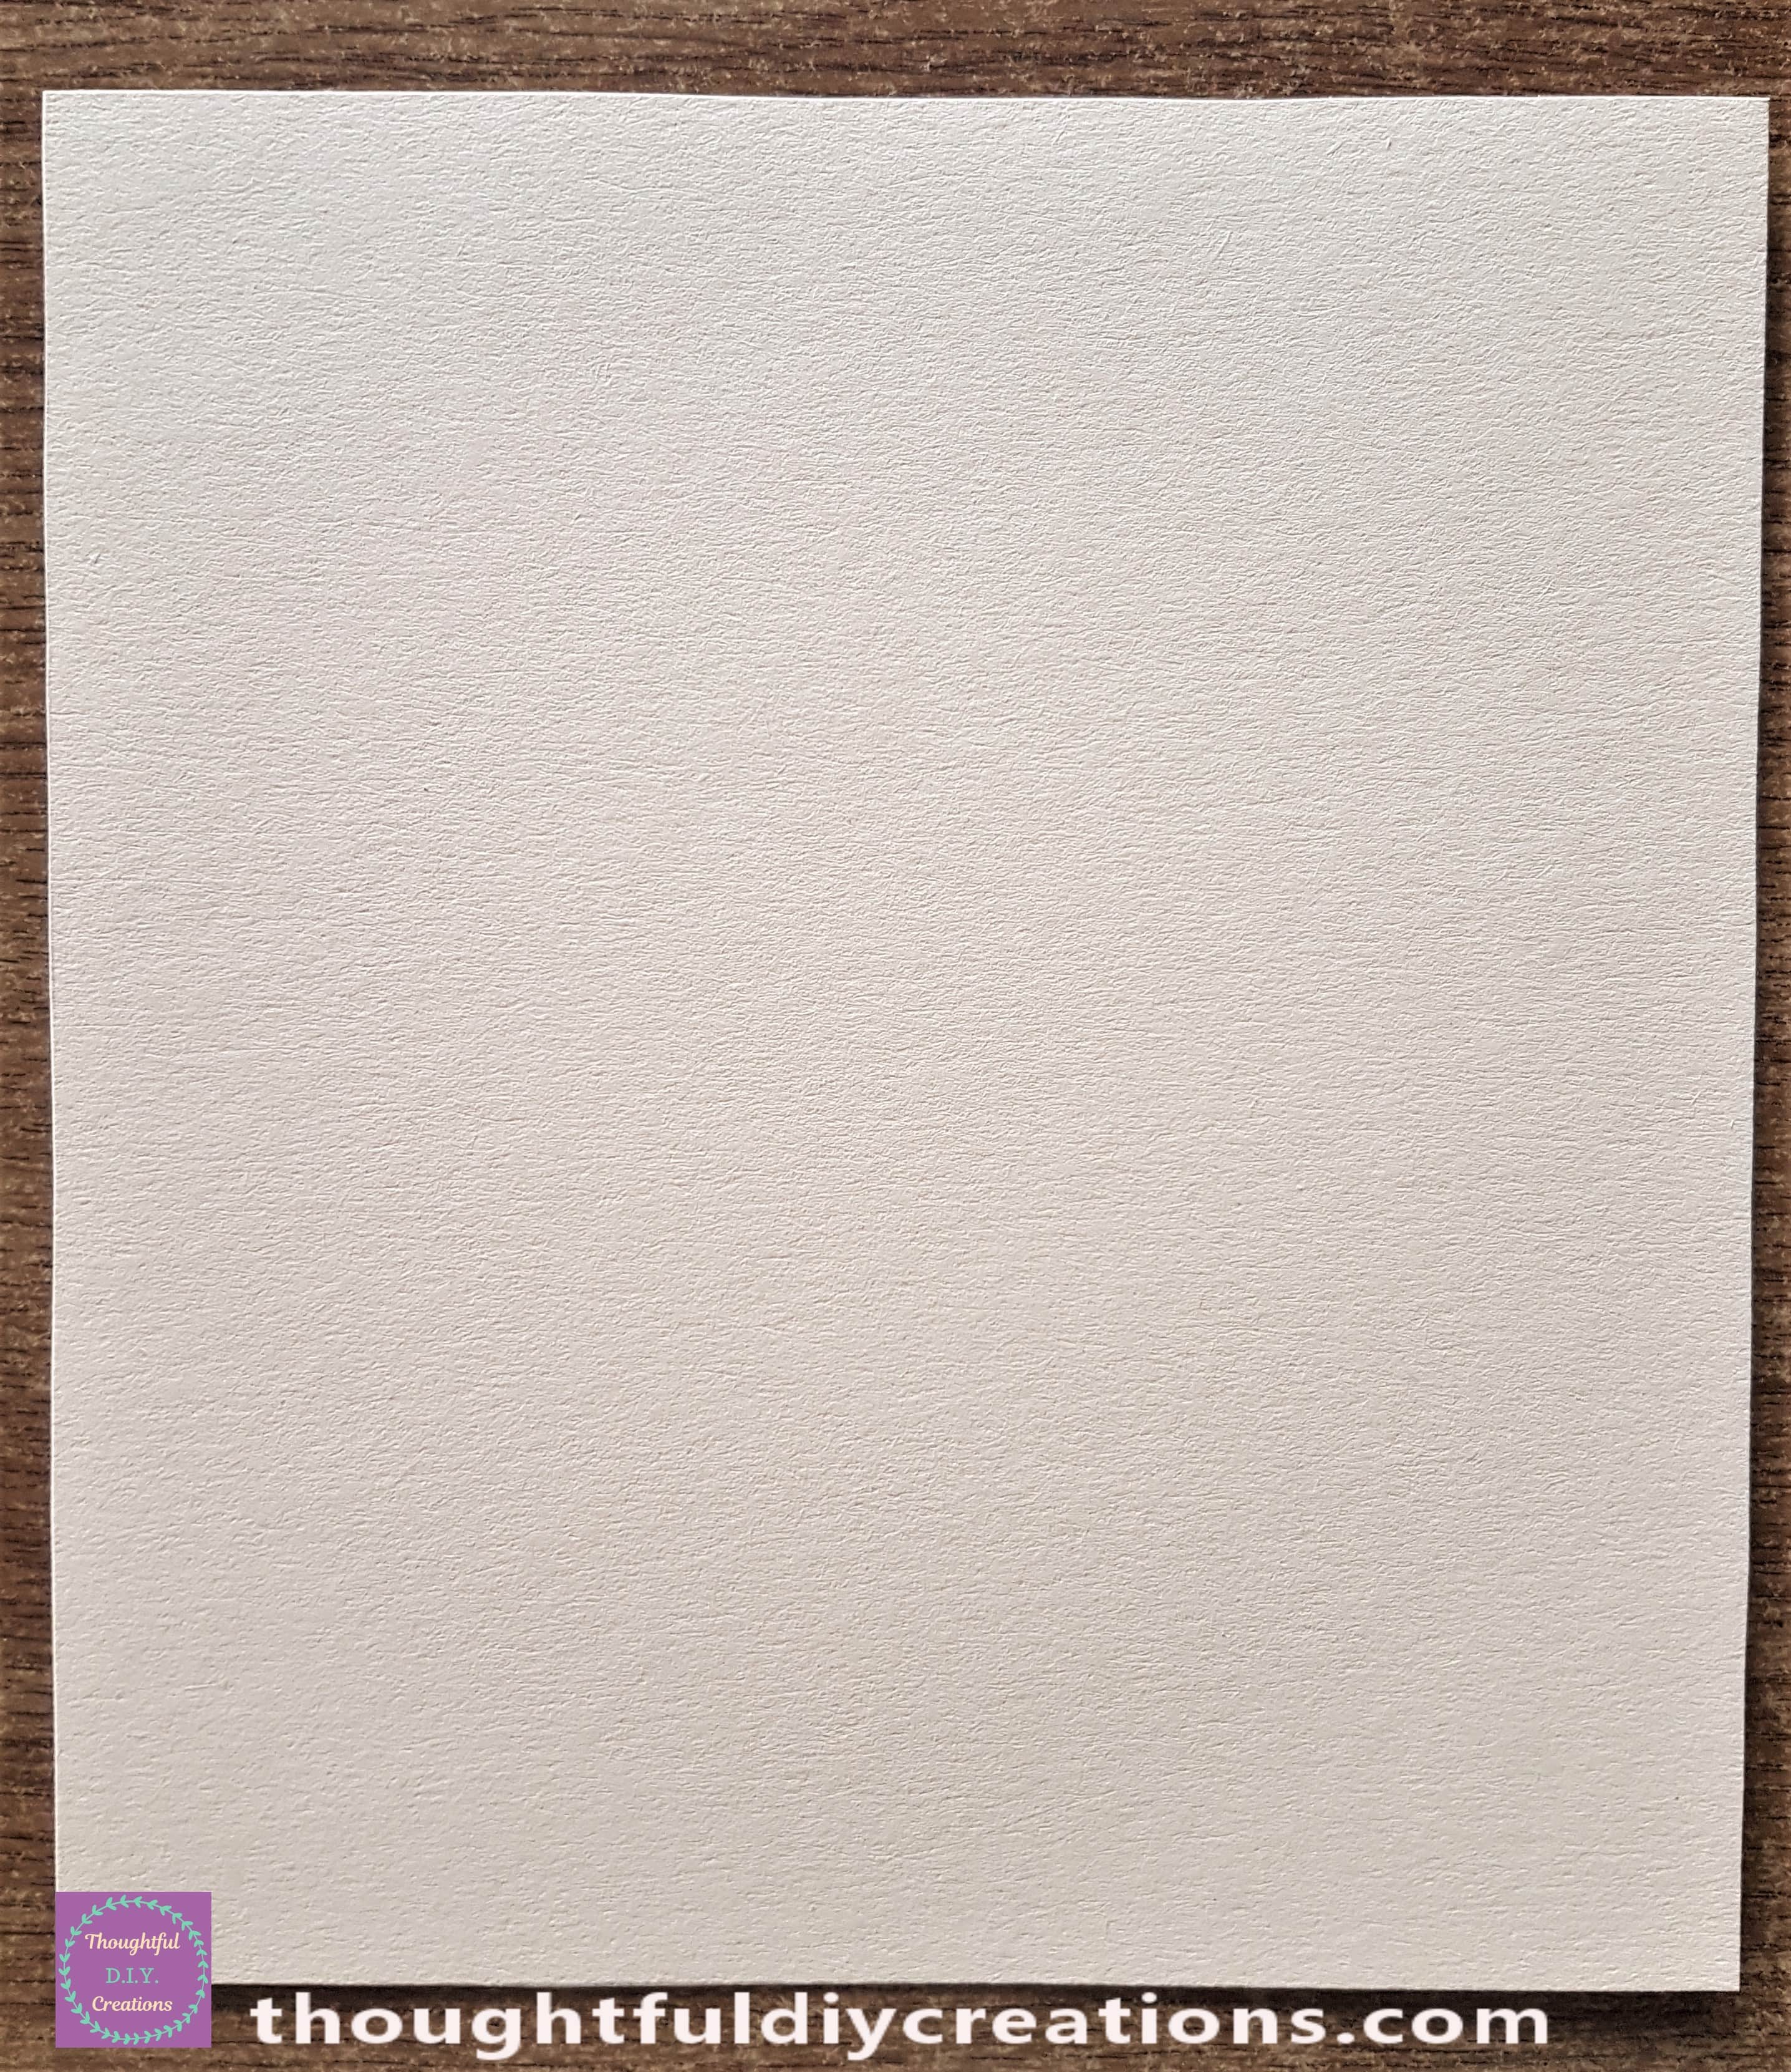
I had some Peach coloured Cardstock left over from a previous craft. I cut it smaller to add to the Card base.
Making Rounded Corners
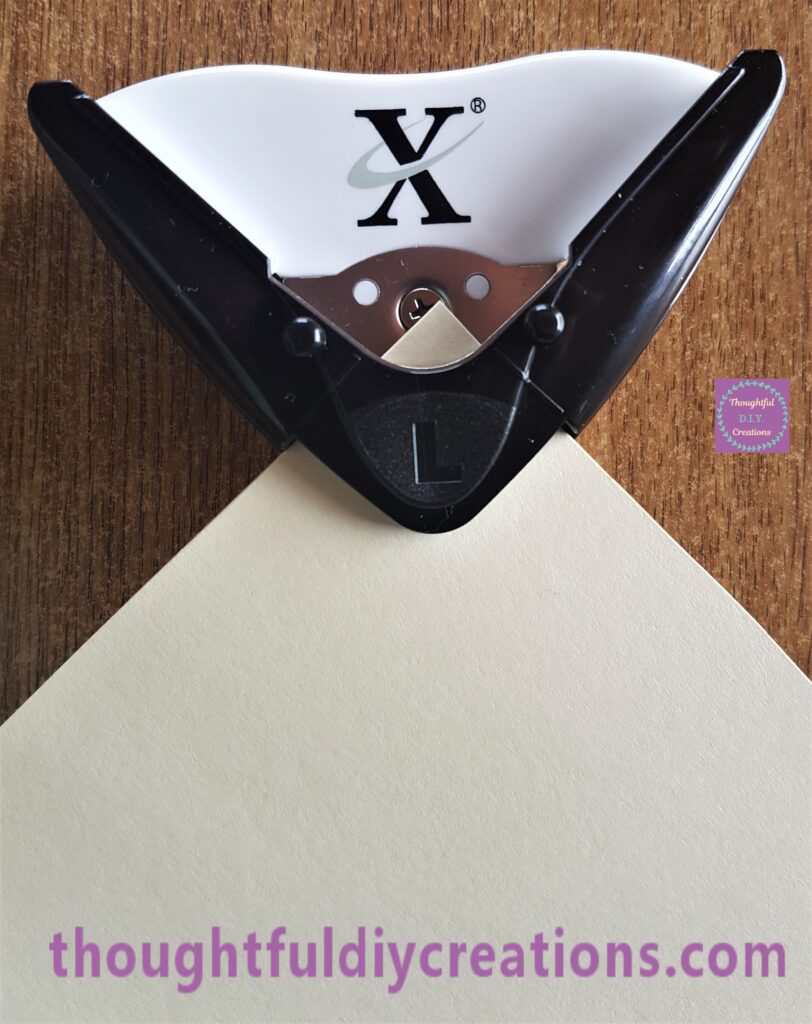
I got my Corner Rounder Punch.
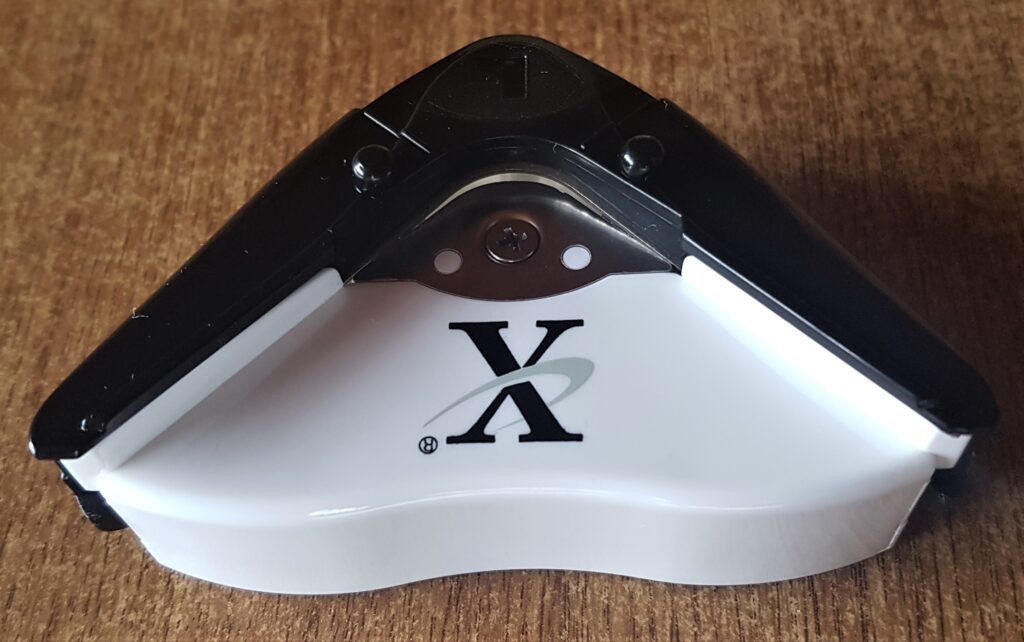
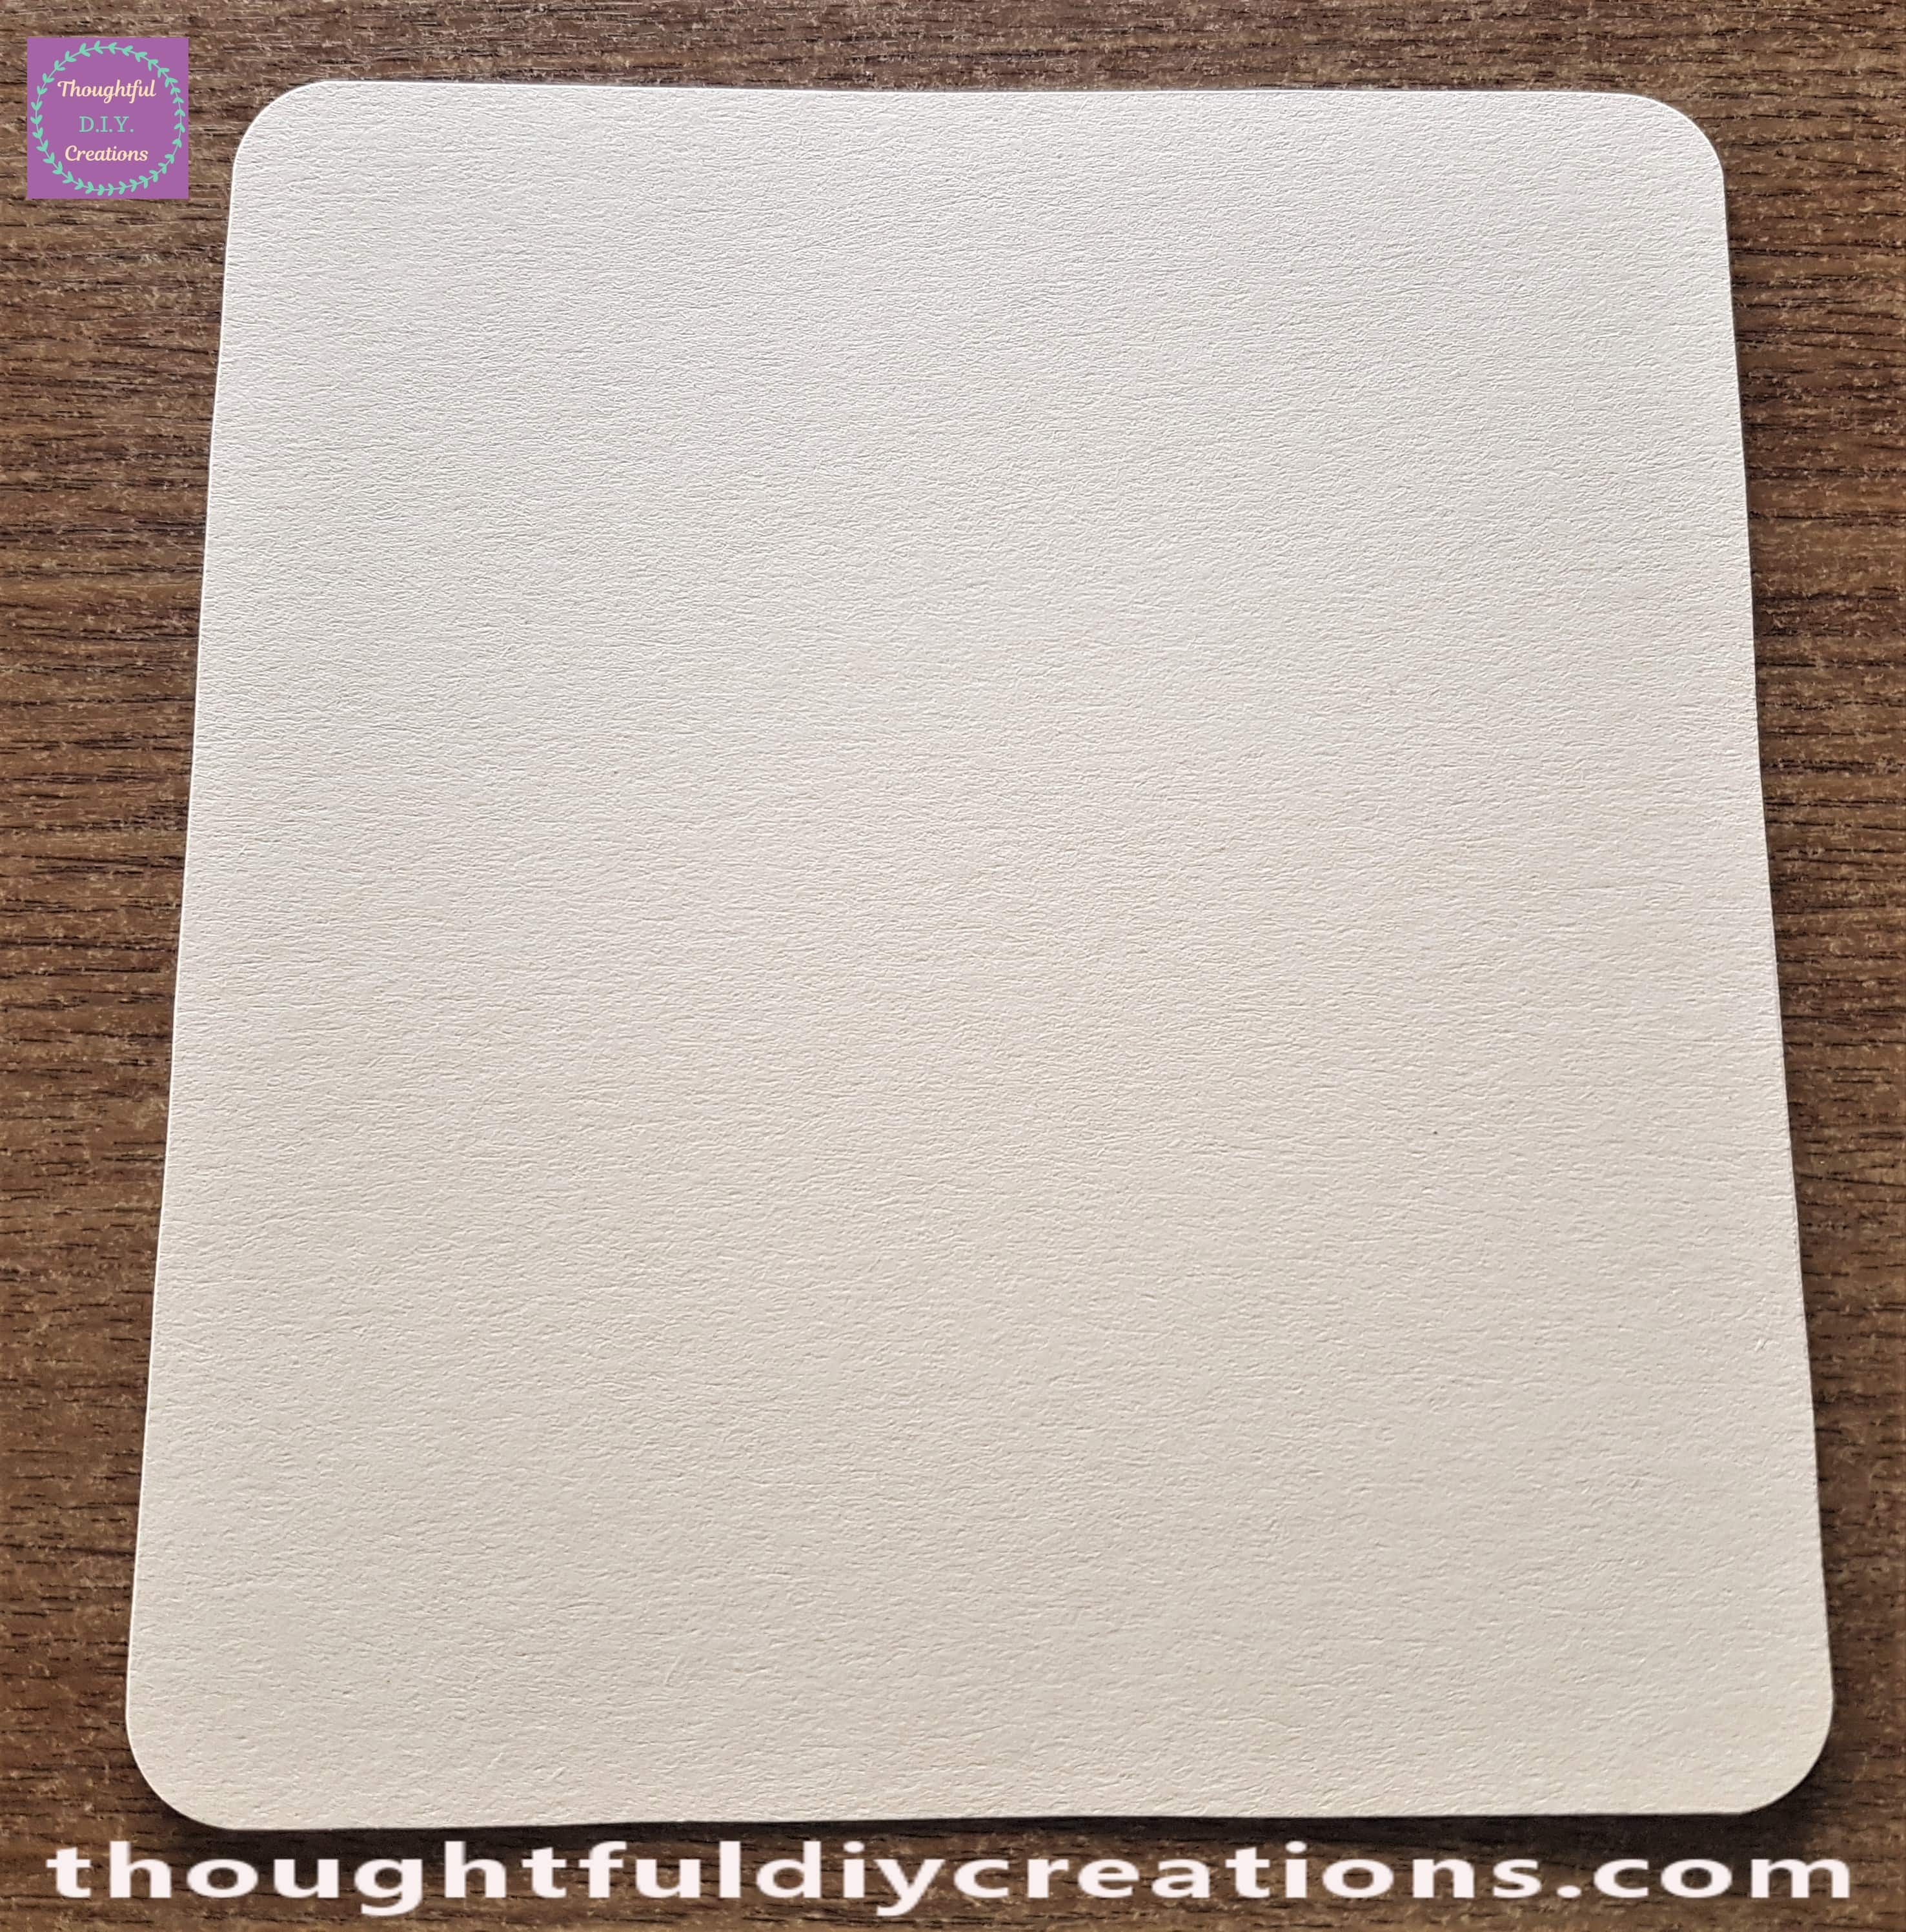
I put each of the four corners of the Peach card one-by-one onto the Silver Part of the Corner Rounder Punch and pressed down the Black L mid-section of the Punch and it removed the corners of the Paper evenly.
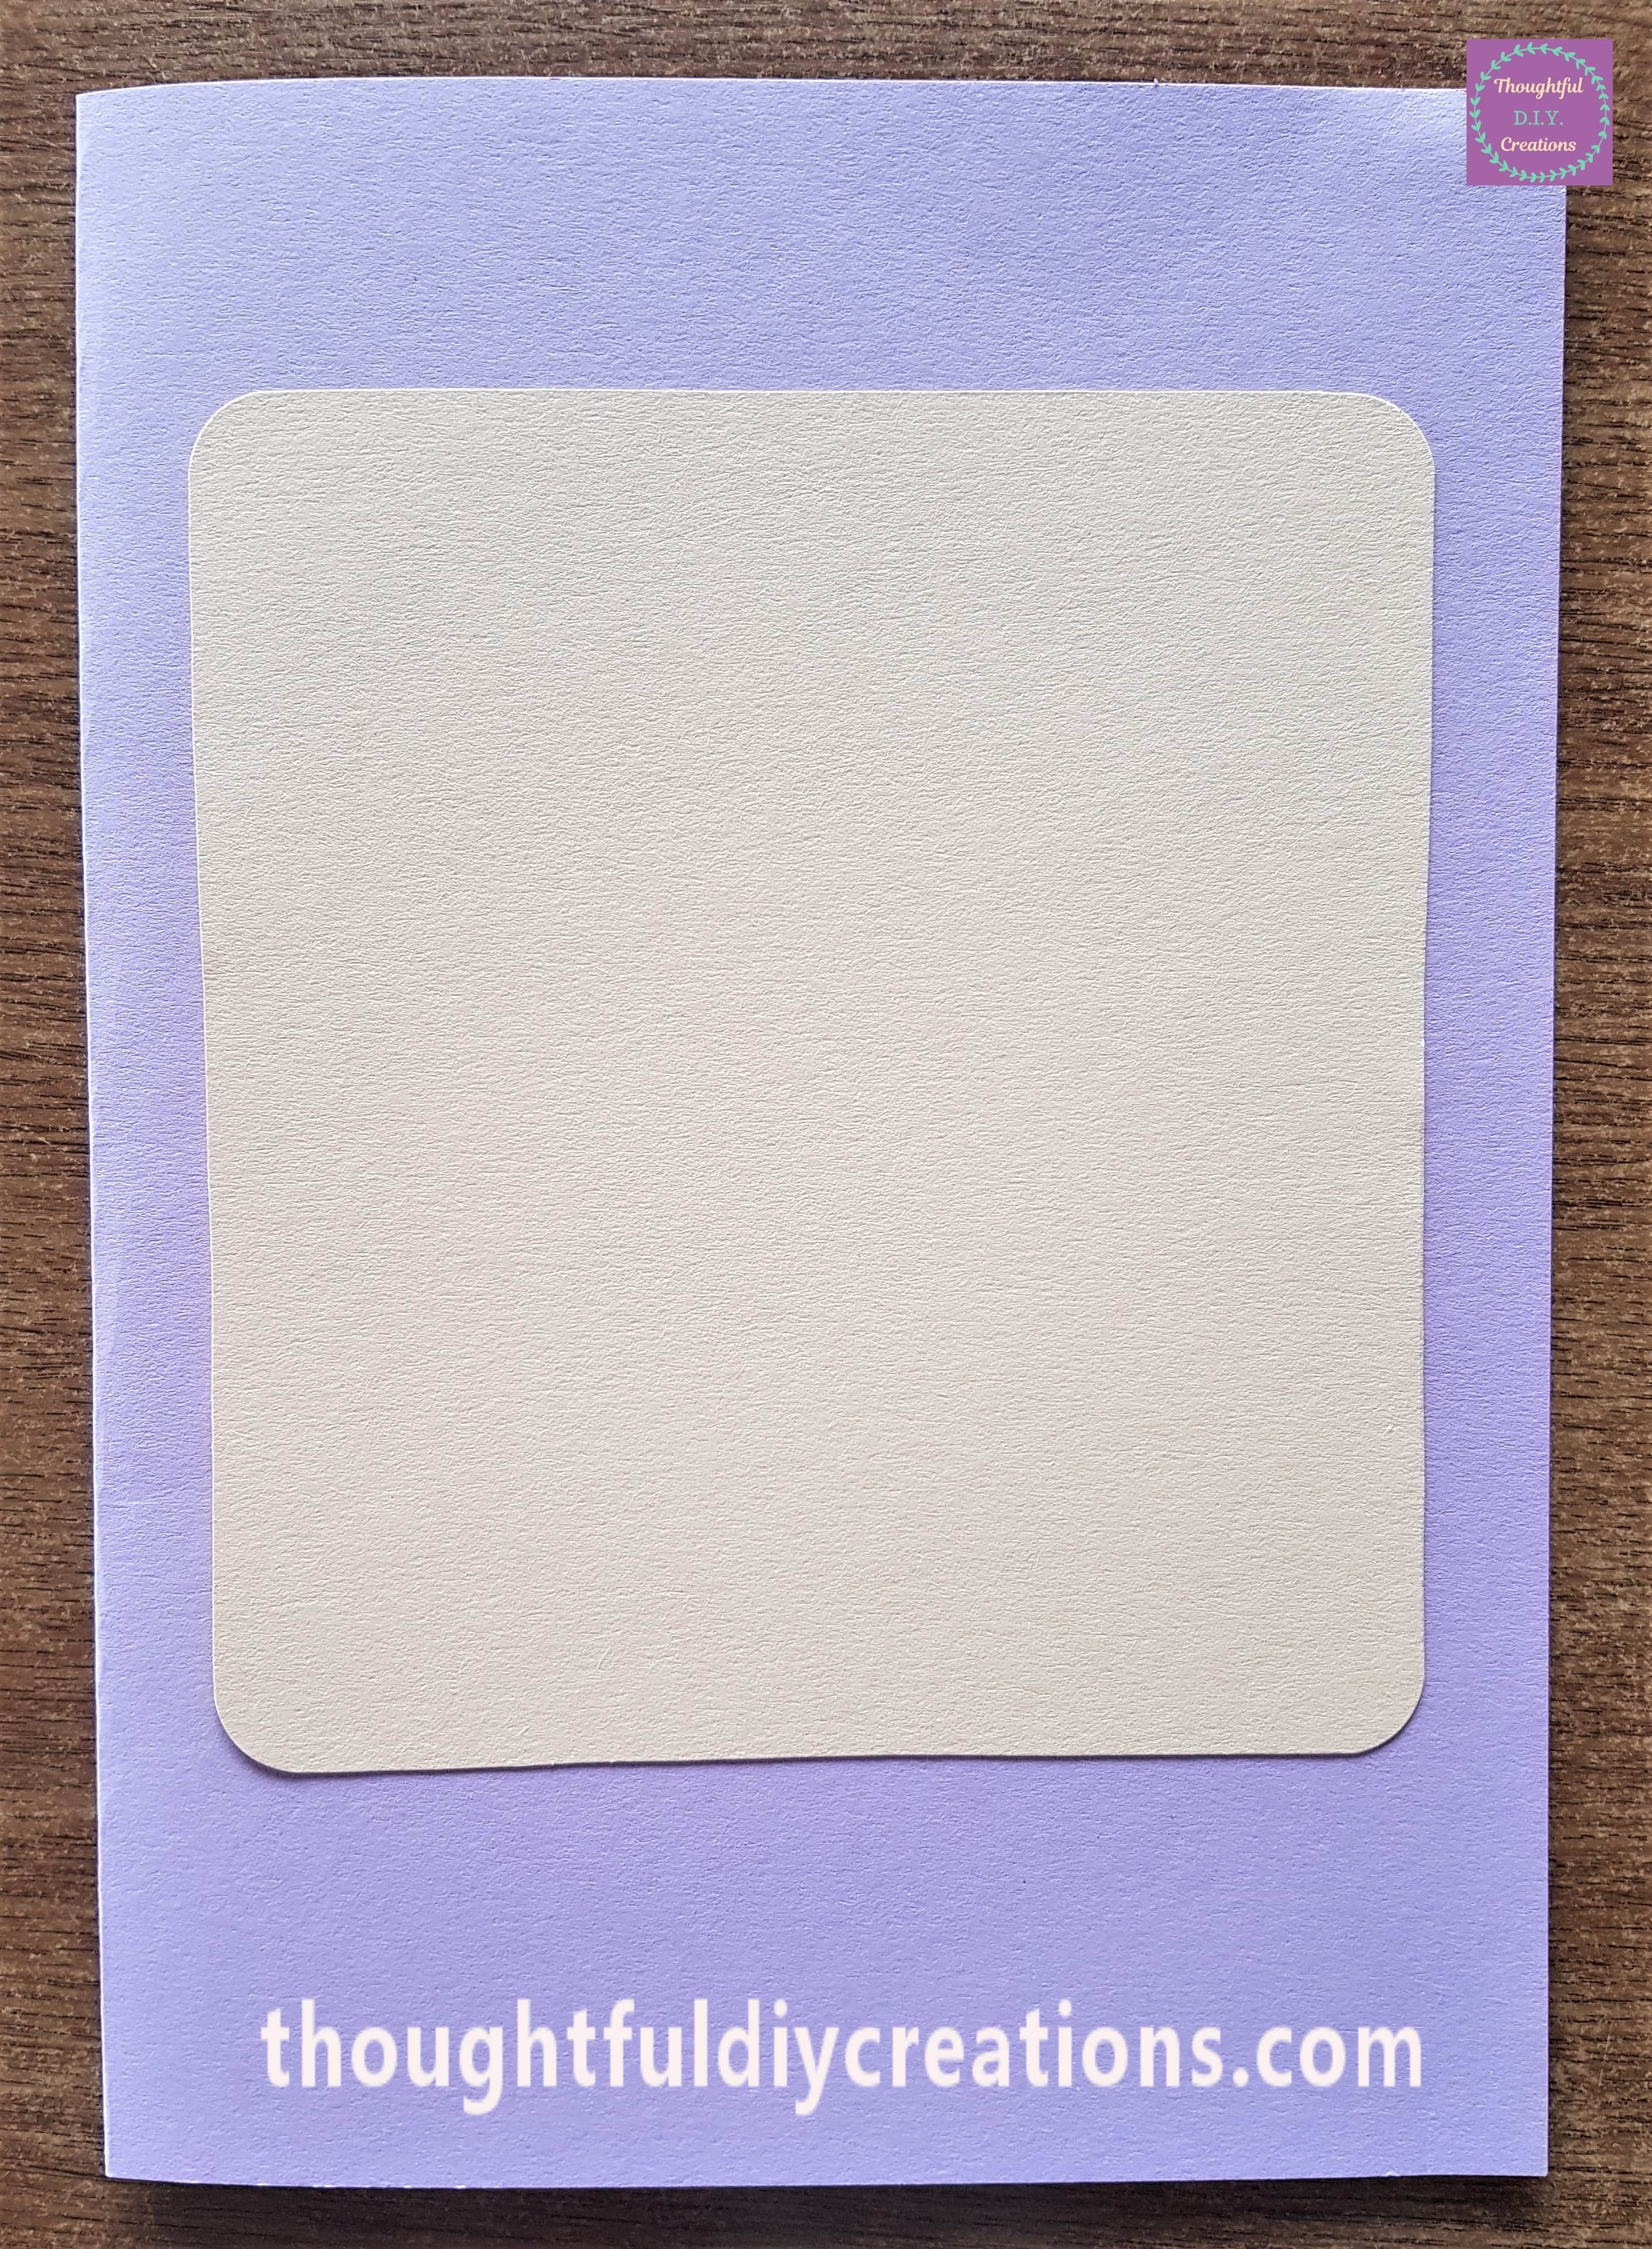
I put Pritt Stick all over the back of the Peach Card and attached it to the Purple Card base.
Flowers for the Handmade Card
I got a Green and Pink Flower from my Collection.
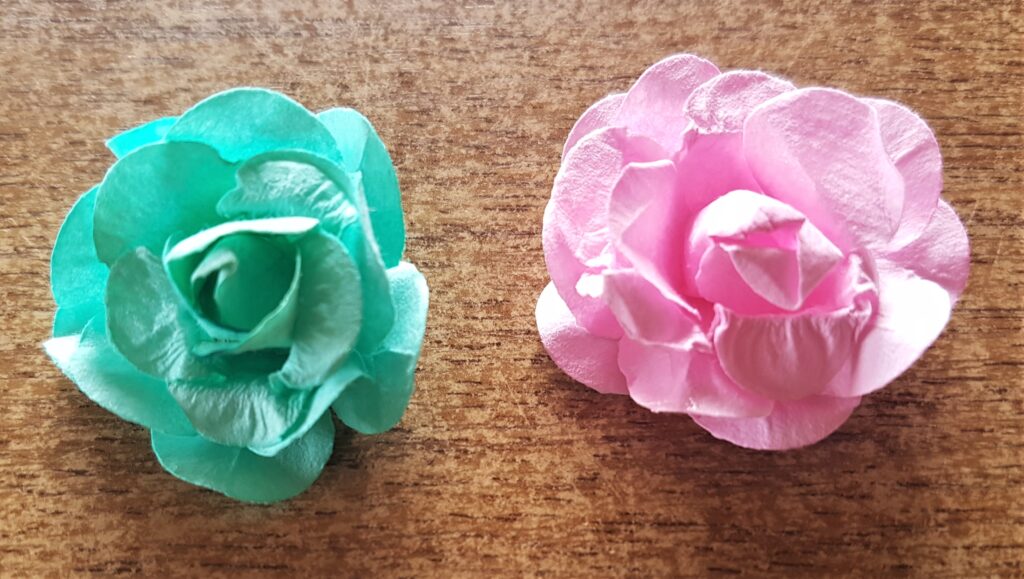
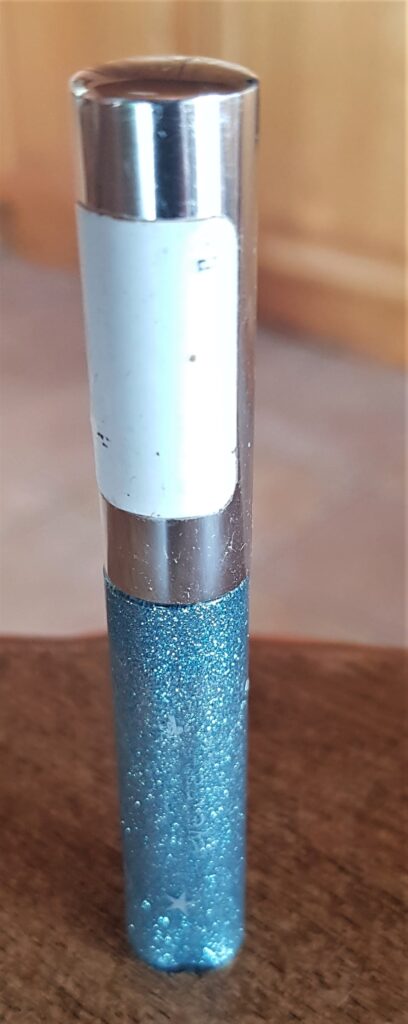
I wanted to jazz the flowers up a bit. I got my Blue Glitter Eyeliner. I got this in a few different colours a few years ago to use for my Crafts as it is easy to apply with the thin applicator brush and it doesn’t need glue and isn’t messy with no clean-up required afterwards. It can also be cheaper than glitter for crafts.
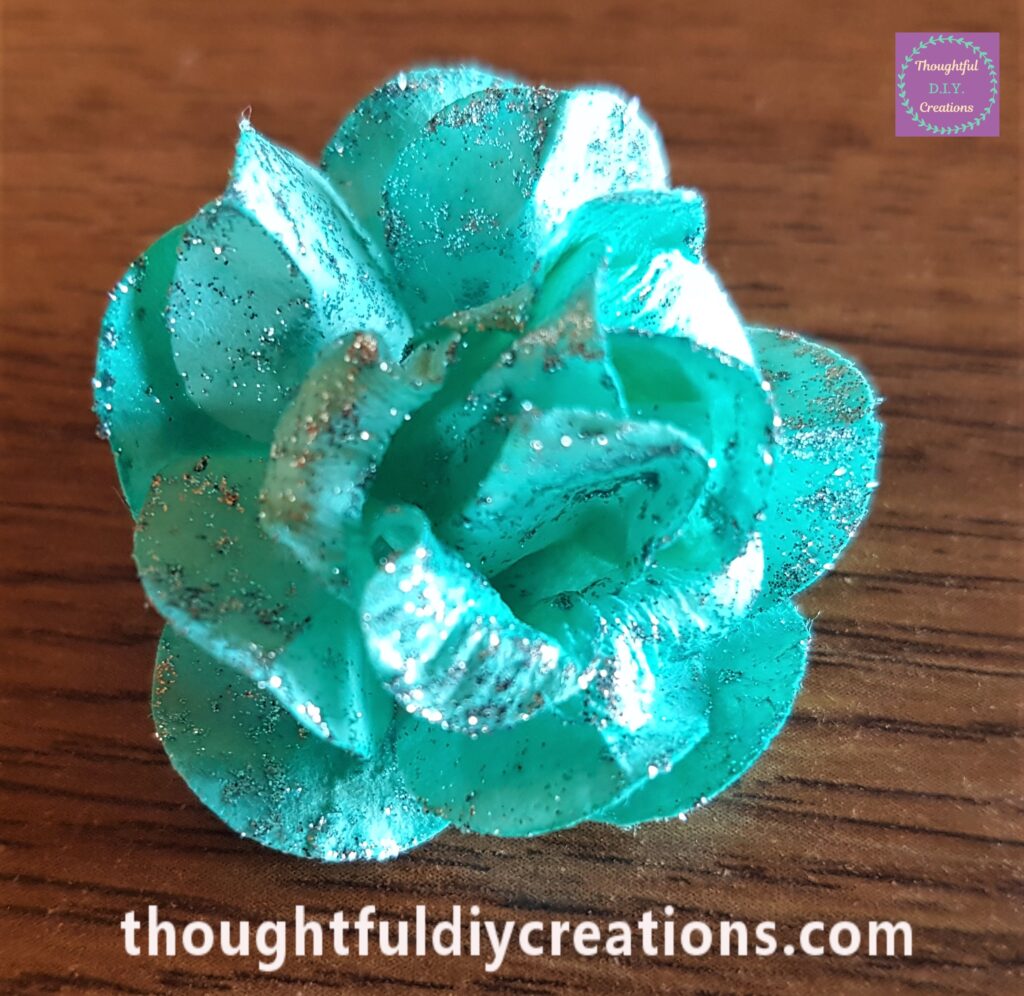
I applied the Glitter Eyeliner liberally all over the Green Flower.
I got a Pink Glitter Nail Varnish and a Gold Glitter Eyeliner from my supplies.
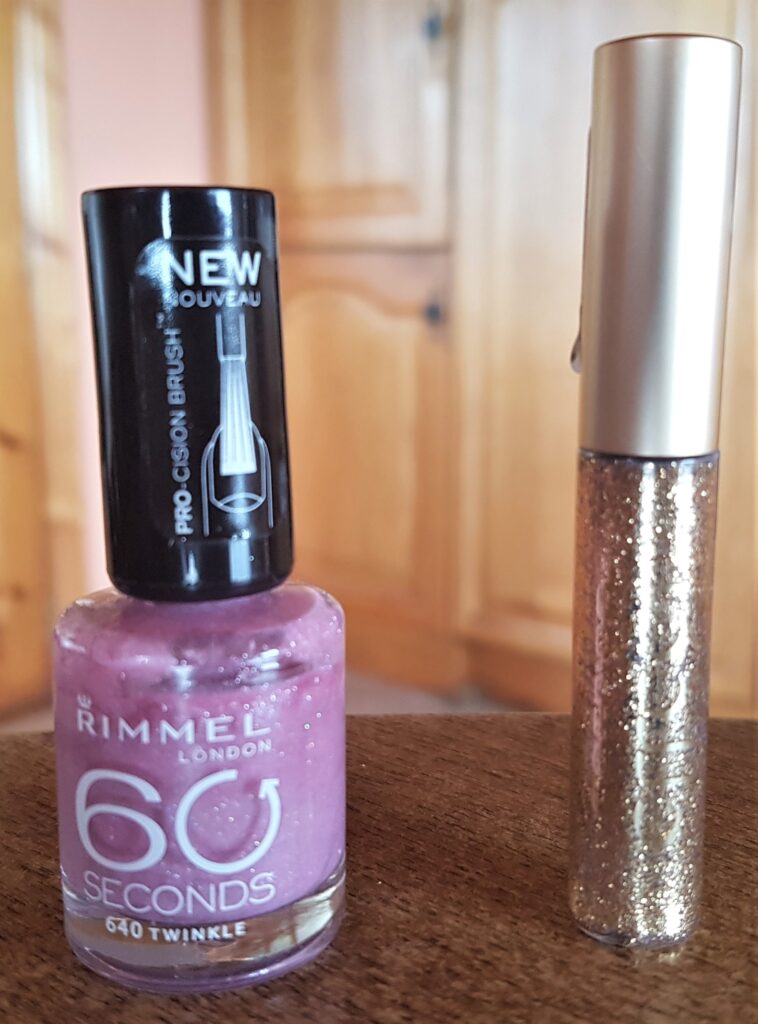
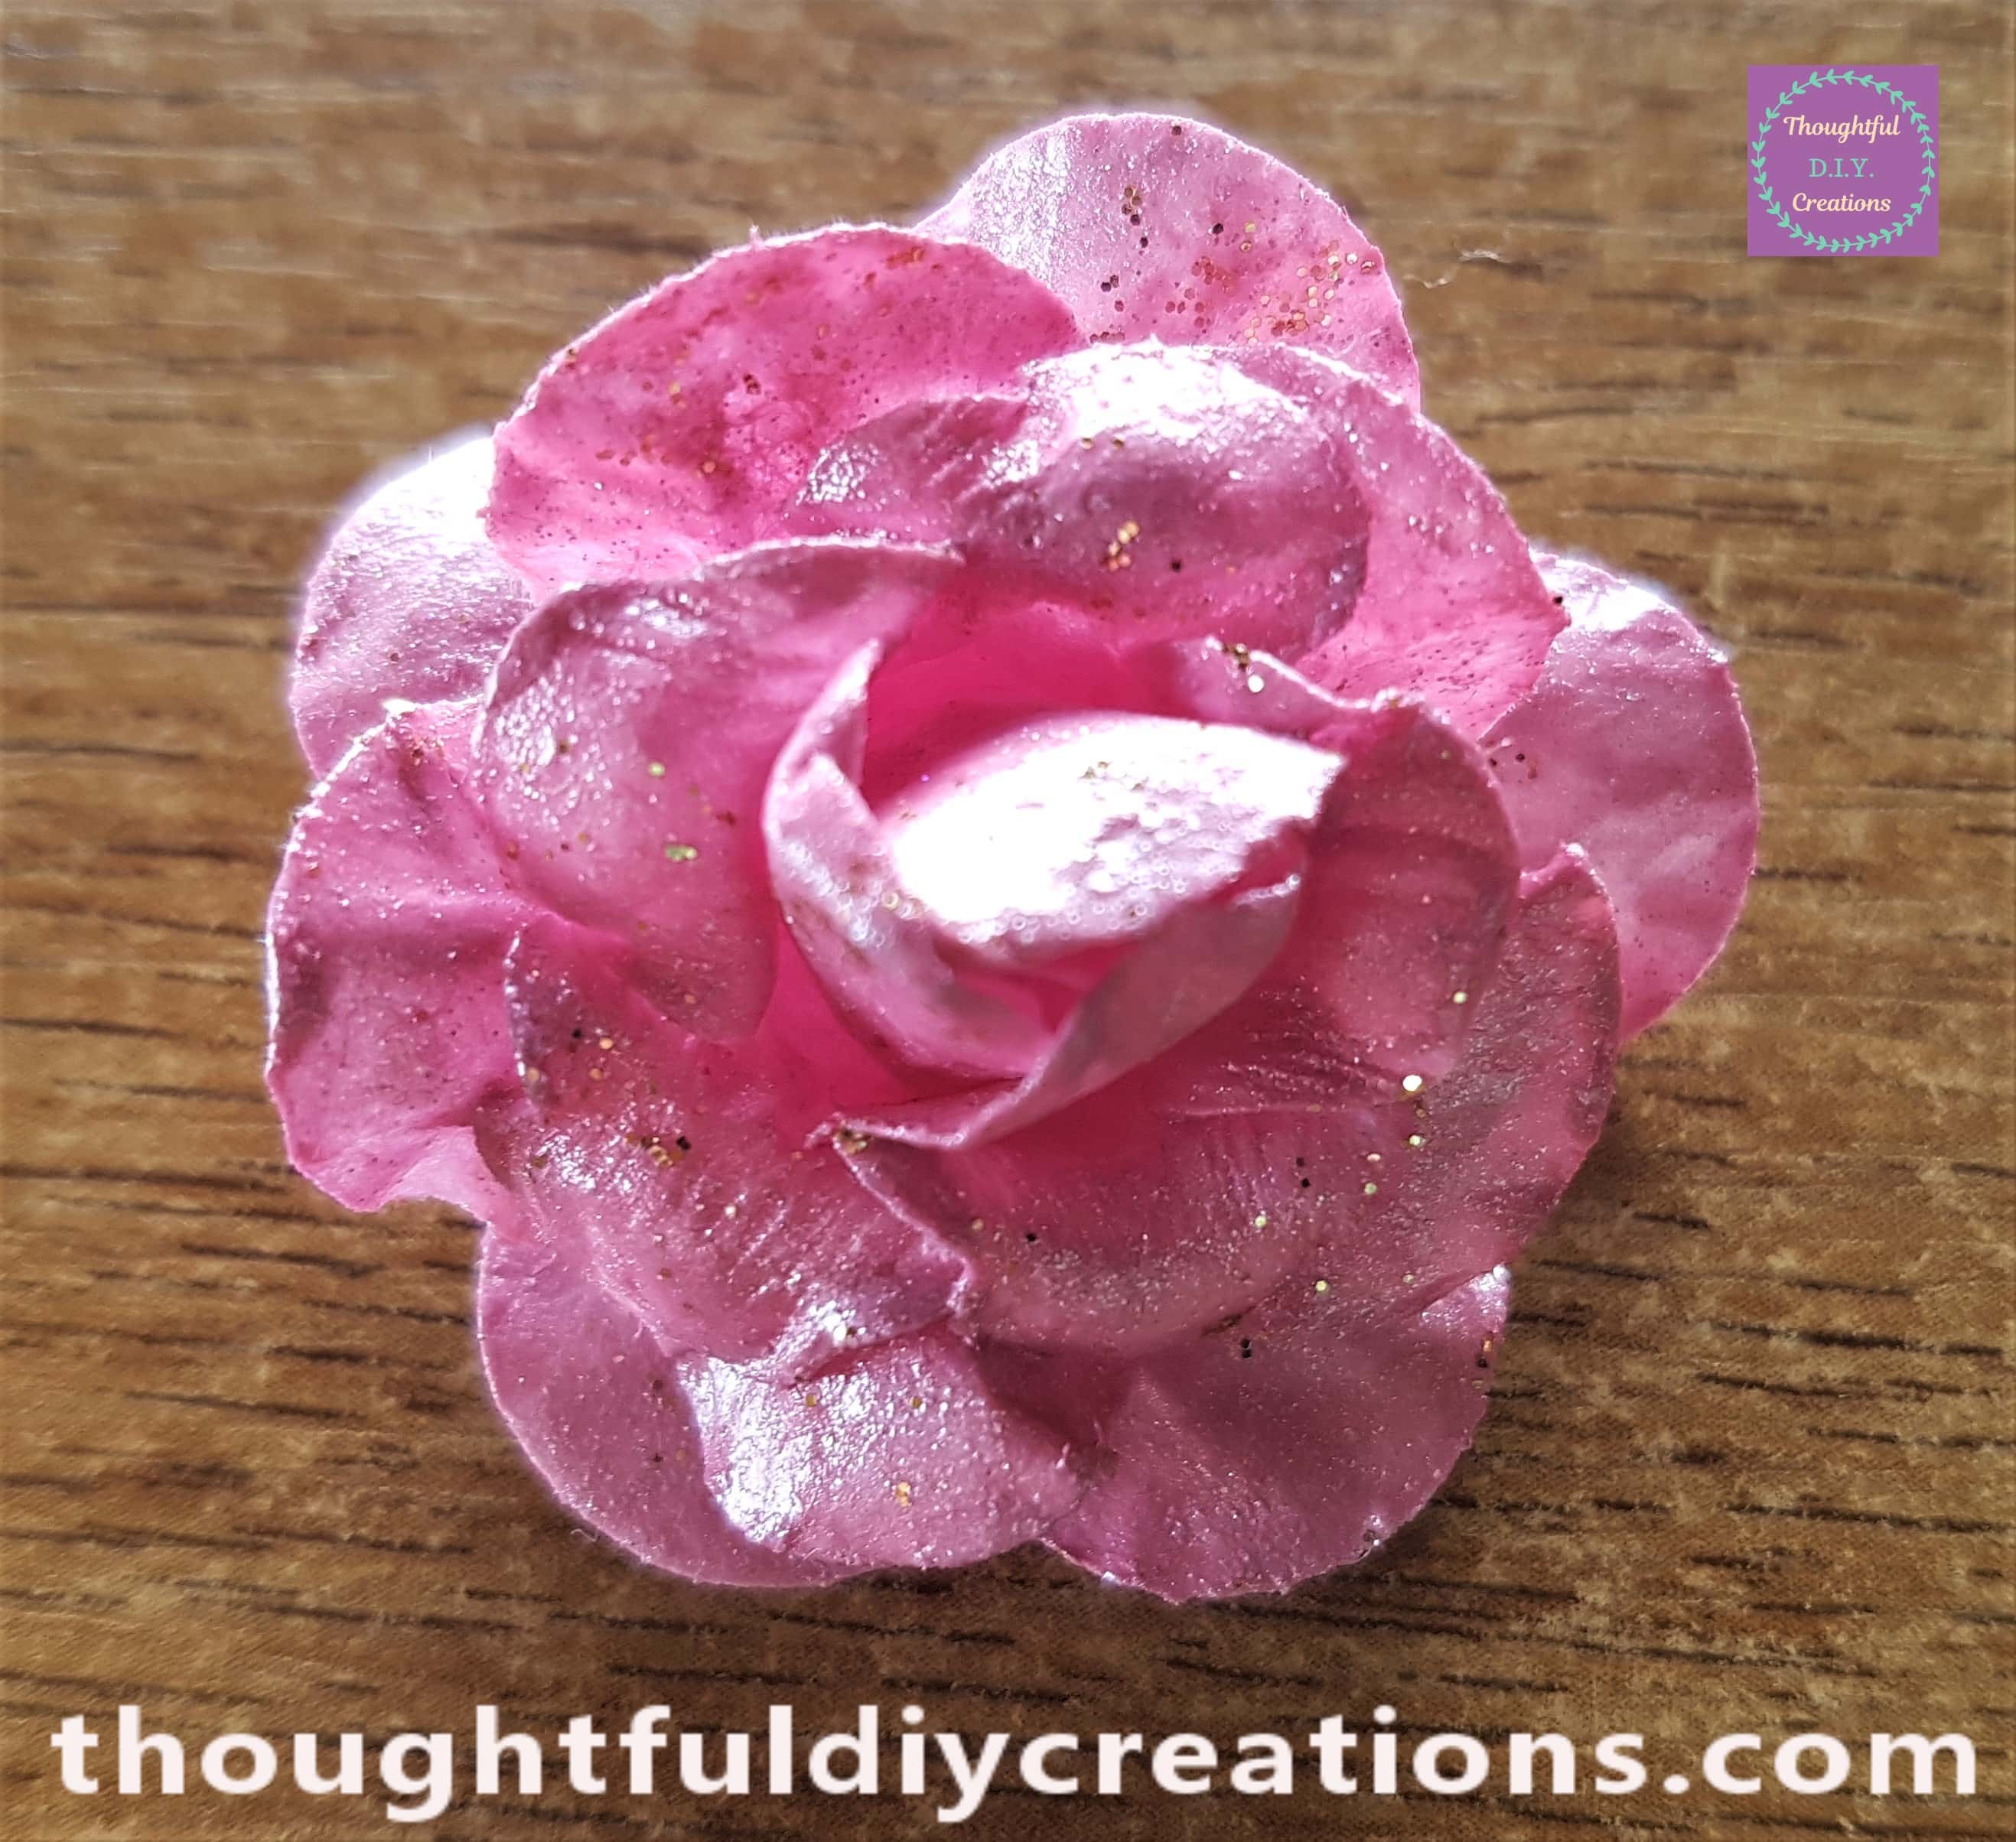
I applied the Pink Glitter Nail Varnish all over the Pink Flower. This gave it a lovely satin glimmer finish. I then applied a little bit of the Gold Glitter Eyeliner to parts of the flower once the nail varnish had dried.
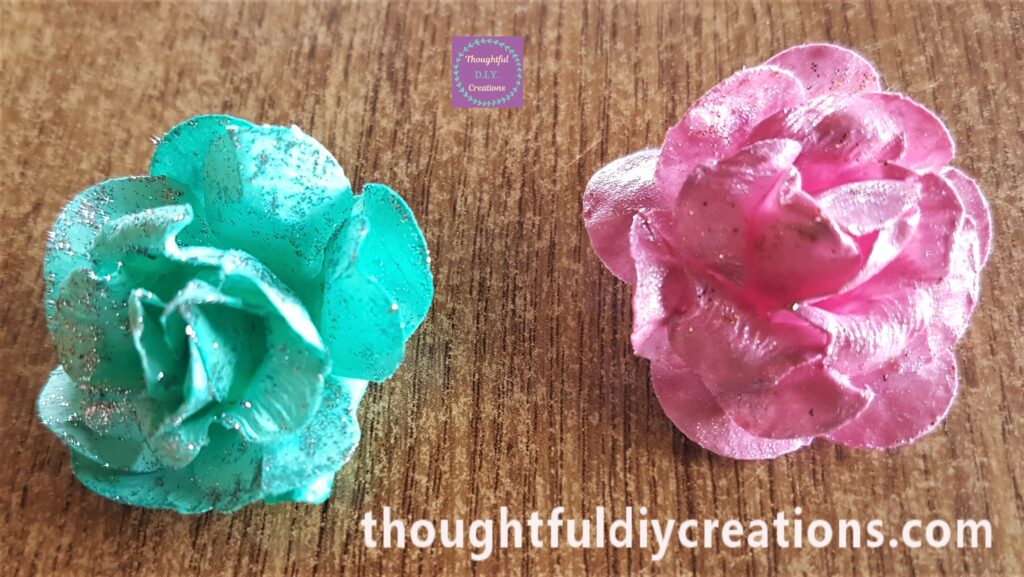
This is how the Flowers look after the glitter was added.
Up-Cycling an old Calender
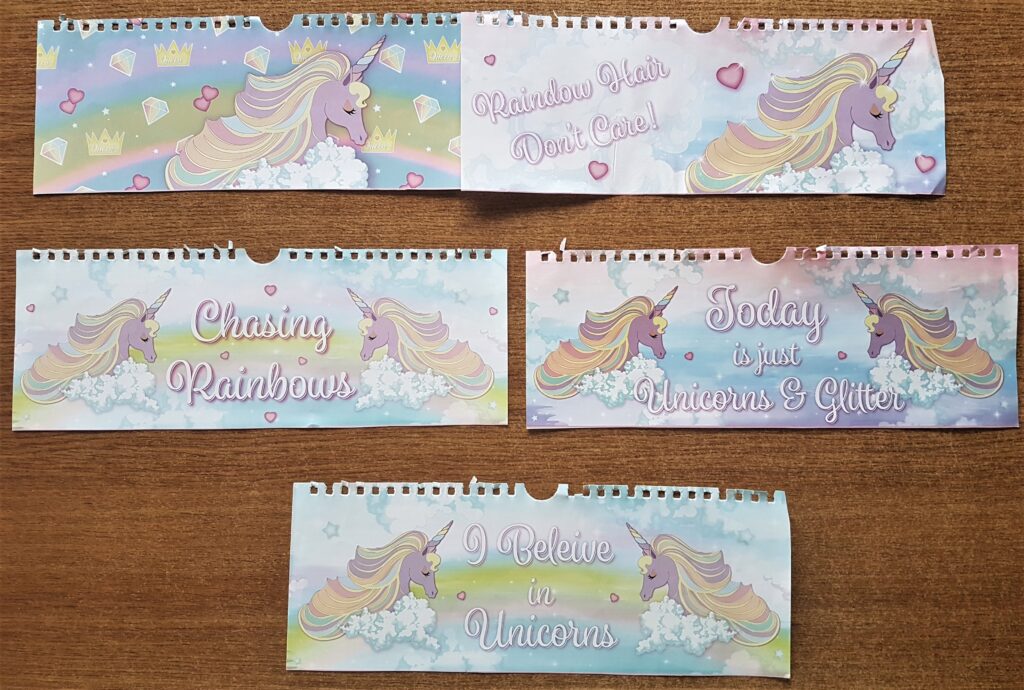
I had a Unicorn Calender a couple of years ago. I cut out the Pictures after the Year was over as I knew they would be perfect for Cards and Crafts.
Unicorns & Quote for the Handmade Card
I chose one Unicorn Picture to use for my Card.
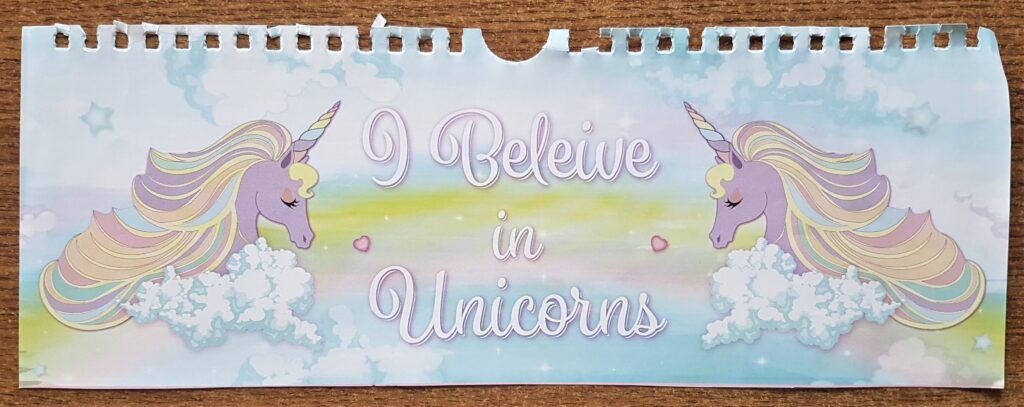
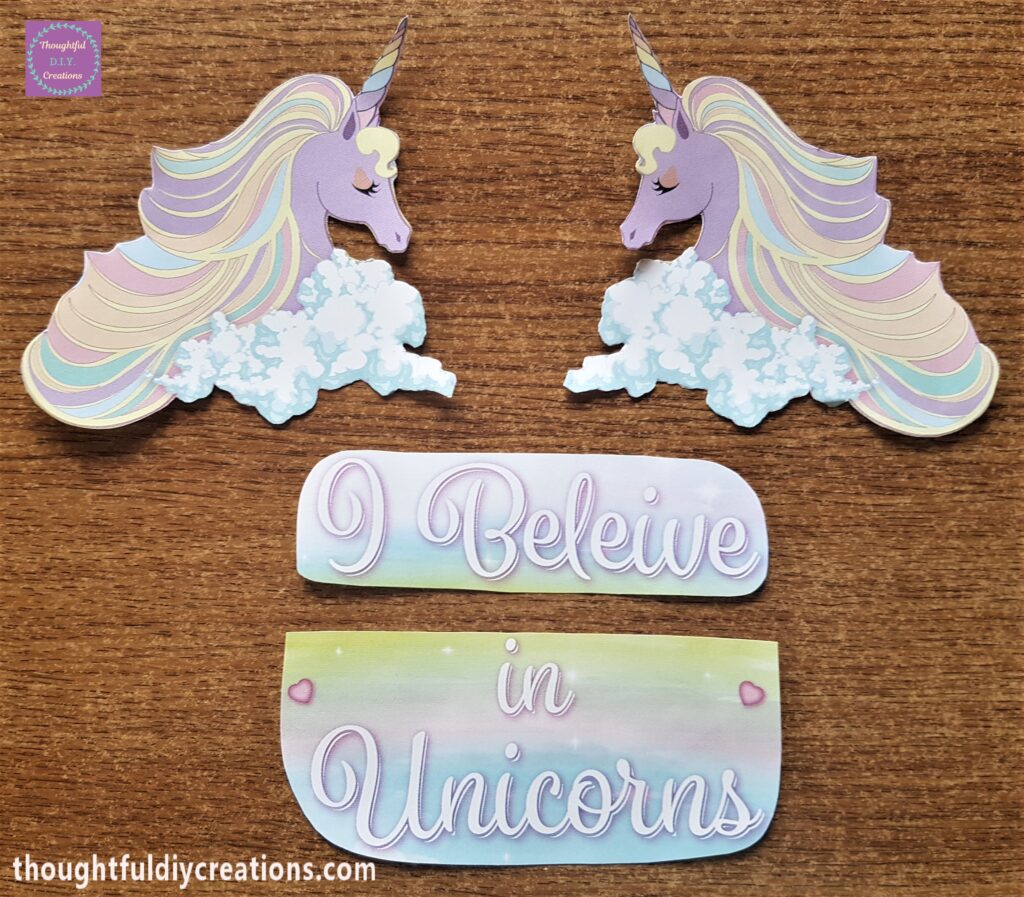
I cut out the 2 Unicorns as well as the Quote ‘I Believe in Unicorns’.
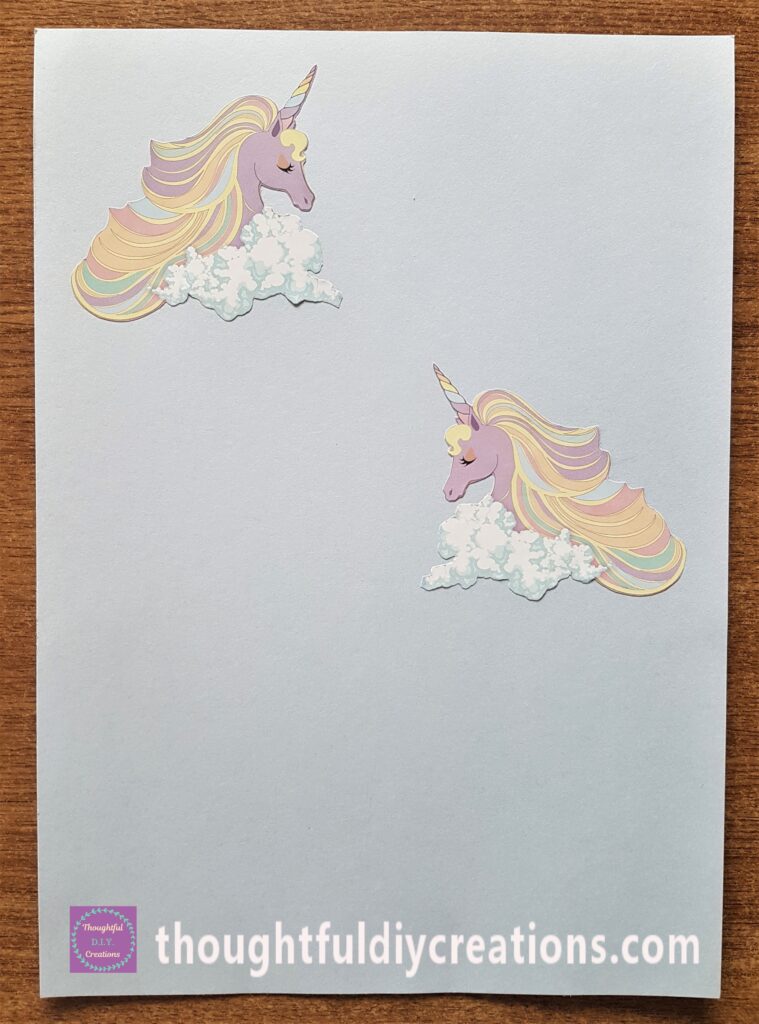
I put Pritt Stick on the back of the Unicorns and attached them to a Light Blue Card.
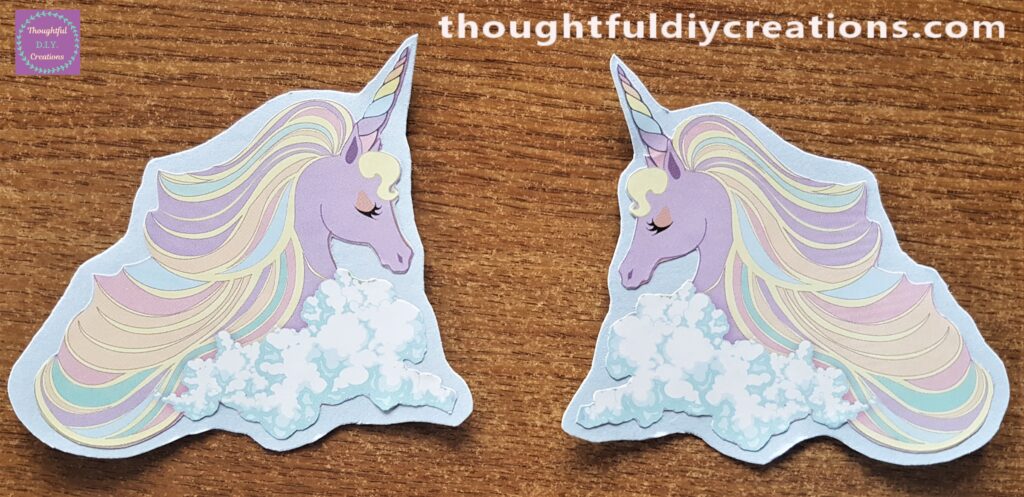
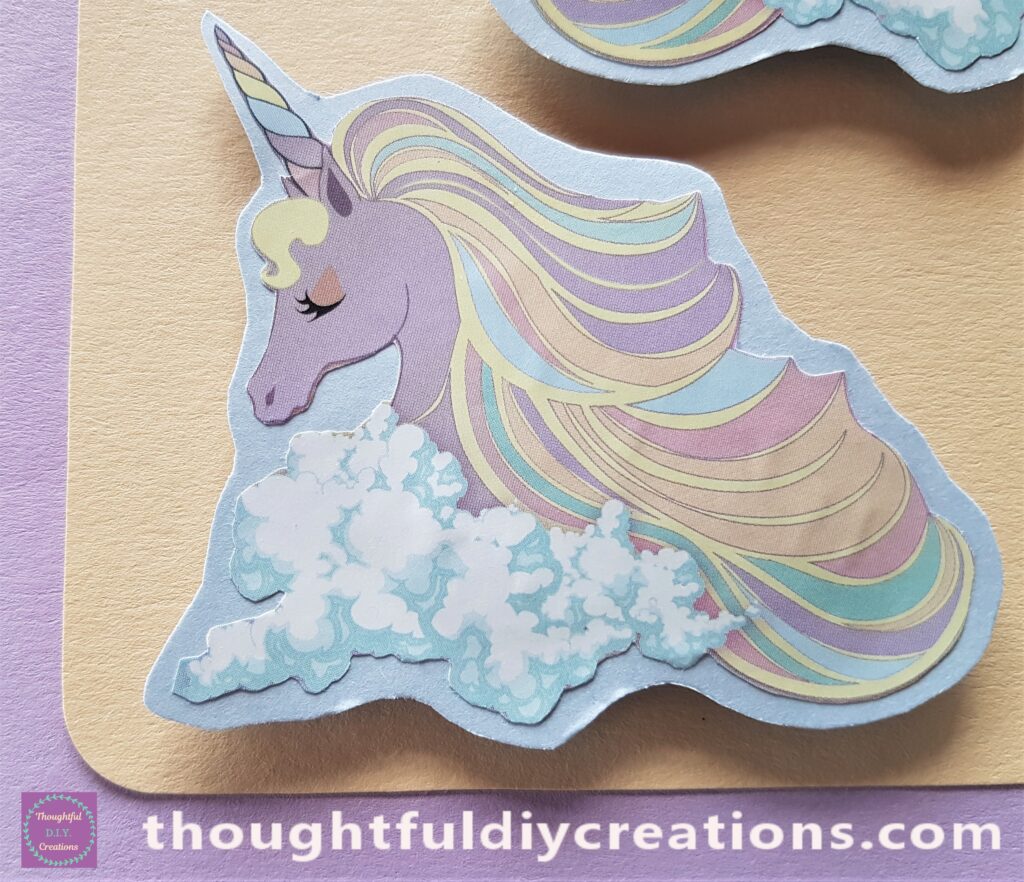
I cut around the Unicorns on the Blue Card leaving a border of blue all around. I thought this added to the Pictures as it resembles the Sky and makes the Unicorn Pictures more sturdy.
Adding Cardboard to the Pictures
I cut out cardboard pieces to add height for the Quote.
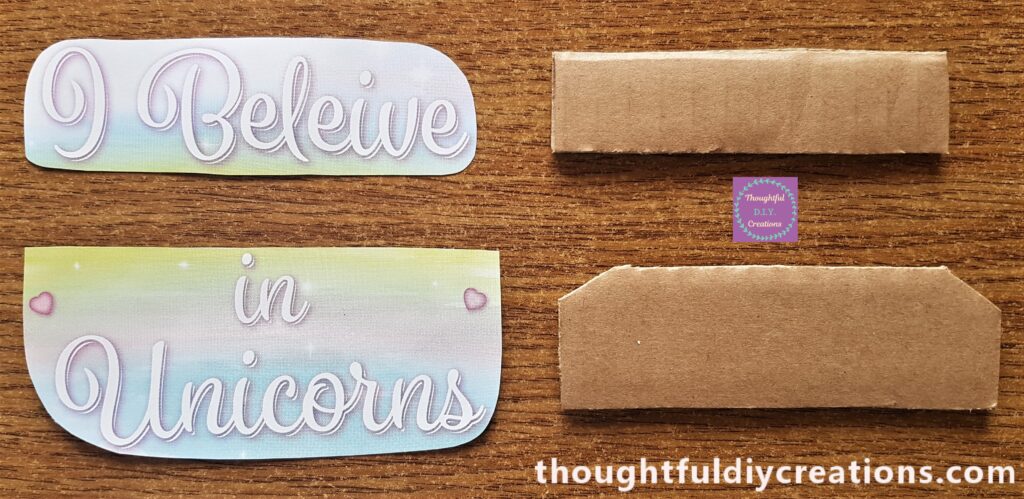
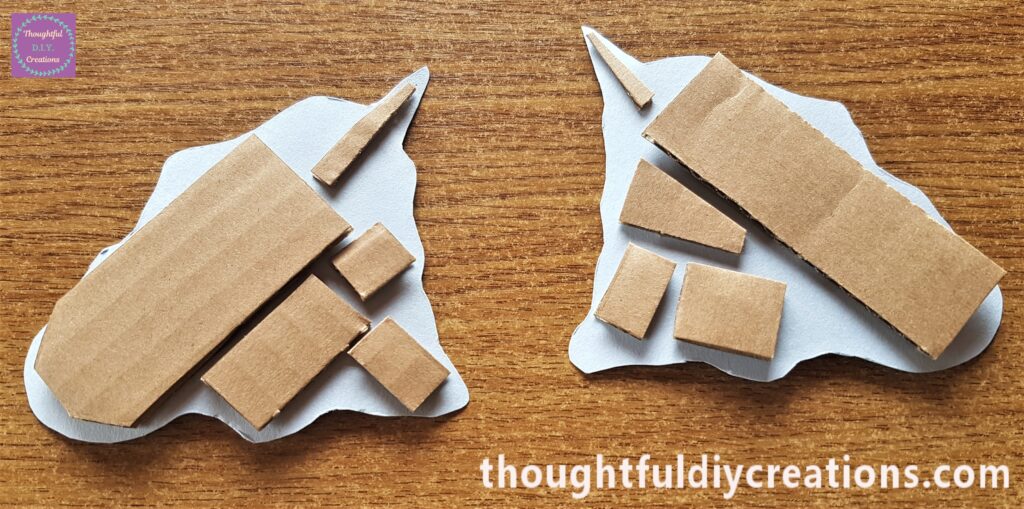
I also cut out Cardboard pieces to fit the back of the Unicorns.
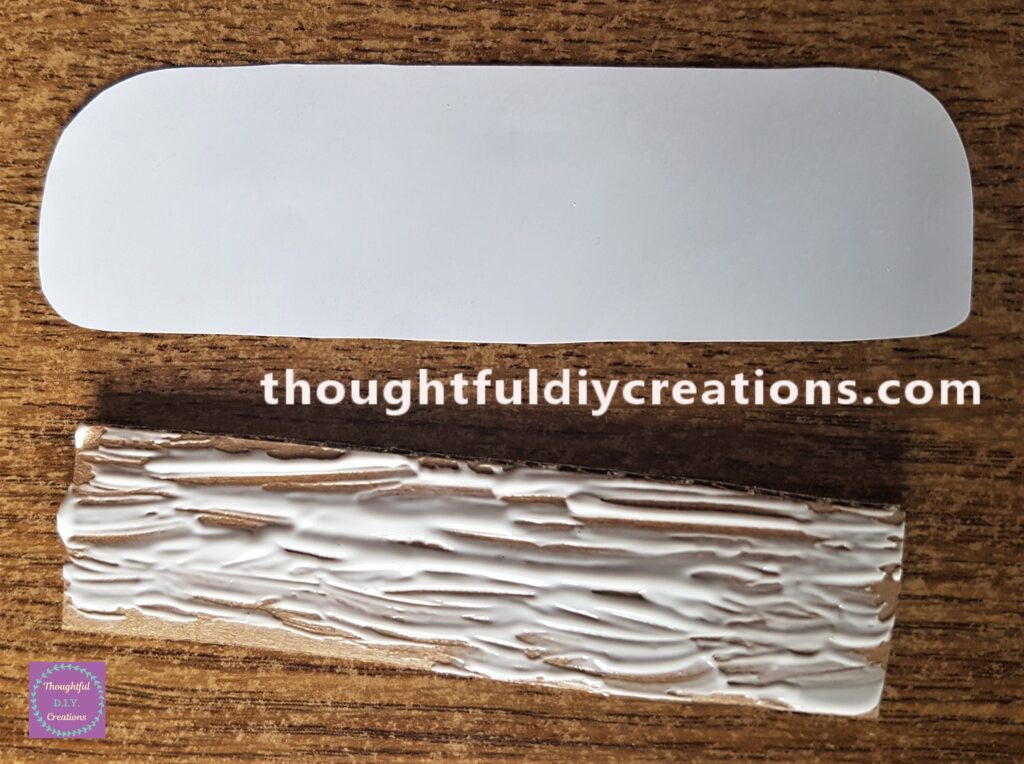
I put some of ‘Anita’s Tacky PVA Glue’ on the Cardboard and spread it out with a paintbrush.
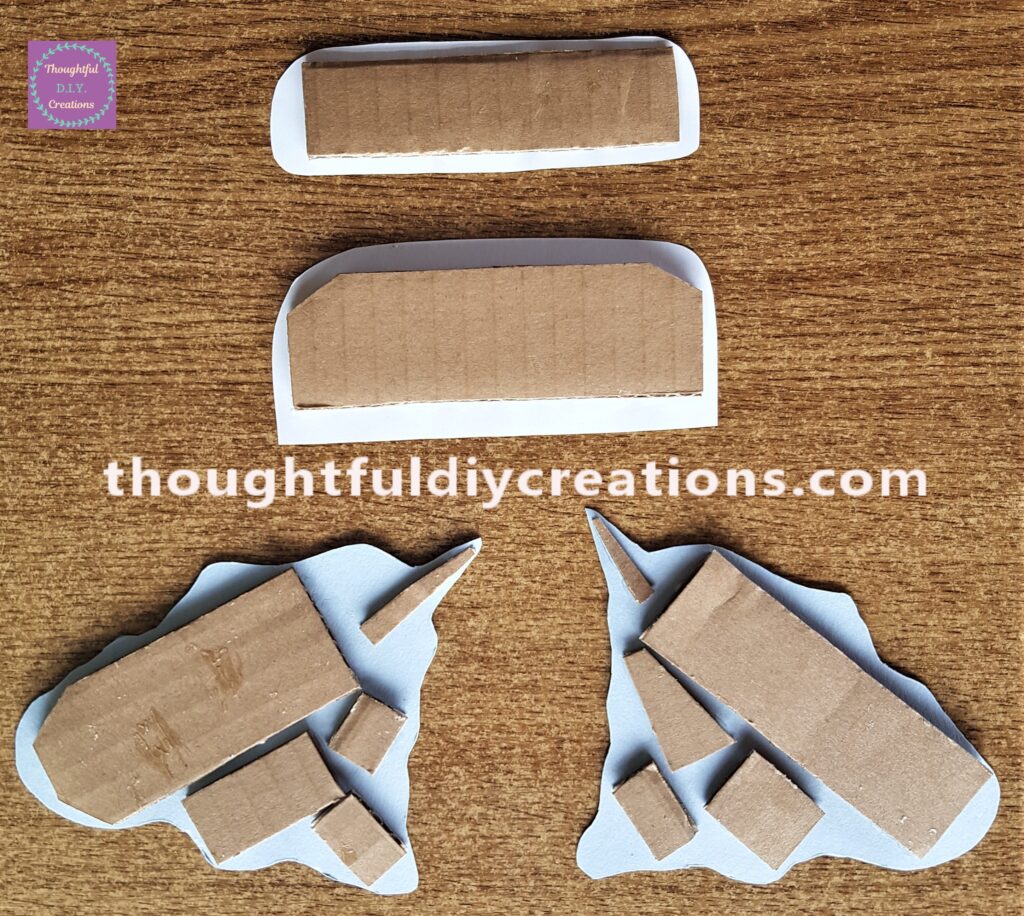
I repeated this with all the Cardboard pieces and attached them to the back of the Unicorn Pictures and Quote. I left them for about 10-15 minutes for the Glue to dry.
Unicorn Pictures Glued to Handmade Card
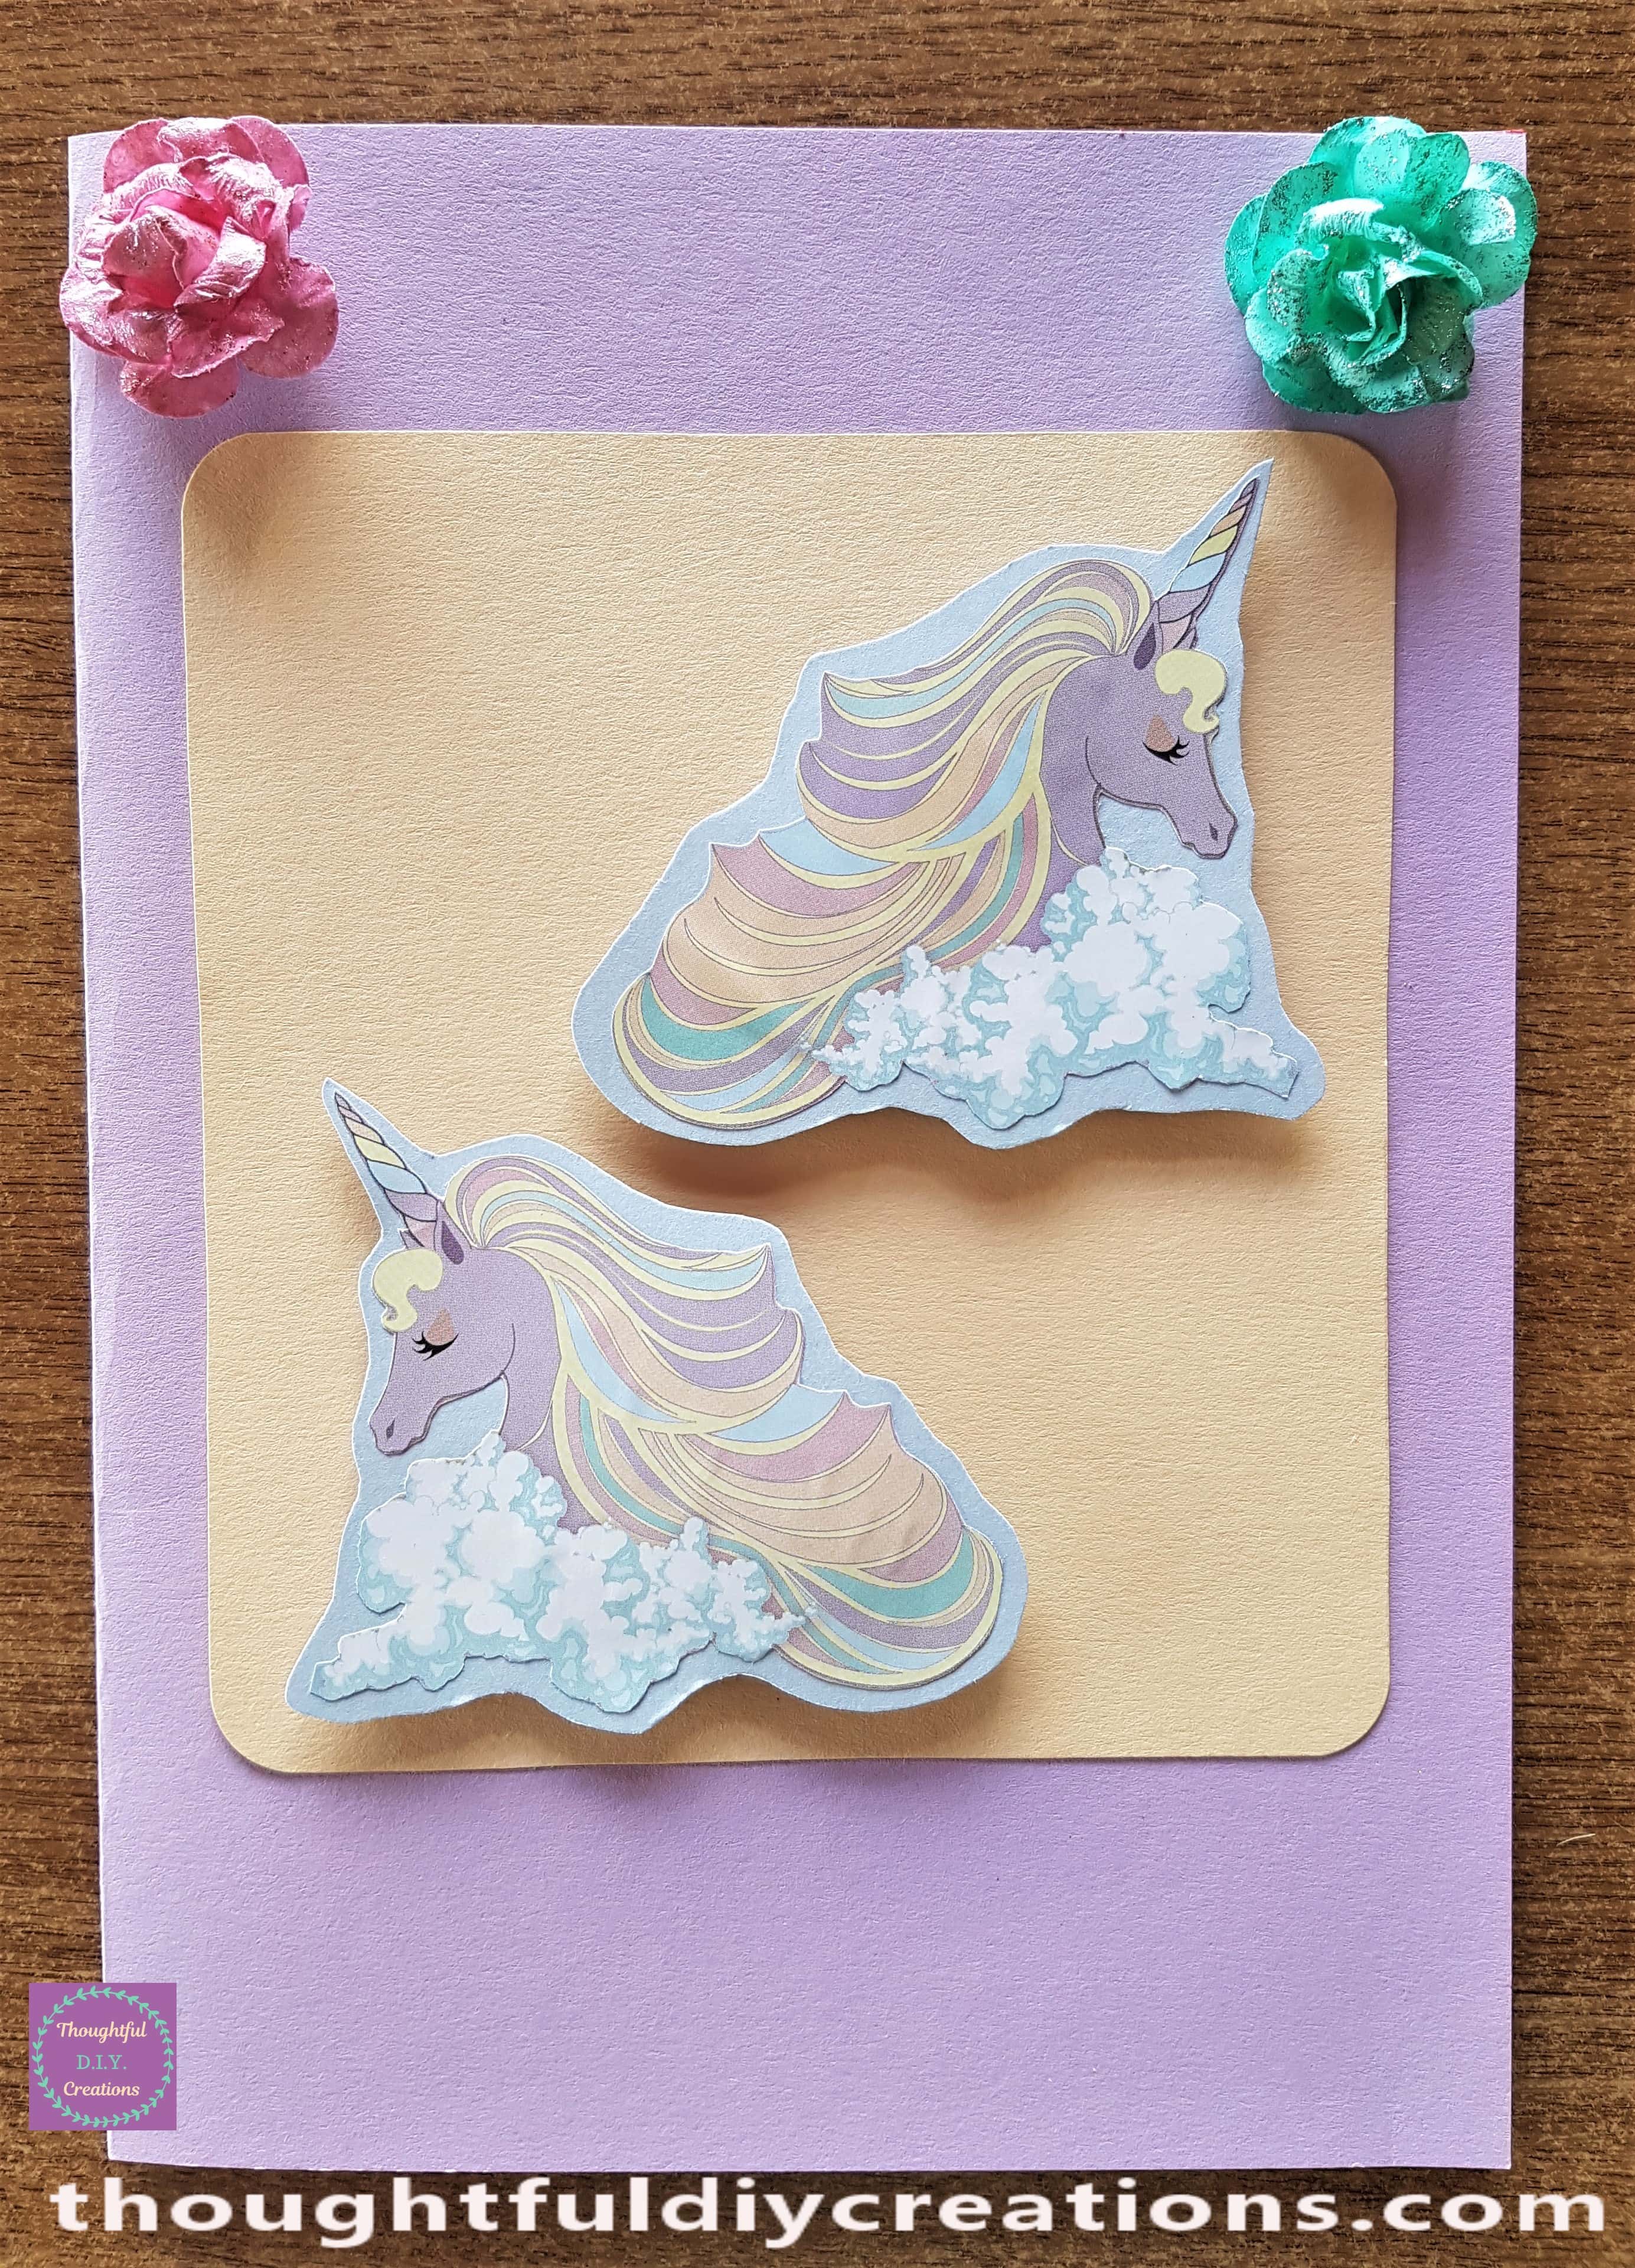
I attached the 2 Unicorn Pictures to the Peach Card using a Hot Glue Gun.
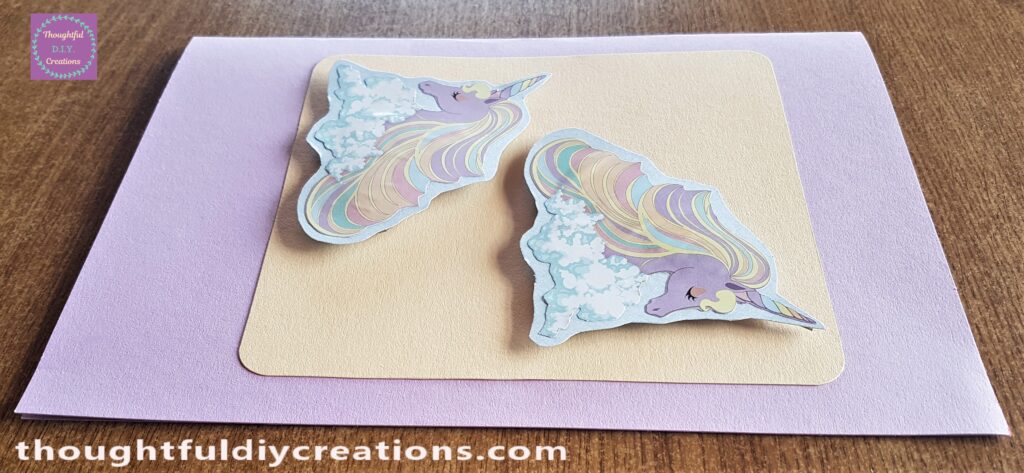
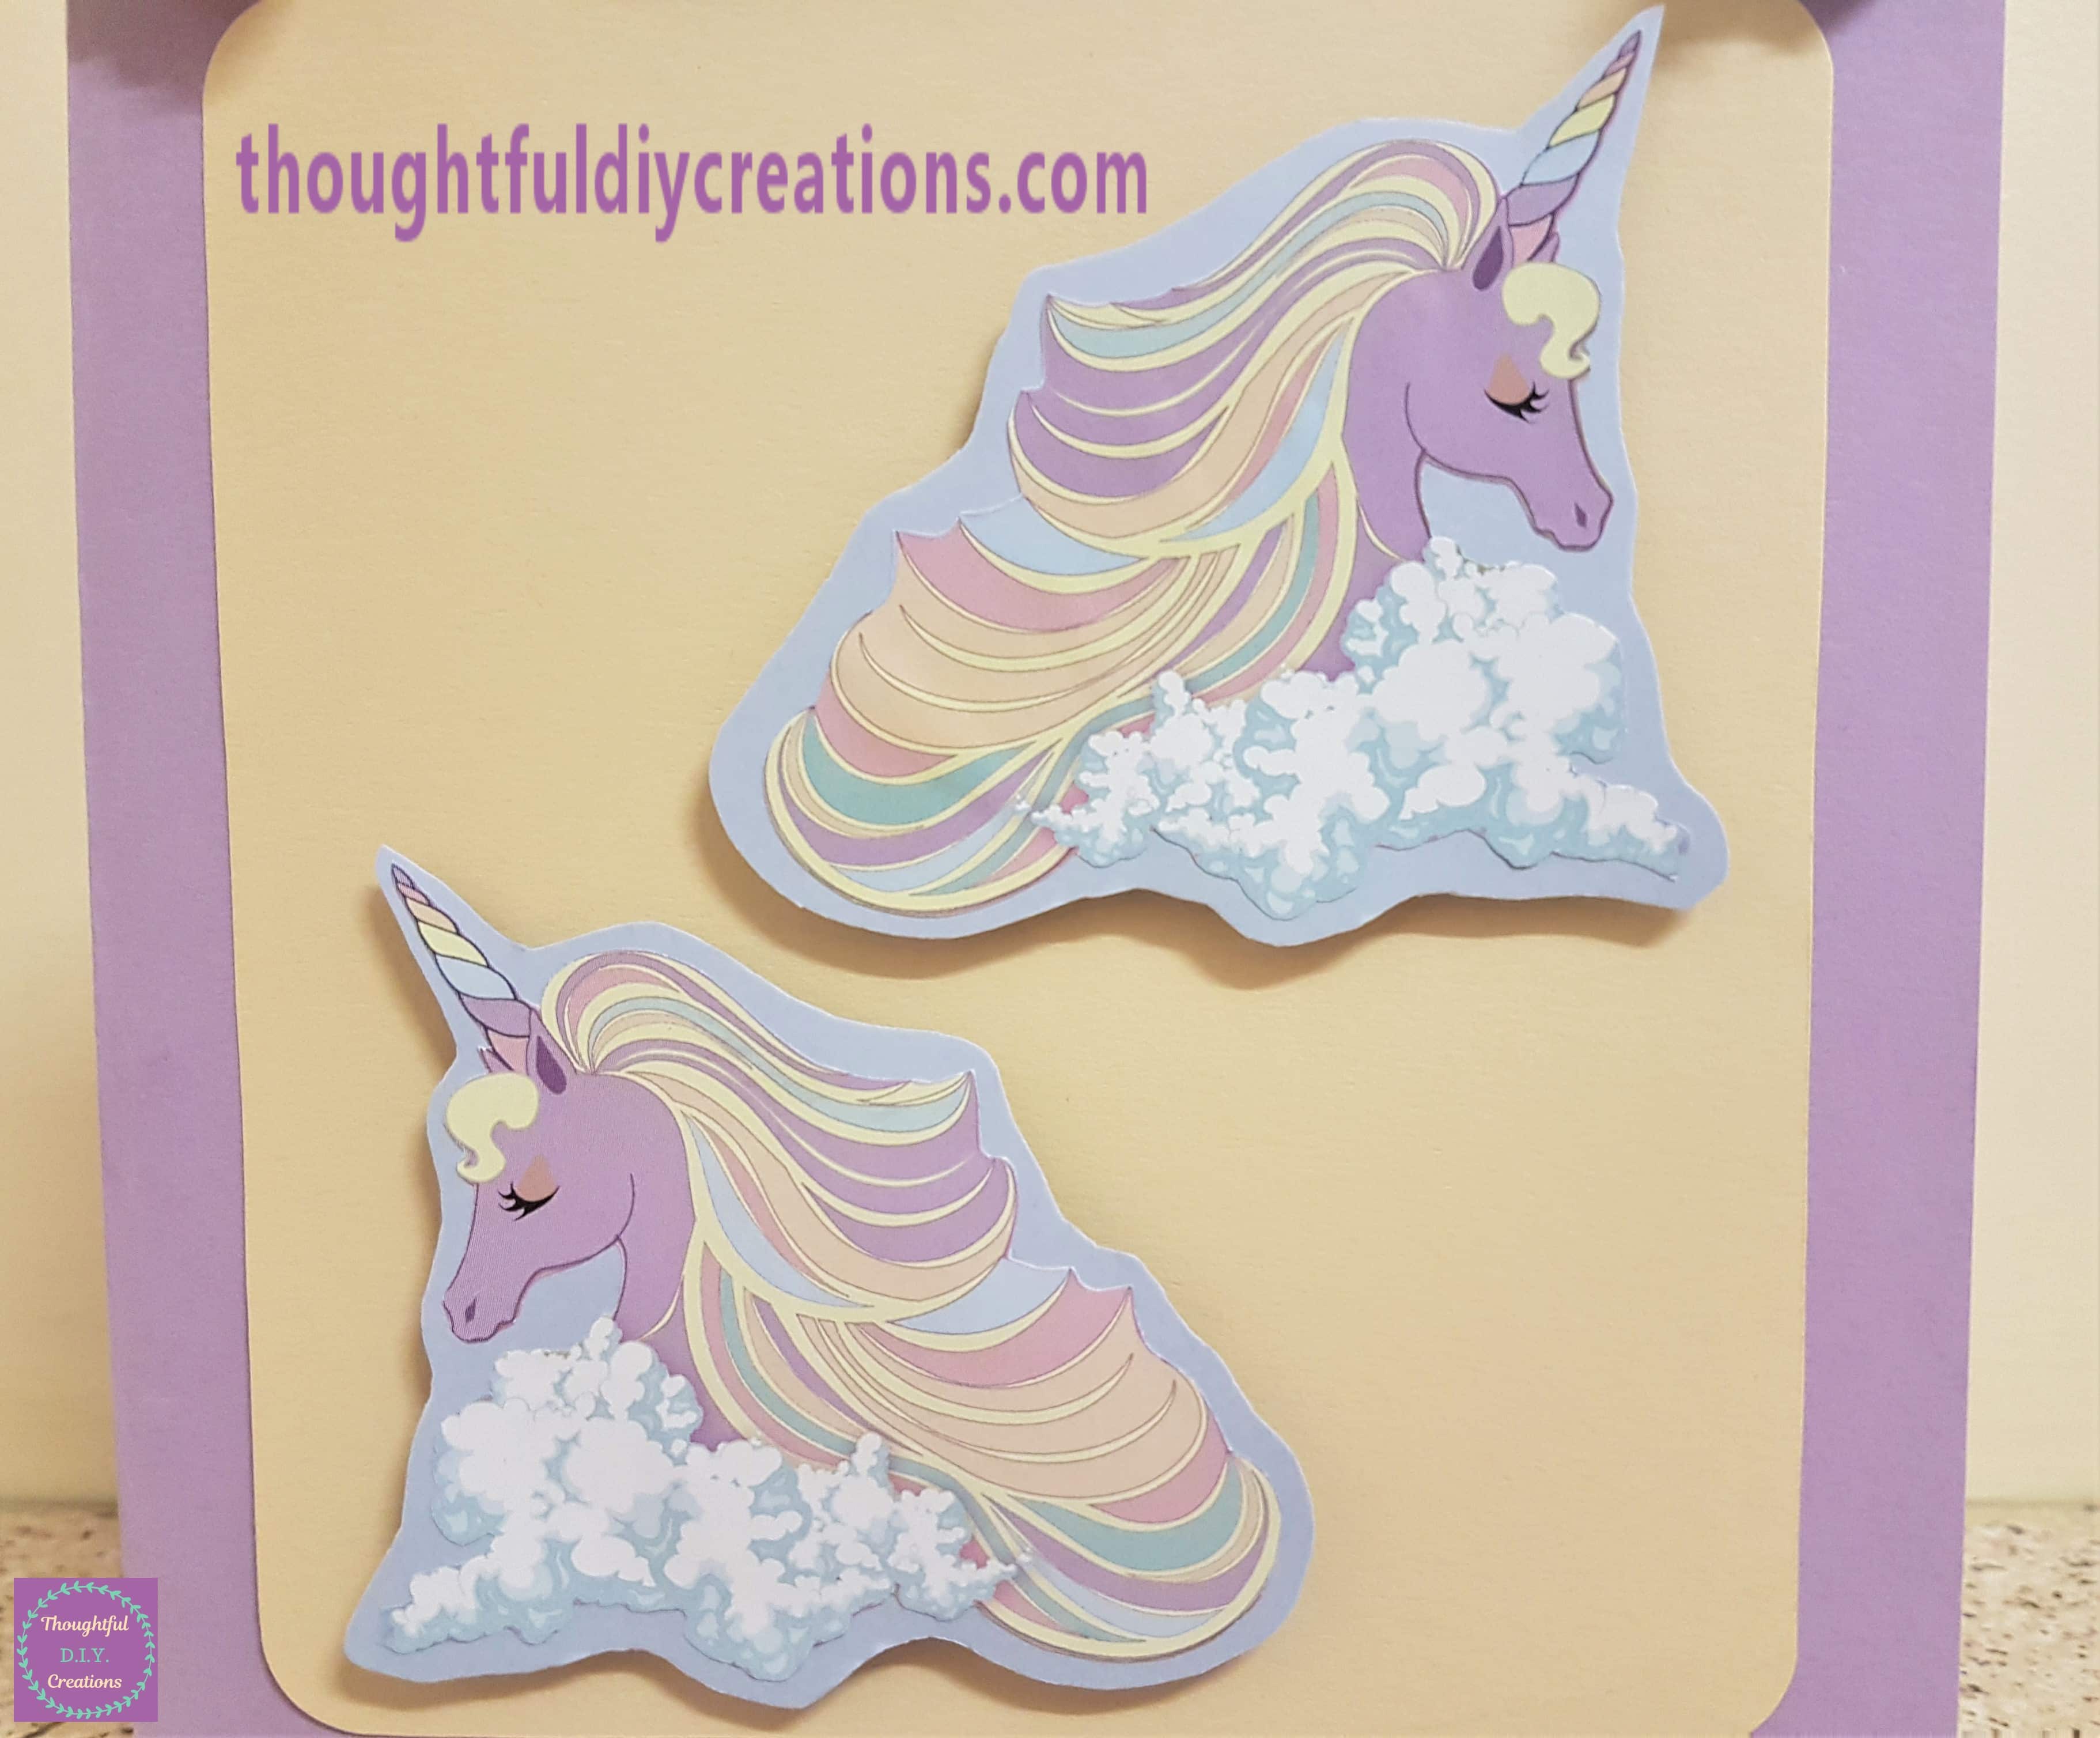
This is a closer look at the Unicorn attached to the Card.
Tacky Glue Gone Wrong
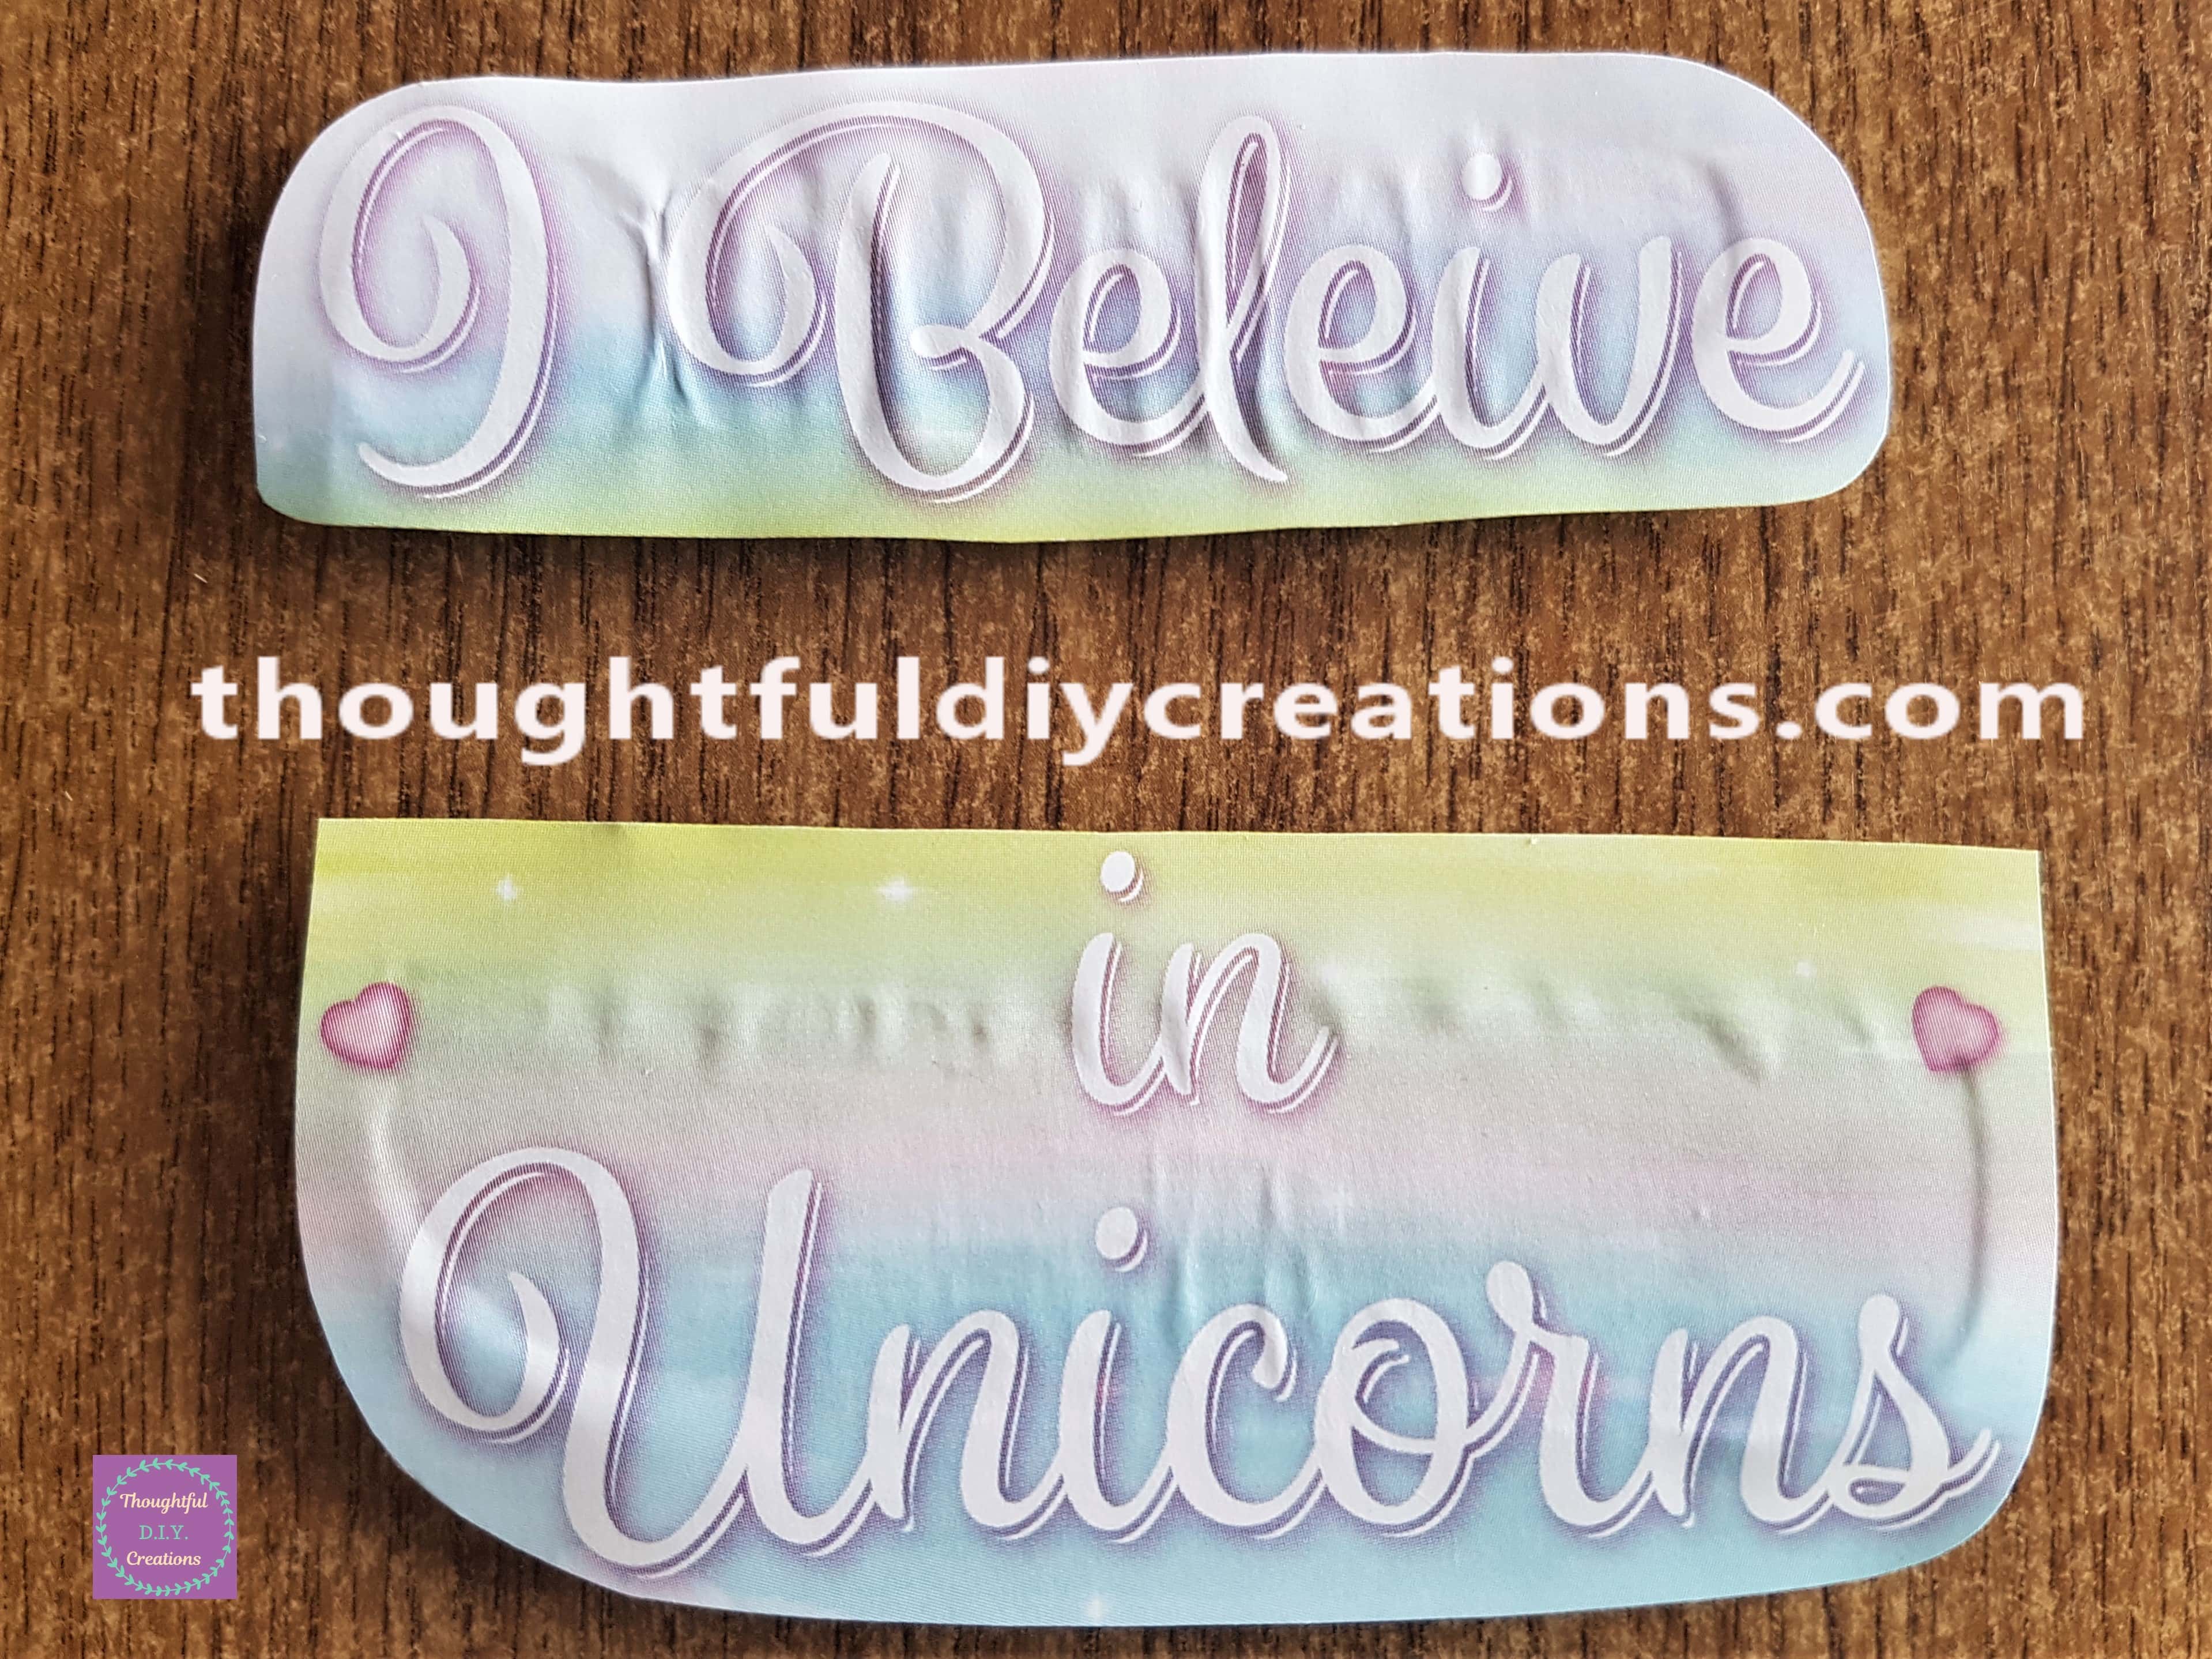
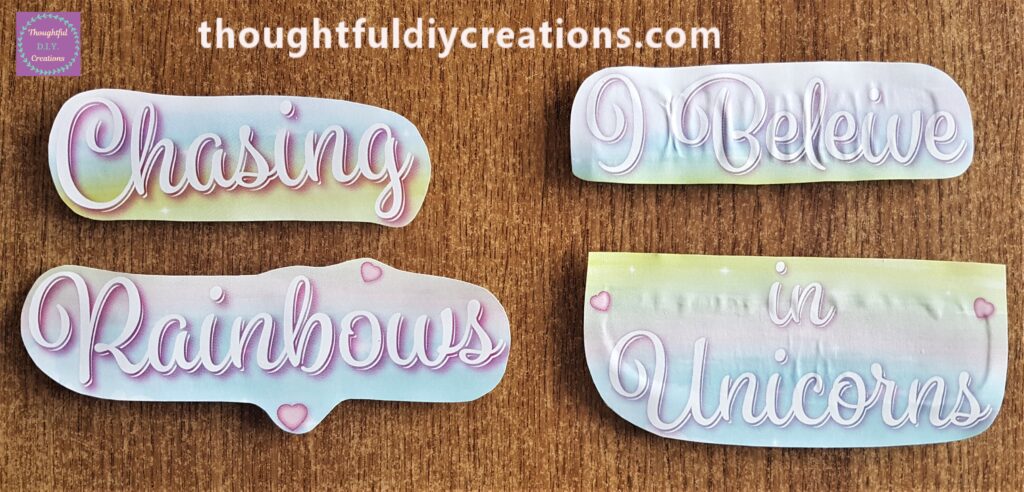
When I turned over the Quote after the Glue had dried I was so disappointed to see the Quote was warped and had wrinkles in it. I couldn’t use it. I think the Paper was too thin, I had used the Tacky Glue and Cardboard on other paper before but the paper was probably thicker. I was going to use Pritt Stick to attach the paper to the Cardboard but I thought the Tacky Glue would be stronger and have a better hold. I didn’t think it would happen as I had it spread out evenly on the Cardboard. Oh Well, these things happen, I left this in to show my mistakes and so you won’t do the same thing.
The Unicorn Pictures were saved because I had added the Blue Cardboard to them.
You can also use Foam Tape or Foam Squares instead of the Cardboard, that way you won’t be adding any Glue but the Cardboard is handy and a budget option when you run out of Foam Tape.
This is the Quote after I turned it around.
Choosing Another Quote
I chose a Quote from a different Unicorn Picture.
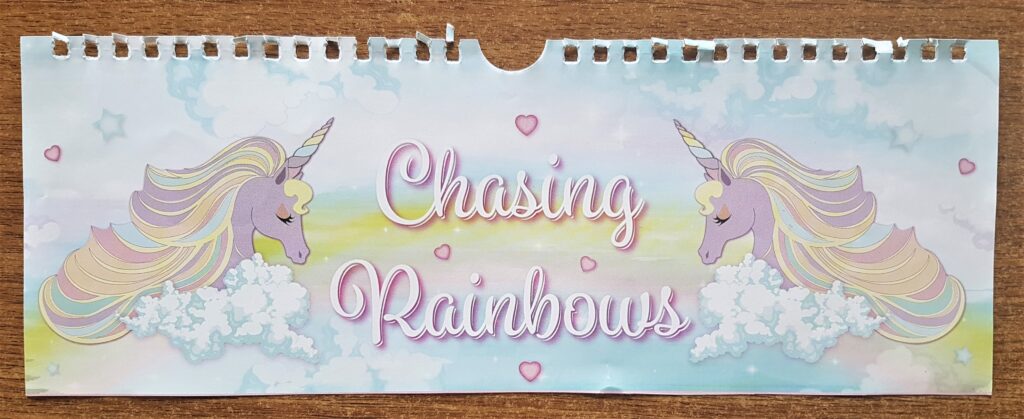
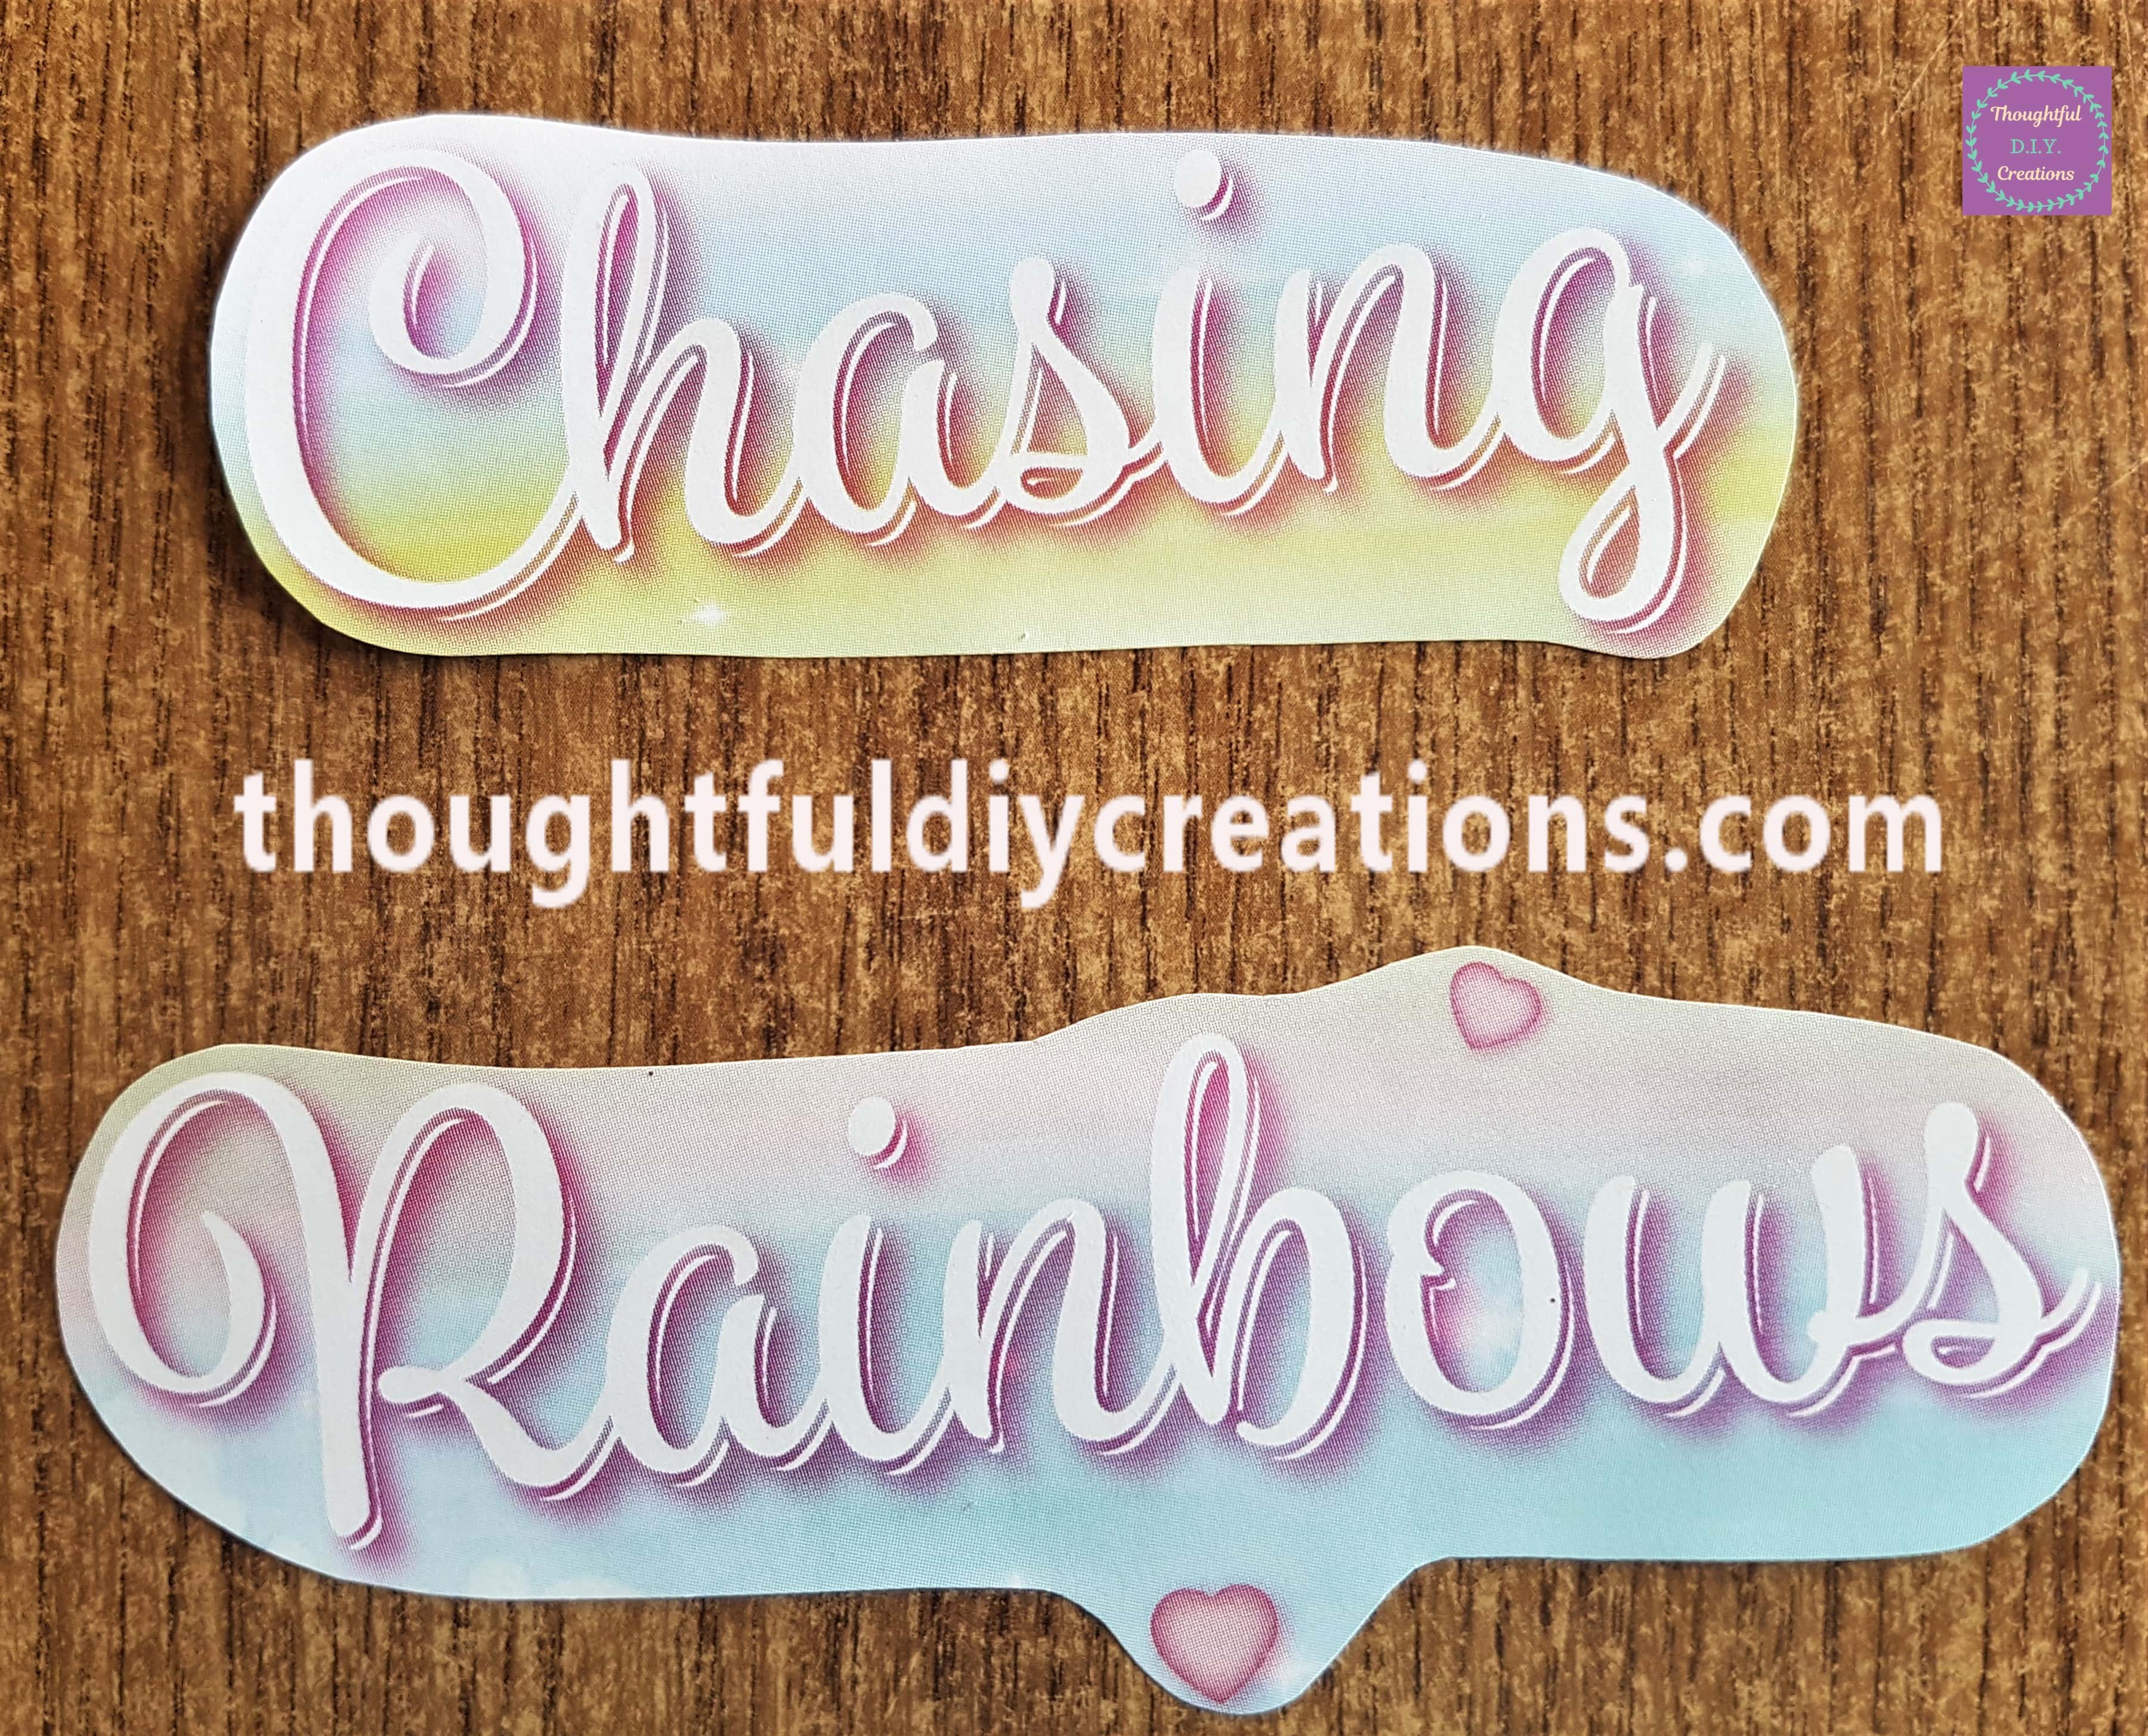
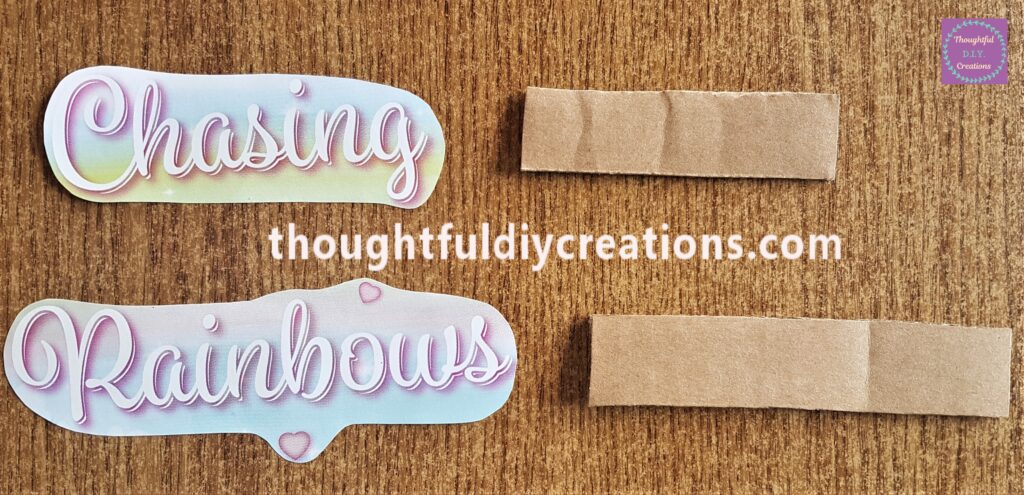
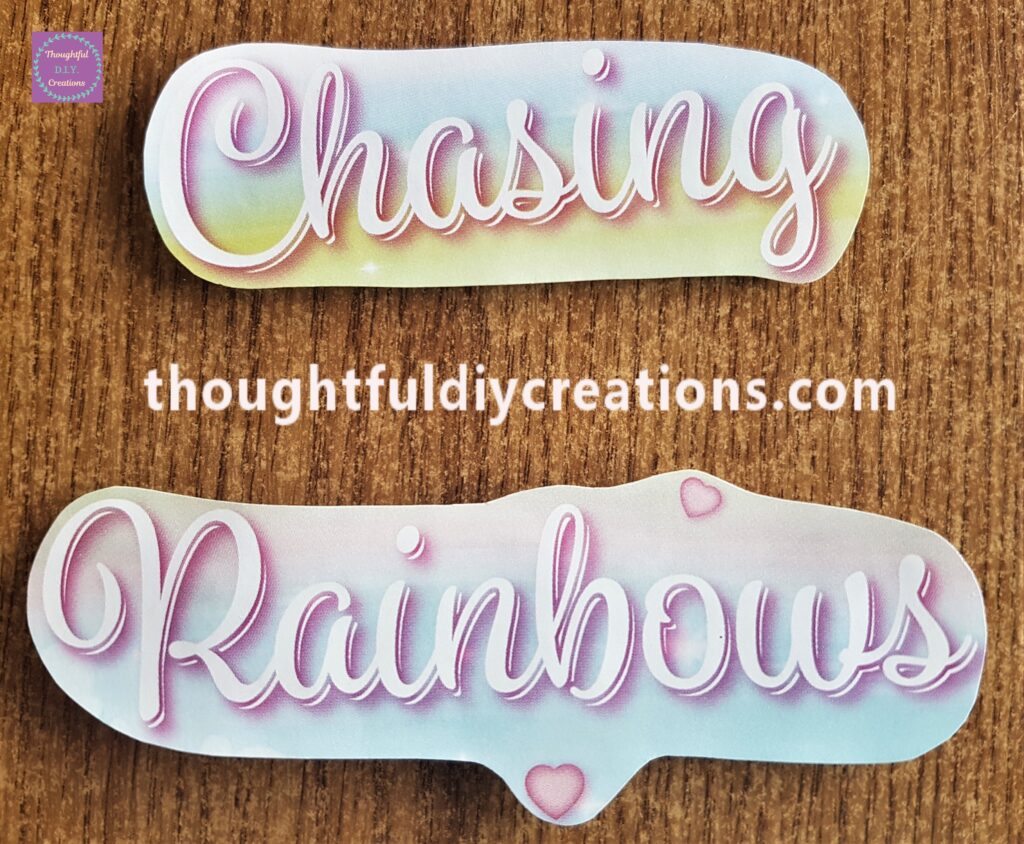
I cut around each of the words ‘Chasing Rainbows’.
Different Method of Attaching Cardboard
I cut some Cardboard to fit the words.
This time I put 2 strips of Double-Sided Tape on the Cardboard.
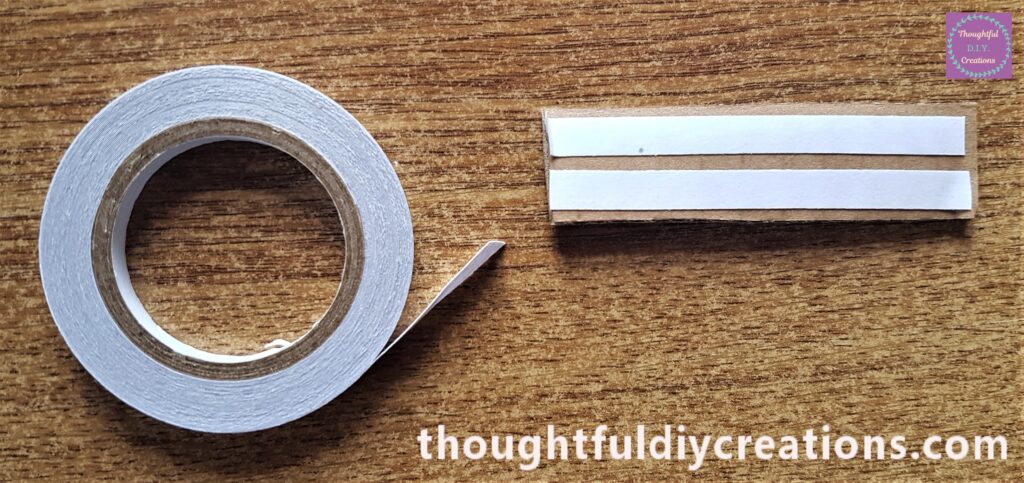
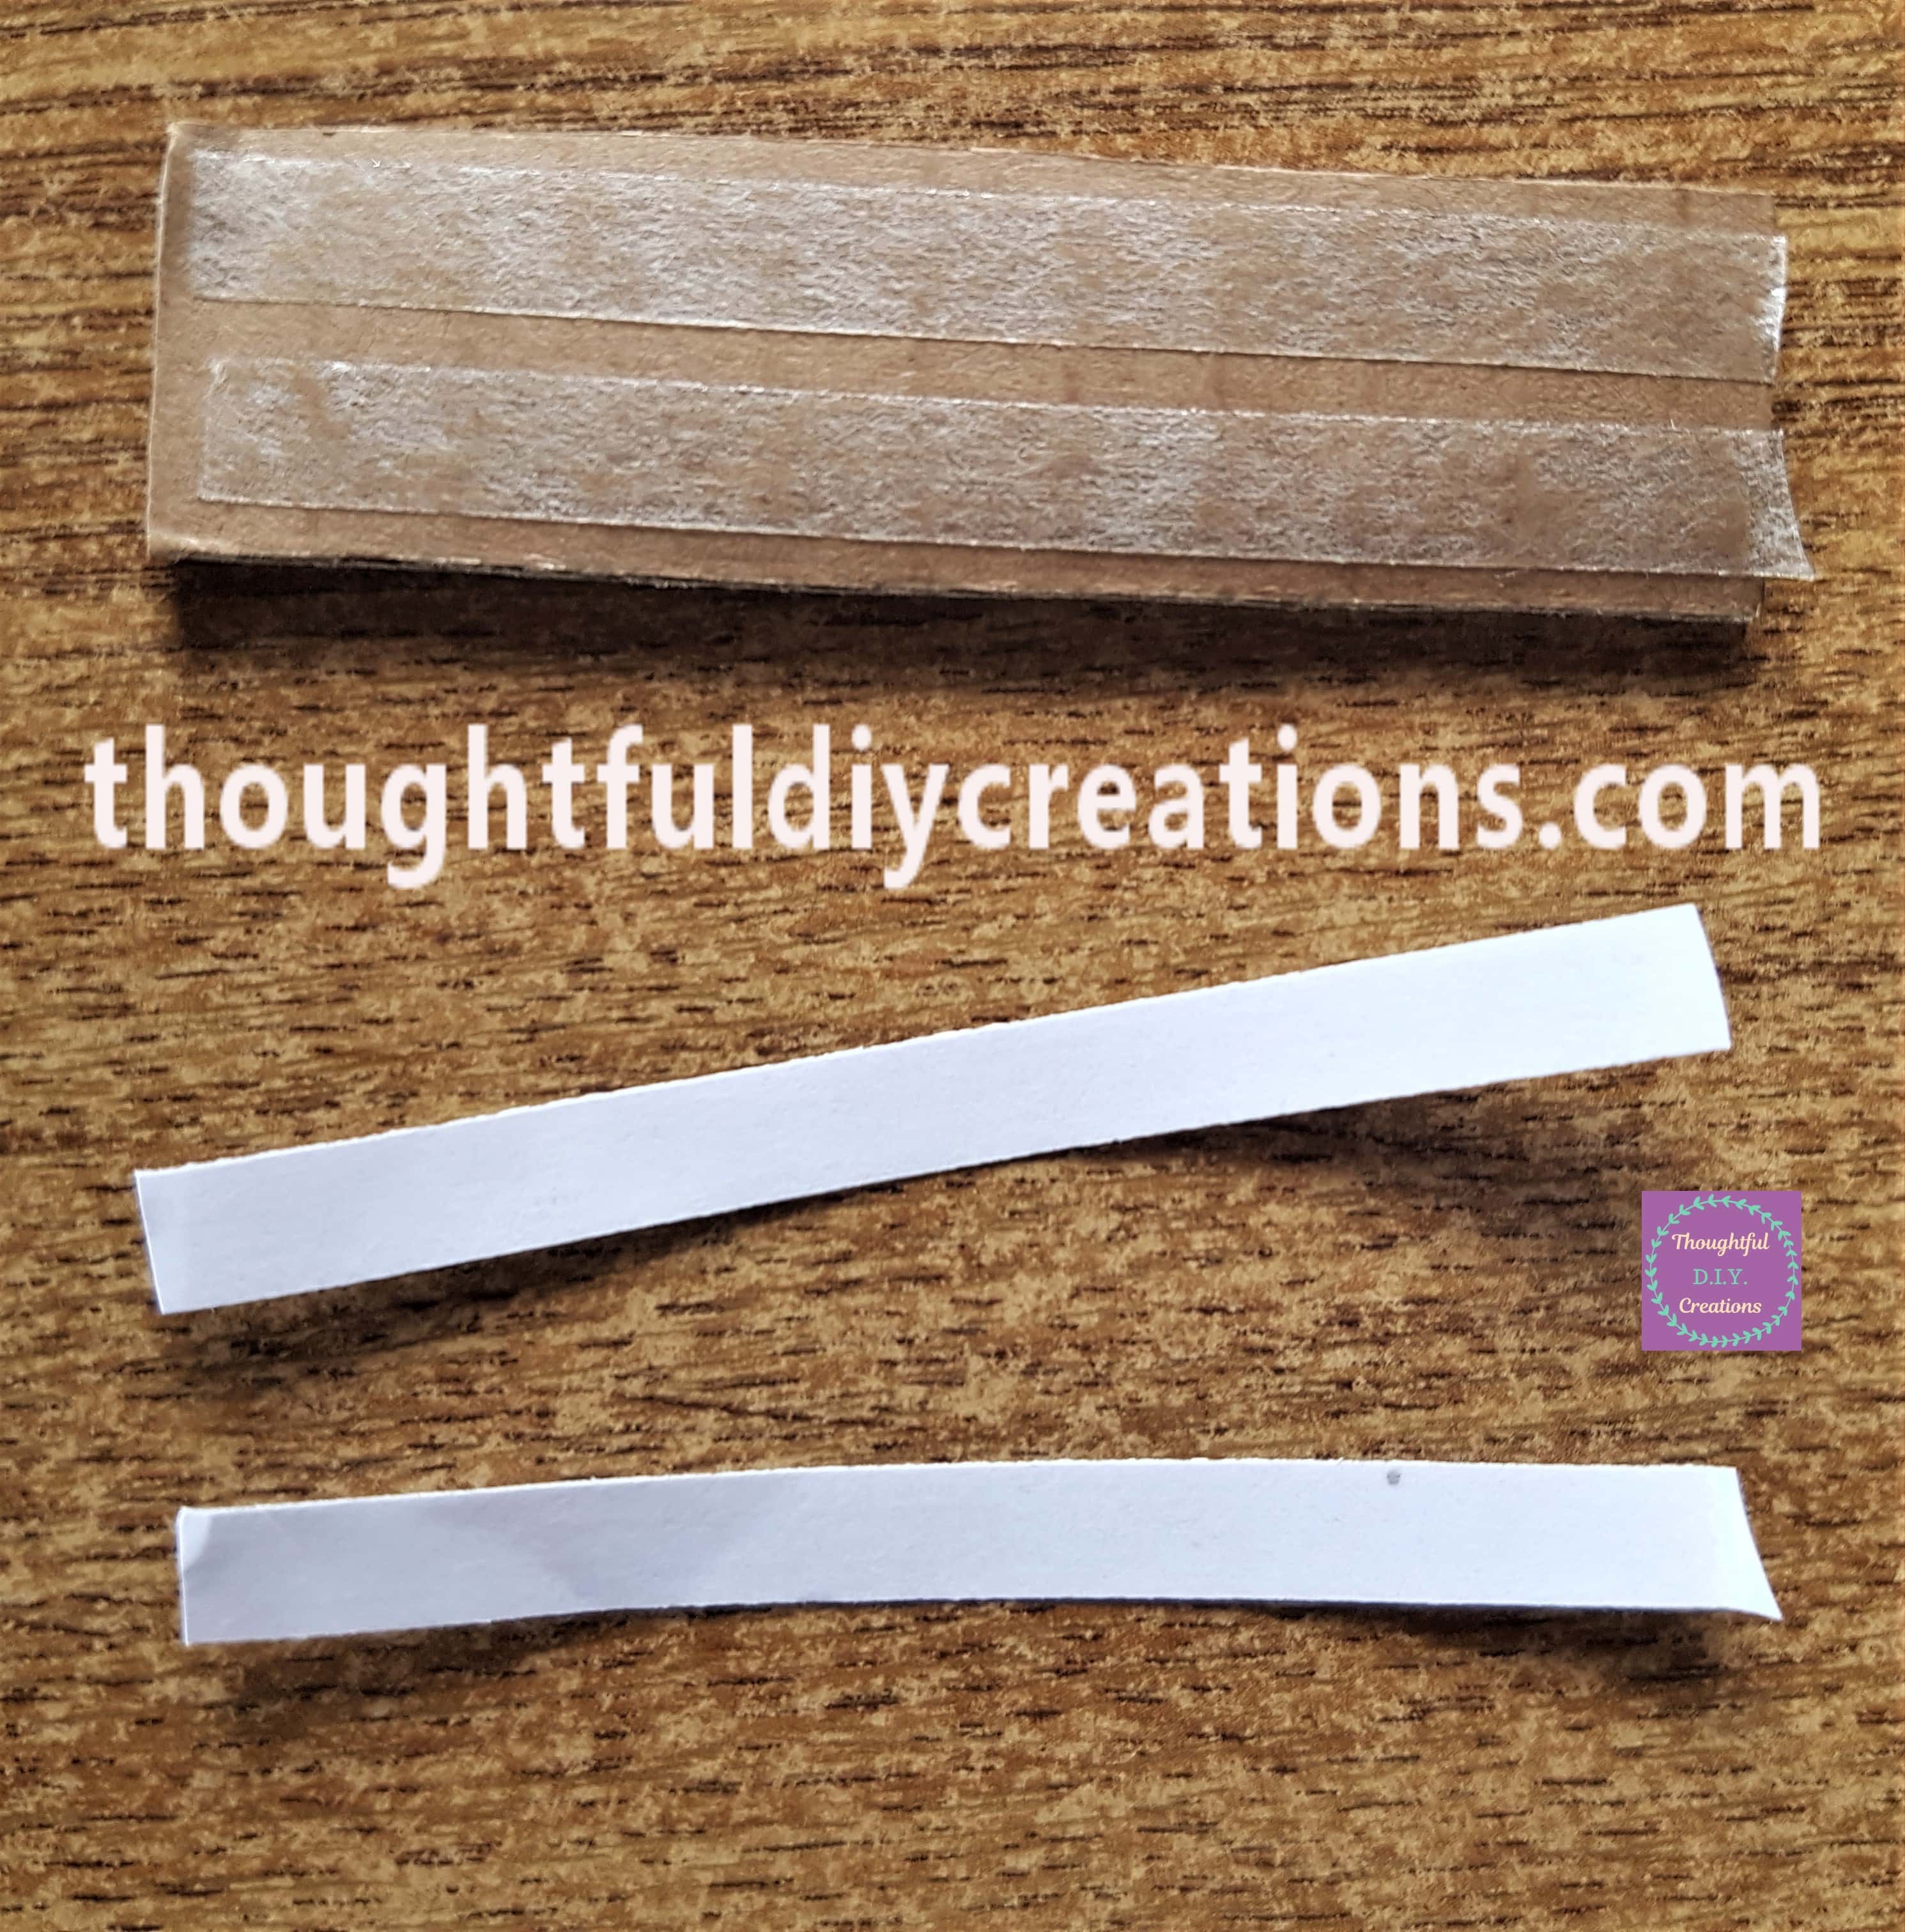
I removed the white backing from the Double-Sided Tape.
I attached the Cardboard to the back of the Quote.
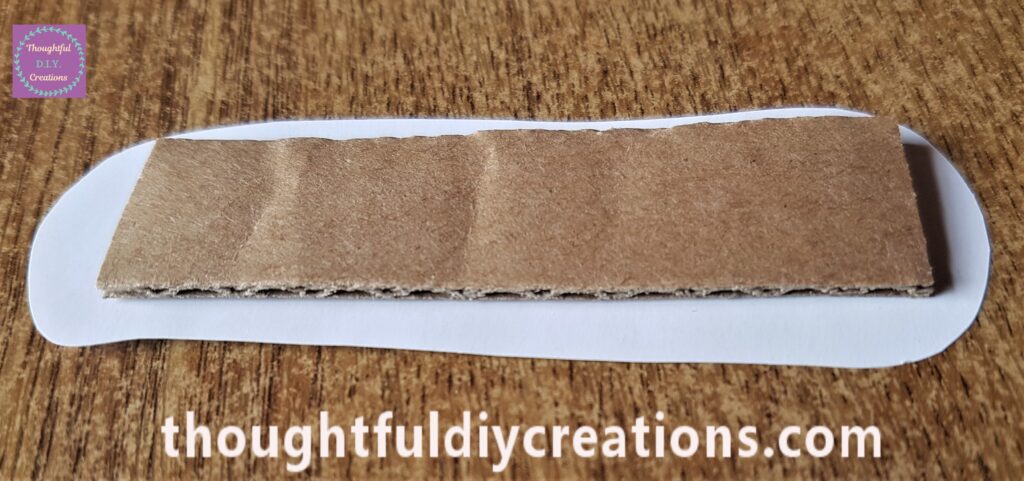
This is how the Quote looks with the Cardboard attached with Double-Sided Tape.
This is the Difference between using Double-Sided Tape and Tacky Glue.
Attaching the Flowers to the Card
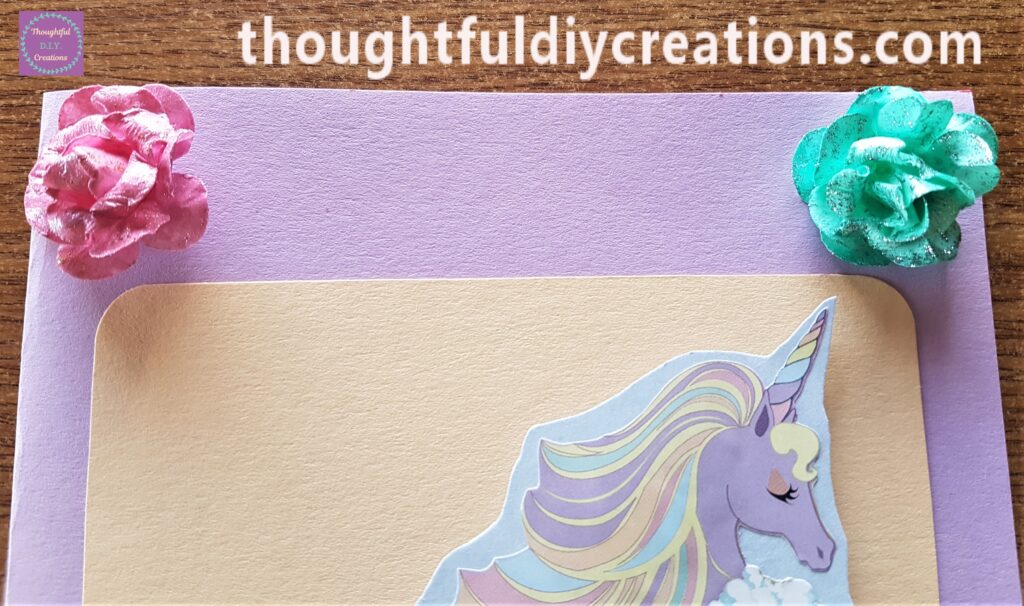
I attached the Flowers to the top Corners of the Card using my Hot Glue Gun.
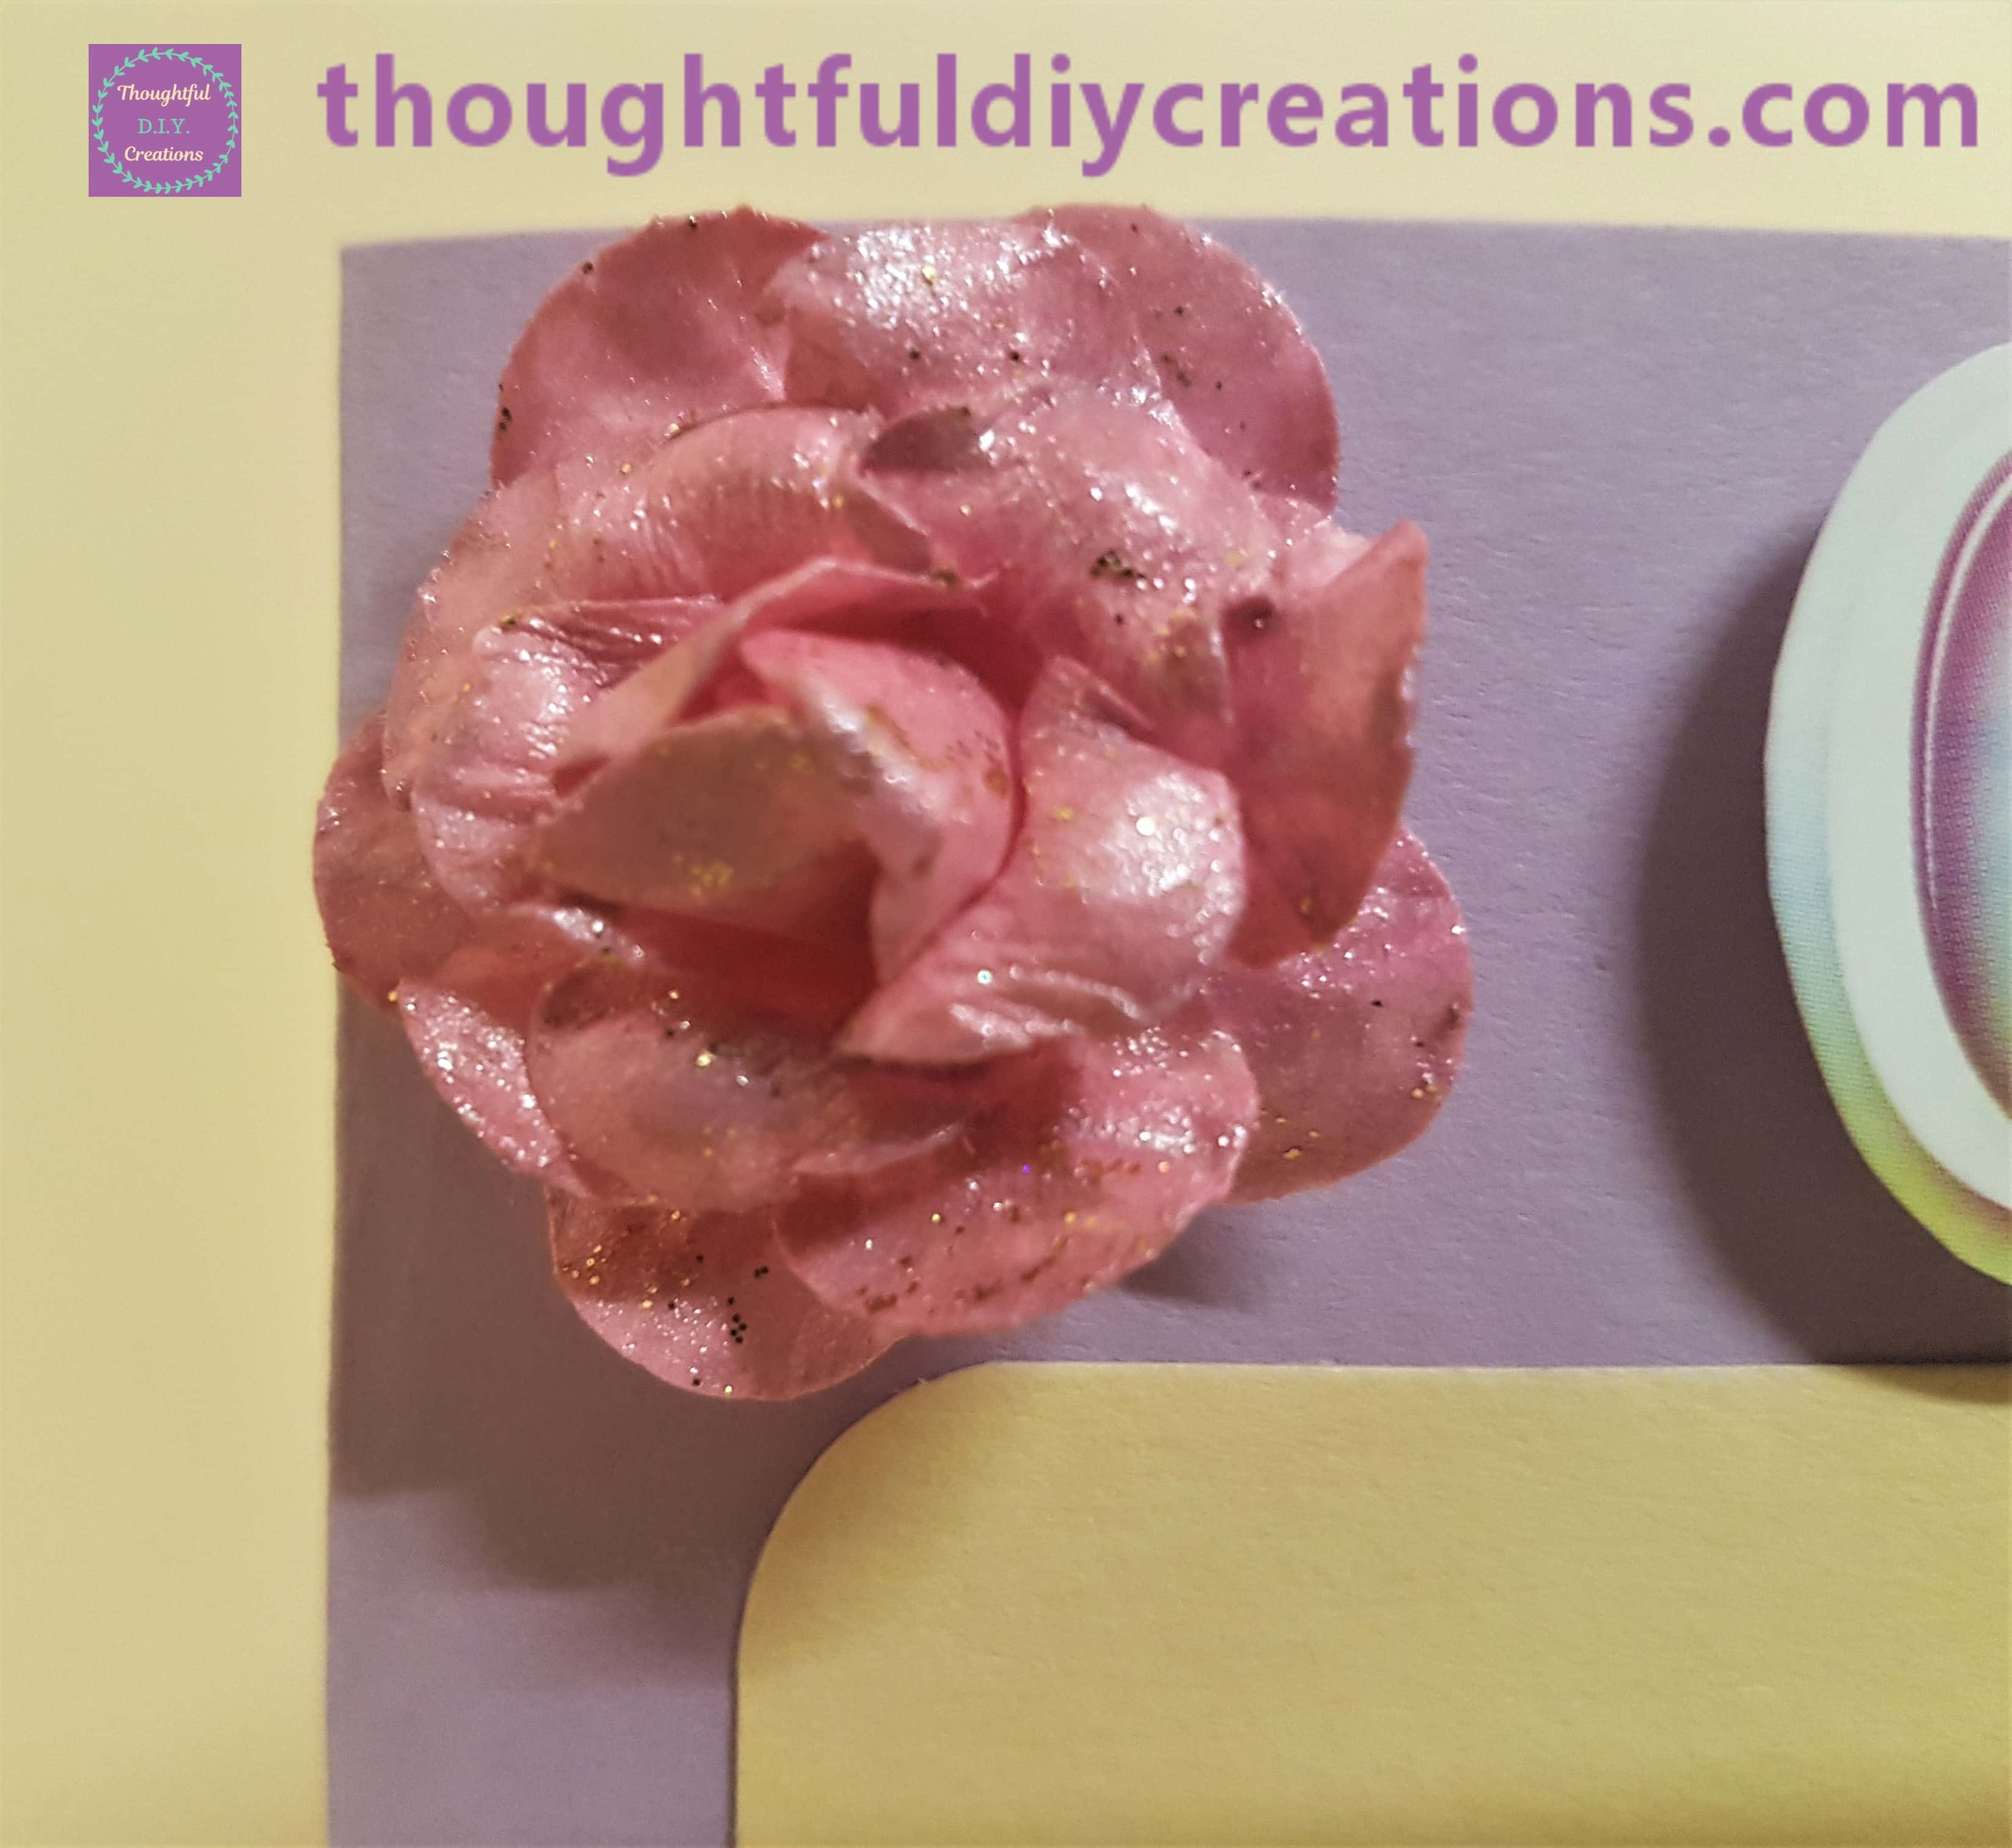
A closer Image of the Flowers.
Adding the Sentiment to the Card
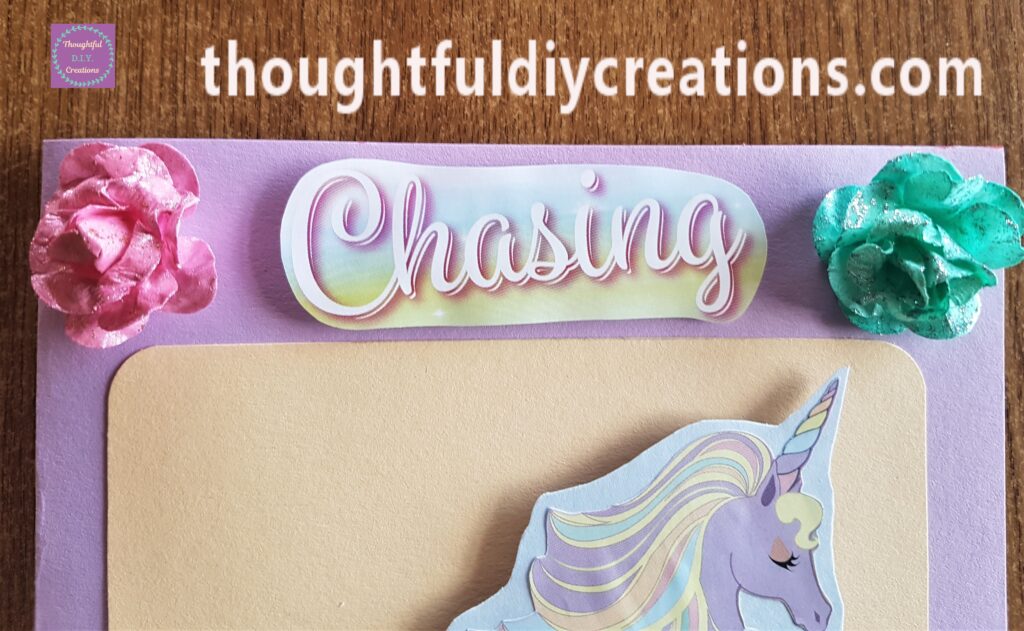
I put Hot Glue on the back of the Cardboard and attached the word ‘Chasing’ to the top of the Card.
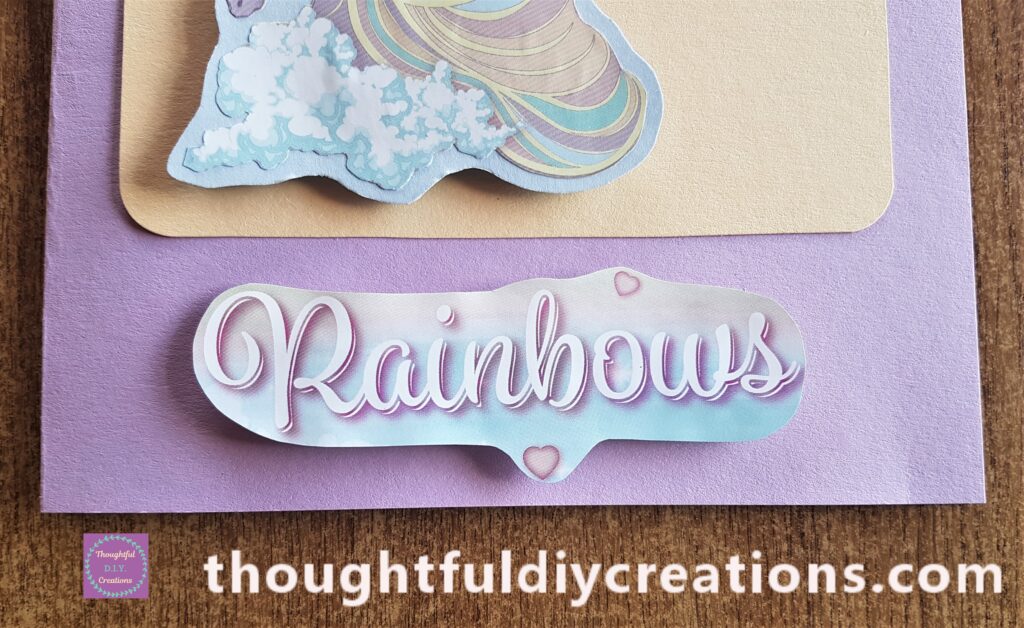
I also added Hot Glue to the Cardboard on the back of the word ‘Rainbows’ and attached it to the bottom of the Card.
Finishing Touches to the Front of the Card
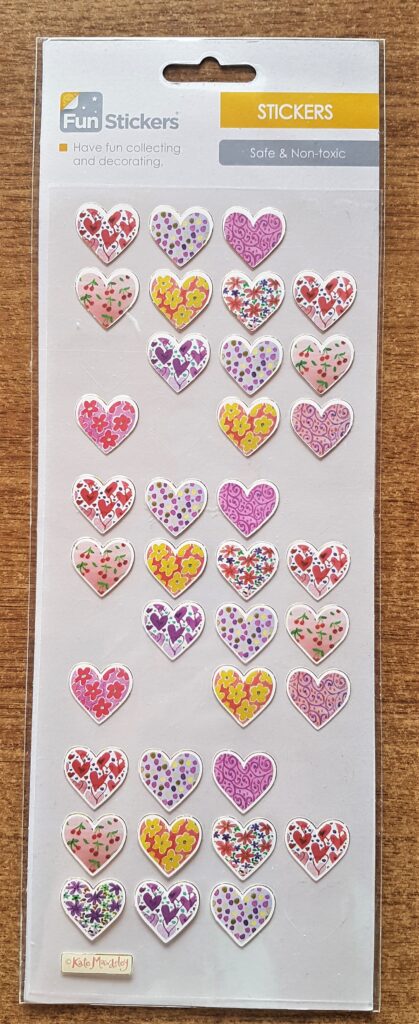
I got my Love Heart Stickers from my Sticker Collection.
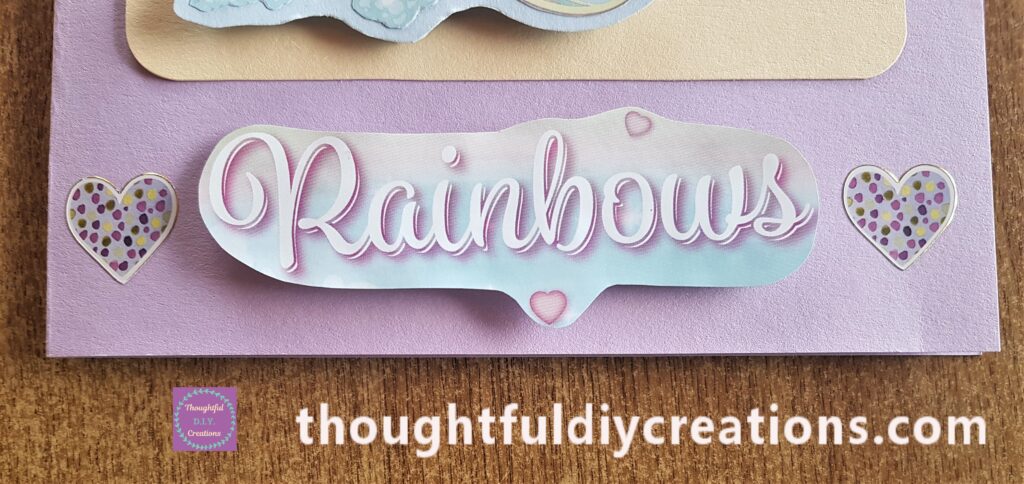
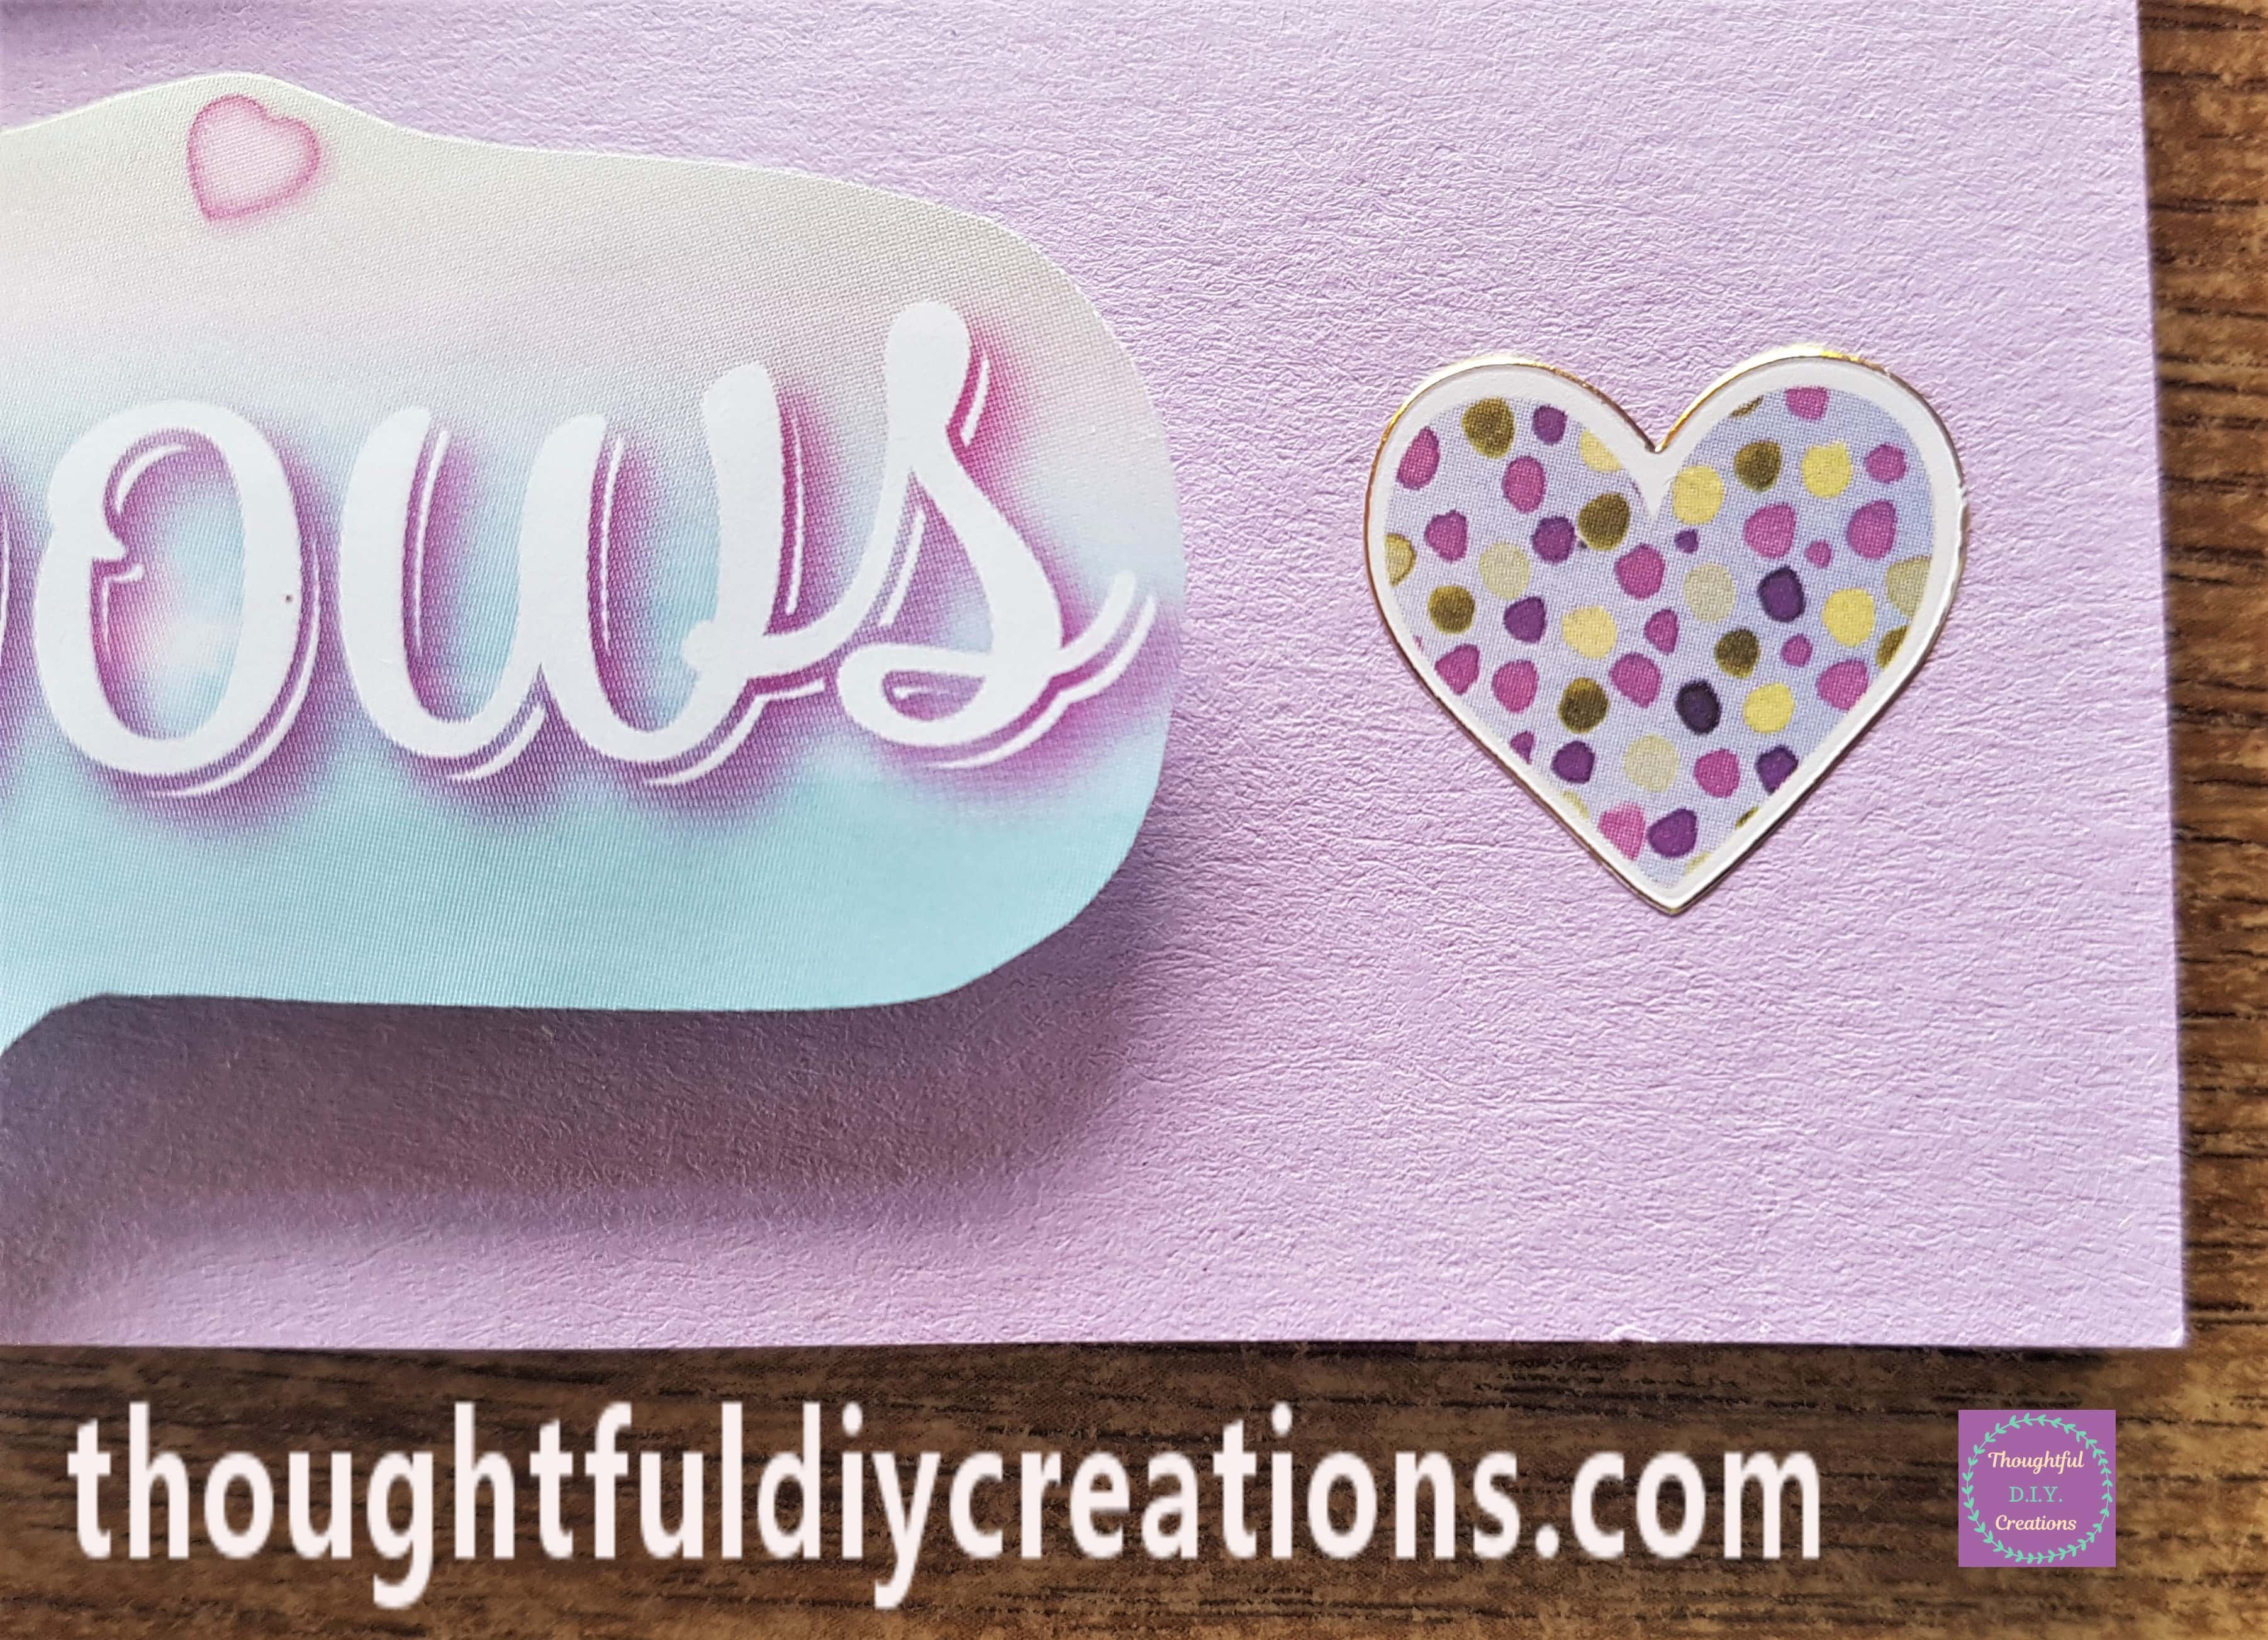
I chose 2 of the same design Love Heart Sticker and attached them to the bottom of the Card.
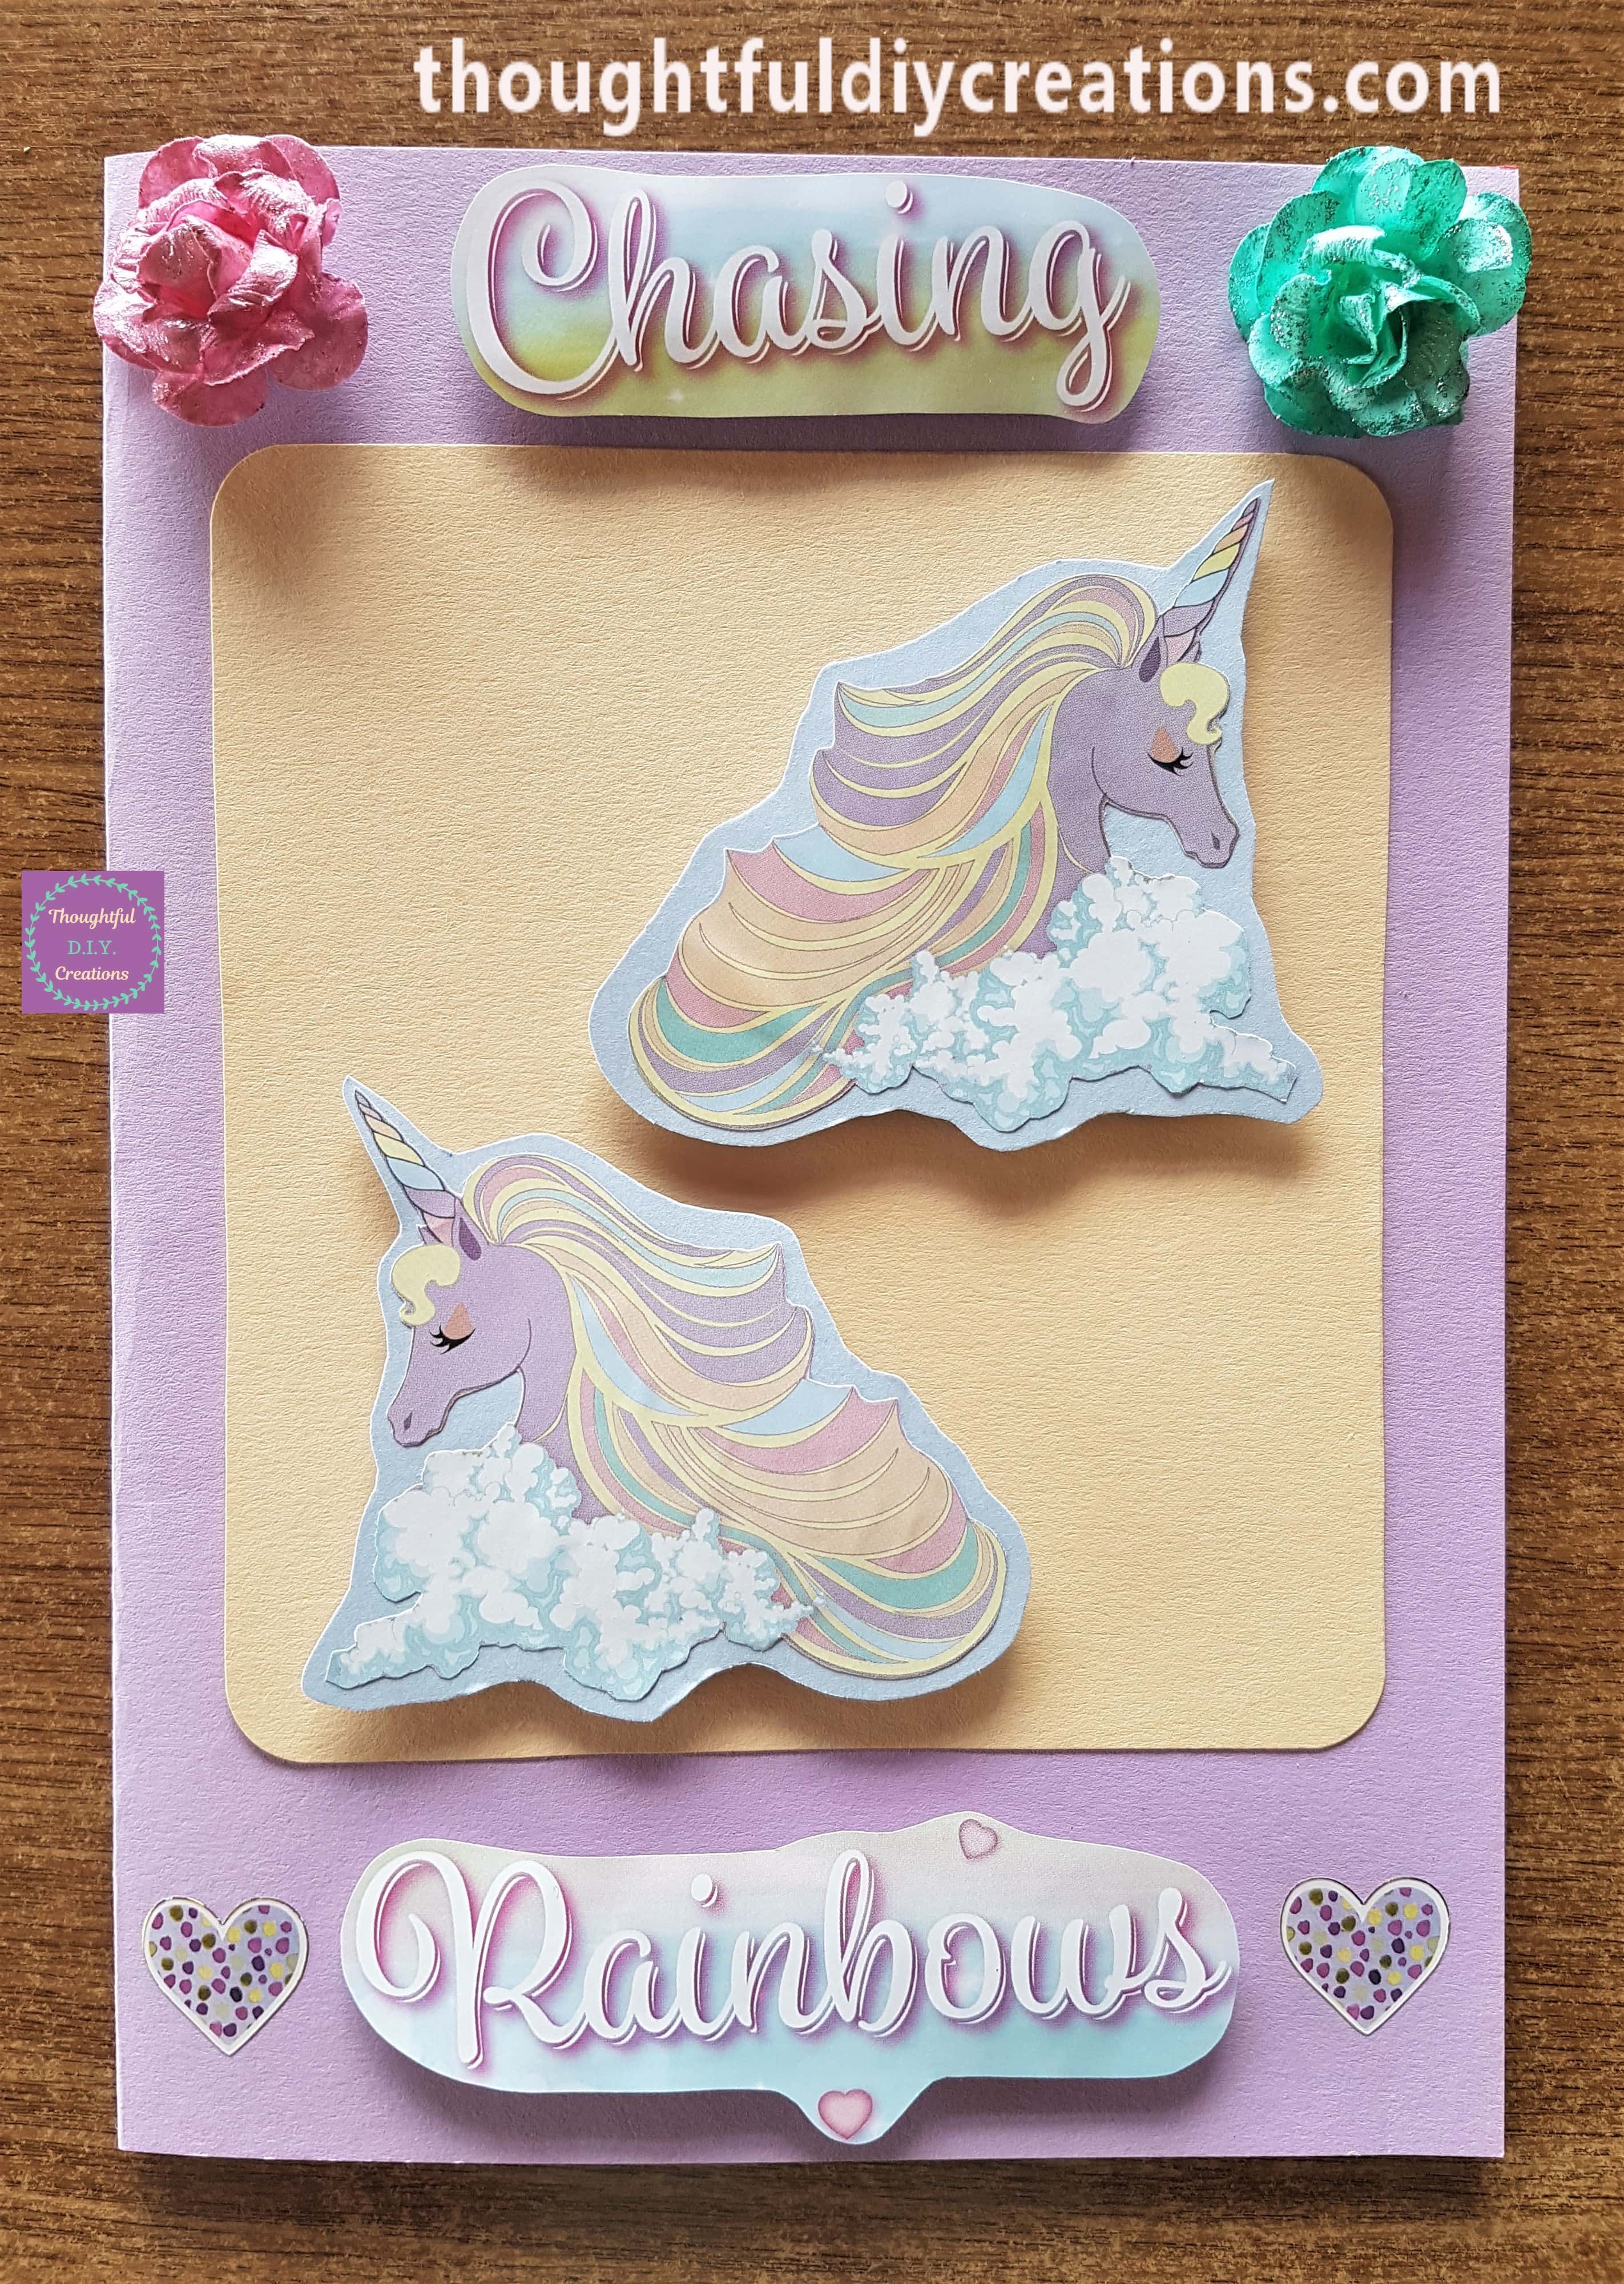
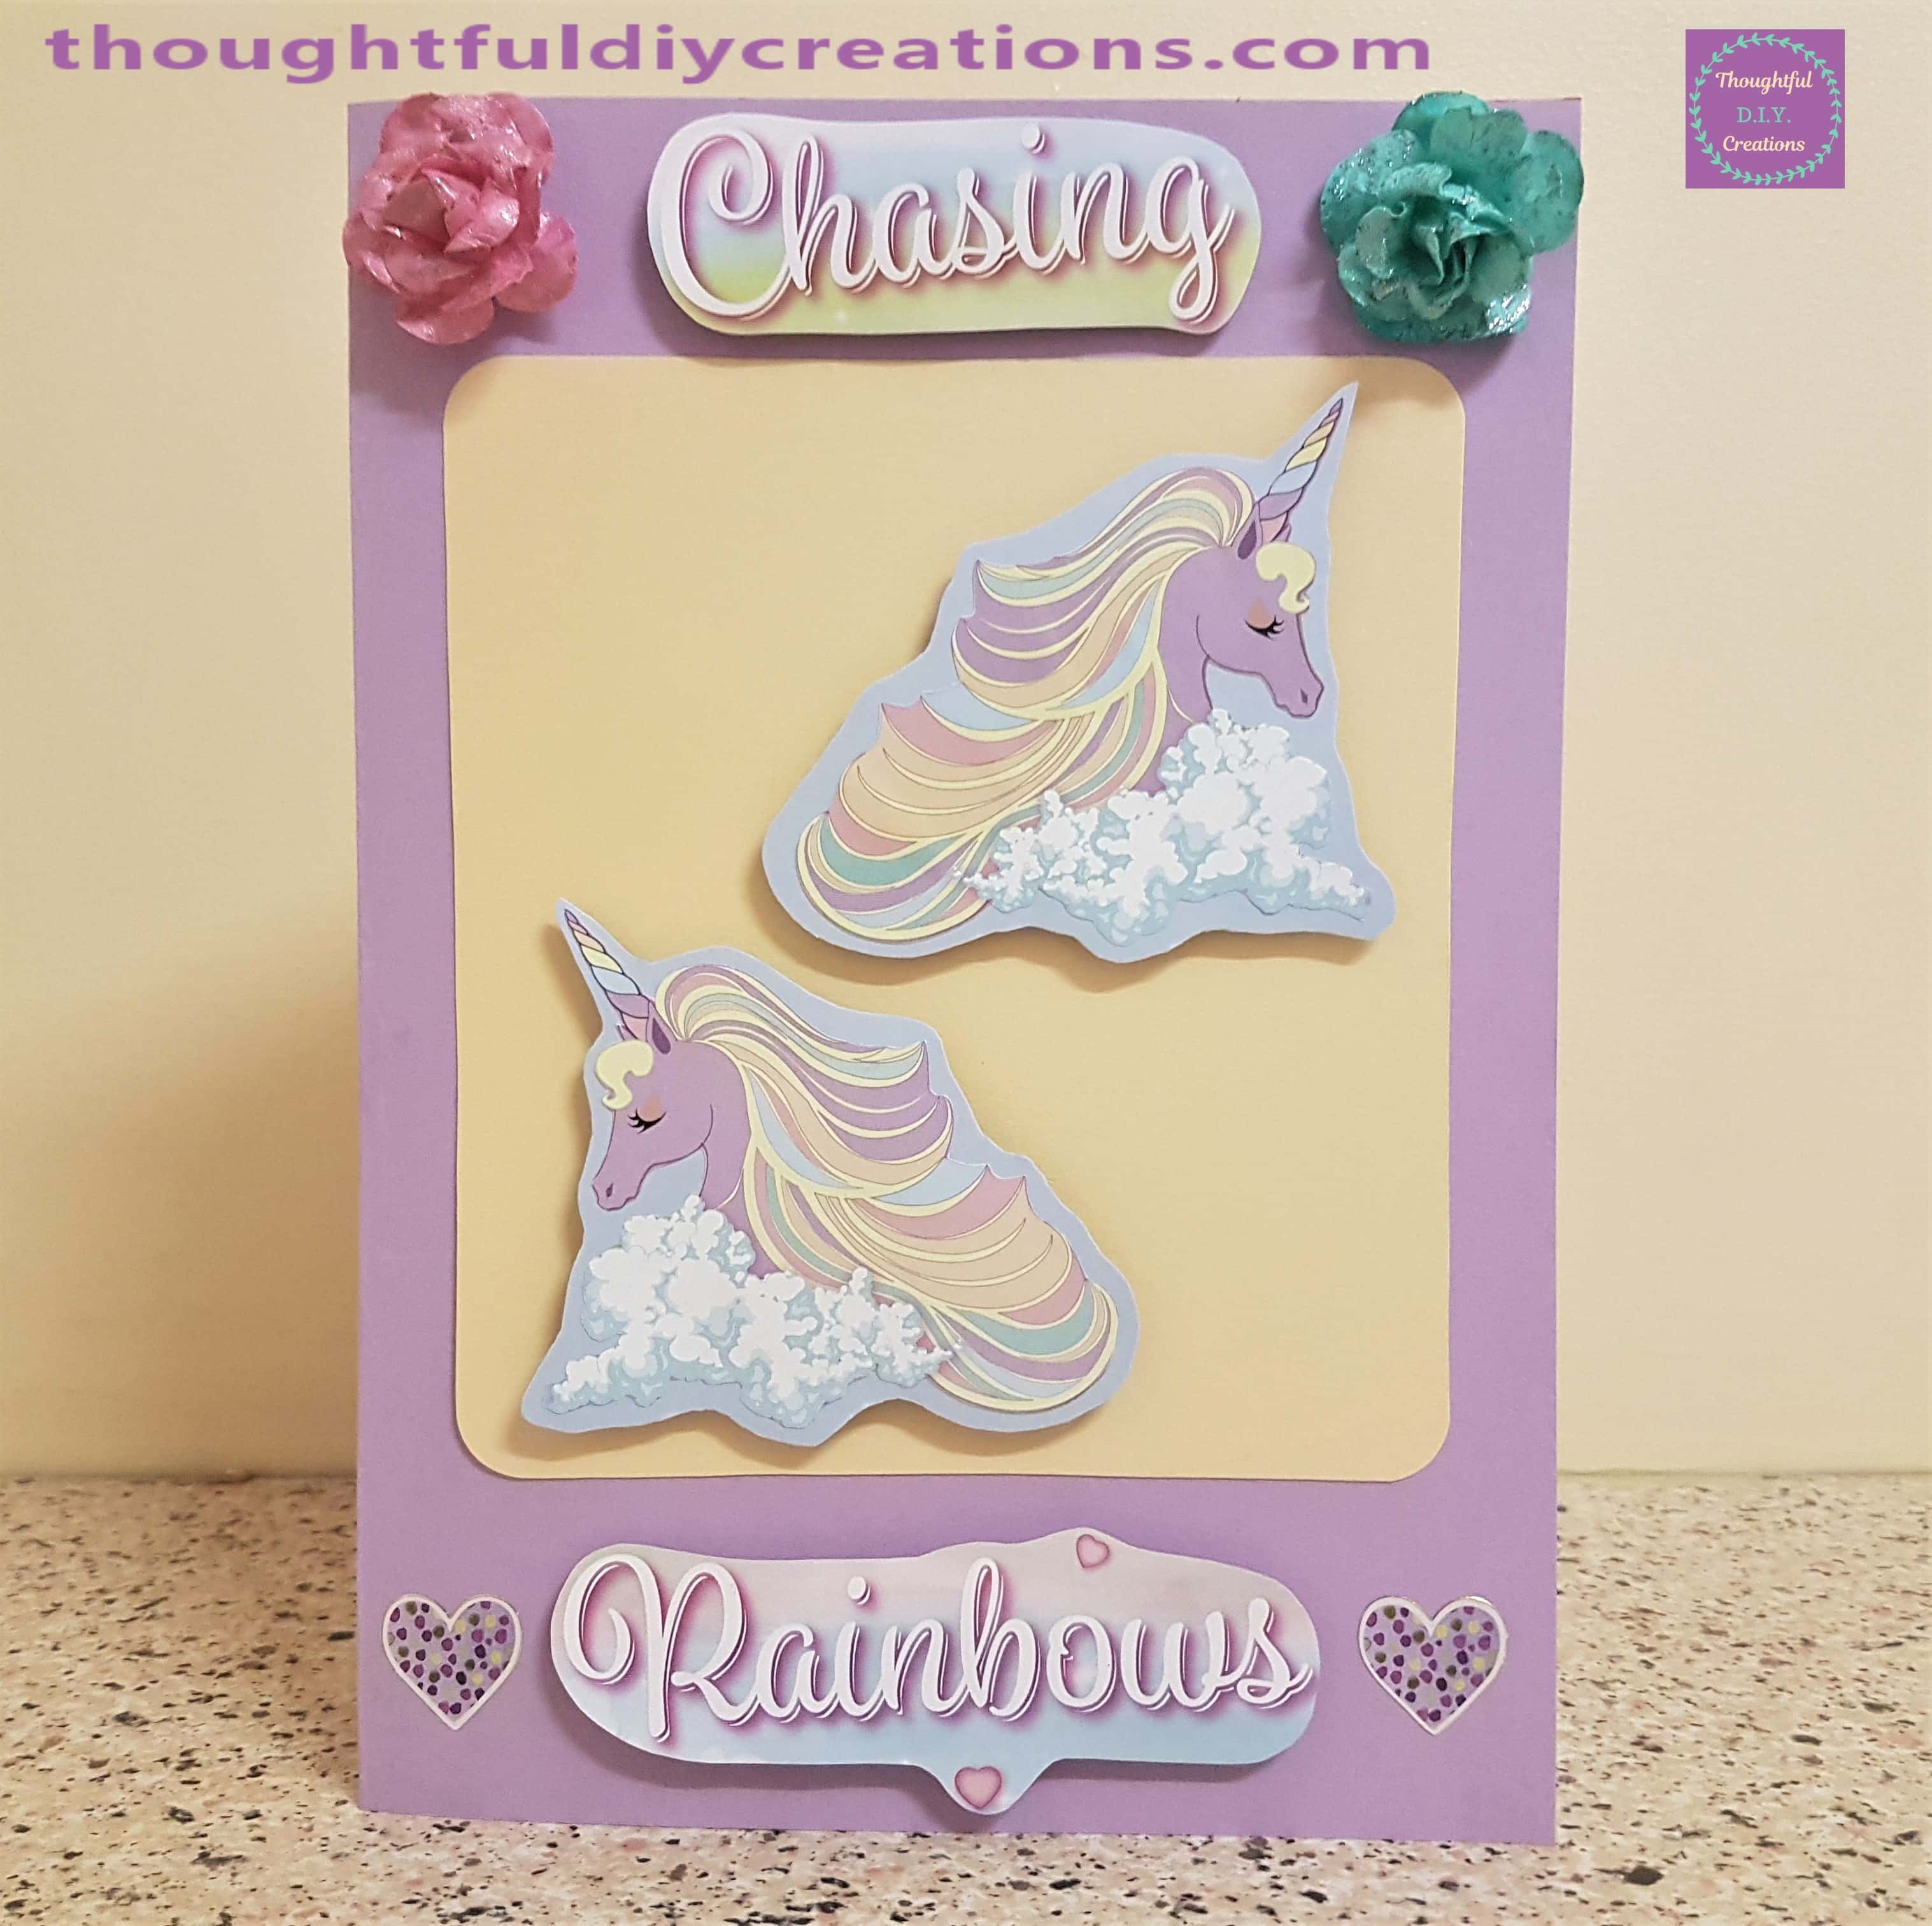
This Completed the front of the Handmade Card.
Decorating the Inside of the Handmade Card
I got a Pale Yellow Cardstock Sheet.
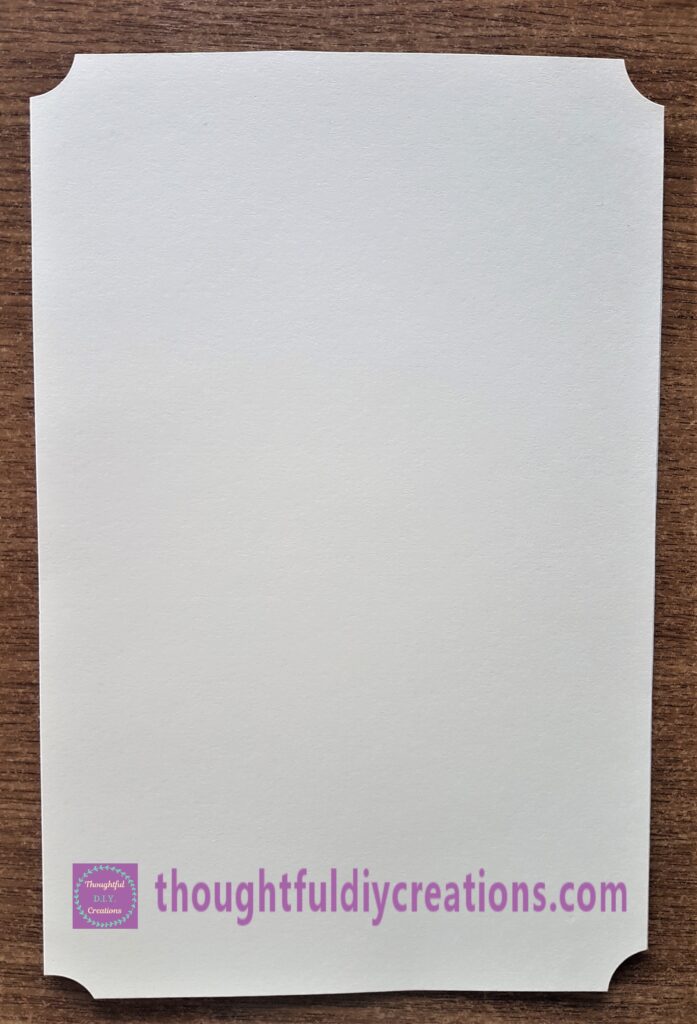
I cut it into a rectangle shape to fit the inside of the Handmade Card. I put the Corner of the Sheet into the Black Side of the Corner Punch and pressed down the Black L Section of the Punch to remove the corner.
This gives a decorative angle to each corner and is another way of using the Punch.
I put Pritt Stick all over the back of the yellow card and attached it to the inside of the Handmade Card.
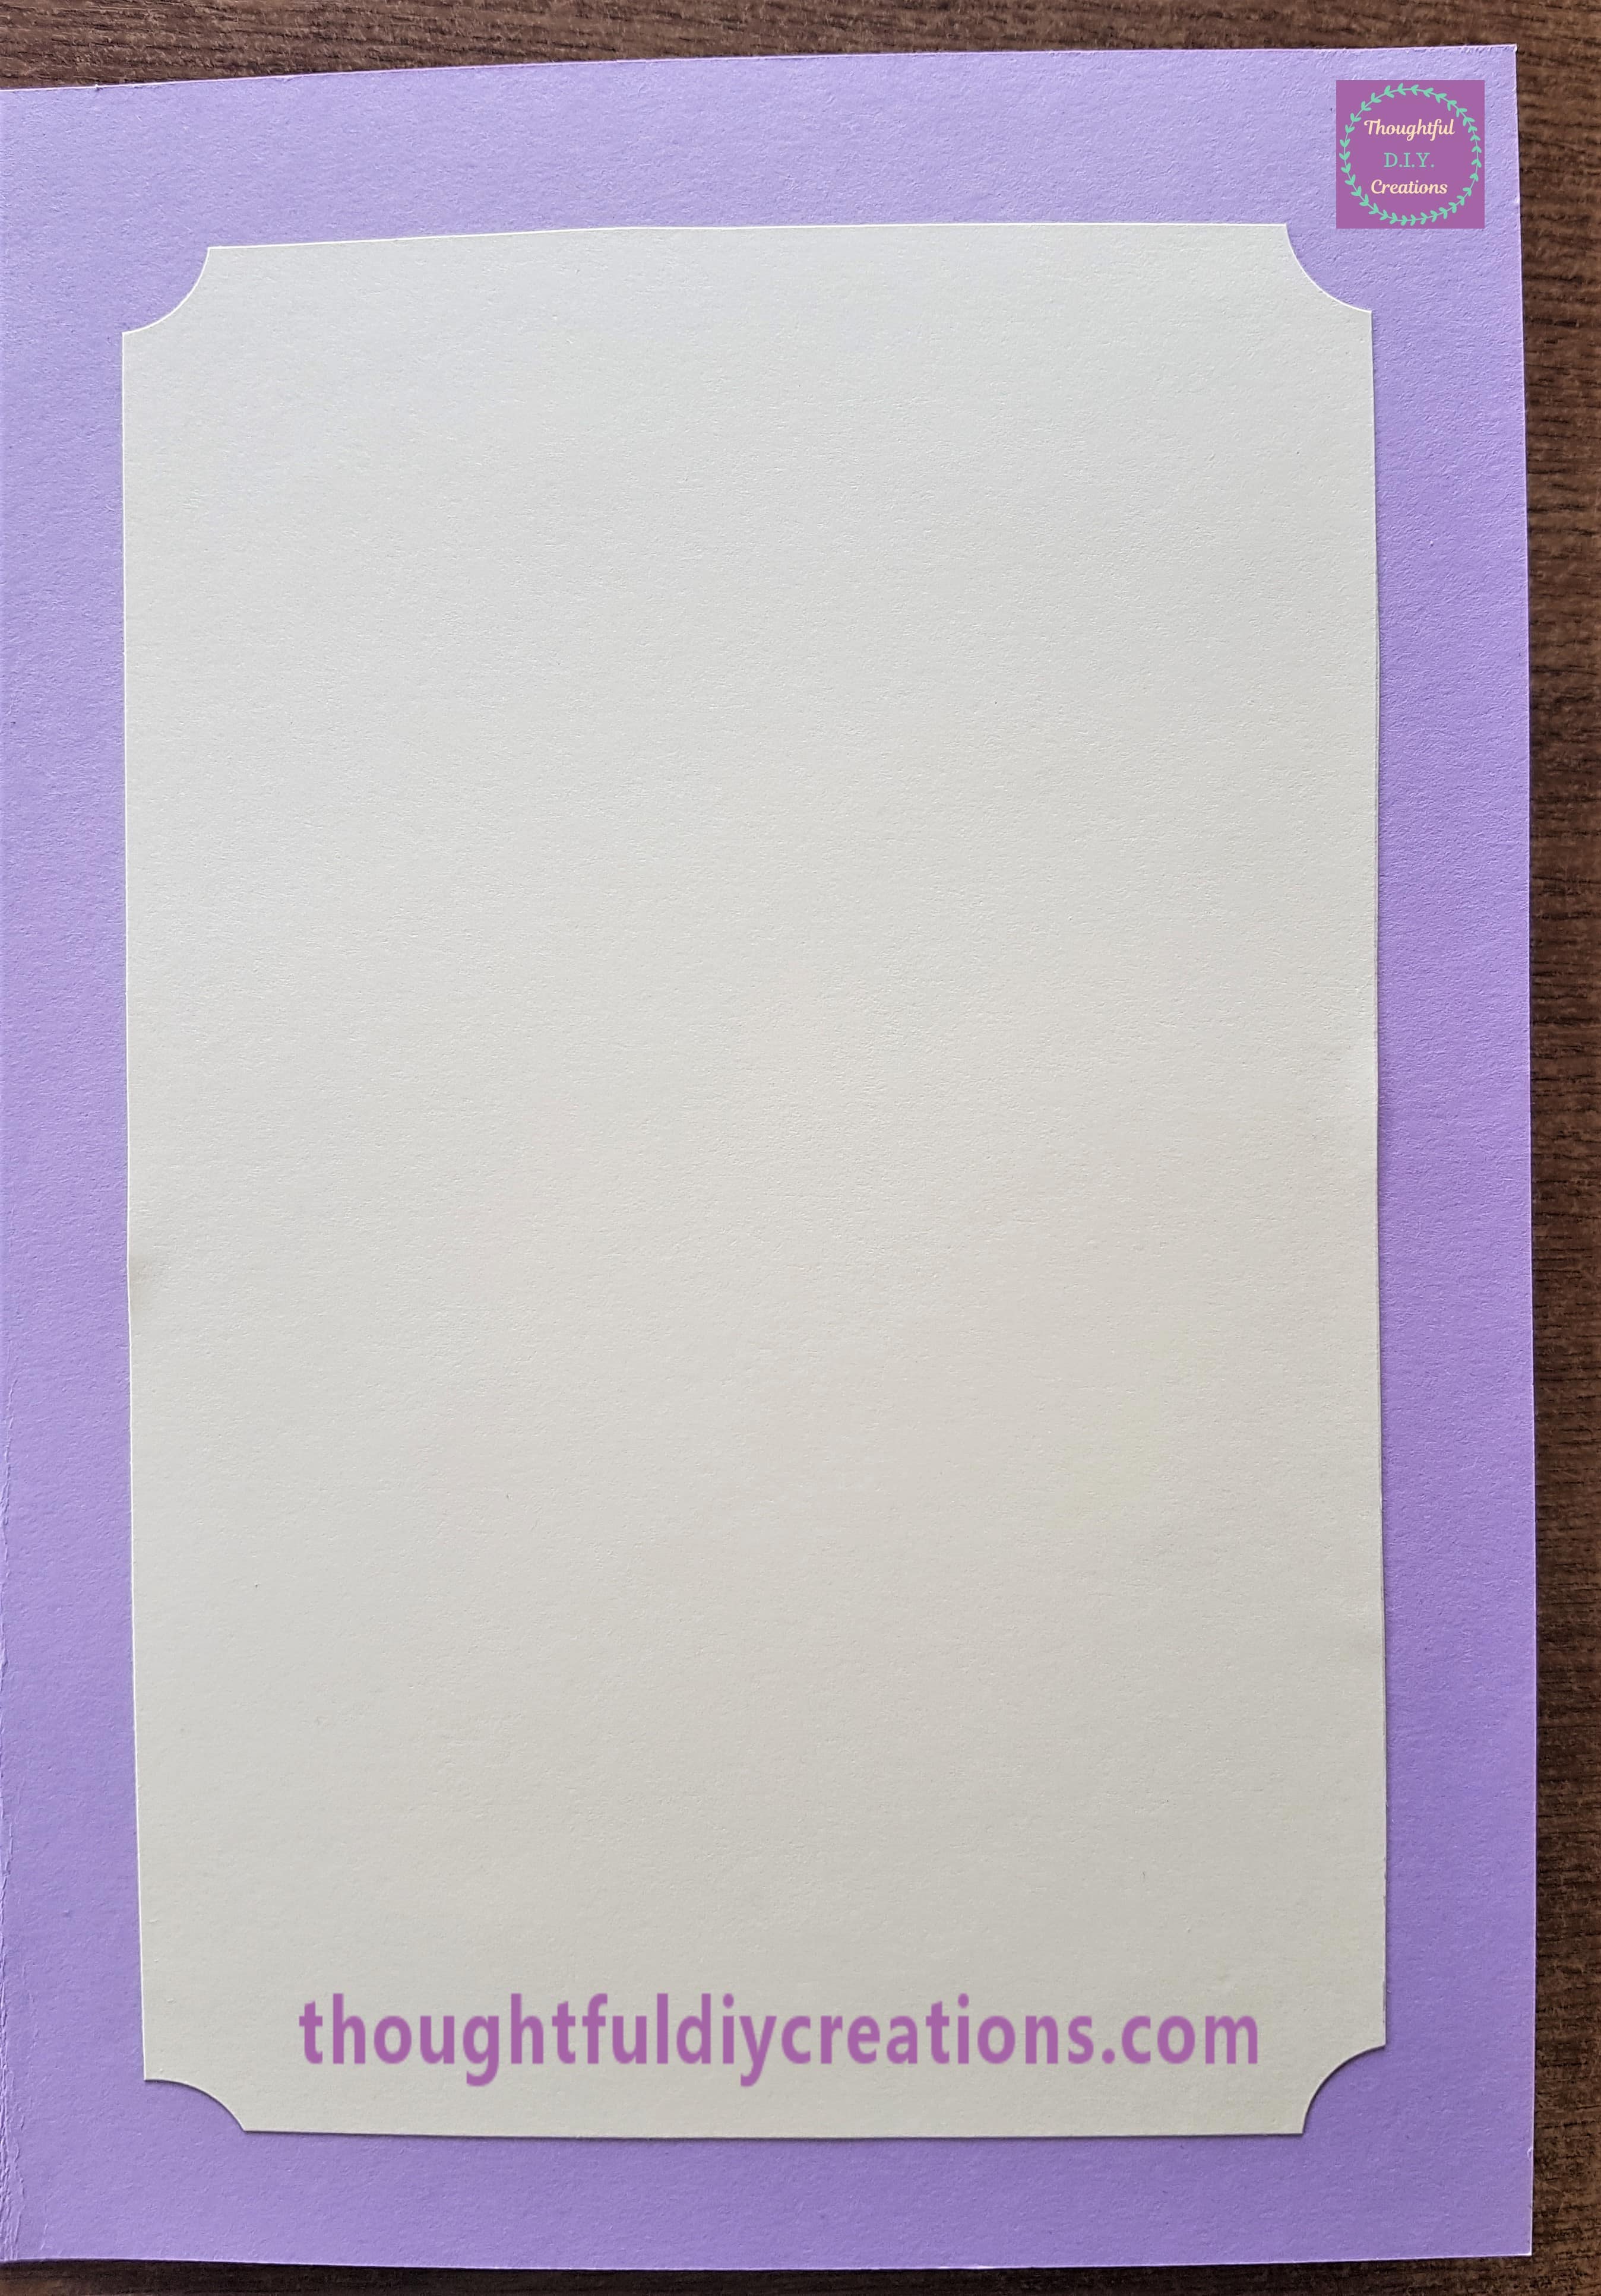
This Completed the Inside of the Card.
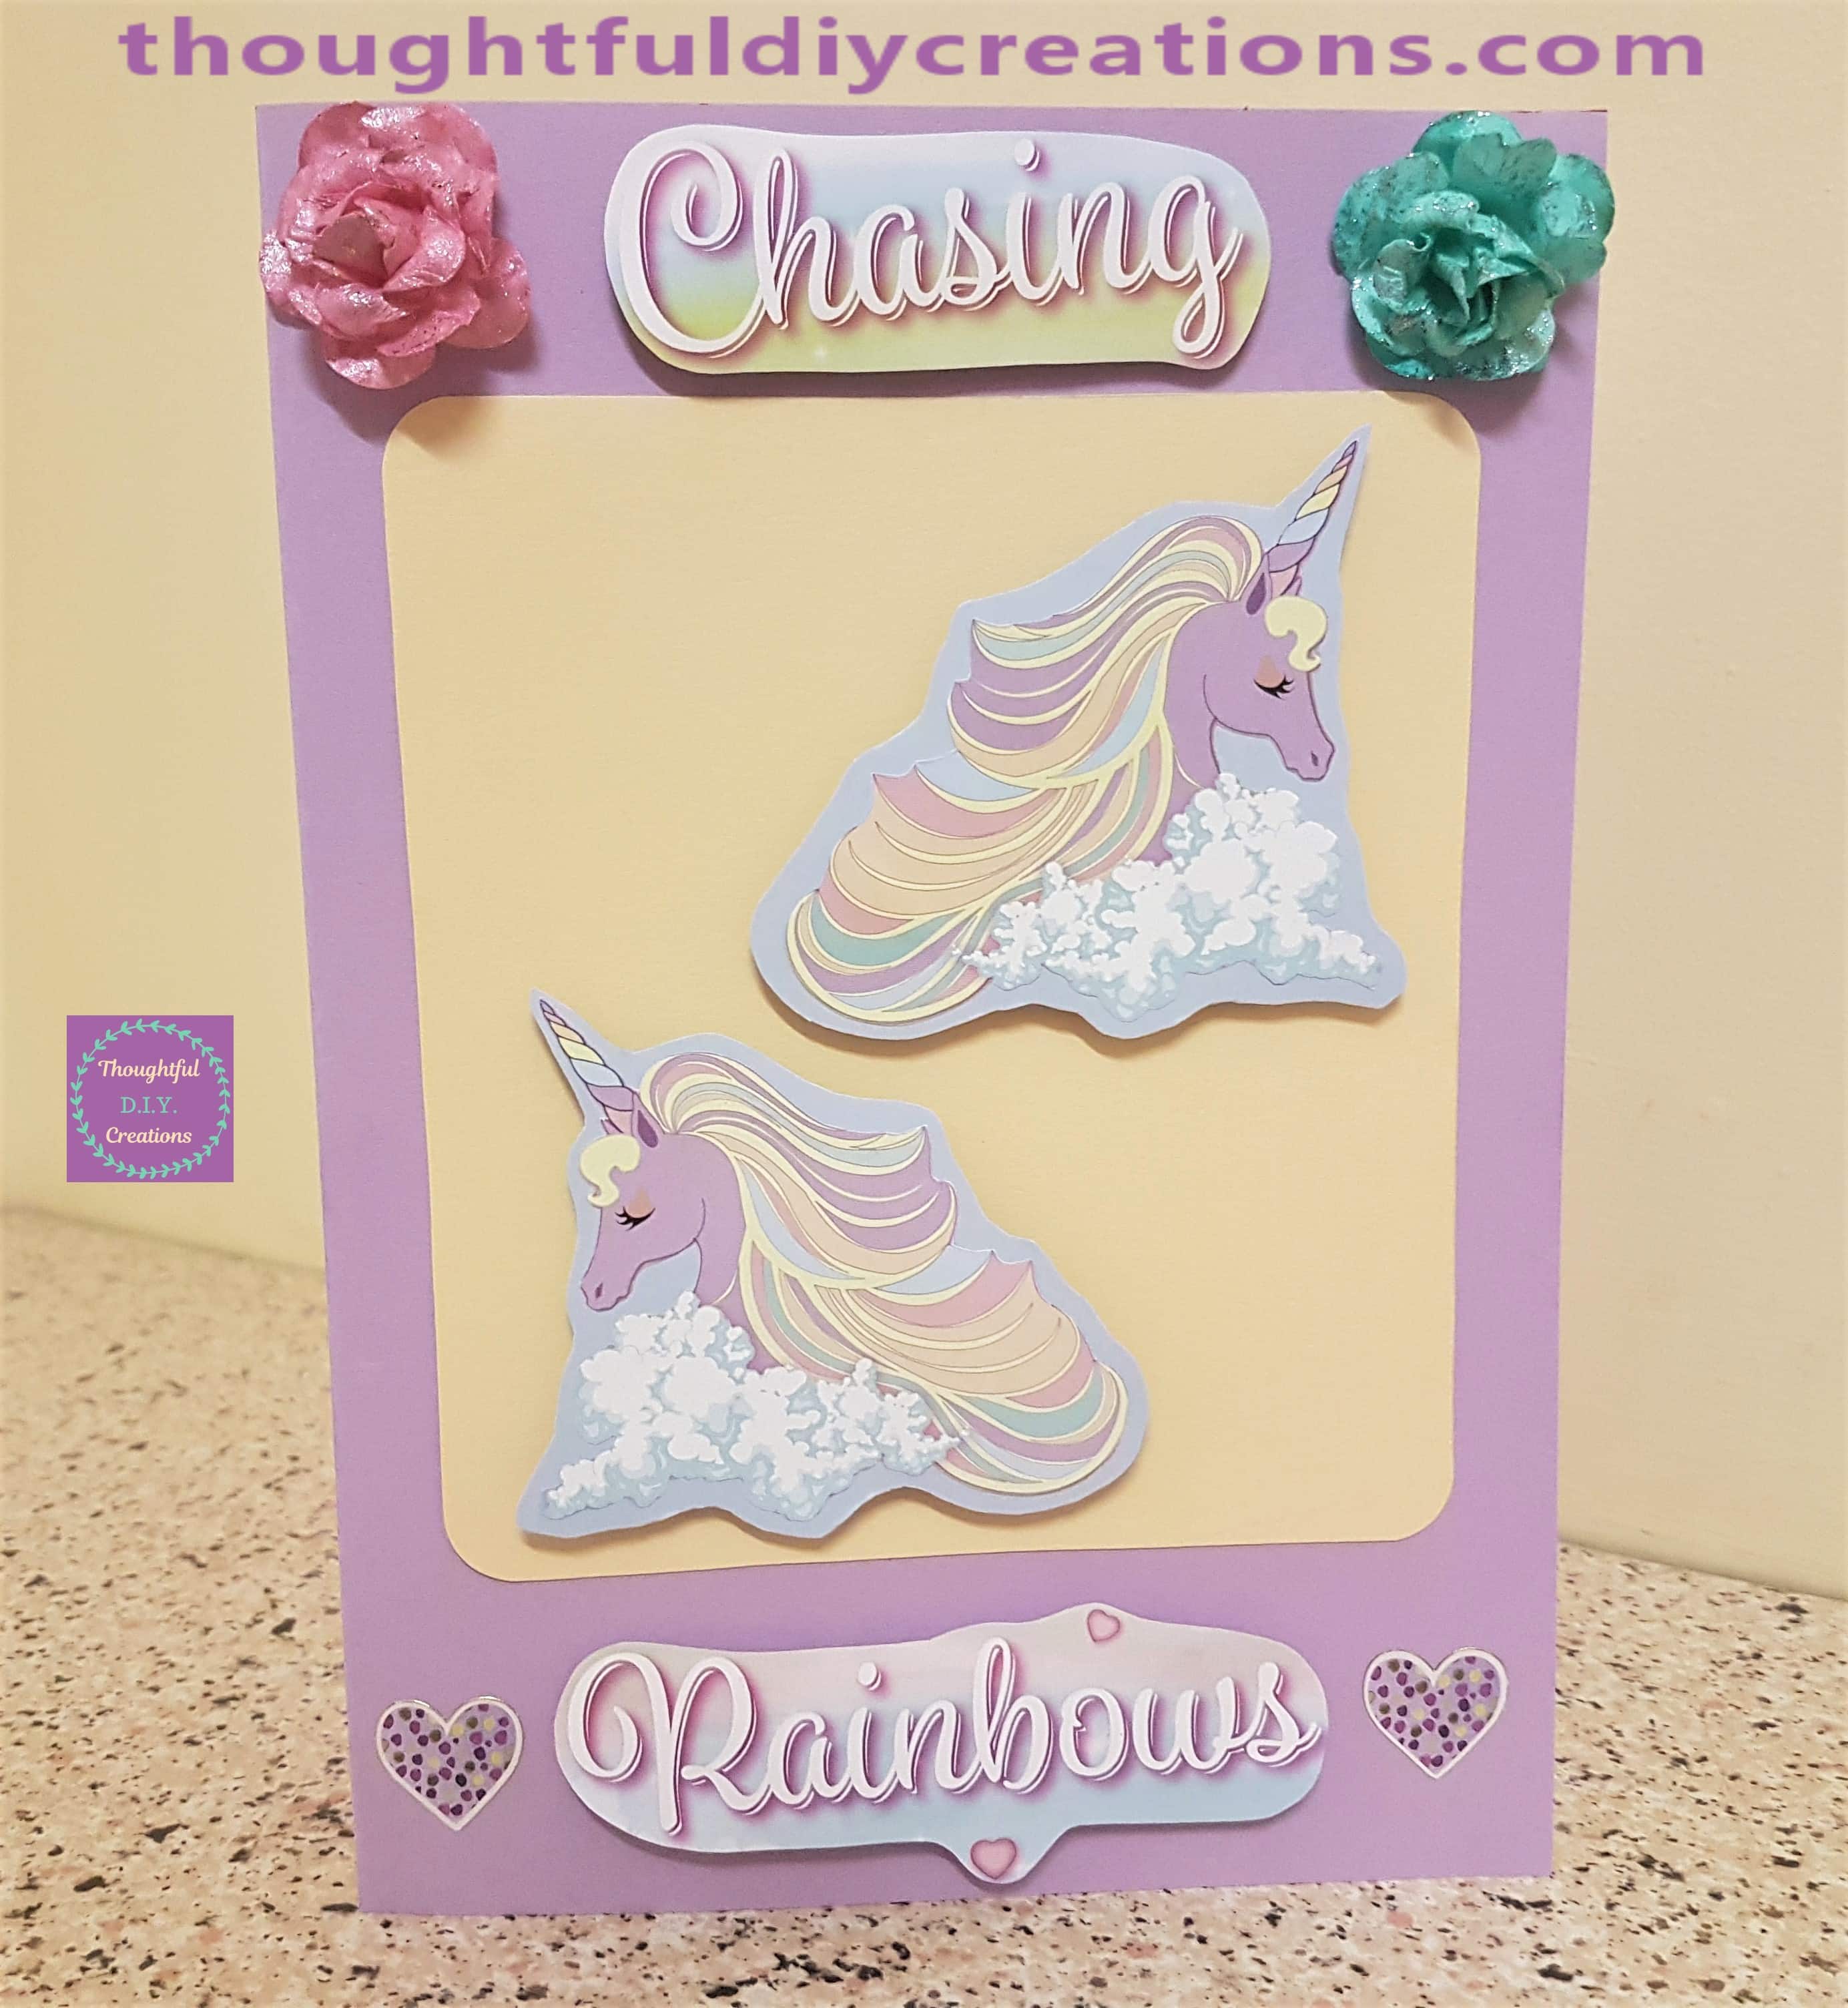
This is the Finished Handmade Card on Display.
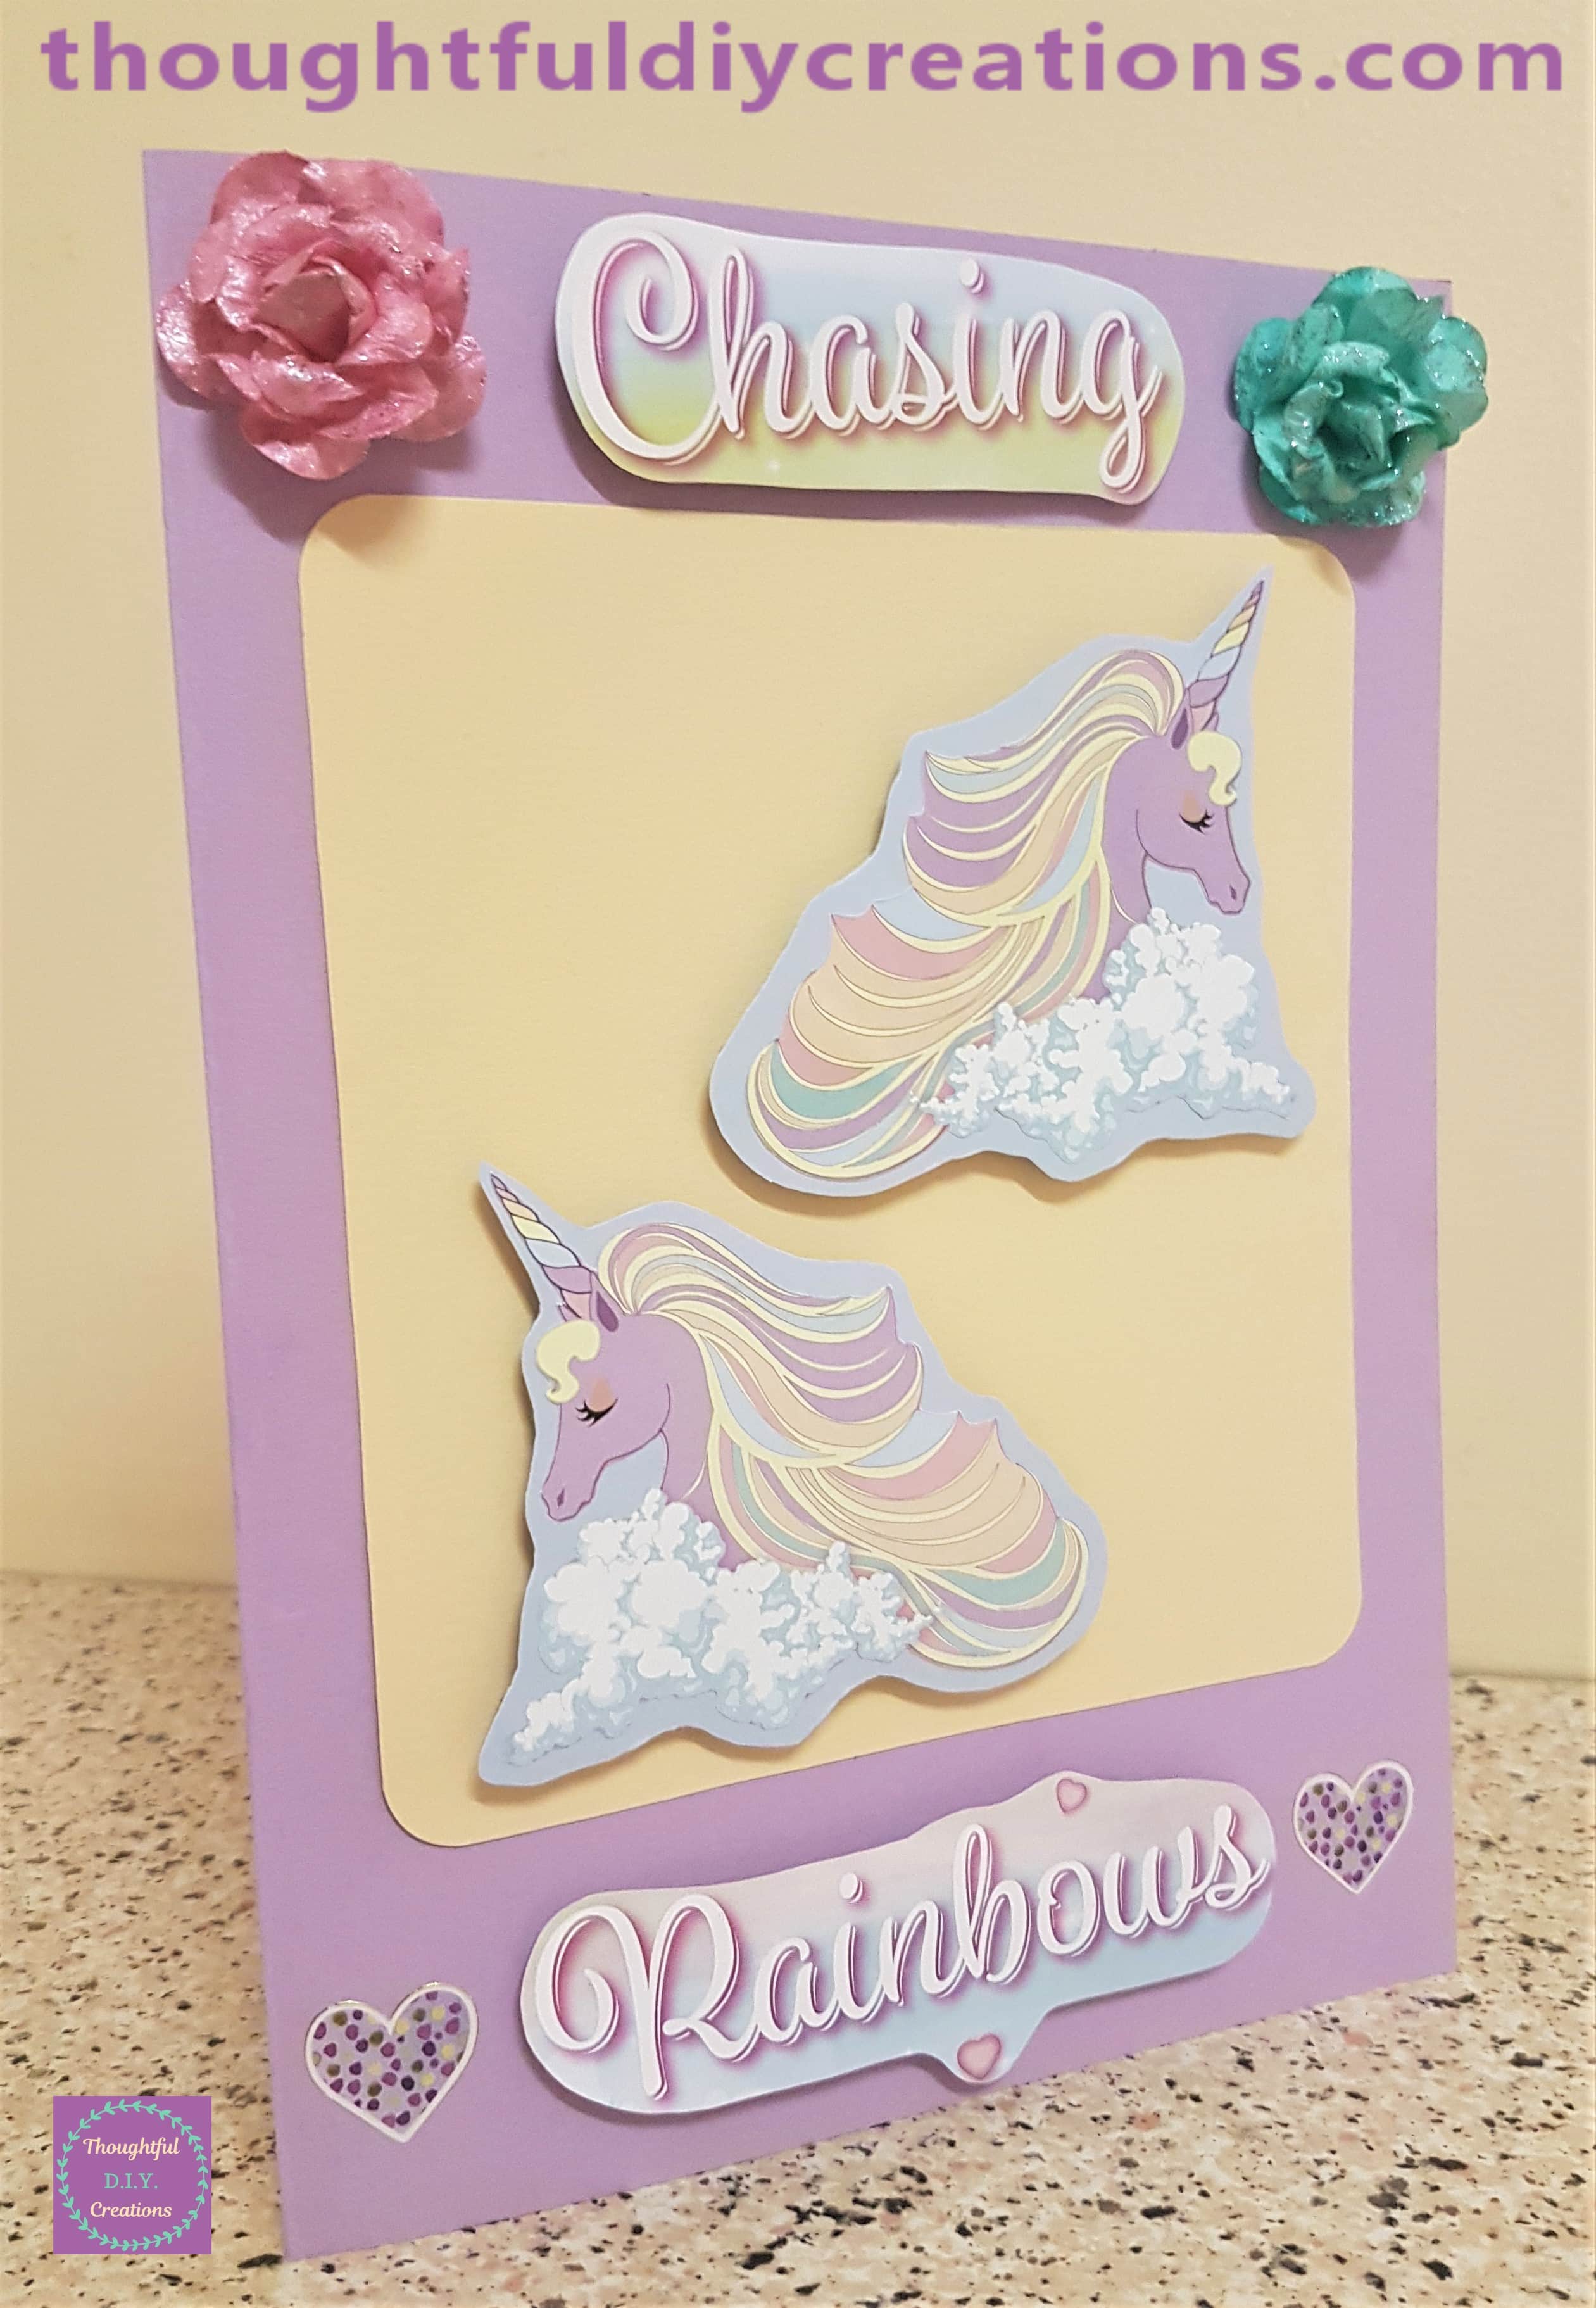
A side angle of the Card.
The Inside of the Card.
The Unicorns on the Card.
A closer look at the Pink Flower.
The Love Heart Sticker on the bottom of the Card.
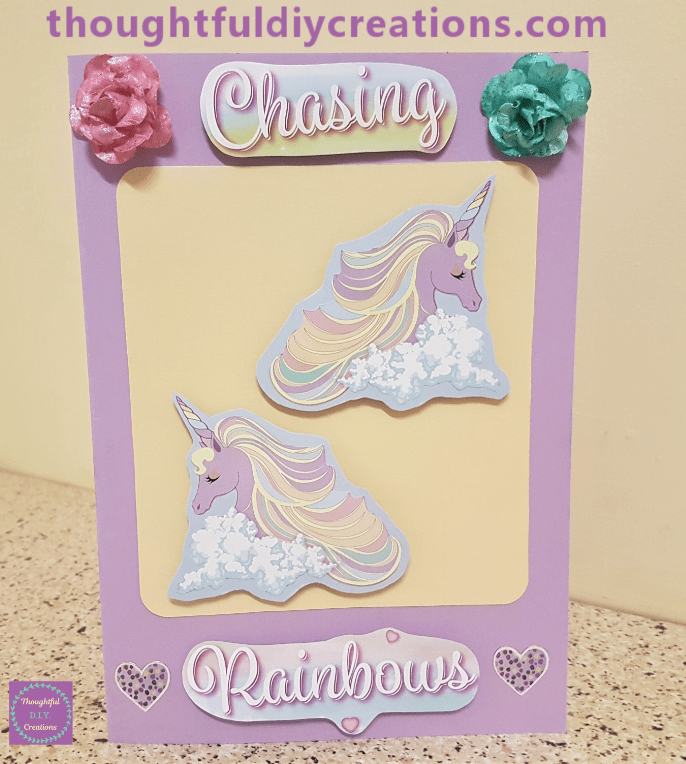
A Full View of the Unicorn Card.
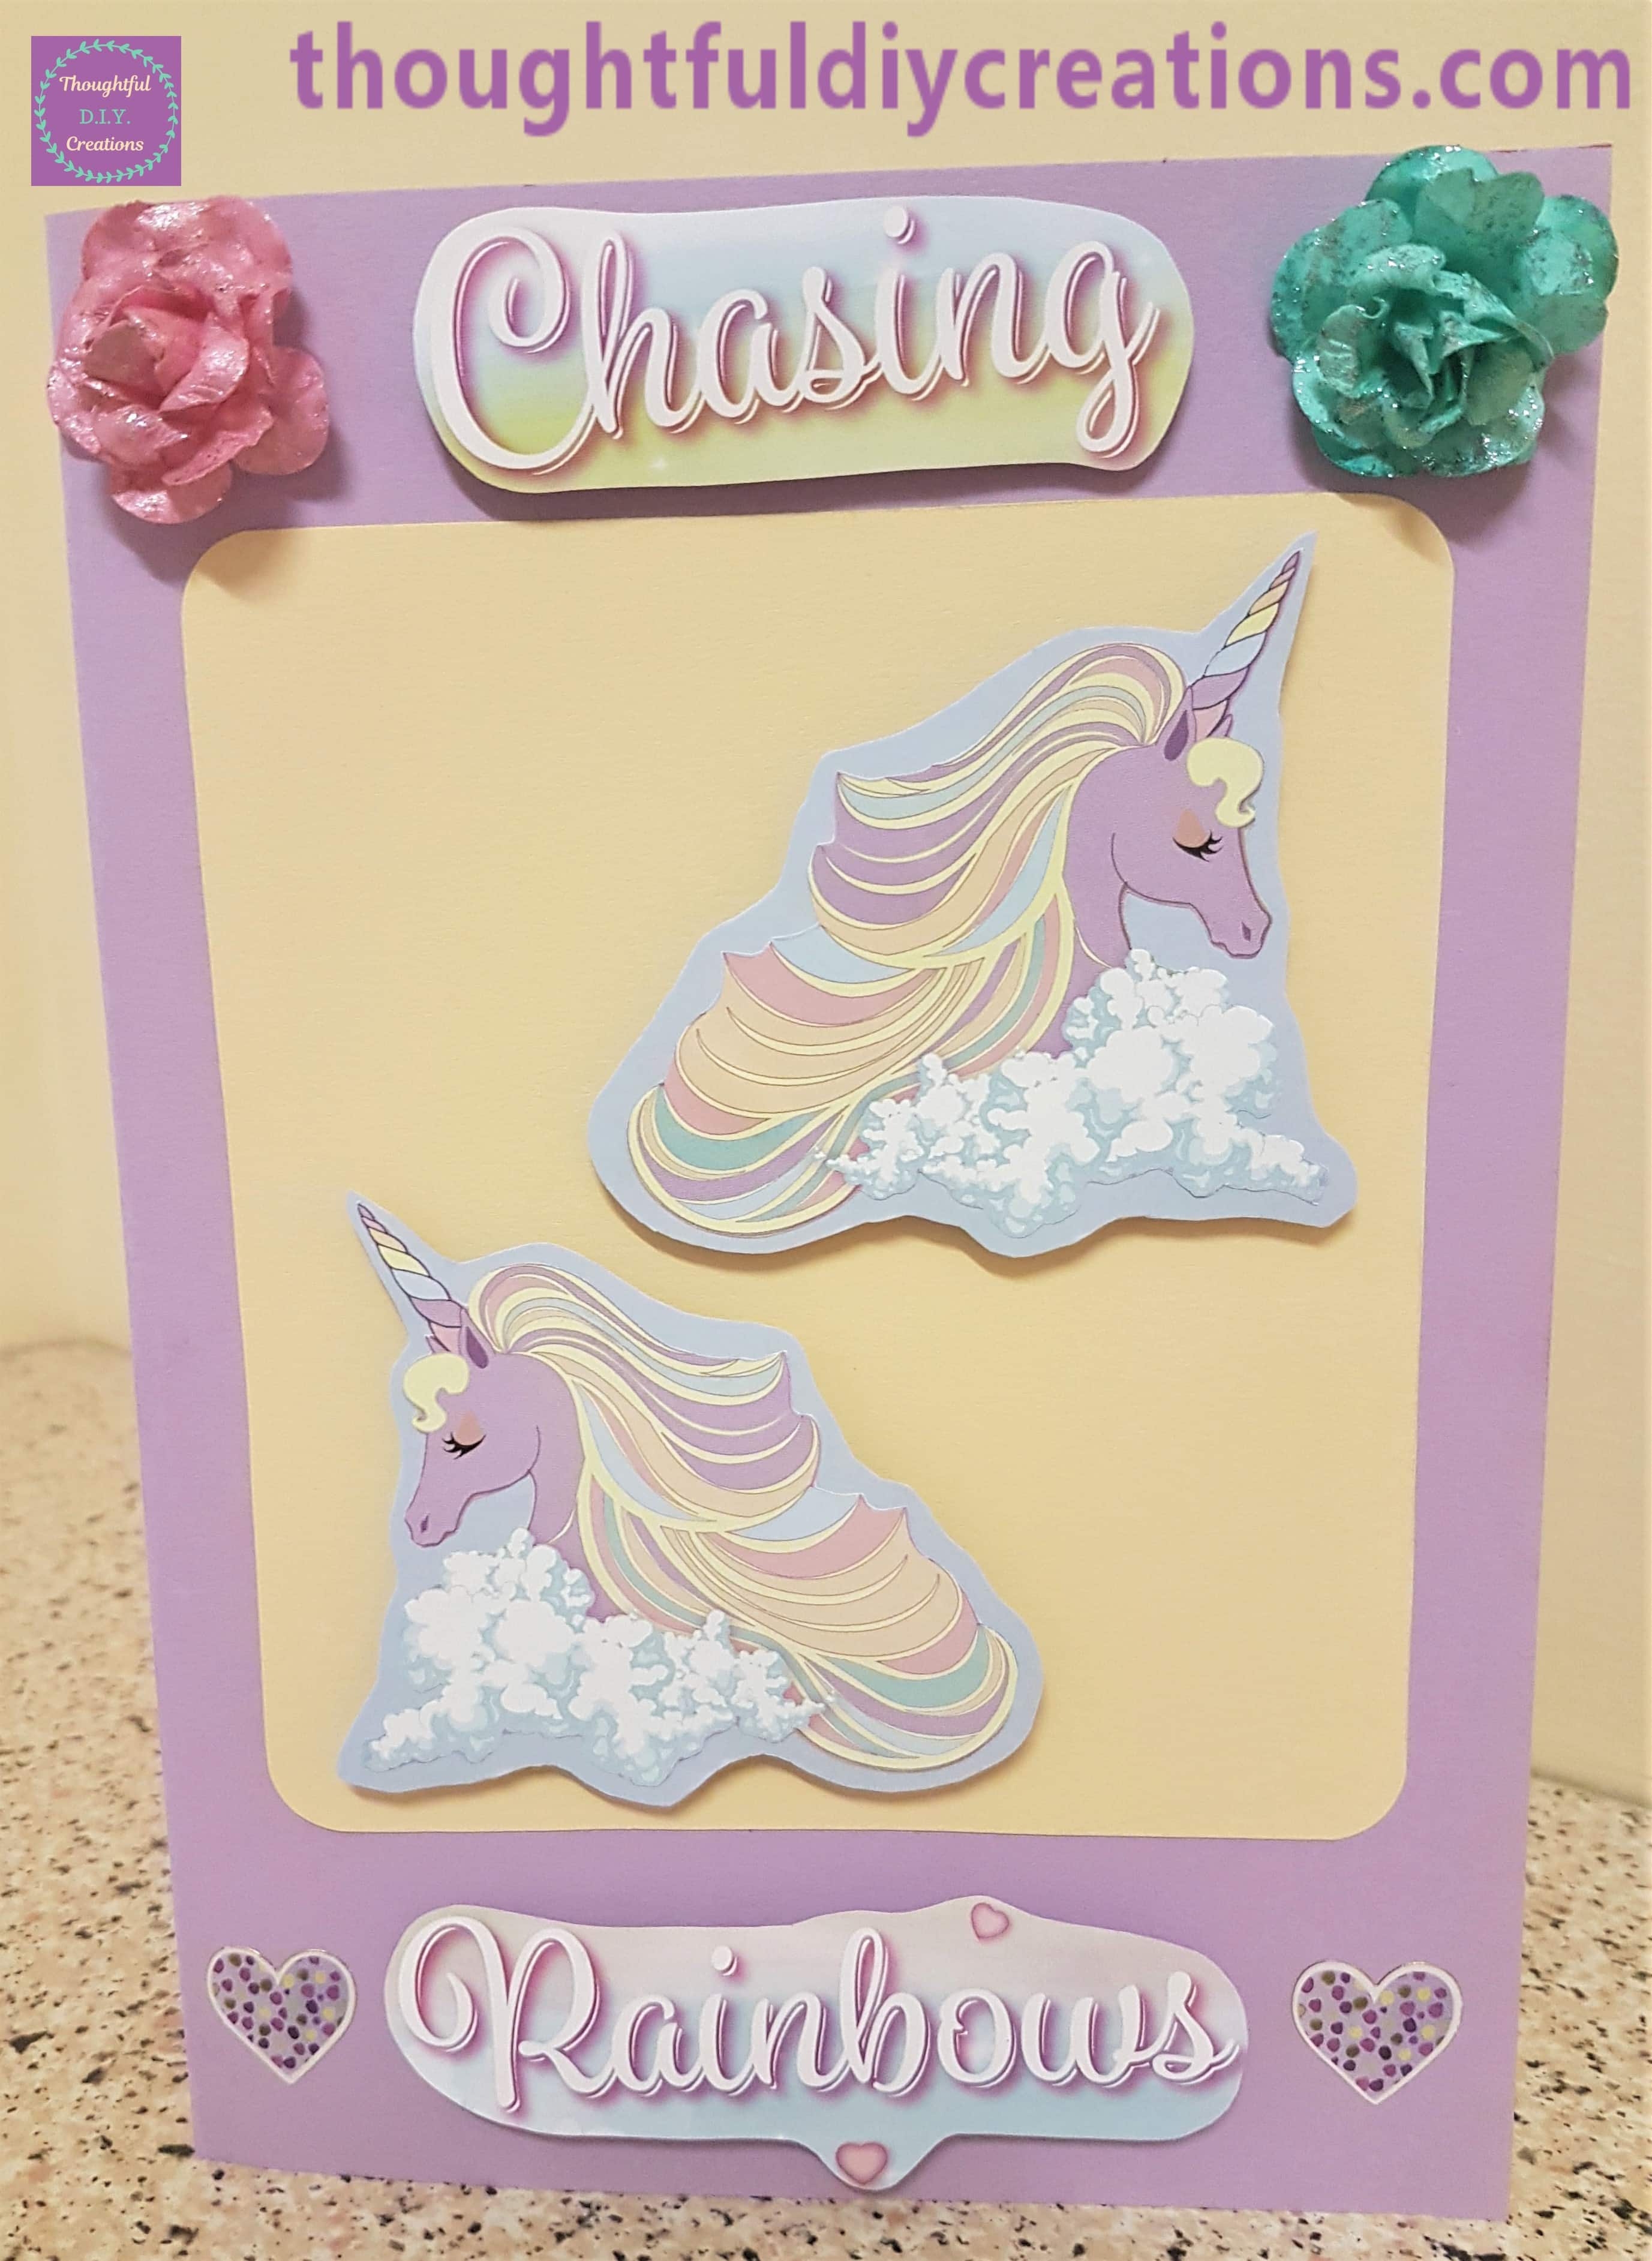
The Final Image of the Handmade Card.
Conclusion
I am really pleased with the outcome of my Handmade Card. This is a Sample Card I made for the Blog. I usually Personalise my Cards with the Person’s Name, the Occasion and the Date. I left some space between the Unicorns so I can personalise it at a later date so if someone wants it for a particular Occasion I can add any required details to make it unique. I usually use my Label Maker or my Stamps, and Ink Pad to Personalise the Cards. It just gives that extra touch having those details on it.
This Card measures 6 and 3/4 inches in width and 9 and 1/2 inches in height. I like making bigger Cards and spacing out the elements but of course you can make them whatever Size and Layout you want. If you are a complete beginner maybe start small and see if you like working at that size and then make them bigger if you want to challenge yourself or would like to try them on a bigger scale to see which you prefer.
I hope my Tutorial was beneficial and you learned something new about Cardmaking. It doesn’t have to be a big, elaborate Card. You can use what you have, you don’t need all the fancy supplies. It’s more about taking the time to Make a Card for Someone Special in your Life. When it’s Handmade with Love and you choose Colours, Pictures and Words that mean something to the Recipient, they won’t mind if it isn’t perfect. Remember It’s Handmade not Hallmark.
I hope I inspired you to Make a Card, you don’t have to give it to anyone just practice and see if it’s something you would like to do more of. It can be relaxing and a great hobby if nothing else.
If you have any Questions on Cardmaking just Fill out the Comment Box below this Blog Post and I’ll get back to you as soon as possible.
Thank you so much for taking the time to Read my Blog.
Always Grateful,
T.D.C.
xoxox

-0 Comment-