Autumn Bottle Craft Tutorial
Hello my Creative Friends,
I hope you are all Well. In Today’s Tutorial I will show you how I made an Autumn Bottle. It is a great way to re-use a Wine Bottle and display it each year as part of your Autumn / Fall Decor. I hope it gives you some ideas for Budget Decorating this Season.
Preparing the Bottle for Crafting
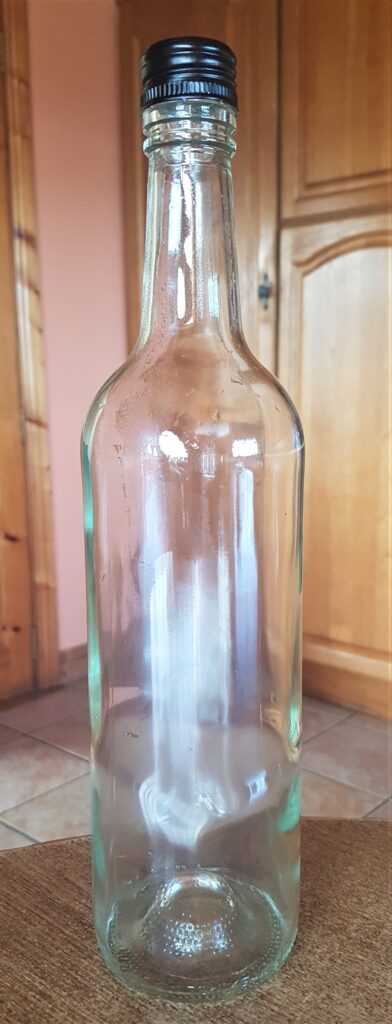
I soaked an empty Wine Bottle and Lid in the Sink with warm water and washing-up-liquid for an hour. This helps the label to soften and makes it easier to peel off. I removed the label, rinsed and dried the Bottle and Lid.
Spray Paint Recommendations
Always Spray Paint in a well ventilated area. Open Doors and Windows, wear a Mask if you need to. Follow all instructions on the Can of Spray Paint and take any necessary precautions. Leave the area as soon as you can after Spray Painting to avoid inhaling any fumes. I done mine in a big open style Shed with the side door behind me open.
Setting Up Props for Spray Painting
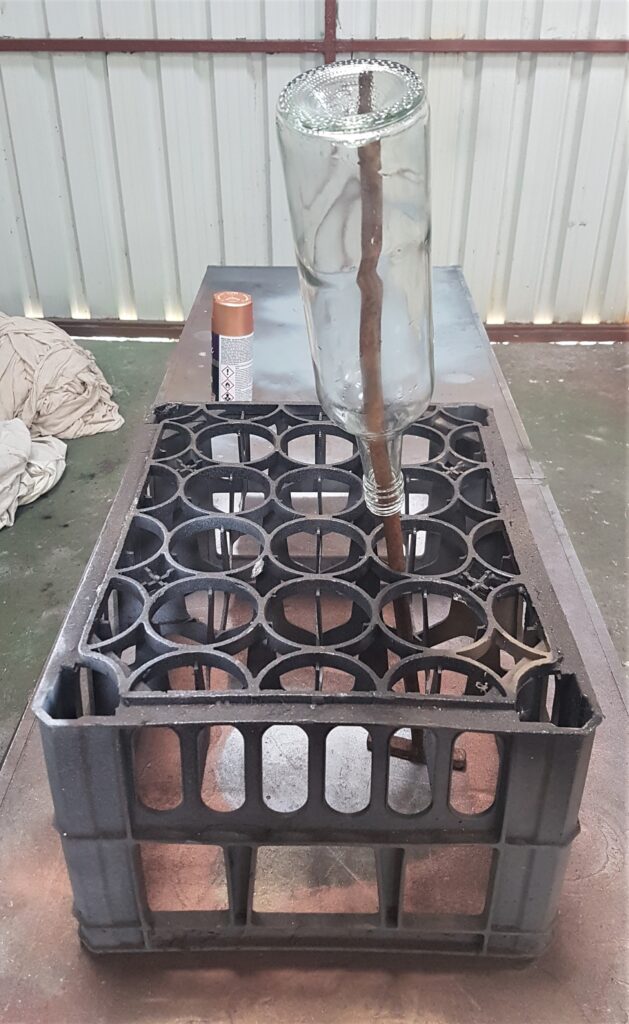
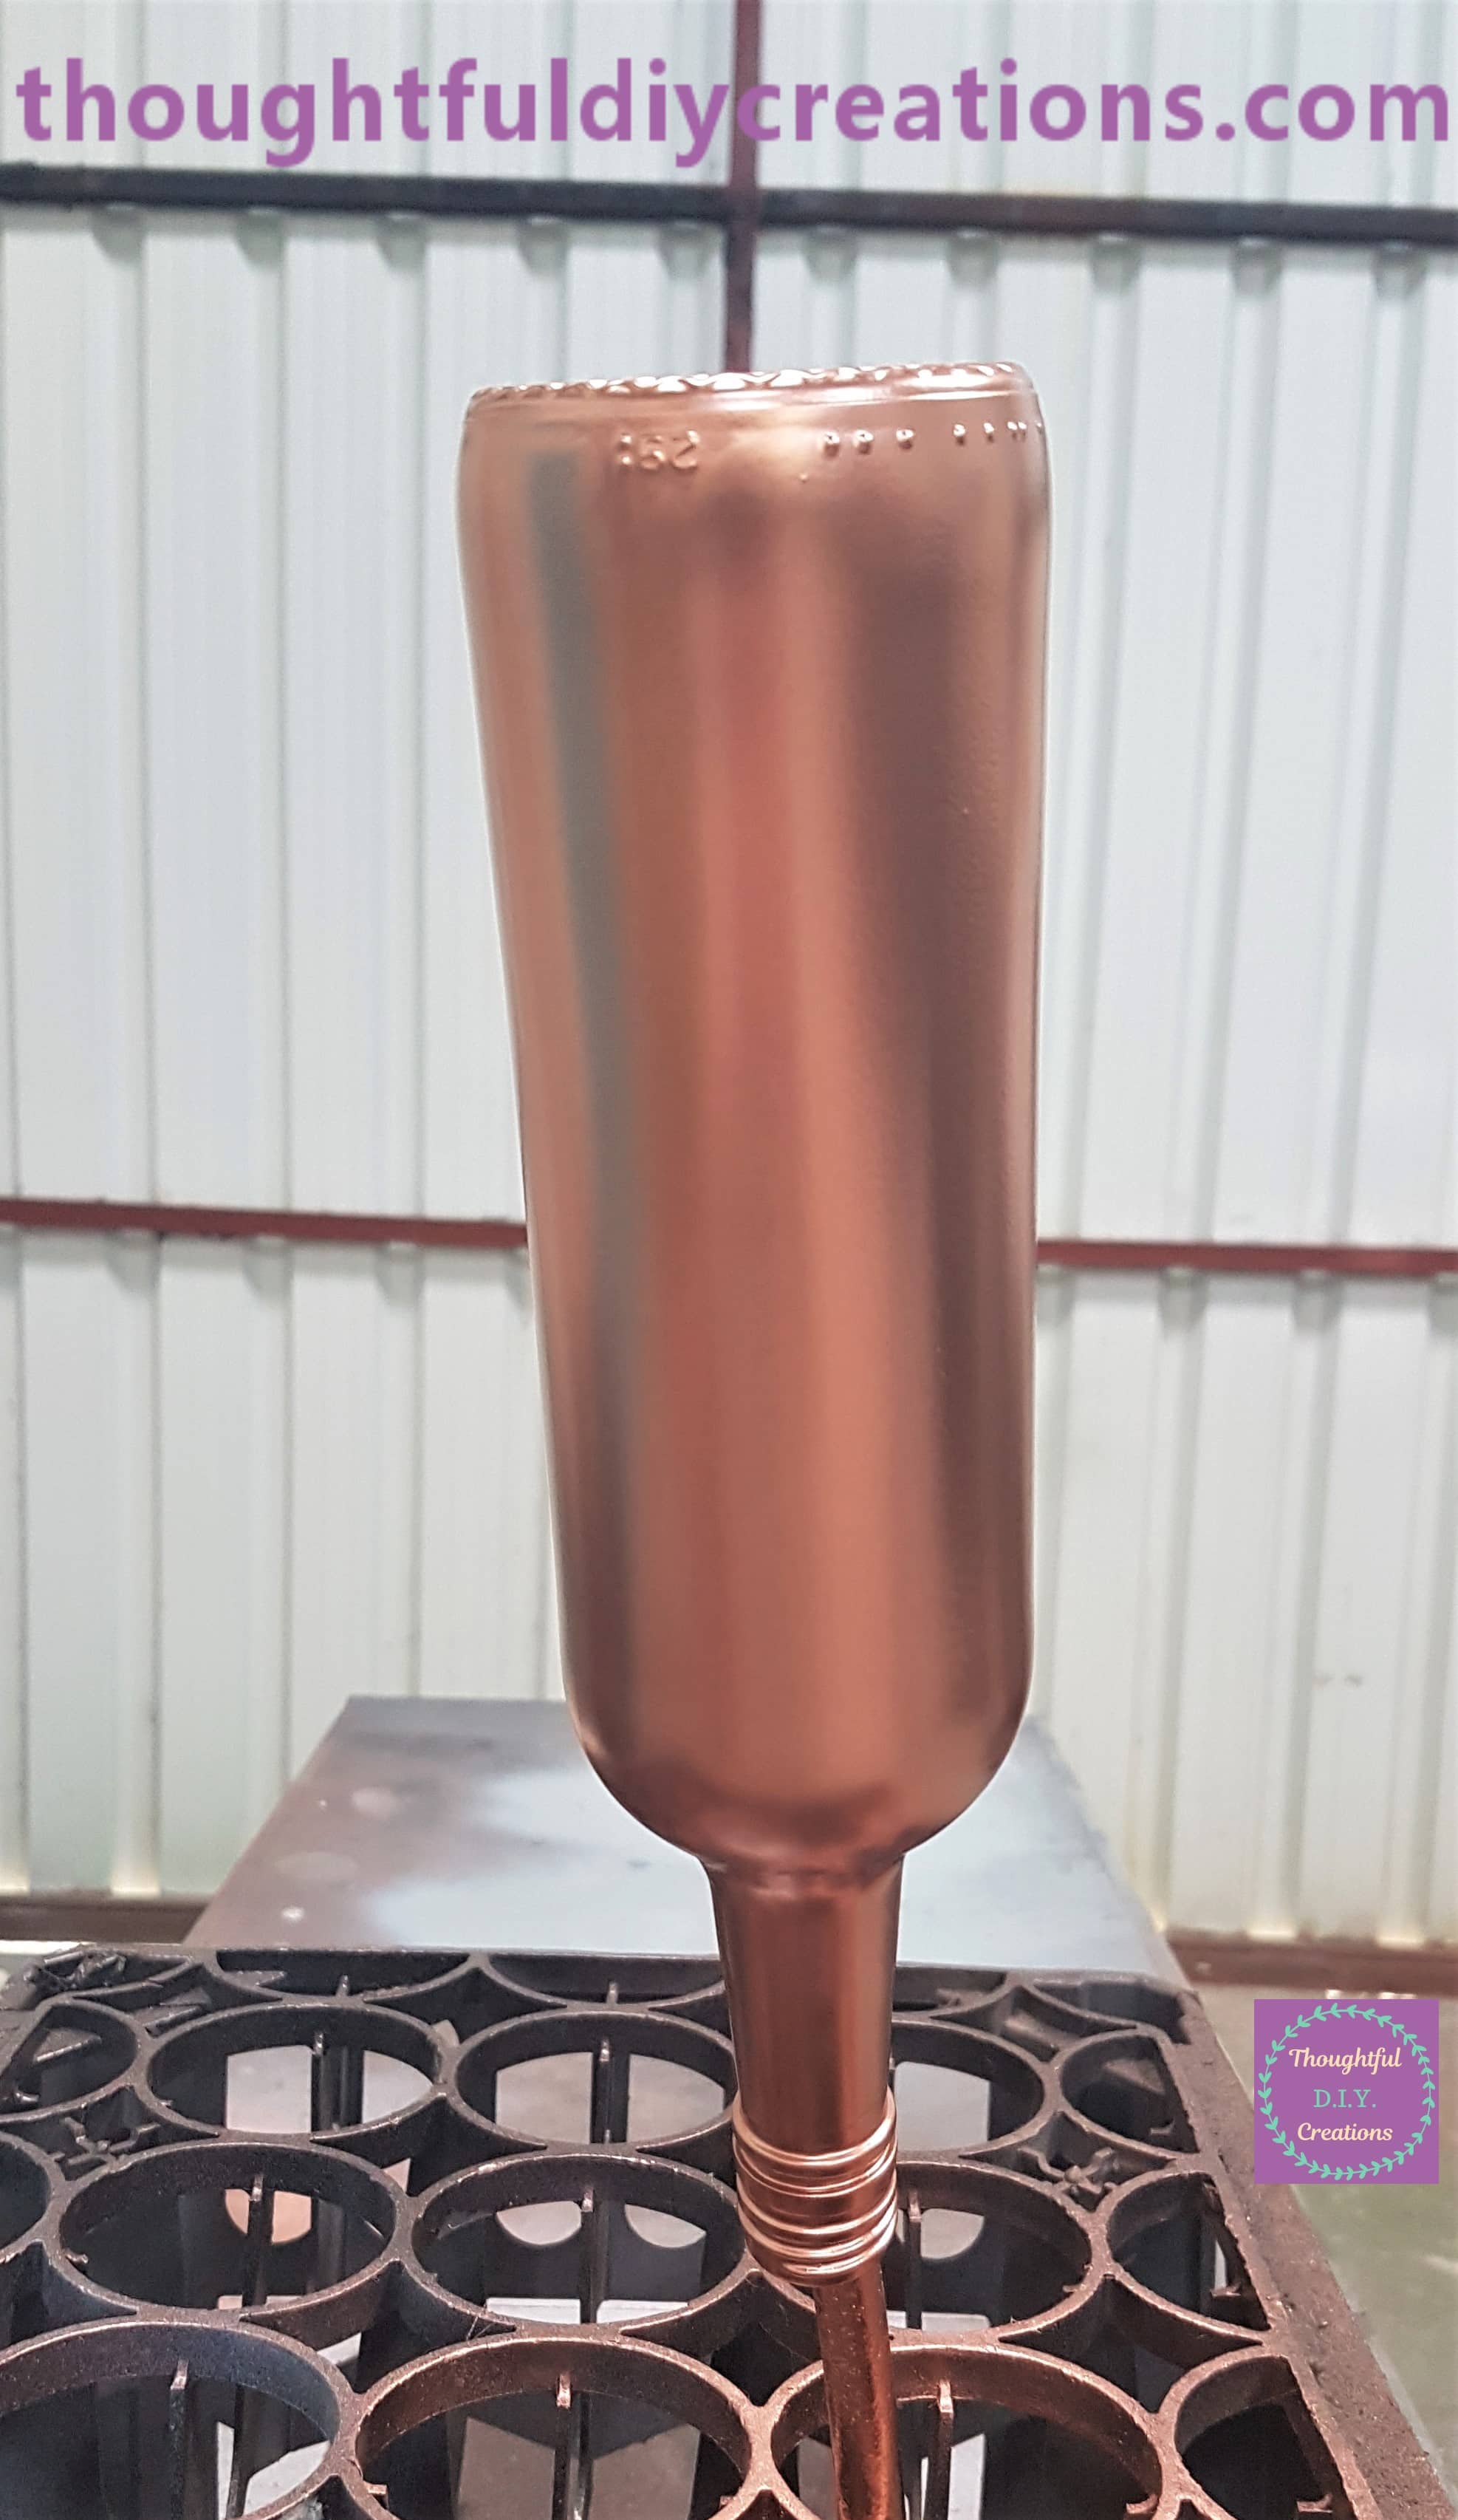
I brought the Bottle out to the Shed to Spray Paint. I set up my Fold-Away Table and got an old Crate and turned it upside down on the Table. I found an Iron Bar in the Shed and put it through one of the Gaps in the Crate. I then removed the Lid from the Wine Bottle and put the Spout of the Bottle over the Iron Bar. This keeps the Wine Bottle balanced and in place. I can spray paint every angle of the Bottle without having to move it.
You can choose whatever props you have in your Home or Shed / Garage. Just keep in mind some Spray Paint will get on your chosen objects so don’t use anything too good.
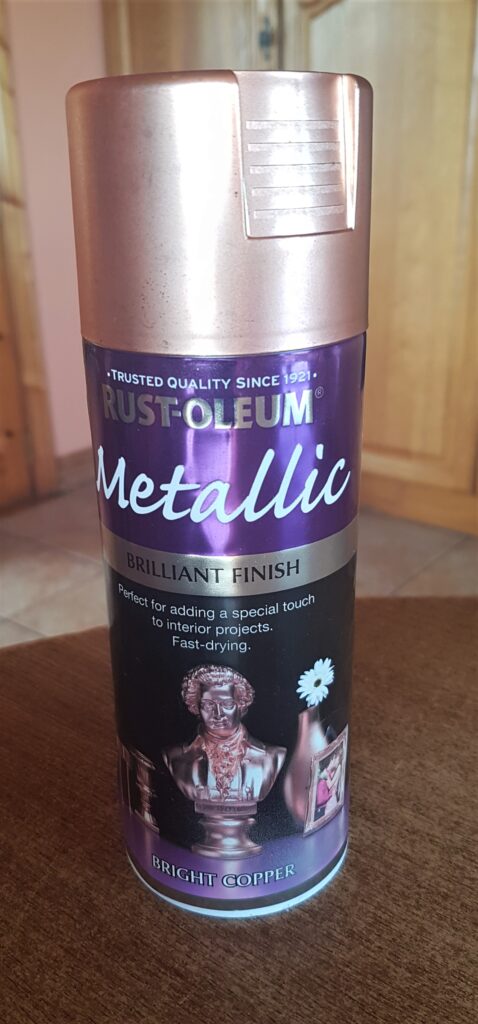
The Spray Paint I used was ‘RUST-OLEUM Metallic Brilliant Finish in Bright Copper’.
Spray Painting the Autumn Bottle
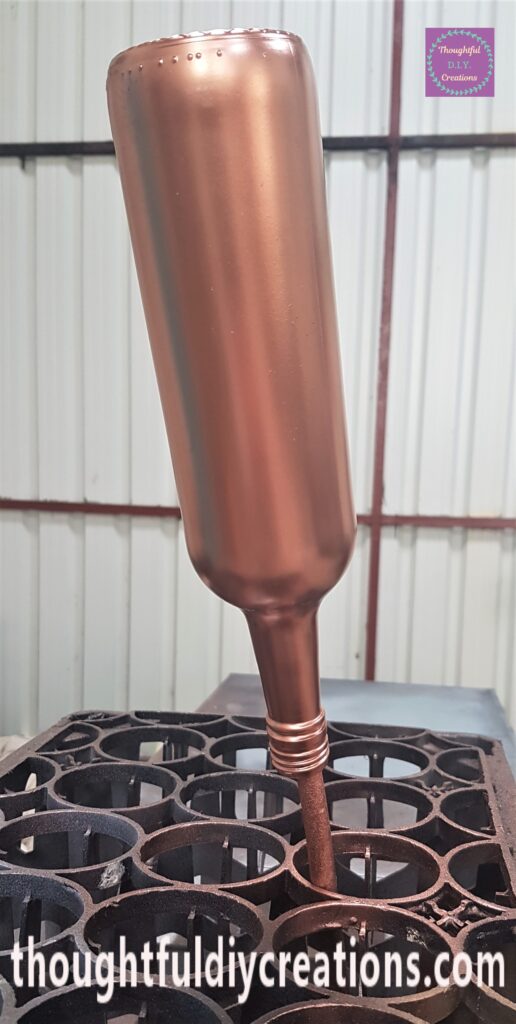
I shook the Spray Paint Can from side to side for a minute. I removed the lid and sprayed the base of the bottle. I then Sprayed from the base to the top of the bottle; one straight line down. I then gave the Can a quick shake and sprayed the next section from the base to the top another line down the bottle.
I worked my way around the bottle continuing with the same process until I had one even coat of Spray Paint on the Bottle. I gave the Can a quick shake after every 2 lines sprayed to keep the Spray Paint even and consistent.
I then Spray Painted the top and sides of the Wine Bottle Lid.
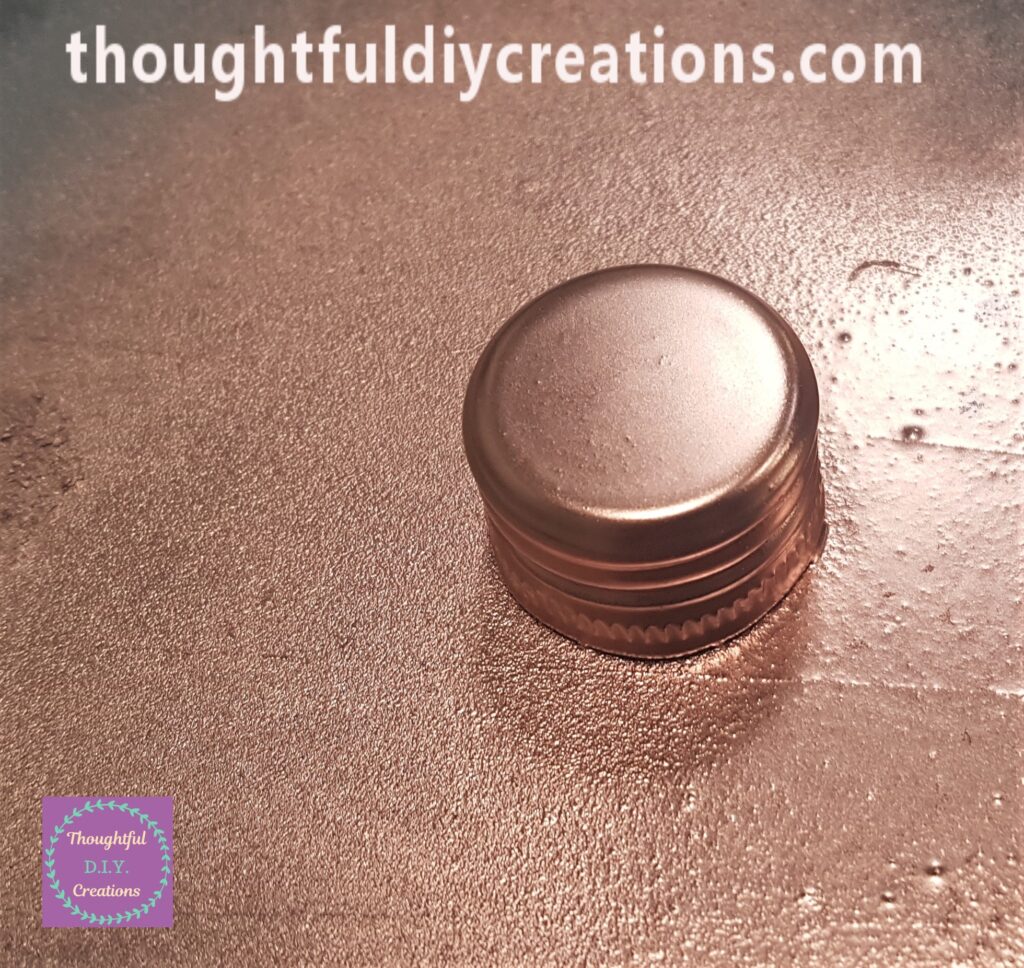
I put the Lid back on the Spray Paint Can and left the Shed. I returned an hour later and applied a second layer of Spray Paint to the Bottle in the very same way as the first layer.
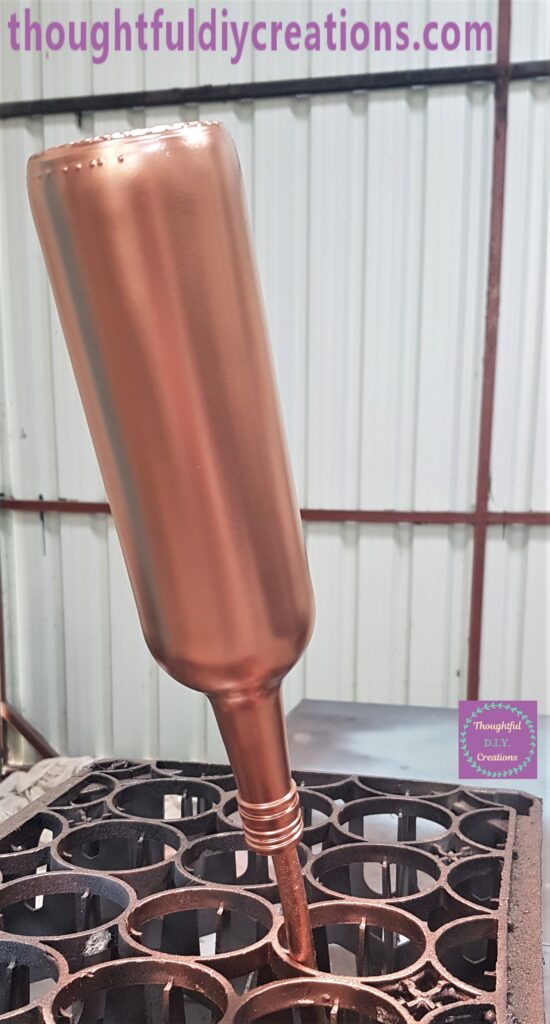
I also Spray Painted the Lid for the second time.
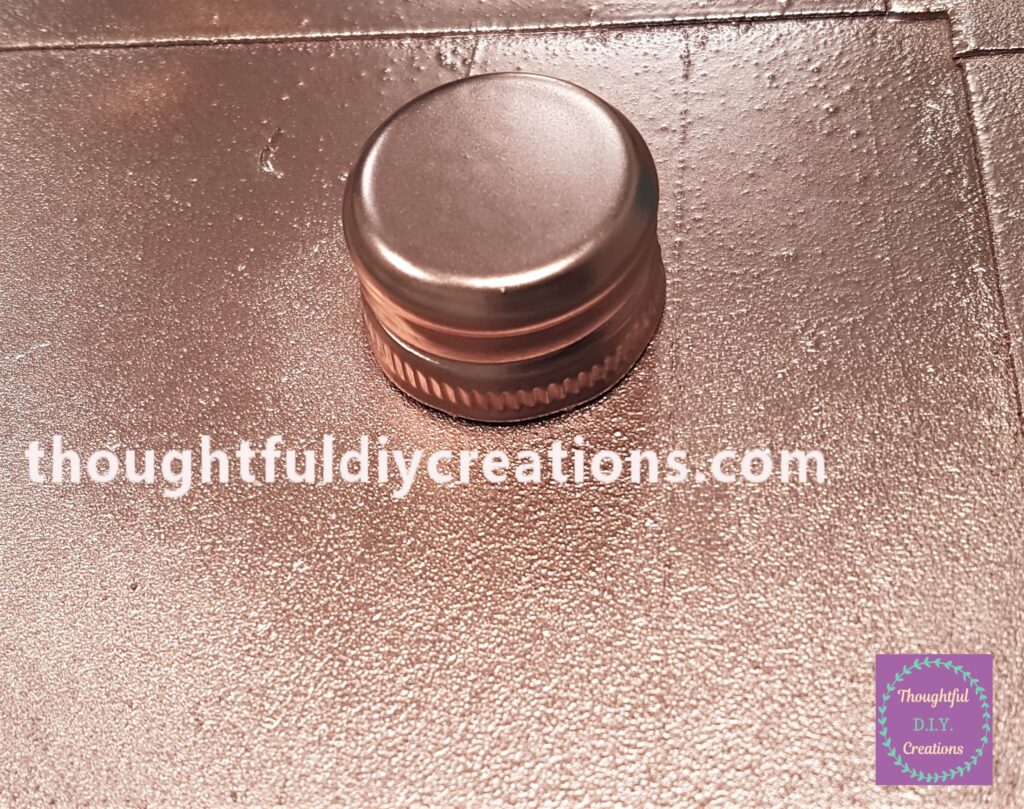
After another hour I Spray Painted the third and final layer to the Bottle. The best thing about Spray Painting is it only takes a few minutes for a full even layer, so you can get a few layers done in a morning or afternoon. There is also no clean up required afterwards which is great; you just put away your props and your done.
The lid was also Sprayed for the third time.
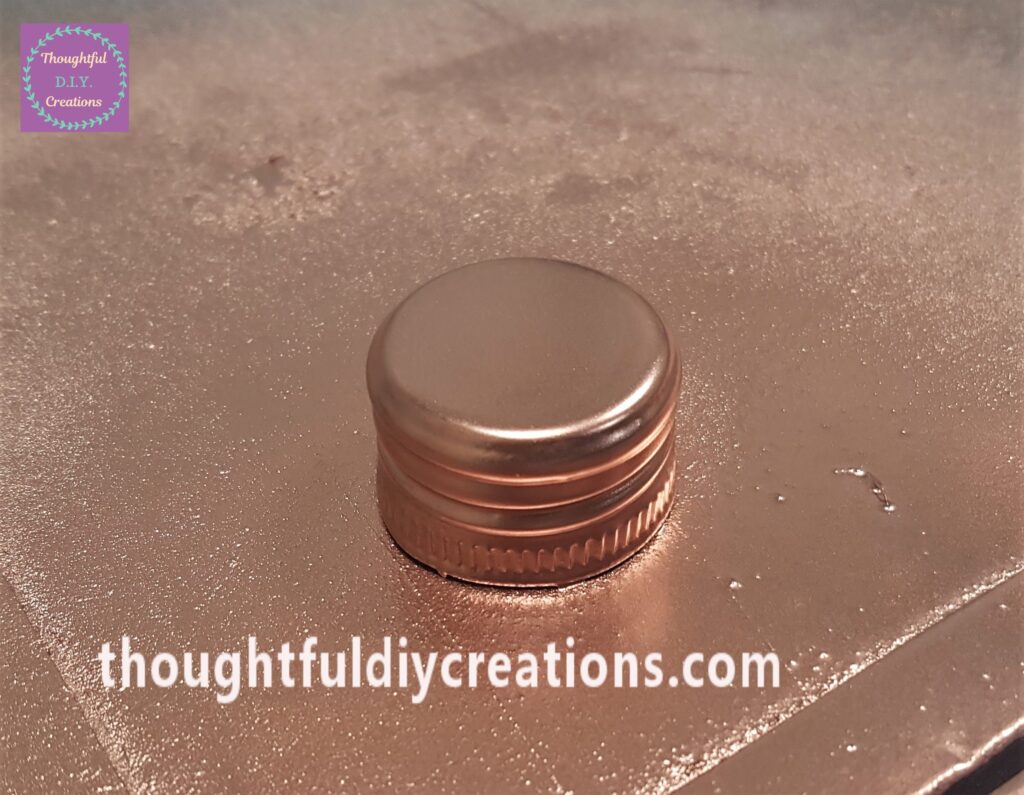
After the final coat of Spray Paint was applied I left the Bottle and Lid in the Shed to Cure for 2 Days. I brought them back inside after the 2 days and put the lid back on the Bottle.
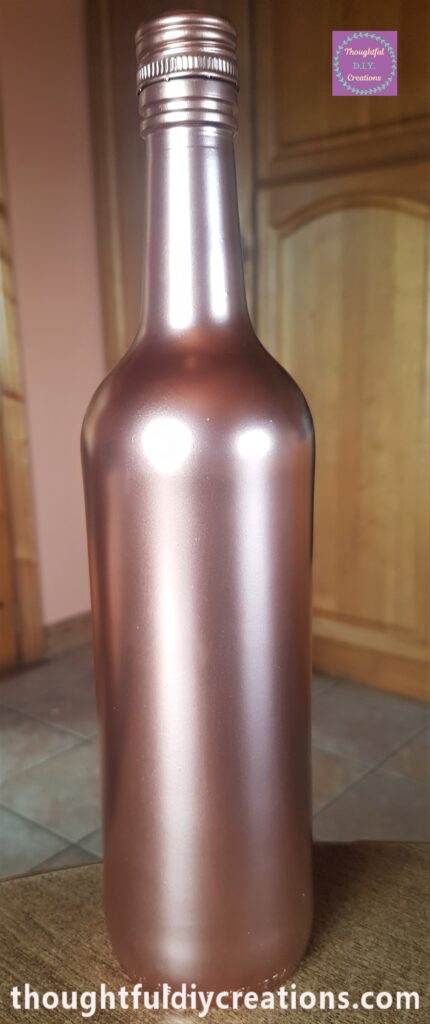
Attaching Stickers to the Autumn Bottle
I got my Yellow, Red and Orange Glitter Alphabet Stickers from the Pack. I thought these colours would be perfect for an Autumn Craft.
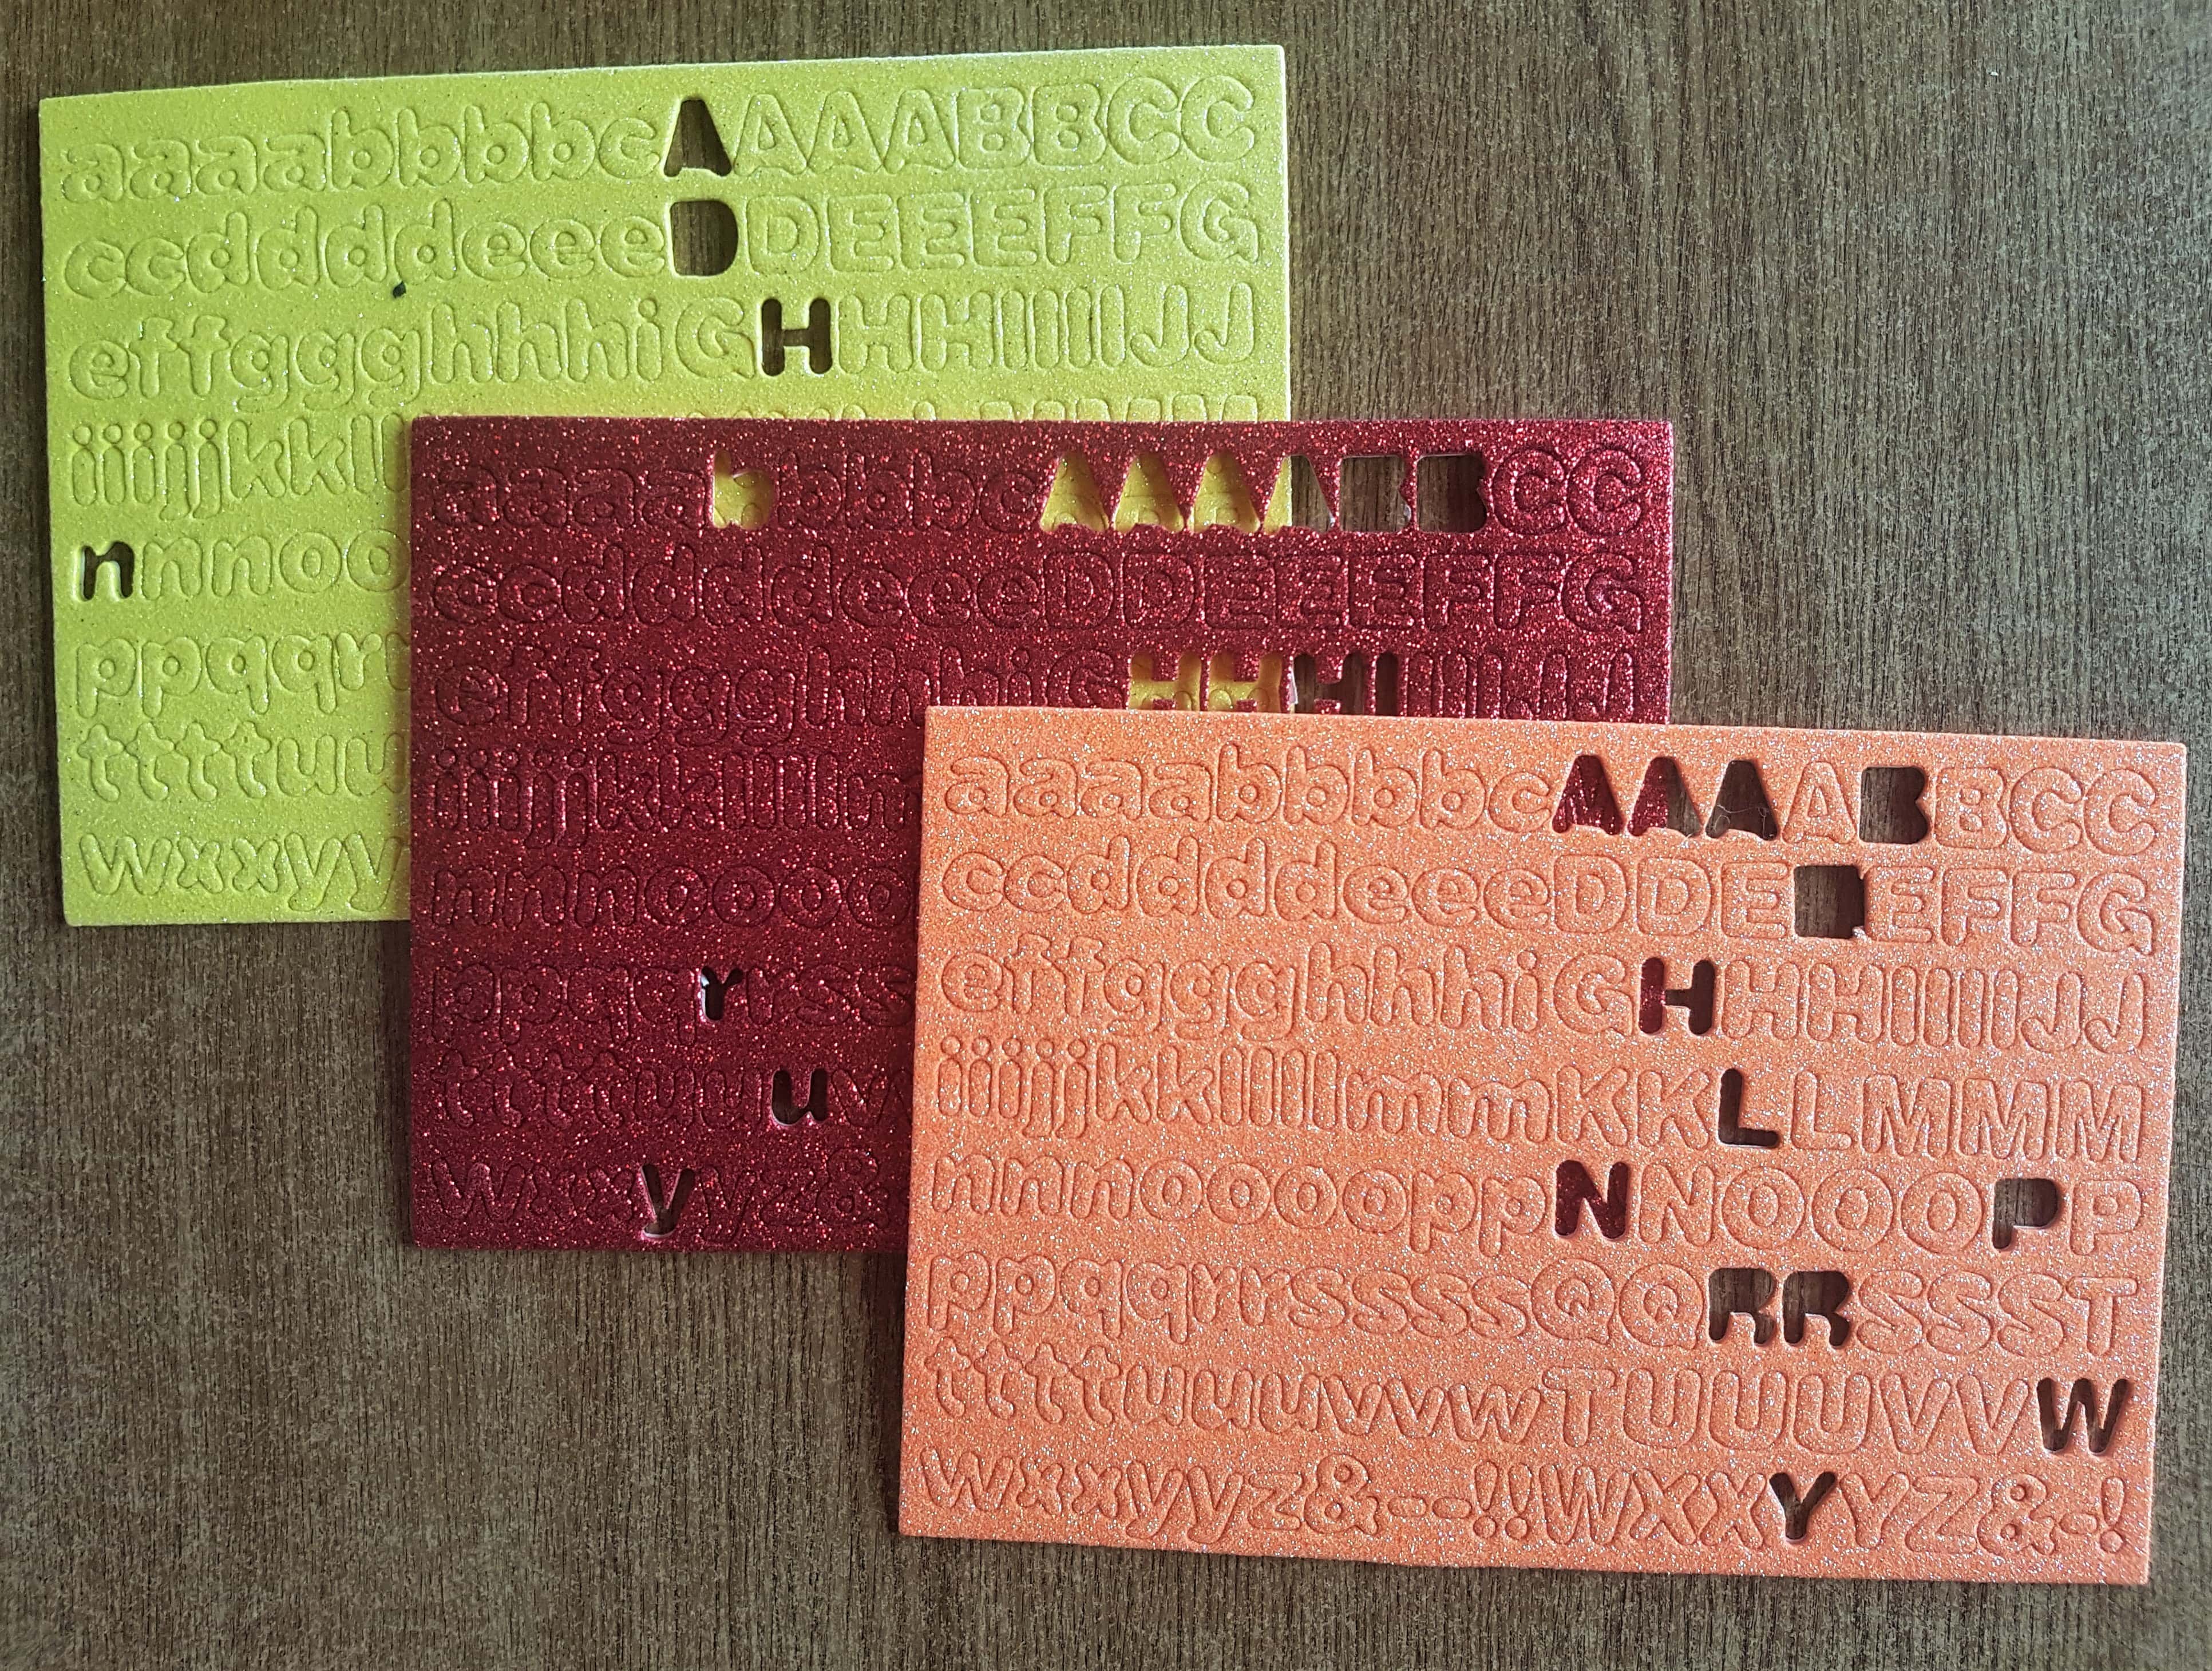
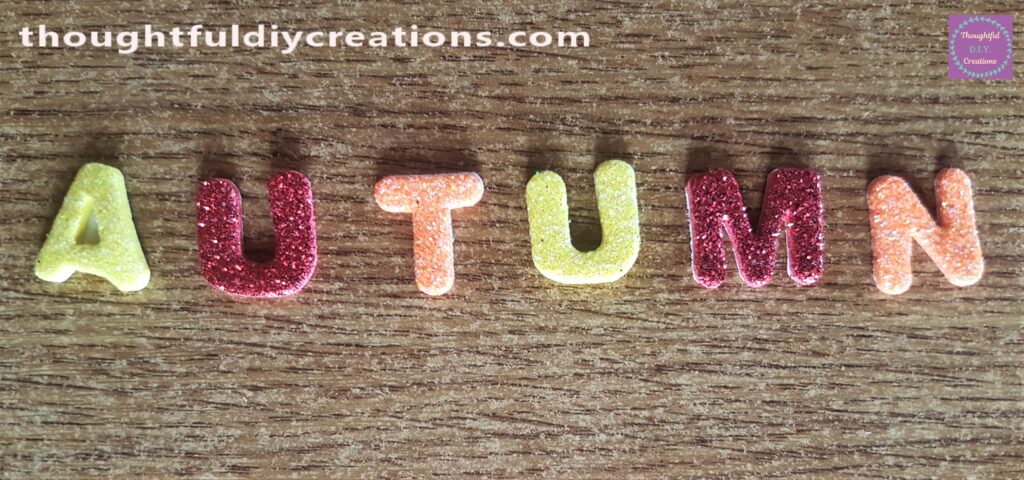
I removed the Capital Letters from each of the Colours to Spell the Word ‘AUTUMN’.
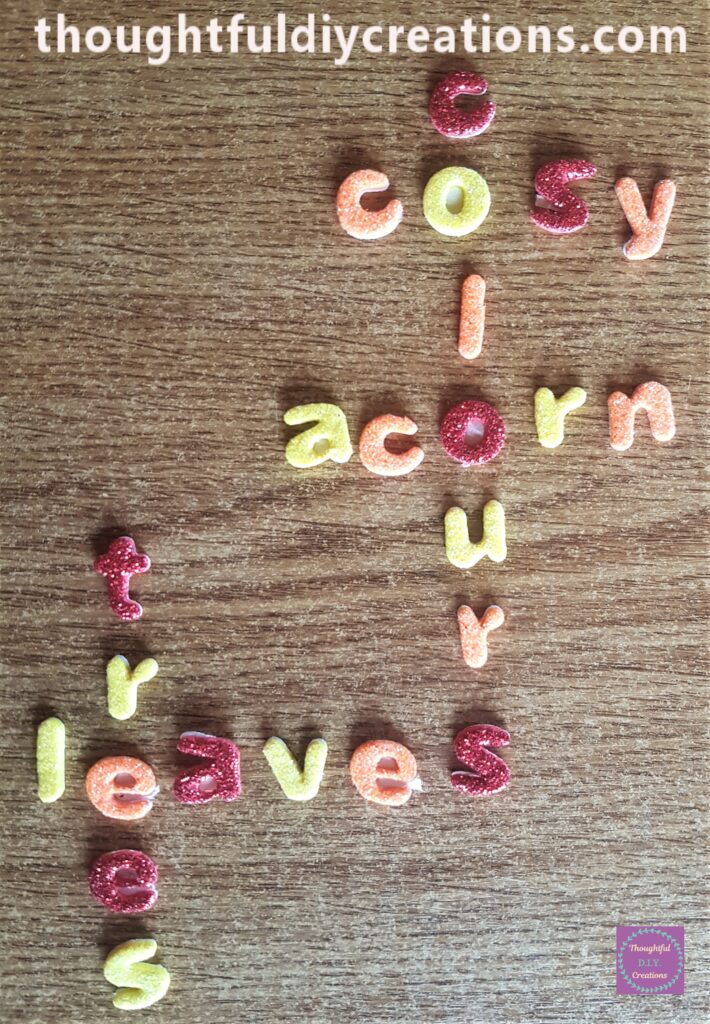
I made a wordsearch out of the Lower Case Letters from each of the 3 Colour Stickers. I chose words associated with Autumn.
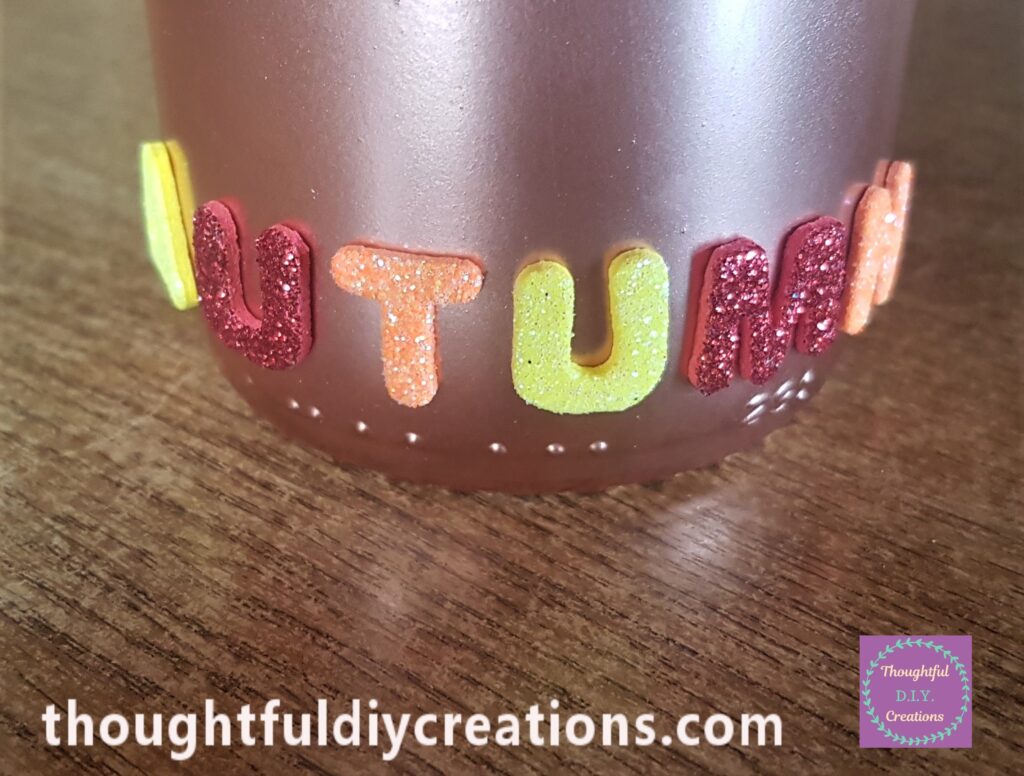
I removed the backing from the stickers and attached the Word ‘AUTUMN’ to the bottom of the Bottle.
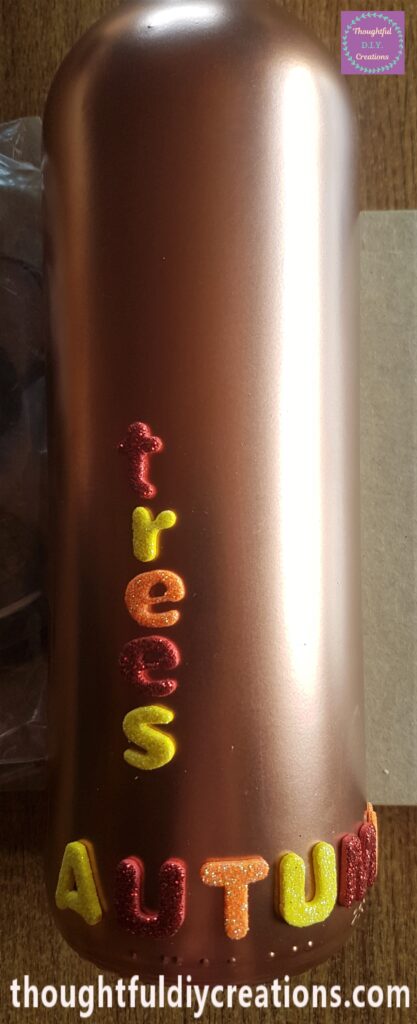
I removed the backing of each letter to spell the word ‘trees’ and attached them one-by-one down the Autumn Bottle.
I attached the word ‘leaves’ next, in the same way.
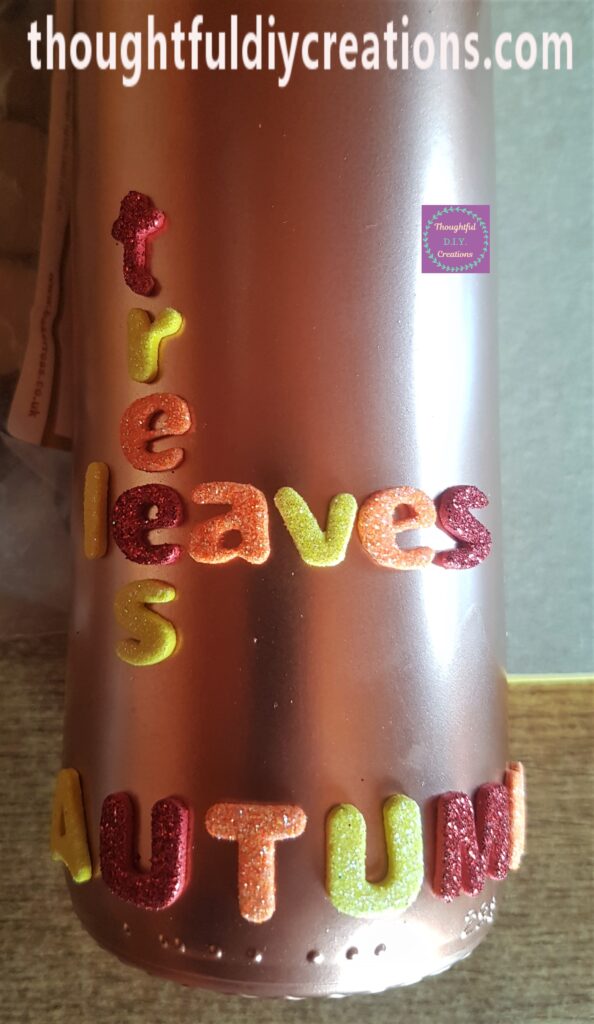
I joined the word ‘colours’ to the ‘s’ from the word ‘leaves’ on the Autumn Bottle. I added the word ‘cosy’ across the letter ‘o’ from the word ‘colours’.
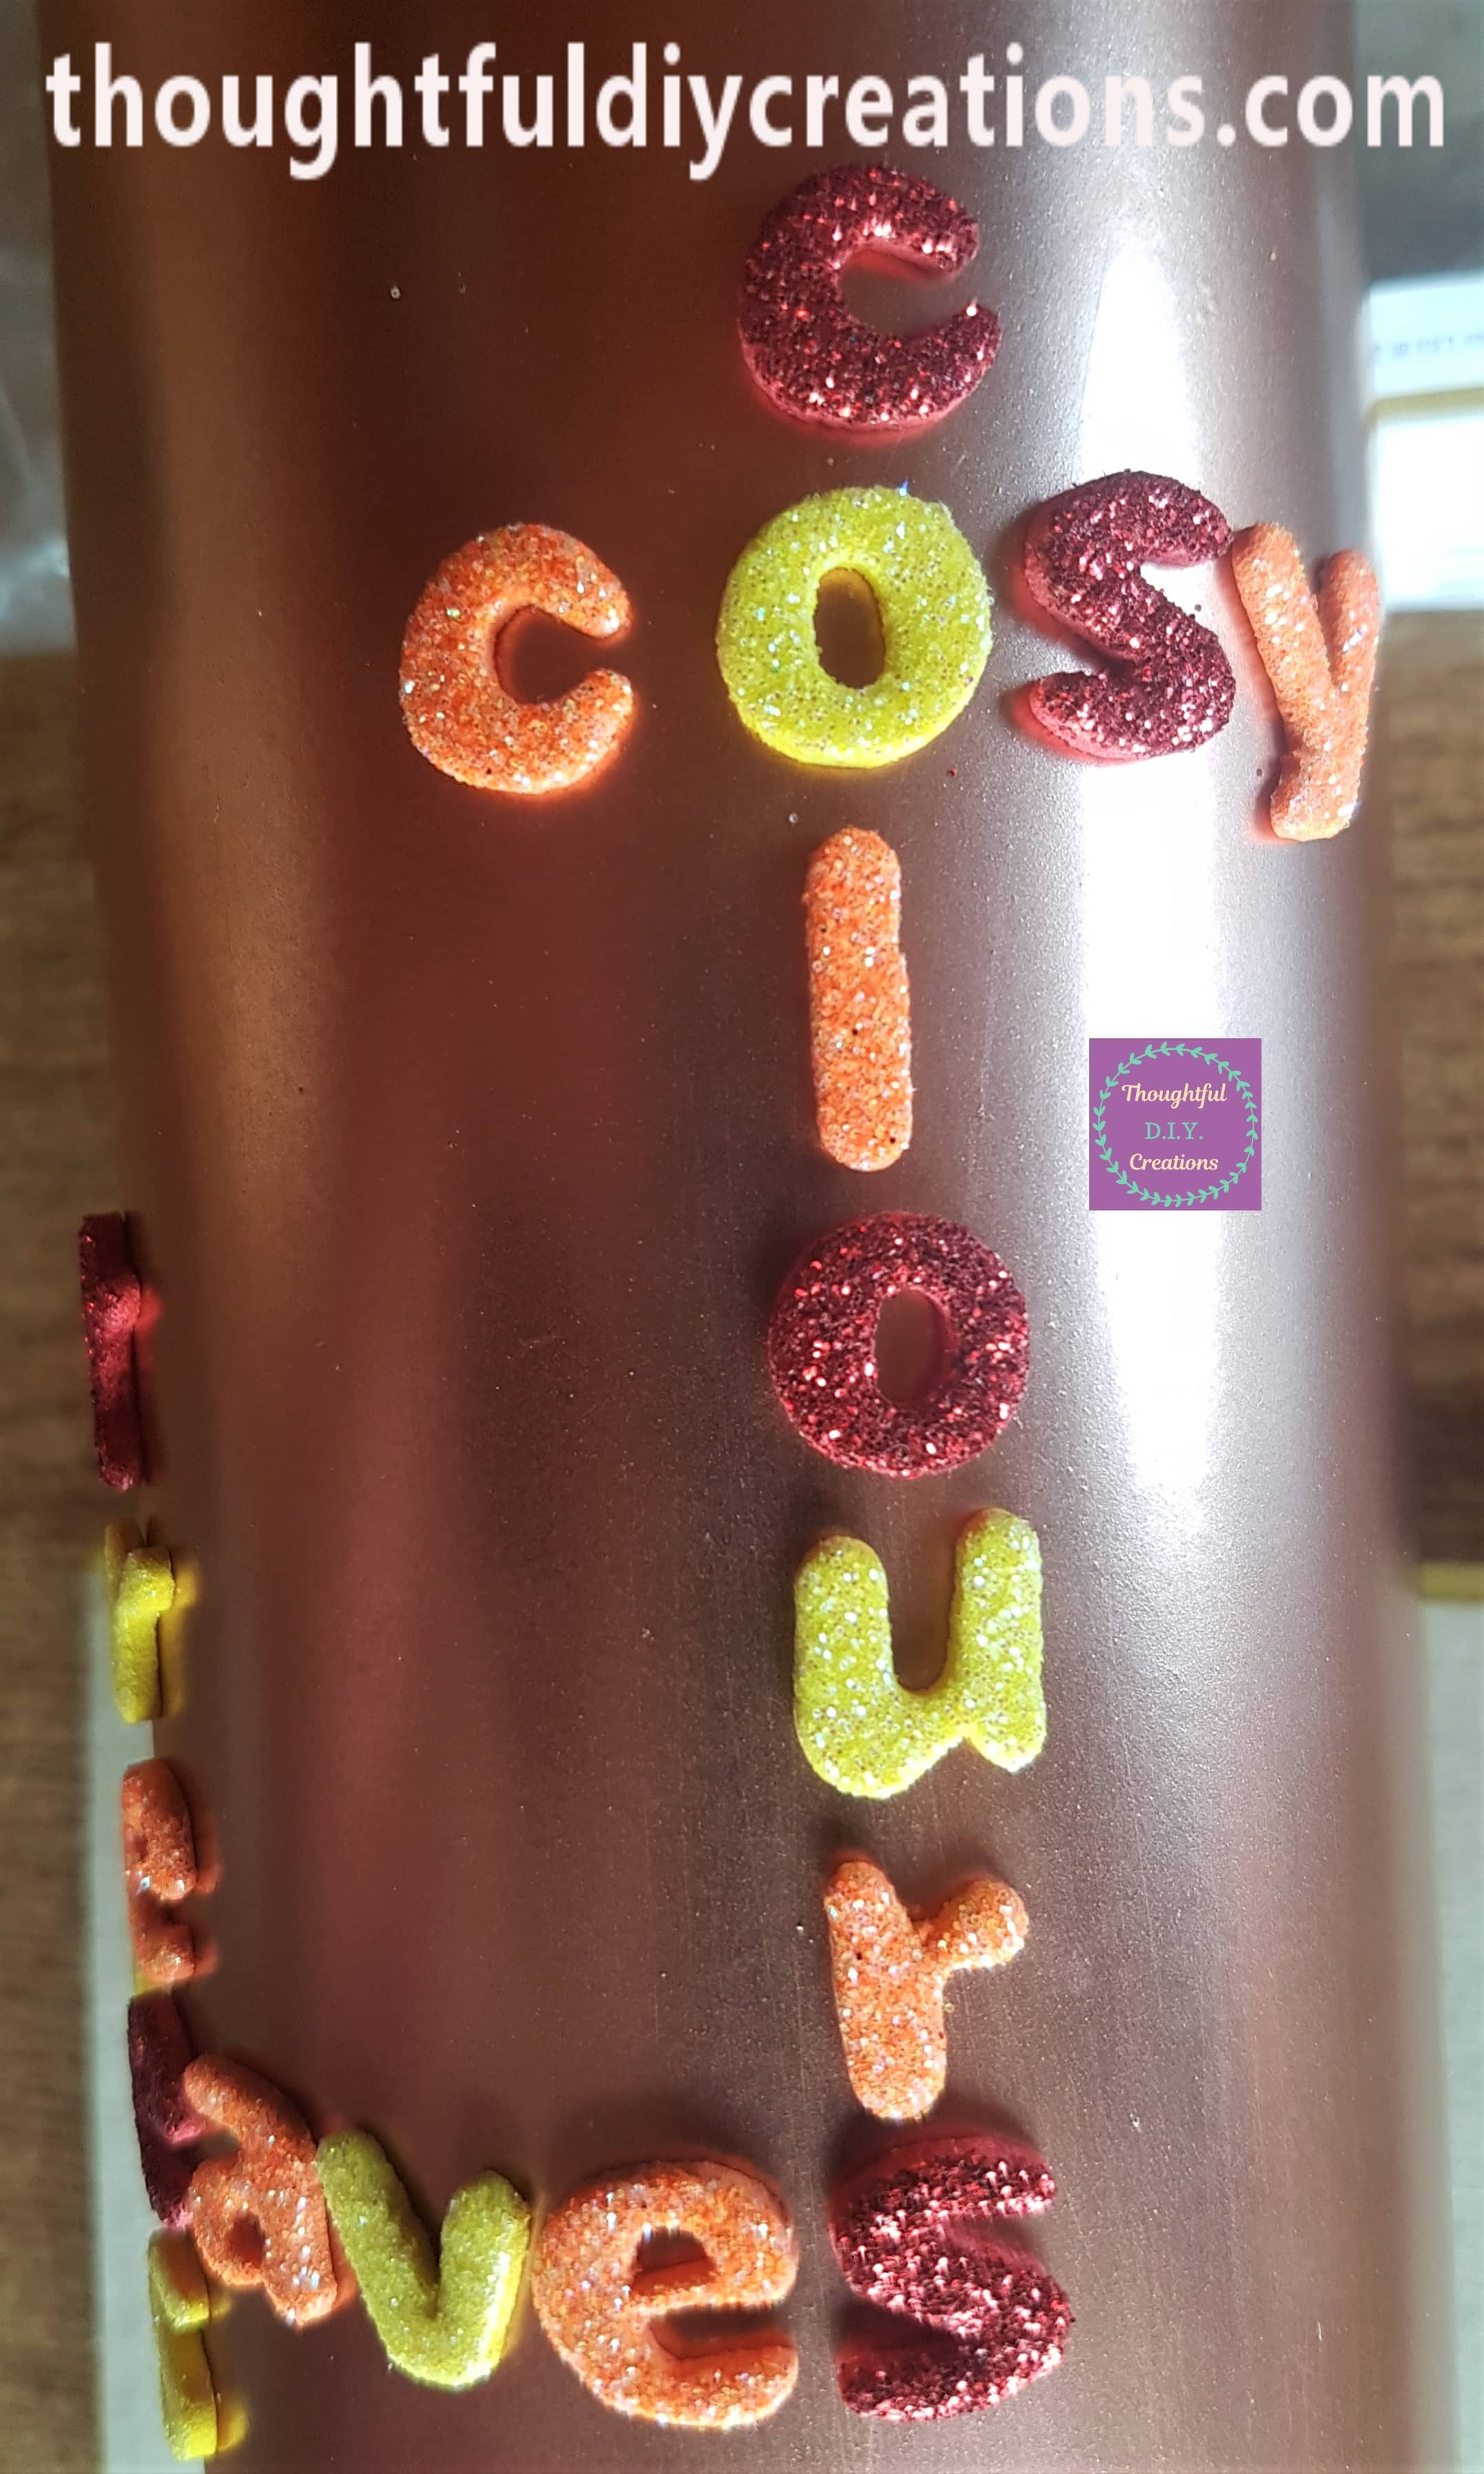
I added one last word ‘hay’ to fill the space at the top of the Autumn Bottle.
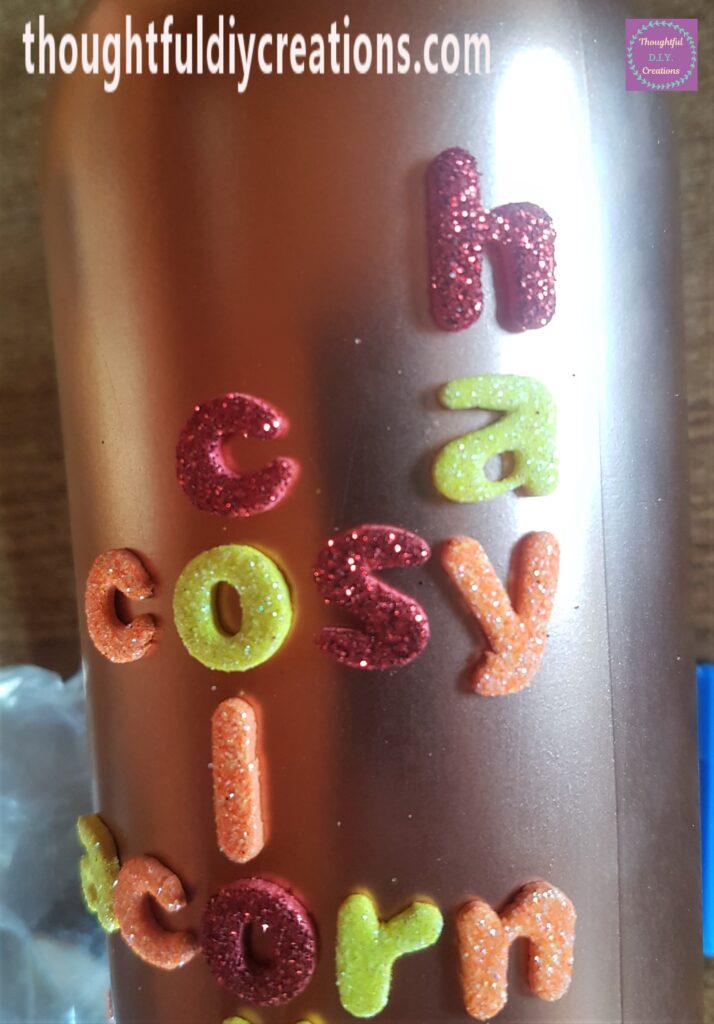
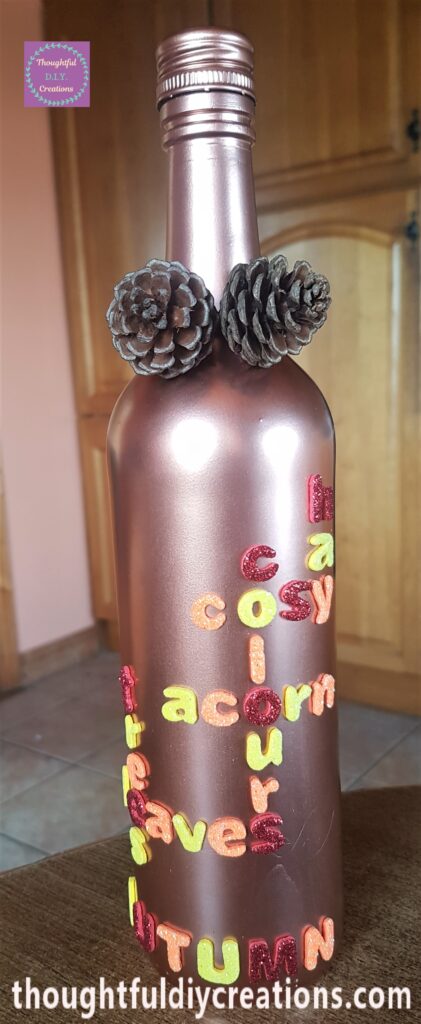
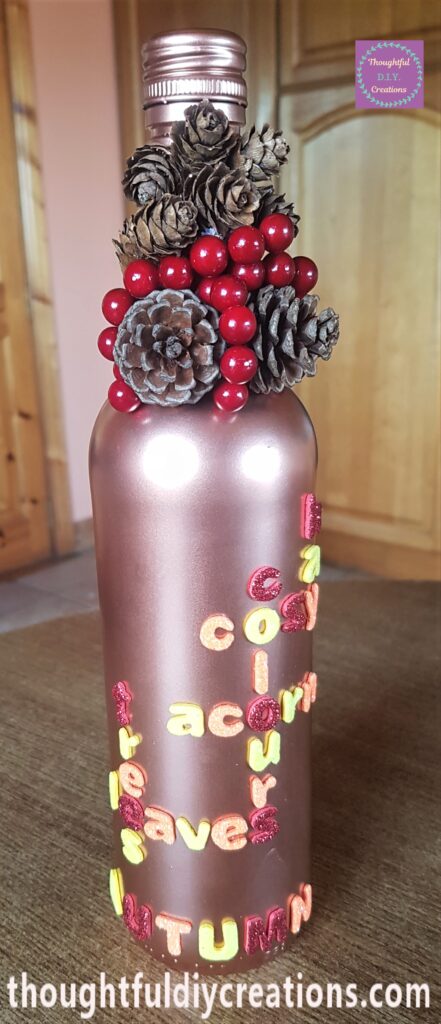
This is the Bottle standing up with the Autumn words attached.
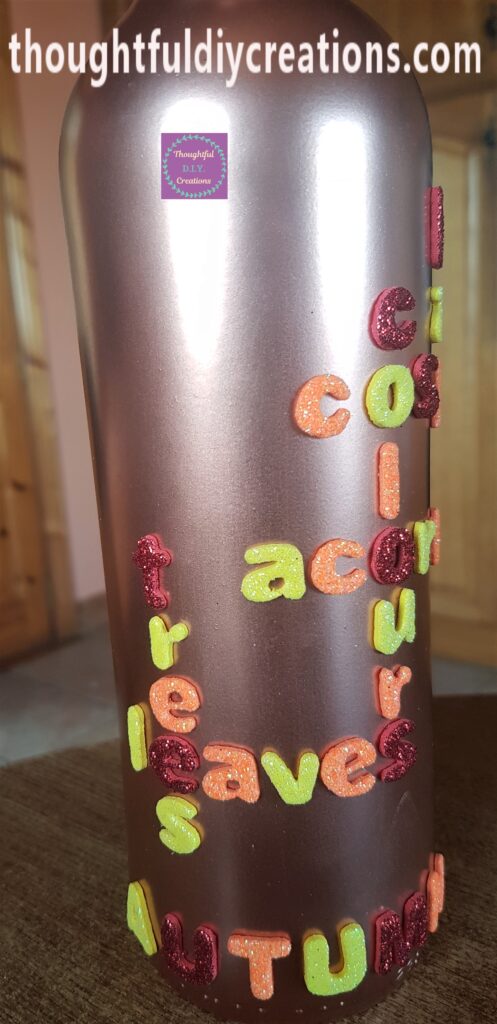
Here is a full view of the Autumn Bottle so far.
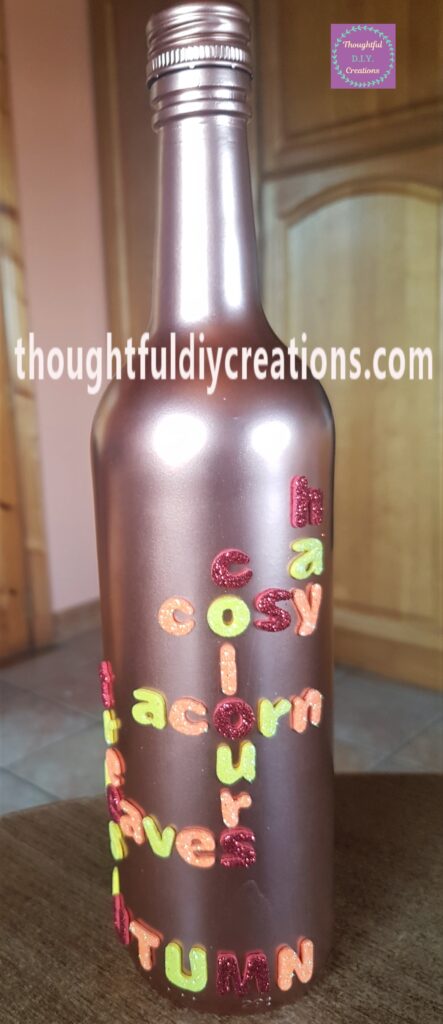
Making a Pine Cone & Berry Assortment
I got 2 Pine Cones from the Pack.
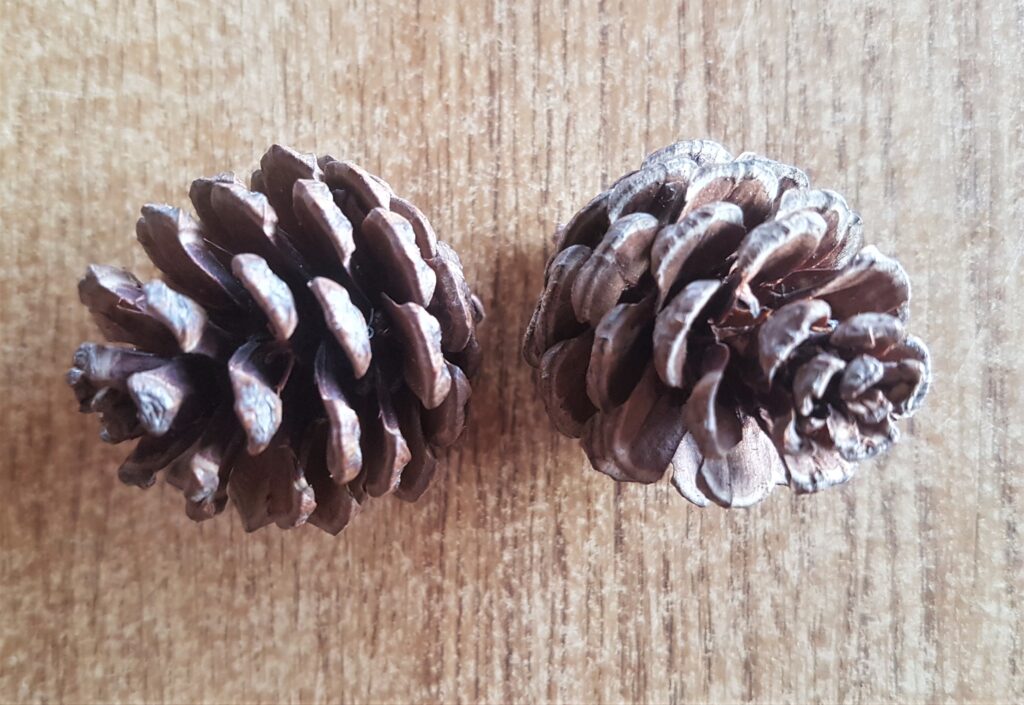
I attached them one-by-one to the neck of the Bottle using my Hot Glue Gun.
I removed 3 Red Berries from a Pack of 10.
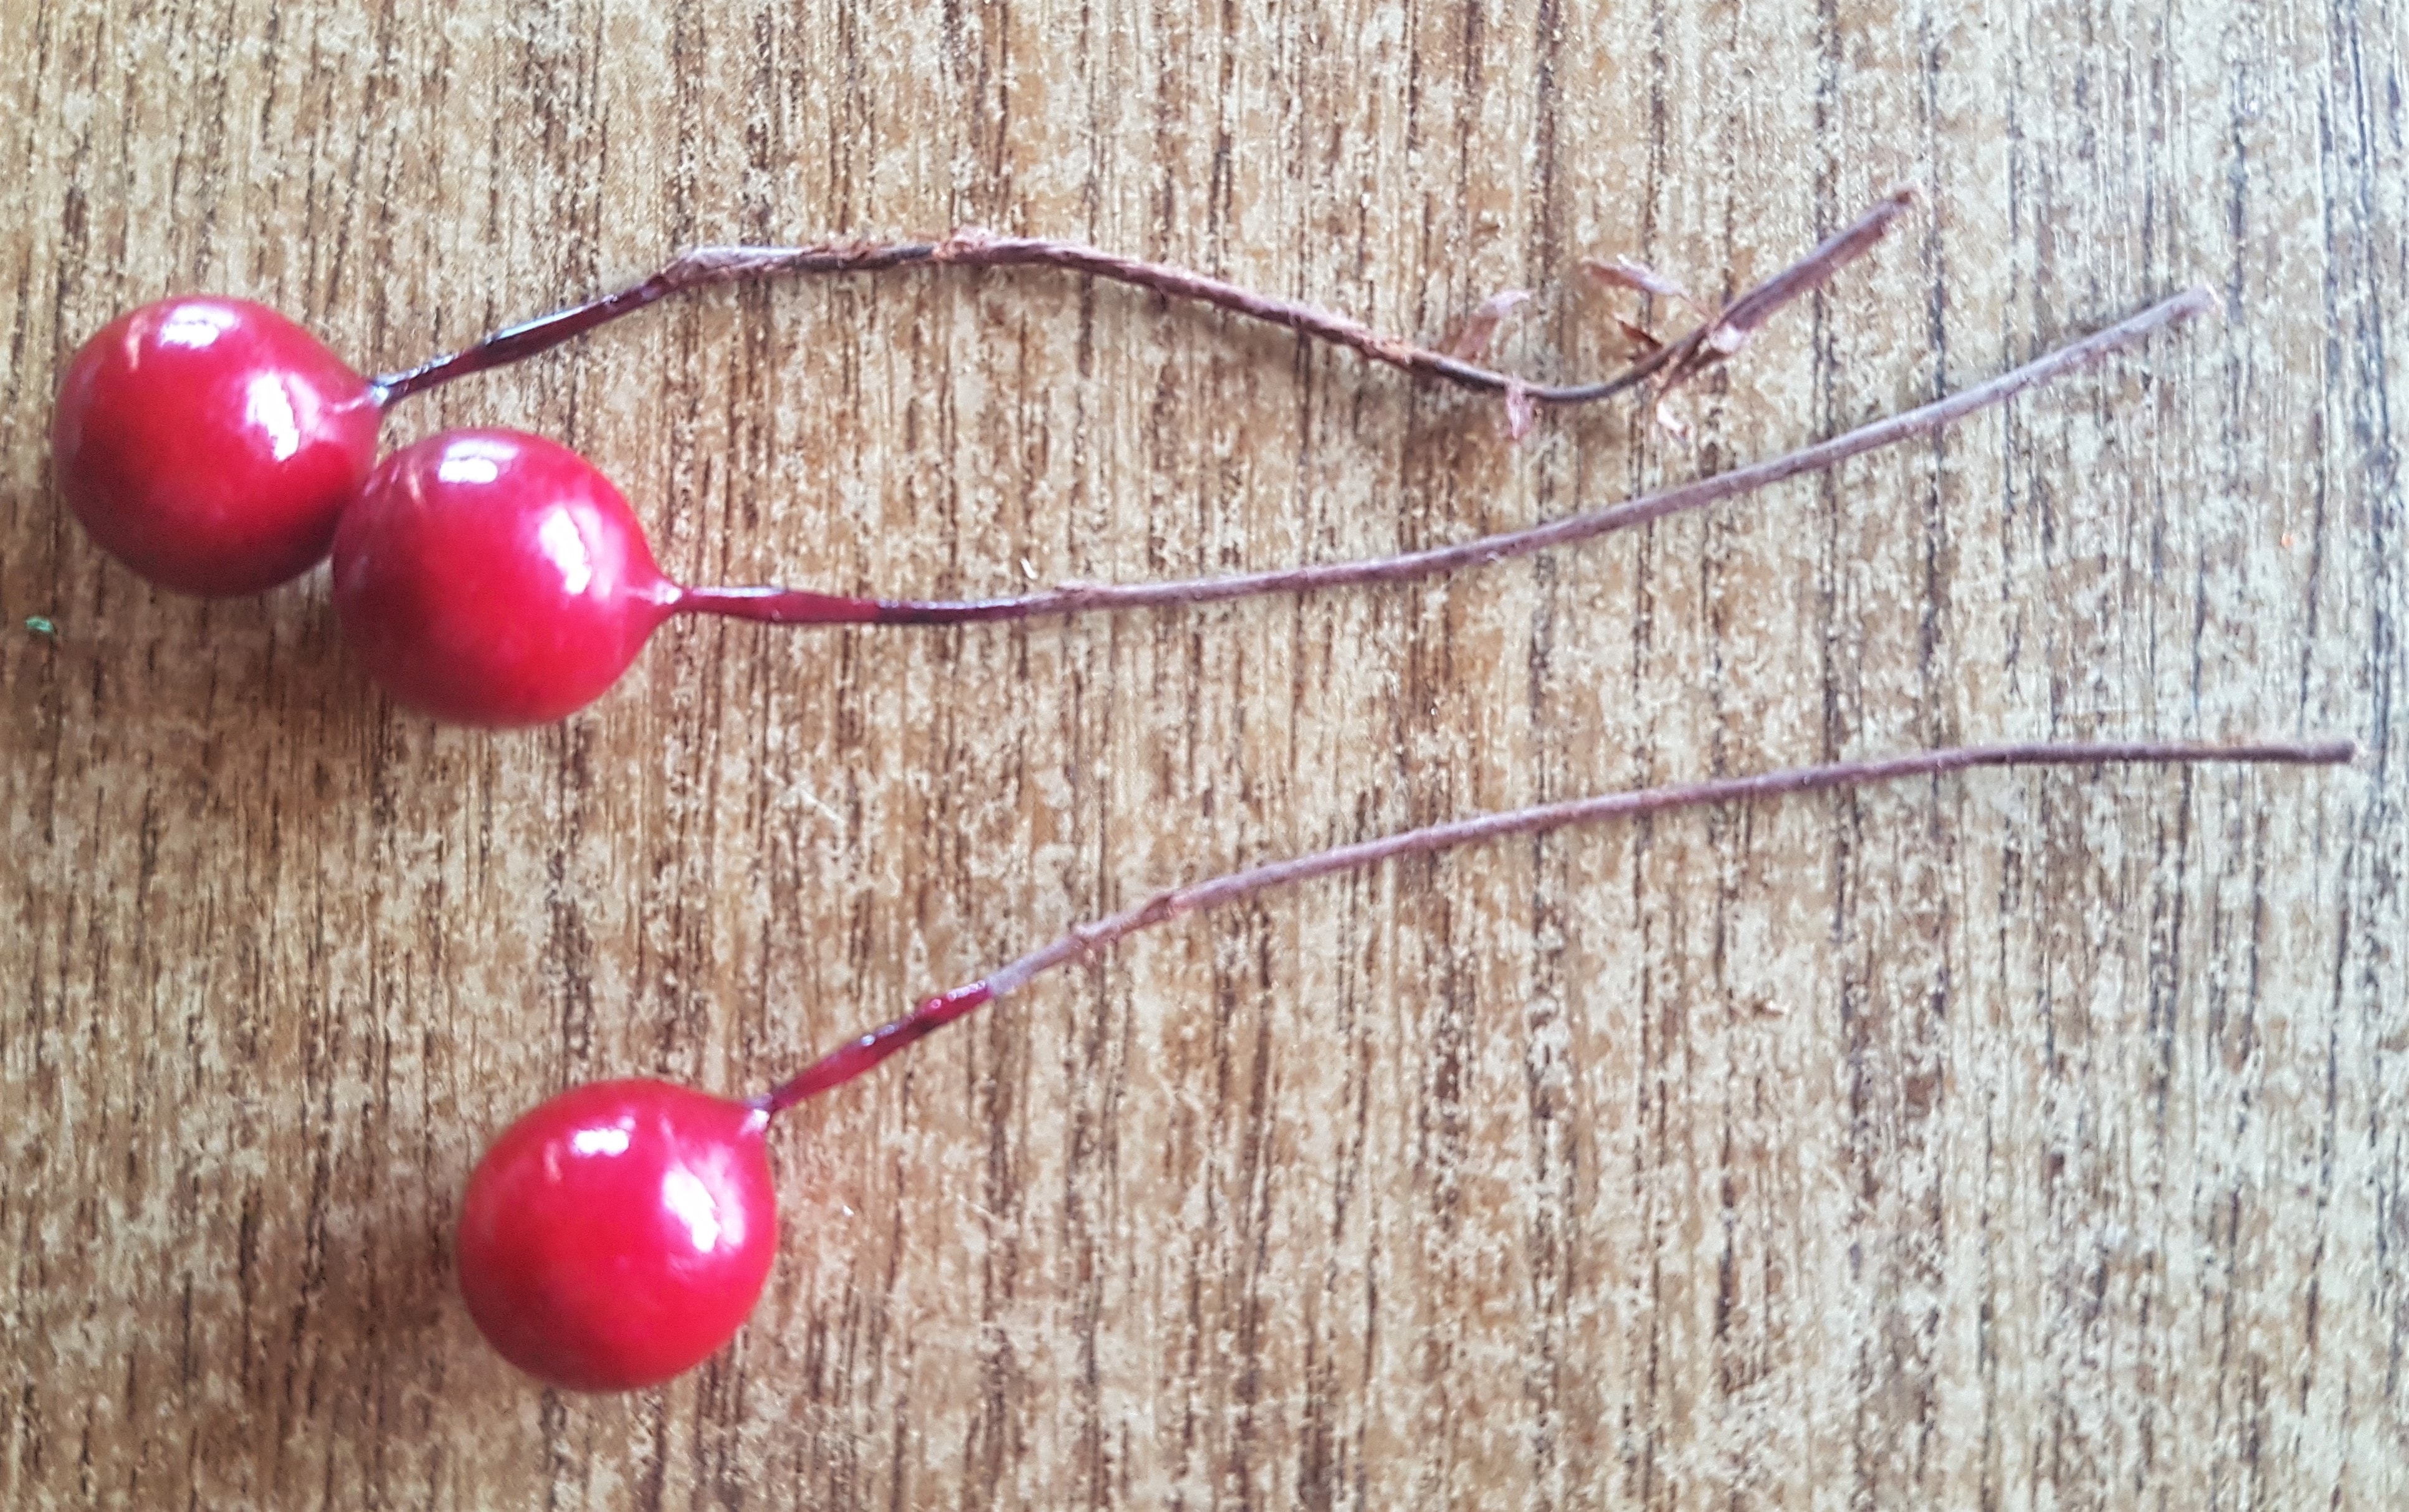
I left over 1 cm of a stem on the berries and cut the rest off. I put a dab of hot glue on the stem and attached each one in between the 2 Pine Cones.
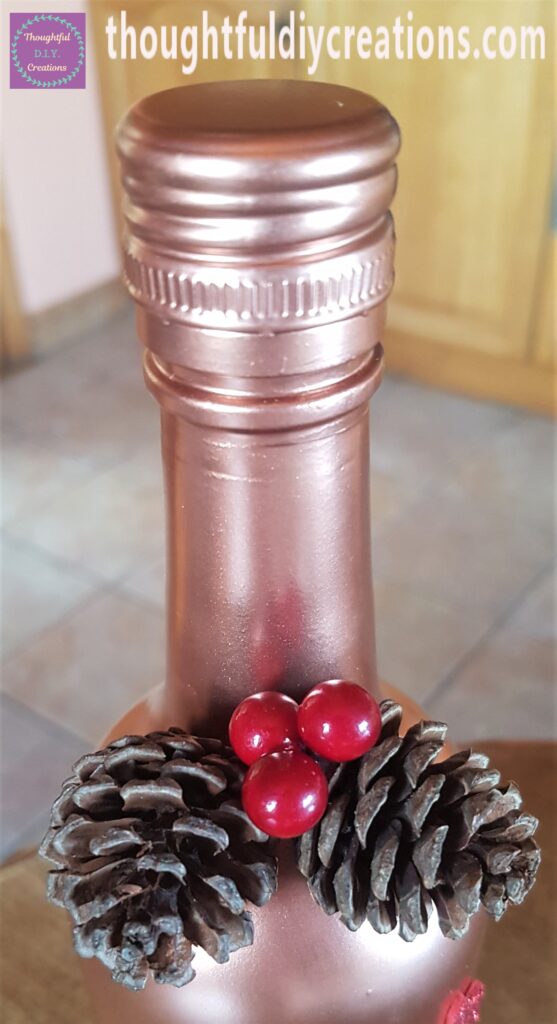
I added 3 more berries to the side of the second pine cone.
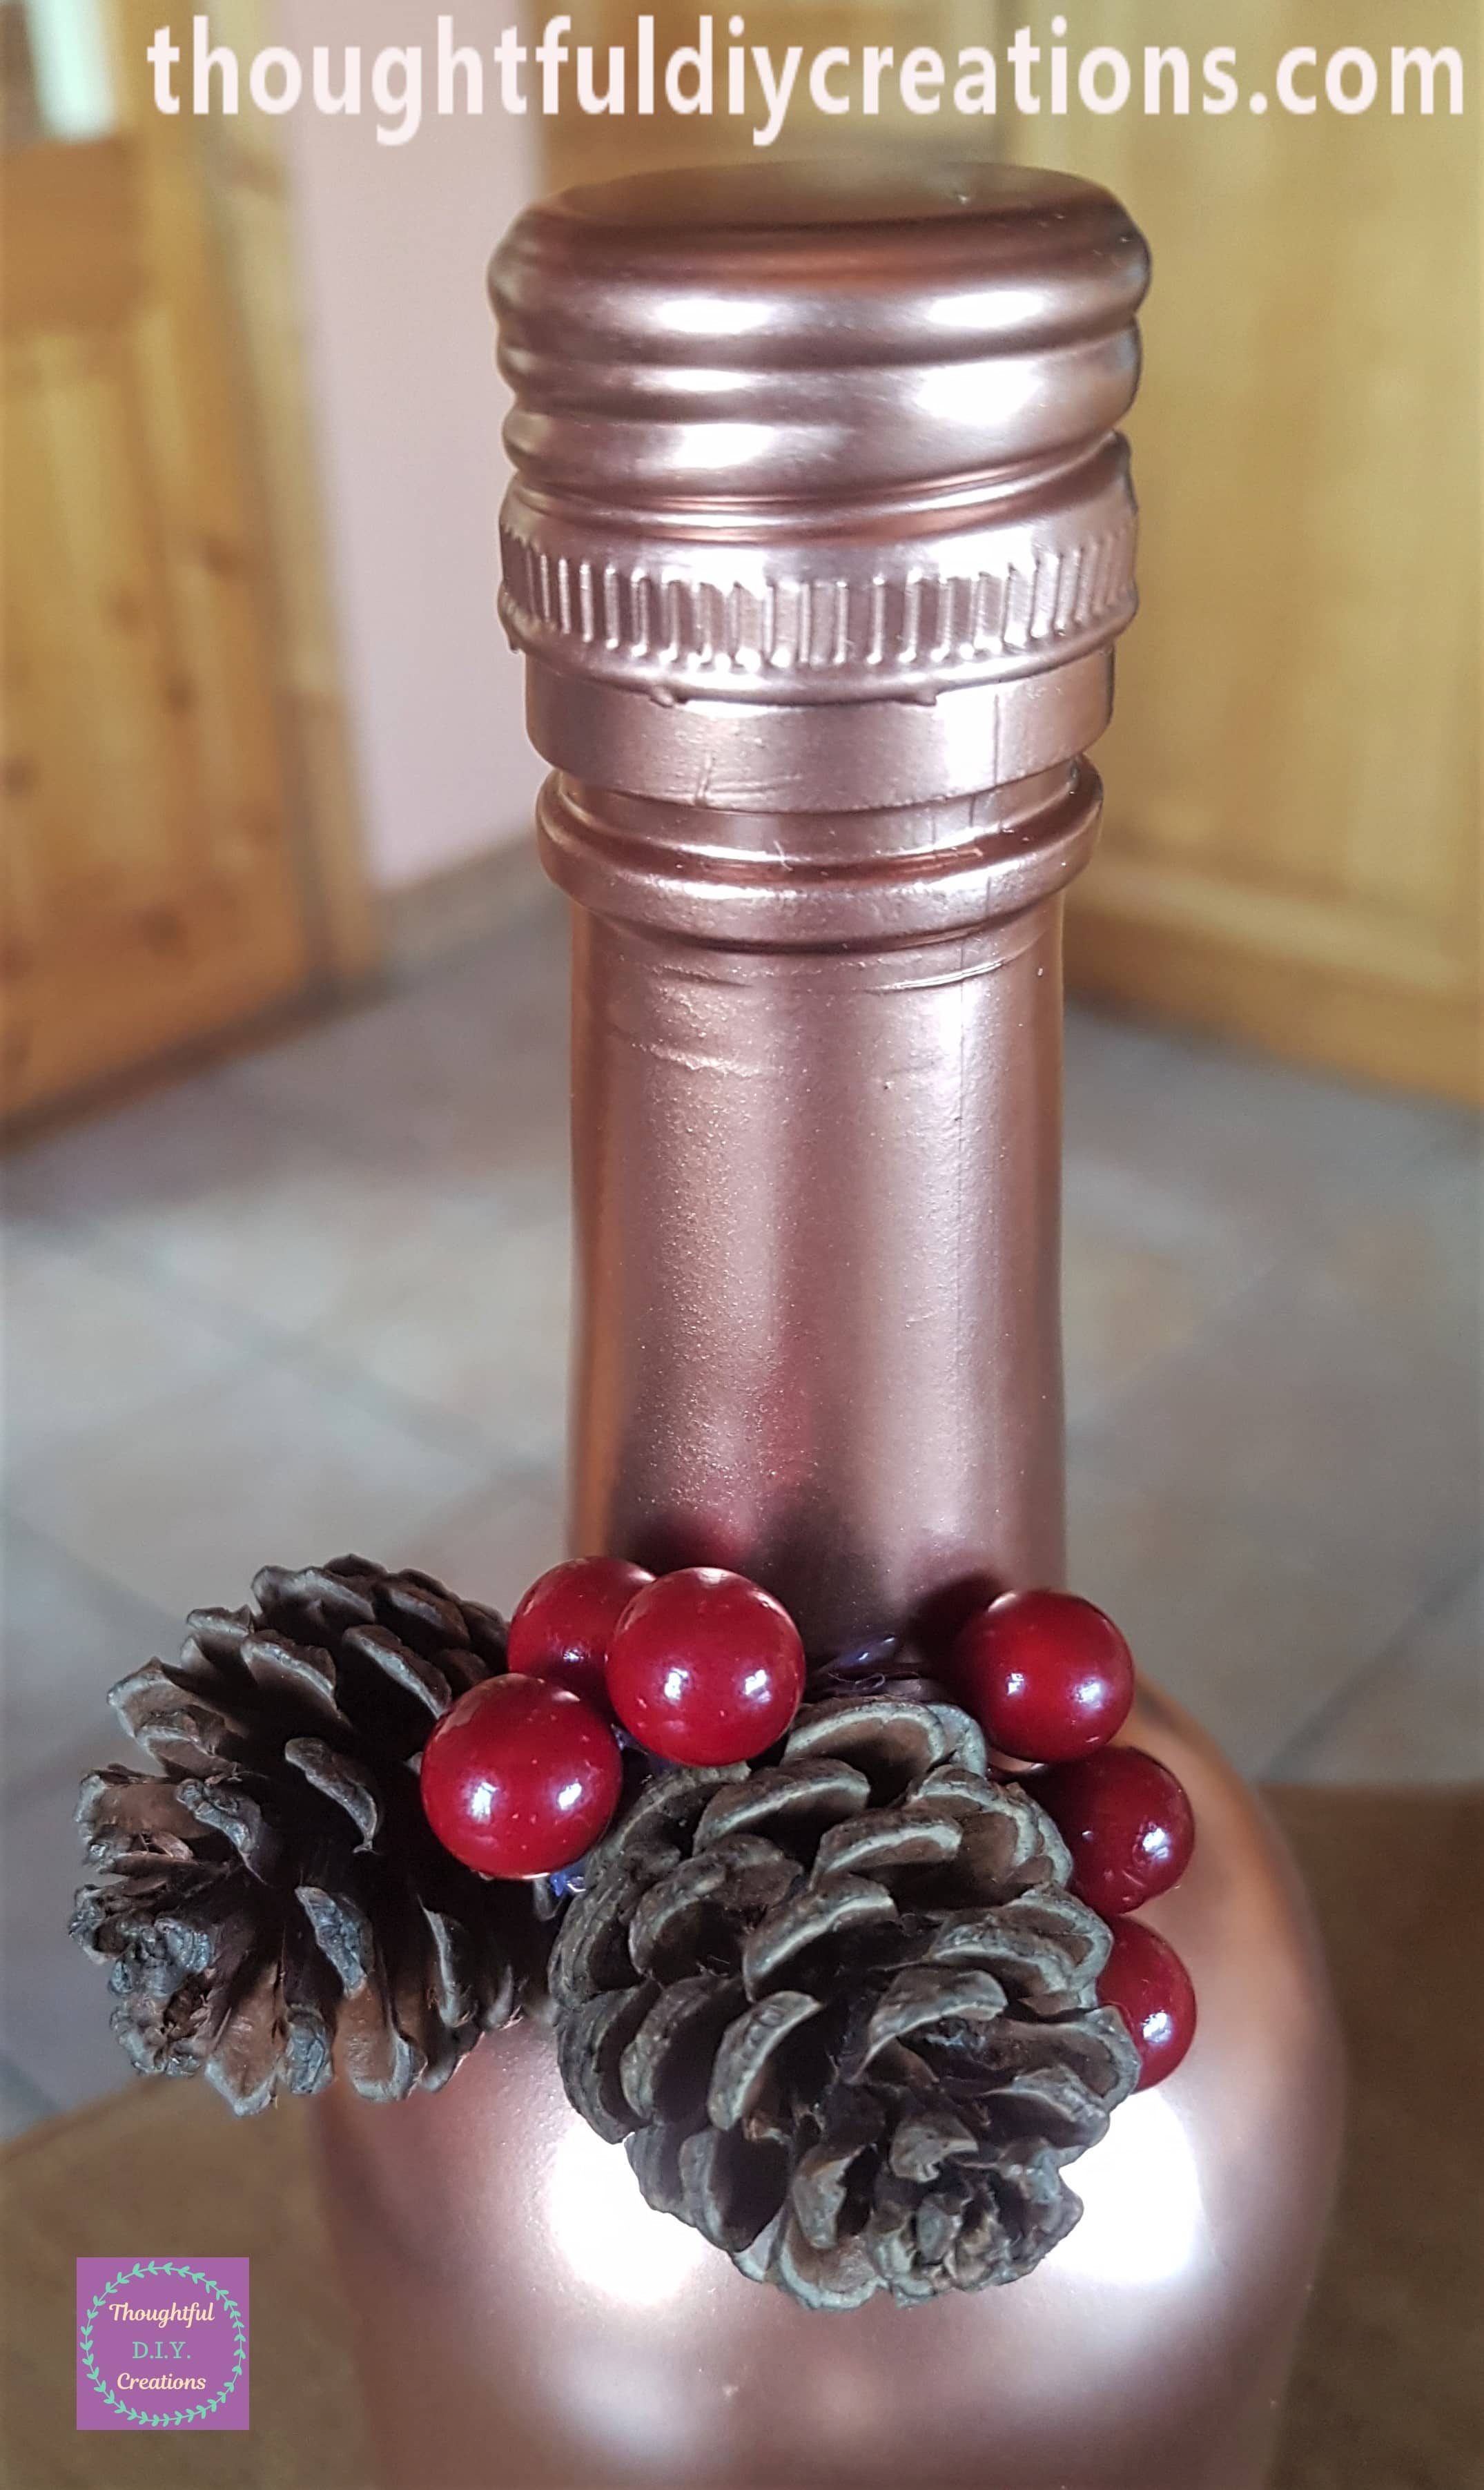
I glued 3 red berries to the side of the first pine cone.
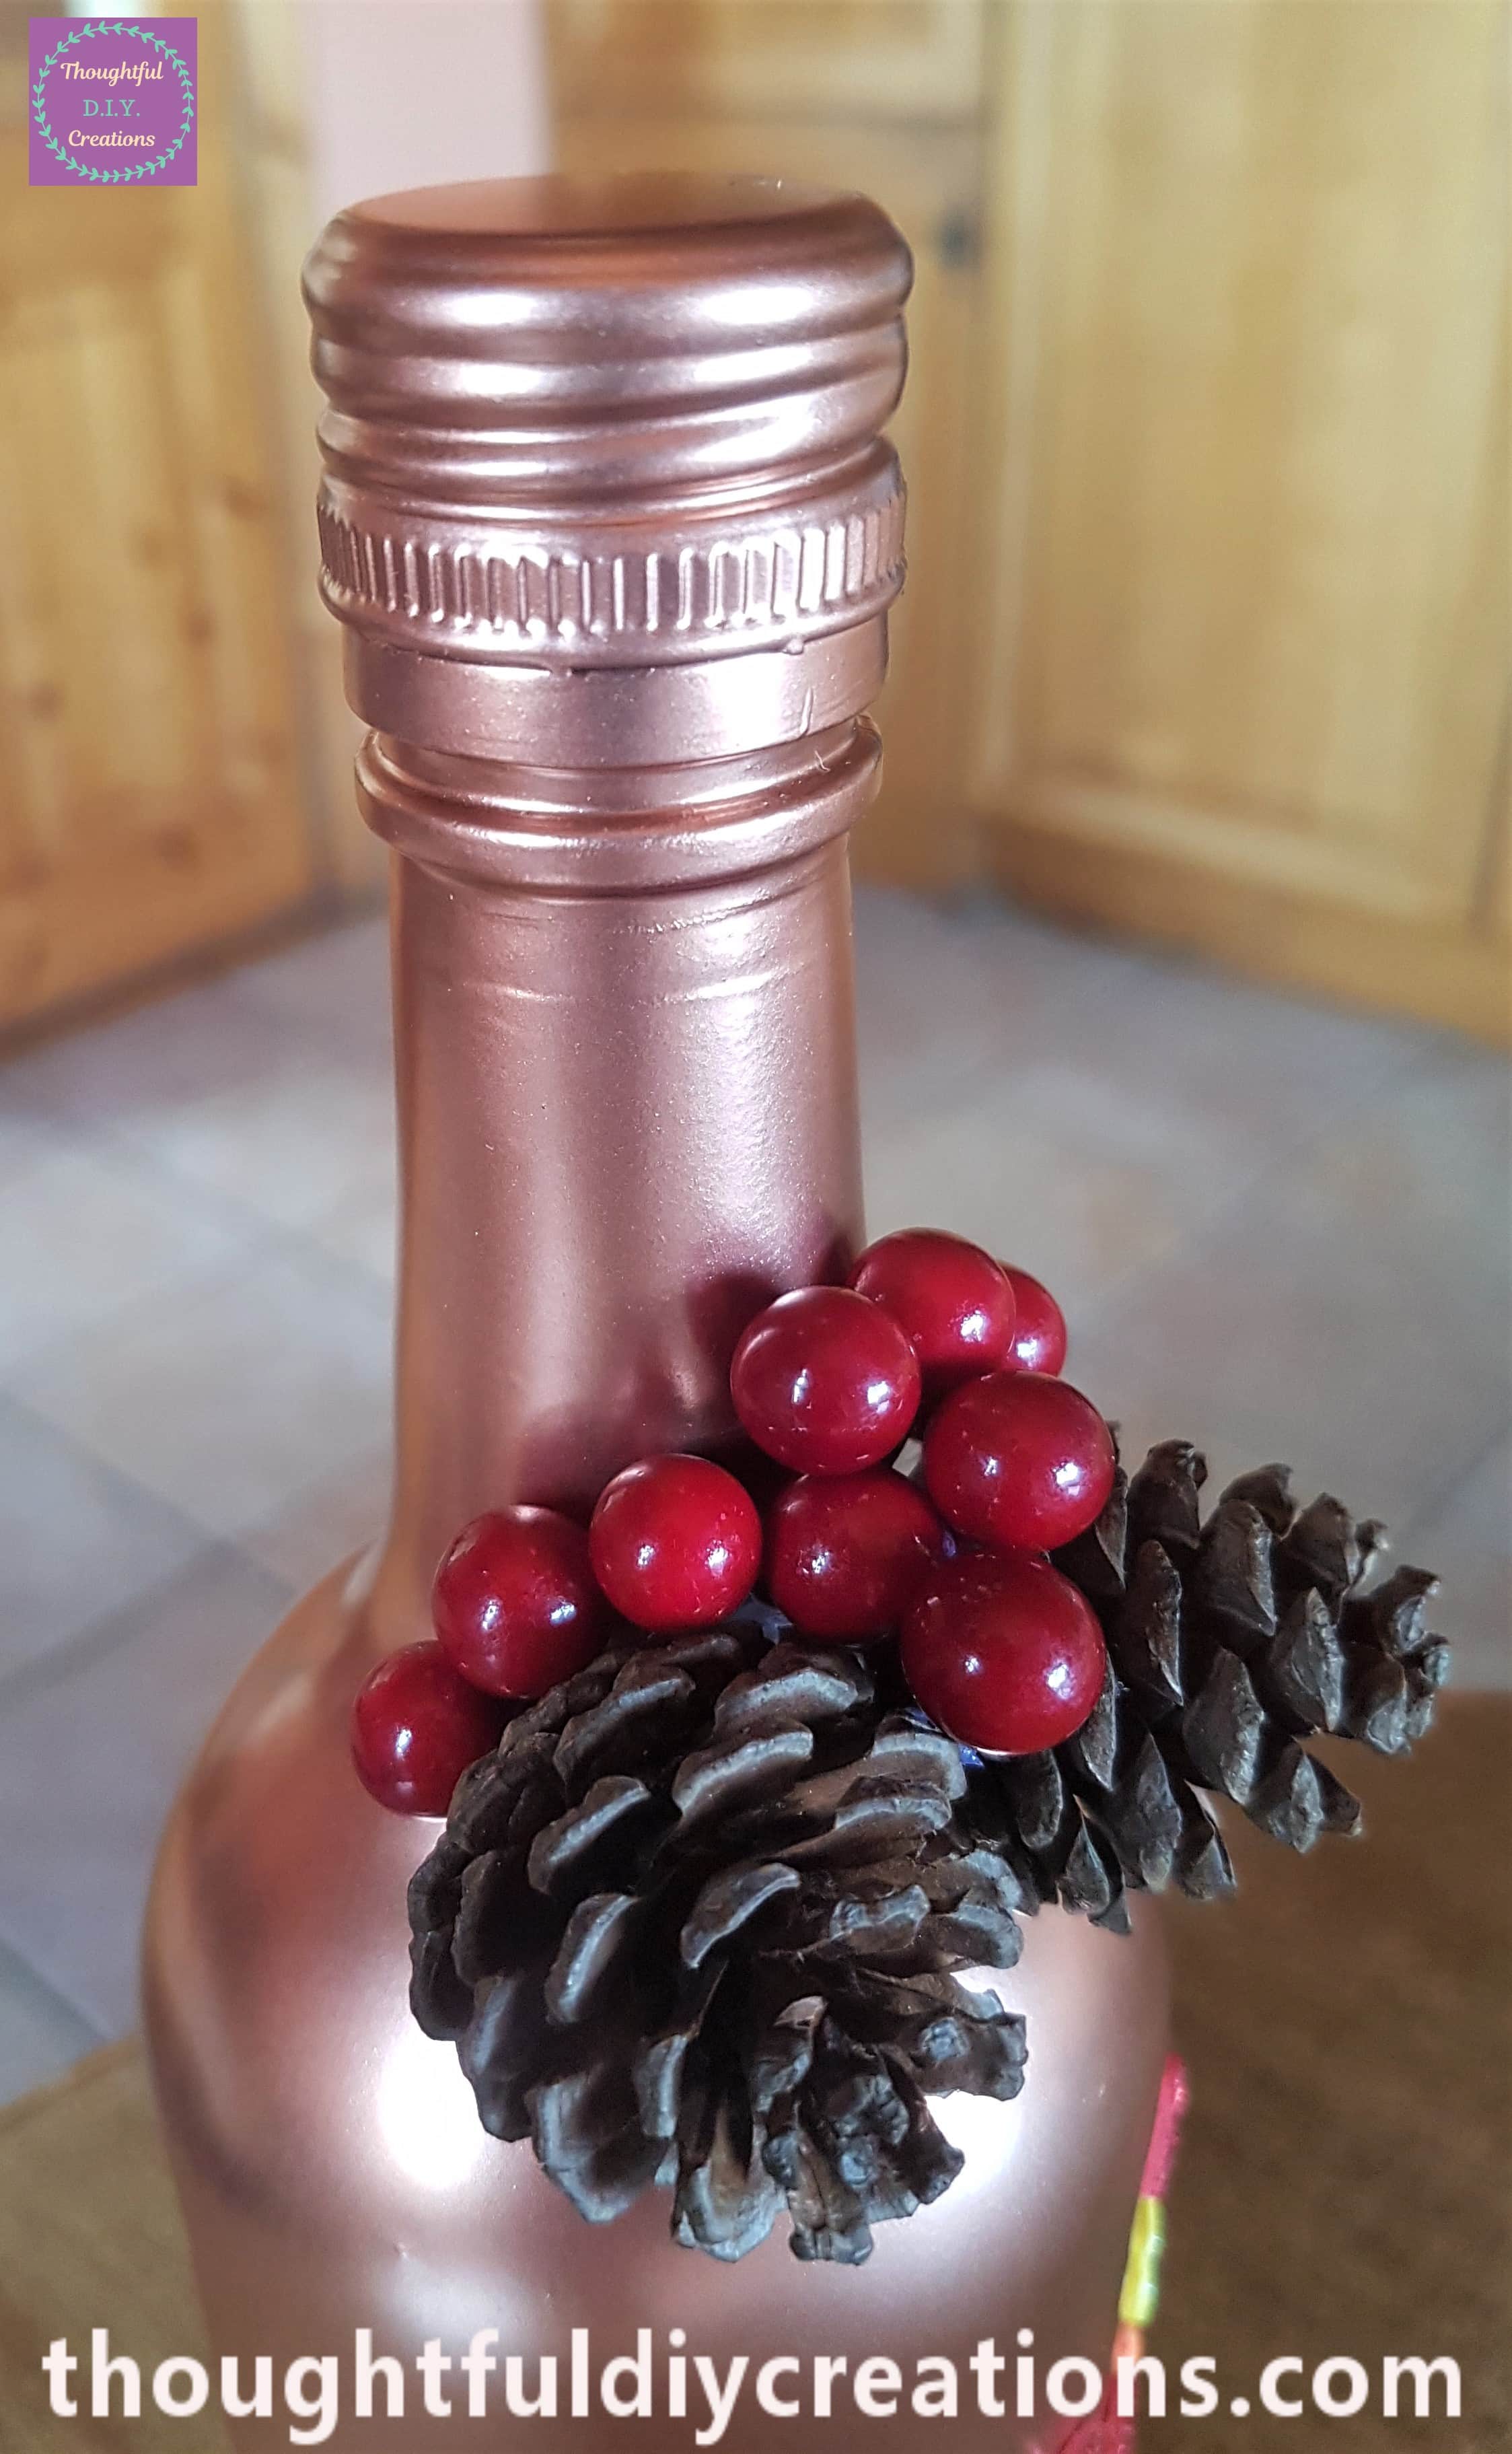
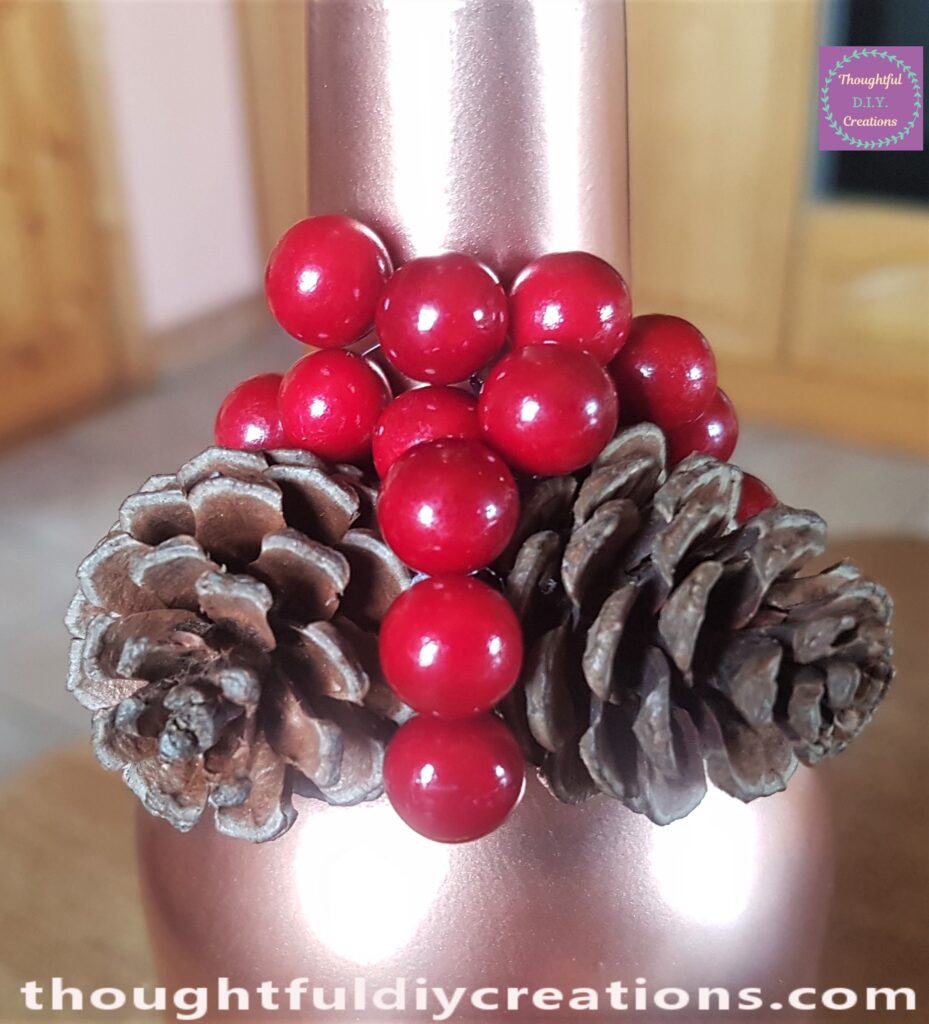
I added more berries to the mid-section of the pine cones.
I hot glued 6 mini pine cones to the top of the Autumn Bottle.
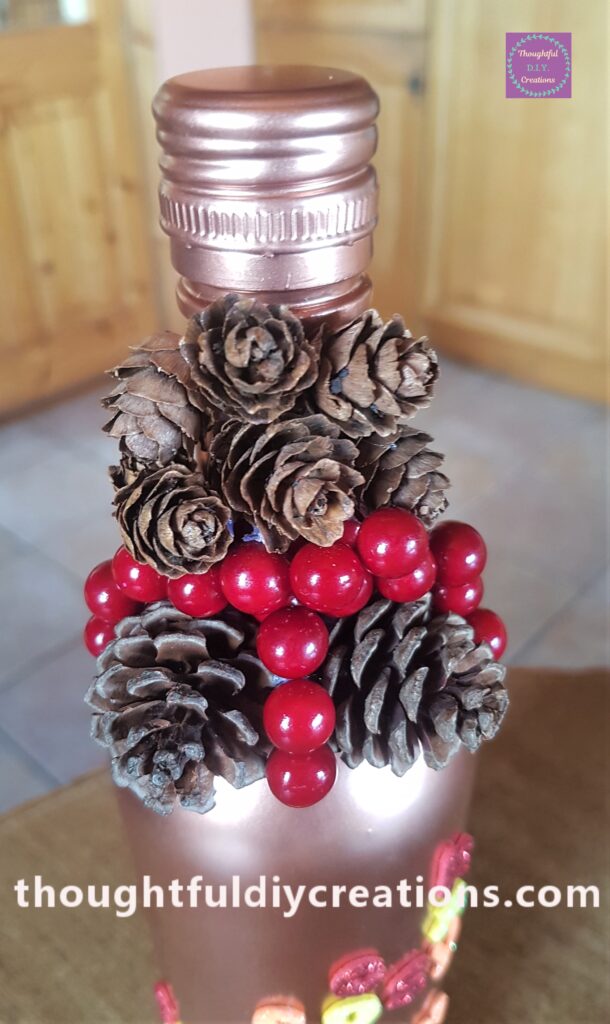
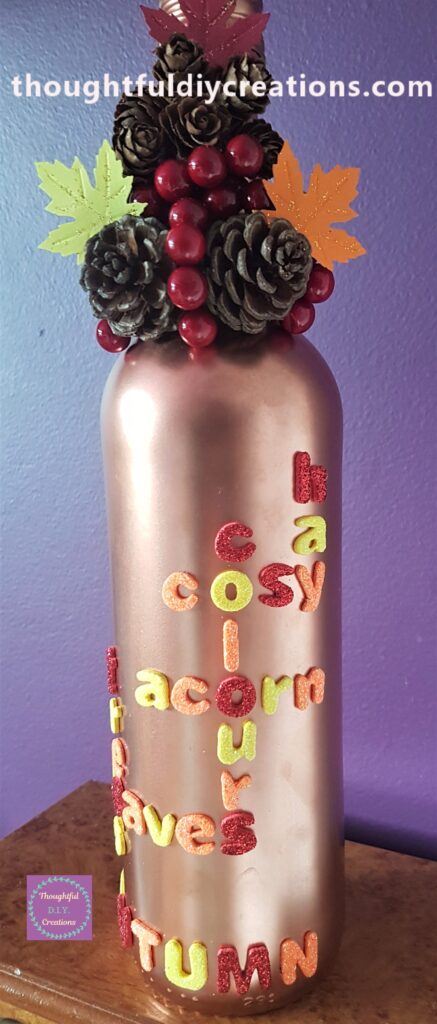
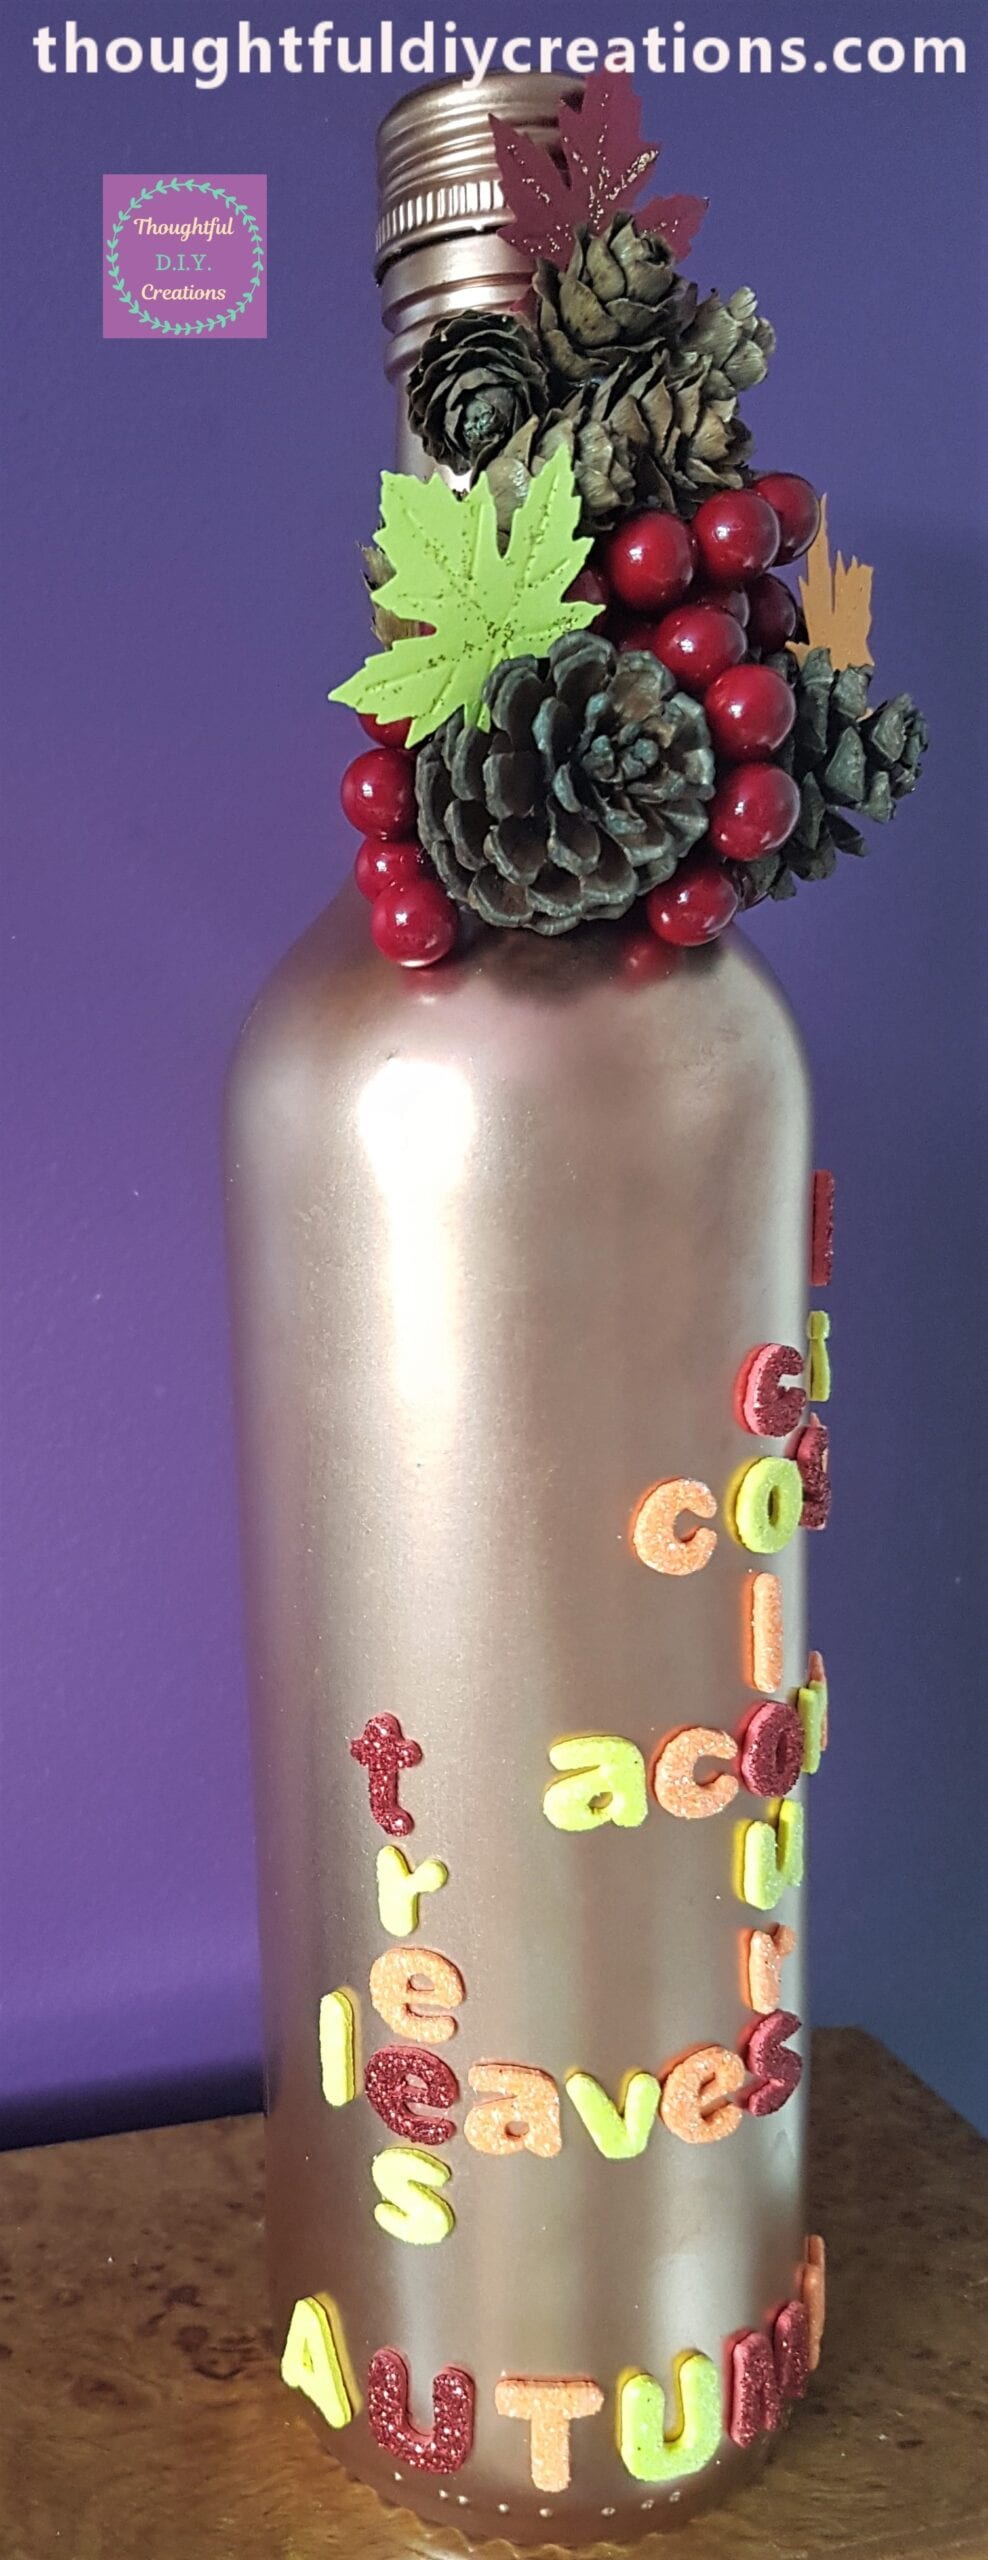
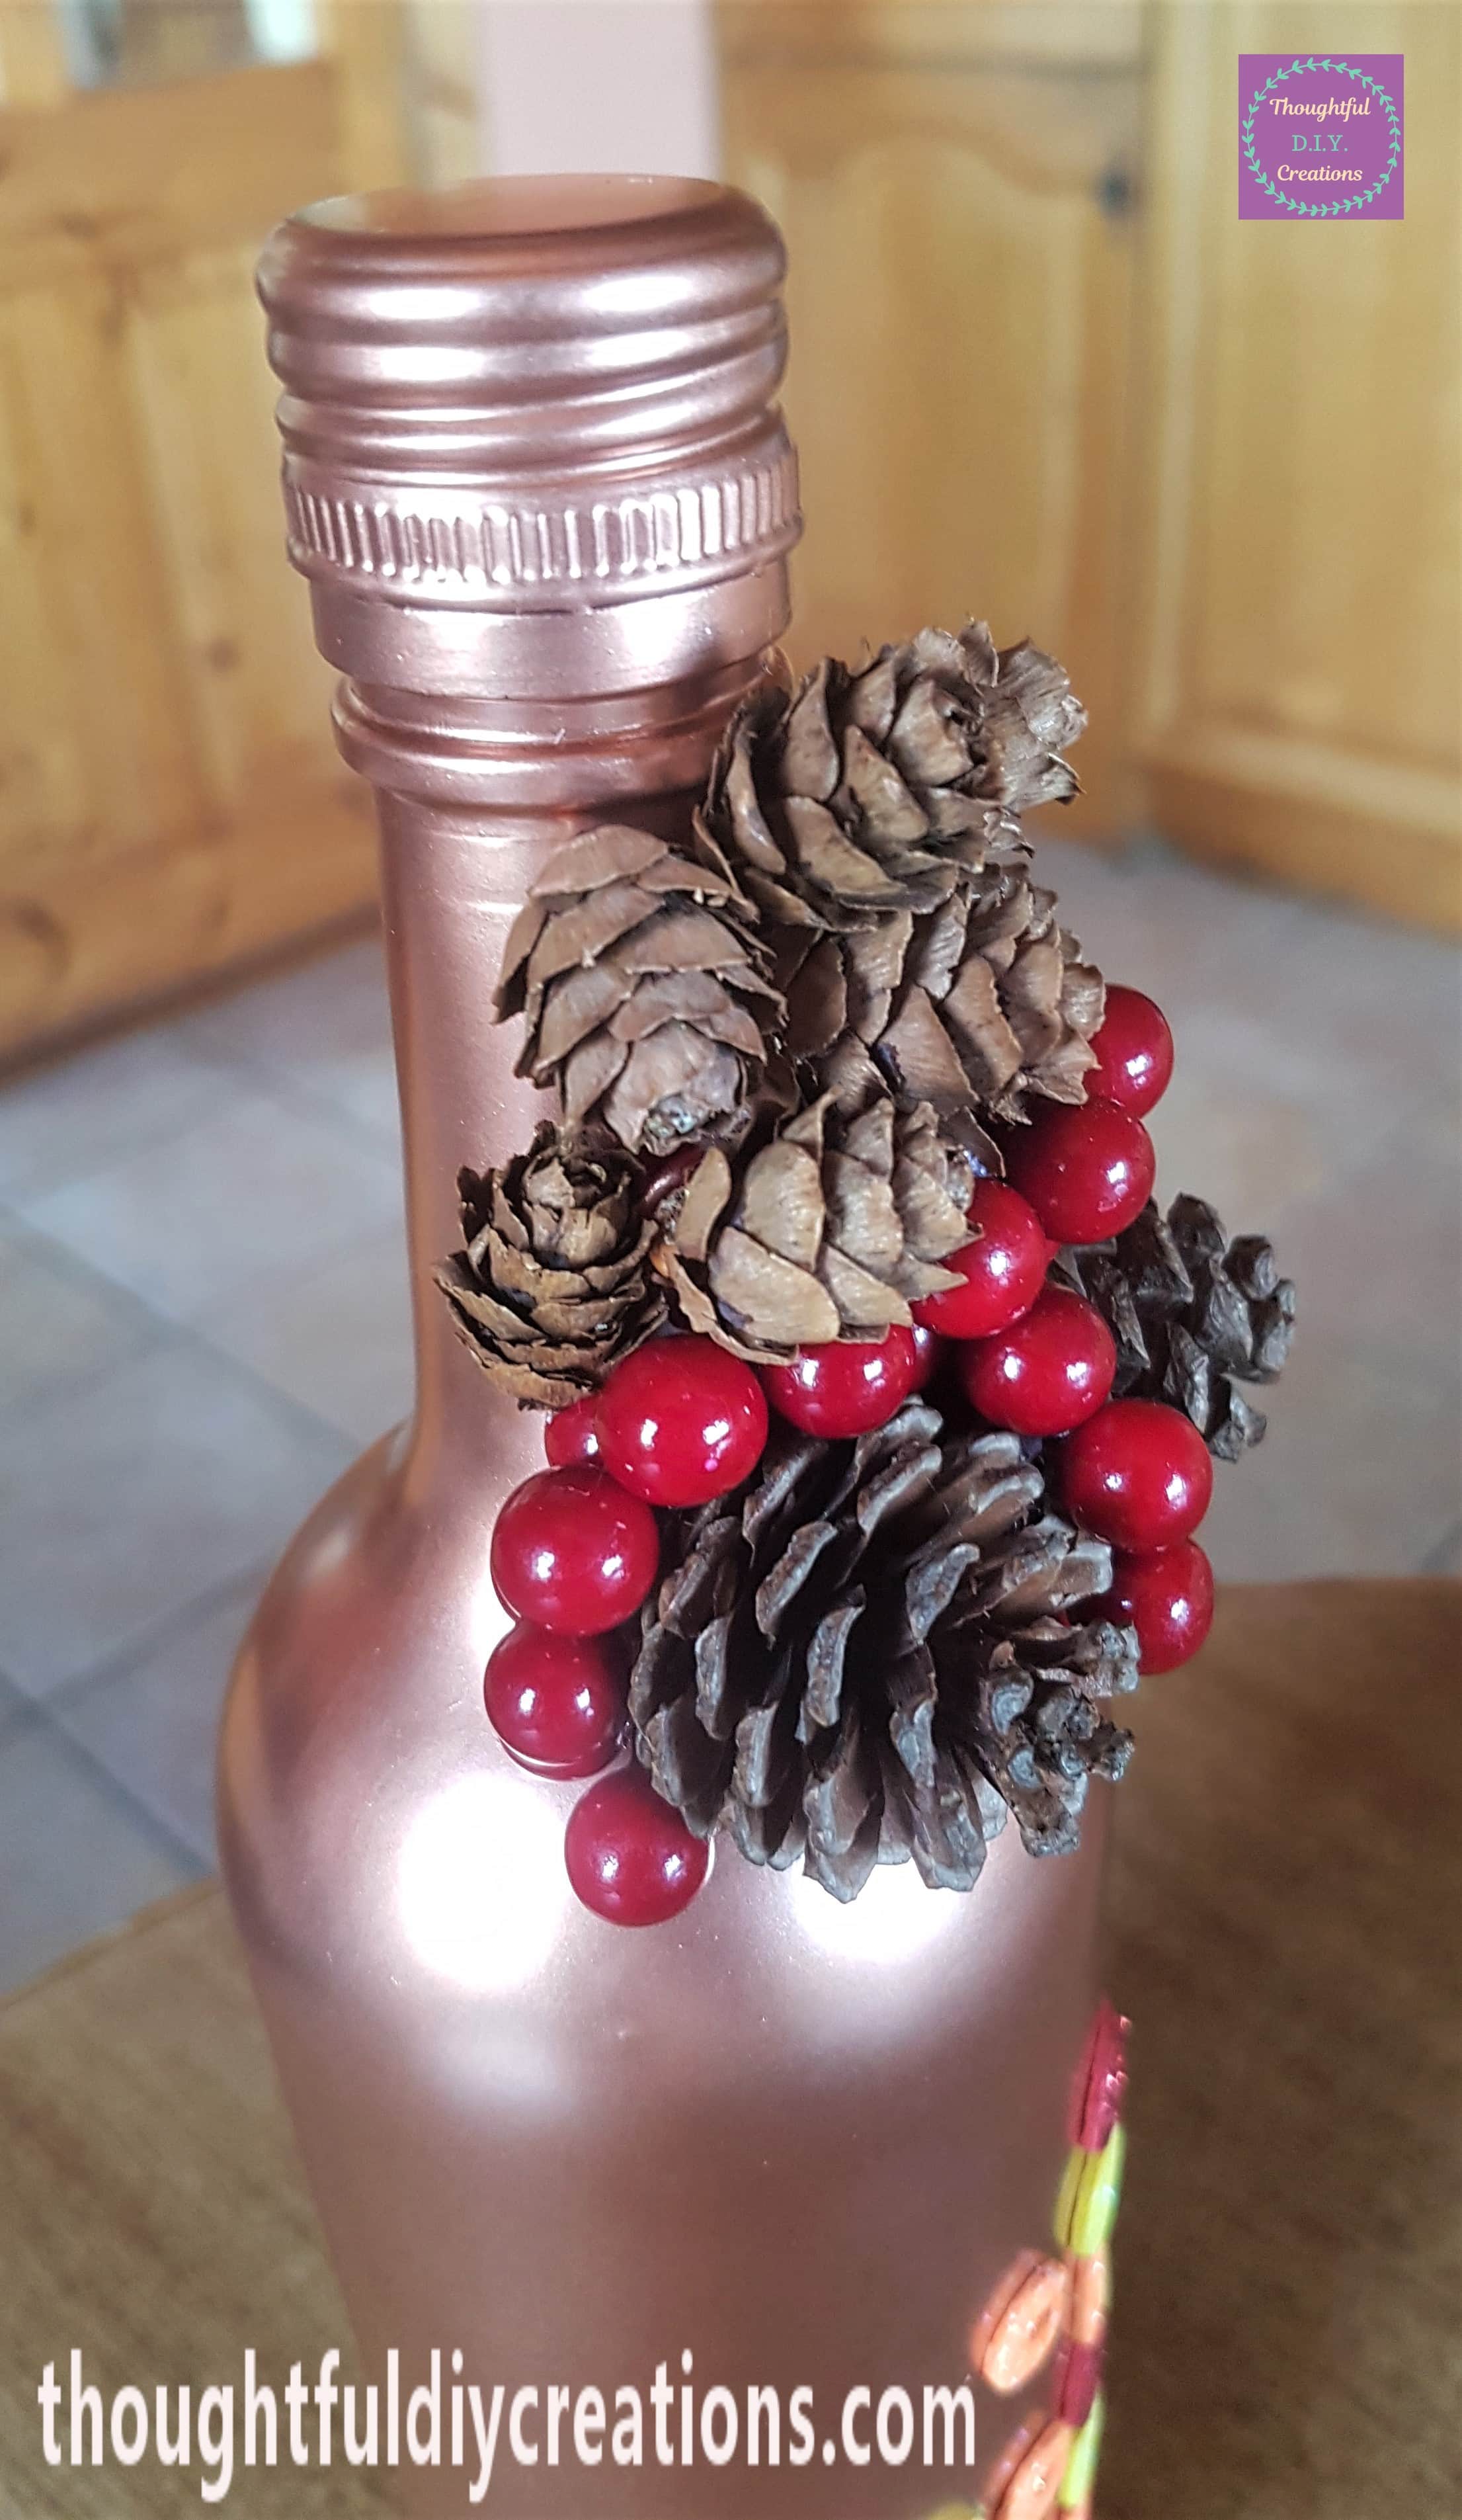
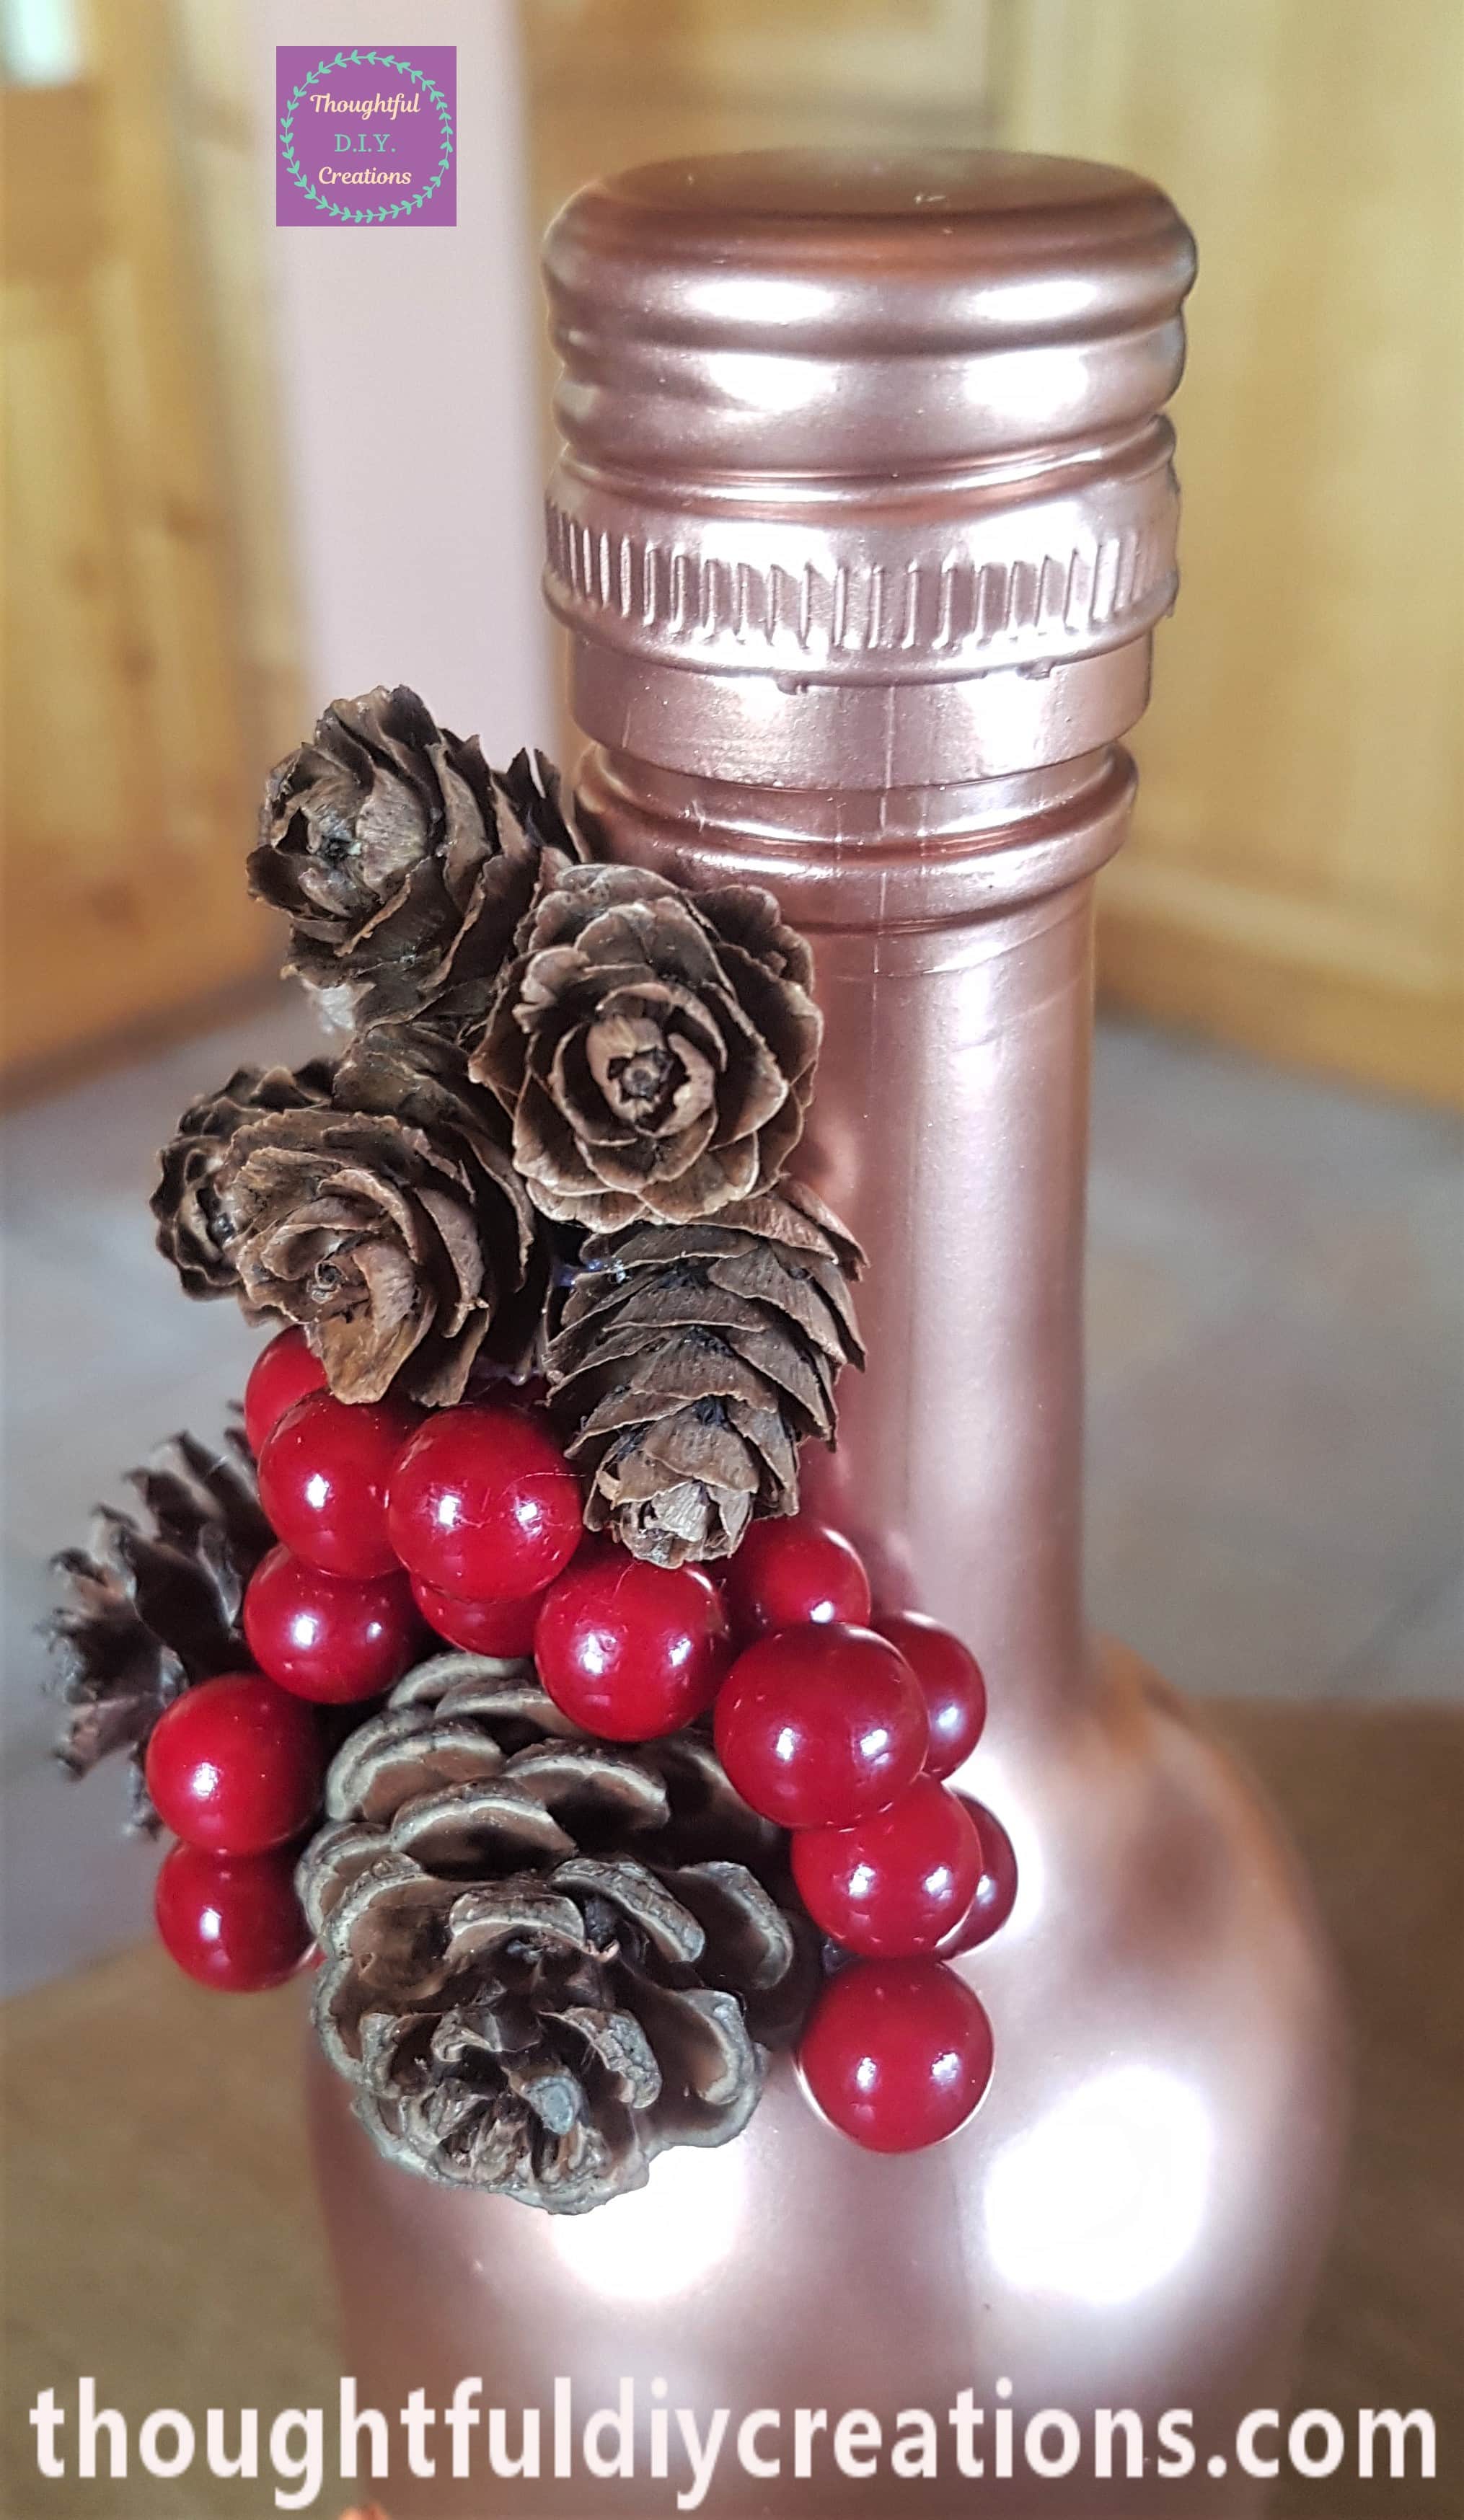
The Images below show each side of the Bottle with Pine Cones and Berries attached.
A full view of the decorated Bottle.
Finishing Touches to the Autumn Bottle
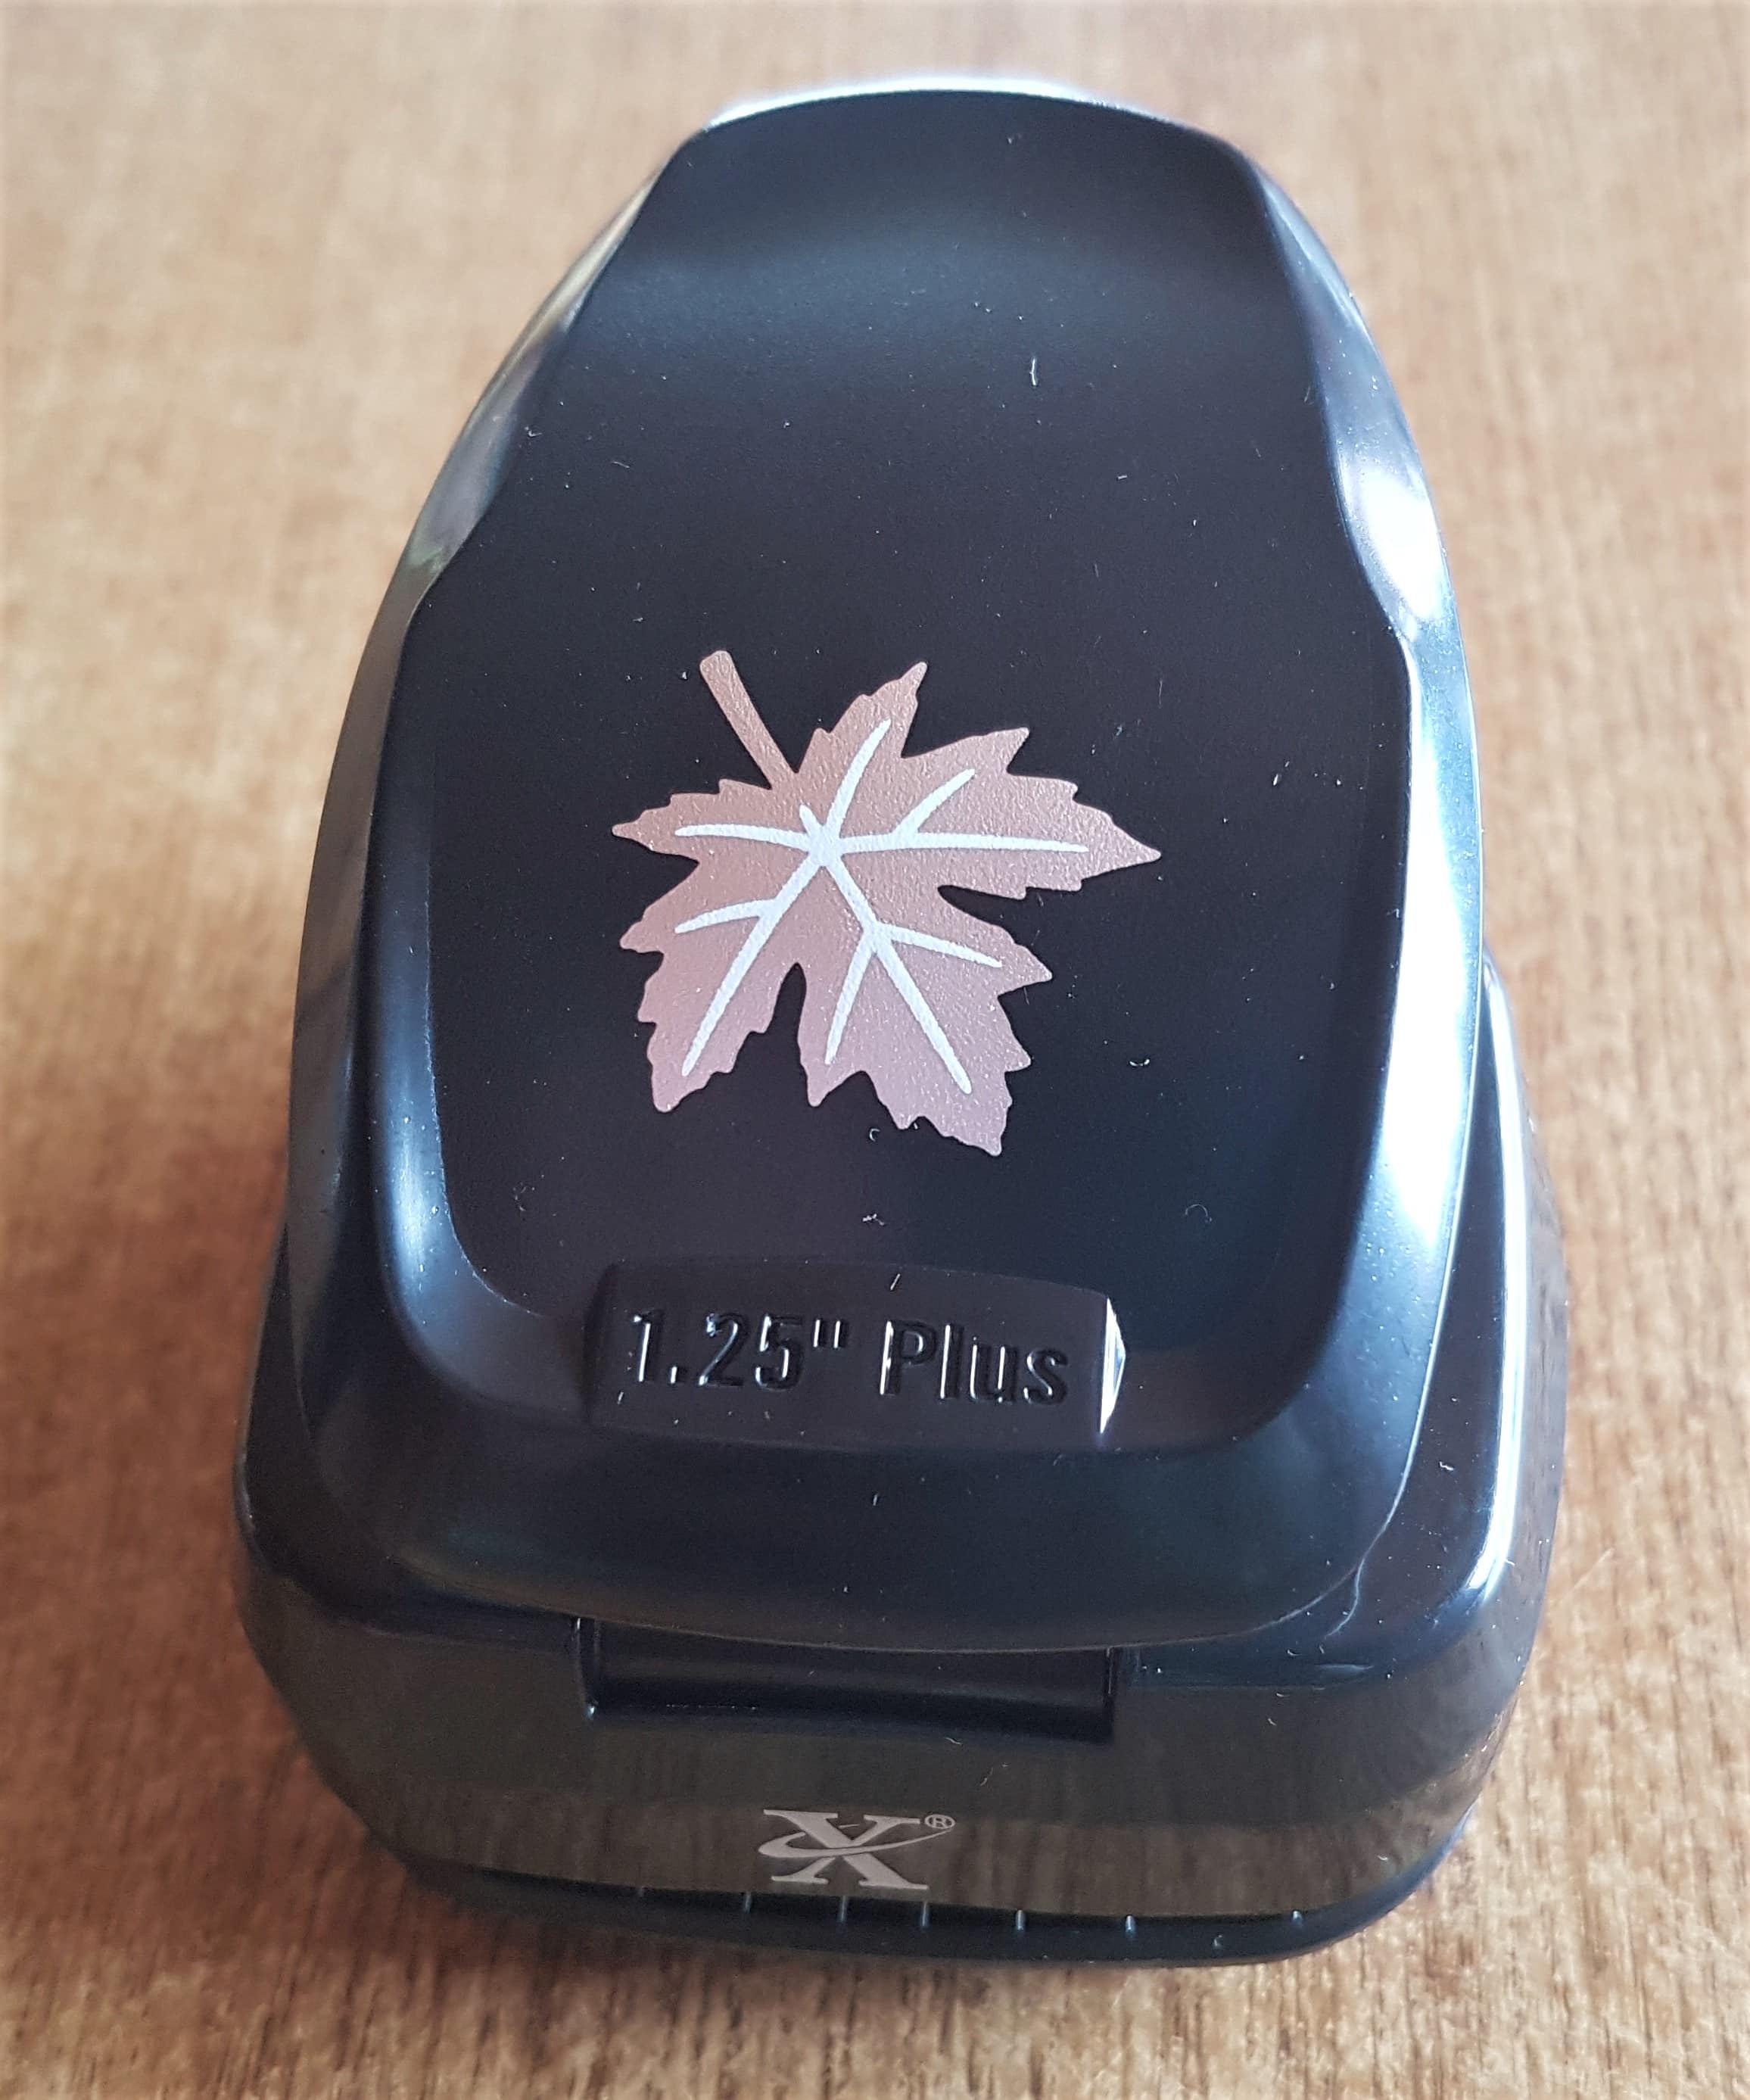
I got my ‘Cut and Emboss Leaf Punch’ by Xcut from my supplies.
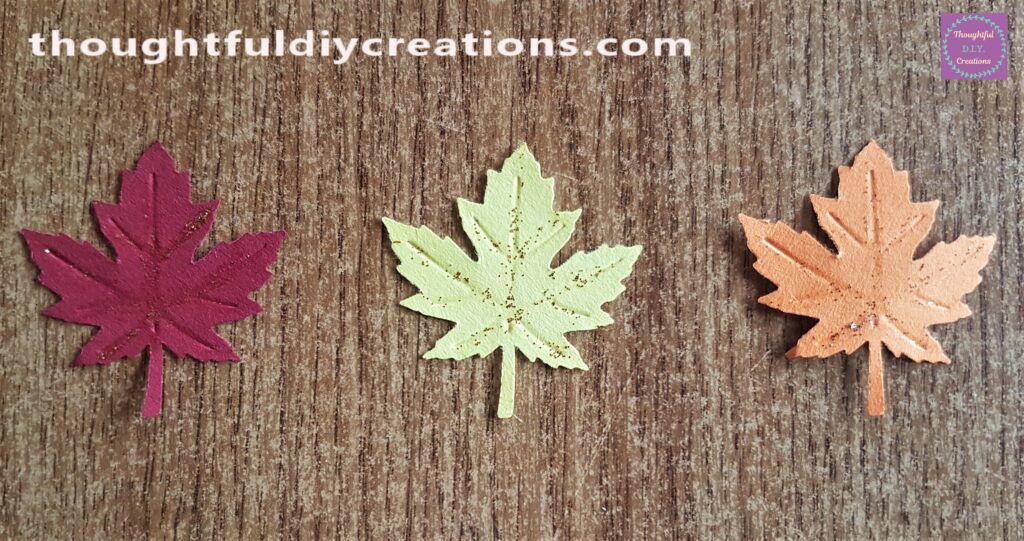
I made a Red, Yellow and Orange Leaf from the Punch and Coloured Cardstock 135 gsm. I added Gold Glitter to the indent areas on each leaf.
I pushed the stem of each leaf down the back of the Pine Cones.
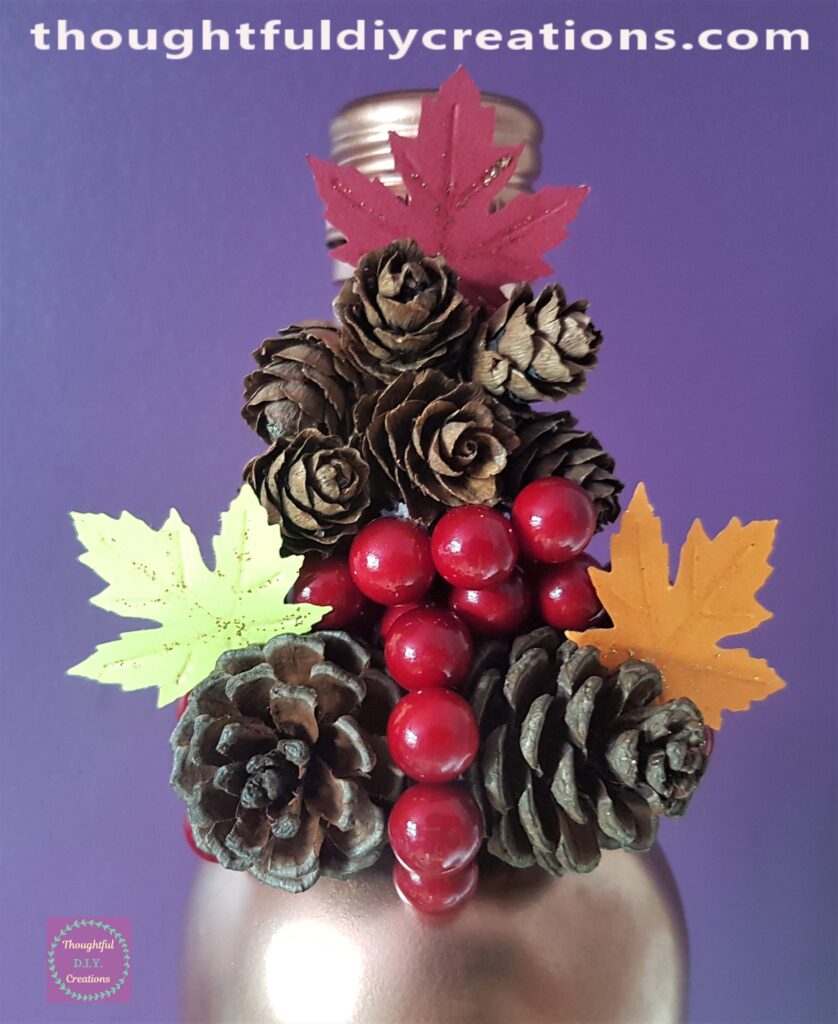
This Completed my Autumn Bottle Craft.
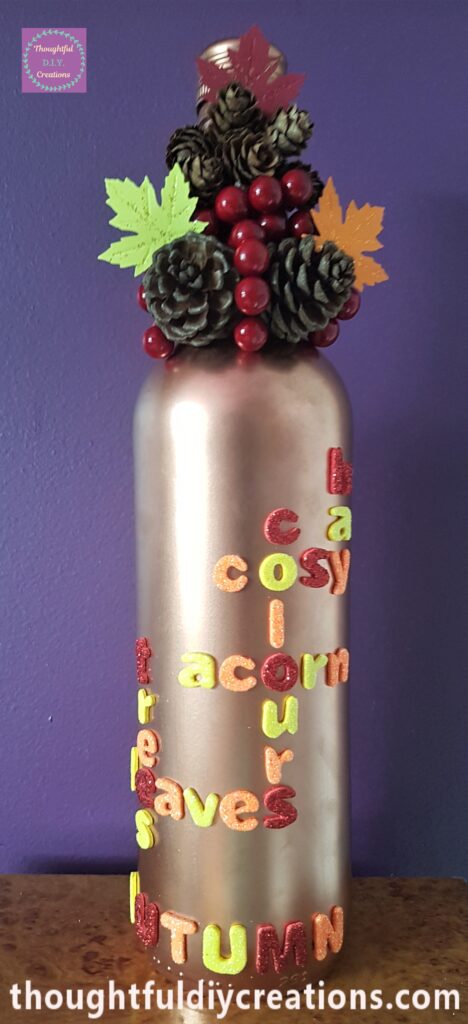
This image shows a full side view of the Bottle.
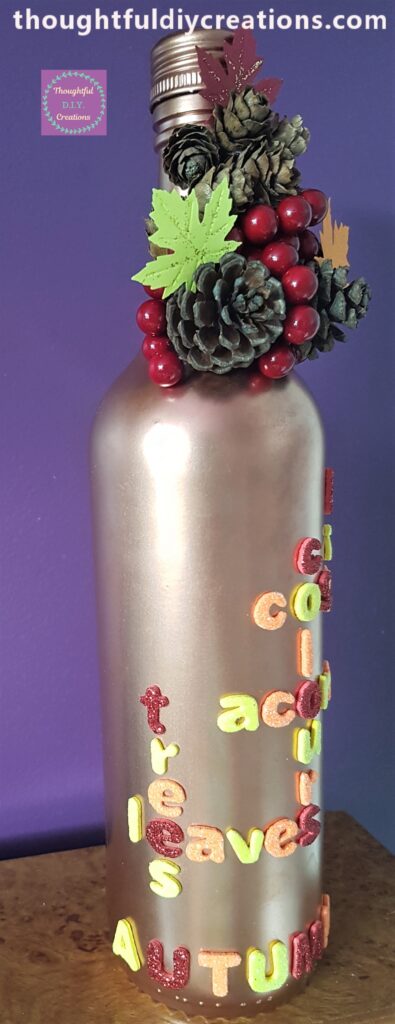
This is the Final Image of the Completed Craft.
Conclusion
I am happy with the finished result of the Autumn Bottle. I wasn’t sure if I added too many Berries and then Pine Cones but I think the addition of the Leaves brought it all together in the end. I love the Copper Shade of the Spray Paint; it’s warm and luxurious looking.
The Bottle is timeless and can be displayed in different areas of the Home each year to embrace the Autumn Season. I love the Colours associated with Autumn especially the beauty from Nature; leaves, berries, harvest, etc. I like Cosy evenings relaxing by the Fire as the Weather gets Cold and Windy and being warm and snug inside.
I hope this Tutorial gave you some ideas for Autumn Crafting or how to Re-Purpose a Glass Bottle. They are the ideal base to decorate and they don’t cost anything as you already bought it. Bottles don’t take up too much room in the Home so are a great source of decorating if you live in a Small Home, Flat or Apartment. They are light to Carry and Move around and can be displayed on a Shelf, Mantle Piece, Side Table etc.
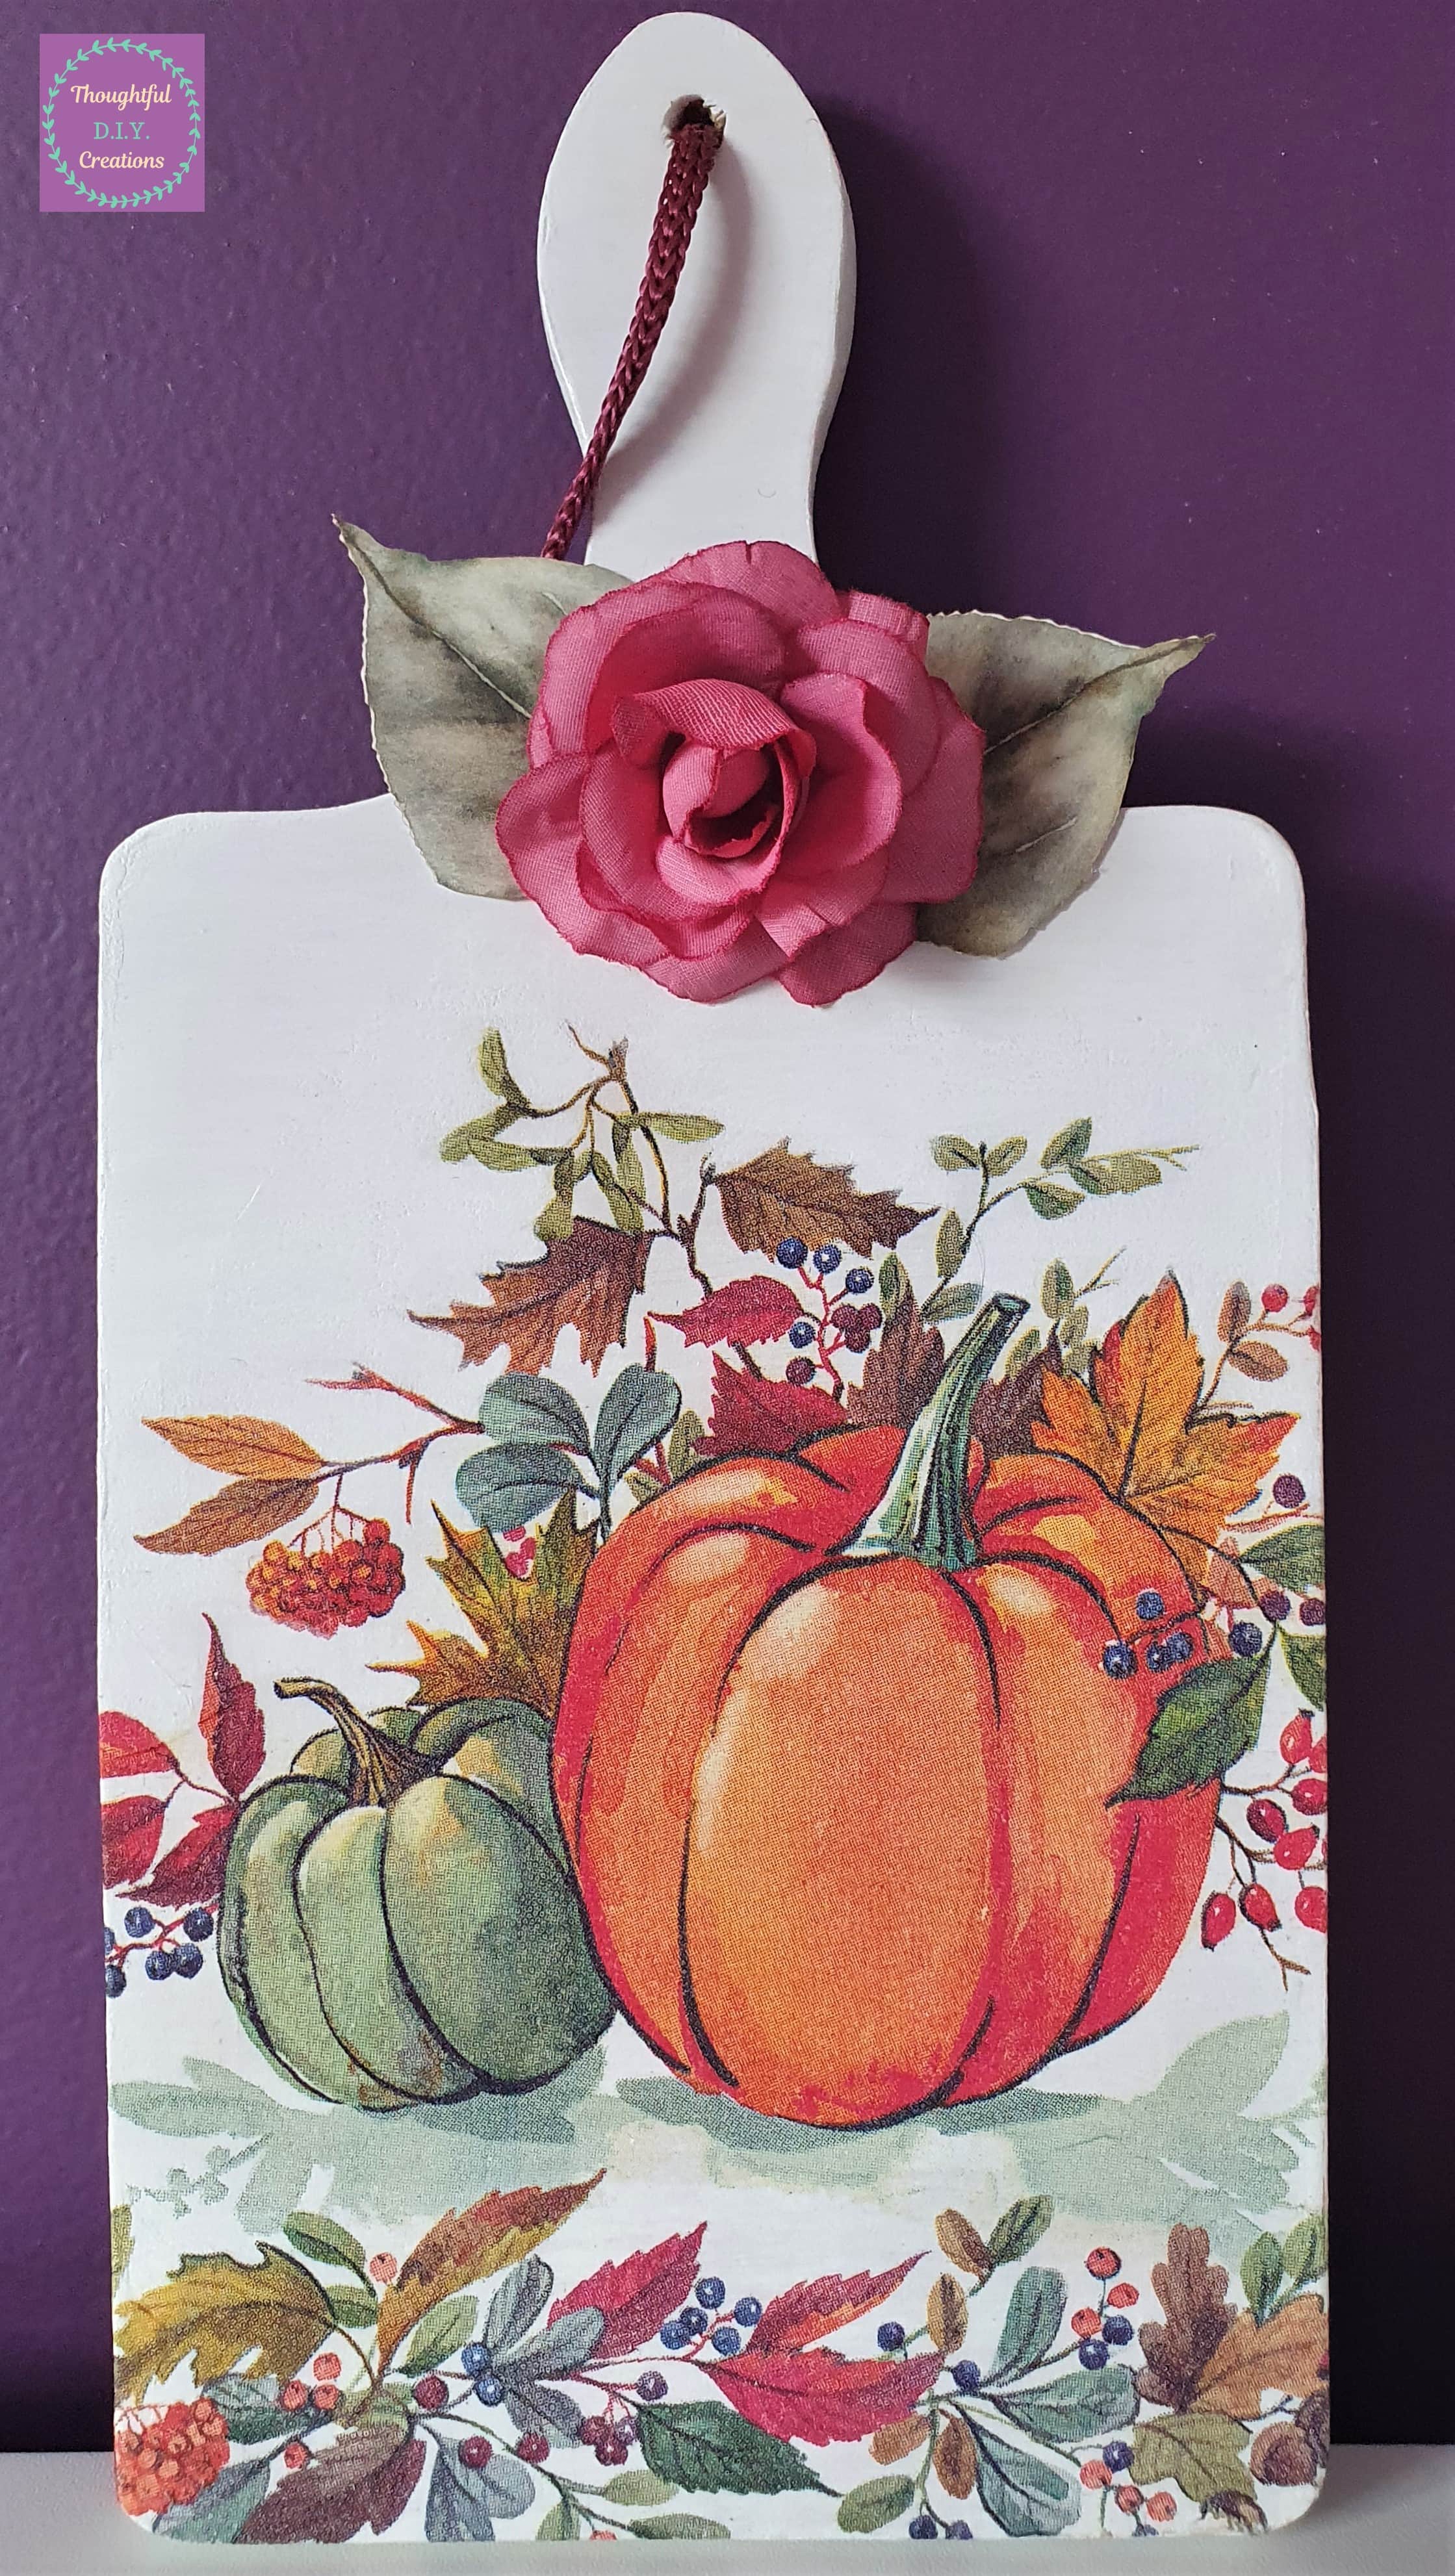
Here are some of the Autumn Crafts I made last year. Autumn Canvas, Autumn Bunting, Scarecrow Jar.
If you have any Questions or anything to add on this topic, I’d love to hear from you. Just fill out the Comment Box below this Blog Post and I’ll get back to you as soon as I can.
Thank you so much for taking the time to Read my Blog.
Always Grateful,
T.D.C.
xoxox



-0 Comment-