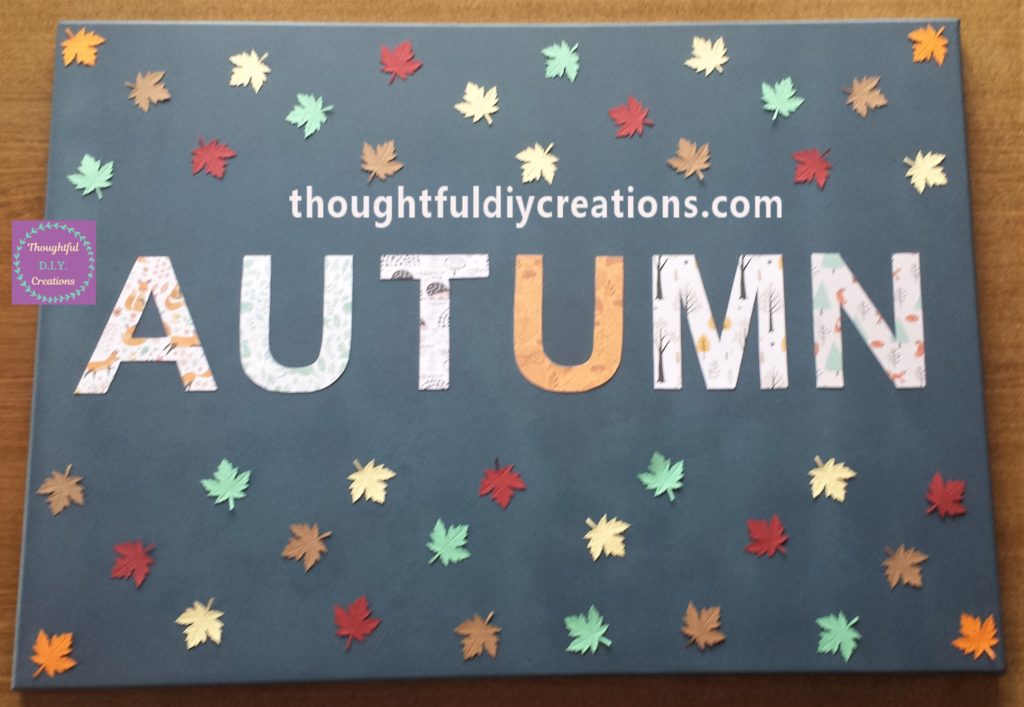
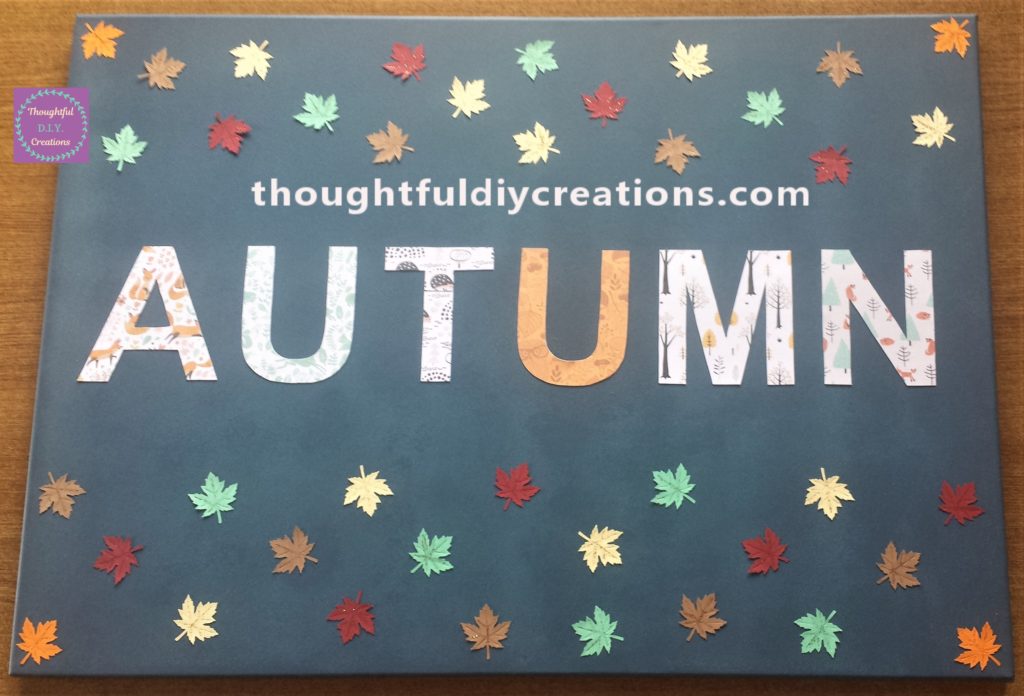
Autumn Canvas
Hello my Creative Friends,
I hope you are all well. In Today’s Blog Post I will show you how to make an Autumn Canvas. I can’t believe we are into September already, is it just me or is the year seriously flying by. I hope you will get some inspiration from my tutorial and attempt some Autumn crafting for yourself.
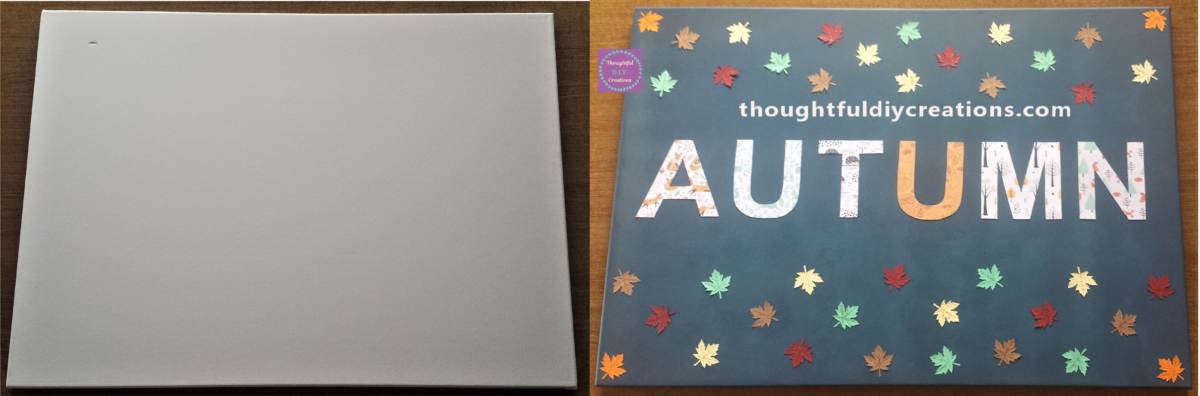
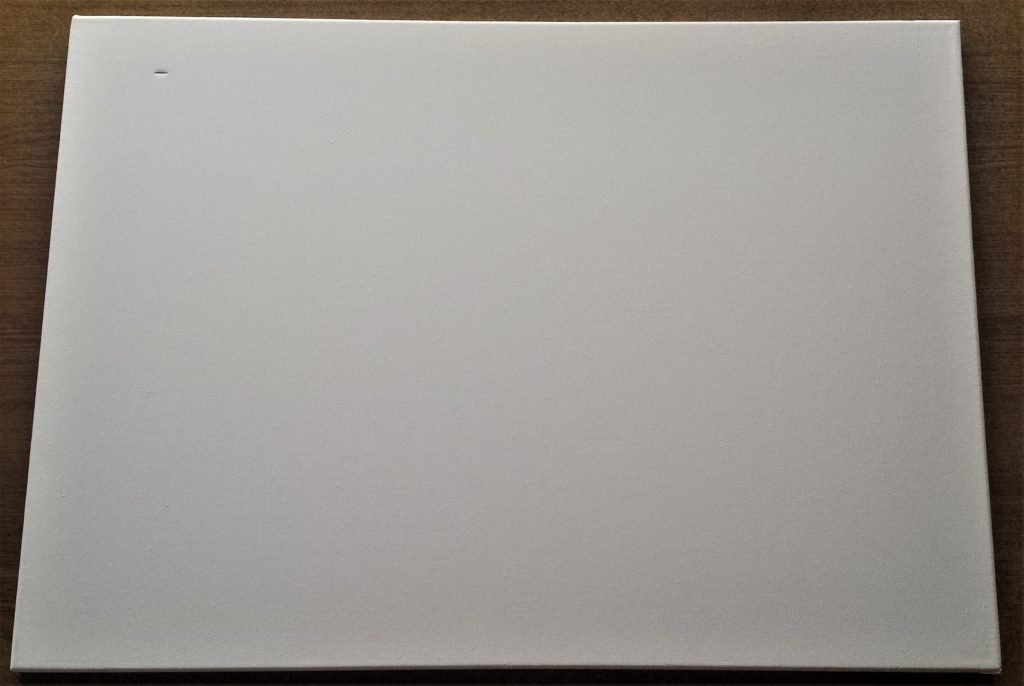
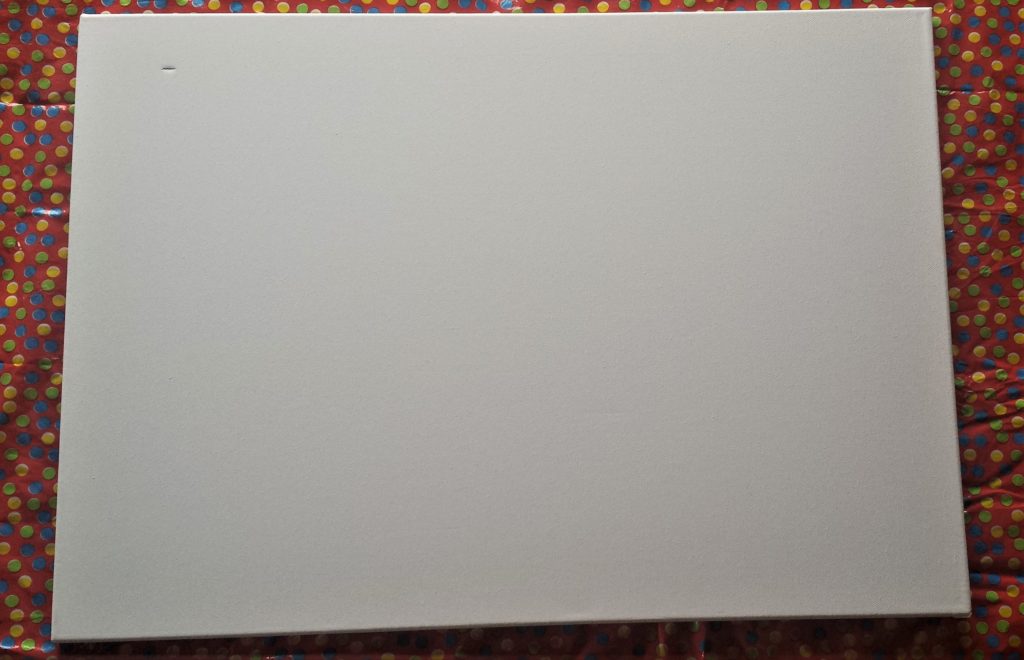
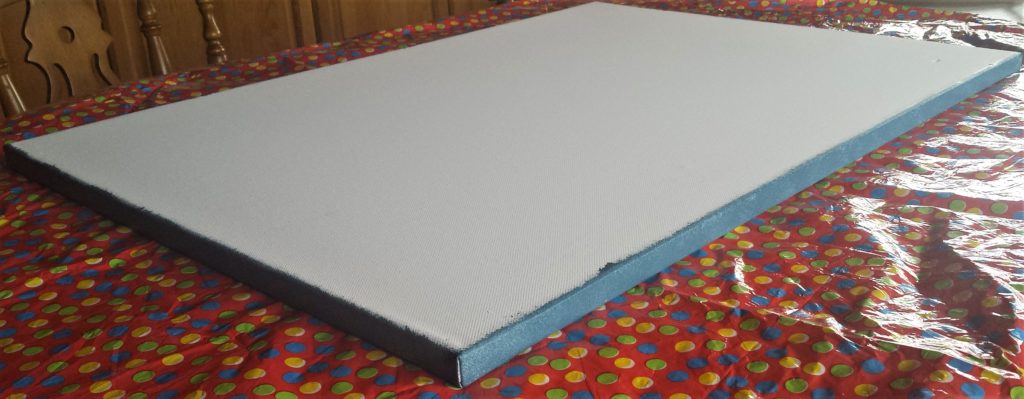
The Canvas I used was 50 x 67 x 1.6 cm . It is a ready to use, 3-fold primed 100% cotton fabric 380 gsm canvas. Arteza White Blank Canvas, Primed, 100% Cotton
I put a plastic tablecloth underneath the canvas to protect my work surface. Polka Dot Plastic Tablecloth
Painting the Canvas
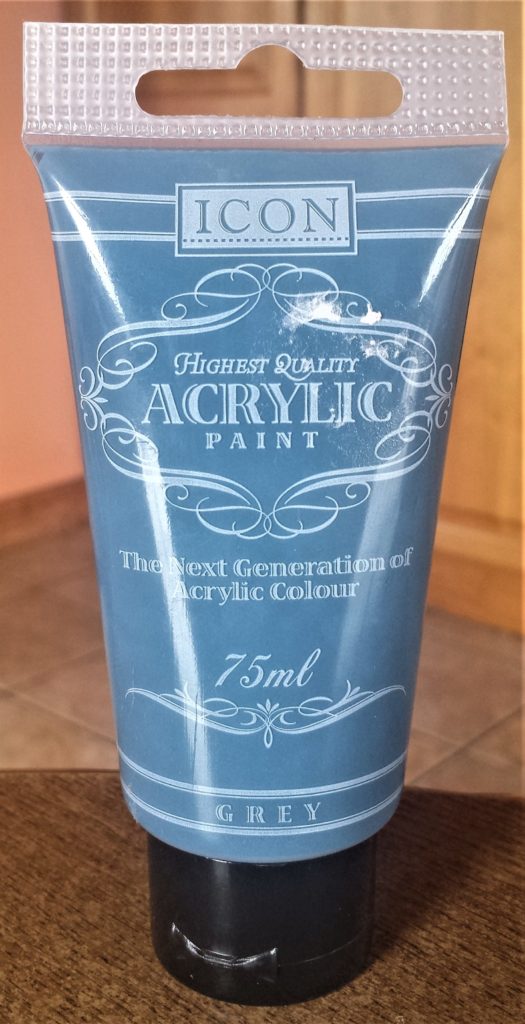
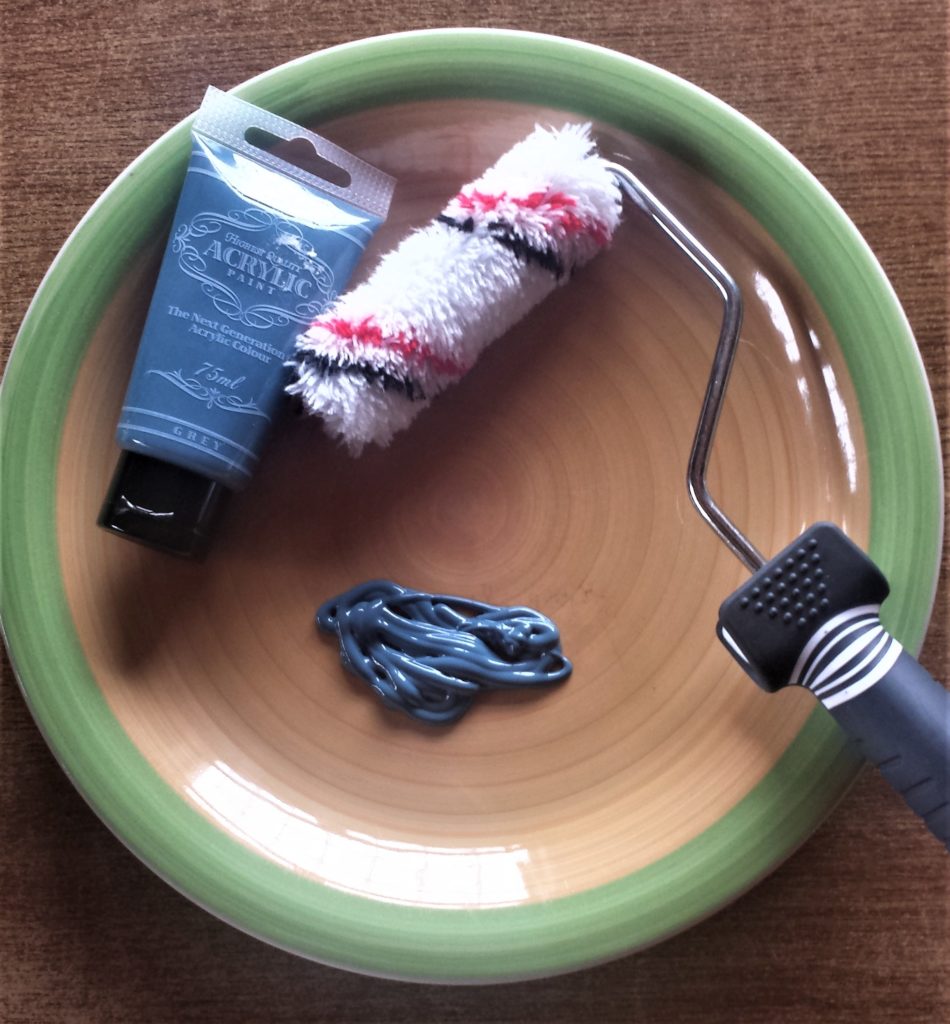
The Paint I used was ‘Grey Acrylic Paint’ by ‘Icon’. Acrylic Paint
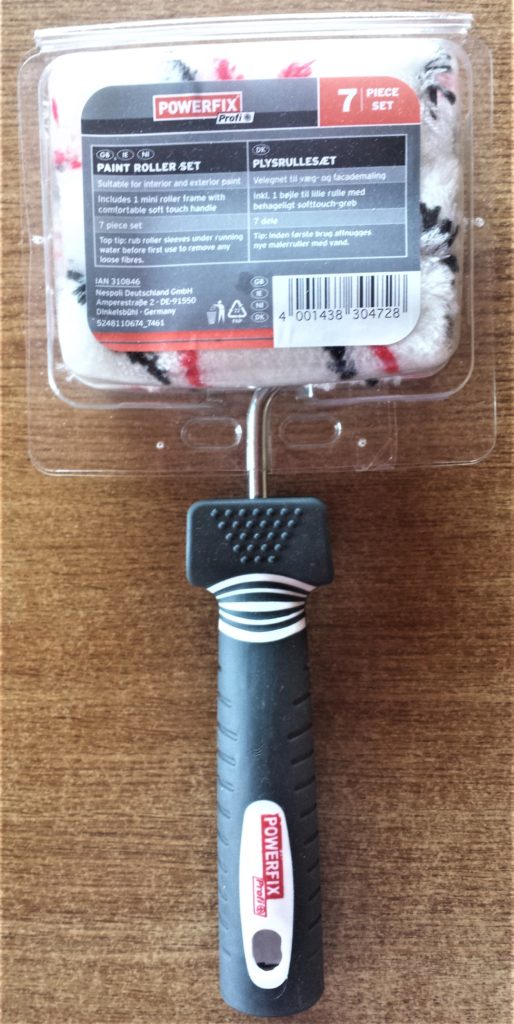
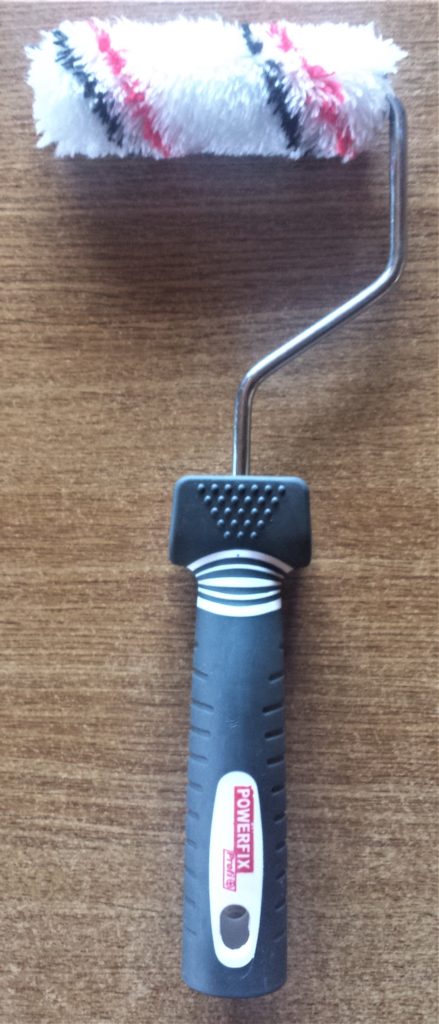
I used a mini roller to paint the Canvas. 6 Inch Mini Paint Roller
I poured some paint onto an old plate.
I dipped the roller into the paint, and painted all four sides of the canvas first.
I poured more paint onto the plate and began to paint the front of the Canvas.
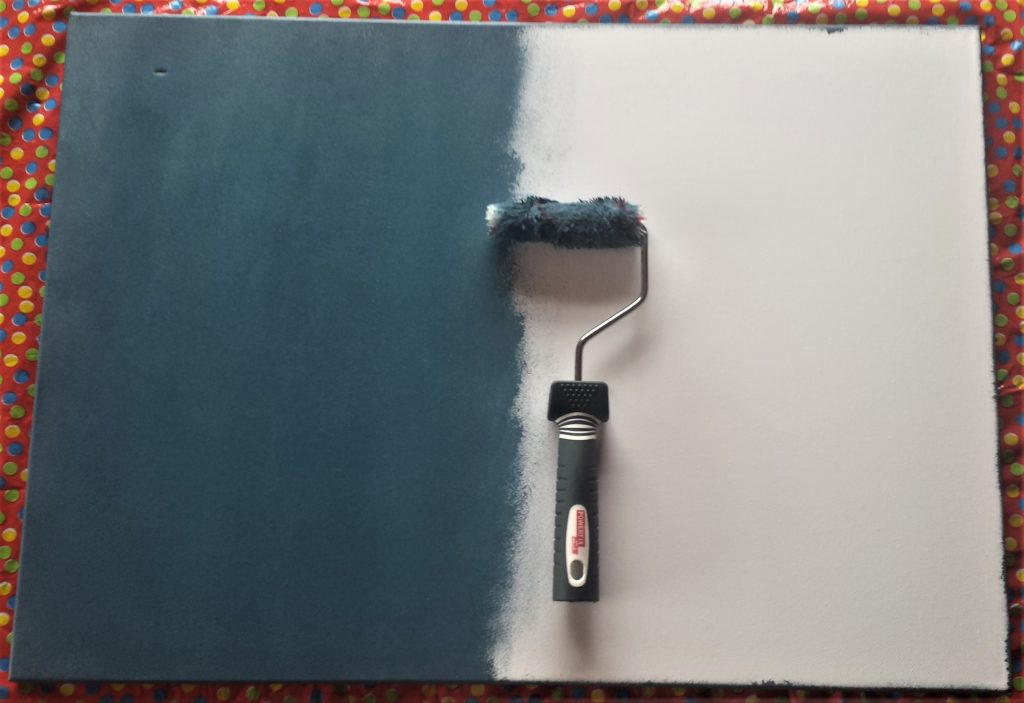
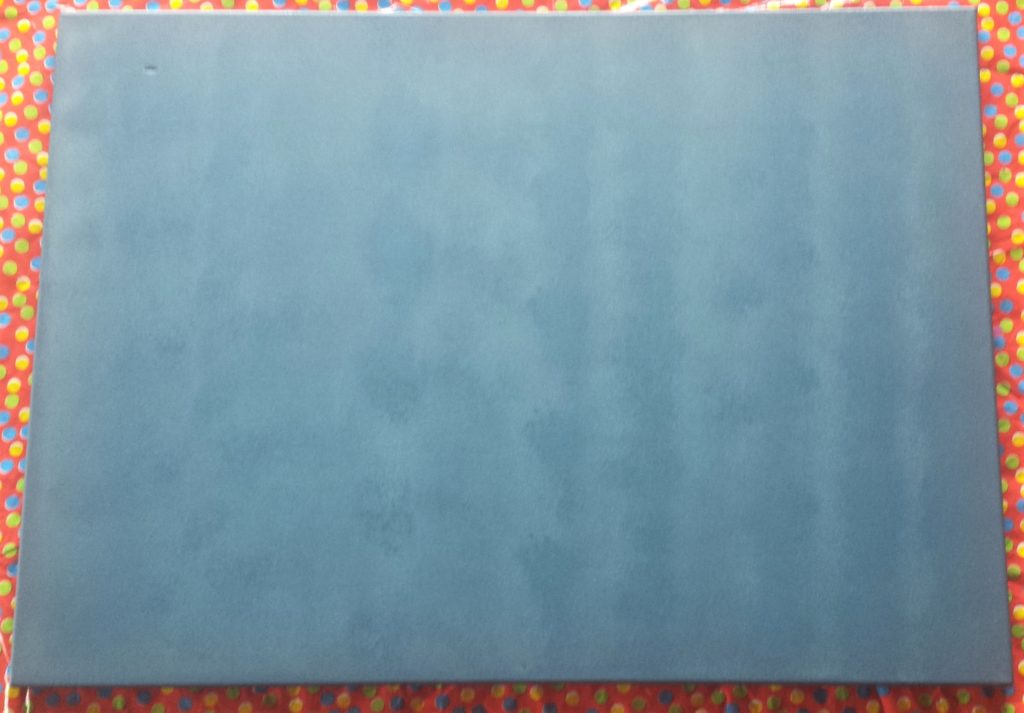
I completed the first layer of grey paint on the canvas.
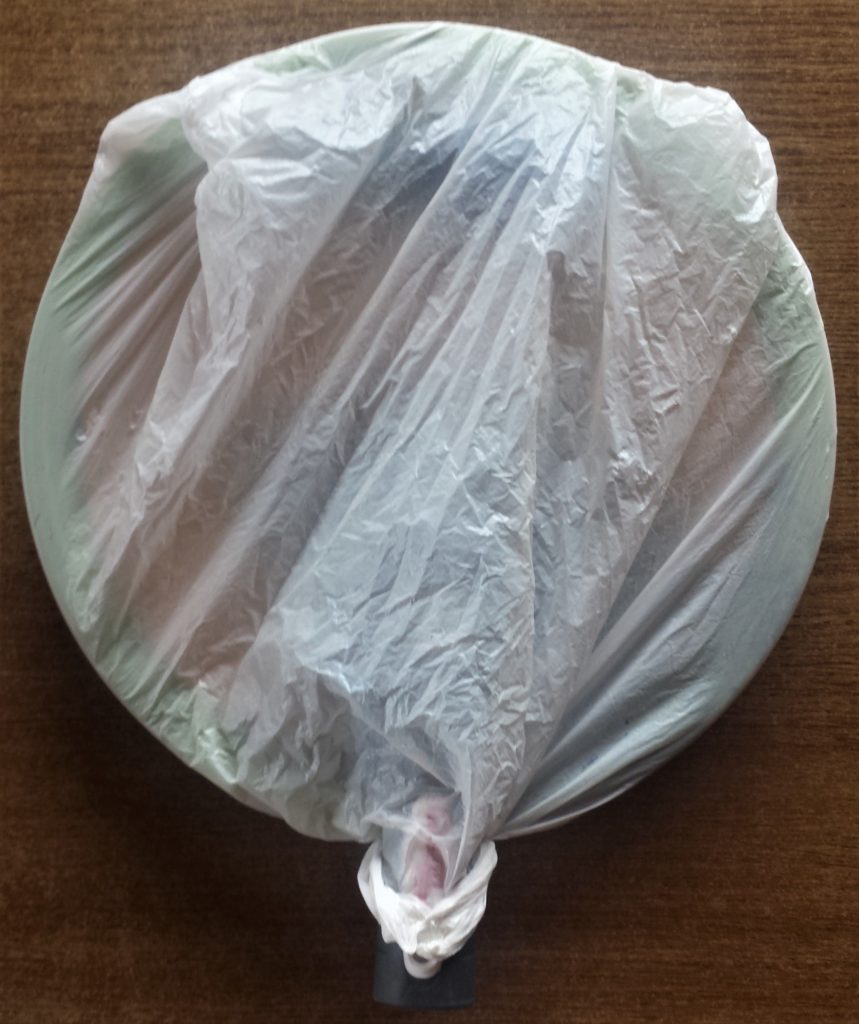
I put the plate with the roller on top of it, into a plastic bag and tied it closed. This was to prevent it drying out and getting the paint on the roller hard or sticky.
Designing & Printing the ‘AUTUMN’ Letters
While I was waiting for the first layer of paint to dry, I prepared the letters to spell out the word Autumn.
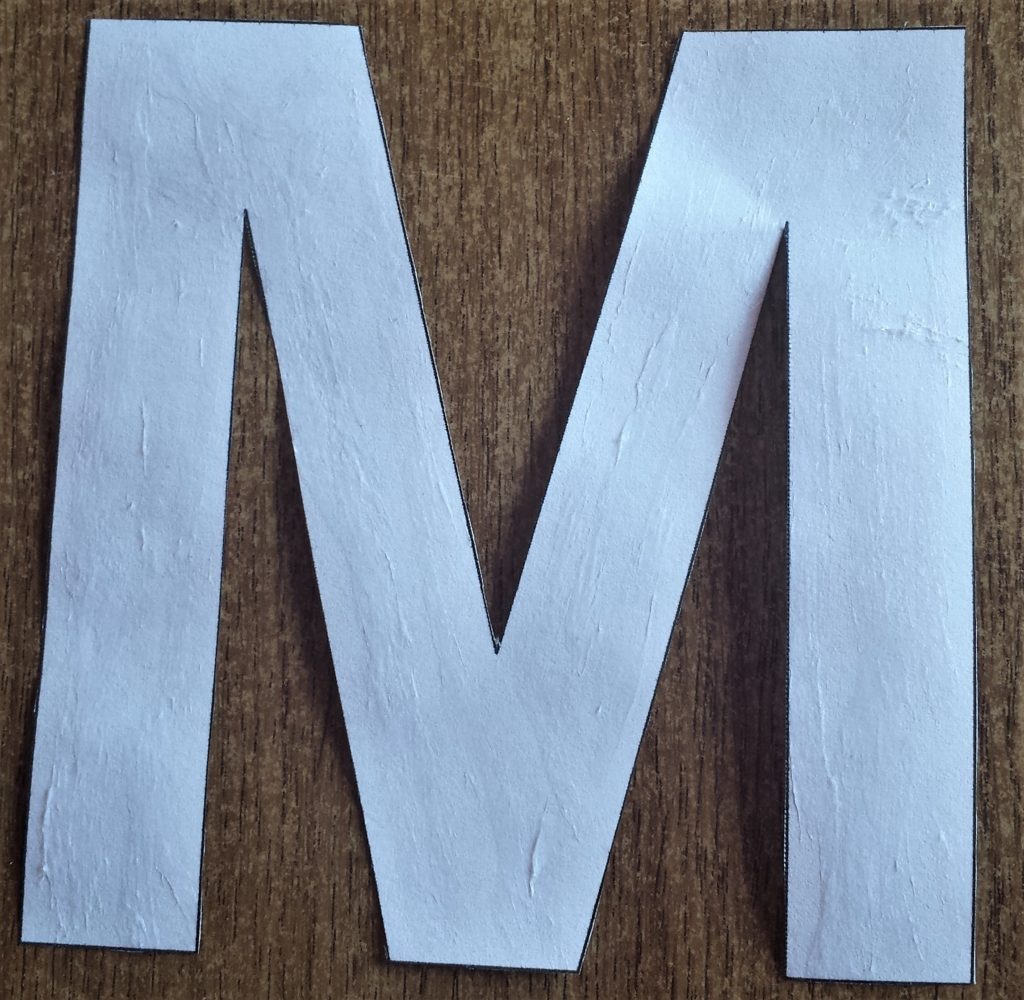
I went into Microsoft Word on my computer. I clicked on Blank document. I chose ‘Arial’ for the Font style. The Font Size is 400.
I clicked on the arrow beside the Blue outlined Capital A-‘Text Effects and Typography’ icon. I clicked on the fourth capital A in the first row; the white one with the blue outline.
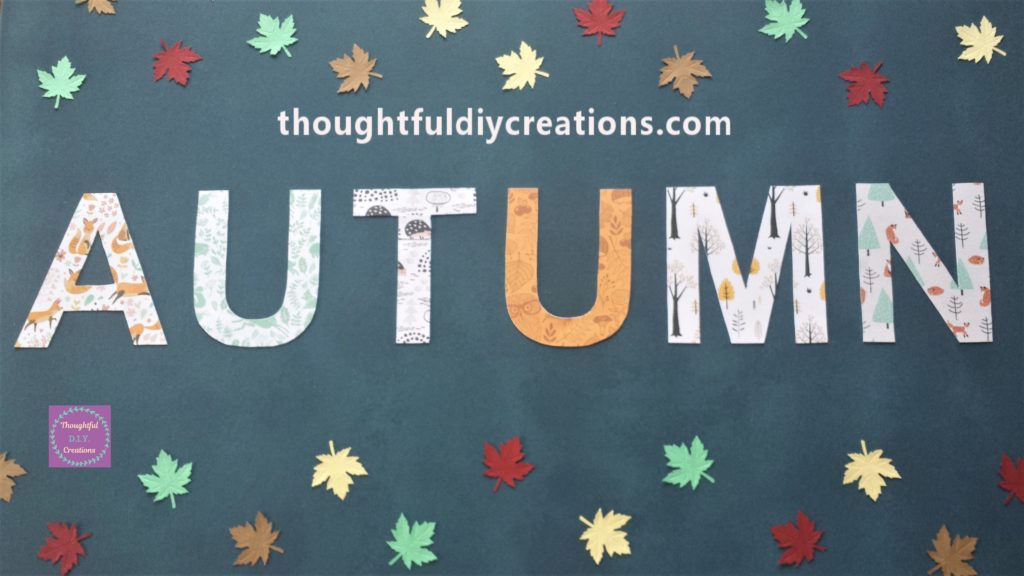
I changed the outline colour from Blue to Black; I clicked Outline then clicked on the black square box. I then typed out the word ‘AUTUMN’, with two letters on each page. I printed out the three pages.
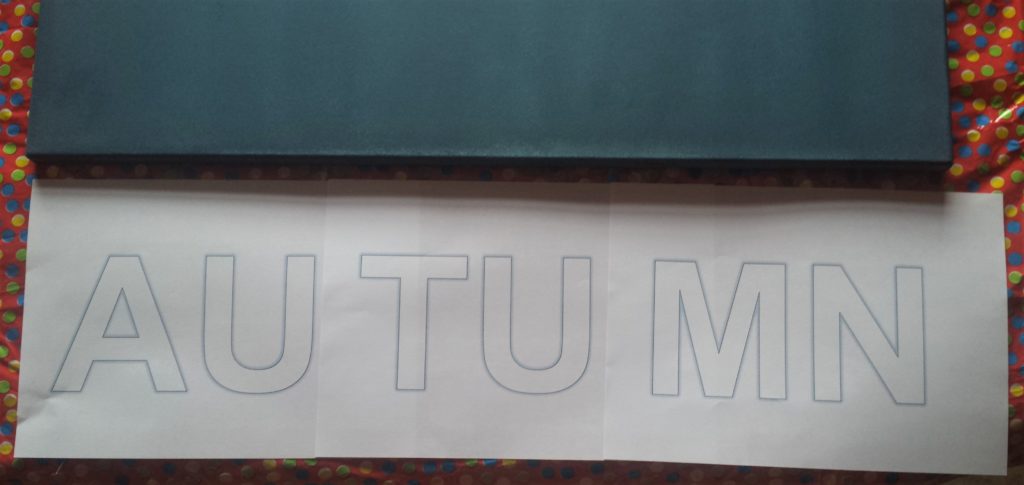
I put the sheets together to form the word ‘Autumn’ underneath the canvas to ensure they would fit. This was the perfect size for my canvas; you can play around with font sizes to suit your canvas and requirements.
Back to Painting the Canvas
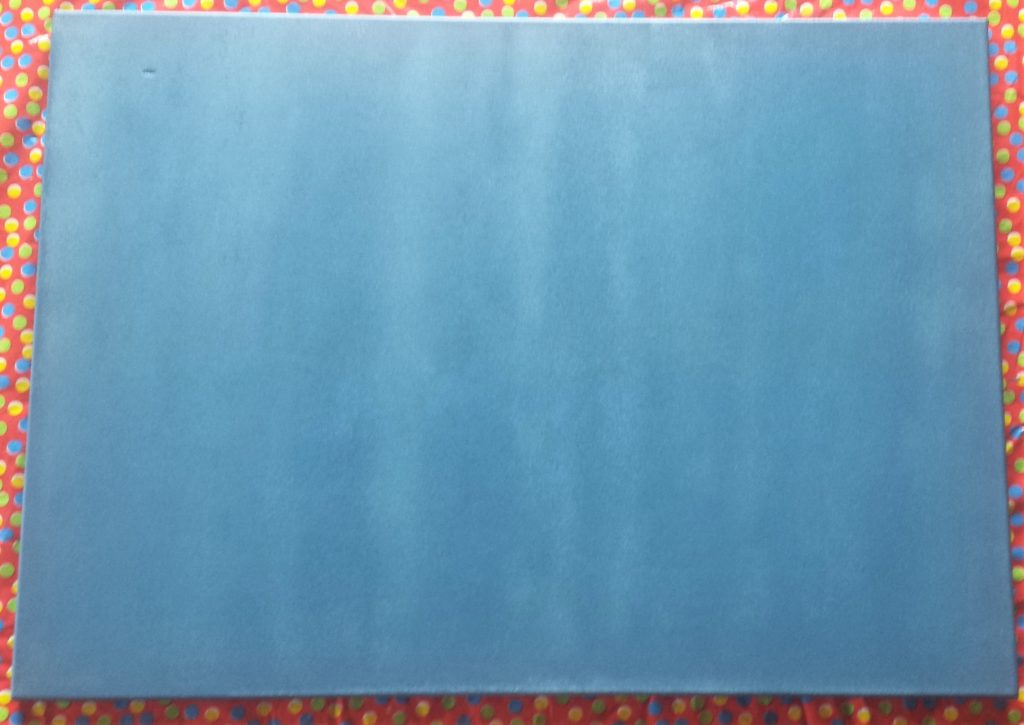
I painted the second layer of grey paint onto the canvas when the first layer was dry. I found it dried quicker from using the roller compared to a paintbrush. I left mine about 90 minutes to dry between layers but they were dry after about 30 minutes. I wasn’t in a hurry to complete it so I just gave it extra drying time.
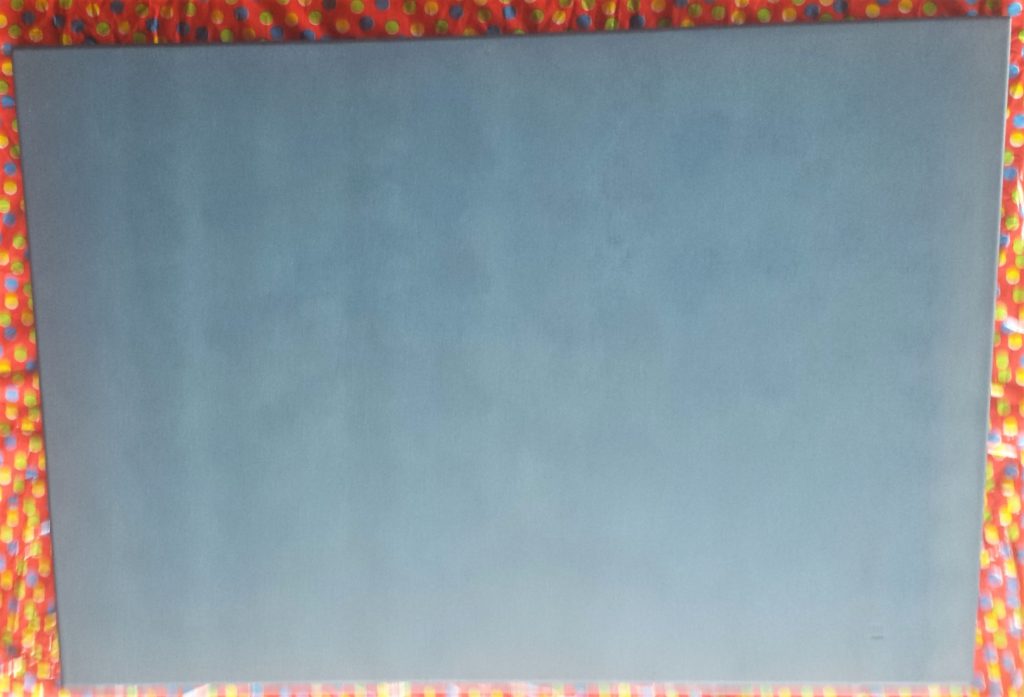
I gave it a third and final layer of paint when the second layer was completely dry.
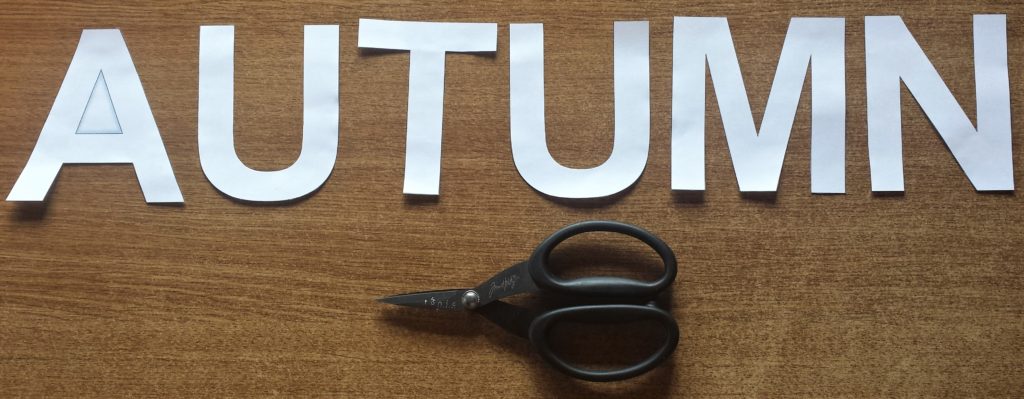
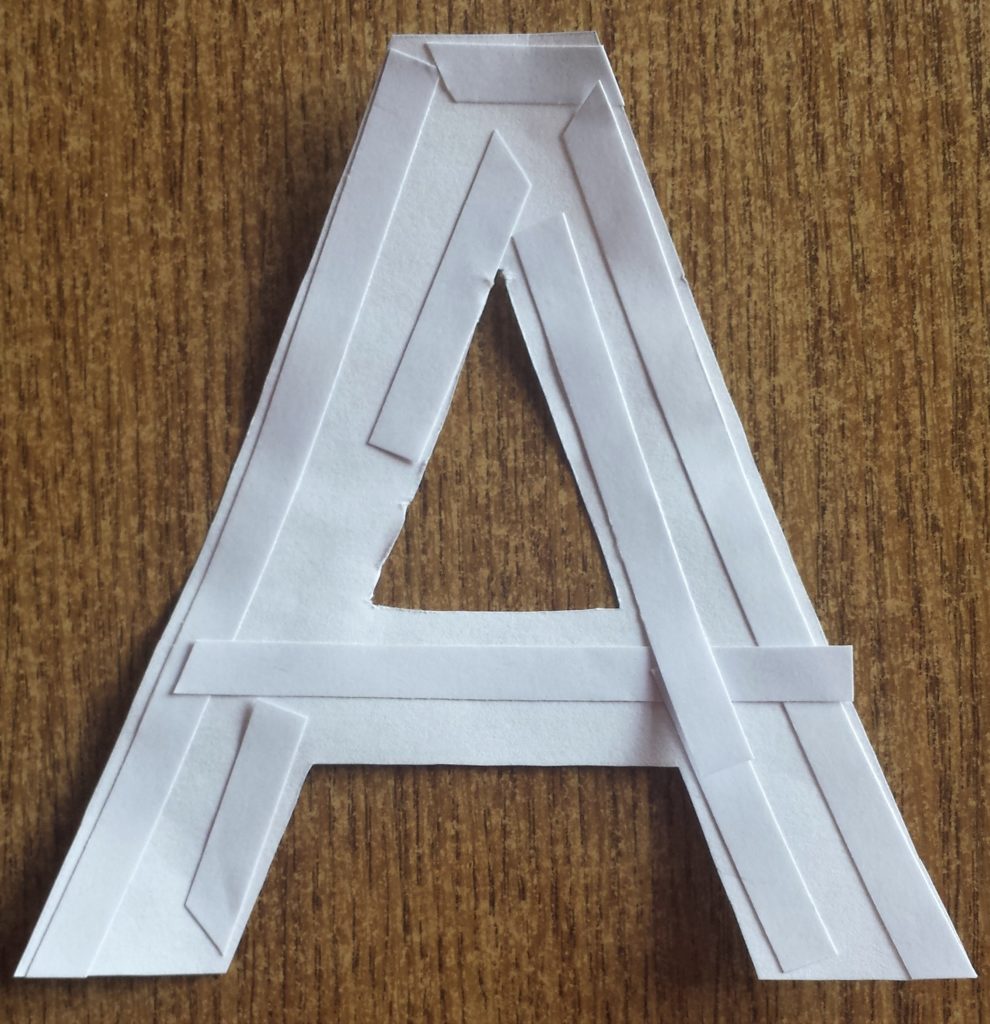
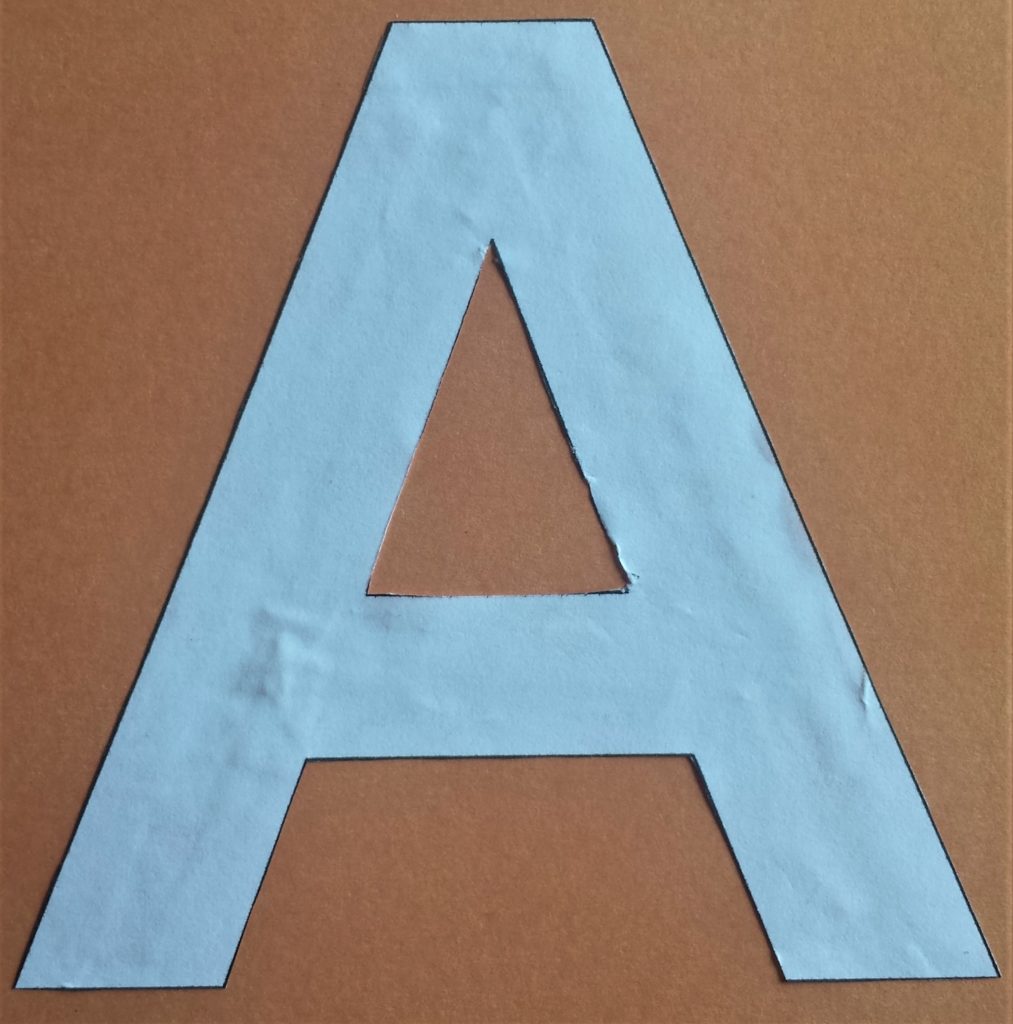
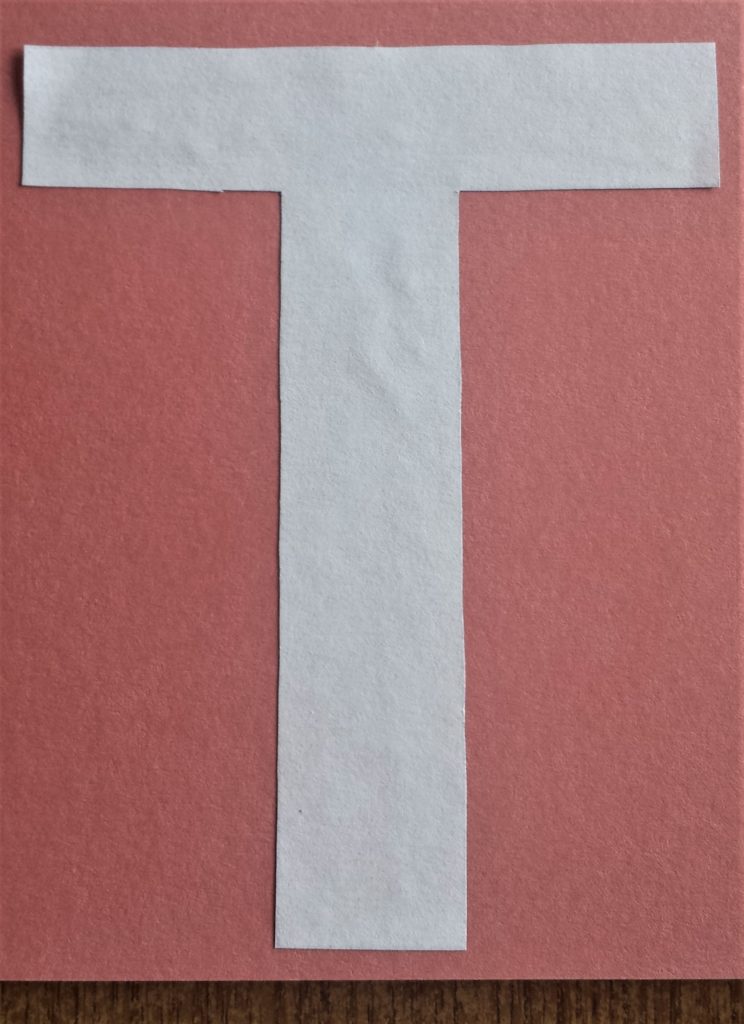
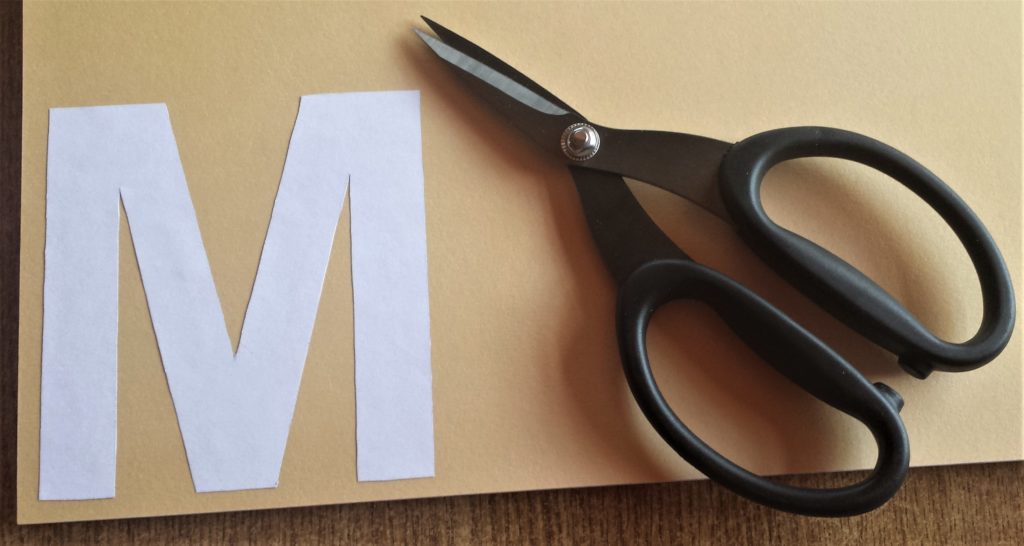
Cutting out the ‘AUTUMN’ Letters
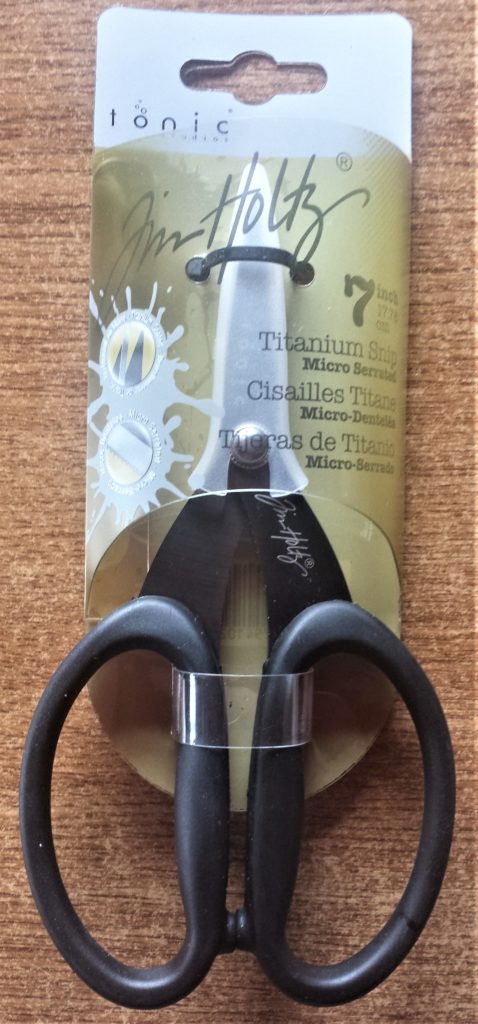
I cut out the Autumn letters using a Tim Holtz Scissors. Tim Holtz Scissors & Snips
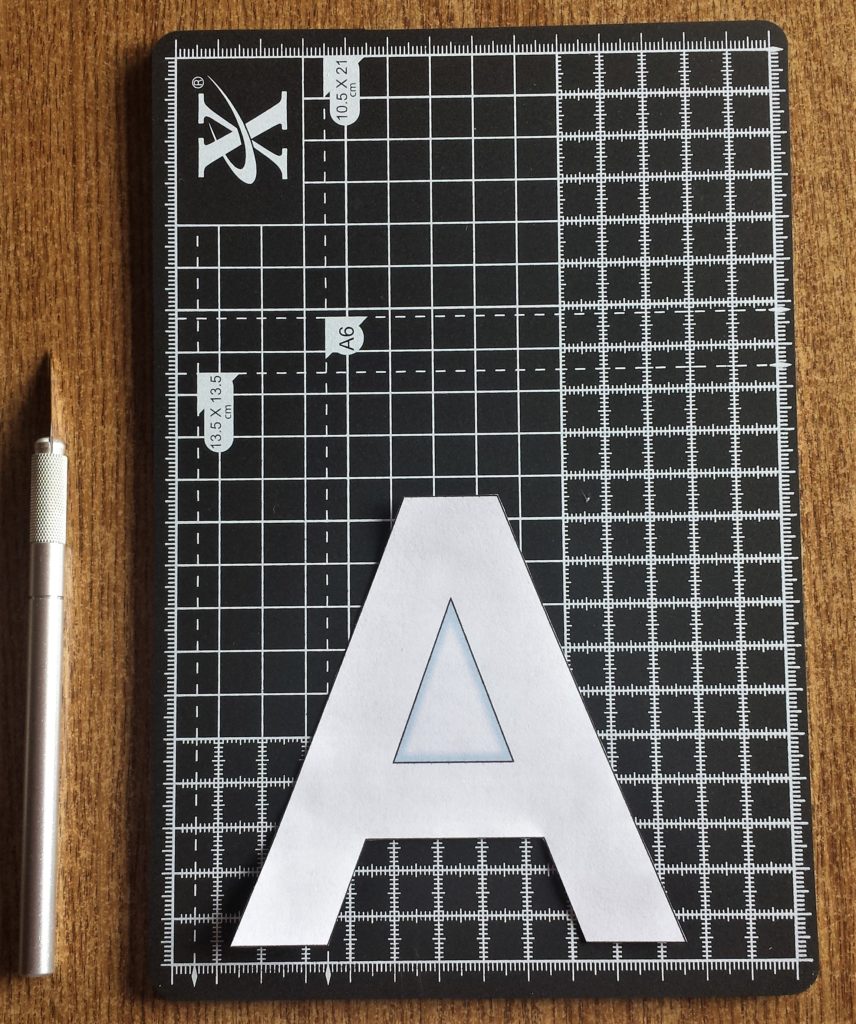
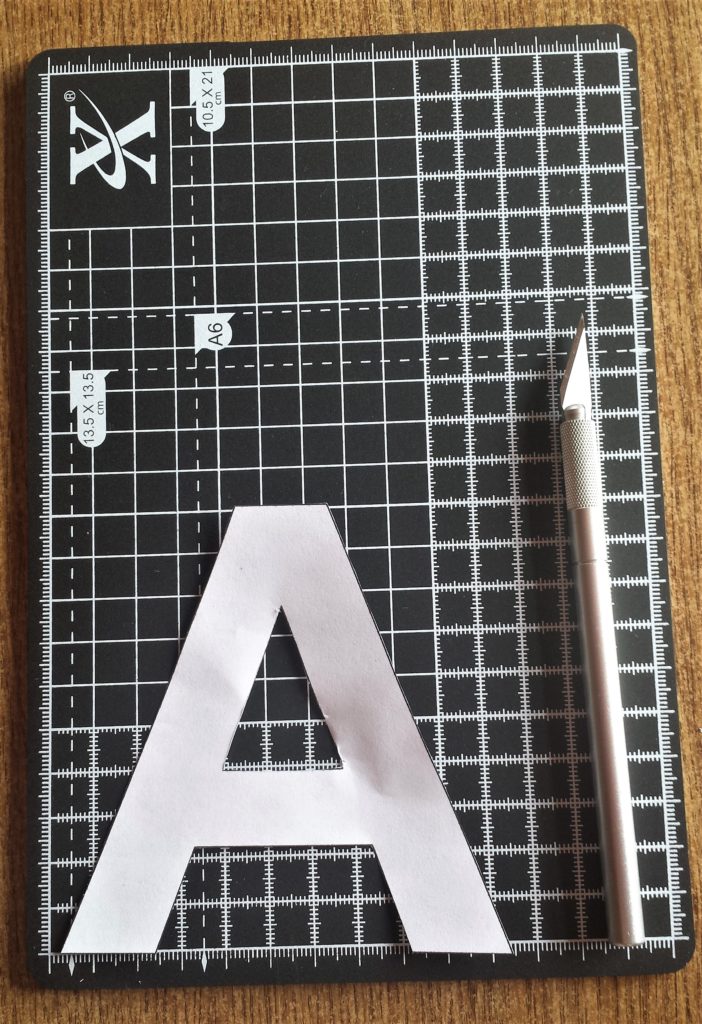
To cut out the centre of the letter ‘A’ I used an A5 Cutting Mat & Craft Knife by Xcut. Cutting Mat A5 Xcut

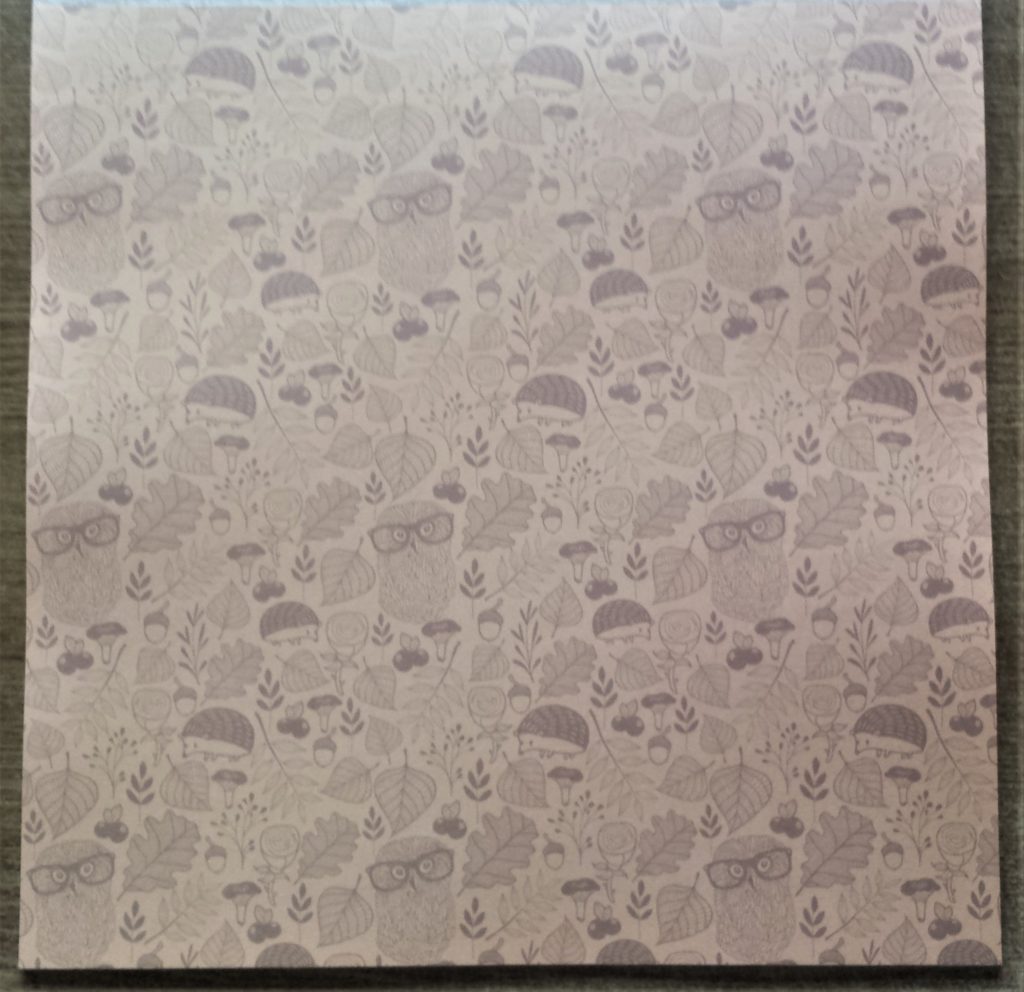
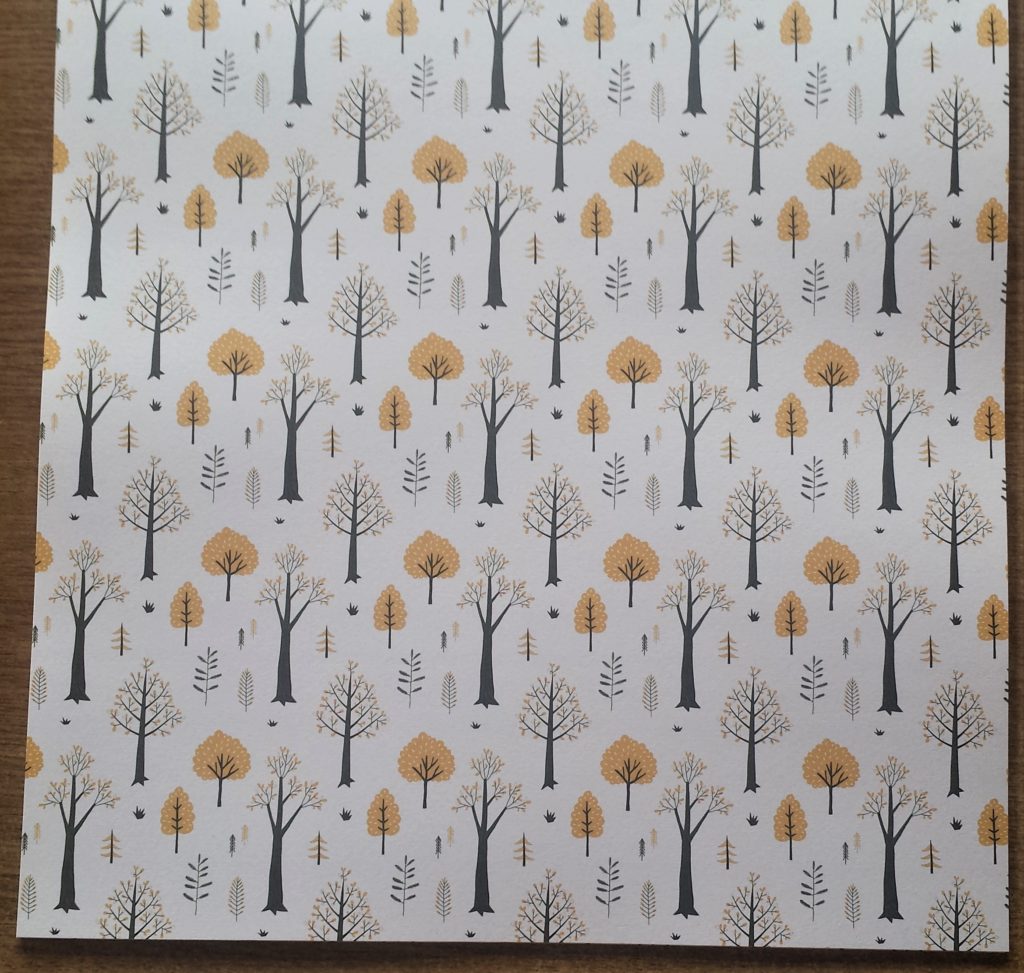
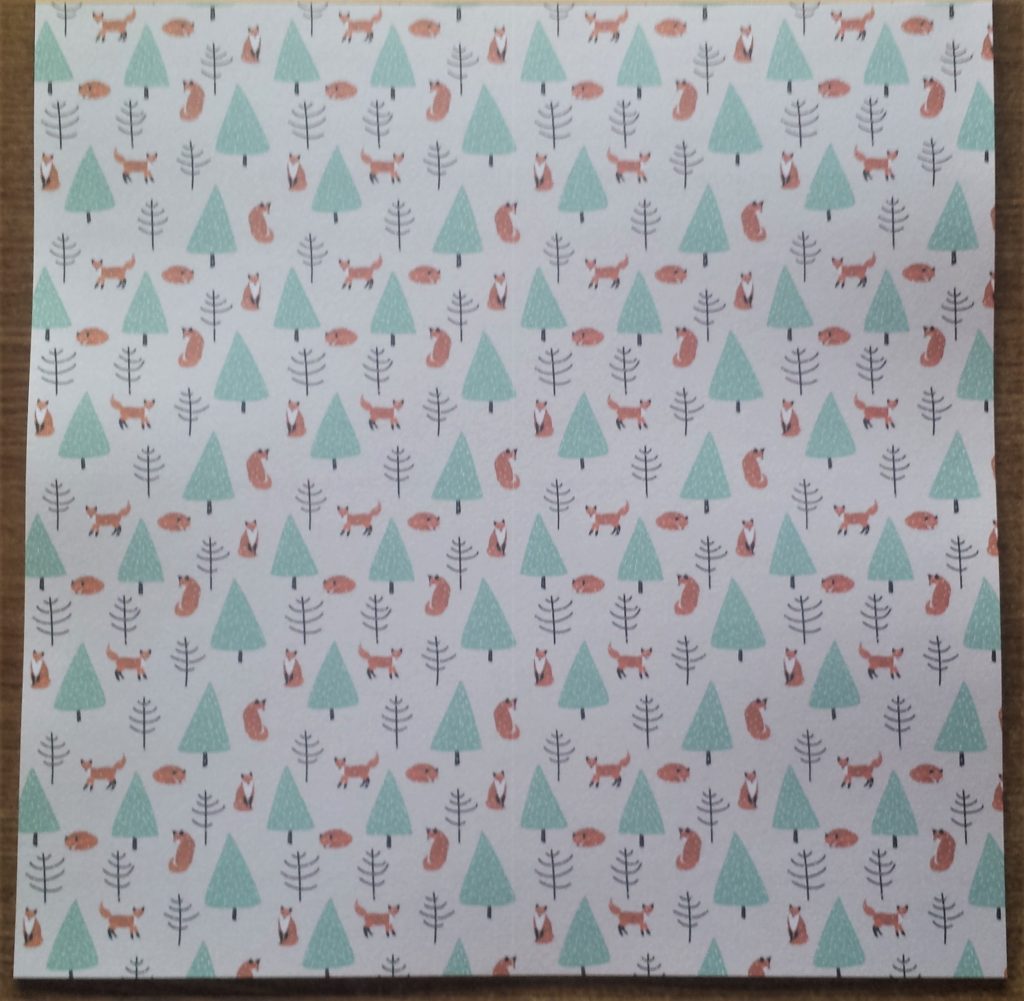
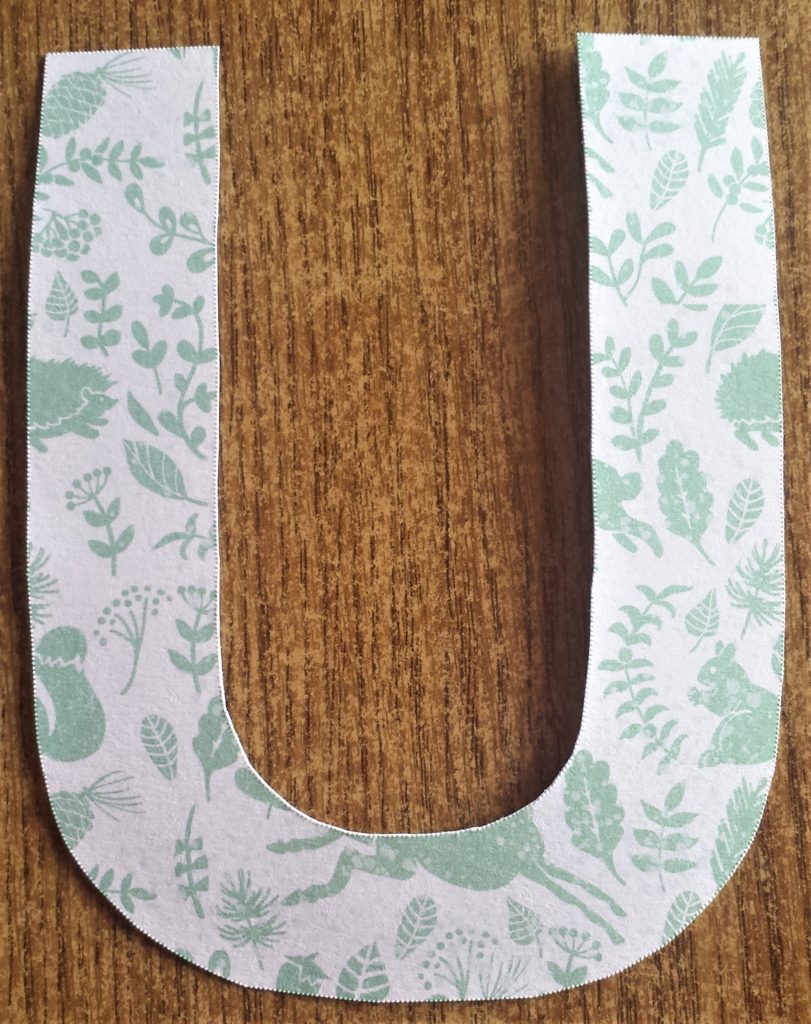
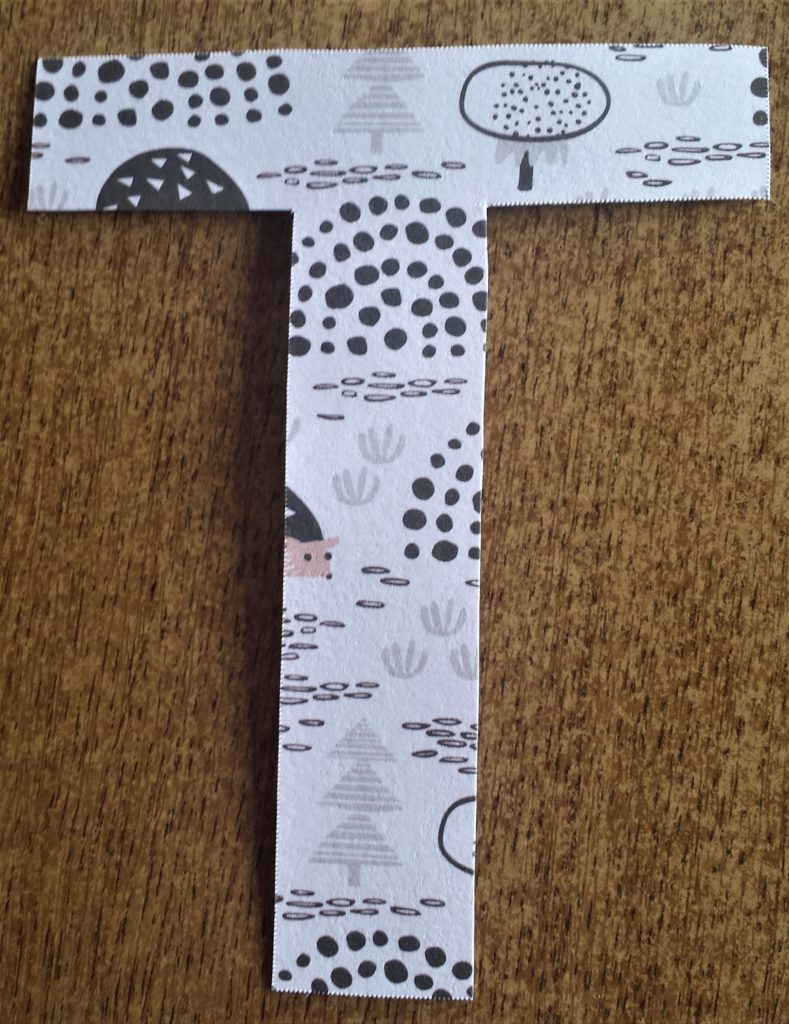
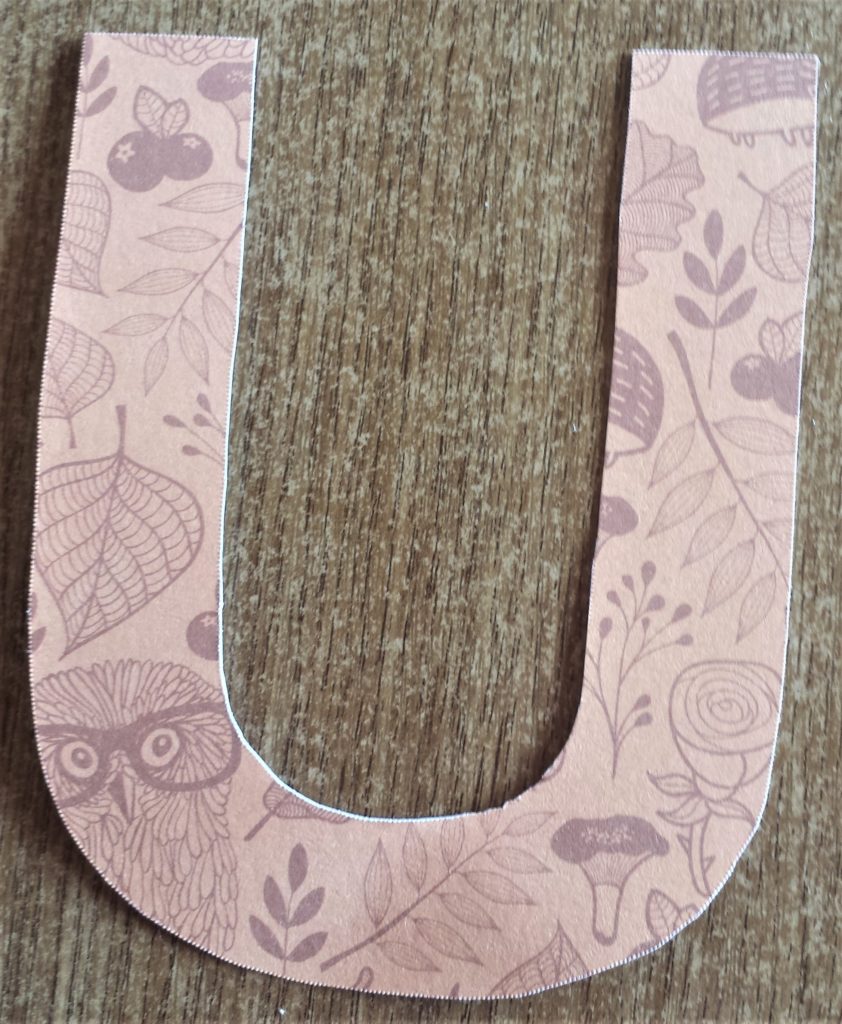
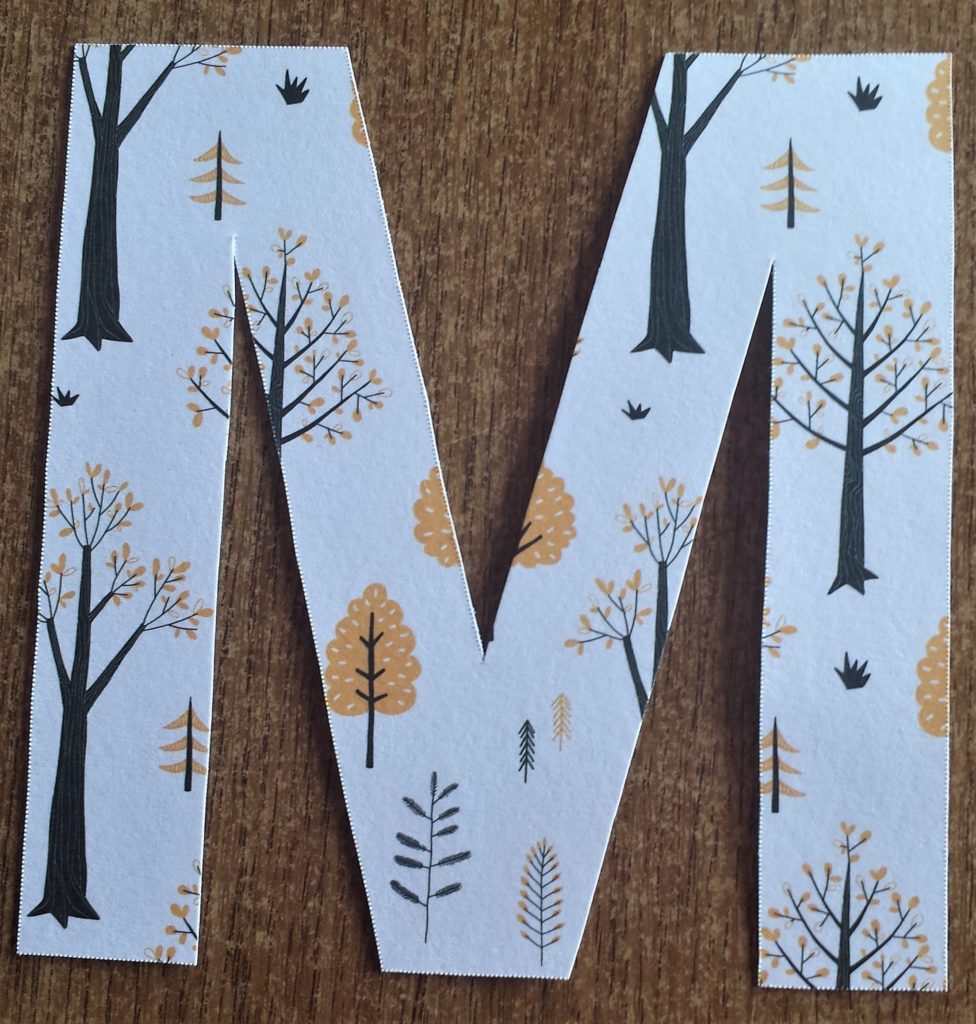
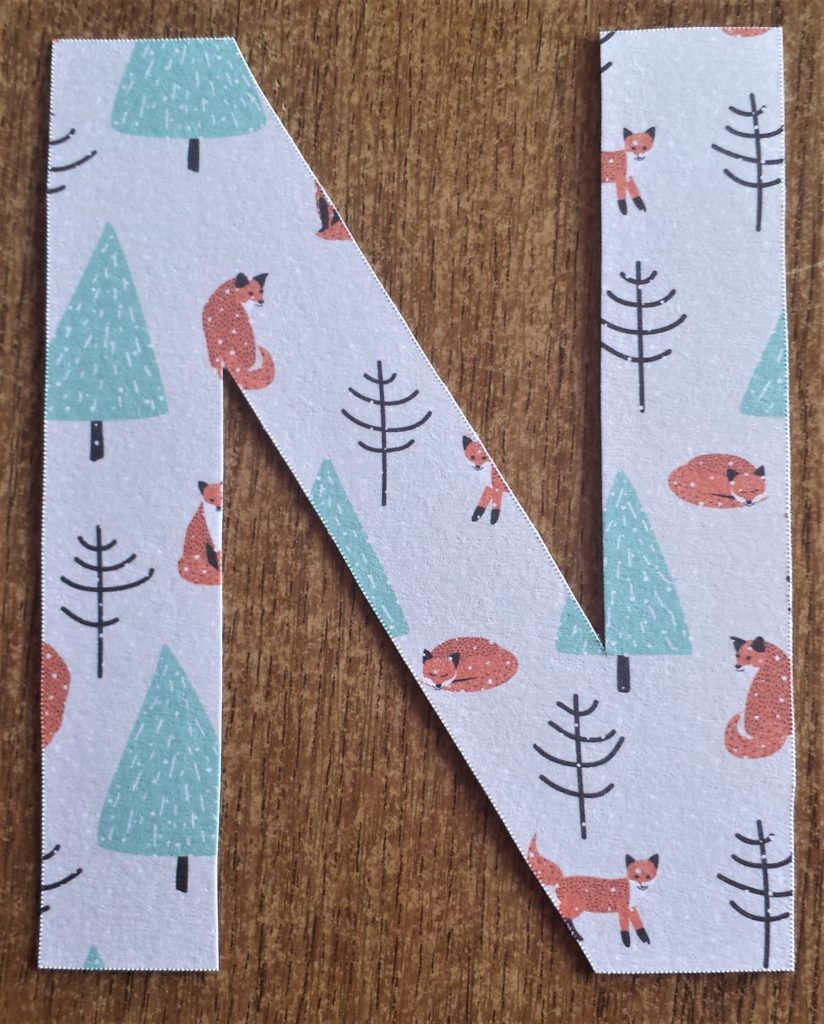
Autumn Inspired Paper for the ‘AUTUMN’ Letters
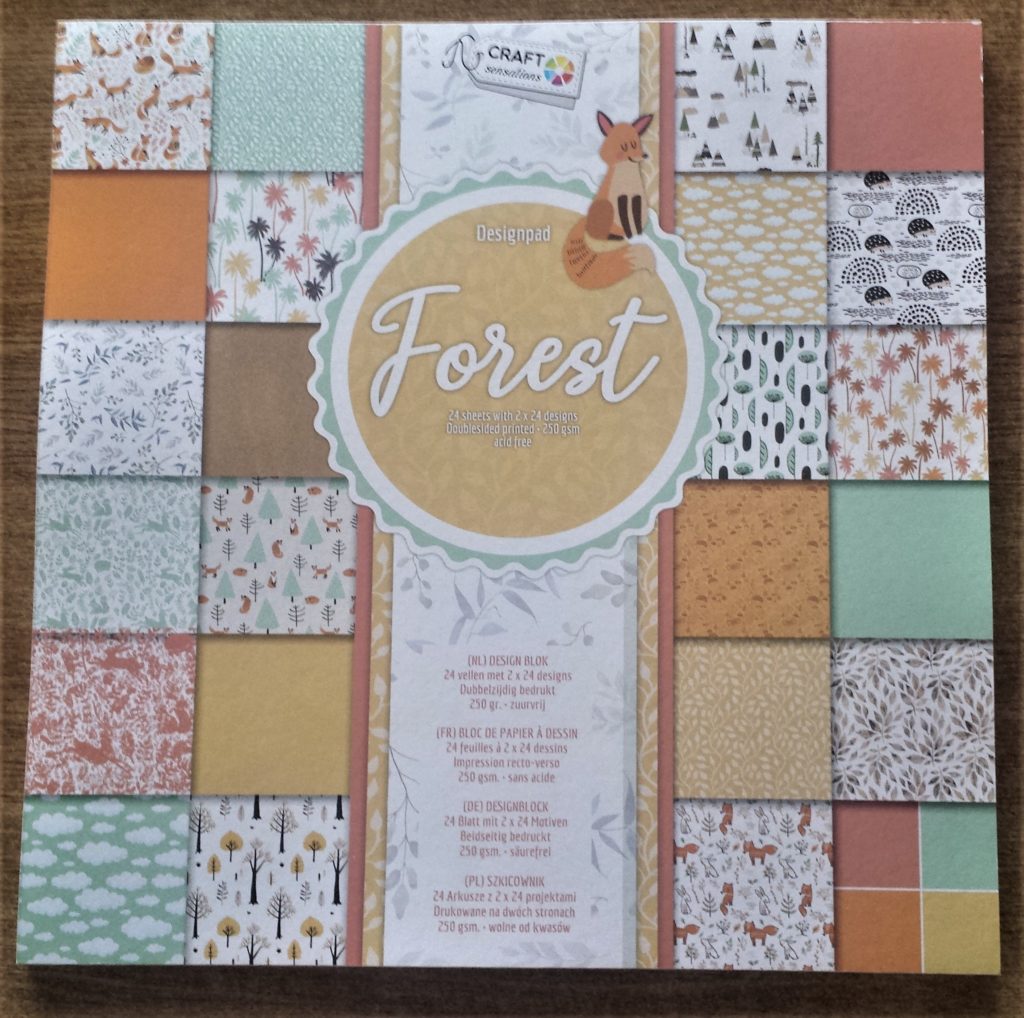
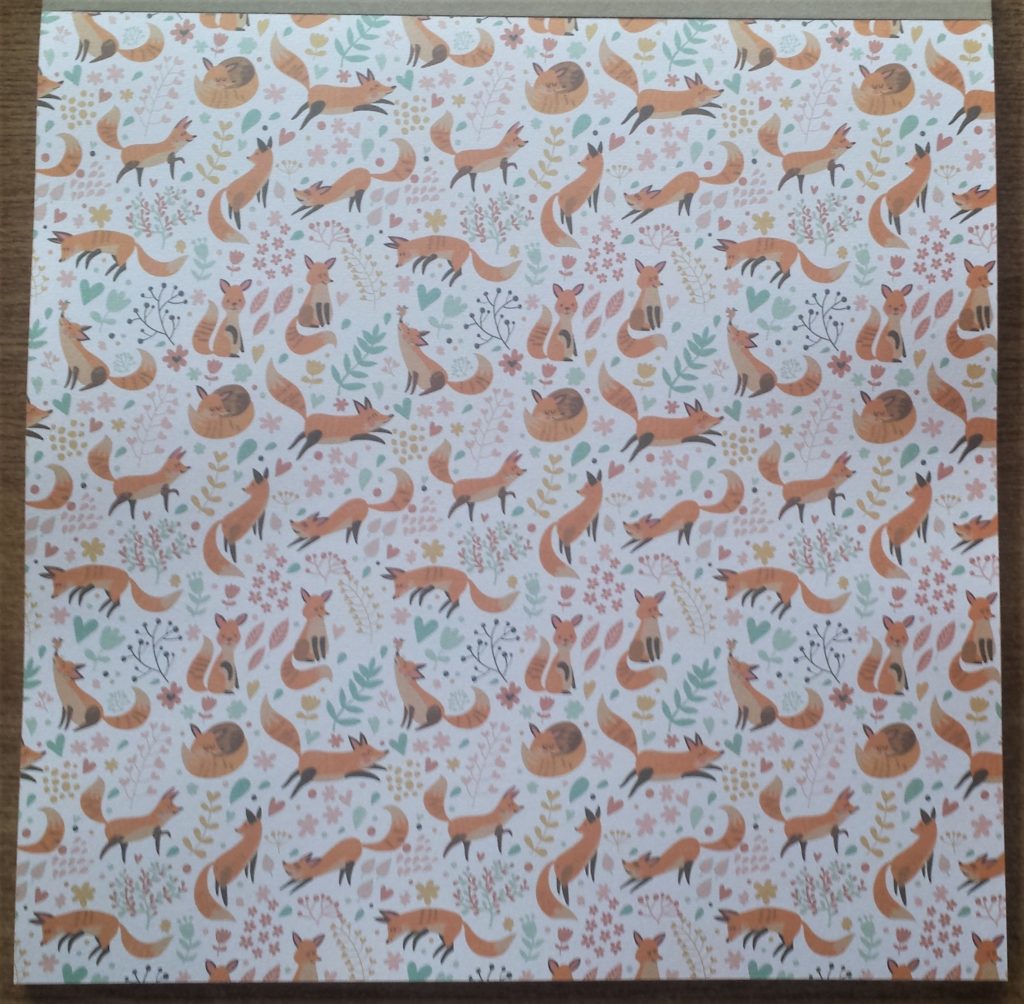
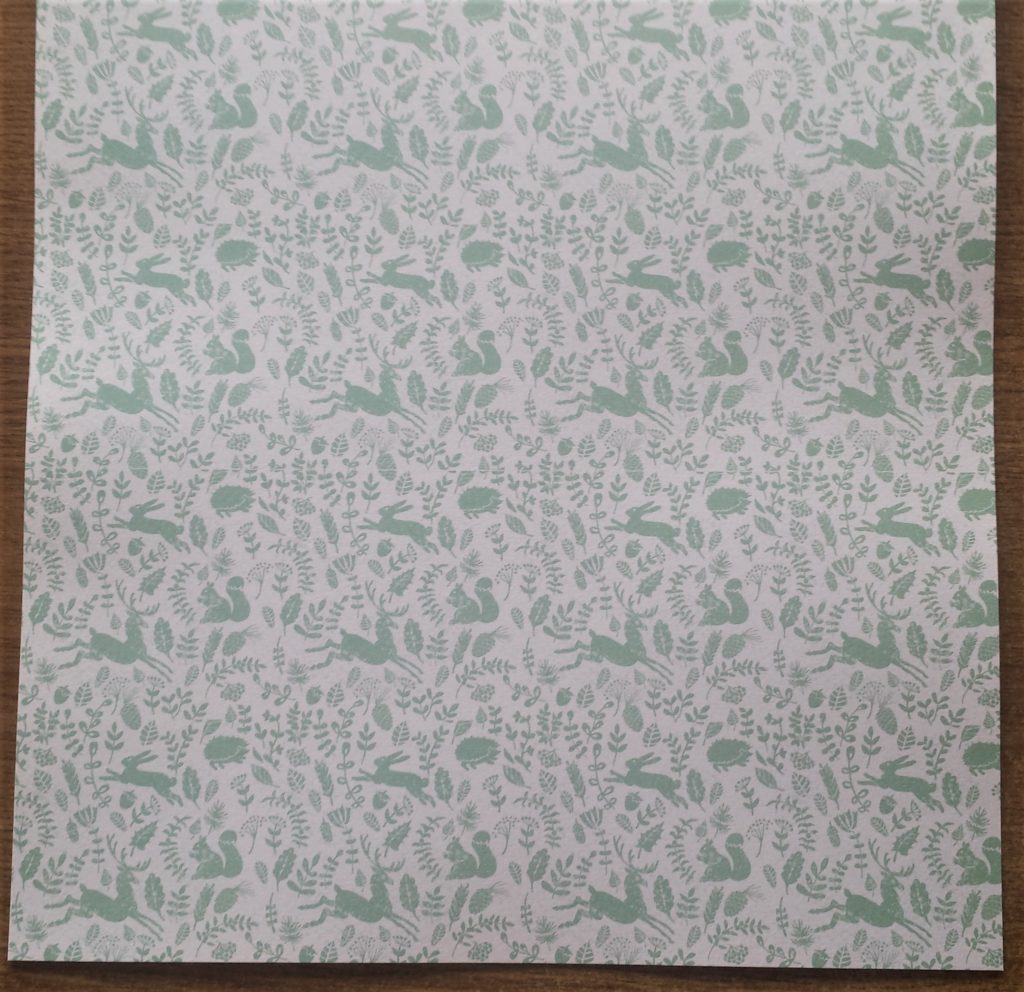
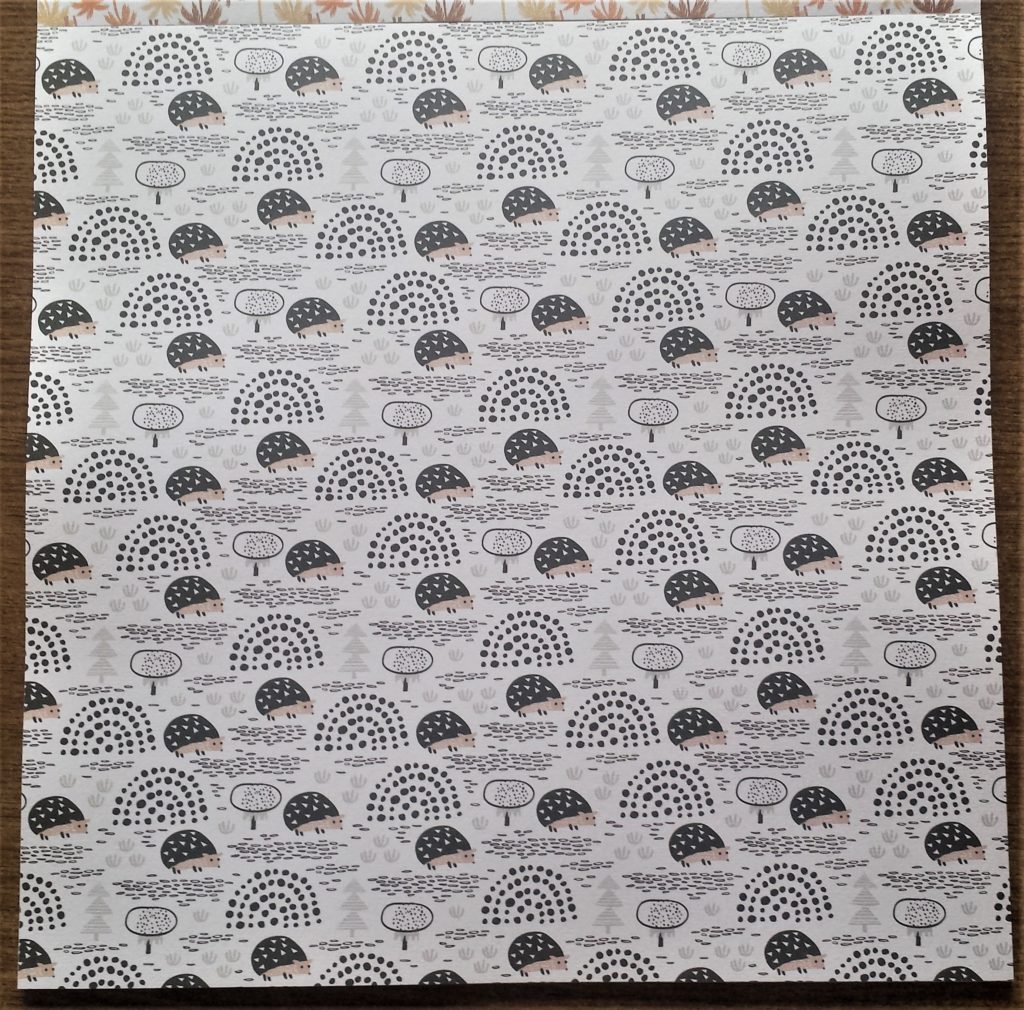
The paper I am using for the letters is from a gorgeous 12 x 12 inch Autum inspired pad I got last week. It is by ‘Craft Sensations’. It has 24 sheets with 2 x 24 designs, doublesided printed on 250 gsm paper. Pattern Paper Pack – Autumn My Favorite Fall Collection Kit Paper
Attaching the ‘AUTUMN’ Letters to the Autumn Styled Papers
I put double sided tape on the letter A that I cut out. I am sticking each letter to the back of the autumn paper I’m using and then cutting around the letter and attaching to the canvas.
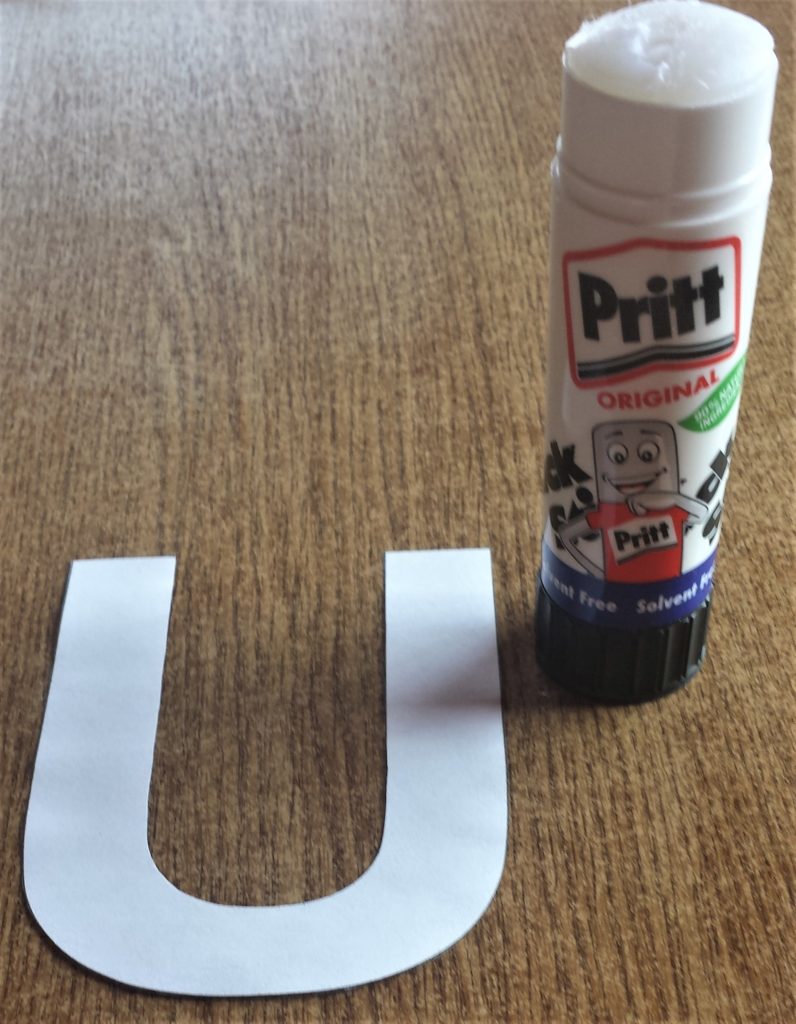
This was a bit tedious and I thought I would have to use alot of double sided tape to cover all 6 letters. I switched to using Pritt Stick instead and it worked perfectly. Pritt Stick Original
I glued the letter to the back of the sheet that I wanted to use; make sure it isn’t upside down, and the letter will be facing the right way when you turn it around, check each time before you glue the letter down.
I cut out the mid-section of the letter ‘A’ using my craft knife.
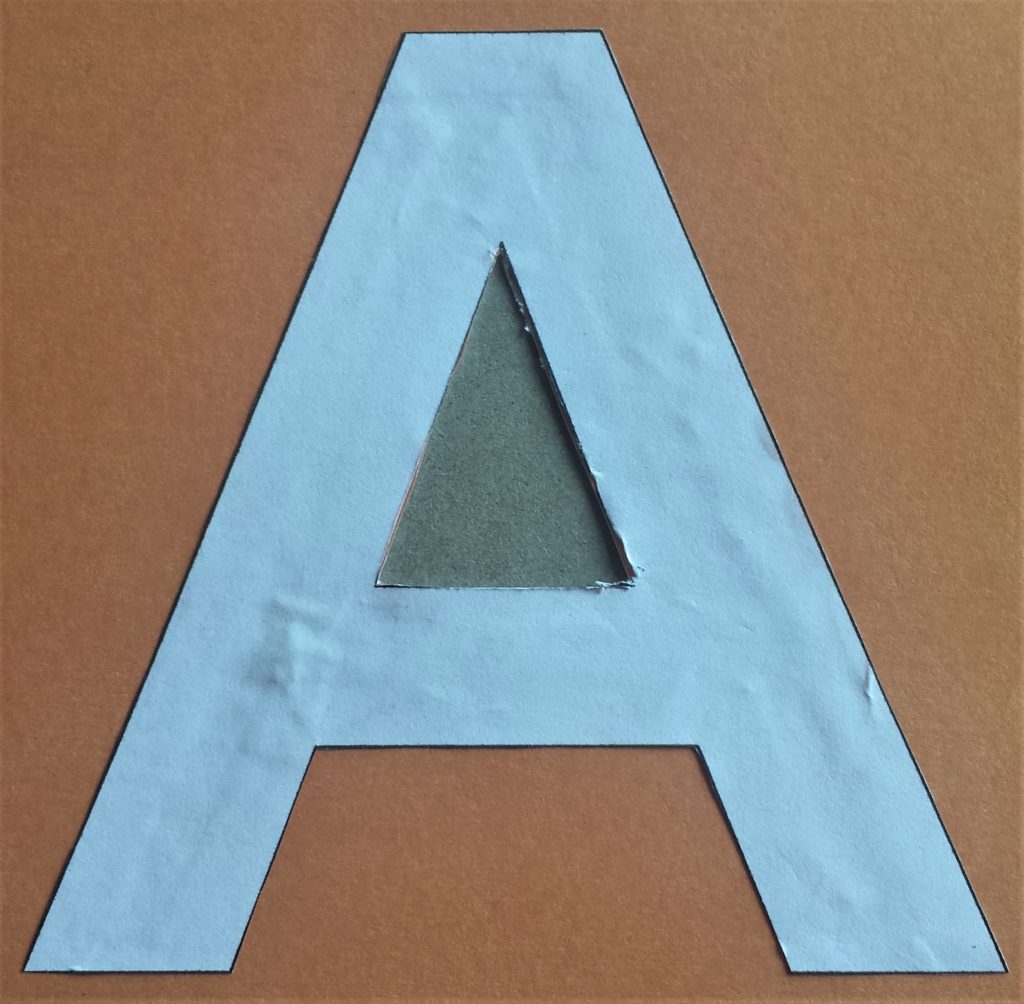
I cut all around the letter using my scissors, then turned it around to reveal the front.
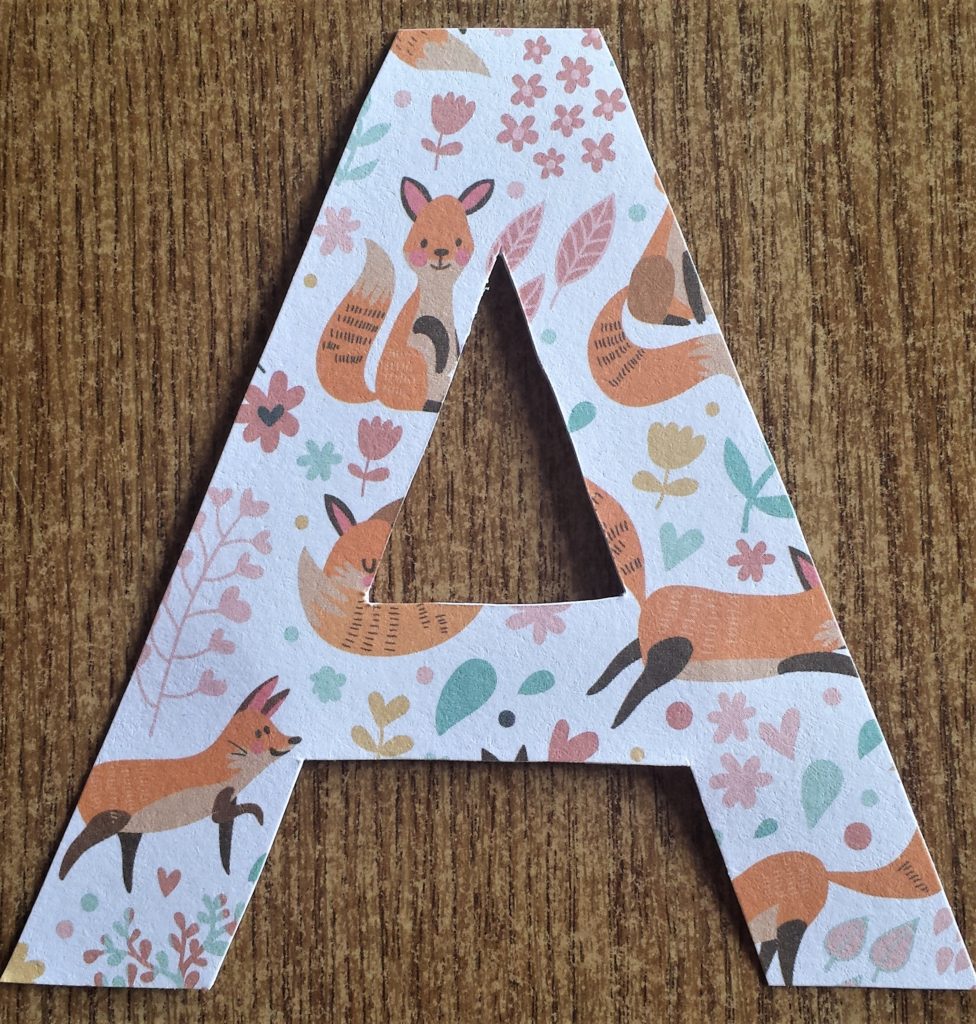
I repeated this process with the remaining letters.
I put all the letters together when I had them all cut out and covered with the various styles of Autumn paper. I was really happy with how they turned out.
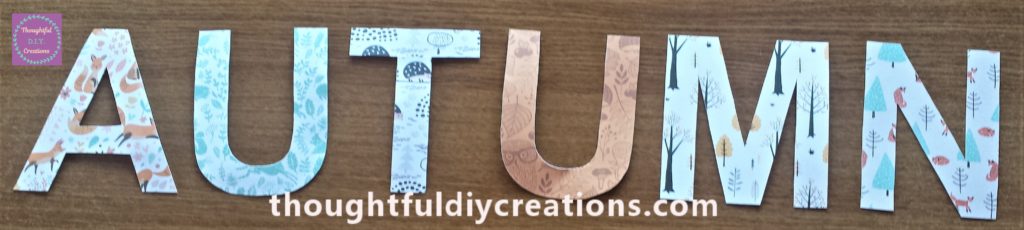
I put the letters on the Canvas to decide on the placement.
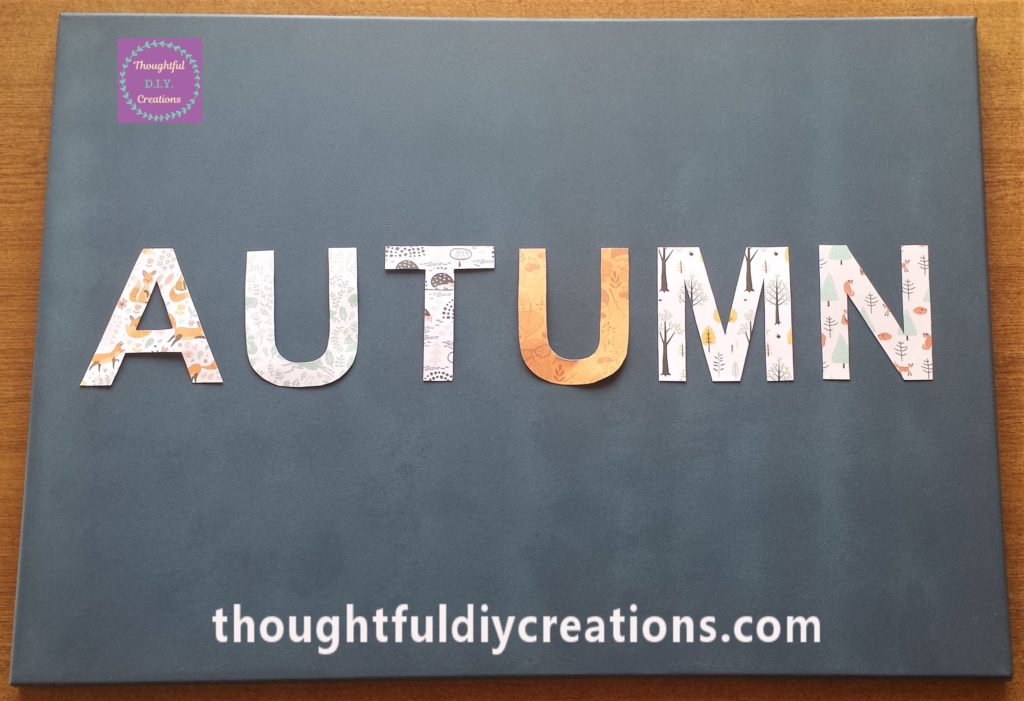
Gluing the ‘AUTUMN’ Letters to the Canvas
I glued each letter to the Canvas using pritt stick. Pritt Stick Original

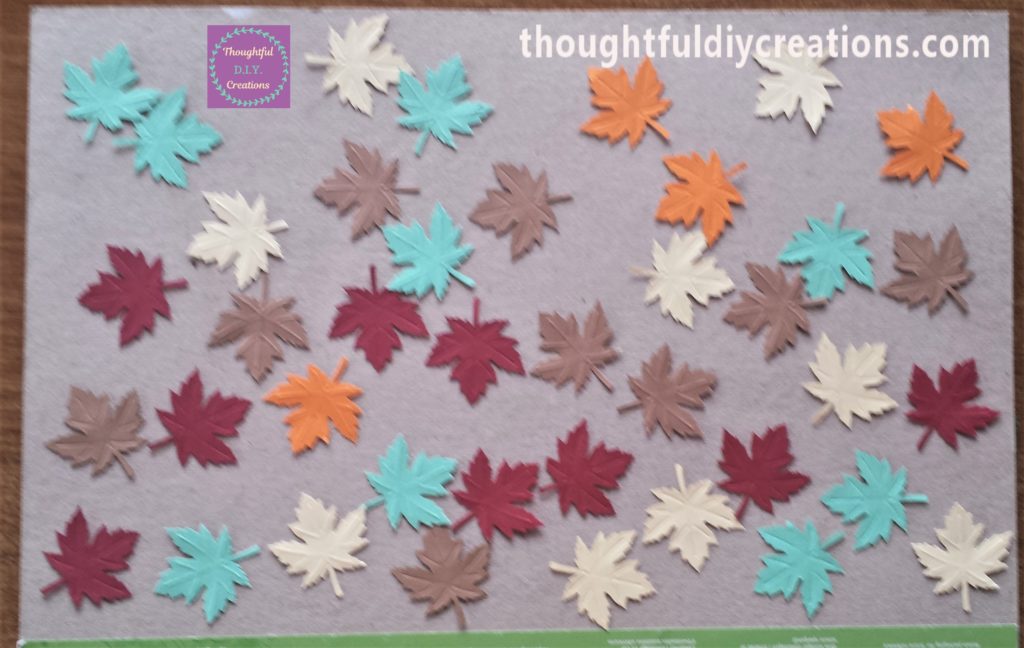
Making the Autumn Leaves for the Canvas
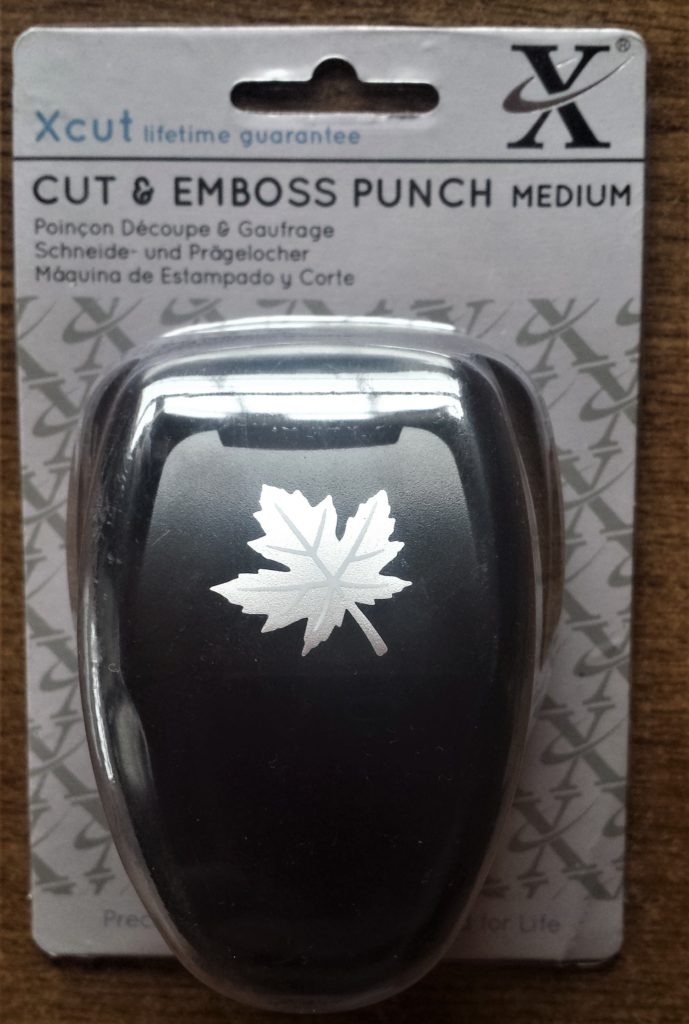
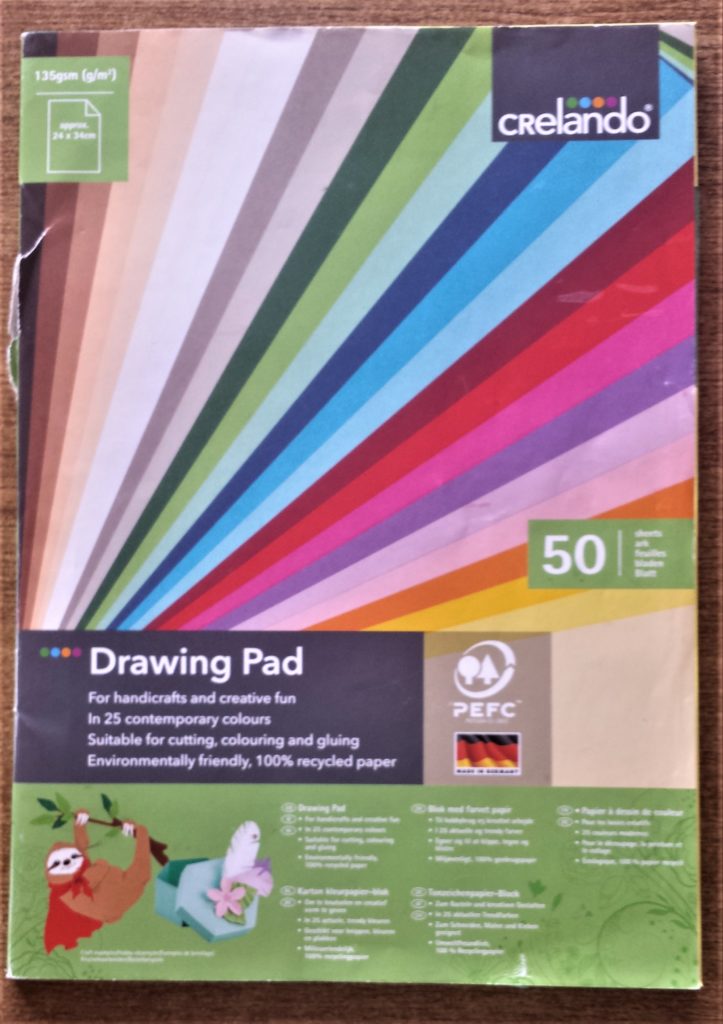
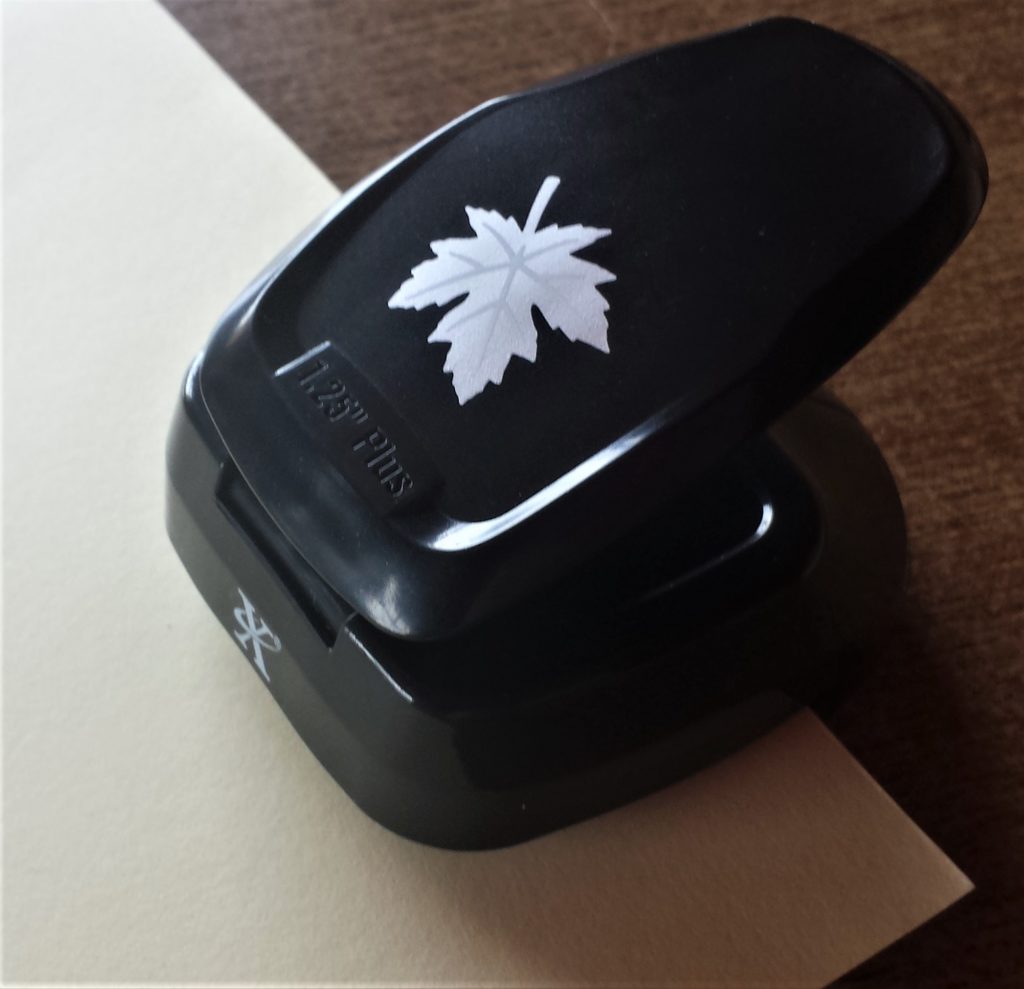
I bought a leaf punch recently and thought it would be perfect for this Autumn craft. XCUT Punch, Black, One Size I had a paper pad with different colours that would complement the Autumn theme. Darice Coredinations Value Pack Cardstock,
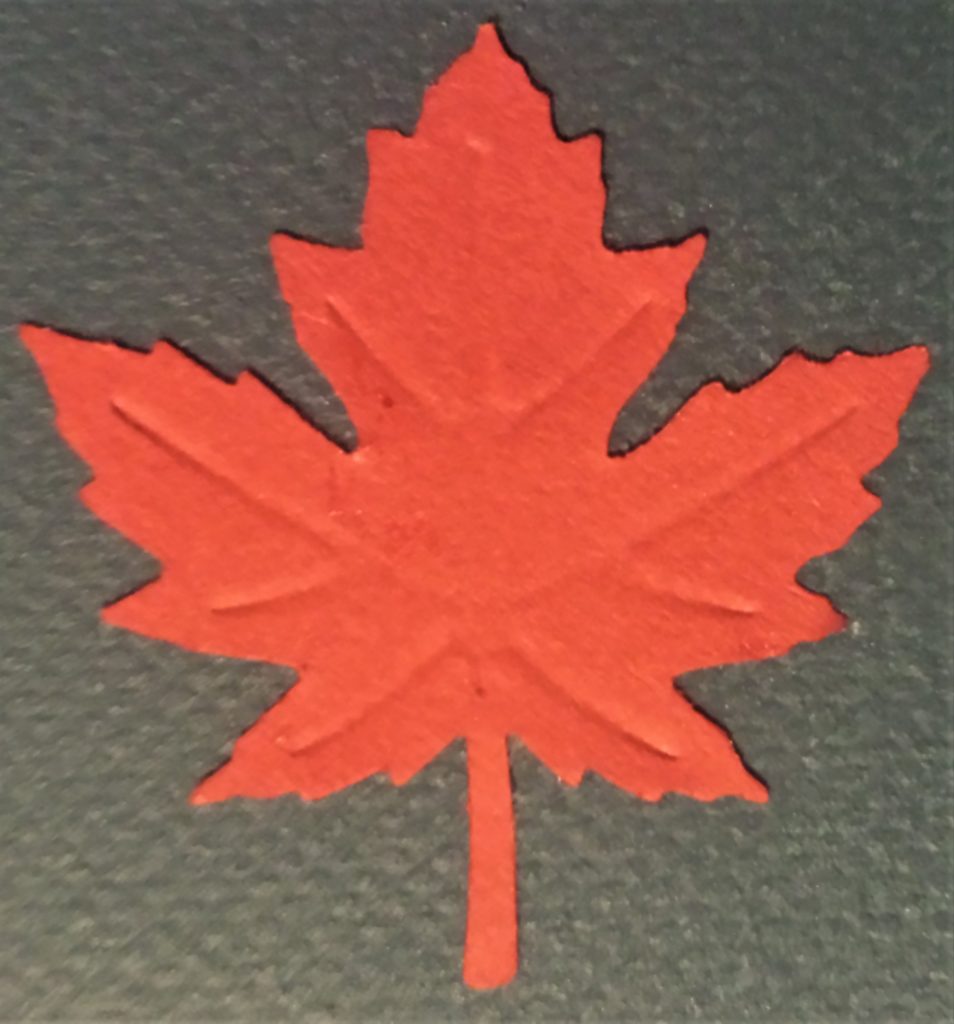
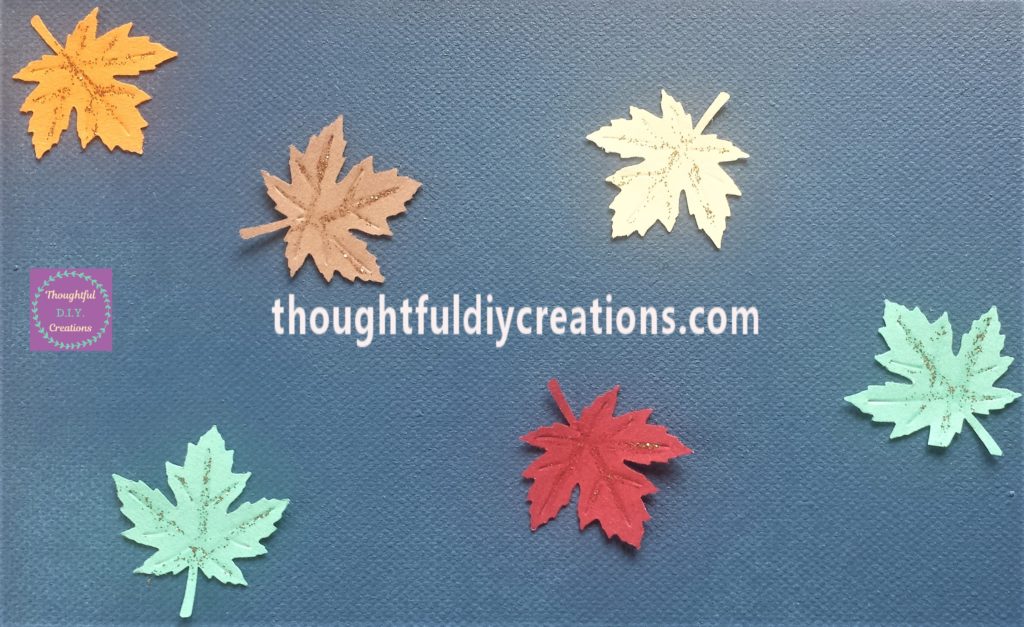
The colours I used were red, green, cream, brown, and orange. I put the paper in the punch, and pressed it down. The shape of the leaf came out. I repeated this process of punching out leaves on the different colour papers.
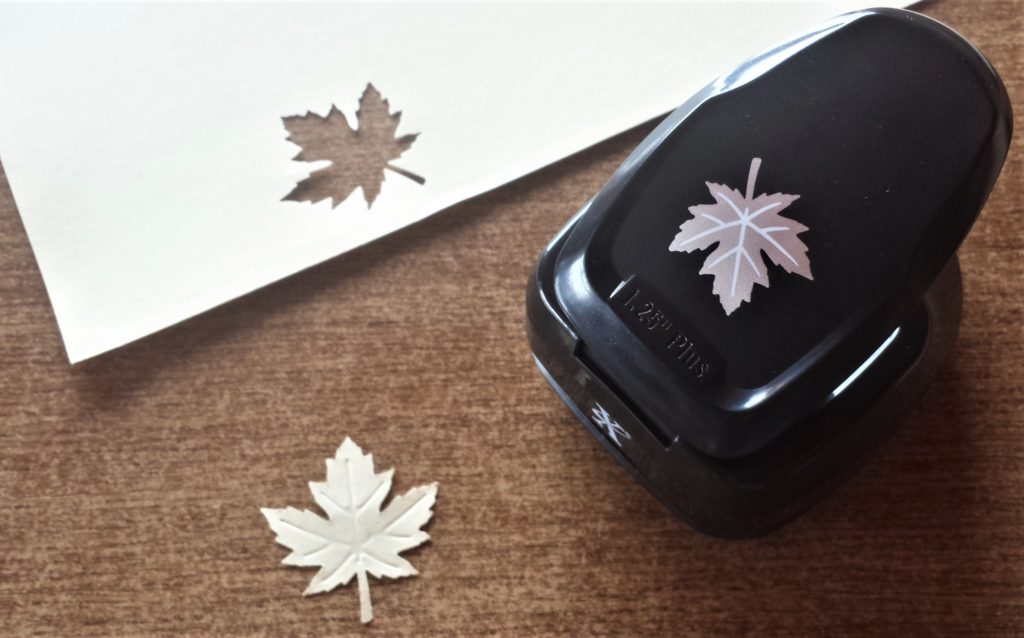
I punched out 9 leaves in cream, red, green, and brown. I punched out 4 orange leaves. I am using the orange leaves for each corner on the canvas.
I put the leaves on the canvas, and played around with how I wanted to place them before gluing them down.
Gluing the Leaves to the Canvas
I glued each leaf to the canvas using pritt stick. Pritt Stick Original
The leaves have the lines imprinted in them. I like how this makes them look more realistic.
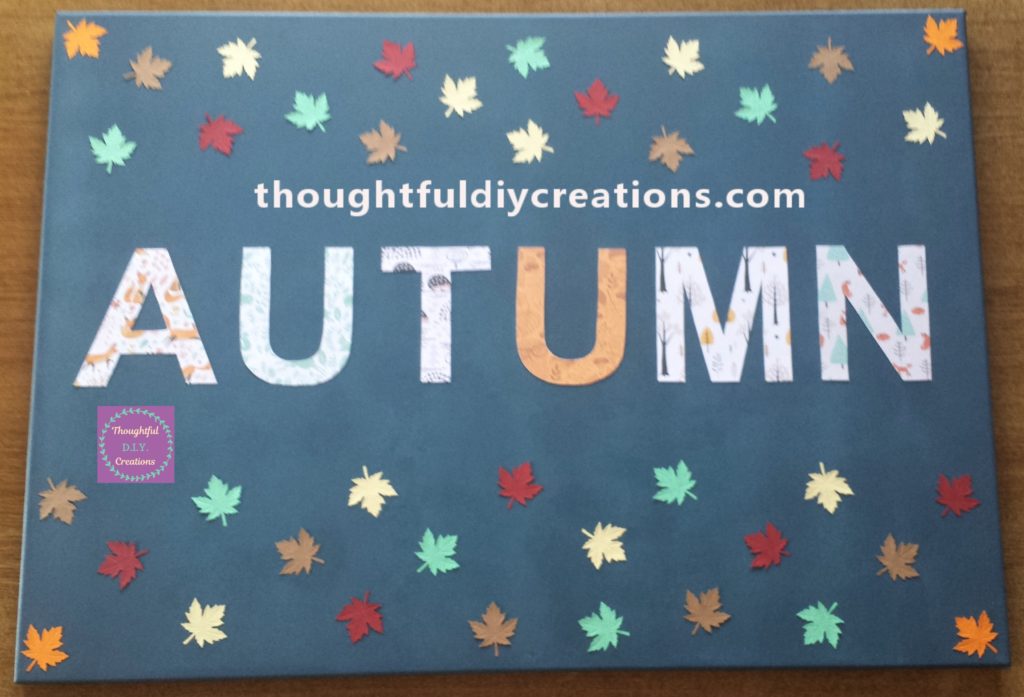
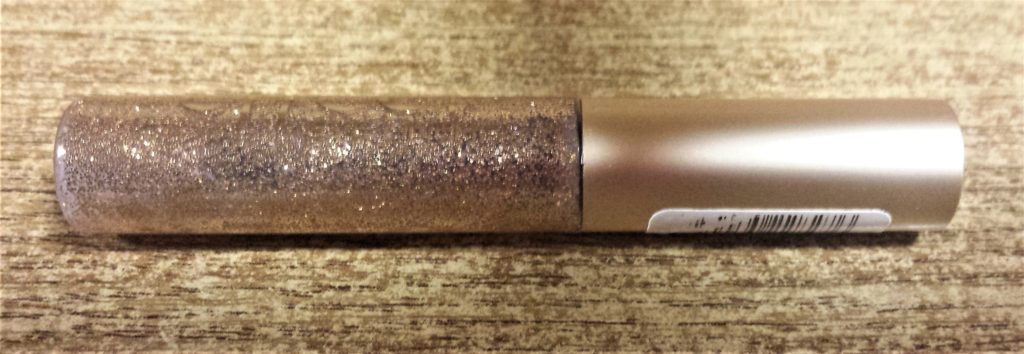
Adding the Gold Glitter to the Leaves
It says on the punch that it is a Cut & Emboss Punch. I’ve never used embossing powders before but if you have any you could use them on the punched leaves for added effect. I had an inexpensive gold glitter eye liner that I’ve had for years now, it made it into my craft supplies as I didn’t want to throw it out, and I’ve outgrown my mad glittery sparkly eye days (I think). I decided to try the glitter on the lines of the leaves to add some sparkle to the canvas. When you twist the handle of the eye liner open it has a thin applicator brush, so it is easy to use on the leaves, just literally brush it on. NYX Professional Makeup Liquid CrystalGold Liner,
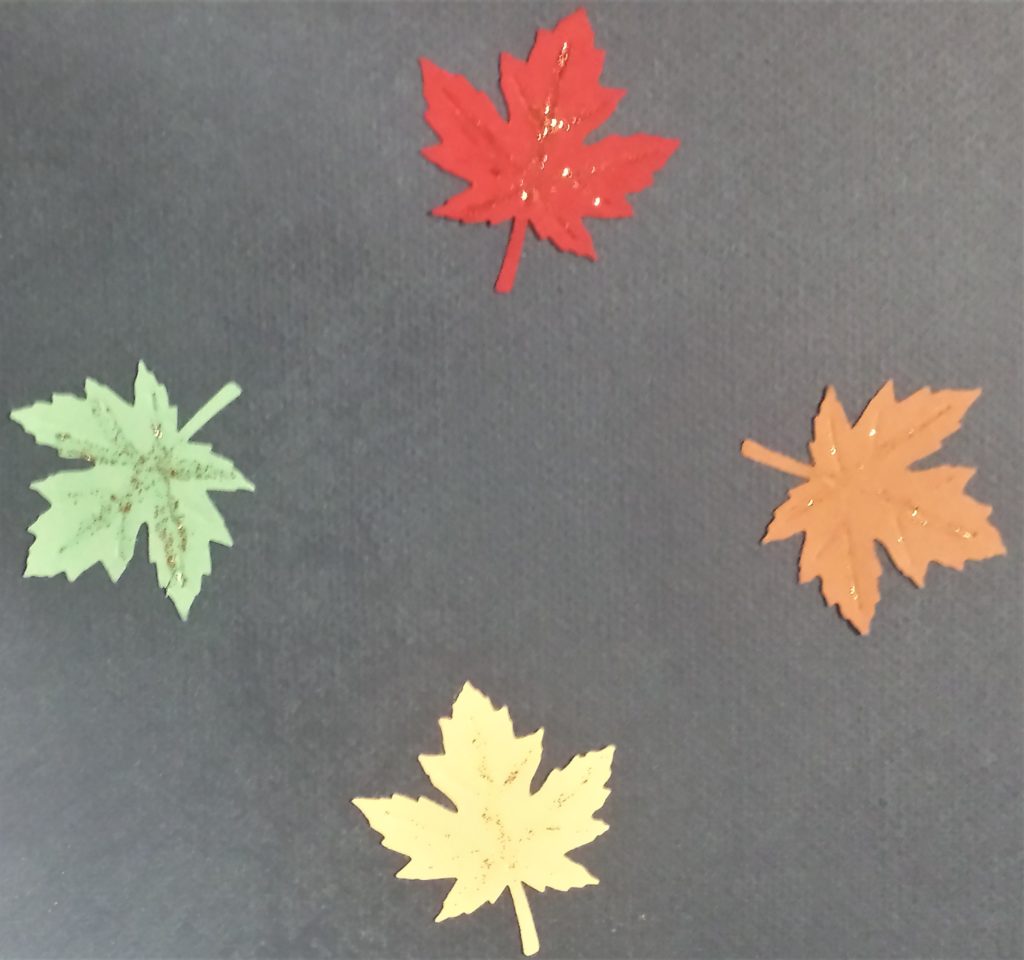
I was delighted with the result. They look nicer than how they appear in the photographs, they look lovely in the evening with the light shining on them but the photographs don’t come out great in the evening. I added the gold glitter to every leaf on the canvas.
Conclusion
This is the final result of my Autumn Canvas. I was delighted with the outcome. I love the different colour leaves and the falling effect from them being placed in different directions on the canvas. I think the word ‘AUTUMN’ is a nice size in the mid-section of the canvas, and I adore the various Autumn style of papers. It is an easy-to-do craft activity, and I hope it was helpful for anyone looking to D.I.Y. their Autumn Home Decor this year.
I think it’s lovely to change home decor to reflect the seasons. You don’t have to go mad re-arranging everything but a few summer pieces can be put away and some nice warm, autumn colours can be introduced to help embrace the new season.
What about you, do you have any plans to decorate for the Autumn season? Do you have any traditions you like to do each Autumn?
If you are looking for more Ideas on how to Decorate a Canvas, check out my other Tutorials; Elephant Silhouette Canvas or Angel Feather Canvas.
I hope you enjoyed my D.I.Y. Tutorial for the week. If you have any questions please don’t hesitate to ask.
Thank you so much for taking the time to read my Blog.
Always Grateful,
T.D.C.
xoxox