Autumn Wreath Step-by-Step Tutorial
Hello my Creative Friends,
I hope you are all Well. In Today’s Tutorial I will show you how I made an Autumn Wreath. It is an easy to achieve Seasonal Craft and I hope it provides you with some ideas for Wreath Making or D.I.Y. Autumn / Fall Decor.
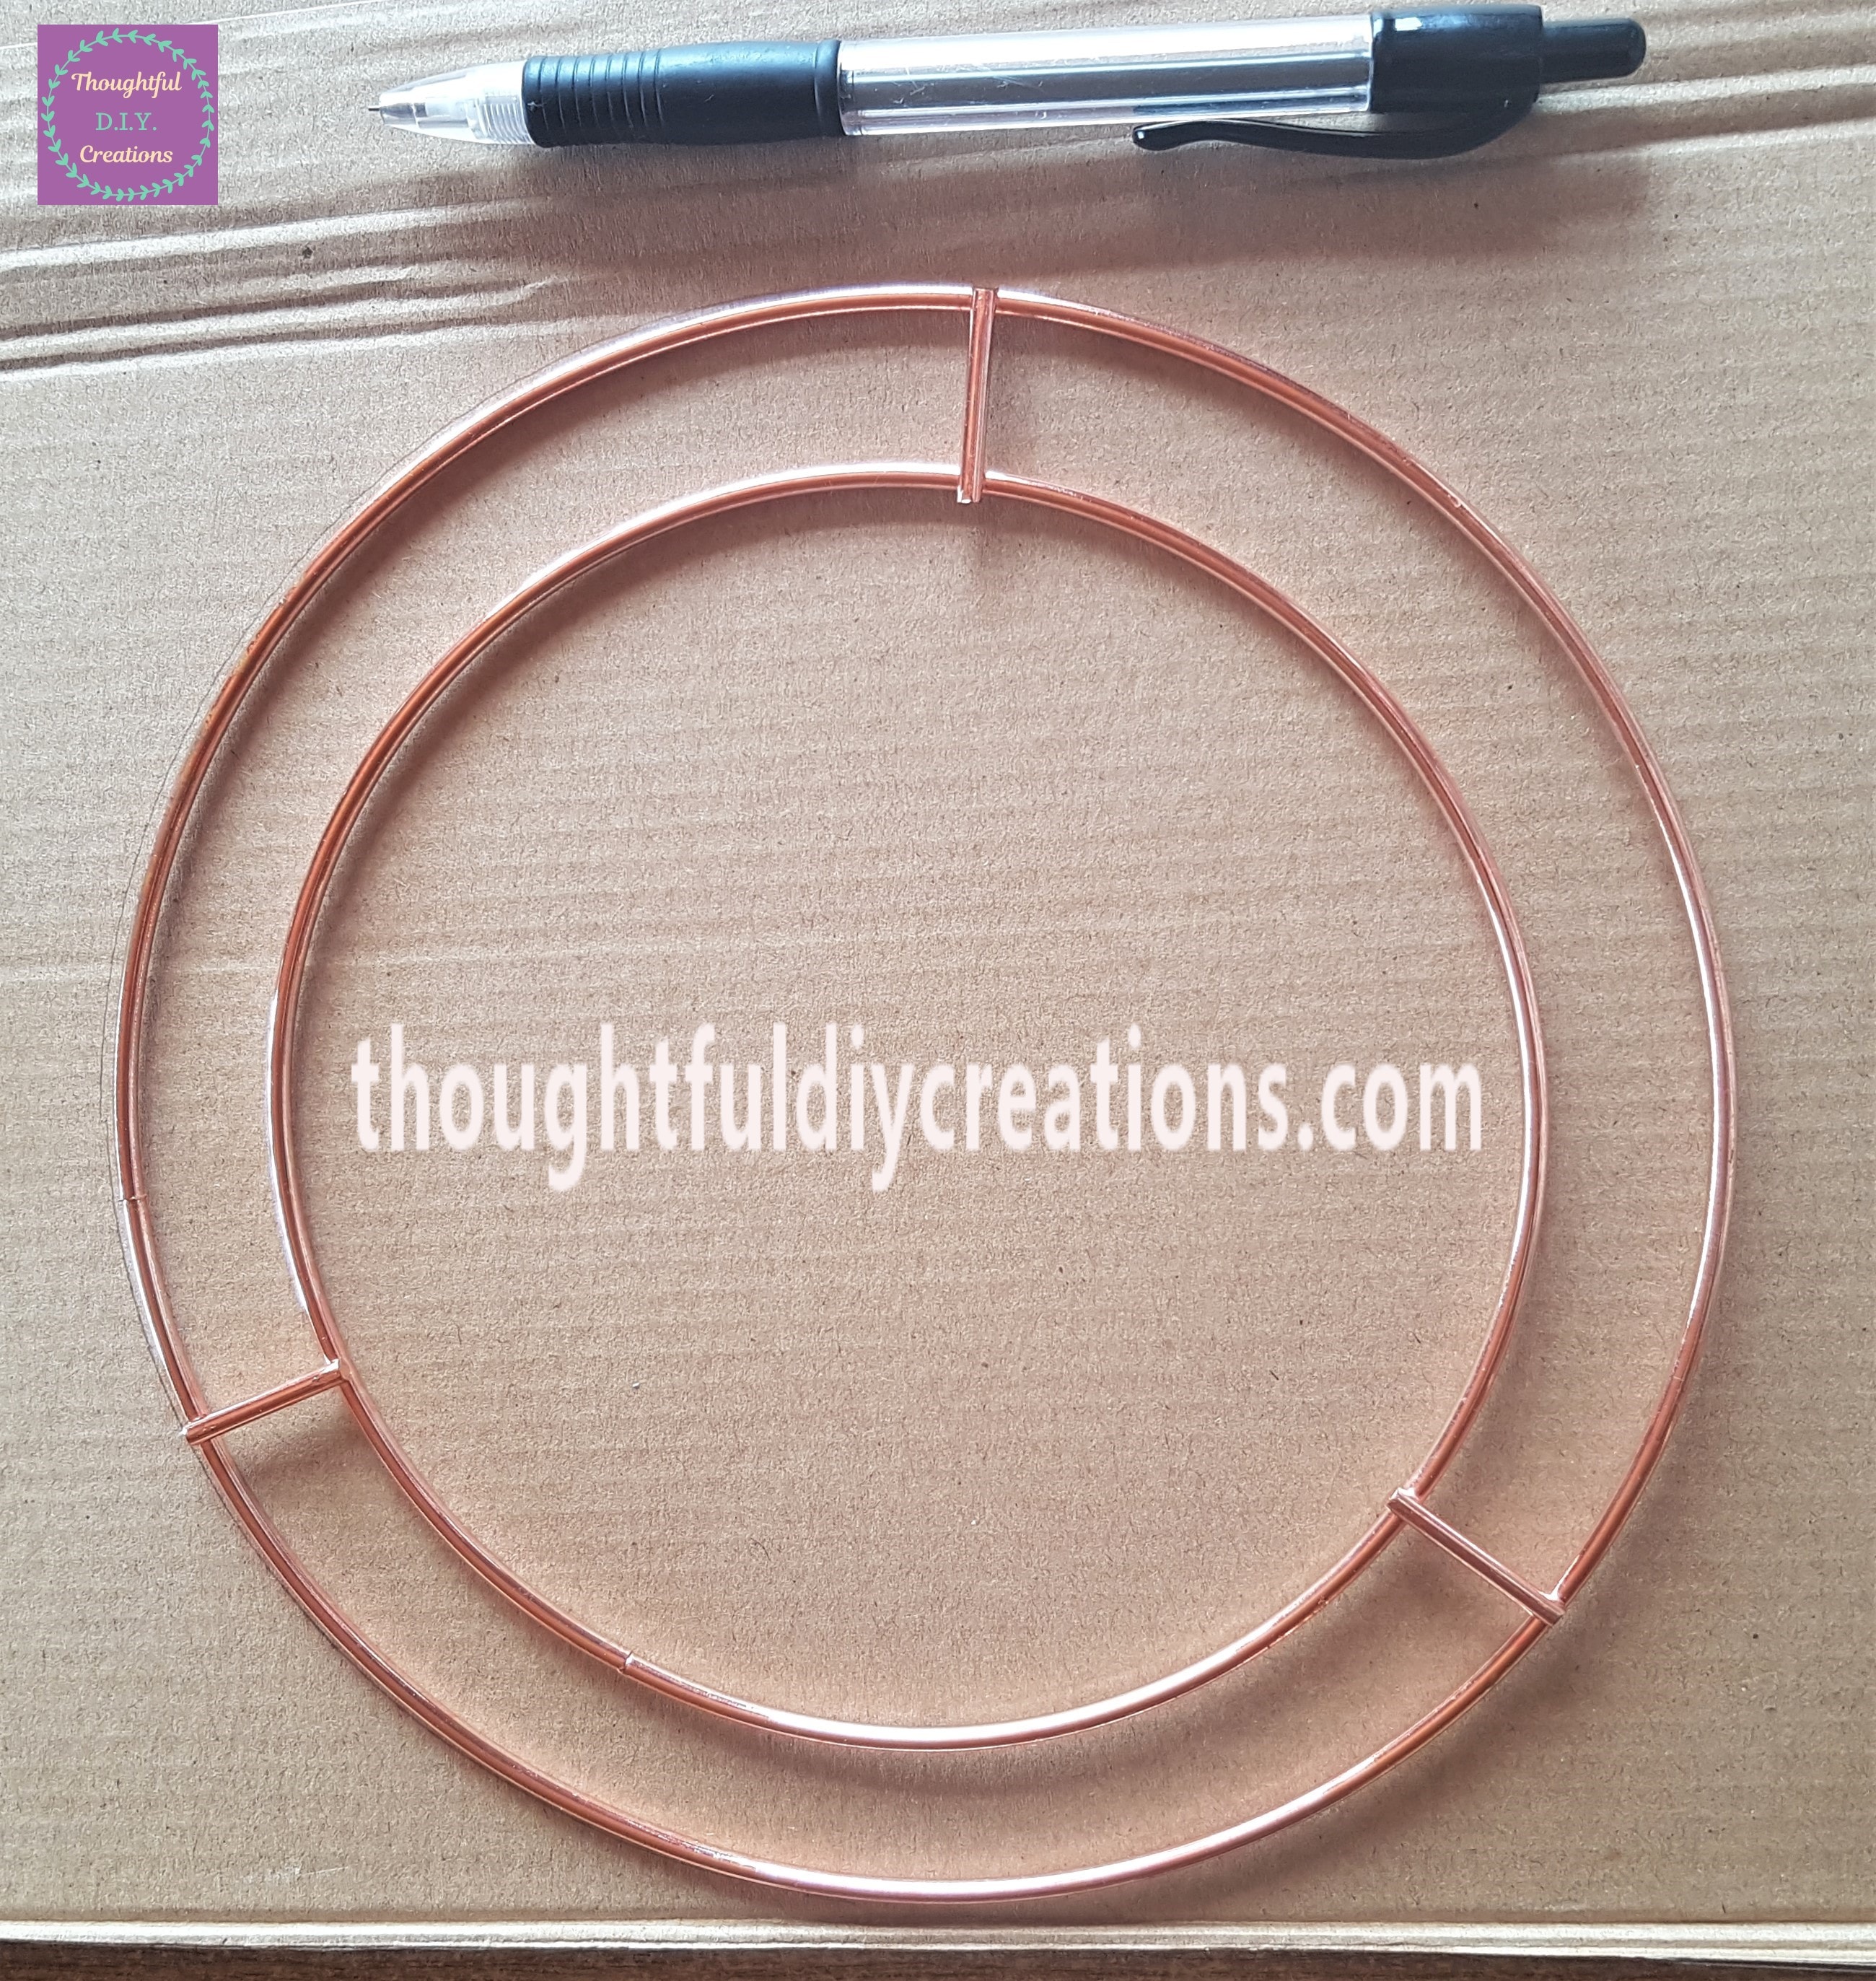
Wire Wreath for Crafting
I had a 2 Pack of Wire Wreath Bases in my Craft Supplies.
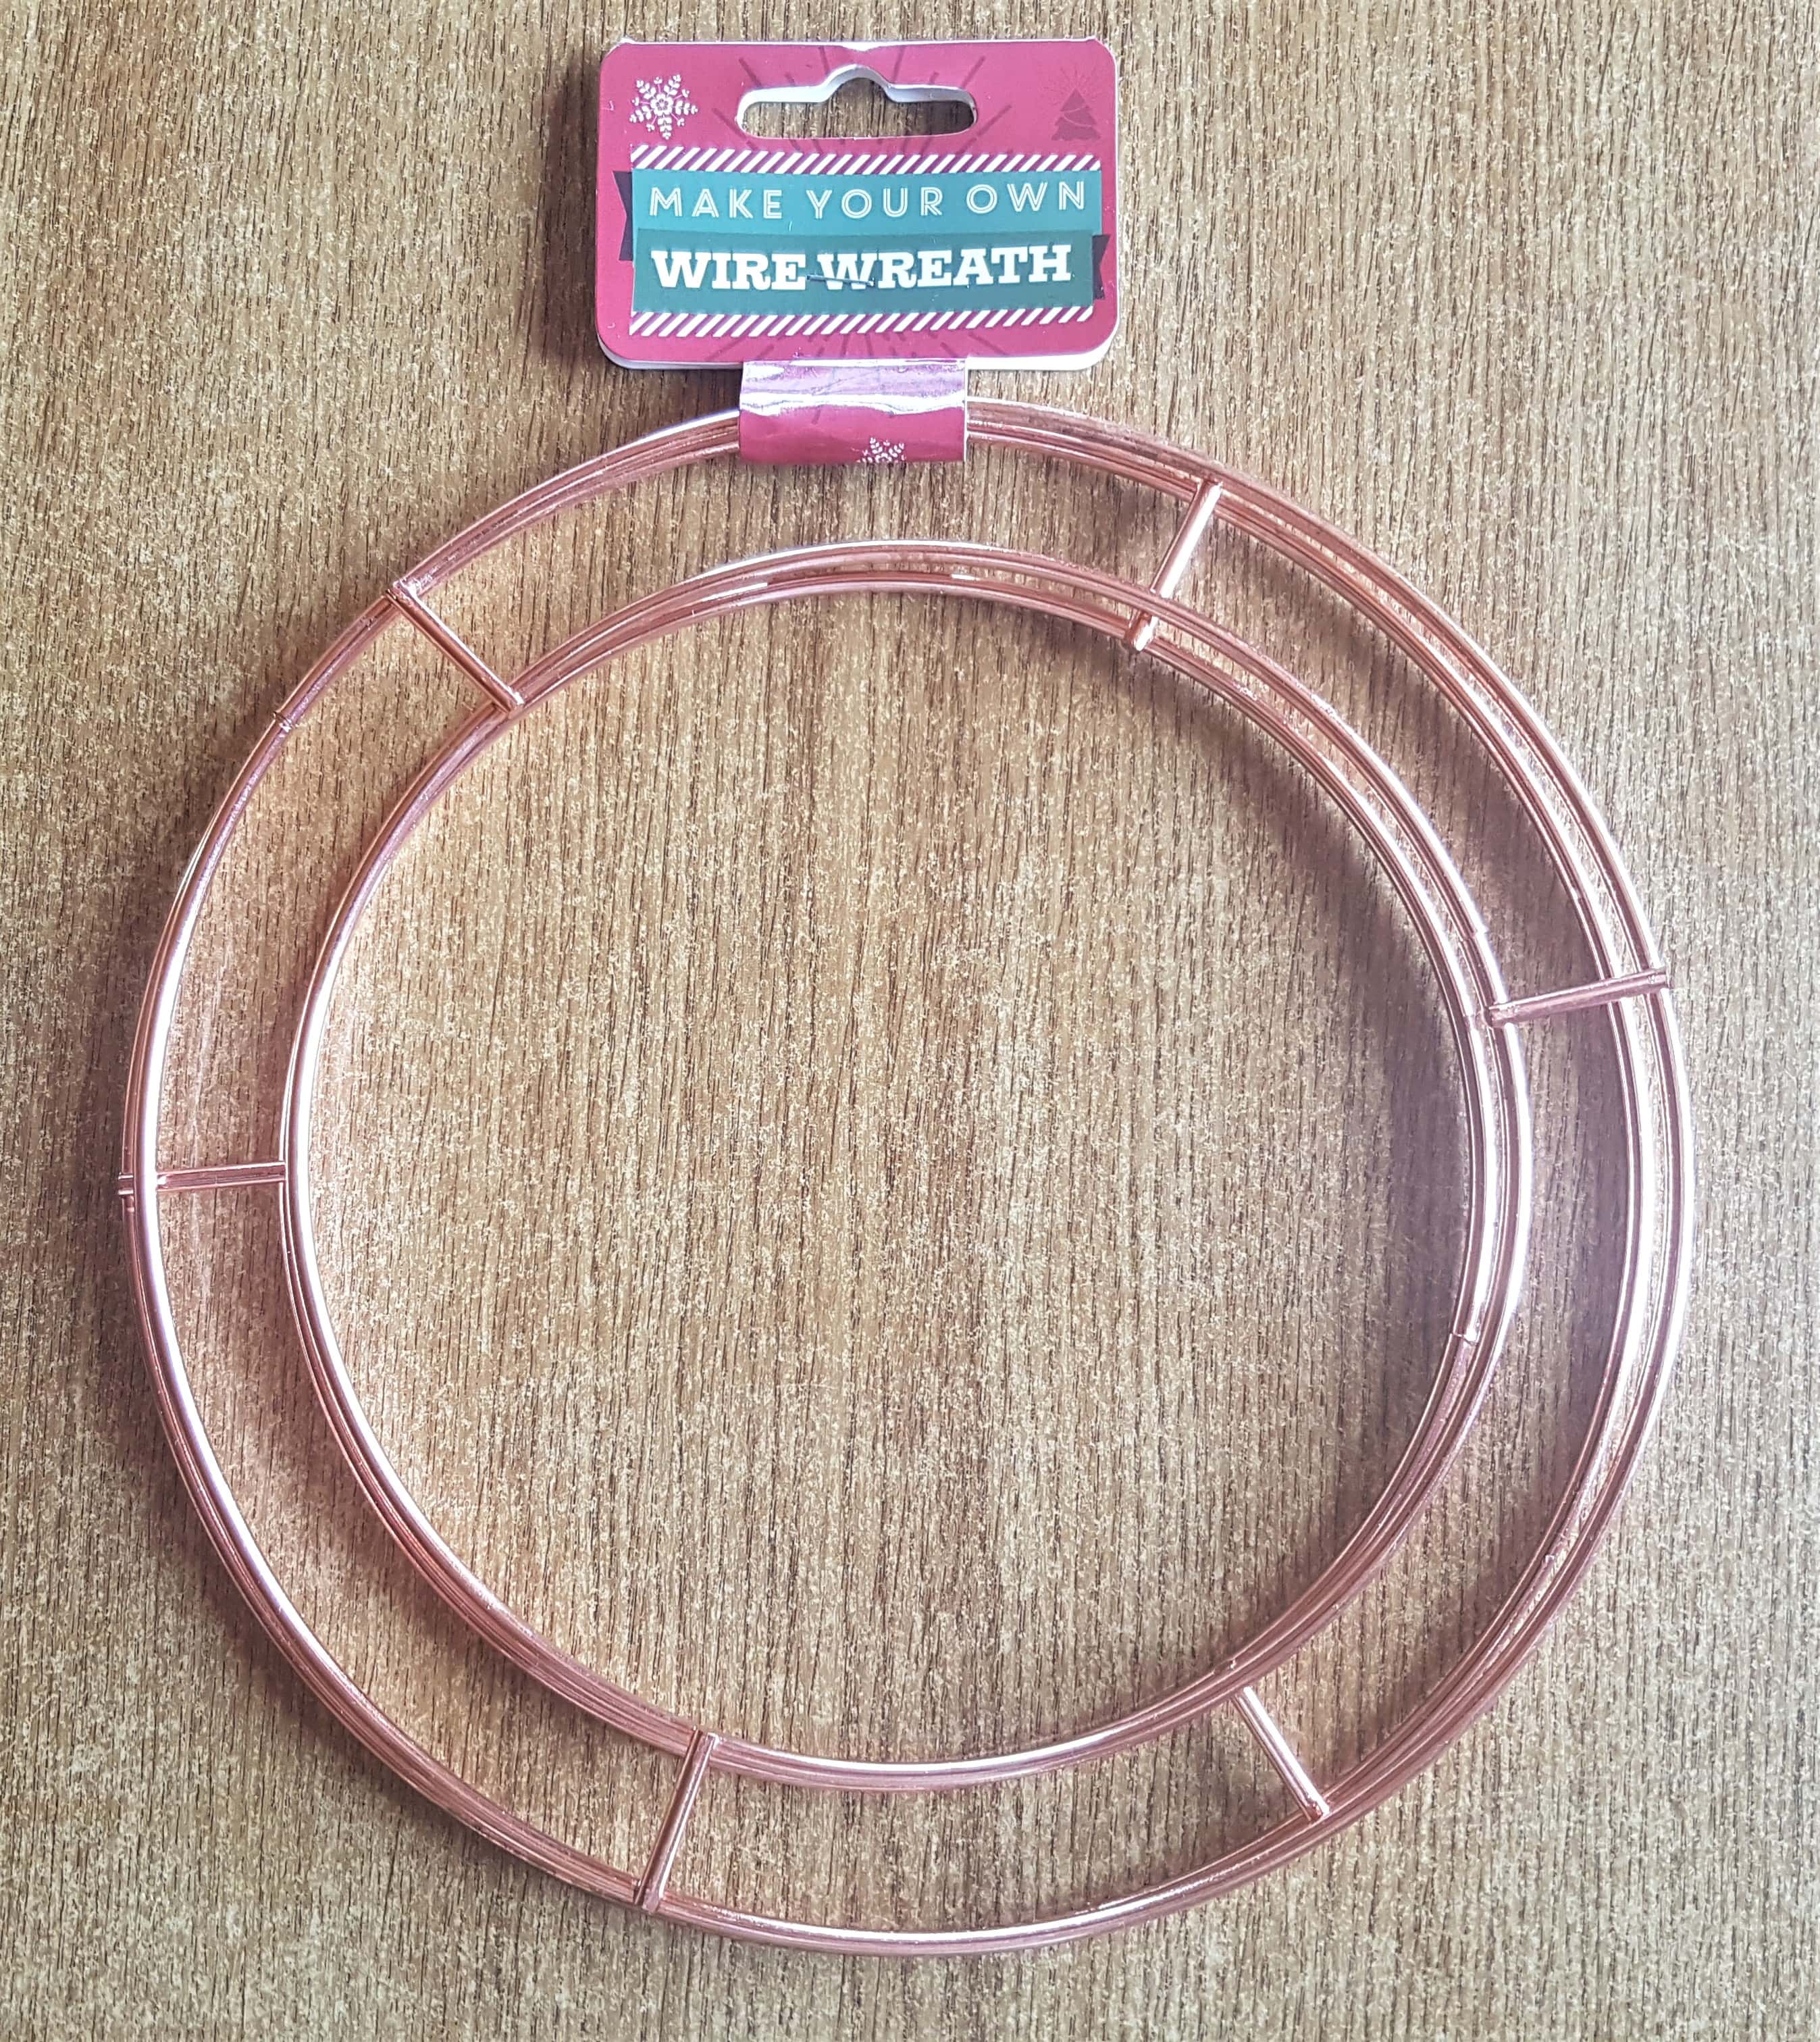
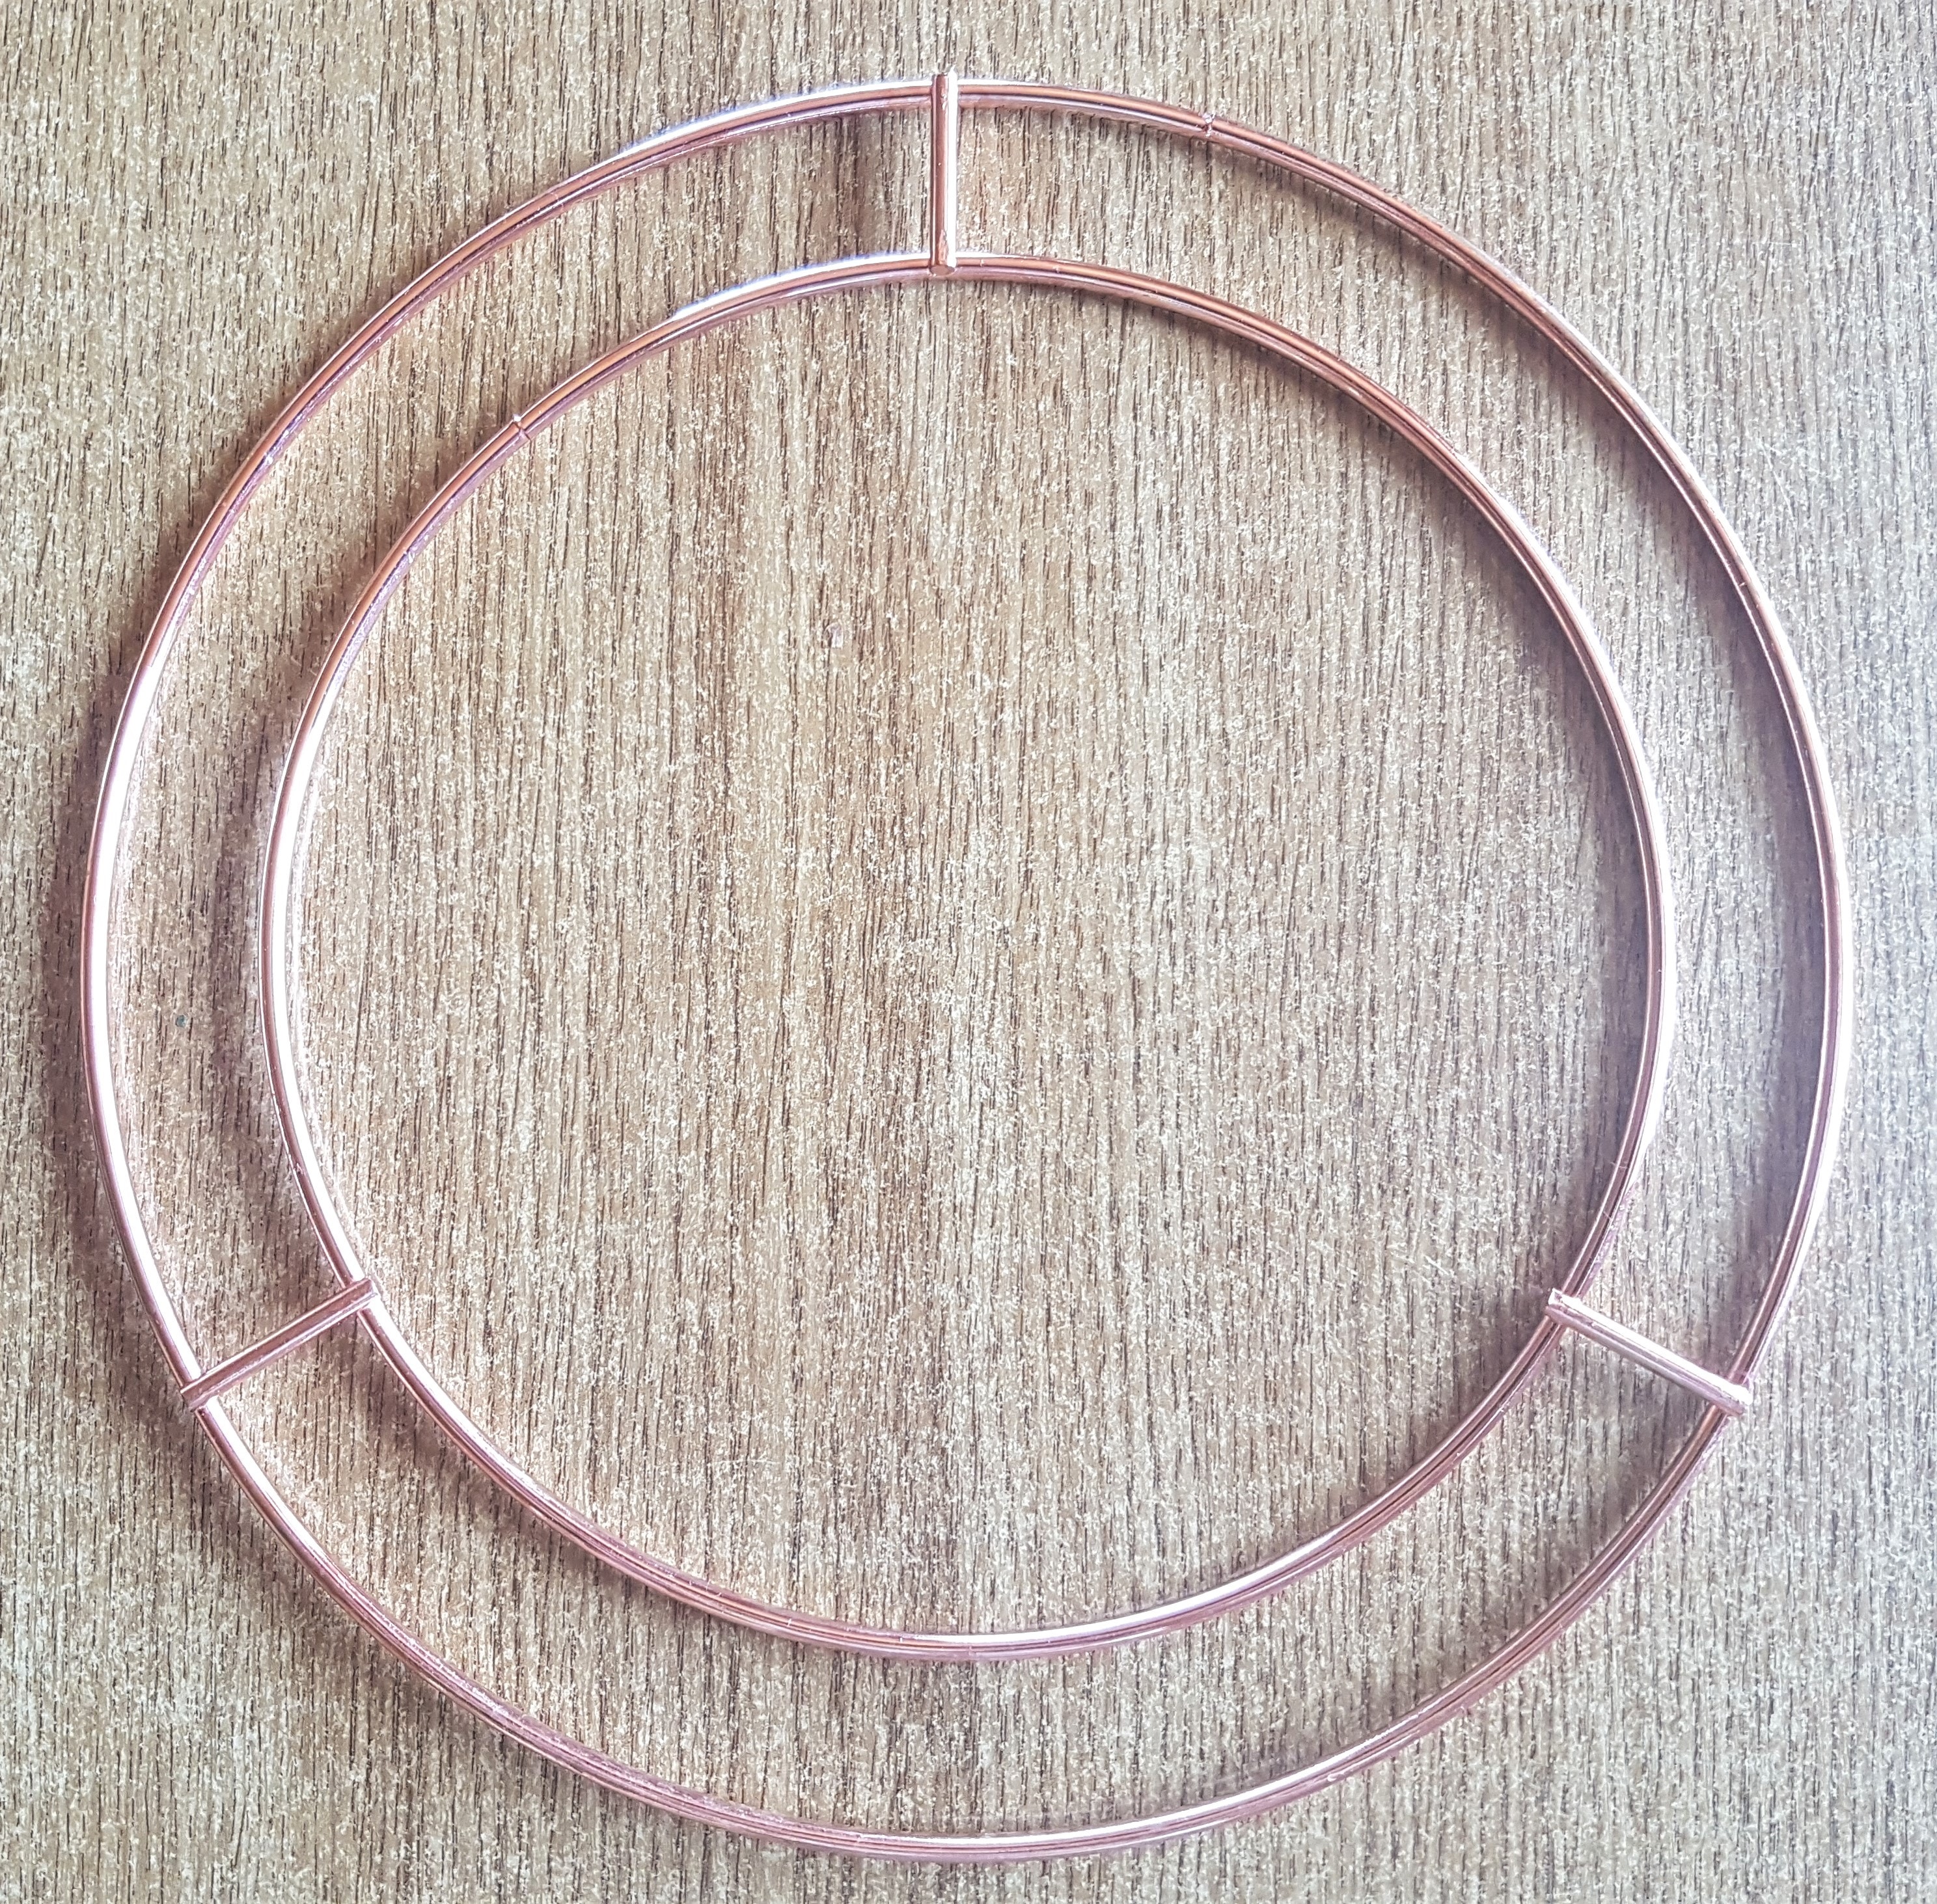
I cut off the Tag and got 1 Wire Wreath to make the Autumn Wreath.
Finding a Background Image
I thought adding a Picture to the back of the Autumn Wreath would make it look more interesting. I looked up ‘Autumn Pictures’ in Google Images. I found a Picture I thought would match my wreath best.

I liked the colours and the images on the Picture but I wasn’t as keen on the words ‘Hello Autumn’. I wanted something that was more true to me and what I would like to look at.
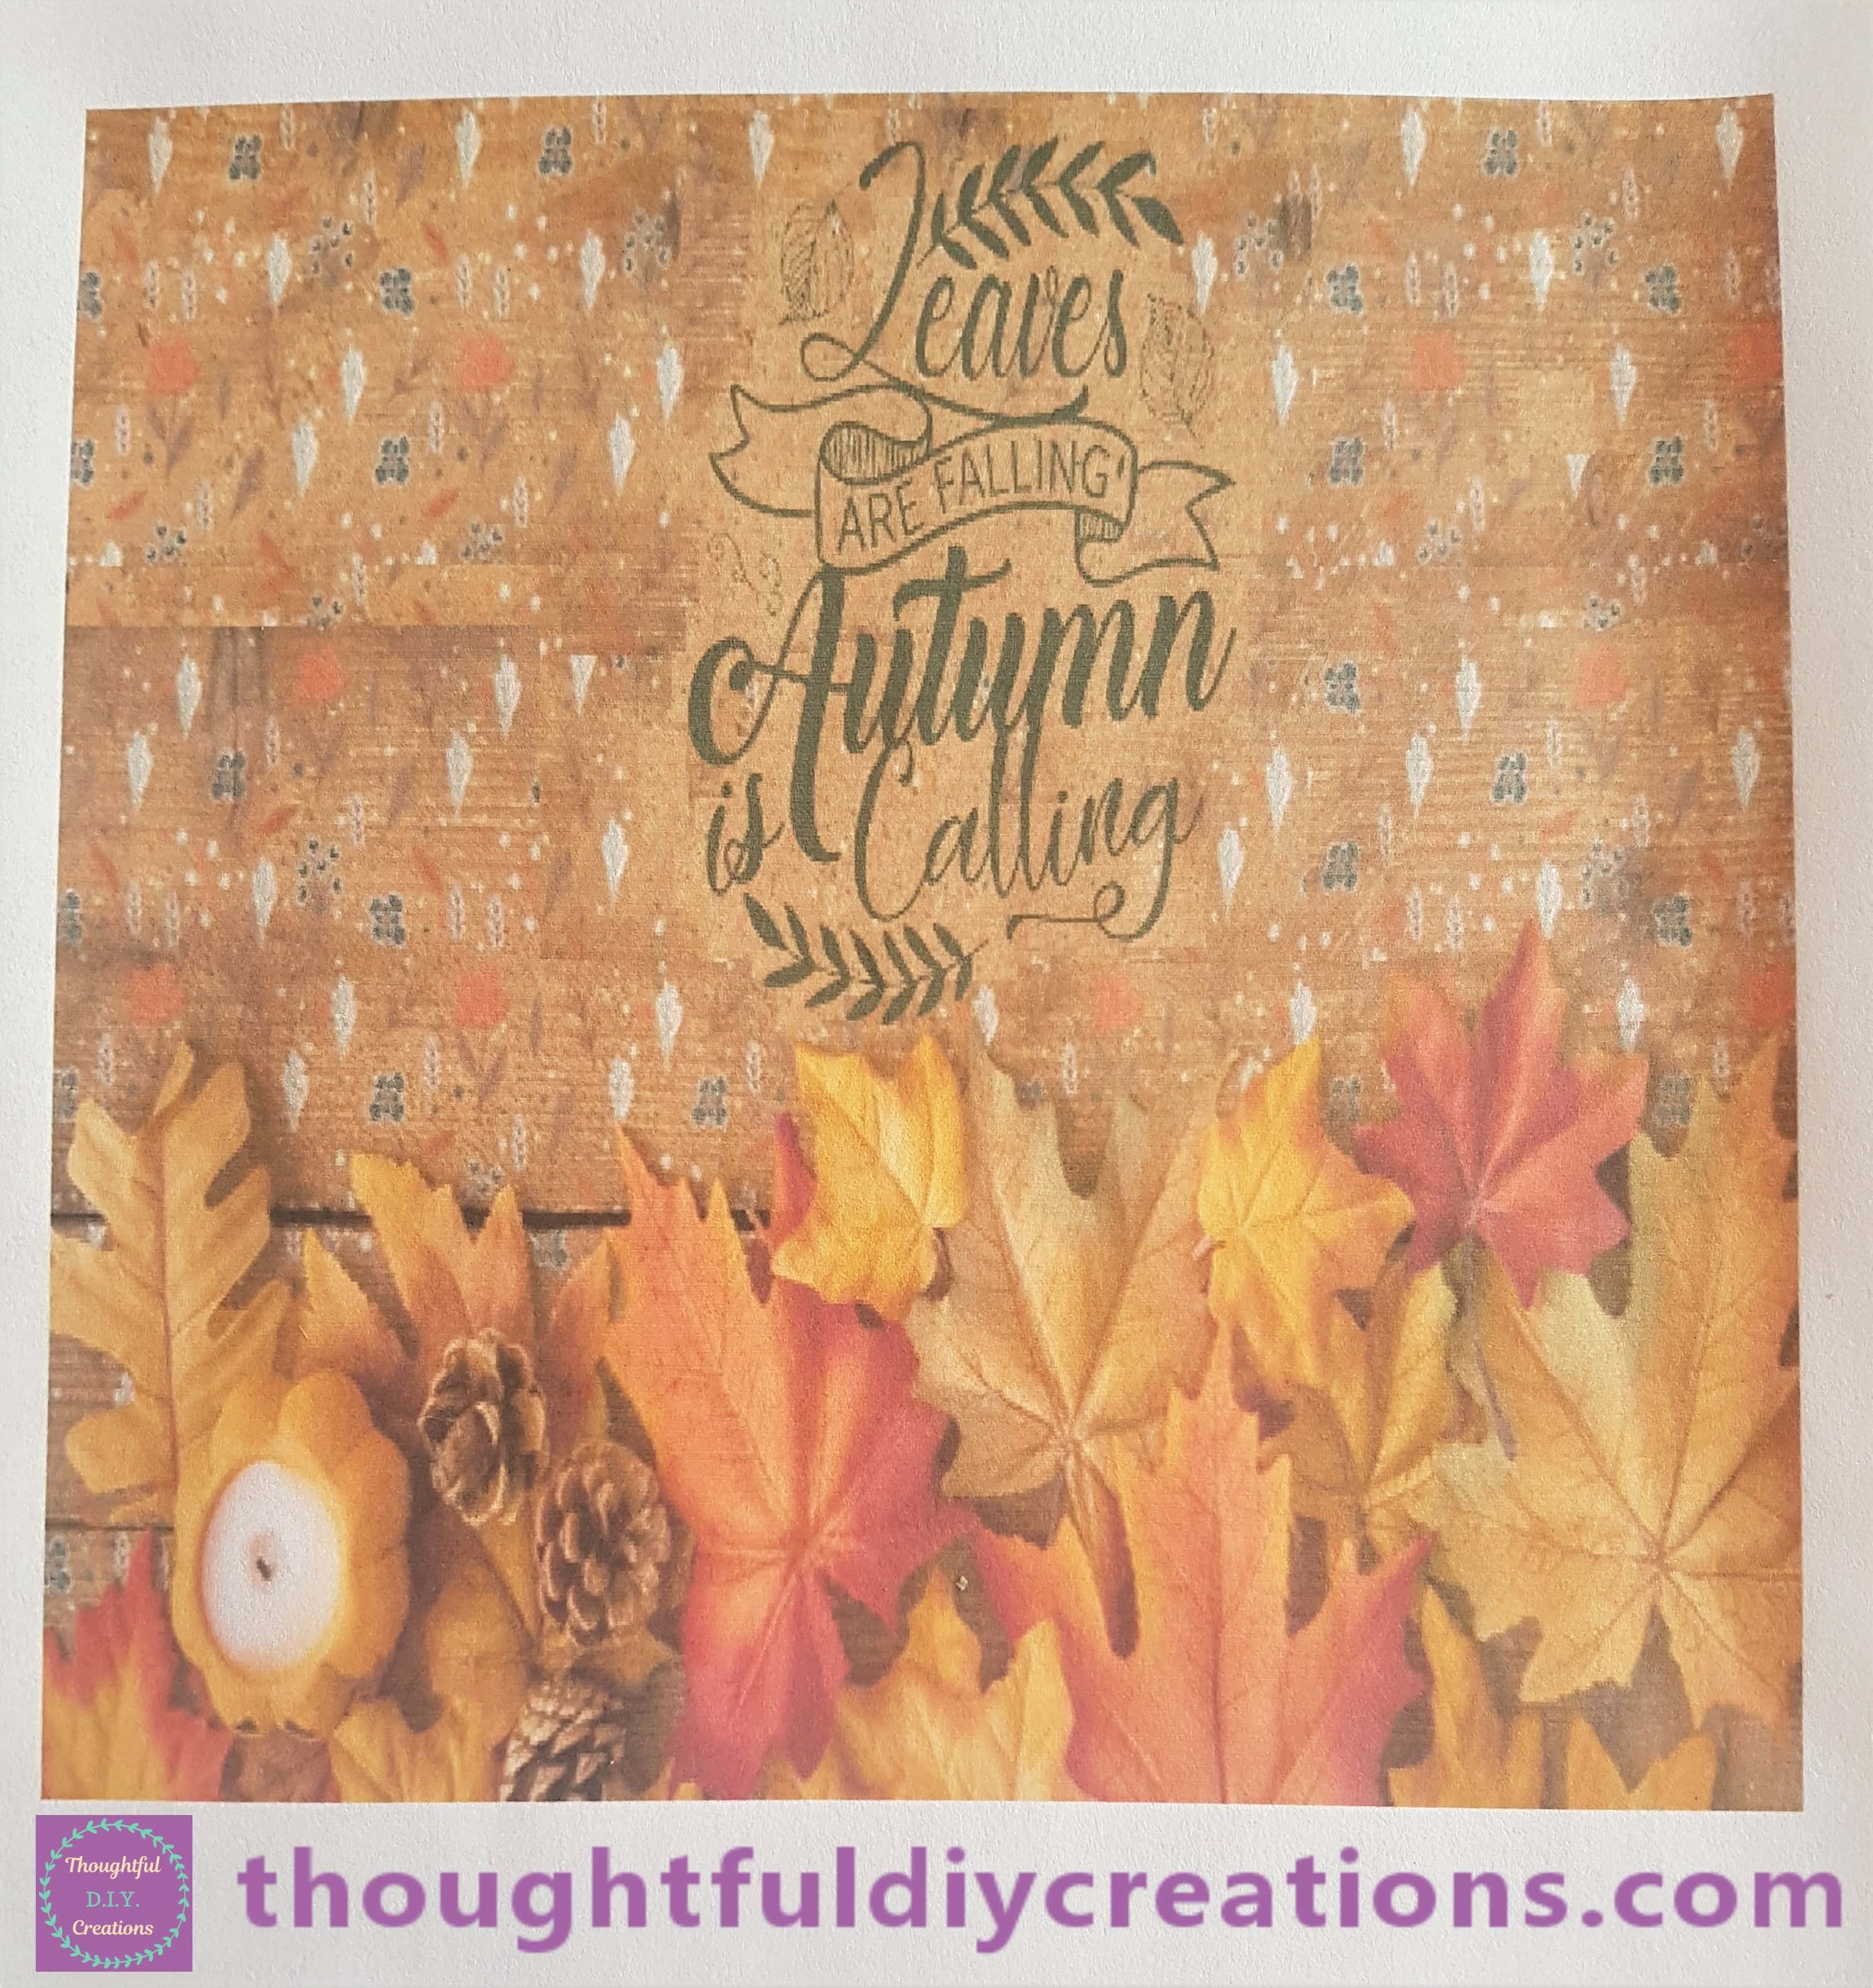
I looked up ‘Autumn Quotes’ on Google Images and Found the Quote ‘Leaves are Falling, Autumn is Calling’. I saved the Image to my Computer and then opened up the Photo Editor ‘GIMP’. I opened up the saved image and changed the Colour of the Font from Black to Green.
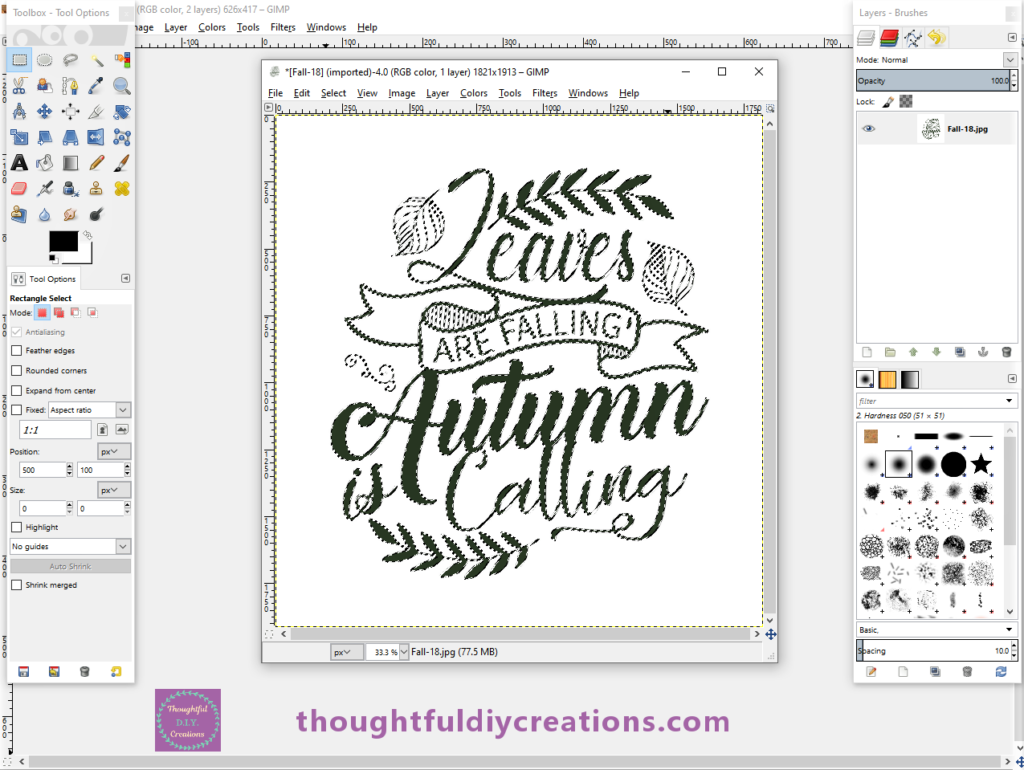
I then opened up my first saved Image and Copy and Pasted the Autumn Quote onto it.
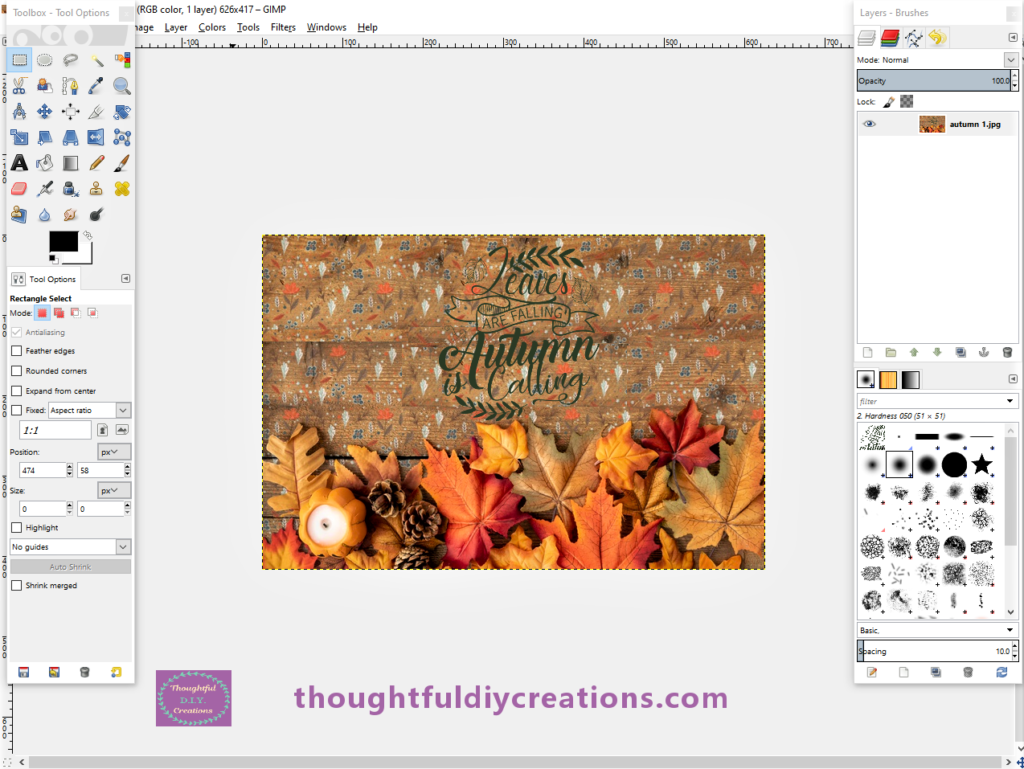
I thought the background behind the Quote was too busy and slightly hard to read. I used the ‘Rectangle Select Shape Tool’ to Copy a plain light brown part of the background. I pasted it multiple times over the blue, orange and white patterns in the middle of the background where the Quote will be placed to ensure it can be seen and improve readability.
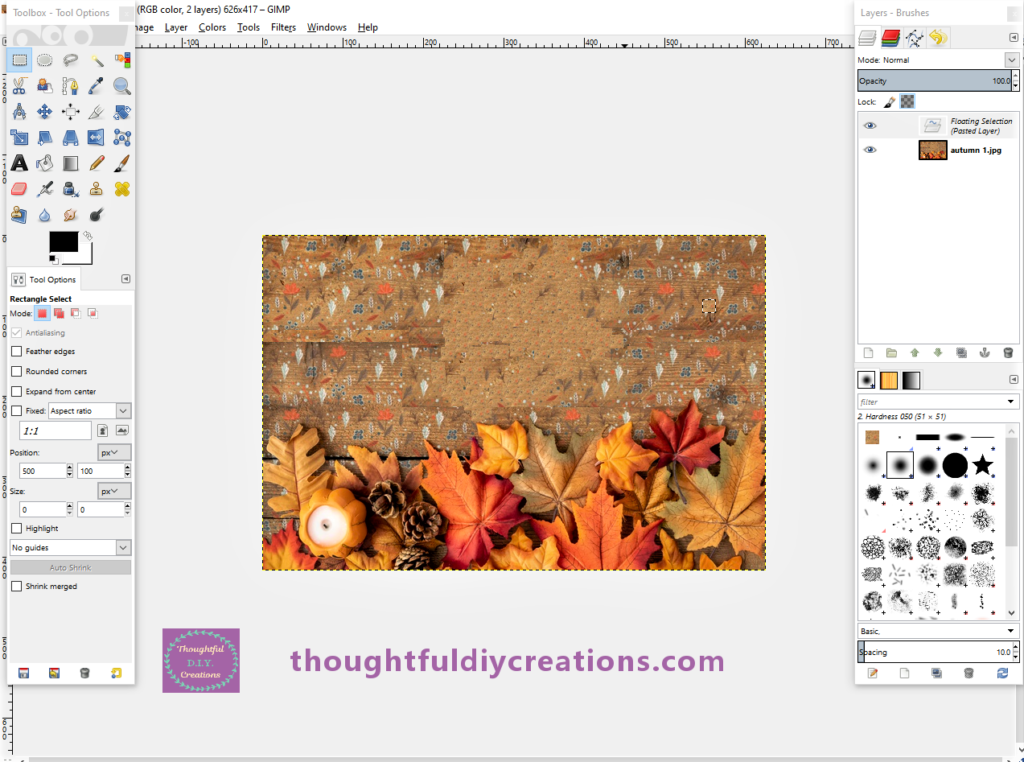
When Pasting the Quote onto the first Image it creates a New Layer which you can re-size to suit your image. I right-clicked on the Quote Tab and clicked ‘Select Layer’.
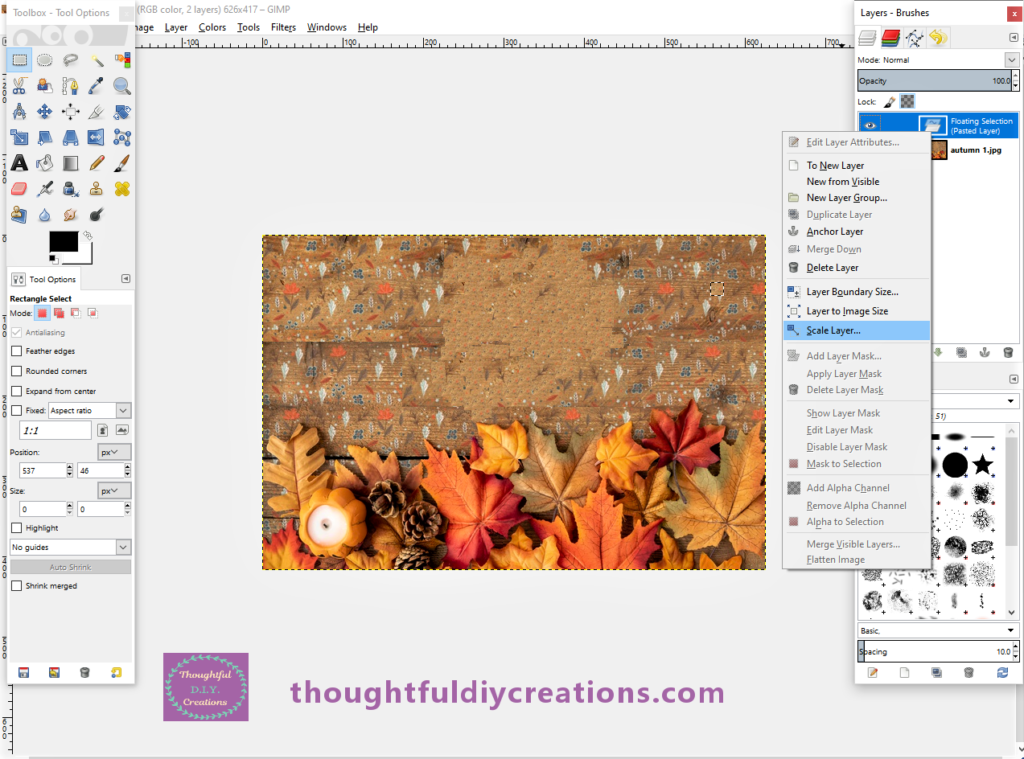
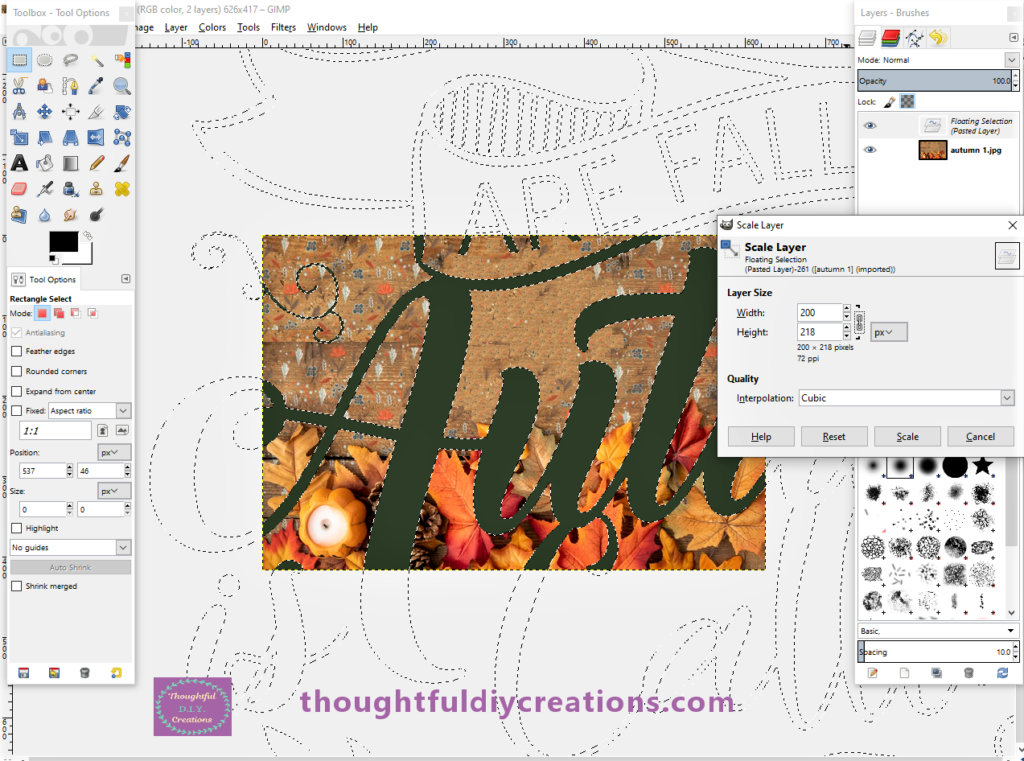
I put 200 into the Width Box for the Layer Size and pressed the button Scale.
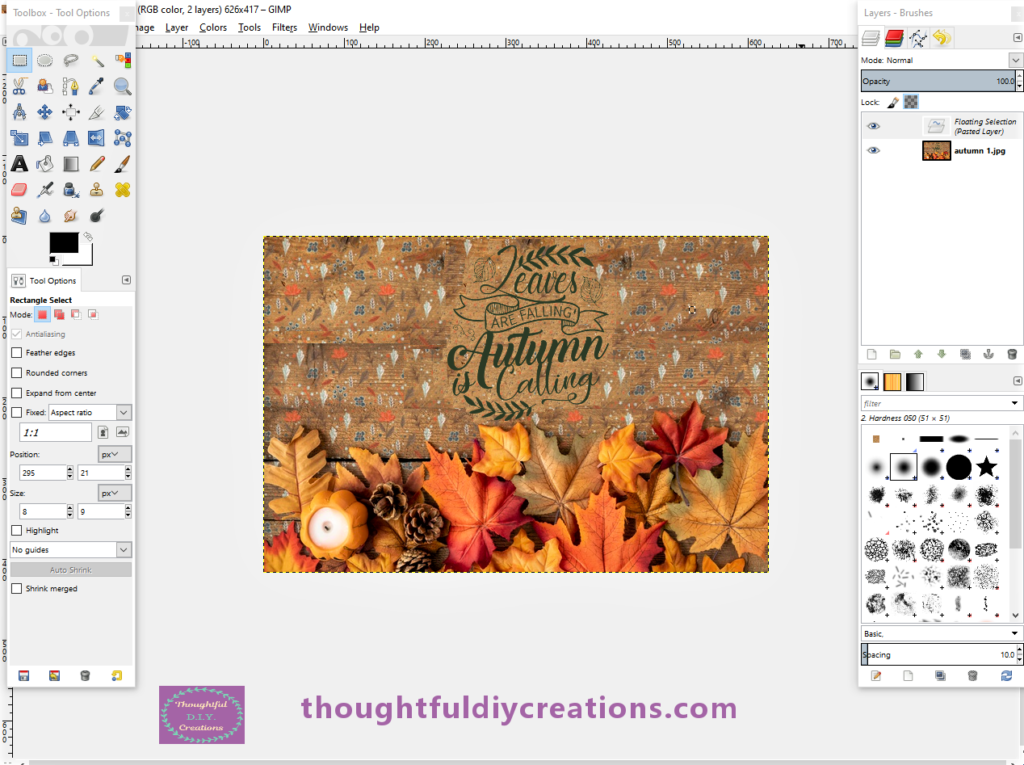
I positioned the Quote in the middle of the background. I exported the edited Image to JPEG File.
Printing the Image for the Autumn Wreath
I then opened the Saved Image in Microsoft Word. I right clicked on the Image and clicked the option ‘Size and Position’.
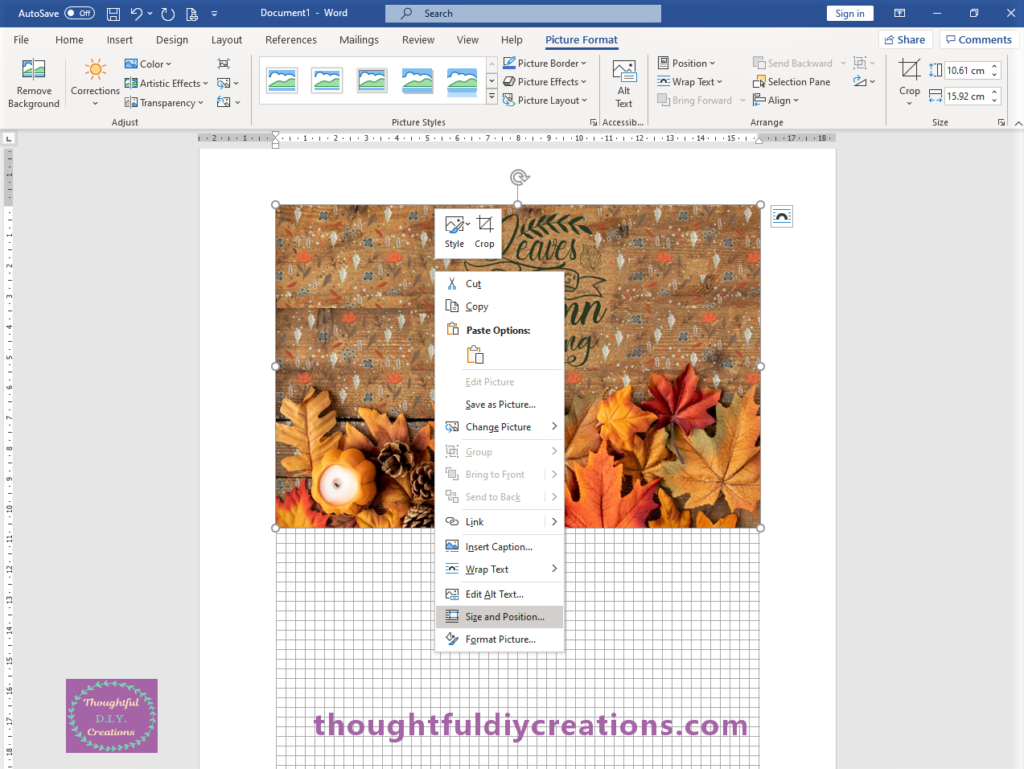
I changed the ‘Absolute Height and Width’ to 17 cm. I unticked the Box that says ‘Lock Aspect Ratio’.
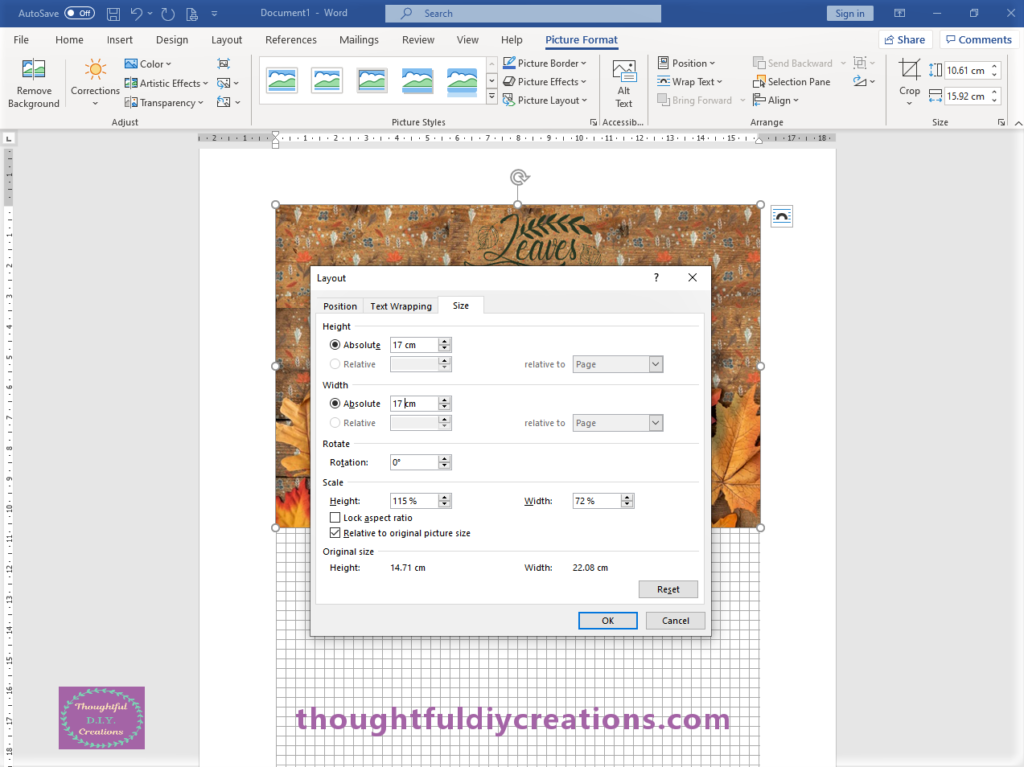
This Size was perfect for the Size Wreath I am using.
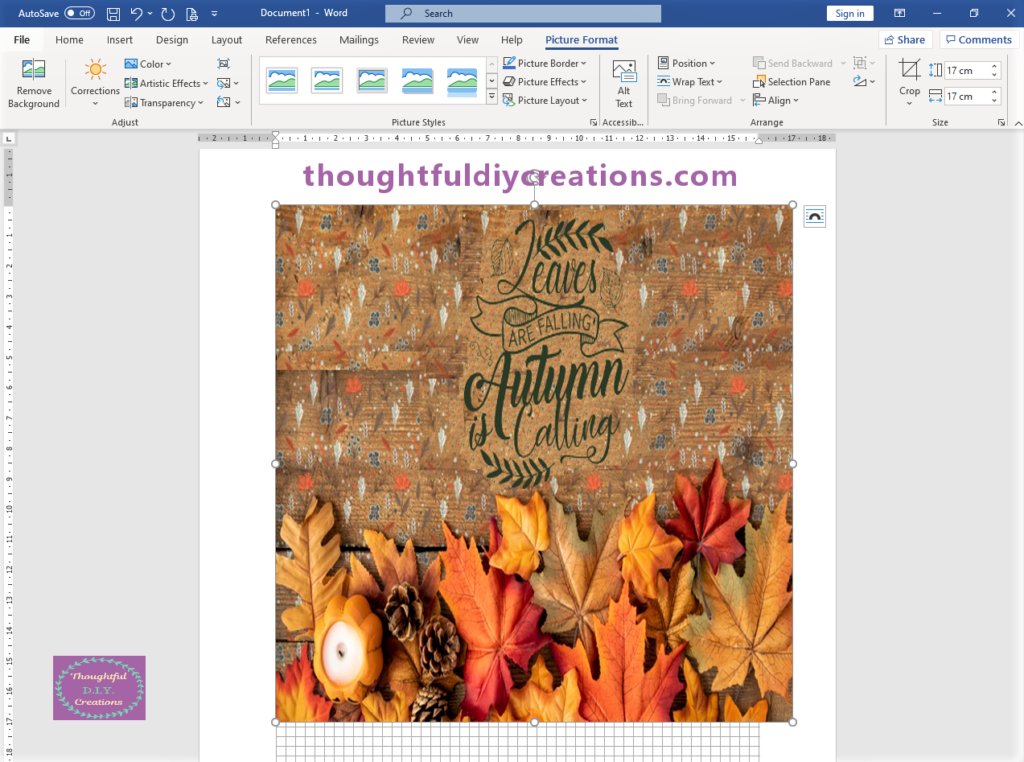
I clicked Print and Printed the Image on Normal Printer Paper.
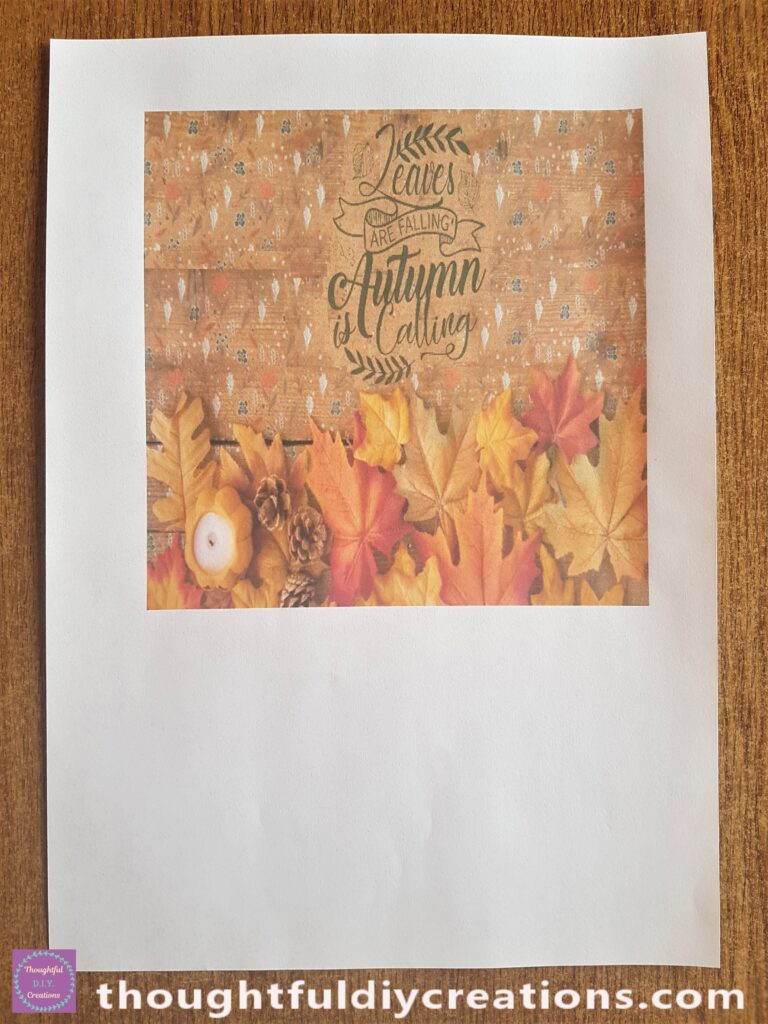
This is a closer look at the Image.
Cardboard for the Base of the Autumn Wreath
I got some Cardboard from a Box that was in my supplies.
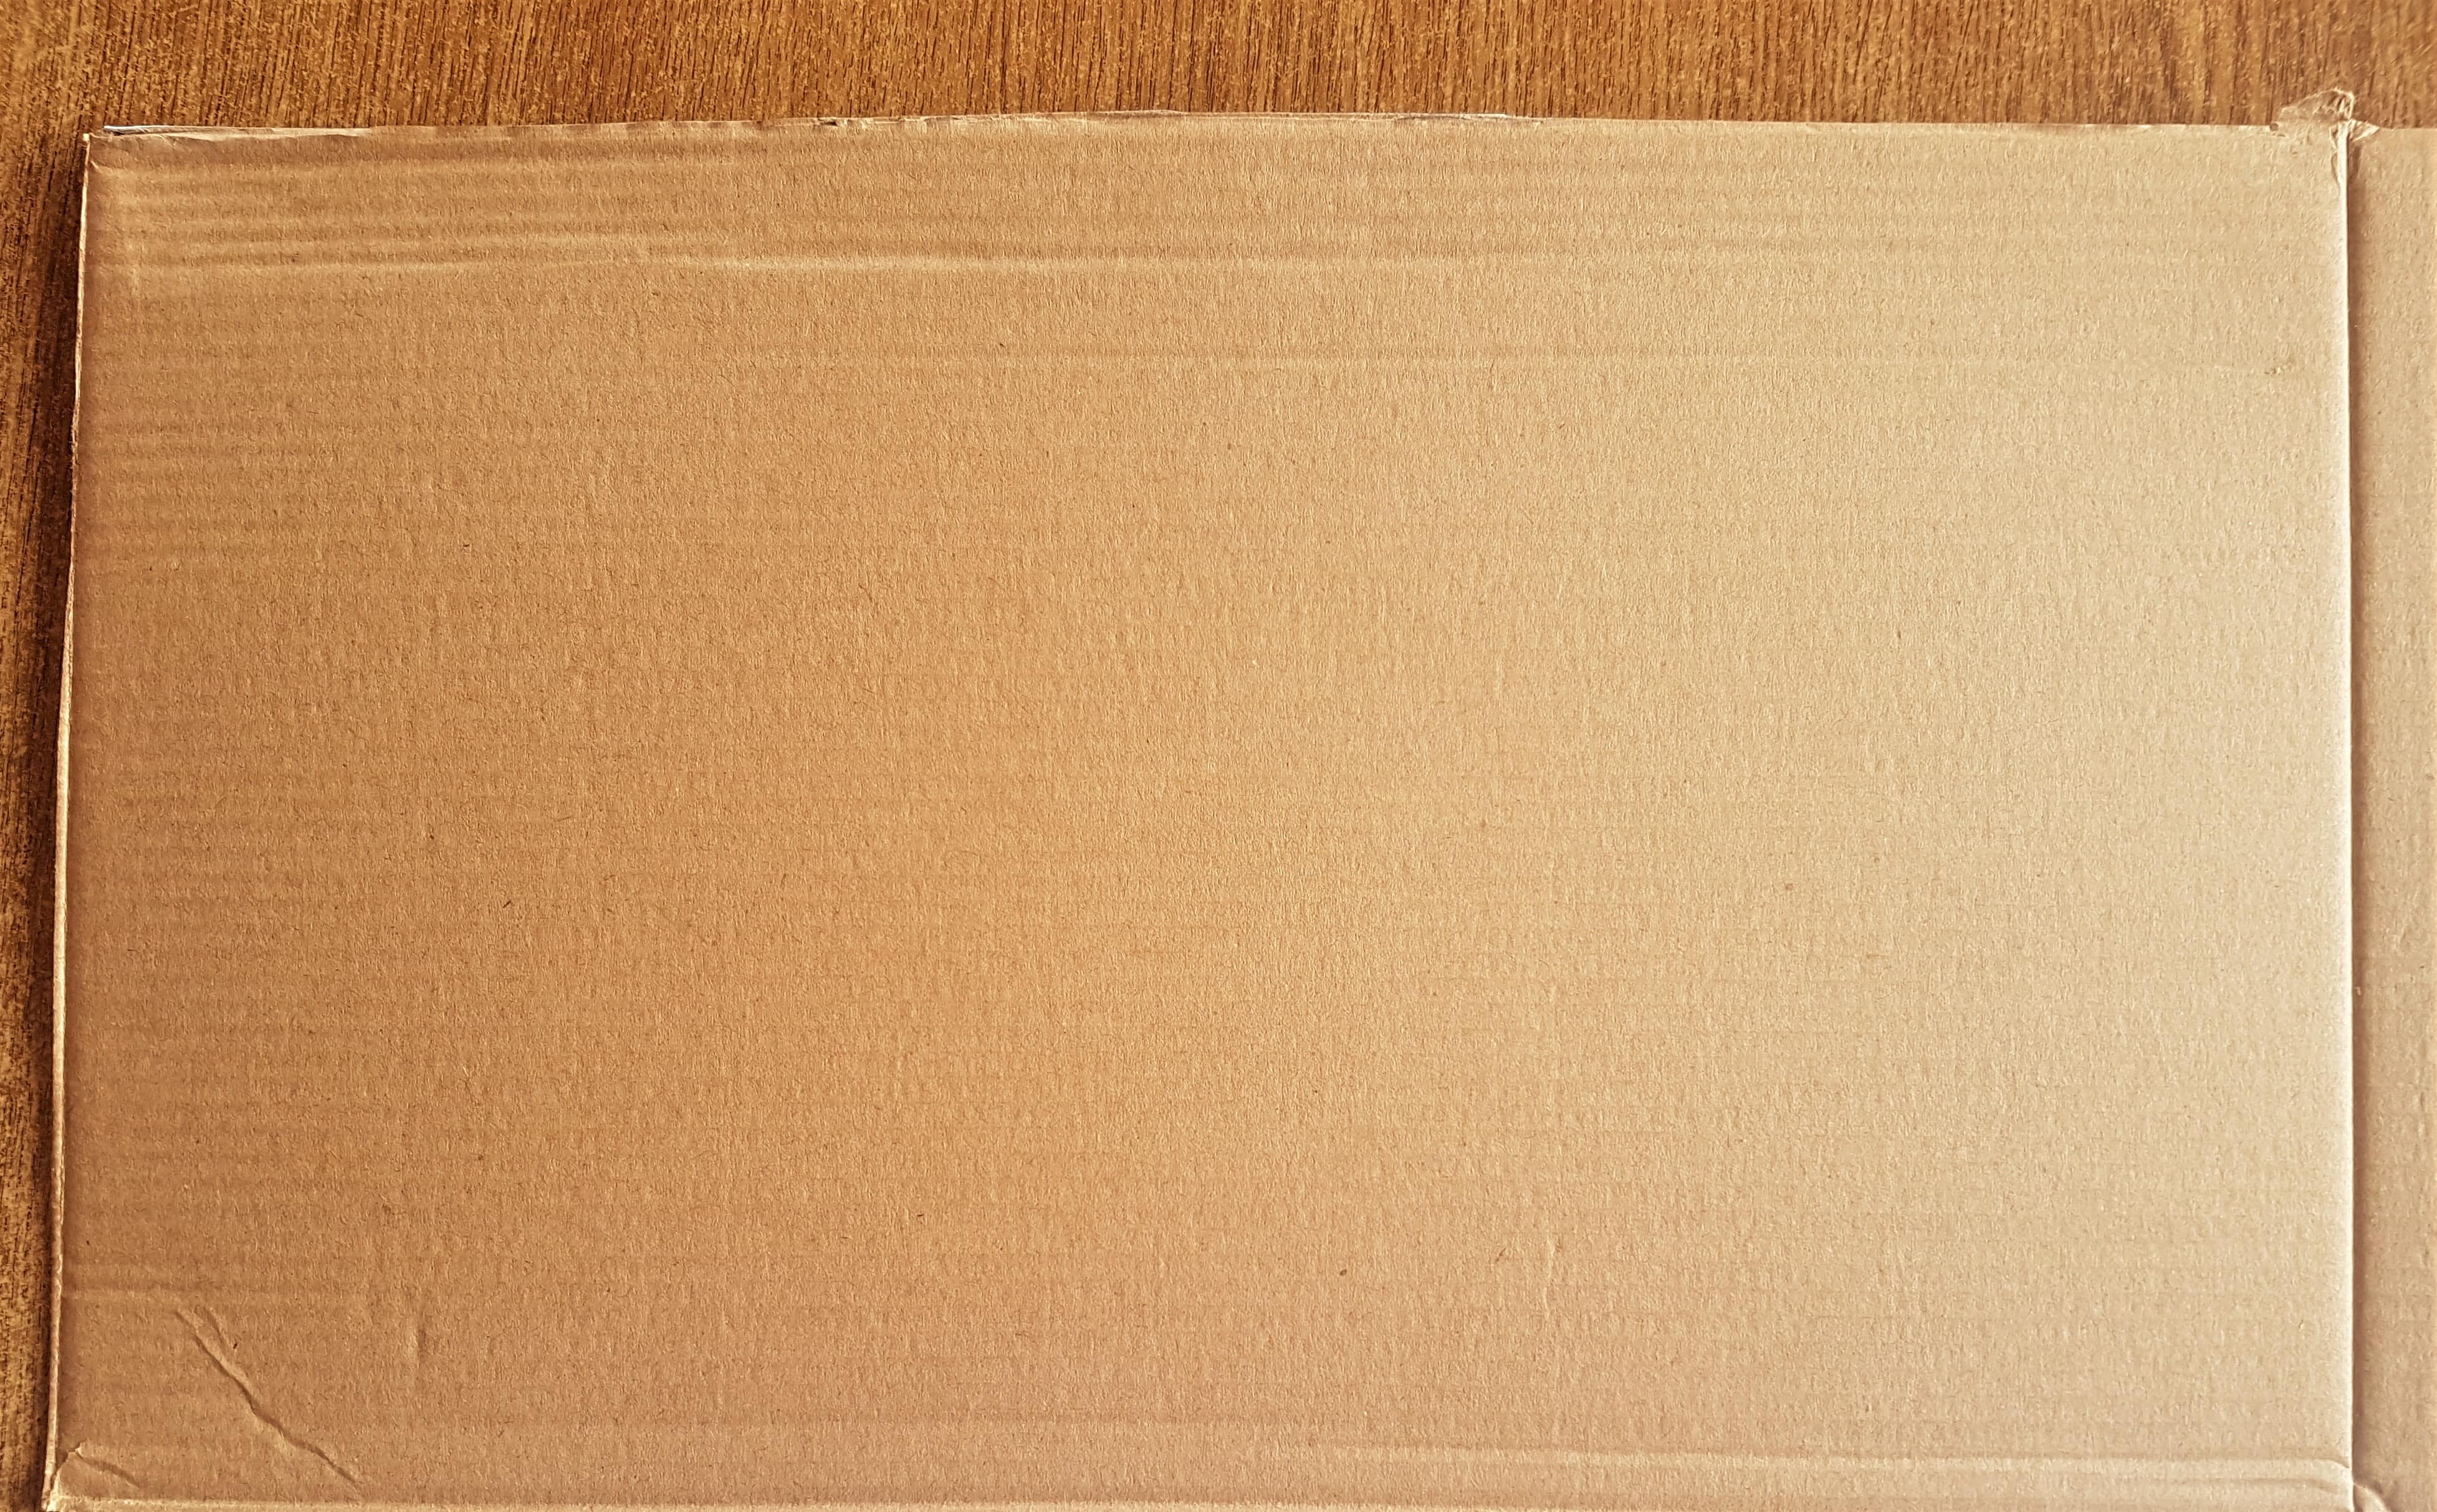
I put the Wire Wreath on top of the Cardboard and drew around the outer circle with a Pencil.
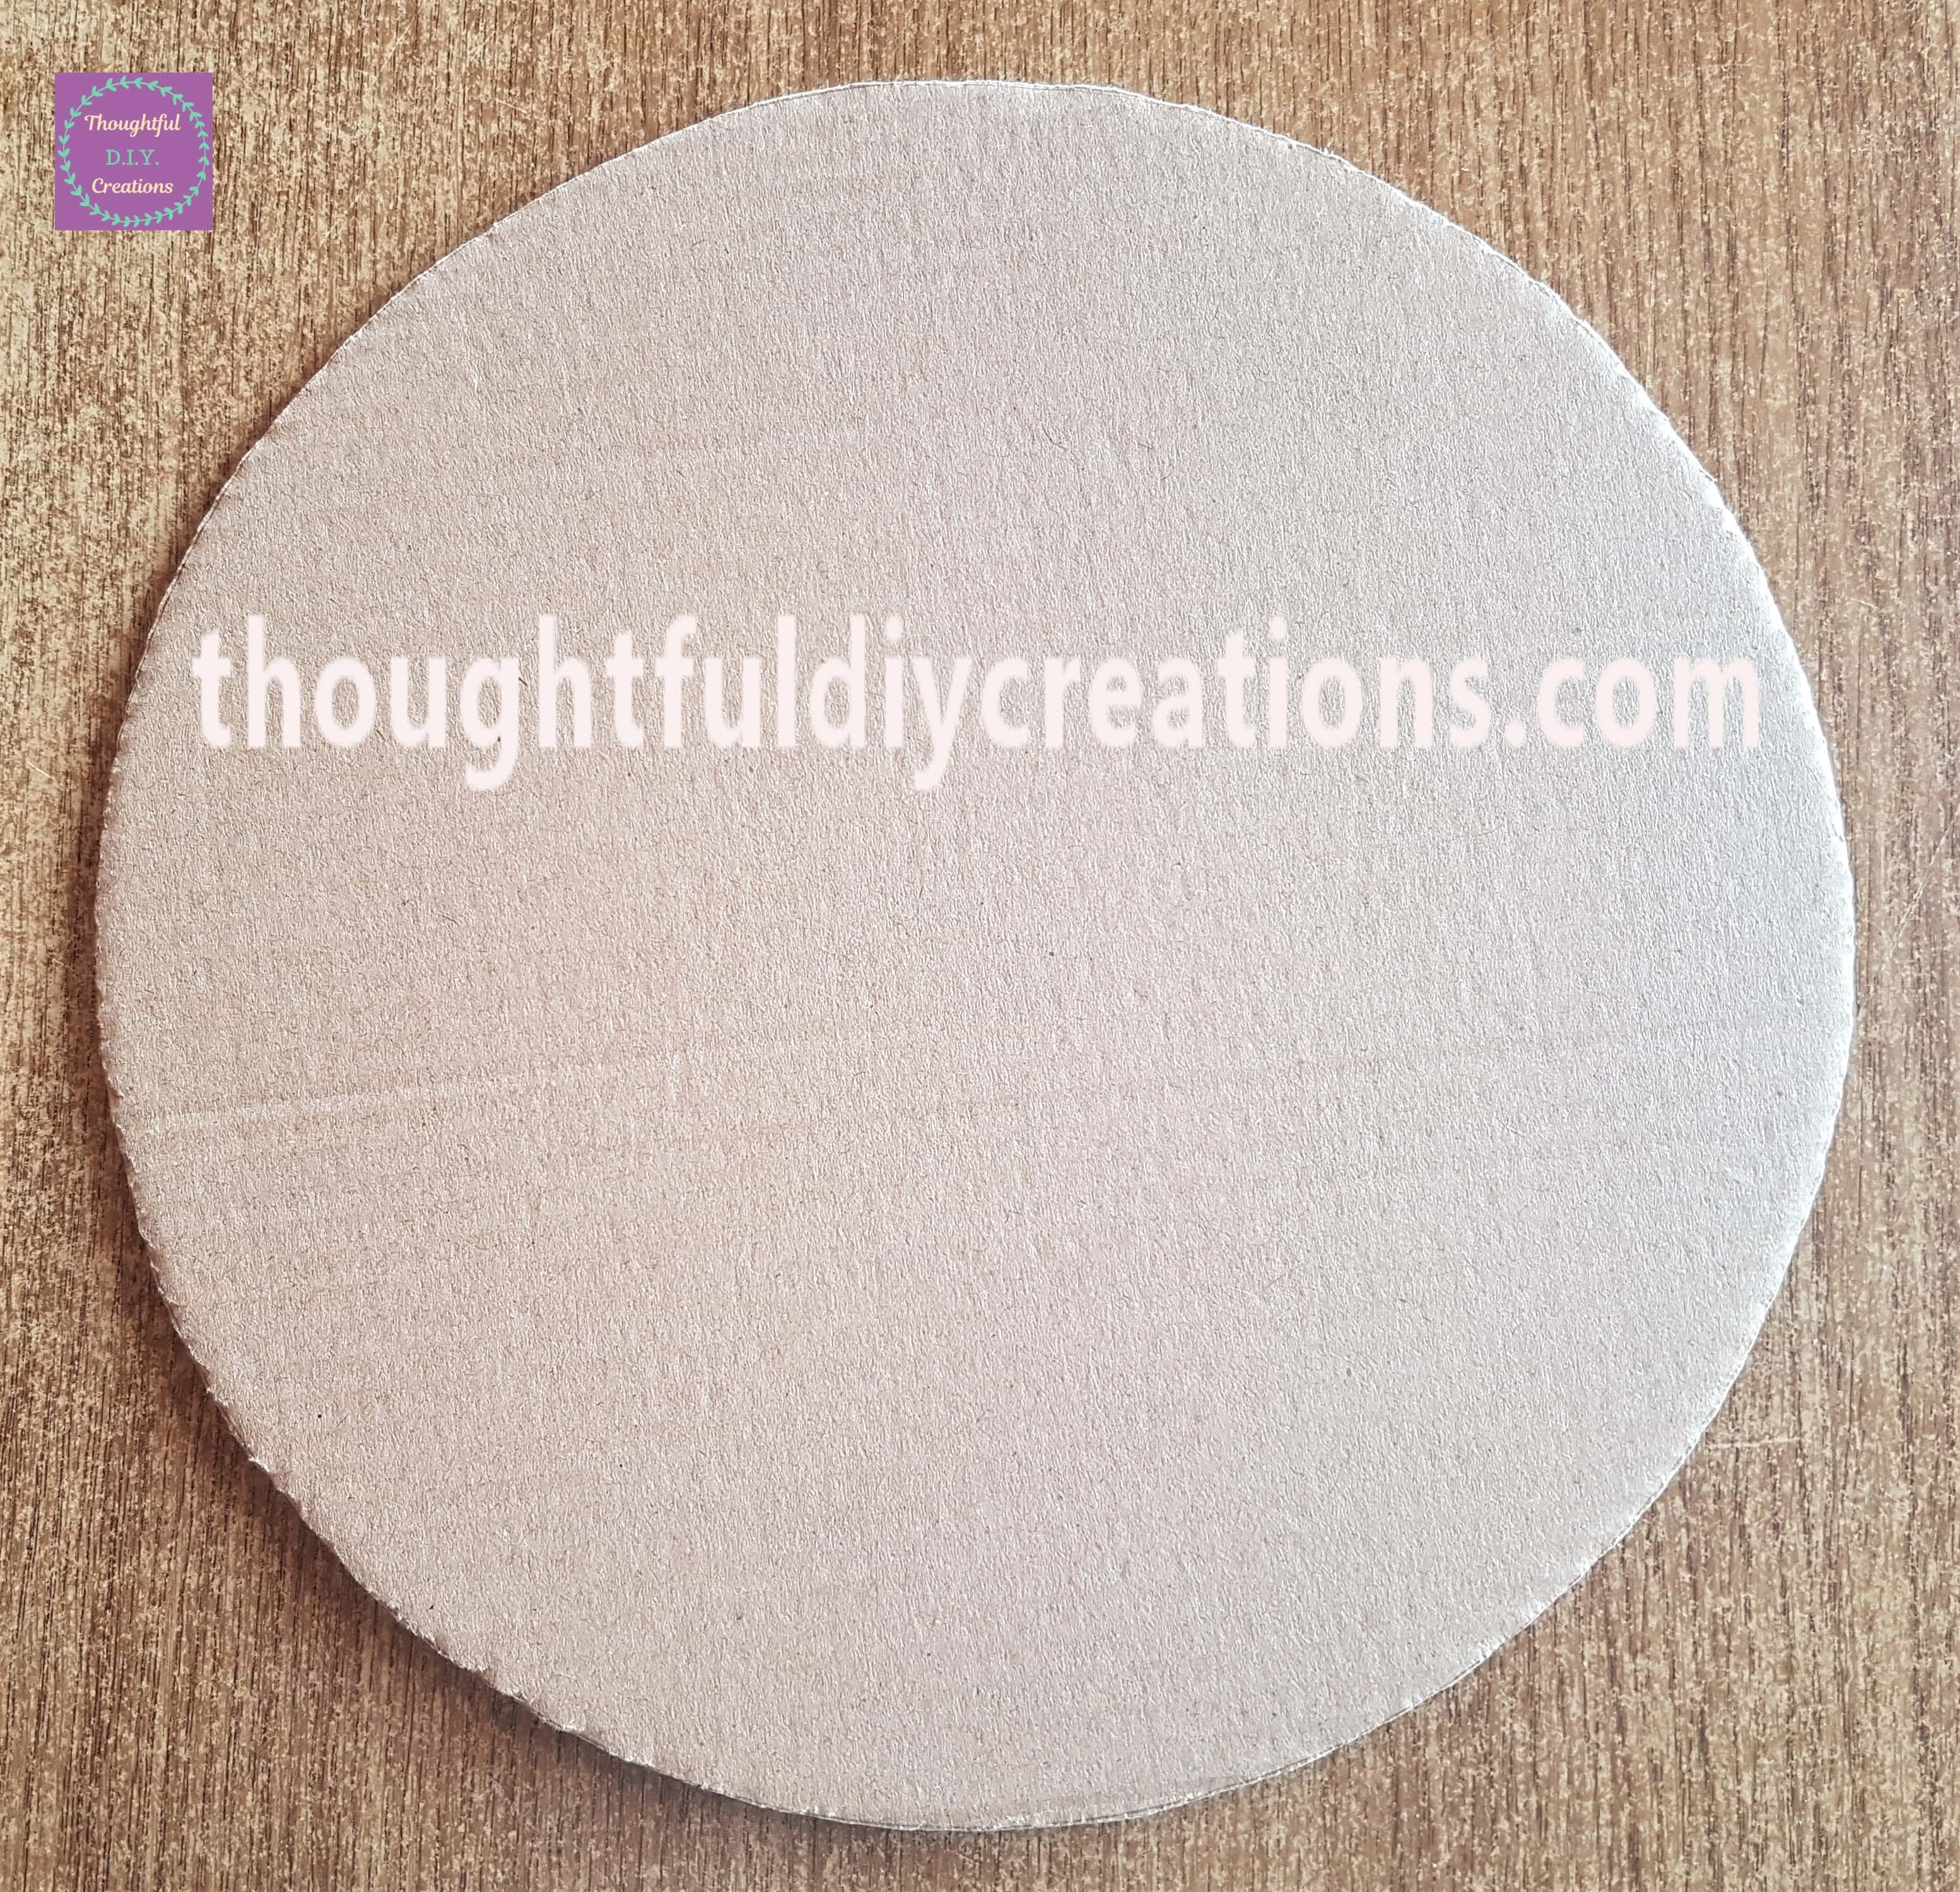
I cut out the Circle Template.
Cutting the Image to fit the Wreath
I put the Wire Wreath over the Printed Image to find the perfect position. I then drew around the outside of the inner circle with the pencil.
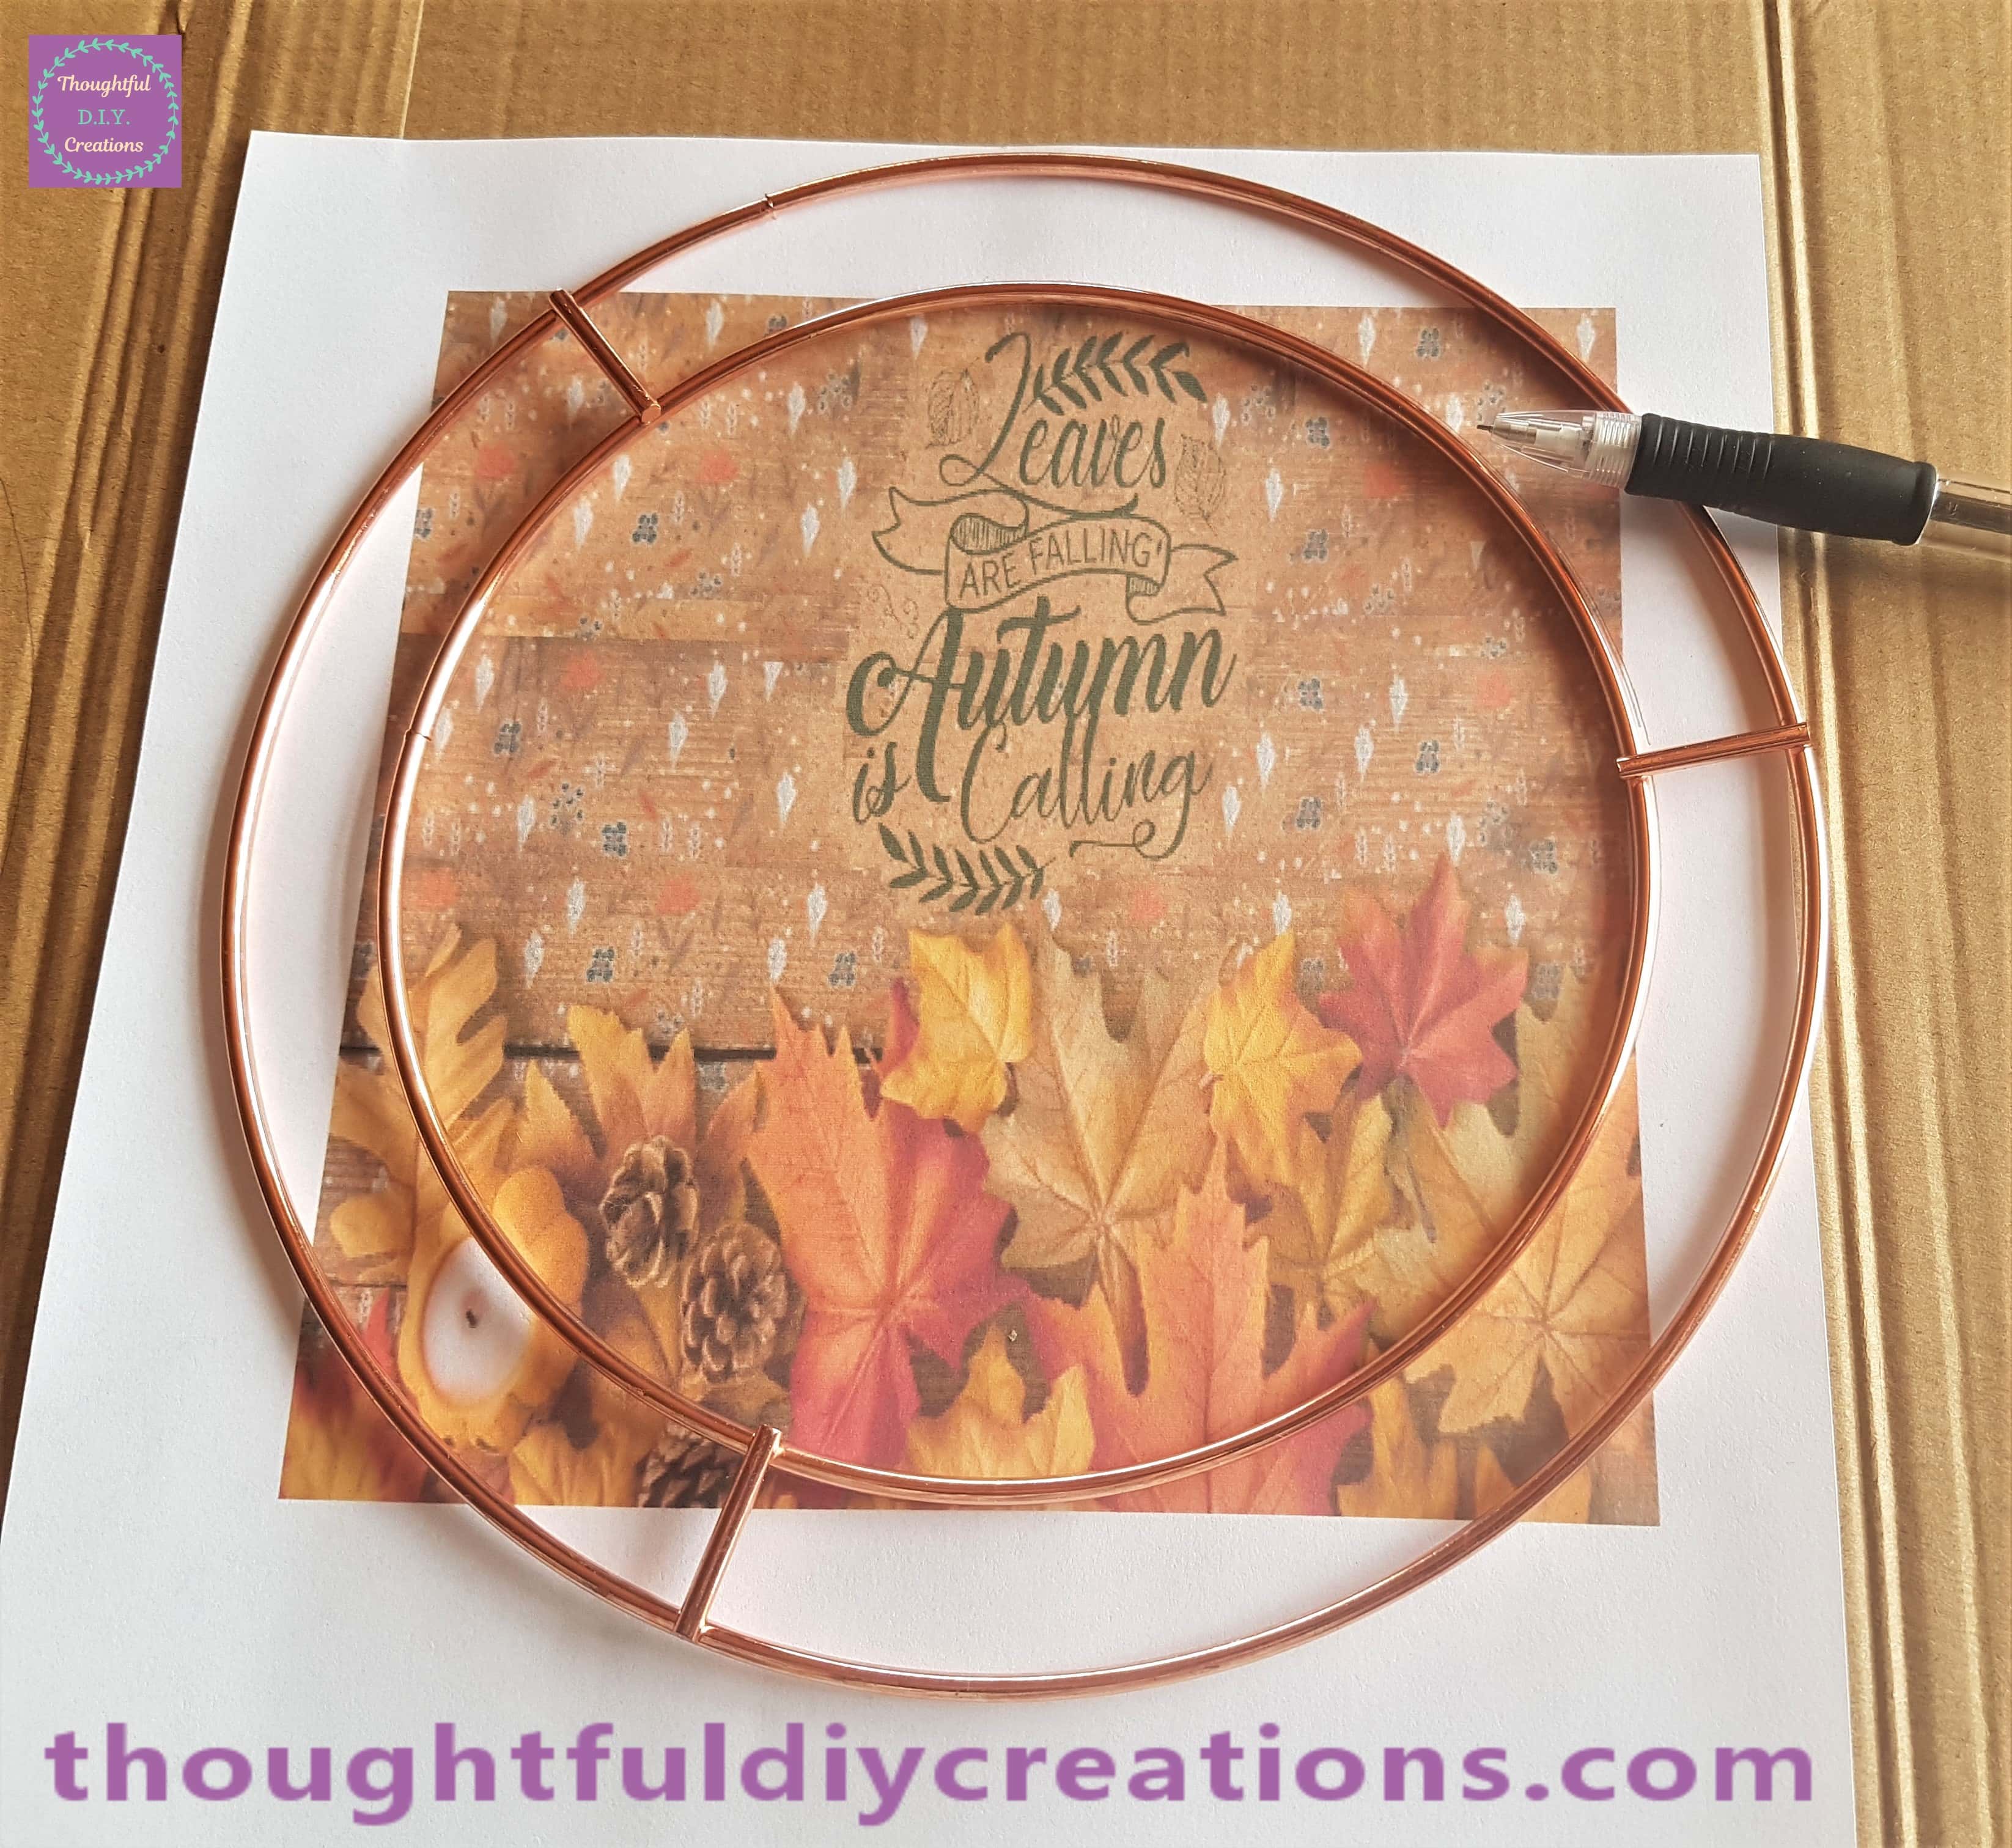
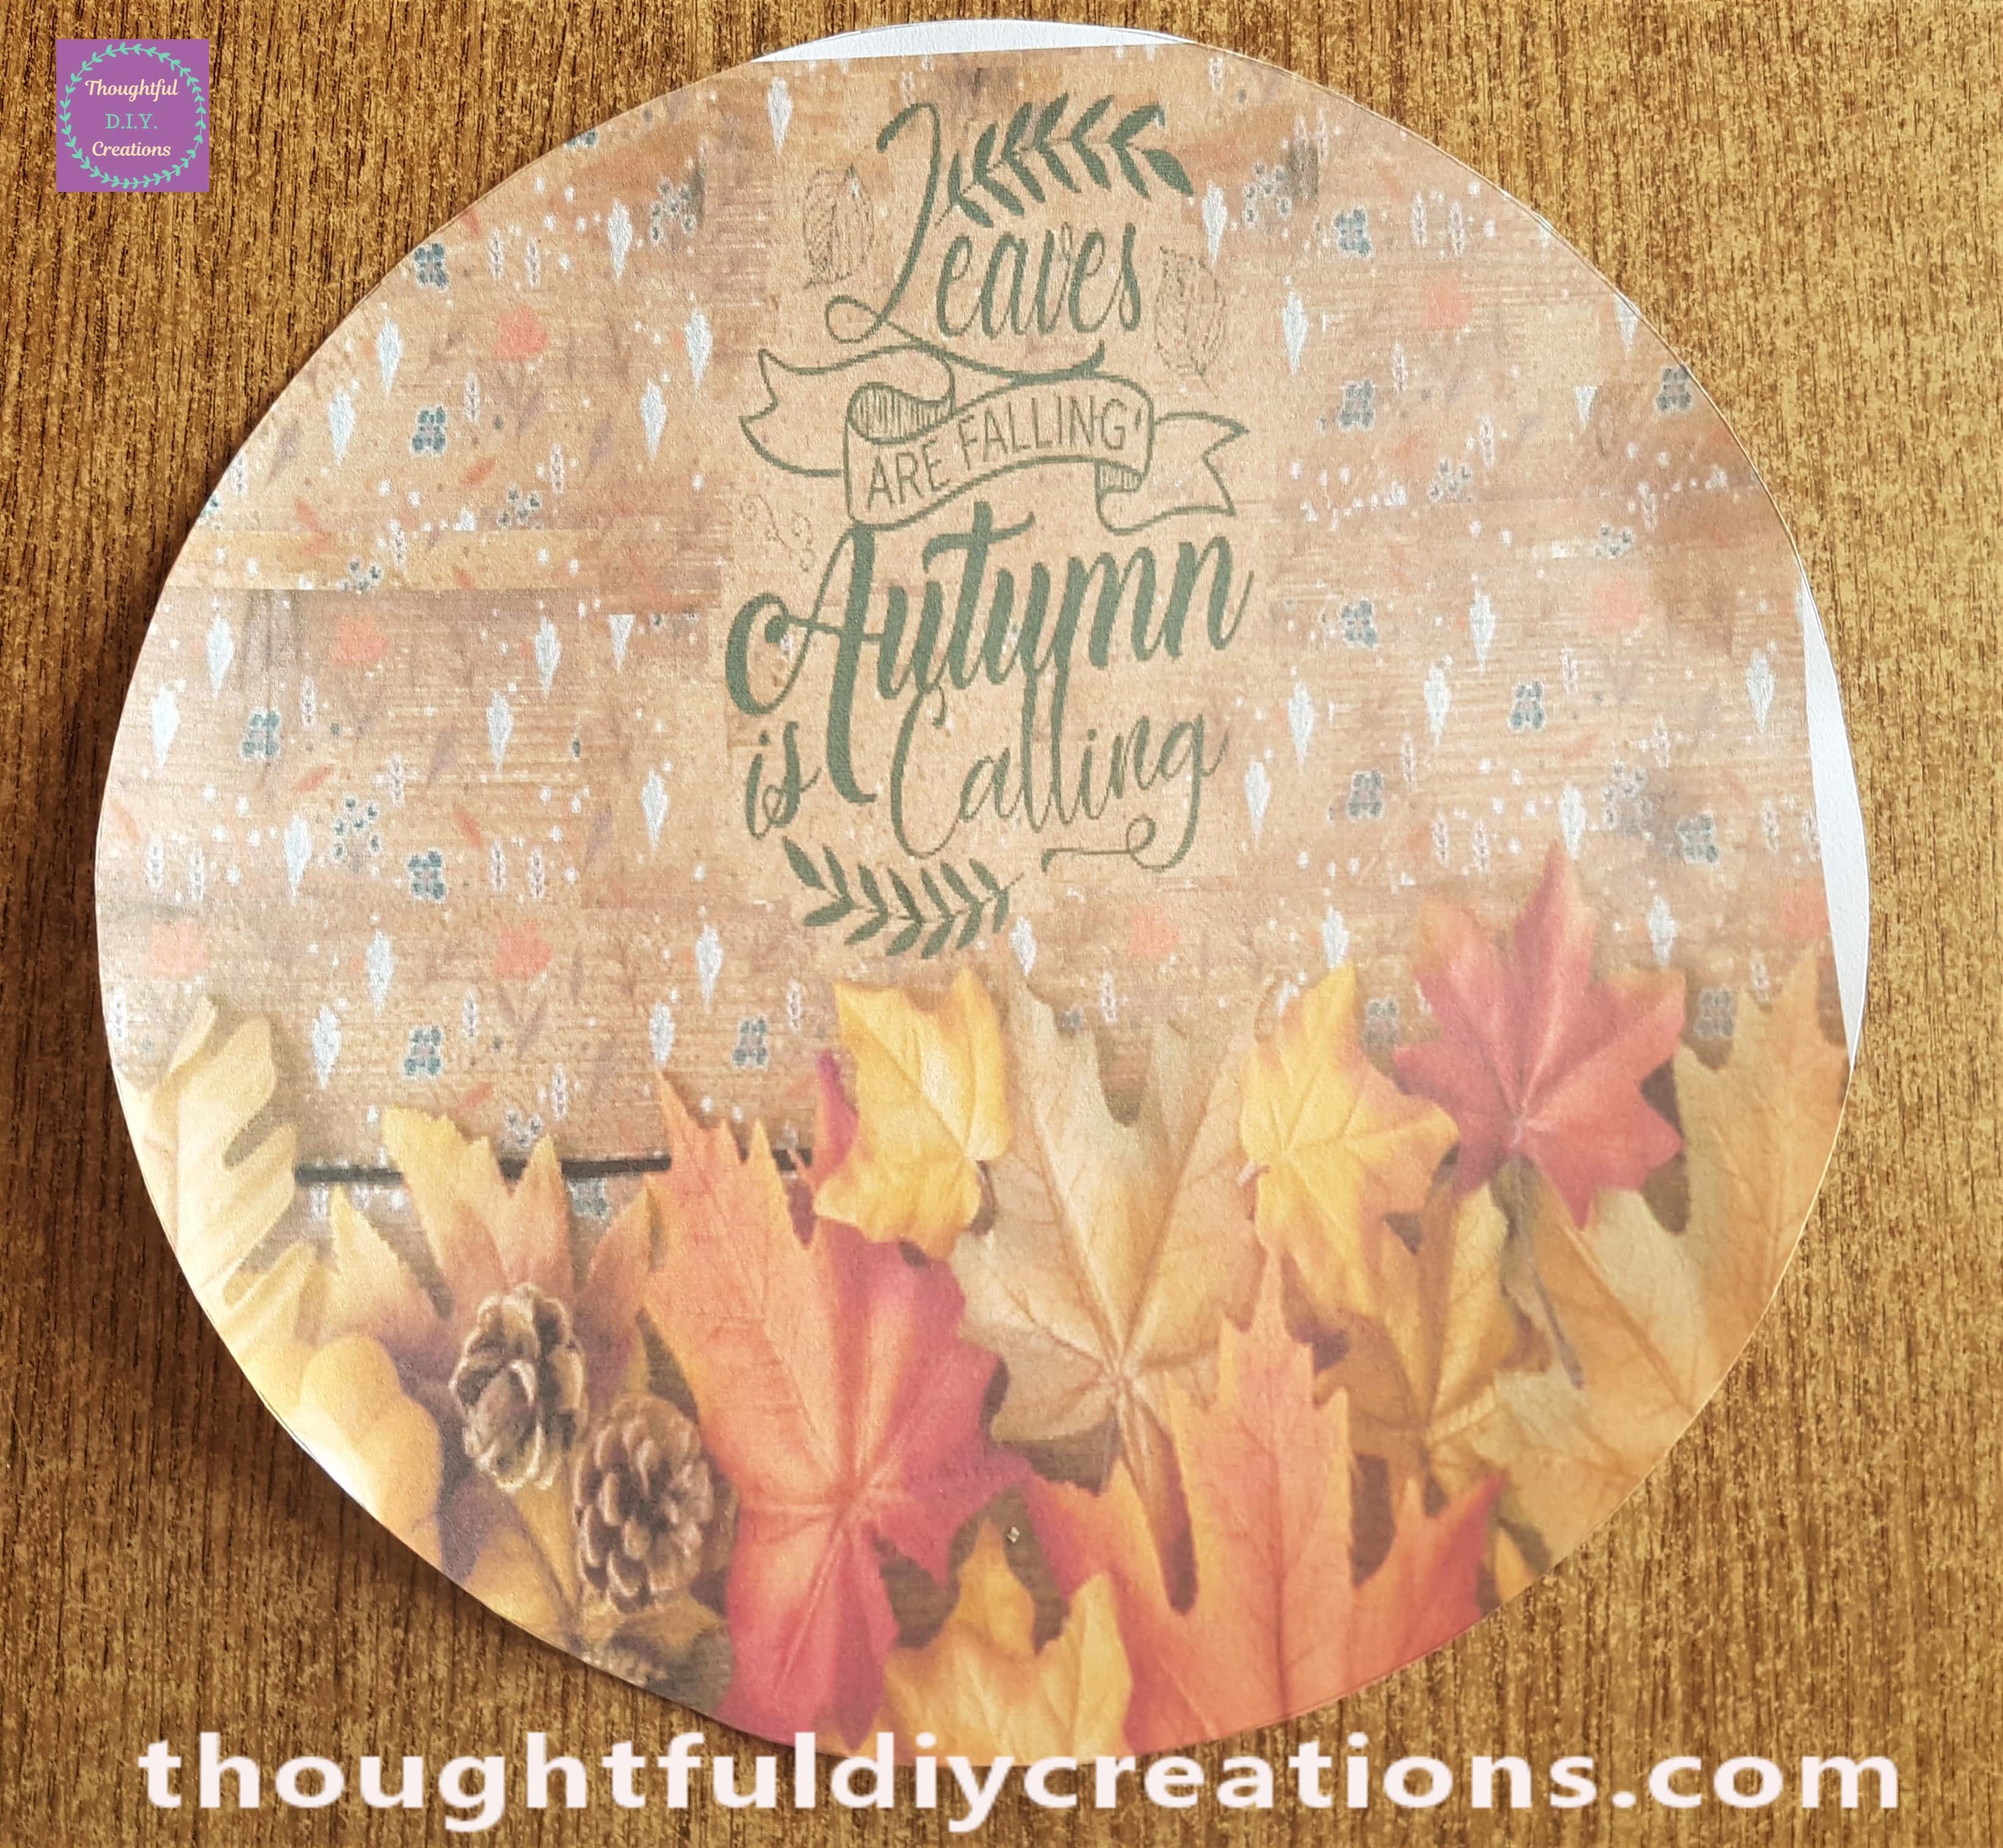
I cut out the circle.
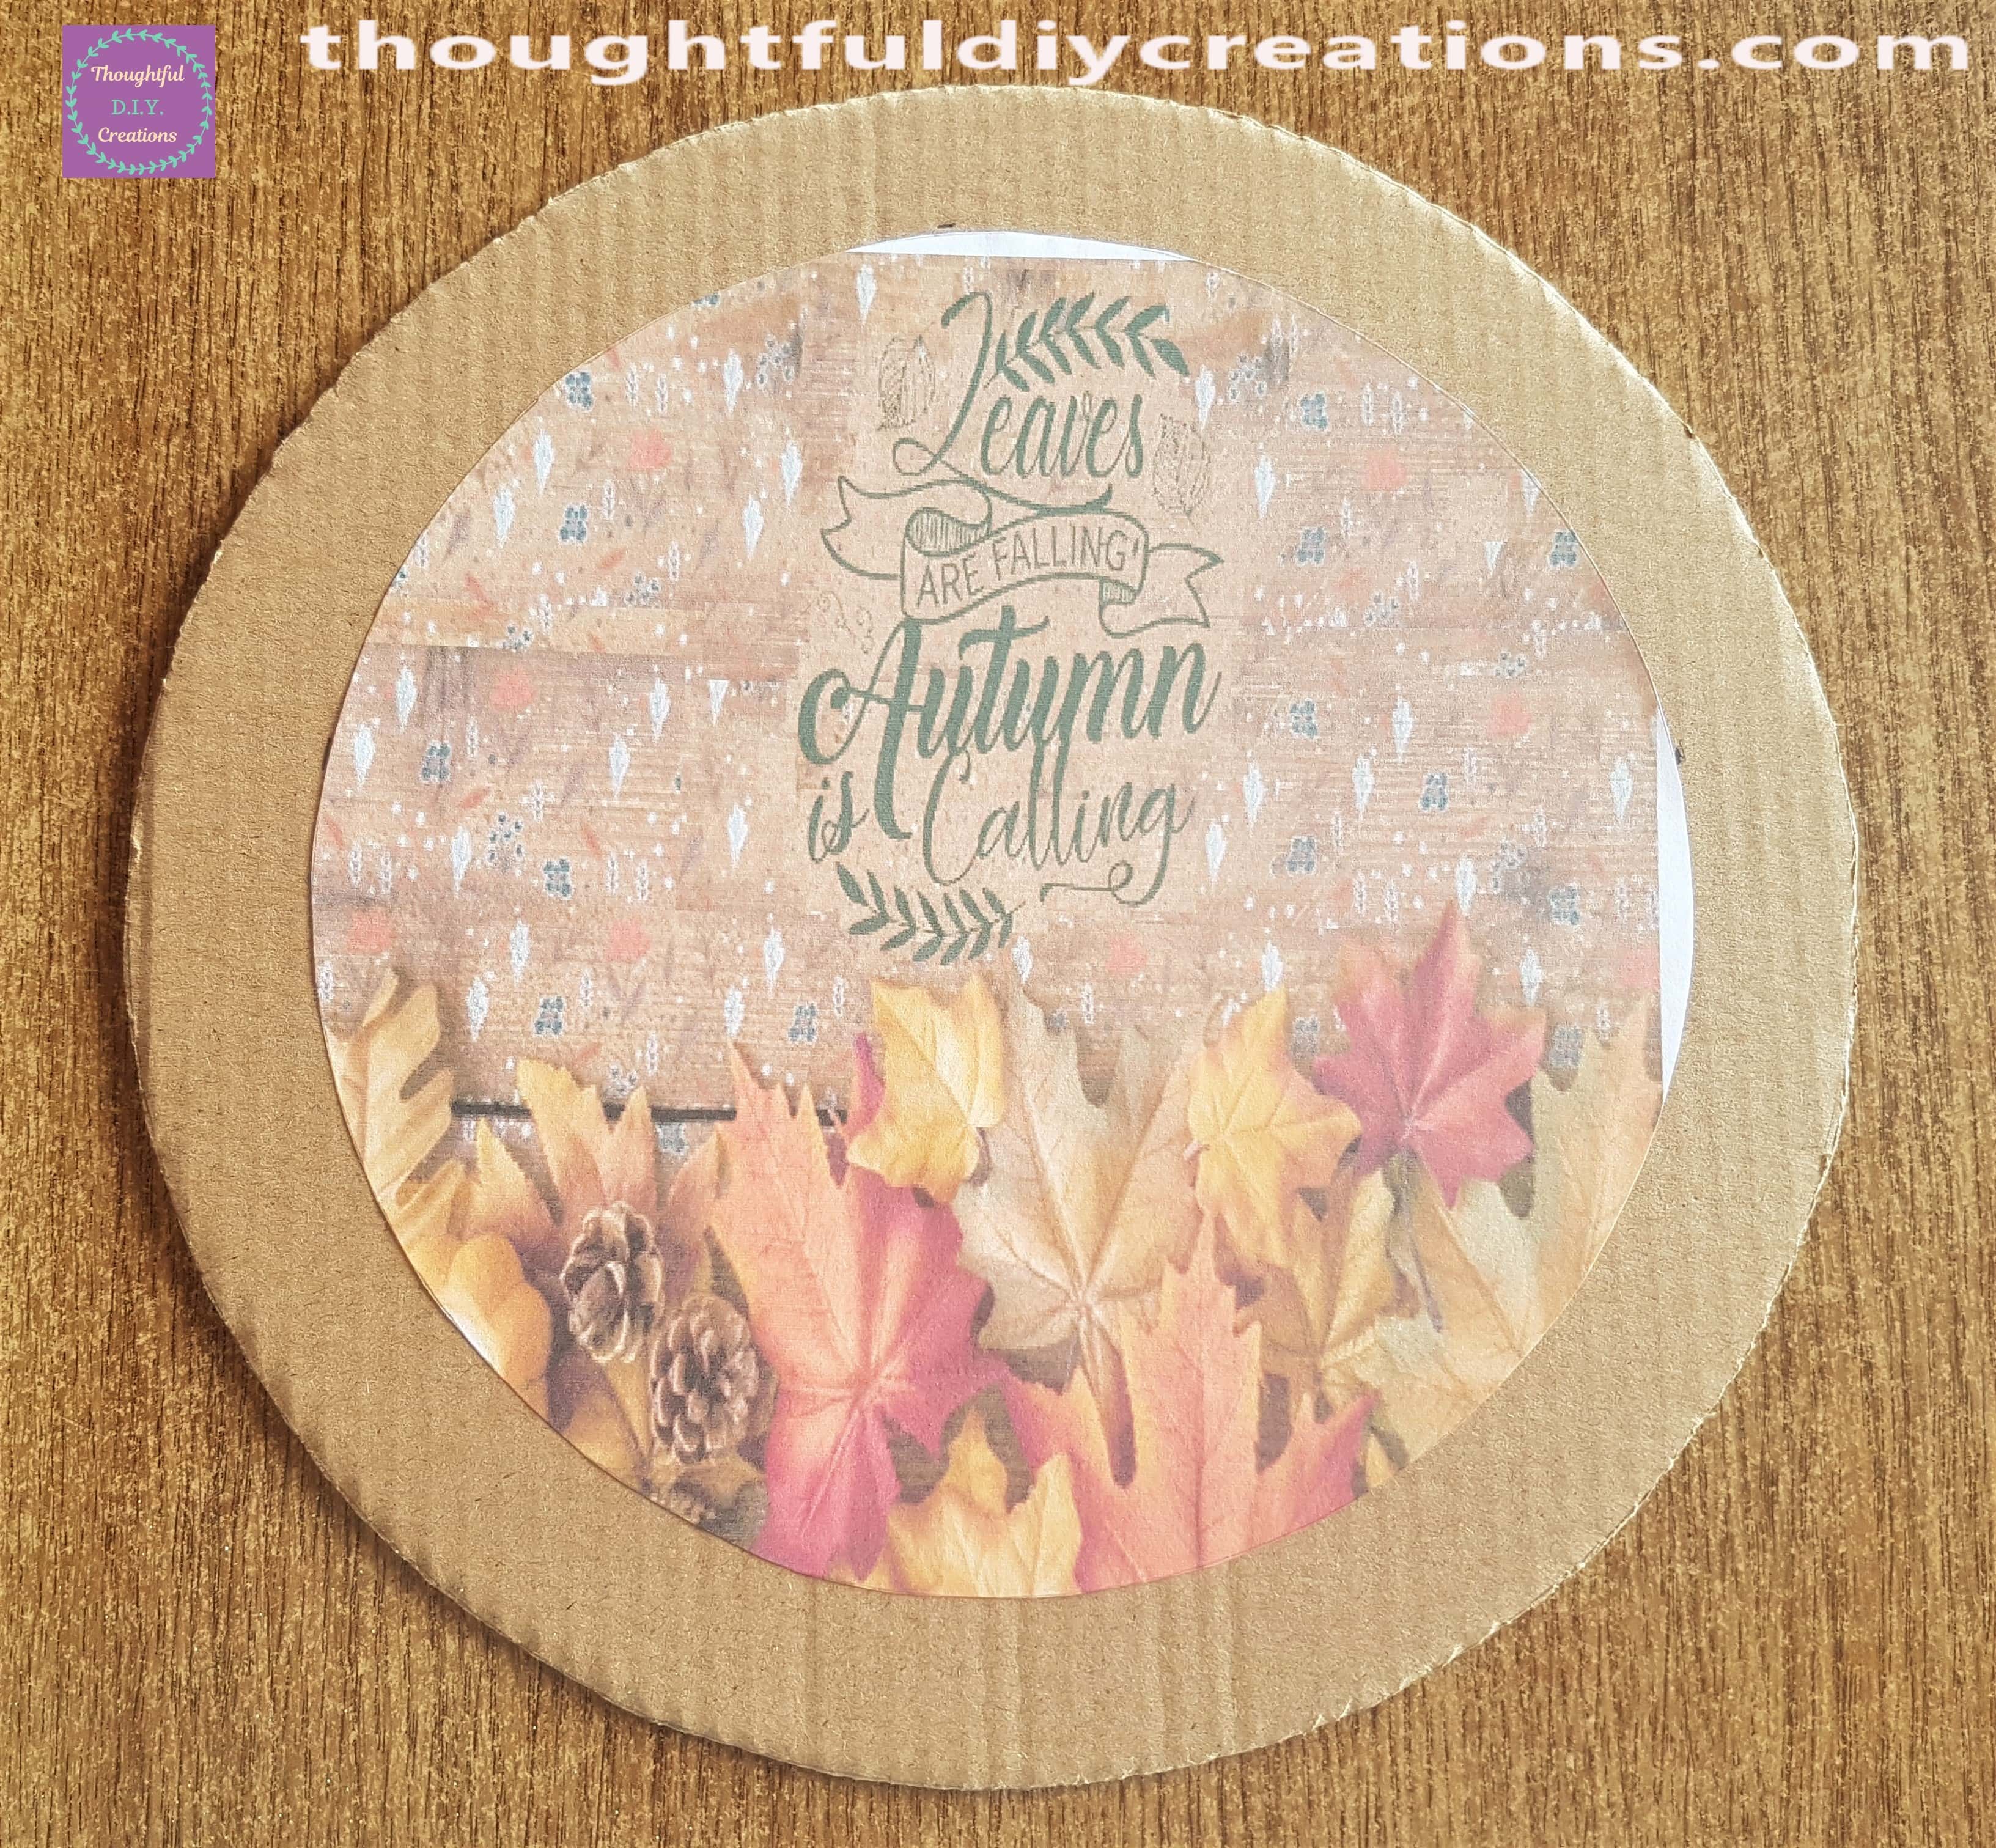
I attached the Autumn Image to the Cardboard with Pritt Stick.
Attaching the Wreath to the Cardboard
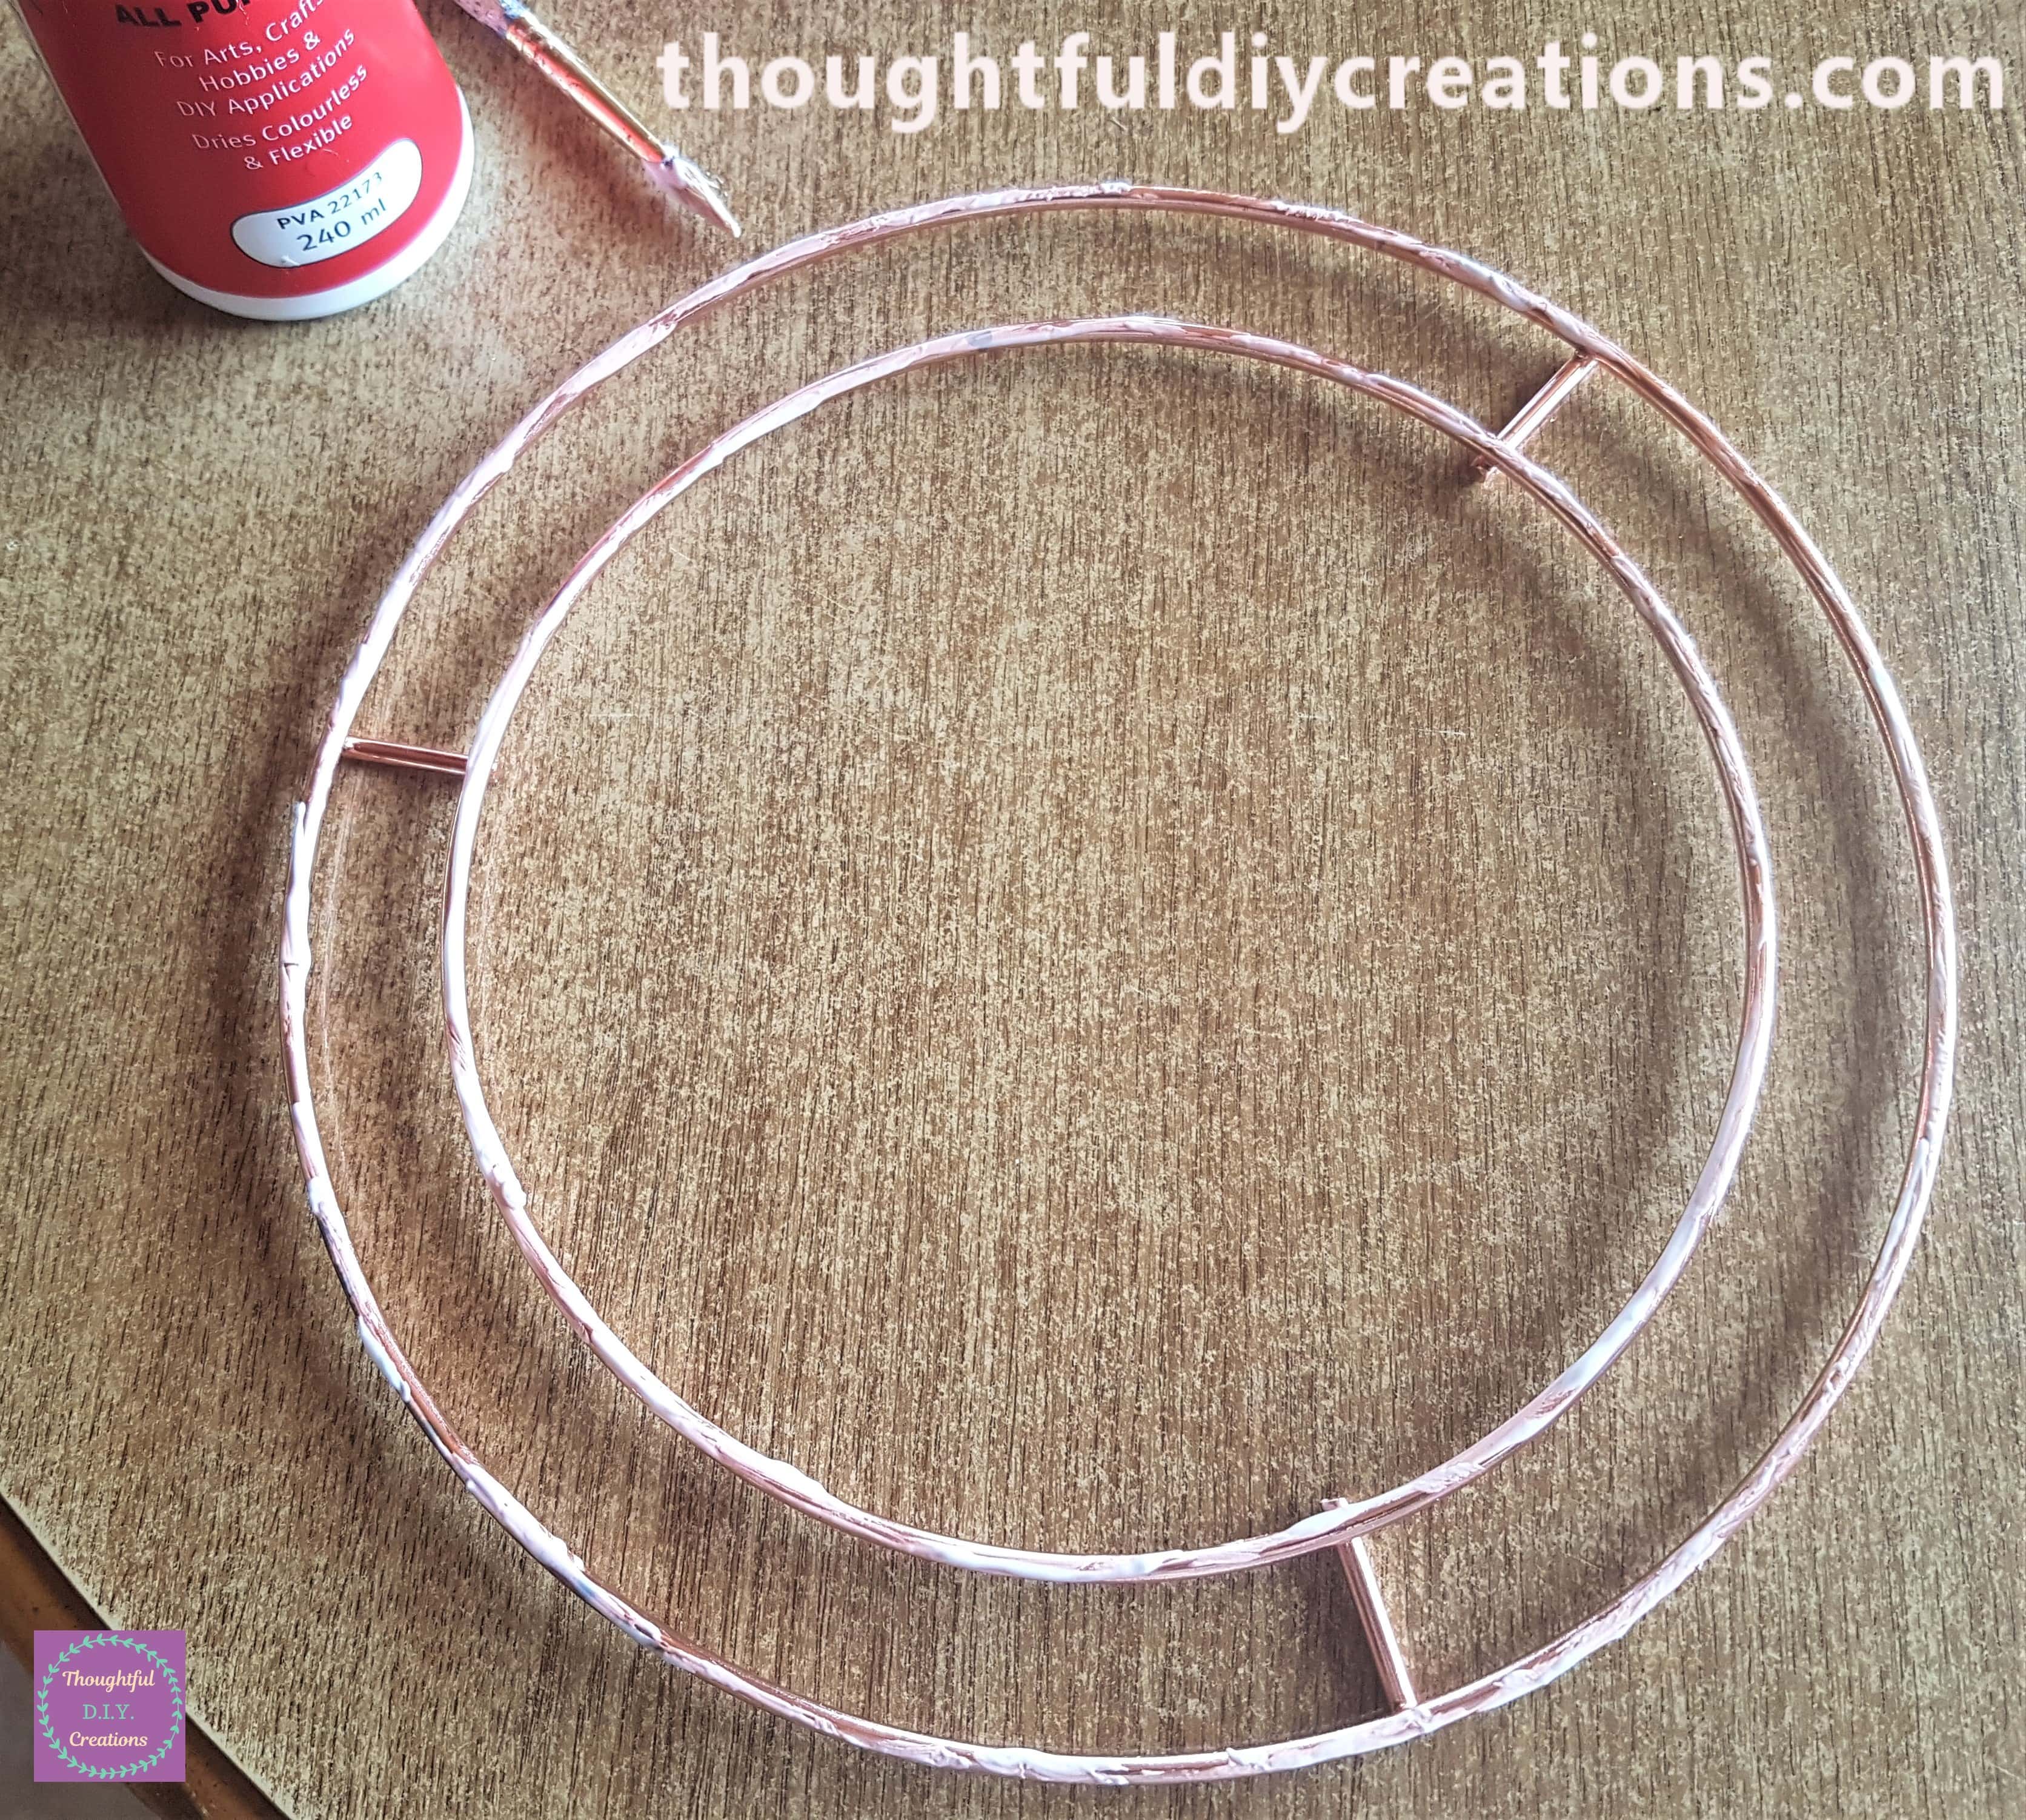
I put ‘Aleene’s Tacky PVA Glue’ around the Circles of the Wire Wreath using a paintbrush.
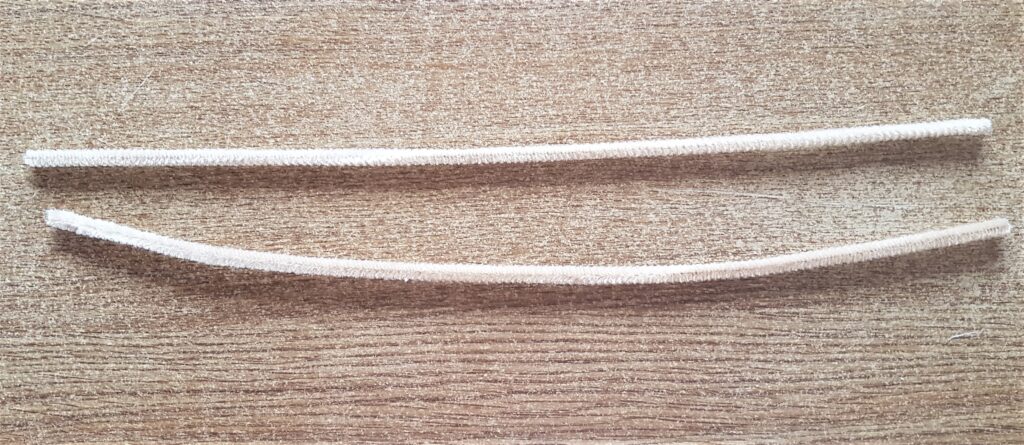
I got 2 cream / brown coloured Pipe Cleaners from the Pack.
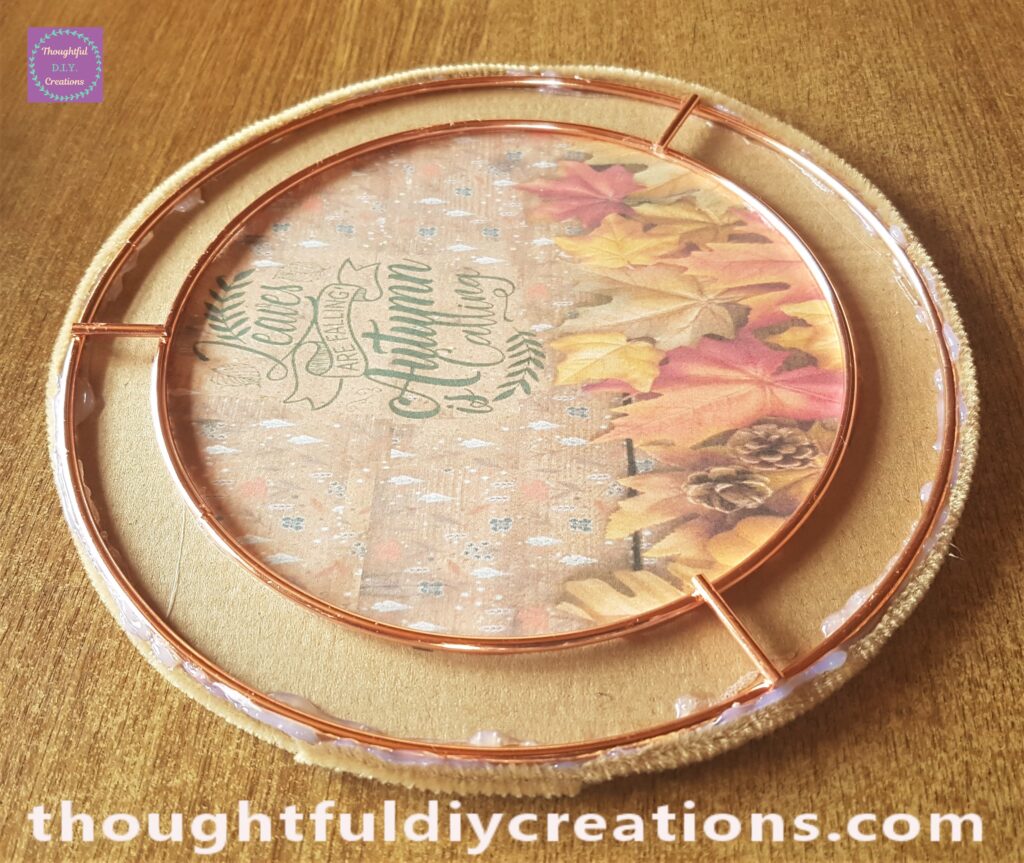
I put Clear Hot Glue from my Hot Glue Gun around the outer Circle of the Wreath. This was to attach the Wreath to the Cardboard straight away and the Tacky Glue will ensure it will stay in place in the future as sometimes Hot Glue can come away from the project in time especially with heavy embellishments.
I added the Pipe Cleaners around the Side of the Wreath with Hot Glue to cover the Cardboard.
Adding Pine Cones to the Autumn Wreath
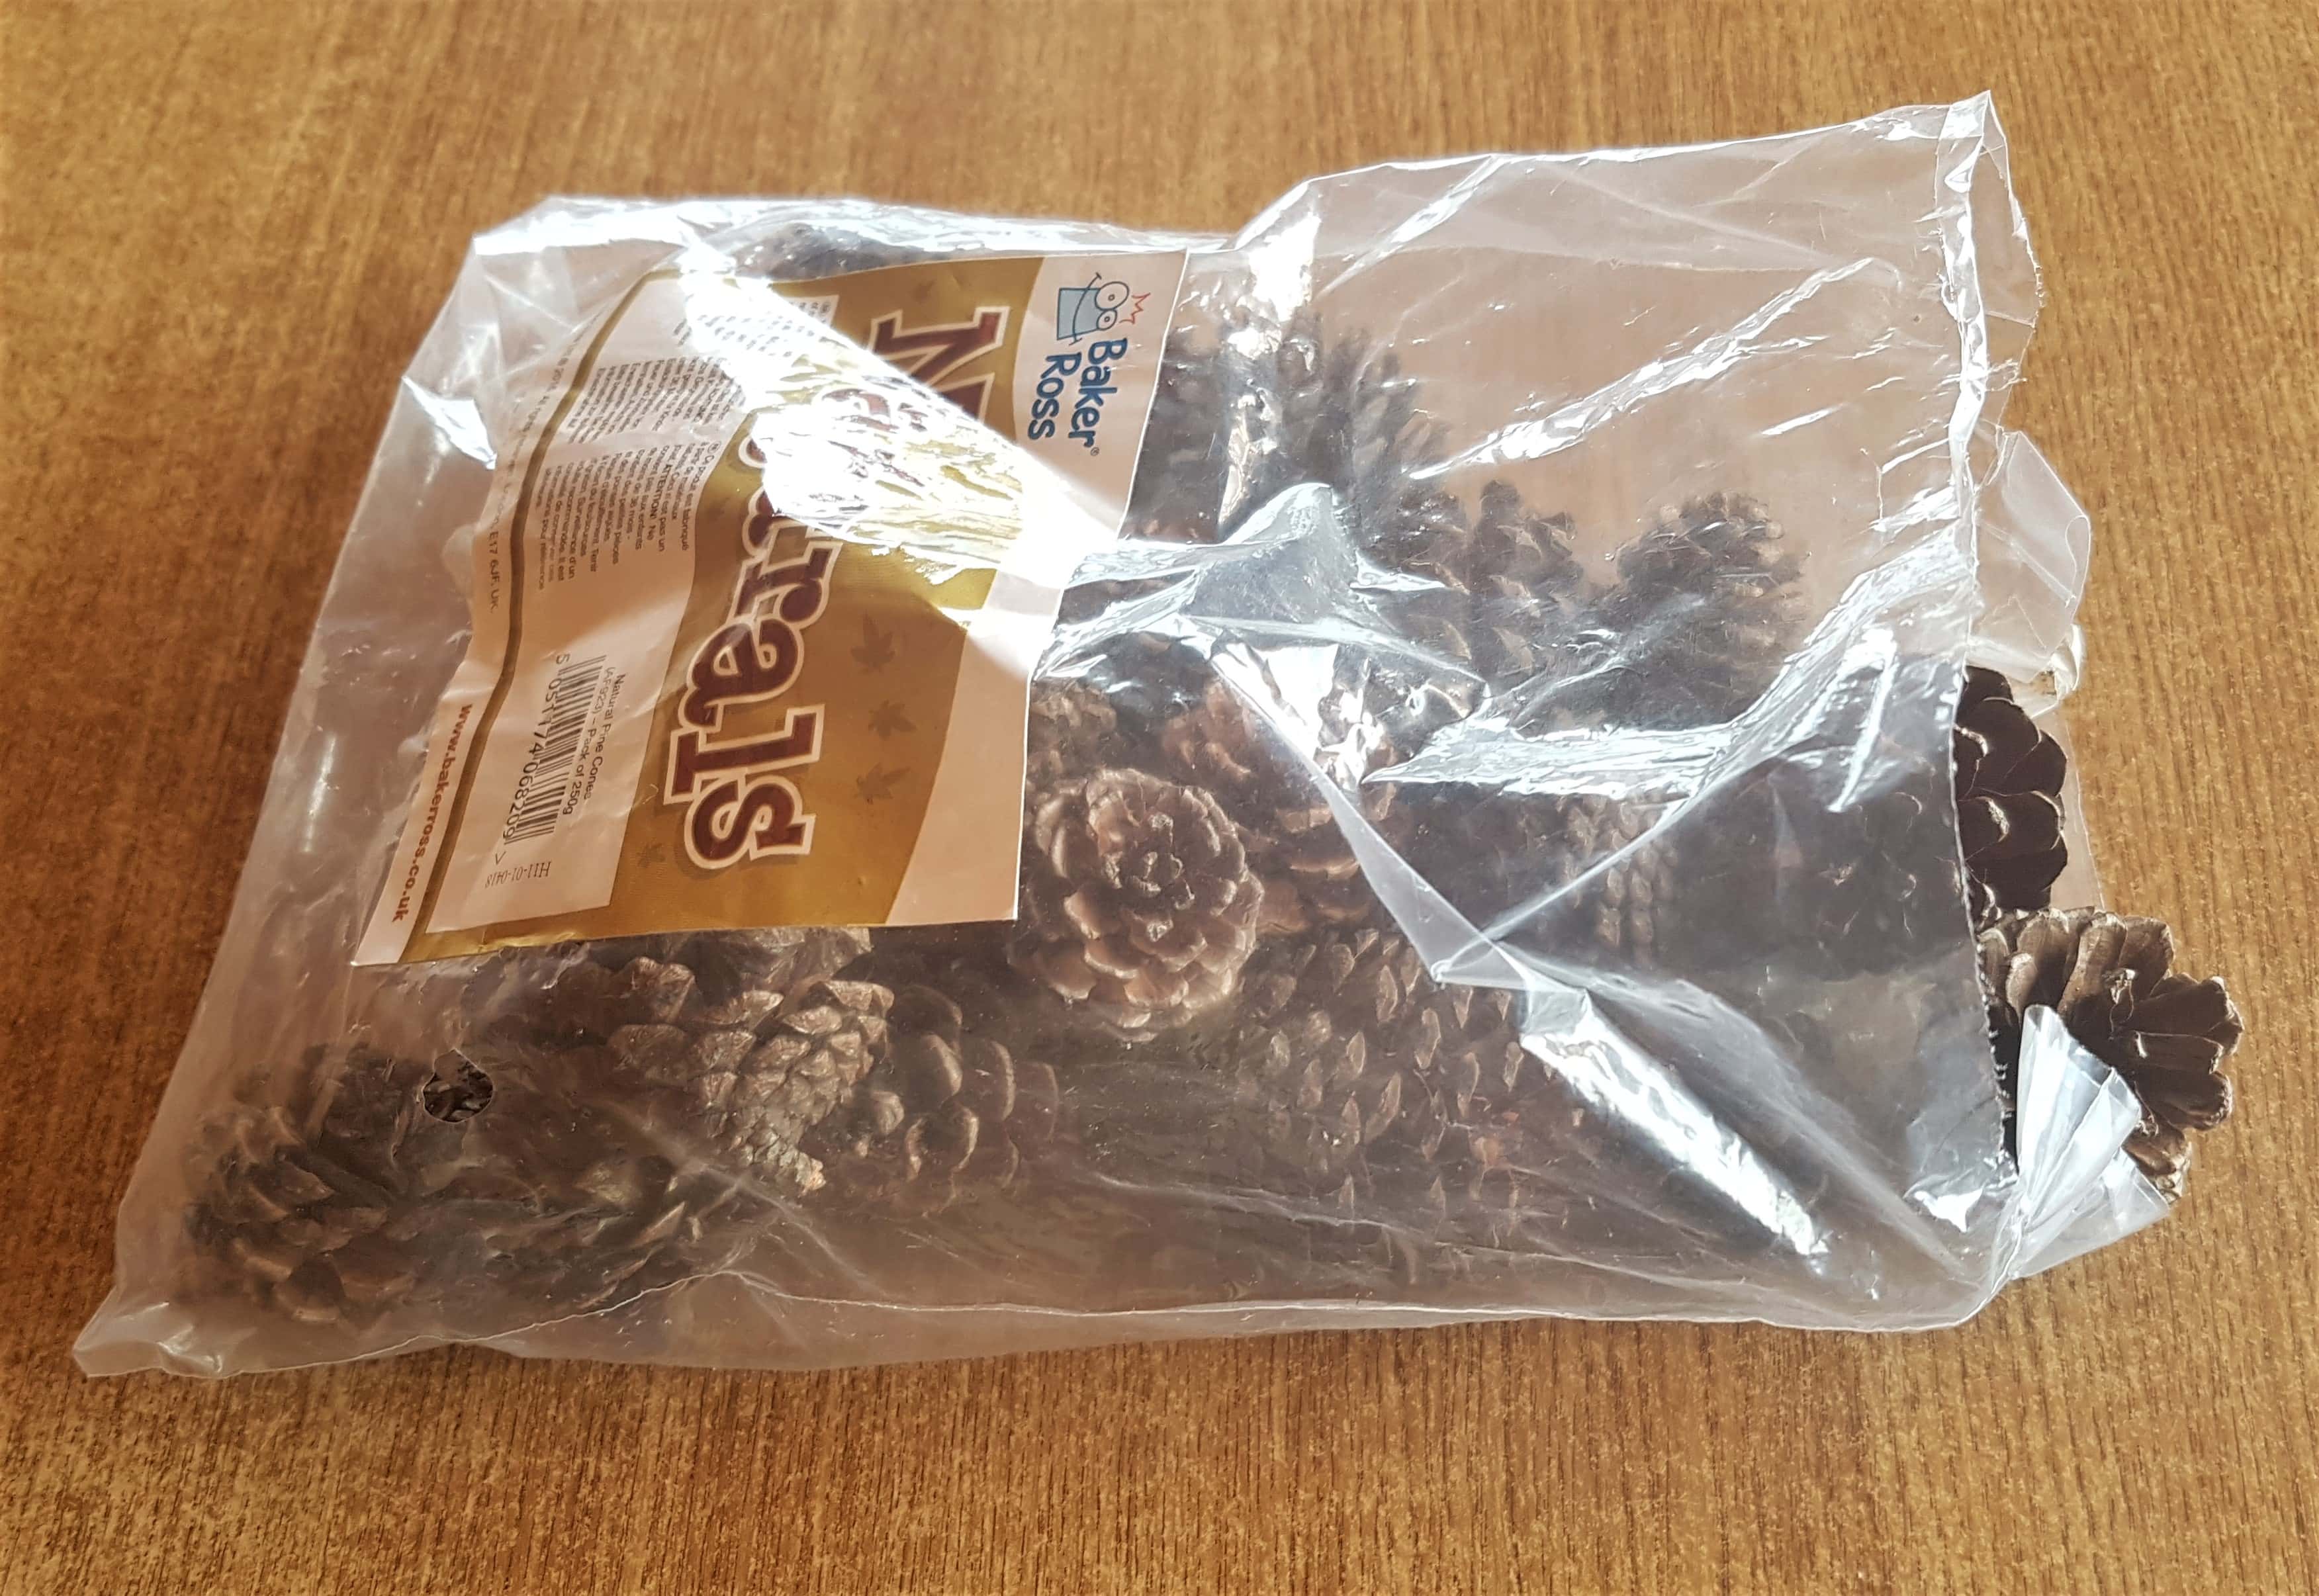
I got my Bag of Pine Cones.
I put Hot Glue on the bottom of a Pine Cone and attached it to the gap between the wires on the Wreath.
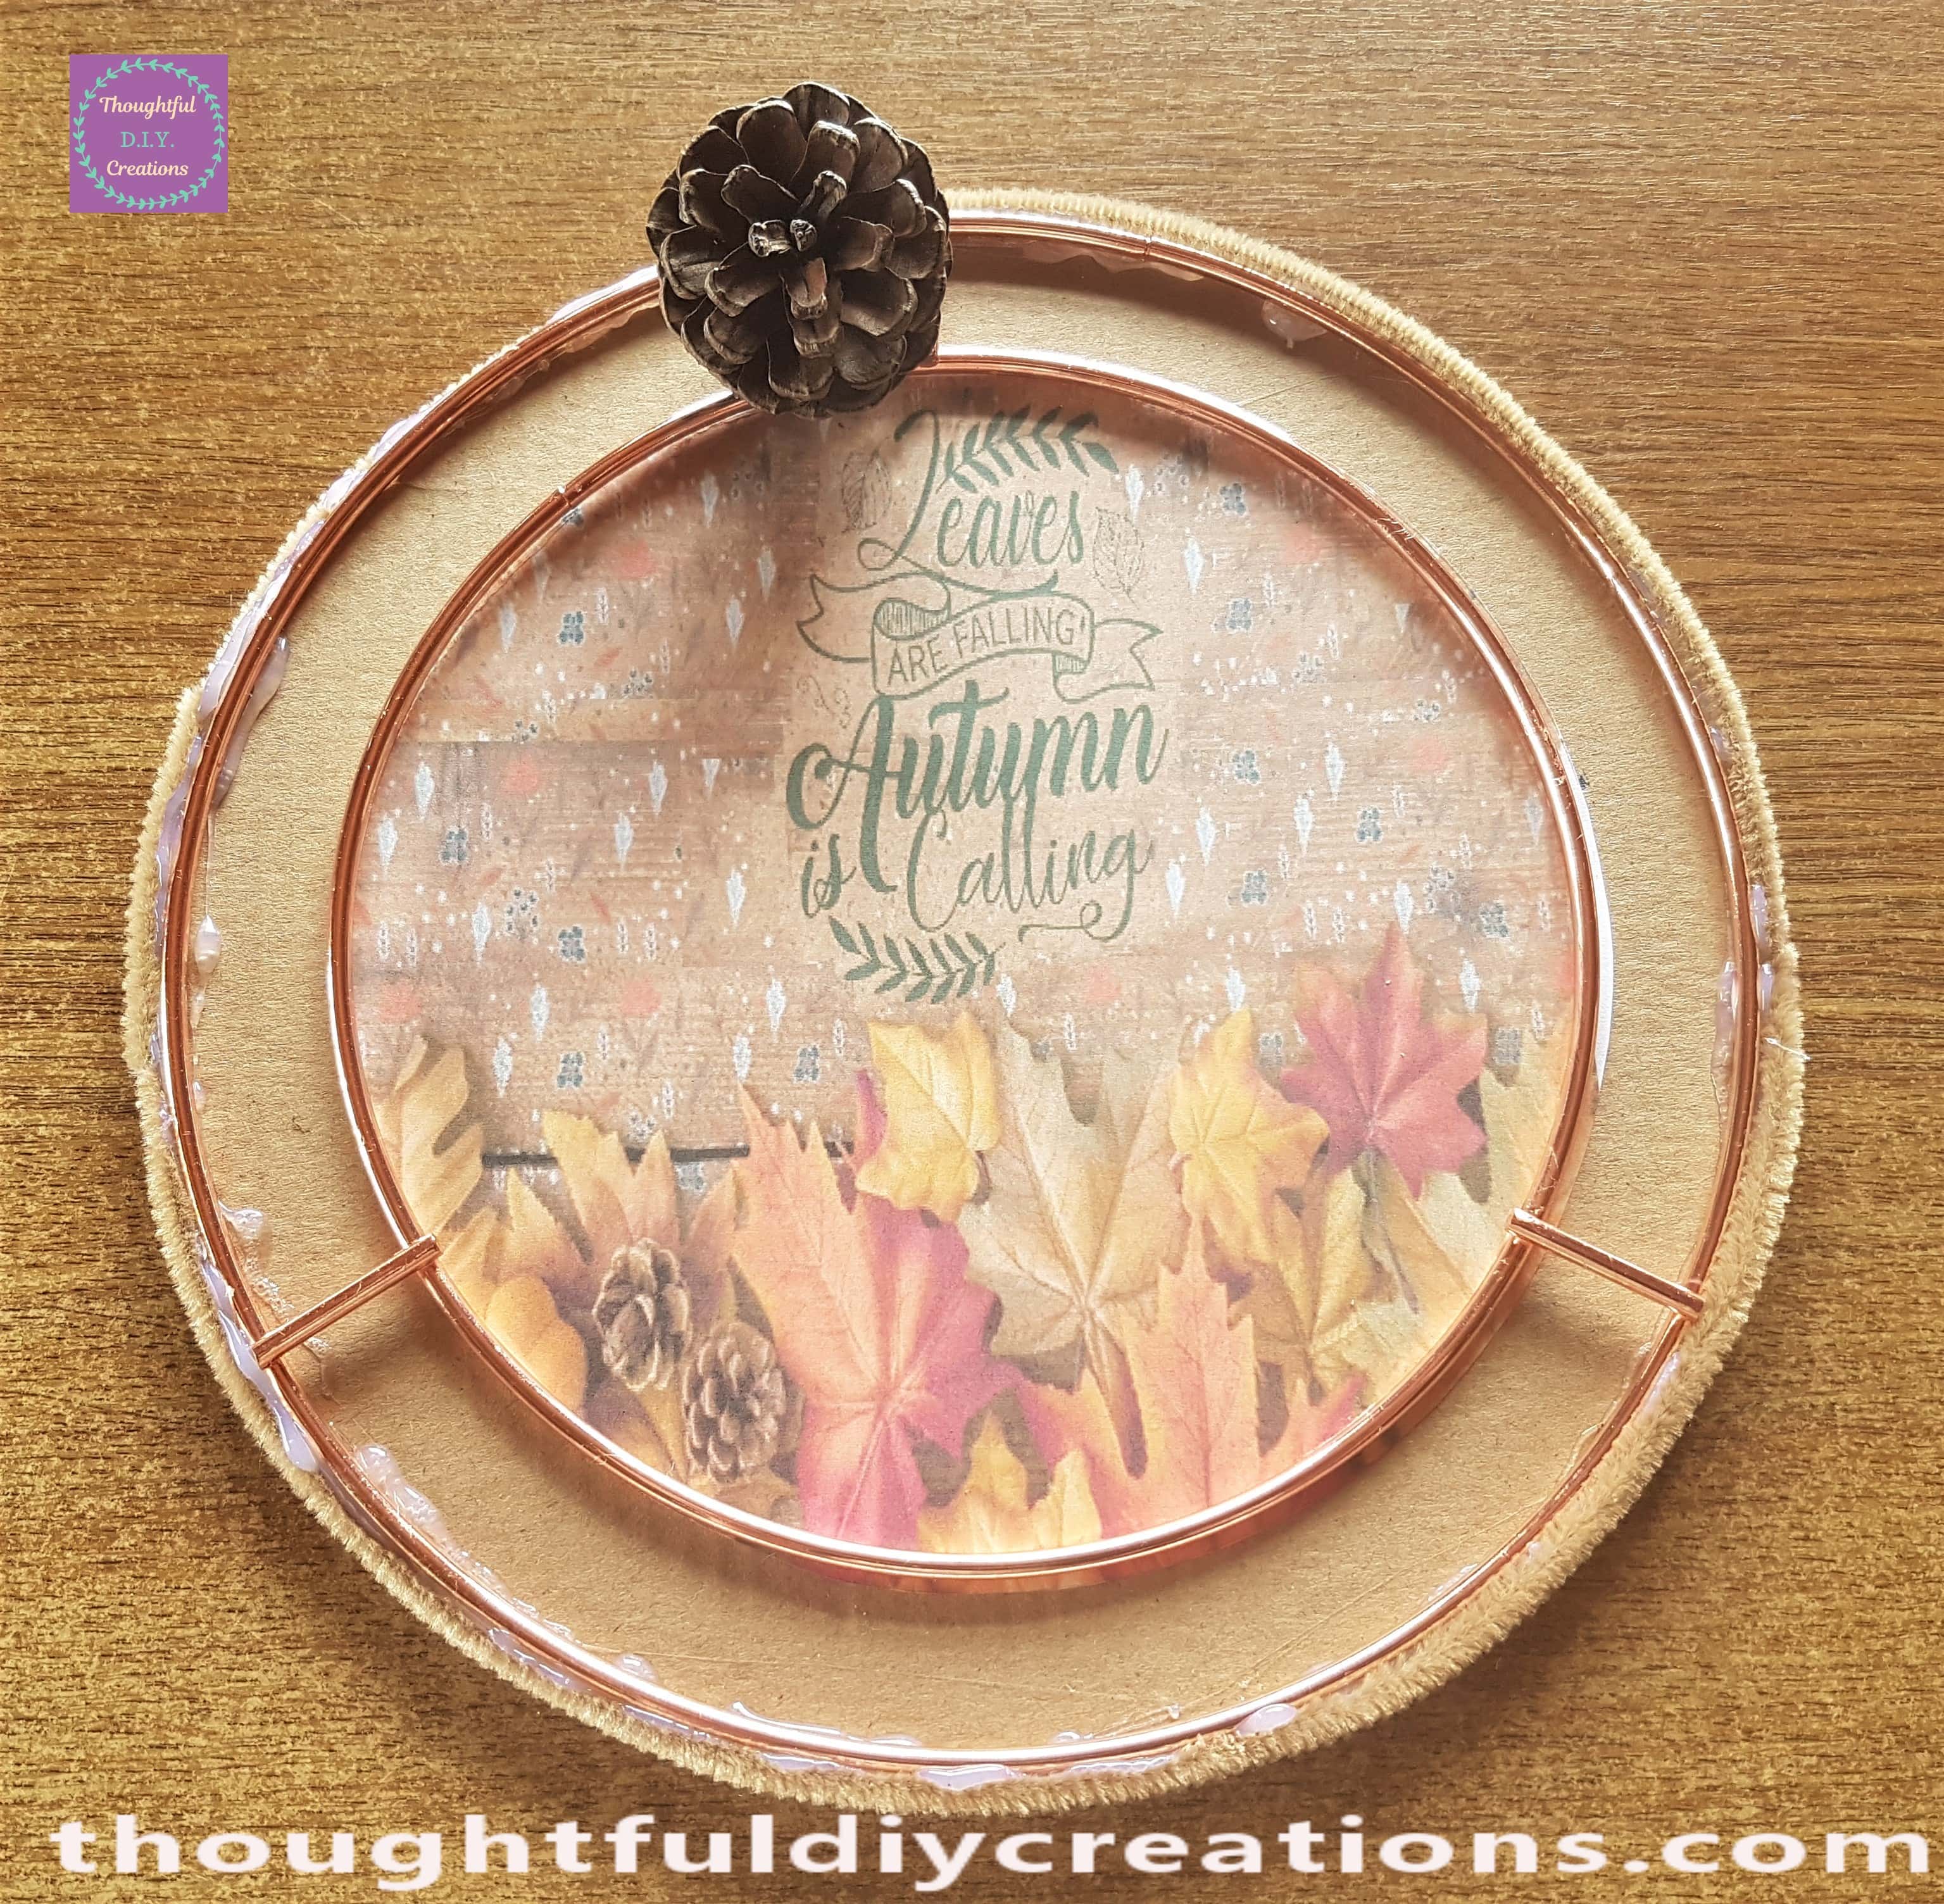
I attached another Pine Cone beside the first one.
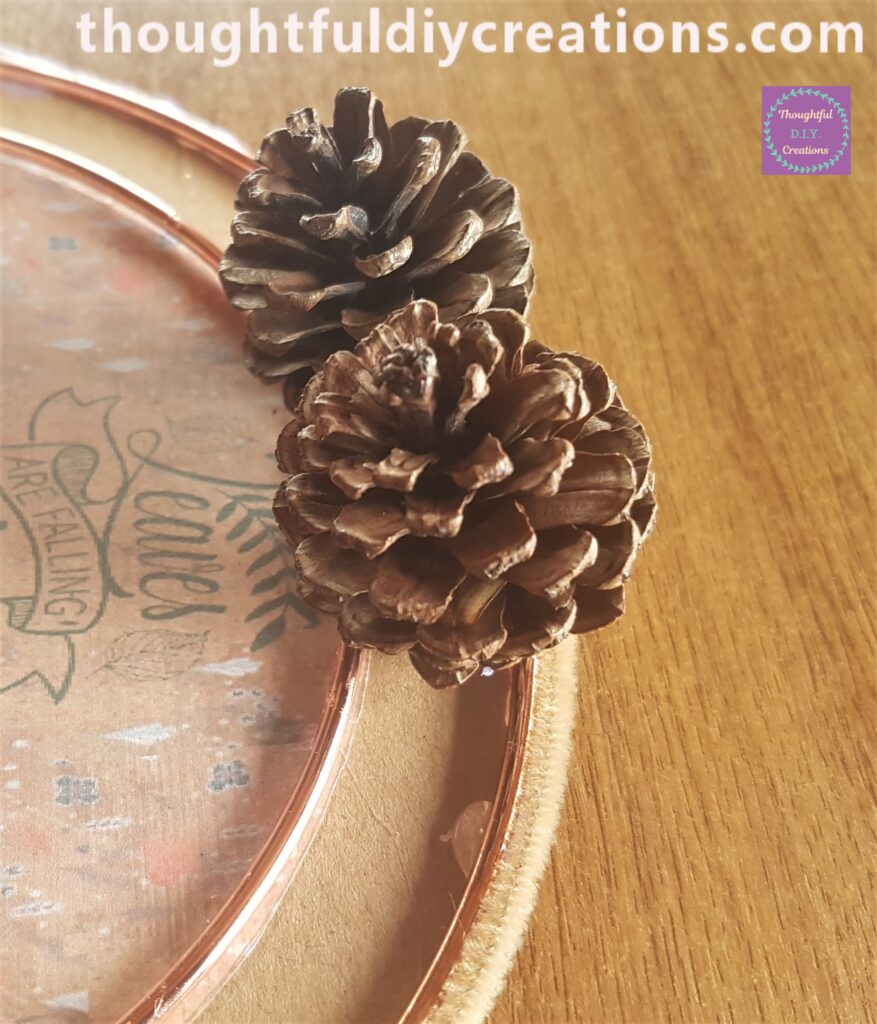
I added more Pine Cones in the same way.
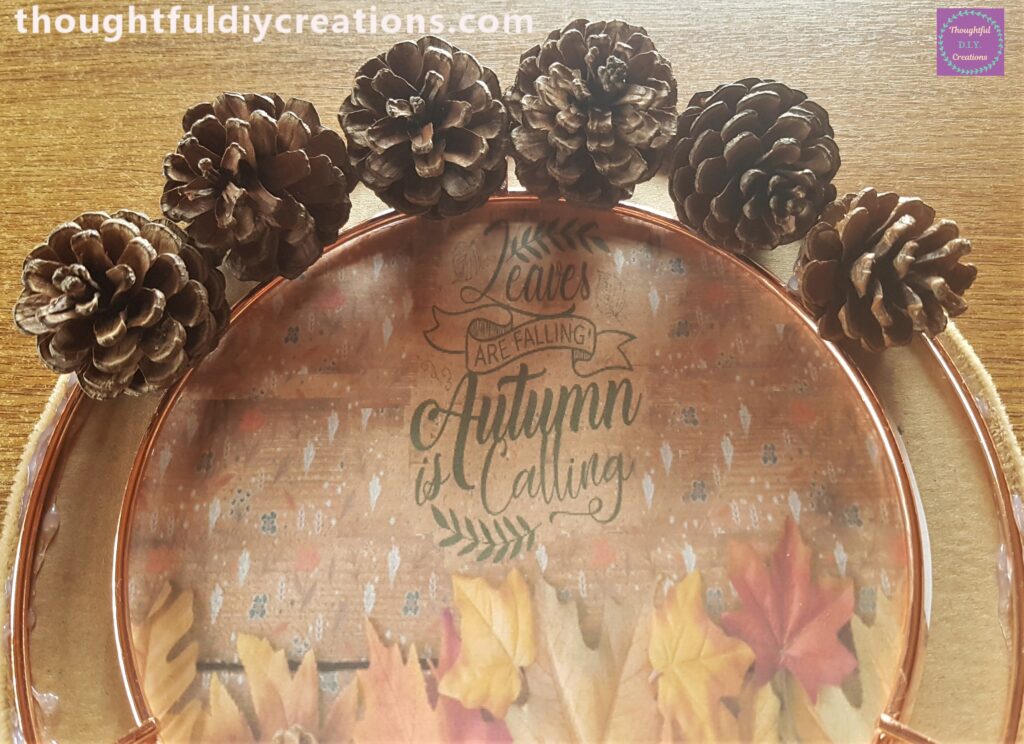
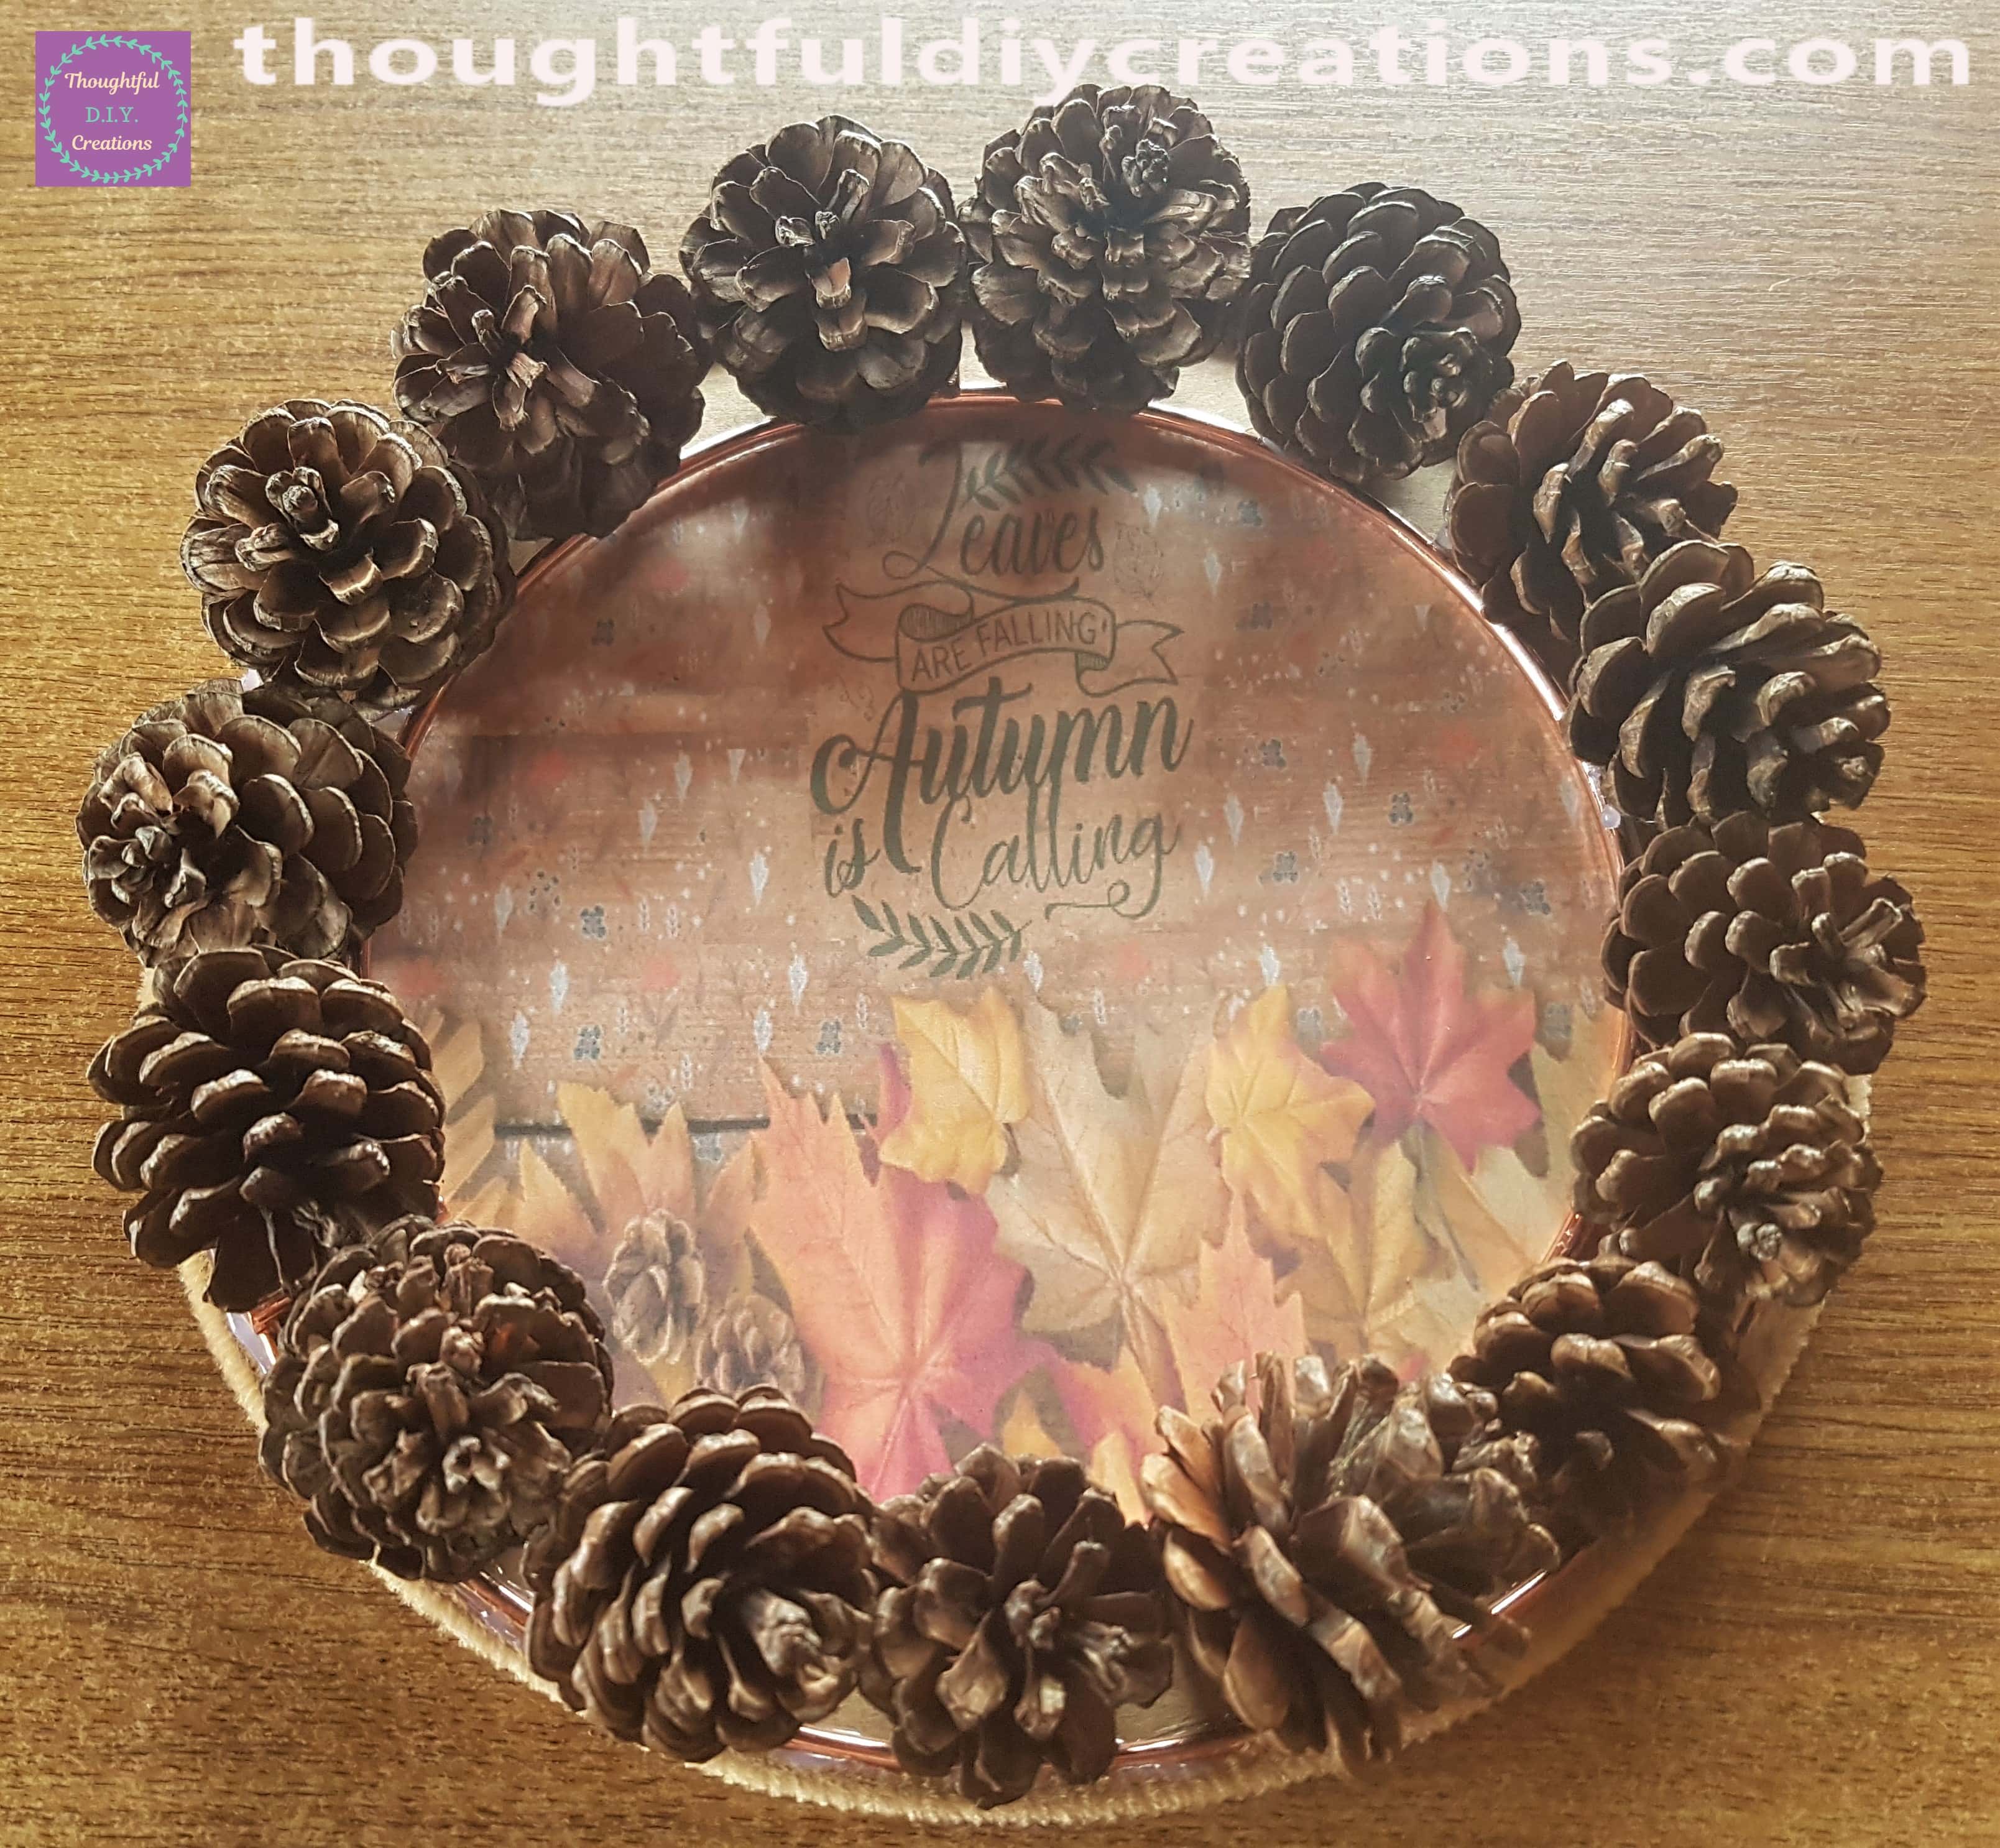
I continued until the Autumn Wreath was filled with Pine Cones.
Making a Handle for the Wreath
I got another Cream / Brown coloured Pipe Cleaner and folded it over and Hot Glued the ends together.
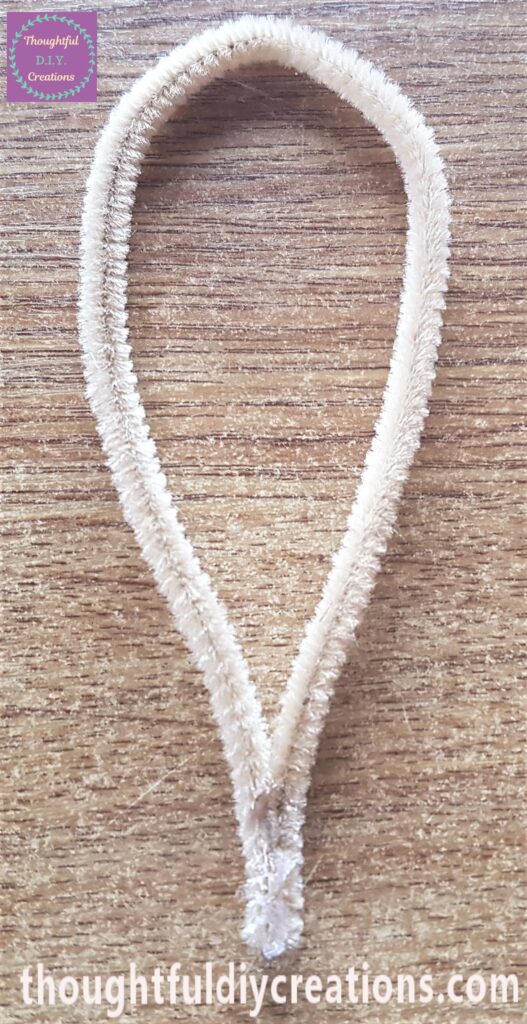
I attached it to the back of the Autumn Wreath with Hot Glue.
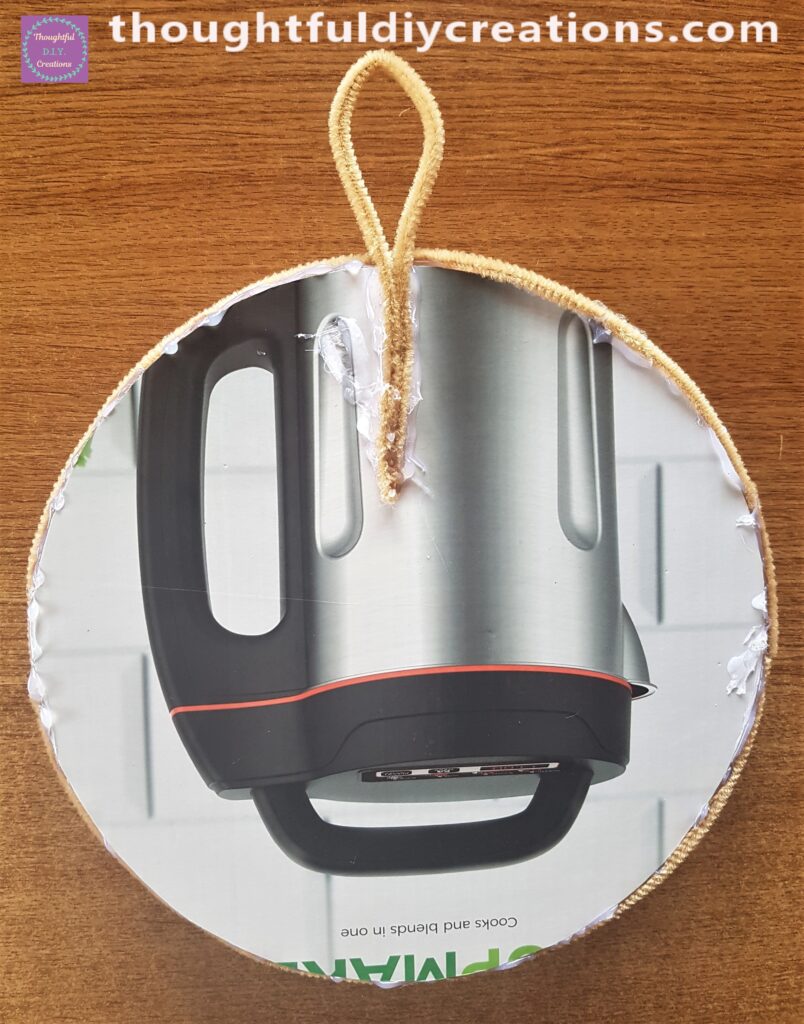
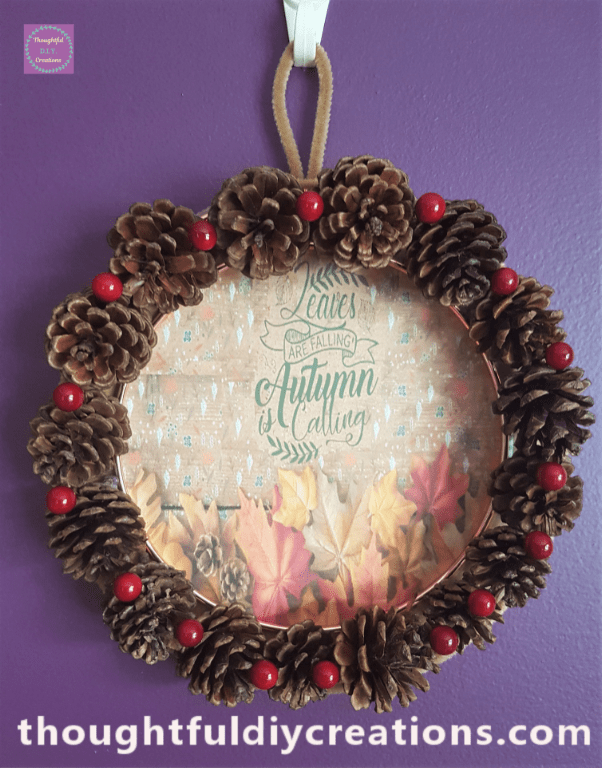
This is a front view of the Wreath with the Hanging Loop attached.
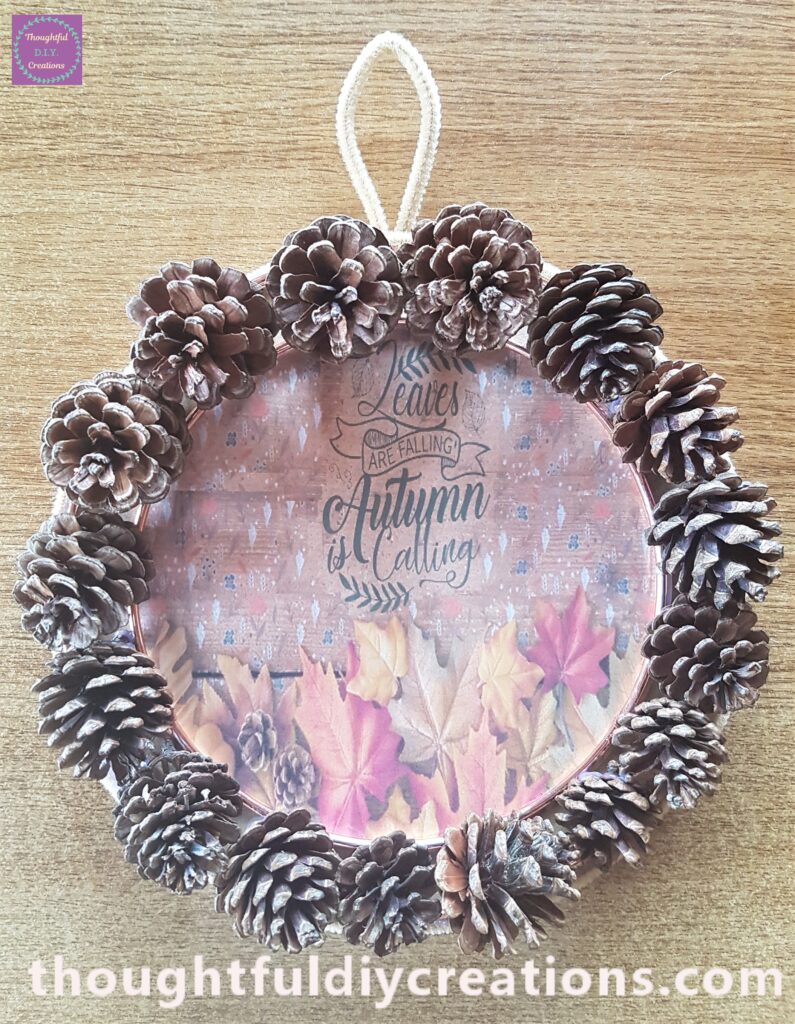
Finishing Touches to the Autumn Wreath
I got a Bunch of Artificial Red Berries from my supplies.
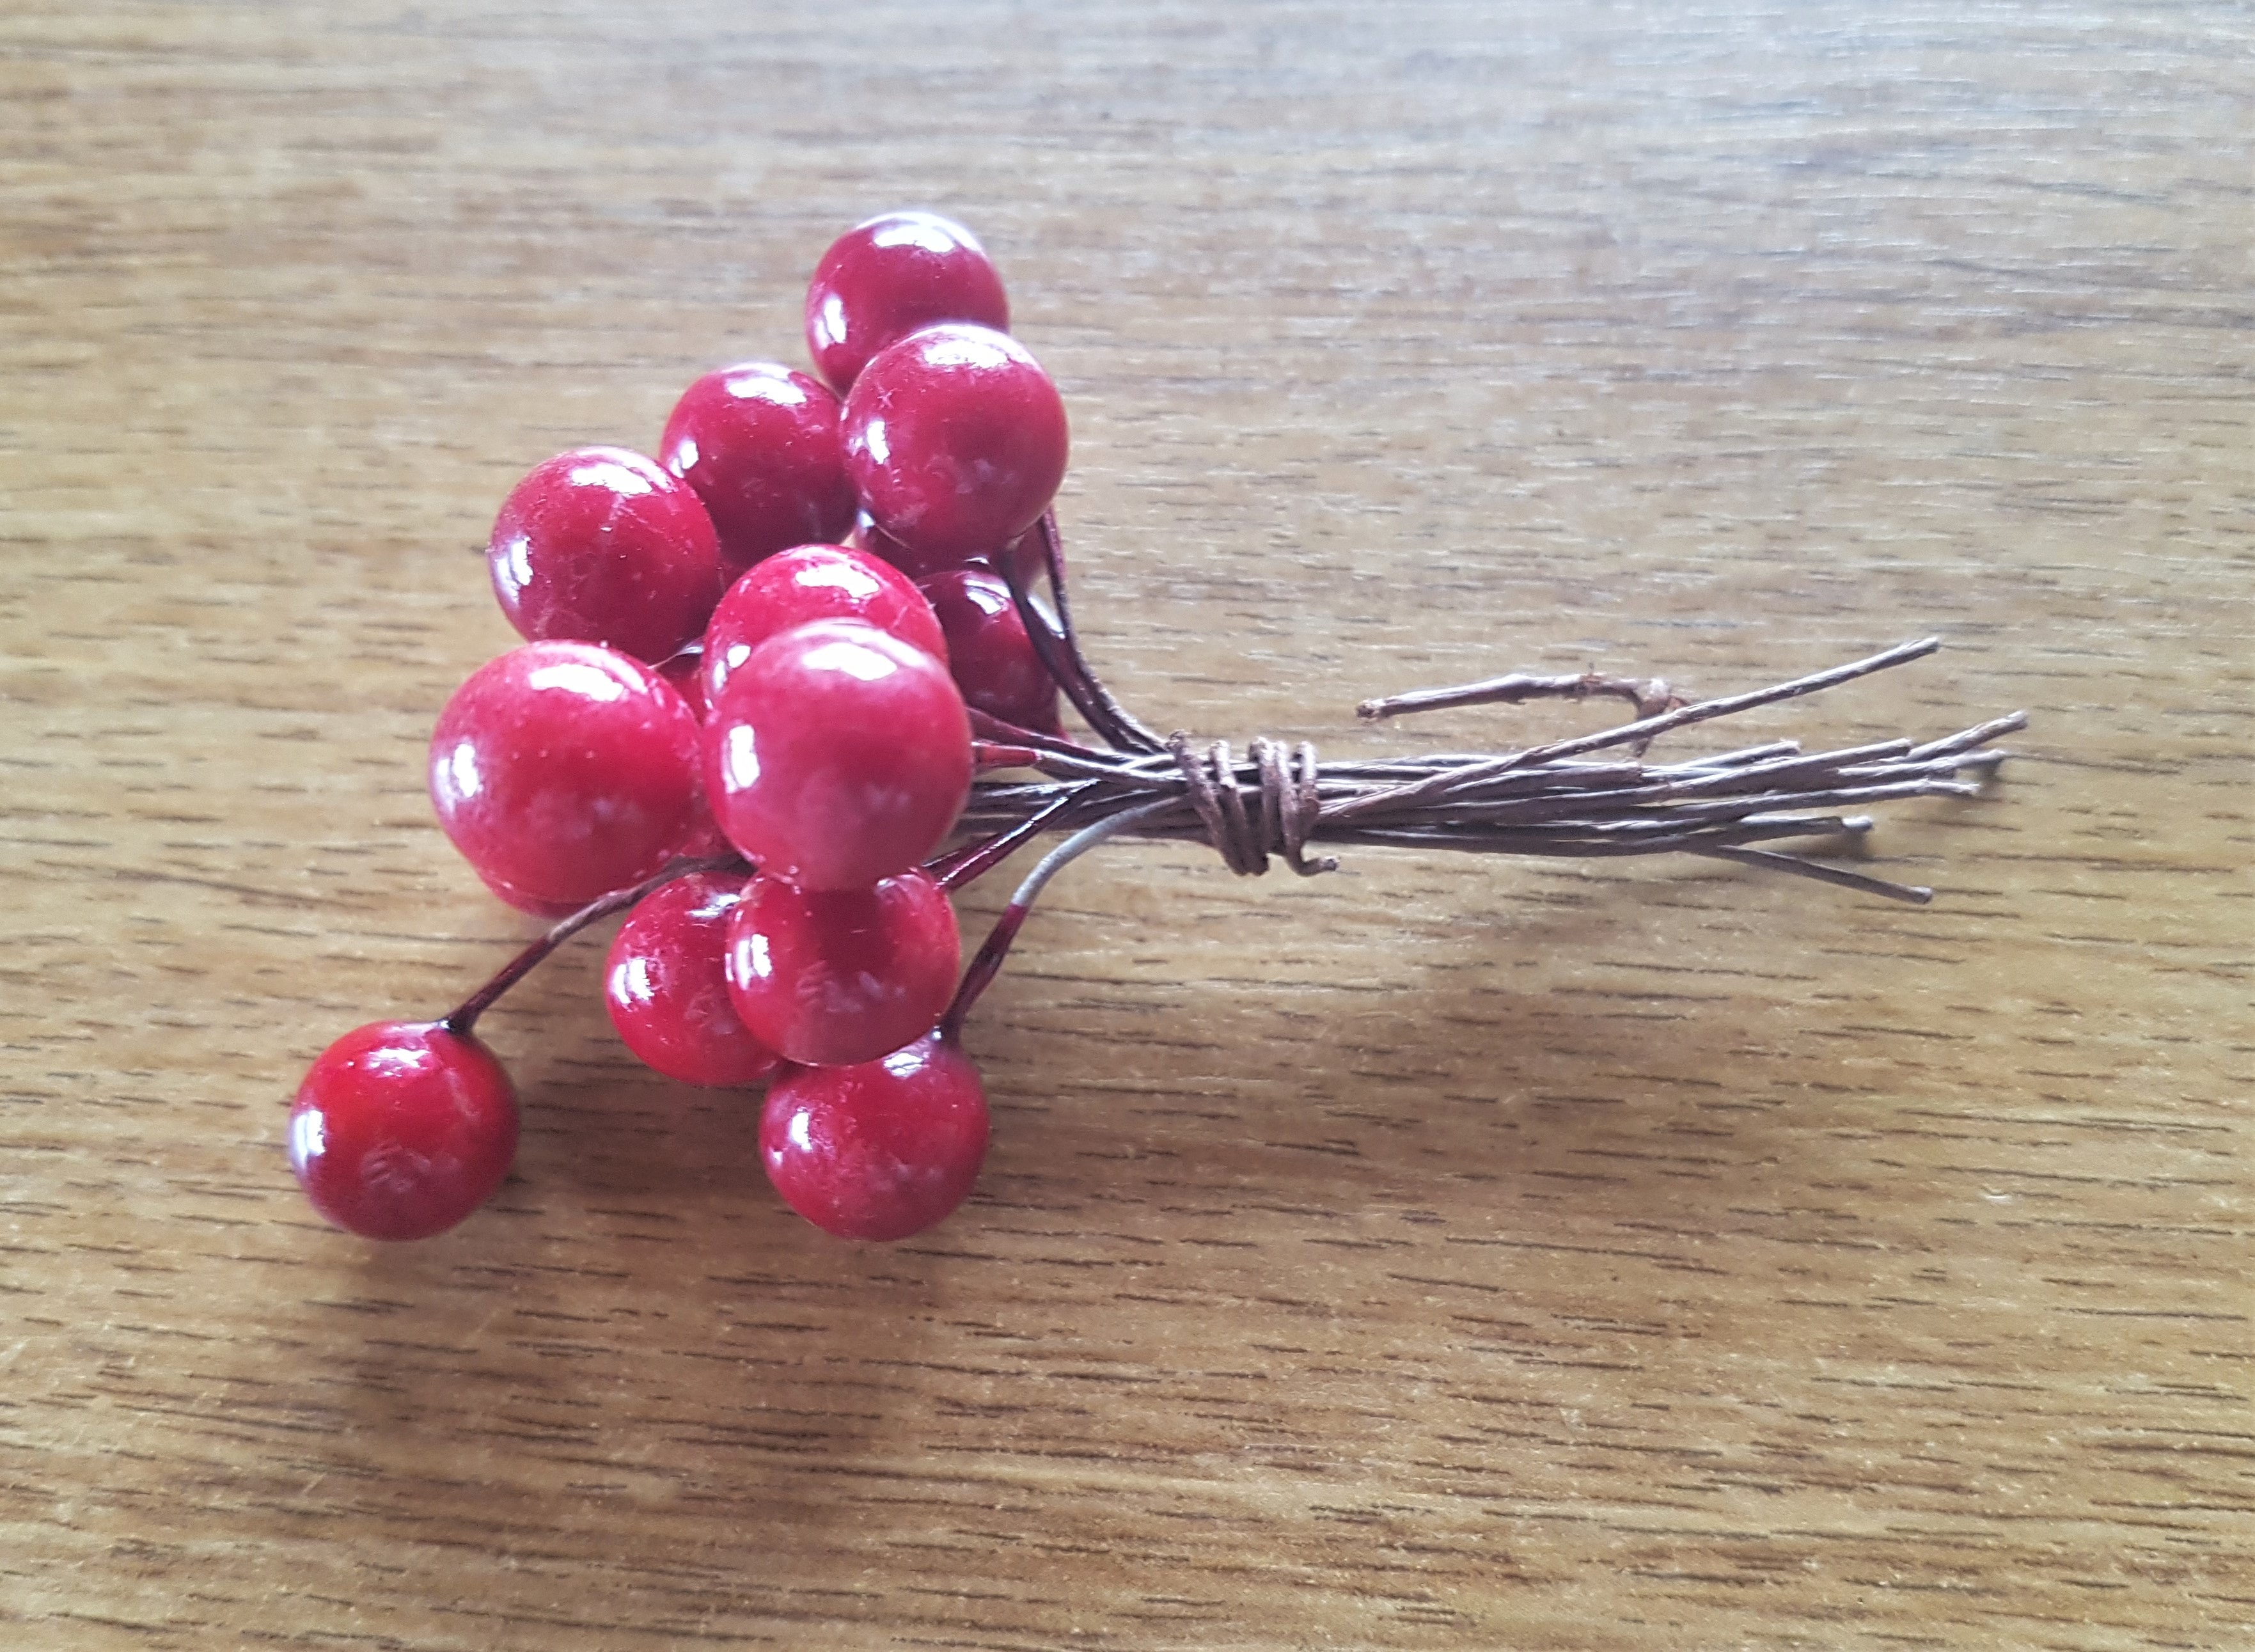
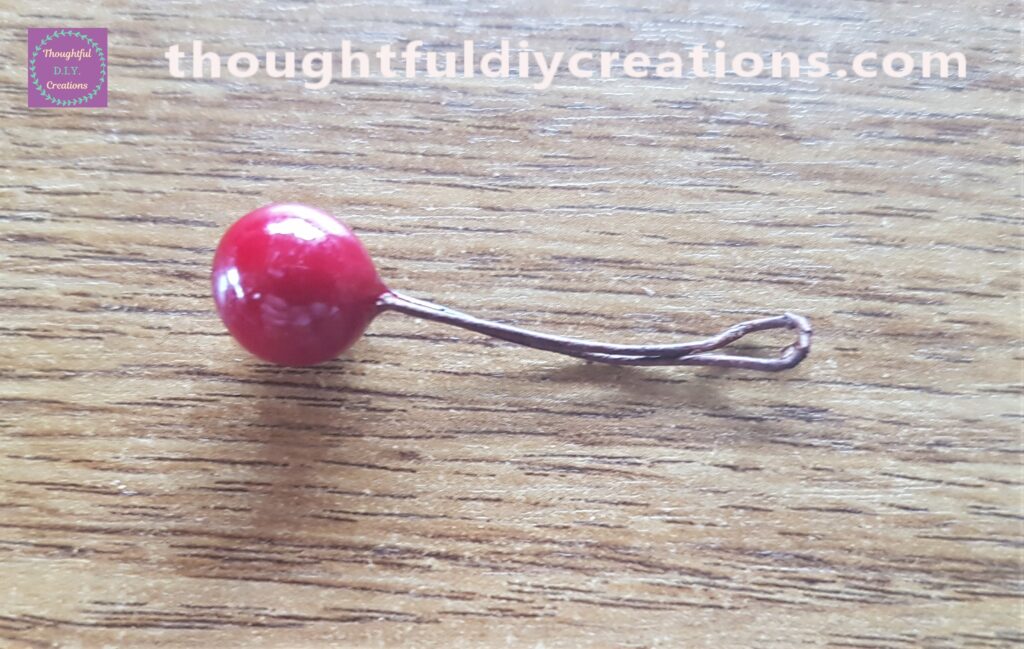
I removed a Berry from the Bunch and folded the stem in half.
I placed the berry in between the first two pine cones. I added more berries in between the next pine cones. The wire from the stem just slotted into the pine cone shell.
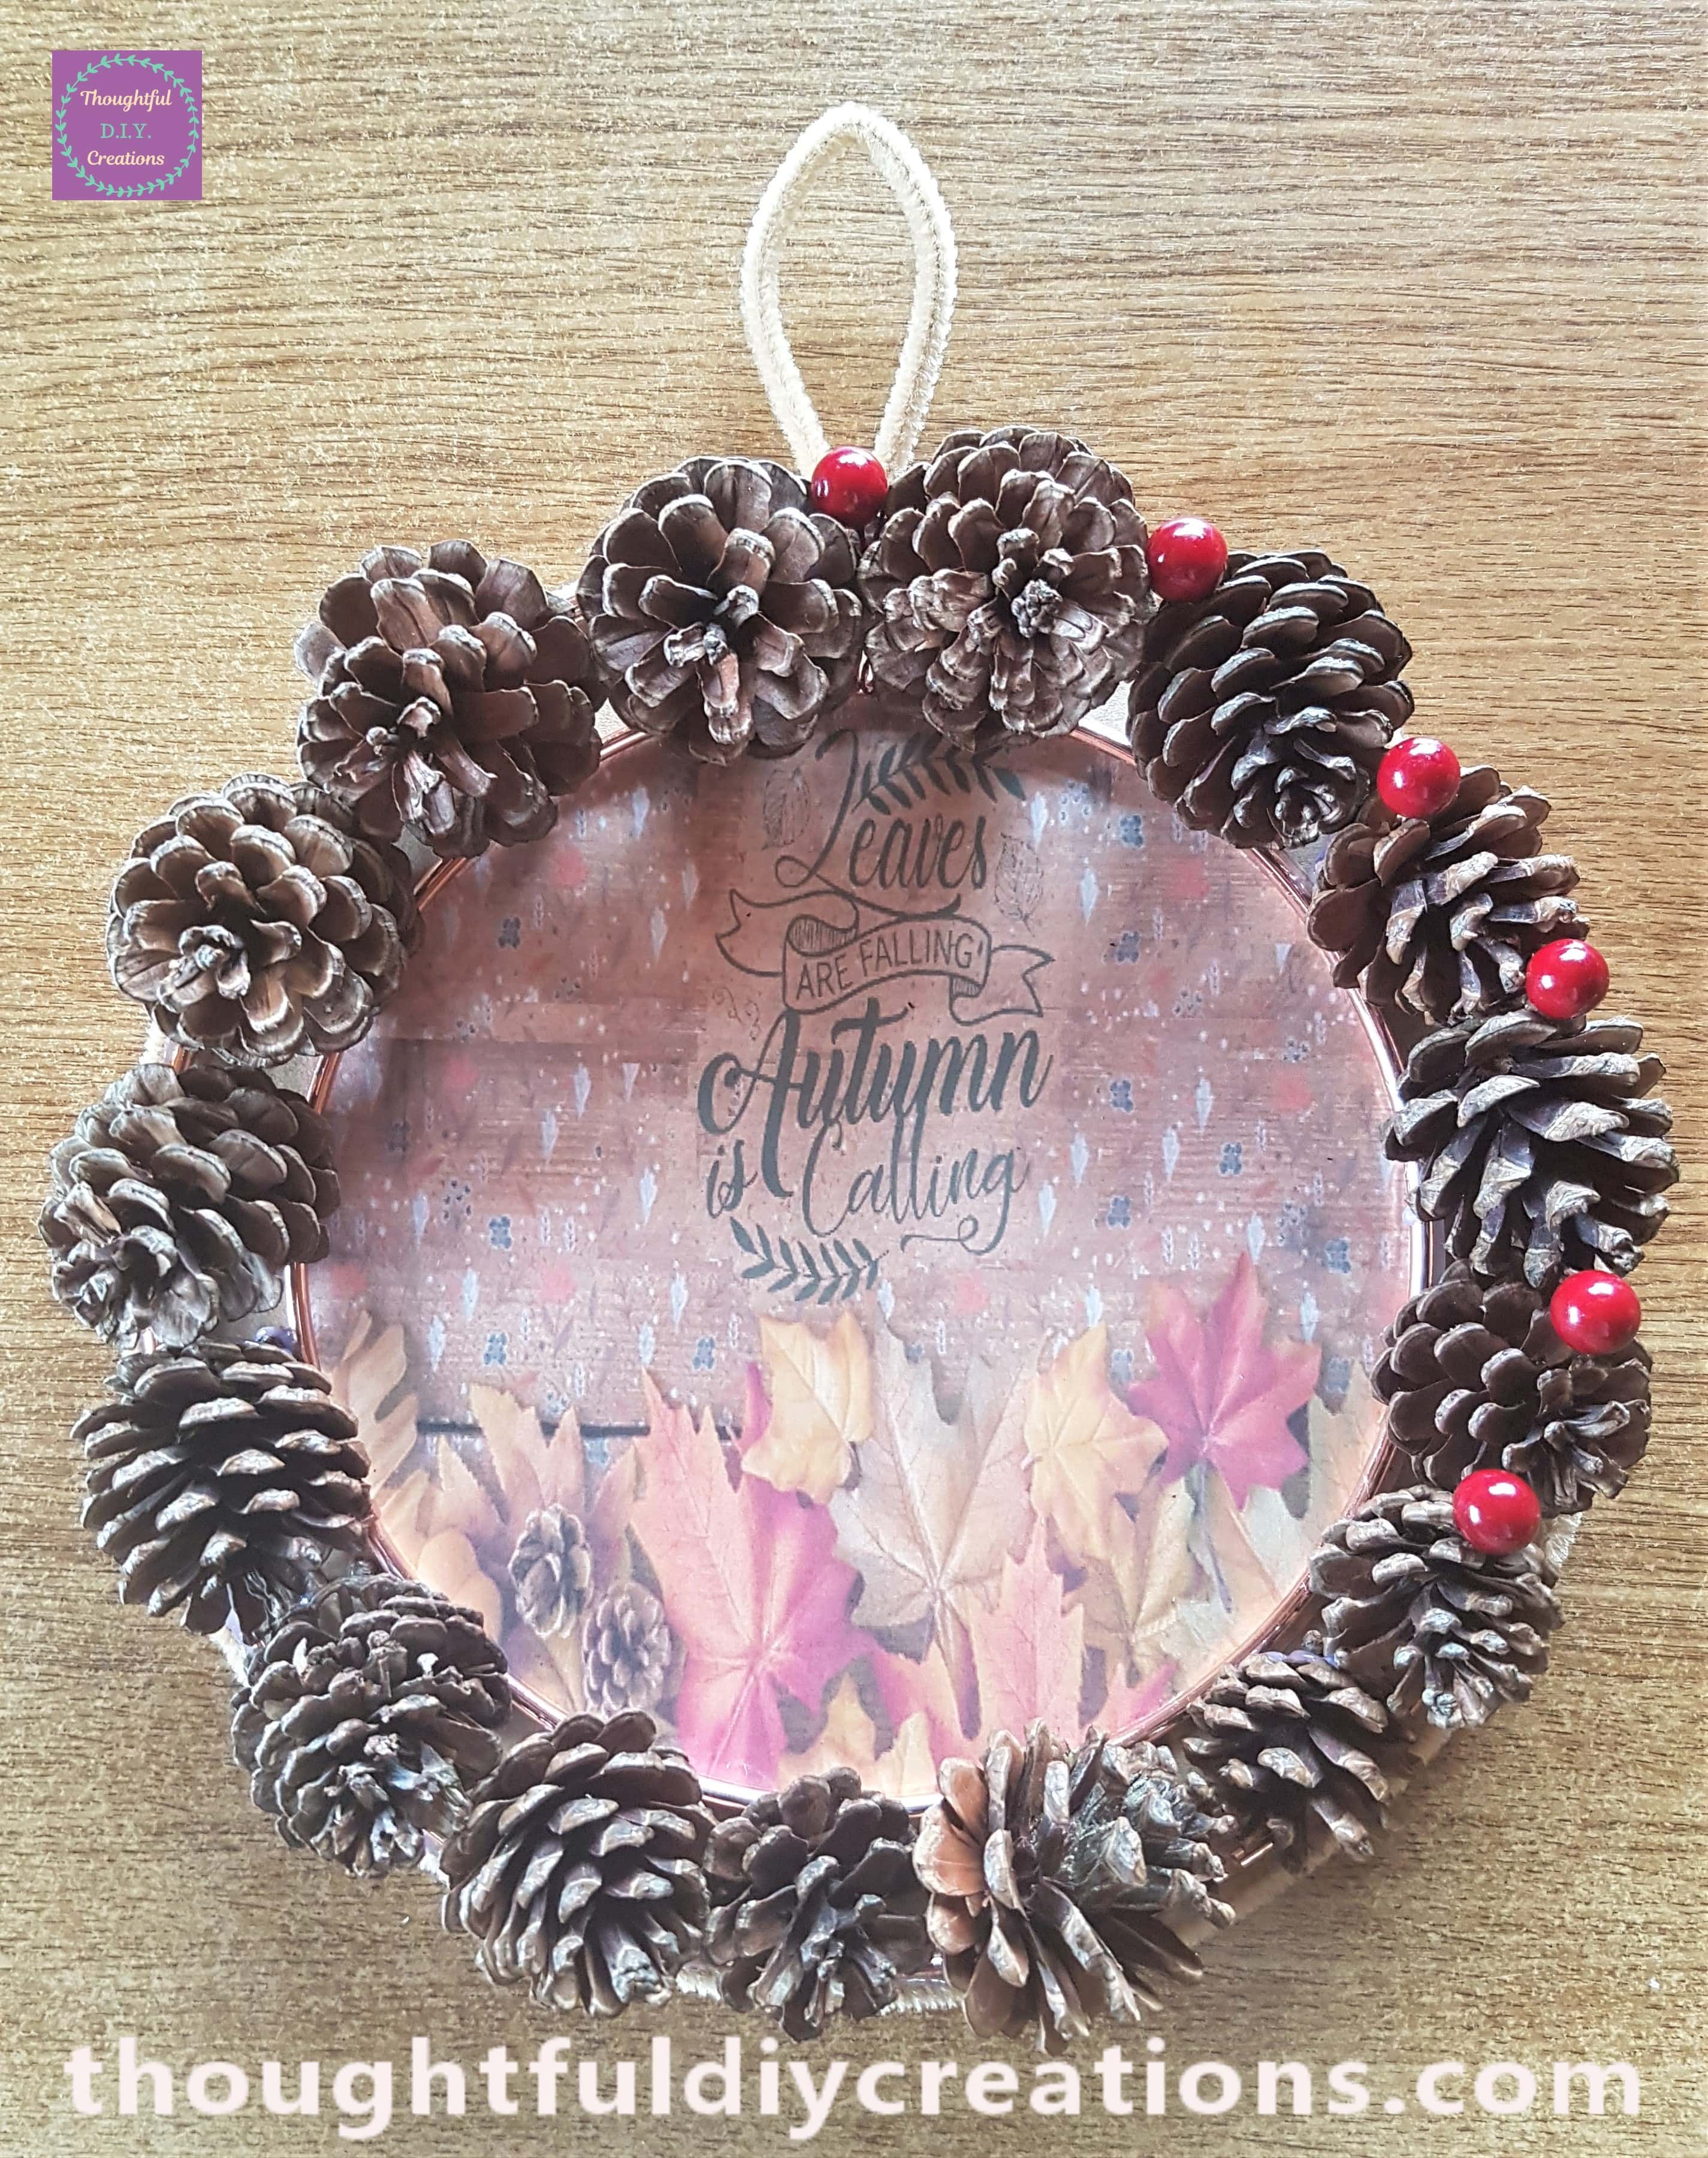
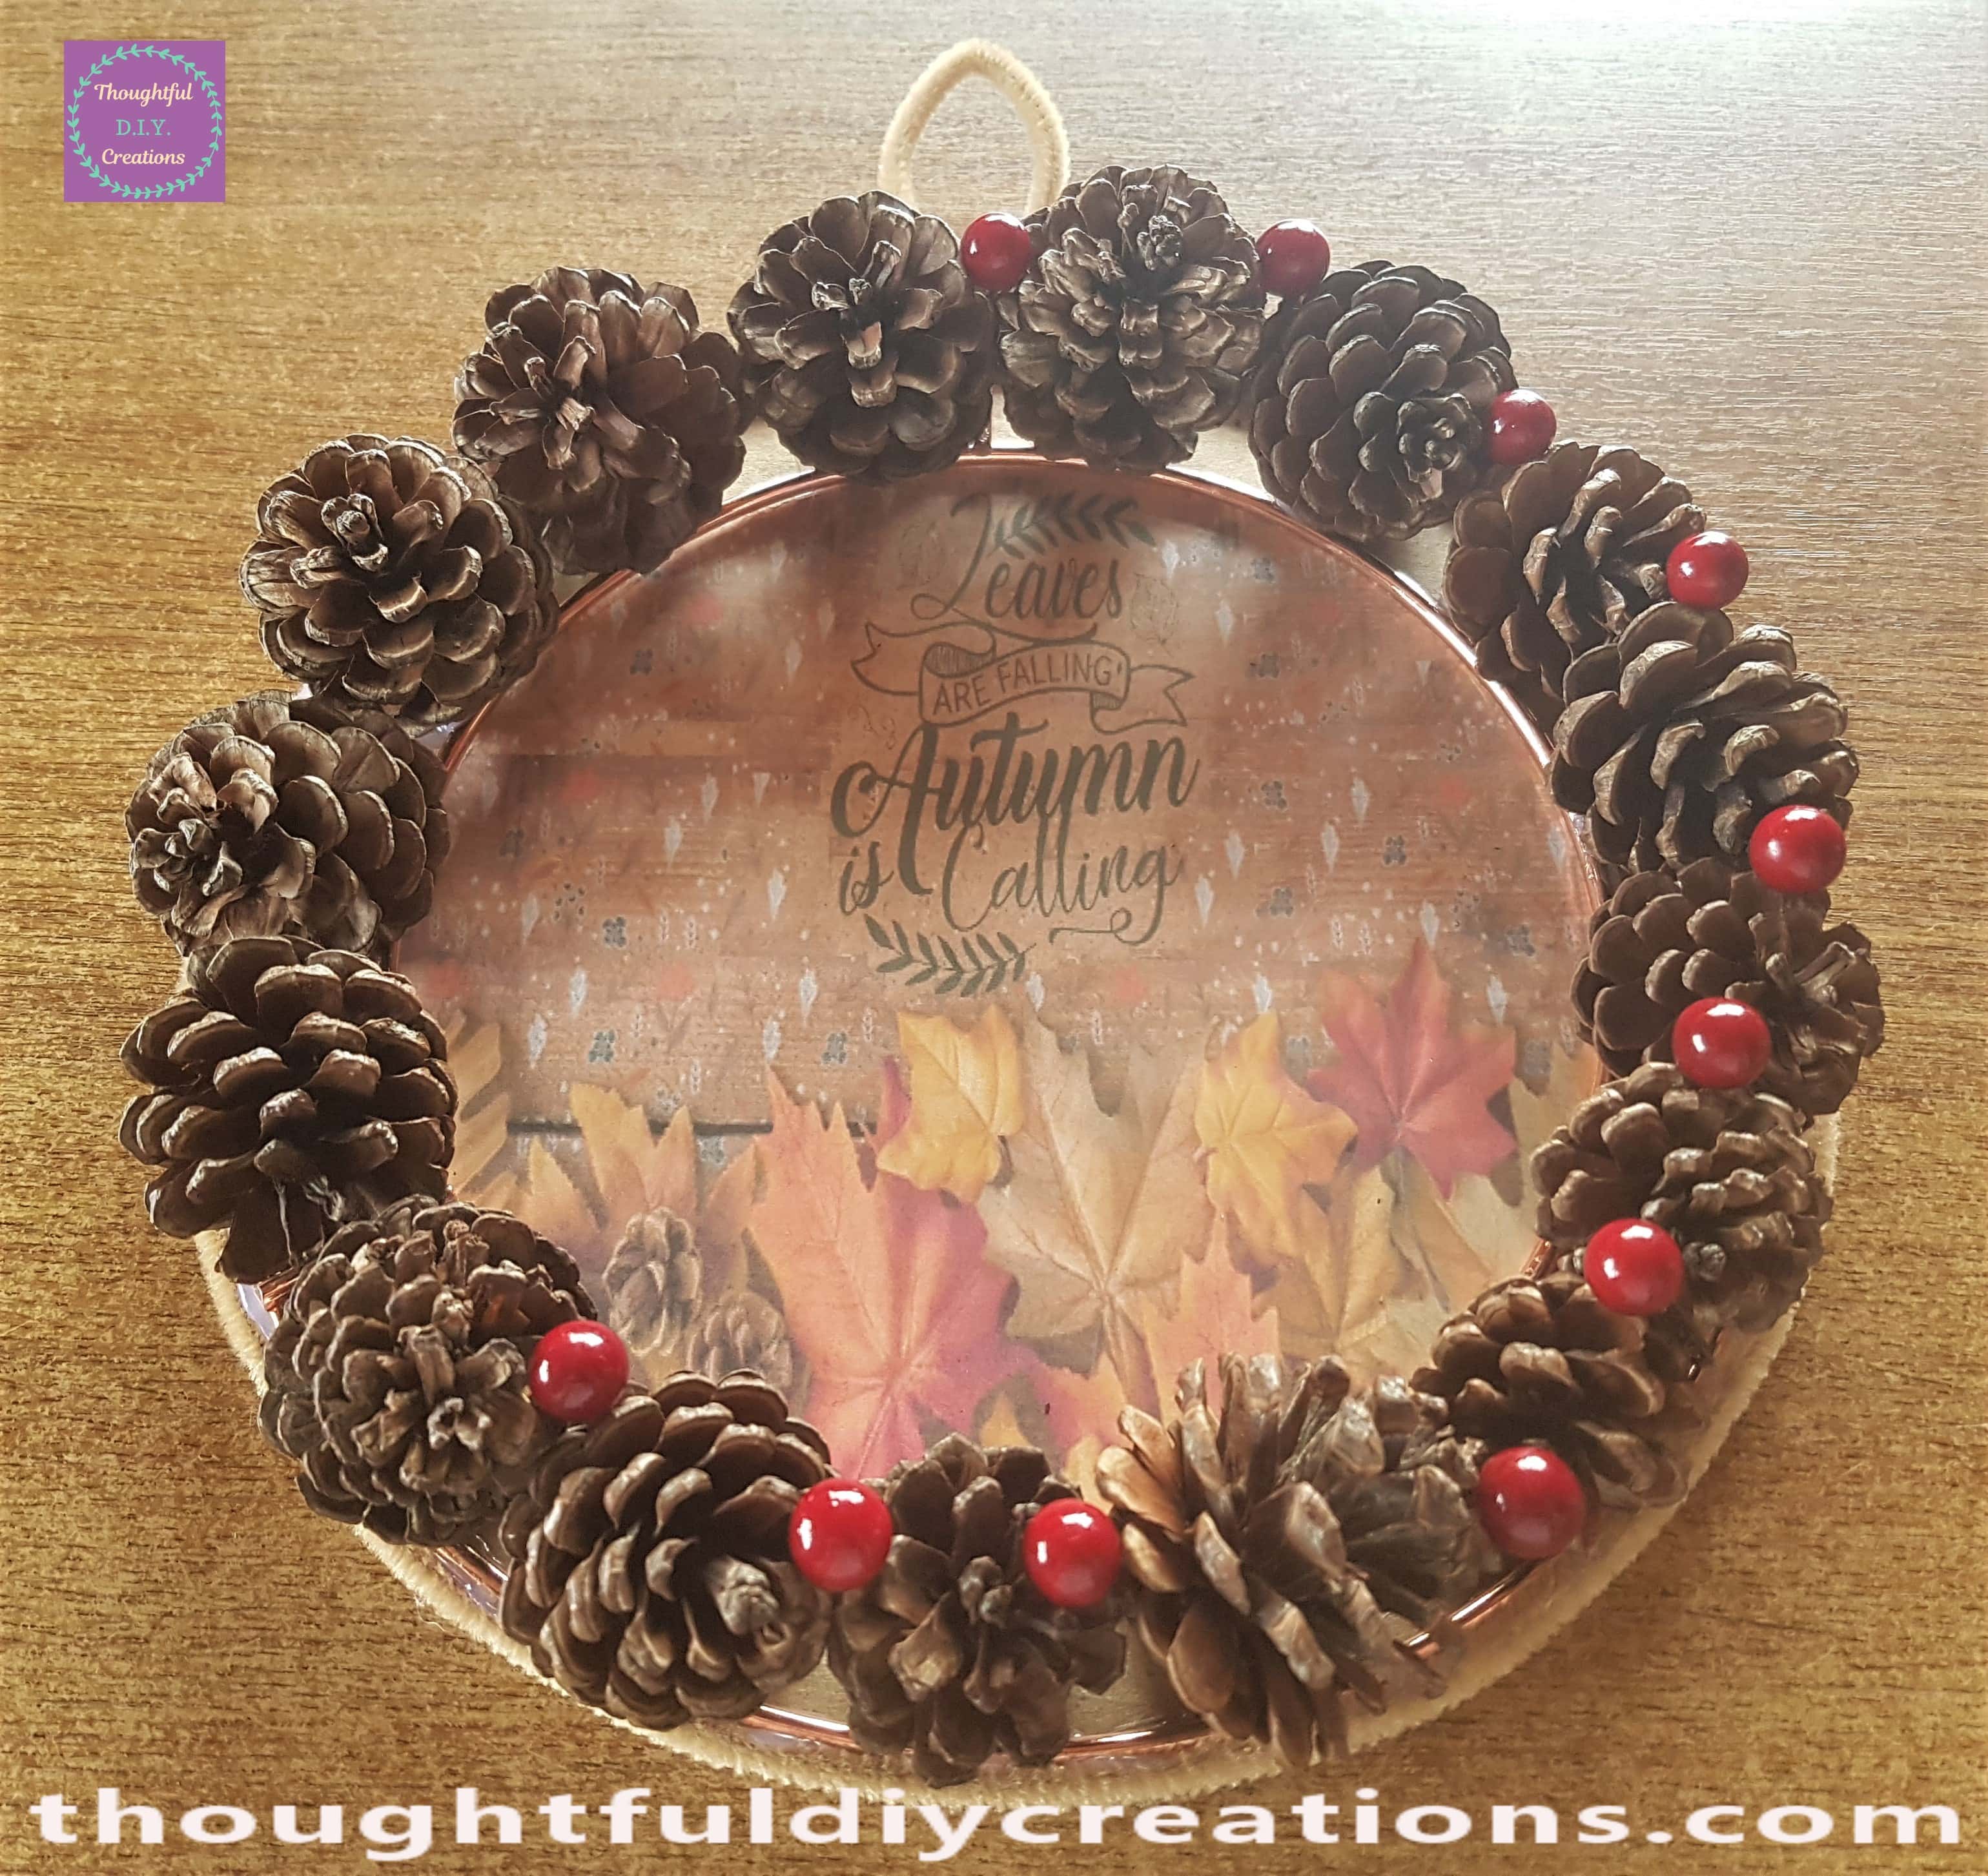
I continued with this process until I had a berry between each pine cone on the Autumn Wreath.
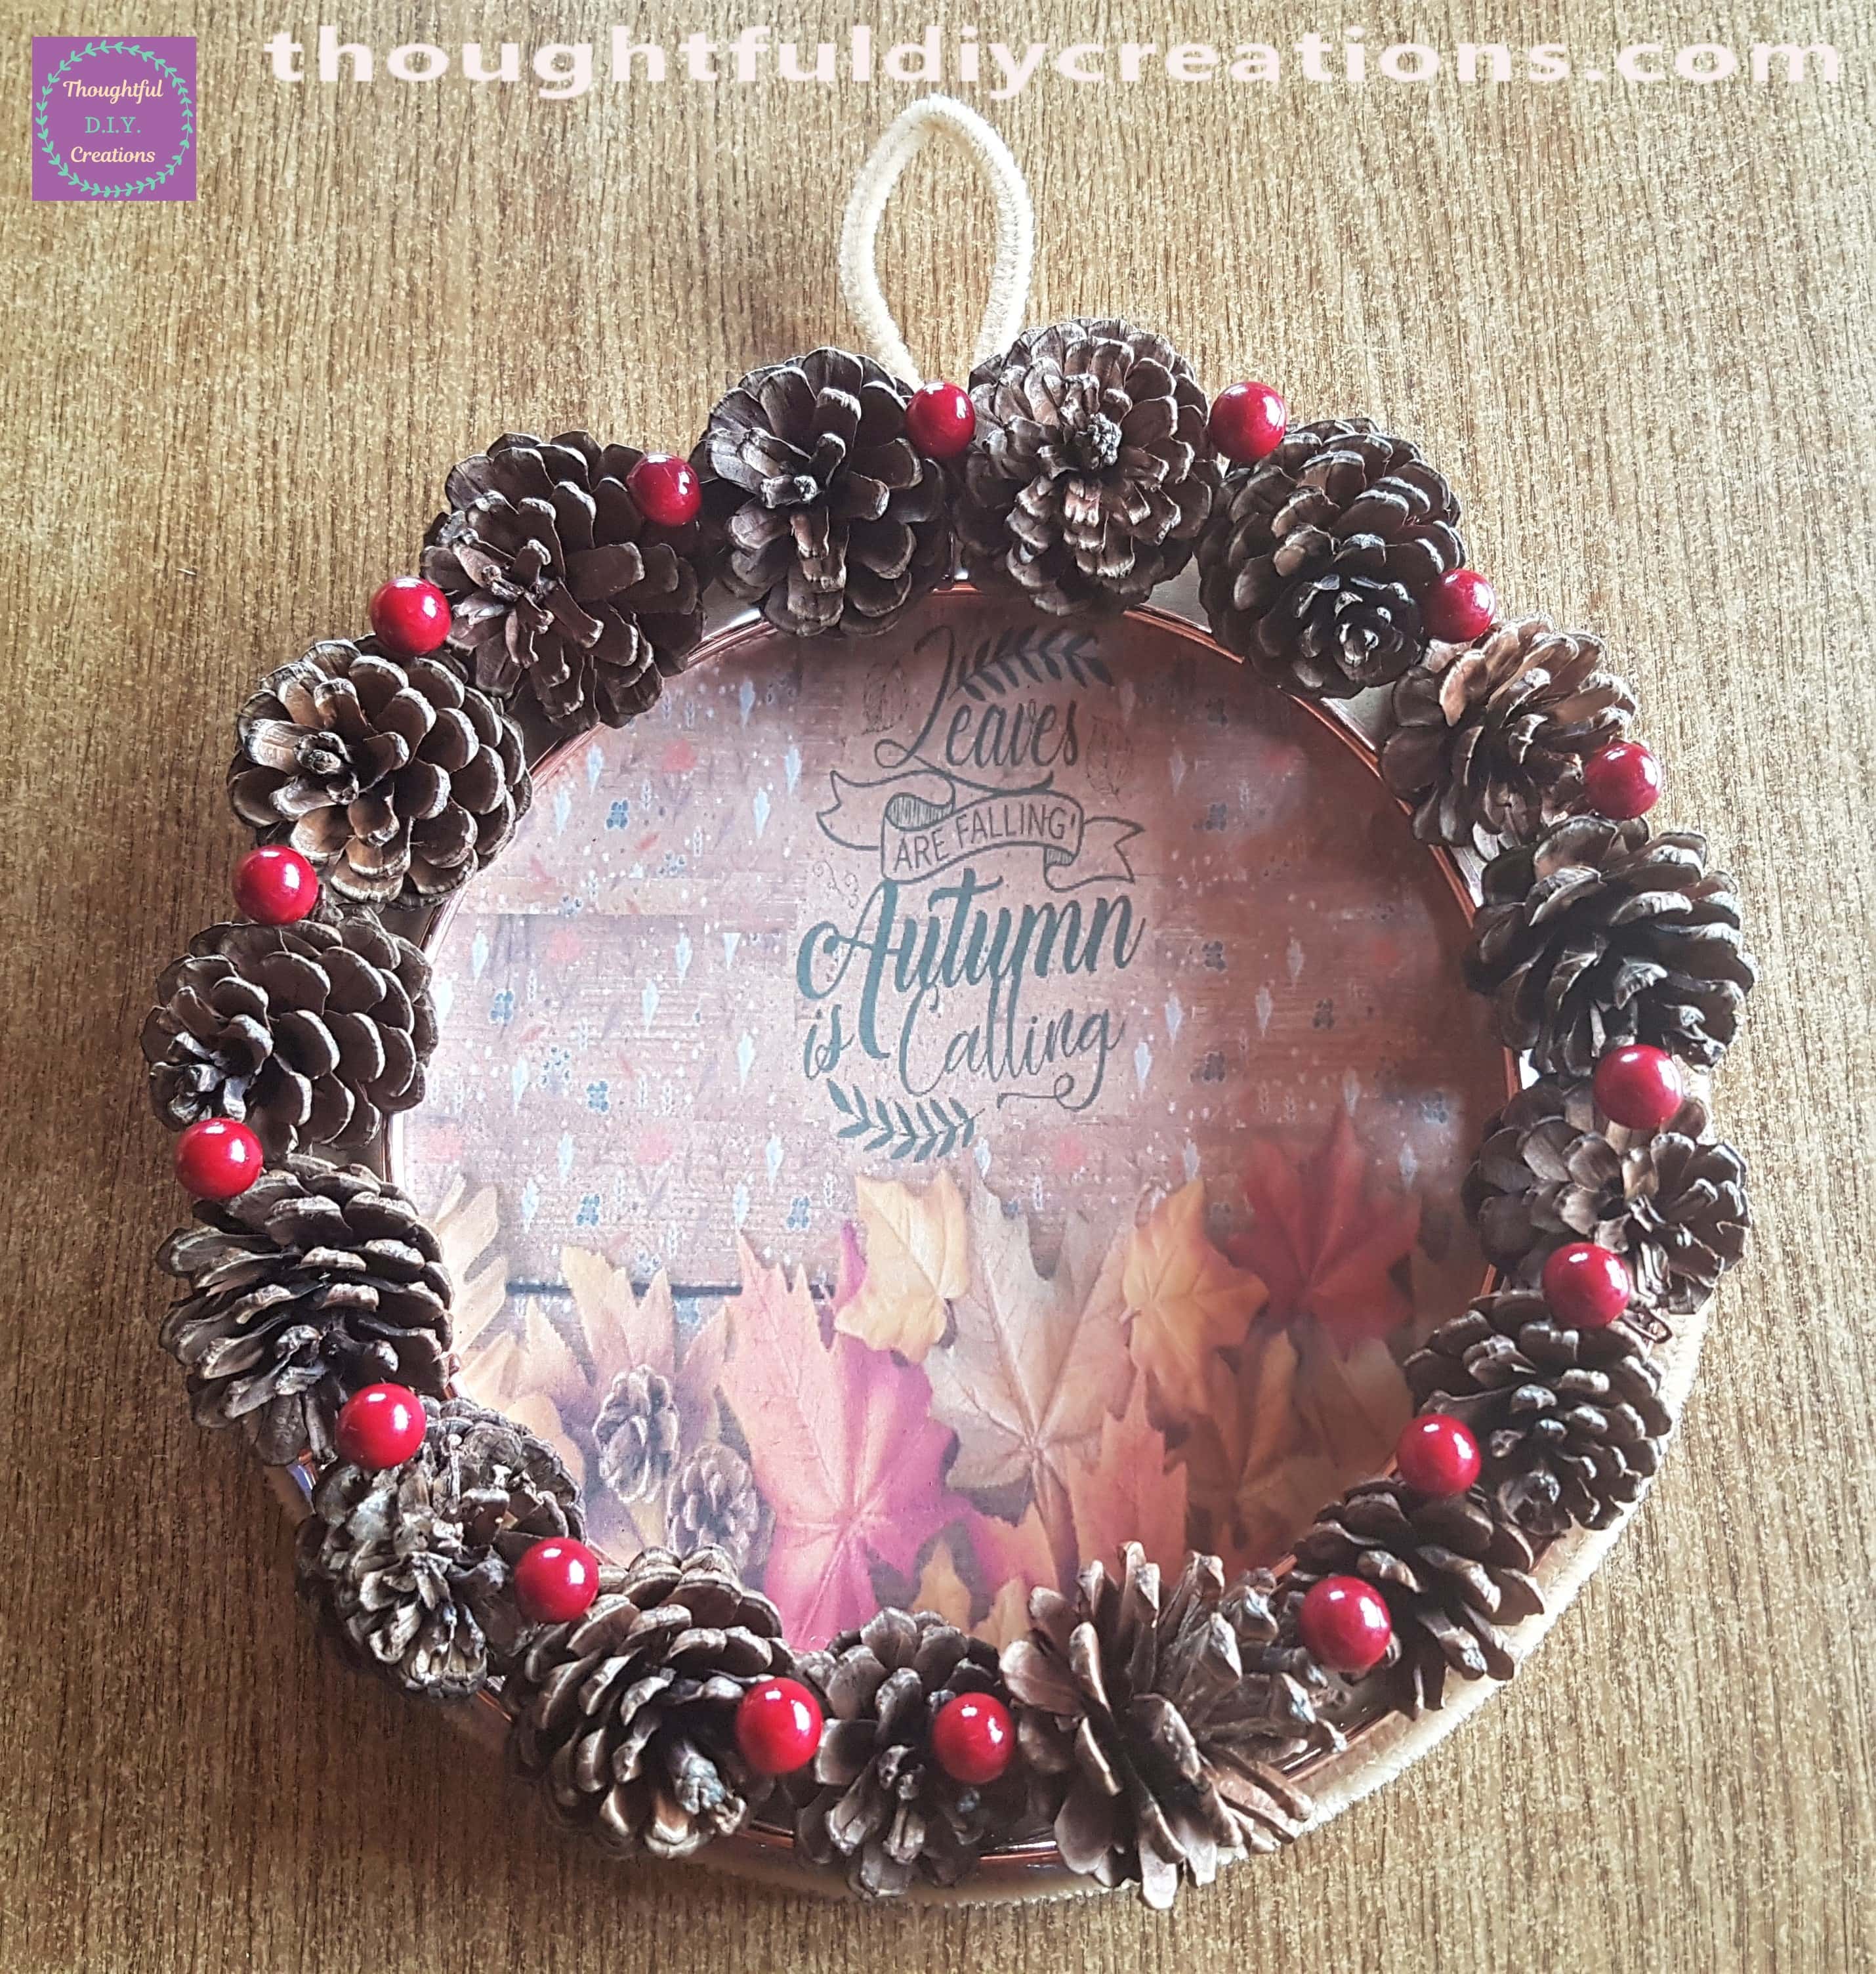
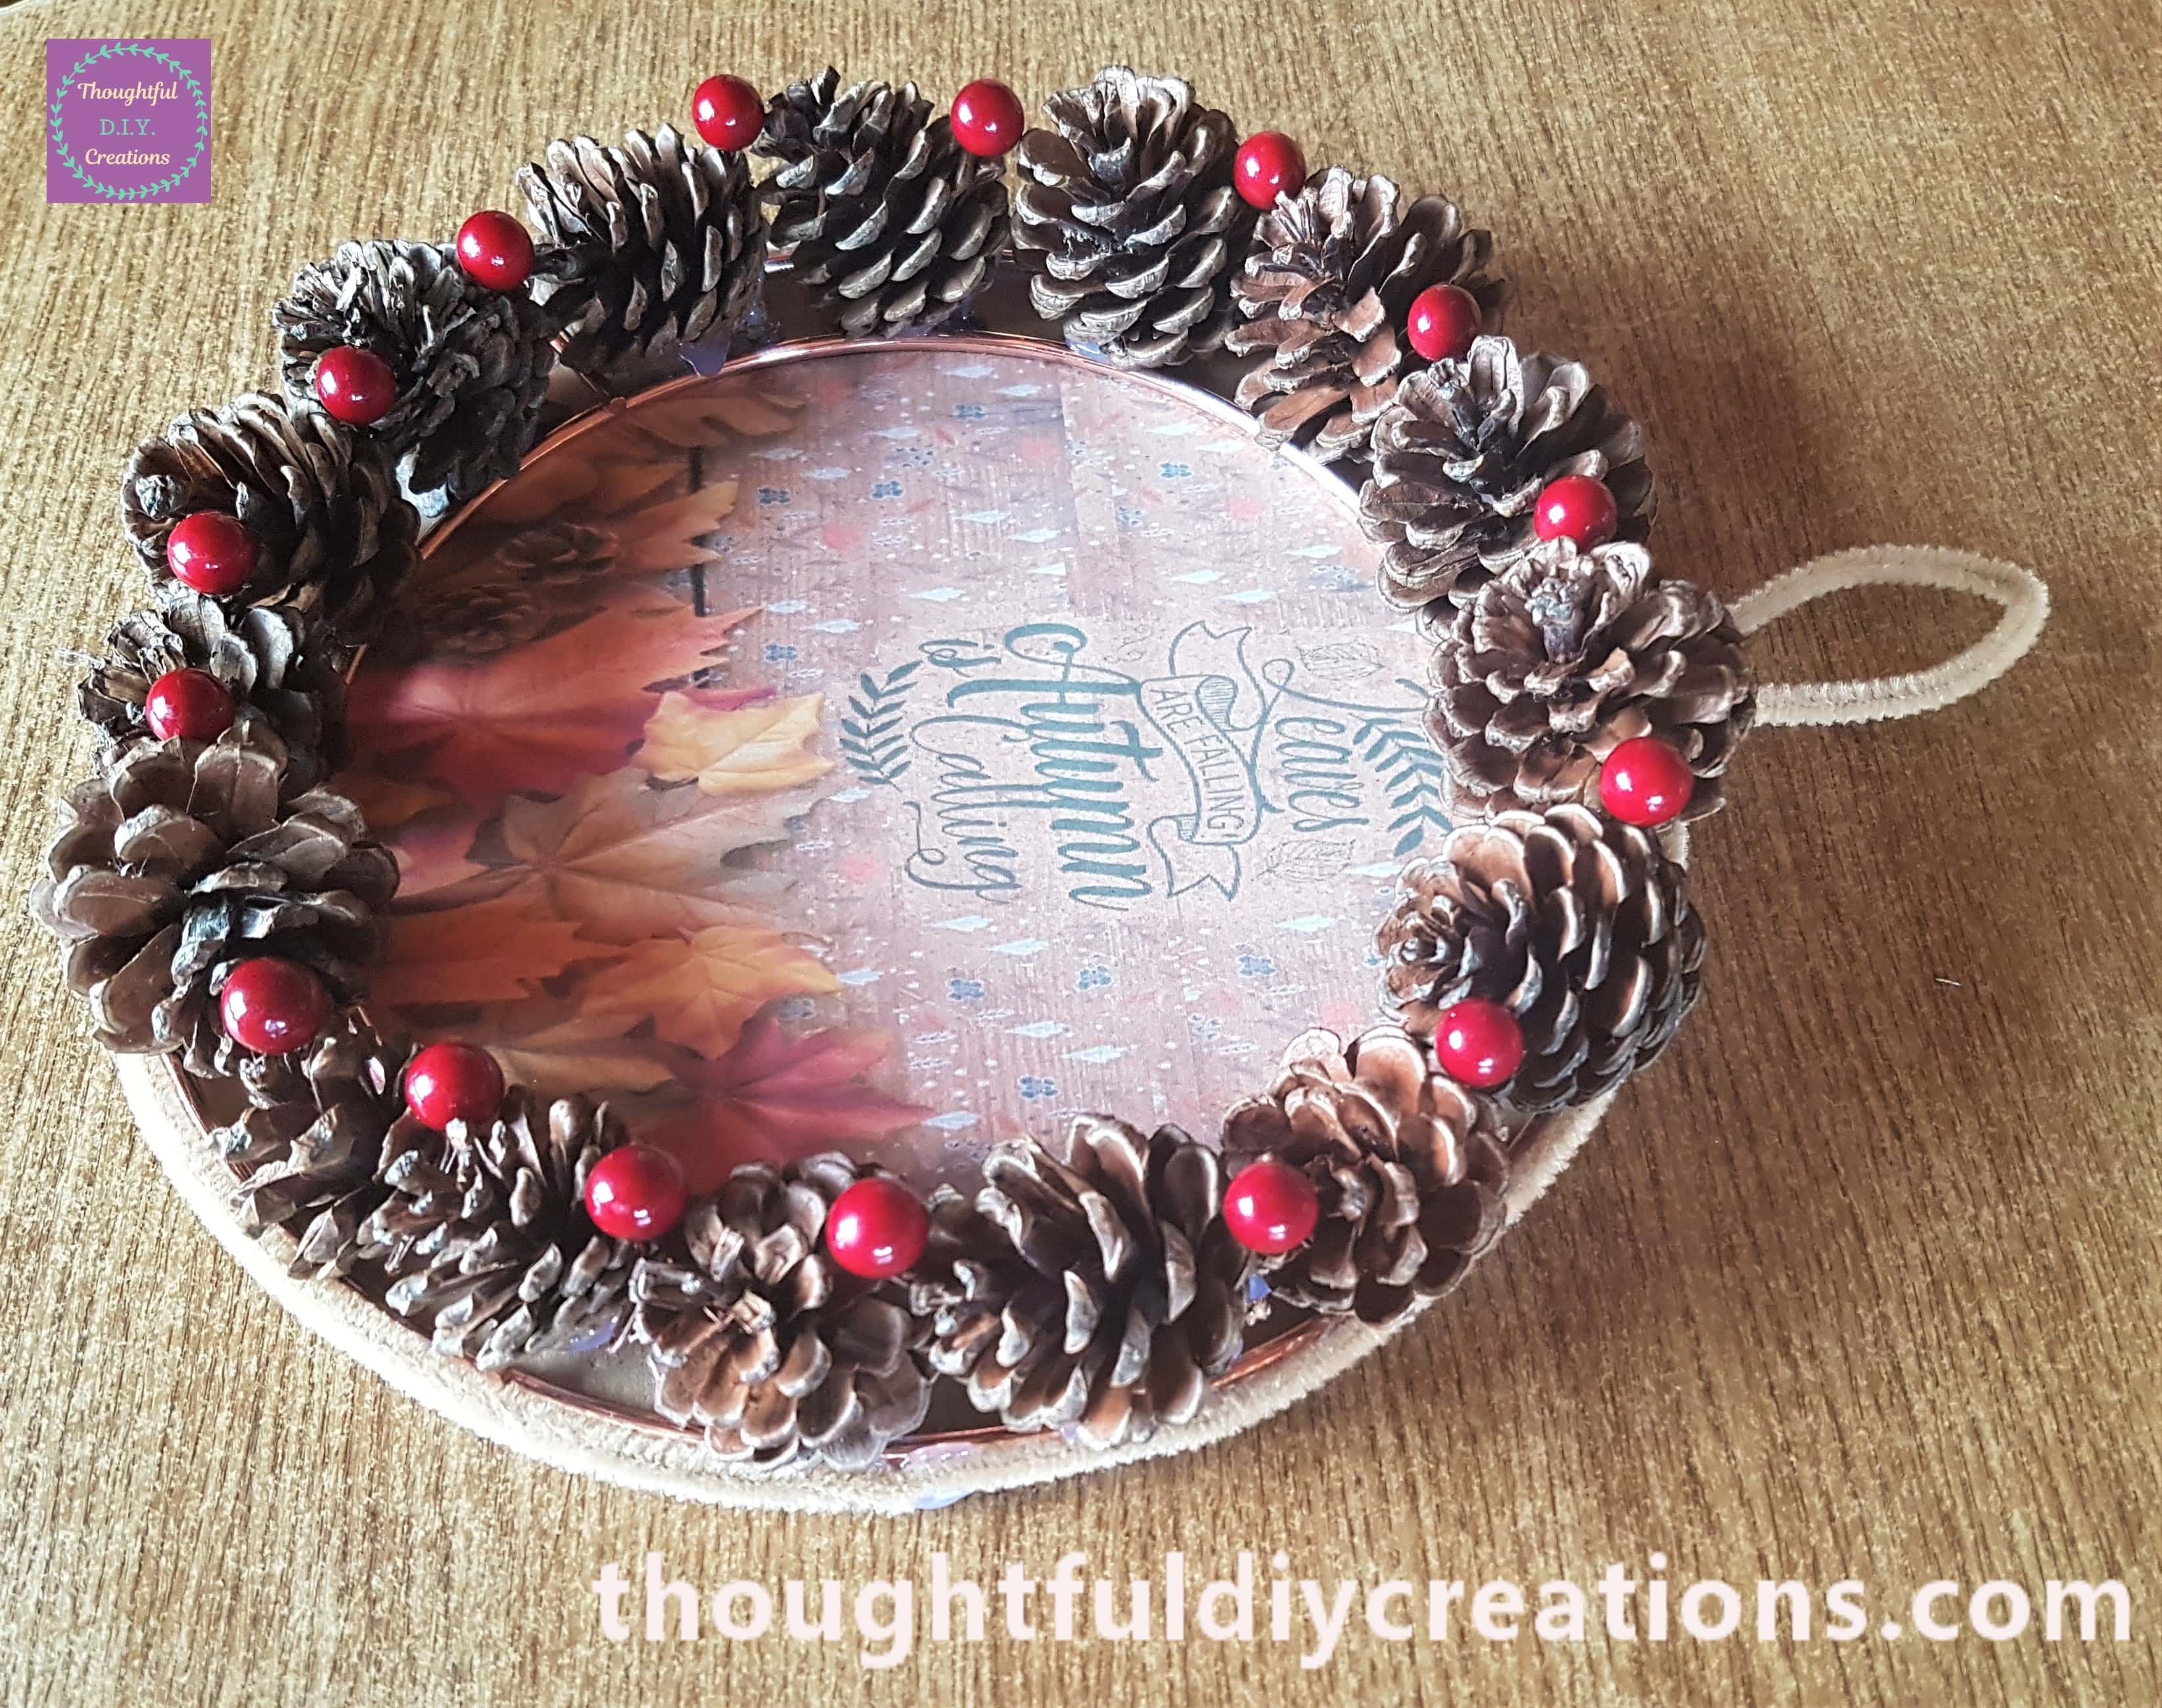
A side view of the Wreath with berries added.
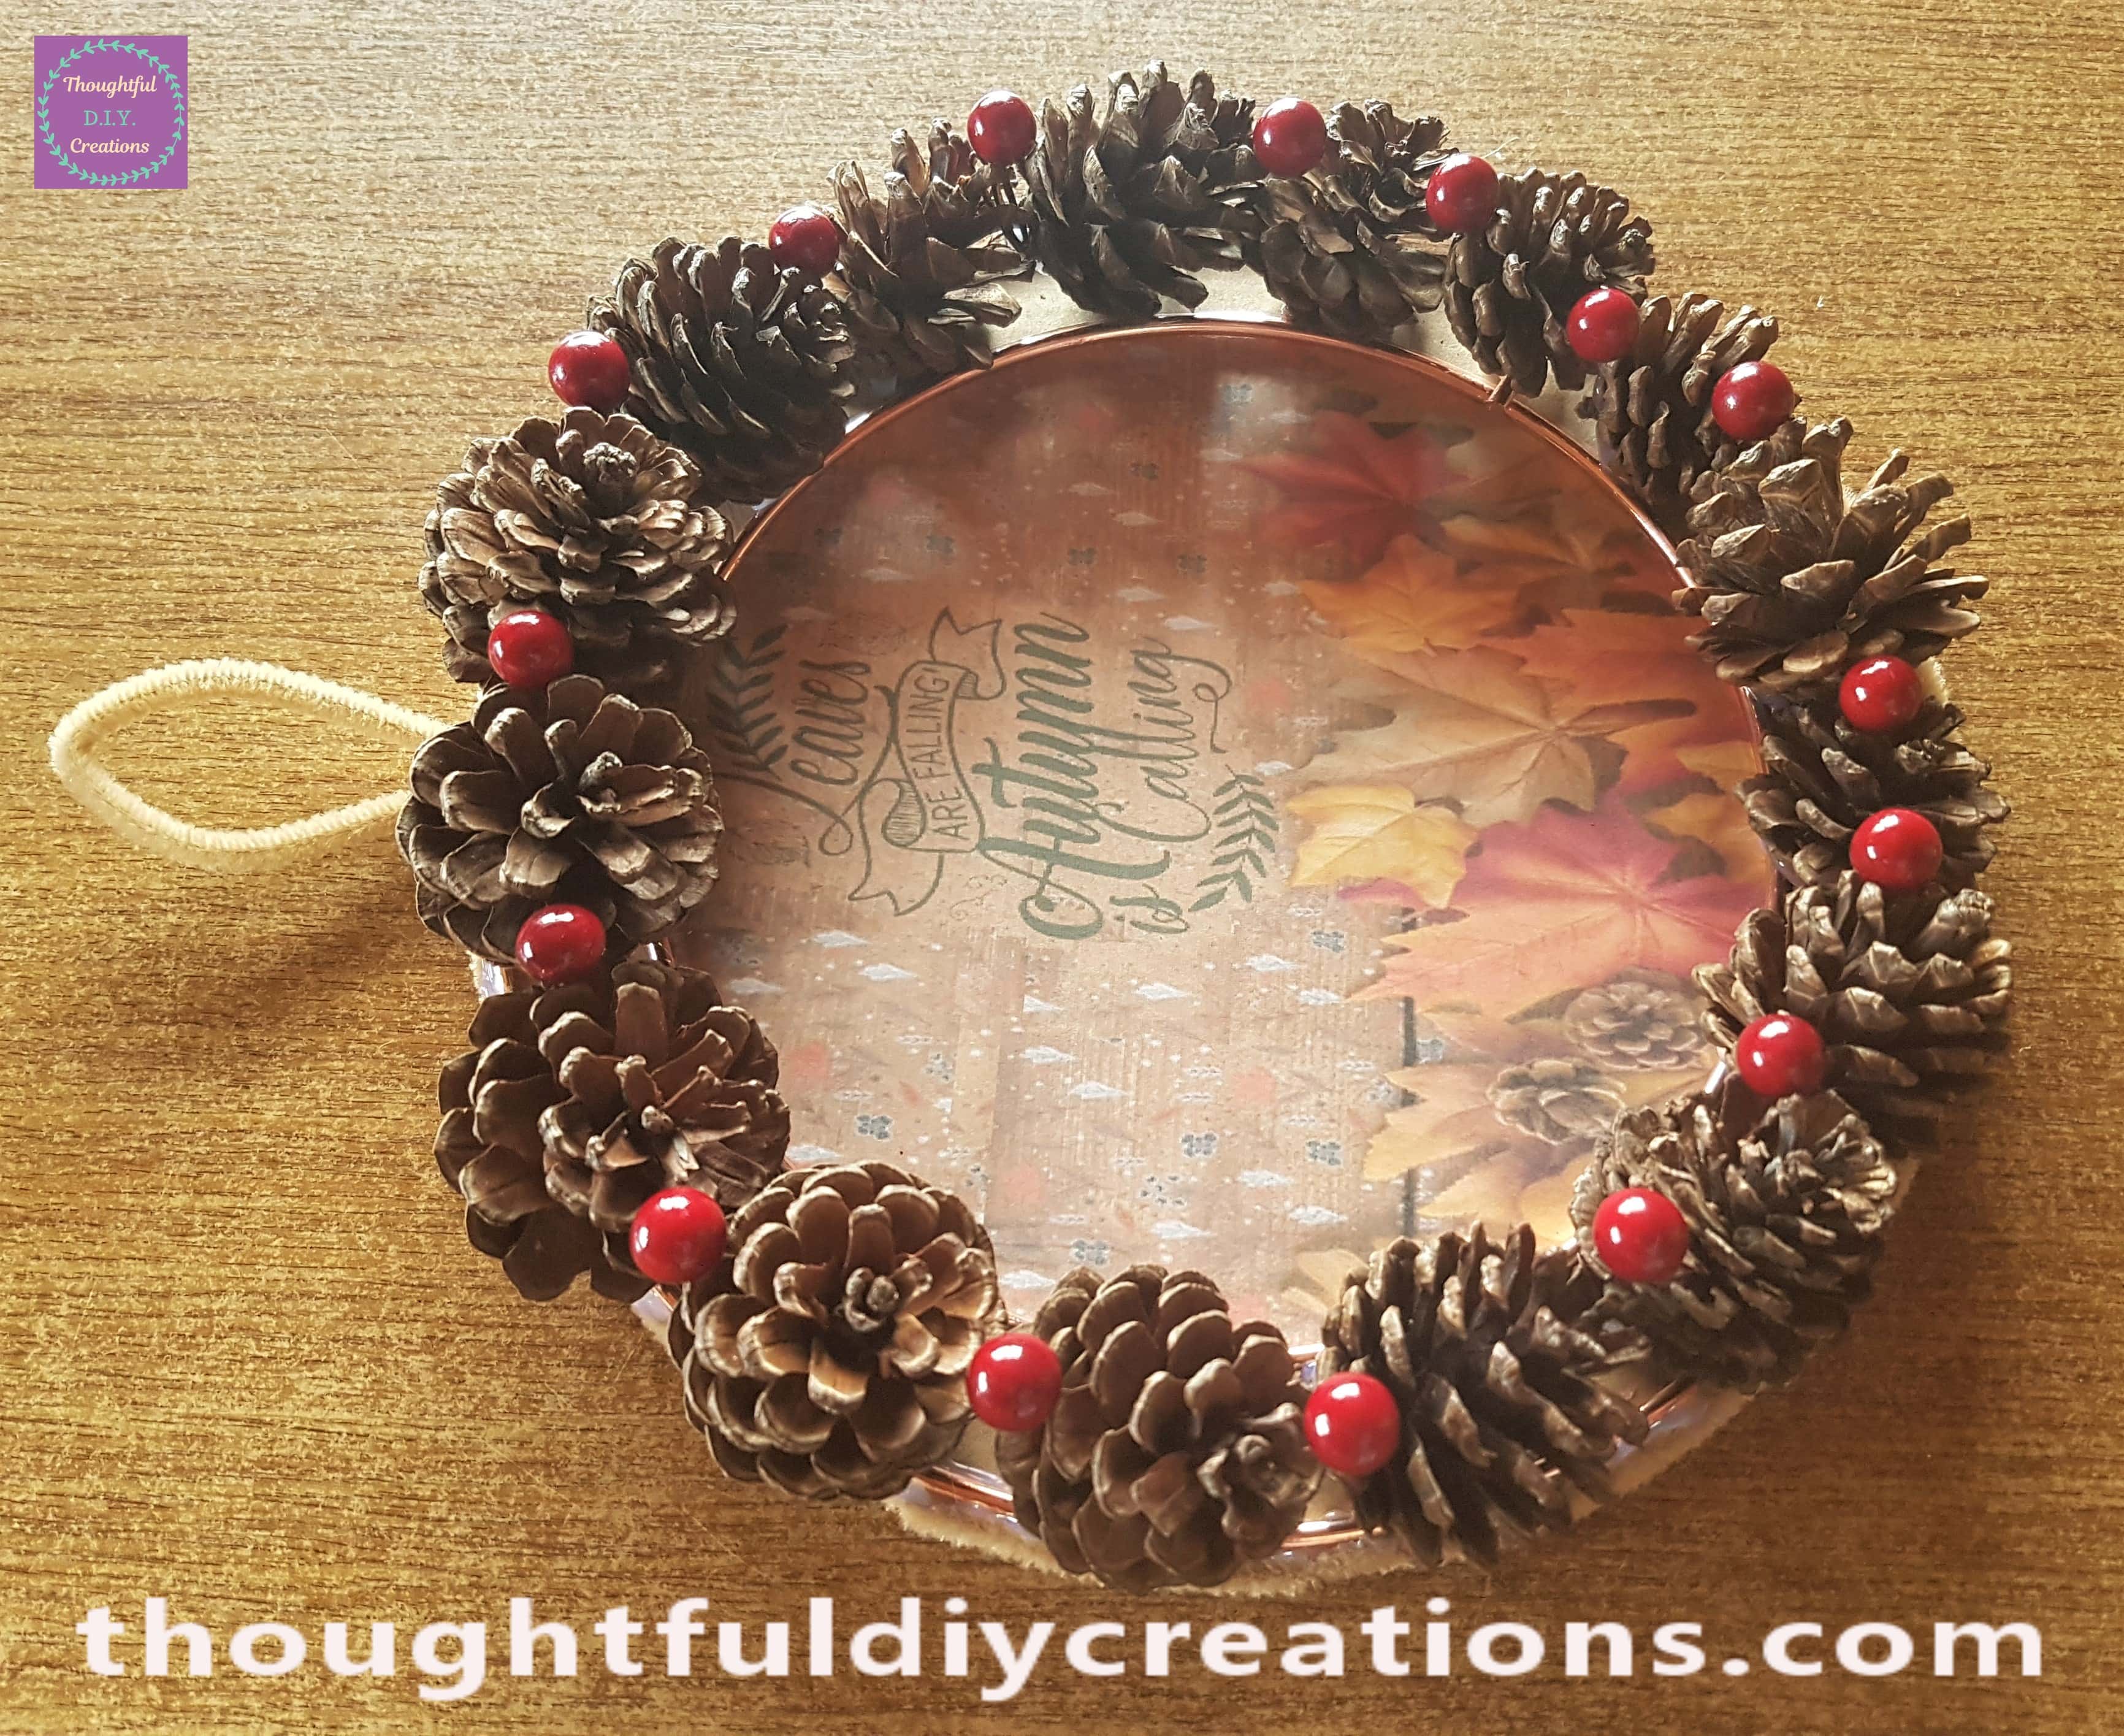
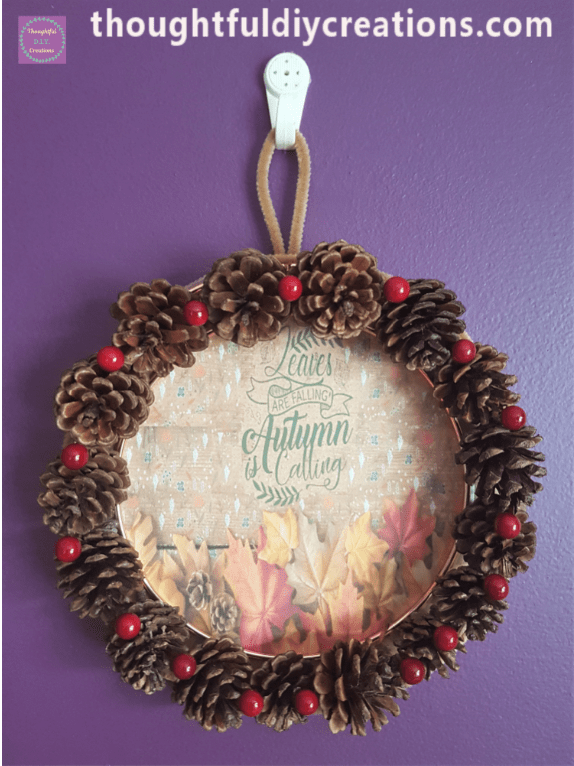
This Completed my Autumn Wreath.
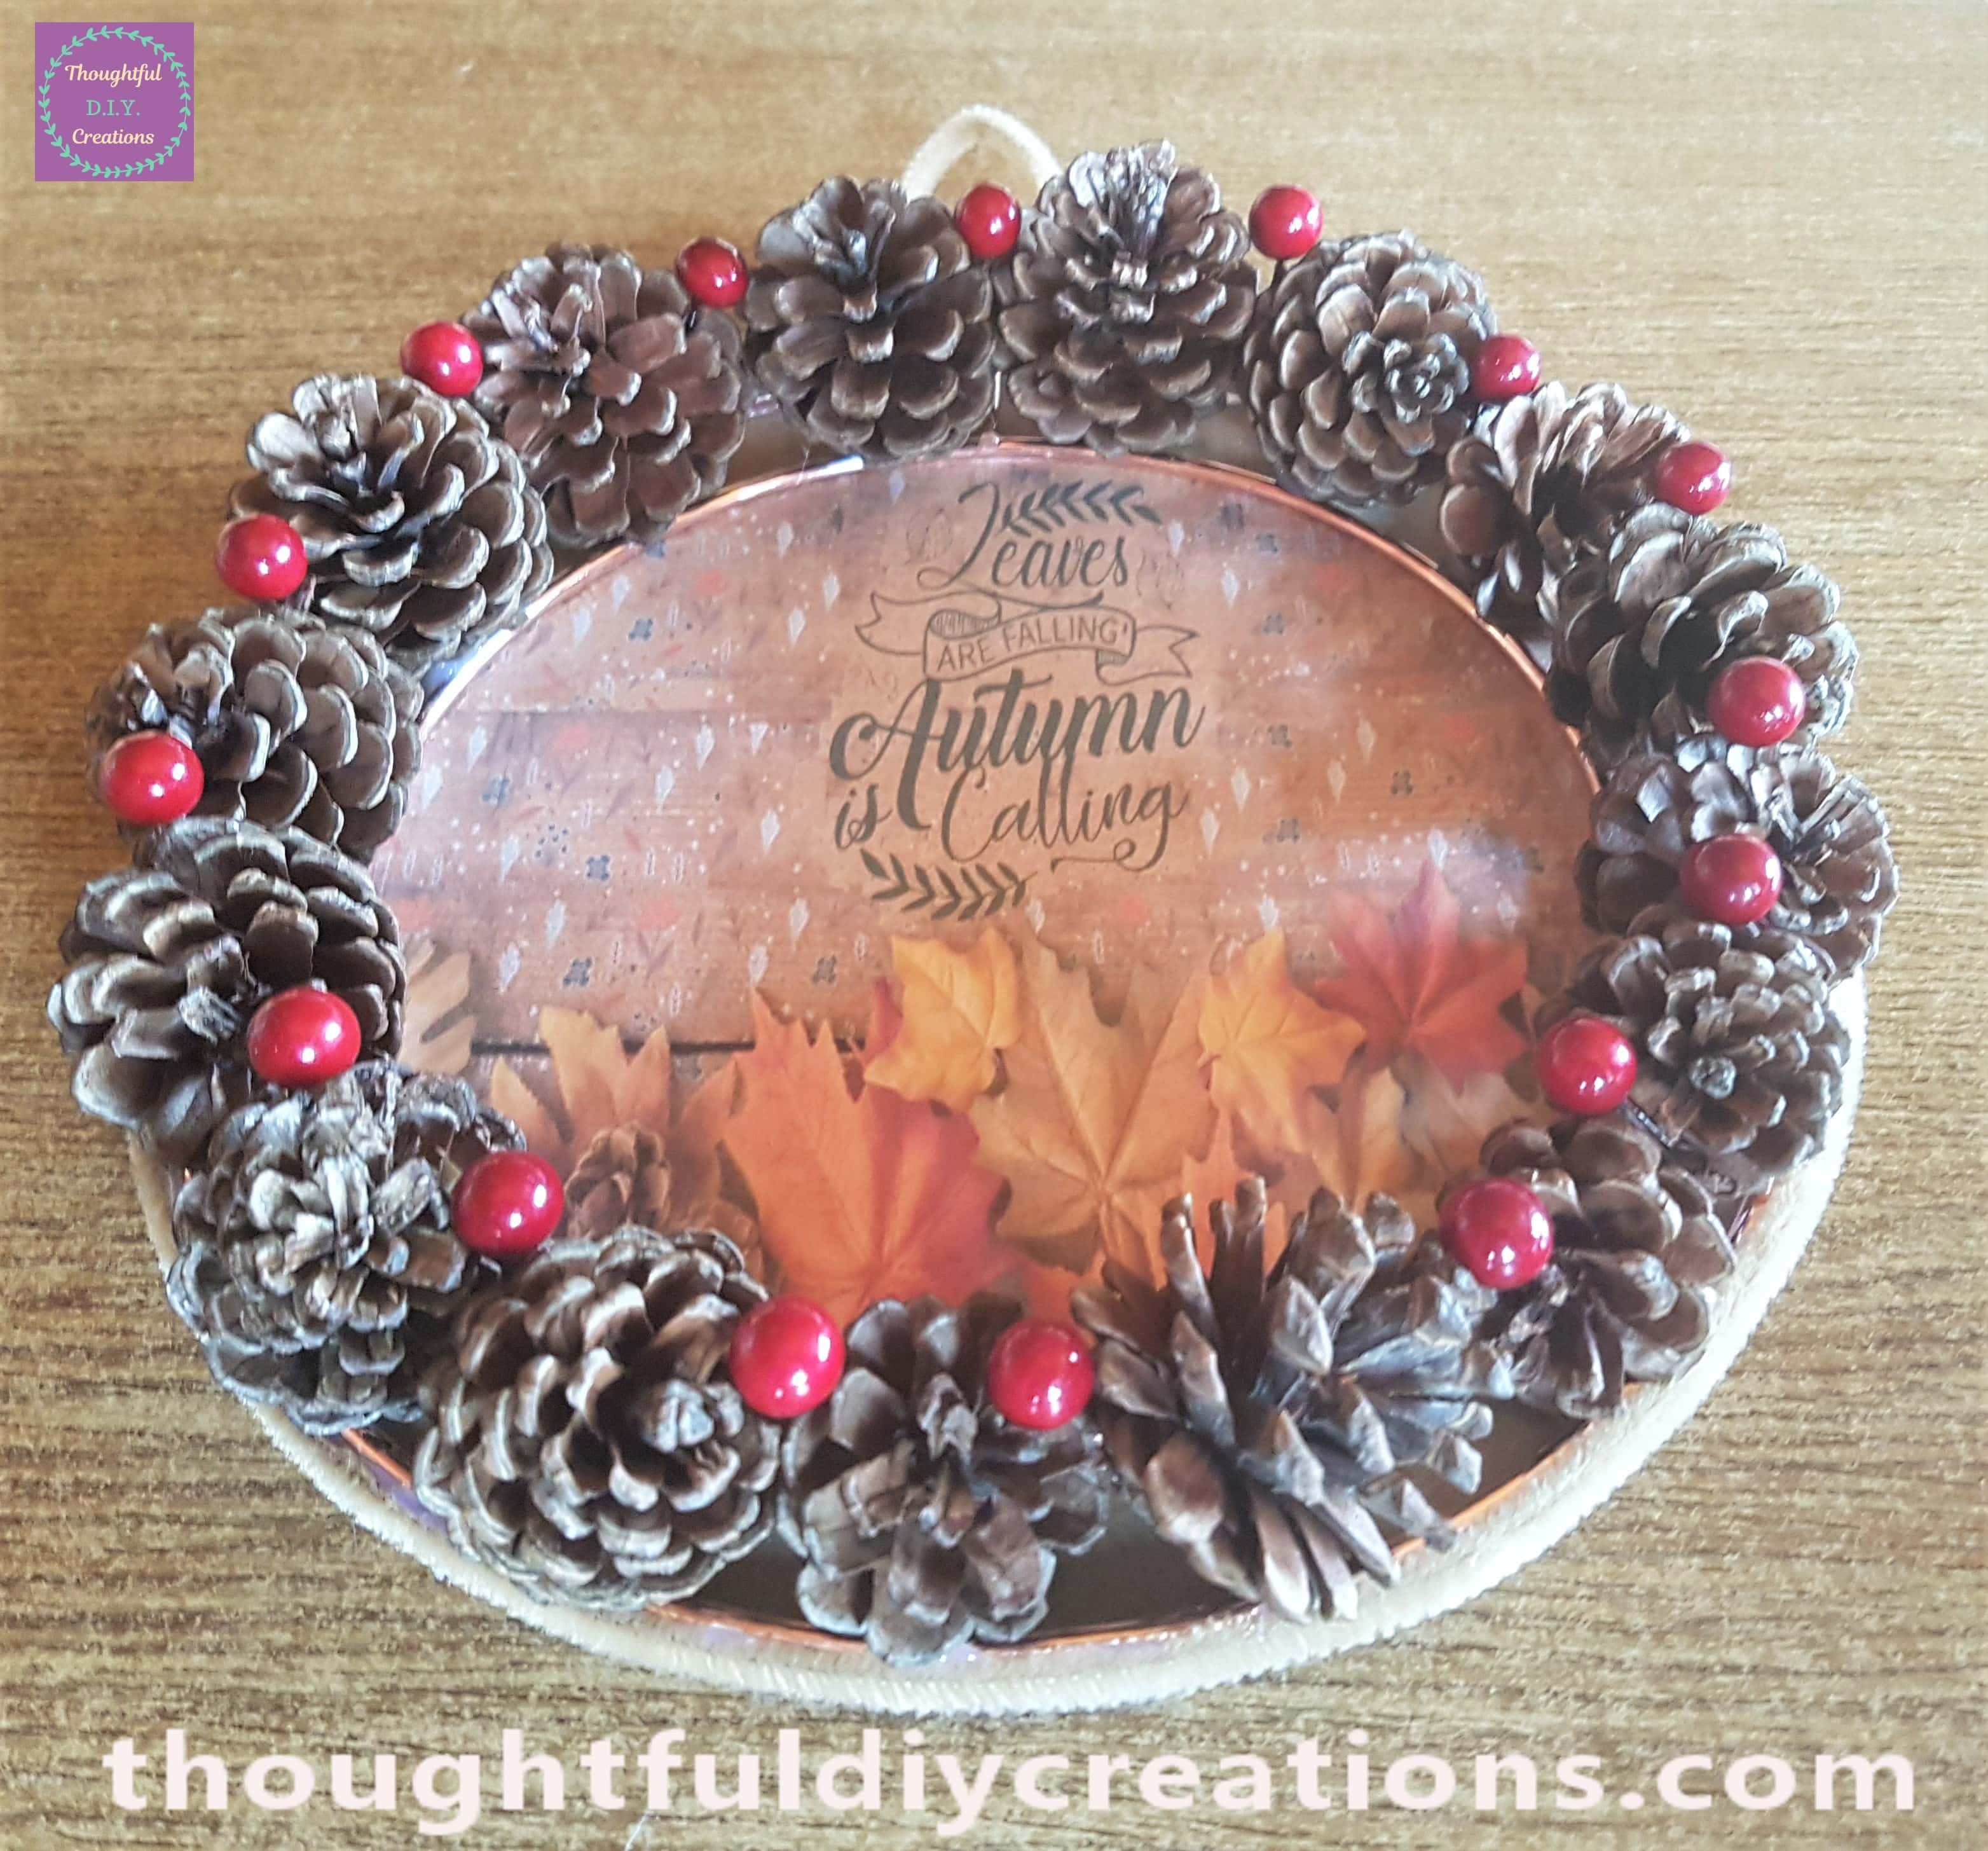
This is the Autumn Wreath hanging up on the Wall.
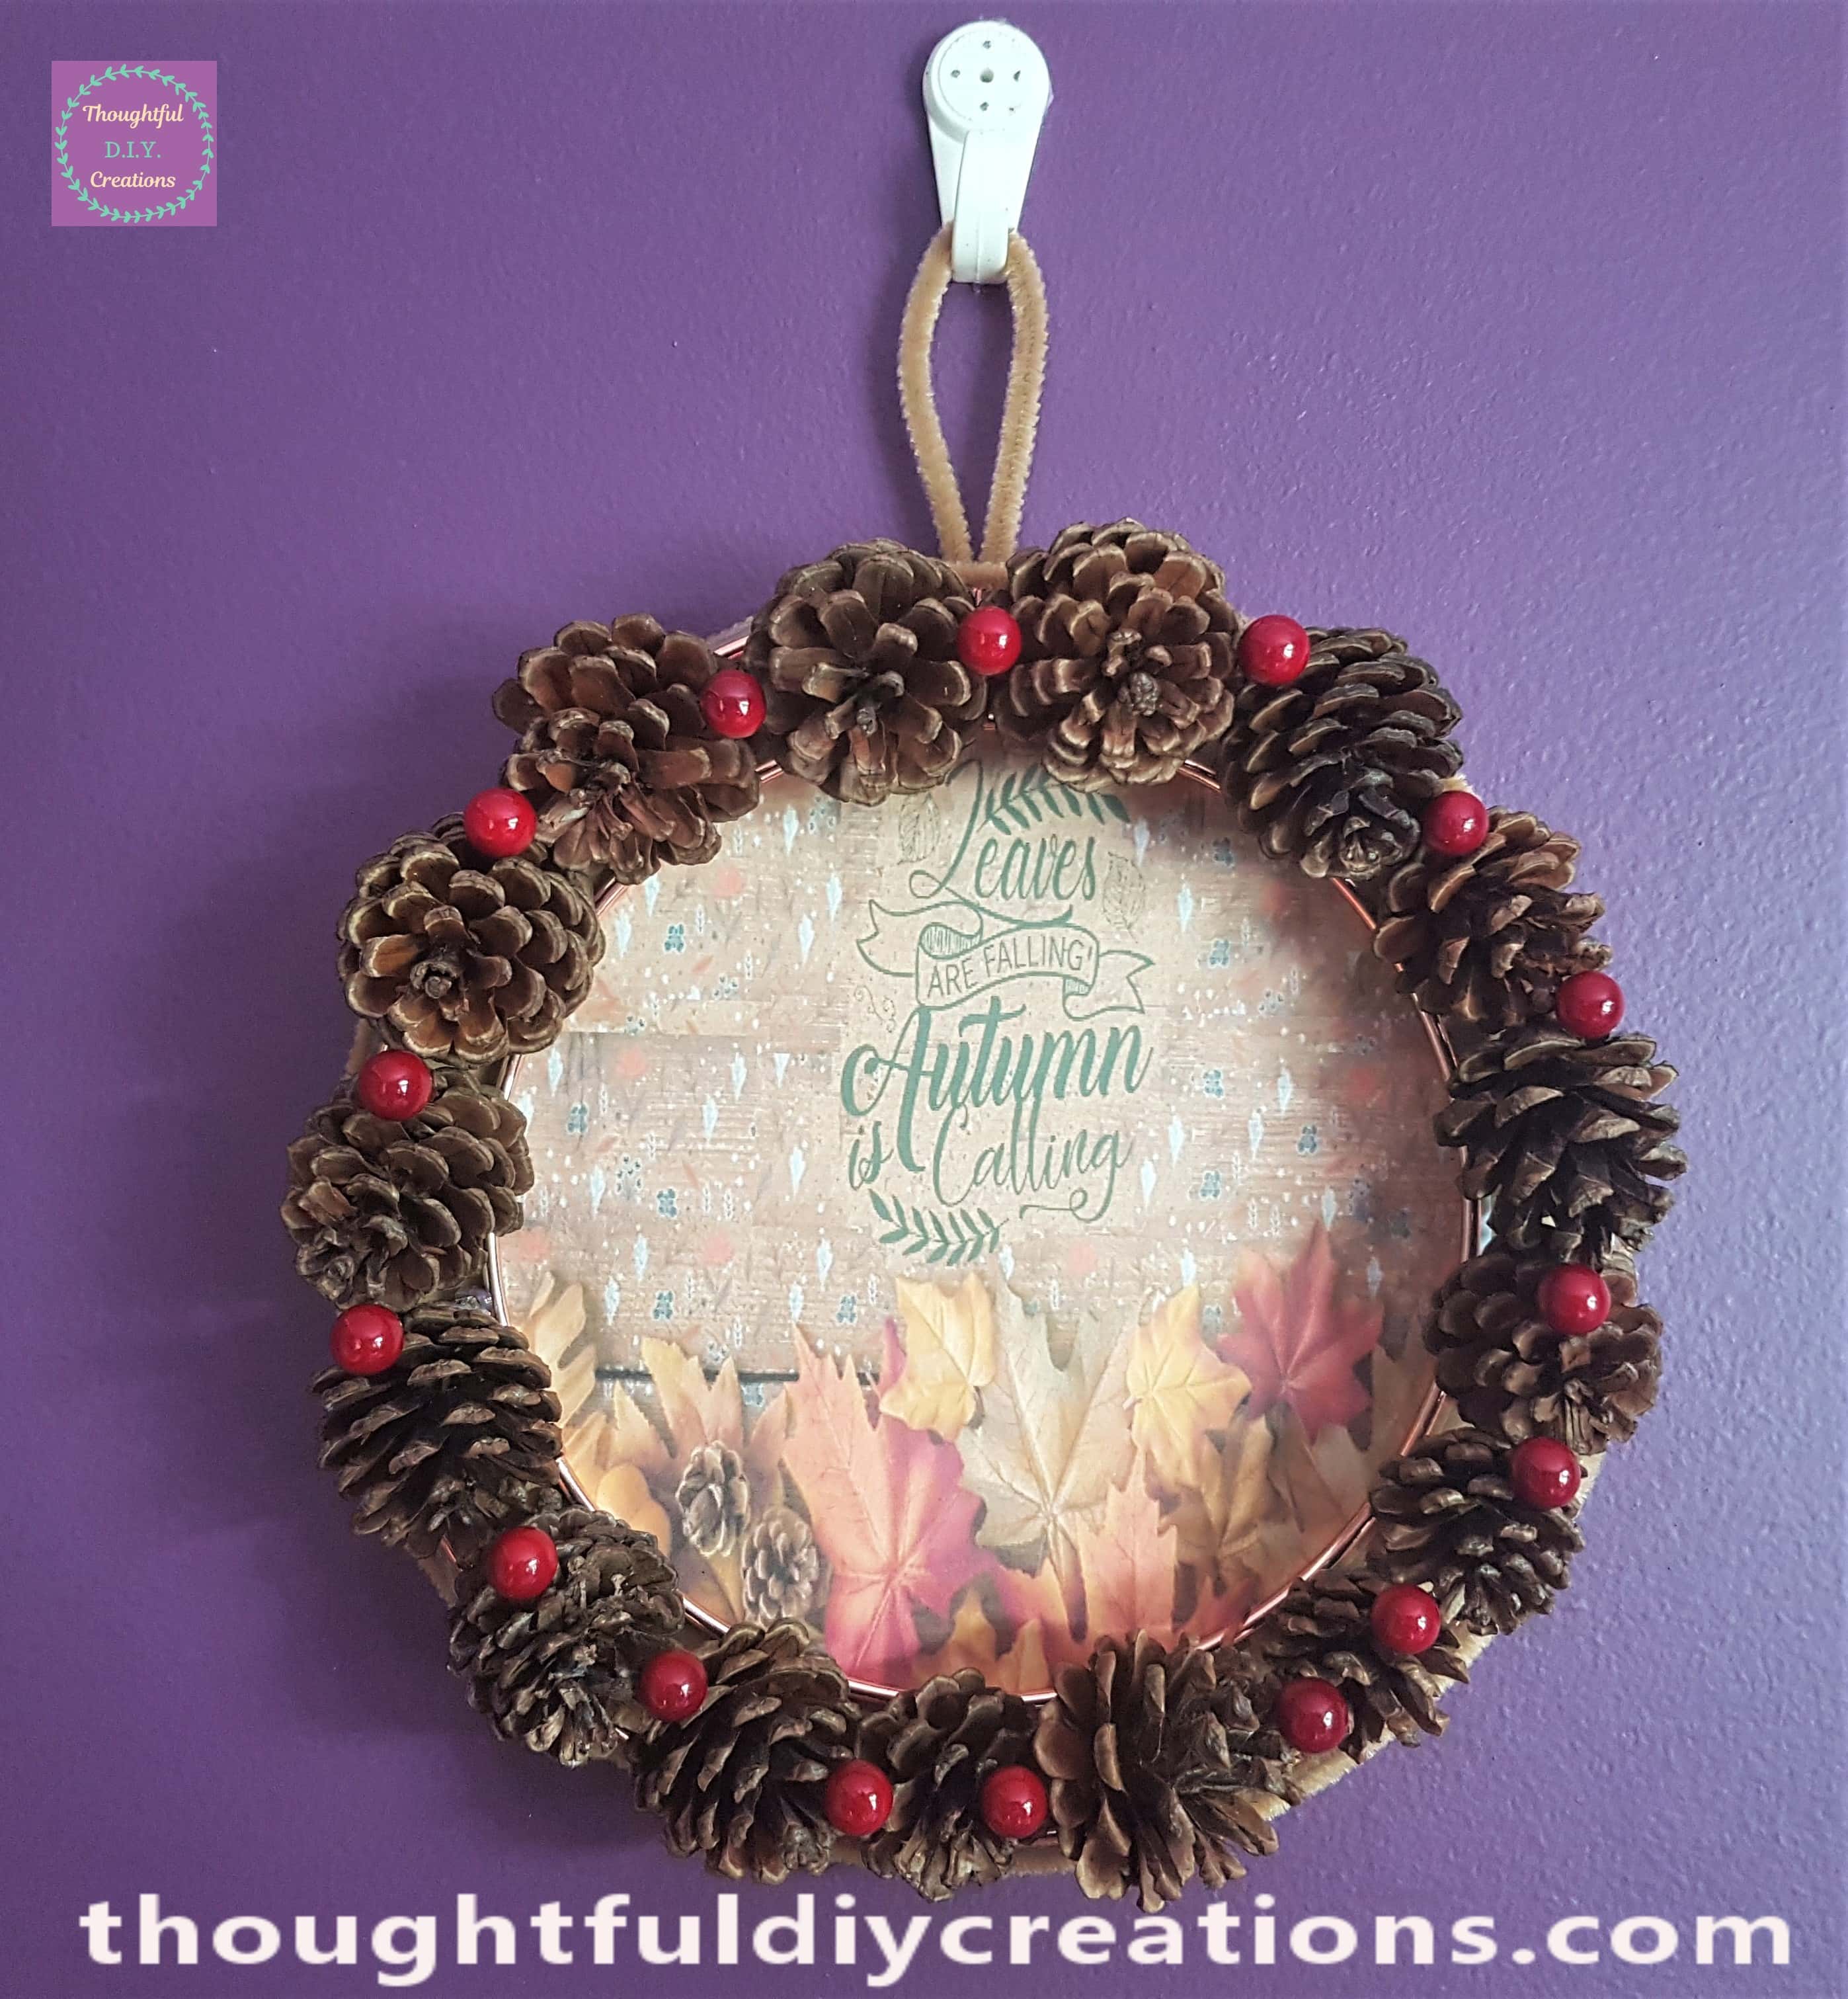
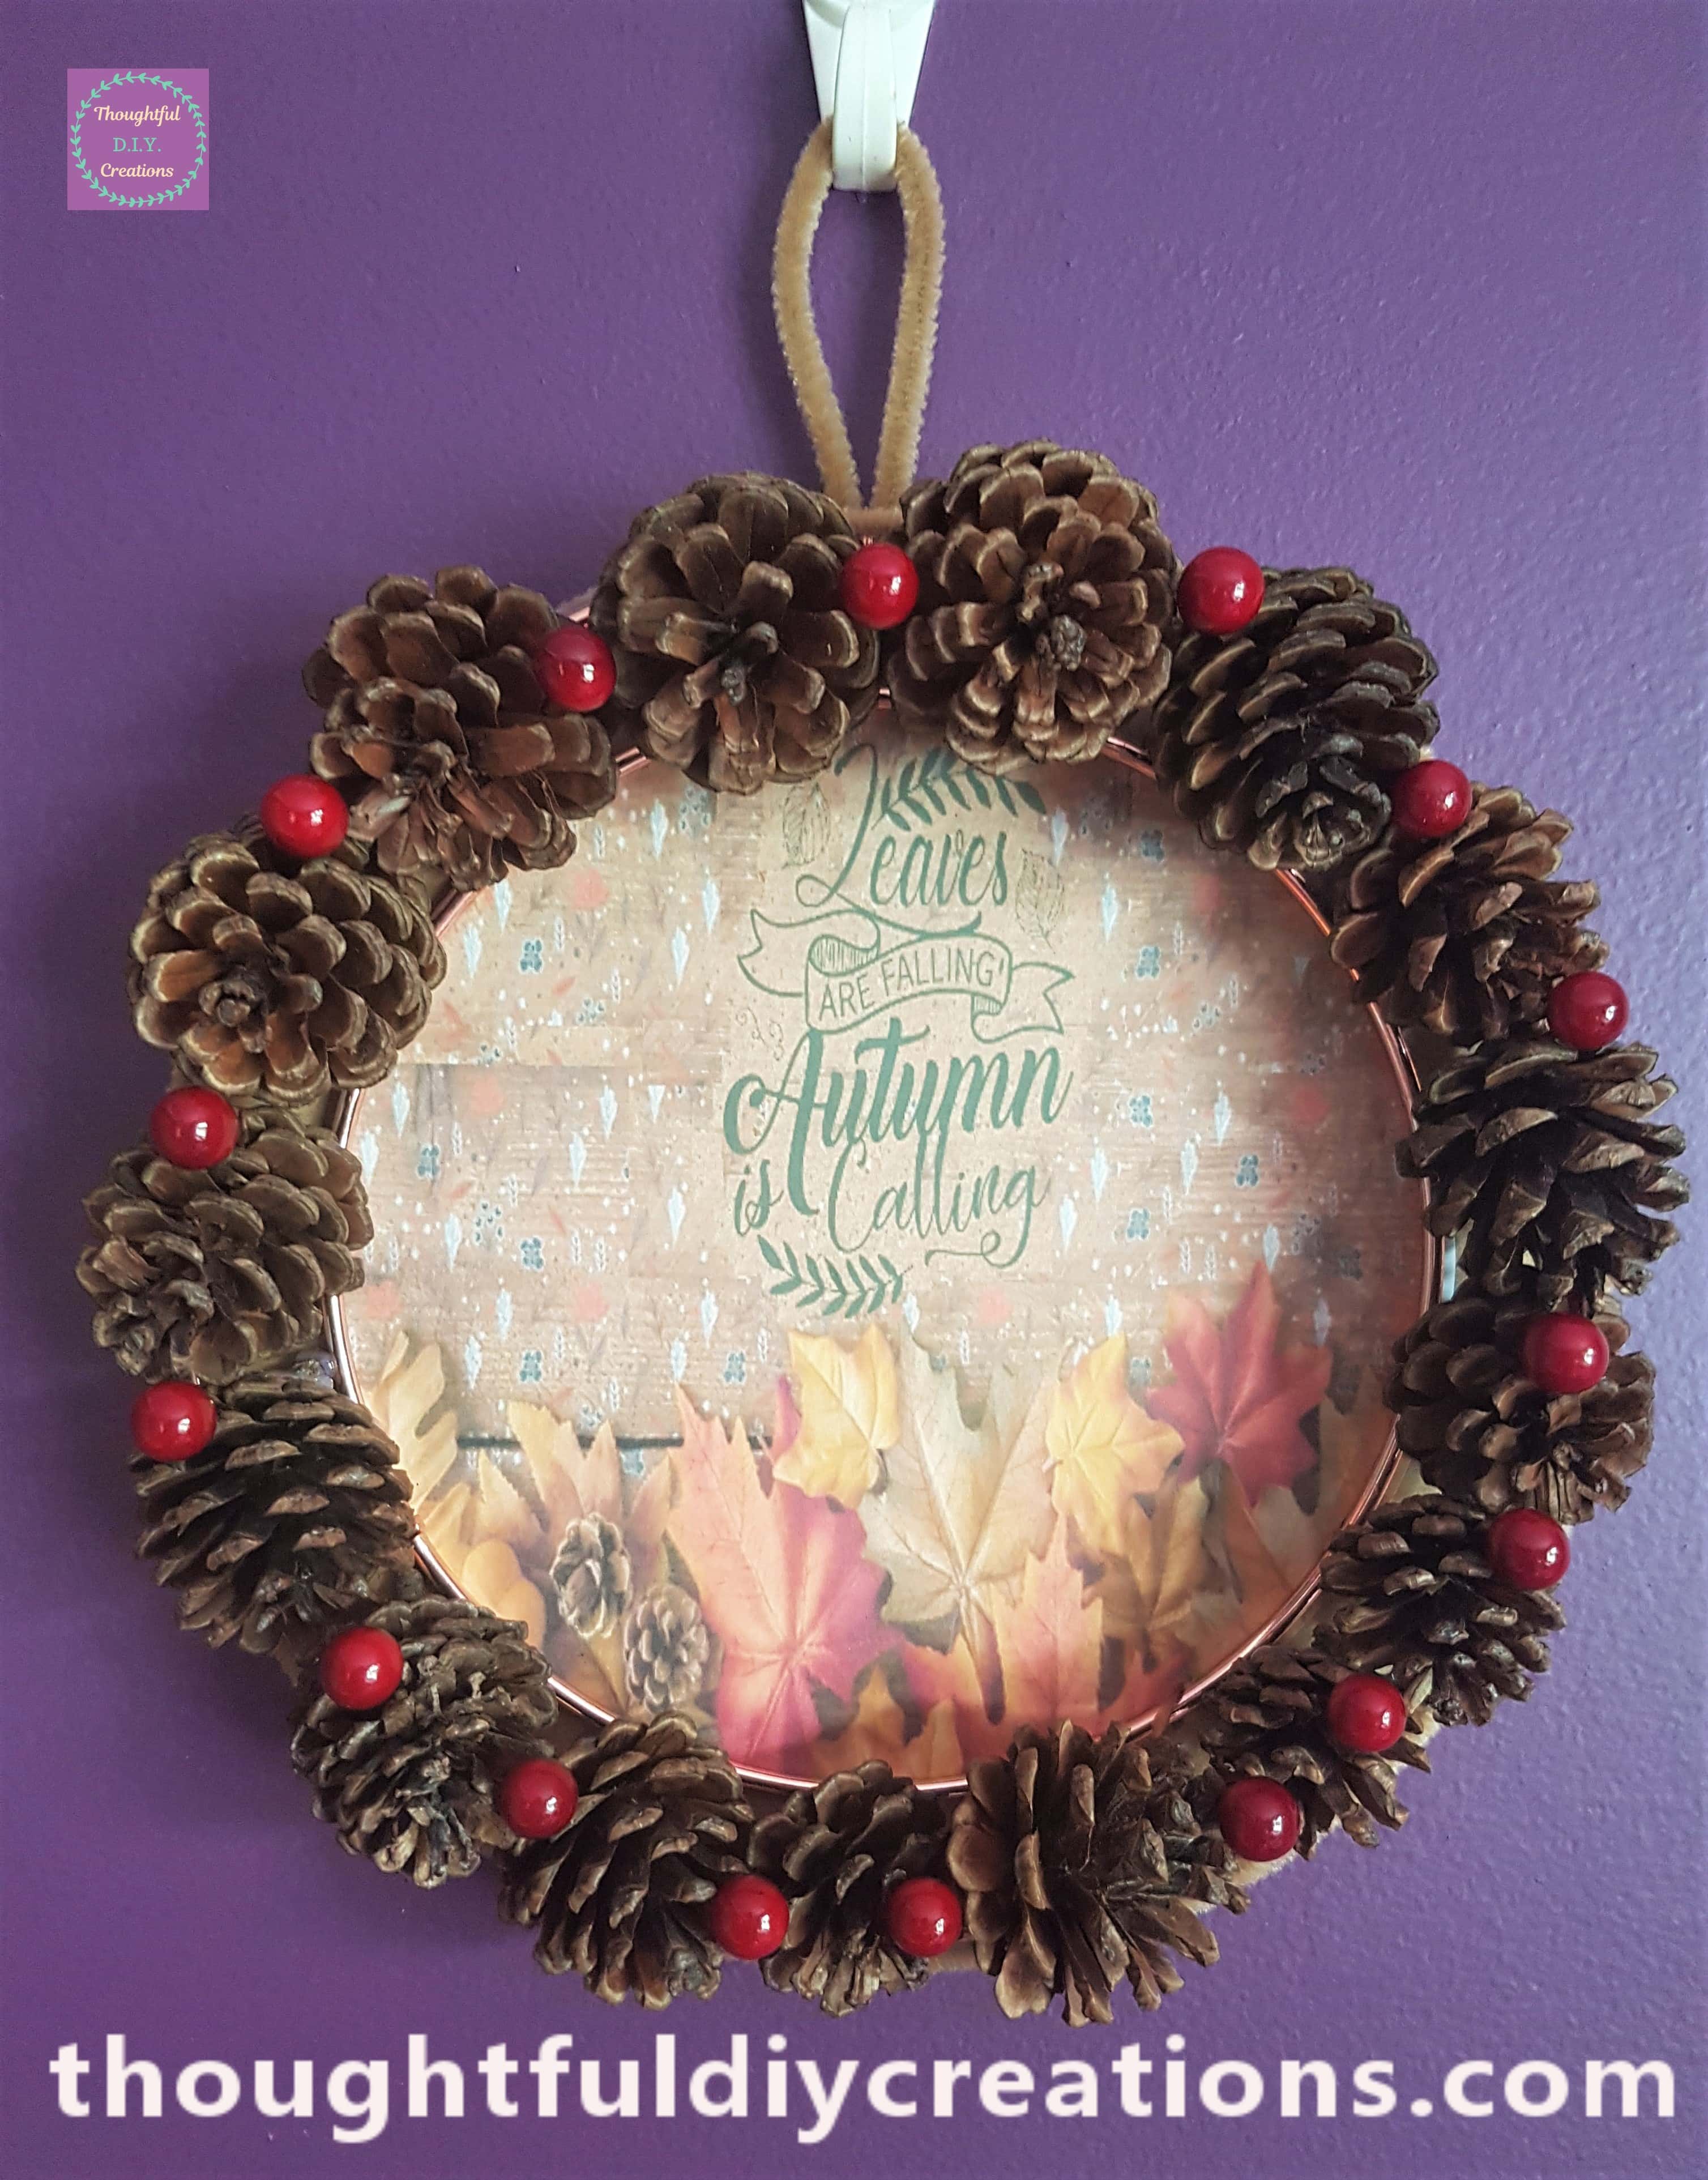
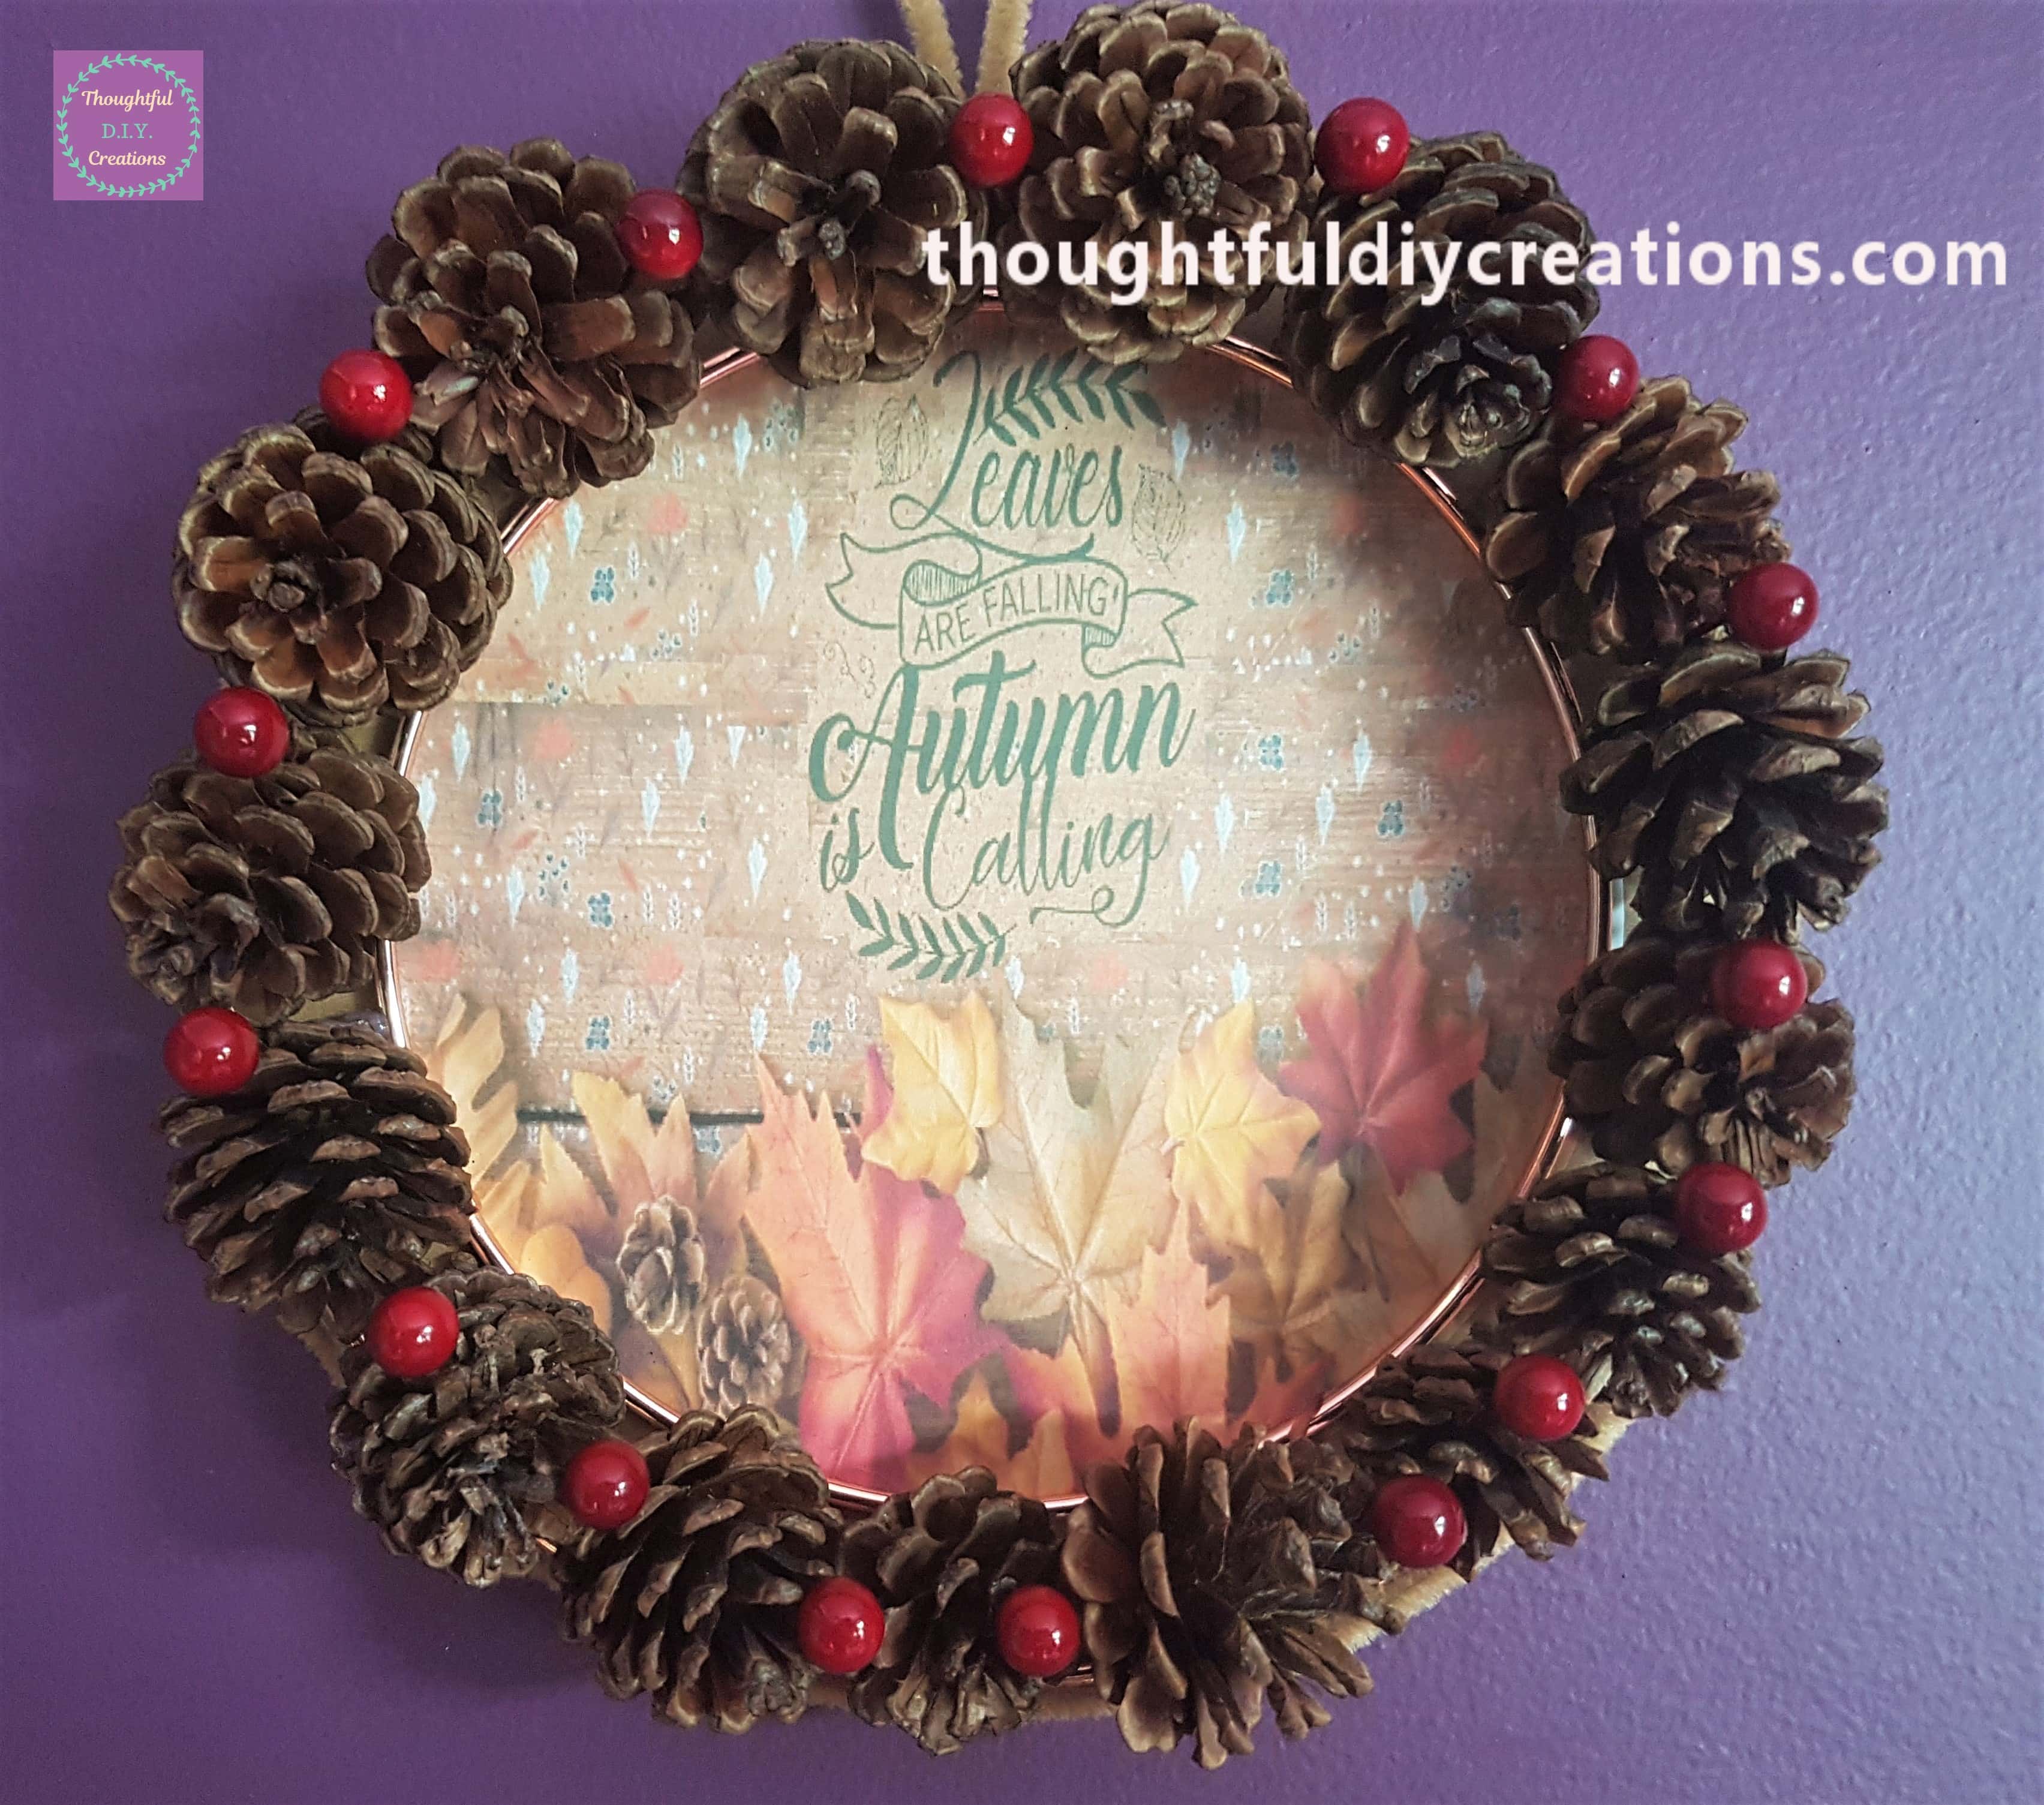
A closer look at the Autumn Picture.
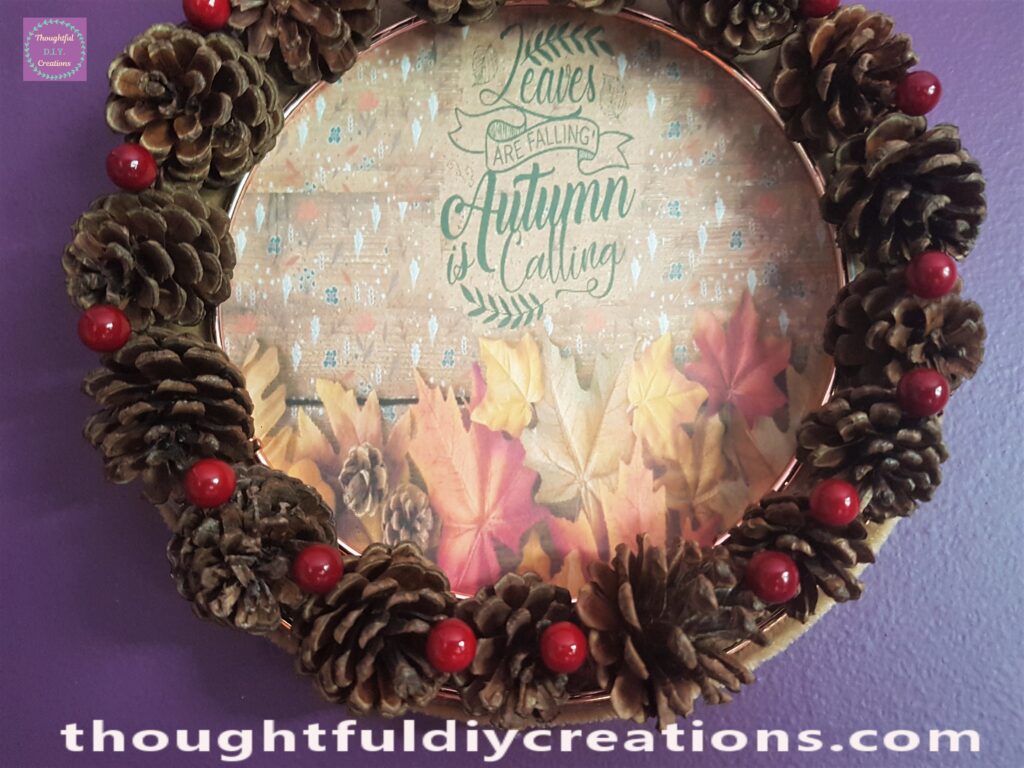
The final Image of the Autumn Wreath.
Conclusion
I am really happy with how my Autumn Wreath turned out. I love the Rustic / Natural appearance and how closely it resembles Nature. I like the tones of orange in the picture and the pop of red from the berries against the brown pine cones. I much prefer the Quote I chose and the Colour Green for the Font. I think it all came together nicely. I love the Cosy and Warm Colours associated with Autumn.
The Autumn Canvas I made last year would complement this Wreath and would be a beautiful way of bringing the Autumn Colours indoors as part of your Home Decor.
I hope you got some ideas if you were thinking of Making your own Wreath. You could collect your own Pine Cones and put them in the oven for 10 minutes to kill any bacteria on them. It would make your Wreath even more budget friendly.
Do you Make your own Wreaths for Seasonal Decor? They are a great way to embrace the Change in Seasons and can be displayed on the Wall or Door so don’t take up too much room. They can be easily stored away and re-used the following year.
If you have any questions or anything to add on this topic just fill out the Comment Box below this Blog Post. I’d love to hear your thoughts. Have you any family Autumn traditions you like to do each year?
Thank you so much for taking the time to Read my Blog.
Always Grateful,
T.D.C.
xoxox



-0 Comment-