Beer Bottle Cap Frame & Monogram
Hello my Creative Friends,
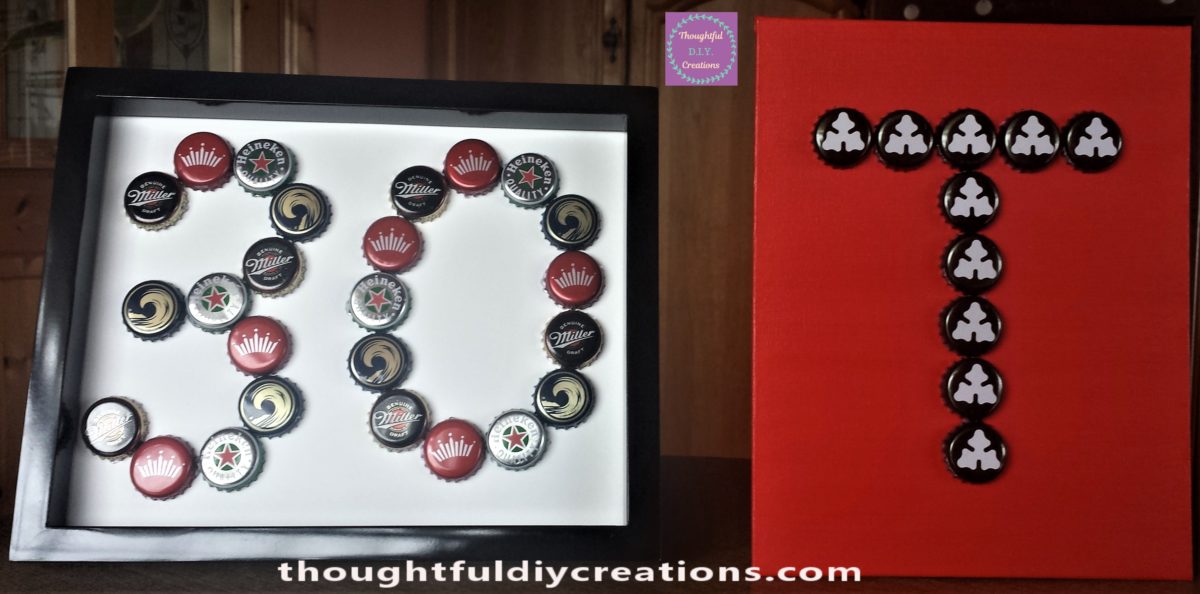
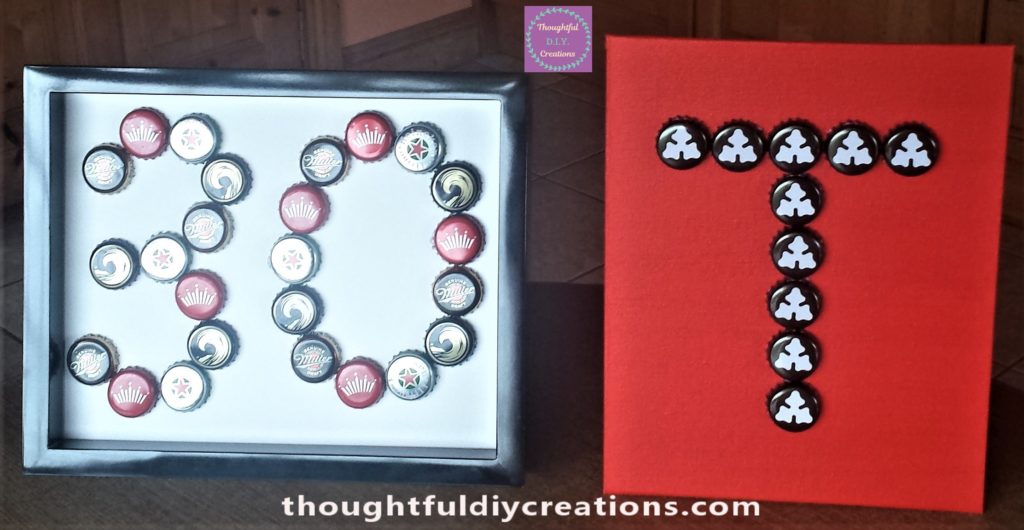
I hope you are all well. In Today’s Tutorial I will show you how to re-use Beer Bottle Caps and turn them into a thoughtful D.I.Y. Gift Idea. I have made a Beer Bottle Cap Monogram as well as an Age ’30’ Frame. I hope it inspires you to make your own for yourself or for a family member or friend.
Preparing the Beer Bottle Caps for Crafting
I have been collecting beer bottle caps for a while now. I sorted through my collection and picked the best ones to use. I put the bottle caps into a container with hot water and washing up liquid. I left them to soak for about 30 minutes and then I rinsed them with warm water and dried them with a tea-cloth.
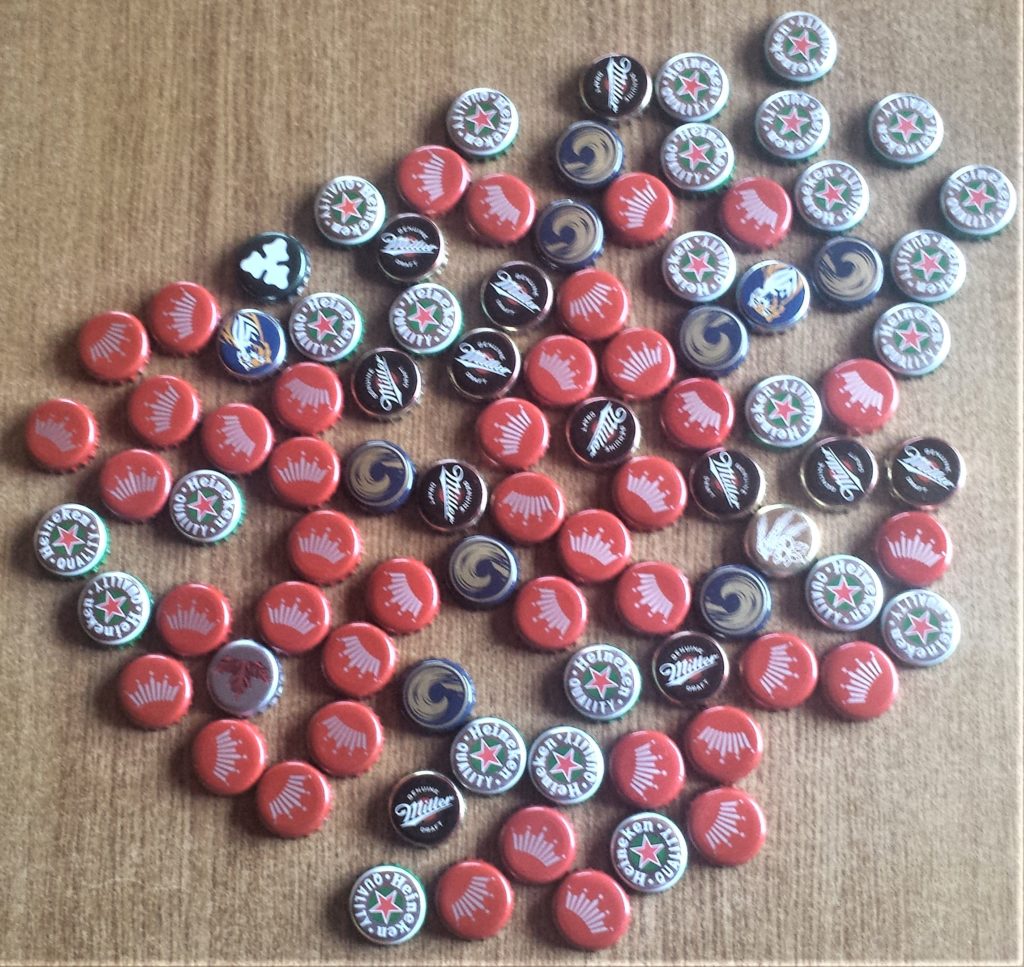
Beer Bottle Cap Monogram
For the Monogram I used a Canvas Board. It measures 8 inches in width and 10 inches in height. You could also use a regular Canvas but the Canvas Board is stronger for holding the beer bottle caps down when gluing. Canvas Board.
Painting the Canvas Board
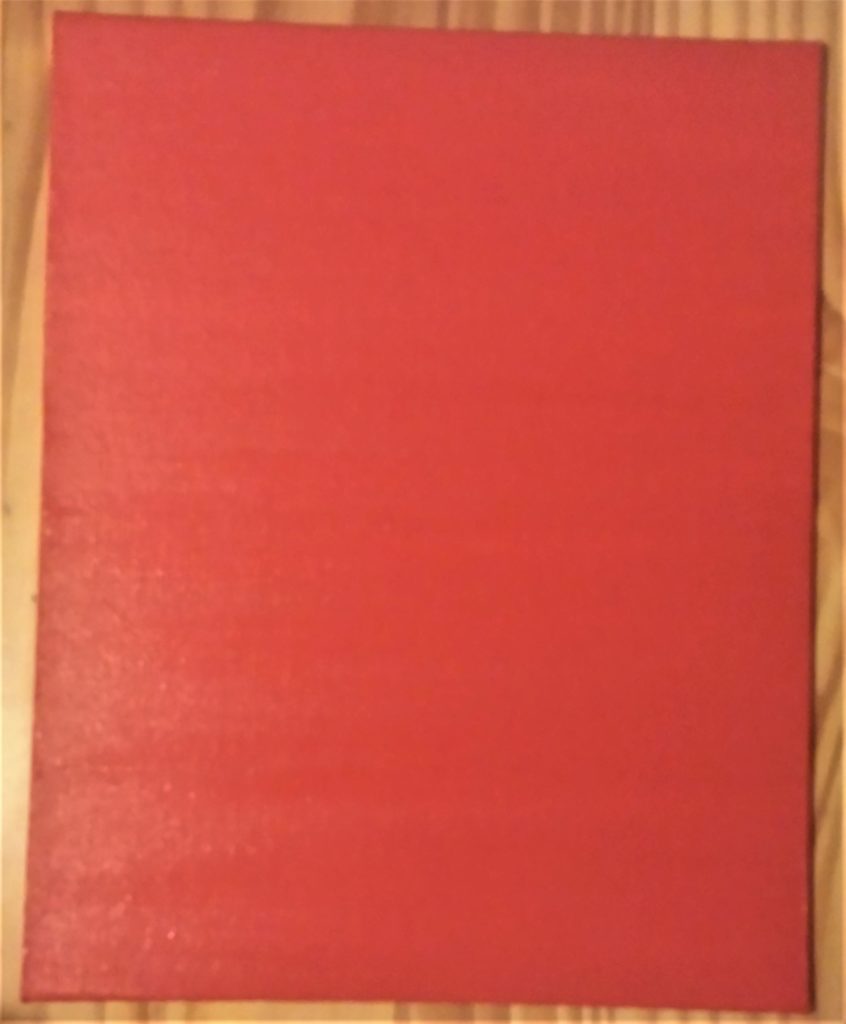
I painted the Canvas Board with Red Acrylic Paint. Cadmium Red Paint.
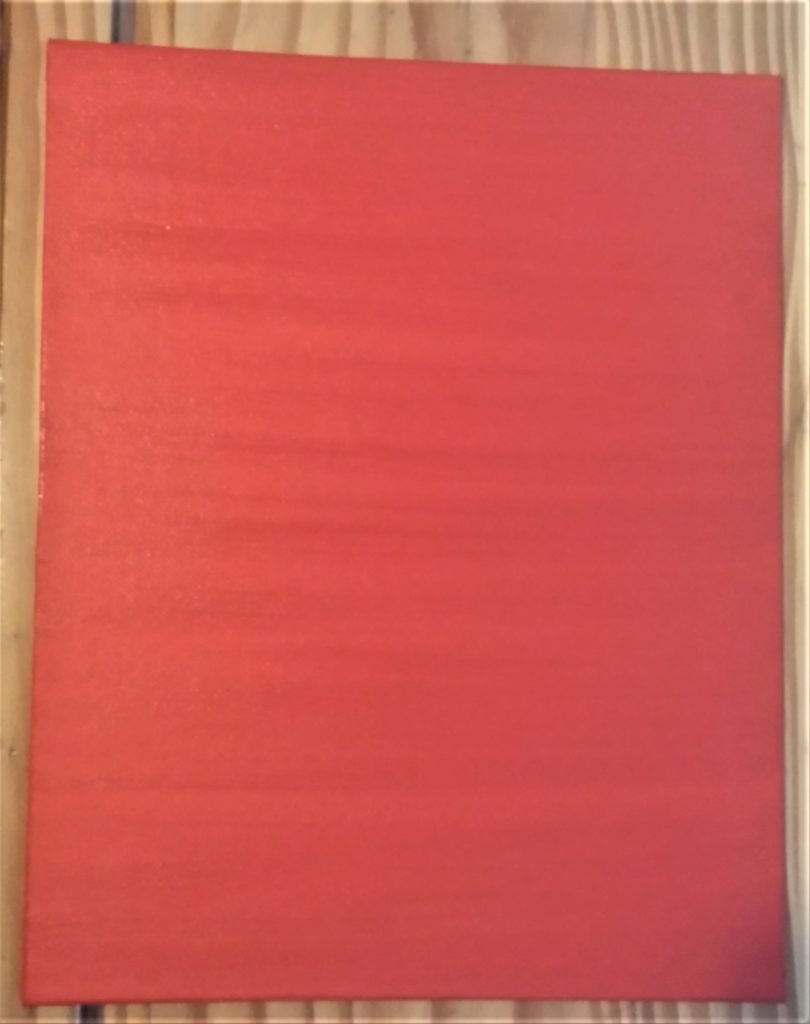
After an hour I painted a second layer of red paint onto the Board. I used a flat paintbrush nearly an inch in width.
Paintbrush Set.
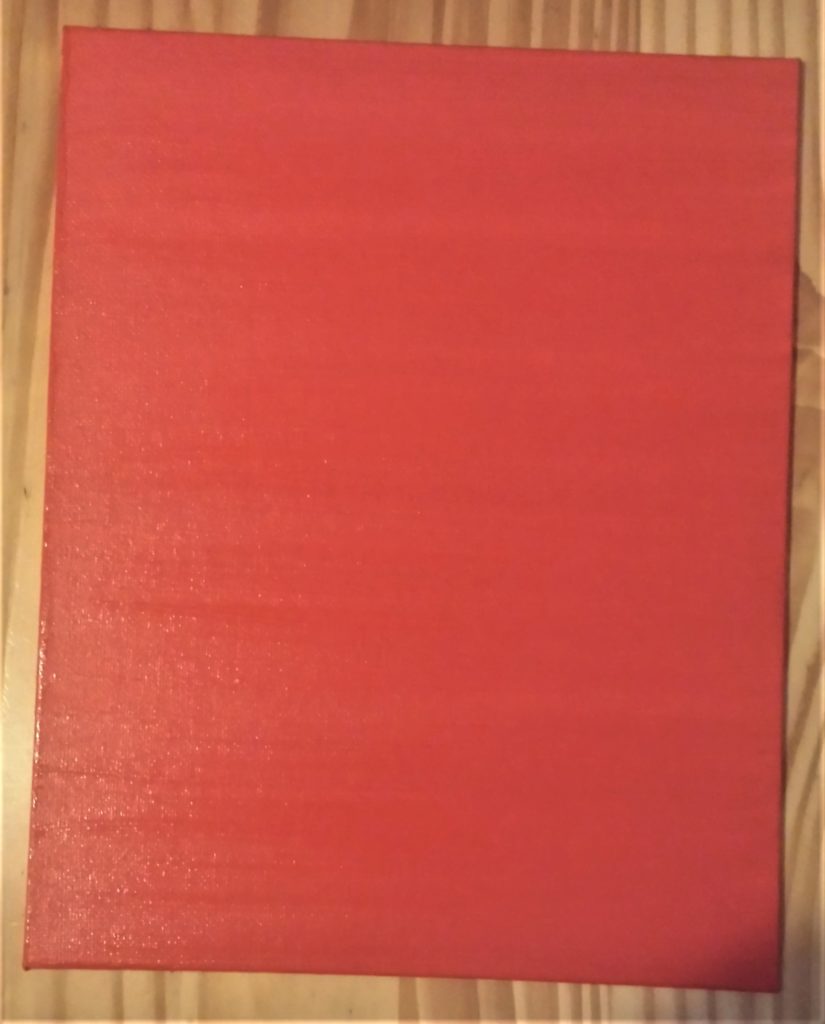
I waited another hour and then applied the third and final layer of paint. Cadmium Red Paint.
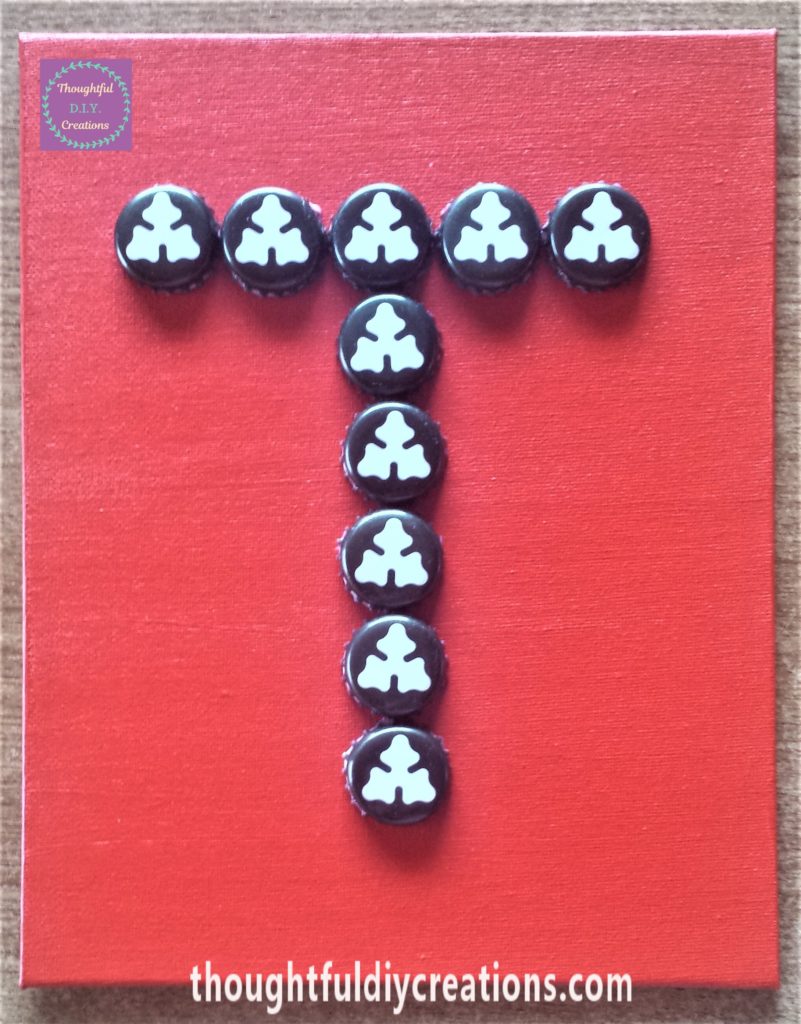
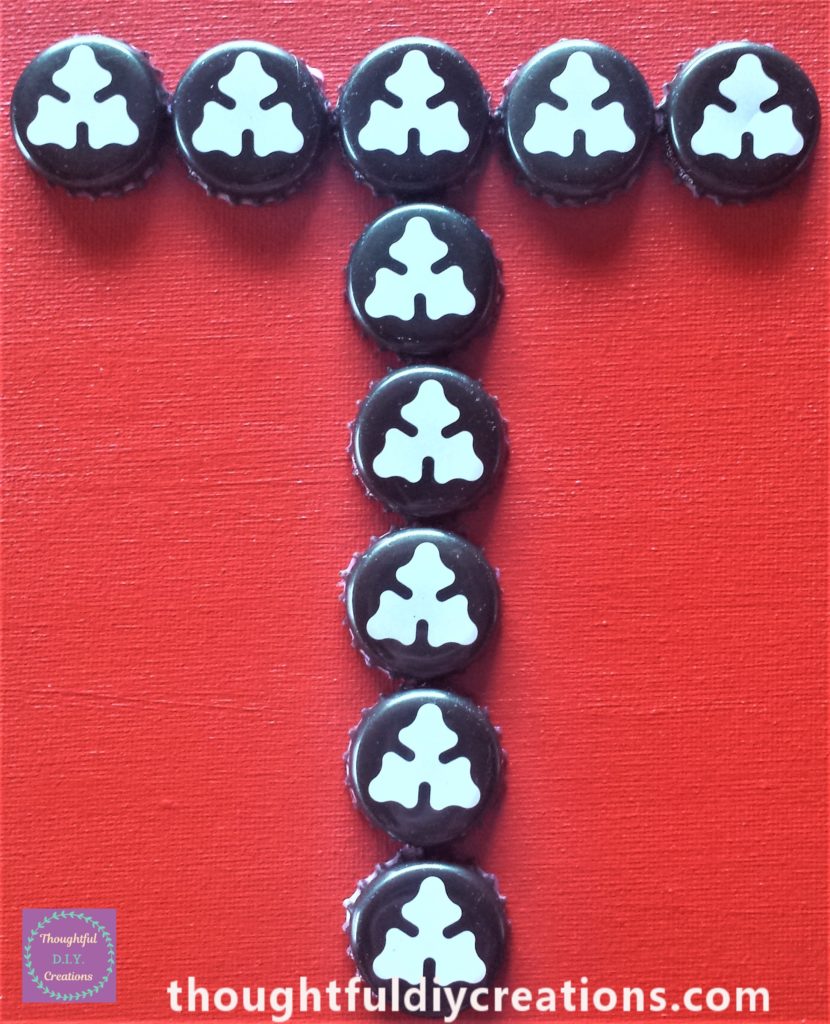
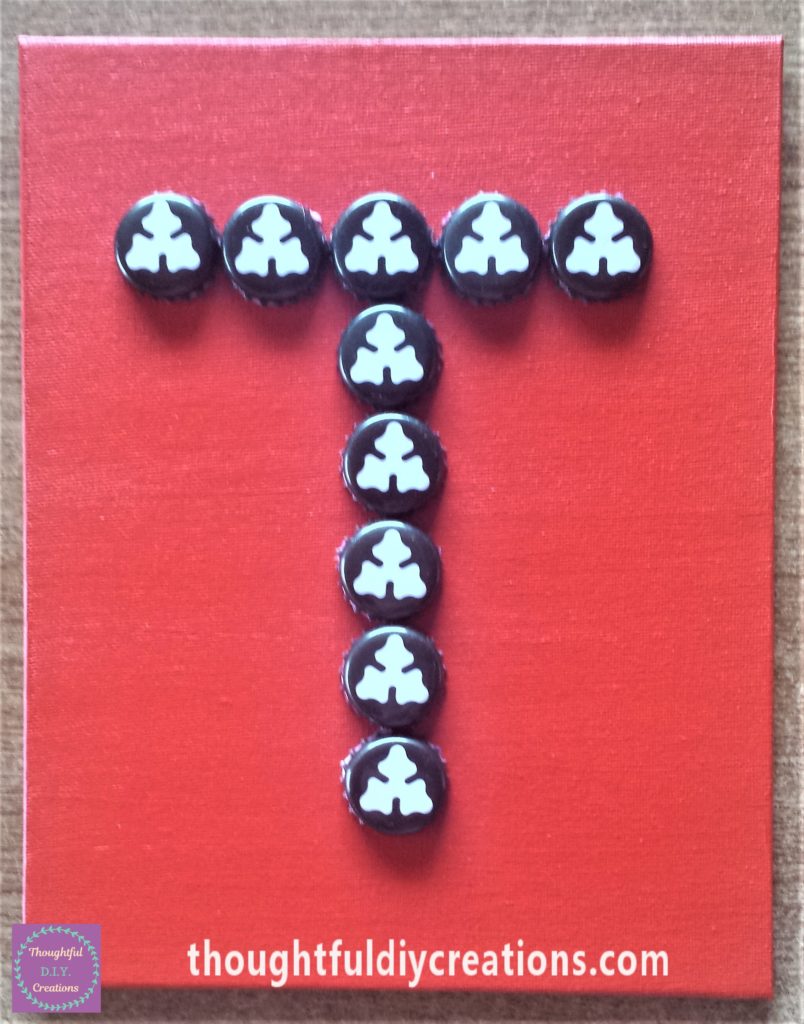
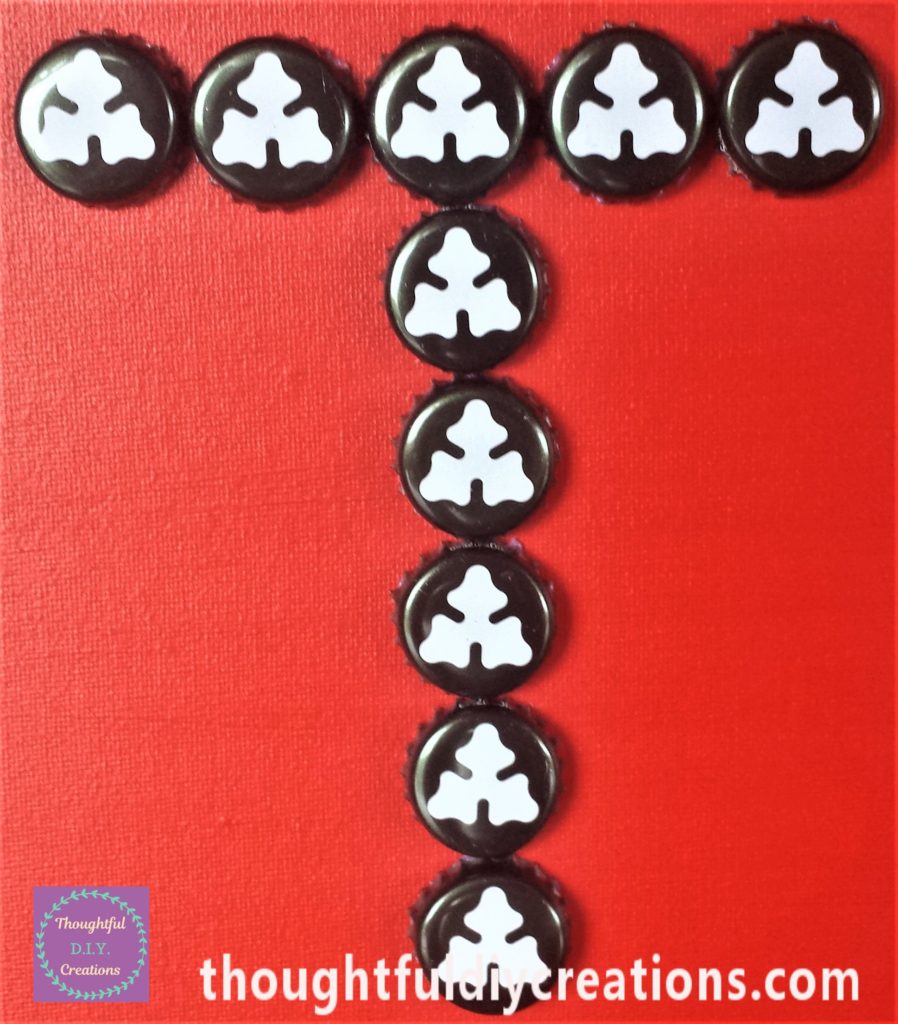
For the Monogram I am making the letter ‘T’. I got the beer bottle caps and put them on the Board. I arranged them how I wanted them to look and then plugged in my hot glue gun and let it heat up for 5 minutes. Hot Glue Gun.
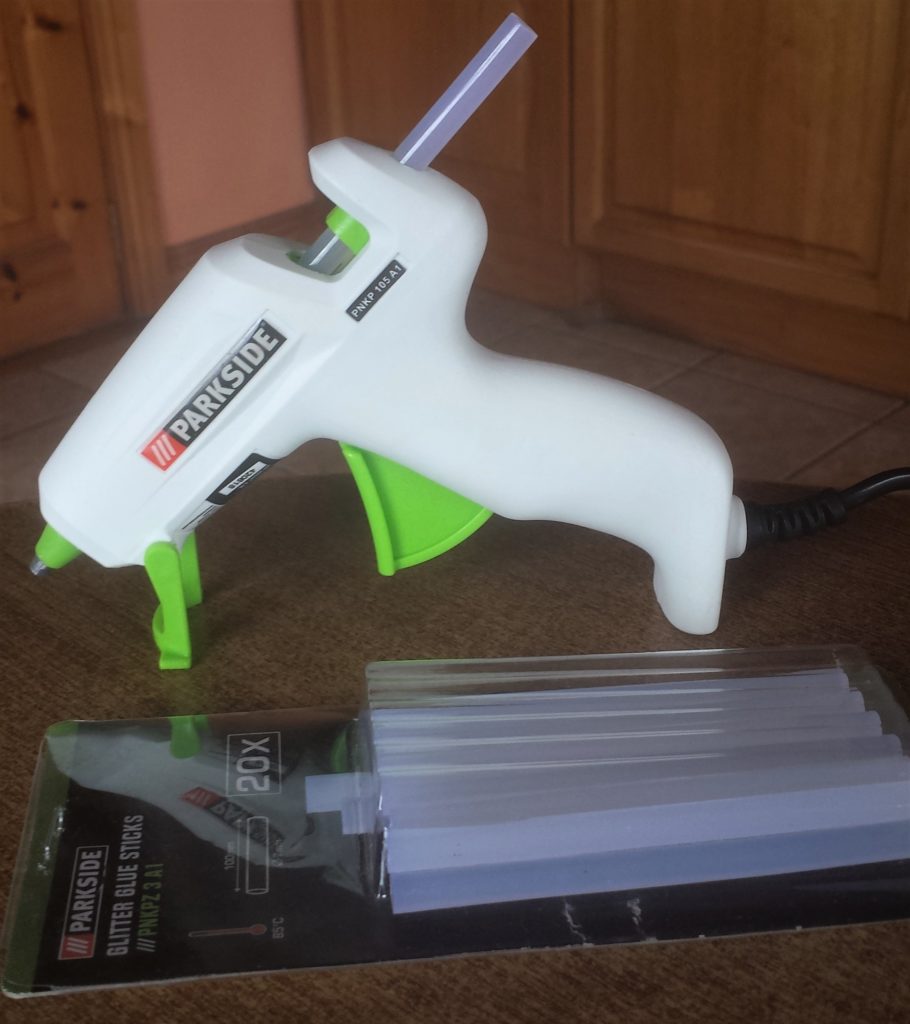
Gluing the Beer Bottle Caps to the Canvas Board
I put hot glue all around the curved edges of the bottle cap and held it in place on the Canvas Board for about 10 seconds. I repeated this until all the Bottle Caps were glued to the Board. This completed the Beer Bottle Cap Monogram. Hot Glue Gun.
Age ’30’ Frame
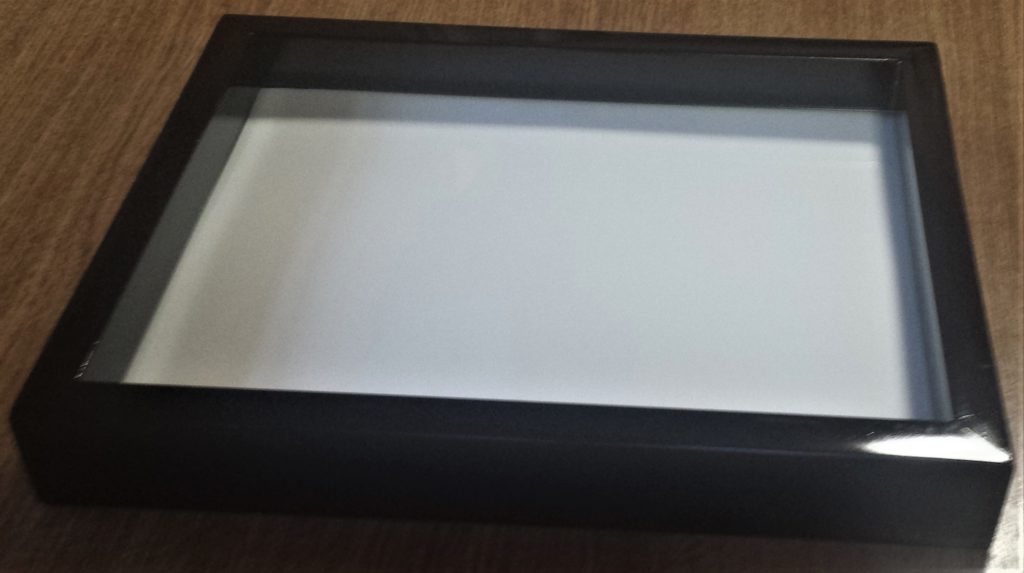
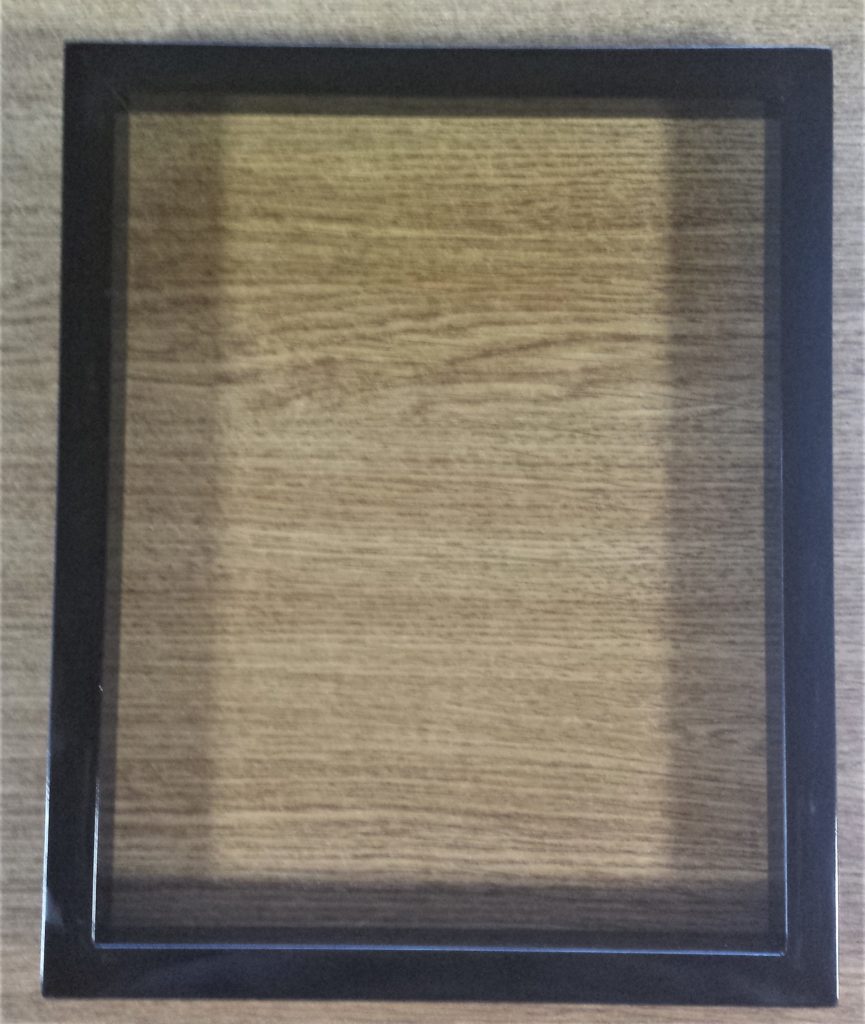
I bought a Black Shadow Box Frame last week to make the number 30 out of Beer Bottle Caps. I thought it would be ideal for putting on display especially as it’s for a Milestone Birthday. Black Shadow Box Frame.
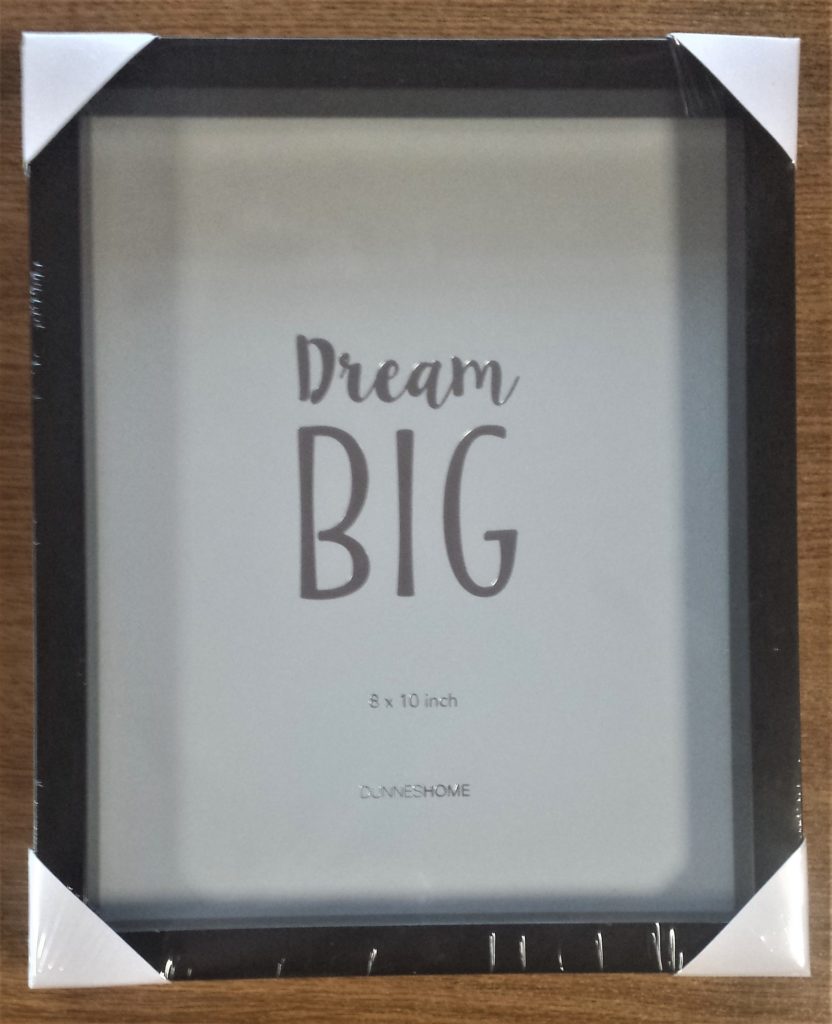
The frame is in Portrait but I am using it in landscape as there is more space to add Beer Bottle Caps that way. The stand on the back of the frame can work both ways so it is handy to be able to make different things with the frame to suit your needs.
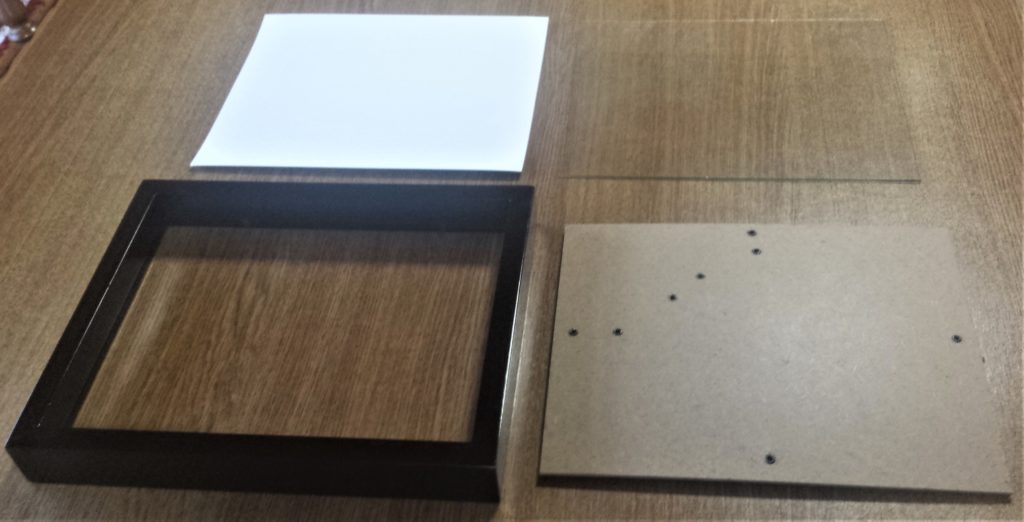
I opened up the frame and took out the Glass, the Back, the White Board and the White Paper on the front of the frame. I won’t be needing the Glass or the White ‘Dream BIG’ Paper for this project. Black Shadow Box Frame.
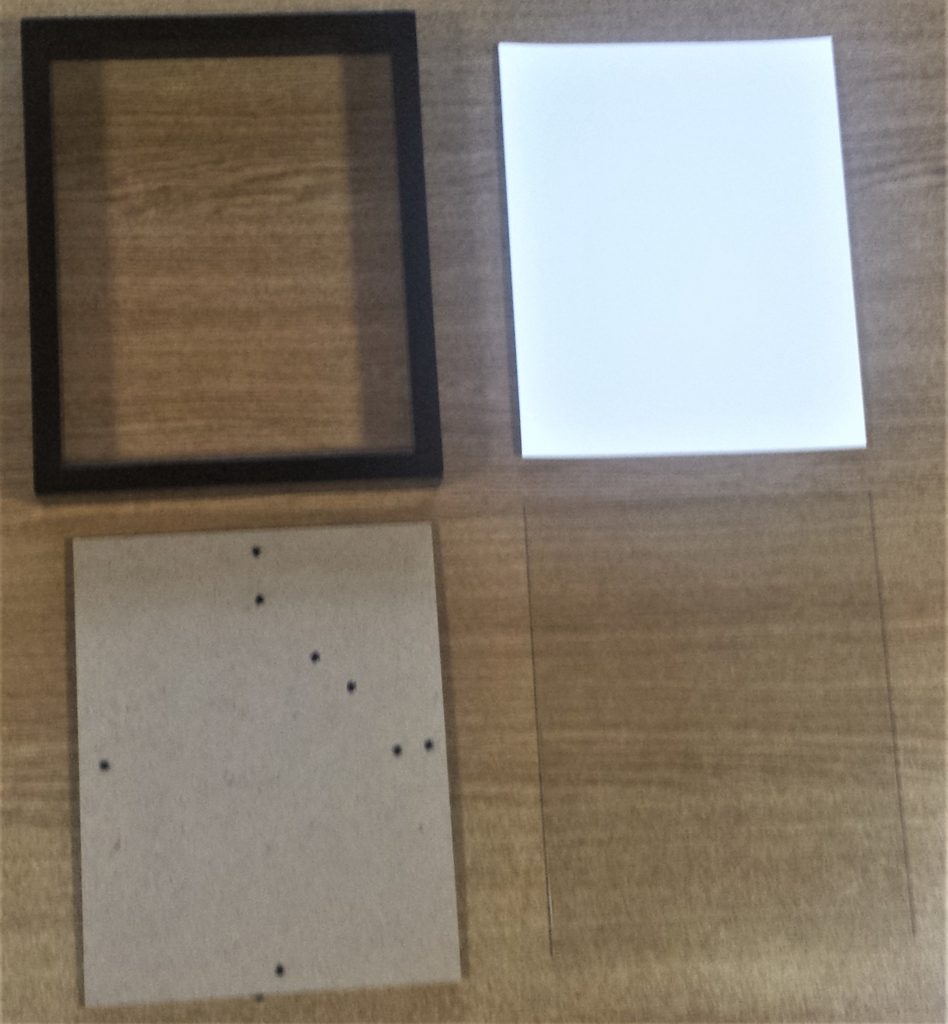
Preparing the Frame for the Beer Bottle Caps
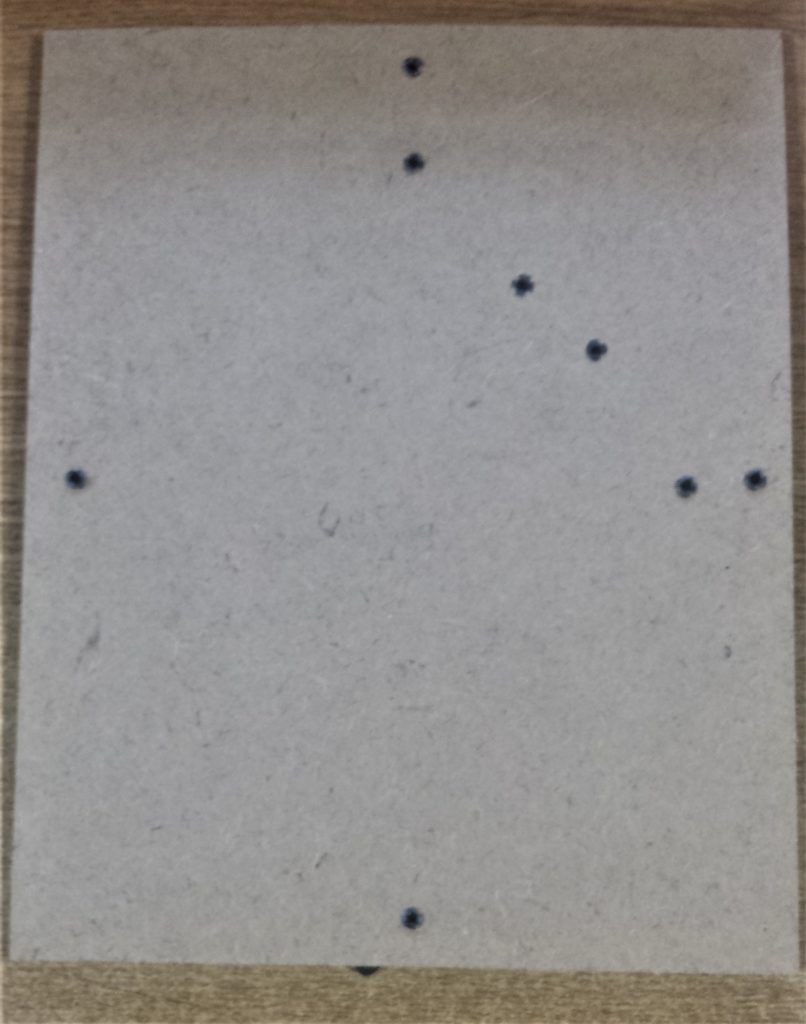
I put double sided tape along the edges and in the inside of the brown backing board. Double Sided Tape.
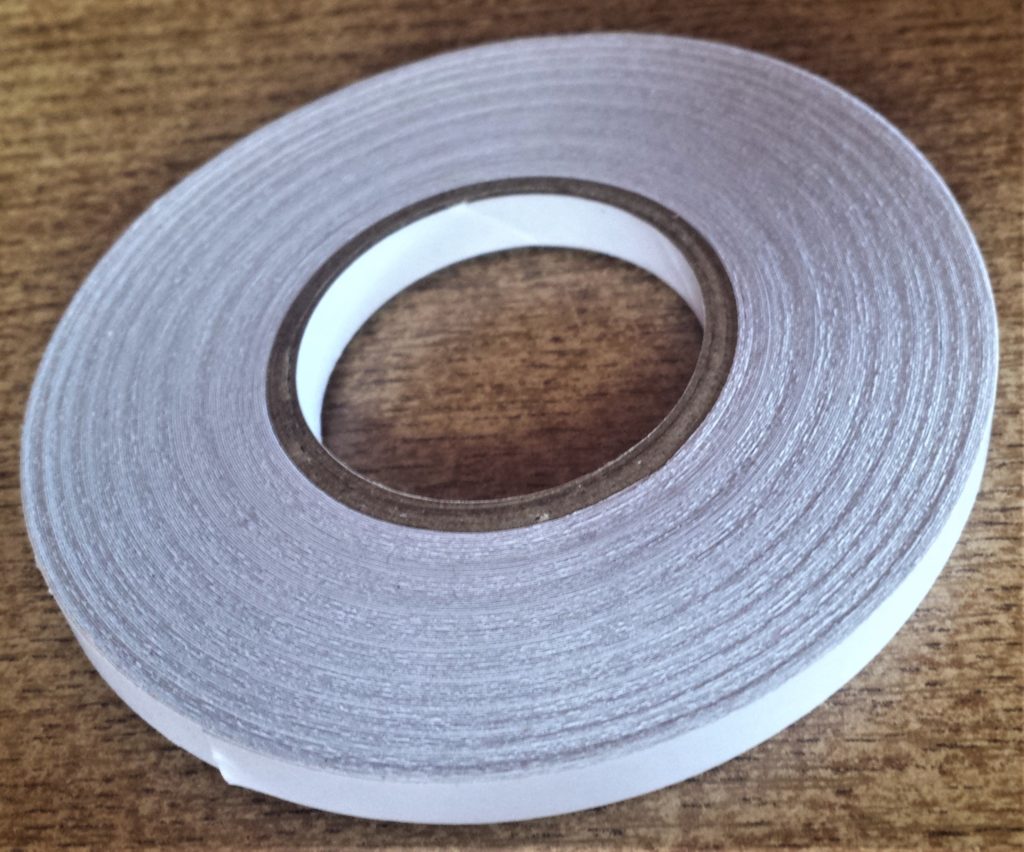
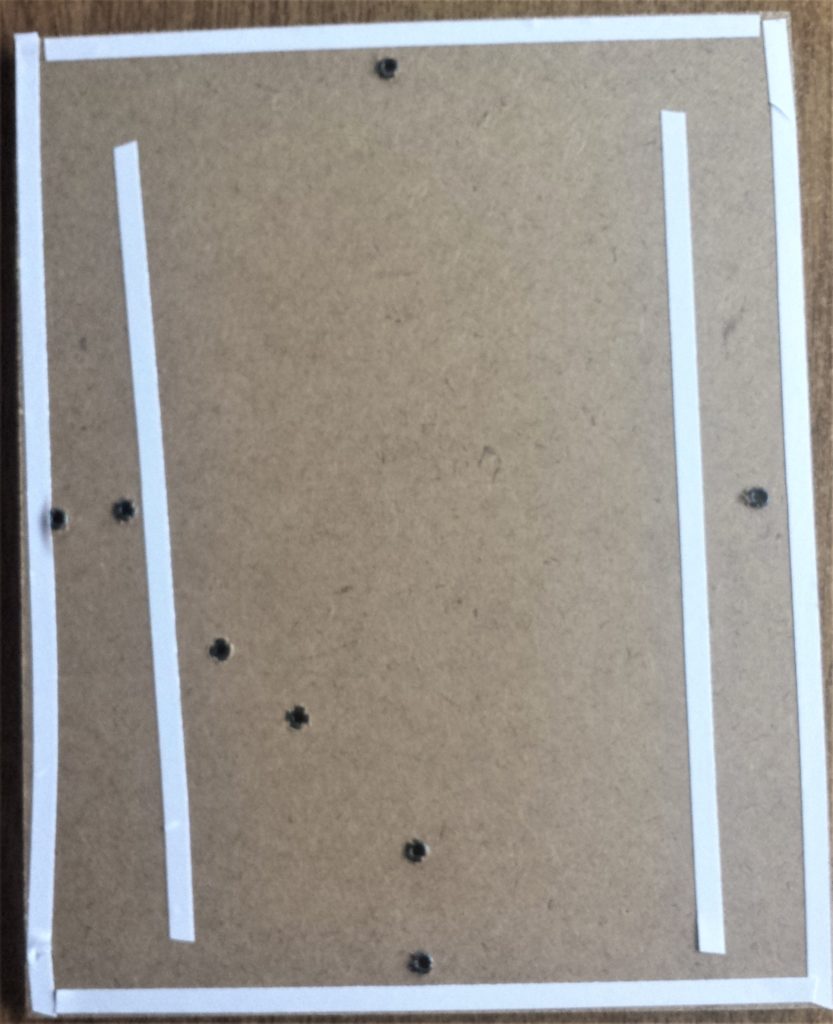
I removed the backing from the double sided tape.
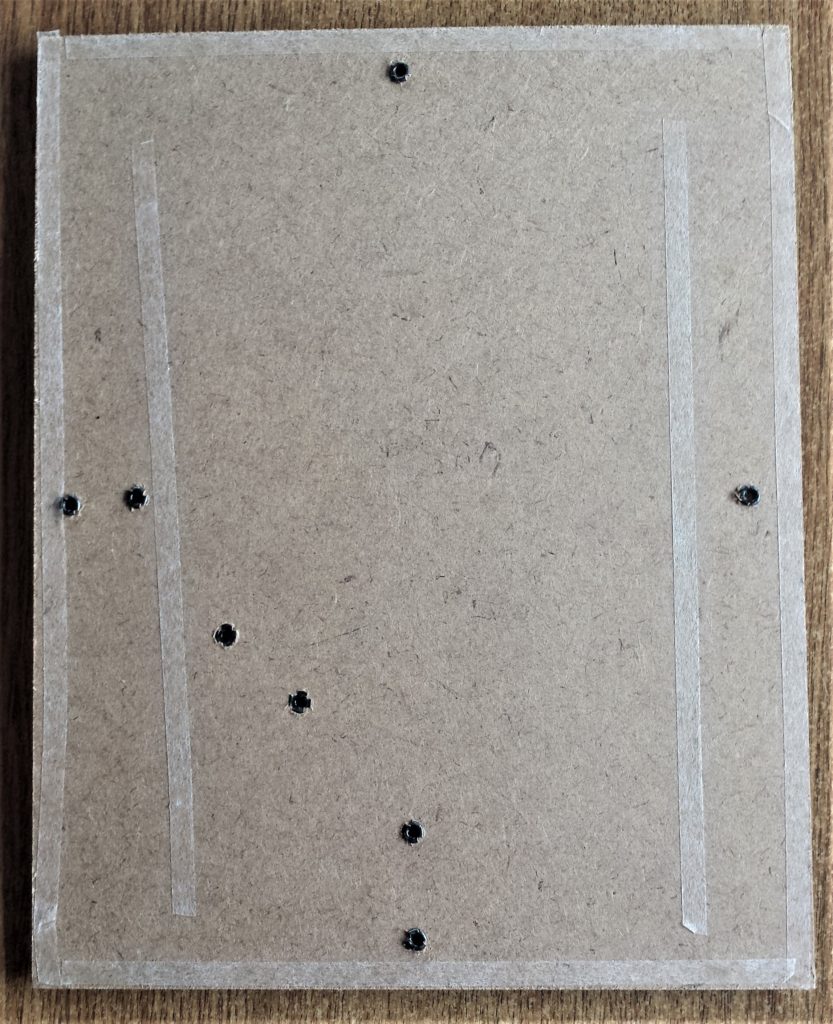
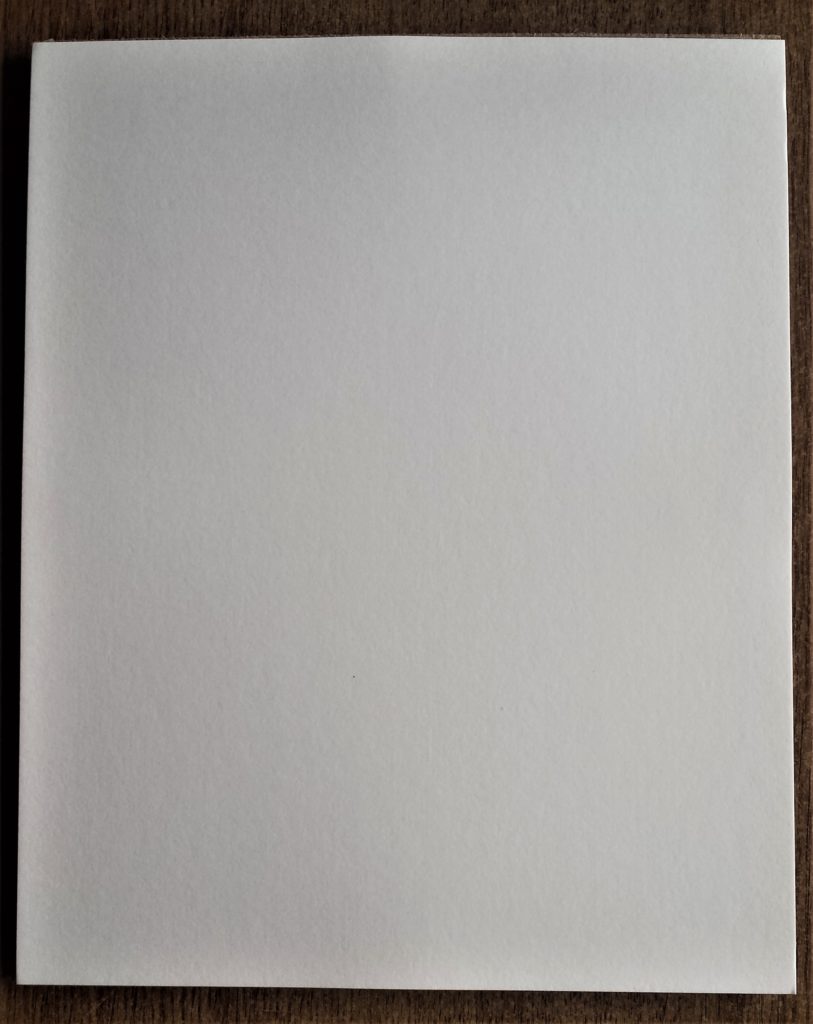
I put the white board over the double sided tape on the brown board and stuck them together.
Practicing the Layout of the Beer Bottle Caps
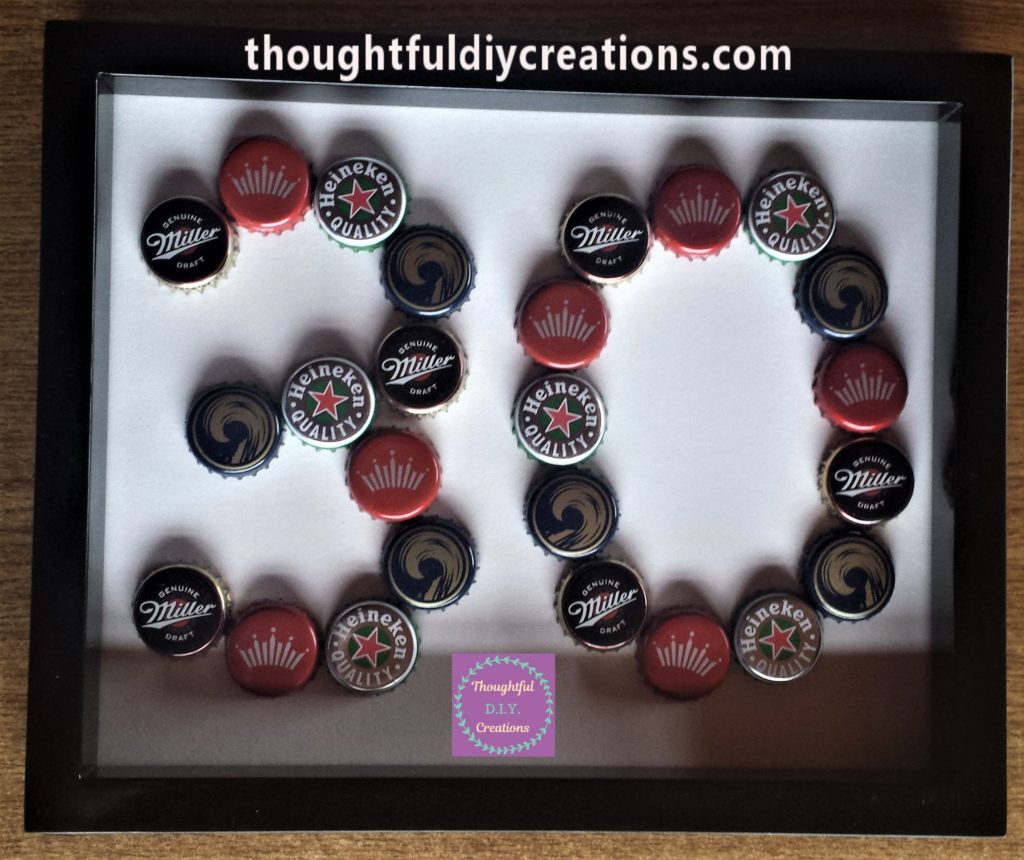
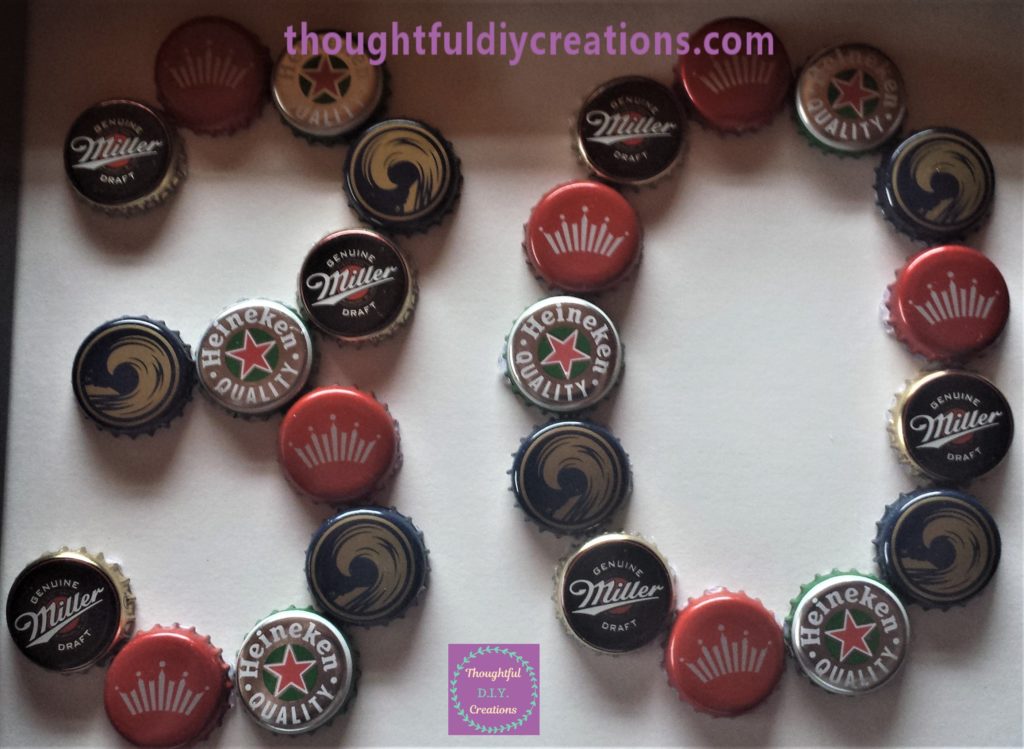
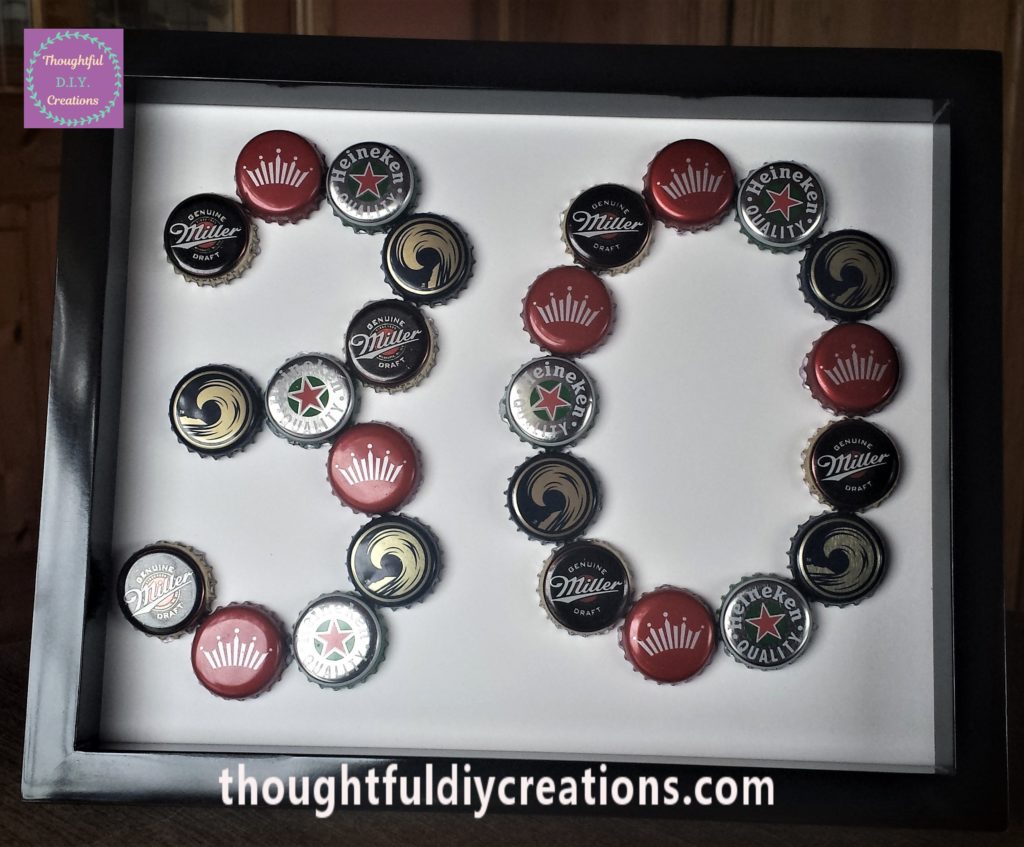
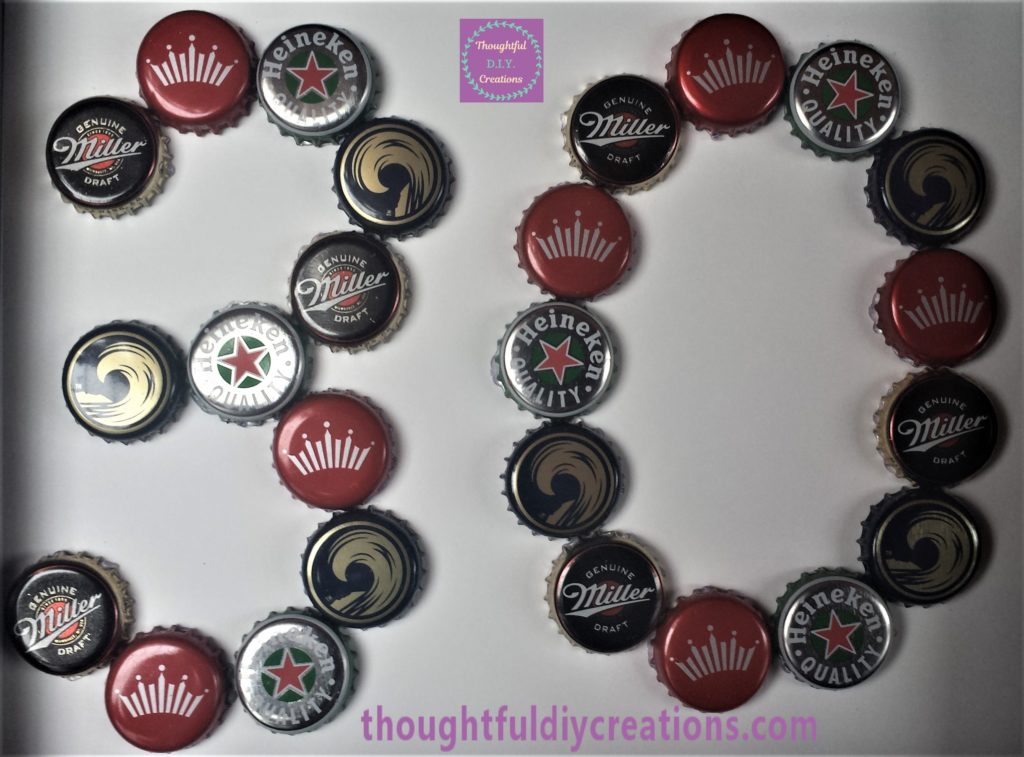
I turned the board sideways and put the beer bottle caps on it and played around with them until I was happy with the placement. I decided to use 4 different beer bottle caps for this project. I liked the look of the mixture of colours of the bottle caps. I had the frame over the white board to ensure you could see the beer bottle caps, but the frame wasn’t closed at the back. Black Shadow Box Frame.
Gluing the Beer Bottle Caps to the Board
I lifted off the black frame from the white board and hot glued each beer bottle cap to the board. Hot Glue Gun.
You can also use a strong clear glue to attach the beer bottle caps. A couple of mine fell off and I re-attached them with ‘Anita’s PVA Tacky Glue’, you can see which works best for you. None of the rest have fallen off since so both worked for me. Anita’s Tacky Glue.
I left the board lying down for the evening and attached the frame to it the next day. This completed the Beer Bottle Cap Frame.
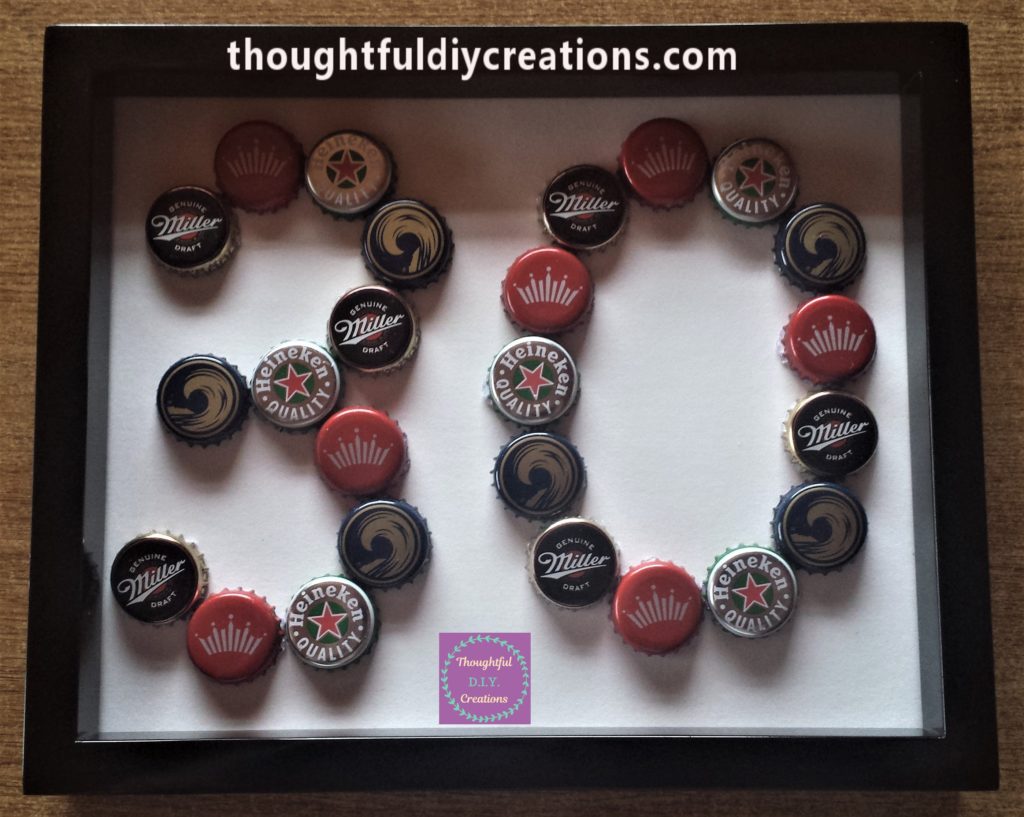
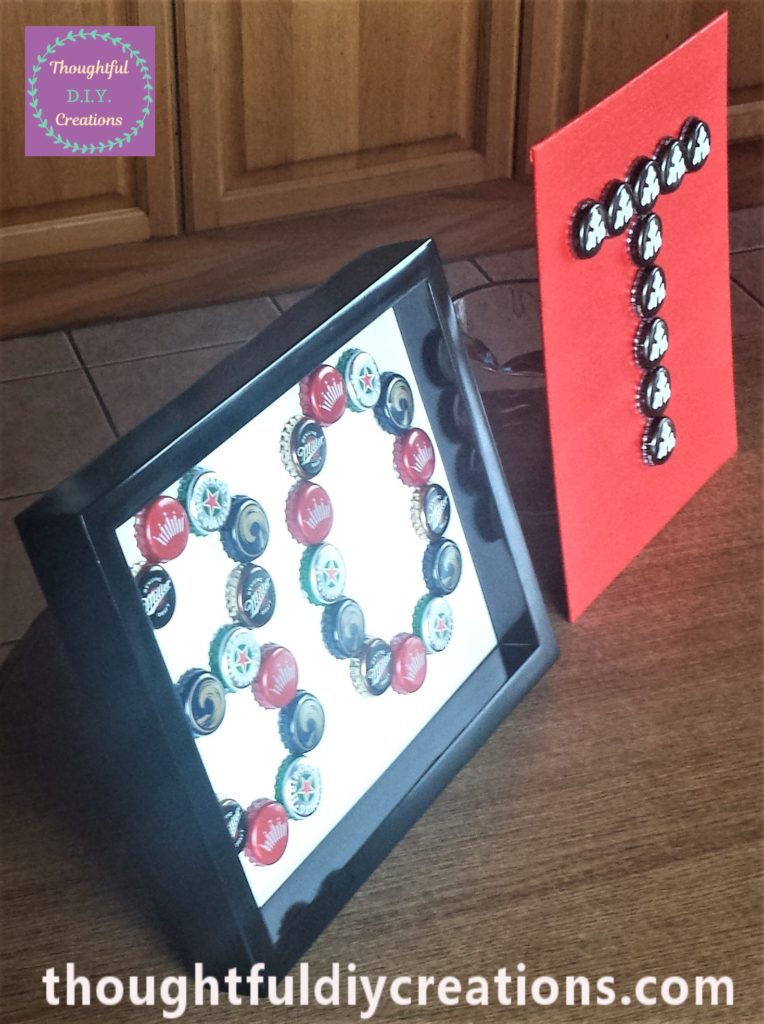
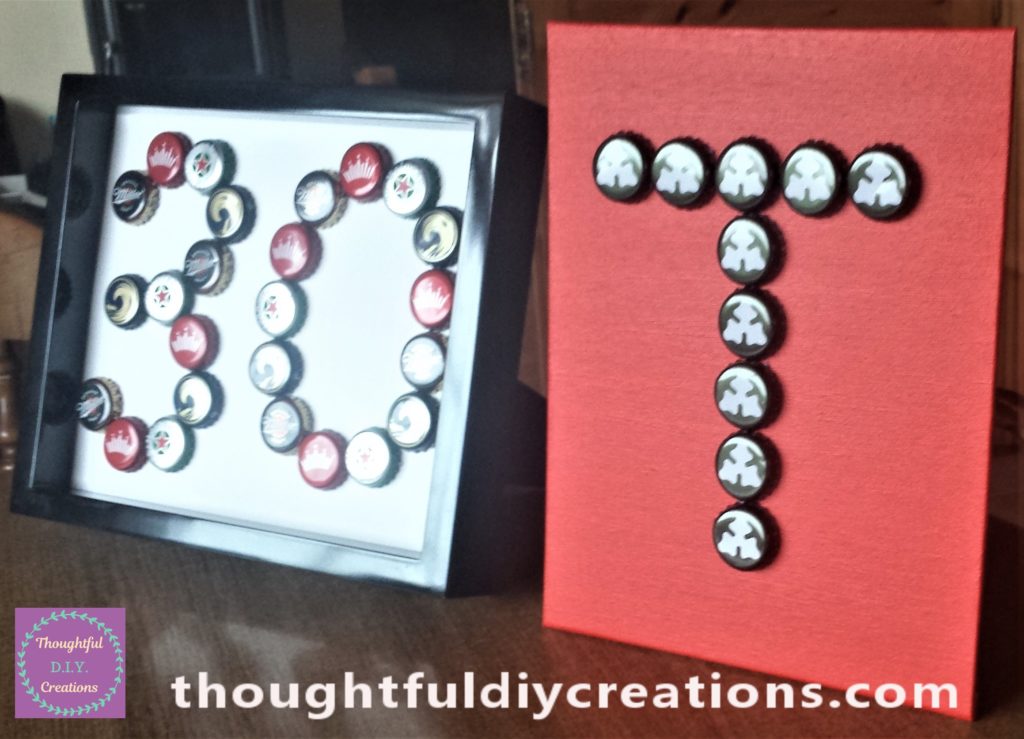
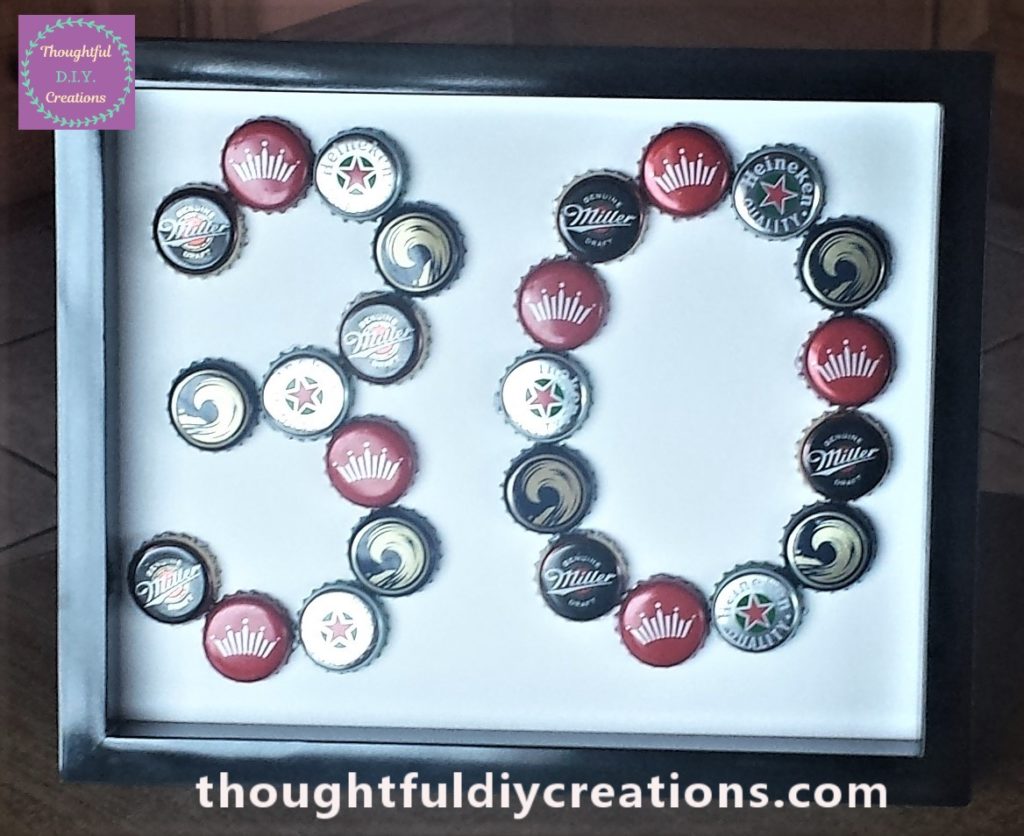
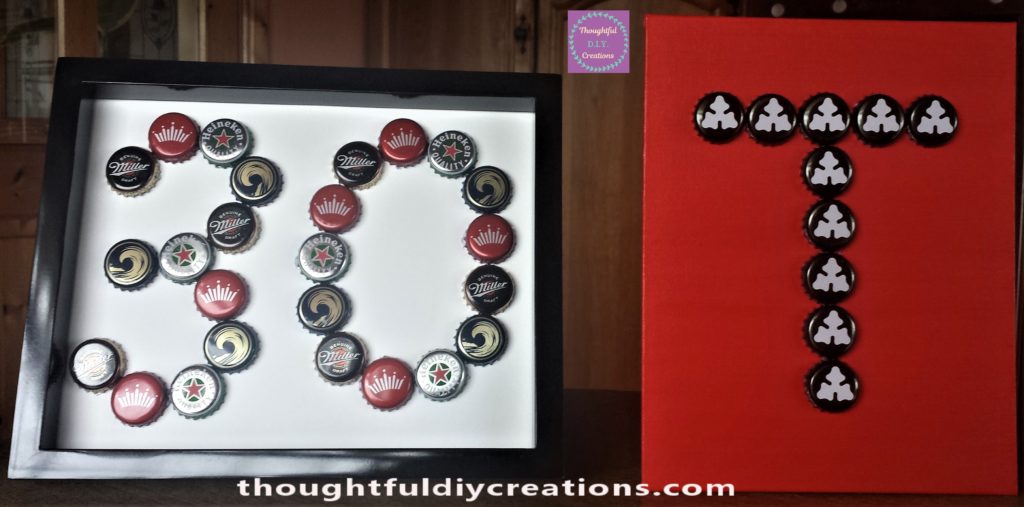
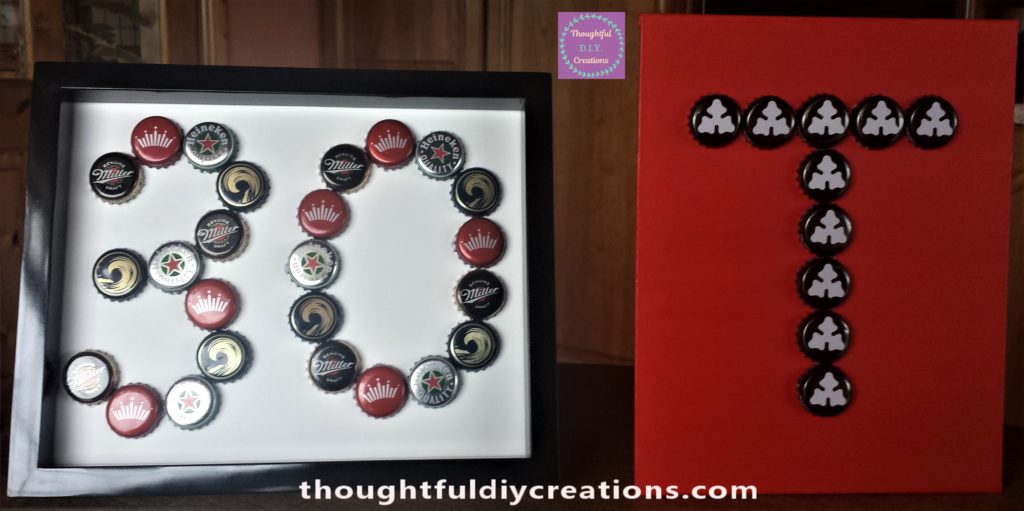
Here are some more photos of the 2 completed projects.
Conclusion
I was really happy with the final result. I think it would make a thoughtful gift for the beer lover in your life (drink responsibly of course). It’s also a nice way to use the beer bottle caps instead of always throwing them out.
I think it’s lovely to give a Personalised and meaningful gift and when it’s handmade it makes it even more special as you put your thought, care and time into creating it for someone important in your life.
The Monogram would look cool in a Man Cave or Games Room or Bar Area that some people have in their home / shed / basement / attic renovation.
It can be changed to suit your style and needs. You can choose different colour paint for your canvas board. You could also add the beer bottle caps to wood for a more rustic look. They could also be added to a Metal sheet.
You could add more elements to them if you wanted more of a Mixed Media piece, maybe some other items the person is in to if it’s a gift.
The Frame would work for any other Adult Milestone Age; 21, 40, 50, 60 etc. or even any adult age such as 25 or 35, make it work for you and your requirements. Here are some more Frame Crafts I have made; Camera Quote Frame, or Snowman Personalised Family.
A name could also be added to the frame. I think I will add the Name and the Birthday Date of the Recipient onto the bottom of the Frame with my Label Maker. Dymo Label Maker.
I hope you enjoyed this week’s Tutorial and it provided some inspiration for your D.I.Y. Crafting.
If you have any questions or opinion on this craft just fill out the form below and I’ll reply as soon as I can.
Thank you so much for taking the time to read my Blog.
Always Grateful,
T.D.C.
xoxox


-0 Comment-