BOO Halloween Display Tutorial
Hello my Creative Friends,
I hope you are all Well. In Today’s Tutorial I will Show you How I Spray Painted MDF Letters spelling out the Word BOO with ‘Glow in the Dark’ Spray Paint and Decorated them to use as a Halloween Display.
BOO Letters for Crafting
I bought each of the BOO MDF Letters in my local Dealz (Poundland in the U.K).
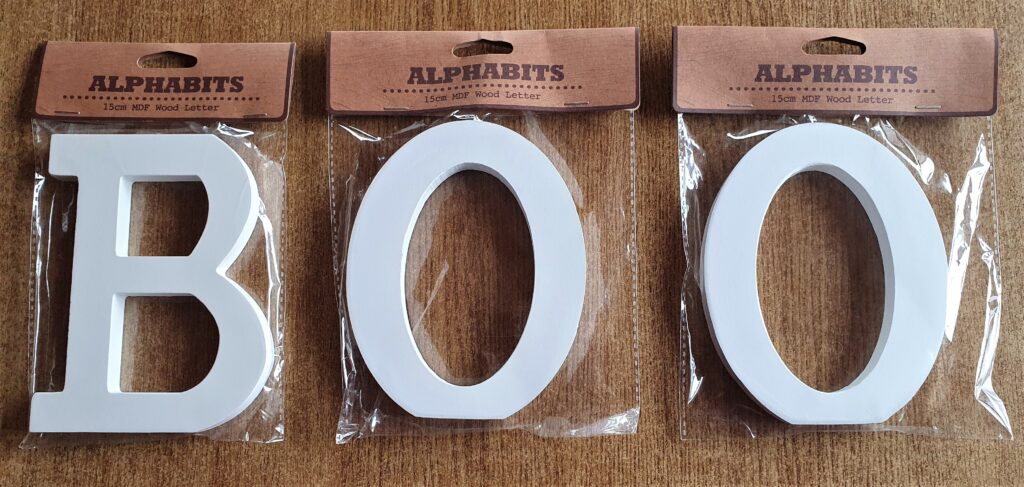
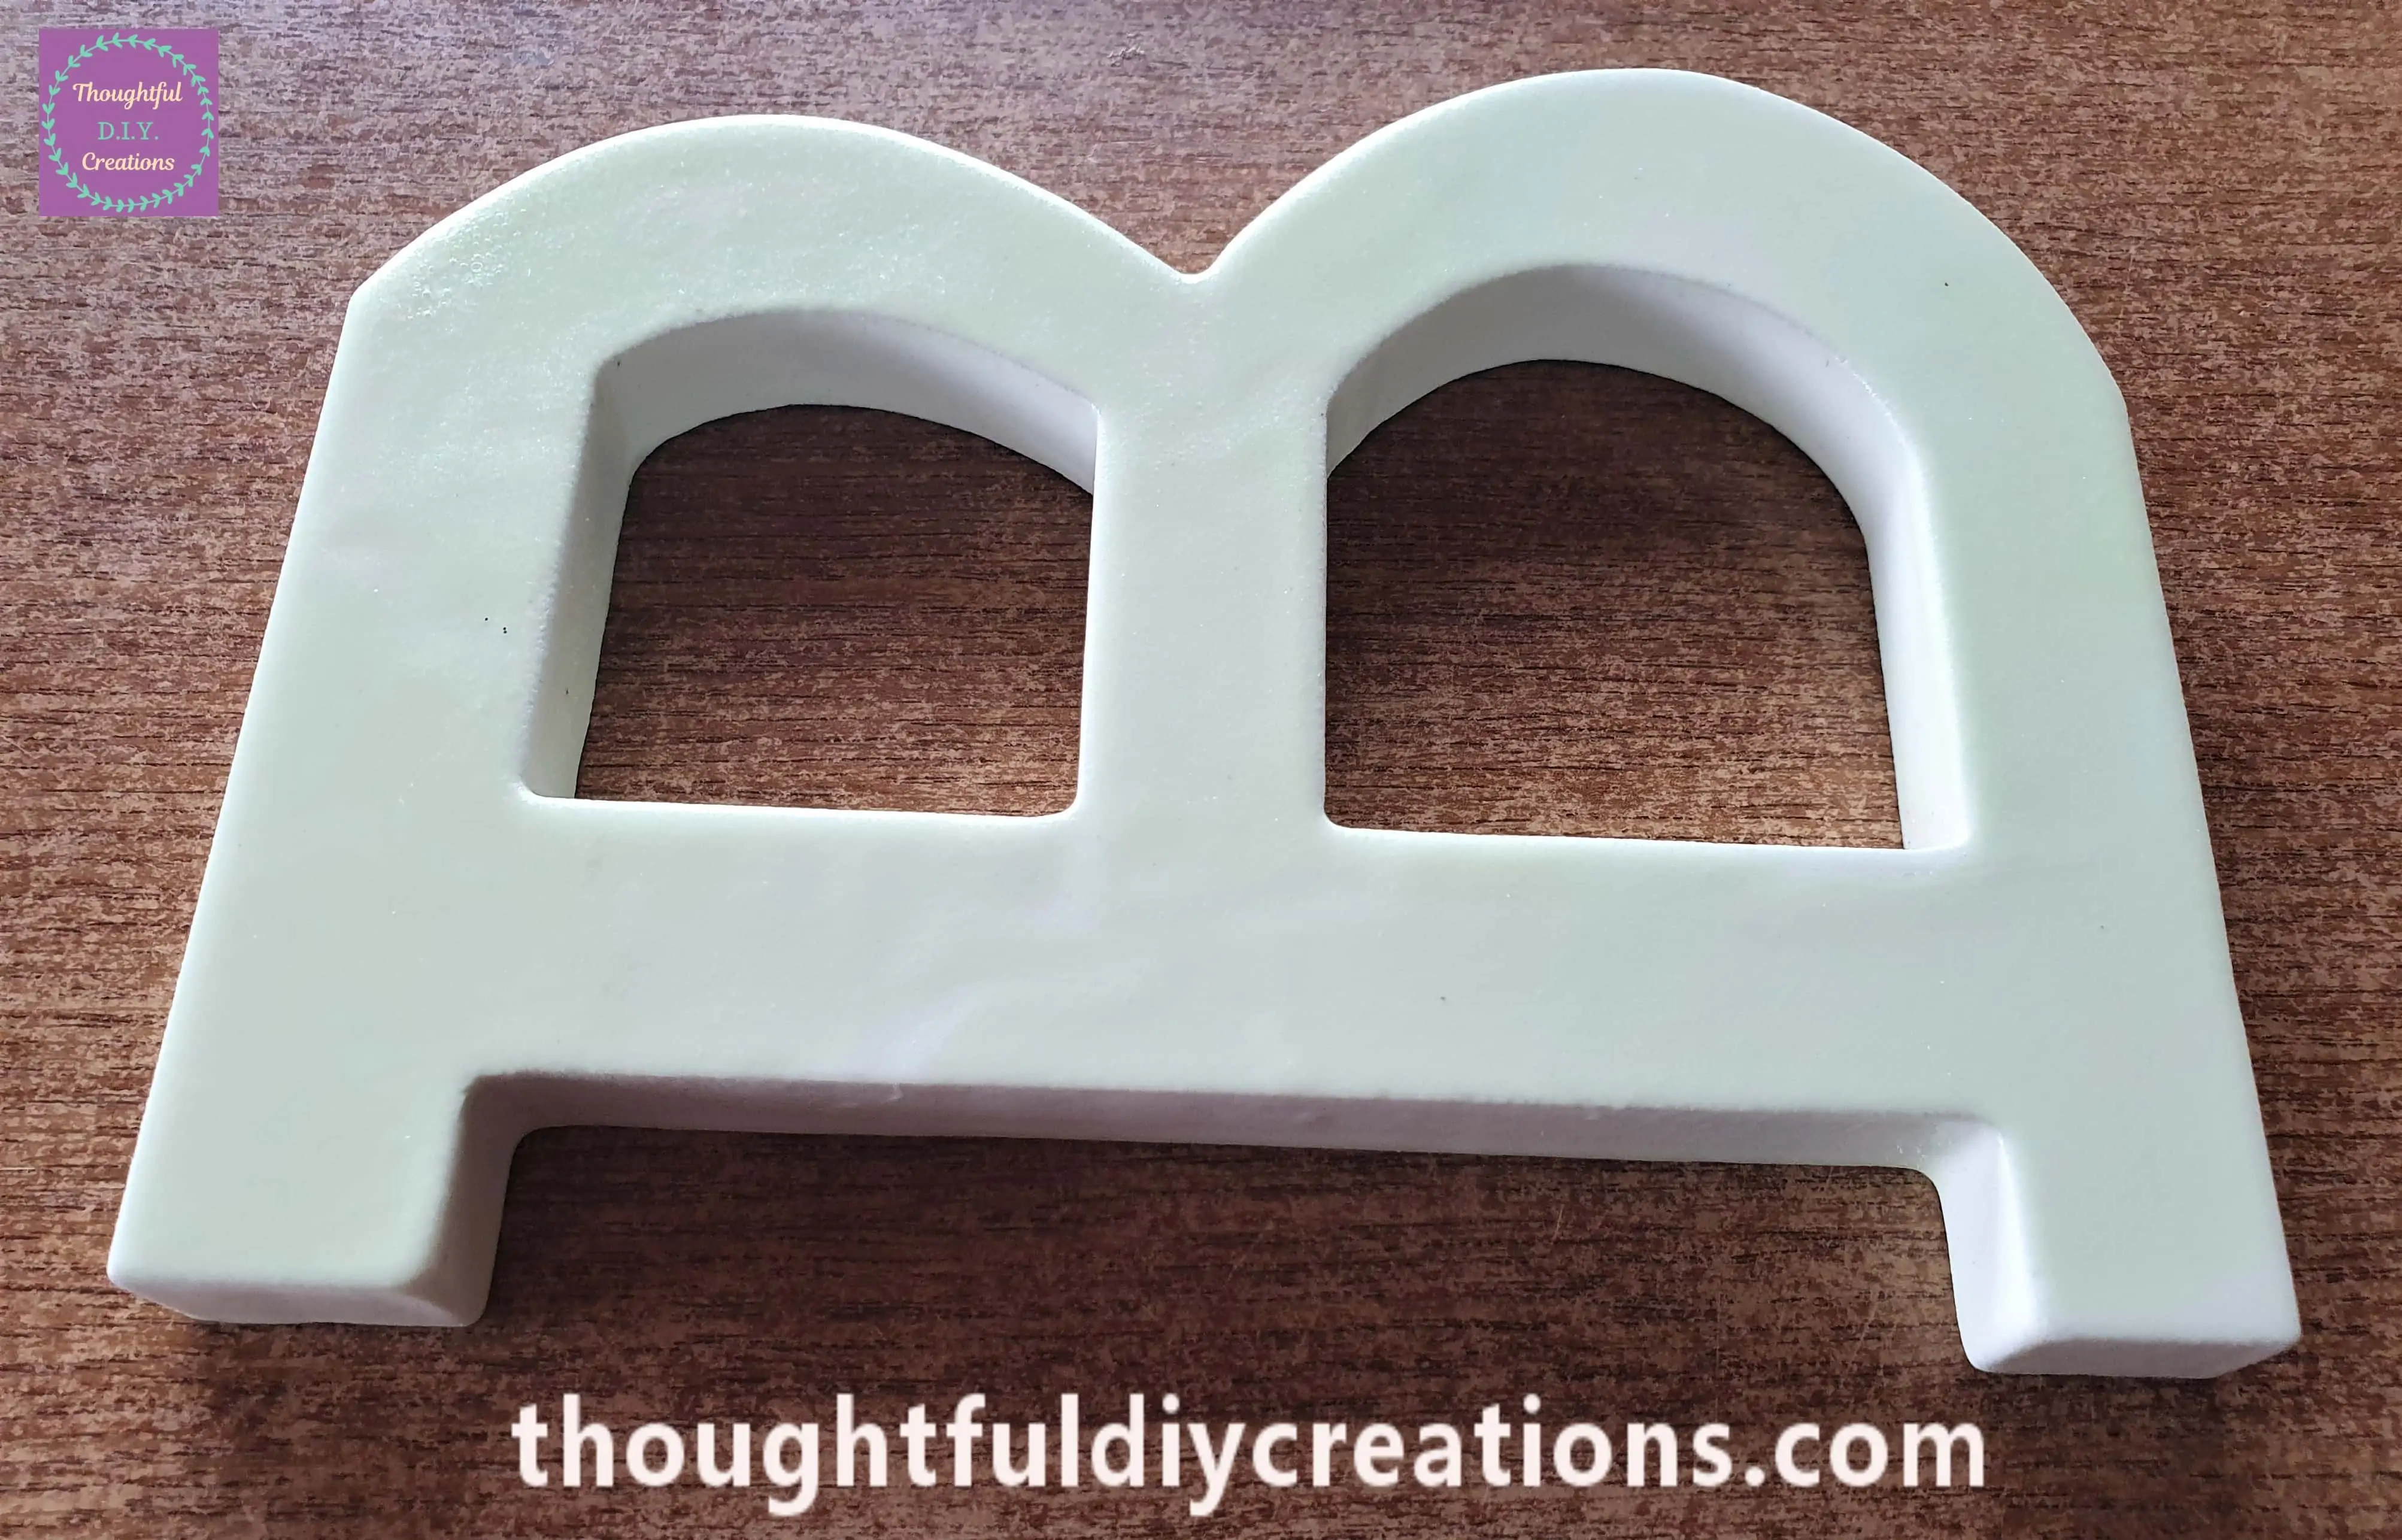
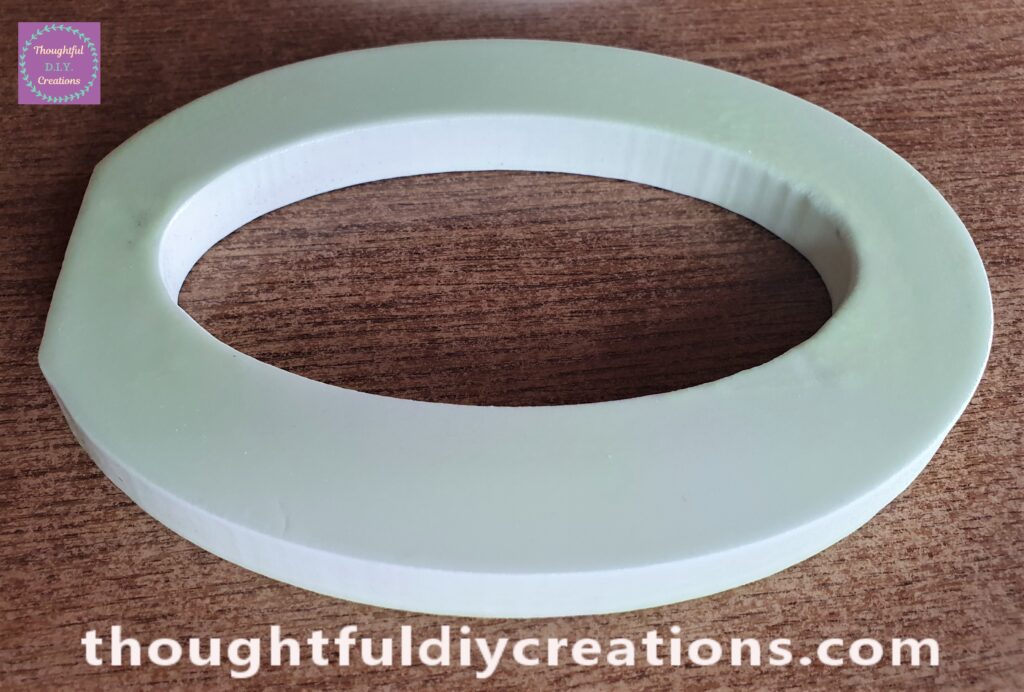
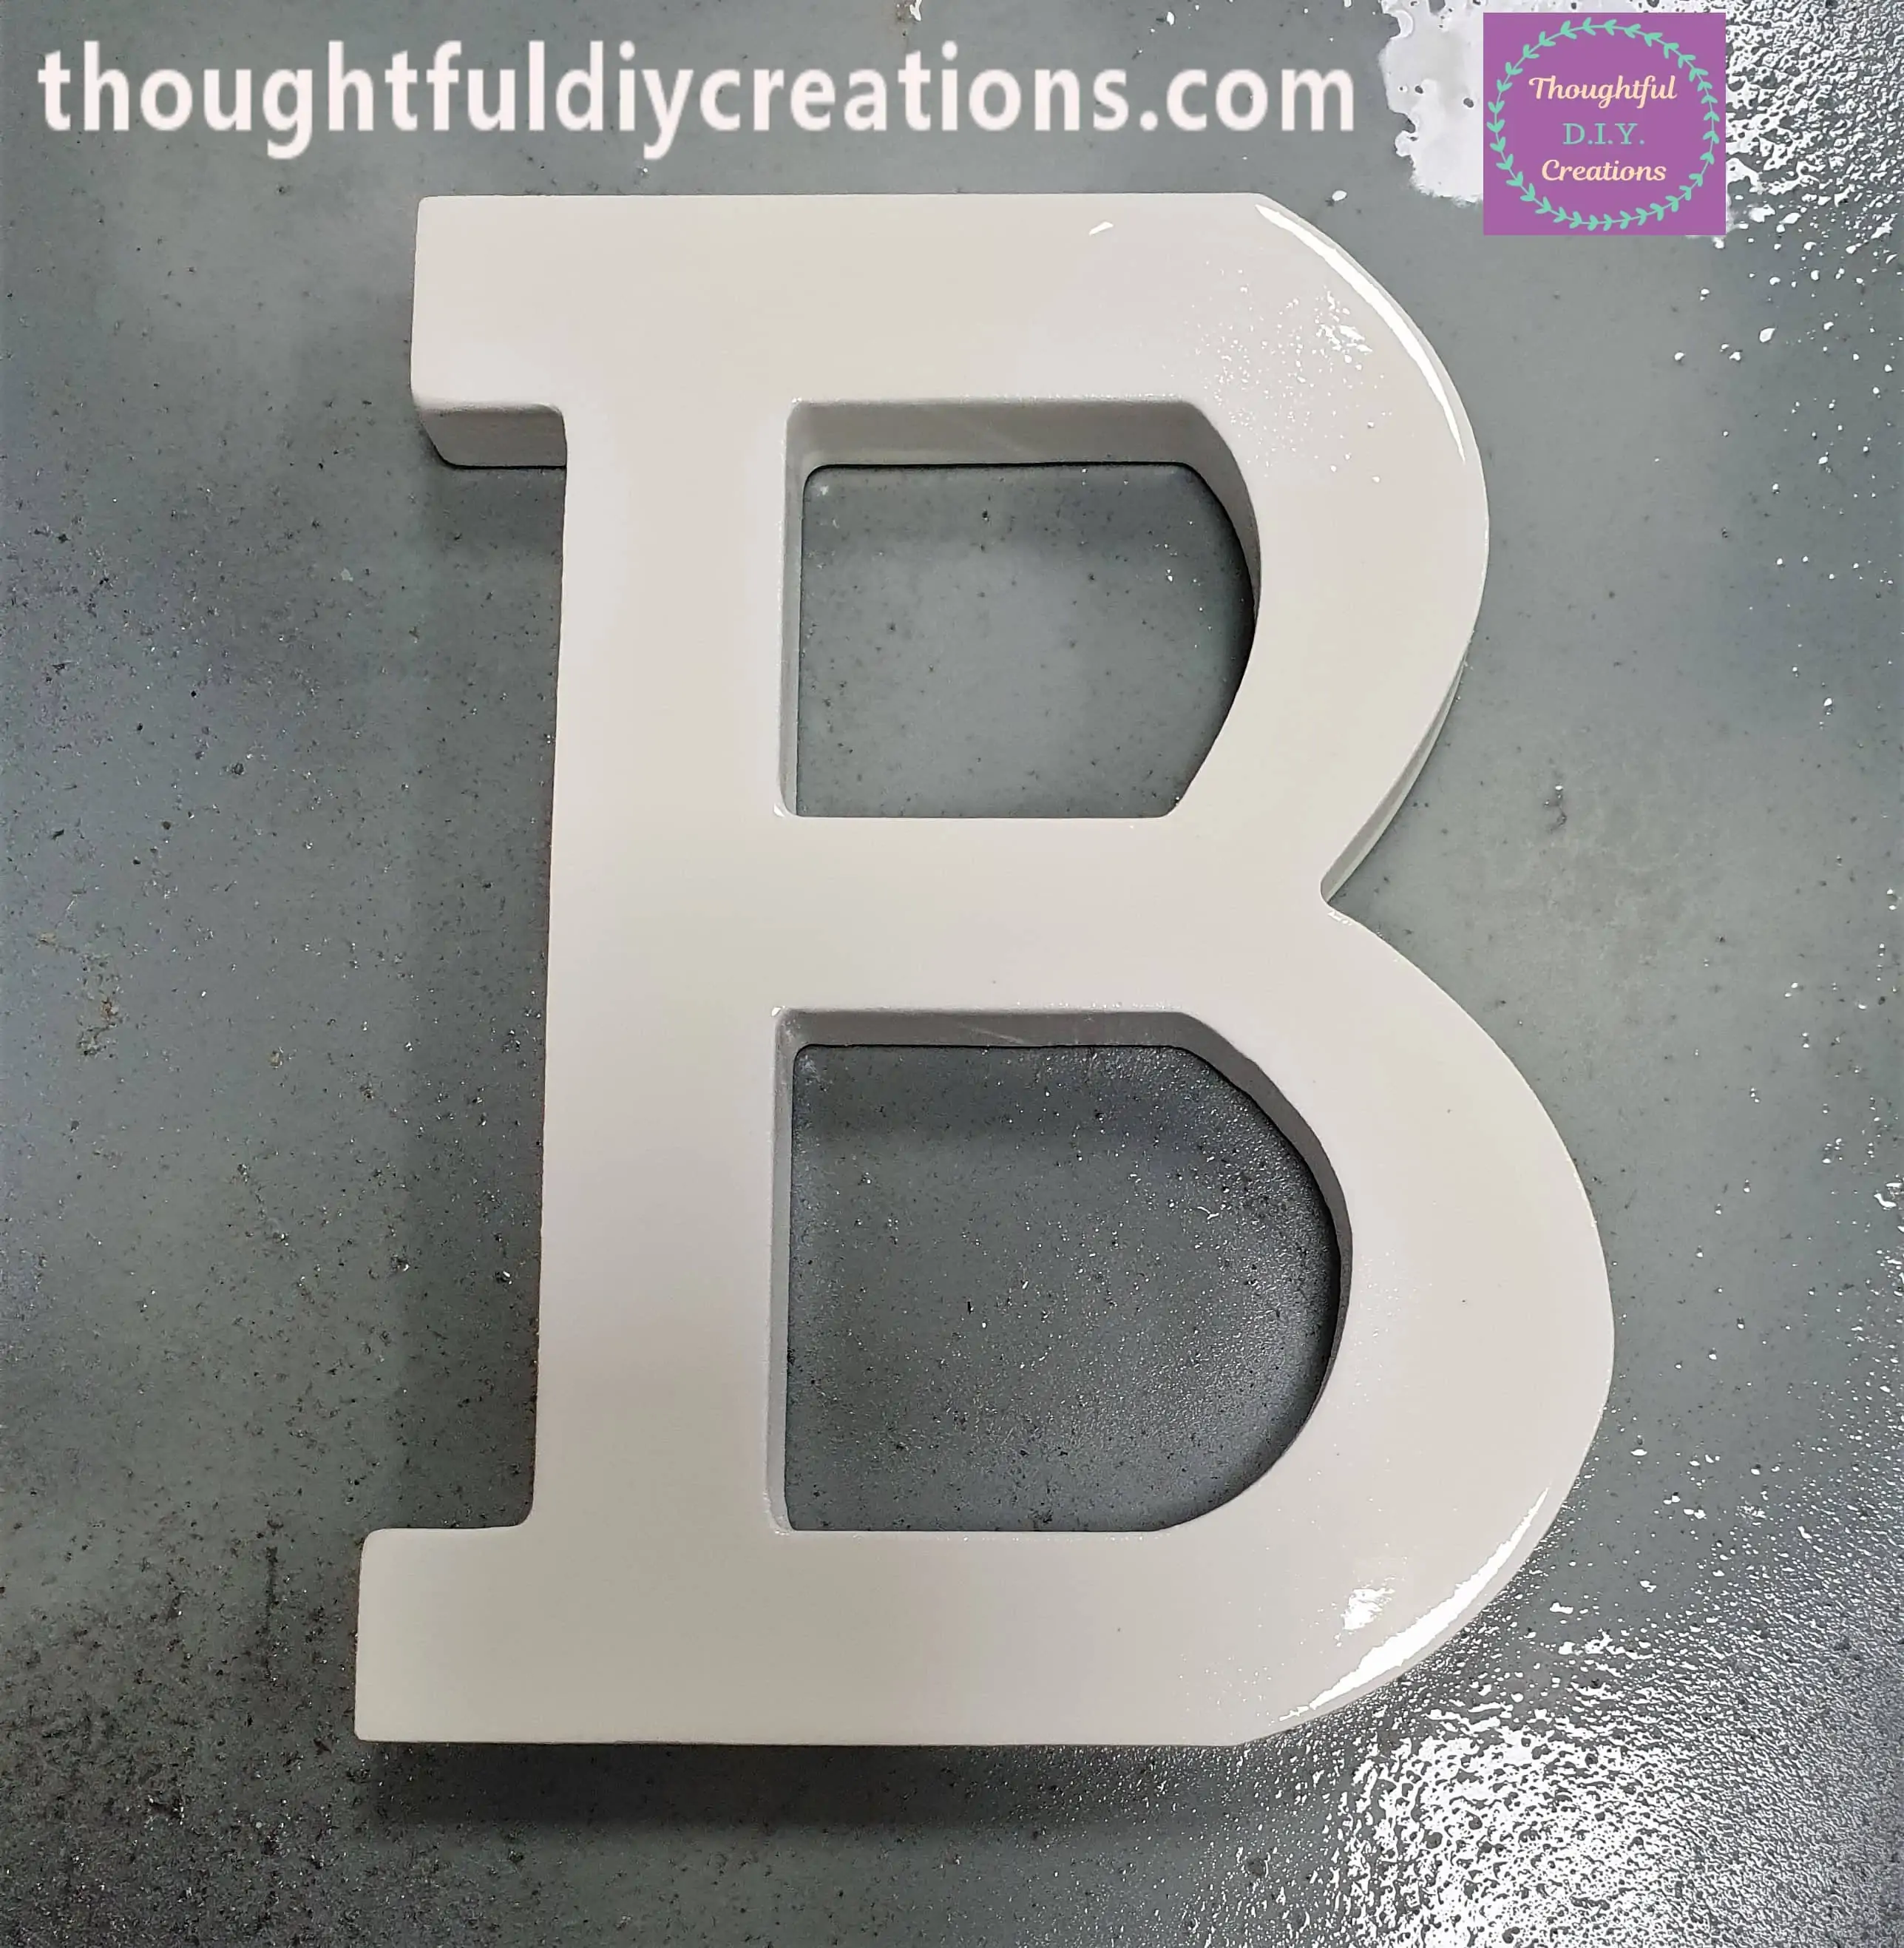
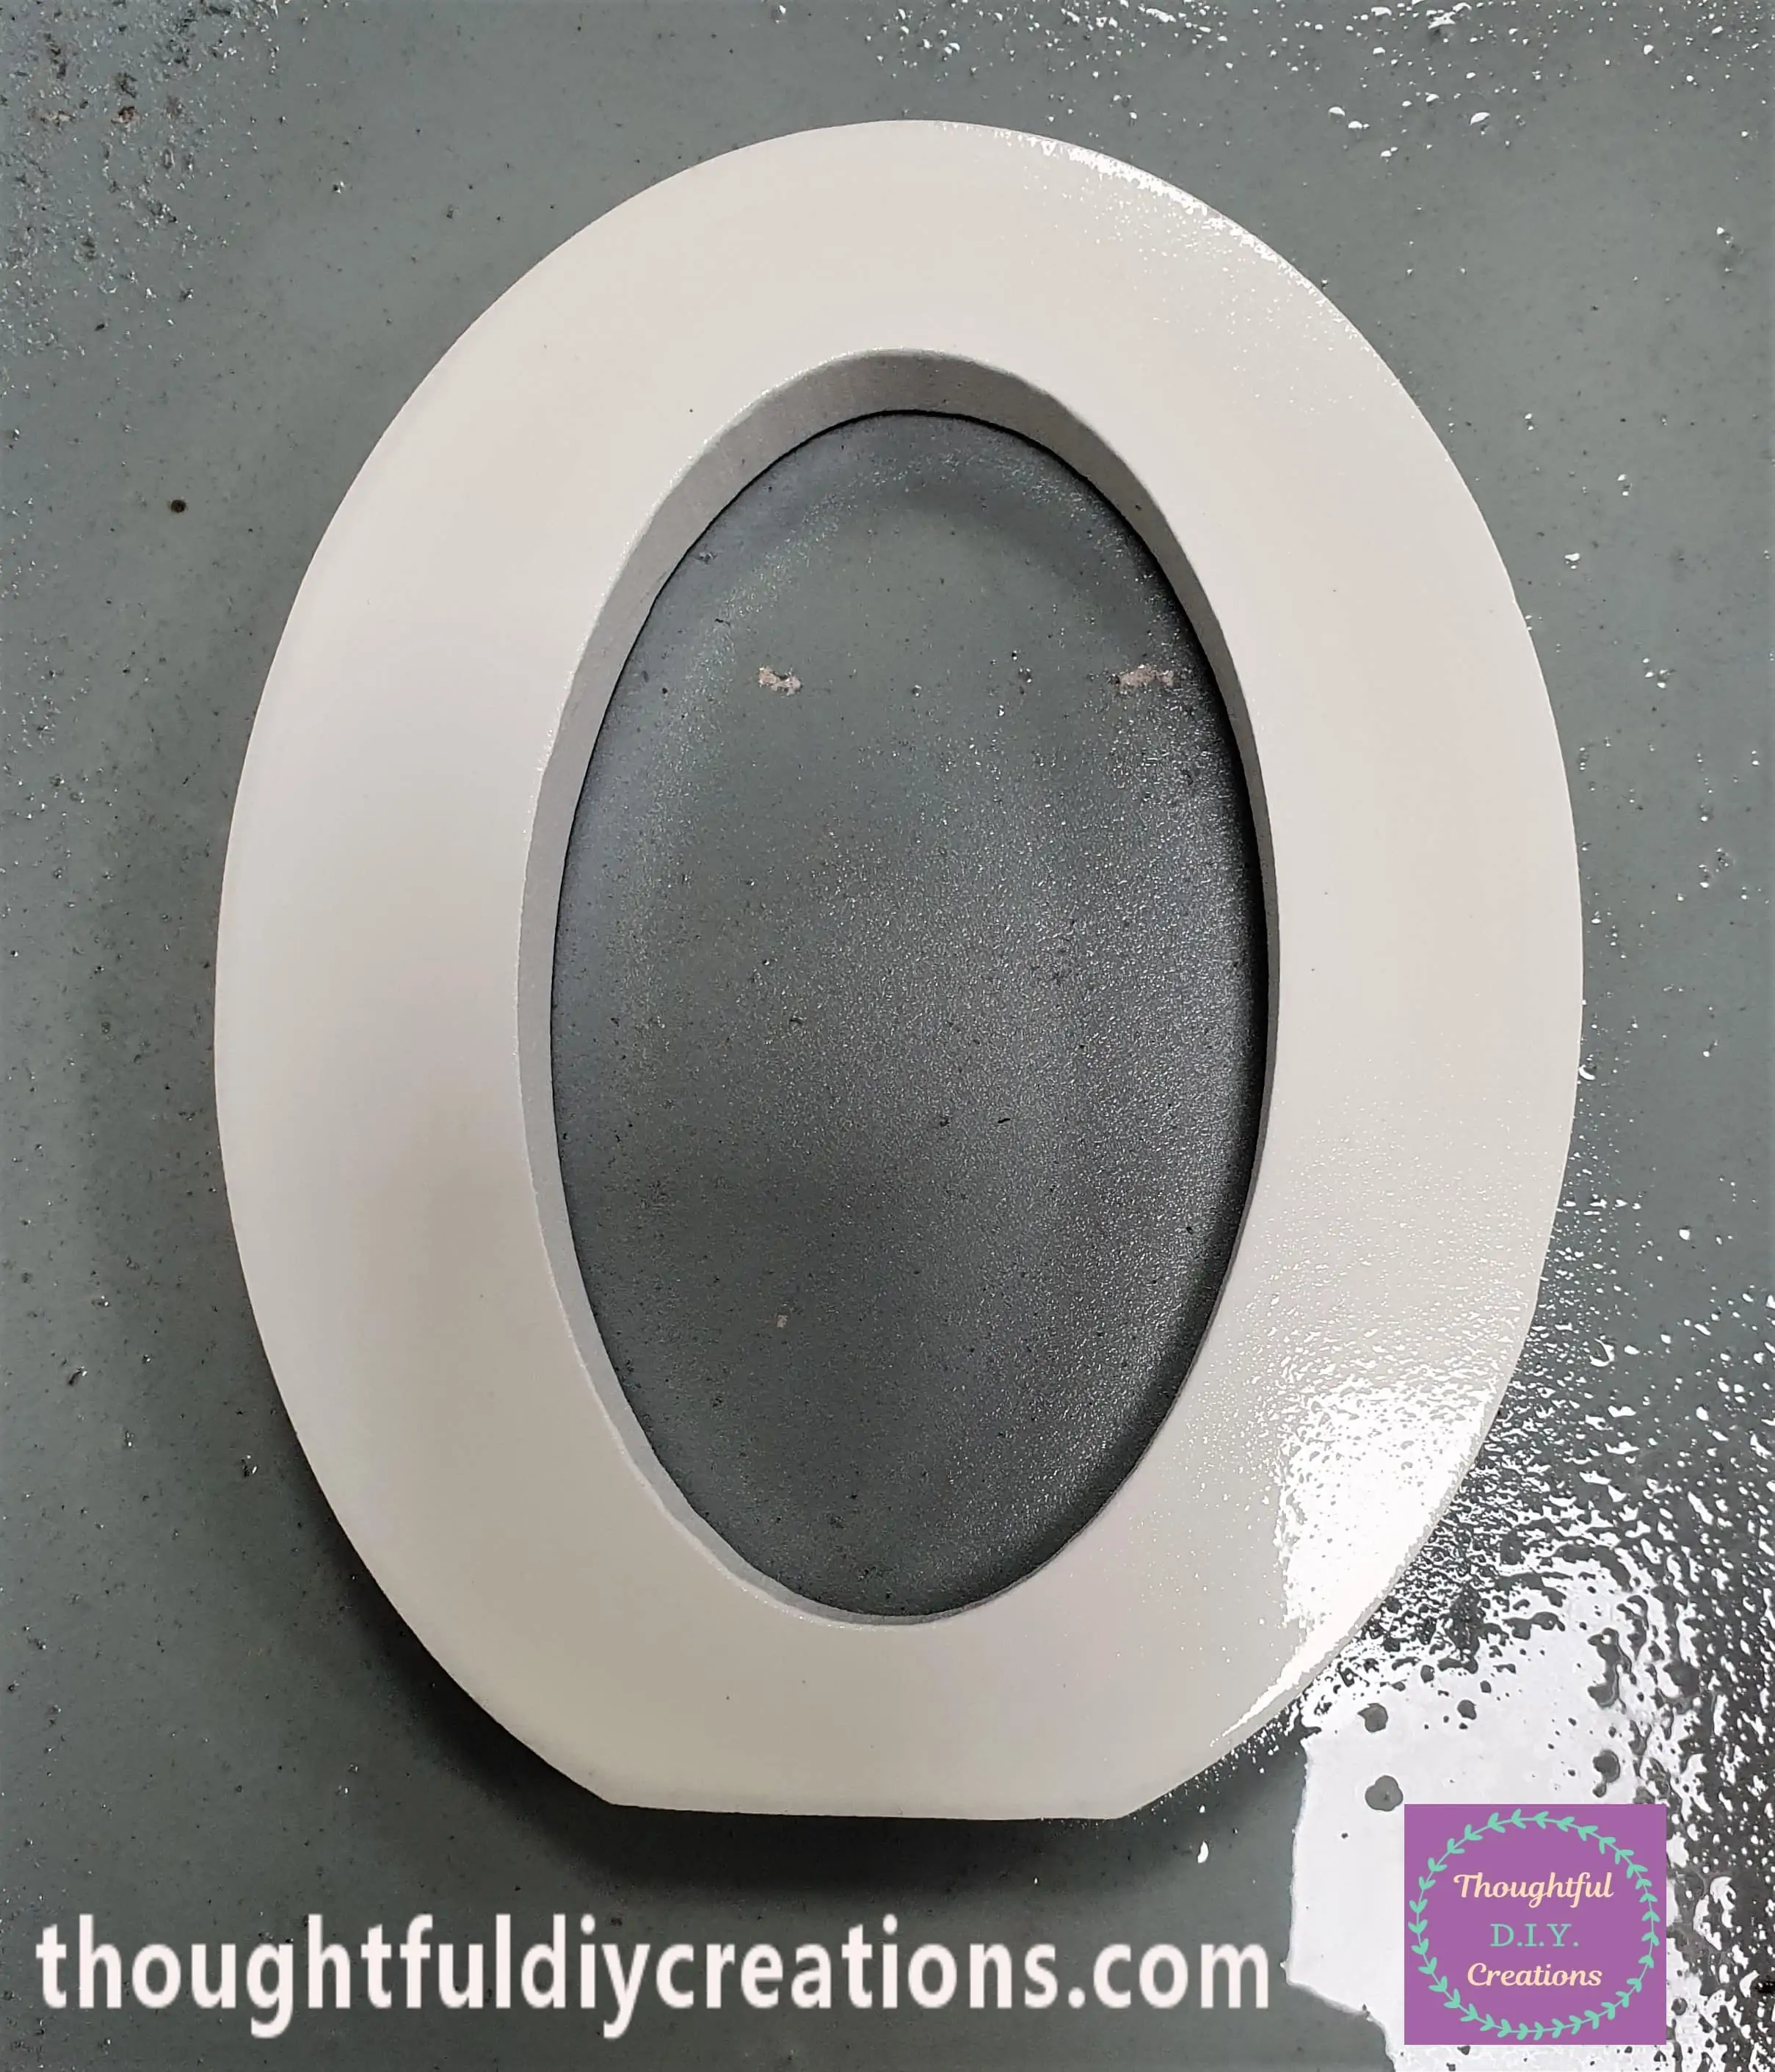
Here they are out of their Packaging. They are such good Quality.
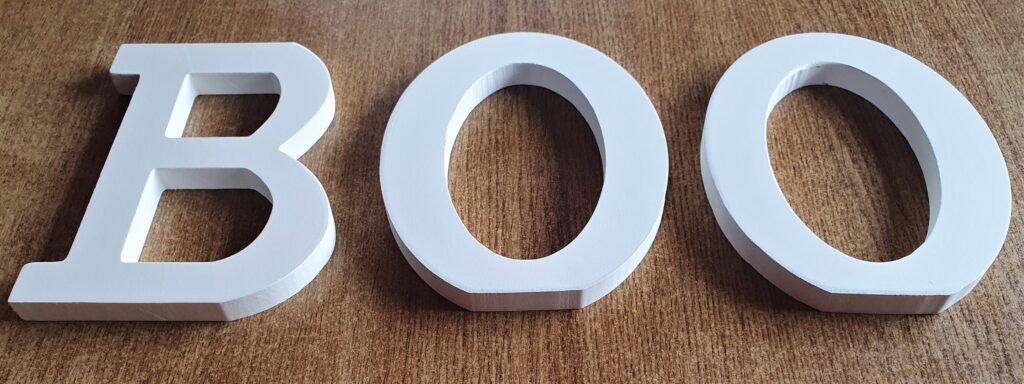
Preparing to Spray Paint the BOO Letters
I brought the Letters out to the Shed and placed them on a Table leaving Space between each Letter.

I got my Bright Green ‘Glow in the Dark’ Spray Paint.
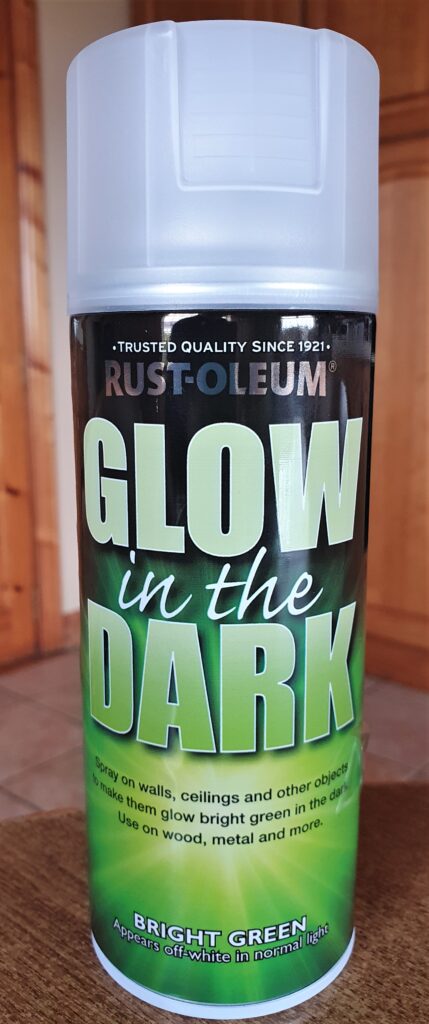
Spray Painting the Letters
Always Spray Paint in a Well Ventilated Area. Read the Instructions on the Spray Can Carefully. Leave the Area as Soon as you can after Spray Painting to prevent breathing in any Fumes. Don’t Spray Paint near anything Flammable.
I Shook the Spray Can from side-to-side for a Minute. I removed the Lid and Sprayed the Side of the Letter B. I gave the Can another Shake and Sprayed the Front of the Letter. I then moved onto the next Letter and repeated the Process until all 3 Letters had One even Coat of Spray Paint.
I applied 4 Layers of Spray Paint to each Letter altogether; leaving an Hour drying time between each Layer. I left the BOO Letters in the Shed for 3 Days to Cure.
I then brought the Letters back Inside, this is how they look after 4 layers of Spray Paint.
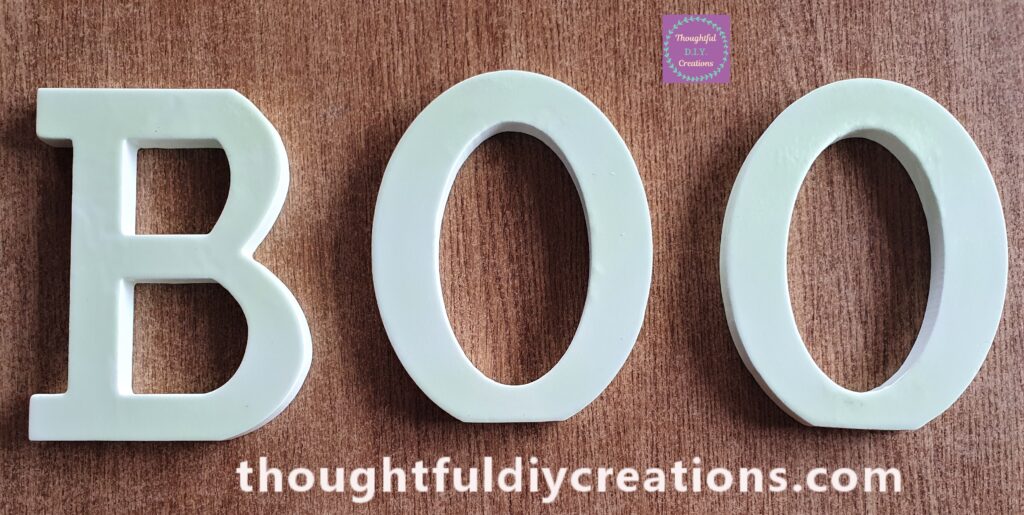
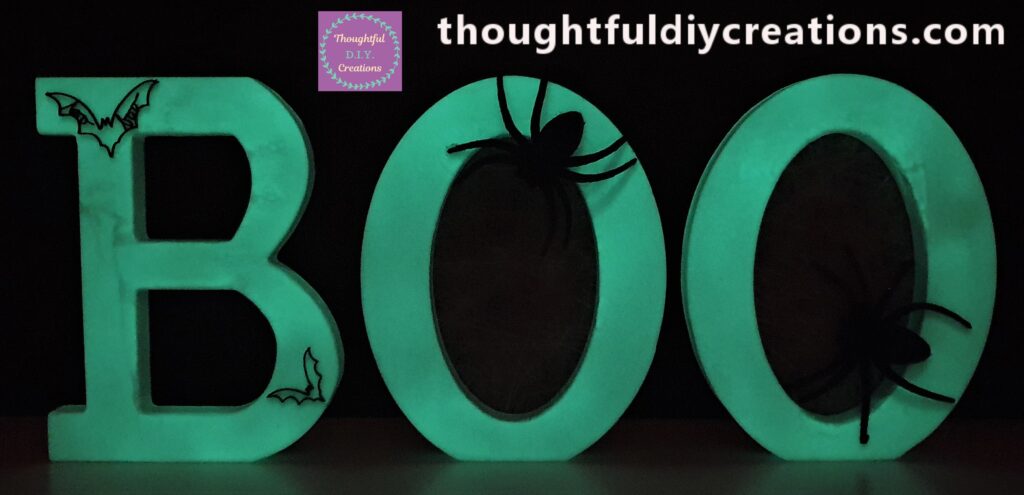
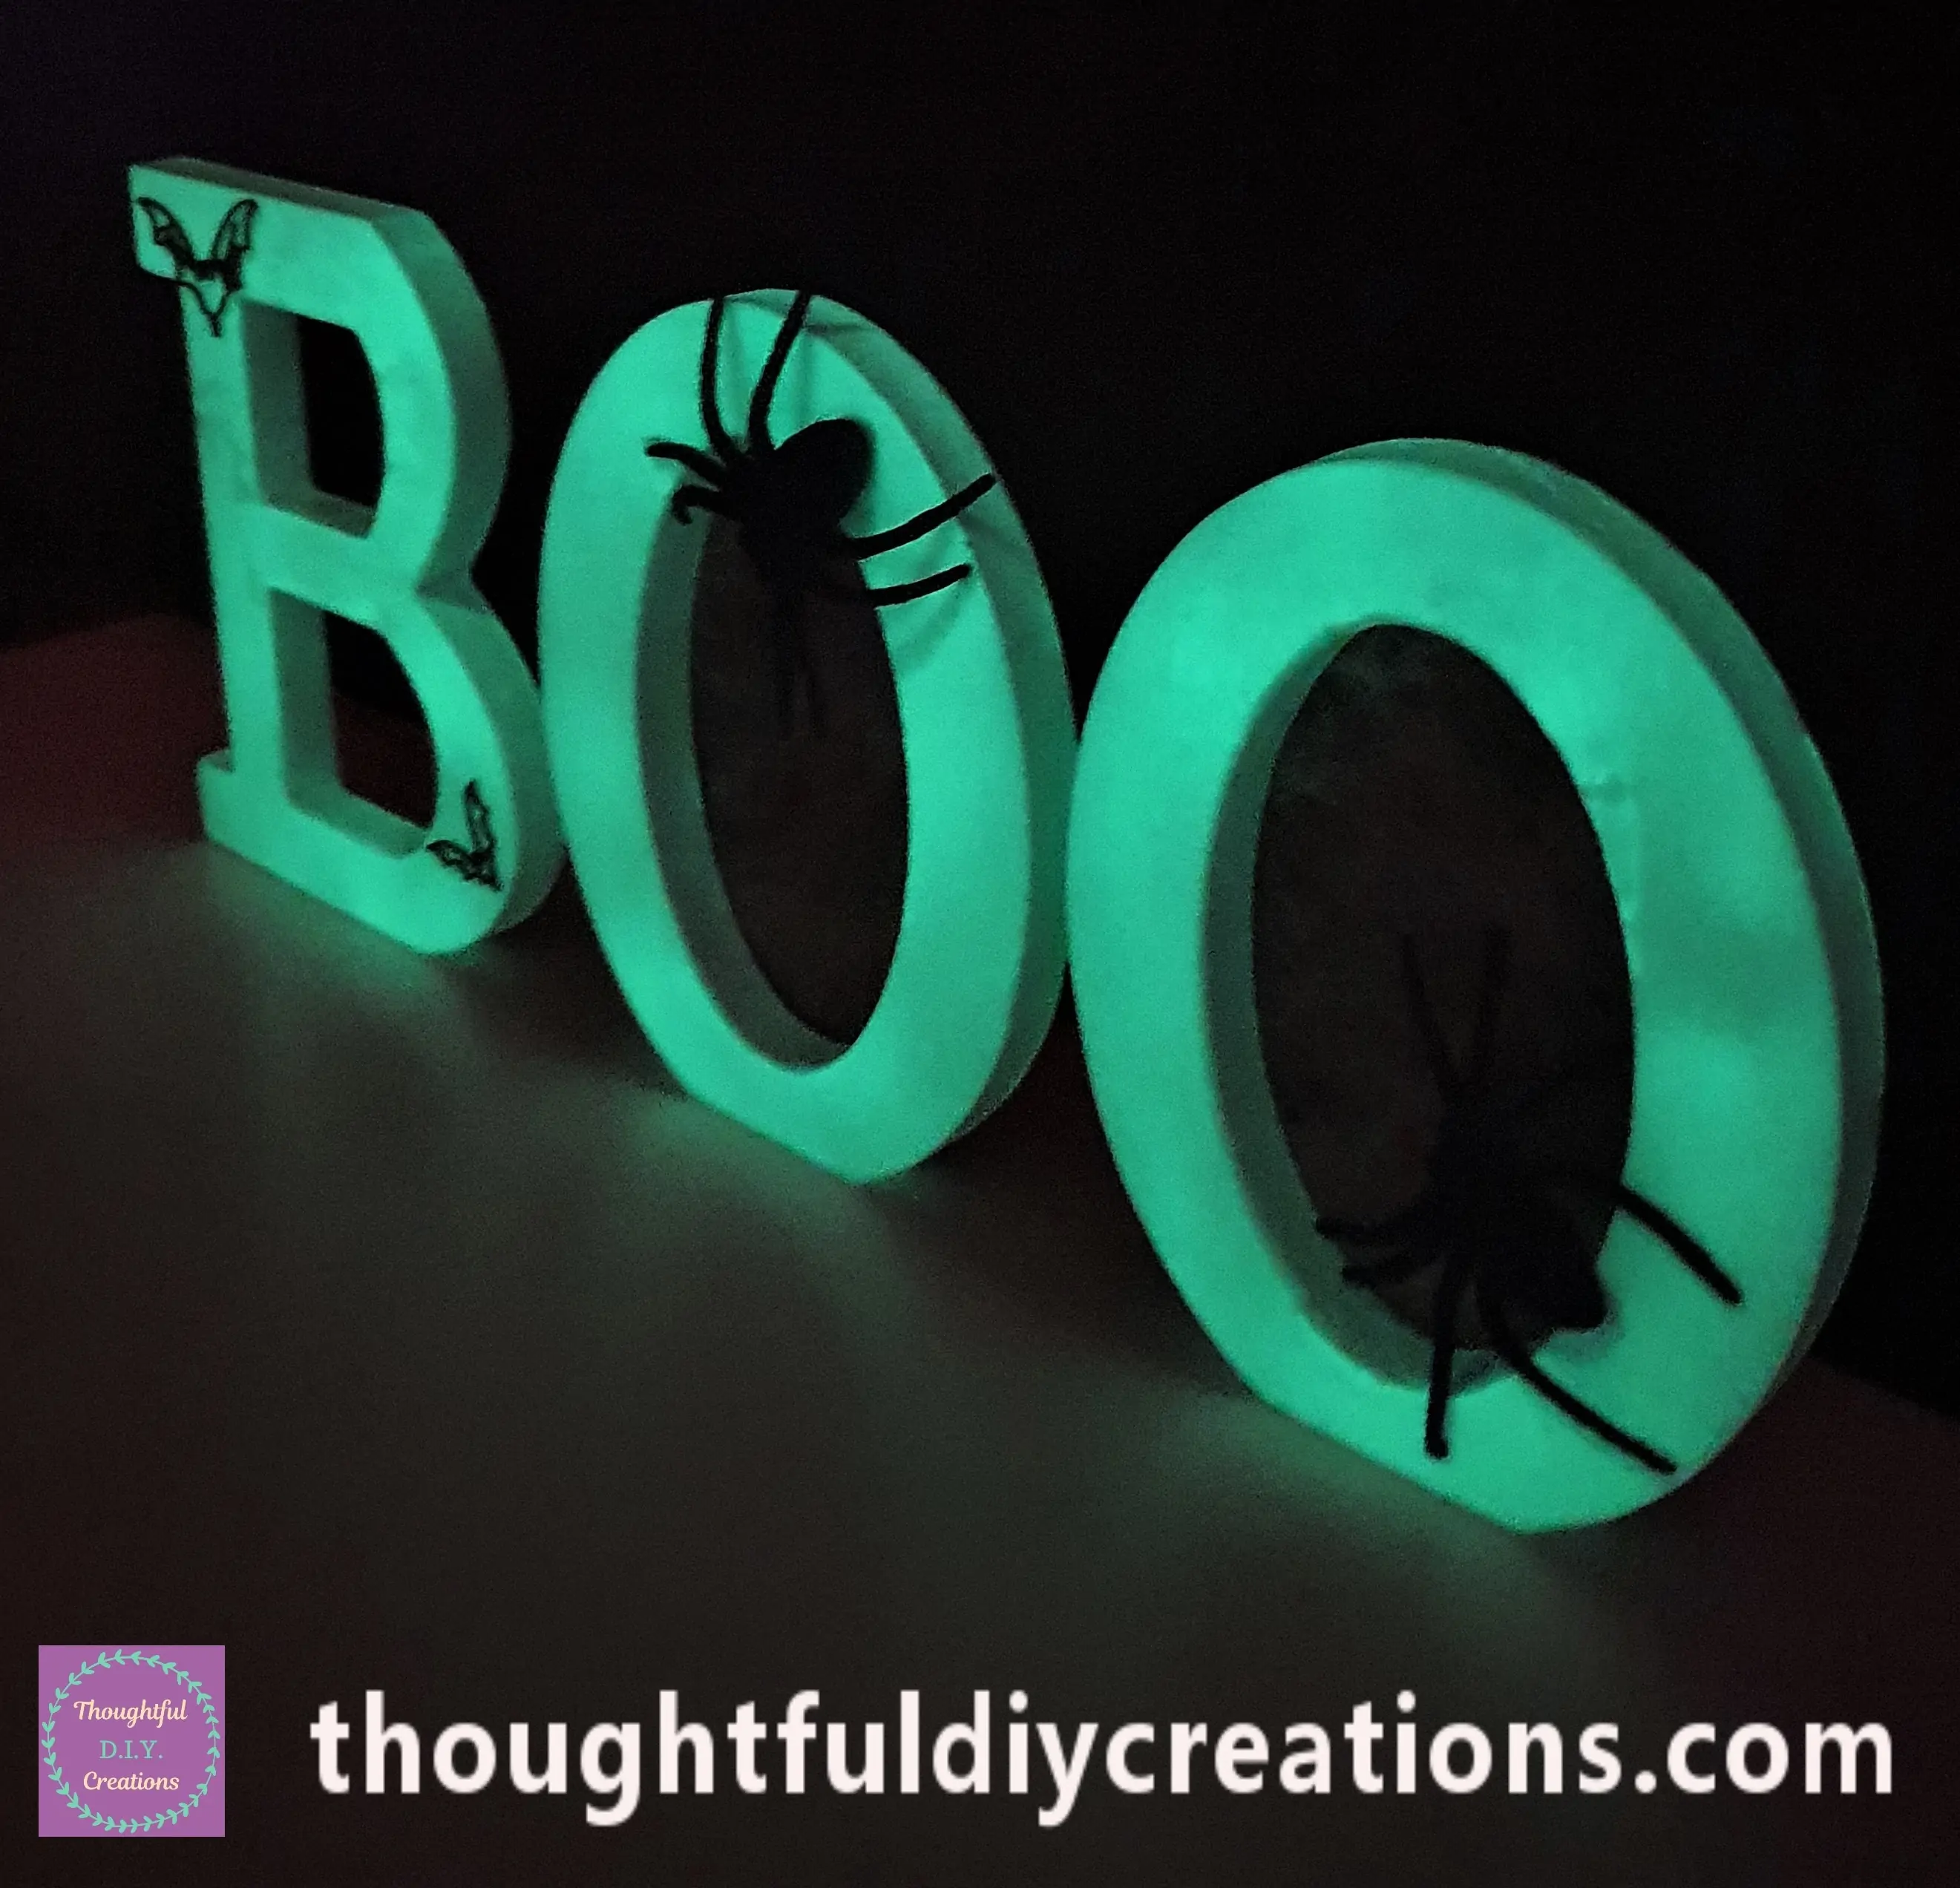
They appear off-white in the Photographs; they have a slight light green shade in real life during the Day and Glow Green at Night or in the Dark.
Embossing Bat Chipboards
I got my Halloween Chipboards that I bought recently.
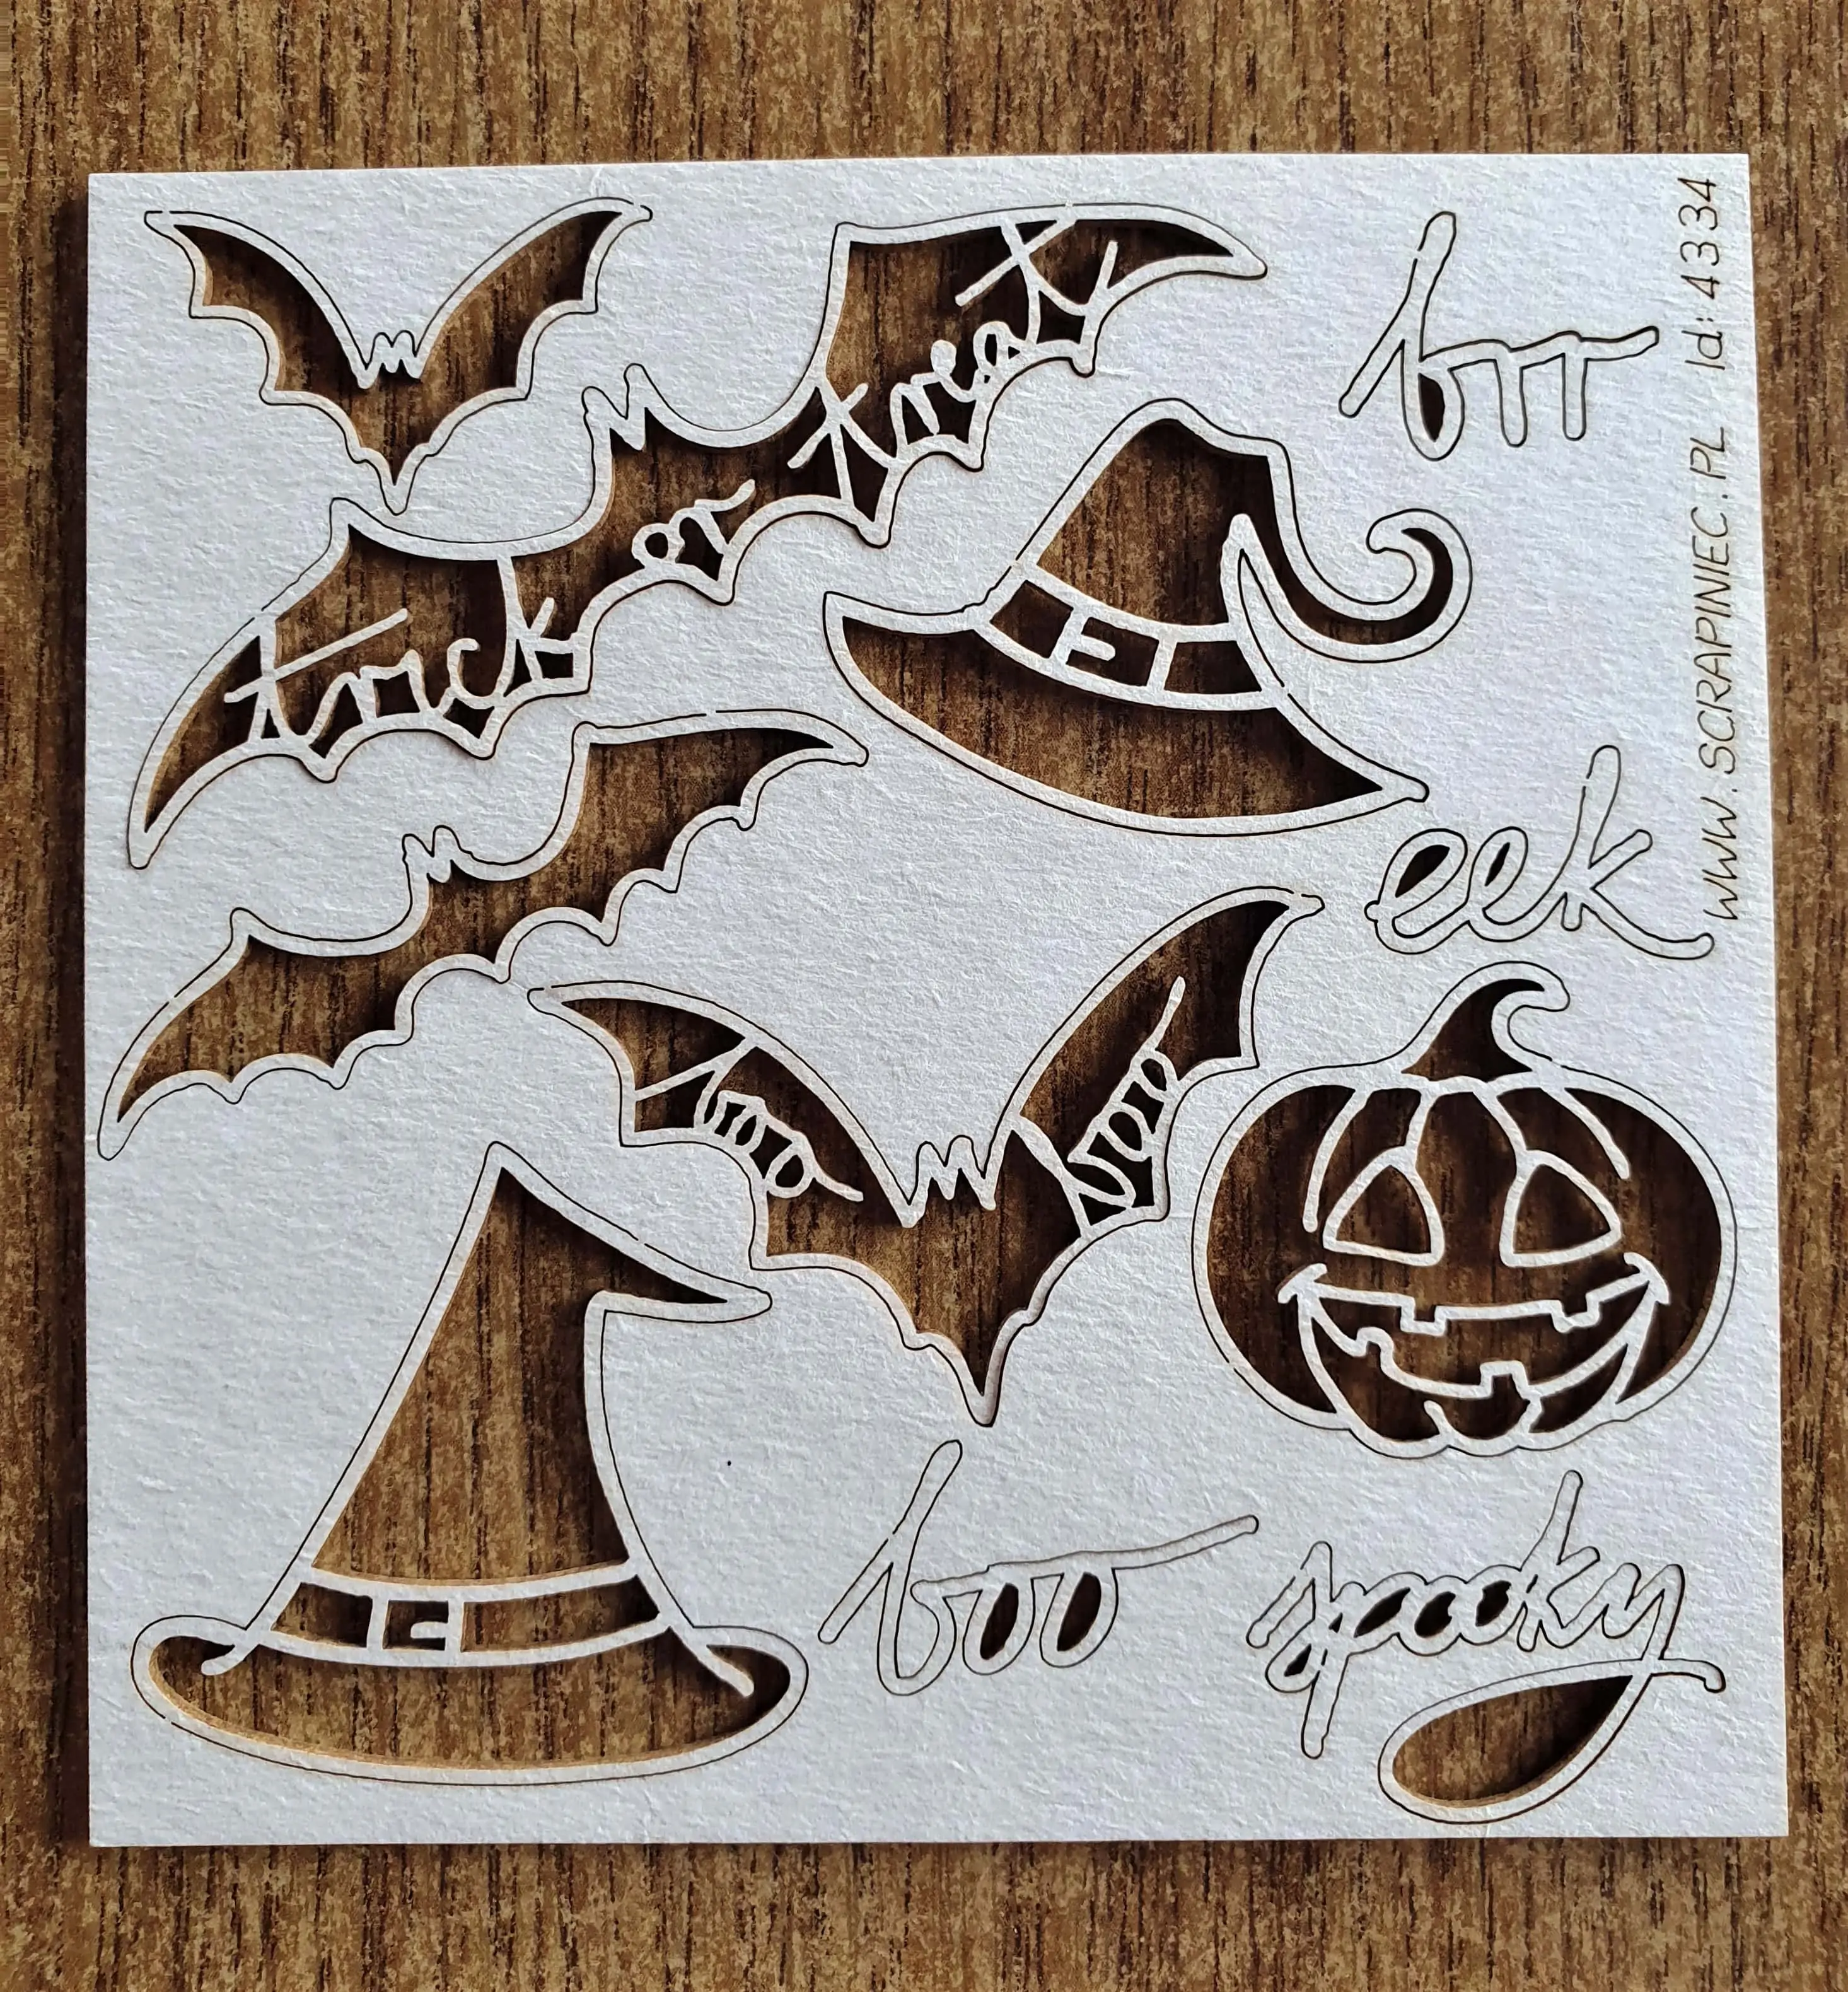
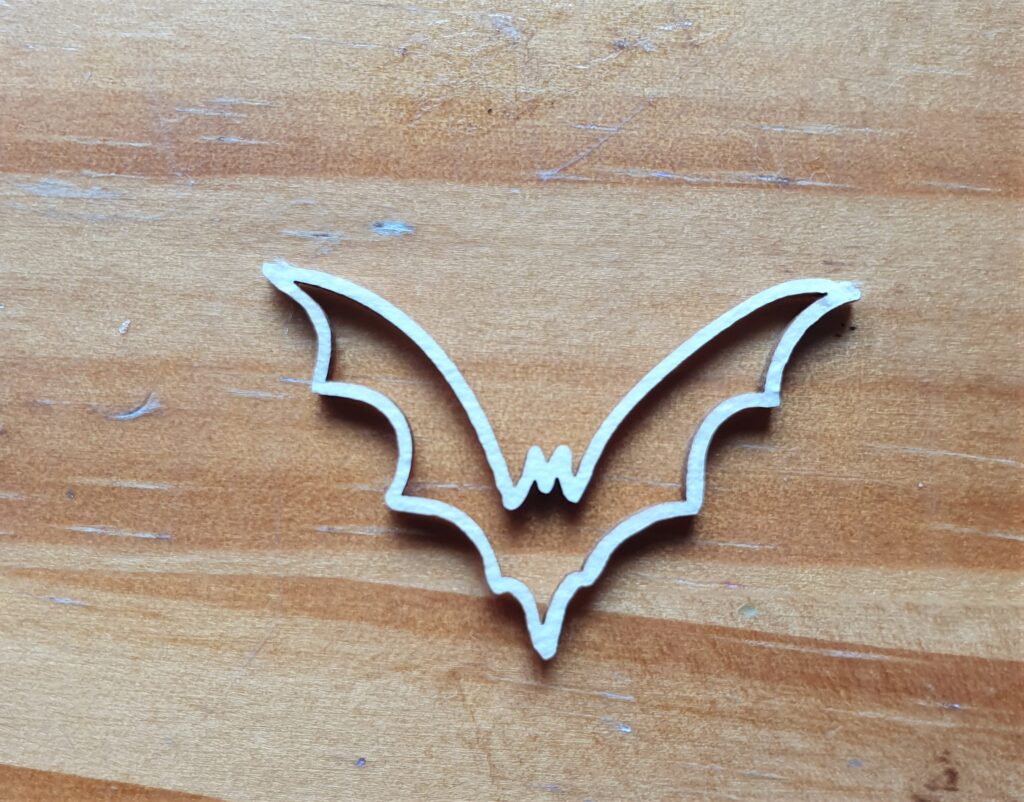
I removed a Bat from the Set; it just pops out.
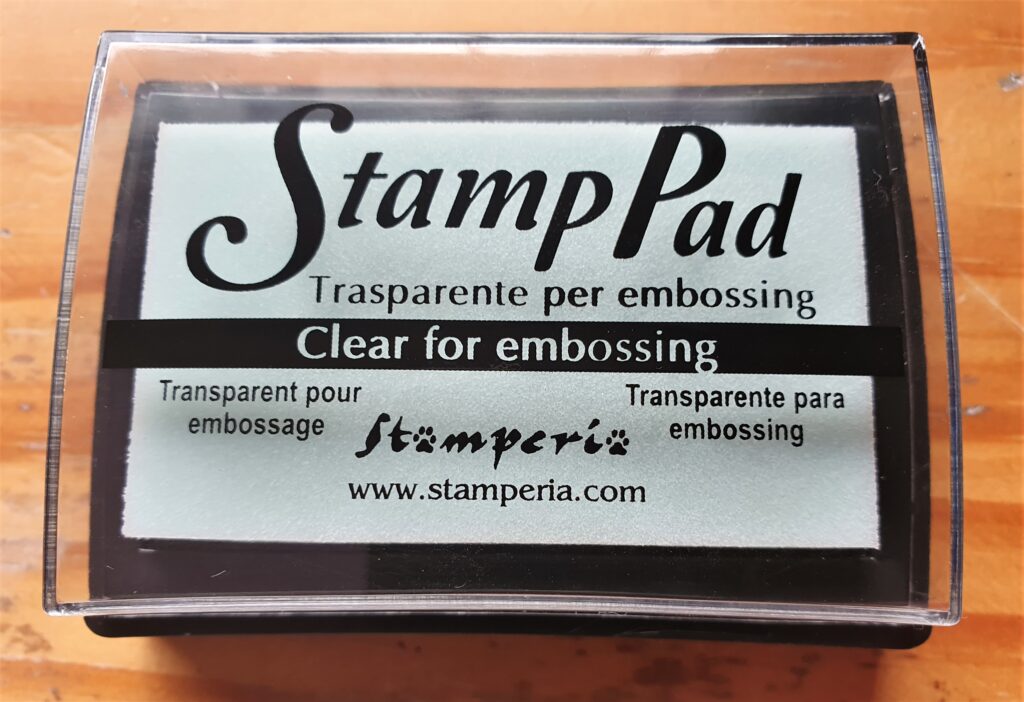
I got my Clear Embossing Ink.
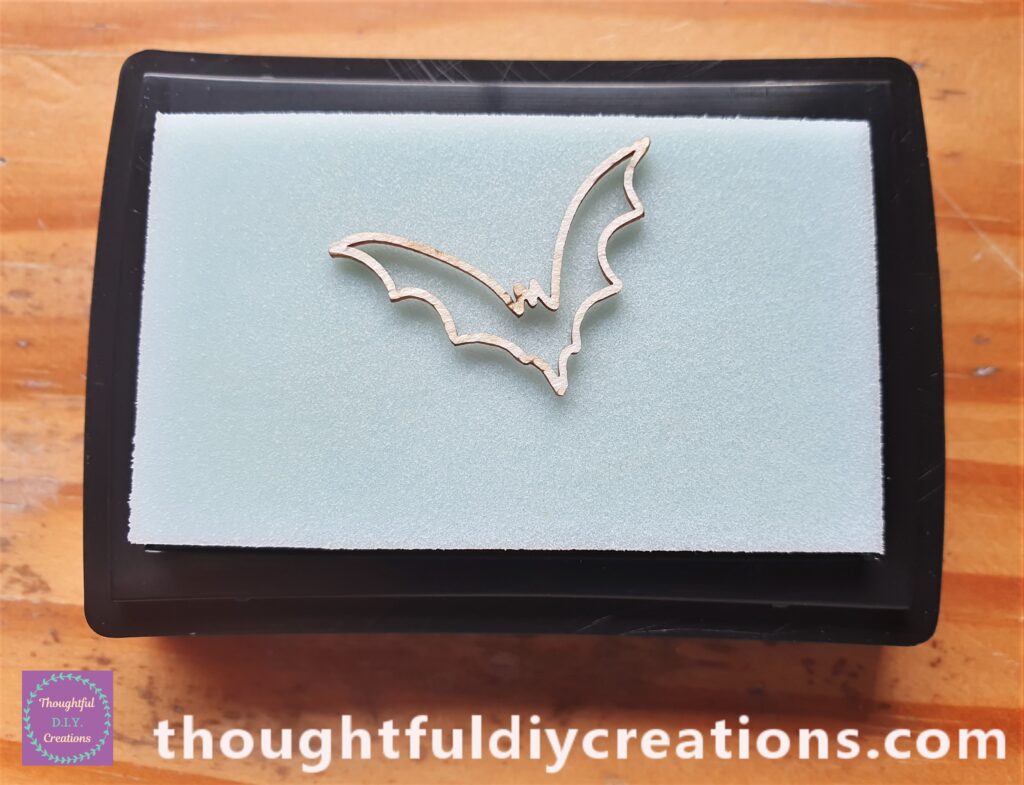
I put the Bat face down on the Ink and pressed it into the Ink with my fingers.
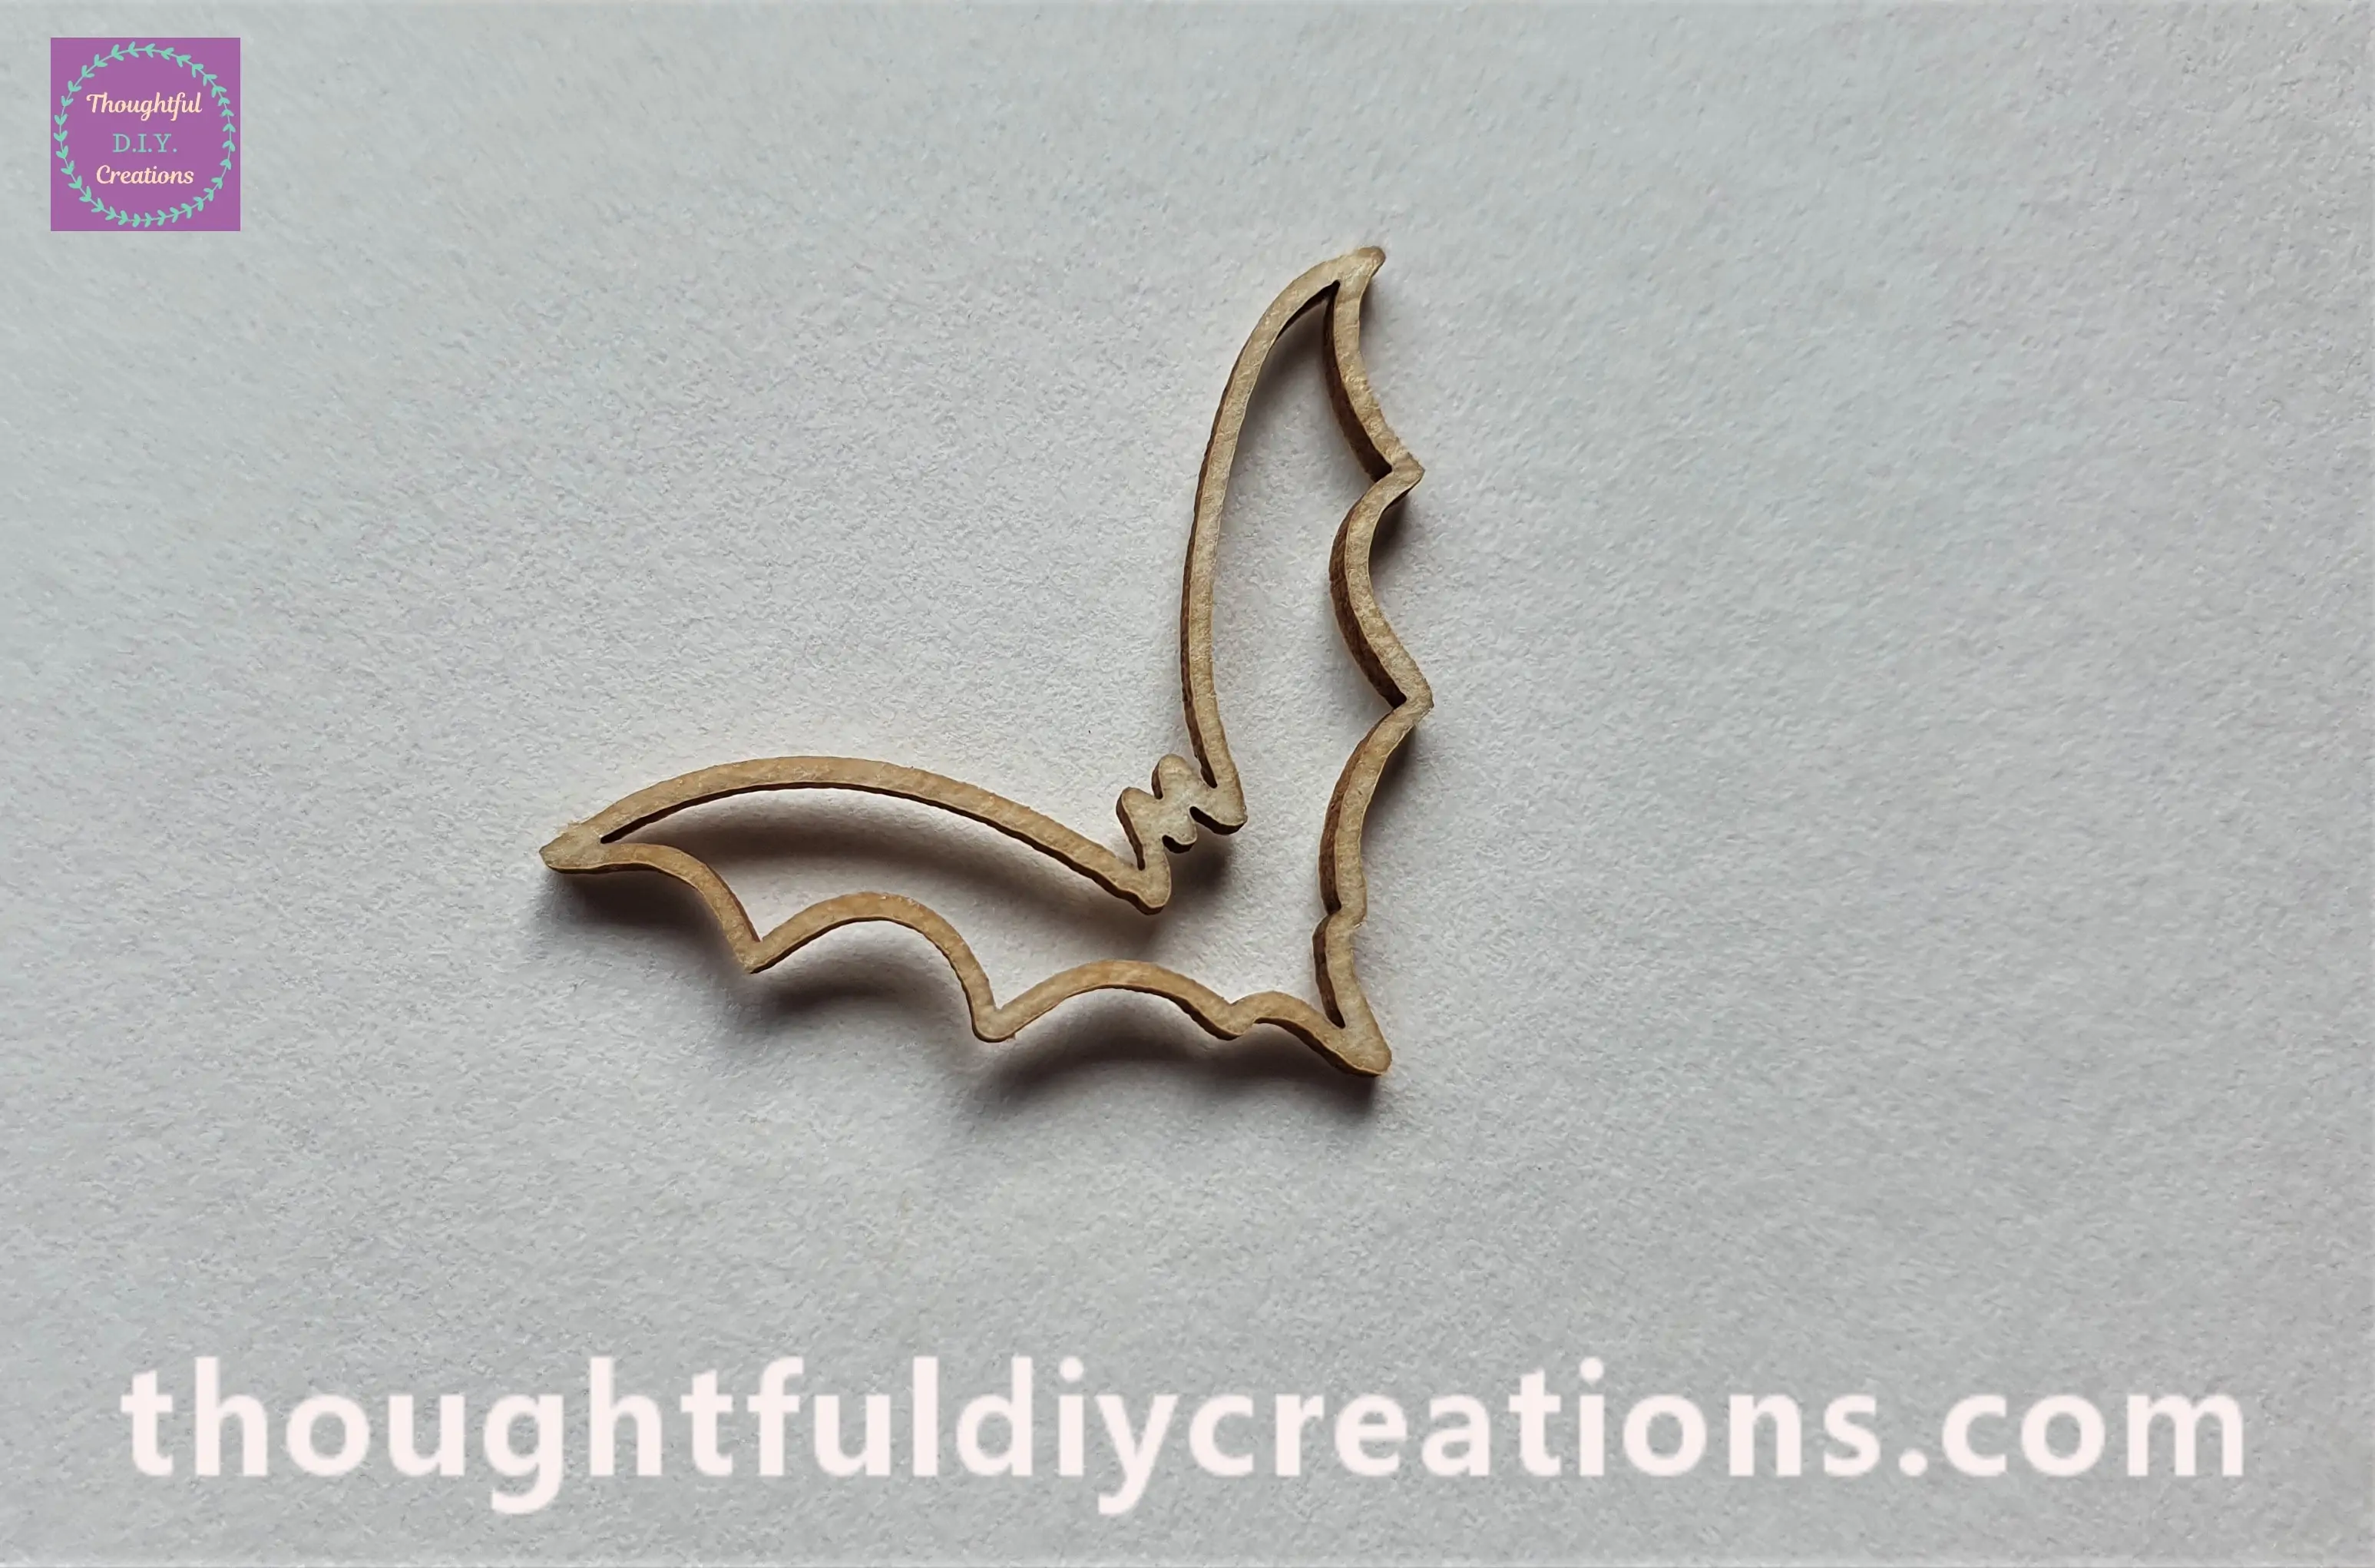
I then put the Bat on a Sheet of White Paper facing upwards.
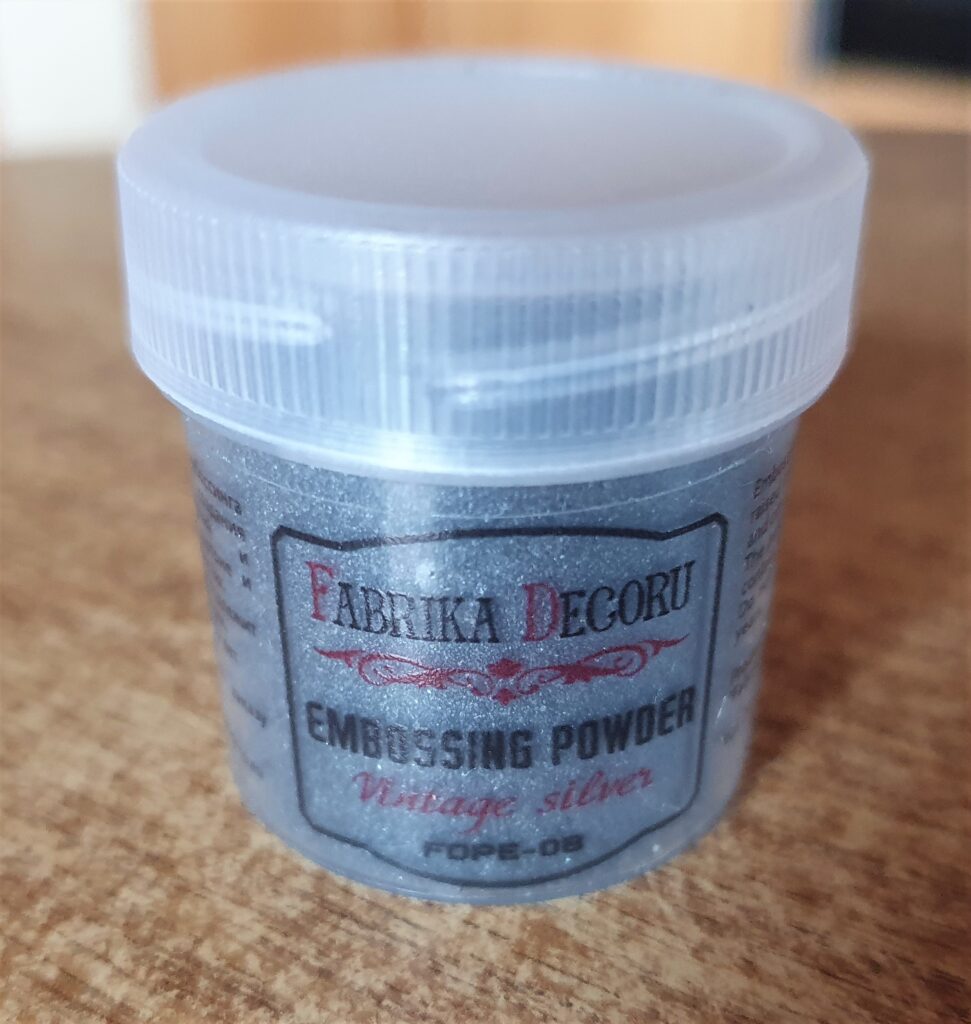
I got my Tub of ‘Vintage Silver’ Embossing Powder.
I poured the Embossing Powder all over the Bat.

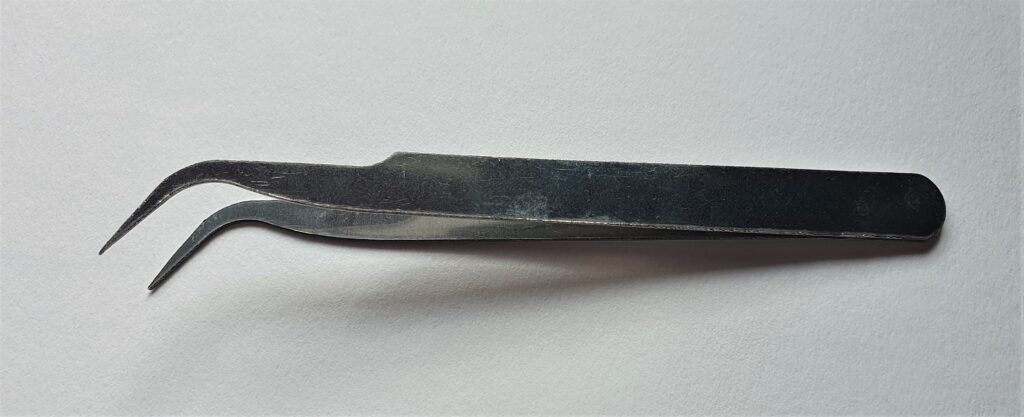
I got my Fine-Tip Tweezers.
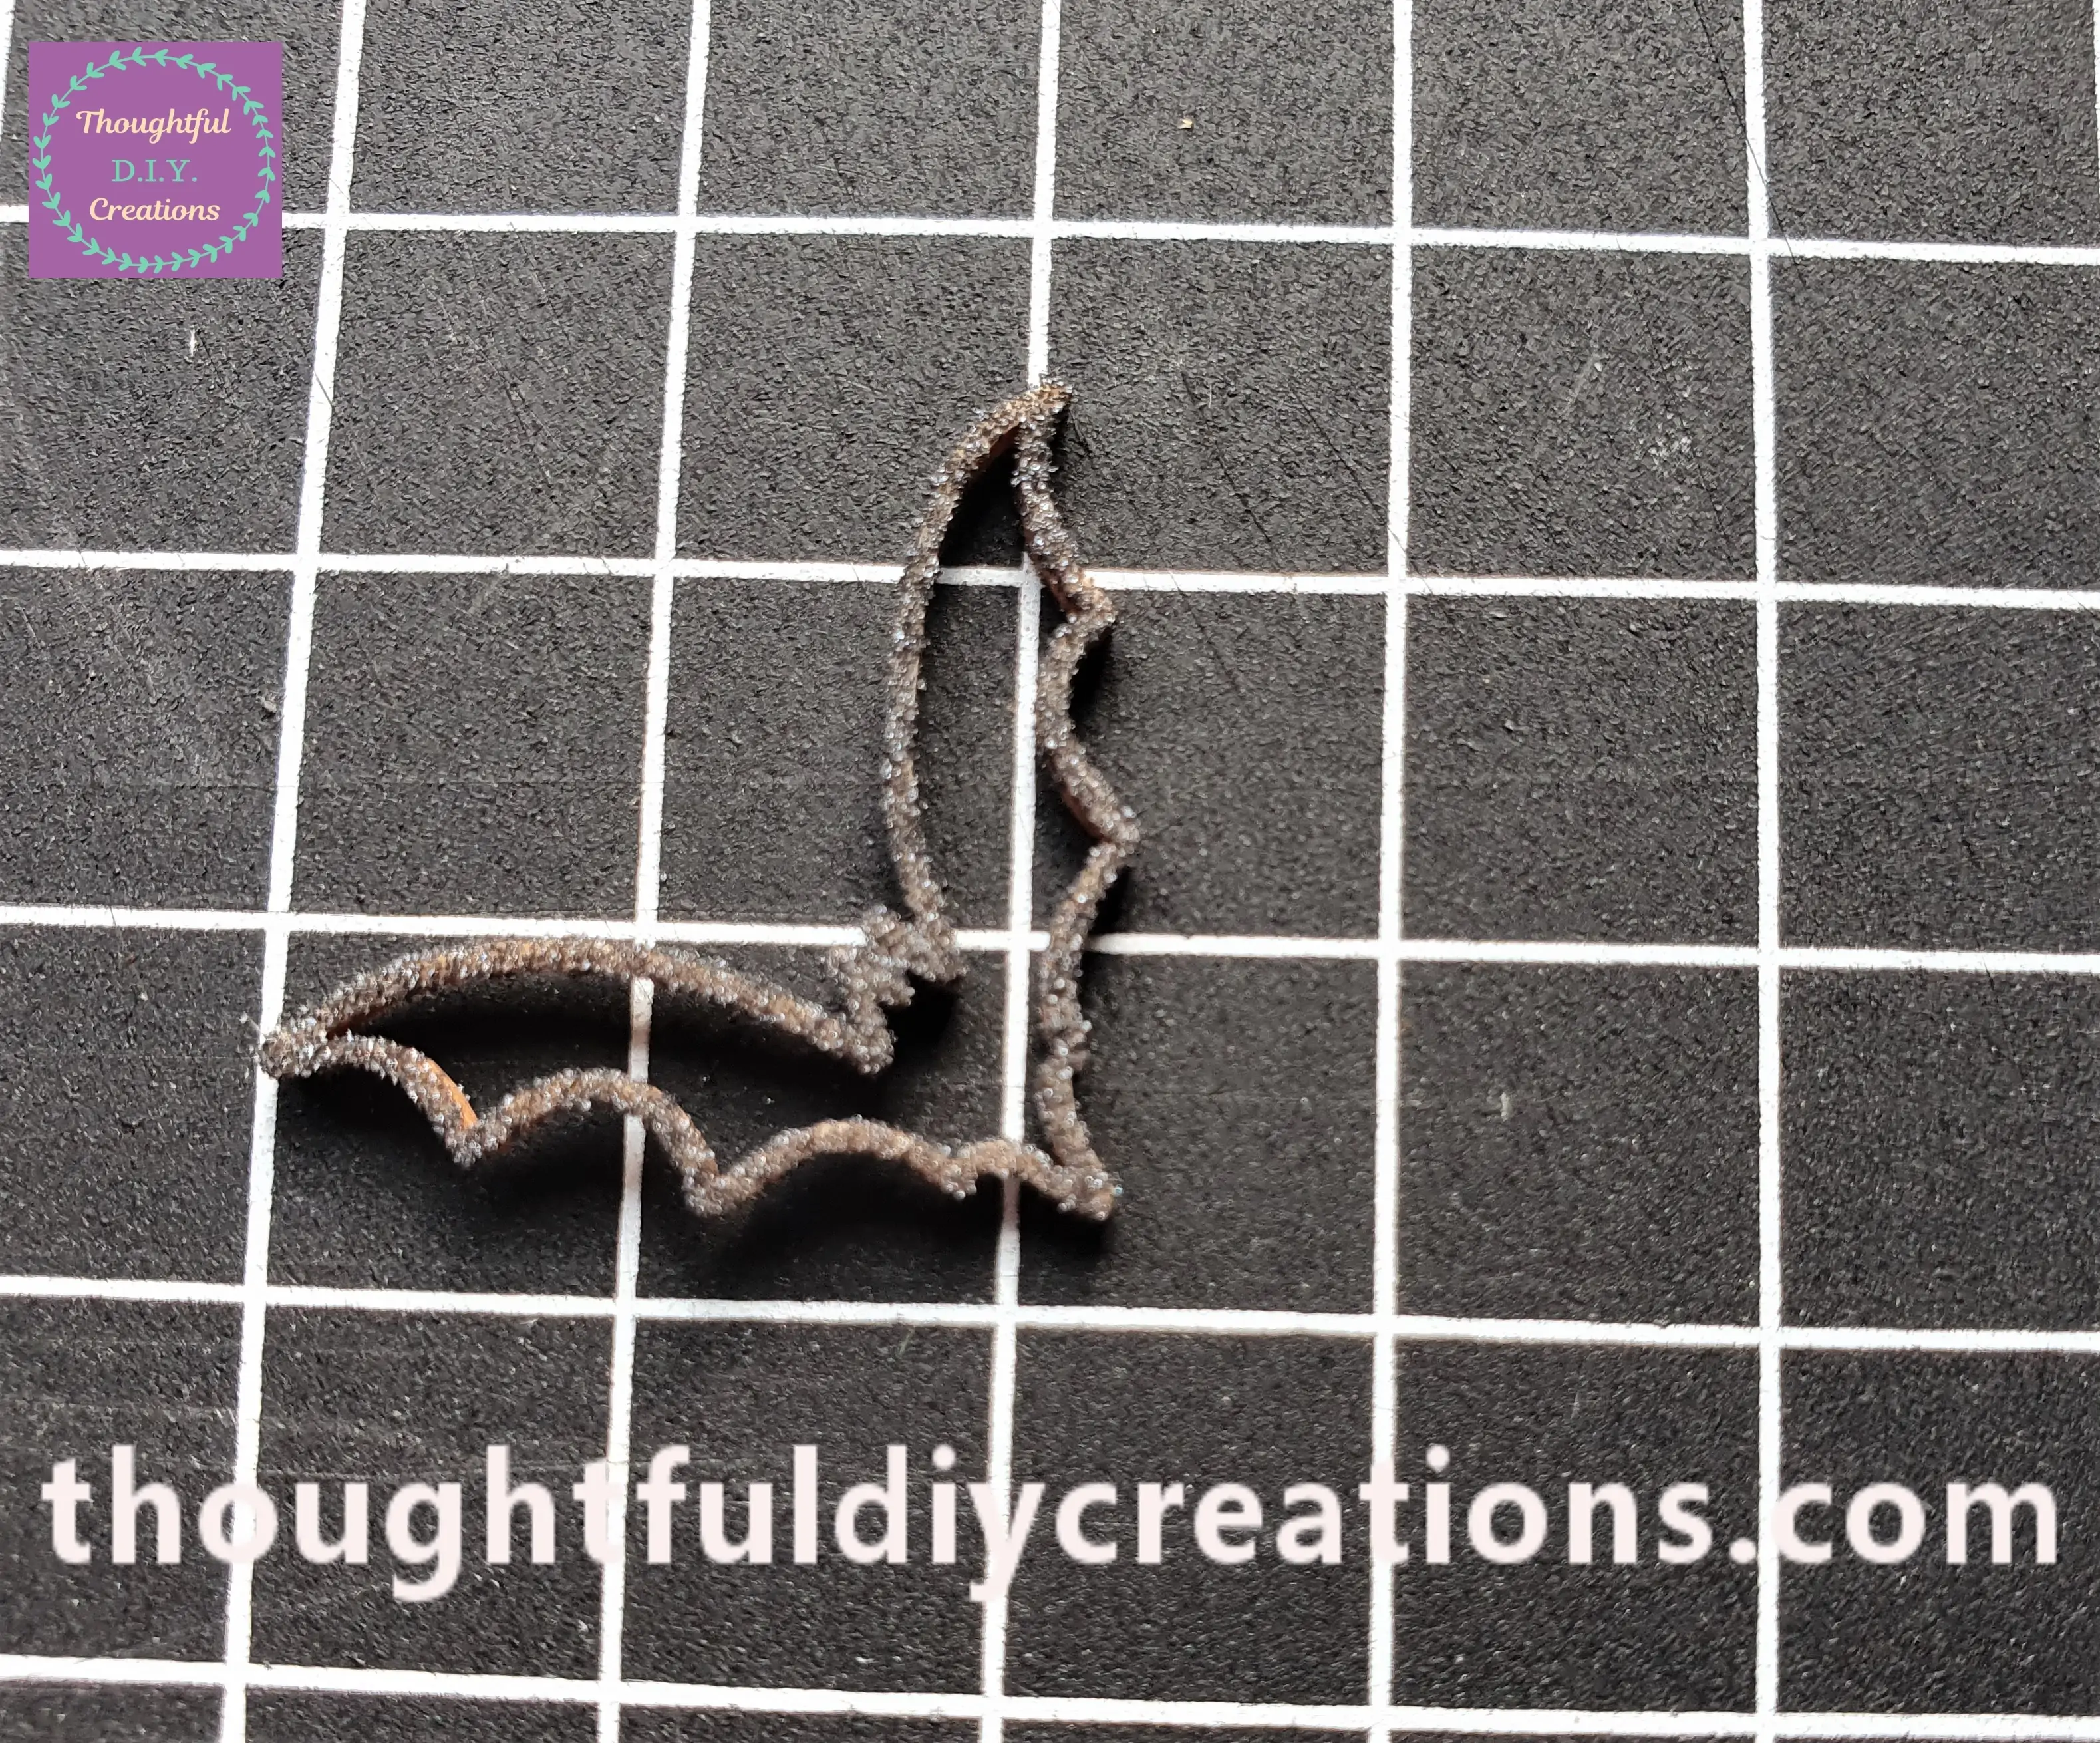
I picked up the Bat with the Tweezers and placed it on a Mat. I folded the White Sheet and poured the rest of the Embossing Powder back into the Tub. This is how the Bat looks with the Embossing Powder attached to the Ink.
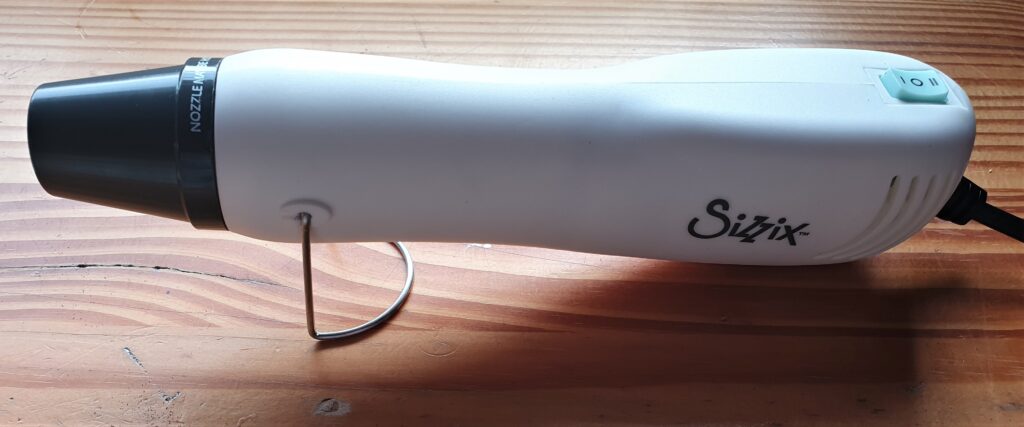
I plugged in my Heat Tool for Embossing.
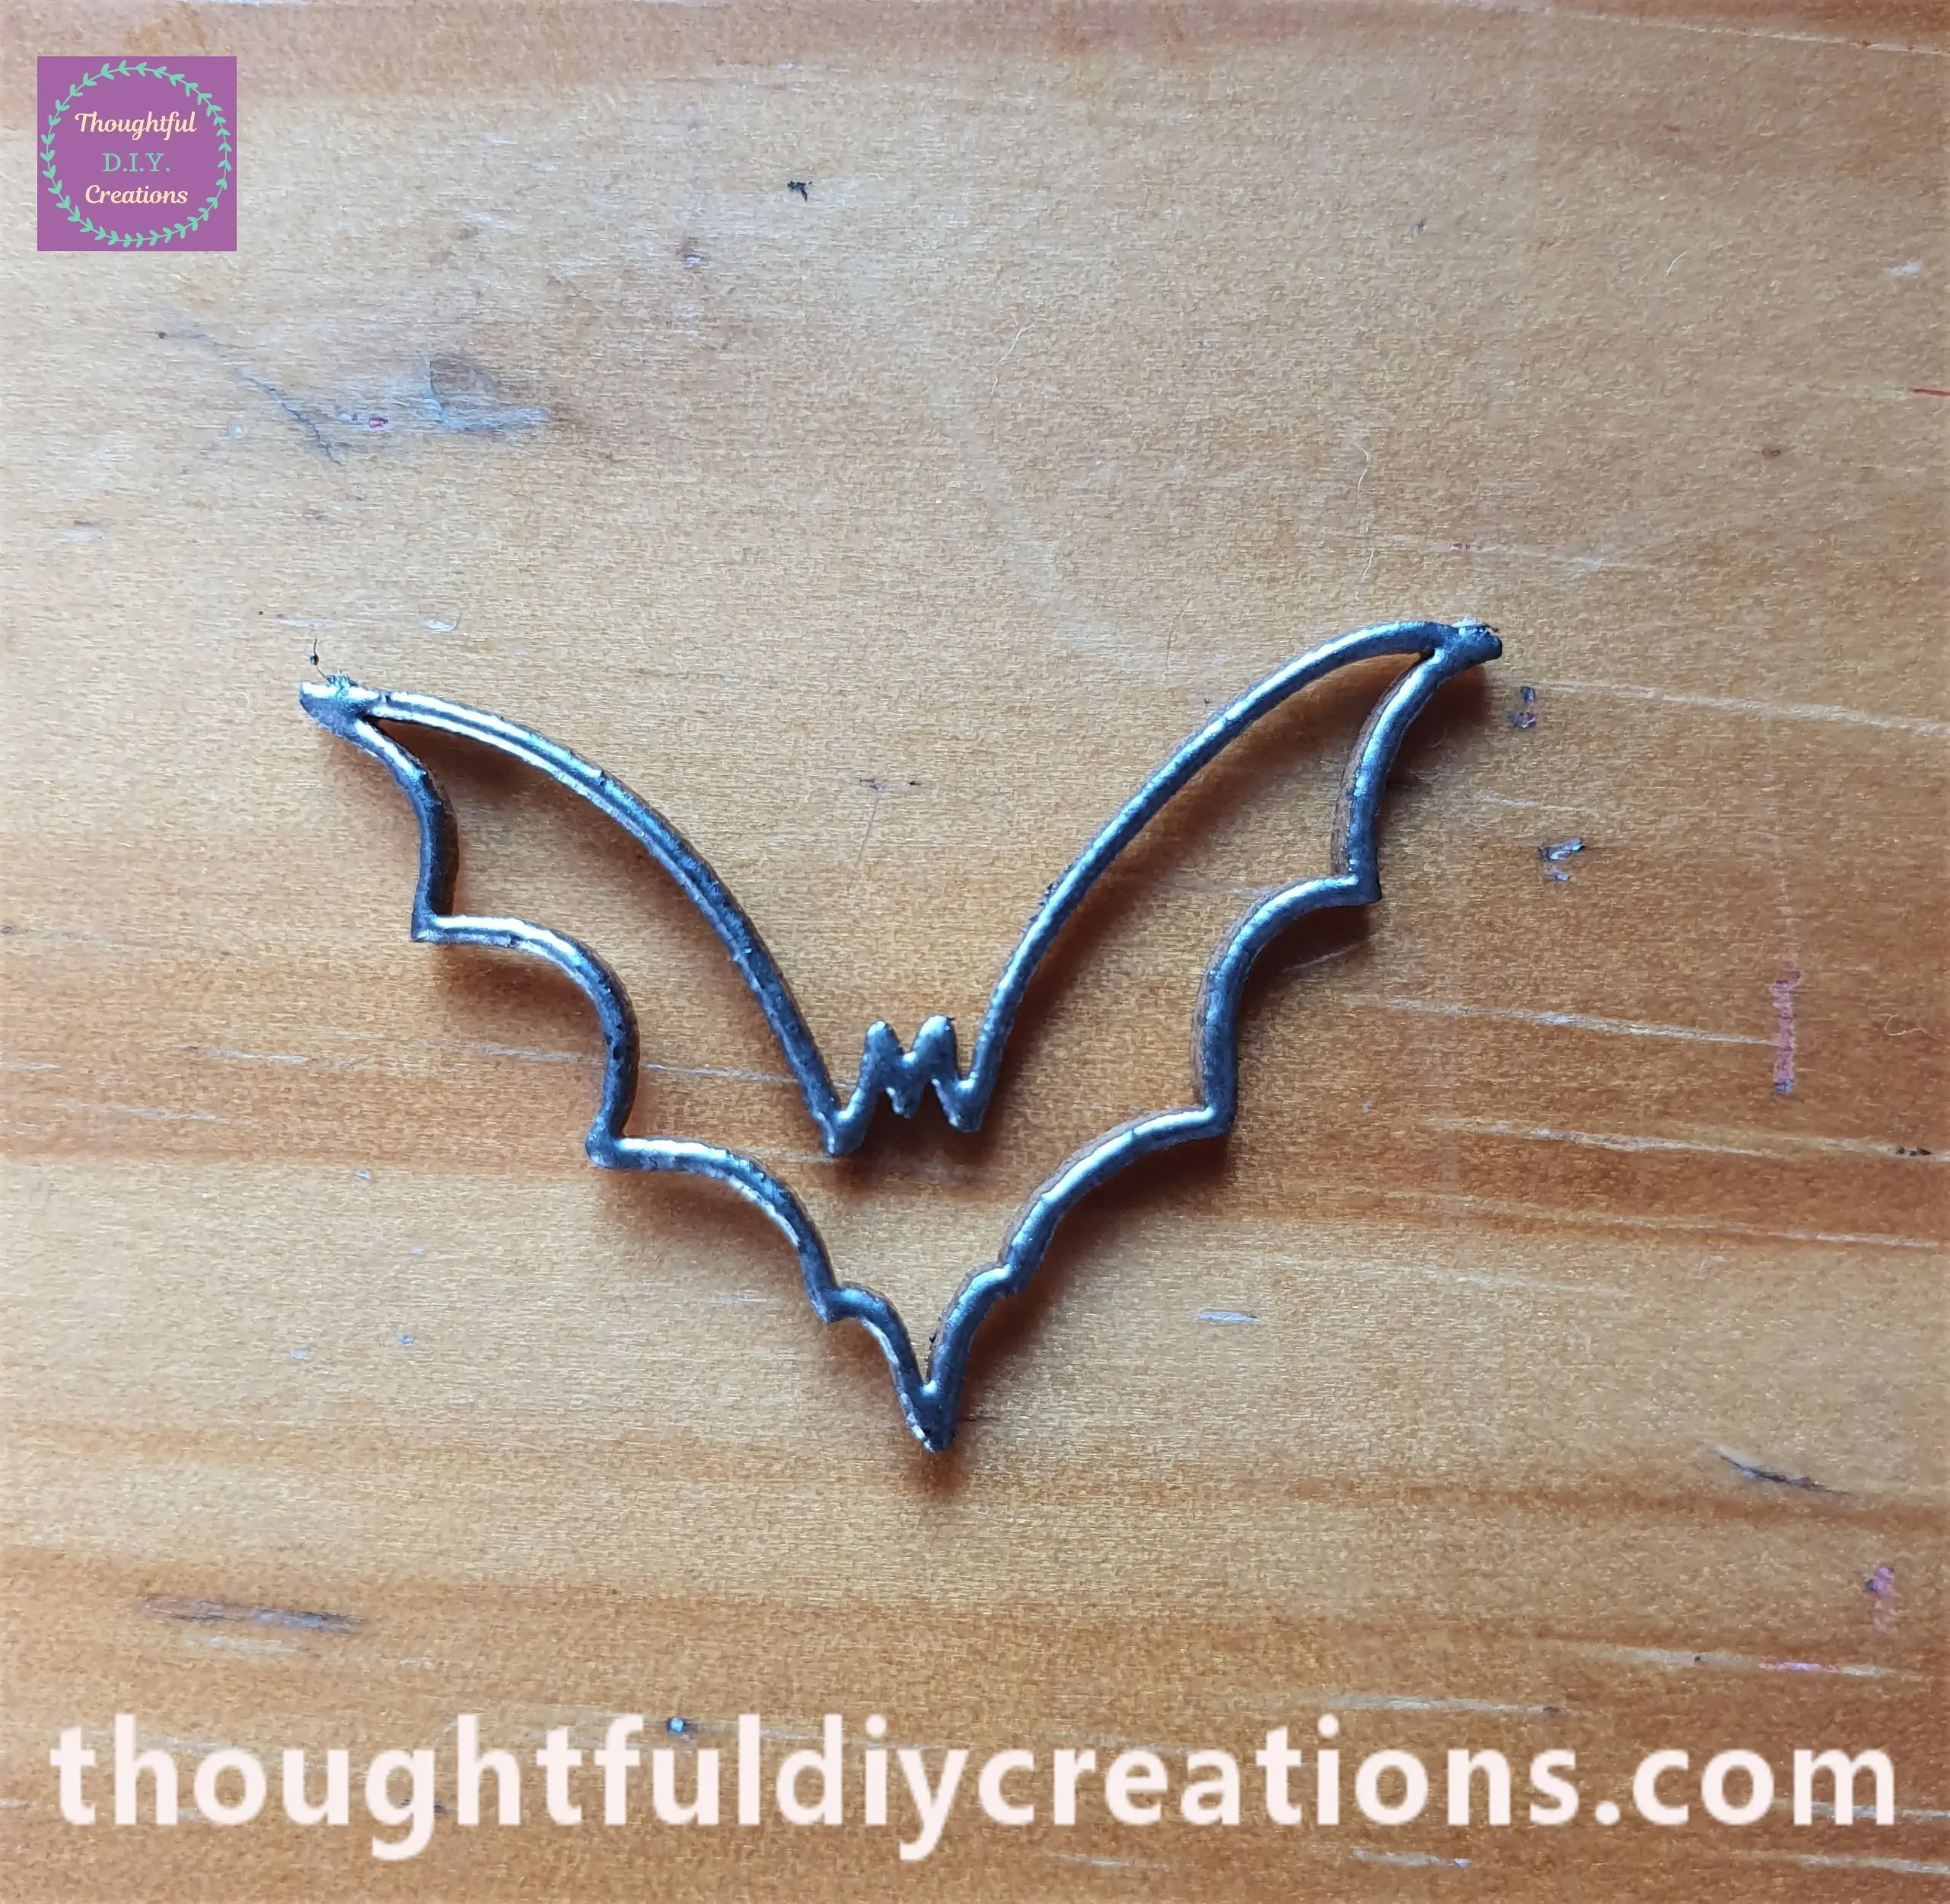
I turned on the Heat Tool on the Lower Setting and moved it over the Bat on the Mat. I held the Tweezers in between the Bat to prevent it moving off the Mat.
The Heat Tool melts the Embossing Powder into the Chipboard and it results in a metallic permanent finish.
Gluing the Bats to the MDF Letter
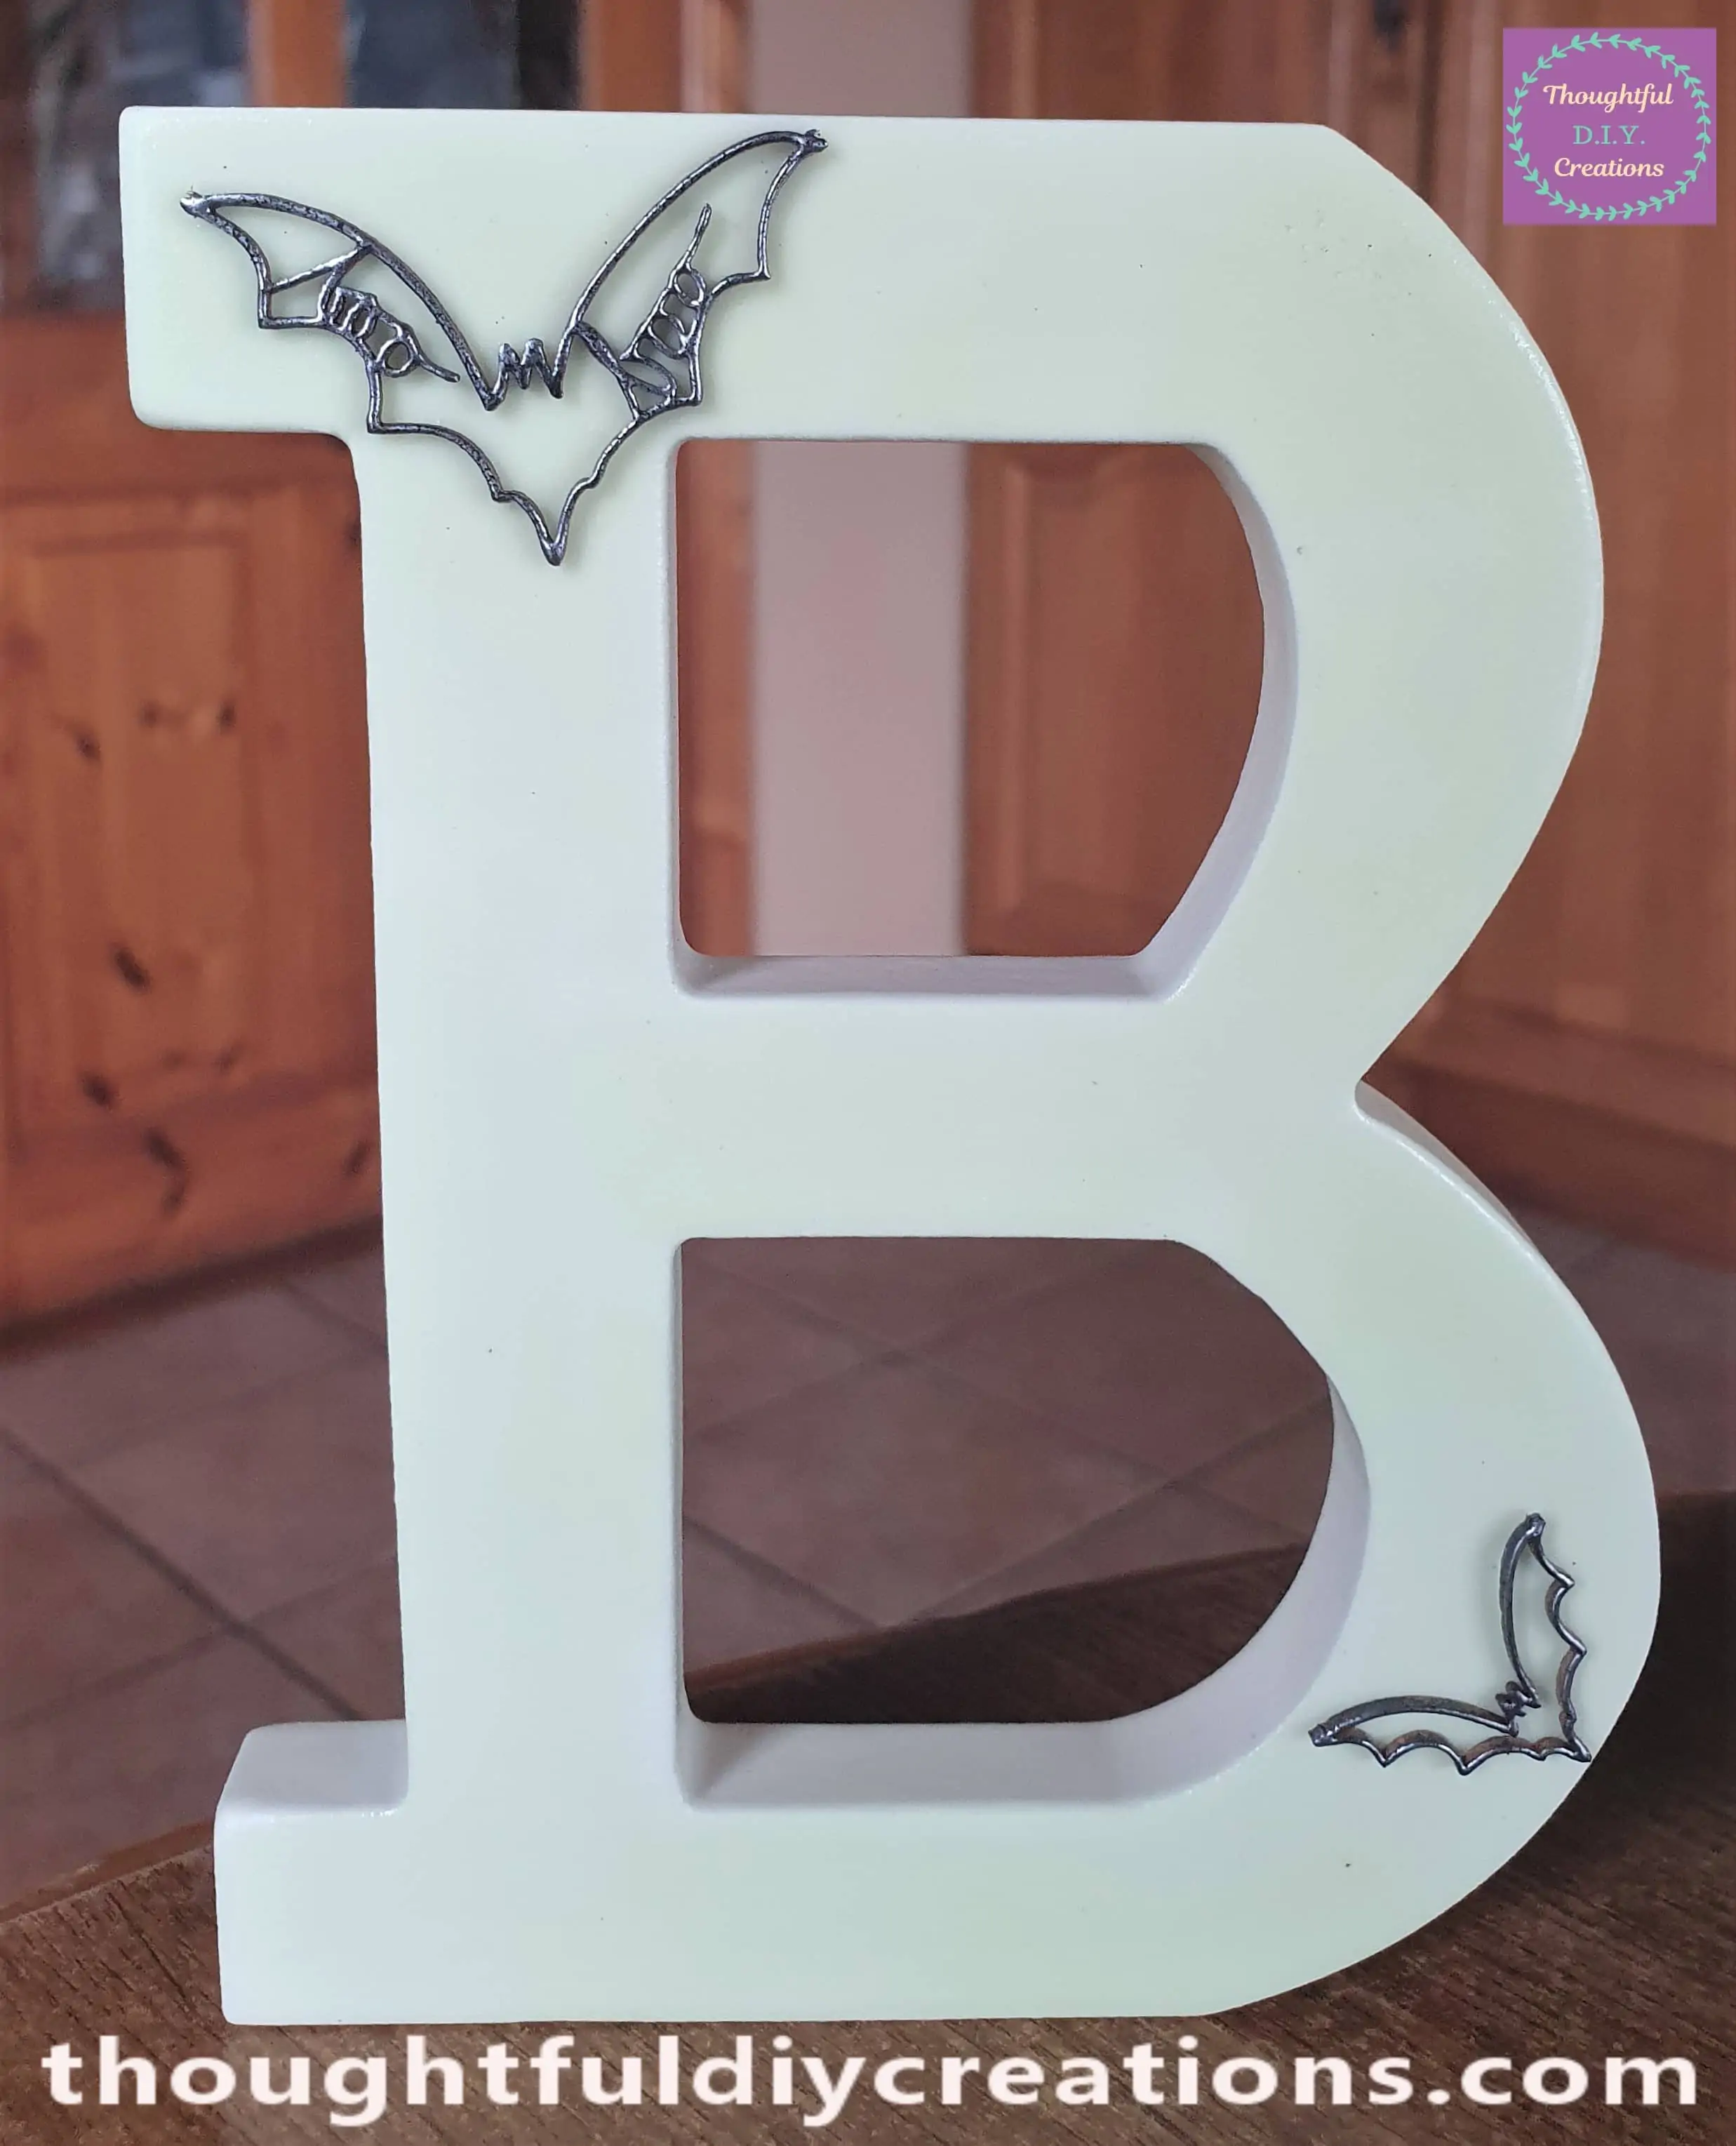
I attached it to the bottom half of the Letter ‘B’ with Tacky PVA Glue.
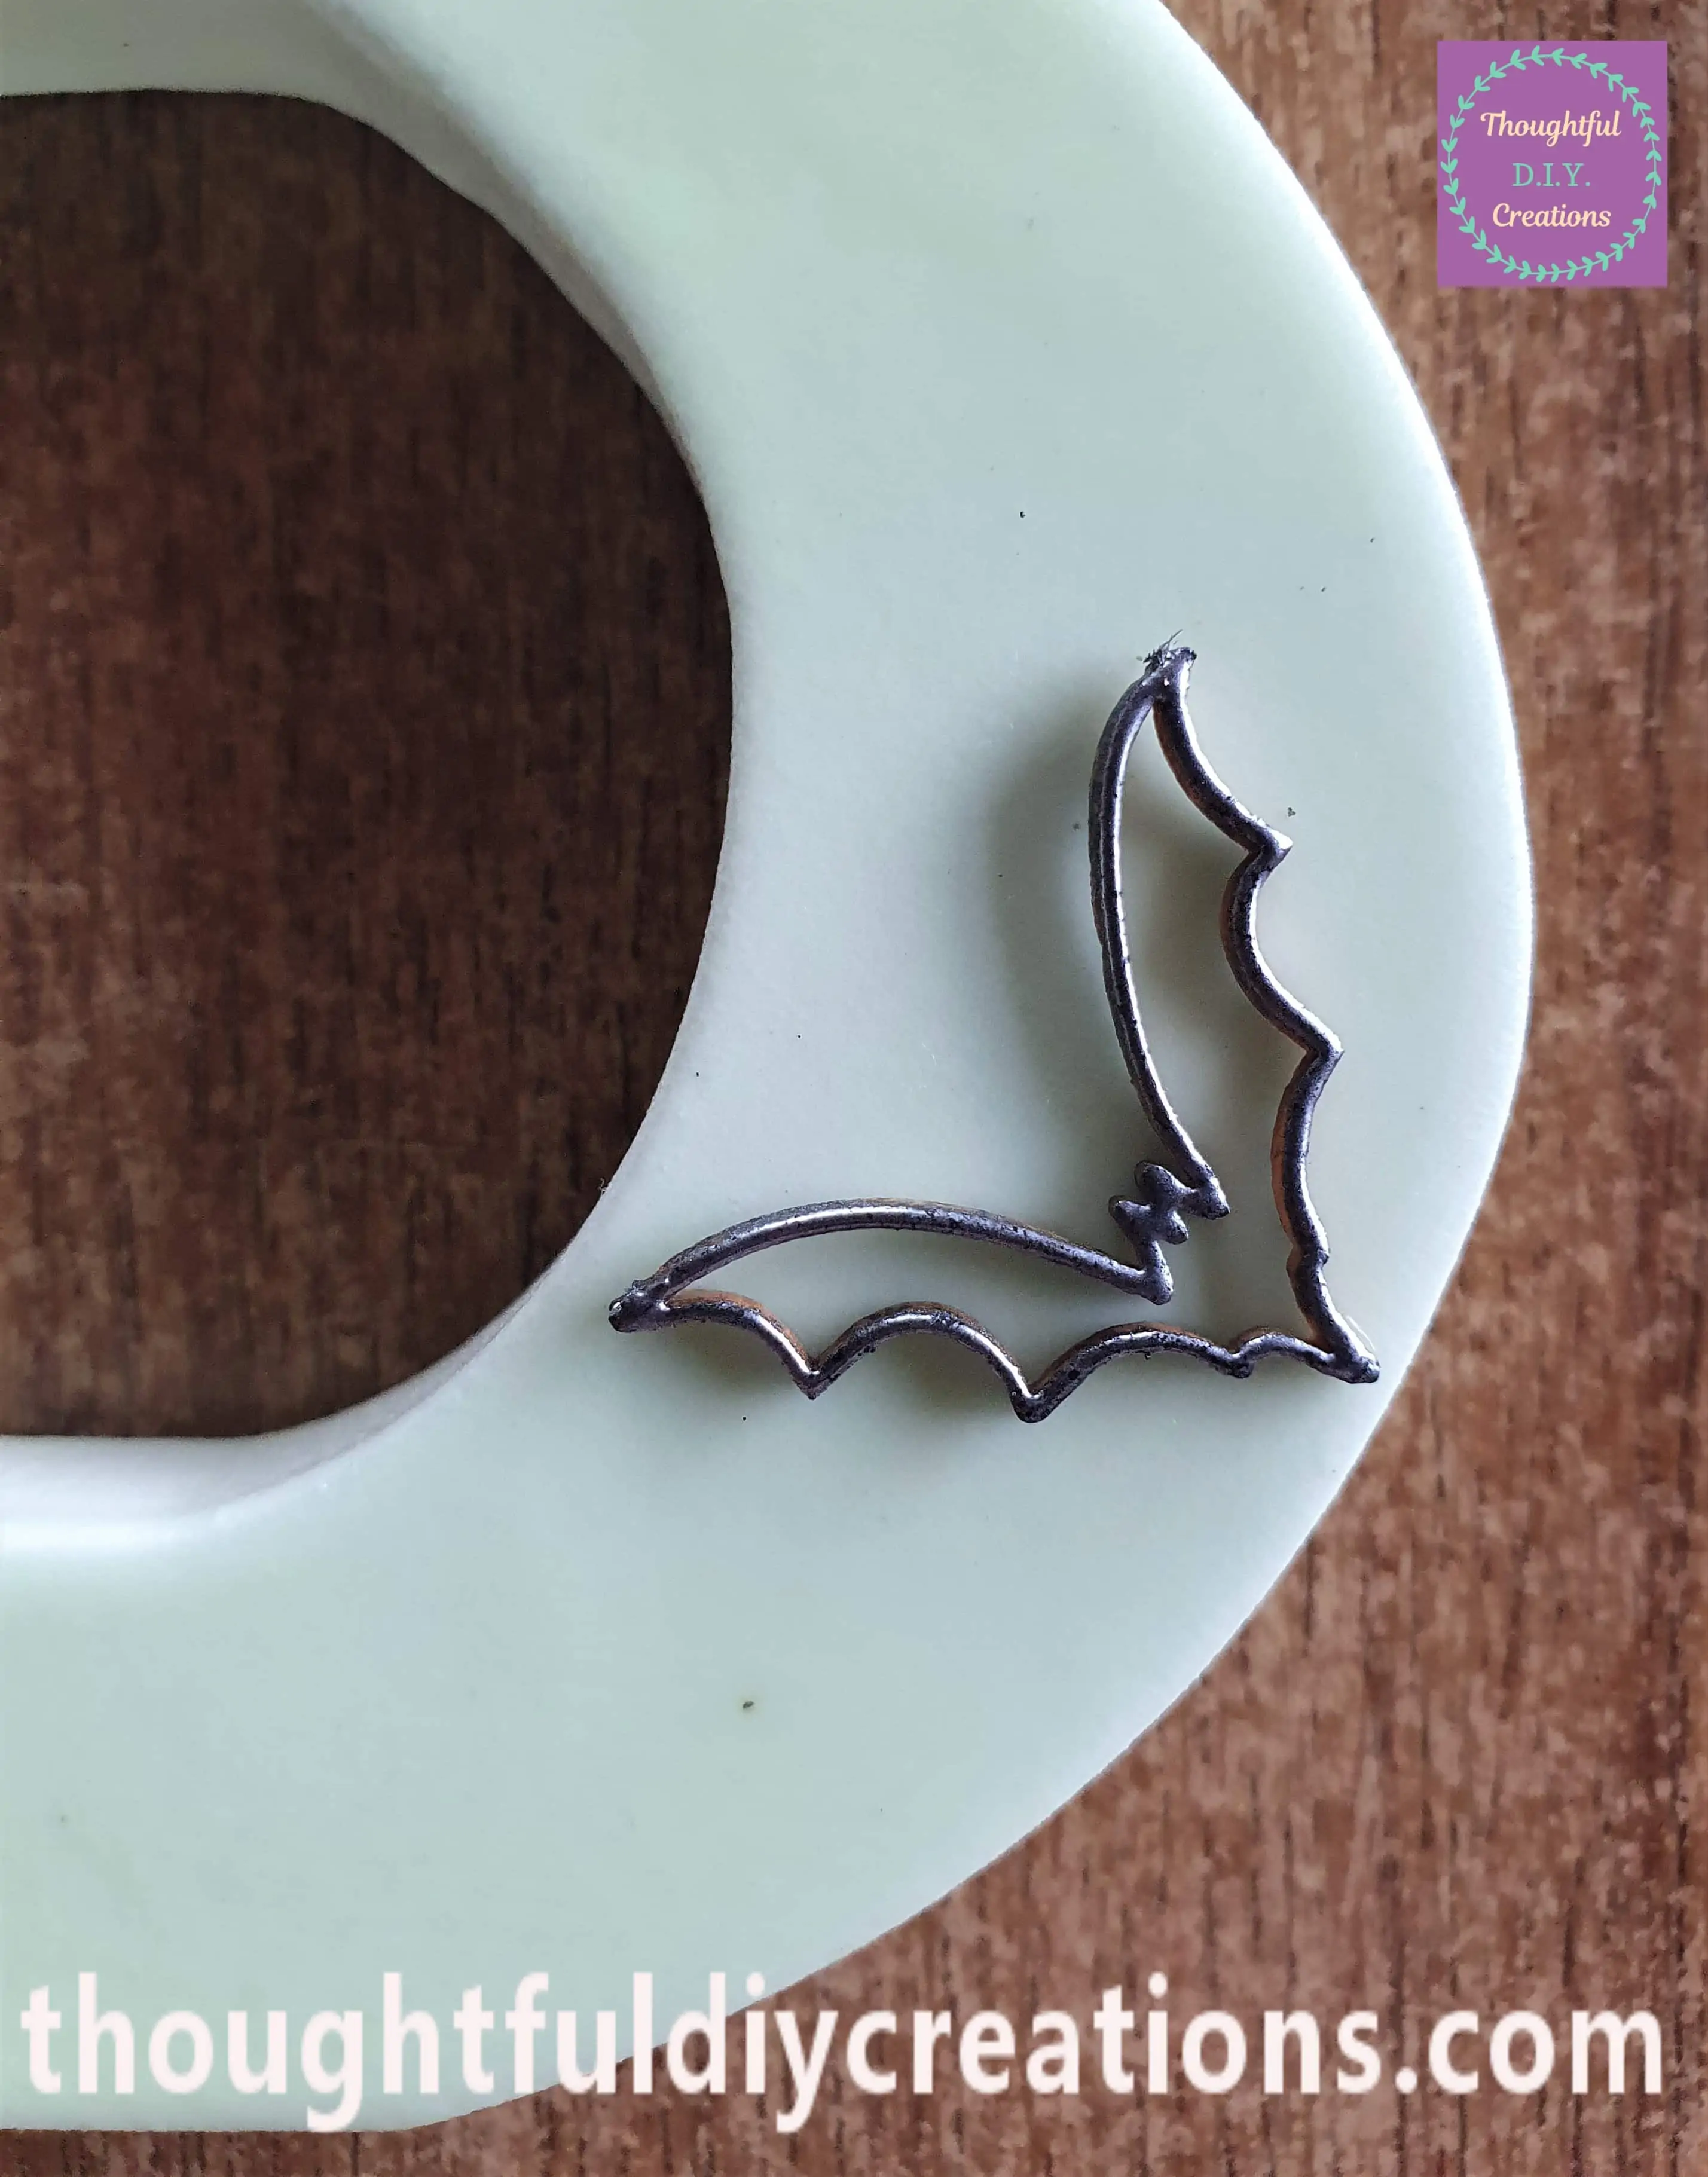
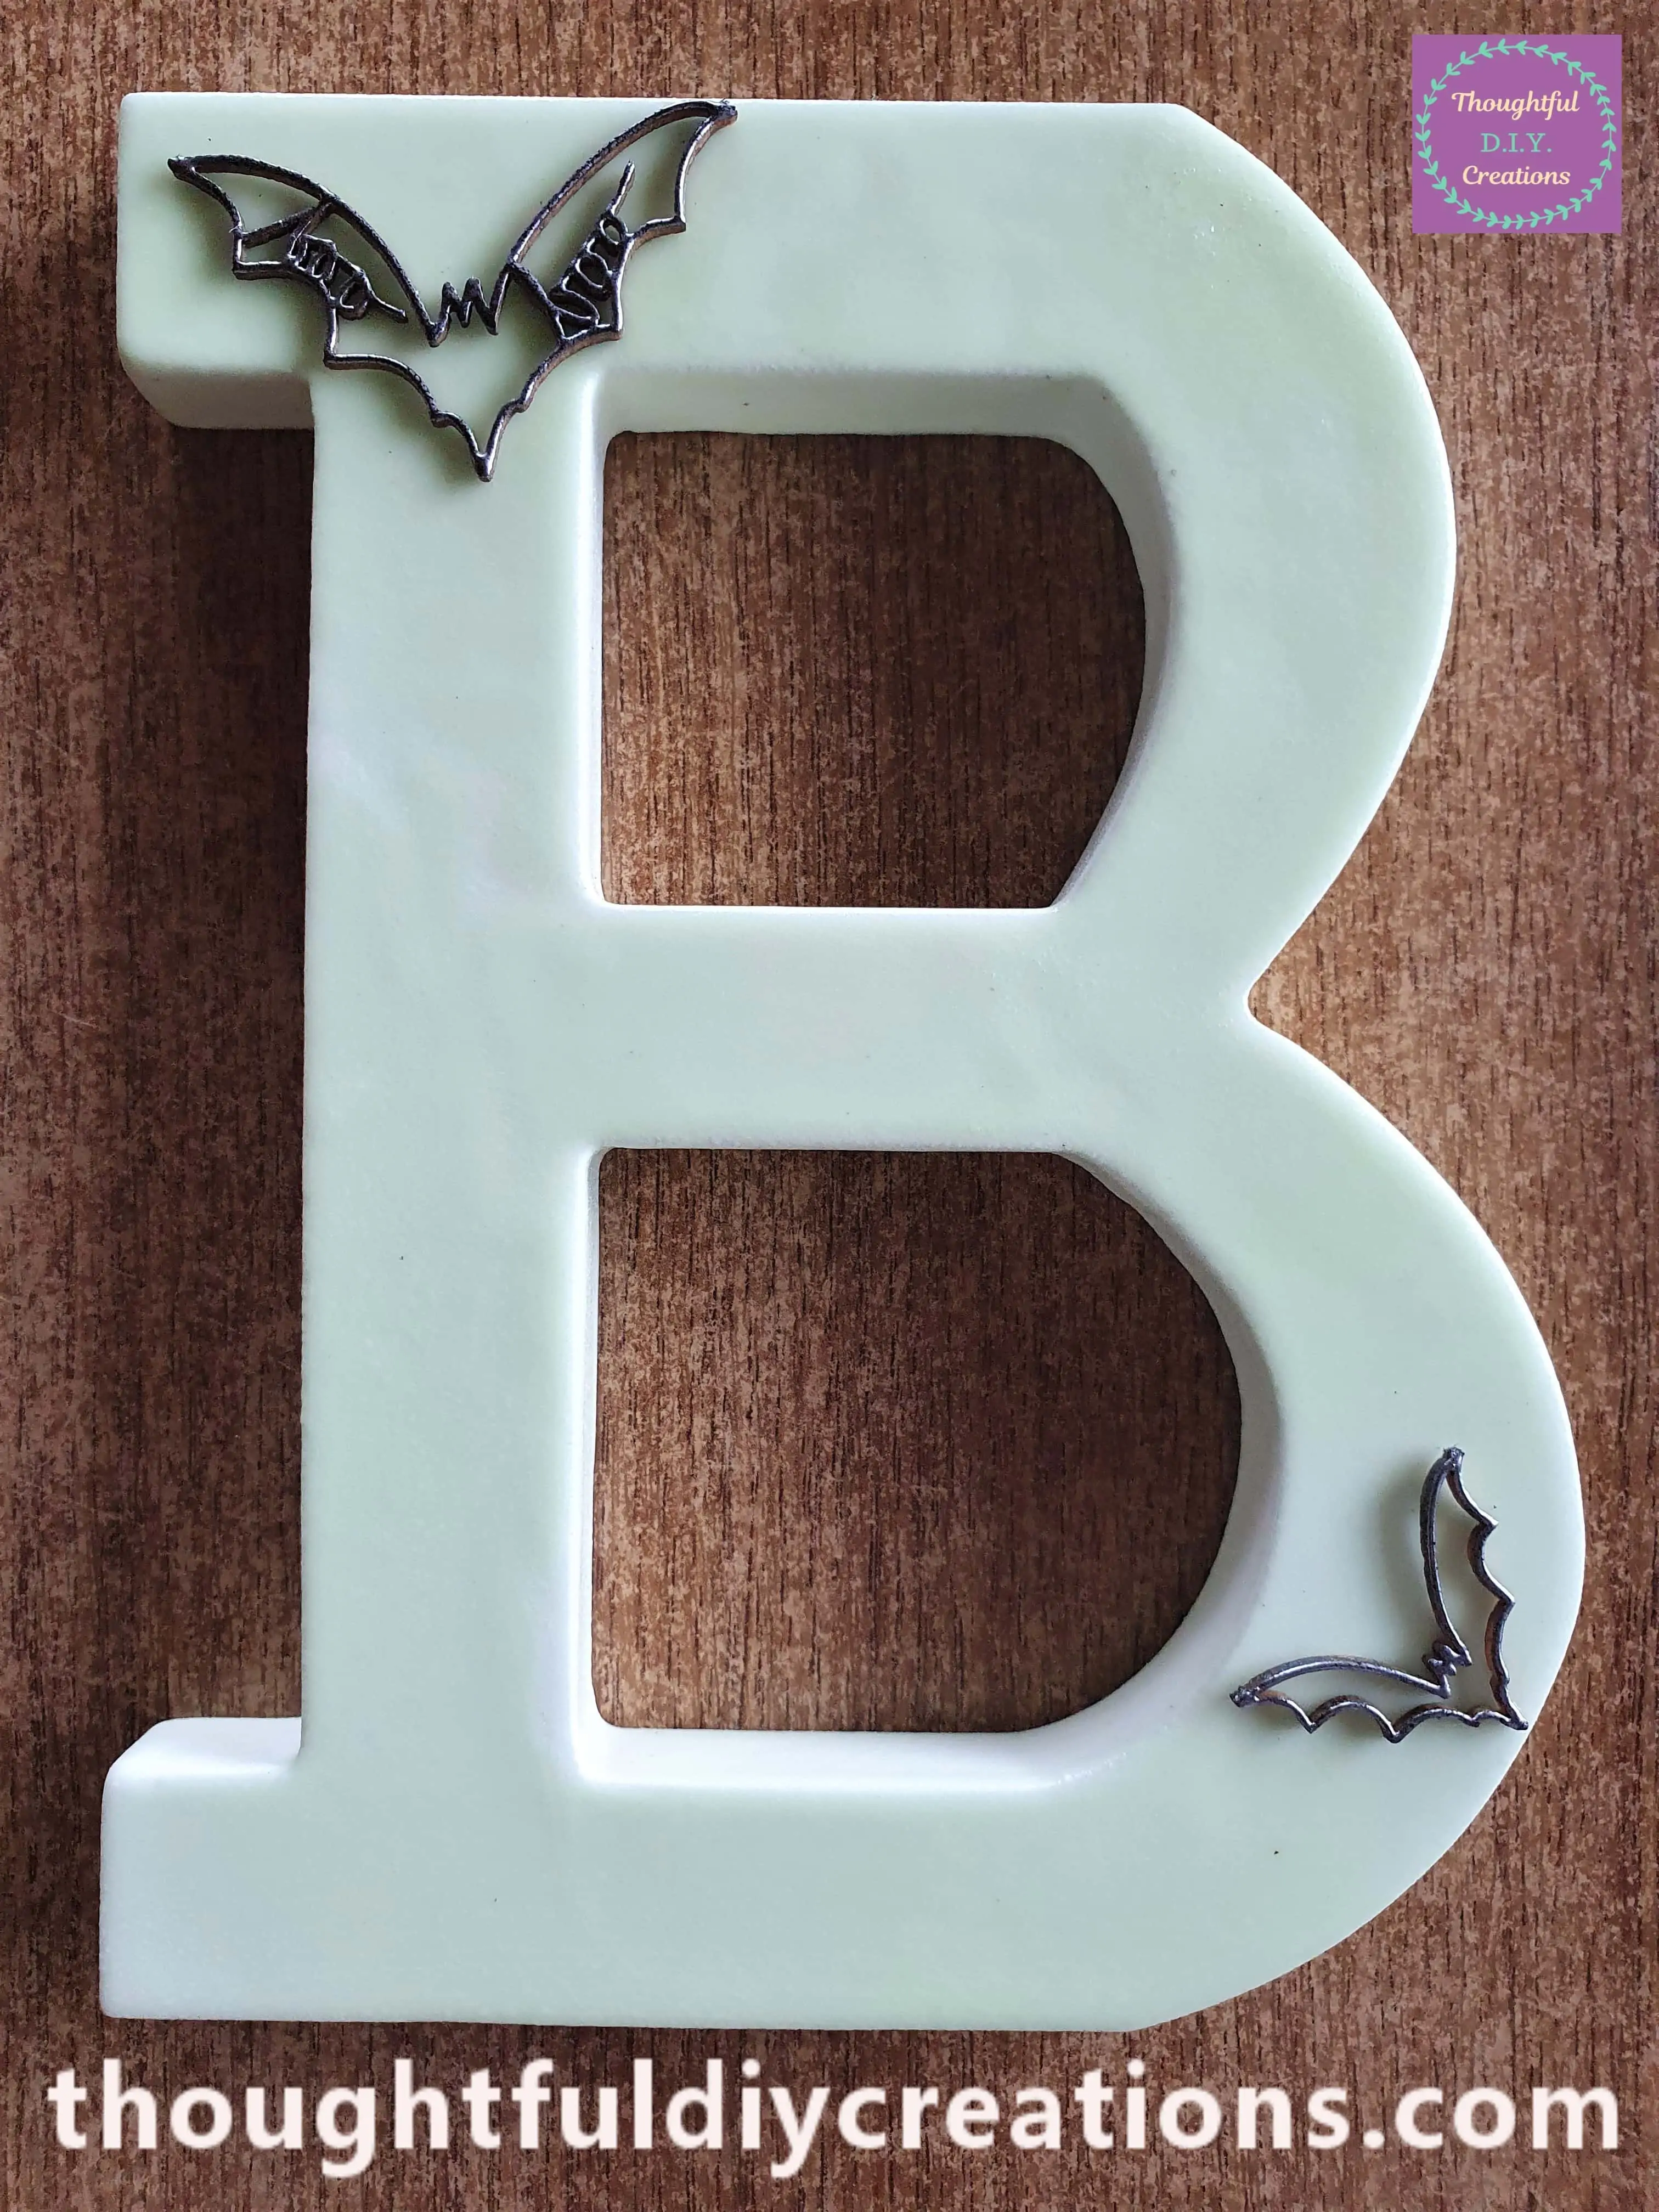
I Embossed another Bat using the same Process and attached it to the Top of the Letter ‘B’.
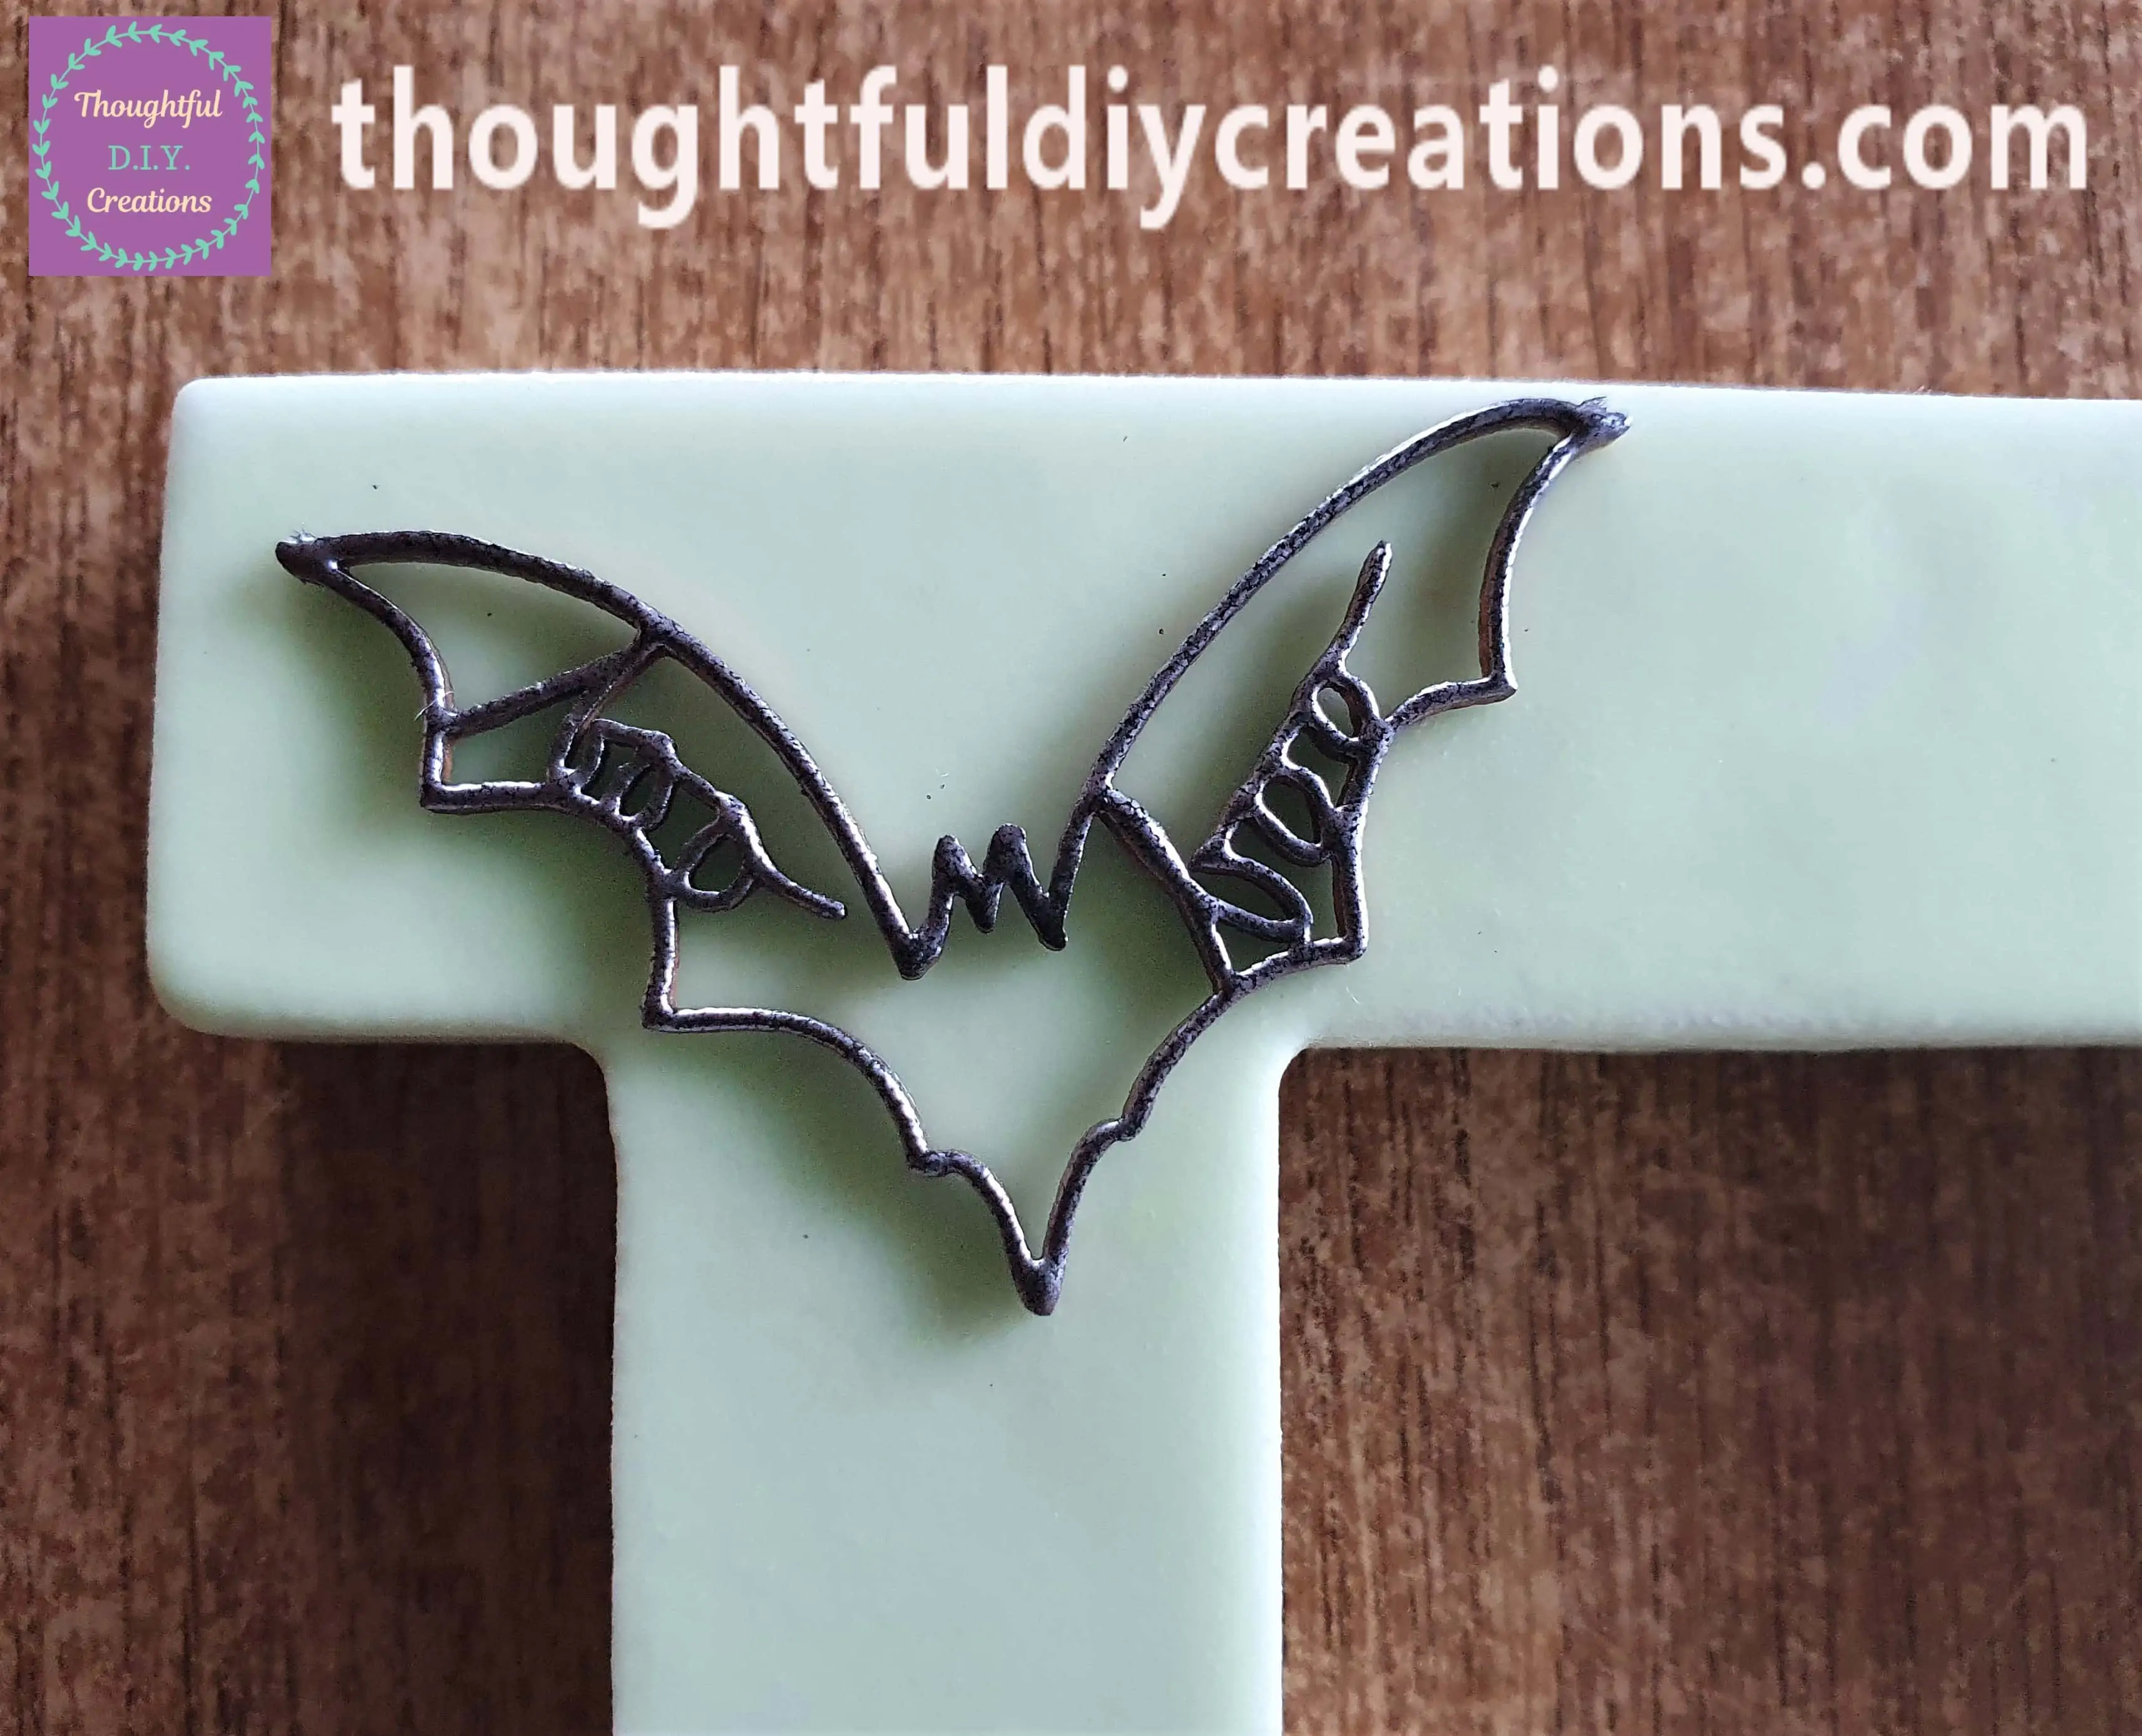
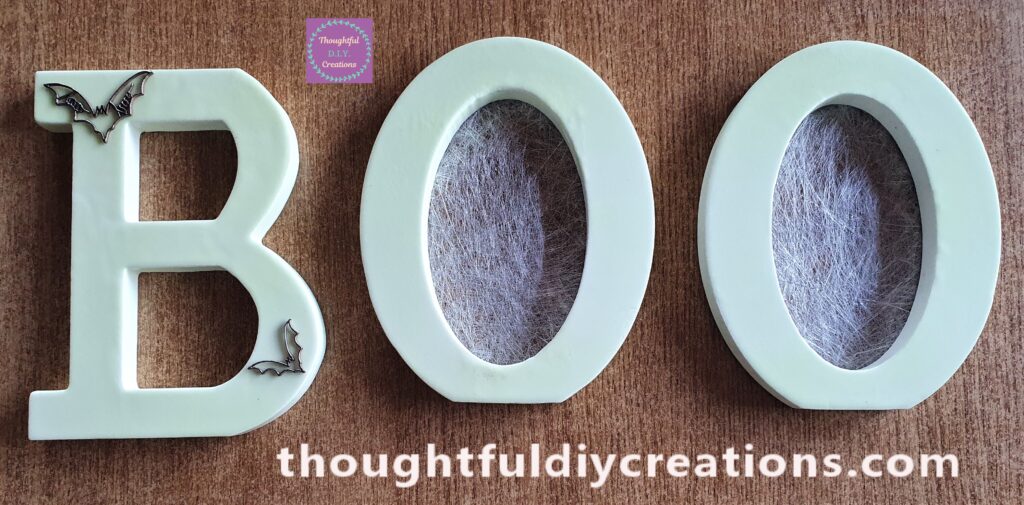
Here is a Full View of the Letter ‘B’ with both Embossed Bats attached.
Making Cobwebs for the BOO Letters
I got a Sheet of Silver Fabric Paper.
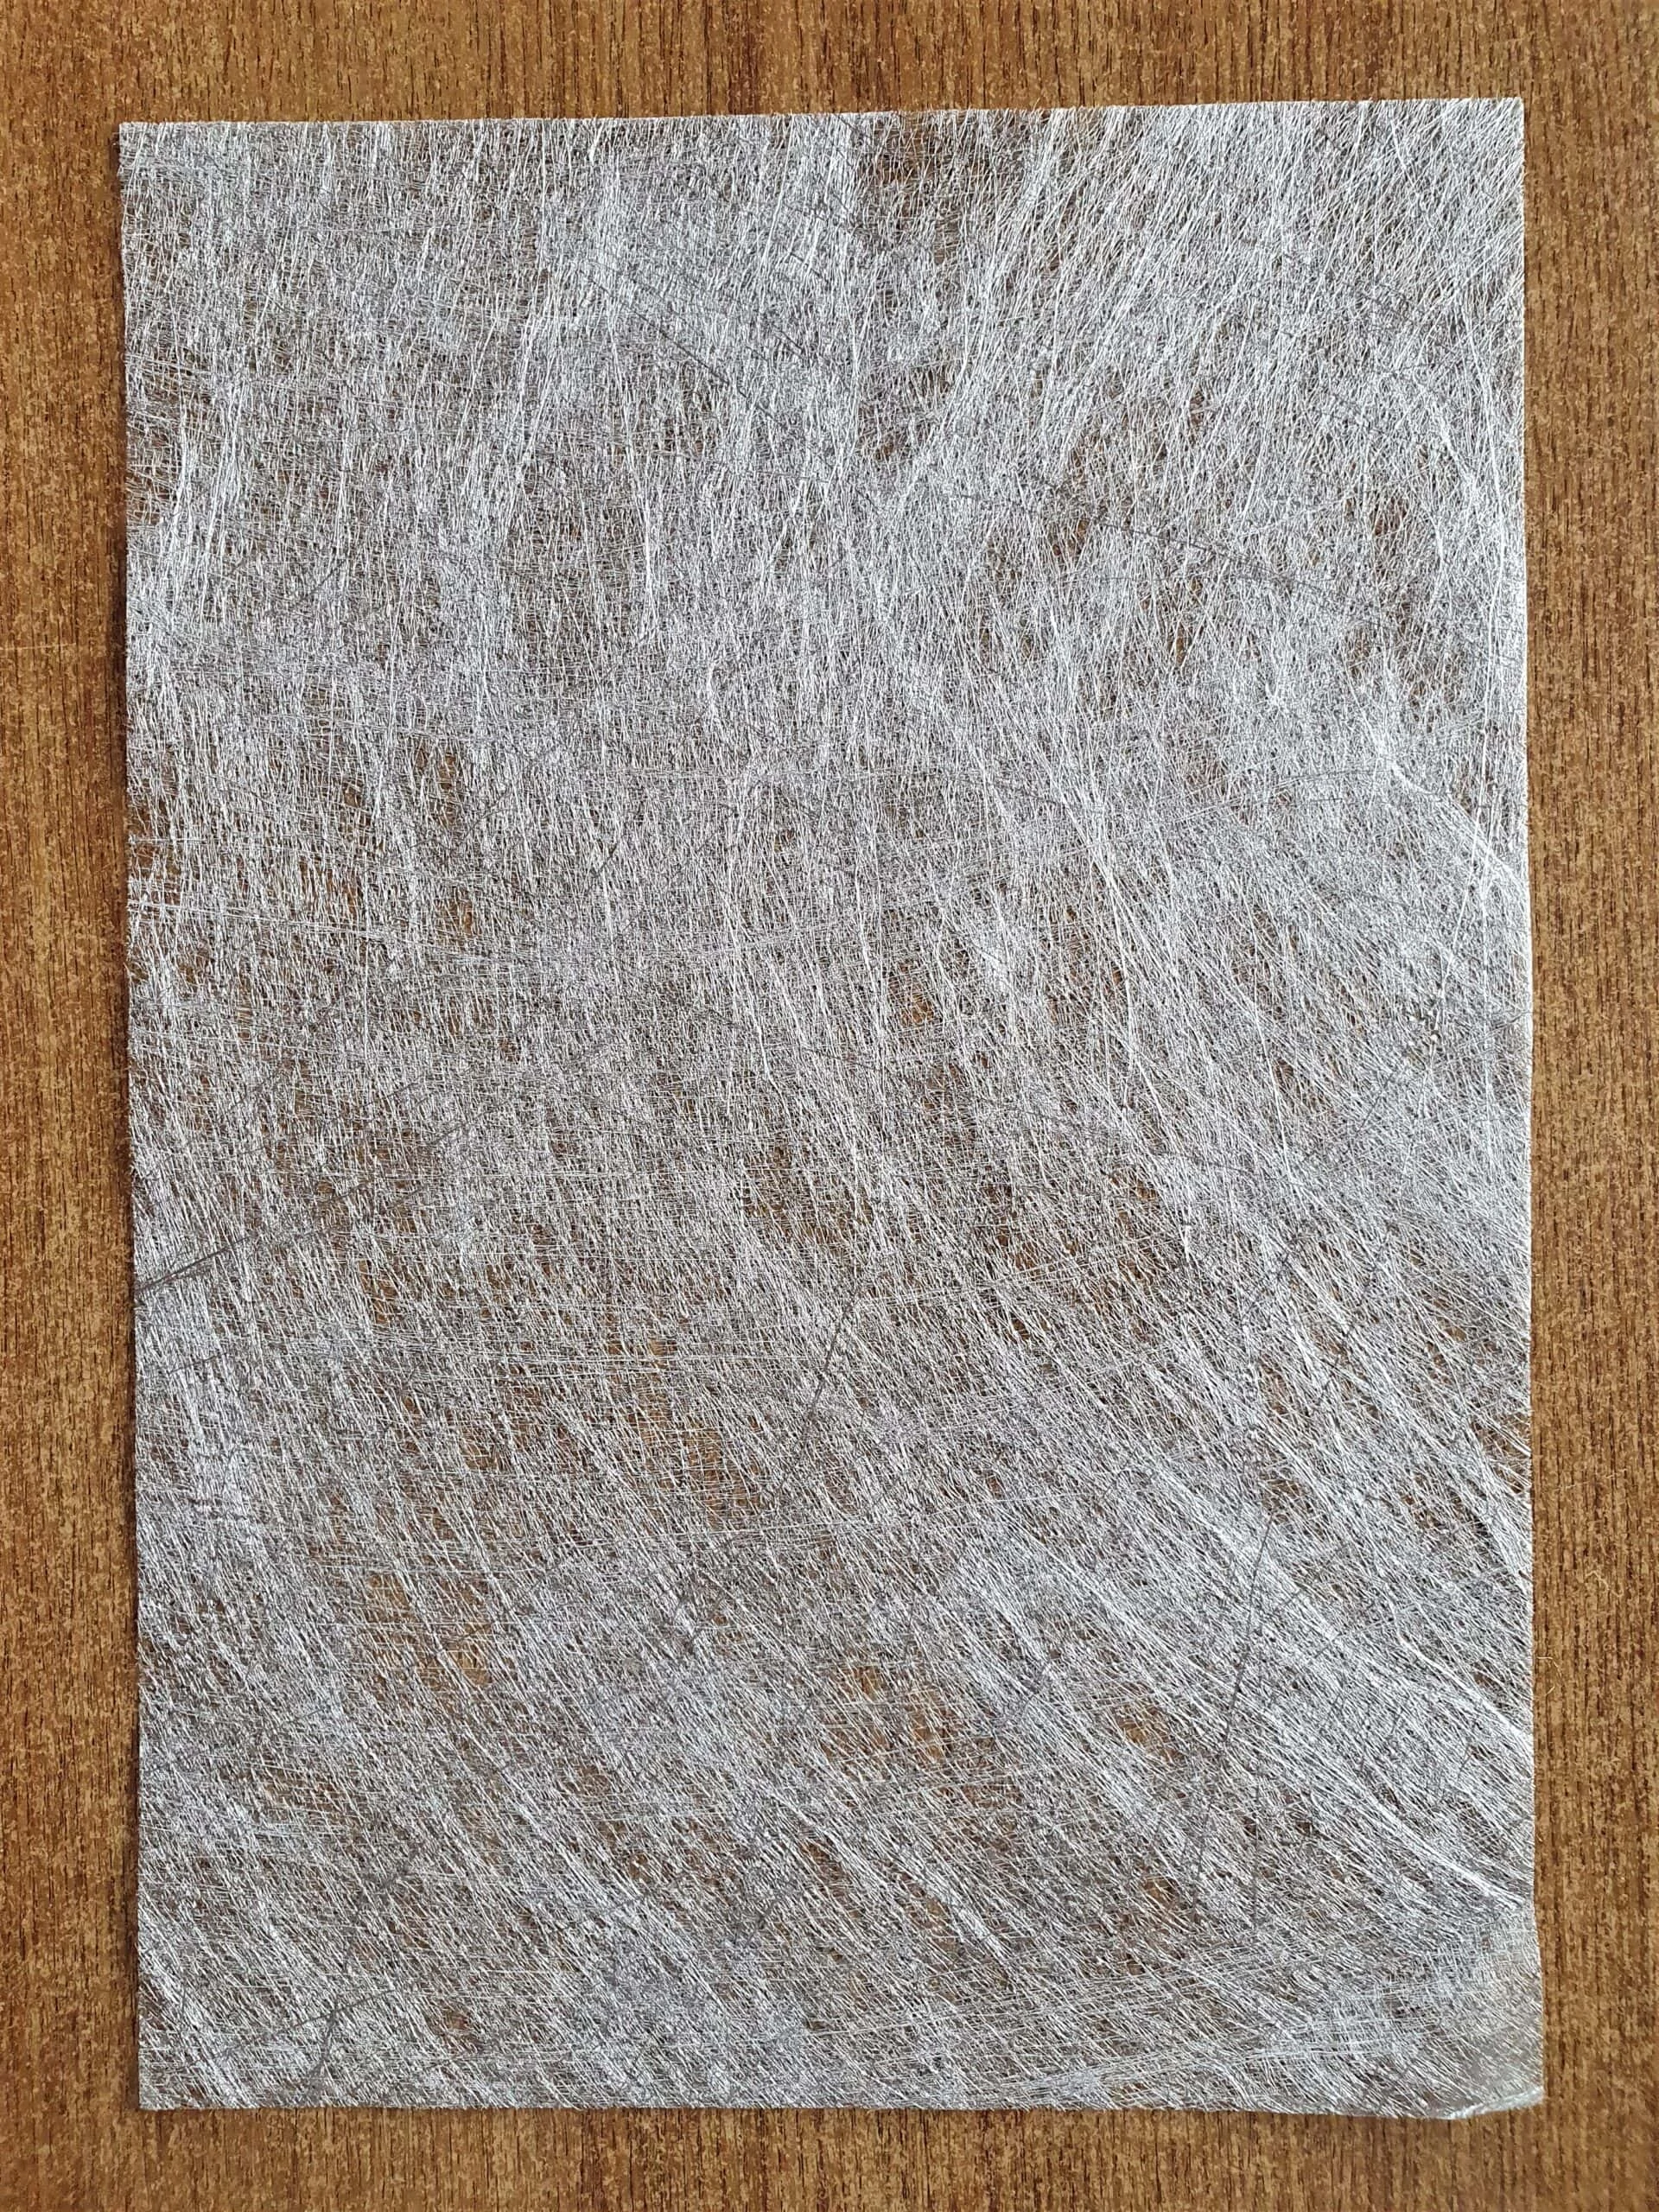
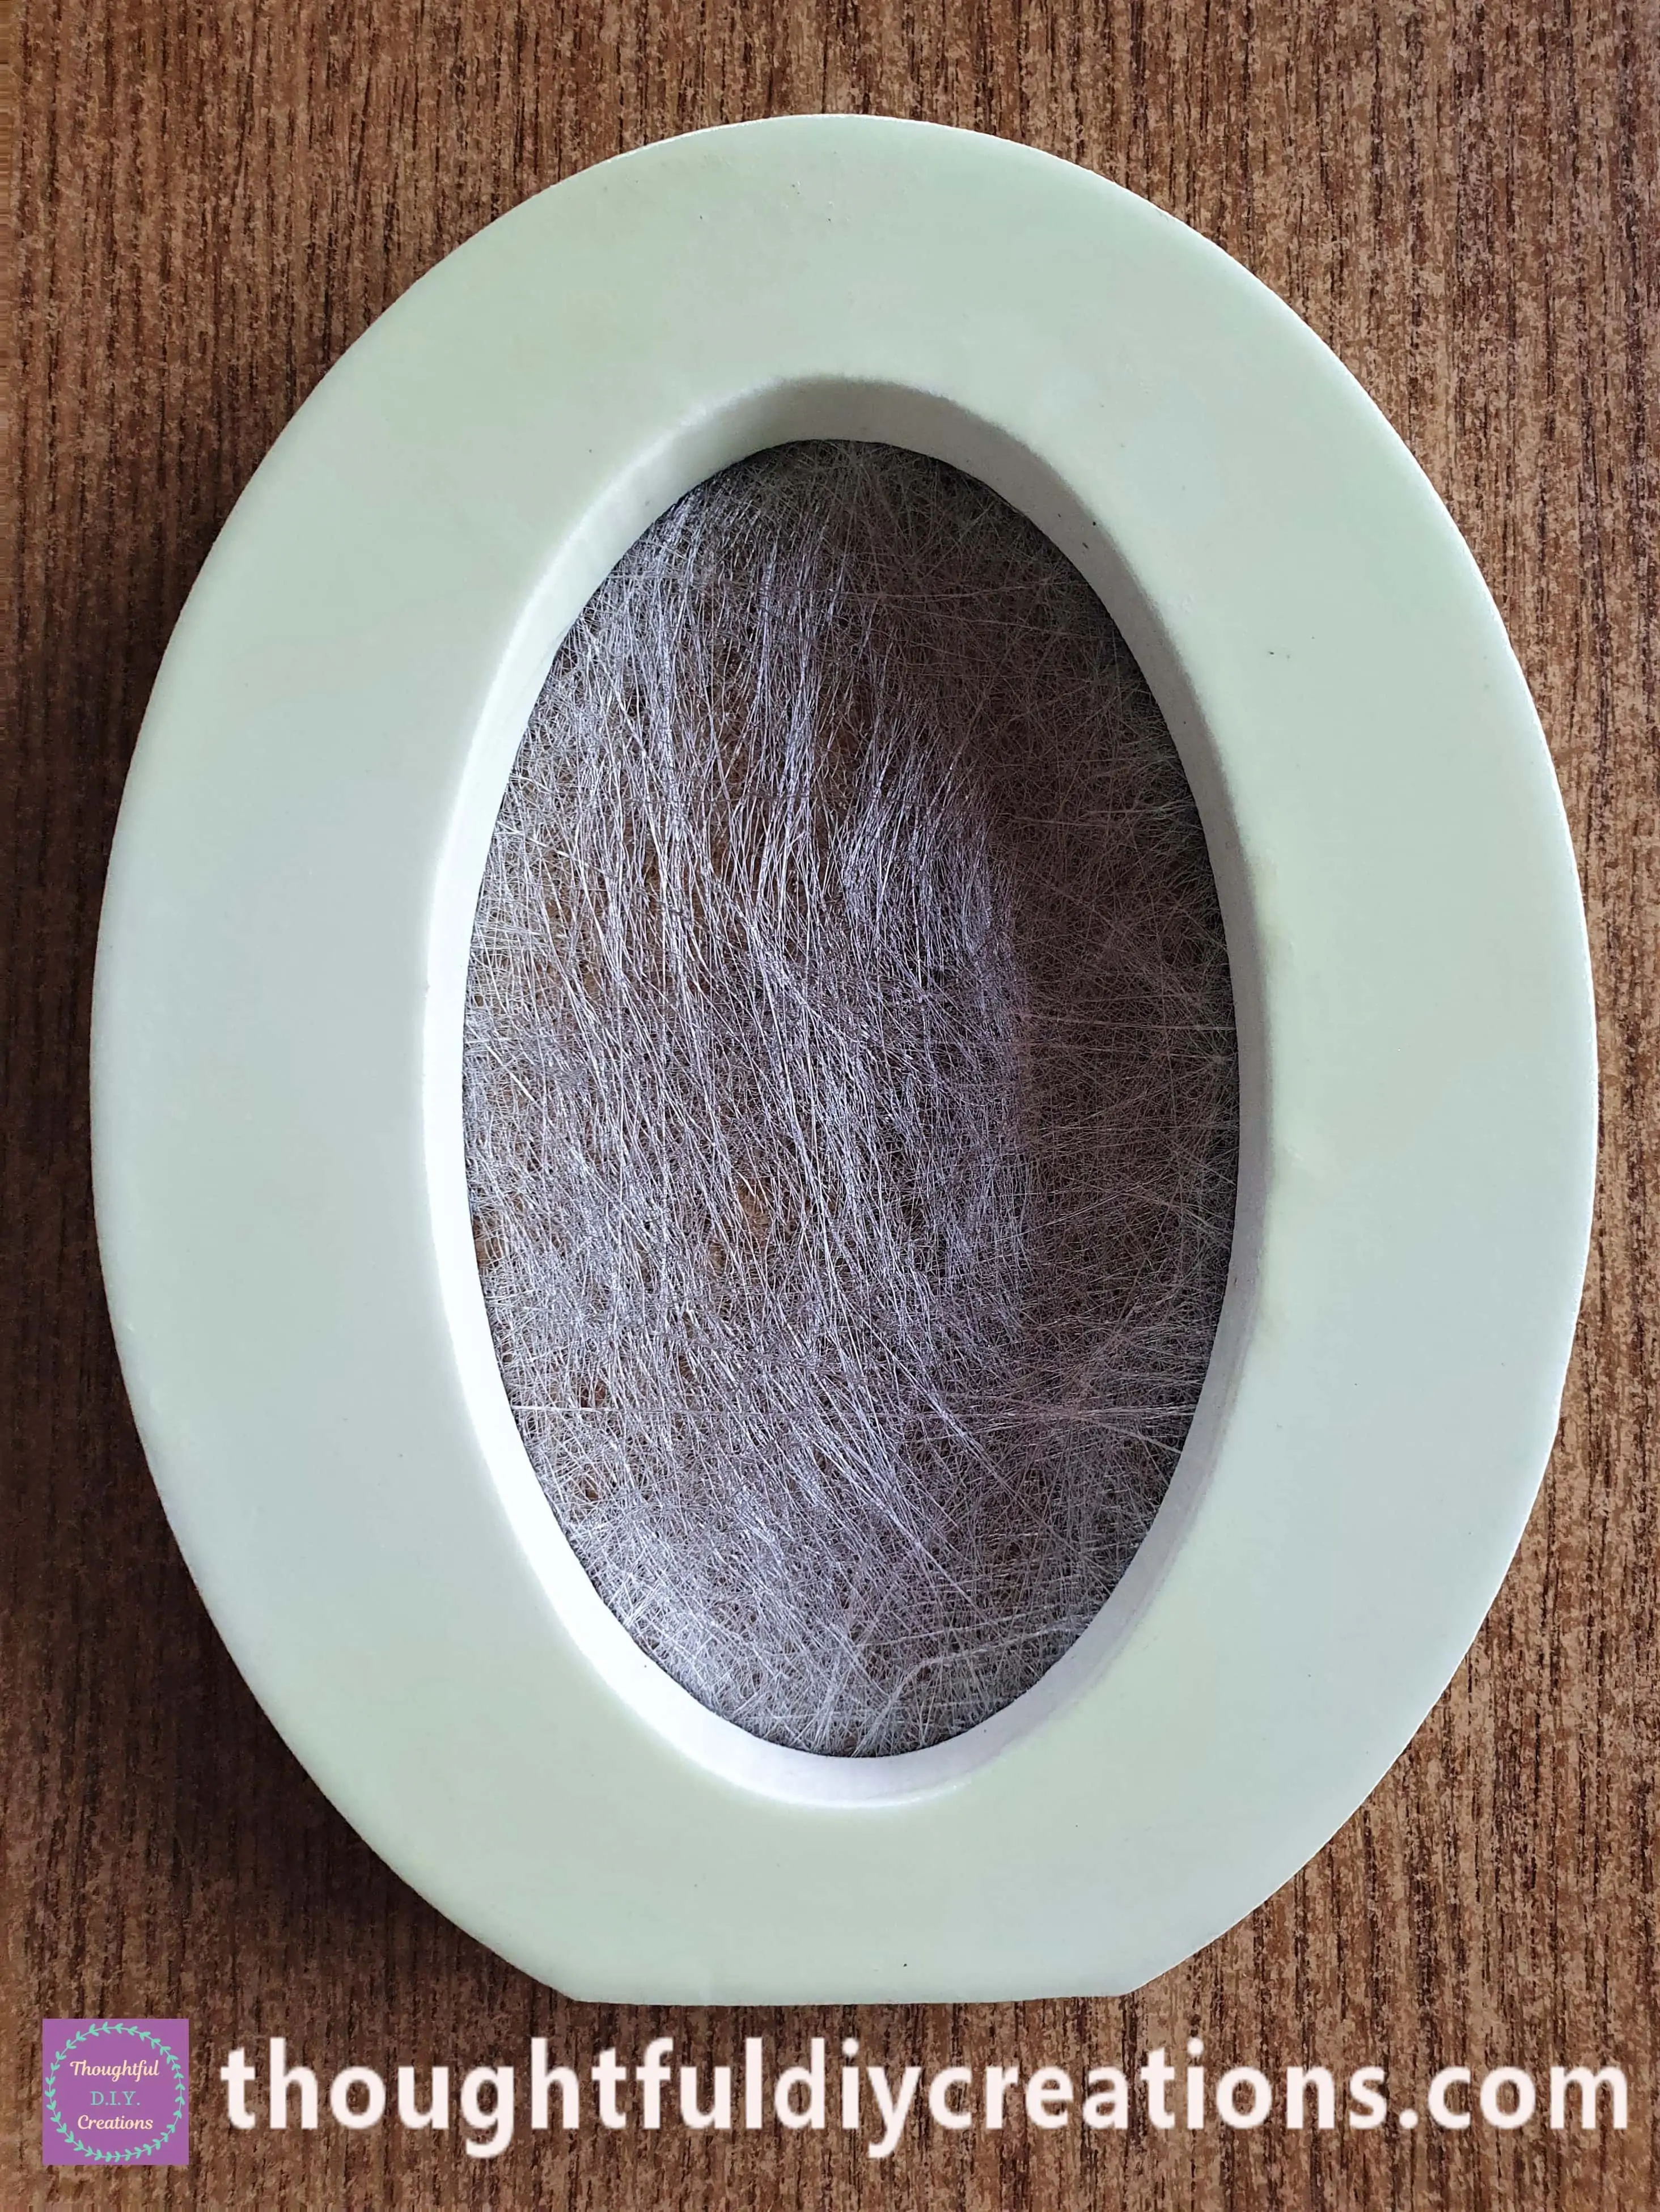
I Cut out the Silver Paper to Fit each of the Letters ‘O’. I attached it to the Back of each Letter with Hot Glue using my Hot Glue Gun.

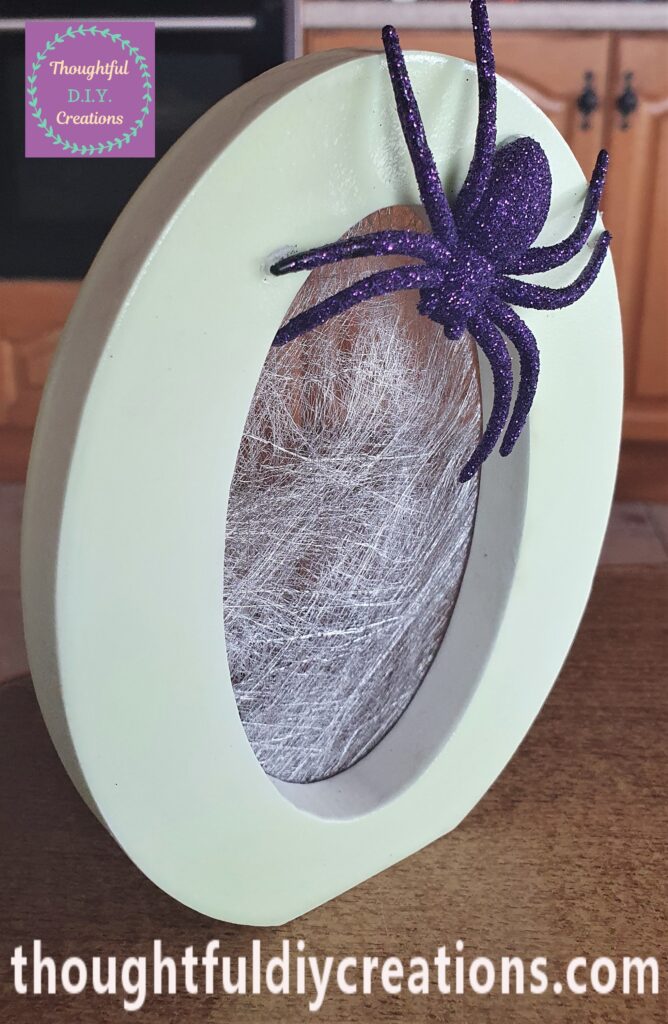
This is the Front of the Letter ‘O’ with the Silver Paper attached. I think it looks like a Cobweb.
This is how the BOO Letters look so far; they’re coming along nicely.
Finishing Touches to the BOO Craft
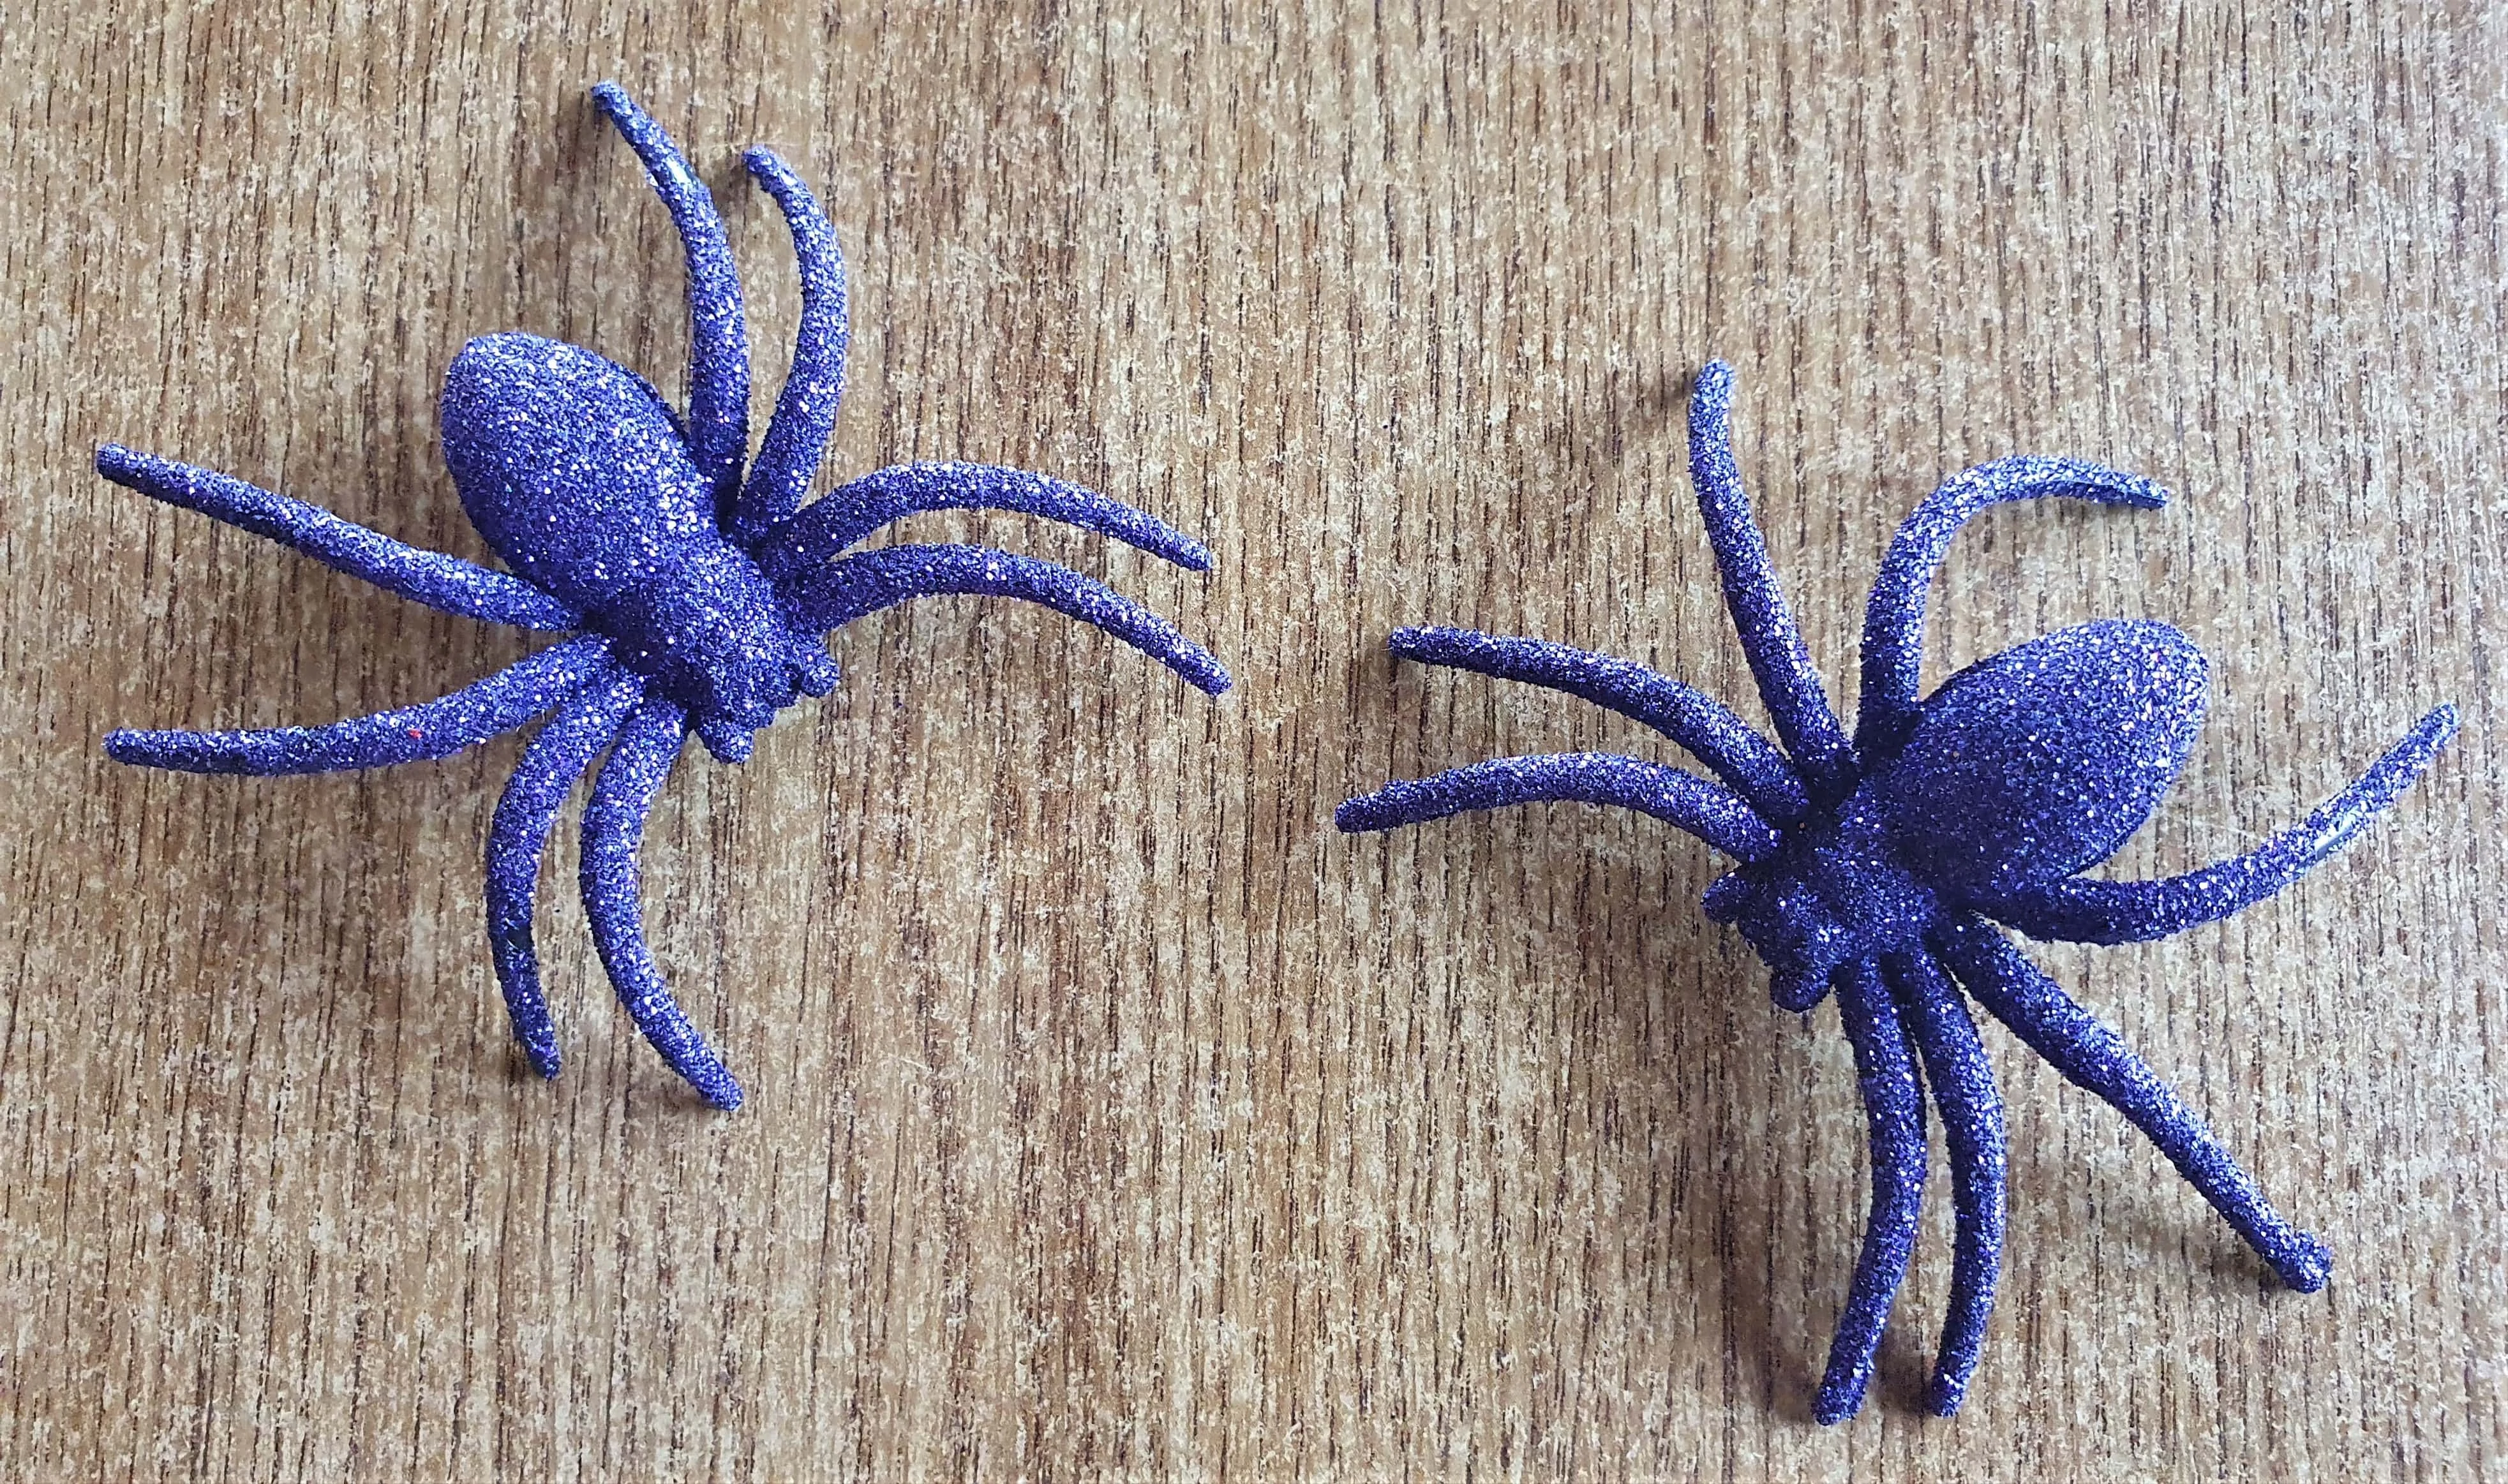
I bought a 4 Pack of Purple Glitter Spiders from my local EuroGiant Store.
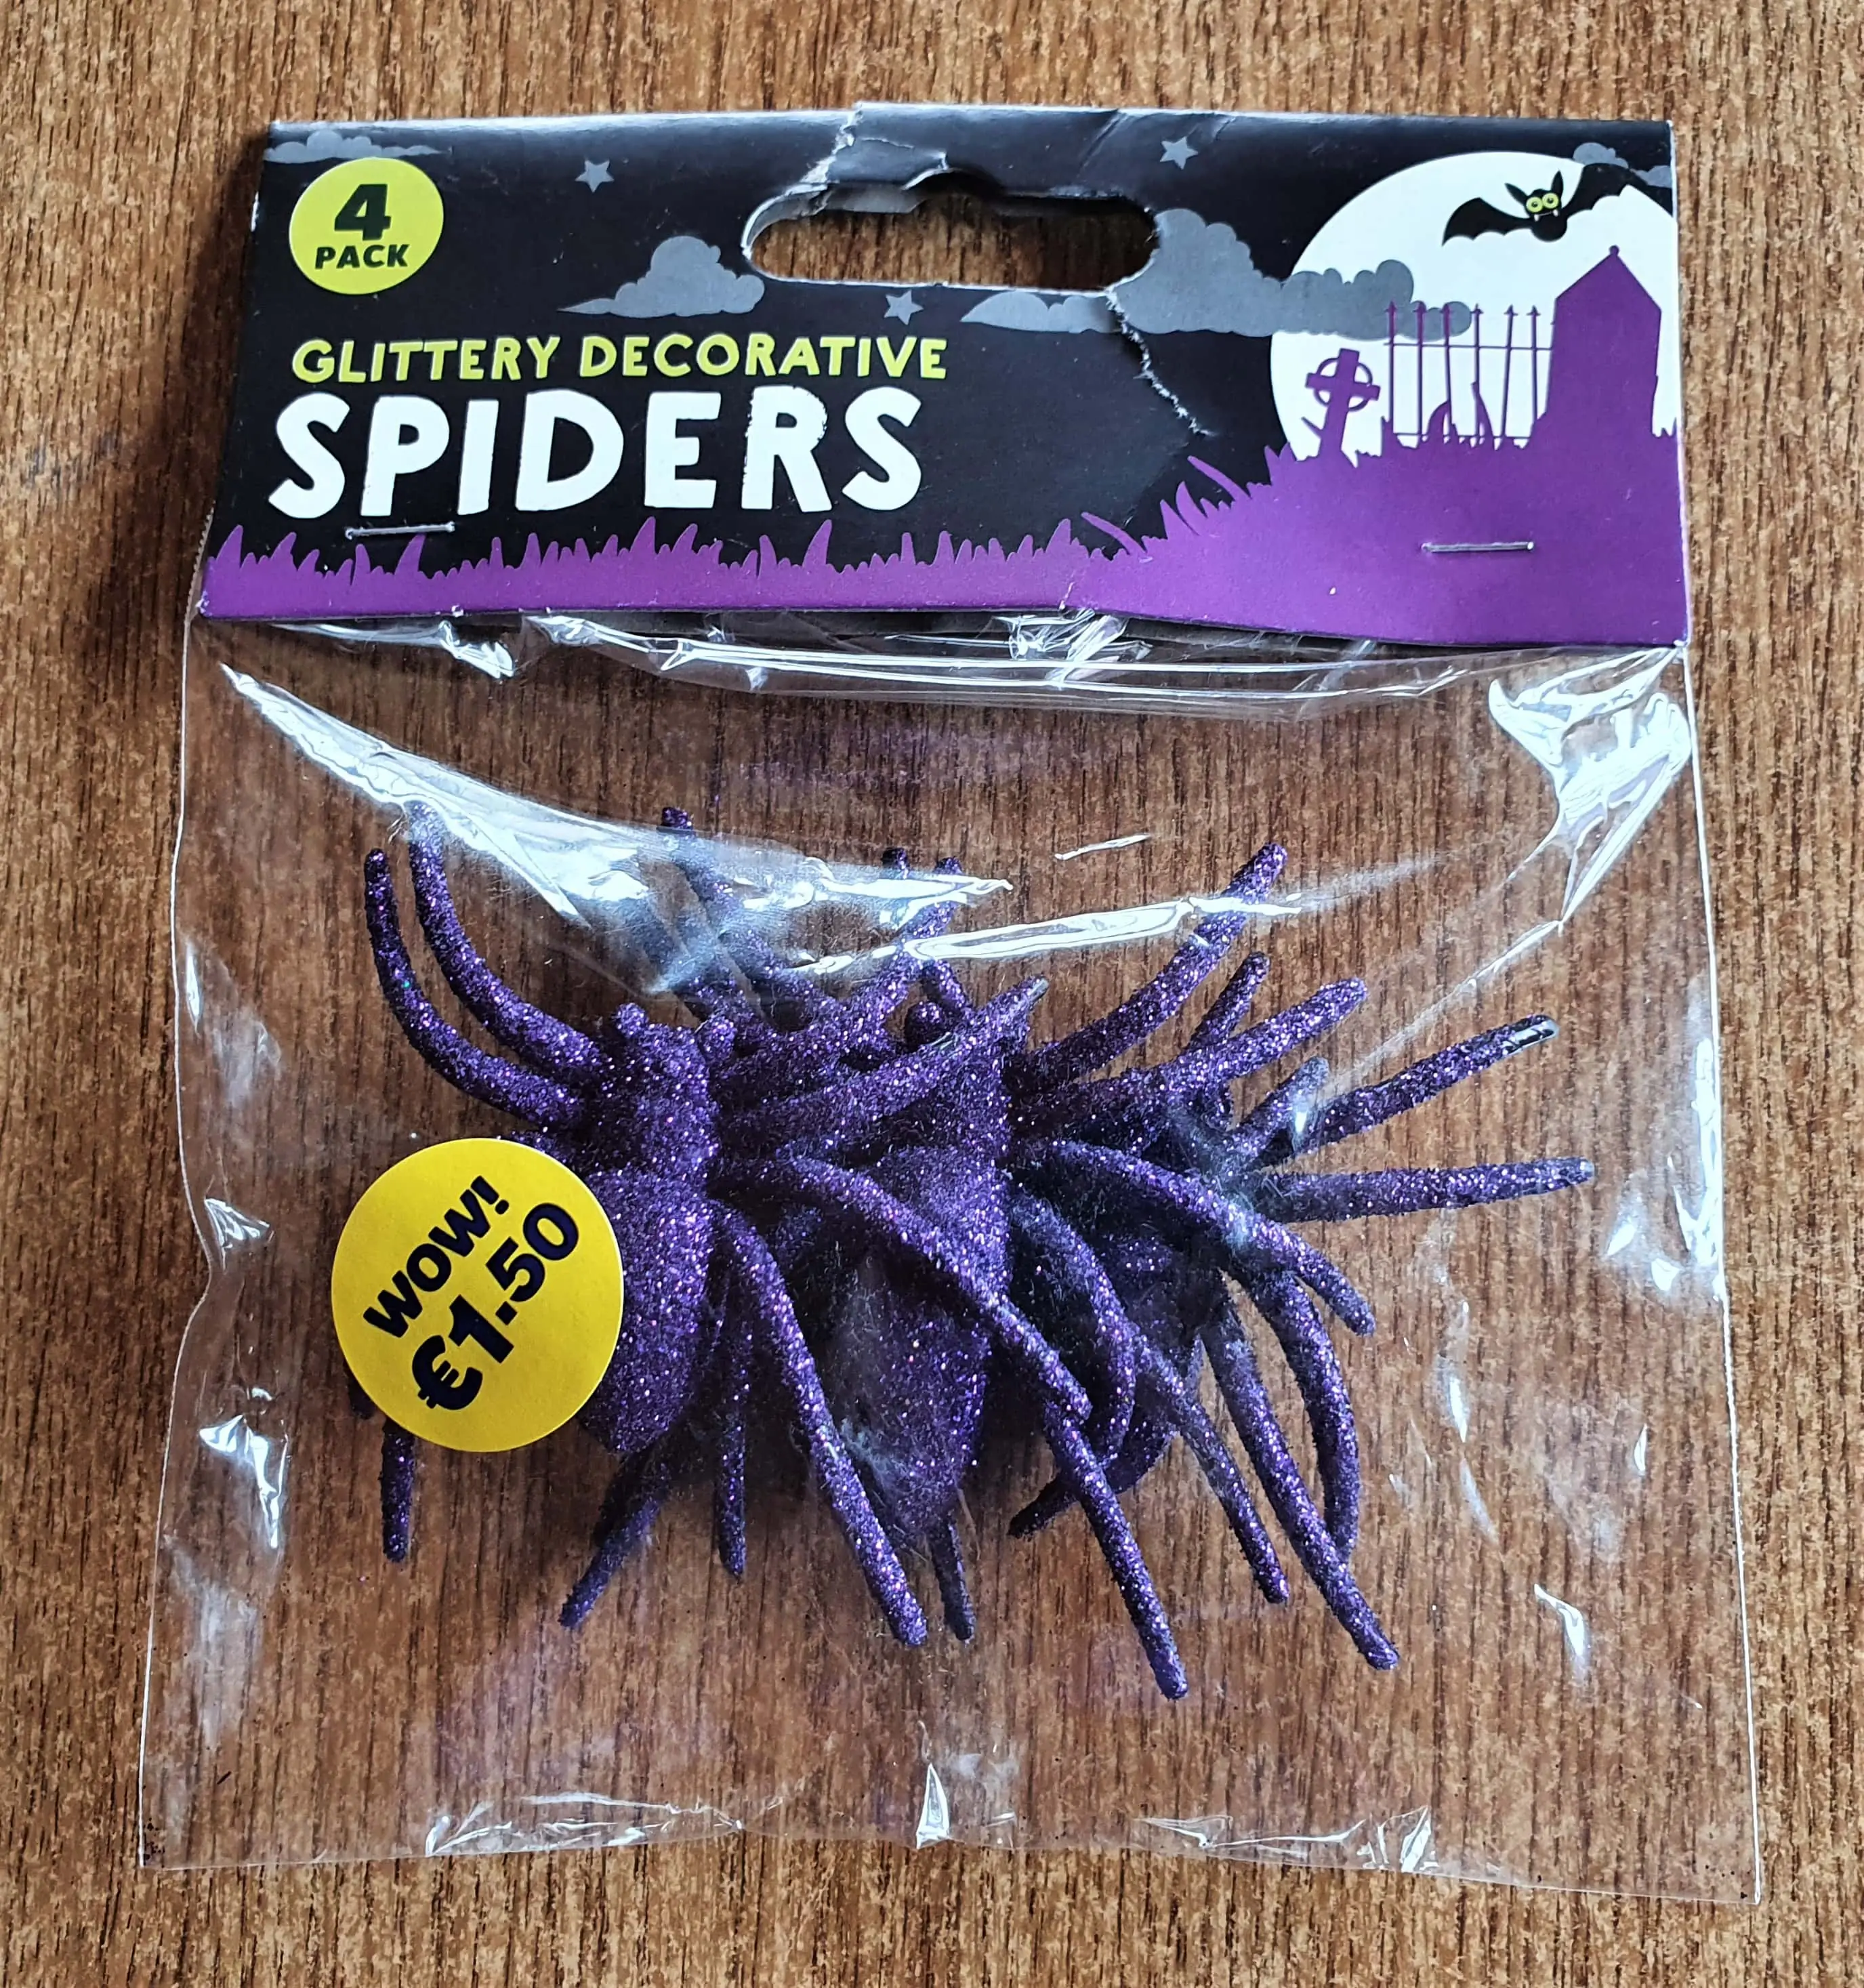
I removed 2 Spiders from the Pack.
I attached One Spider to the Top of the Letter ‘O’ with my Hot Glue Gun.
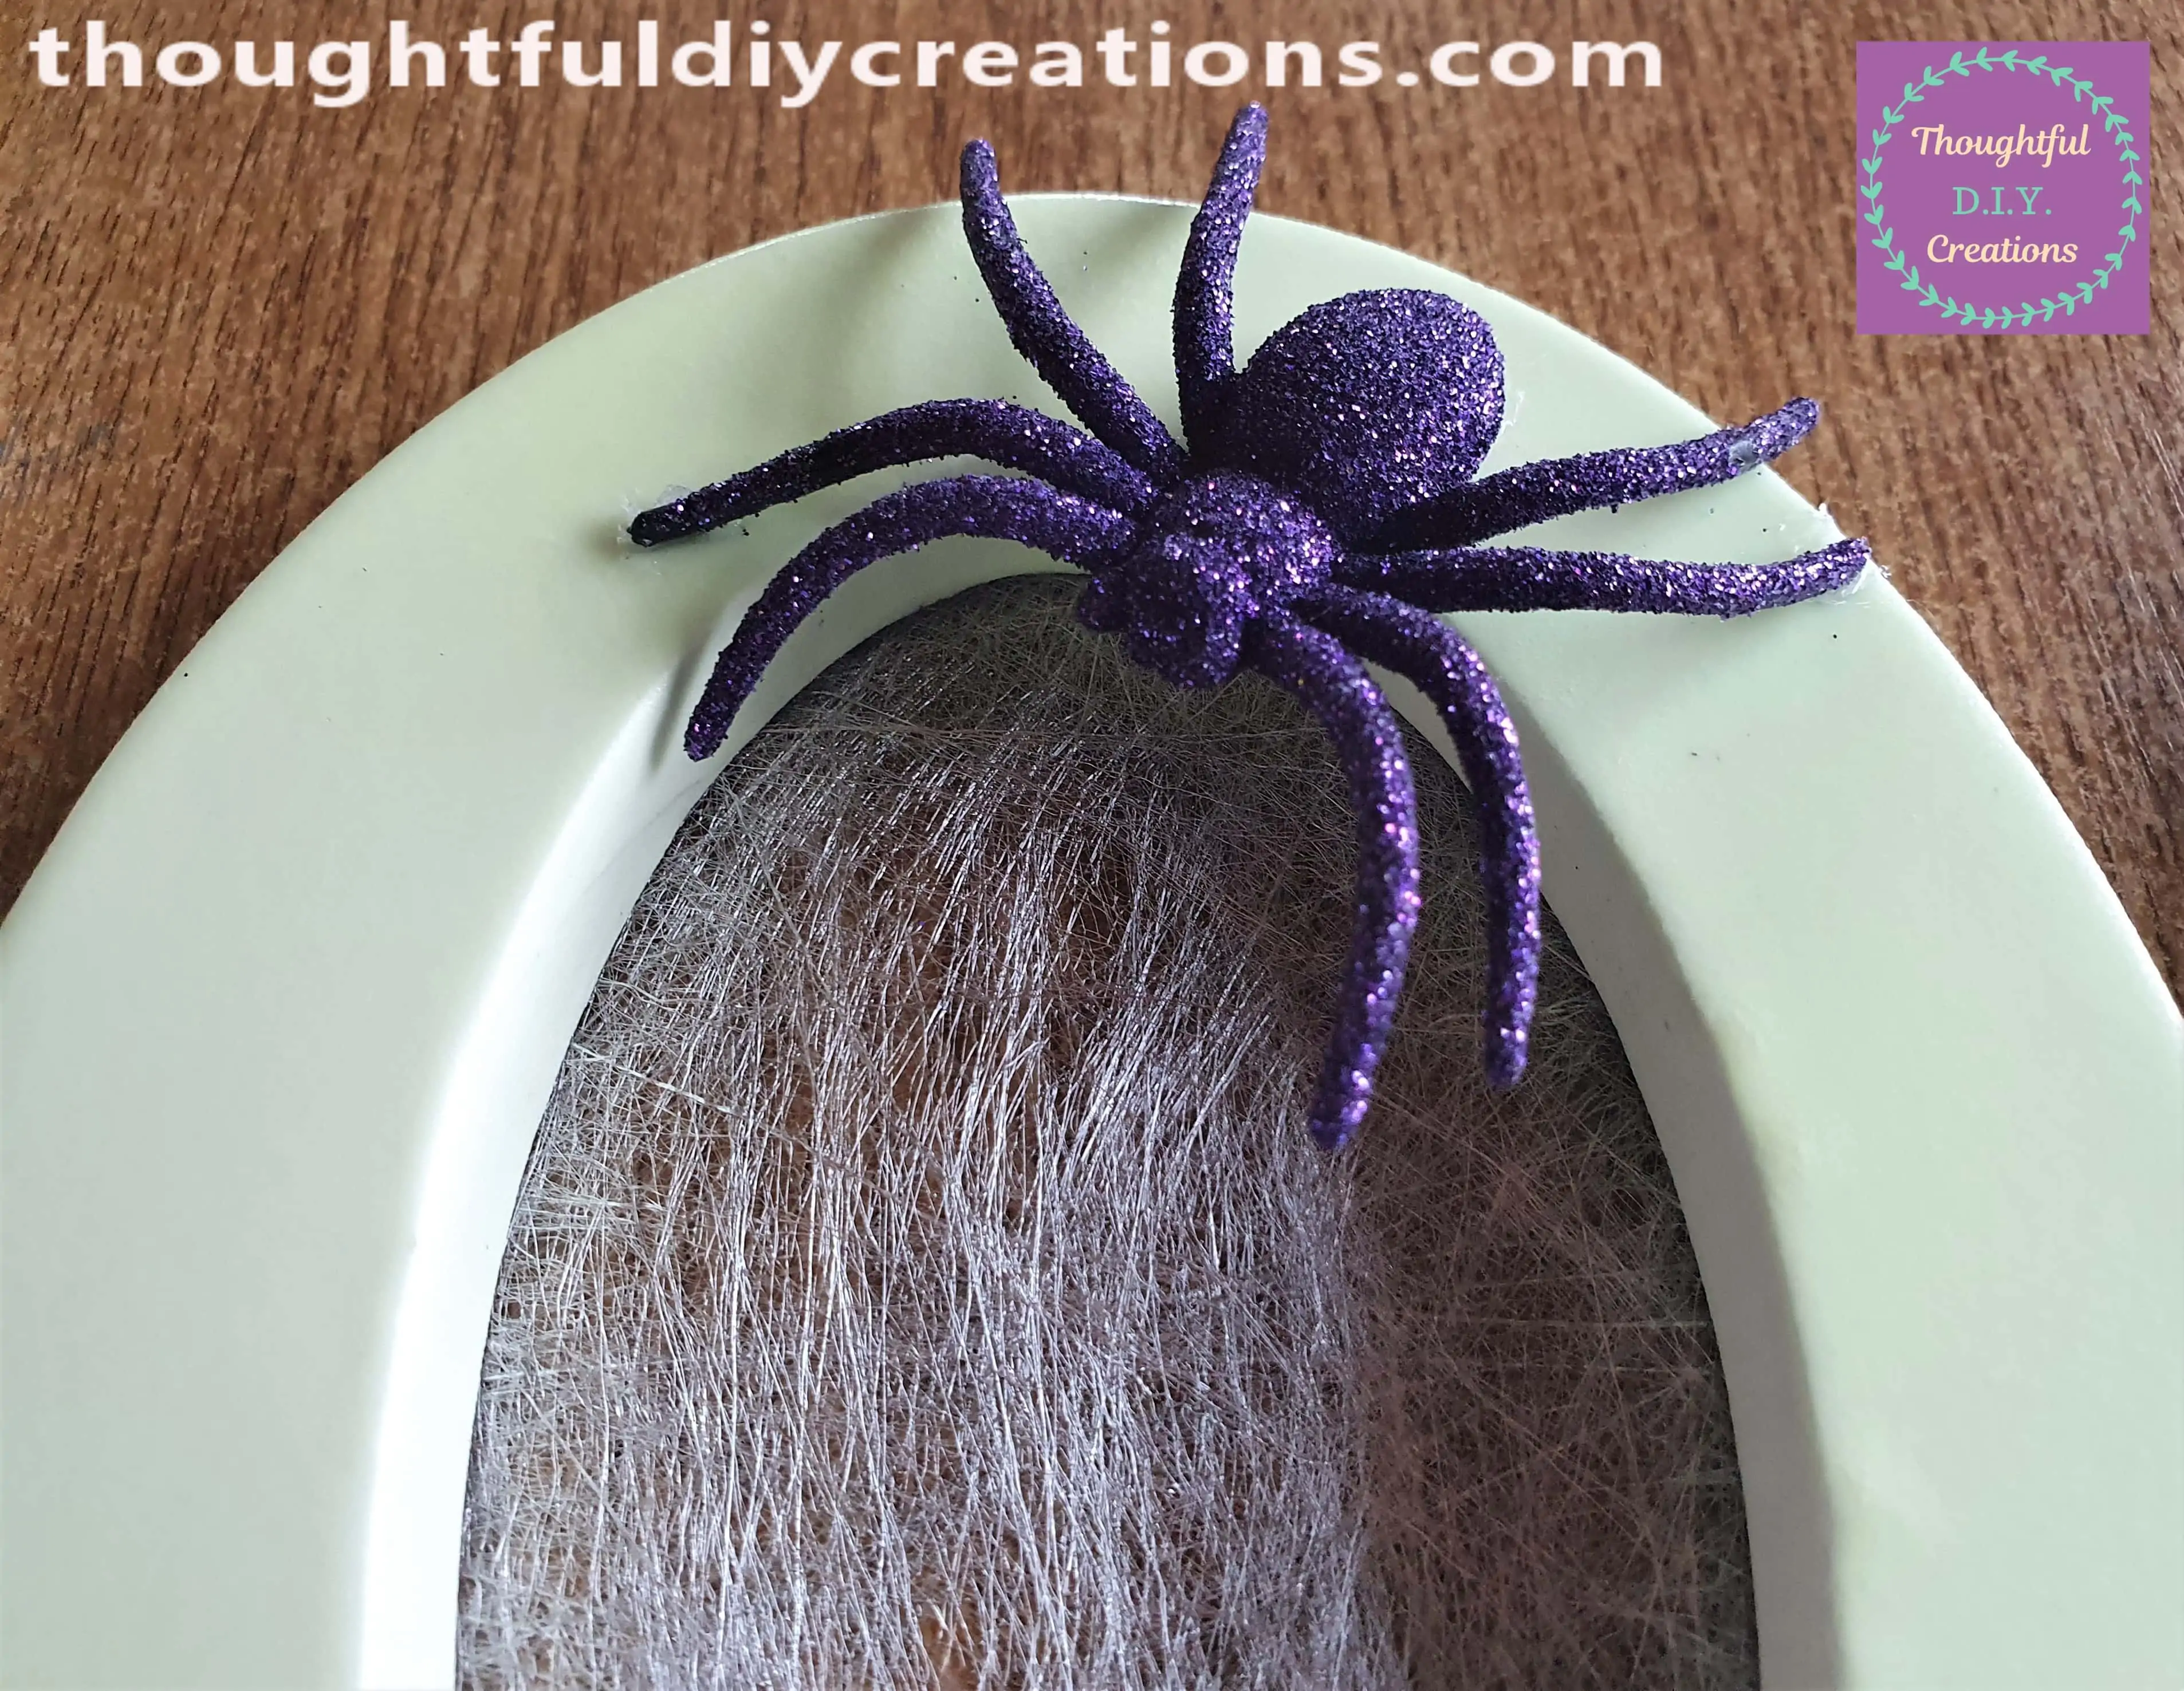
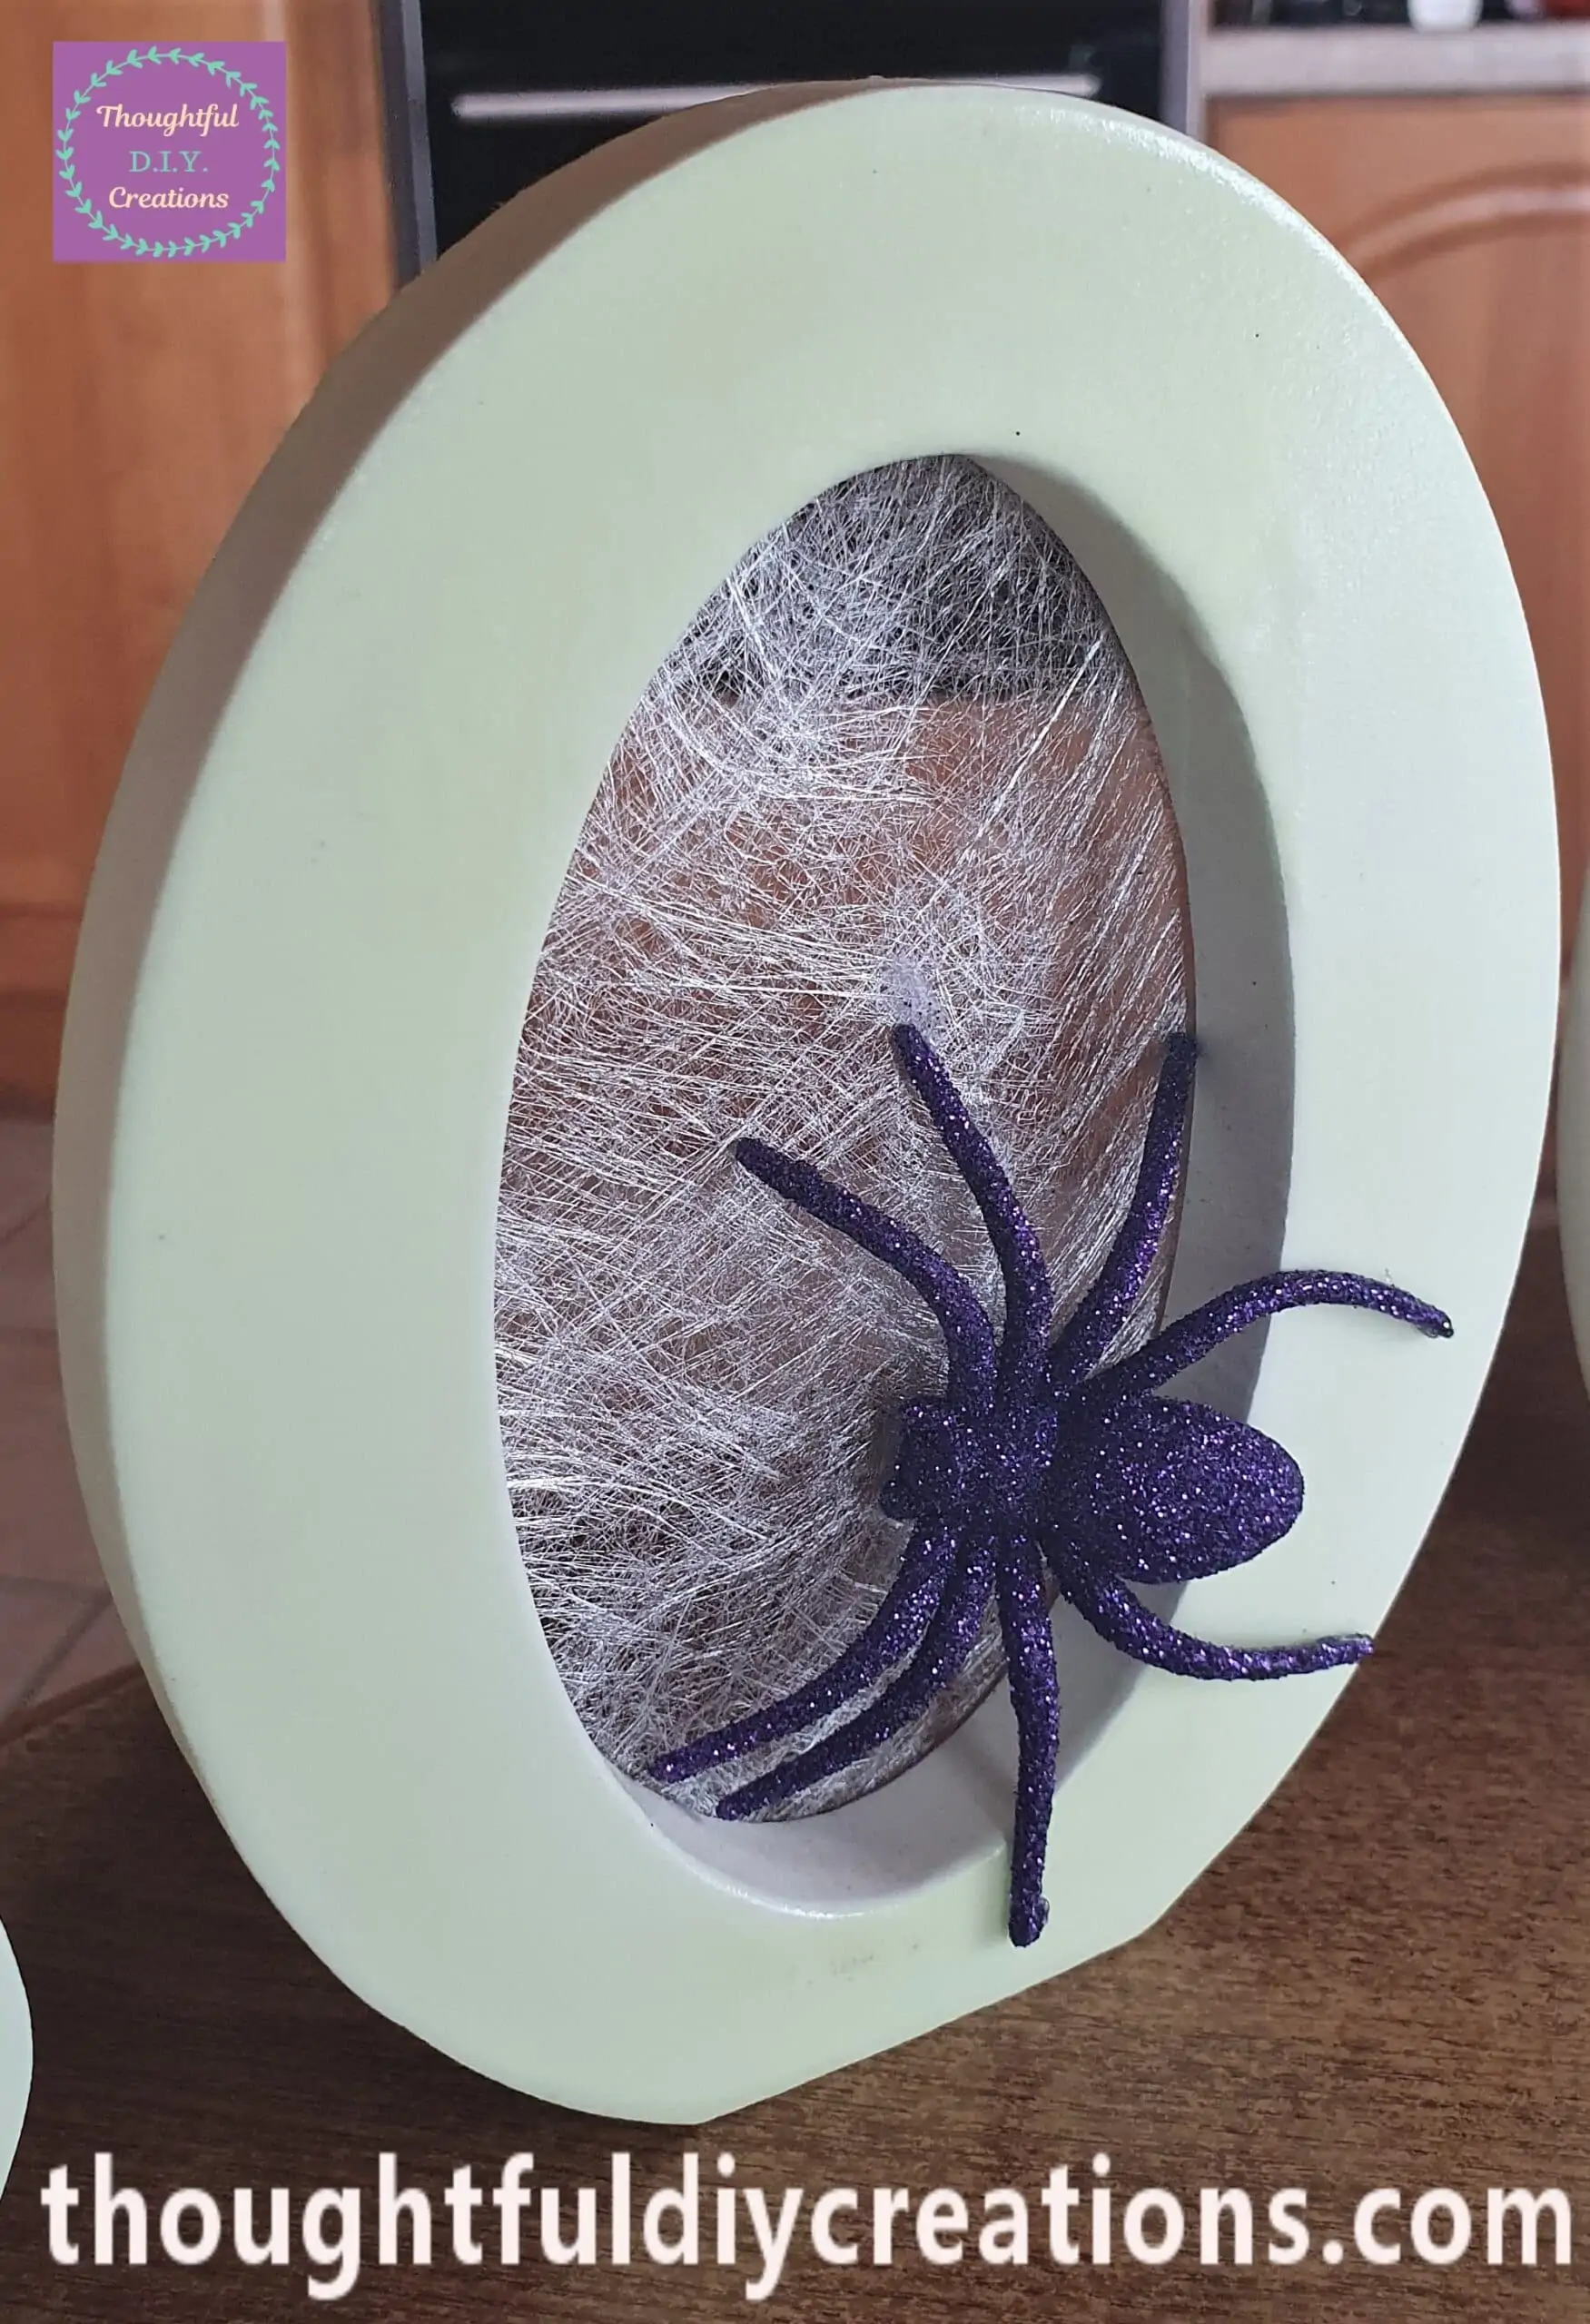
A Full View of the Letter with added Spider.

I attached the Second Spider to the bottom of the other Letter ‘O’ with my Hot Glue Gun.

A Full View of the Spider attached to the Letter.
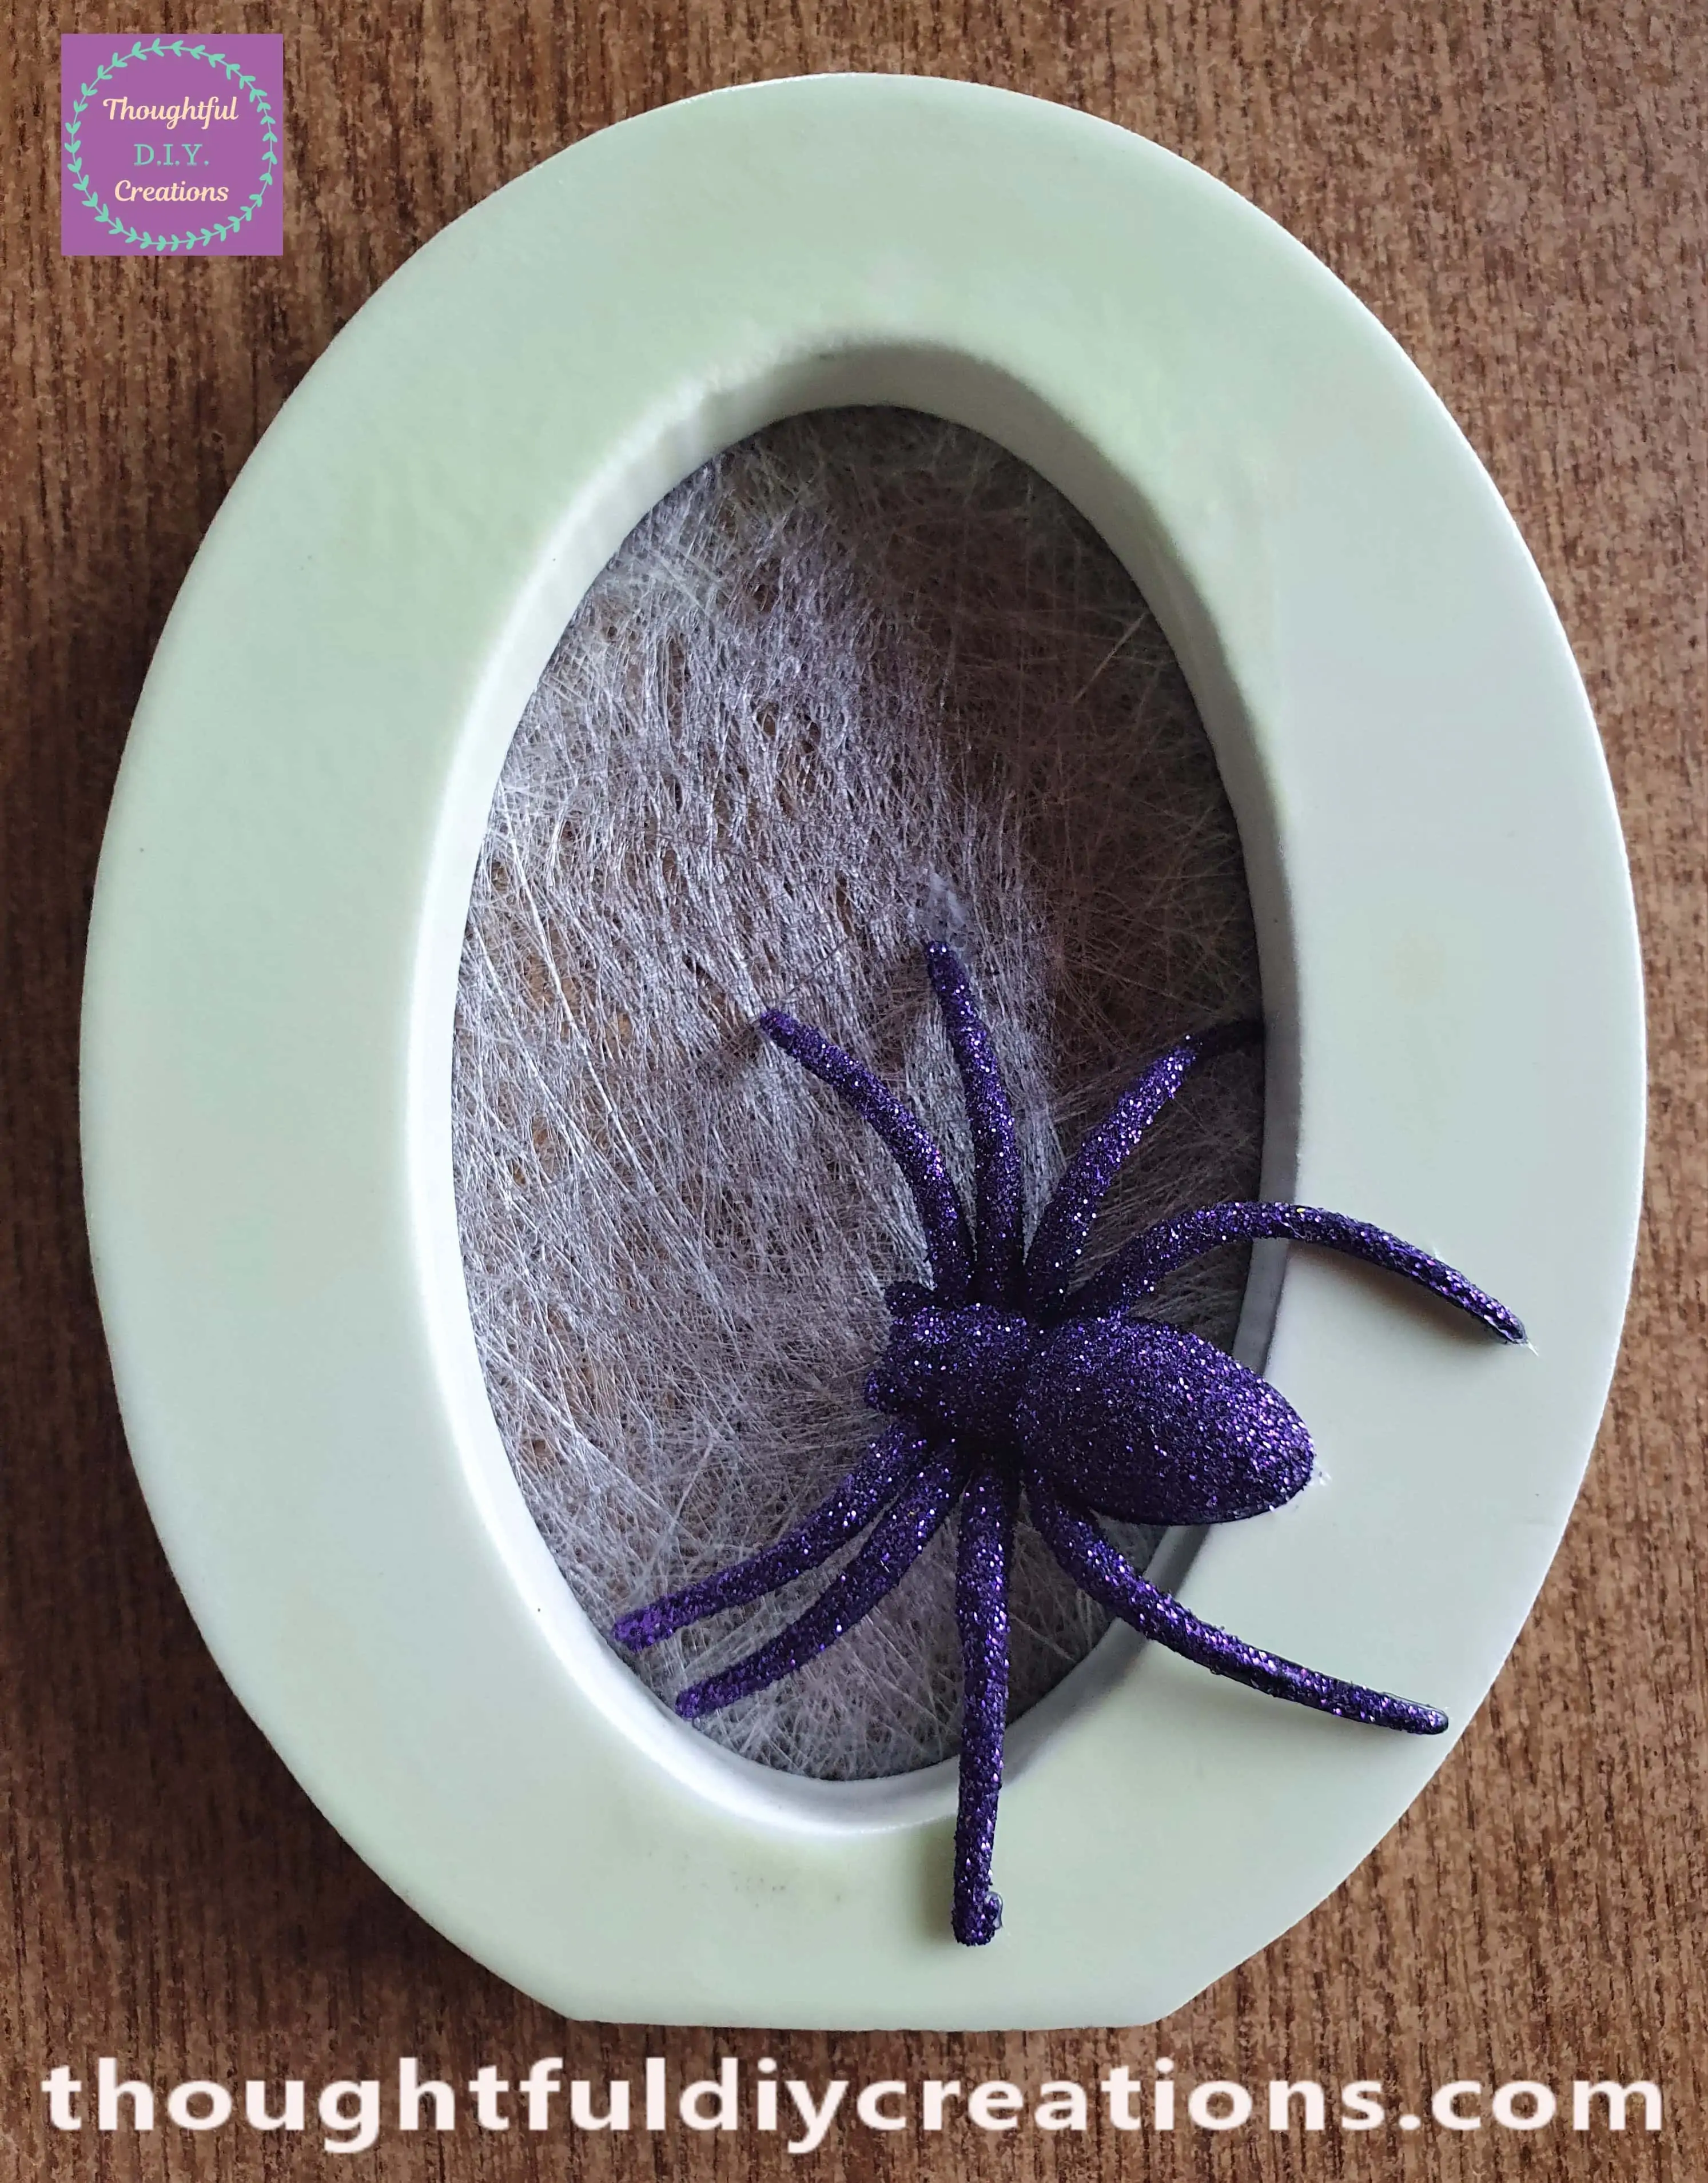
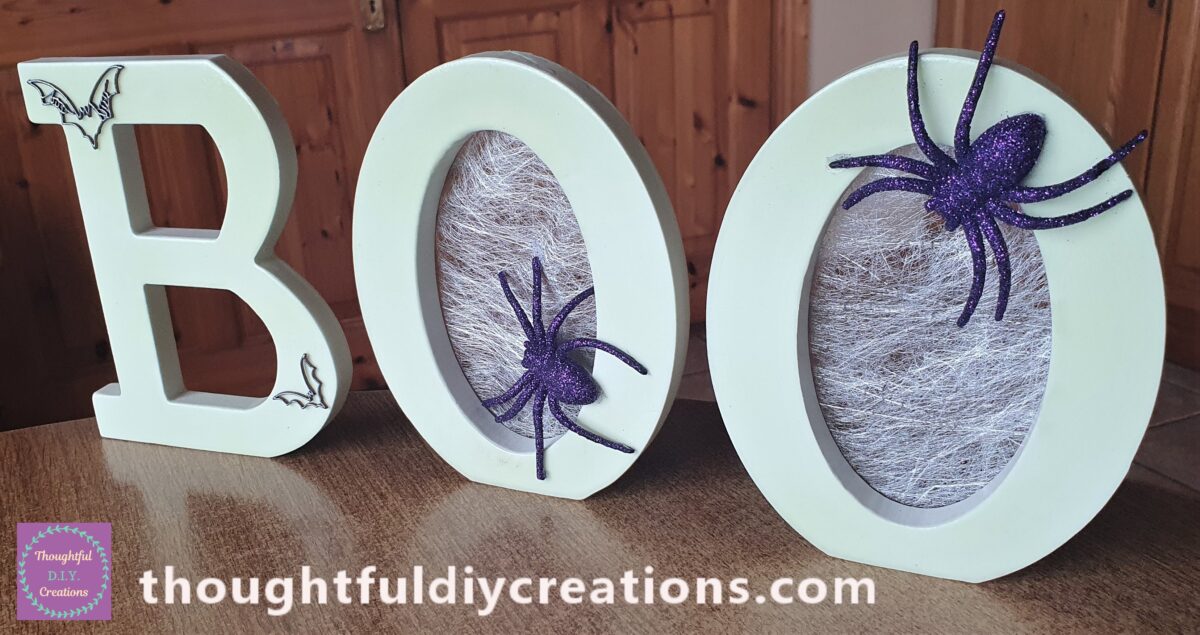
This Completed my BOO Halloween Letters.
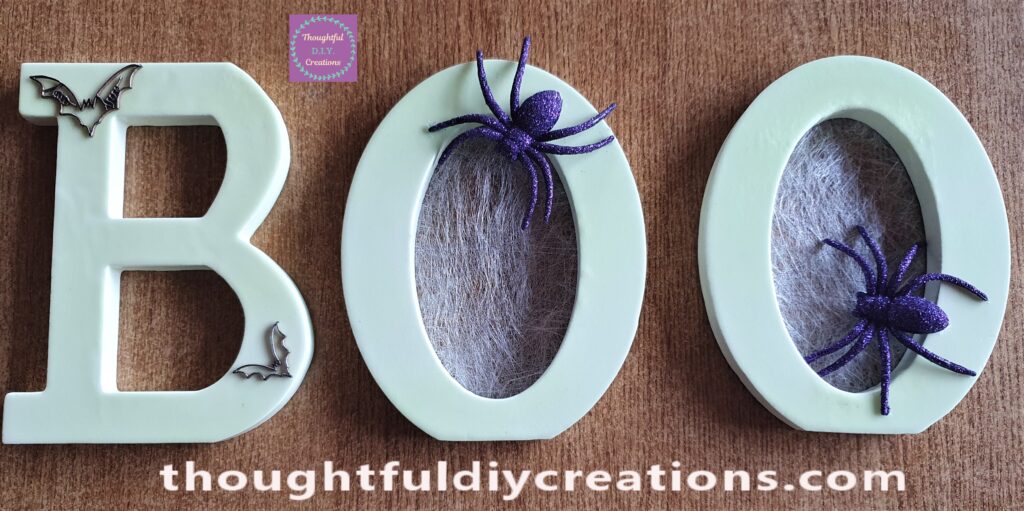
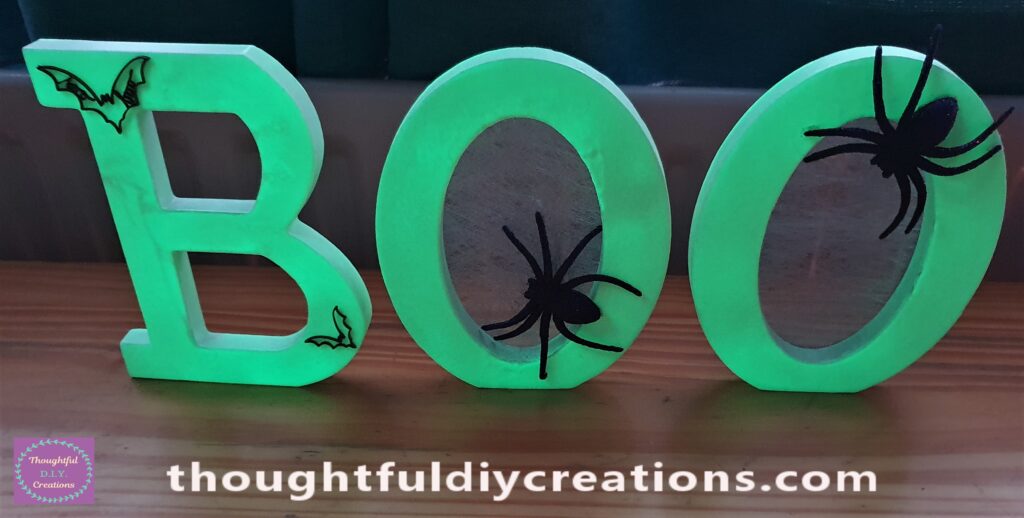
Here are the finished Letters Standing Up-Right.
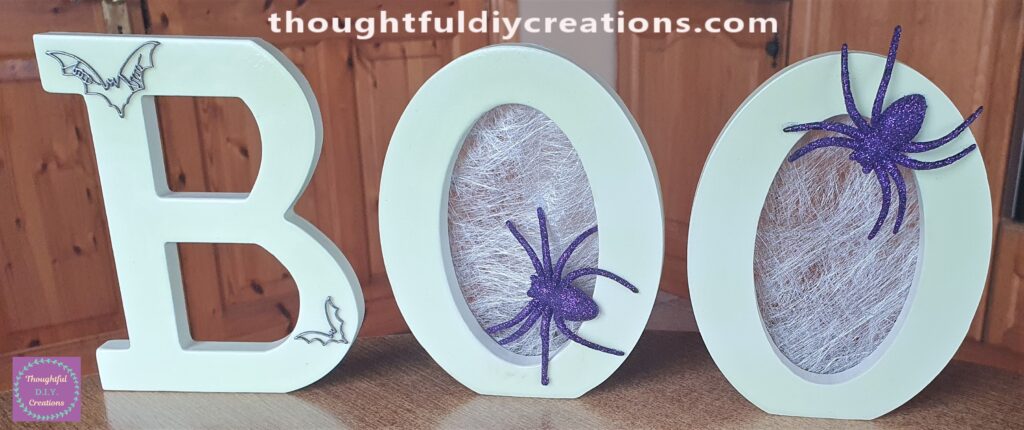
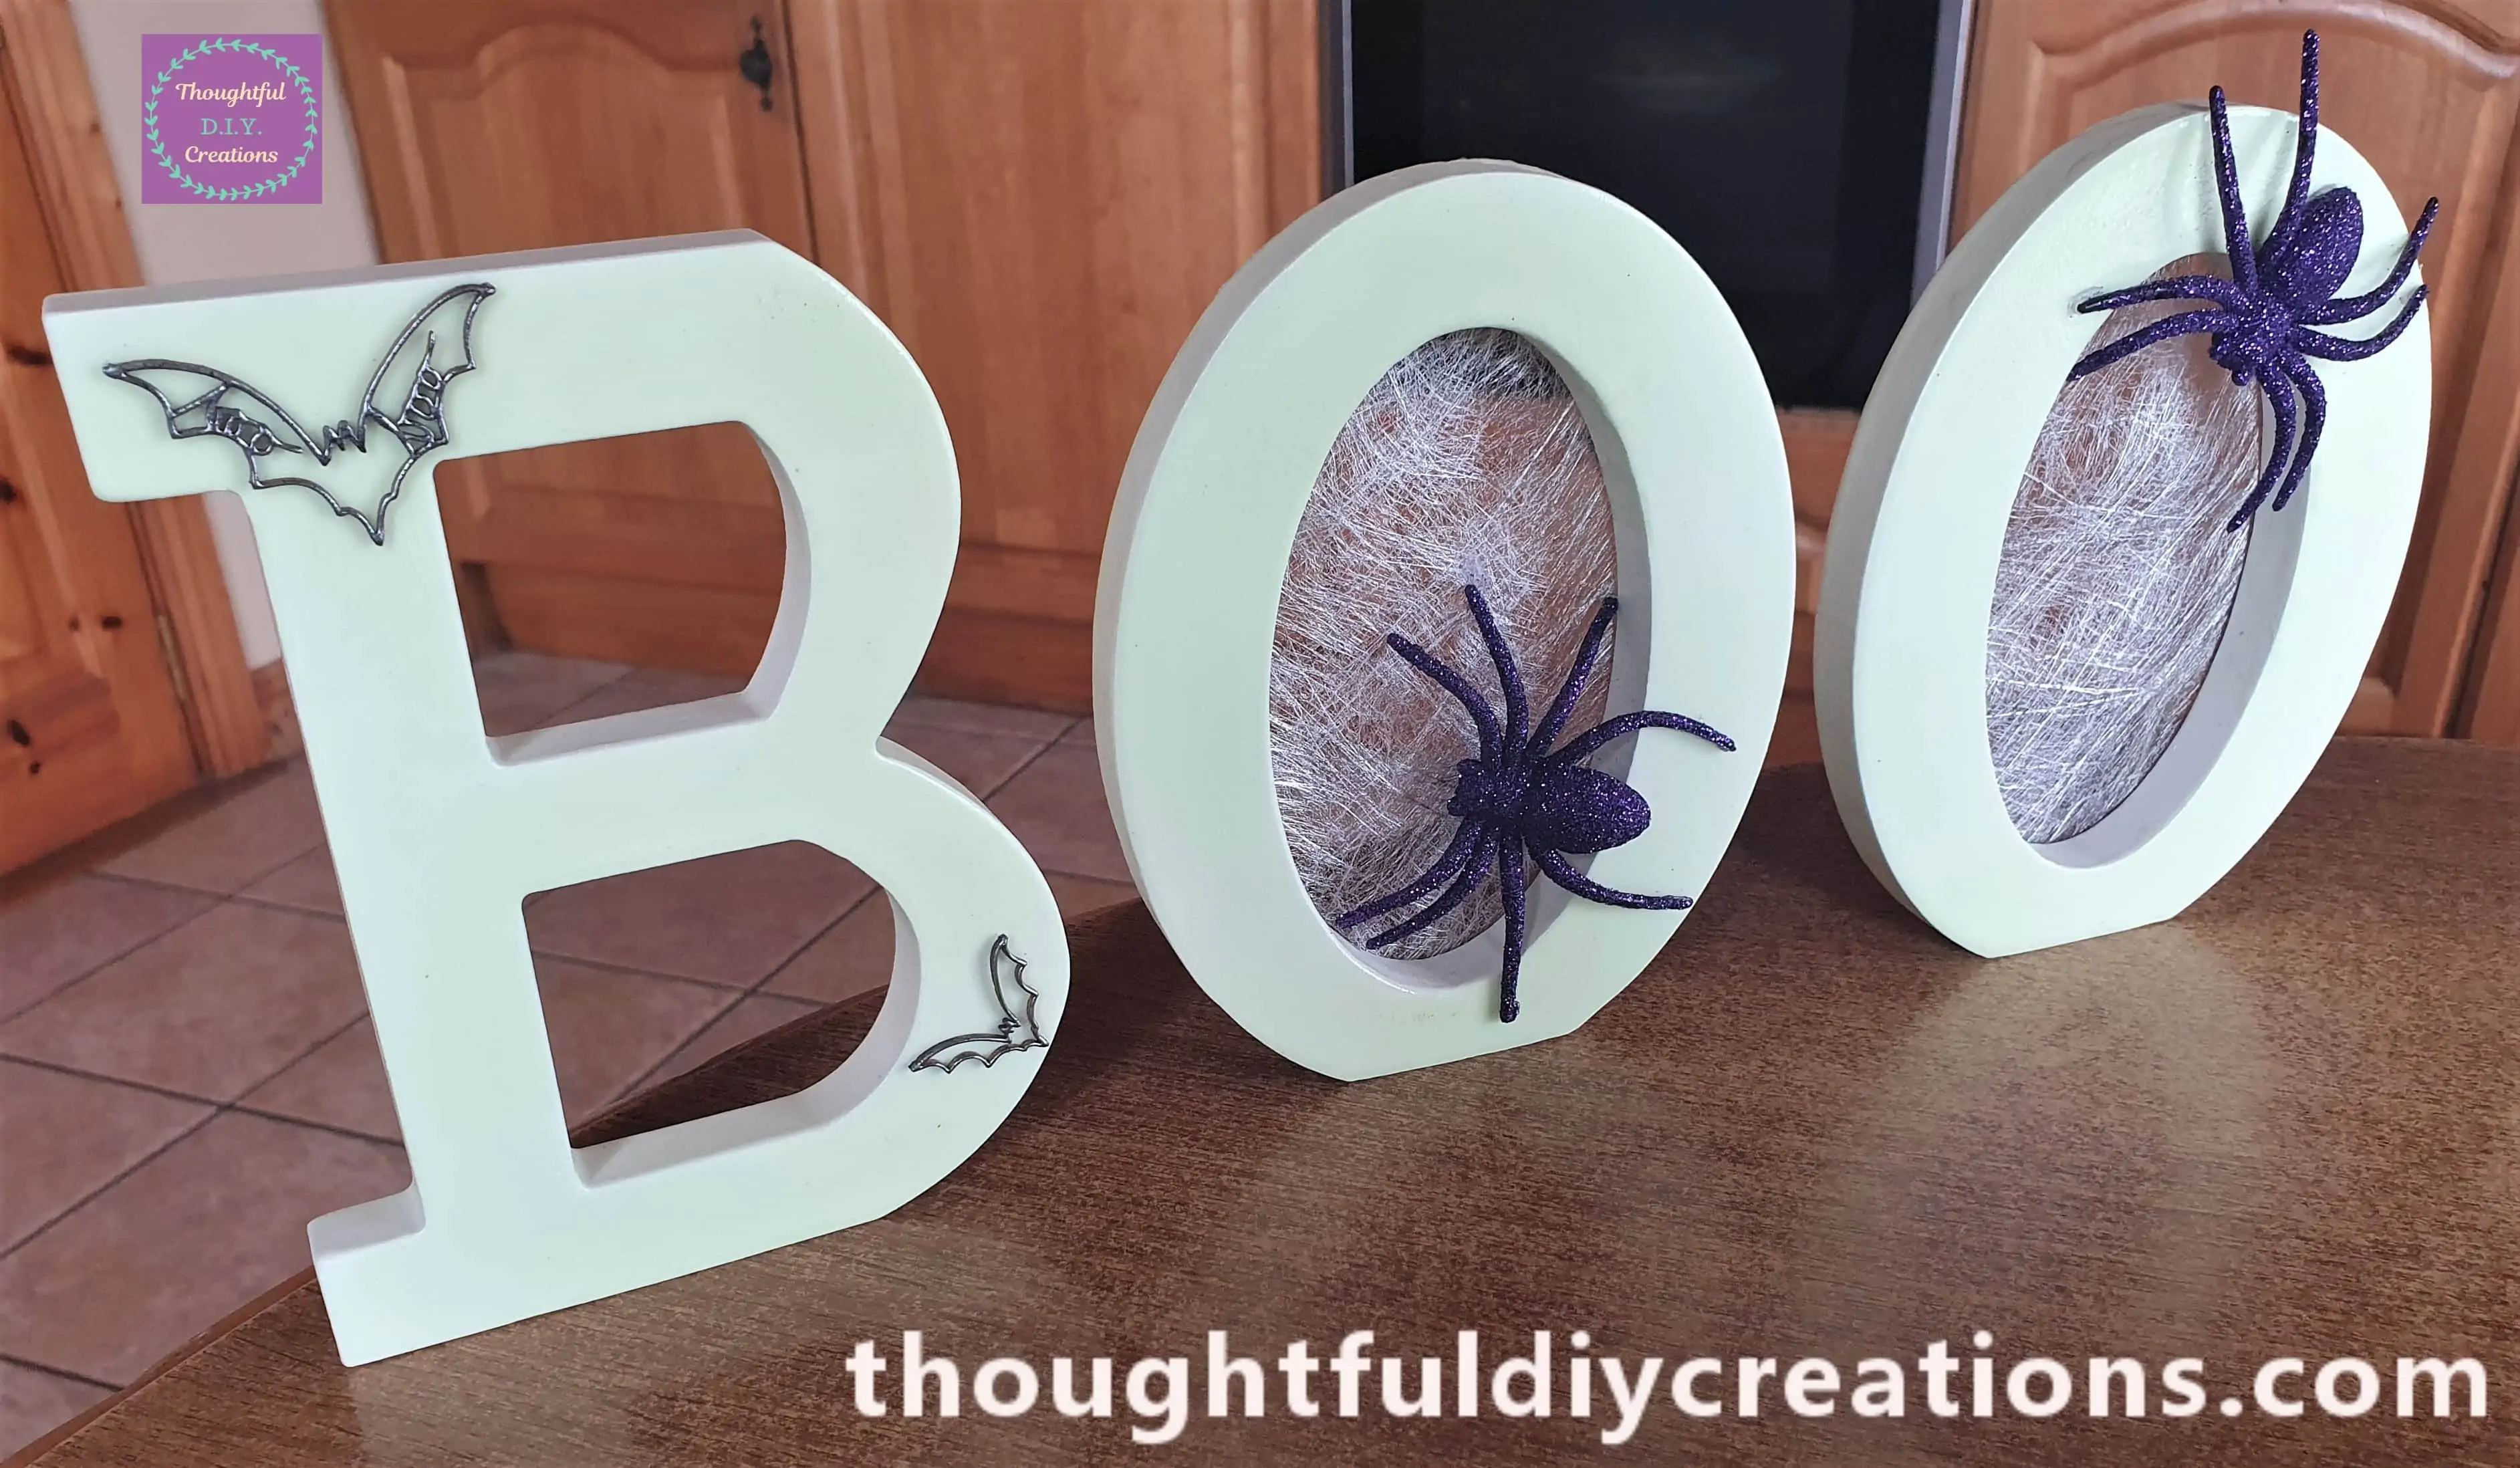
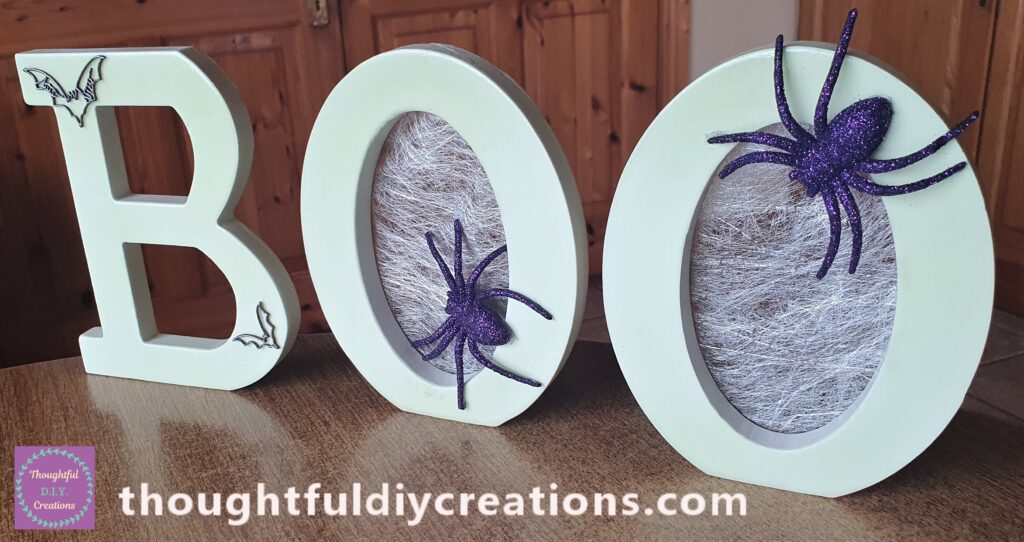
A Closer look at each individual Letter.
This is how the BOO Letters look during the Day with the Curtains Closed.
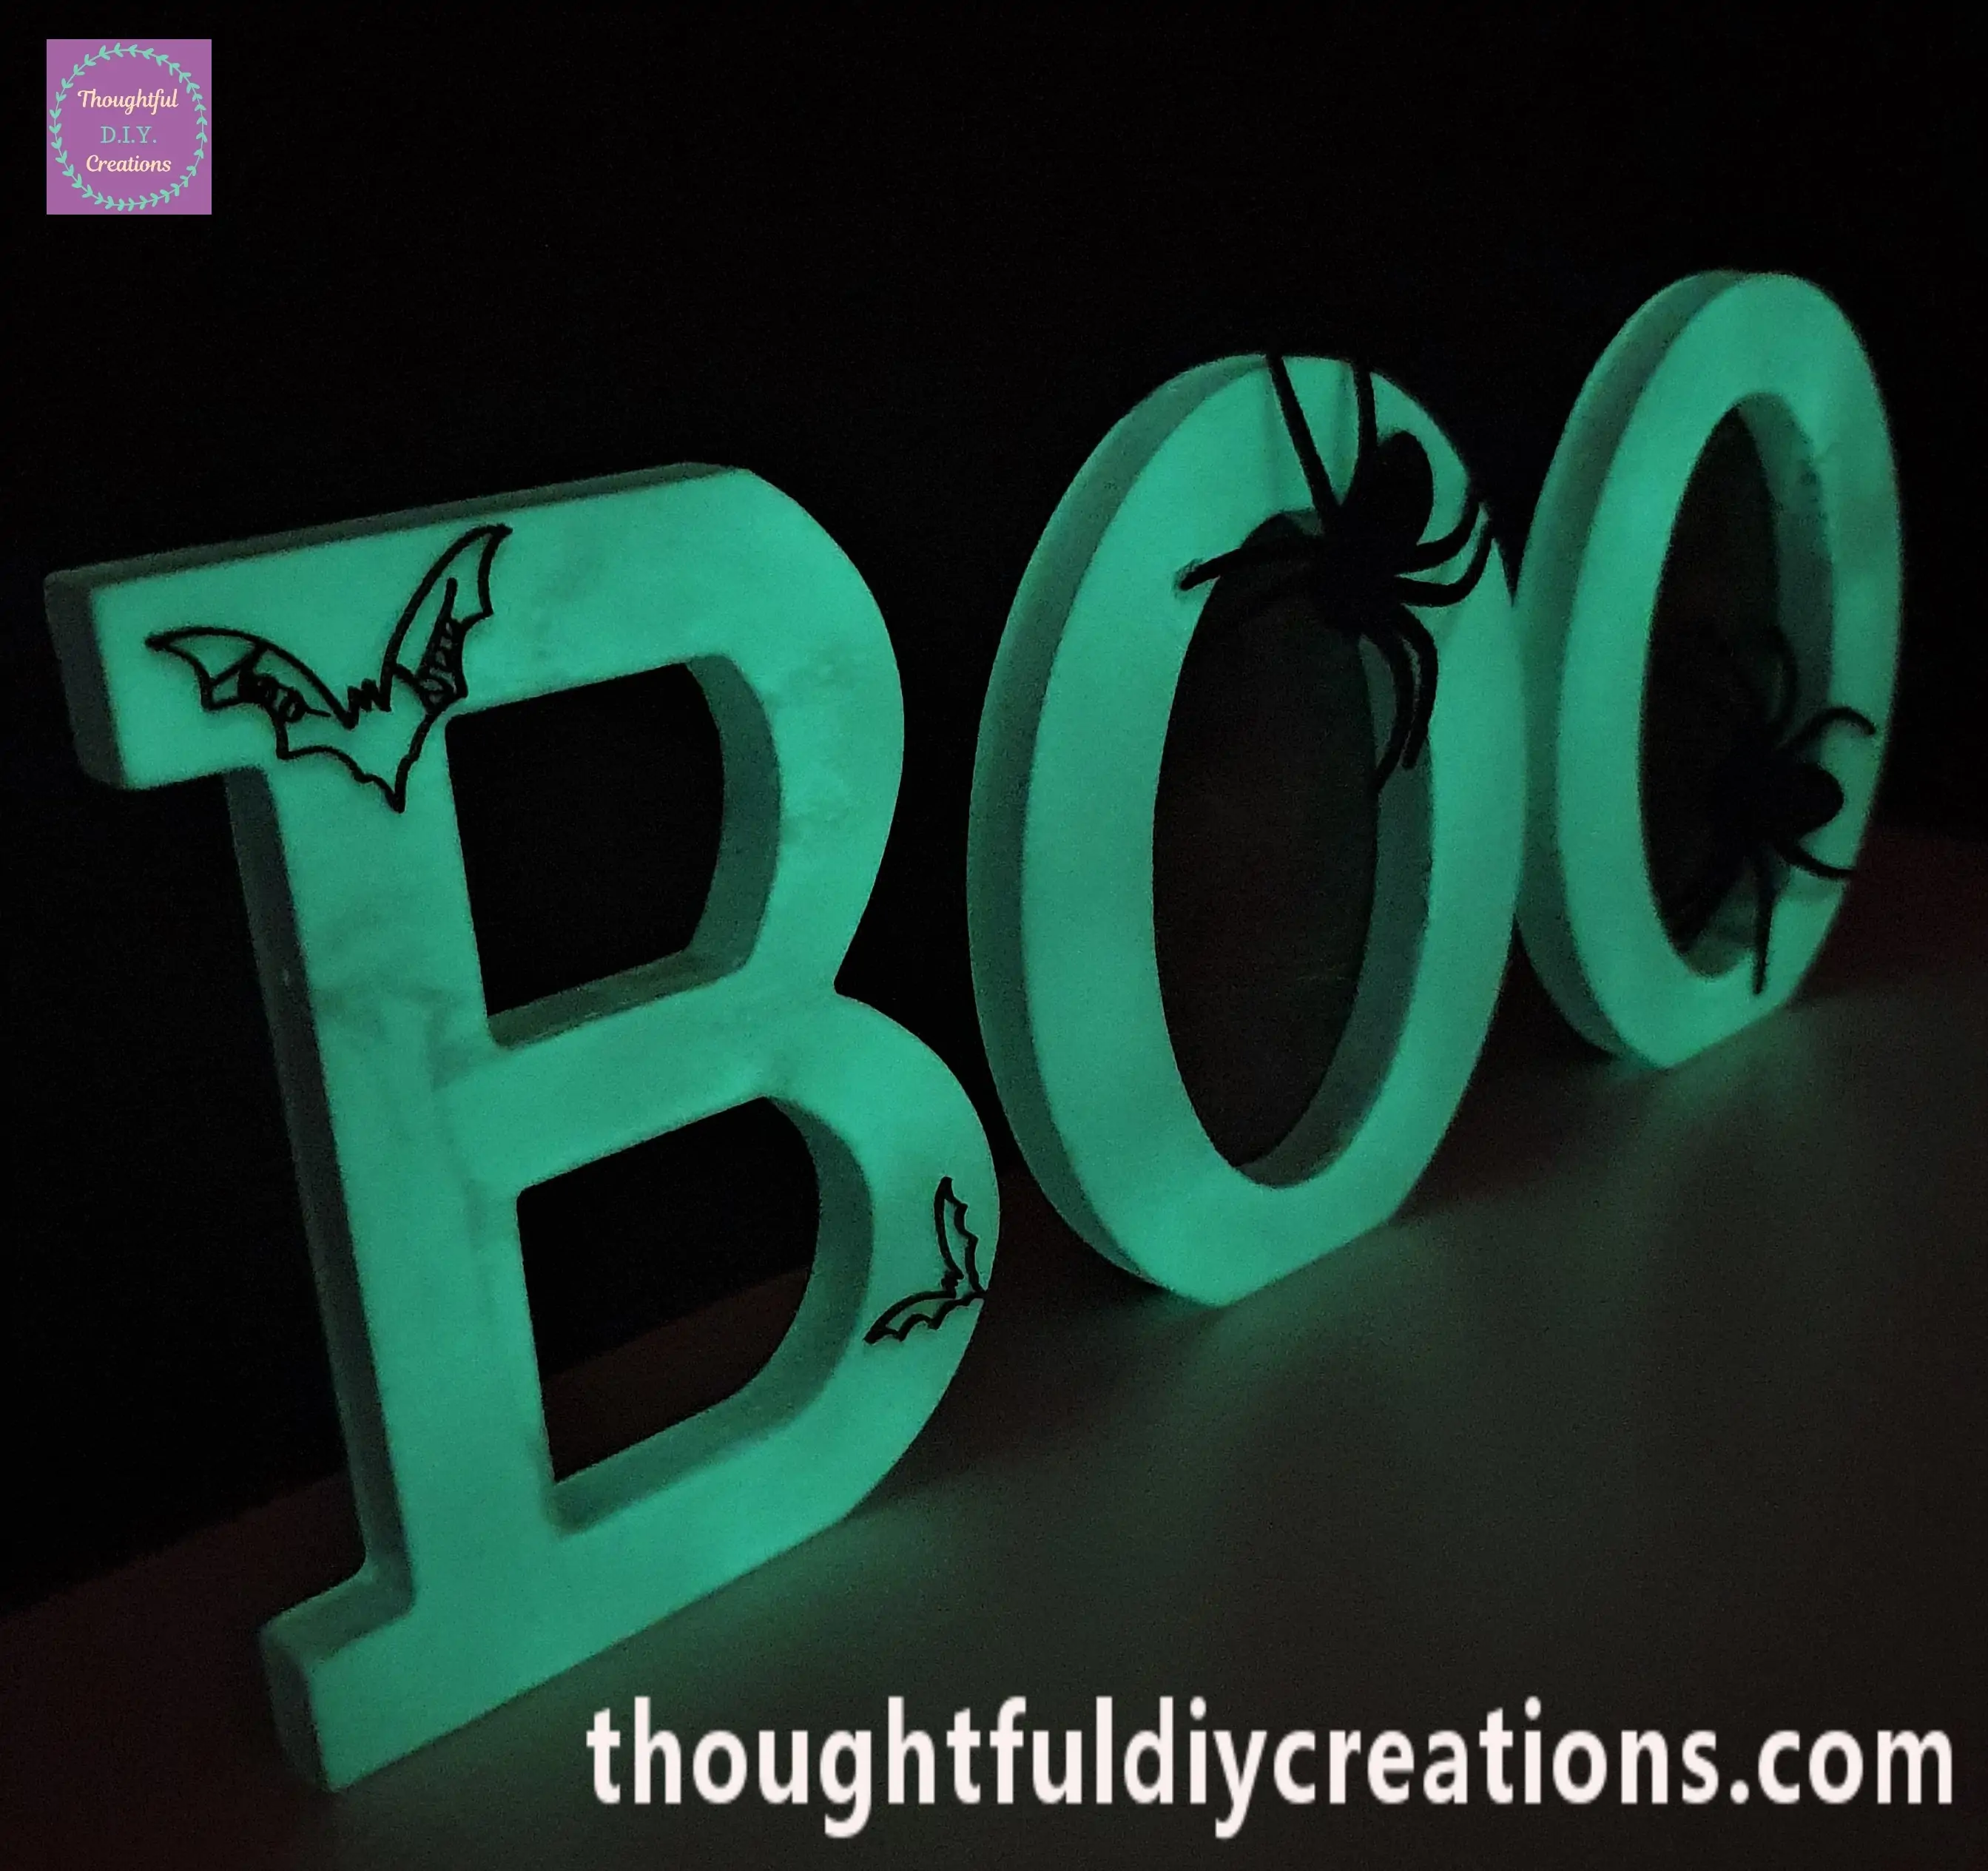
This is how they look at Night with the Room Light turned Off.
Conclusion
I Love how the BOO Letters turned out in the end. The Spray Paint isn’t perfect but I think that adds to the Halloween Vibe. I love the Contrast of the Letters from Day to Night. The Glow in the Dark Spray Paint adds that special touch and they look equally well during the Day. The Cobwebs really finished them off and the Spiders were the perfect Size for this Craft.
I like that the BOO Letters can be moved from place to place each Year to change things up. They could be styled in a Window Sill and would look Cool from the Outside looking in. They would also be Beautiful on a Side Table or on a Shelf or Mantle-Piece as part of your Halloween Decor. The Options are endless really.
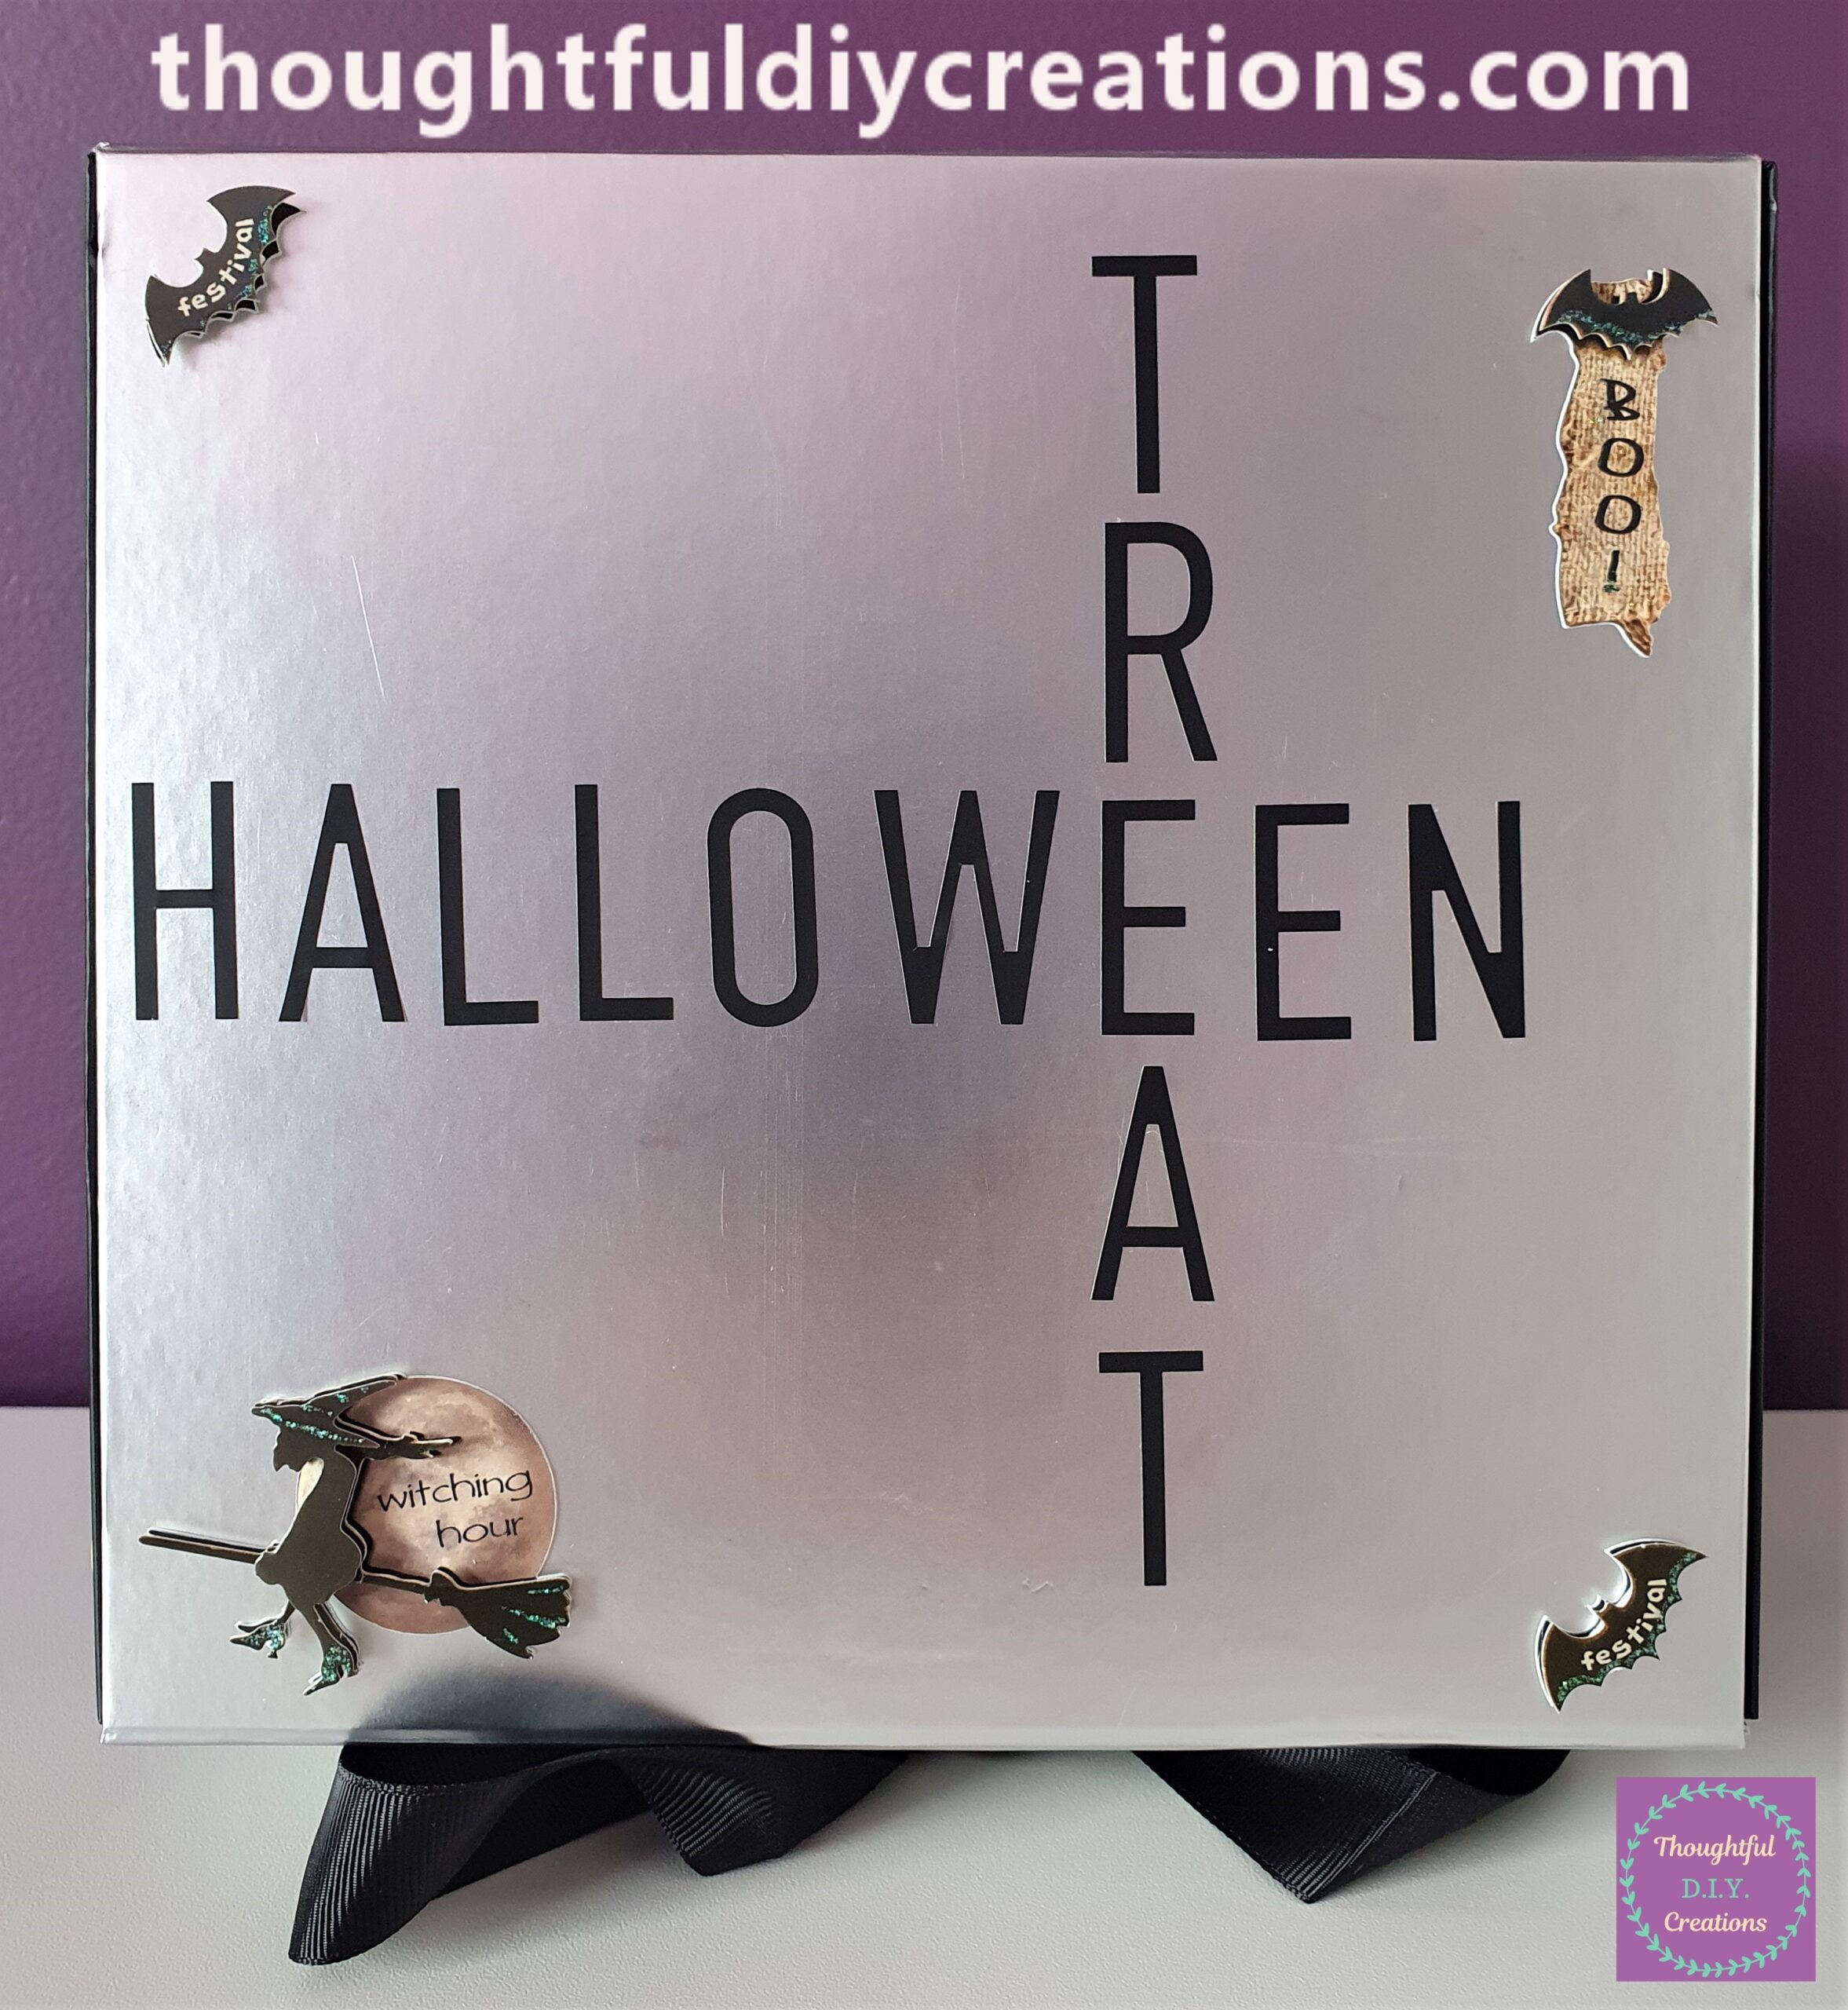
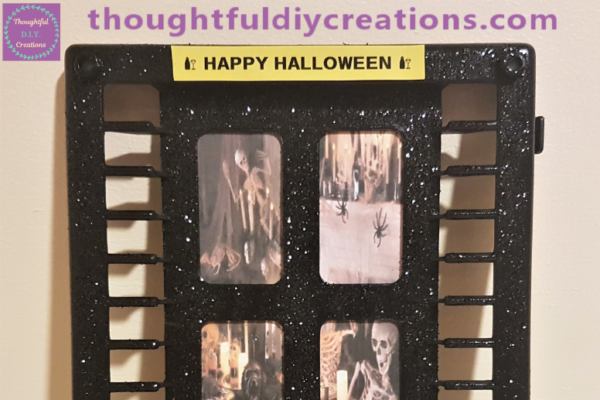
If you would like more Budget D.I.Y. Halloween Craft Ideas; here is a quick and easy Halloween Sign I made previously.
I Hope you enjoyed this Week’s Tutorial and learned something New.
Happy Crafting Everyone.
Thank You So Much for Taking the Time to Read my Blog.
Always Grateful,
T.D.C.
xoxox



-0 Comment-