Camera Quote Frame Craft
Hello my Creative Friends,
I hope you are all well. In Today’s Tutorial I will show you how I made a Camera Quote Frame Craft. This is a Quick, Easy, and Budget friendly D.I.Y. Craft. The Camera Quote can be changed to anything else you prefer. I hope you get some ideas for D.I.Y. Home Decor, D.I.Y. Birthday Gifts or D.I.Y. Office Decor from this Tutorial.
Frame for Crafting
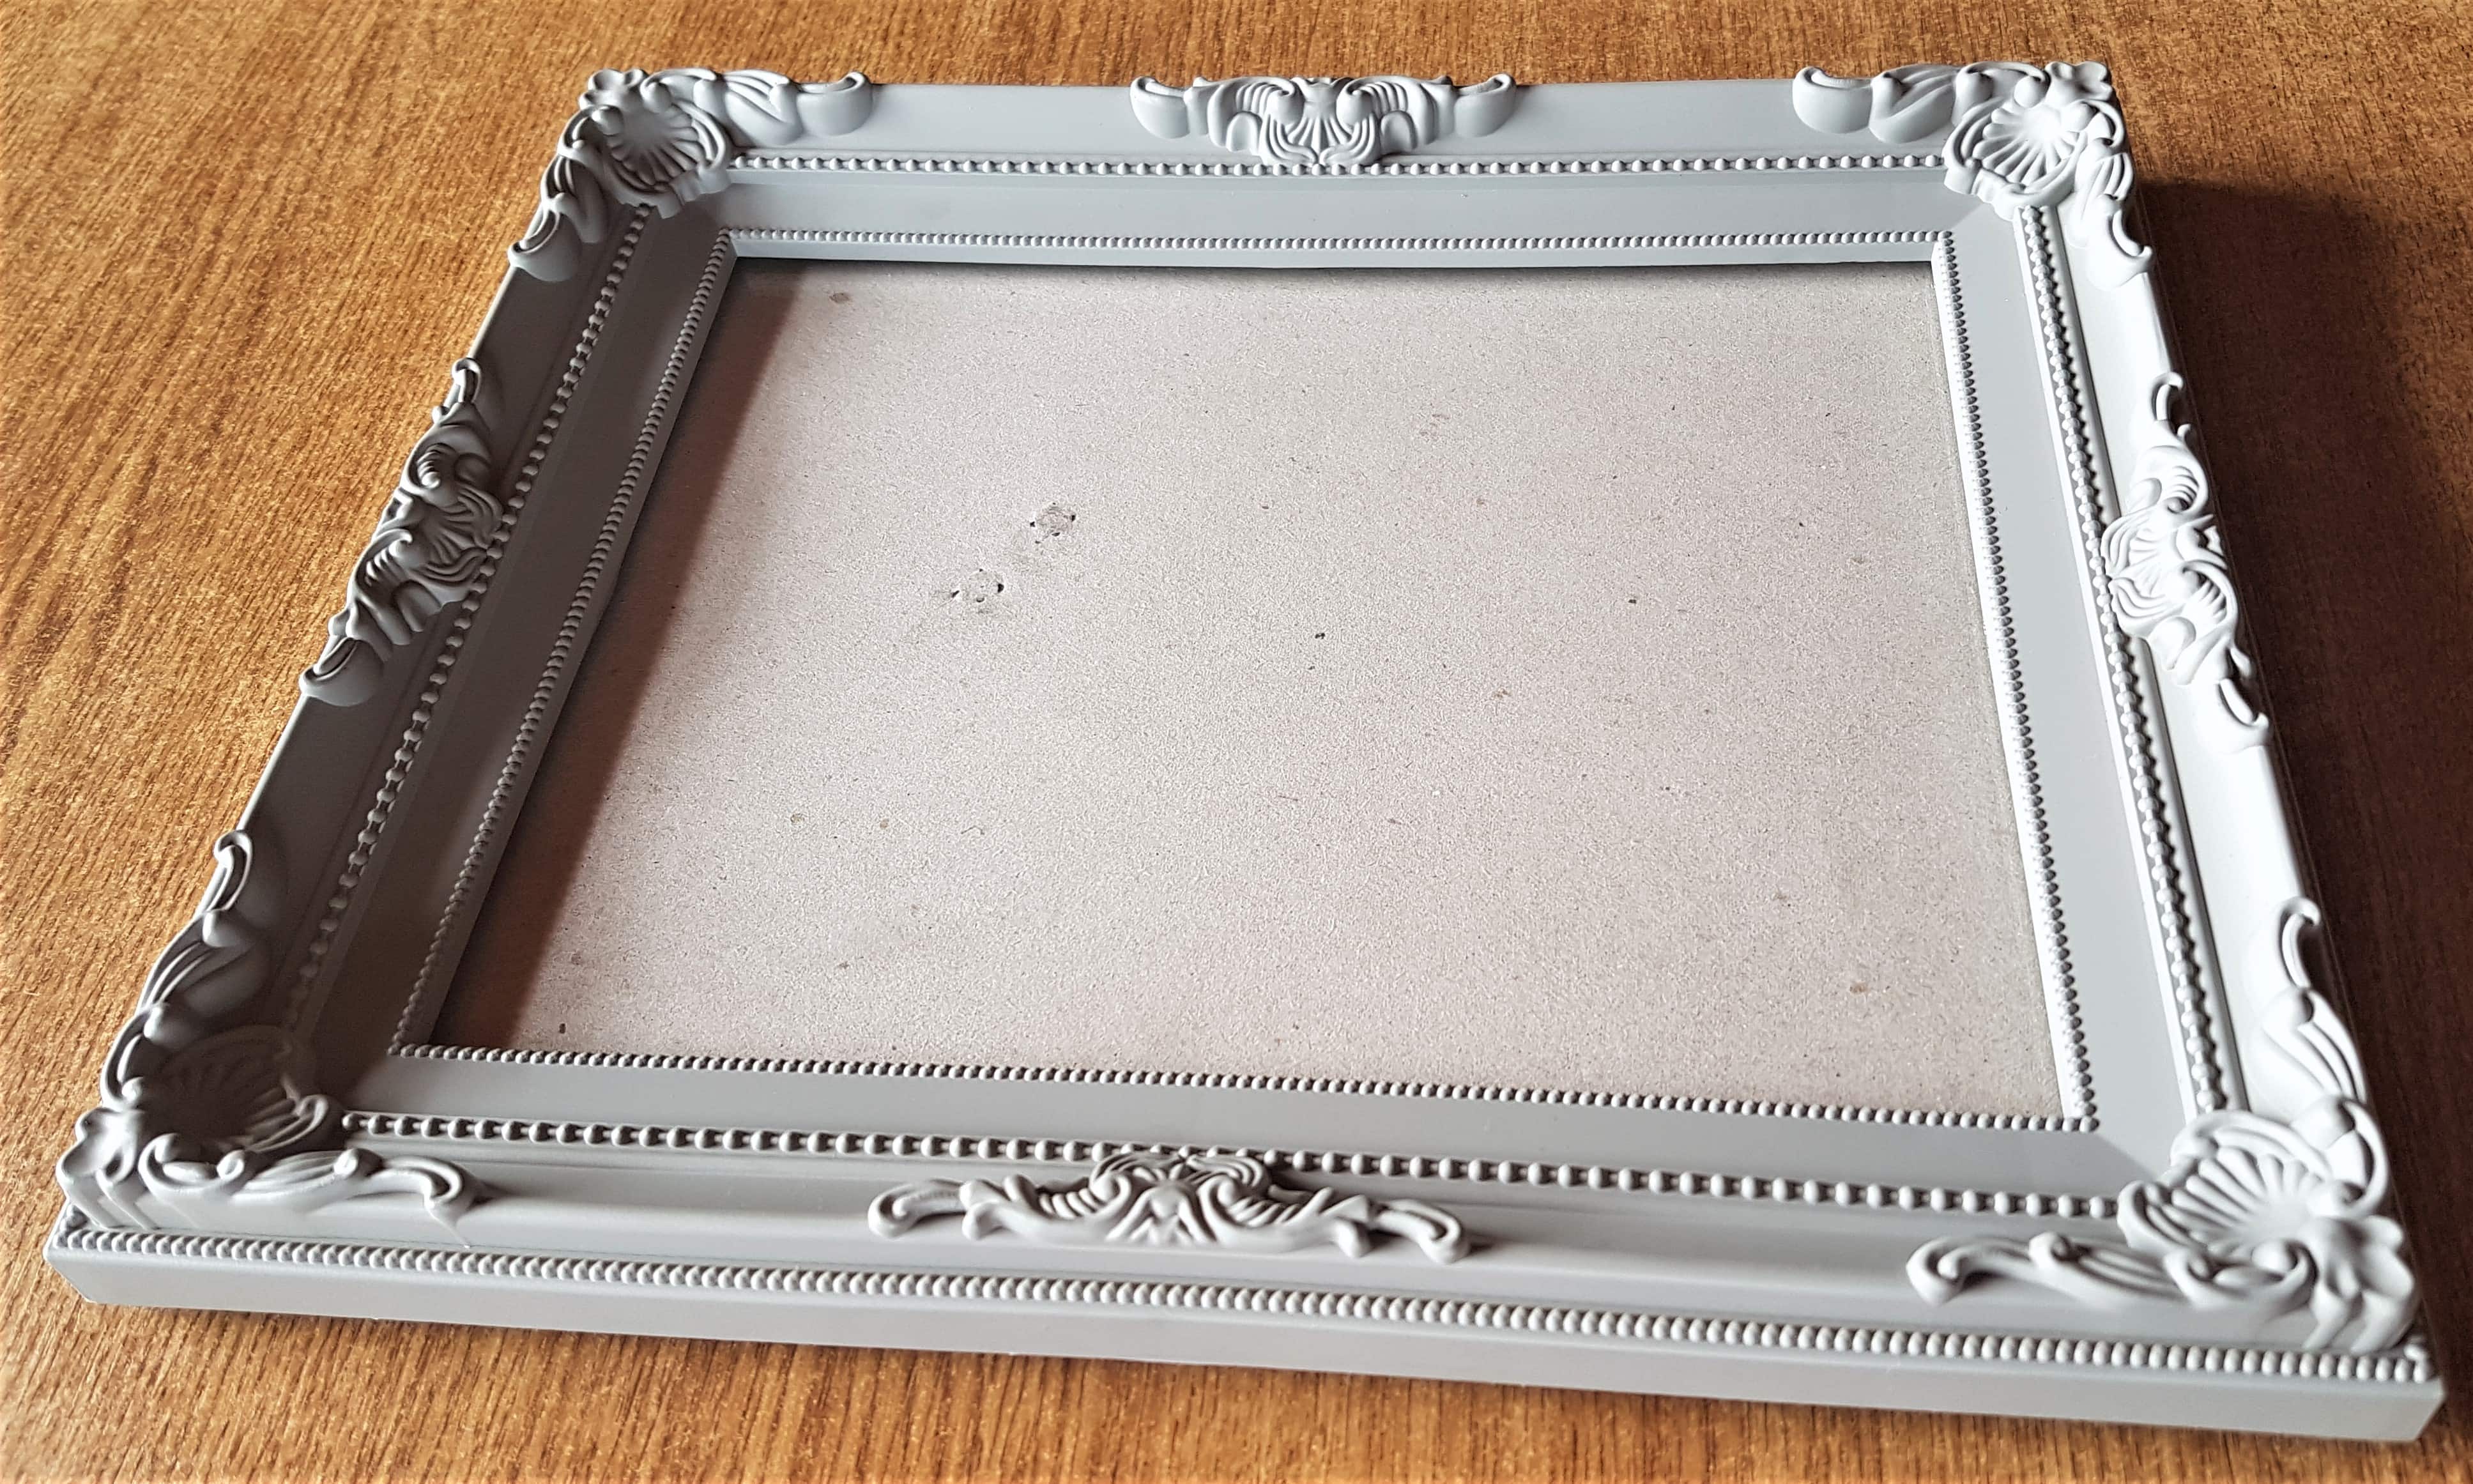
I bought a Grey 8 x 10 Inch Ornate Frame a few Months ago.
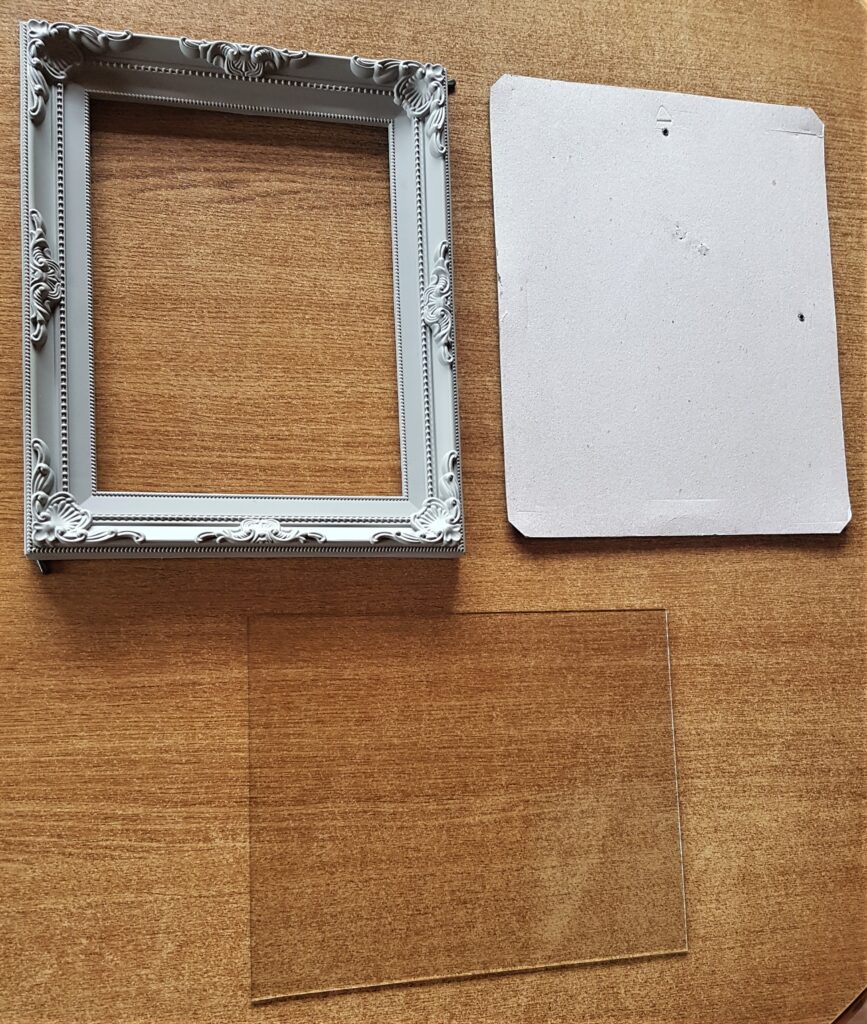
I opened up the Frame and removed the Backing Board and Glass.
Adding the Background to the Frame
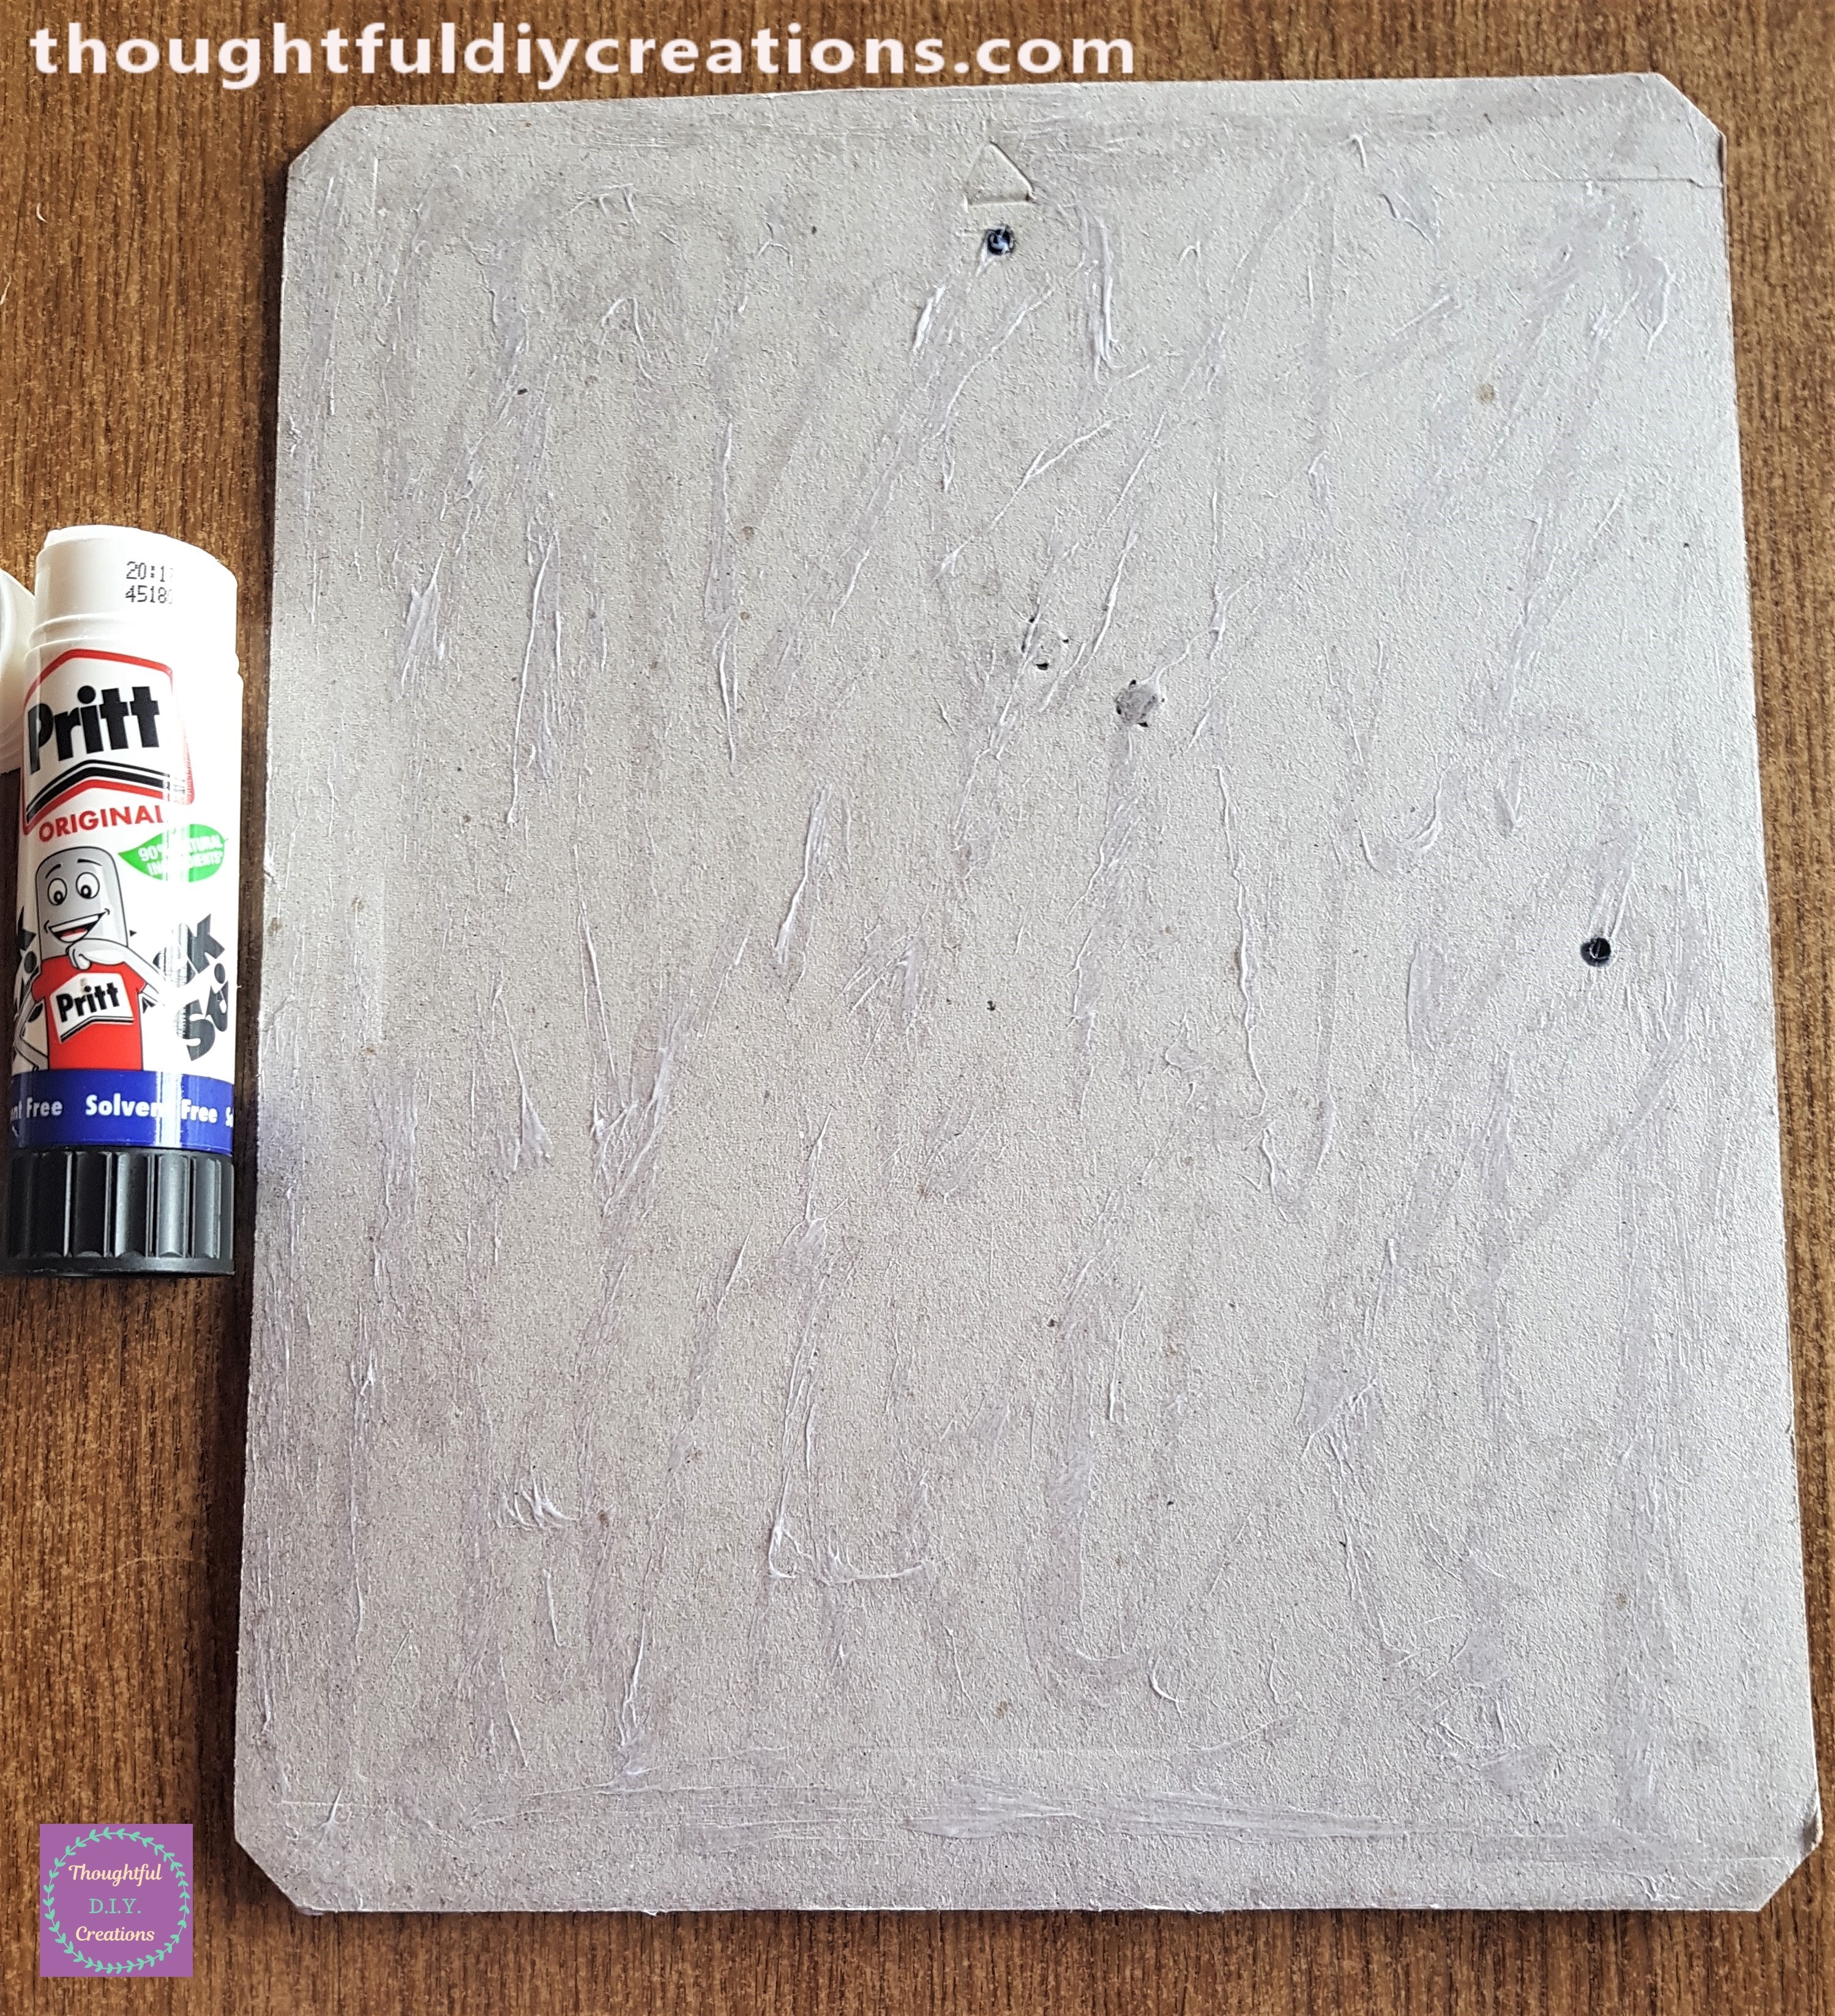
I put Pritt Stick all over the backing board.
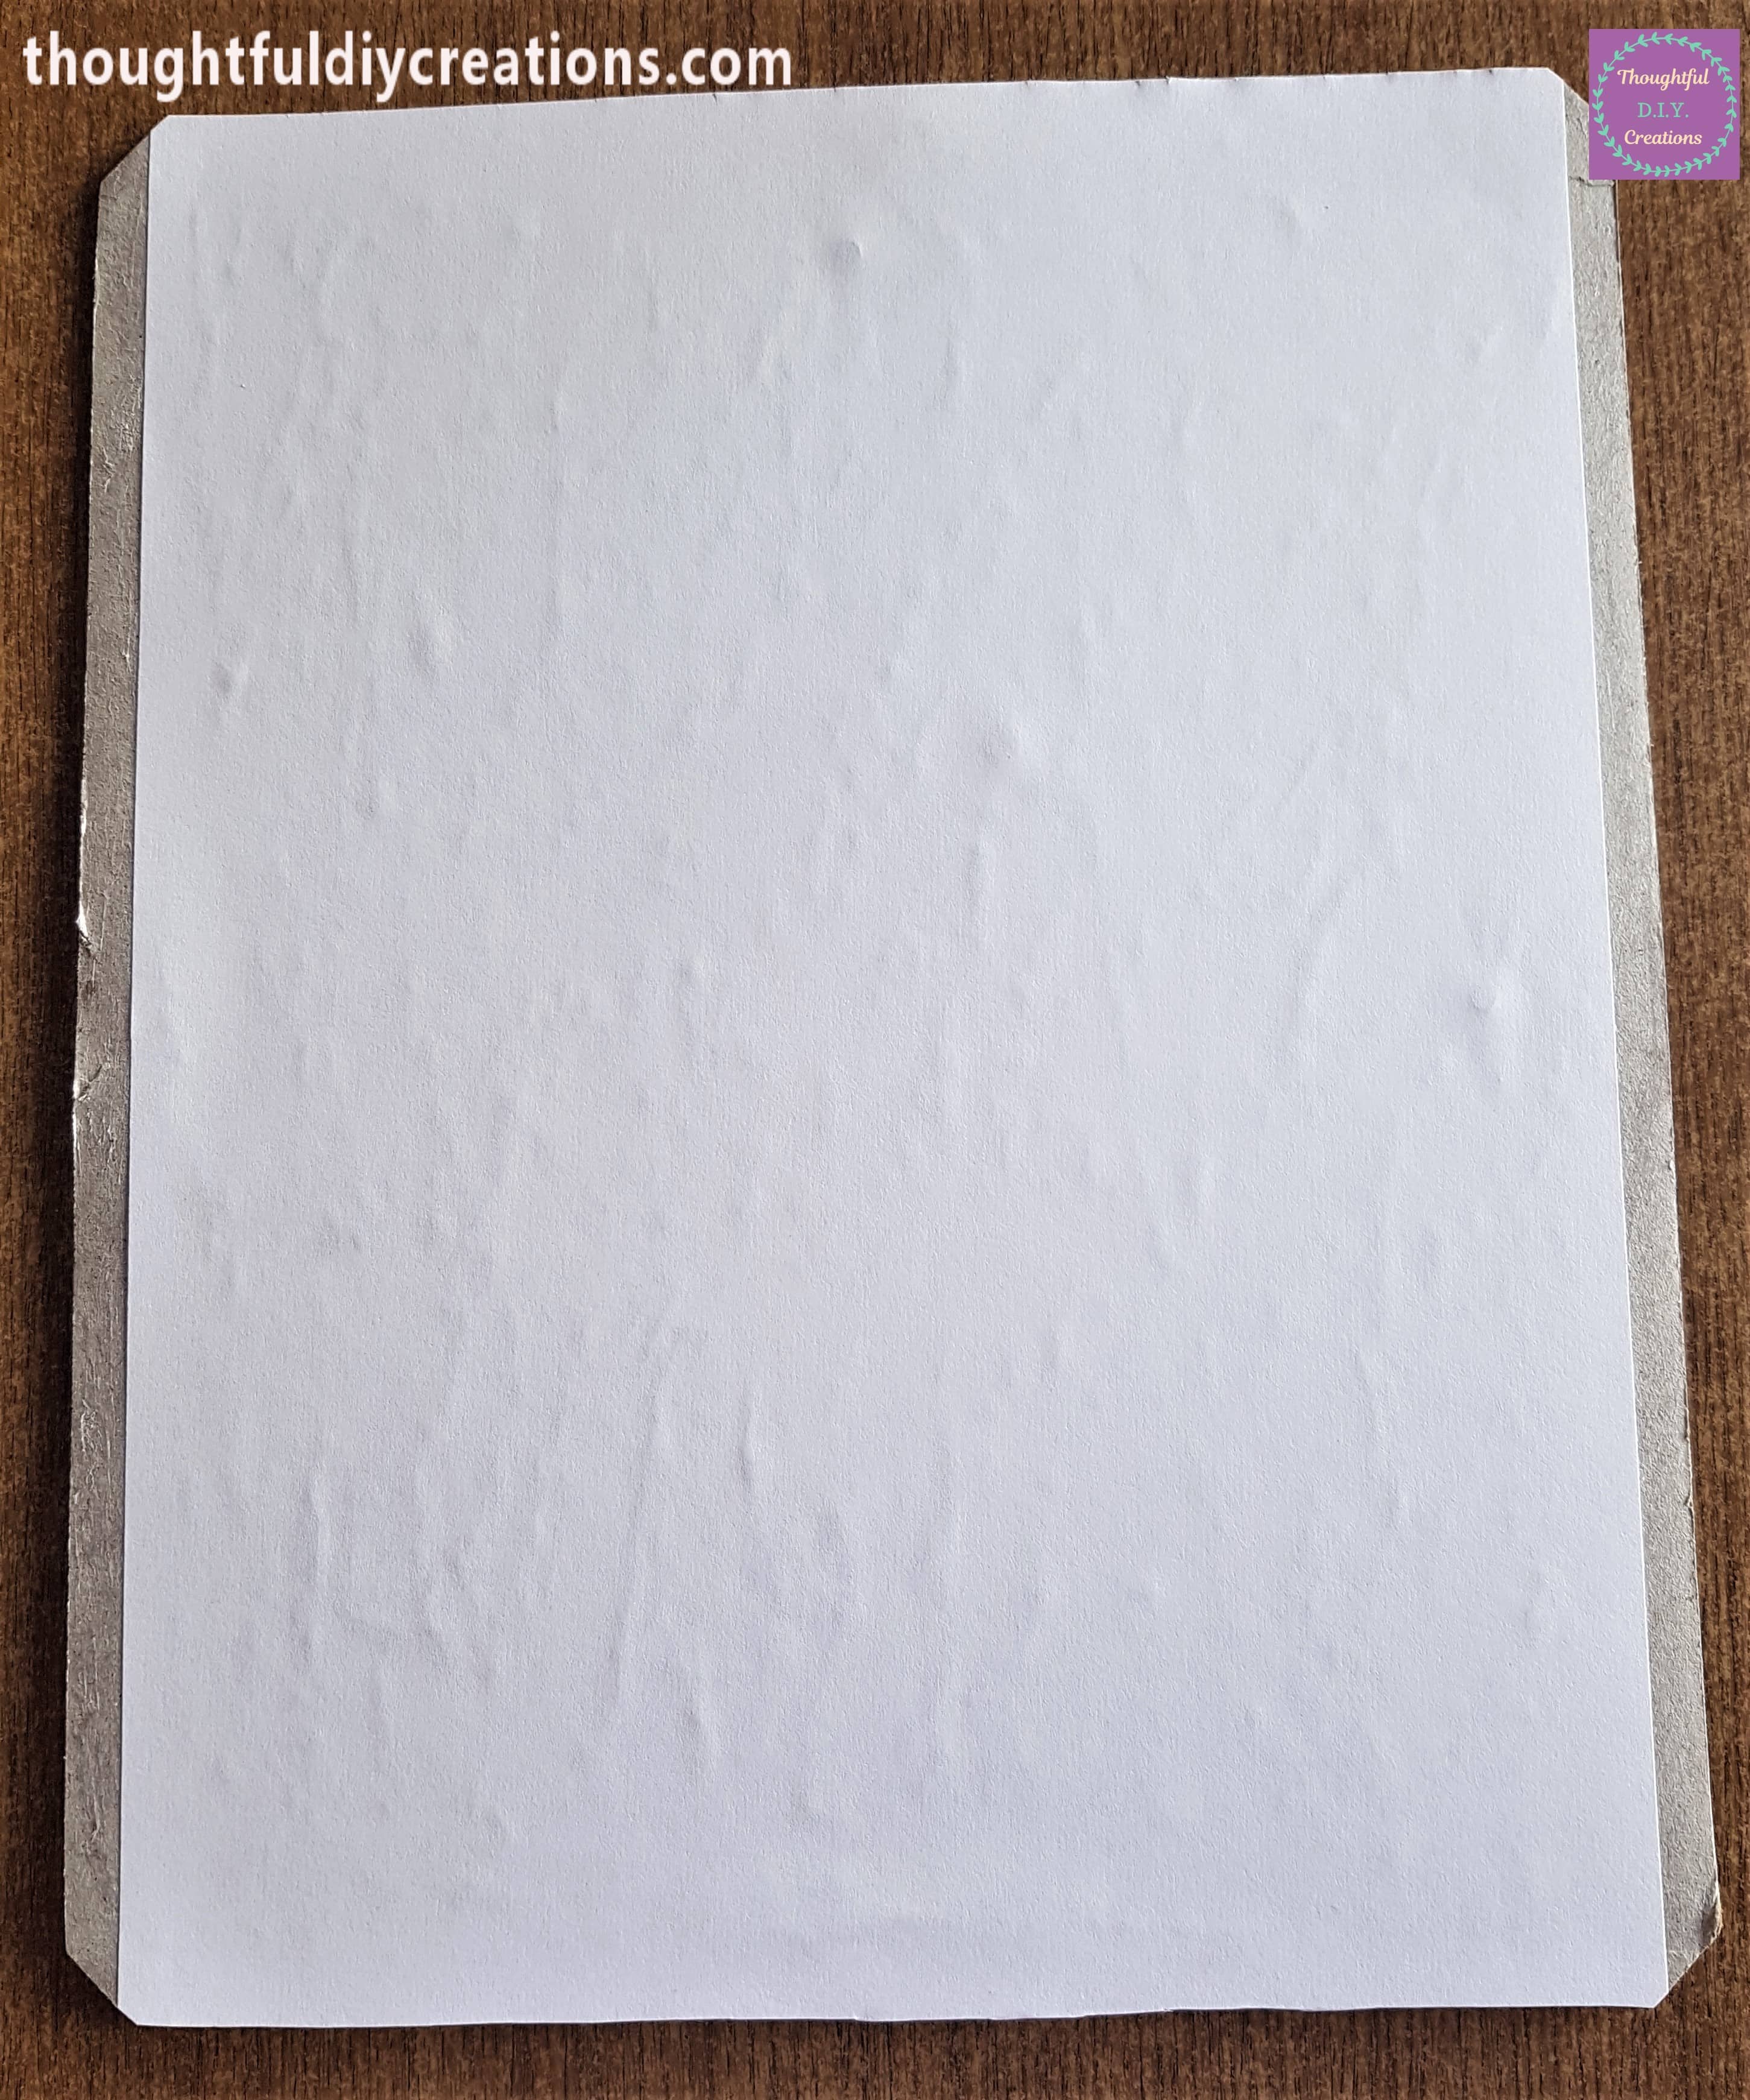
I attached an A4 White Sheet of Paper over the Pritt Stick. This was to cover up any indents on the backing board as well as adding an extra layer to the frame.
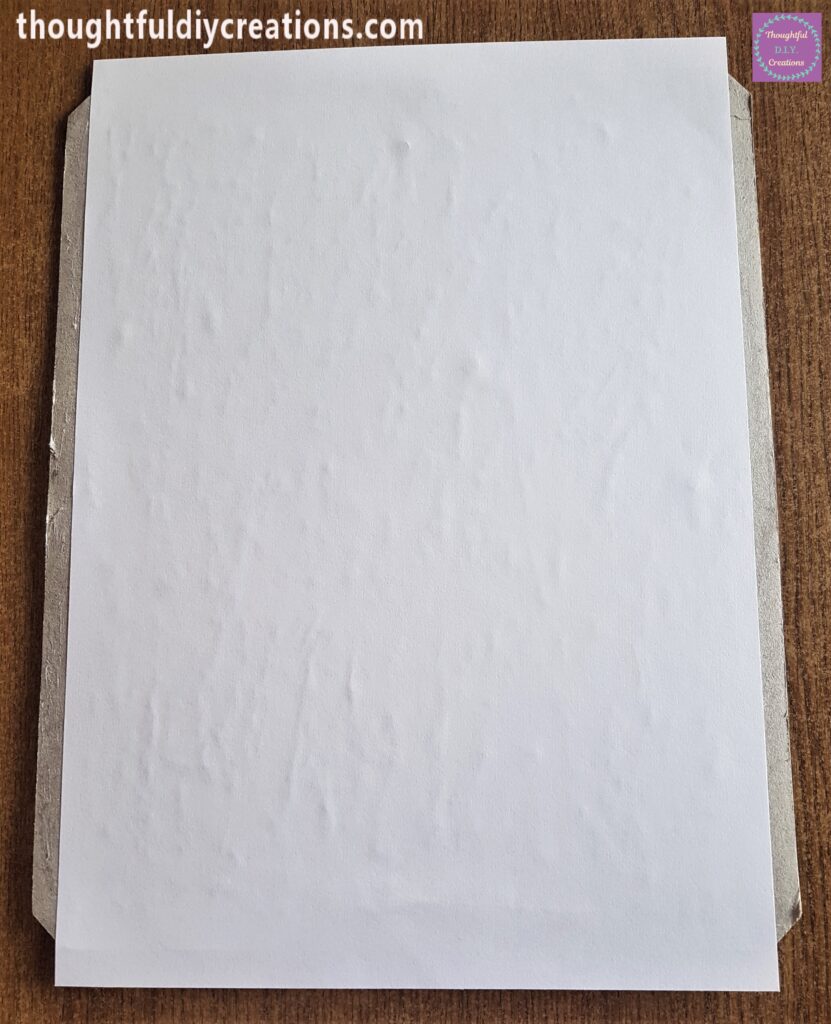
I cut off the excess paper around the frame.
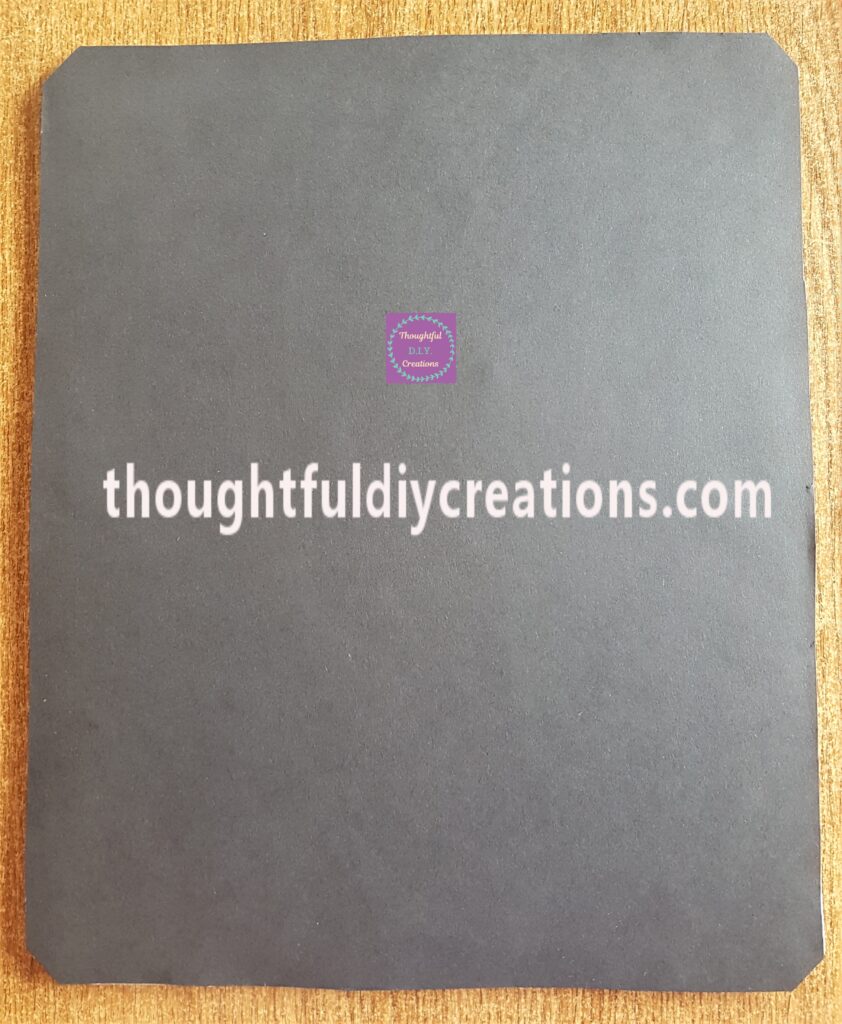
I got a Sheet of A3 Black Card 160 gsm from the Pack.
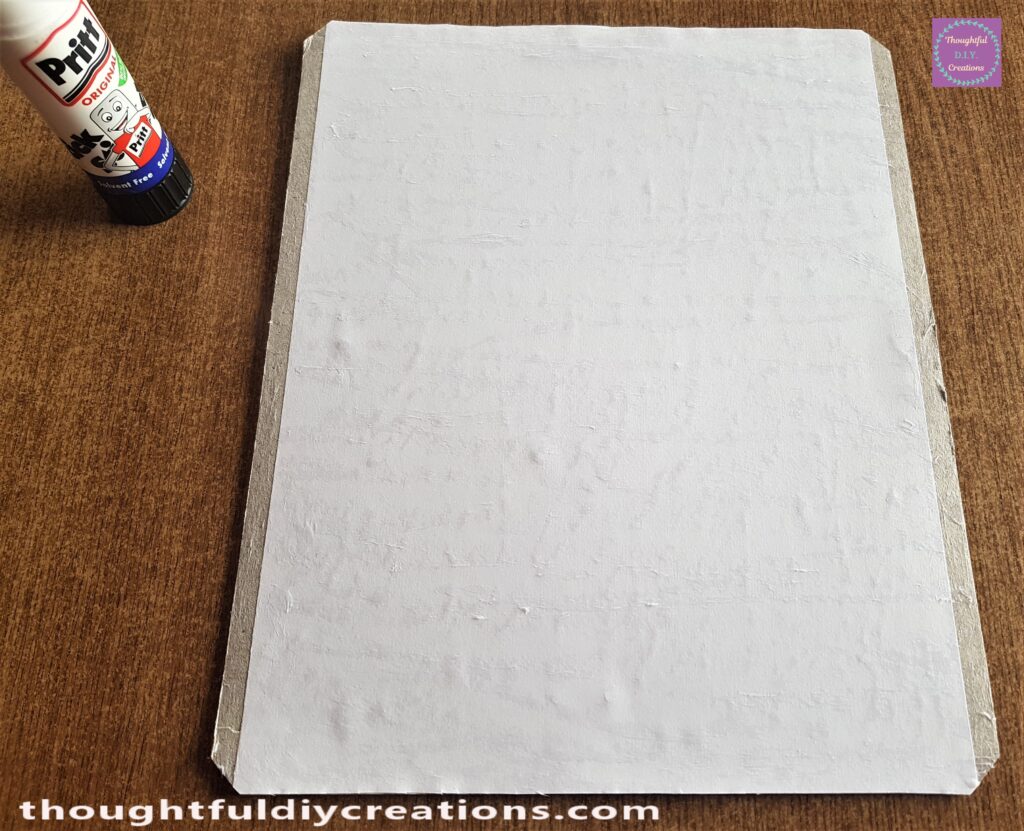
I put Pritt Stick all over the White Sheet and edges of the Backing Board.
I turned the Black Card sideways and pressed it to the Backing Board.
I cut around the Back of the Frame to remove the excess black paper.
Printing the Camera Quote
I looked up ‘Free To Use Camera Quotes’ on Google Images. I chose the one I liked best and saved it to my Computer. I found the Camera Quote on my Computer and right clicked on the File and Clicked Print. I unticked the box that says ‘Fit picture to frame’ to ensure the full quote and border would be printed. I chose Size 13 x 18 cm (2) and printed it out on regular Printer Paper.
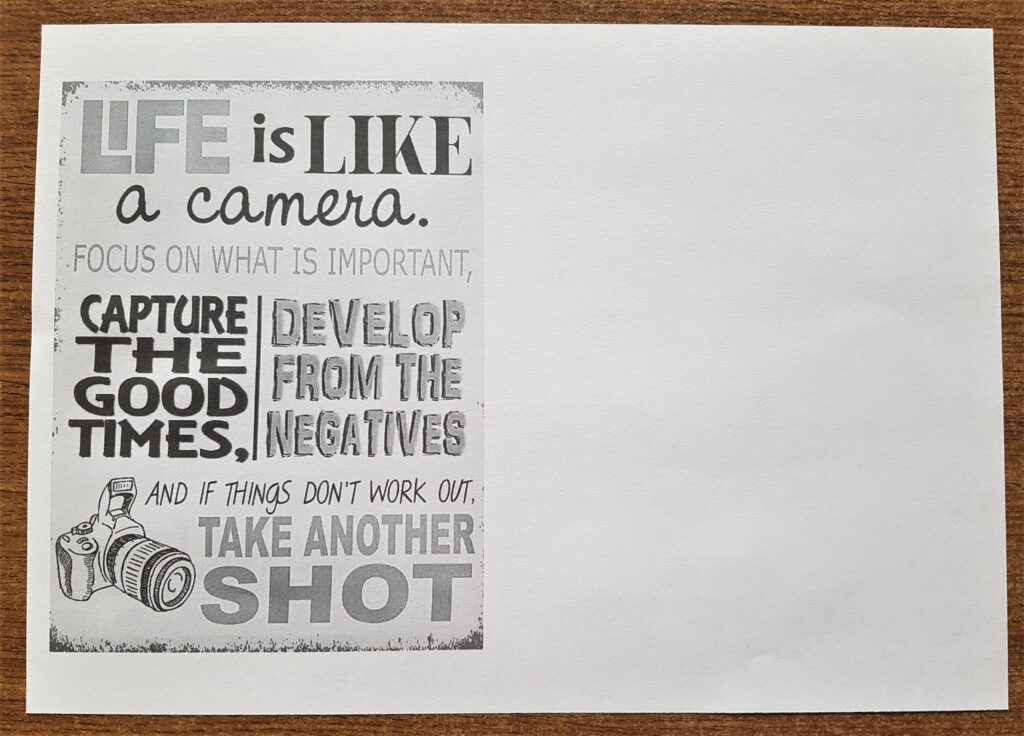
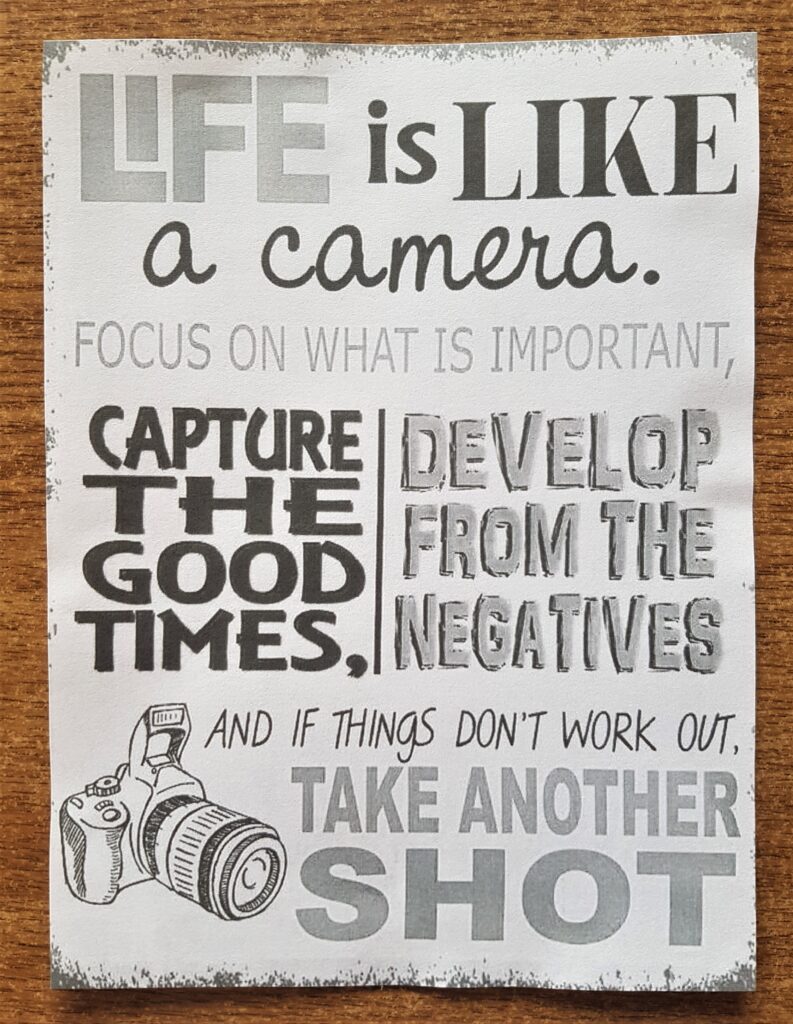
I cut around the border of the Camera Quote.
Marking Lines to attach the Quote
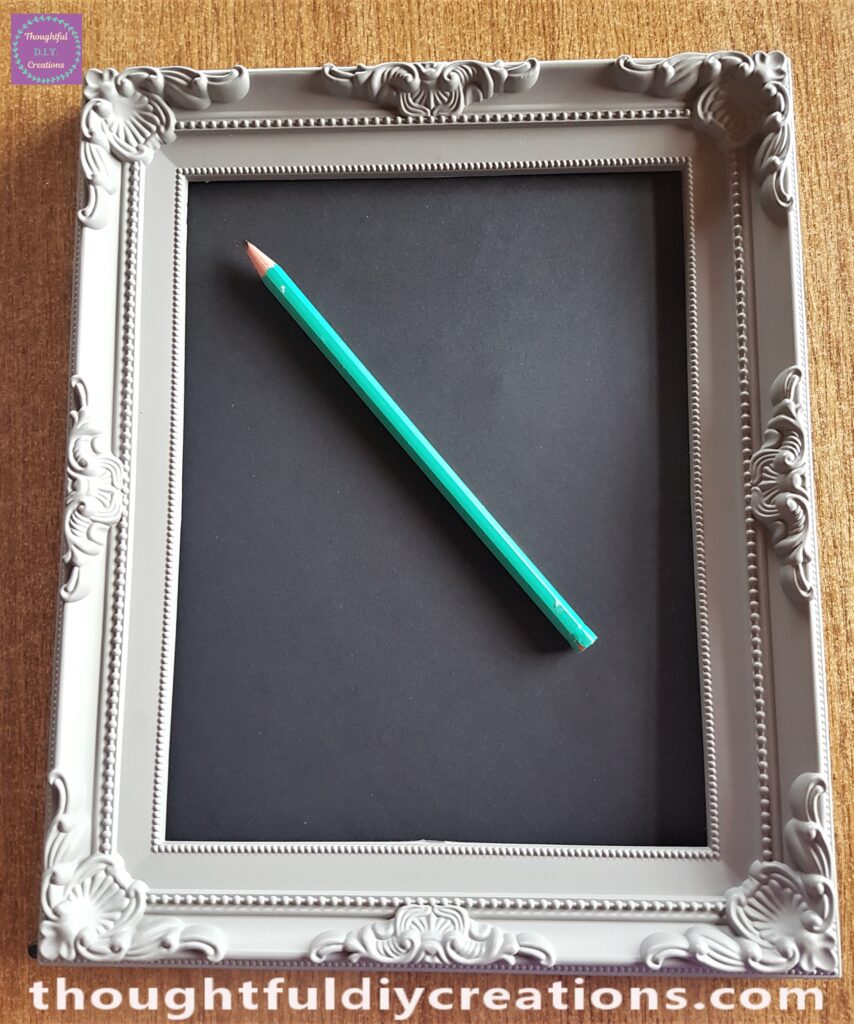
I put the Camera Quote on the Black Backing Board and put the Grey Frame over it. I put the quote in the center of the Frame.

I put a mark on the top and bottom edges under the Camera Quote with a Pencil to know where to place the Quote accurately. You can’t see it in the image below but the small marks are there.
Attaching the Camera Quote to the Board
I put Pritt Stick on the back of the Camera Quote and attached it to the backing board where I had put the markings.

Final Steps to the Camera Quote Frame
I cleaned the front and back of the Glass insert with a dry microfibre cloth and placed the Glass back into the Grey Frame.
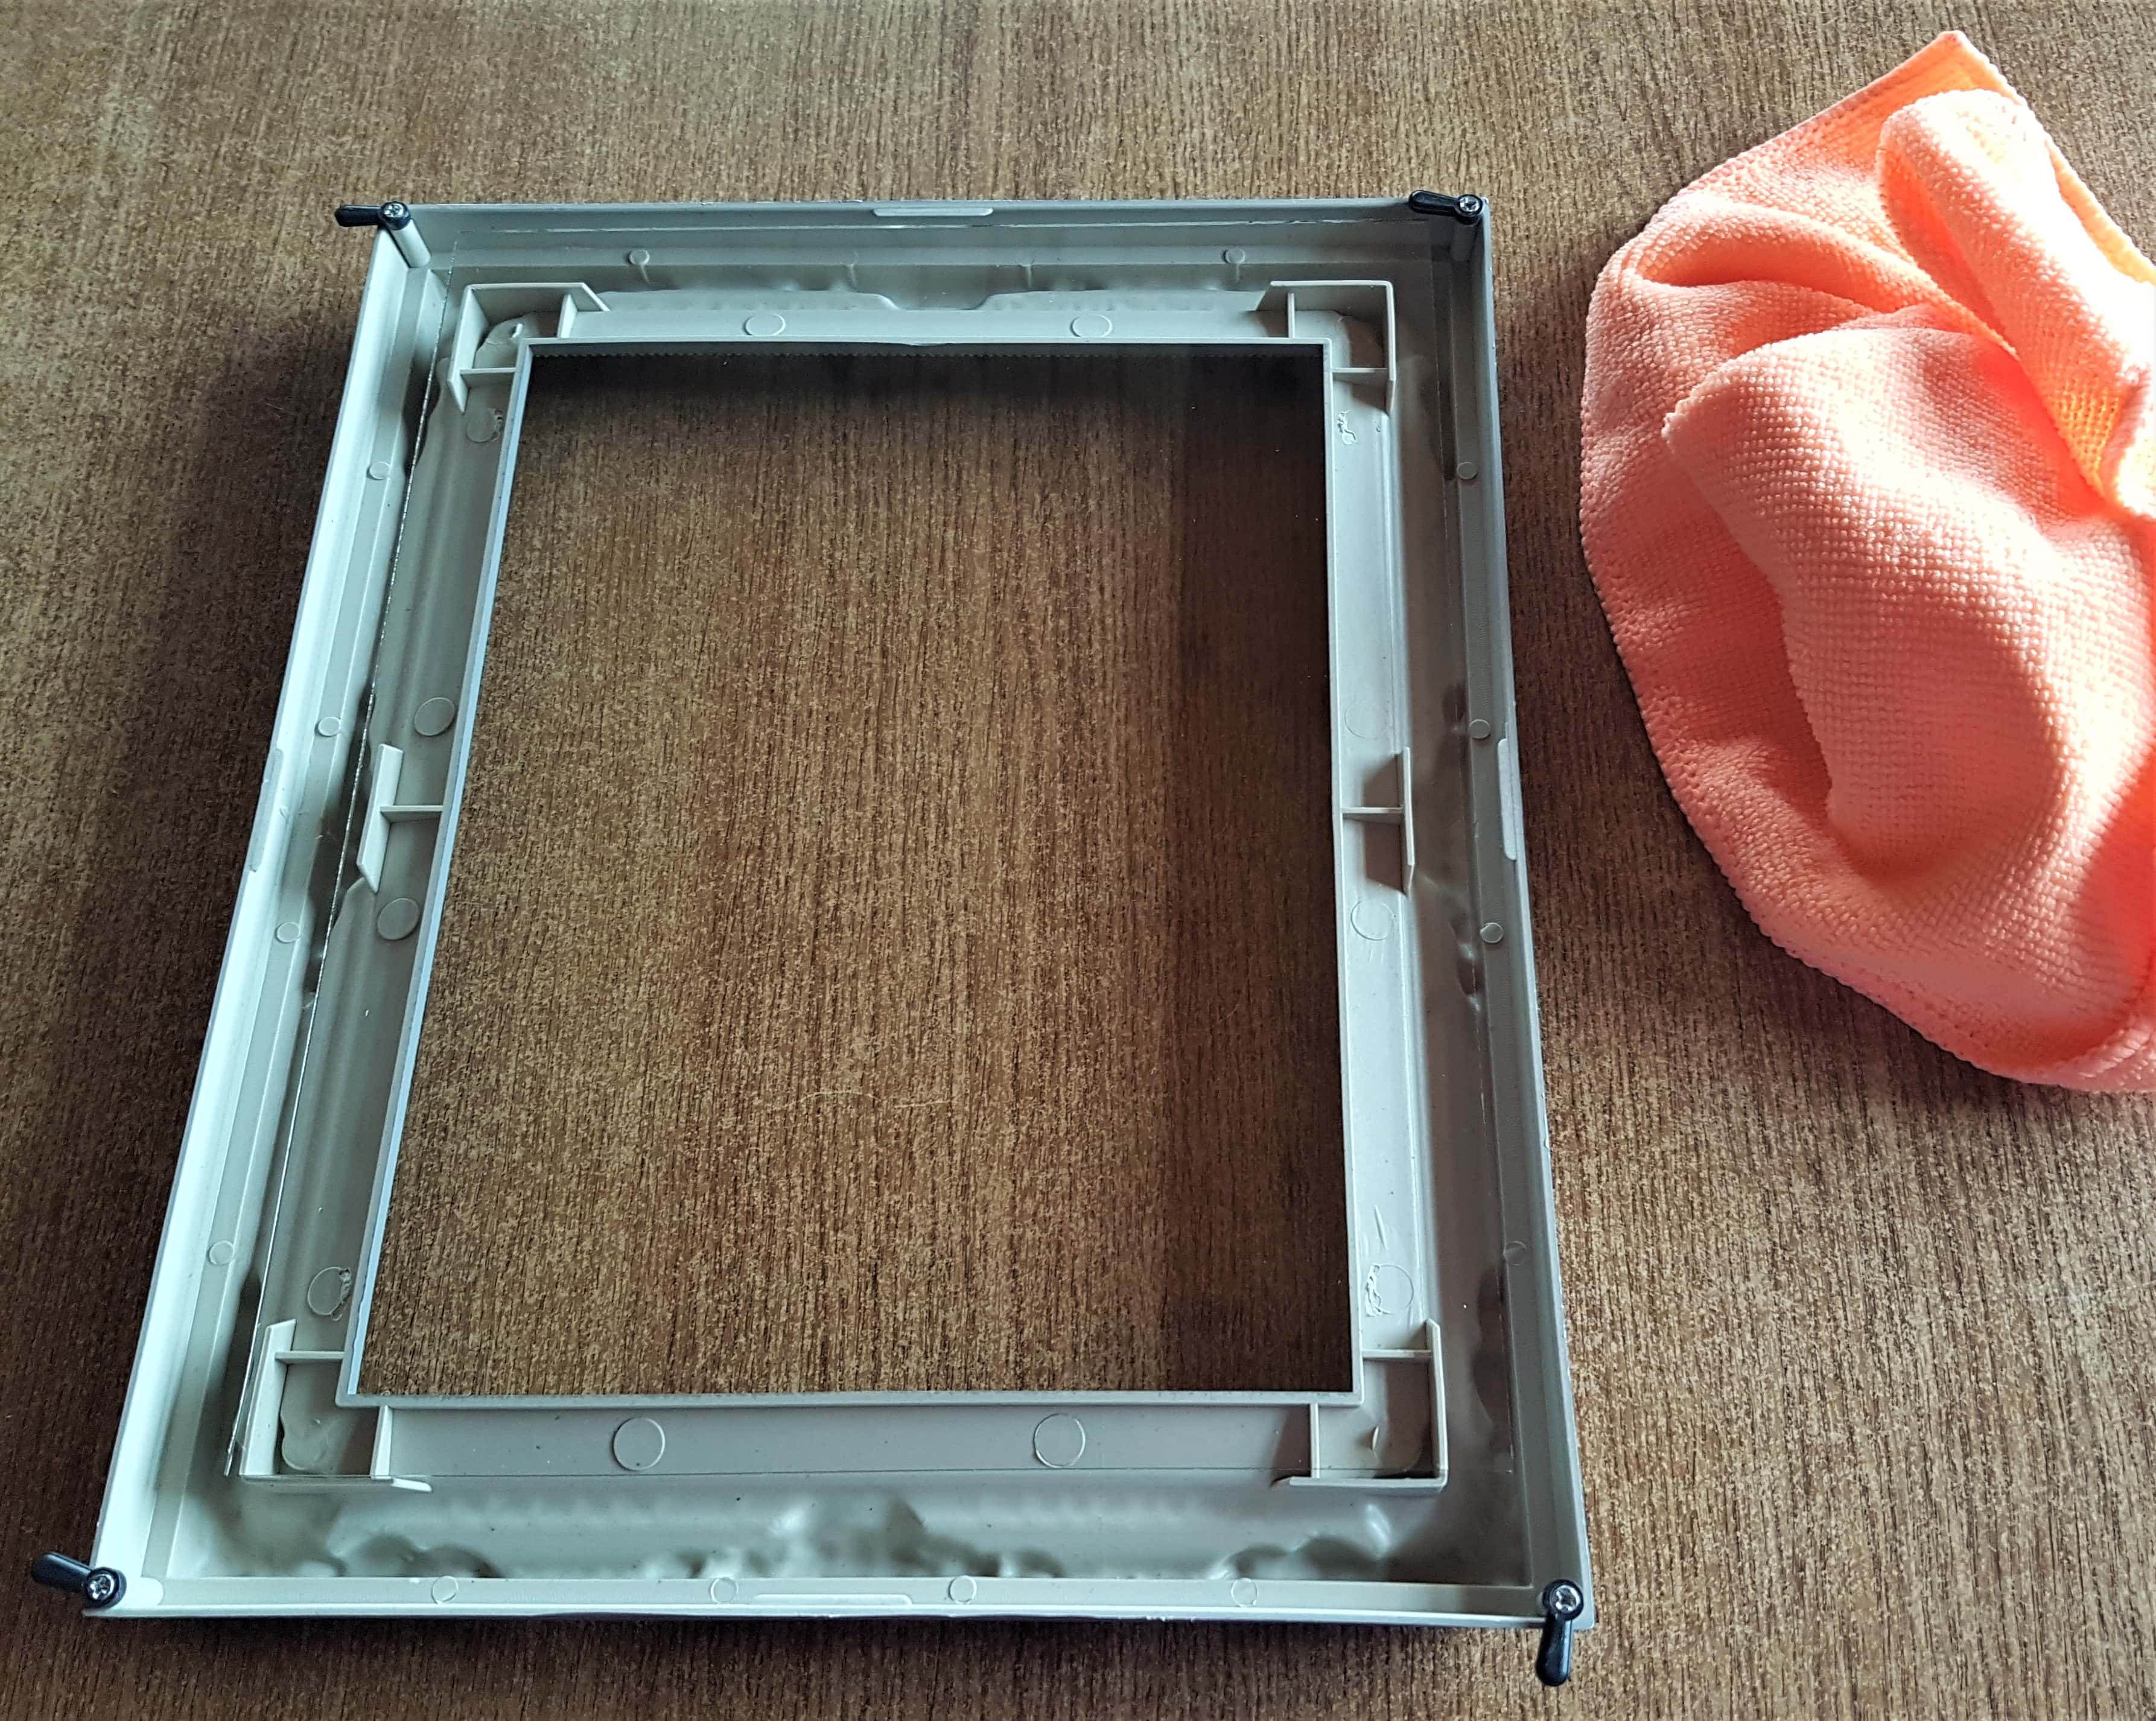
I put the Black backing board with Camera Quote on top of the Glass insert and closed up the back of the Frame.
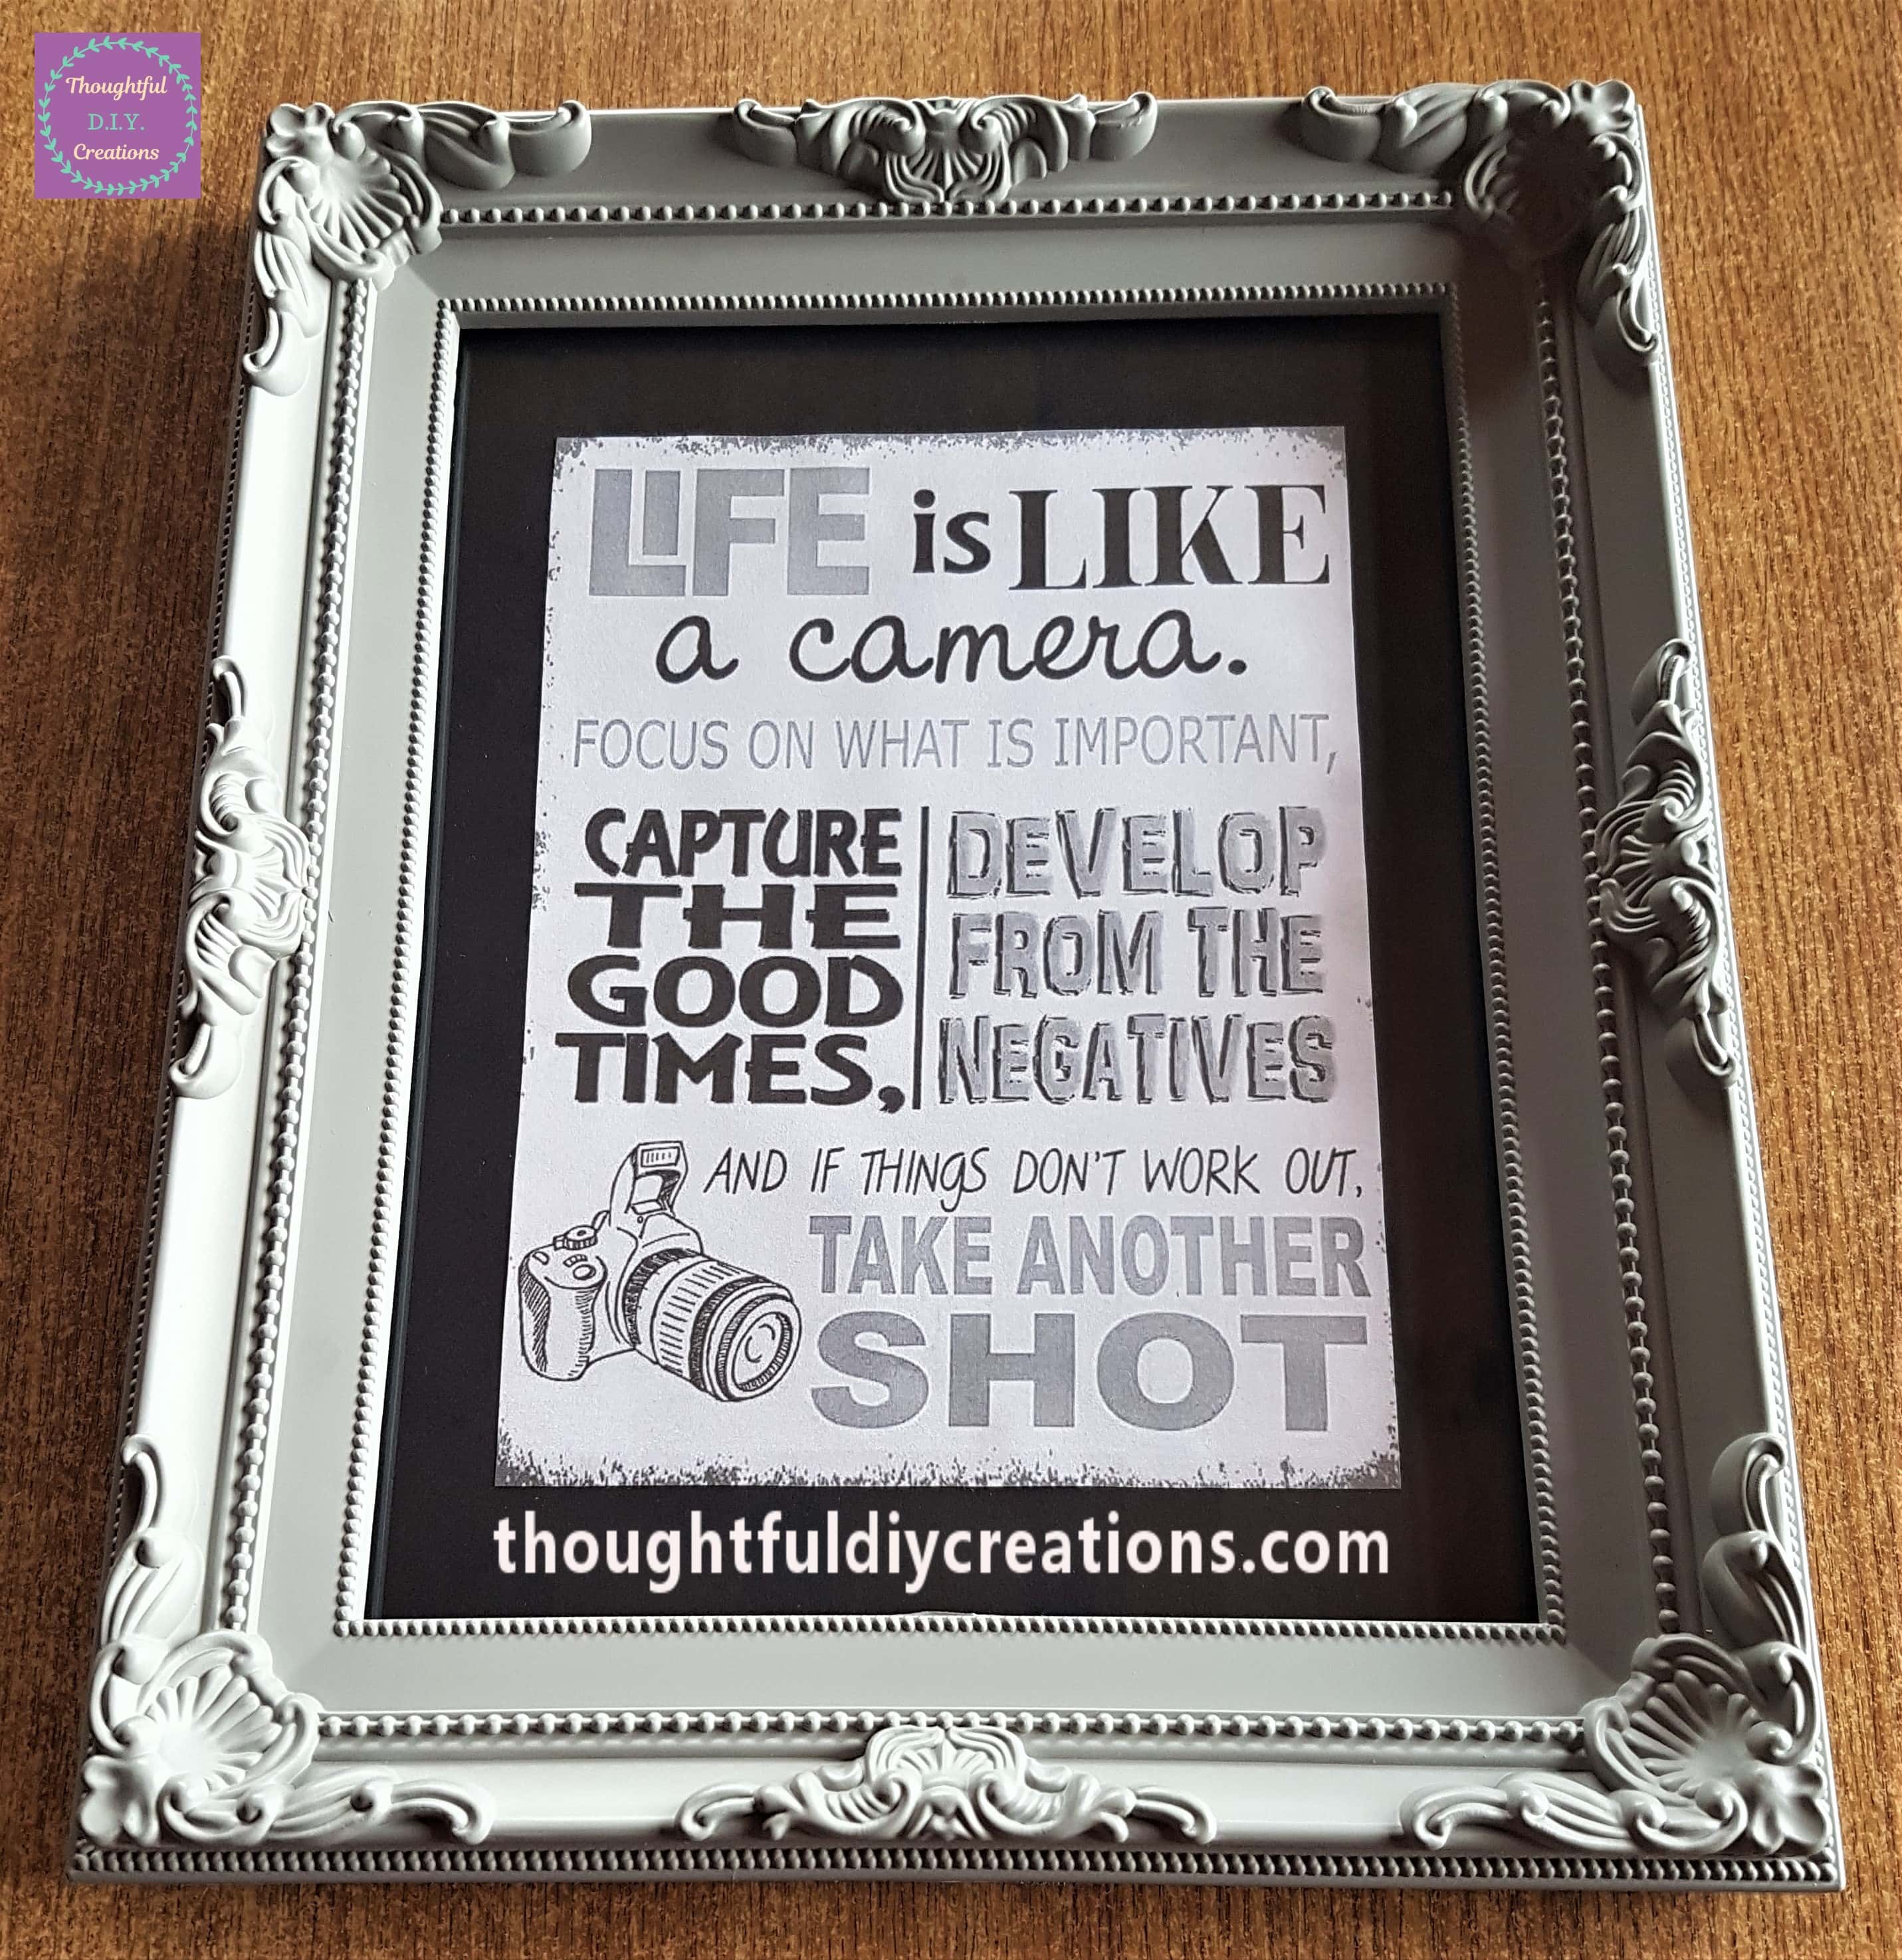
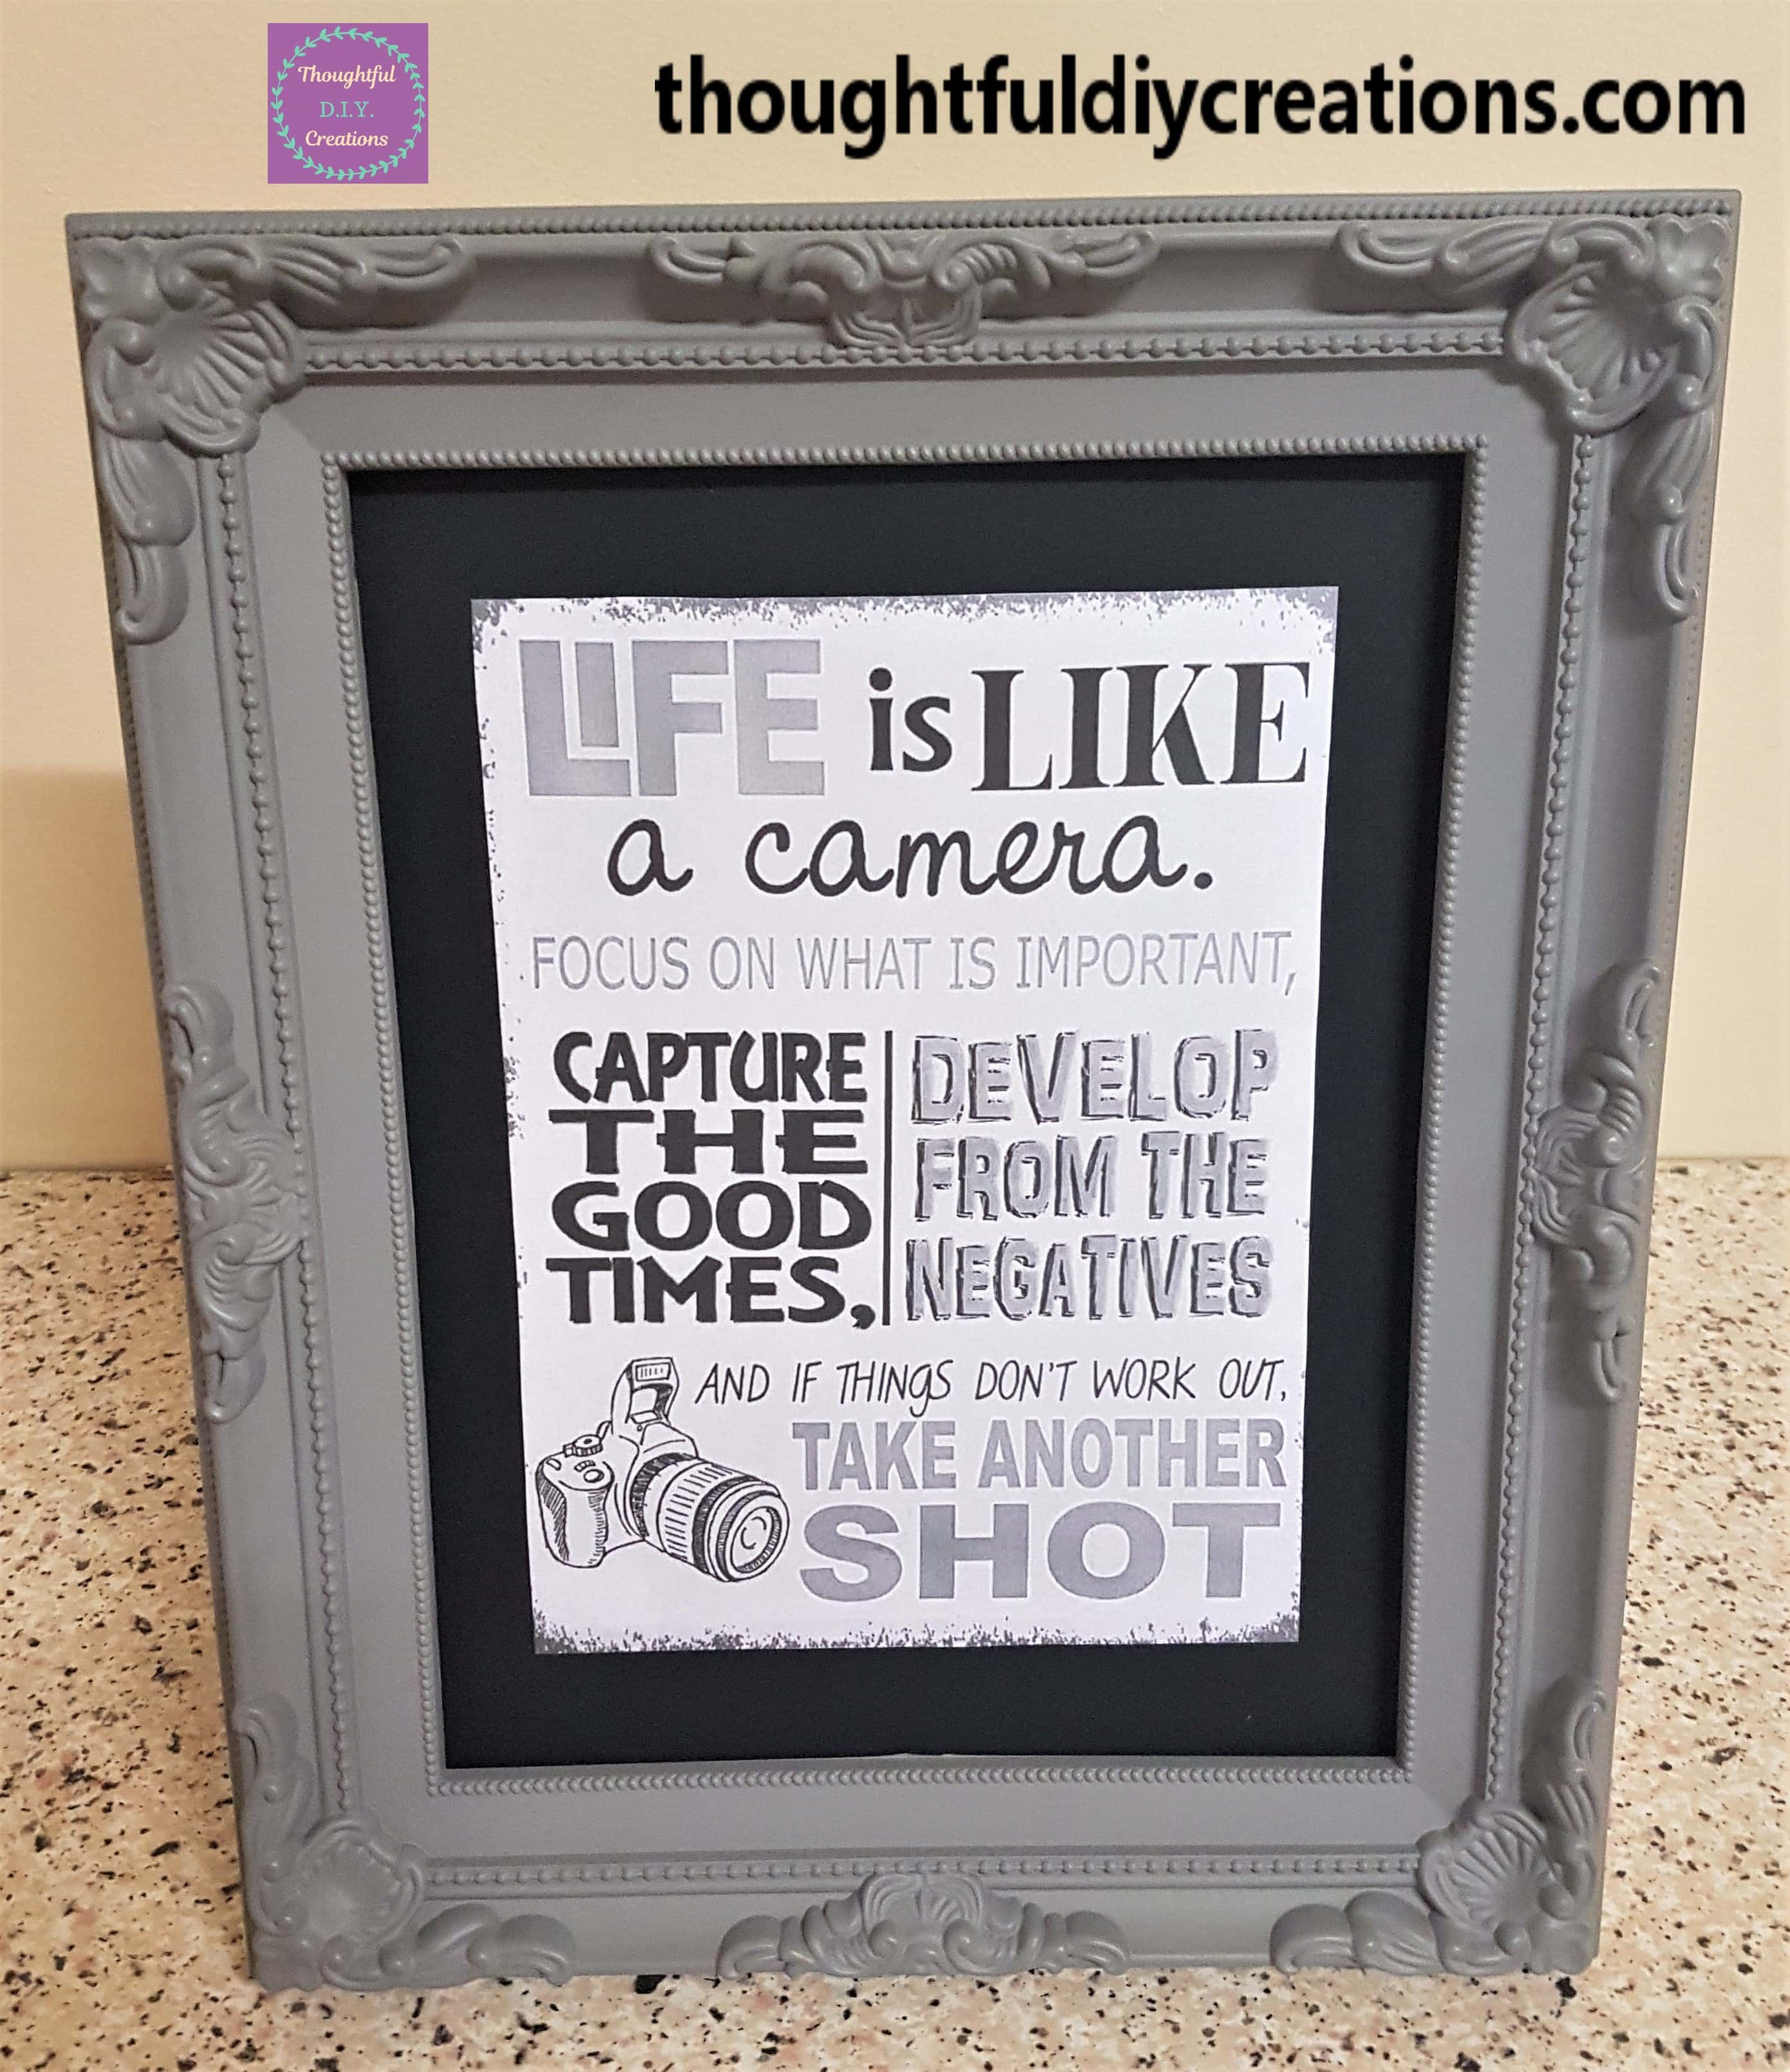
This Completed the Camera Quote Frame Craft.
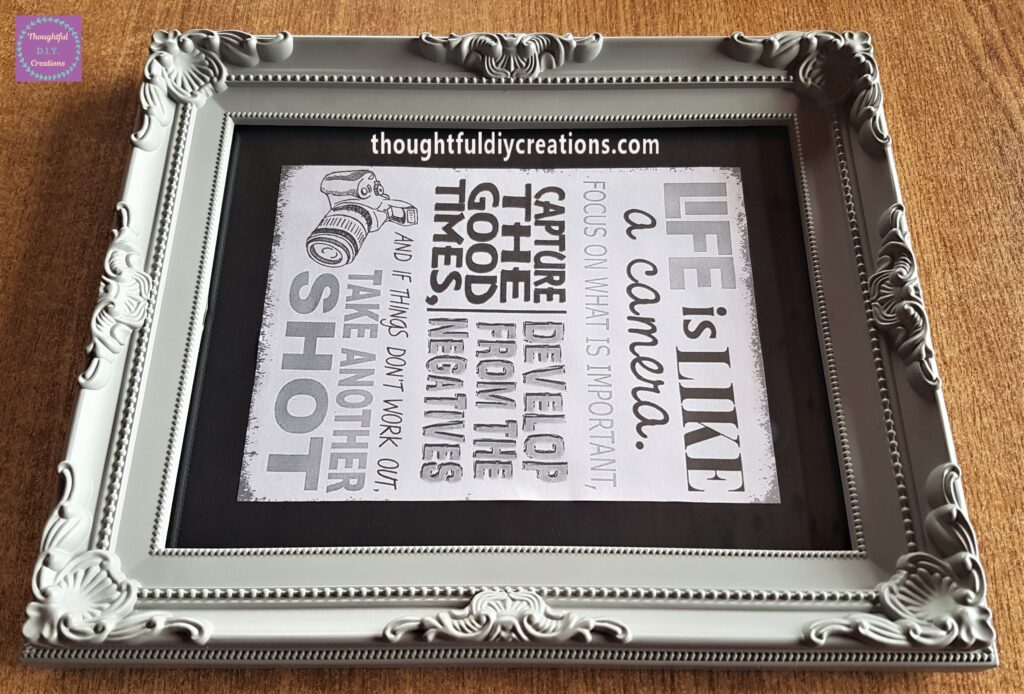
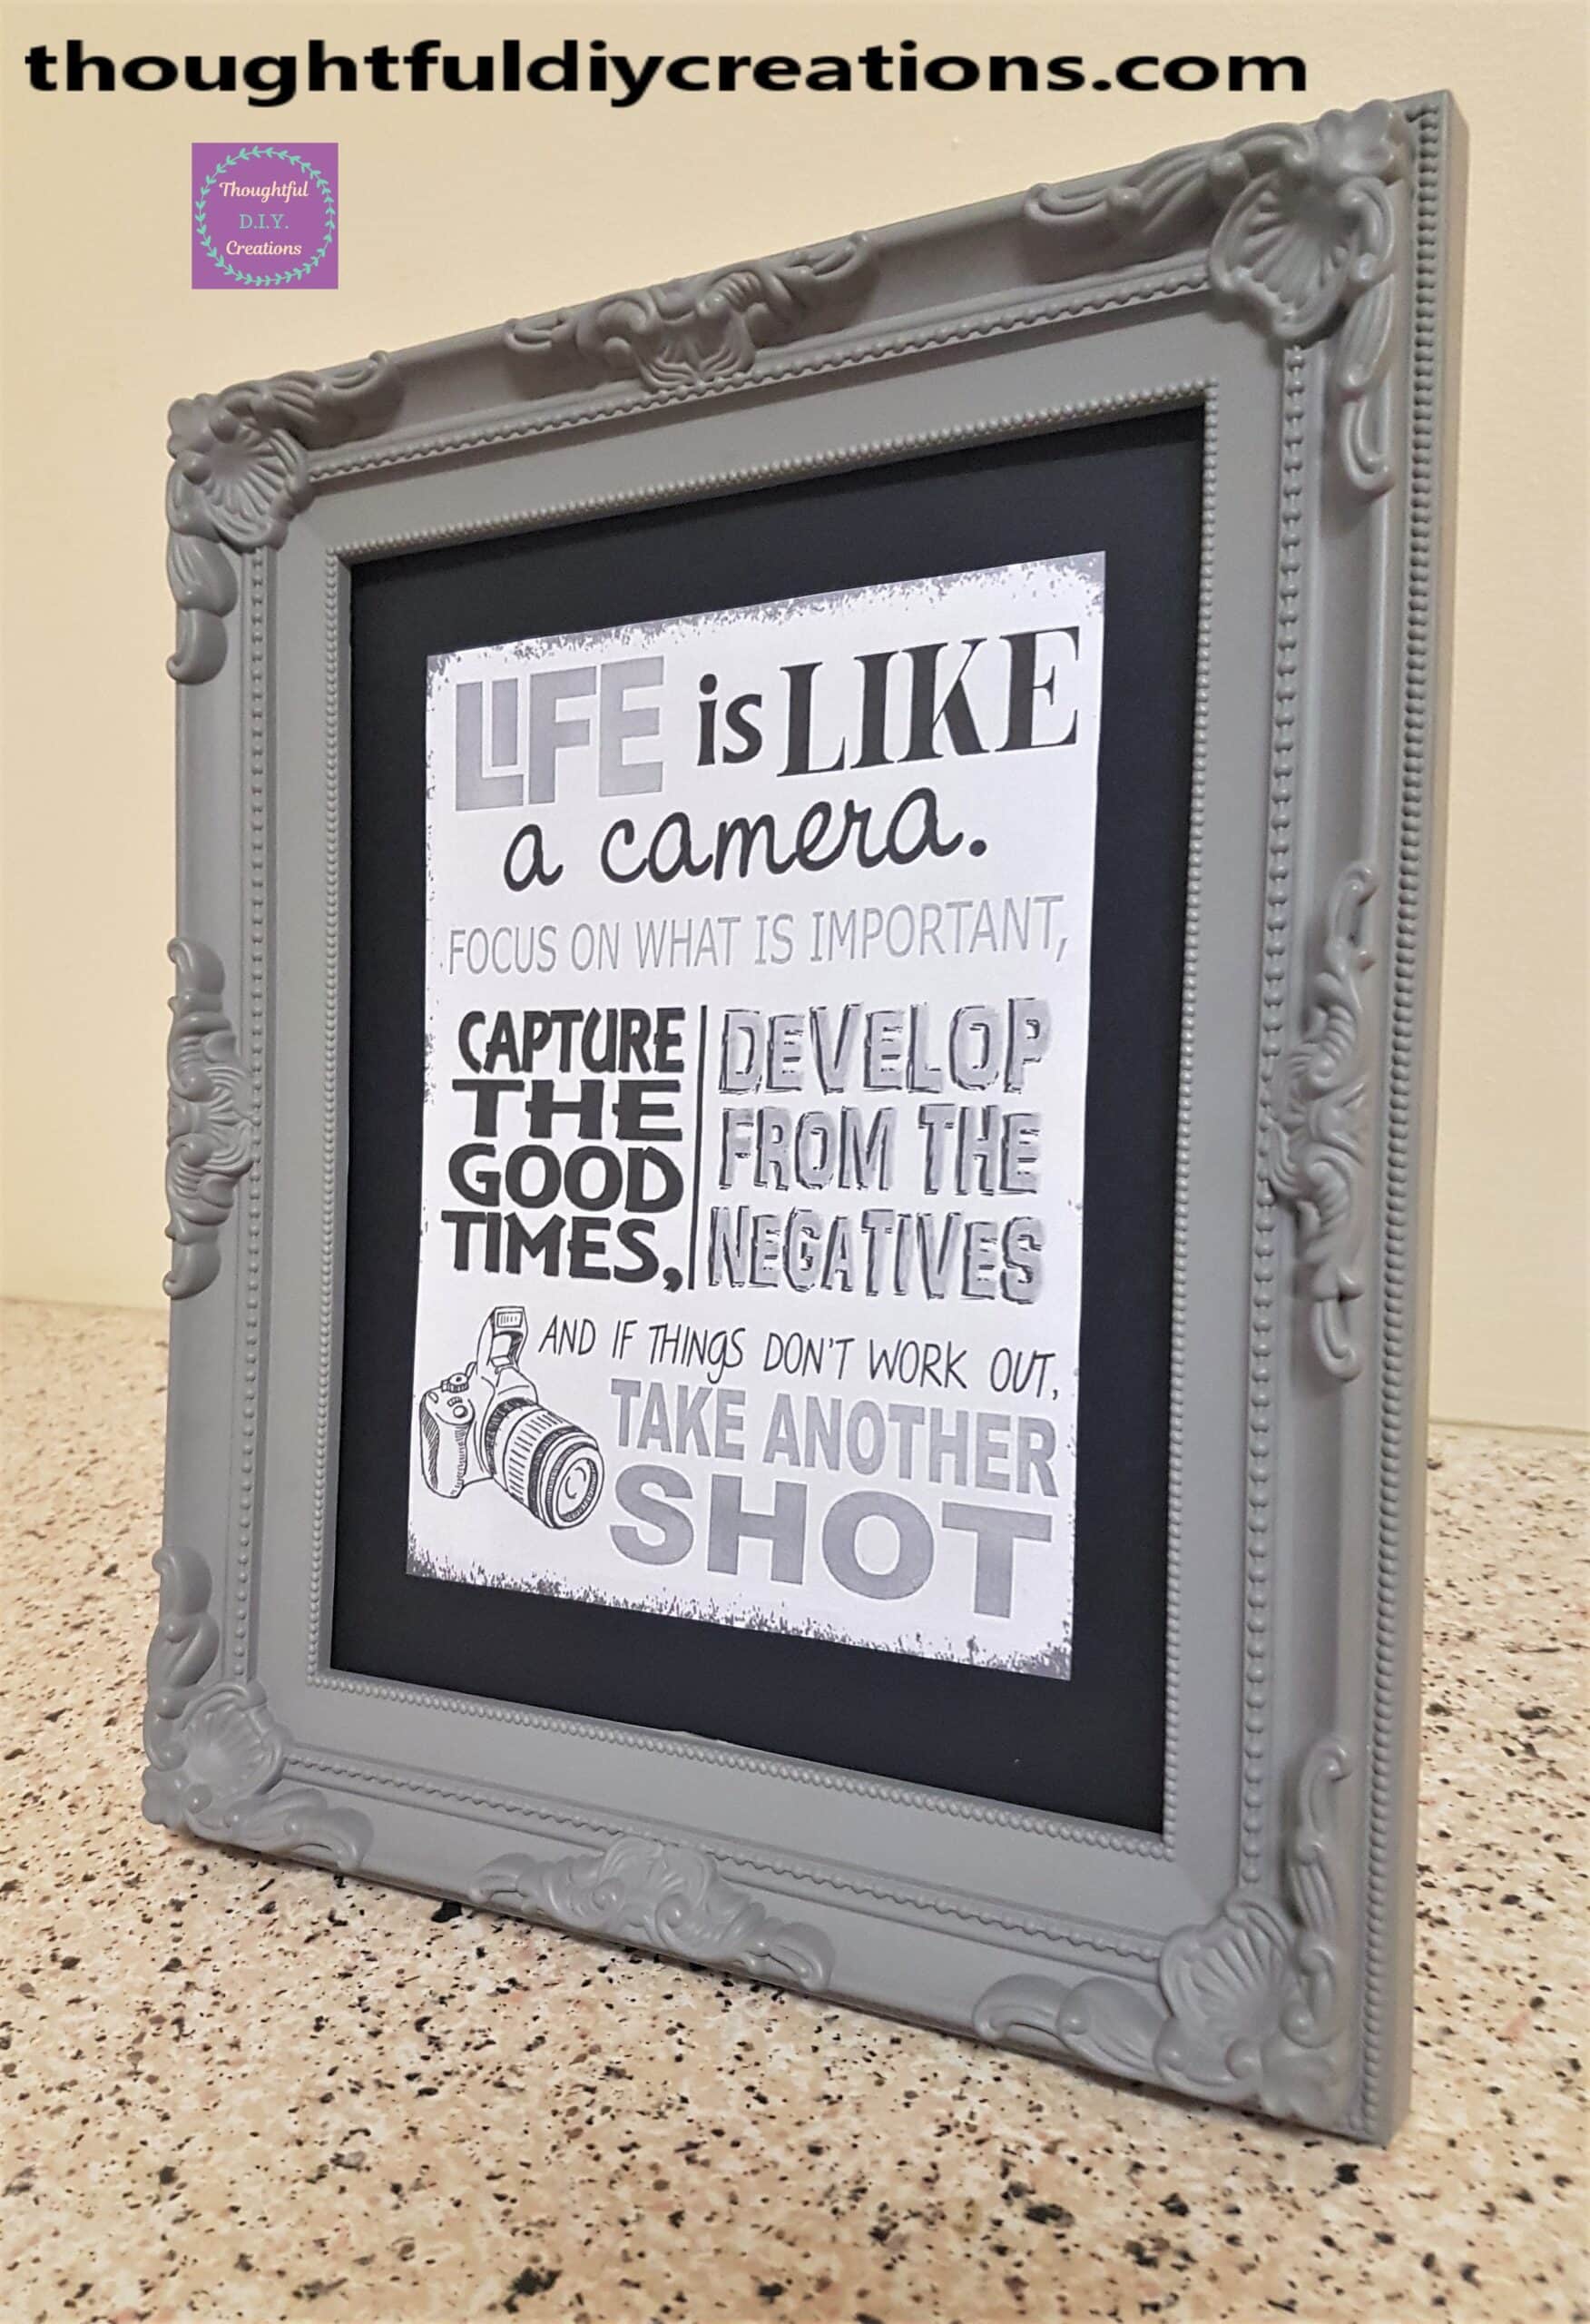
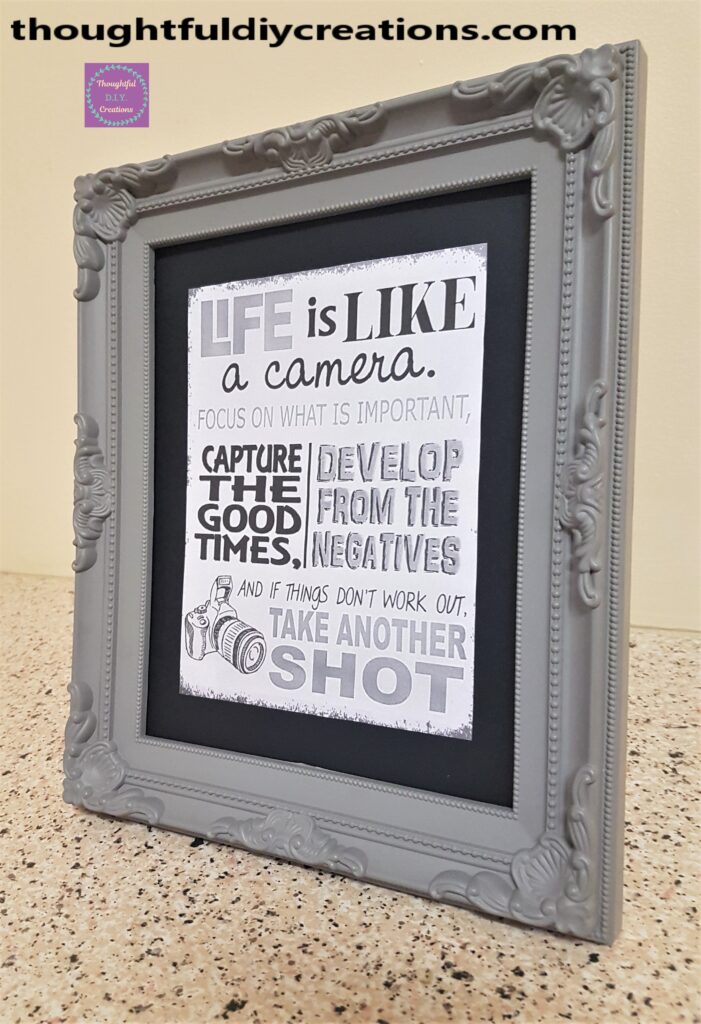
This is a side angle of the finished frame.
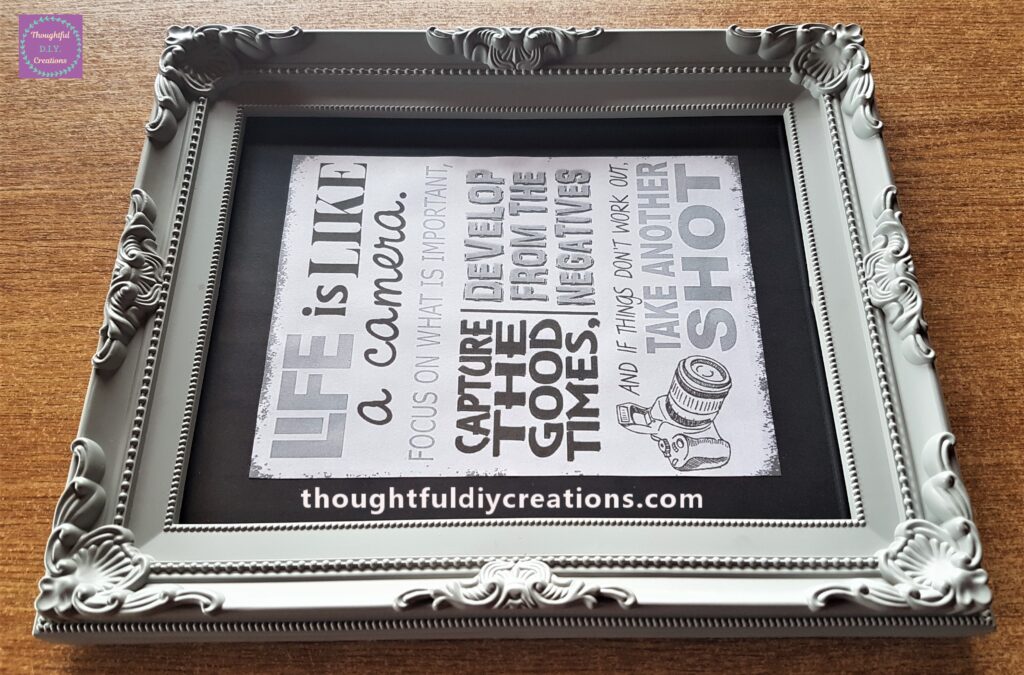
This is the Camera Quote Frame on Display. I removed the Glass from this image and the next photos after this one as you could see my reflection and the room as well as the light in the glass. I put the glass back in when I was finished taking photographs.
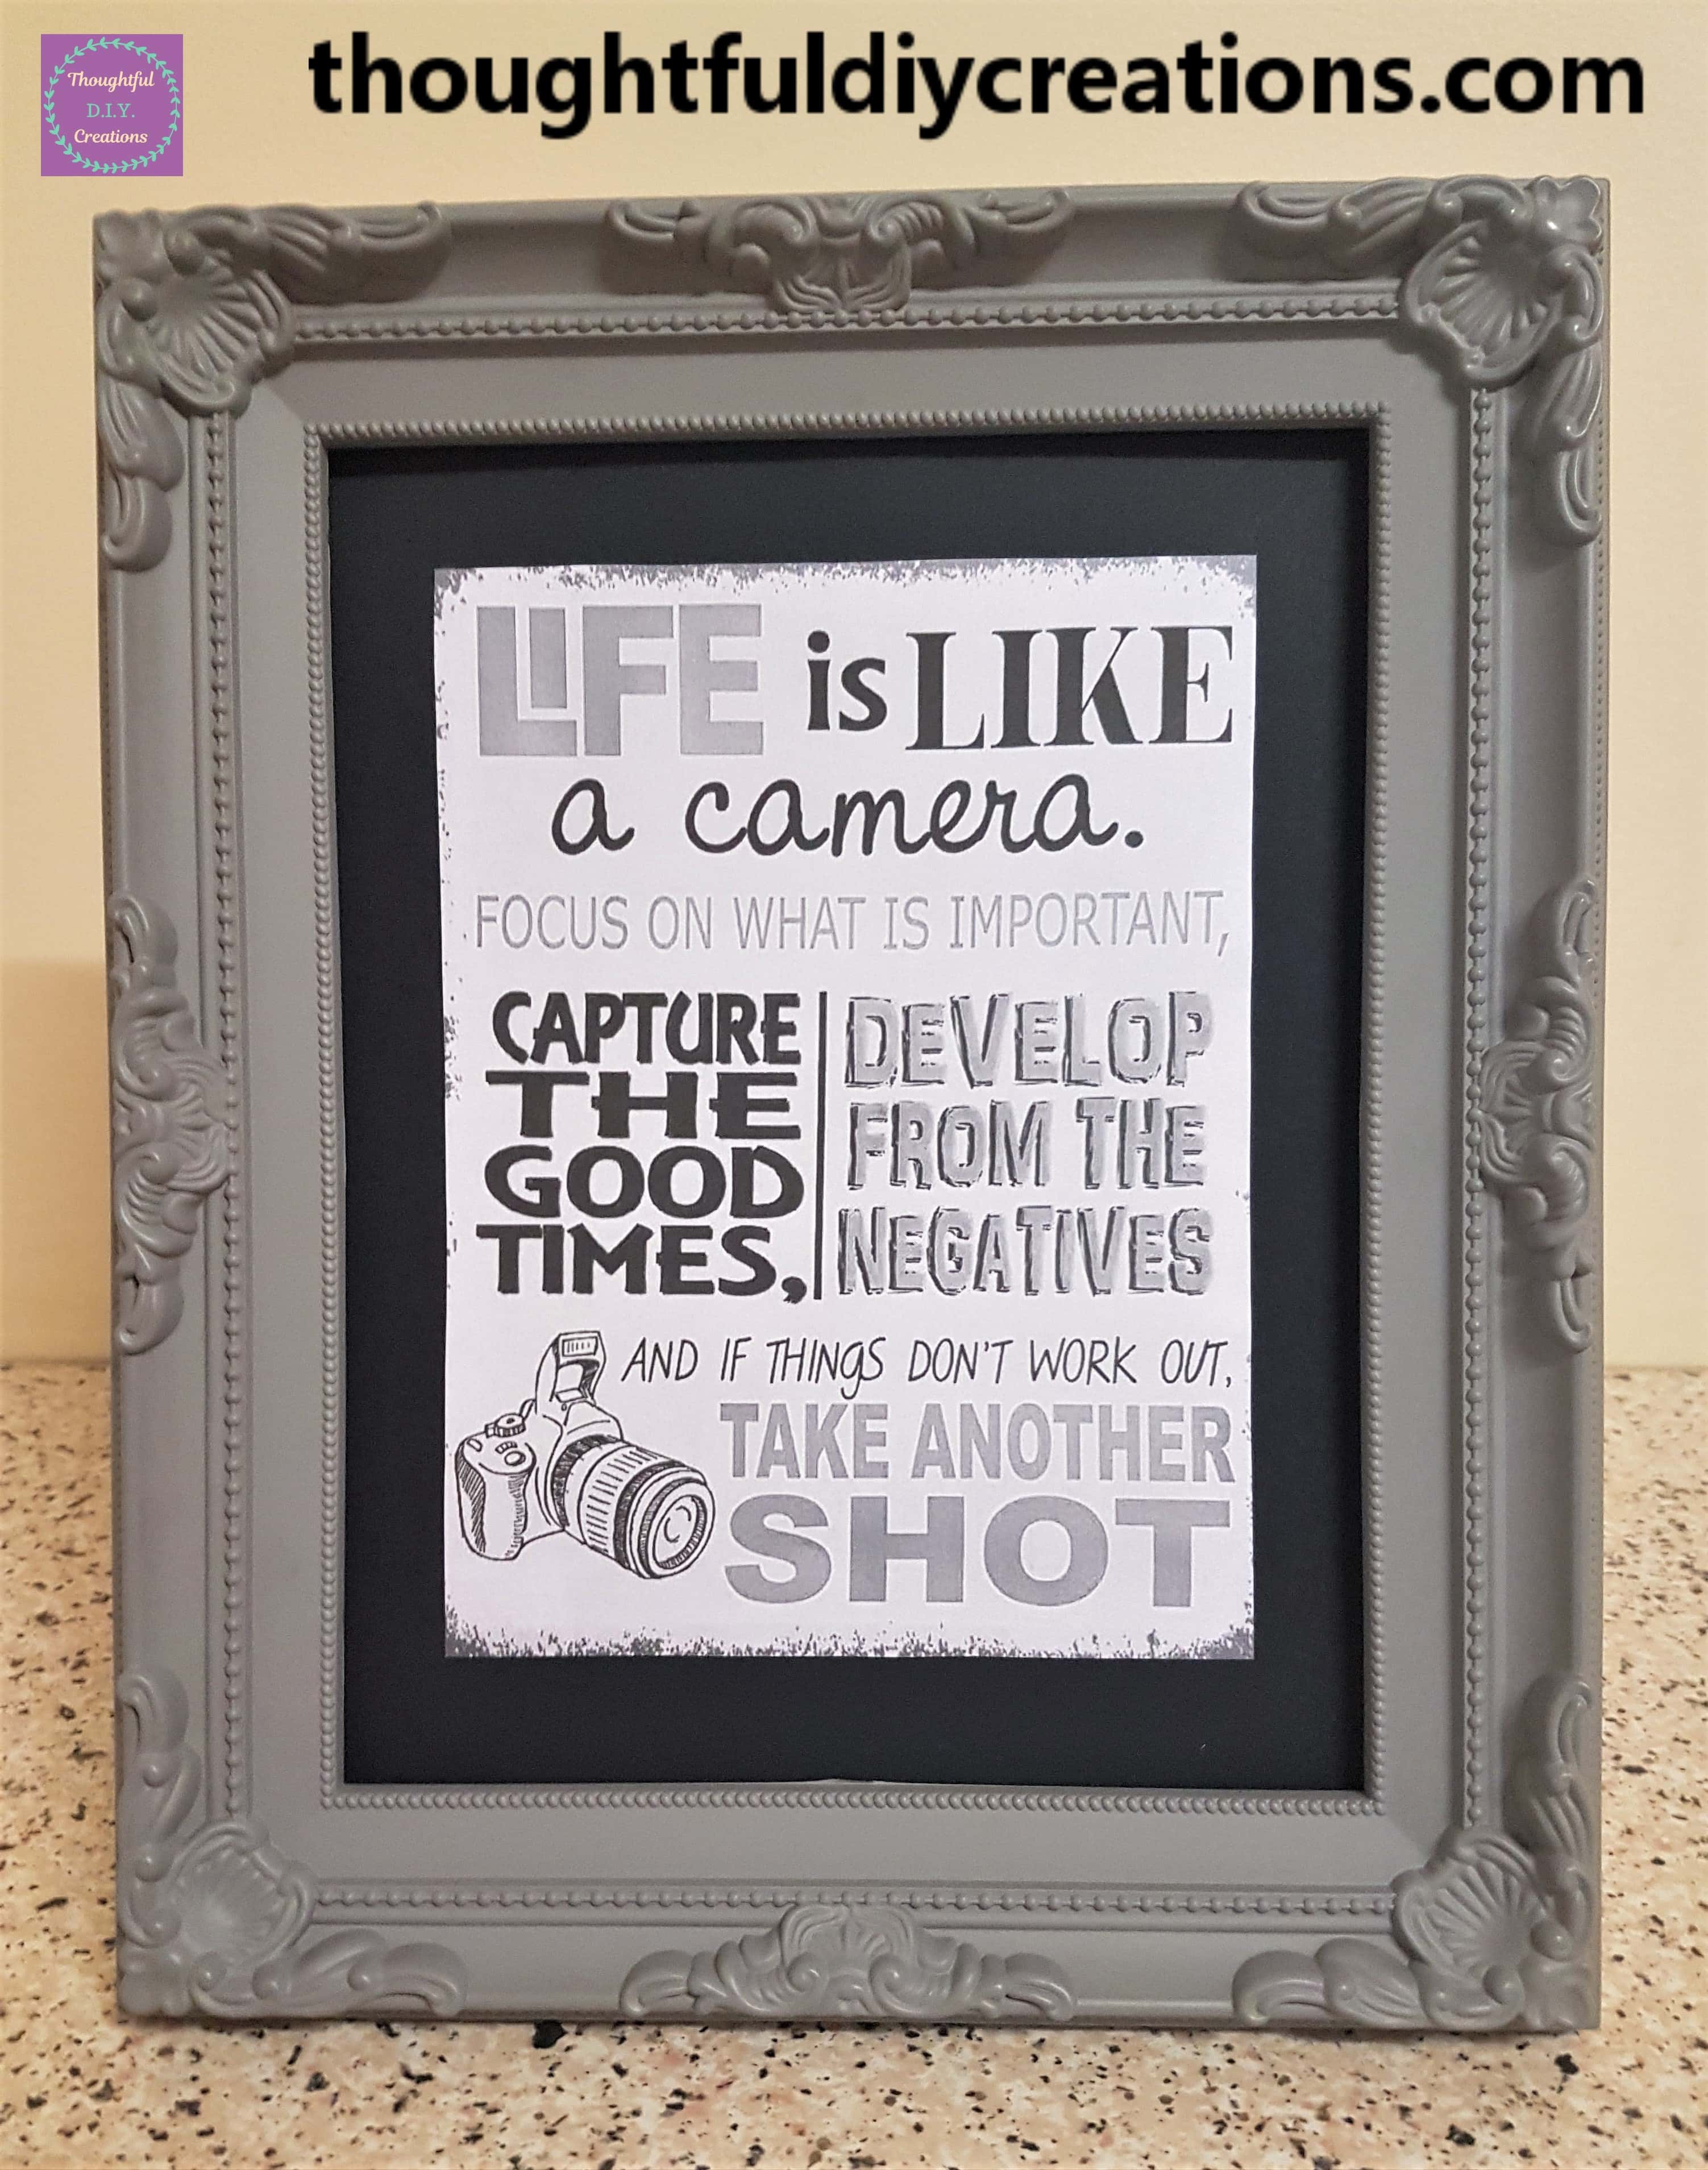
A wider shot of the Frame.

Here is a side angle view of the Frame.

This is the other side of the Frame.
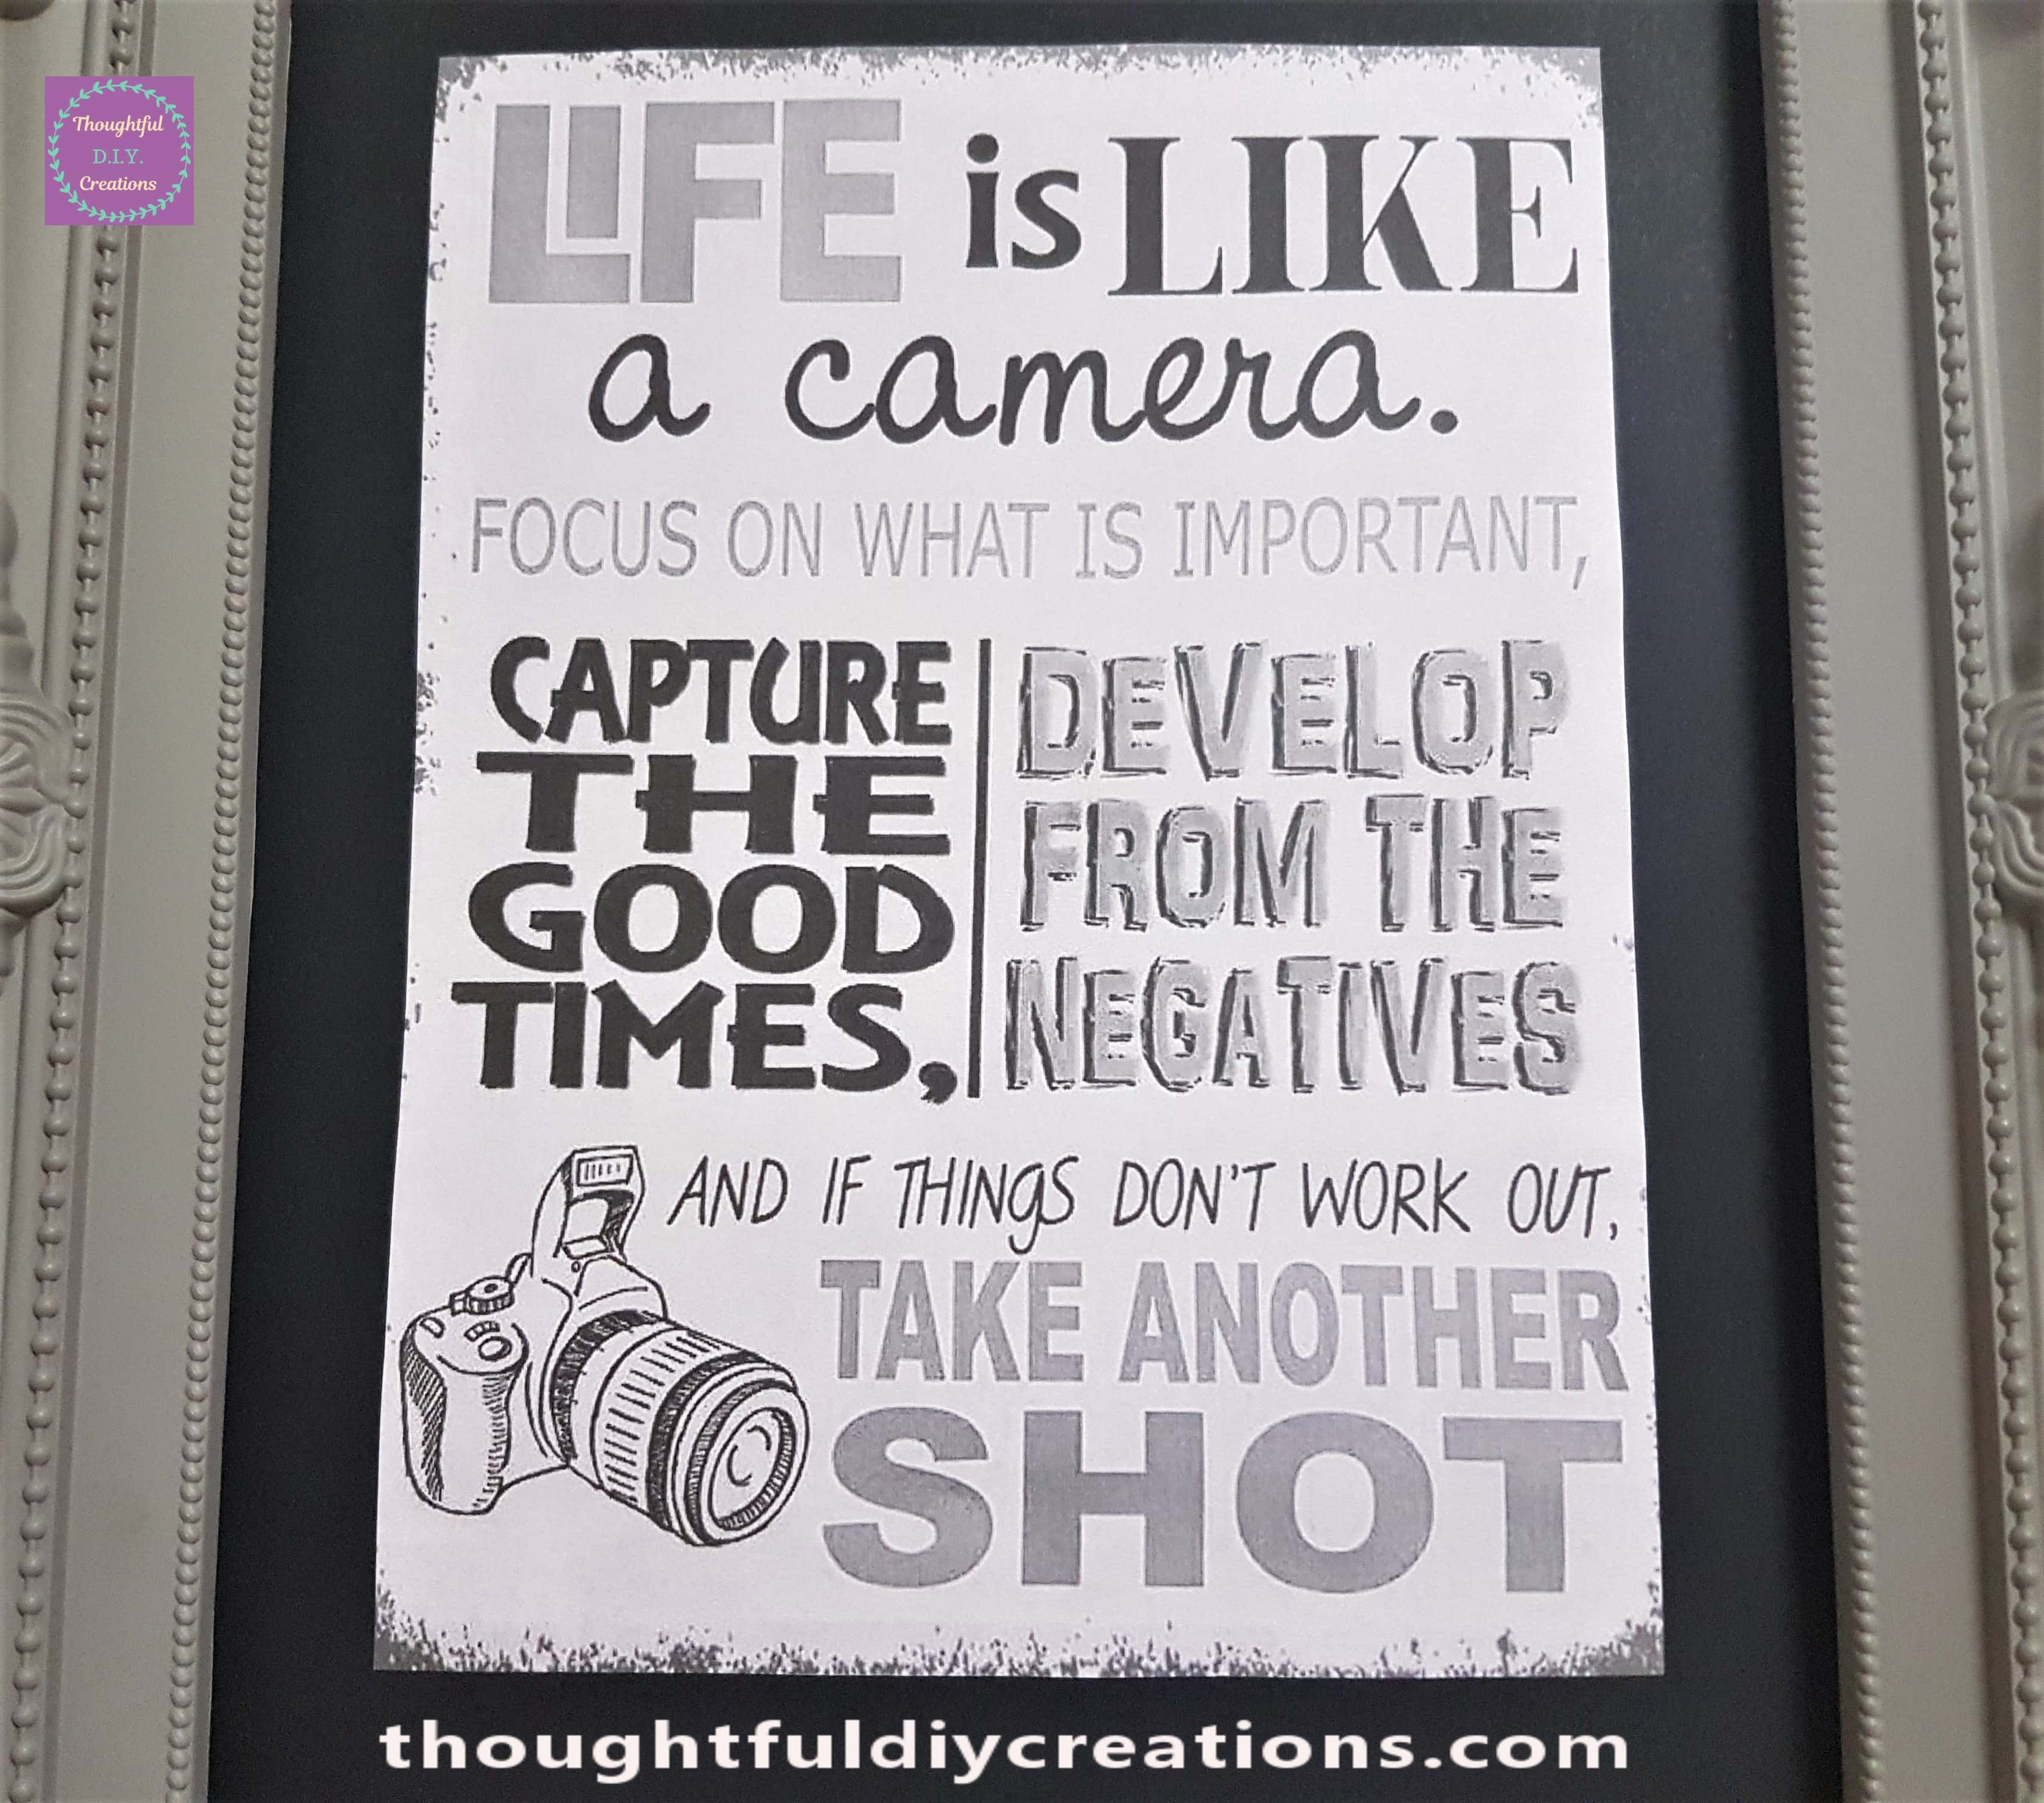
Below is a close-up image of the Camera Quote.
The Final Image of the Completed Craft.
Conclusion
I am so happy with how the Camera Quote Frame turned out. It is the perfect Gift for a Camera Lover. I also love the Quote, as it’s so True, we have to take the Good with the Bad and keep going when things don’t go our way. I love the Colour combination of the Black and Grey and the pop of white behind the Quote.
The Frame can be put on Display on a Shelf, Bedside Locker, Table, Chest of Drawers, or in a Display Unit. It could also be Hung up on the Wall; it could be part of a Gallery Wall beside Photographs and other Quotes. It could also be hung up on a Door; on the inside or outside of a Bedroom or Home Office.
It is so versatile as you can choose a completely different size and colour Frame to what I used. You can pick one to complement your other Frames or colour scheme.
This is a great way to add some of your personality and hobbies to your Home Decor. The Quote can be changed to anything else you are into, just look up free-to-use images in ‘Google Images’ or ‘Pinterest’. There is such variety to choose from. Just keep in mind they are usually free-to-use for personal use such as decorating your own home or a gift for a friend, but not for Selling as there may be copyright infringements.
I hope you enjoyed this week’s Tutorial and gained some inspiration from it. If you have any questions just fill out the Comment Box below this Blog Post and I’ll get back to you as soon as I can. If you make your own Frame let me know how it turned out, I’d love to know.
Thank you so much for taking the time to read my Blog.
Always Grateful,
T.D.C.
xoxox

