Chakra Canvas Tutorial
Hello my Creative Friends,
I hope you are all Well. In Today’s Tutorial I will show you How I Made a Chakra Canvas with a Silhouette of a Woman Meditating. It would be perfect for anyone who is Interested in the Chakras / Yoga / Meditation / Positive Energy and Mindfulness. It can be displayed on a Wall, Door or leaning against the Wall on a Side Table / Dresser.
Chakra Meaning
There are 7 main Chakras or Energy Centers in the Body. They start at the Base of the Spine and go up to the Crown of your Head. It’s important to keep your Chakras Open and Balanced; if they get Blocked you may experience Physical Pain or Emotional Symptoms in the area of the blocked Chakra.
If this is a Subject you are interested in Exploring further; there are many Detailed Articles or Youtube Vidoes on Chakras and How to keep them Balanced.
Canvas
I bought a Primed Canvas which measures 20cm x 20cm.
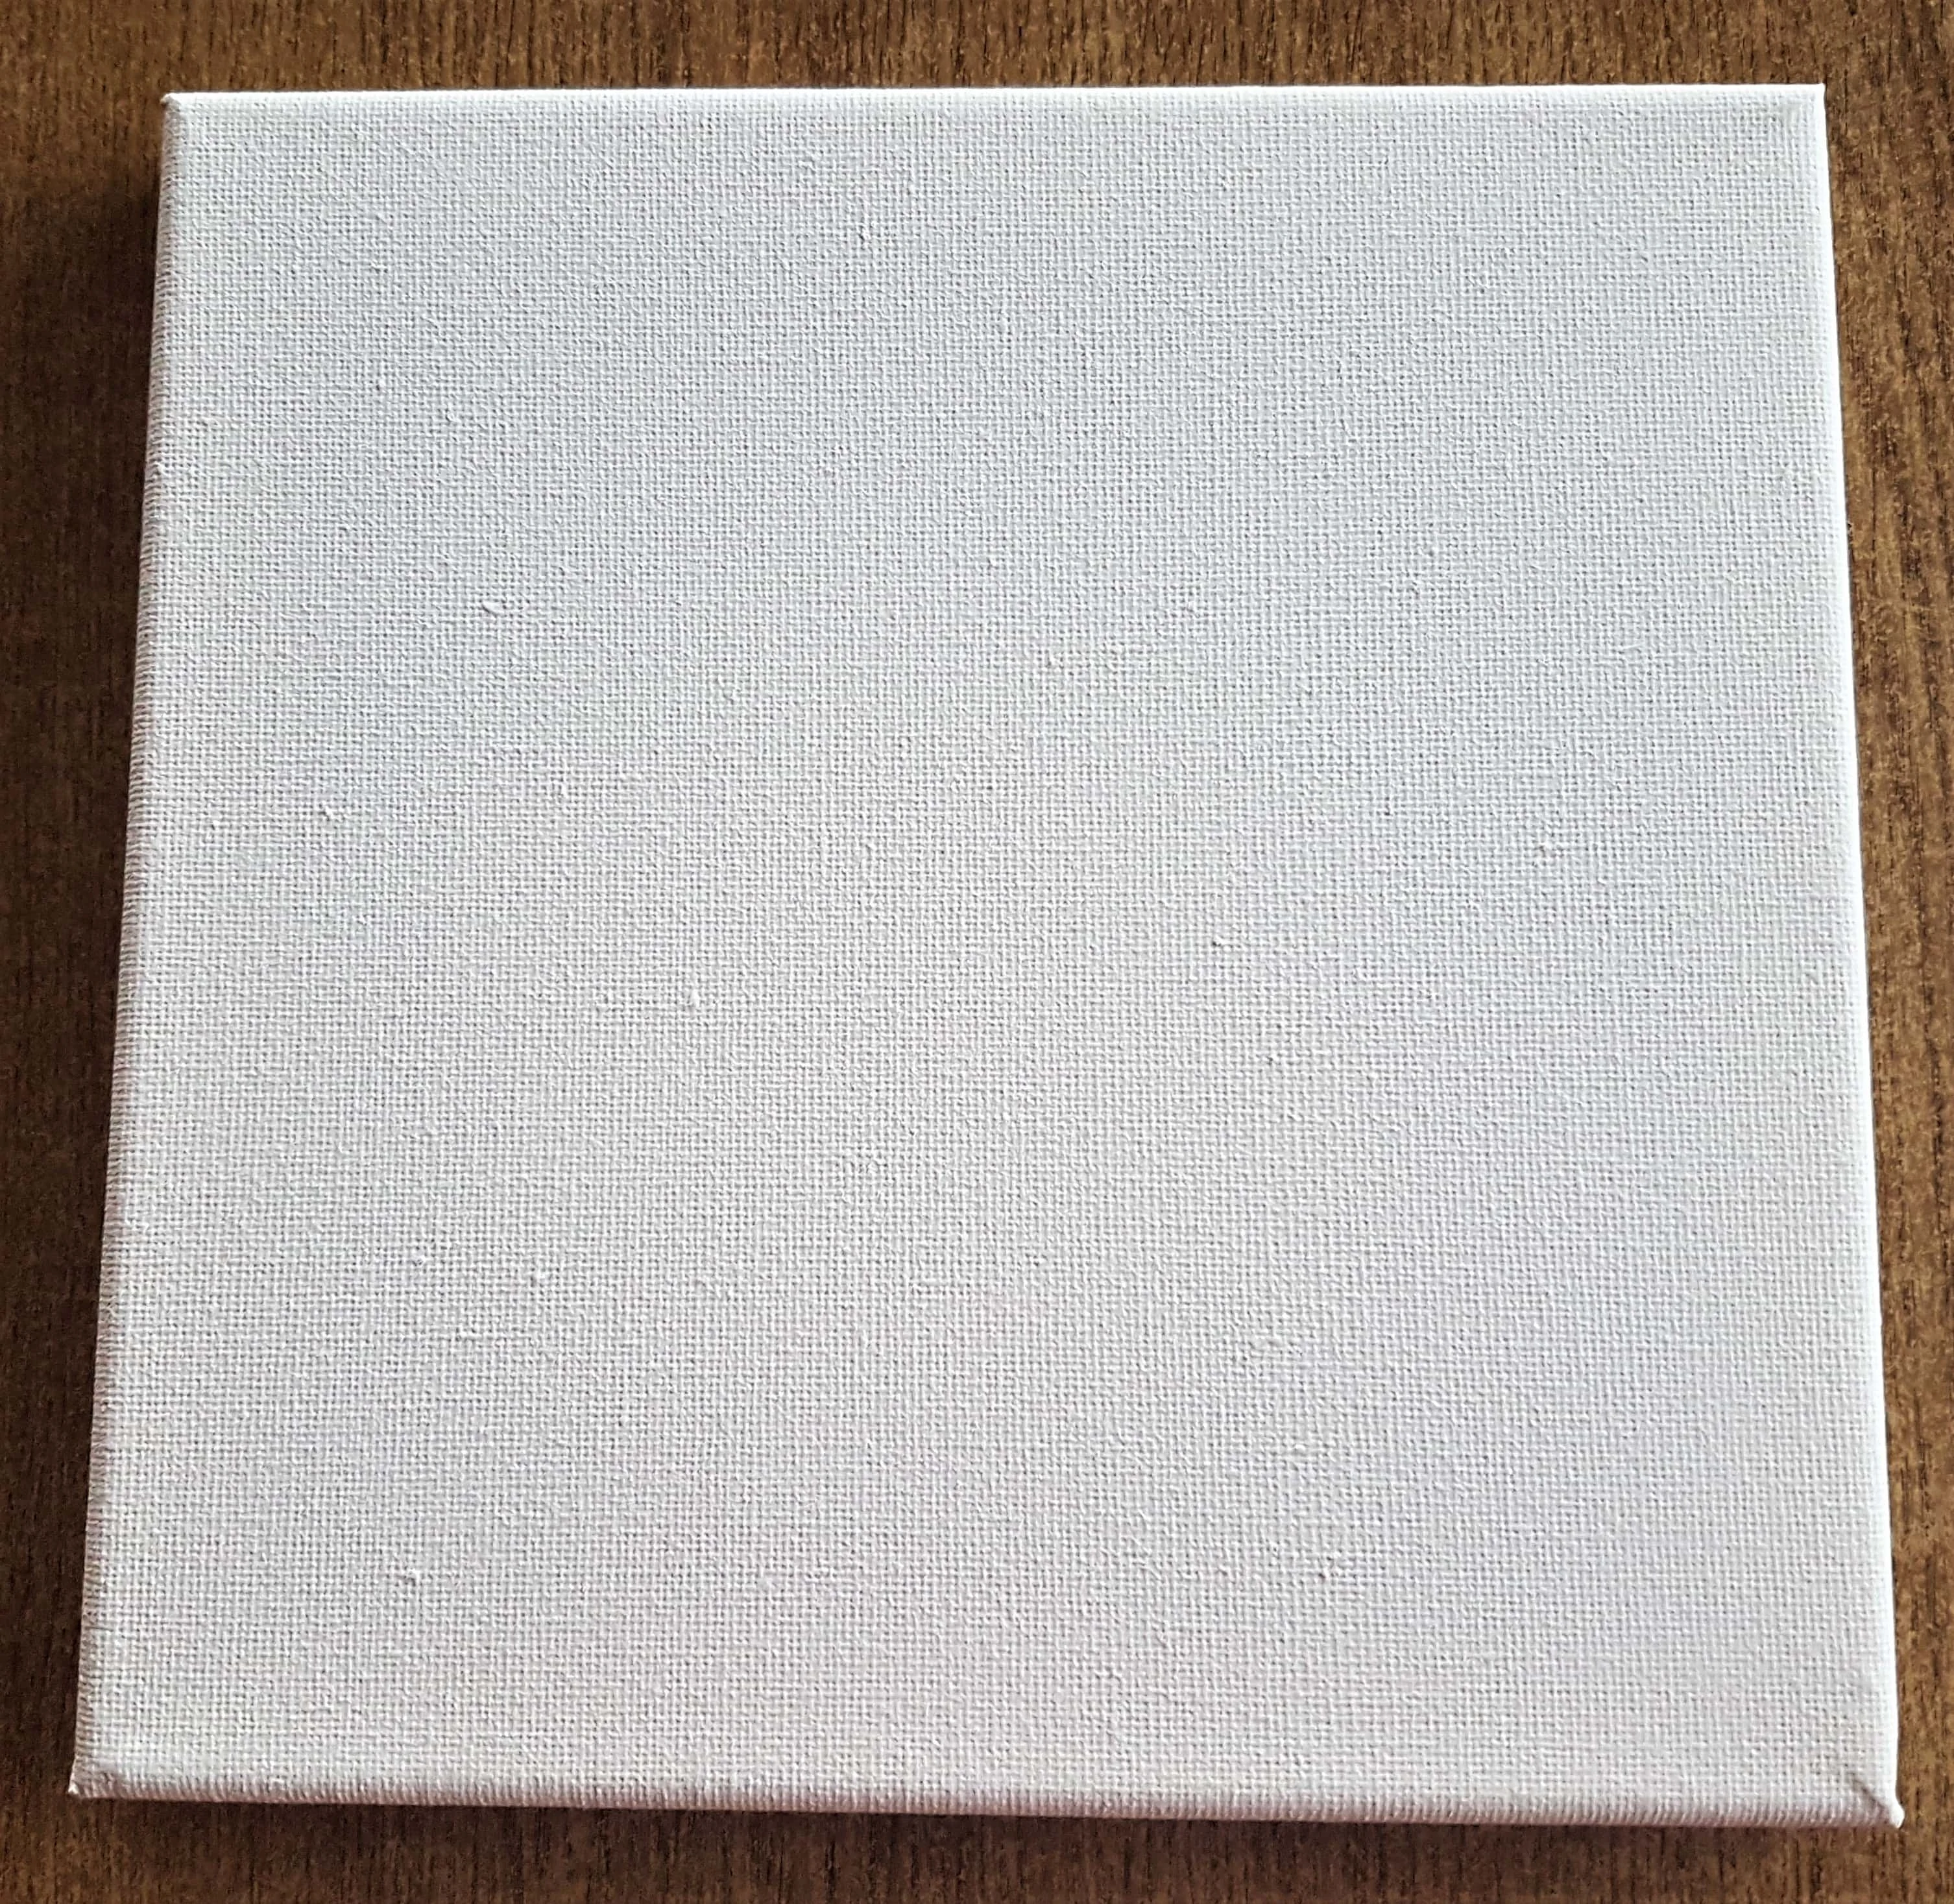
Making the Measurements for each Chakra
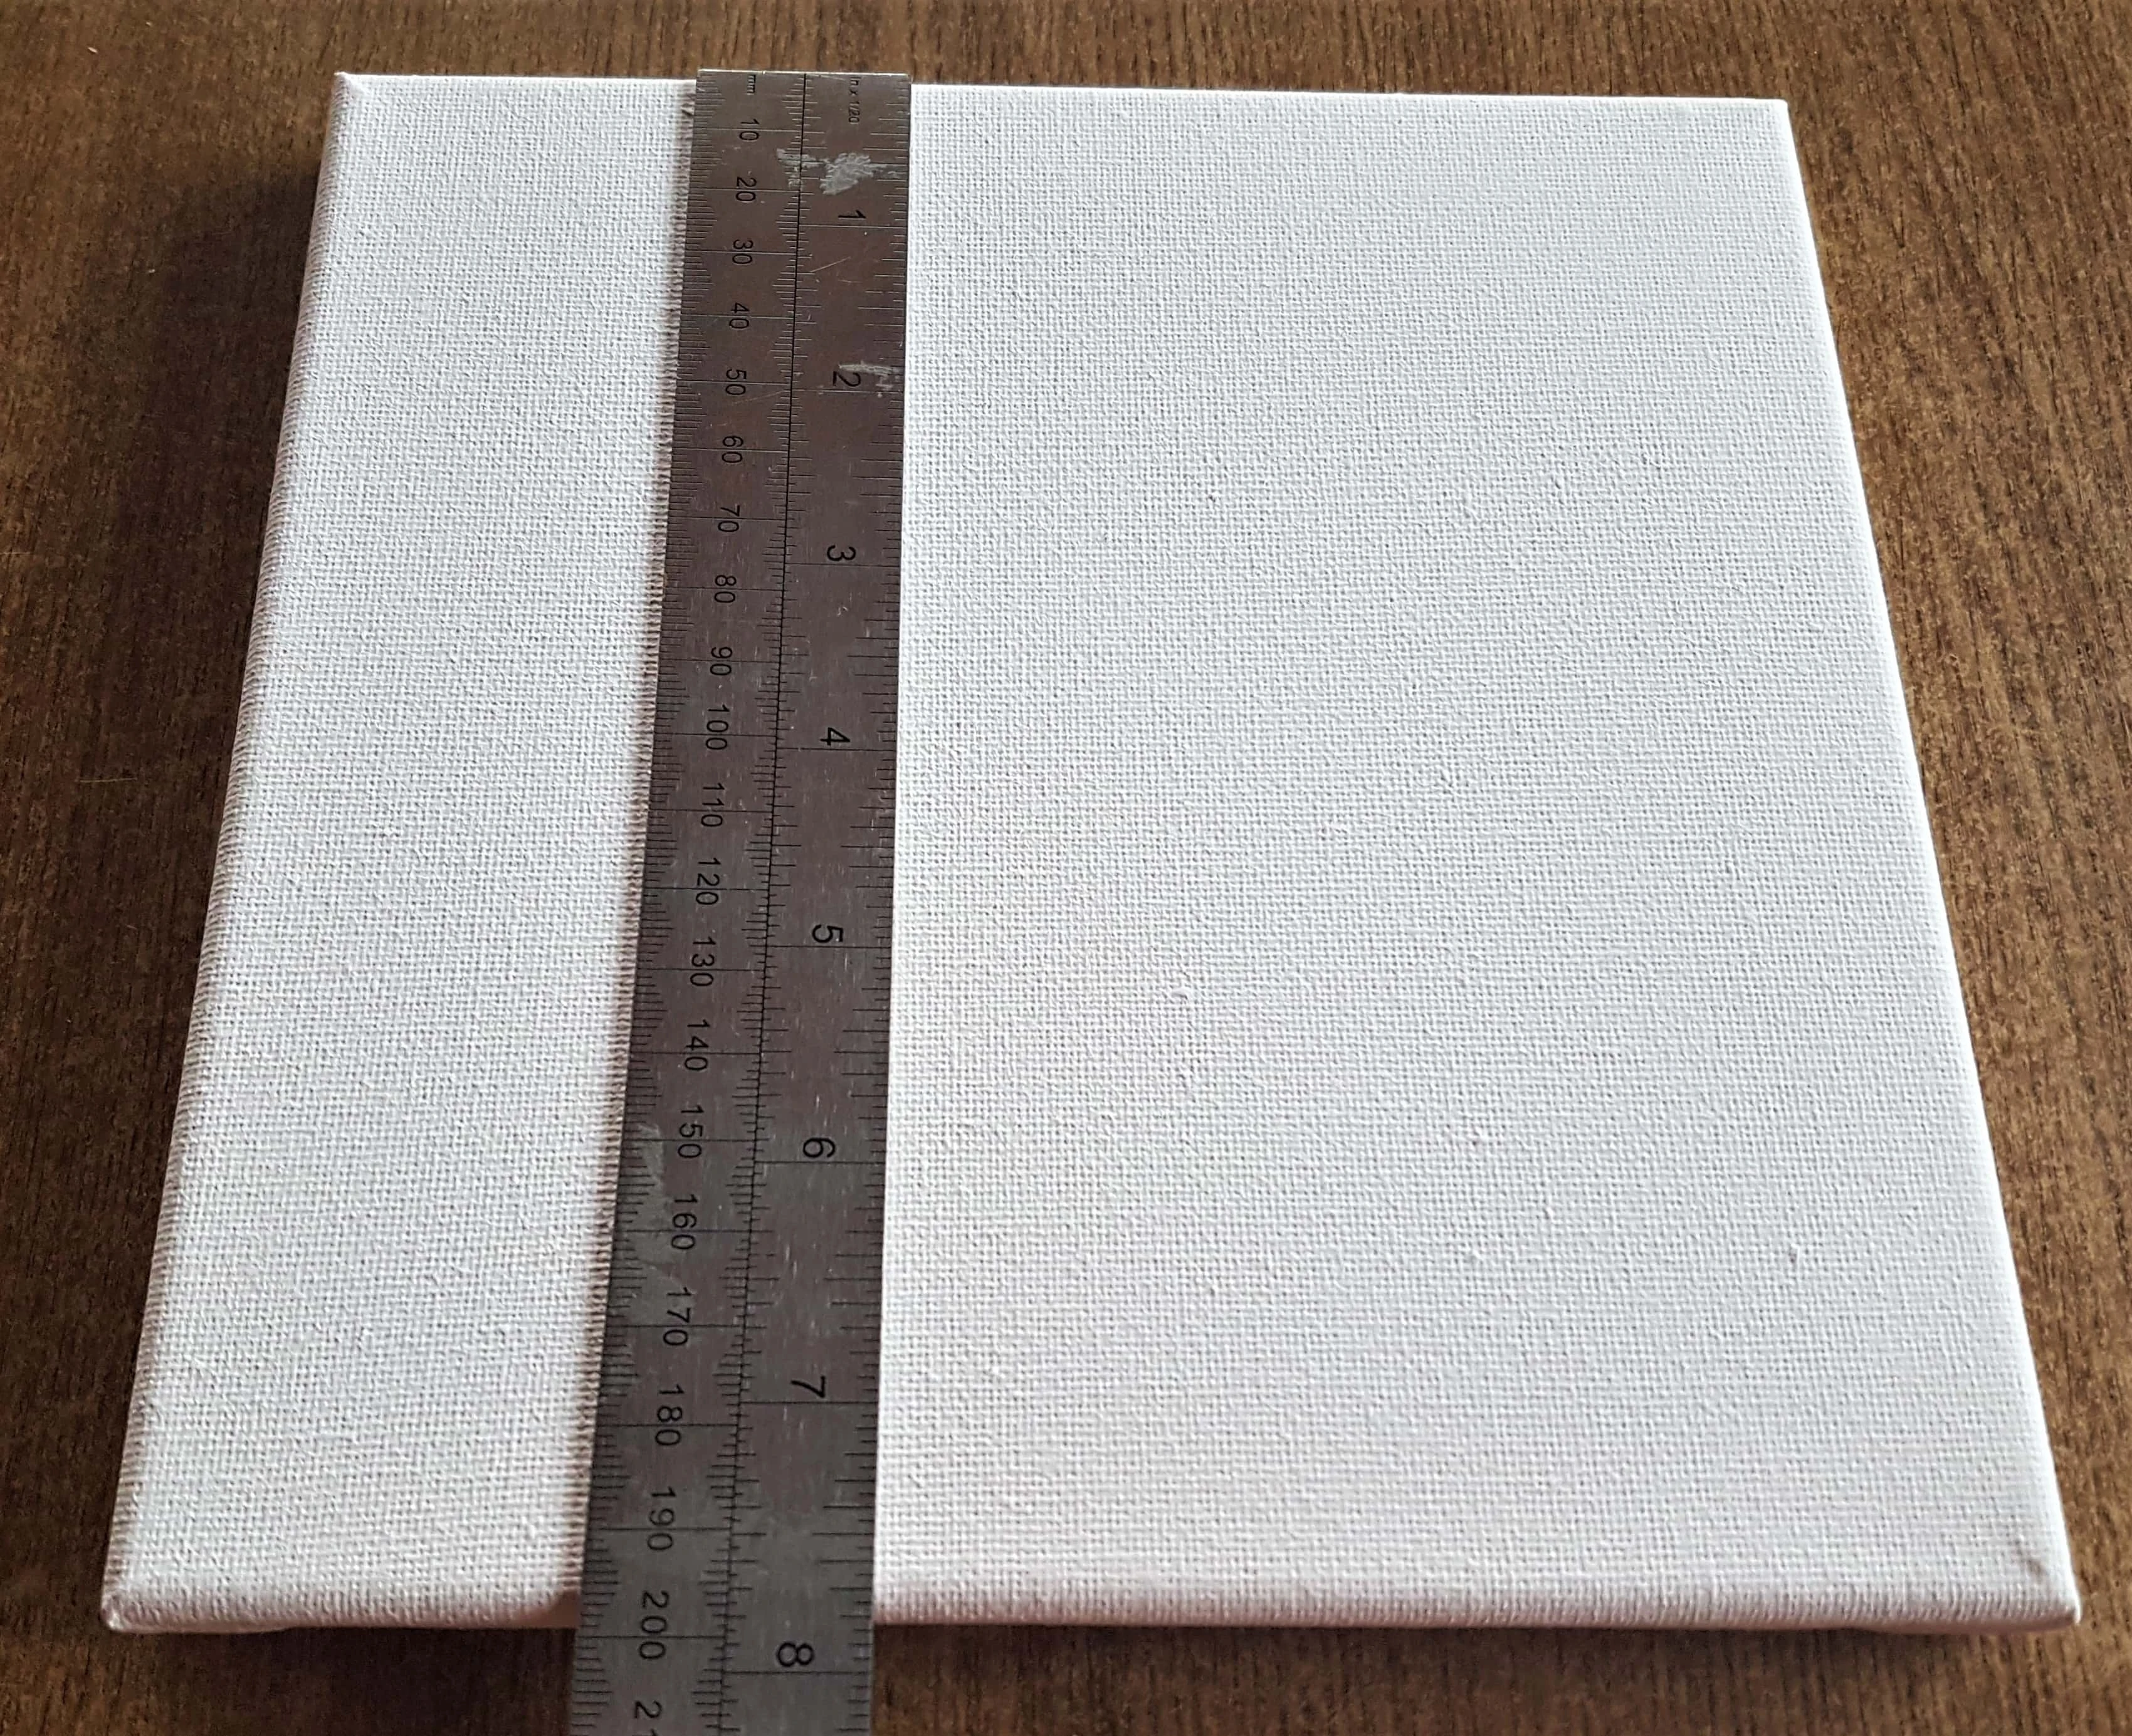
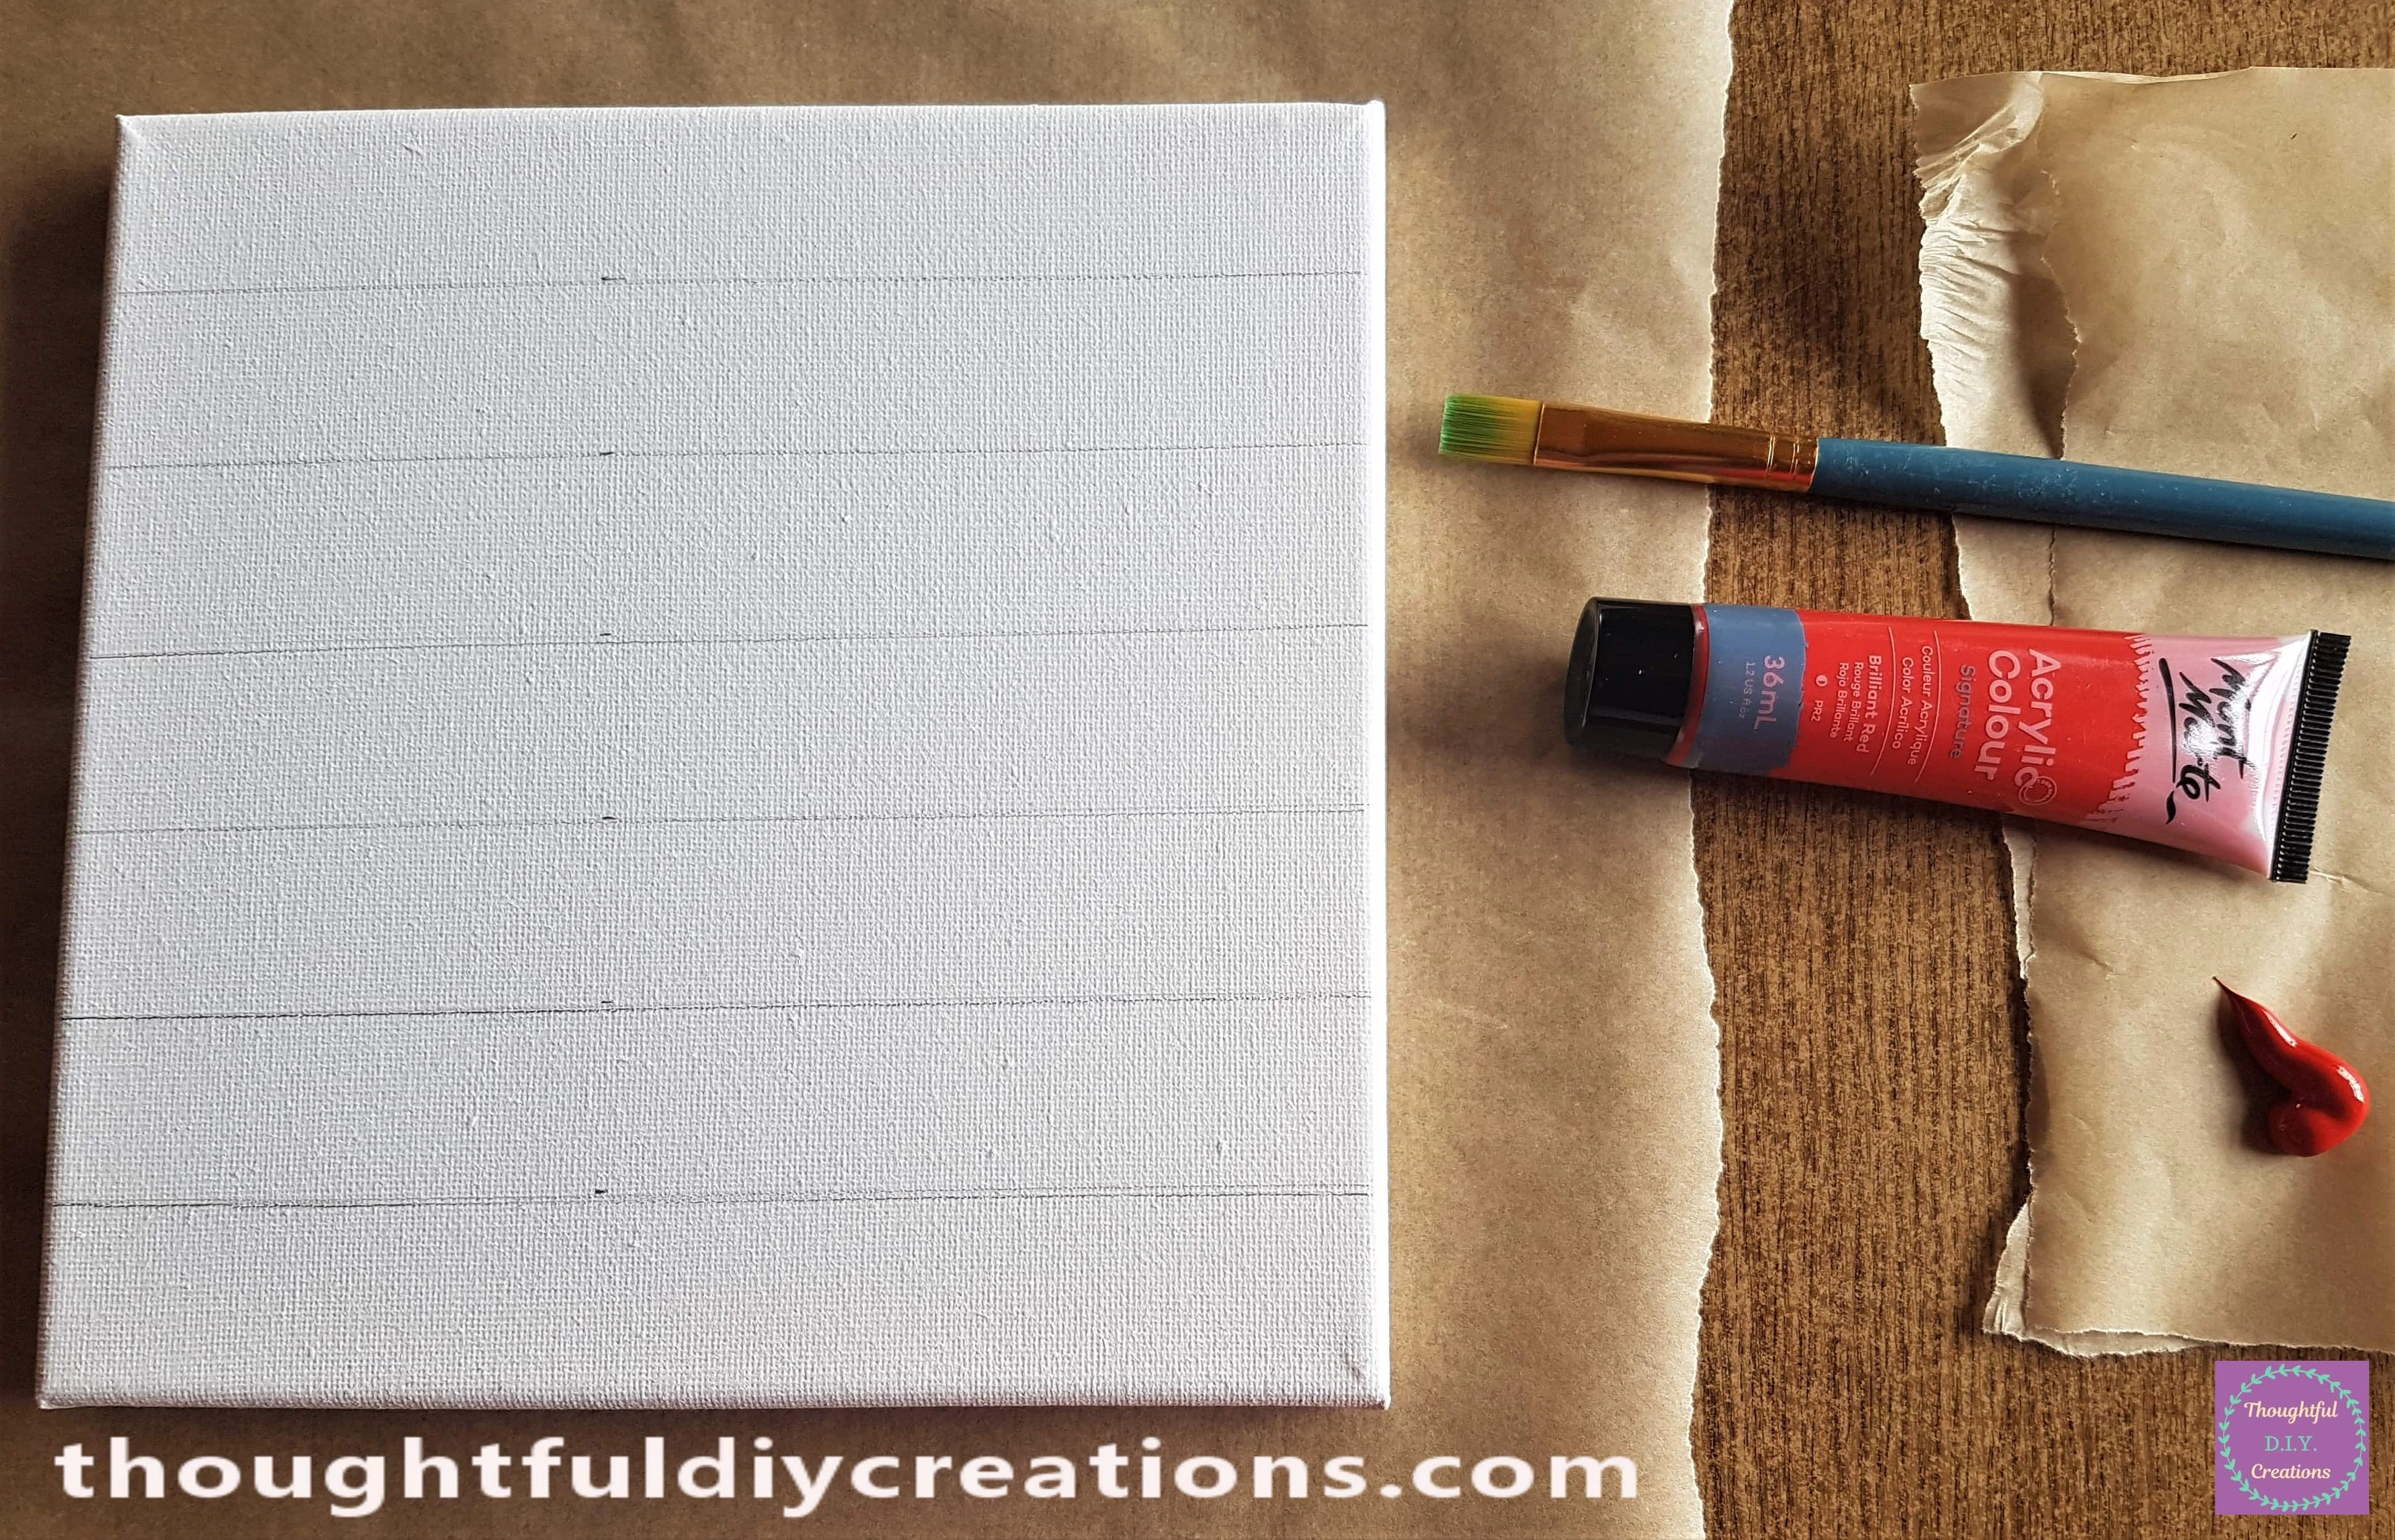
I put my Ruler on the Canvas to find the measurements for 7 equal lines.
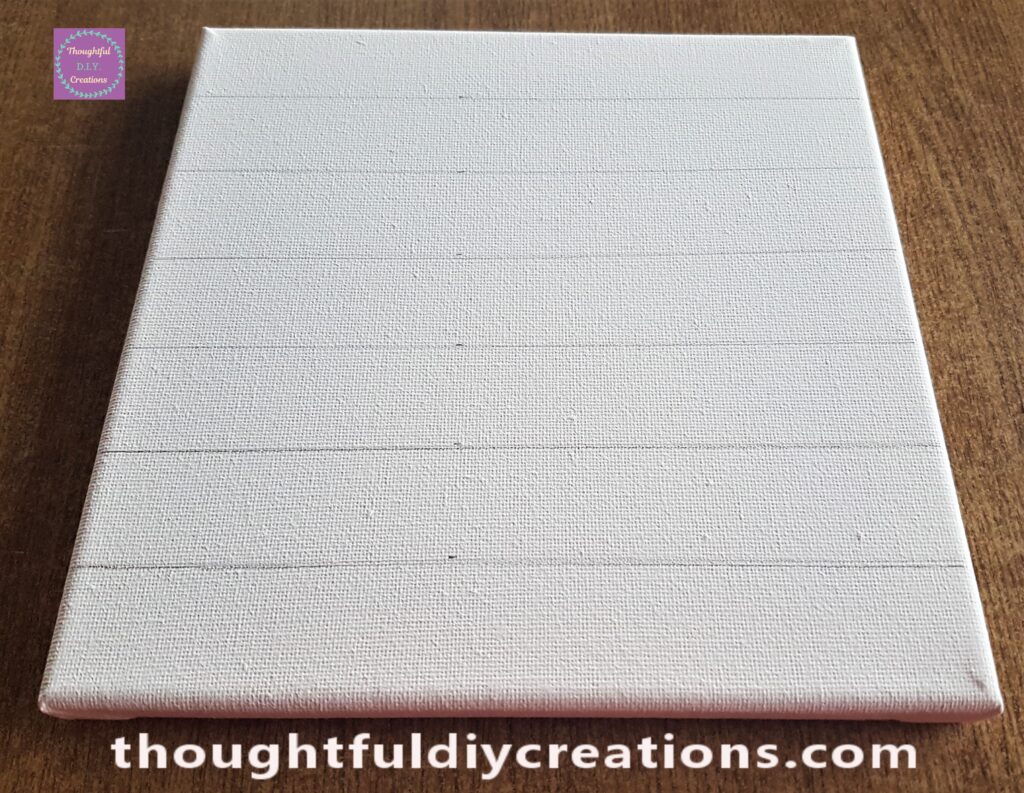
I made a mark on the Canvas for the 7 lines and then used the Ruler to draw a line across each mark. The 7 portions are 1 for each Chakra.
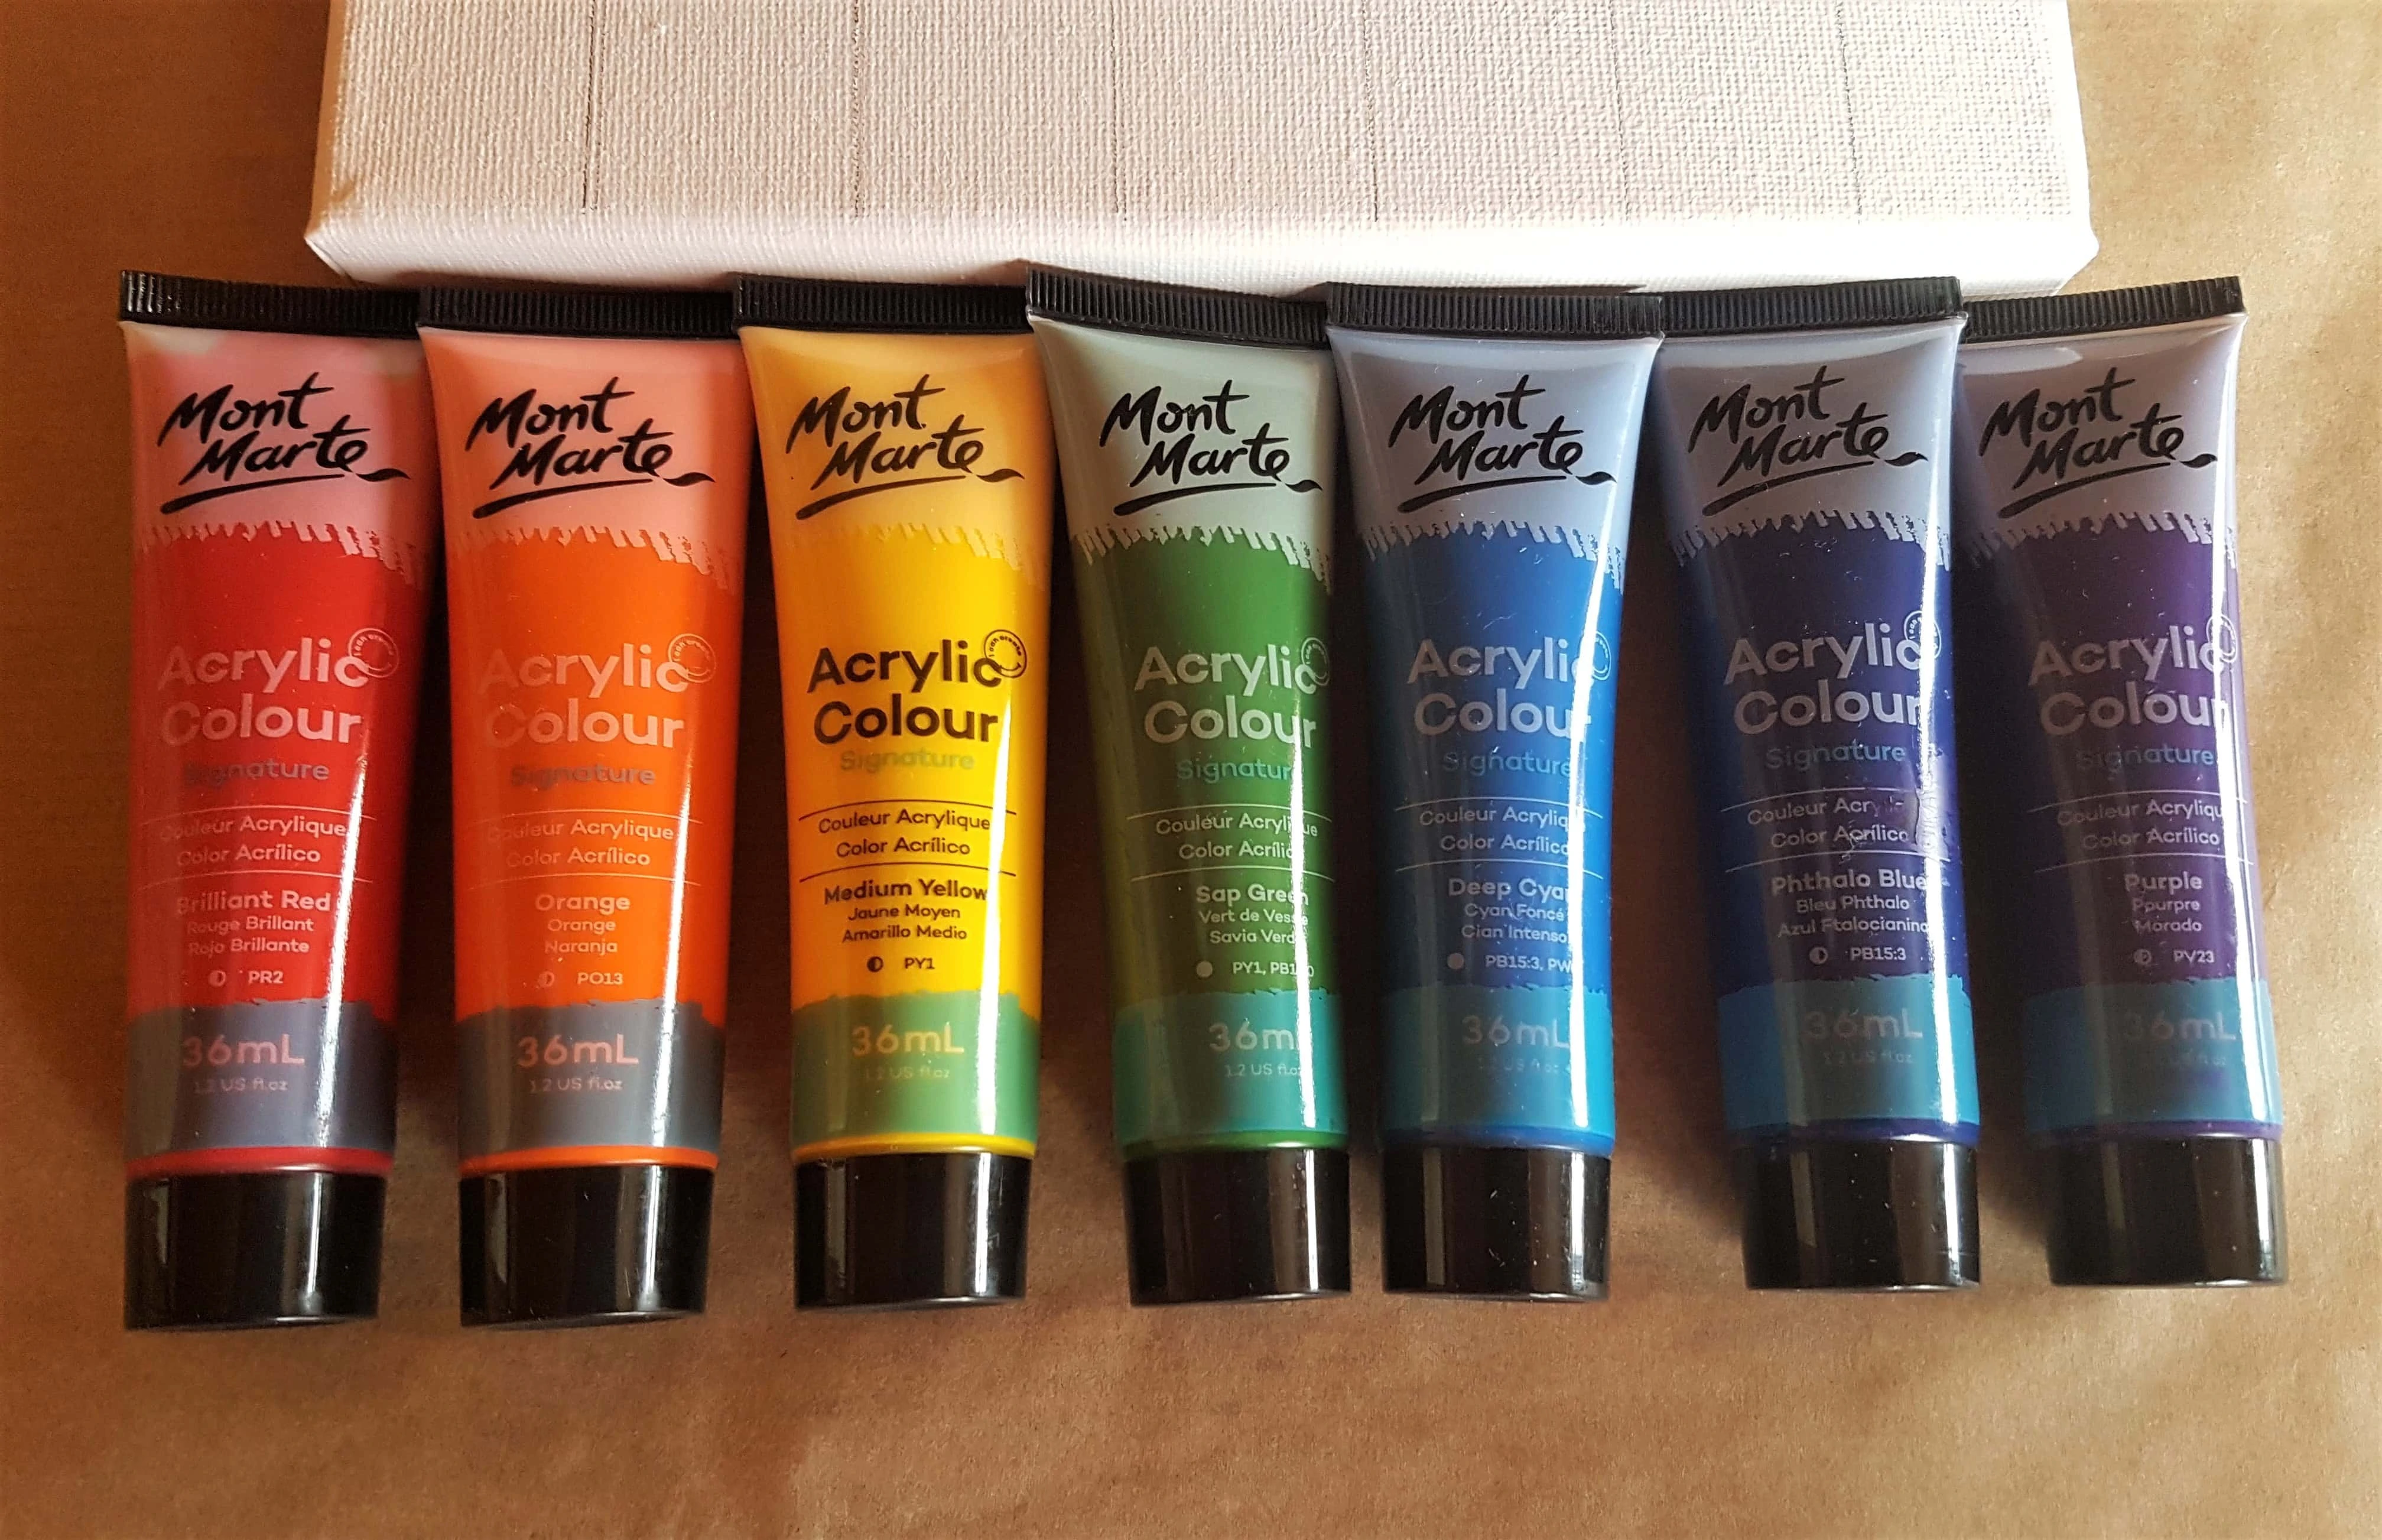
Preparing to Paint the Canvas
I got 7 Paint tubes from my Set of Acrylic Paints; one for each Chakra; they are also the same Colours of the Rainbow.
I put some Baking Paper under the Canvas to protect the Table while Painting. I got more Baking Paper to use as a Paint Palette. I got a small flat Paintbrush and poured some Red Paint onto the Baking Paper.
Painting the Root Chakra
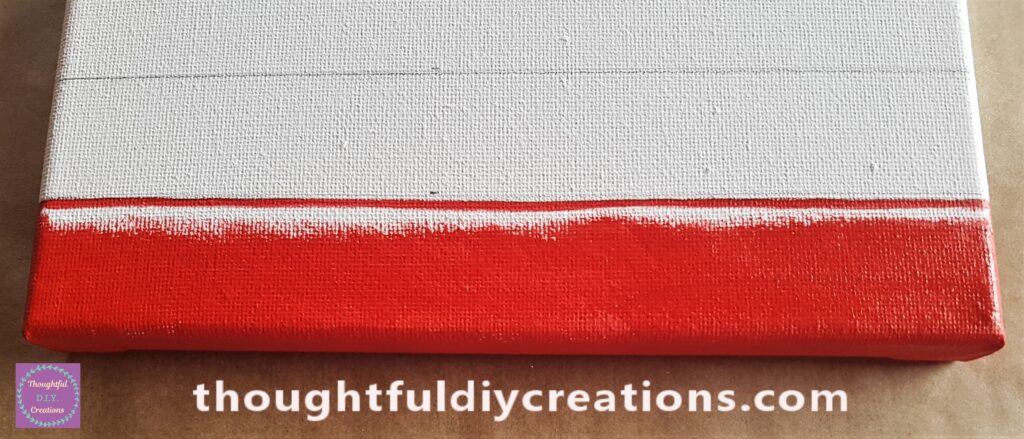
I Painted the Sides of the Canvas first, then worked my way up the Canvas. I then used the flat tip of the Paintbrush with a small amount of Paint and drew a Line with the Paint on the Pencil line.
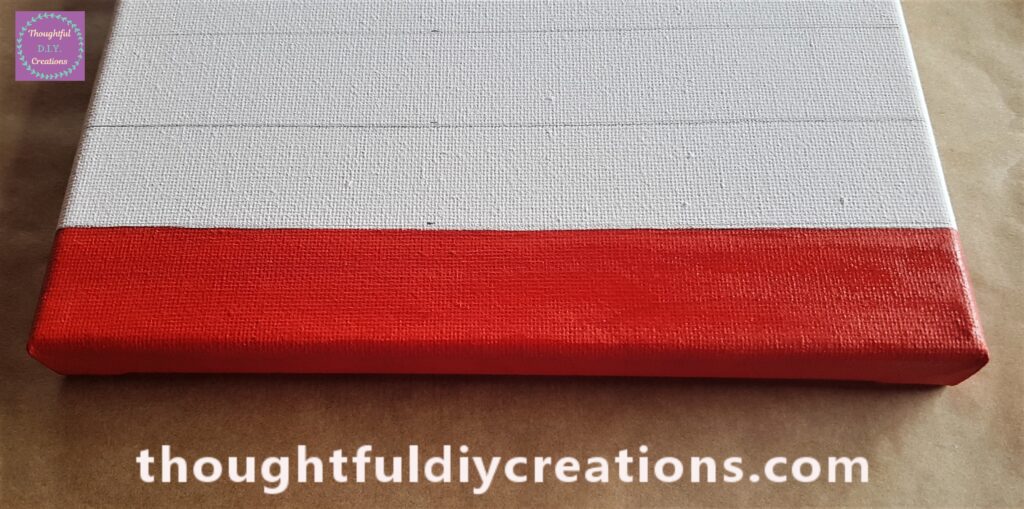
This made it easier to fill in the rest of the Red on the Canvas.
Painting the Solar Plexus Chakra
I am Painting every second Chakra on the Canvas first; to give the Paint time to Dry. I got another small flat Paintbrush and poured some Yellow Acrylic Paint onto the Baking Paper.
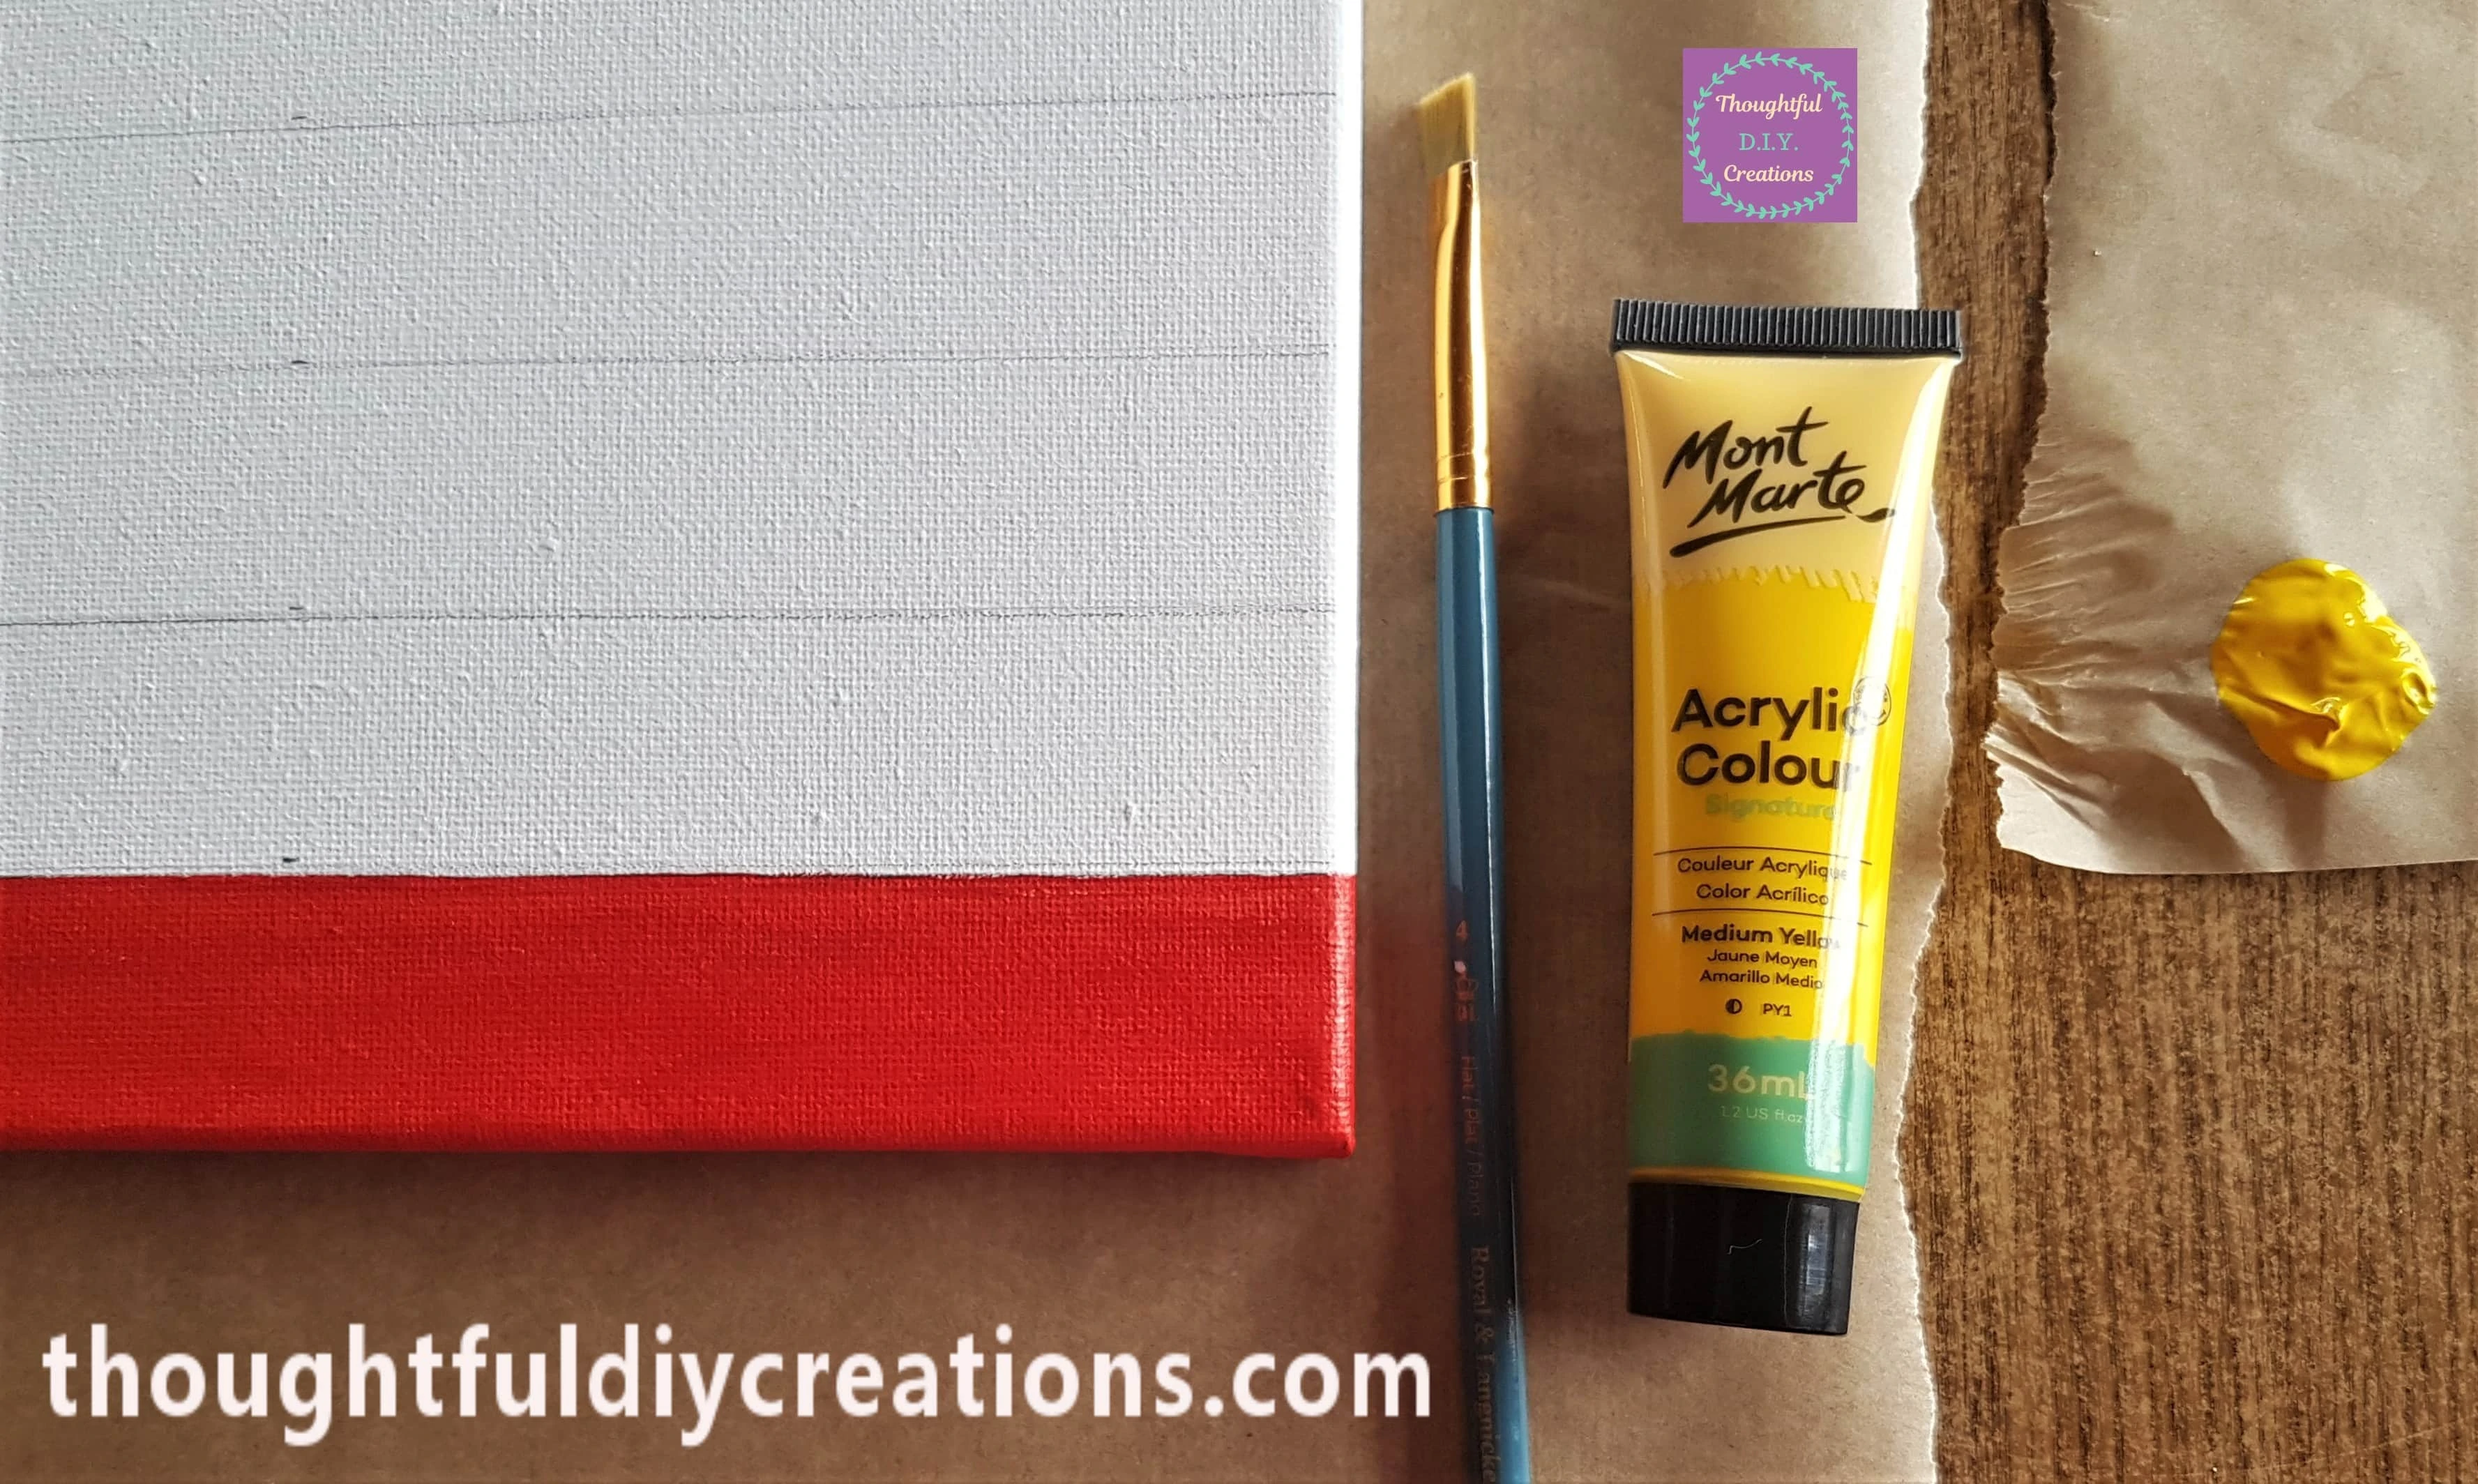
I Painted the Sides of the Canvas first and then Painted over the 2 Pencil Lines with the Flat part of the Paintbrush and Yellow Paint.
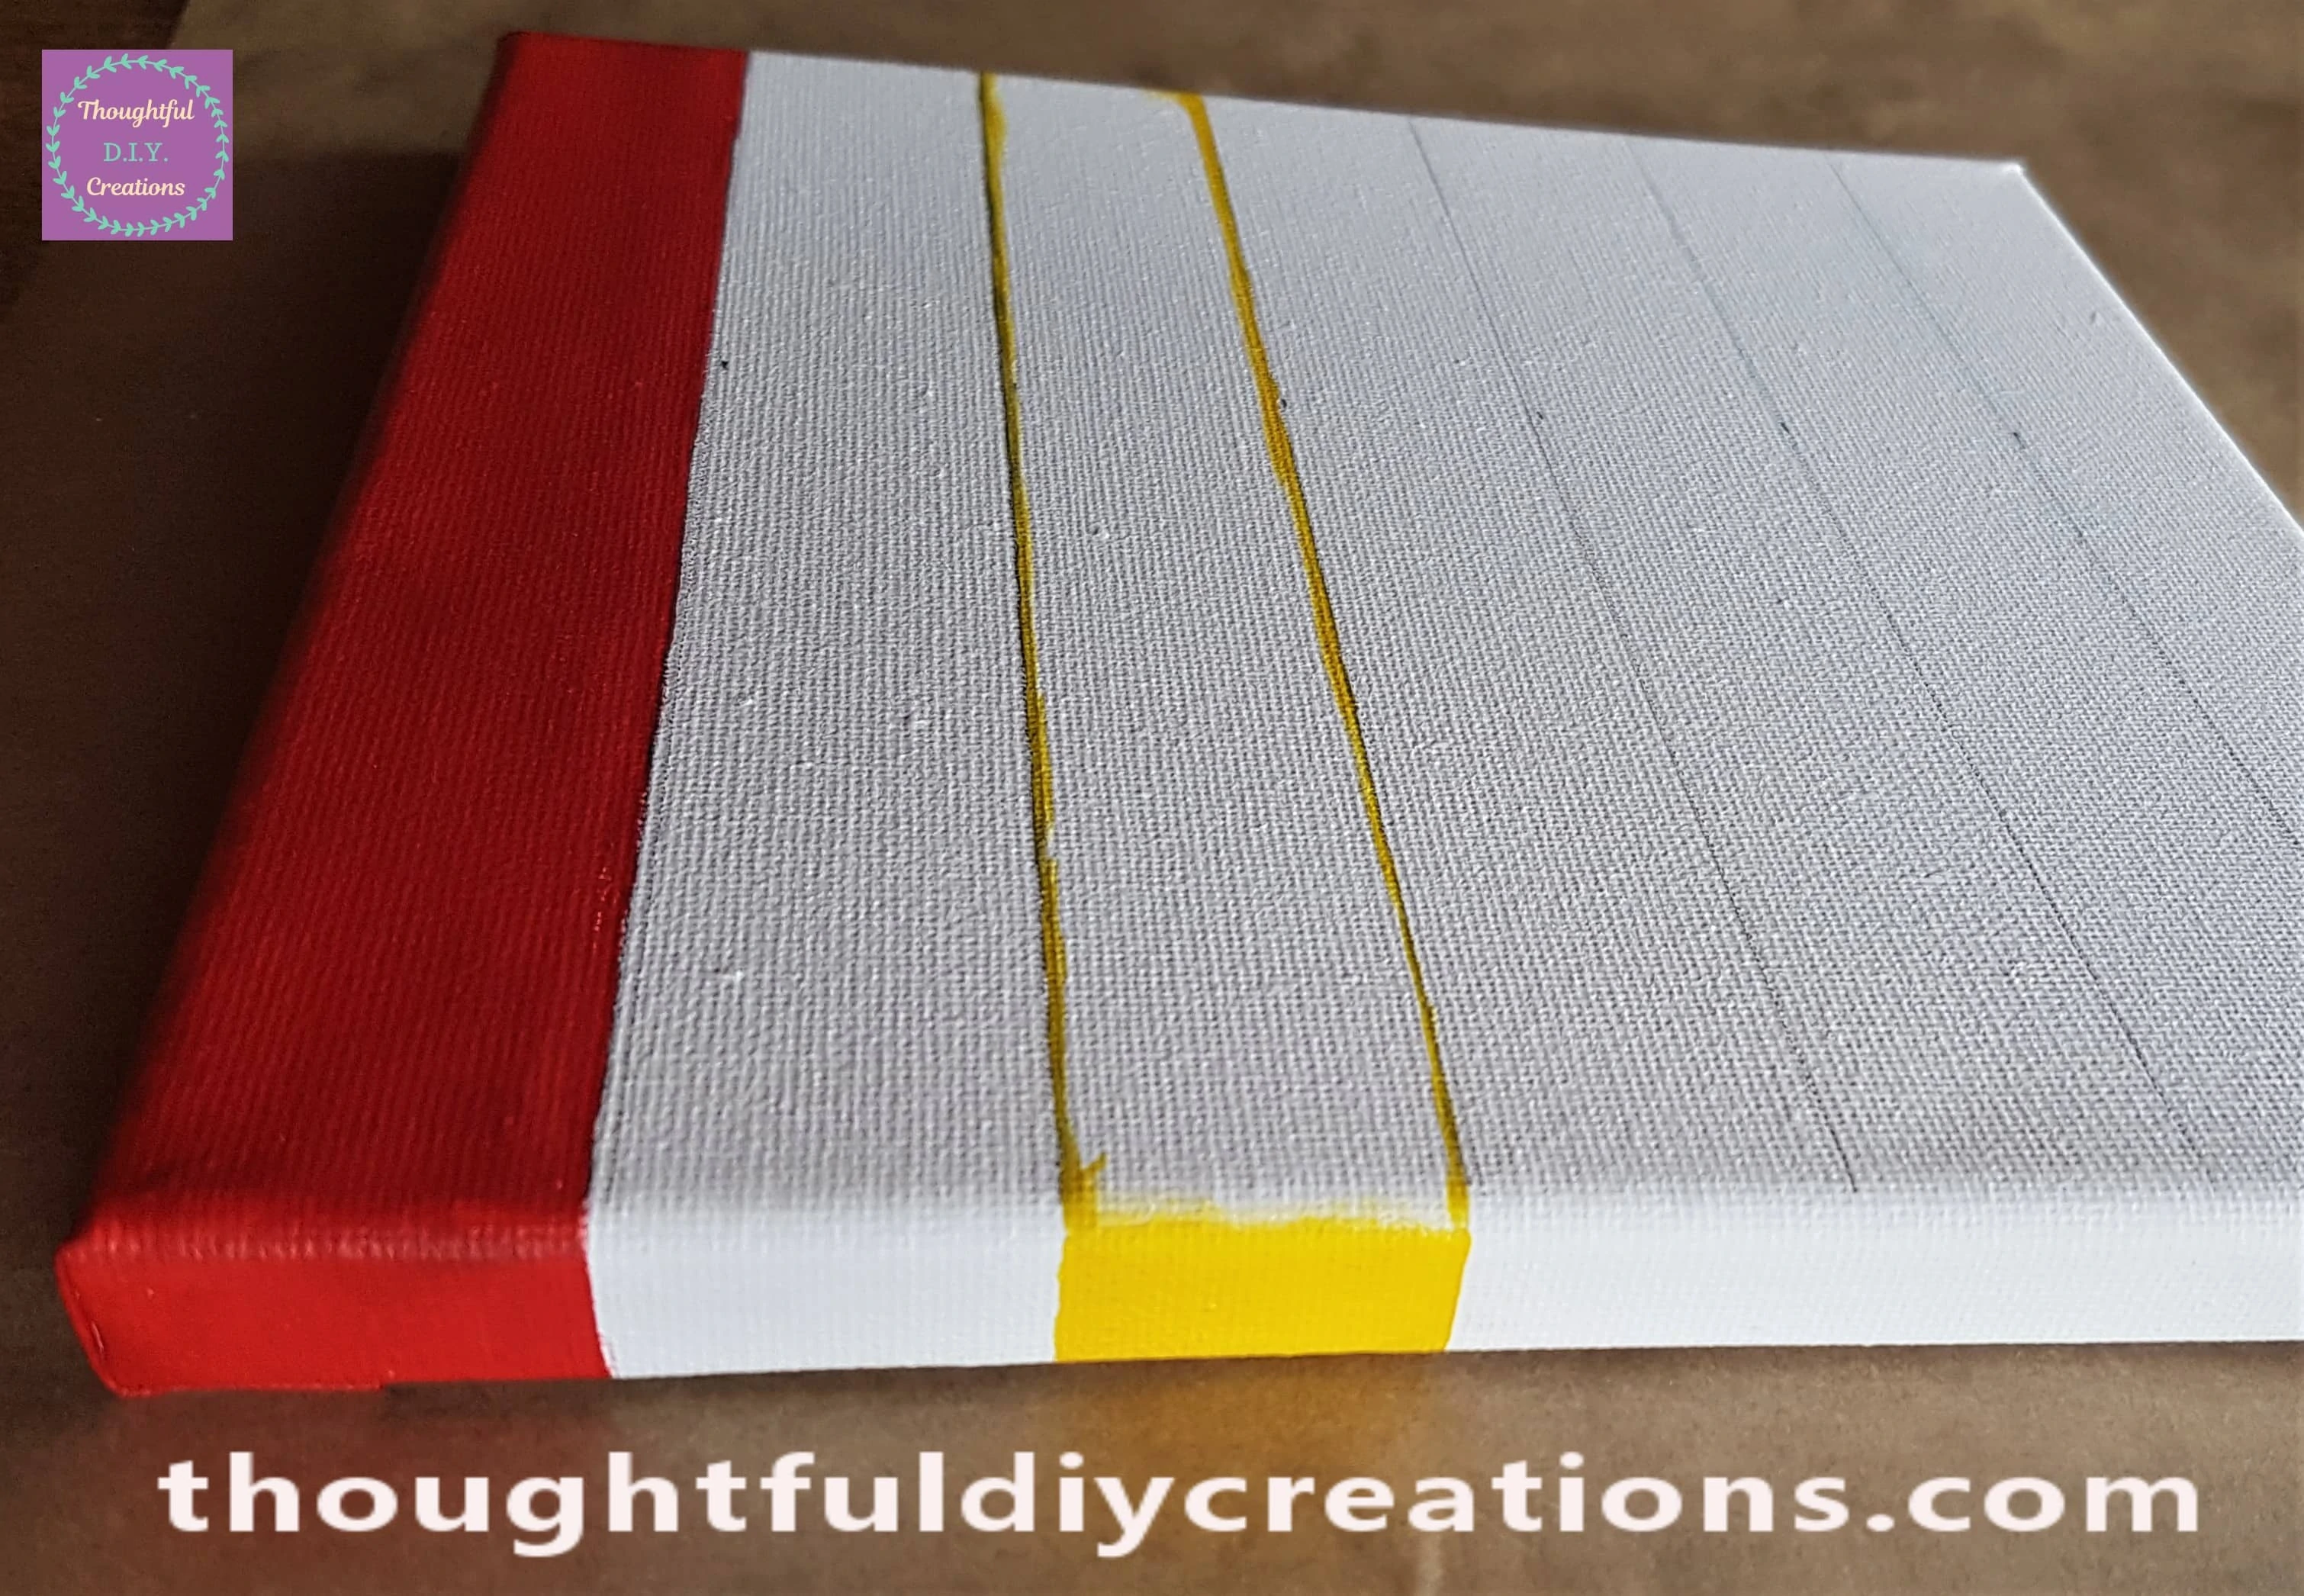
I then filled in the Solar plexus Chakra.
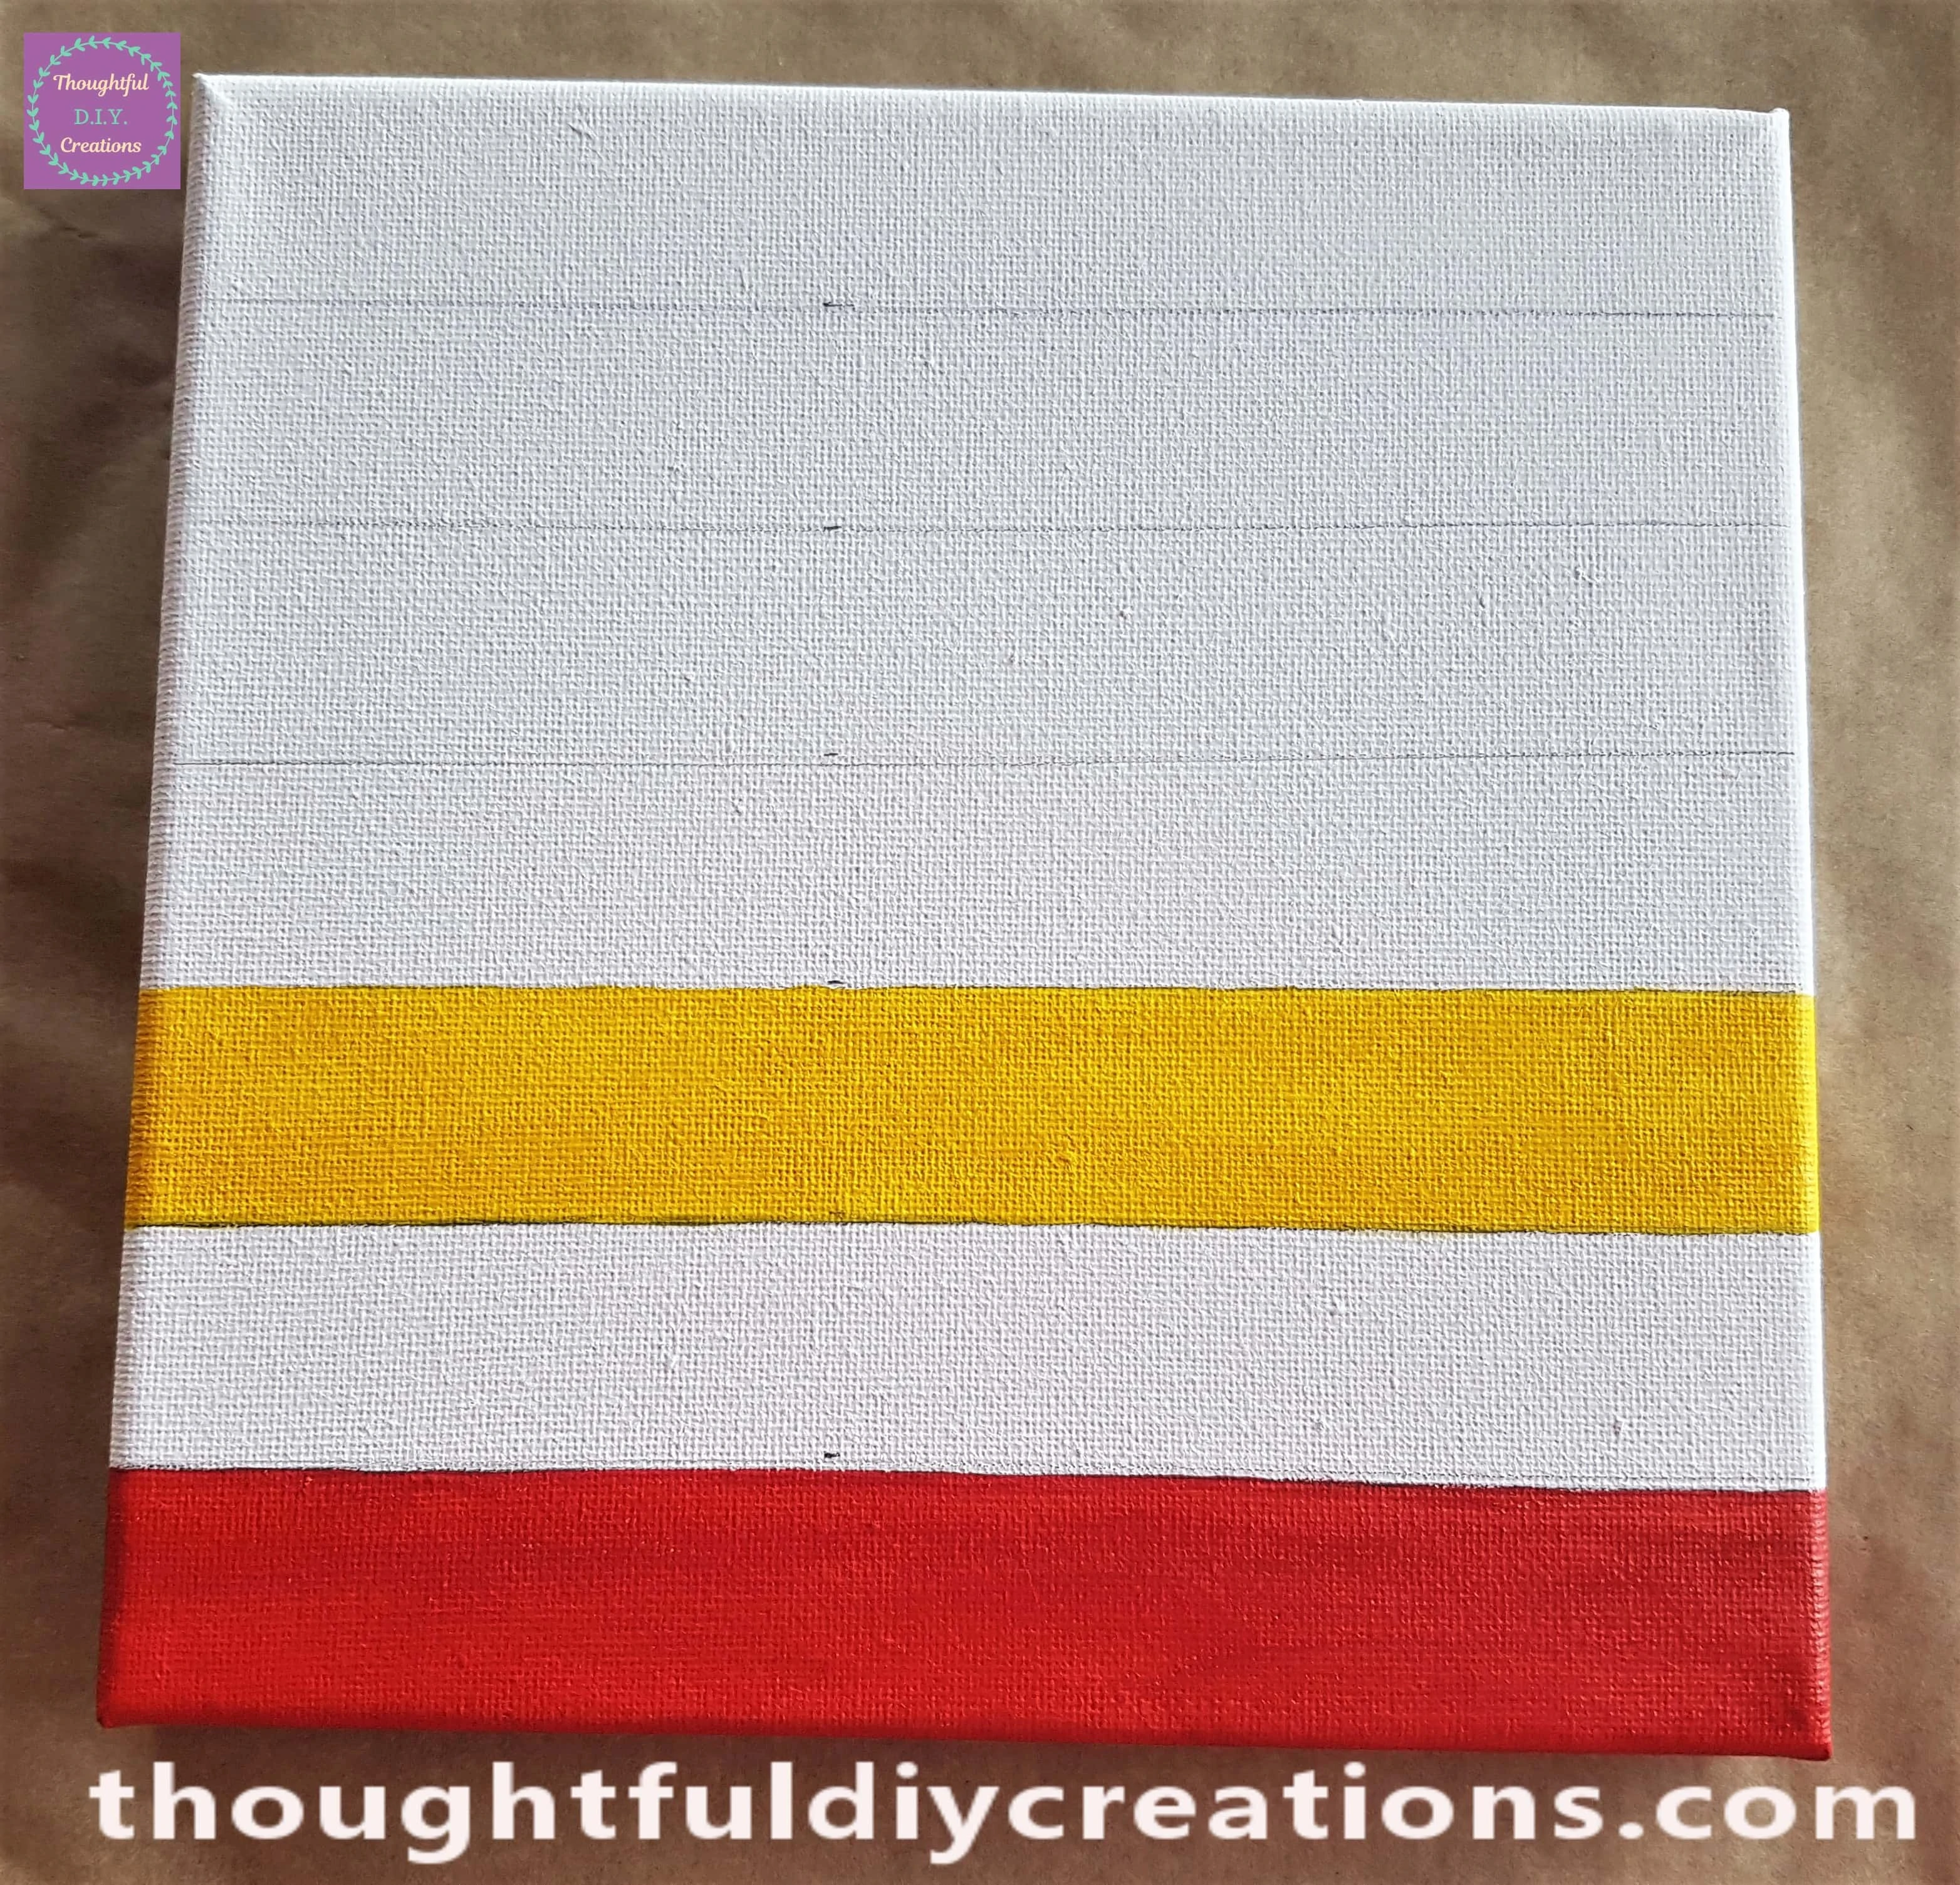
Painting the Throat Chakra on the Canvas
I Painted the Sides and filled in the Lines on the Blue Throat Chakra.
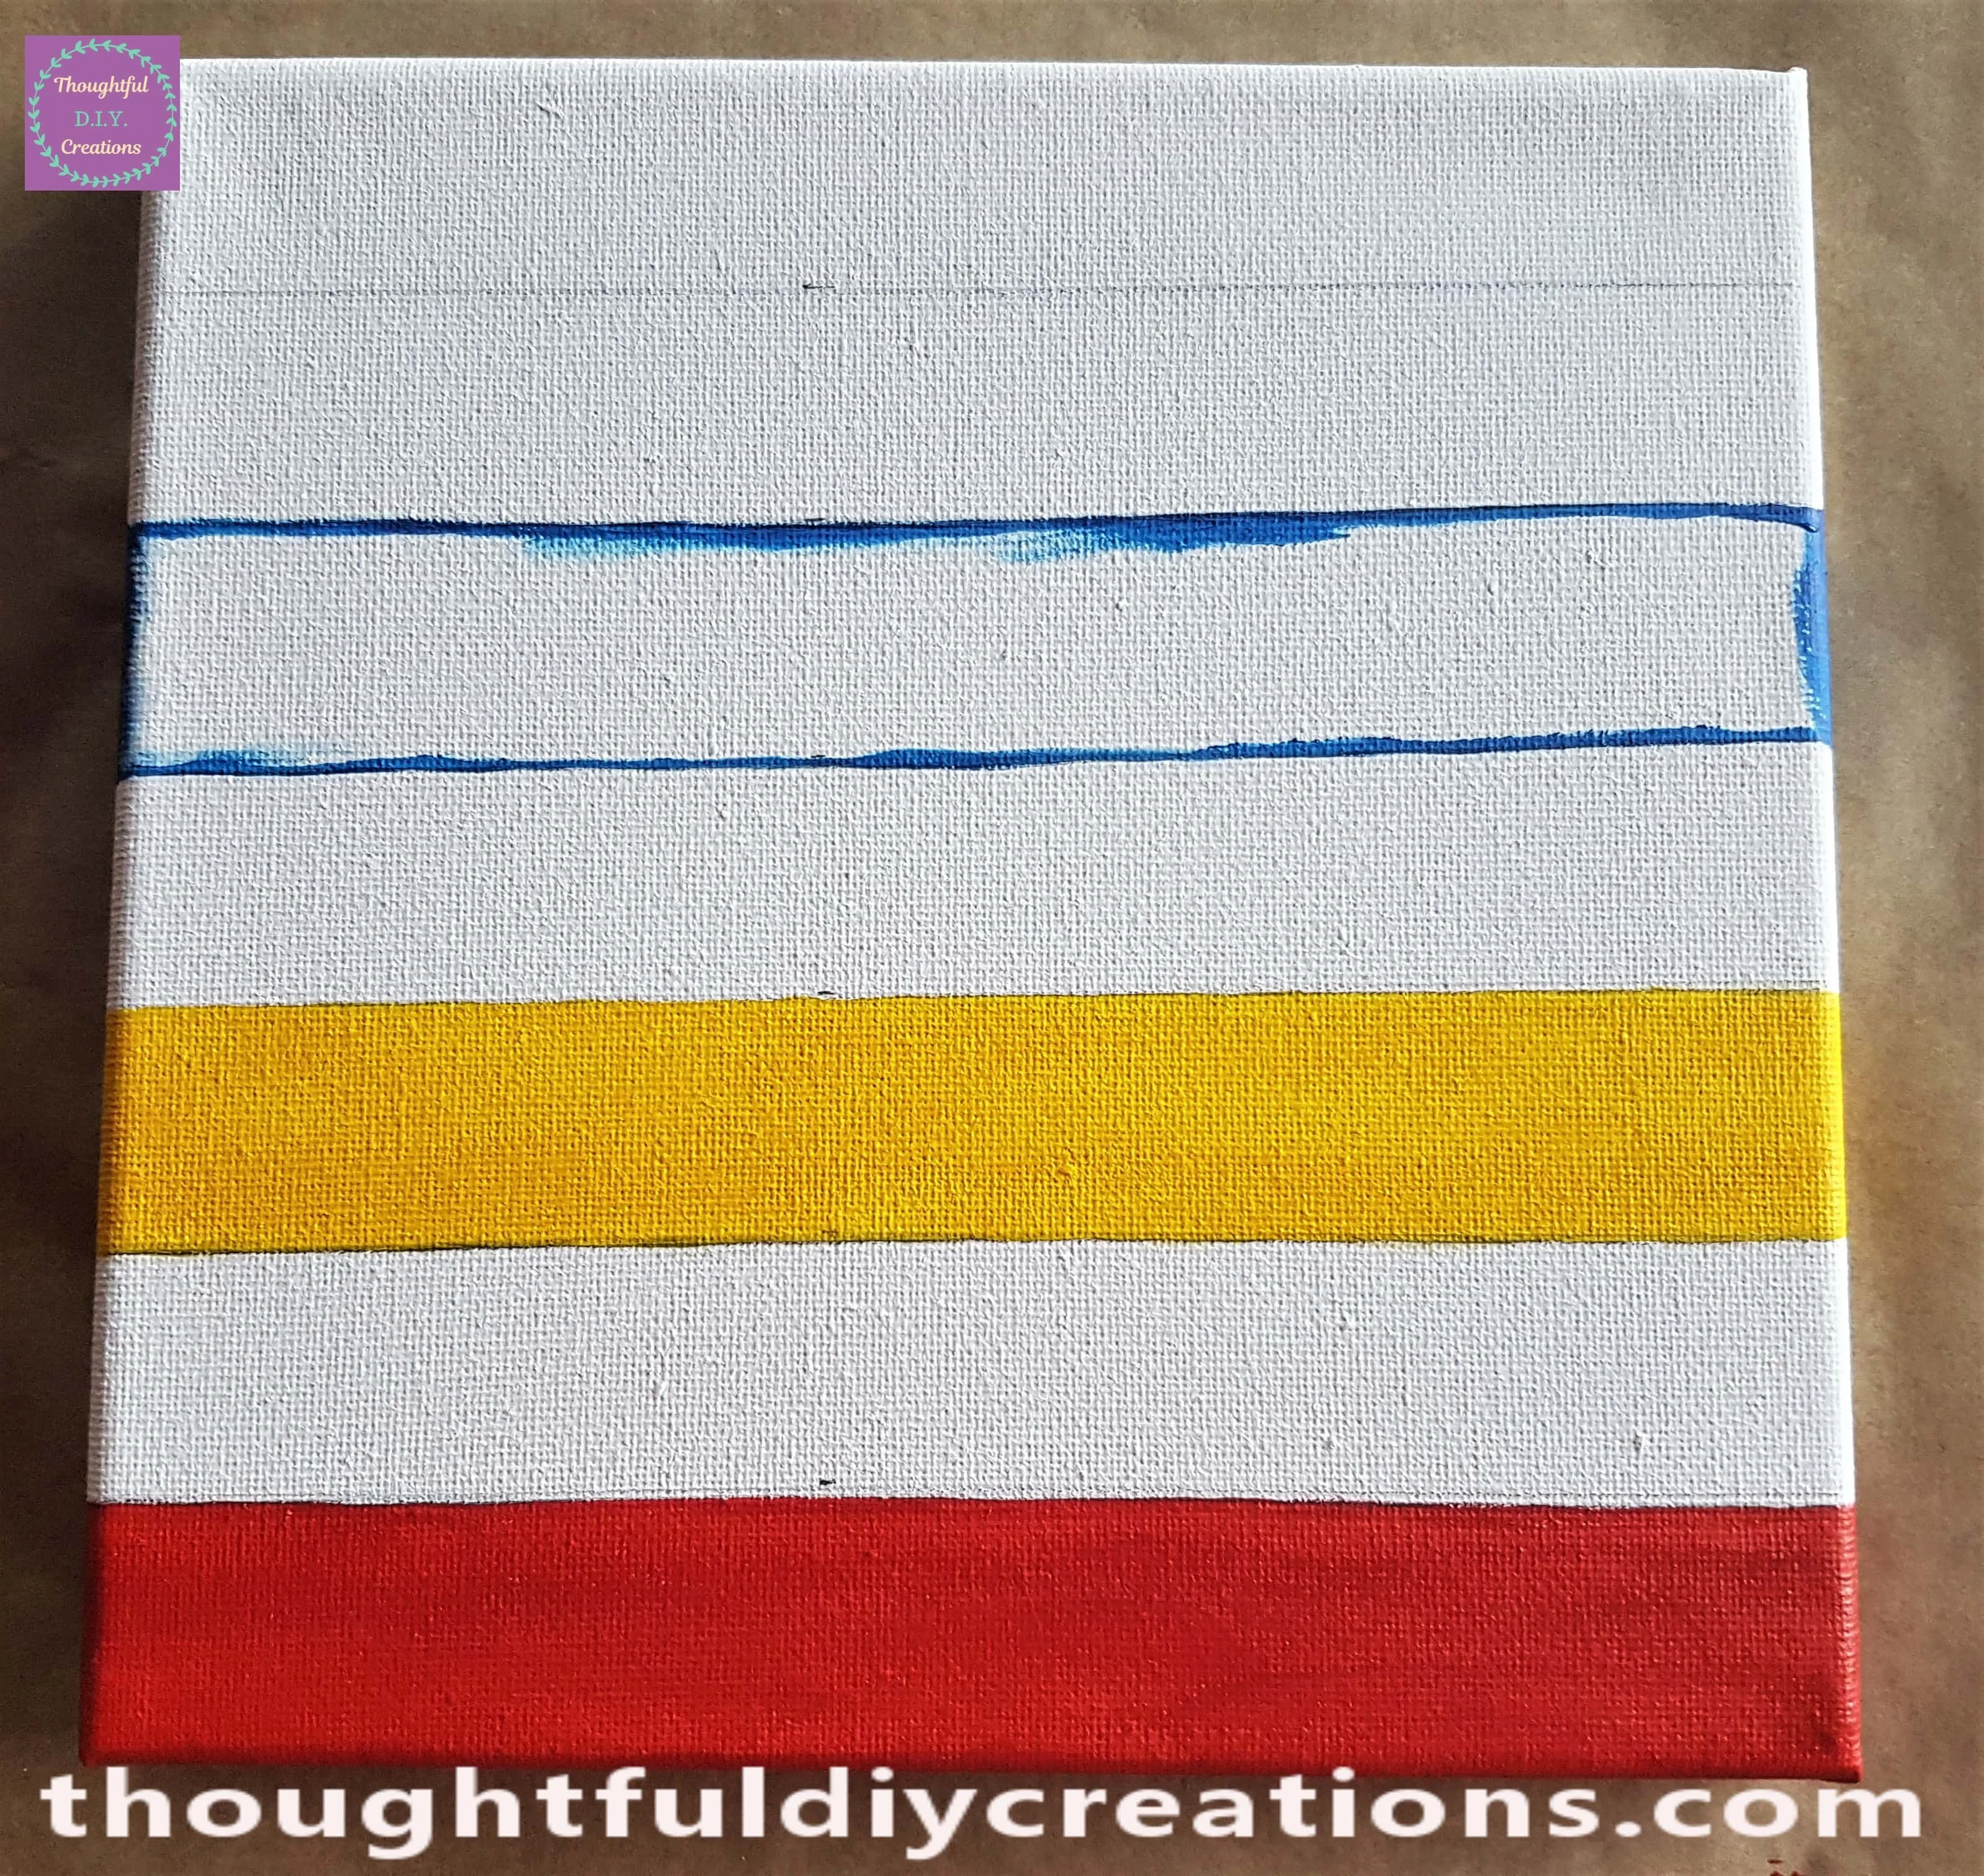
I then Painted the rest of the Blue portion on the Canvas.
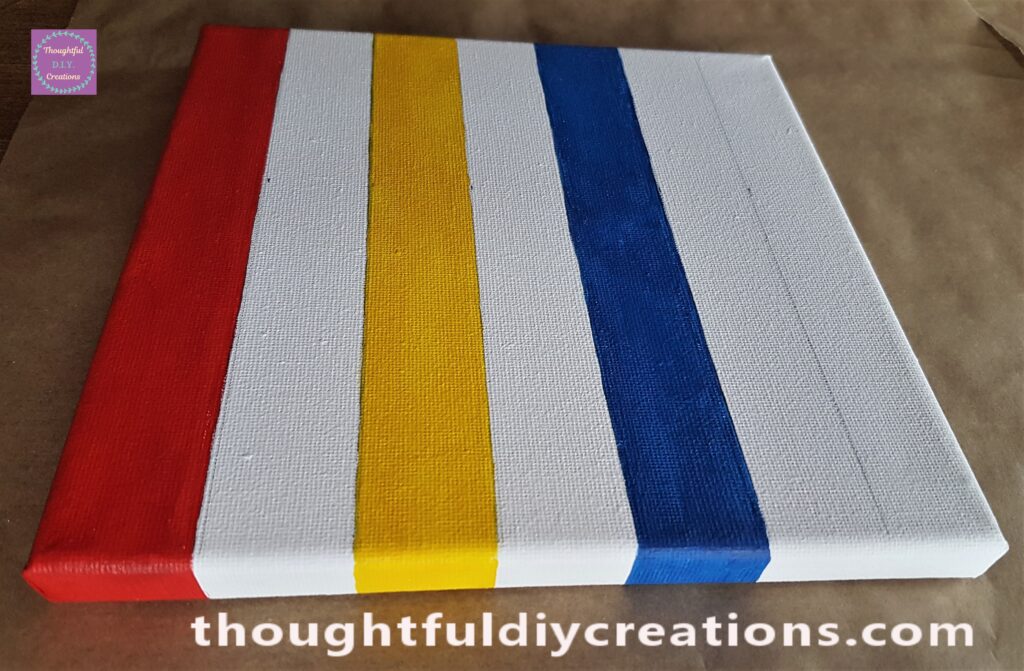
Painting the Crown Chakra
The Crown Chakra was Painted next with Violet Paint.
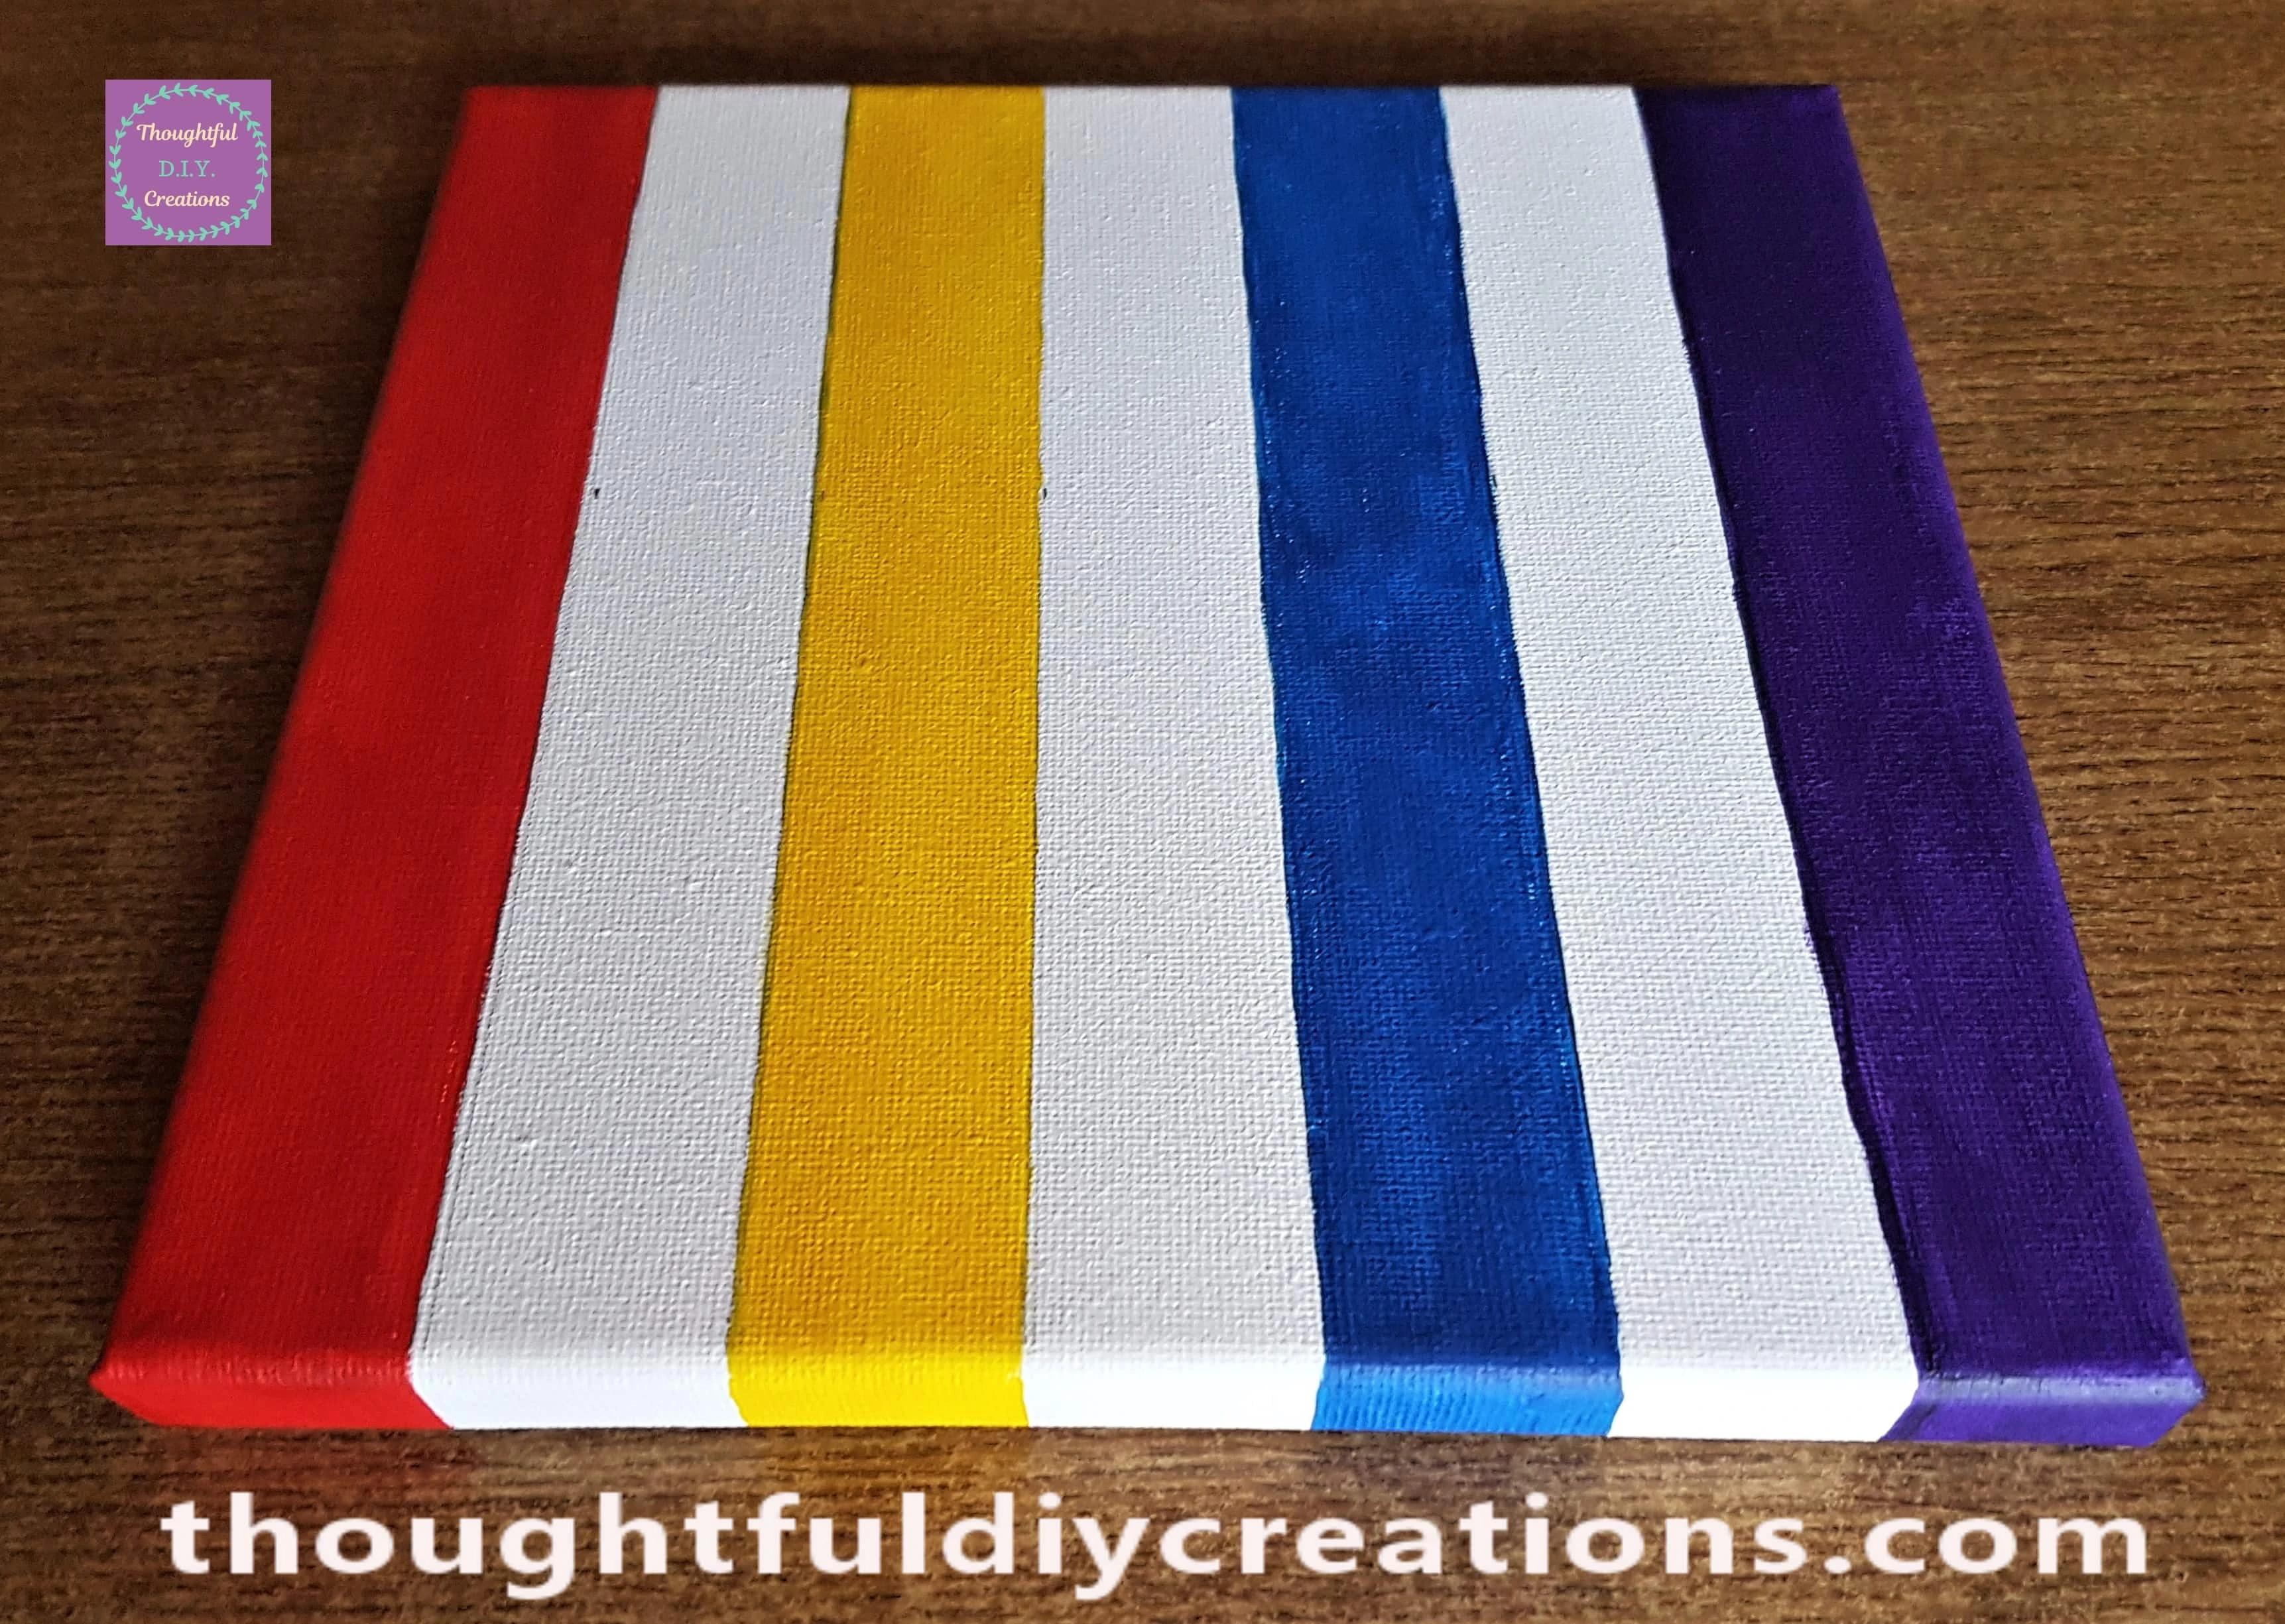
Painting the Remaining Chakras
I waited a few minutes for the Violet Paint to Dry and then I Painted the 3 remaining Chakras in the same way; the Sacral Chakra (Orange), the Heart Chakra (Green) and the Third Eye Chakra (Indigo).
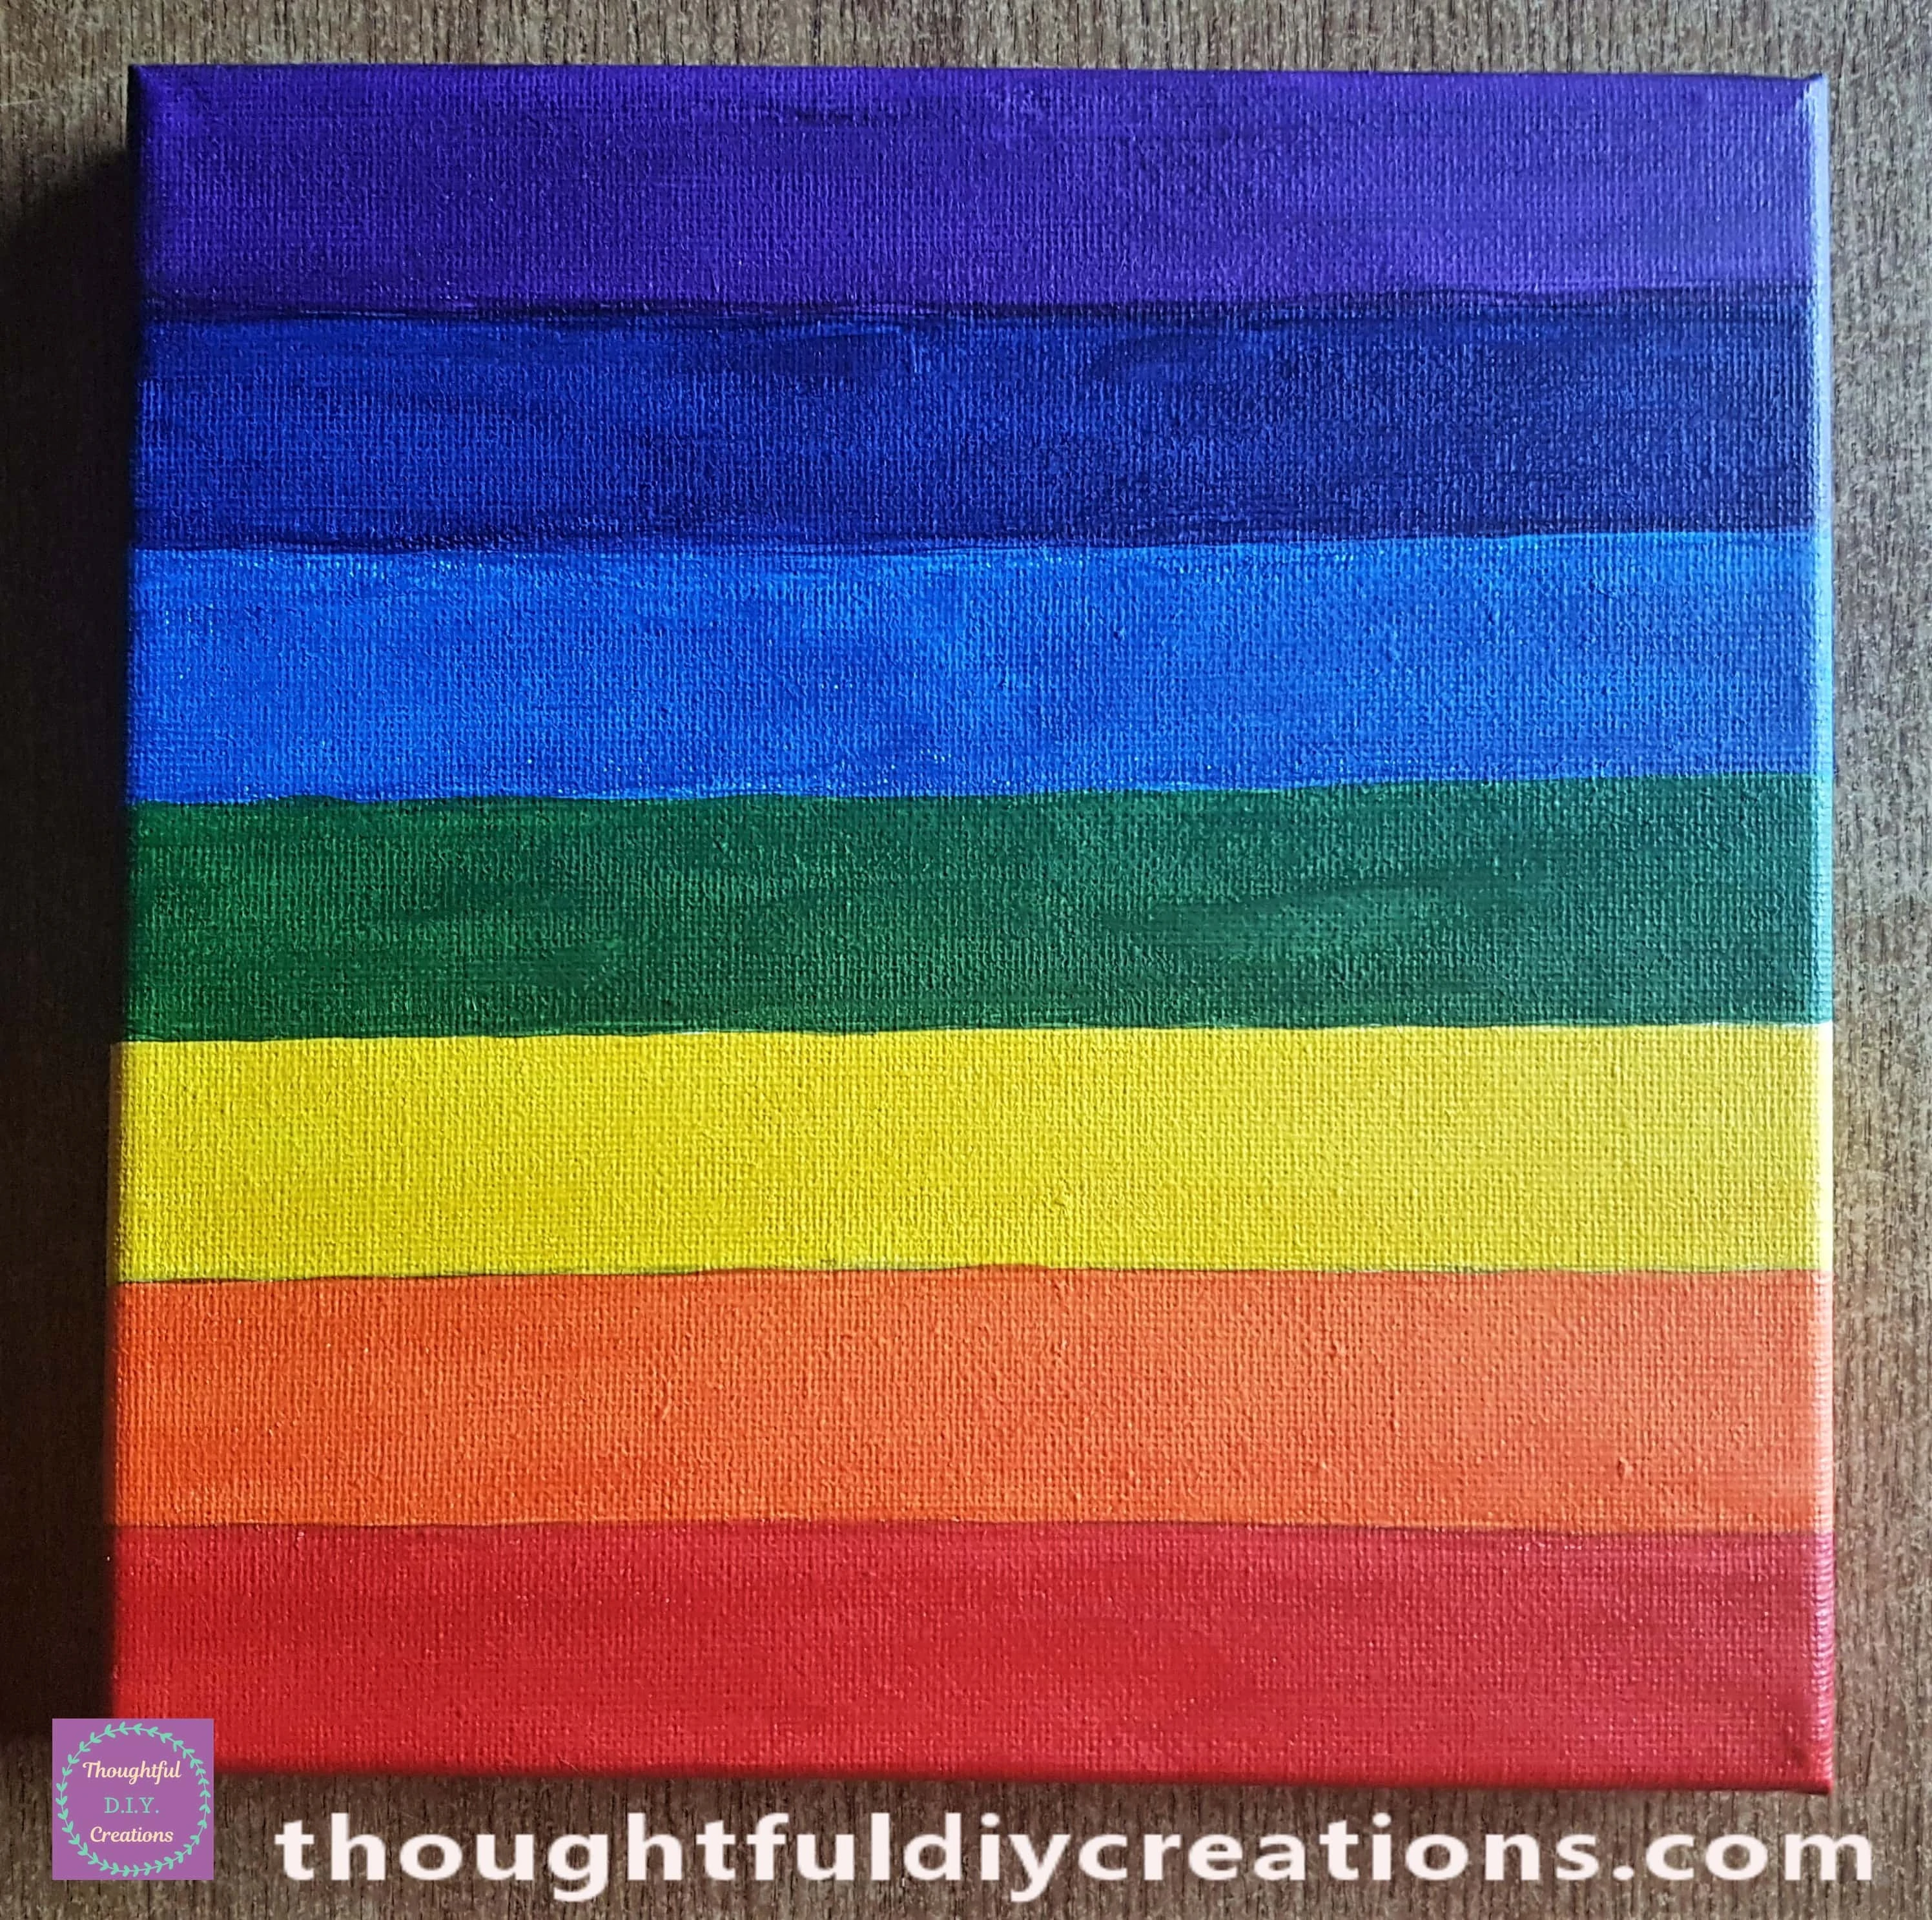
Second Layer of Paint on the Canvas
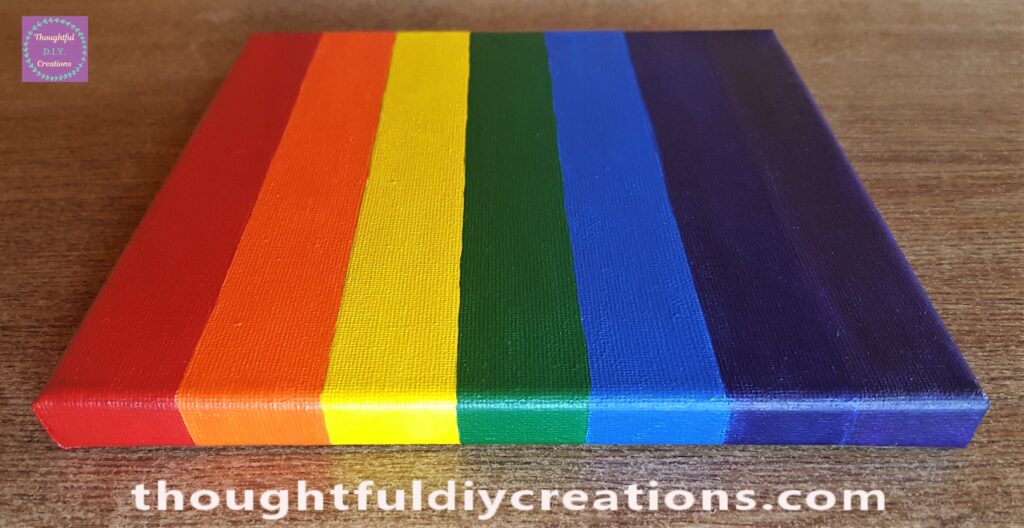
An Hour later I Painted a second layer over each Colour. I again Painted every second Chakra first and then Painted the remaining three.
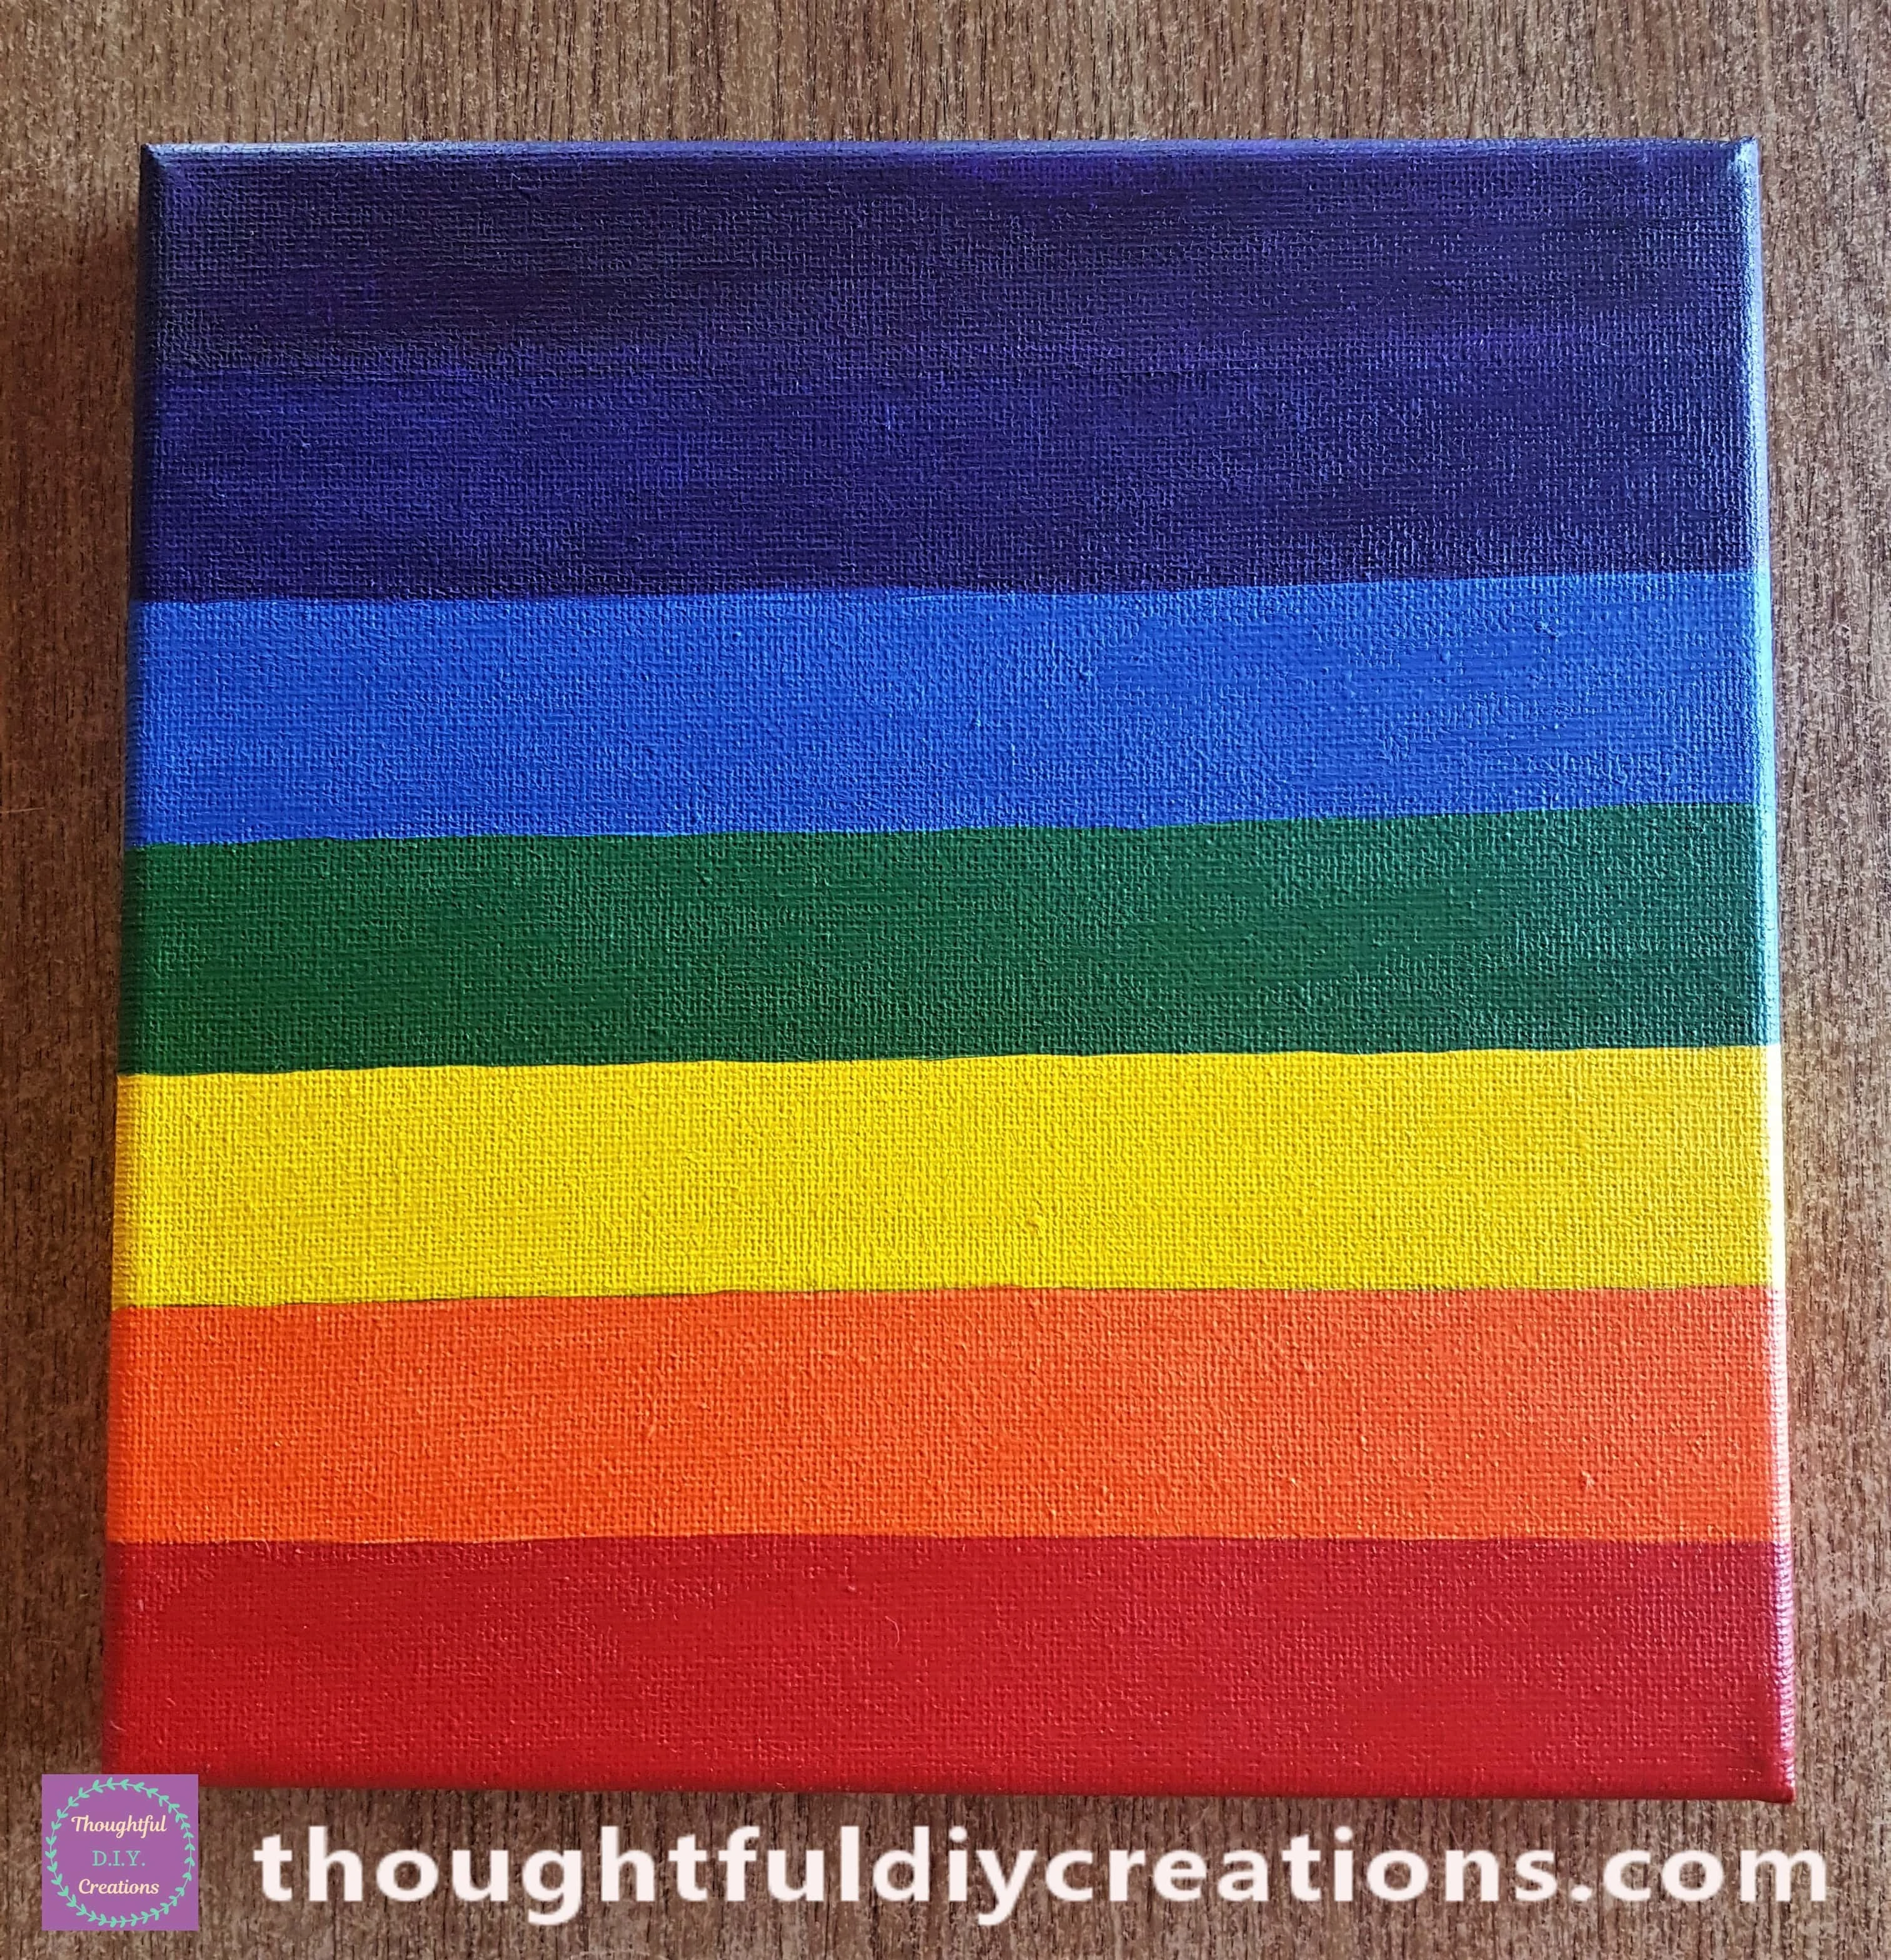
This Completed the Painting of the 7 Chakras on the Canvas.
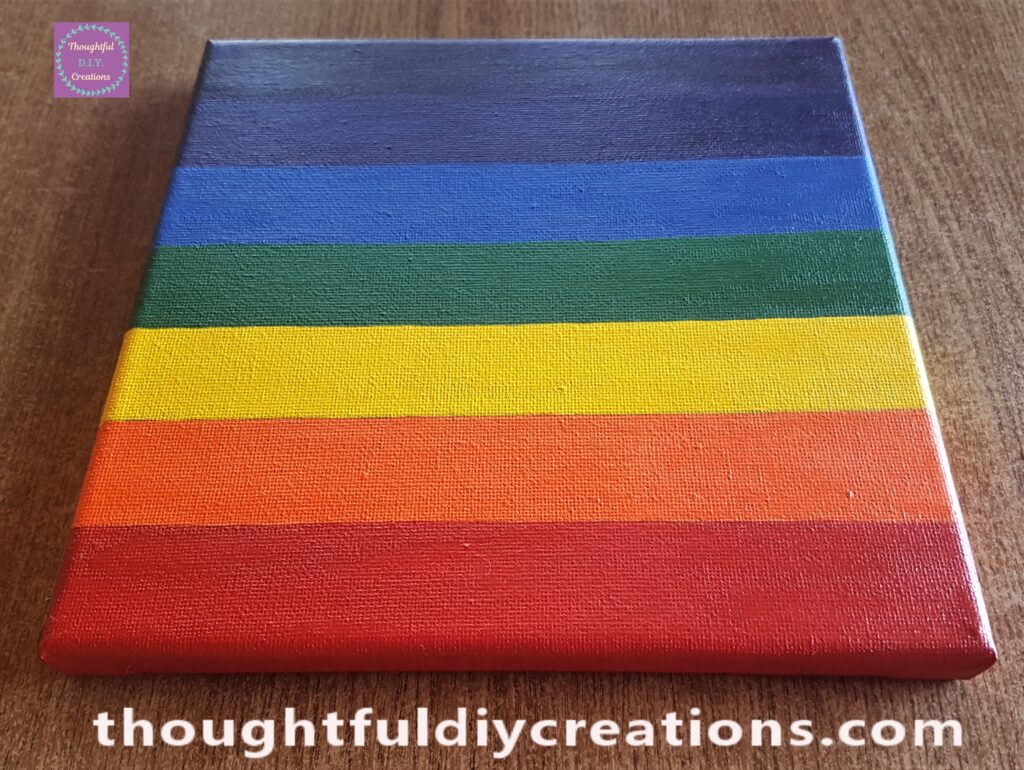
A Side angle of the Painted Canvas.
Printing a Silhouette of a Meditation Pose
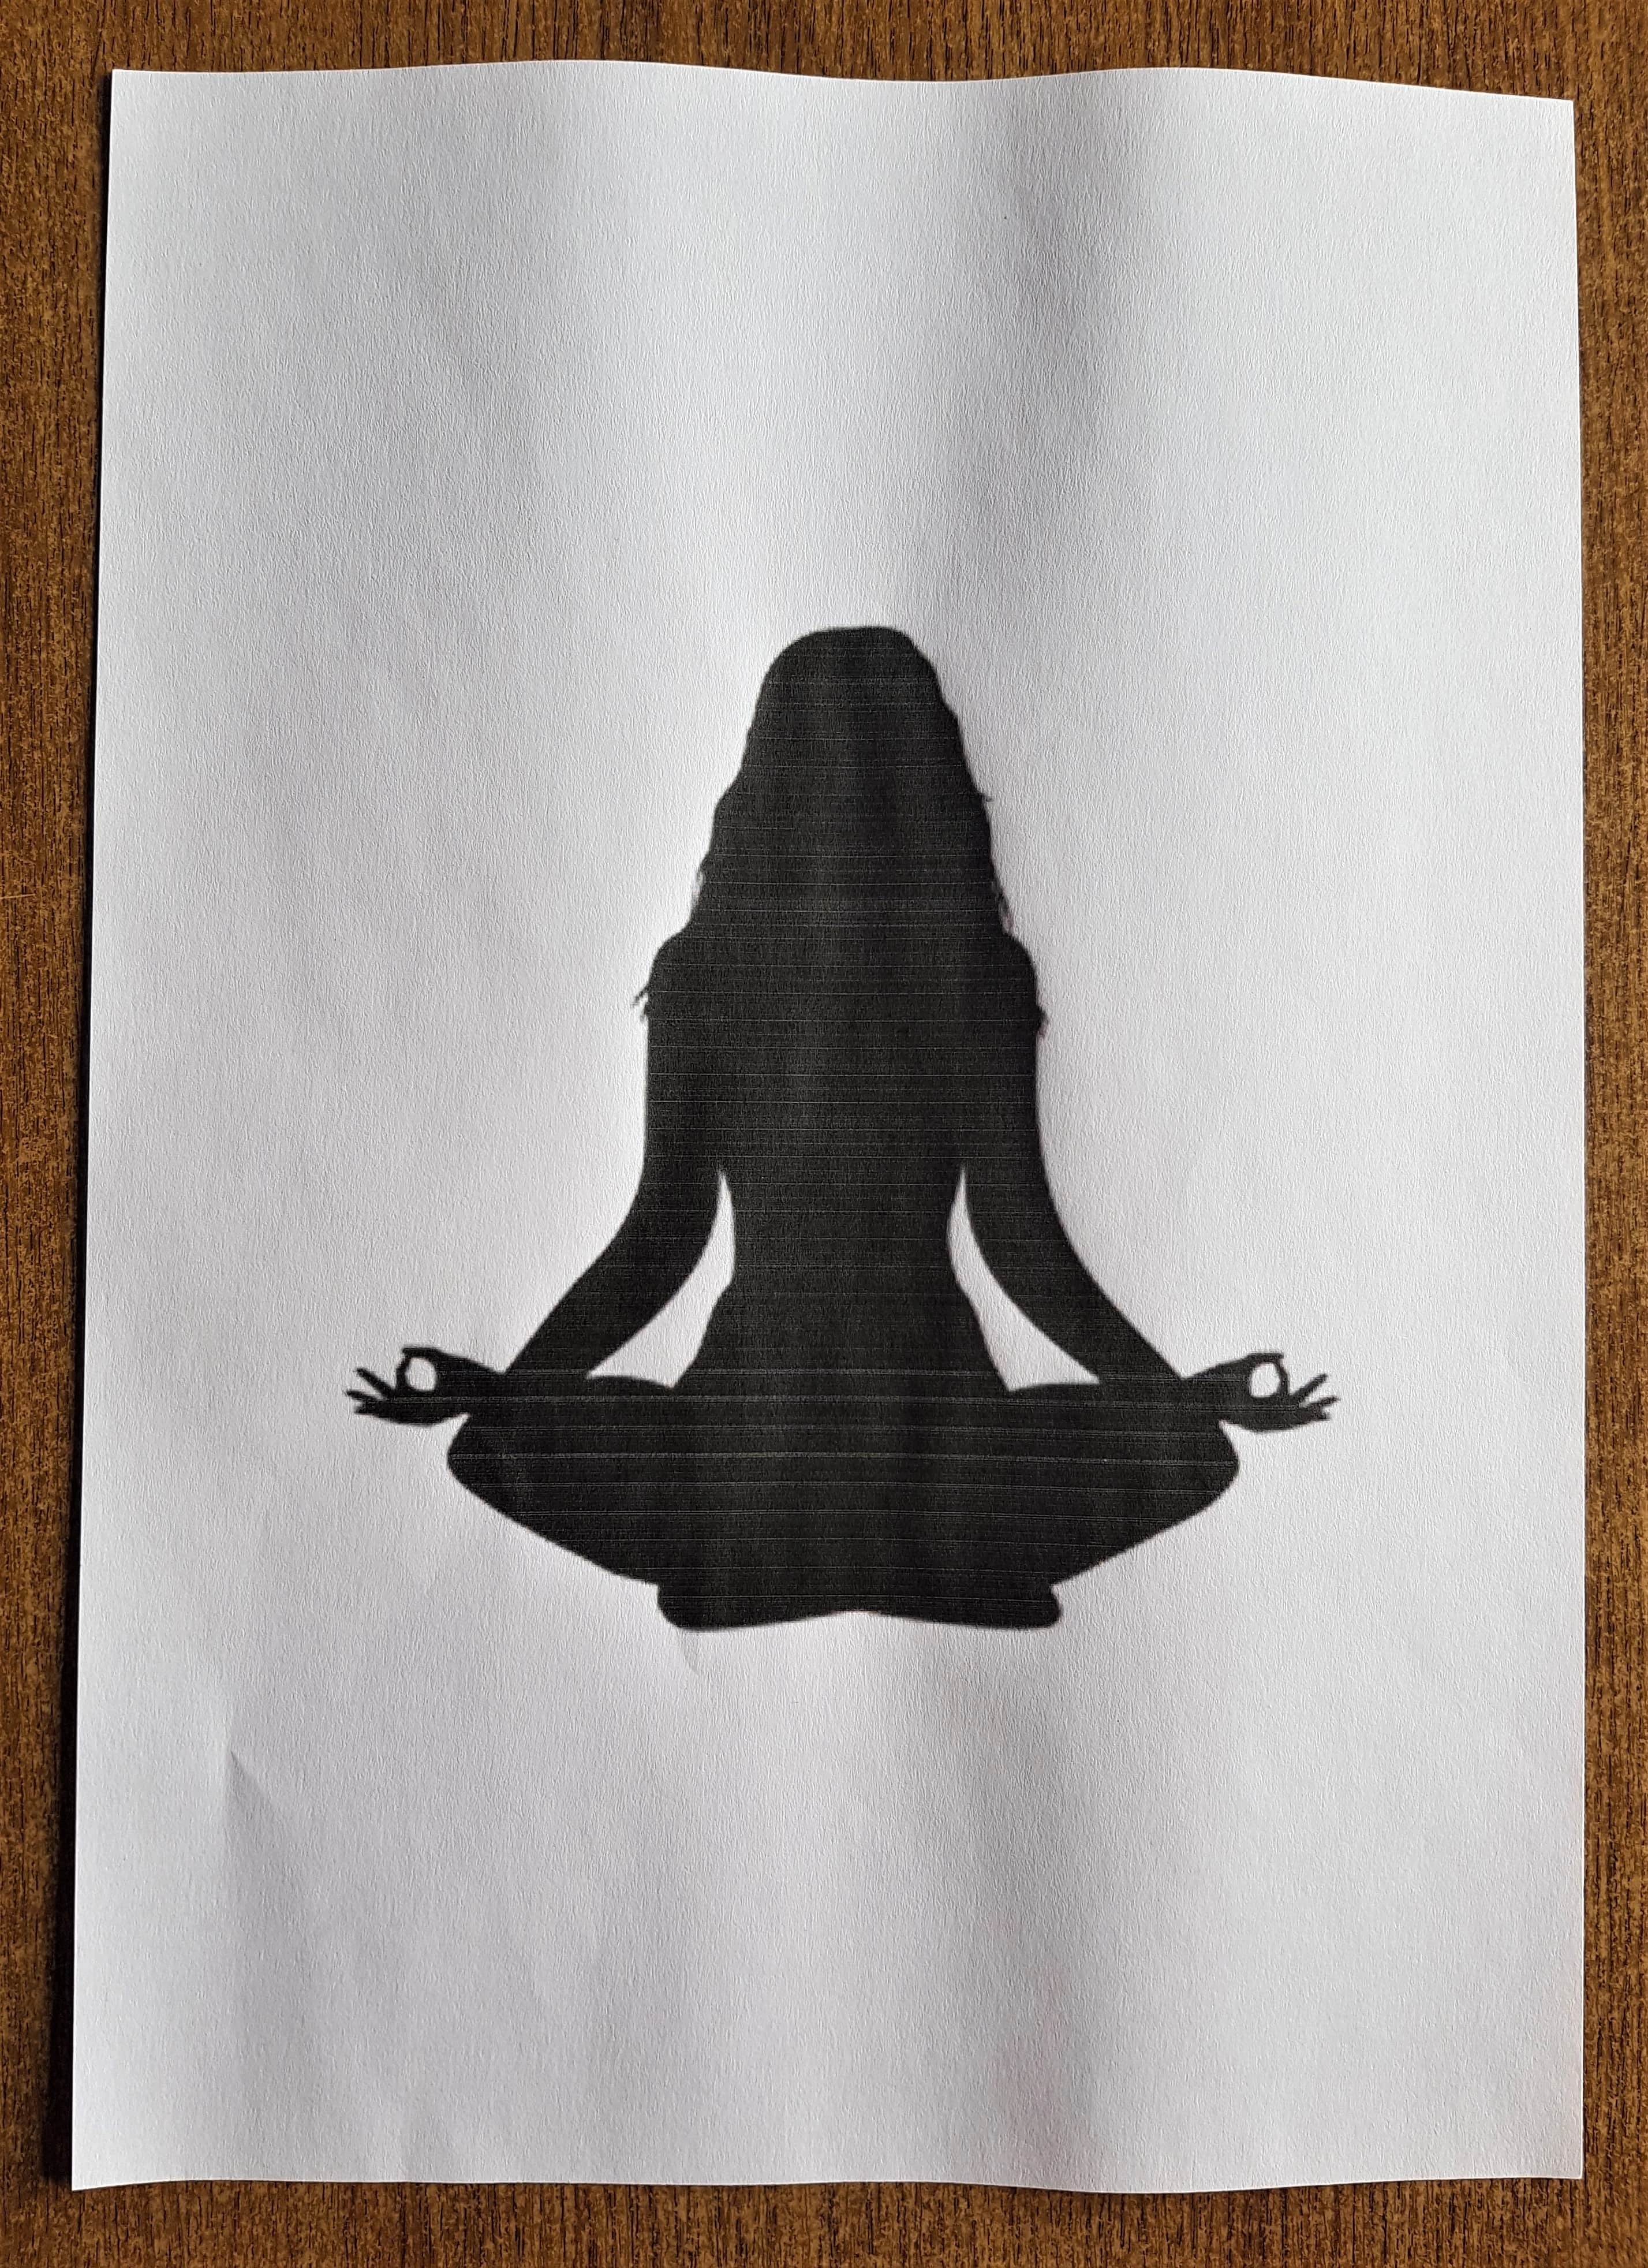
I looked up “Outline of Meditation Pose” on Google Images. I found the Image I liked best and Saved it to my Computer. I Printed it on Normal Printer Paper.
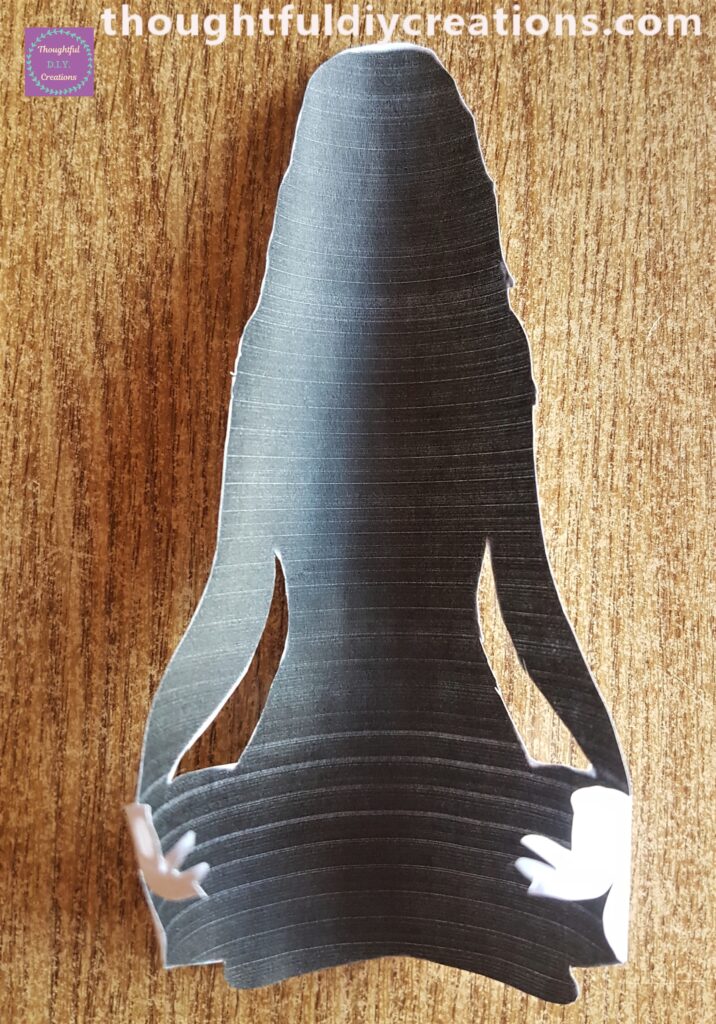
I Cut out the Image of the Woman Meditating with a small, sharp Scissors.
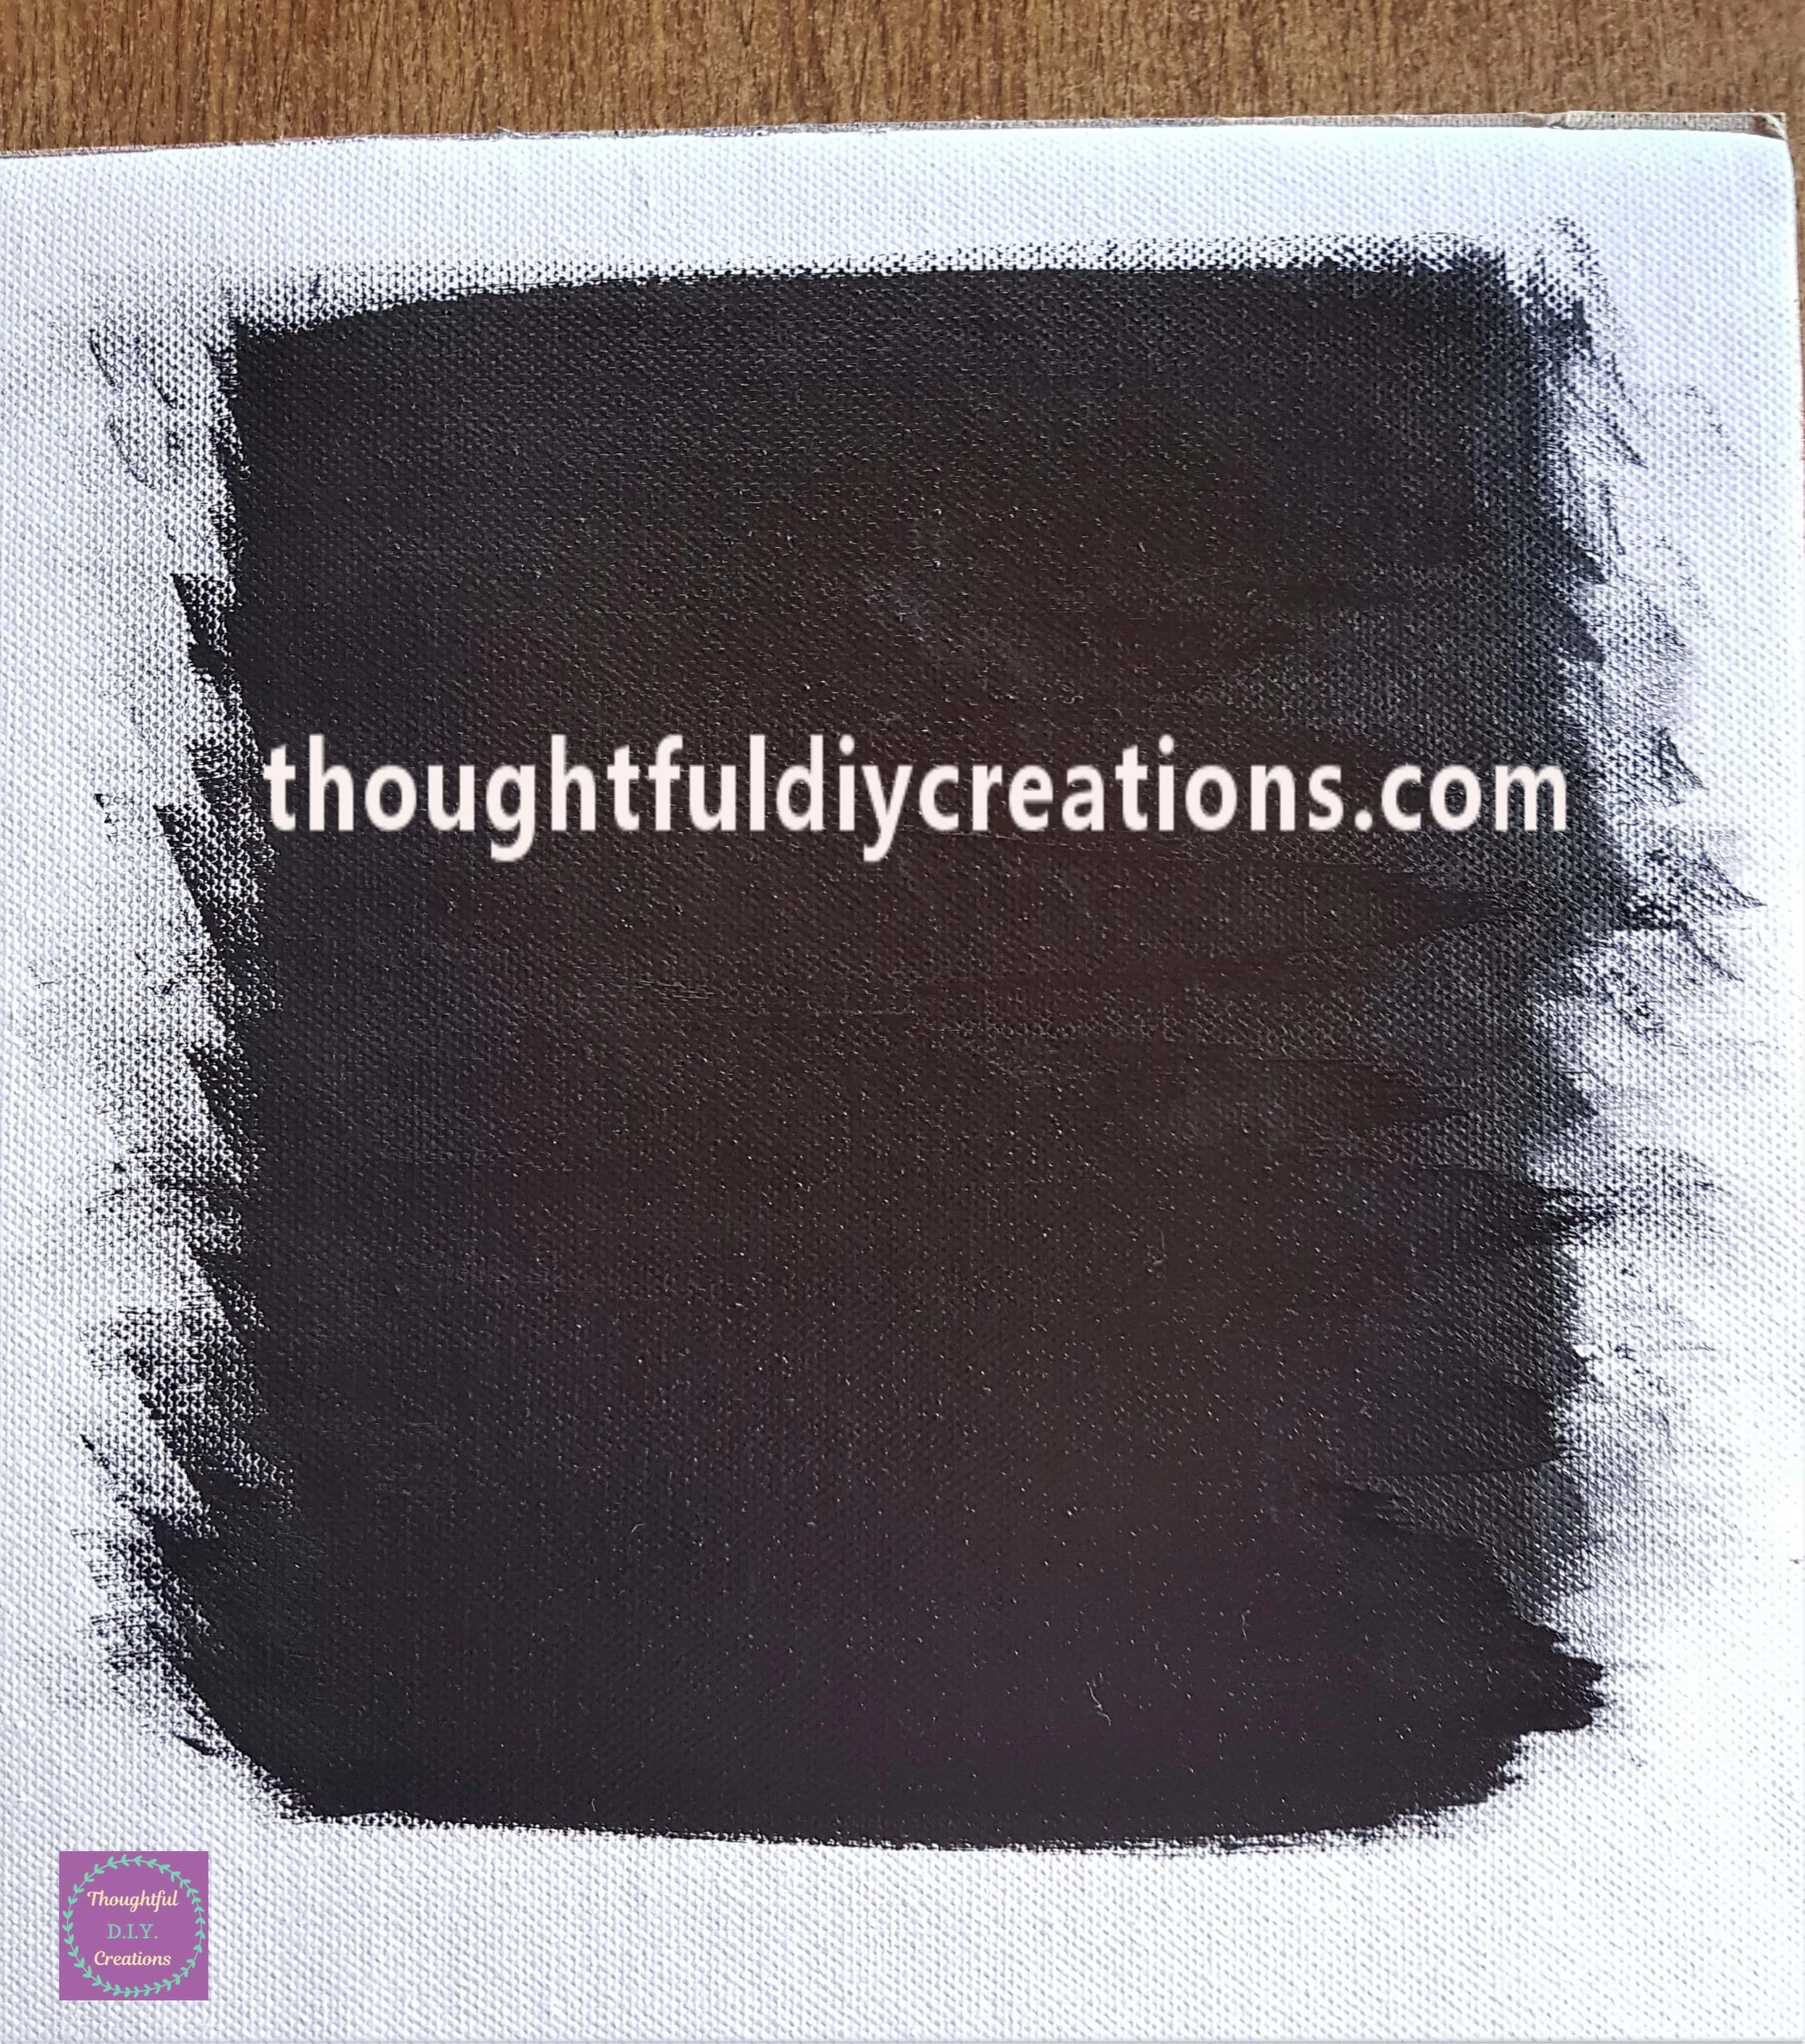
Painting Canvas Paper Black
I got my Watercolour Pad, a big flat Paintbrush and Black Acrylic Paint.
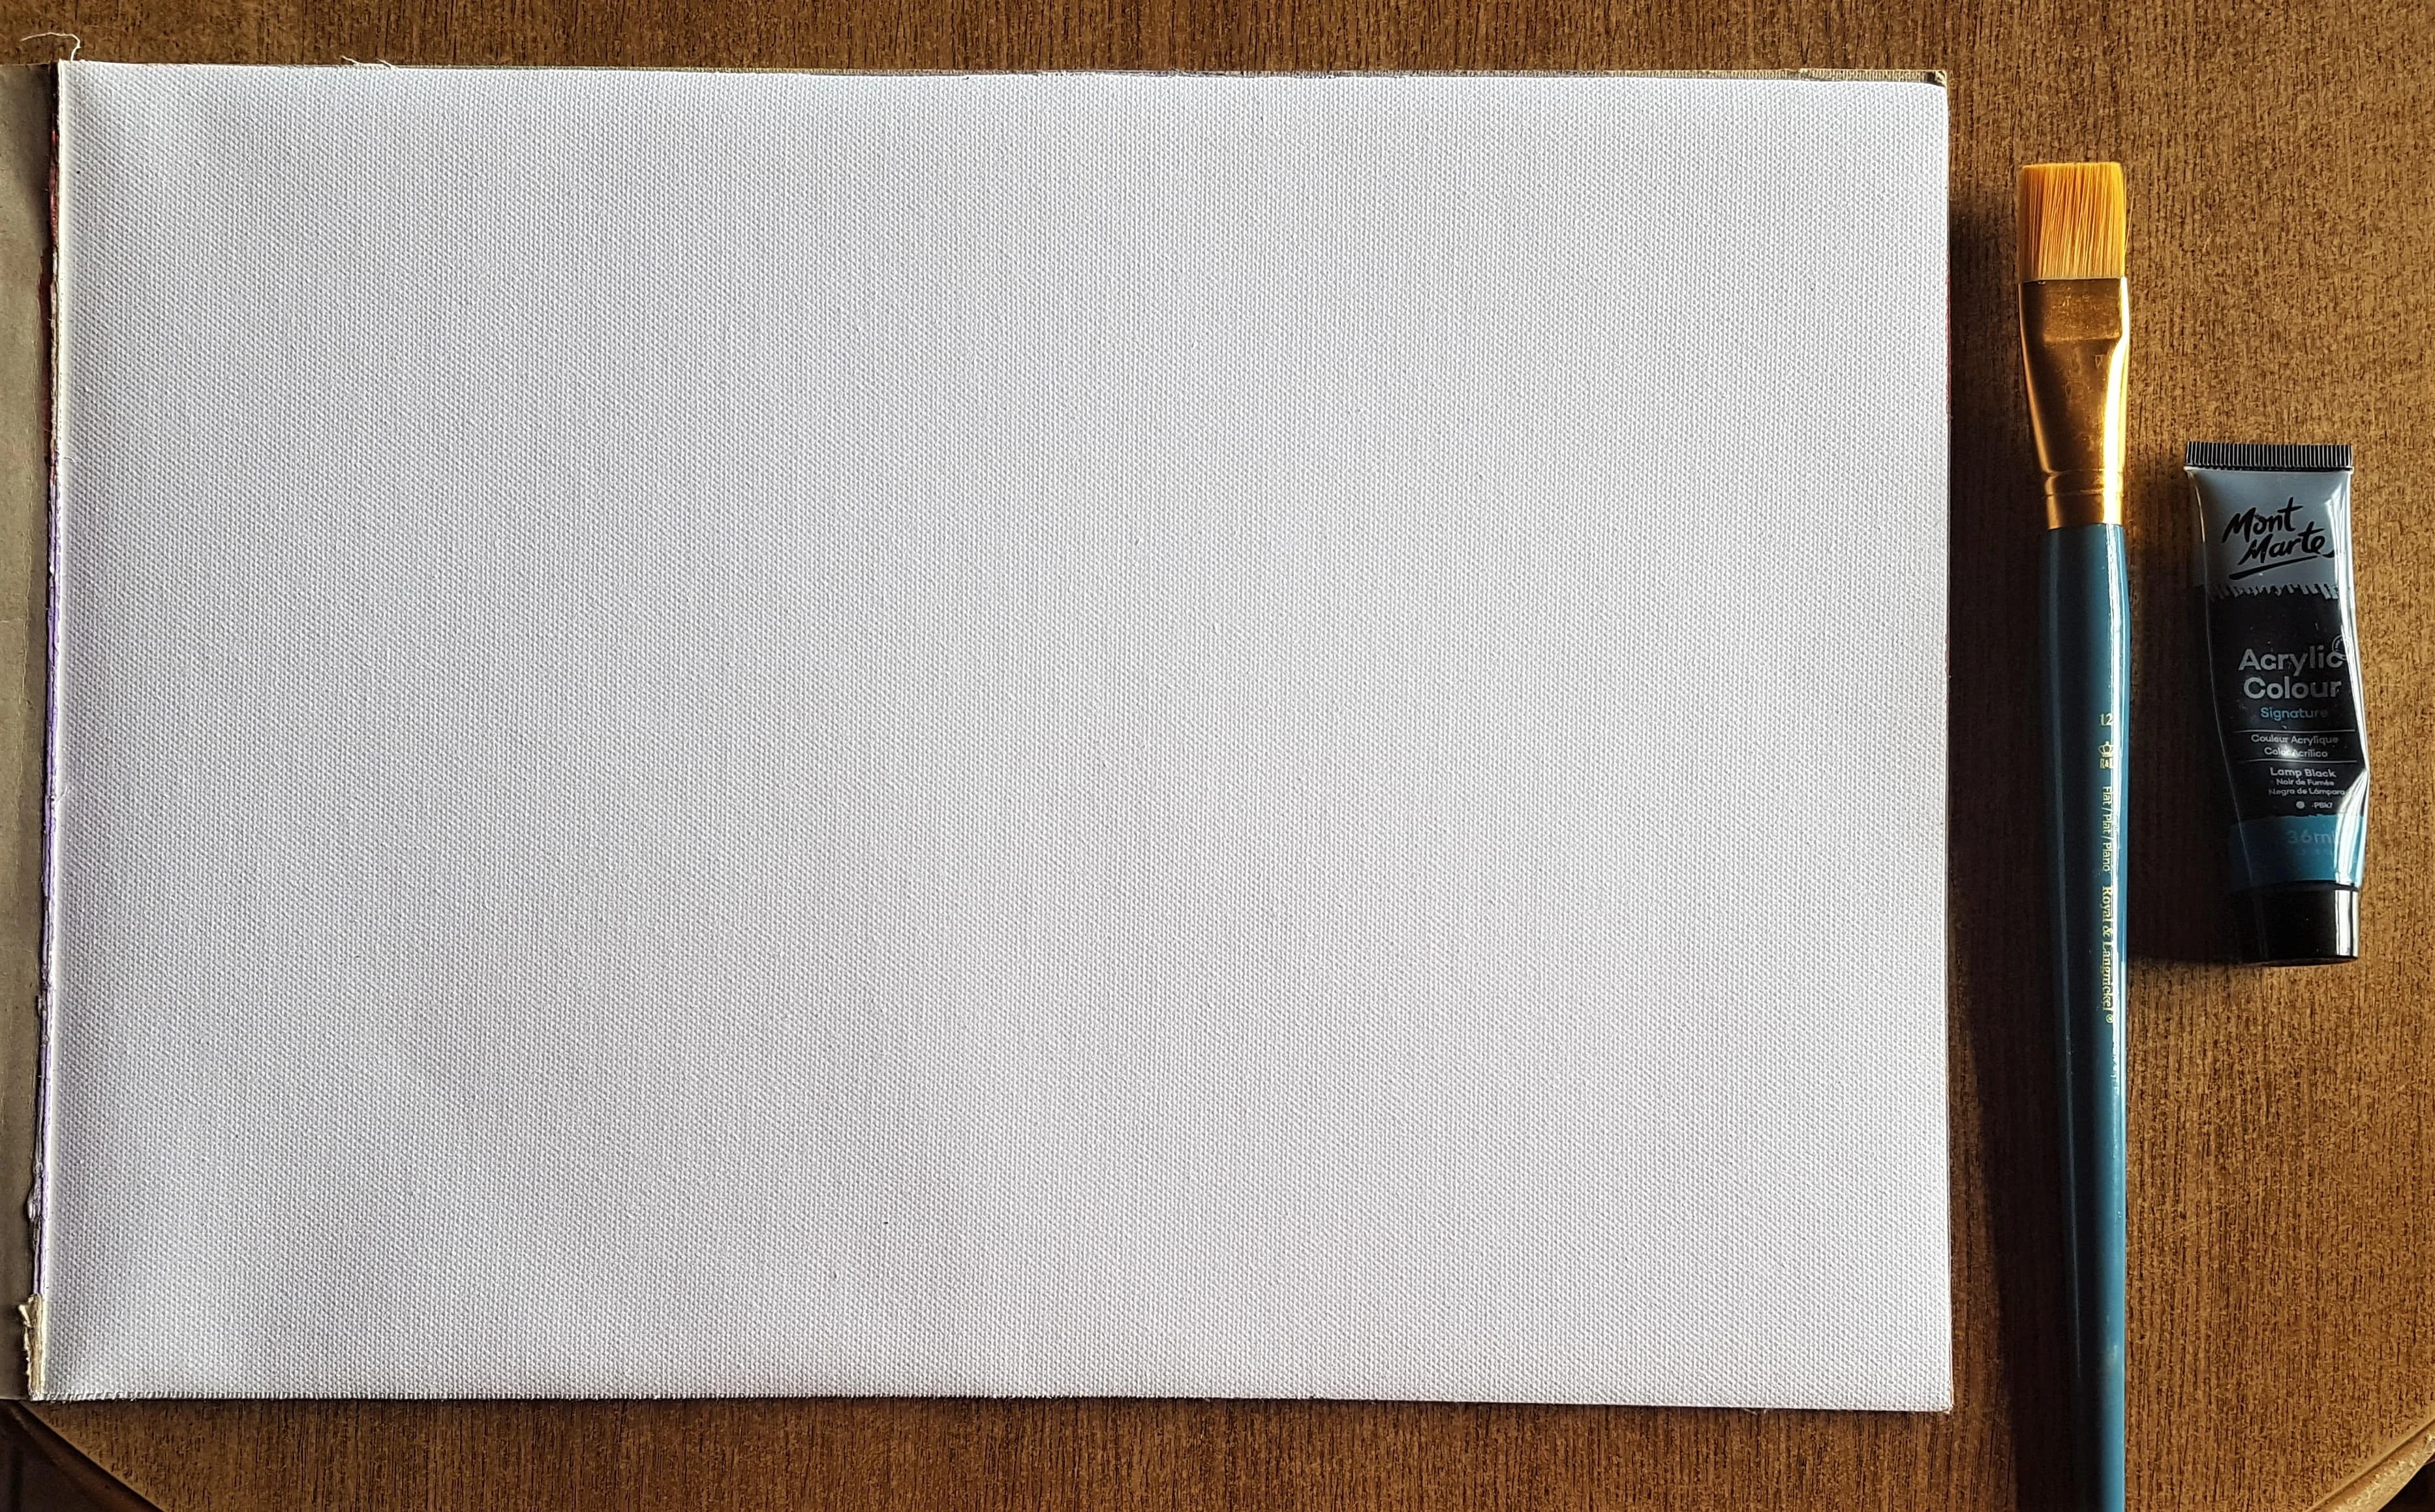
I Painted a large section on the Canvas Paper with the Black Paint. I Painted 2 layers leaving drying time in between each layer.
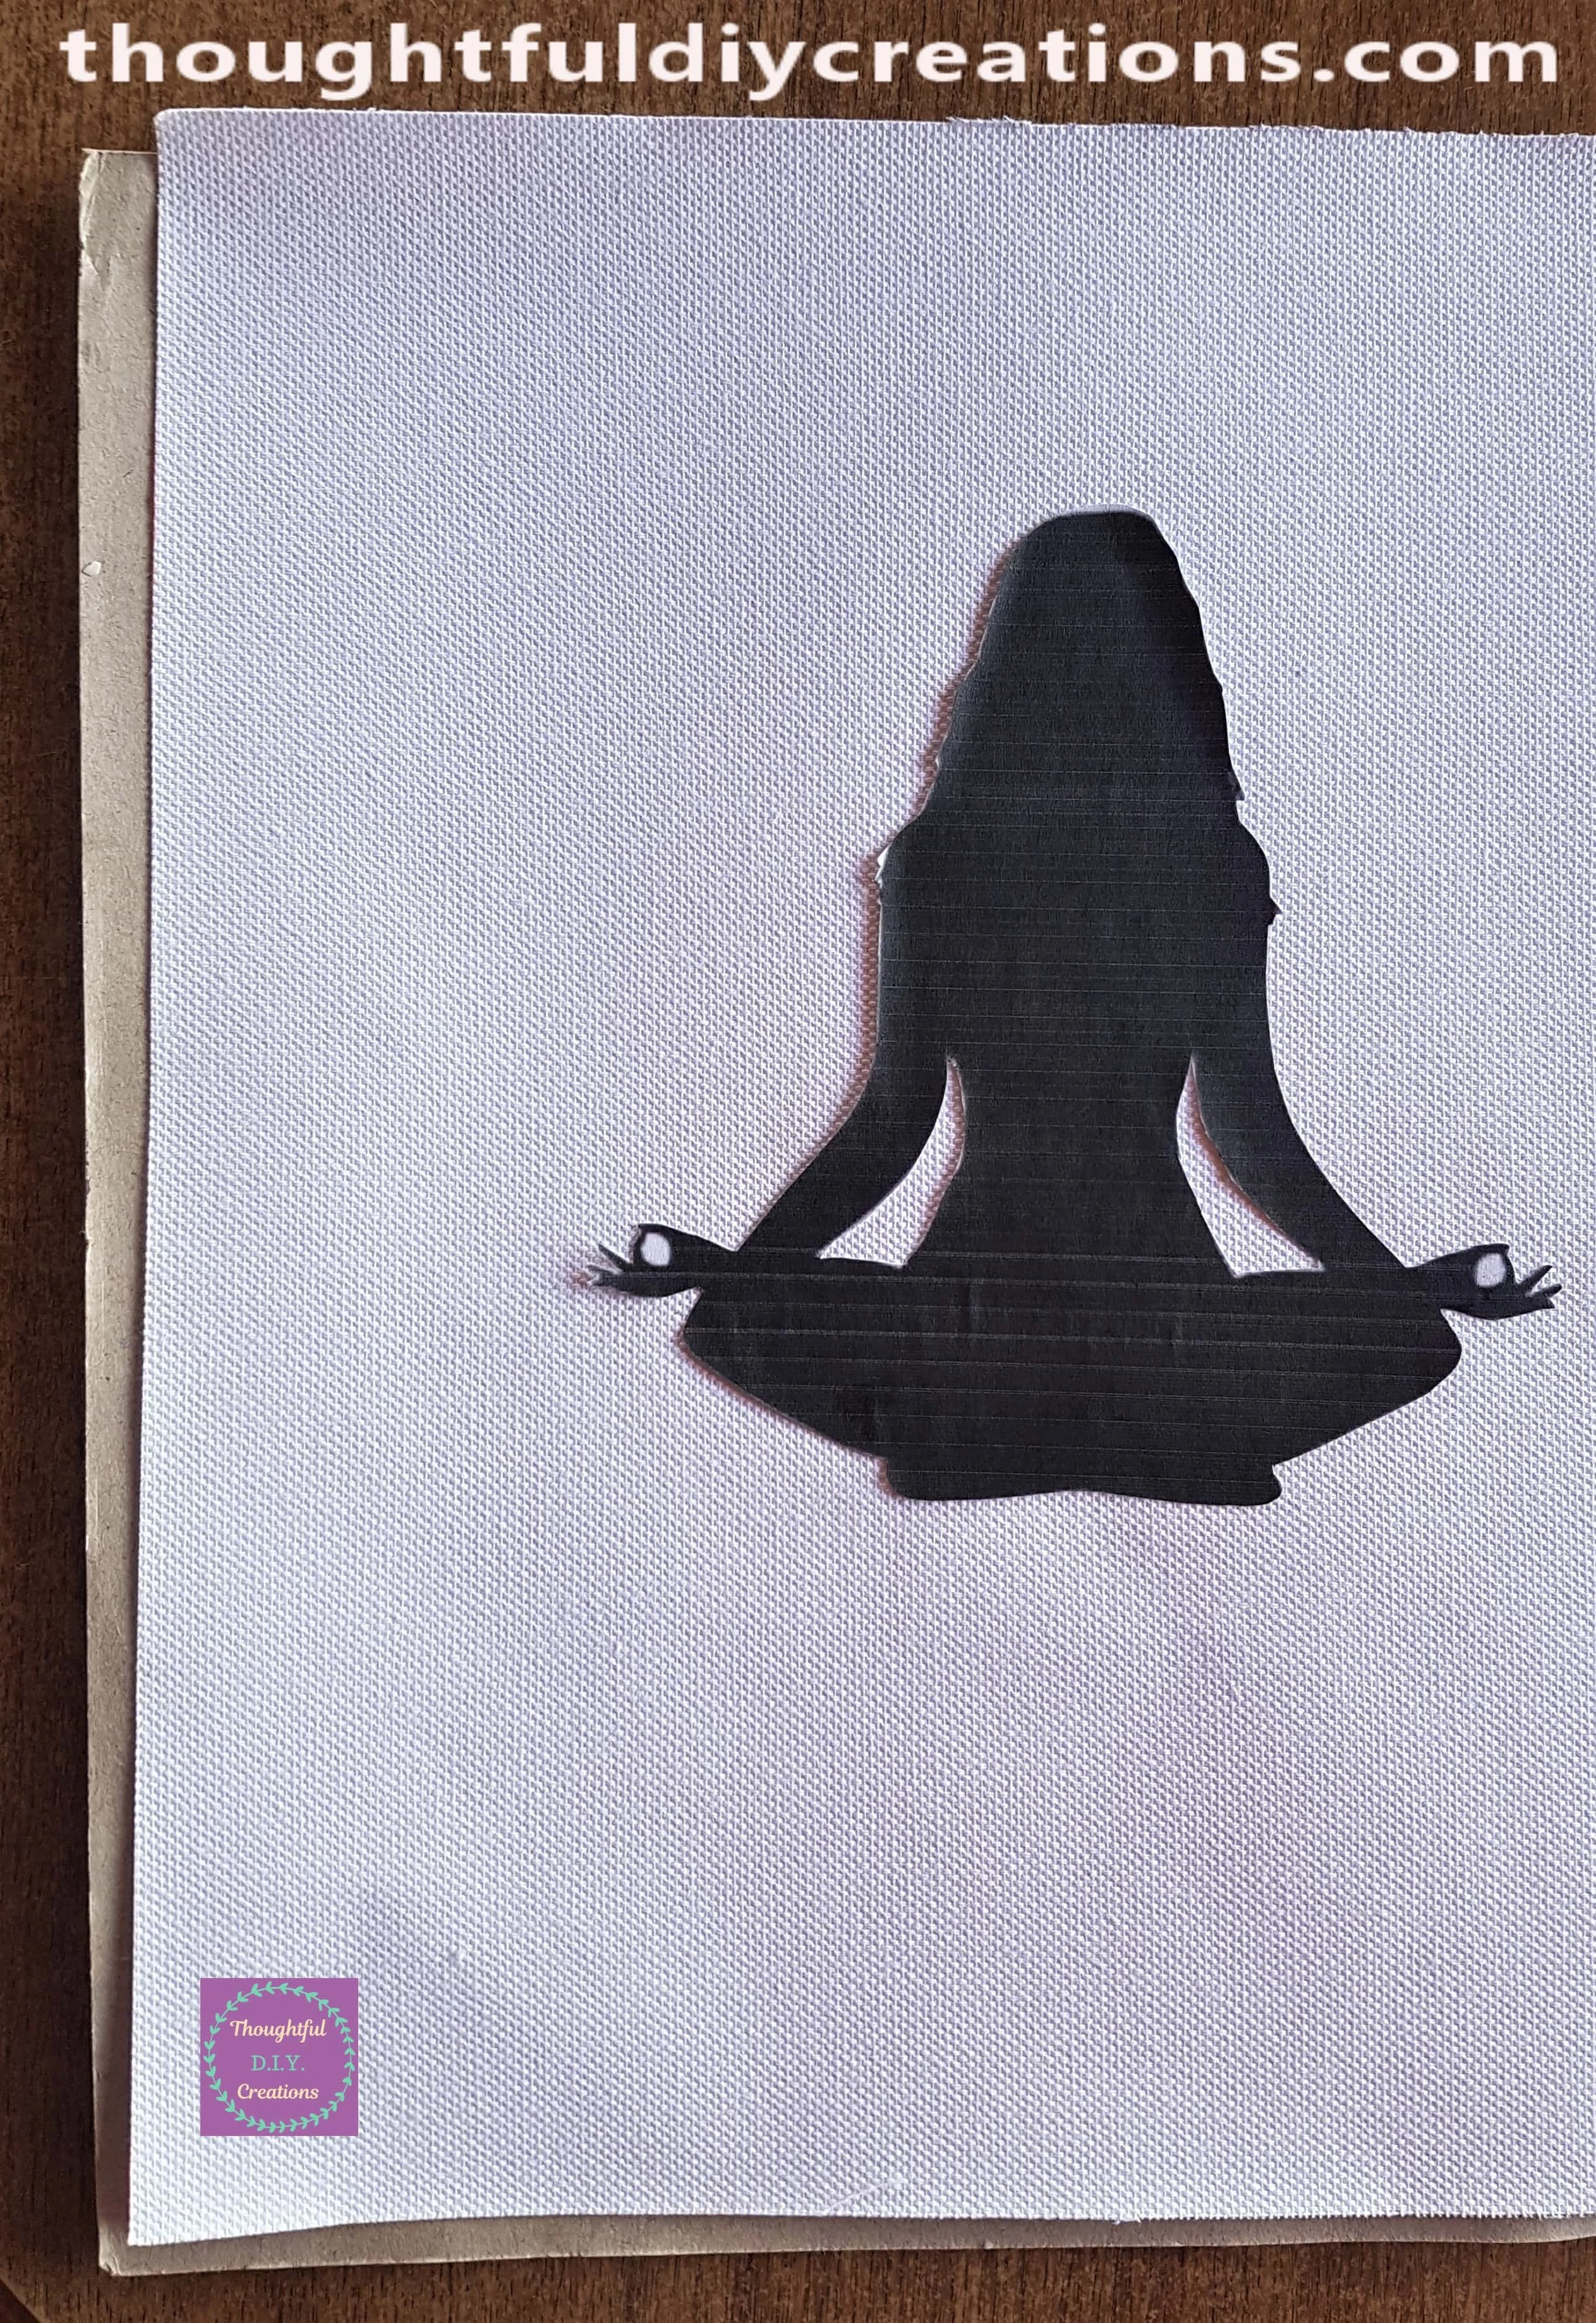
Gluing the Silhouette to the back of the Black Page
I used Pritt Stick to Glue the Silhouette to the back of the Page I Painted Black.
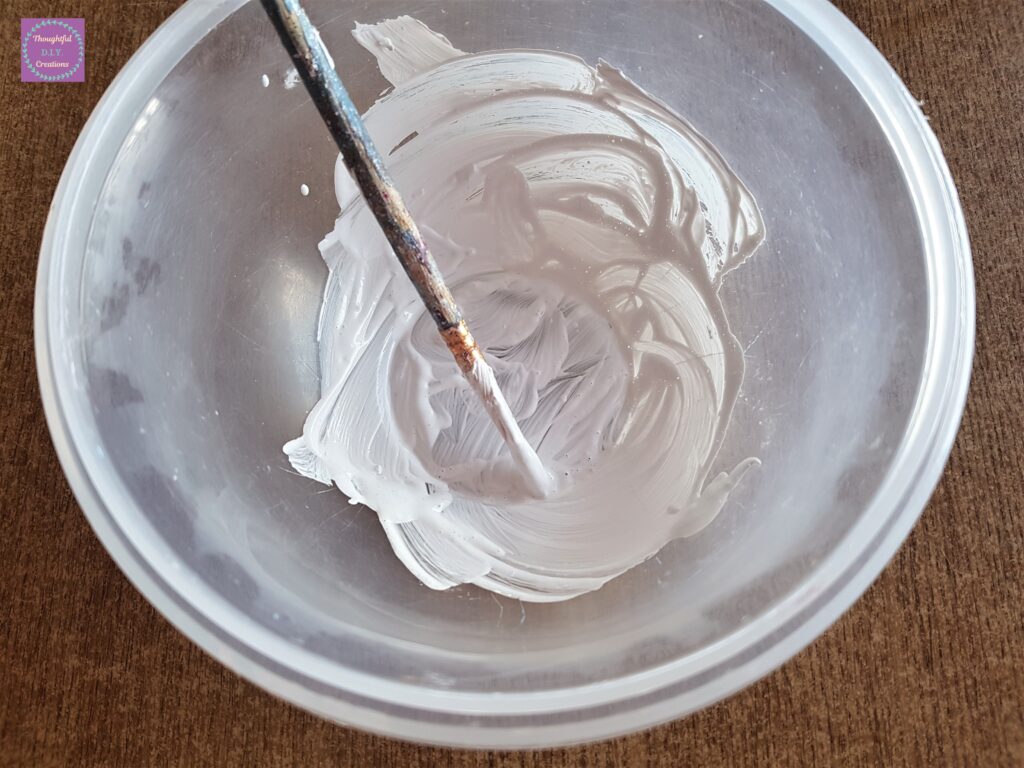
Adding White Paint Splatters to the Black Paint
I put a small amount of White Acrylic Paint into a Bowl and added a couple drops of Water and mixed it together with a Paintbrush.
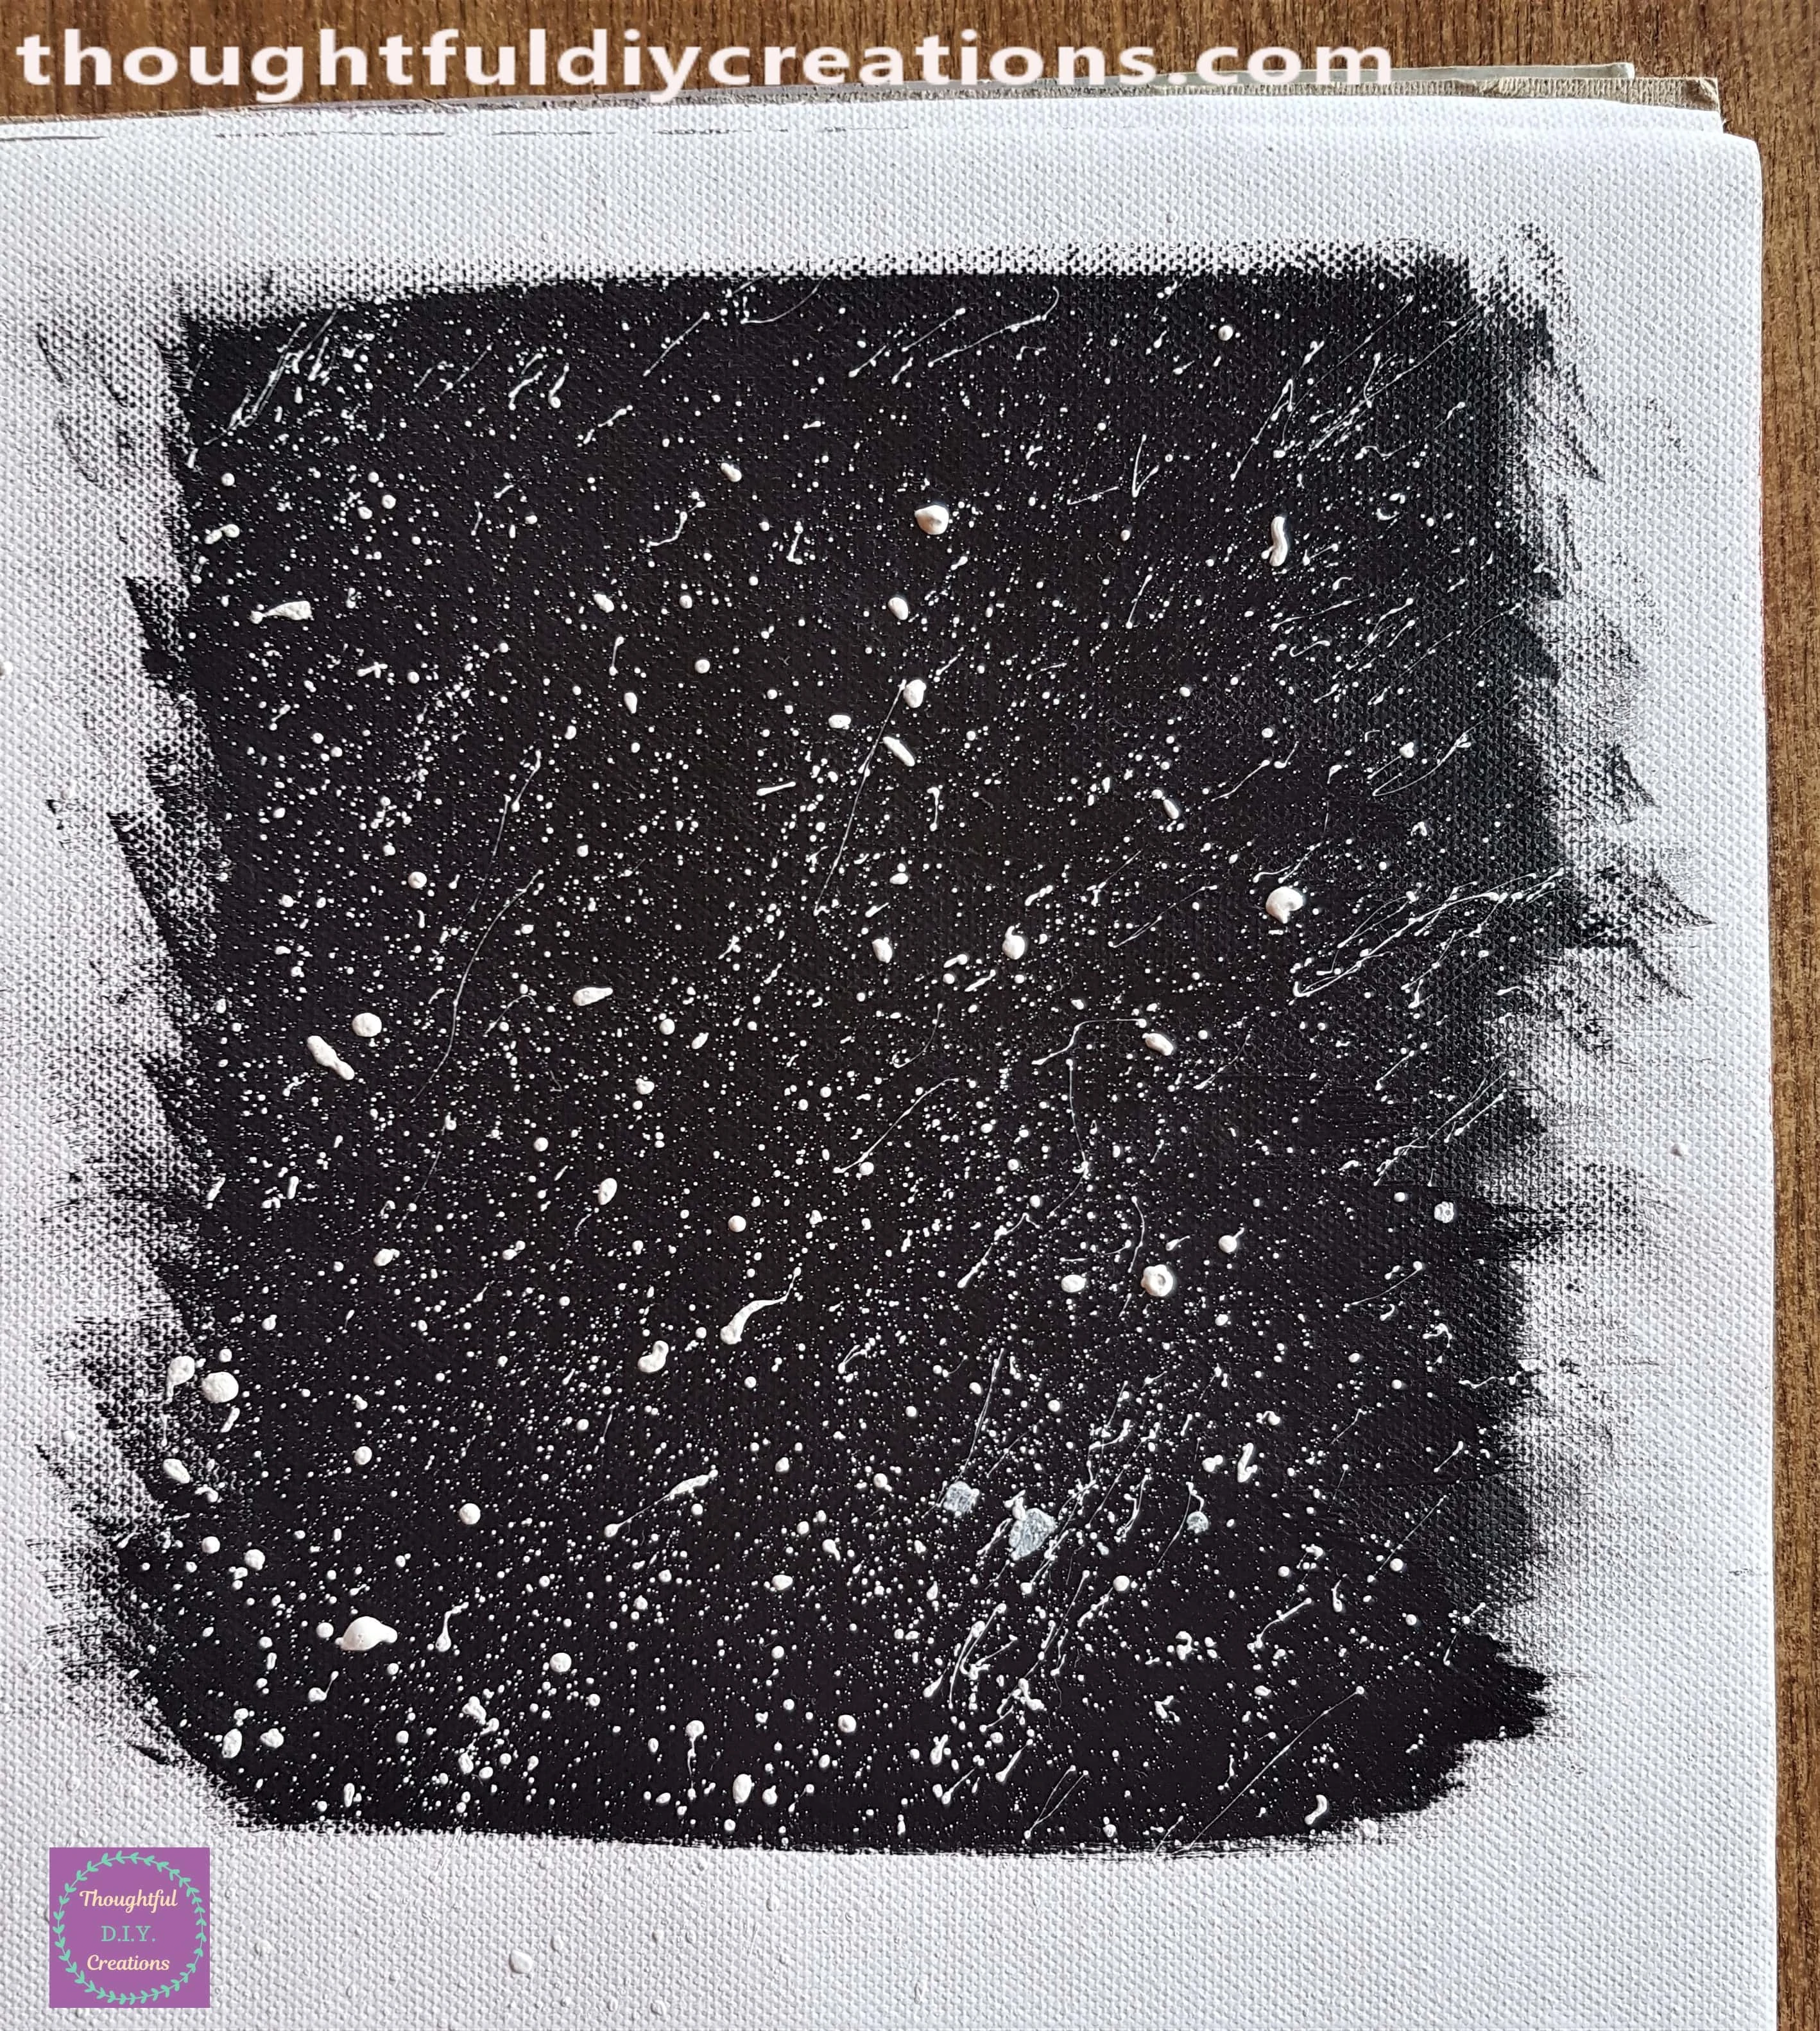
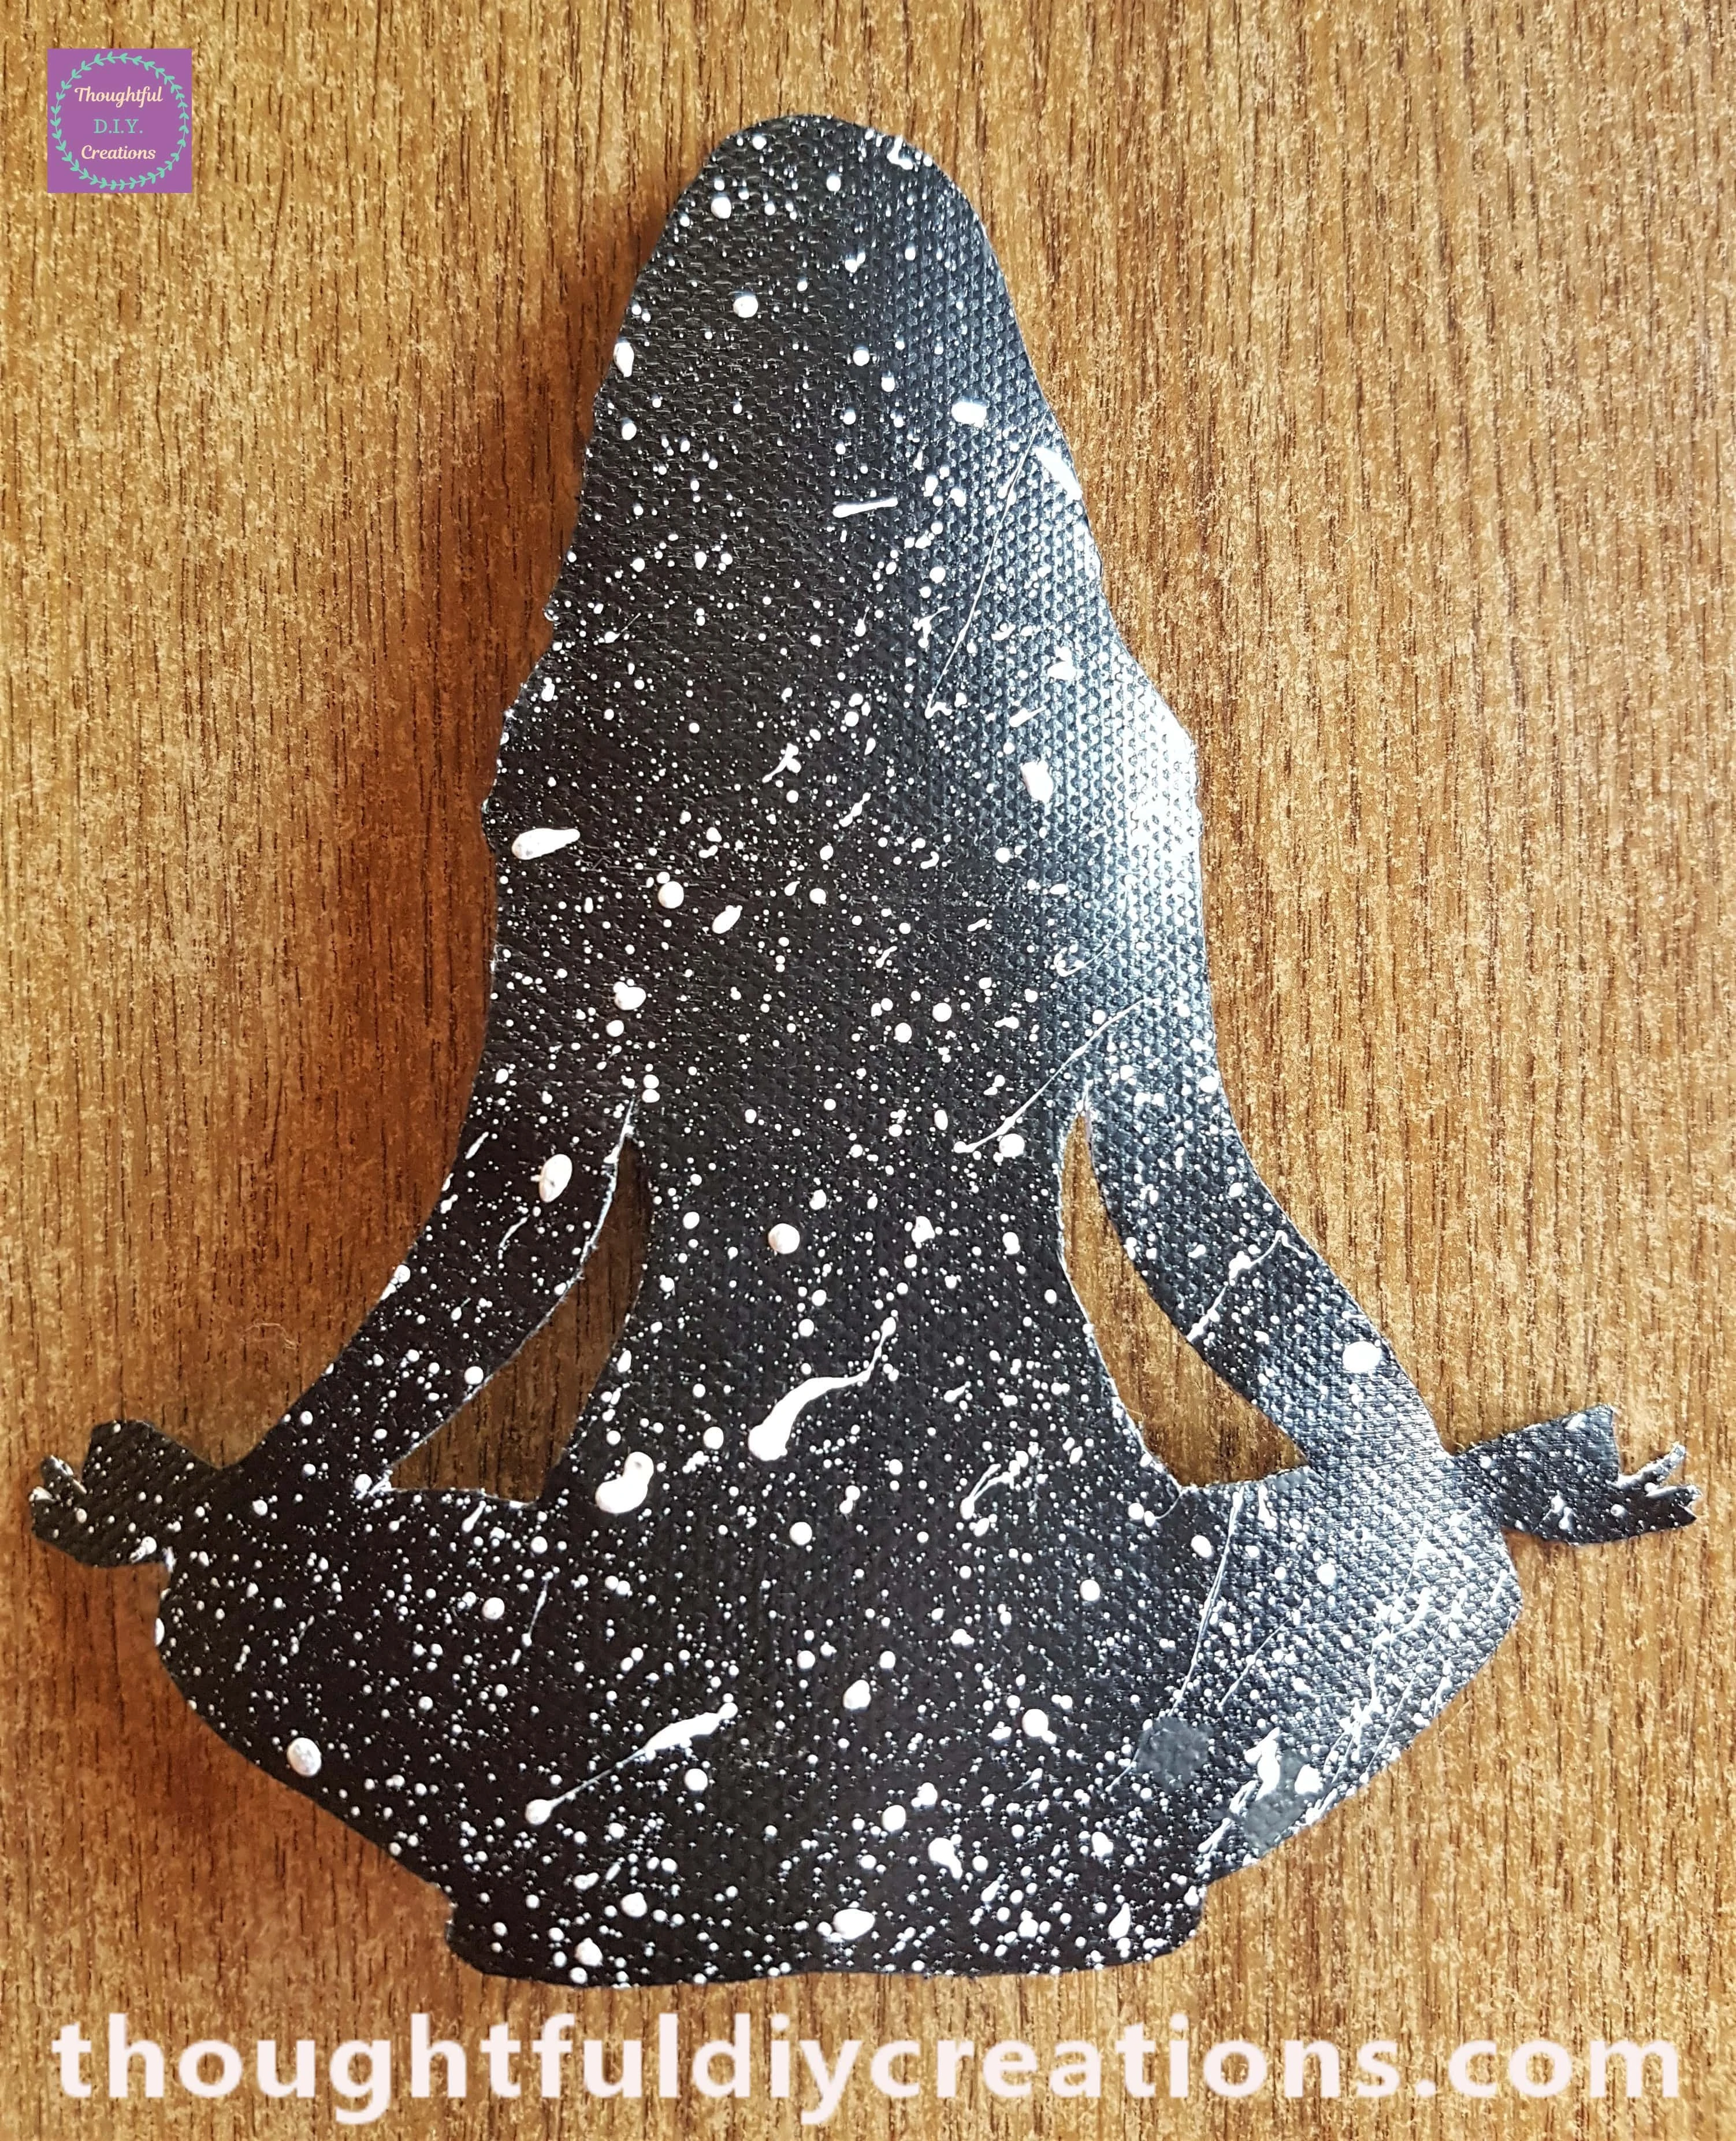
I held the Paintbrush with Paint and Water mixture over the now dry Black Paint with my left hand, I tapped near the top of the Paintbrush with the handle of another Paintbrush with my Right hand. The White Paint then lands on the Black Paint randomly and in different sizes.
I do One section, then add more White Paint to the Paintbrush and move onto the next section of Black Paint. I repeat this until I’m happy with the amount of White Splatters on the Black.
Cutting Out the Black Painted Silhouette
I waited an Hour for the White Paint Splatters to fully Dry. I then Cut around the Silhouette on the back of the Painted Page and then turned it back over to the Painted Side.
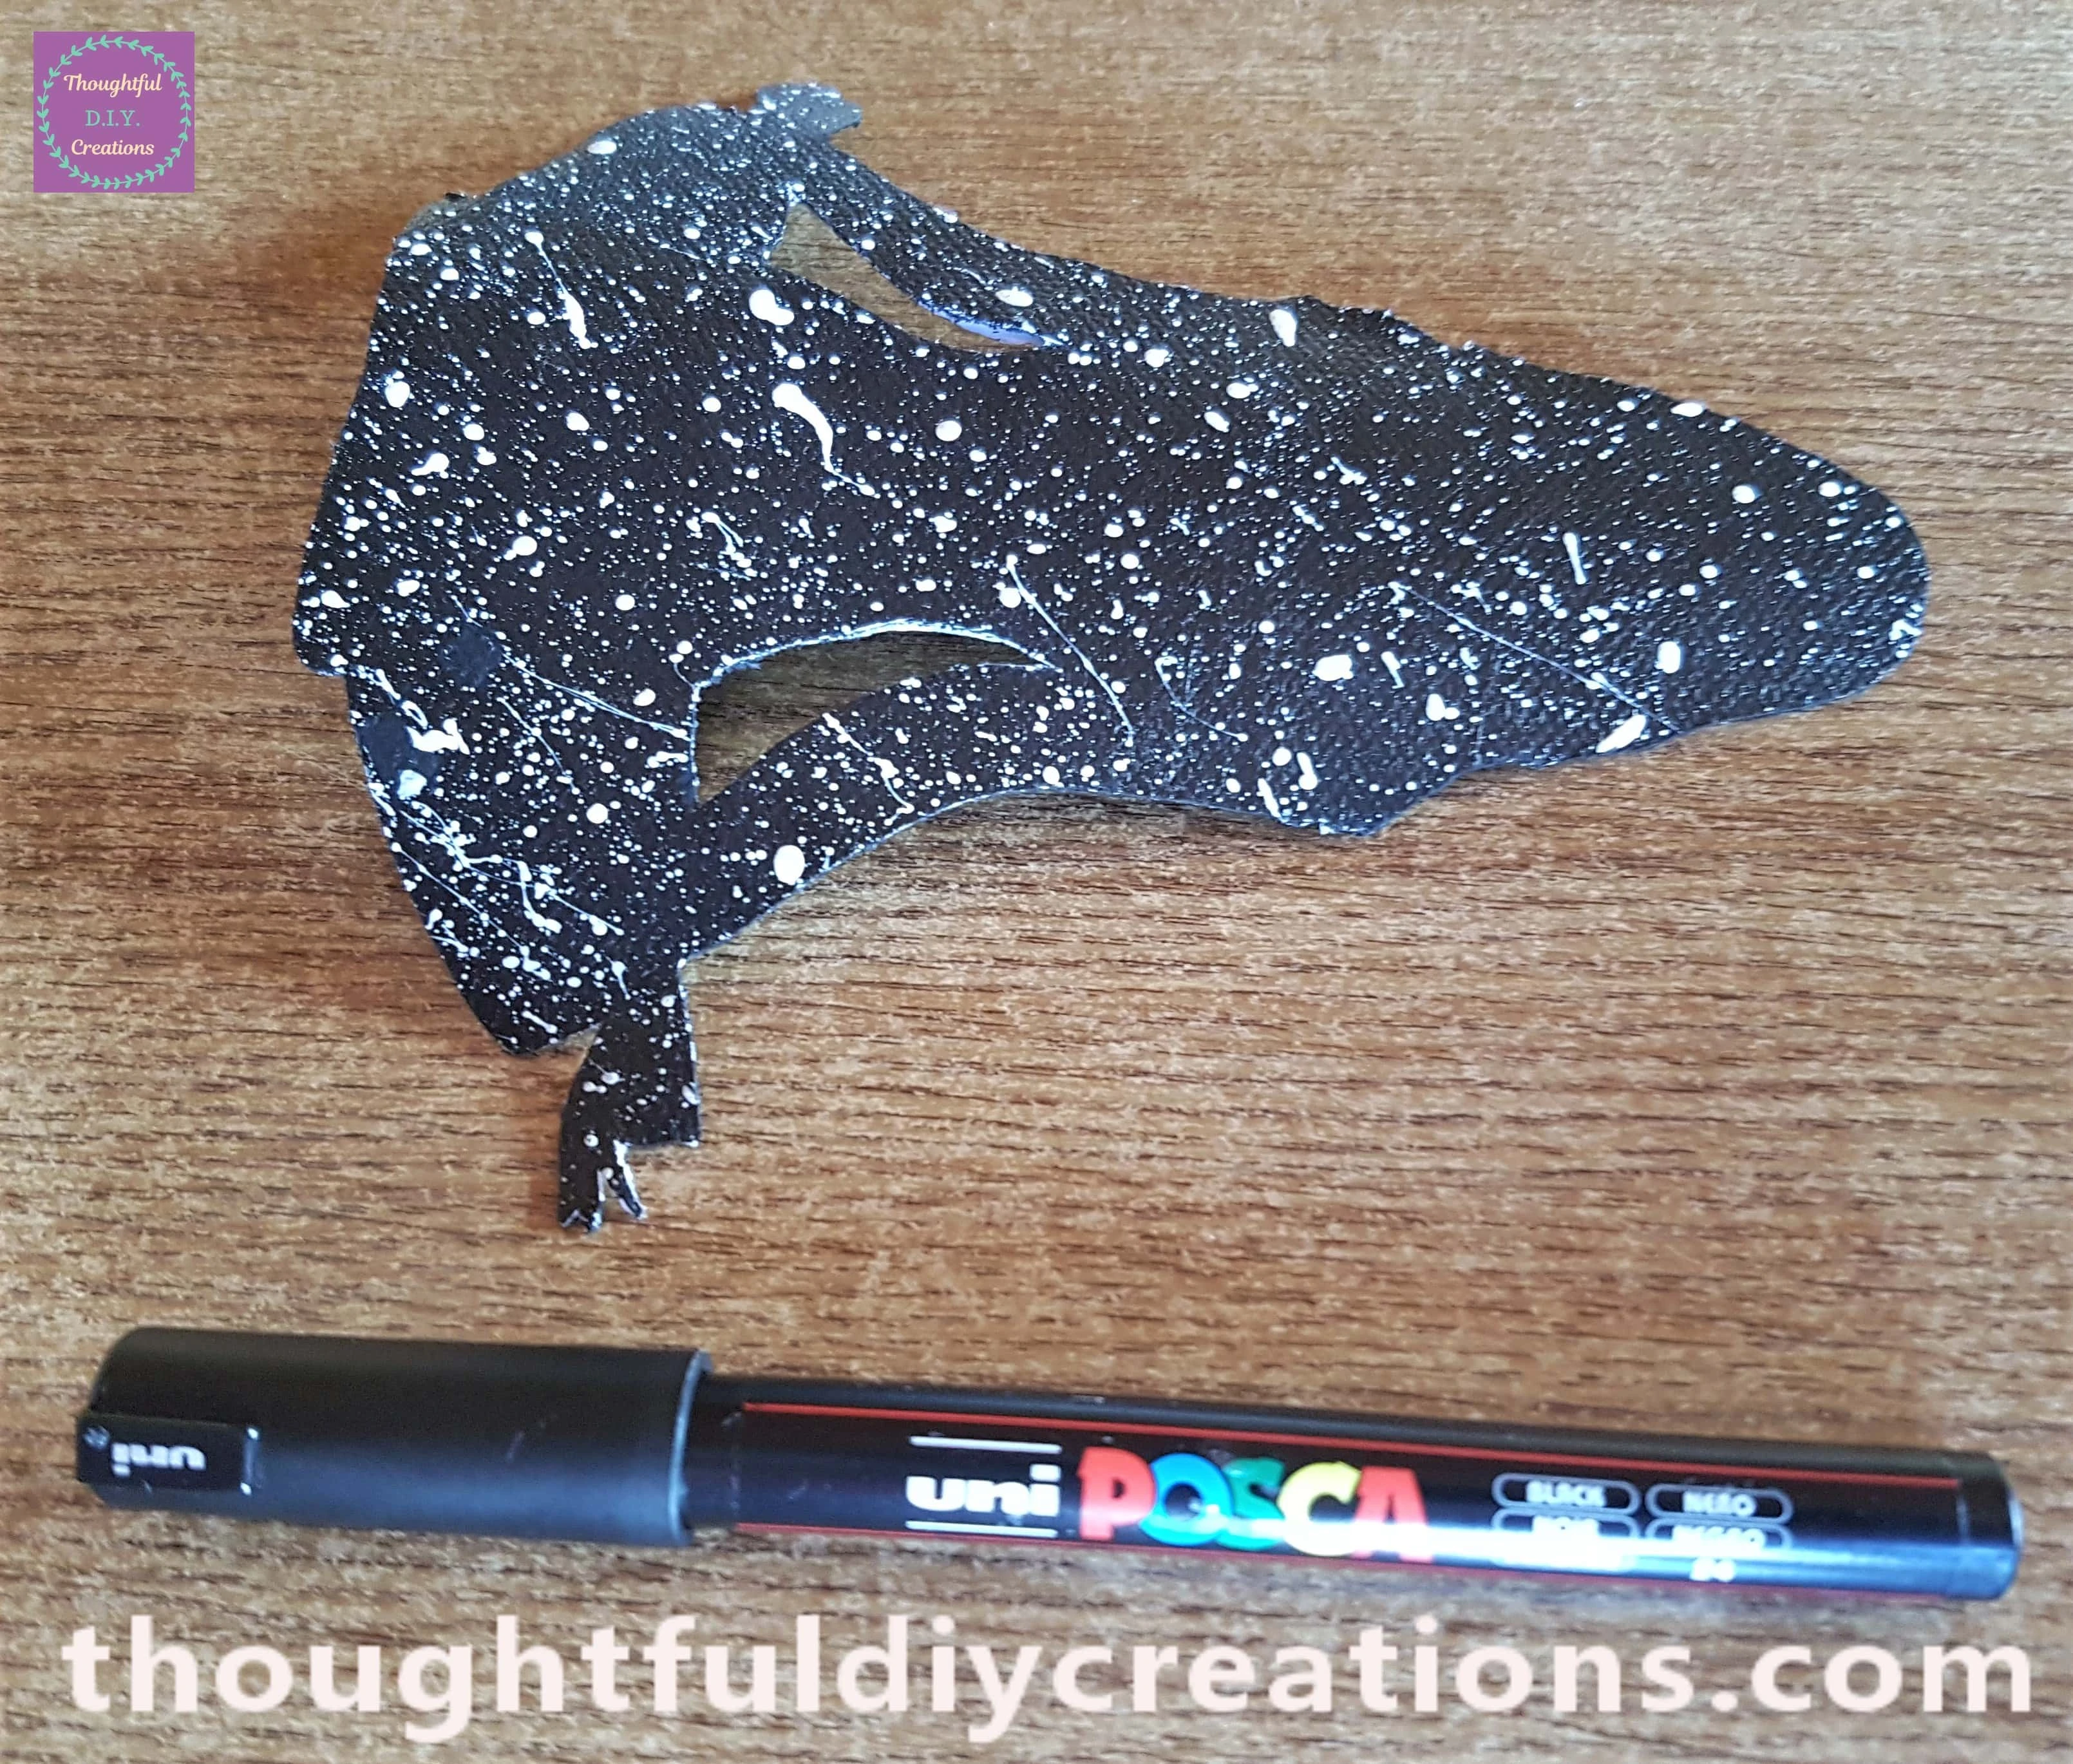
I drew around the Sides of the Canvas Paper with a “Black uni POSCA Acrylic Paint Pen 0.7mm”.
Attaching the Silhouette to the Canvas
I waited for the Paint Pen to dry and then put “Anita’s Tacky PVA Glue” all over the back of the Silhouette with a Paintbrush.
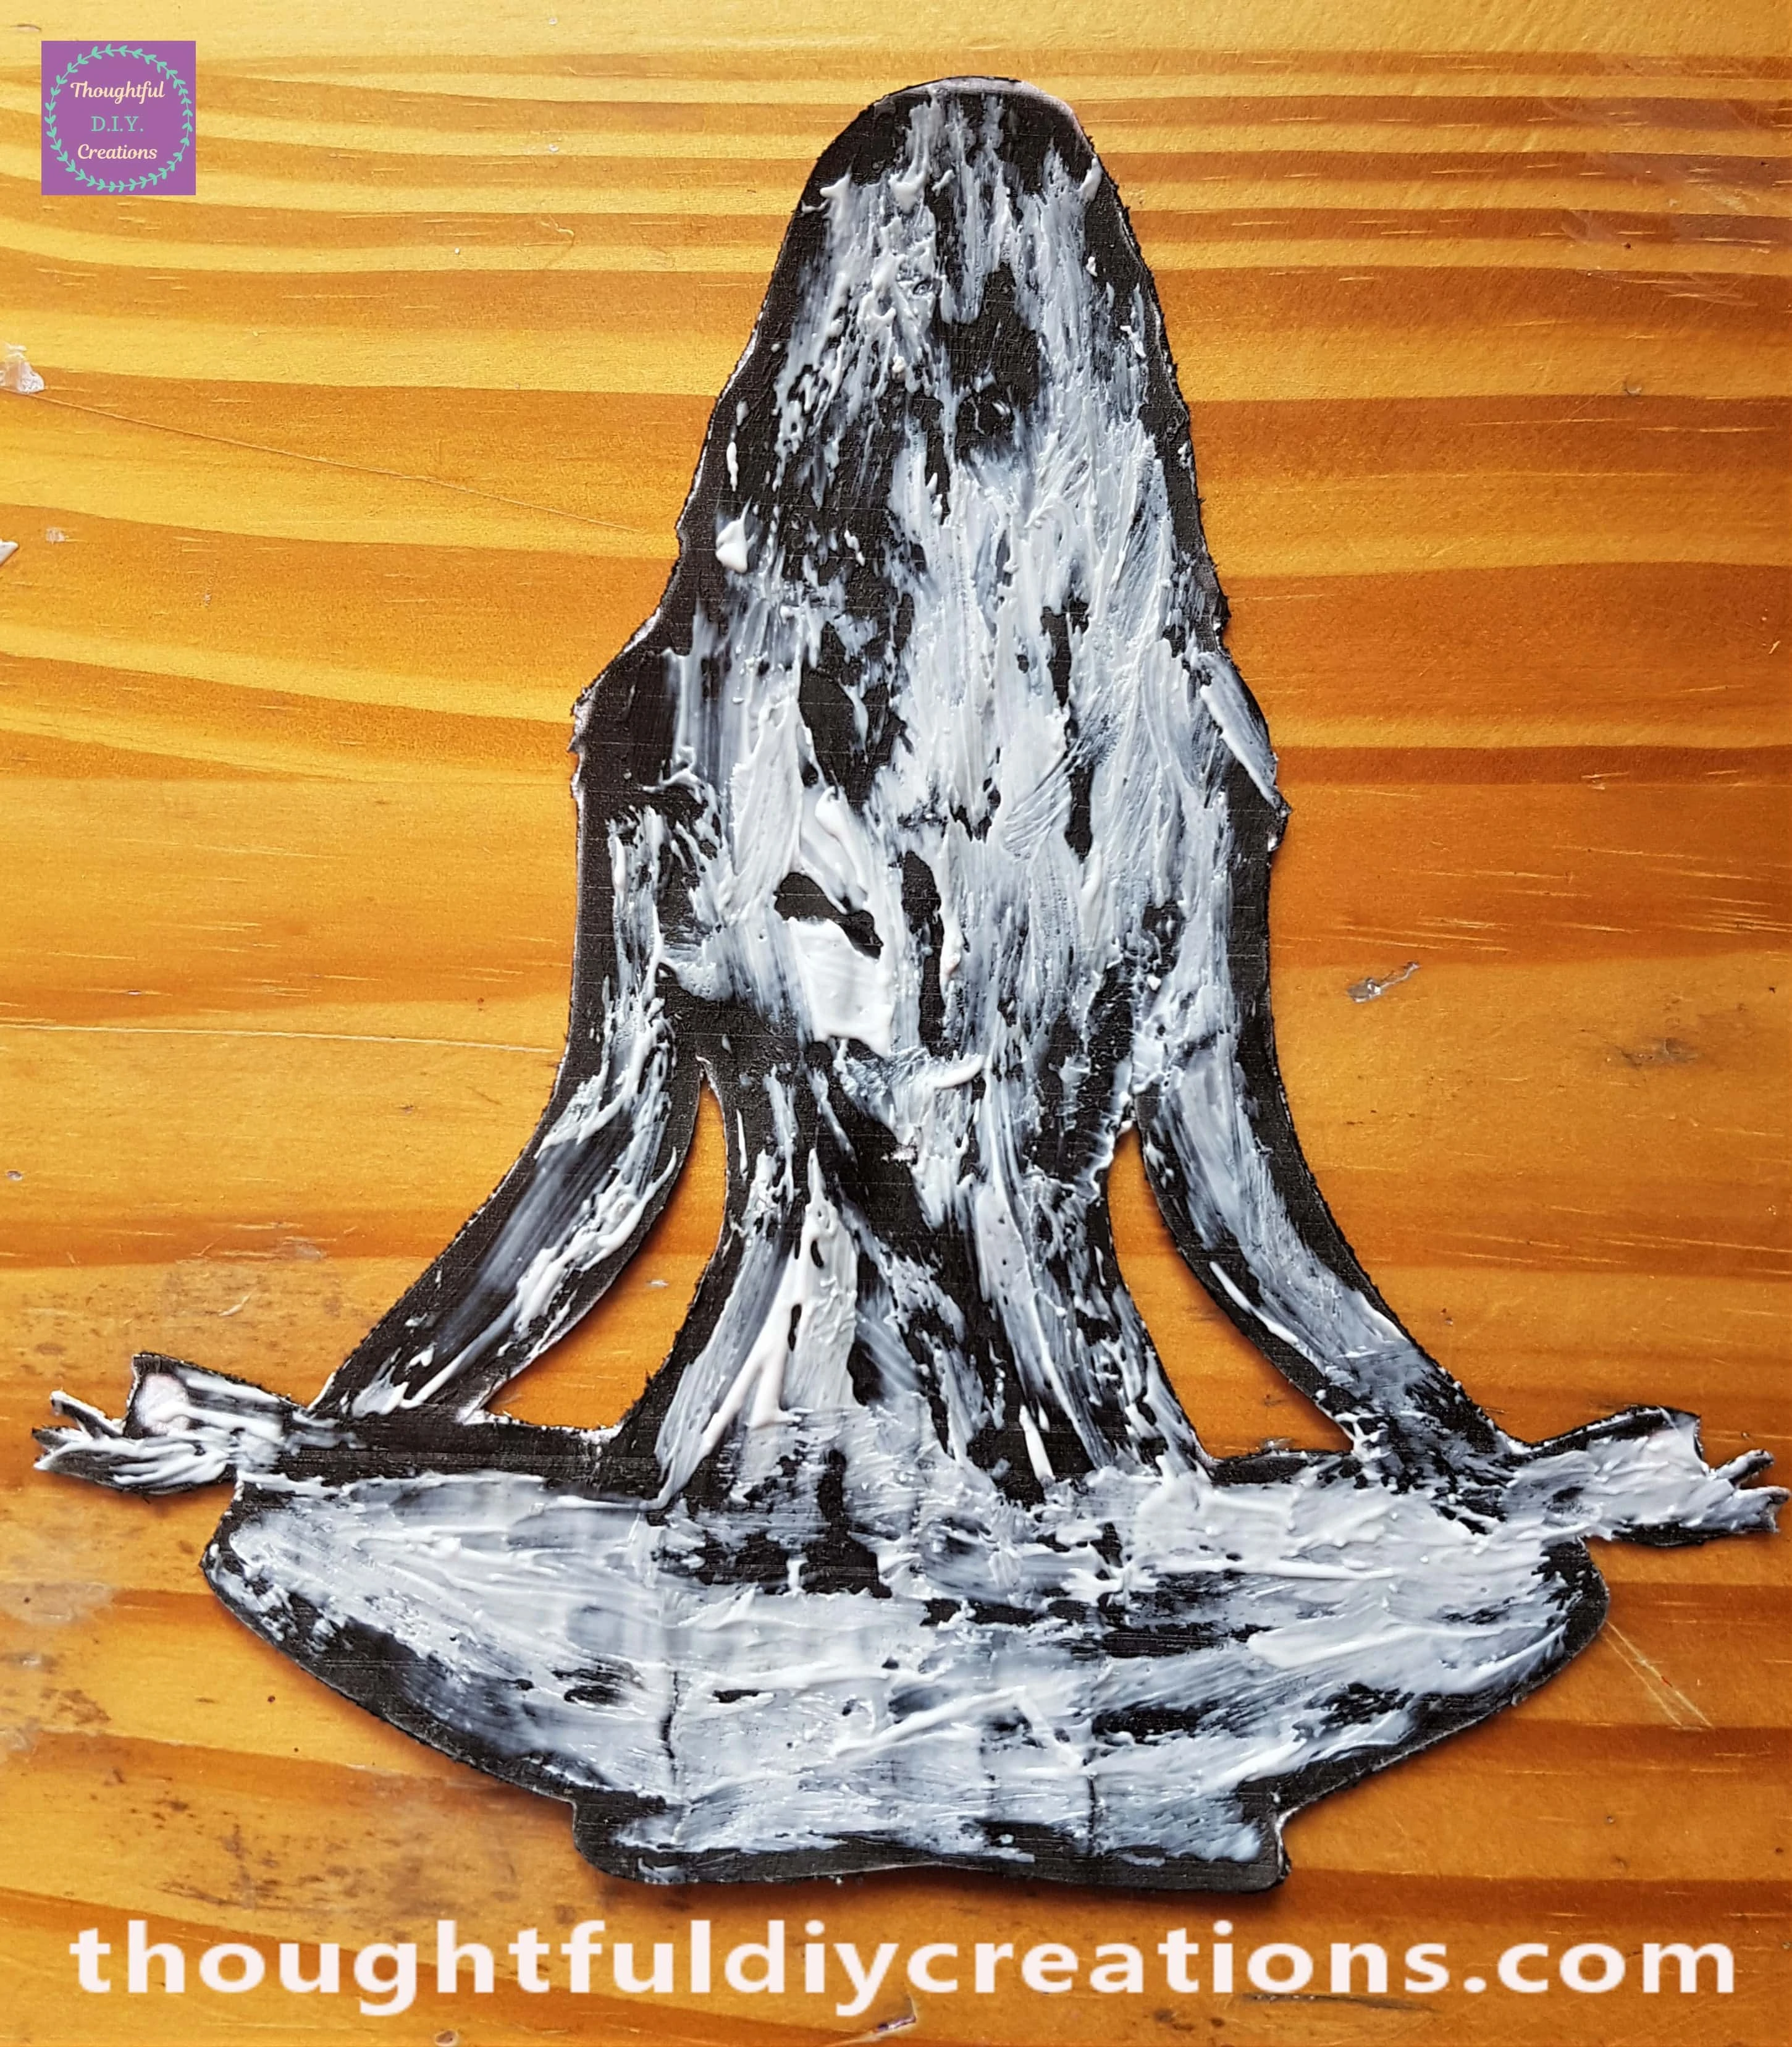
I attached the Image to the Canvas and pressed it in place.

A Closer look at the Image of the Woman Meditating.
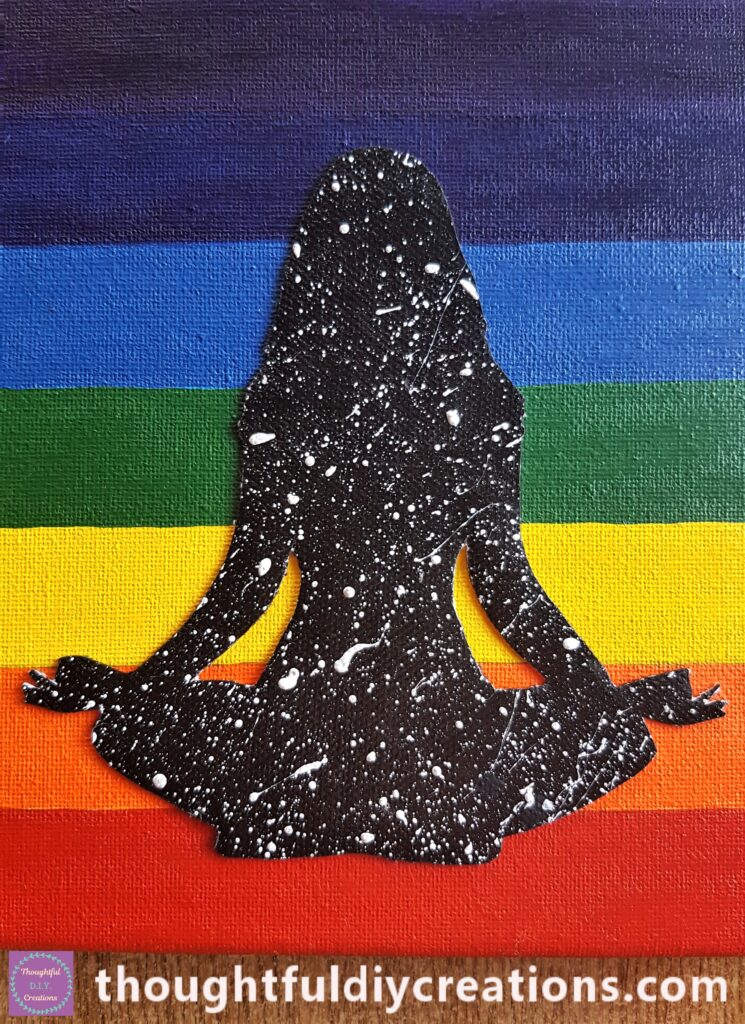
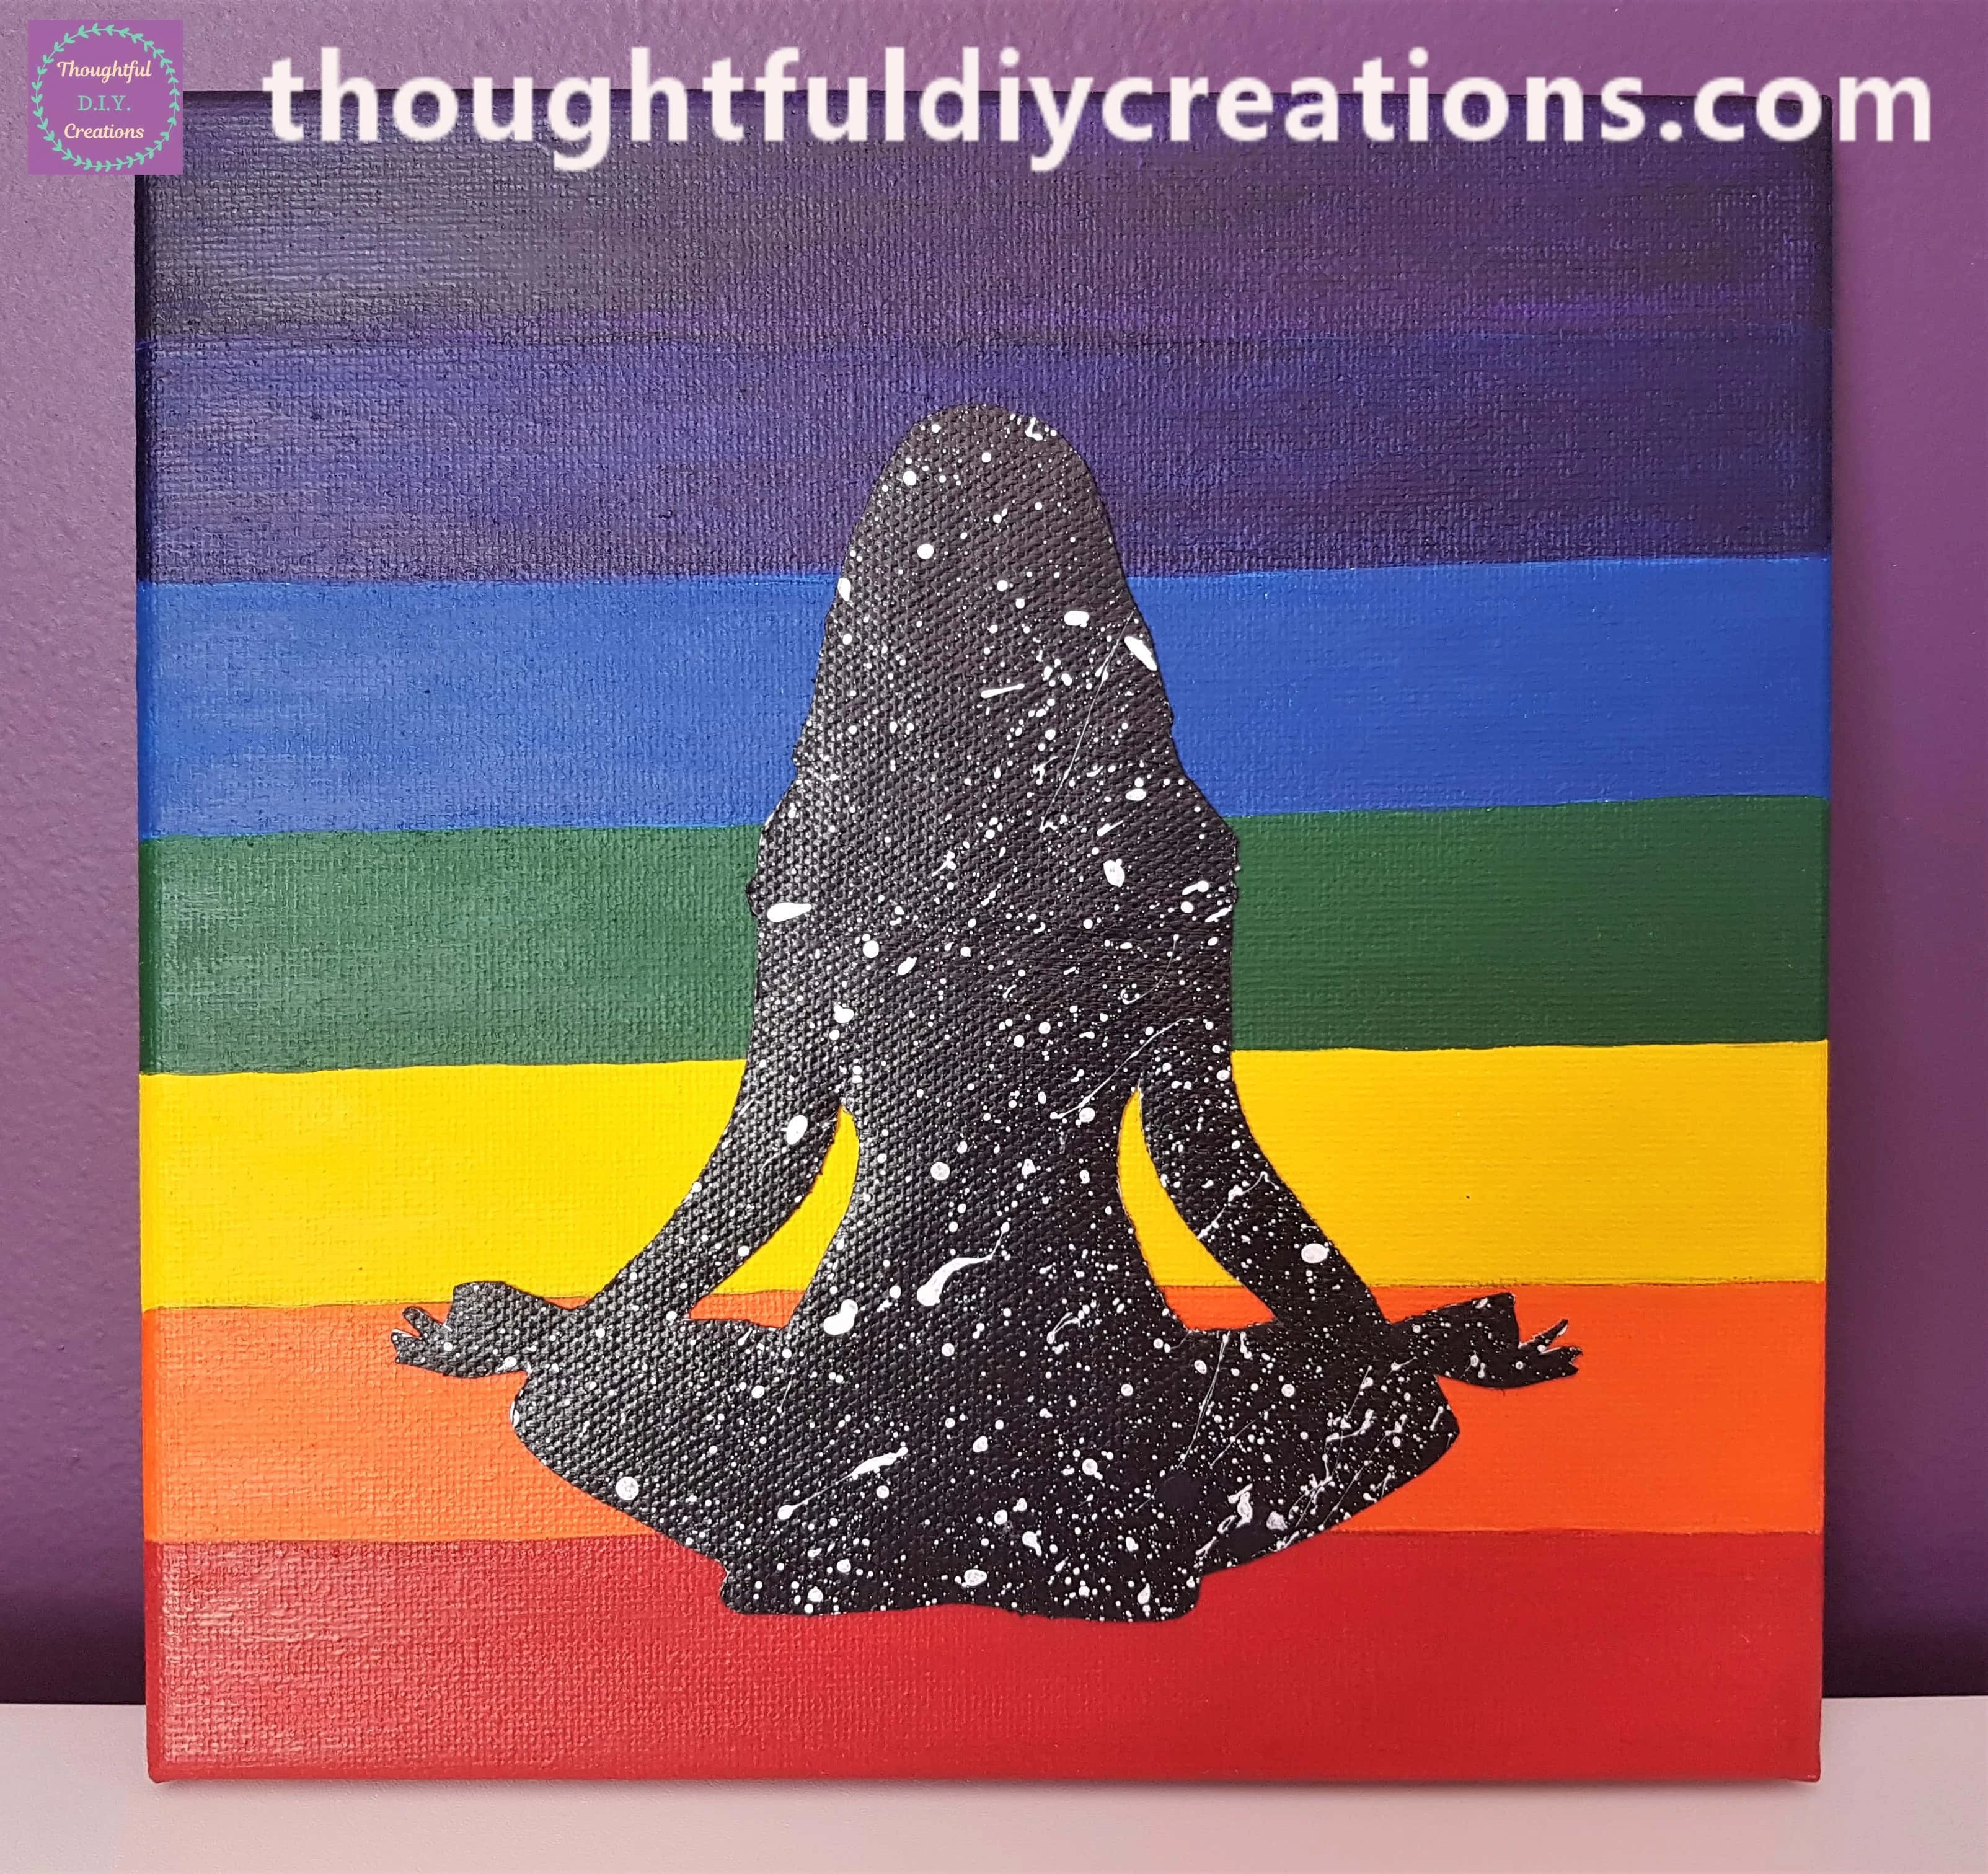
This Completed my Chakra Canvas.
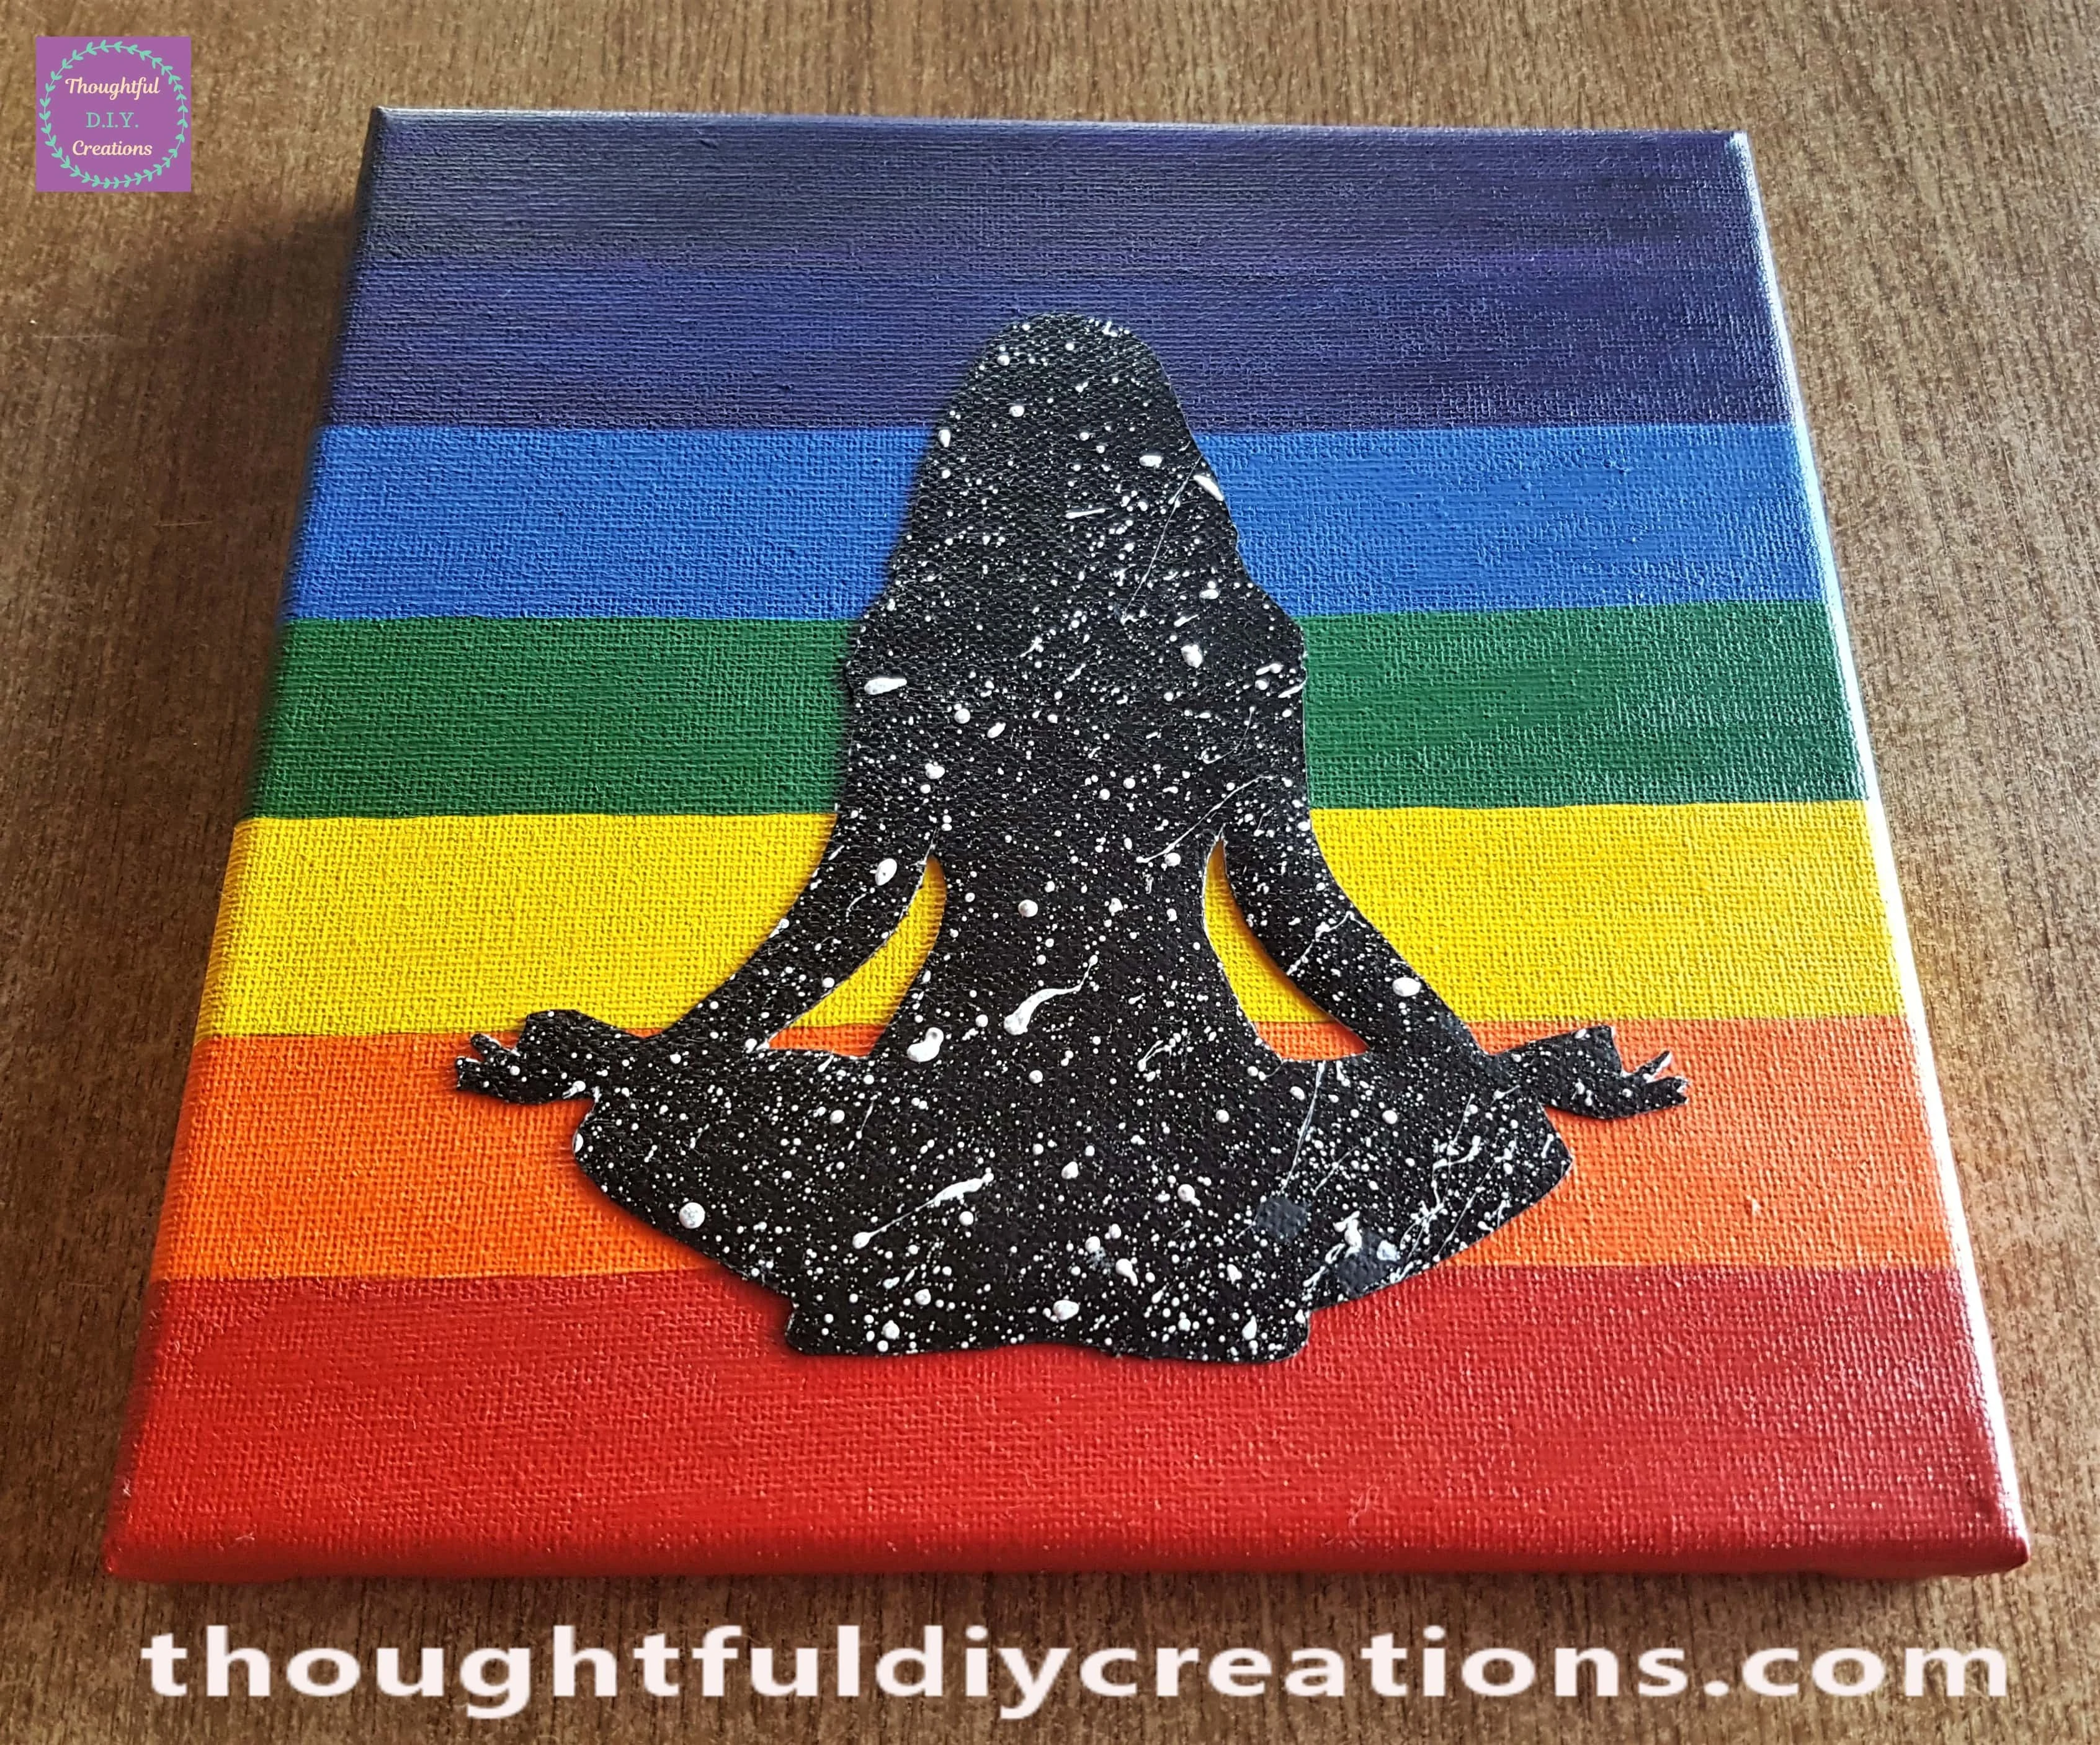
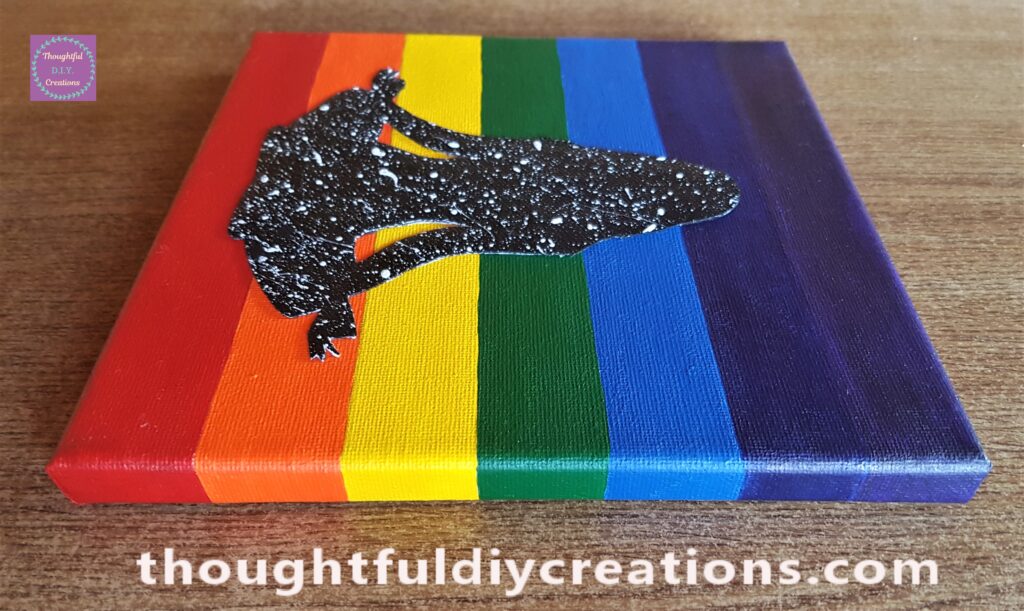
A Side Angle of the finished Canvas.
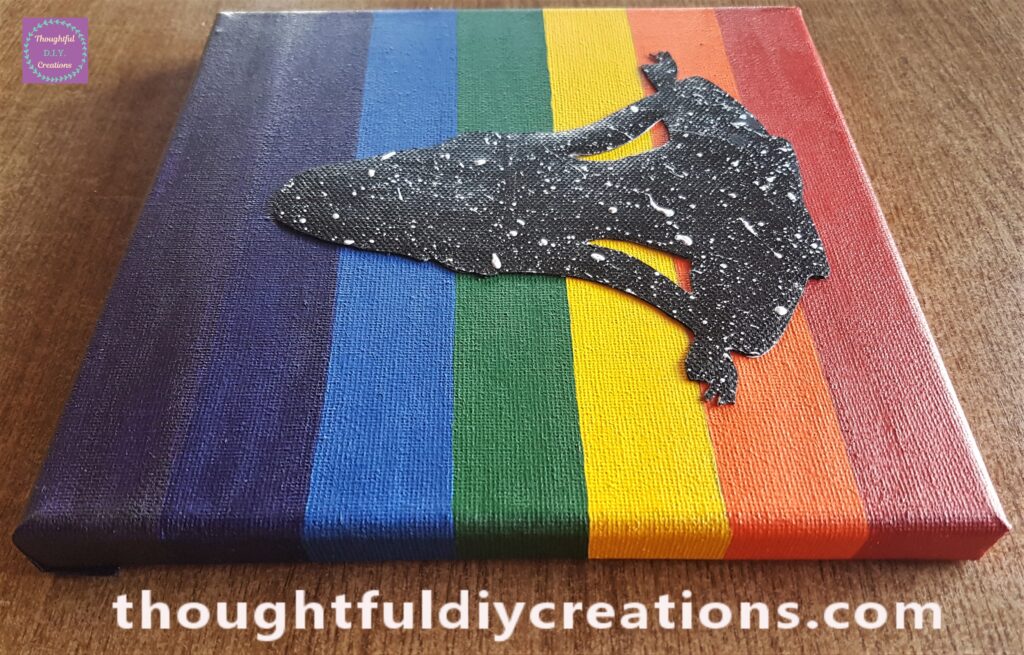
The other Side of the Canvas.
The Chakra Canvas on Display.
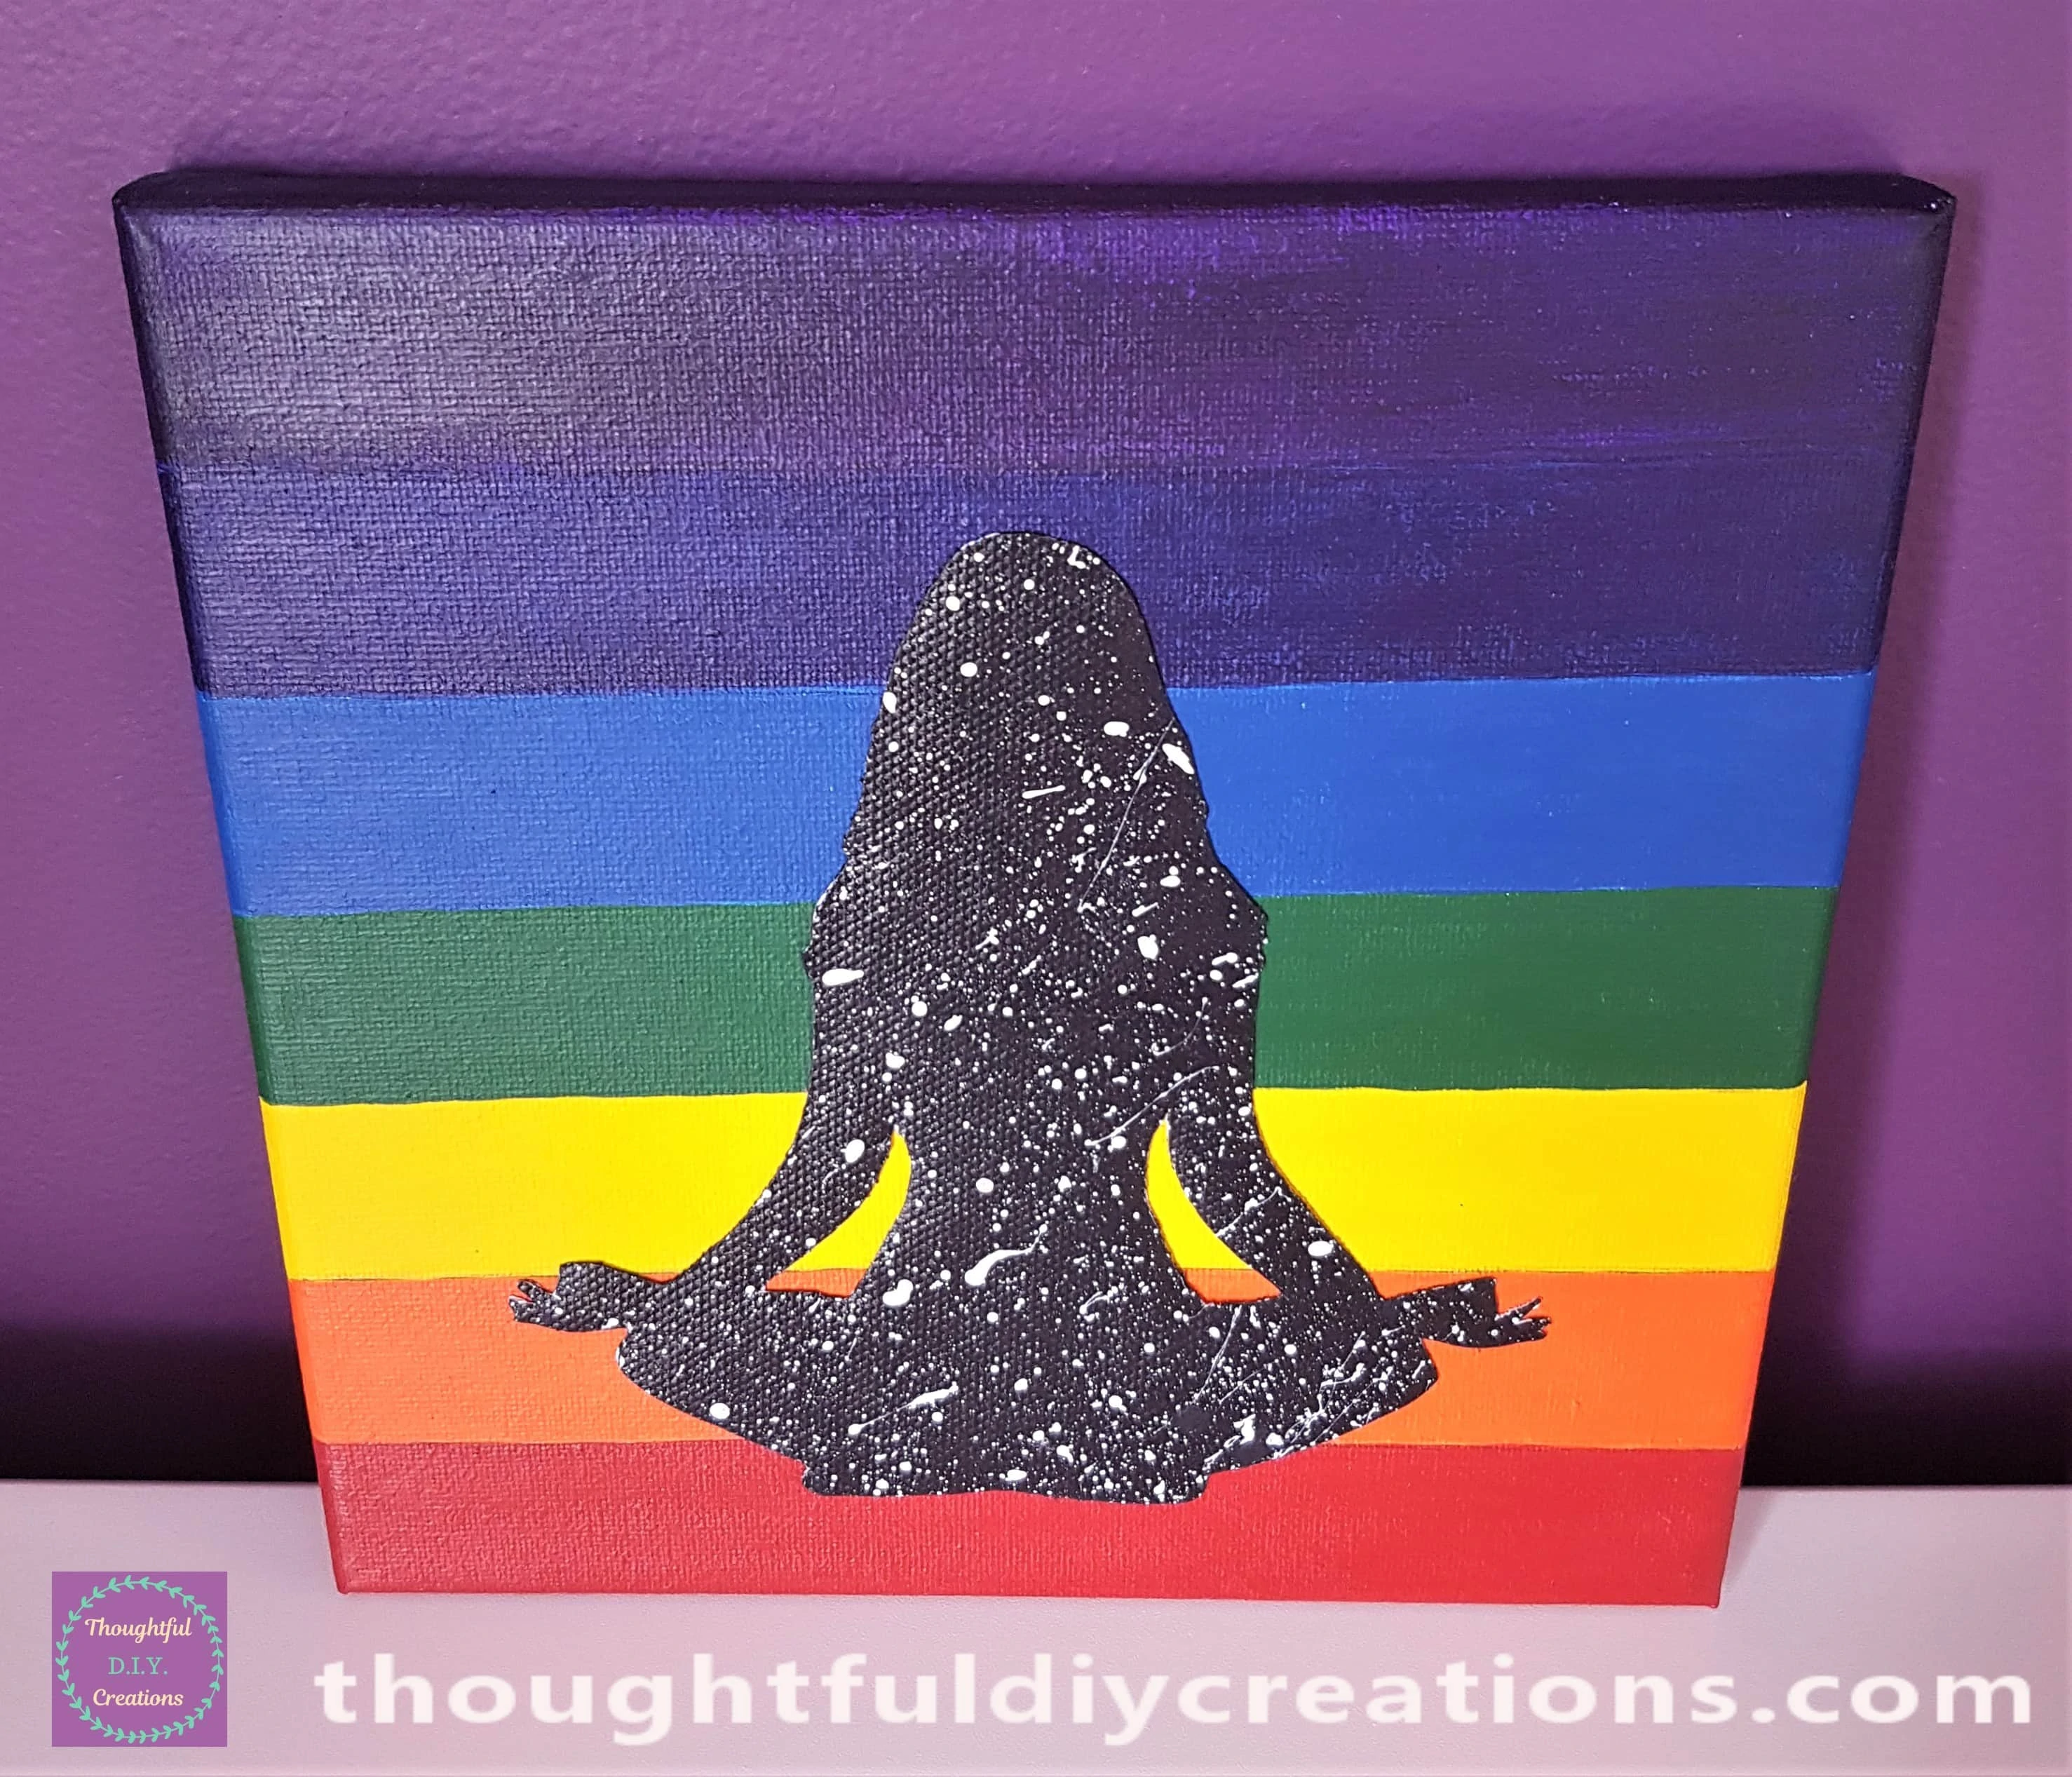
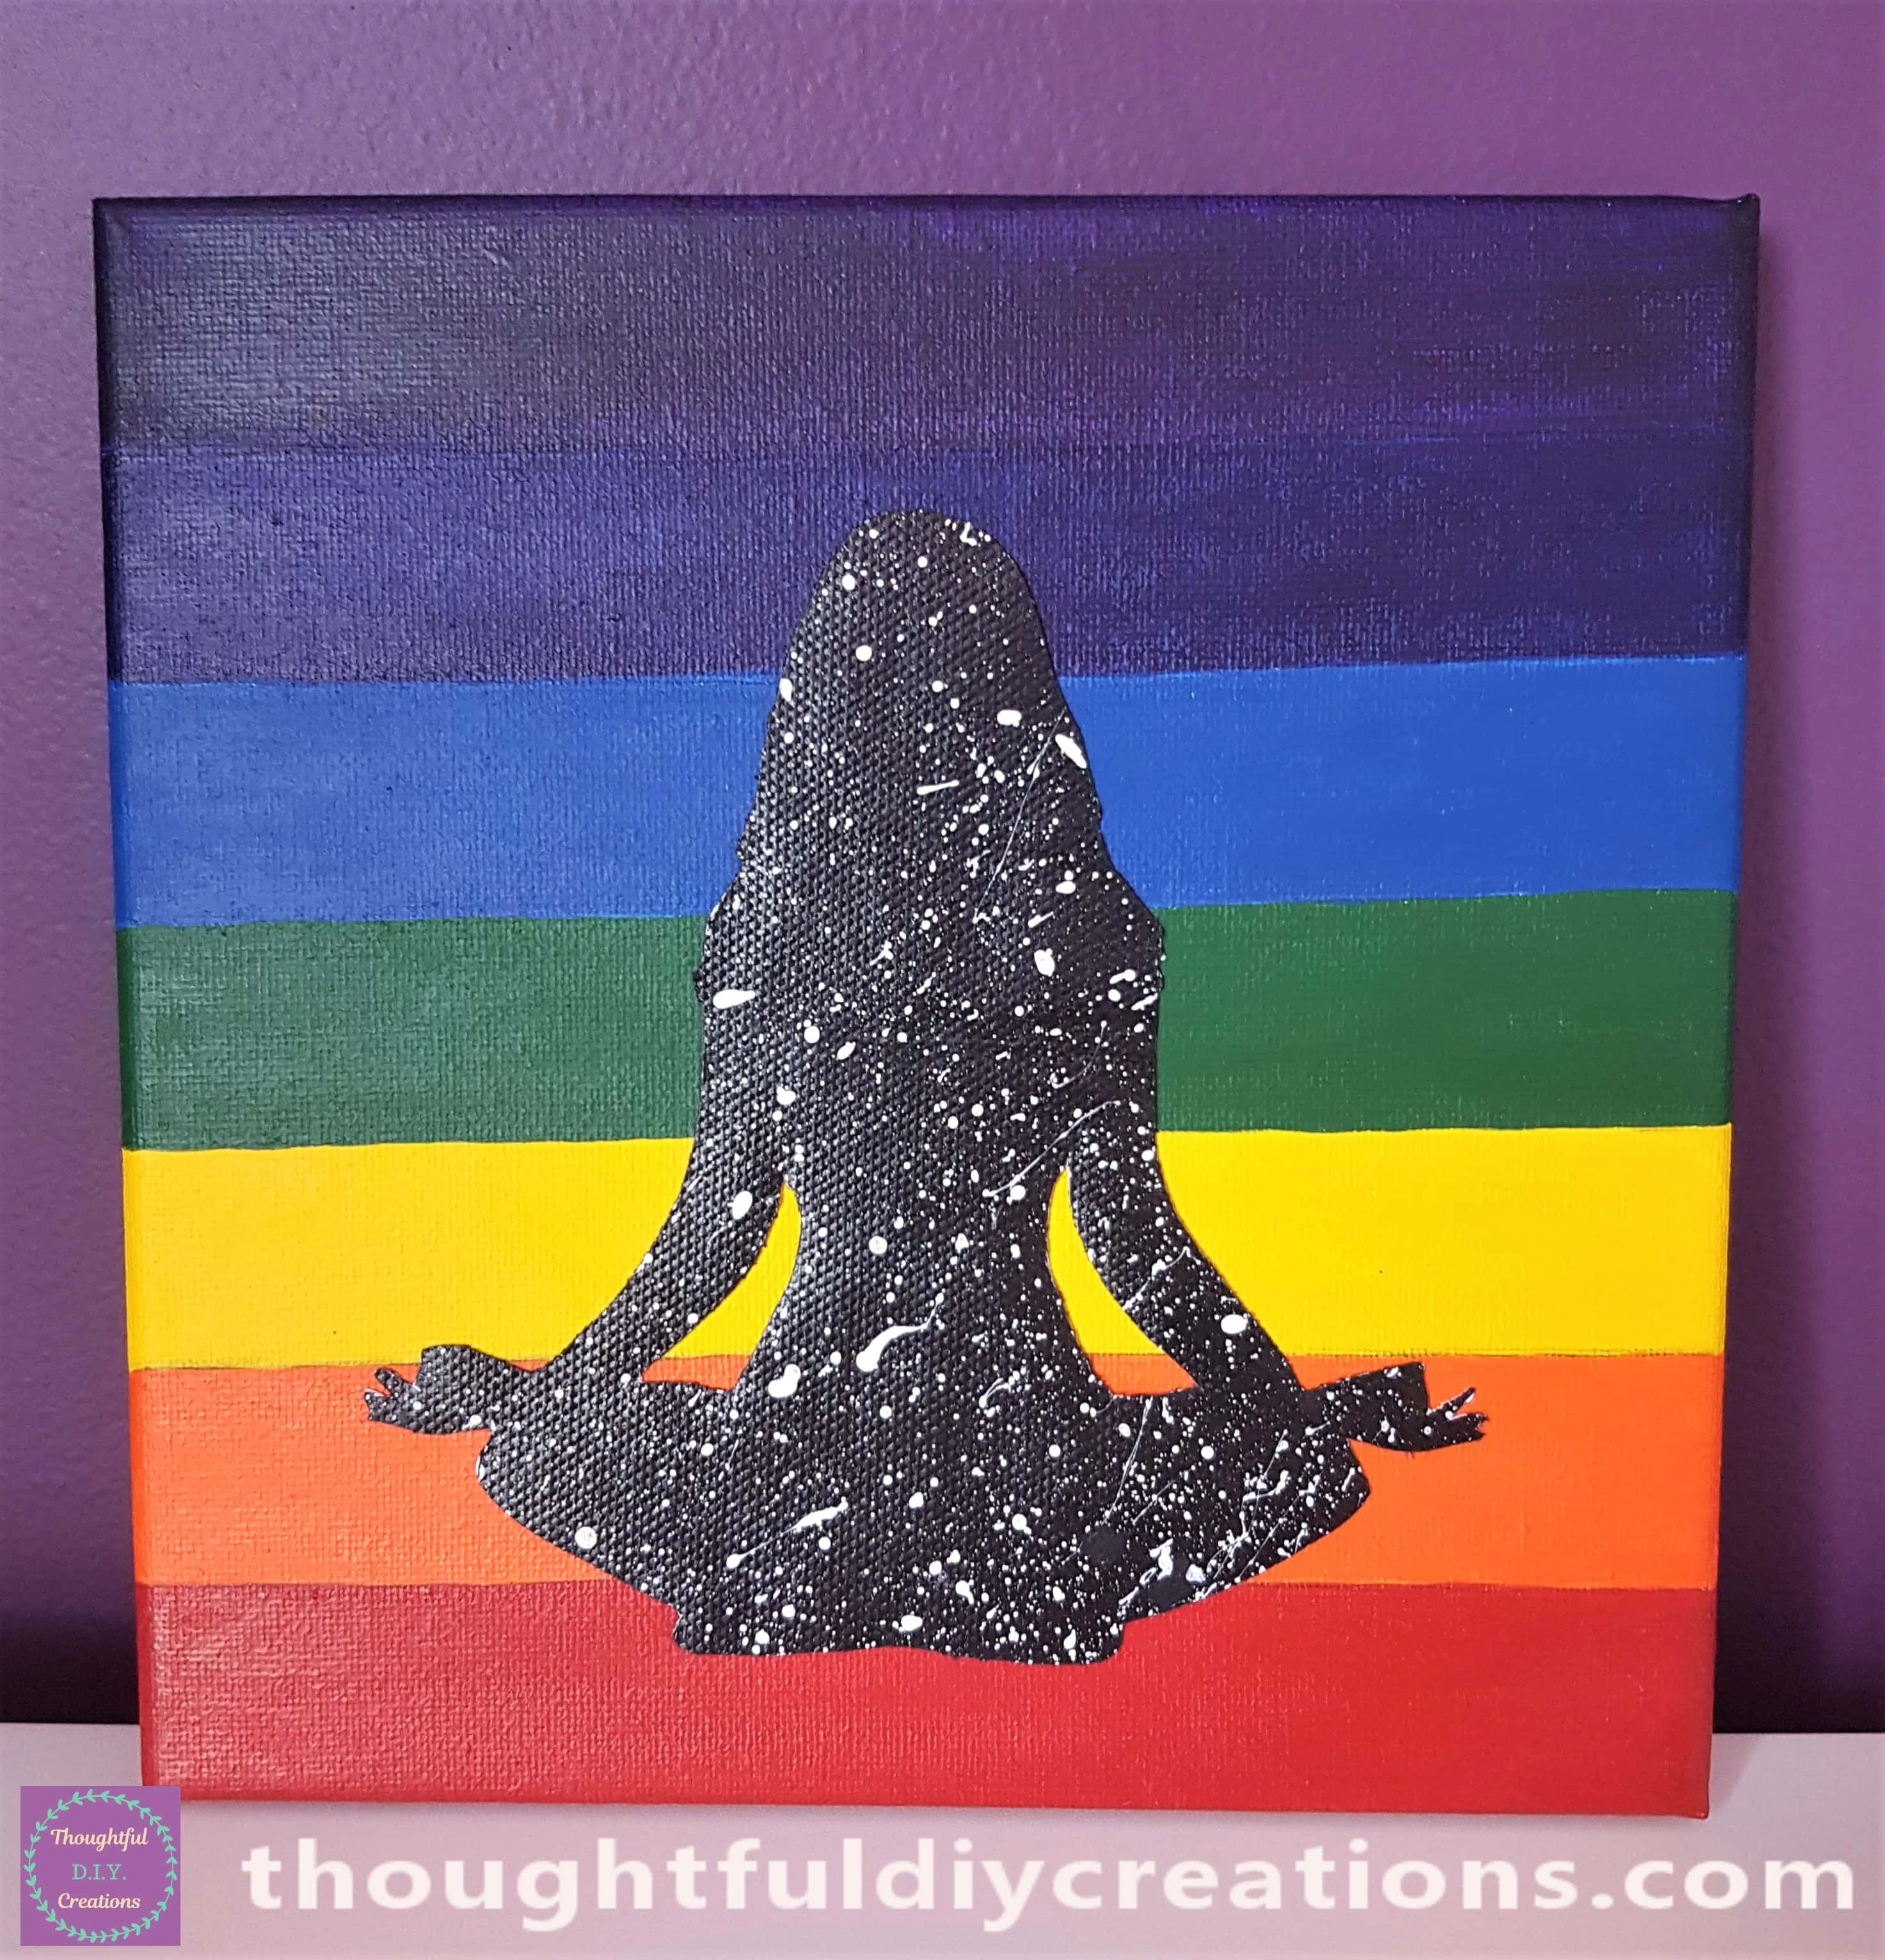
The Final Image of the Canvas.
Conclusion
I love how the Chakra Canvas turned out; it is a Colourful, Positive Art piece to Display in the Home. It could also be put up in an Office / Gym / Yoga / Meditation Studio or a Home Business such as Reiki / Energy Healing / Massage.
If you would like more Spiritual related Crafts check out my other Tutorials here; Positive Quote Jar, Memo Board, and Spiritual Canvas.
I hope you enjoyed the Tutorial and maybe learned something New. If you give this Craft a try for Yourself; let me know how it goes for You. I hope you enjoy Crafting.
Thank You So Much for taking the Time to Read my Blog.
Always Grateful,
T.D.C.
xoxox

-0 Comment-