Christmas Card Tutorial
Hello my Creative Friends,
I hope you are all Well. In Today’s Tutorial I will Show you how I made a Cute Christmas Card. I hope it gives you some Ideas for Creating your own Handmade Cards for your Friends and Family this Year.
Card & Envelope Pack
I got out my Pack of 5″ x 7″ Ivory Cards and Envelopes.
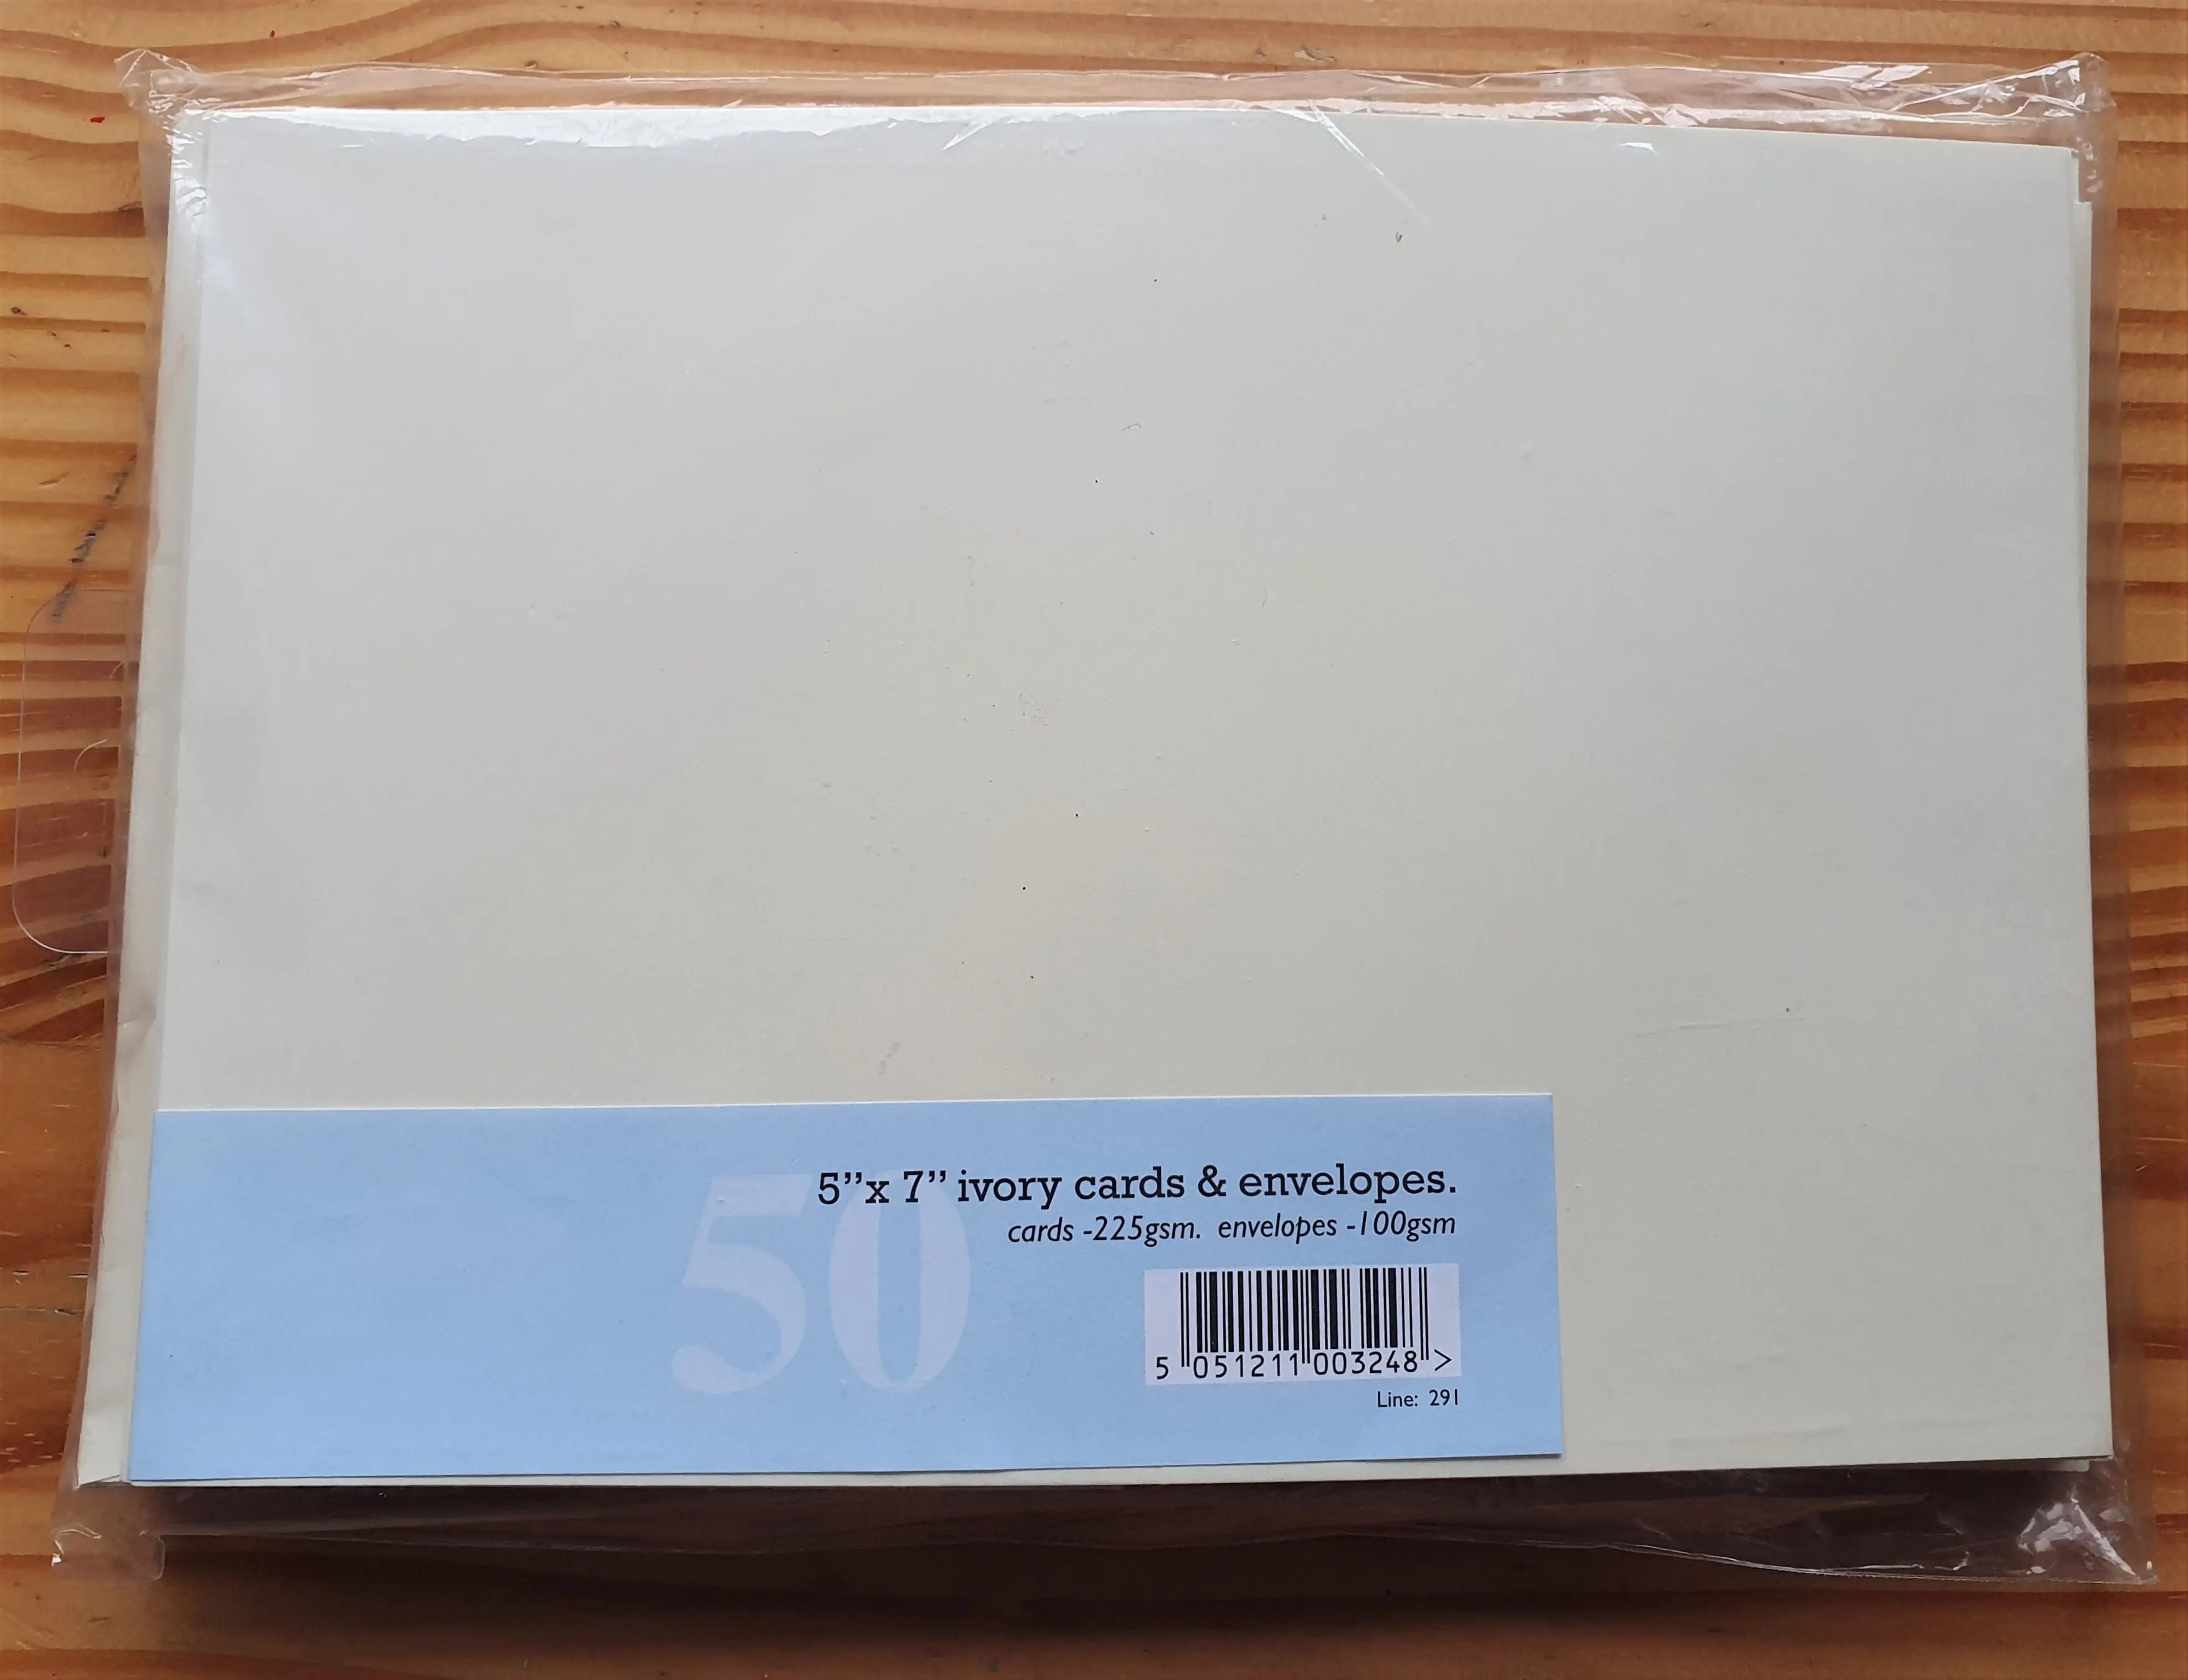
I removed One Card from the Pack. You can’t see it in the Photo below but it’s Scored down the Center making it easy to fold over evenly.
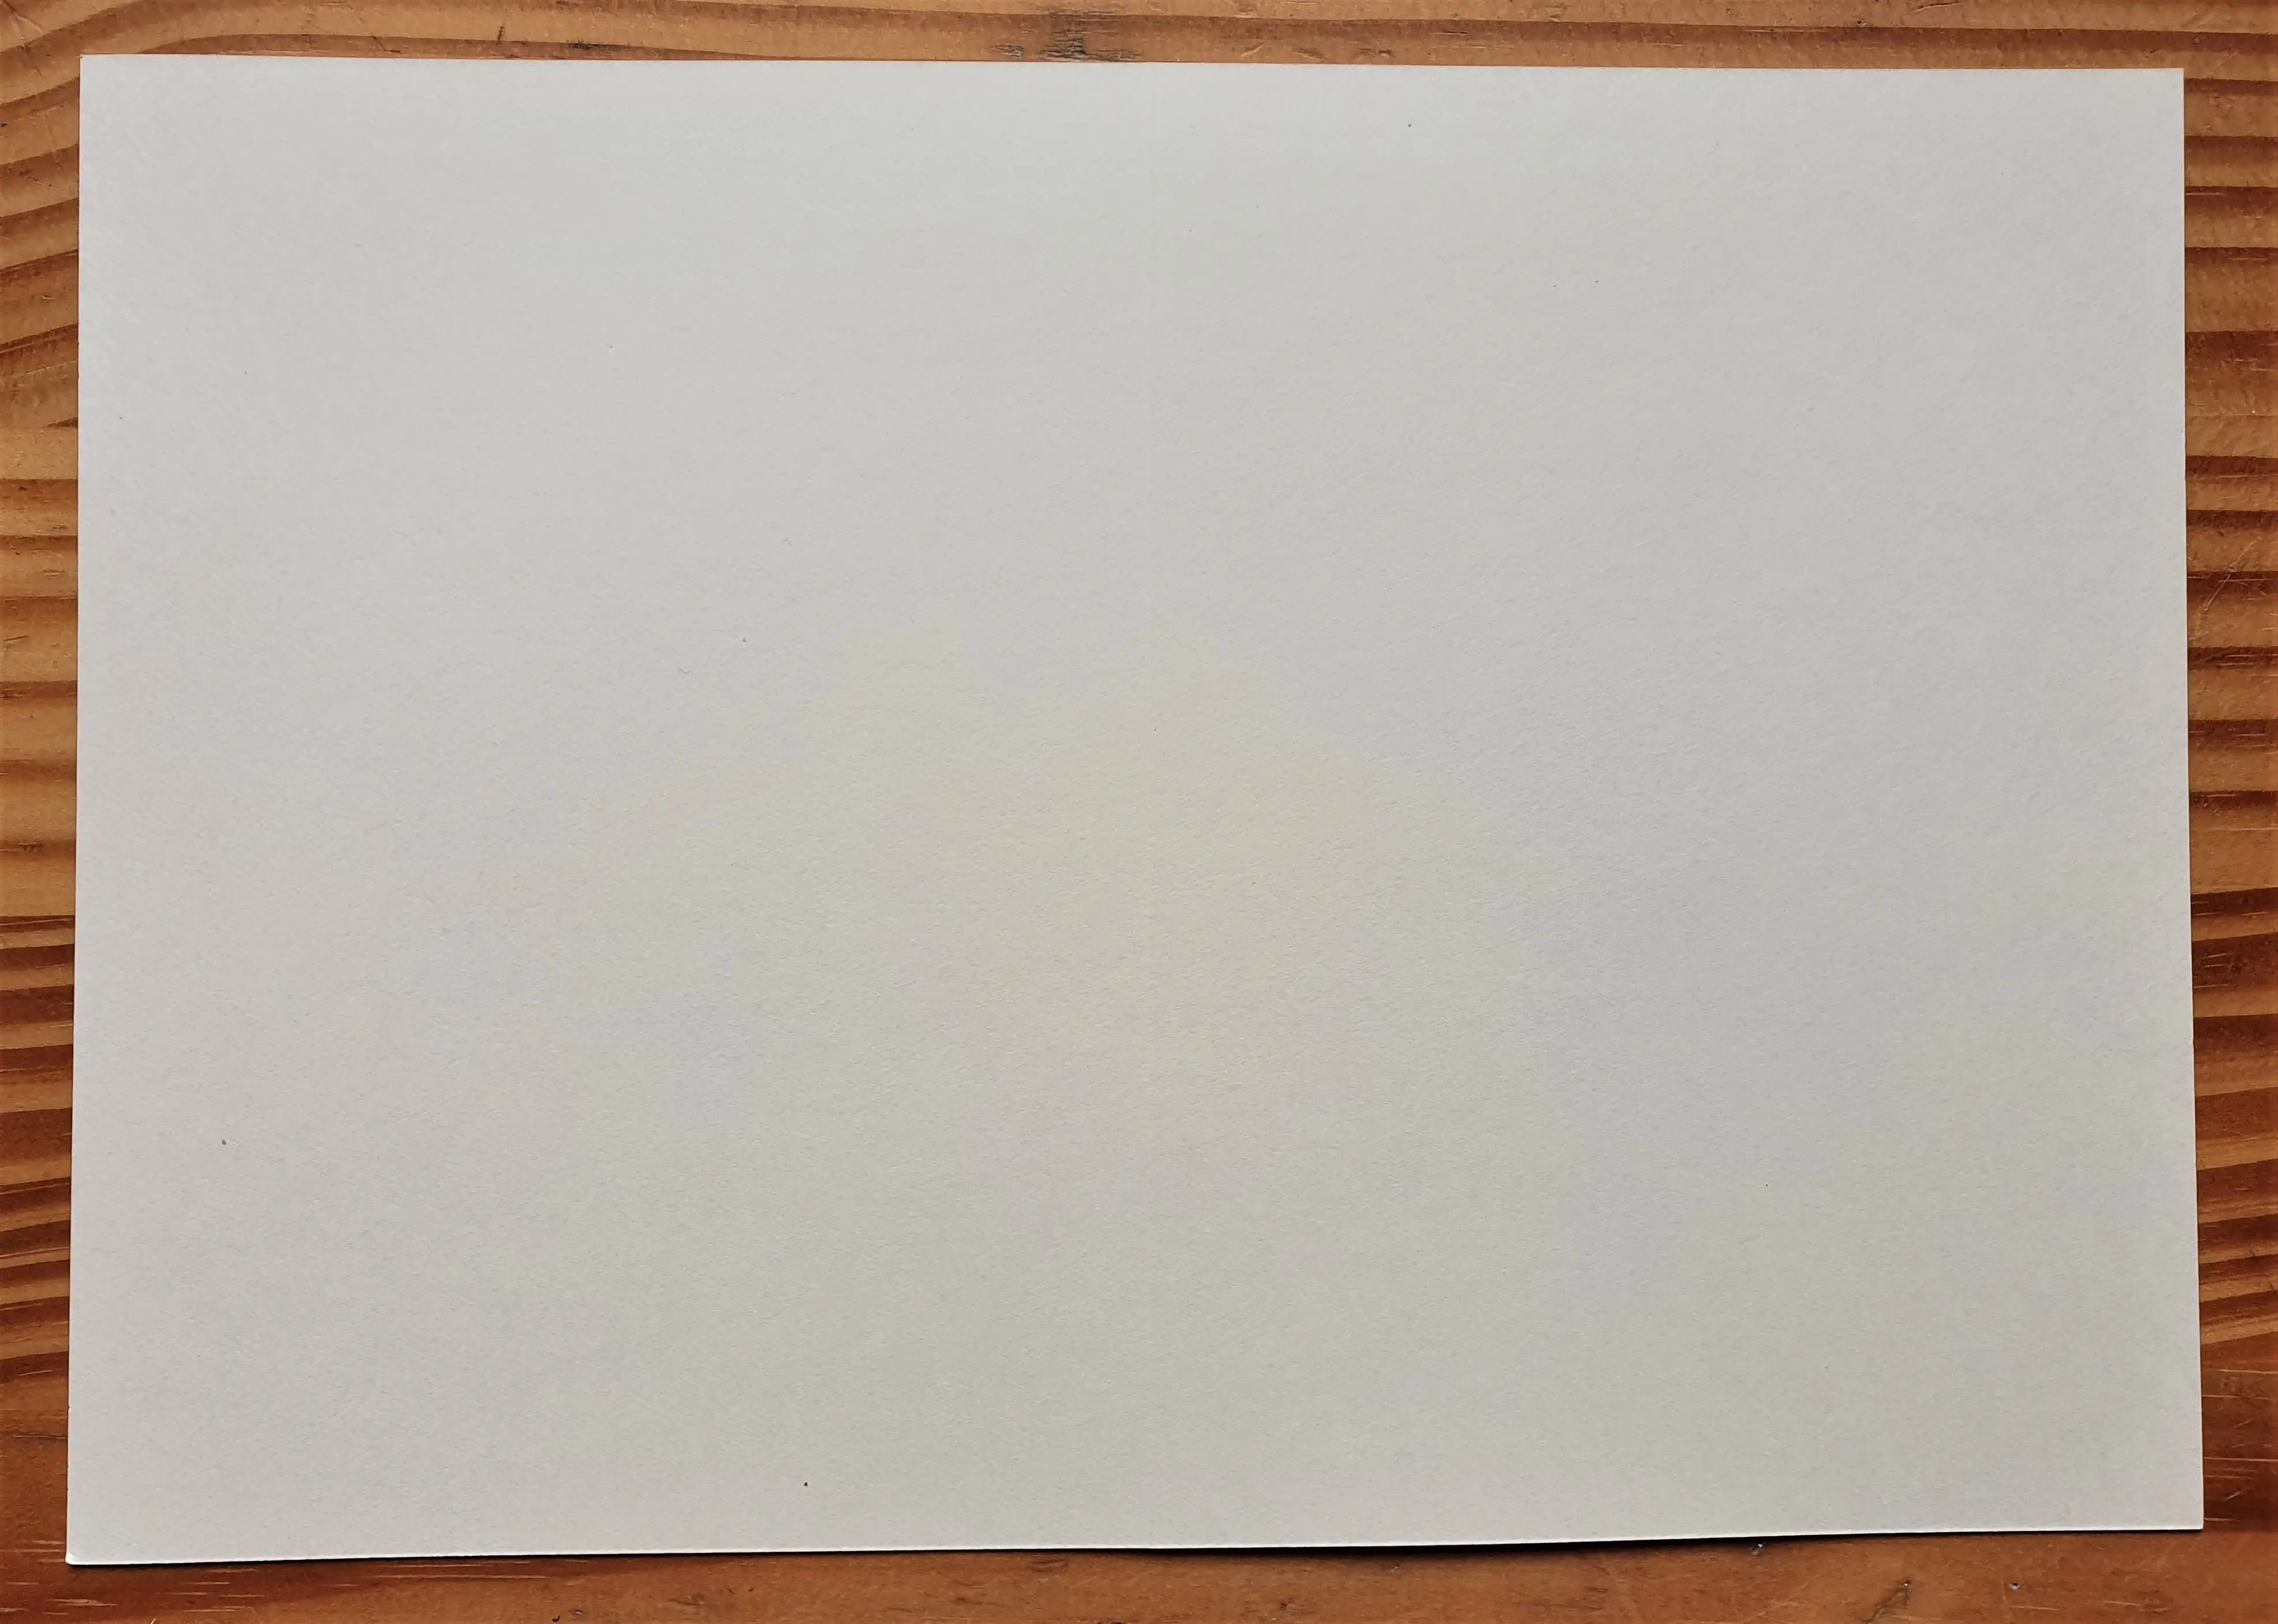
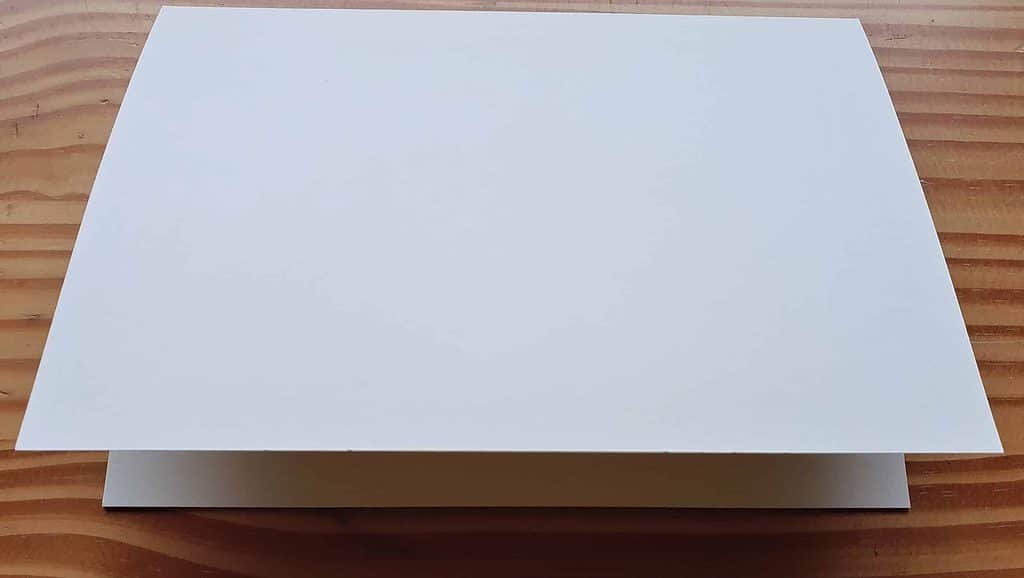
I folded it over on the Scored Line and pressed it down to get the shape of the Card.
Background Paper for my Christmas Card
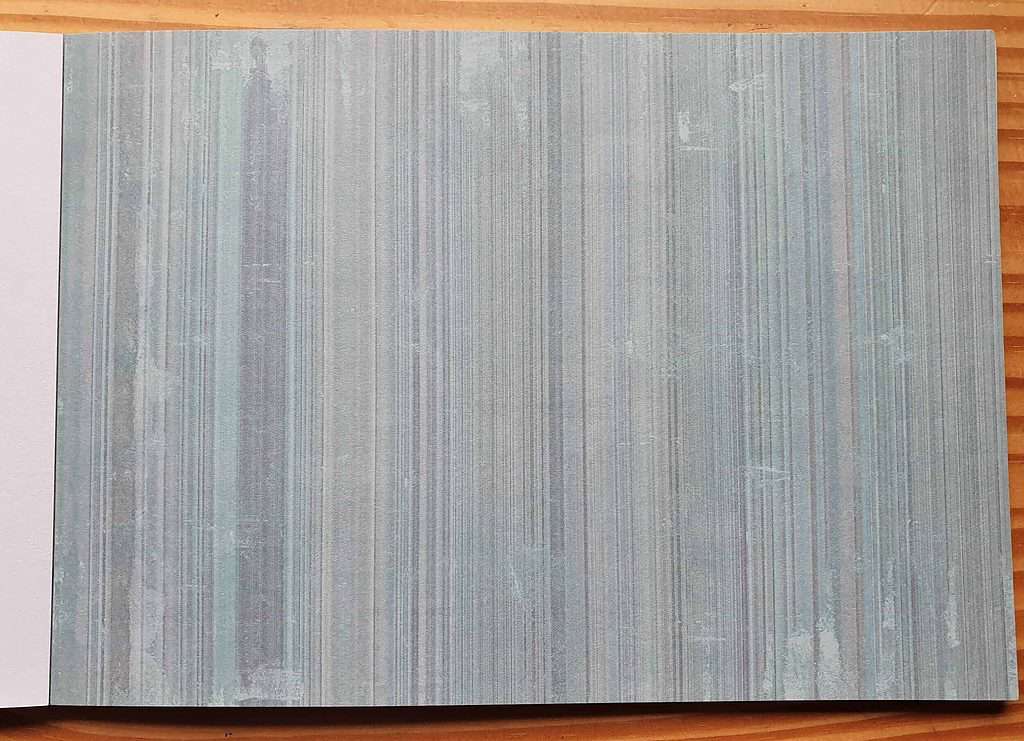
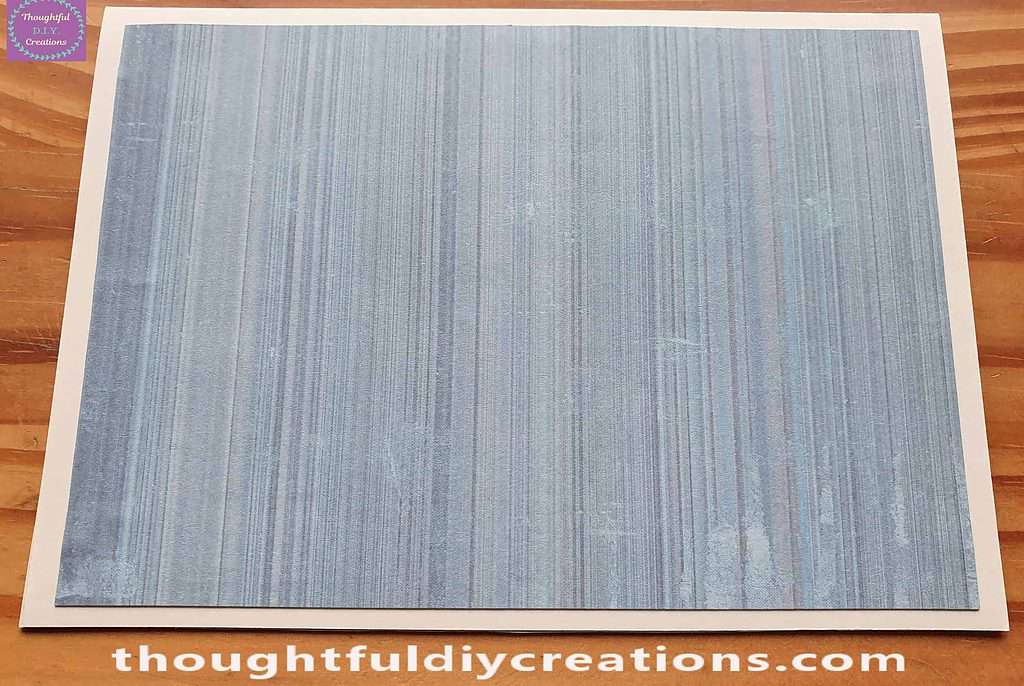
I got a Green Paper Pad that I’ve had for a few Years from my Supplies.
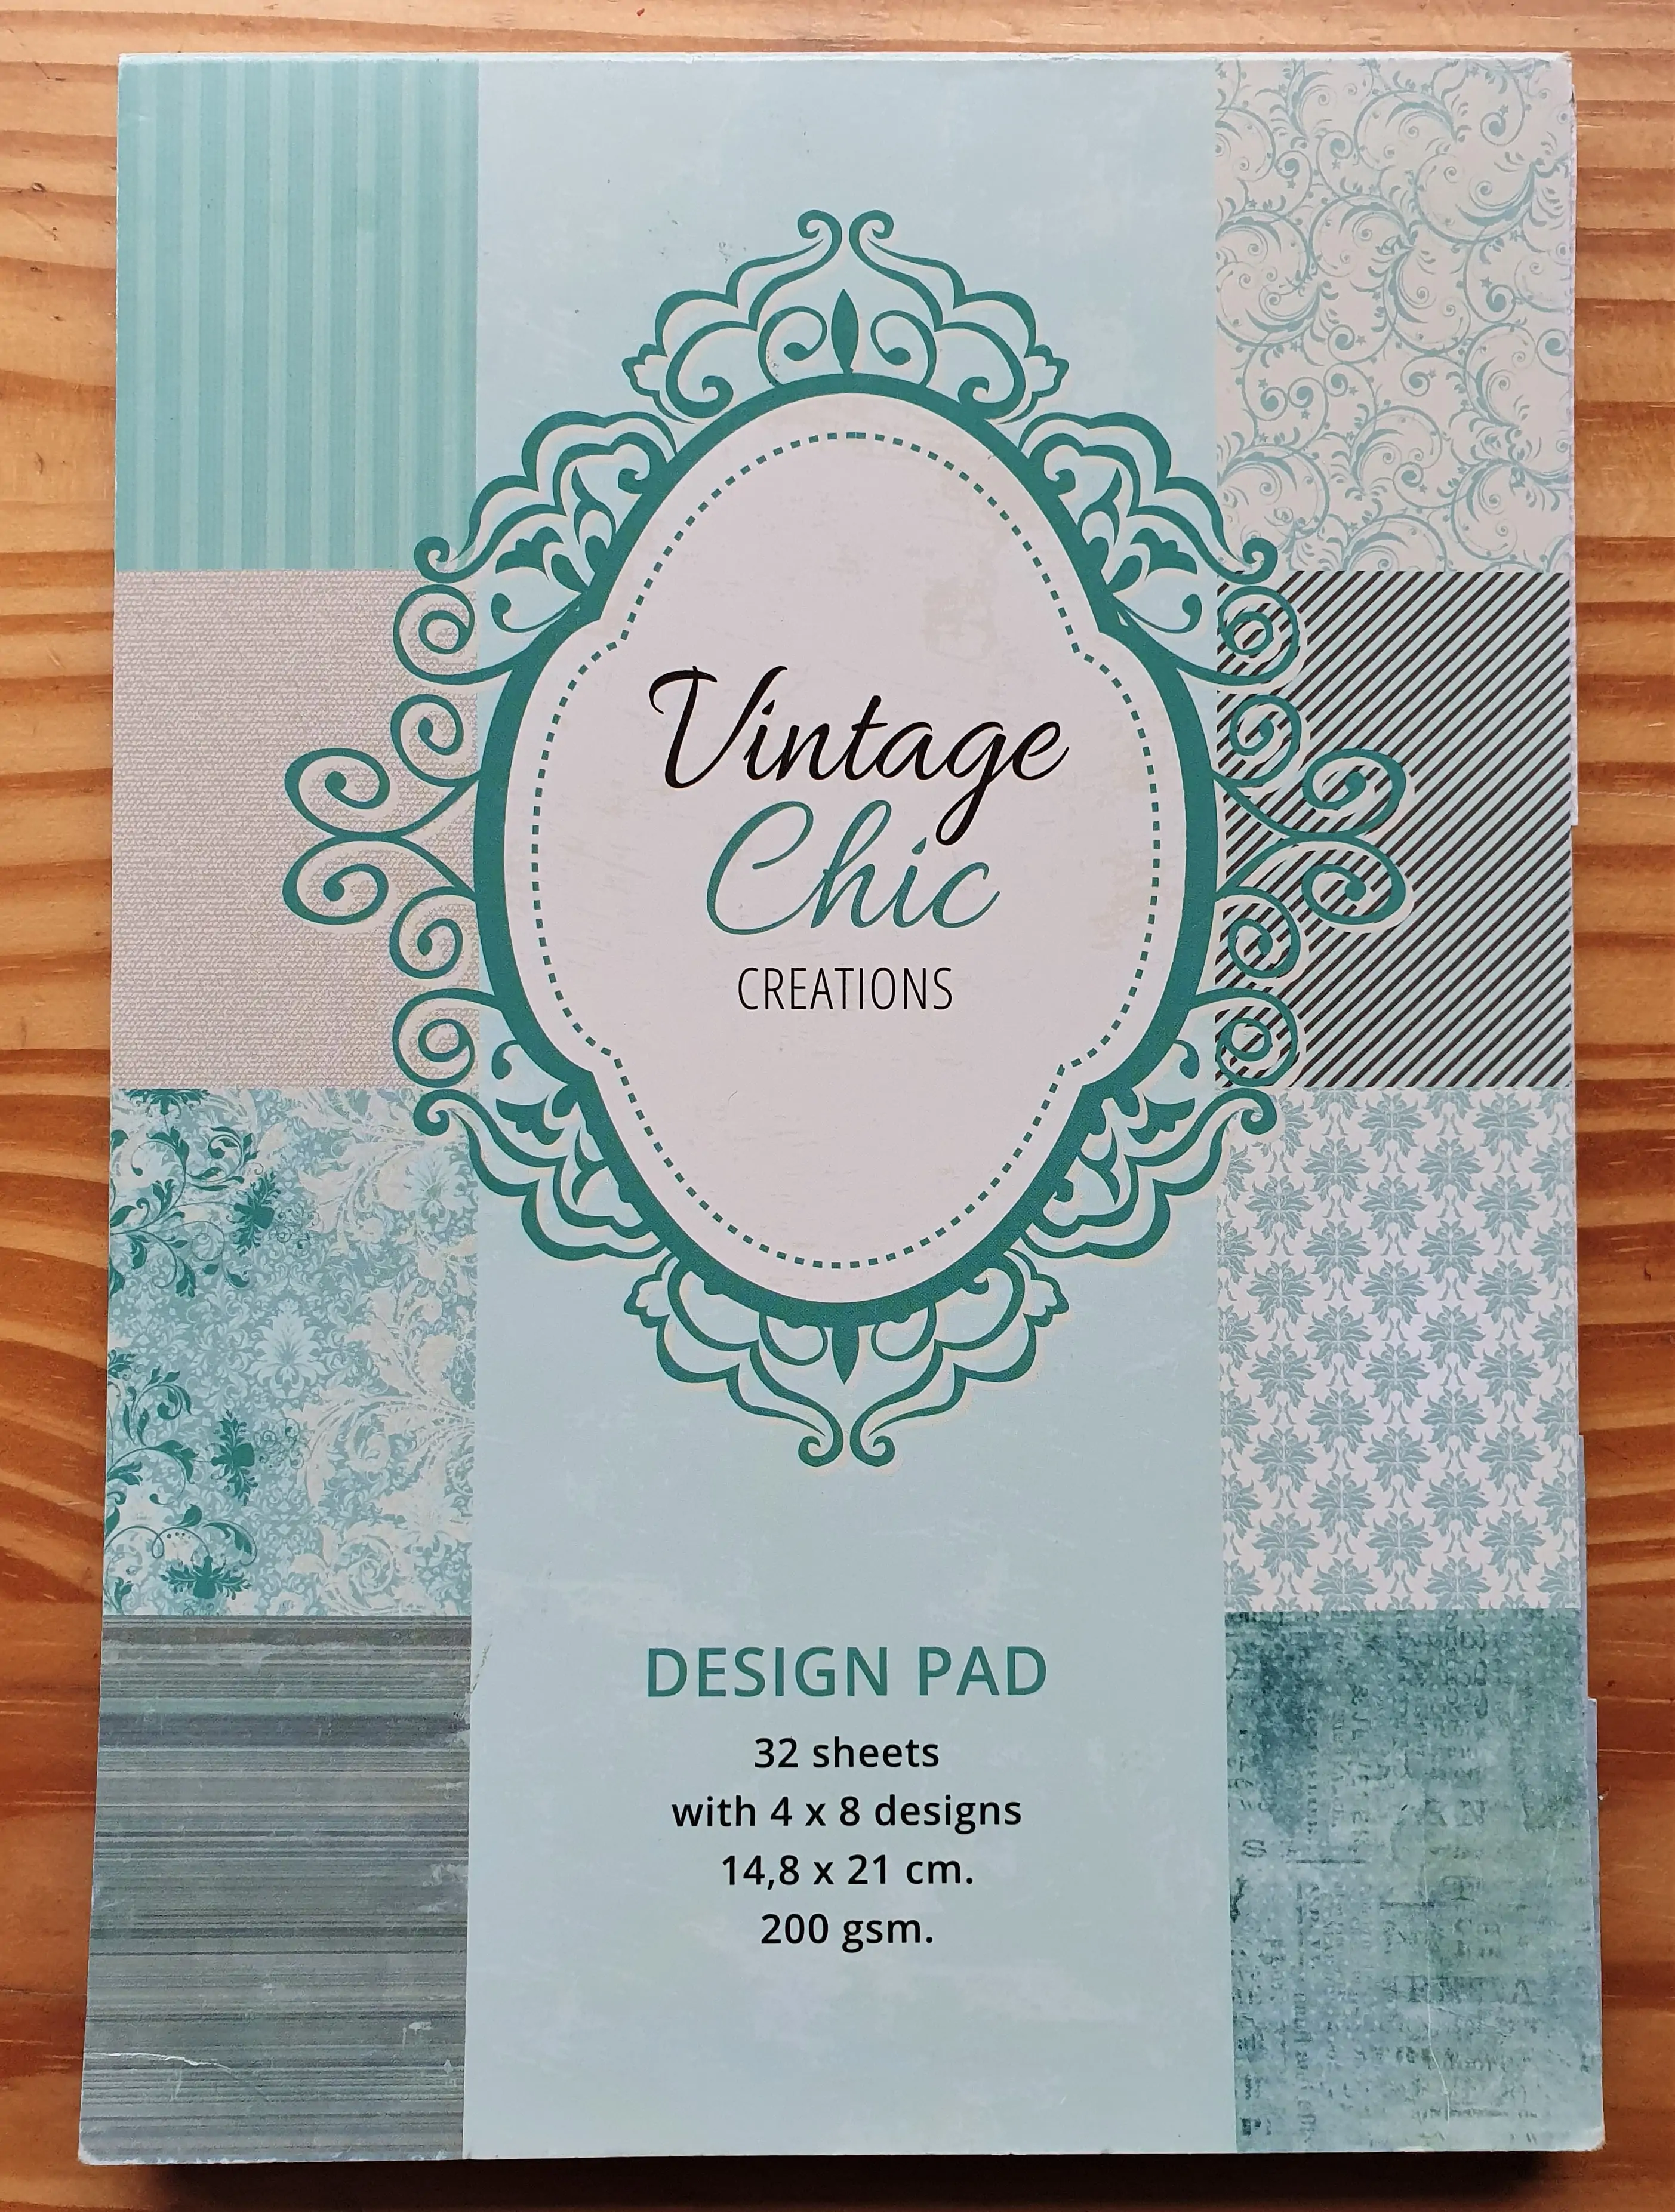
I loved the look of this Striped Green Page.
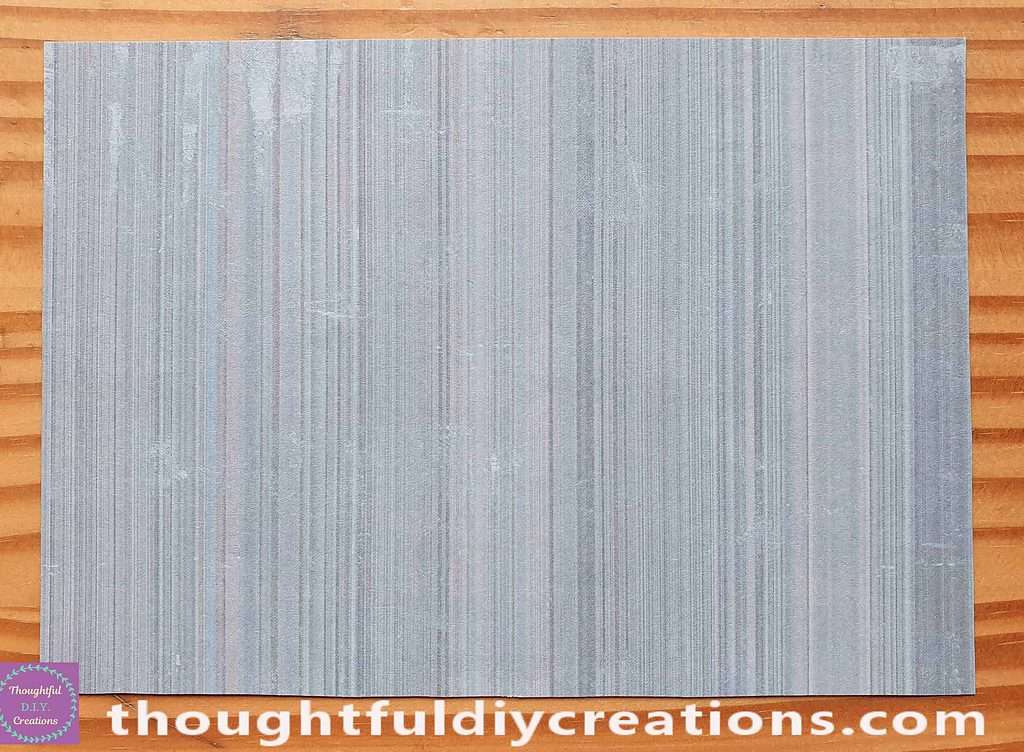
I Cut it out slightly smaller than the Ivory Card.
Attaching the Paper to the Christmas Card
I put Strips of Double-Sided Tape on the back of the Green Paper.
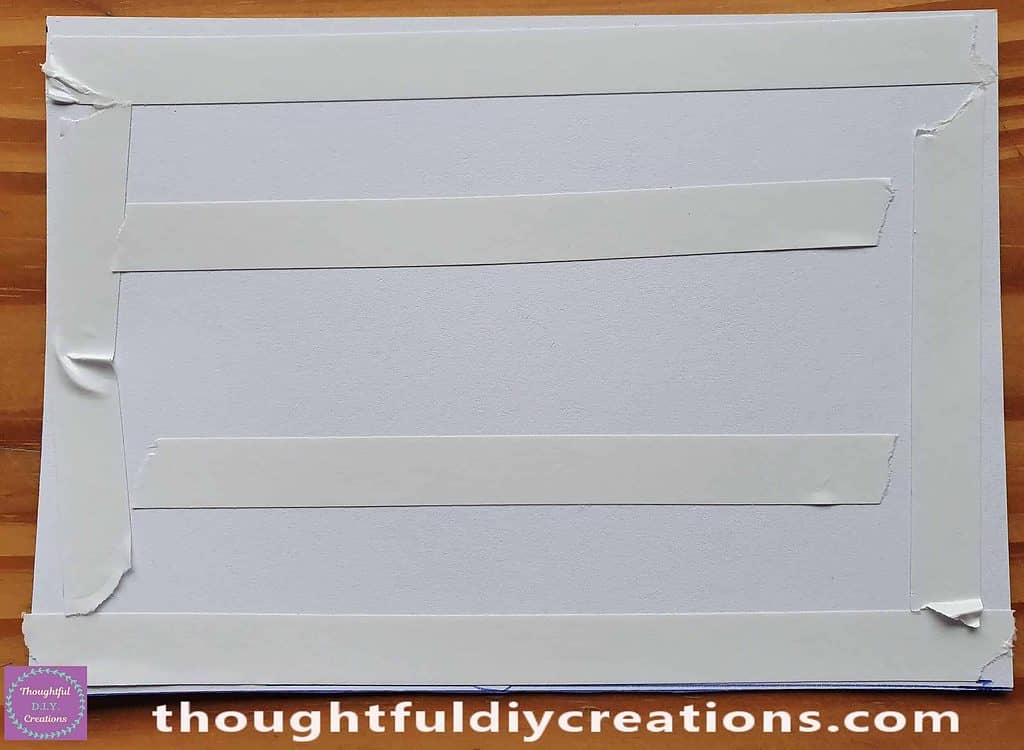
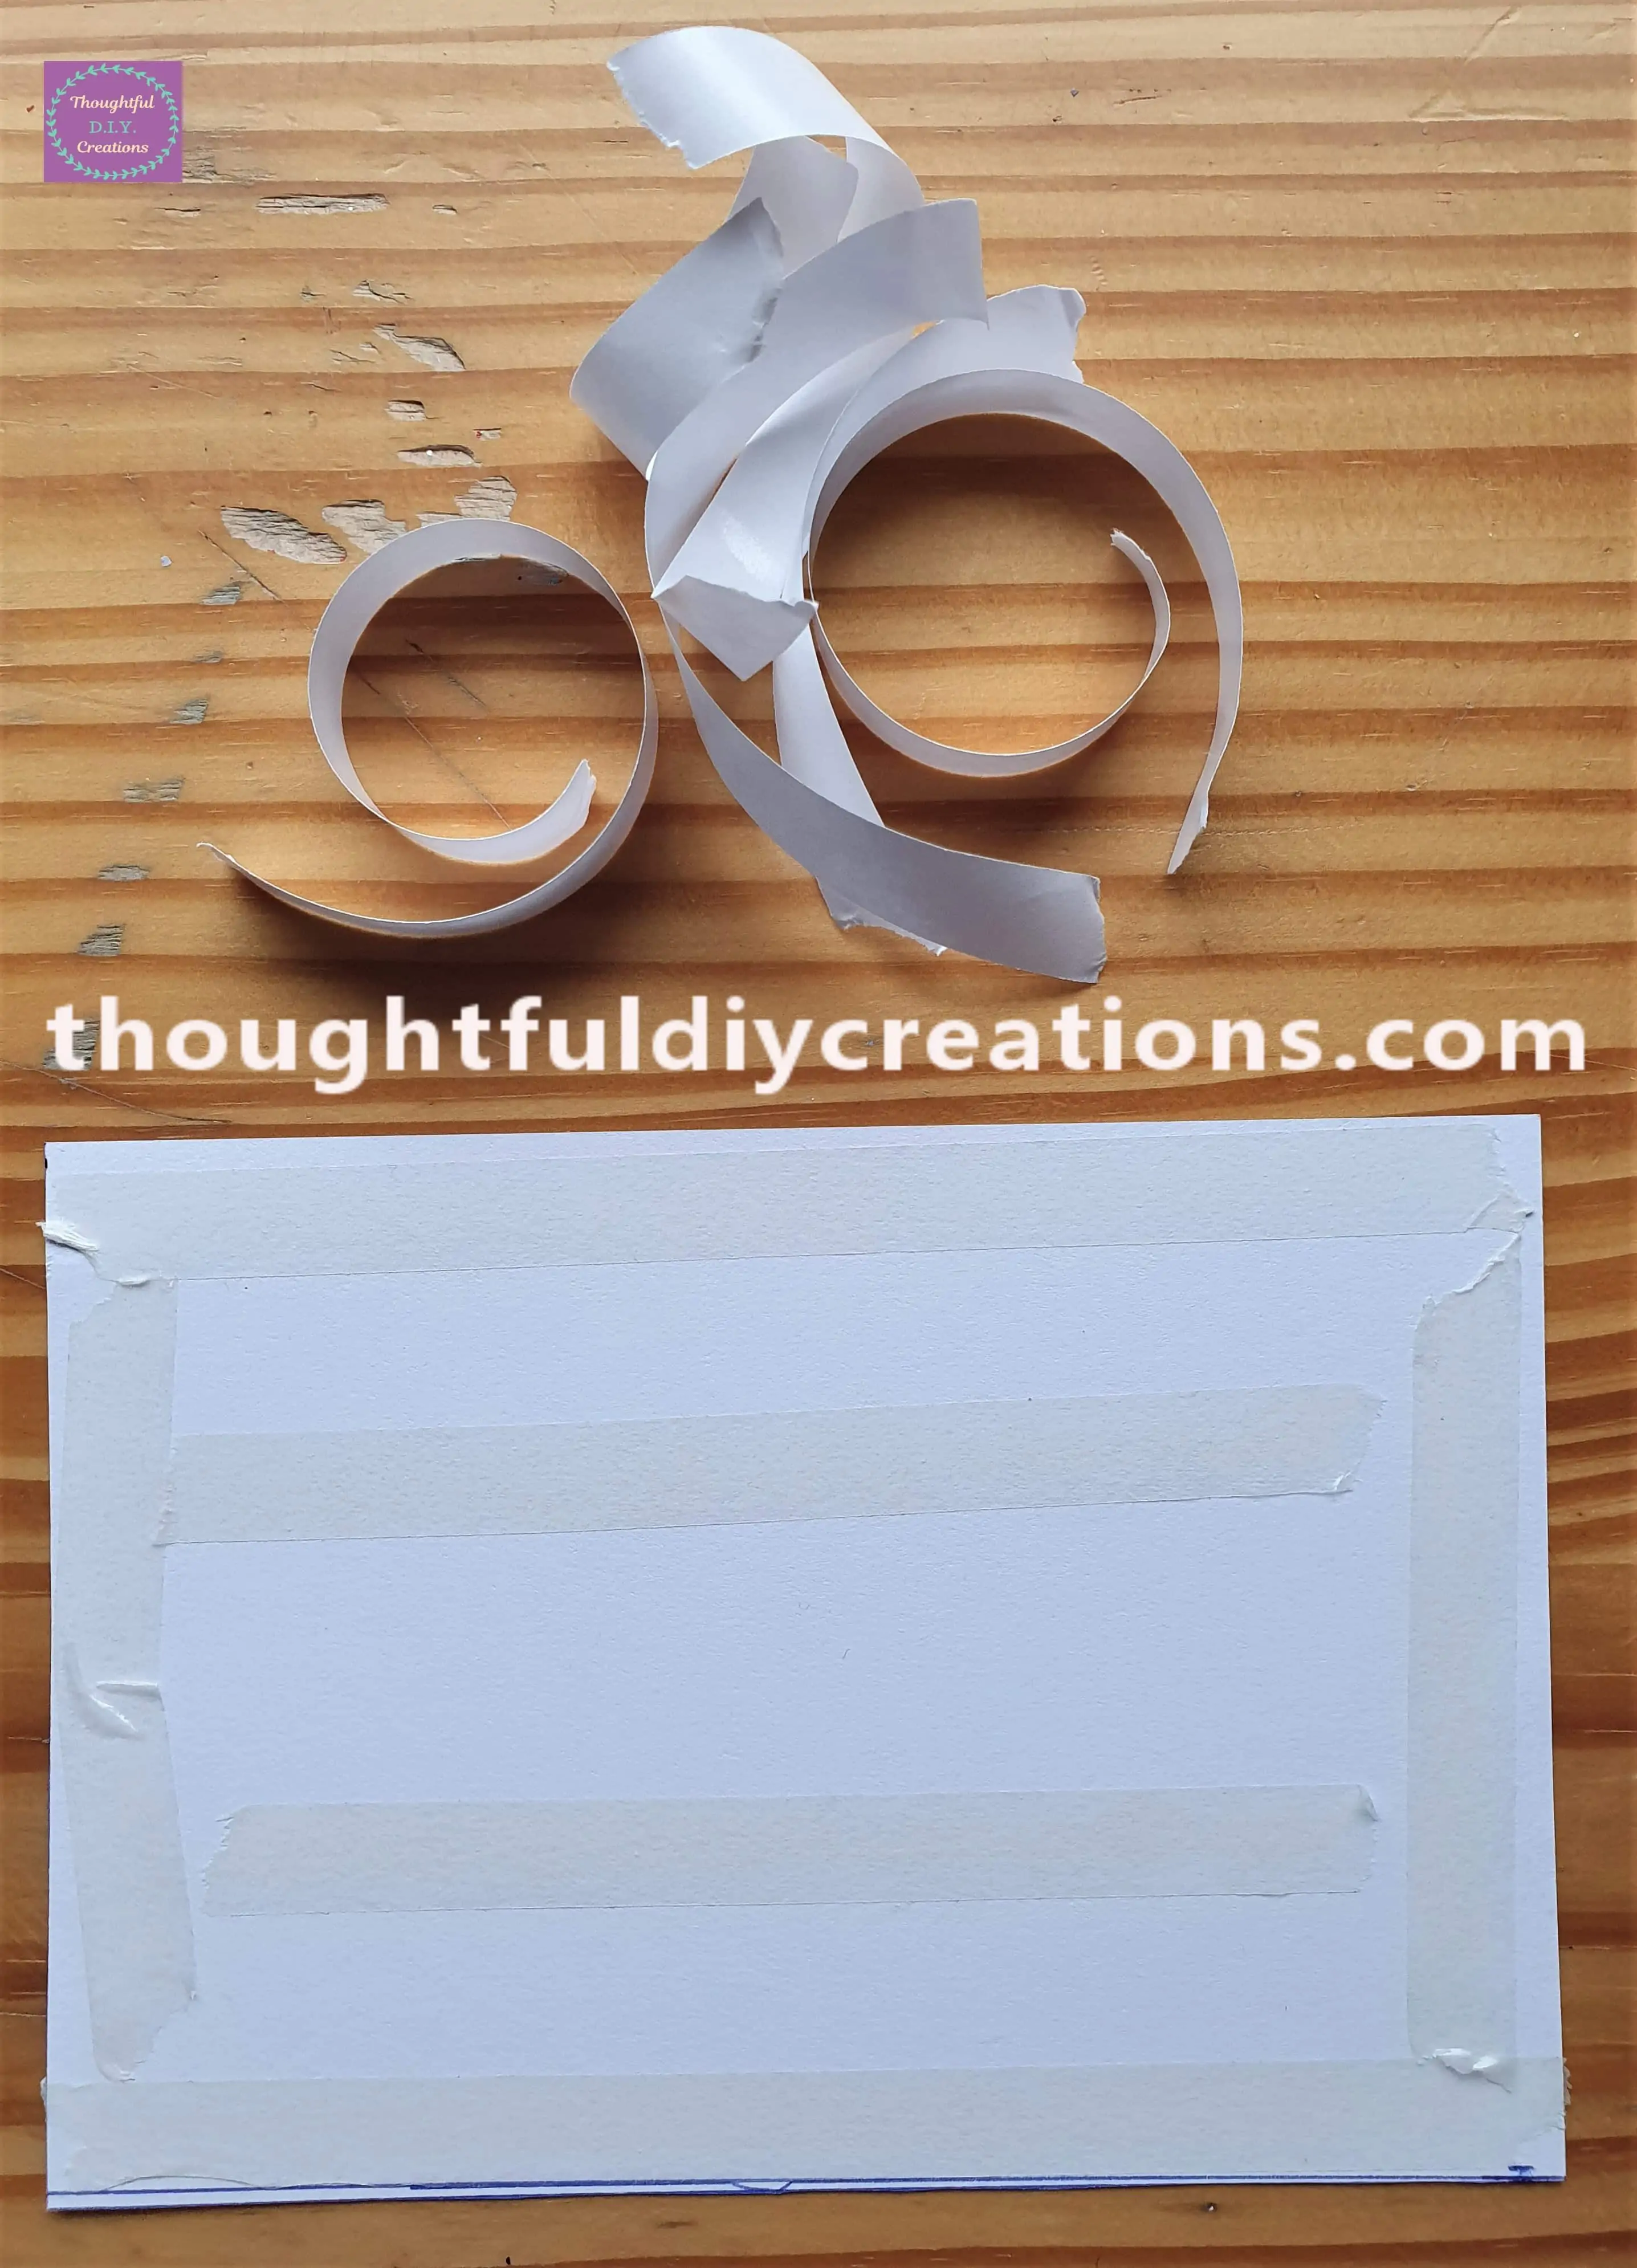
I removed each white backing from the strips of Double-Sided Tape.
I attached the Green Paper to the Christmas Card and pressed it into place.
Cutting out Images for the Card
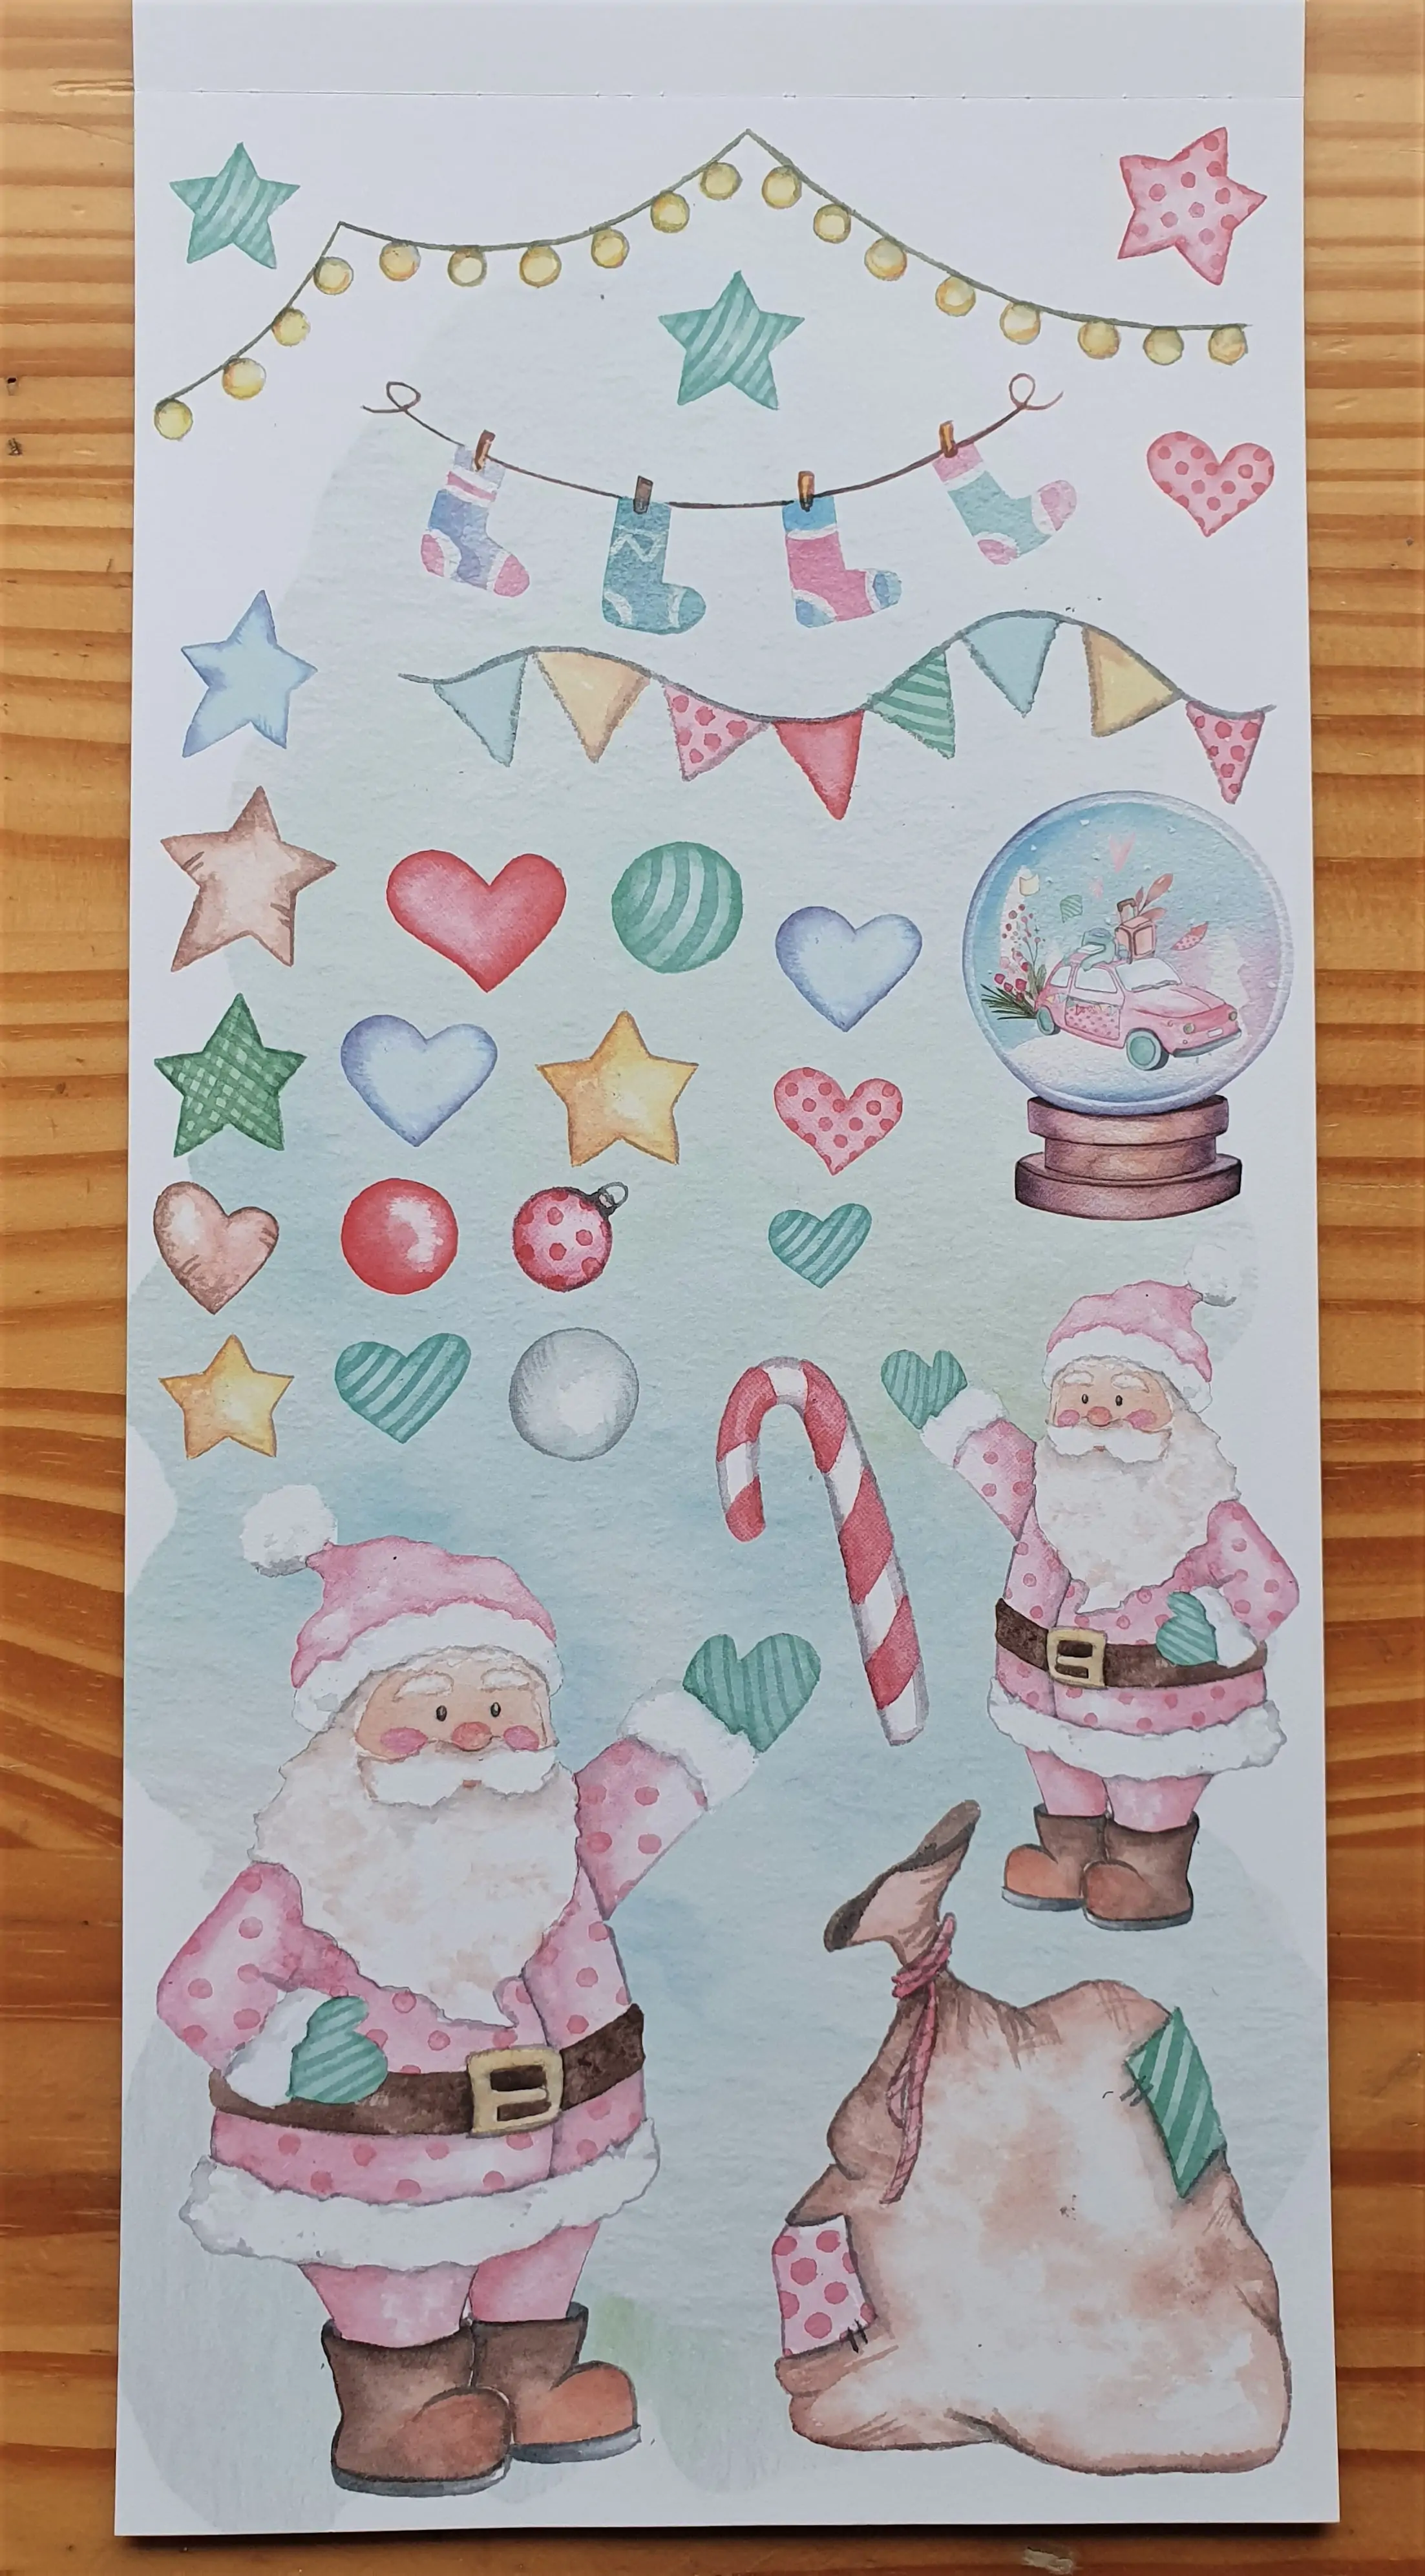
I bought a 6″ x12″ ‘Christmas Rose’ Paper Pad by ‘Stamperia’ recently. It is full of Pastel Christmas Images to Cut out for Cards and Crafts. I will be Cutting out the smaller Santa from this Page.
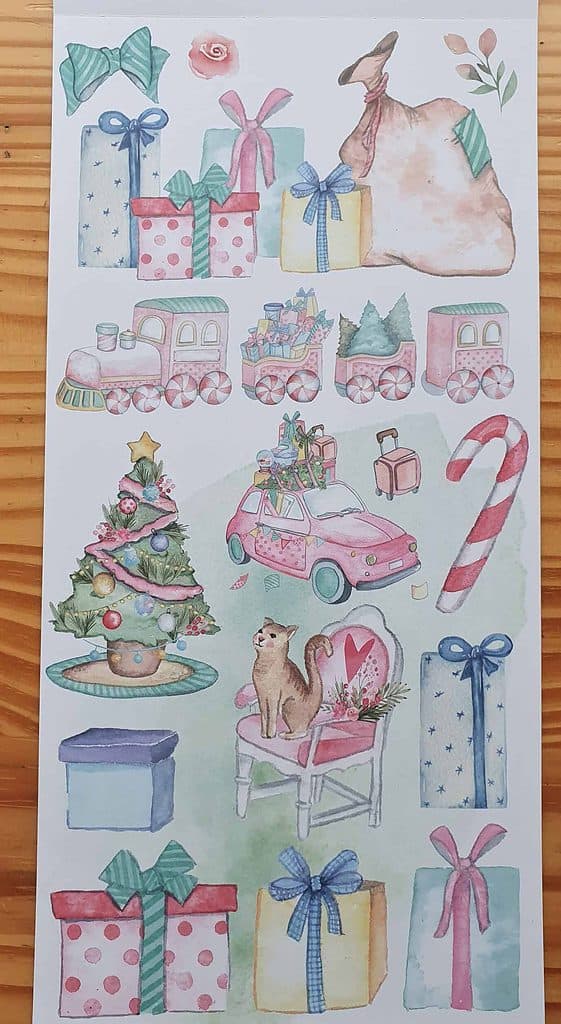
I will also be Cutting out the Santa Sack with Yellow Gift Box and the Christmas Tree from this Page.
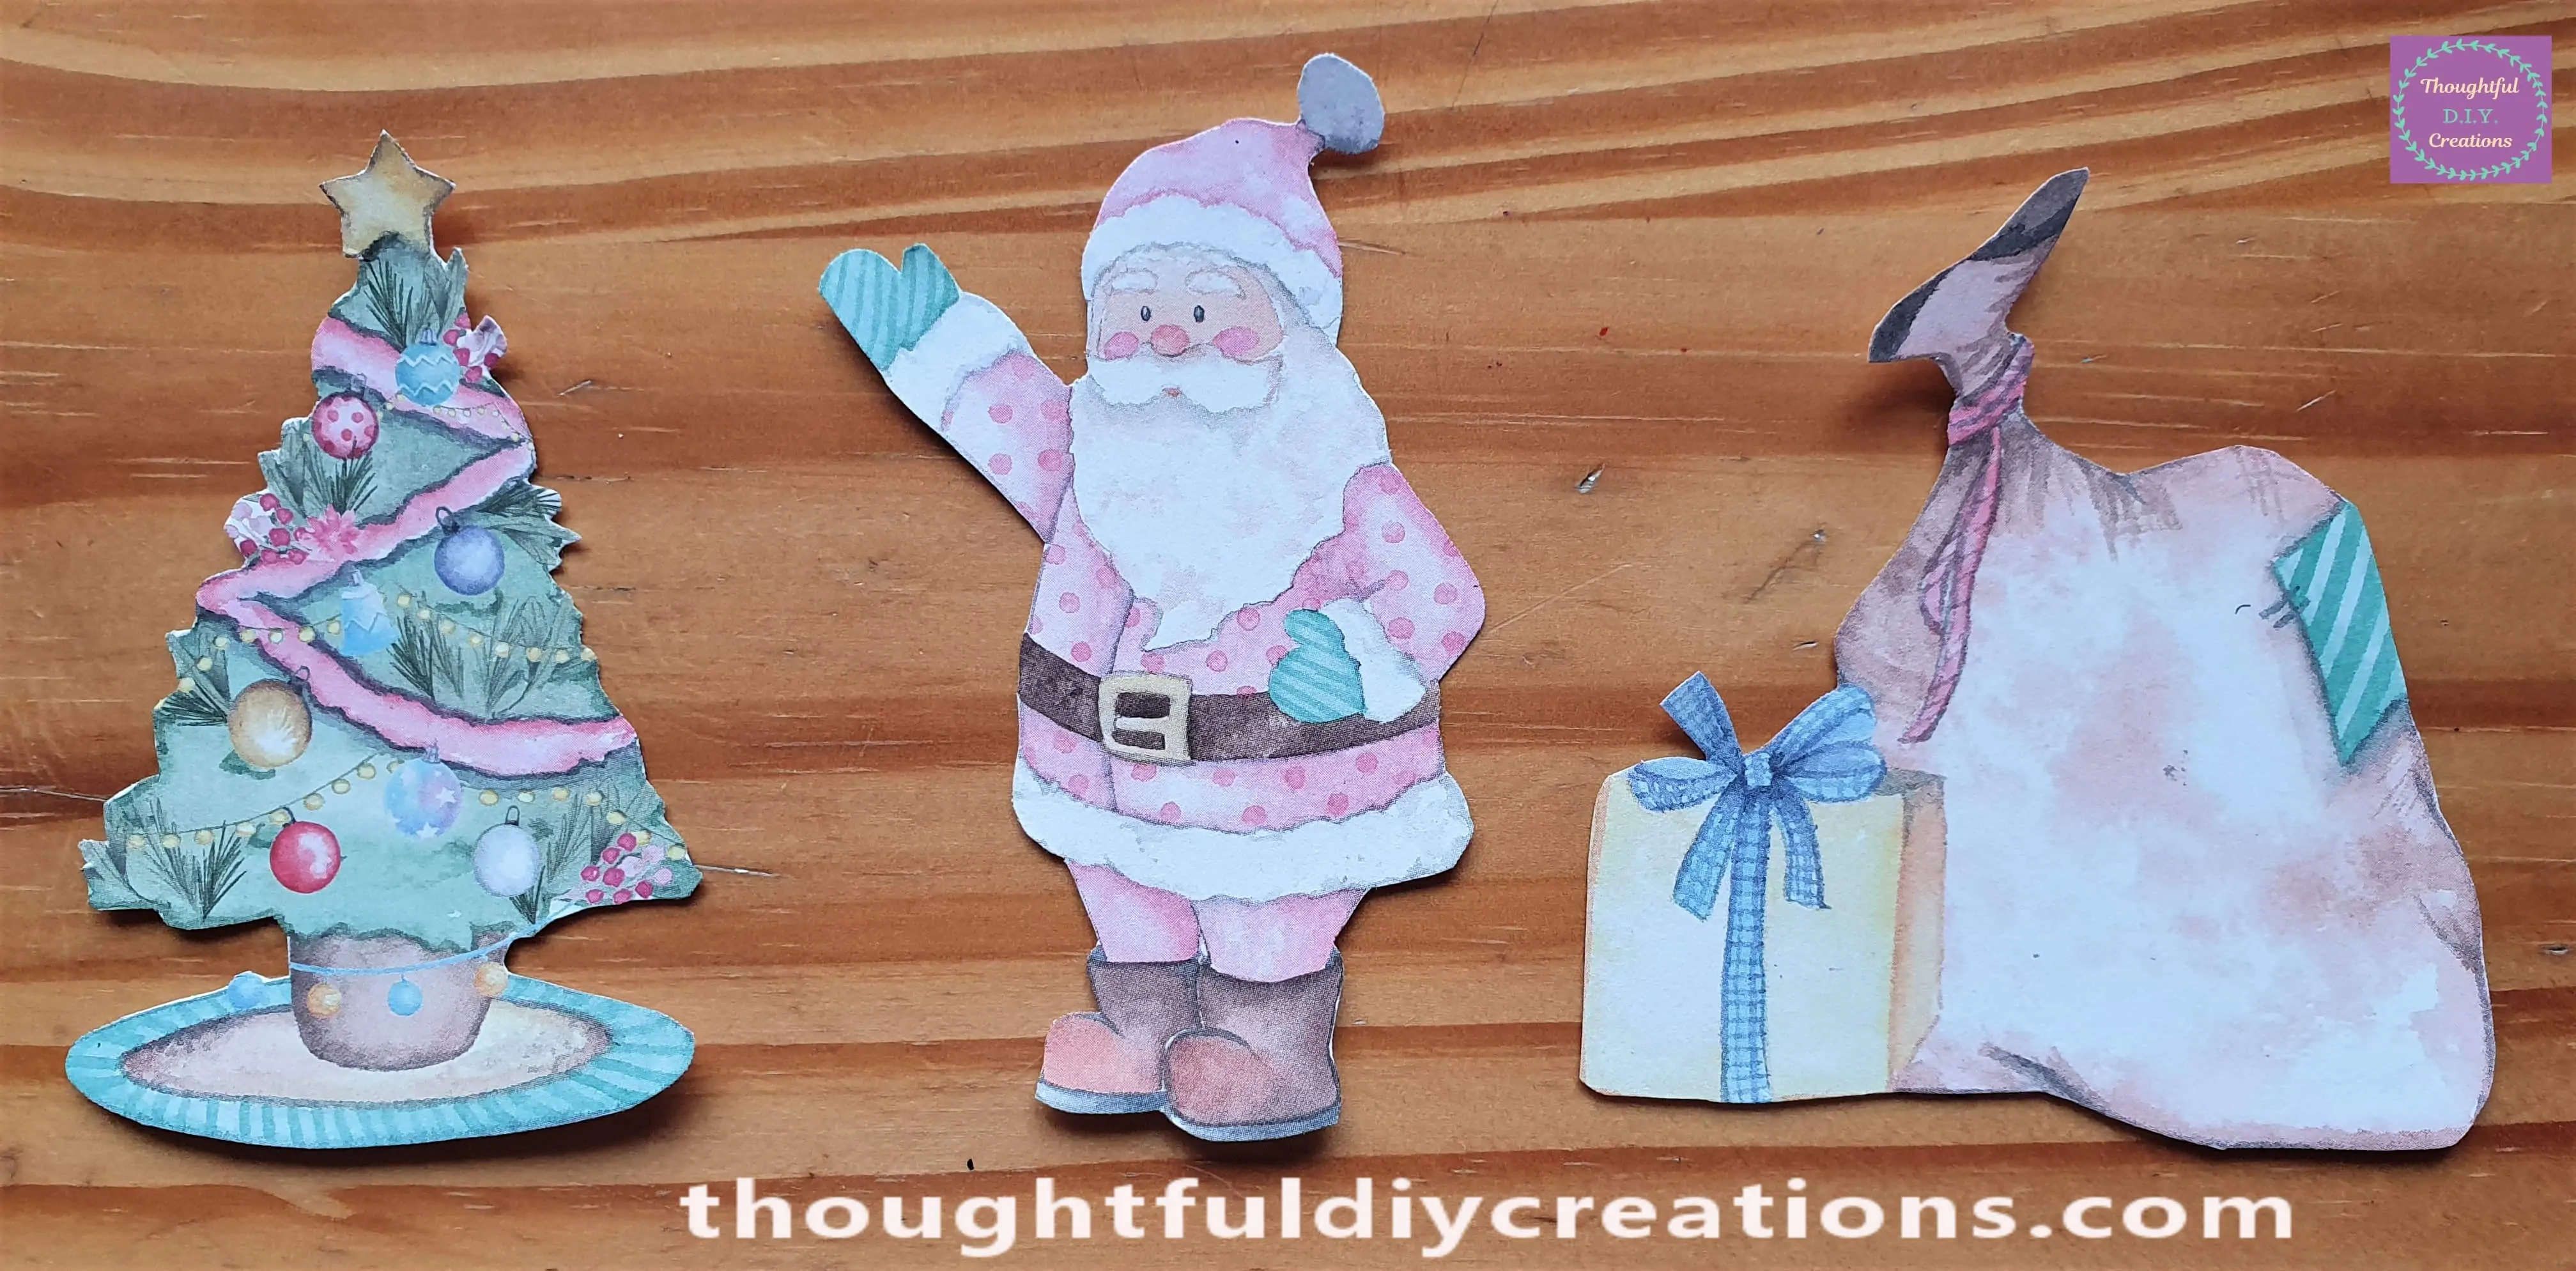
Here are the Images Cut out ready for the Christmas Card.
Attaching the Pictures to the Christmas Card
I put various Double-Sided Foam Squares on the back of the Christmas Tree and Santa Sack. I cut some of the Squares in half to fit smaller areas.
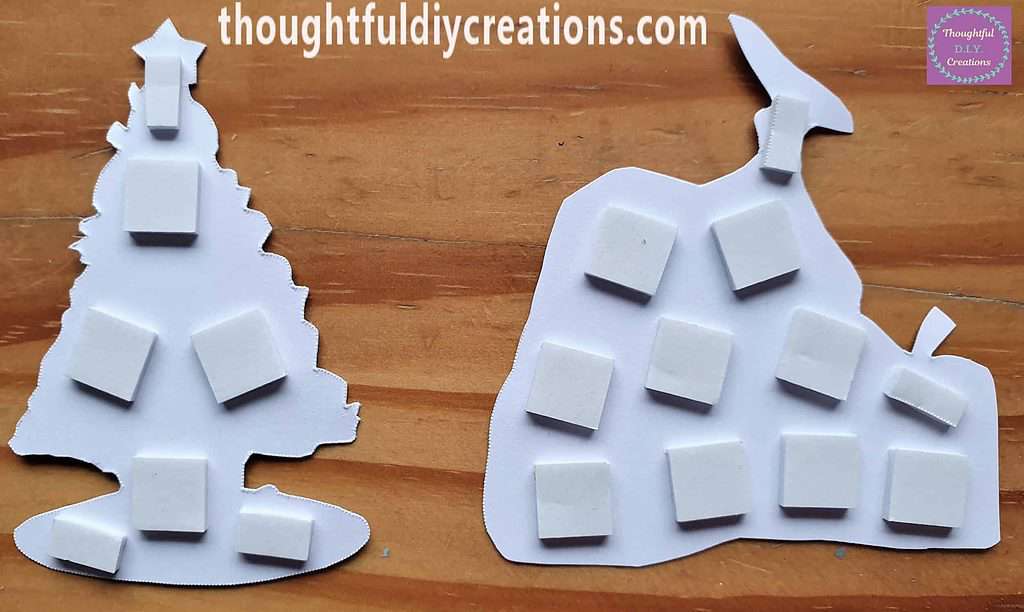
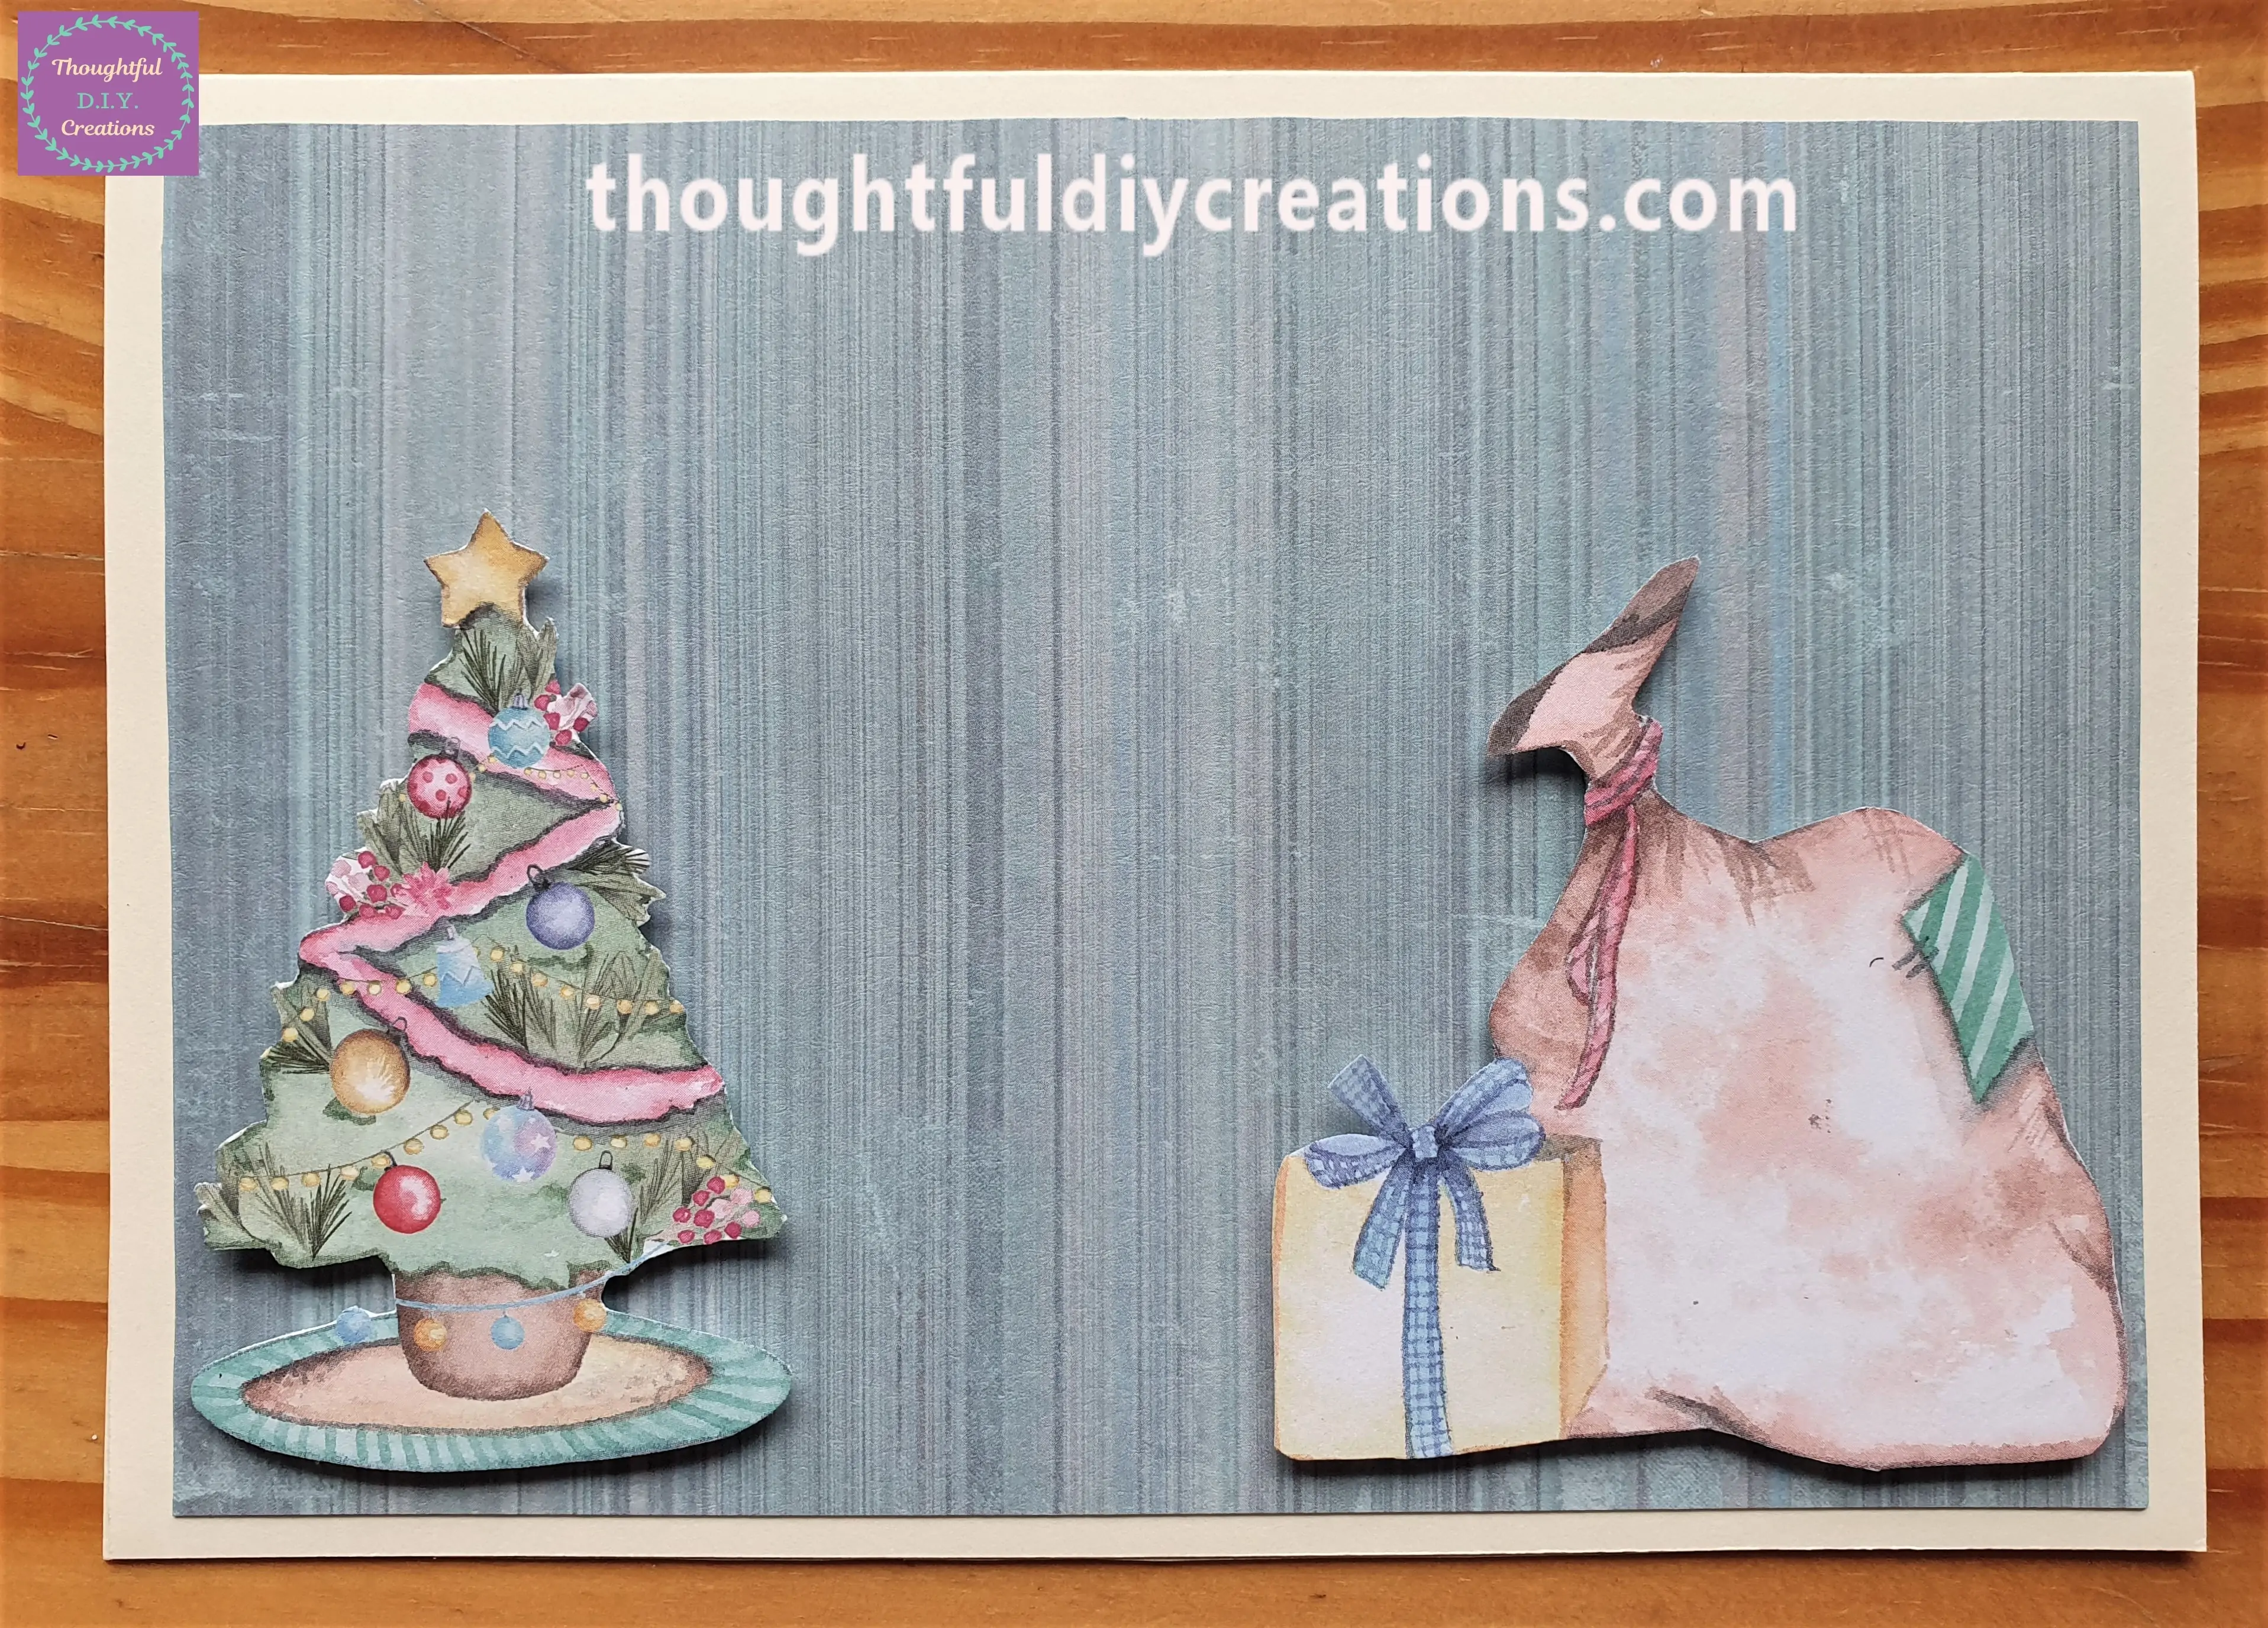
I removed the white backing from each Foam Square and pressed each Image to my Christmas Card.
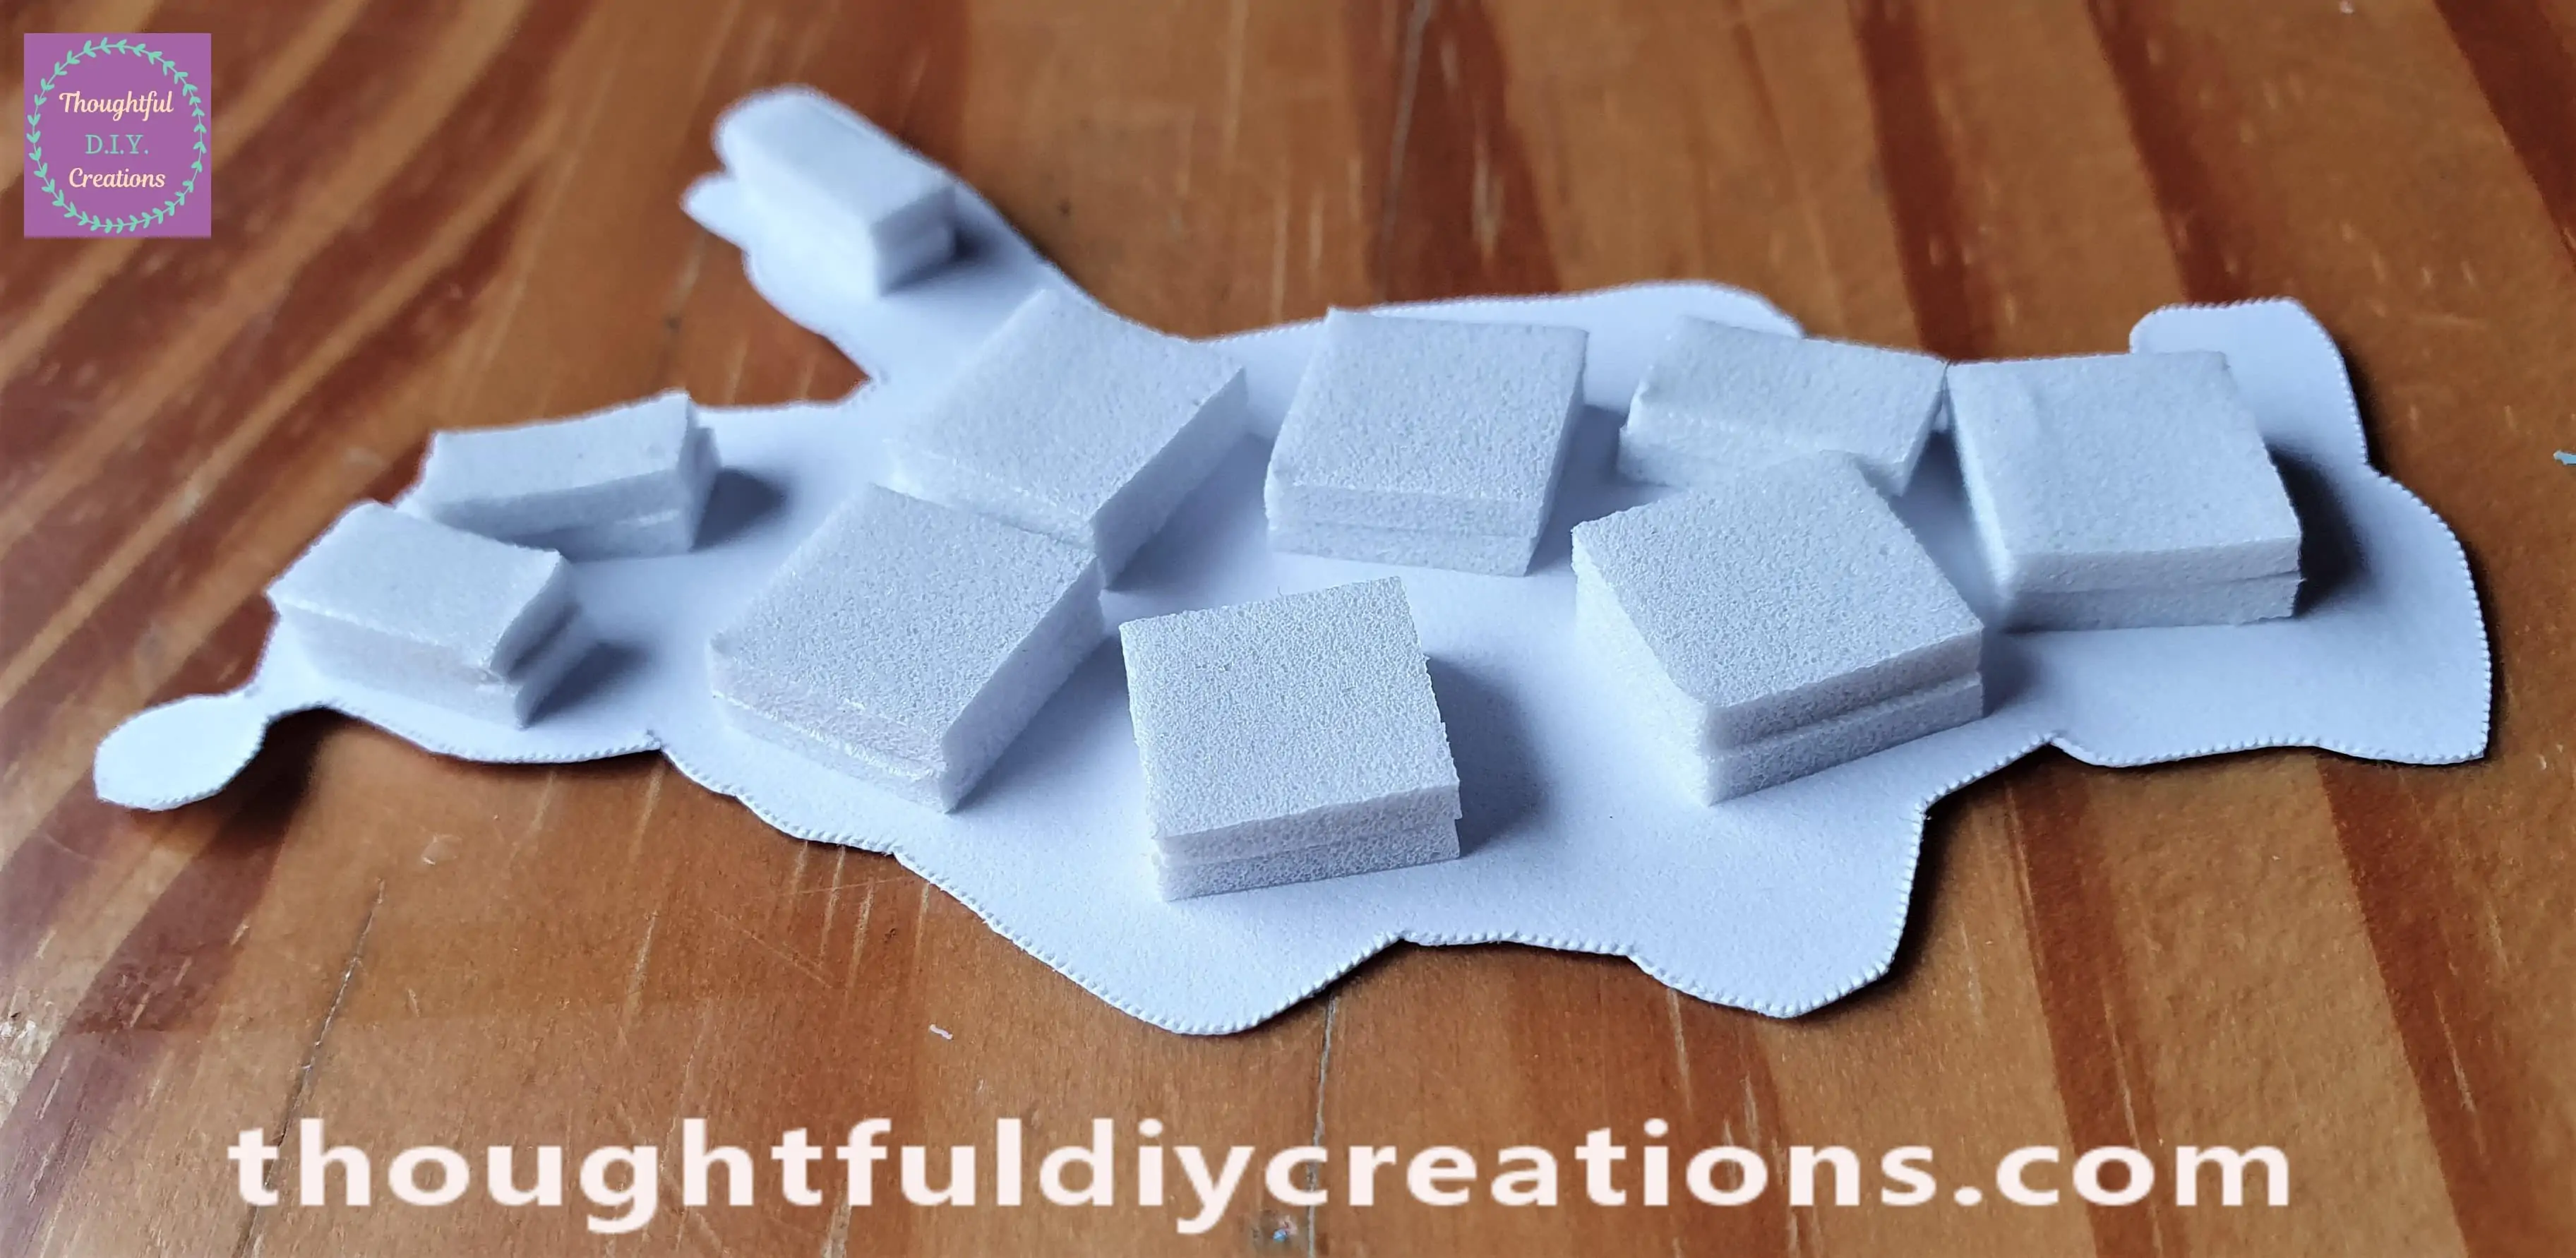
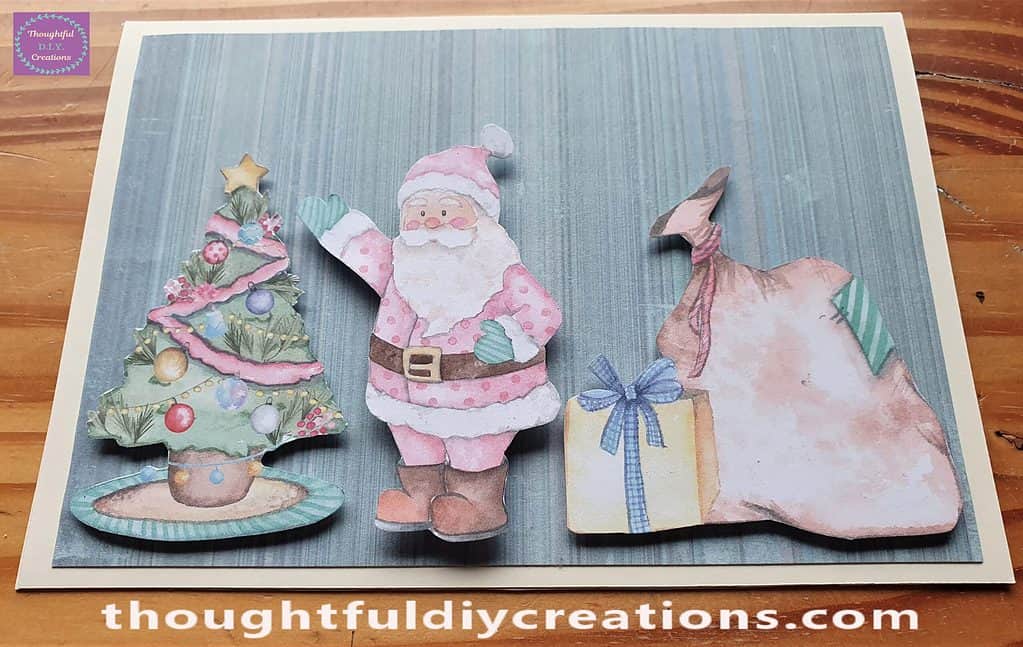
I put 2 layers of the Foam Squares on the back of the Santa to give extra dimension to the Christmas Card.
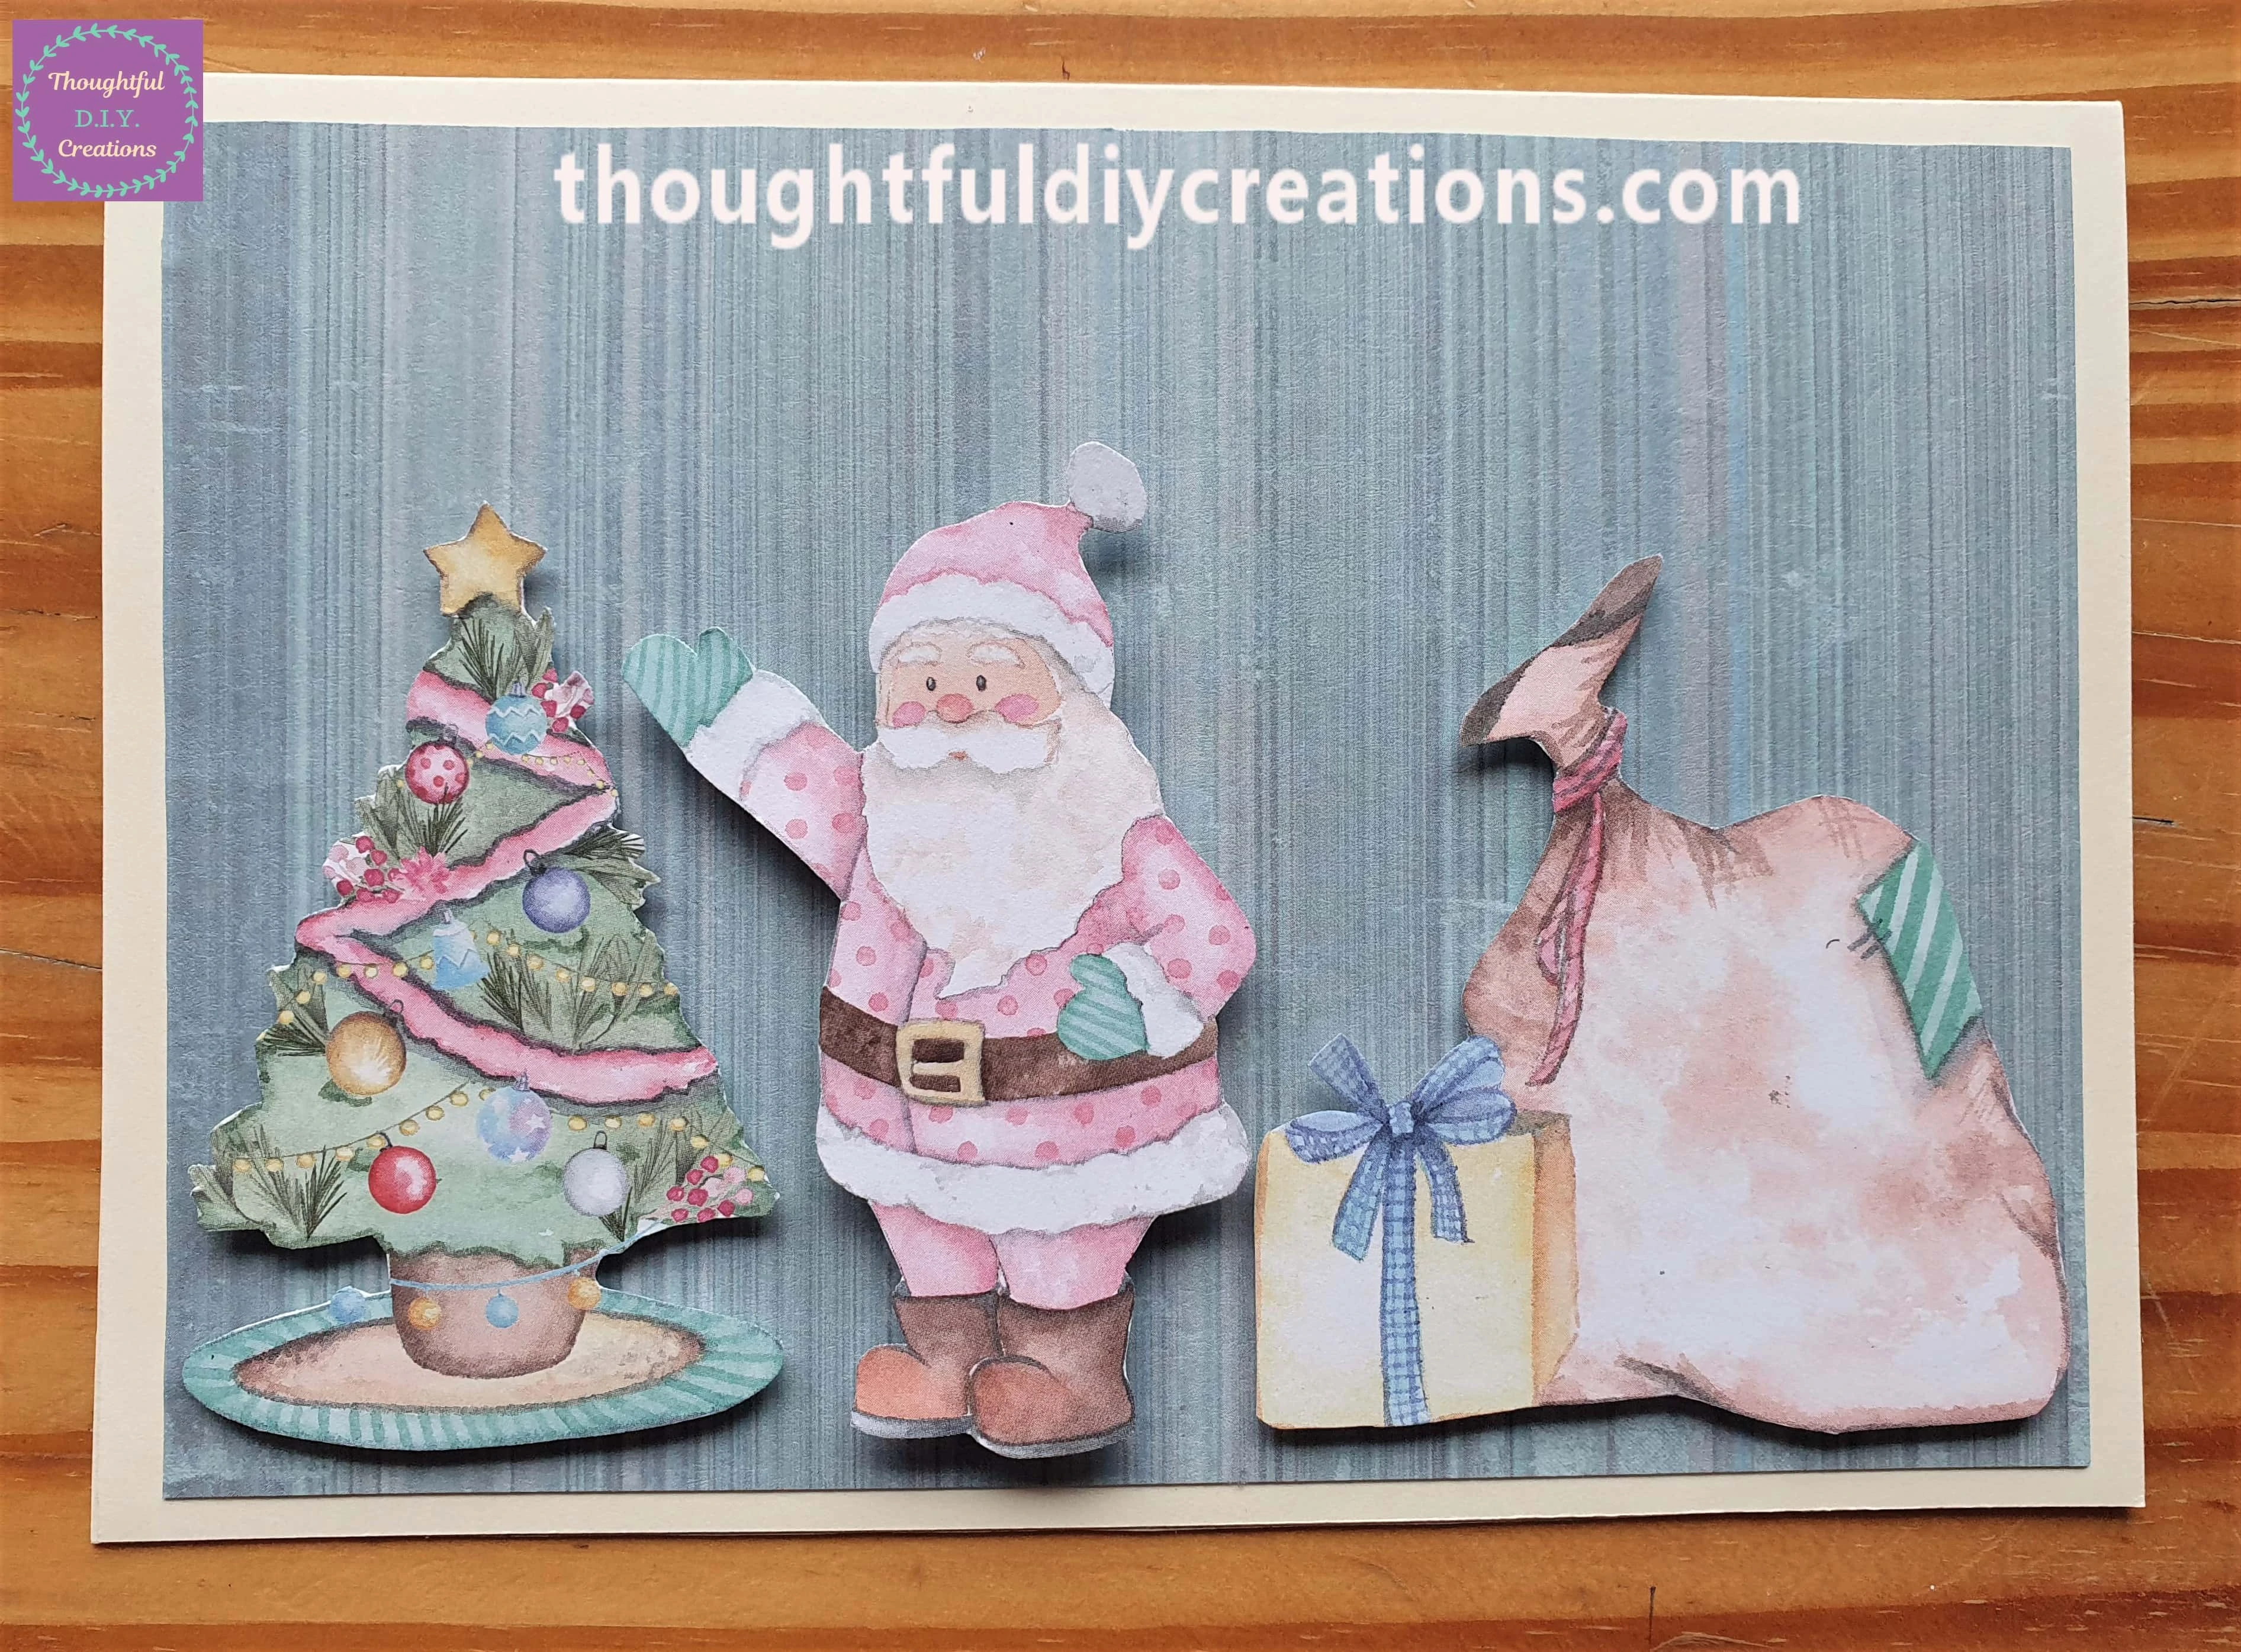
I attached him to the Card in between the Tree and Gift Box.
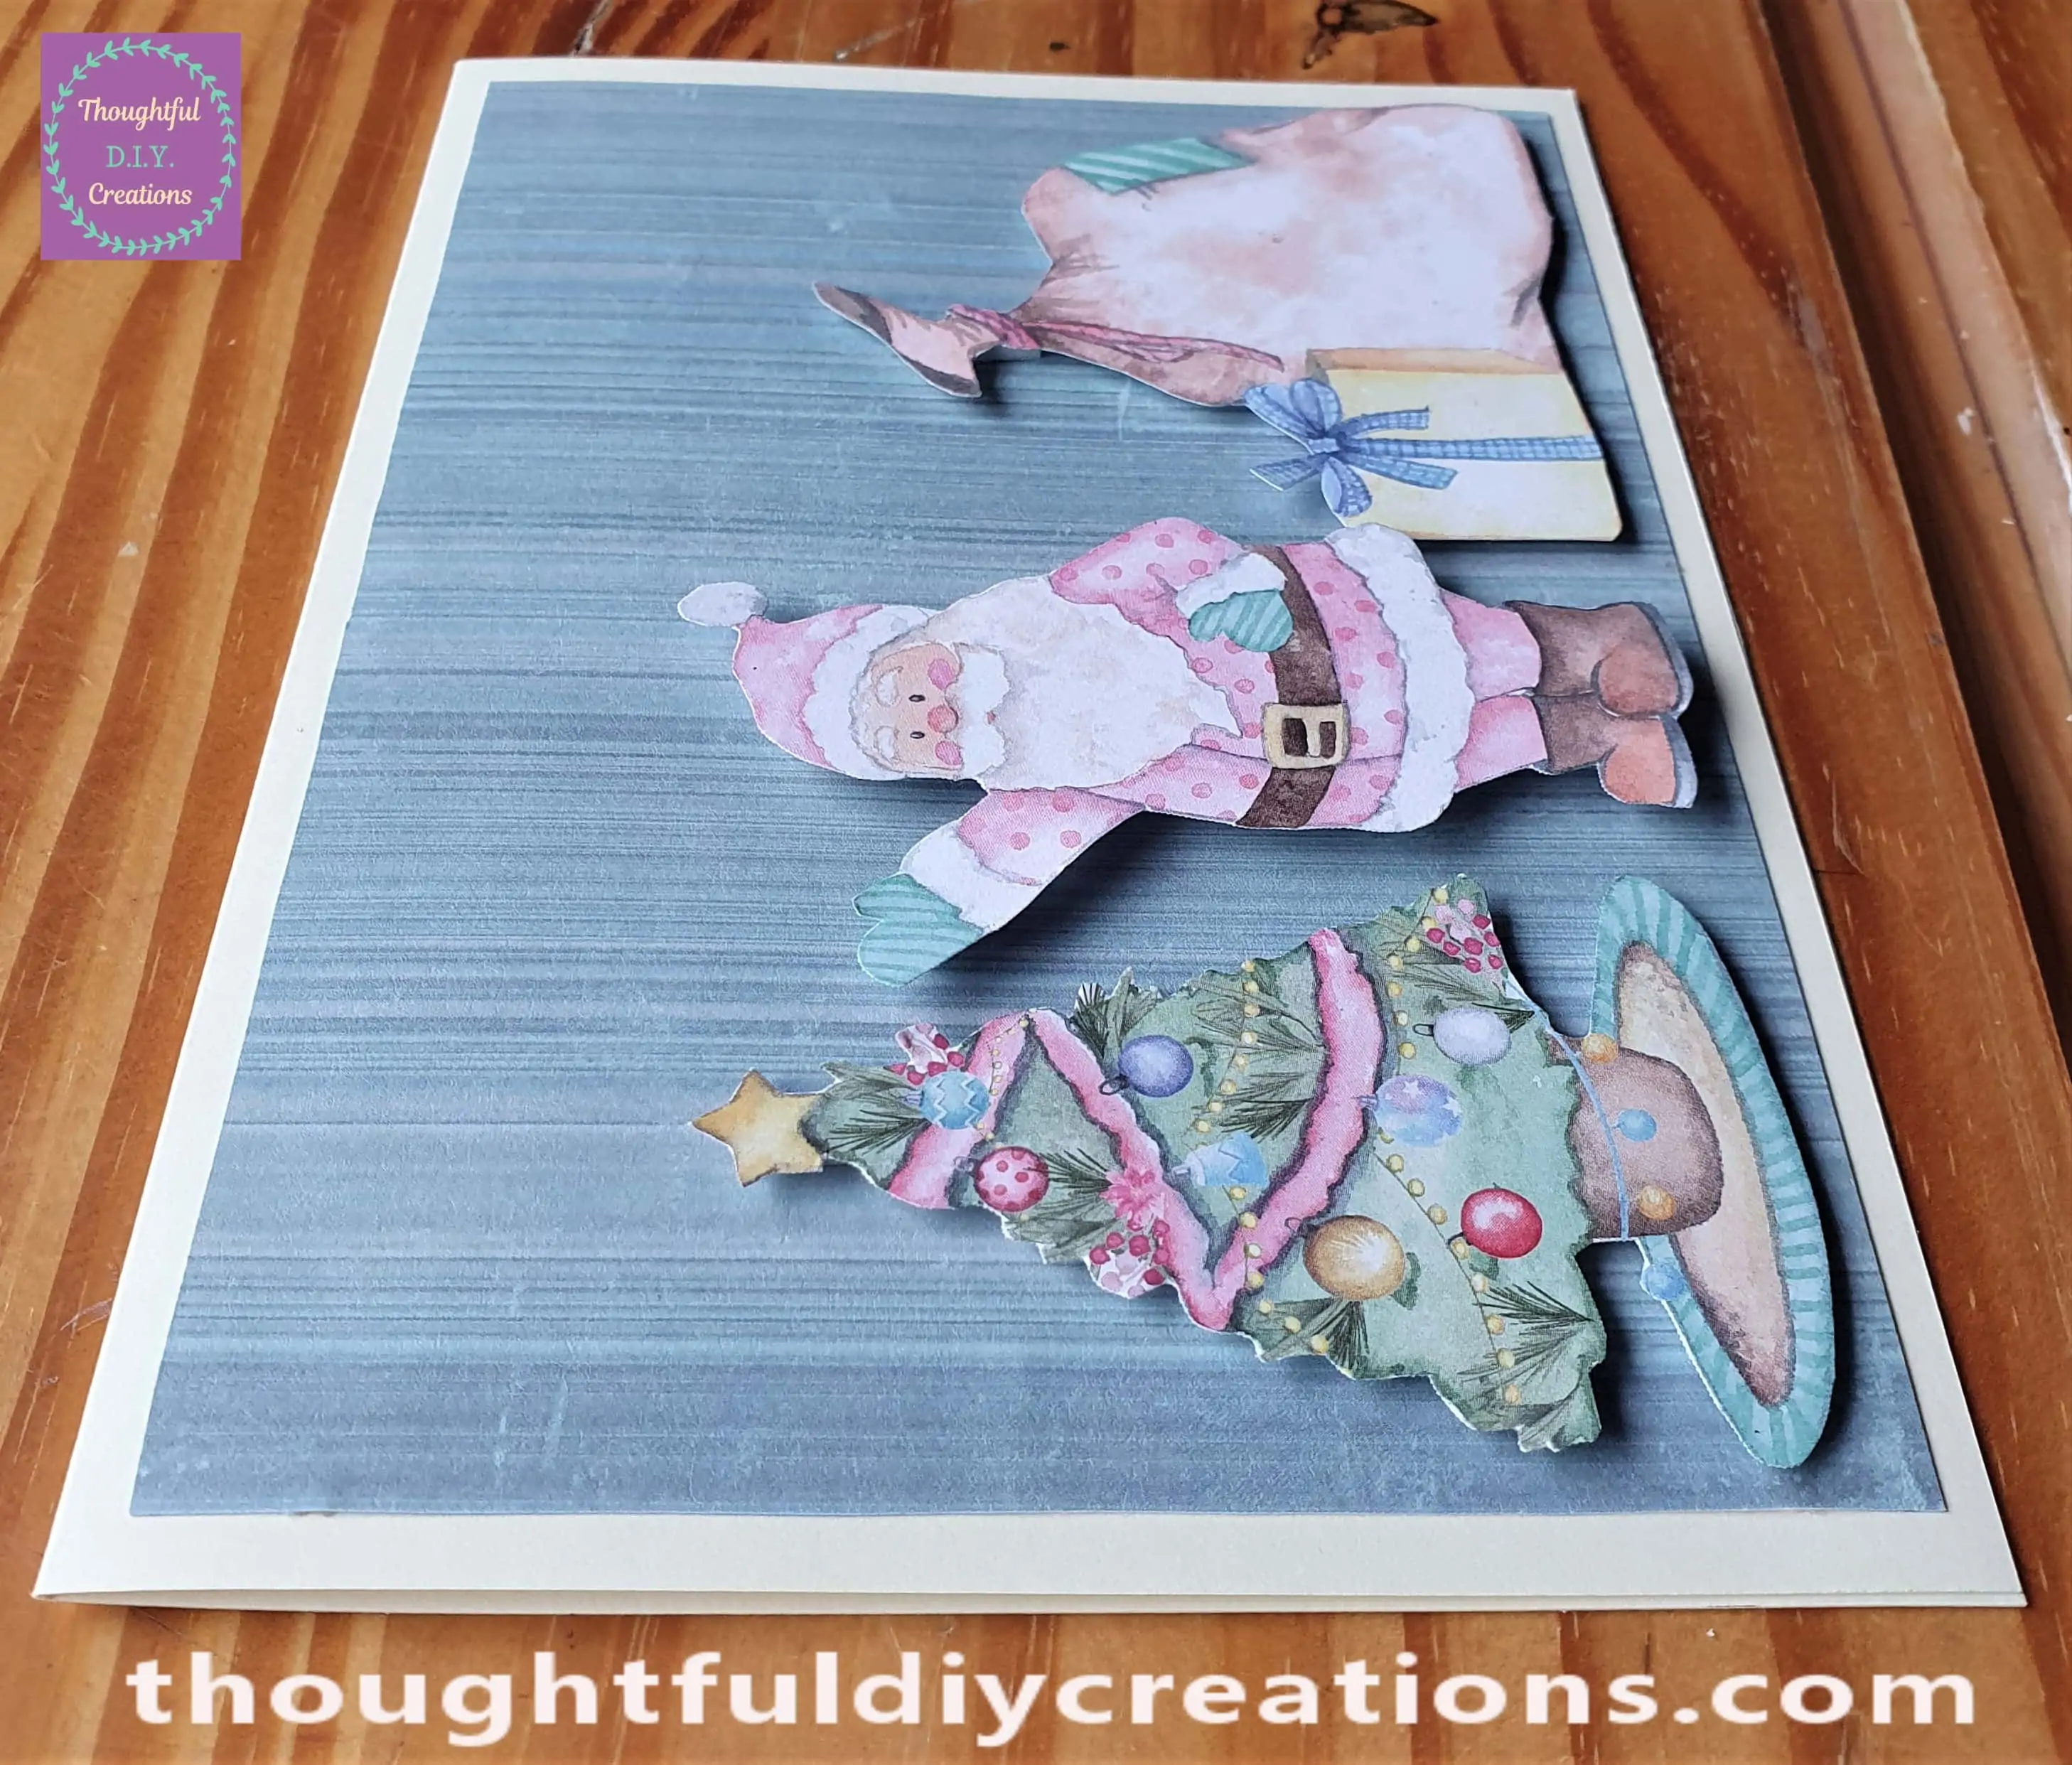
Below is a Side angle of the Card so far.
Snowflake Sticker
I got a White Glitter Foam Snowflake Sticker from the Pack.
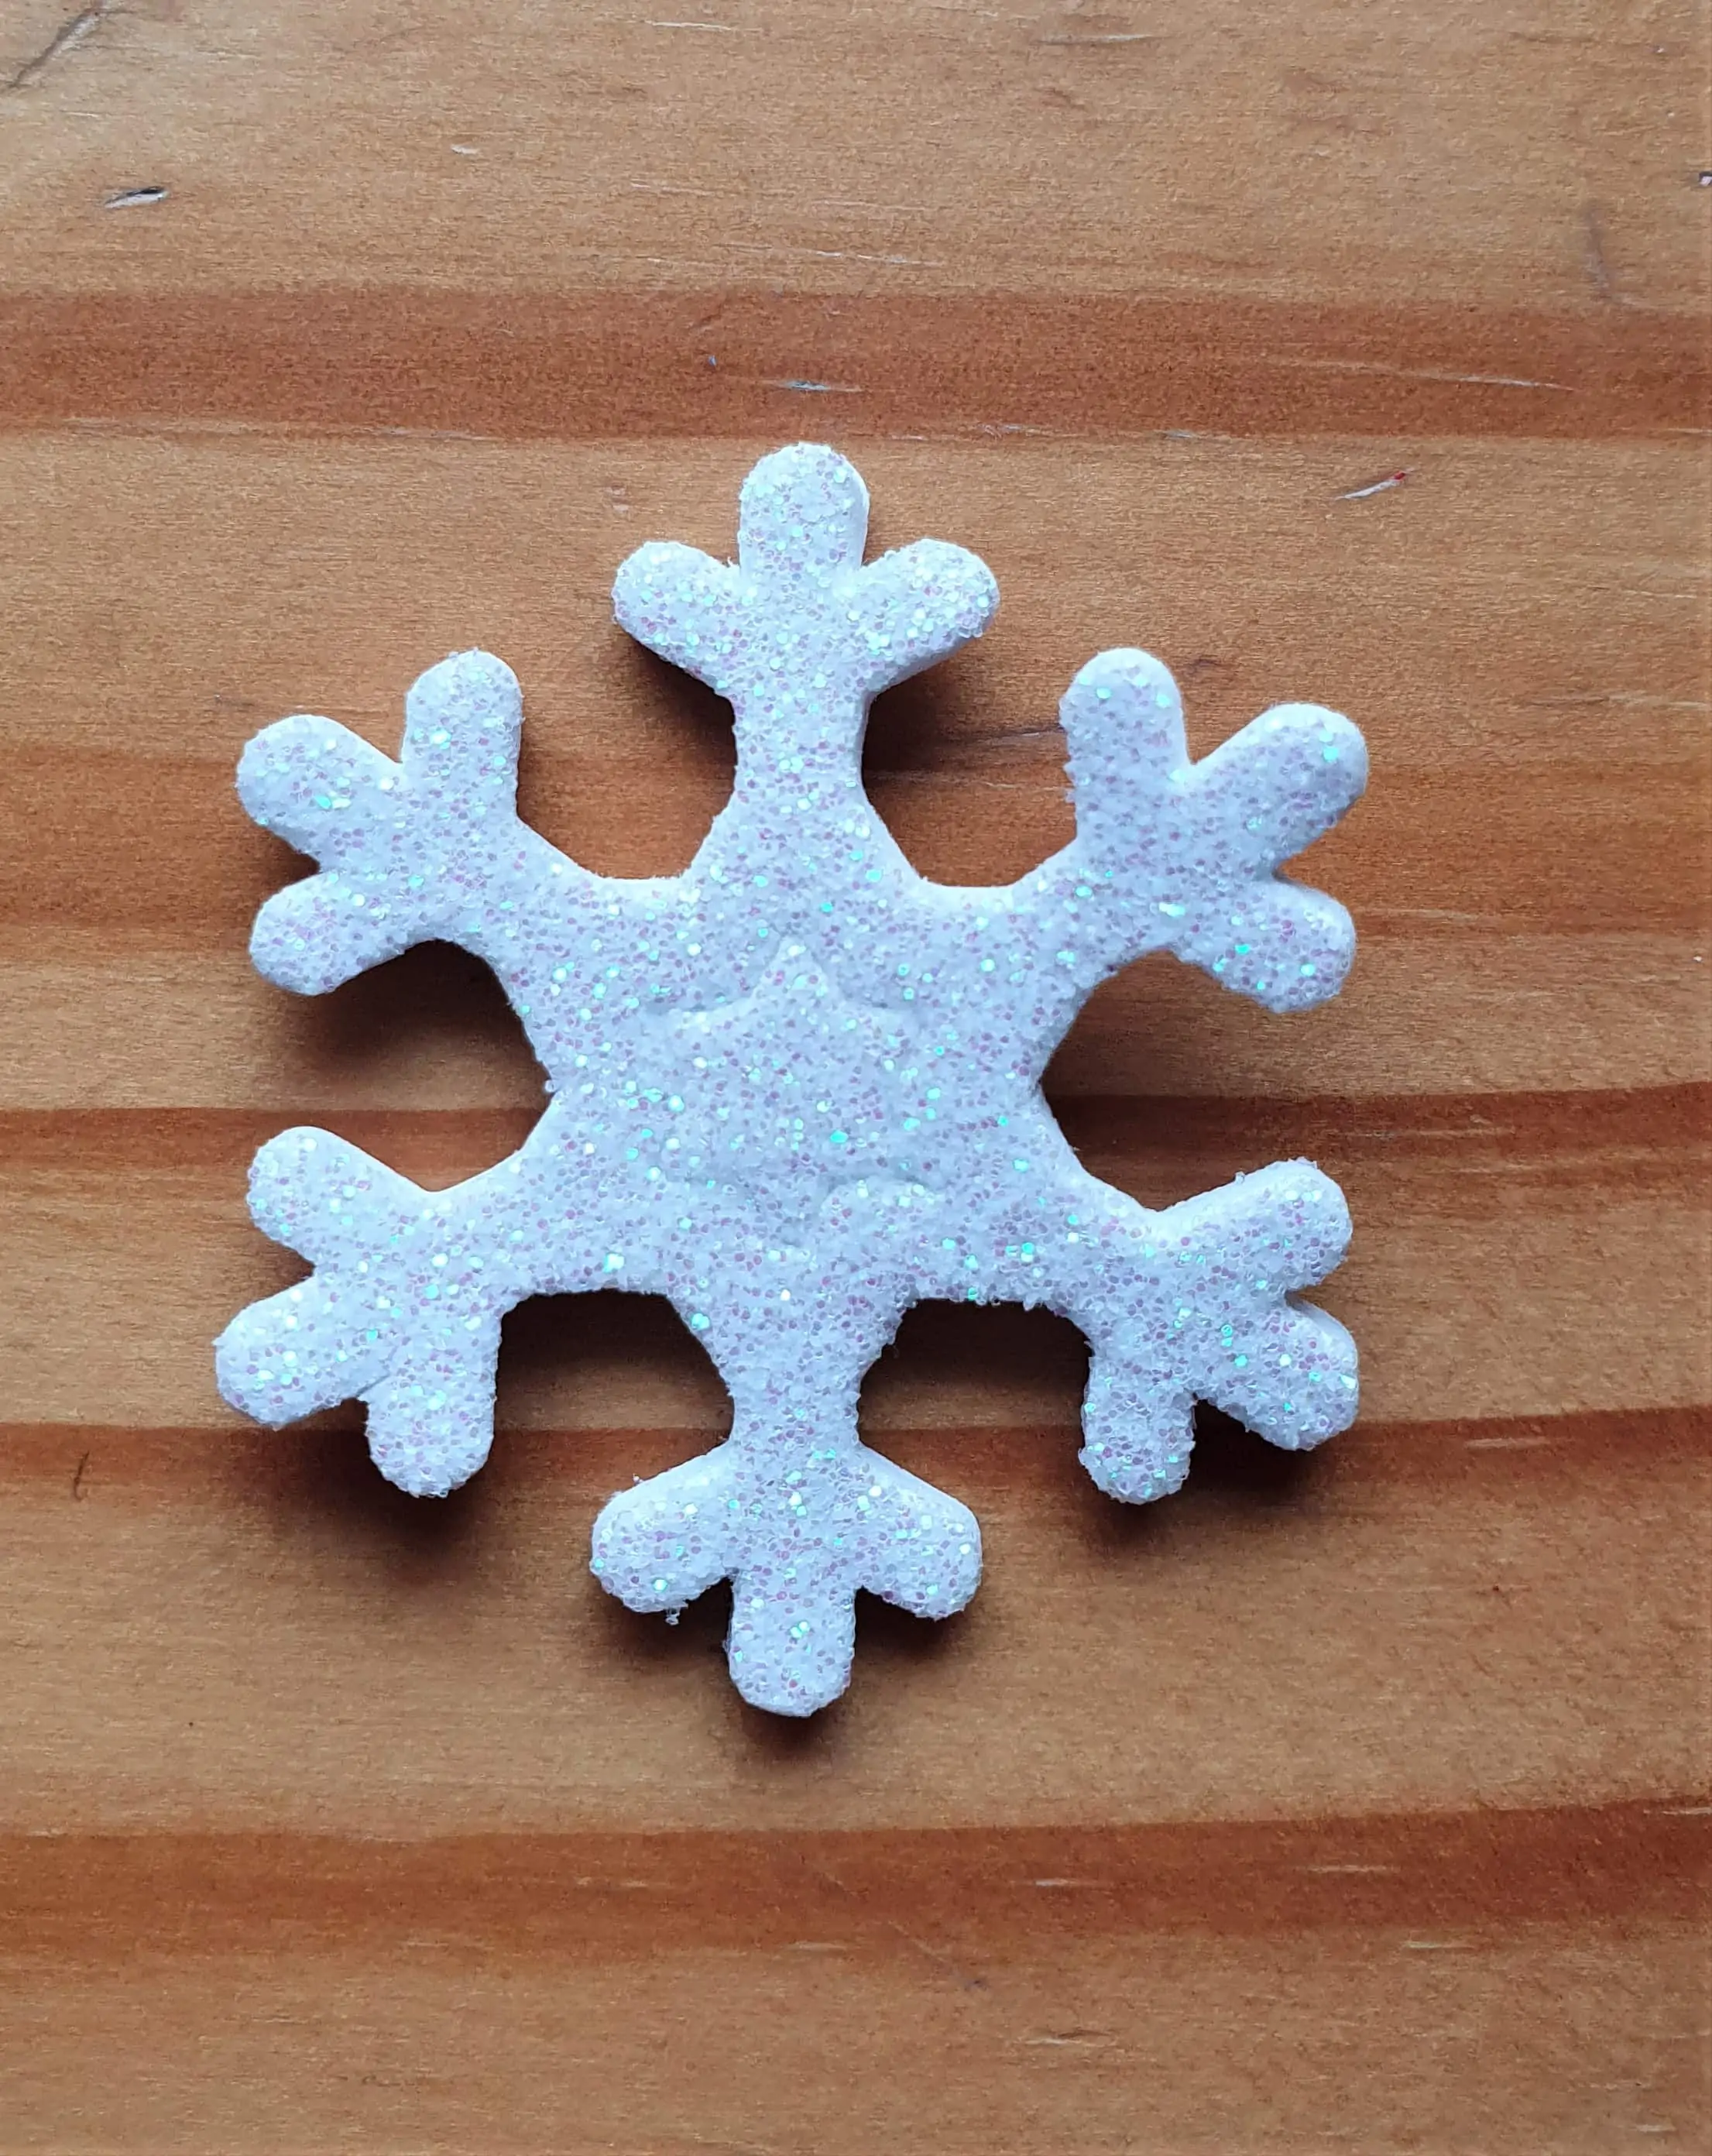
I attached it to the Top-Right Corner of the Christmas Card. I left the Star Shaped Center of the Sticker on the Sticky backing for now; I will add it to the Card later.
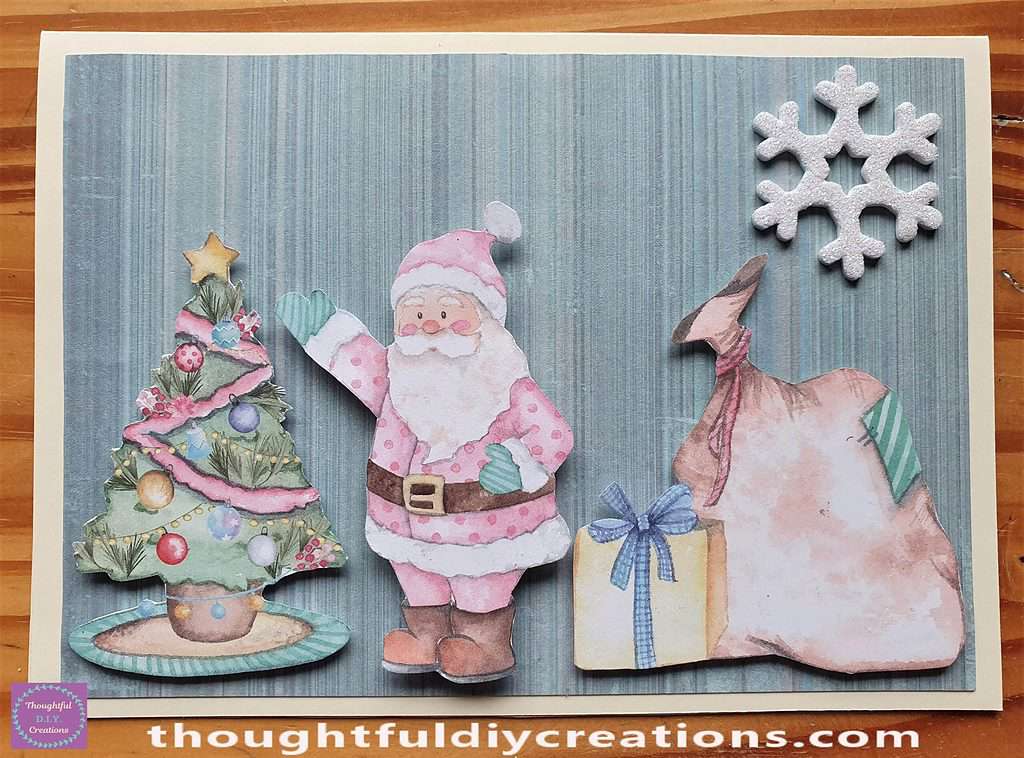
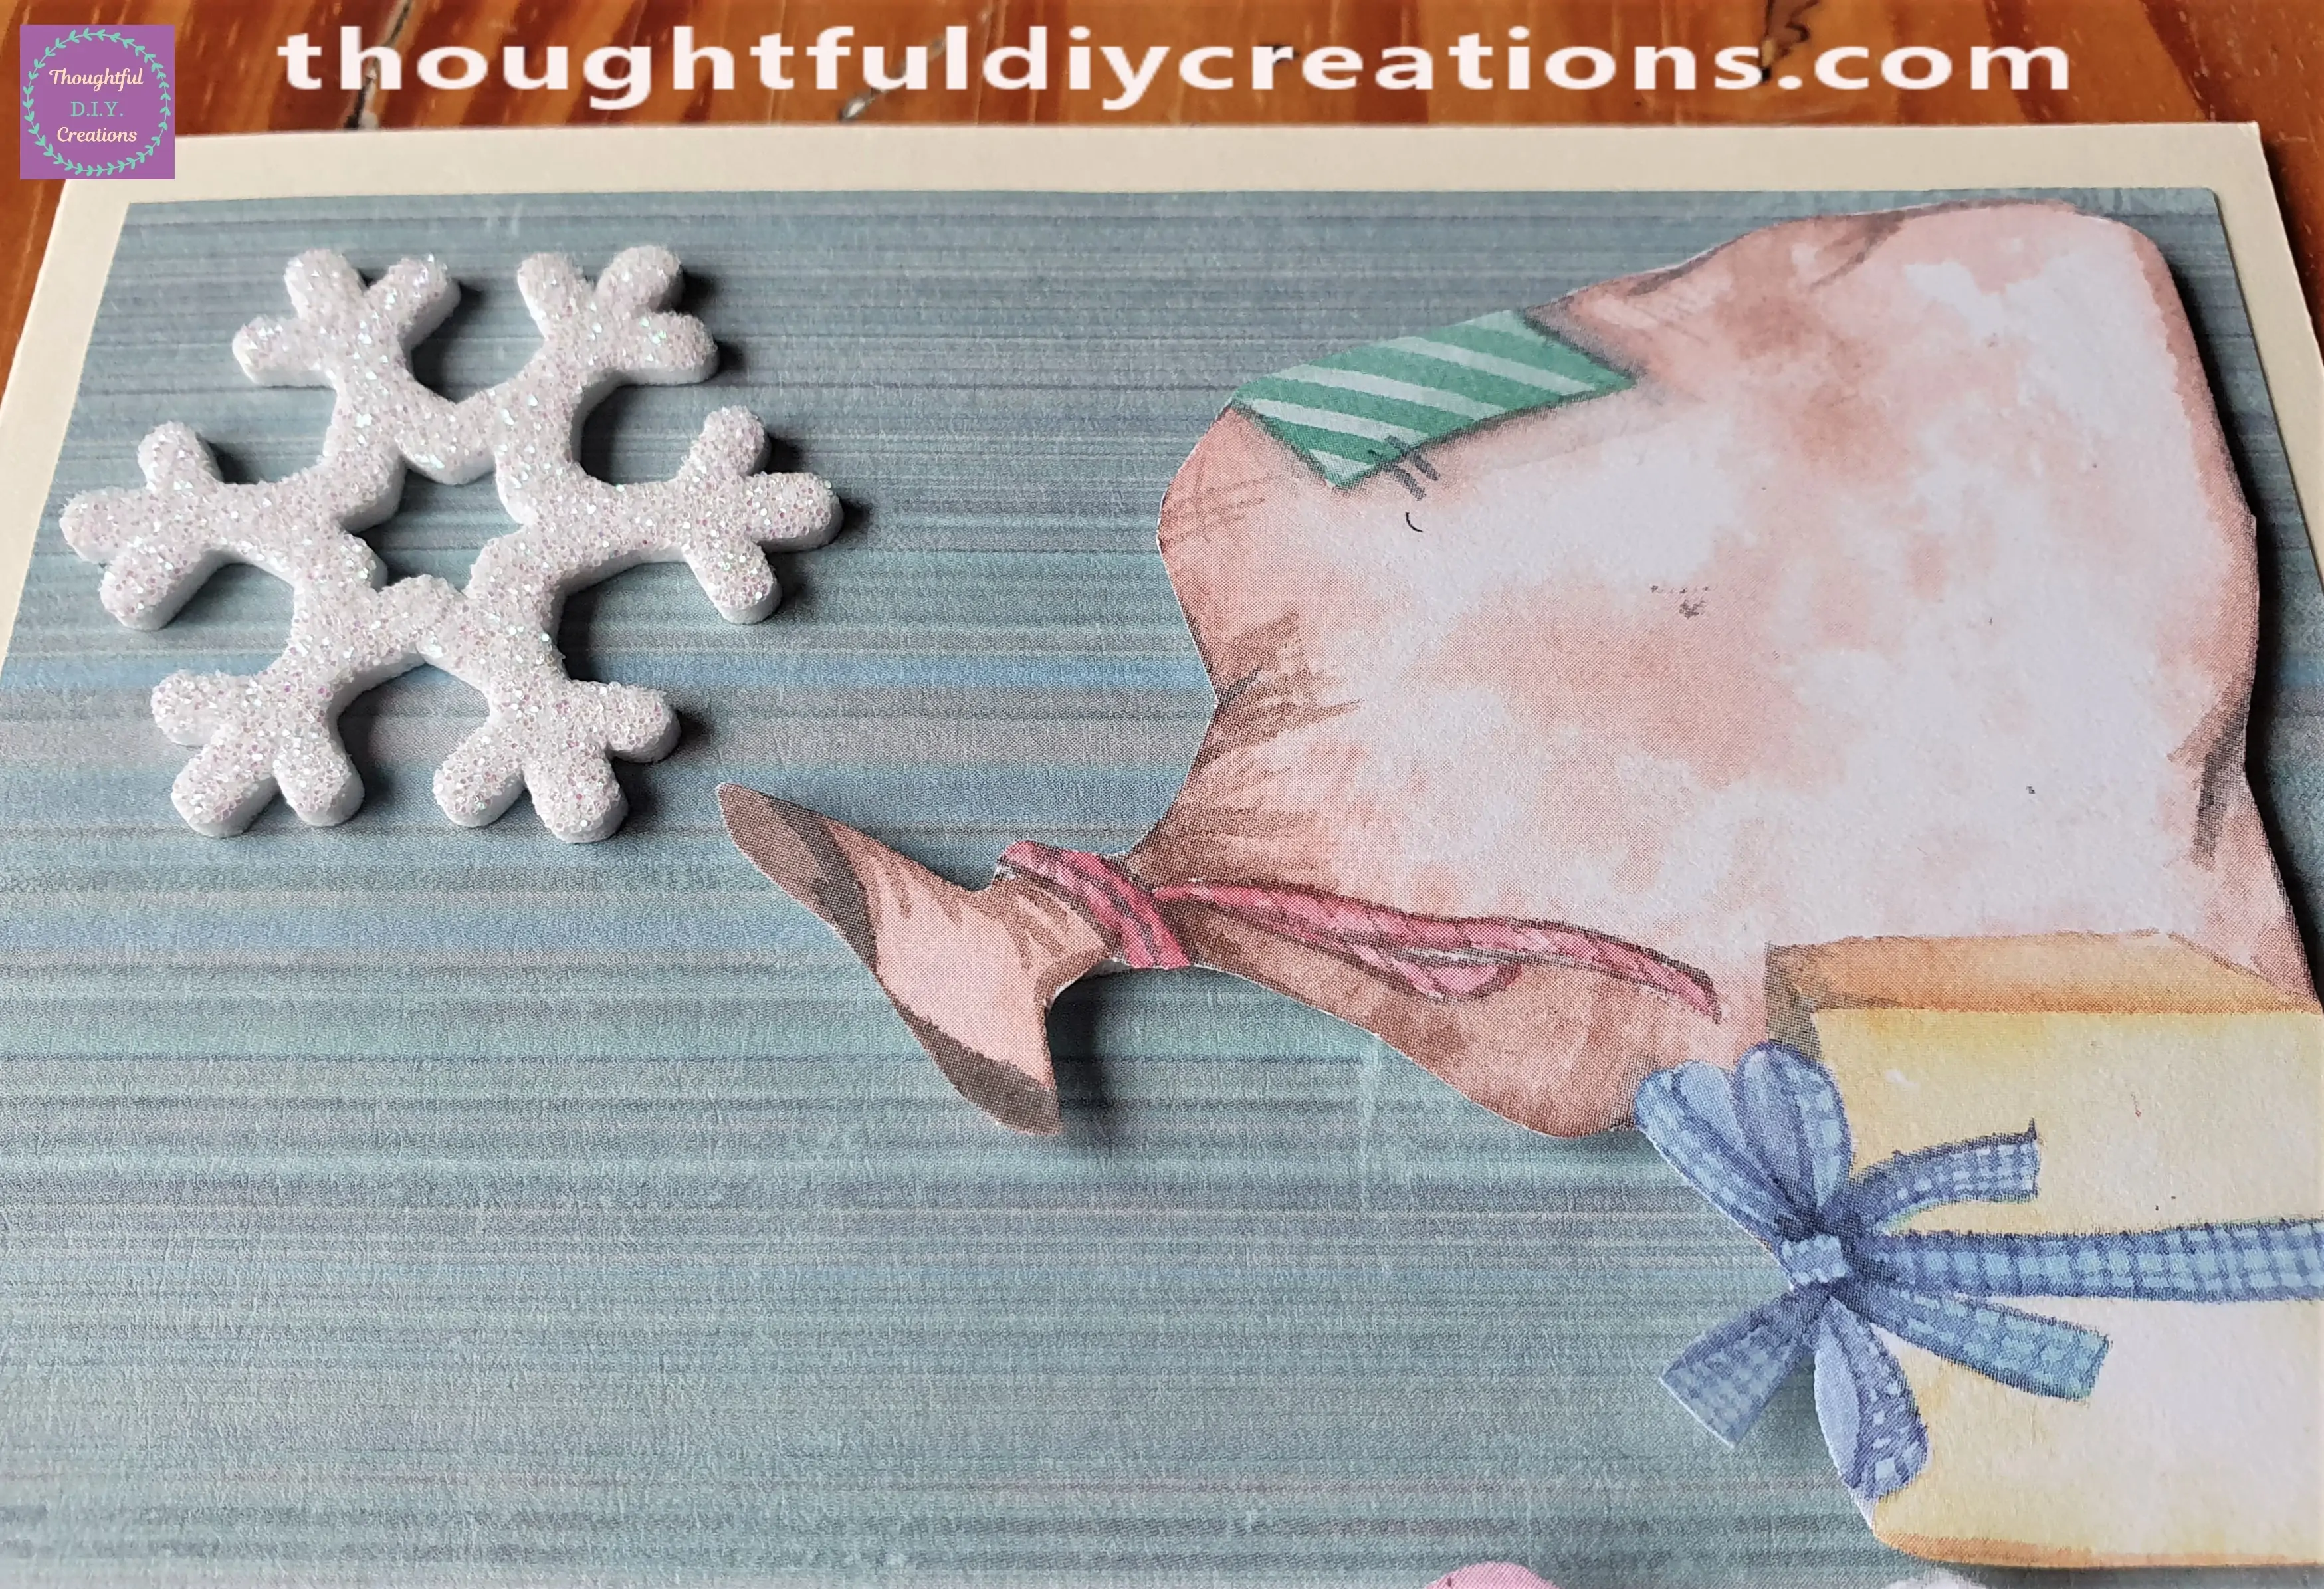
A Side View of the Snowflake Sticker.
Finishing Touches to the Christmas Card
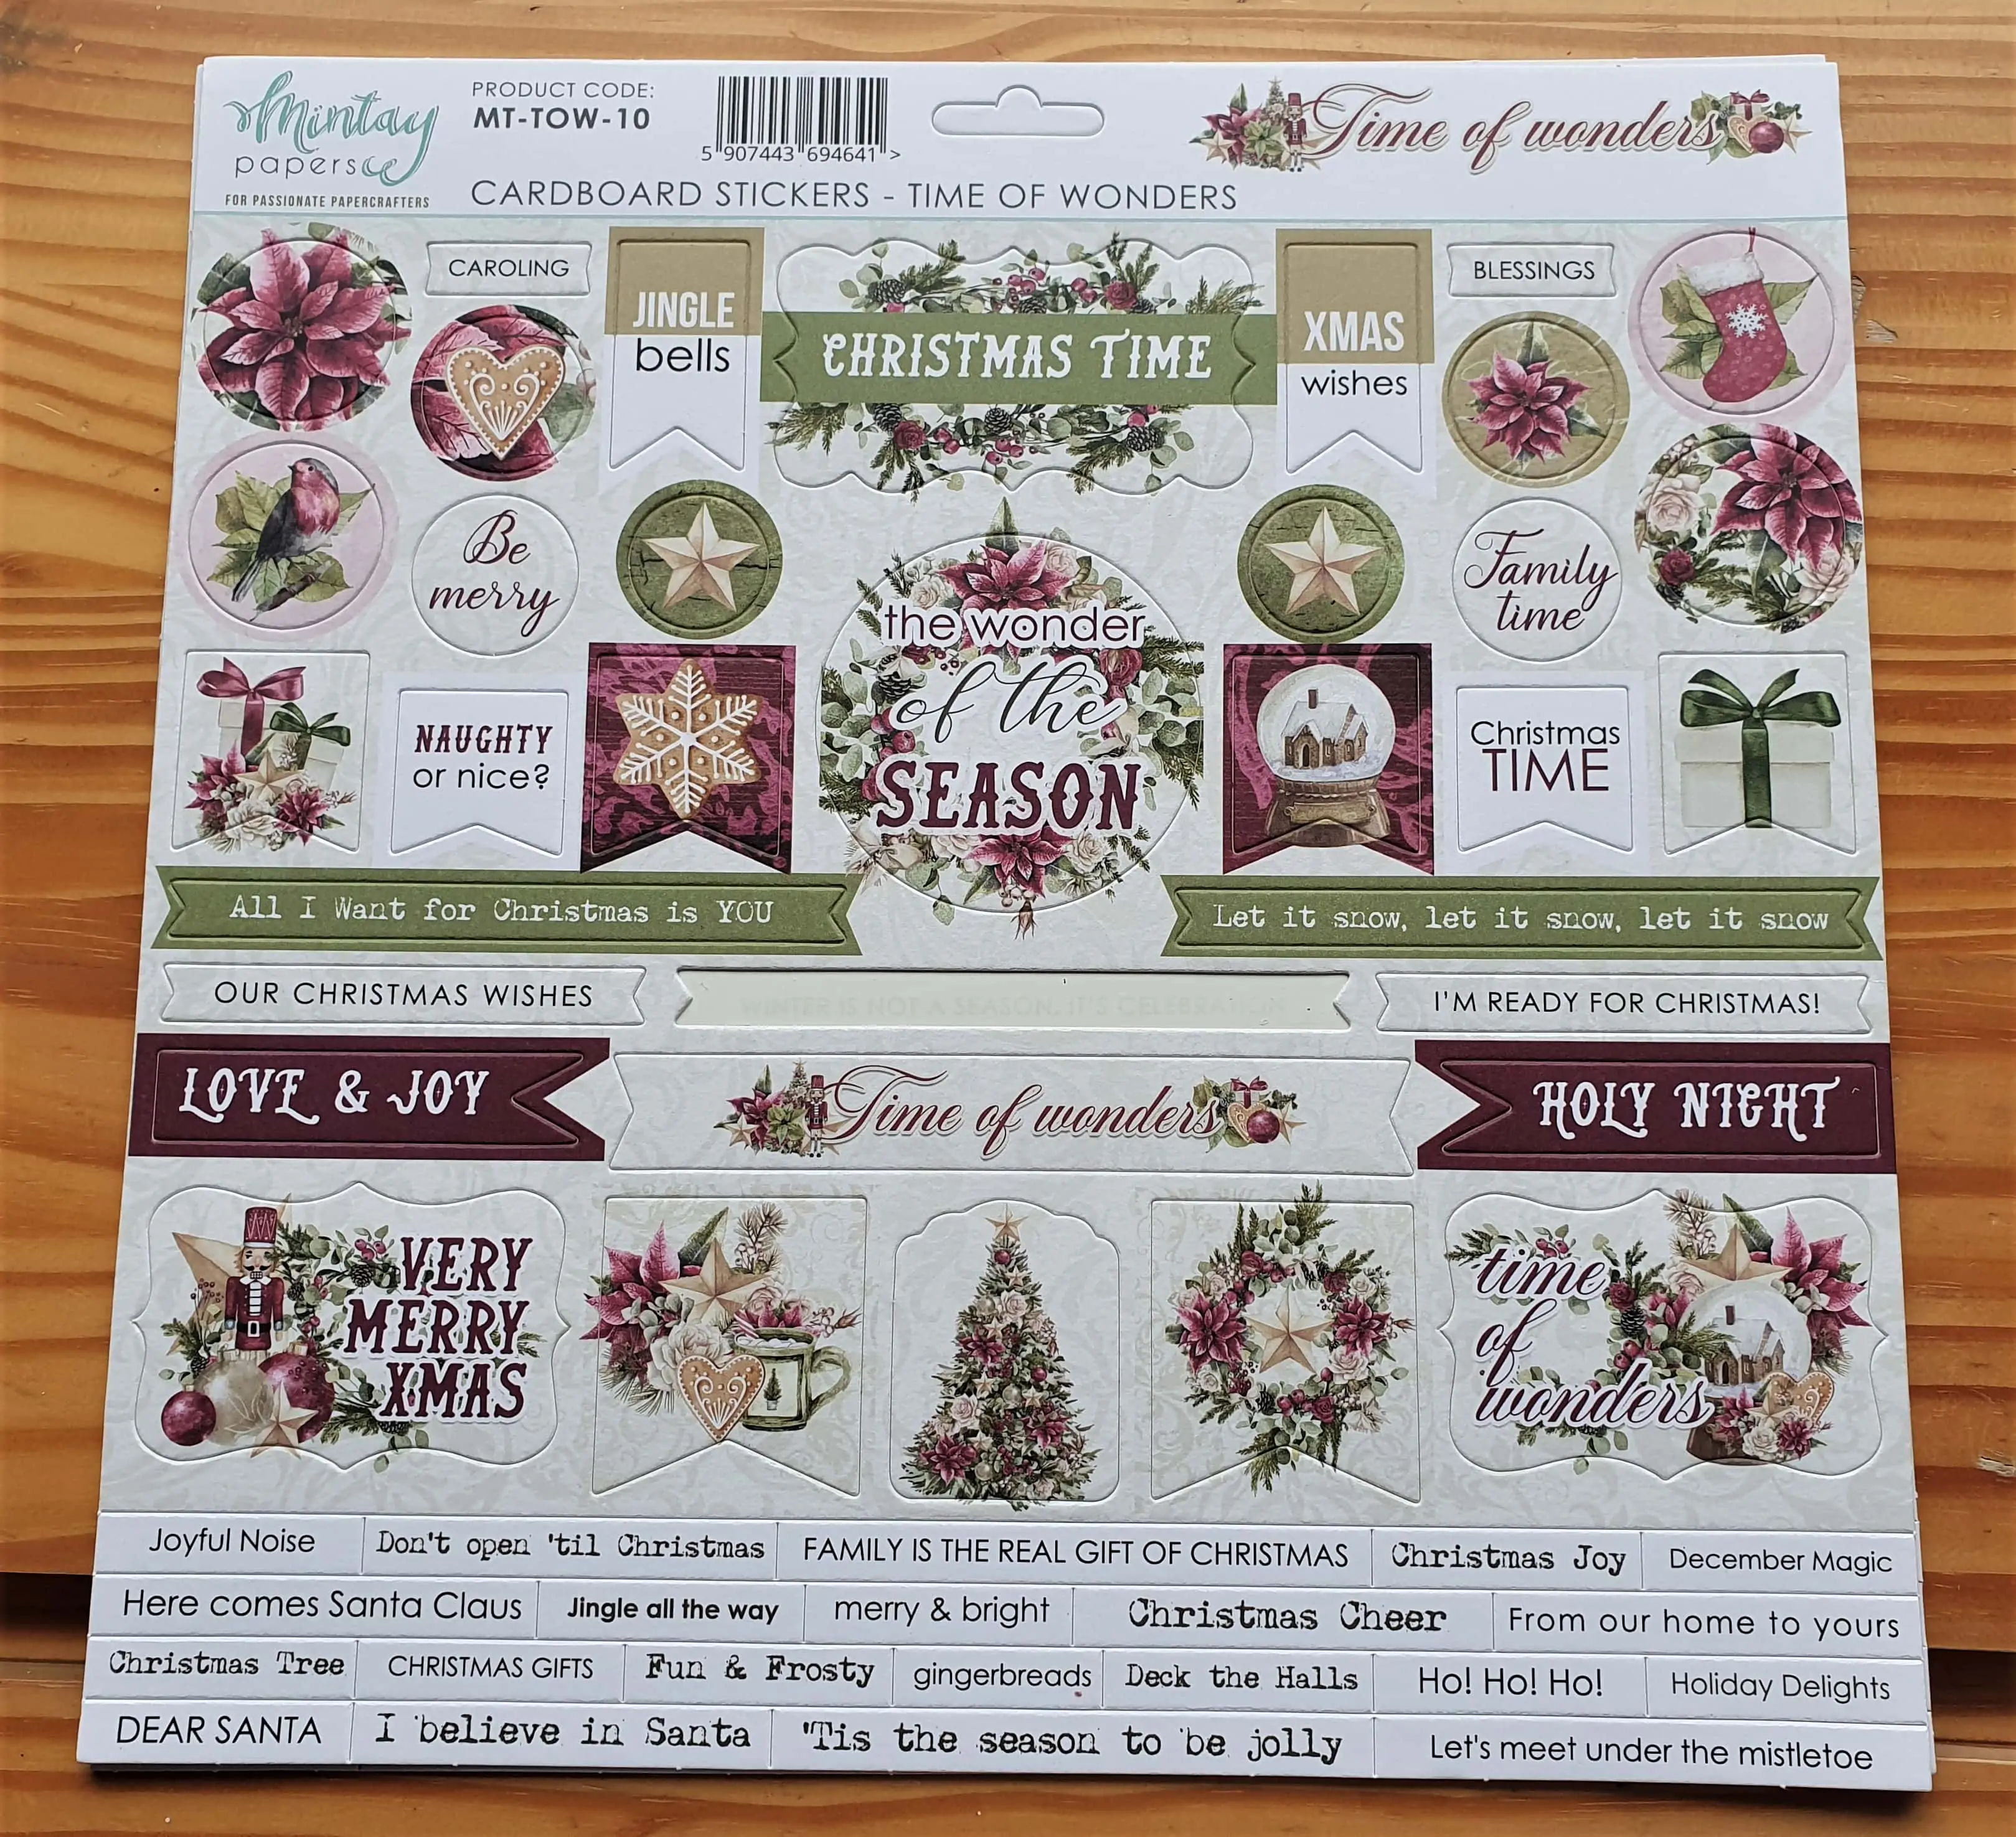
I got my Sheet of Christmas Cardboard Stickers that I bought recently. These are amazing Quality.
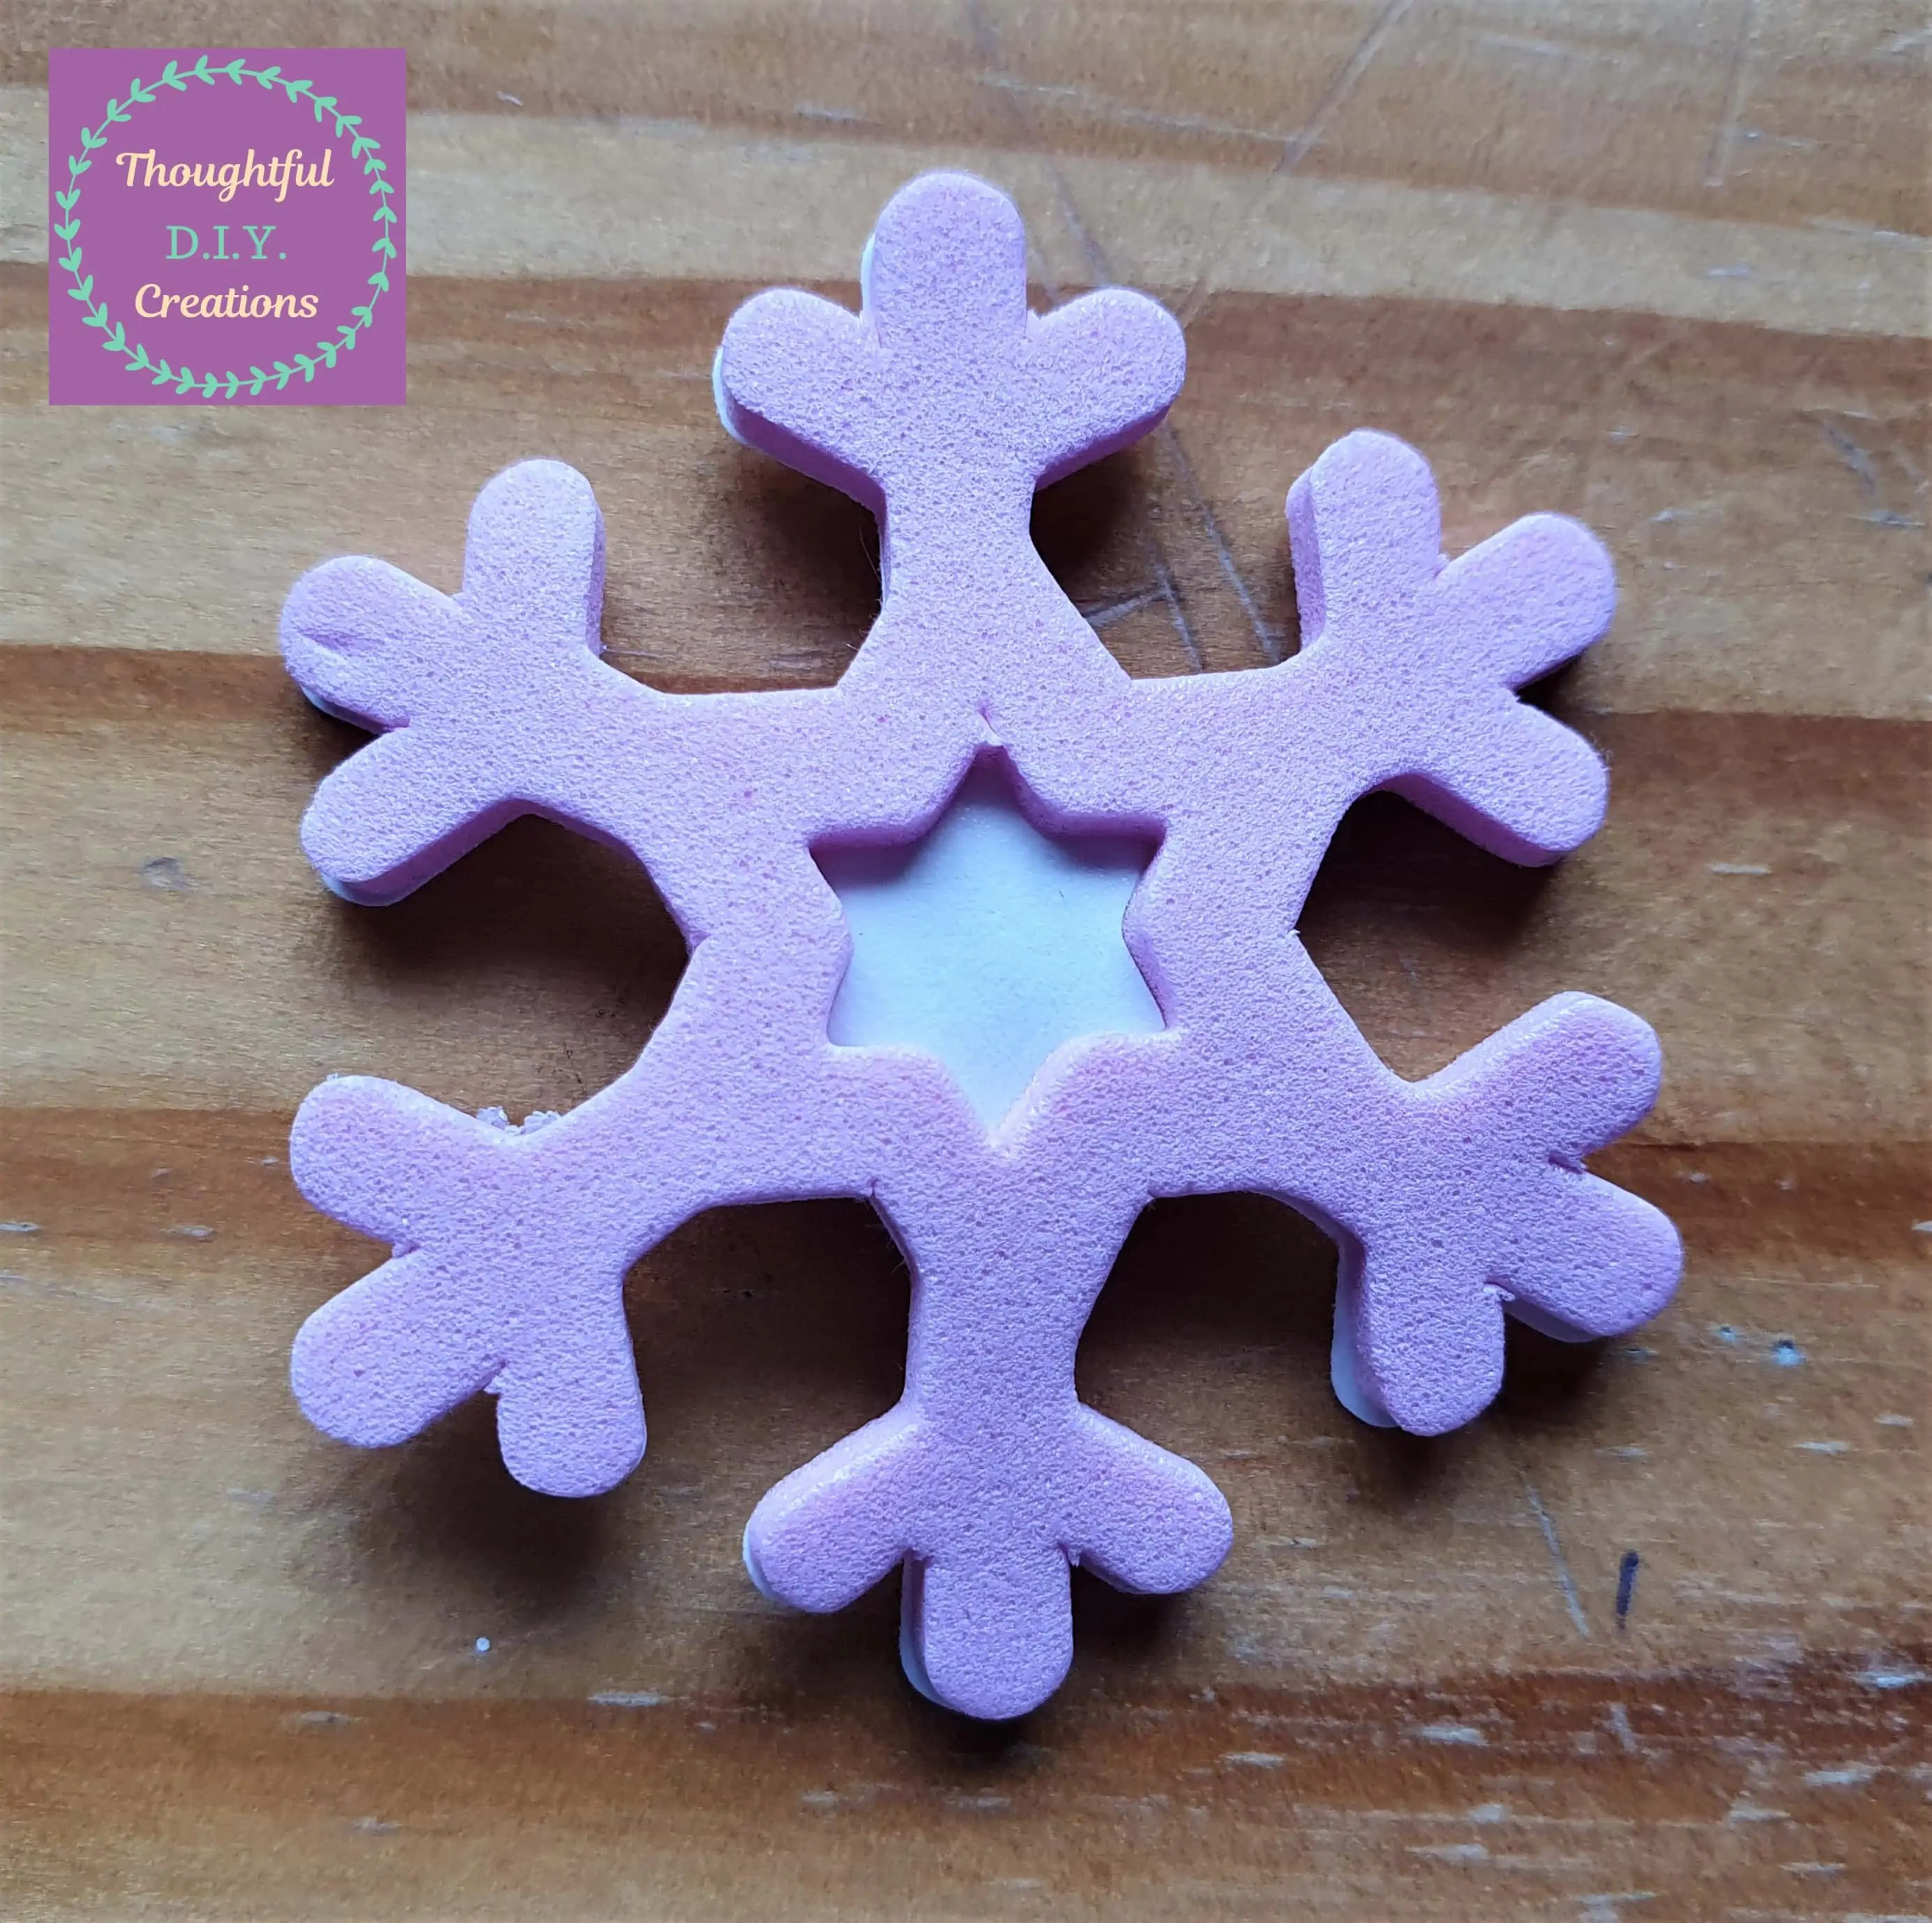
I removed the Pink Star Shape from this Foam Snowflake Sticker.
I placed the Christmas Sentiment on the Top-Left Side of the Card and the 2 Star Stickers between the Santa and the Snowflake / Sack.
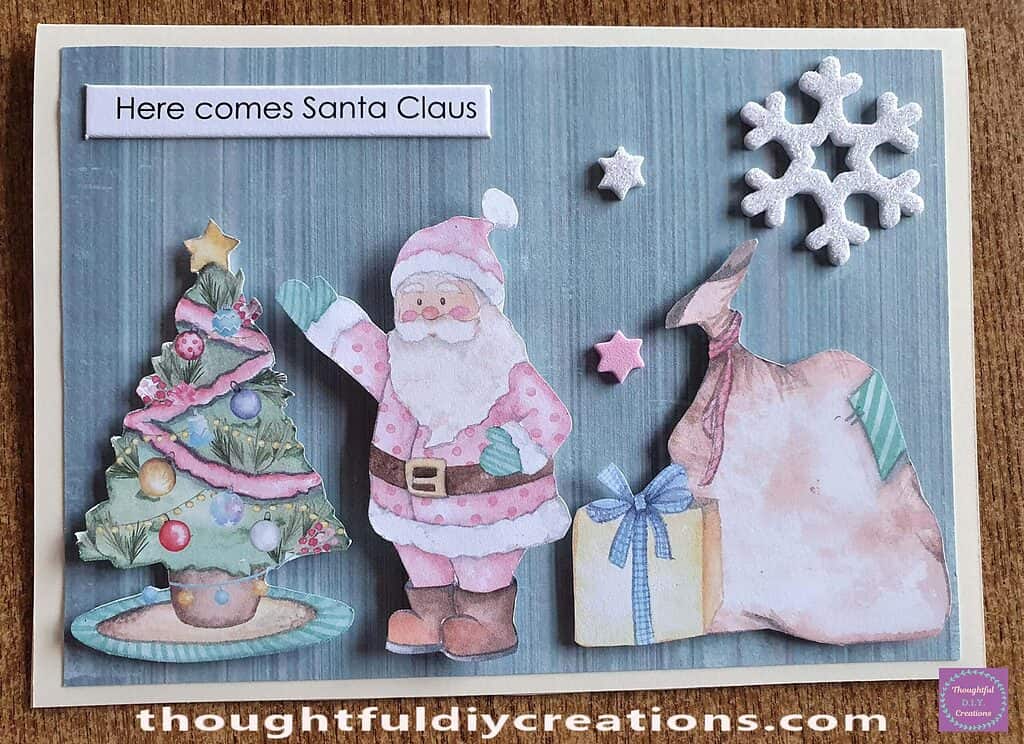
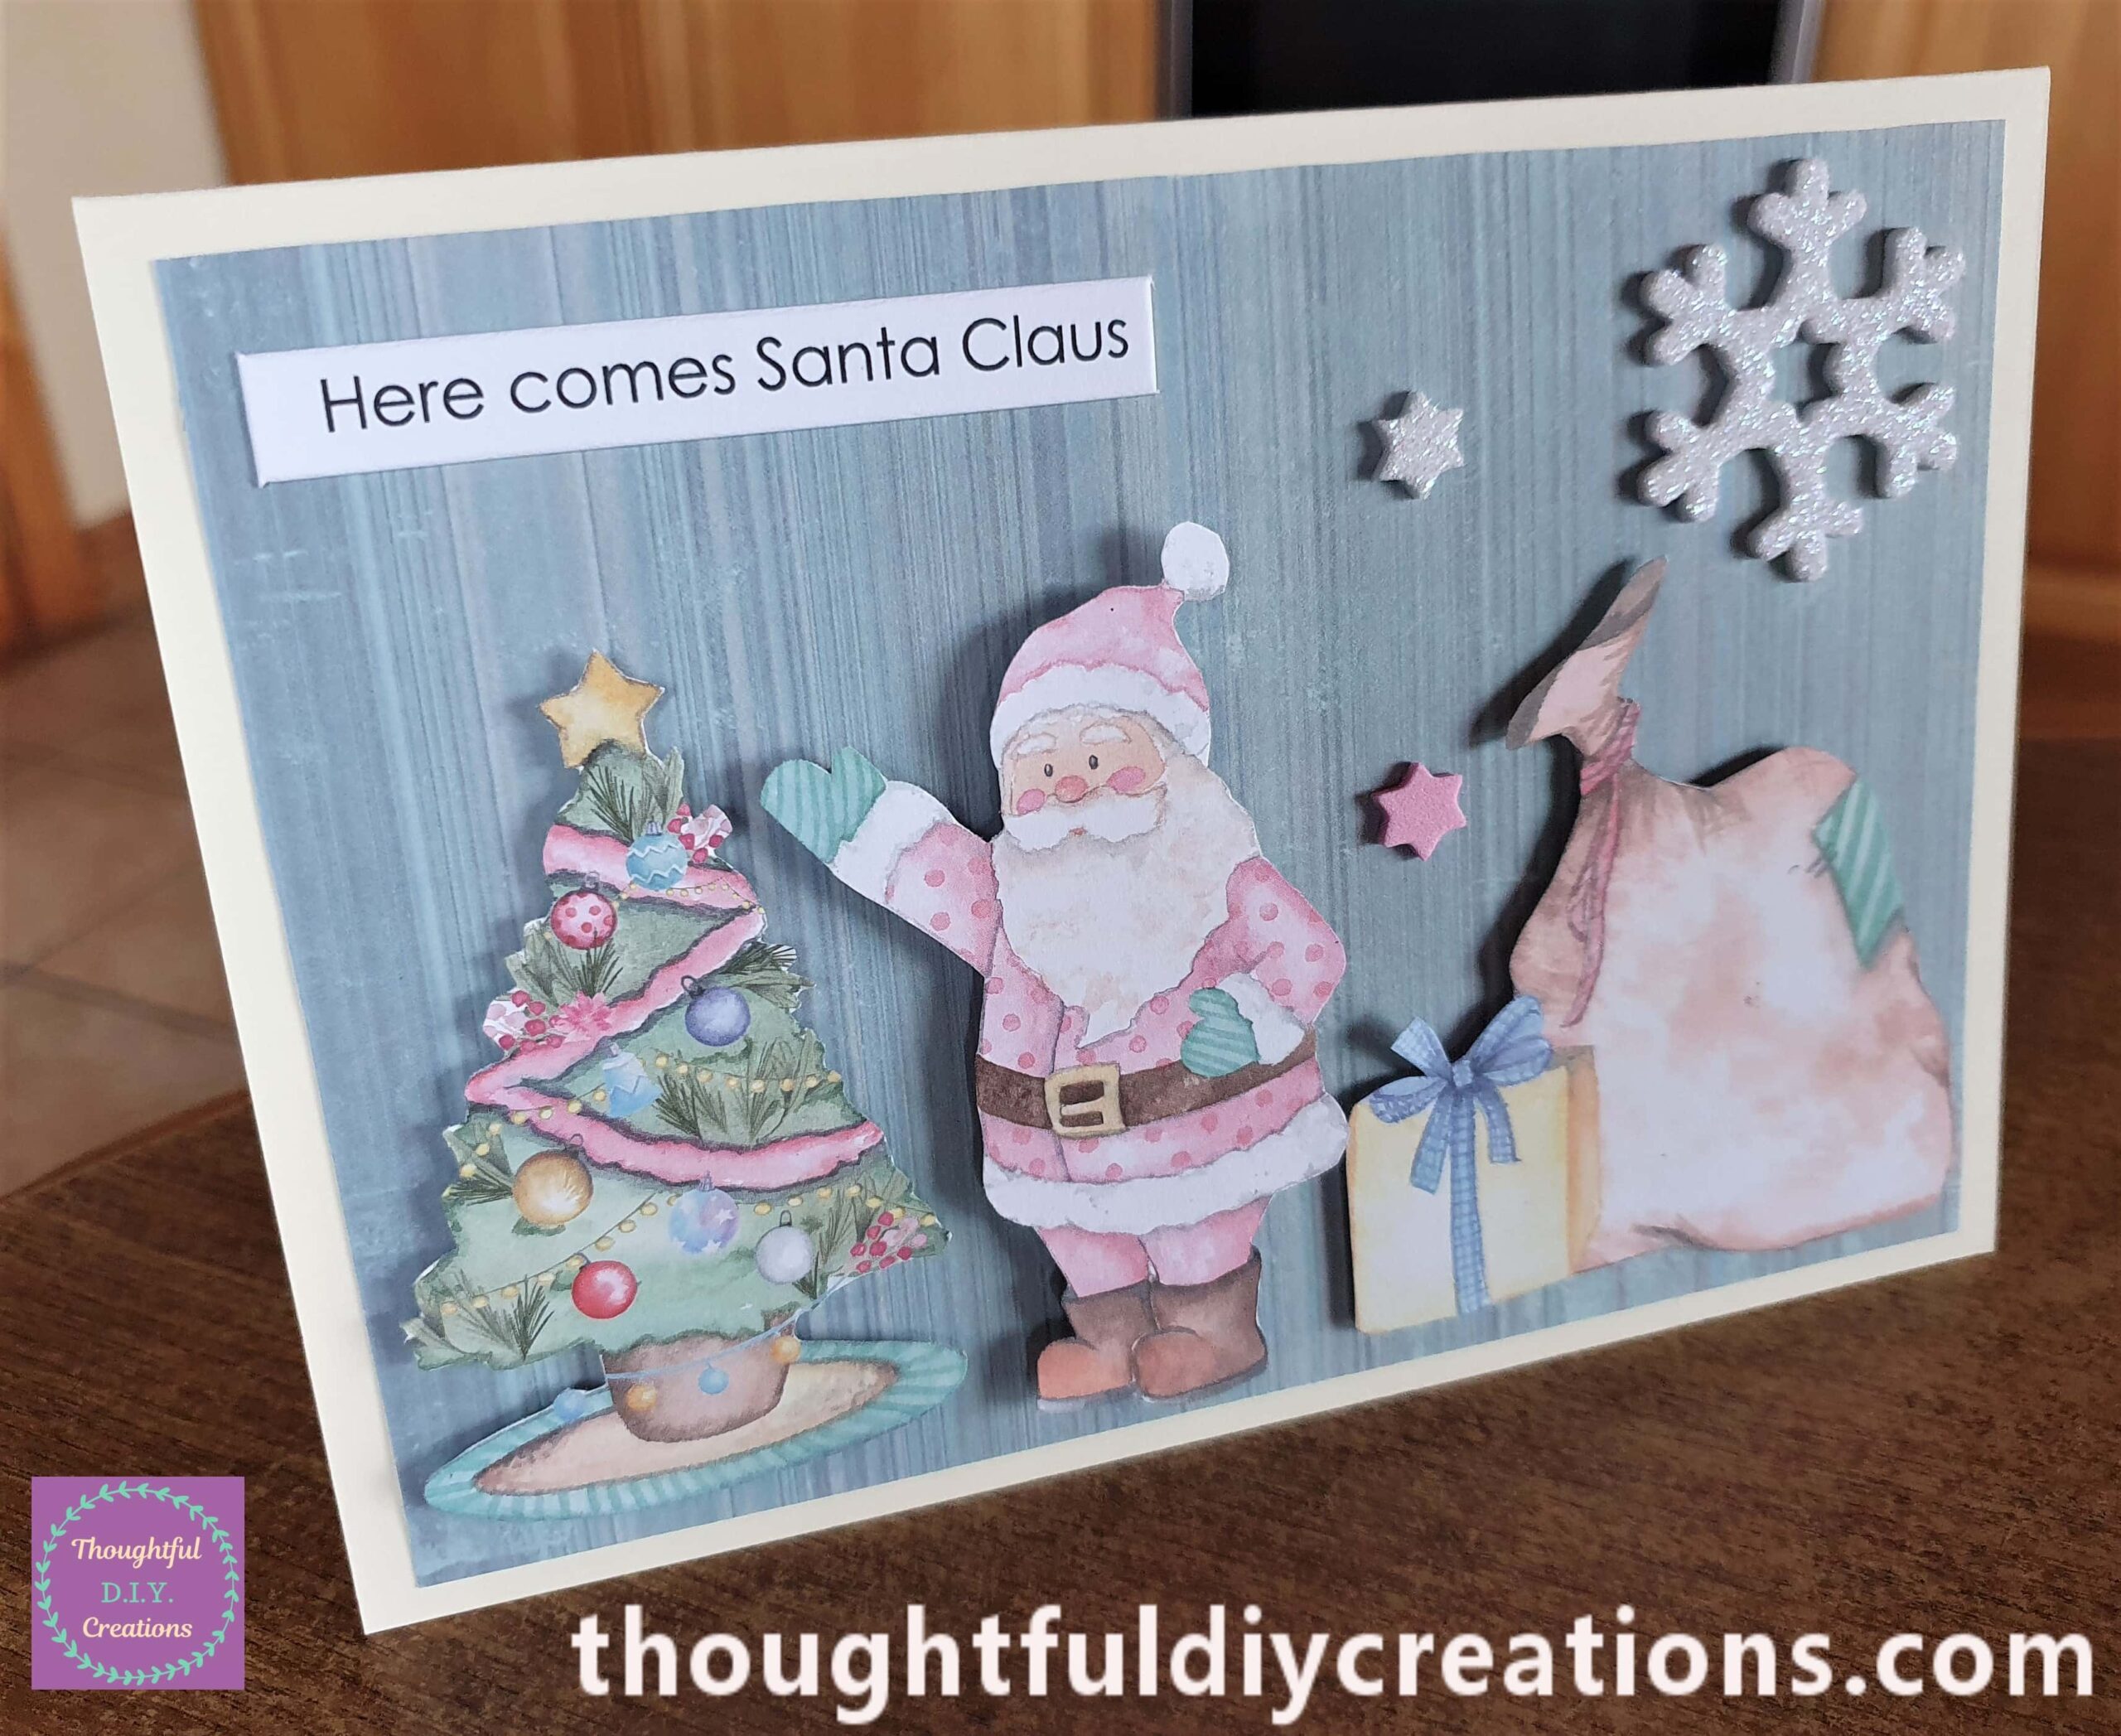
This Completed my Christmas Card.
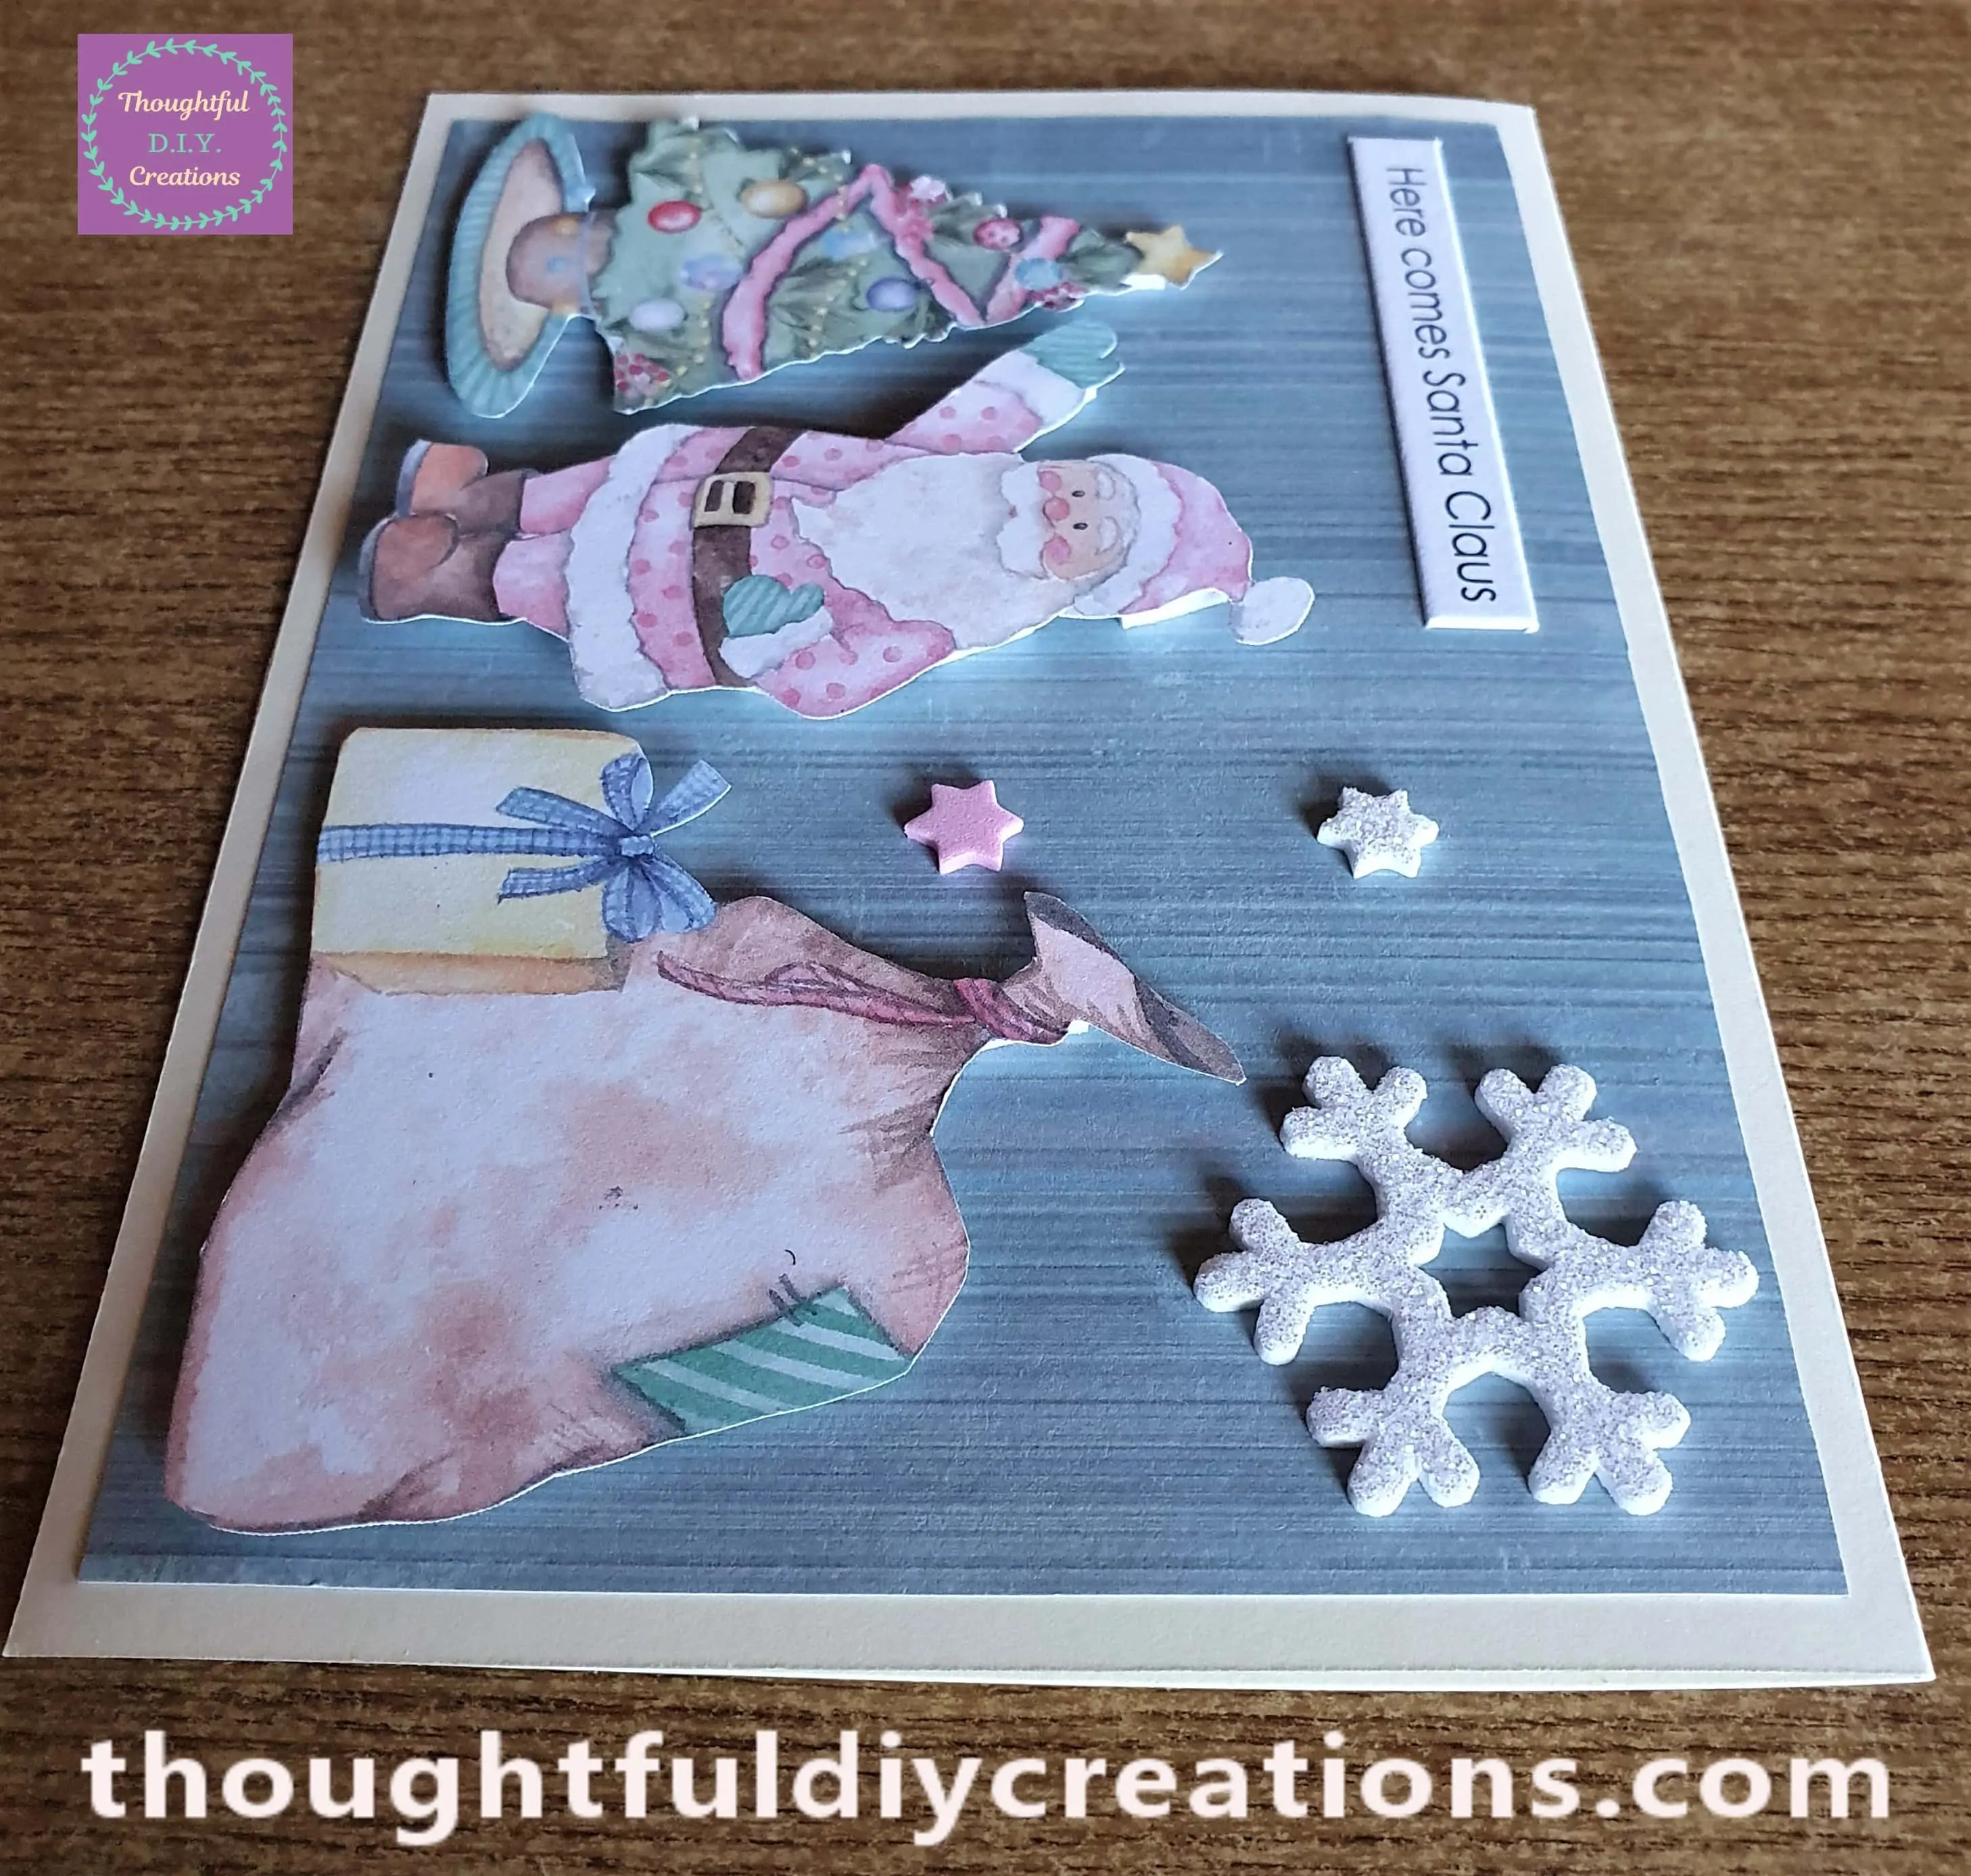
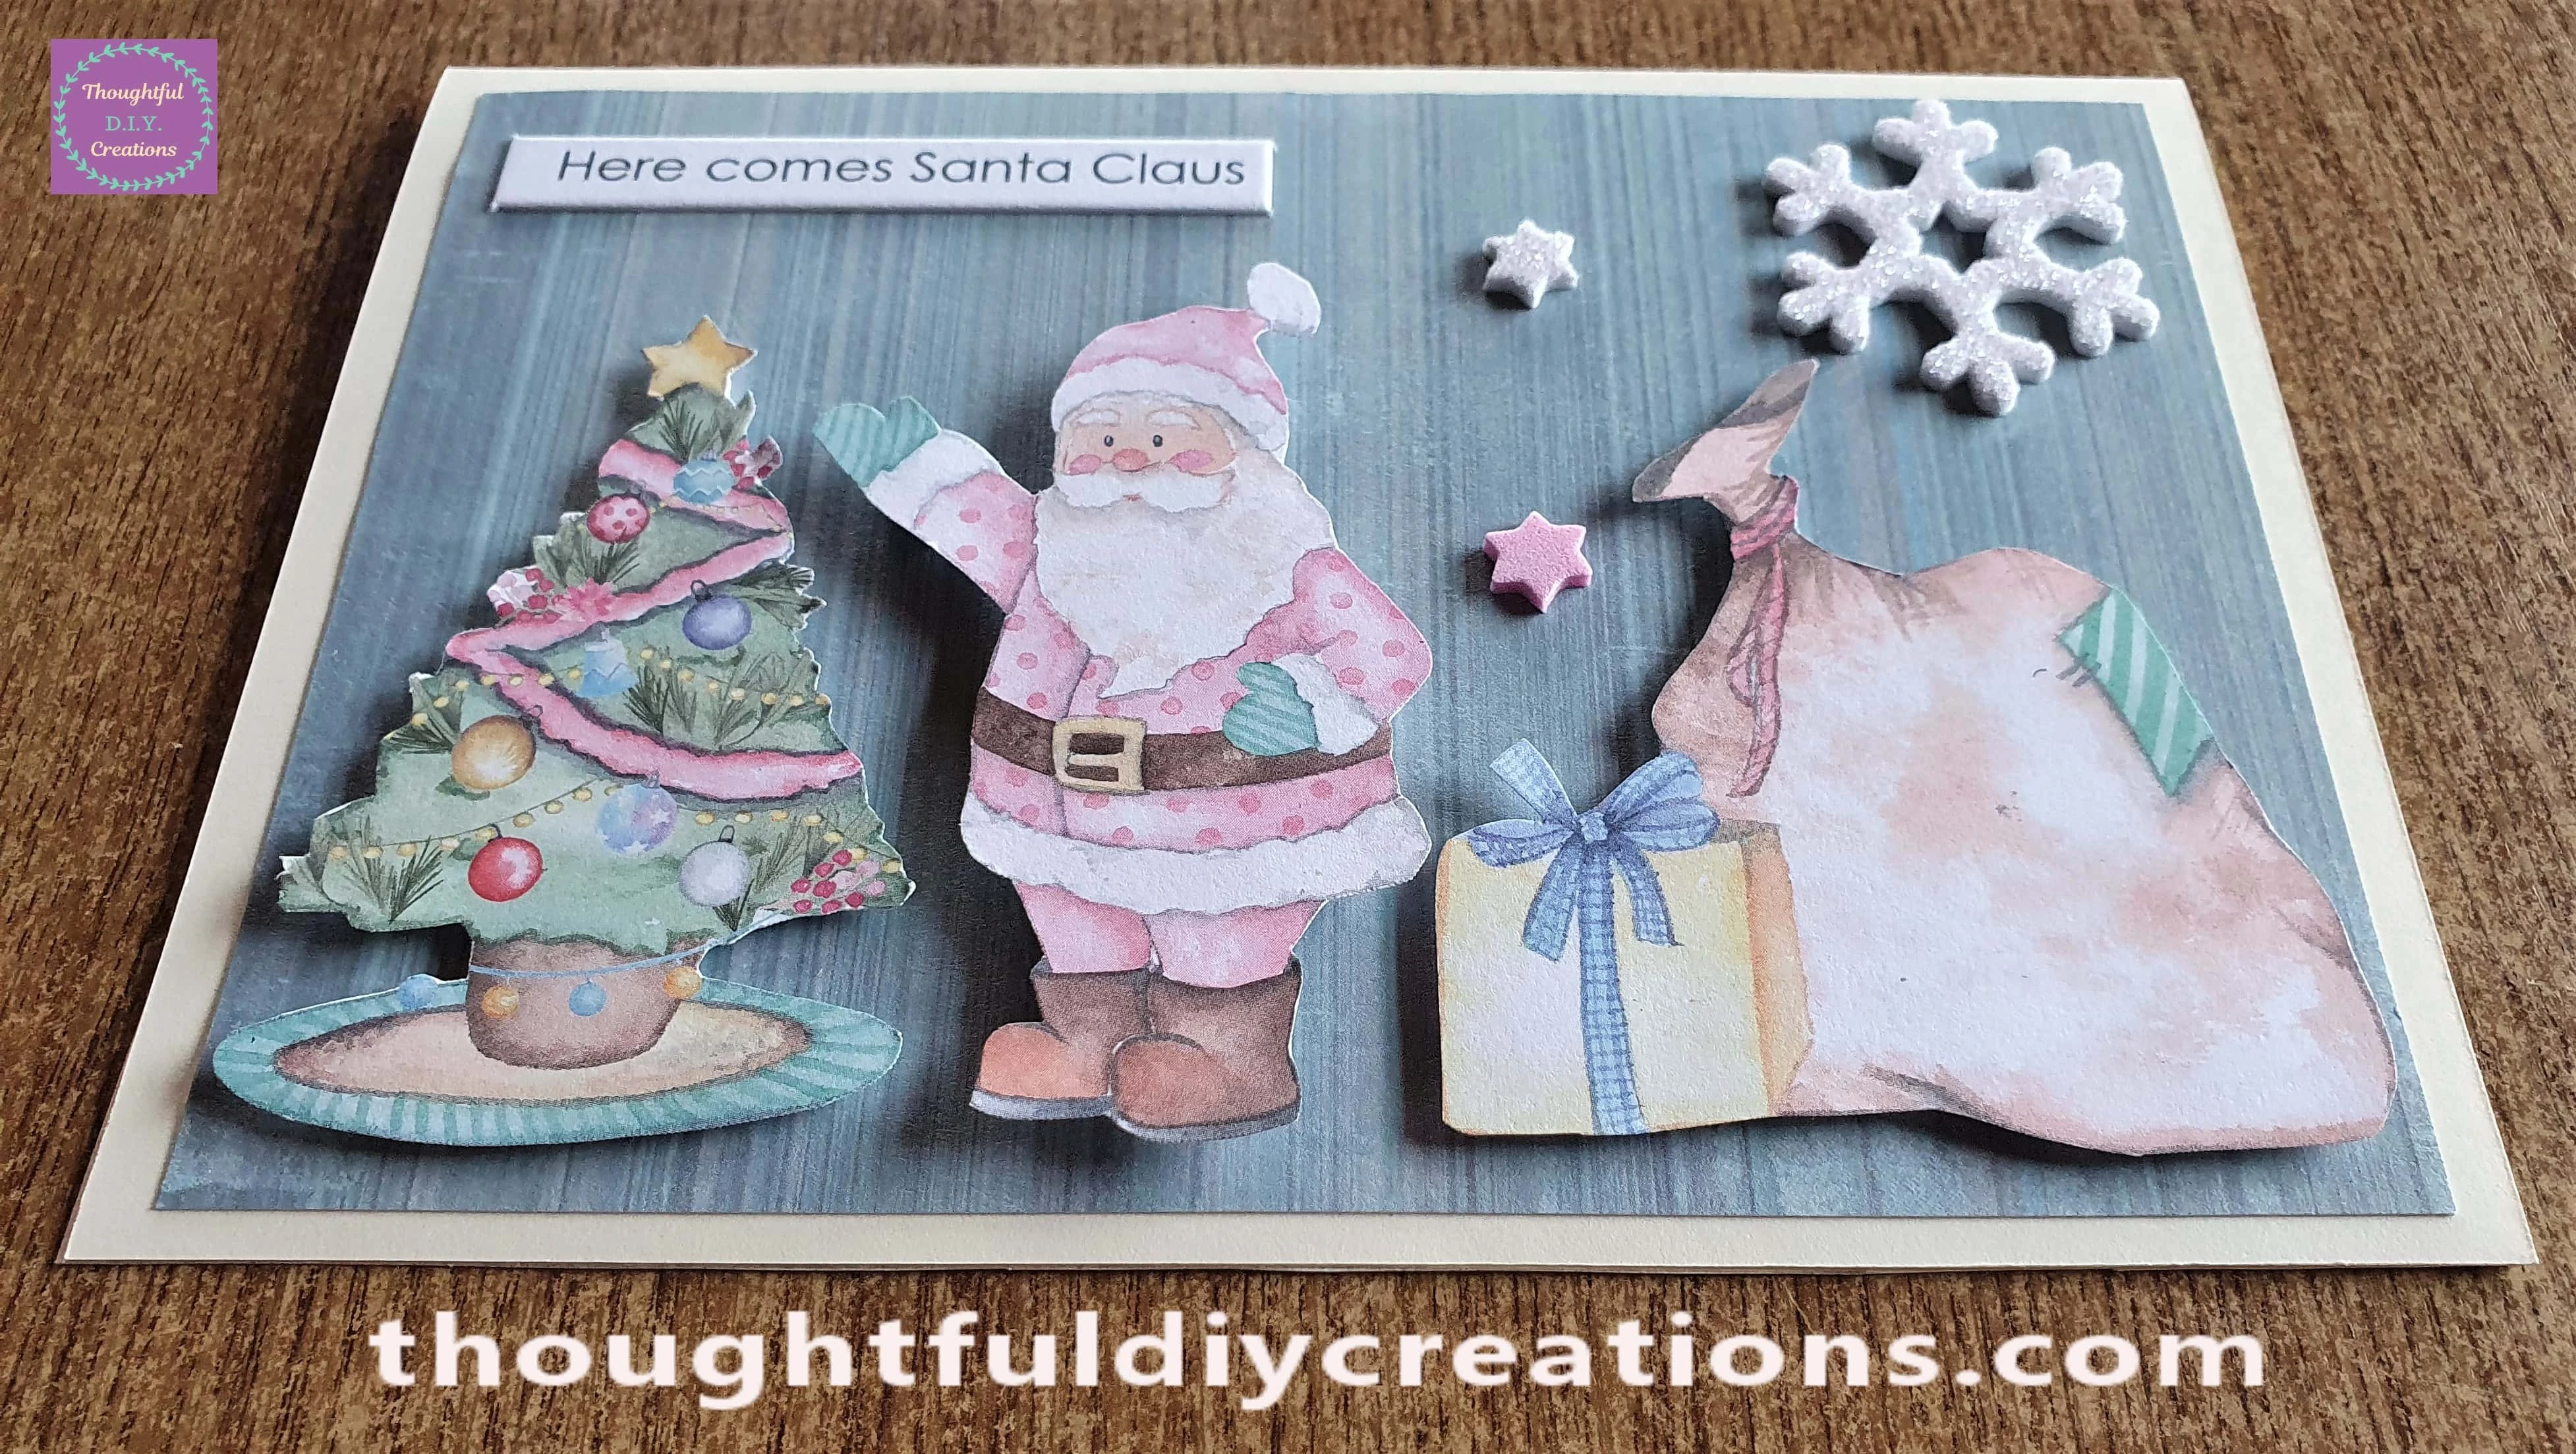
The finished Card standing up-right.
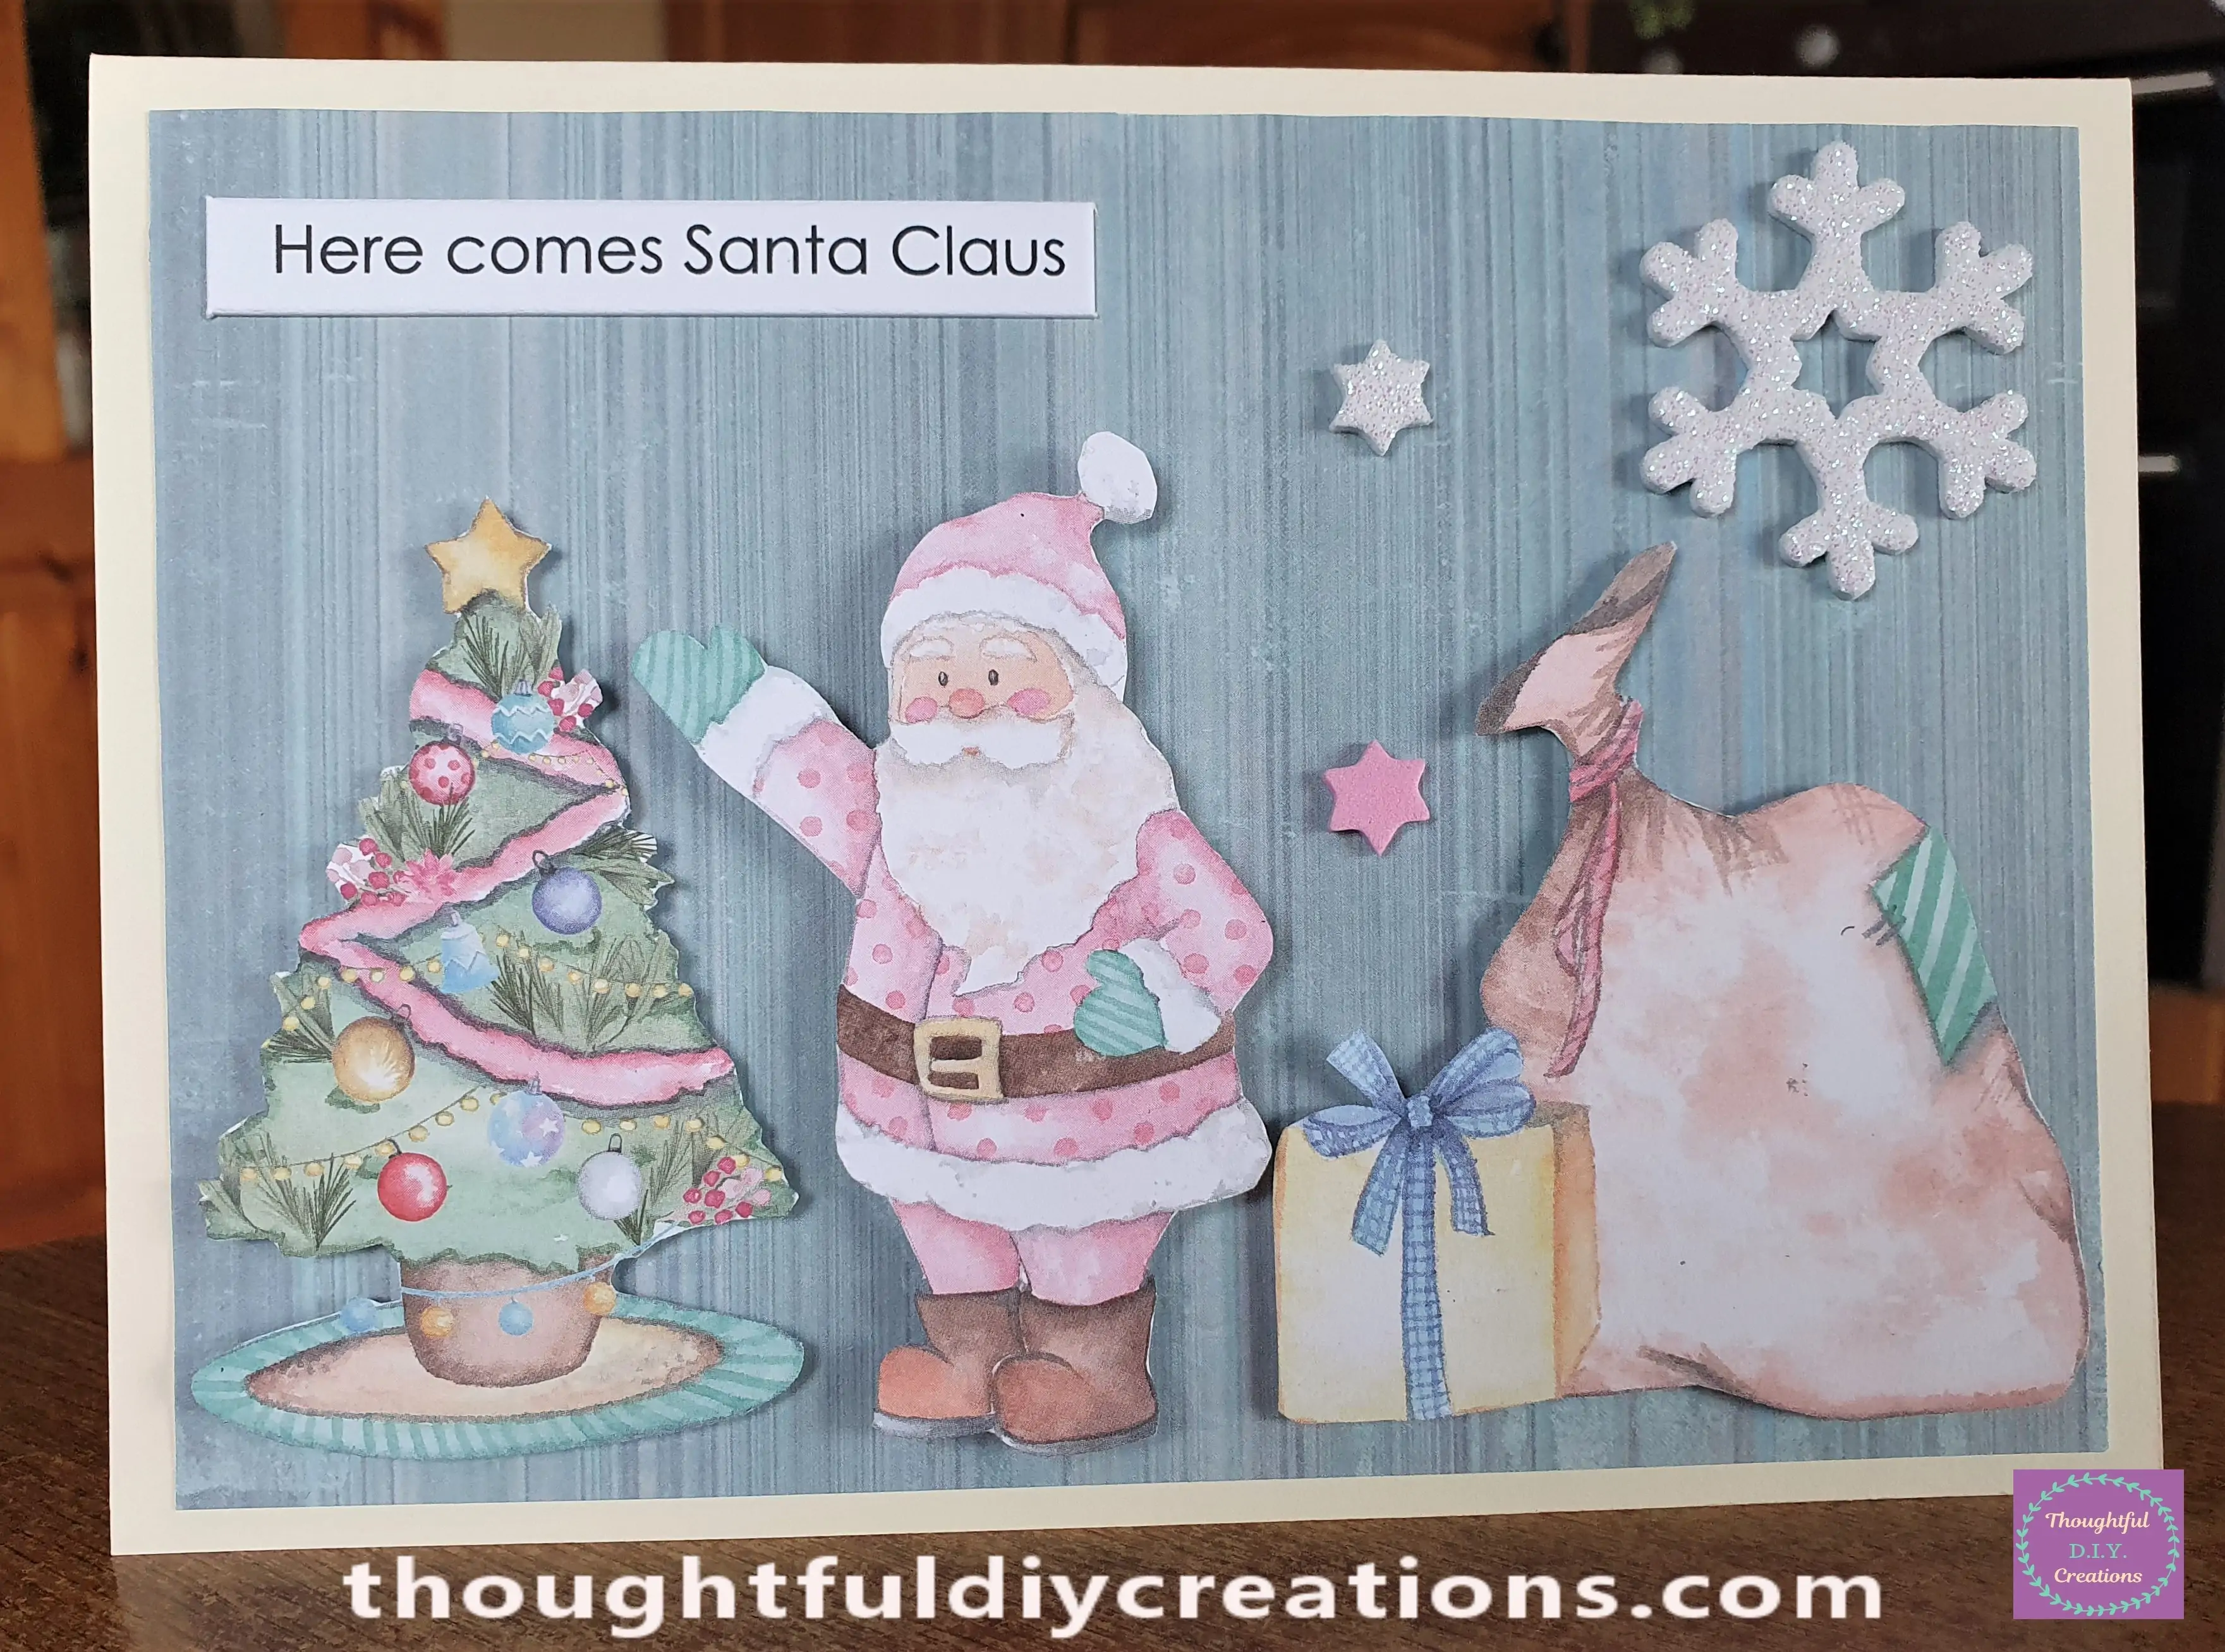
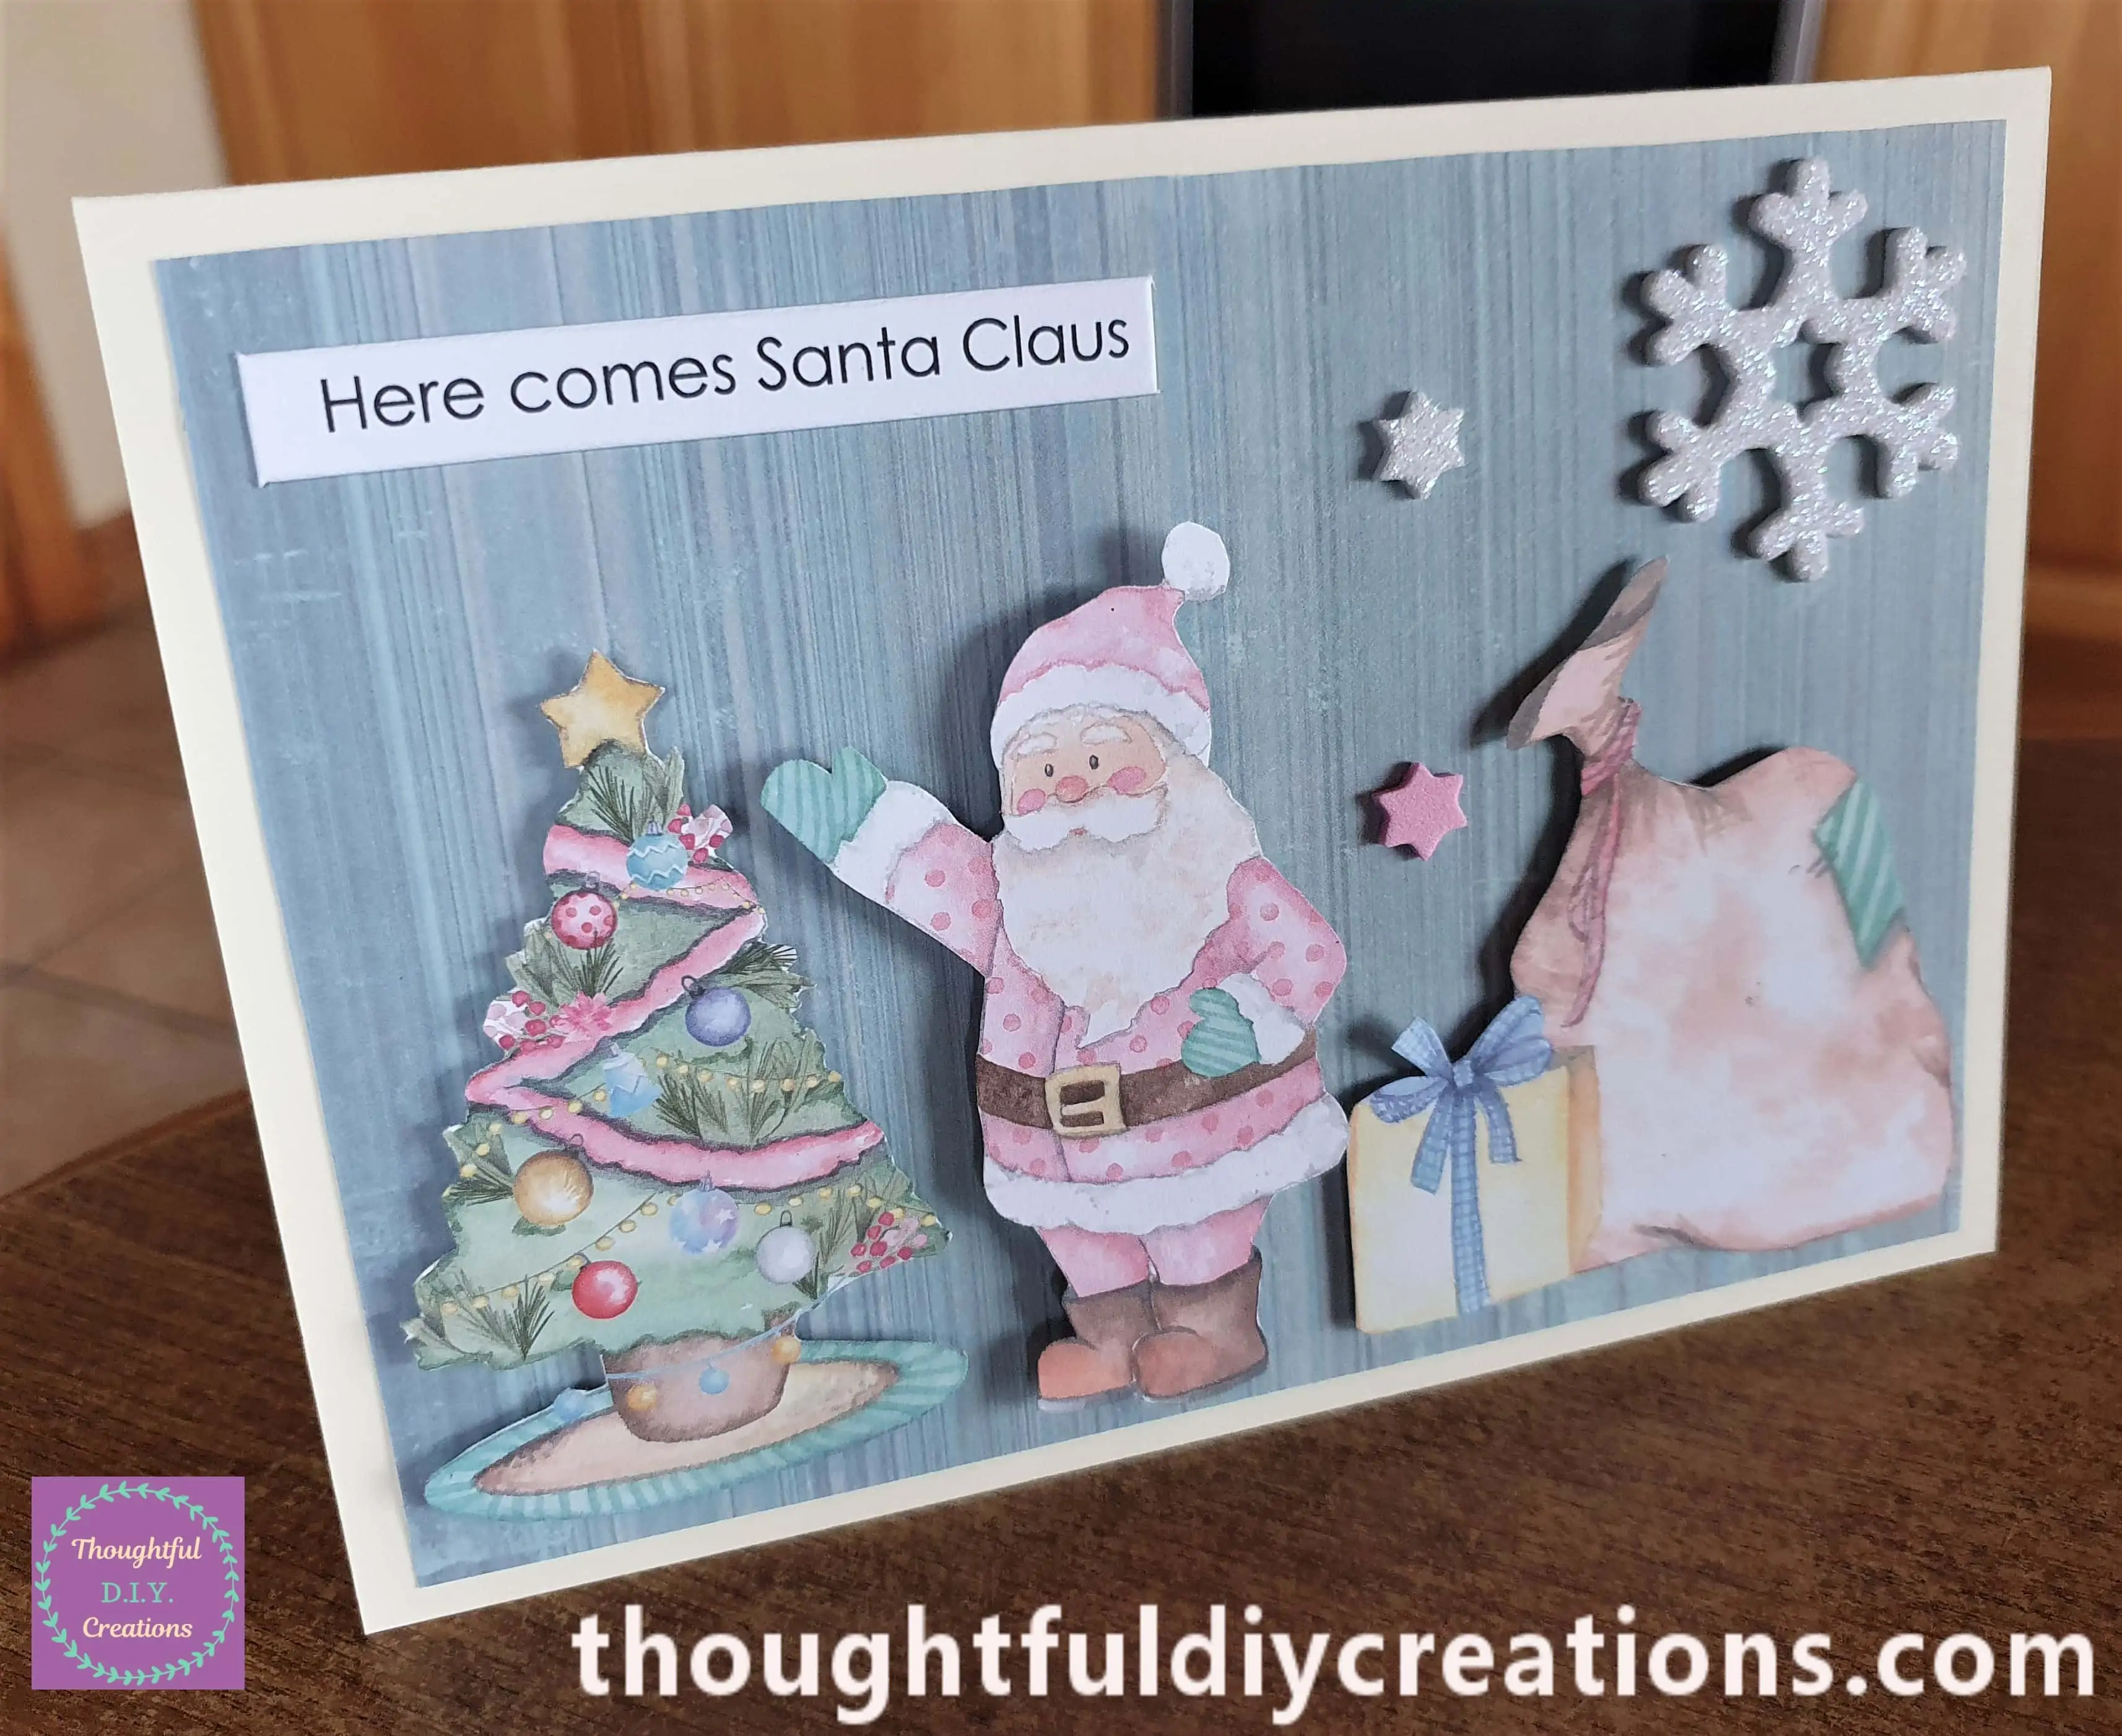
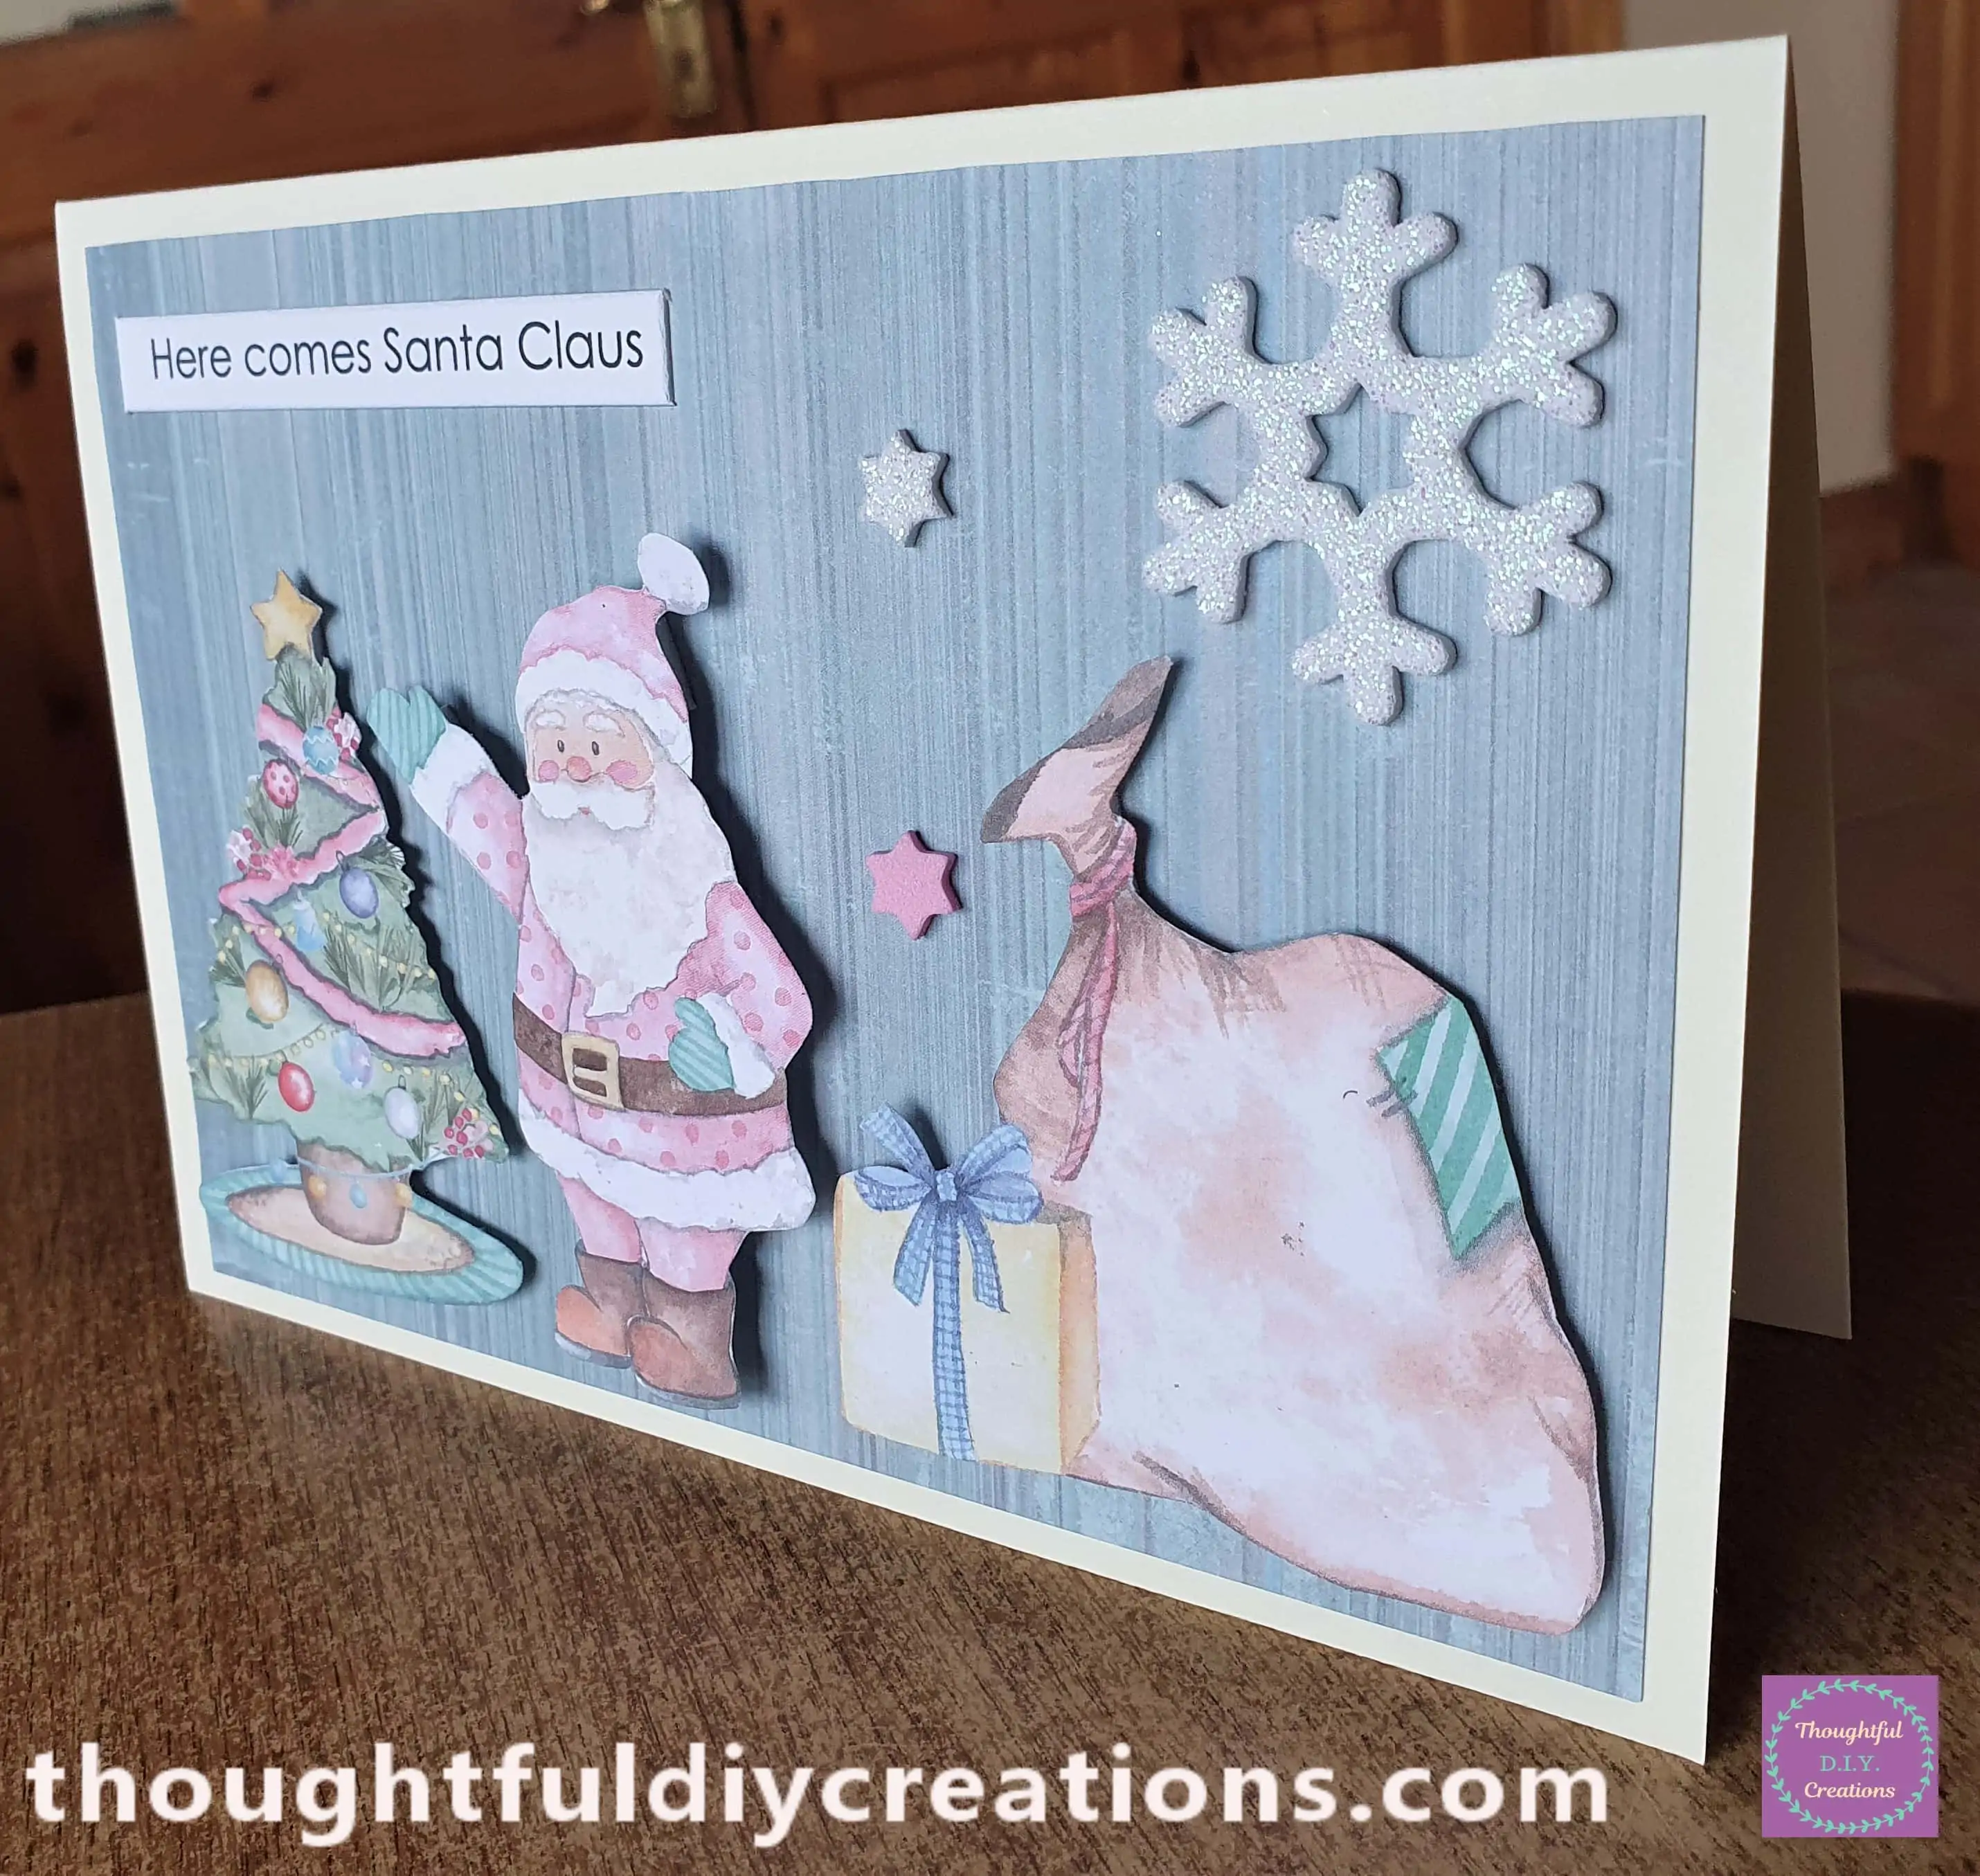
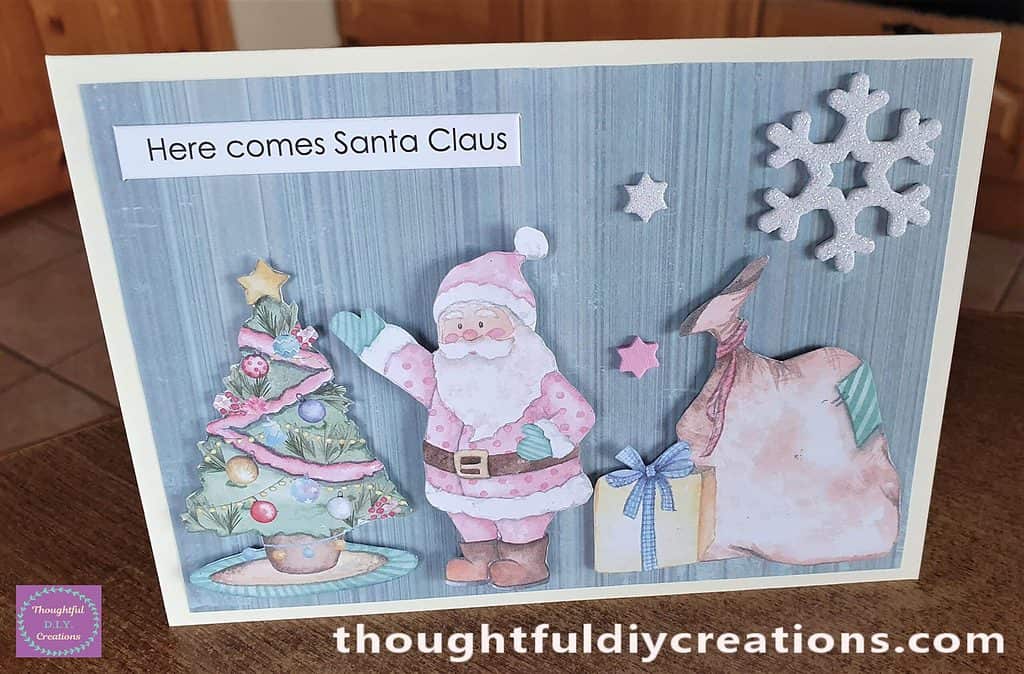
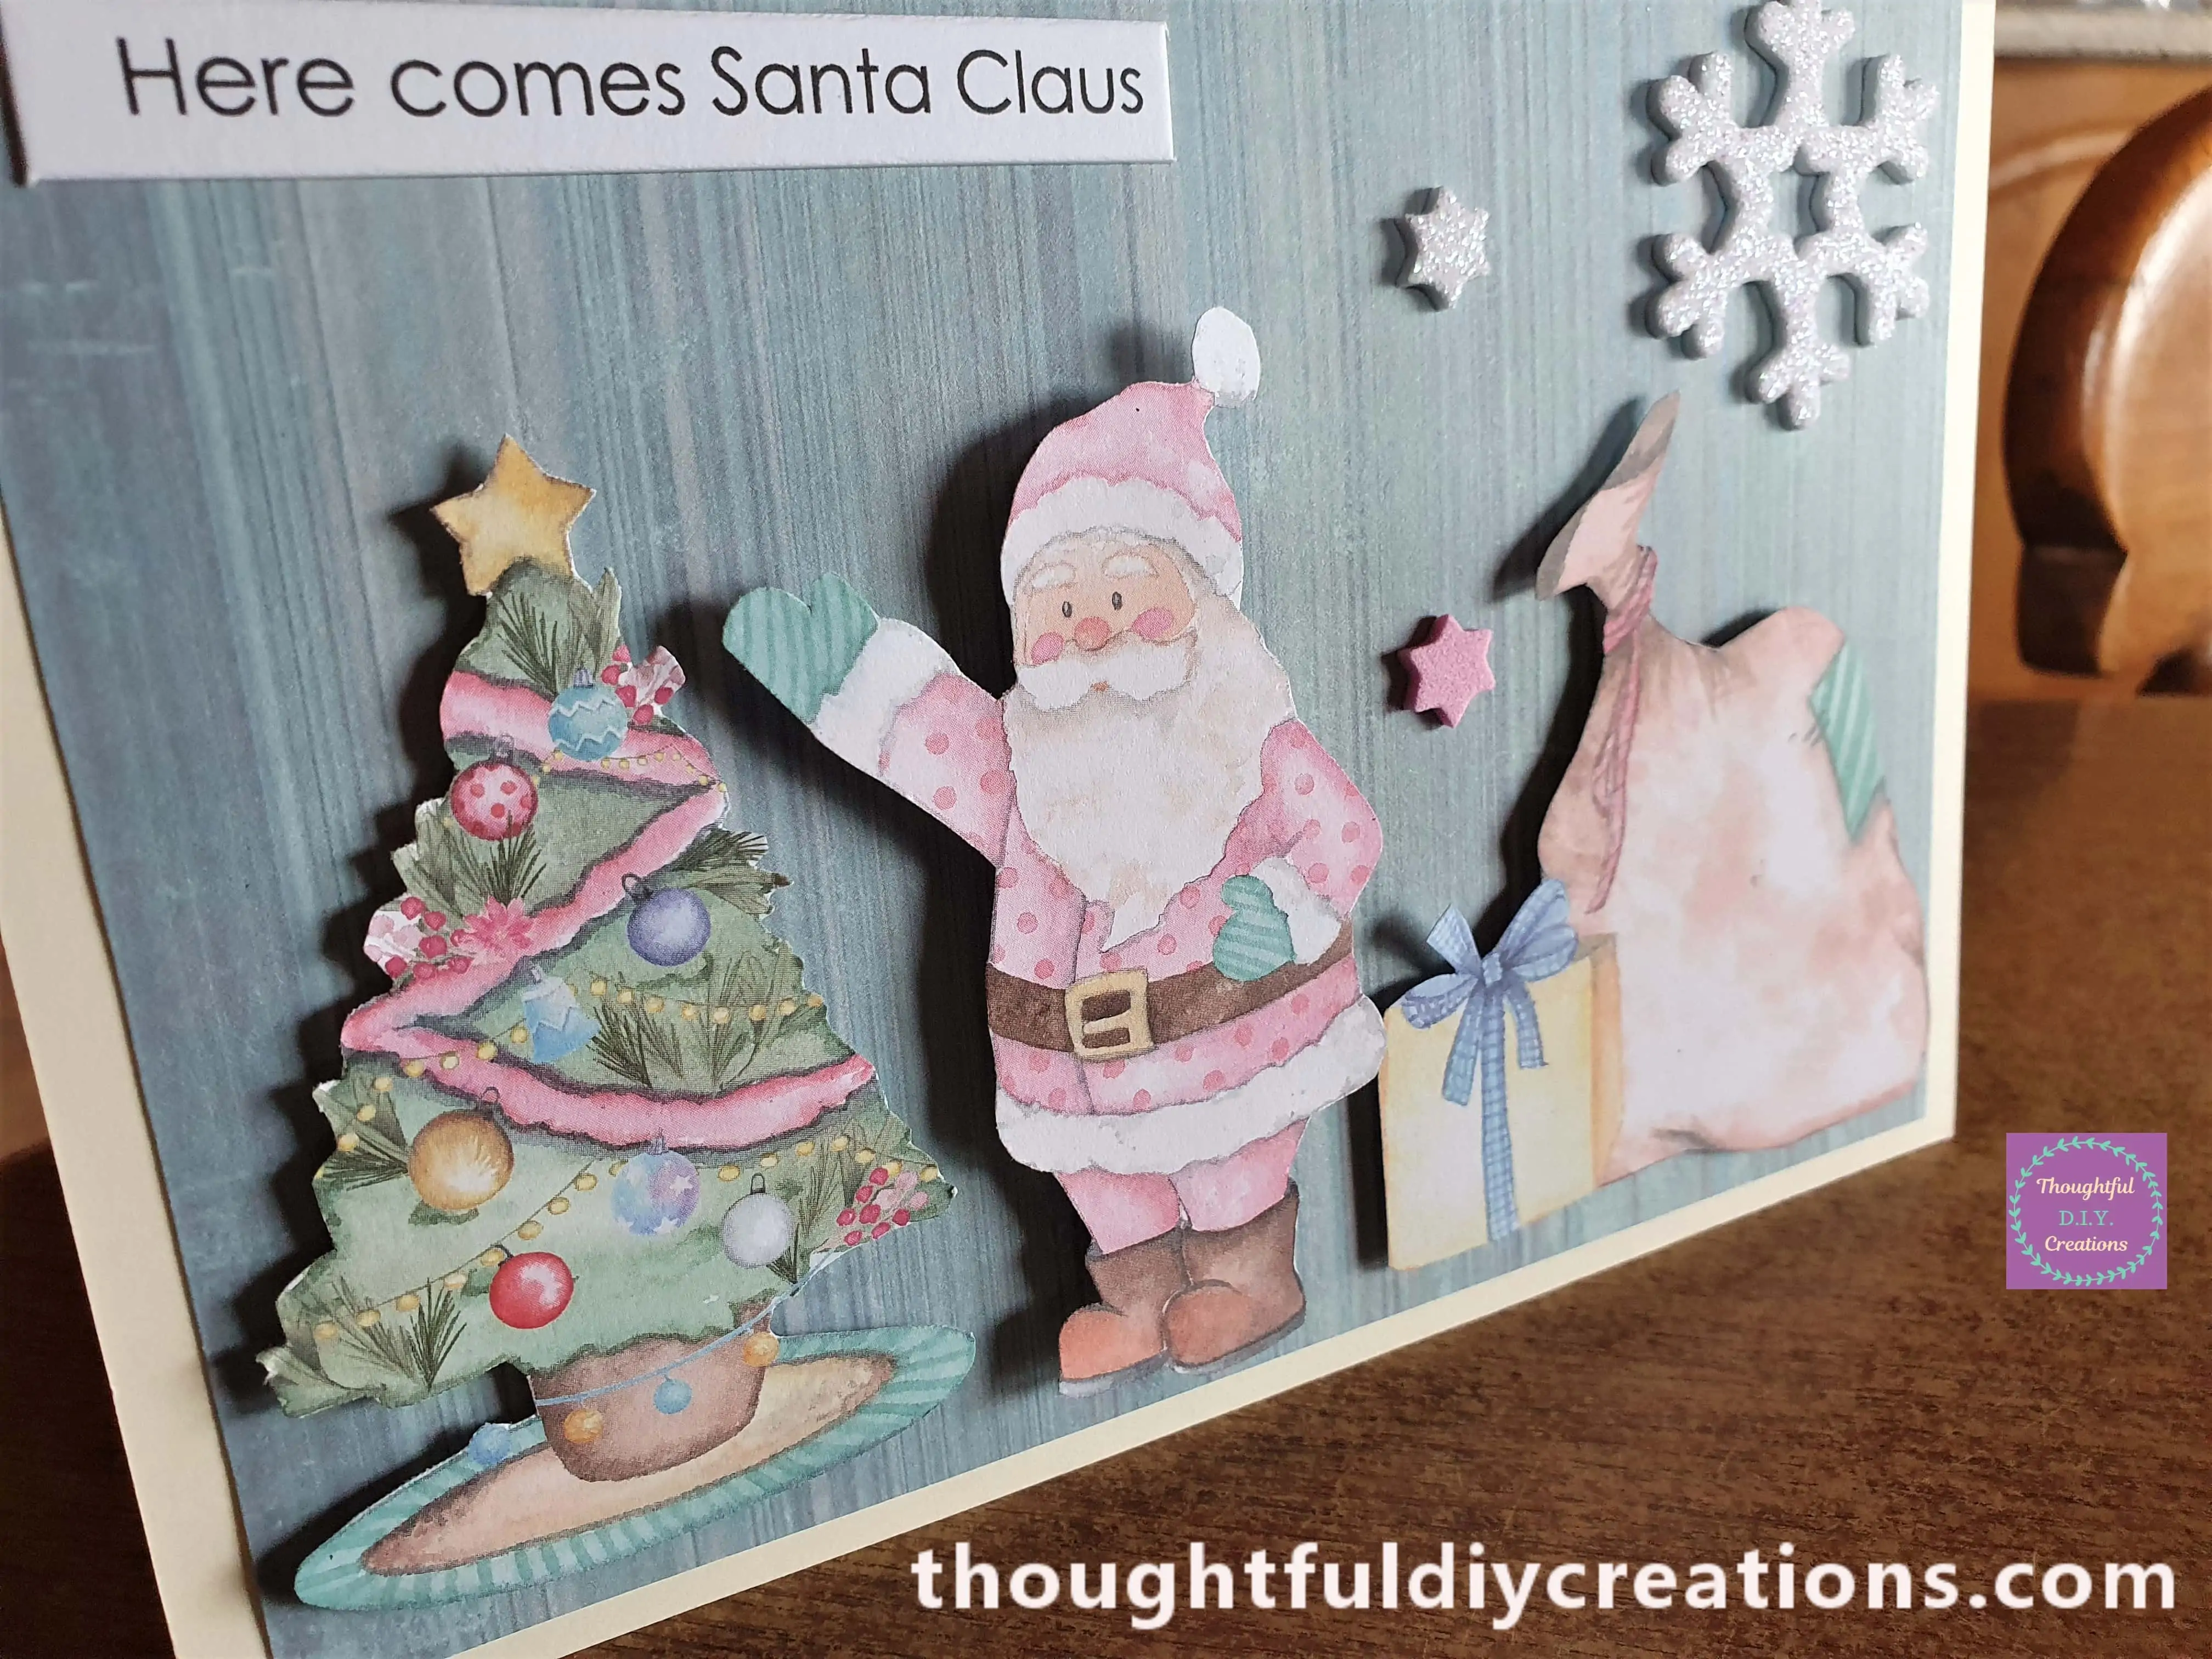
The final Image of the Card.
Conclusion
I’m really Happy with the results of my Christmas Card; the Pictures are Adorable. I love the Snowflake Foam Stickers. I added the Girl’s Name that I’m gifting the Card to onto the Santa Sack with a Green Gel Pen. It really Personalised and finished off the Handmade Card.
Do you Make your own Cards this Time of Year to give to Family / Neighbours / Friends? I think it’s a lovely Personal touch Making or Receiving a Handmade Card, knowing that the Person thought of You and wanted to Spend their Time and Craft Supplies Creating something Special or Unique just for You.
If you want more Budget D.I.Y. Inspiration check out my other Christmas Crafts. The Grinch Wine Bottle, or Christmas Jars. I have many more Tutorials on the Blog; just click Christmas Crafts under Categories to See them all. I hope they bring Creative Inspiration your way.
Thank You so much for taking the Time to Read my Blog,
Always Grateful,
T.D.C.
xoxox

