Christmas Clay Moulds Jar Tutorial
Hello my Creative Friends,
I hope you are all Well. In Today’s Tutorial I will show you how I Painted and Decorated an old Coffee Jar with Christmas Clay Moulds. I hope it provides you with some Creative Inspiration for your Christmas Crafts and Decor.
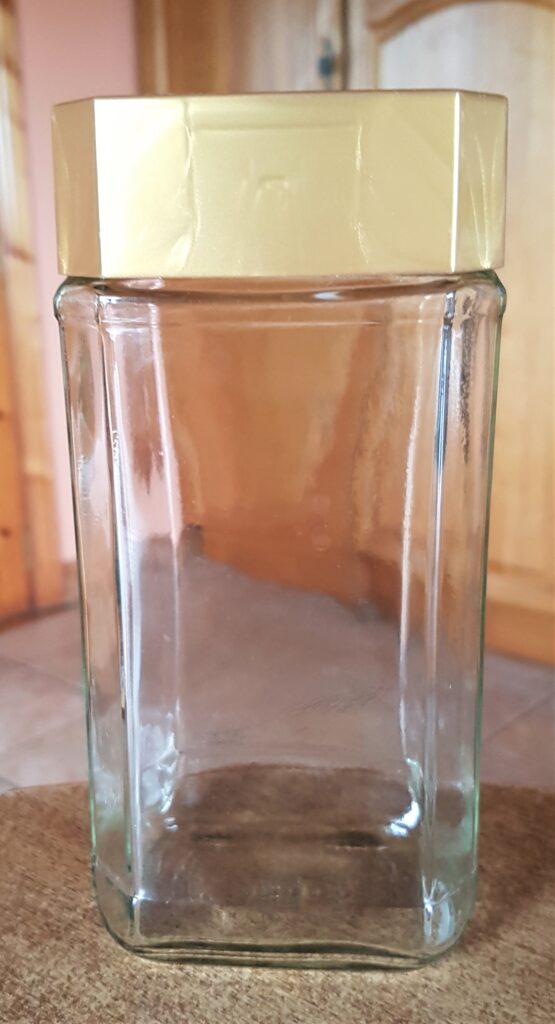
Preparing the Jar for Crafting
I had a Coffee Jar in my Craft Supplies. I loved the Shape of it and thought it was a lovely Size to Re-Purpose into something else.
I soaked the Jar and Lid in the Sink wih warm water and washing-up-liquid for an hour. This helps the label to soften and makes it easier to peel off. I then removed the label, rinsed and dried the Jar and Lid.
Priming the Lid of the Jar
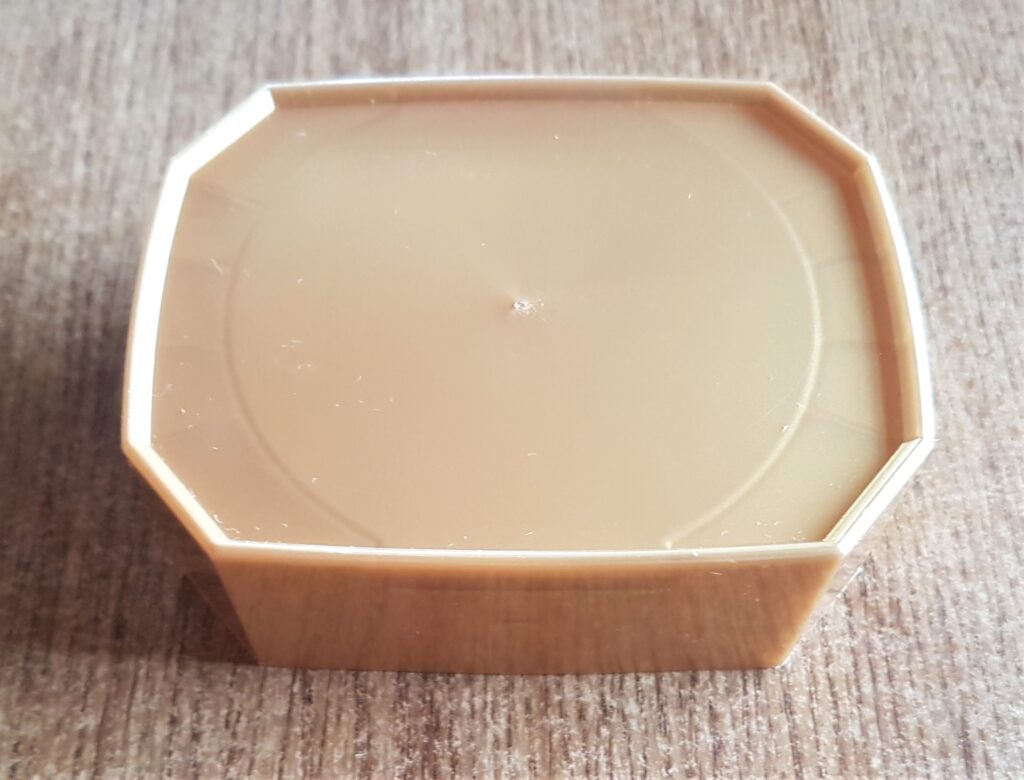
I removed the Lid from the Jar.
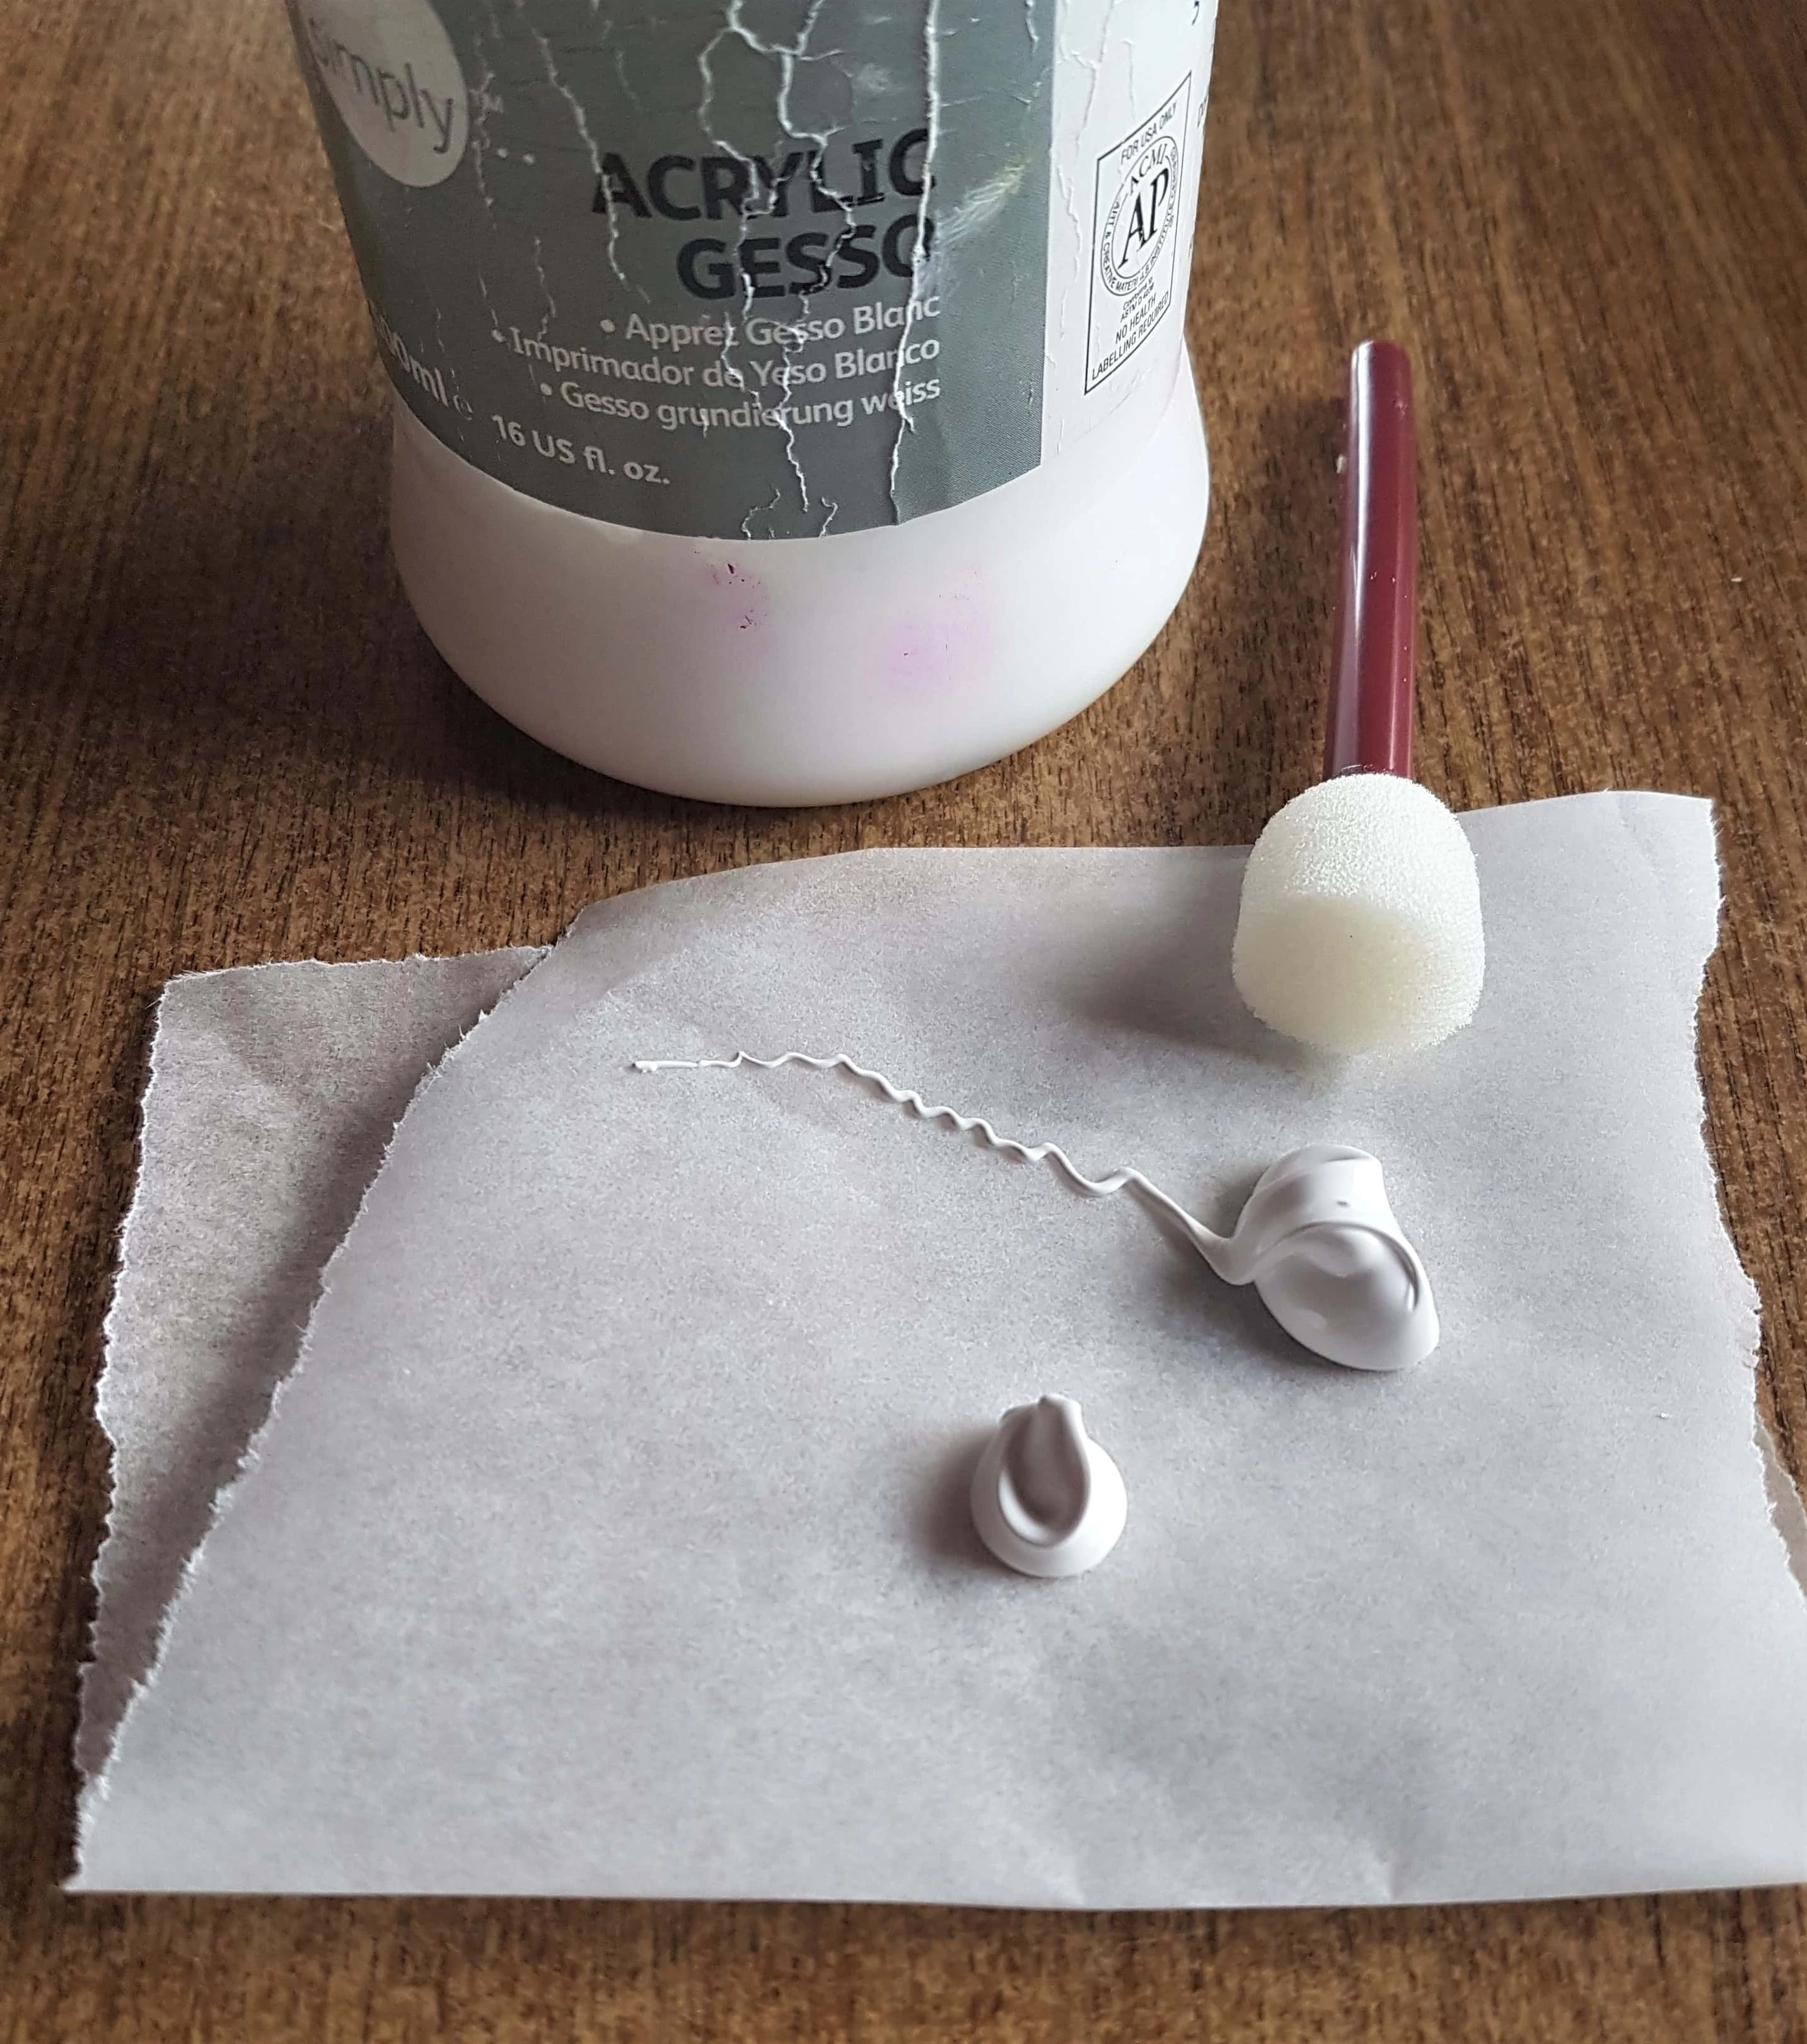
I got my Tub of ‘Acrylic White Gesso’, Baking Paper and a Flat Sponge with Handle.
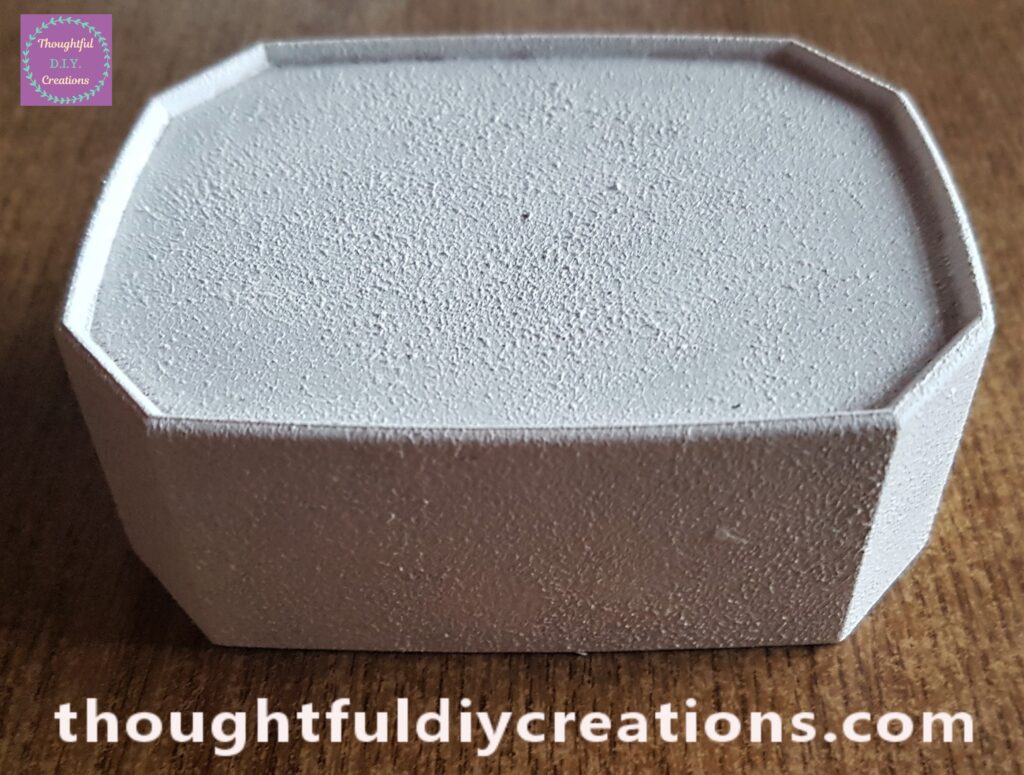
I applied 2 Layers of Gesso to the Lid by dabbing it on with the Sponge until I had full coverage. I waited an Hour before I applied the second layer. This Primes the Lid, removes the Shiny Gold Colour and it is now easier to apply other mediums such as Paint to the surface.
Painting the Lid
I got my Tub of Silver Acrylic Paint.
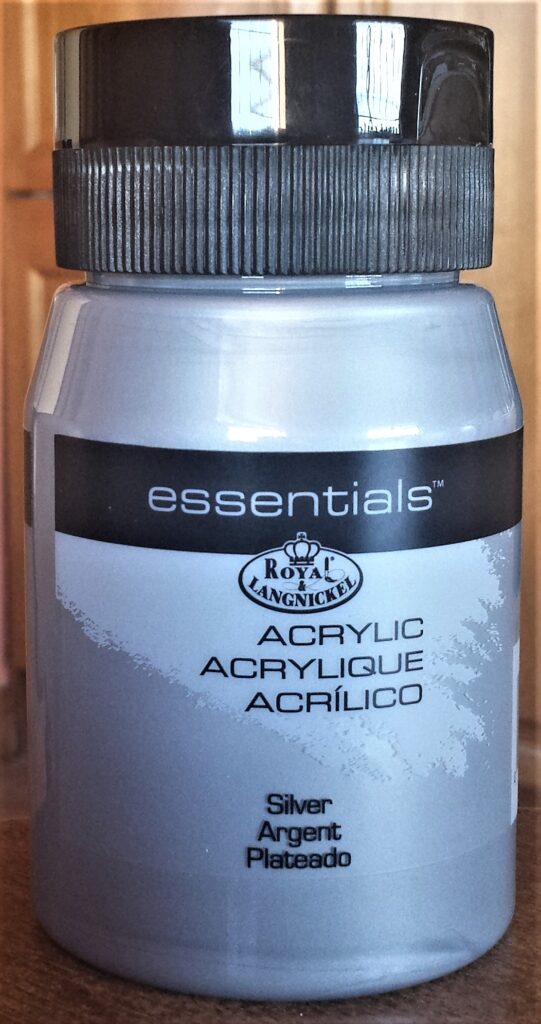
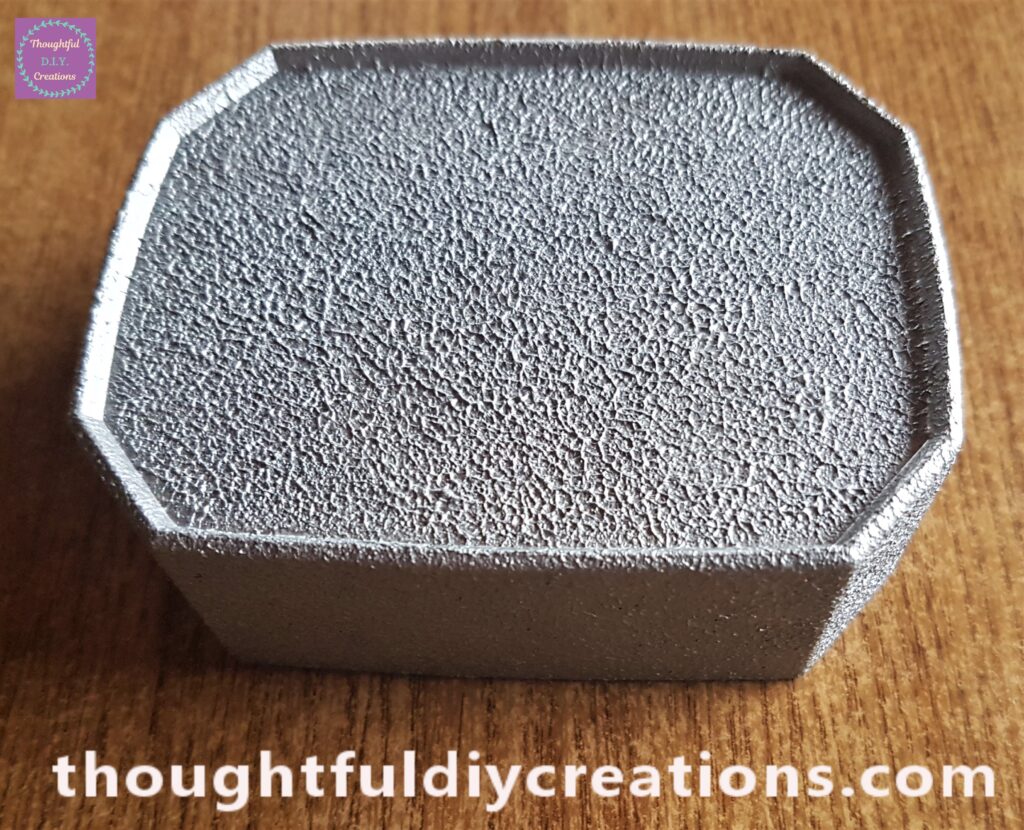
I Painted 2 Layers of the Silver Paint all over the Lid with a Sponge. I again waited an Hour between layers.
Painting the Jar
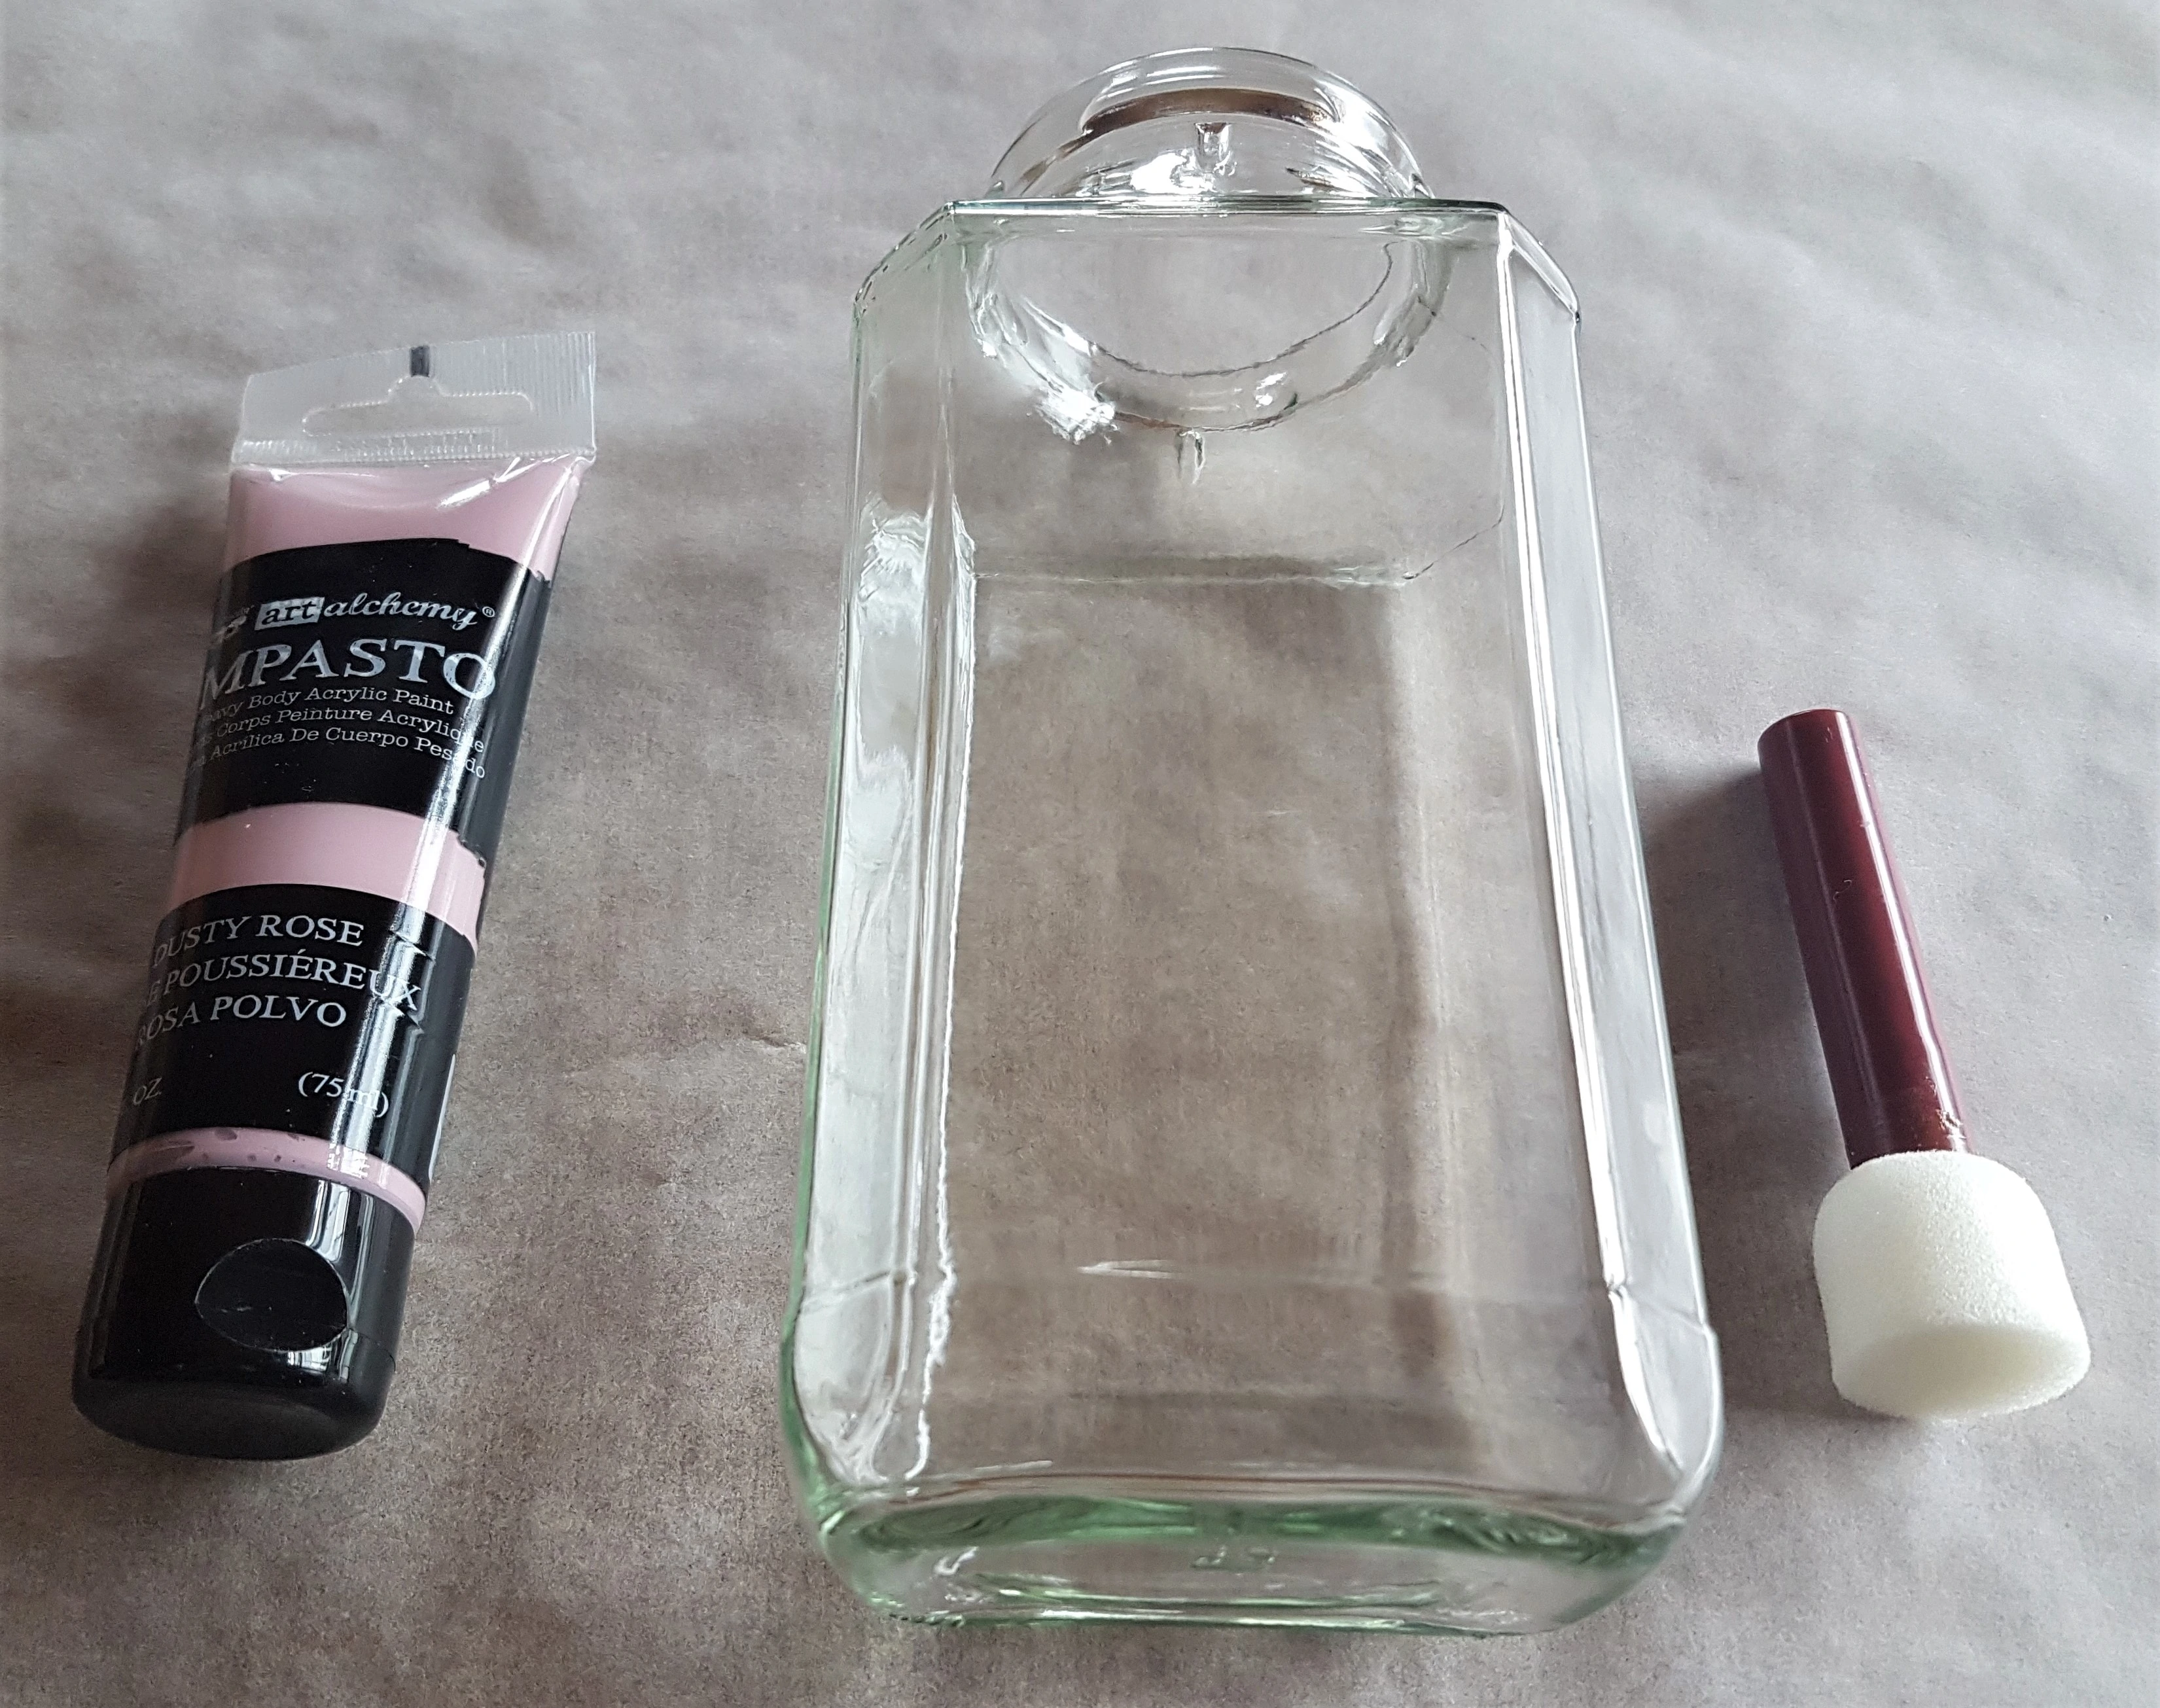
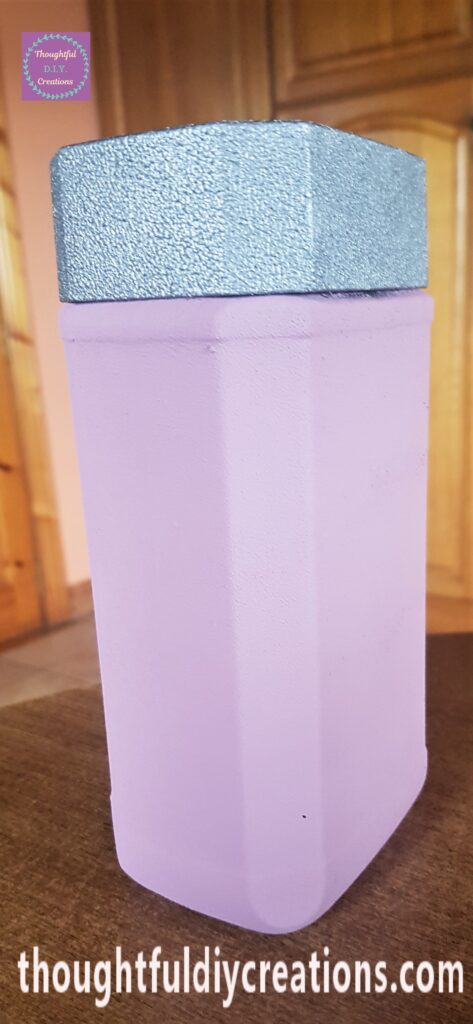
I put a Sheet of Baking Paper on the Table to protect it. I got my ‘Dusty Rose’ Acrylic Paint and a bigger Sponge with Handle. I got my Jar ready to Paint.
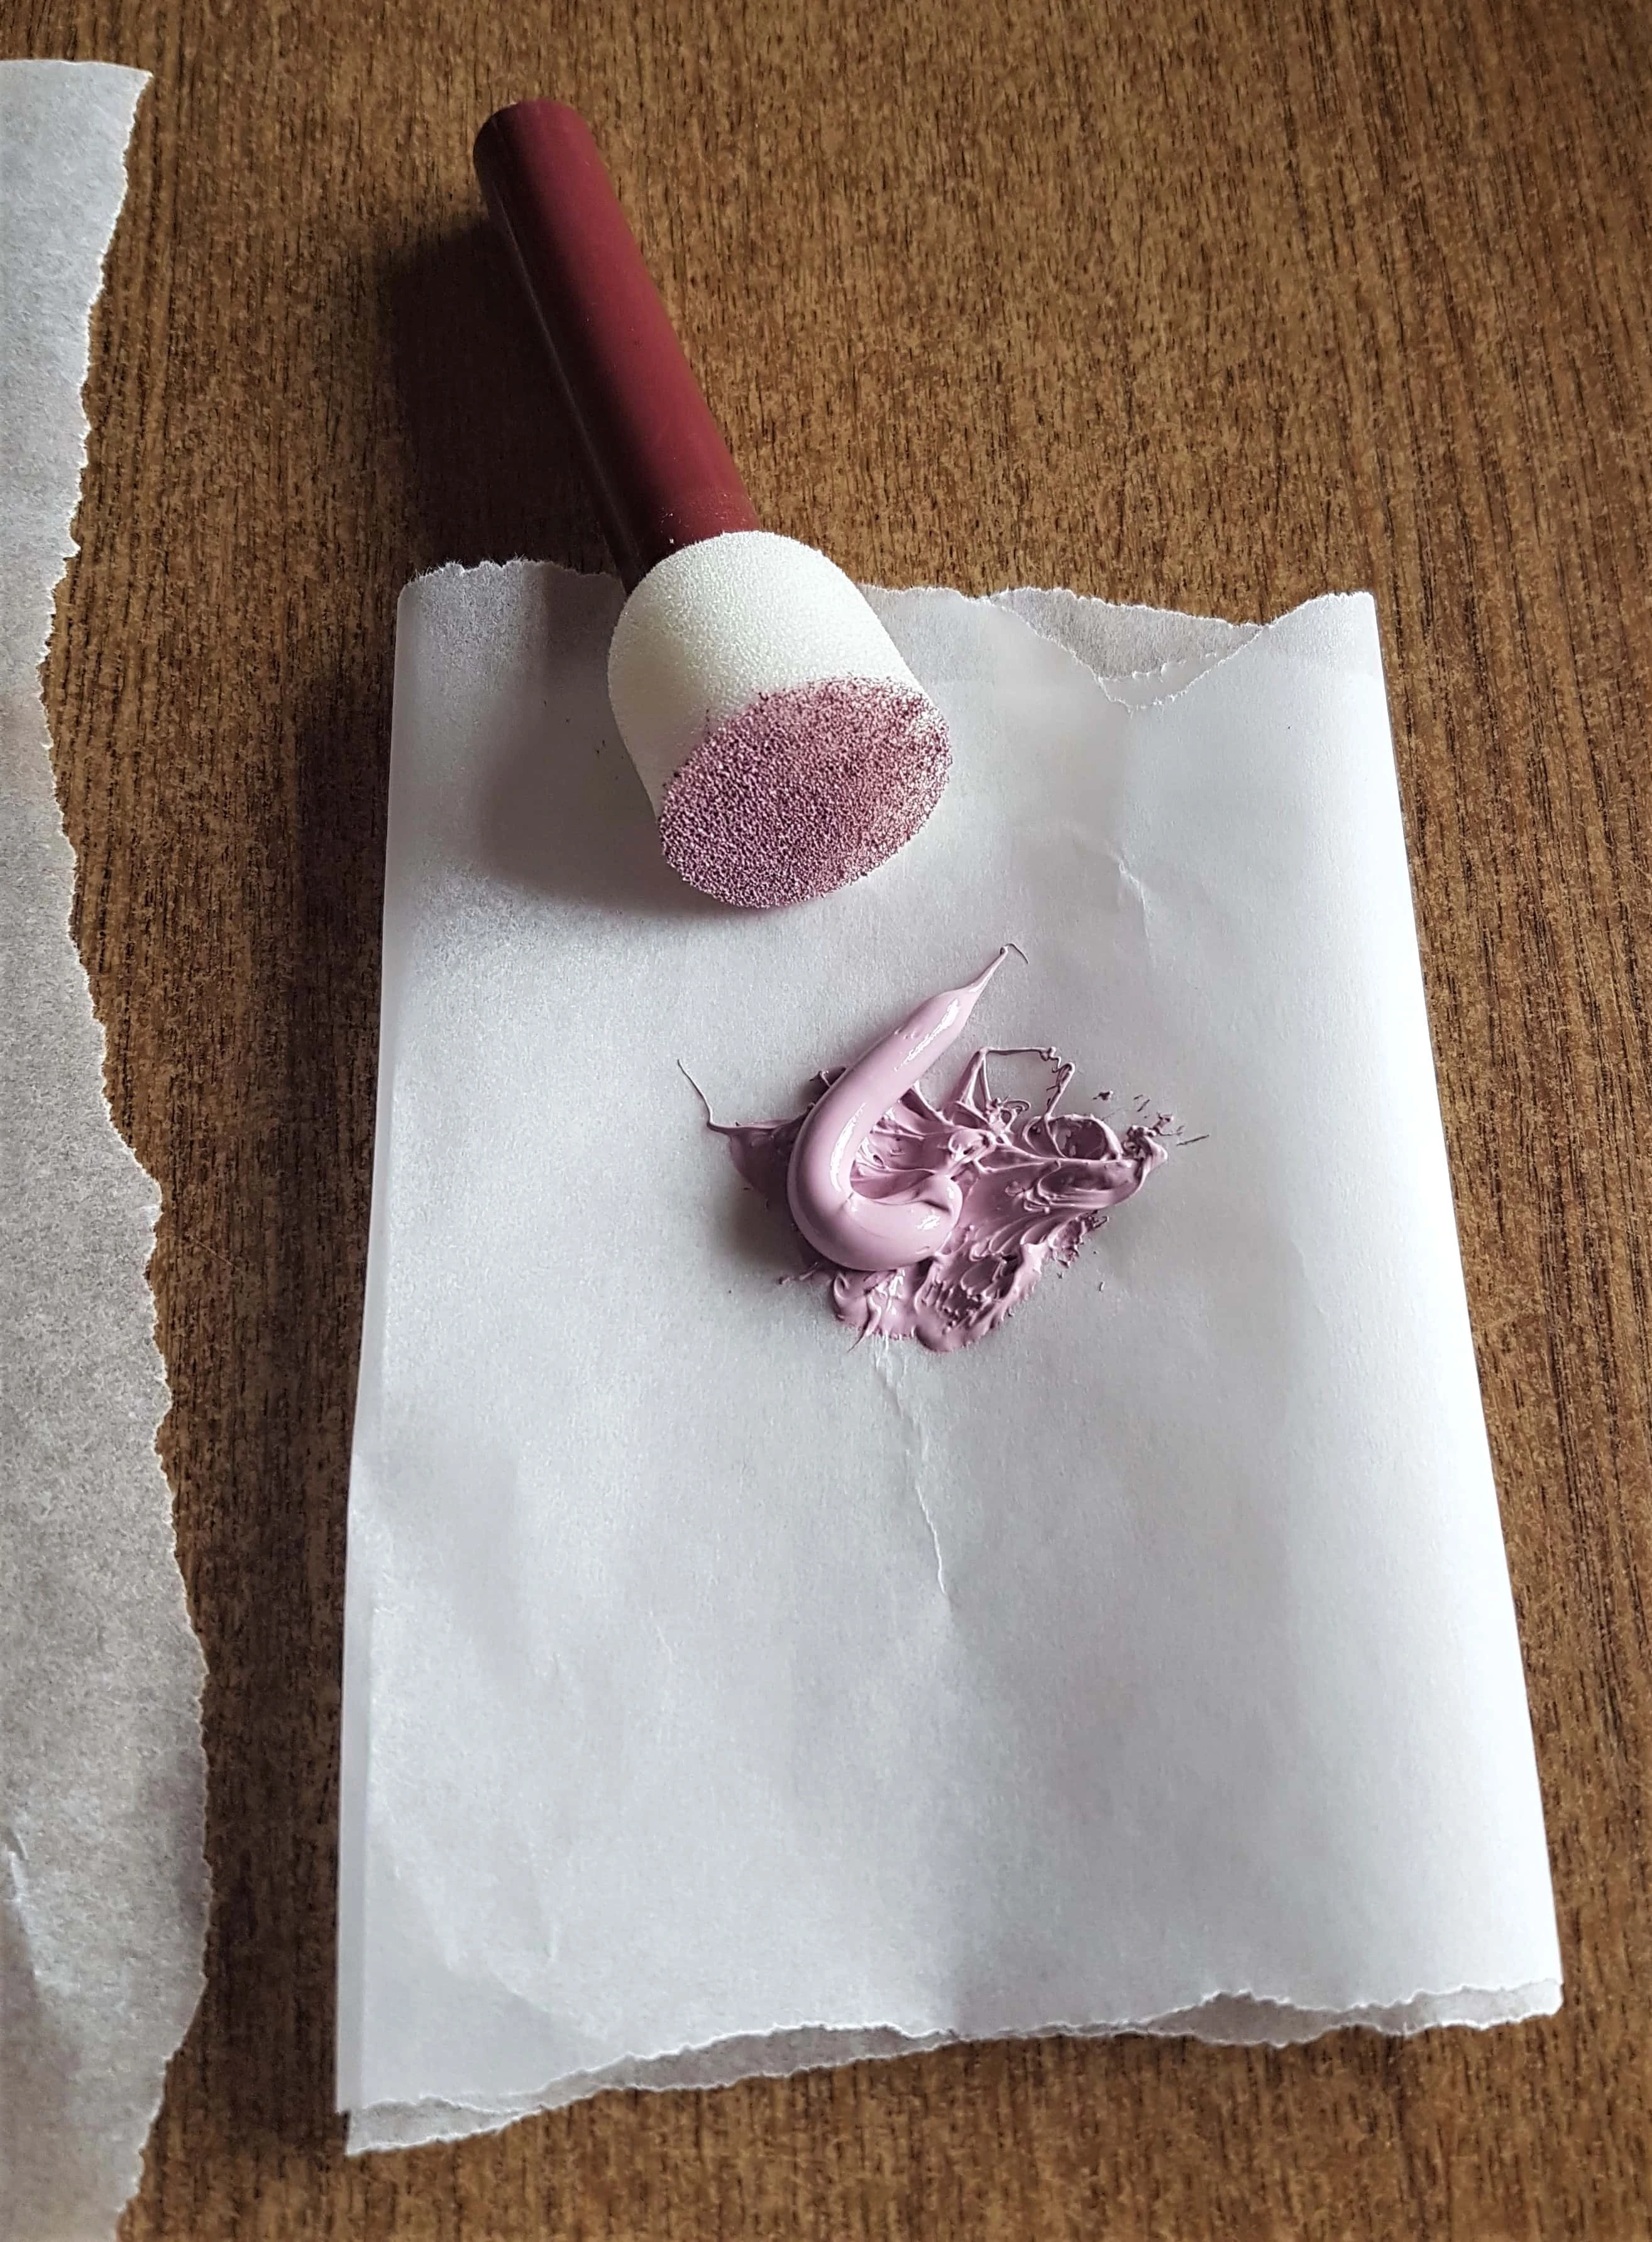
I got a smaller section of Baking Paper to use as a Paint Palette. I poured some Paint onto it and dabbed the Sponge into the Paint.
I started with the flat Base of the Jar; I dabbed Paint onto it with the Sponge until it was covered. I then moved onto the bottom of the Jar and dabbed more Paint around the 4 edges.
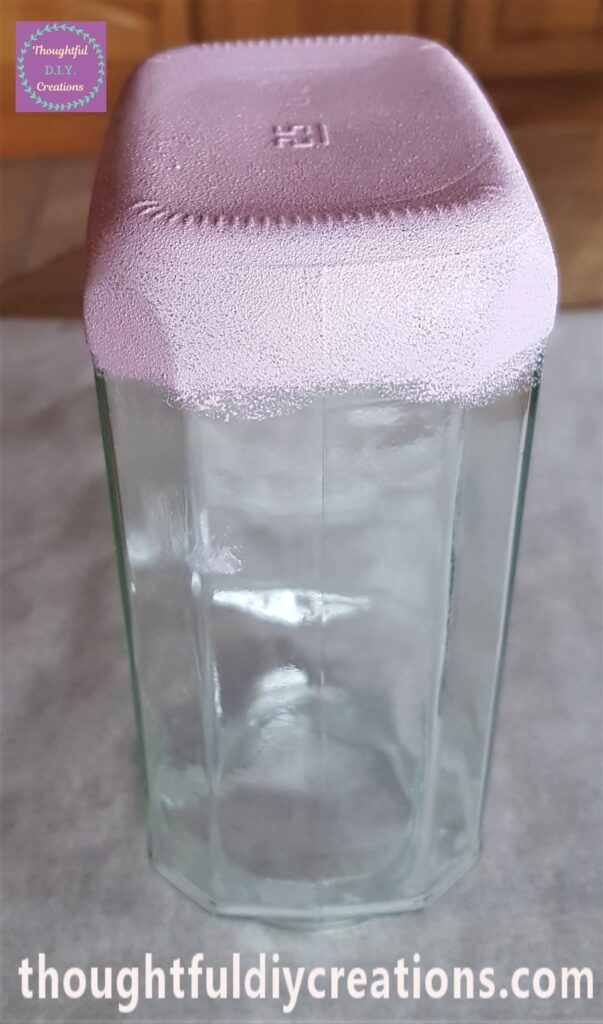
I continued working my way around the Jar with the Sponge and Paint and dabbing it on evenly and continuing where I left off.
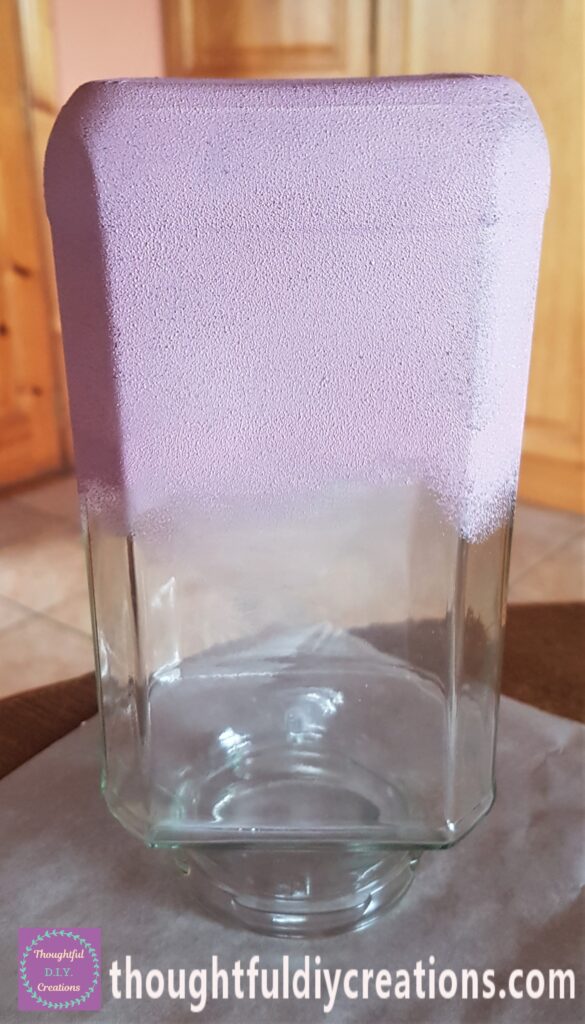
I kept going until I had one Layer of Paint on the whole Jar. I didn’t apply Paint to the very Top of the Jar as it won’t be seen and the paint would fall / rub off every time I put the Lid On and Off the Jar.
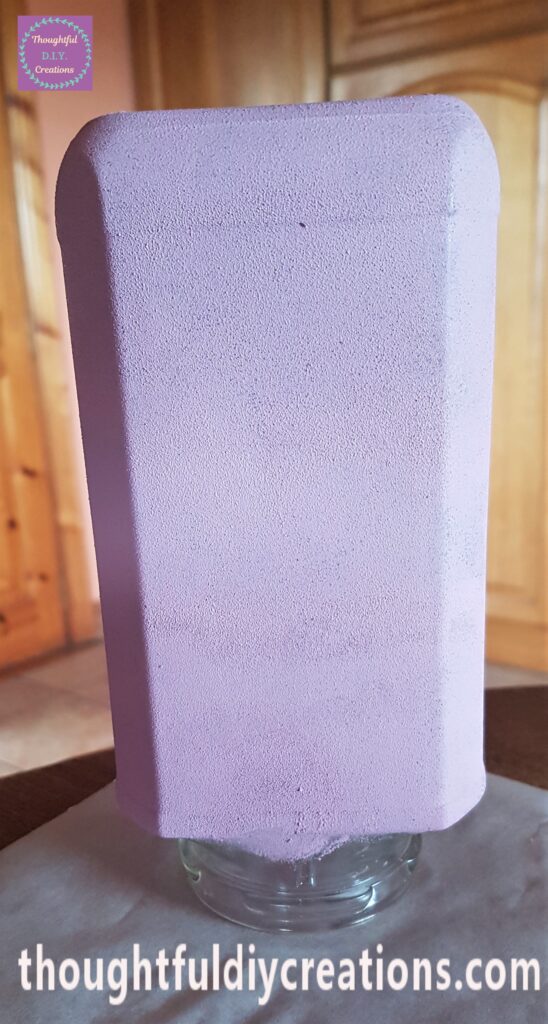
An Hour later I applied a second layer of Paint all over the Jar using the same process as the first layer.
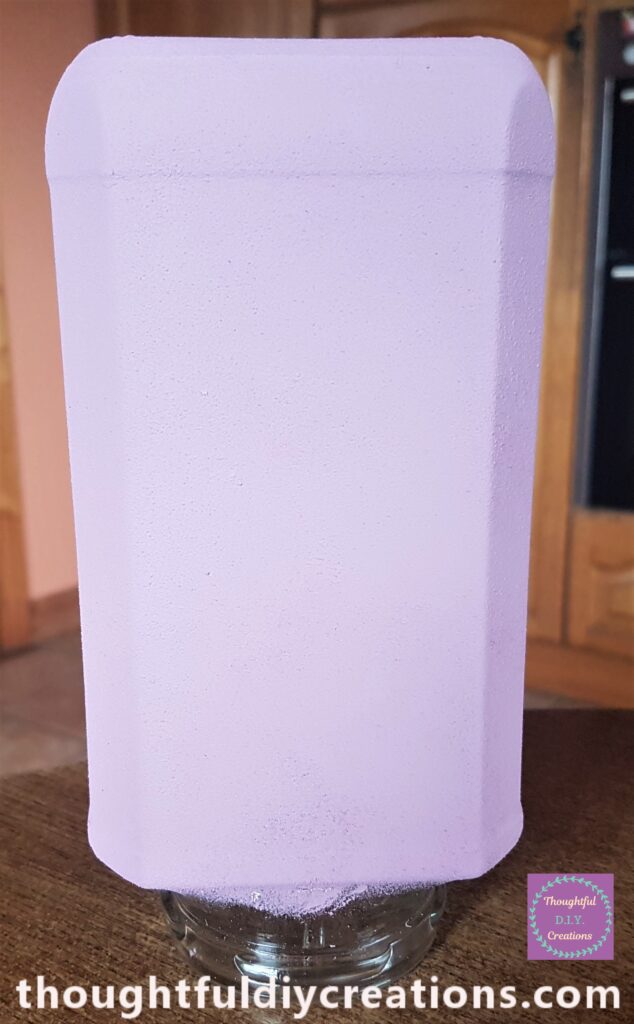
When everything was dry I put the Lid on the Jar to see how it was coming together.
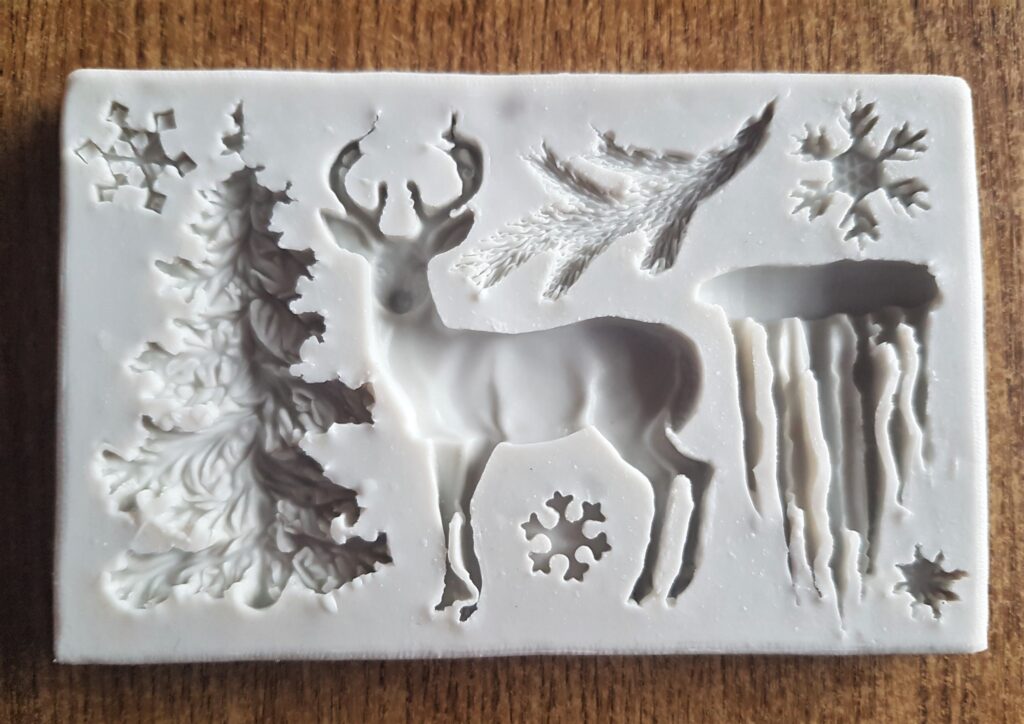
Christmas Clay Moulds
I got my Christmas Clay Moulds from my Craft supplies.
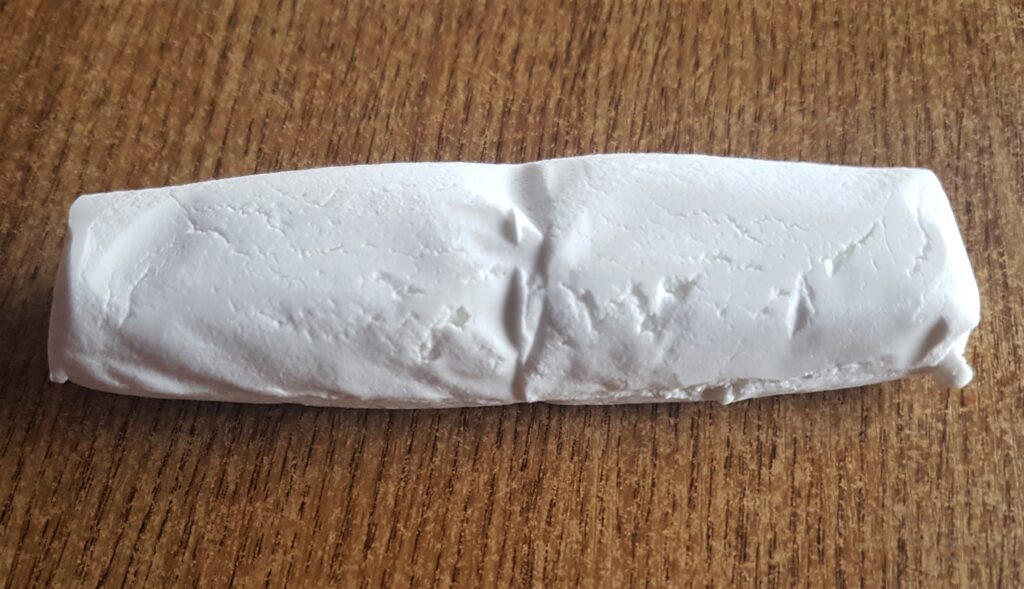
I got some ‘Extra Light Air- Dry Clay’.
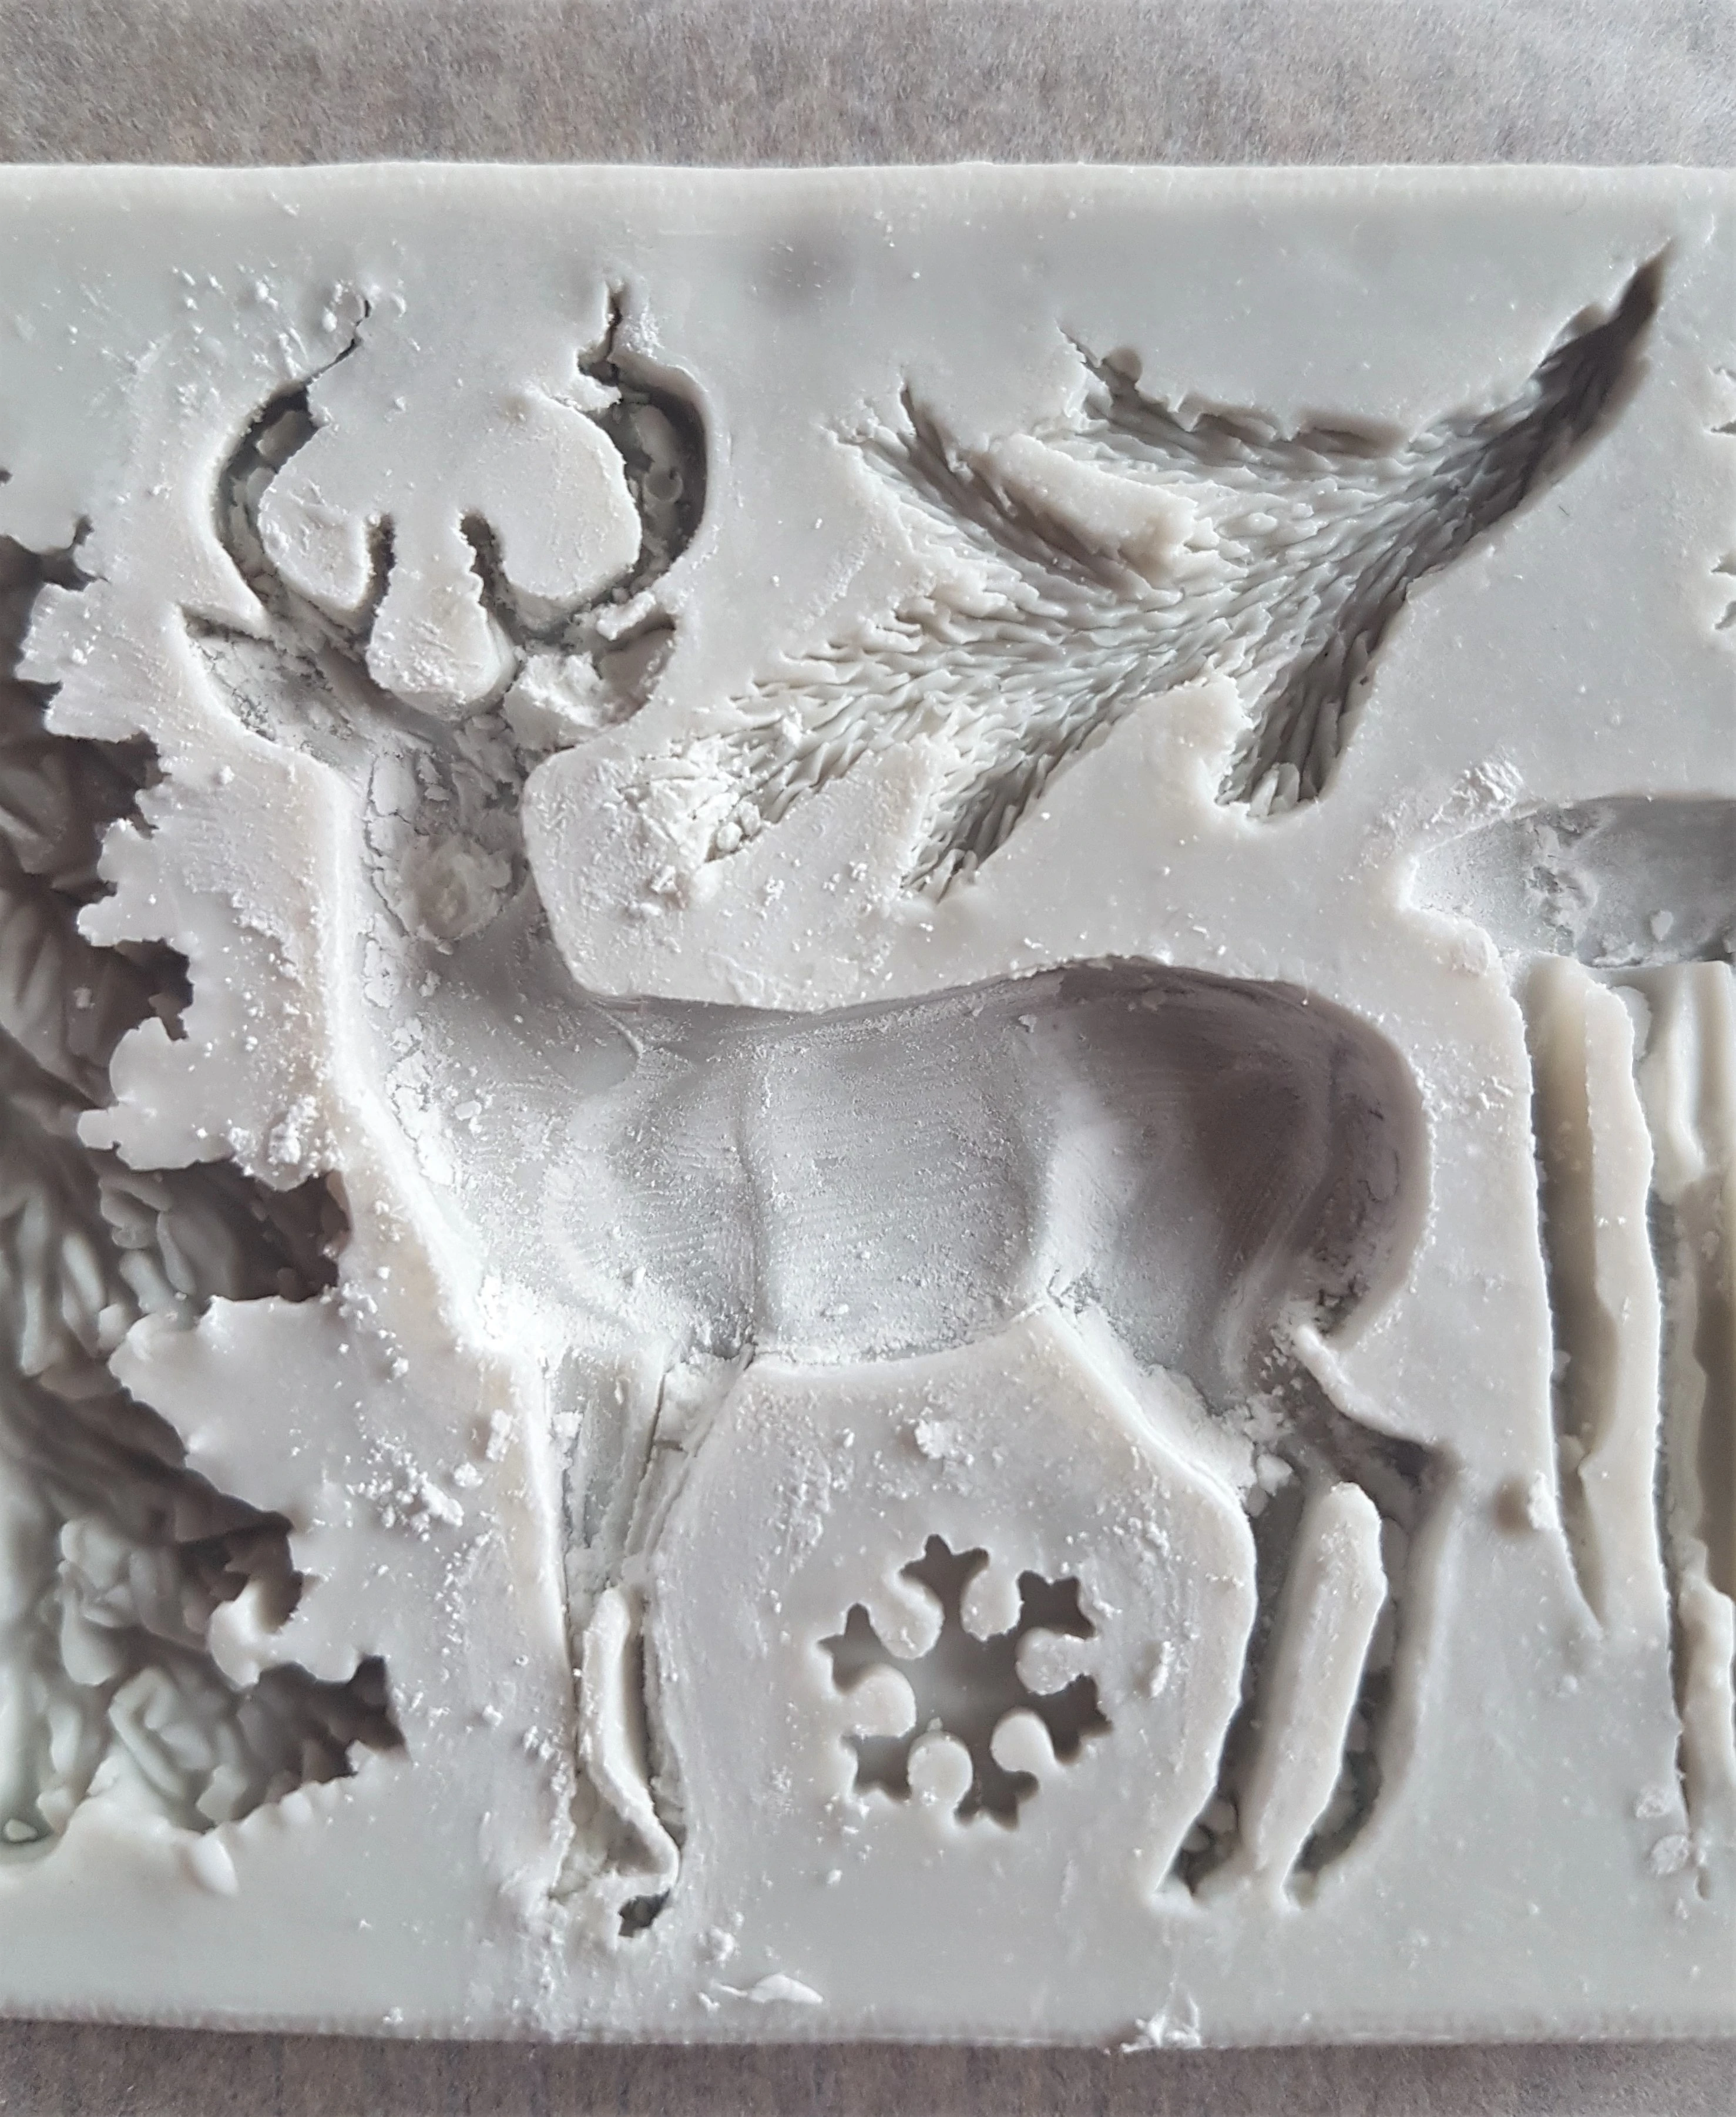
I sprinkled some Cornflour into the Deer Mould. This makes it easier to remove the Clay from the Mould.
Making Christmas Clay Moulds for the Jar
I got a small amount of Clay and softened it in my Hands. I then pushed it into the Mould and then got some more Clay and repeated the process until the Deer Mould was full of Clay. The Clay is soft and easy to join to the next piece that you add into the Mould.
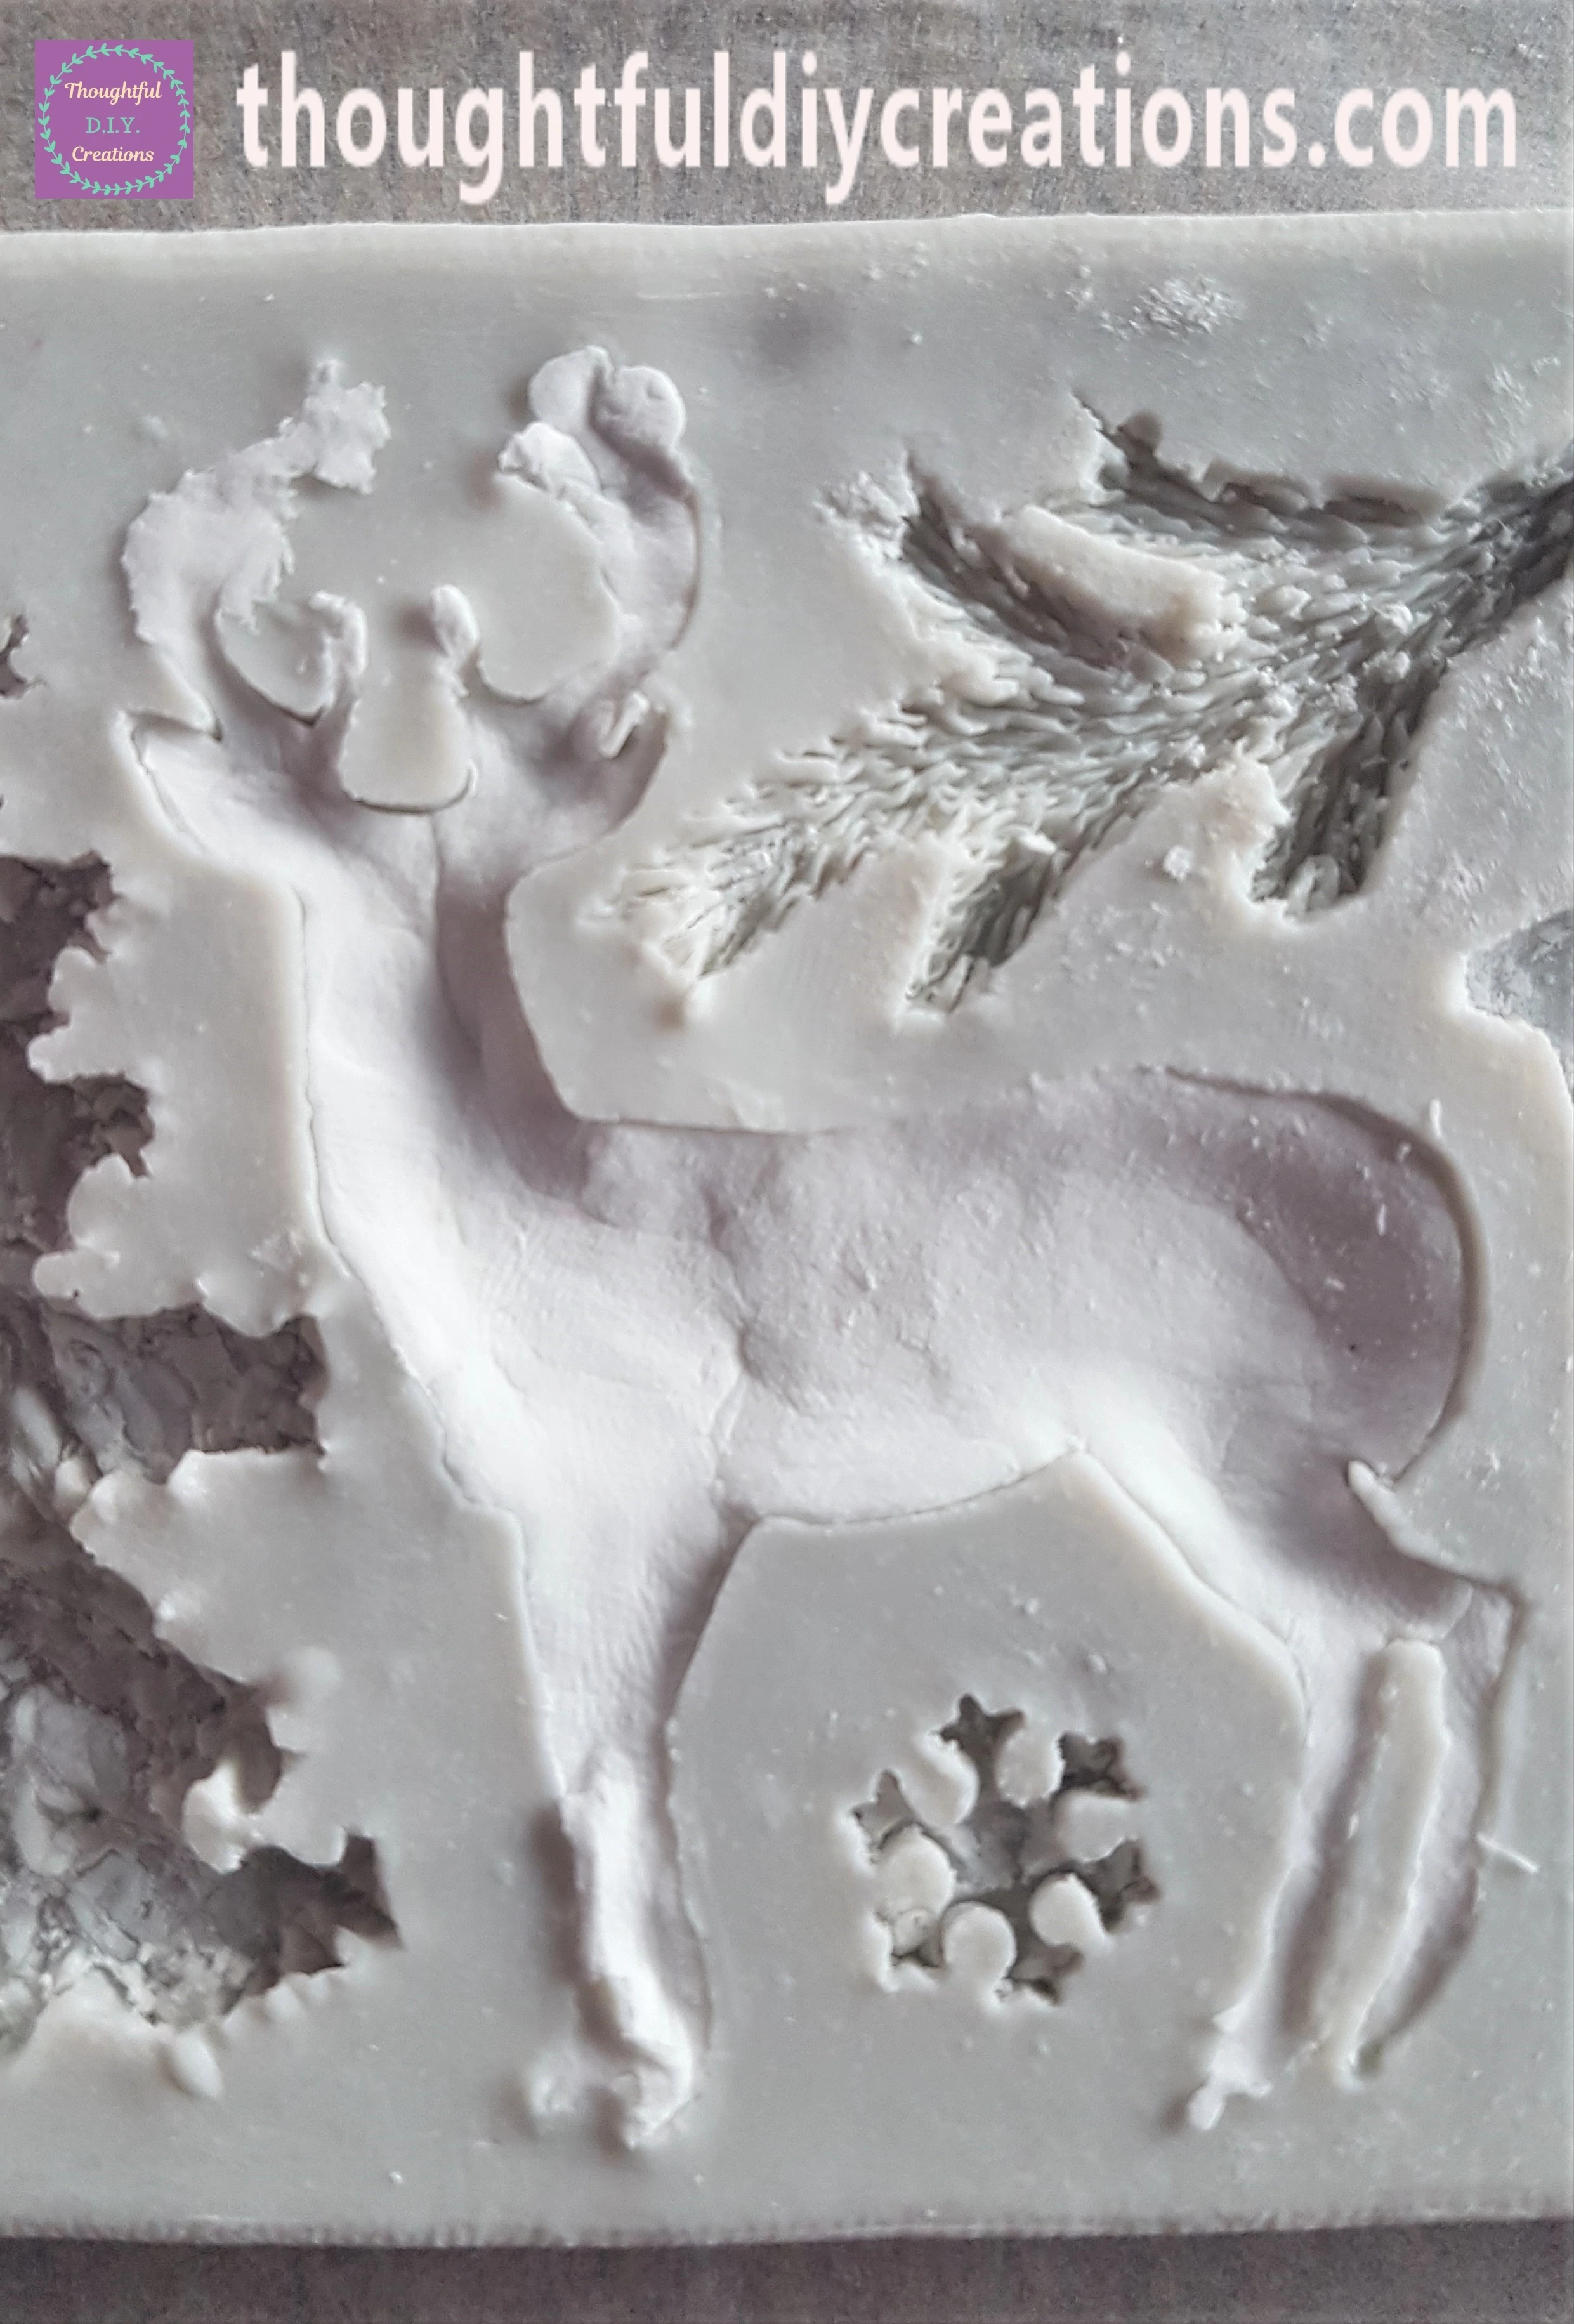
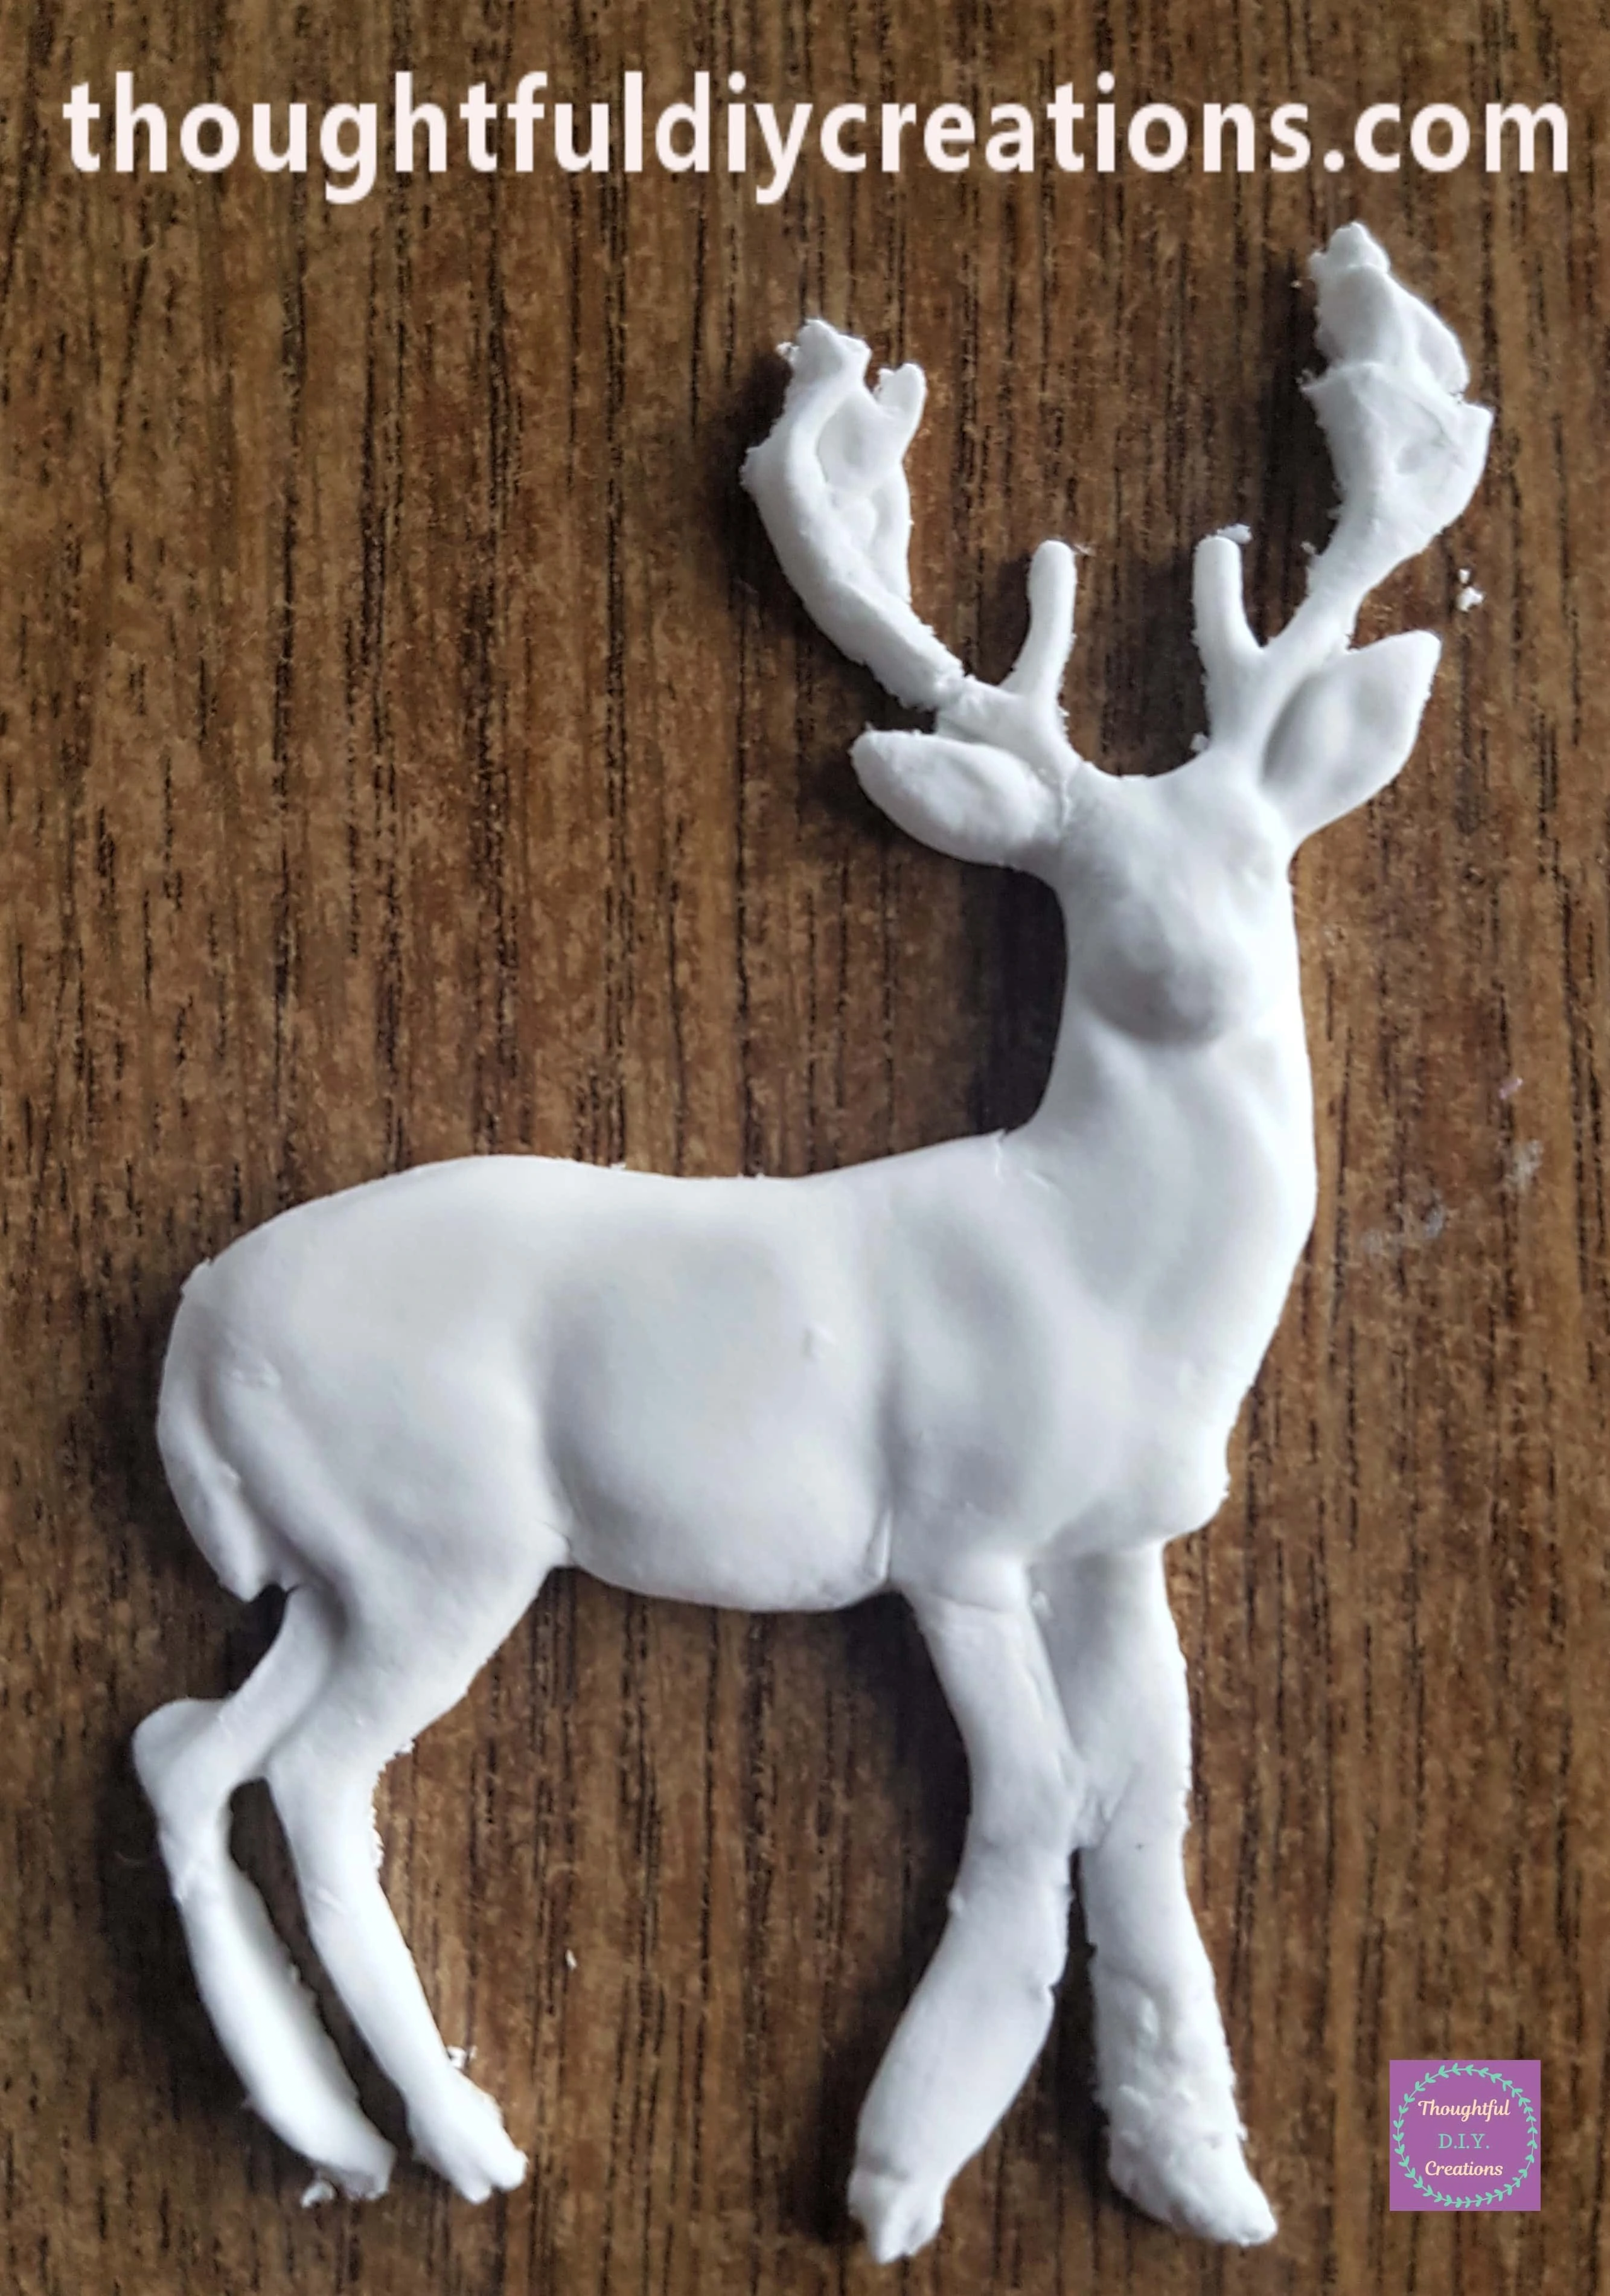
I turned the Mould upside down and carefully removed the Deer Mould.
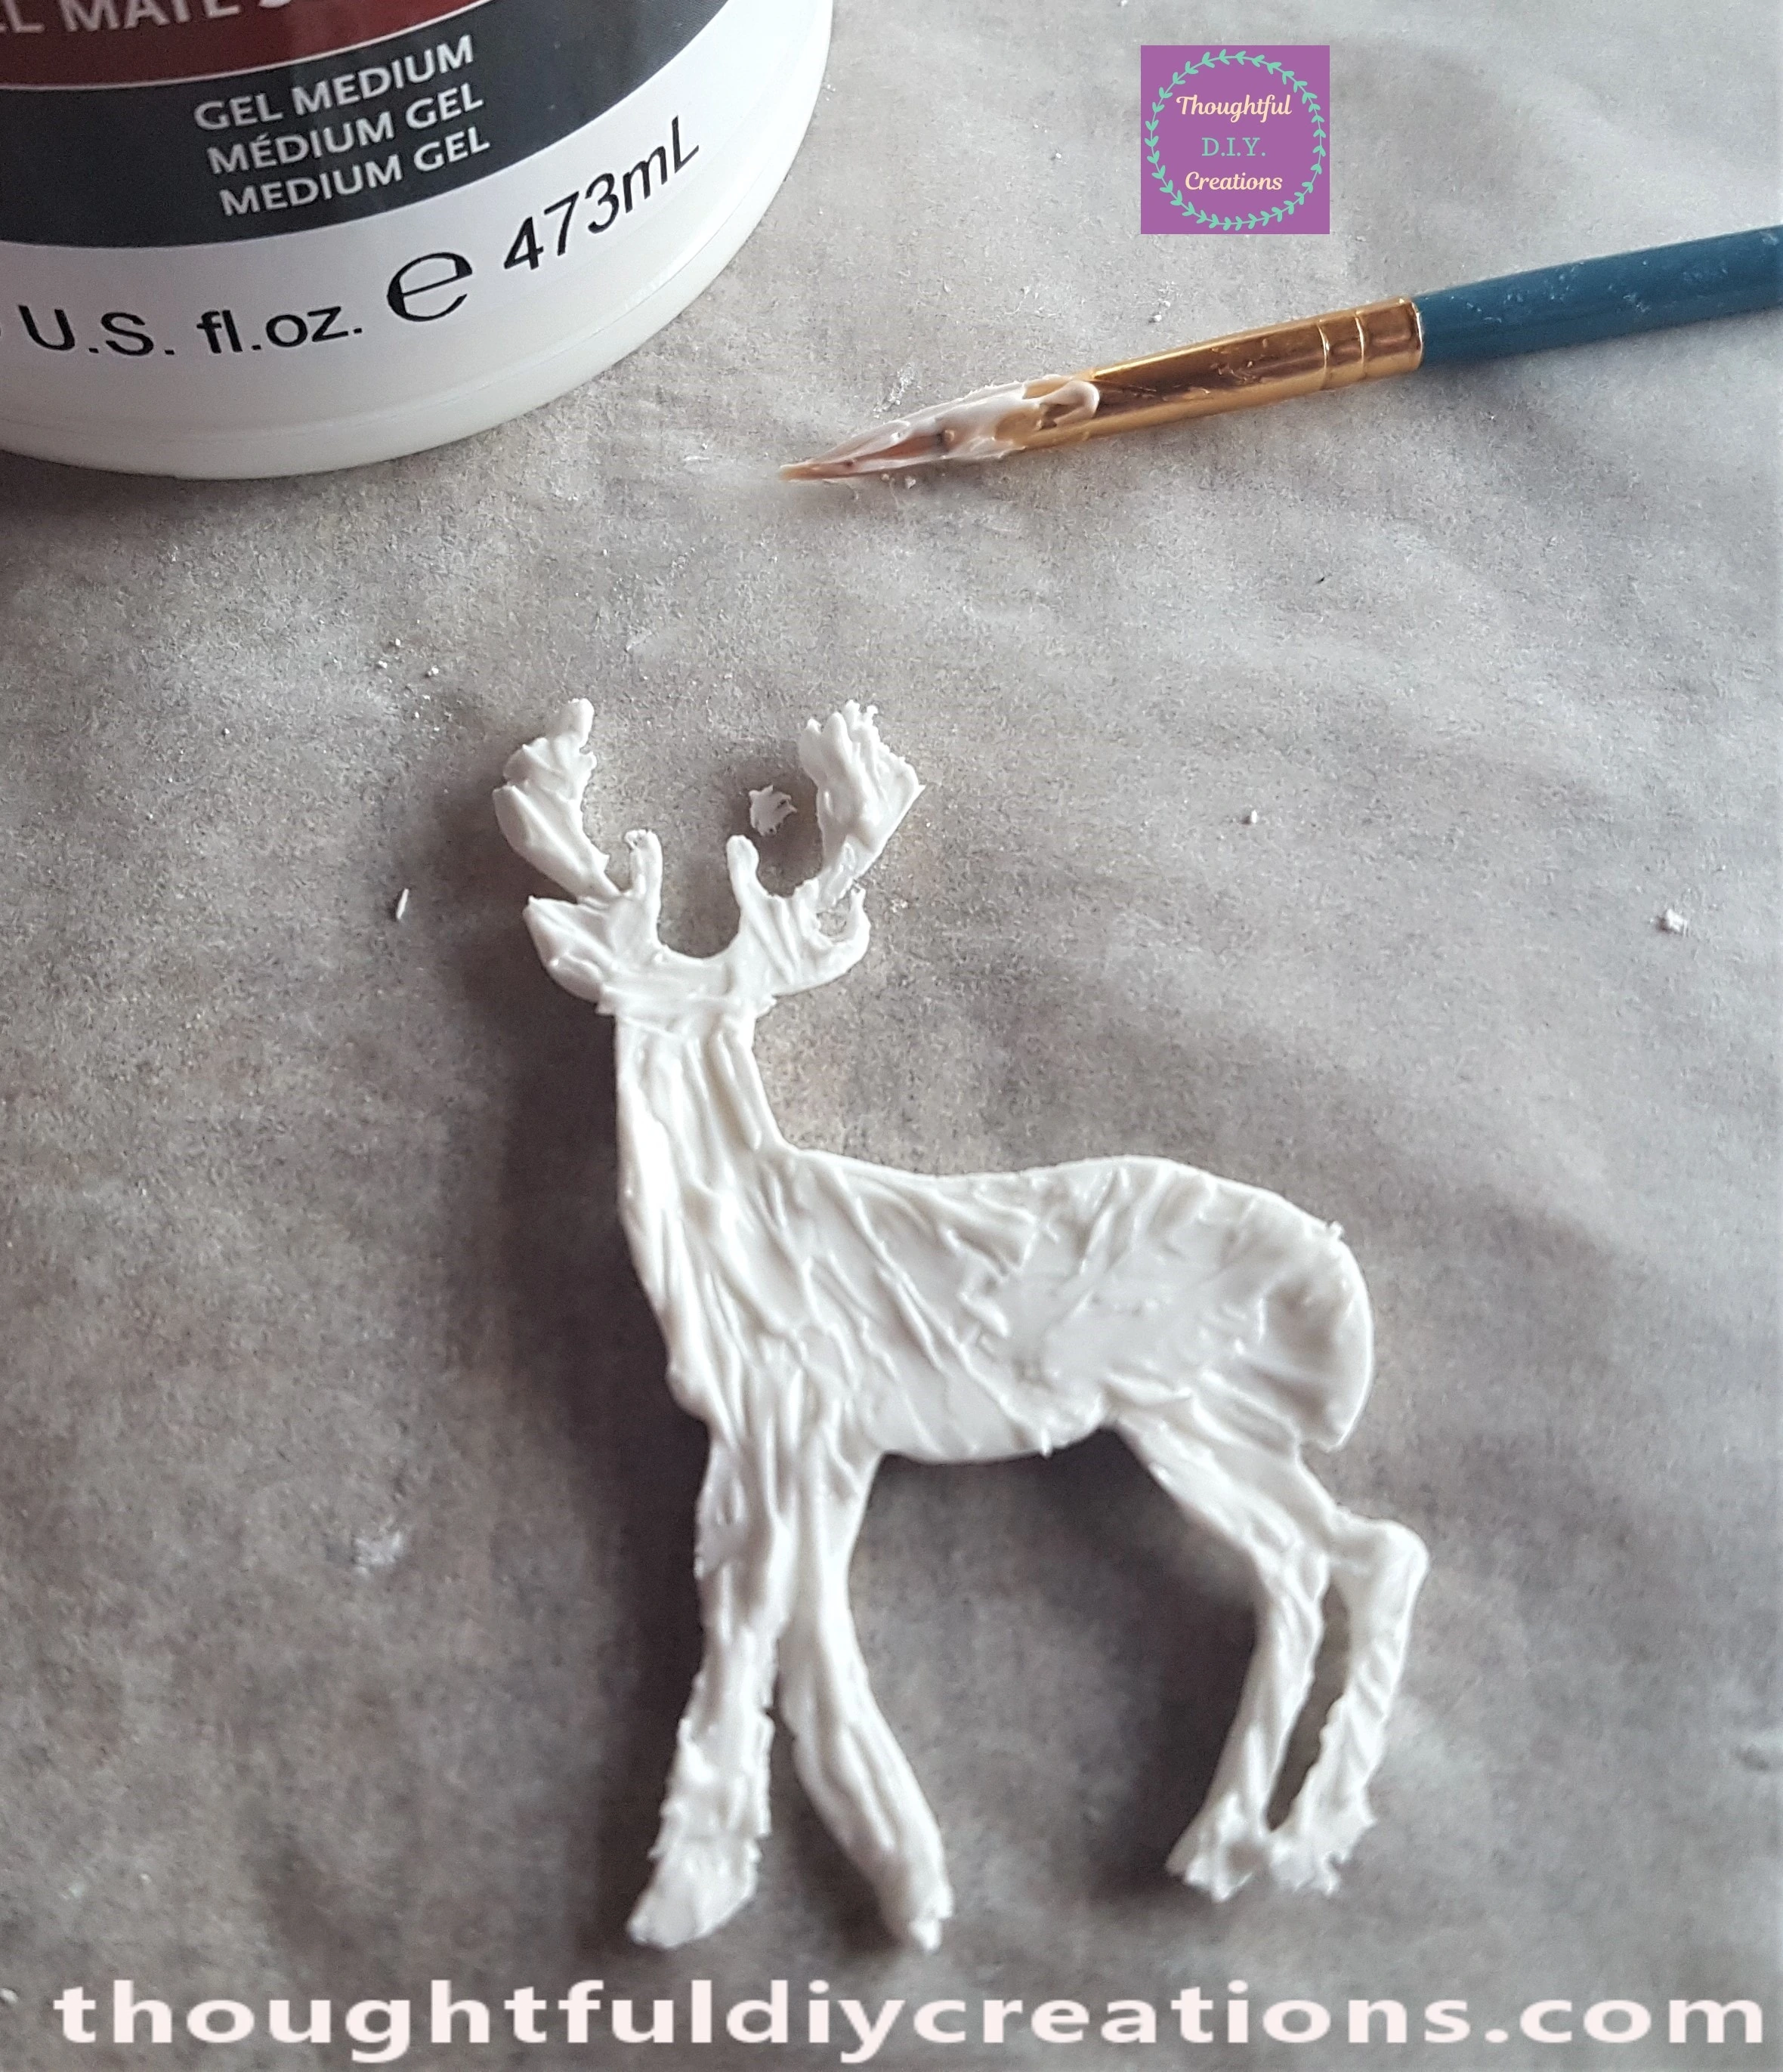
I put ‘Matte Super Heavy Gel Medium’ on the back of the Deer Mould with a small Paintbrush.
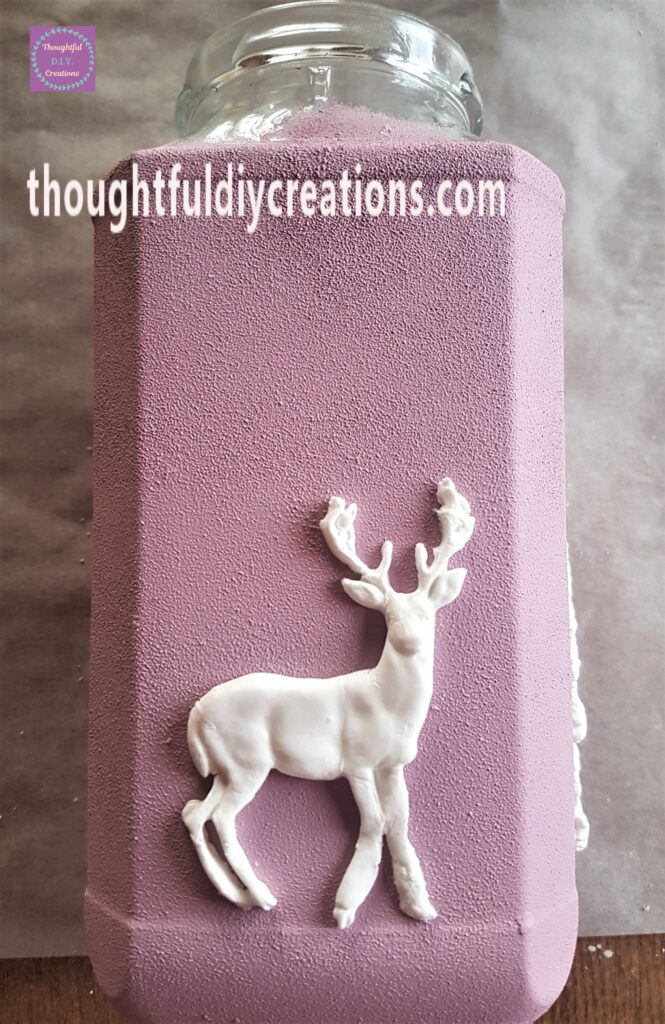
I attached the first of the Christmas Clay Moulds to the front of the Jar.
I put Cornflour into the Tree Mould and then added Clay until it was fully covered.
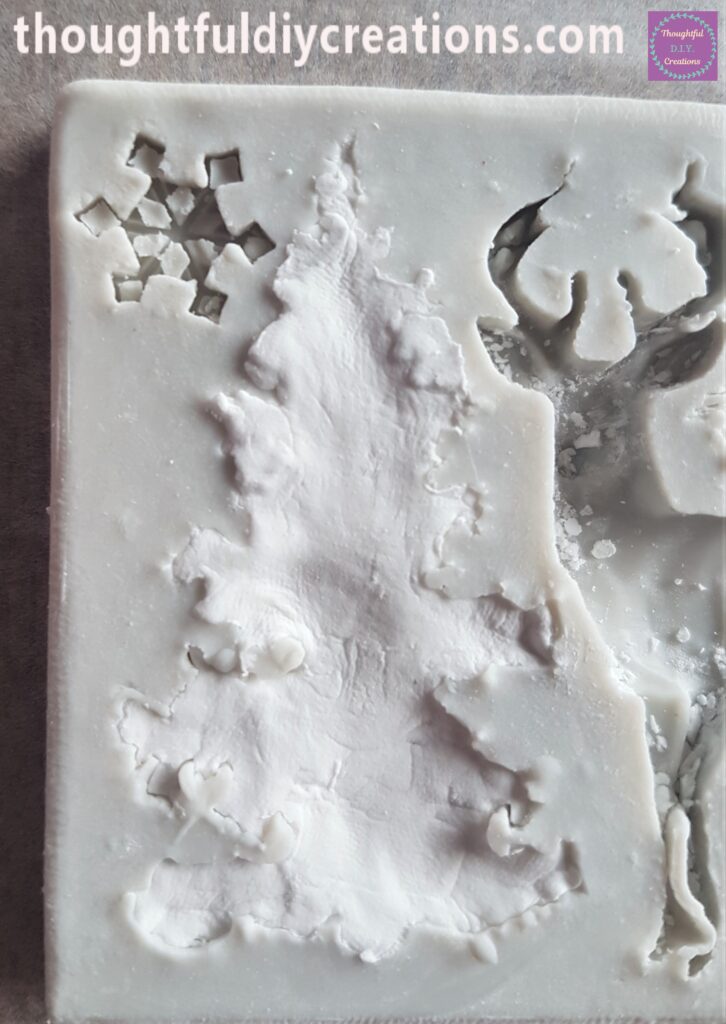
I turned the Mould over and slowly peeled back the Mould until the Tree popped out.
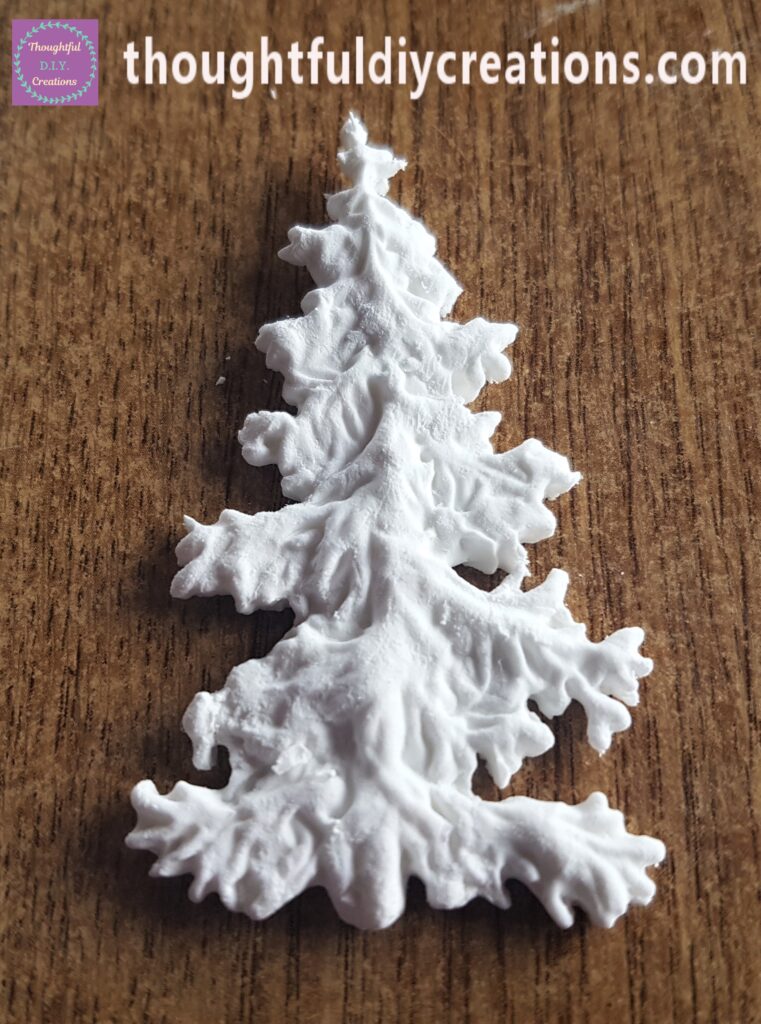
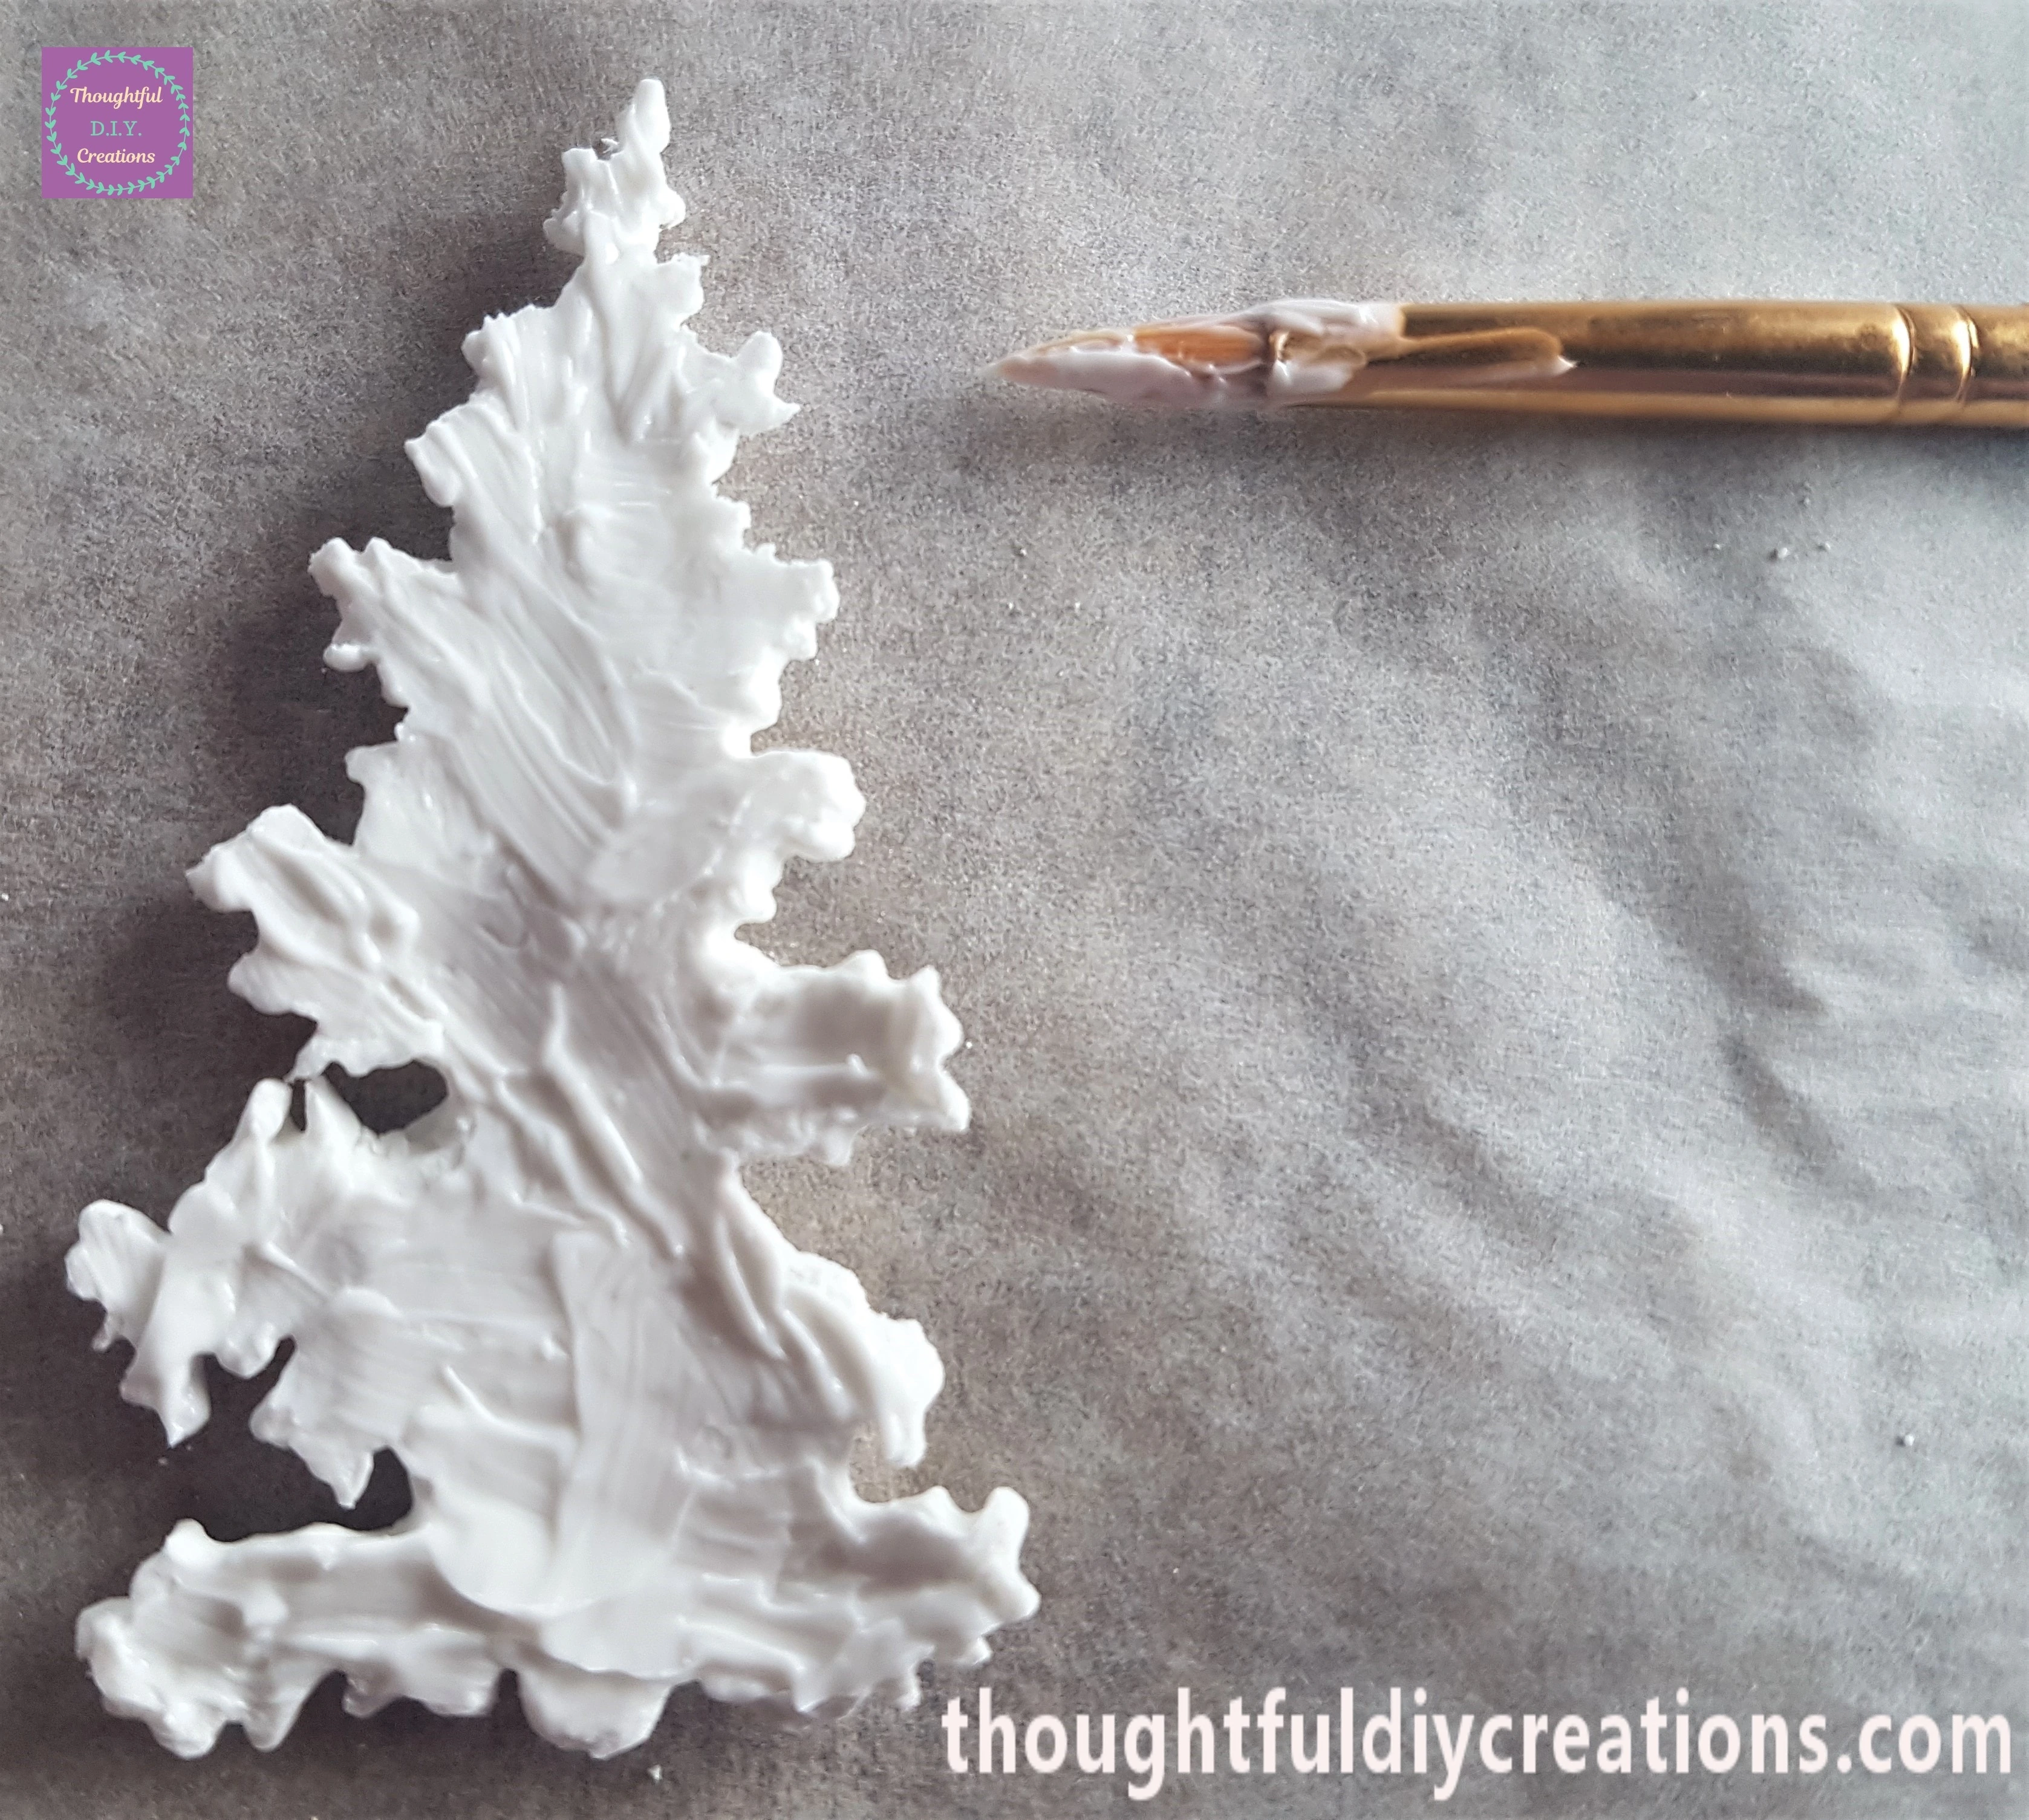
I put the same strong Glue on the back of the Christmas Tree Mould.
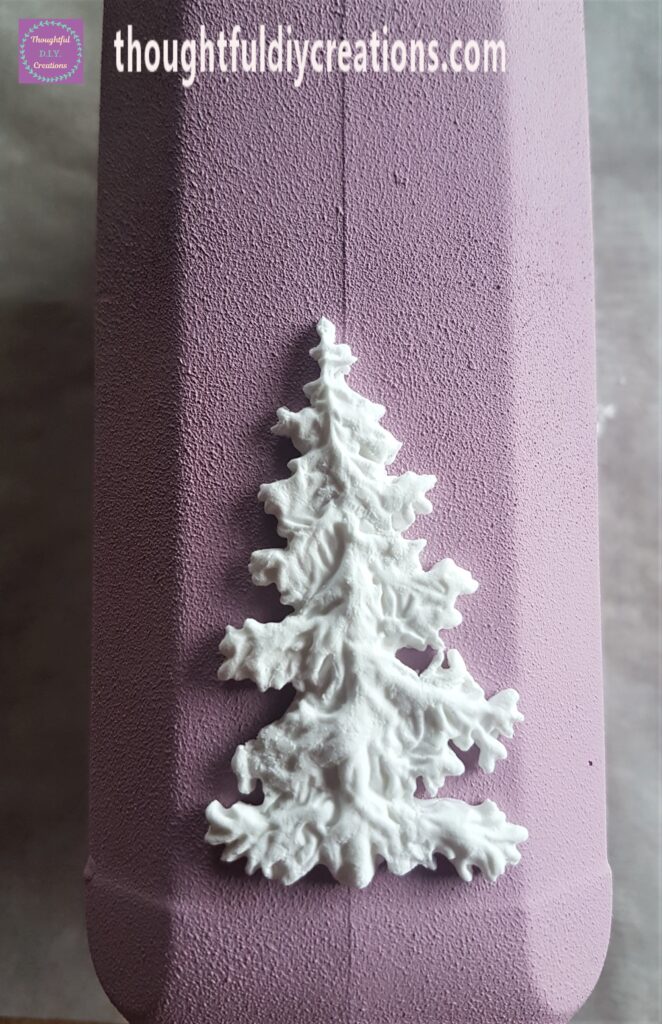
I attached the second of the Christmas Clay Moulds to the side of the Jar.
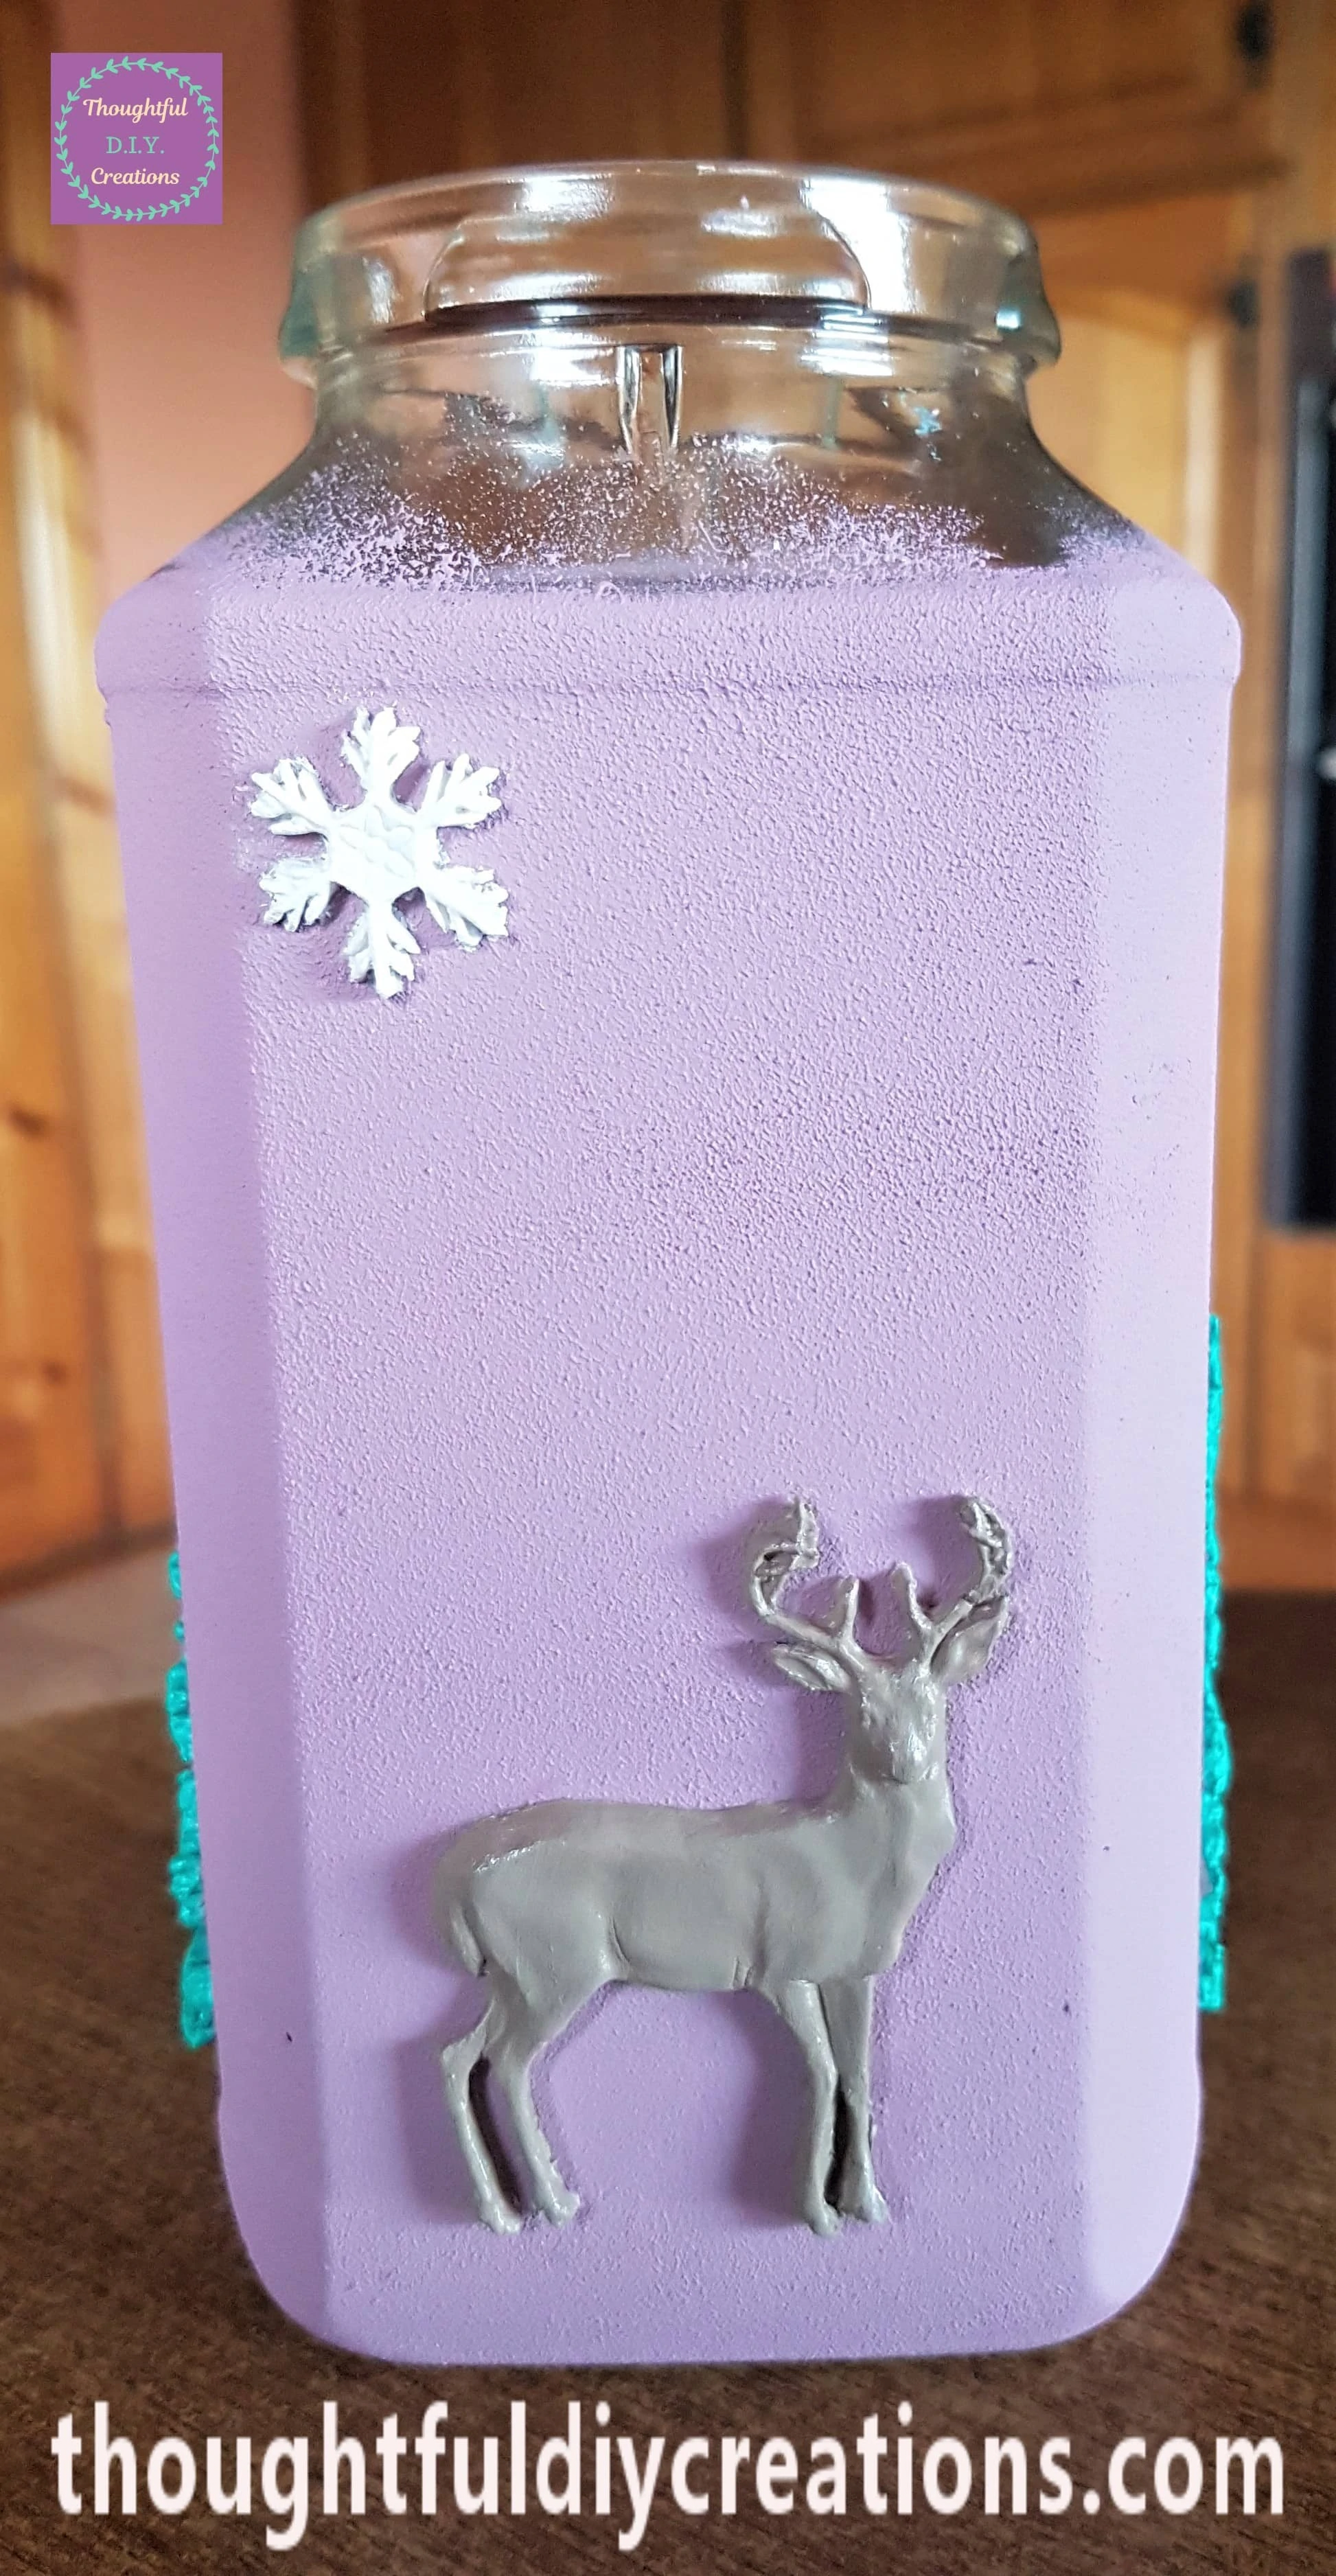
I added another Deer to the back of the Jar and another Tree to the other side of the Jar. I also added the biggest Snowflake Mould to the Top left of the Jar front and back. This Completed the Christmas Clay Moulds on the Jar.
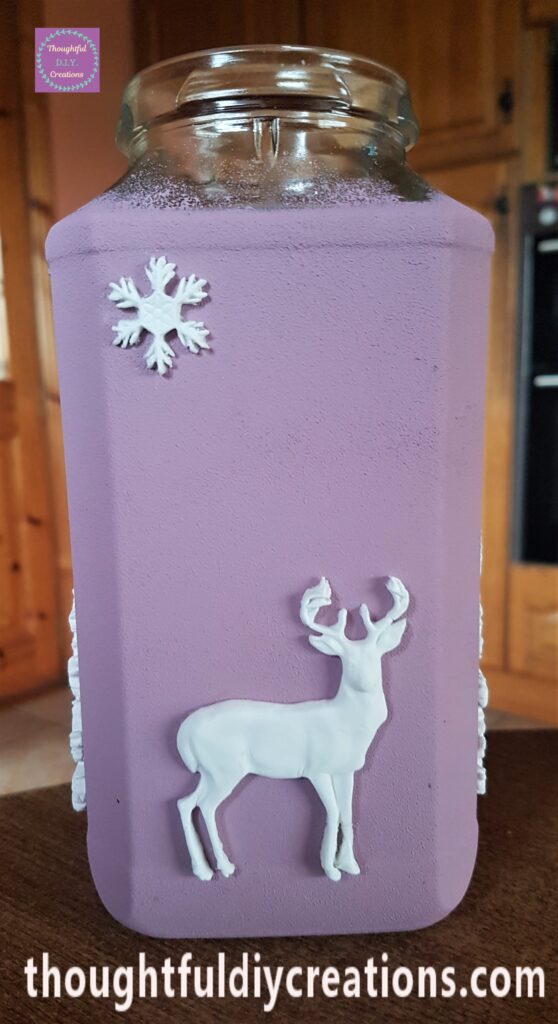
The Side of the Jar with all the Christmas Moulds attached.
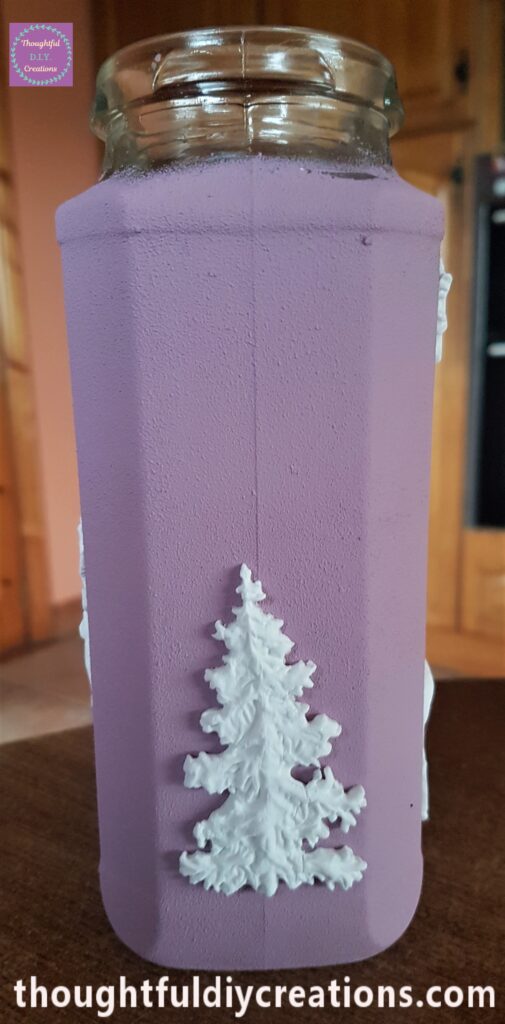
Making Christmas Clay Moulds for the Lid
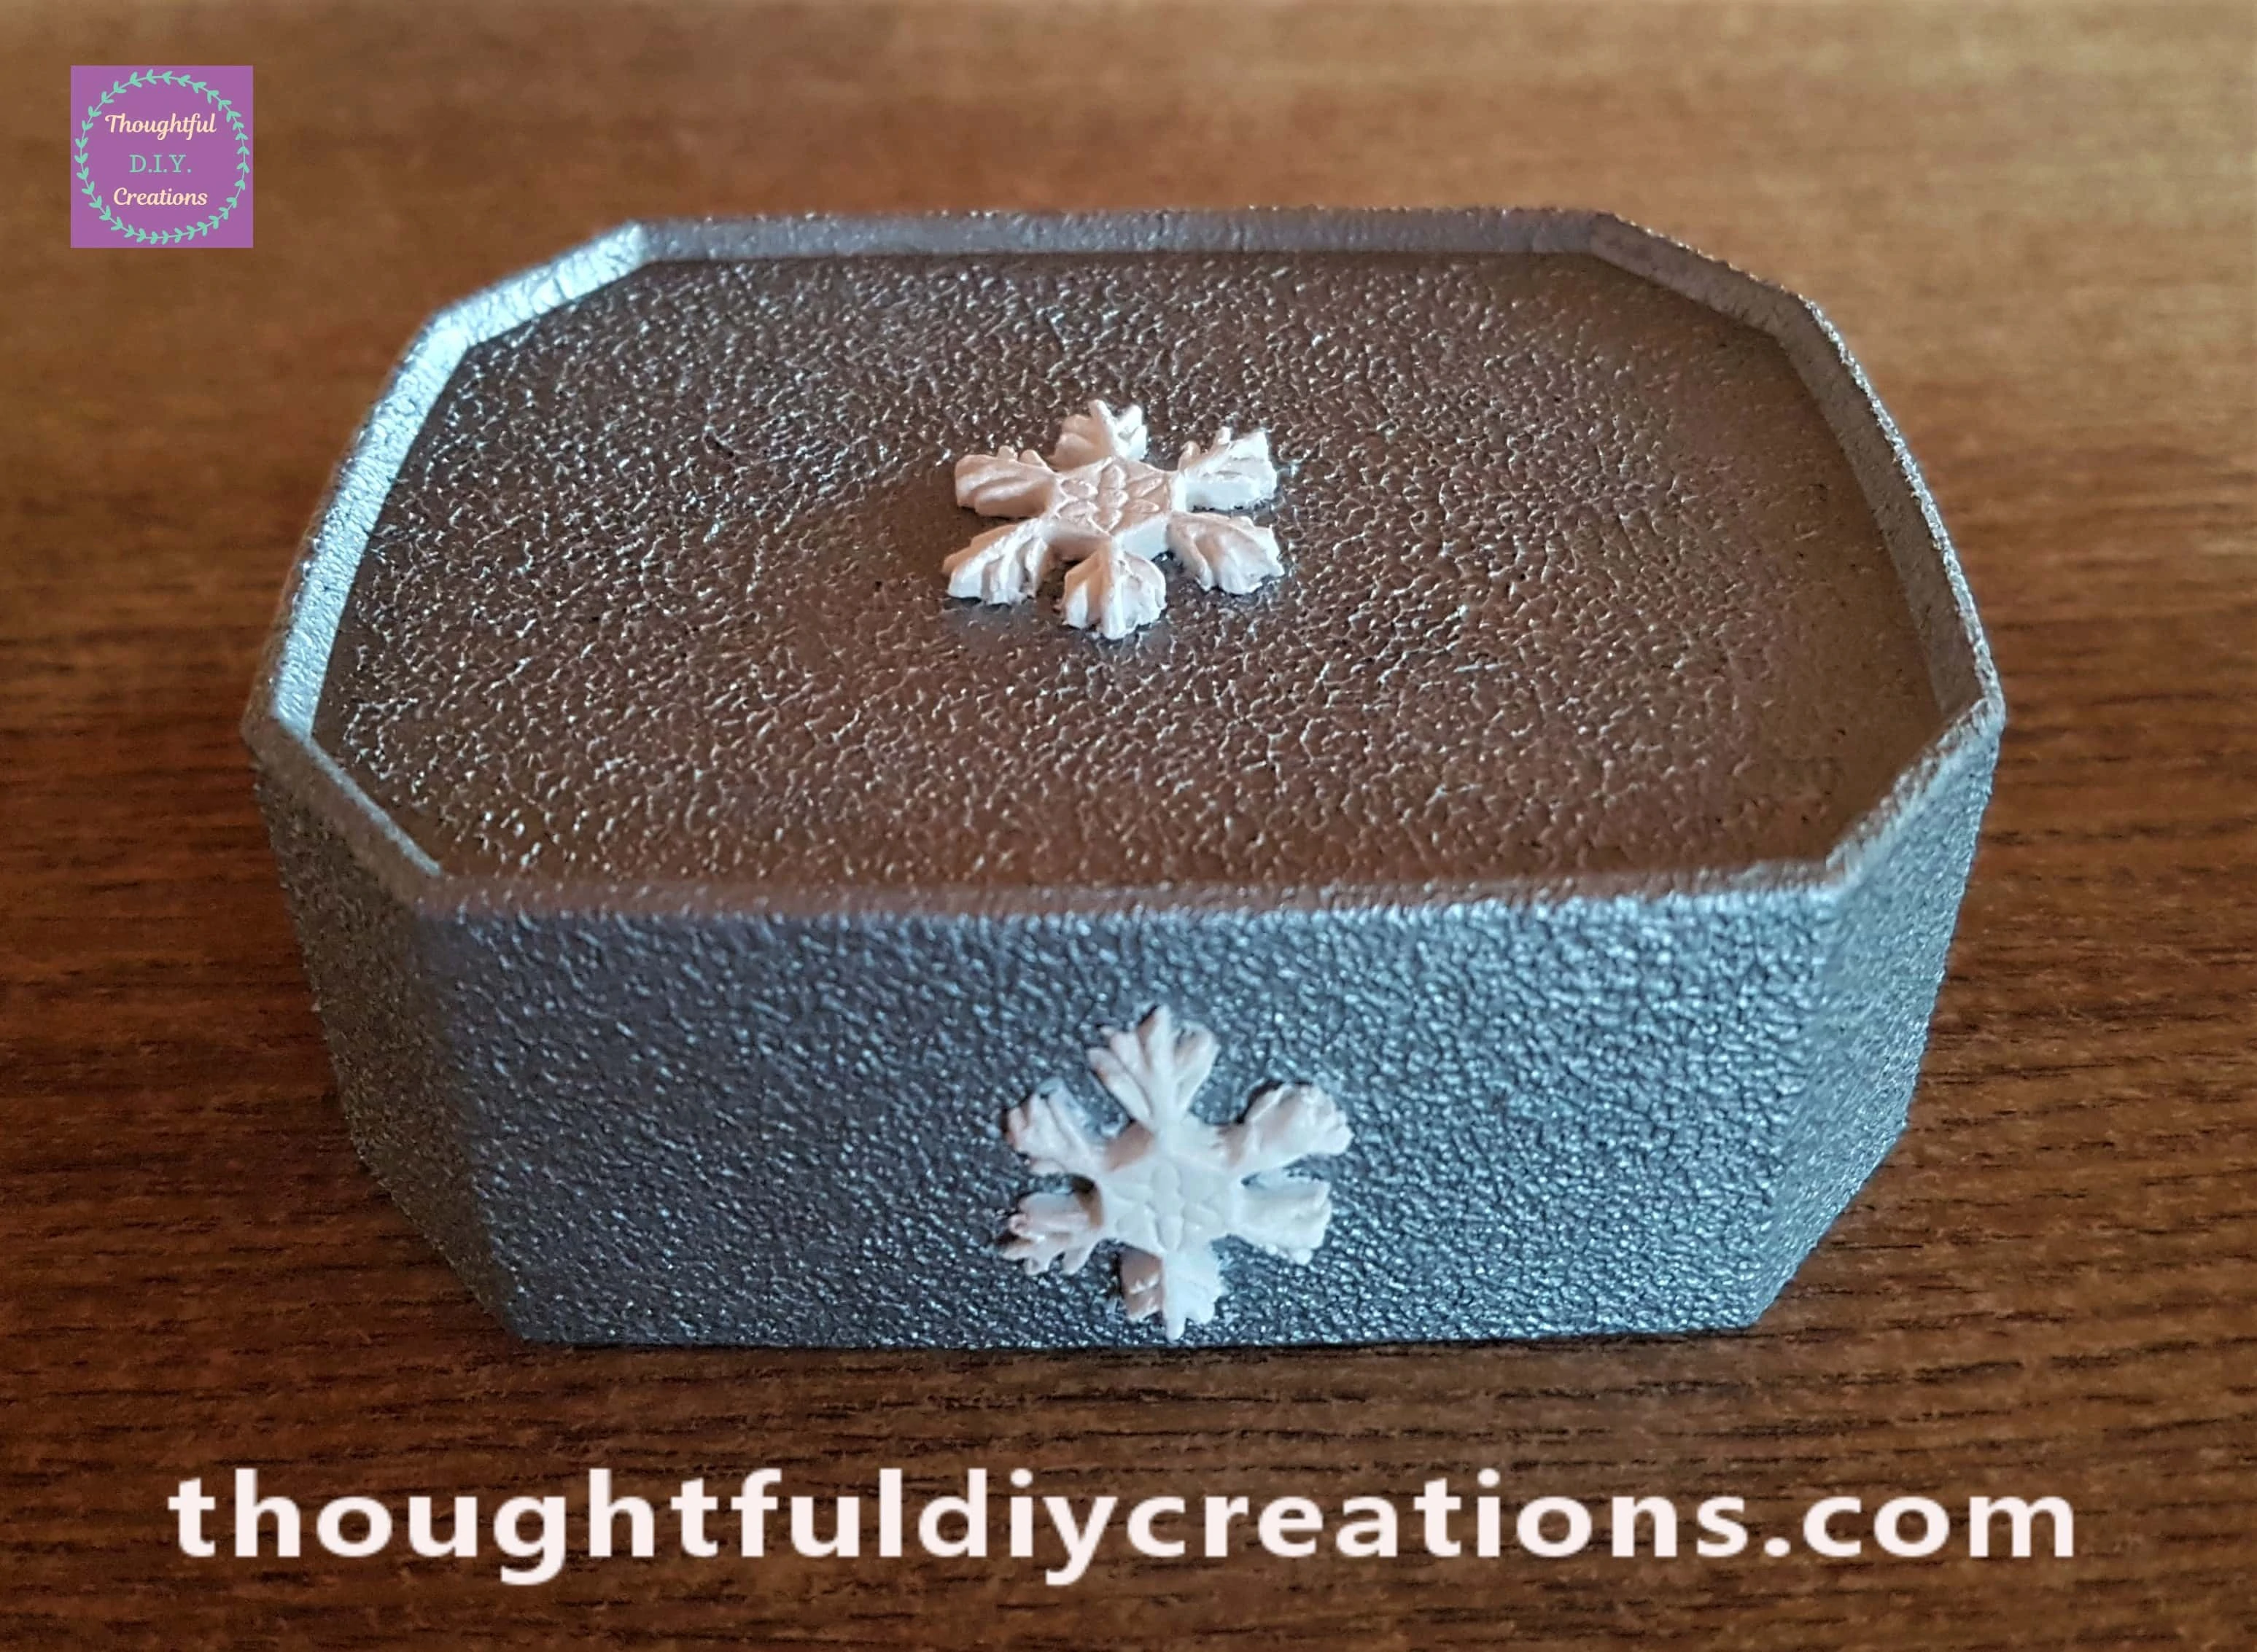
I added the second biggest Snowflake Mould to the two sides of the Lid.
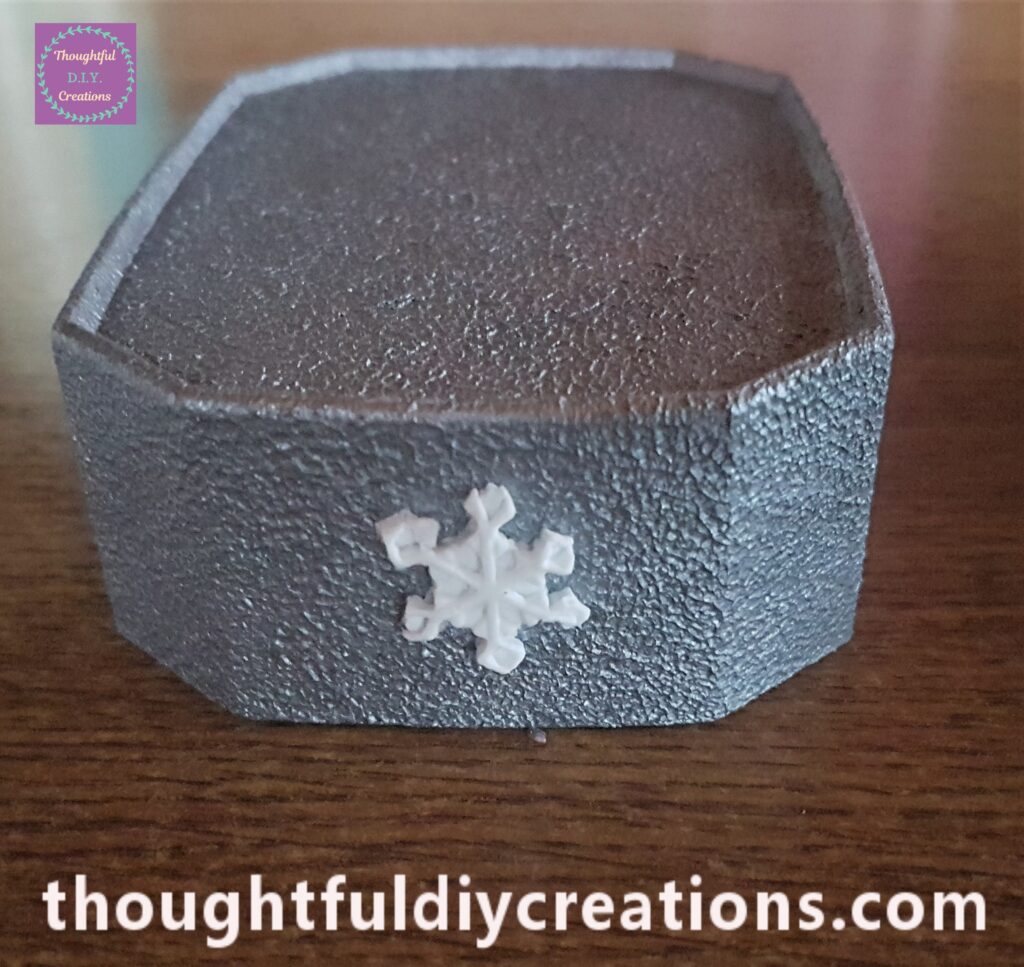
I used the biggest Snowflake Mould for the Top, Front and Back of the Lid. This Completed the Christmas Clay Moulds on the Lid.
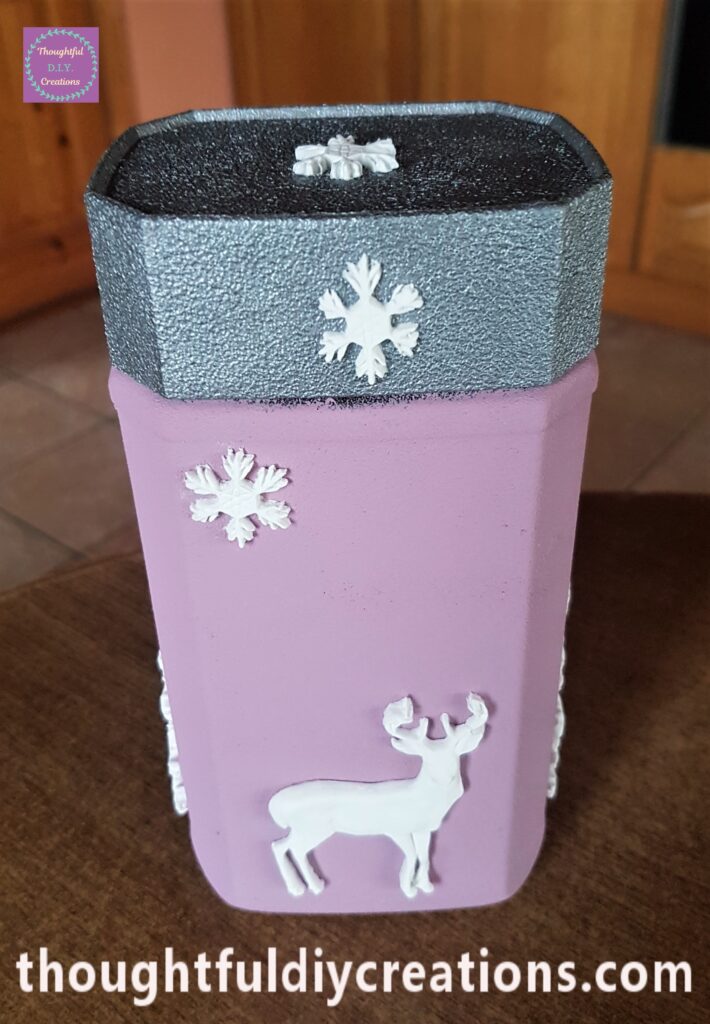
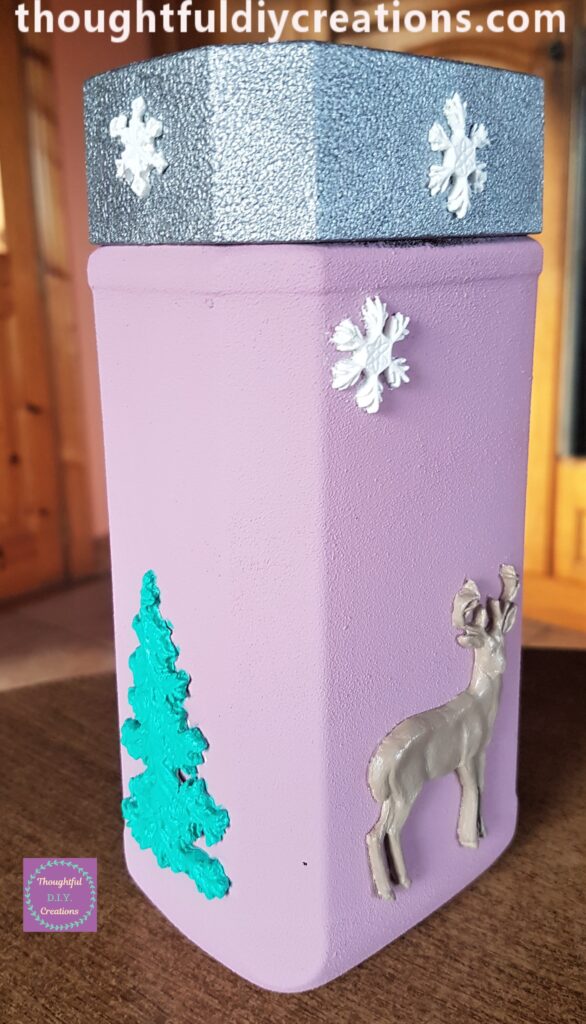
A side view of the Jar with the Lid attached.
Priming the Christmas Clay Moulds
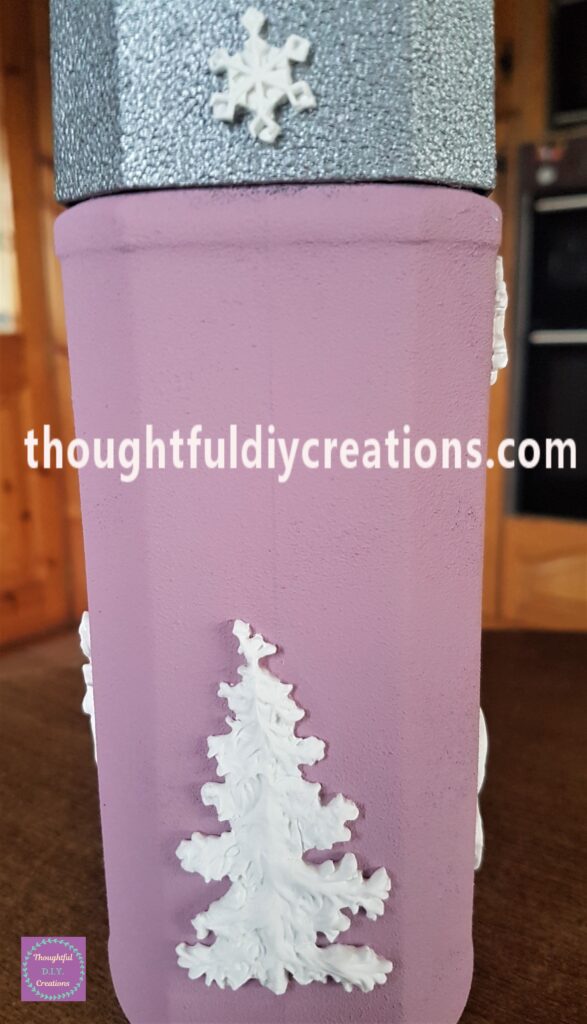
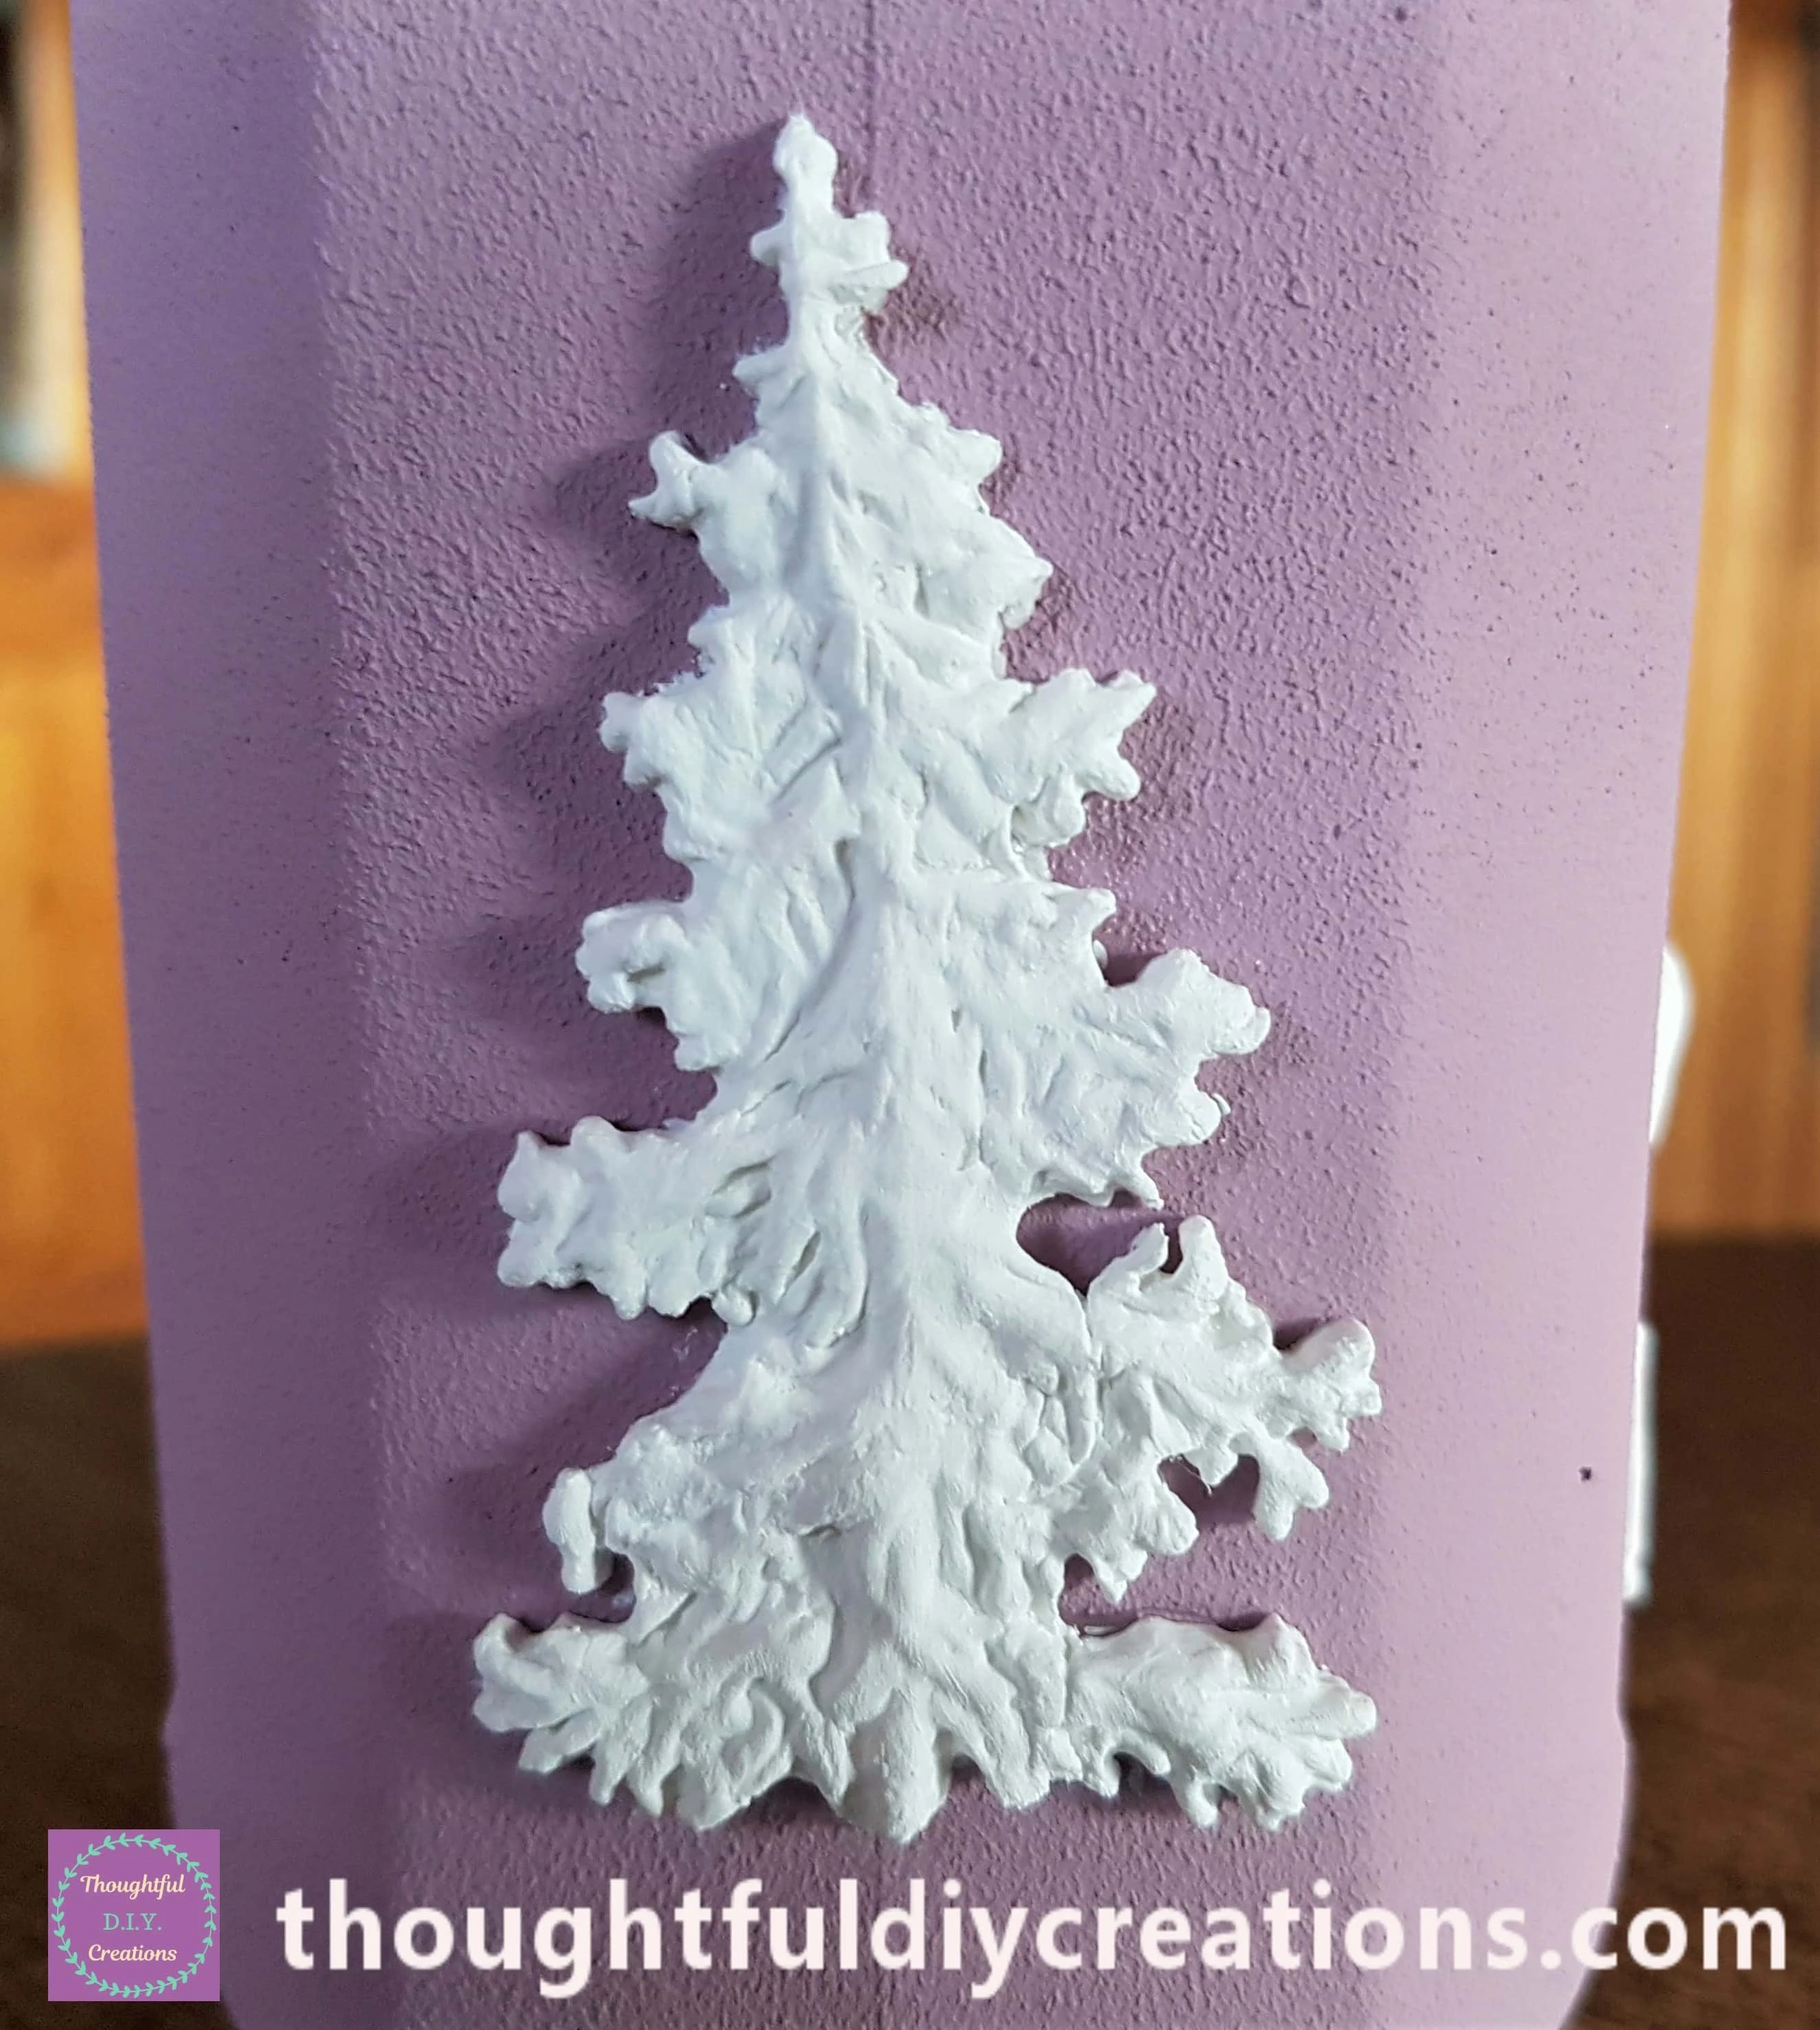
I allowed 3 Days for the Clay to fully Air Dry on the Jar and Lid. I then applied one layer of ‘Acrylic White Gesso’ to each of the Christmas Clay Moulds. This is a close-up of the Tree after being Primed.
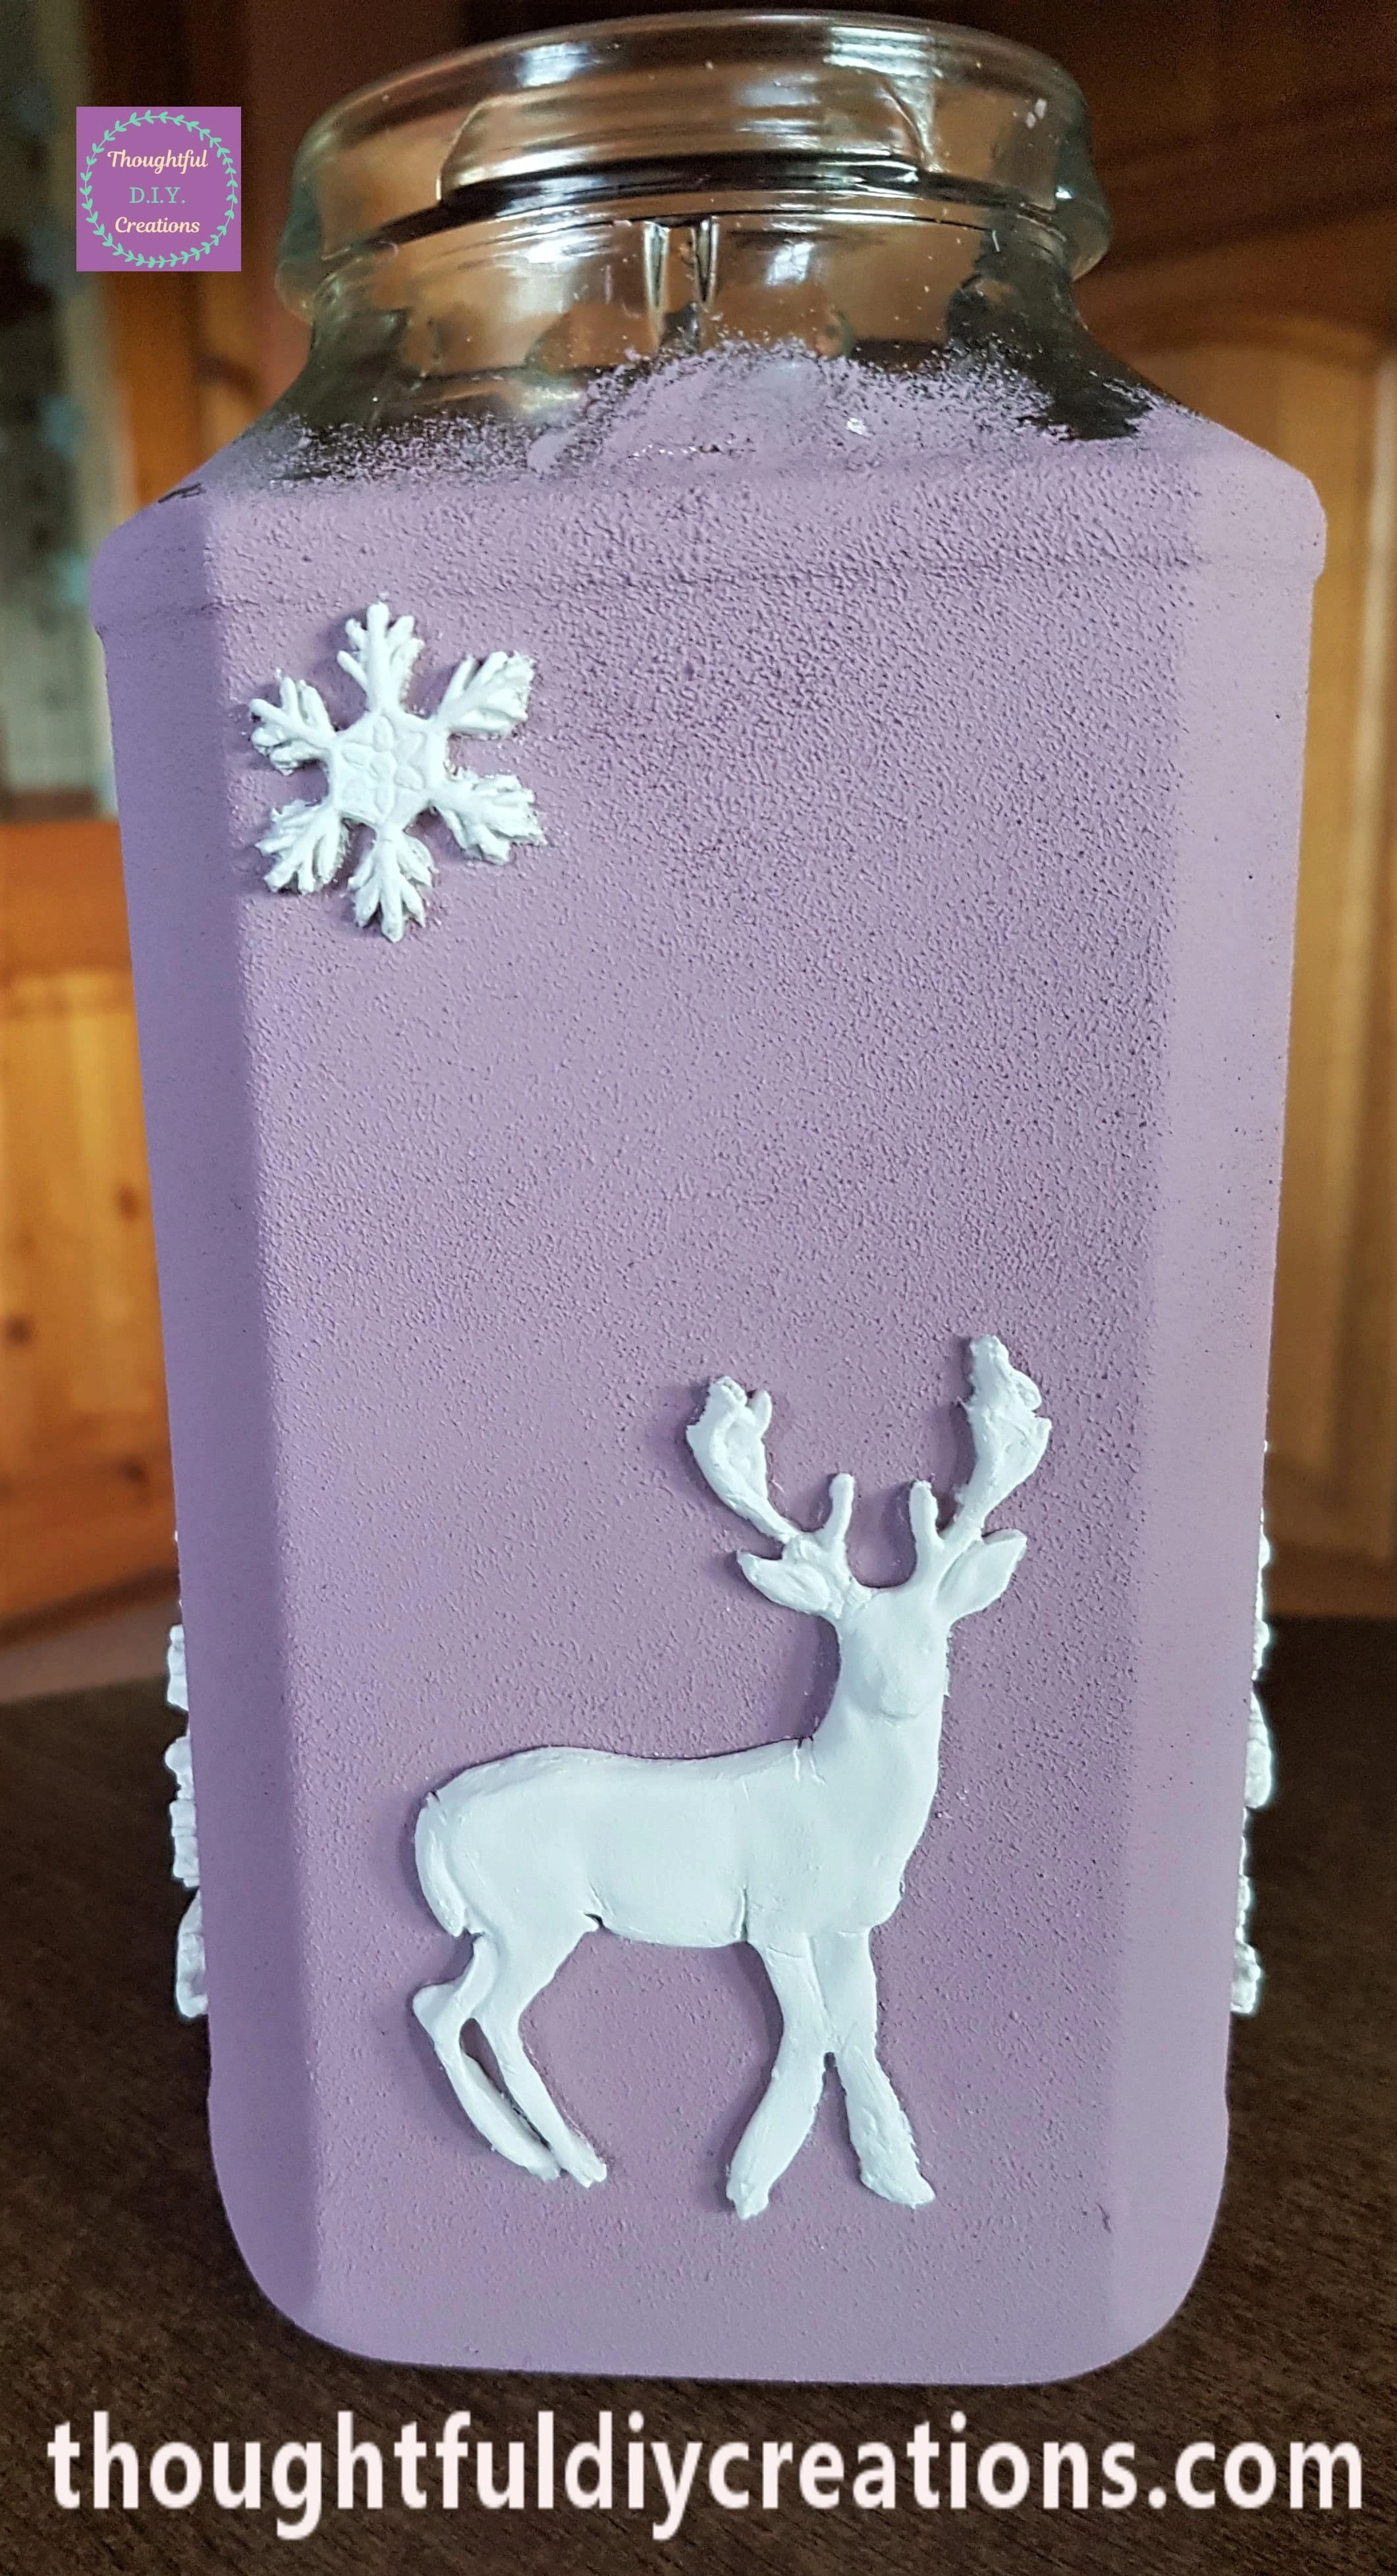
The Front of the Jar.
Painting the Christmas Clay Moulds
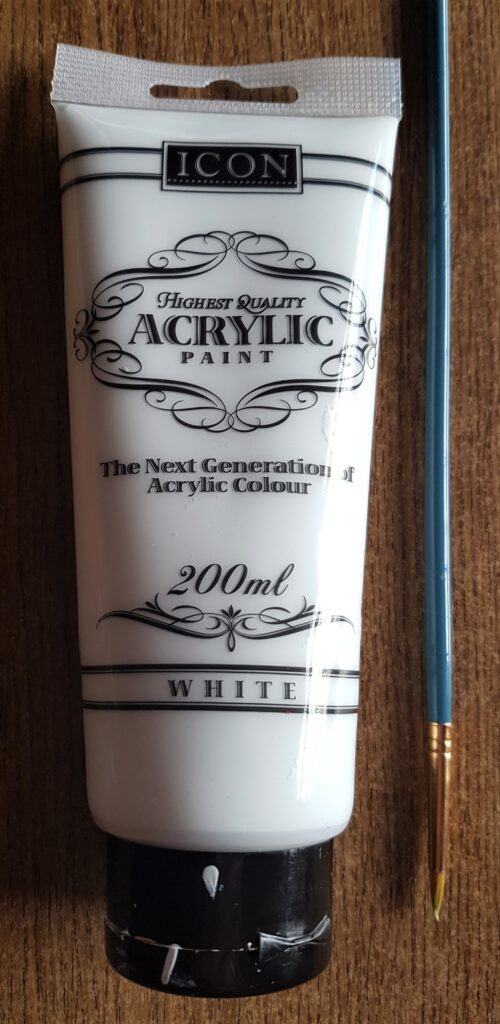
I got my Acrylic White Paint and a small Paintbrush.
I Painted 2 Layers of White Paint onto the Snowflakes on the Lid and Jar.
I mixed a small amount of ‘Burnt Umber’ Acrylic Paint with ‘White’ Acrylic Paint and Painted 2 Layers of this Colour onto the Deers on the Jar.
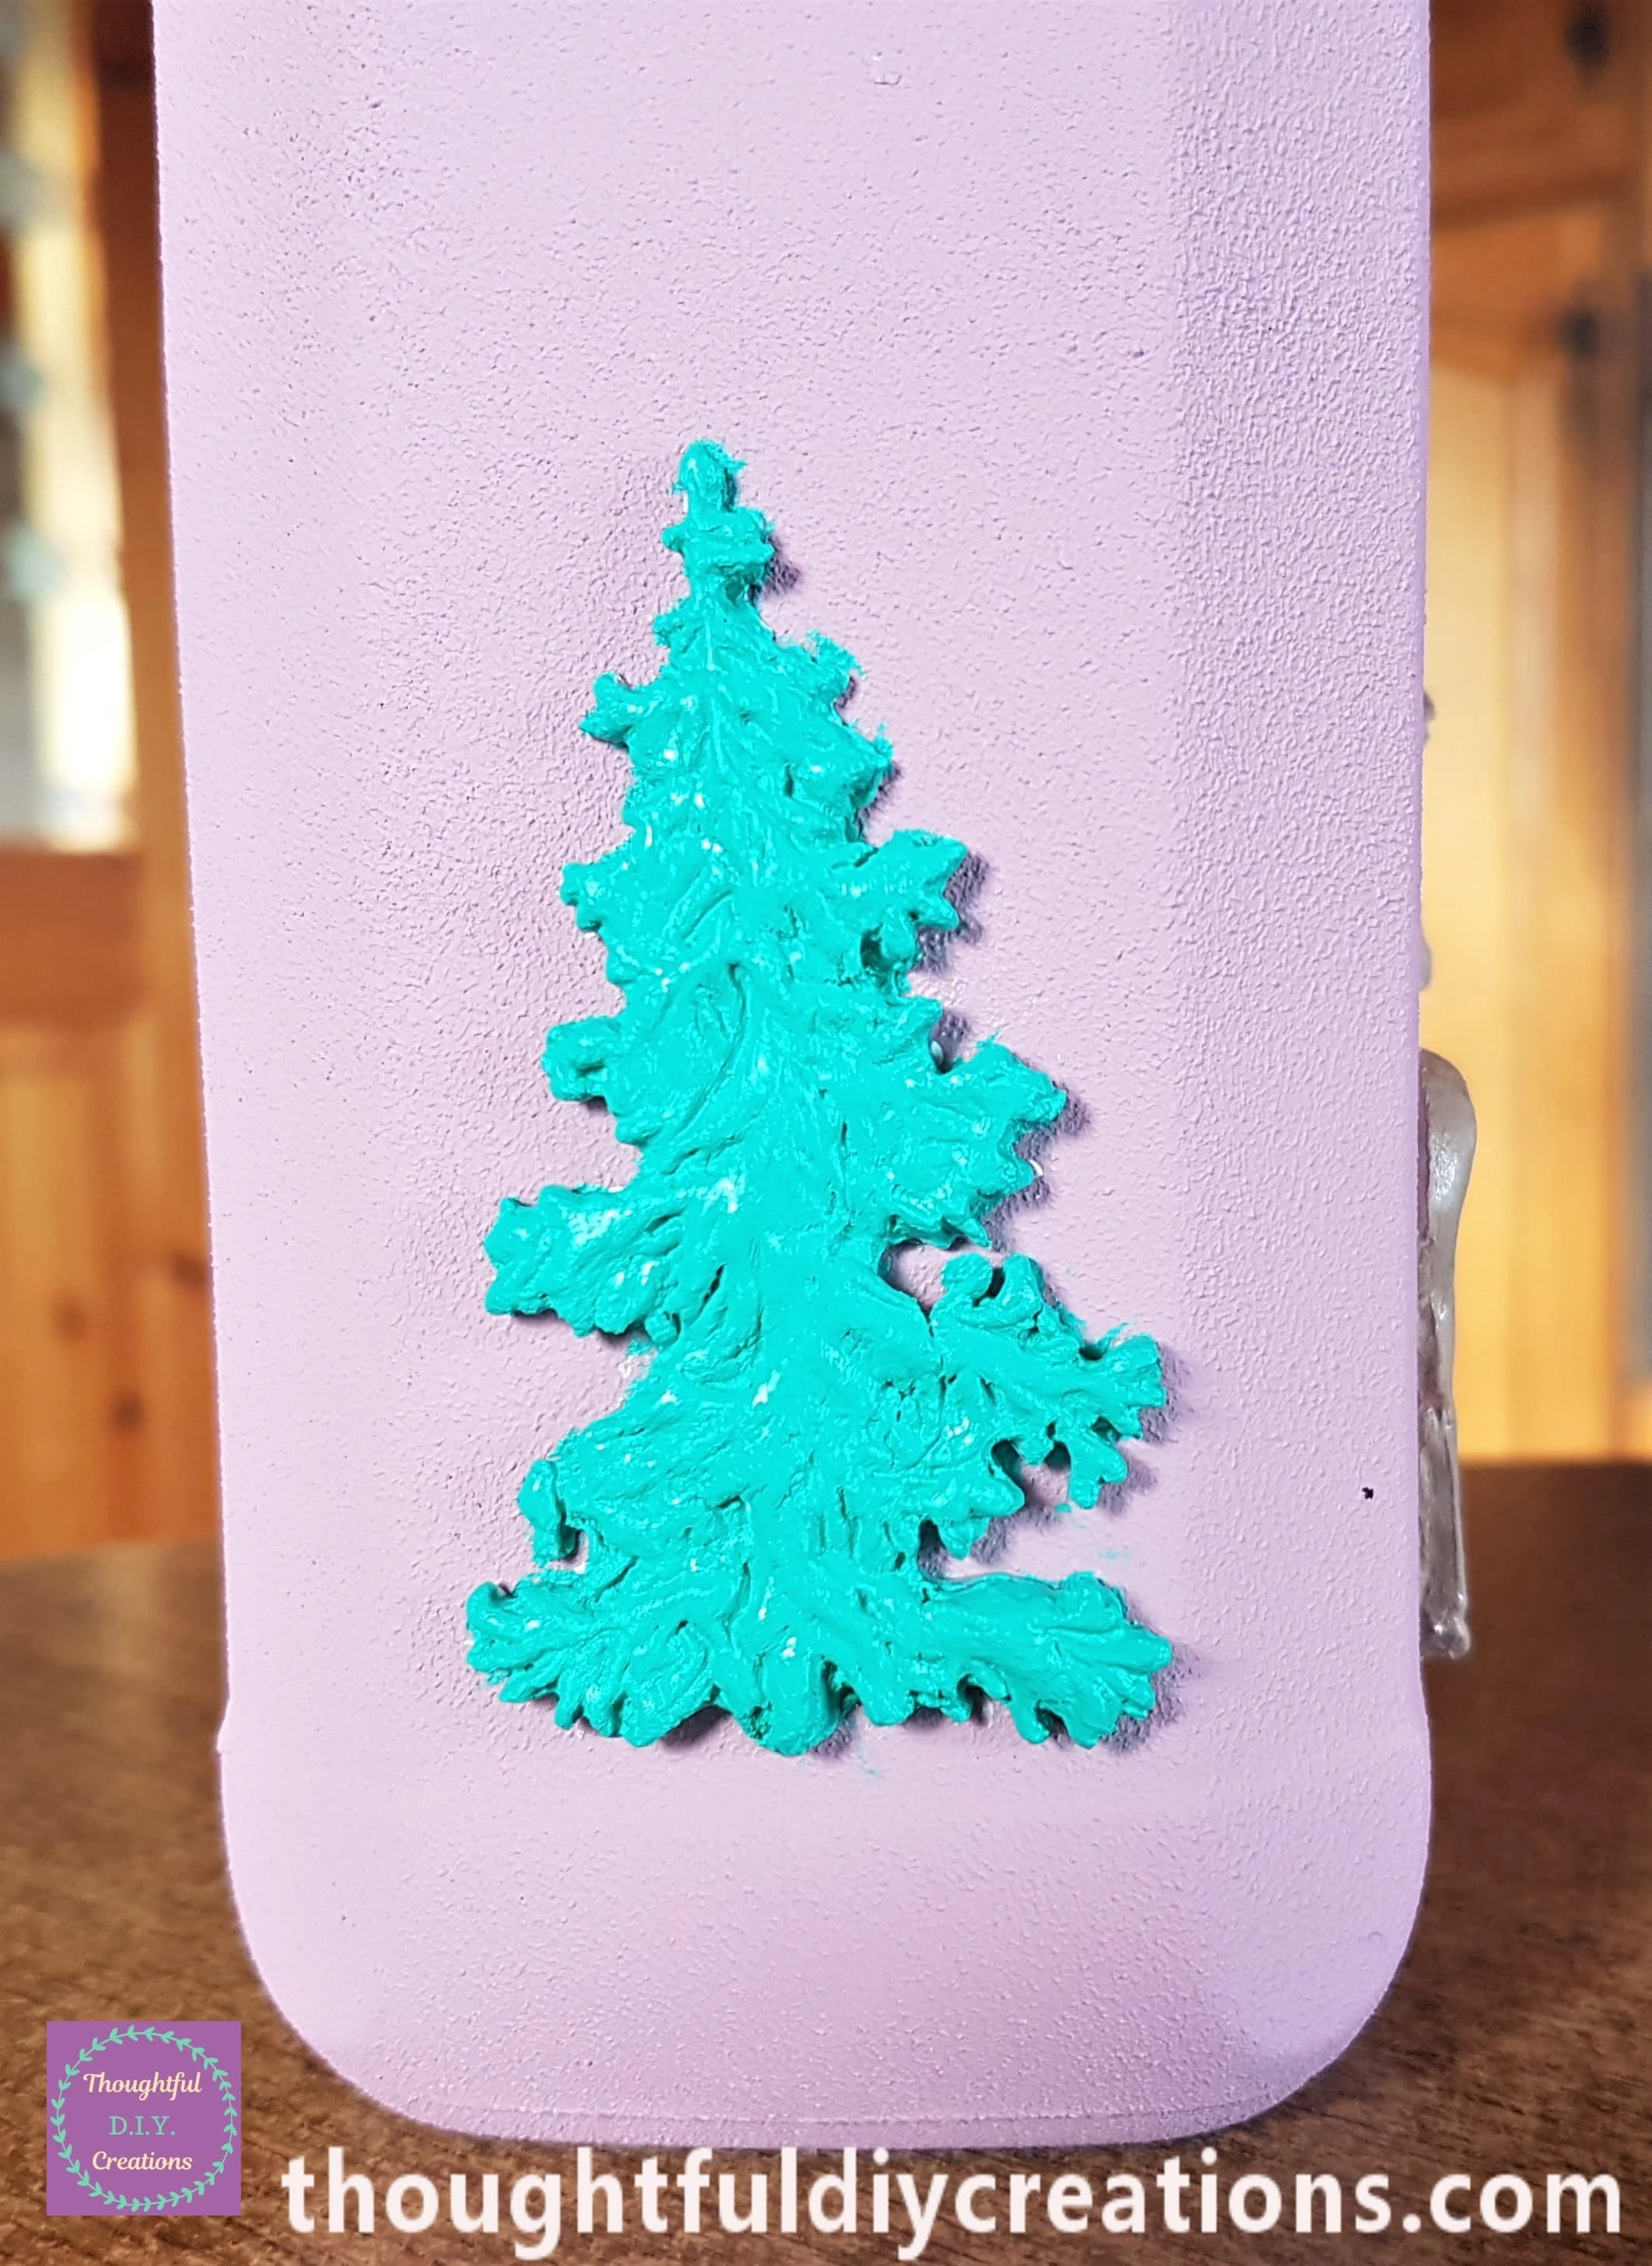
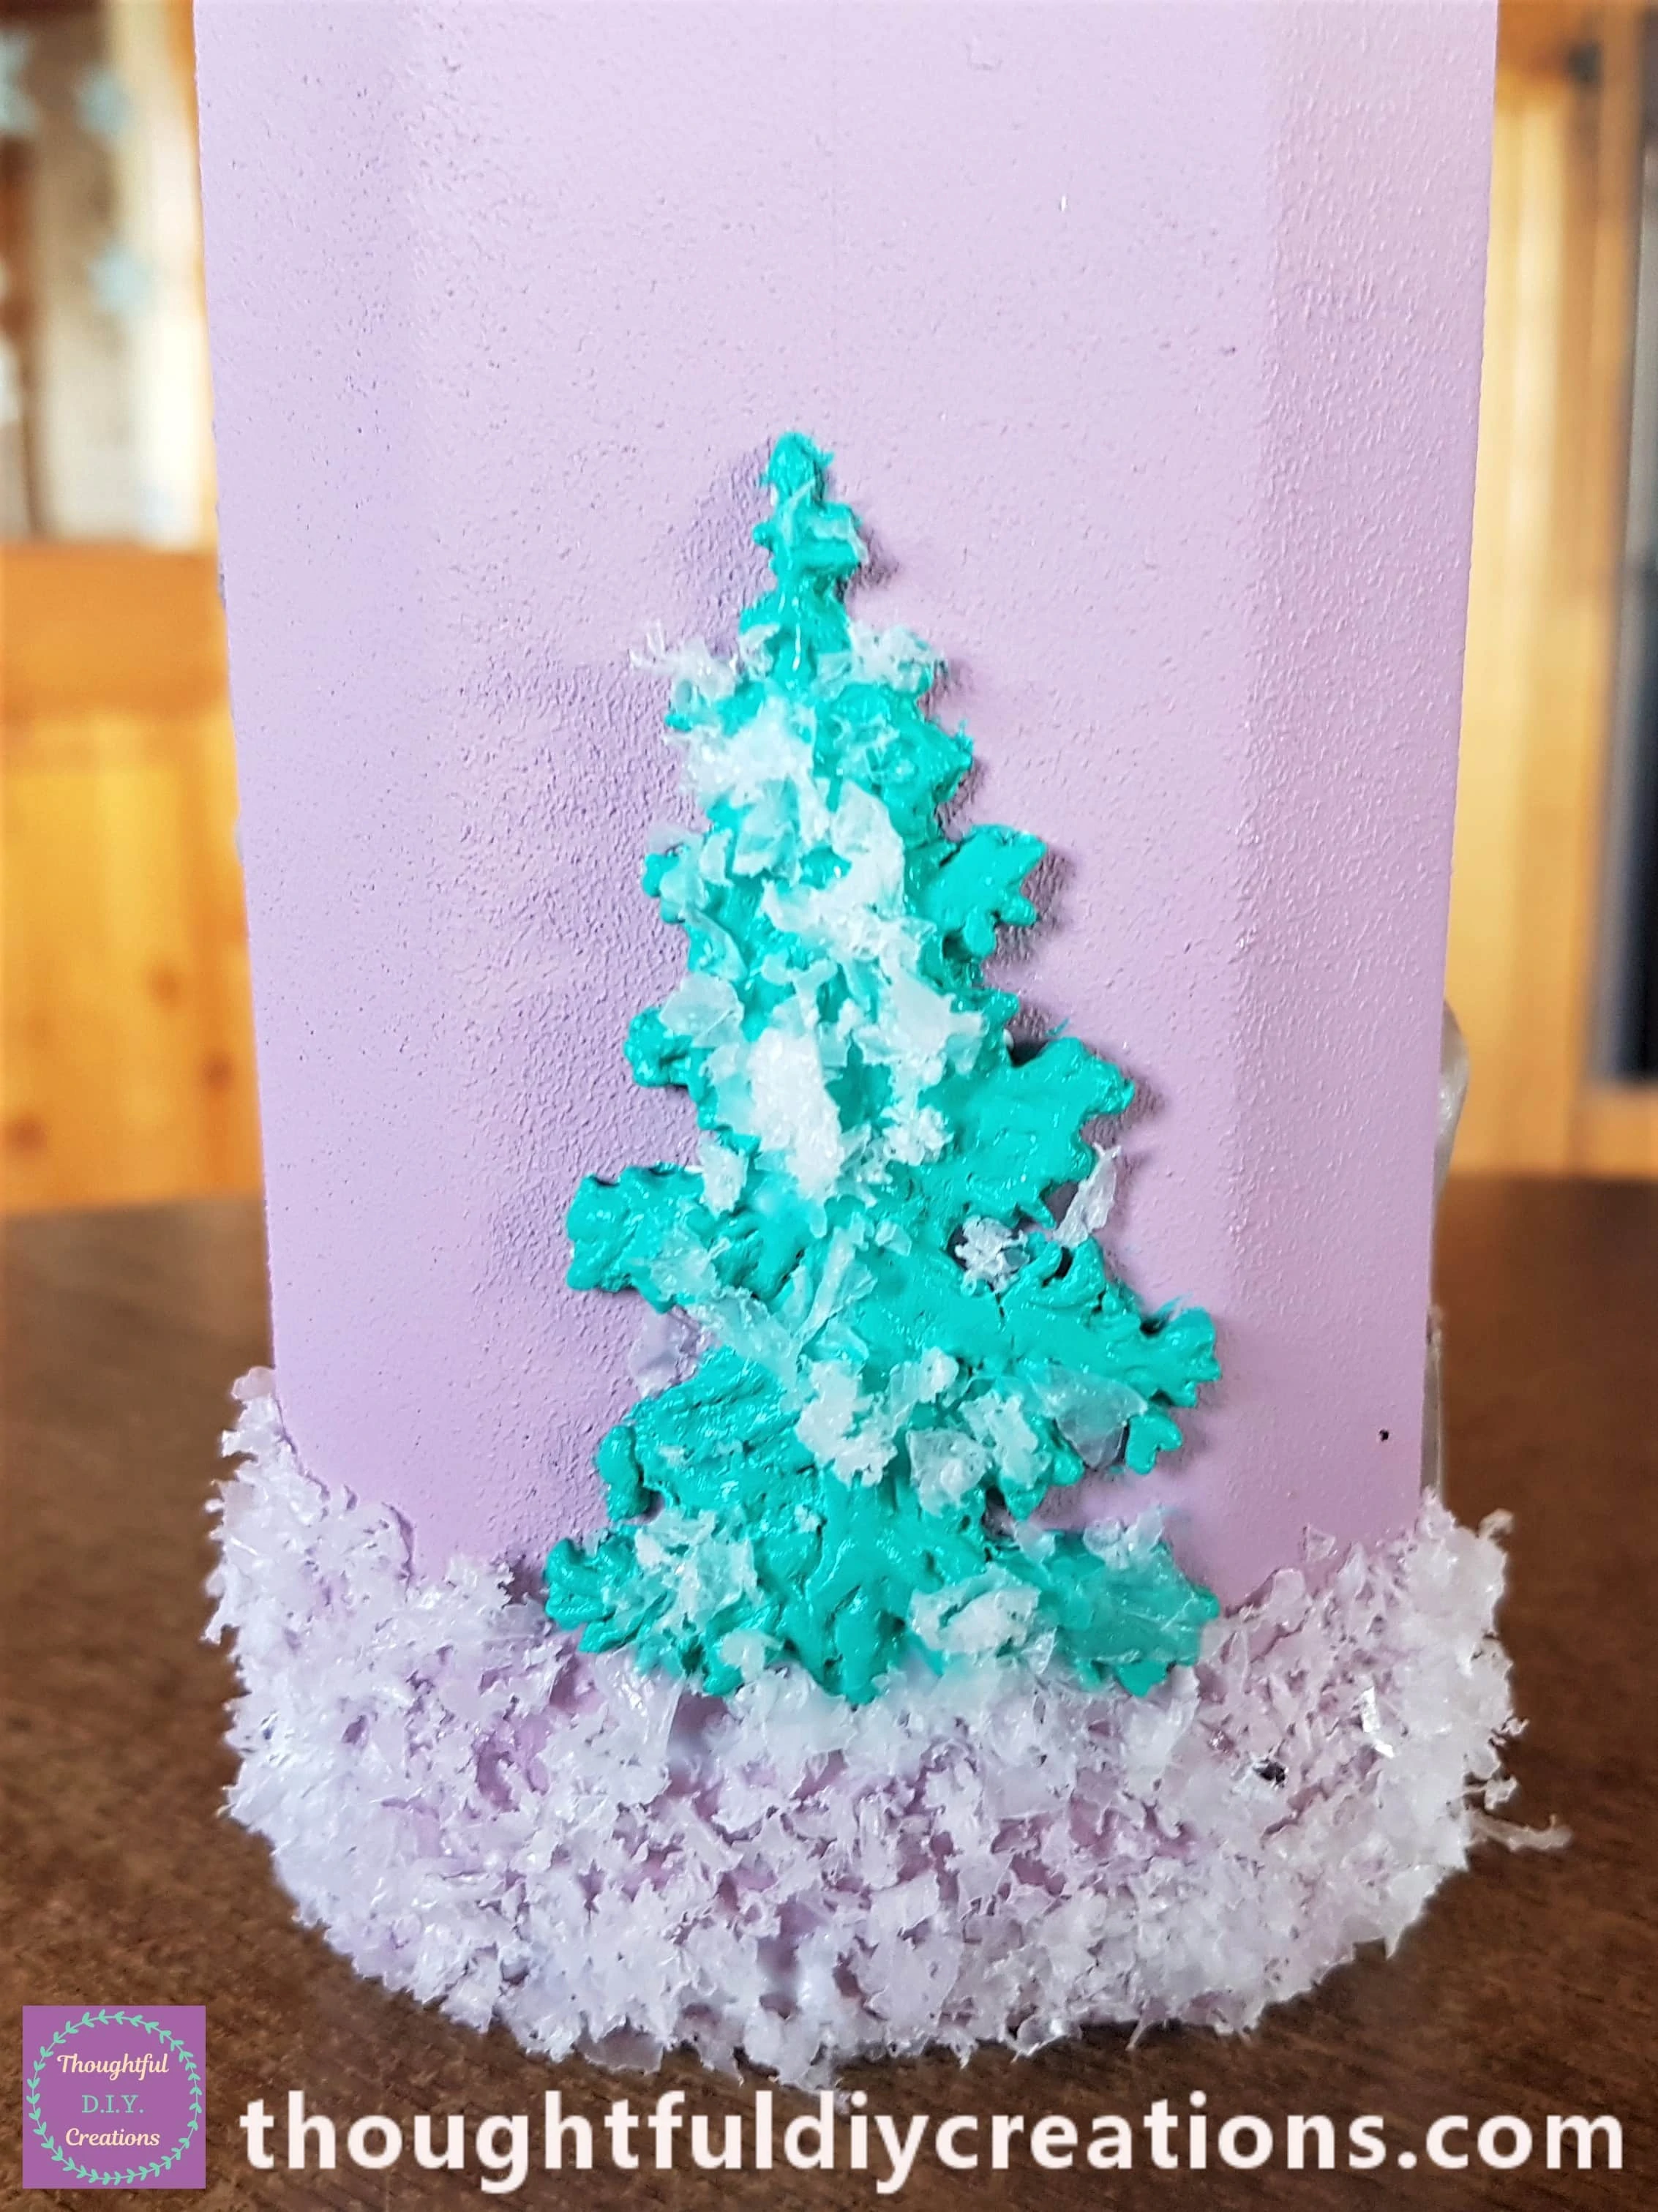
I mixed ‘White’ Acrylic Paint with ‘Phthalo Green’ Acrylic Paint and Painted 2 Layers of the mixture onto the Trees on the Jar.
This Completed the Painting of the Christmas Clay Moulds.
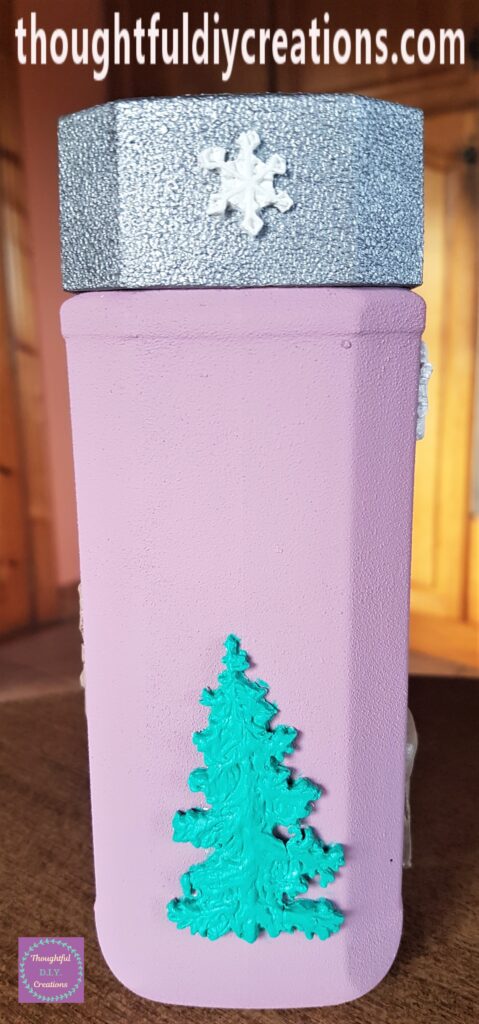
Adding Snow to the Jar
The next Day I put the Jar laying down on Baking Paper. I got my ‘Mod Podge Gloss’, a Paintbrush and a bag of Snow Confetti.
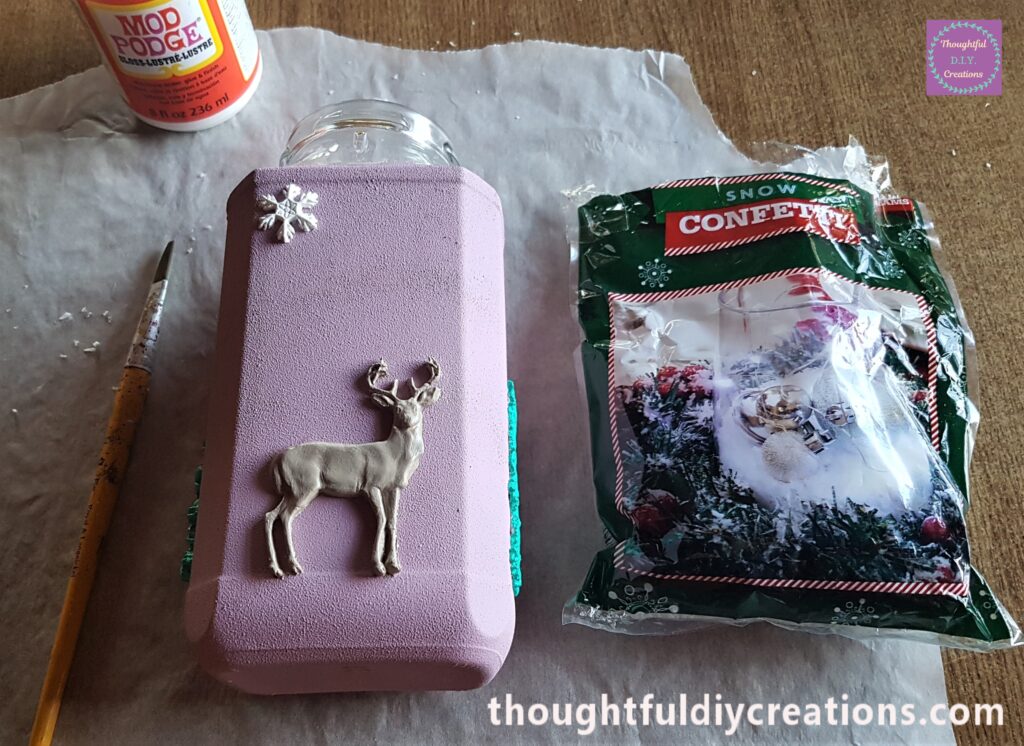
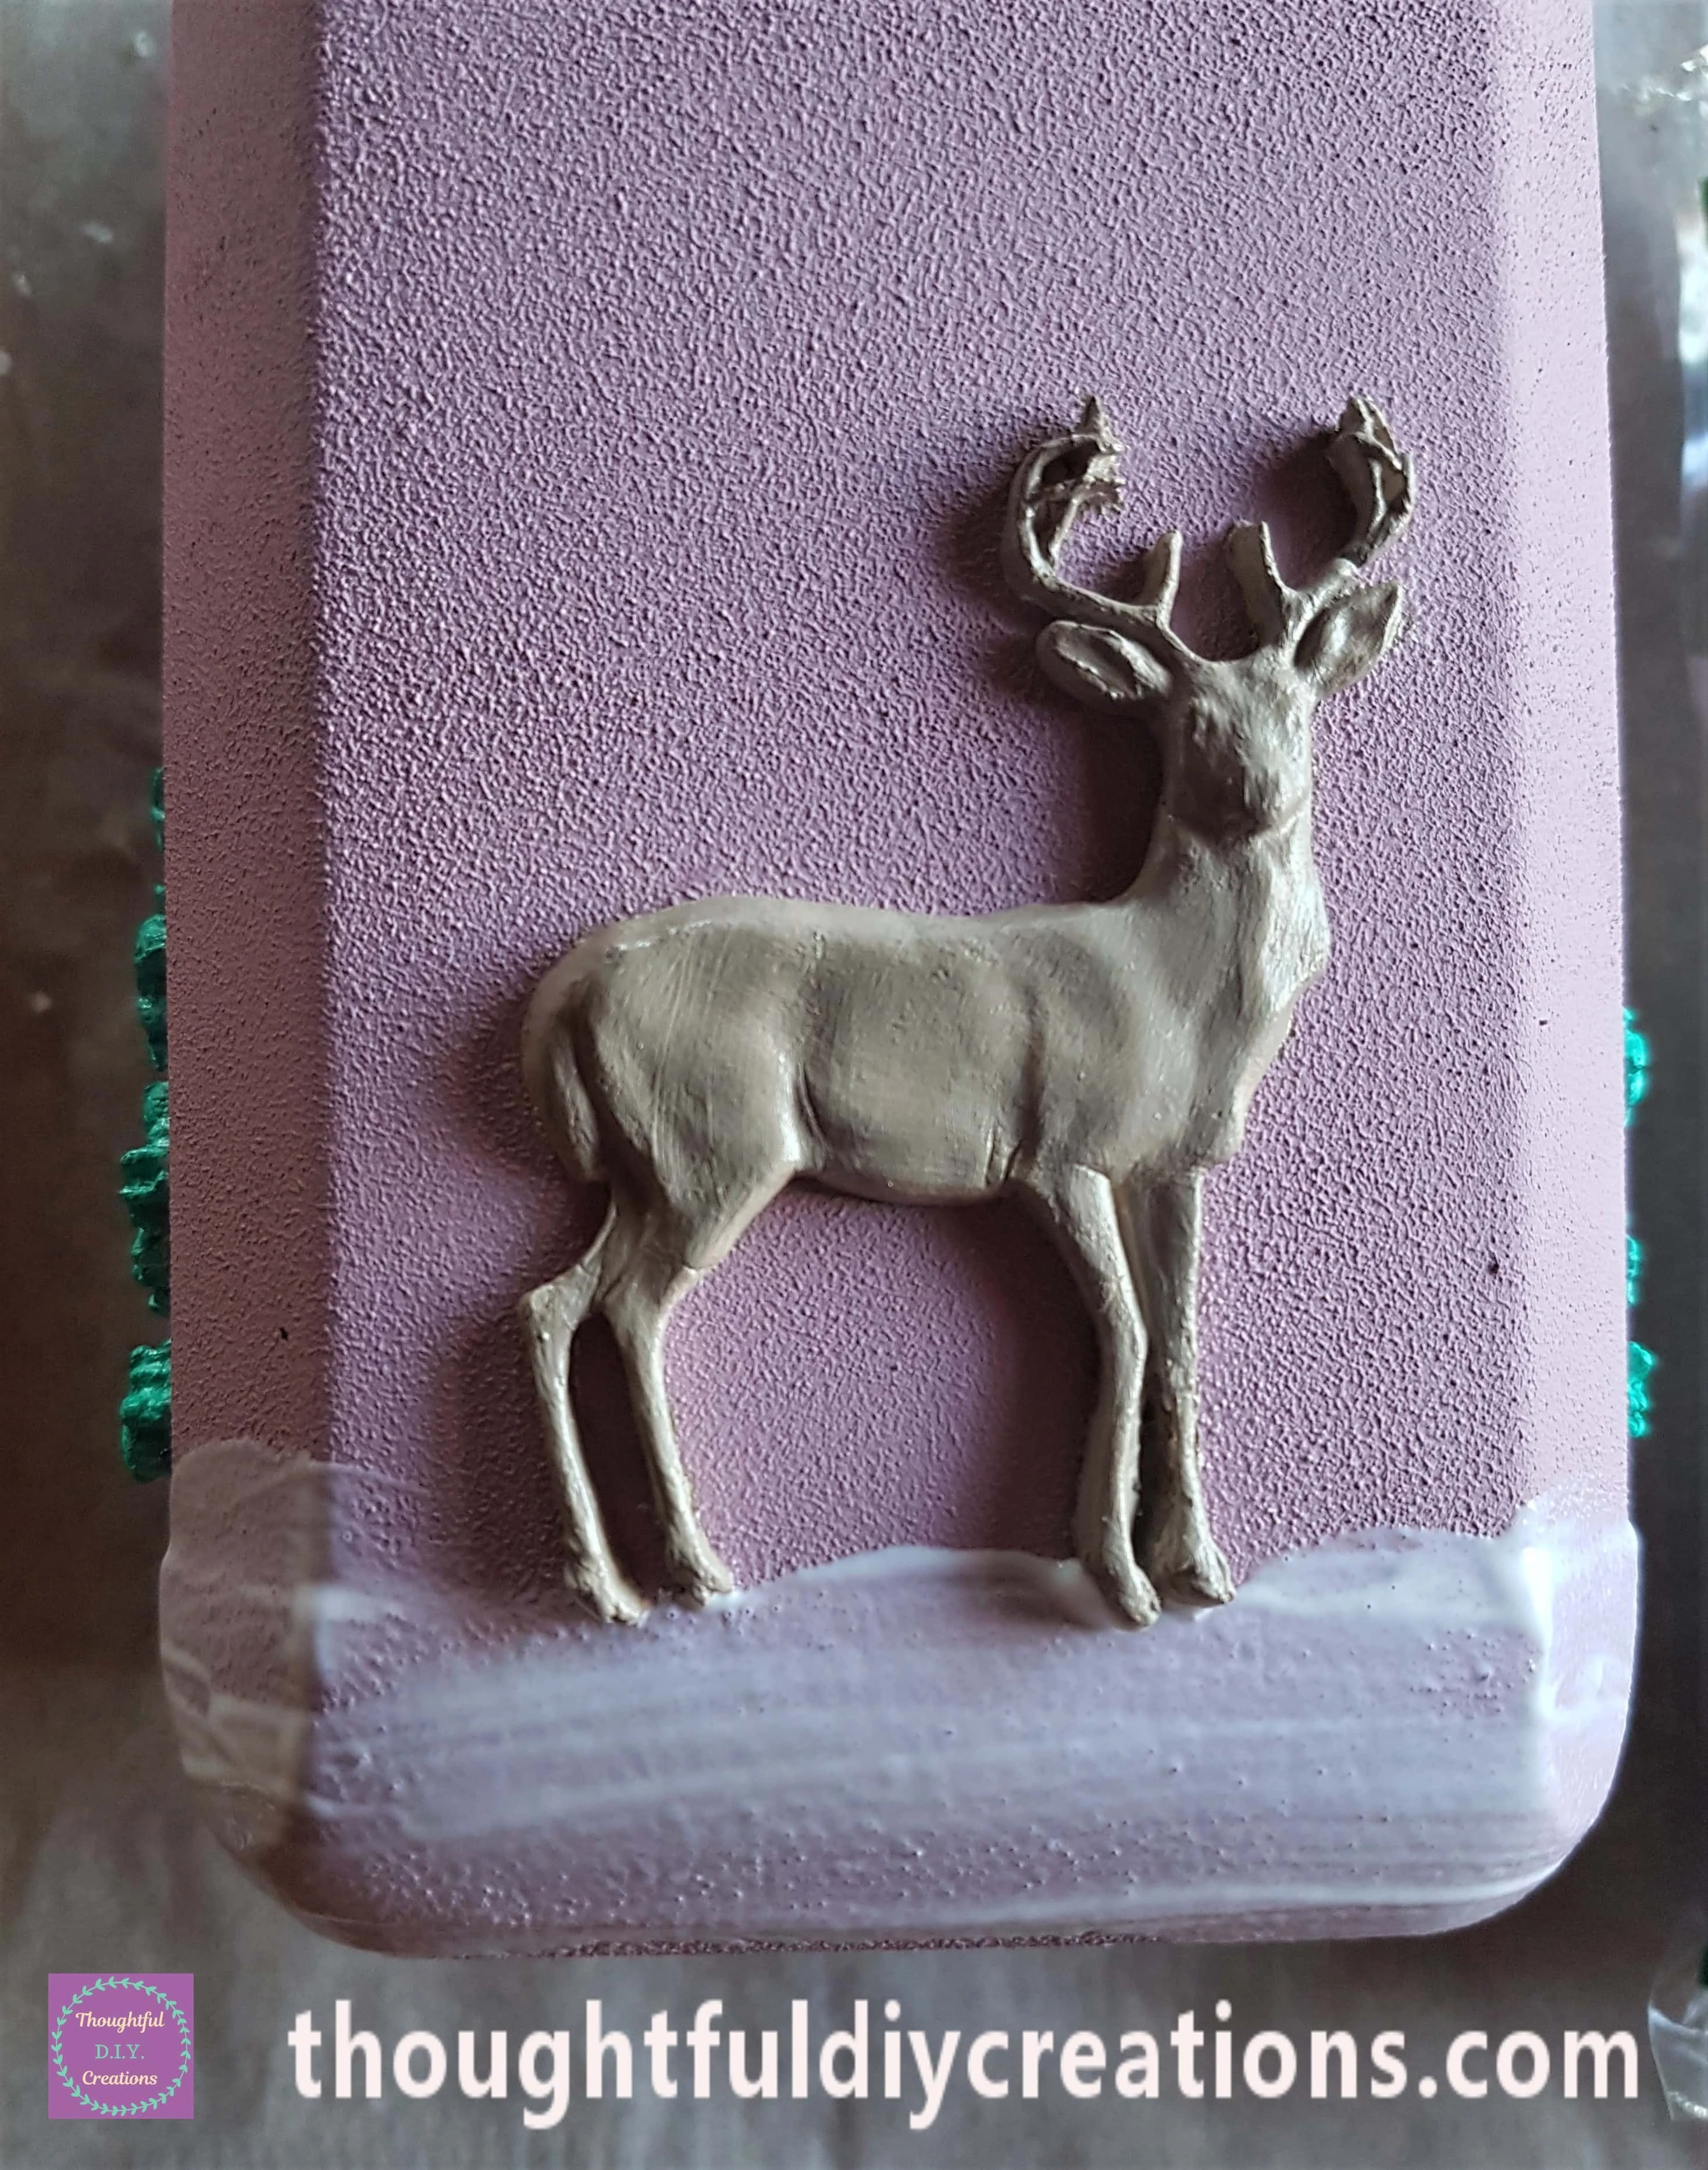
I put Mod Podge Gloss all over the bottom of the Jar.
I sprinkled and then pressed some Snow Confetti into the Glue.
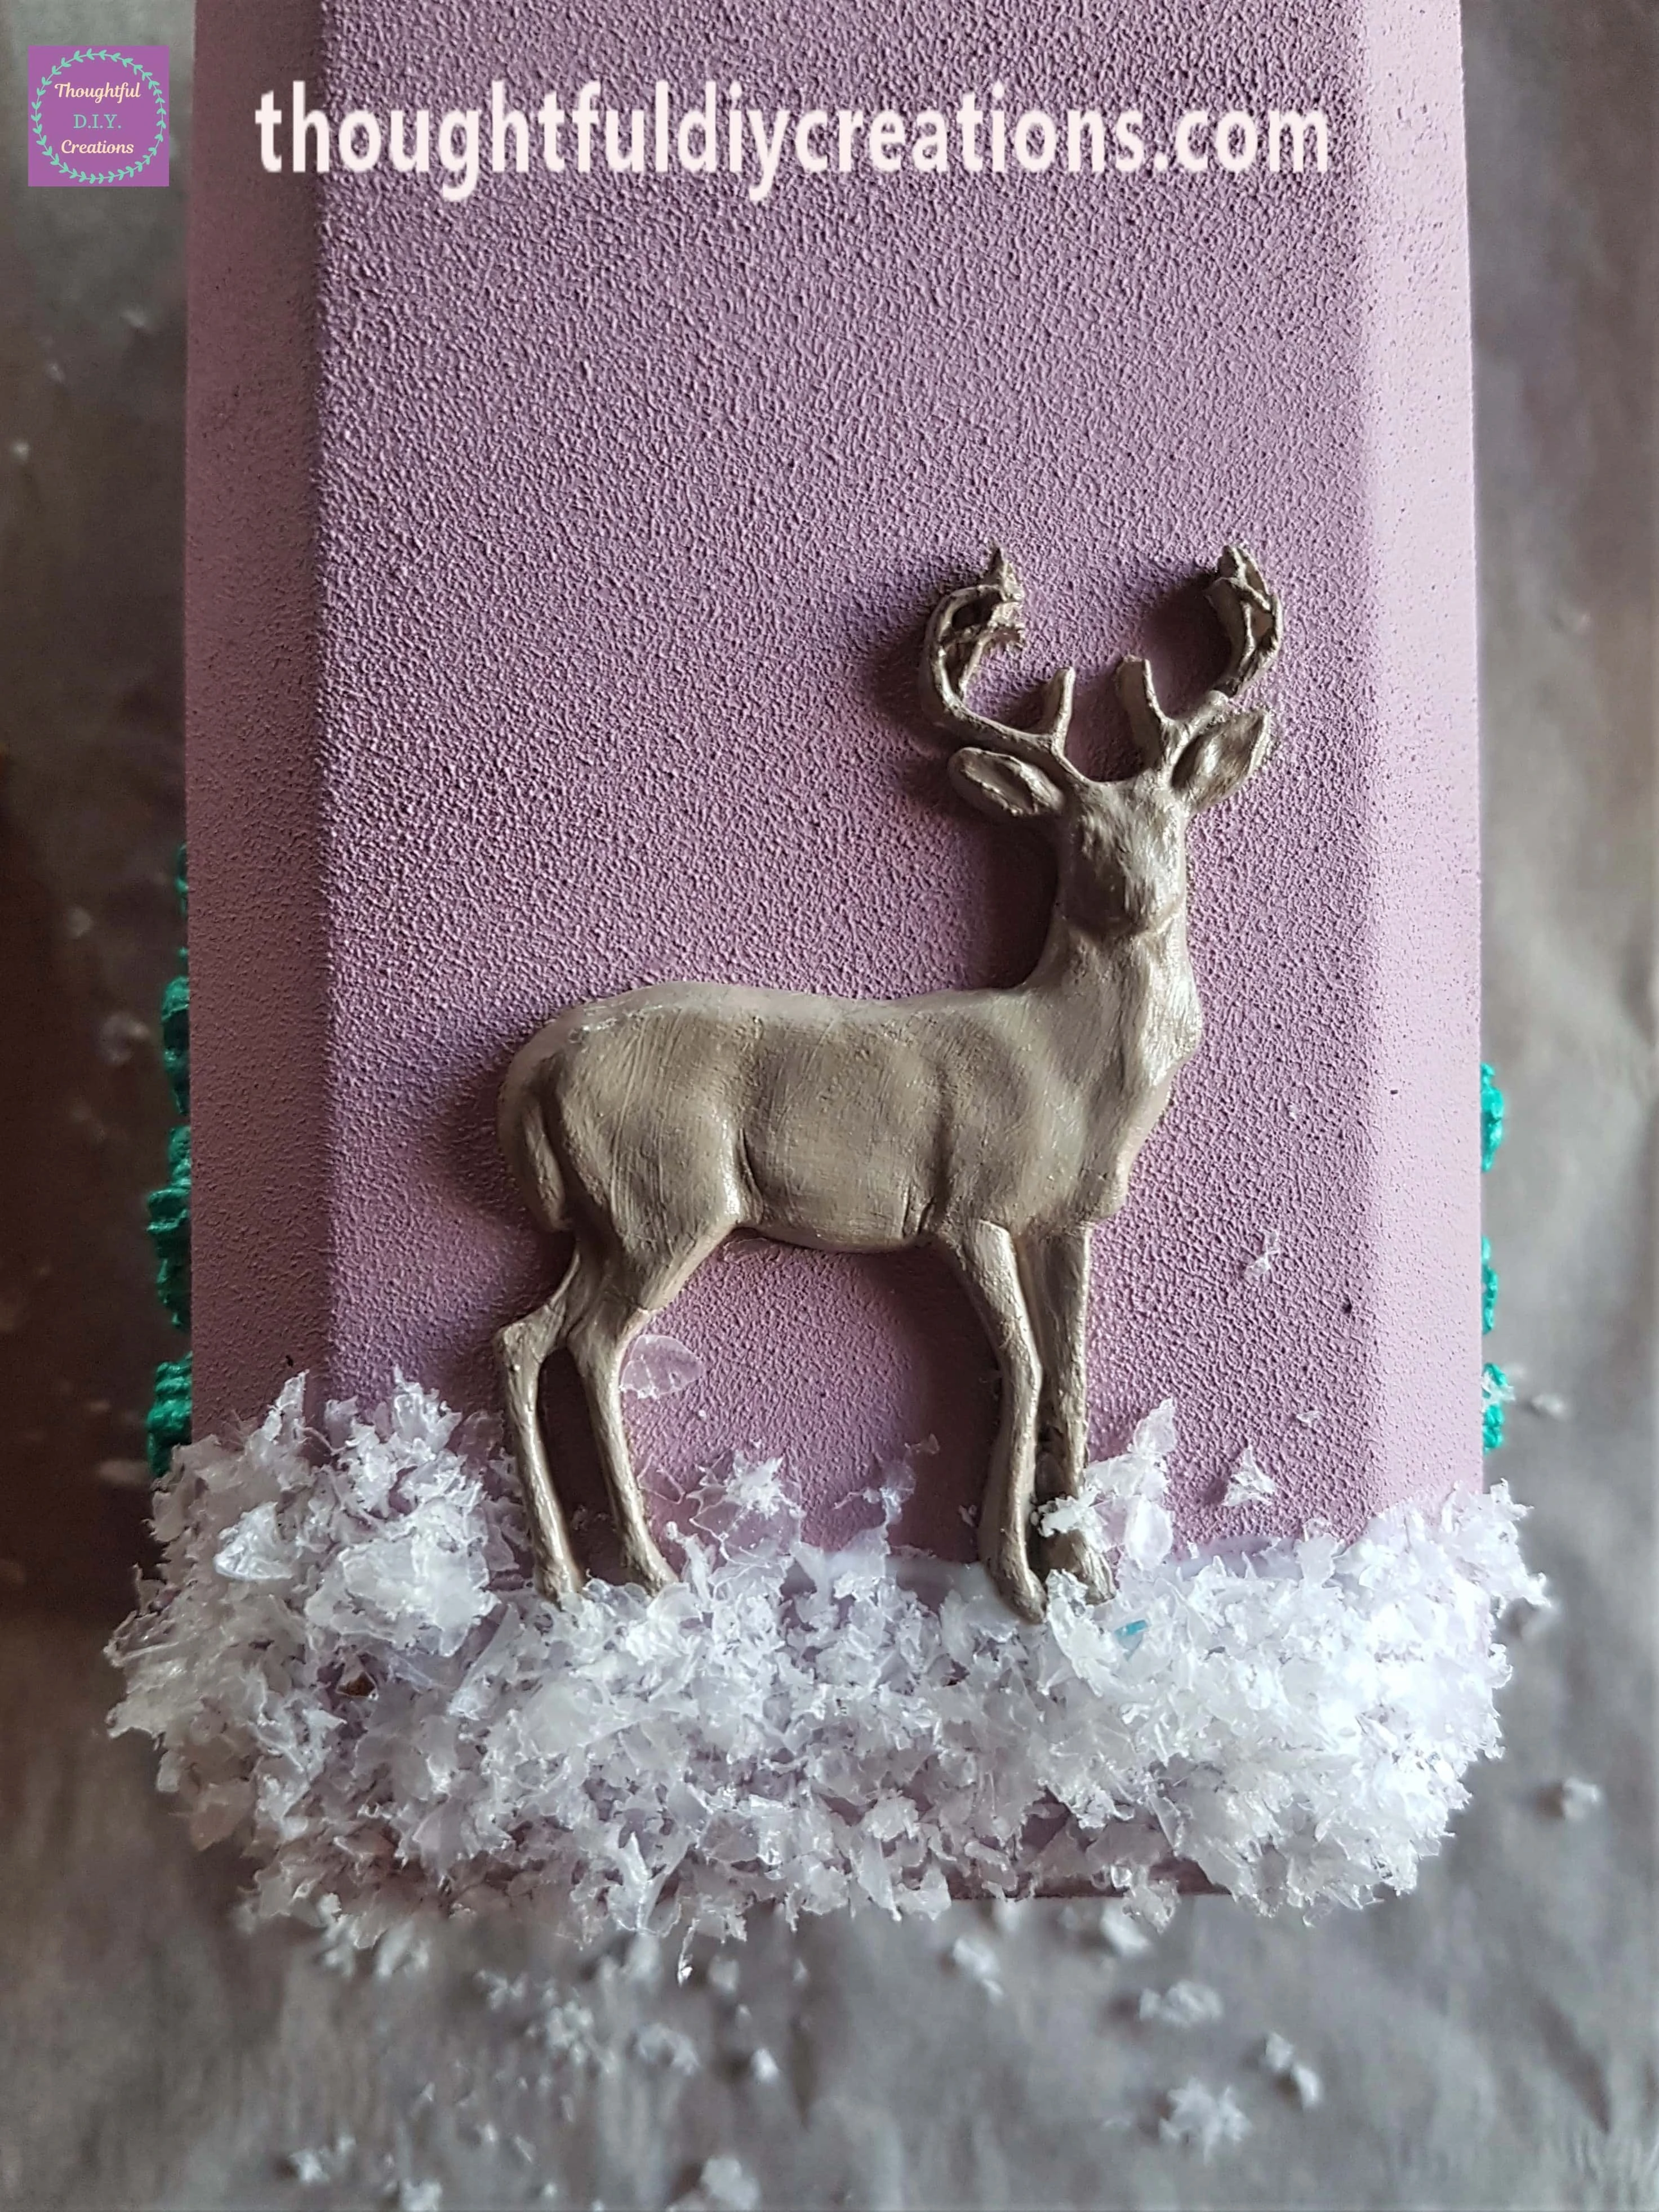
I repeated this process on all 4 Sides on the bottom of the Jar. I then put Mod Podge Gloss on the 4 Sides on the Top of the Jar.
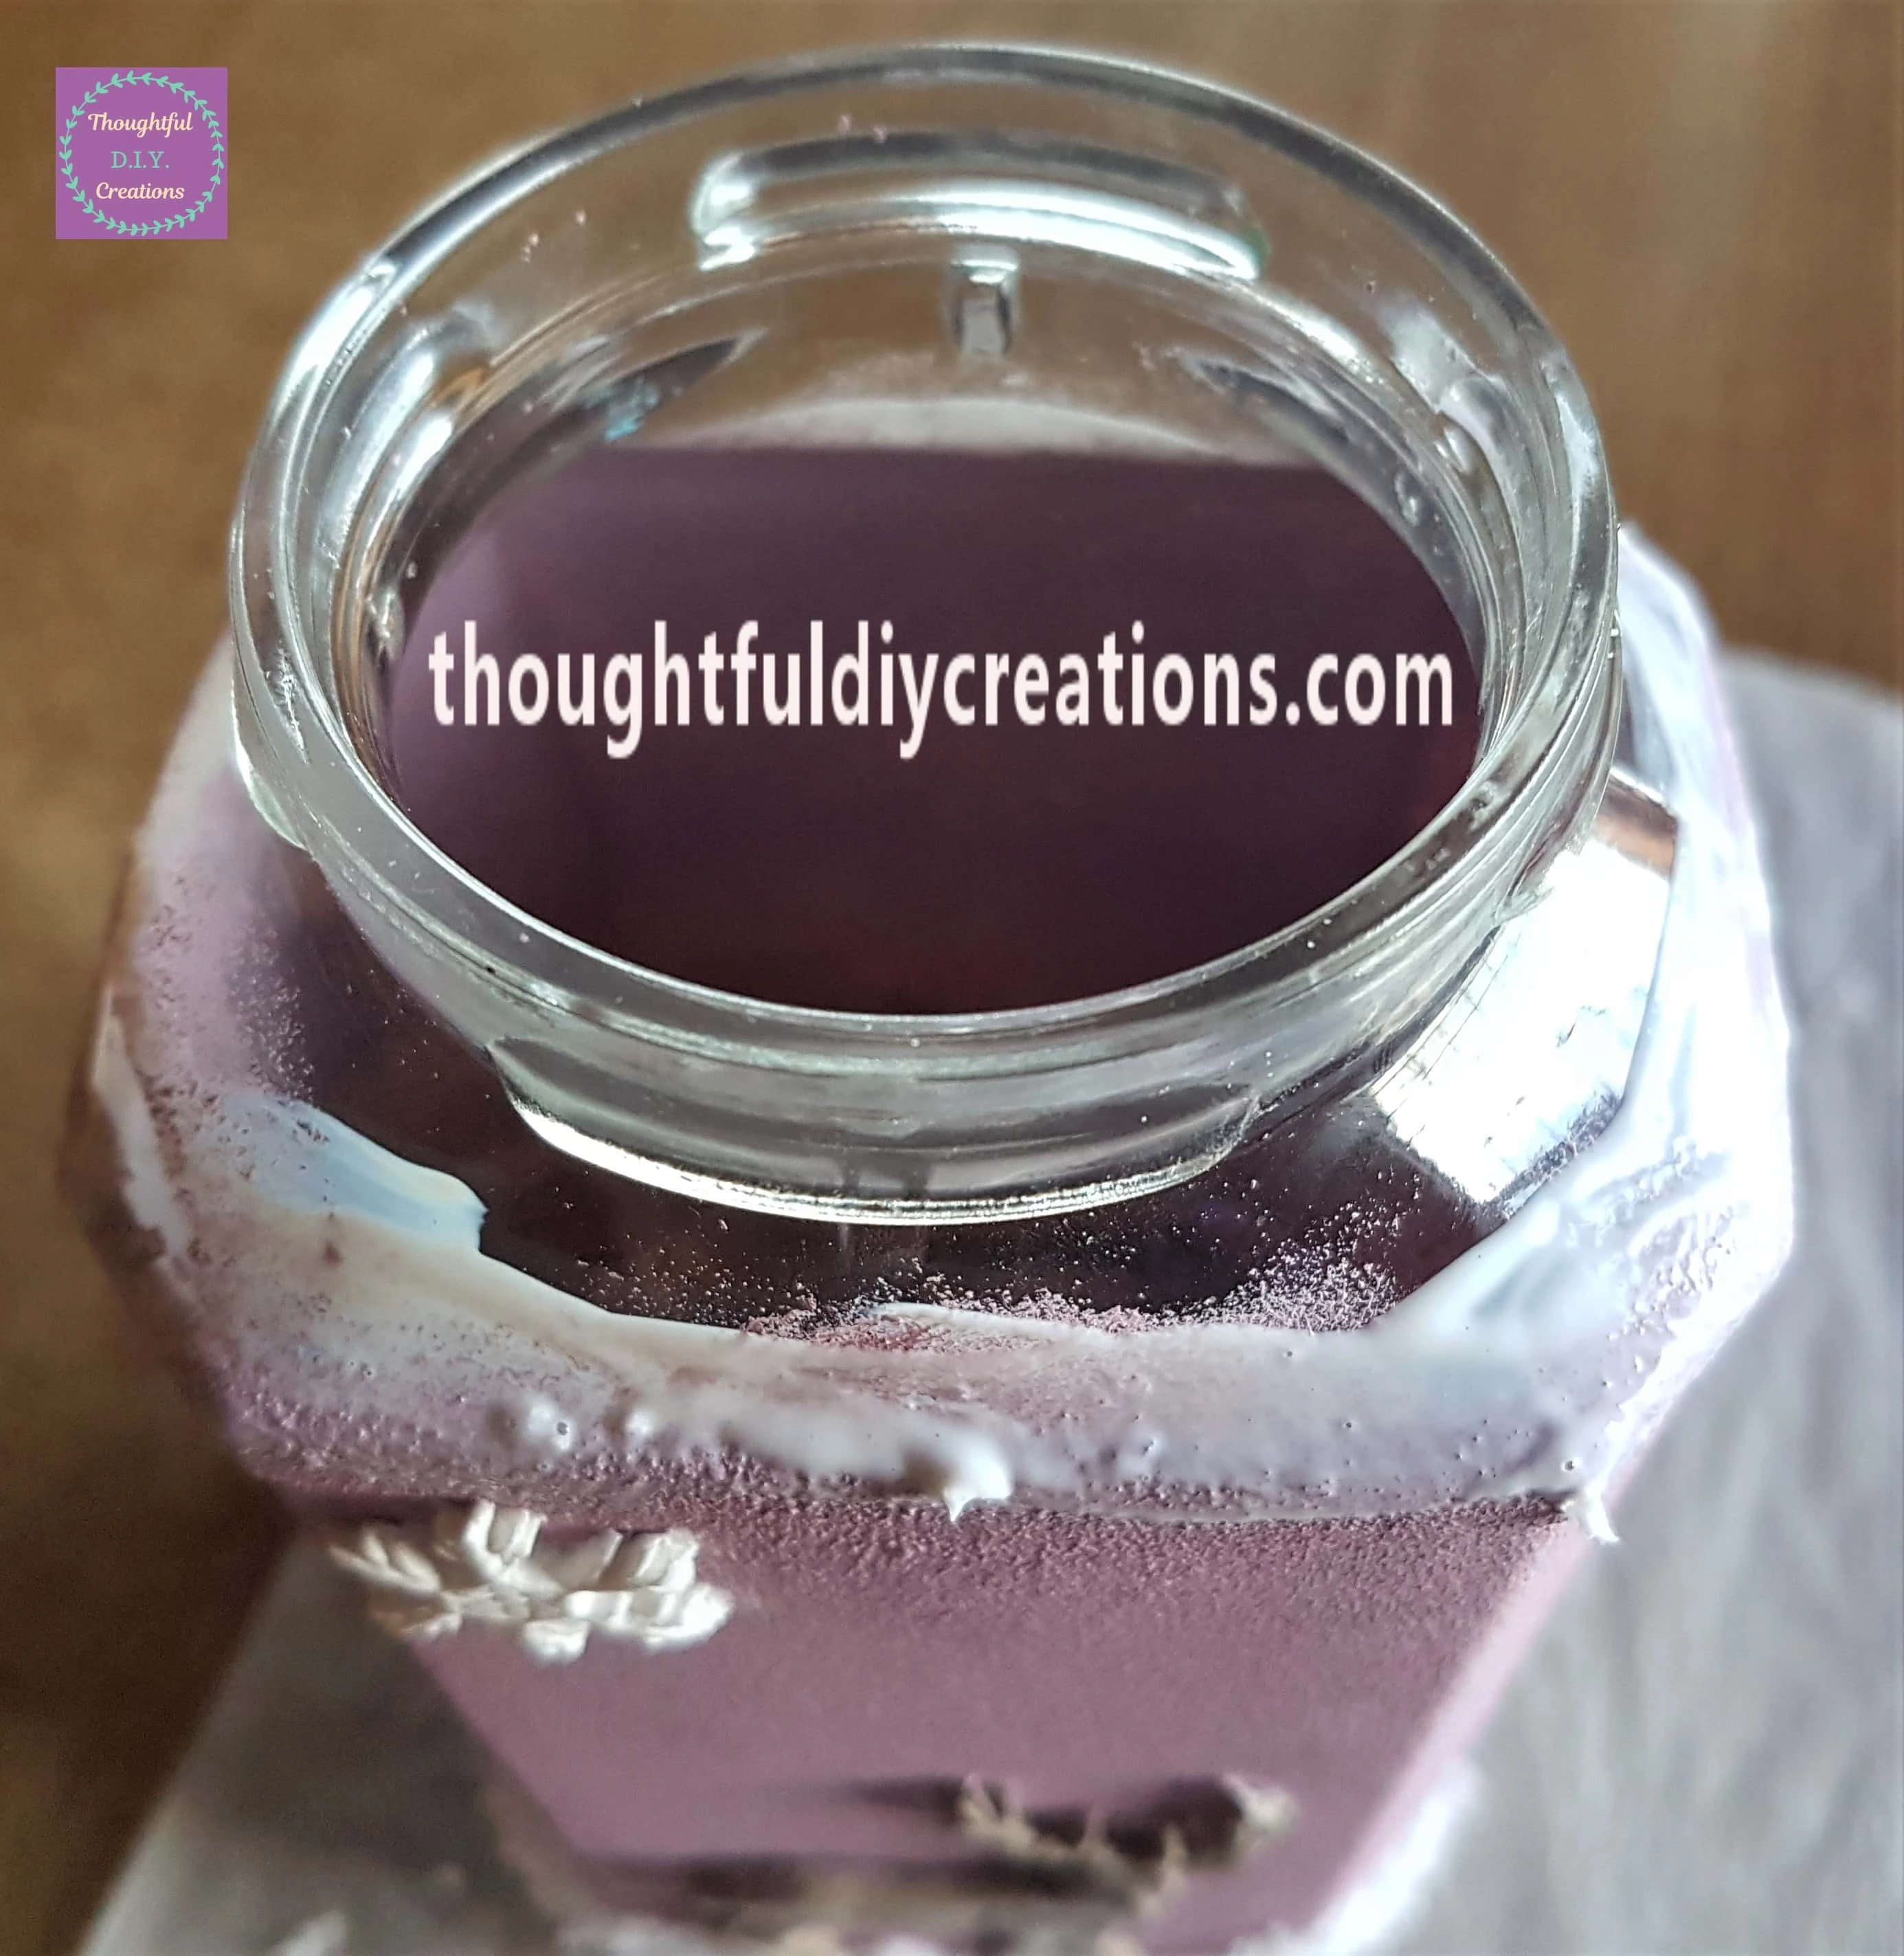
I again sprinkled and pressed Snow Confetti into the Glue.
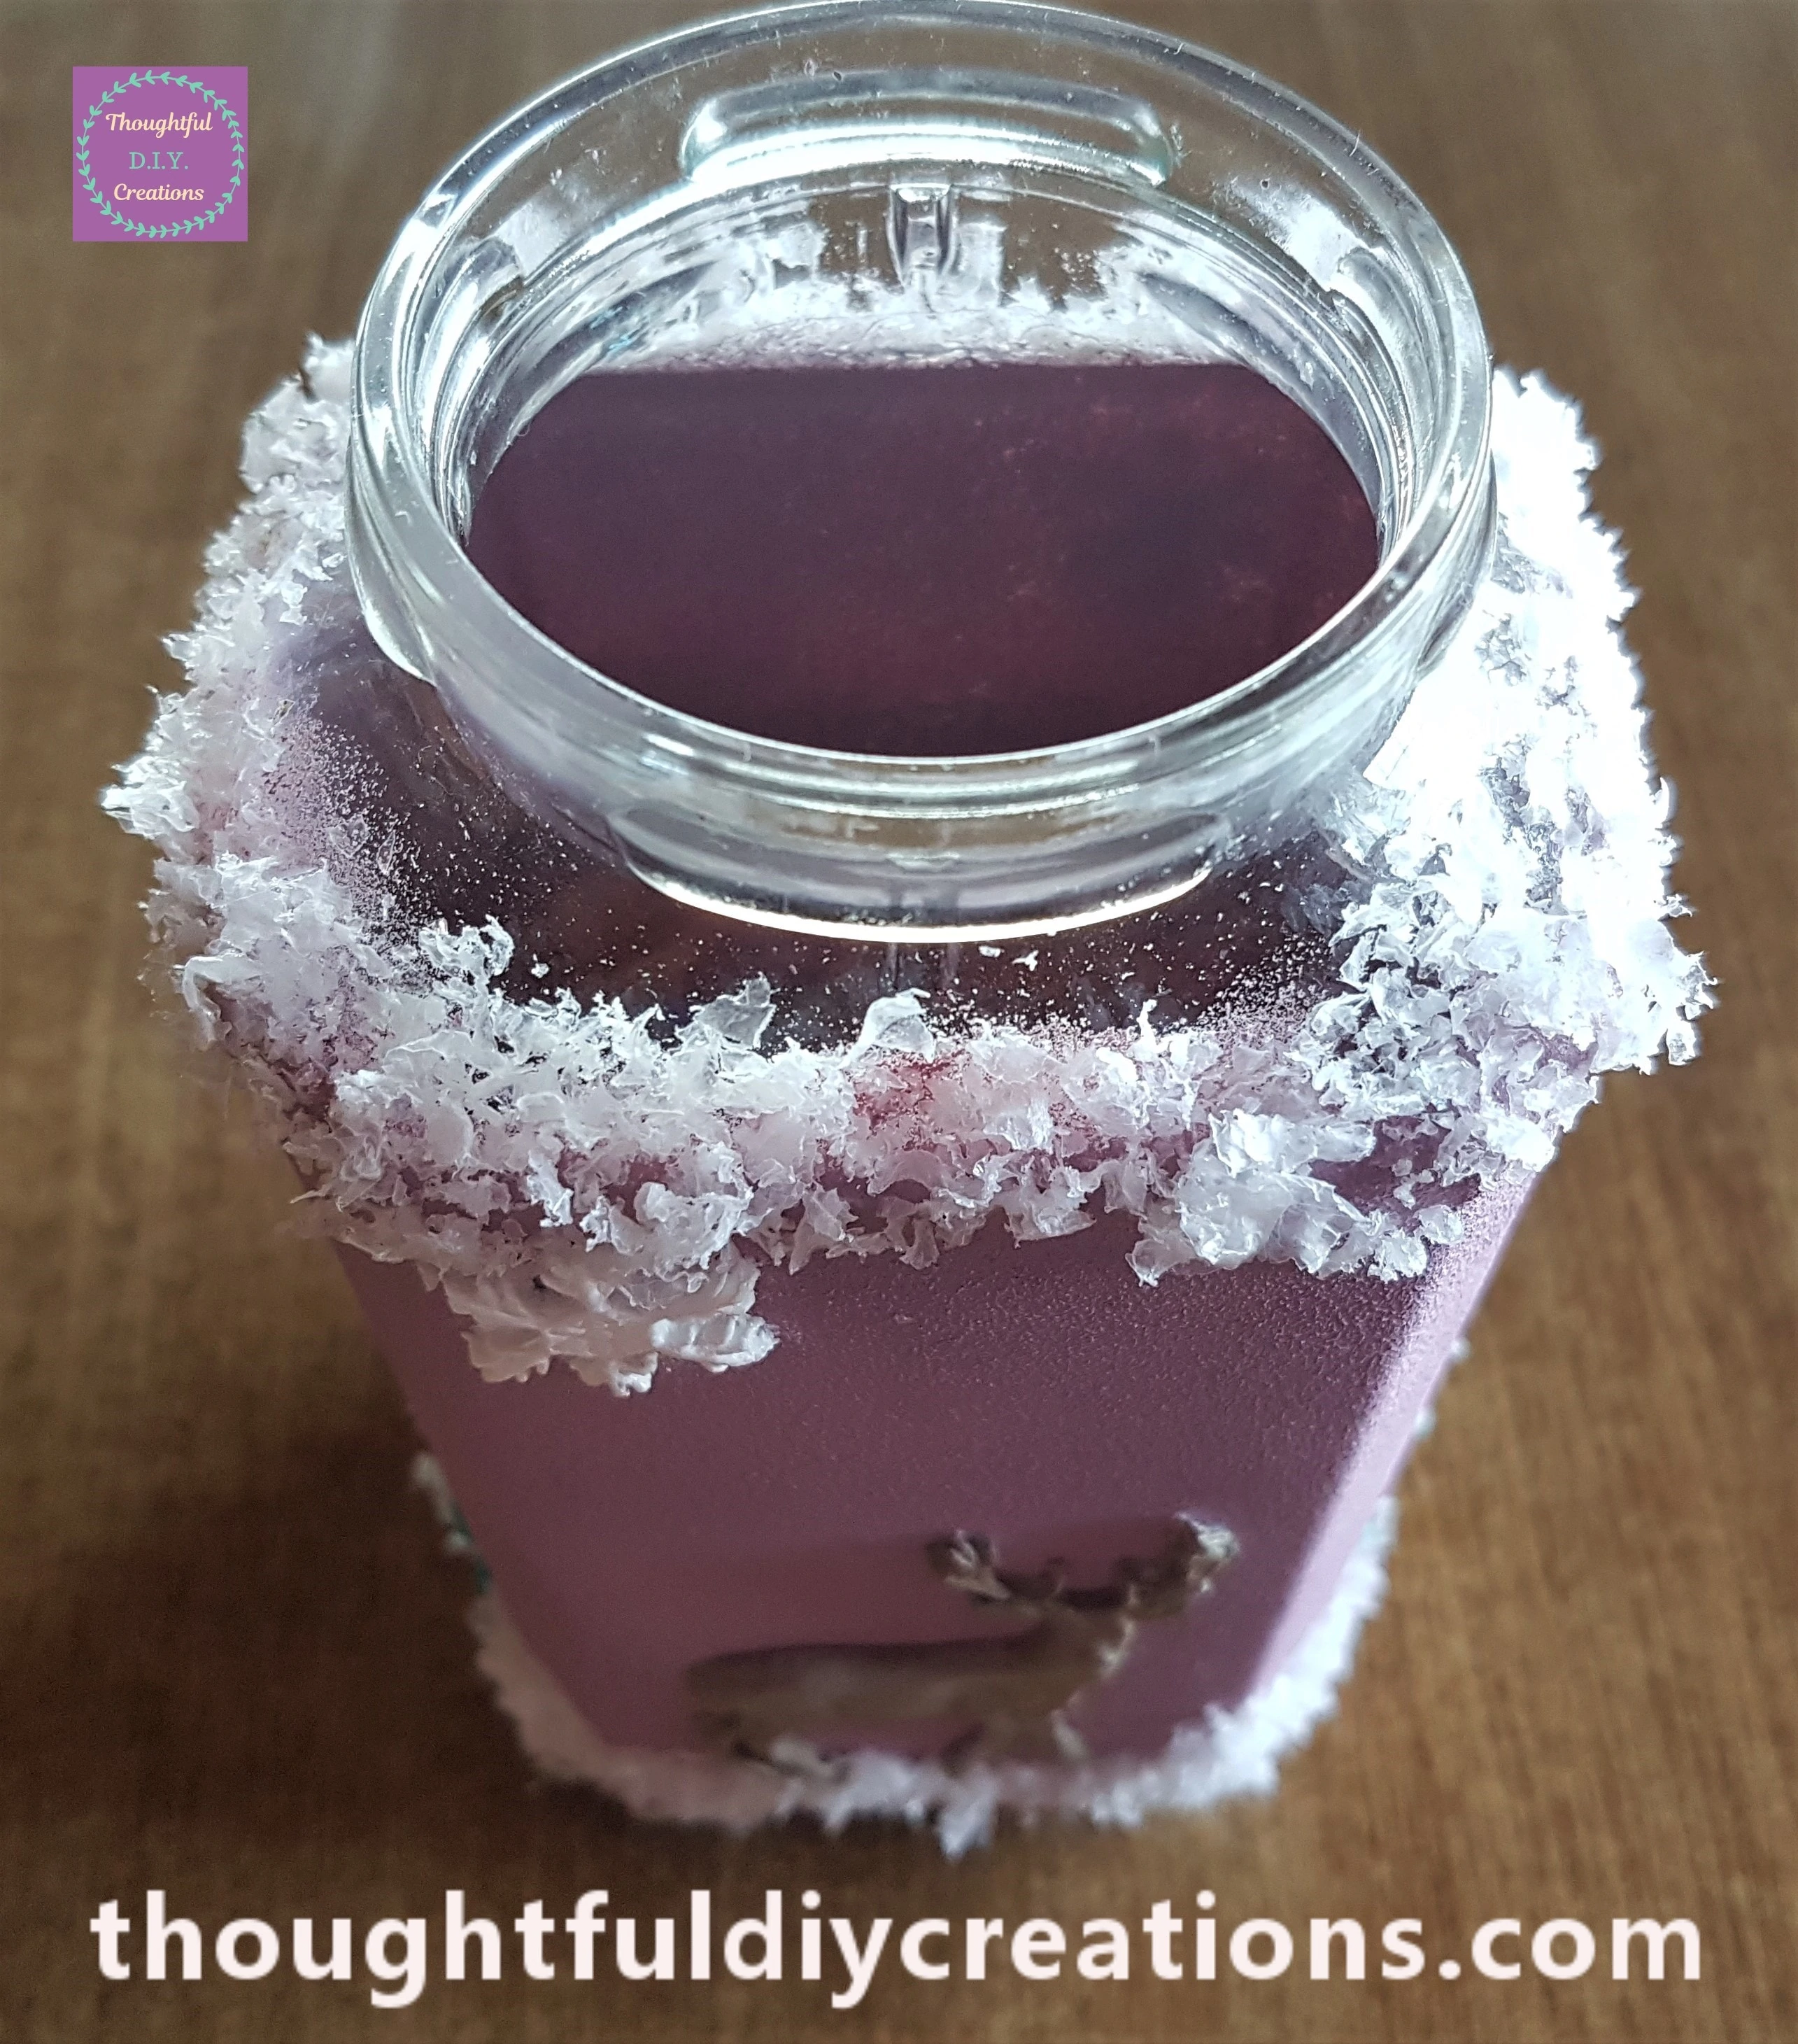
I also added Snow to the Trees on the Jar.
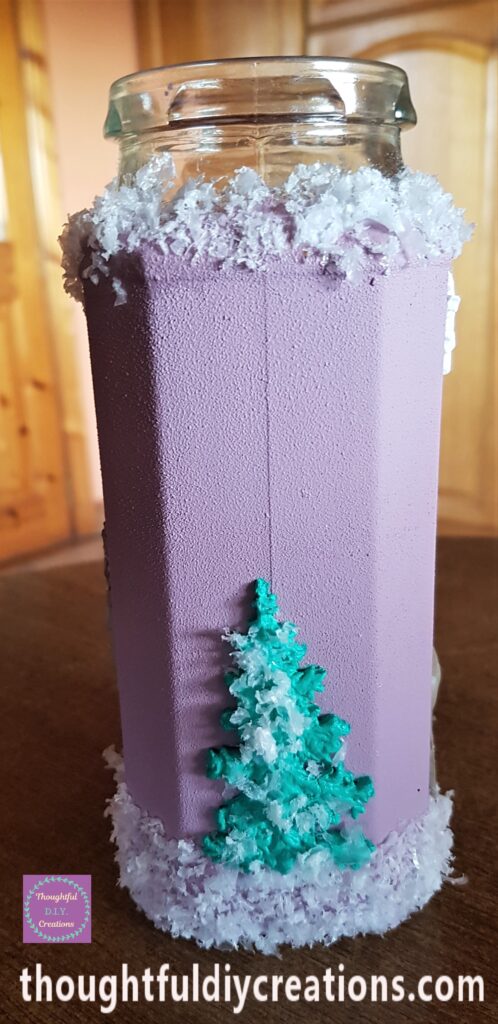
The Jar standing upright with the Snow added in places.
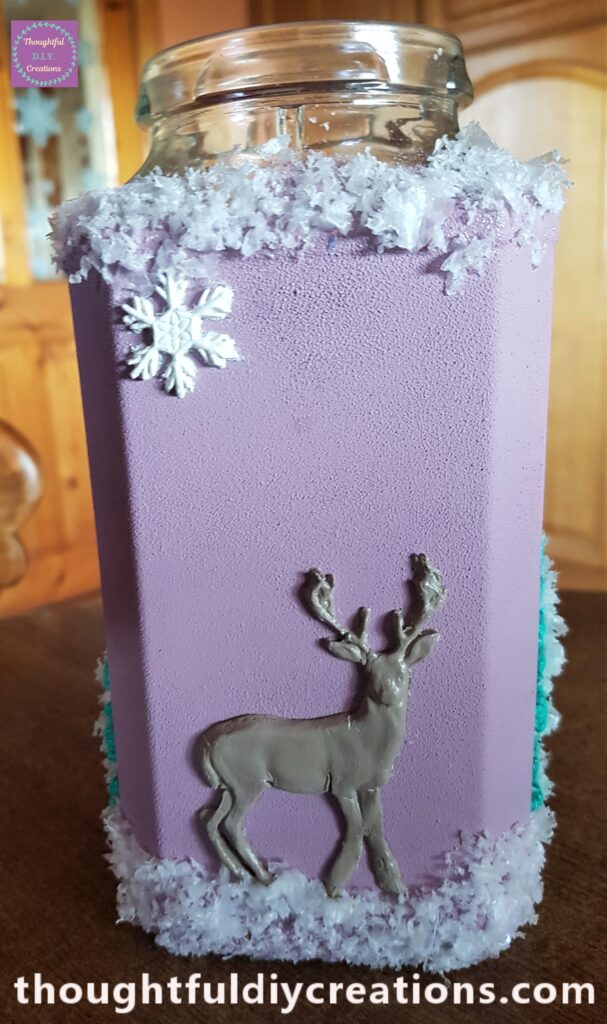
Finishing Touch to the Christmas Clay Moulds Jar
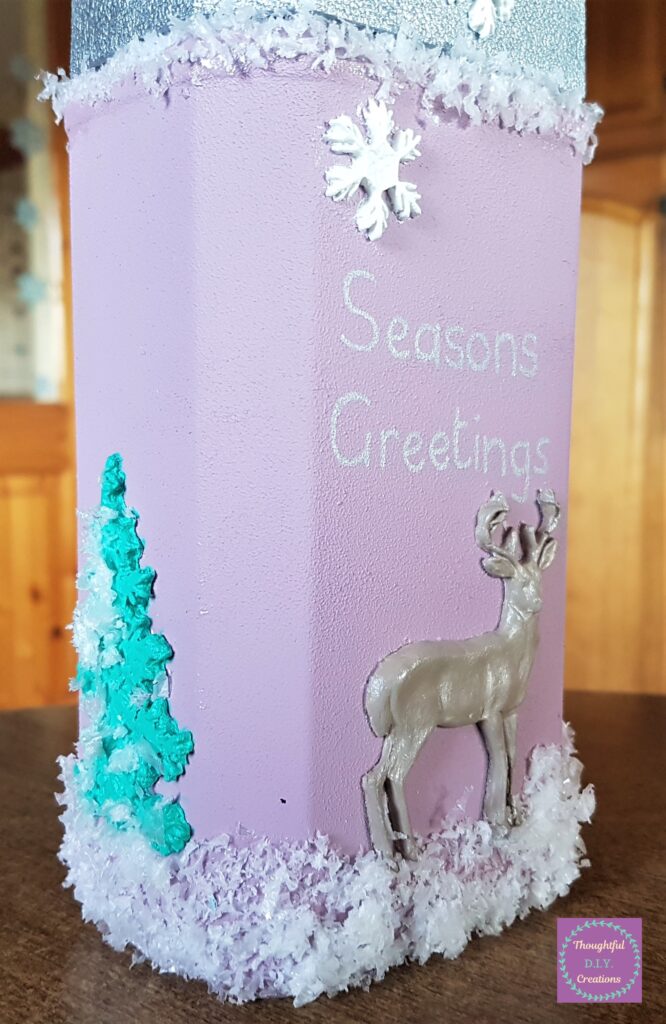
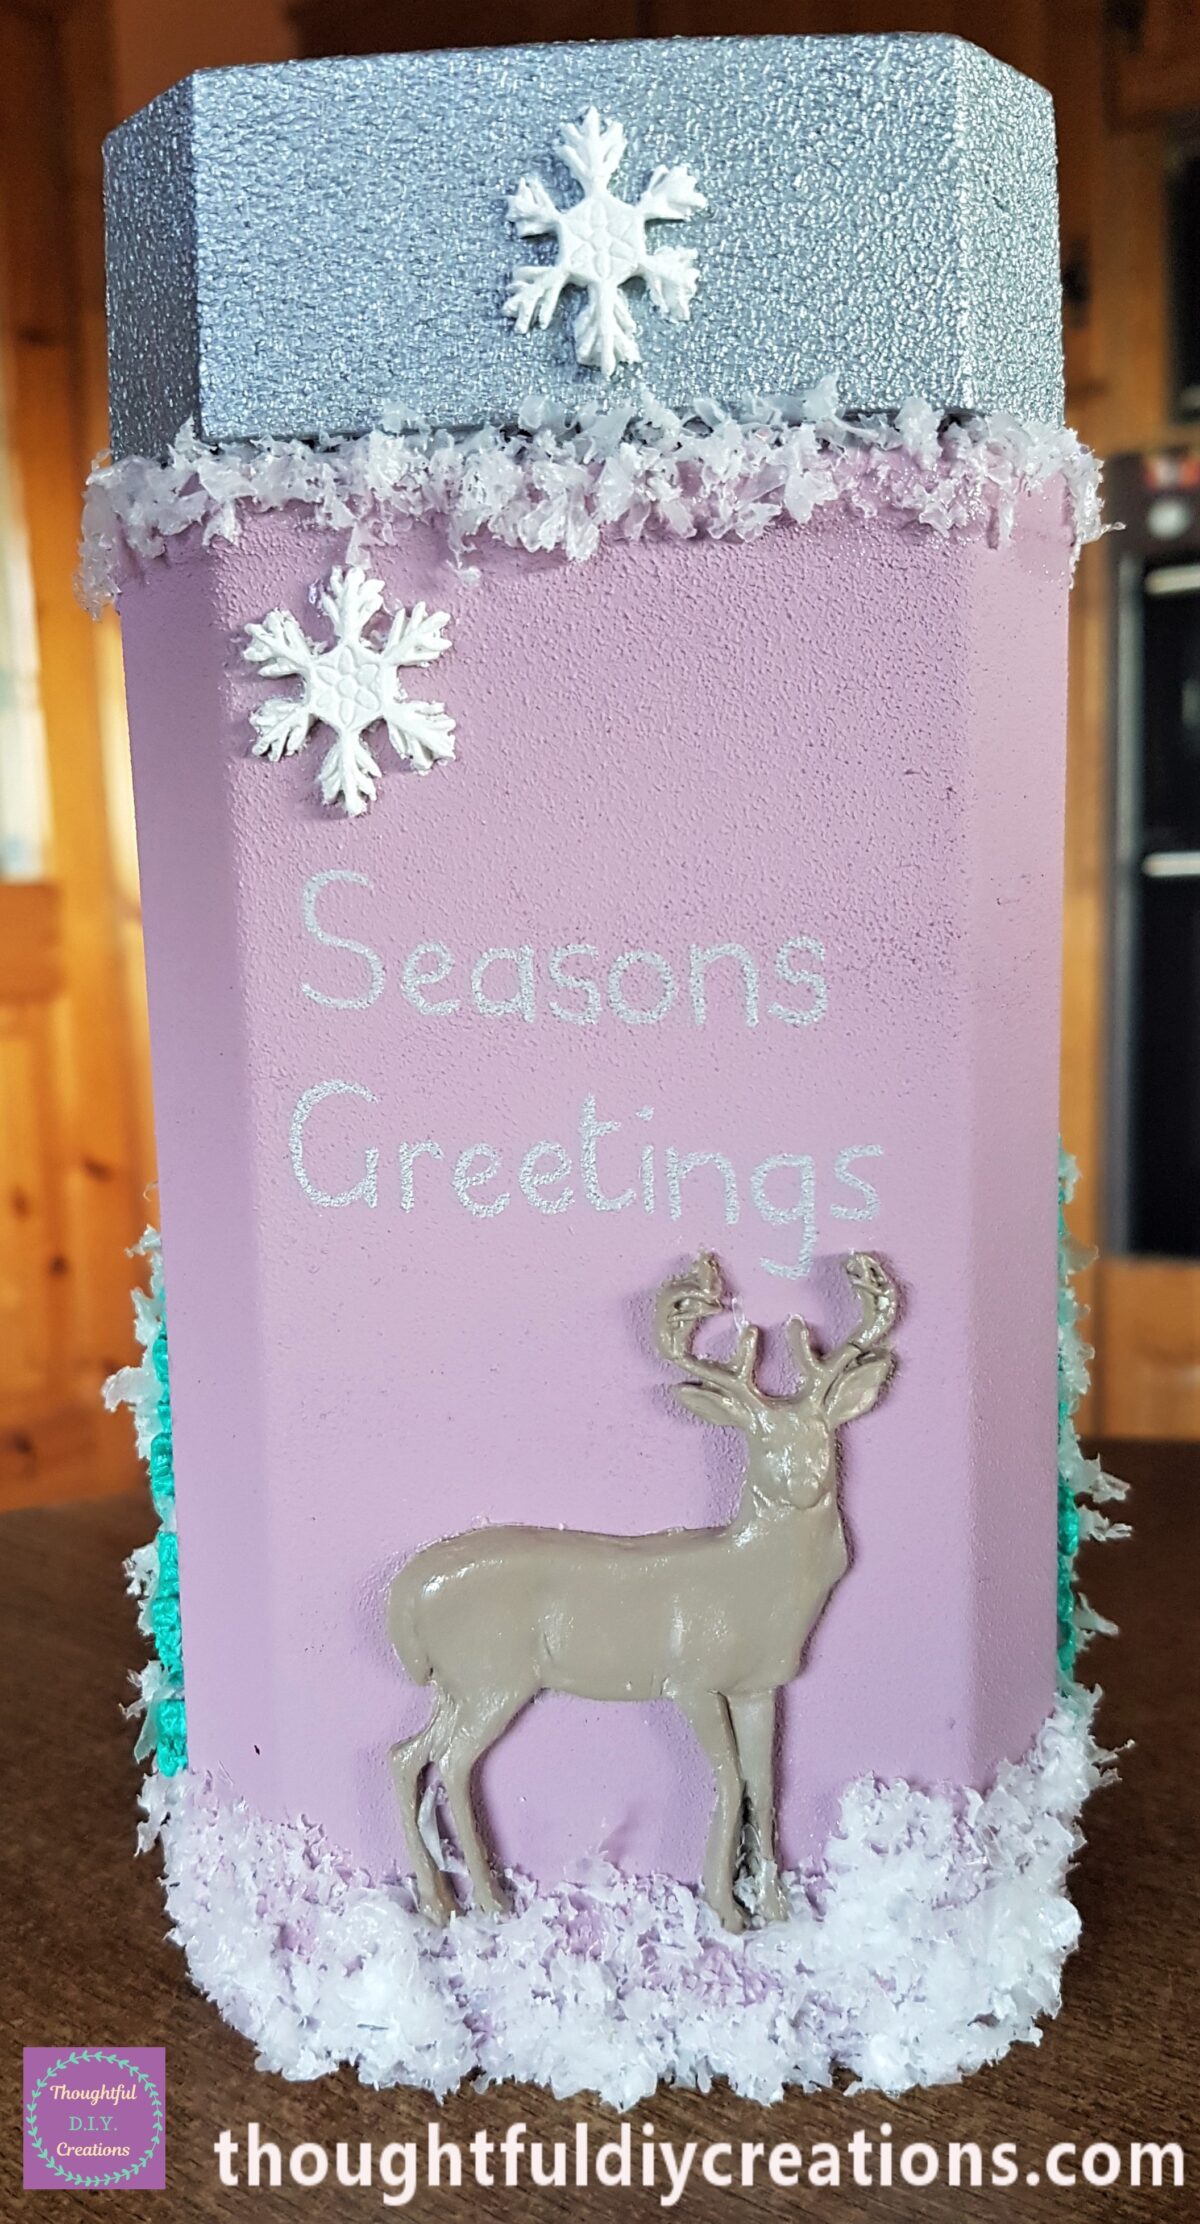
I wrote ‘Seasons Greetings’ on the front of the Jar with a ‘uni POSCA Silver Acrylic Paint Pen 0.7 mm’.
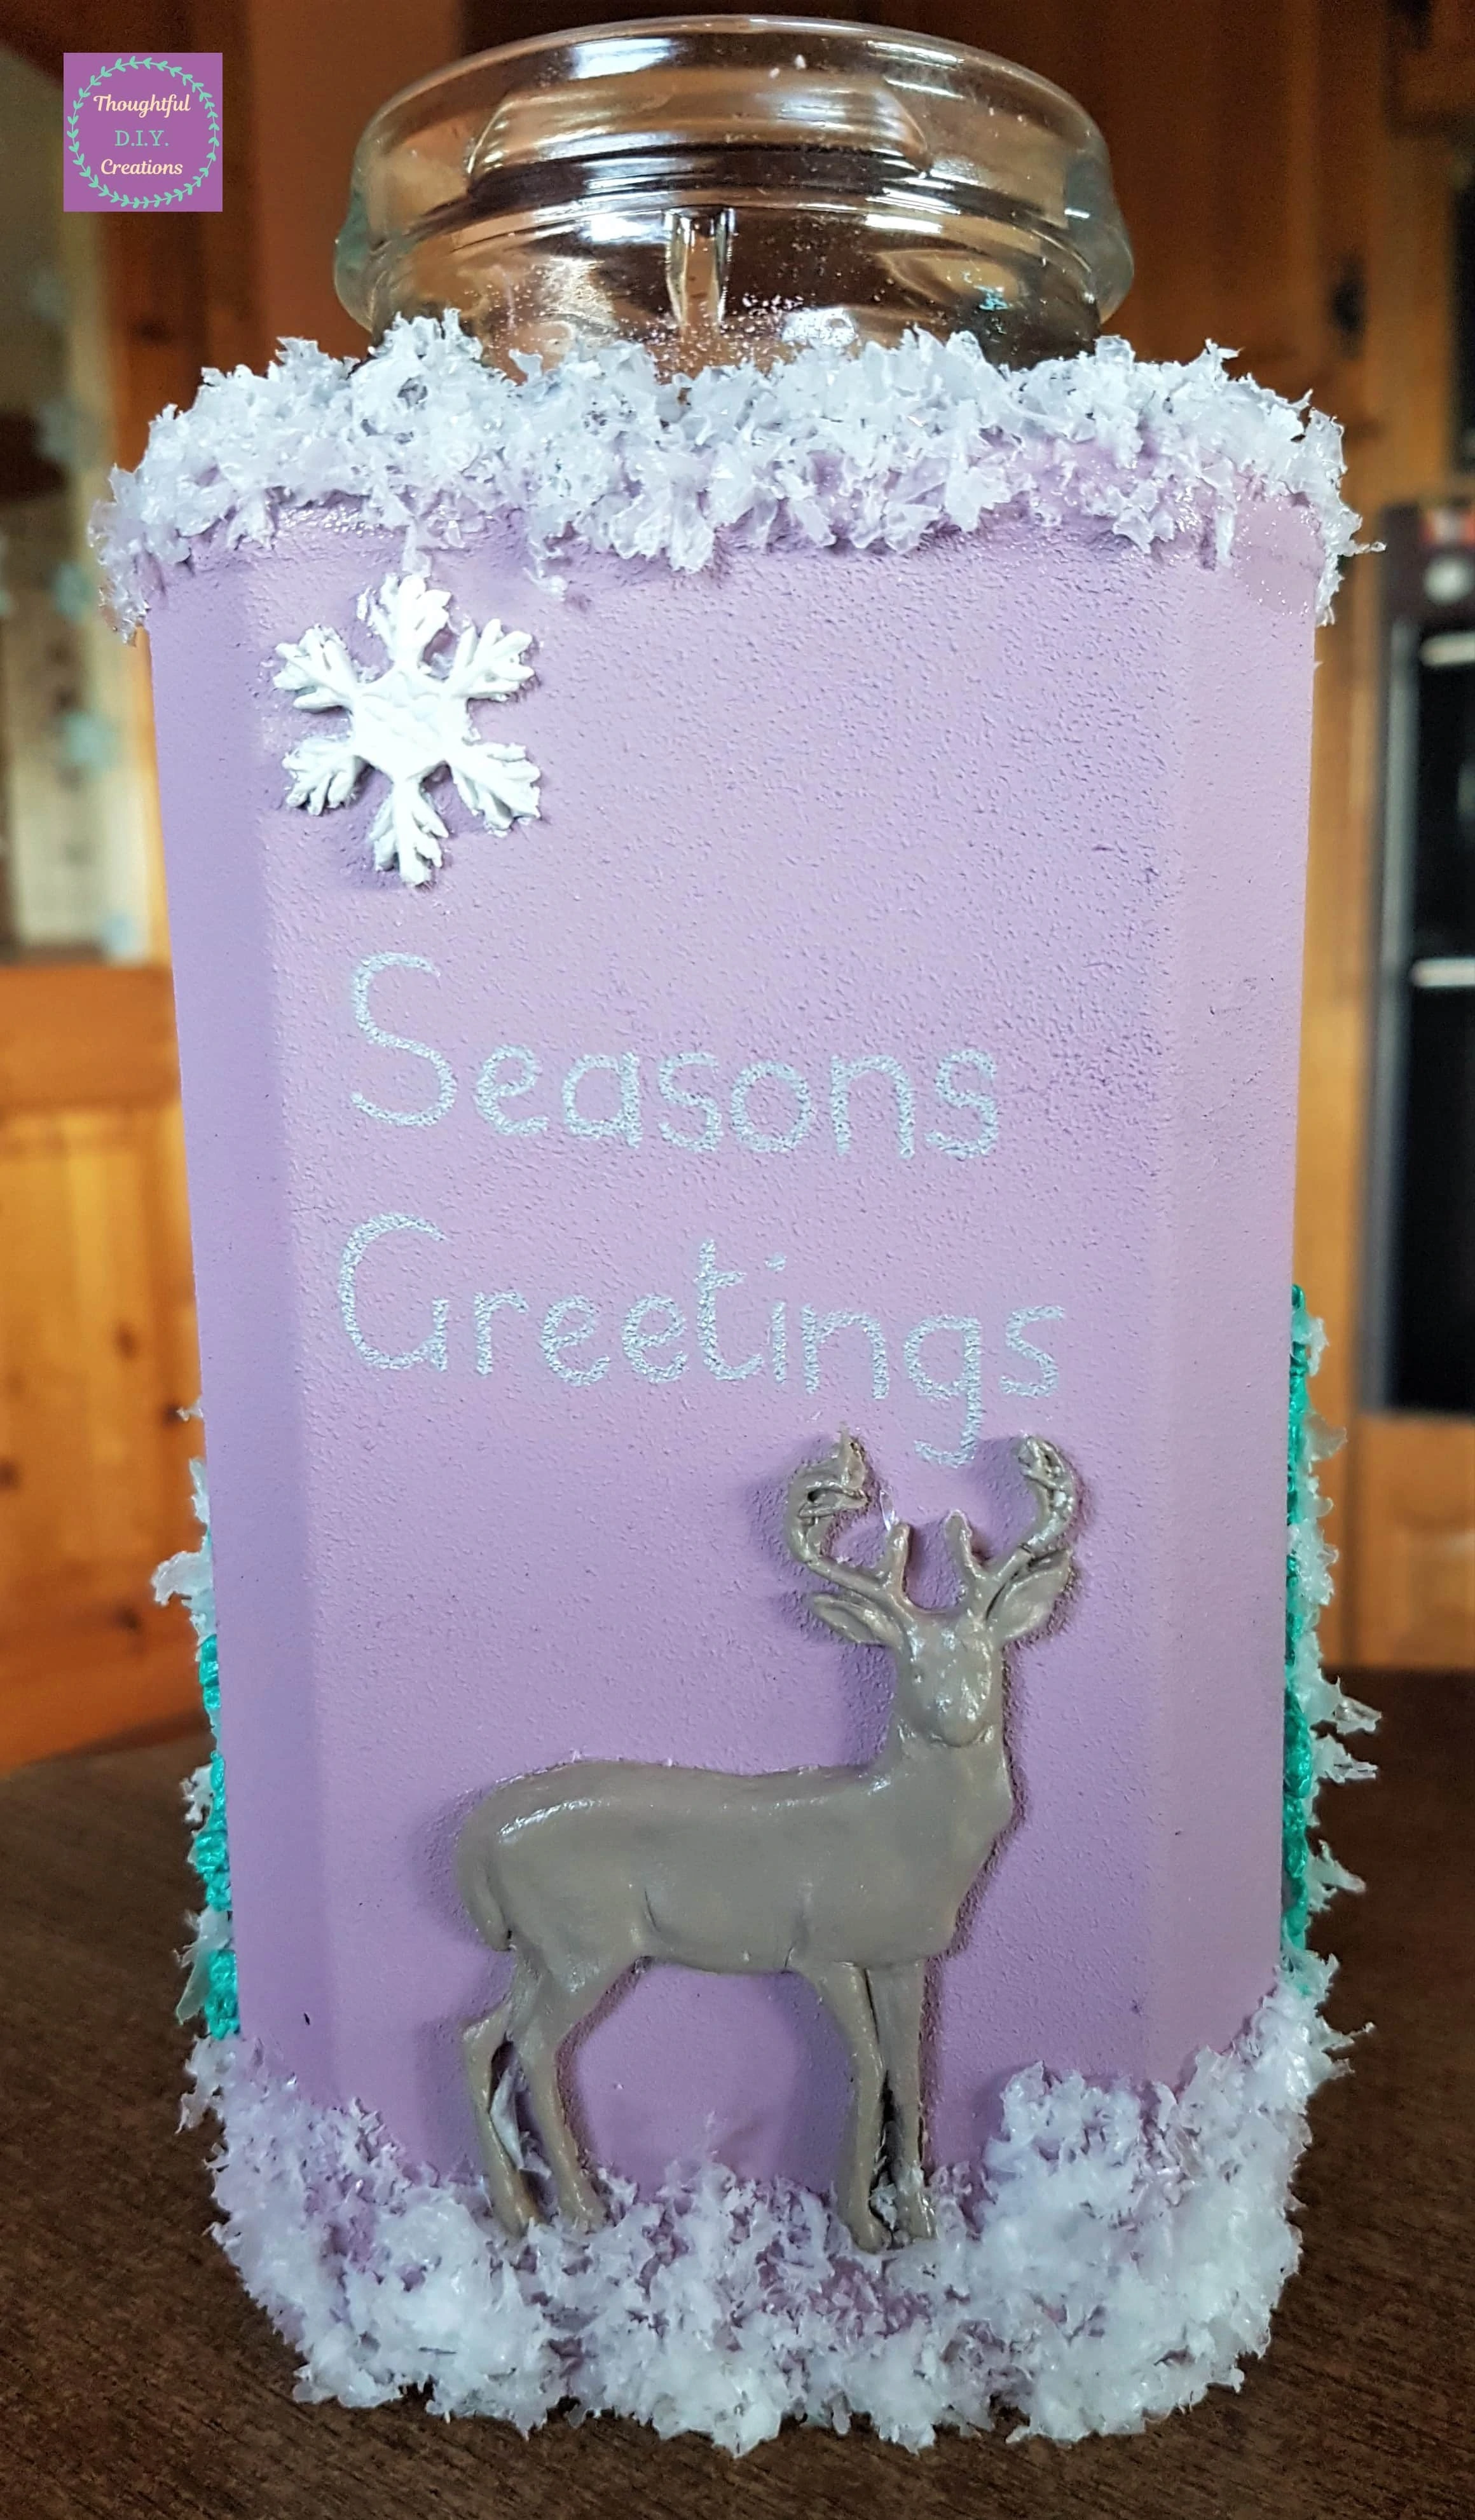
When the Snow had dried into the Jar I put the Lid back on.
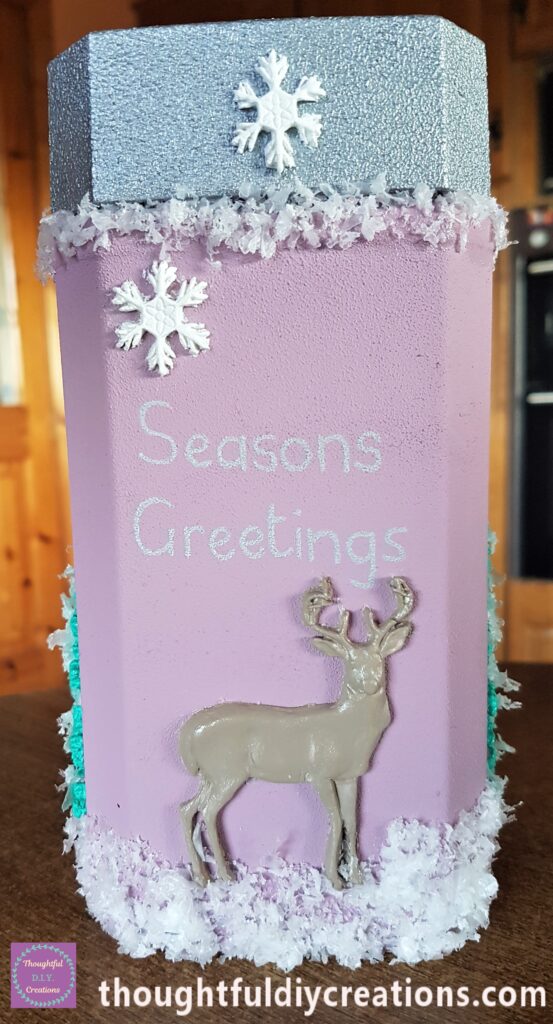
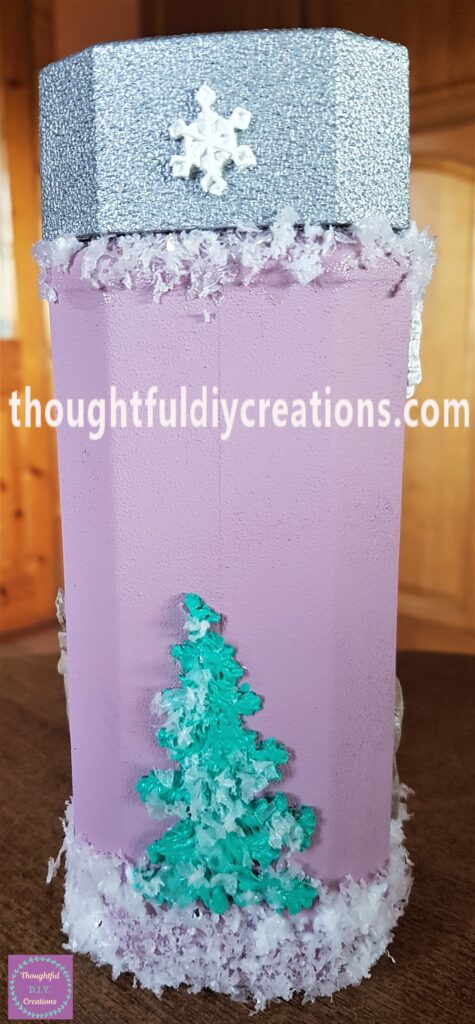
This Completed my Christmas Clay Moulds Jar. This is the back of the Jar.
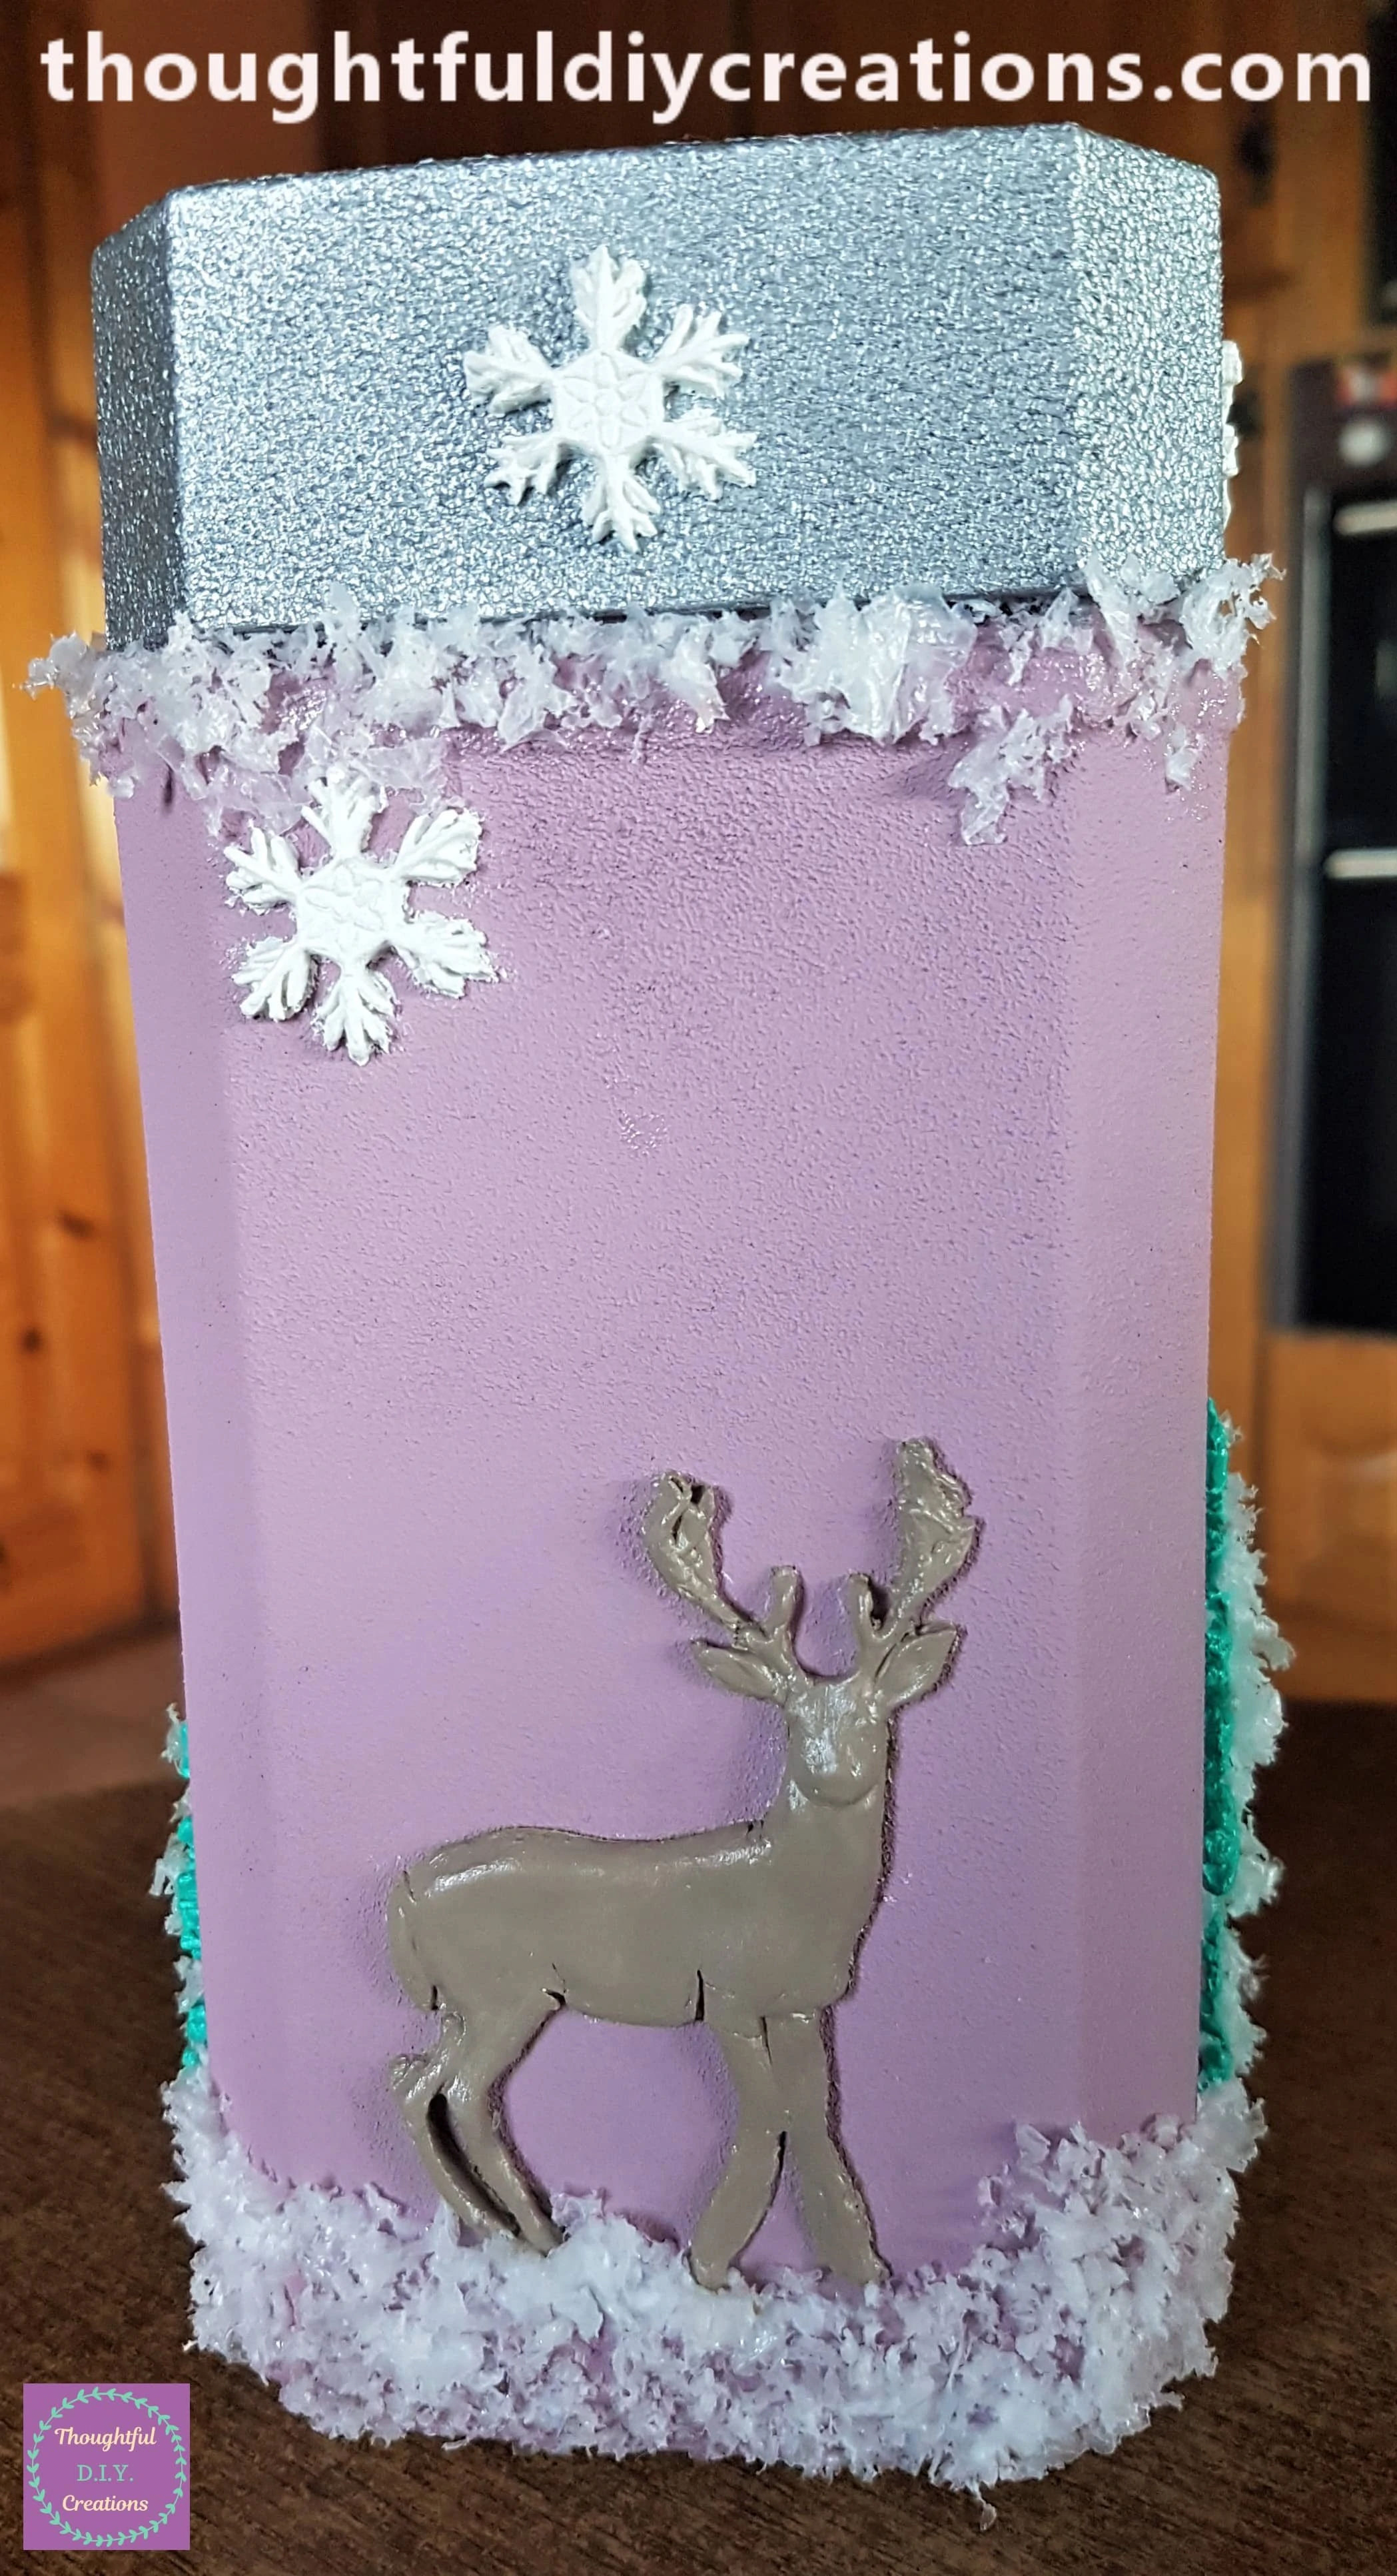
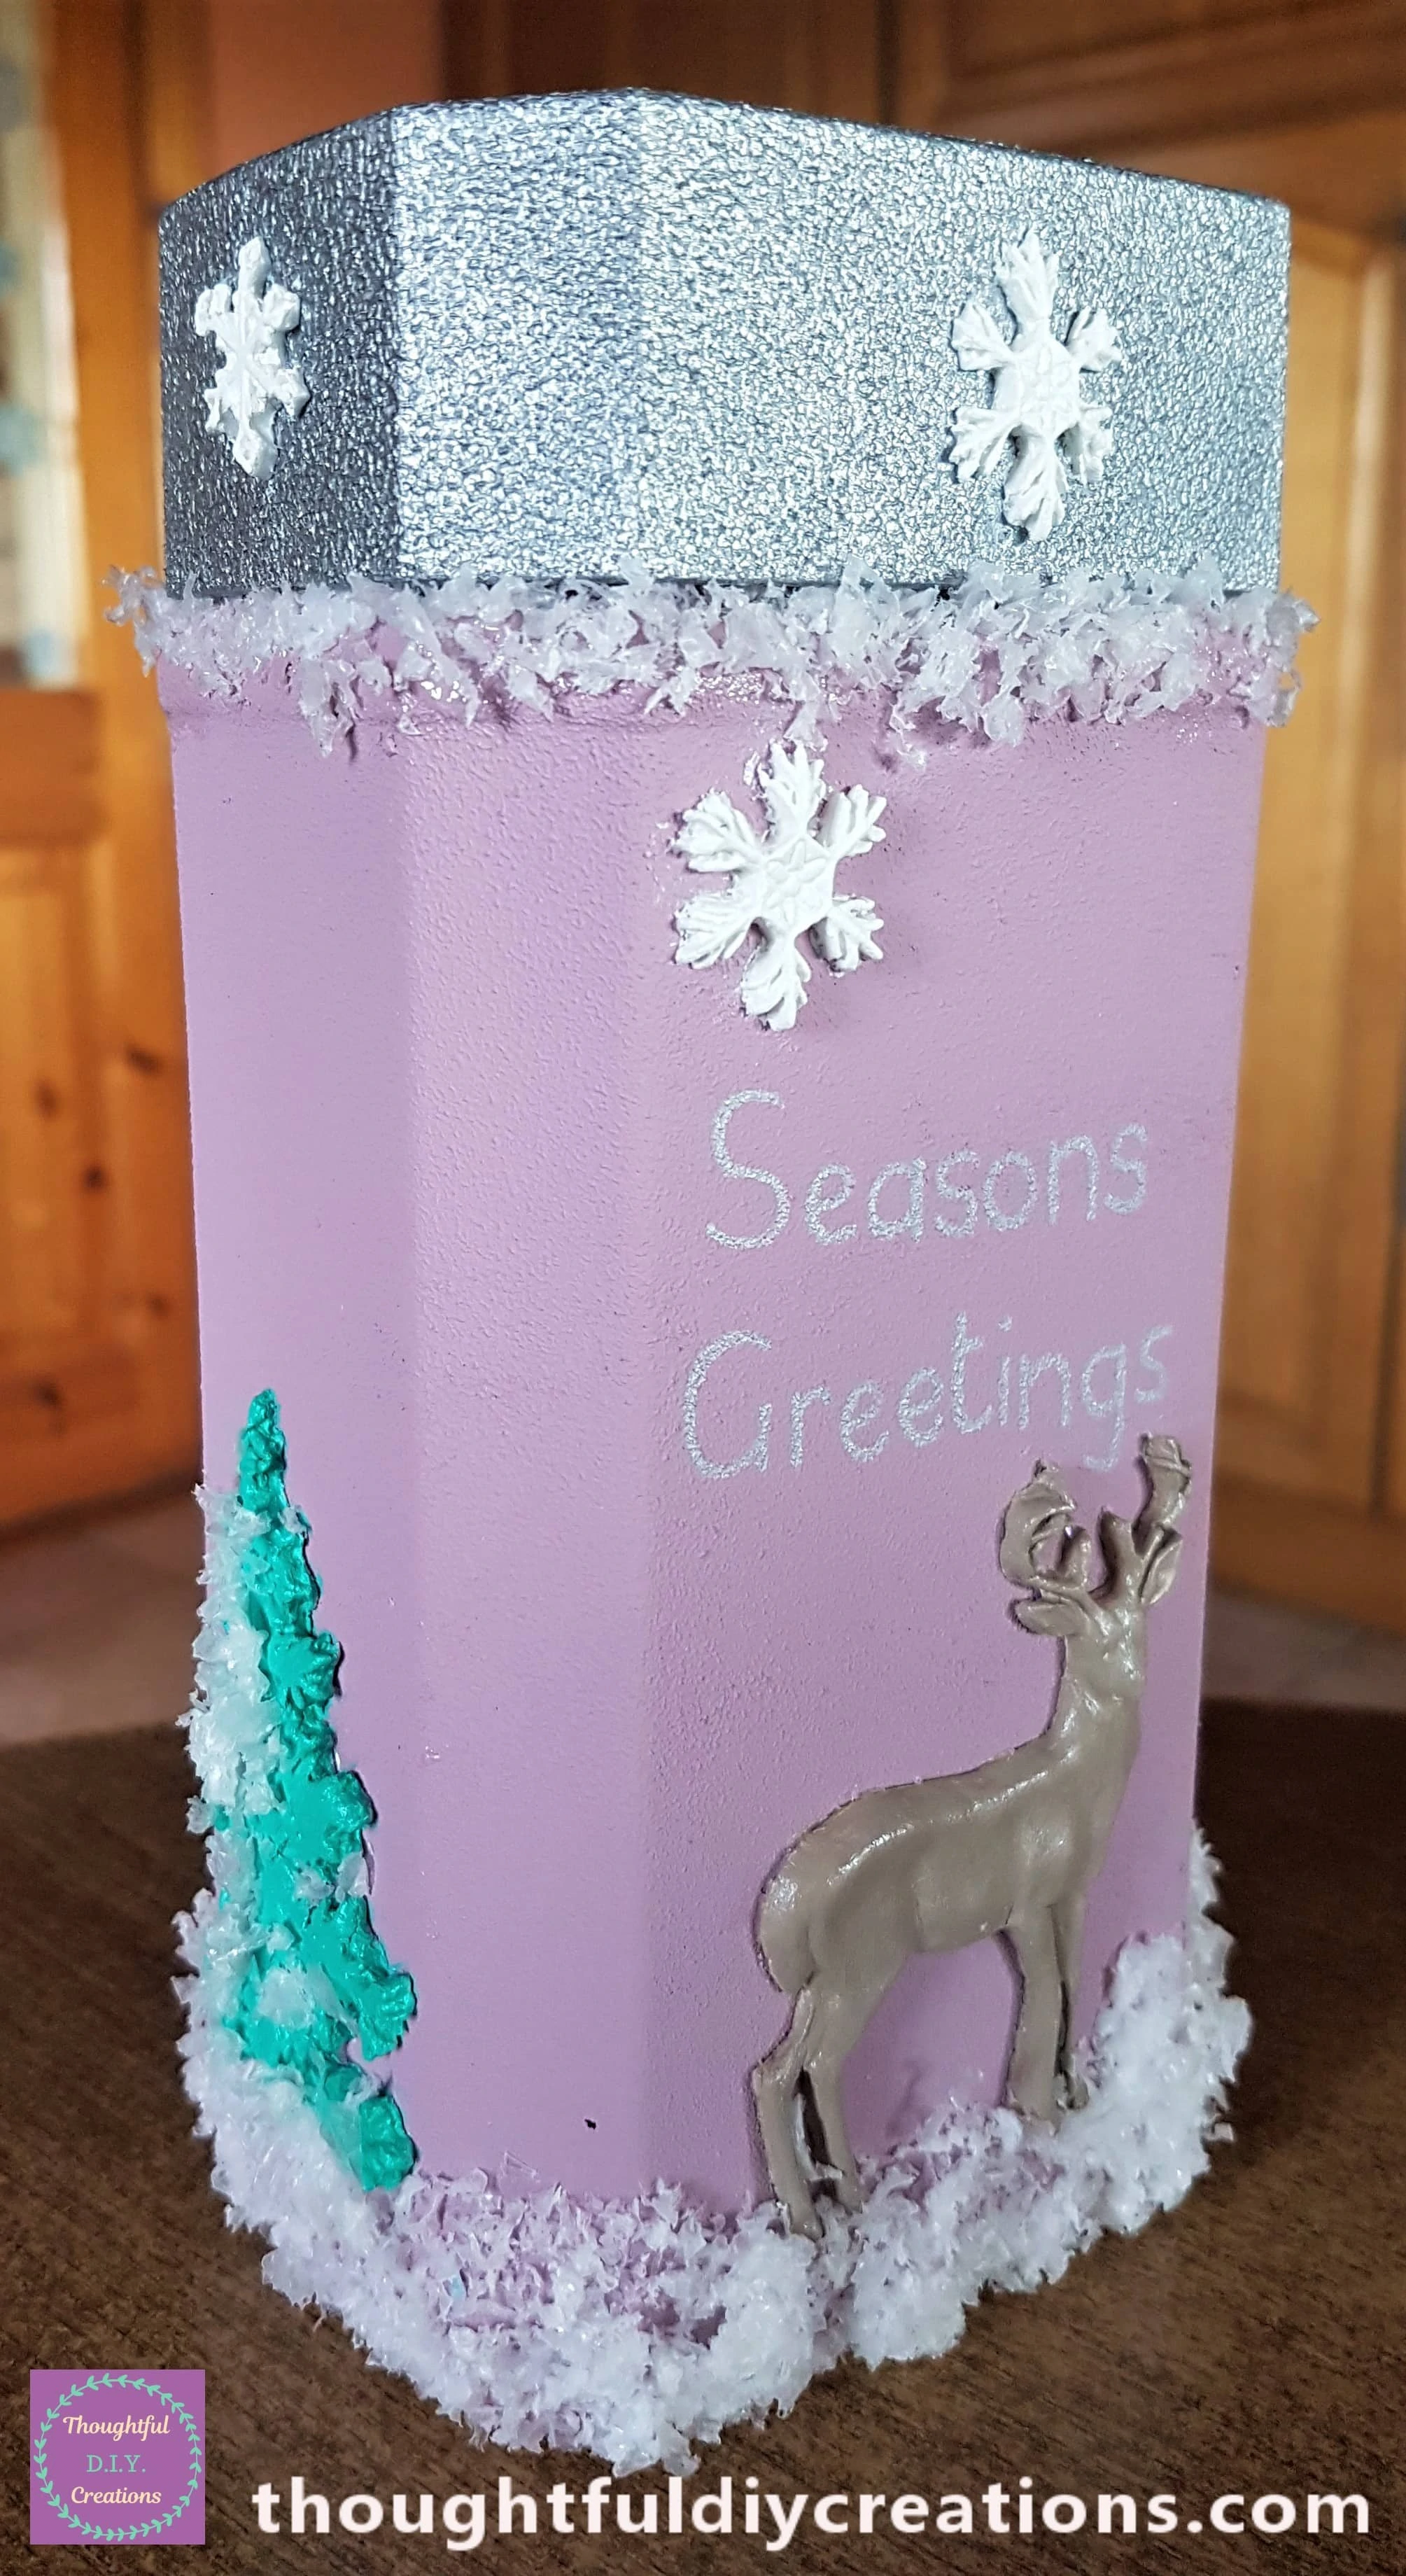
The Side of the Finished Craft.
A Closer look at the Tree.
The Final Image of the Jar.
Conclusion
I am really Pleased with how my Jar turned out. I love the soft texture of the Snow. I adore the Pink and Silver Paint and I think they Complement each other well. The Extra Light Air-Dry Clay was the best I have ever used; it doesn’t dry out your Hands or go hard too quickly, it is so easy to soften and add to the Moulds. I would definitely recommend it to Everyone, it’s perfect for Beginners as you can’t go wrong with it.
I love the Christmas Moulds, I thought at first they looked small but when I added them to the Jar they were the perfect Size and it’s a big Jar. They are so versatile as they could be added to a Wooden Christmas Eve Box or a Bottle Craft. You could add the Trees beside each other to look like a Forest. You could add a mixture of the Snowflakes in the Sky. There are so many Options with how you can Paint or Display them.
Here is another Air-Dry Clay and Mould Craft I have made previously; Moon and Stars Jar.
I hope you enjoyed this Weeks Tutorial and maybe learned something New. Let me know if you give this type of Craft a try; I’d love to read what you made and how it went for you.
This is my Last Blog Post for the Year. I will be back on the 13th of January. Merry Christmas Everyone and Wishing you all a Safe, Peaceful and Happy New Year. I hope all your Dreams and Wishes Come True.
Thank You so much for taking the time to Read my Blog.
Always Grateful,
T.D.C.
xoxox


-0 Comment-