Christmas Shadow Box Tutorial
Hello my Creative Friends,
I hope you are all Well. In Today’s Tutorial I will show you How I made a Christmas Shadow Box. Hopefully it provides you with some Creative Inspiration for your D.I.Y. Projects this Holiday Season.
Gift Box before Crafting
My Mam’s Friend gave me this Gift Box to use for my Crafts. I decided to give it a new lease of life and then give it back to her to Display as part of her Christmas Decor. The Cardboard Box slots out of the Velvet part.
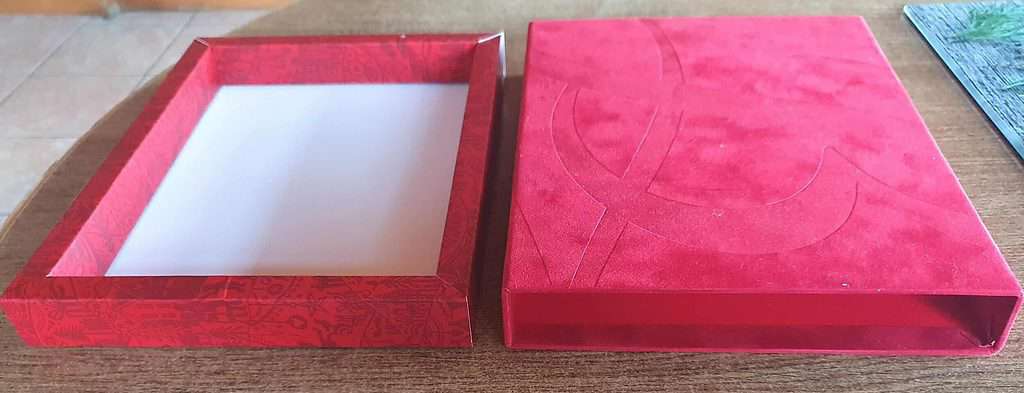
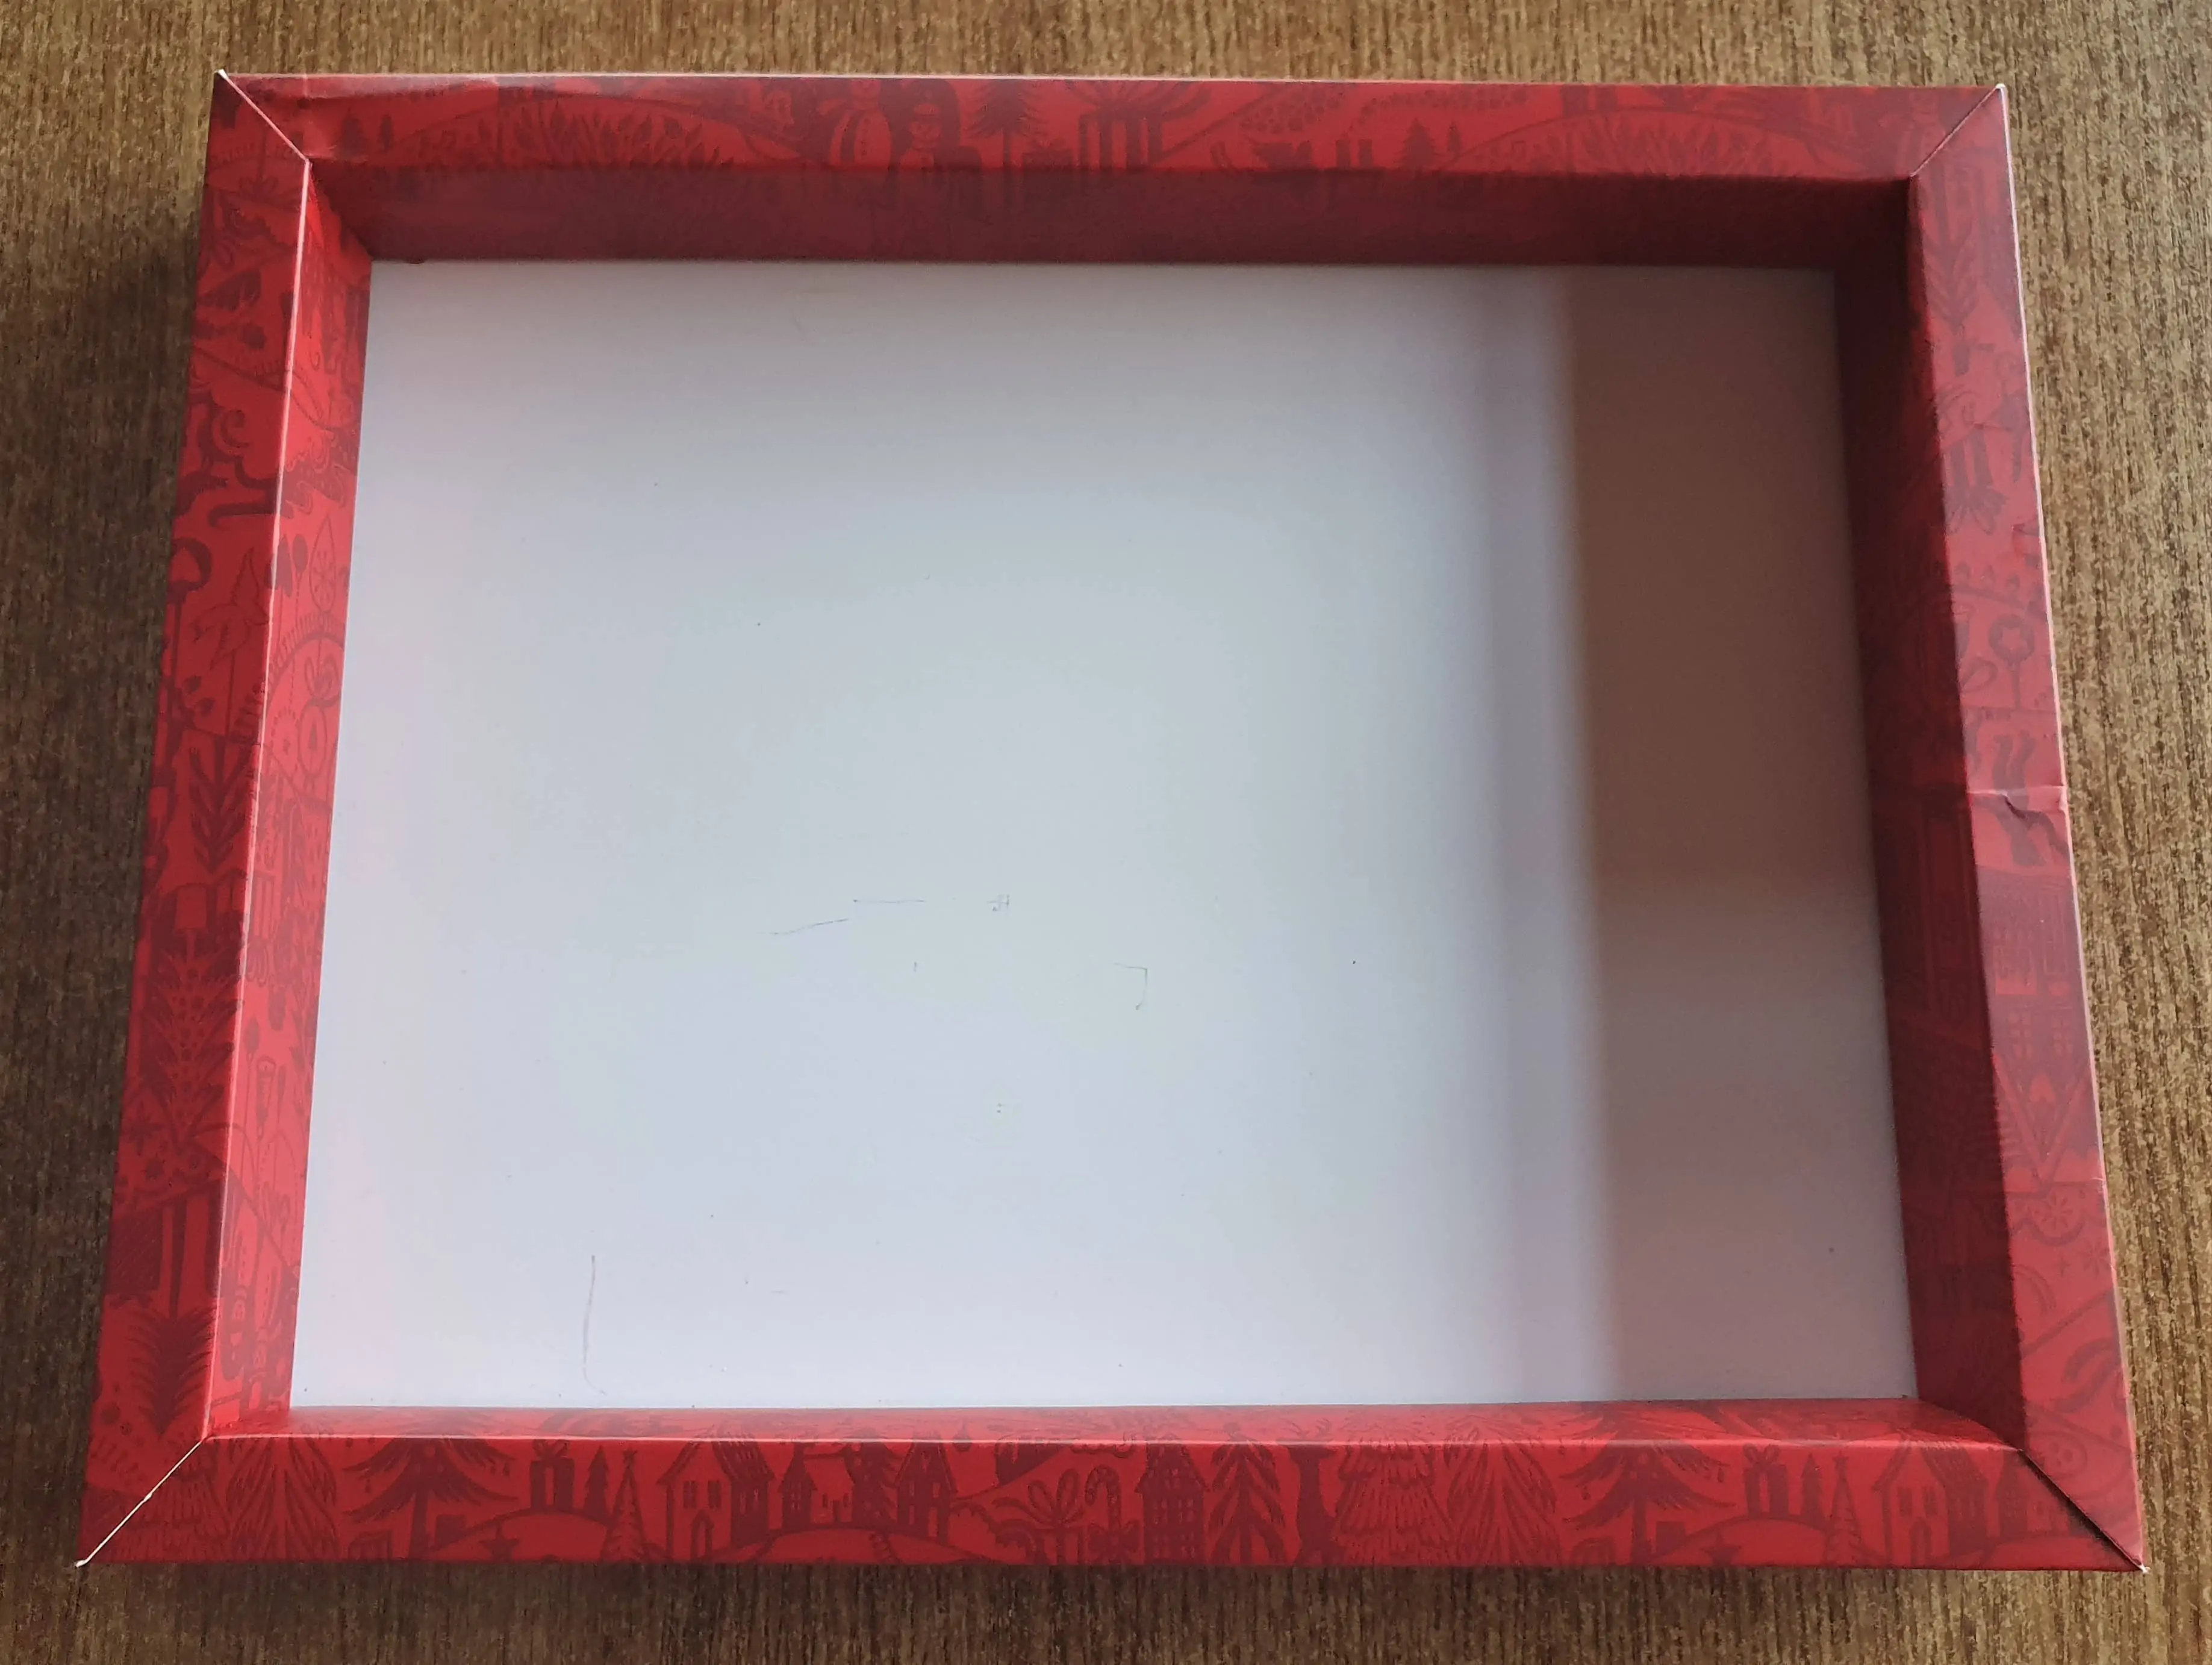
I will be using this Cardboard Box from the Set to make the Christmas Shadow Box.
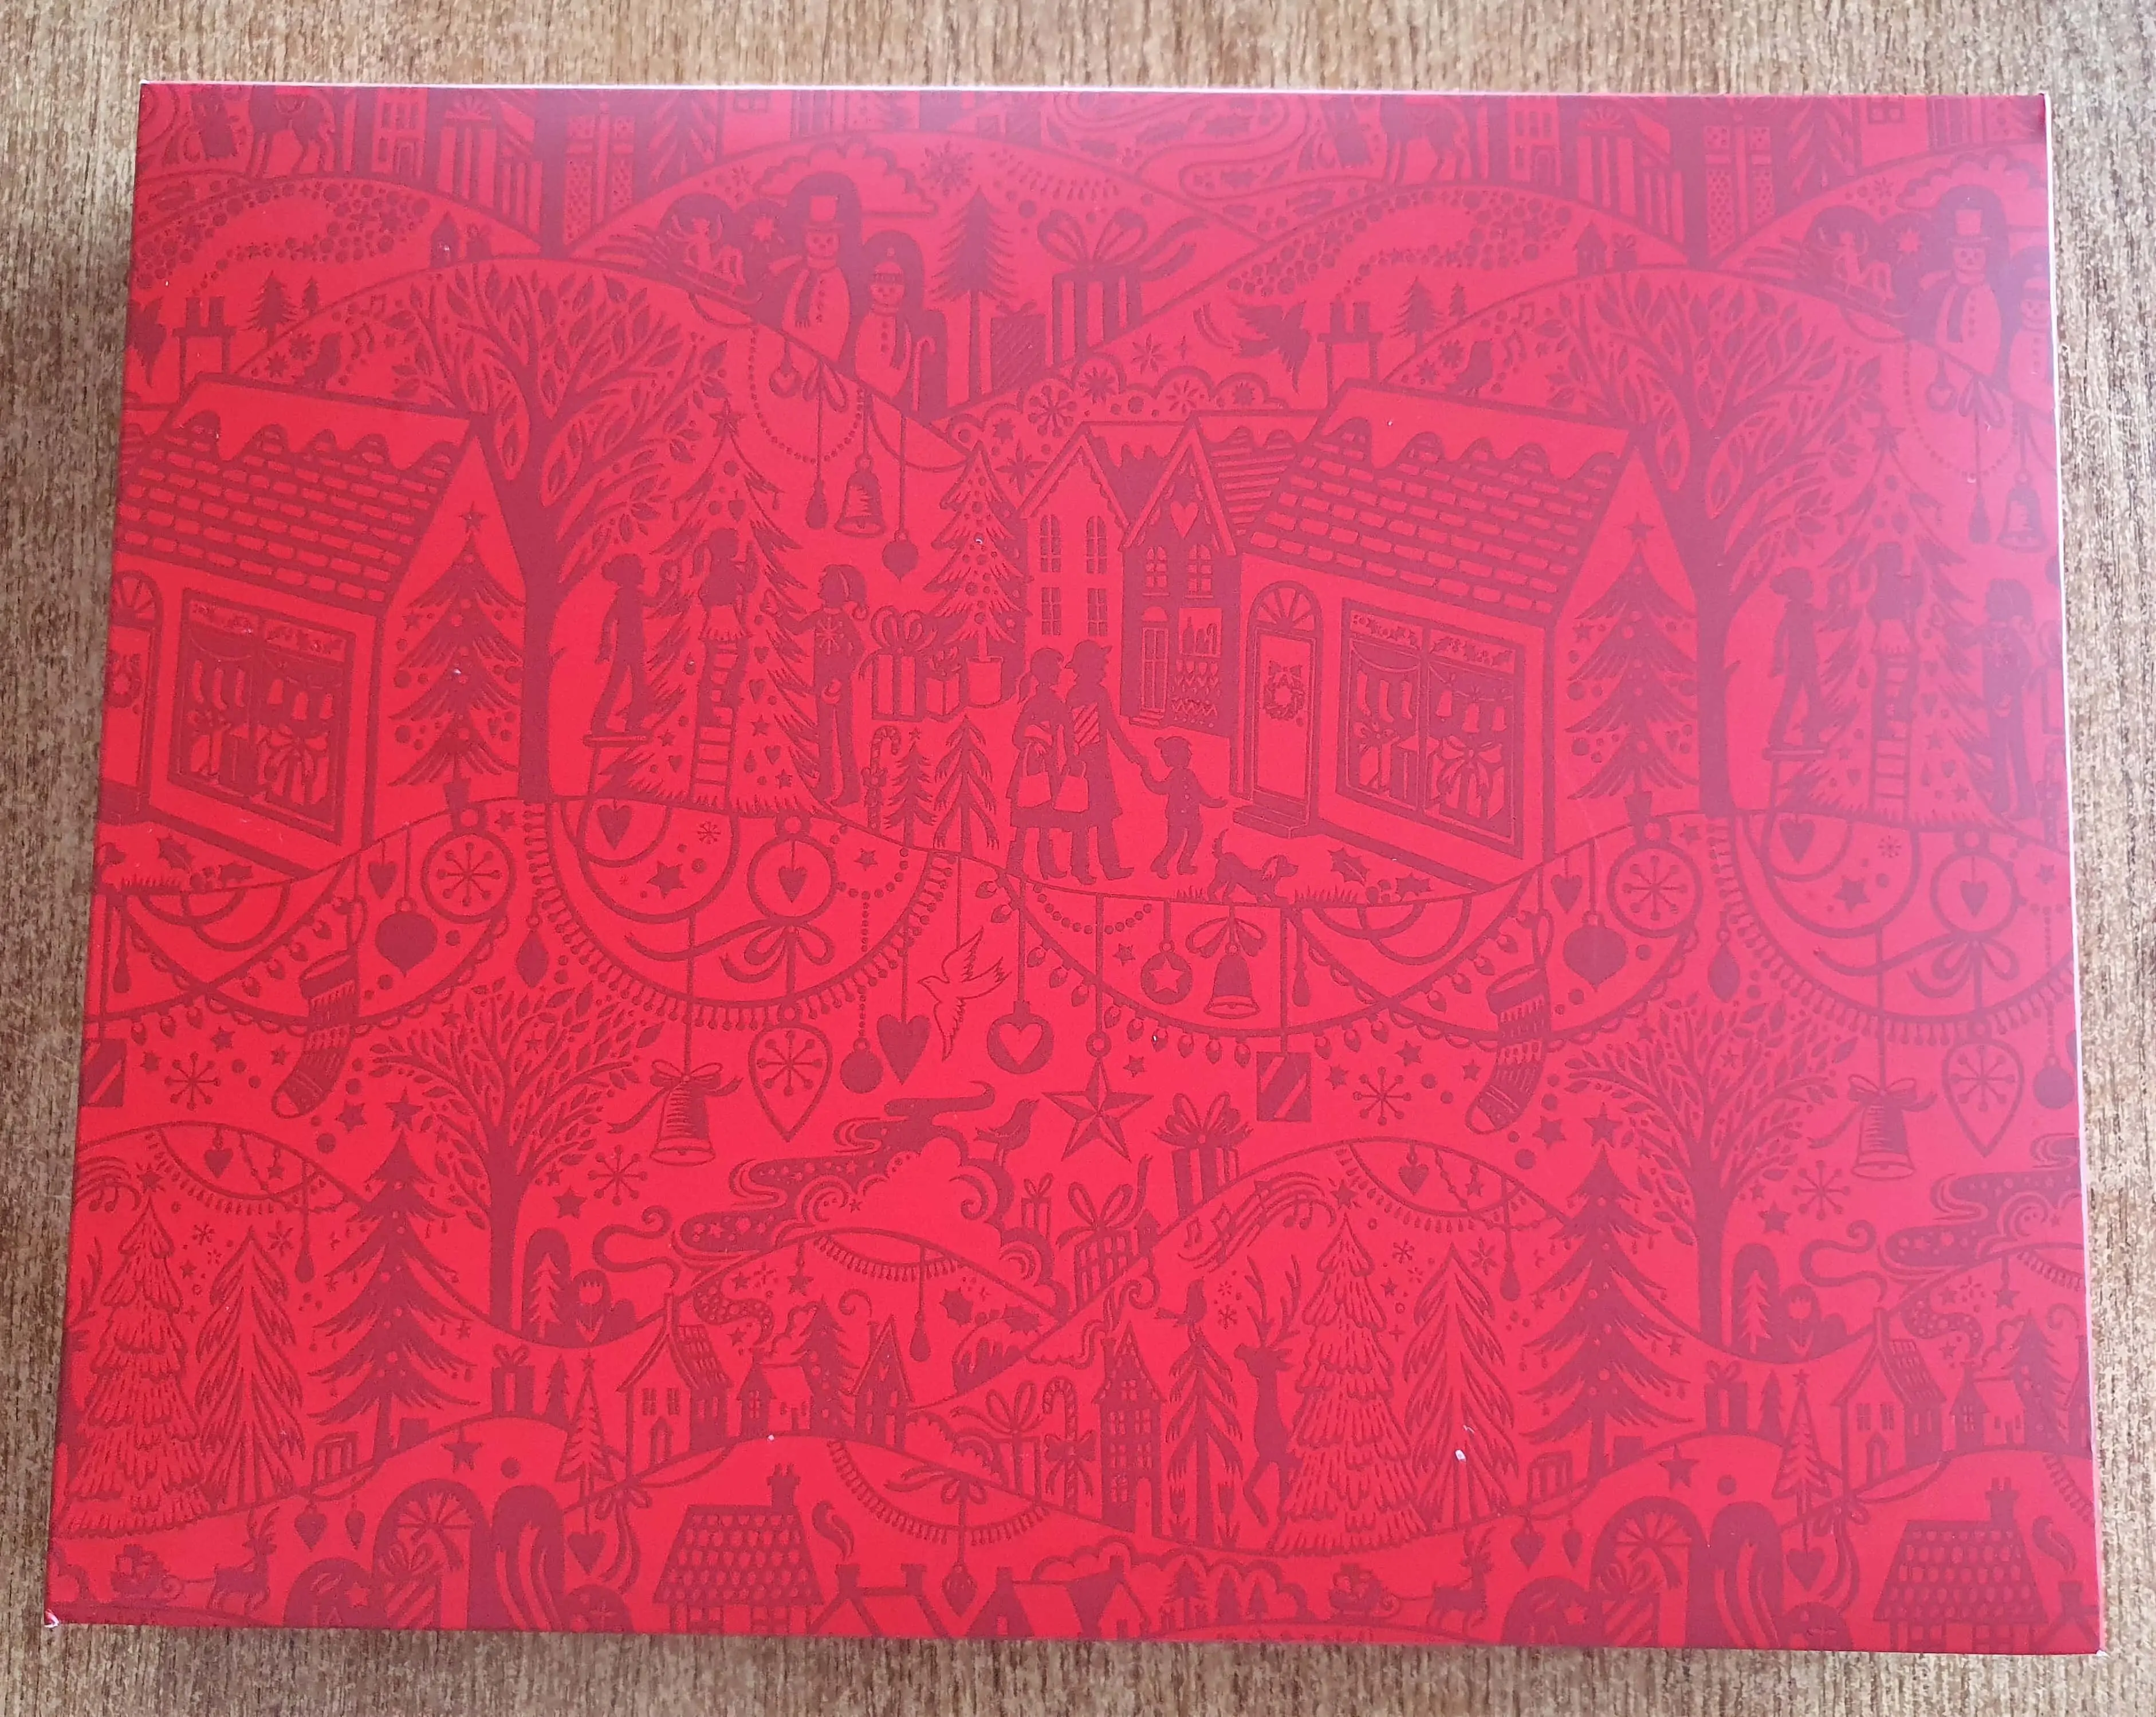
This is the Back of the Box; it has beautiful Christmas Images all over it. It would have been such a shame to throw it out.
Making the Background for the Christmas Shadow Box
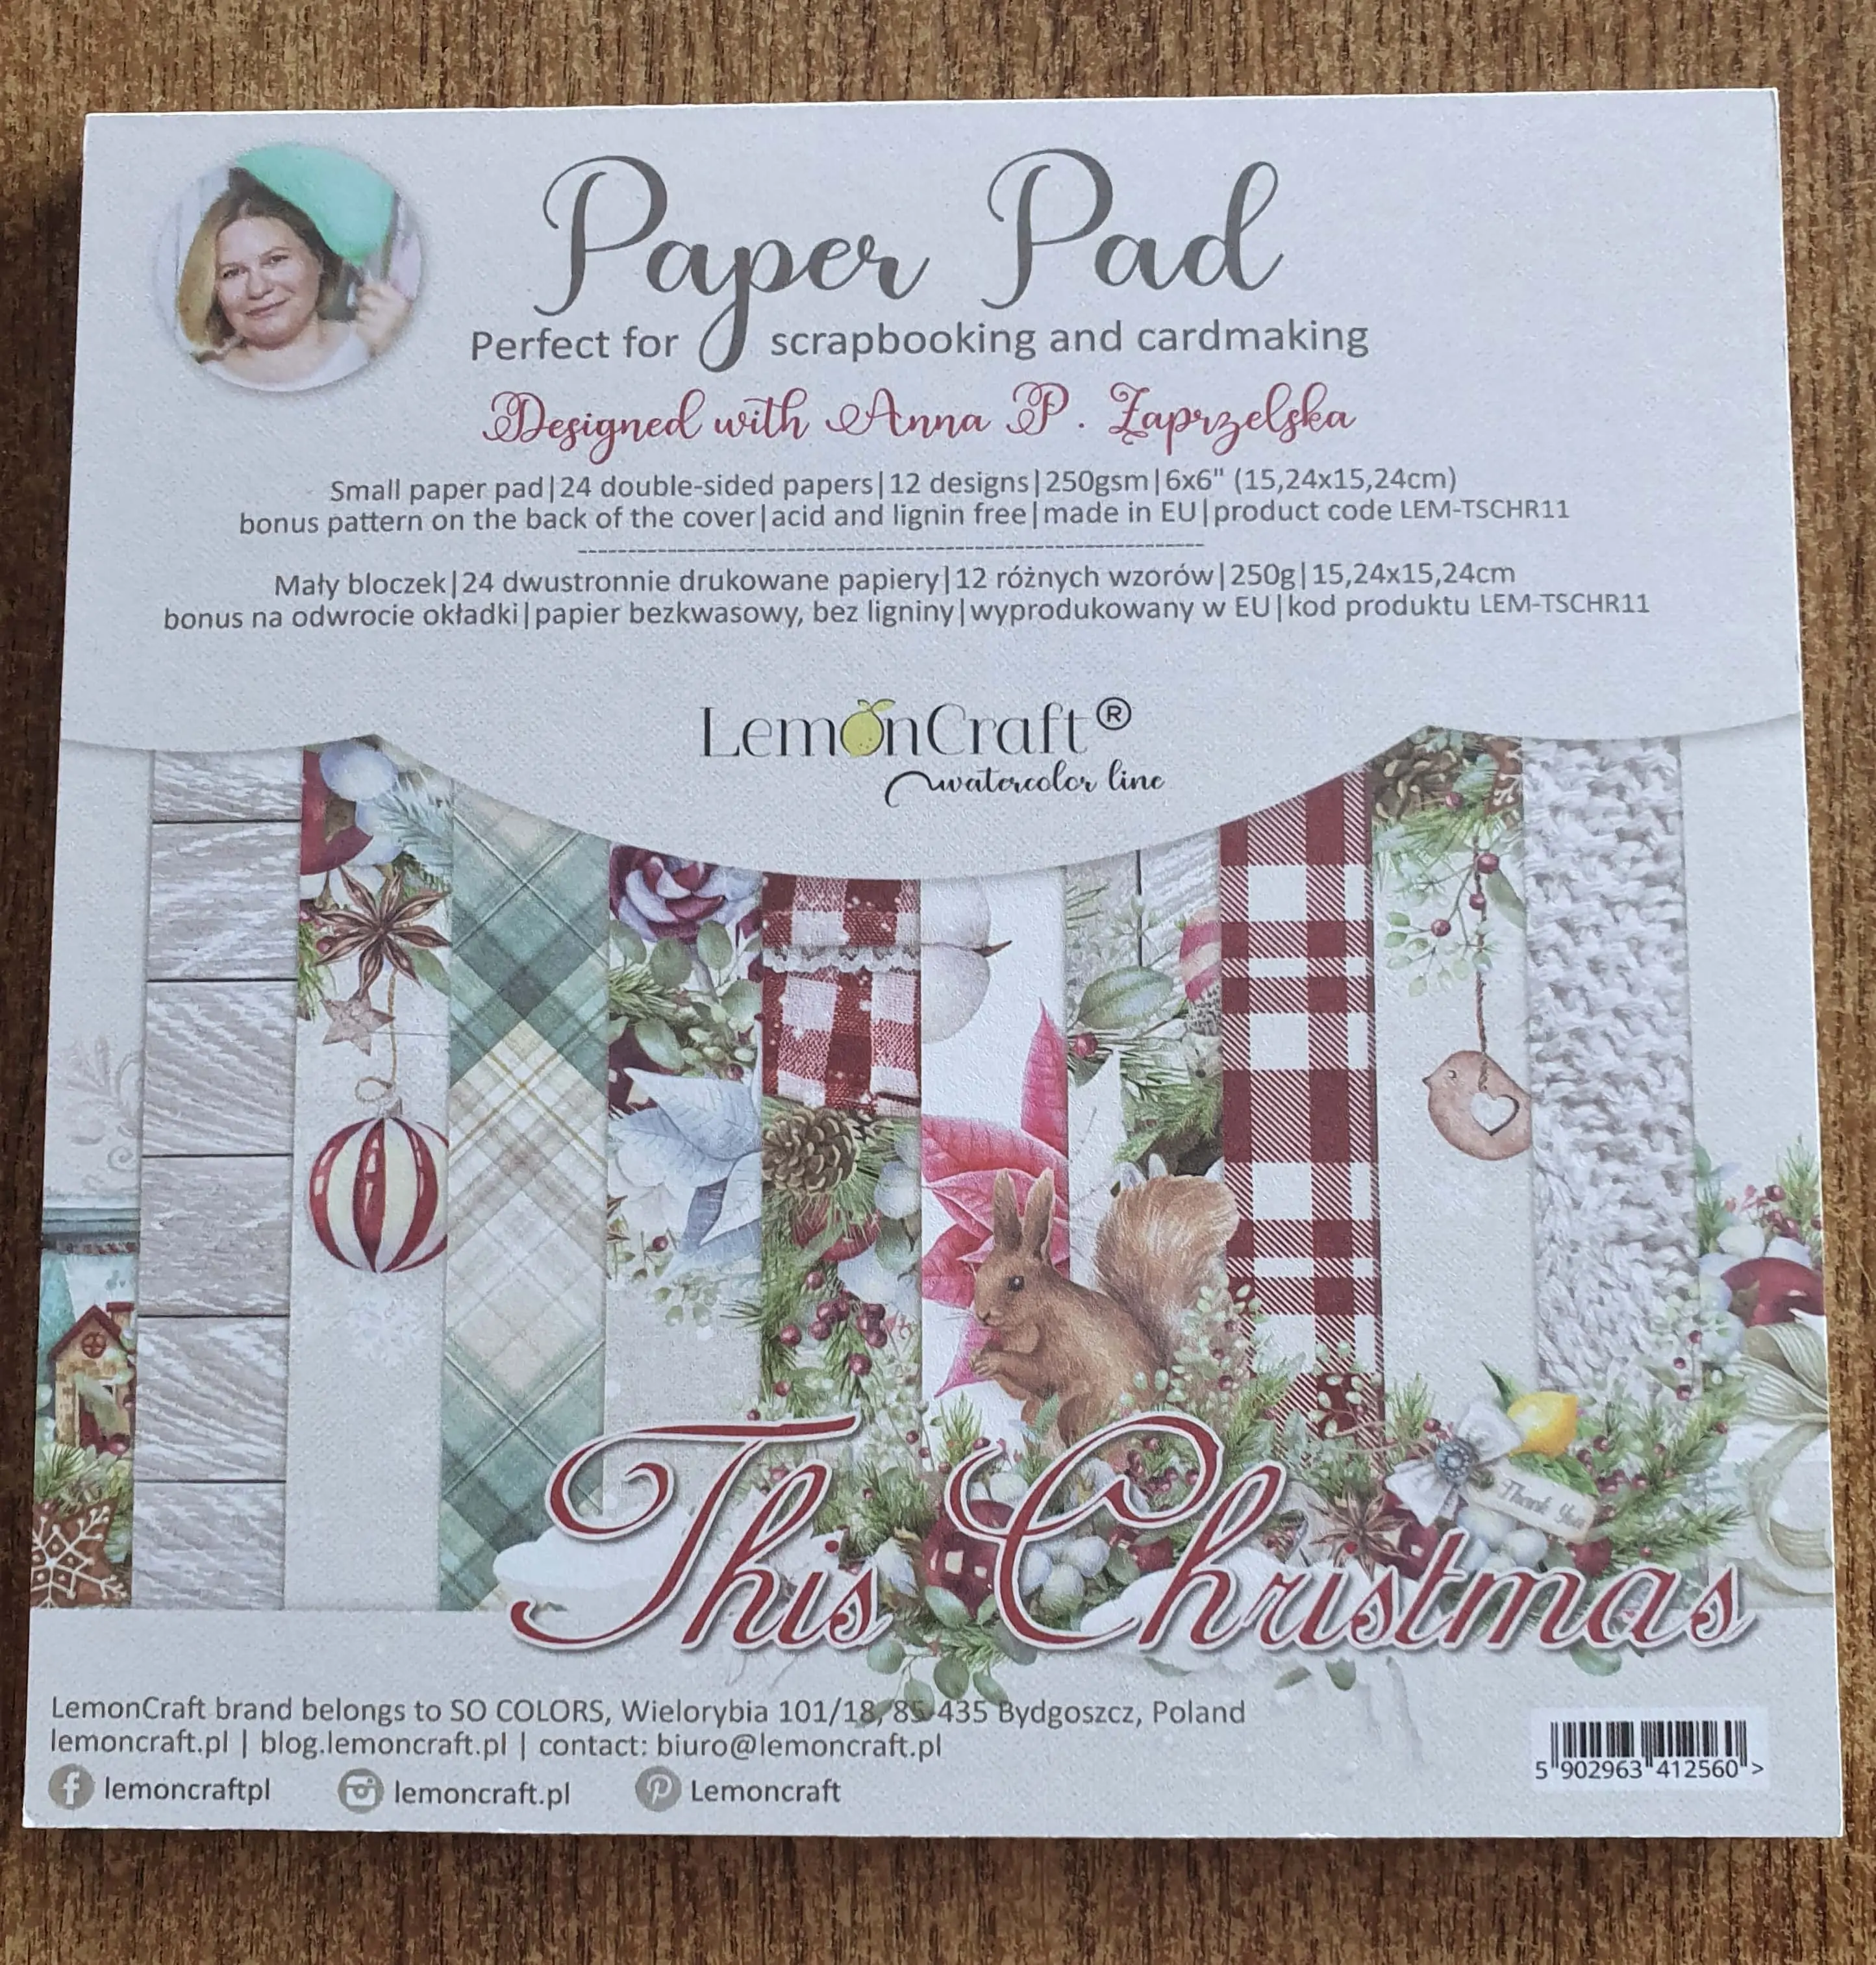
I bought a 6″ x 6″ Christmas Paper Pad recently.
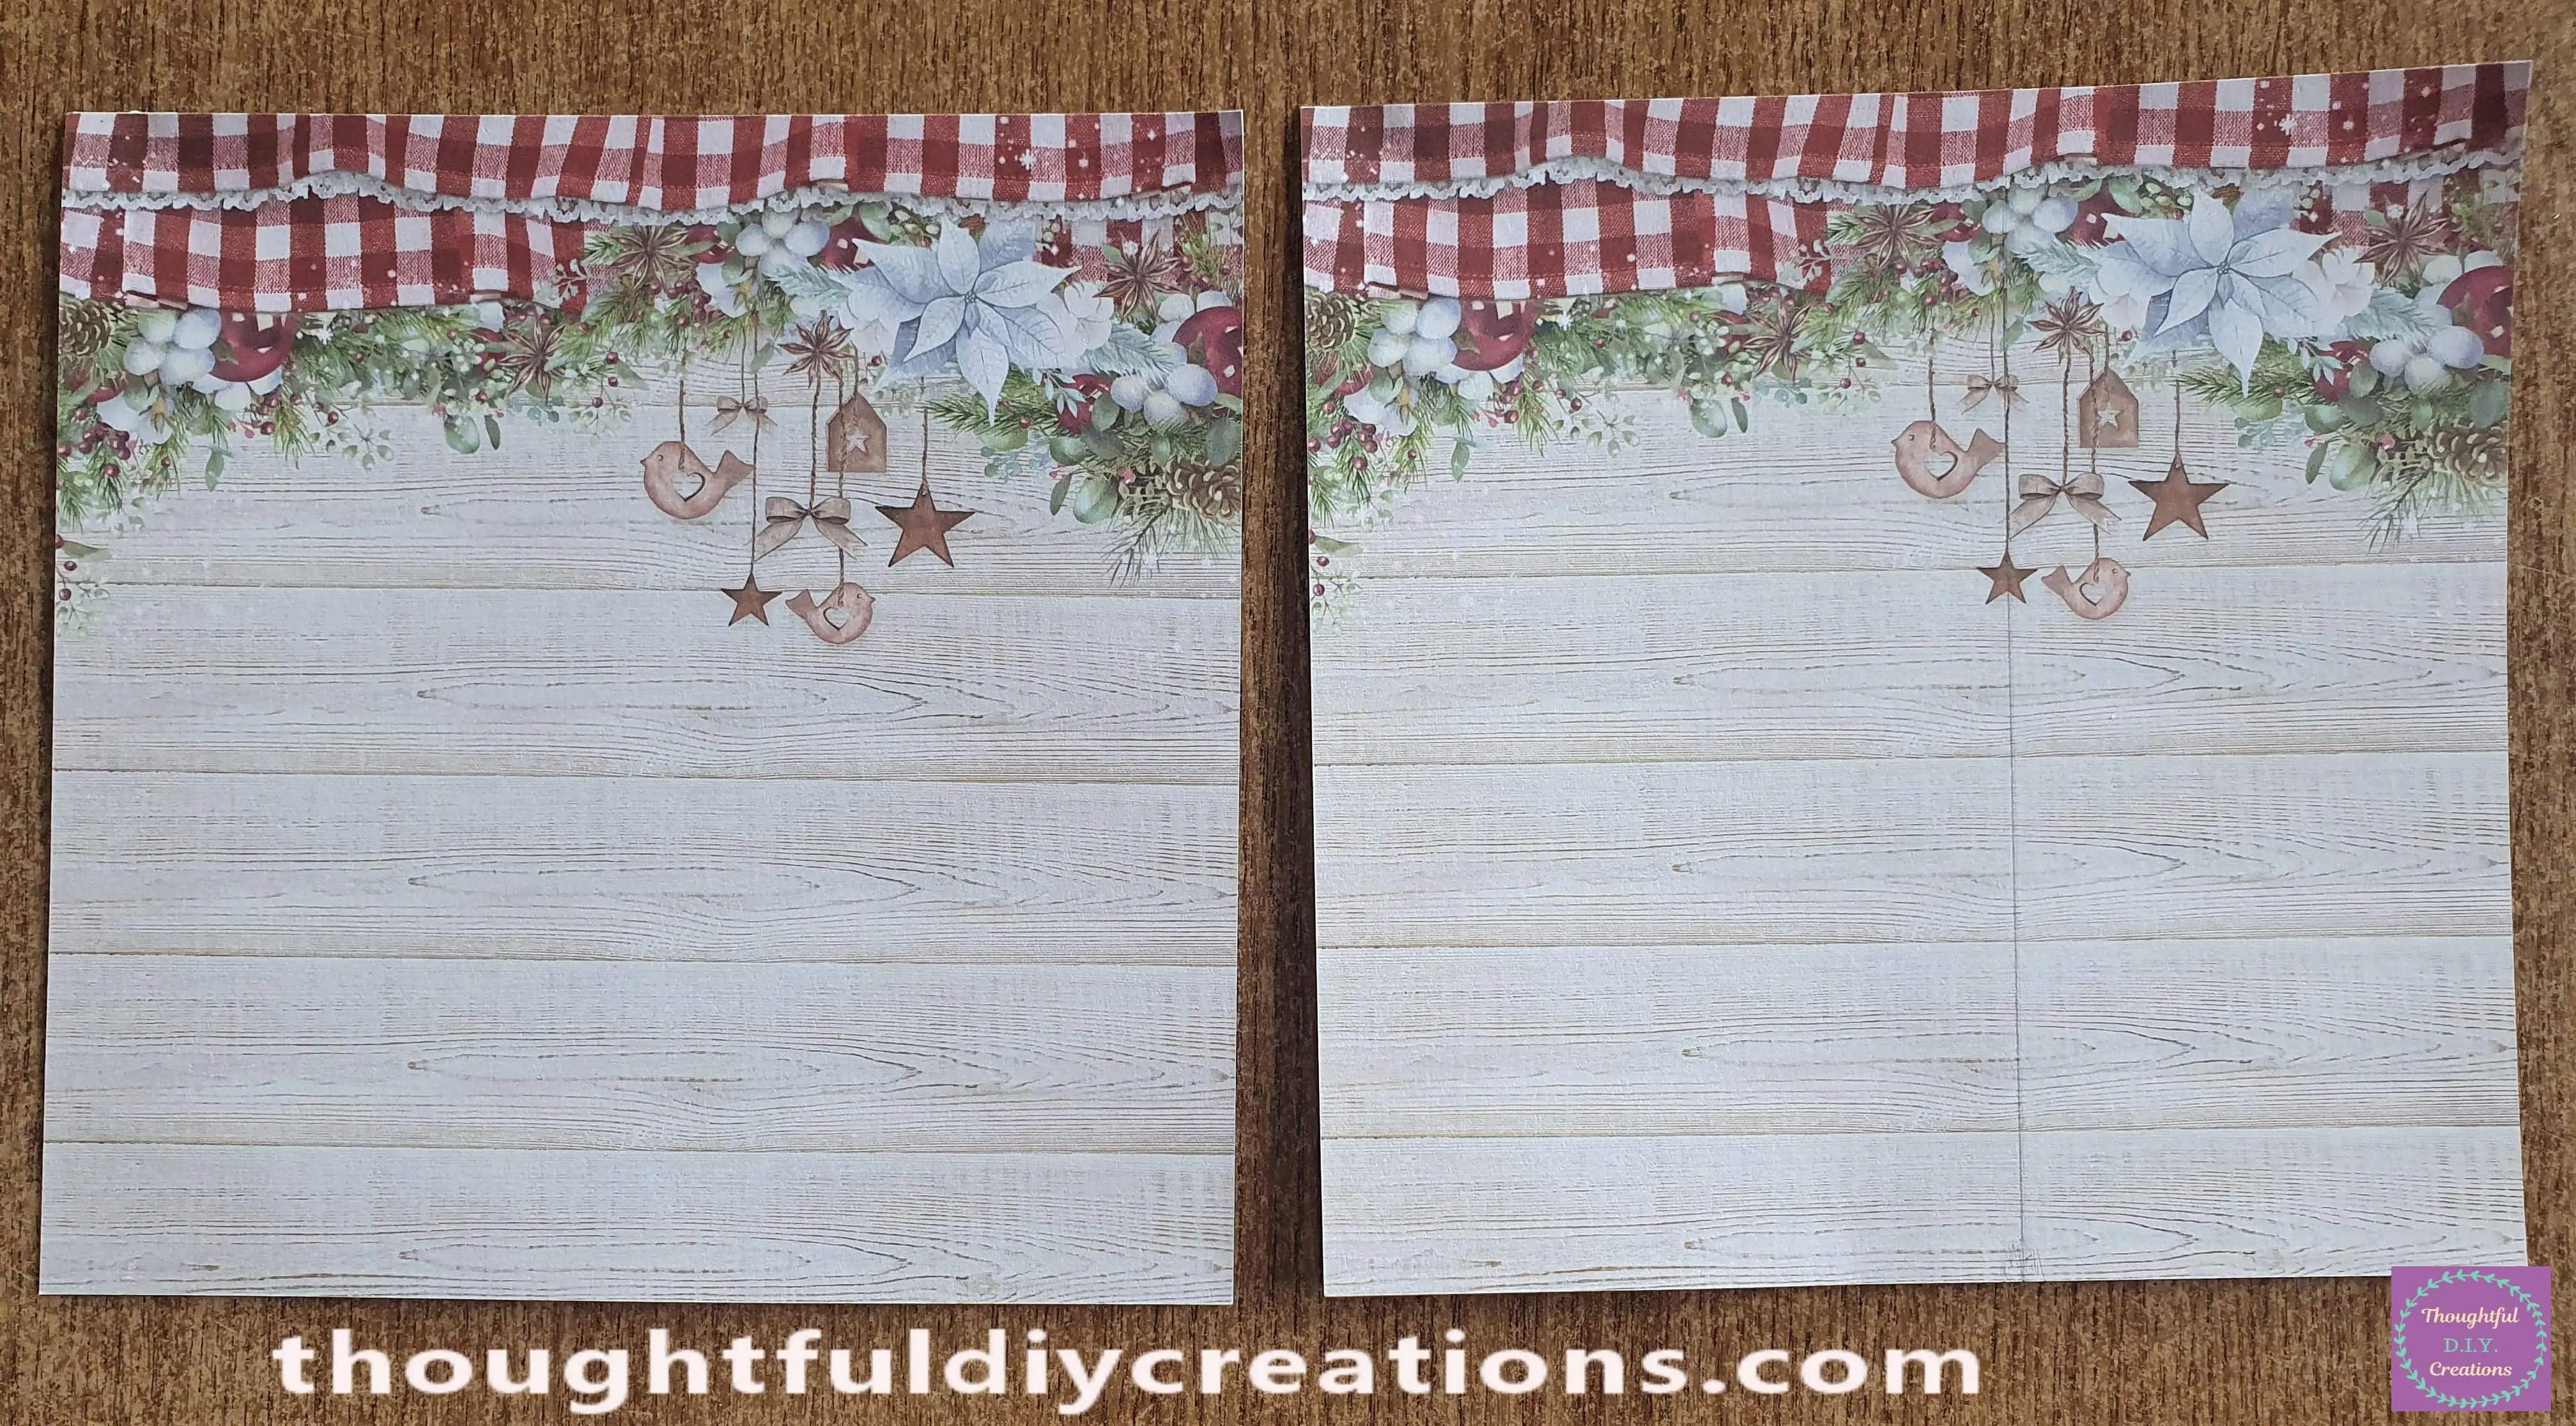
The Paper isn’t big enough for my Christmas Shadow Box so I will join 2 Pages together. Don’t worry you won’t be able to tell in the end.
I measured the 2 Pages inside the Shadow Box and made a mark on the second Page where it met the edge of the Frame. I got my Ruler and drew a Line down on the mark I had made on the Page with a Pencil.
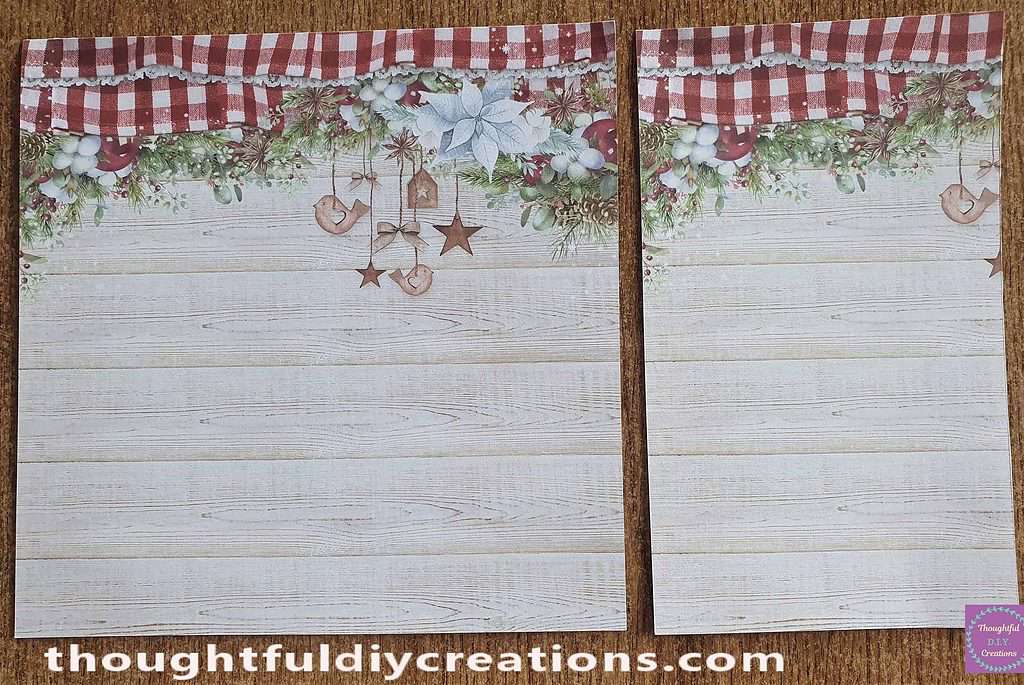
I Cut the second Page along the Line I just made. Here are the 2 Pages for the Christmas Shadow Box.
I put Strips of Double-Sided Tape along the Back of both Pages.
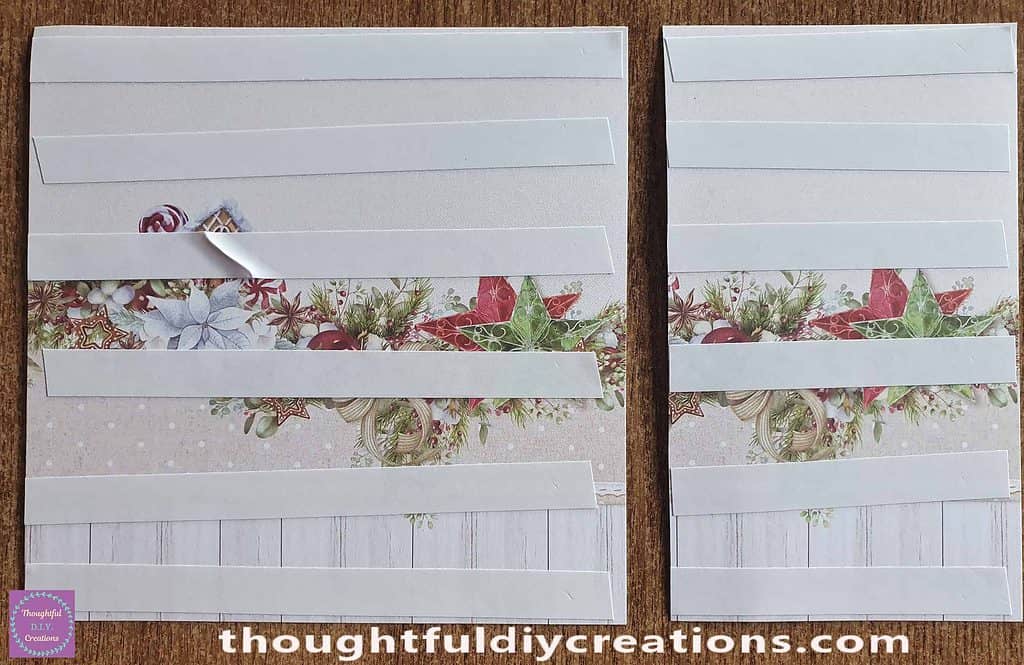
I removed the White Backing from the Strips of Double-Sided Tape. It is now Sticky on both Sides.
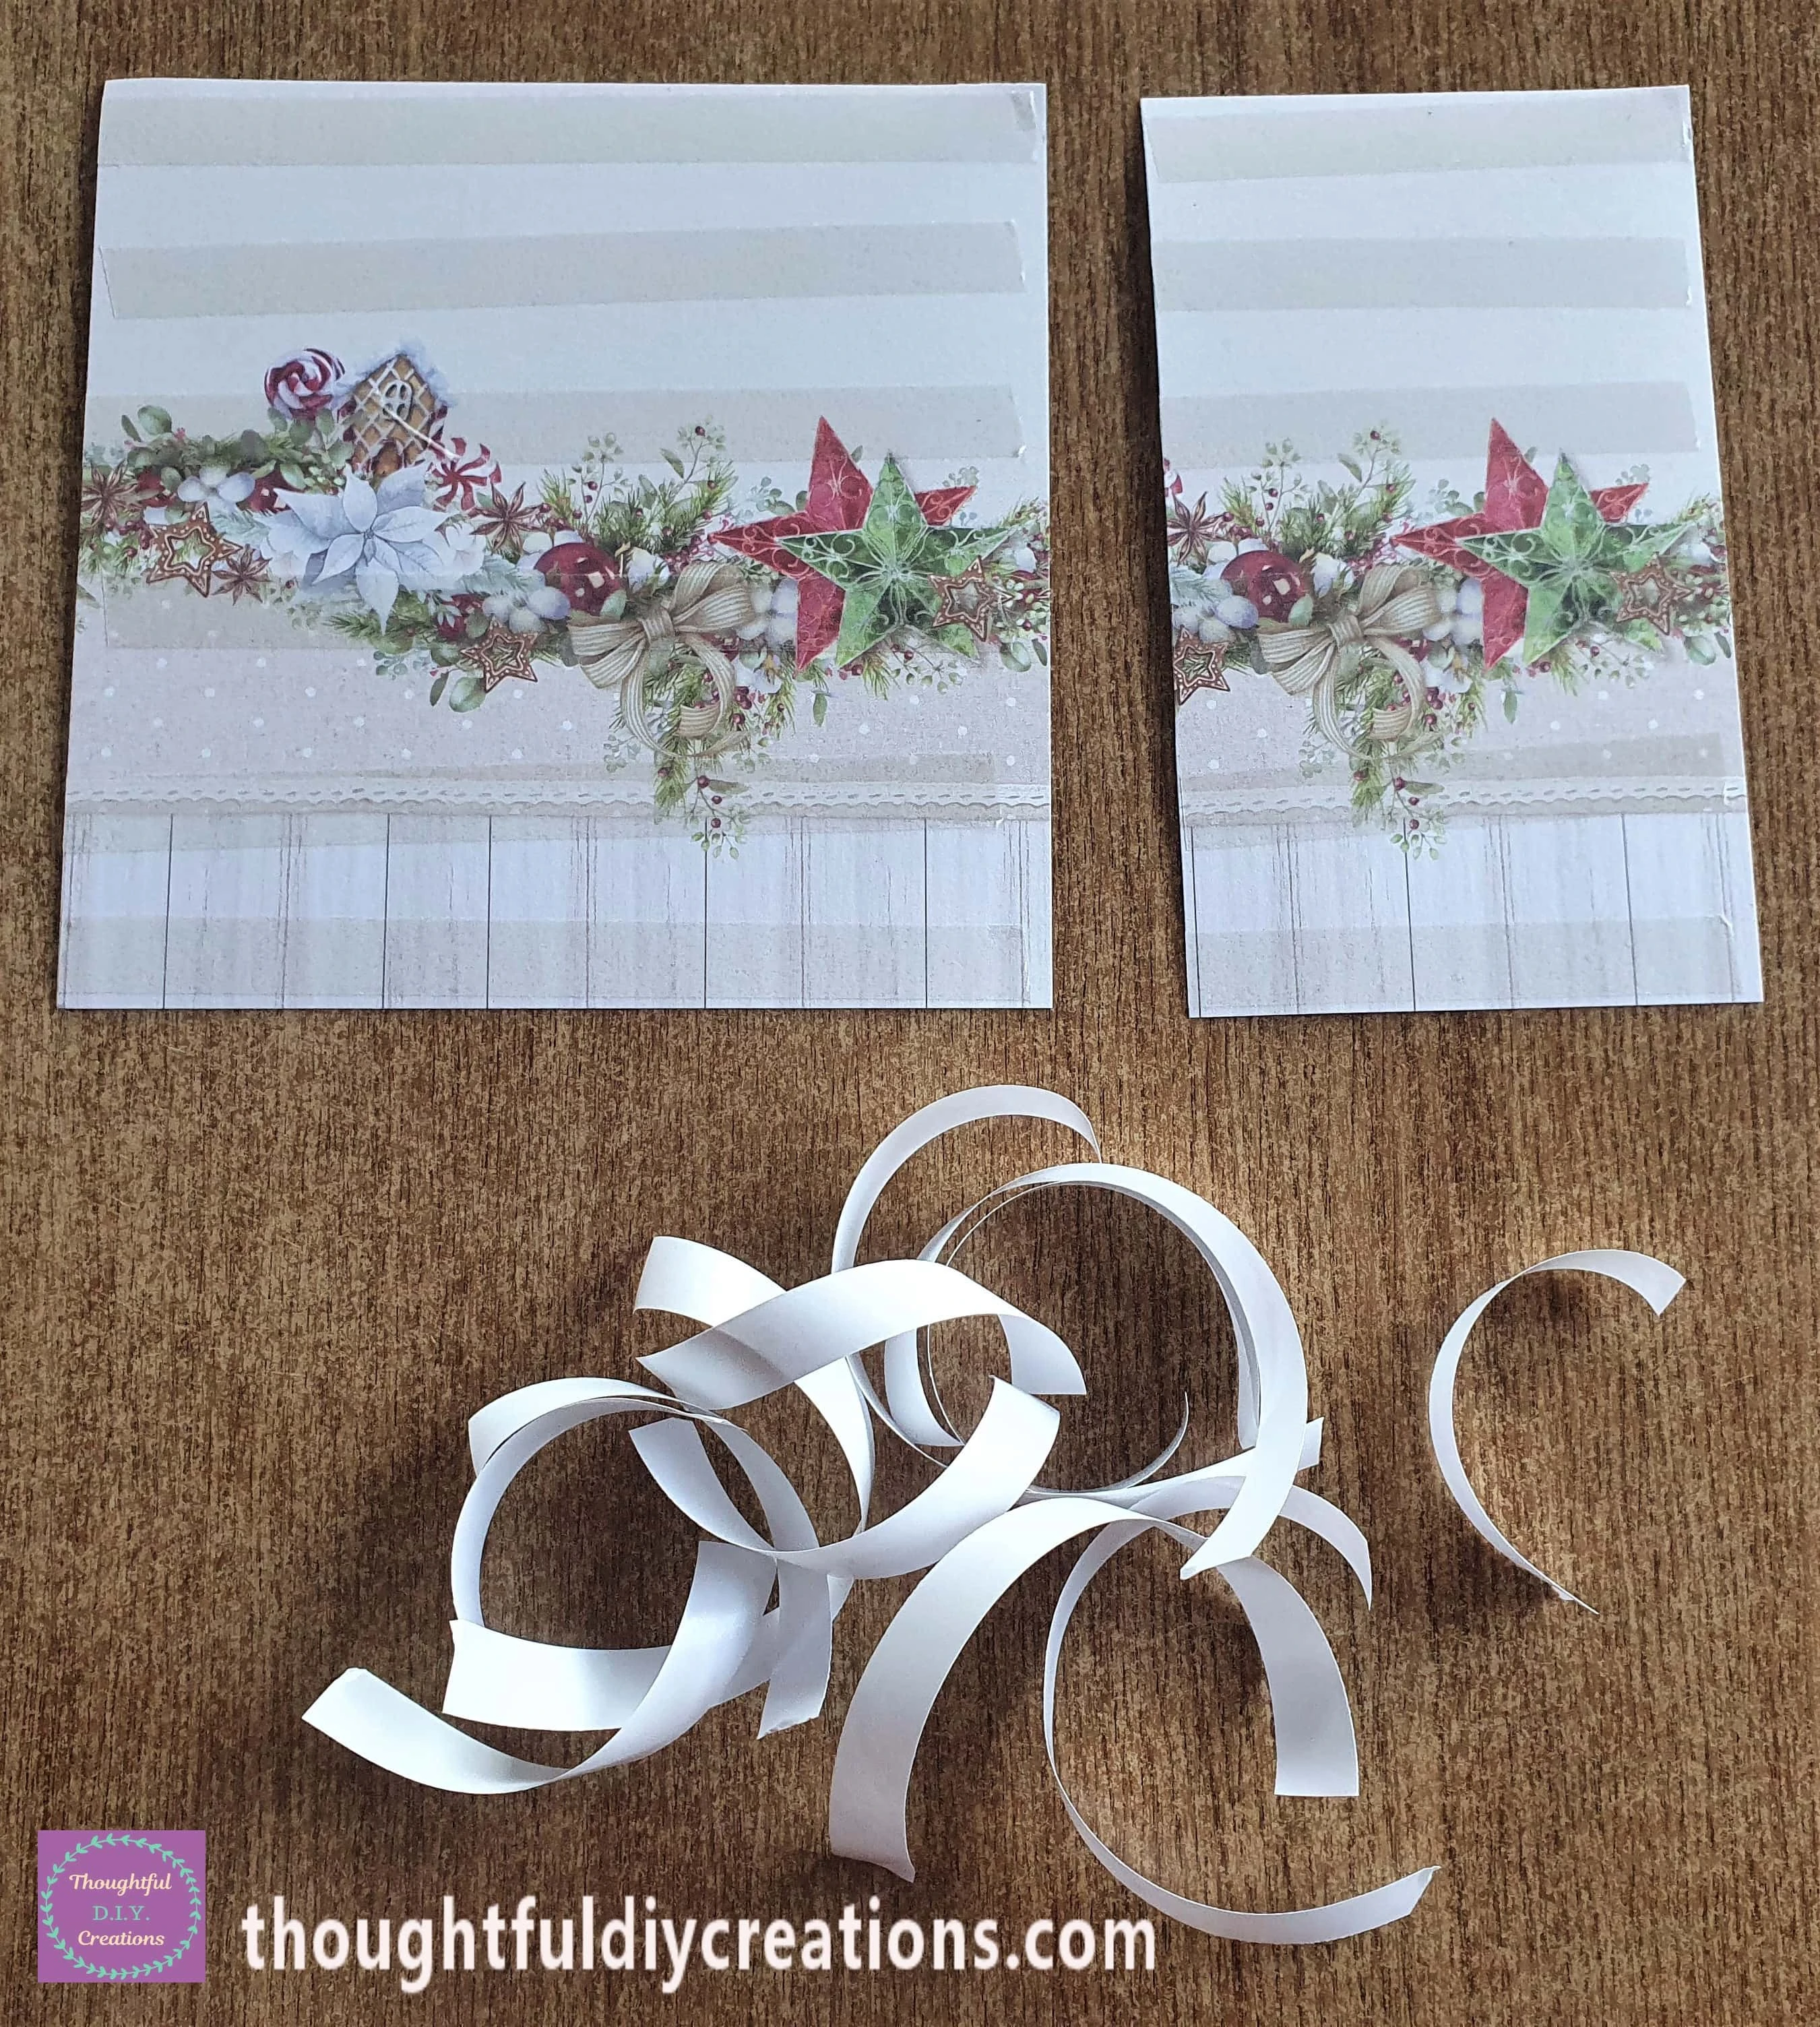
I attached the smaller Page to the right-hand Side of the Christmas Shadow Box. This is a Side angle with the Page attached.
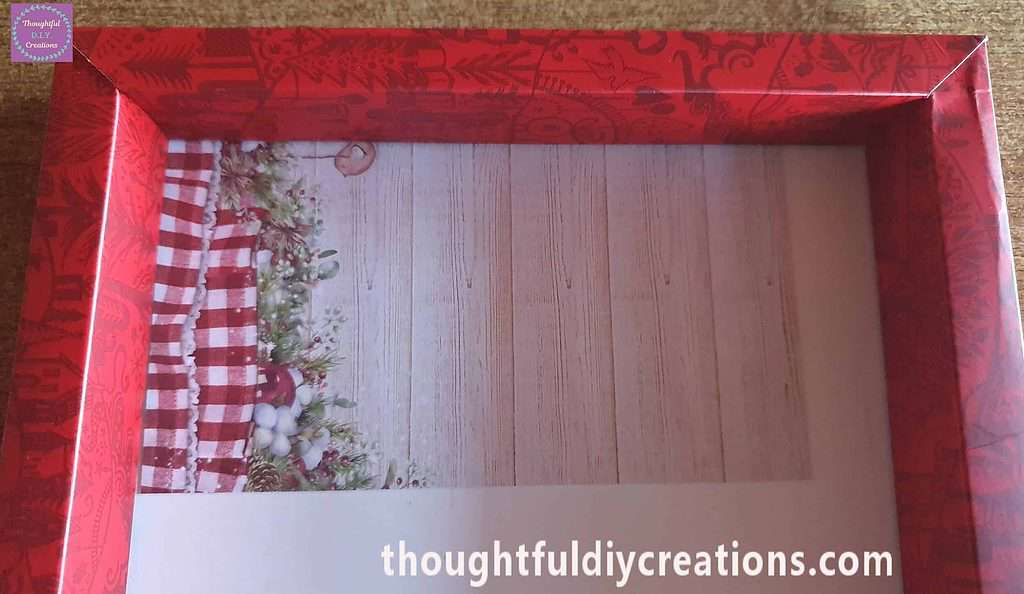
I attached the Second Page inside the Frame.
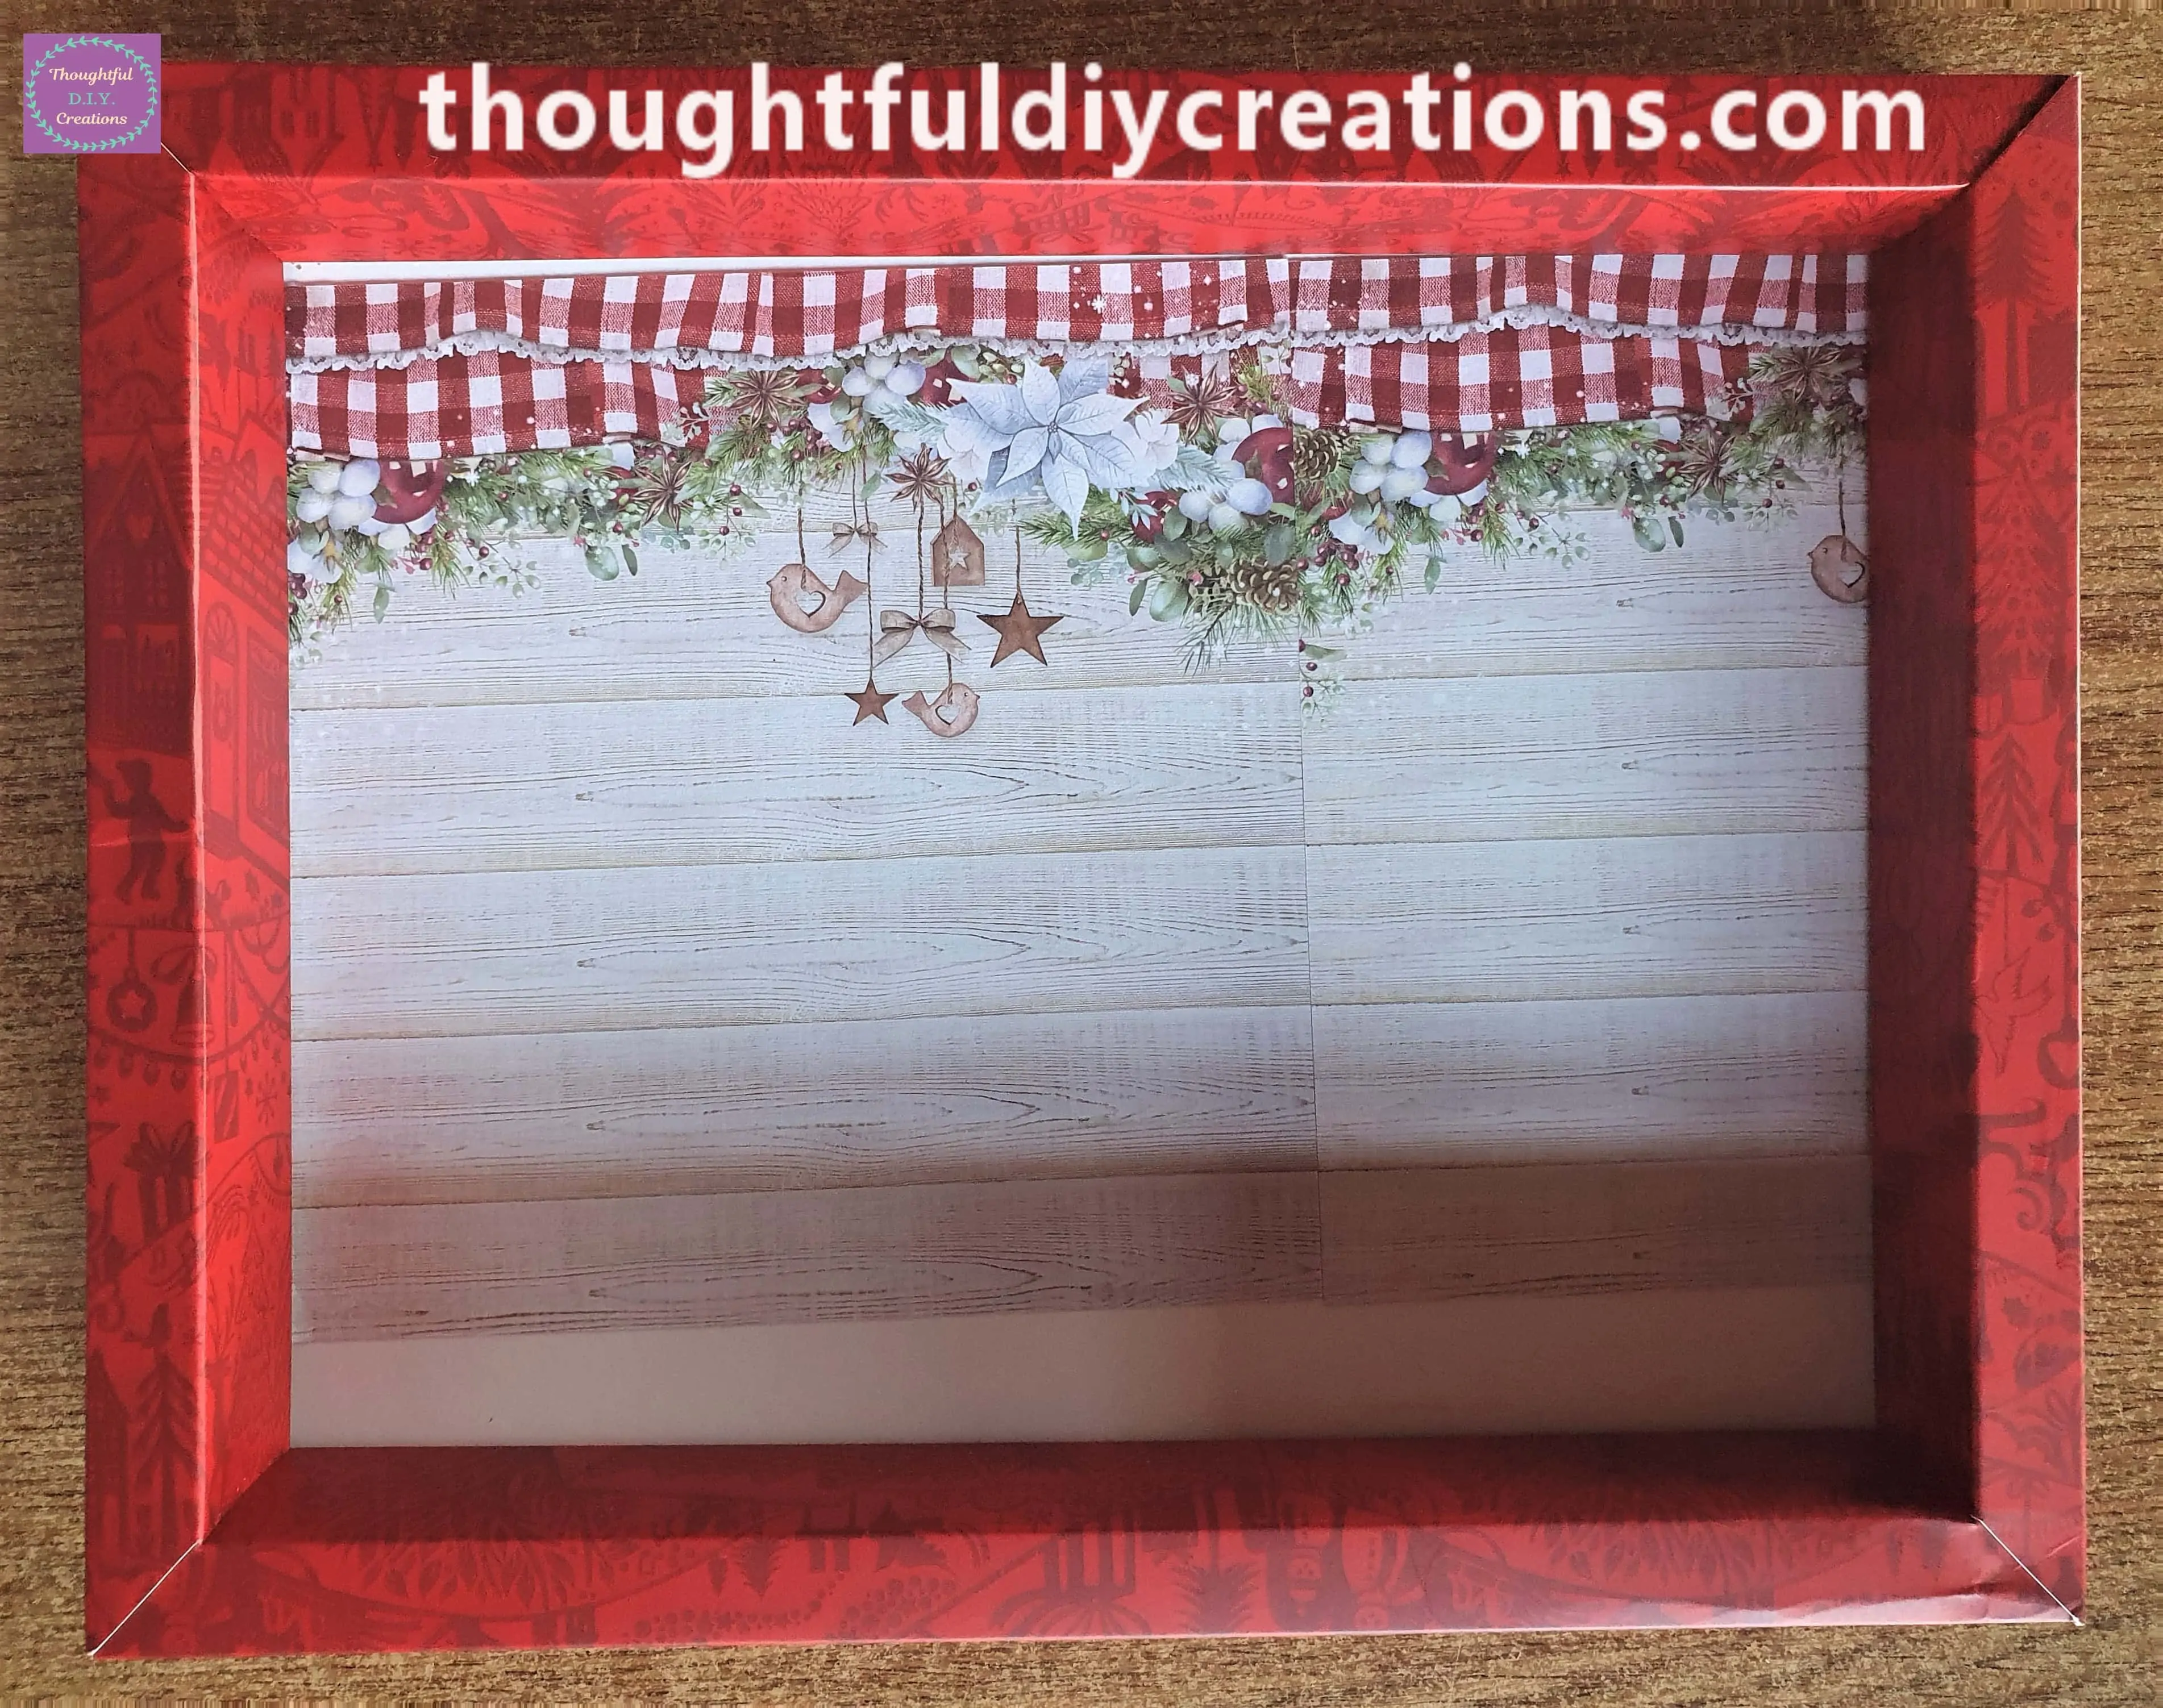
A Closer look at the 2 Pages inside the Frame.
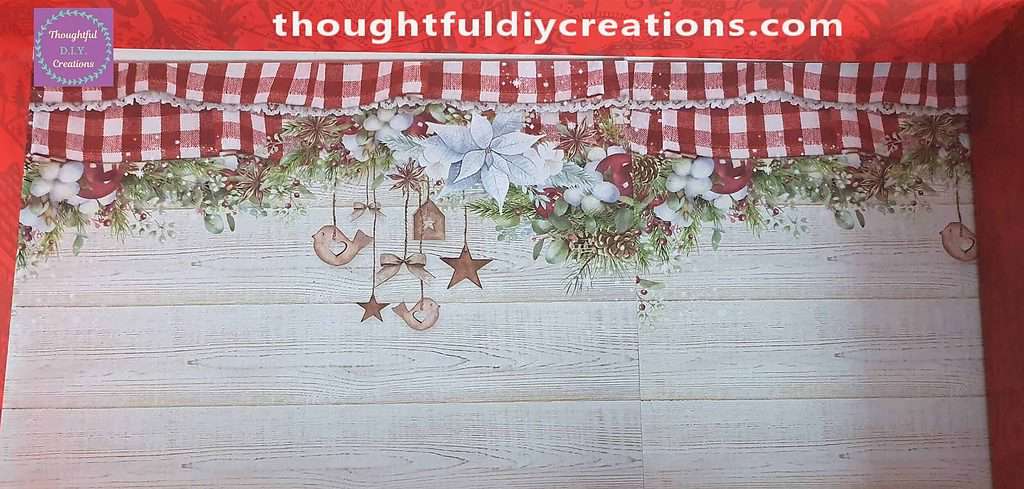
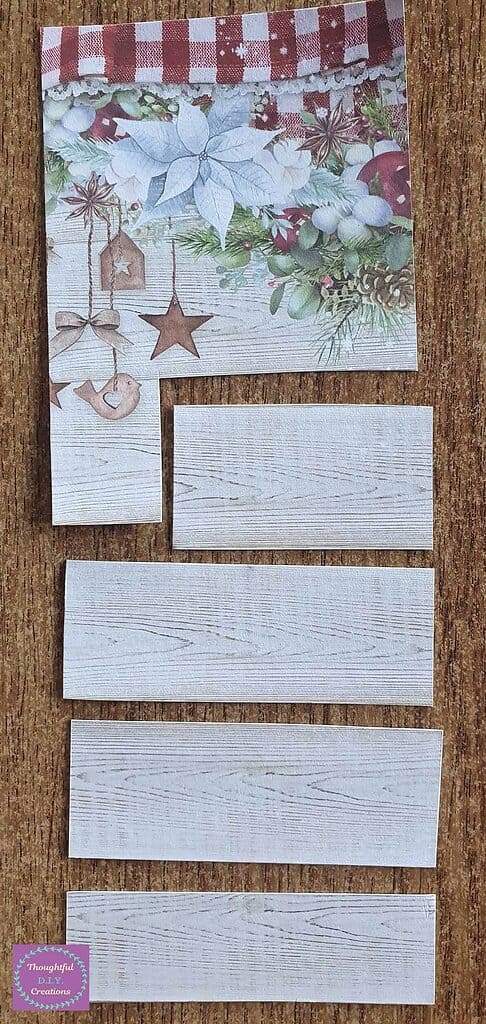
I Cut out Strips of the Wood Pattern from the left over Page I had Cut to fit the Frame.
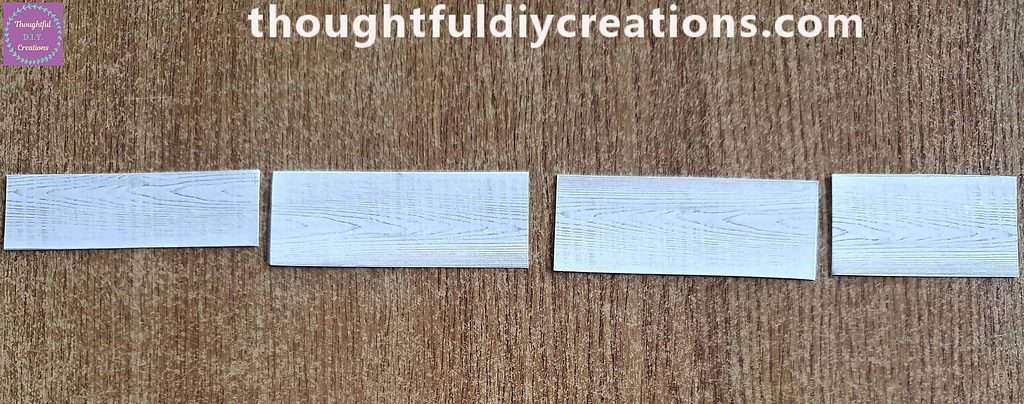
Here are the Cut out Strips in a row.
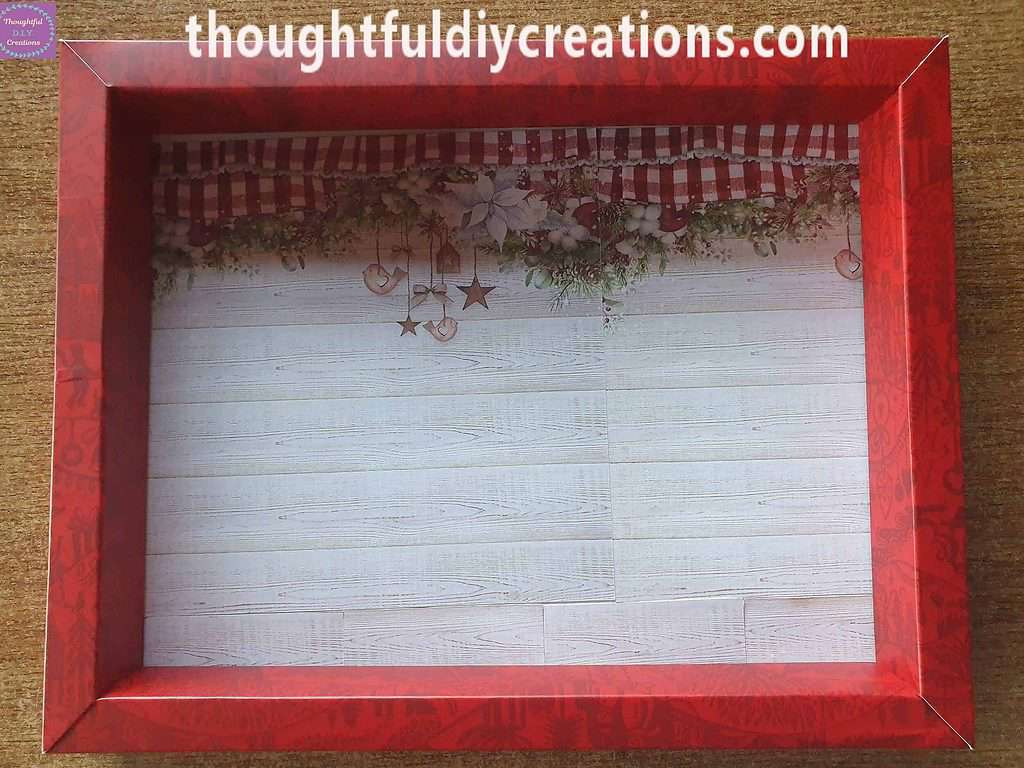
I put Double-Sided Tape on the back of each Strip and attached them to the bottom of the Christmas Shadow Box to fill the gap.
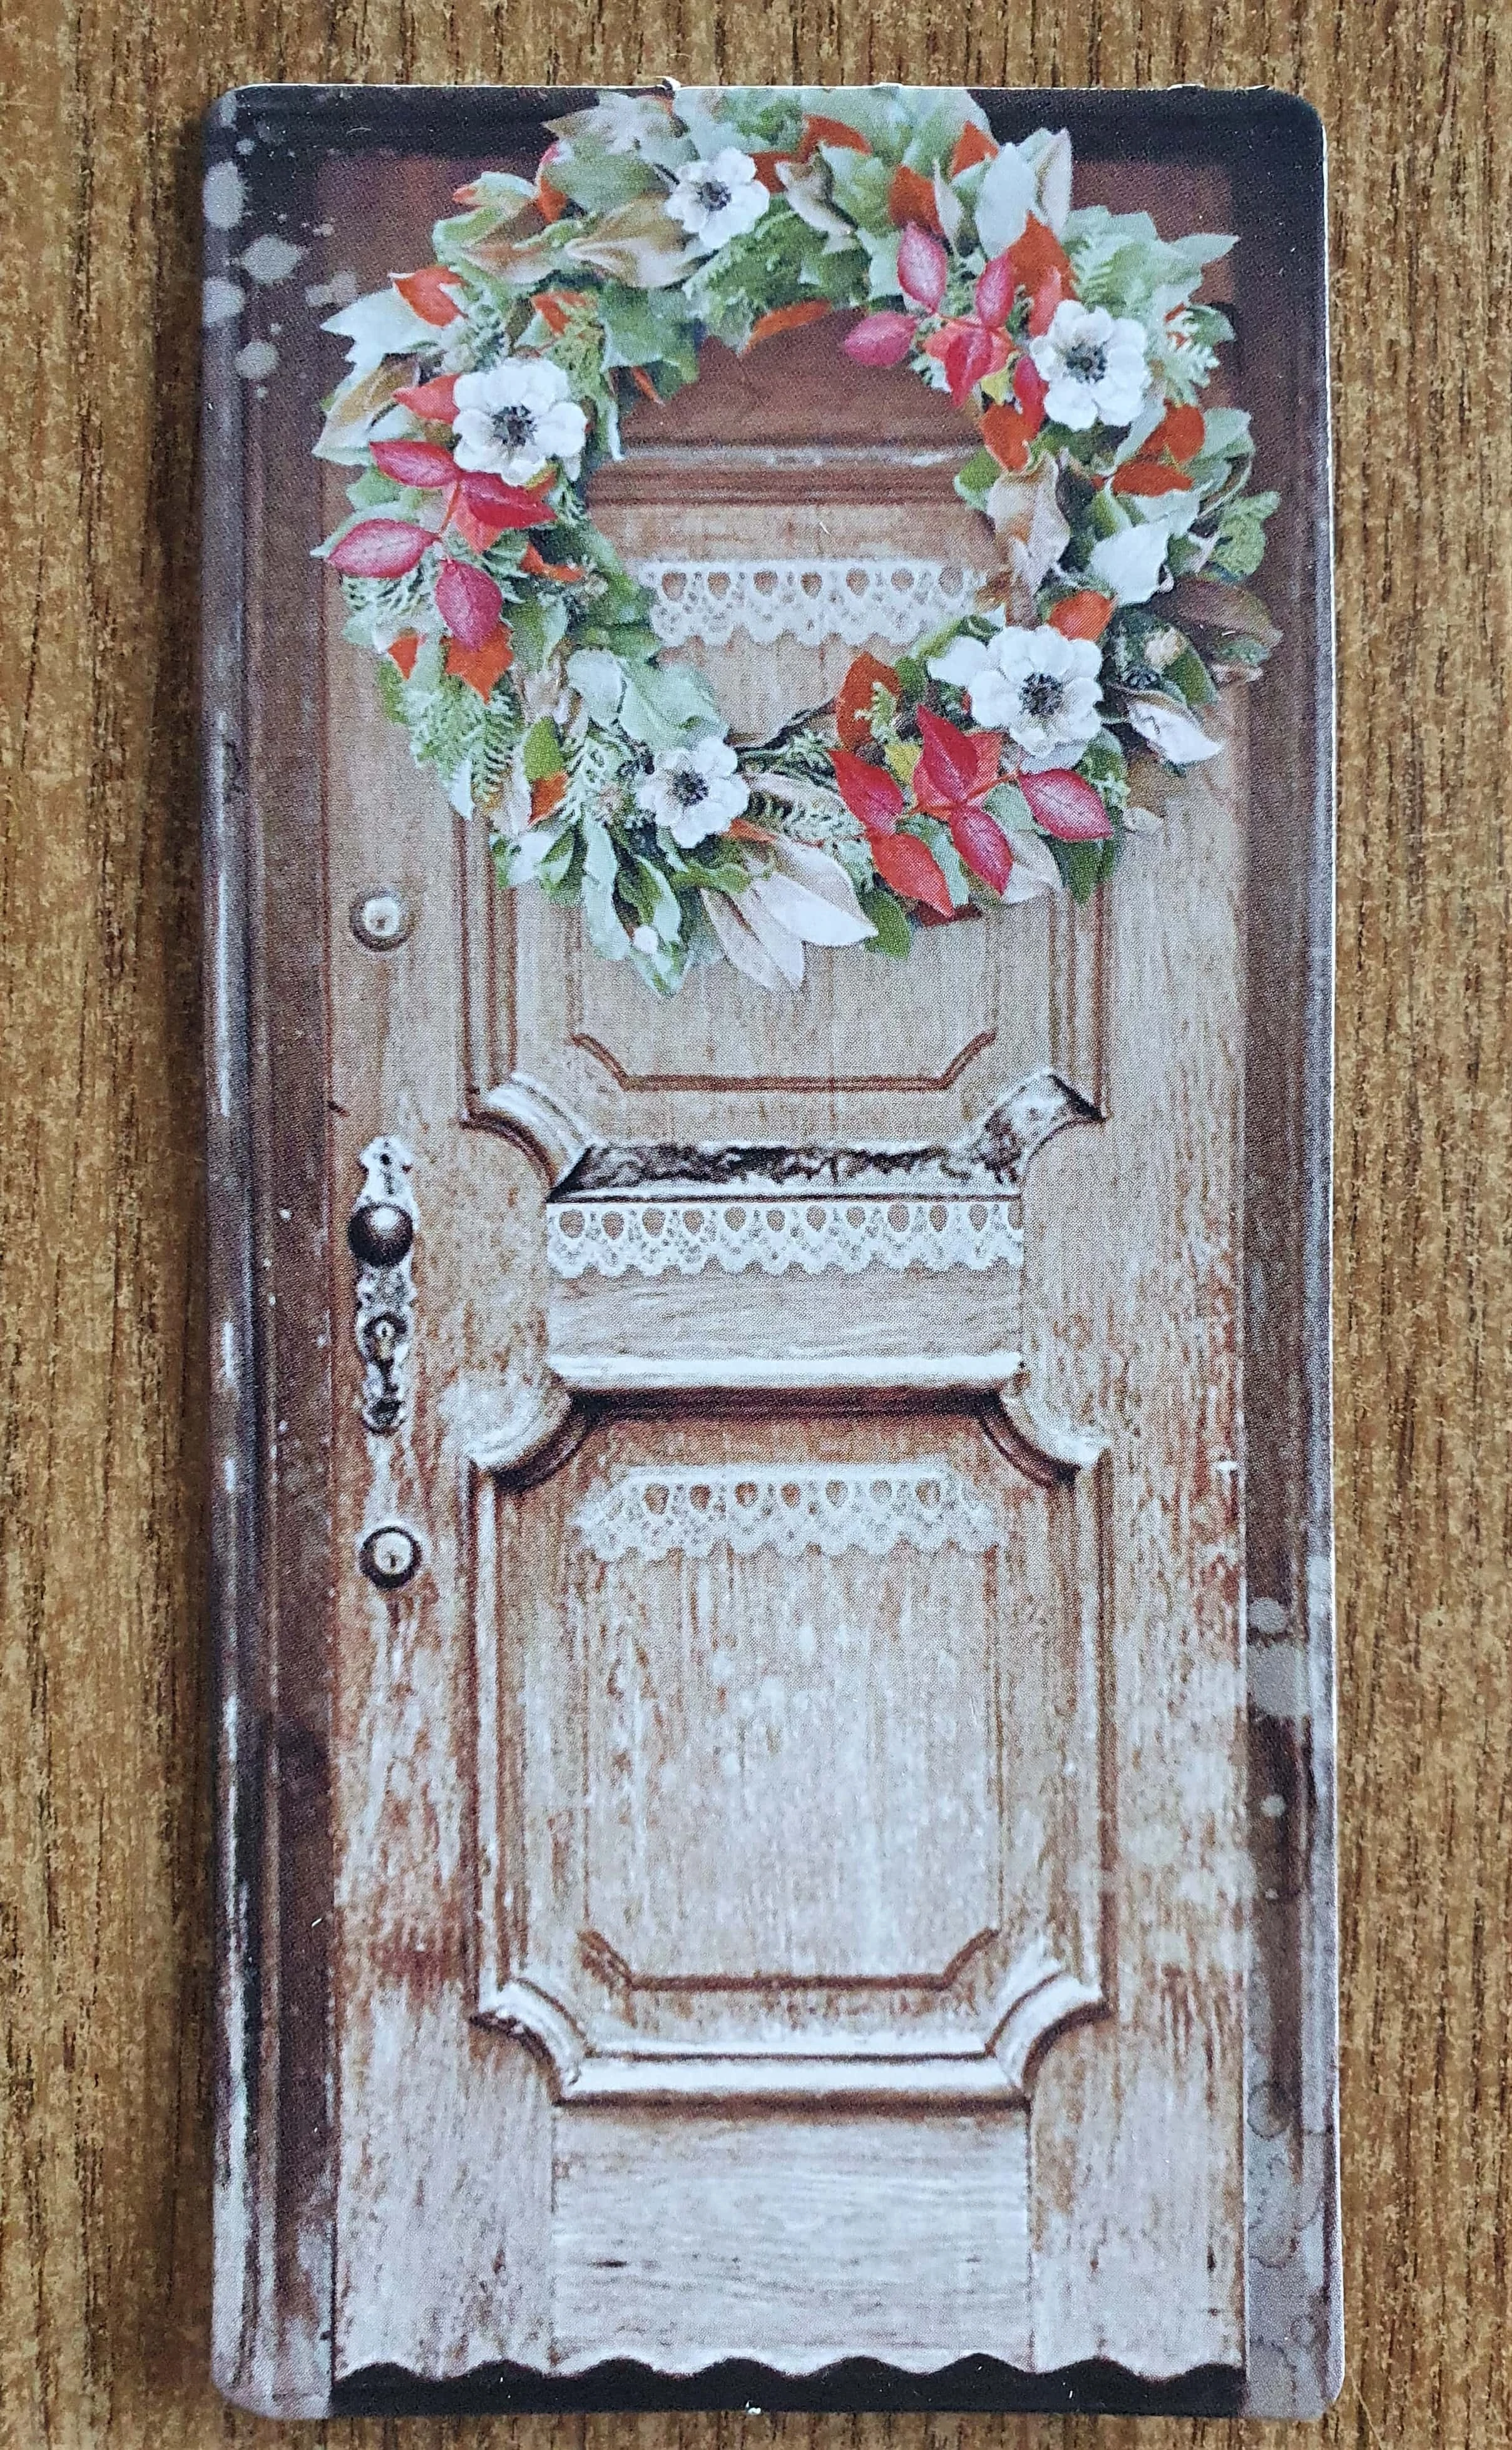
Die-Cut Door for the Christmas Shadow Box
I got a Die-Cut Door from a Christmas Pack I bought recently. The Brand is Stamperia.
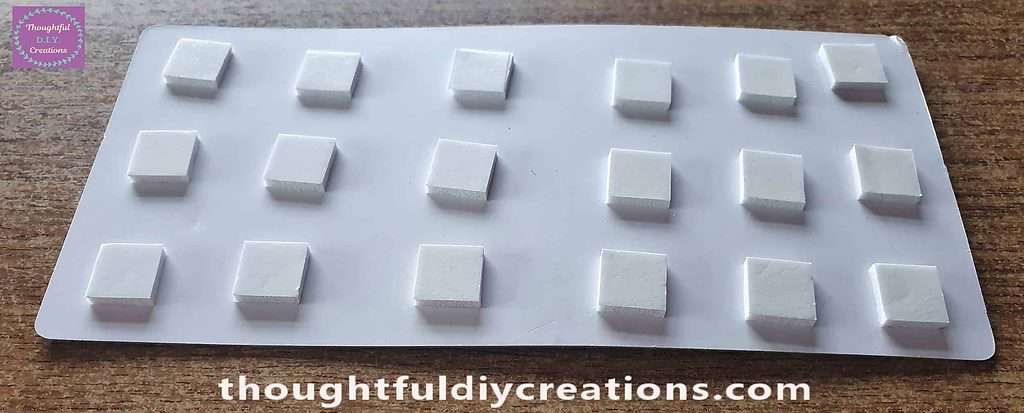
I put 3-D Foam Squares on the back of the Door.
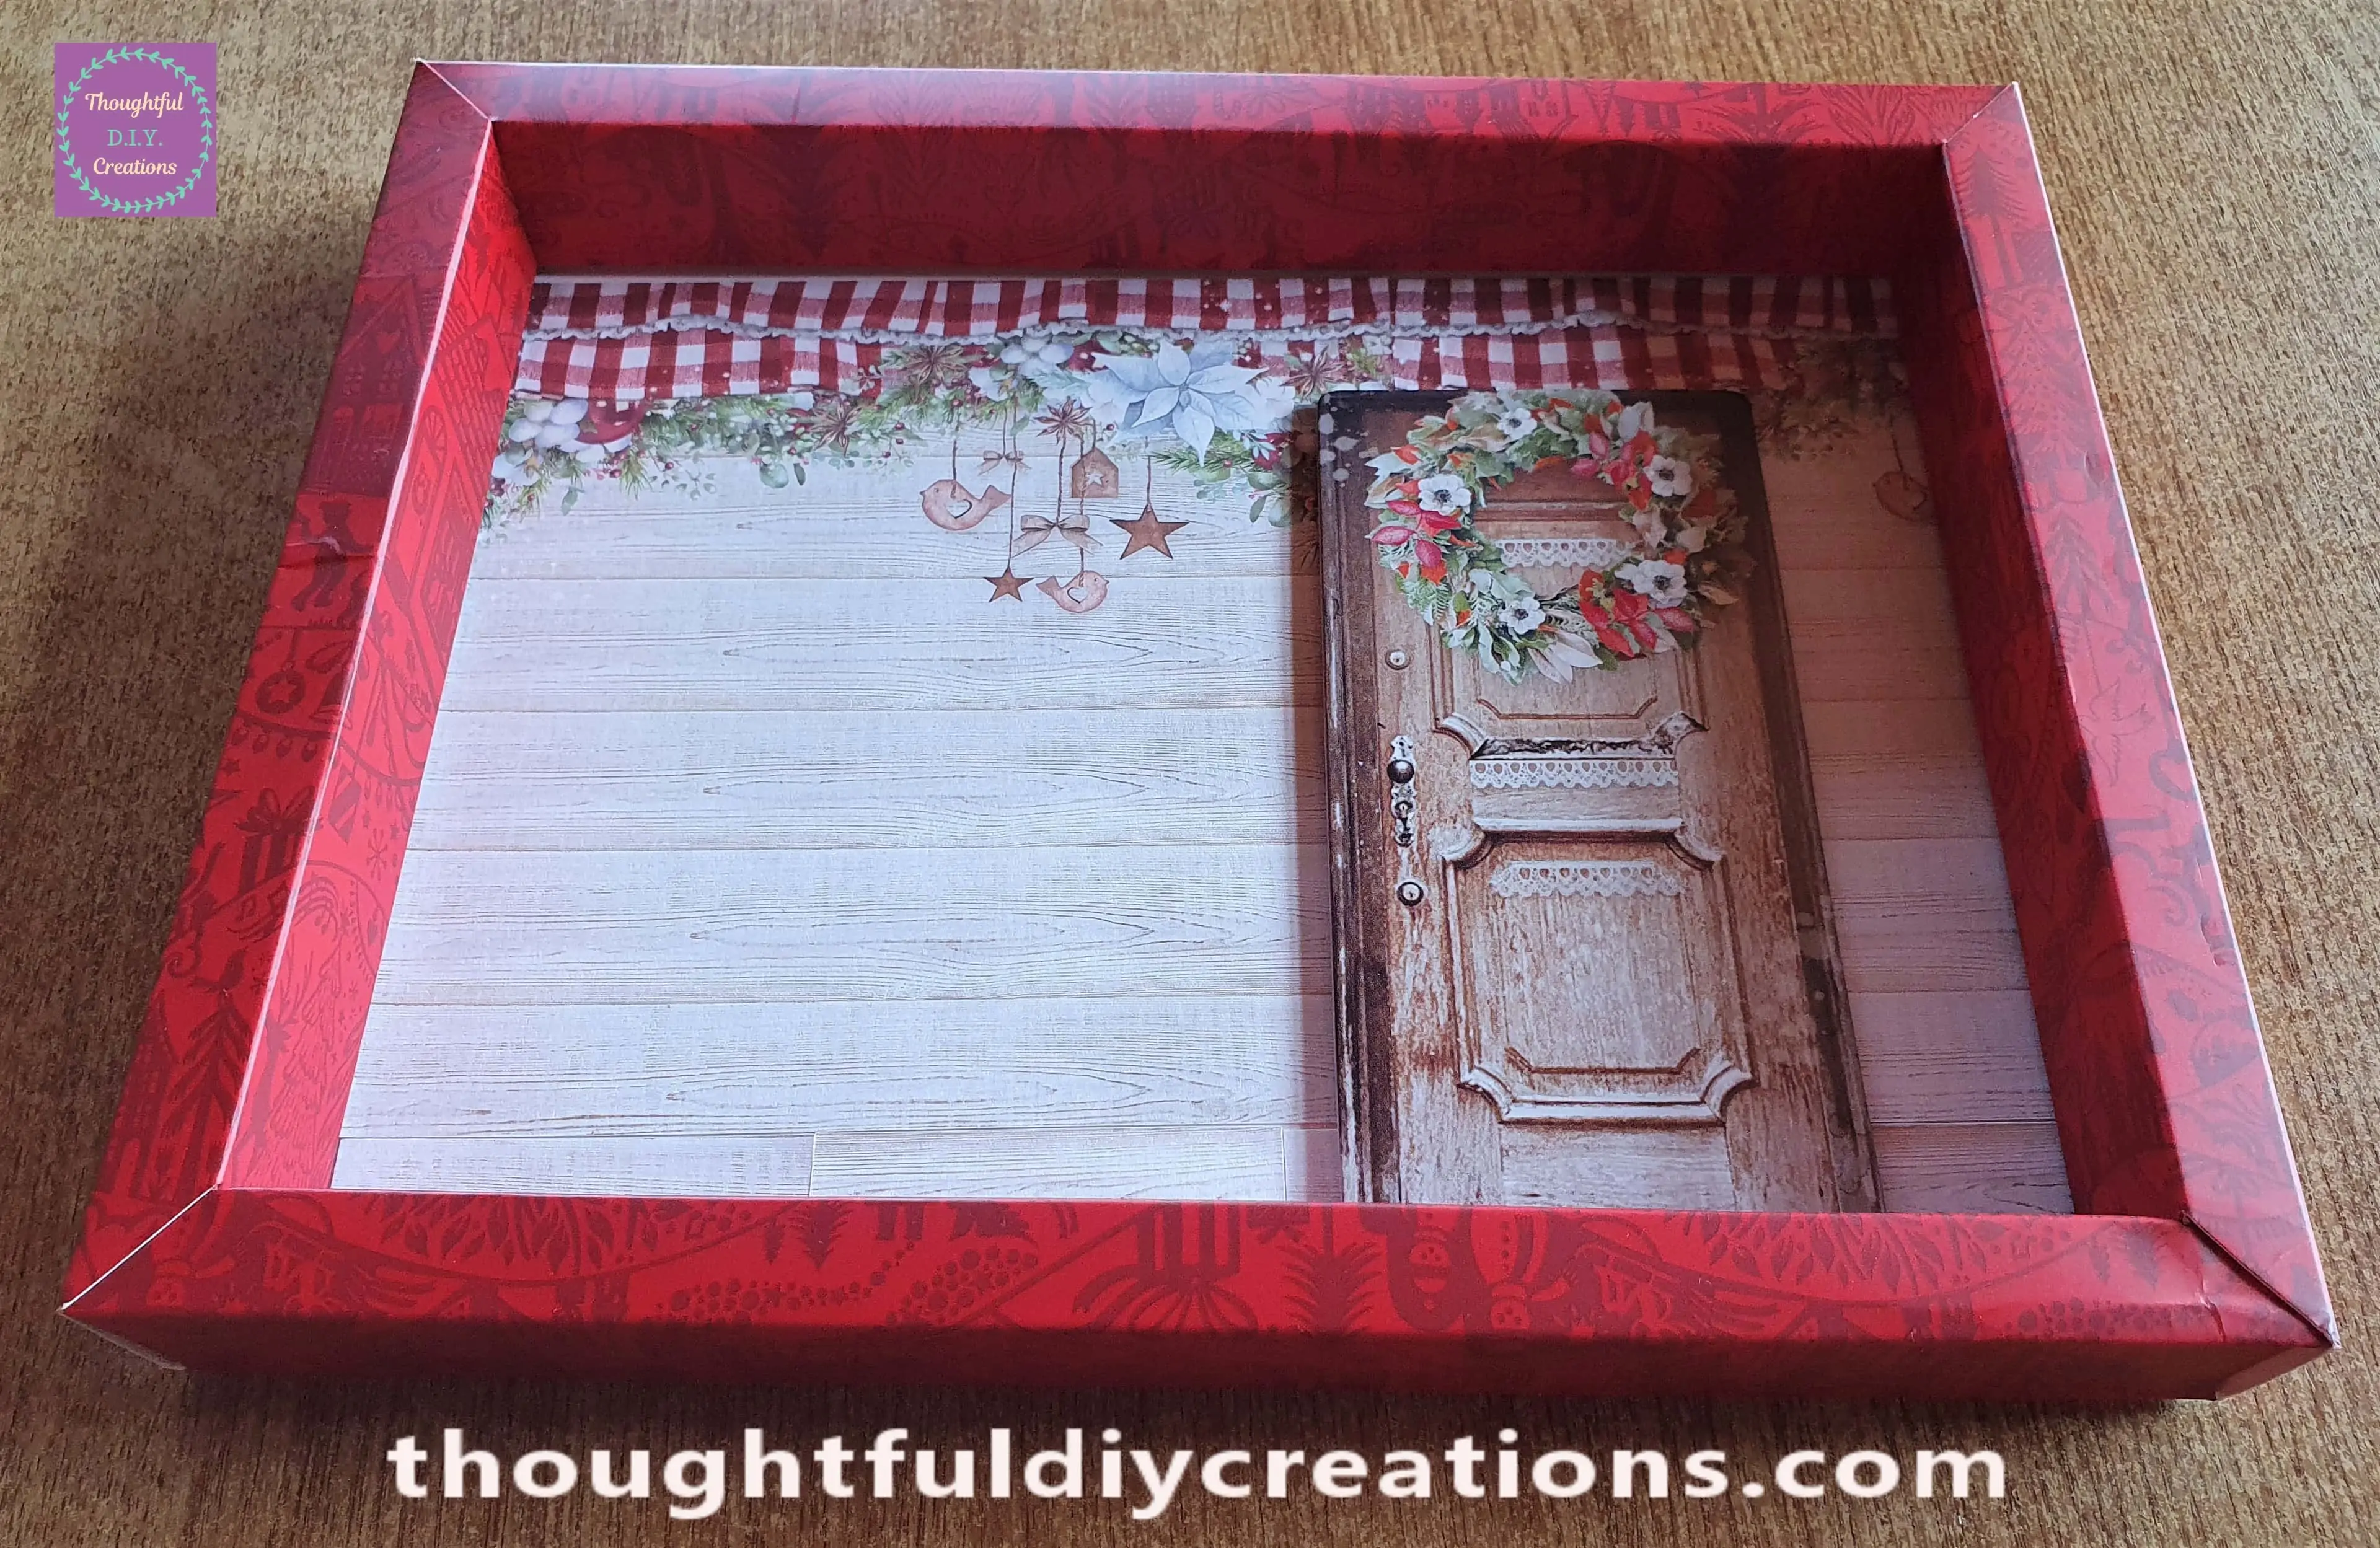
I pressed it inside the Christmas Shadow Box.
Snow Effect on the Top of the Shadow Box
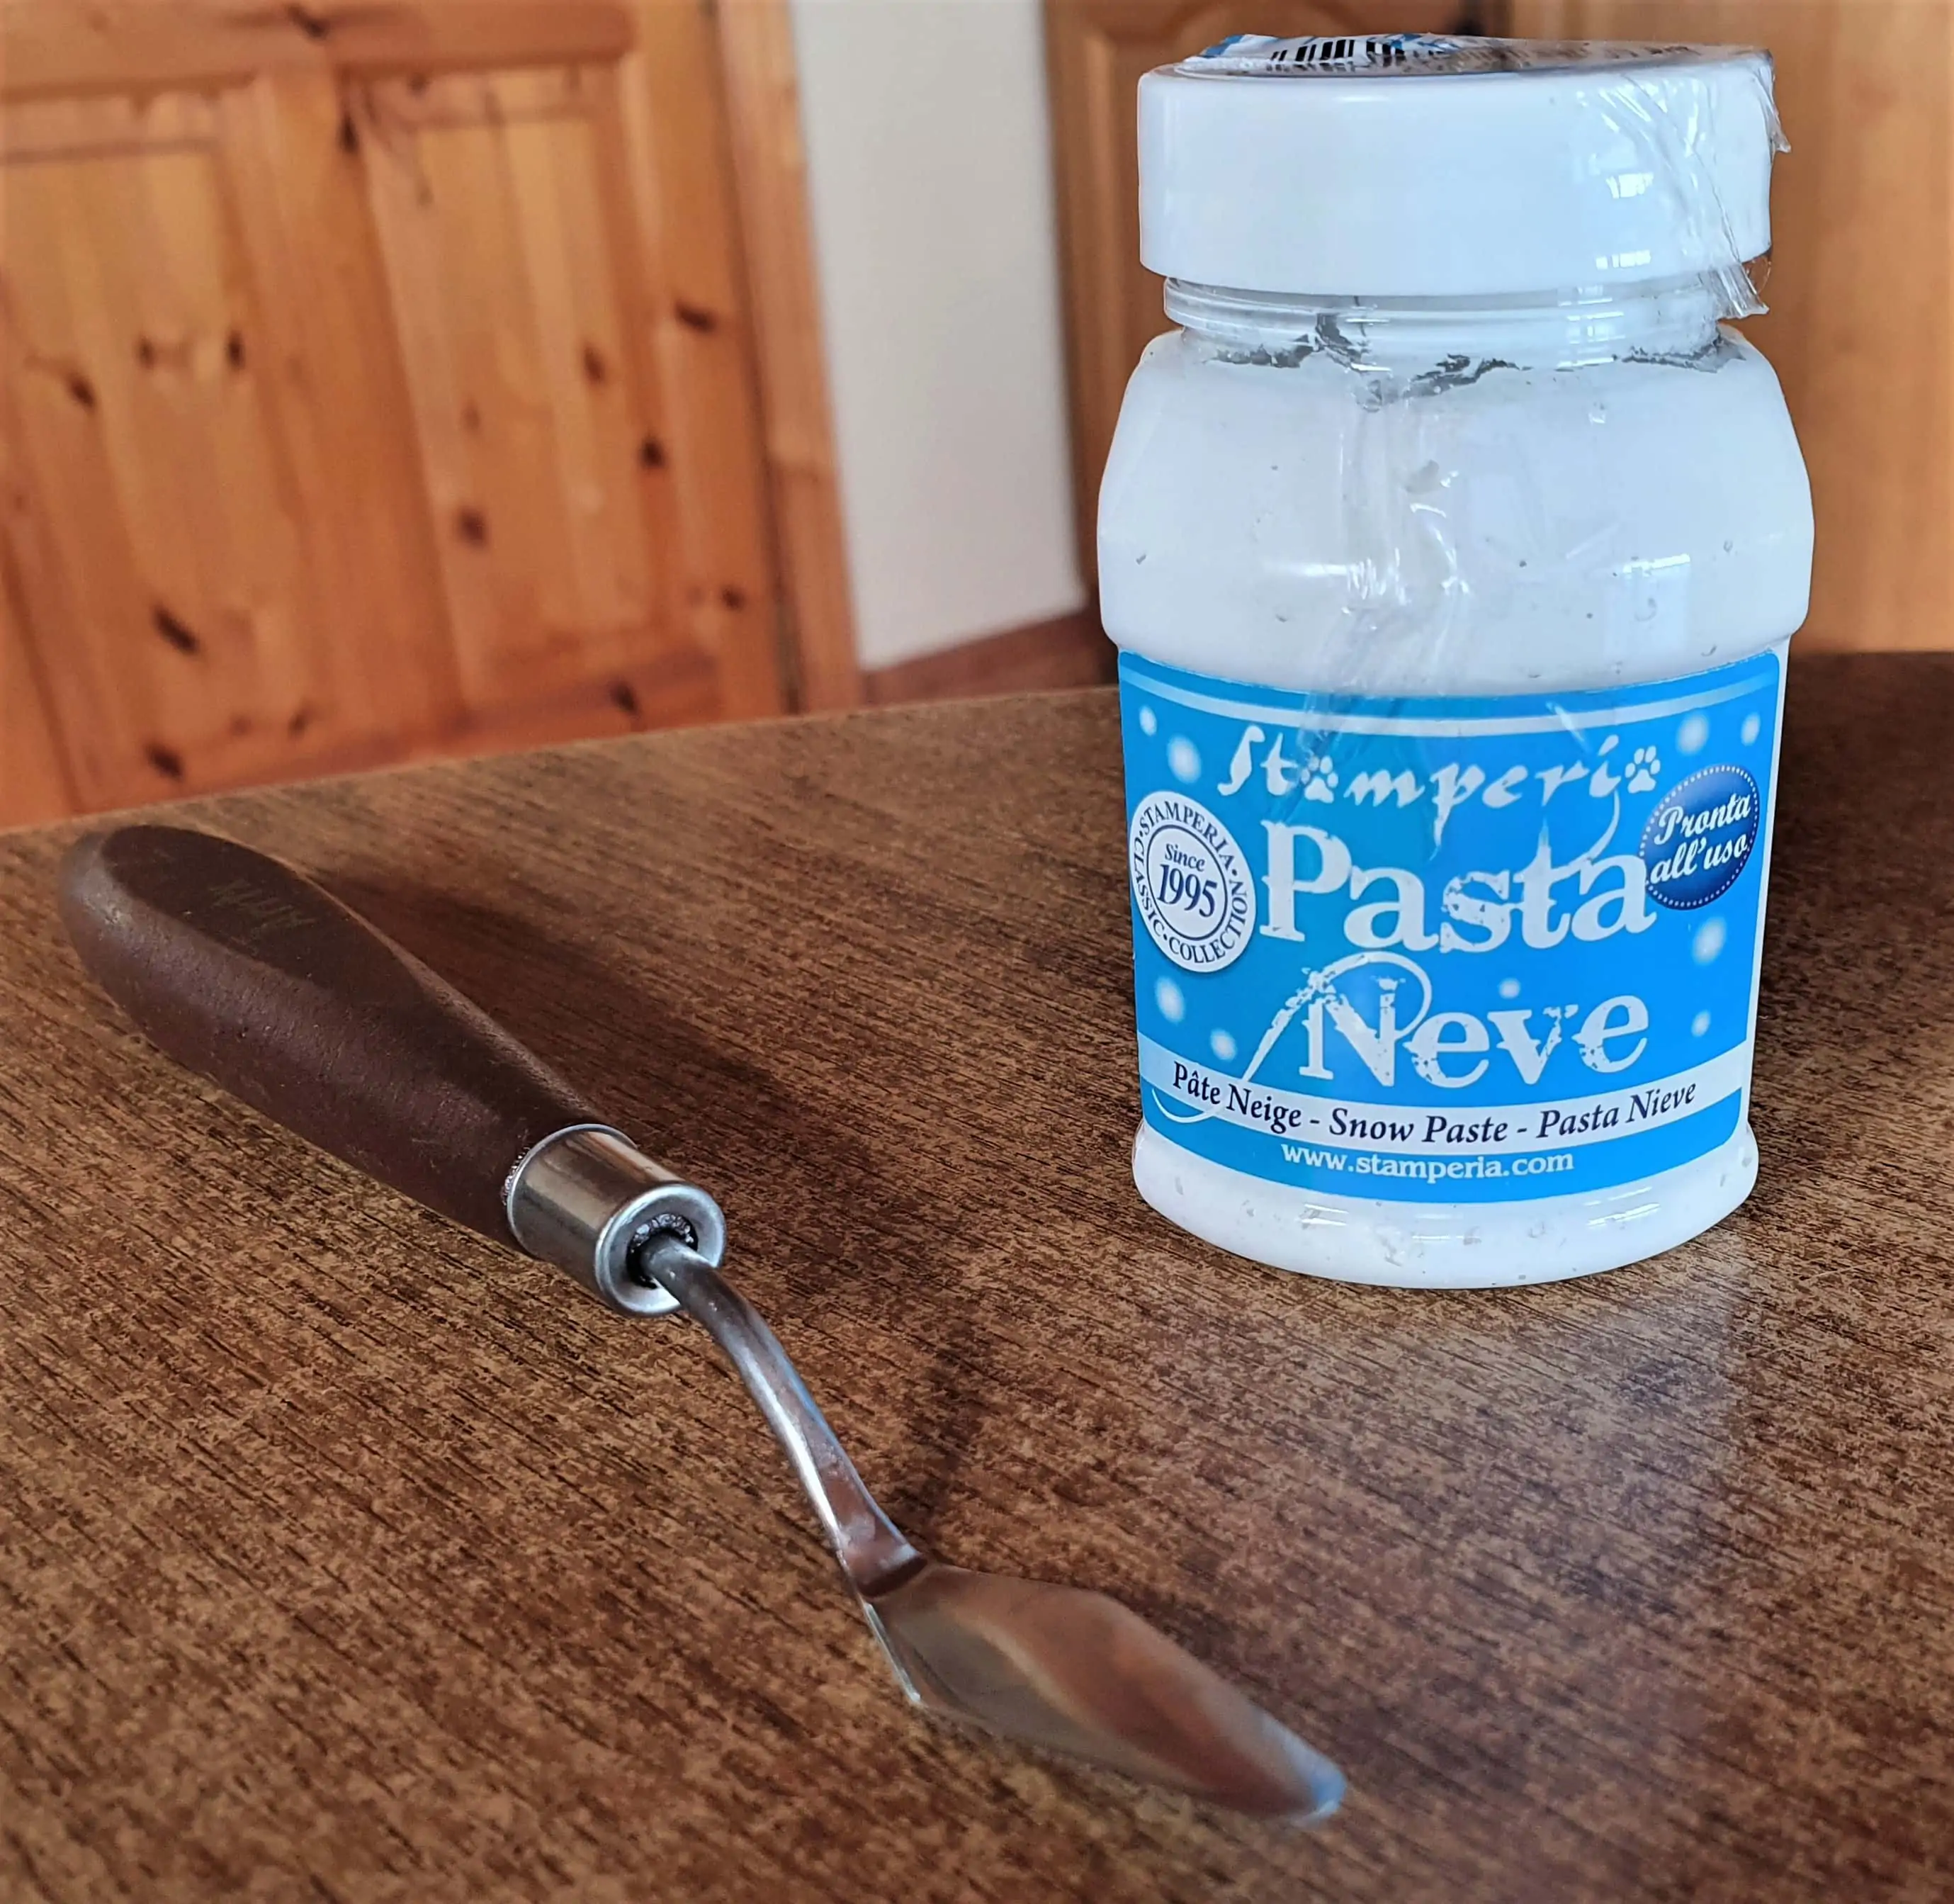
I got my Tub of Snow Paste and a Palette Knife.
I picked up some of the Snow Paste with the Palette Knife and pressed it into place on to the top of the Shadow Box.
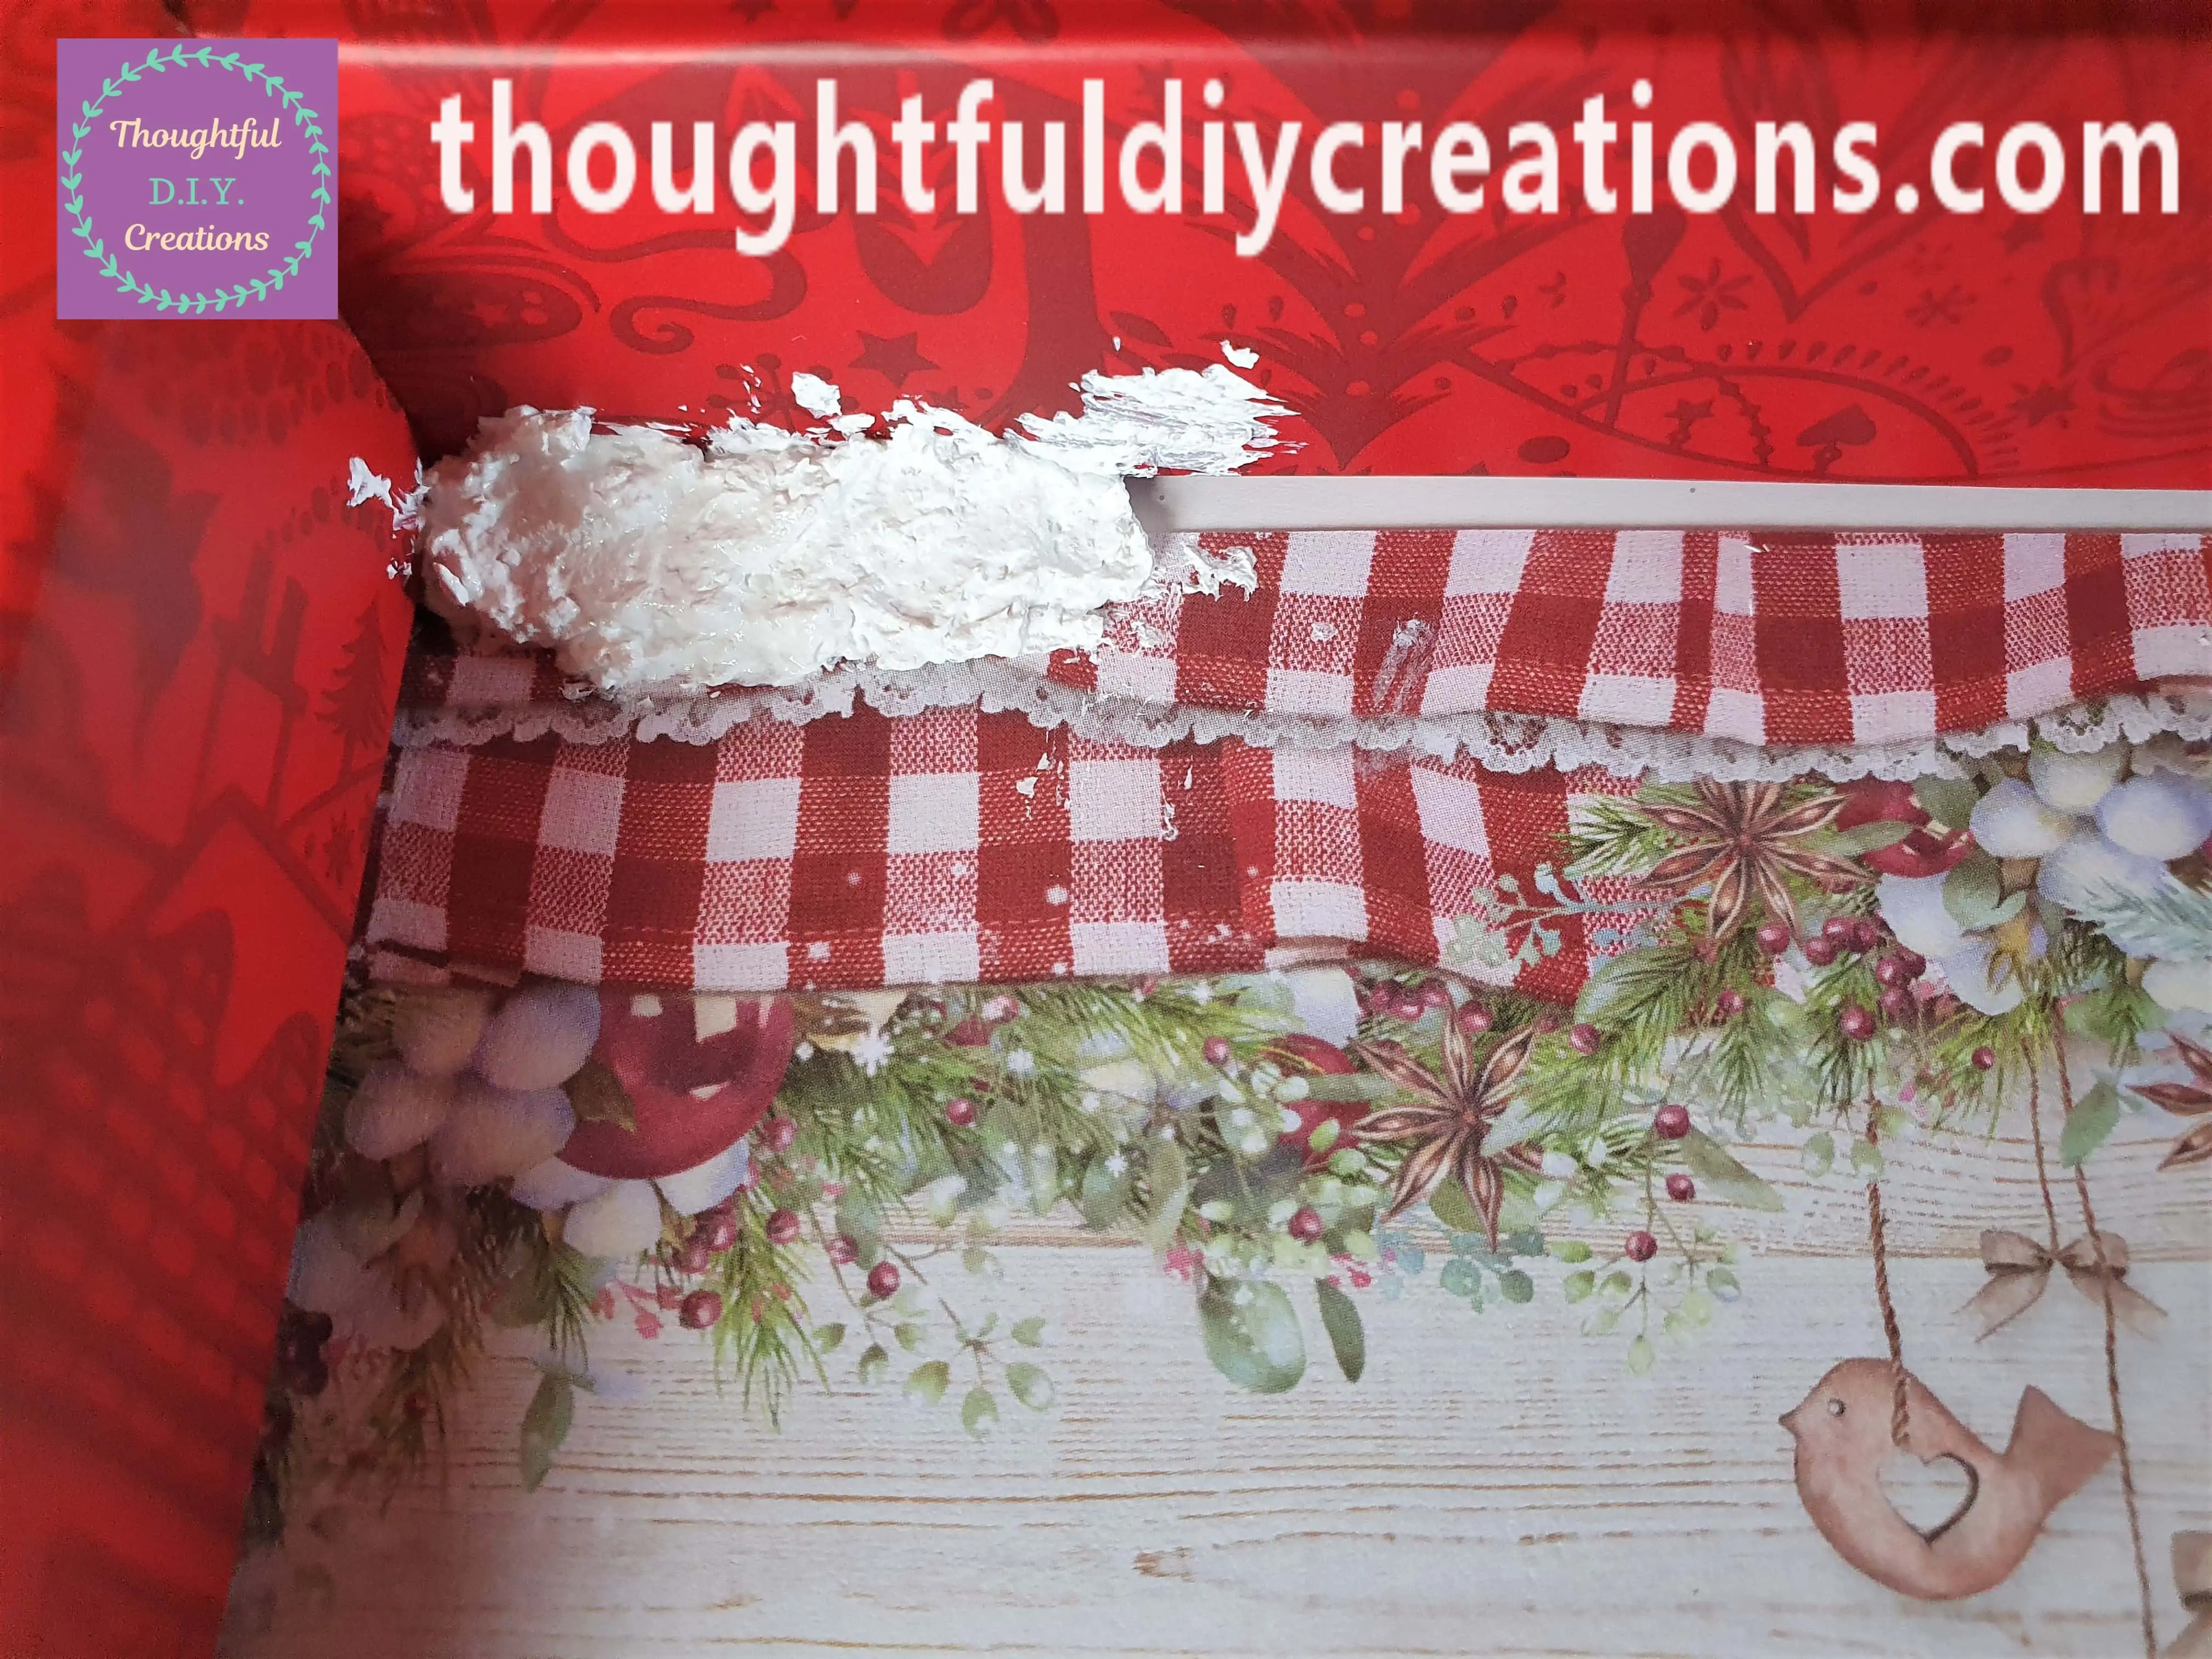
I repeated this process until the top of the Frame was covered with Snow.
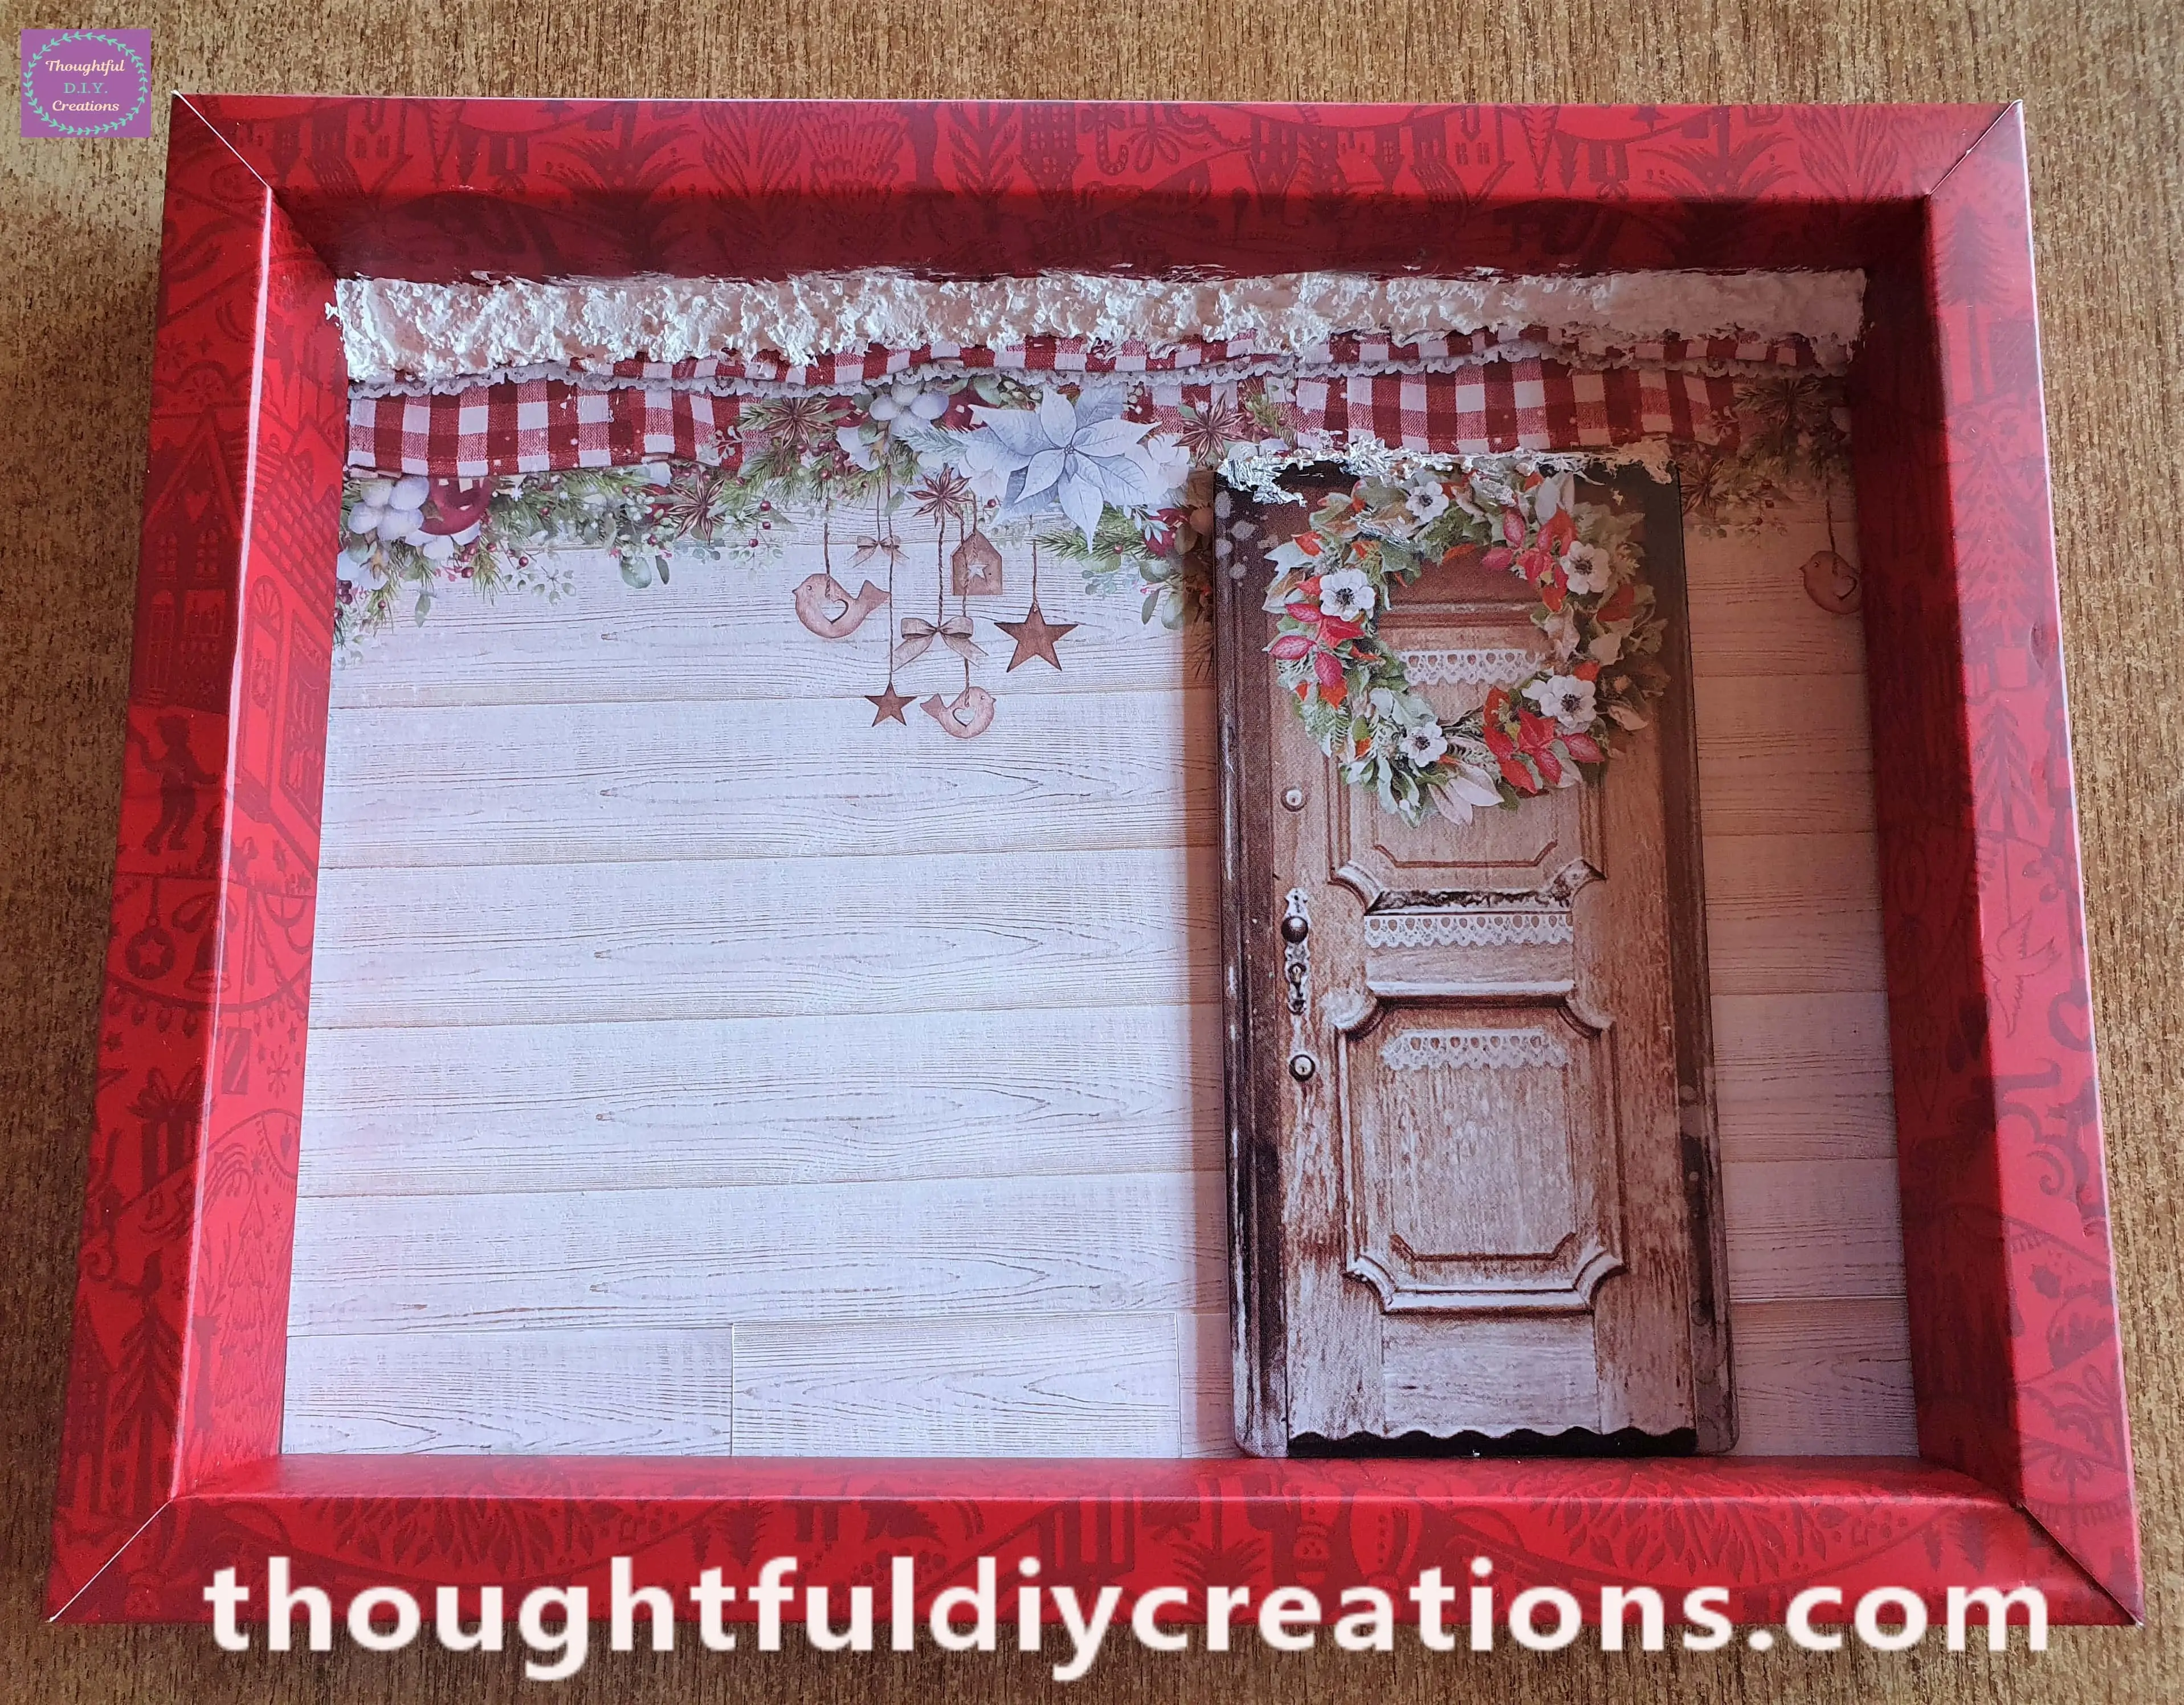
Snow for the bottom of the Christmas Shadow Box
I got my Bag of Snow Confetti.
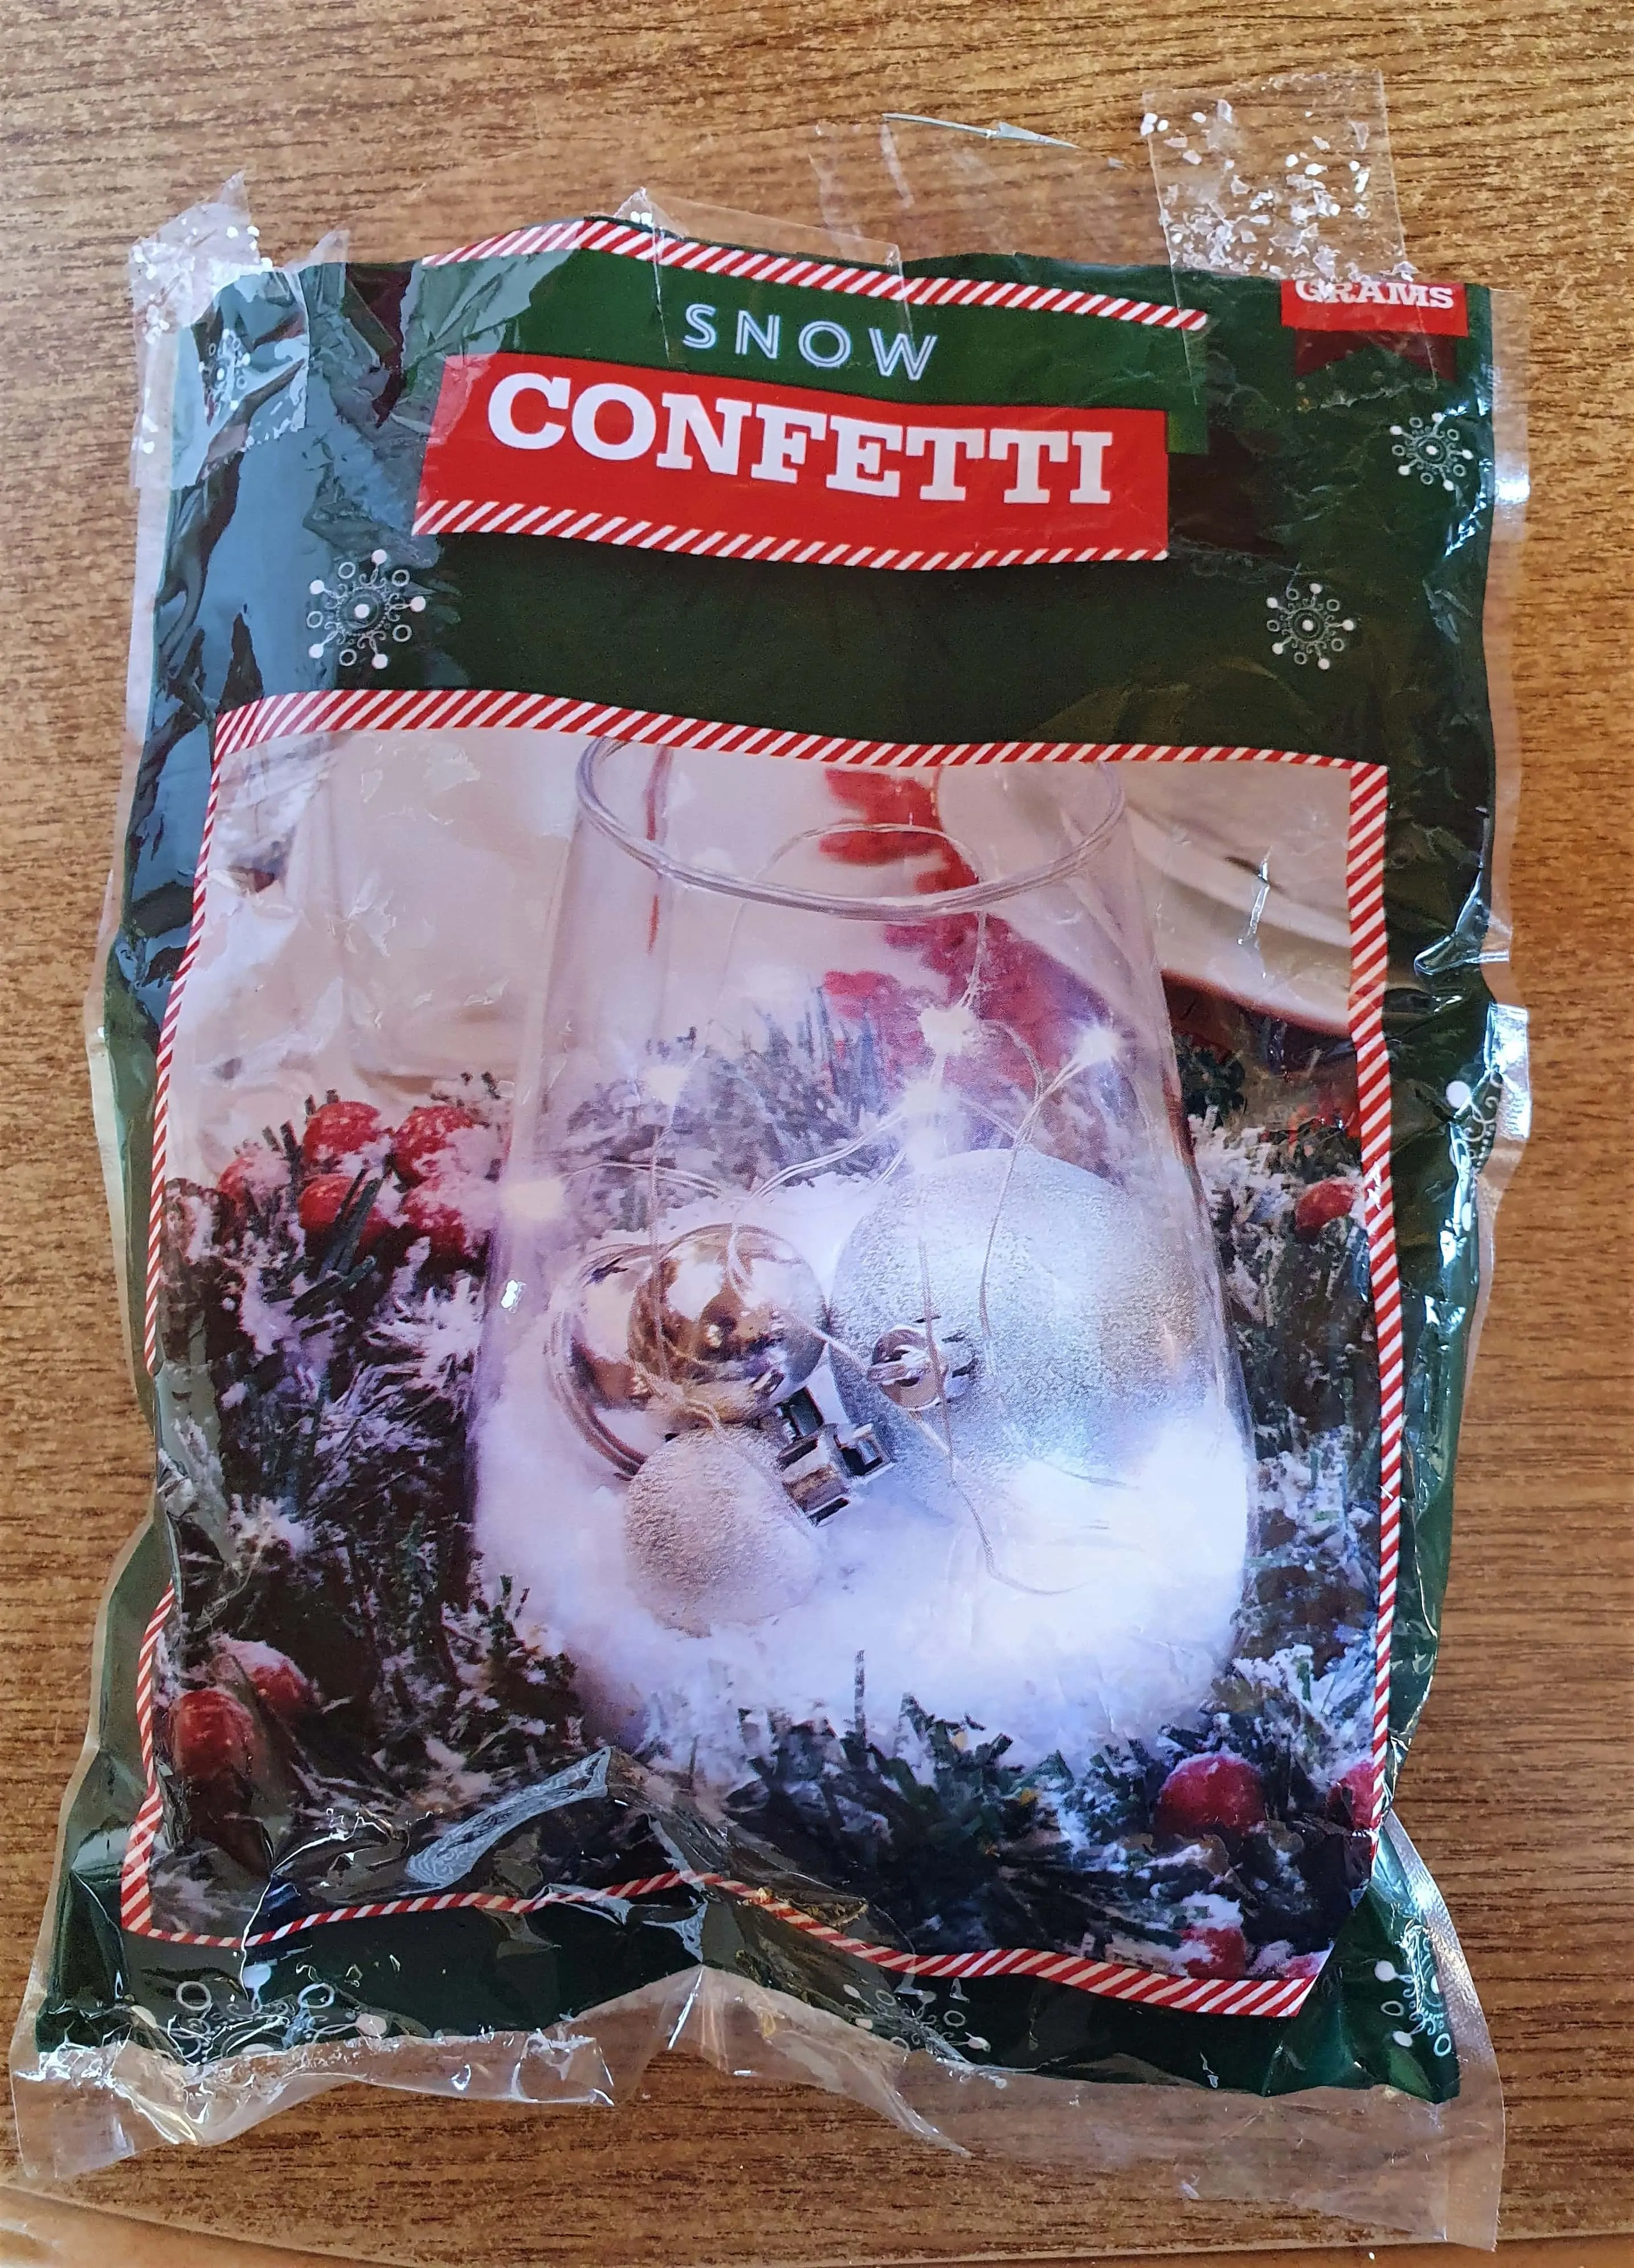
I plugged in my Hot Glue Gun and let it heat up for 5 Minutes. I put a dab of Glue on the bottom of the Shadow Box and pressed a handful of the Snow Confetti into the Glue. Be Careful not to Burn your Fingers.
I continued doing a small portion at a time until the bottom of the Christmas Shadow Box was filled with Snow.
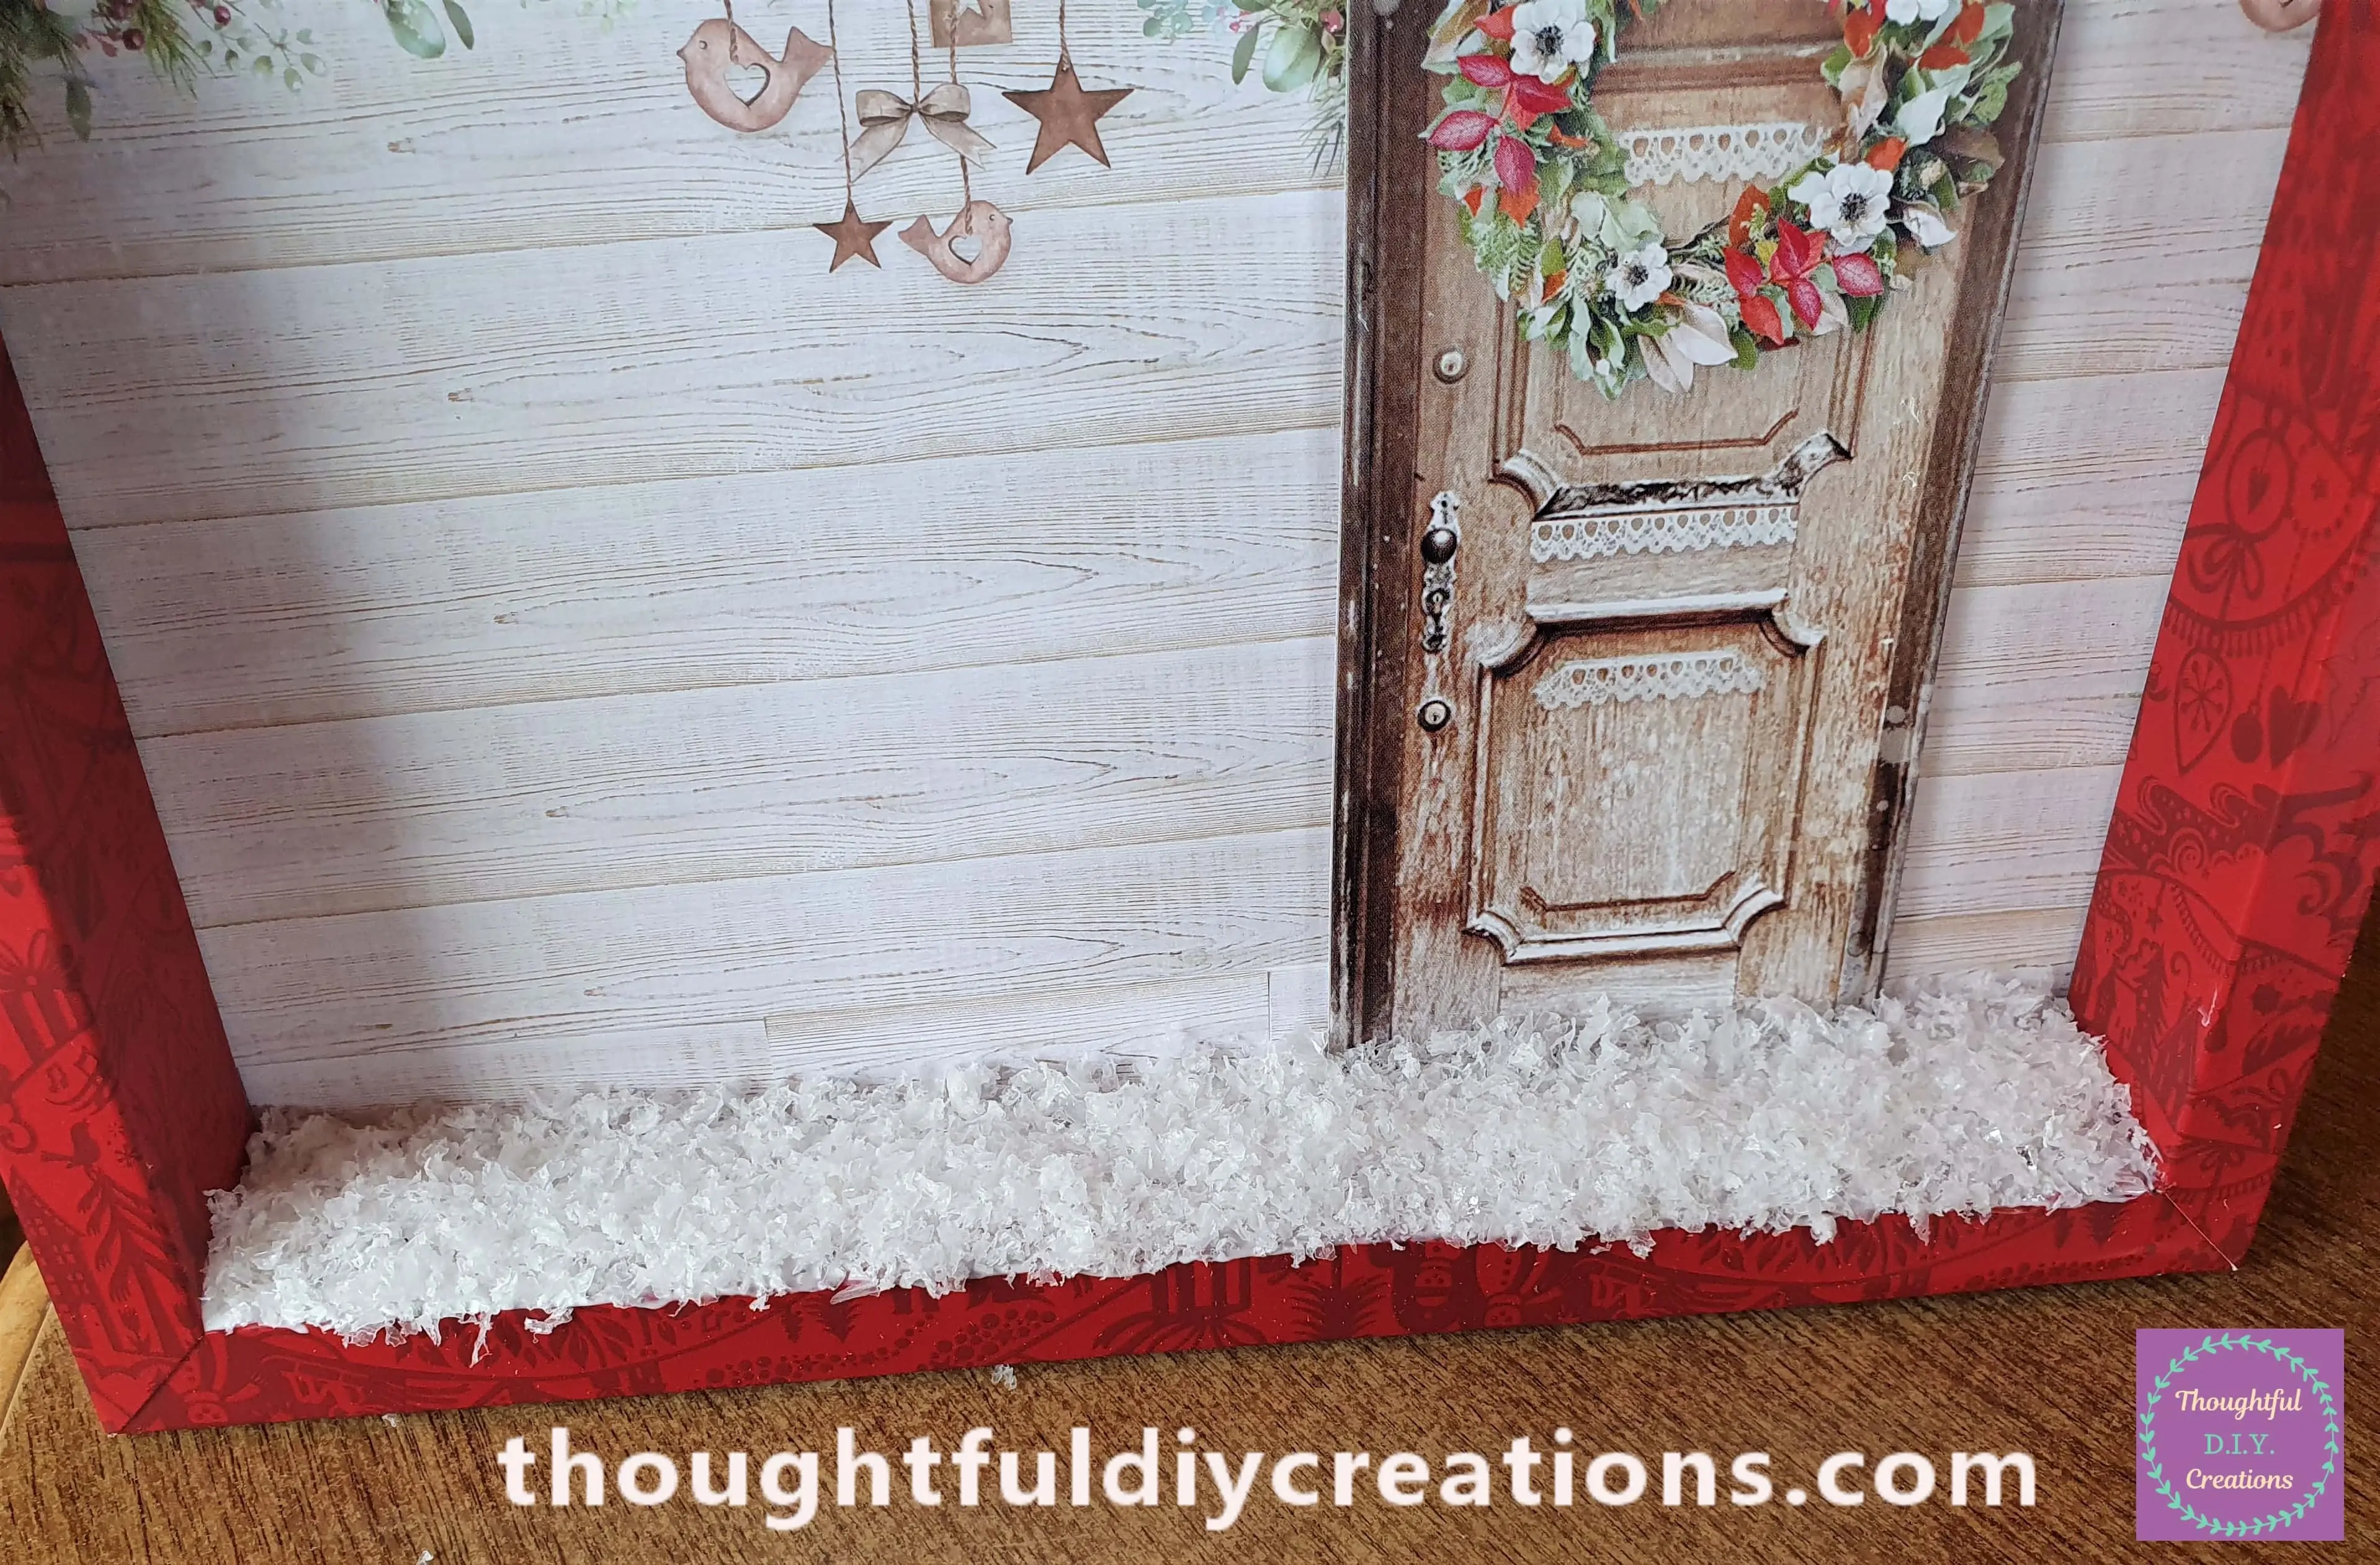
Lantern Glued to the Frame
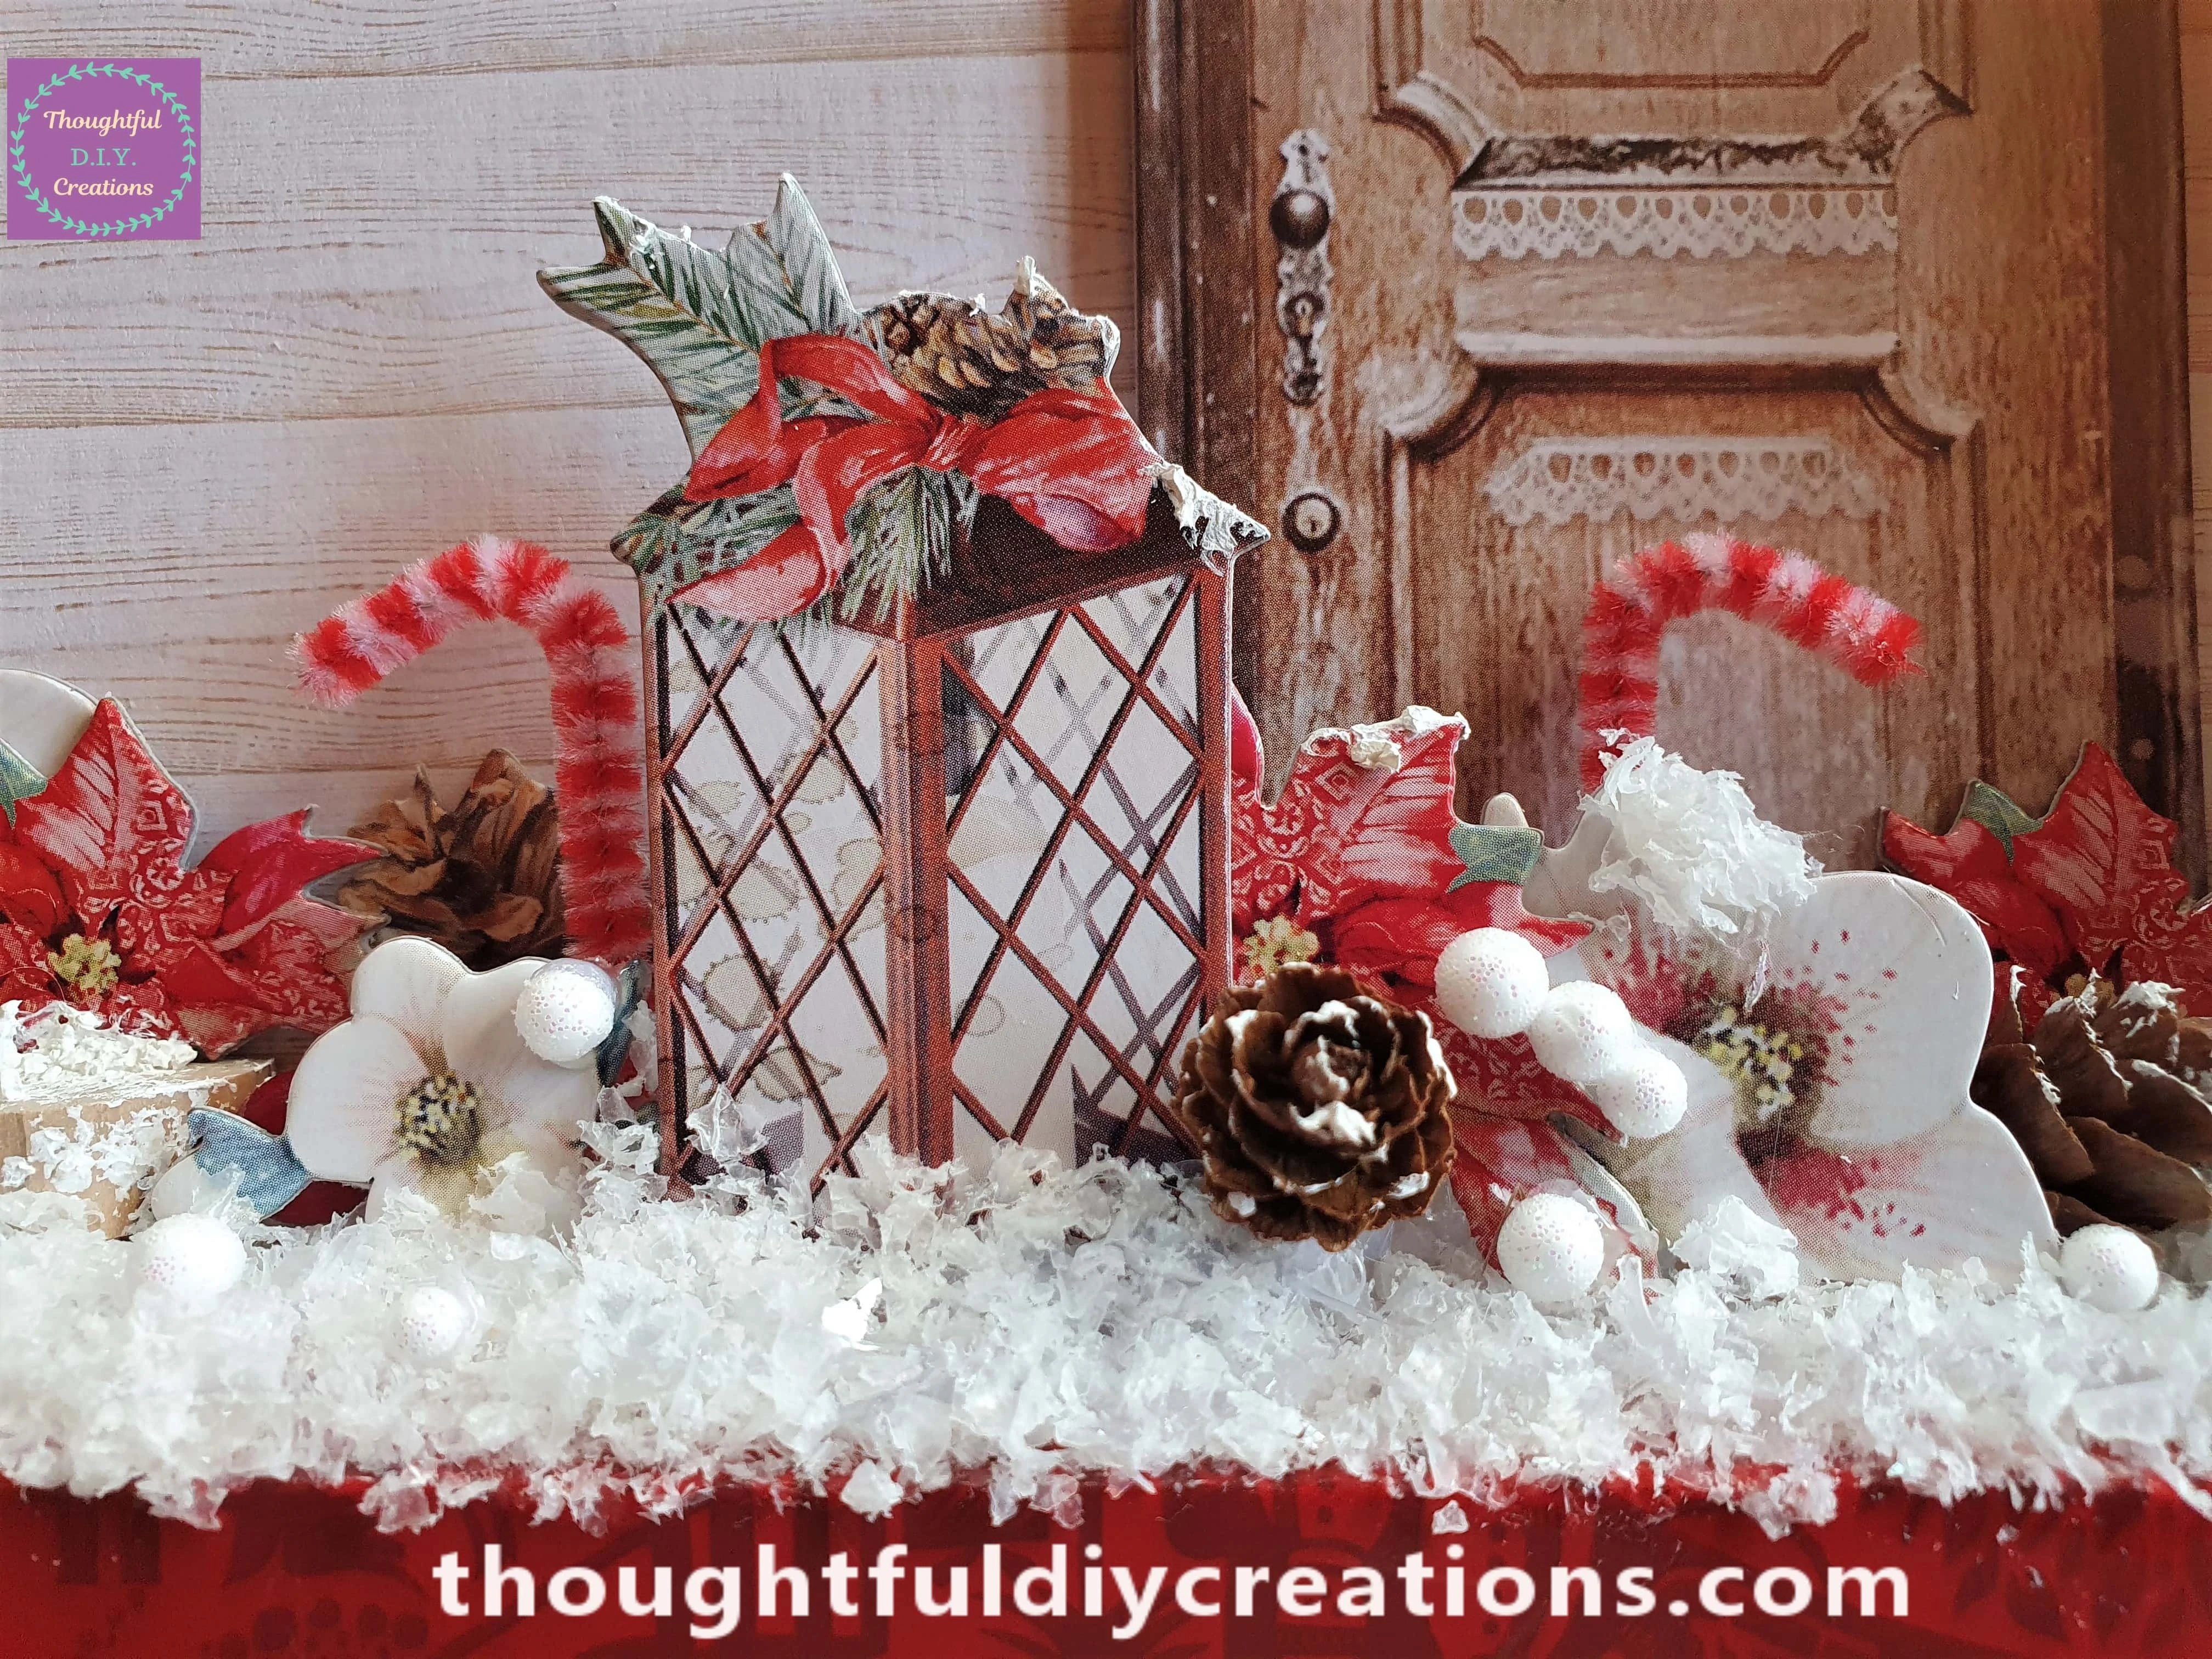
I got a Lantern Die-Cut from the same Stamperia Set.
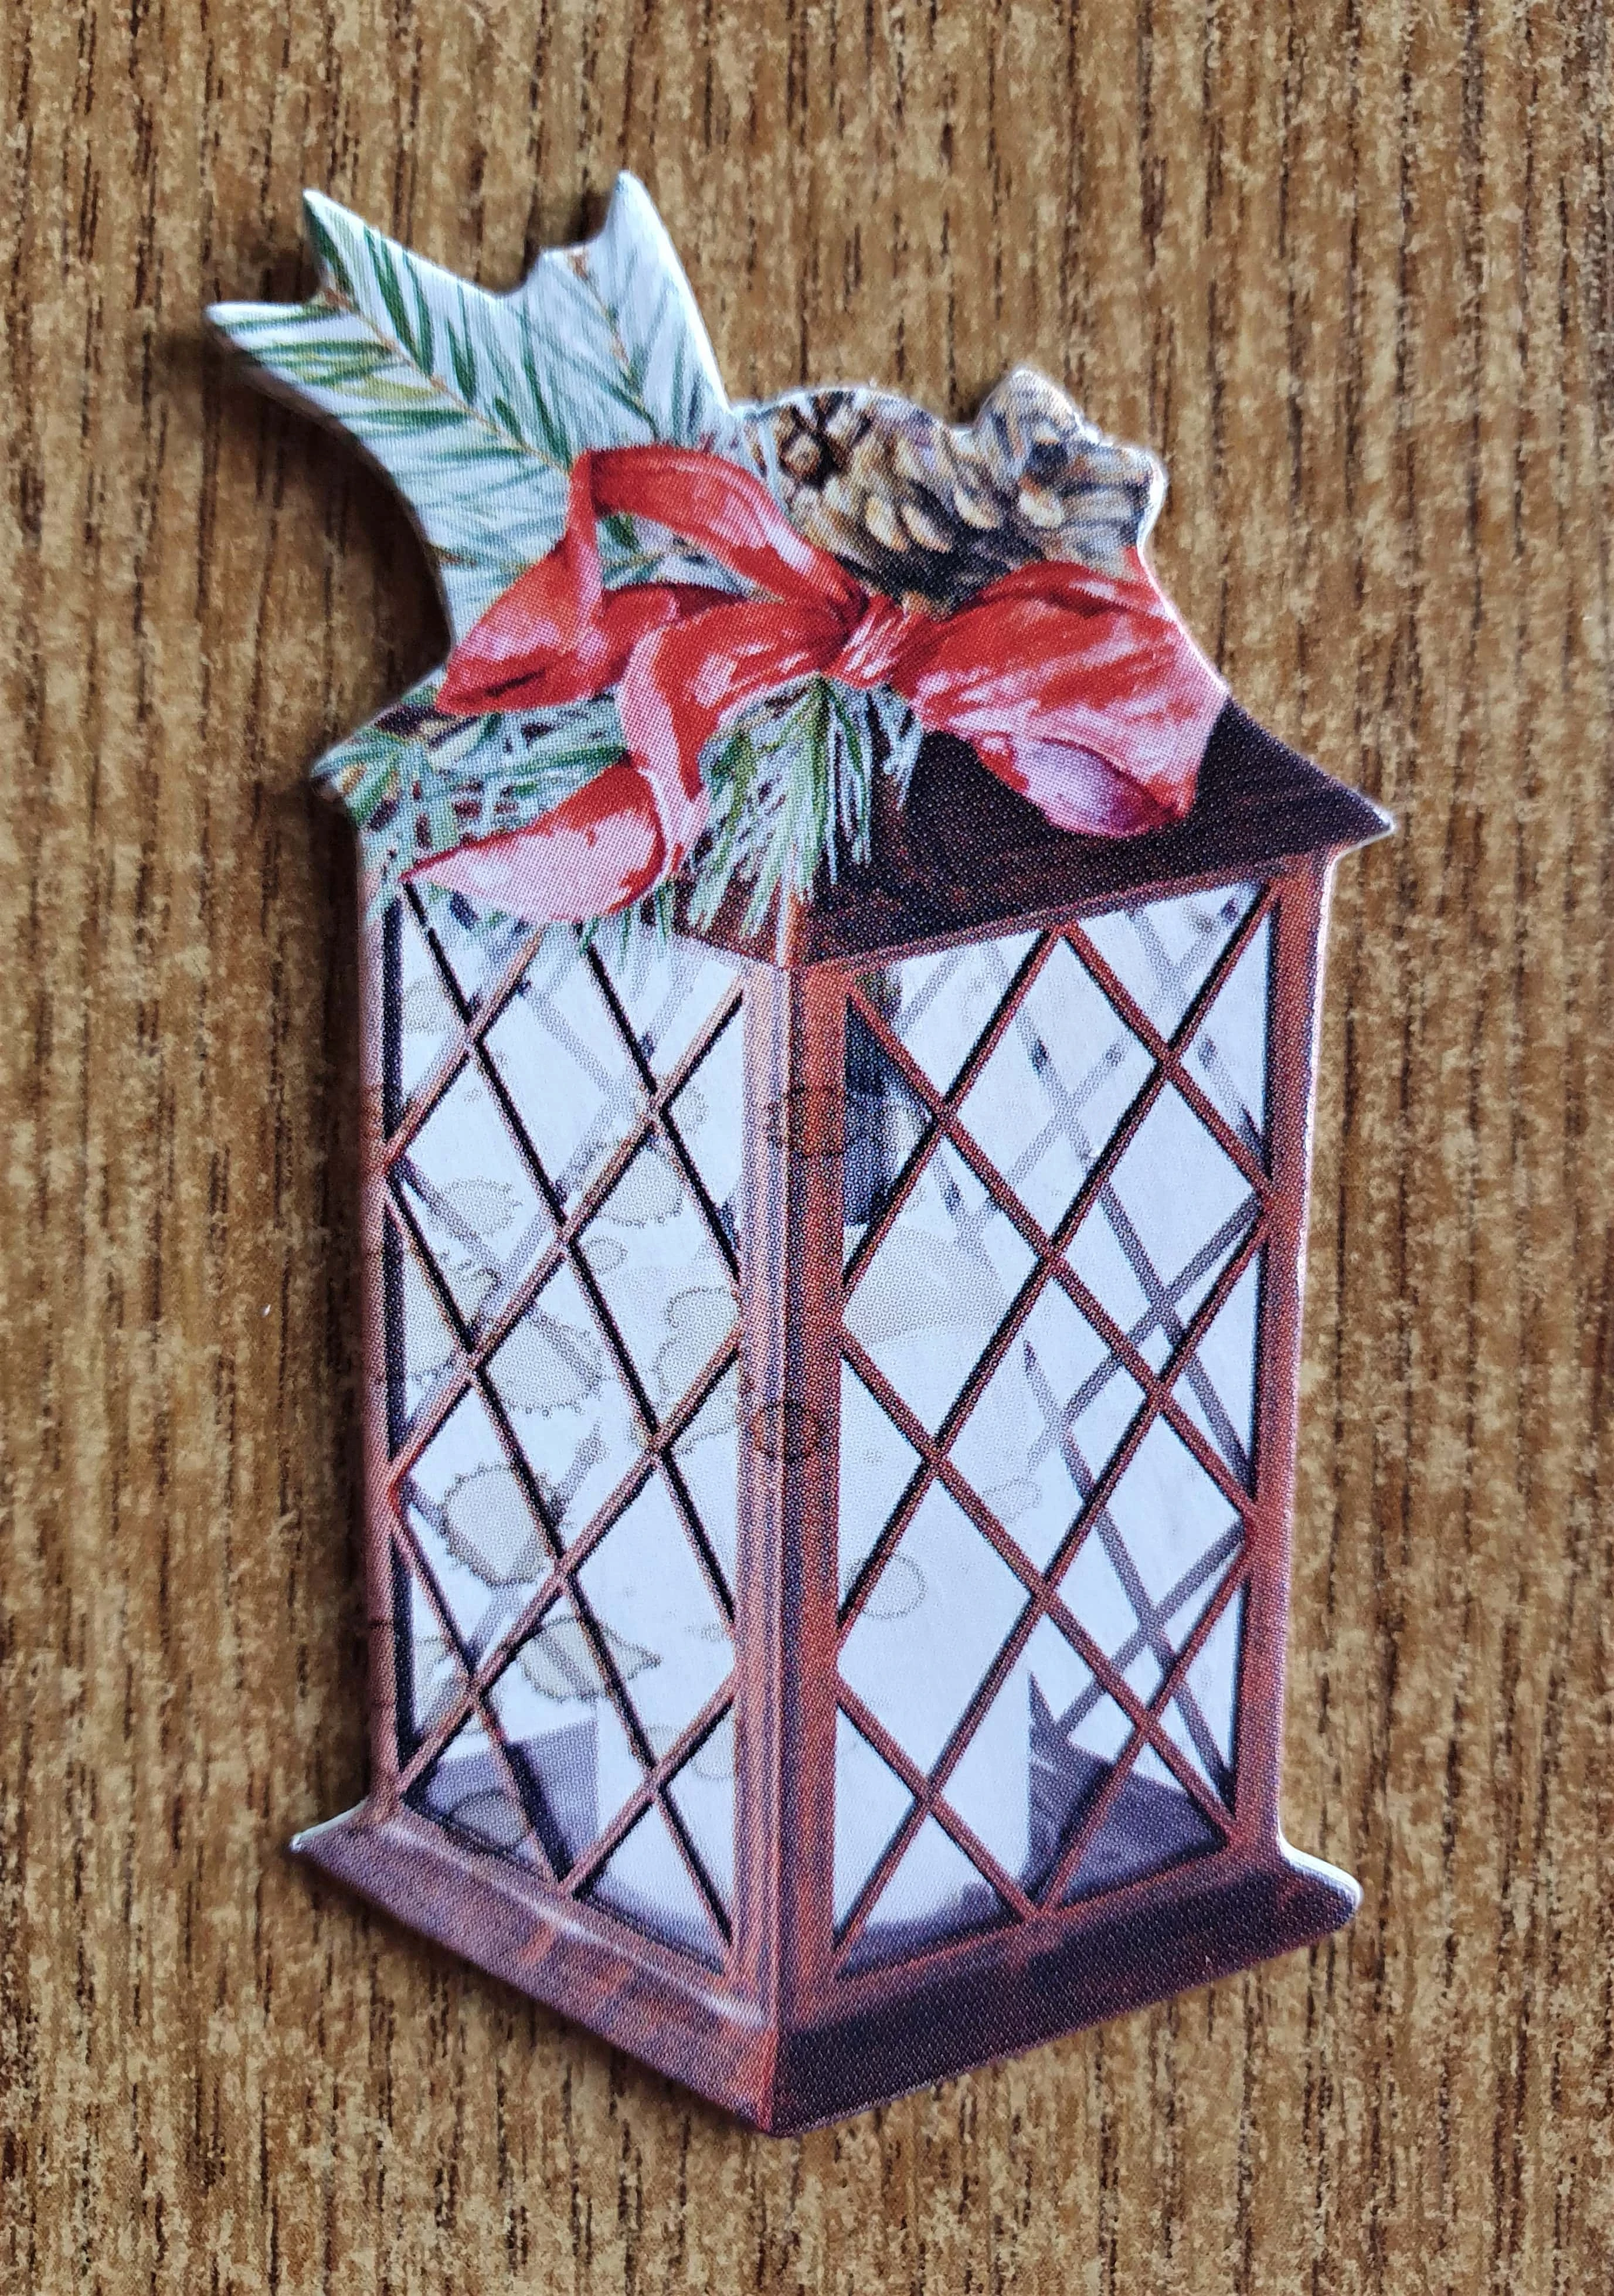
I put Hot Glue on the bottom of the Lantern and pressed it into the Snow. I then added more Snow around the Lantern to help it stay in place. I used Hot Glue and then added some Snow on top.
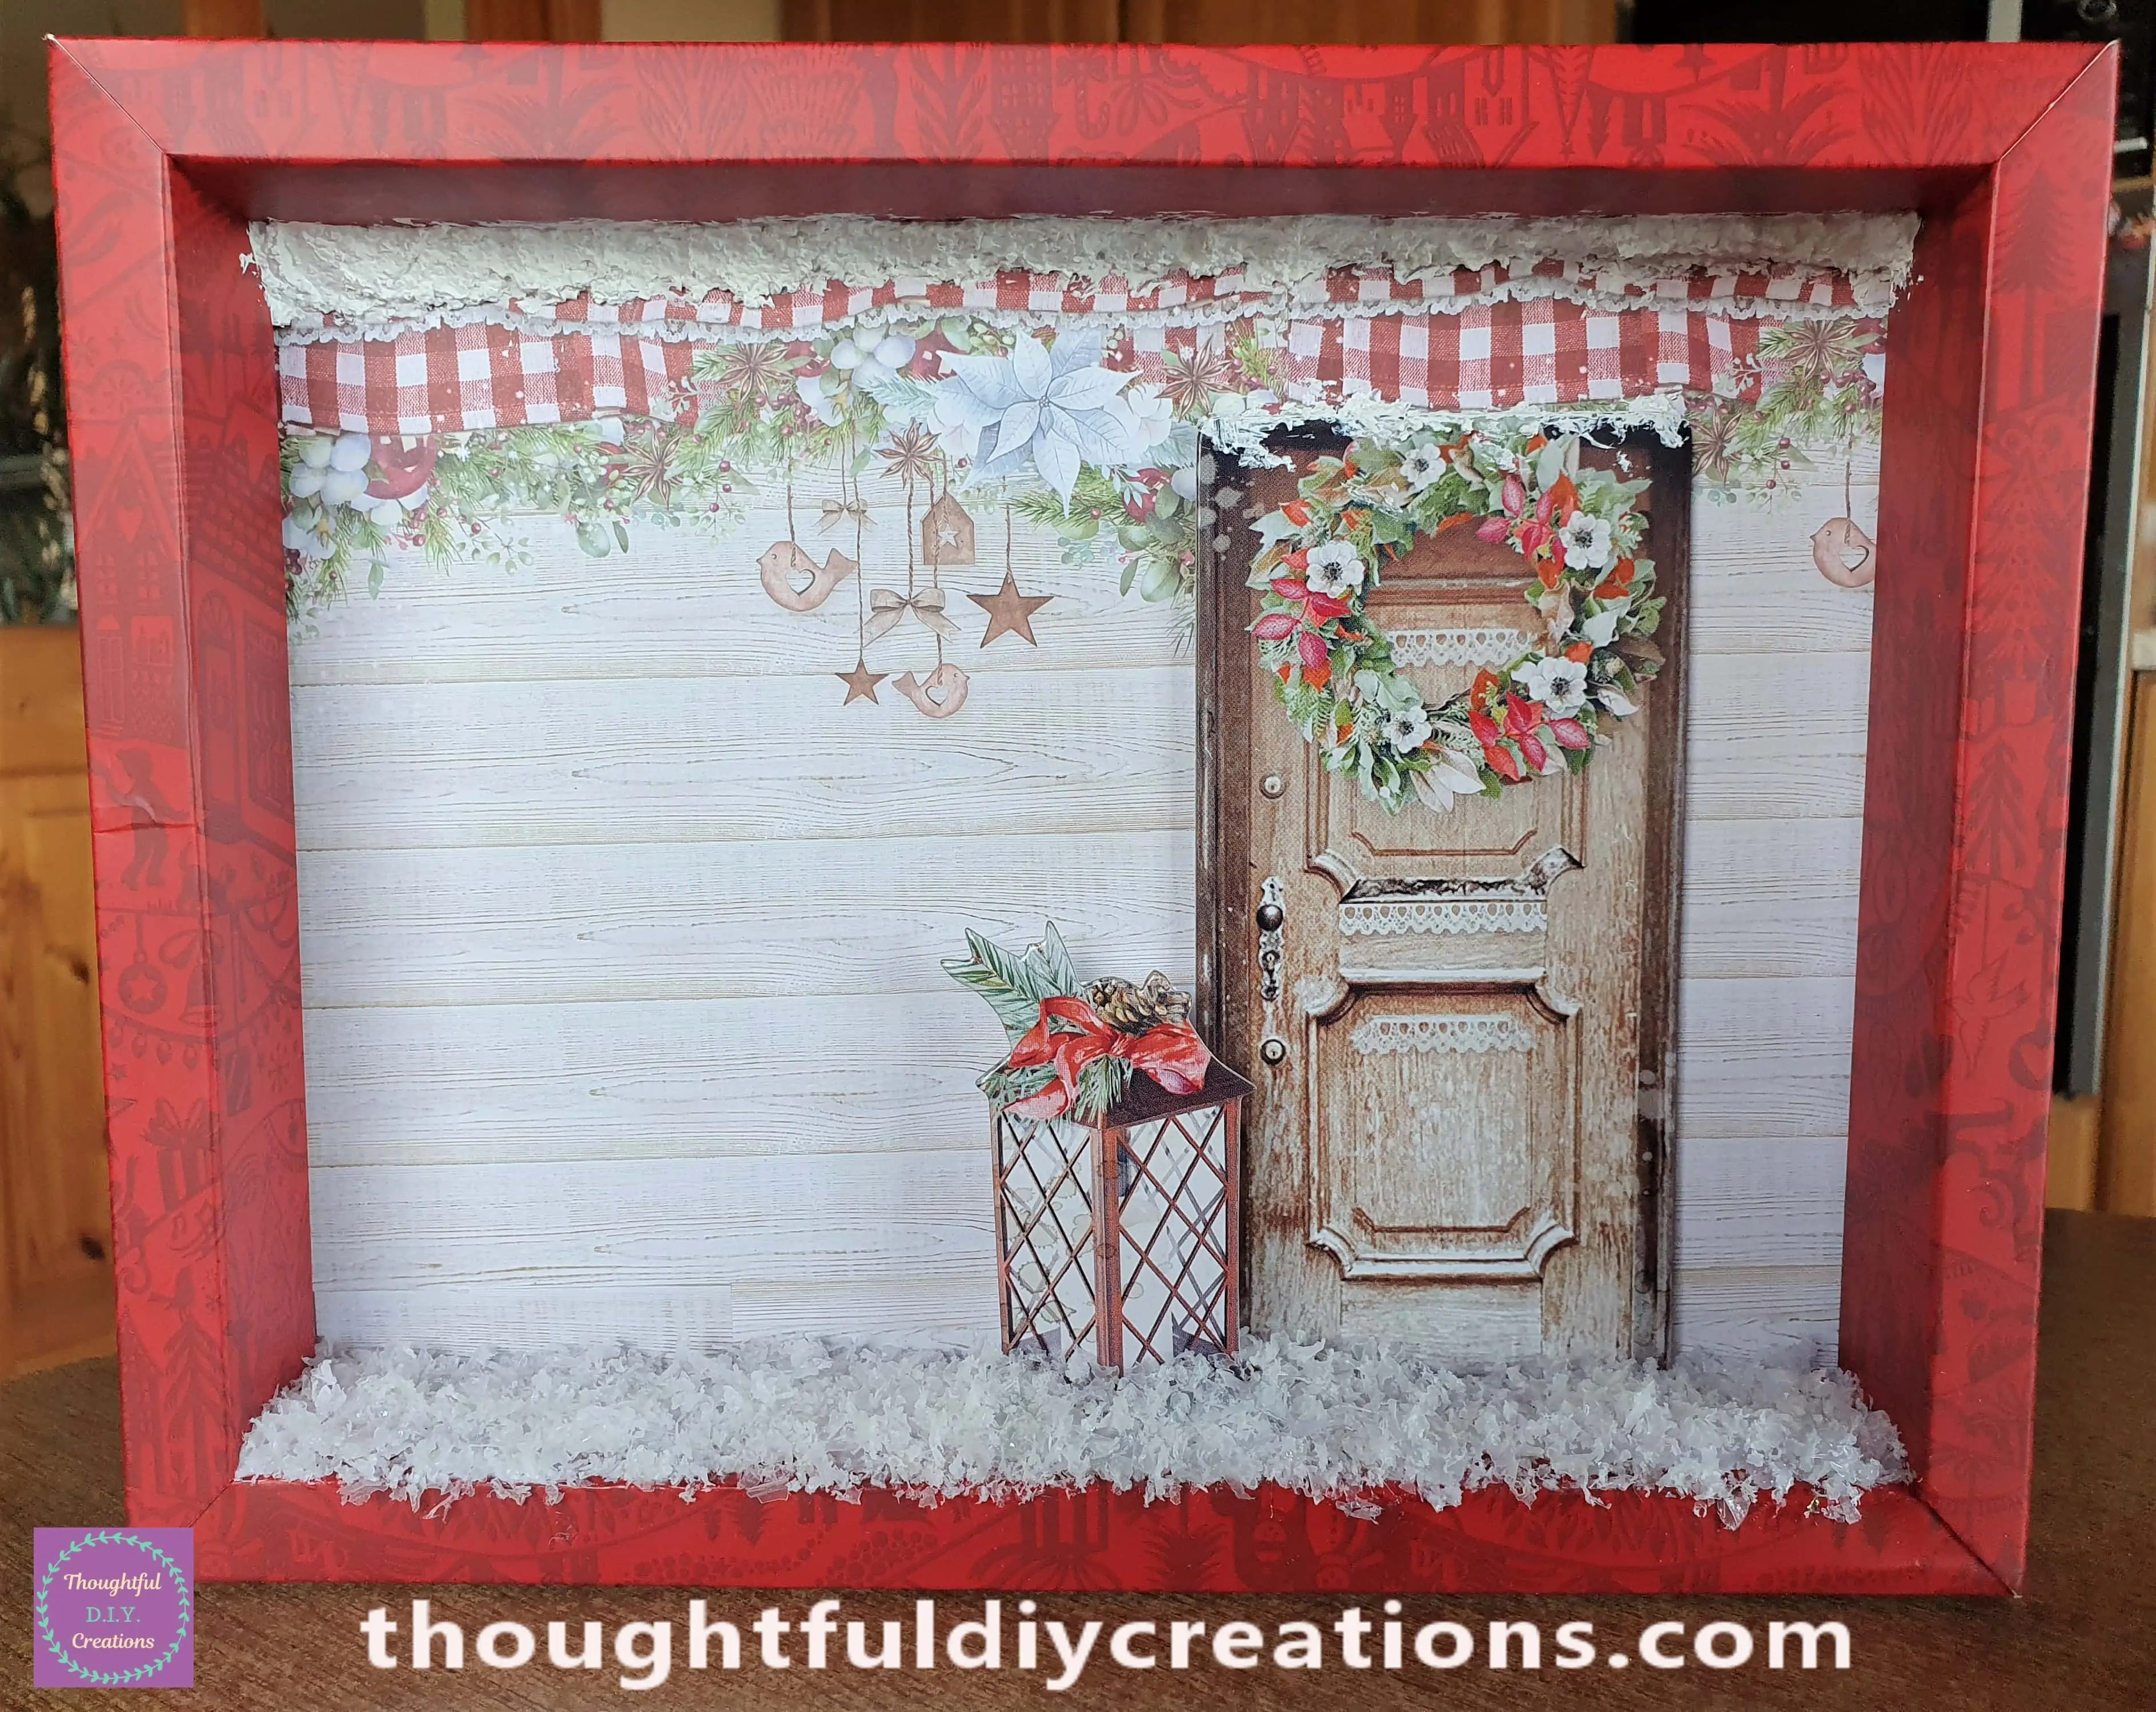
Nature Elements added to the Frame
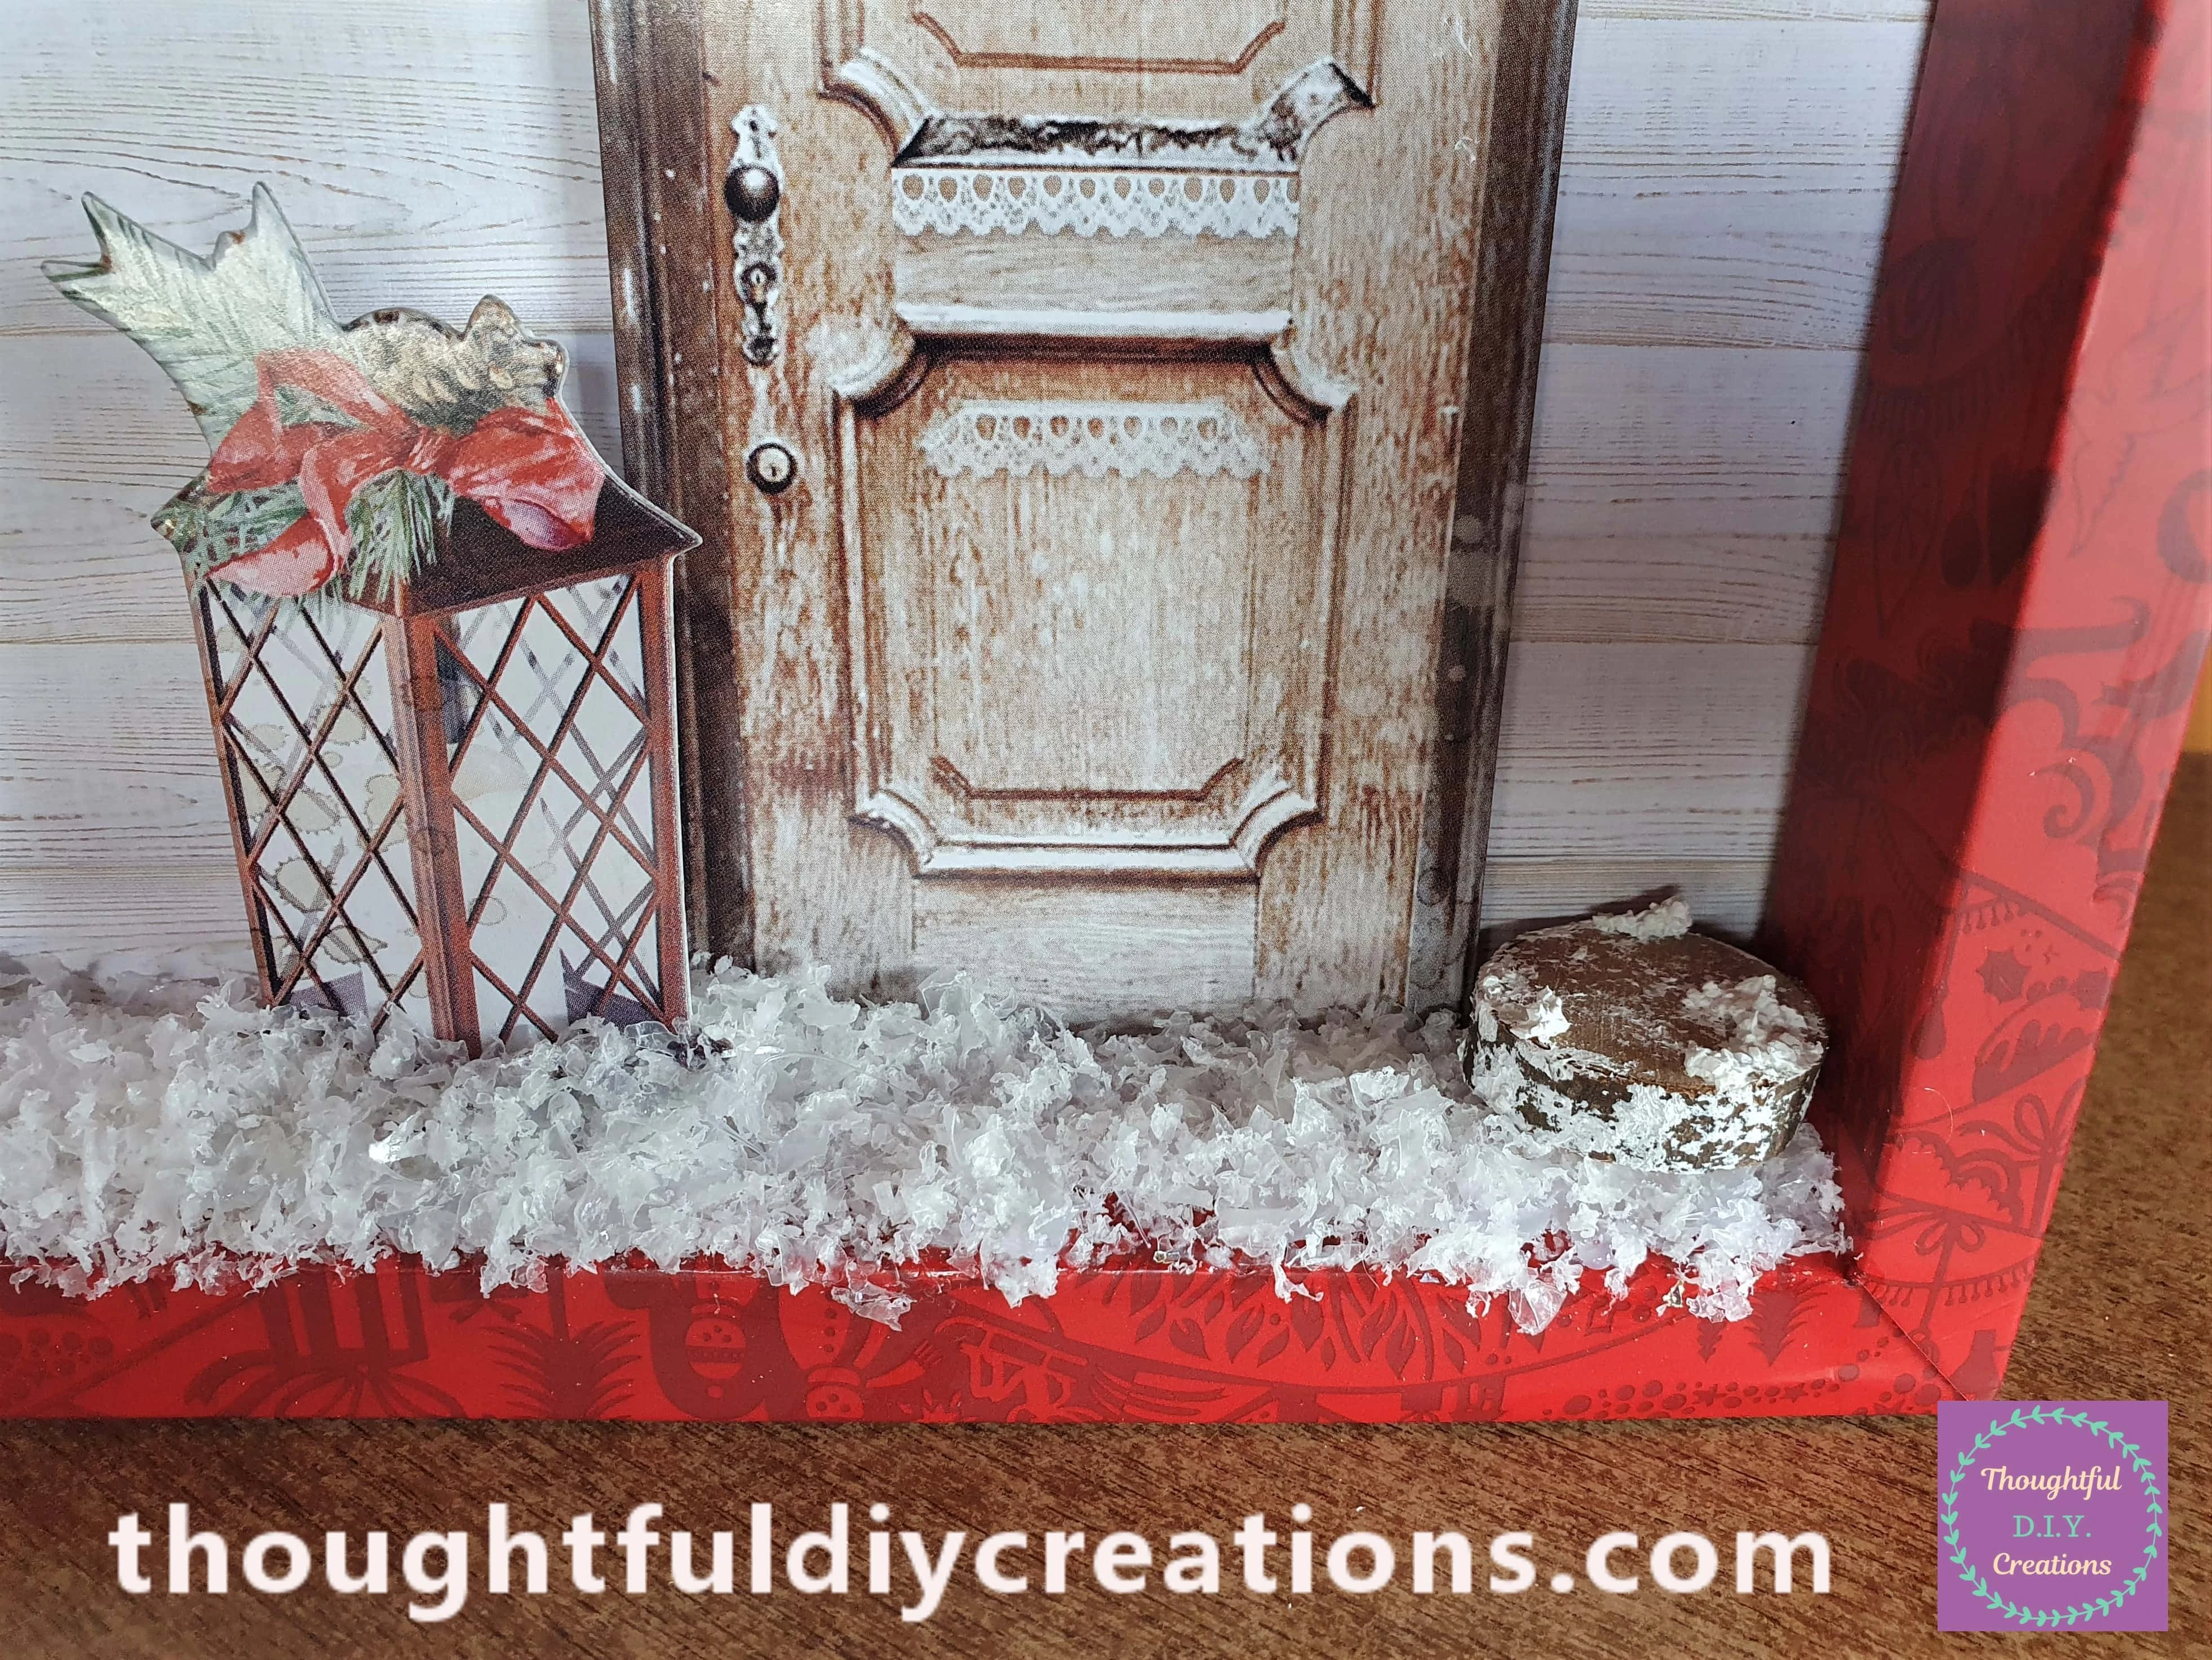
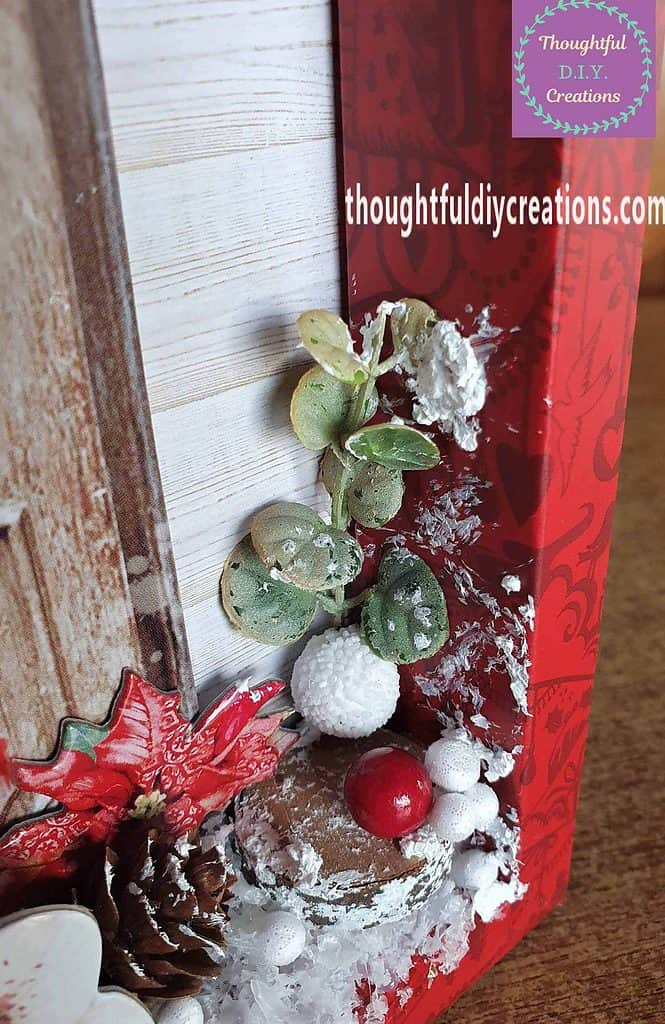
I put some Snow Paste randomly onto a Wood Slice, allowed time for it to dry and then attached it to the edge of the Shadow Box with Hot Glue.
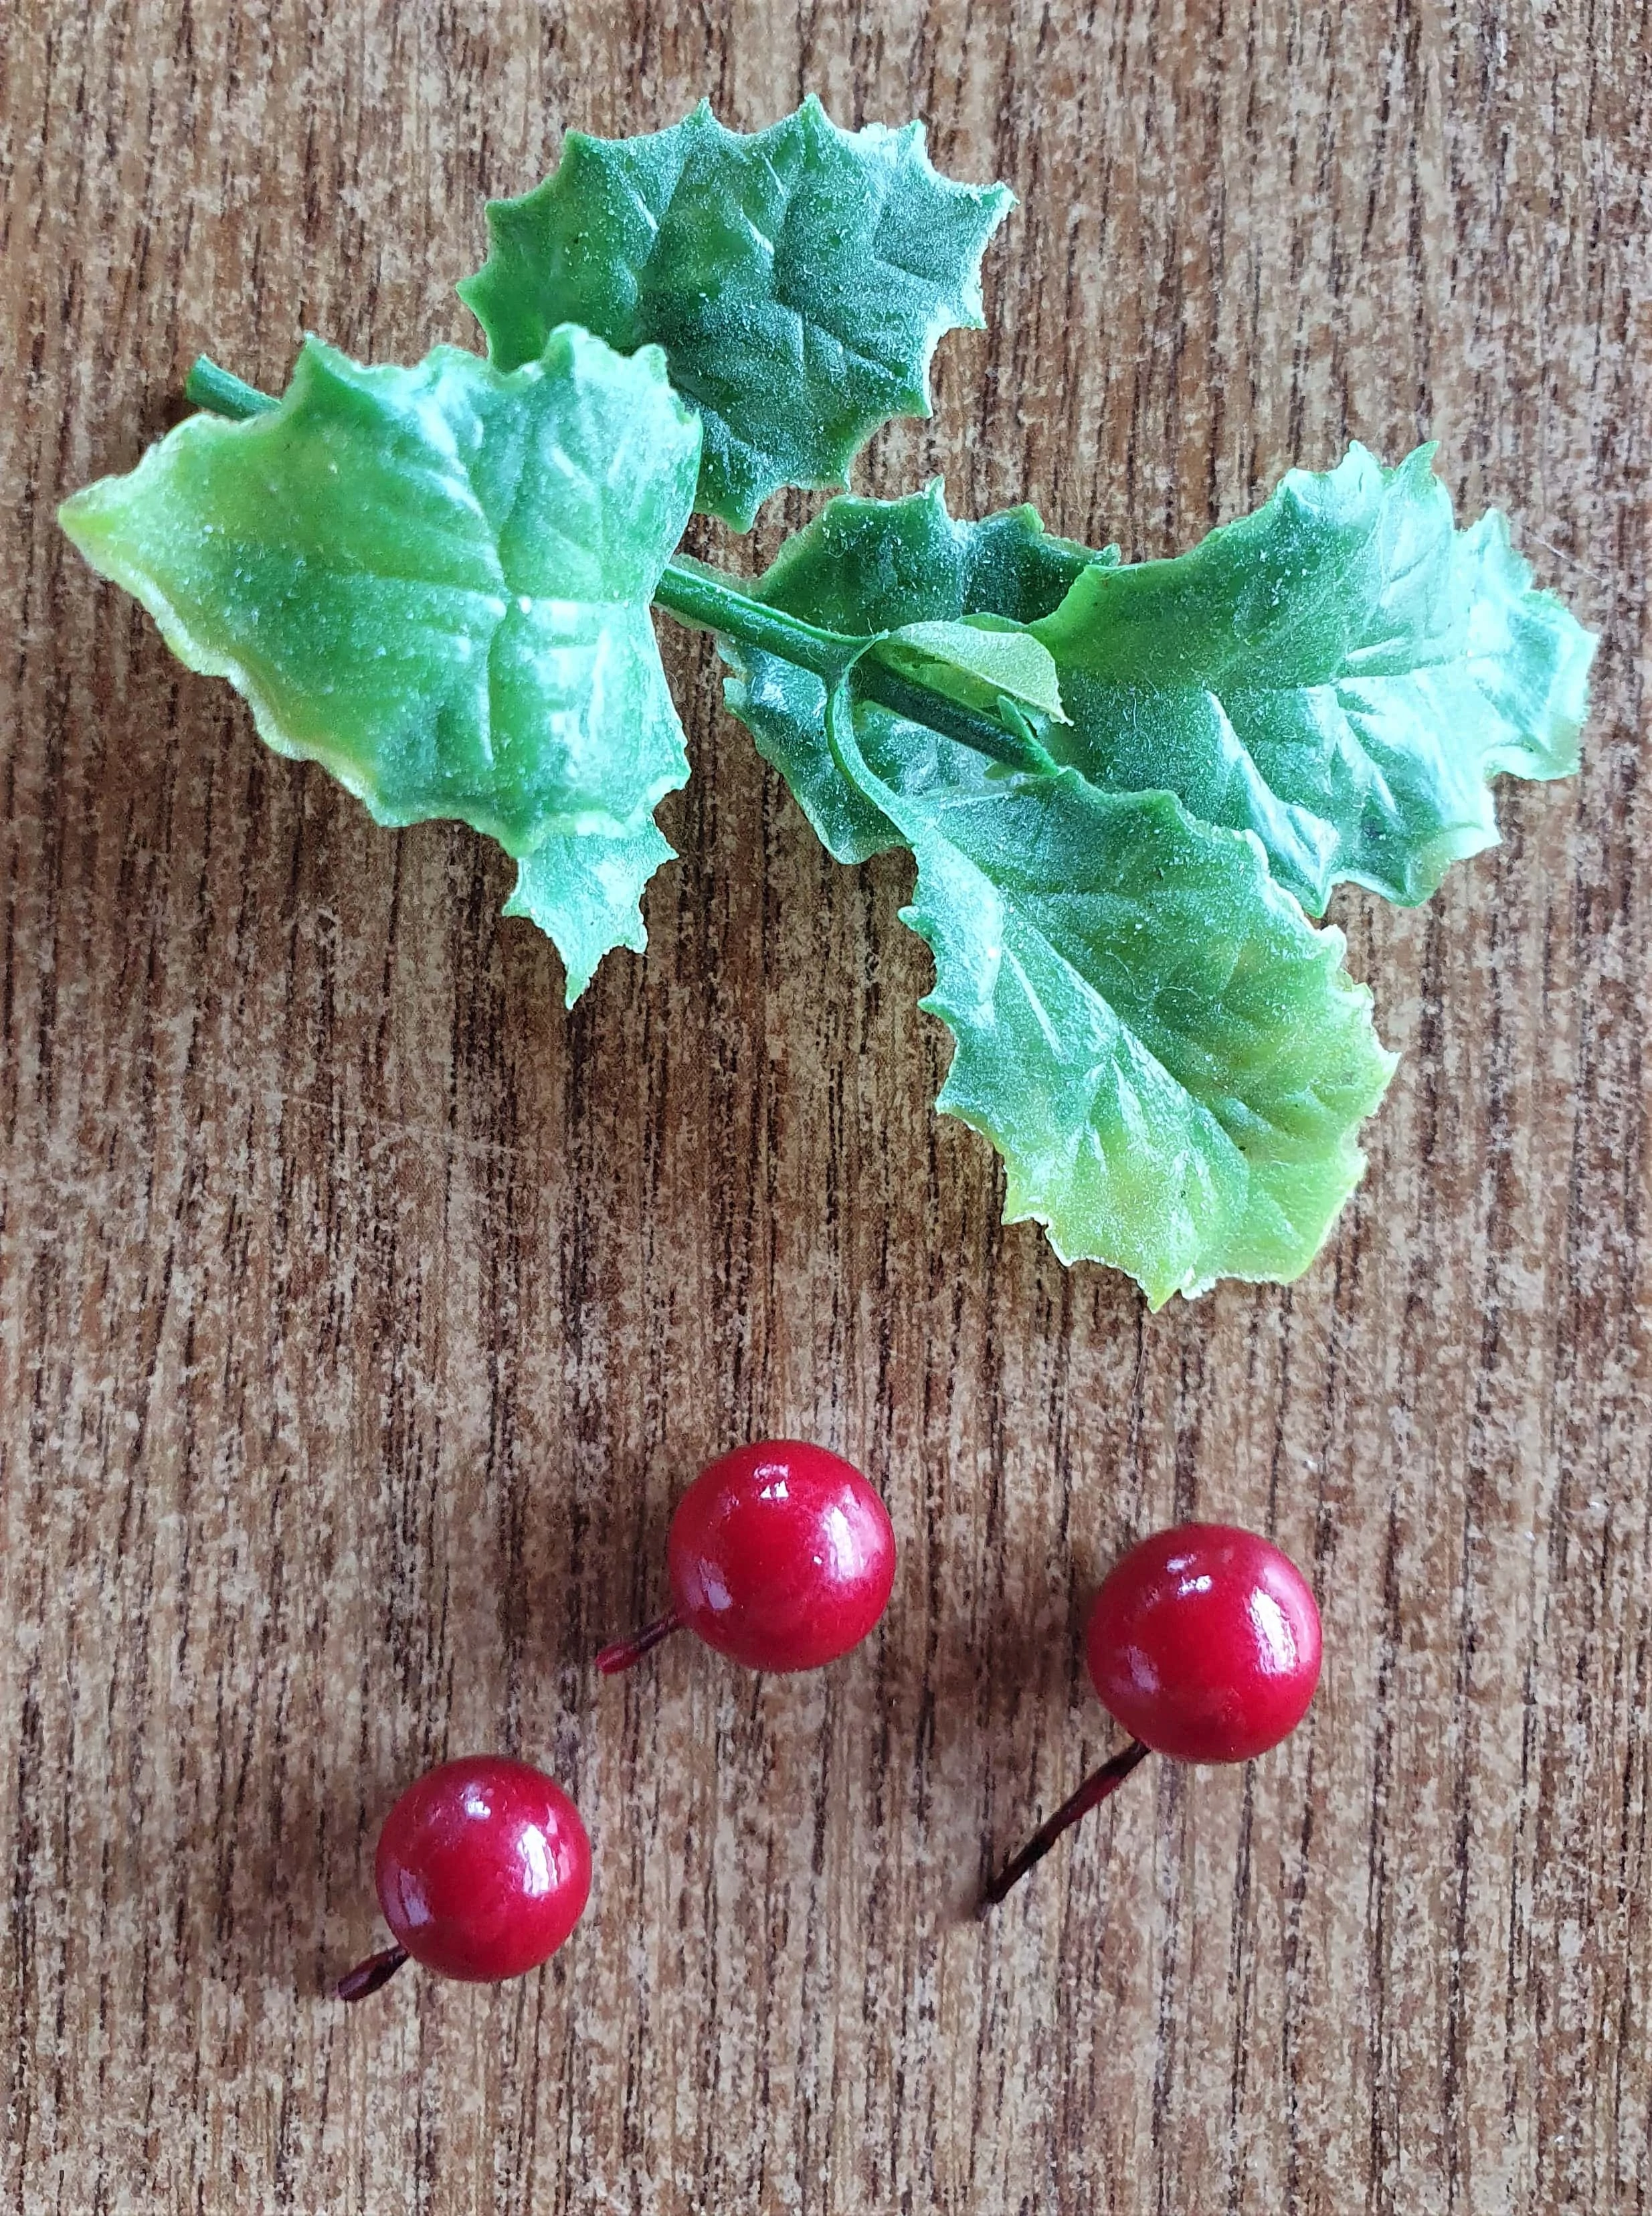
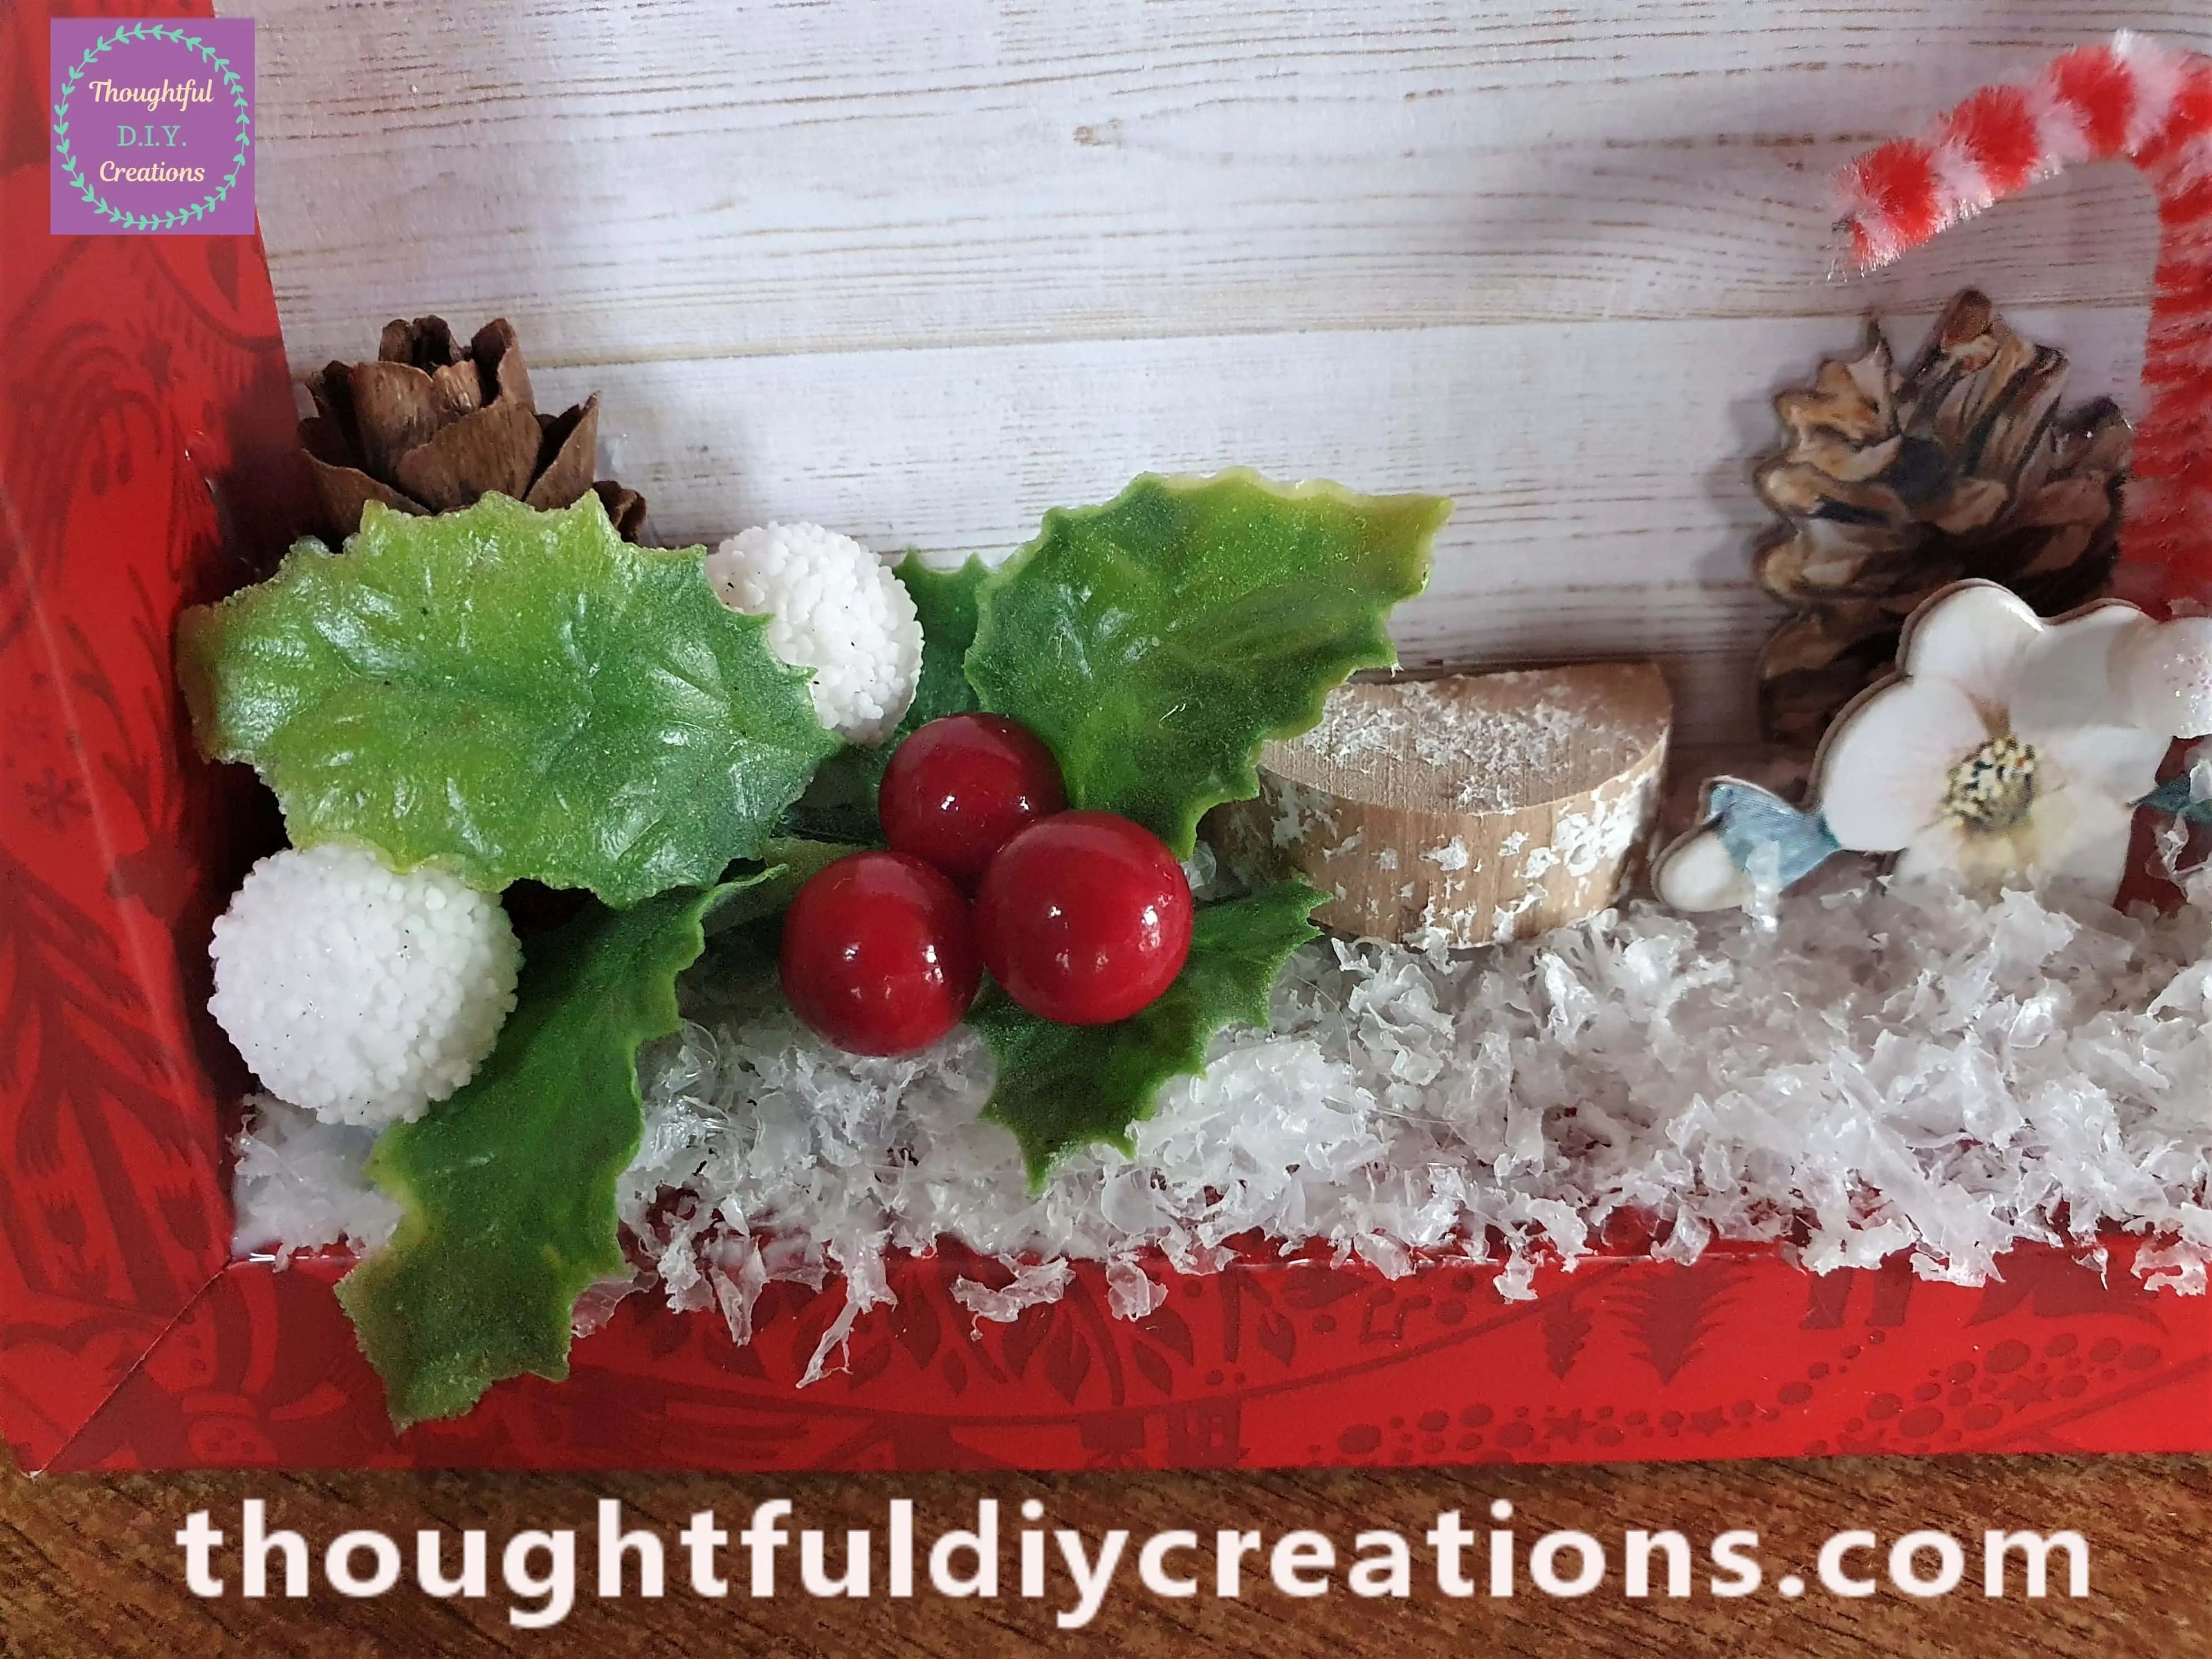
I found some faux Leaves in my Supplies and Cut off 3 berries individually from a Bunch.
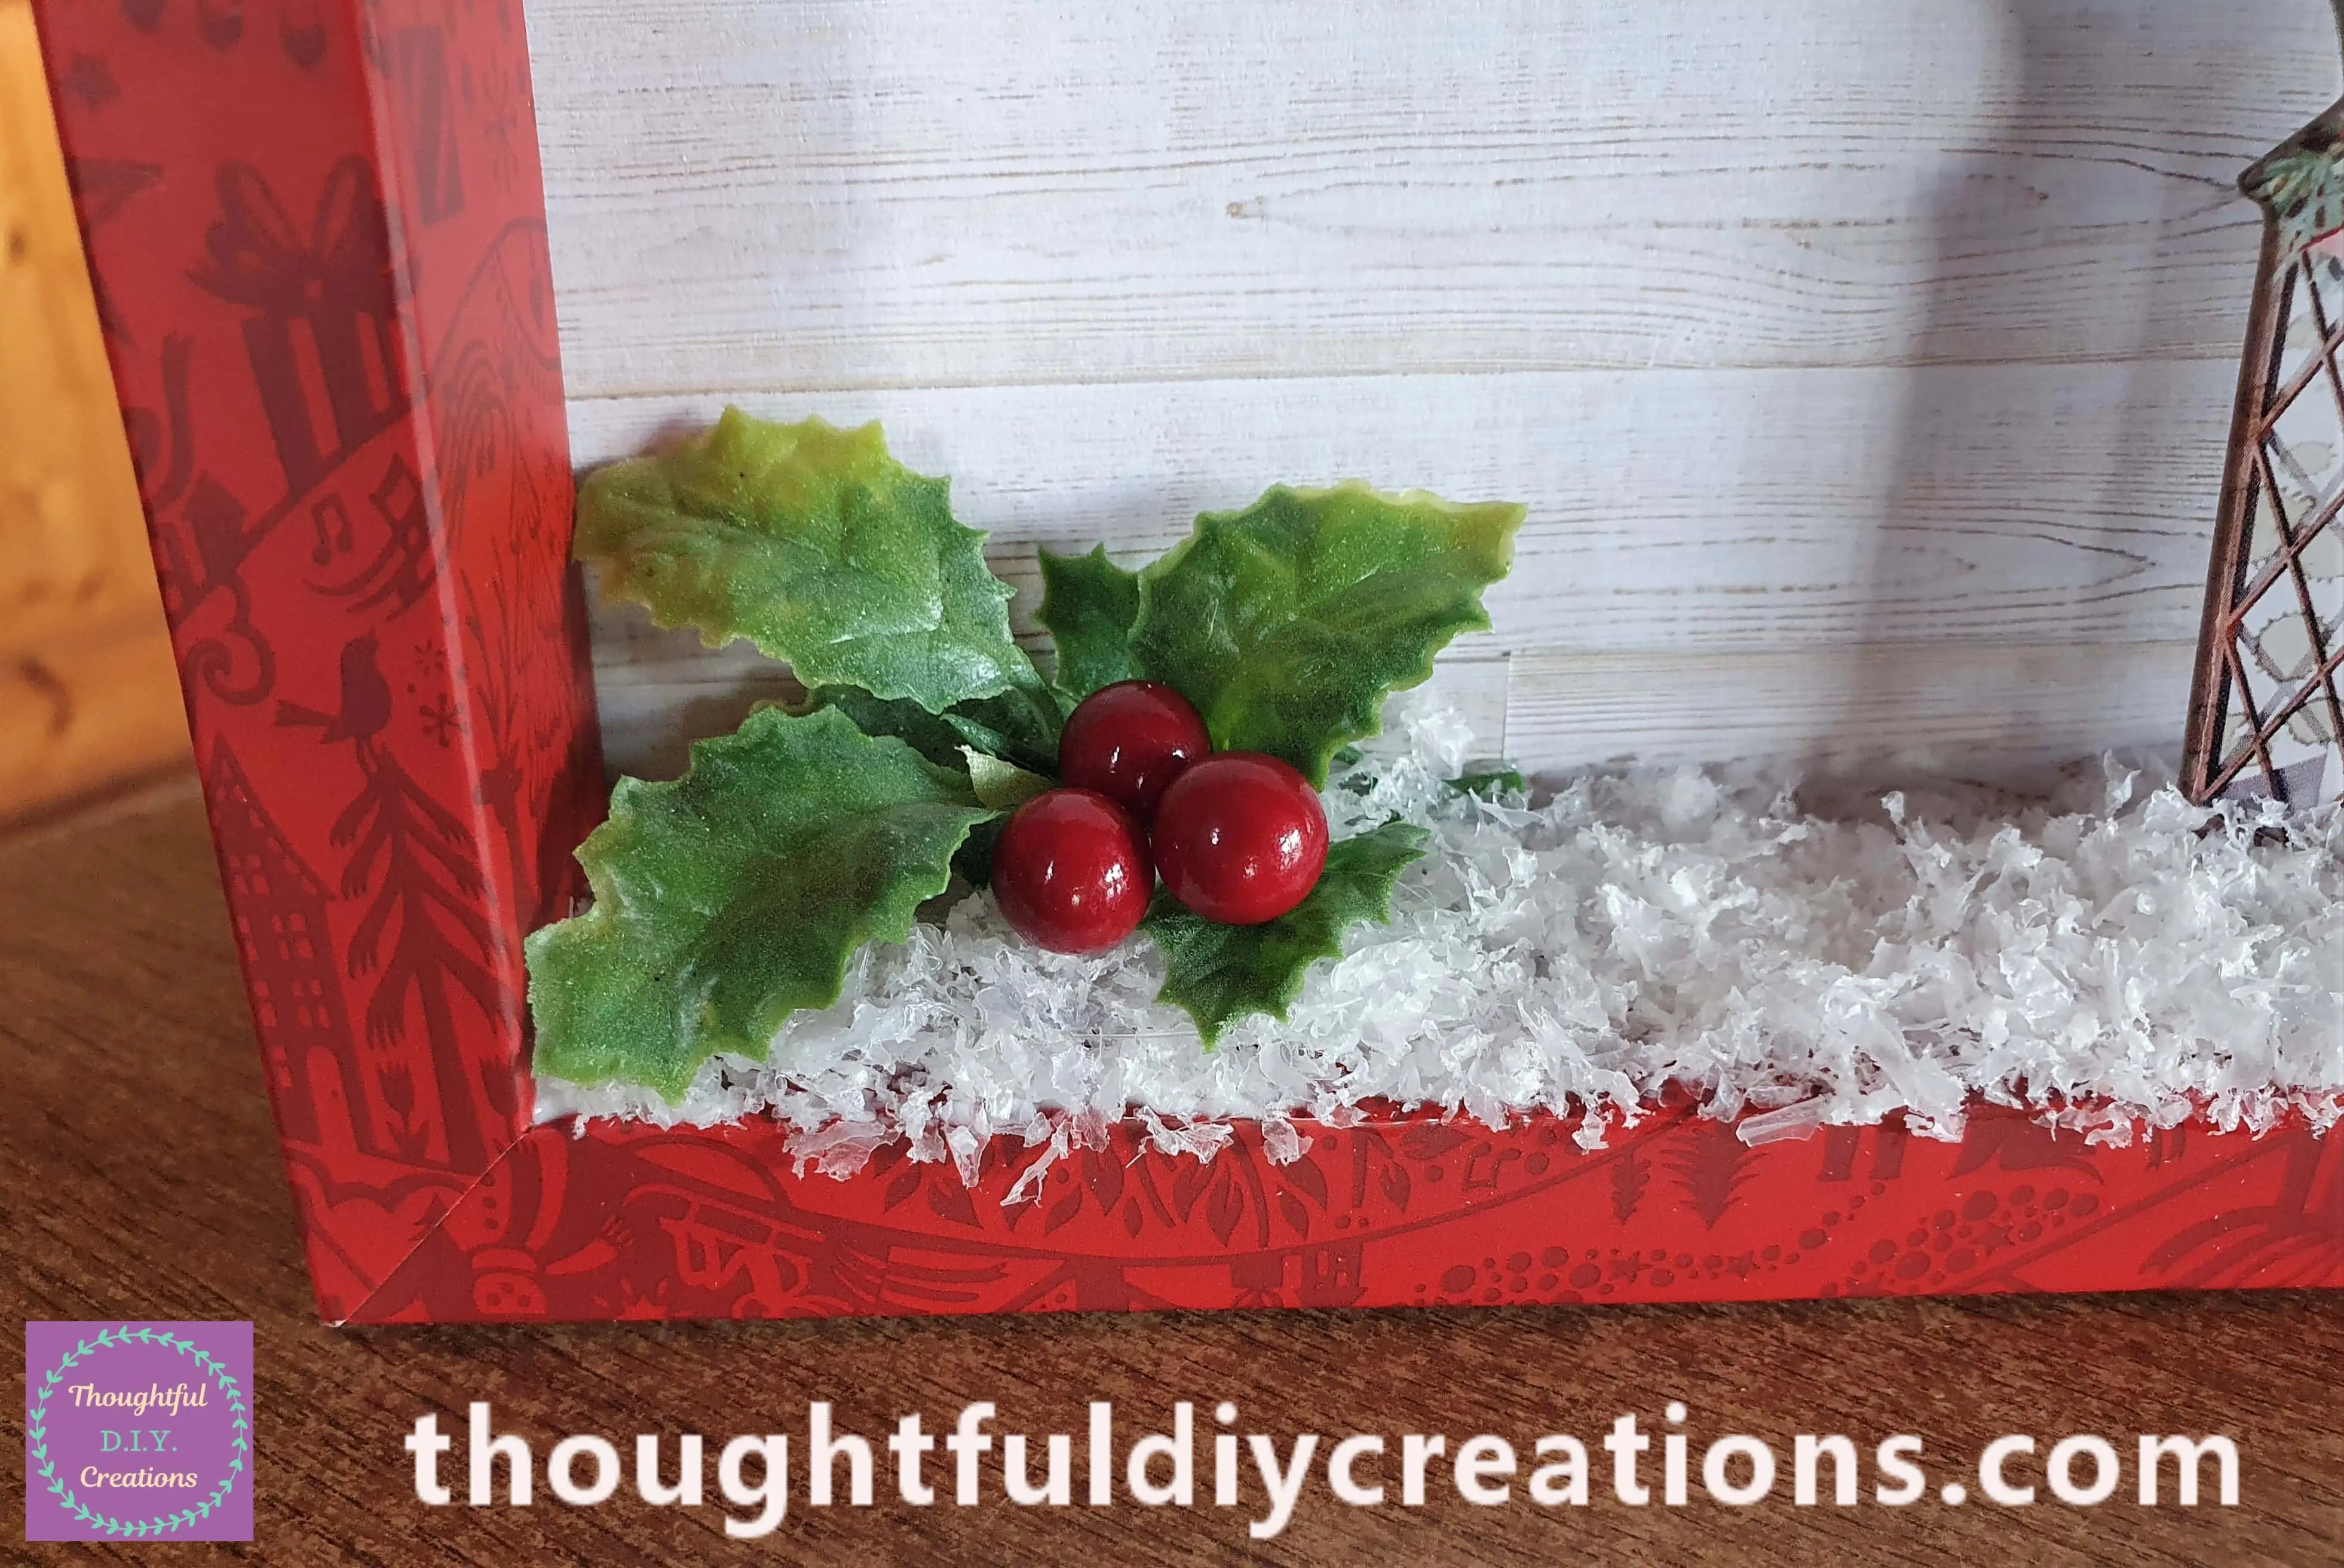
I put some Hot Glue on the Leaves and pressed them into the Snow. I then added each berry one-by-one with a dab of Hot Glue.
Here is a Full View of the Christmas Shadow Box so far.
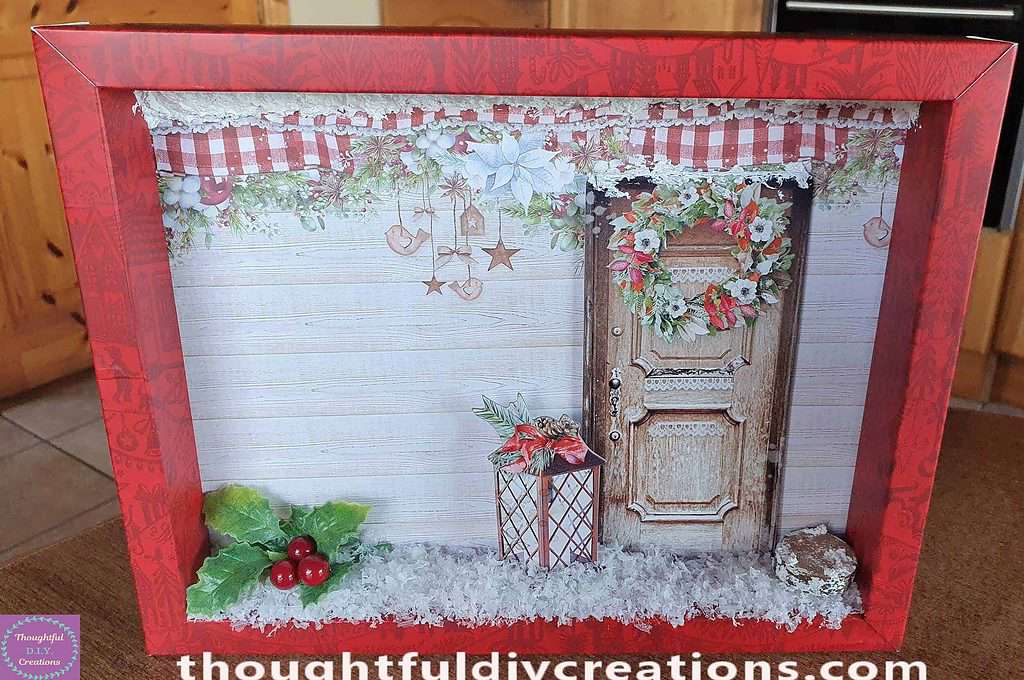
Flowers & Pine Cone for the Display
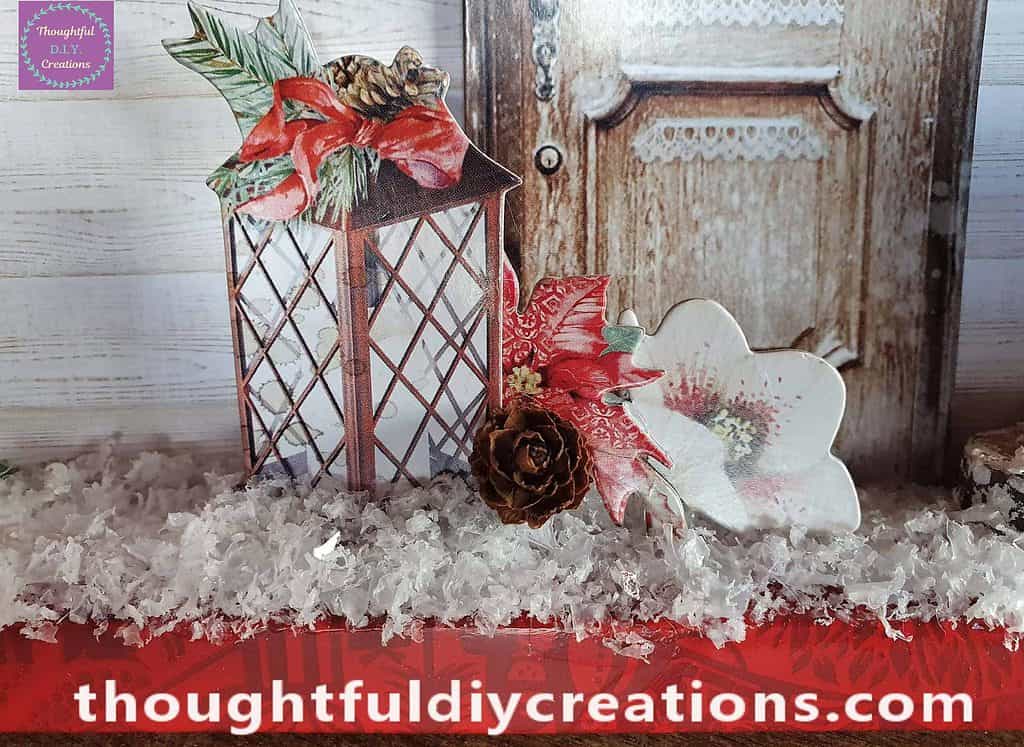
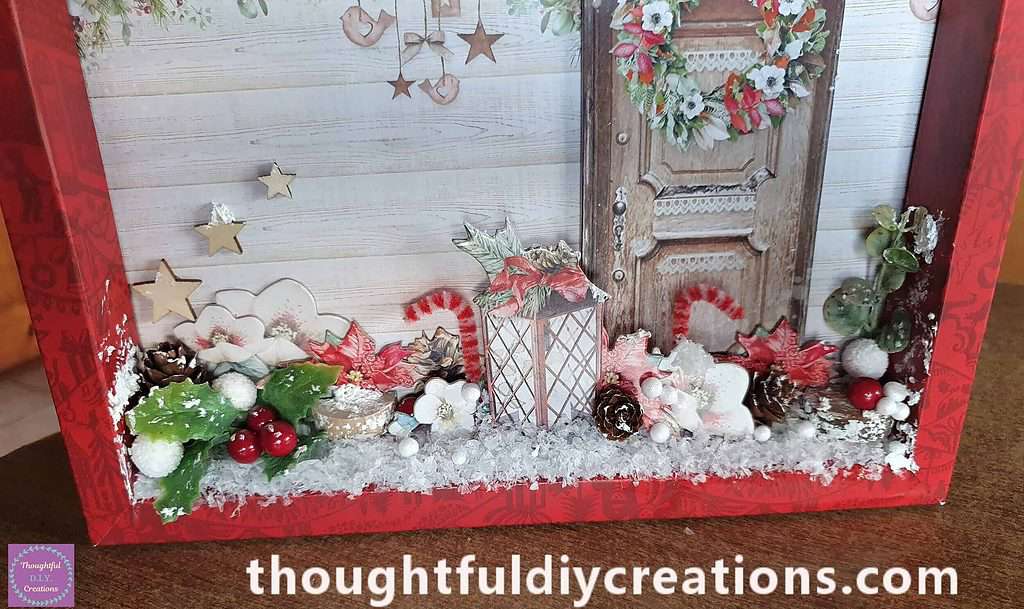
I added 2 Die-Cut Flowers and a mini Pine Cone beside the Lantern.
Making Candy Canes for the Christmas Shadow Box
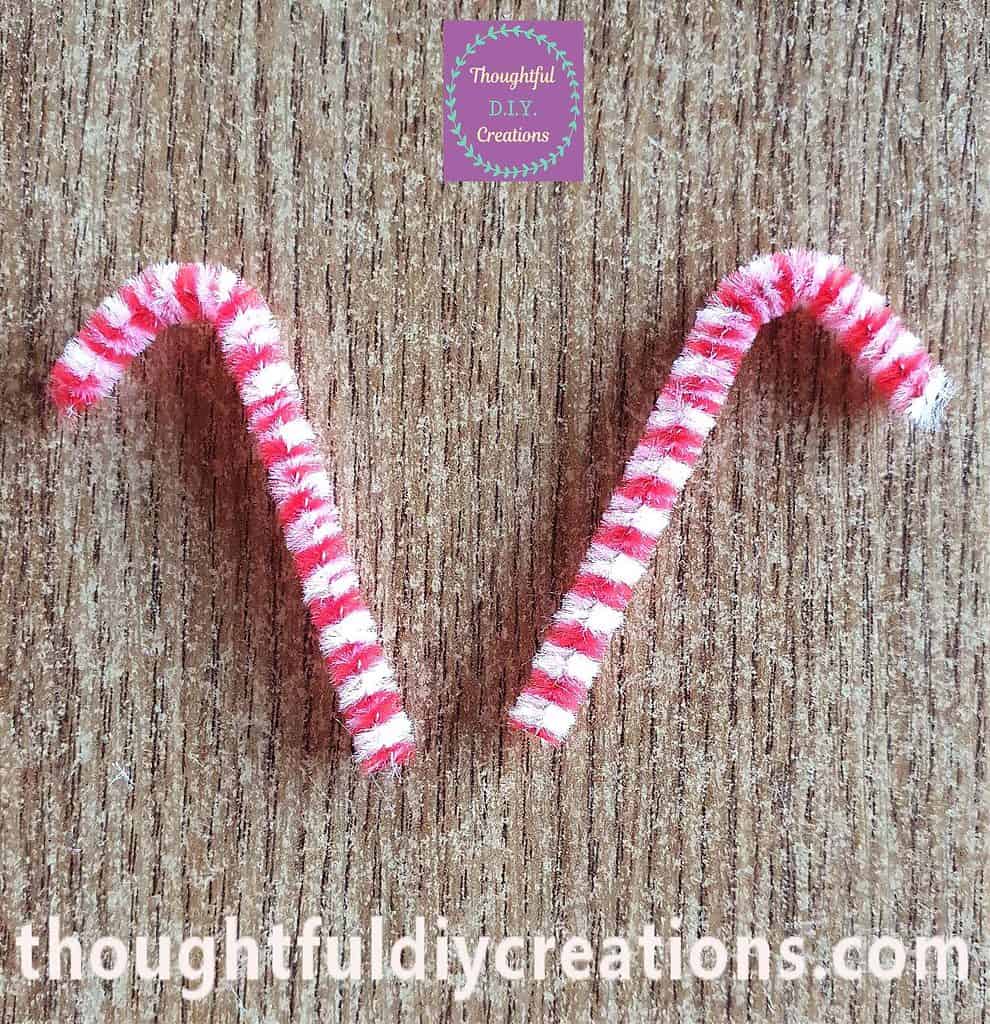
I got a Red and White Pipe Cleaner.
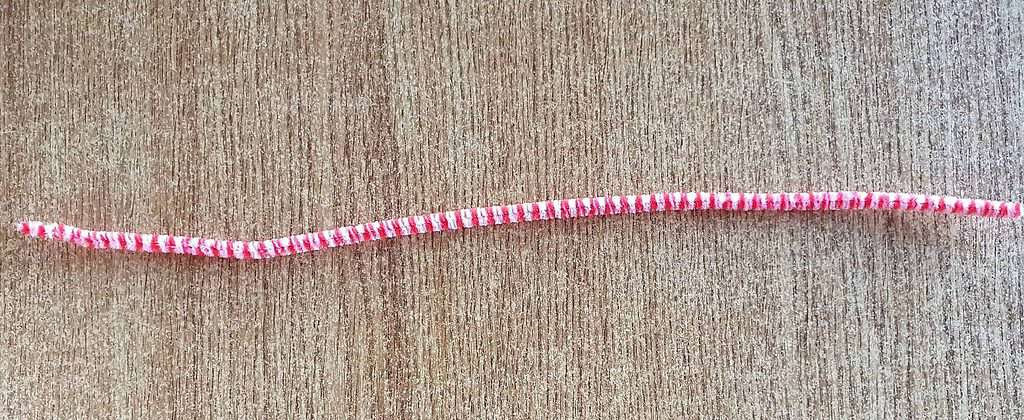
I Cut off one piece from the Pipe Cleaner and then measured it beside the rest of the Pipe Cleaner to Cut out another same Size piece.
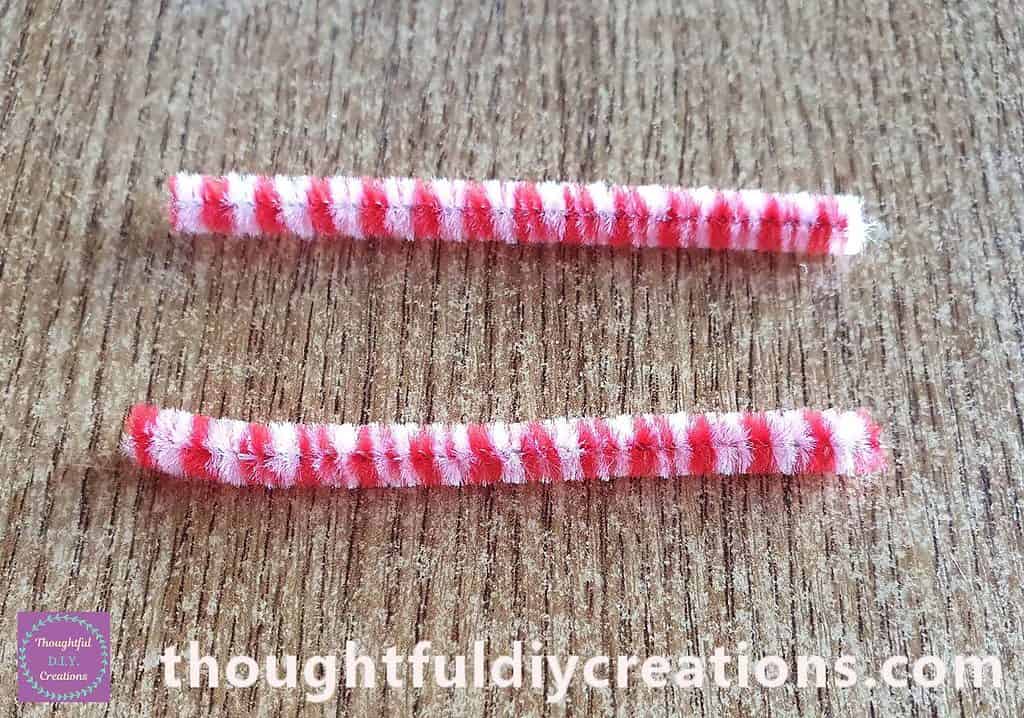
I bent the top of each Pipe Cleaner forward to make the Shape of a Candy Cane.
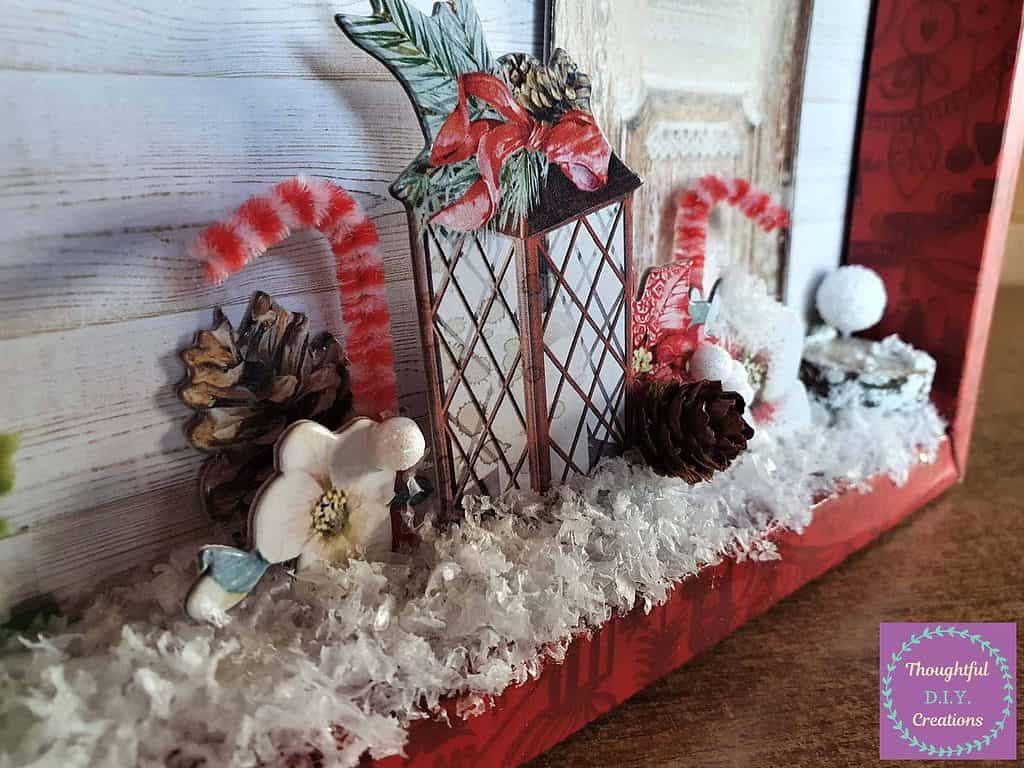
I attached them each side of the Lantern. I also added more Die-Cut elements as well as Snow Berries. I attached them to different areas on the bottom of the Frame to give a more 3-D interesting appearance.
Continuing to add more Embellishments
I Hot Glued a mini Pine Cone behind the Holly.
Two Snow berries and a broken Wood Slice were attached to provide more fullness and Colour.
A green Stem was glued to the corner of the Shadow Box.
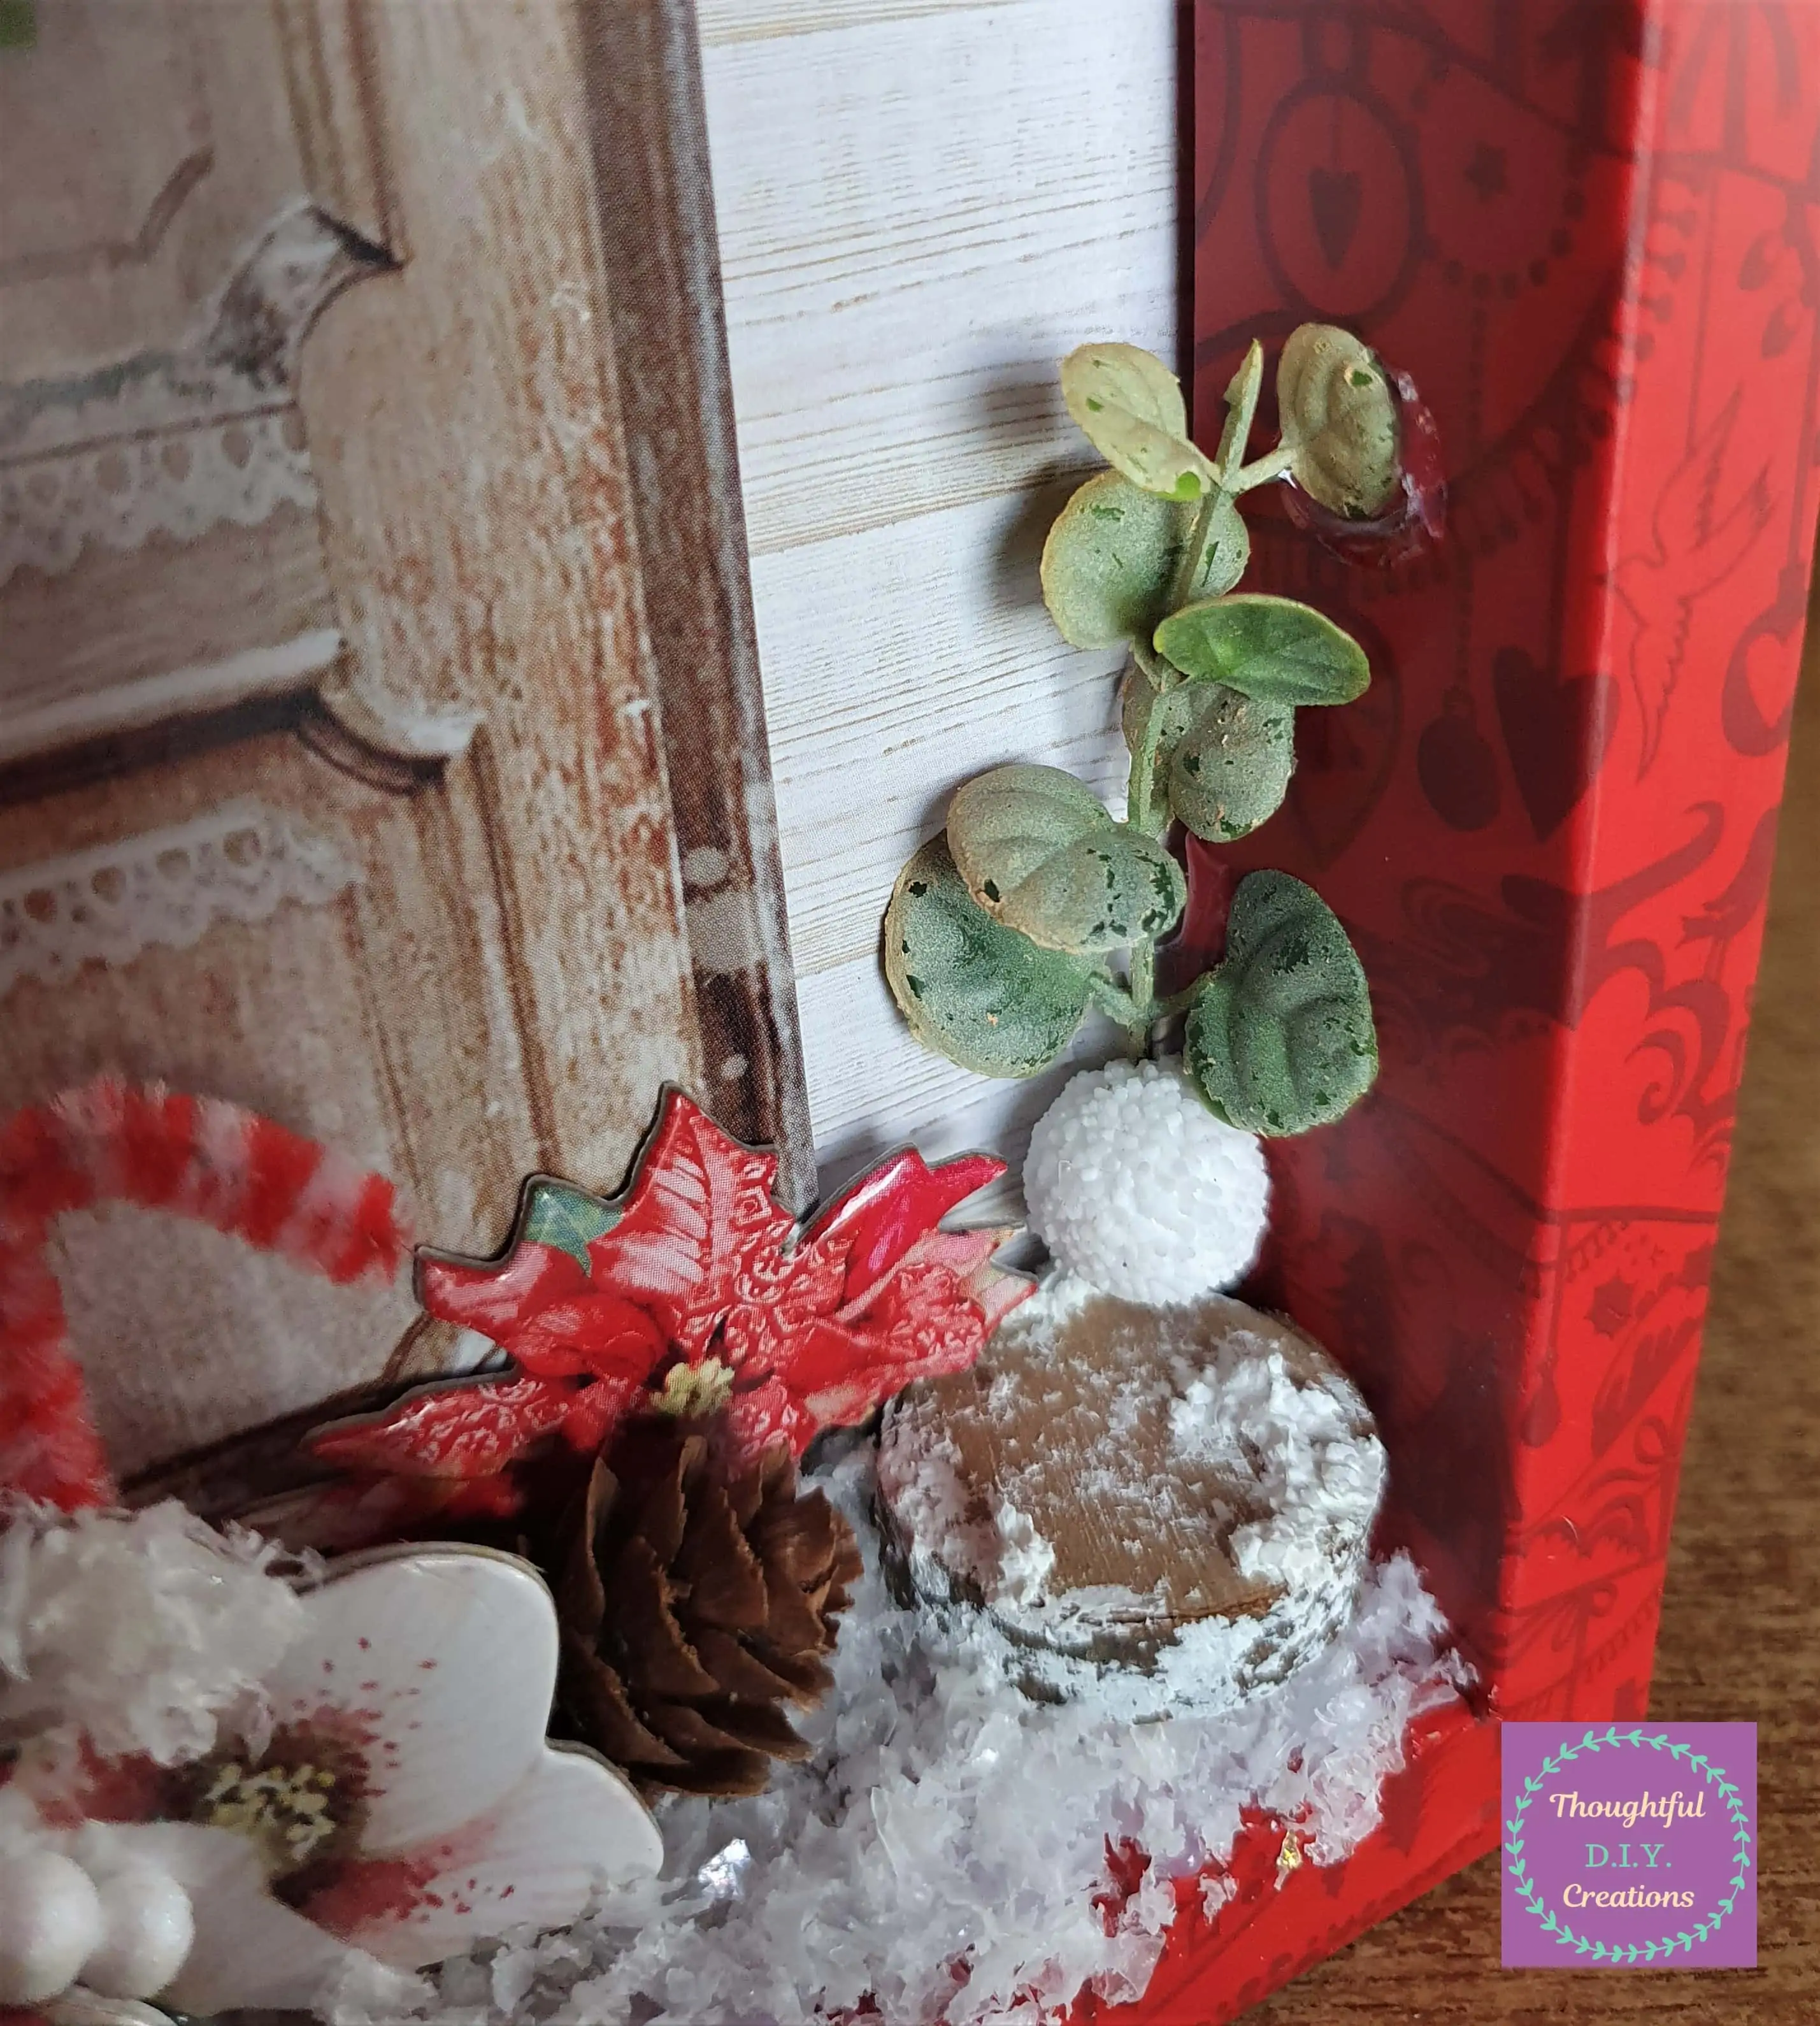
Three Wooden Stars of different Sizes were added to the Paper in the Frame.
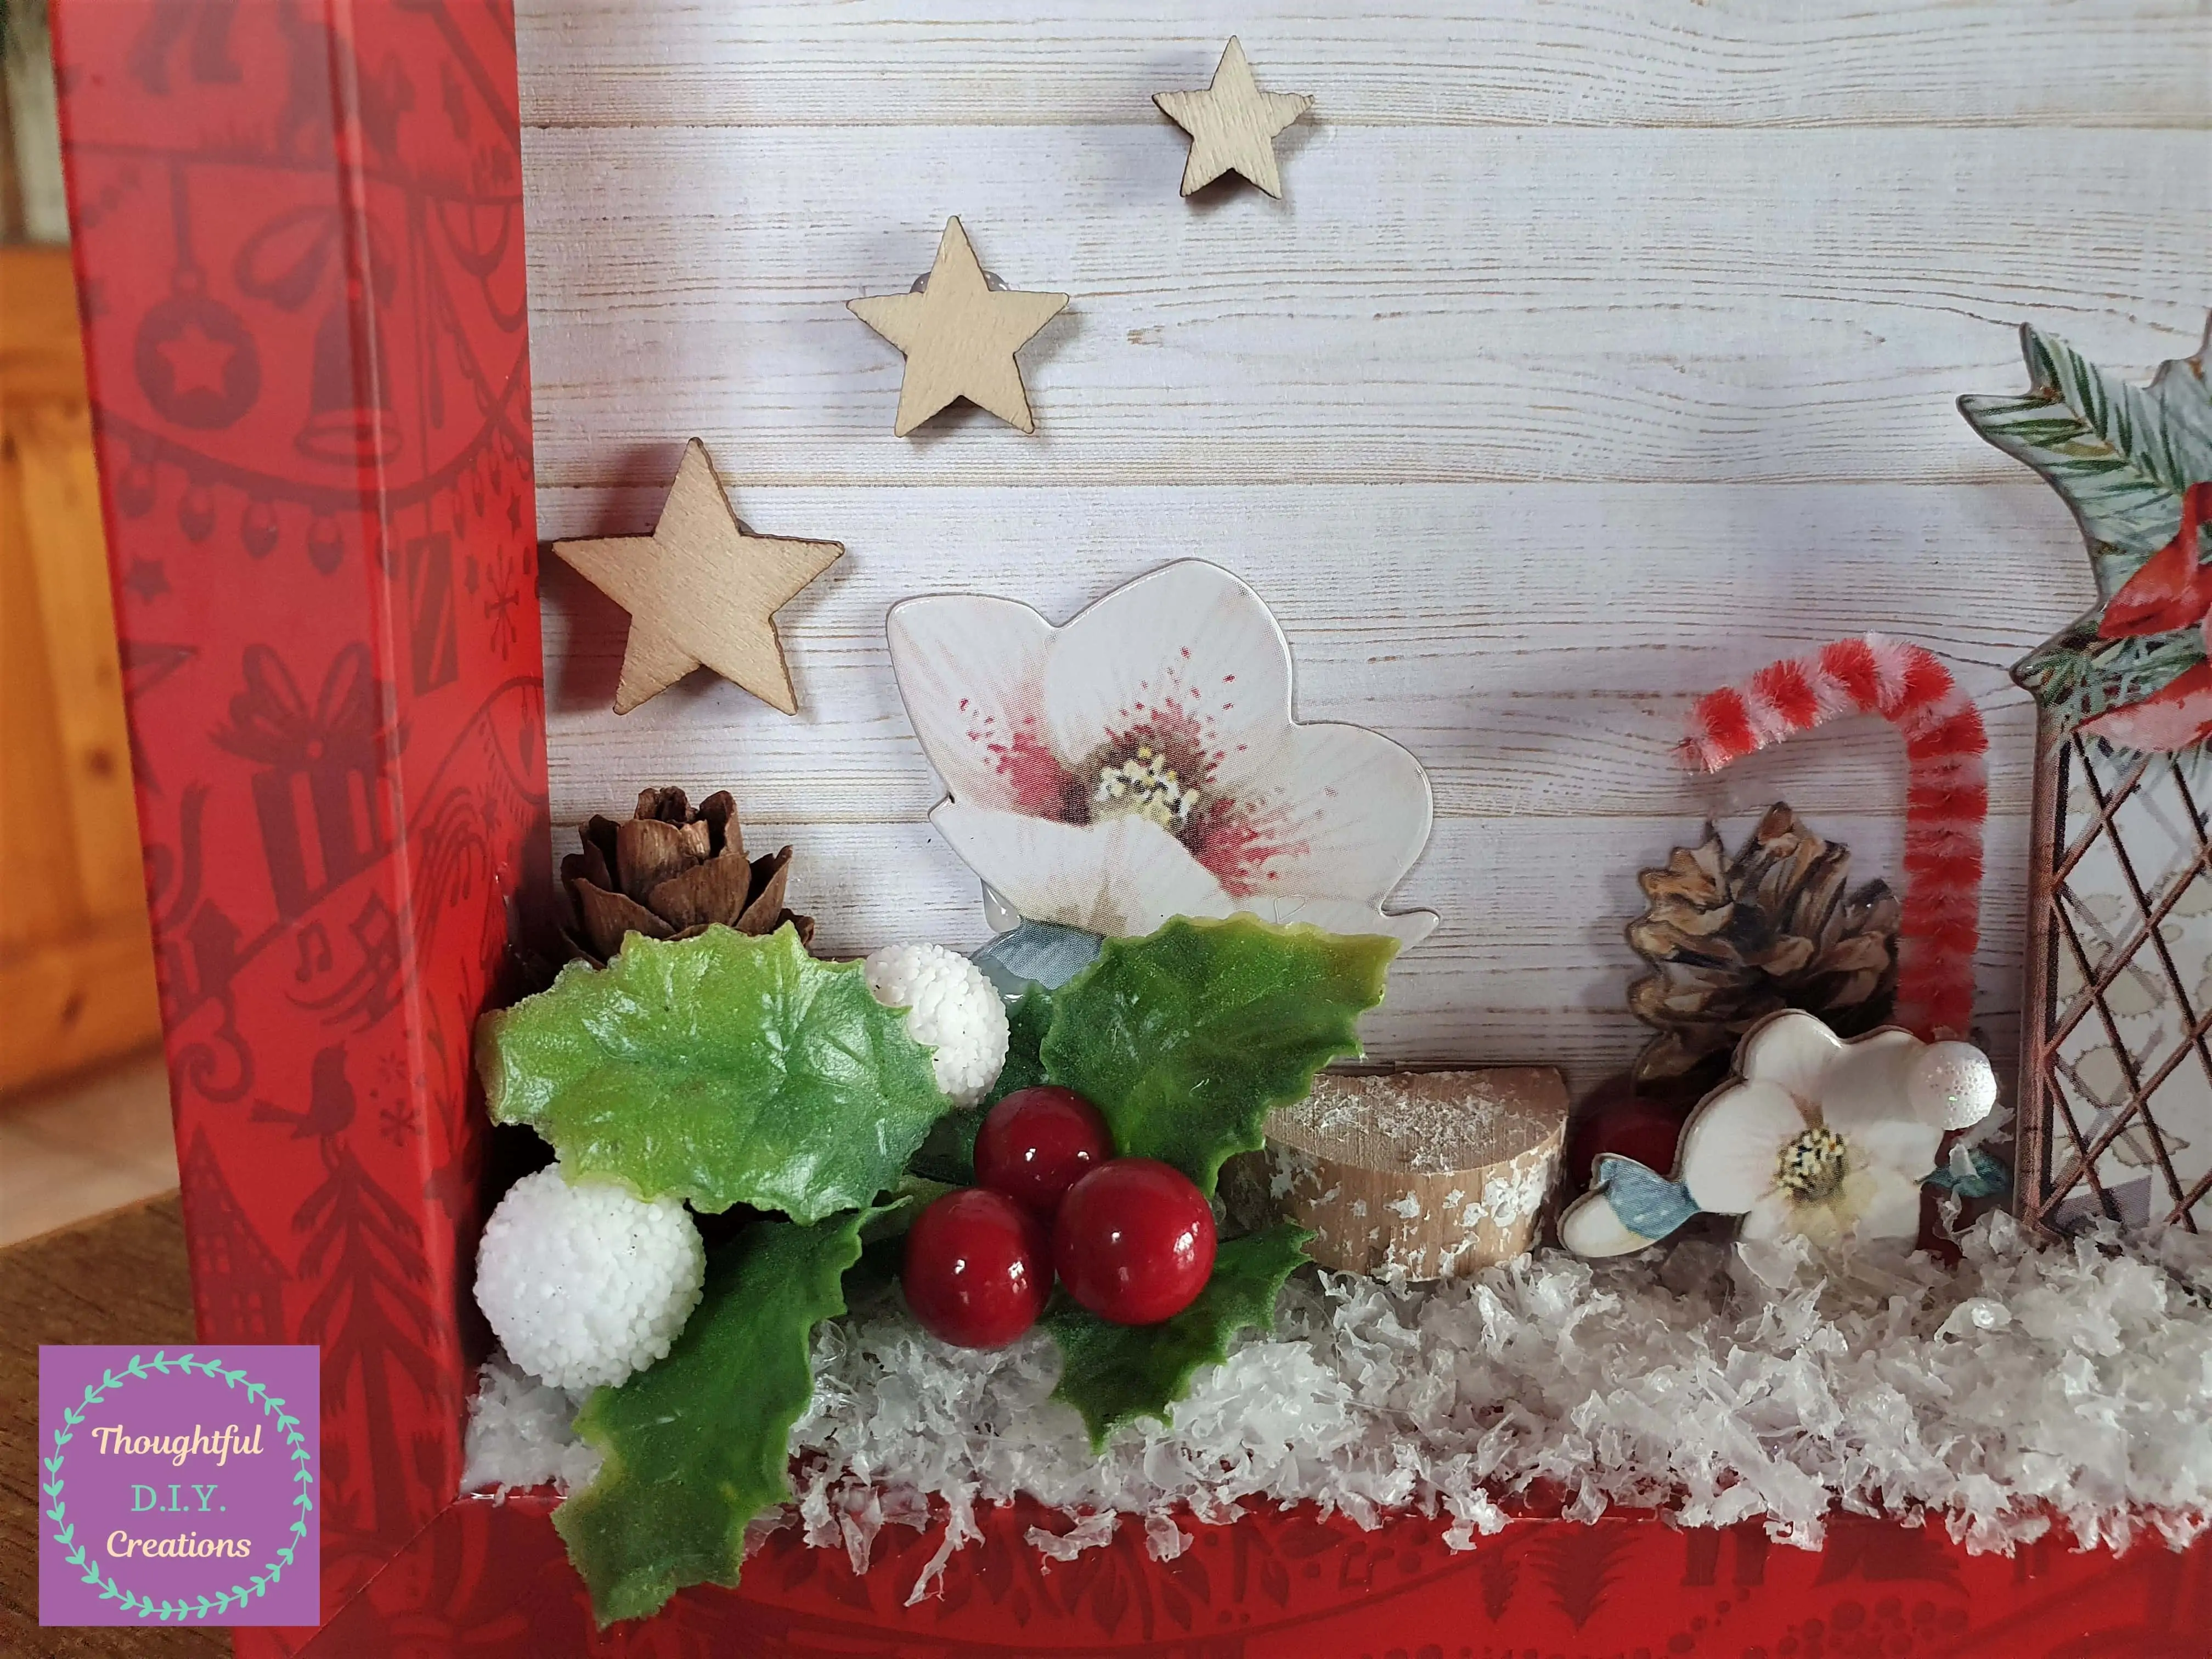
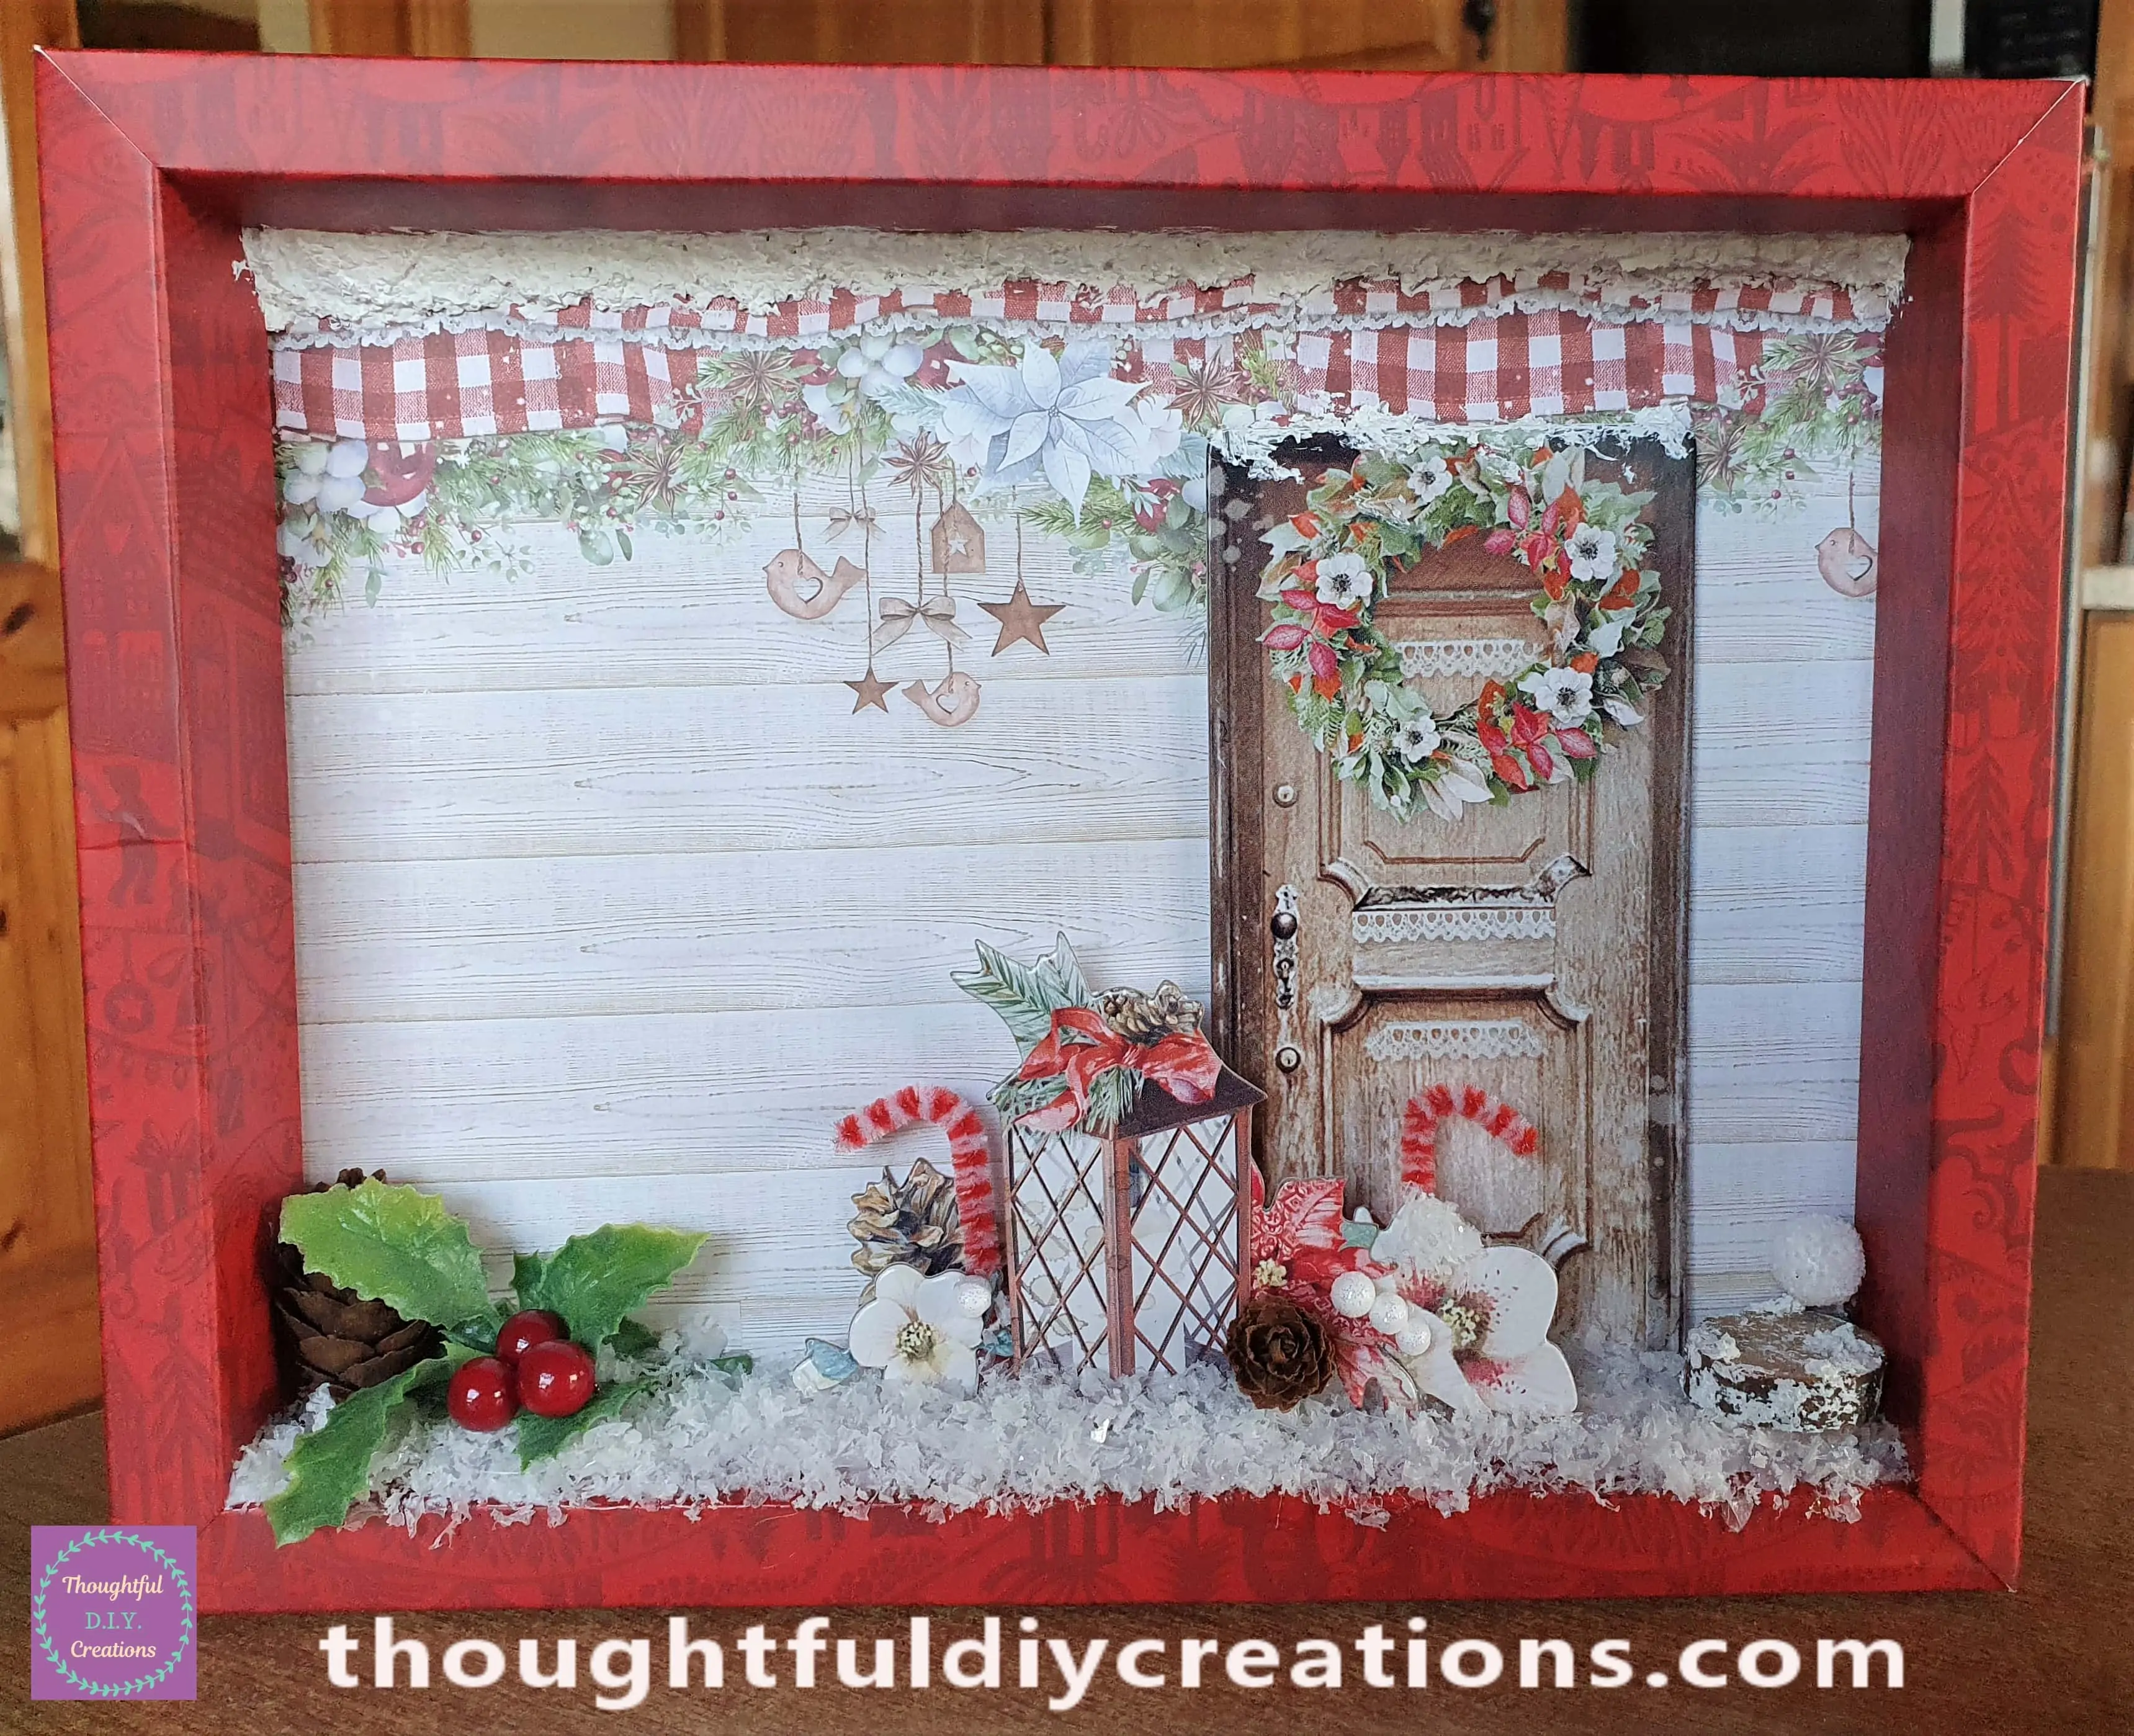
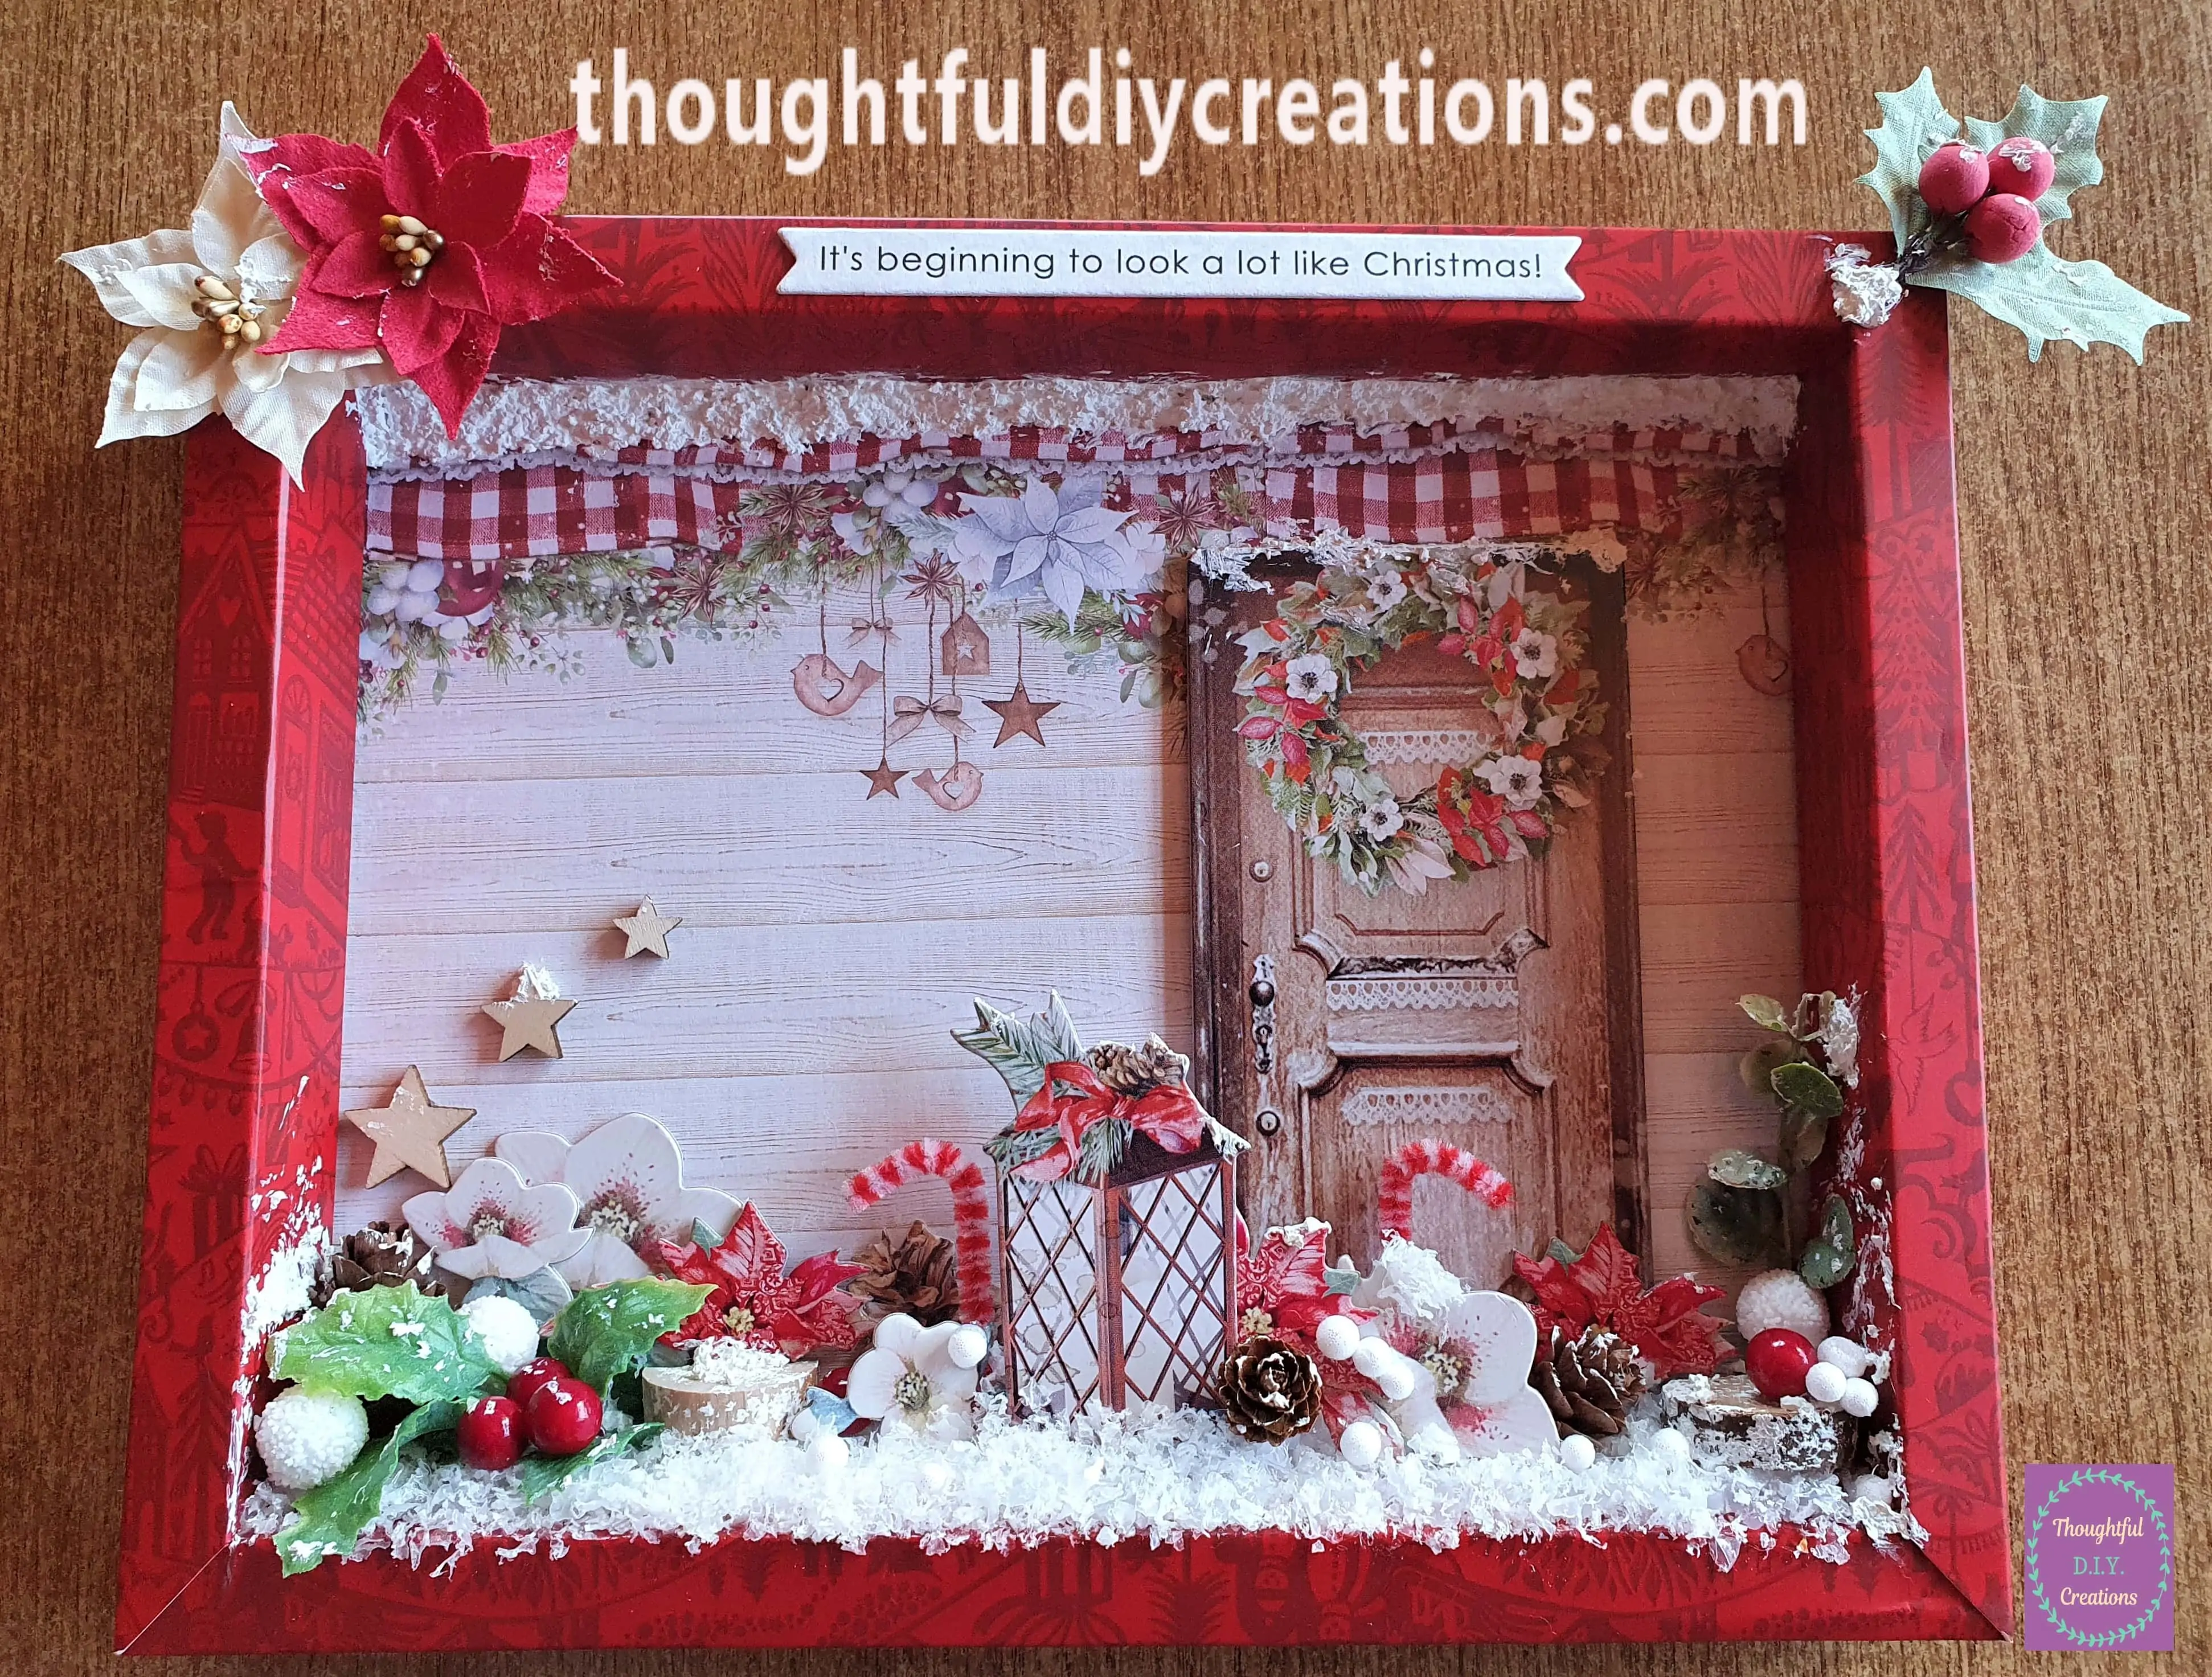
A Full View of the Shadow Box.
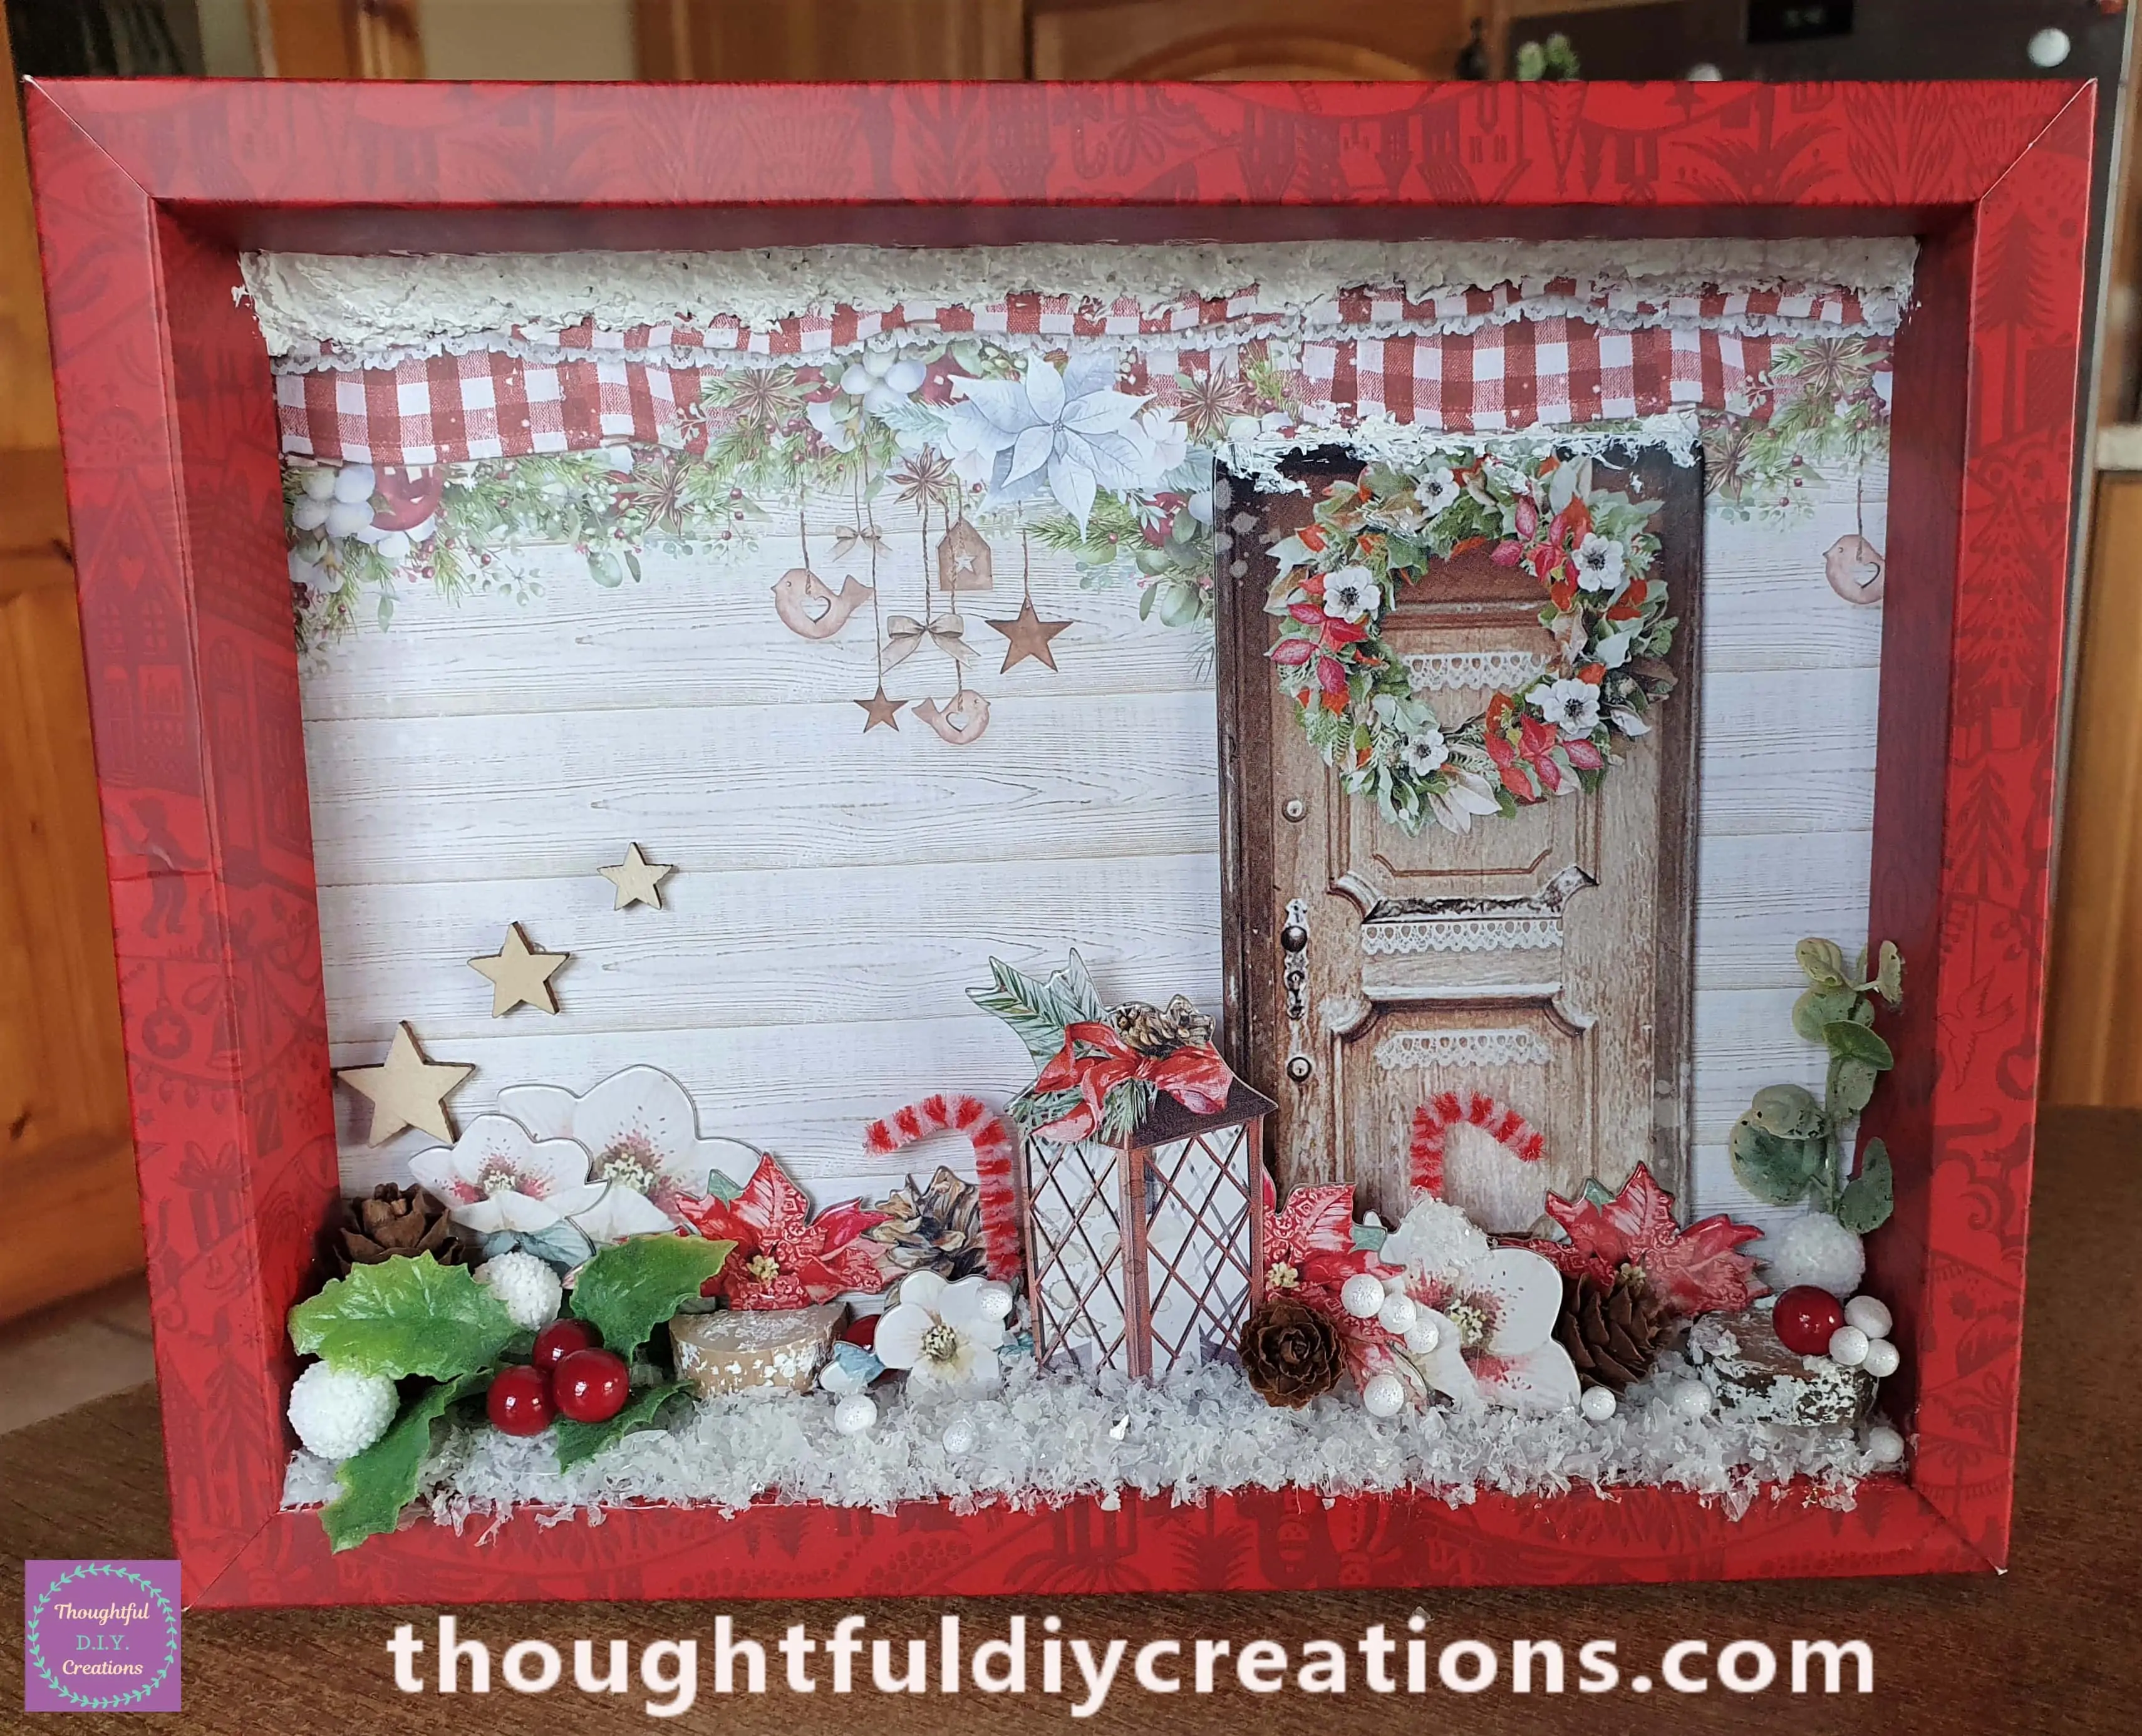
Snow Paste for added Texture
I dabbed some Snow Paste onto different elements in the Frame and the edges with a Palette Knife to provide more texture.
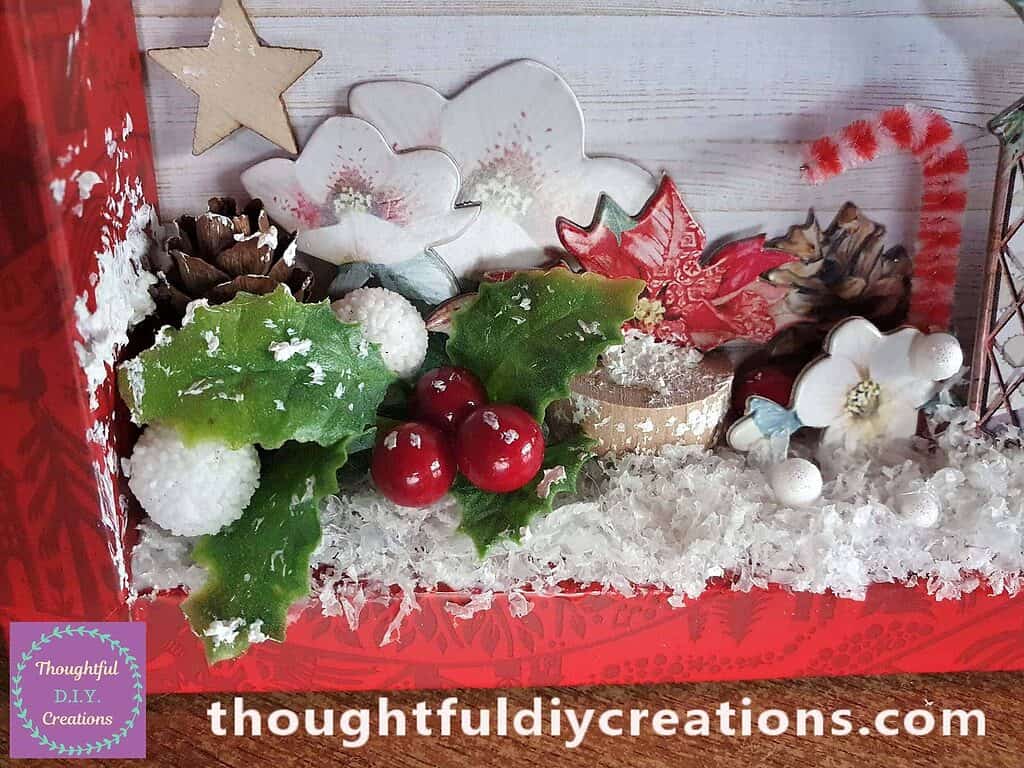
Finishing Touches to the Christmas Shadow Box
I Bought a Handmade Flower Set recently.
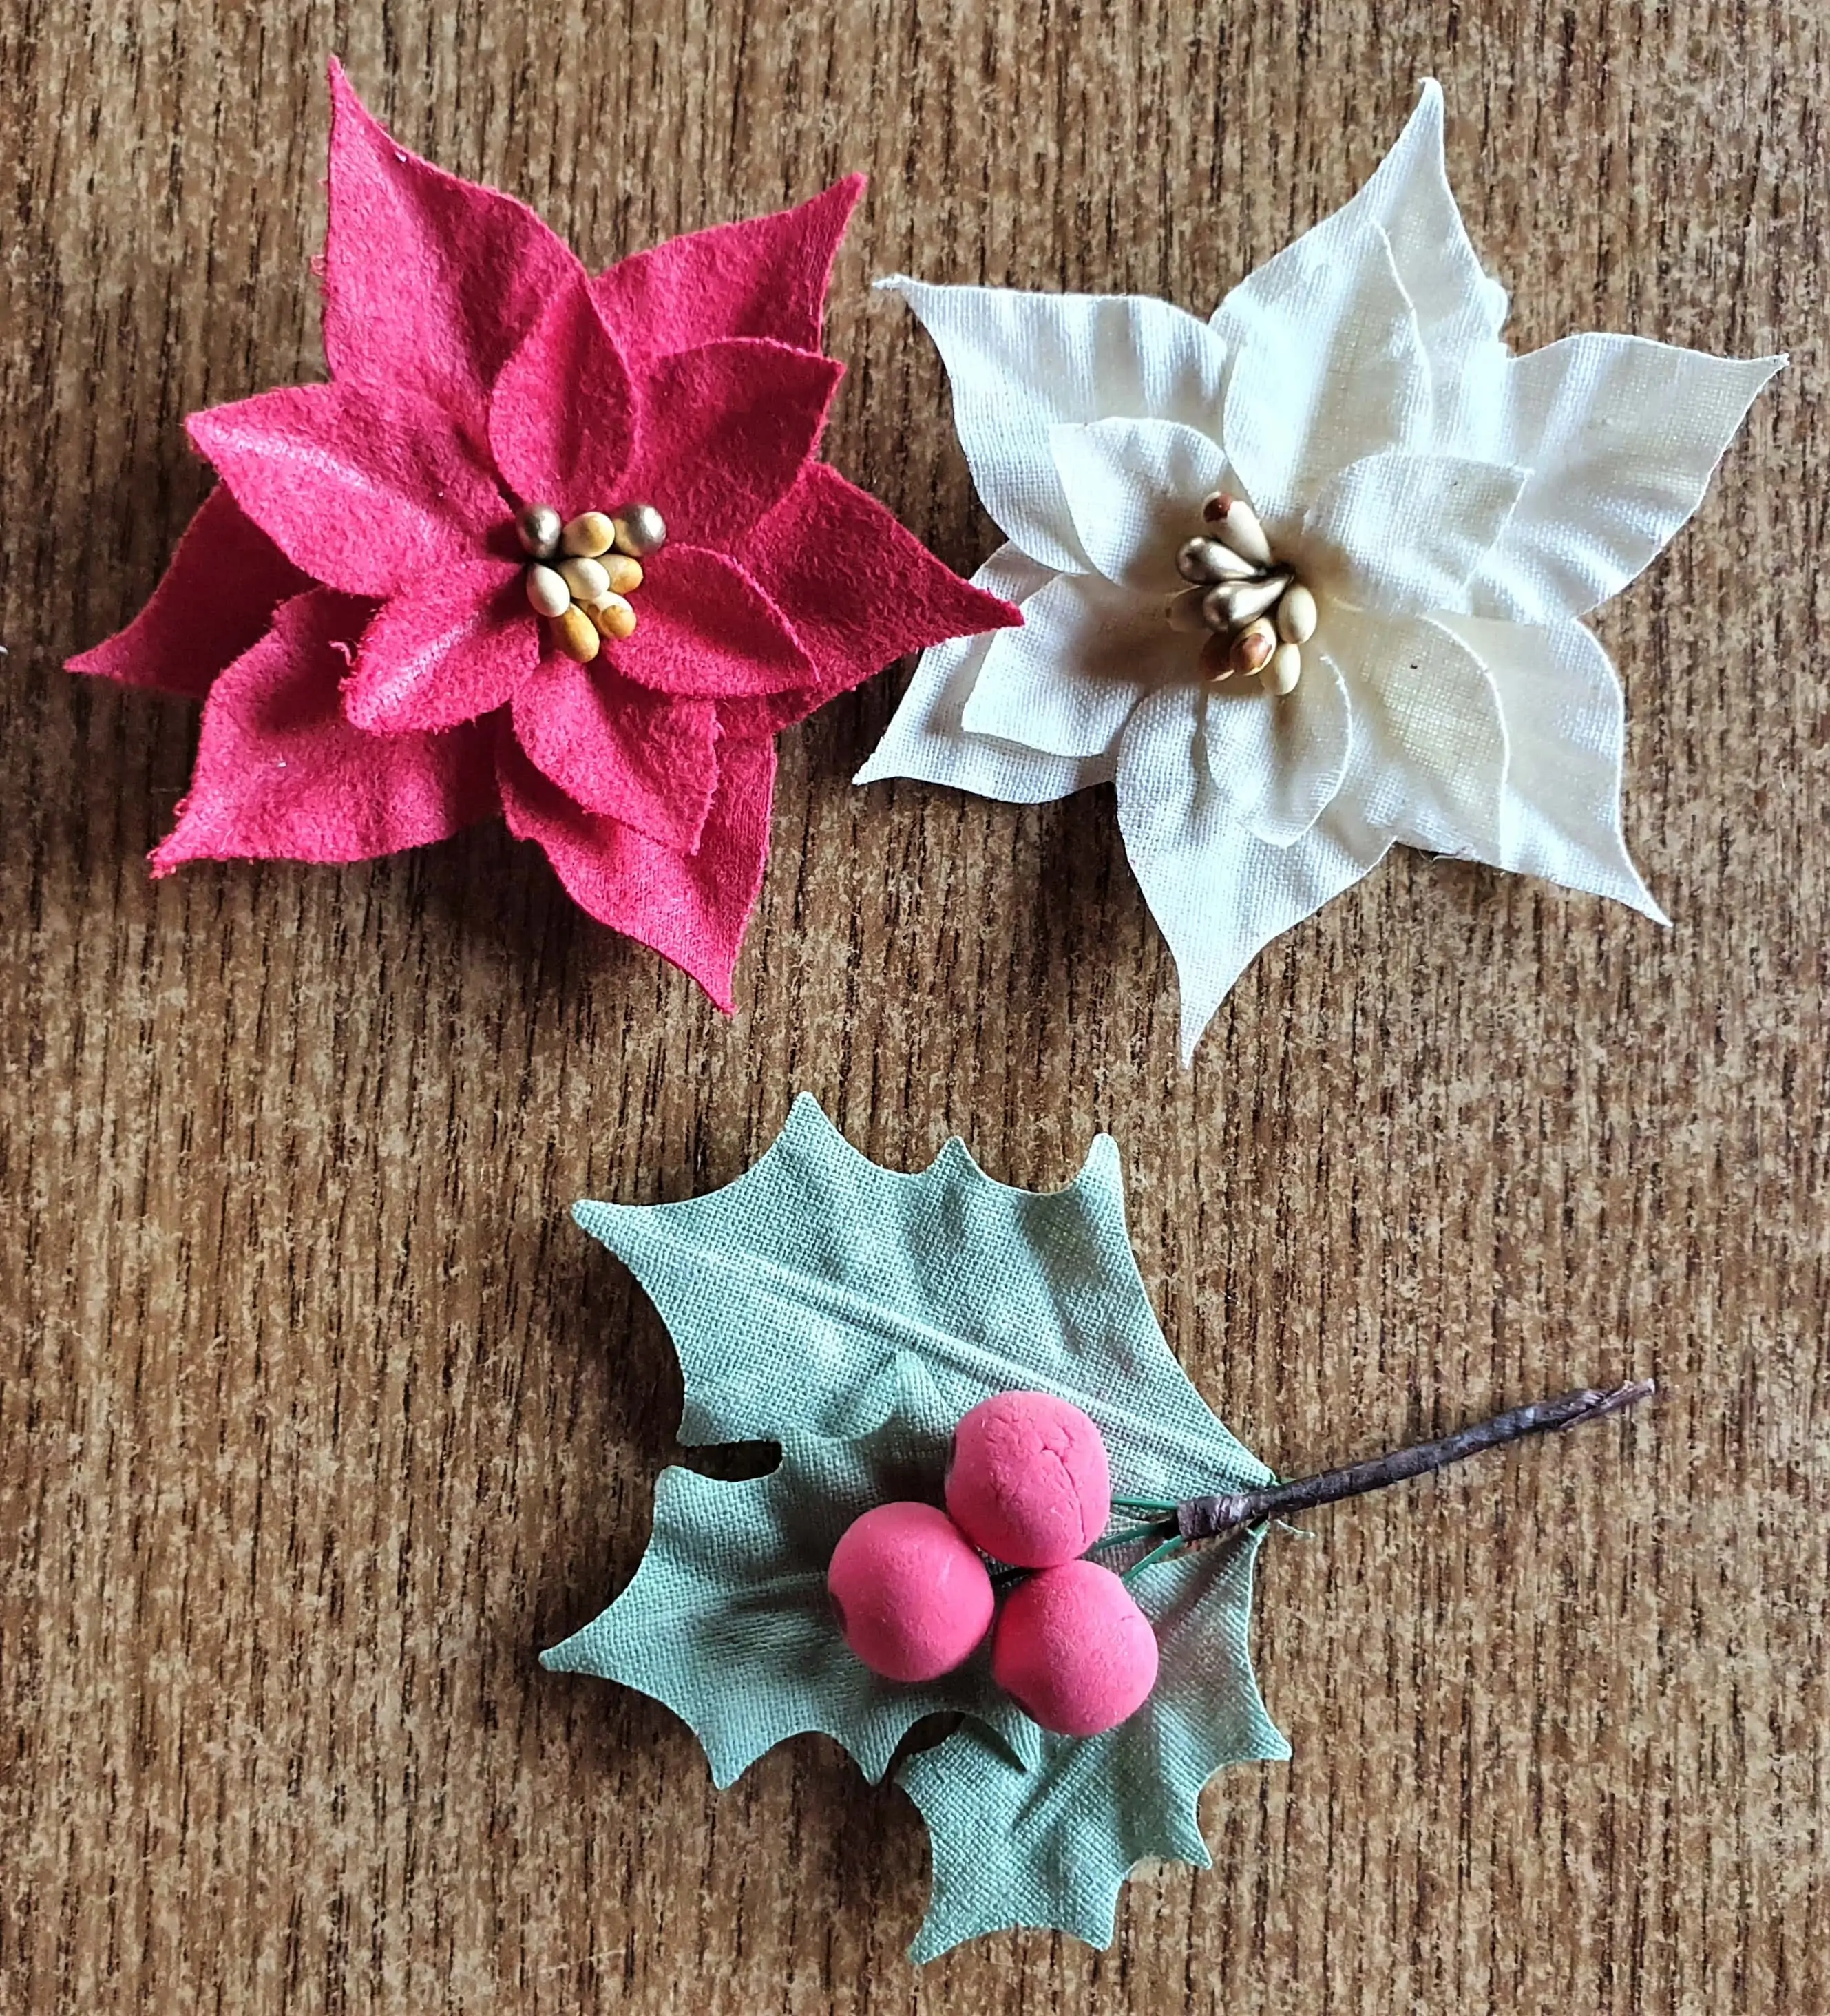
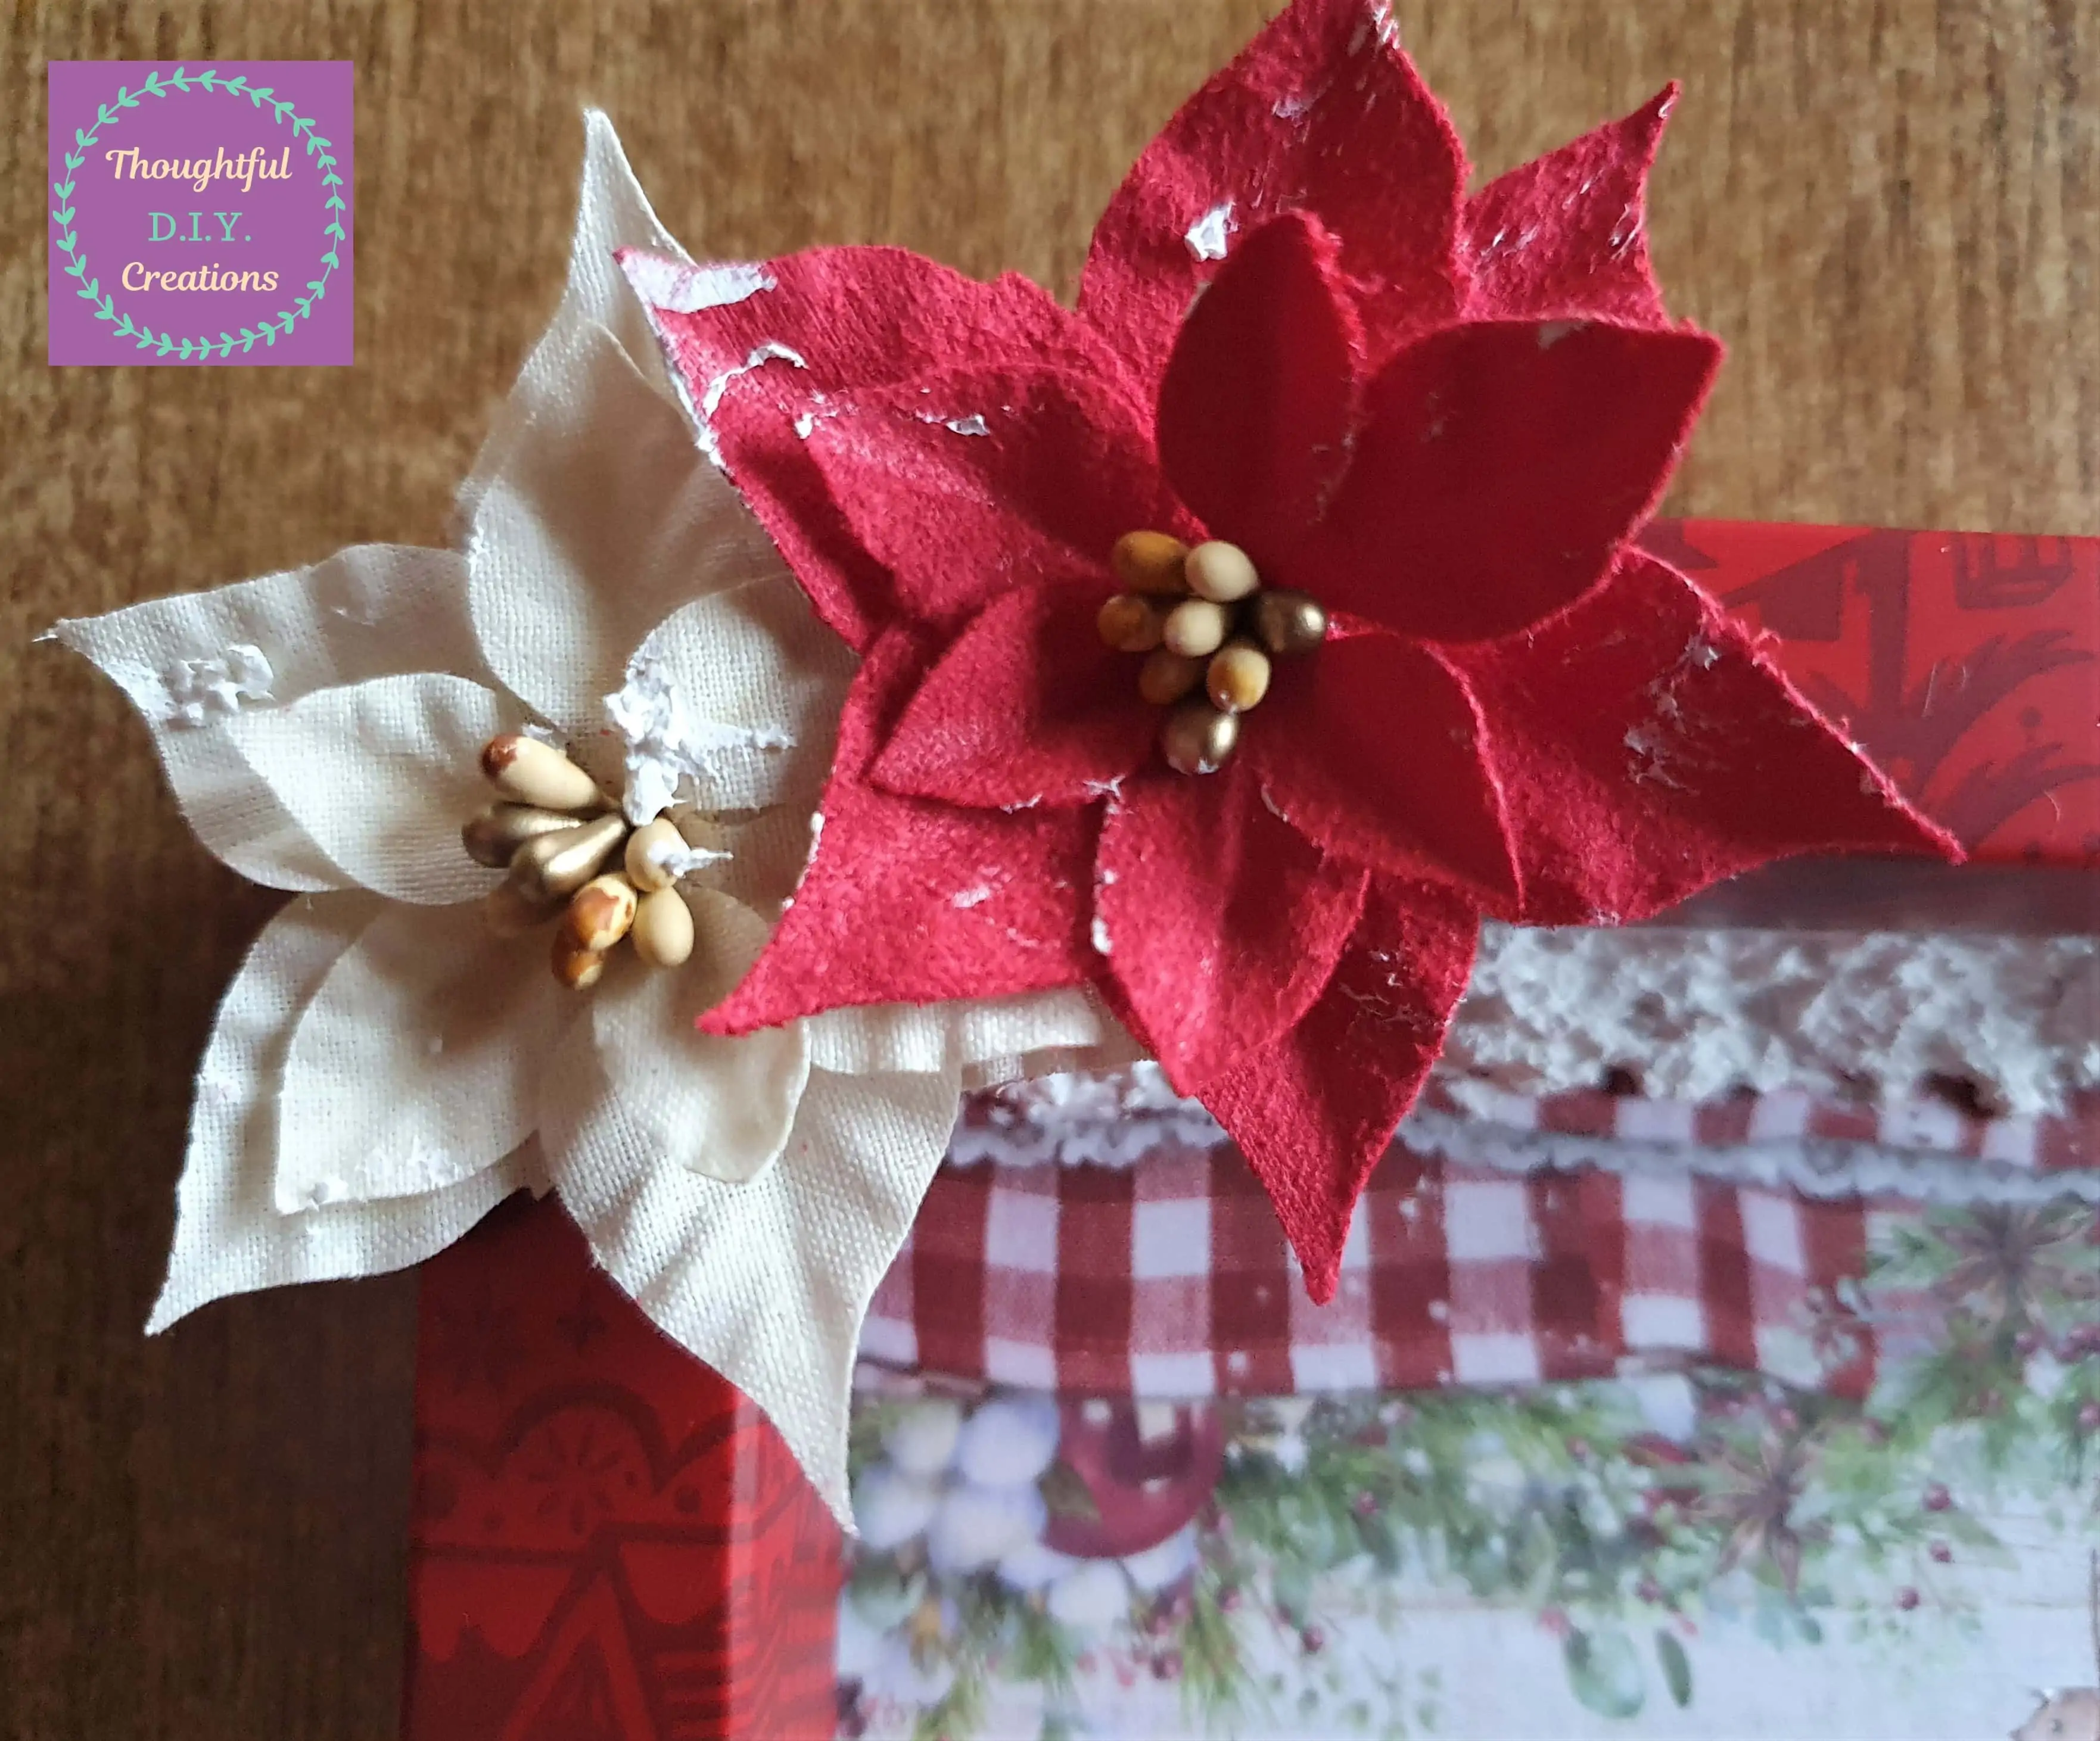
I attached the Flowers one-by-one to the top left Corner of the Christmas Shadow Box using Hot Glue.
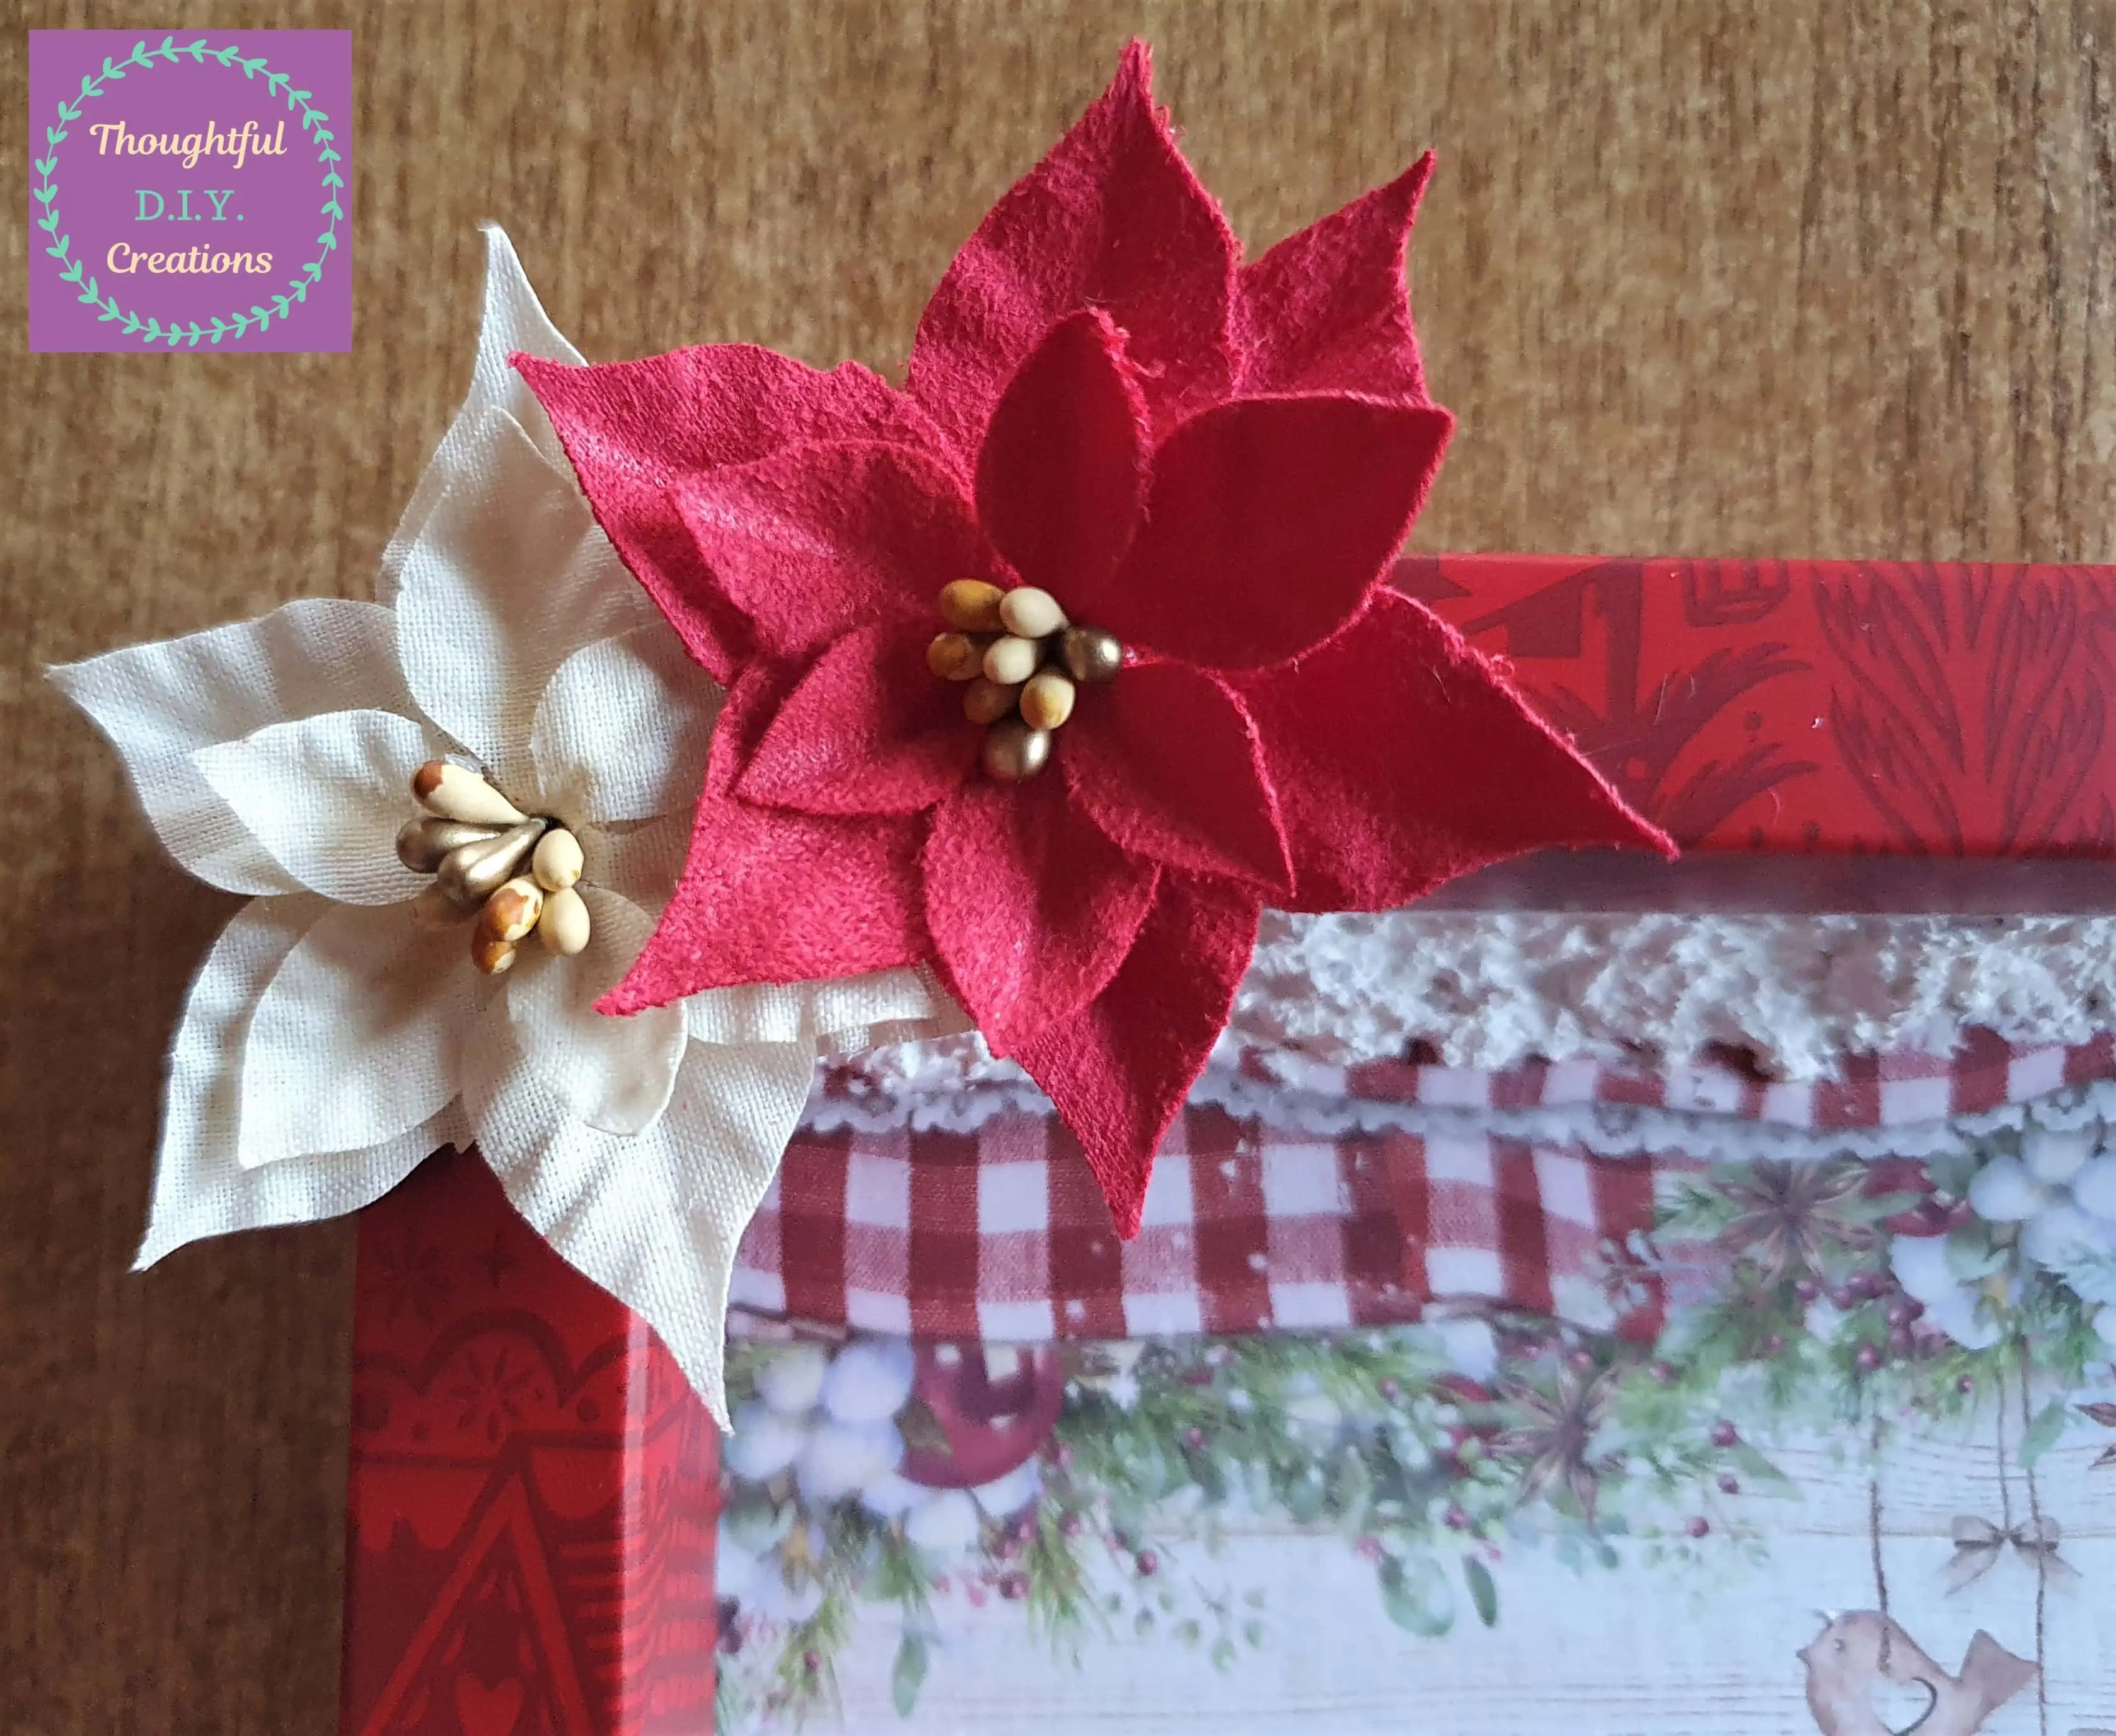
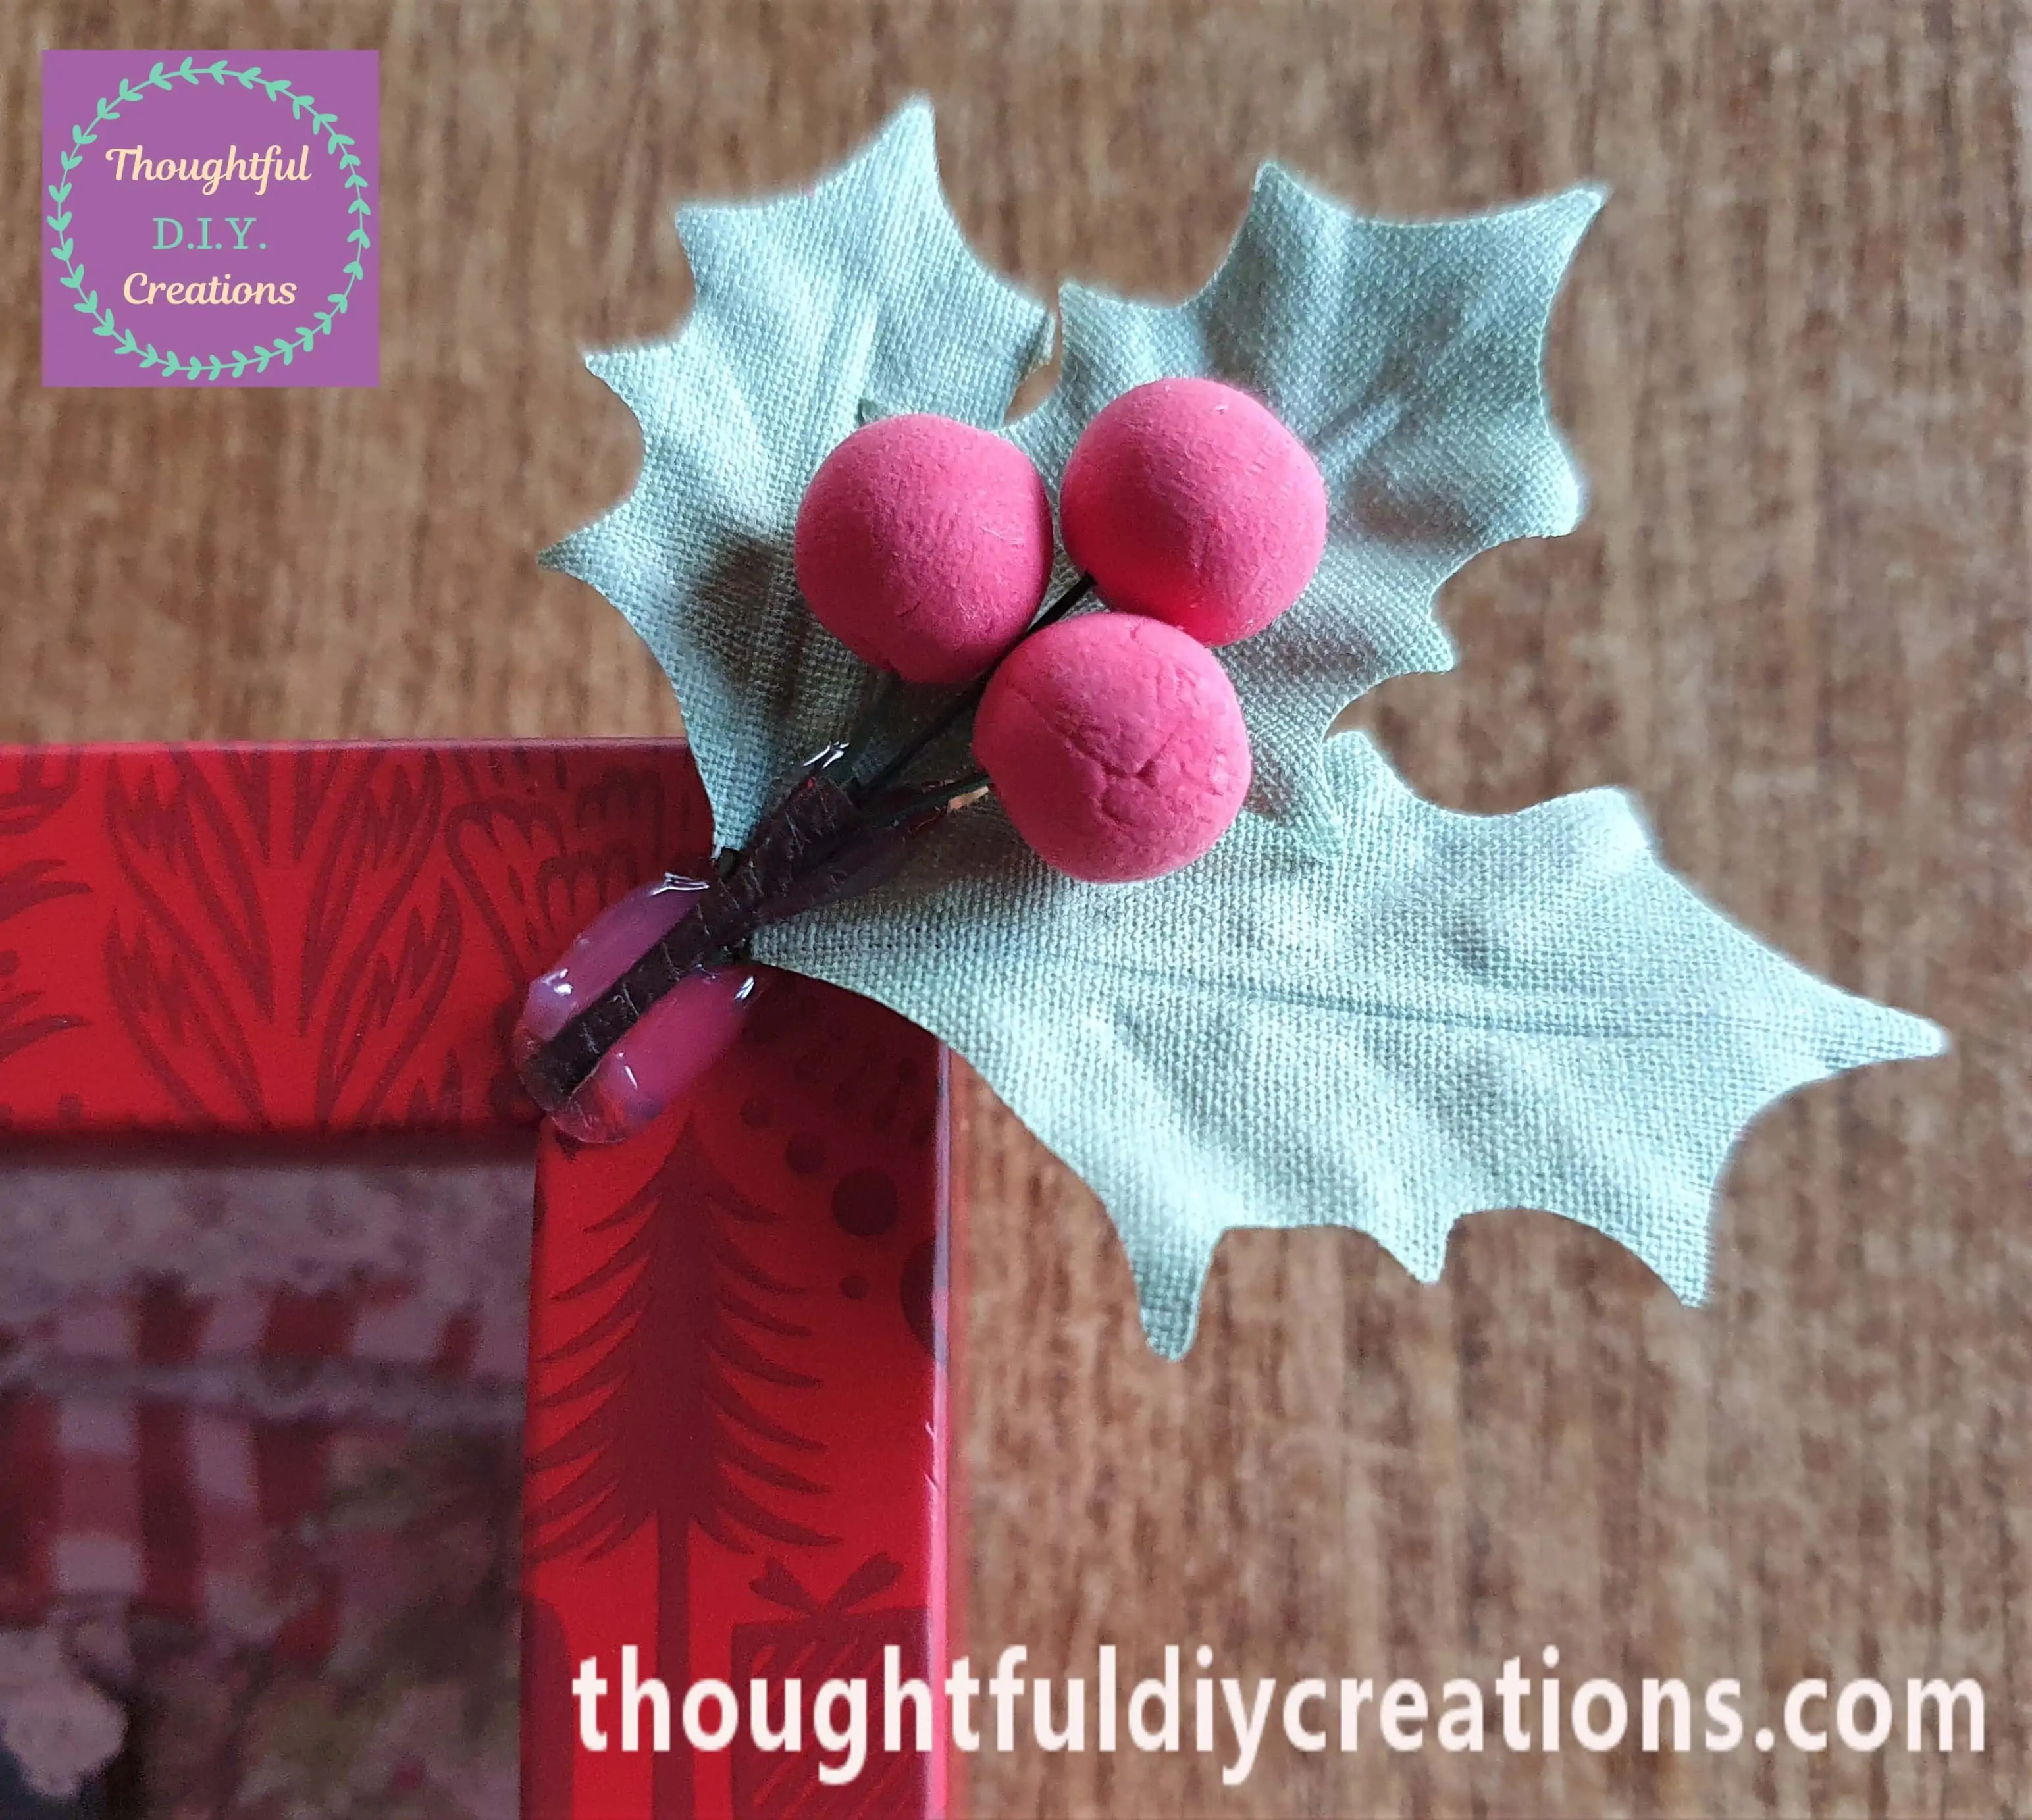
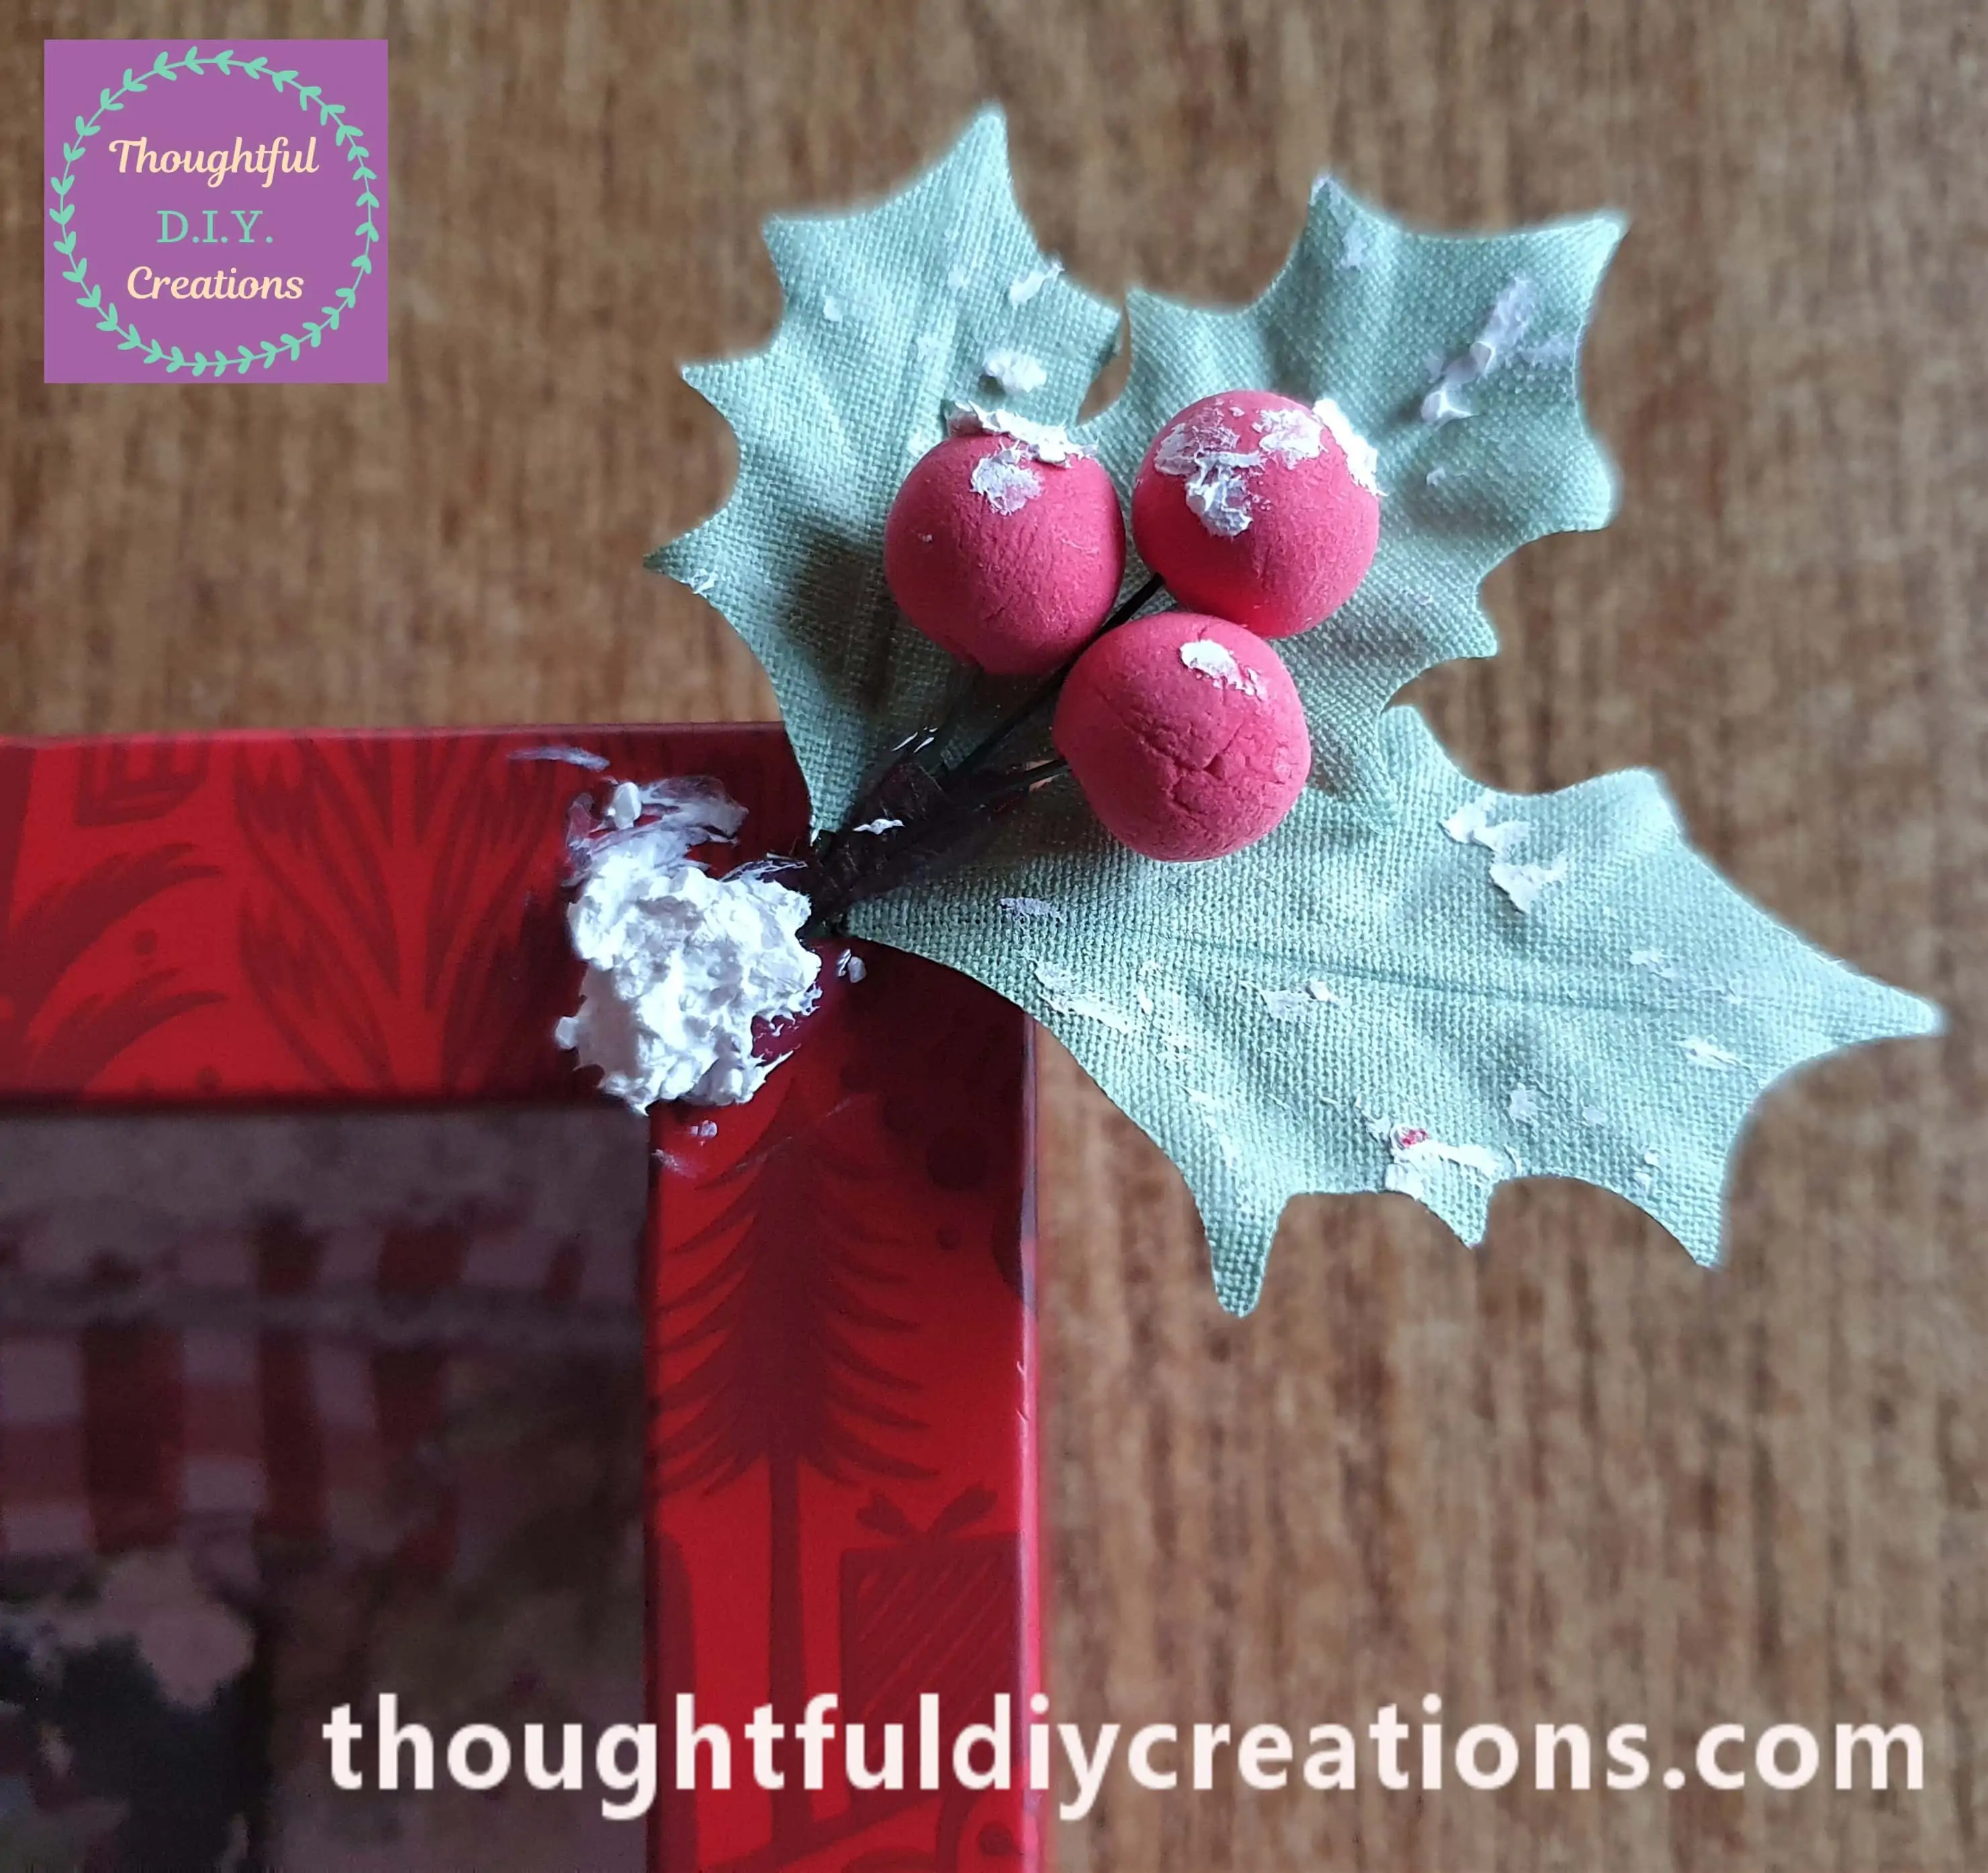
The Holly was placed on the top right corner of the Frame.
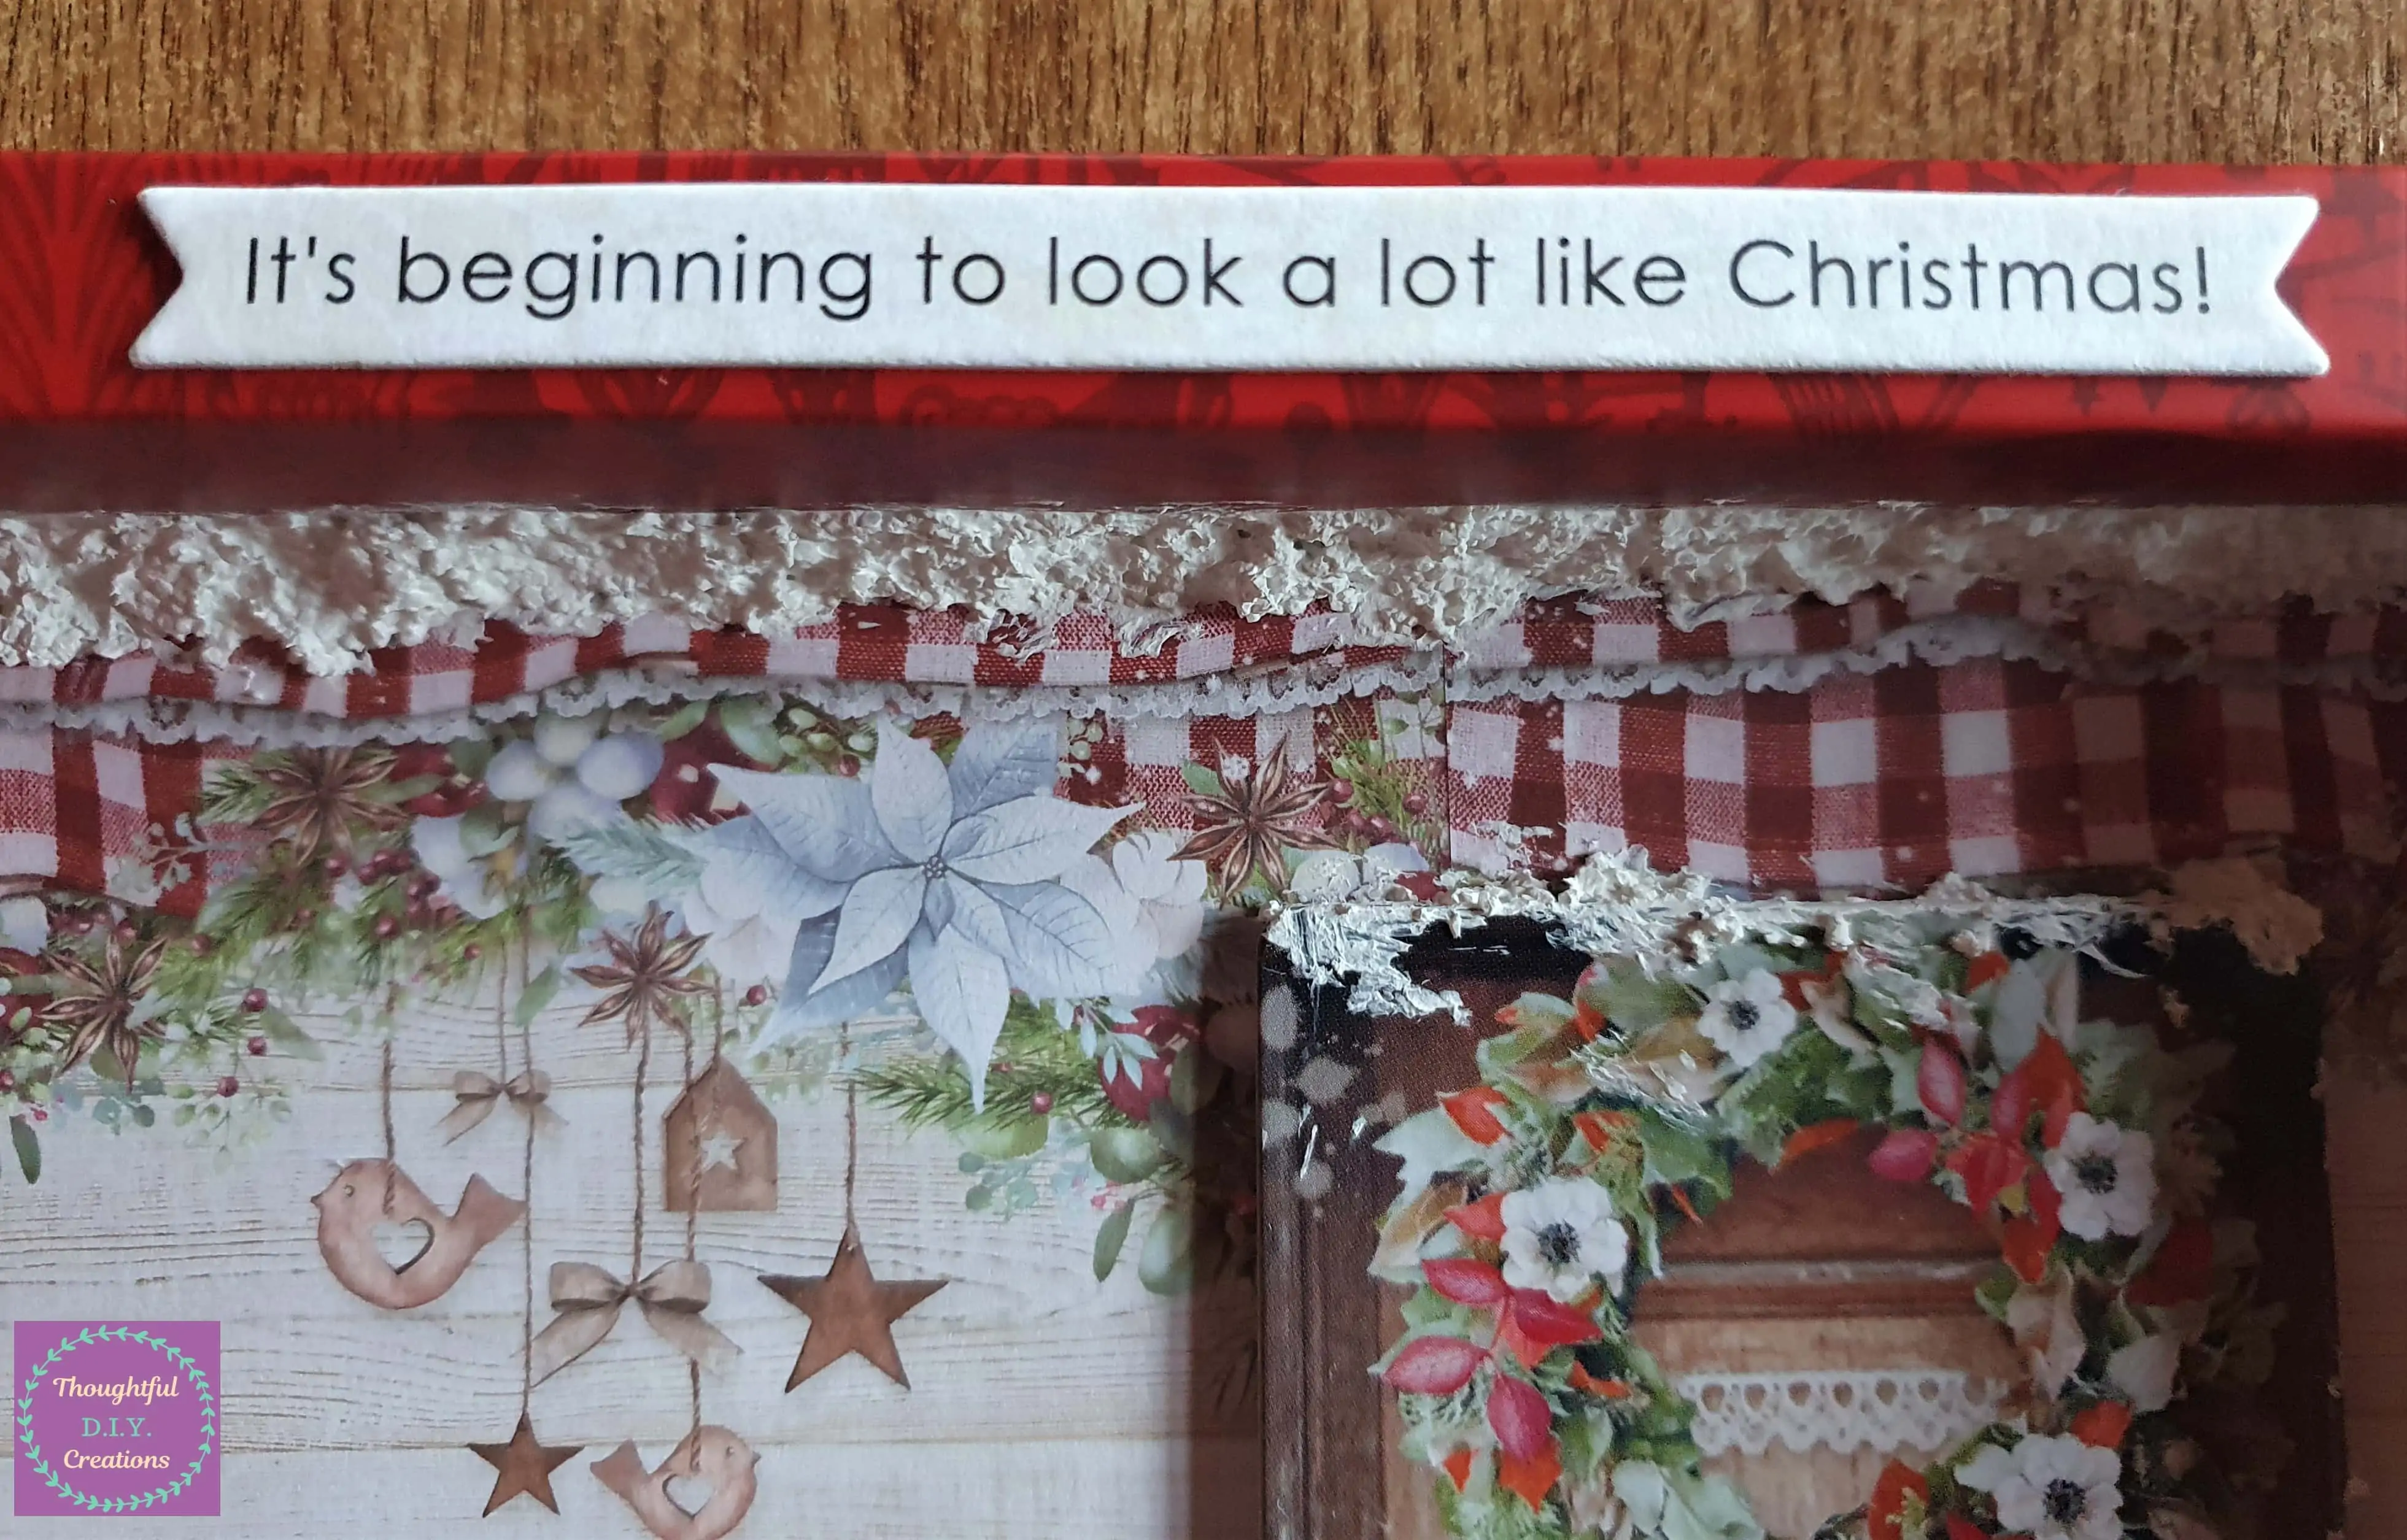
I attached a Christmas Cardboard Sticker to the Center of the Frame.
Some Snow Paste was added to the Flowers and Holly.
A Closer View of the Flowers.
The Holly with Snow Paste.
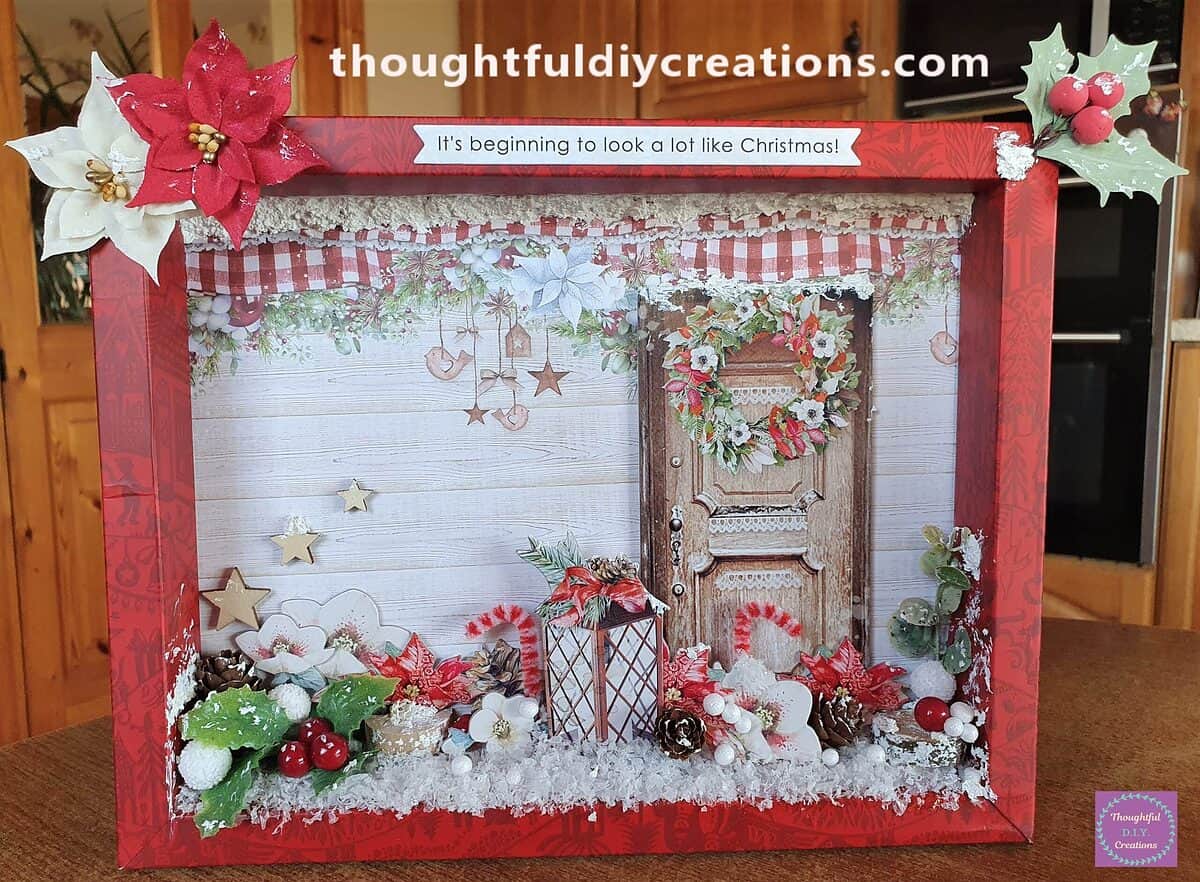
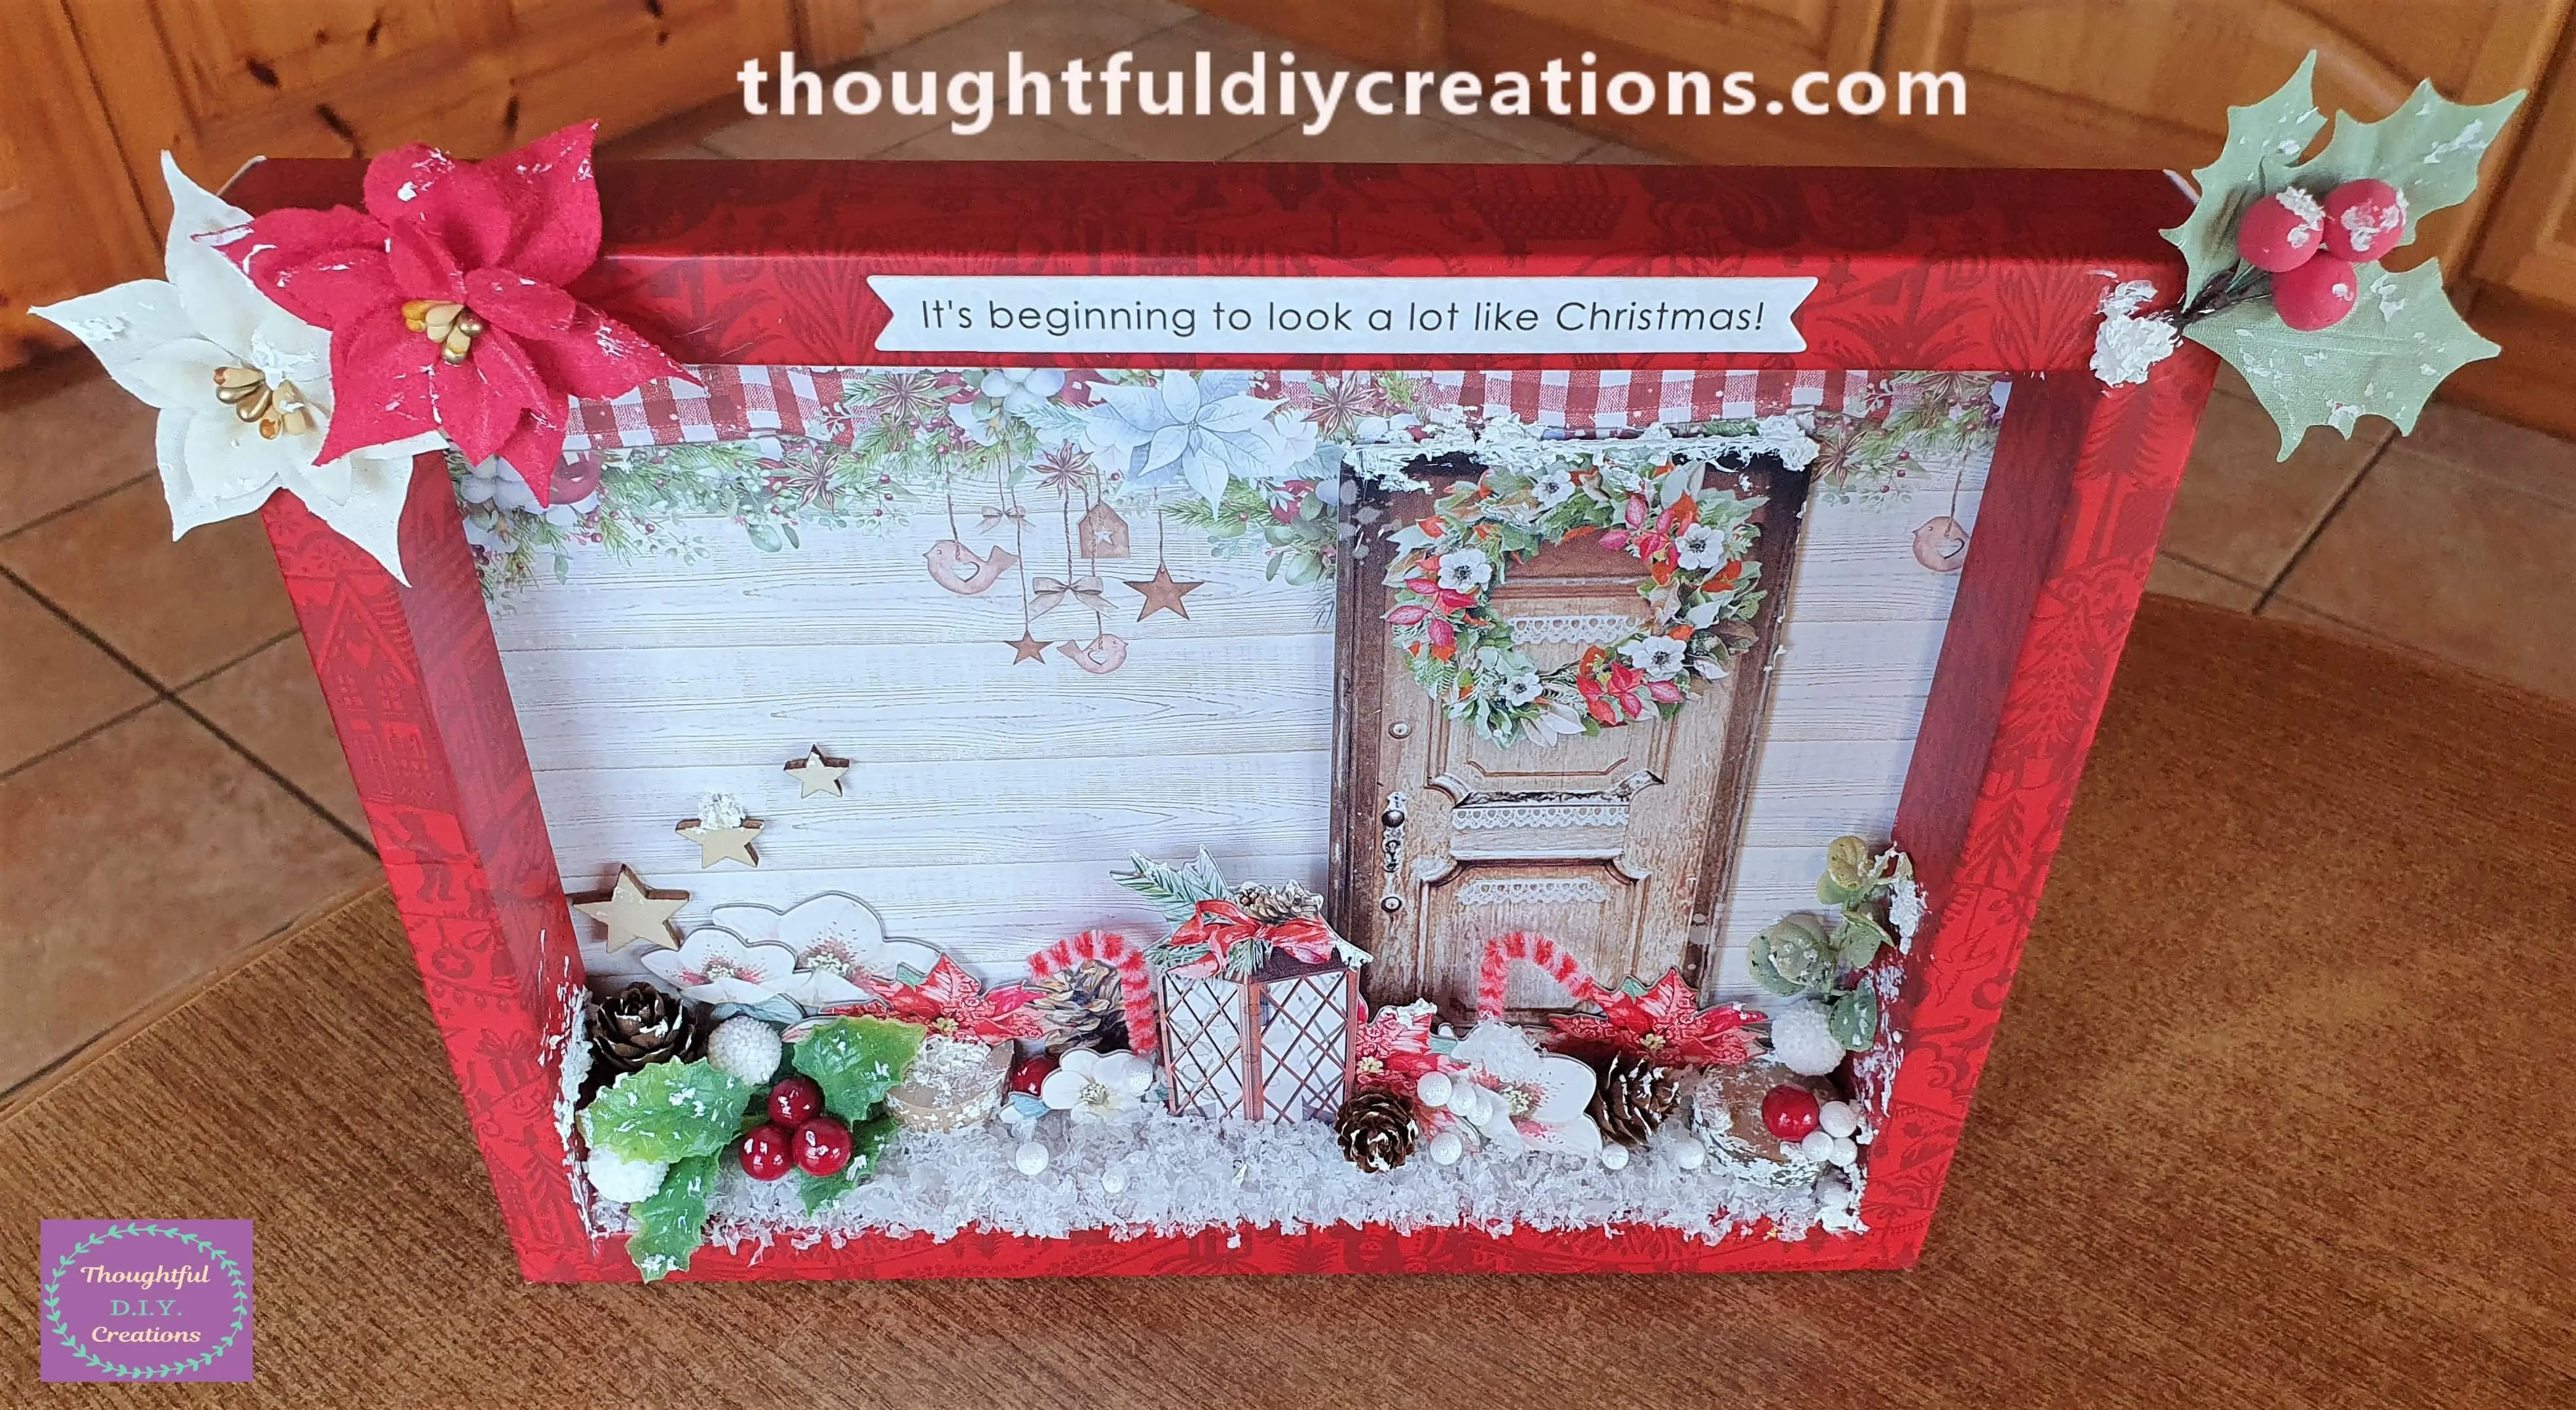
This Completed my Christmas Shadow Box.
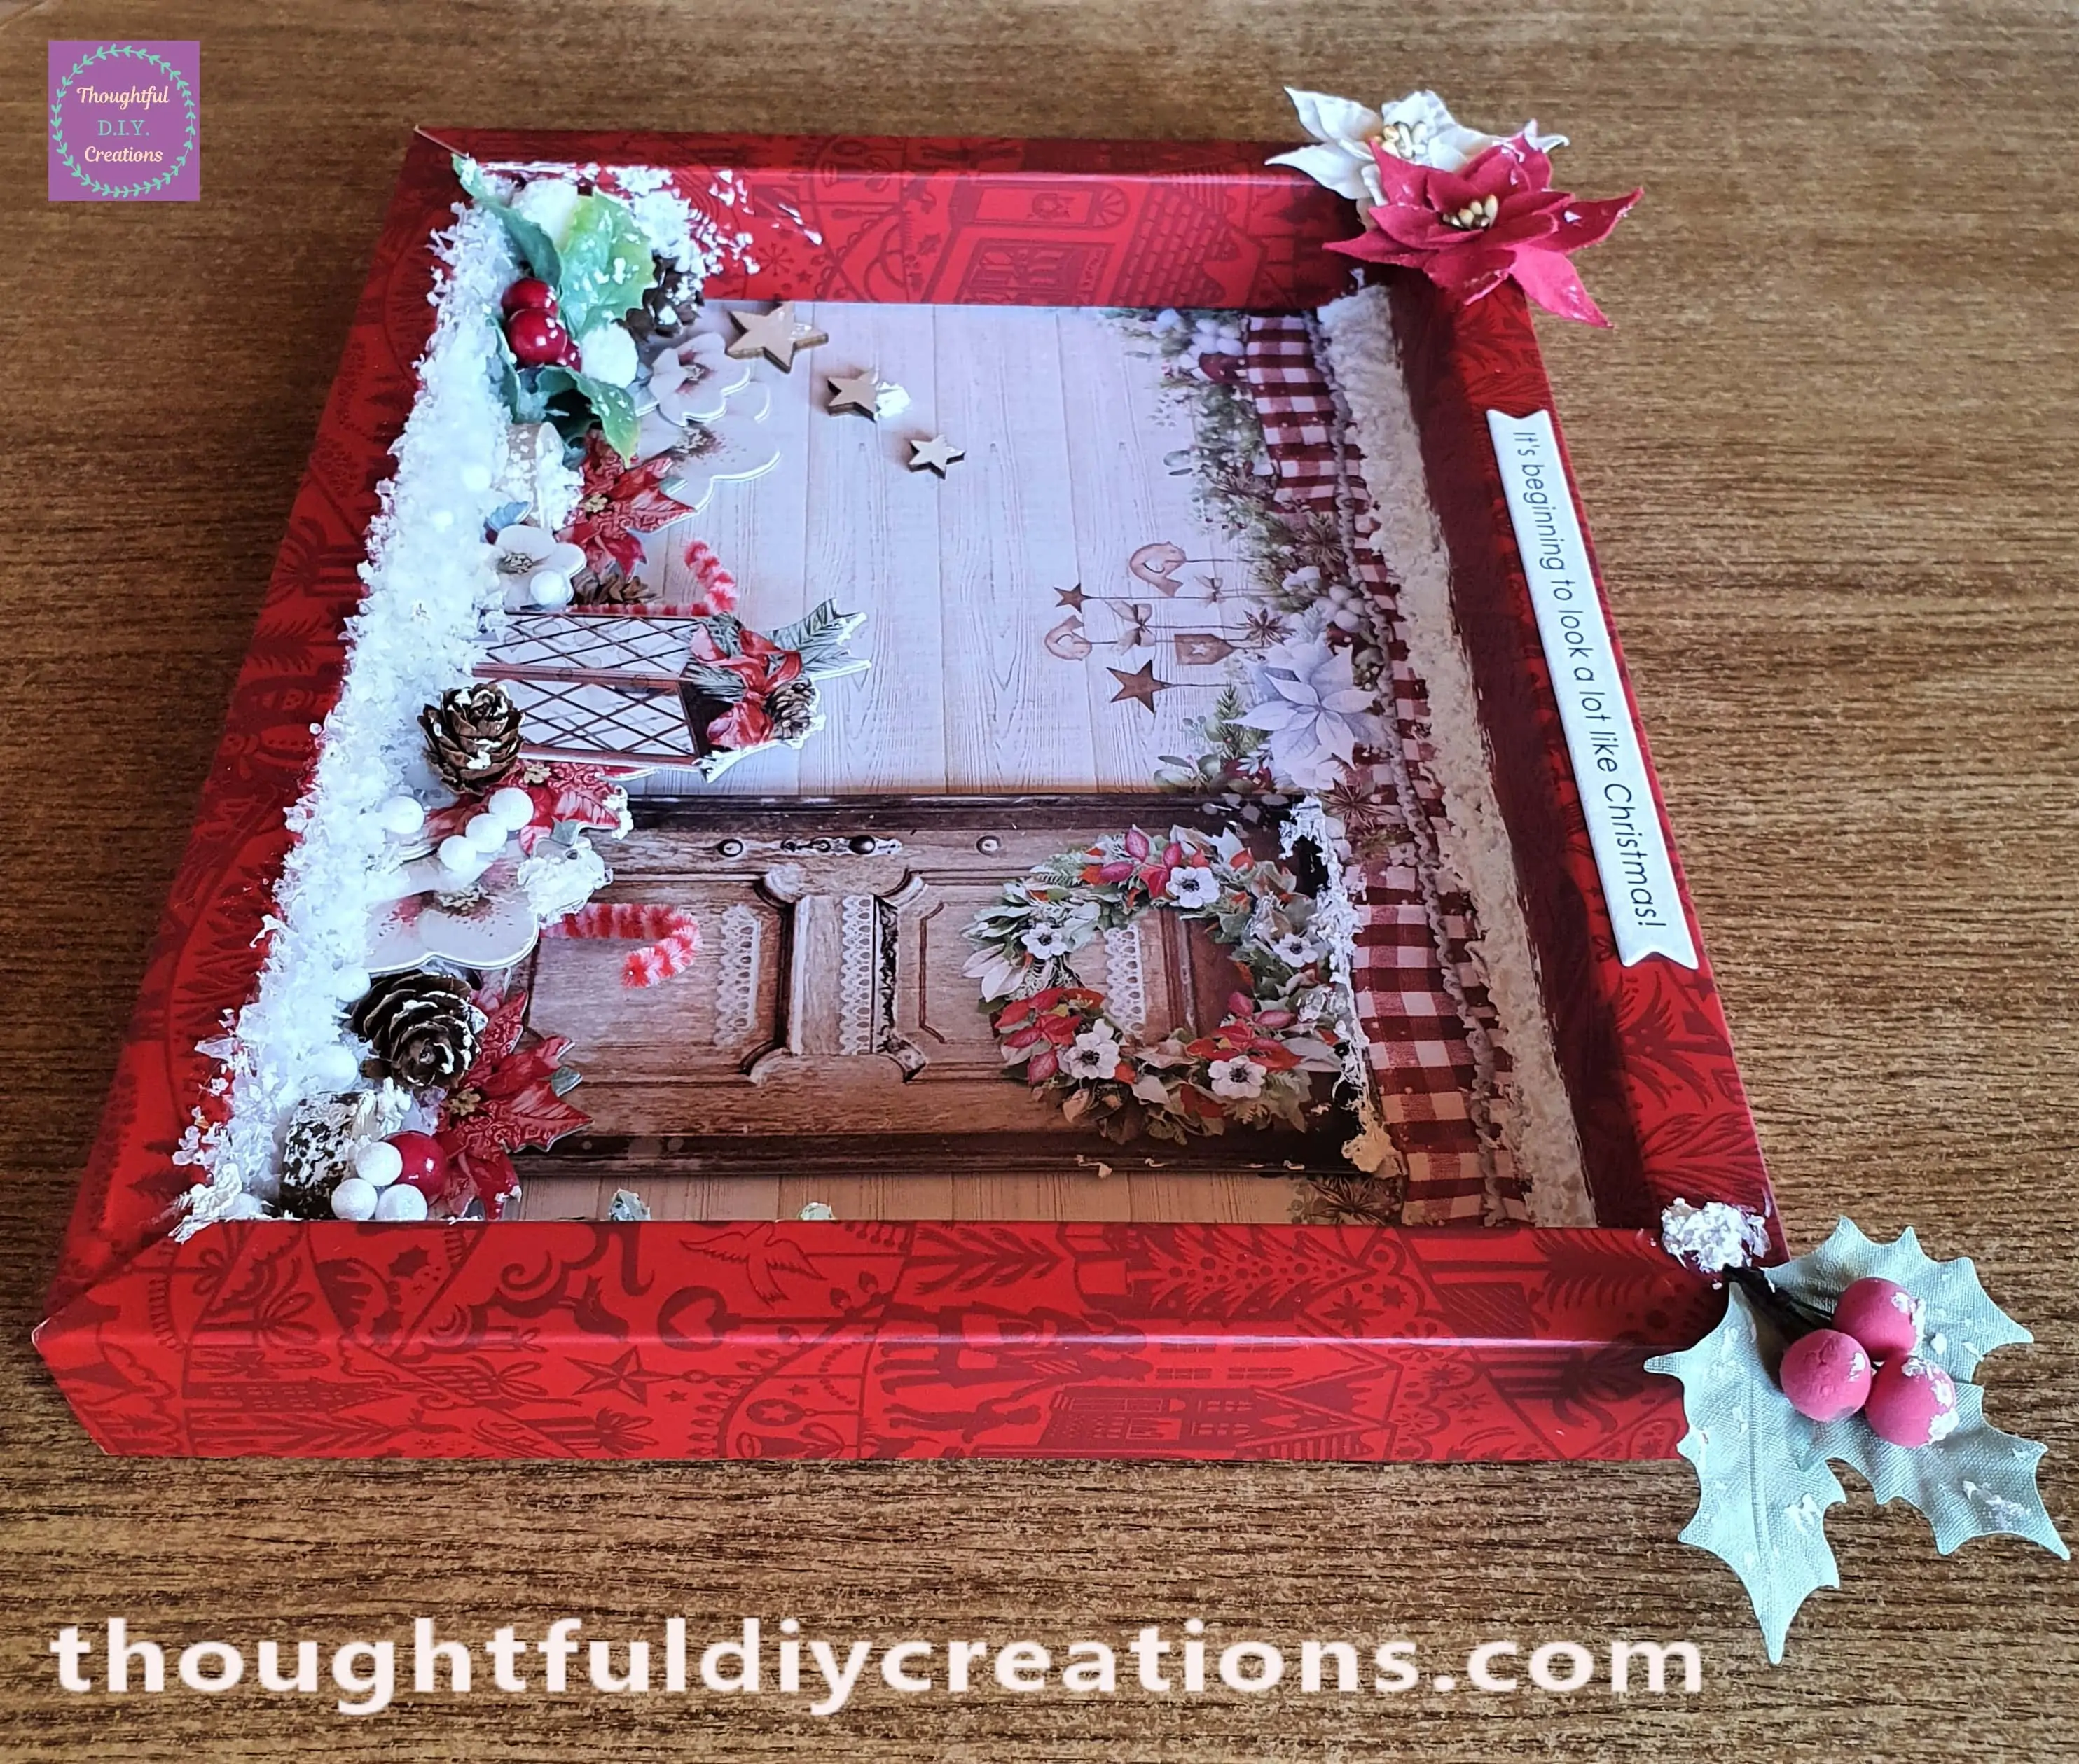
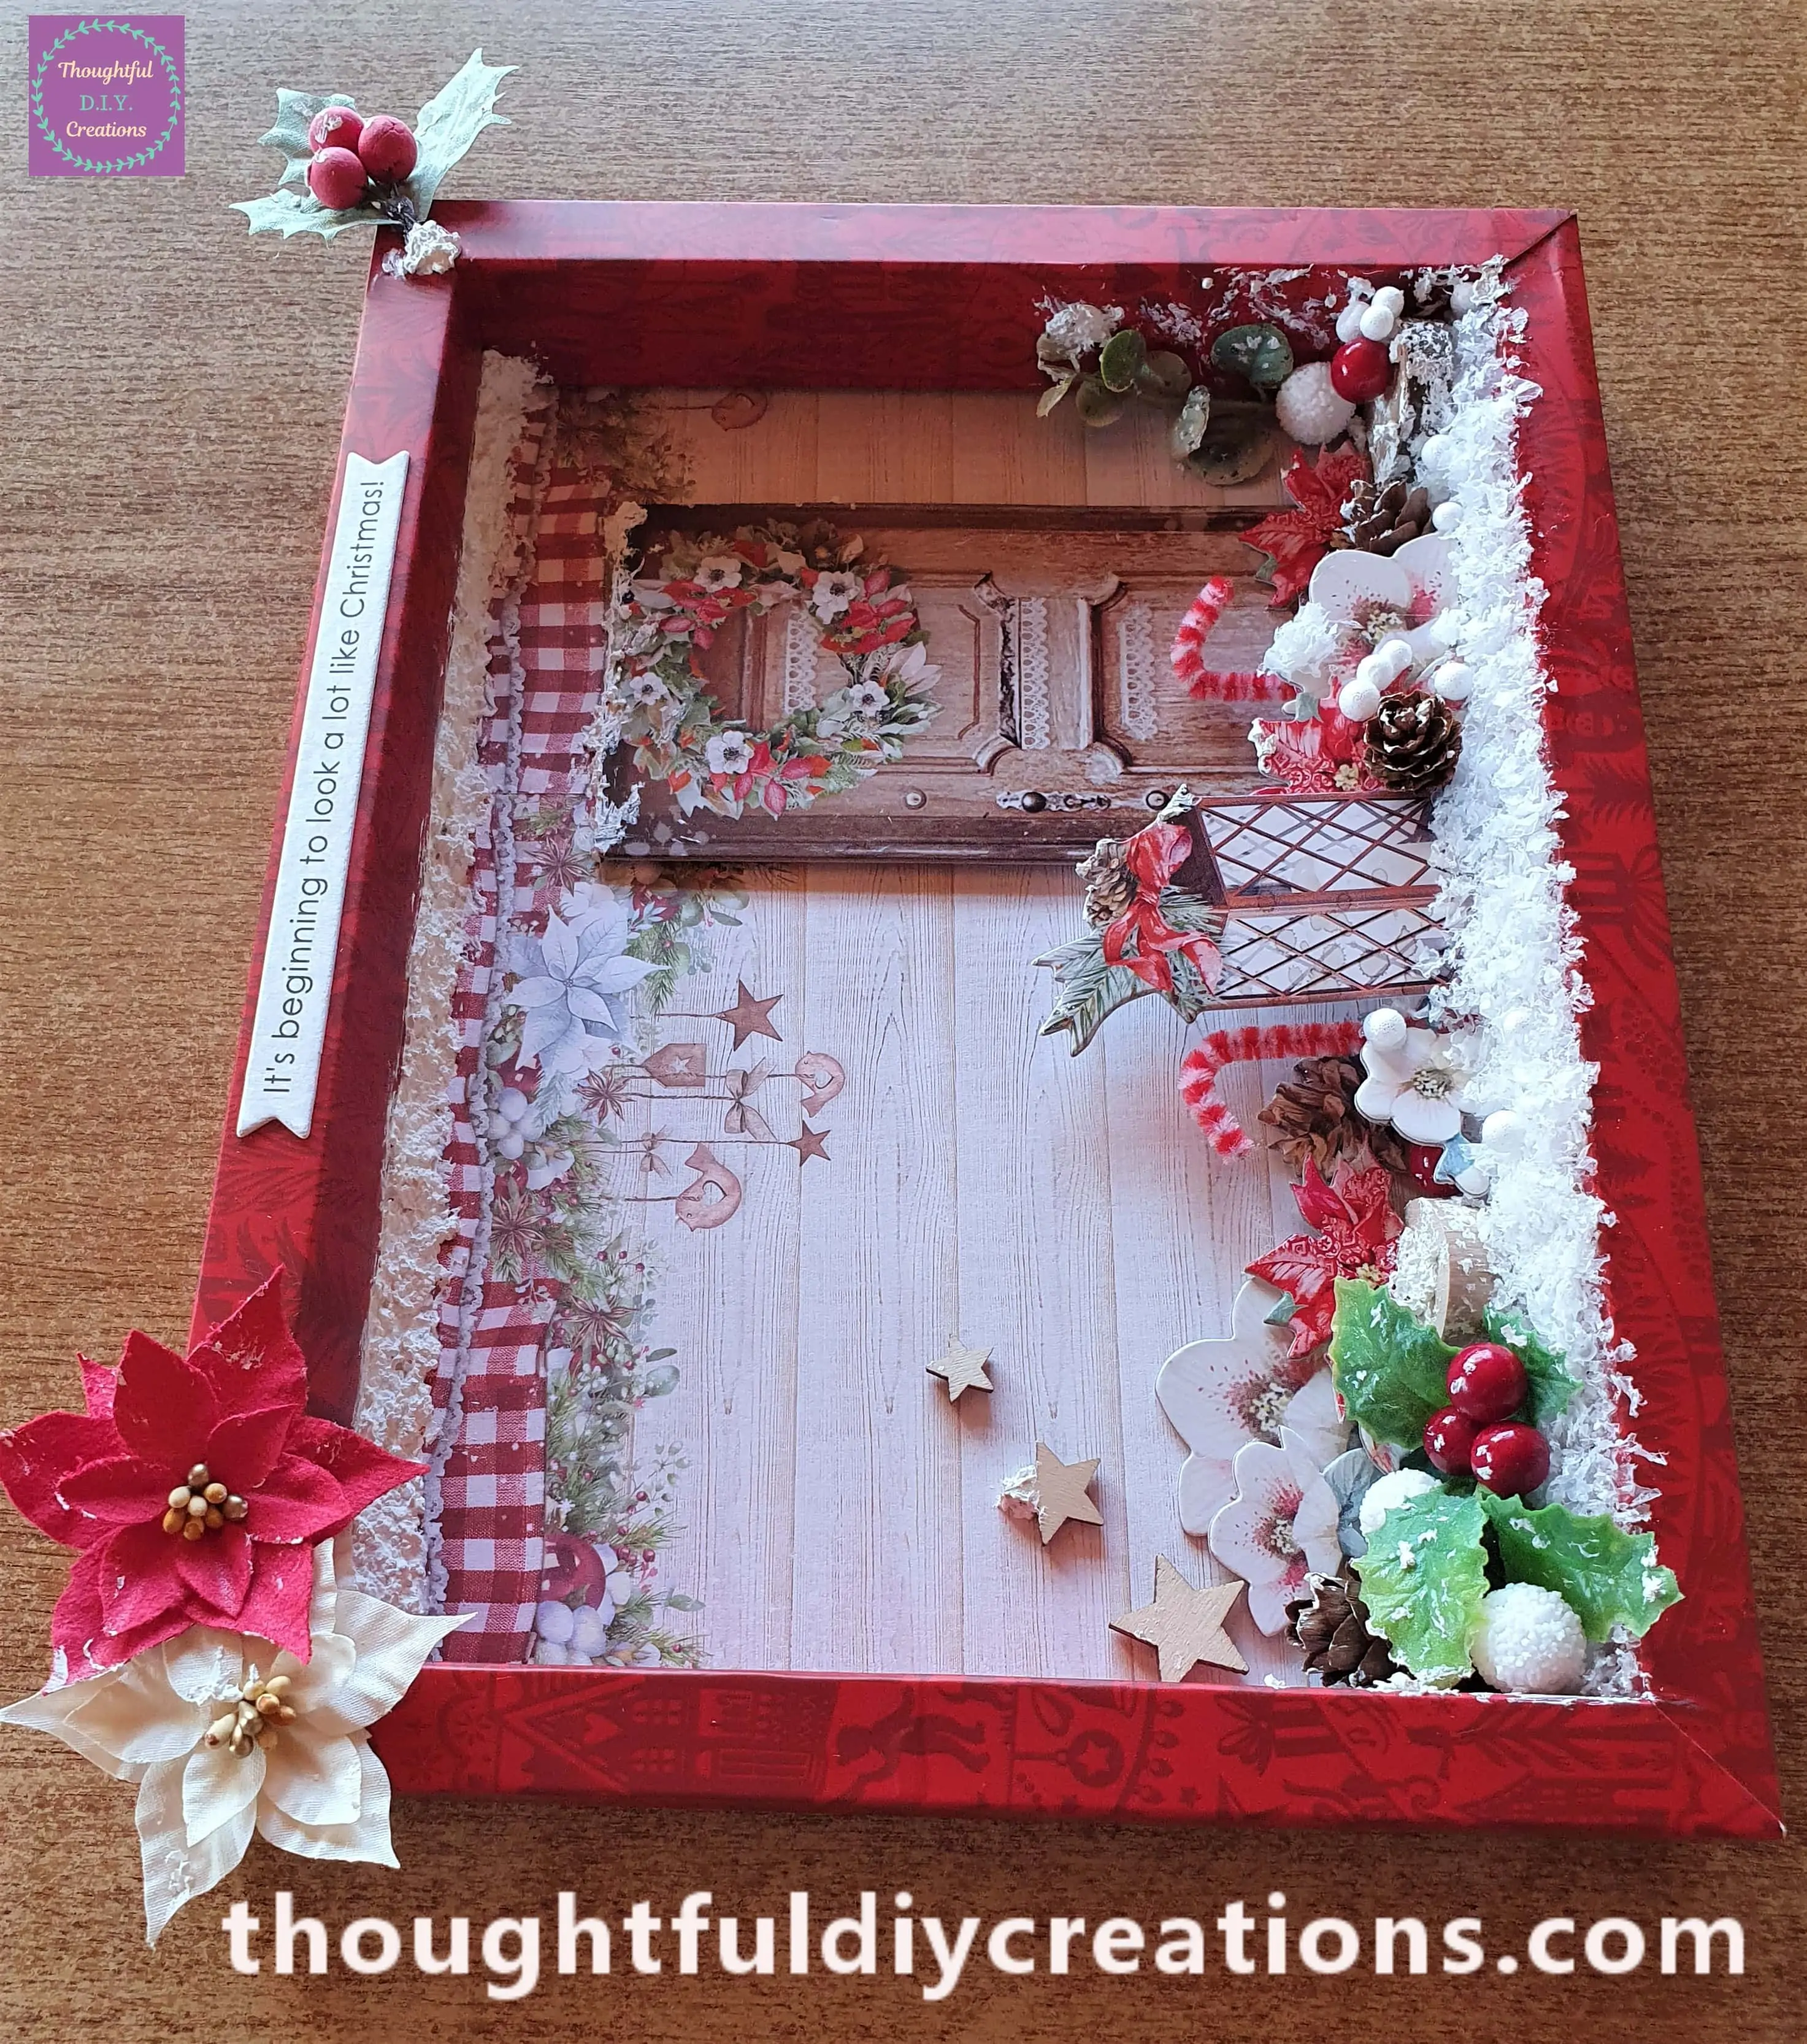
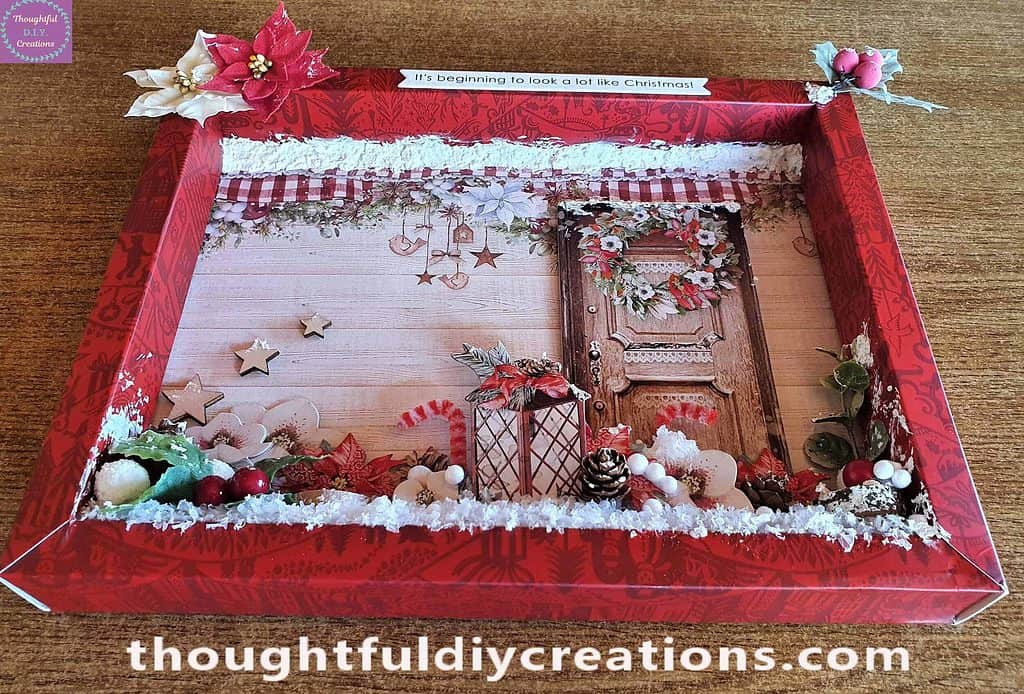
The Frame standing up-right.
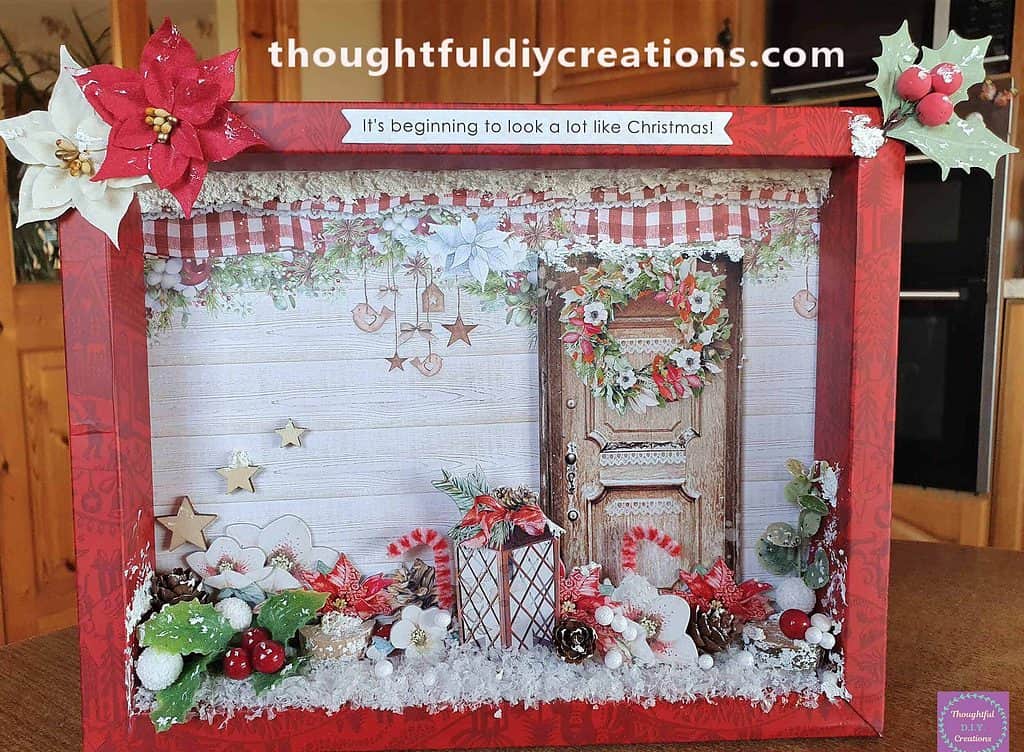
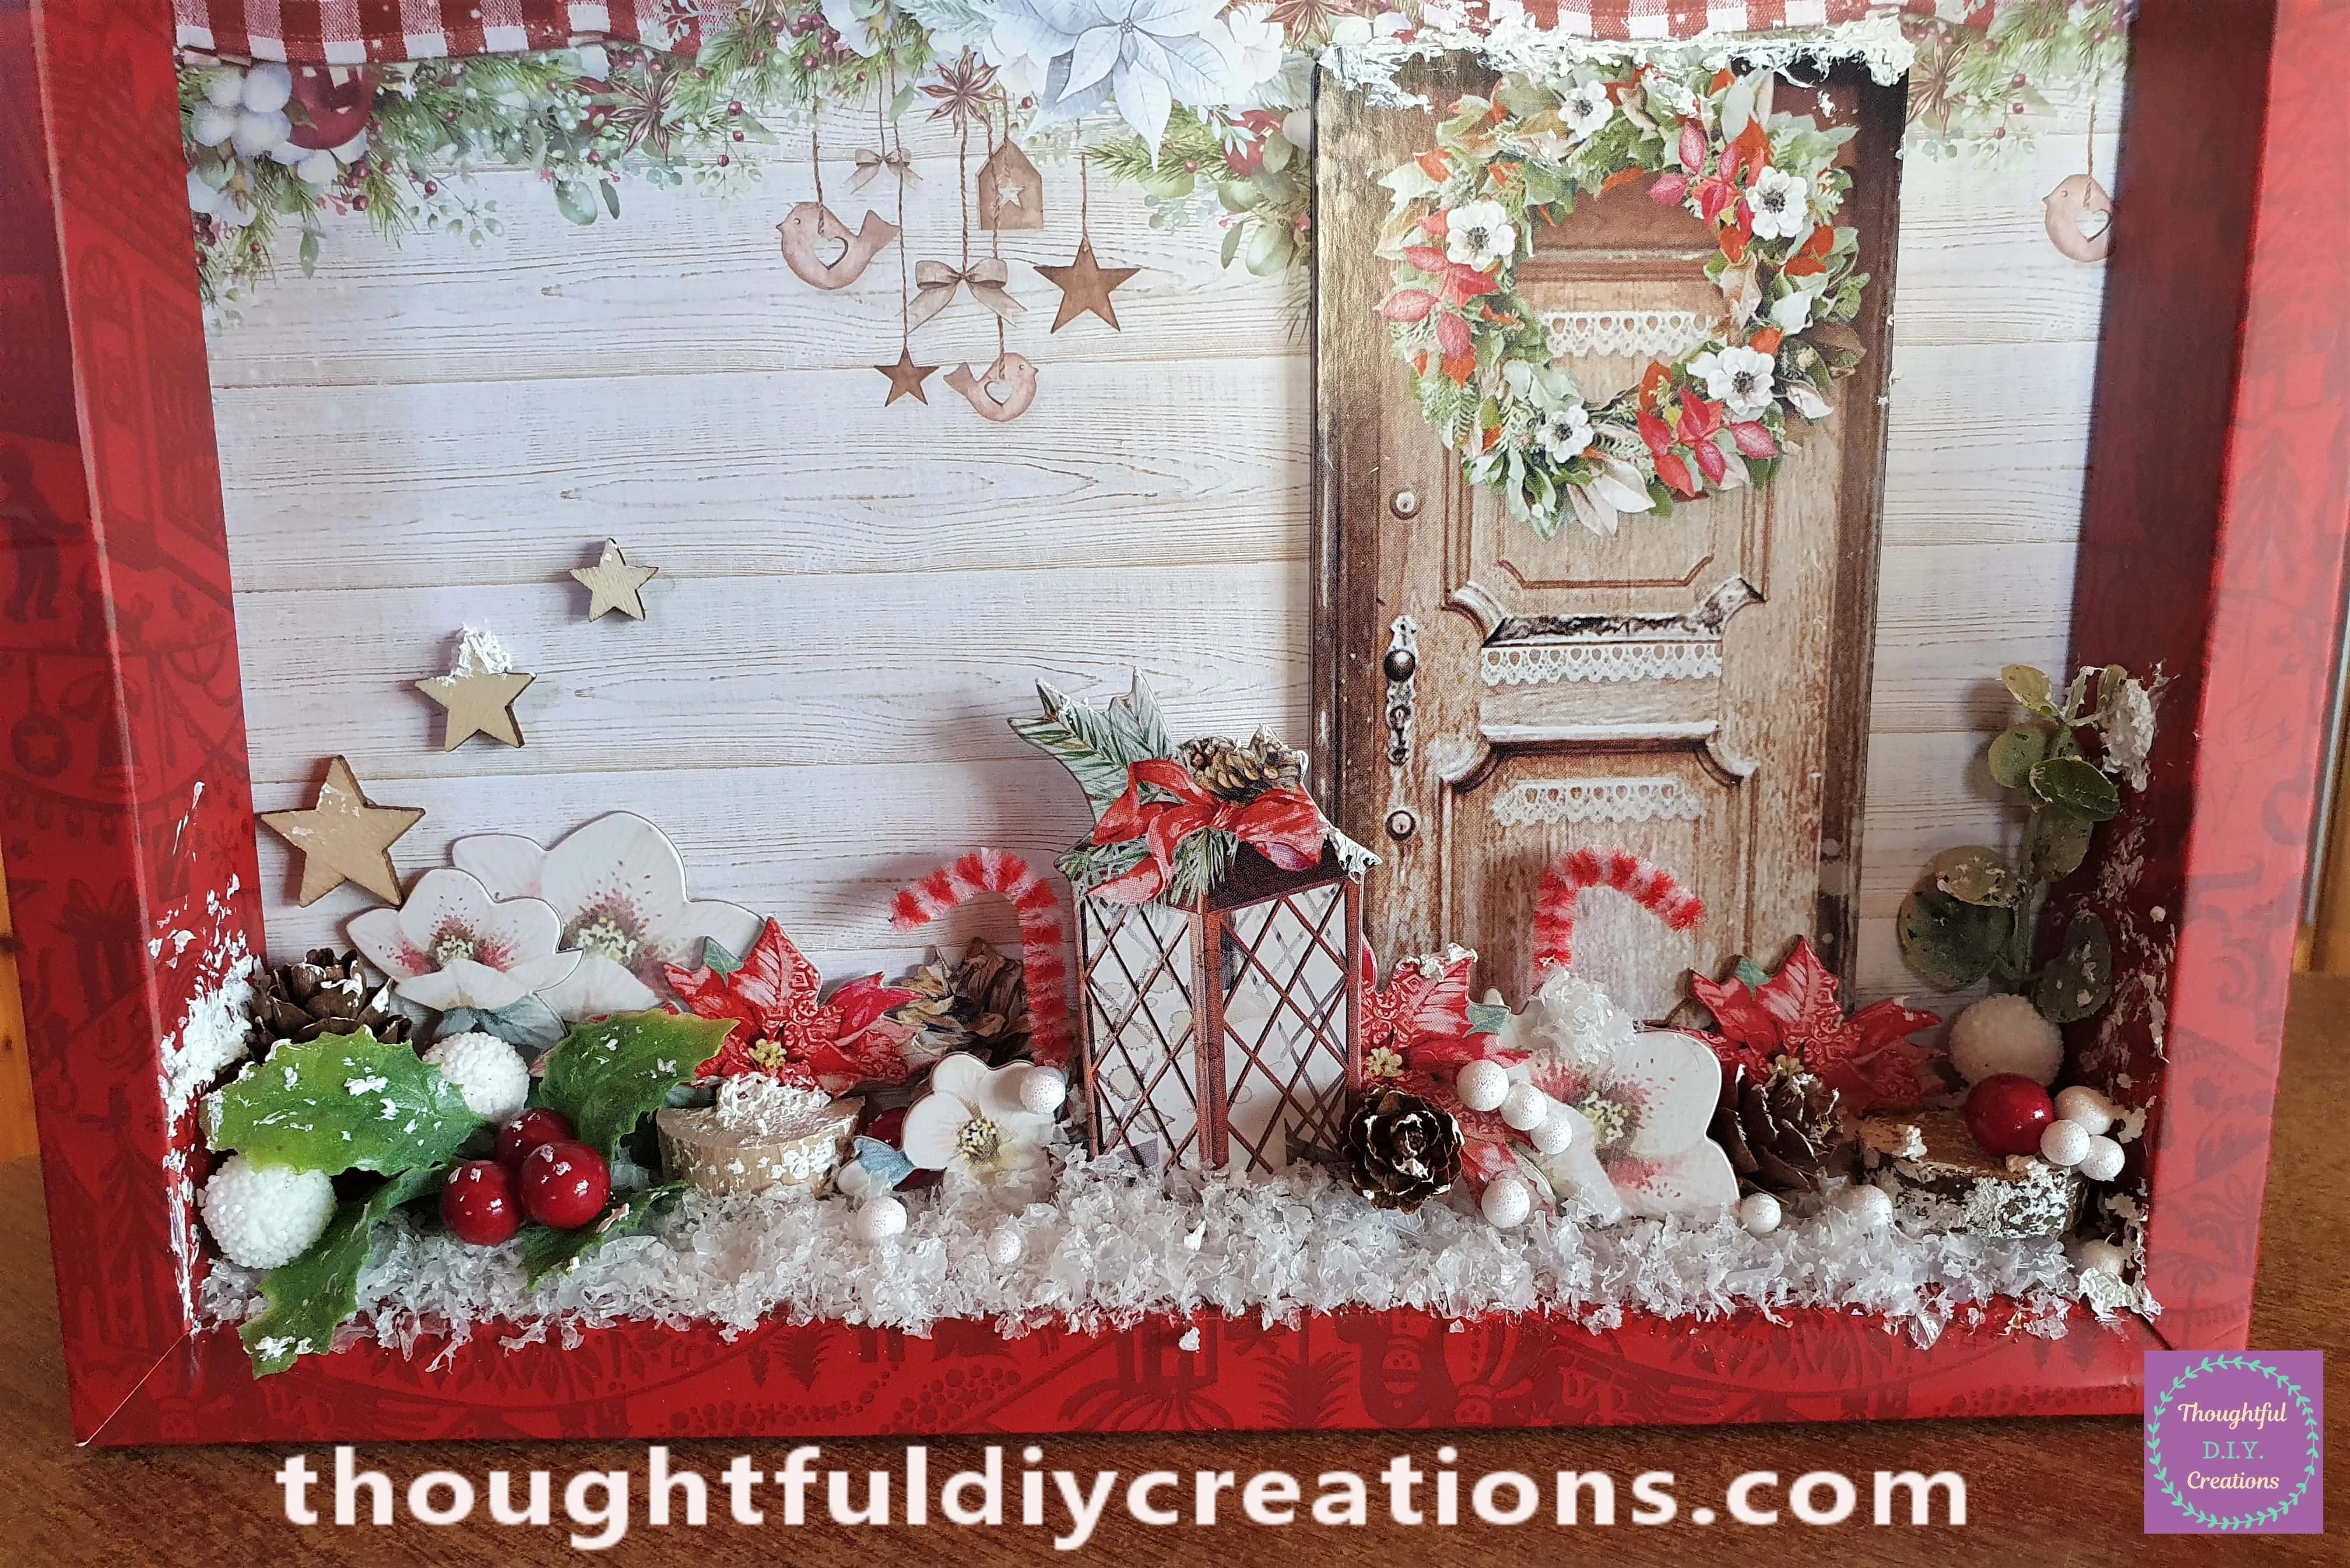
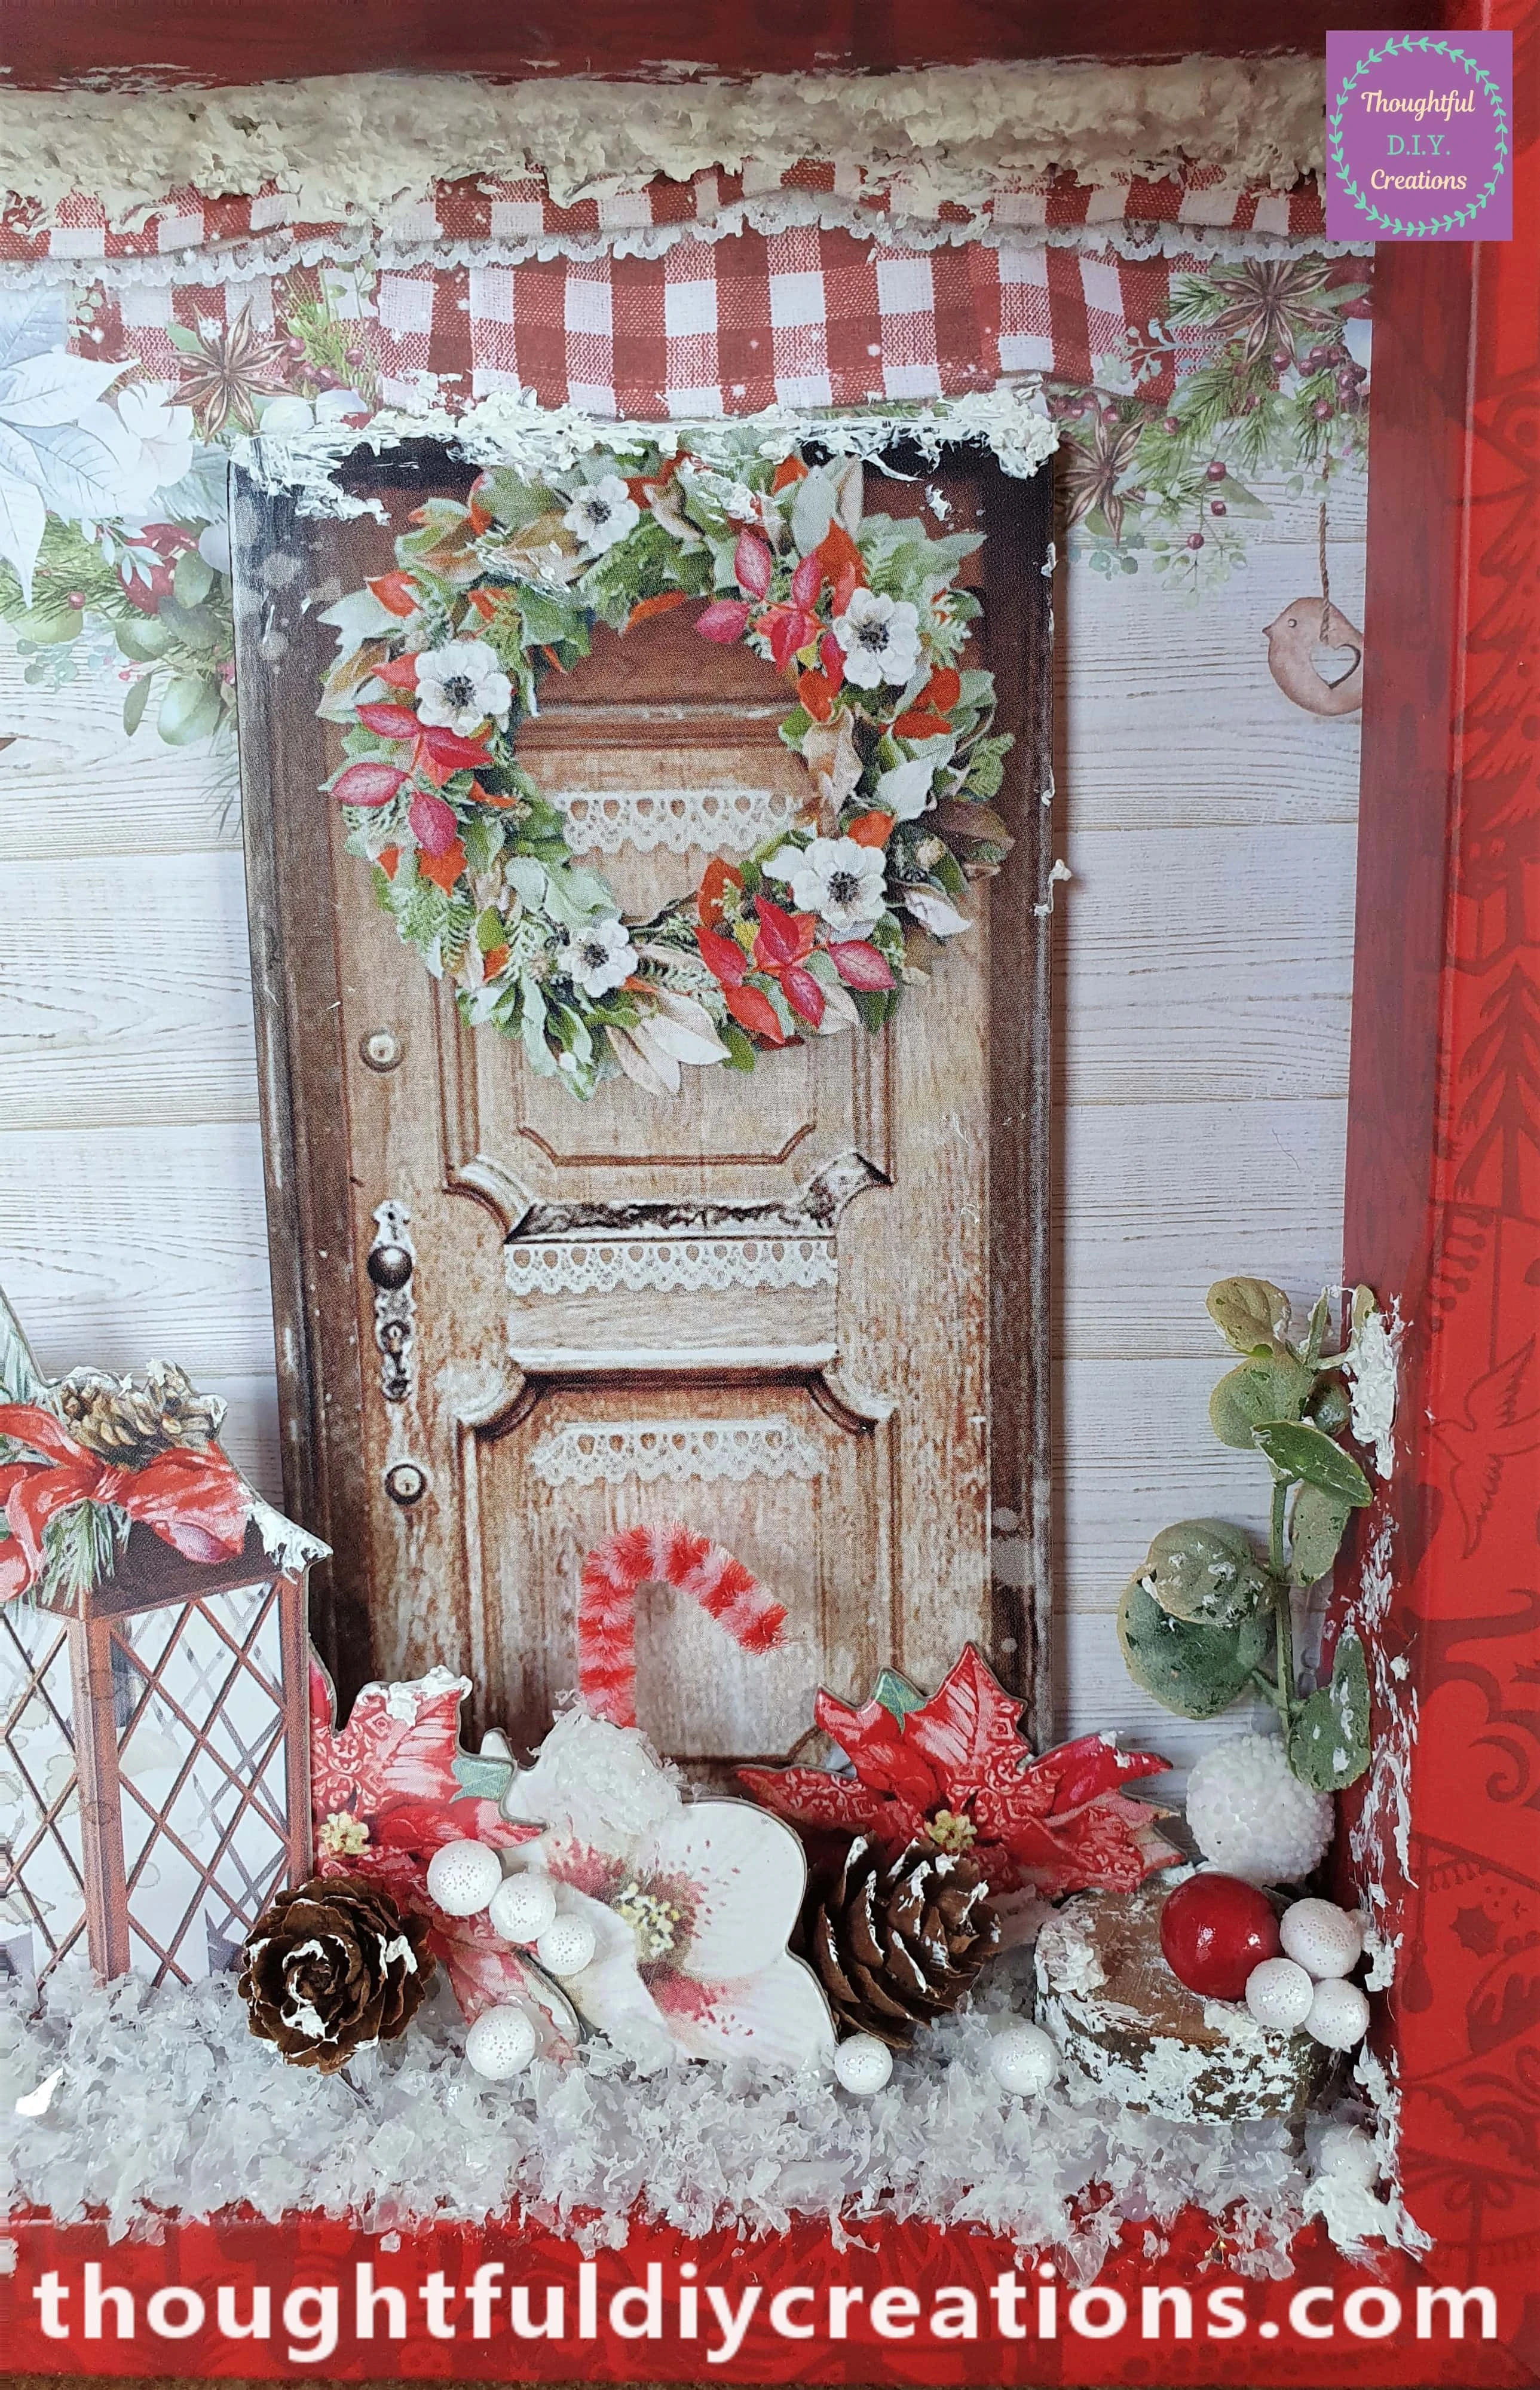
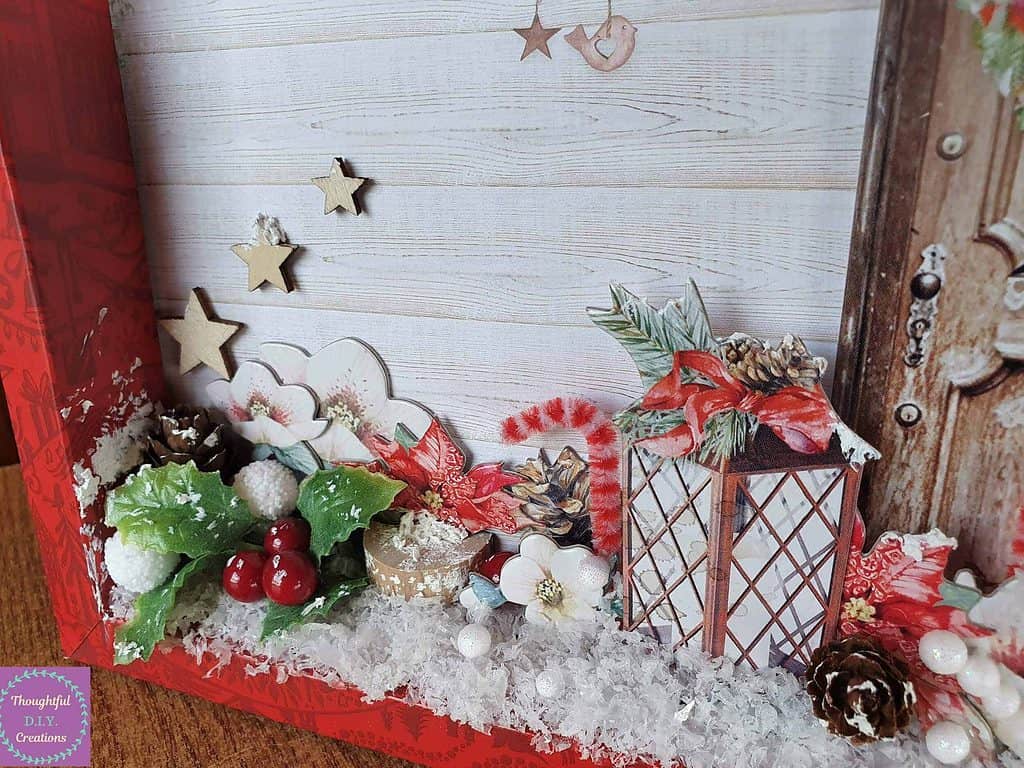
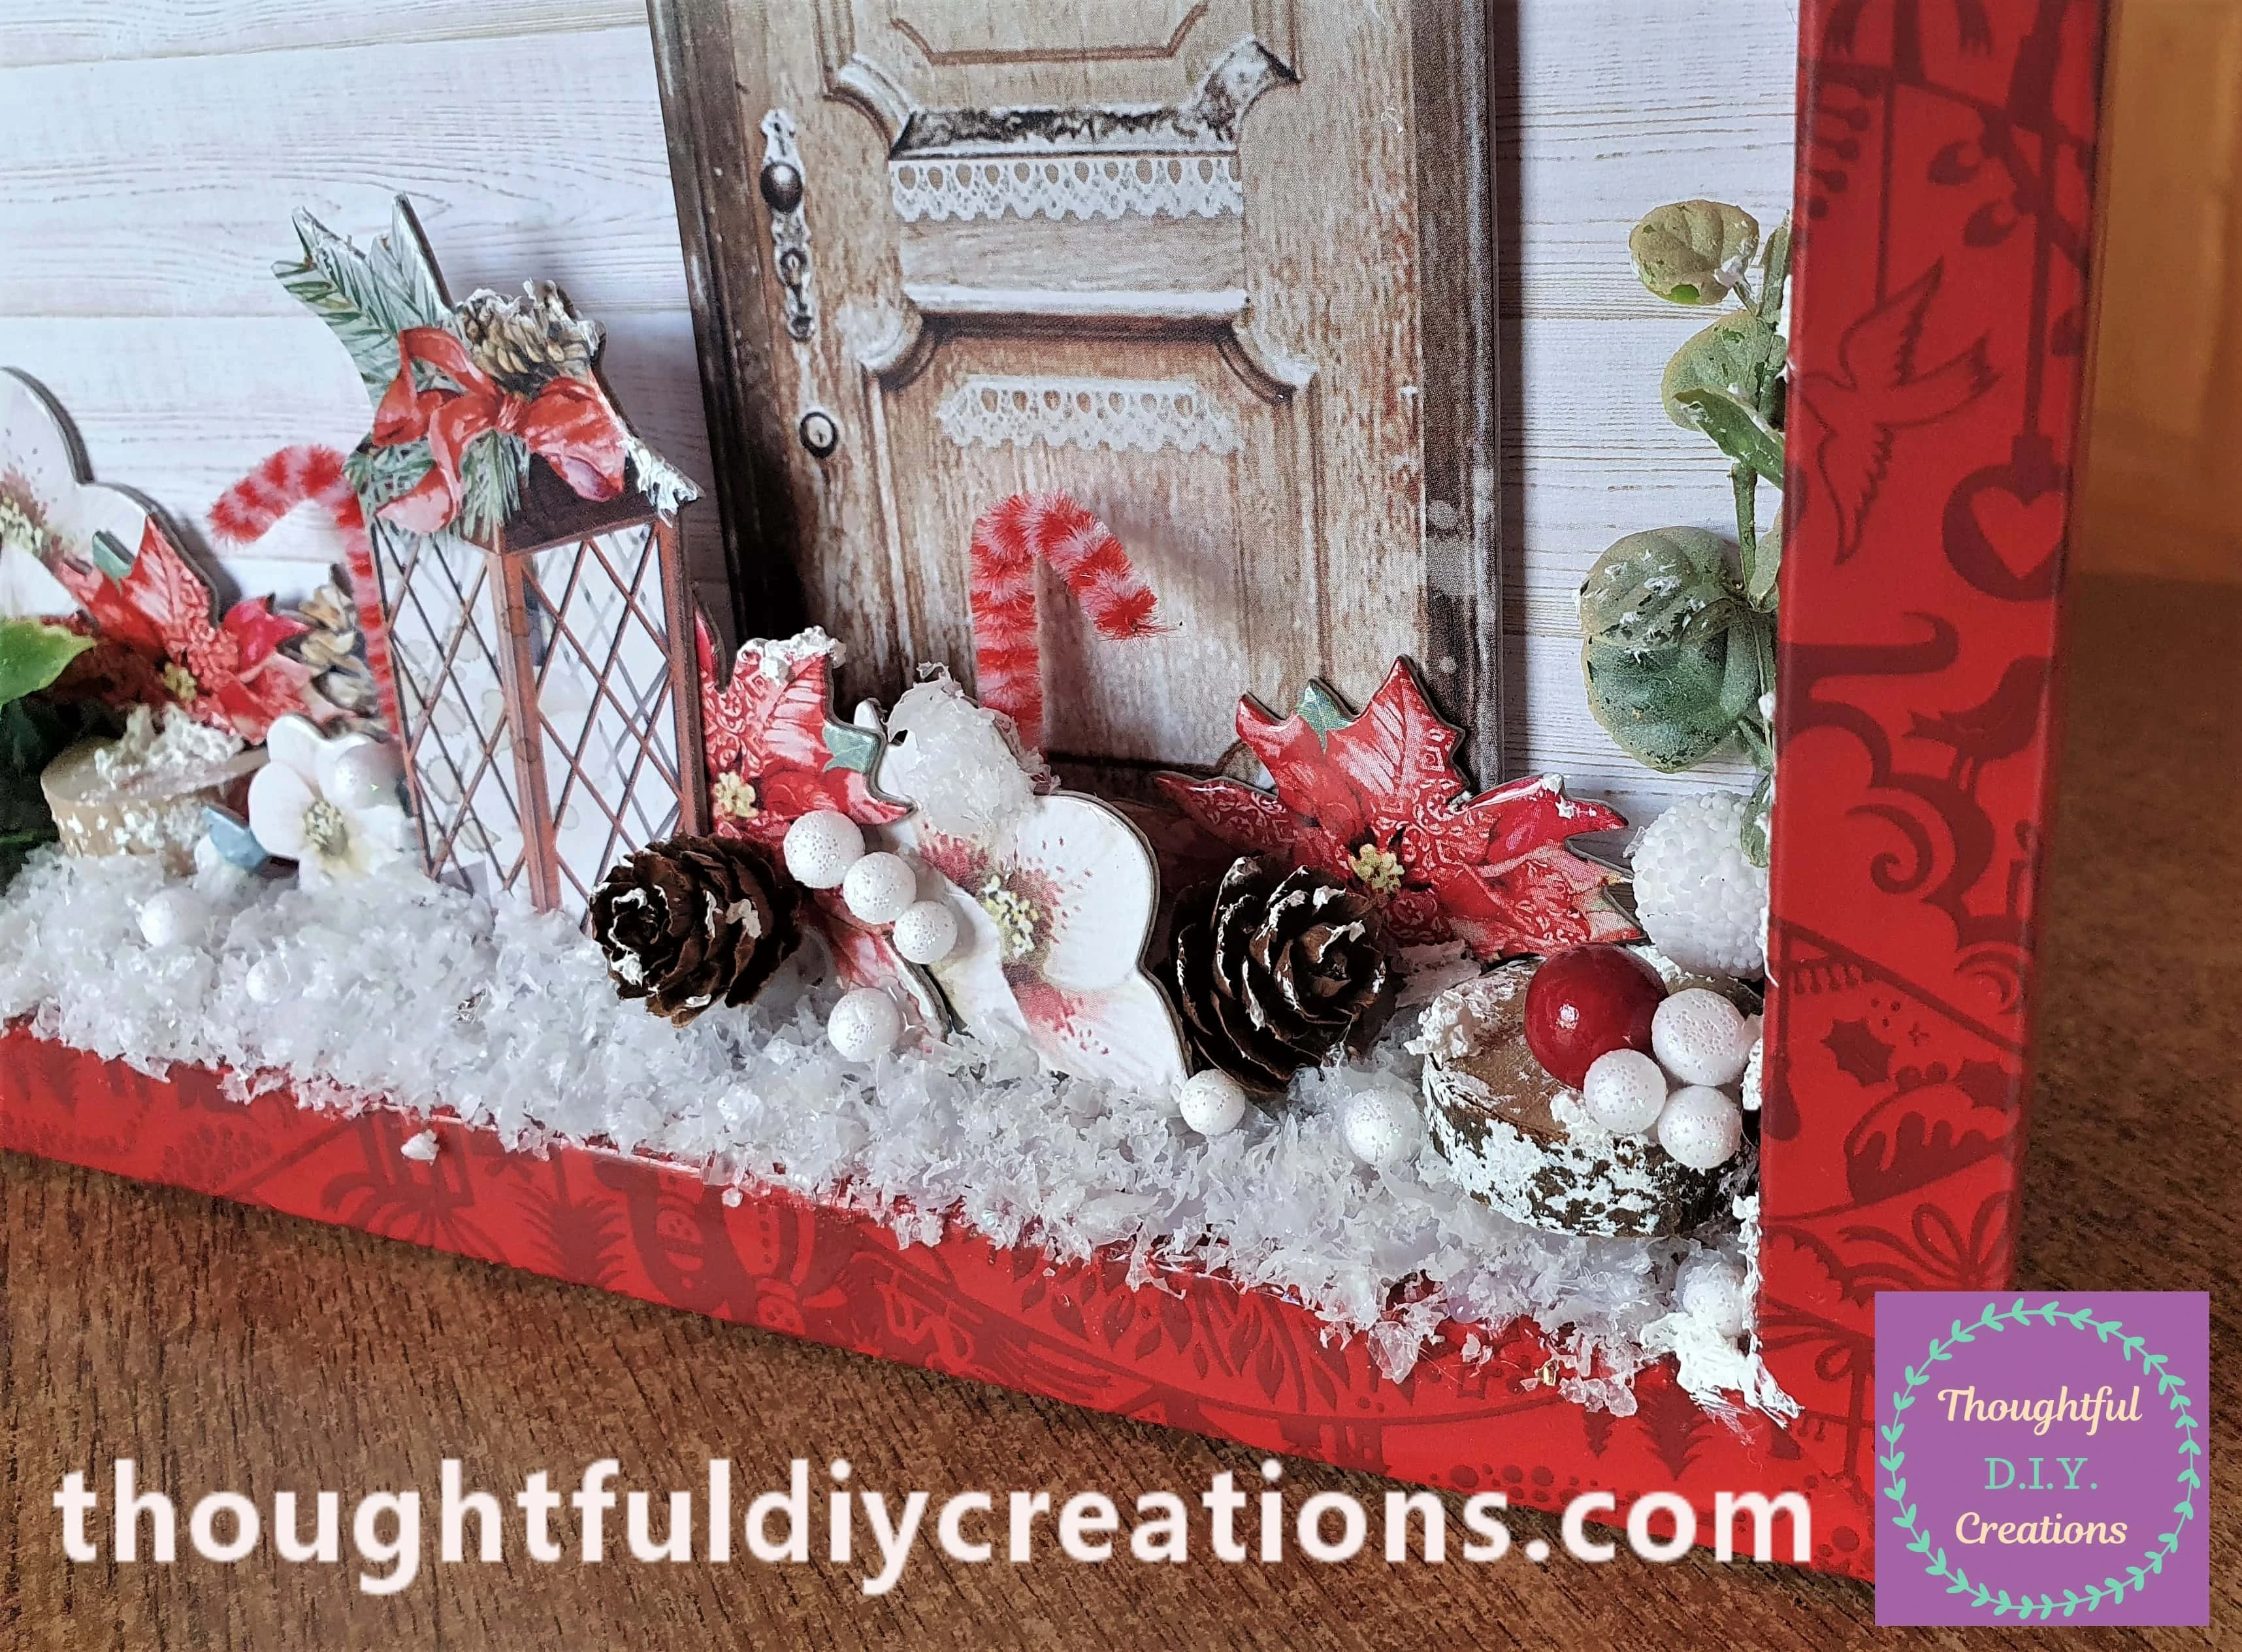
Some Close-Up Images of the Christmas Craft.
Conclusion
I’m delighted with the finished result of the Christmas Shadow Box. I love that the Gift Box was Re-Used and transformed into something unique. I adore the Paper and Die-Cuts; they are amazing quality. The Snow Paste and Confetti provided a Winter Wonderland feeling. I really like the addition of the Nature elements; they really brought everything together.
I hope you learned something new from my Tutorial. If you have any Questions; just Fill out the Comment Box below, and I’ll get back to you.
If you would like more Christmas Craft Ideas, check out some of my previous Tutorials, here are some examples; Snowman Family Frame, Christmas Jars.
Thank You so much for taking the time to Read my Blog.
Always Grateful,
T.D.C.
xoxox

