Christmas Tree Craft Tutorial
Hello my Creative Friends,
I hope you are all Well. In Today’s Tutorial I will show you how I Painted and Decorated an MDF Christmas Tree. I hope it will inspire you to make some of your own Christmas Decorations. It is an easy Craft for all artistic levels; it would be a fun Day of Bonding and Creating with your Children or Family in the lead up to Christmas.
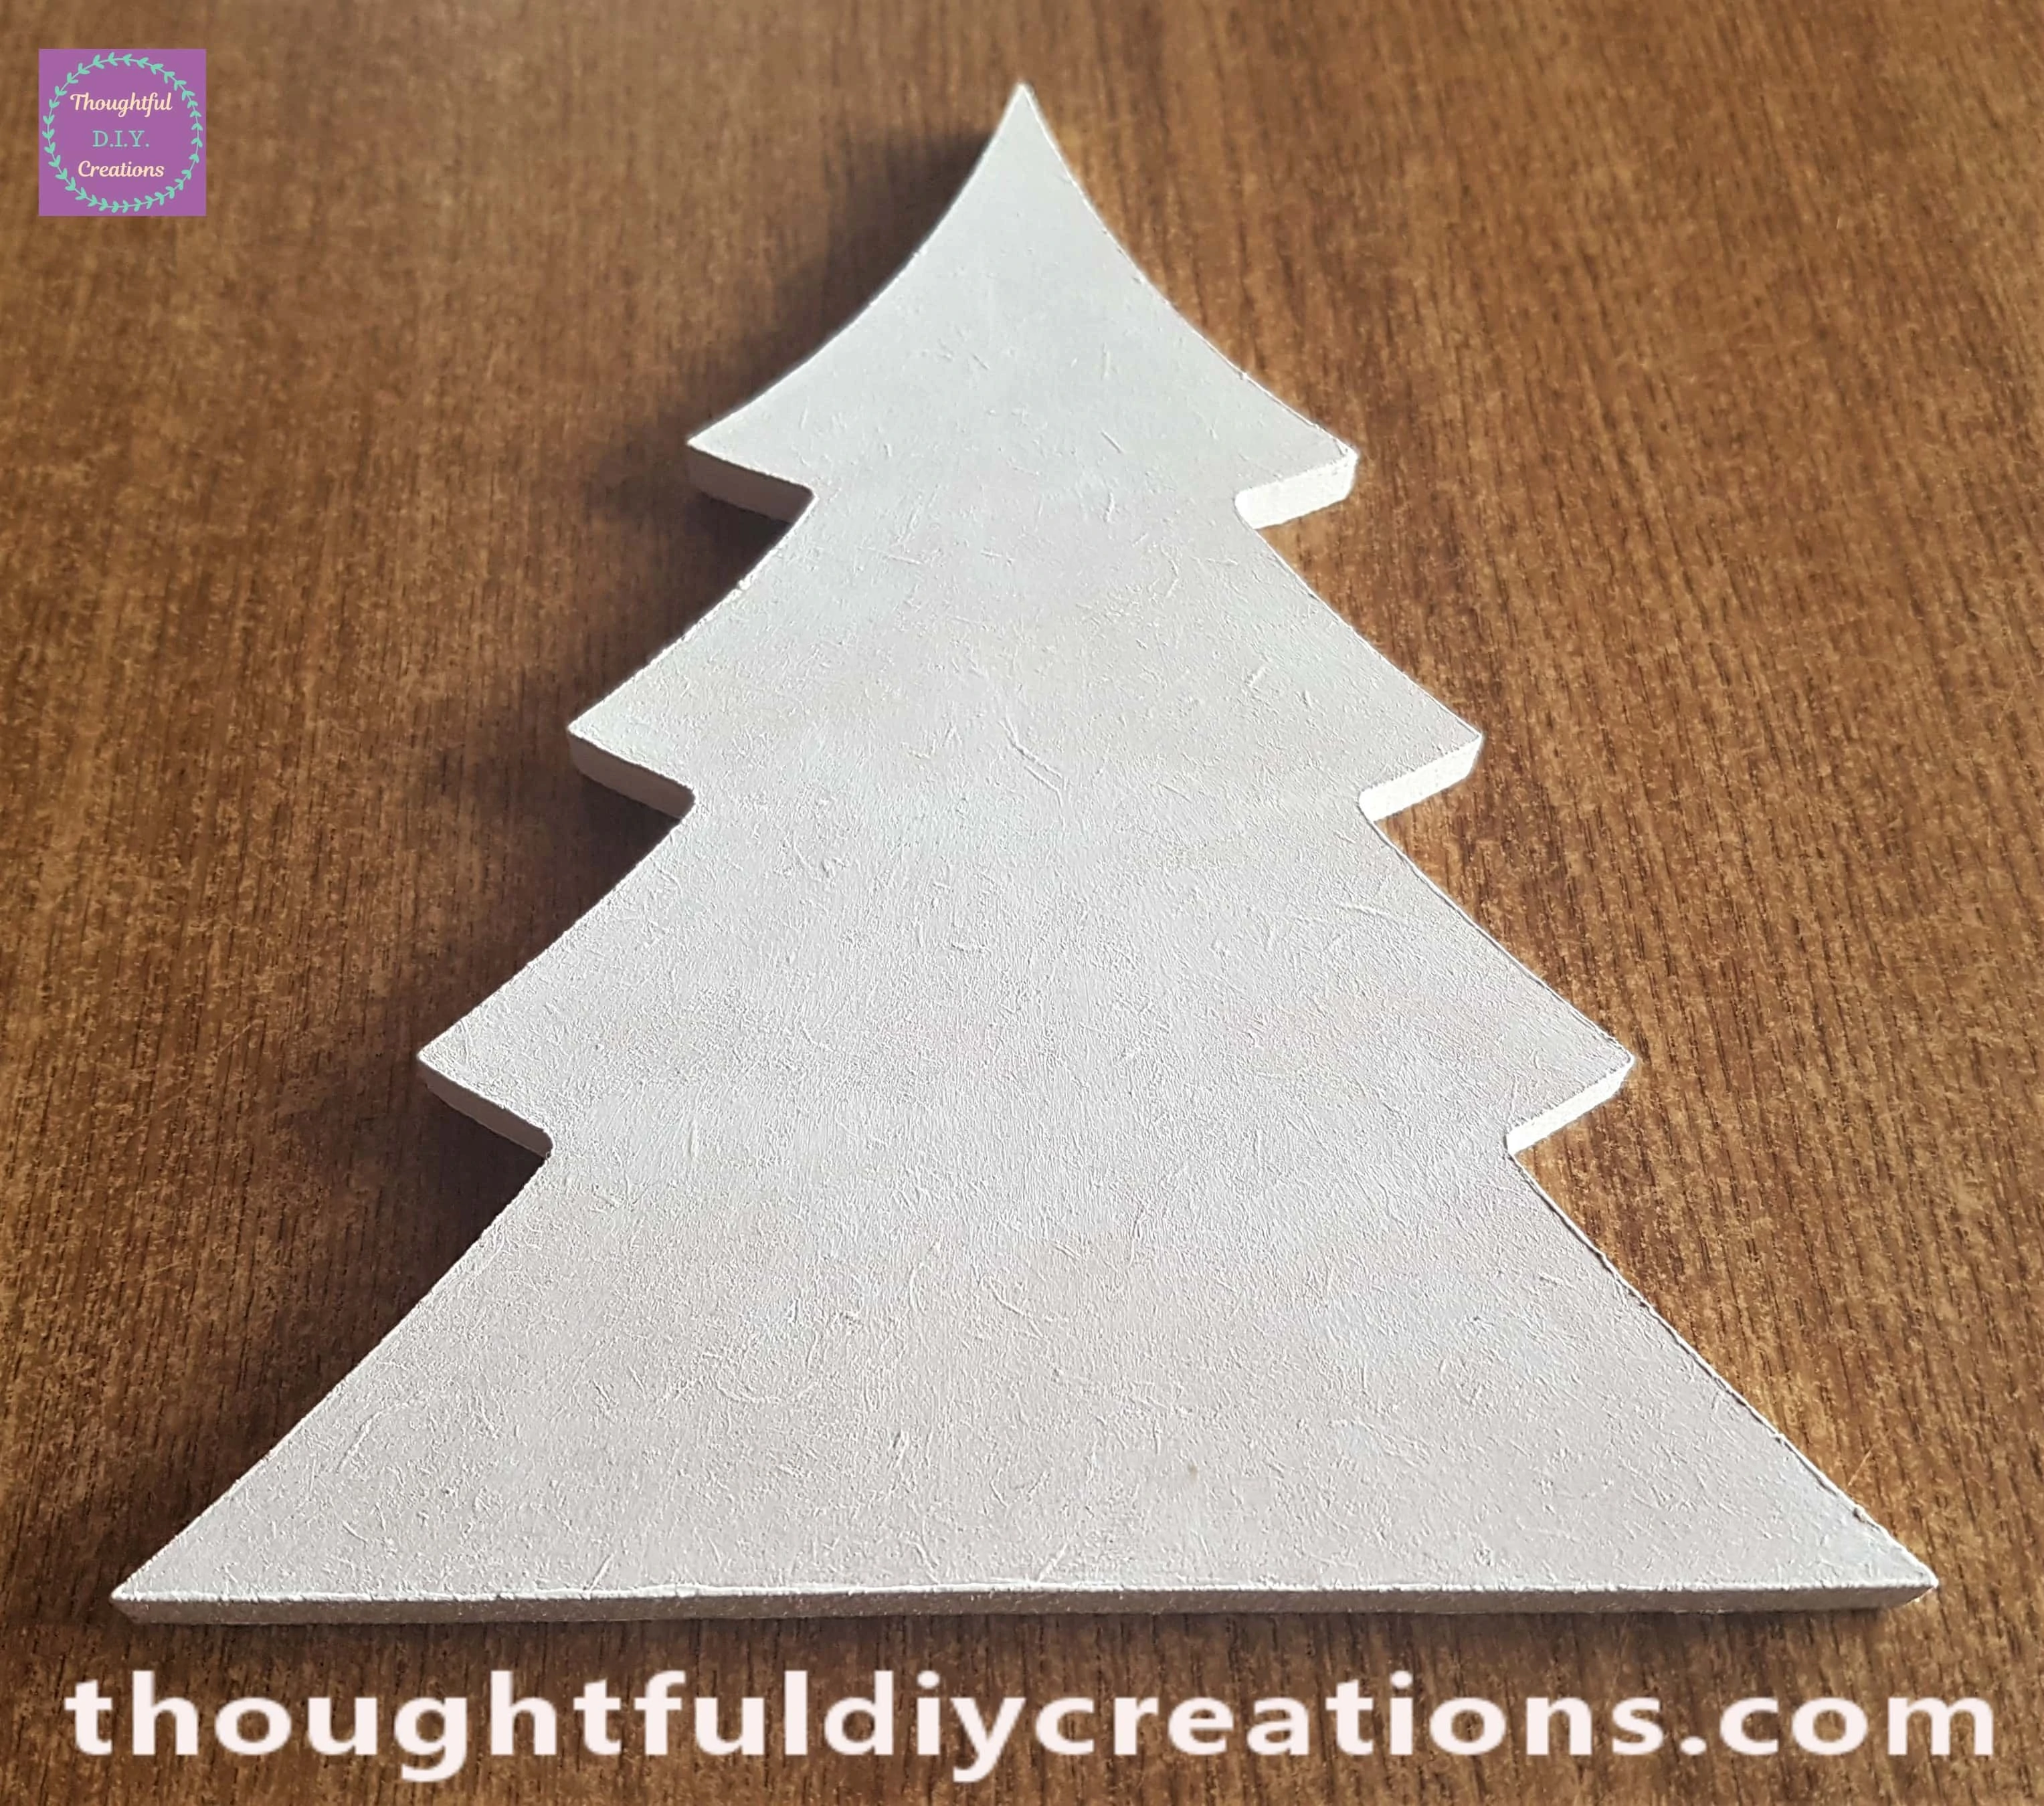
Christmas Tree Base
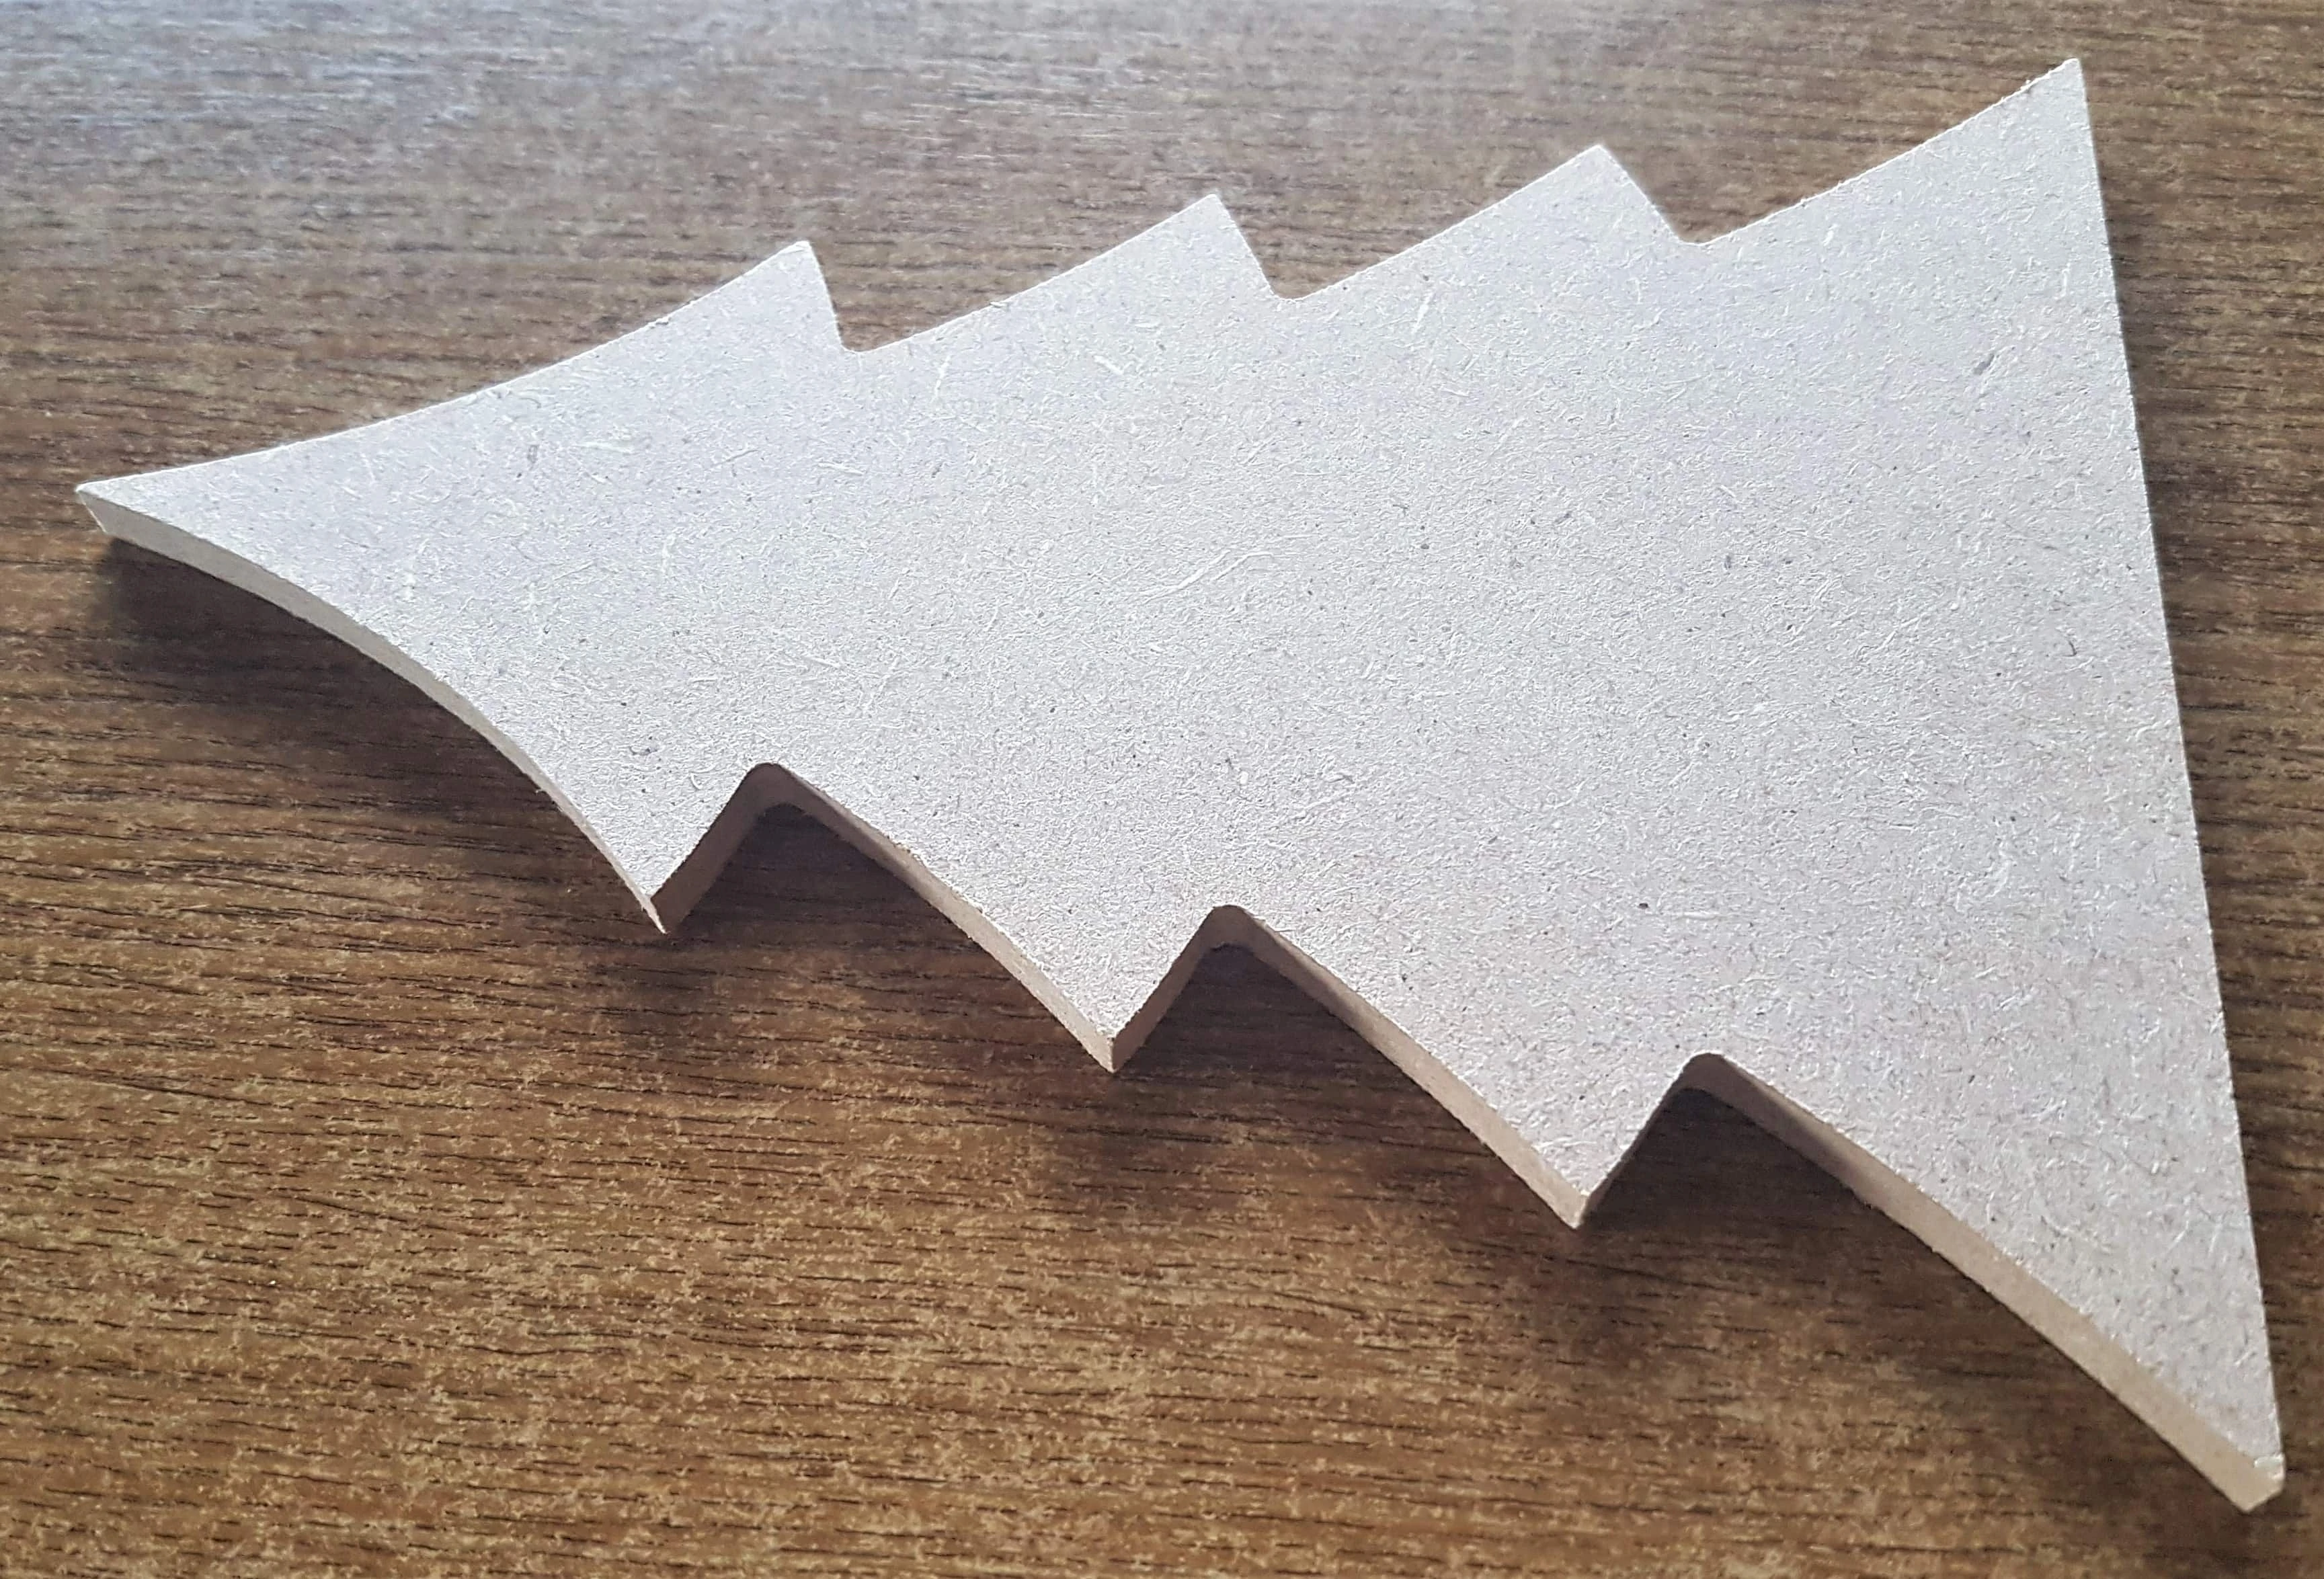
I bought a 20 cm MDF Christmas Tree Shape a few weeks ago.
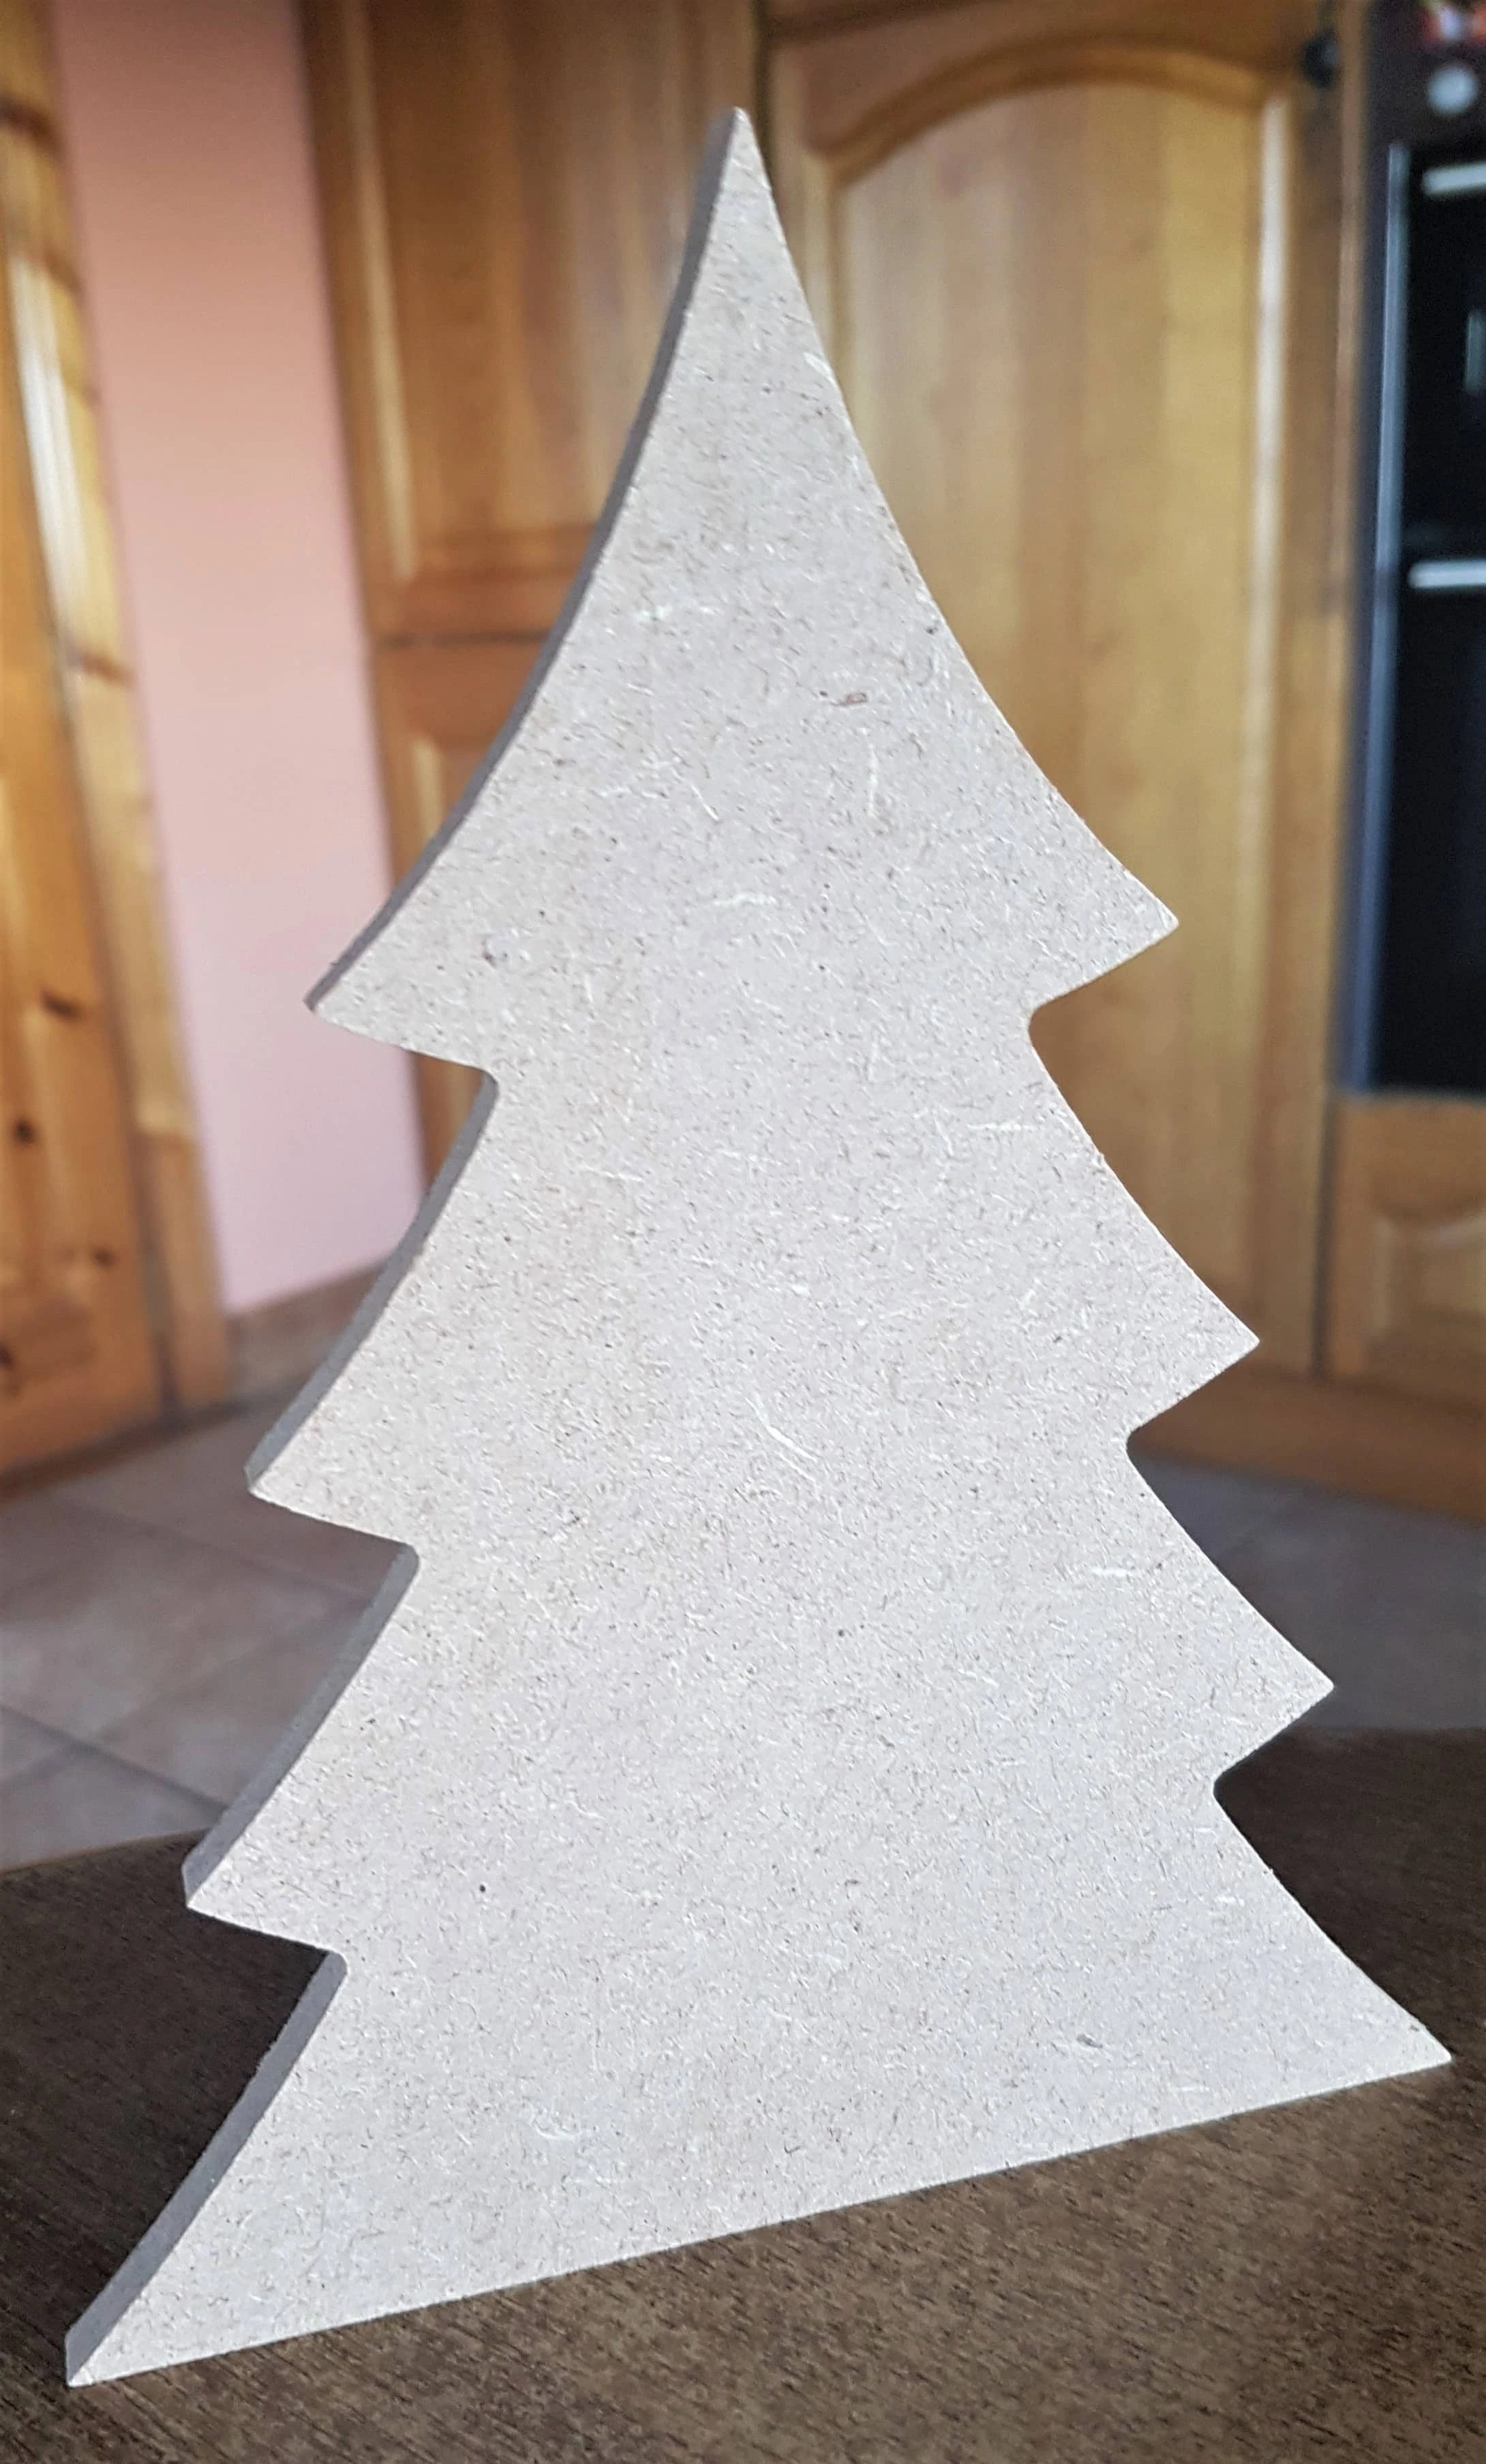
Here it is standing upright.
Priming the Tree
I put a Sheet of Baking Paper on the Table to protect it. I got my ‘Acrylic White Gesso’ and a small flat Paintbrush.
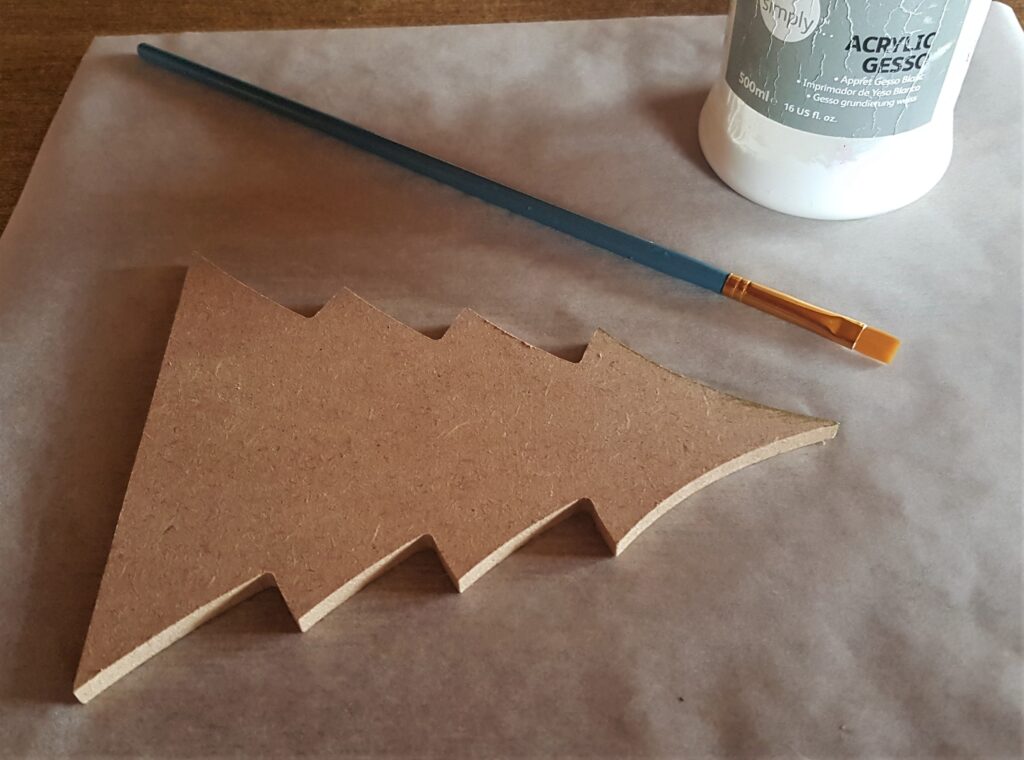
I painted 2 layers of the Gesso all over the Tree leaving an hour drying time between layers. This Primes the surface and prepares it for more mediums such as Paint.
Painting the Christmas Tree
I got my Pot of ‘Emerald Glitter Mousse’.
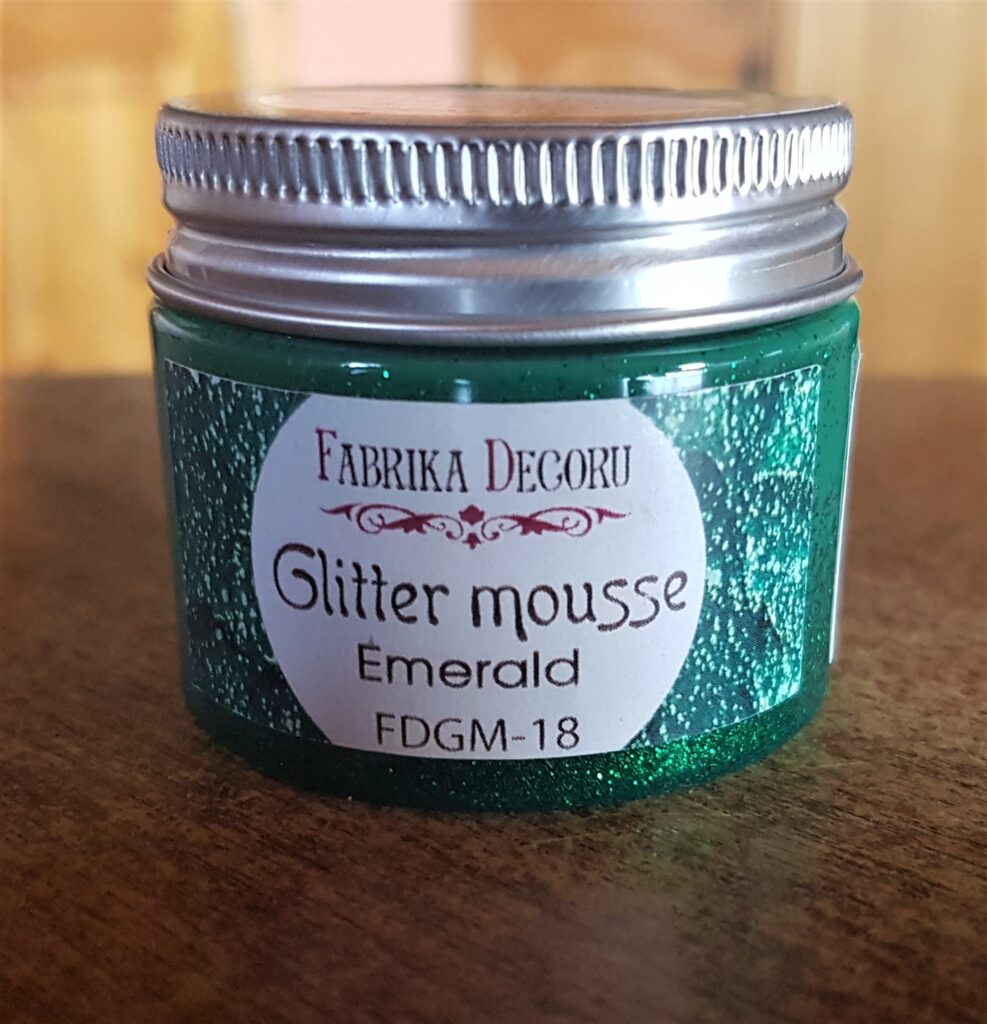
I painted the first layer of the Mousse onto the Christmas Tree using a small flat Paintbrush.
I painted 5 more layers of the Glitter Mousse all over the Tree leaving an hour drying time between each layer. I done the front, sides and back of the Christmas Tree over 2 days.
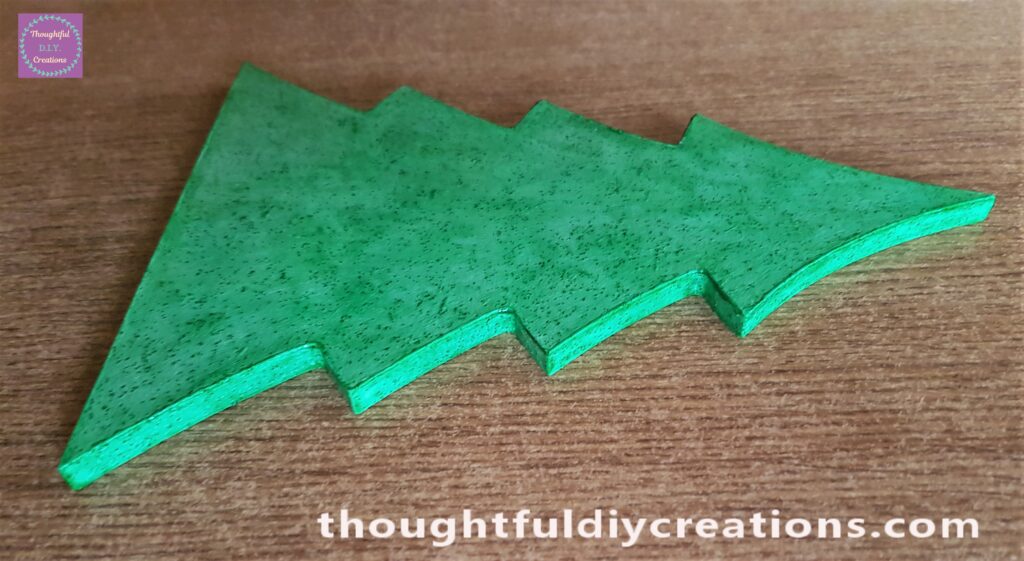
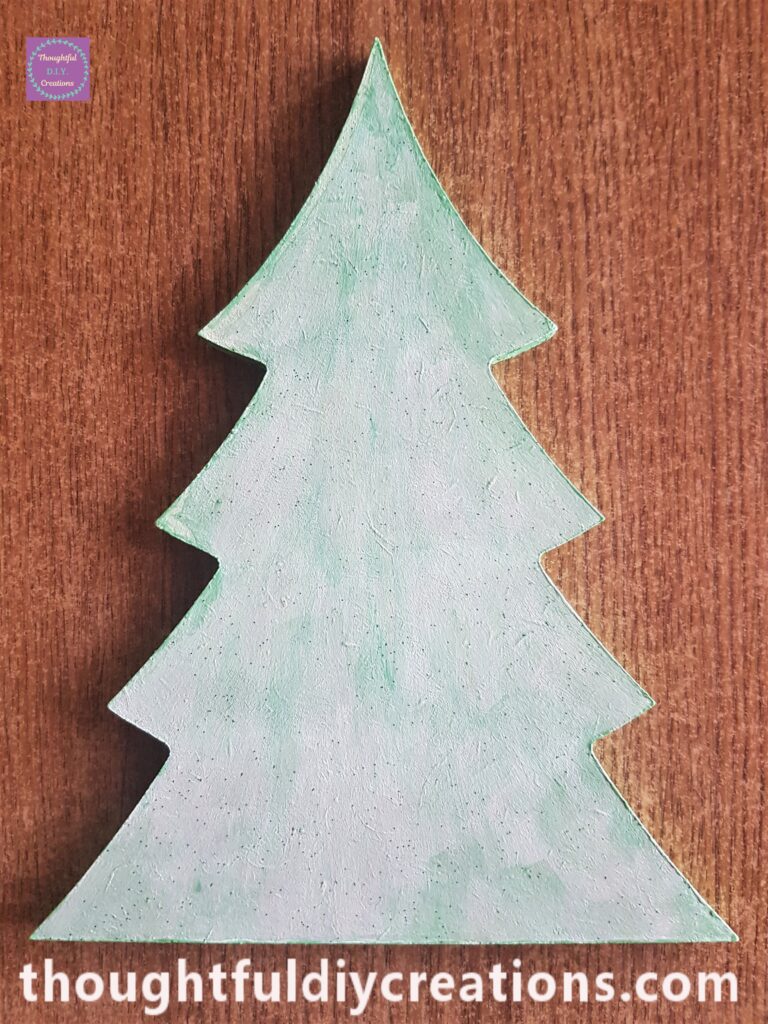
Making Changes to the Tree
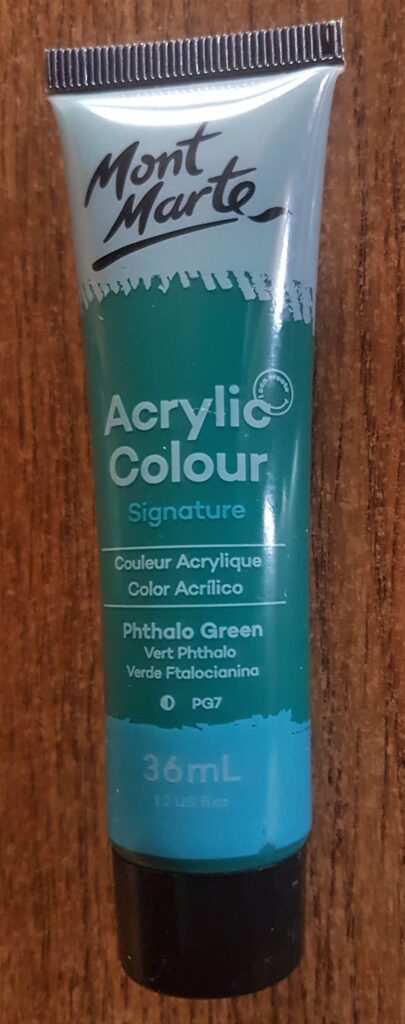
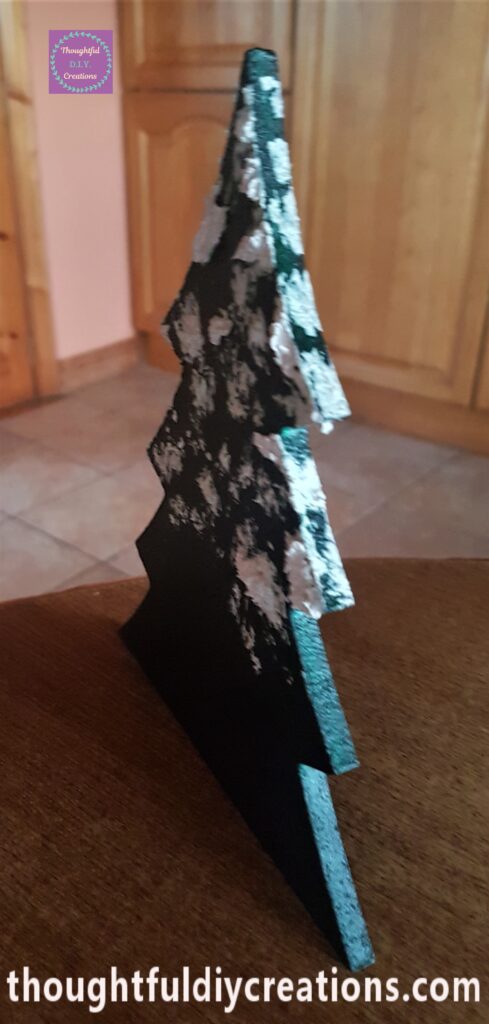
The Colour of the Tree wasn’t as dark as I would have liked so I got my tube of ‘Phthalo Green’ Acrylic Paint.
I also got my Set of Sponges with Handles.
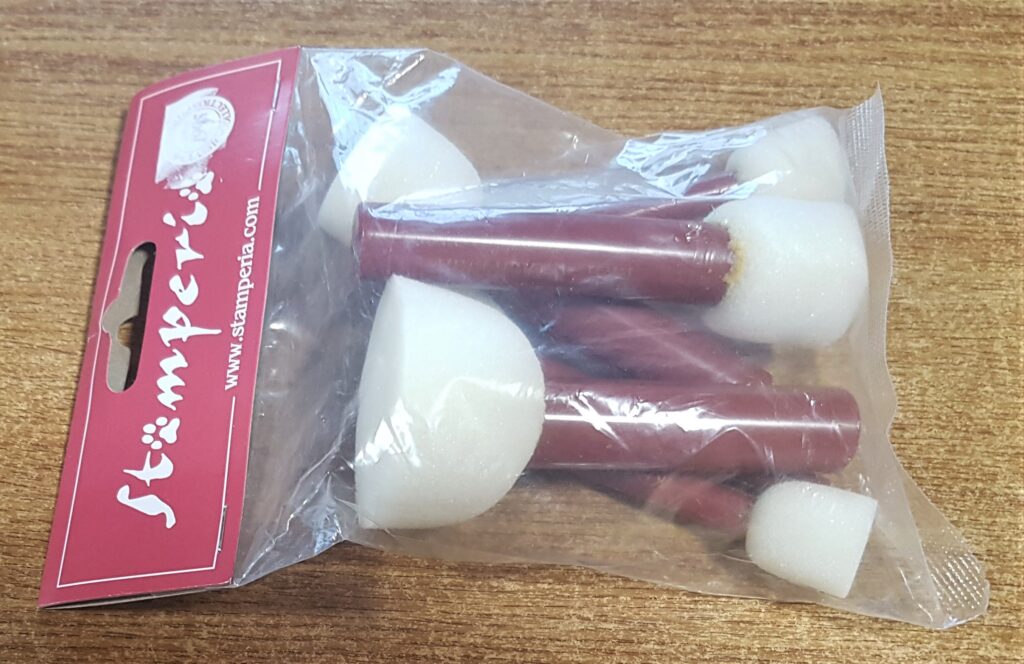
I Painted 3 layers of the Dark Green Paint all over the Tree with one of the Sponges. I put some Paint on a Plate and pressed the sponge into it and dabbed it onto the Tree creating a textured effect.
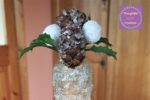
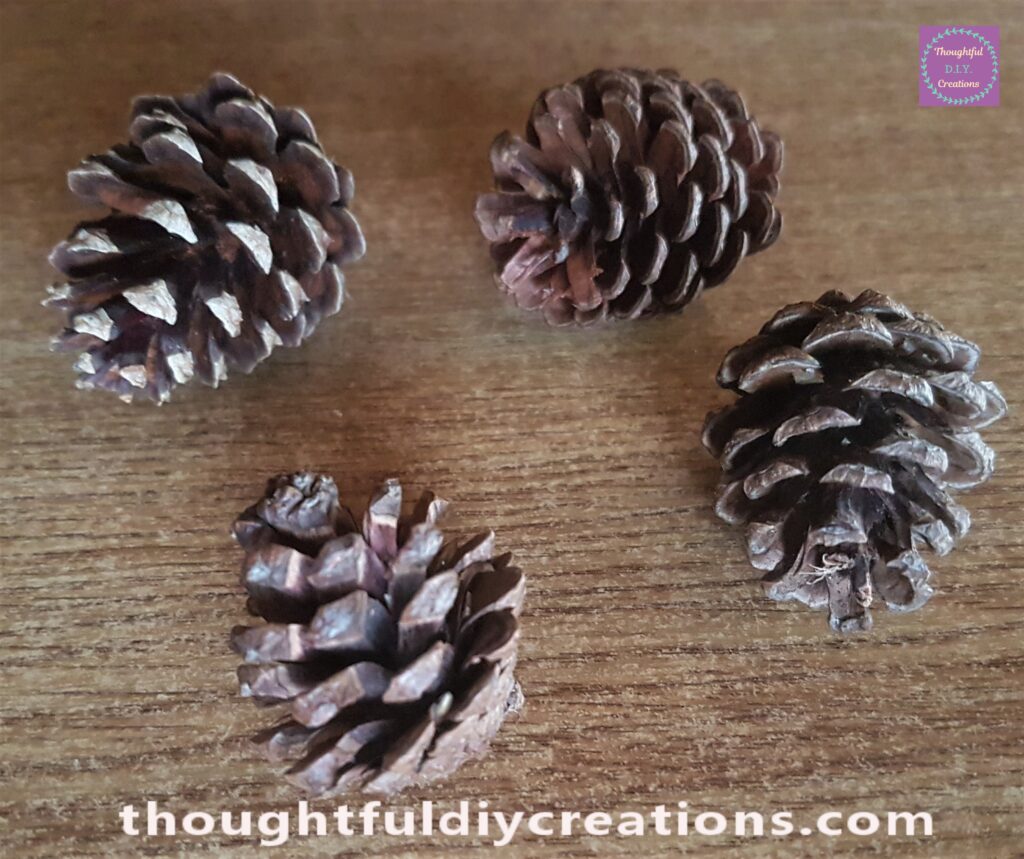
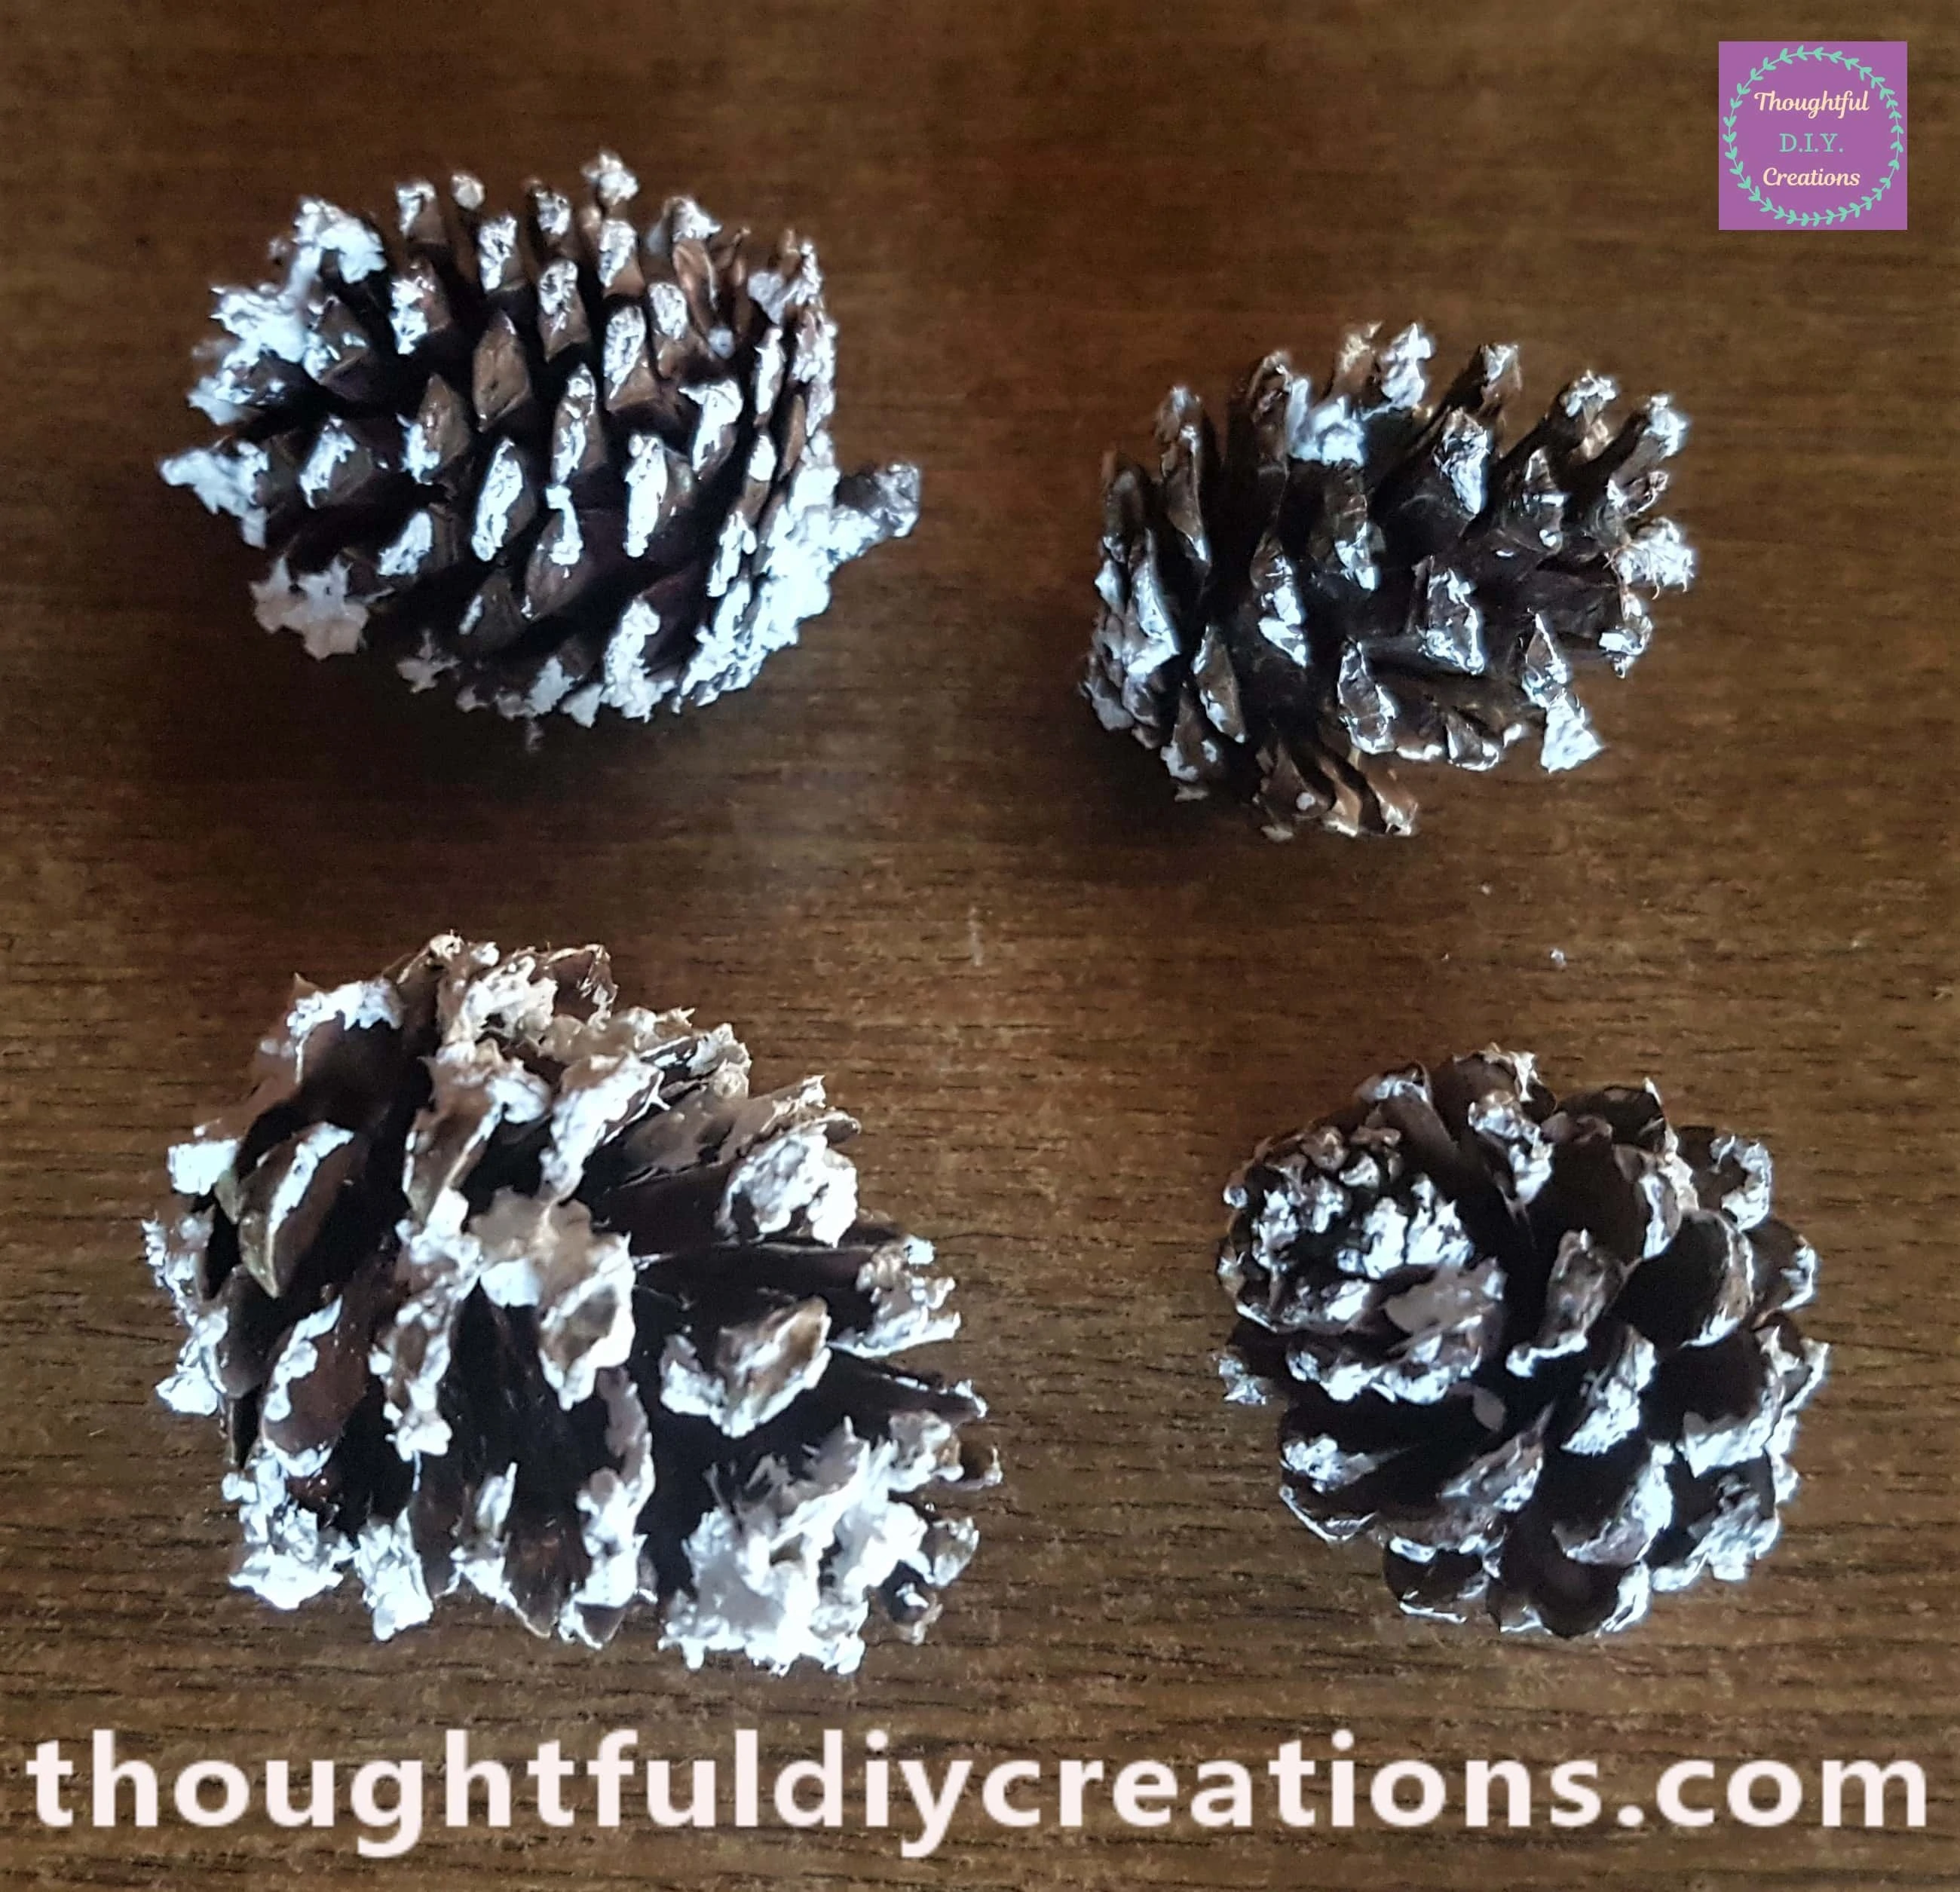
I had 4 big Pine Cones left in the Pack so I decided to use them for this Craft.
I got my Tub of ‘Snow Paste’ from Stamperia.

Decorating the Christmas Tree with Snow
I got a Palette Knife, dipped it into the Snow Paste and spread it onto the Top and Sides of the Christmas Tree.

I added more Snow Paste to the mid-section of the Tree.
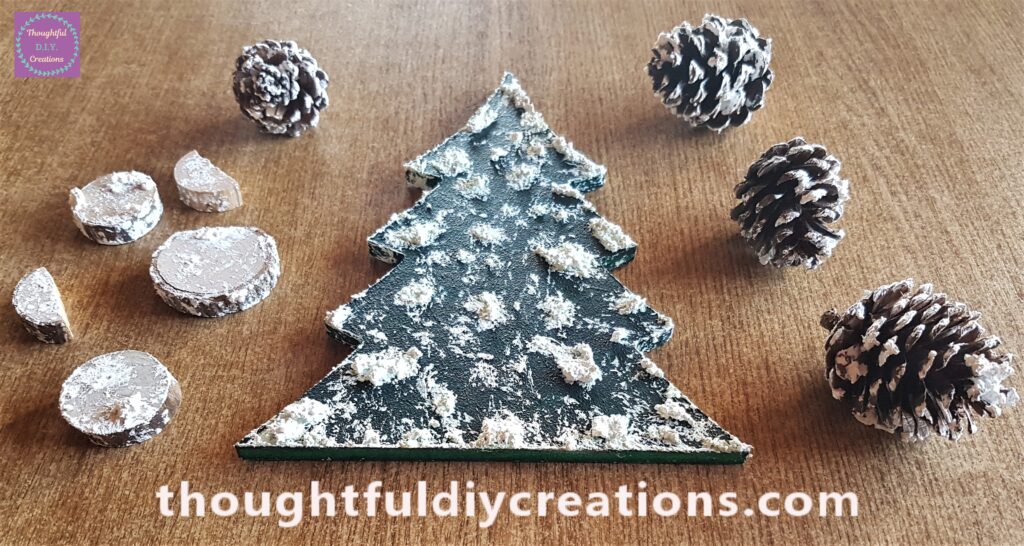
I continued adding Snow Paste onto the Tree with the palette knife until I was happy with the coverage. I put bigger lumps of the snow paste in different areas to look more natural.
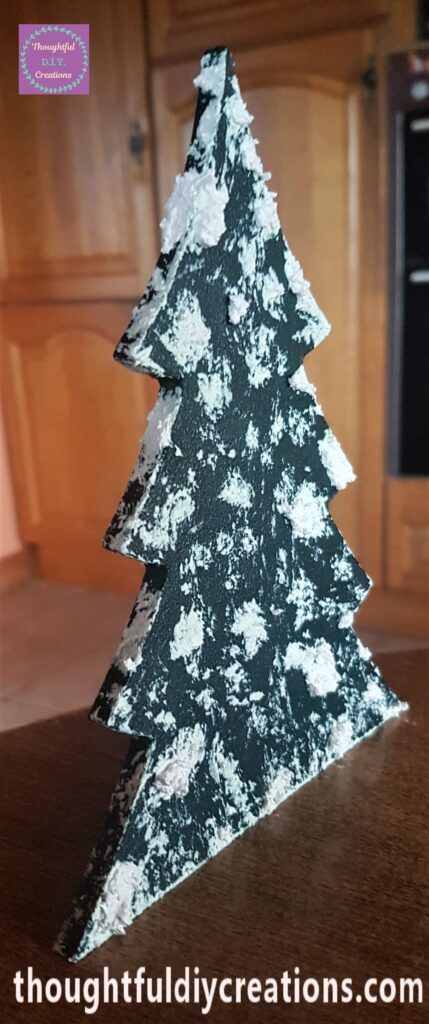
This is the Front of the Christmas Tree with Snow Paste added randomly.
Below is a side angle of the Tree.

Adding Snow Paste to the Pine Cones
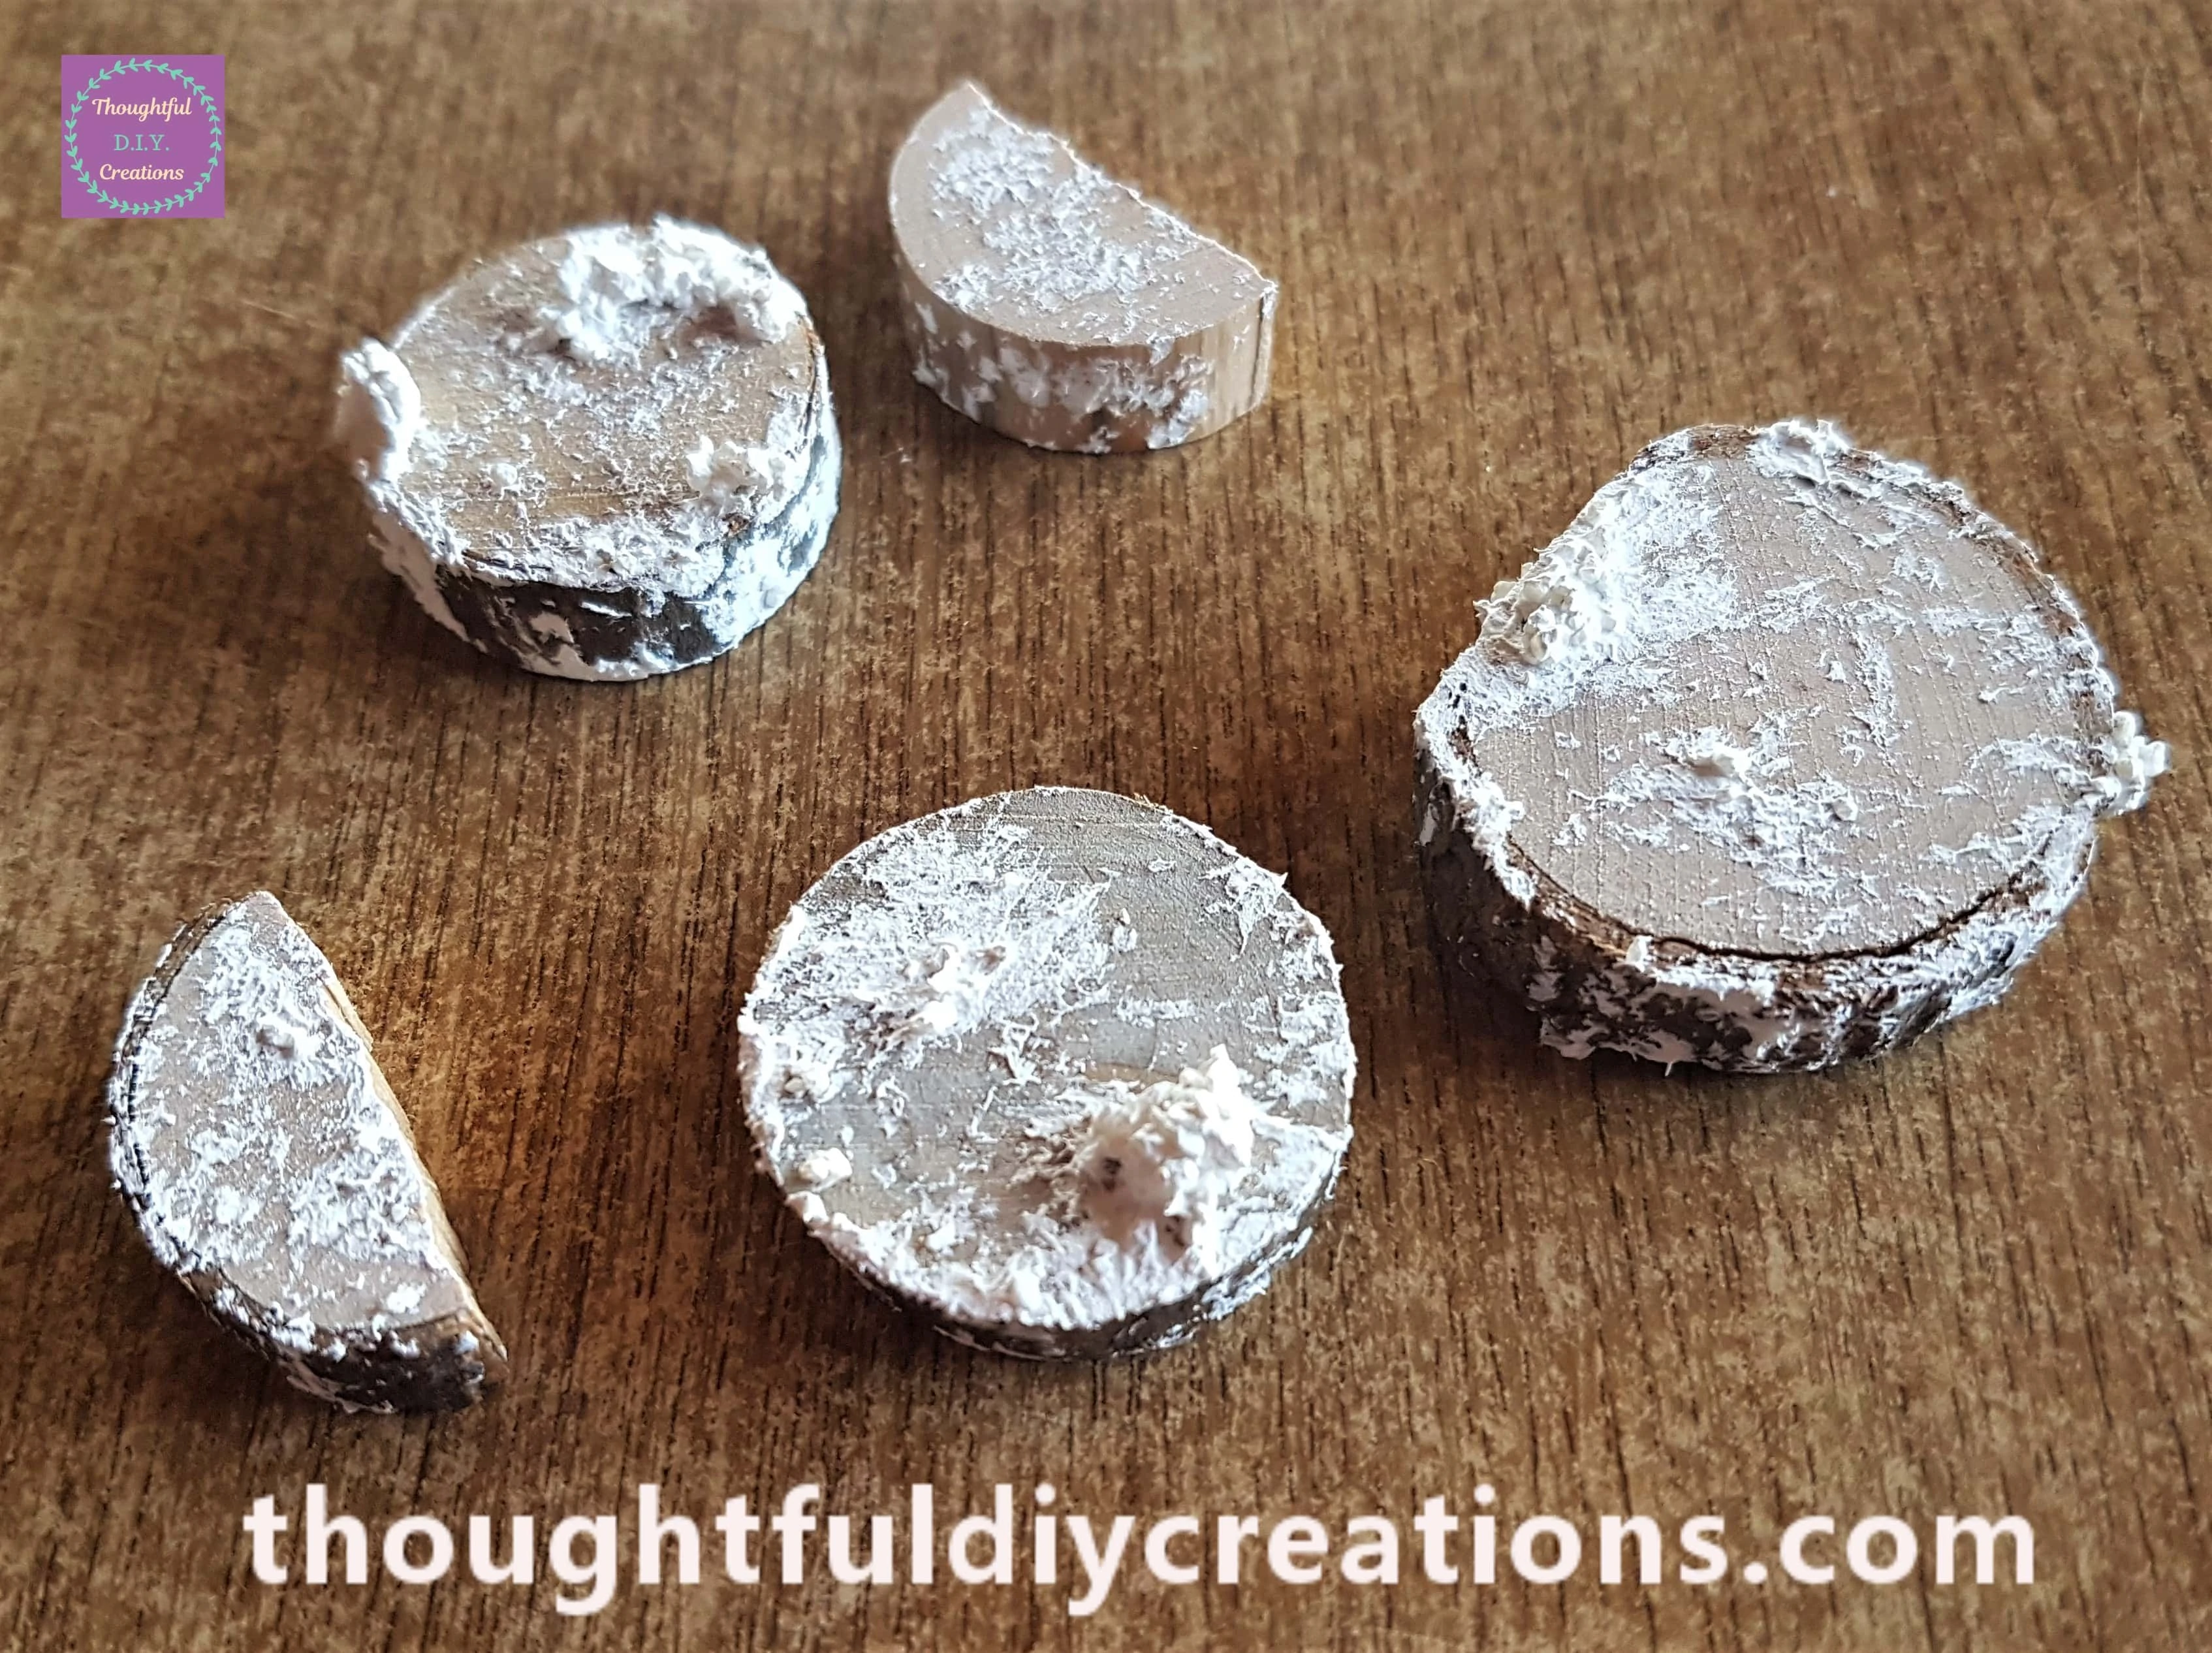
I put Snow Paste on the edges and some bigger lumps inside the Pine Cones.
Finishing Touches to the Craft
I also put Snow Paste on a few Wood Slices.
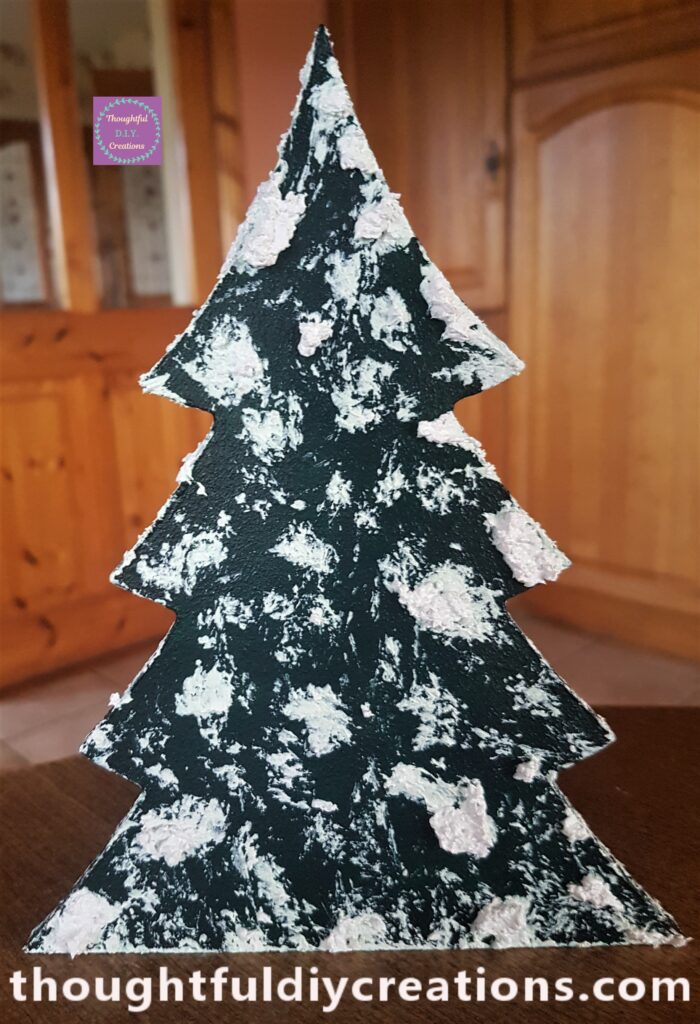
This Completed my Christmas Tree Craft. Here are all the materials with the Snow Paste dried and set the next day.
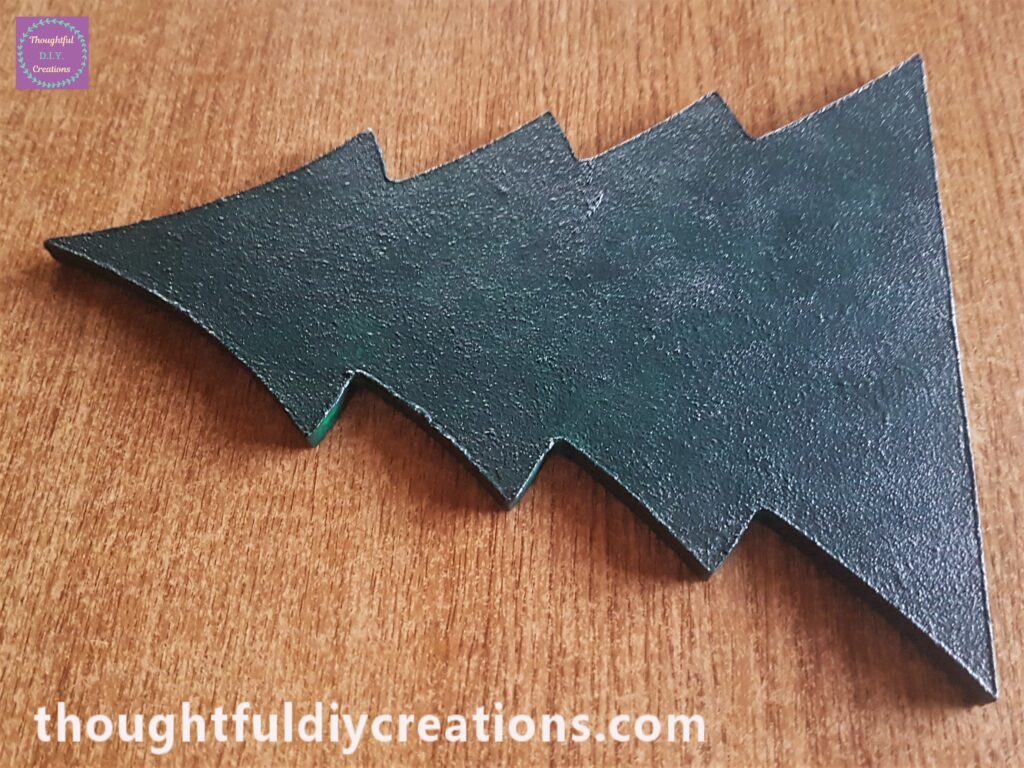
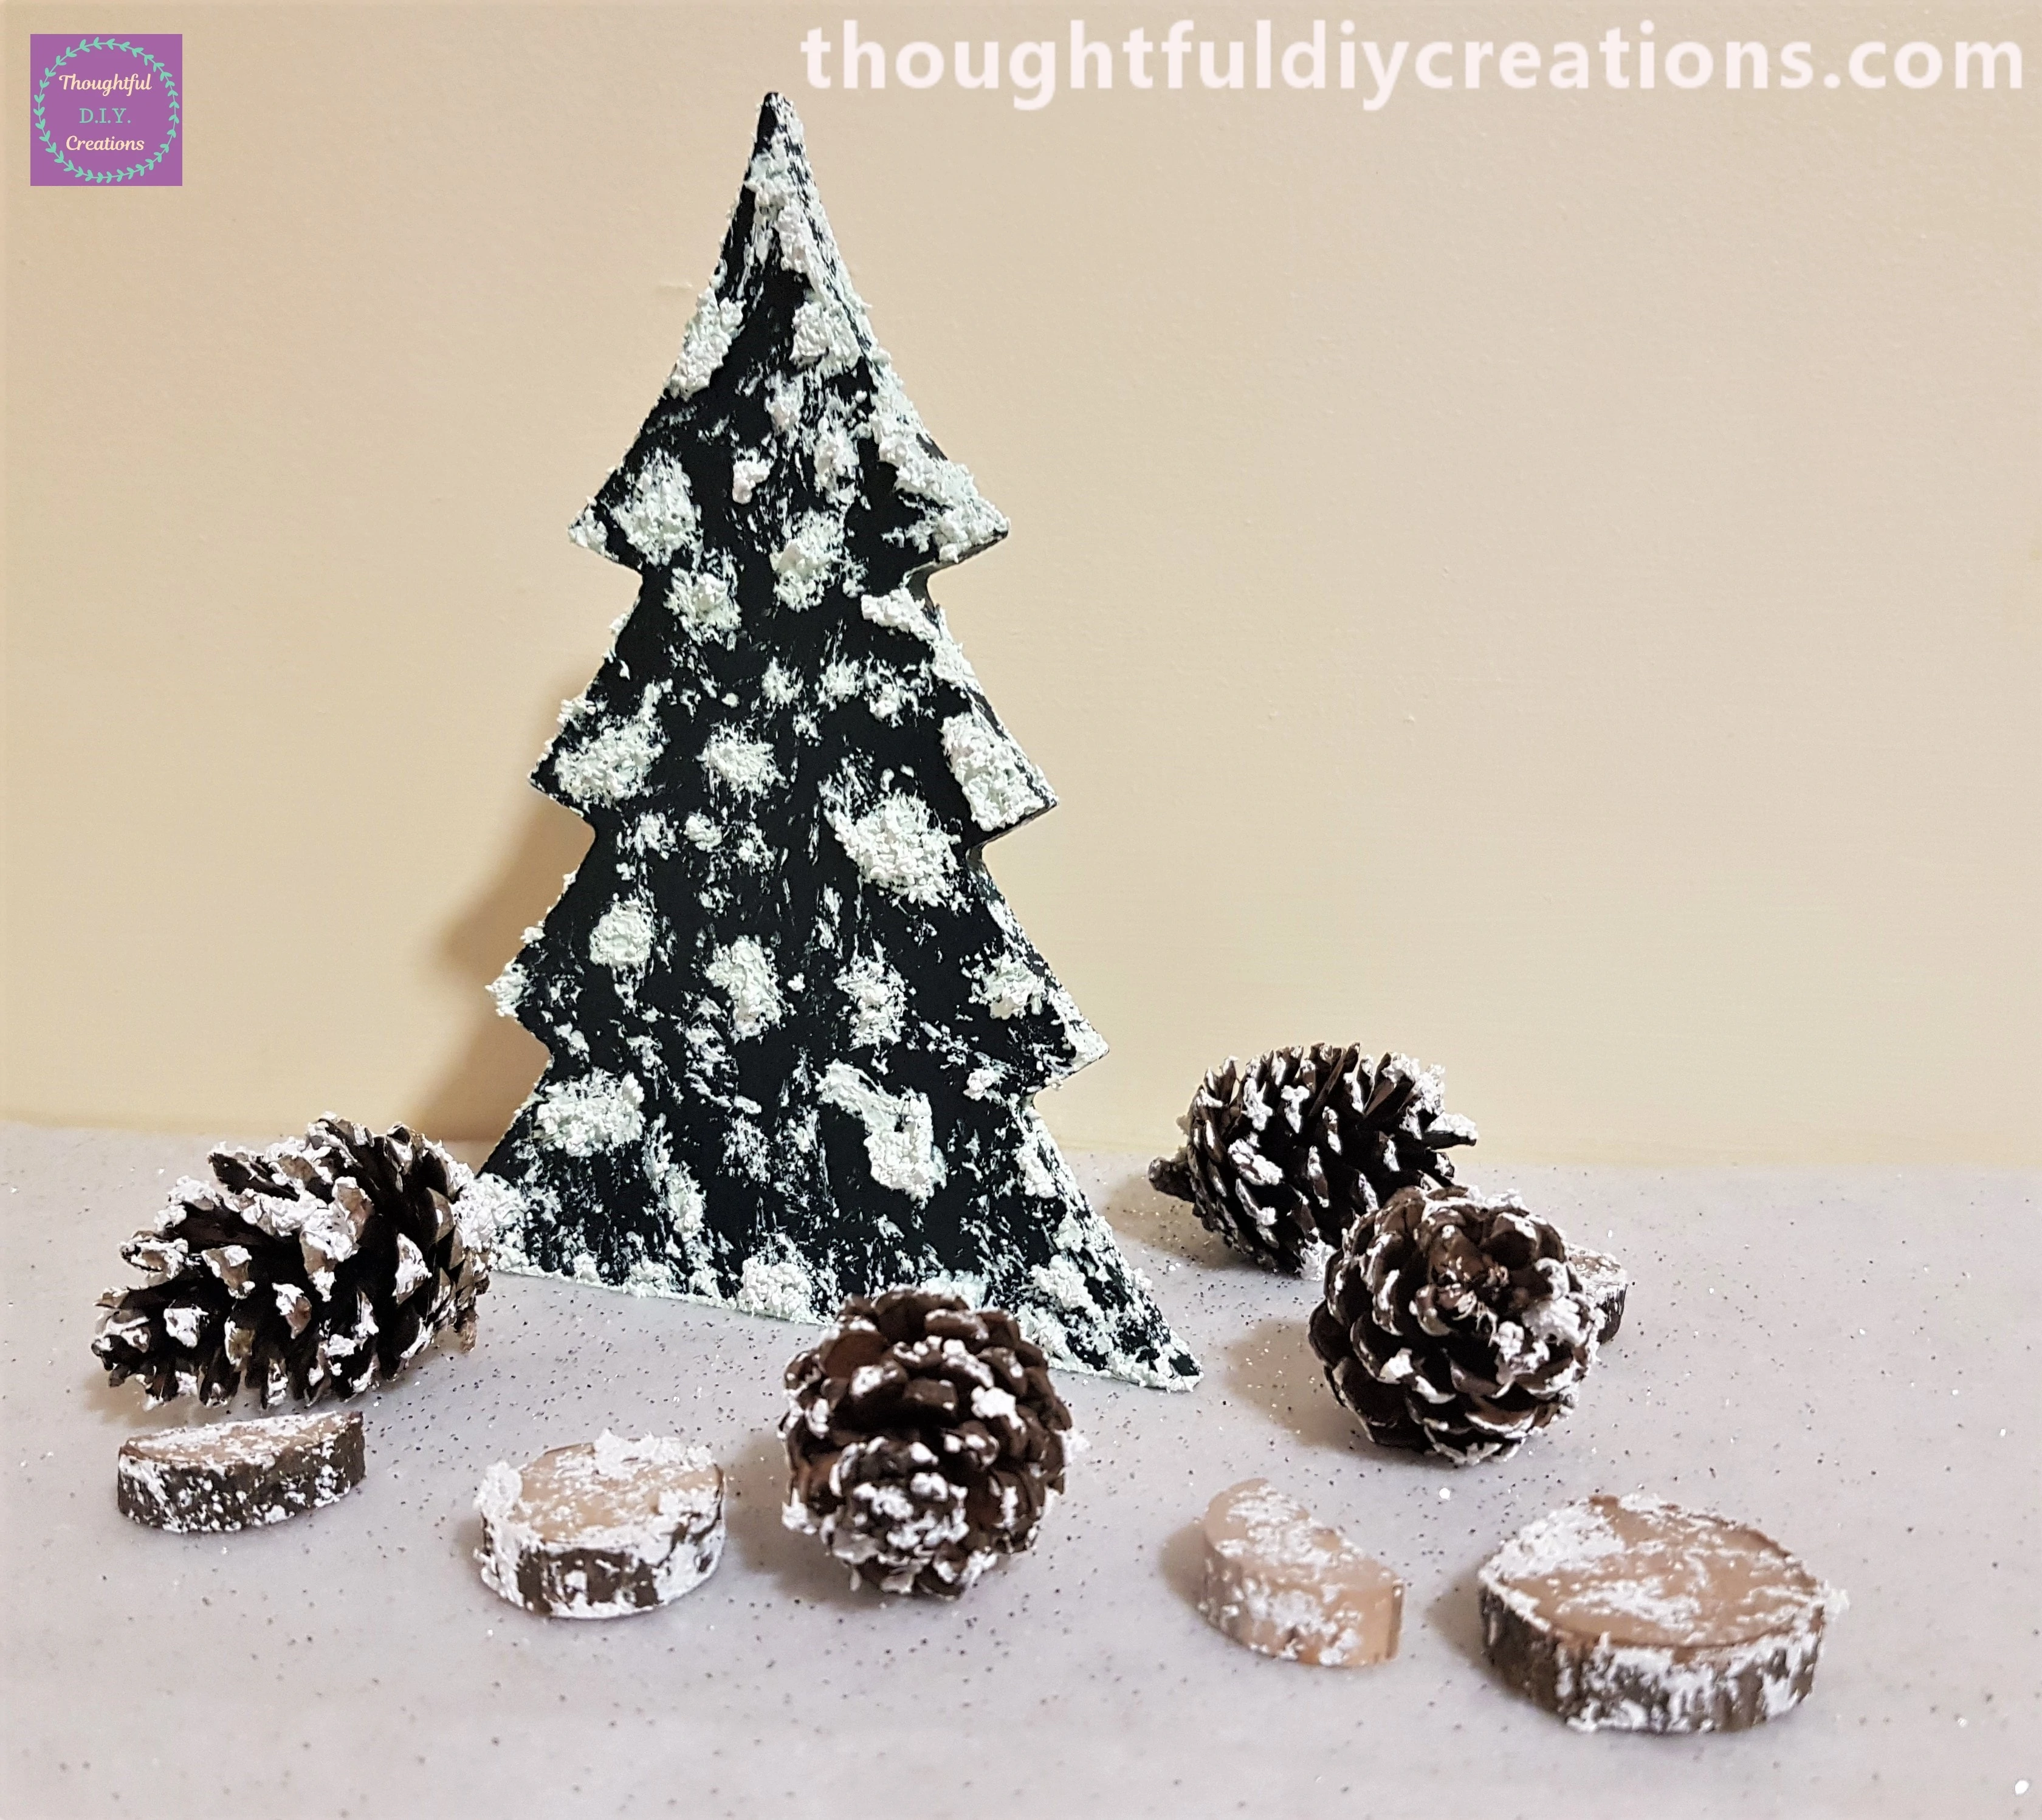
The MDF Tree after being Painted and Decorated.

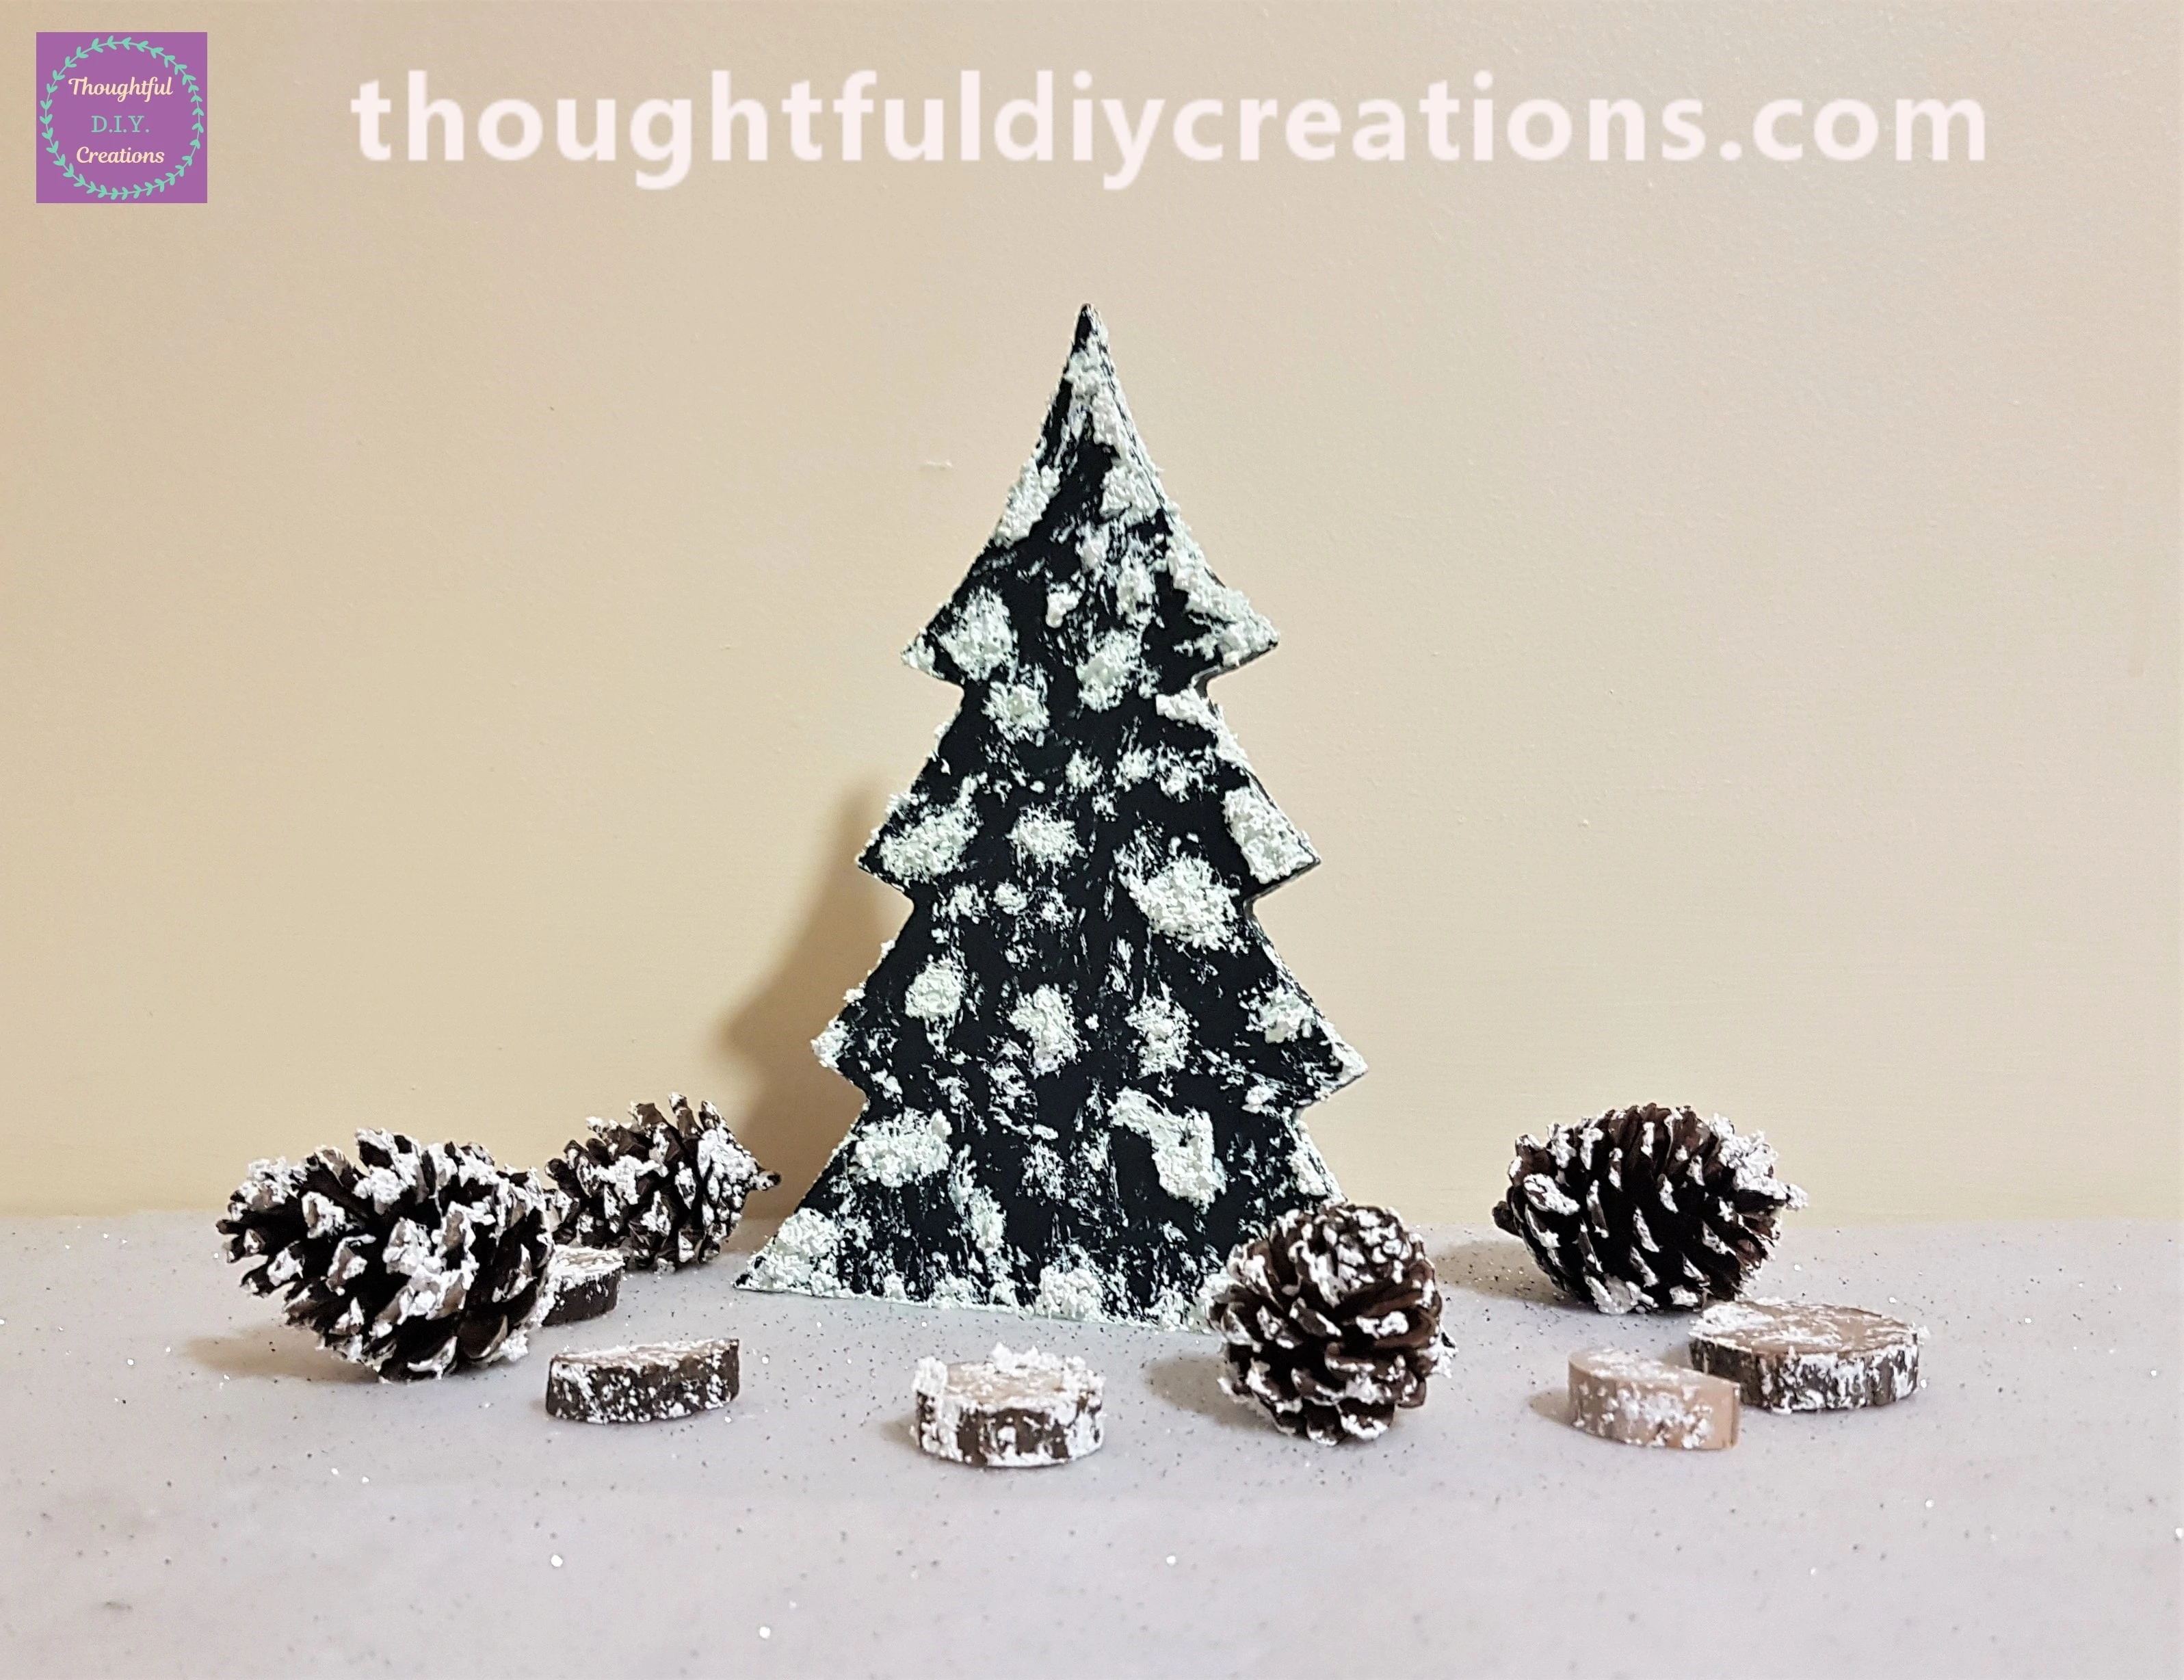
I placed my Tree, Pine Cones and Wood Slices on a Glitter Snow Blanket as part of my Christmas Decorations this year.


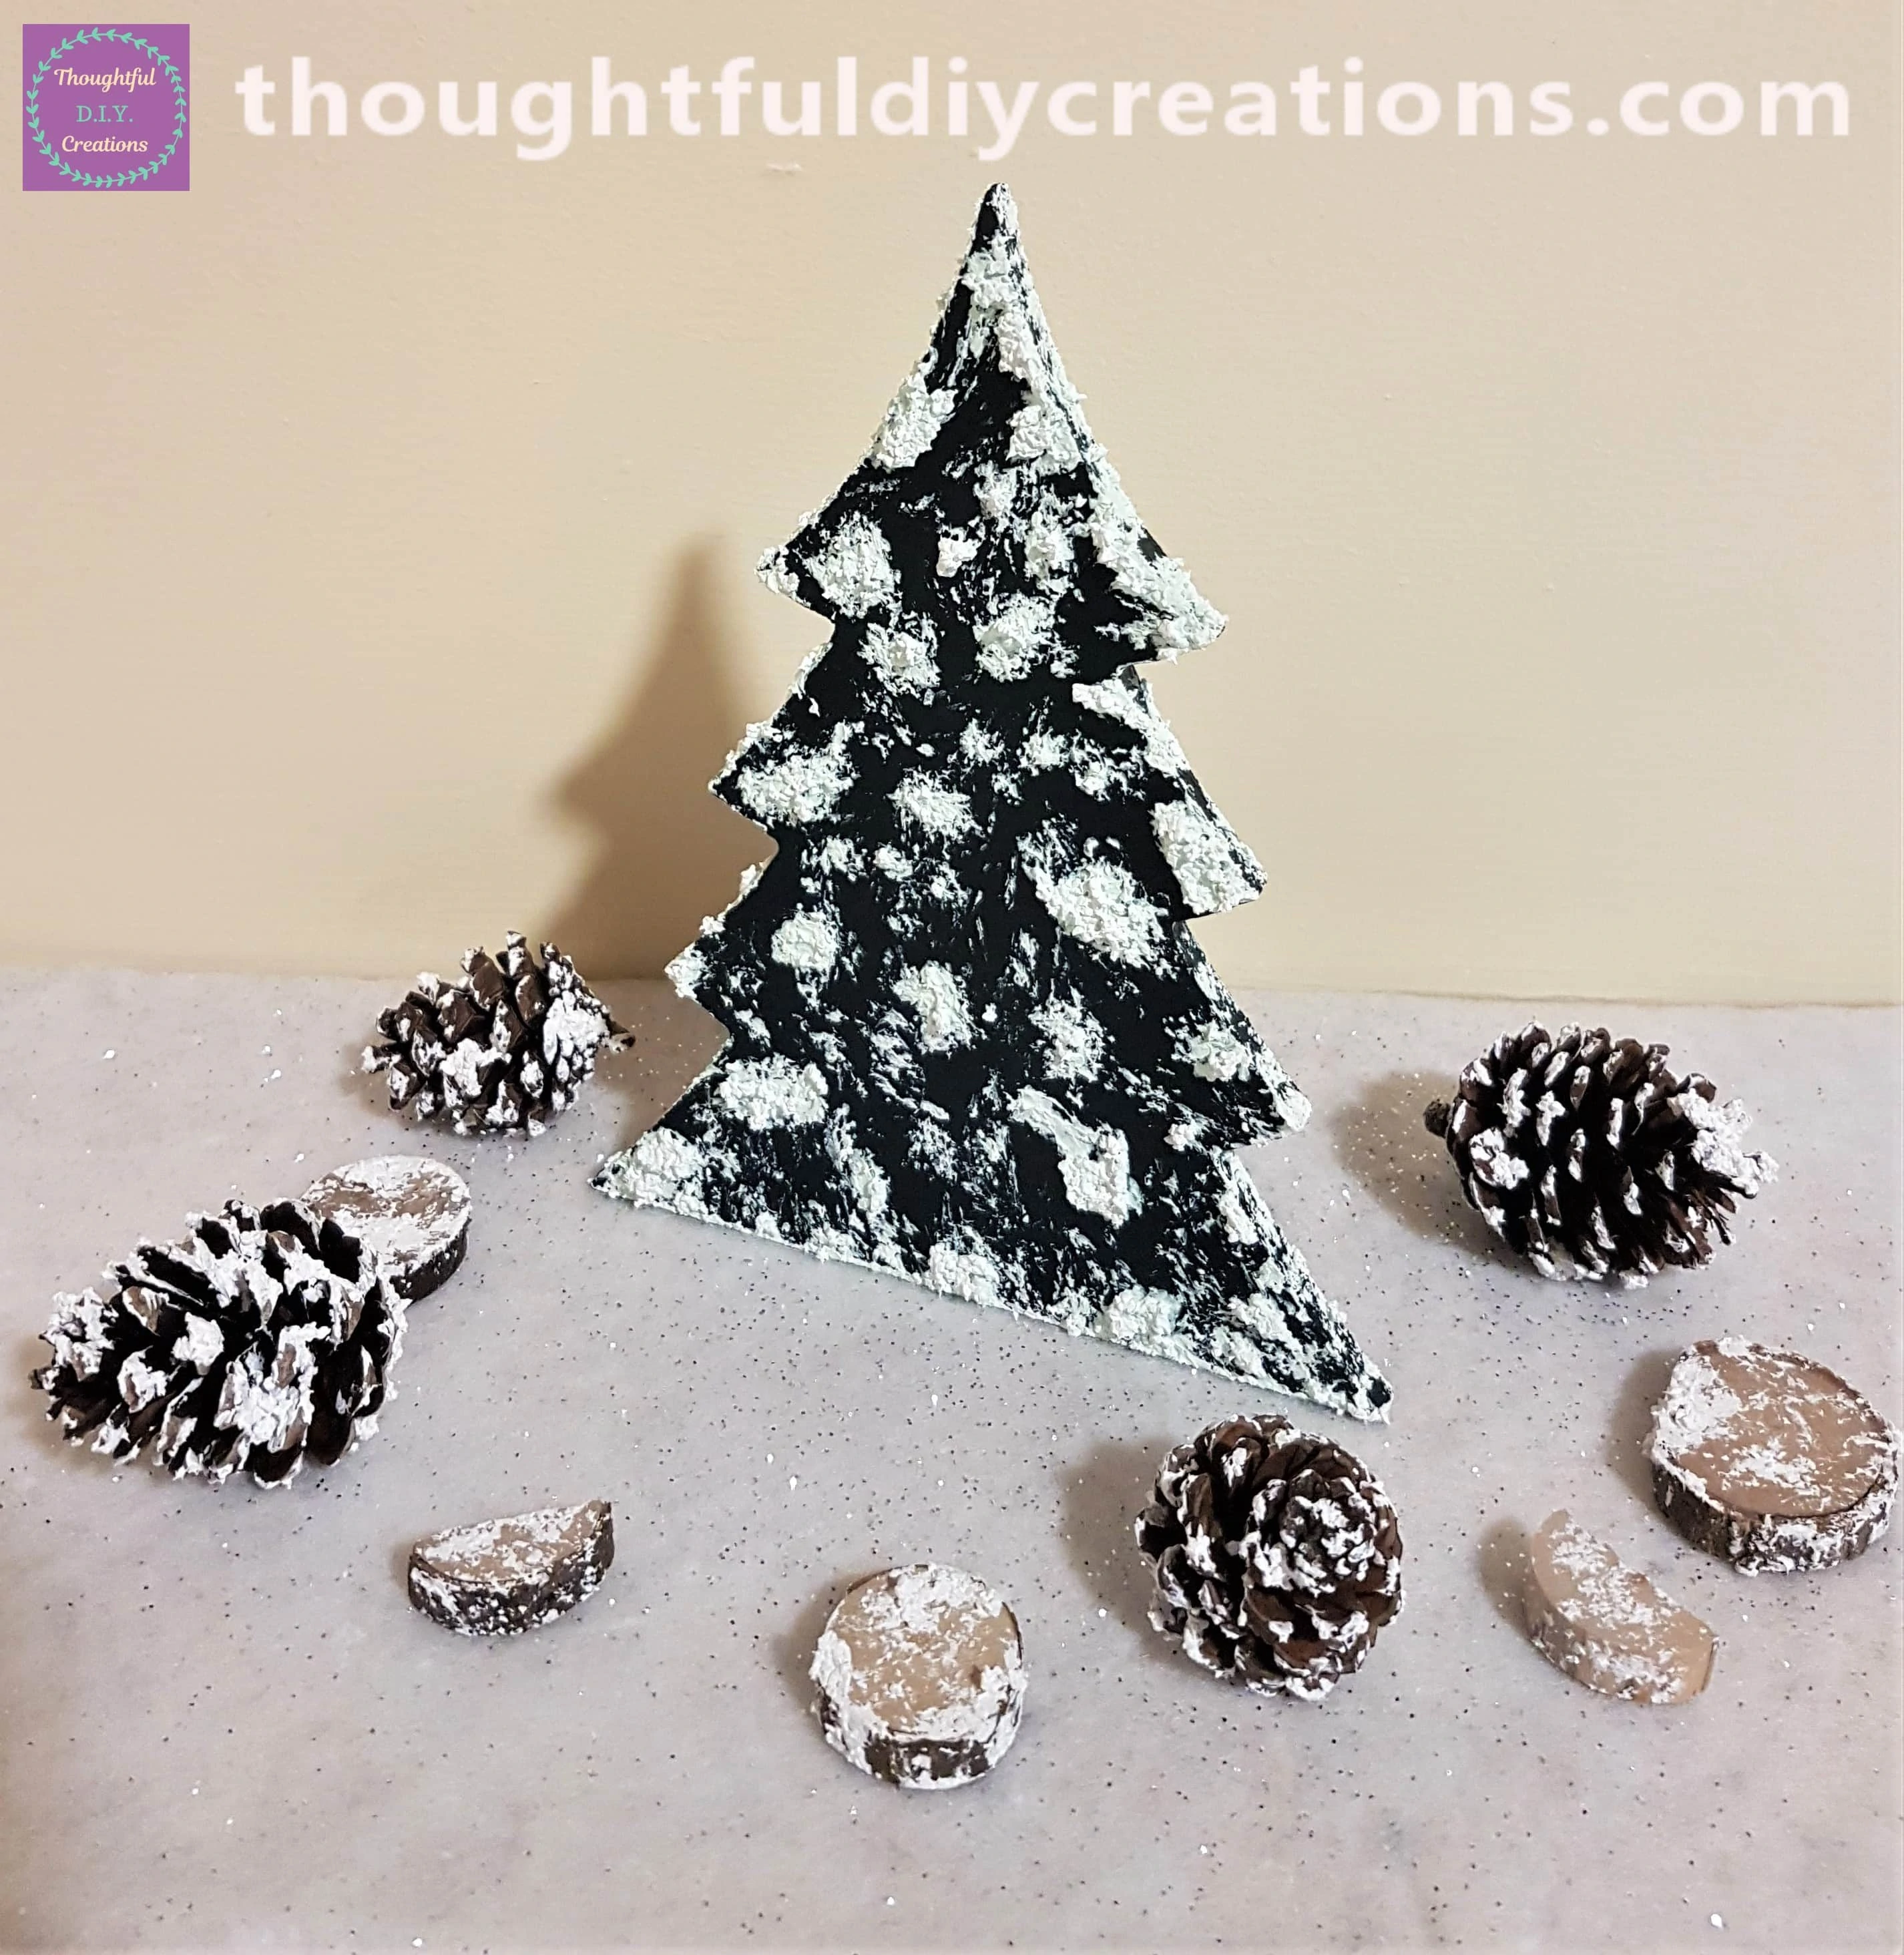
A side angle of the Tree.
This shows my finished Craft with the Frosted Bottle I made last Week and the Christmas Crafts I created last year. Christmas Scene Jar Tutorial.
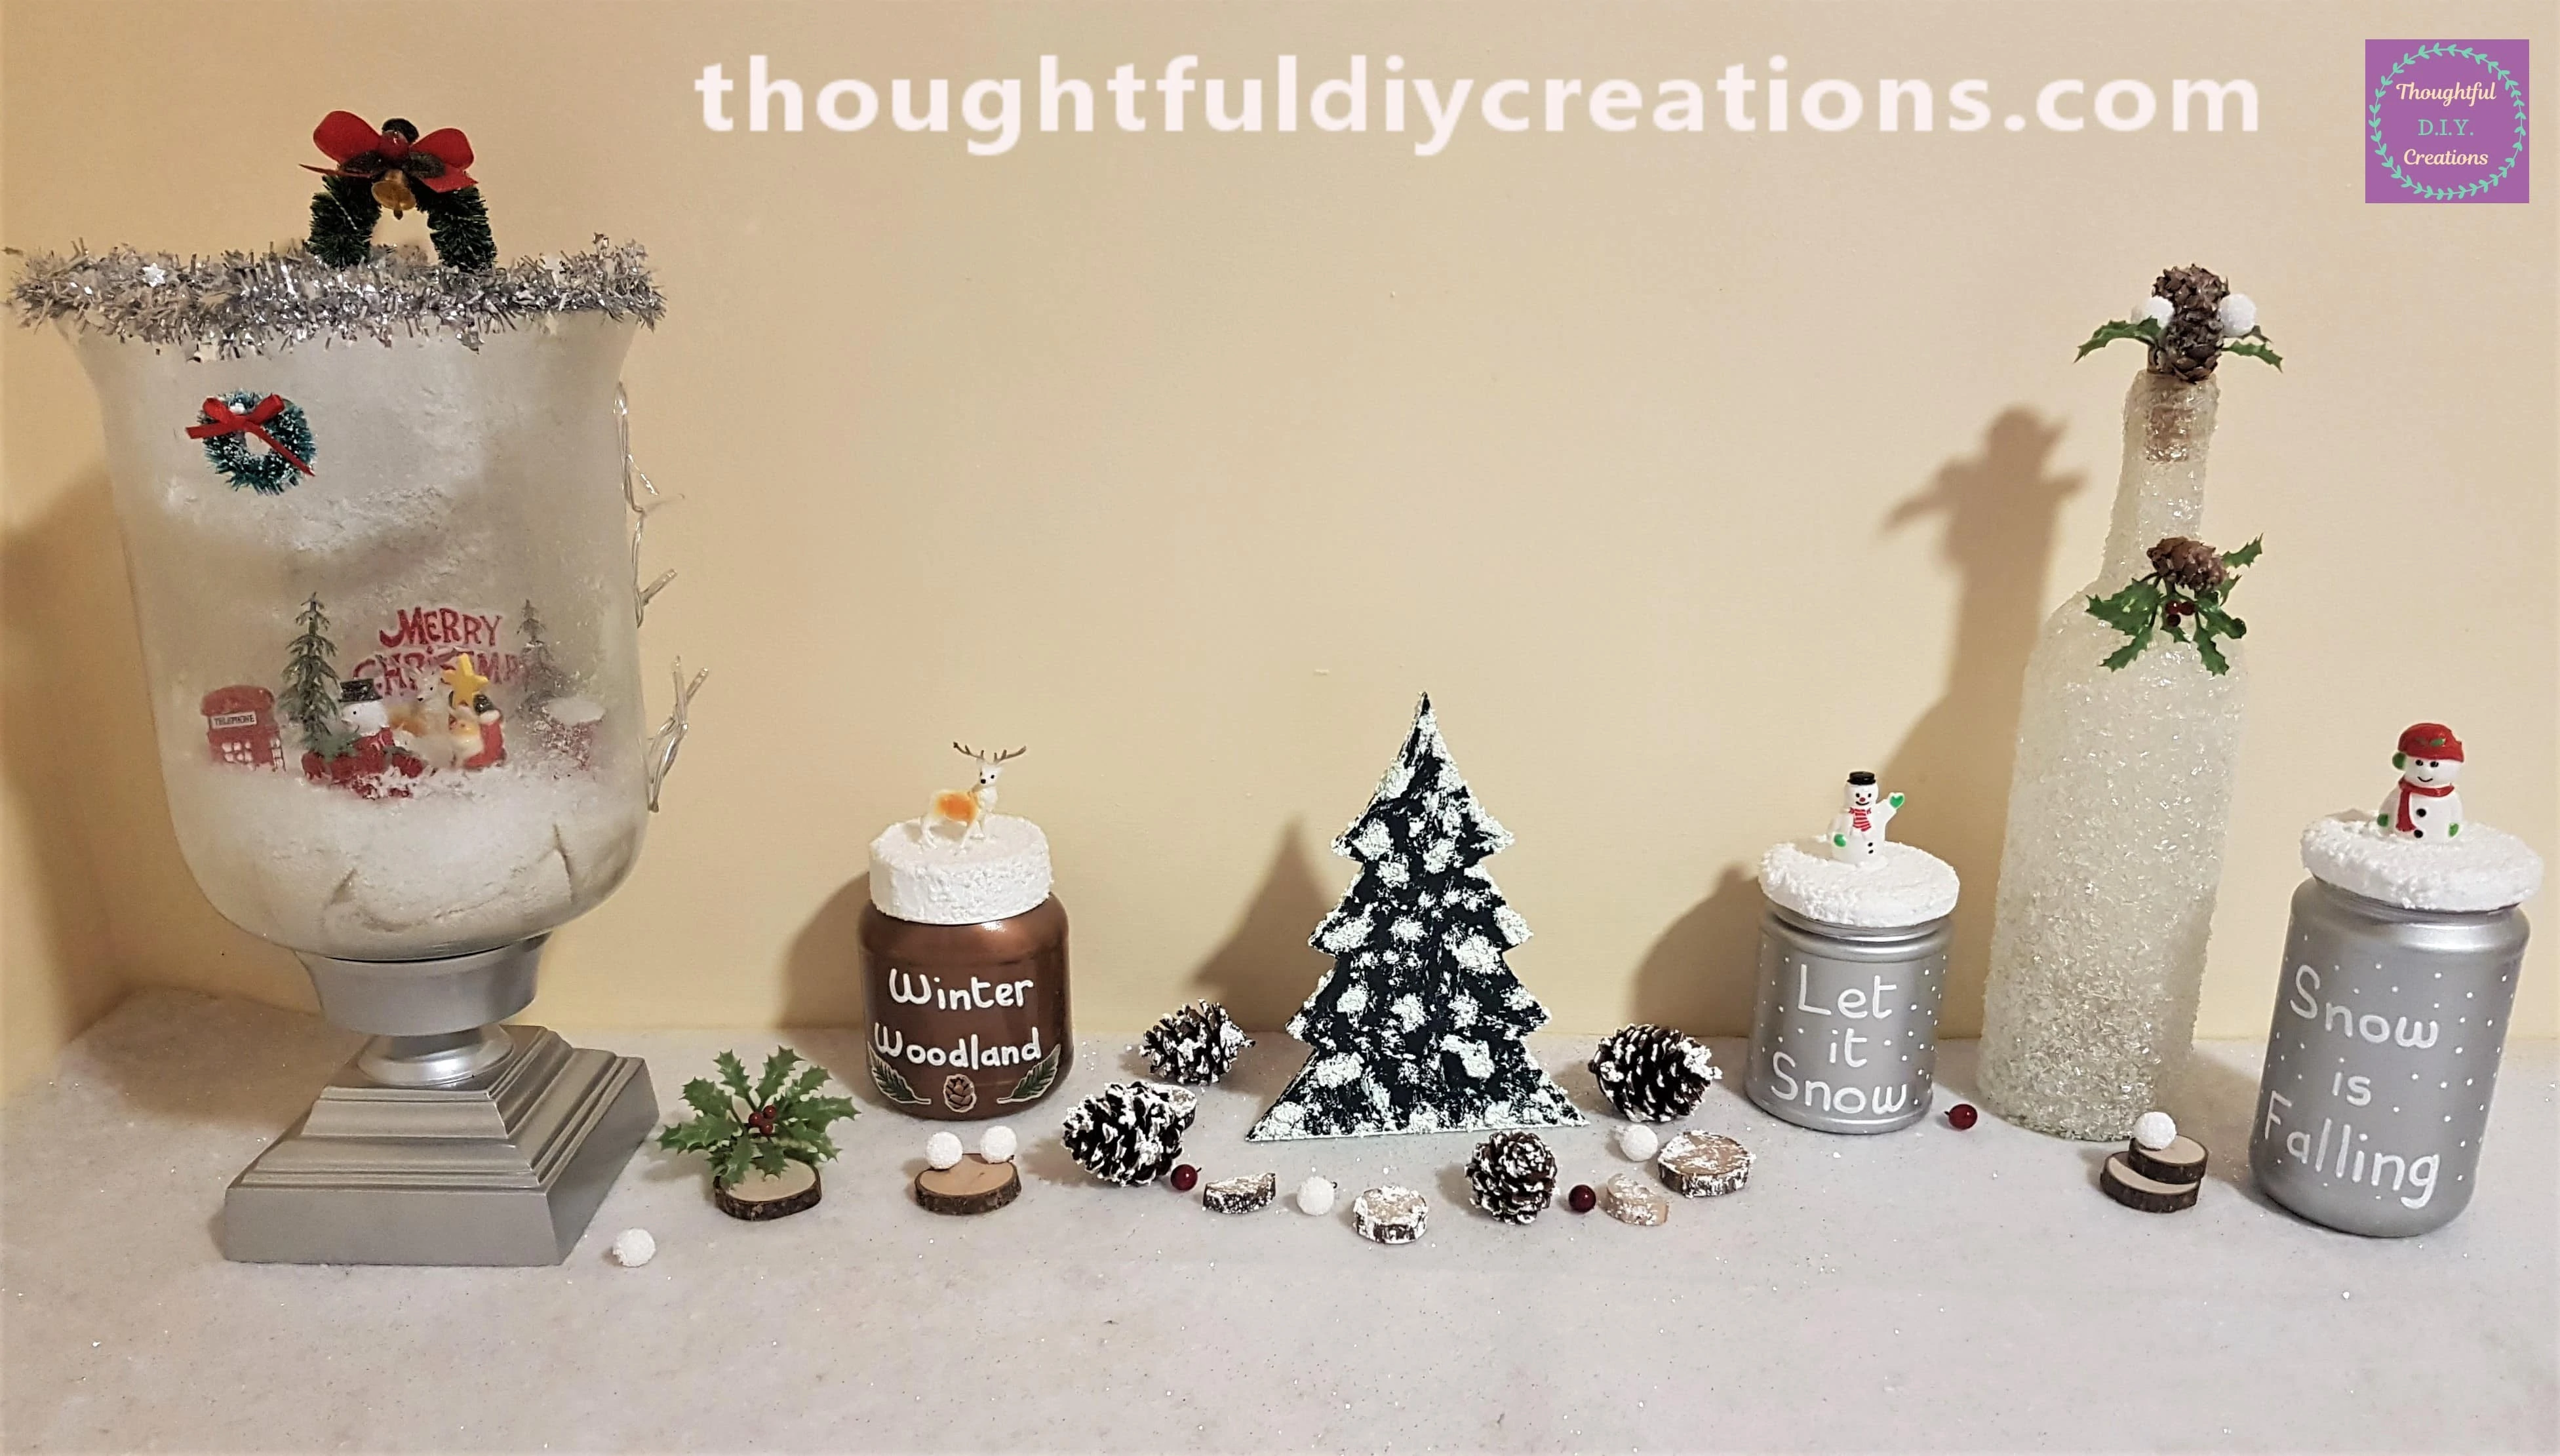
The Christmas Tree and accessories beside the D.I.Y. Christmas Jars.

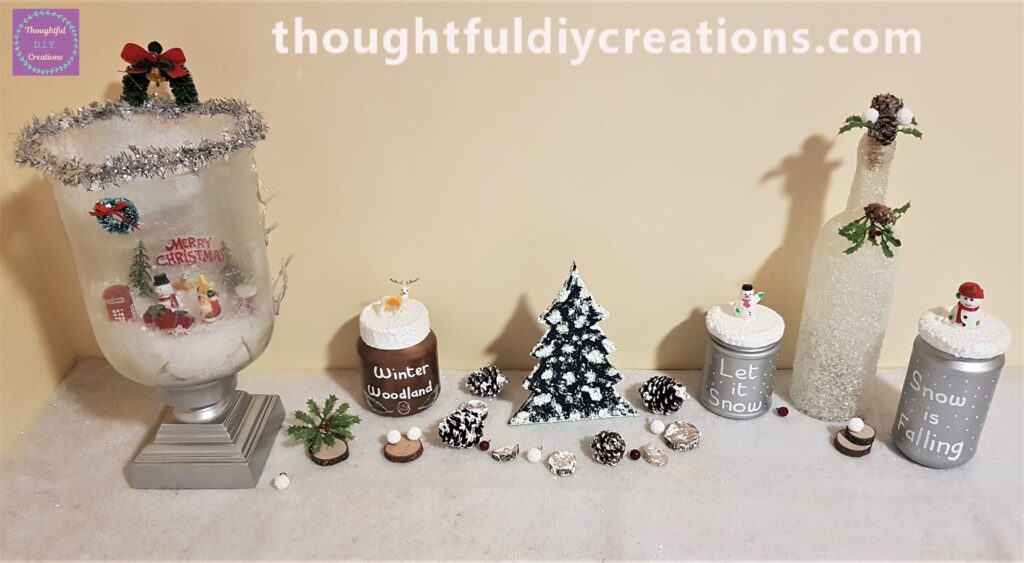
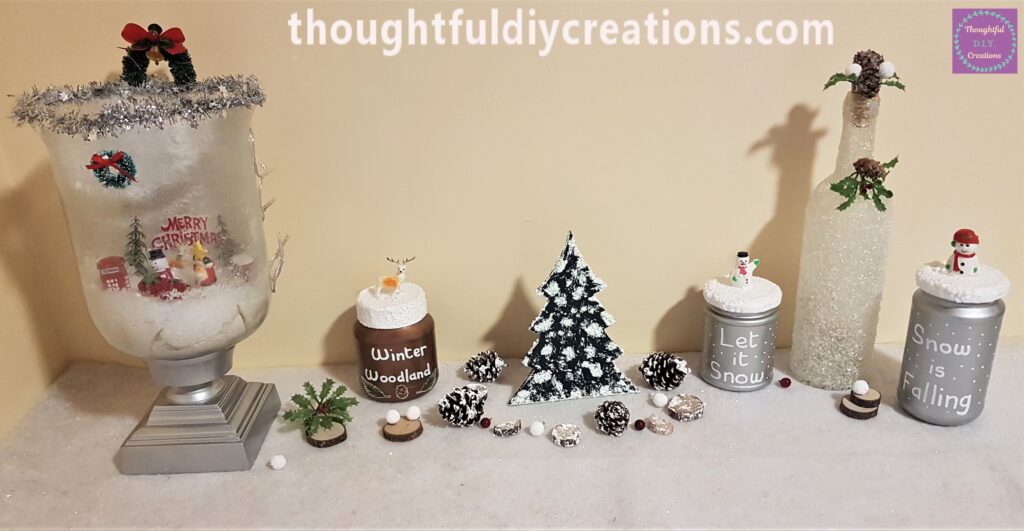
Below is the Final Image of my Christmas Display.
Conclusion
I love the addition of the Christmas Tree as part of my Seasonal Decor. It was a fun Craft to make. I was really impressed with the MDF Shape Tree; it was smooth with no sharp edges and very well made. I much prefer the darker shade of Green Paint I went with in the end; I think it has a more realistic, forest look to it now. The Snow Paste was easy to use and provides a textured, fluffy effect.
I think the Pine Cones and Wood Slices complemented the Snowy Woodland theme. The Snow Blanket and berries bring everything together.
I hope you enjoyed this Week’s Tutorial and got some ideas from it for your own Christmas preparations this year.
Happy Crafting Everyone.
Thank You so much for taking the time to Read my Blog.
Always Grateful,
T.D.C.
xoxox