Christmas Window Tutorial
Hello my Creative Friends,
I hope you are all Well. In Today’s Tutorial I will show you how I made a Christmas Window out of an old CD Rack. I hope you get some Ideas from it on how you can Re-Purpose and Up-Cycle different items in your Home and give them a new lease of Life.
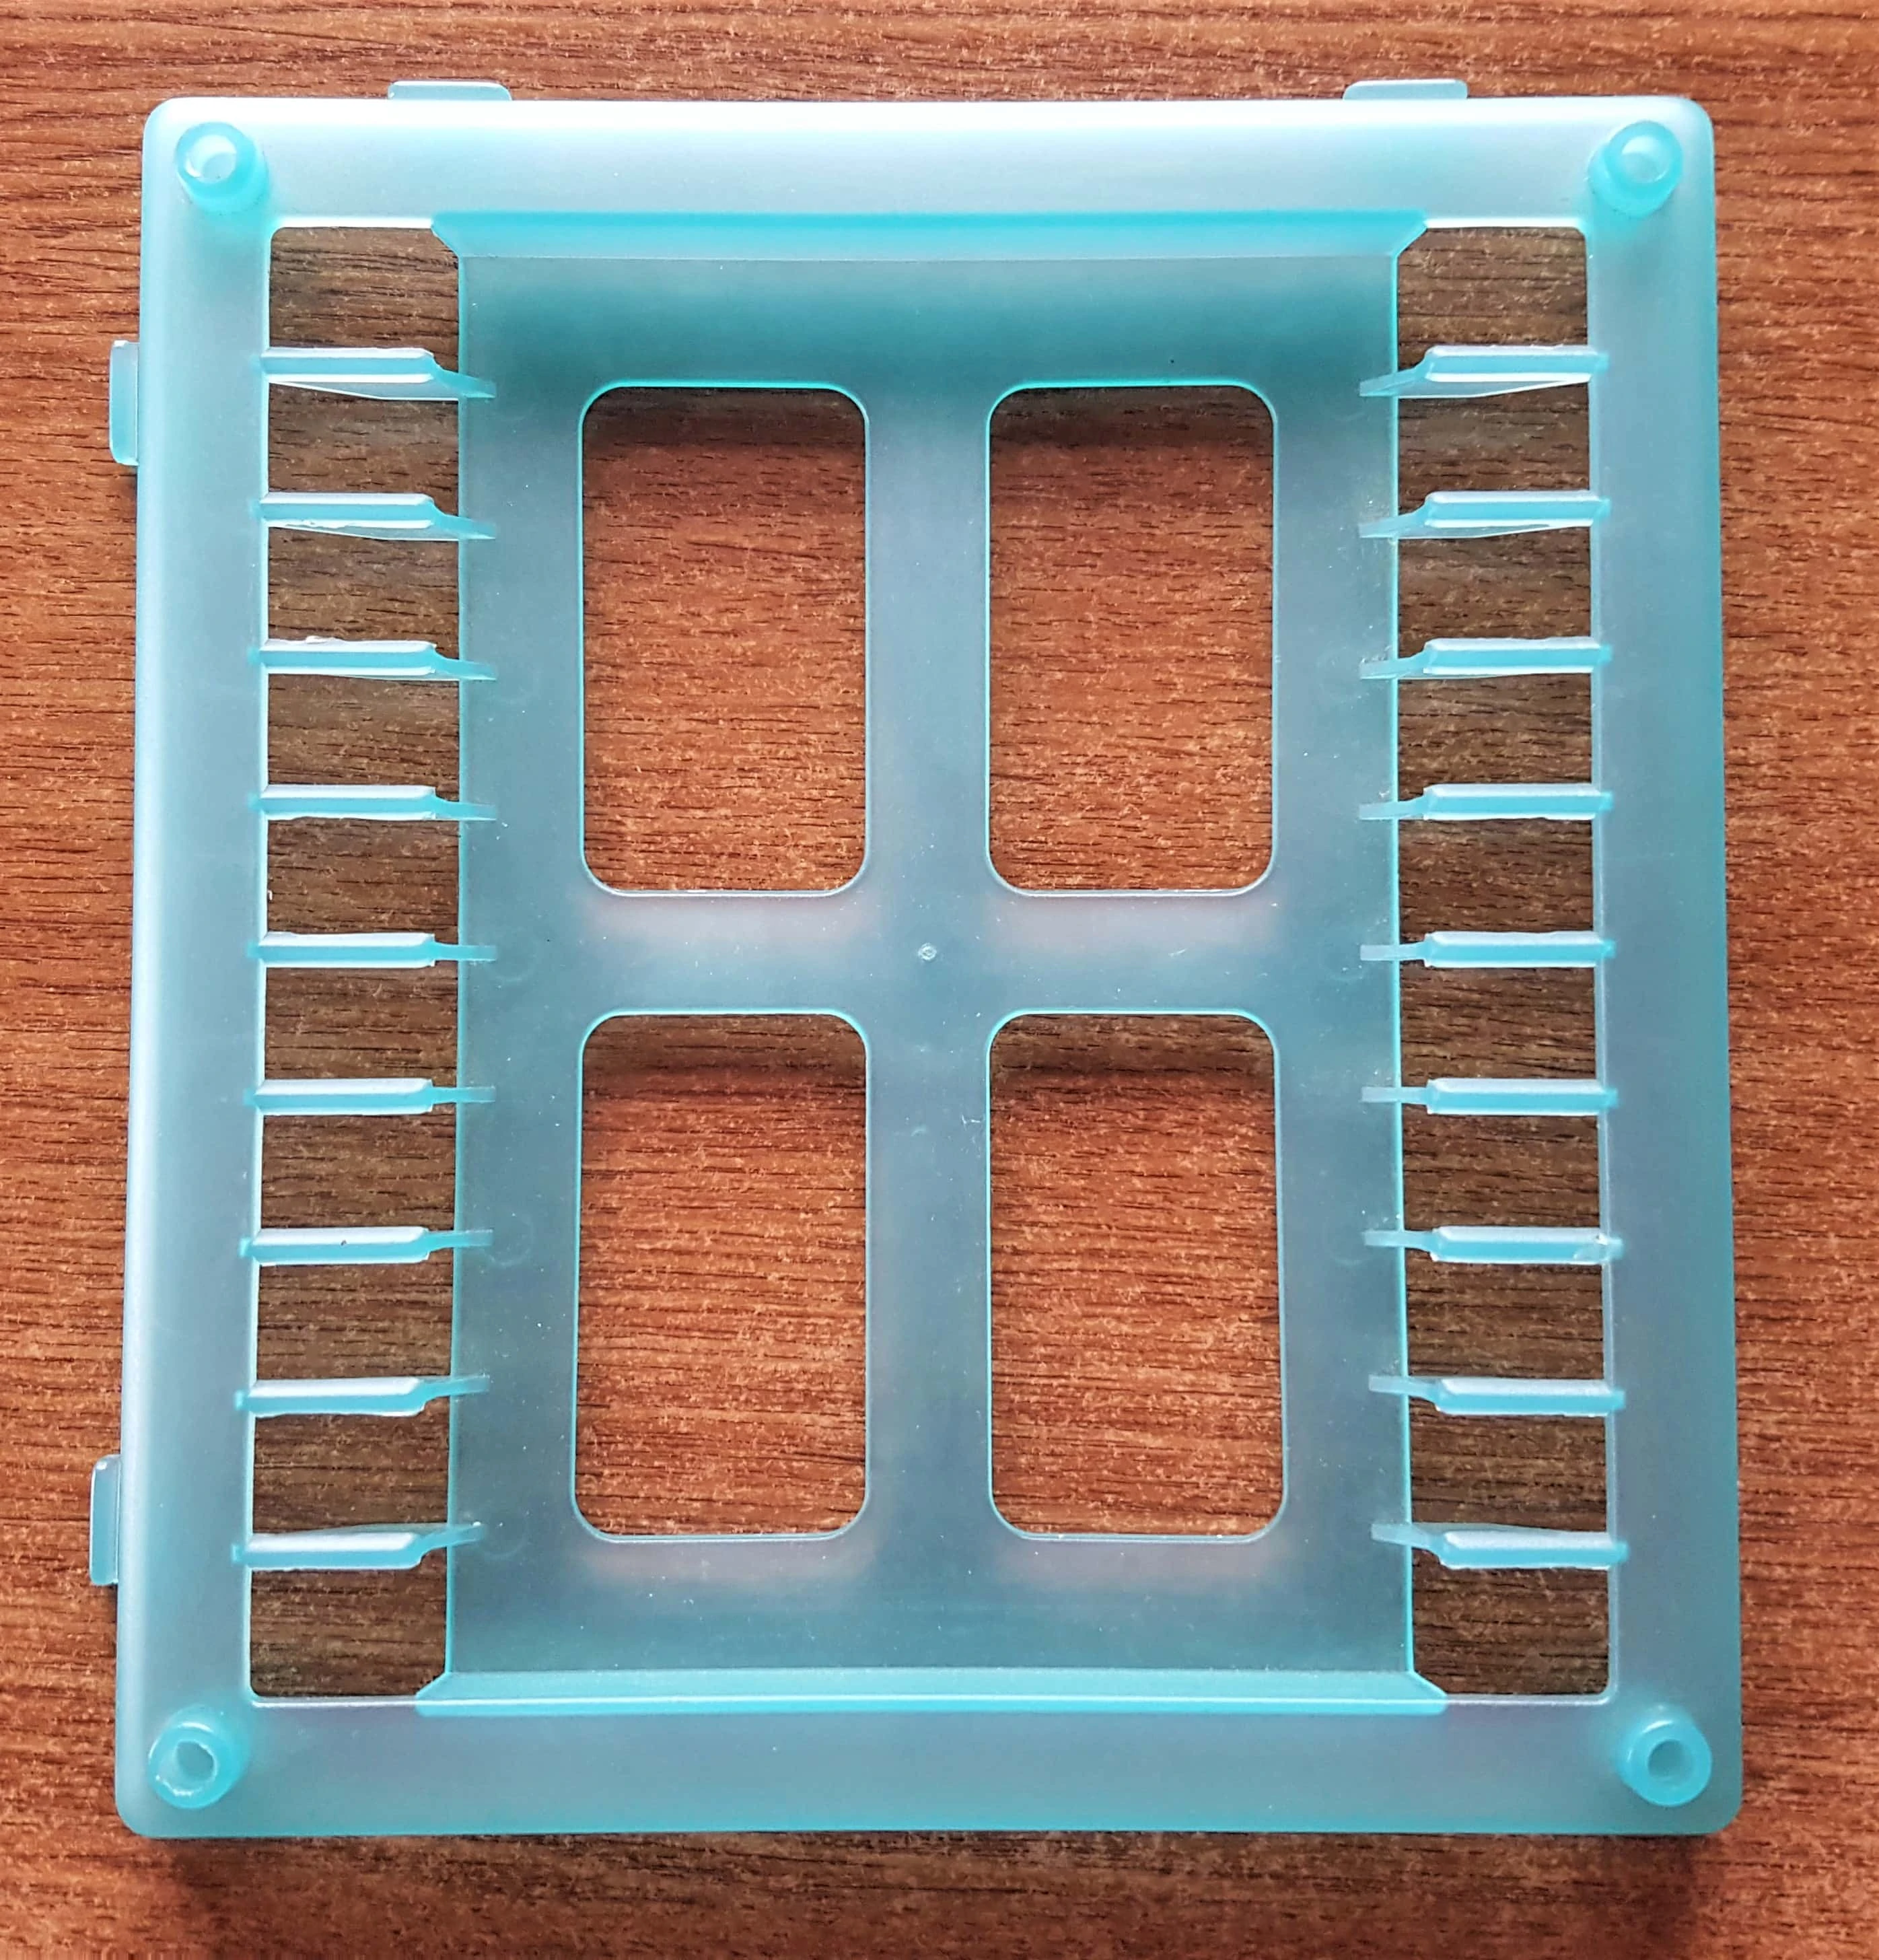
CD Rack for my Window
I had an old CD Rack that I no longer needed. I took it apart and thought the Pieces looked like Windows with Shutters. I put them in my Craft Stash and knew they would be Re-Used one day. Here is my Halloween Version if you want to check it out; Halloween Window.
I will be using this CD Rack to make my Christmas Window.
Priming the CD Holder
I got my ‘White Acrylic Gesso’ and a small Flat Paintbrush ready to Prime the CD holder.
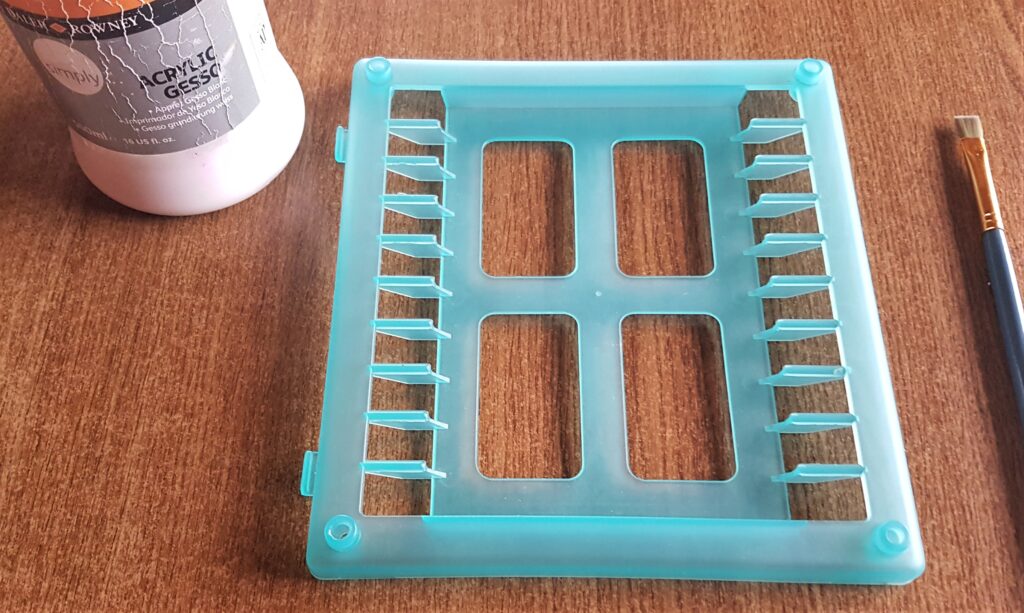
I applied 2 Layers of Gesso to the Window leaving an hour between each layer.
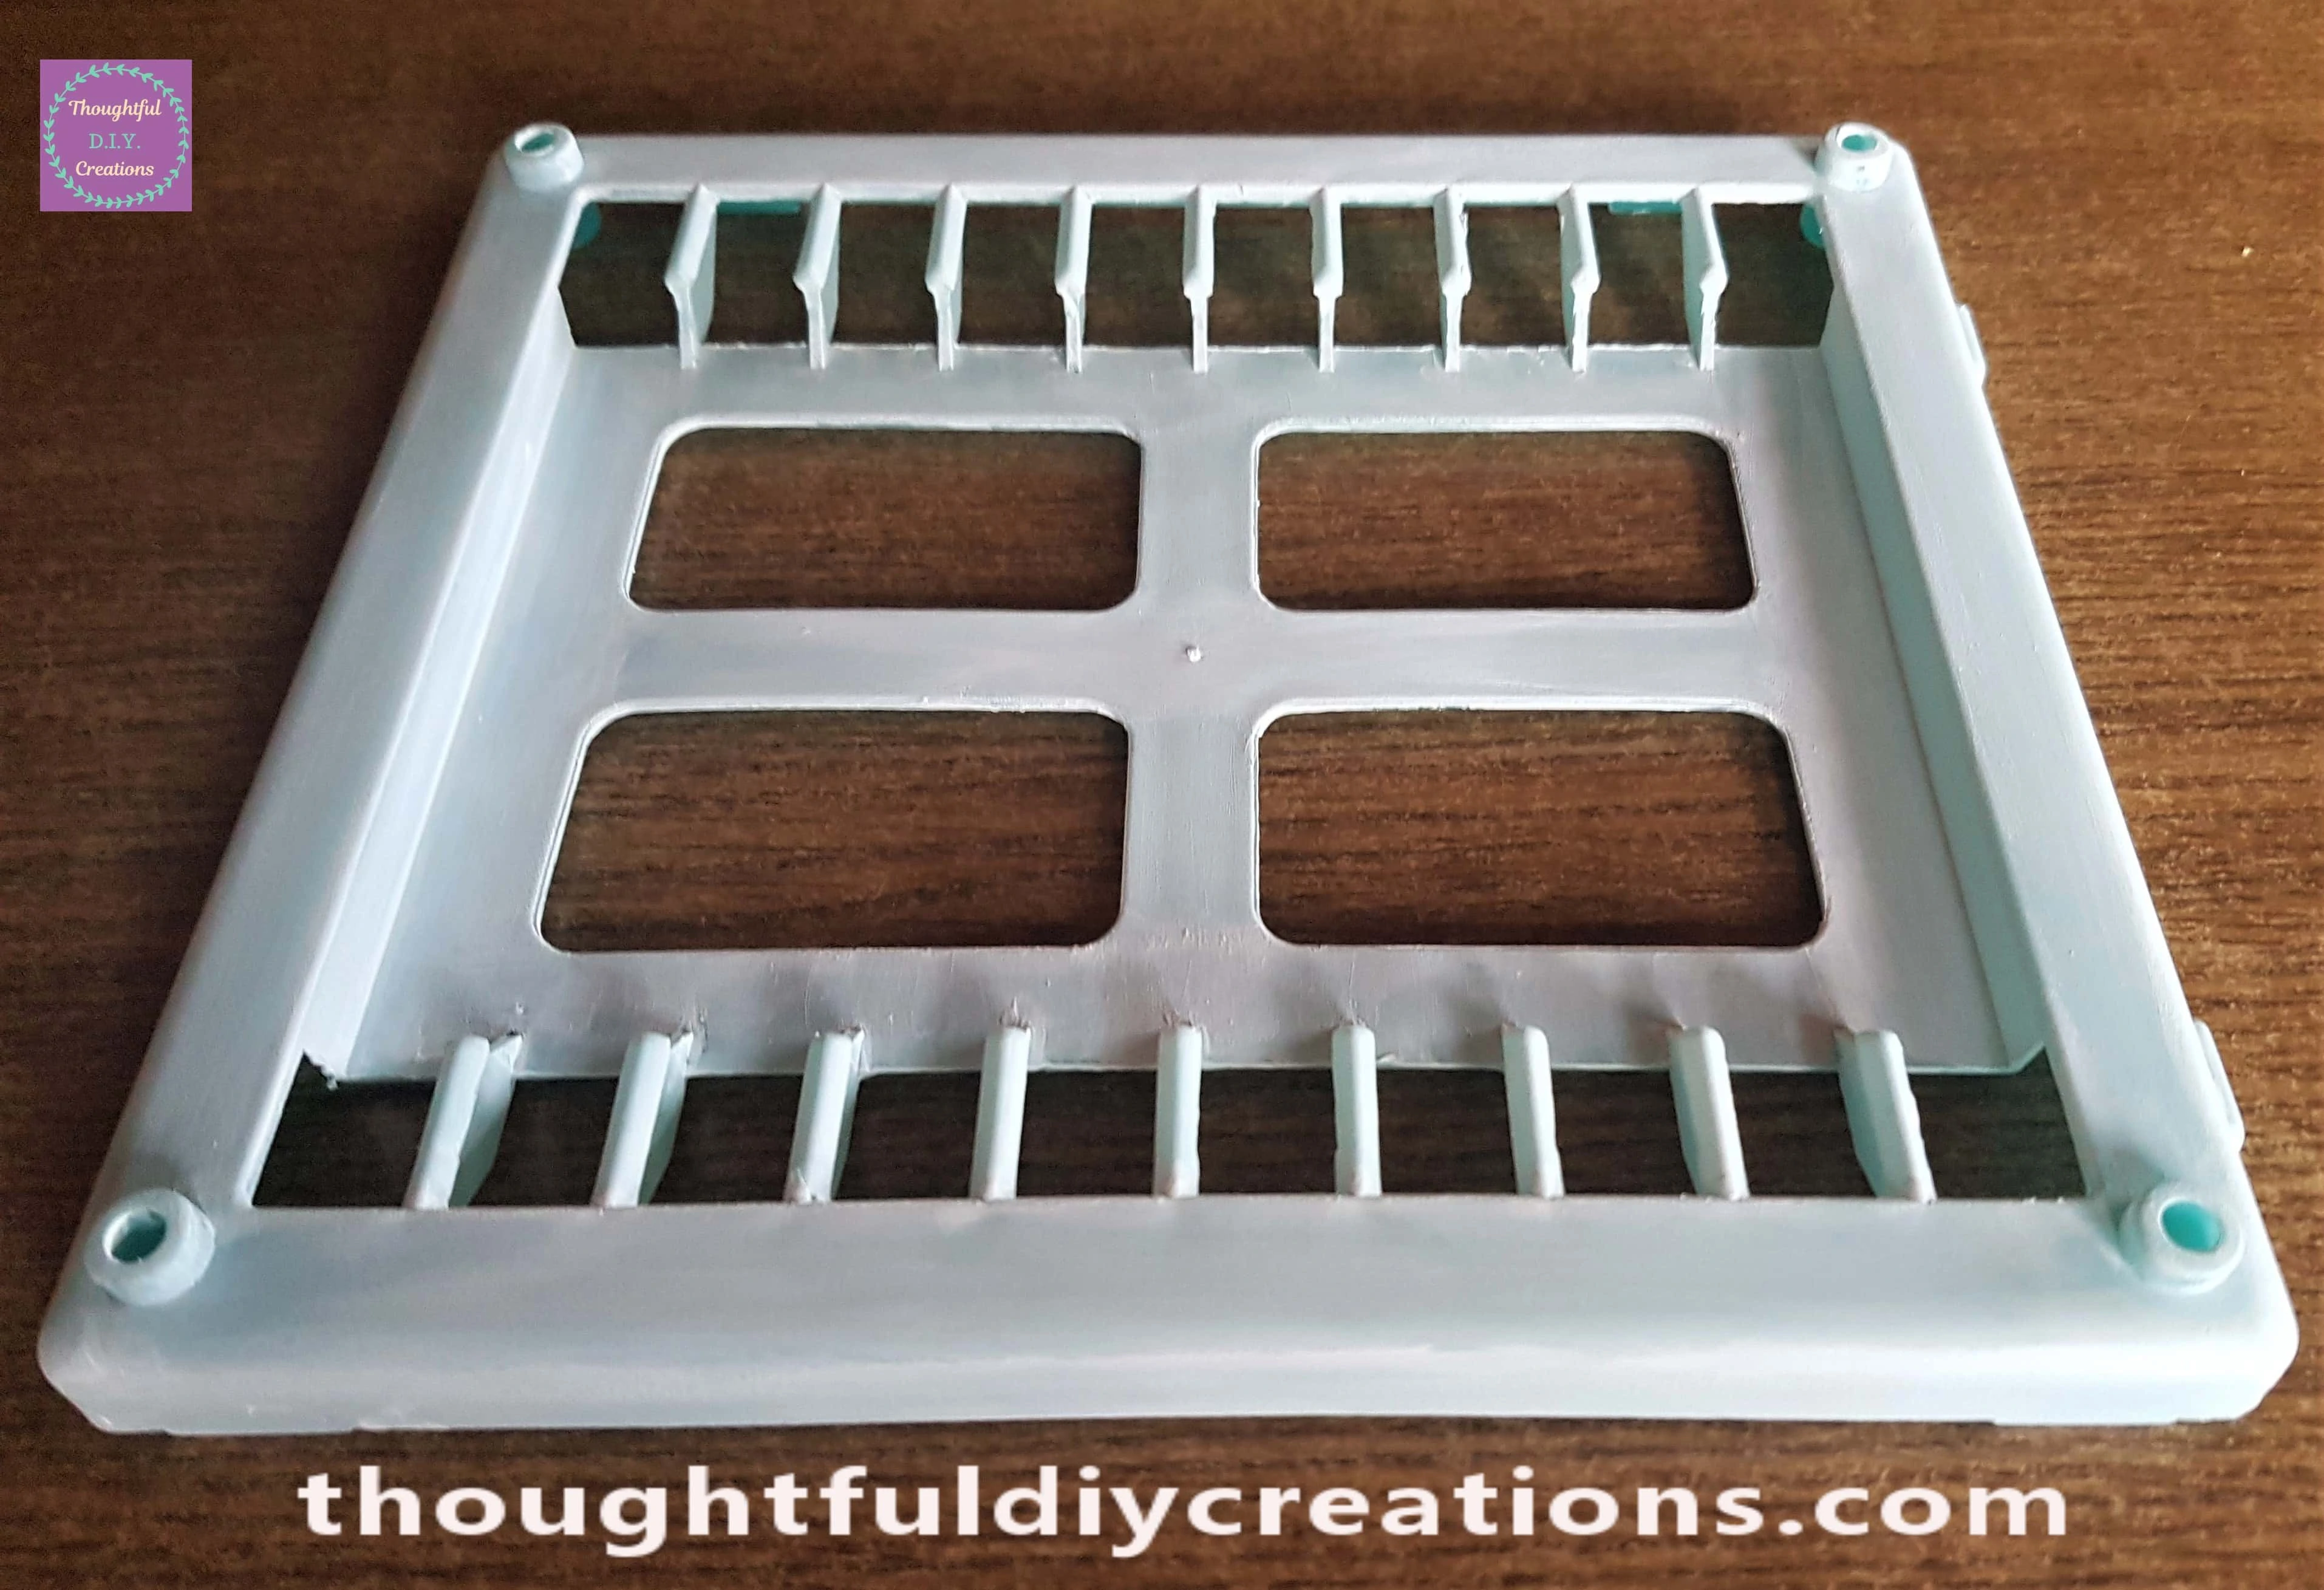
Painting the Christmas Window
I got my ‘White Acrylic Paint’ and a small Flat Sponge with handle.
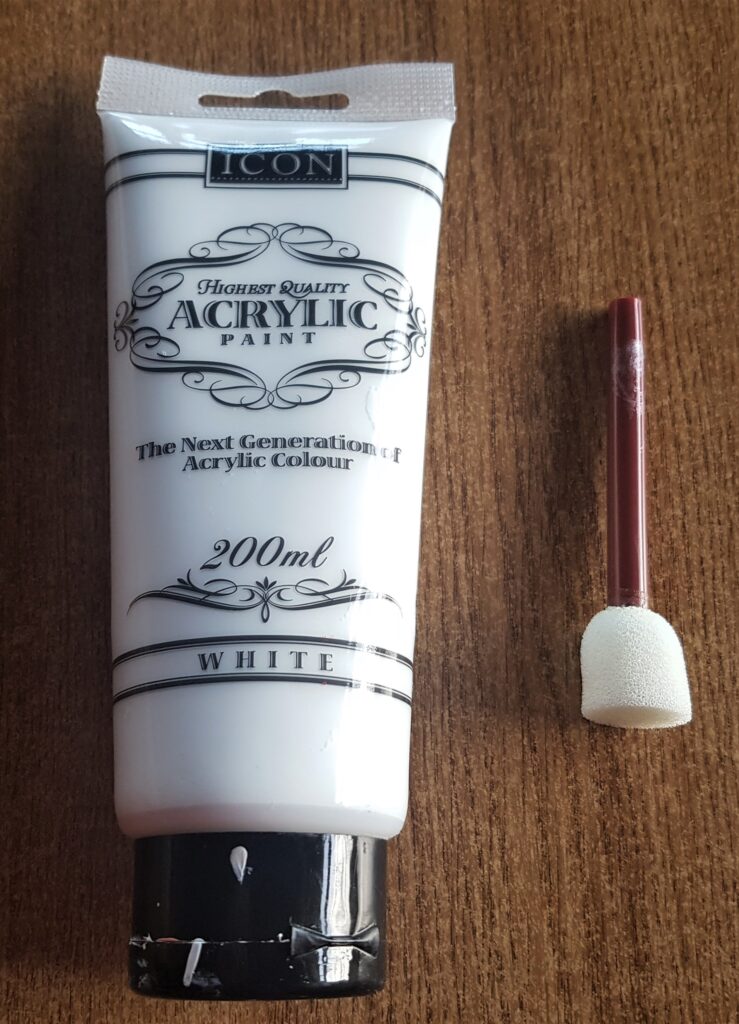
I applied 3 Layers of the White Paint to the Christmas Window again leaving an hour between each layer.
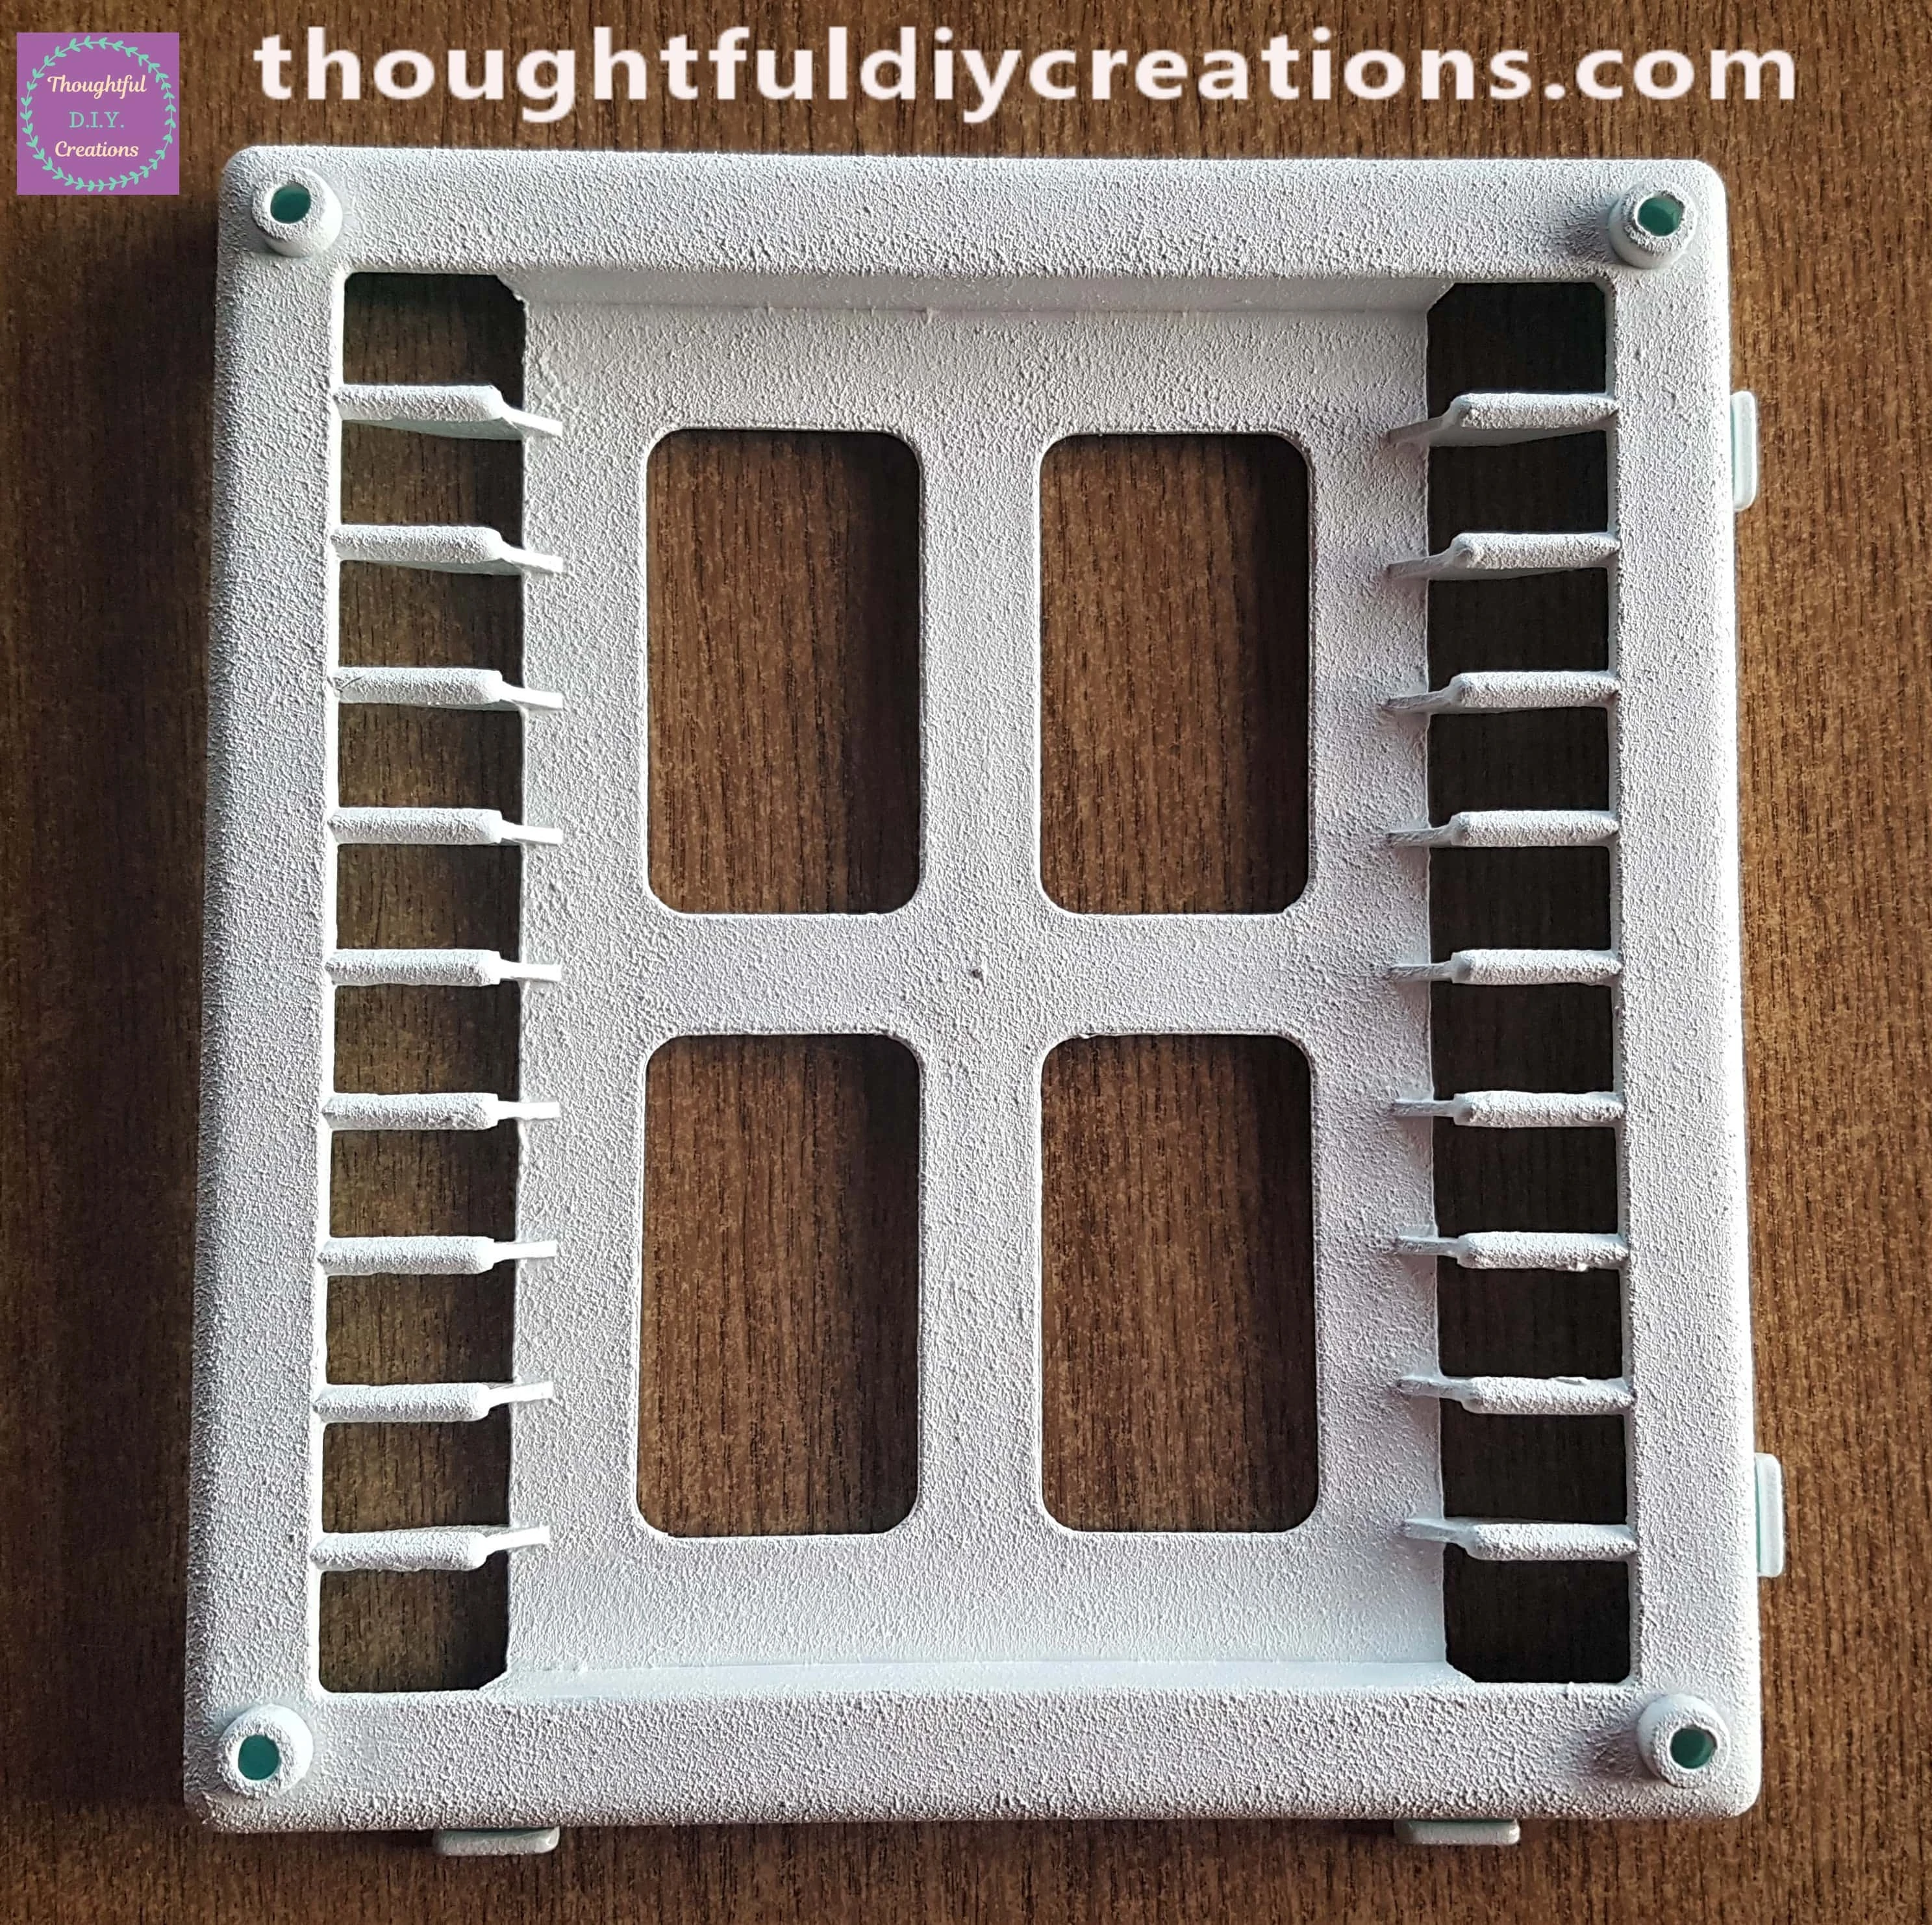
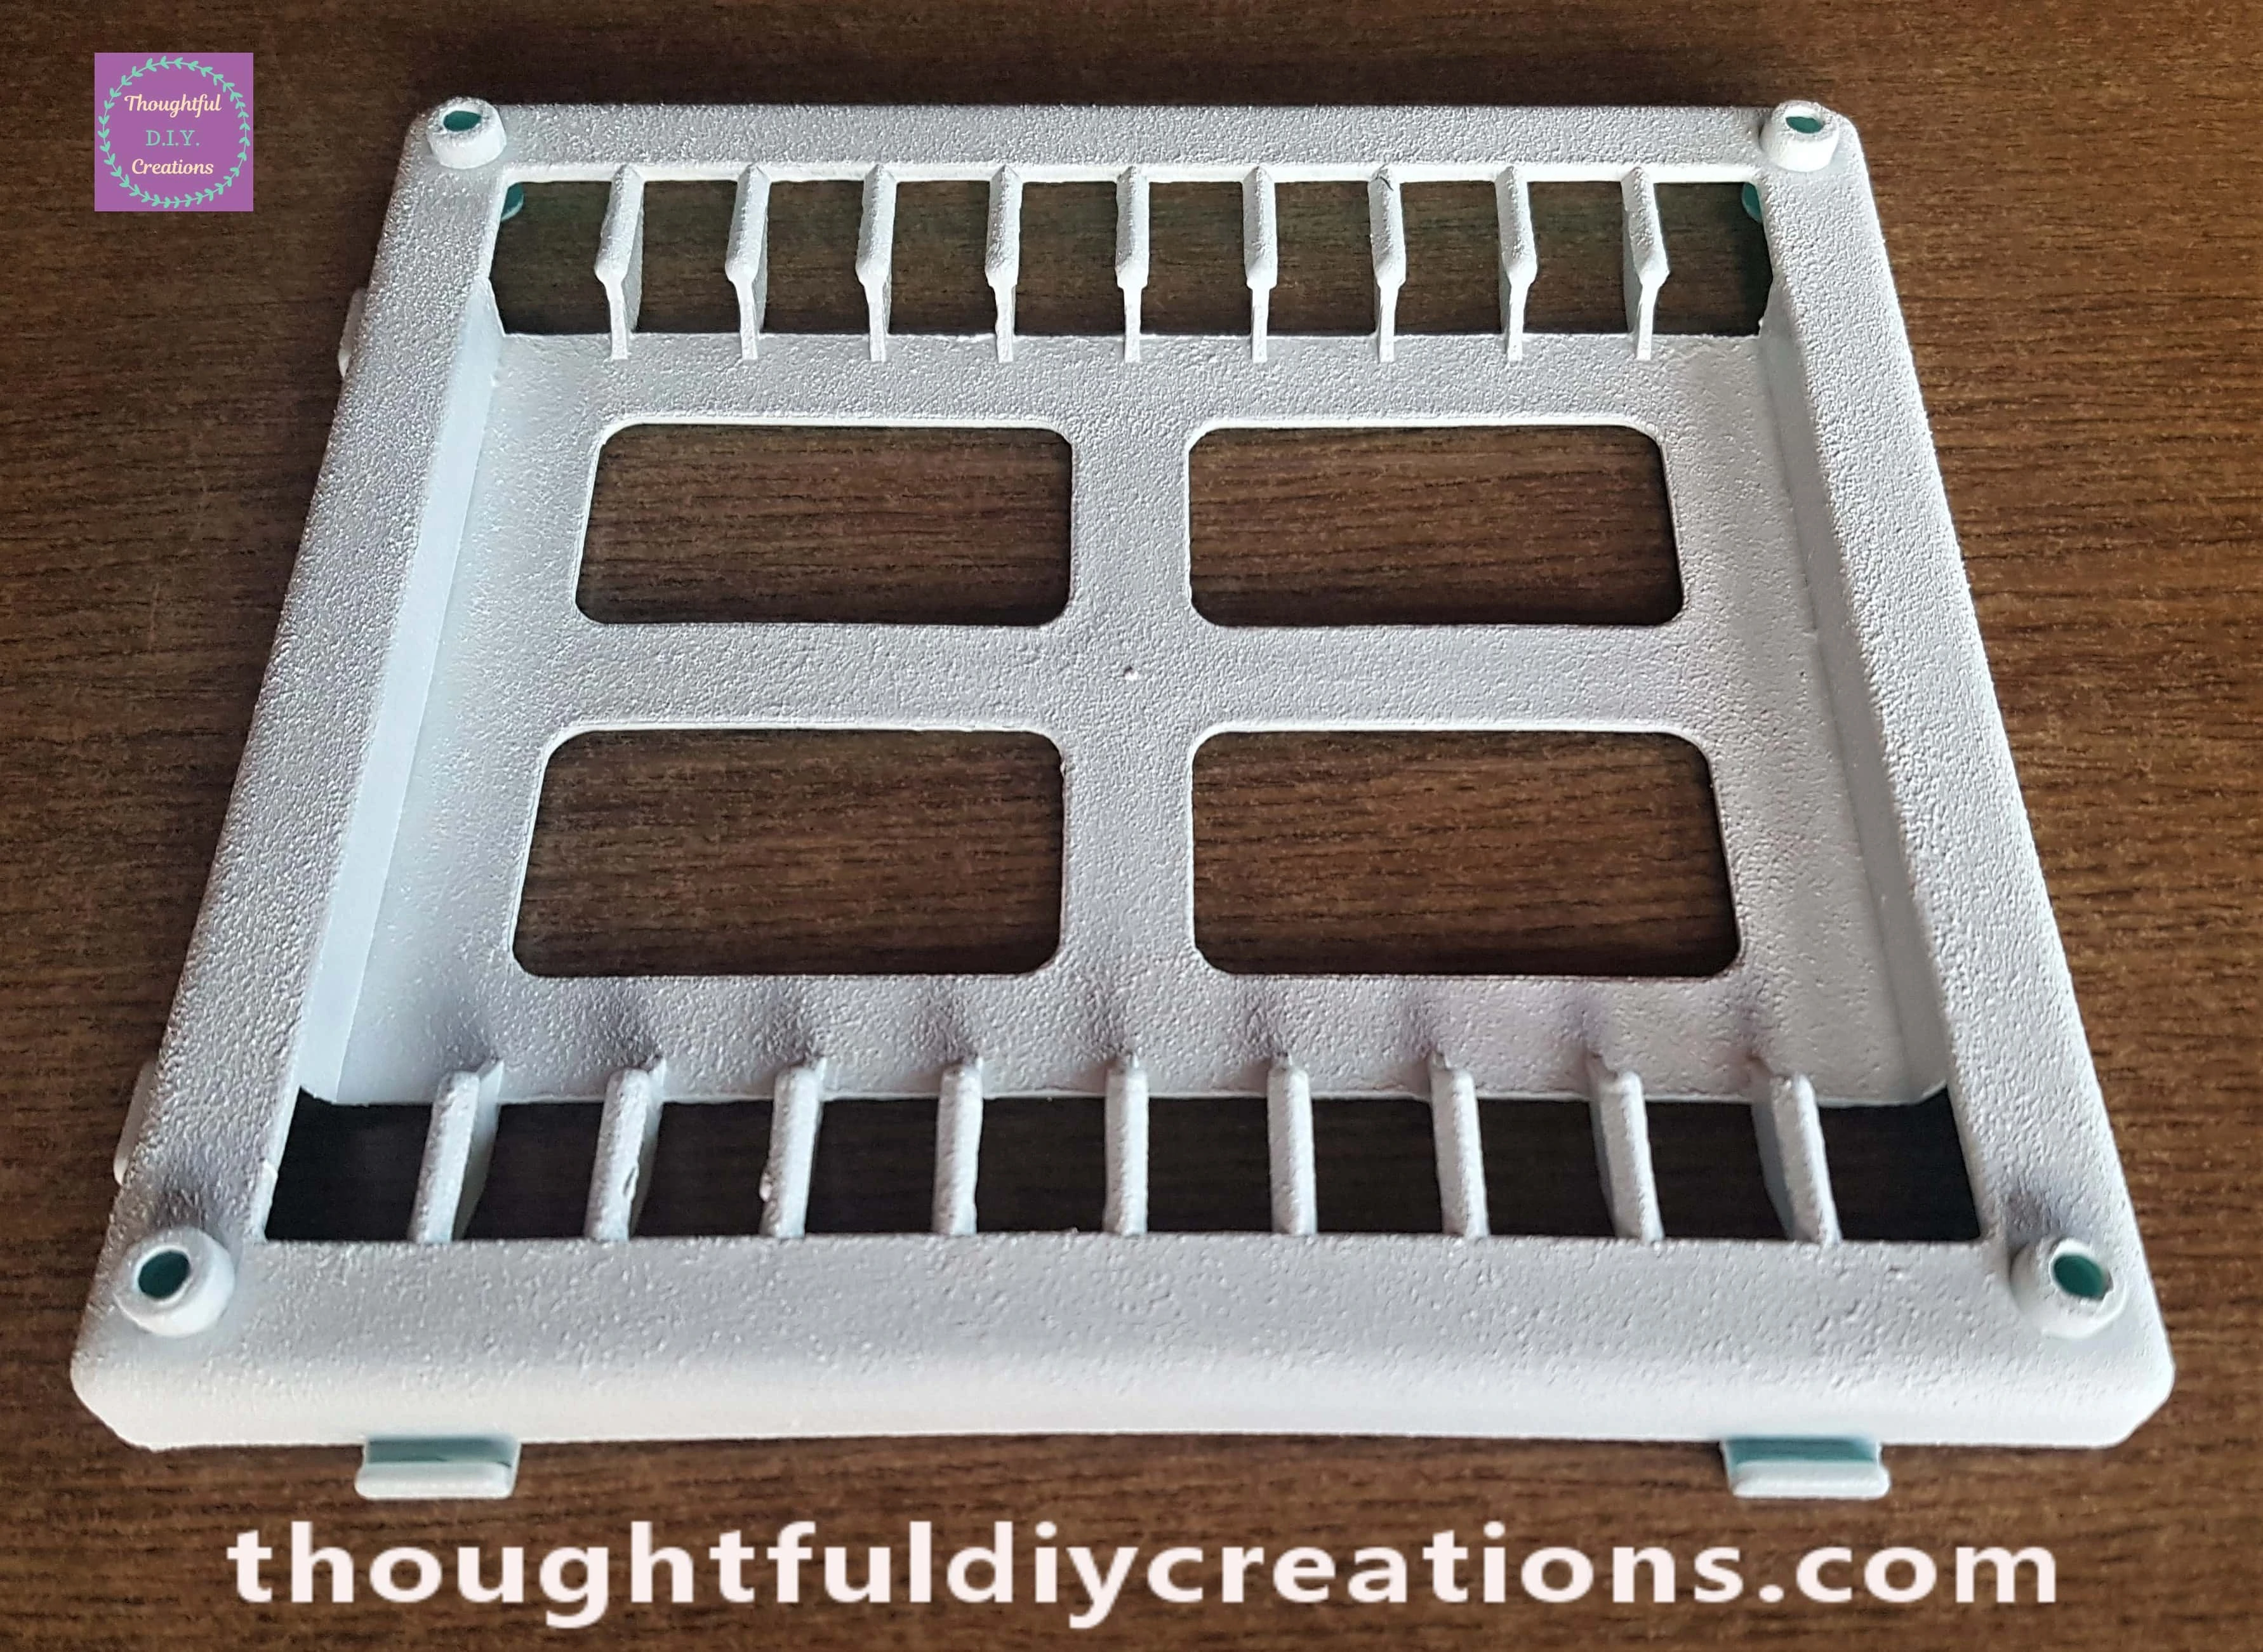
Below is a side angle of the Window. The Sponge provides a nice texture which is perfect for this Craft as it looks like Snow. It is also a faster way to apply Paint compared with a Paintbrush.
Finding an Image for the Christmas Window
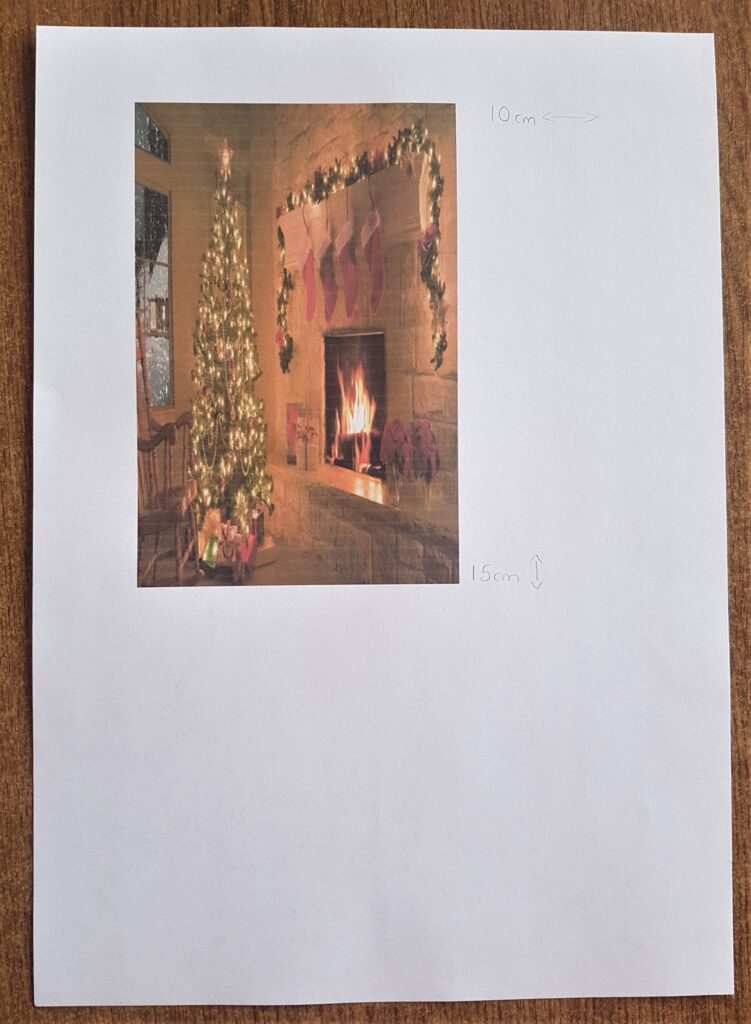
I looked up ‘Free-To-Use Living Room Christmas Scene’ on ‘Google Images’. I found the Perfect Free Image and Saved it to my Computer.
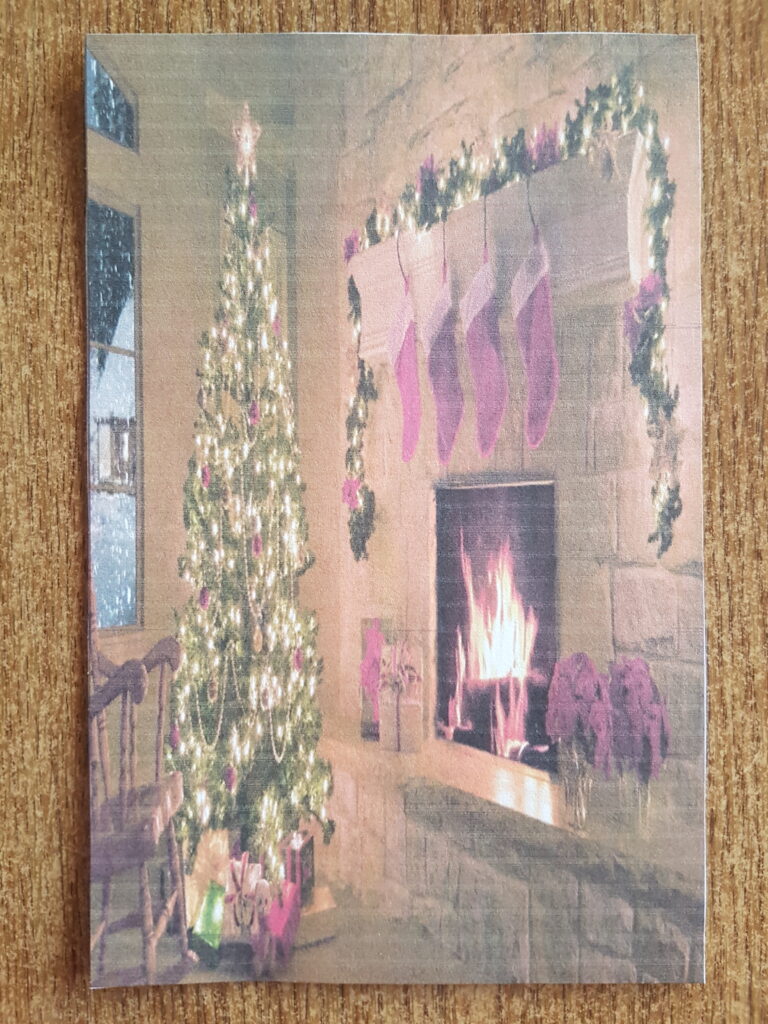
I opened up ‘Microsoft Word’ and Inserted the Saved Image. I Re-Sized it to fit my Christmas Window. I needed my Image to be 10 cm in Width and 15 cm in height. I moved the arrows on the Image and used the Ruler on the Top and Side of the Page in Microsoft Word for Accuracy. I then Pressed Print and Printed the Image on Normal Printer Paper.
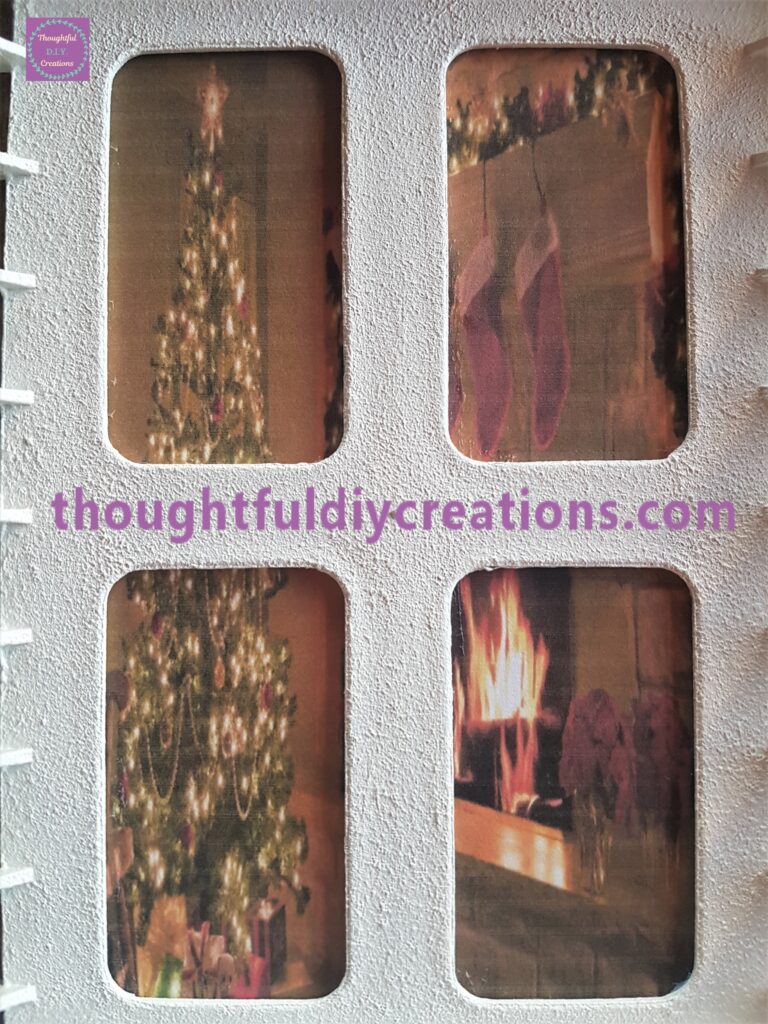
Here is a closer look at the Christmas Living Room Scene.
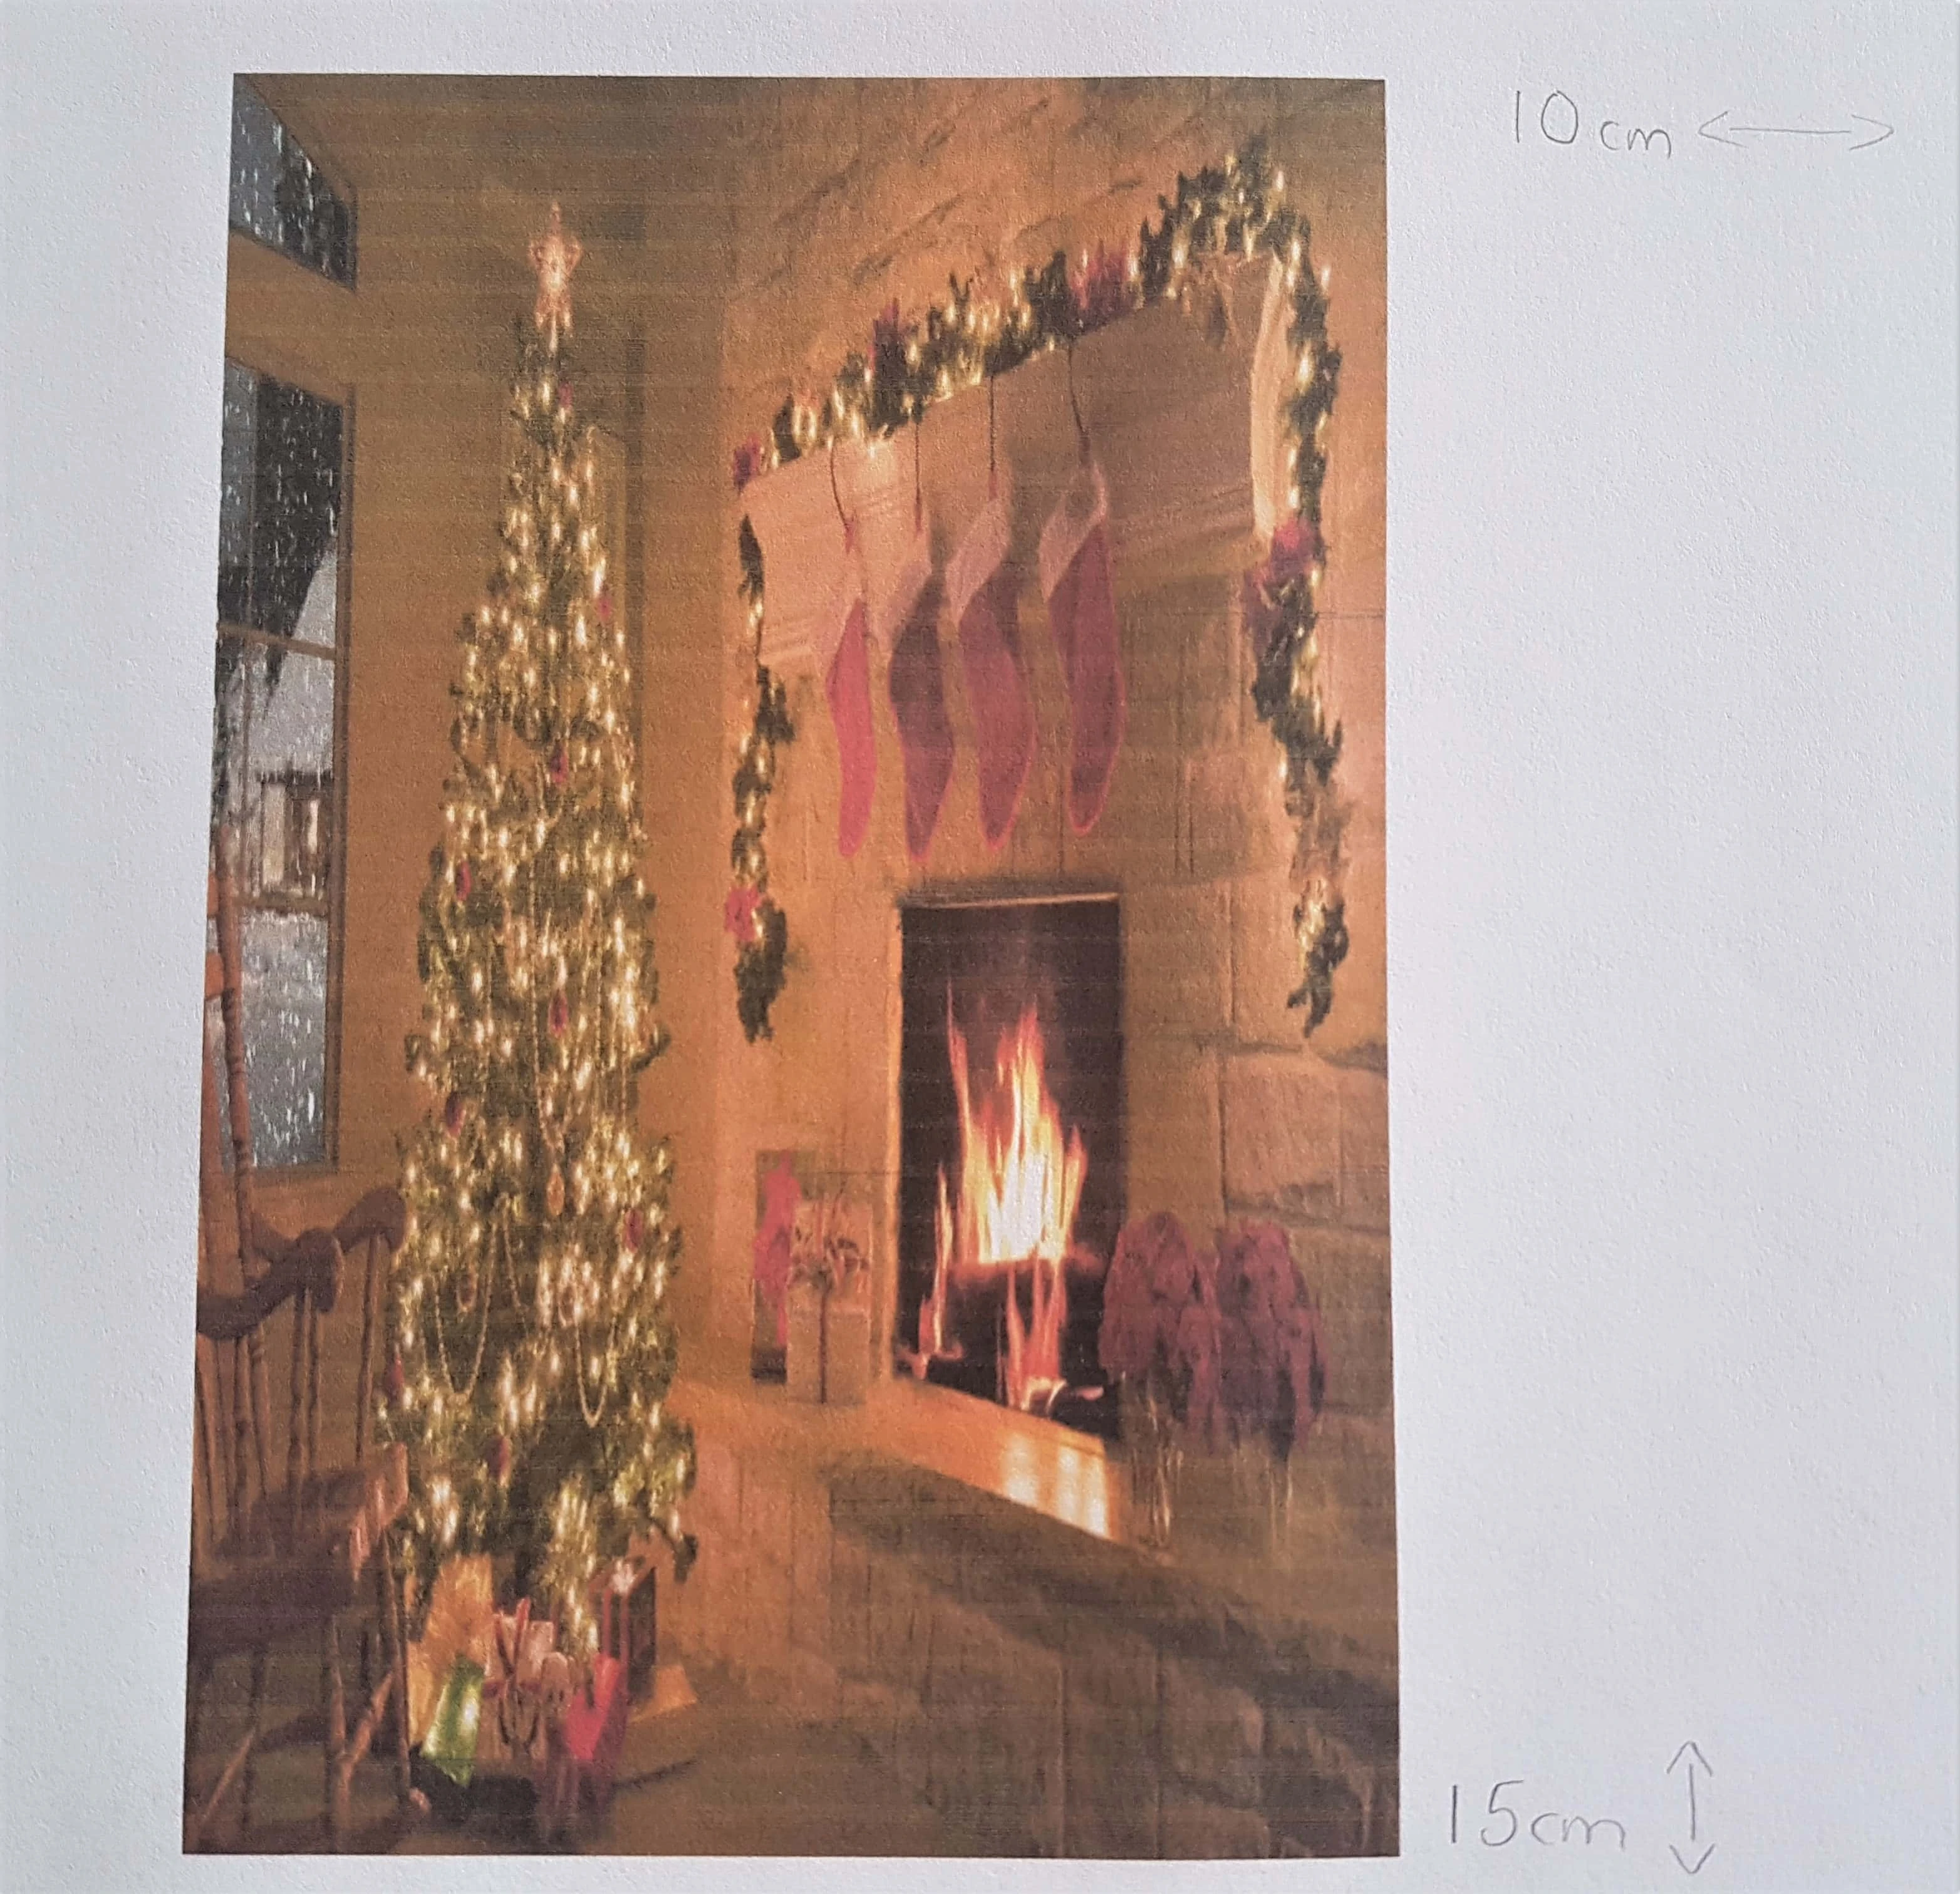
I put the Image under the CD holder to mark where to cut. I didn’t want the Window on the Image to be seen; I just wanted the Tree and Fireplace.
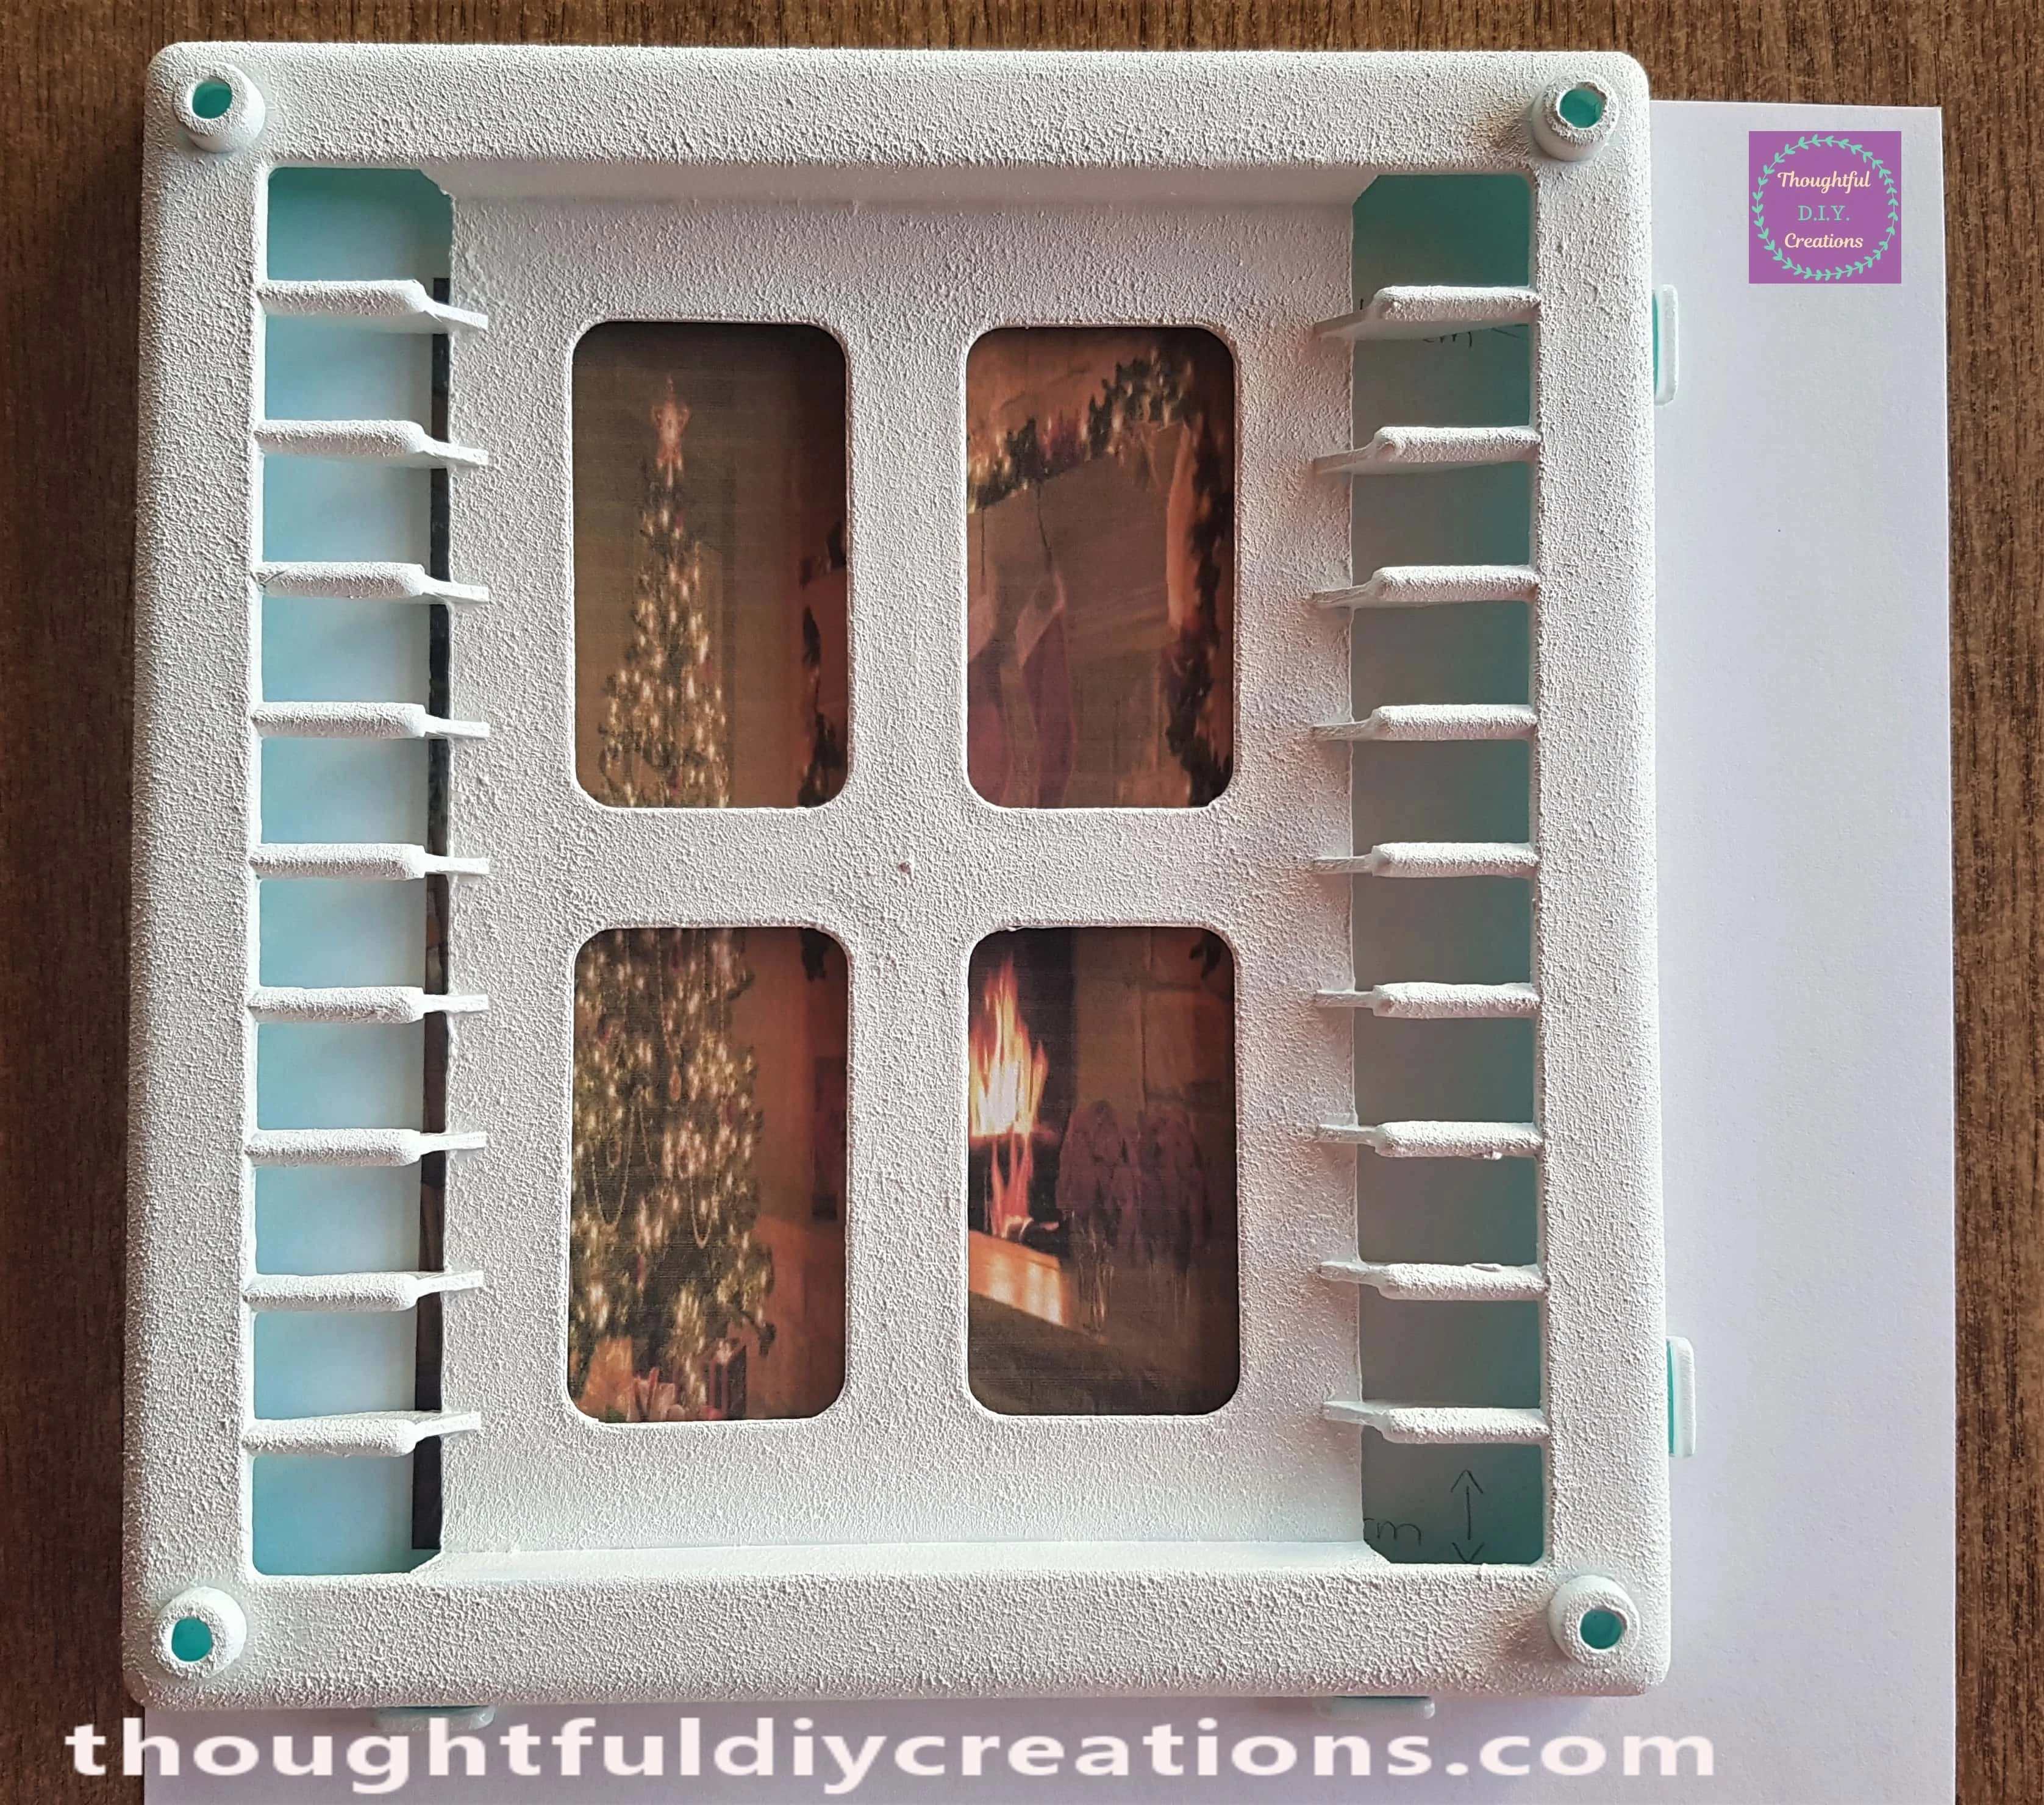
I cut out the Christmas Image.
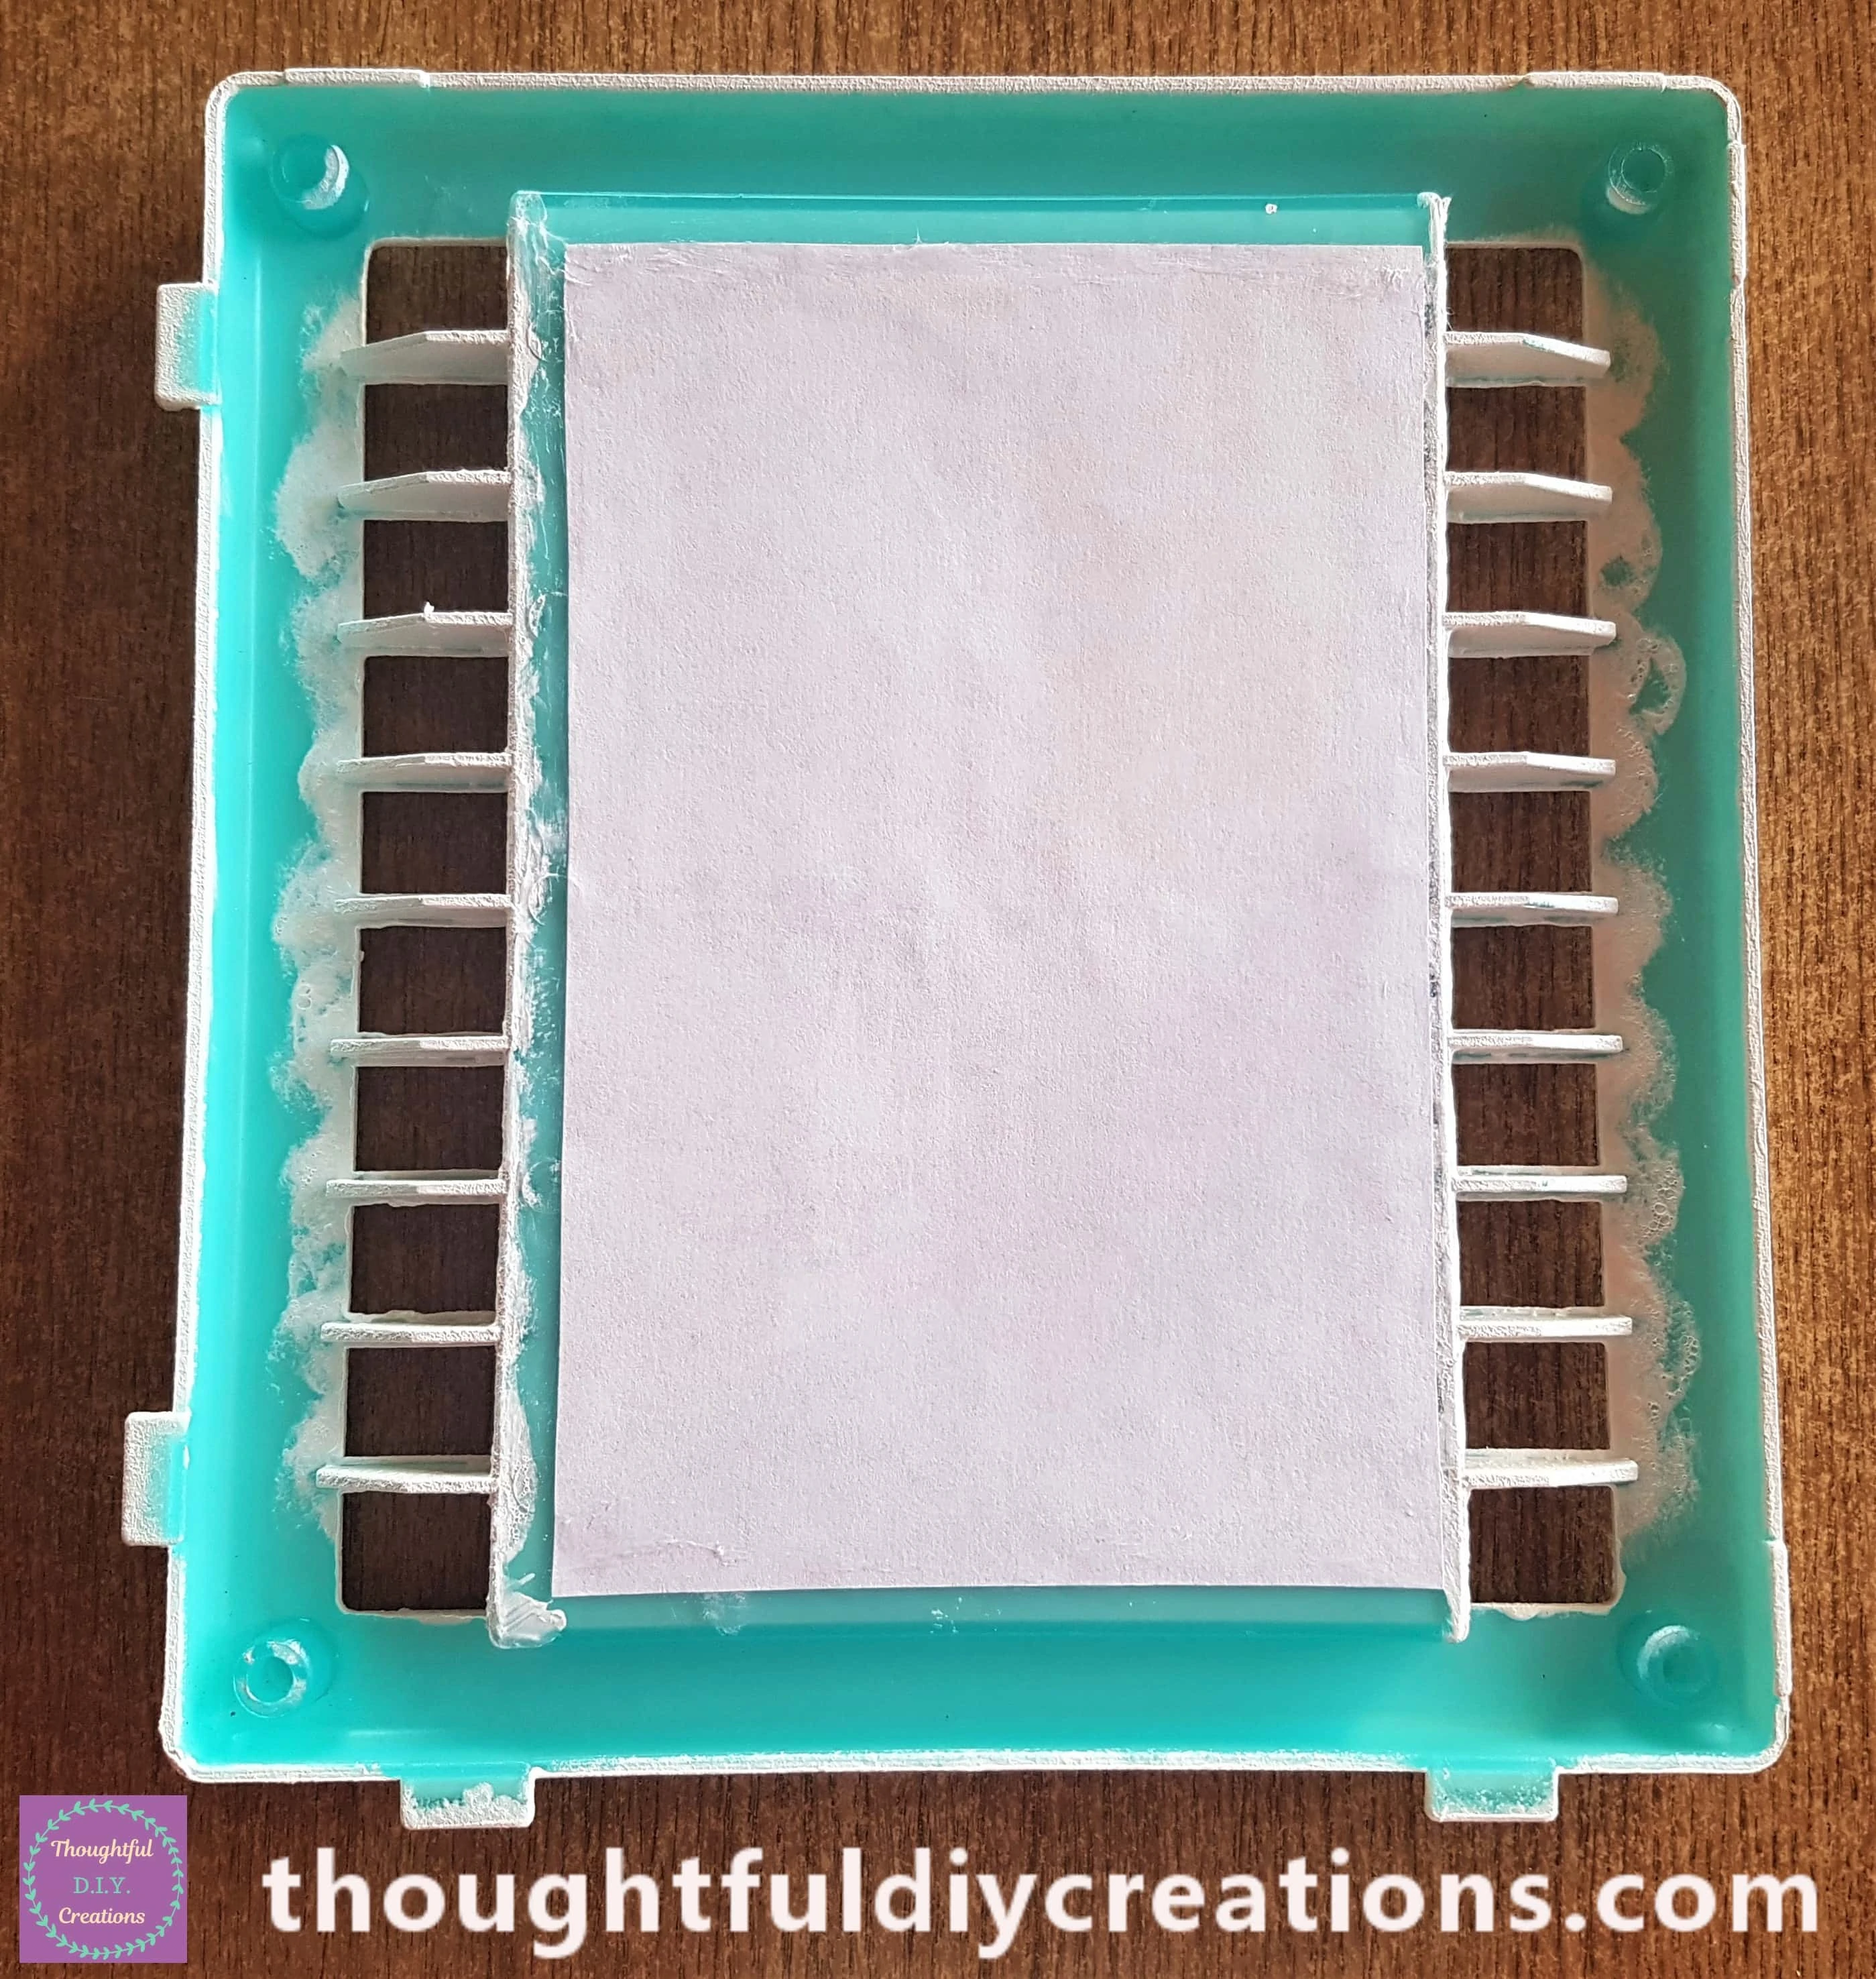
Attaching the Image to the Christmas Window
I put Pritt Stck on the back of the Christmas Window and attached the Image.
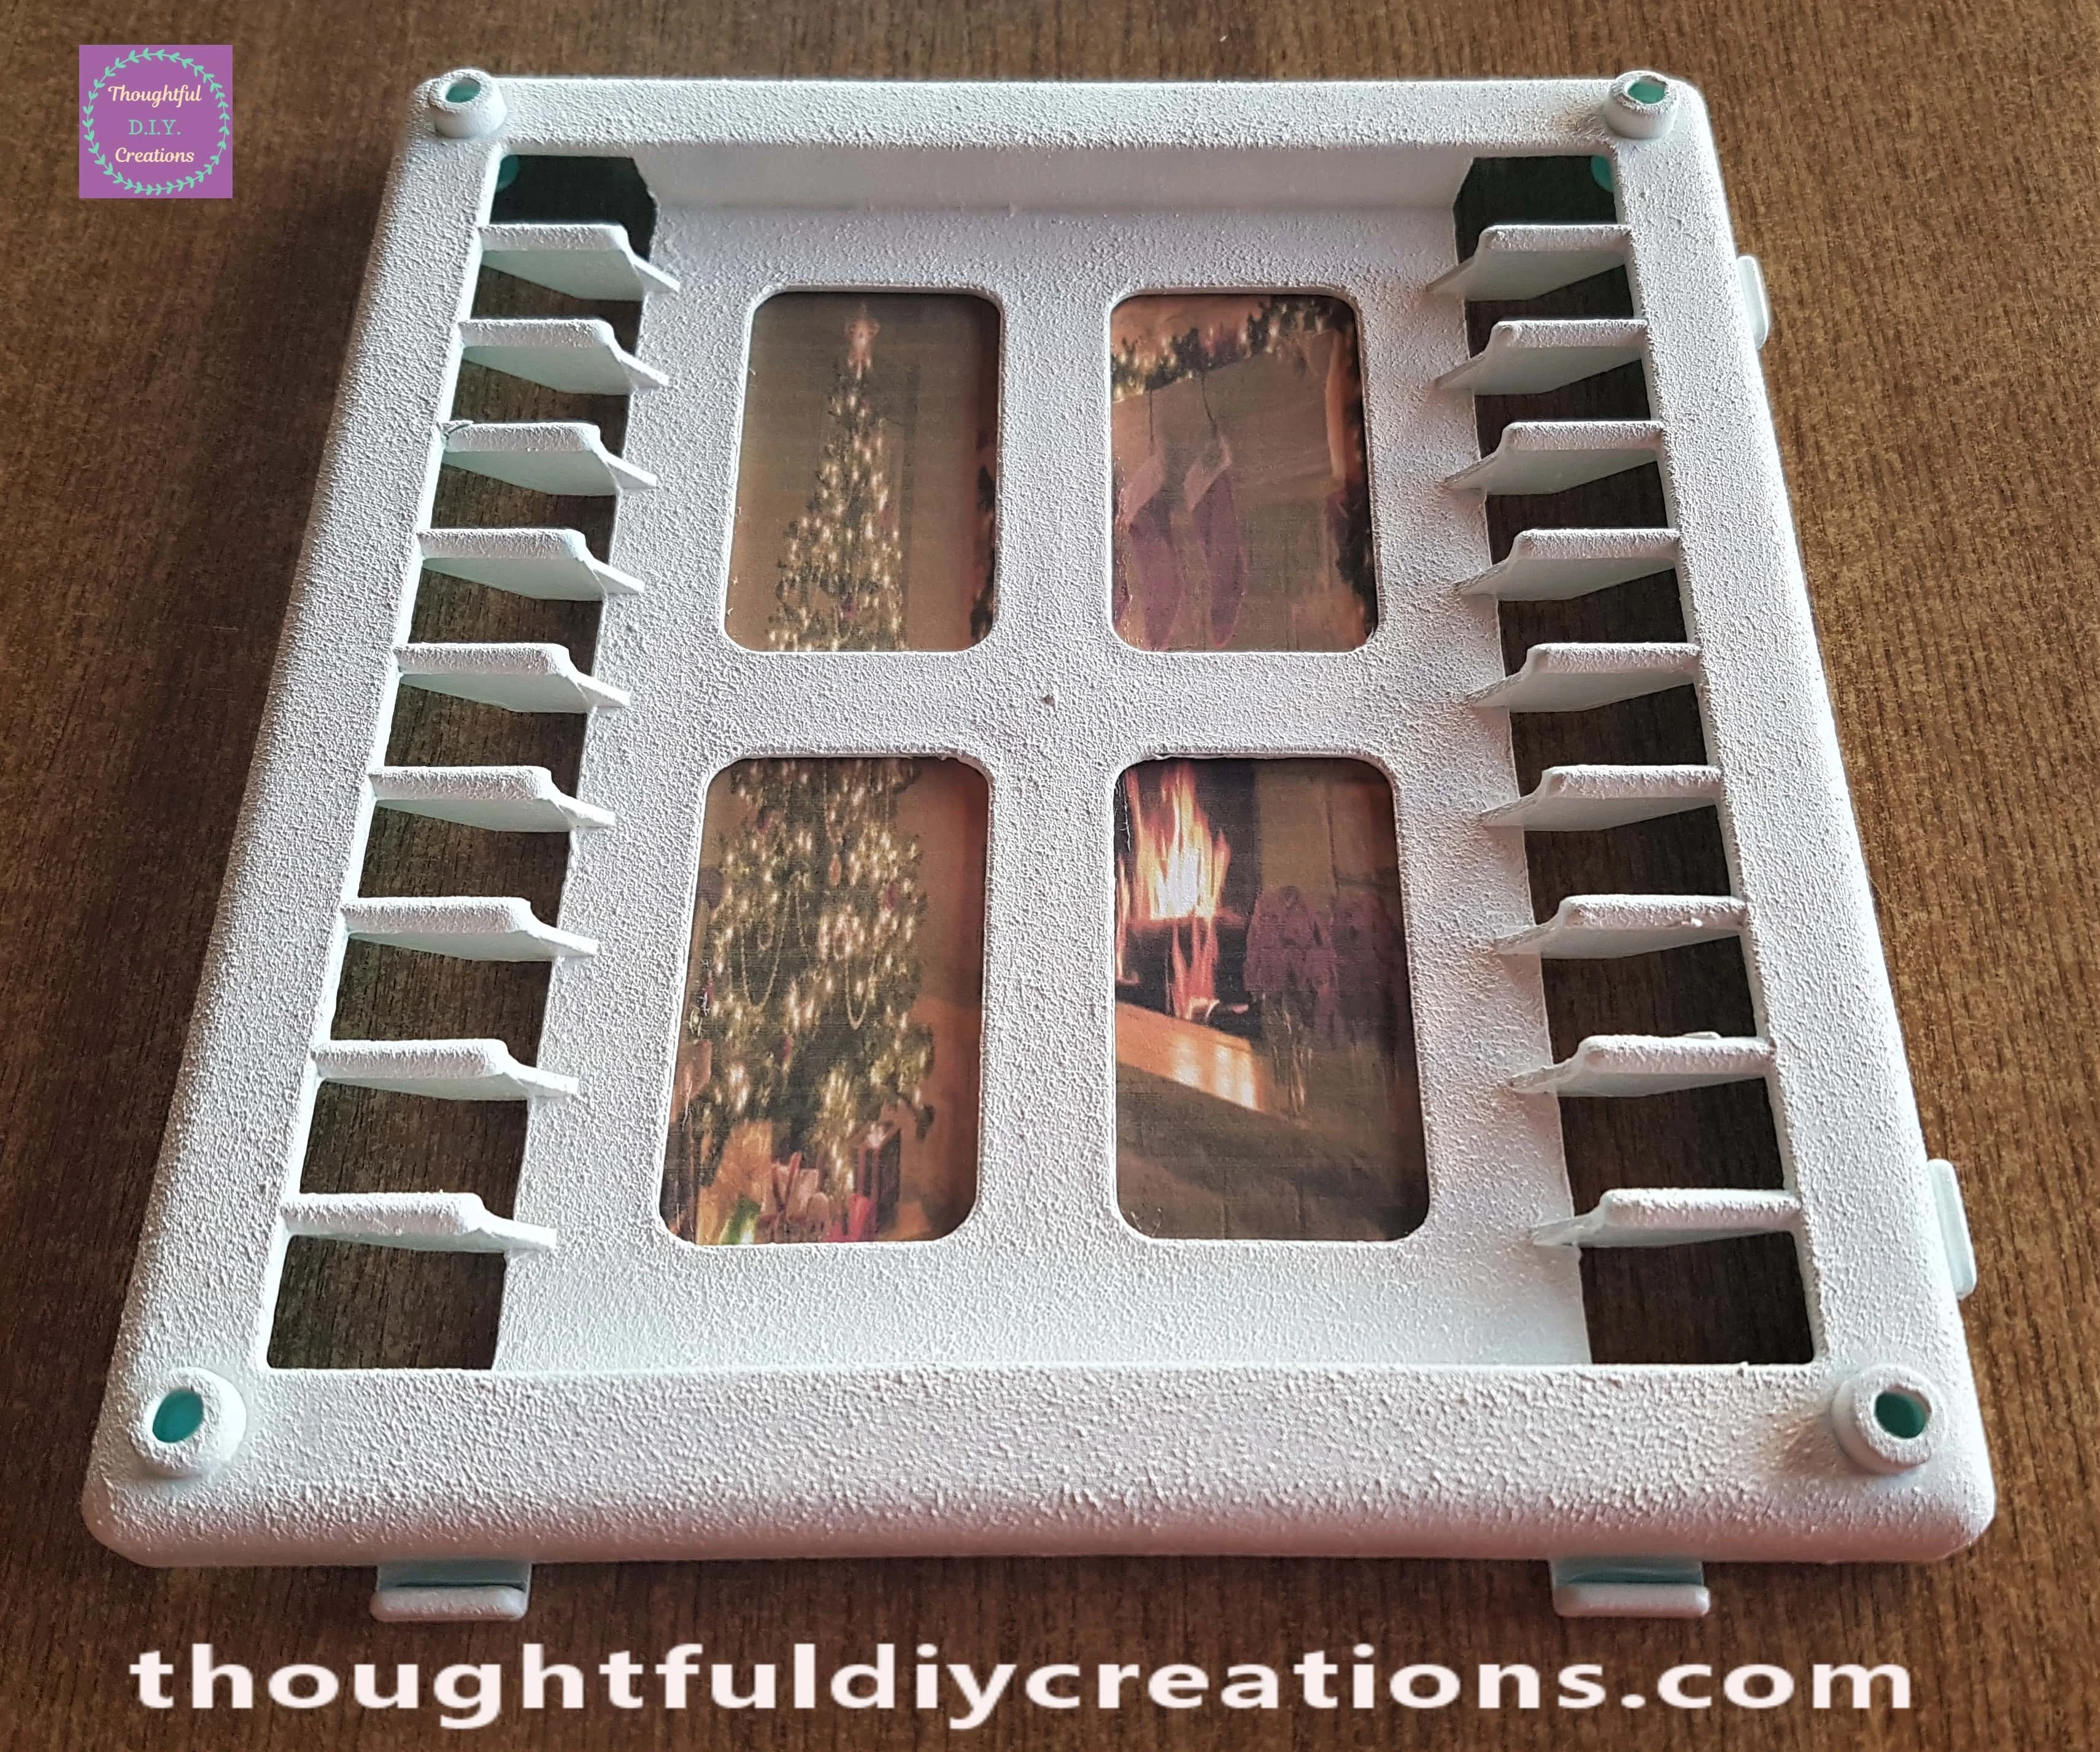
This is the front view of the Window with the Image attached.
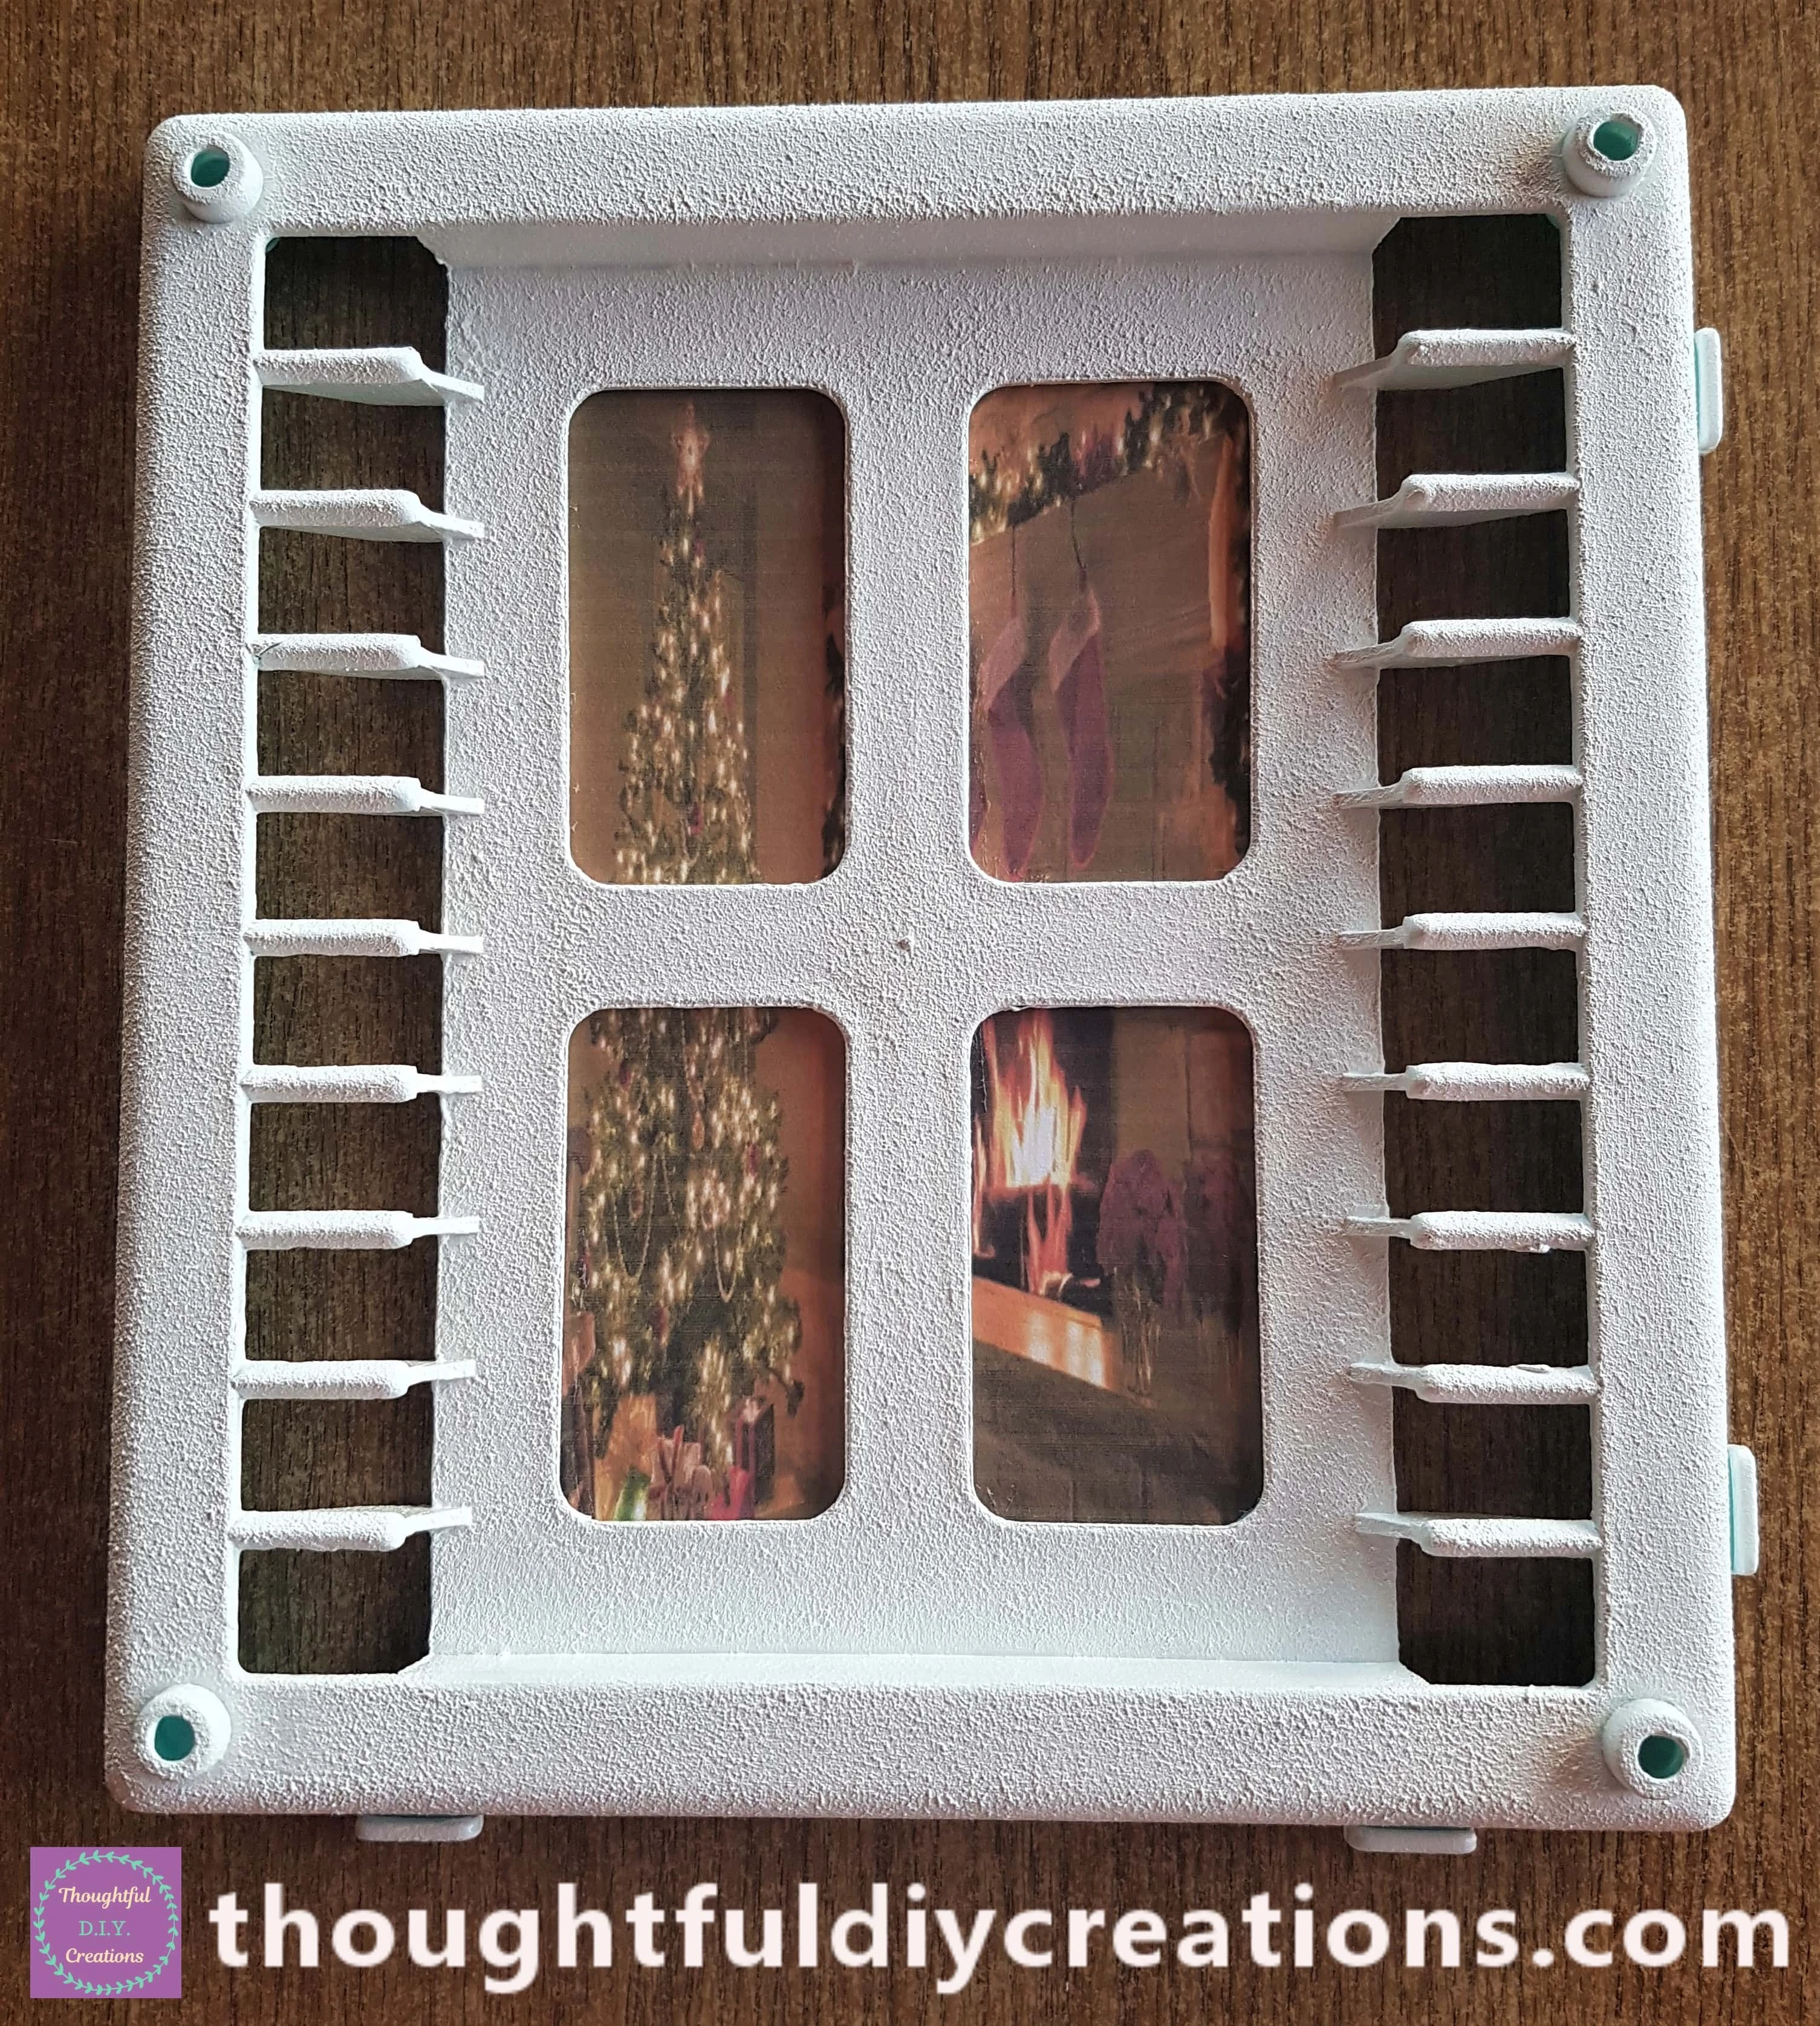
A closer view looking in through the Window.
Adding Embellishments to the Craft
I got my Merry Christmas Stickers from my Collection.
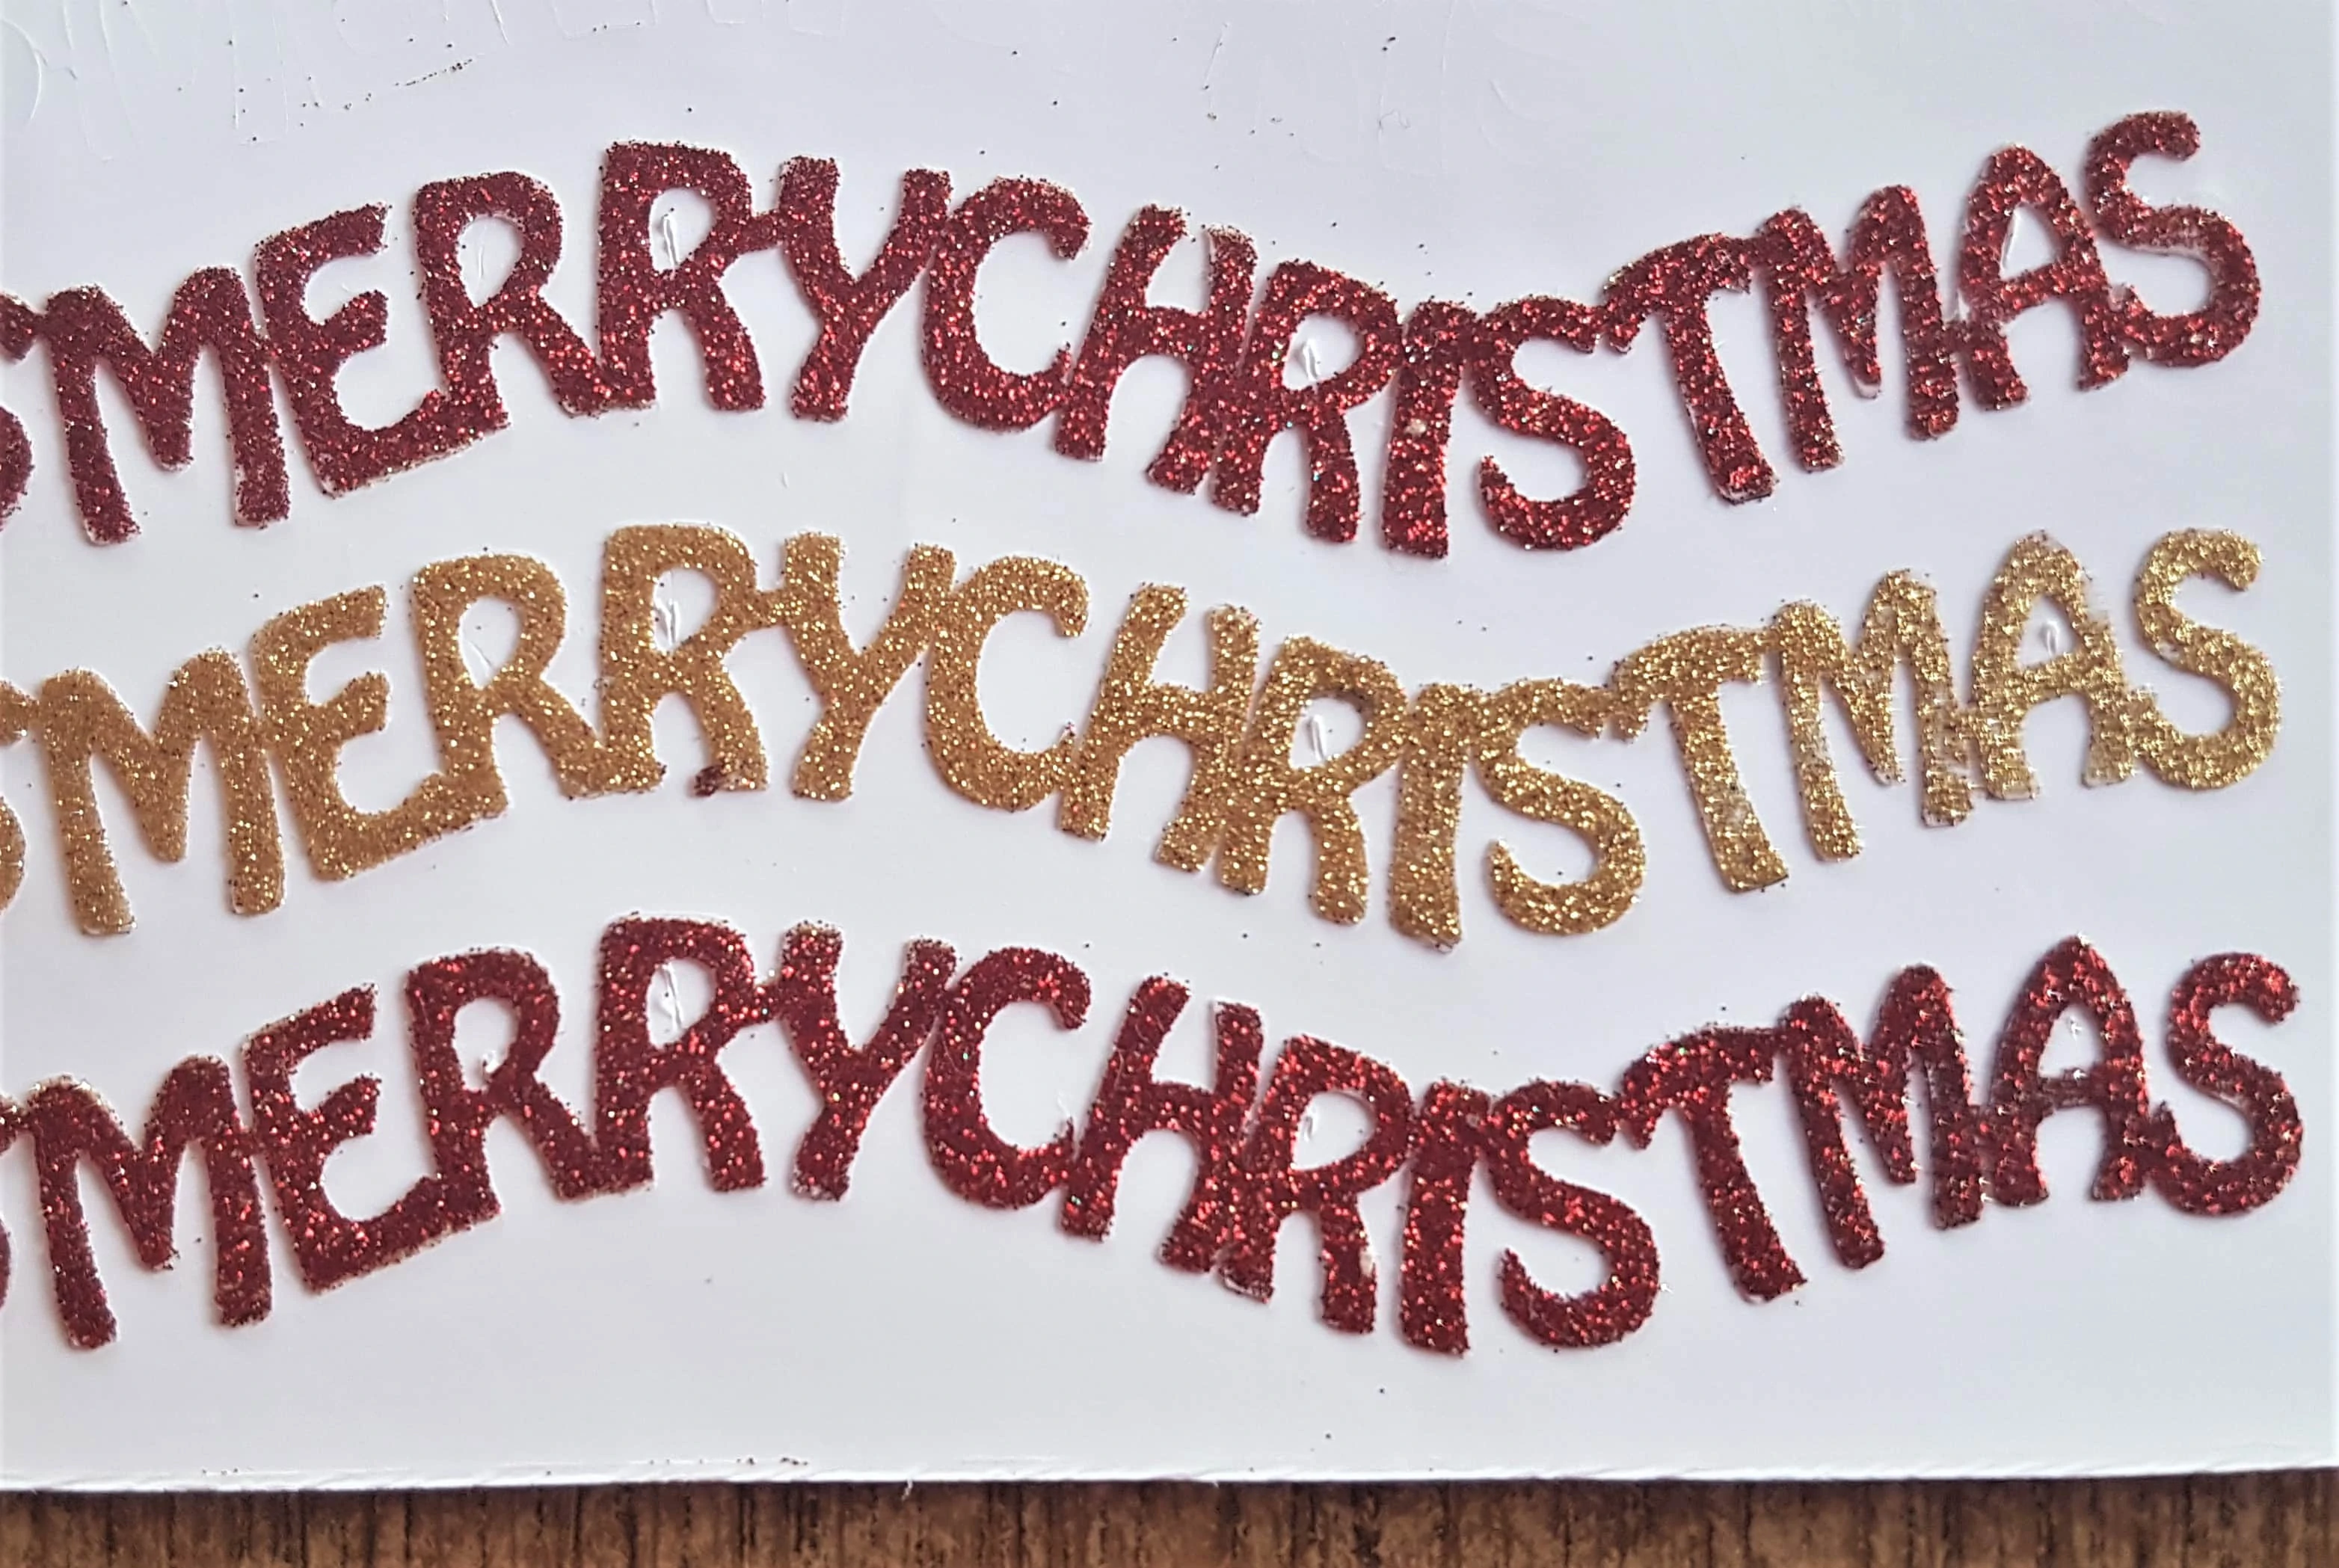
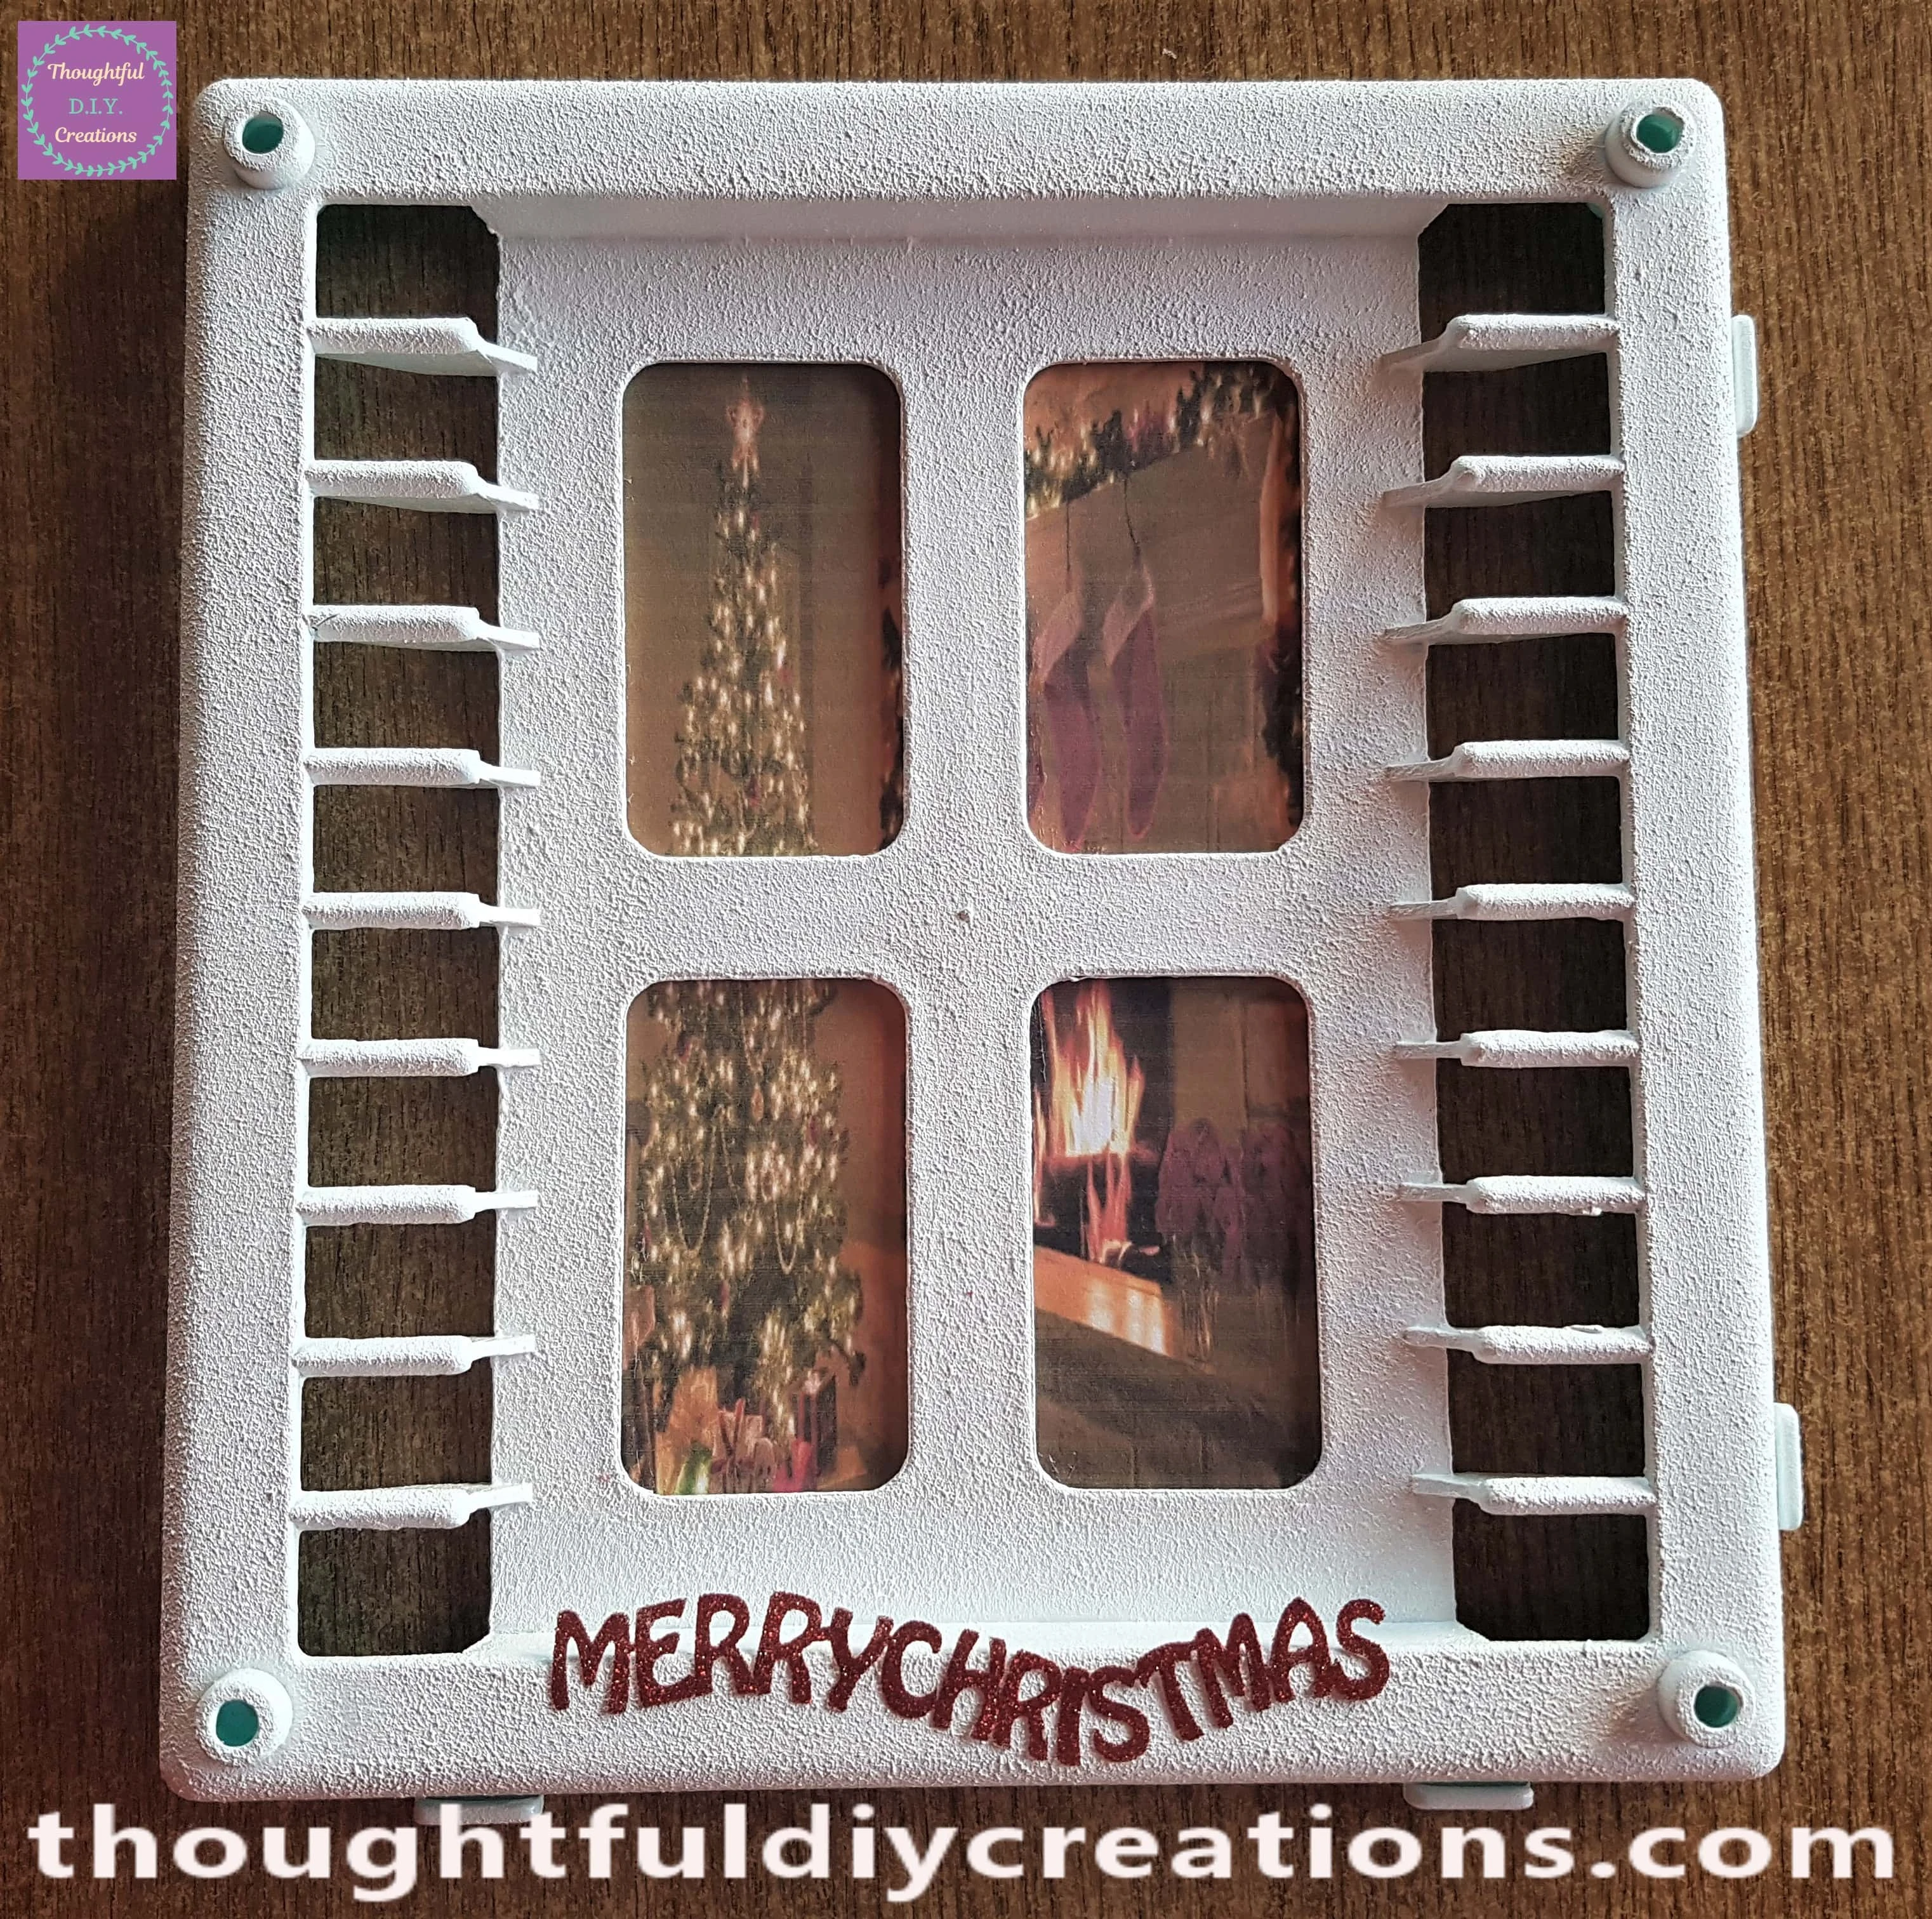
I removed a Red Sticker and attached it to the bottom of the Christmas Window.
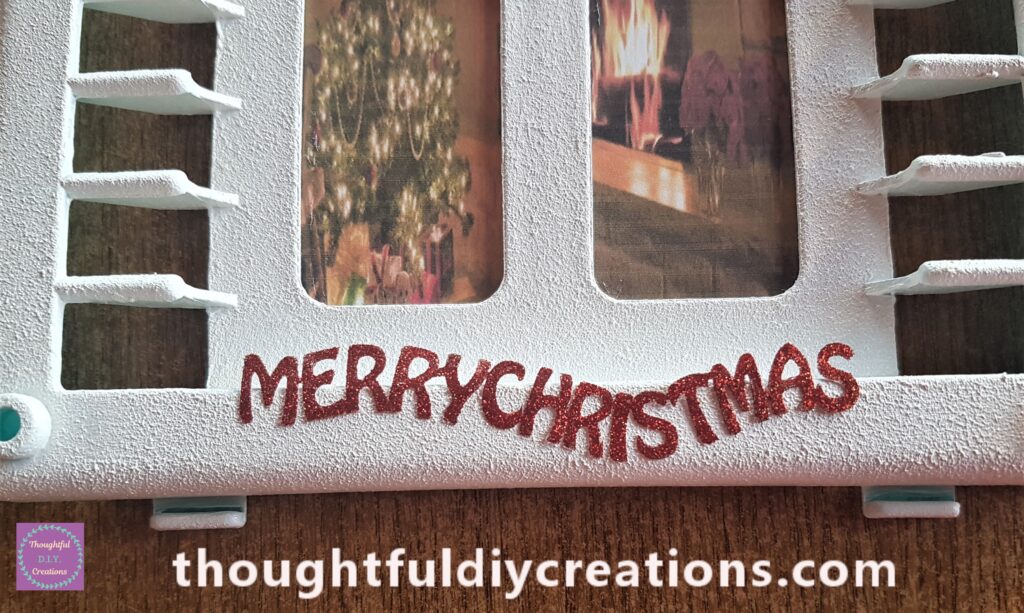
A full view of the Craft so far.
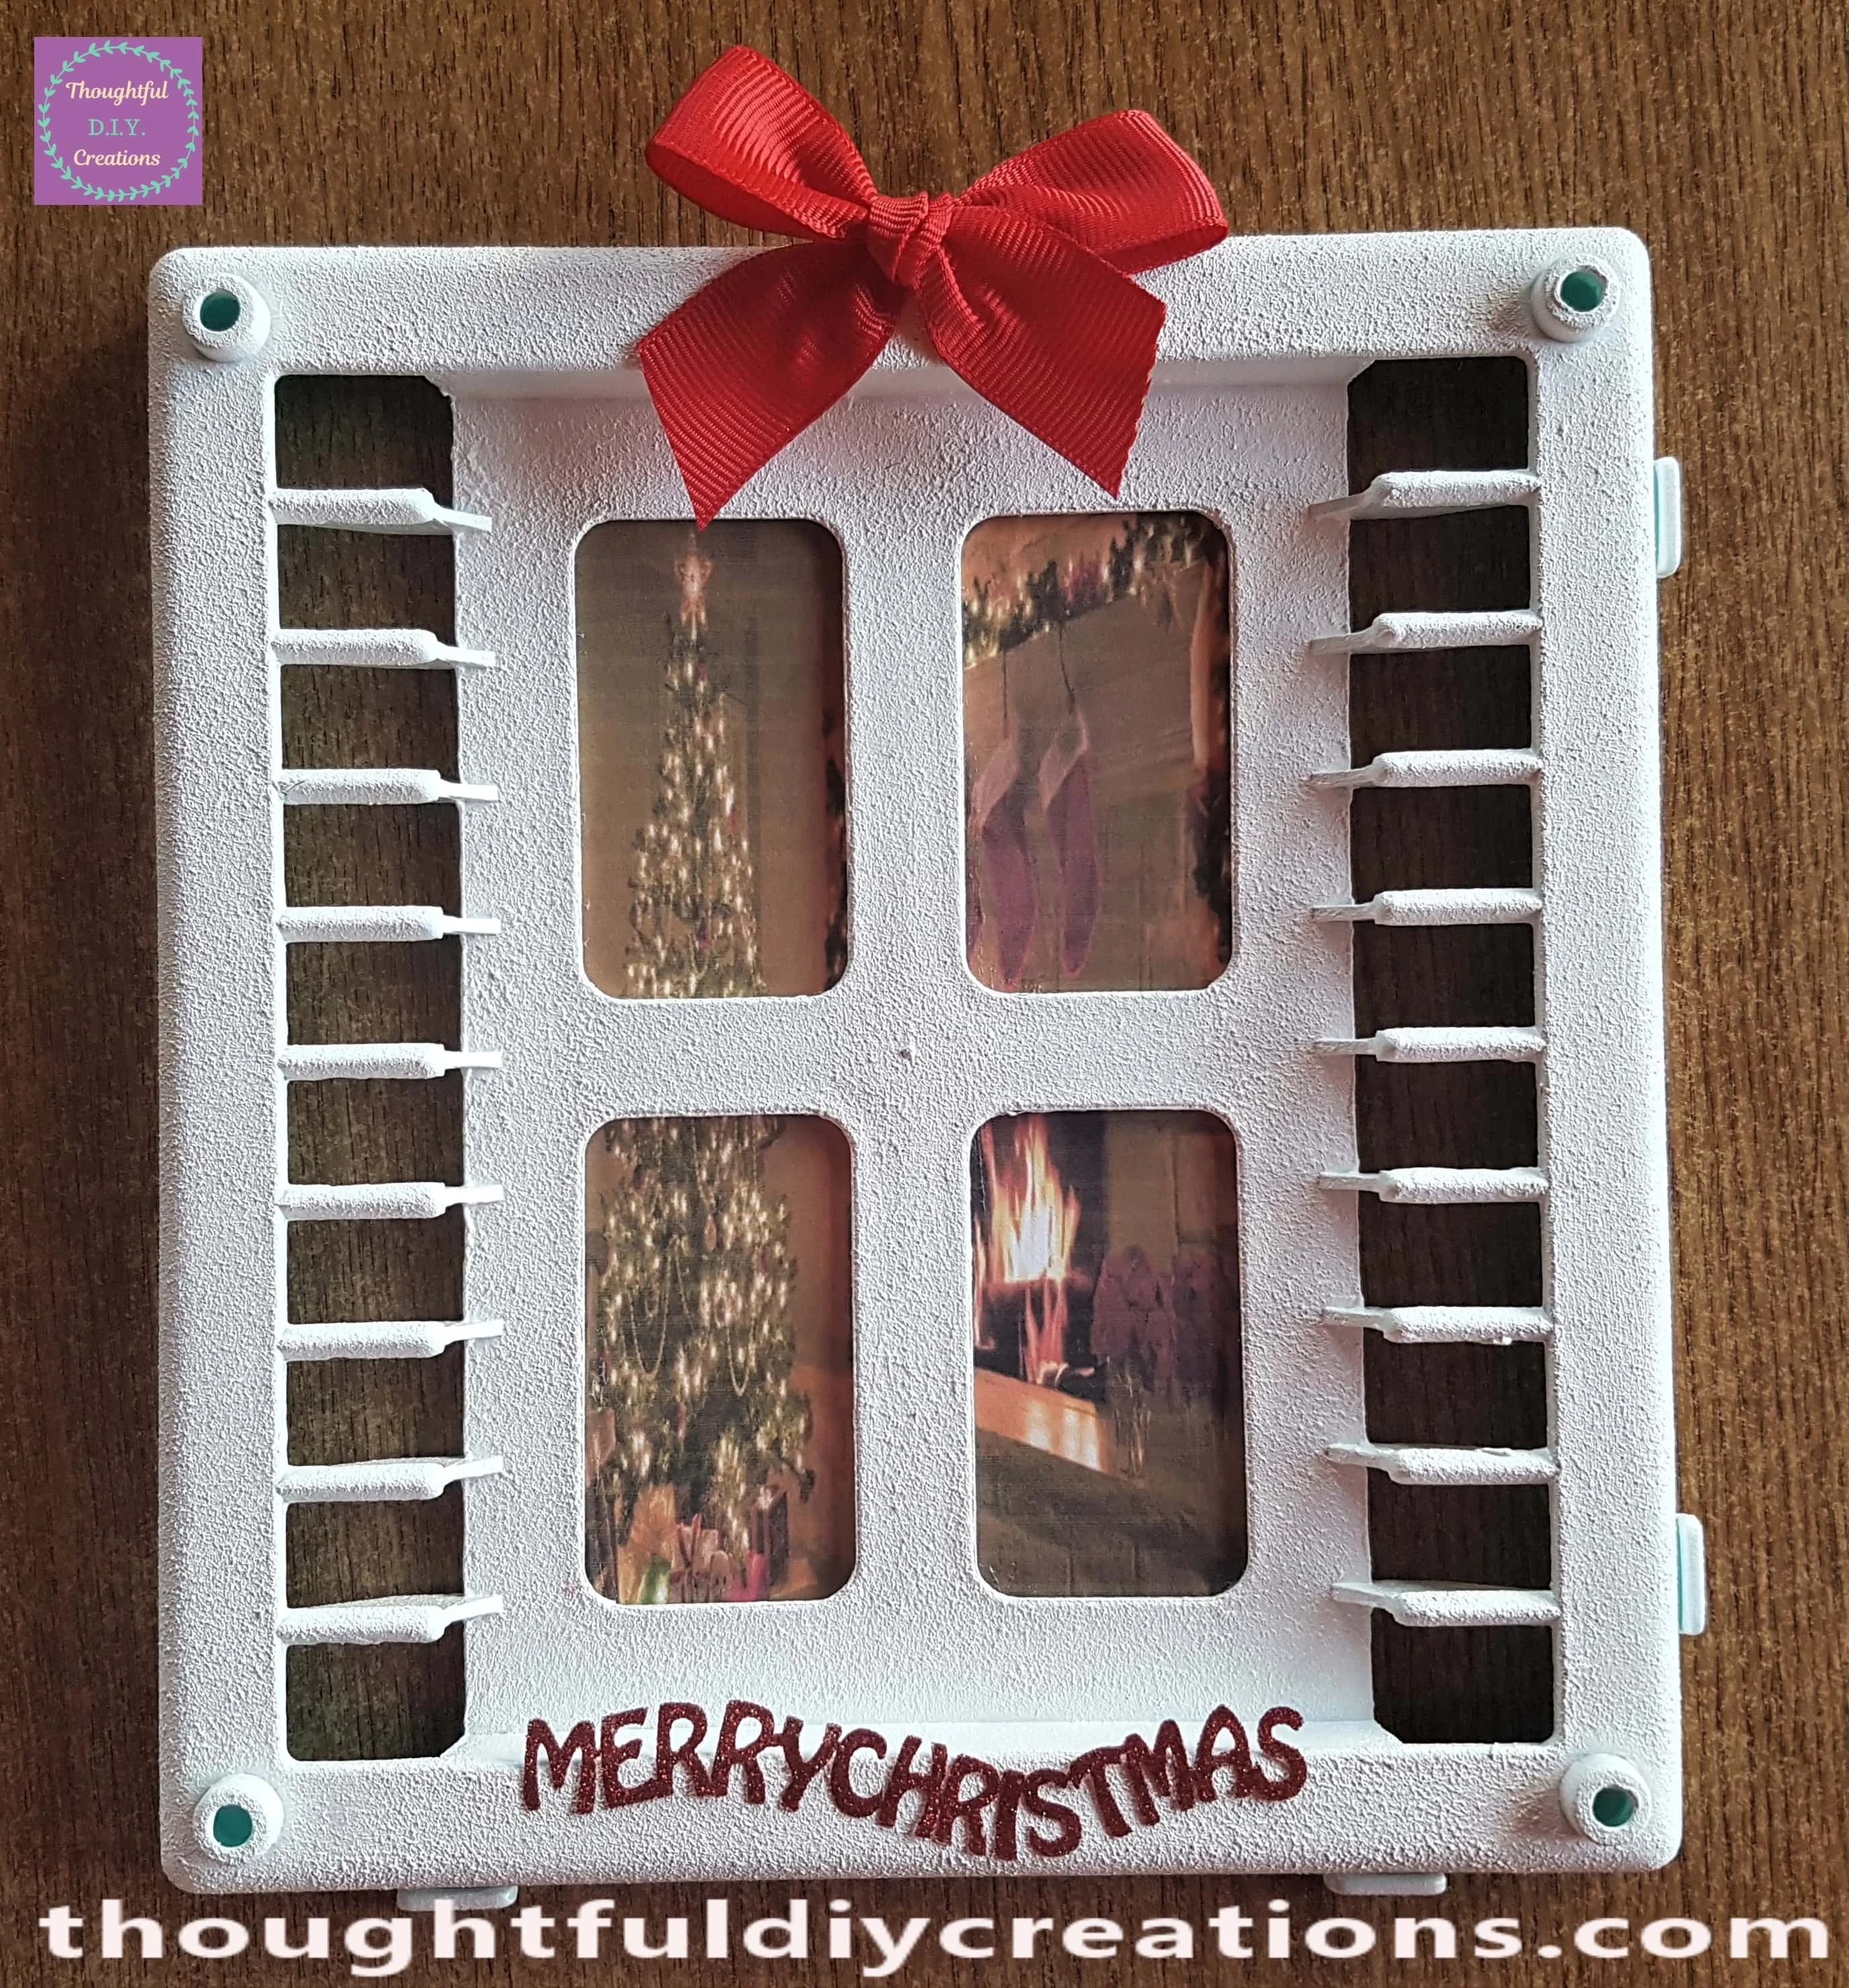
I found a Red Bow that would match the Window perfectly.

I removed the Bow from the outer Ribbon and cut the bottom strings of the Bow shorter to fit the Window.

I attached the Bow to the Top of the Christmas Window with Hot Glue.
Finishing Touches to the Christmas Window
I got my Tub of Snow Paste and Wooden Spatula.
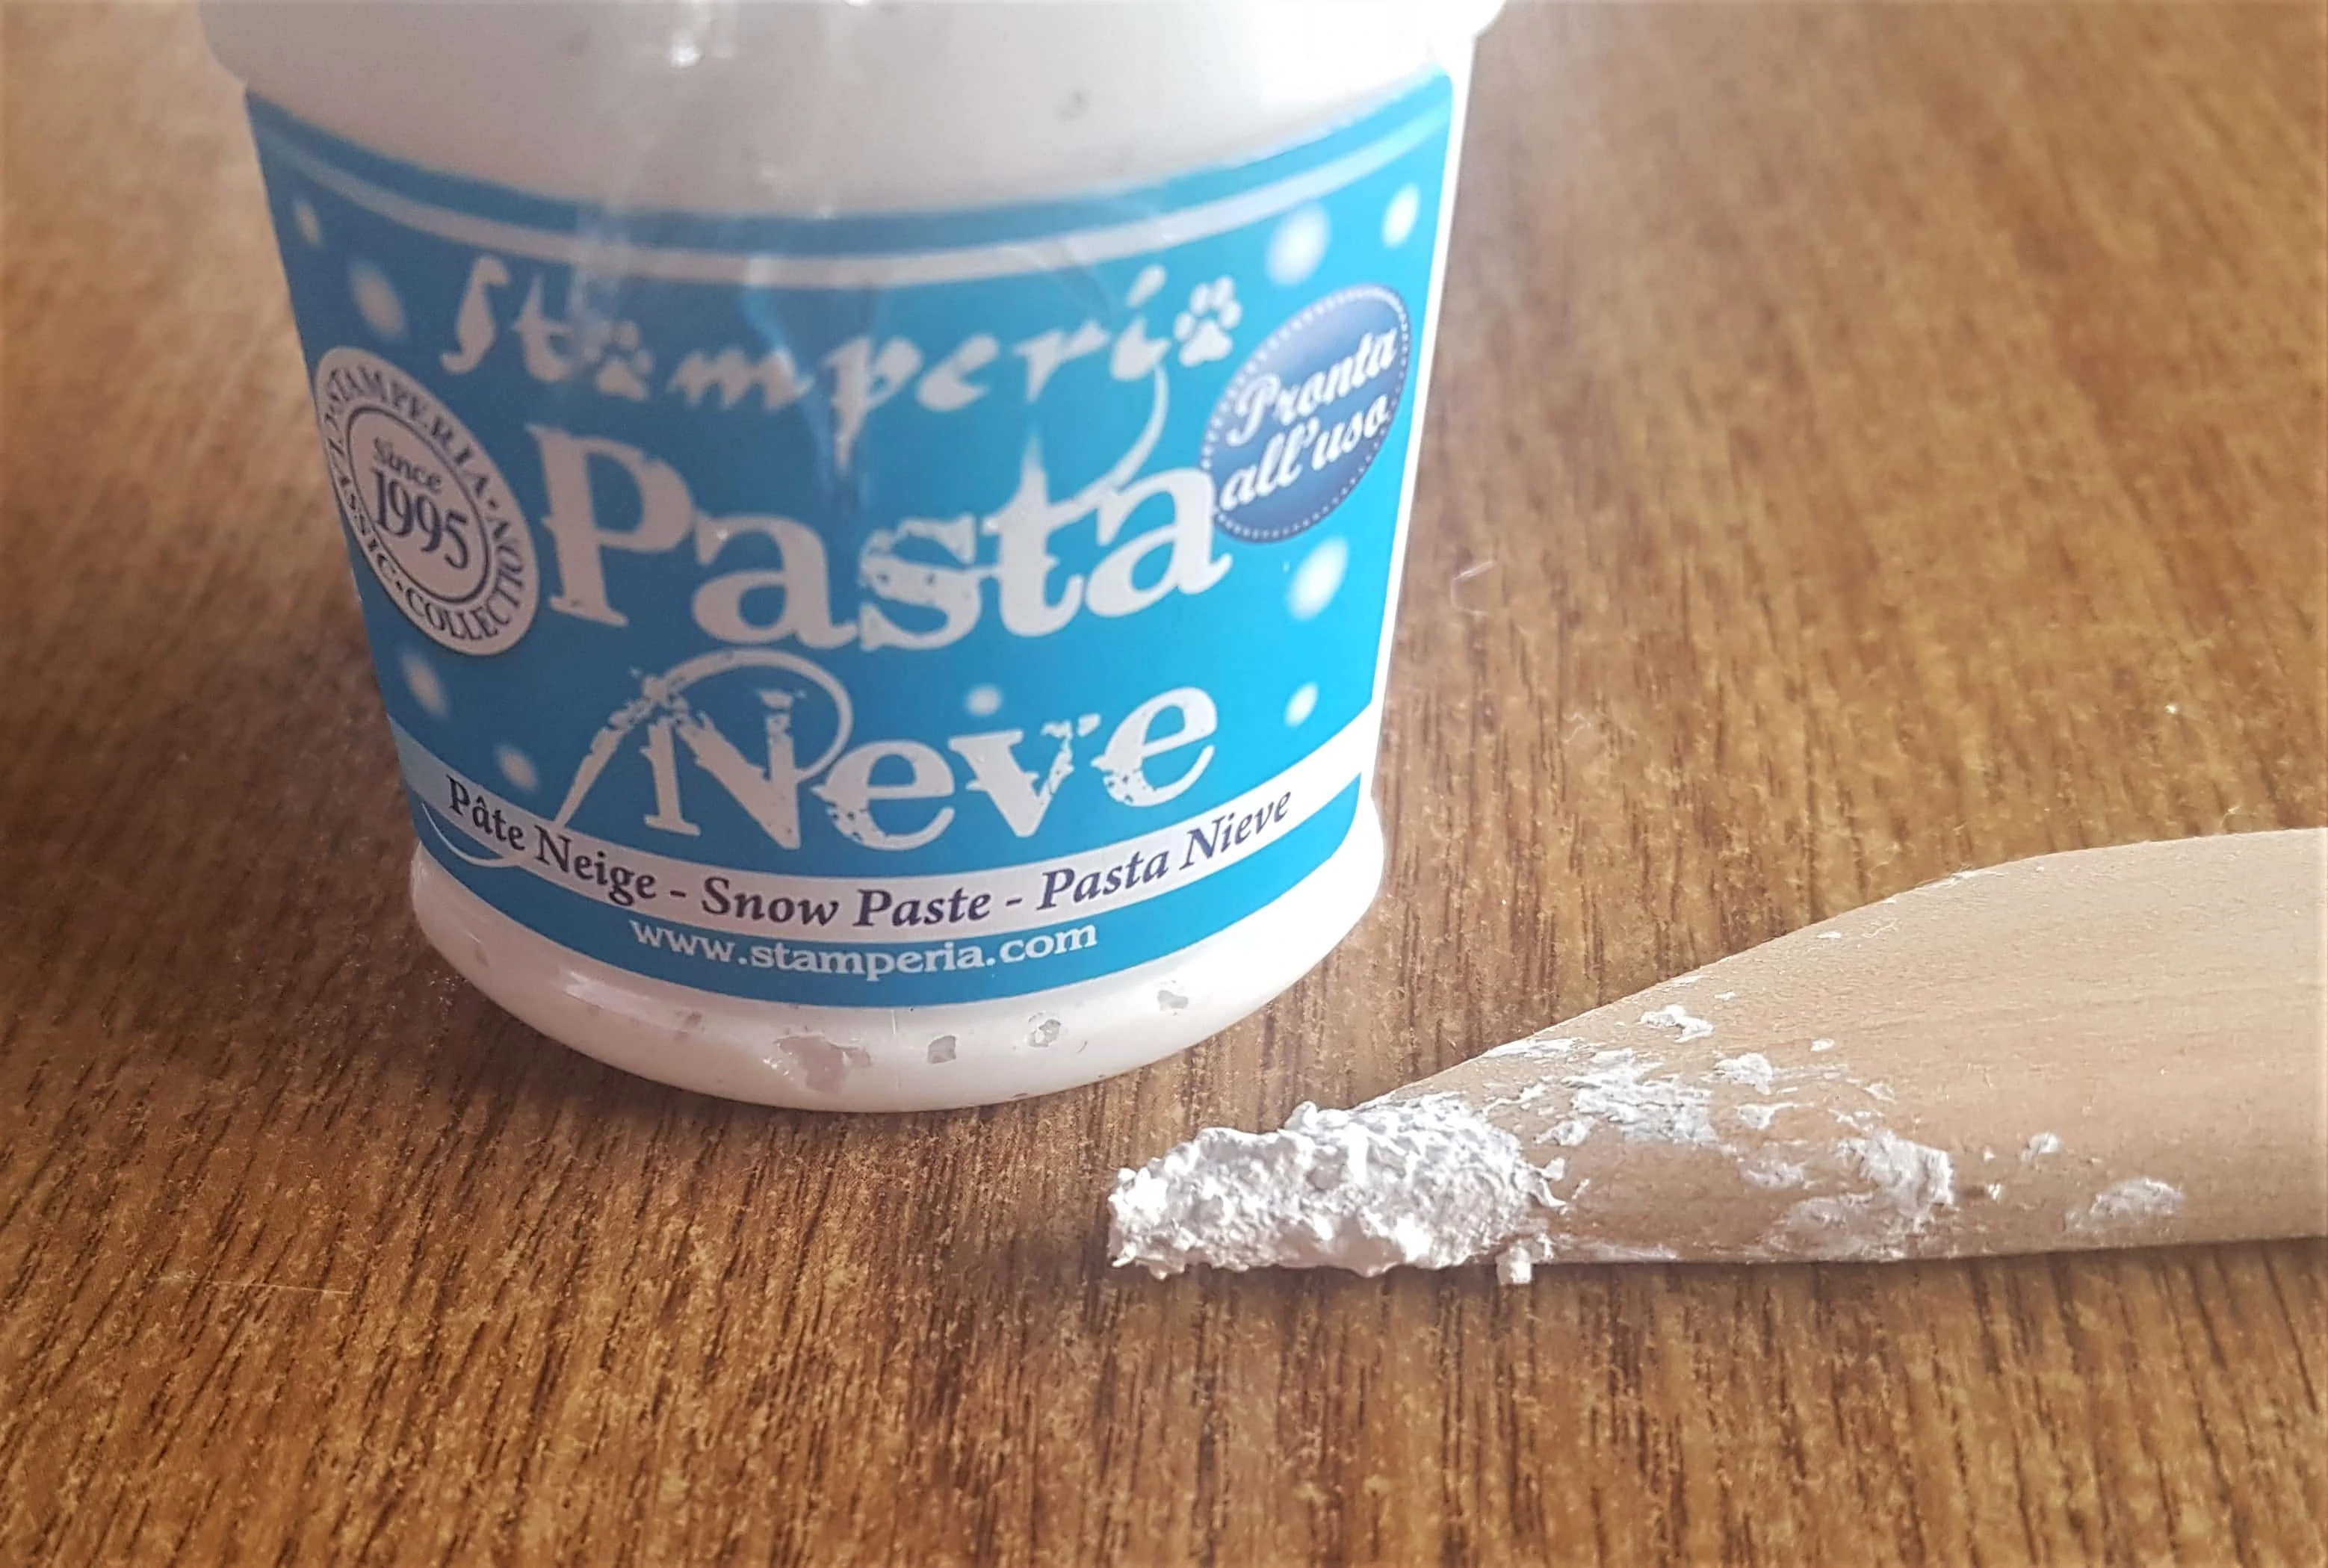
I covered the Holes at the Top of the Window and the Sides of the Window that stuck out, with Snow Paste.

I also covered the Holes on the bottom of the Window with Snow Paste.

I added more Snow Paste randomly around the Window and on the Bow to give a natural appearance.
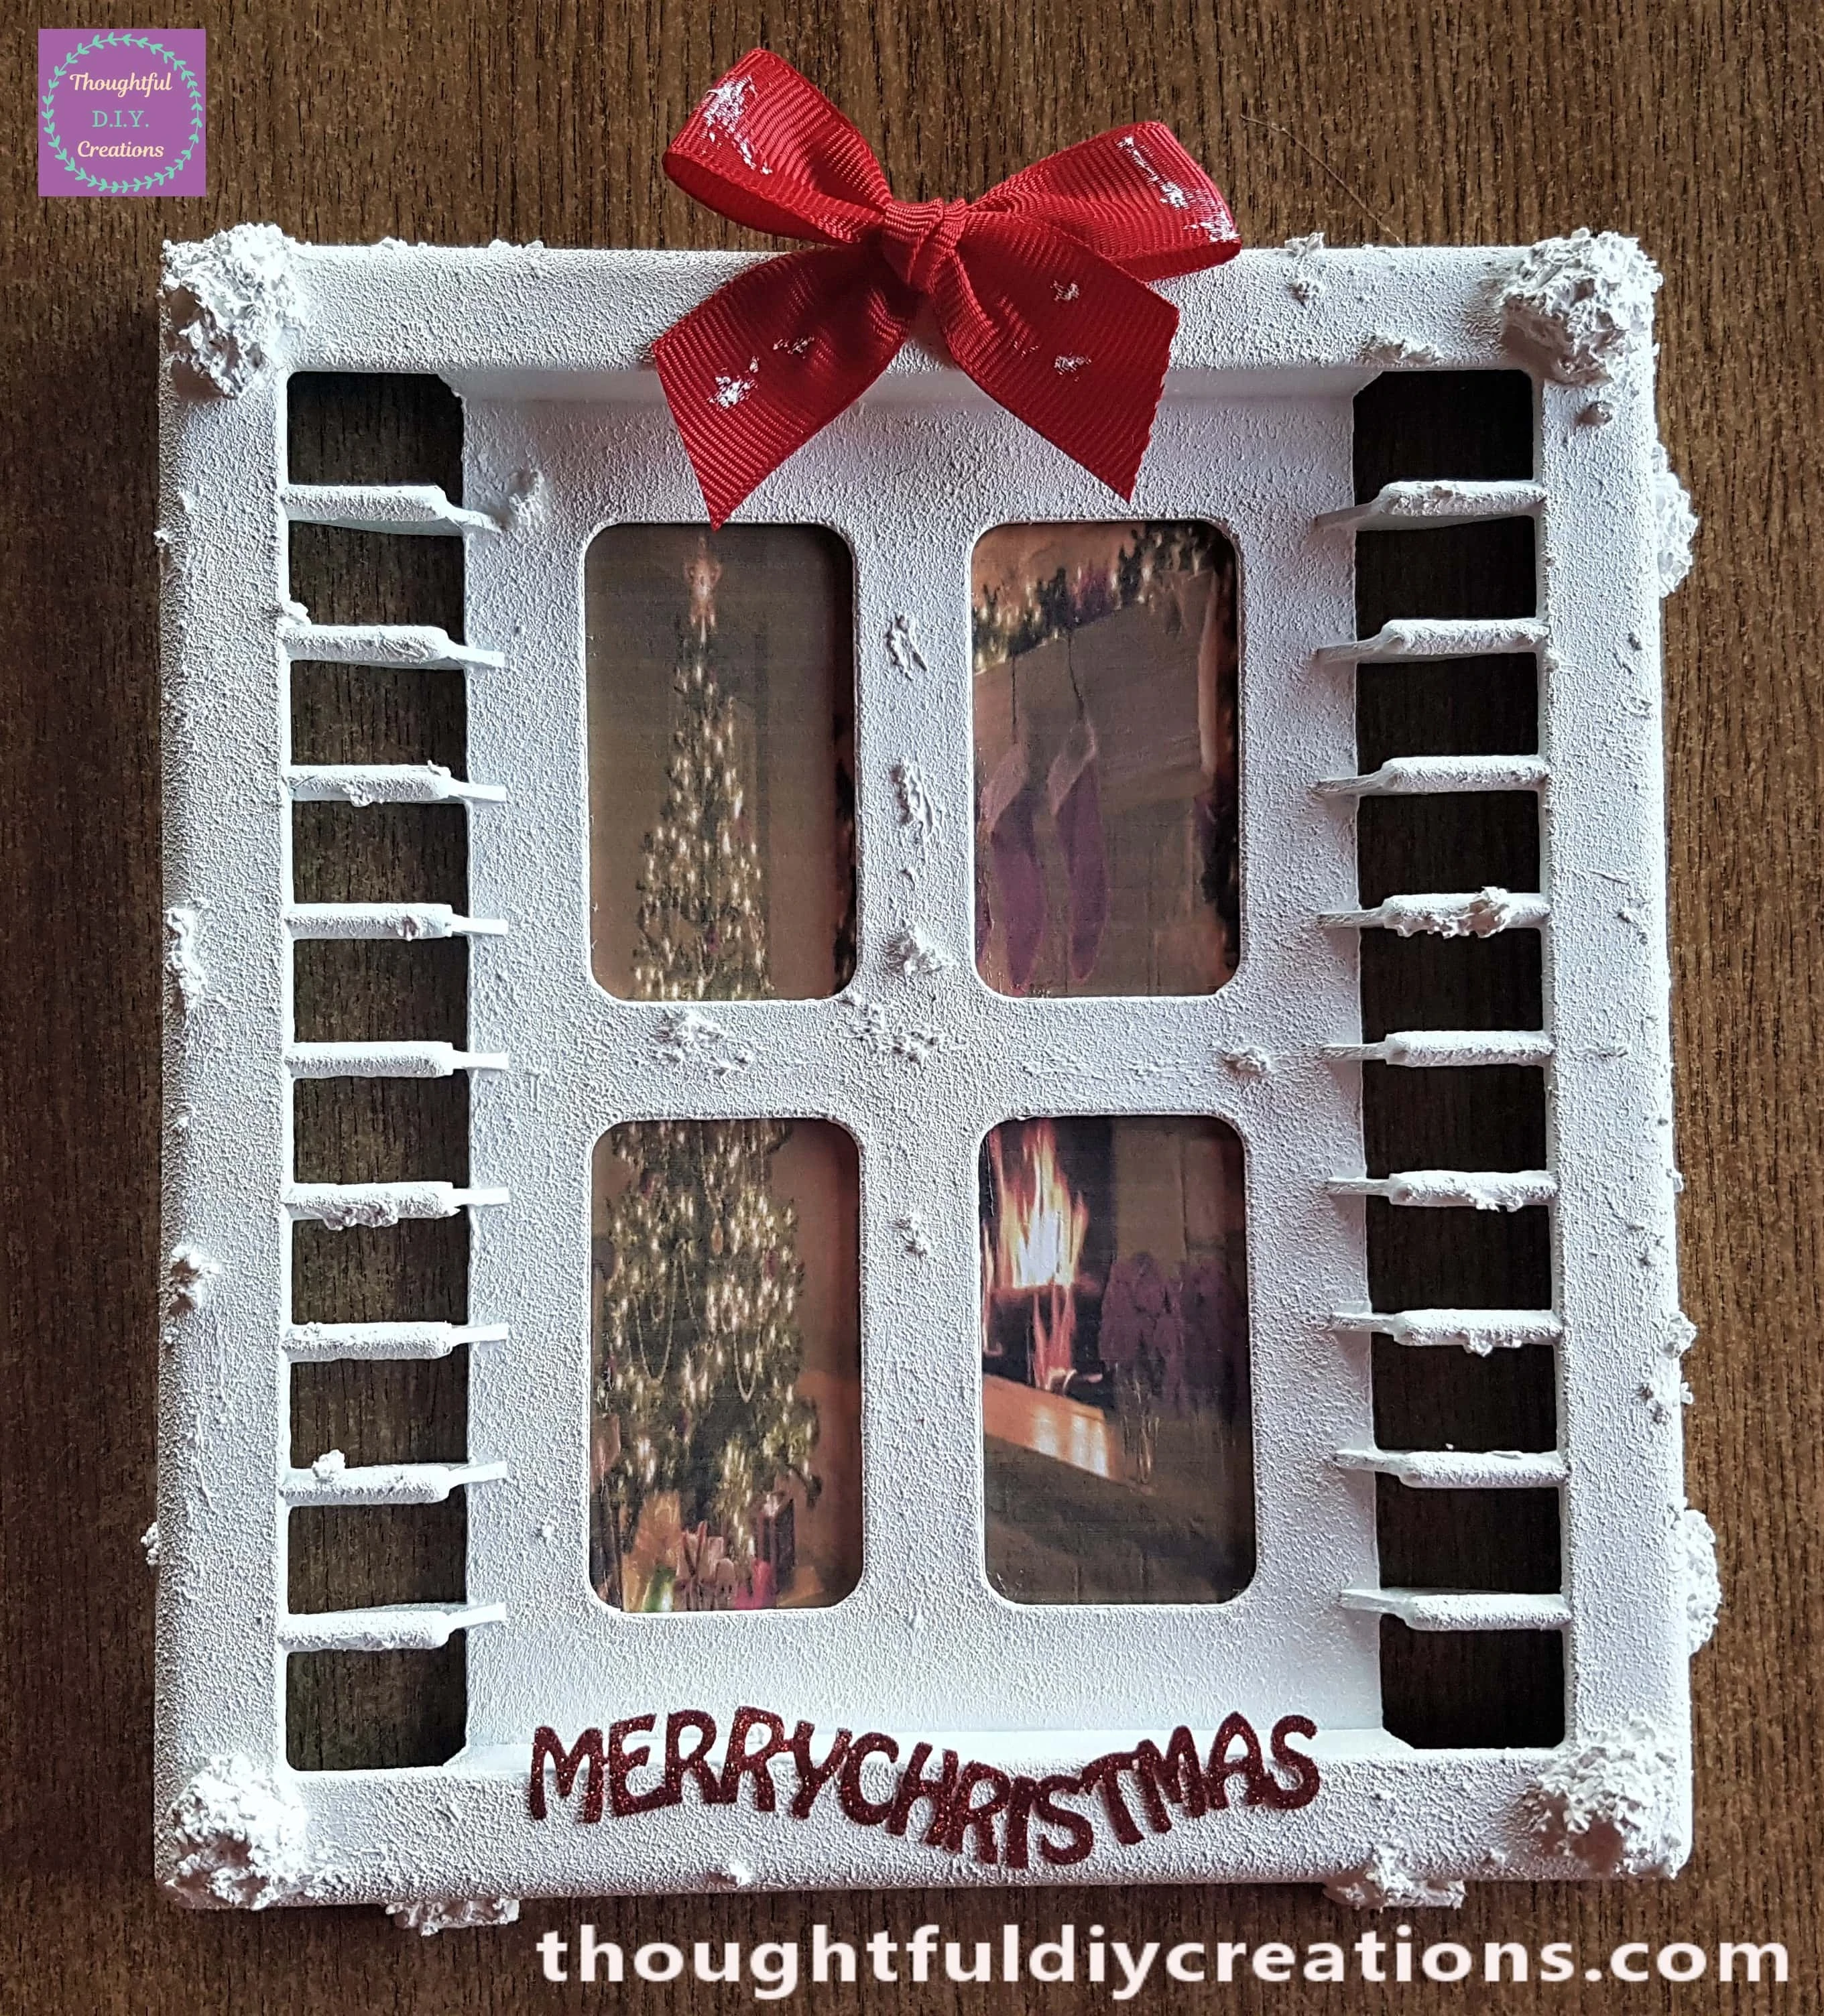
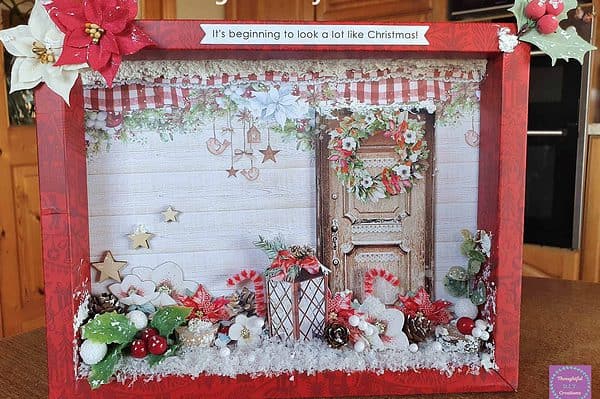
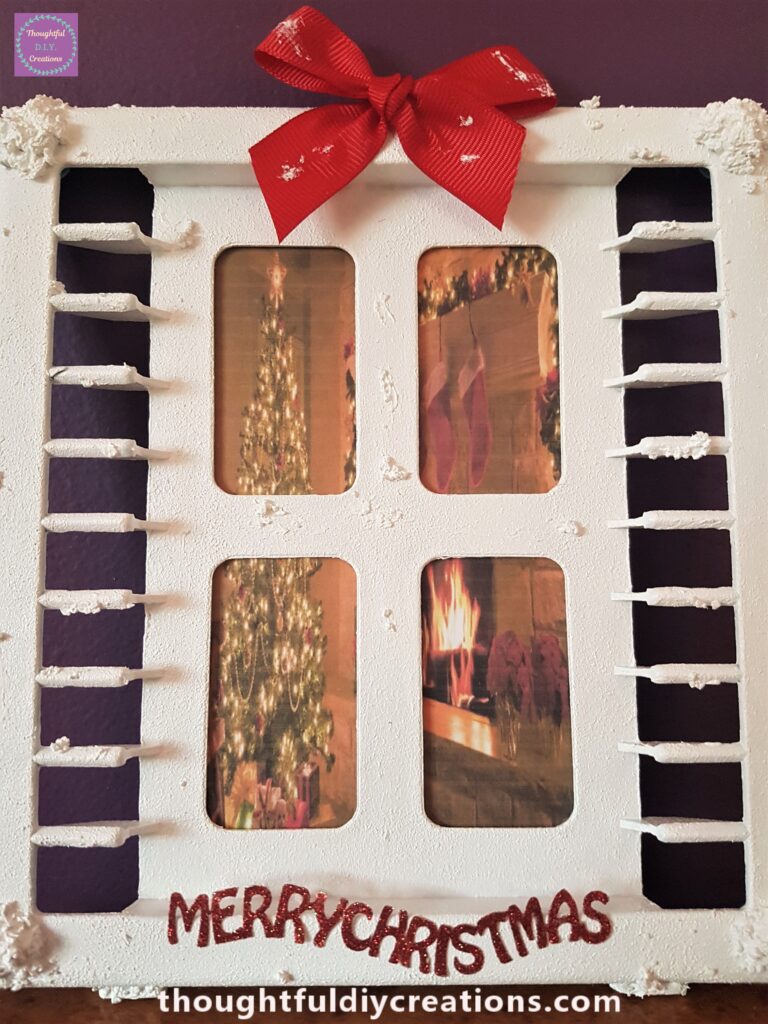
This Completed my Christmas Window Craft.

Here it is on Display.
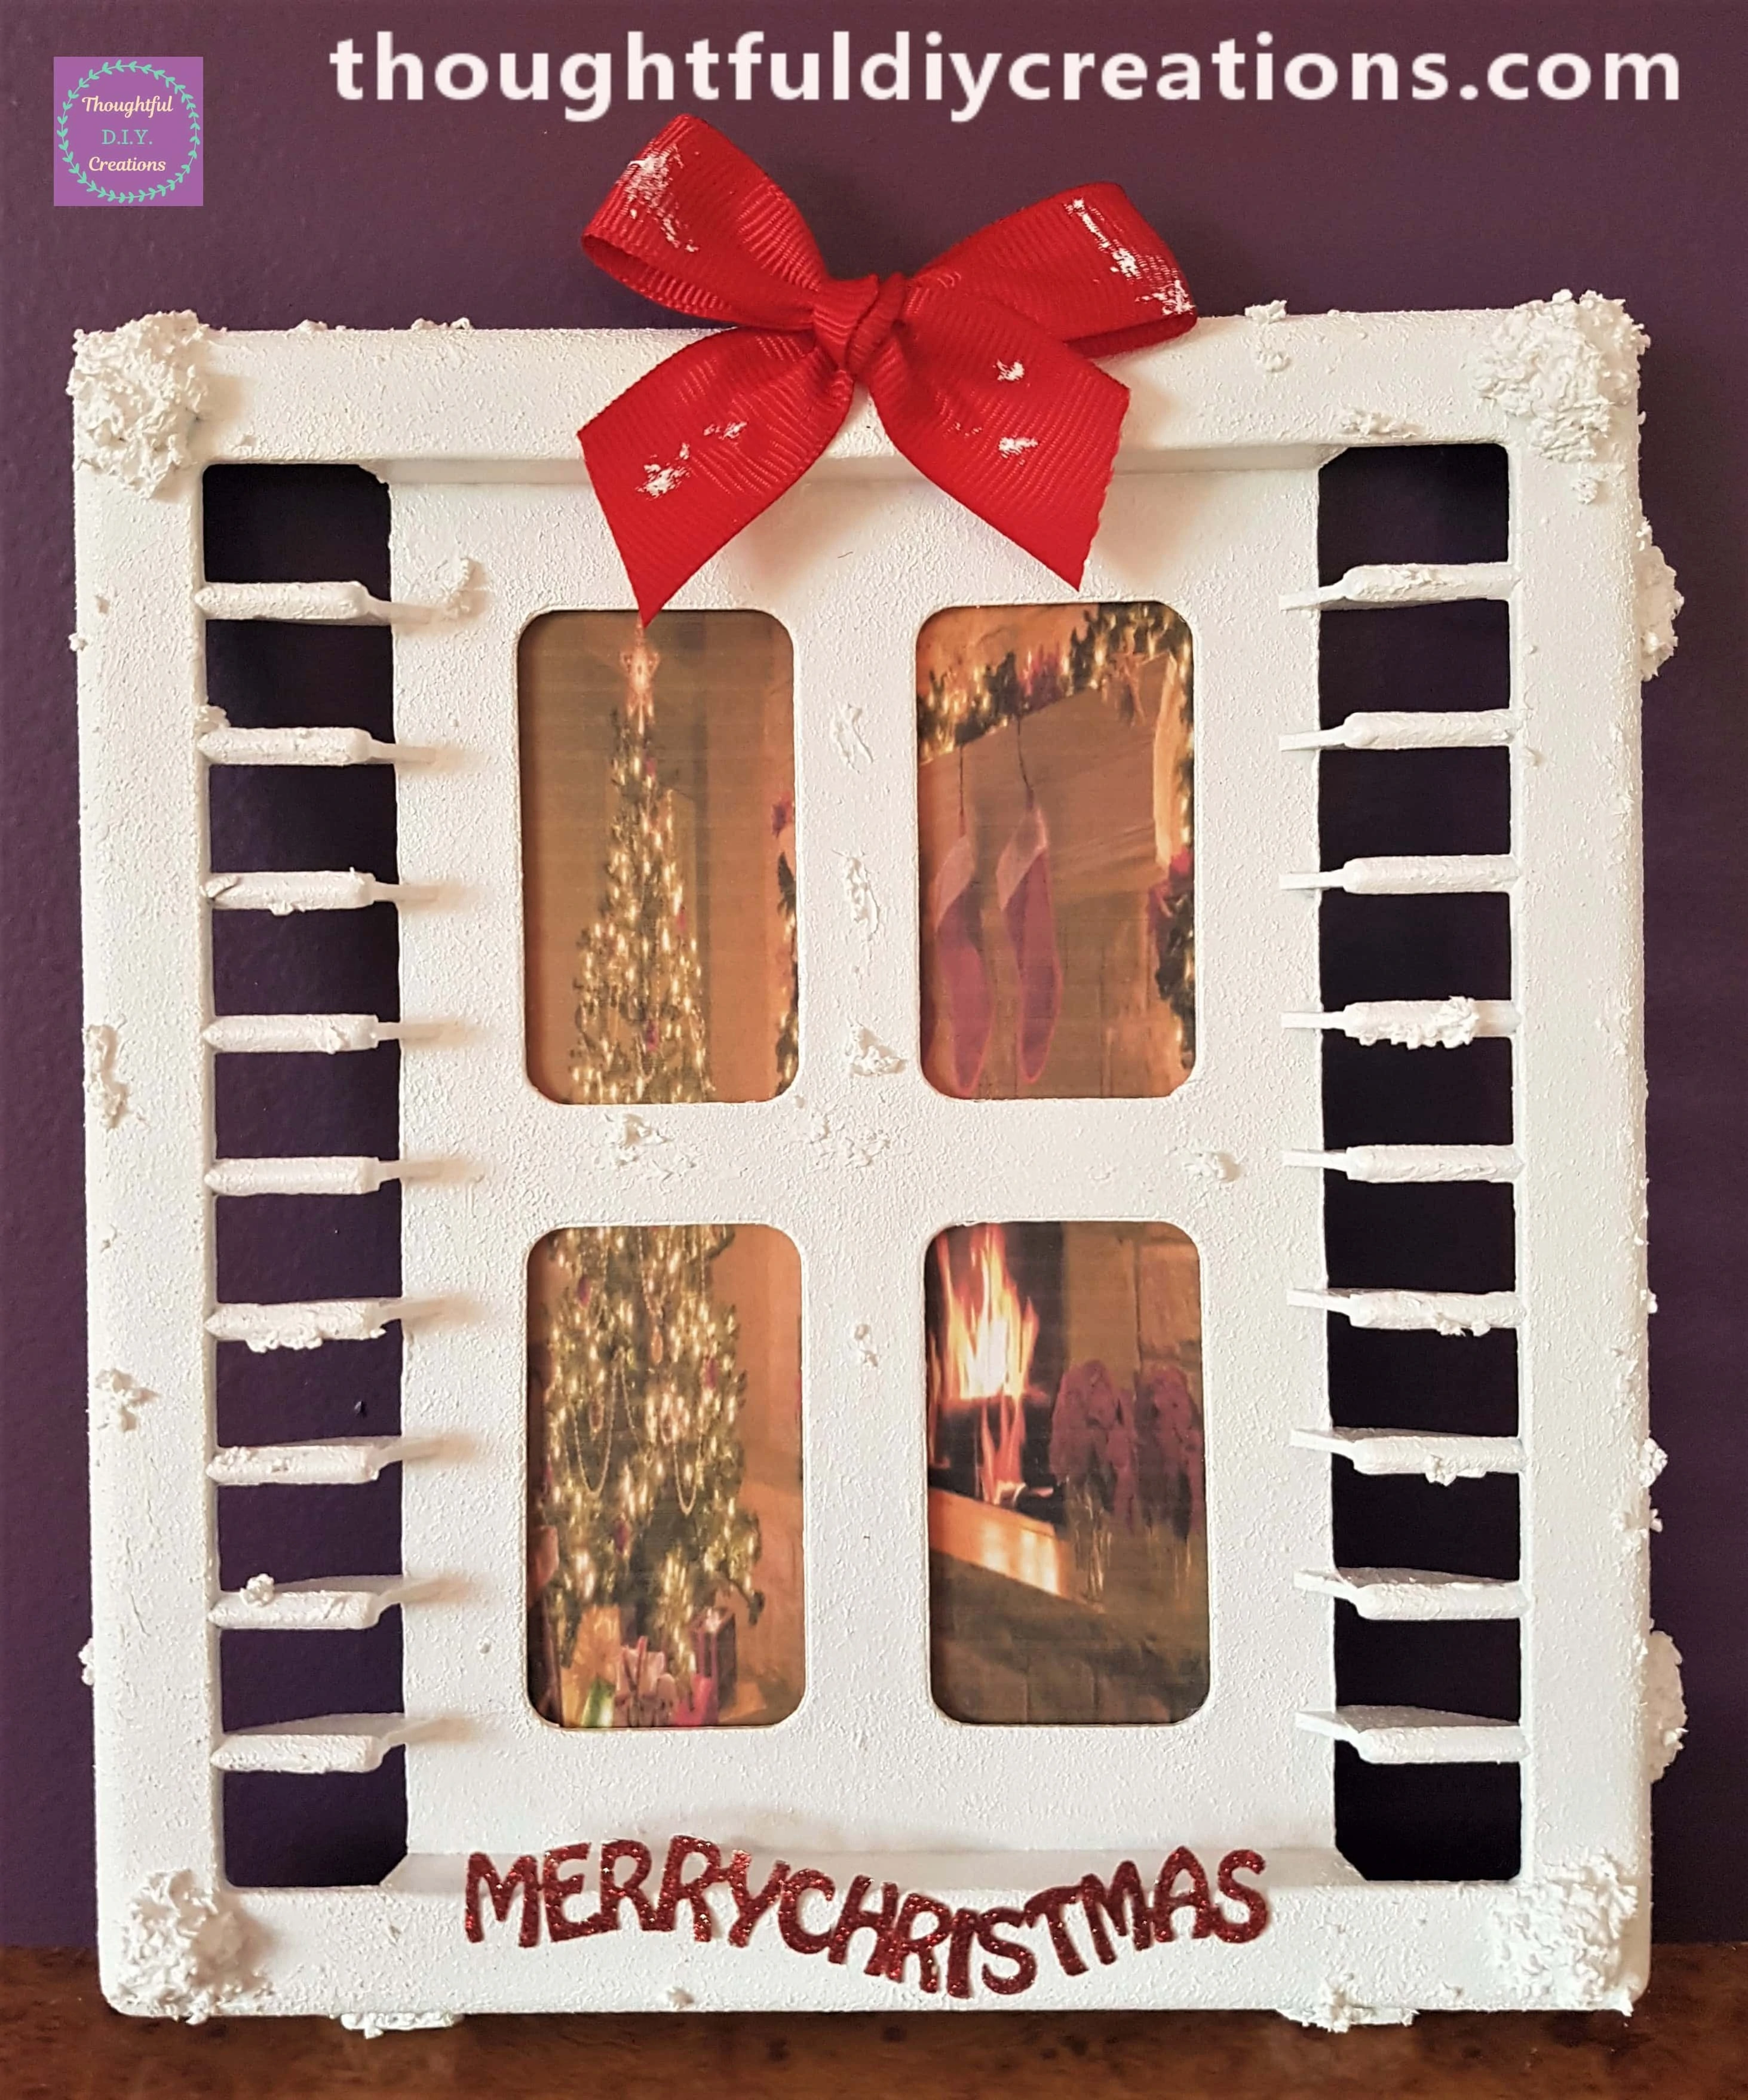
A side angle of the Window.

The Final Image of the Craft.
Conclusion
I am really Happy with how my Christmas Window came together. I love how I got to Re-Use the CD Rack and completely change it’s purpose and appearance. The Snow Paste is easy to work with and adds that magical Christmas touch. I love the warm, cosy Fire and the beautiful Decorated Christmas Tree in the Image.
I hope I have Inspired you to Make some of your own Christmas Crafts this Year. It can be such an expensive time and it’s great to use Items you have at Home and make the most out of the Craft Supplies you already have bought.
Have you Up-Cycled any unusual Household Items into Christmas Decor? I’d love to know what random items you Collect for Crafting. Feel free to Share your Opinions in the Comment Box below this Blog Post.
Thank You so much for taking the Time to Read my Blog.
Always Grateful,
T.D.C.
xoxox

