Clay Heart Tutorial
Hello my Creative Friends,
I hope you are all Well. In Today’s Tutorial I will show you how I made a Clay Heart for a New Home. This Craft only requires three supplies making it a budget D.I.Y. project. The Sentiment can be changed to anything you want making it more personal and meaningful to you.
Supplies to Make the Clay Heart
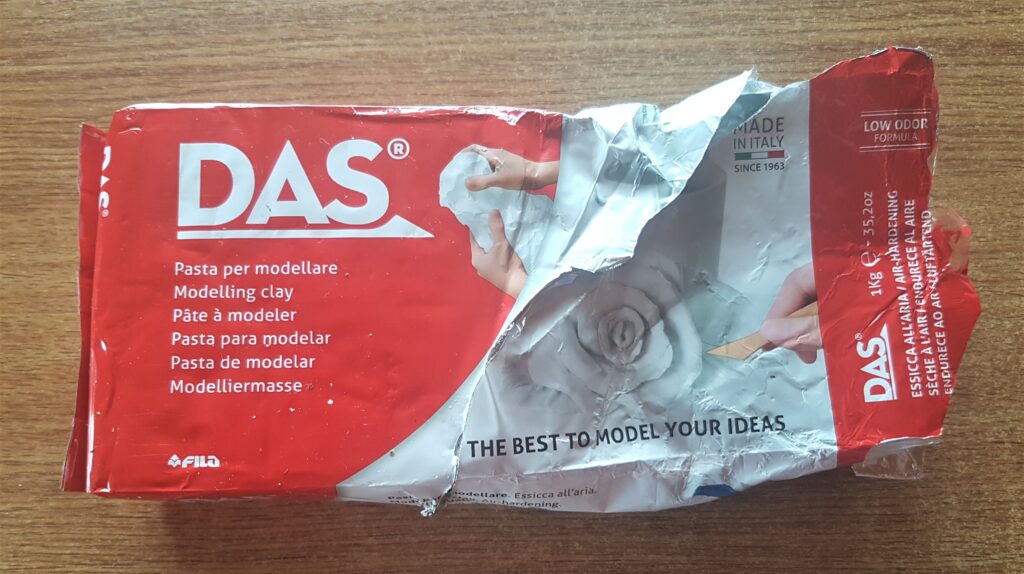
I got my Pack of ‘DAS Air-Dry Clay’ from my supplies.
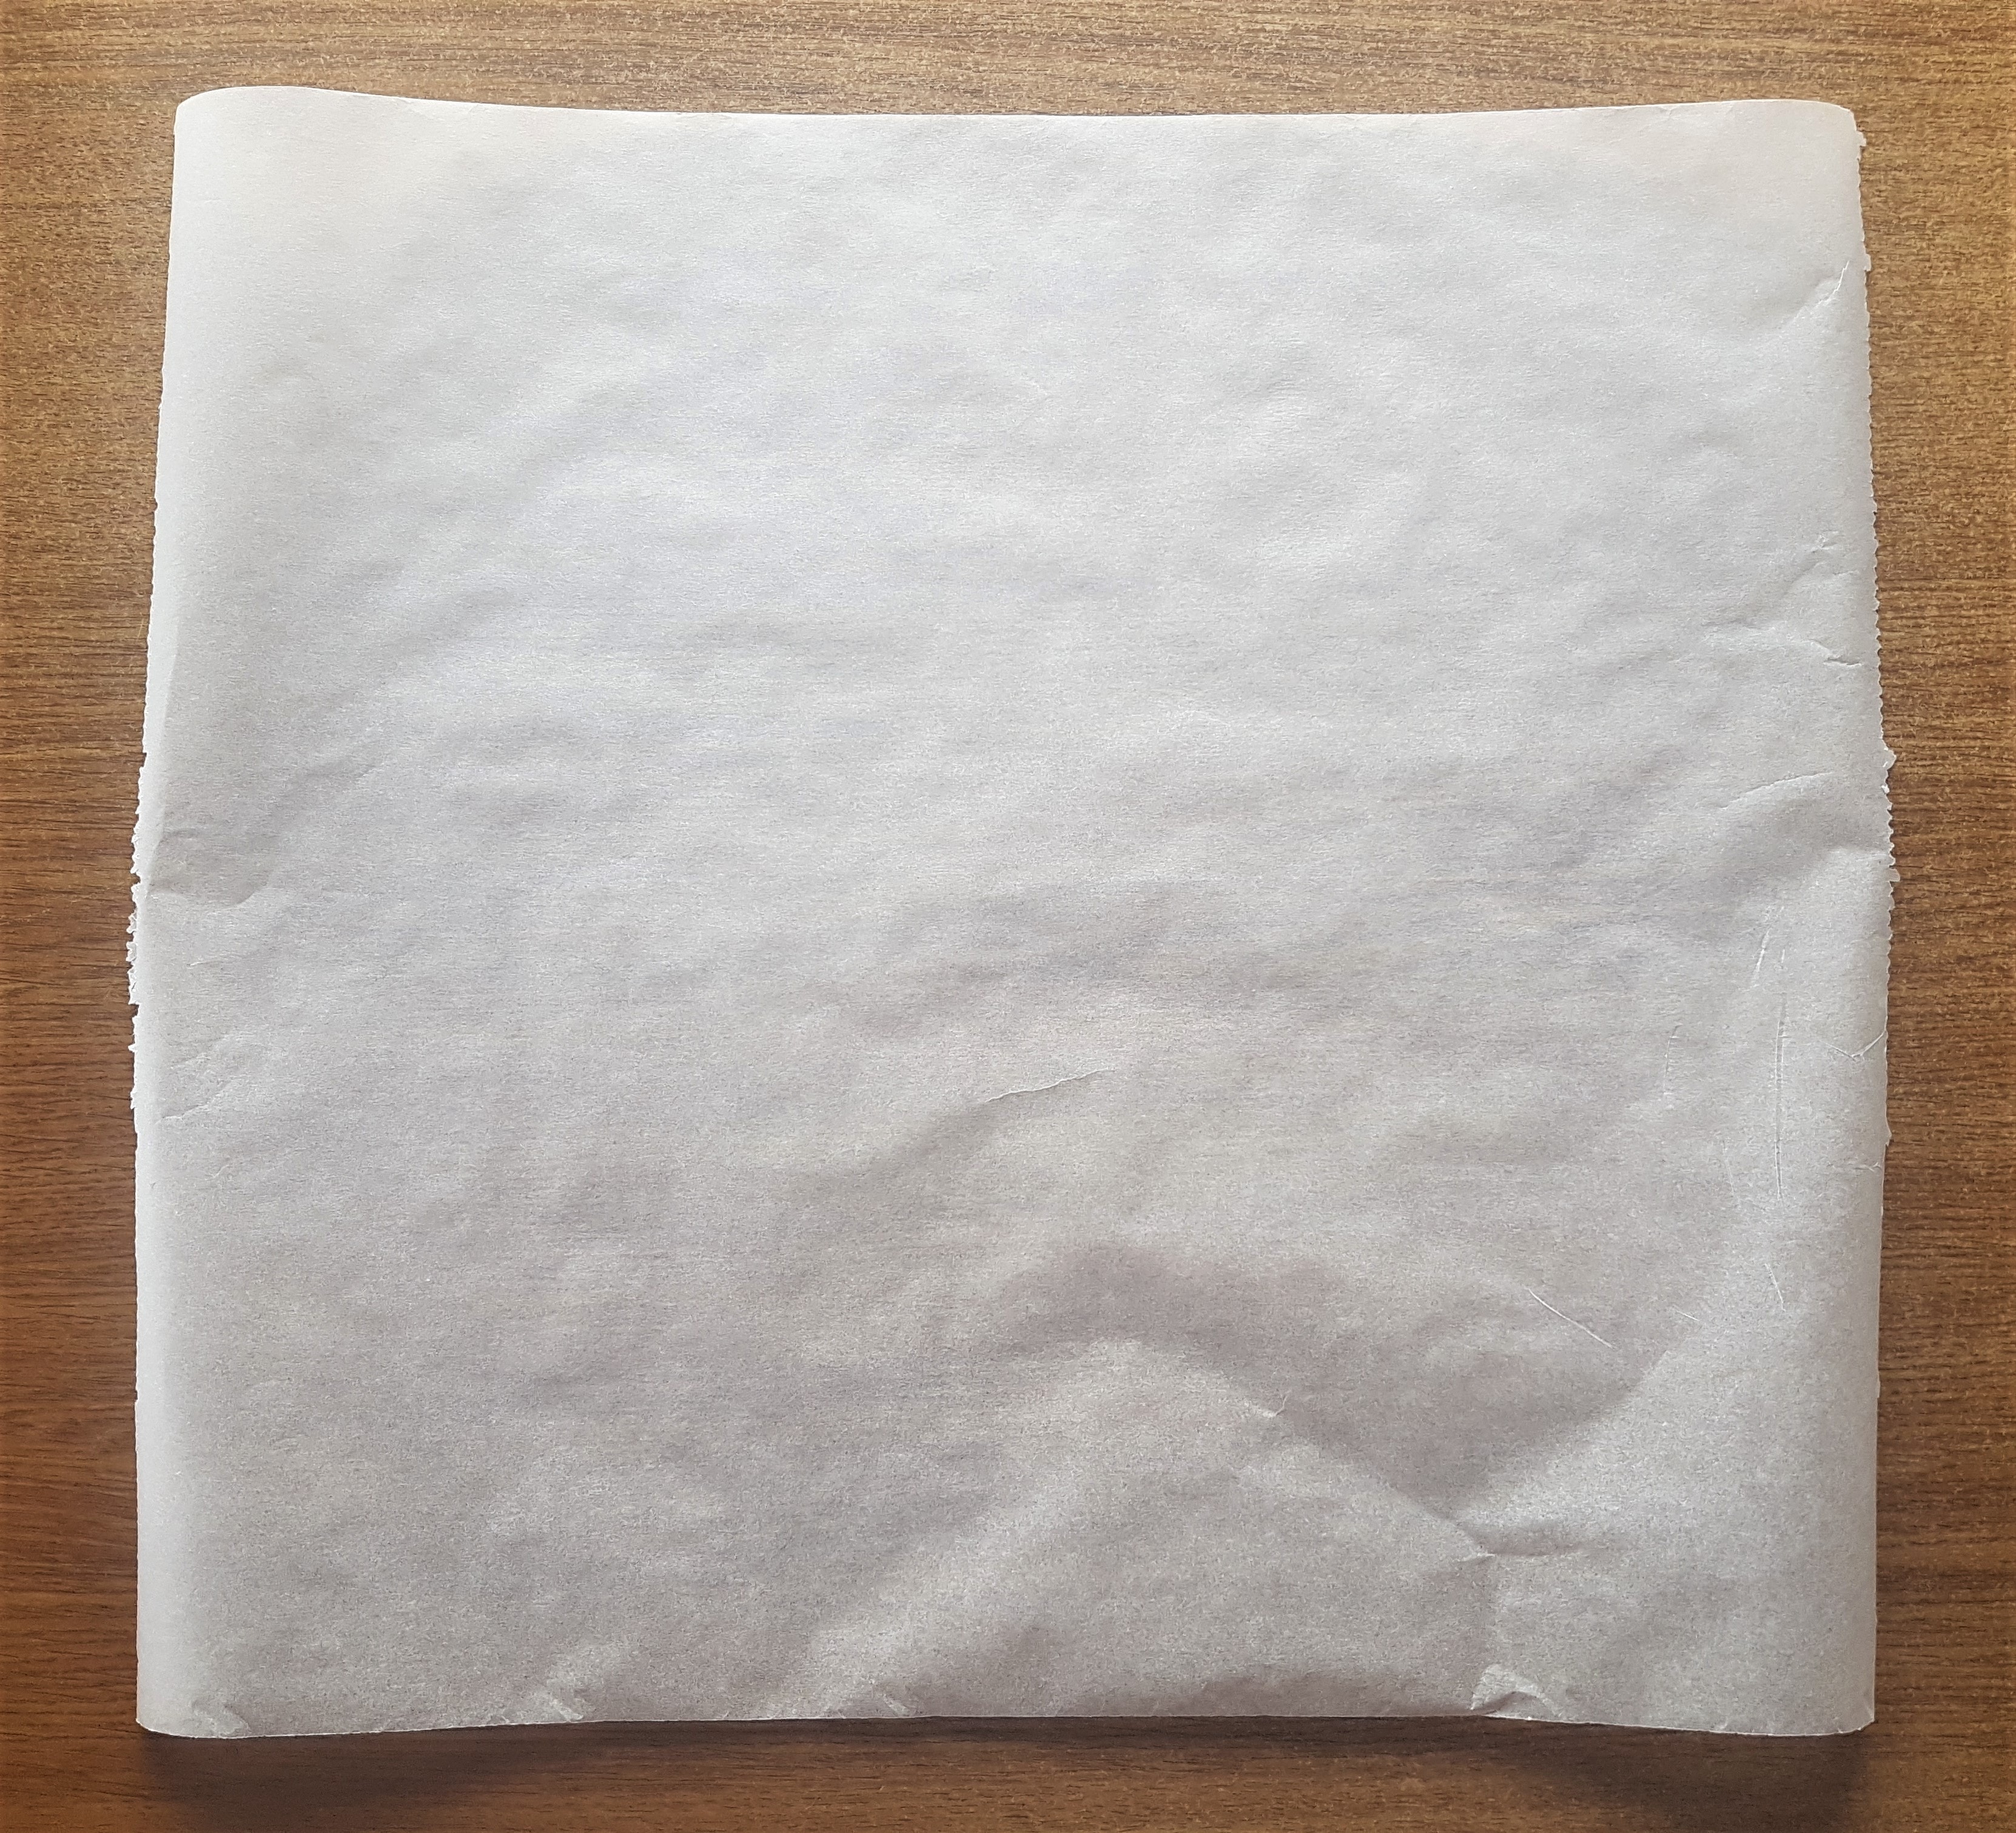
I got a Box of Baking Paper from the Kitchen.

I took out one sheet of Baking Paper from the Pack.
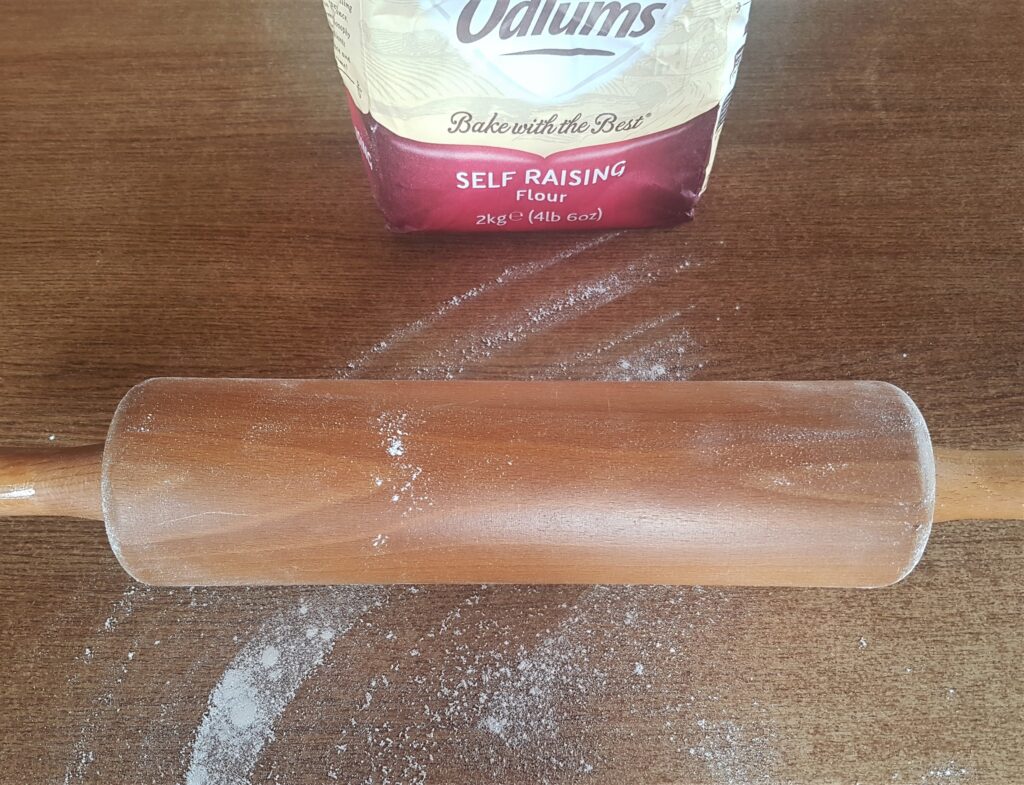
I got my Rolling Pin and sprinkled some Flour over the rolling pin to prevent it from sticking to the Clay.
Making the Clay Heart
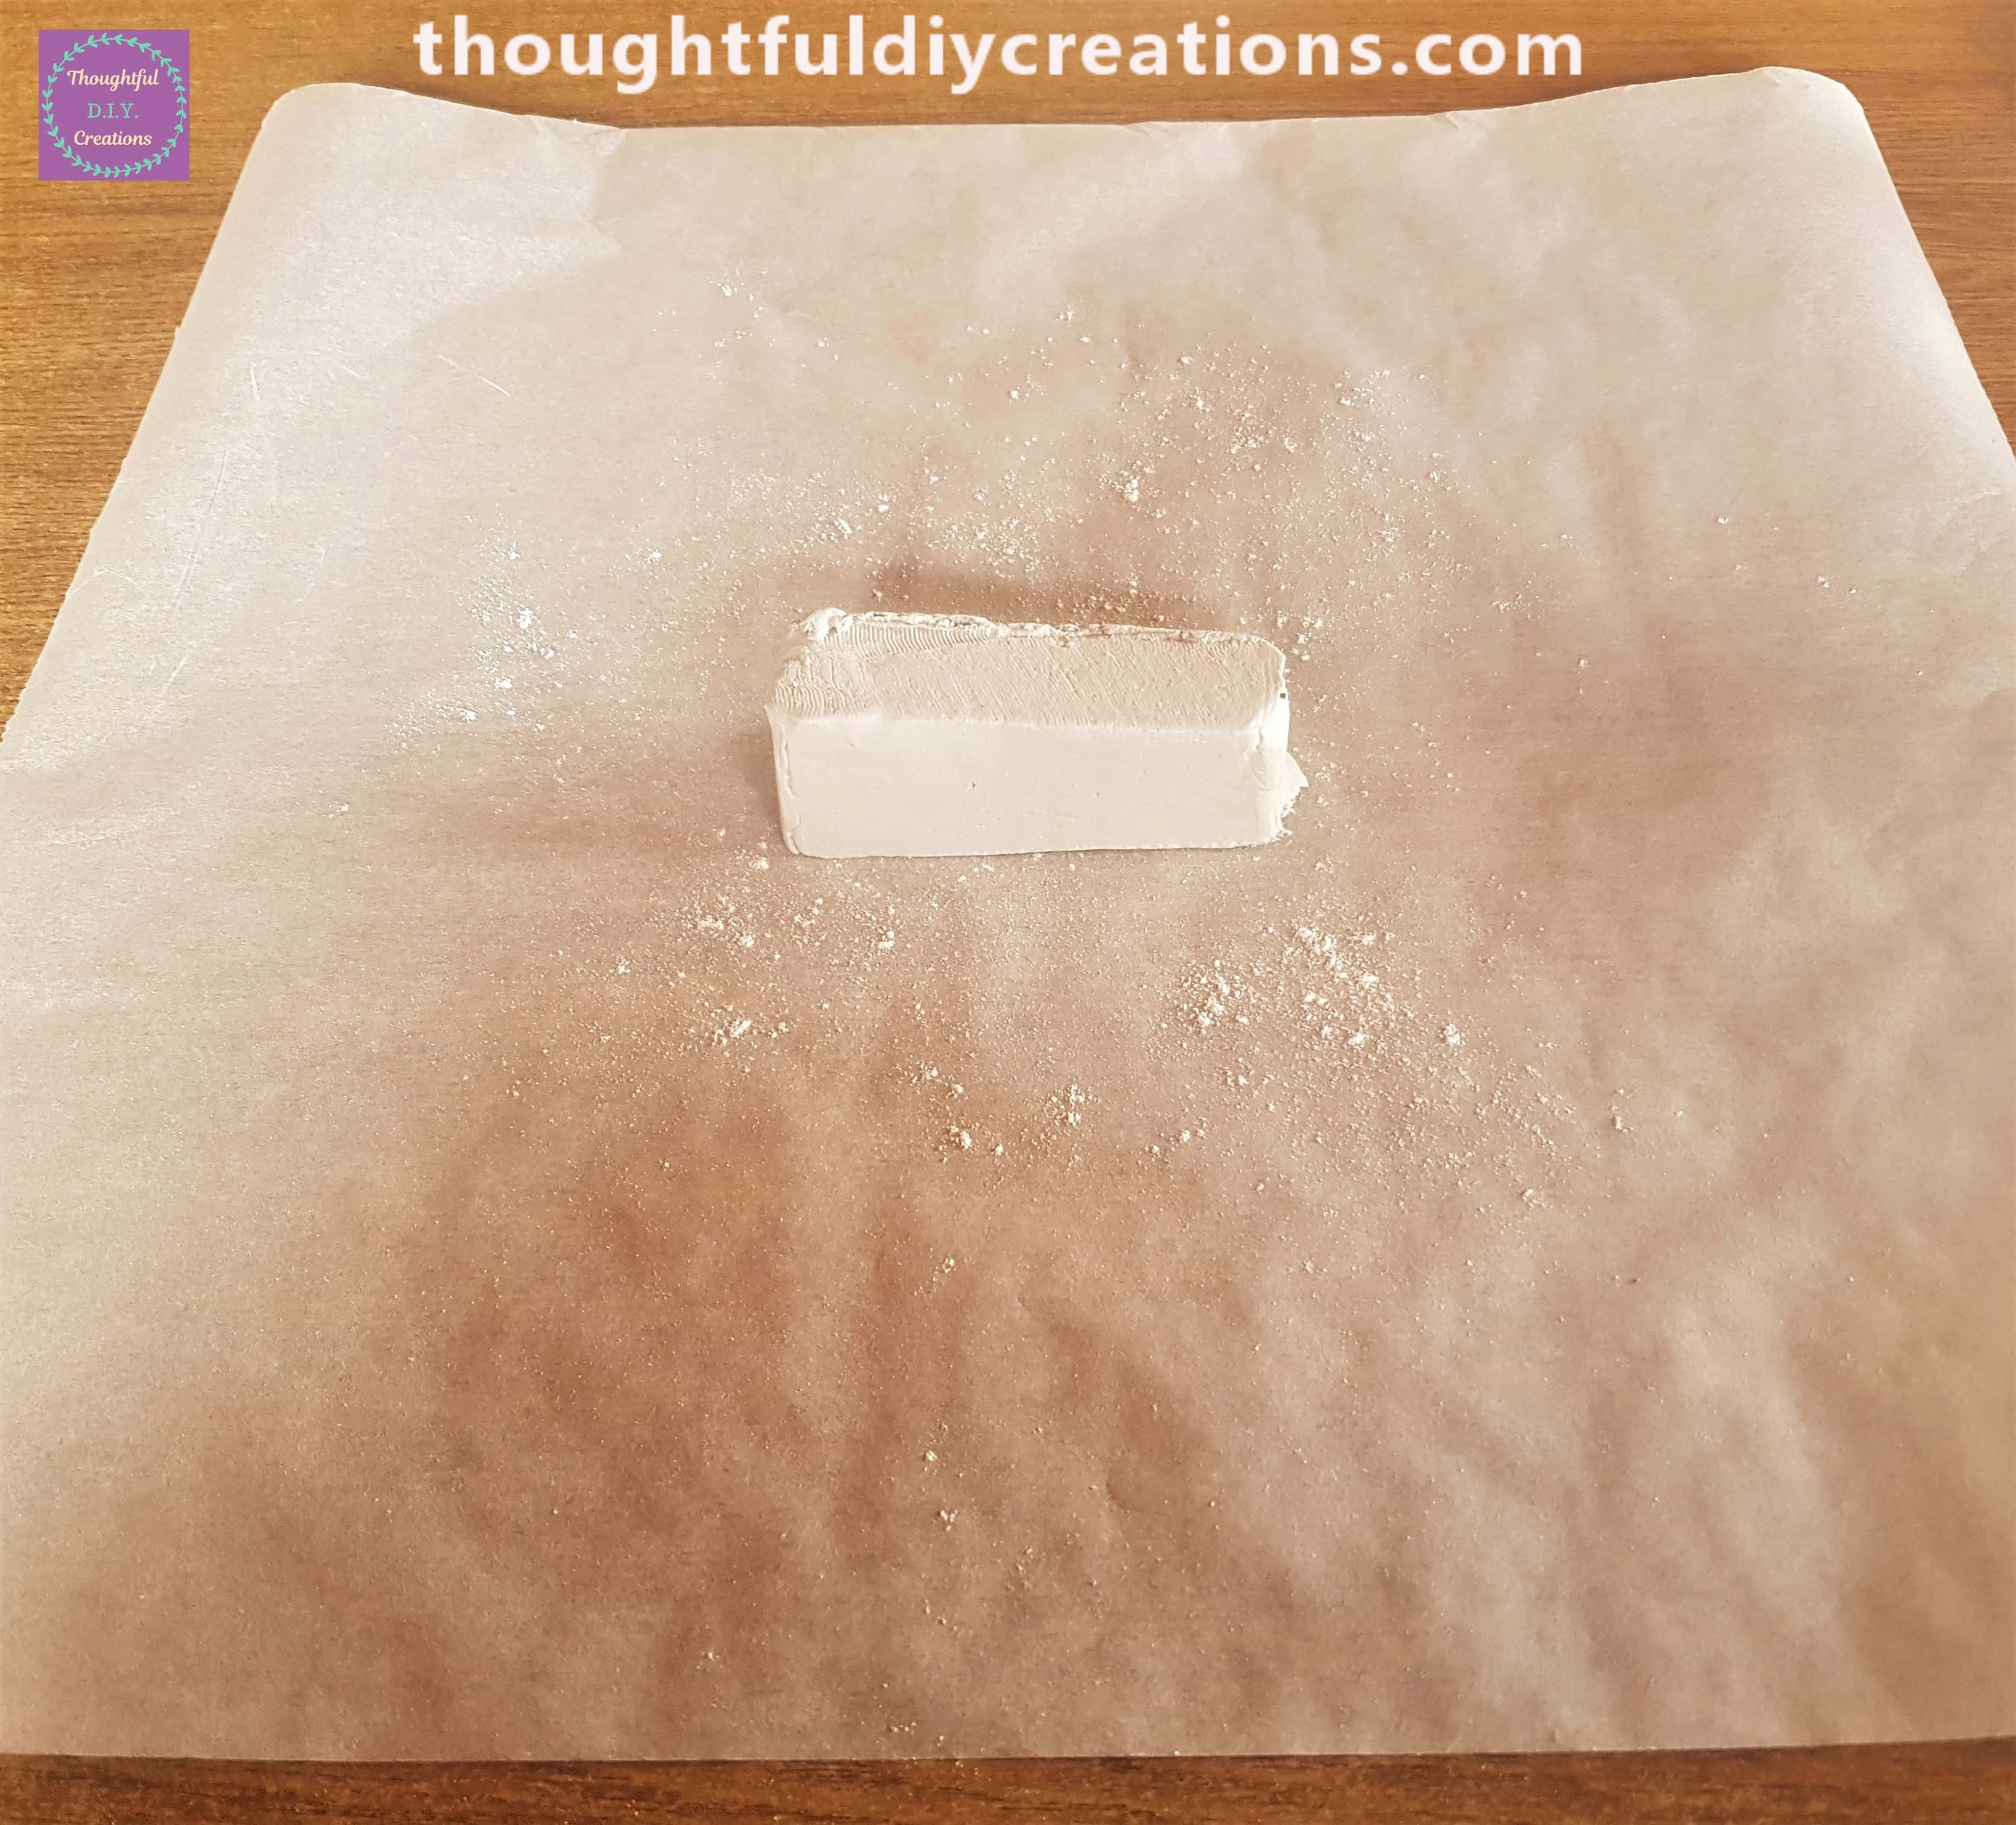
I cut a rectangle of Clay about 1 inch thick using a knife. I also sprinkled some Flour on the Baking Paper and Clay.
I started to Roll the Clay up and down with the Rolling Pin.
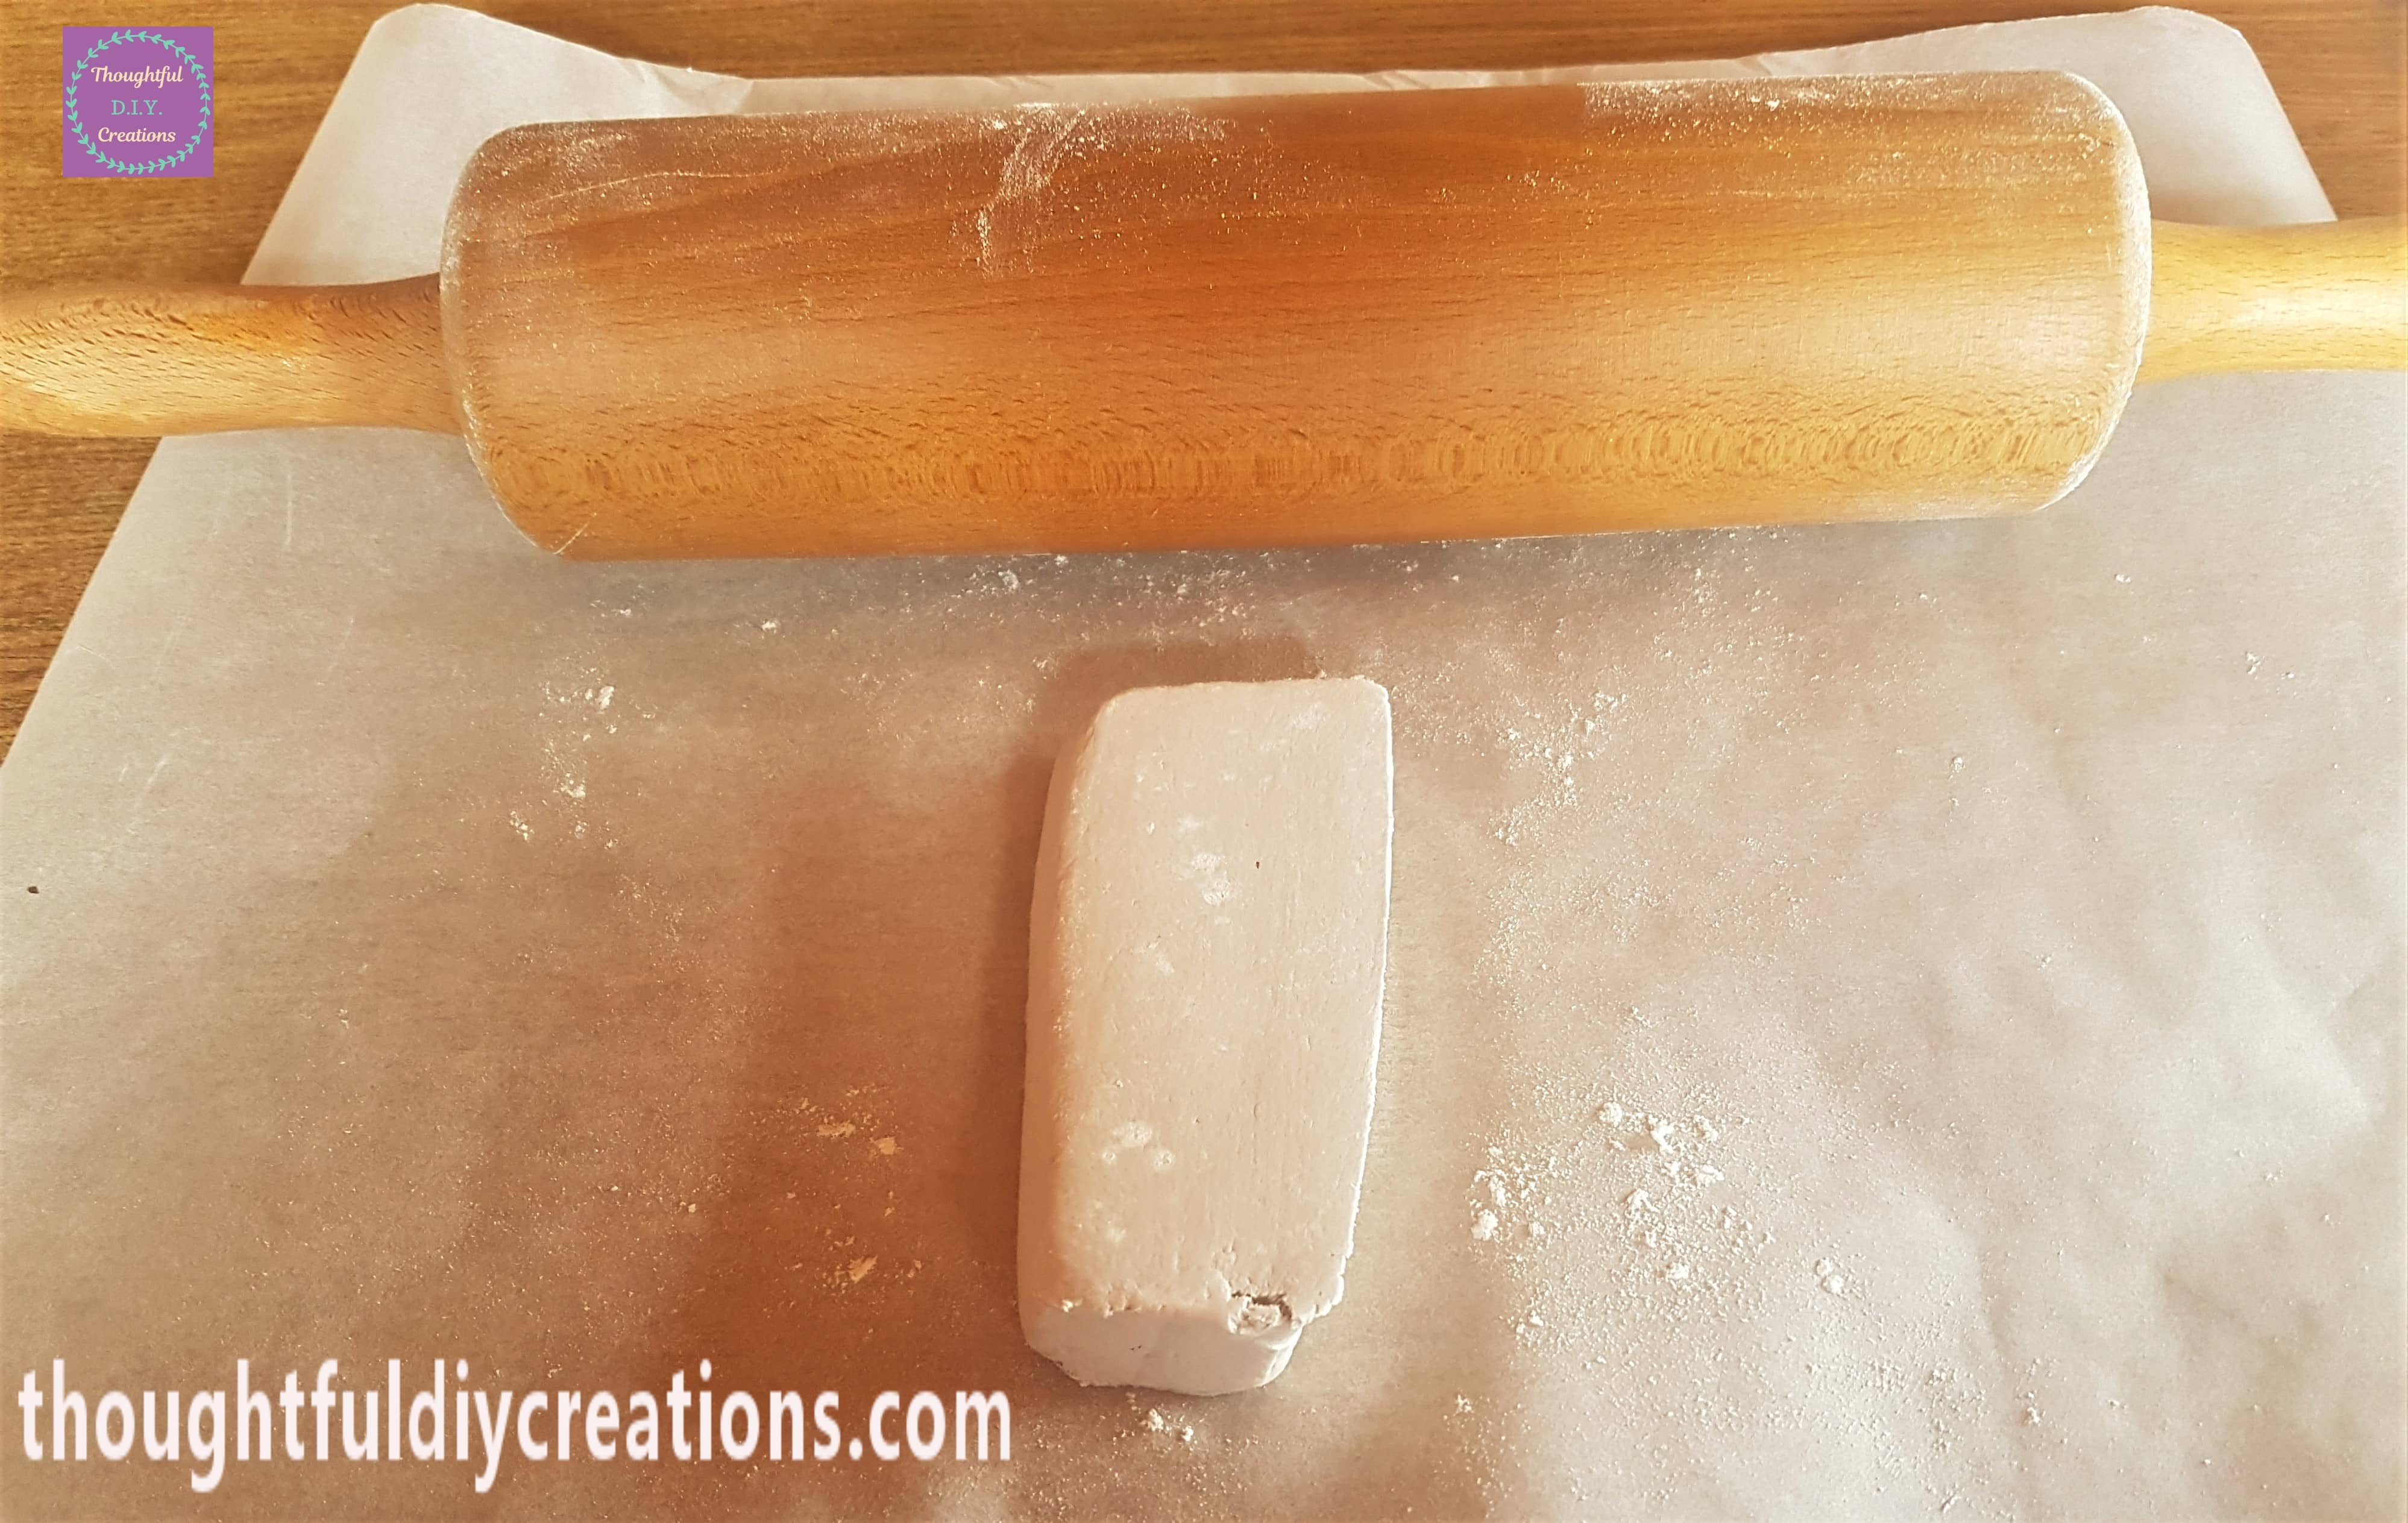
I rolled the Clay some more, this is how it is looking so far.
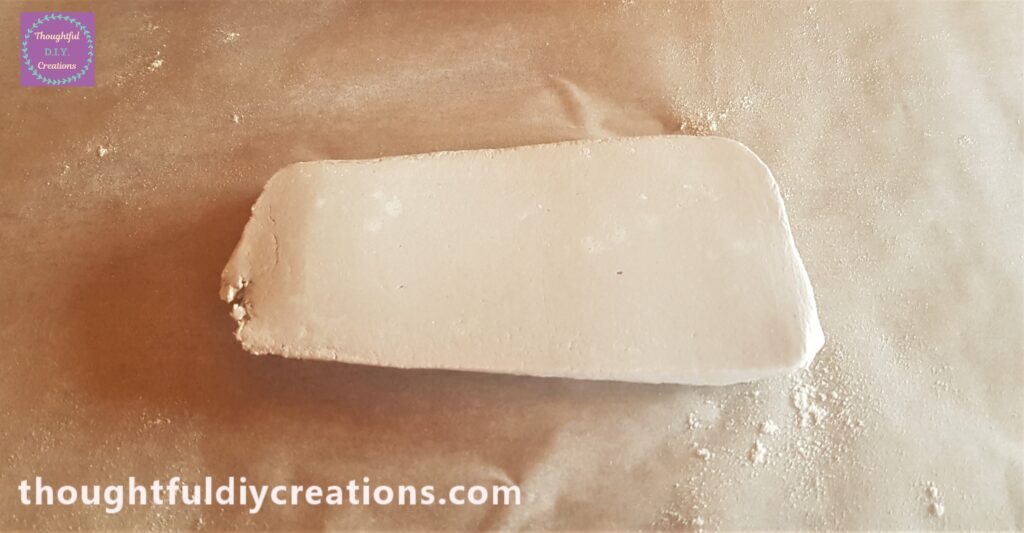
I put more pressure on the rolling pin and the Clay started to flatten out.
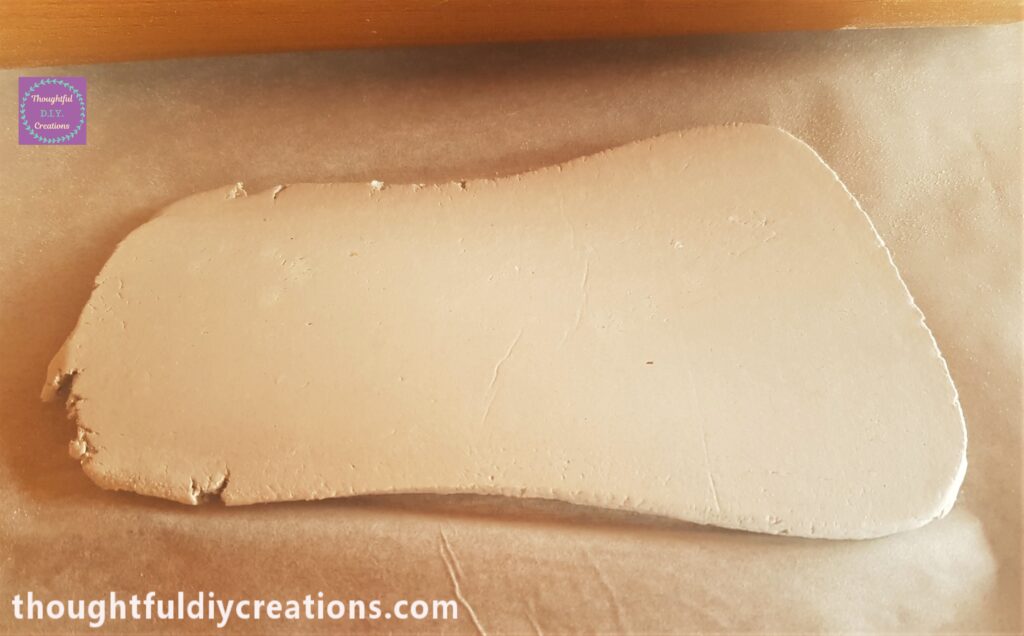
I rolled the Clay up and down evenly to ensure the Clay was the same width all over.
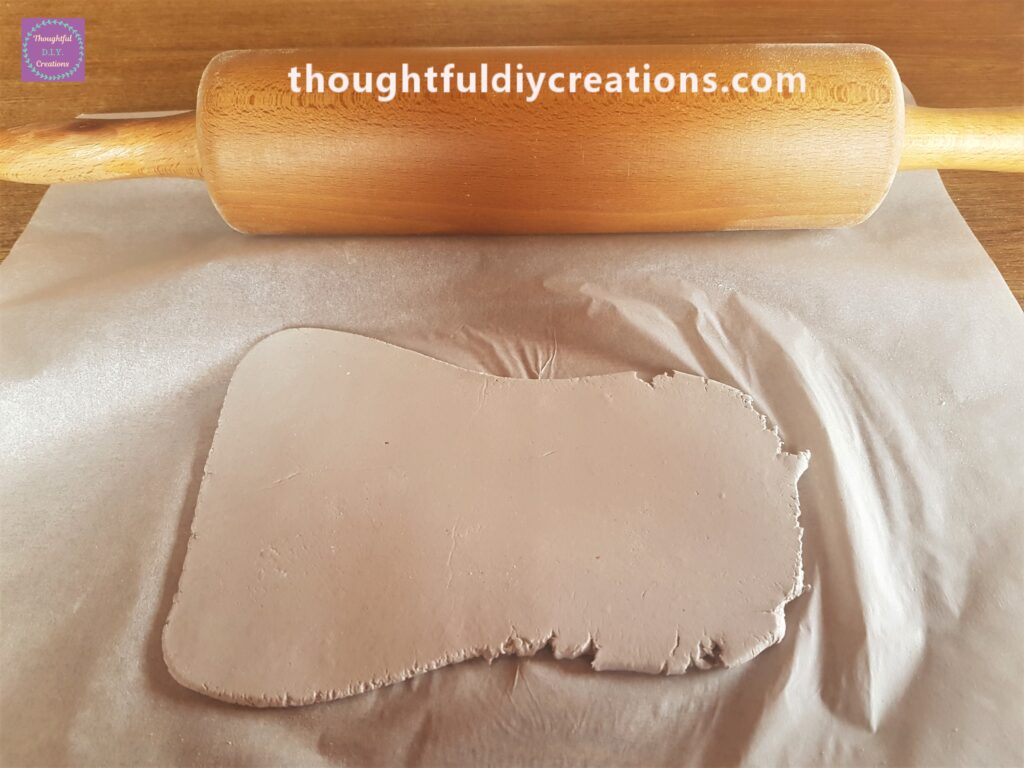
I got my 6 Piece Heart Cutter Set from my crafting supplies.
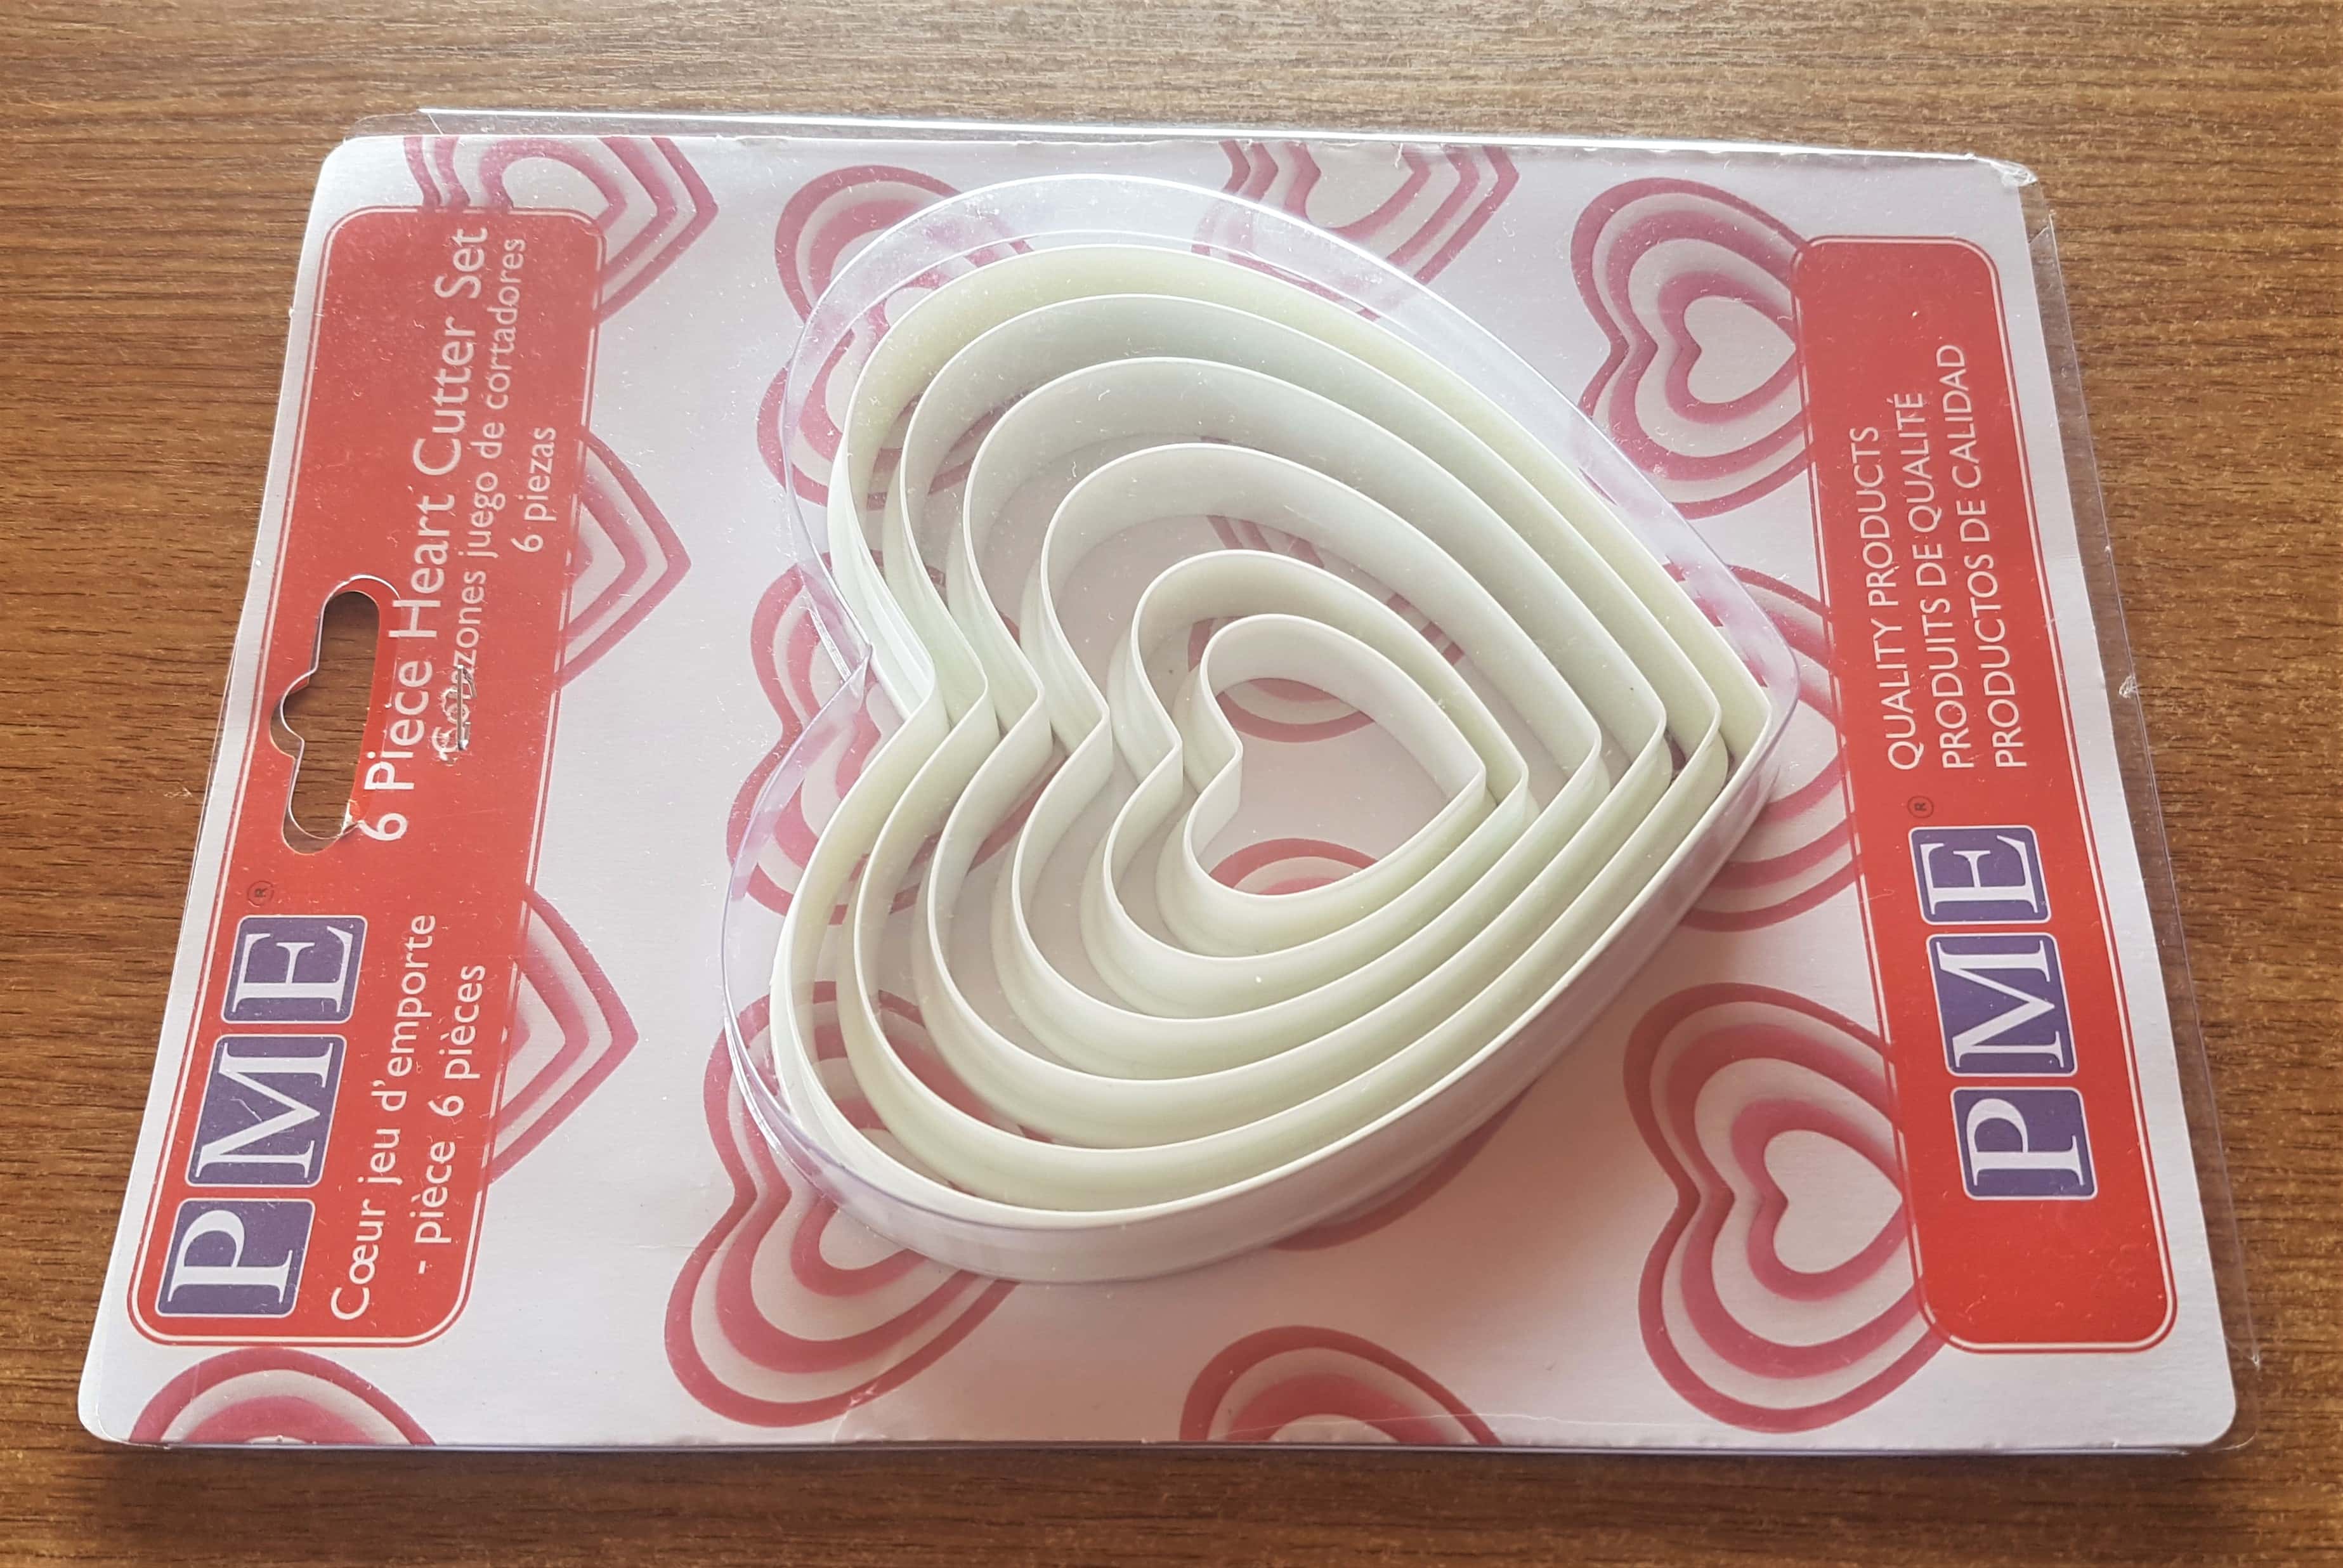
I removed the Biggest Heart from the Pack.

I put the Heart on the top part of the rolled out Clay where it was widest.
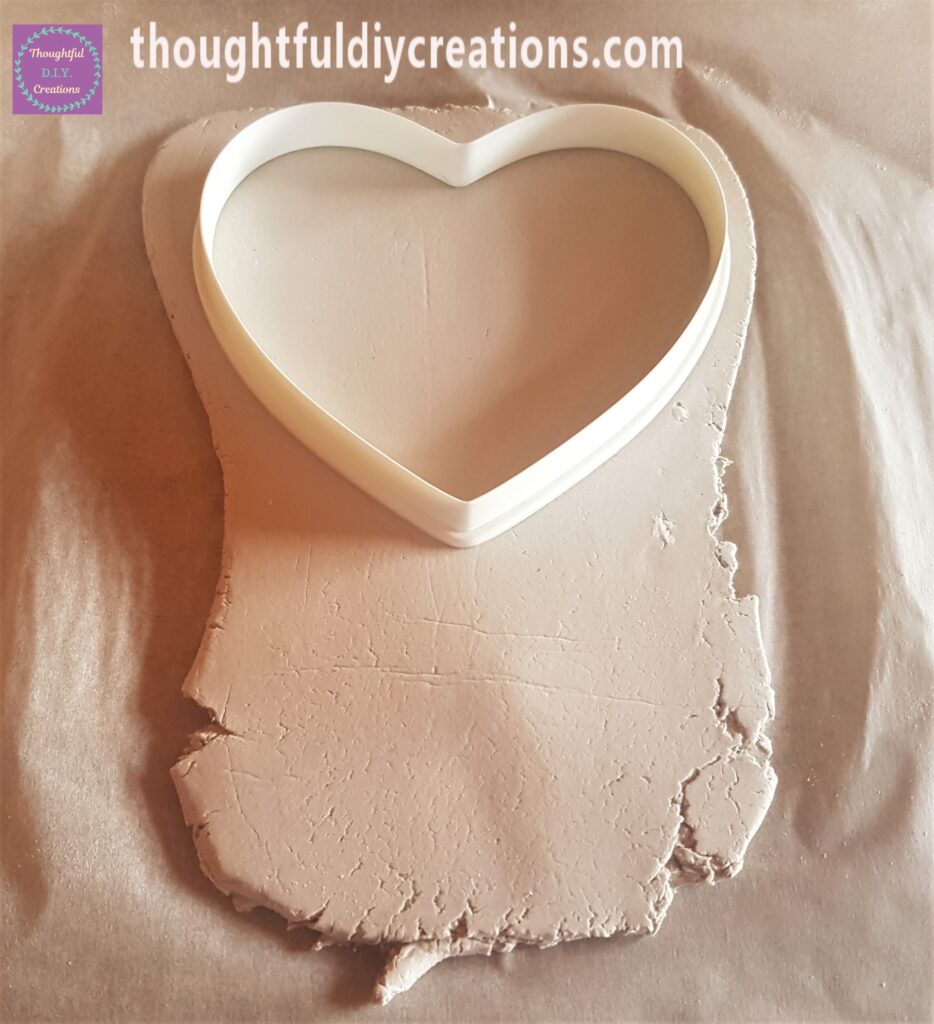
I pressed the Heart down into the Clay and cut around the Heart using a Knife.

I removed the Cut out Heart from the rest of the rolled out Clay.

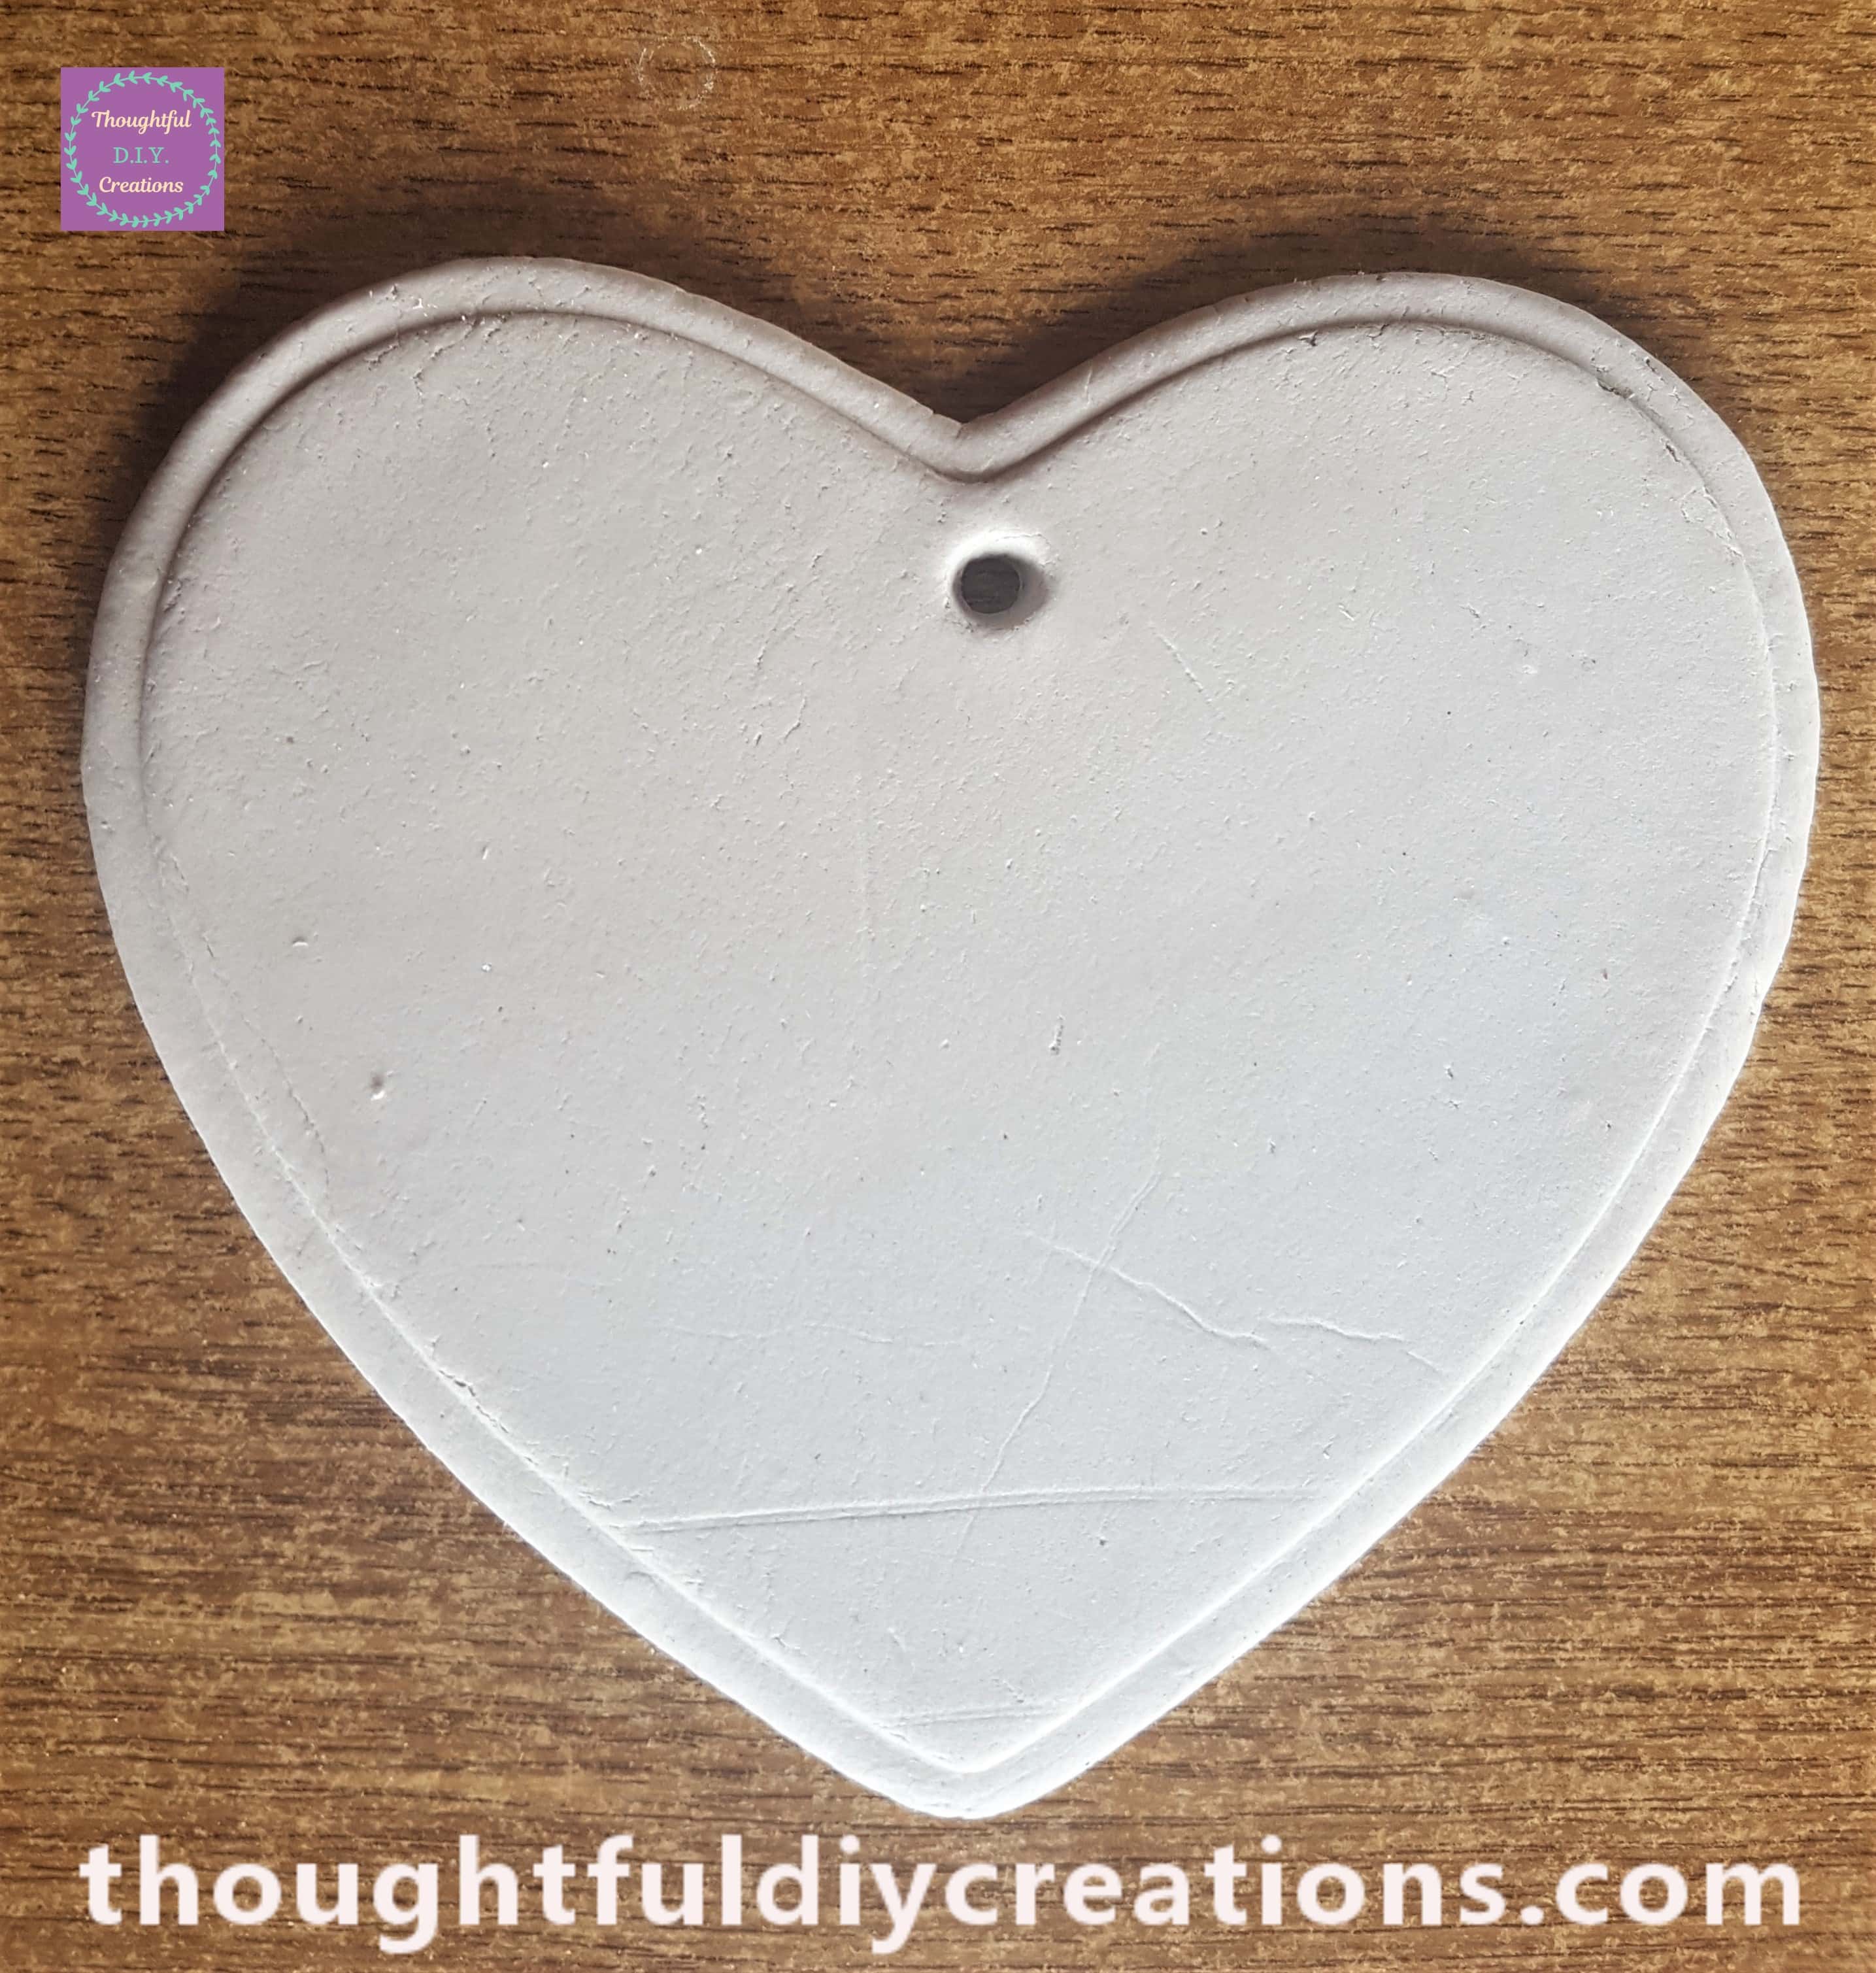
I removed the Heart Shape from the Clay. It now had a nice imprint from the Shape of the Heart and a border from where I cut around it.

I got the lid of a Pen and squeezed it into the top mid-section of the Heart to make a Hole for Hanging it up. You could also use a straw.
I put some water into a small glass and got a Paintbrush.
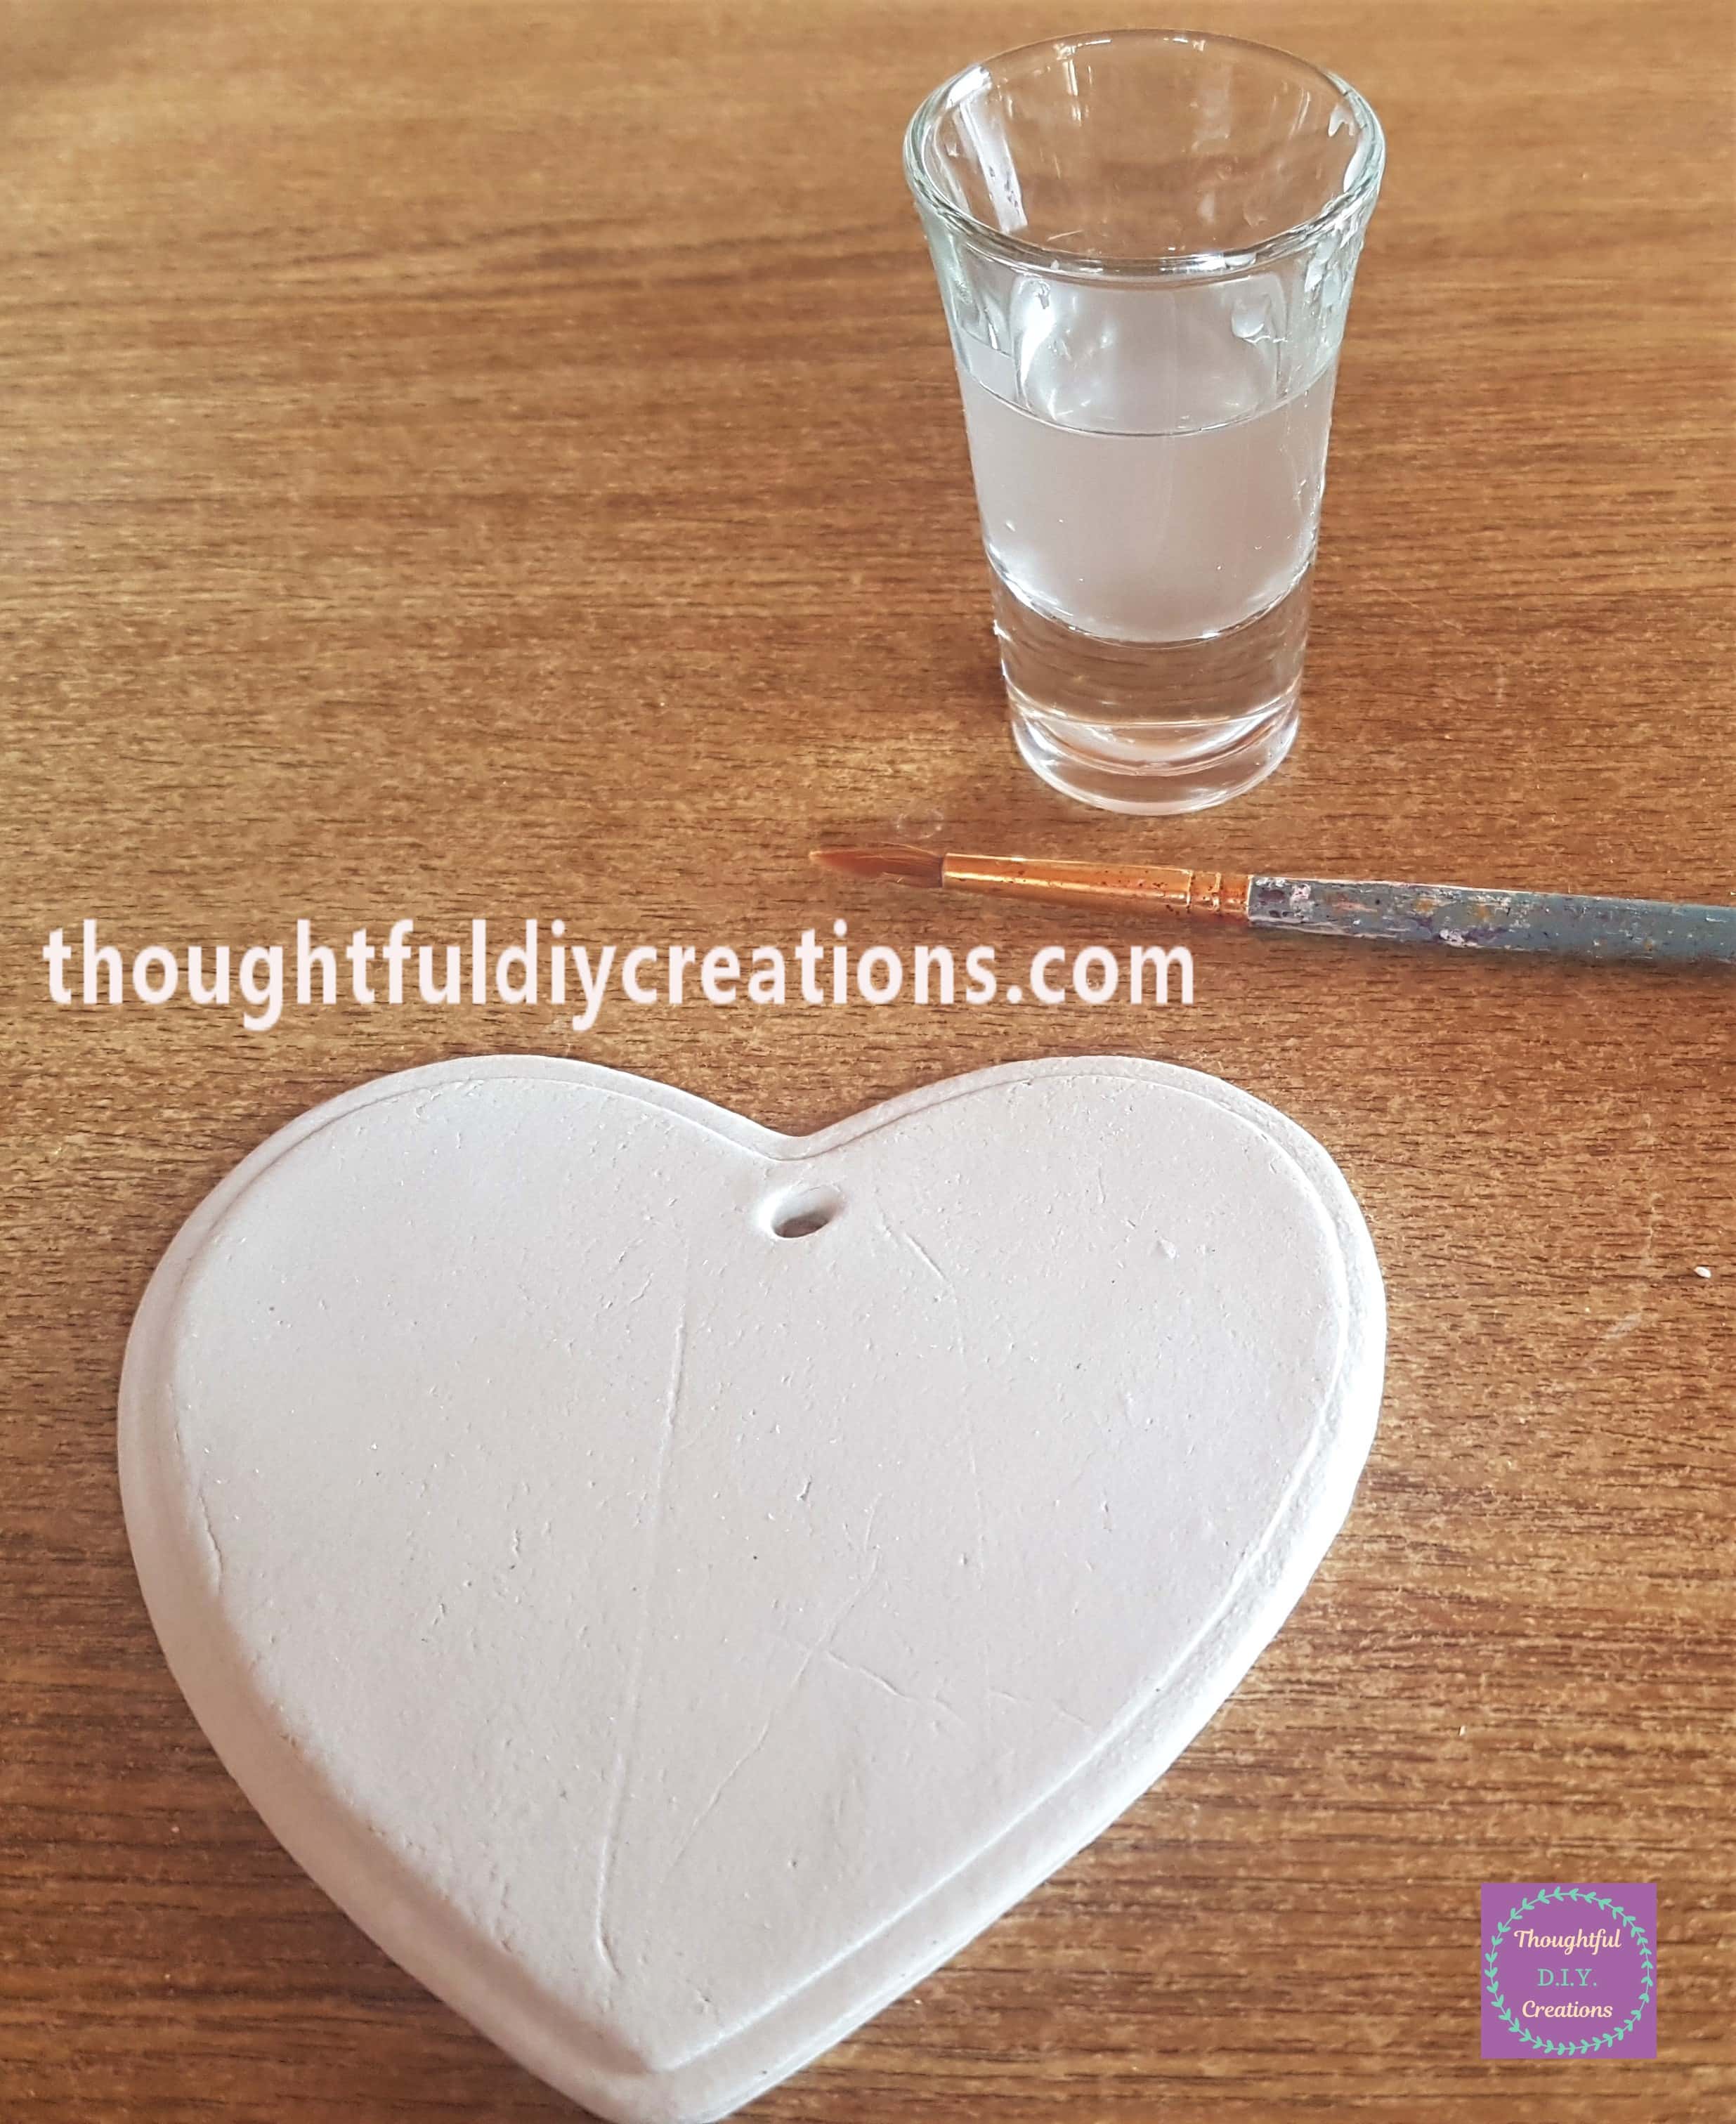
I brushed around the Clay Heart lightly with some water to even out any imperfections.
Allowing Time for the Heart to Air-Dry
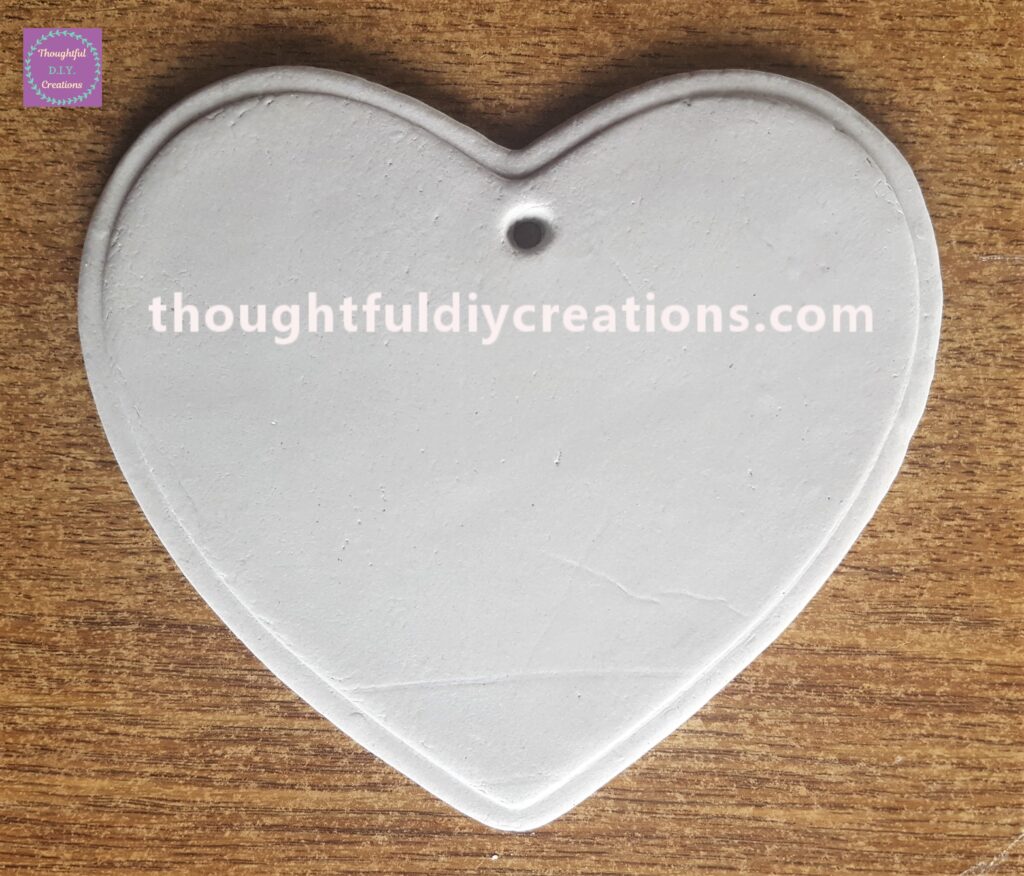
I put the Heart on a new Sheet of Baking Paper and put it in a cool, dark area in my Bedroom to Air-Dry. Below is how it looks after 2 Days. You can’t really see it in the photo but it was more white around the edges where it had started to dry and the majority of the Heart was darker in colour and needed more time to fully dry.
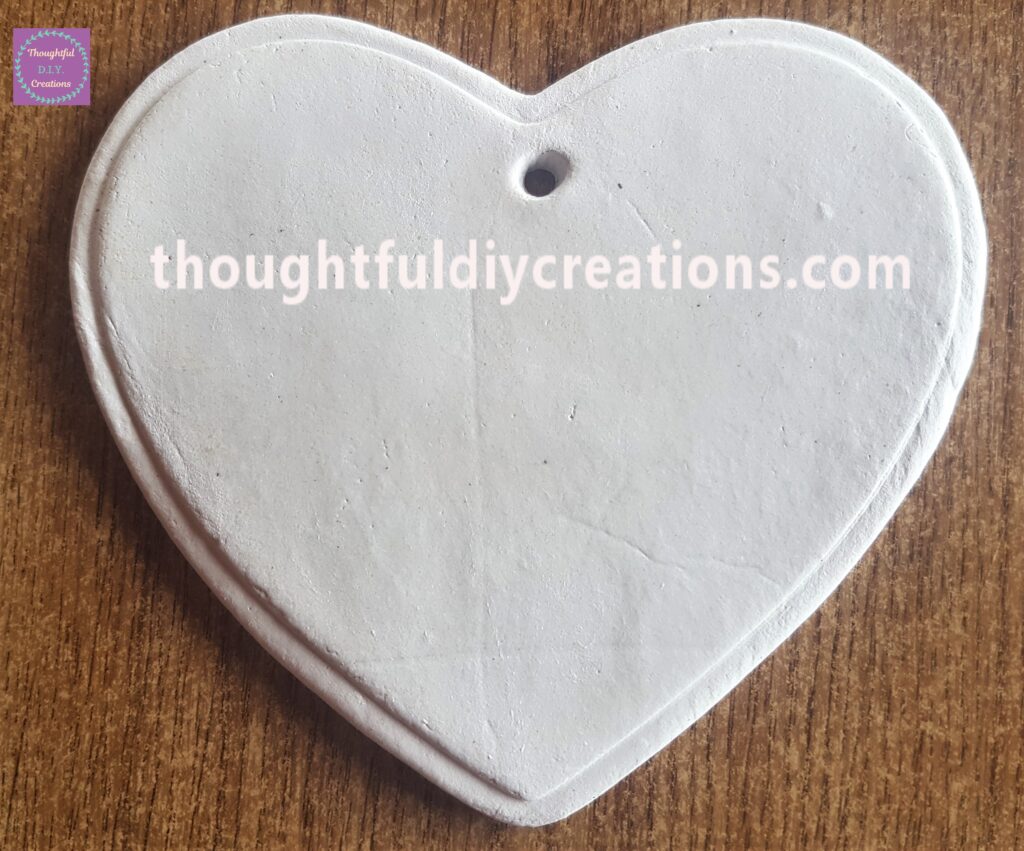
This is the Back of the Heart after 2 days, I think the colour difference is a bit more noticeable in this photograph.

I put the Heart back to air-dry and this is how it looked a Week after being made. It is fully white and feels solid.
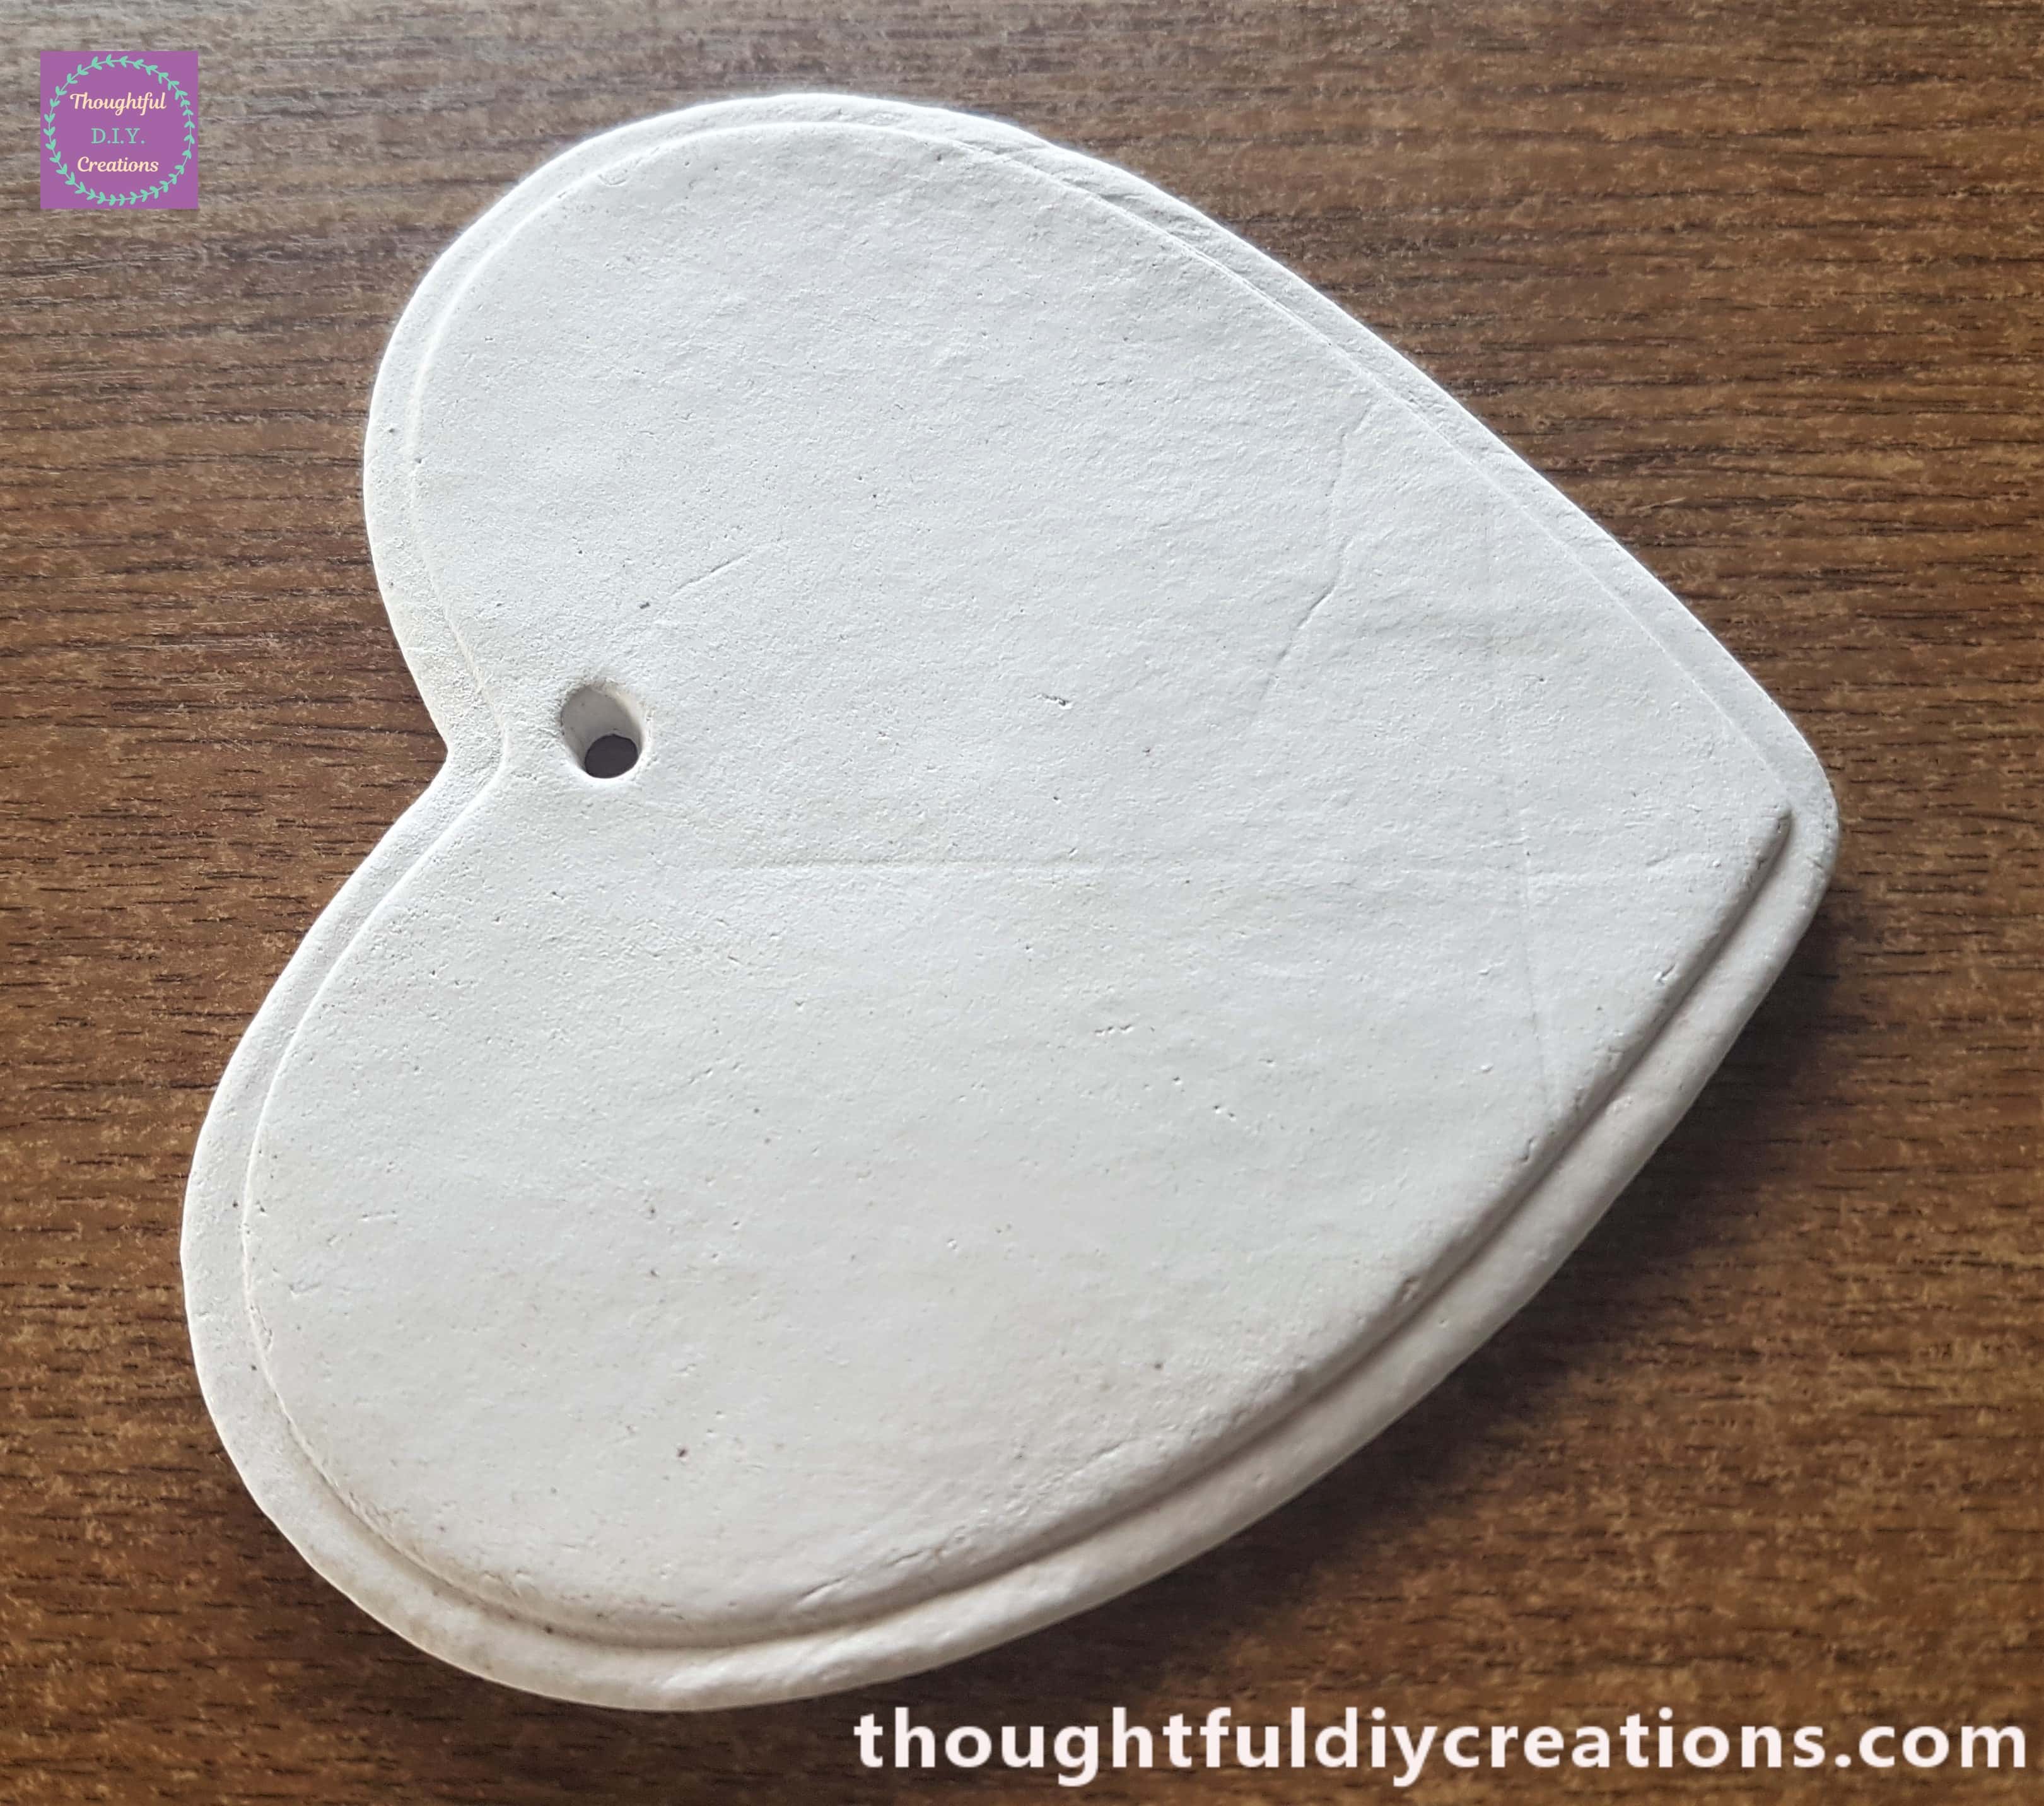
Here is the back of the Heart a week later.

Painting the Clay Heart
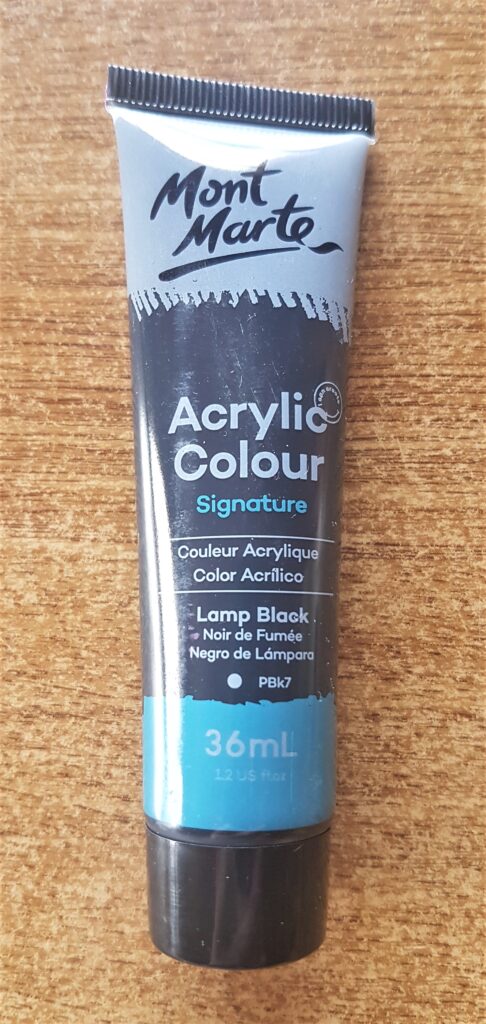
I got my Tube of Acrylic Black Paint.
I painted the front of the Clay Heart with the Black Paint and a Paintbrush.
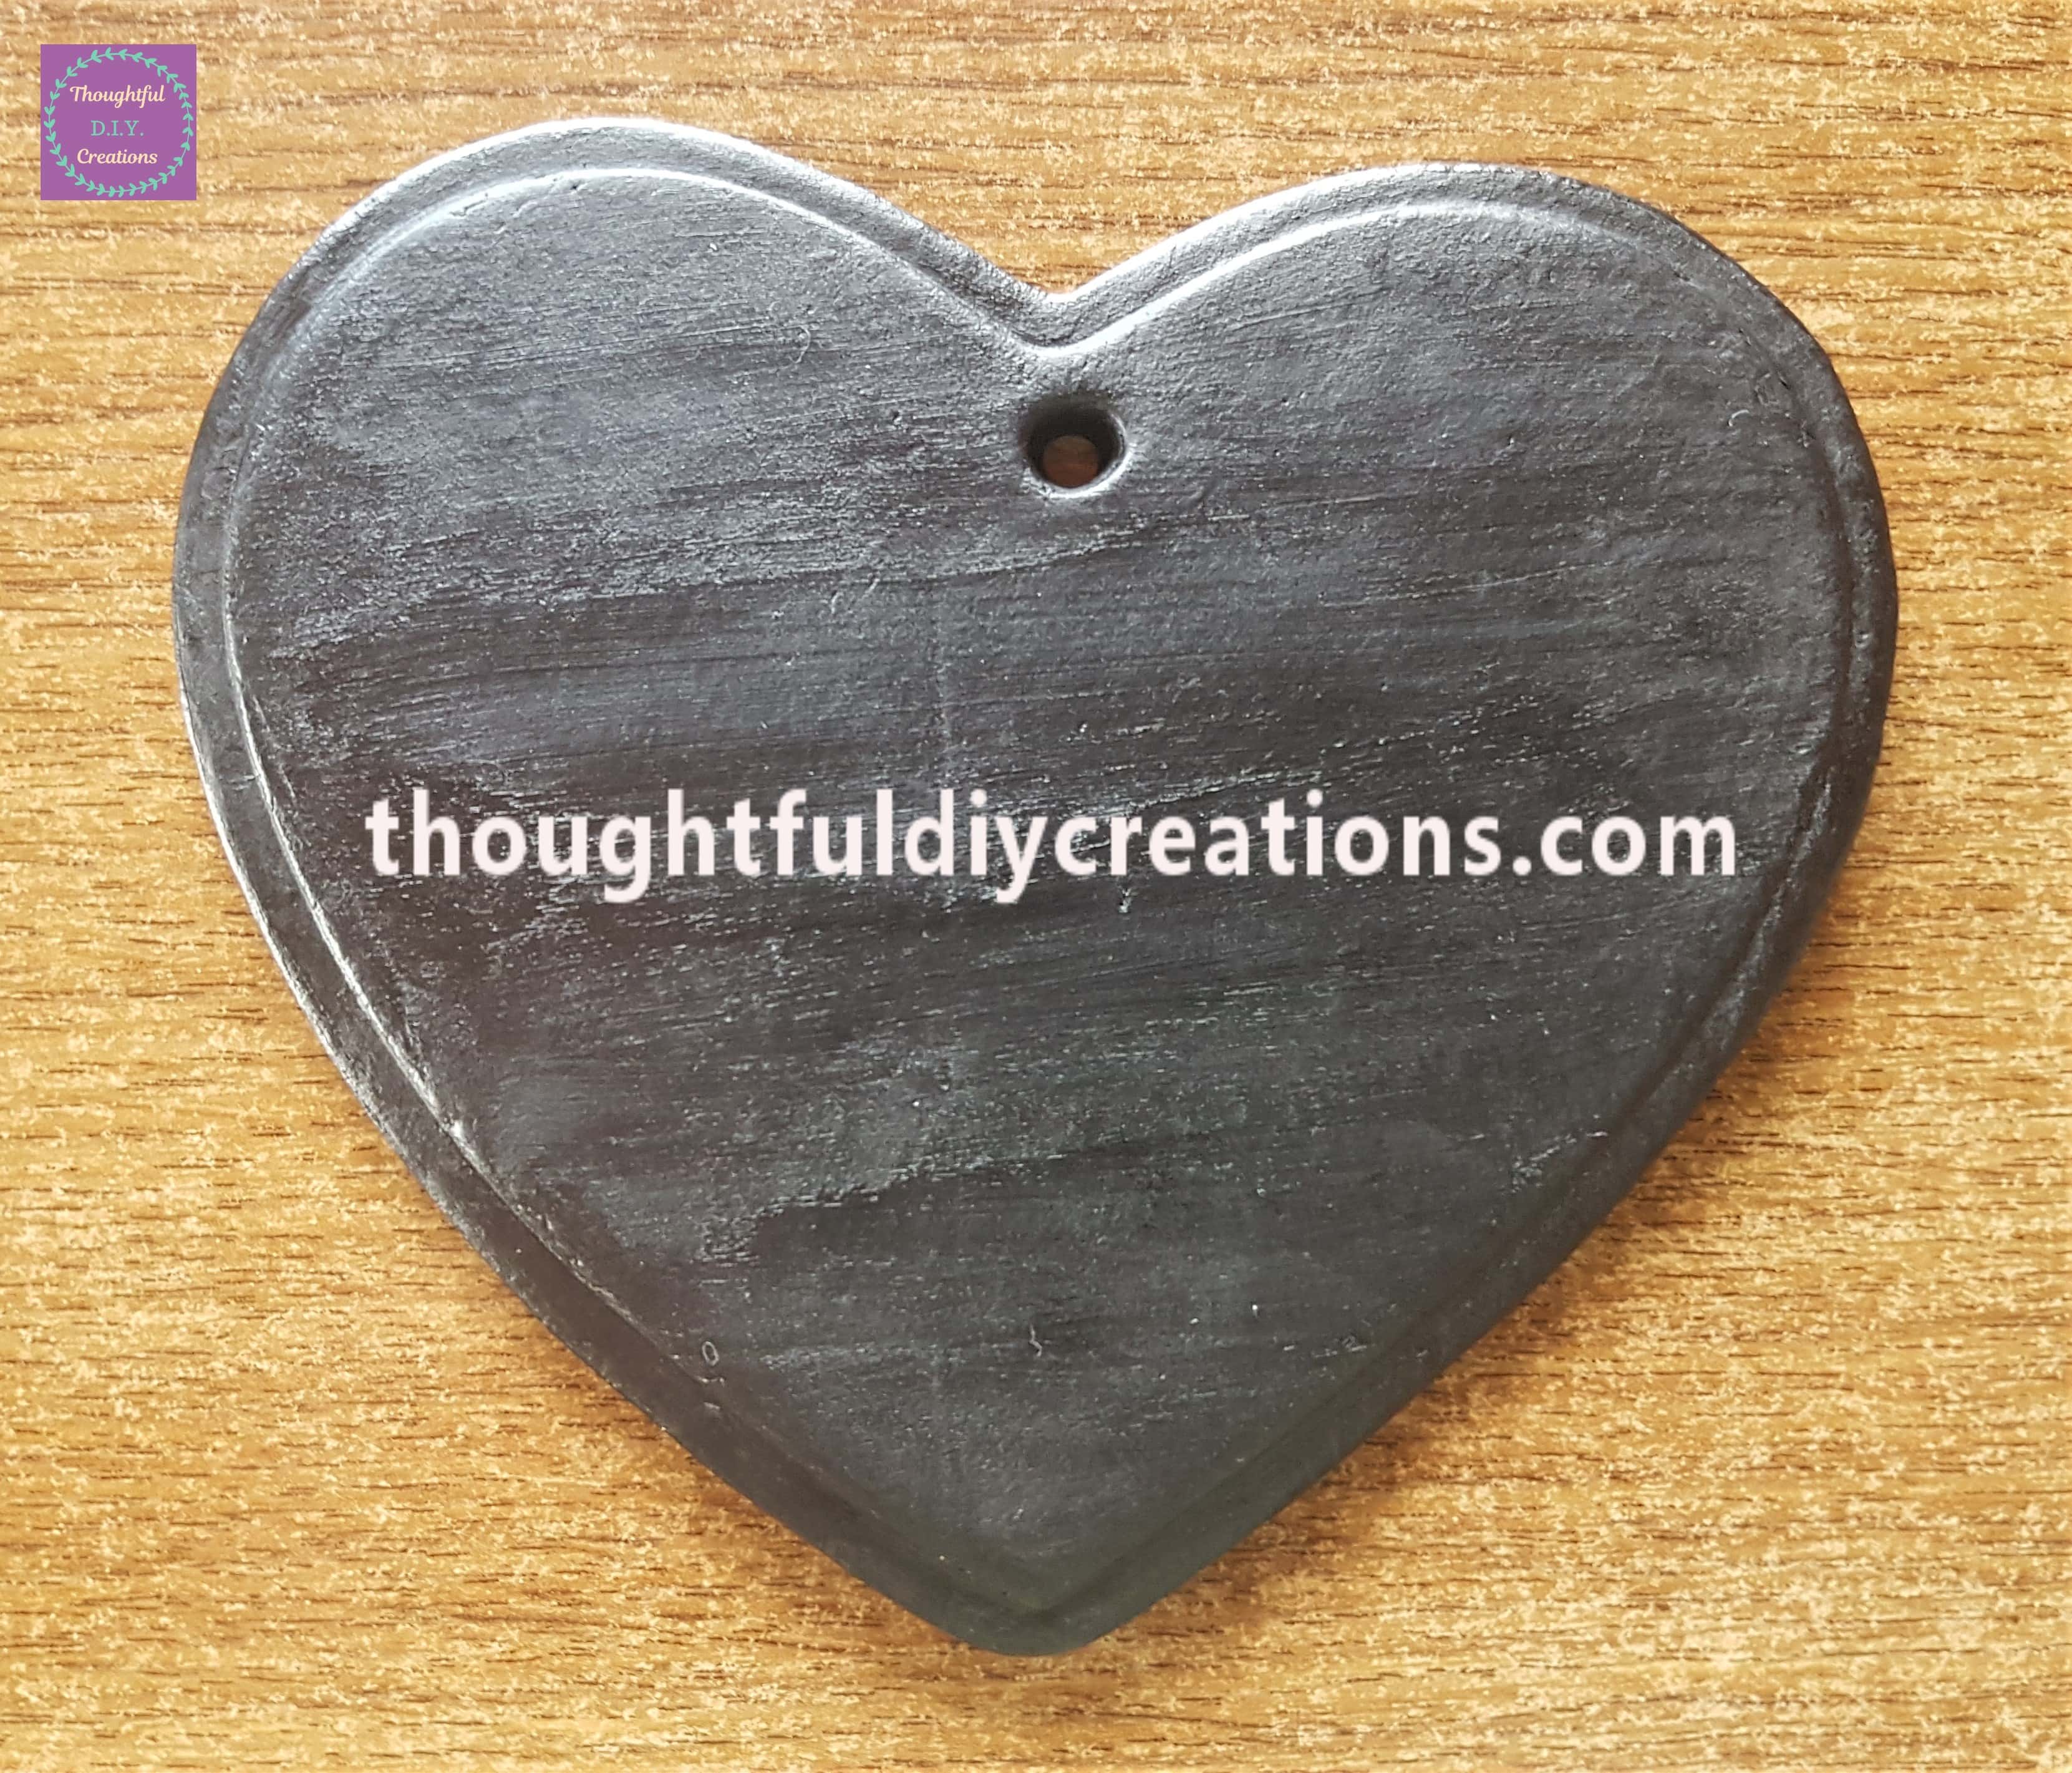
I painted another 2 layers of Paint onto the Clay Heart leaving an hour drying time between each layer. This is the Heart after the third layer of Paint.

The next day I painted the back of the Clay Heart.

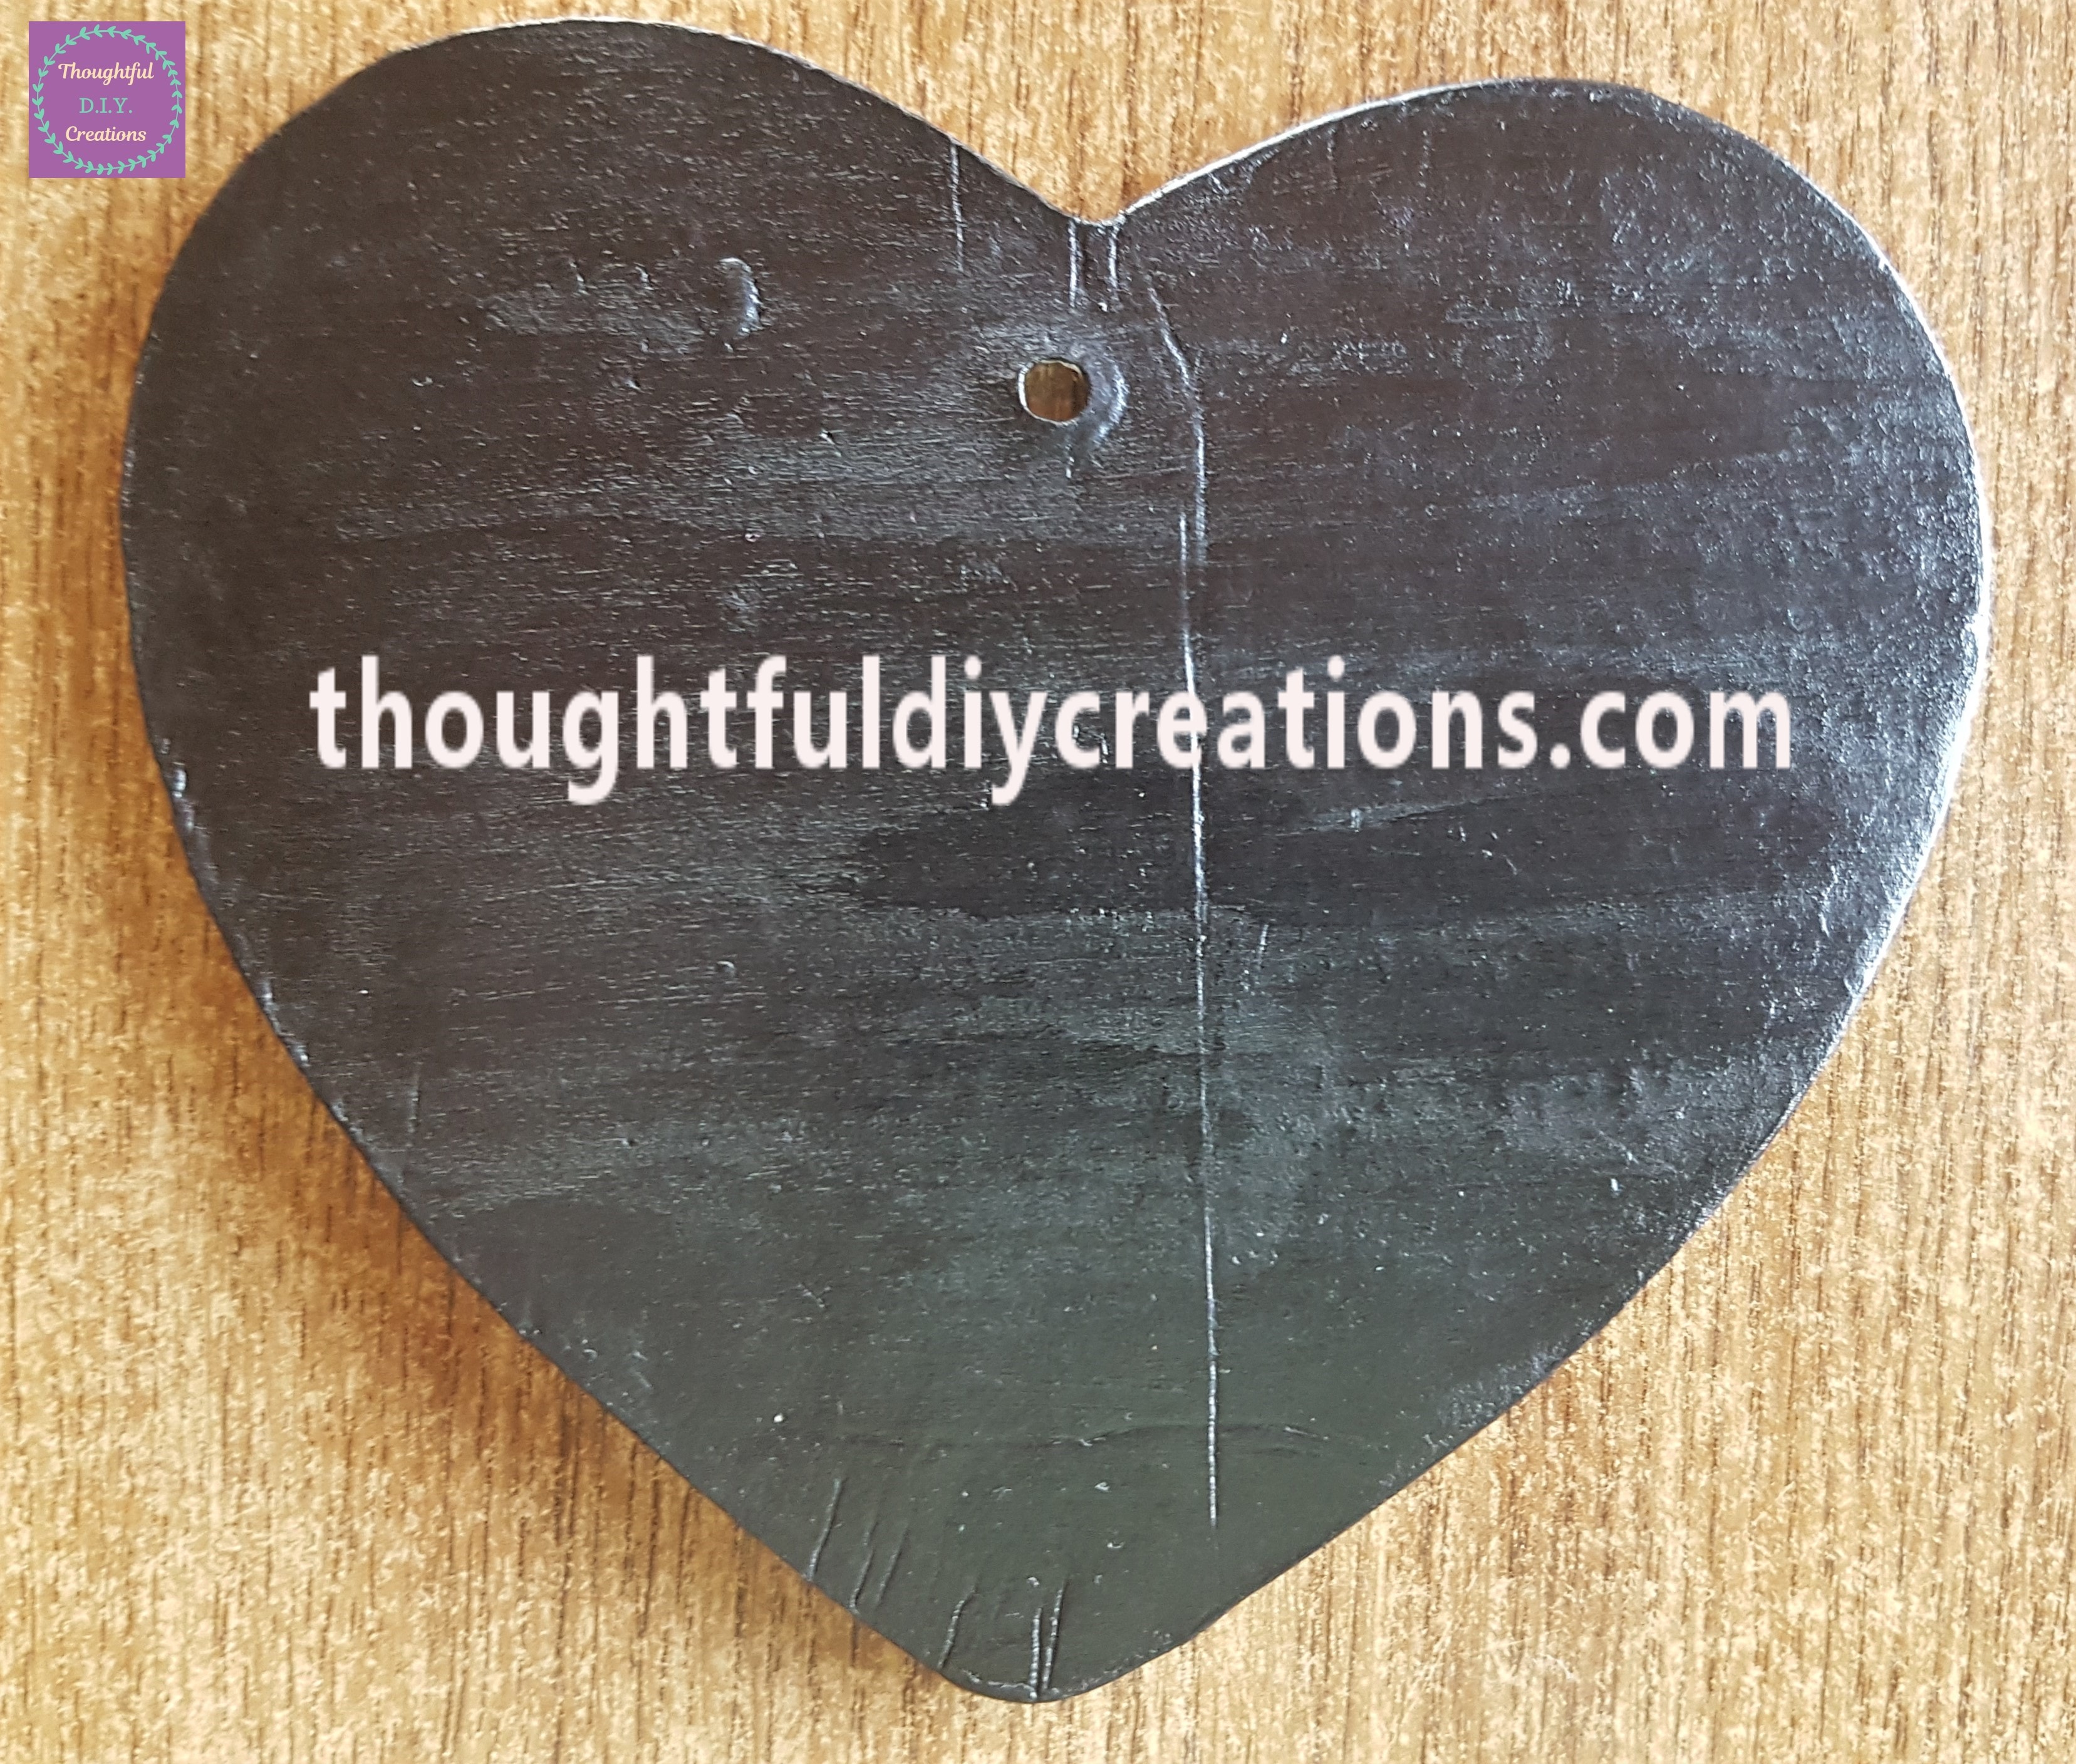
I again painted 3 layers of black Paint, waiting an hour between each layer. Here is the back of the Heart after the final layer of paint.
Writing the Sentiment onto the Heart
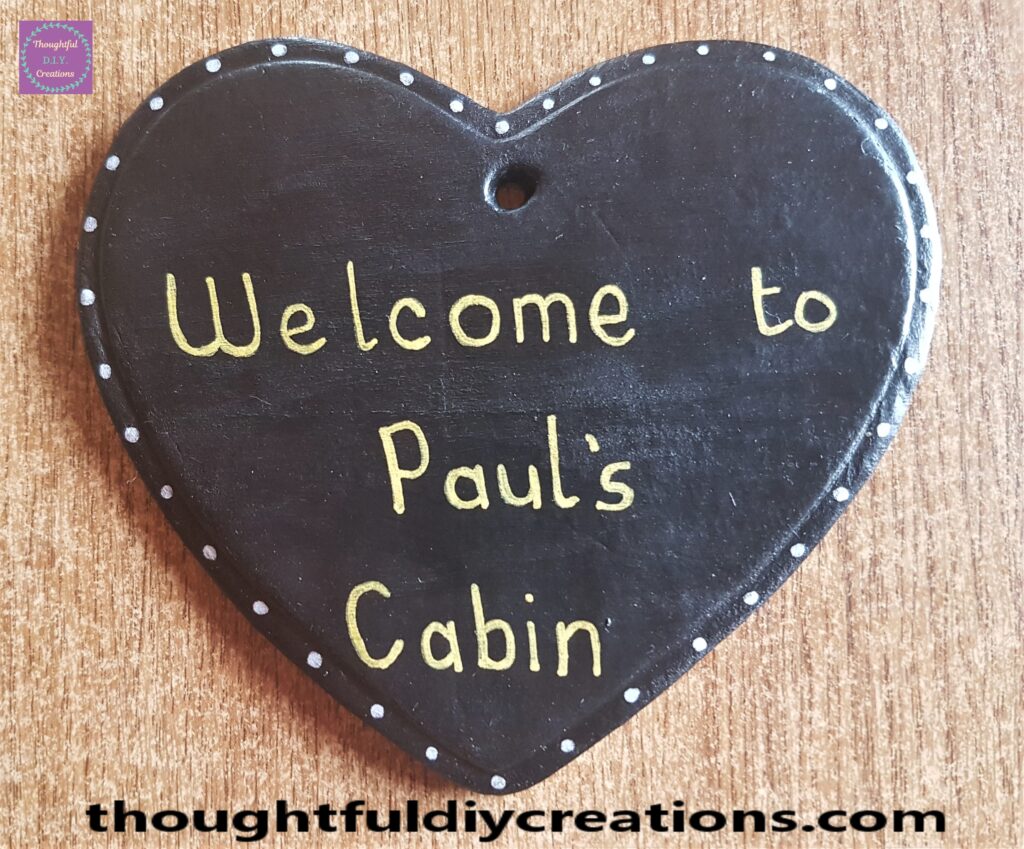
I got my ‘Gold uni POSCA Acrylic Paint Pen 0.7 mm’. I shook the Pen until Paint flowed to the tip. I then wrote ‘Welcome to Paul’s Cabin’ onto the Clay Heart using the Paint Pen.
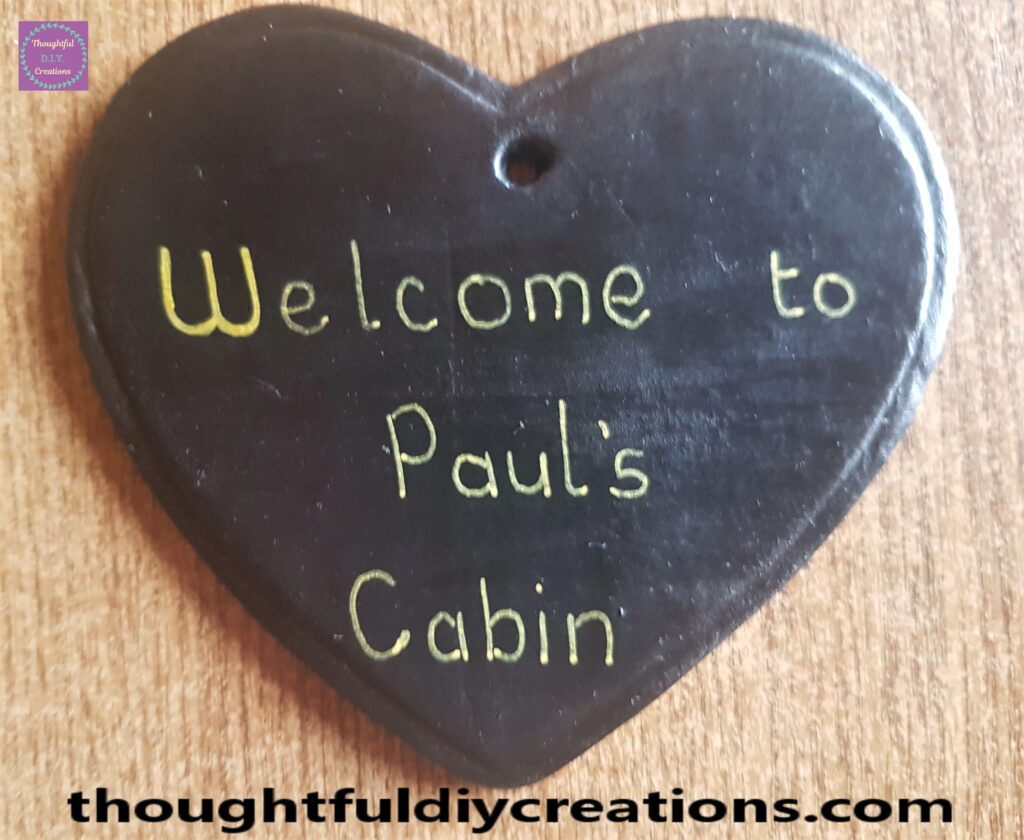
About 30 minutes later I applied a second layer of the Paint Pen to the Clay Heart.
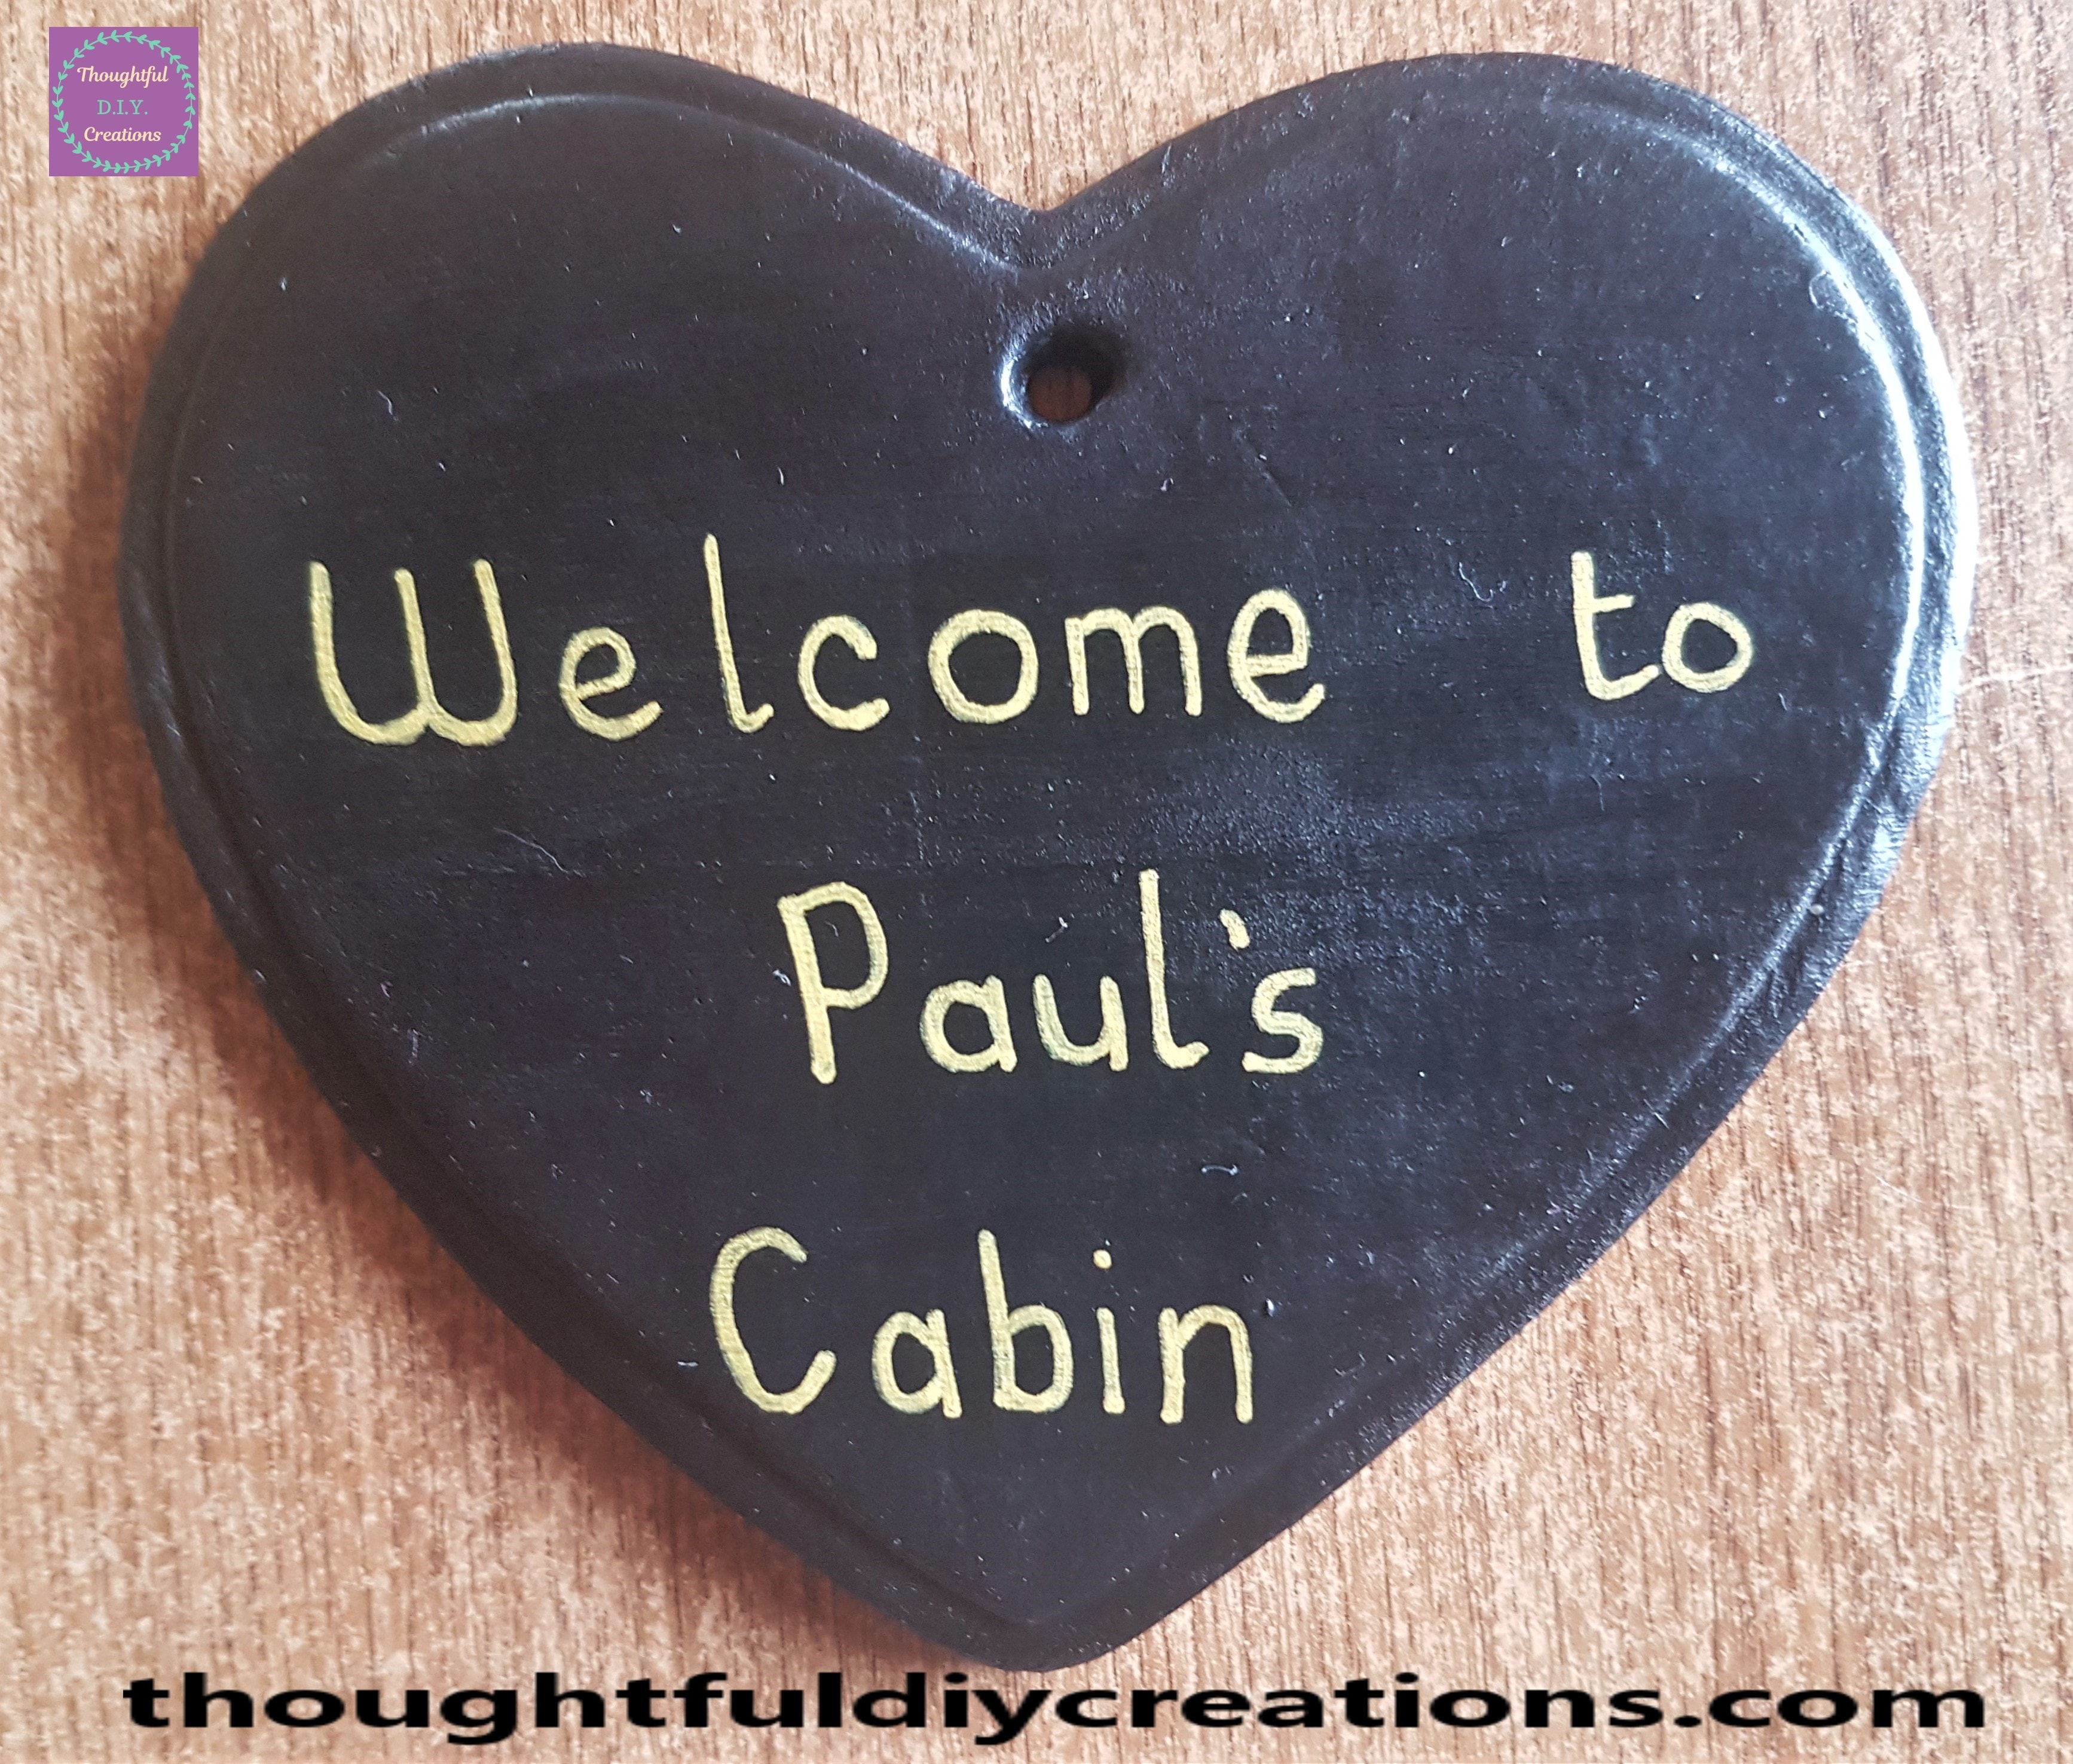
I got my ‘Silver uni POSCA Acrylic Paint Pen 0.7 mm’ and made dots all around the border of the Heart.
Finishing Touches to the Clay Heart
I found a Black Ribbon with Silver border detail in my Ribbon Stash.
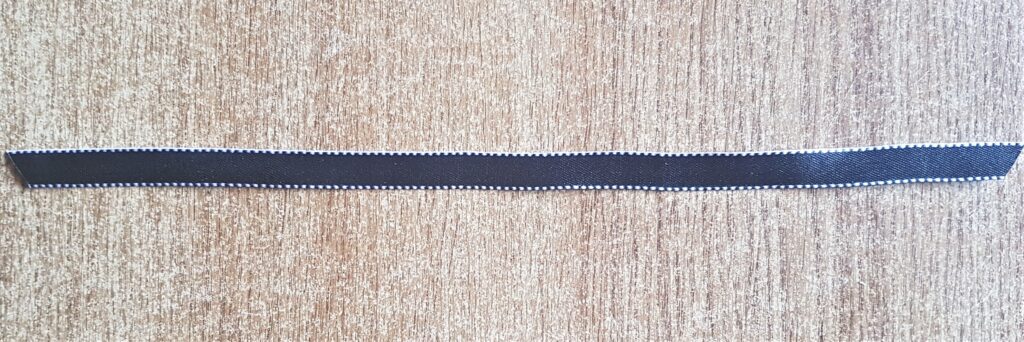
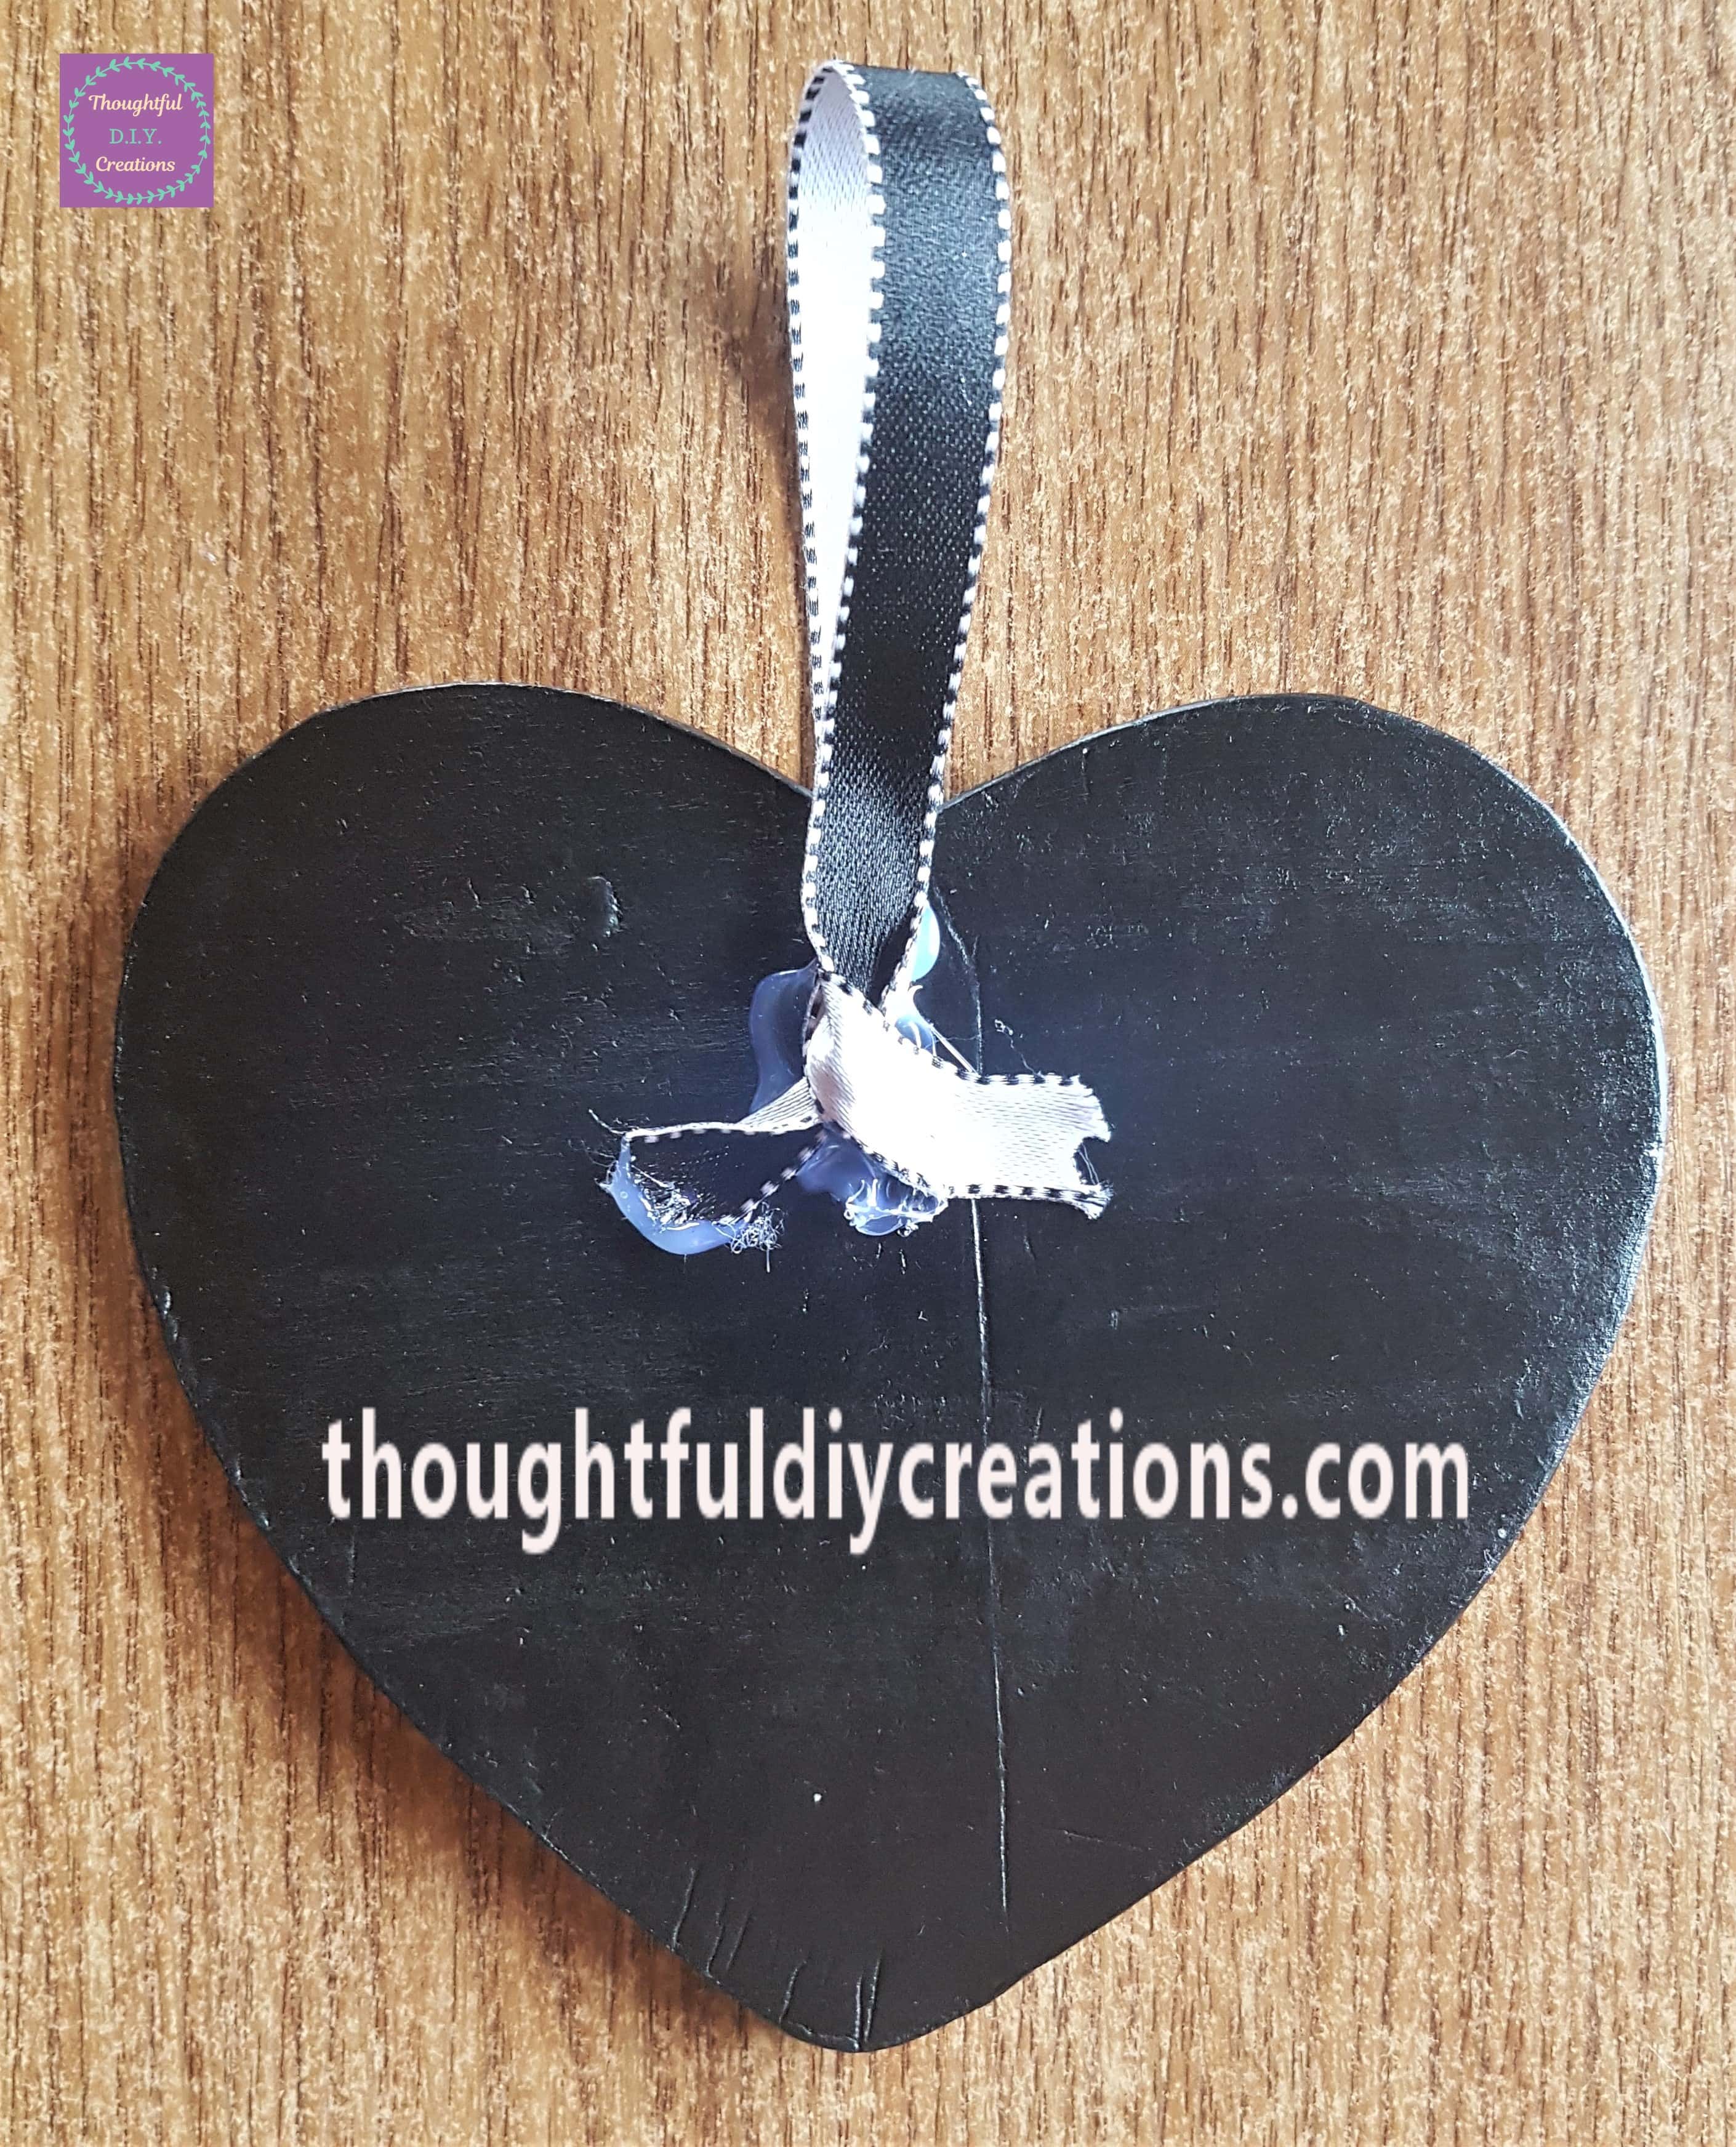
I put the Ribbon through the hole of the Clay Heart and applied Clear Glue from my Hot Glue Gun to the 2 ends of Ribbon at the back of the Heart.
This is how the front of the Heart looks with the Ribbon attached.
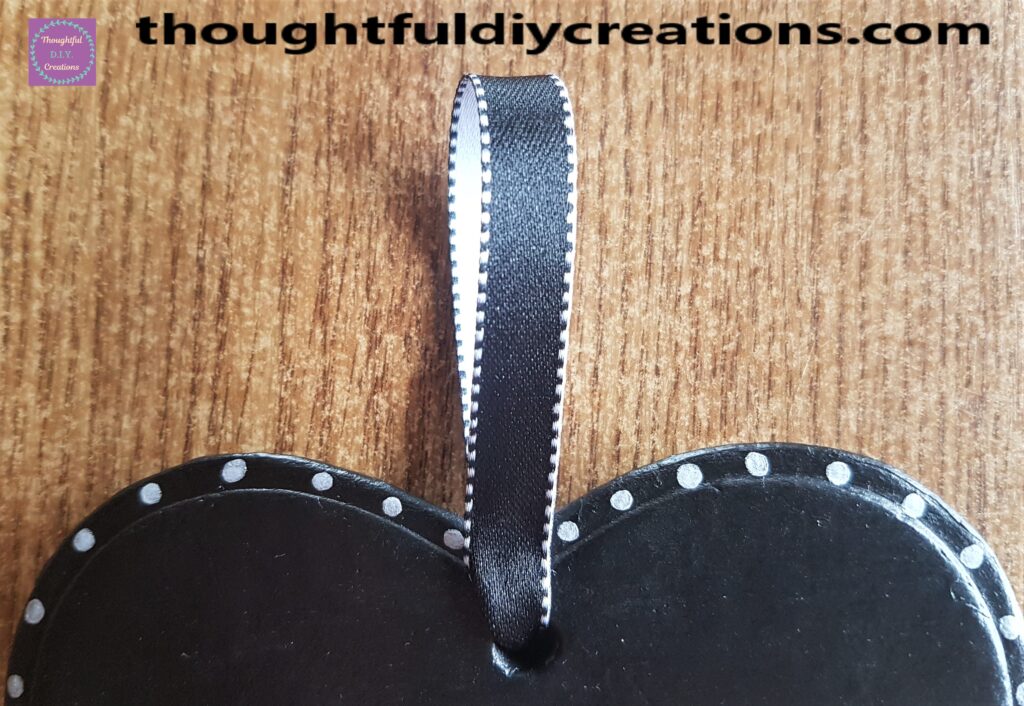
I added one more layer of the Silver and Gold Paint Pens to the front of the Heart and this Completed the Clay Heart Craft.
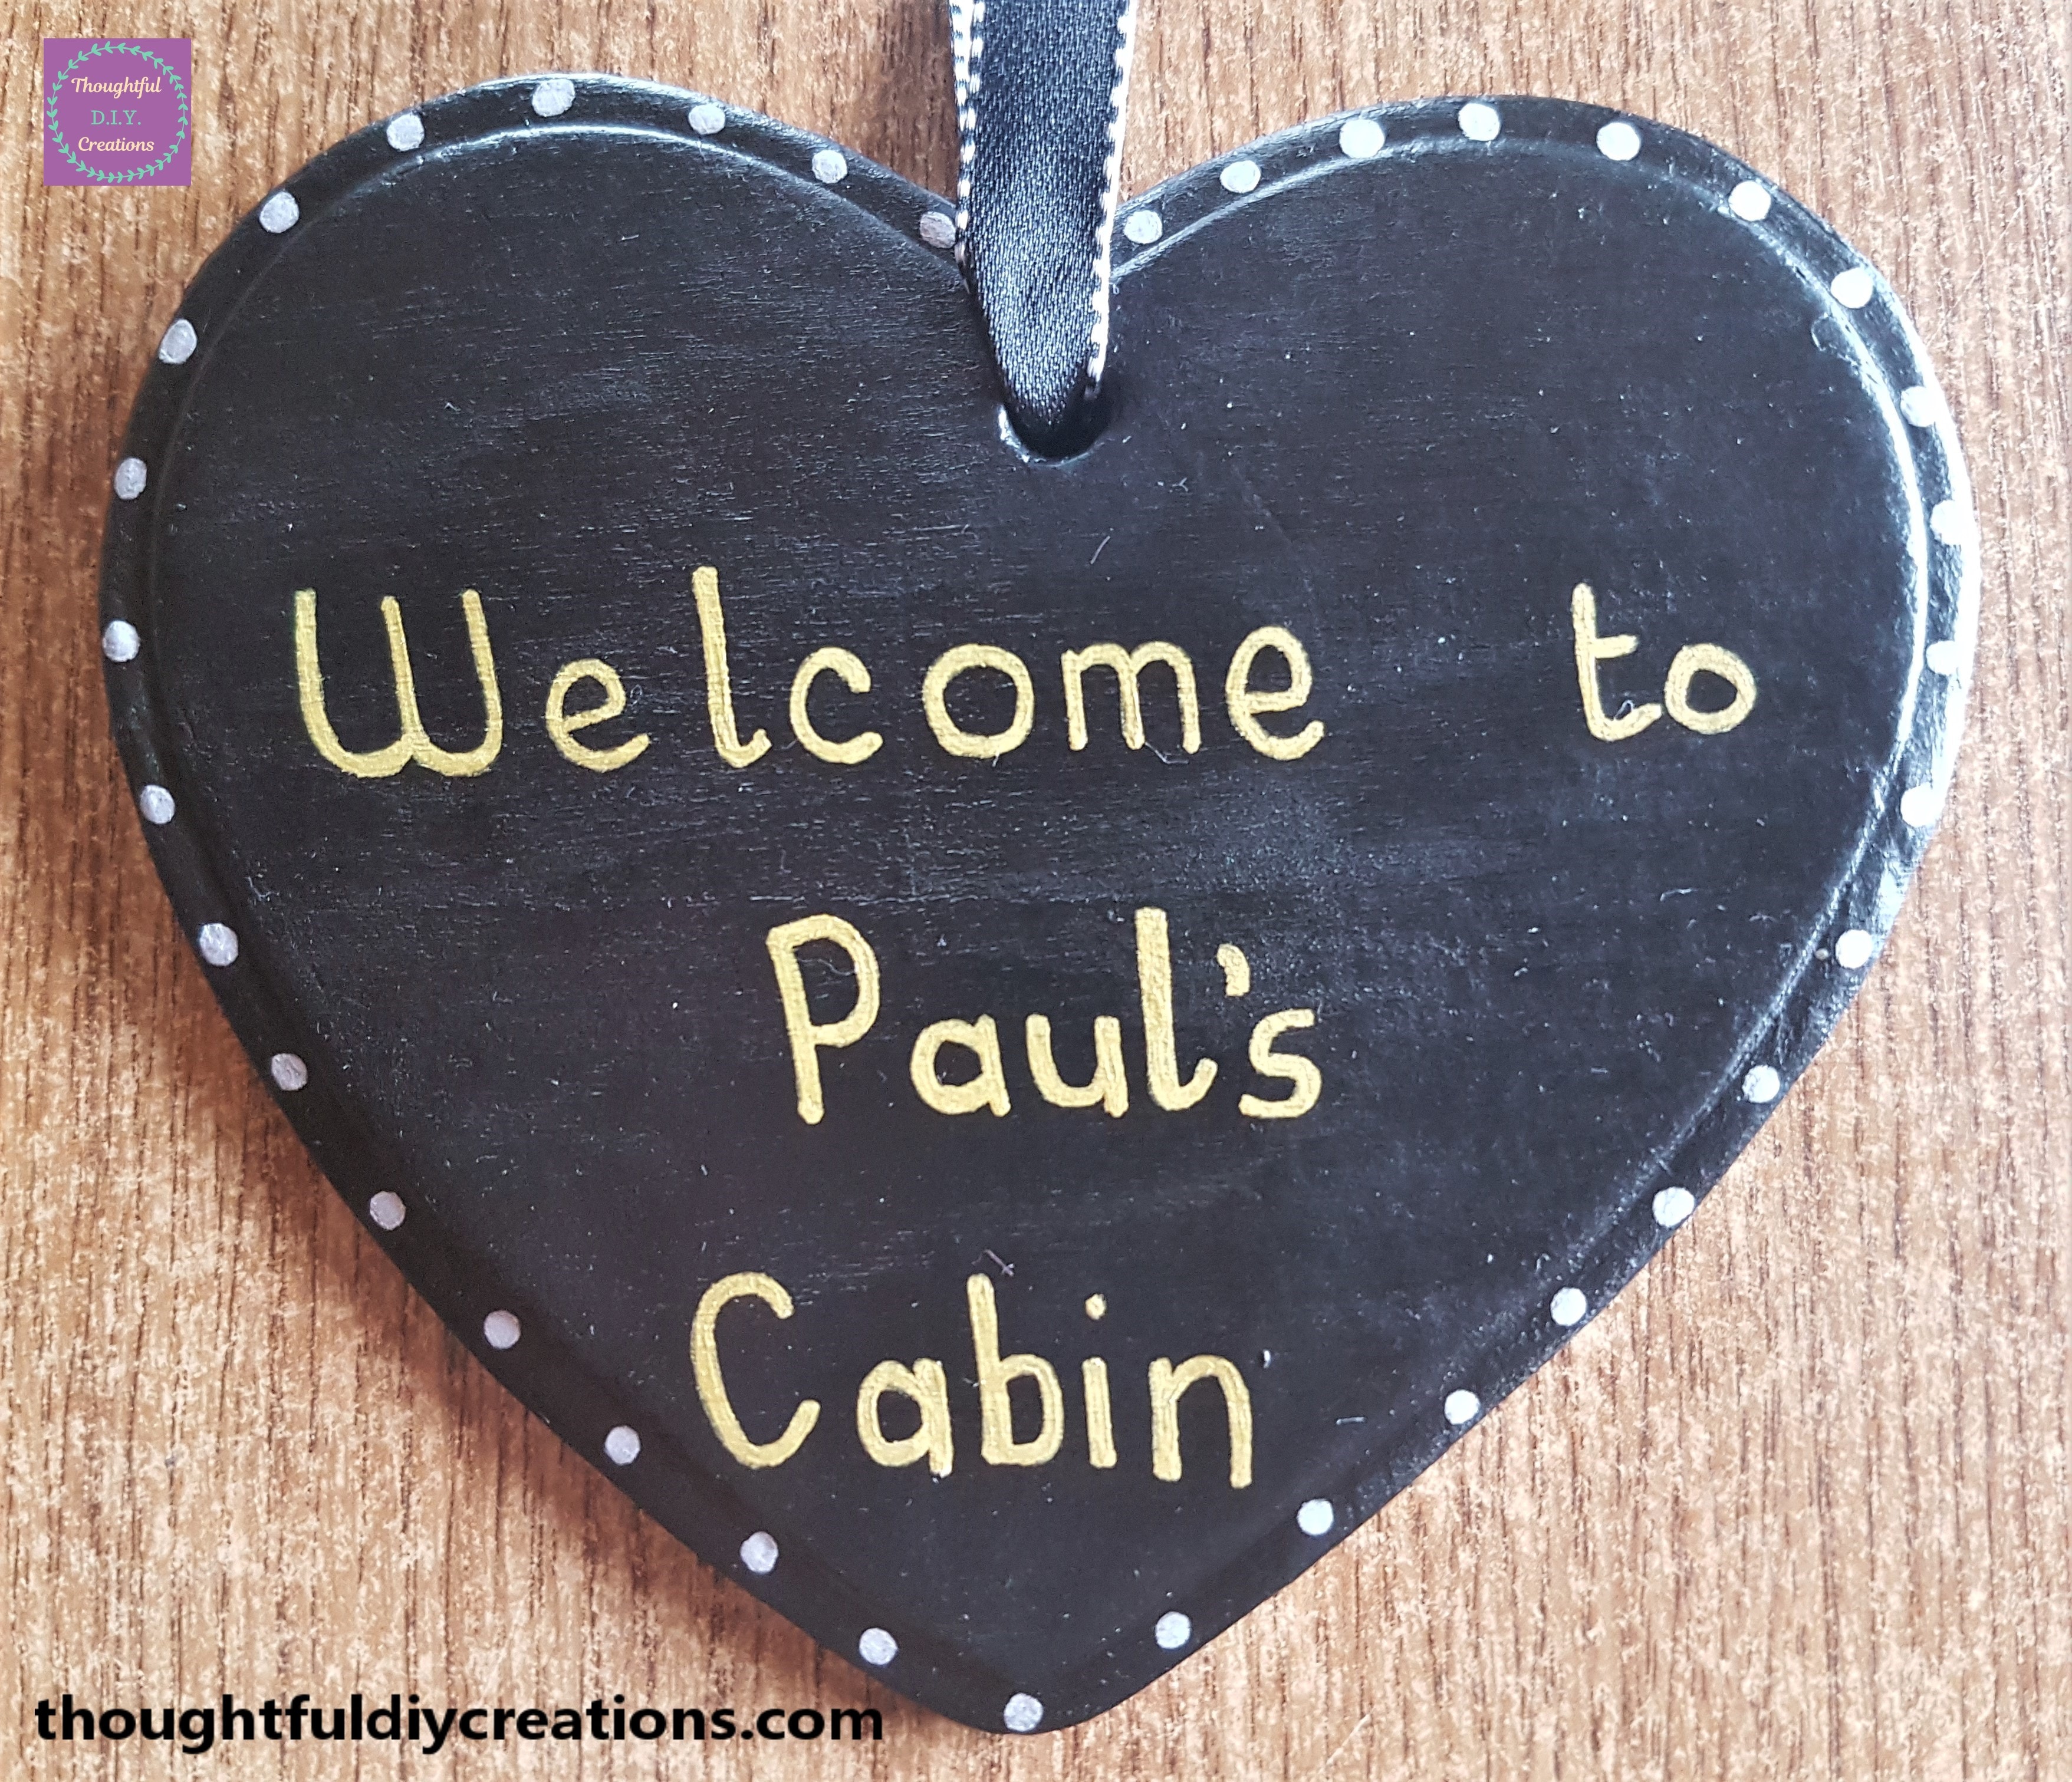
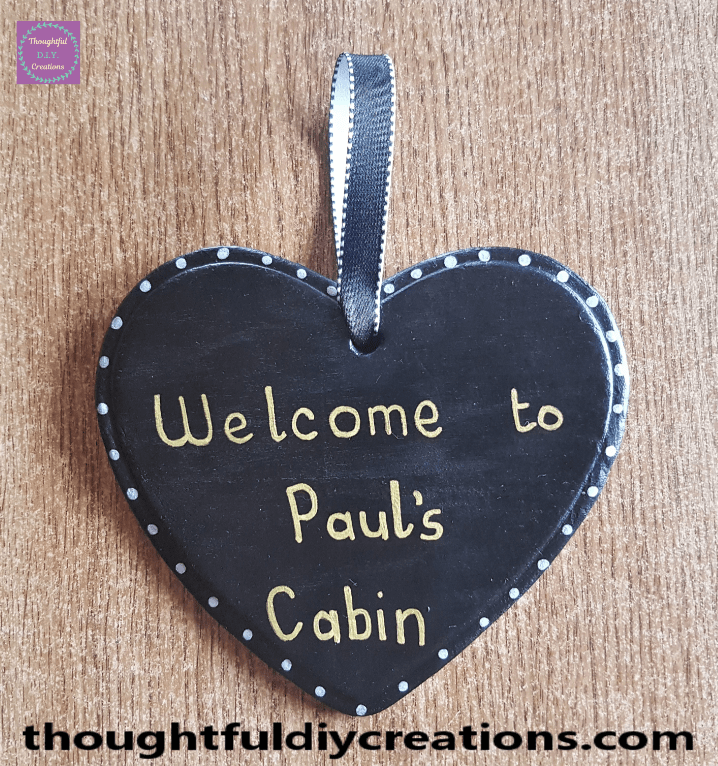
Below is a Full view image of the finished project.
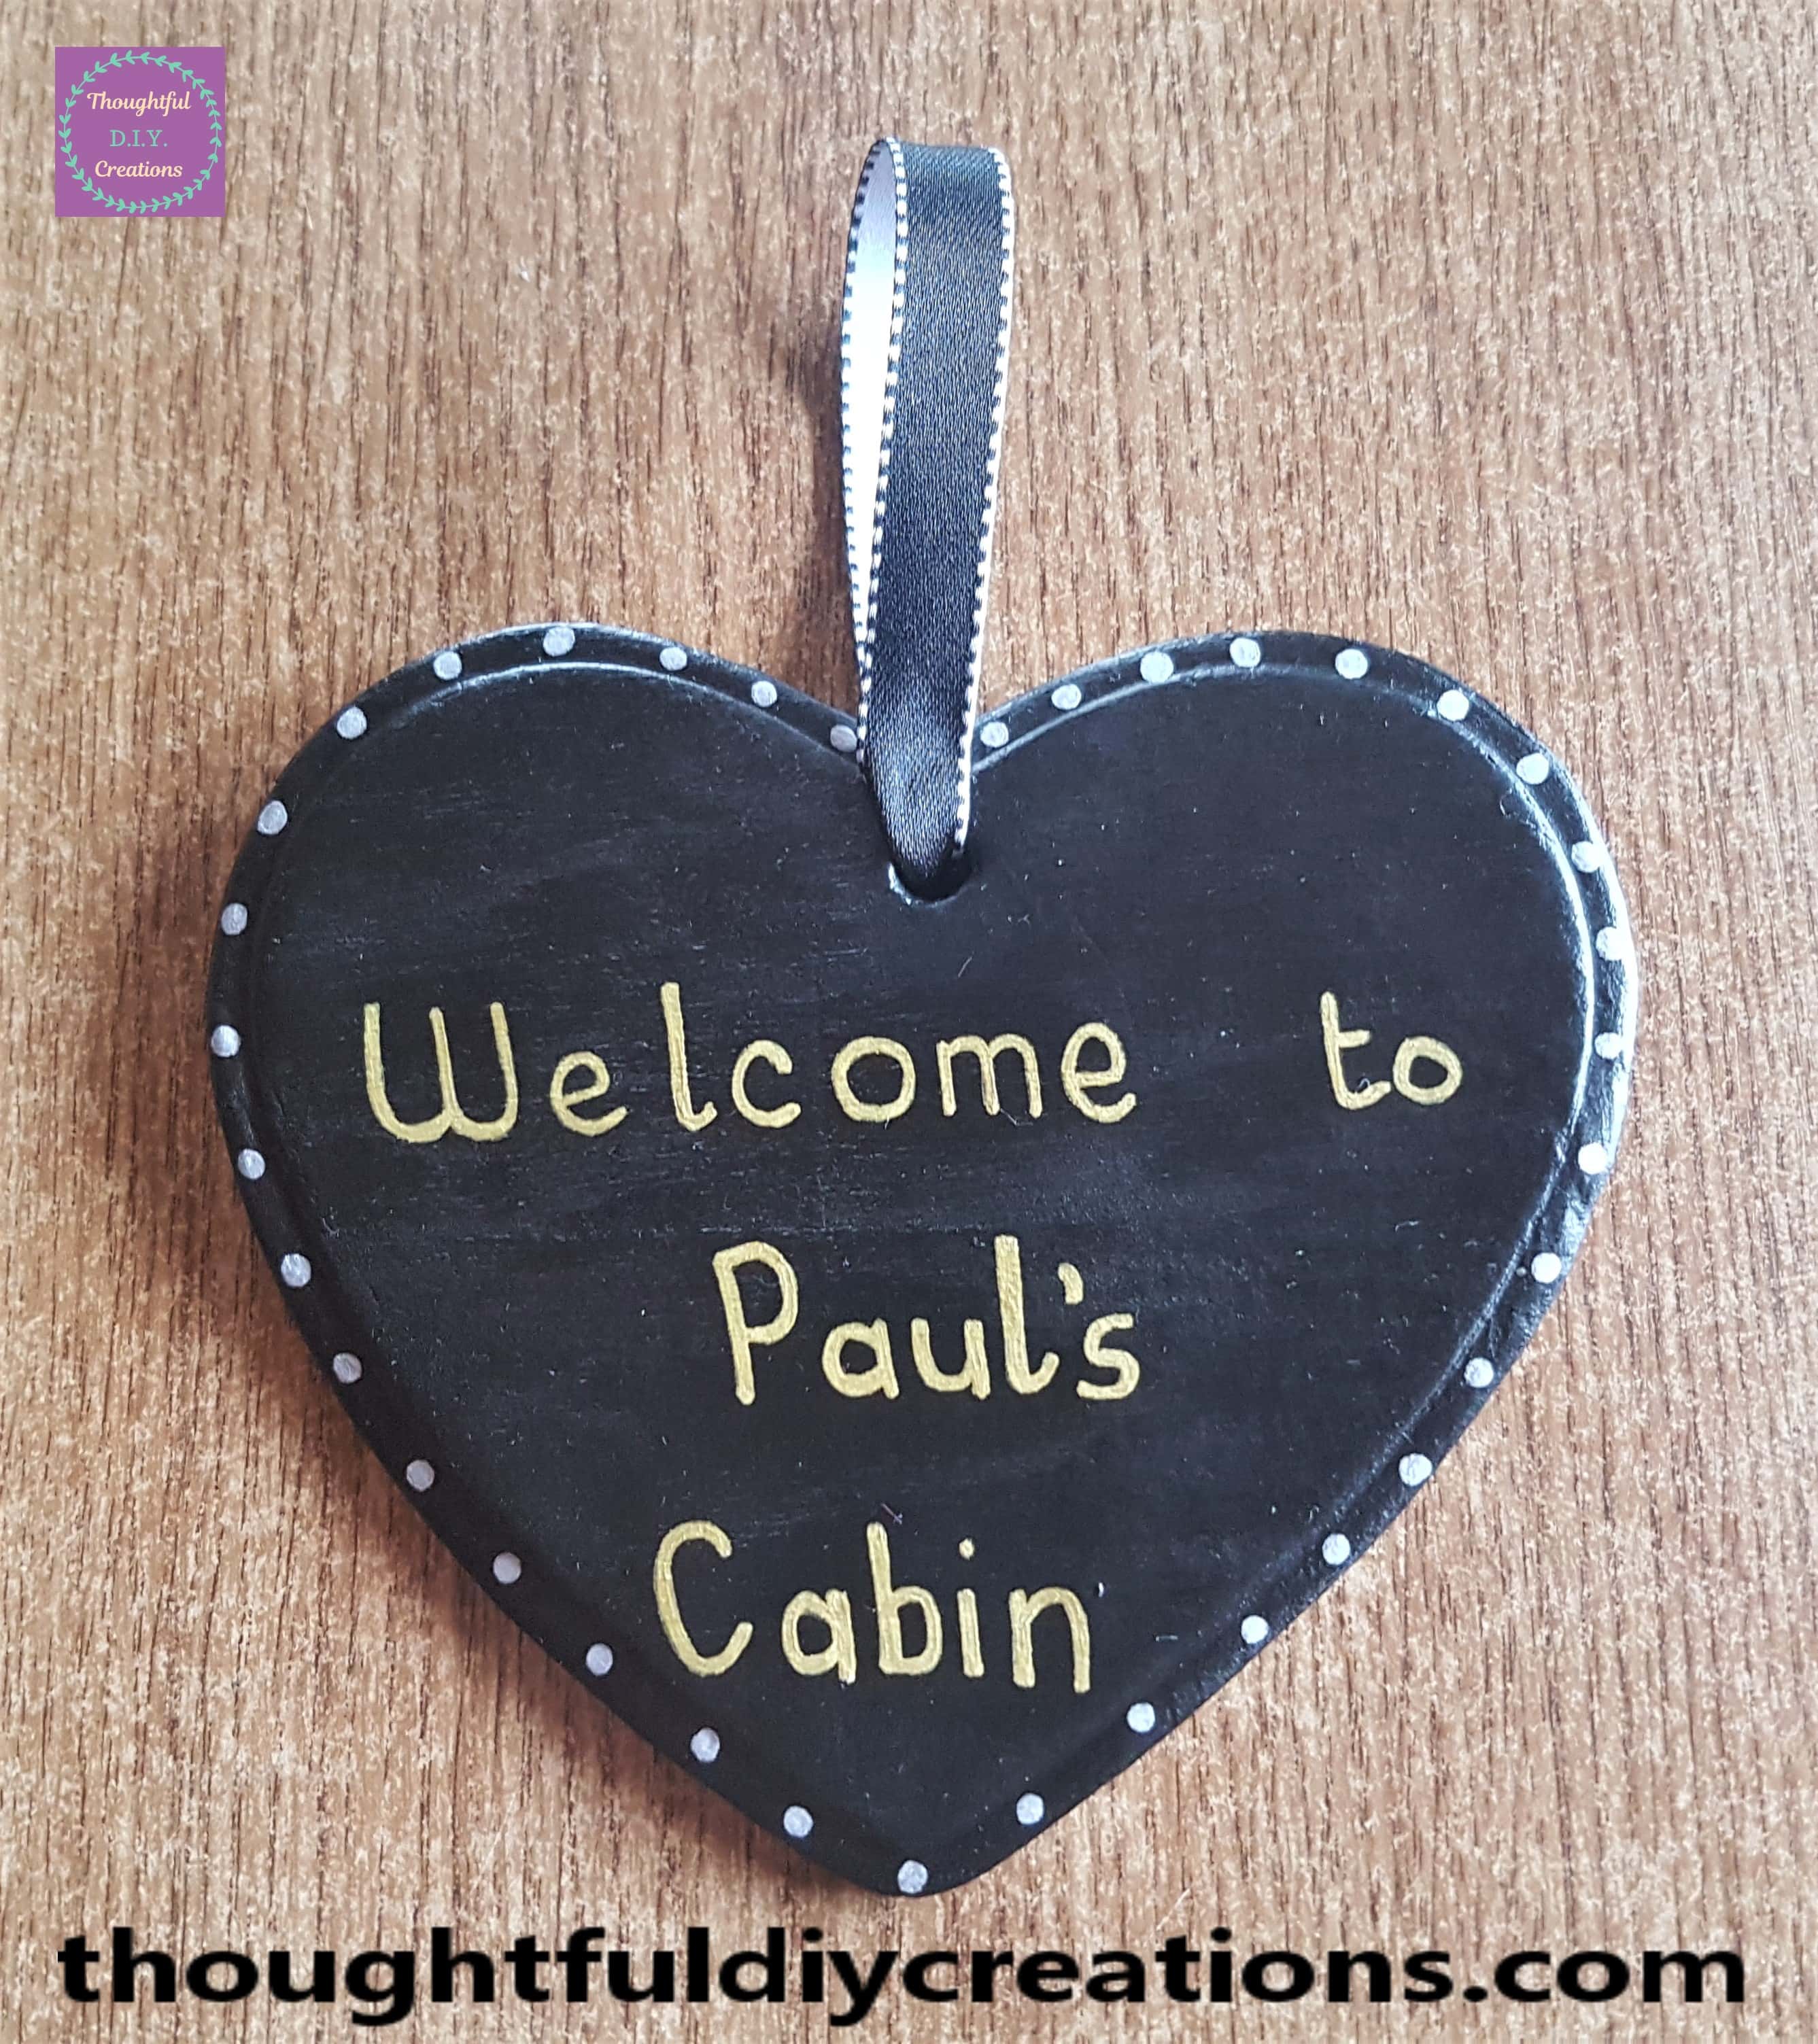
Here is a side angle of the Heart.
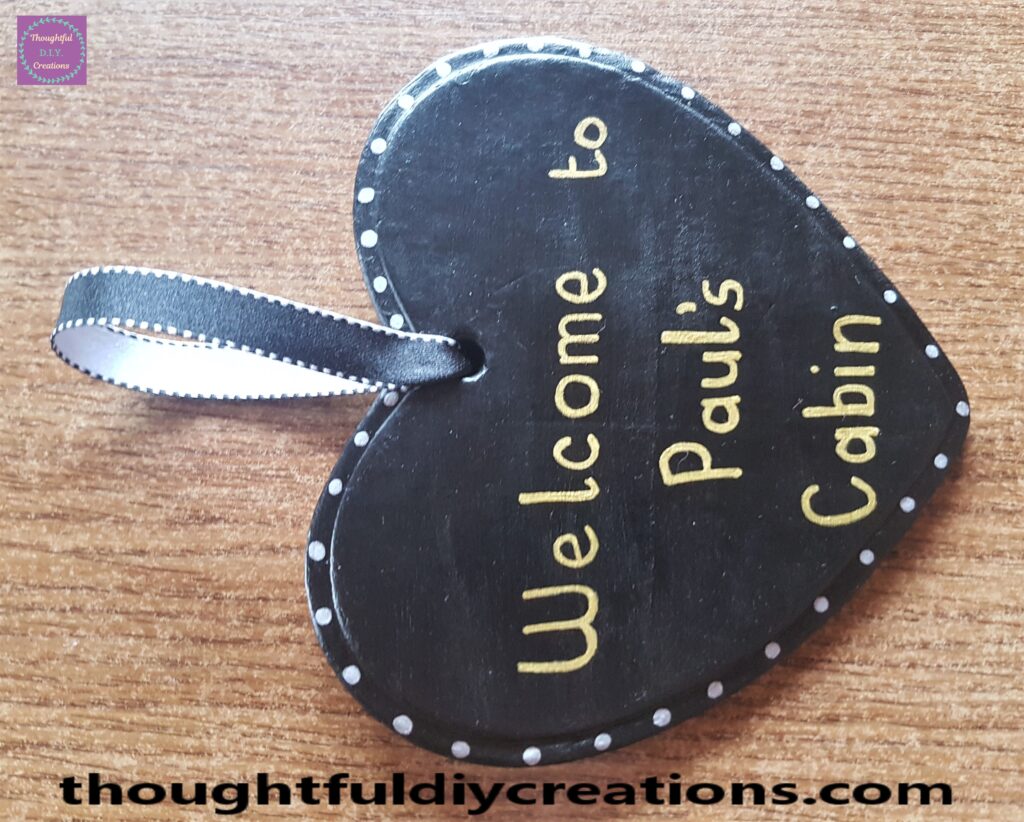

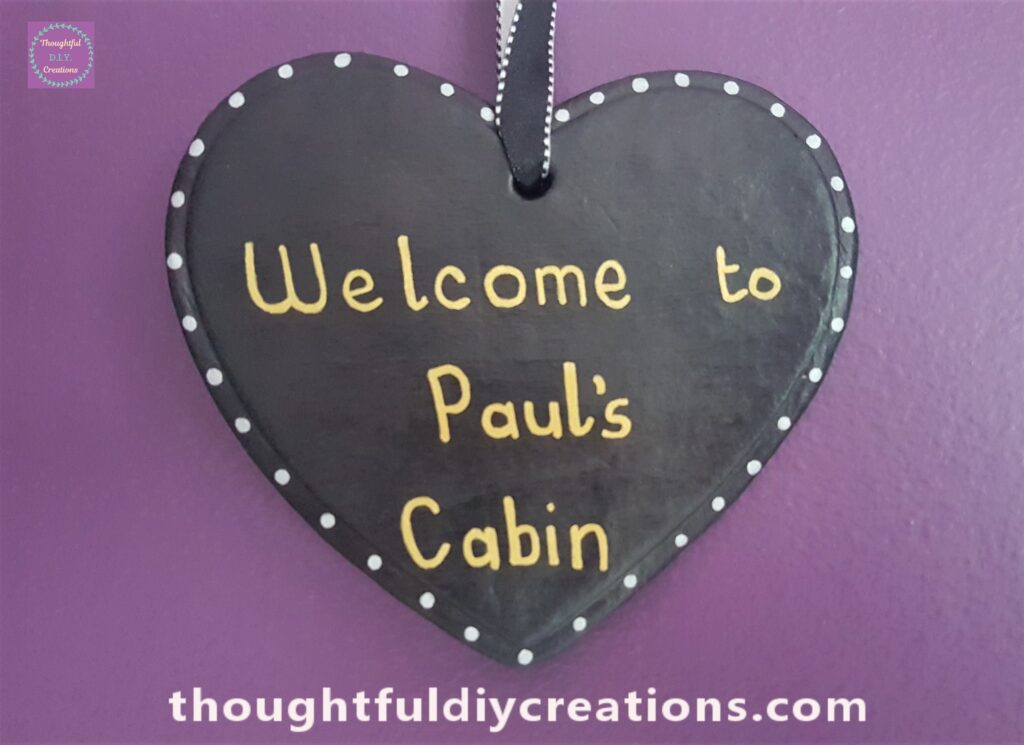
This is the Clay Heart hanging up on the Wall.
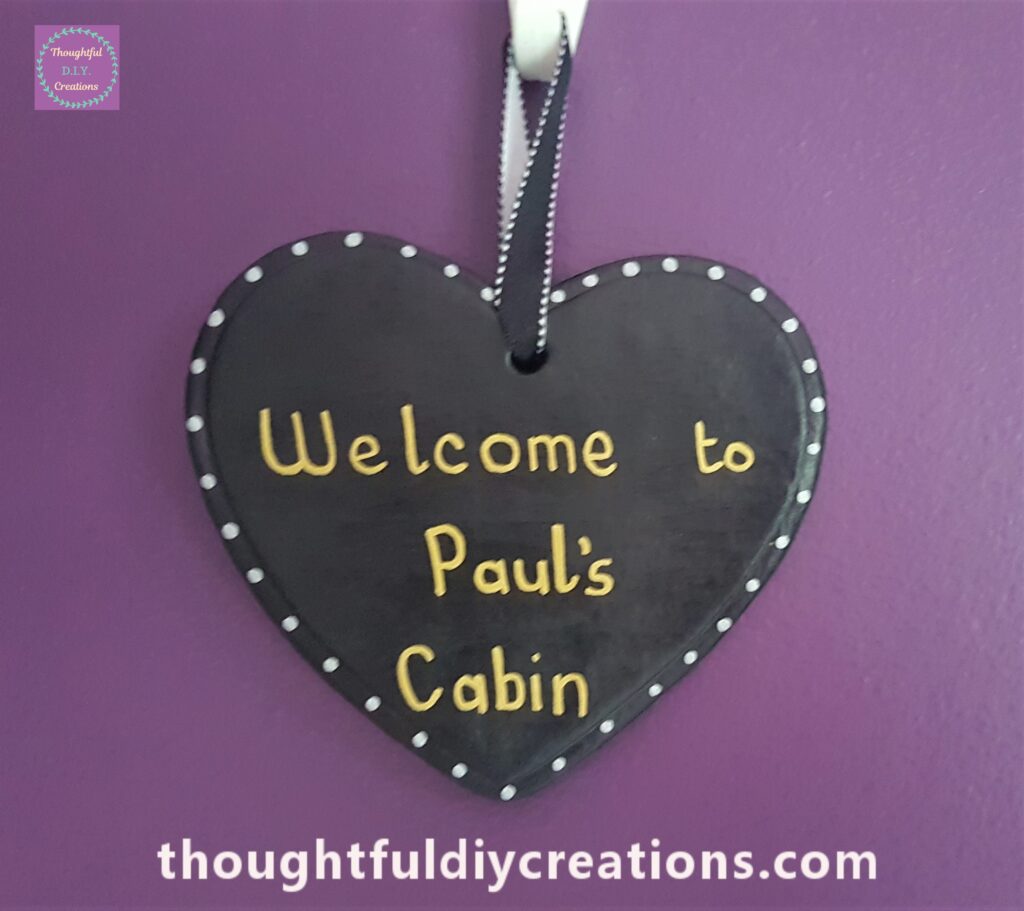
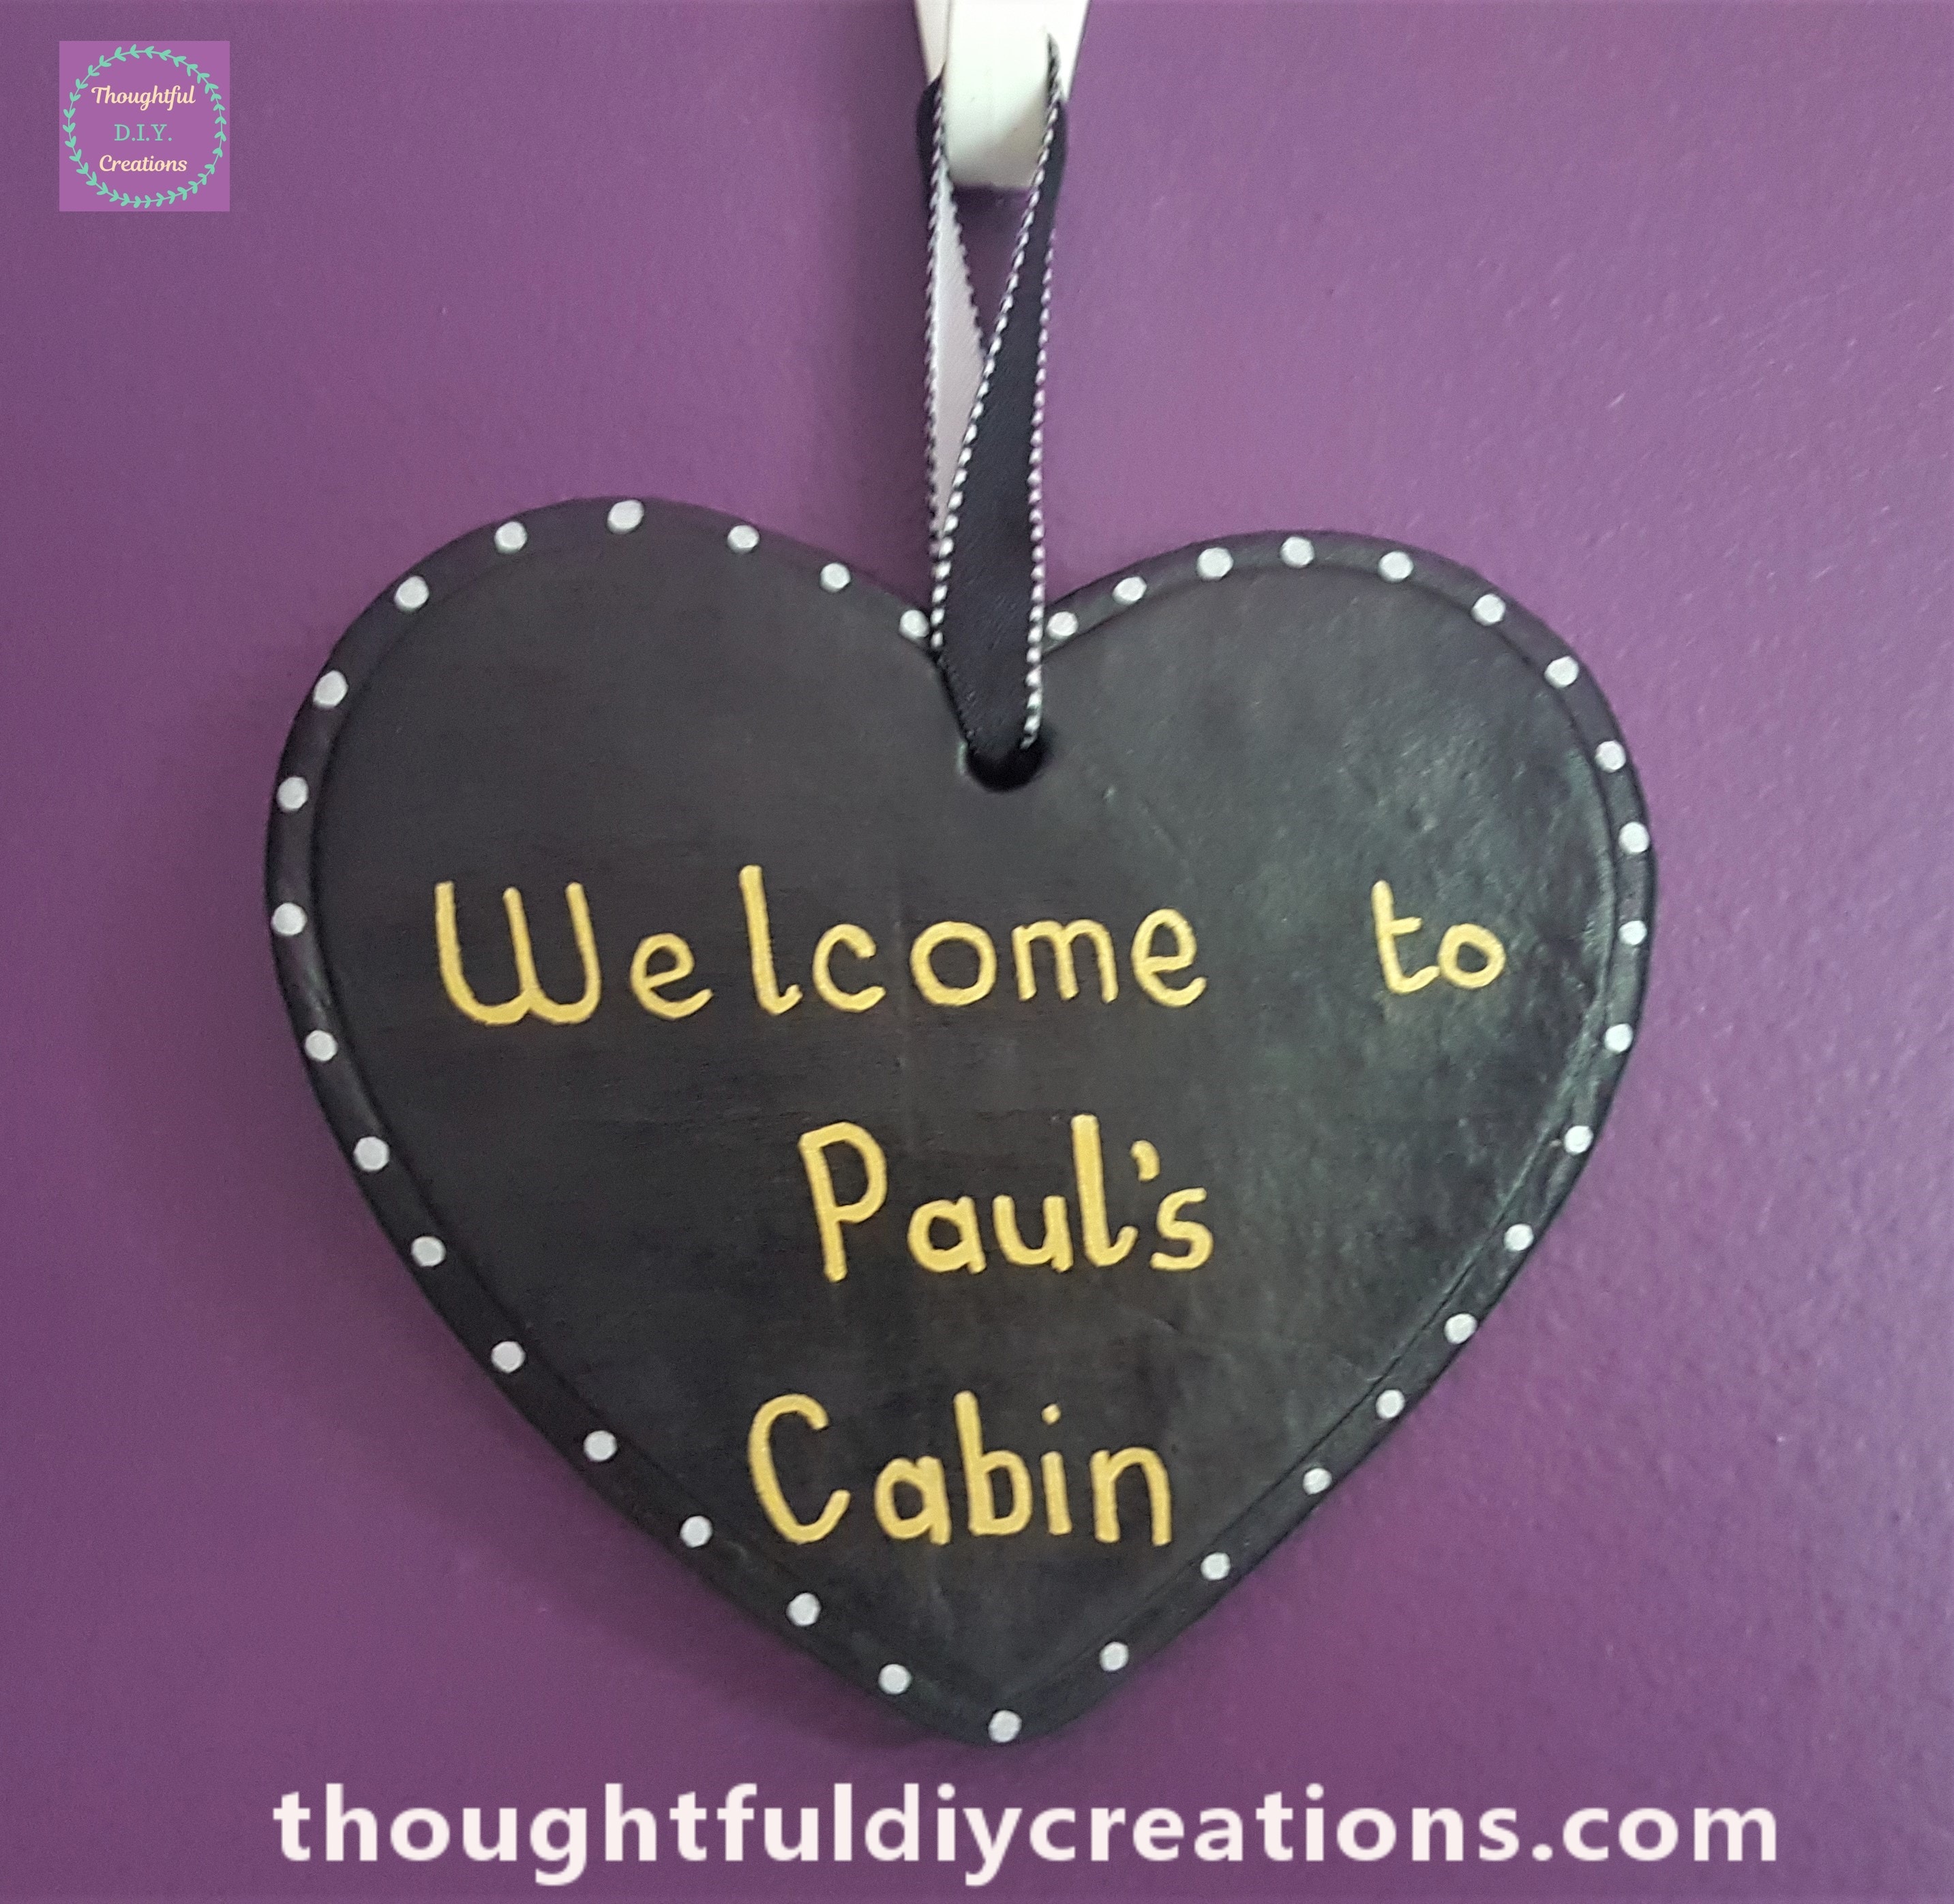
The Final Image of the Tutorial.
Conclusion
I am really happy with the outcome of the Heart, it’s not perfect; the clay could be a smoother finish but I tried my best with it. I’m definitely not an expert with Clay or Ceramics, it can be hard to get the polished appearance. I think what matters most is that it’s Handmade. I put my time, effort and love into it and it’s a personalised Gift which can mean so much to the person receiving it.
This type of D.I.Y. Creation is the perfect gift idea for Men who can be hard to buy for, especially when made in their preferred style. You could write their Name and ‘Man Cave’, ‘Games Room’, ‘Bar’, ‘Shed / Garage’ etc. underneath it and paint the ornament their favourite Colours or the Colours of their local or favourite Football / Rugby / Basketball Team or whatever else they are into. You could use a Star Shape instead of the Heart, and add ‘You’re a Star’ under their Name.
I hope I inspired you to give this type of Craft a try; you can choose completely different Colours making it such a versatile craft. You could make them for every member of your Family or for Friends. They would be cute with a Child’s Name on it for their Bedroom Door or Nursery. They would make a thoughtful Wedding or Engagement present with the Bride and Grooms Names on it. They could be made for Thank You Gifts for Teachers, and let your children help to decorate them to make them even more special.
Clay Hearts could be made for a ‘Baby’s First Christmas’ or Birthday. They could be made smaller for ‘Family Names’ for the Christmas Tree or bigger sizes as Hanging Decorations. Another idea would be to make them for the ‘Best Auntie or Uncle’, ‘Best Mammy / Daddy’, ‘Best Grandparents’, ‘Great Friend’, ‘Great Neighbours’. You can literally make them your own with funny sayings or phrases you and your friends / family like to say. They could be decorated with Gemstones, Buttons, Lace, a Bow or anything else you can think of.
If you would like to add any tips or advice for making Clay Hearts just fill out the Comment Box below this Blog Post.
Thank you so much for taking the time to Read my Blog.
Always Grateful,
T.D.C.
xoxox



-0 Comment-