Clipboard Makeover Tutorial
Hello my Creative Friends,
I hope you are all Well. In Today’s Tutorial I will show you How I Decorated a Clipboard to suit my Style and Taste. Hopefully it will Inspire you to give your Office / Stationery Supplies a Makeover turning them from Drab to Fab. It is a Simple, Quick and Budget Craft and you can Personalise yours however you want.
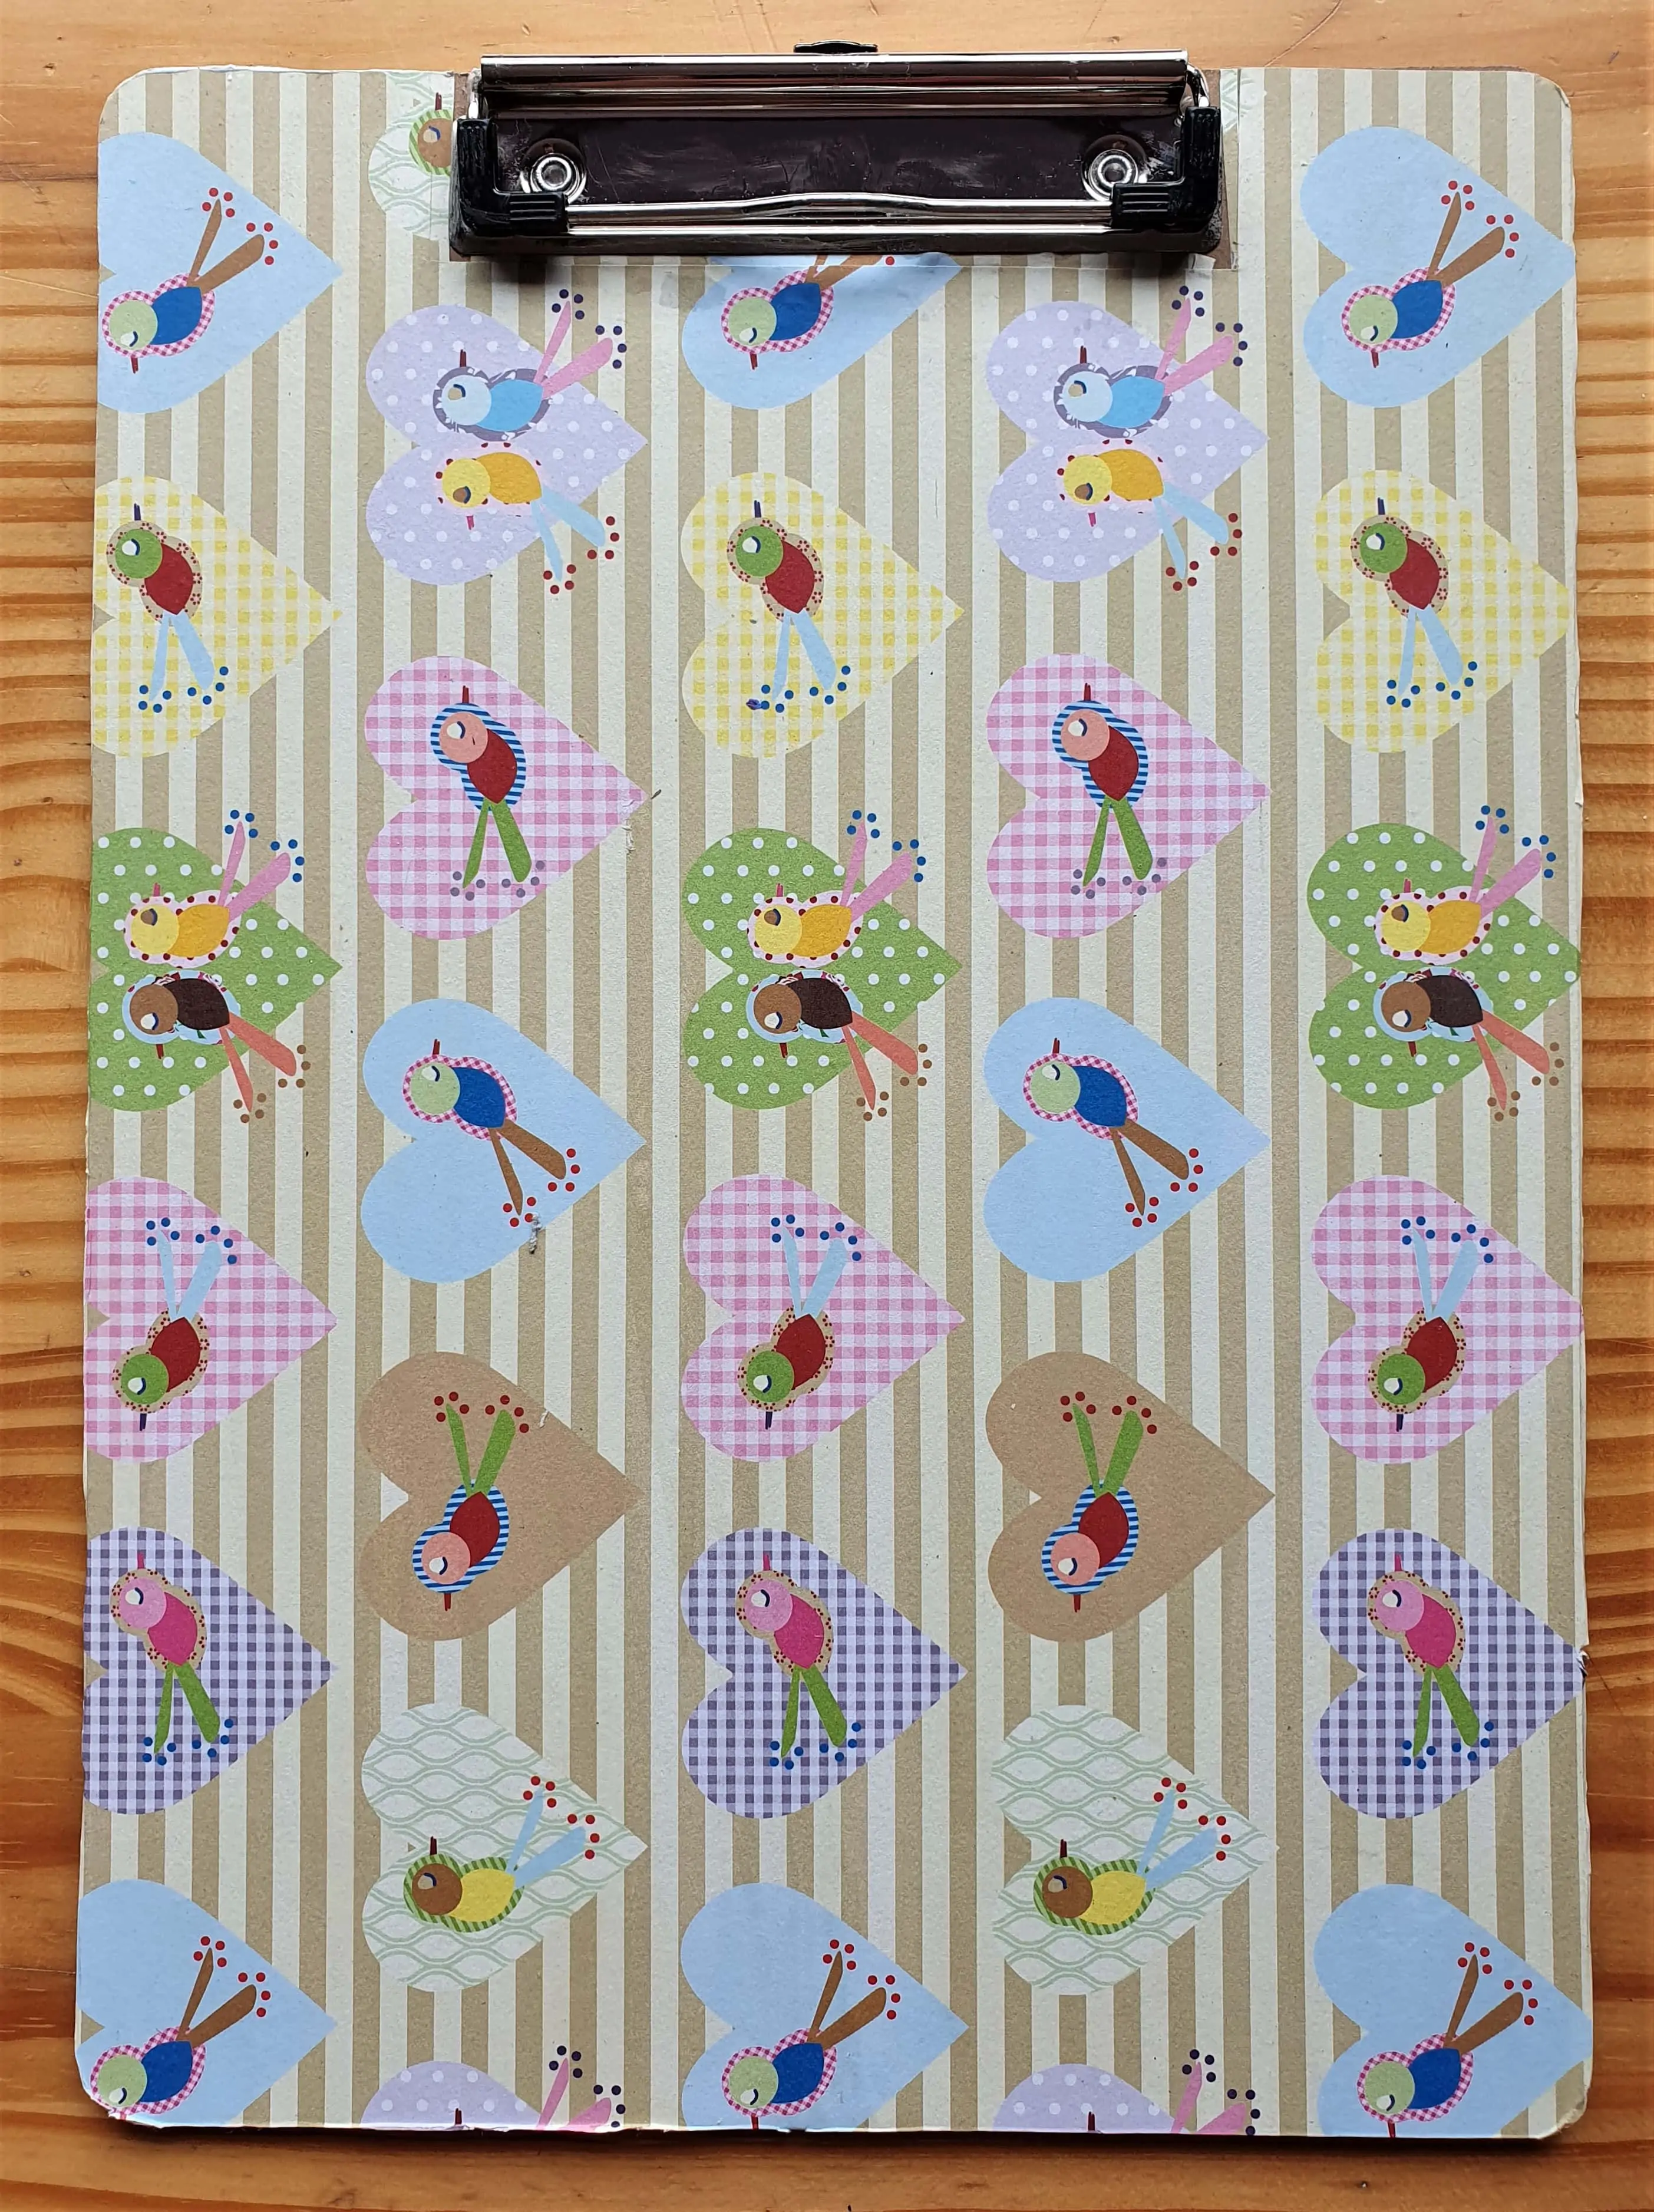
Clipboard before Decorating
I bought a Plain Brown Clipboard a few Years ago. I added a Scrapbook Cardstock Sheet to the Board using Gel Medium. I have it like that a couple of Years now and felt like giving it a fresh new look. I decided to Document it this time for the Blog and Inspire you in the Process.
Here is the Clipboard with the first Patterned Sheet attached to it.
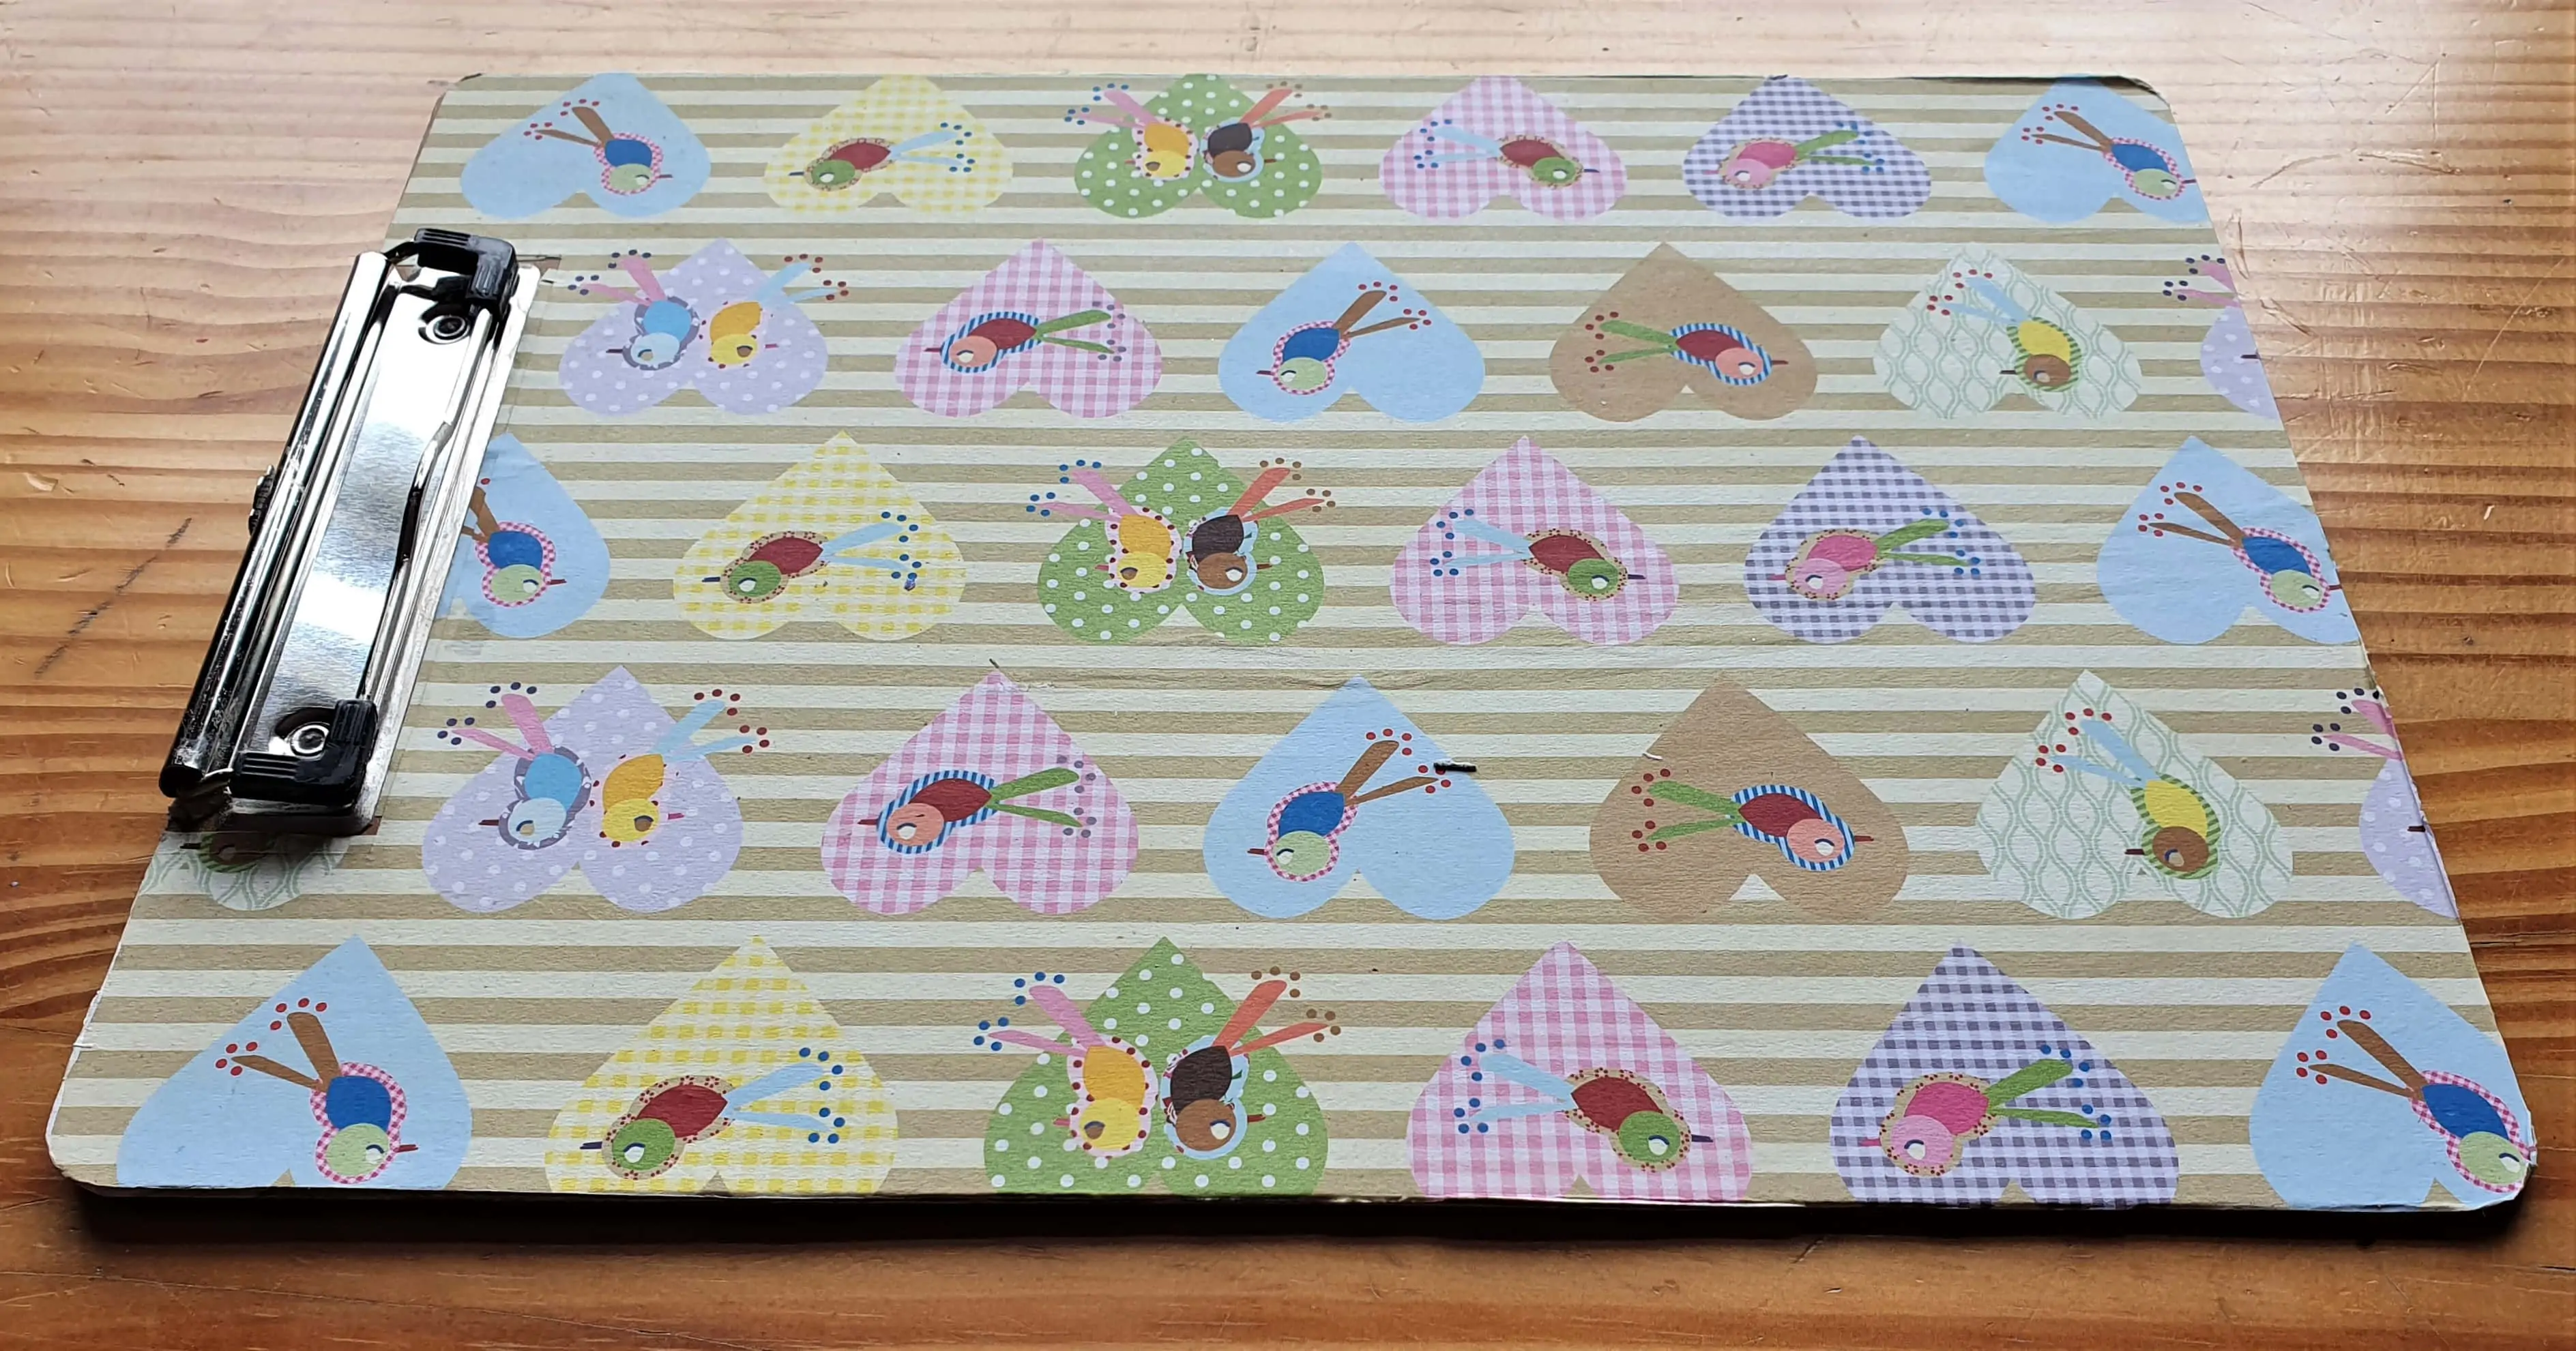
A Side View of the Clipboard.
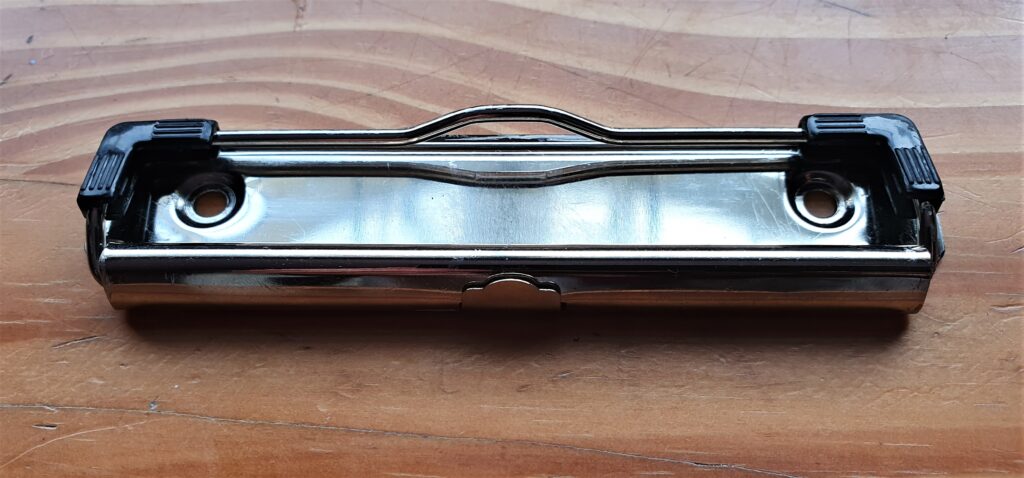
Removing the Clip from the Clipboard
My Brother removed the Clip from the Board using a Drill. This Step is not necessary but it makes it easier to apply the Paper / Fabric to the Clipboard.
The Clipboard with the Clip removed. I hadn’t removed it the first time I decorated it.
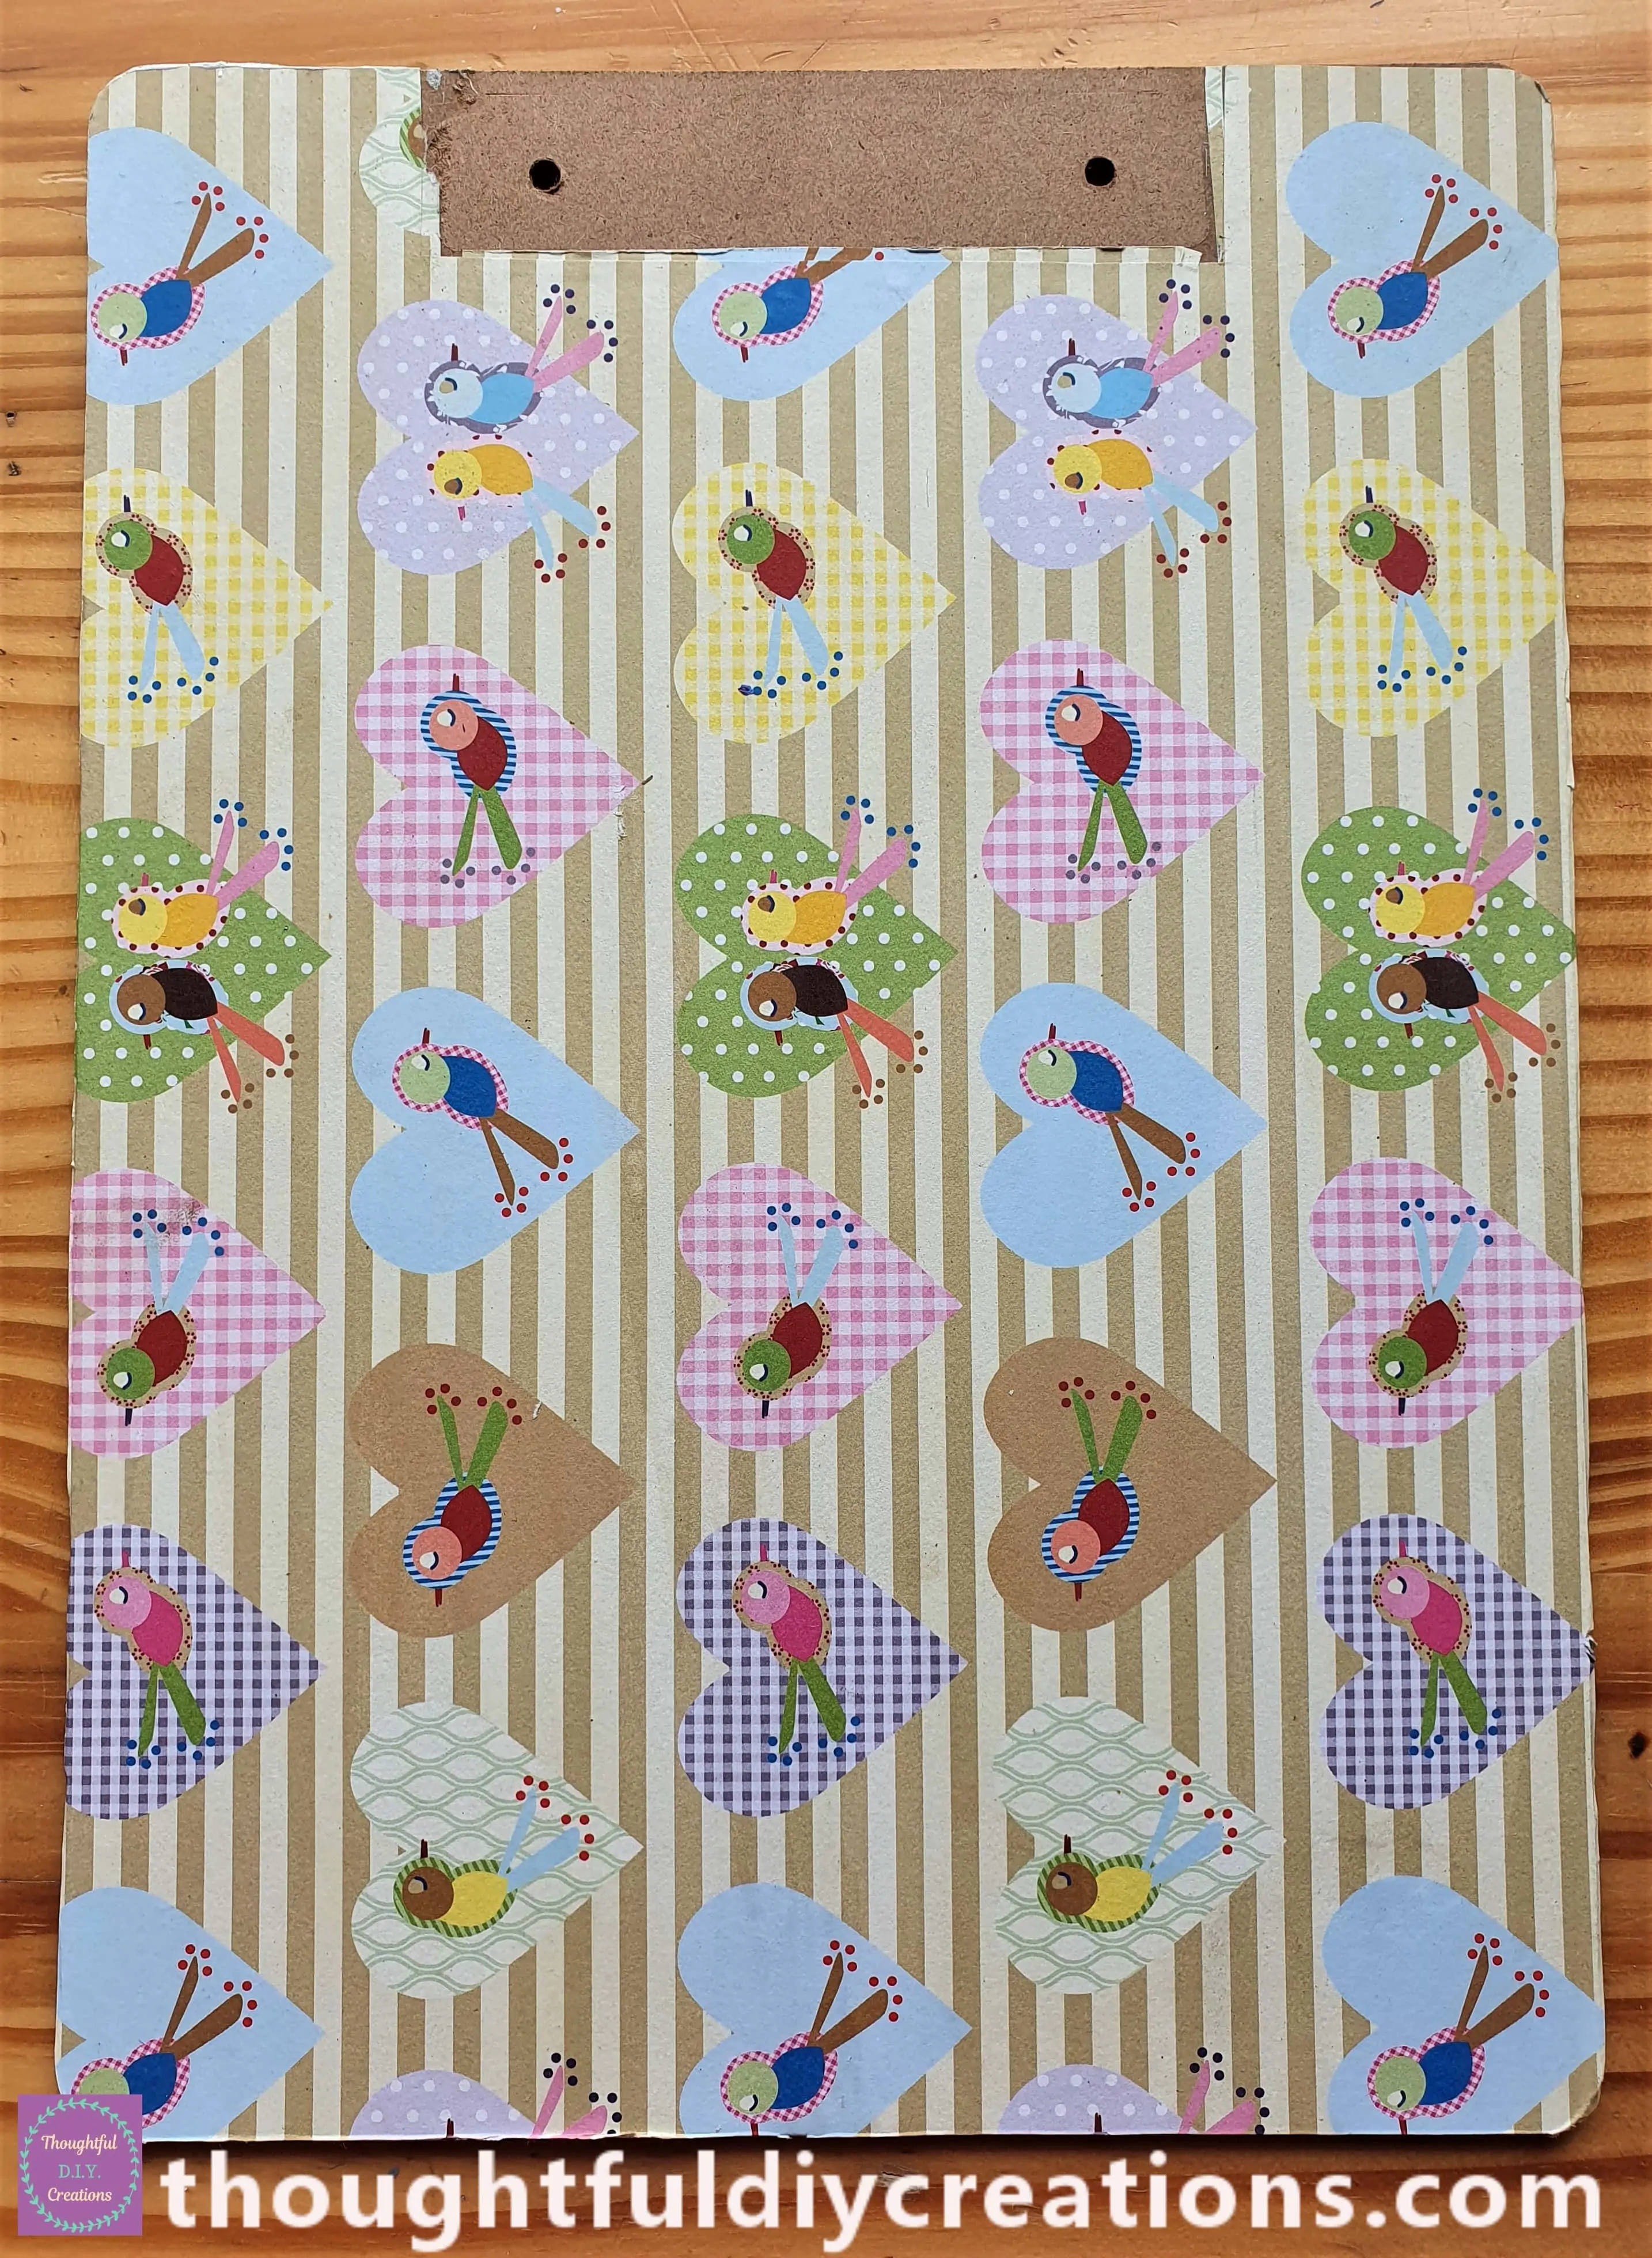
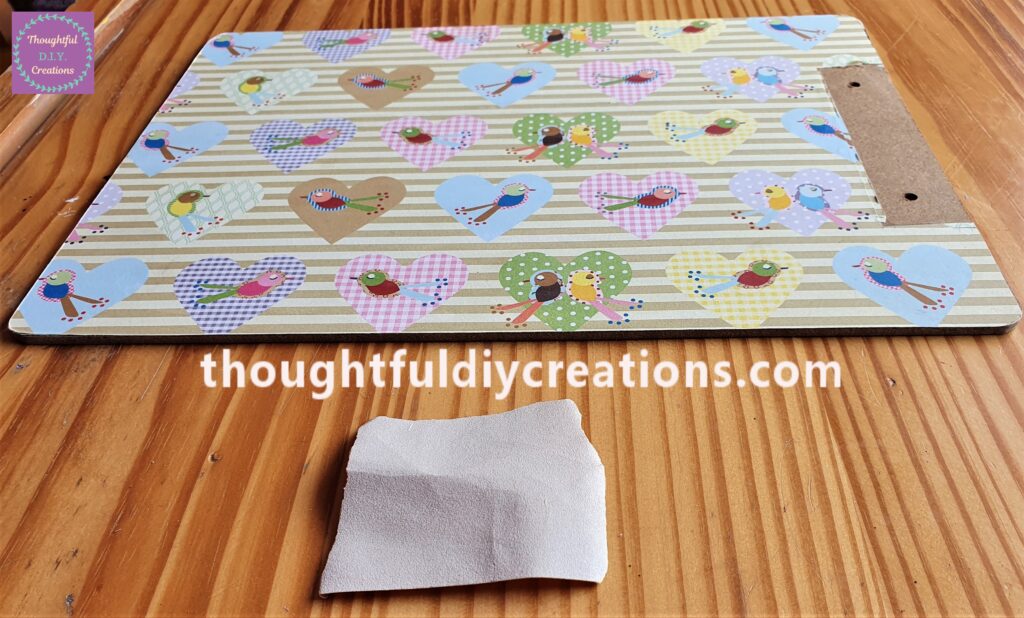
I Sanded the Sides of the Board with Fine Sandpaper. Some of the Paper was hanging down and attached to the Sides but not evenly and I wanted the edges to be clean before my next Step.
Glitter Paper
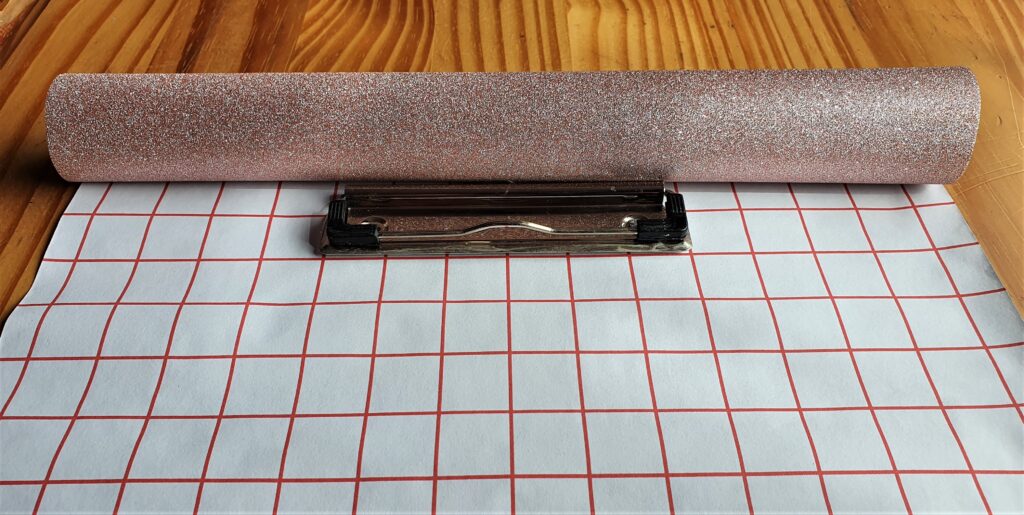
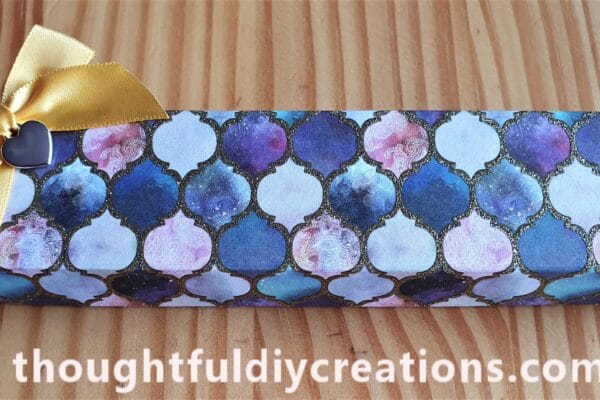
I Bought a Roll of Self-Adhesive Glitter Paper recently. I thought this would be Pretty added to the Clipboard.

This is the Glitter Roll opened out. It has lines and squares marked underneath; making it easy to Cut accurately.
Measuring and Cutting the Glitter Paper
I put the Clipboard on the underside of the Glitter Roll to see how much I needed to Cut.
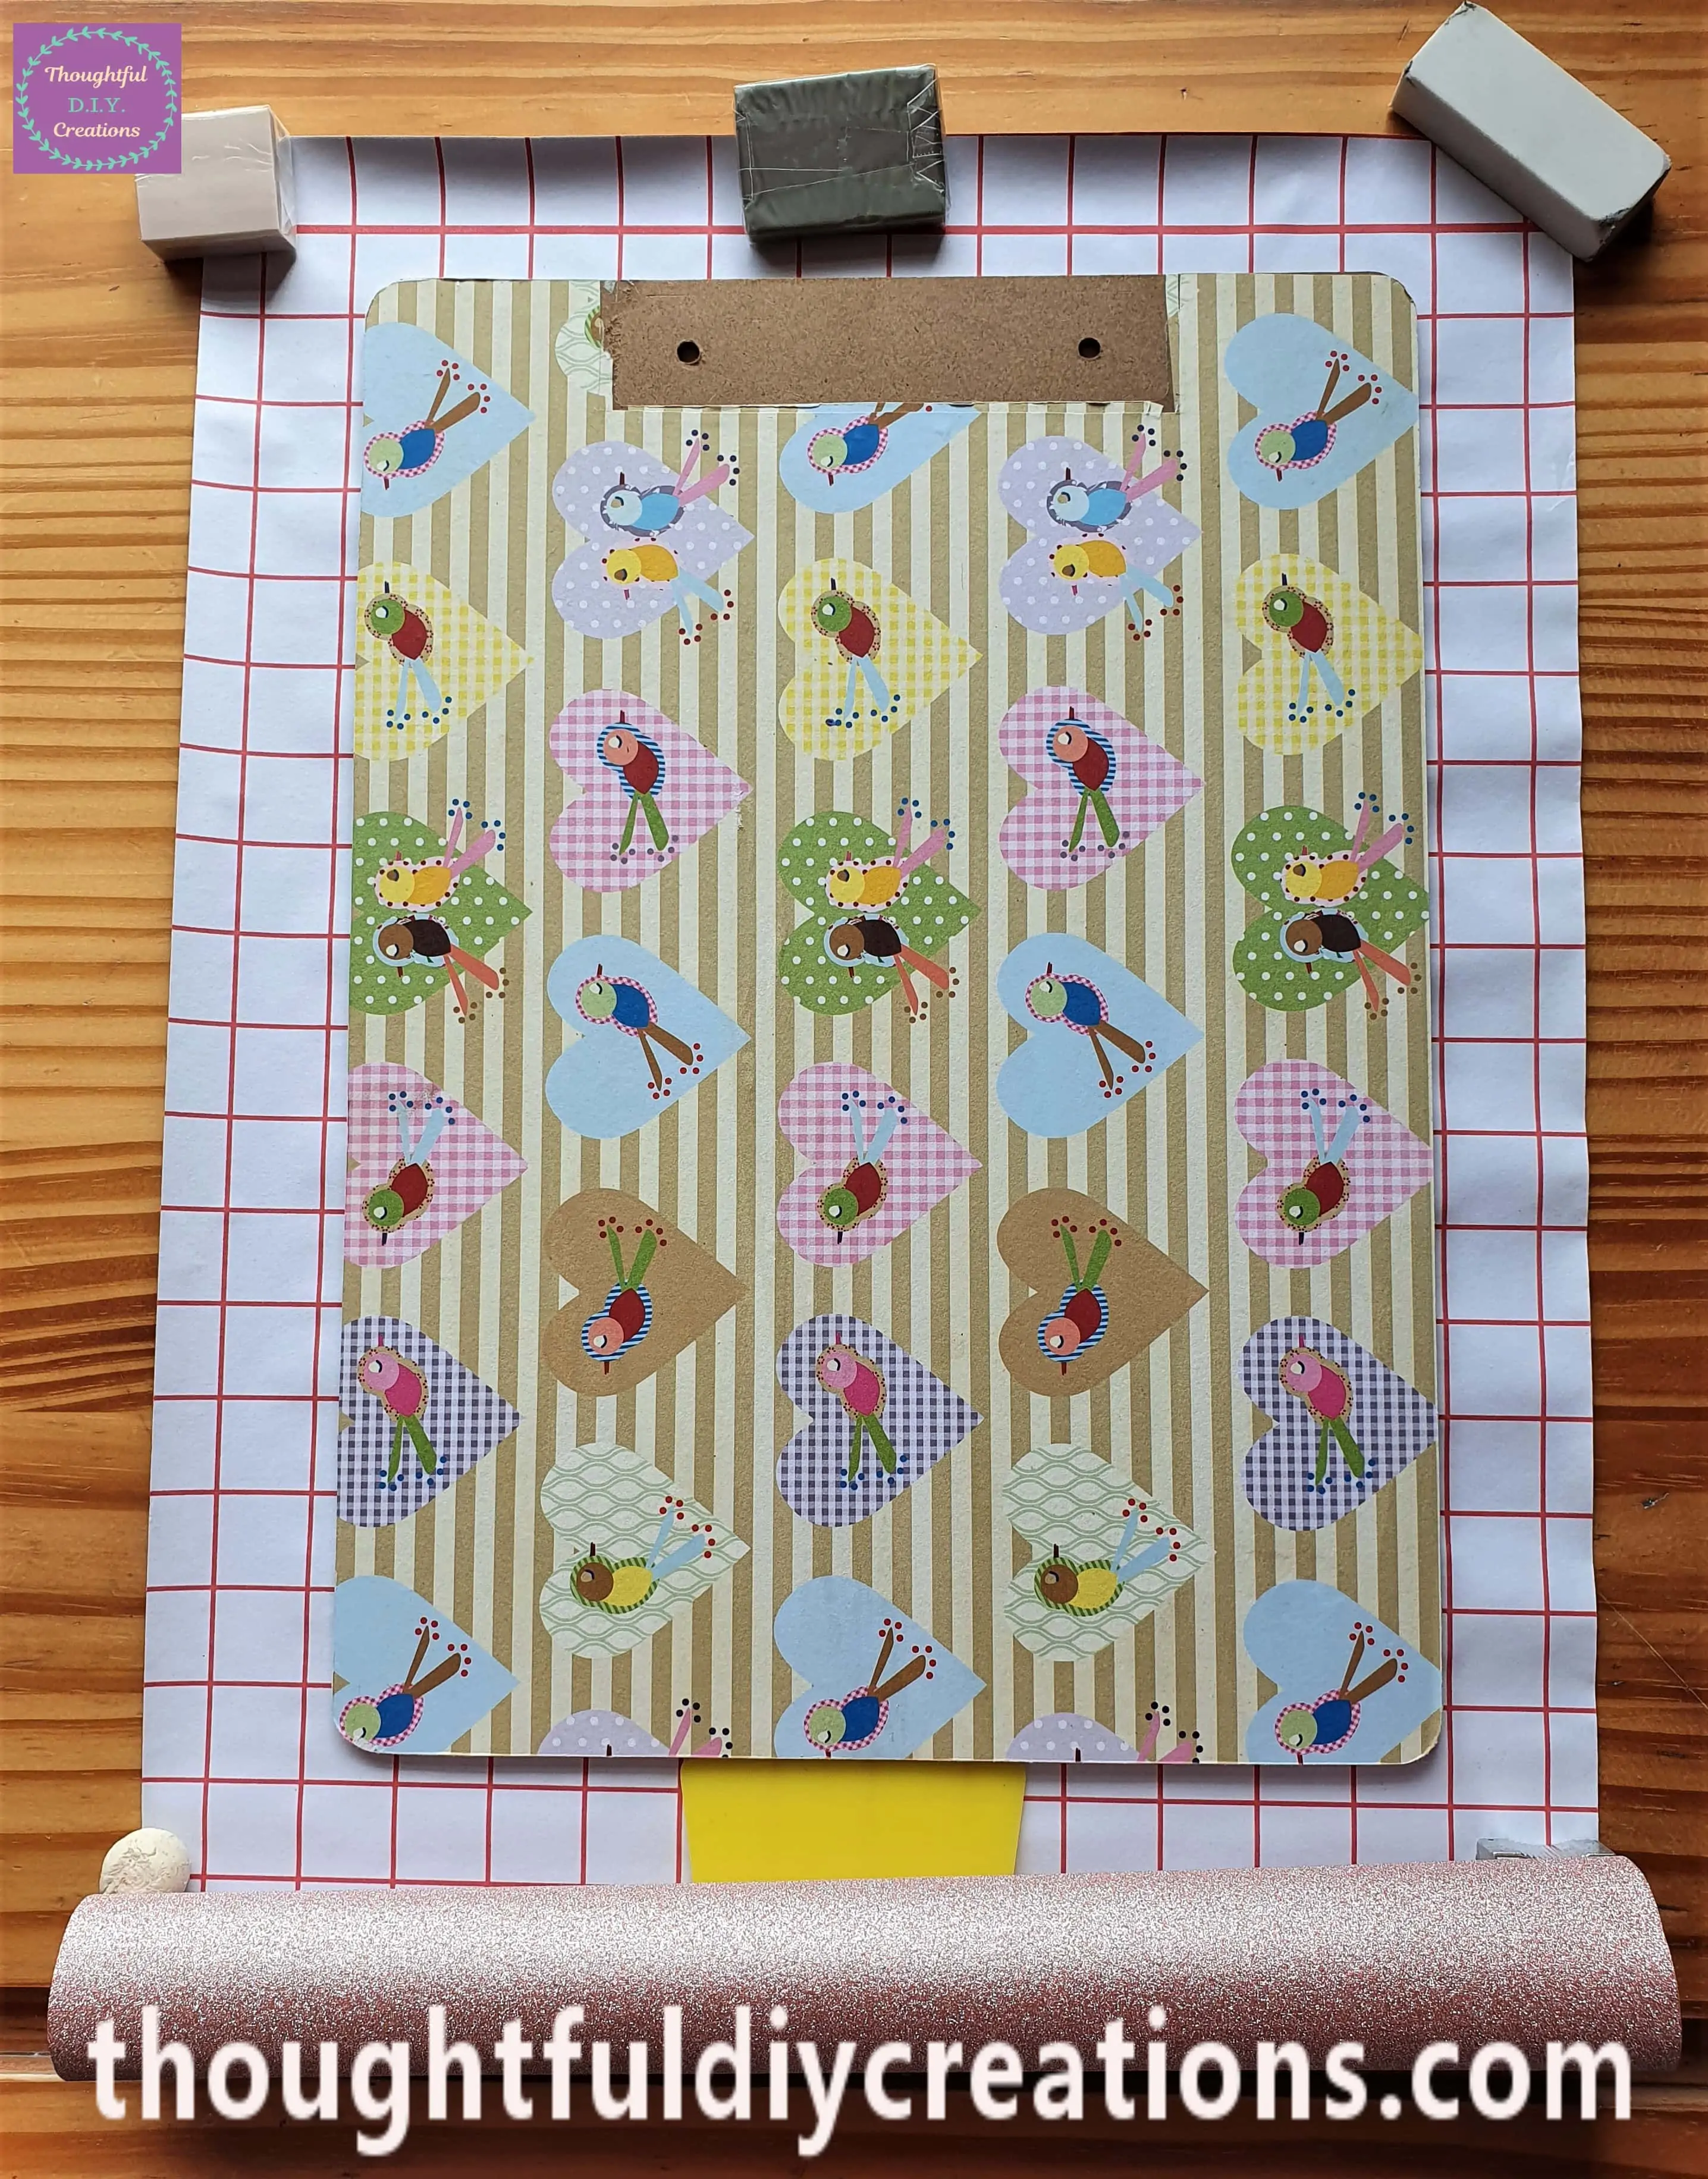
I Cut the Glitter Paper leaving a small border to cover all the Sides of the Board.
Removing the Self-Adhesive Backing
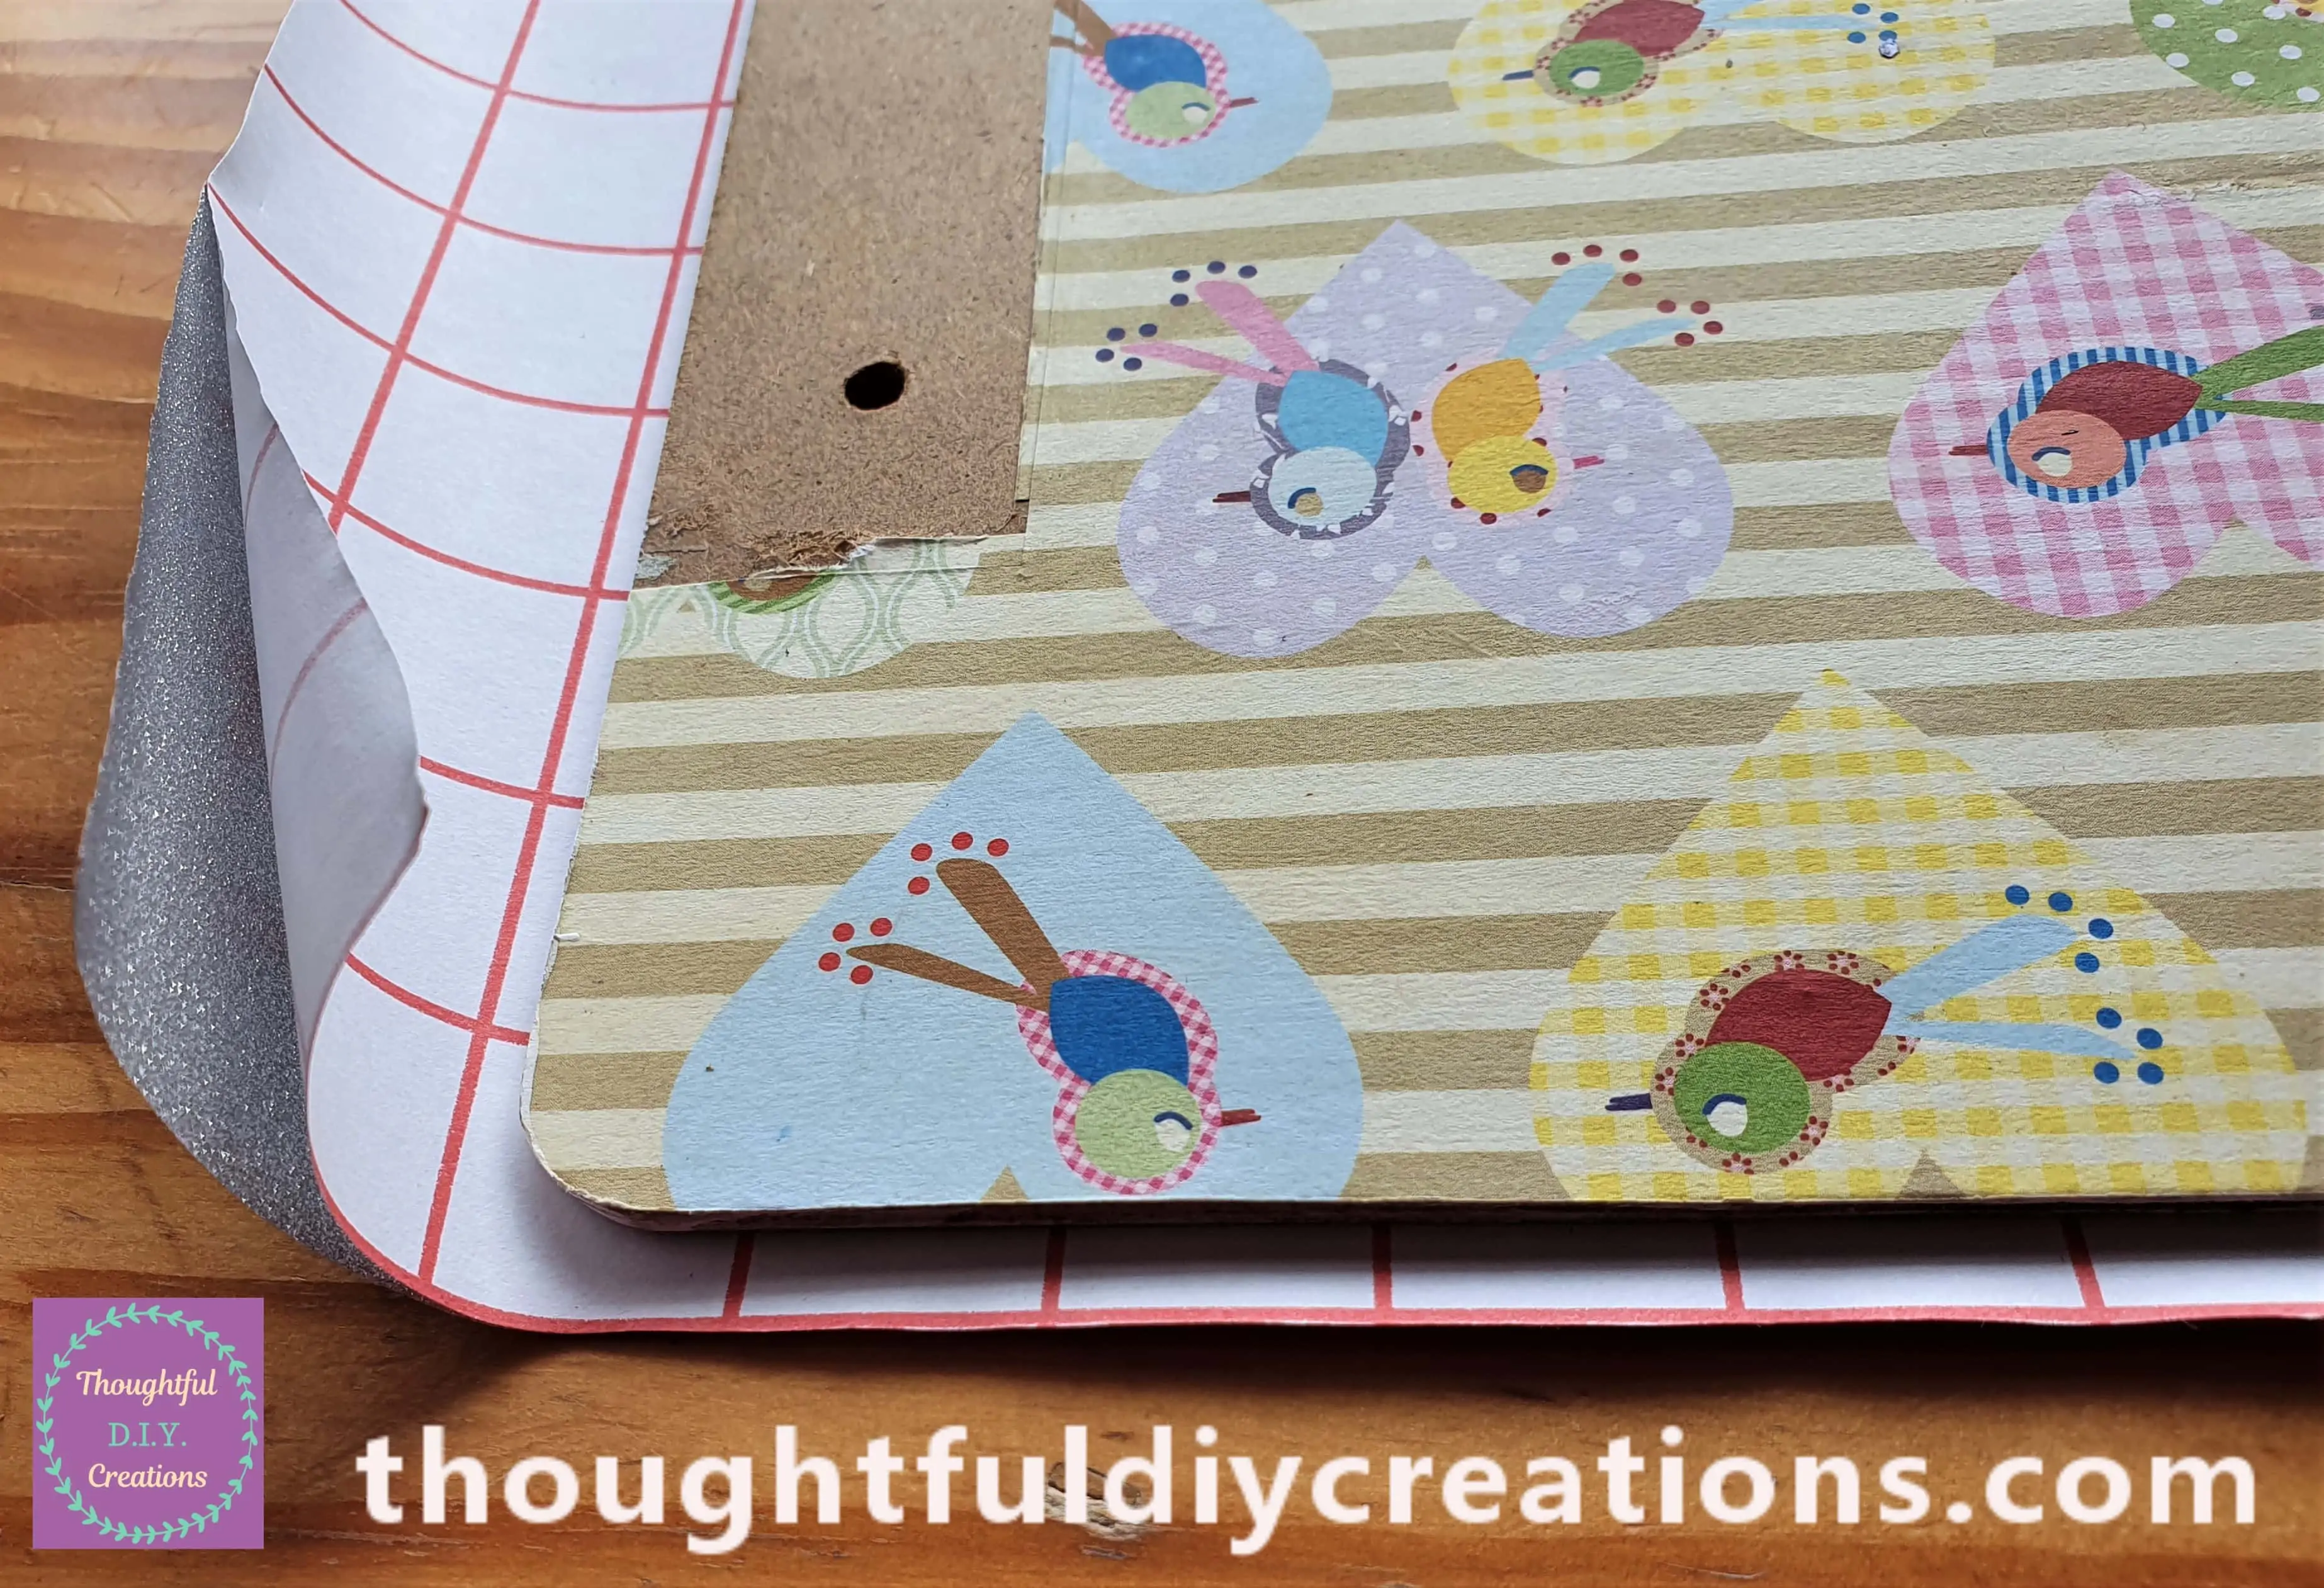
I Started to Peel away the Self-Adhesive Backing from the Corner of the Glitter Paper.
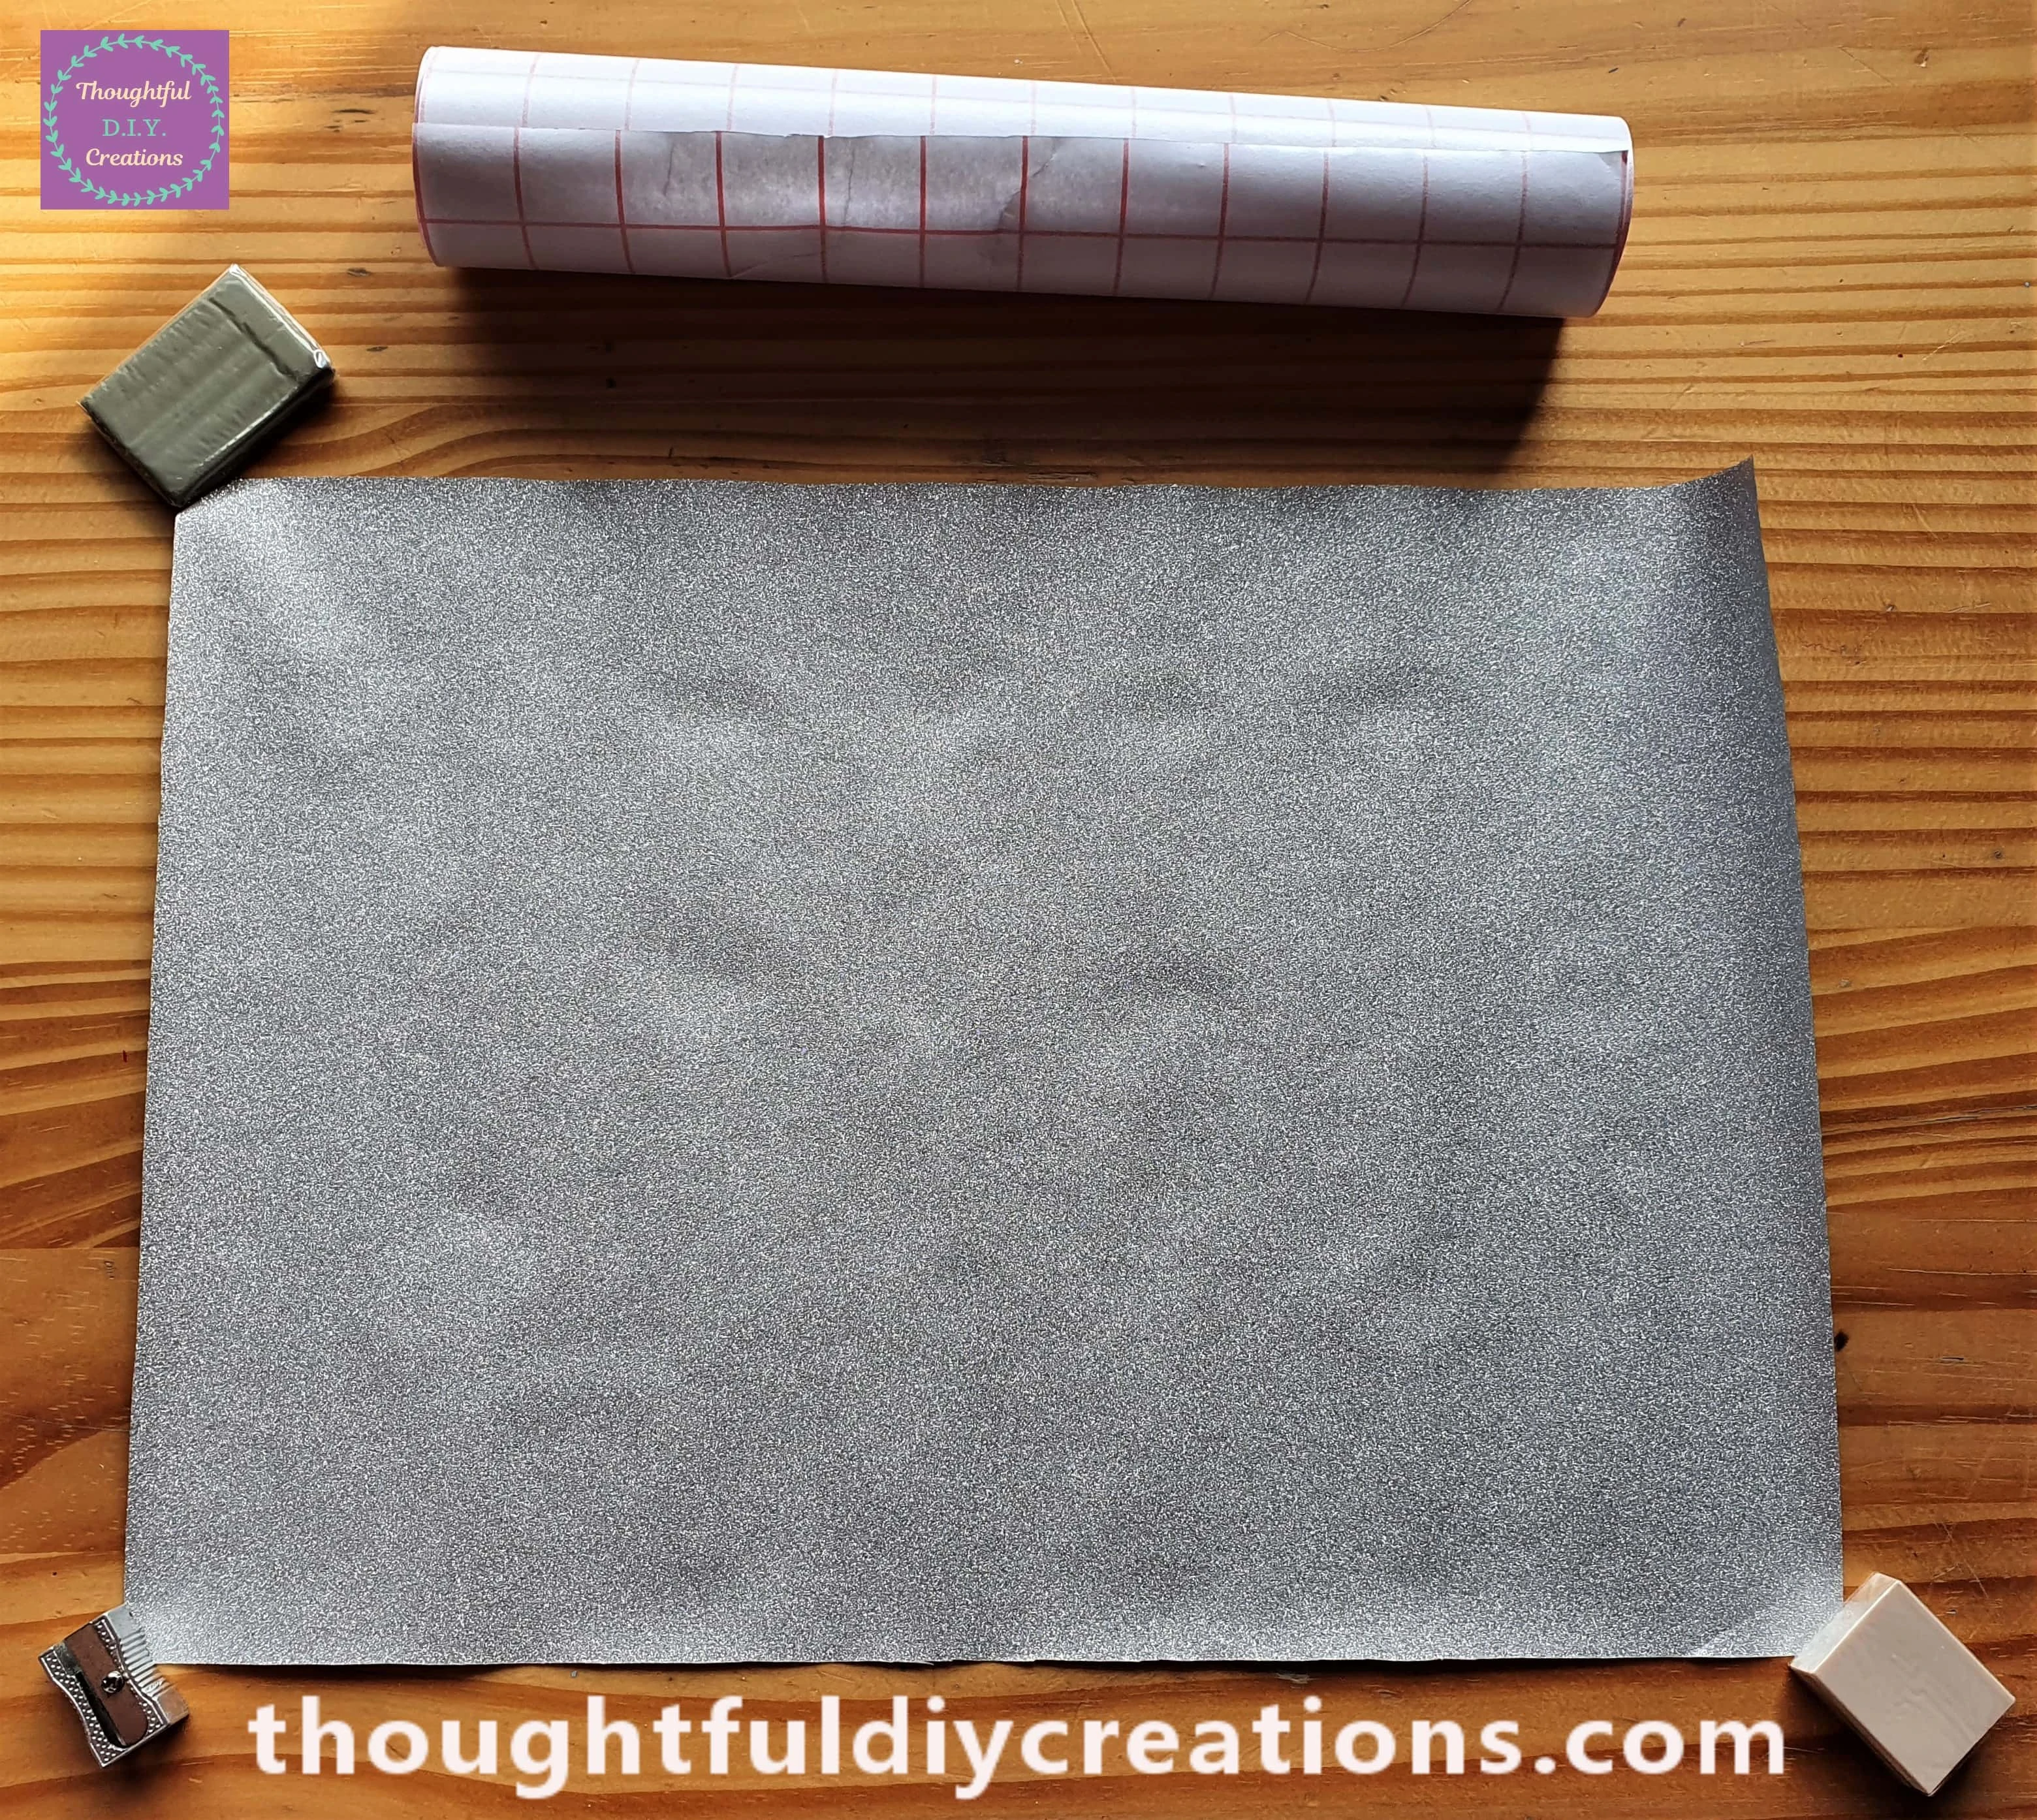
I took away the Clipboard and removed the Full Self-Adhesive Backing. I put props on each Corner to keep the Sheet Flat.
Attaching the Clipboard to the Paper
I Carefully put the Clipboard Face Down onto the Sticky Paper.
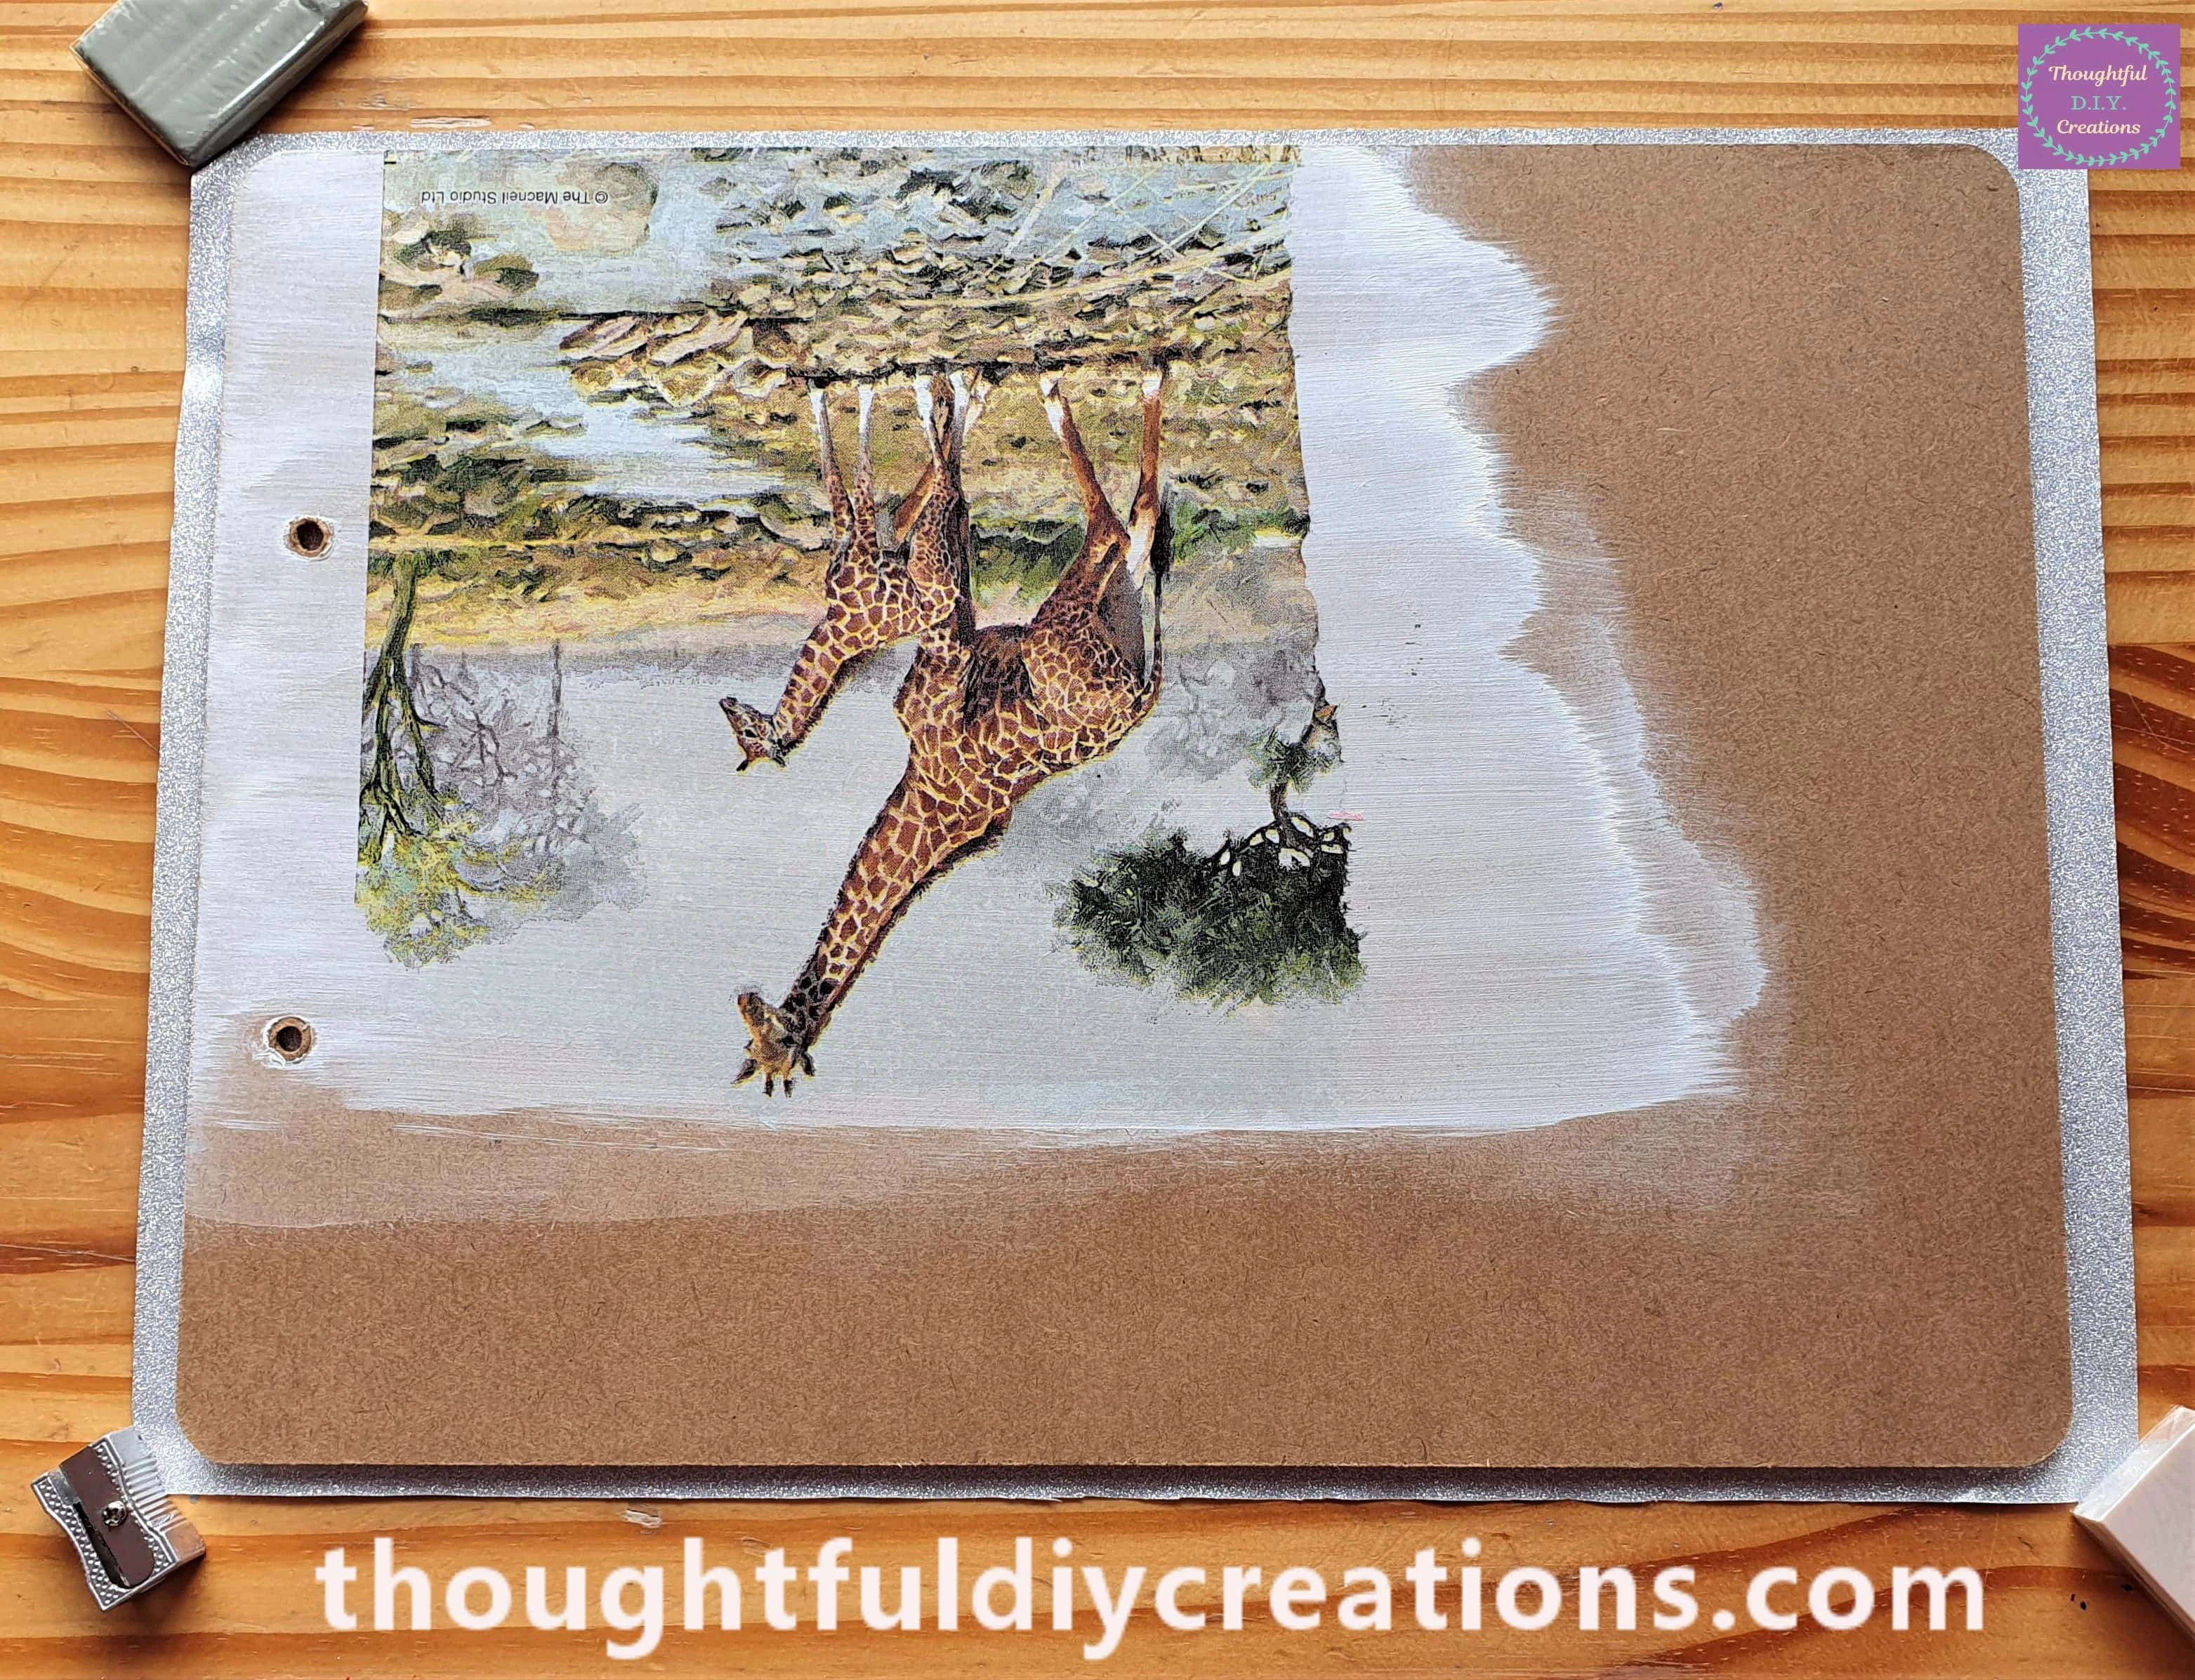
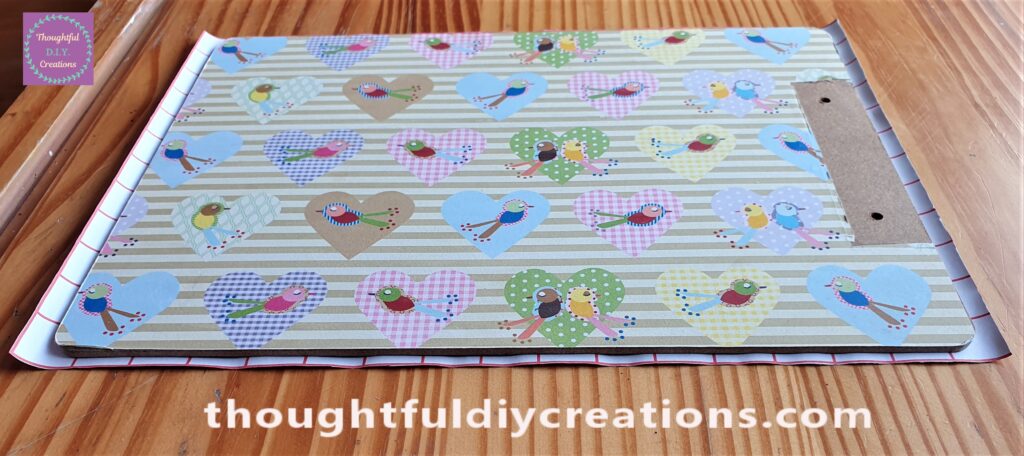
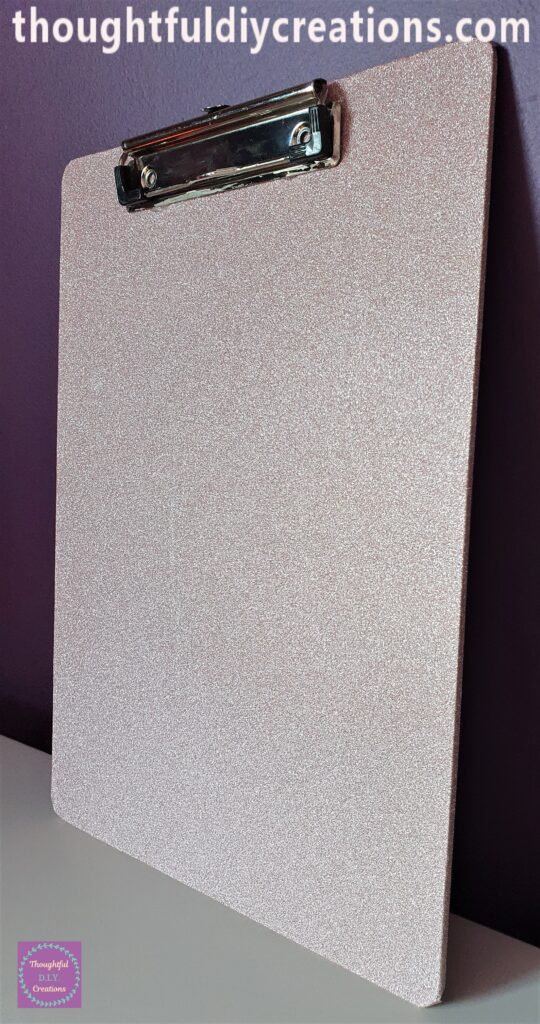
Here is a Side View of the Clipboard after I turned it back over.
Smoothing Out the Wrinkles
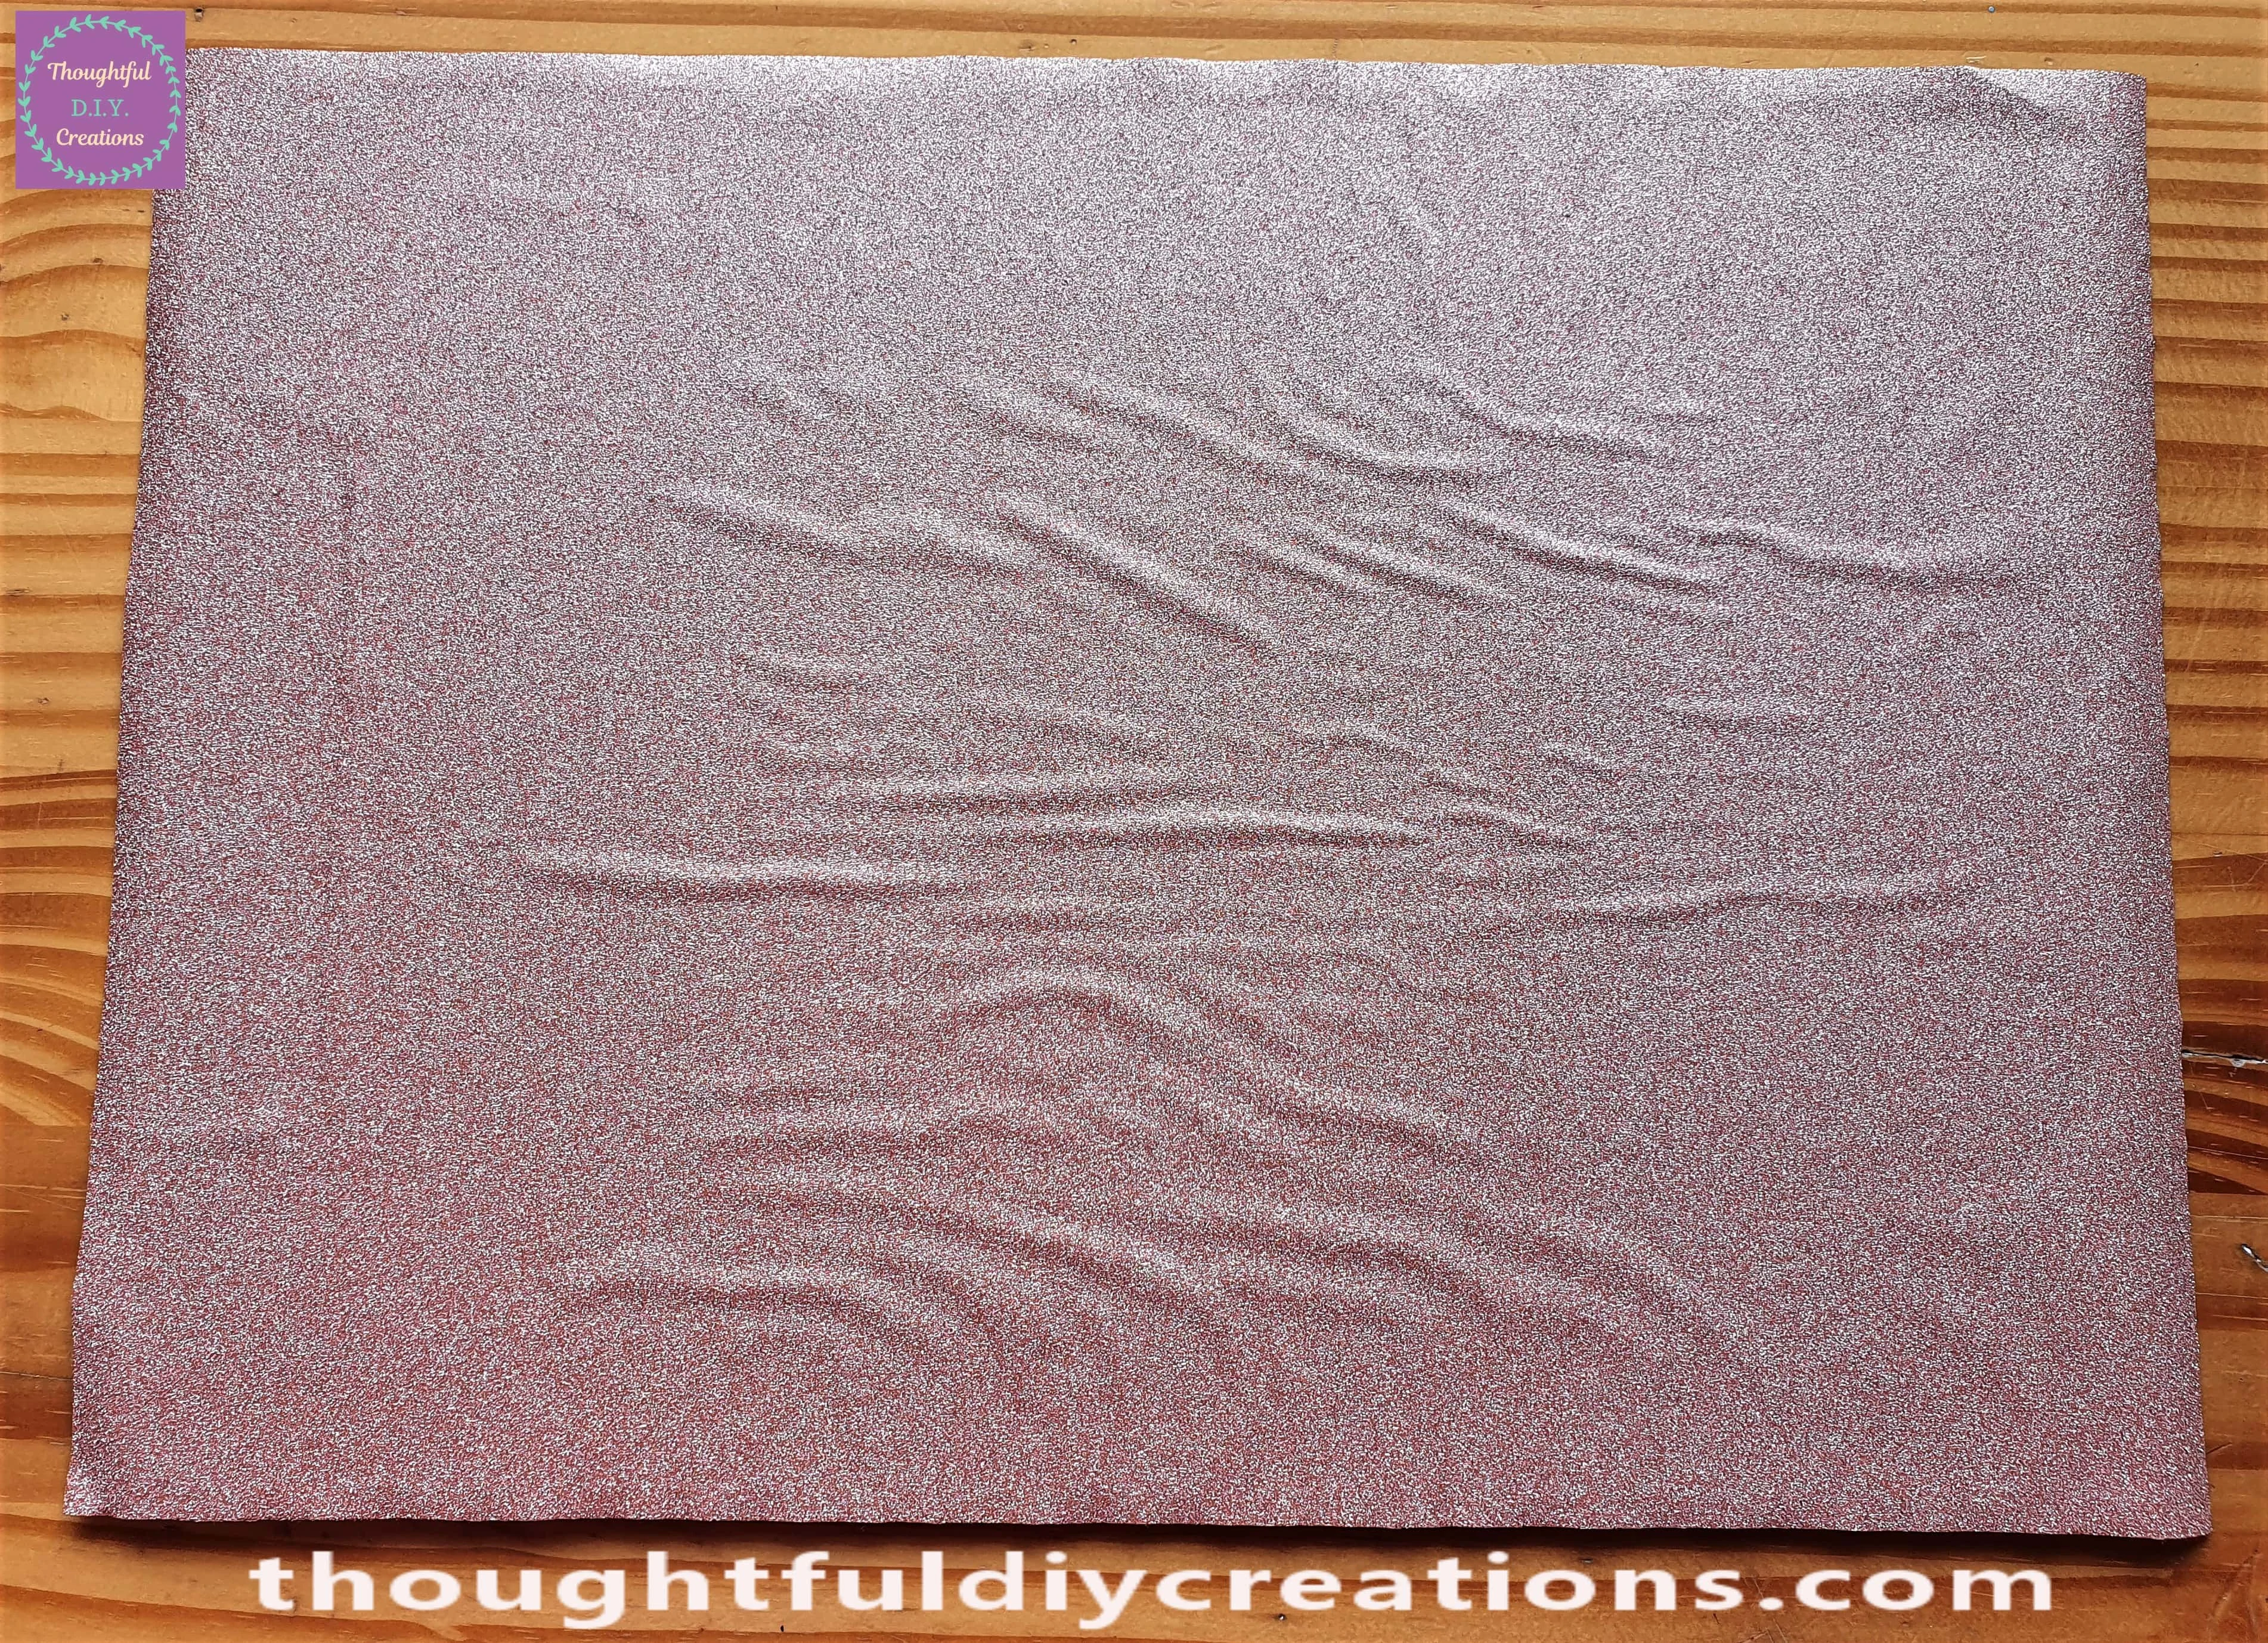
I got my Yellow Squeegee Tool. You can also use a Credit / Loyalty Card.
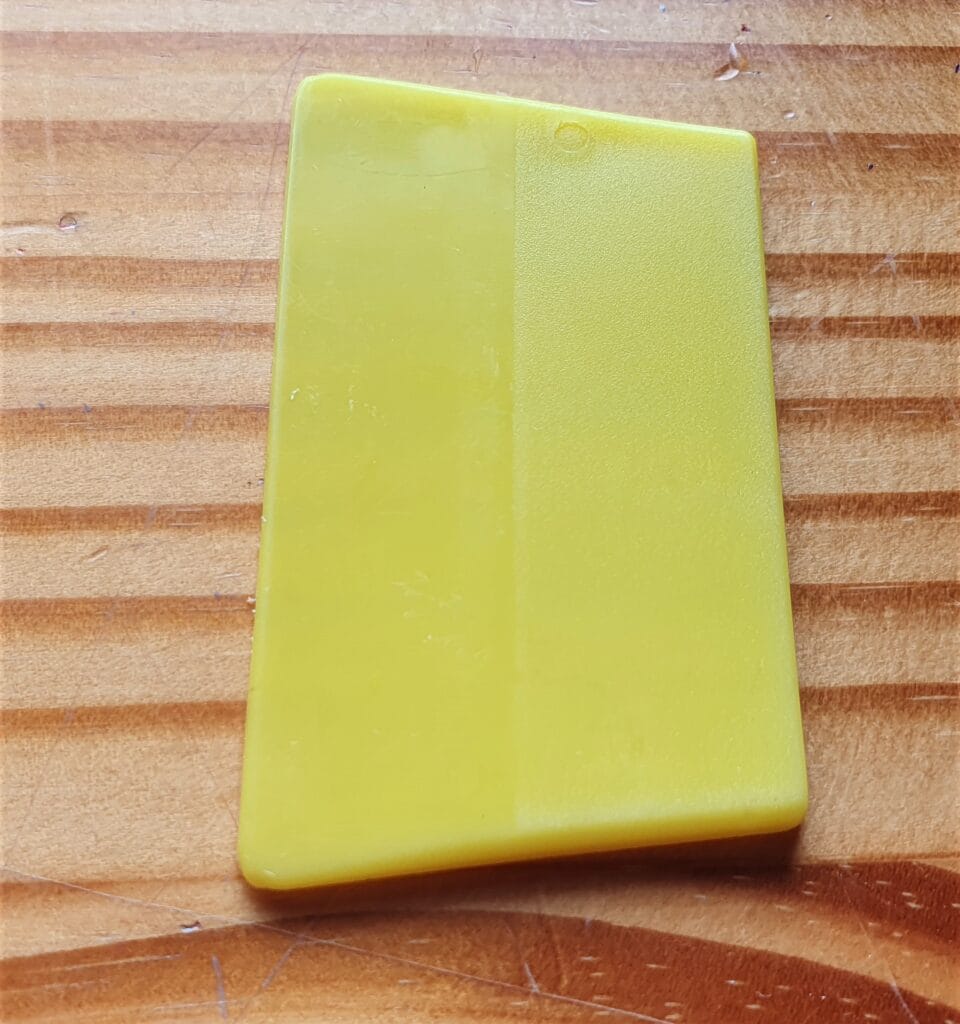
I pressed the Squeegee Tool from the middle of the Clipboard to the Outer edge. I then put it back in the middle and pressed it out to the other edge removing the wrinkles in the process. I continued the whole way down the Clipboard until all the lines were smoothed out.
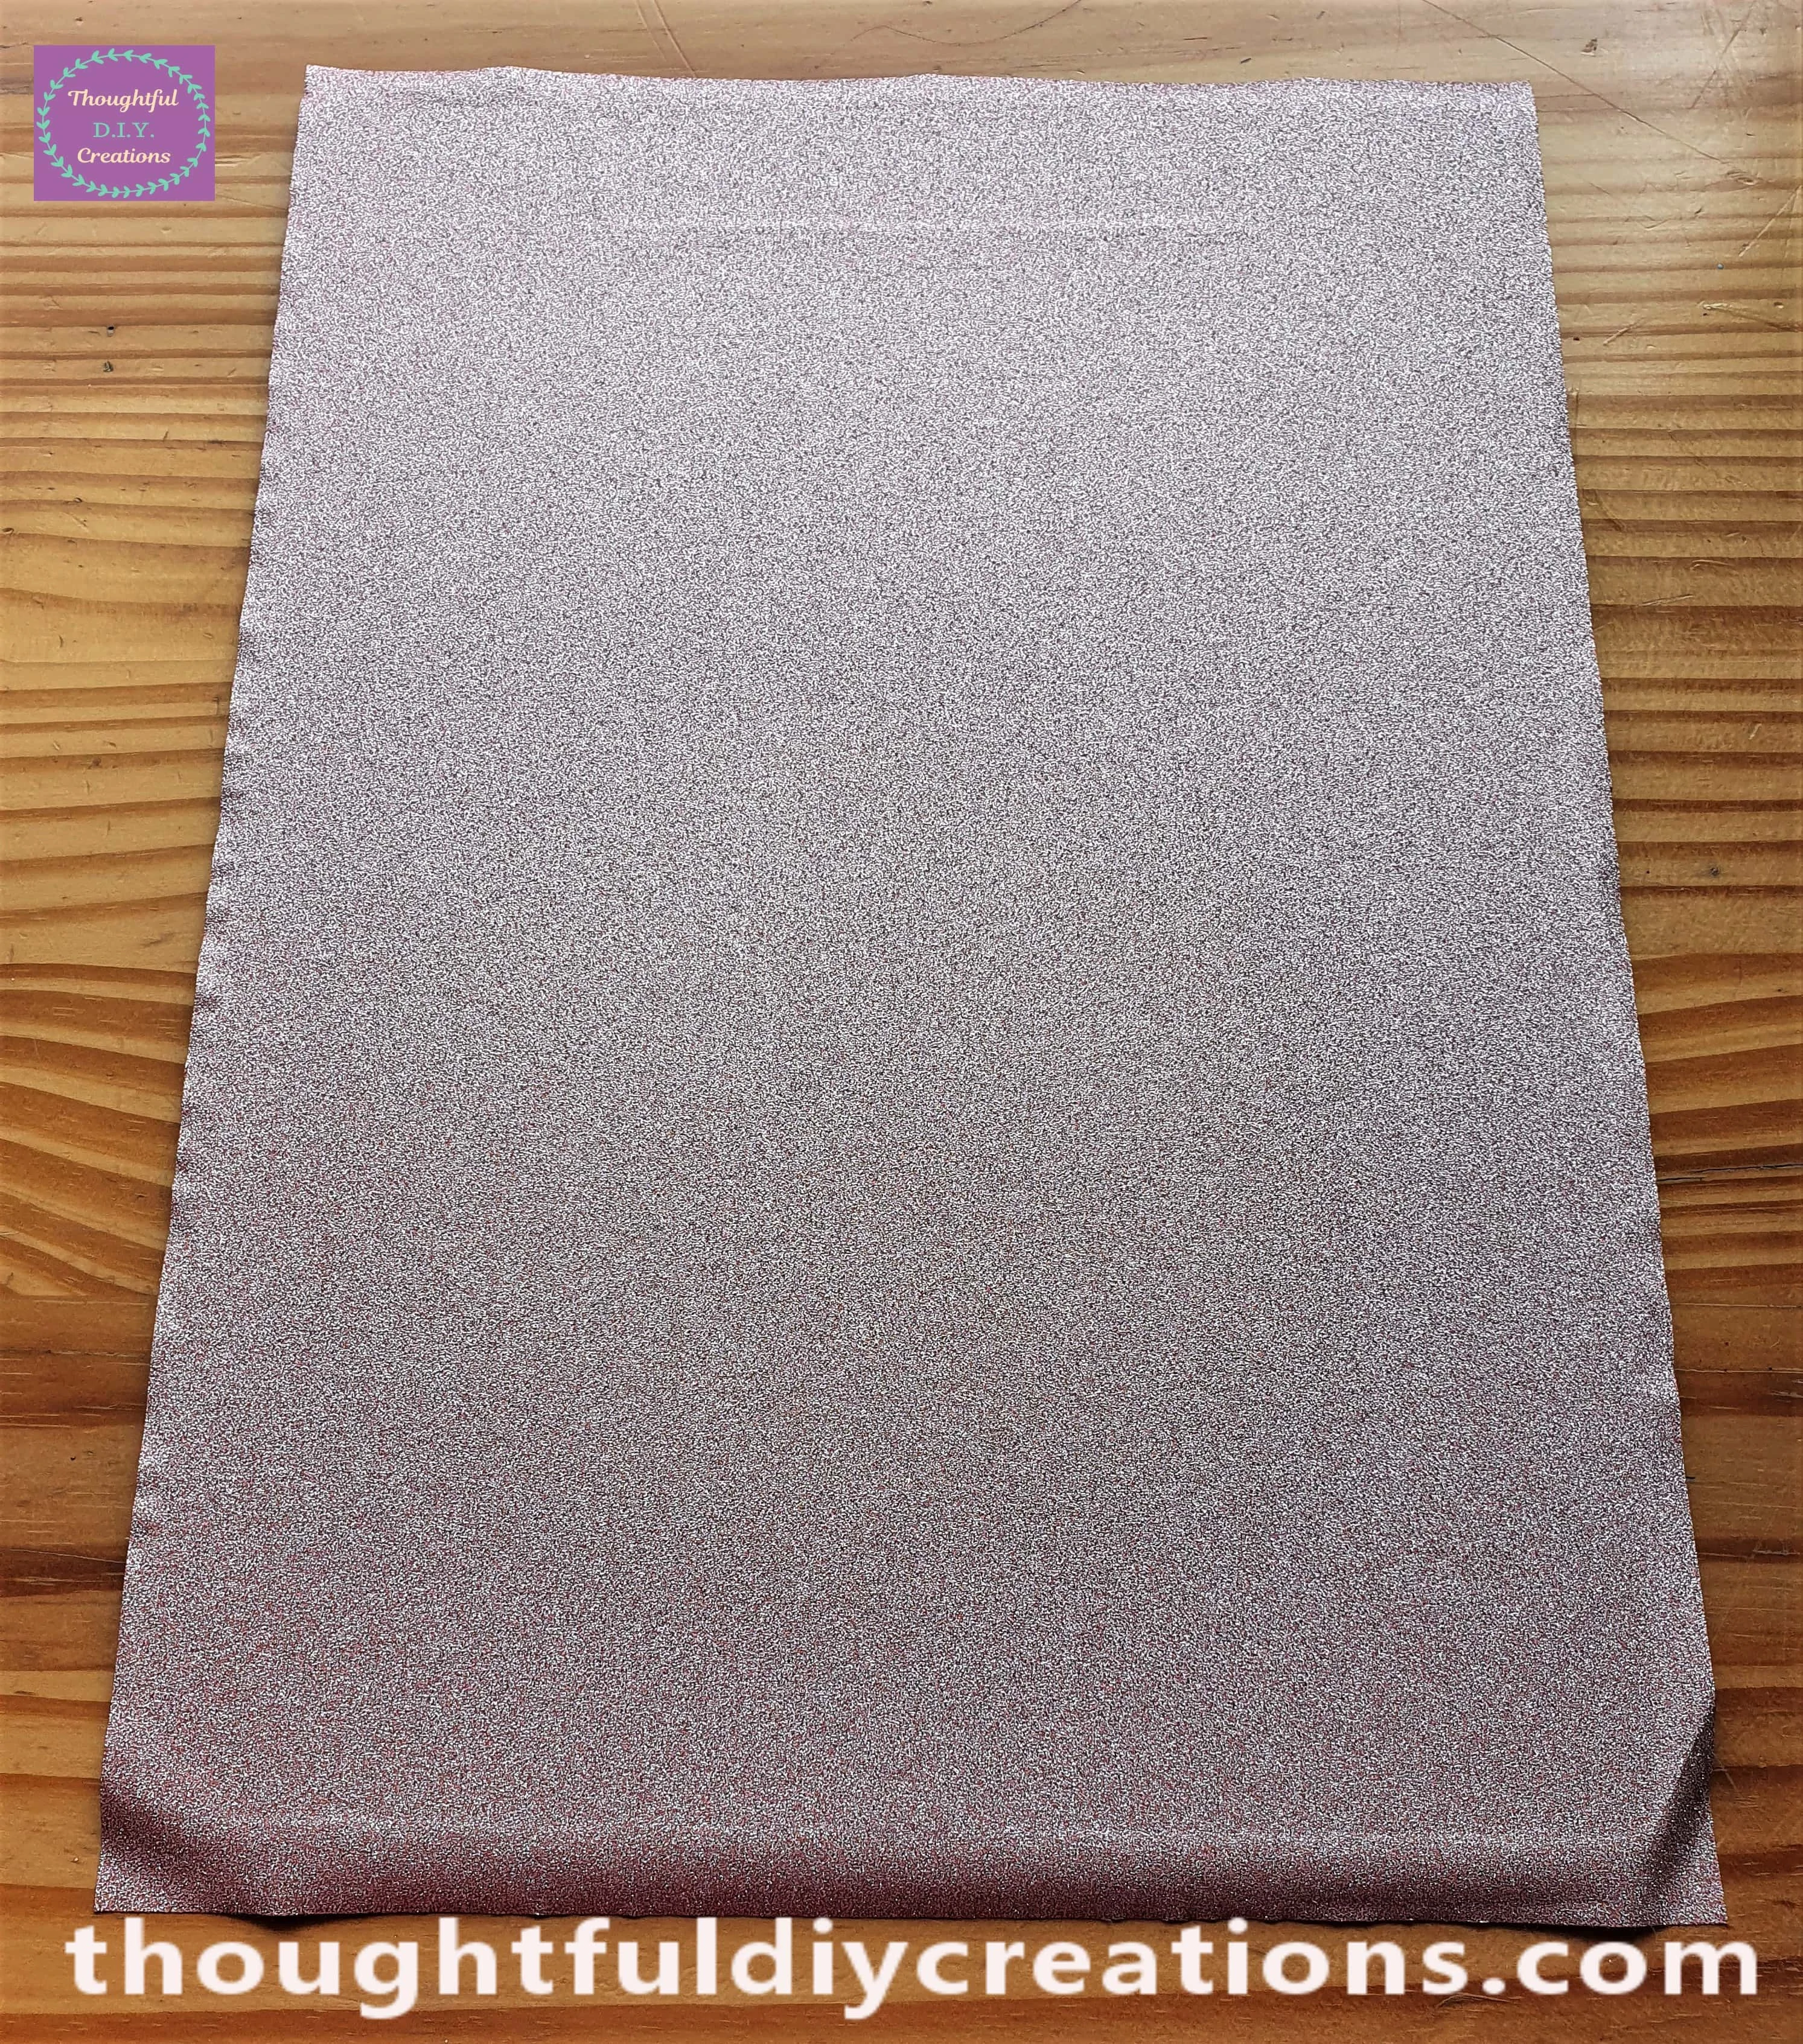
Attaching the Paper to the Sides of the Clipboard
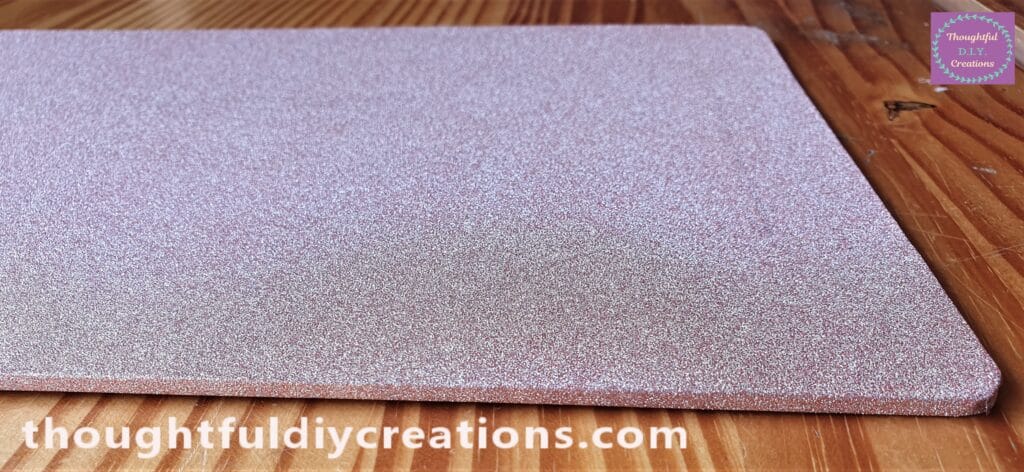
I attached the Glitter Paper to each Side by pressing each section of the Paper to the Board.
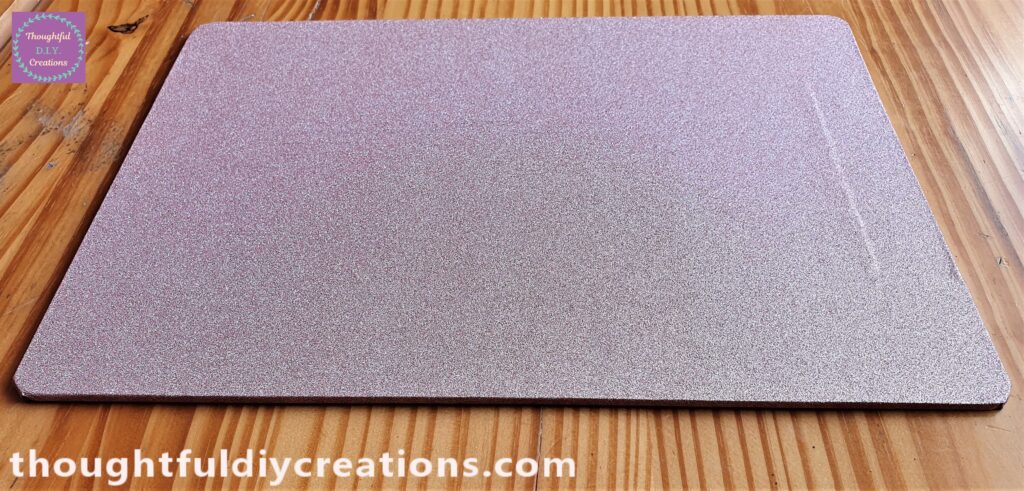
A Closer look at One of the Sides.
Putting the Clip back on the Clipboard
I plugged in my Hot Glue Gun and let it heat up for 5 minutes. I attached a few Strips of Clear Glue to the Back of the Clip and held it onto the Top mid-section of the Board for a minute.
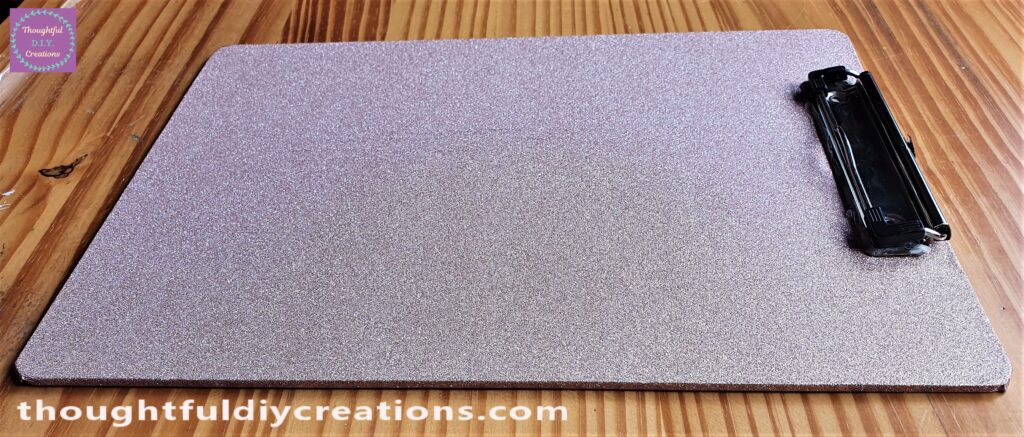
A Front Angle of the Clipboard with the Top attached.
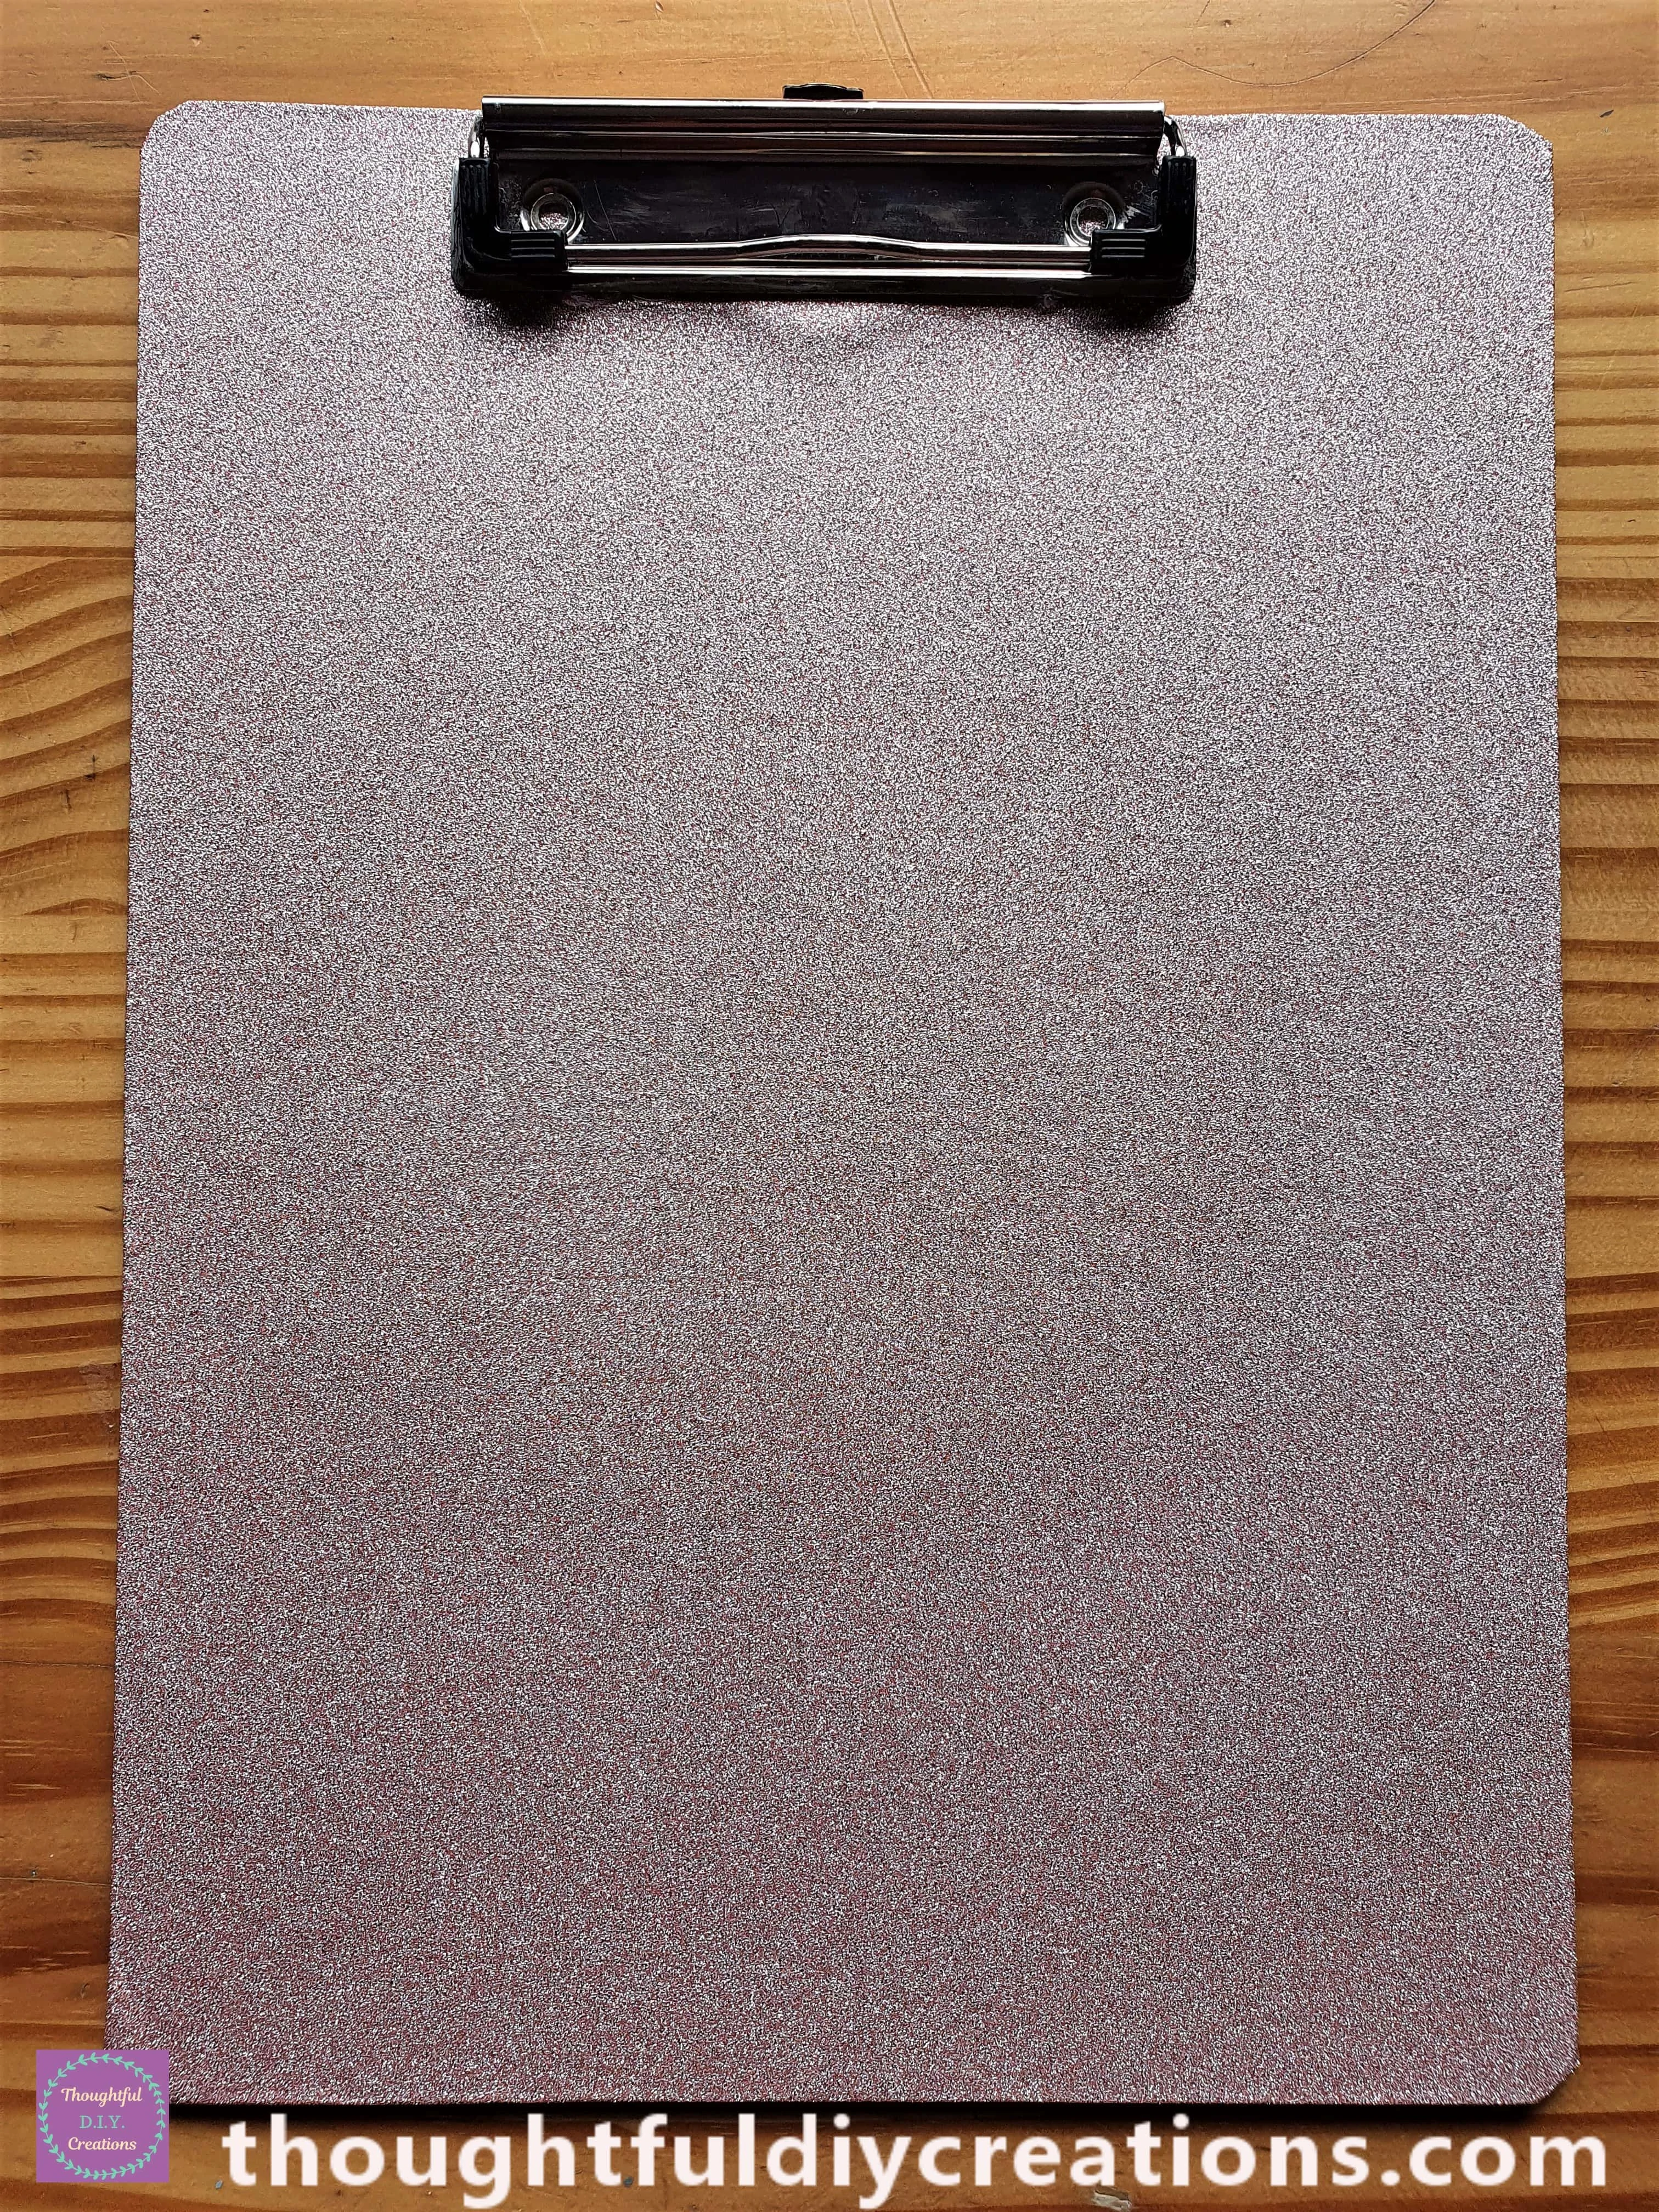
The Clipboard Standing Up-Right on Display.
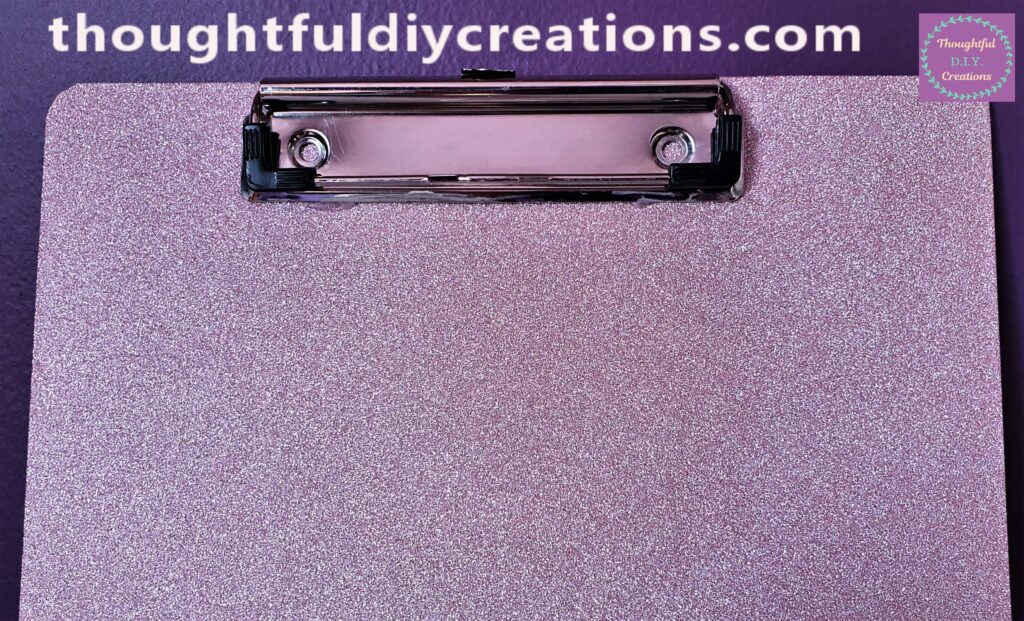
The Top Half of the Board.
Finishing Touch to the Clipboard
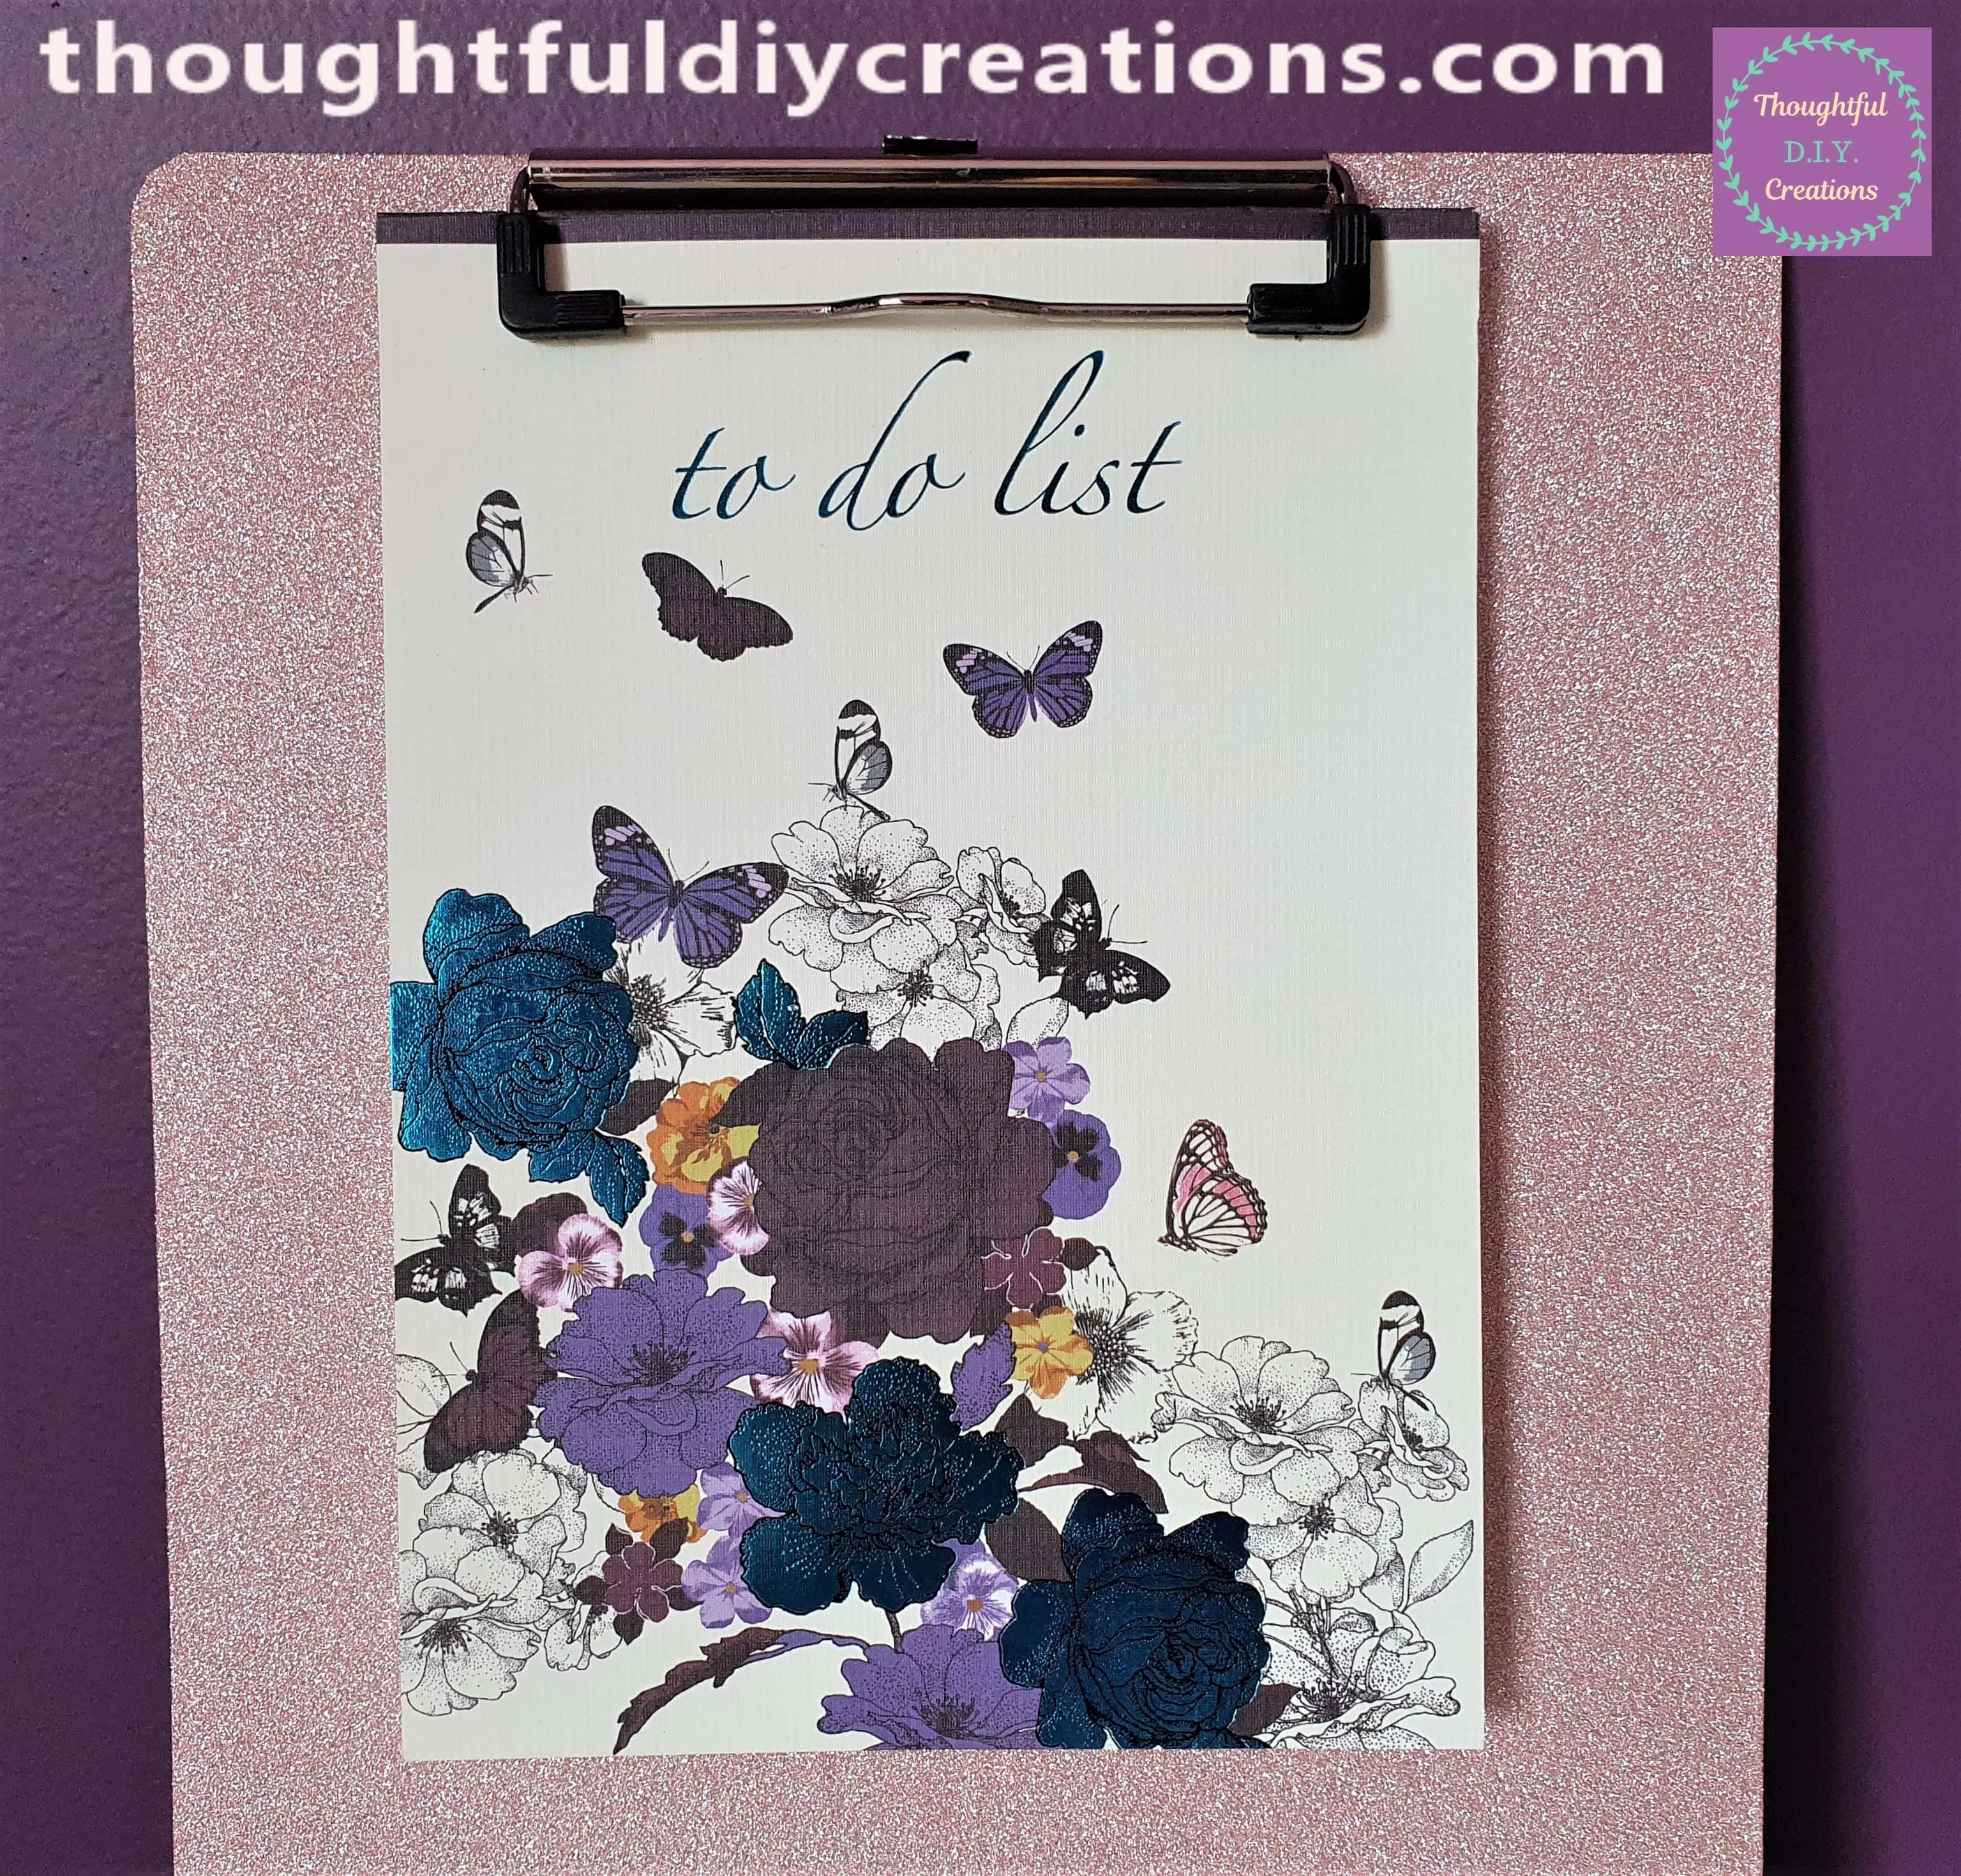
I added a ‘To Do List’ Notebook to the Clip.
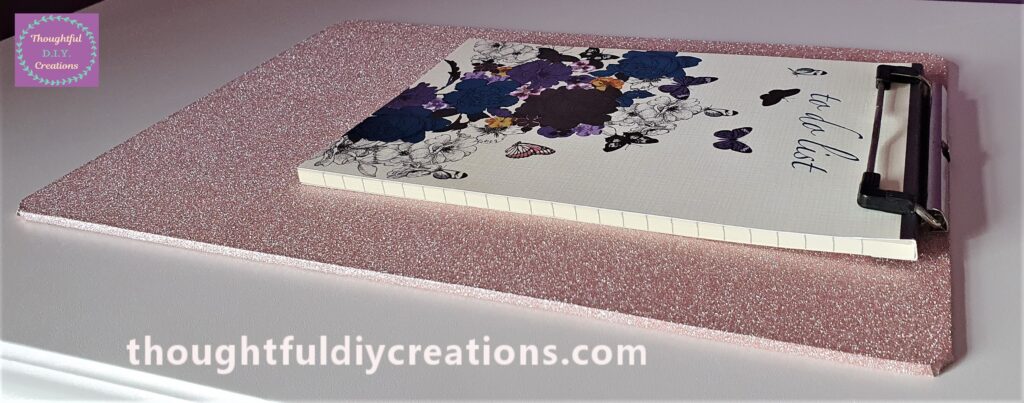
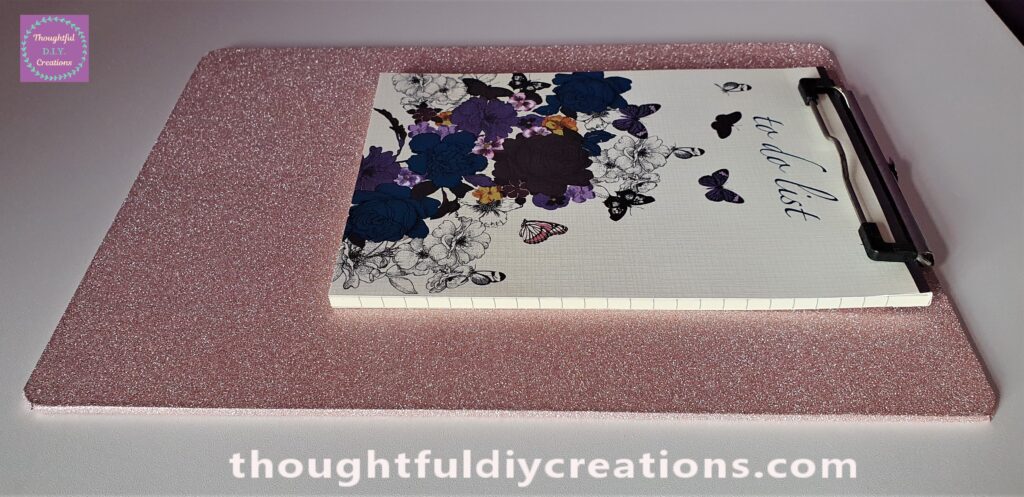
This Completed my Decorated Clipboard.
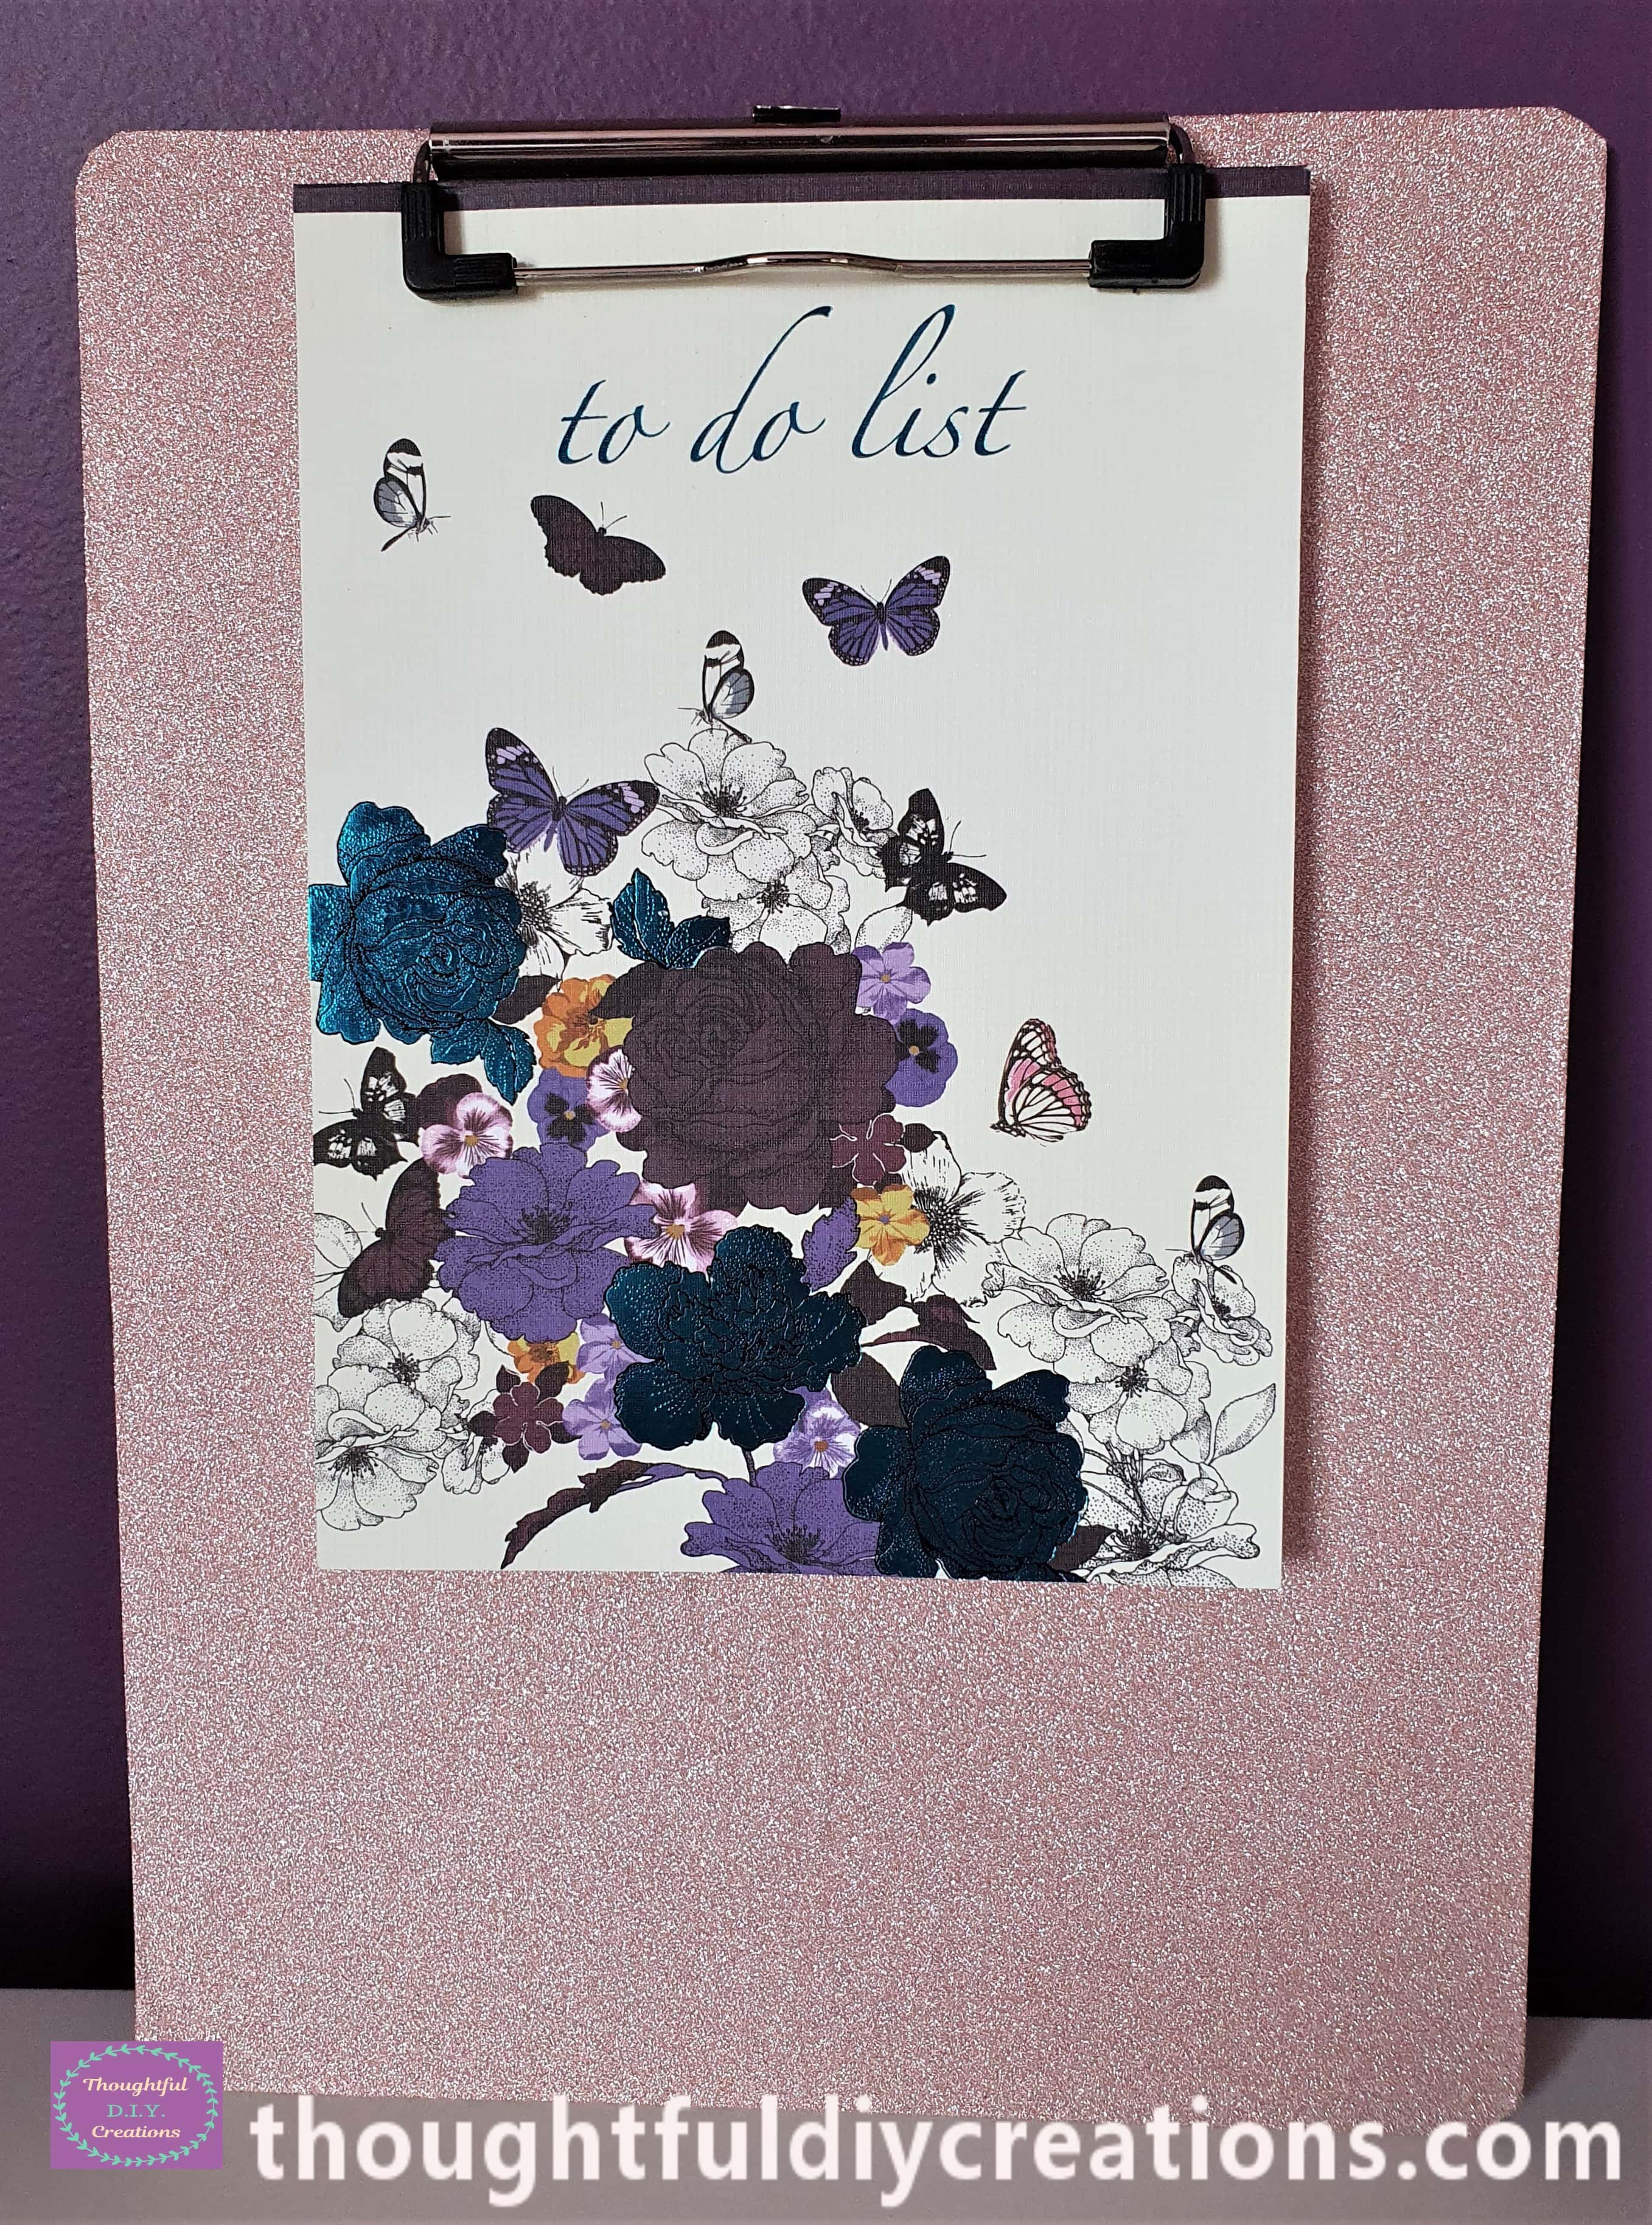
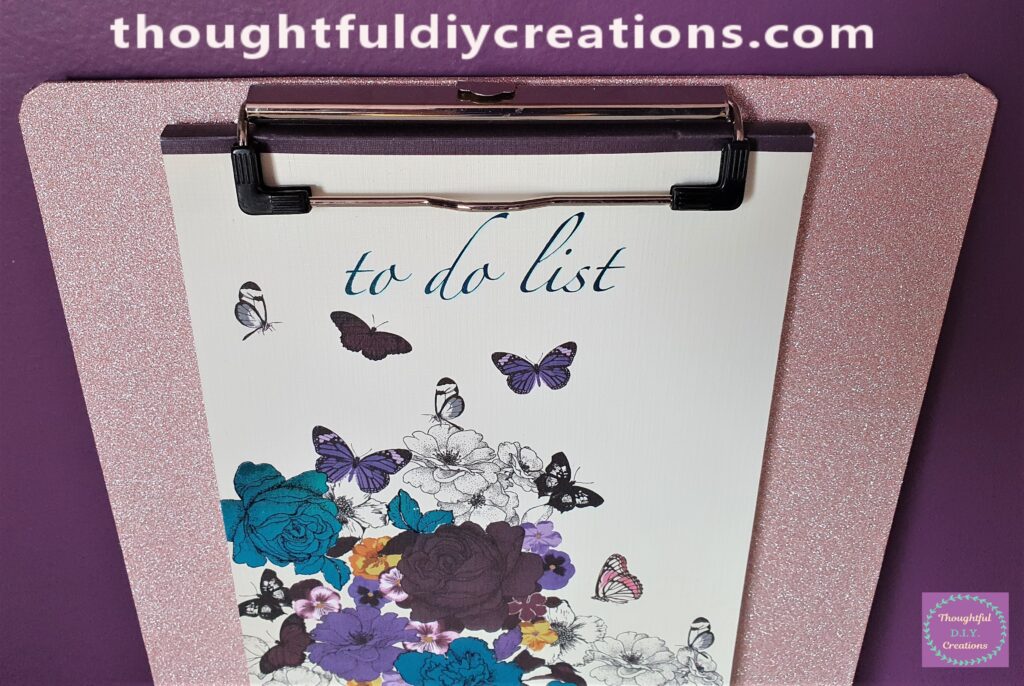
The Final Image of my Tutorial.
Conclusion
I Love the Outcome of the Clipboard Makeover. The Glitter Paper is so Feminine, it looks much better in real life; the Photos really don’t do it justice. I was impressed with the Self-Adhesive Roll and how easy it was to use, I also adore the Glitter look without the mess.
I think it looks more Pretty now to have on Display. You can add so much useful Information on a Clipboard; Tasks for the Day, Shopping List, Household Chores List, Work To-Do List, Recipes, etc. I love how you can jazz up a Plain Board into something unique and to your own taste with just a couple of materials. Budget Crafts are the Best.
You can add more Accessories to yours if you like. I prefer the Clean, Simple look for this Craft but you could attach Faux Flowers or 3-D Stickers to the Top Corners of the Board if you like.
Another Idea would be to Personalise the Board especially if it’s intended as a Gift for Someone. You could add their ‘Name’ or ‘Best Teacher’ etc. with Vinyl and it would make a Thoughtful, Personalised End of Year Gift for a Teacher. You could attach a Motivational or Positive Quote to it either.
I hope you enjoyed the Craft this Week. If you would like to learn more Home / Office Crafts, Check out my Decorated Journal Cover here: Decoupage Tutorial.
If you attempt this Craft please let me know how it went for You.
Thank You So Much for taking the Time to Read my Blog.
Always Grateful,
T.D.C.
xoxox

-0 Comment-