Cute & Fun Scarecrow D.I.Y. Jar Craft
Hello my Creative Friends,
I hope you are all well. In Today’s Blog Post I will show you how to make your very own cute and fun Scarecrow jar. It is budget friendly as well as being an easy and versatile craft activity.
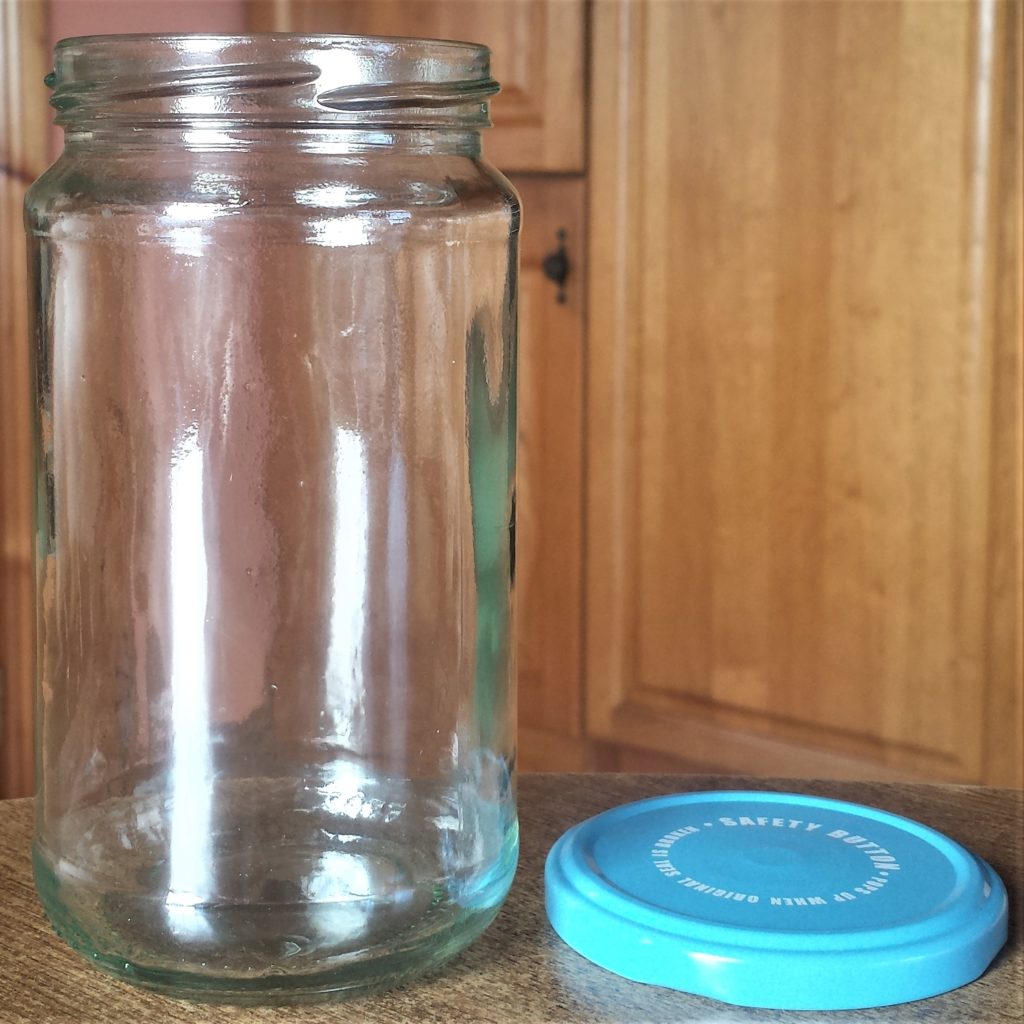
Preparing the Jar for Crafting
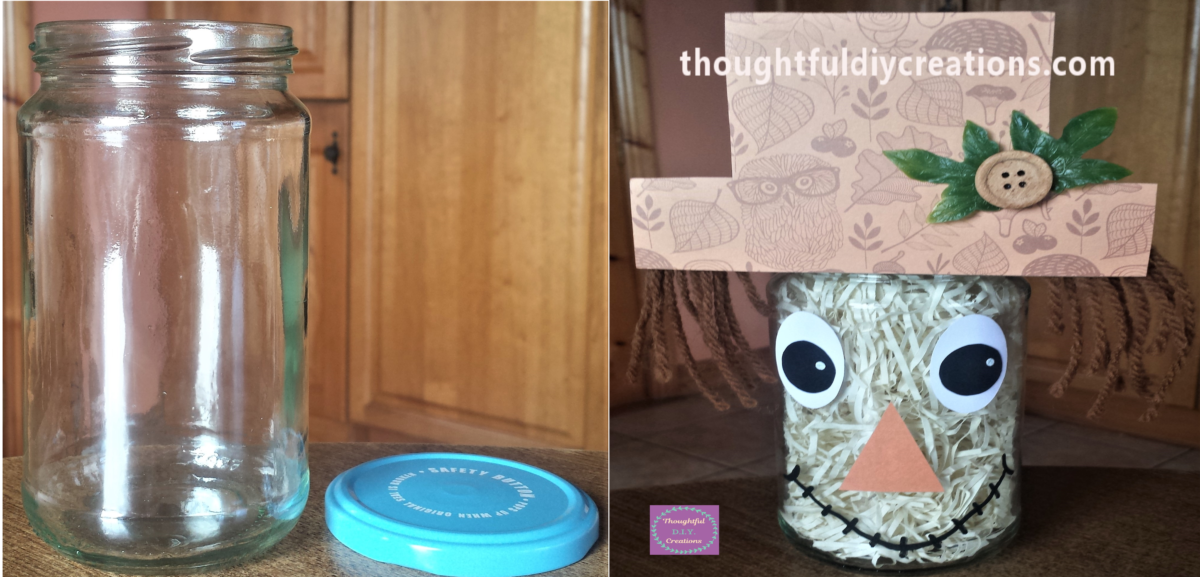
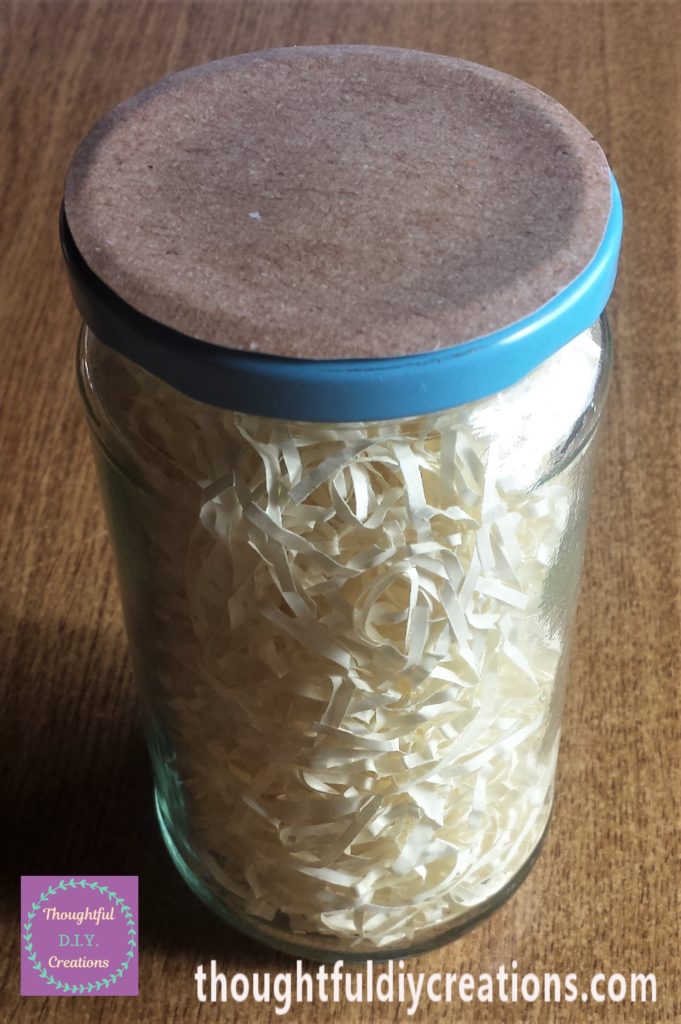
I had a used mayonnaise jar which I washed and then soaked in the sink with washing up liquid for about an hour. I peeled off the label, dried the jar and lid and was now ready to begin crafting.
![Washed and dried mayonnaise jar and lid.](https://i0.wp.com/thoughtfuldiycreations.com/wp-content/uploads/2019/09/20190910_095902.jpg?resize=1024%2C1024&ssl=1)
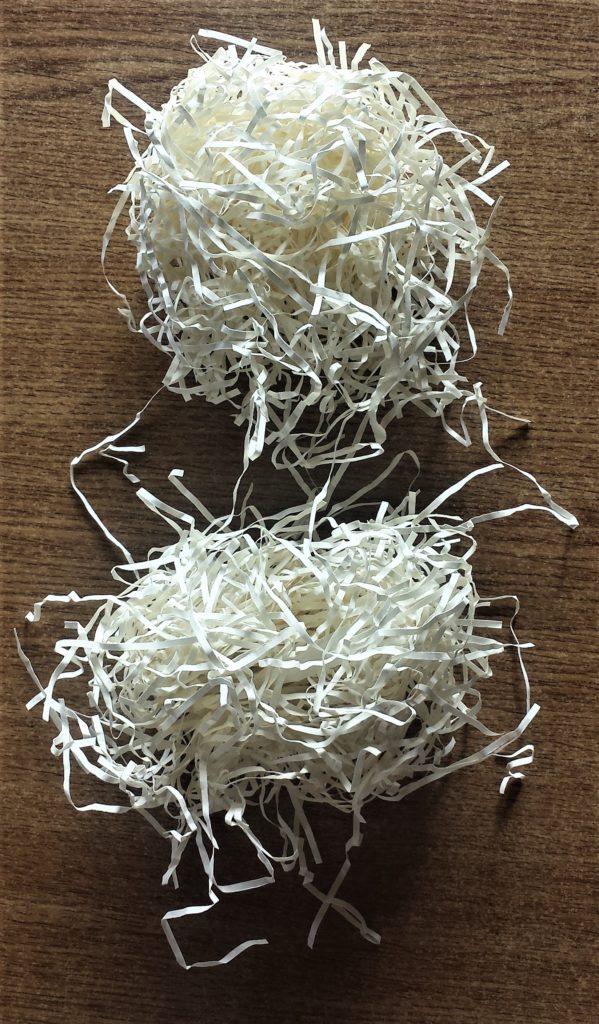
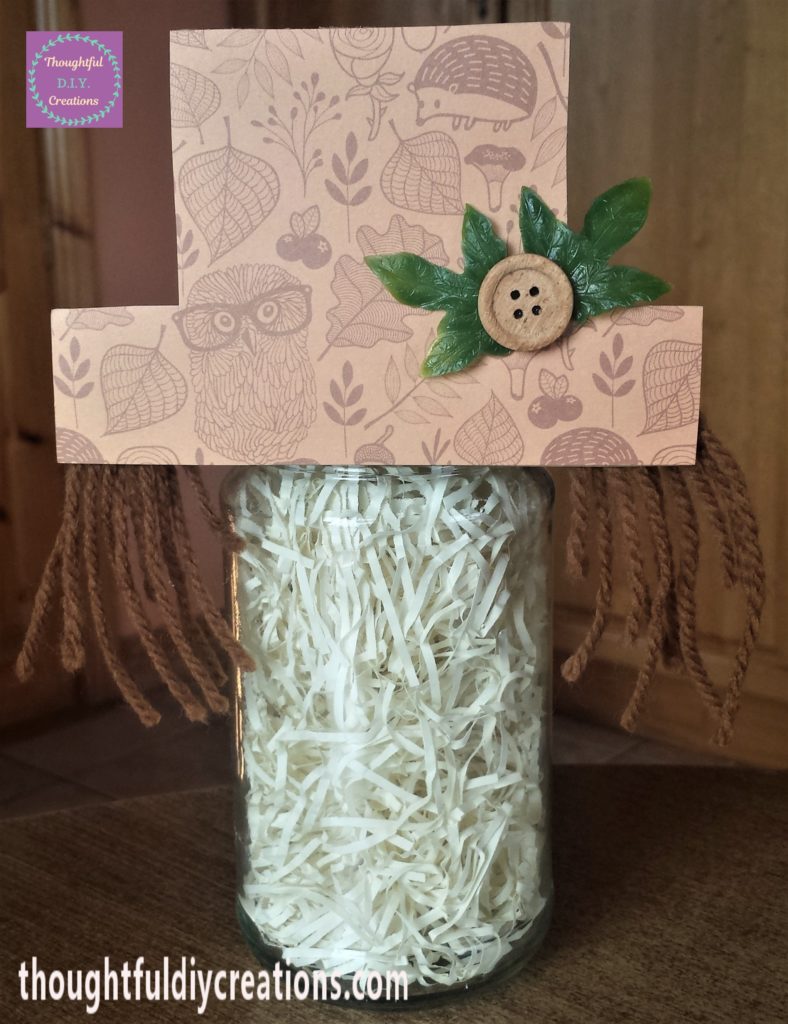
Filling the Jar with Straw
I had so much shredded straw effect paper (I’m not sure what it’s called) from a box of toiletries I had bought. I thought this would be the perfect craft to use up some of it. Natural Raffia Grass Bundle.
![Shredded straw effect paper.](https://i0.wp.com/thoughtfuldiycreations.com/wp-content/uploads/2019/09/20190910_100043.jpg?resize=599%2C1024&ssl=1)
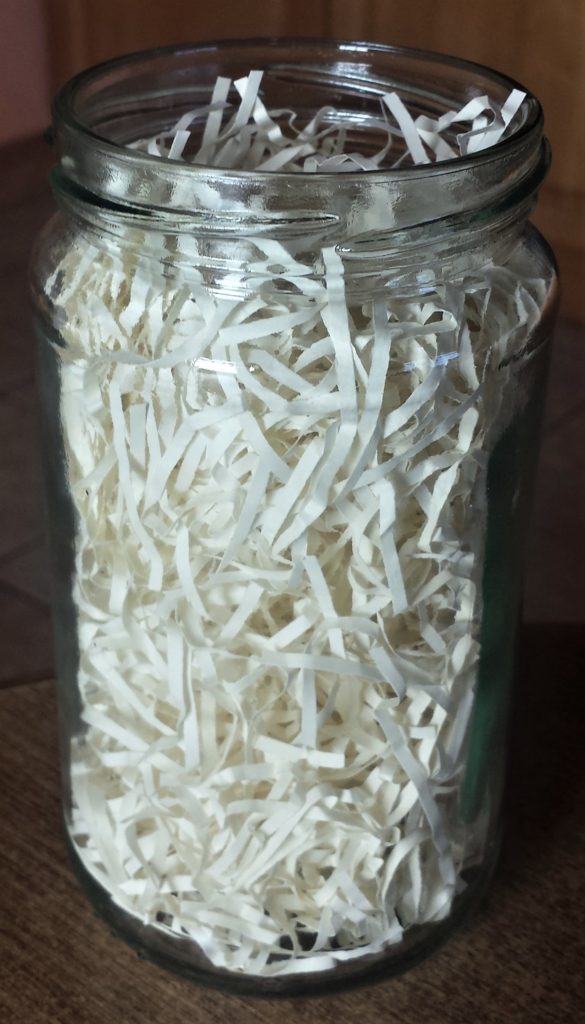
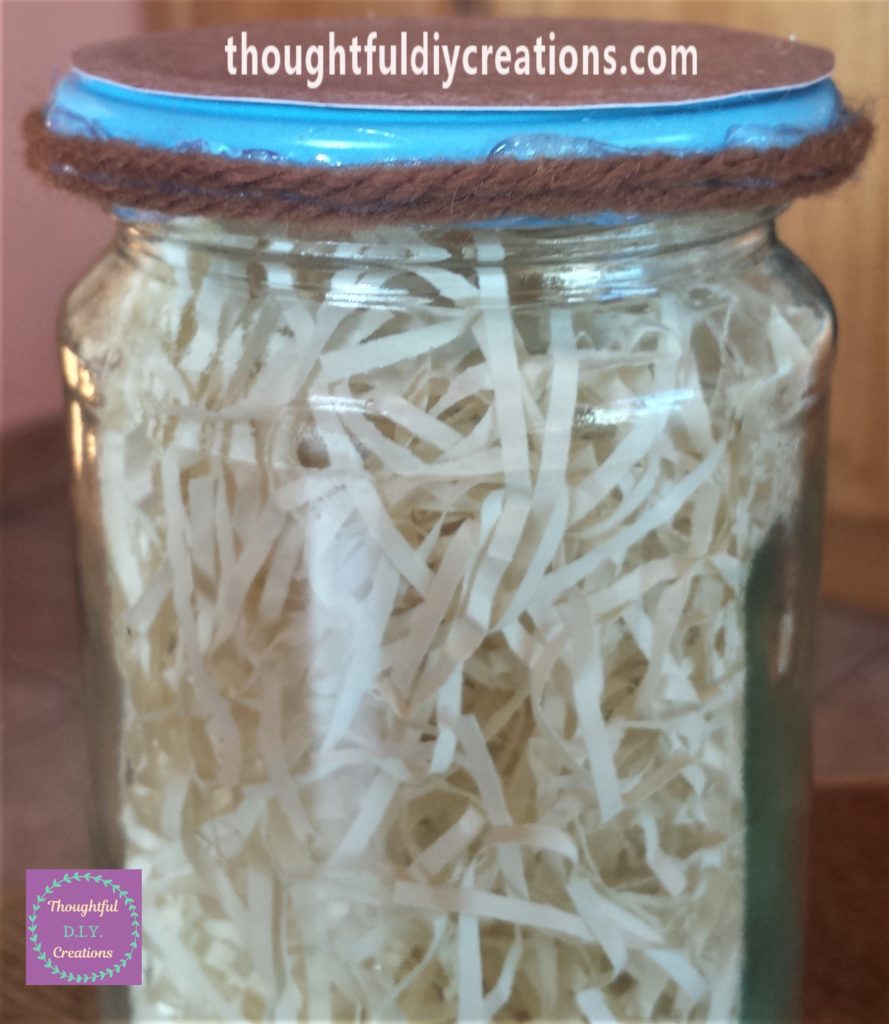
I filled the jar with the shredded straw effect paper.
![Jar filled with straw effect paper.](https://i0.wp.com/thoughtfuldiycreations.com/wp-content/uploads/2019/09/20190910_100153.jpg?resize=585%2C1024&ssl=1)
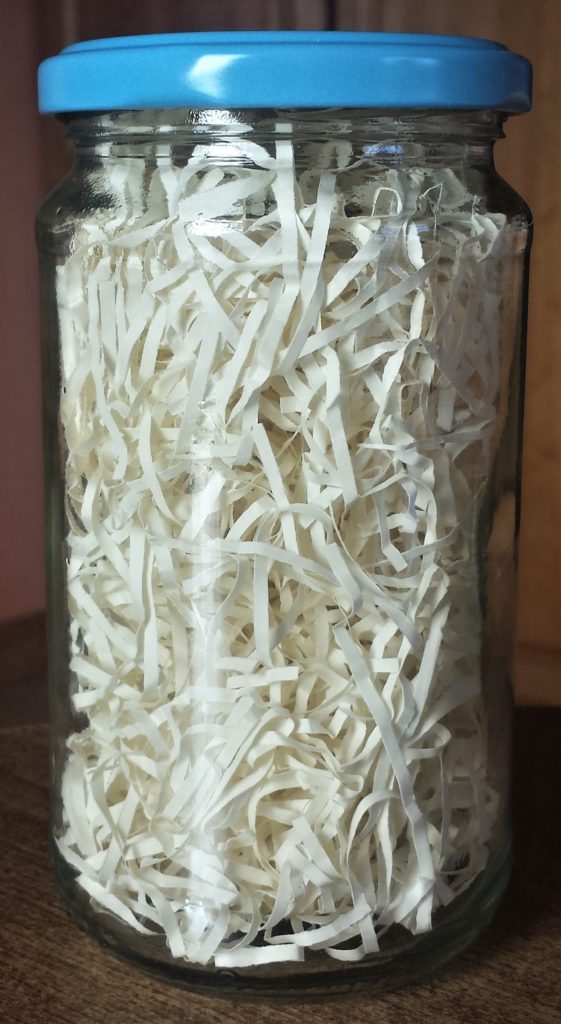
I put the lid back on the jar.
![Lid on the jar filled with straw effect paper.](https://i0.wp.com/thoughtfuldiycreations.com/wp-content/uploads/2019/09/20190910_100209.jpg?resize=561%2C1024&ssl=1)
Covering the Top of the Lid
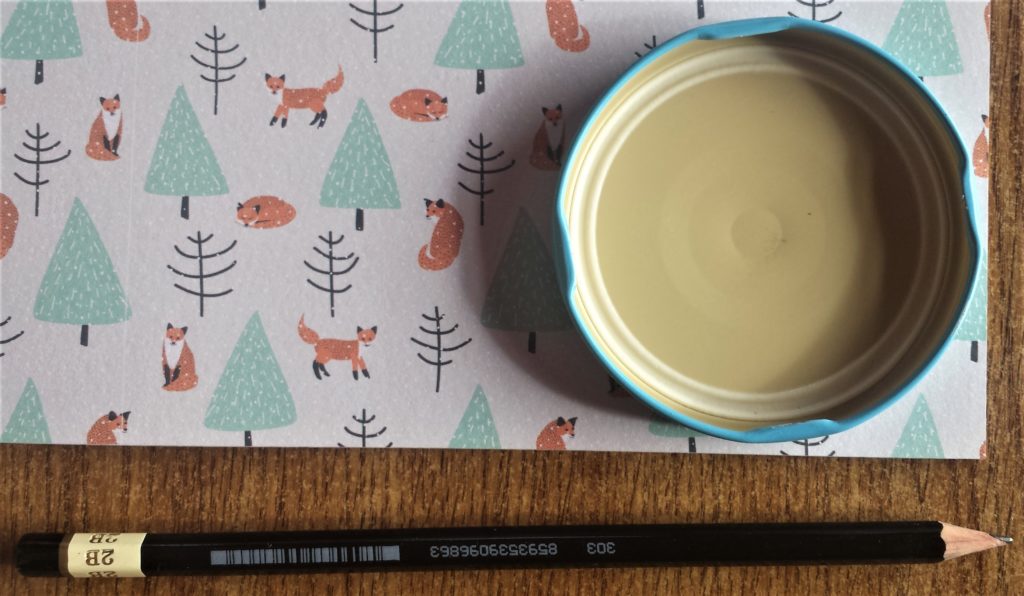
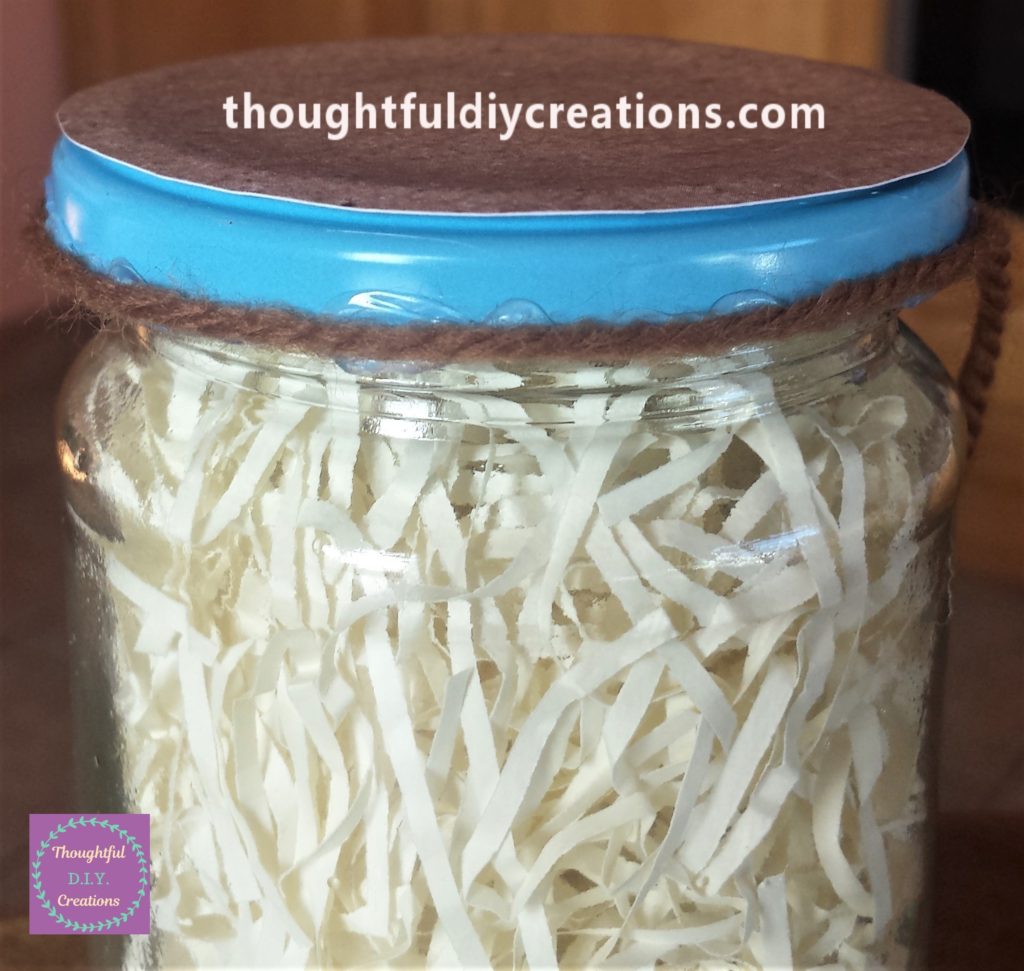
I had some brown paper from an Autumn style paper pad I bought recently. I thought this would cover up the front of the lid nicely. Cardstock Variety Pack.
![Brown paper from an Autumn style paper pad.](https://i0.wp.com/thoughtfuldiycreations.com/wp-content/uploads/2019/09/20190910_100516.jpg?resize=1024%2C956&ssl=1)
I put the lid on the back of the paper I’m using and traced around it using a pencil. Graphite Sketching Pencils.
![Lid on the paper and pencil.](https://i0.wp.com/thoughtfuldiycreations.com/wp-content/uploads/2019/09/20190910_100702.jpg?resize=1024%2C596&ssl=1)
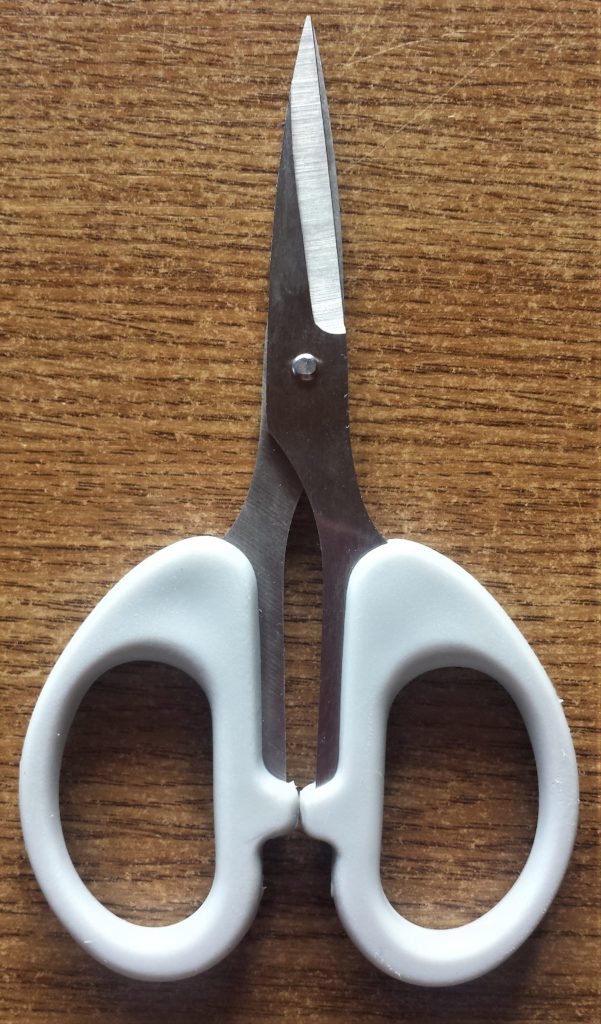
I cut it out using a small sharp scissors. Multipurpose Scissors.
![Small sharp scissors.](https://i0.wp.com/thoughtfuldiycreations.com/wp-content/uploads/2019/09/20190910_100726.jpg?resize=601%2C1024&ssl=1)
![Circle of brown paper cut out for the lid of the jar.](https://i0.wp.com/thoughtfuldiycreations.com/wp-content/uploads/2019/09/20190910_101154.jpg?resize=989%2C1024&ssl=1)
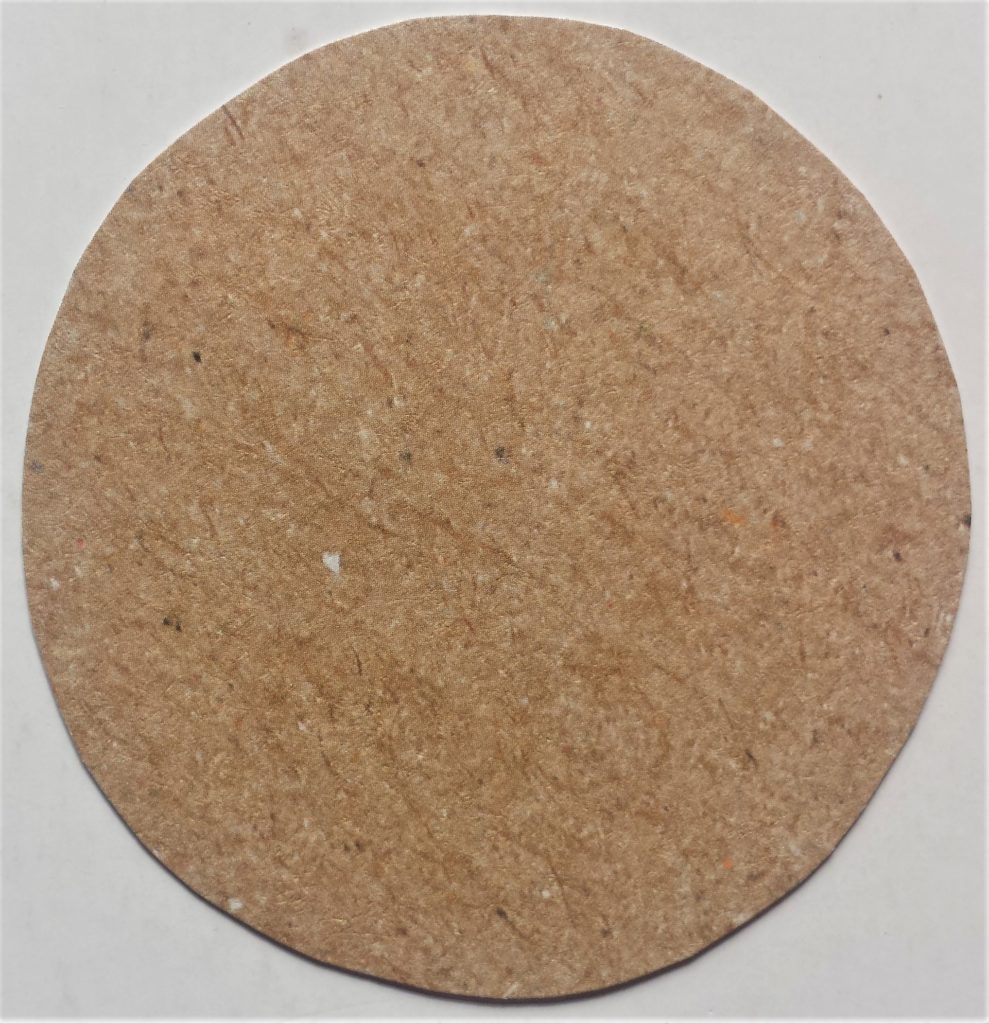
I put Pritt Stick on the back of the brown circle as well as on the lid.Pritt Stick Original.
![Pritt stick on the back of the brown circle and the lid.](https://i0.wp.com/thoughtfuldiycreations.com/wp-content/uploads/2019/09/20190910_101256.jpg?resize=1024%2C473&ssl=1)
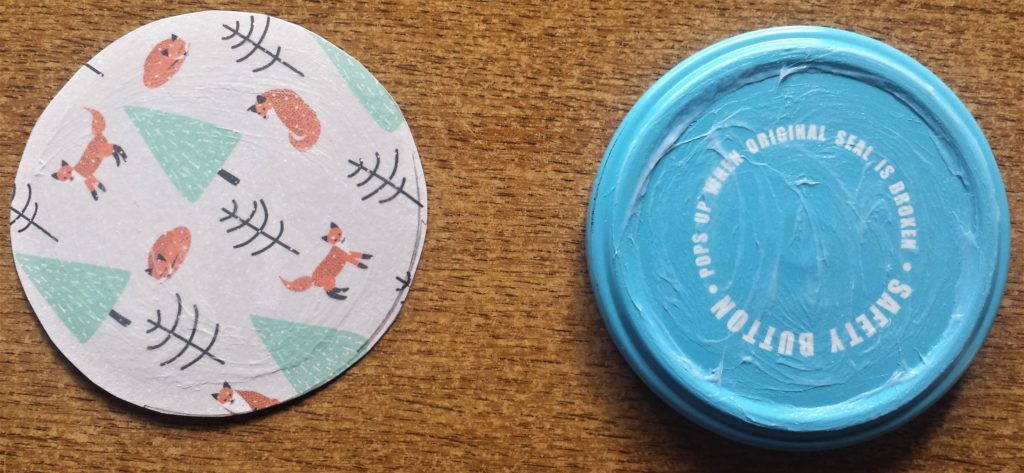
I stuck the paper to the lid and put the lid back on the jar.
![Brown paper circle glued onto the lid on the jar.](https://i0.wp.com/thoughtfuldiycreations.com/wp-content/uploads/2019/09/20190910_1014302.jpg?resize=681%2C1024&ssl=1)
Covering the Side of the Lid
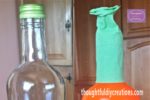
I had some brown wool in my craft supplies and decided to use it to cover the side of the lid. Tapestry and Embroidery Wool.
![Brown wool.](https://i0.wp.com/thoughtfuldiycreations.com/wp-content/uploads/2019/09/20190910_100240.jpg?resize=1024%2C660&ssl=1)
I plugged in my hot glue gun and let it heat up for 5 minutes. Hot Glue Gun.
![Hot glue gun.](https://i0.wp.com/thoughtfuldiycreations.com/wp-content/uploads/2019/09/20190809_120251-2.jpg?resize=910%2C1024&ssl=1)
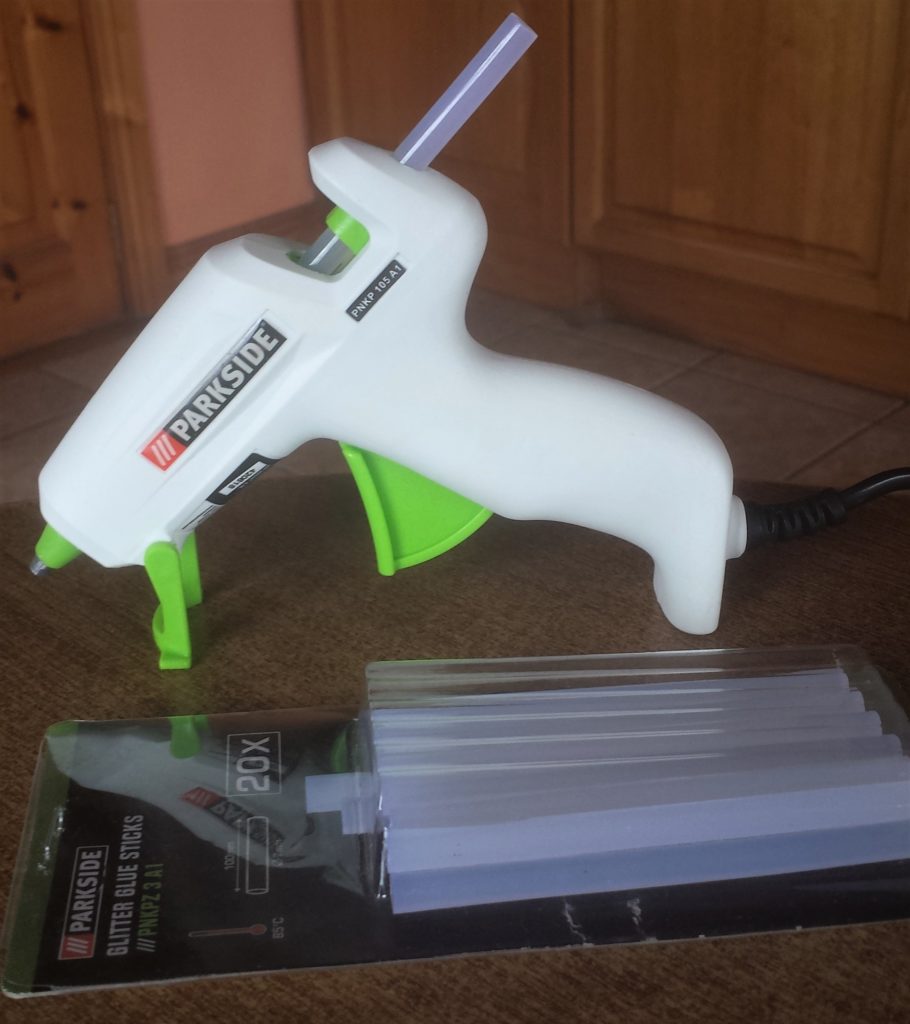
I put some hot glue on the bottom edge of the lid, and put the brown wool over it. Be careful when using the glue gun as it will be hot.
![Hot glue on the bottom edge of the lid with brown wool over it.](https://i0.wp.com/thoughtfuldiycreations.com/wp-content/uploads/2019/09/20190910_1020192.jpg?resize=572%2C1024&ssl=1)
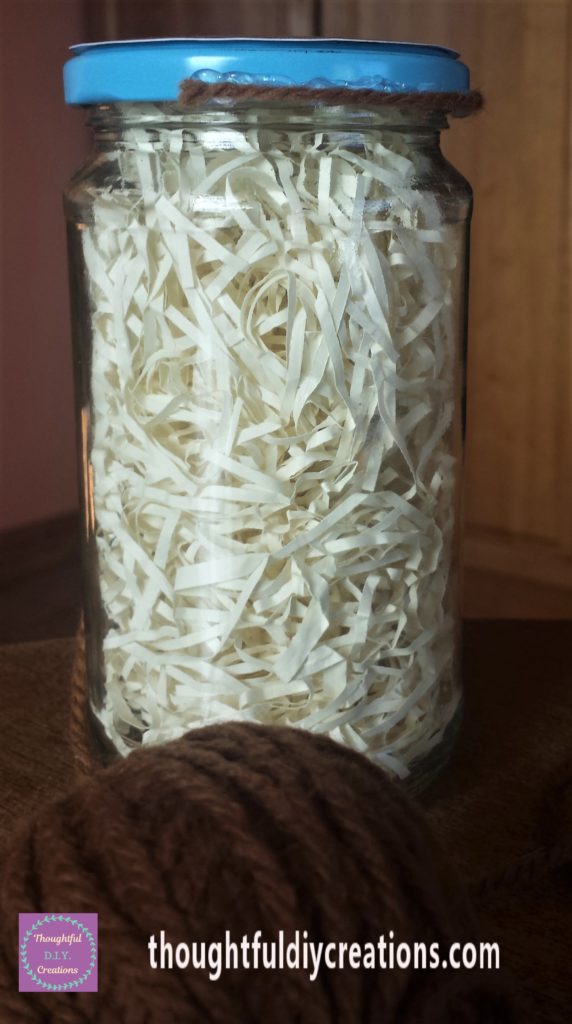
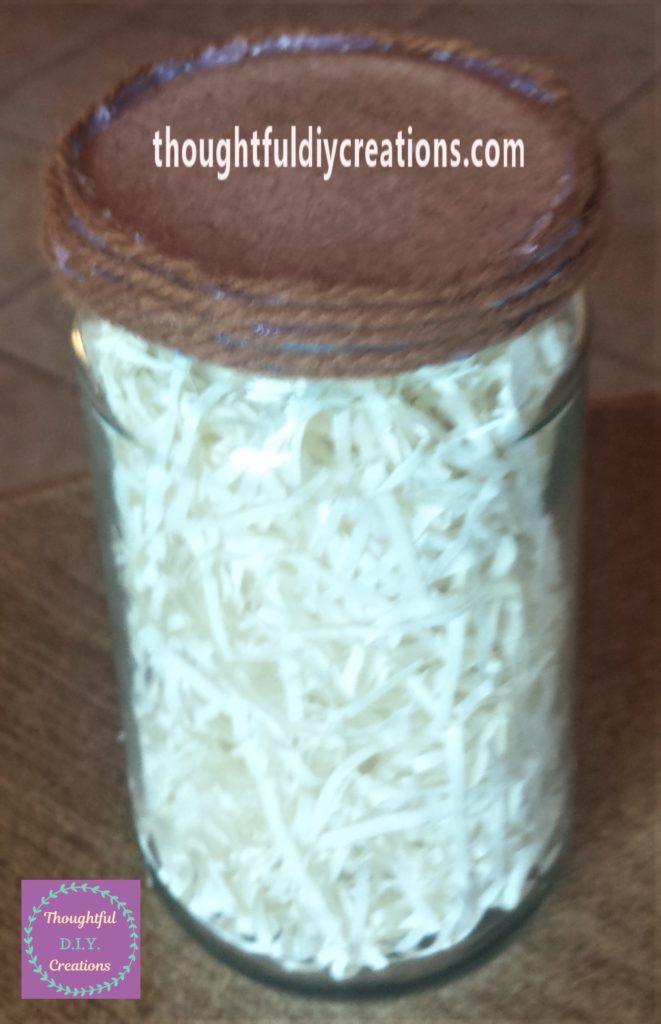
I continued to put a small strip of glue on the jar and put the wool over it until the first layer of the lid was covered.
![First strip of wool glued to the edge of the lid.](https://i0.wp.com/thoughtfuldiycreations.com/wp-content/uploads/2019/09/20190910_1020292.jpg?resize=1024%2C971&ssl=1)
I repeated this process until the edge of the jar was completely hot glued and covered with wool.
![Second layer of wool hot glued to the edge of the lid.](https://i0.wp.com/thoughtfuldiycreations.com/wp-content/uploads/2019/09/20190910_1030402.jpg?resize=889%2C1024&ssl=1)
![Edge of the lid hot glued and completely covered with wool.](https://i0.wp.com/thoughtfuldiycreations.com/wp-content/uploads/2019/09/20190910_1054392.jpg?resize=661%2C1024&ssl=1)
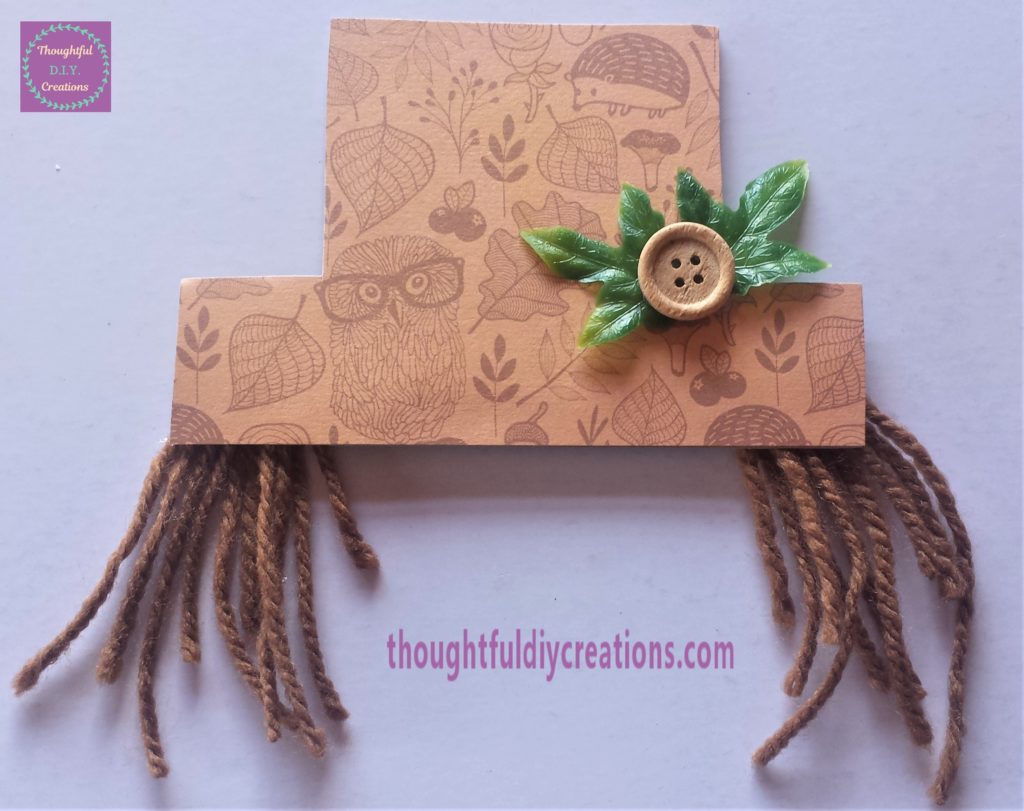
Making the Scarecrow’s Hat
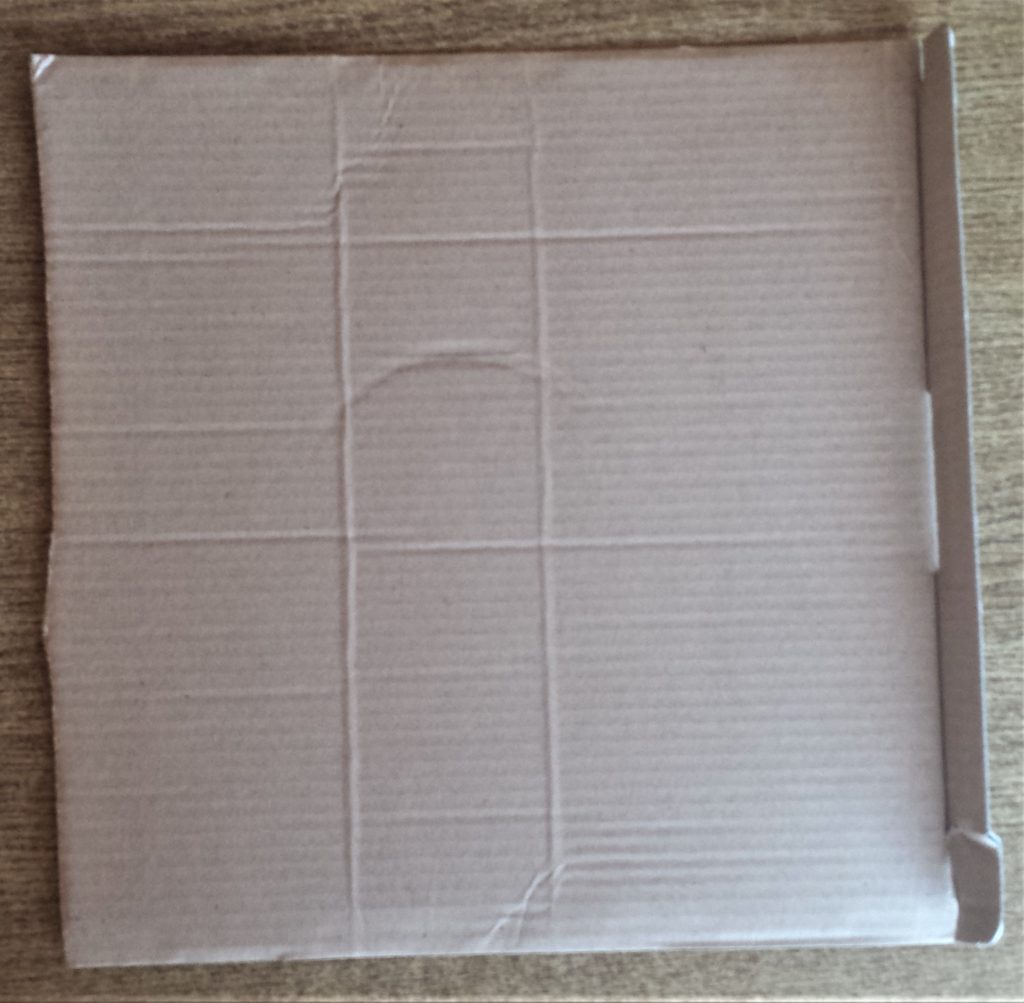
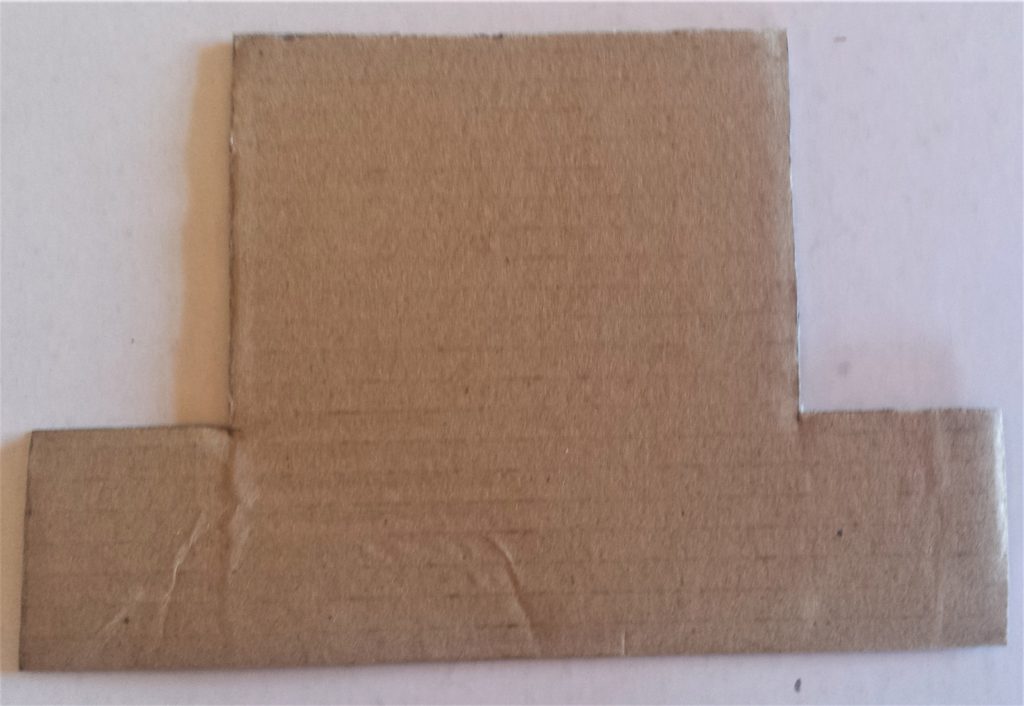
To make the scarecrow’s hat I am using cardboard from a box I had kept. You can use anything you have; a cereal box, cardboard packaging of any kind, just make sure it’s sturdy enough if you want to add layers or heavy embellishments to it.
![Cardboard from a box.](https://i0.wp.com/thoughtfuldiycreations.com/wp-content/uploads/2019/09/20190910_105540.jpg?resize=1024%2C1003&ssl=1)
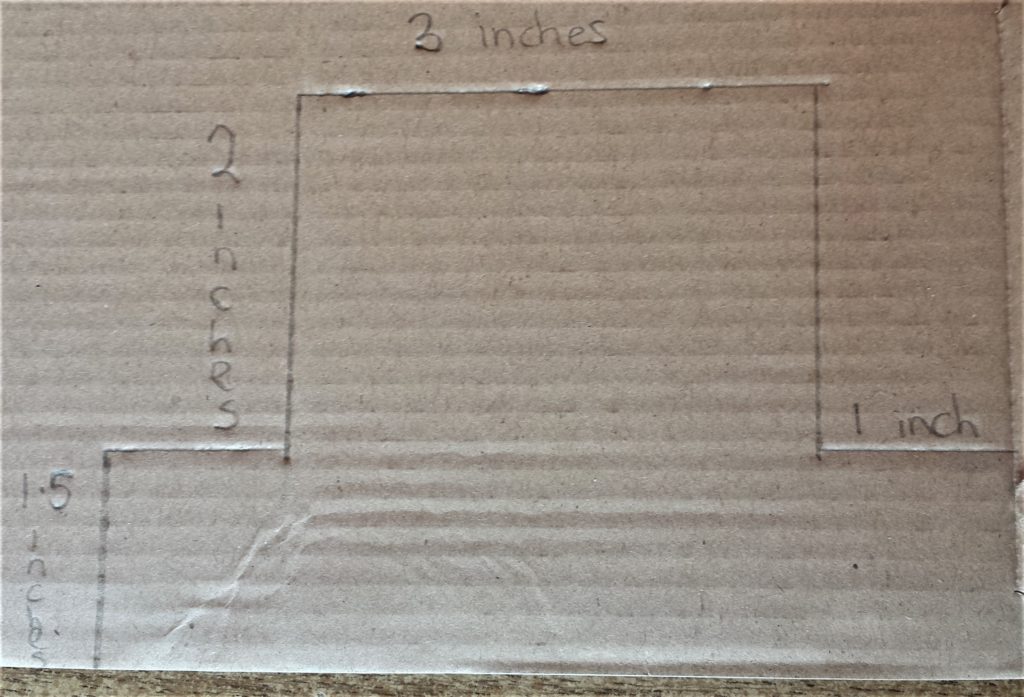
I made the hat to be wider than the jar on both sides. I drew the hat on the cardboard with a pencil and guessed roughly what size would look good for the jar. I wrote the measurements on the cardboard, when I had it drawn out. Graphite Sketching Pencils.
![Hat drawn on cardboard with the measurements.](https://i0.wp.com/thoughtfuldiycreations.com/wp-content/uploads/2019/09/20190910_105932-1.jpg?resize=1024%2C697&ssl=1)
I cut out the hat using a strong scissors. Titanium Bonded Scissors.
![Hat cut out of cardboard.](https://i0.wp.com/thoughtfuldiycreations.com/wp-content/uploads/2019/09/20190910_110222.jpg?resize=1024%2C706&ssl=1)
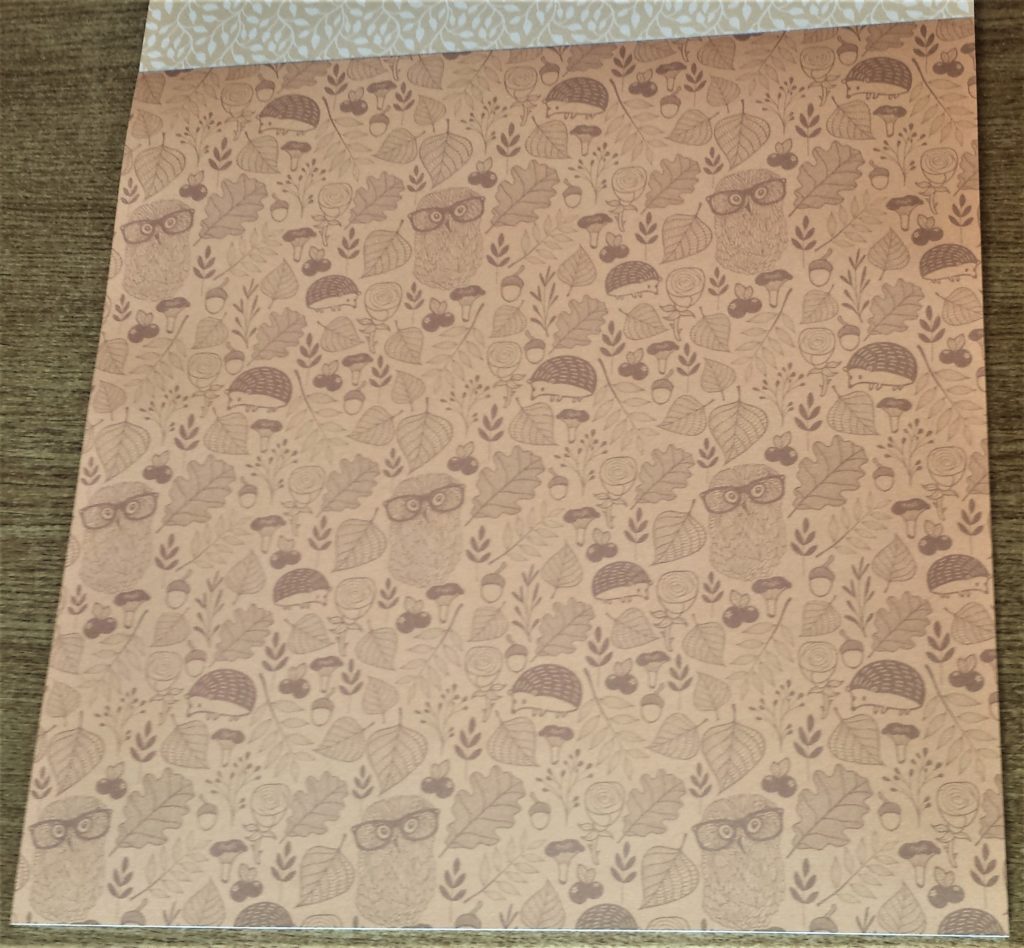
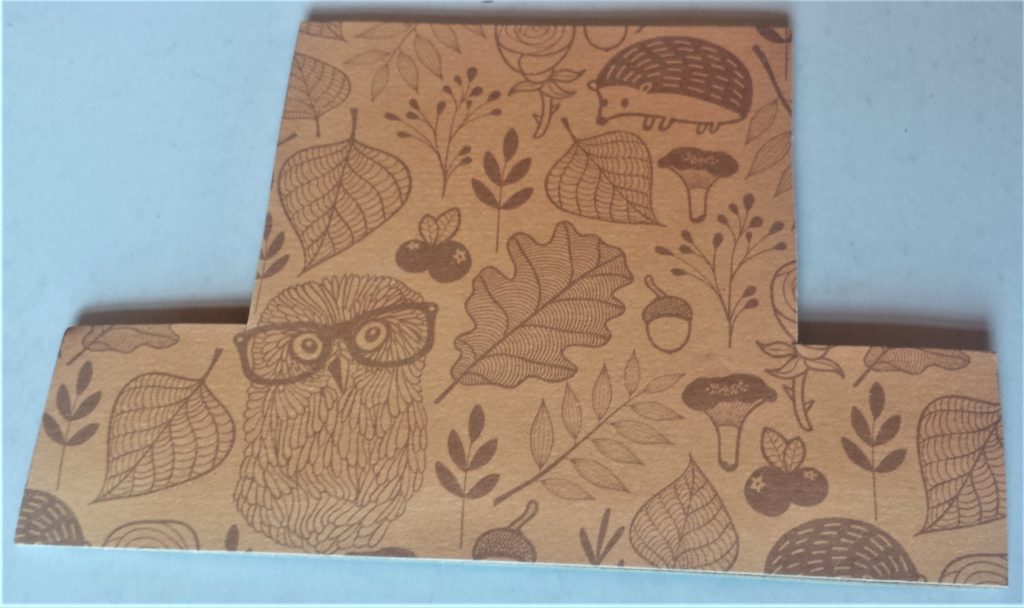
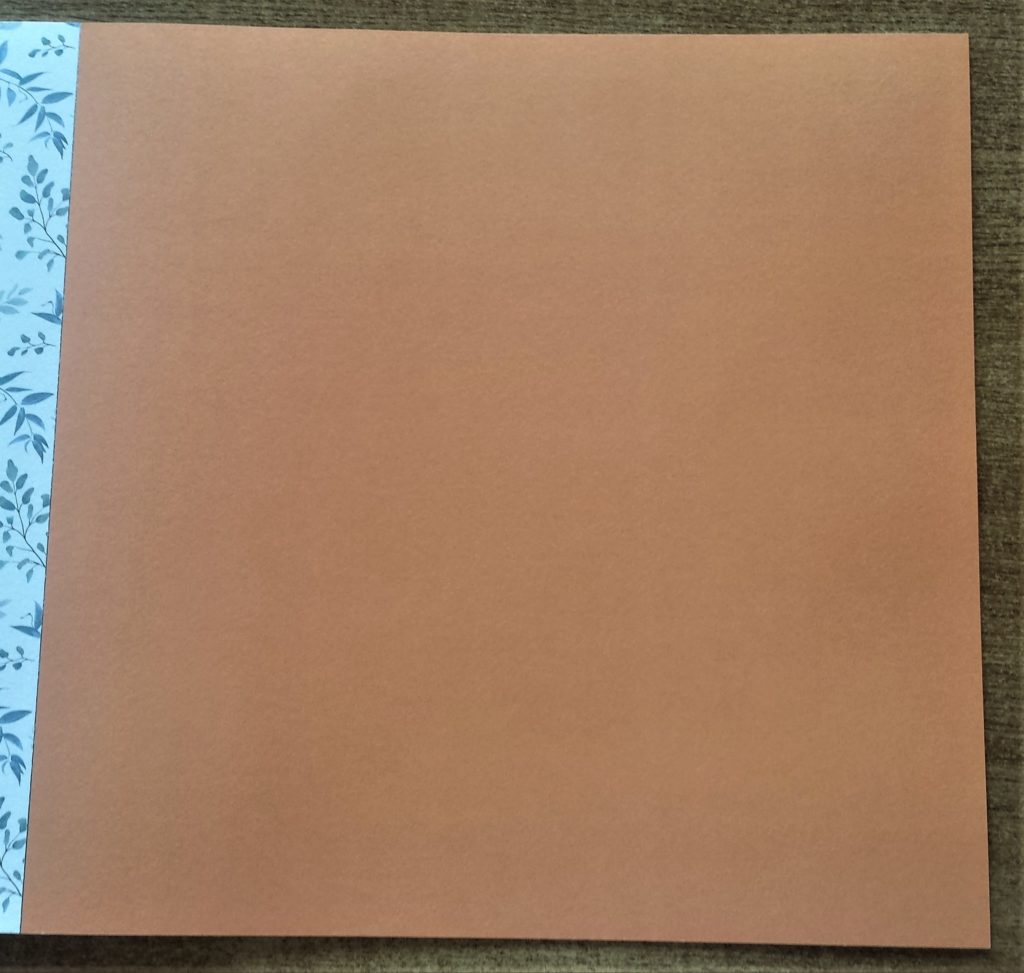
I thought the orange autumn paper from my paper pad would complement the hat and co-ordinate with the scarecrow theme. A Perfect Autumn Collection Kit.
![Orange autumn paper.](https://i0.wp.com/thoughtfuldiycreations.com/wp-content/uploads/2019/09/20190910_110411.jpg?resize=1024%2C948&ssl=1)
I put the cardboard hat over the autumn paper and traced around it. Graphite Sketching Pencils.
![Tracing around the cardboard hat onto the autumn paper.](https://i0.wp.com/thoughtfuldiycreations.com/wp-content/uploads/2019/09/20190910_110517.jpg?resize=1024%2C634&ssl=1)
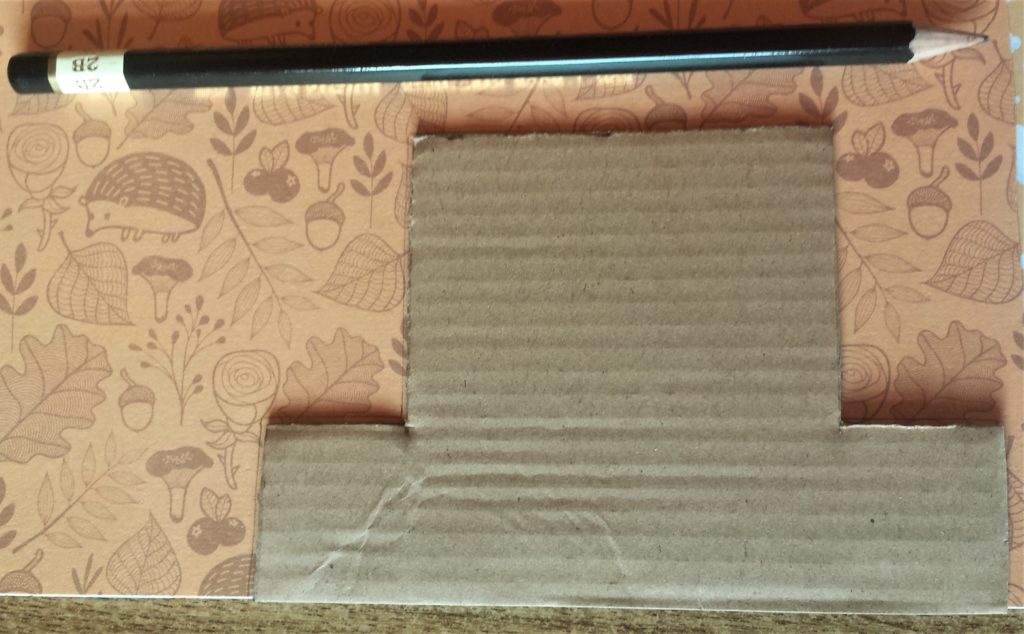
I cut out the shape of the hat using a small sharp scissors. Multipurpose Scissors.
![Shape of the hat cut out made from autumn paper.](https://i0.wp.com/thoughtfuldiycreations.com/wp-content/uploads/2019/09/20190910_110737.jpg?resize=1024%2C691&ssl=1)
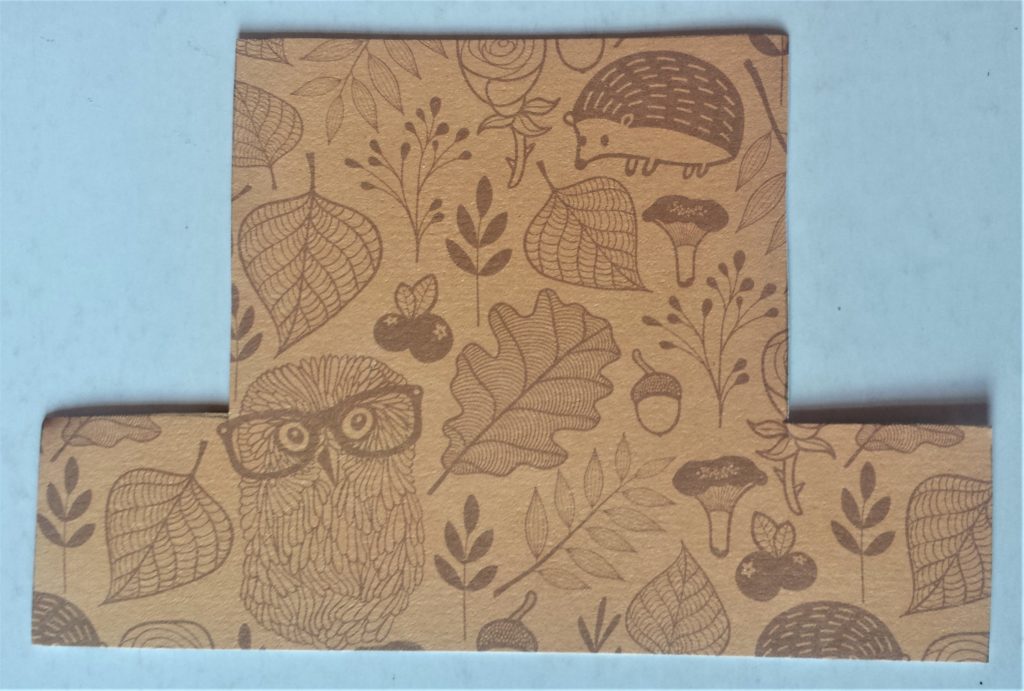
I put Pritt stick onto the back of the autumn paper hat and the cardboard hat. Pritt Stick Original.
![Pritt stick on the back of the autumn paper hat and the cardboard hat.](https://i0.wp.com/thoughtfuldiycreations.com/wp-content/uploads/2019/09/20190910_111053.jpg?resize=1024%2C578&ssl=1)
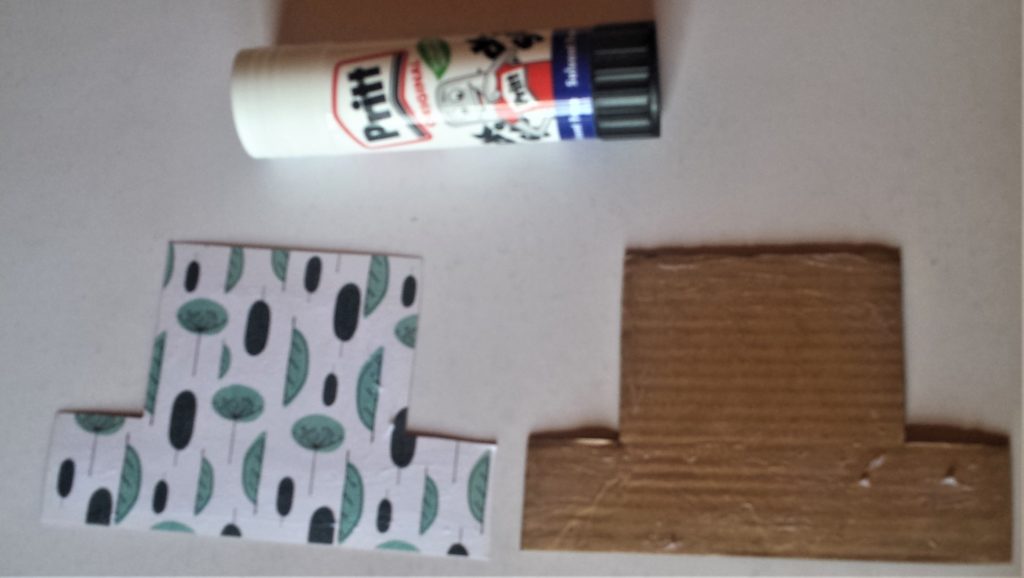
I stuck the paper hat to the cardboard hat.
![Paper hat glued to the cardboard hat.](https://i0.wp.com/thoughtfuldiycreations.com/wp-content/uploads/2019/09/20190910_111228.jpg?resize=1024%2C608&ssl=1)
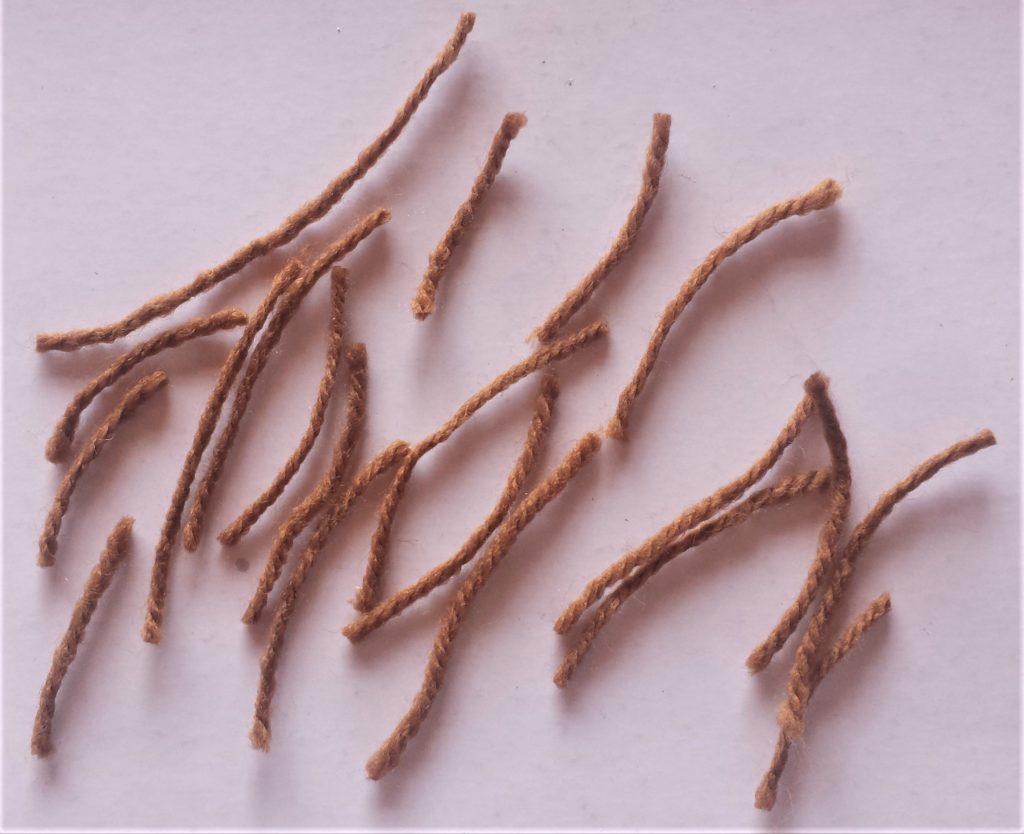
Making the Scarecrow’s Hair
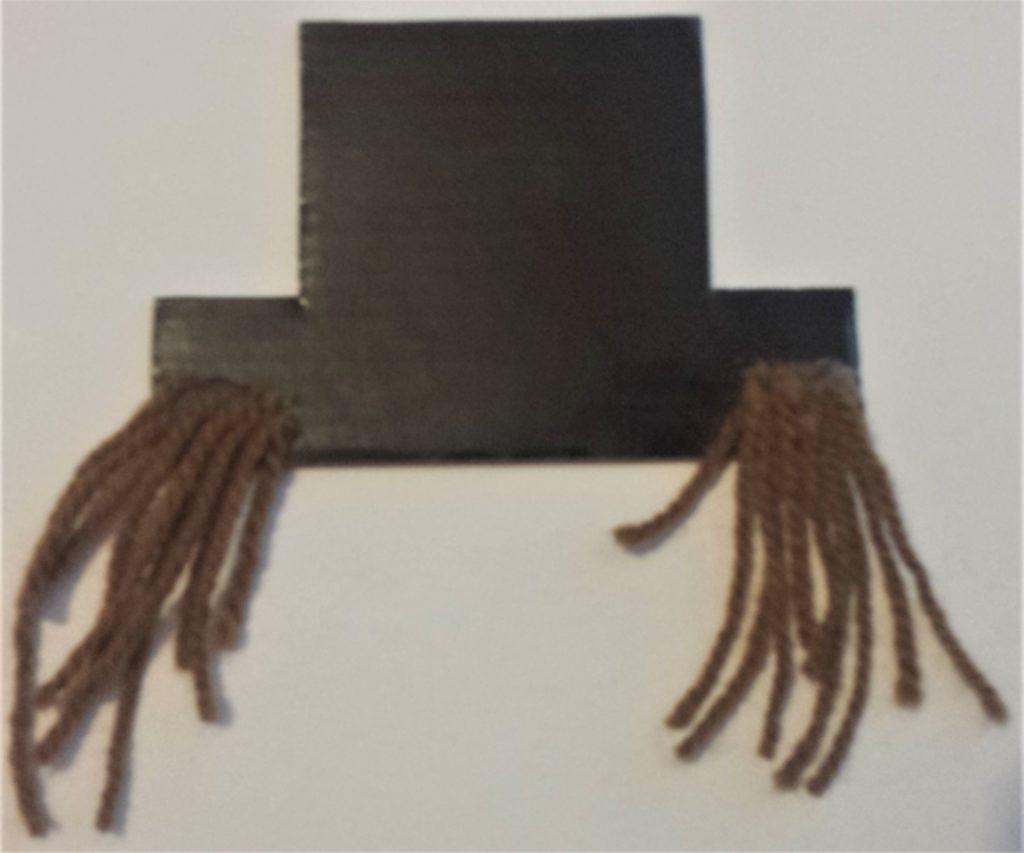
I used the brown wool to make hair for the scarecrow. I cut 20 random lengths of wool. Tapestry and Embroidery Wool.
![20 random lengths of wool.](https://i0.wp.com/thoughtfuldiycreations.com/wp-content/uploads/2019/09/20190910_112226.jpg?resize=1024%2C834&ssl=1)
I used 10 strands of wool for each side of the hat. I put hot glue on the back of the cardboard hat on each side and attached the wool. Hot Glue Gun.
![Attaching the wool strands to the back of each side of the hat with hot glue.](https://i0.wp.com/thoughtfuldiycreations.com/wp-content/uploads/2019/09/20190910_113242.jpg?resize=1024%2C853&ssl=1)
Adding Embellishments to the Hat
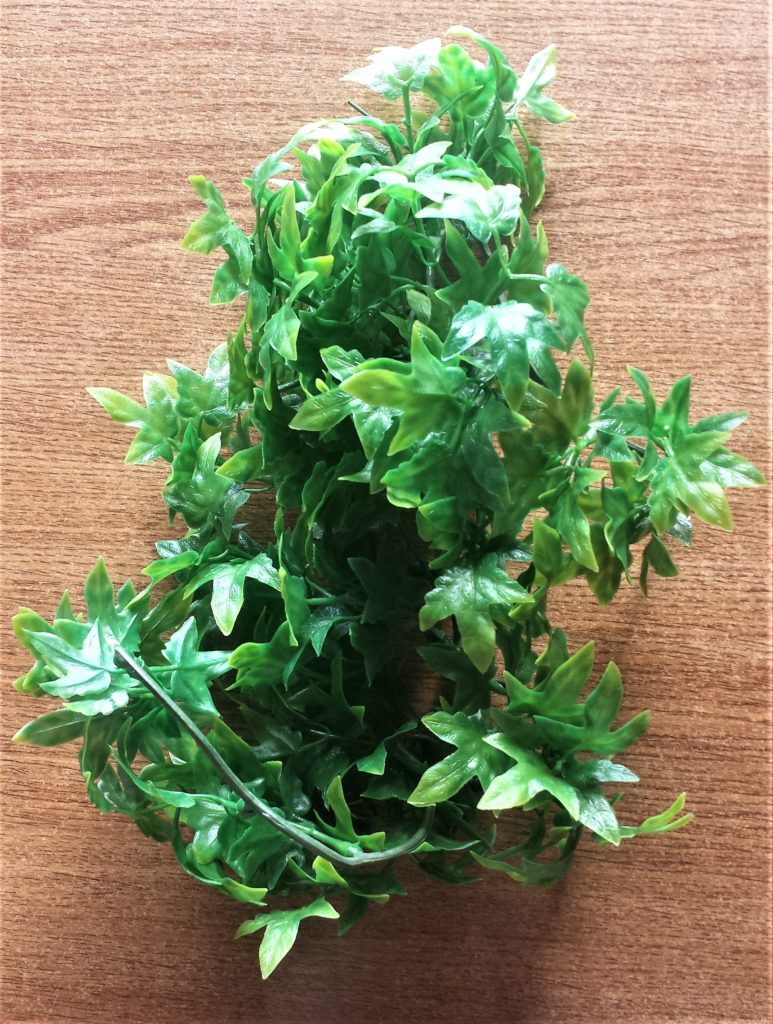
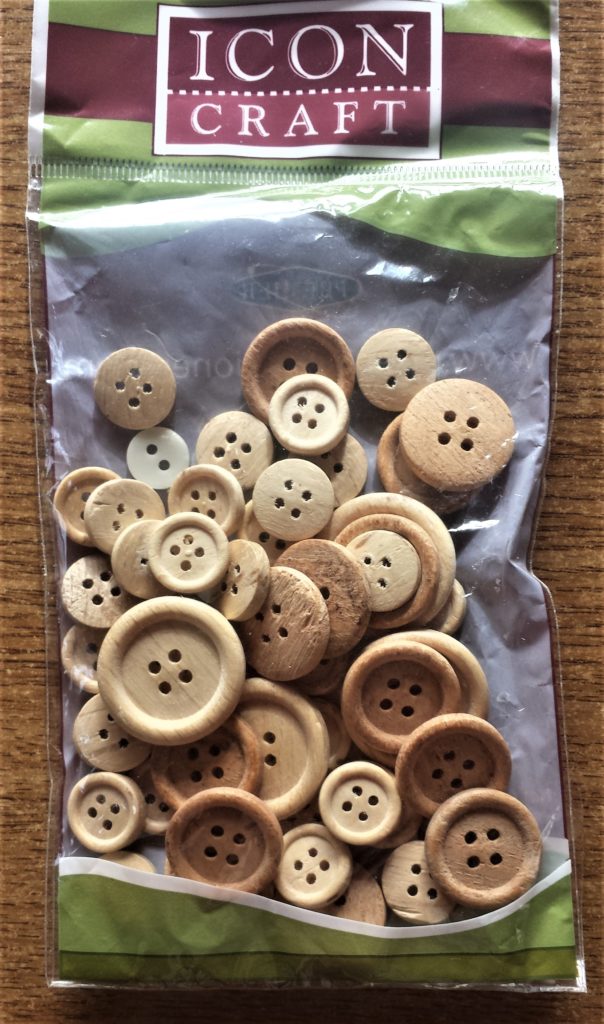
I had some artificial leaves and natural coloured buttons that I thought would add interest to the scarecrow’s hat. Harvest Craft Leaves. Autumn Button Theme Pack.
![Artificial leaves.](https://i0.wp.com/thoughtfuldiycreations.com/wp-content/uploads/2019/09/20190910_101512.jpg?resize=773%2C1024&ssl=1)
![Natural coloured buttons.](https://i0.wp.com/thoughtfuldiycreations.com/wp-content/uploads/2019/09/20190910_100429.jpg?resize=604%2C1024&ssl=1)
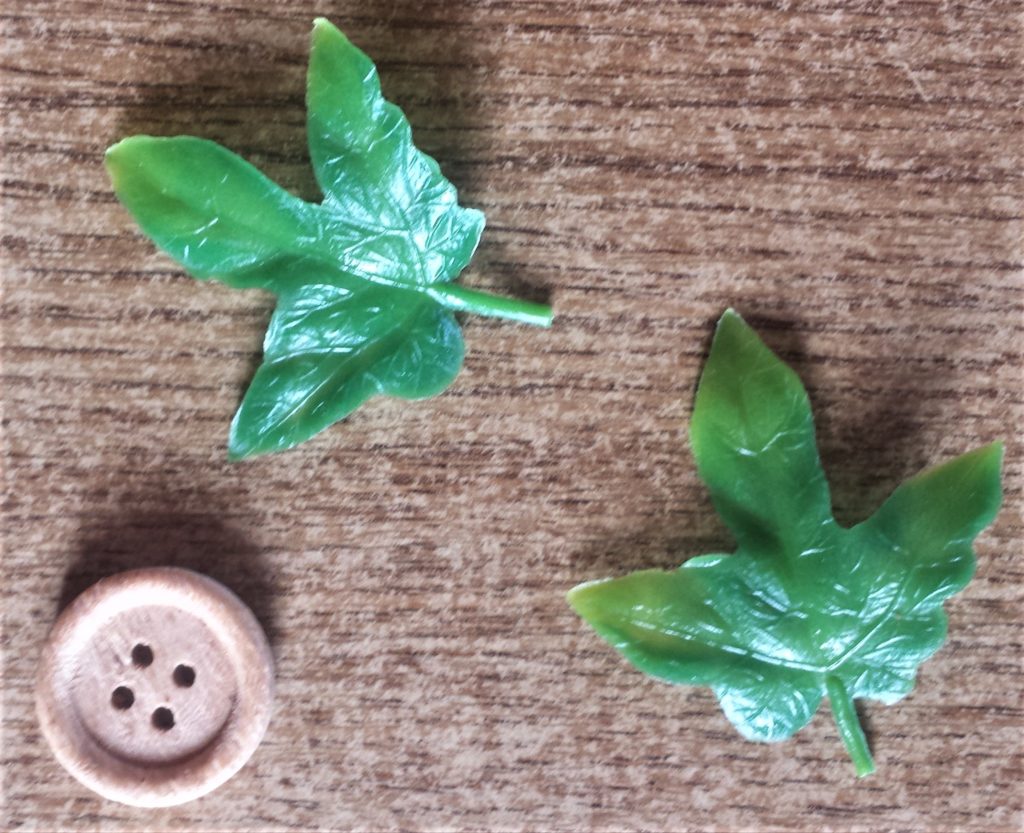
I cut off 2 leaves from the bunch of artificial leaves.Harvest Craft Leaves. I am using a medium sized natural button. Autumn Button Theme Pack.
![2 artificial leaves and a medium sized natural button.](https://i0.wp.com/thoughtfuldiycreations.com/wp-content/uploads/2019/09/20190910_111650.jpg?resize=1024%2C833&ssl=1)
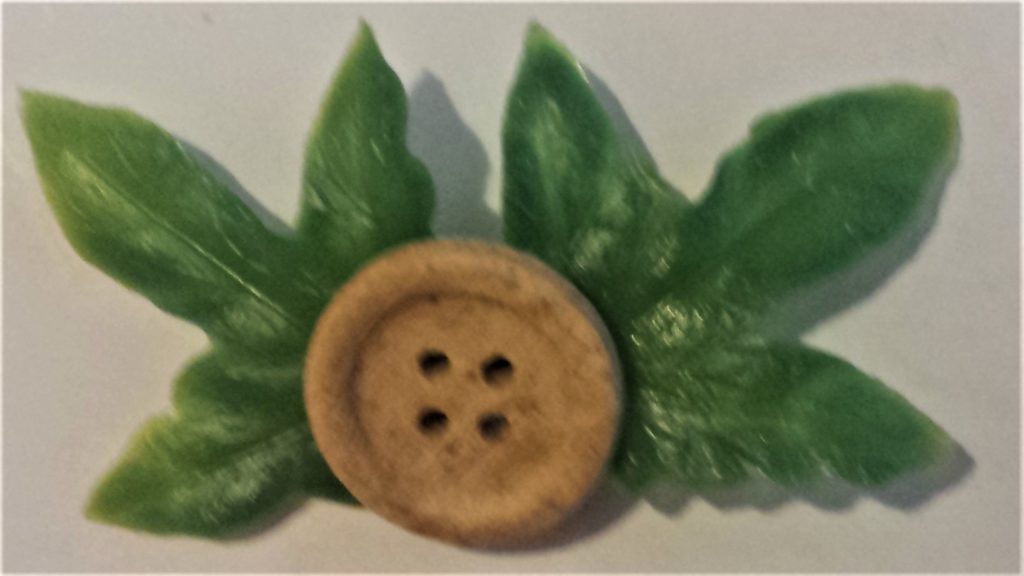
I put hot glue on the back of the button and attached the 2 leaves to the back of it. Hot Glue Gun.
![The leaves hot glued to the button.](https://i0.wp.com/thoughtfuldiycreations.com/wp-content/uploads/2019/09/20190910_113442.jpg?resize=1024%2C576&ssl=1)
I then put hot glue on the back of the leaves and attached it to the hat. Hot Glue Gun.
![The leaves and button hot glued to the hat.](https://i0.wp.com/thoughtfuldiycreations.com/wp-content/uploads/2019/09/20190910_1137282.jpg?resize=1024%2C811&ssl=1)
I put hot glue along the mid-section on the bottom of the hat and attached it to the jar. Hot Glue Gun.
![The hat hot glued to the jar.](https://i0.wp.com/thoughtfuldiycreations.com/wp-content/uploads/2019/09/20190910_1142562.jpg?resize=788%2C1024&ssl=1)
Making the Scarecrow’s Eyes
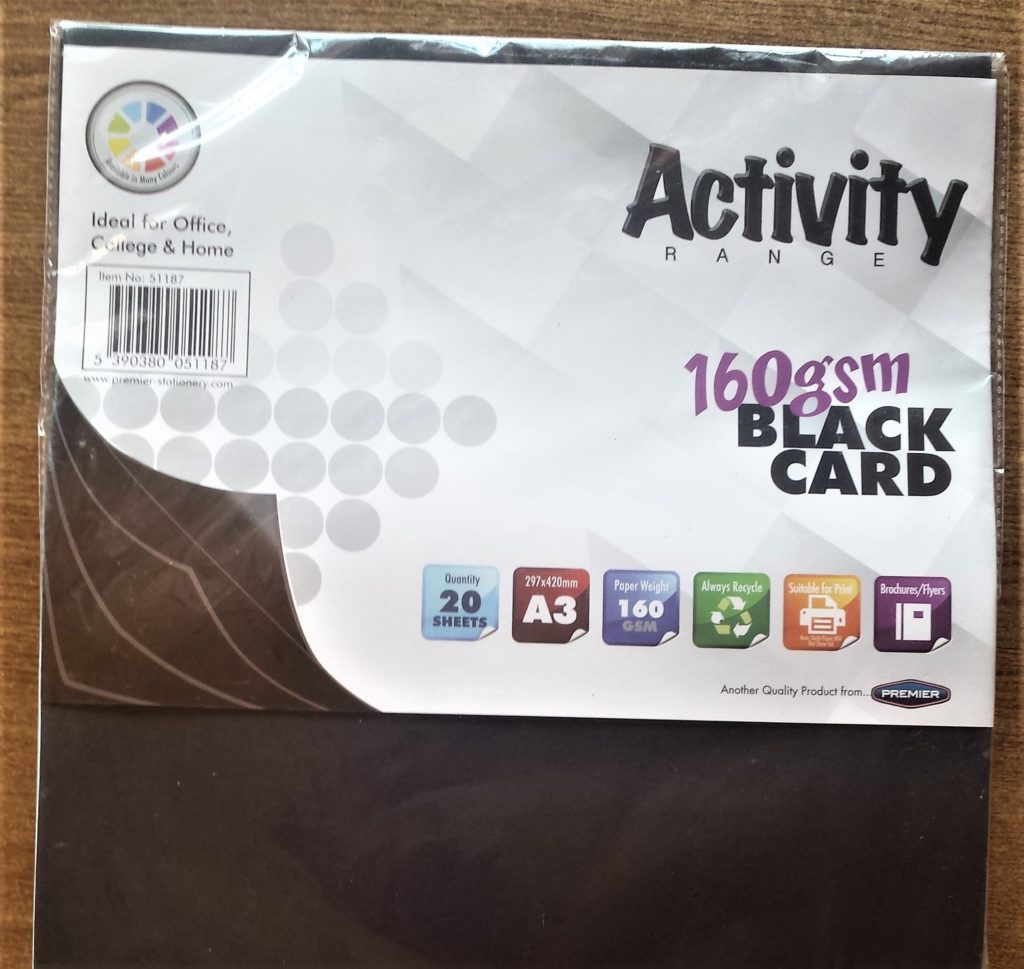
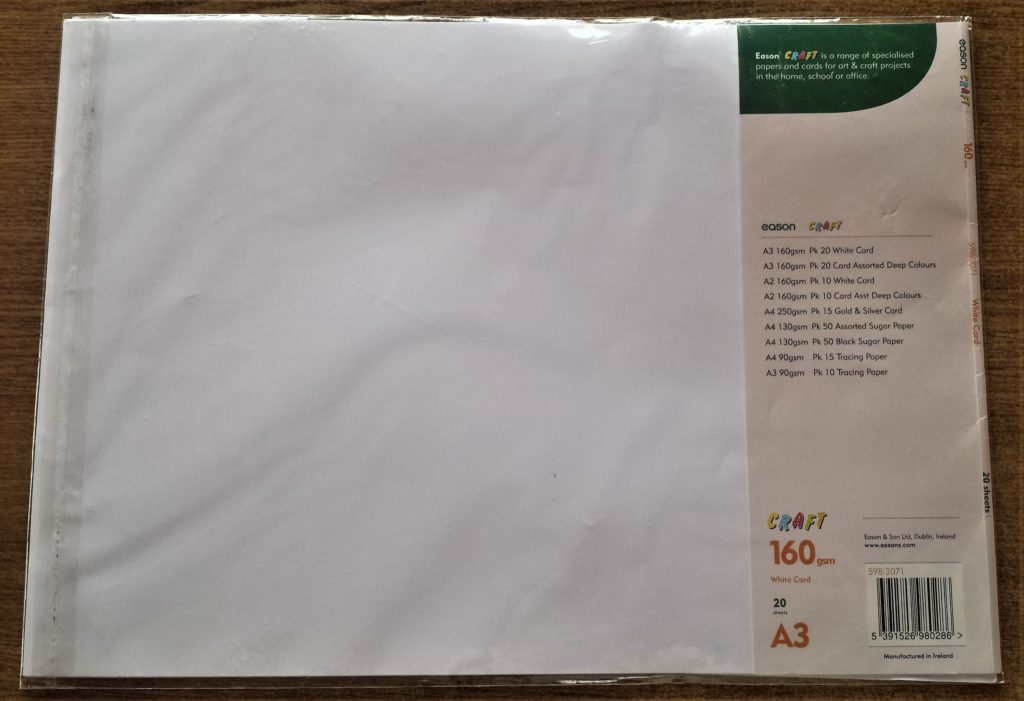
I made the eyes for the scarecrow out of black and white card. Cardstock Variety Pack.
![Black paper.](https://i0.wp.com/thoughtfuldiycreations.com/wp-content/uploads/2019/09/20190910_114633.jpg?resize=1024%2C969&ssl=1)
![White paper.](https://i0.wp.com/thoughtfuldiycreations.com/wp-content/uploads/2019/09/20190910_114611.jpg?resize=1024%2C701&ssl=1)
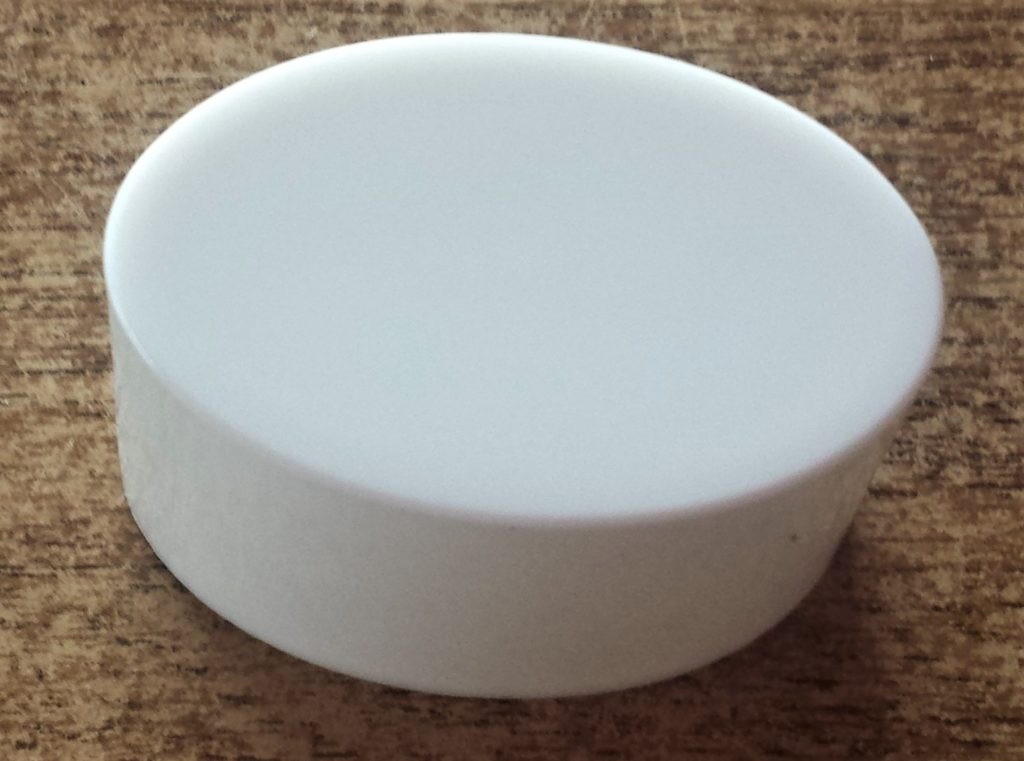
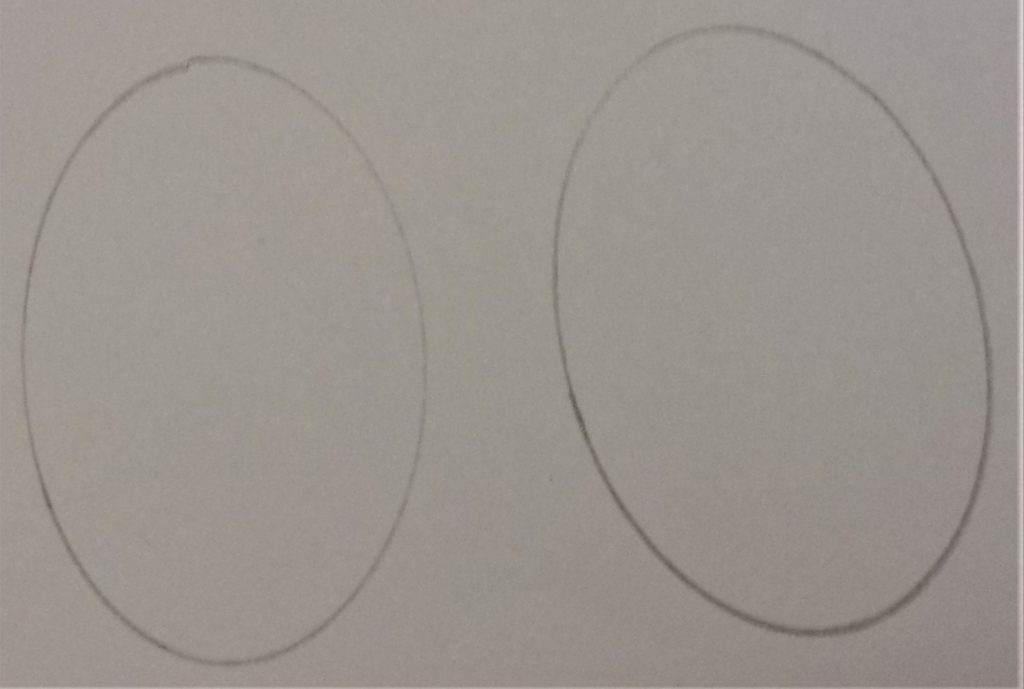
I used the lid of my spf for the shape of the white of the eyes.
![Lid of my spf.](https://i0.wp.com/thoughtfuldiycreations.com/wp-content/uploads/2019/09/20190910_133809.jpg?resize=1024%2C761&ssl=1)
I drew around the lid twice and cut them out. Graphite Sketching Pencils. Multipurpose Scissors.
![Shape of the lid drew onto white paper twice.](https://i0.wp.com/thoughtfuldiycreations.com/wp-content/uploads/2019/09/20190910_123151.jpg?resize=1024%2C689&ssl=1)
![White of the eyes cut out.](https://i0.wp.com/thoughtfuldiycreations.com/wp-content/uploads/2019/09/20190910_123911.jpg?resize=1024%2C672&ssl=1)
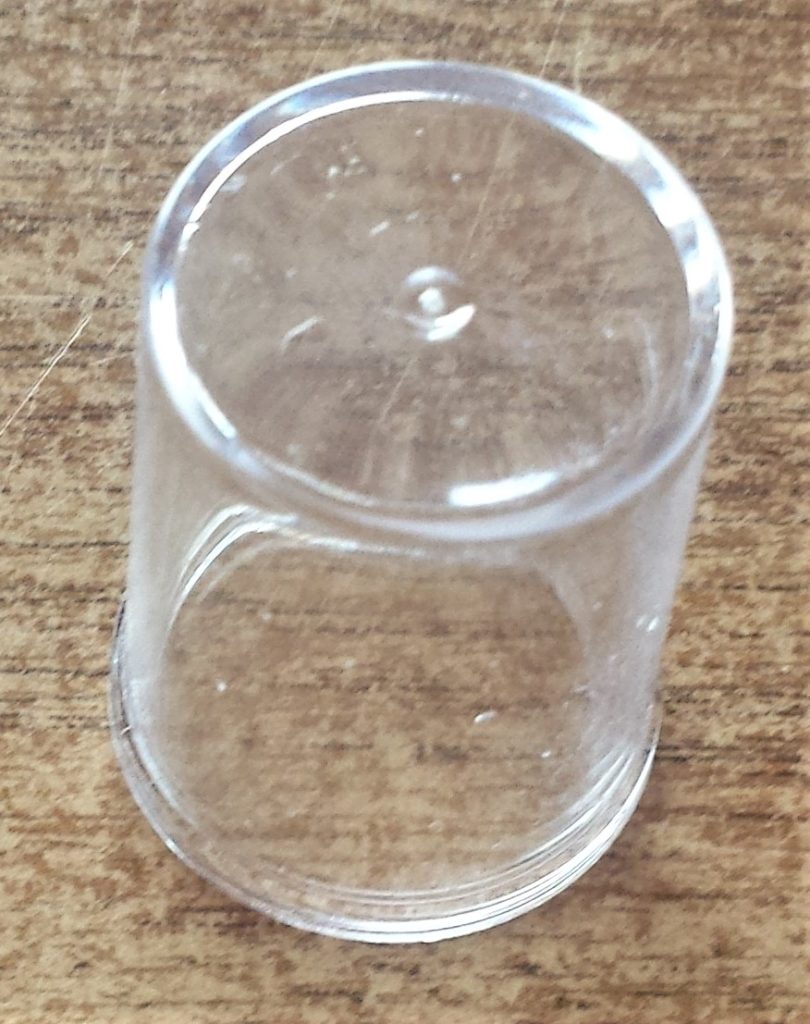
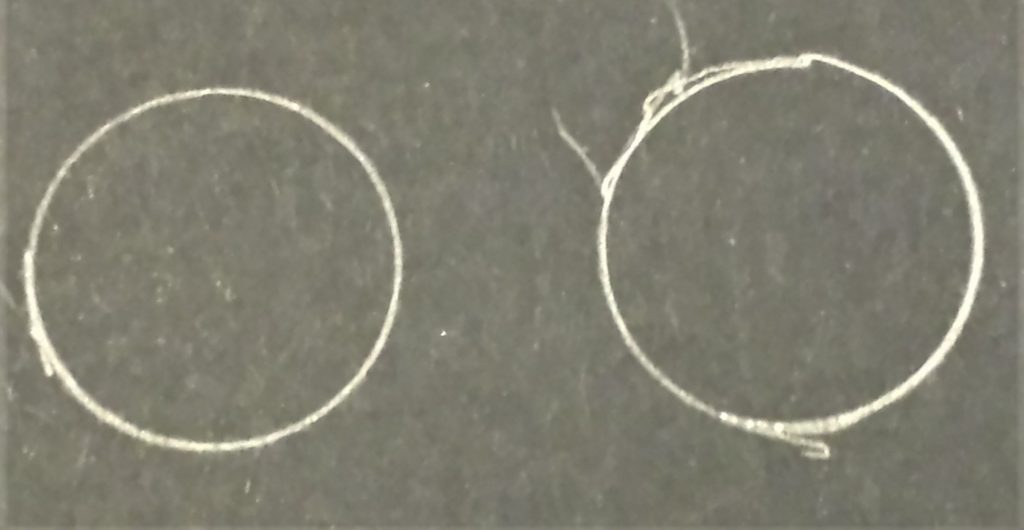
I used the plastic lid from my toner for the black part of the scarecrow’s eyes.
![Plastic lid from my toner.](https://i0.wp.com/thoughtfuldiycreations.com/wp-content/uploads/2019/09/20190910_133822.jpg?resize=810%2C1024&ssl=1)
I drew around the lid twice onto the black paper and cut them out. Graphite Sketching Pencils. Multipurpose Scissors.
![Lid drew around twice on black paper.](https://i0.wp.com/thoughtfuldiycreations.com/wp-content/uploads/2019/09/20190910_123614.jpg?resize=1024%2C530&ssl=1)
![Black part of the eyes cut out.](https://i0.wp.com/thoughtfuldiycreations.com/wp-content/uploads/2019/09/20190910_123930.jpg?resize=1024%2C403&ssl=1)
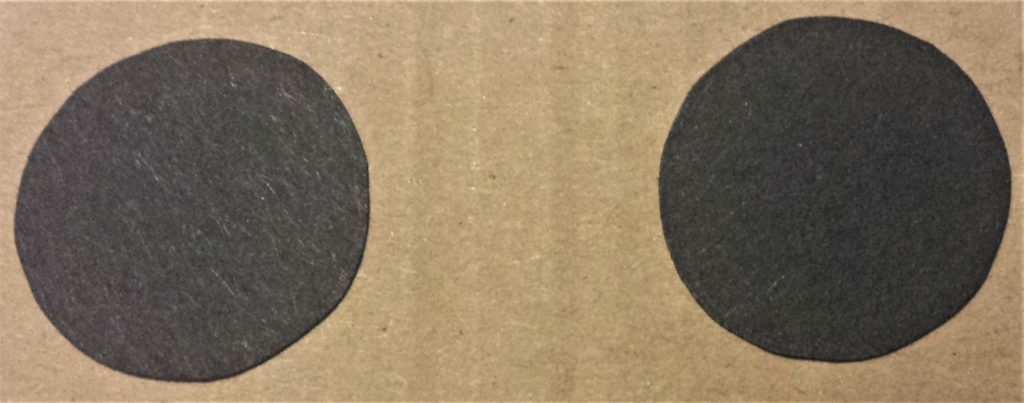
I put pritt stick onto the back of the black cut-outs and stuck them to the white part of the eyes. I then put pritt stick on the back of the eyes and attached them to the jar. Pritt Stick Original.
![Eyes glued to the jar.](https://i0.wp.com/thoughtfuldiycreations.com/wp-content/uploads/2019/09/20190910_1255032.jpg?resize=693%2C1024&ssl=1)
Making the Scarecrow’s Nose
I used orange paper from the autumn inspired paper pad to make the scarecrow’s nose. Cardstock Variety Pack.
![Orange paper from the autumn inspired paper pad.](https://i0.wp.com/thoughtfuldiycreations.com/wp-content/uploads/2019/09/20190910_114402.jpg?resize=1024%2C973&ssl=1)
I drew out the shape of a triangle and cut it out. Graphite Sketching Pencils. Multipurpose Scissors.
![Shape of the triangle drawn out.](https://i0.wp.com/thoughtfuldiycreations.com/wp-content/uploads/2019/09/20190910_124608.jpg?resize=679%2C1024&ssl=1)
![Shape of the triangle cut out.](https://i0.wp.com/thoughtfuldiycreations.com/wp-content/uploads/2019/09/20190910_124830.jpg?resize=819%2C1024&ssl=1)
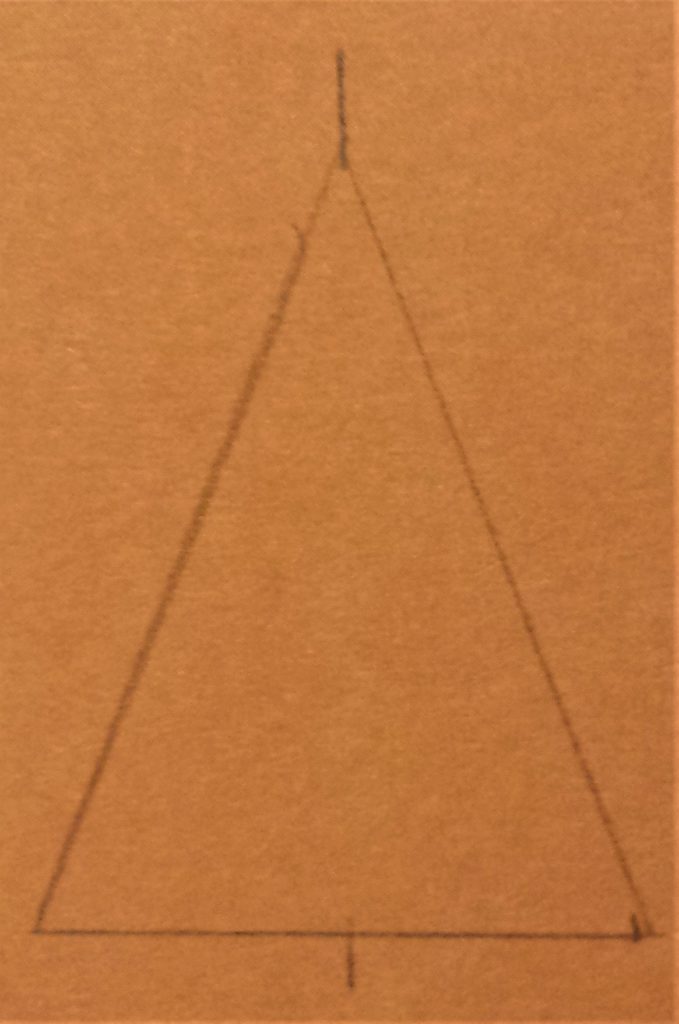
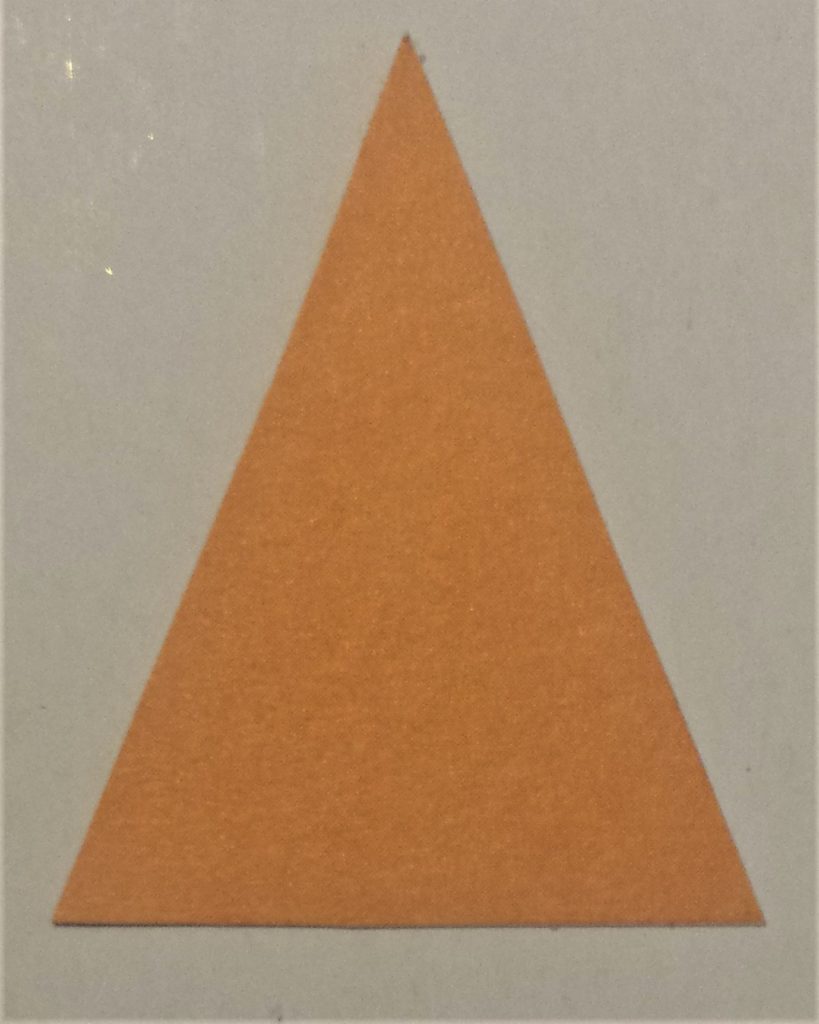
I put pritt stick onto the back of the nose and glued it to the jar. Pritt Stick Original.
![Nose glued to the jar.](https://i0.wp.com/thoughtfuldiycreations.com/wp-content/uploads/2019/09/20190910_1257352.jpg?resize=760%2C1024&ssl=1)
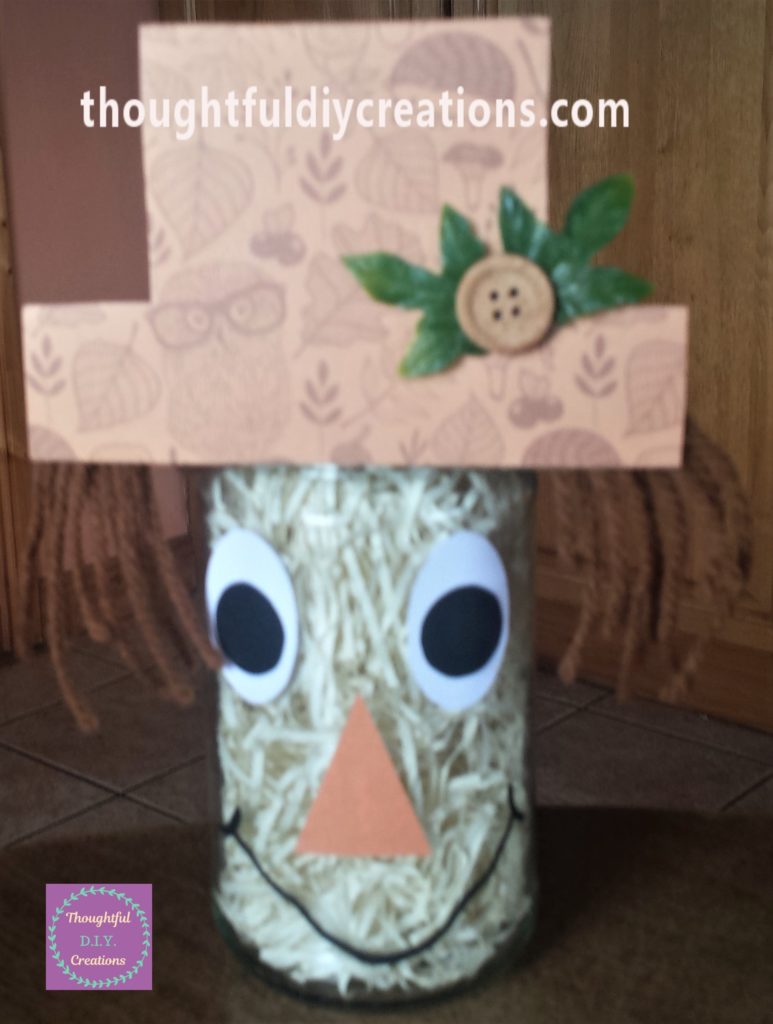
Adding the Scarecrow’s Smile
I used a ‘Daler Rowney Acrylic Paint Marker’ 2-3 mm in Black for the scarecrow’s smile. Daler Rowney Acrylic Paint Markers.
![Daler Downey Acrylic Paint Marker in Black.](https://i0.wp.com/thoughtfuldiycreations.com/wp-content/uploads/2019/09/20190910_114219.jpg?resize=1024%2C191&ssl=1)
I drew the smile on the jar and went over it three times.
![Smile drawn on the jar three times.](https://i0.wp.com/thoughtfuldiycreations.com/wp-content/uploads/2019/09/20190910_1316412.jpg?resize=773%2C1024&ssl=1)
Adding the Pupils to the Eyes
I used a uniPOSCA paint pen o.7mm in white to add the pupils to the scarecrow’s eyes. Uni Posca White Paint Pen.
![uniPOSCA paint pen 0.7mm in white.](https://i0.wp.com/thoughtfuldiycreations.com/wp-content/uploads/2019/09/20190812_101312-2.jpg?resize=1024%2C288&ssl=1)
![White dots on the scarecrow's eyes.](https://i0.wp.com/thoughtfuldiycreations.com/wp-content/uploads/2019/09/20190910_1320572.jpg?resize=717%2C1024&ssl=1)
Finishing the Scarecrow Jar
I added more lines to the scarecrow’s smile using the black paint marker, I went over the lines three times to get the vibrant colour. Daler Rowney Acrylic Paint Markers.
![More lines added to the scarecrow's smile.](https://i0.wp.com/thoughtfuldiycreations.com/wp-content/uploads/2019/09/20190910_1342412.jpg?resize=749%2C1024&ssl=1)
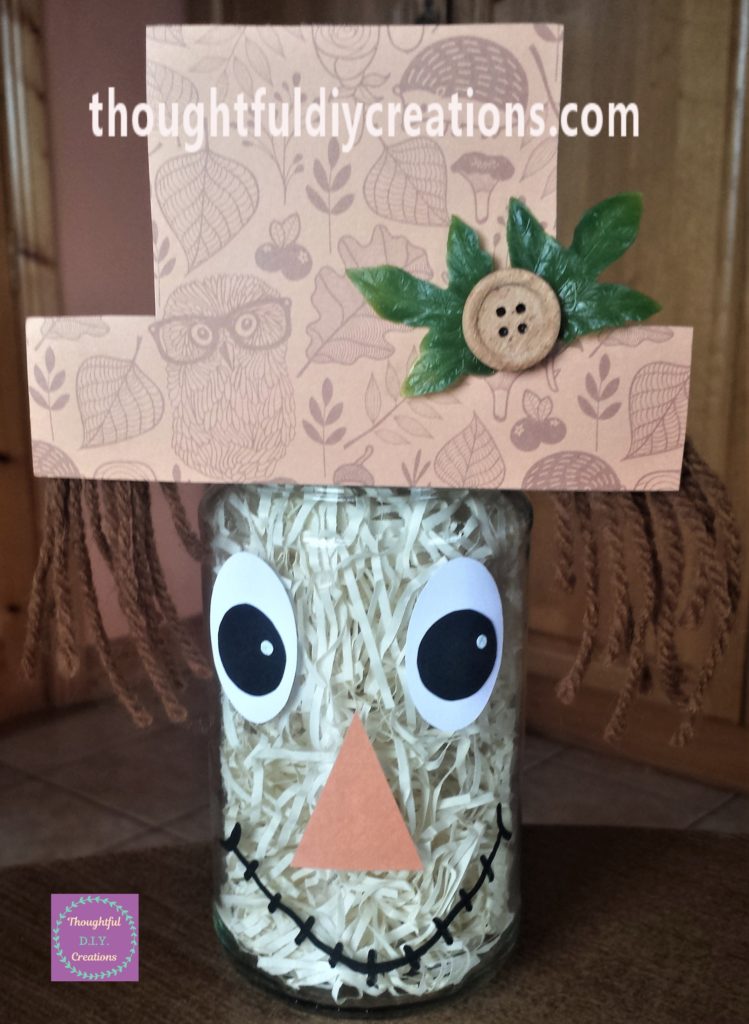
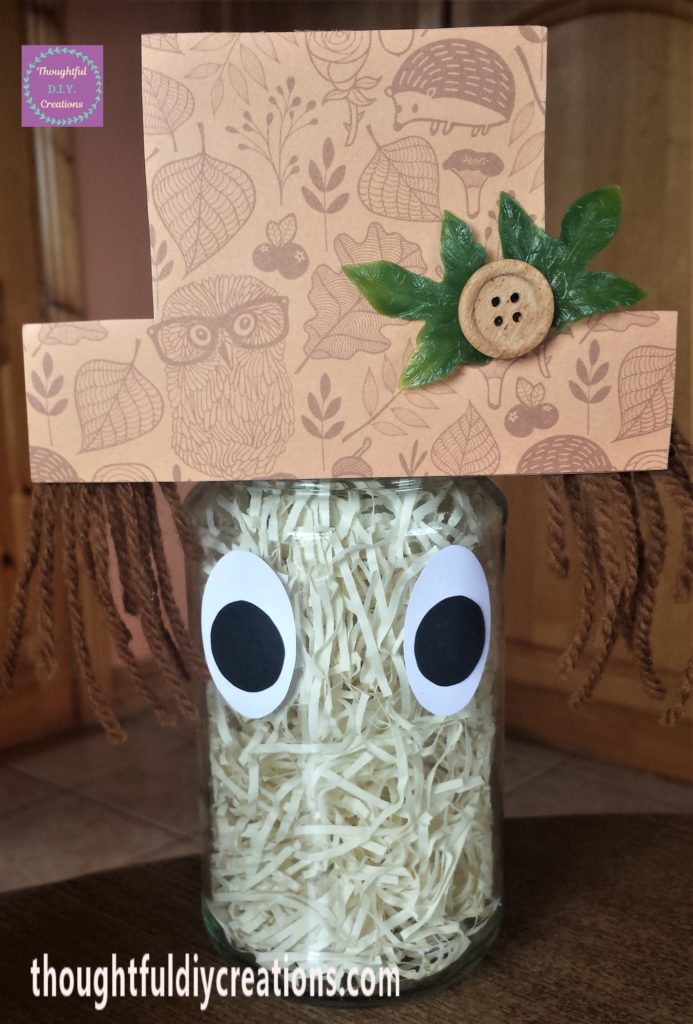
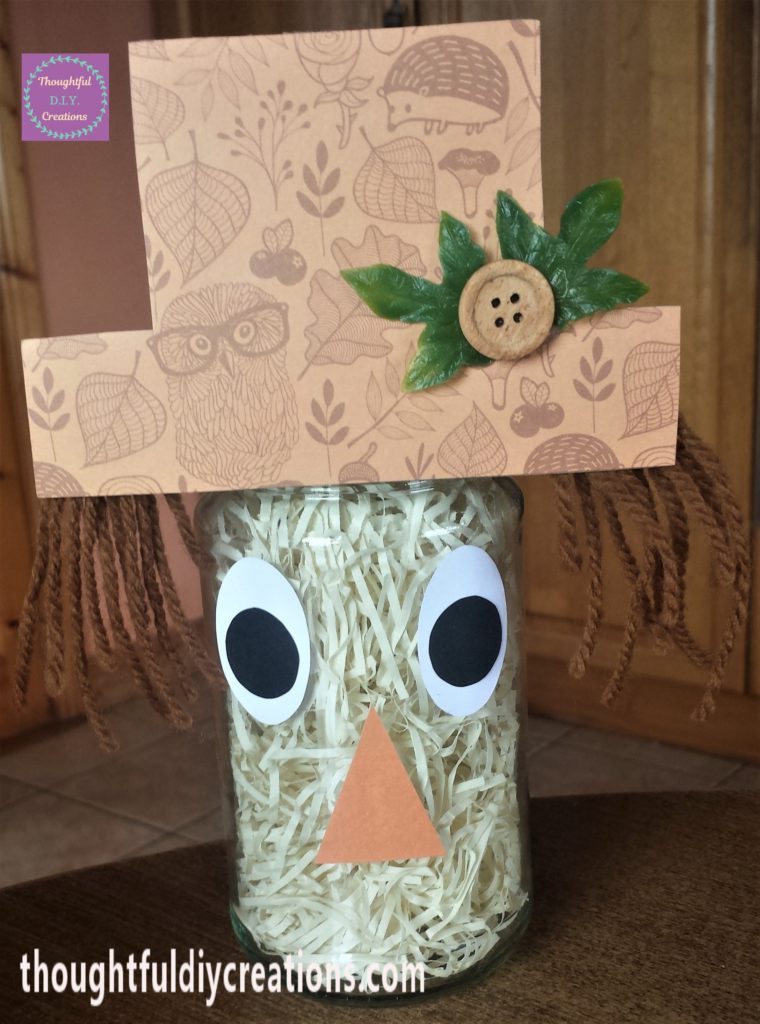
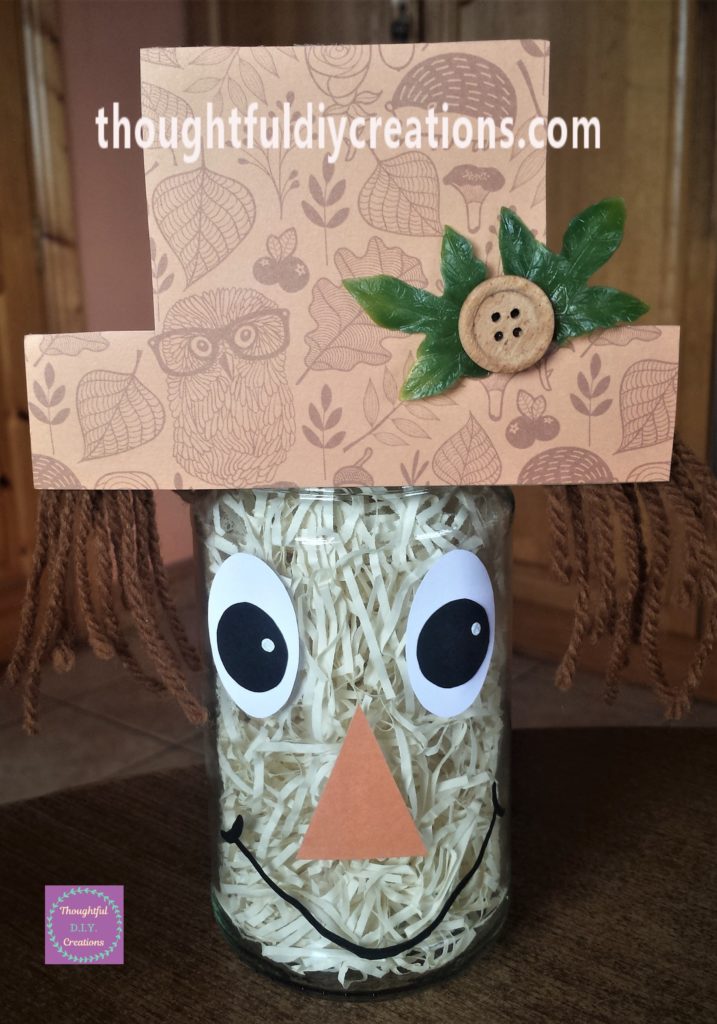
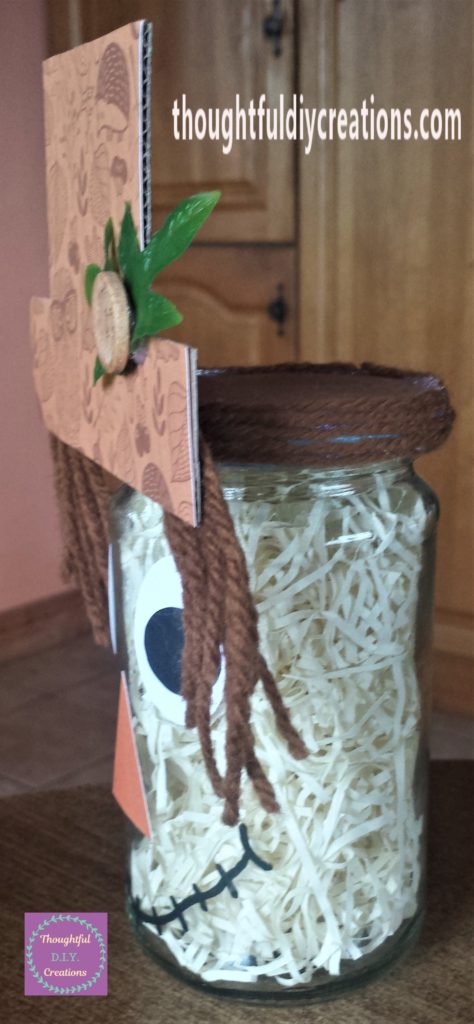
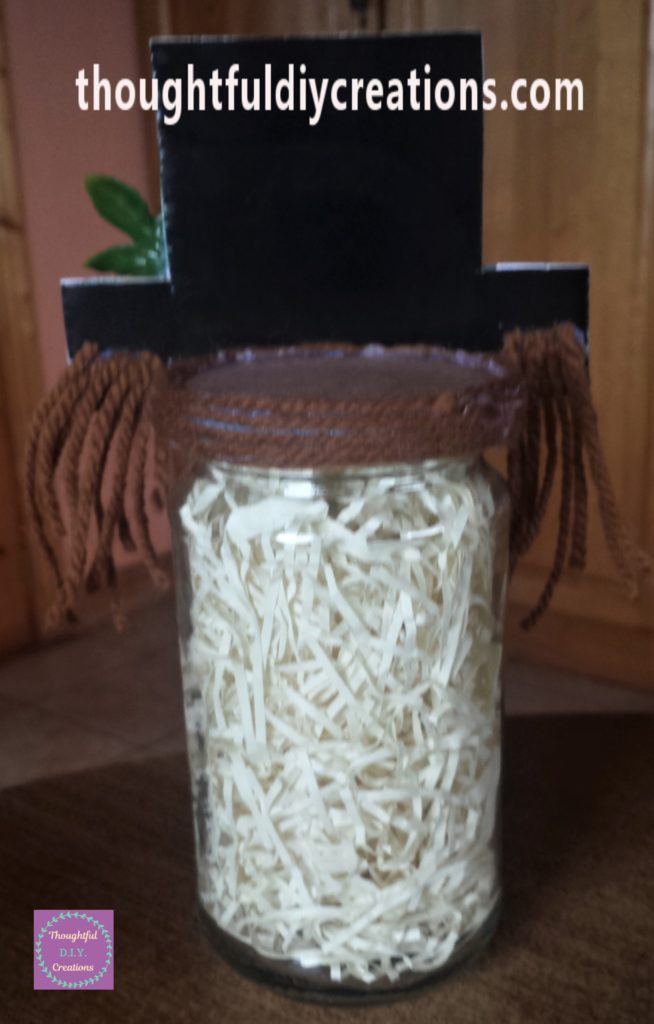
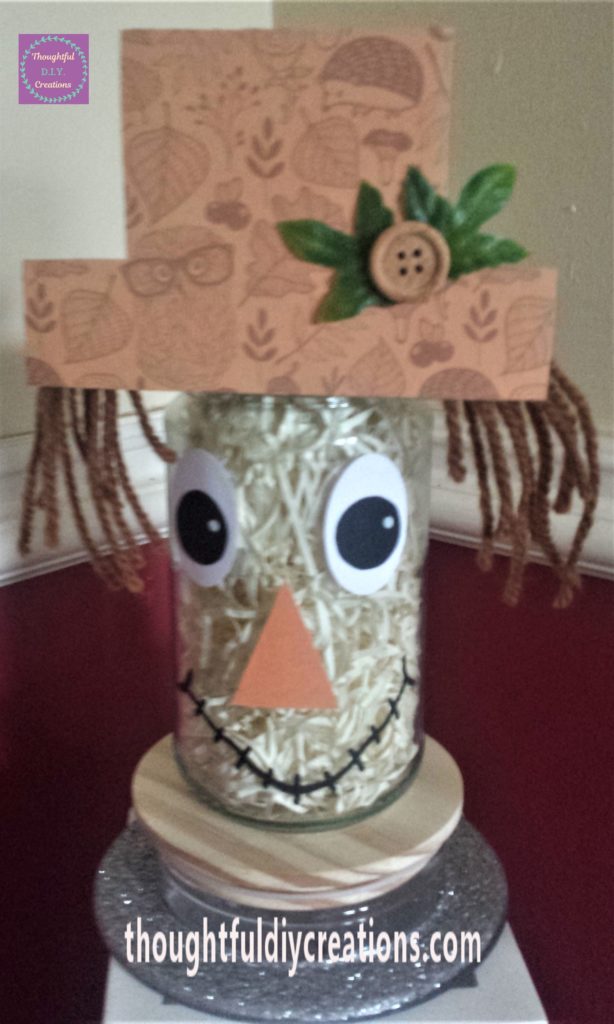
This completed the cute and fun D.I.Y. scarecrow jar craft. This is it from various angles.
![Completed scarecrow jar from the side angle.](https://i0.wp.com/thoughtfuldiycreations.com/wp-content/uploads/2019/09/20190910_1343002.jpg?resize=474%2C1024&ssl=1)
![Completed scarecrow jar from behind.](https://i0.wp.com/thoughtfuldiycreations.com/wp-content/uploads/2019/09/20190910_1343082.jpg?resize=654%2C1024&ssl=1)
![Completed scarecrow jar from the front.](https://i0.wp.com/thoughtfuldiycreations.com/wp-content/uploads/2019/09/20190910_1346352.jpg?resize=614%2C1024&ssl=1)
Conclusion
I hope I provided some inspiration for your Autumn or Halloween crafting. The scarecrow could also be made using a bottle, just use a paintbrush or knitting needle (something long and thin) to push the straw inside. You can use your creativity and imagination to make it your own.
It is a child friendly craft (except for the hot glue; an adult can help with that part). I’m sure they would love to decorate the hat using their favourite materials, whether its colouring pencils, markers, paint or gluing different colours and shapes of paper to it. Let them explore their creativity and make their very own piece of home decor. They might want to add autumn stickers or pipe cleaners to it. Brown pipe cleaners would look lovely around the side of the lid, they would be quicker to glue to the lid compared to the wool. Pipe Cleaners 360 Pieces.
You could make the scarecrow craft together with your own child or relative / friends child. It is a lovely relaxing way to bond with a child in your life. It would be so nice for them to have their own handmade craft along with other shop bought decorations this season.
The hat could also be made using ice-cream sticks. Natural Wooden Craft Sticks. These could be left the natural colour to resemble straw or painted in autumn colours. You can also buy coloured ice cream sticks which you can use for every kind of craft. Colored Popsicle Sticks.
Another idea would be to make a hat using burlap or fabric and decorating it with autumn coloured ribbons. Burlap Roll.
Autumn Leaves with Glitter Ribbon.
If you would like to learn how to Make Bunting check out my Tutorial; Autumn Bunting.
It is up to you how you decorate and create, play around with different materials; recycled materials, random pieces you have collected in your home, natural materials, or try a new material and see if you enjoy using it.
I hope you enjoyed the Craft Tutorial this week. Let me know if you will try this activity yourself. If you have any questions just fill out the form below and I will get back to you as soon as I can.
Thank you so much for taking the time to read my Blog.
Always Grateful,
T.D.C.
xoxox.
-0 Comment-