D.I.Y. Altered Bottle
Hello my Creative Friends,
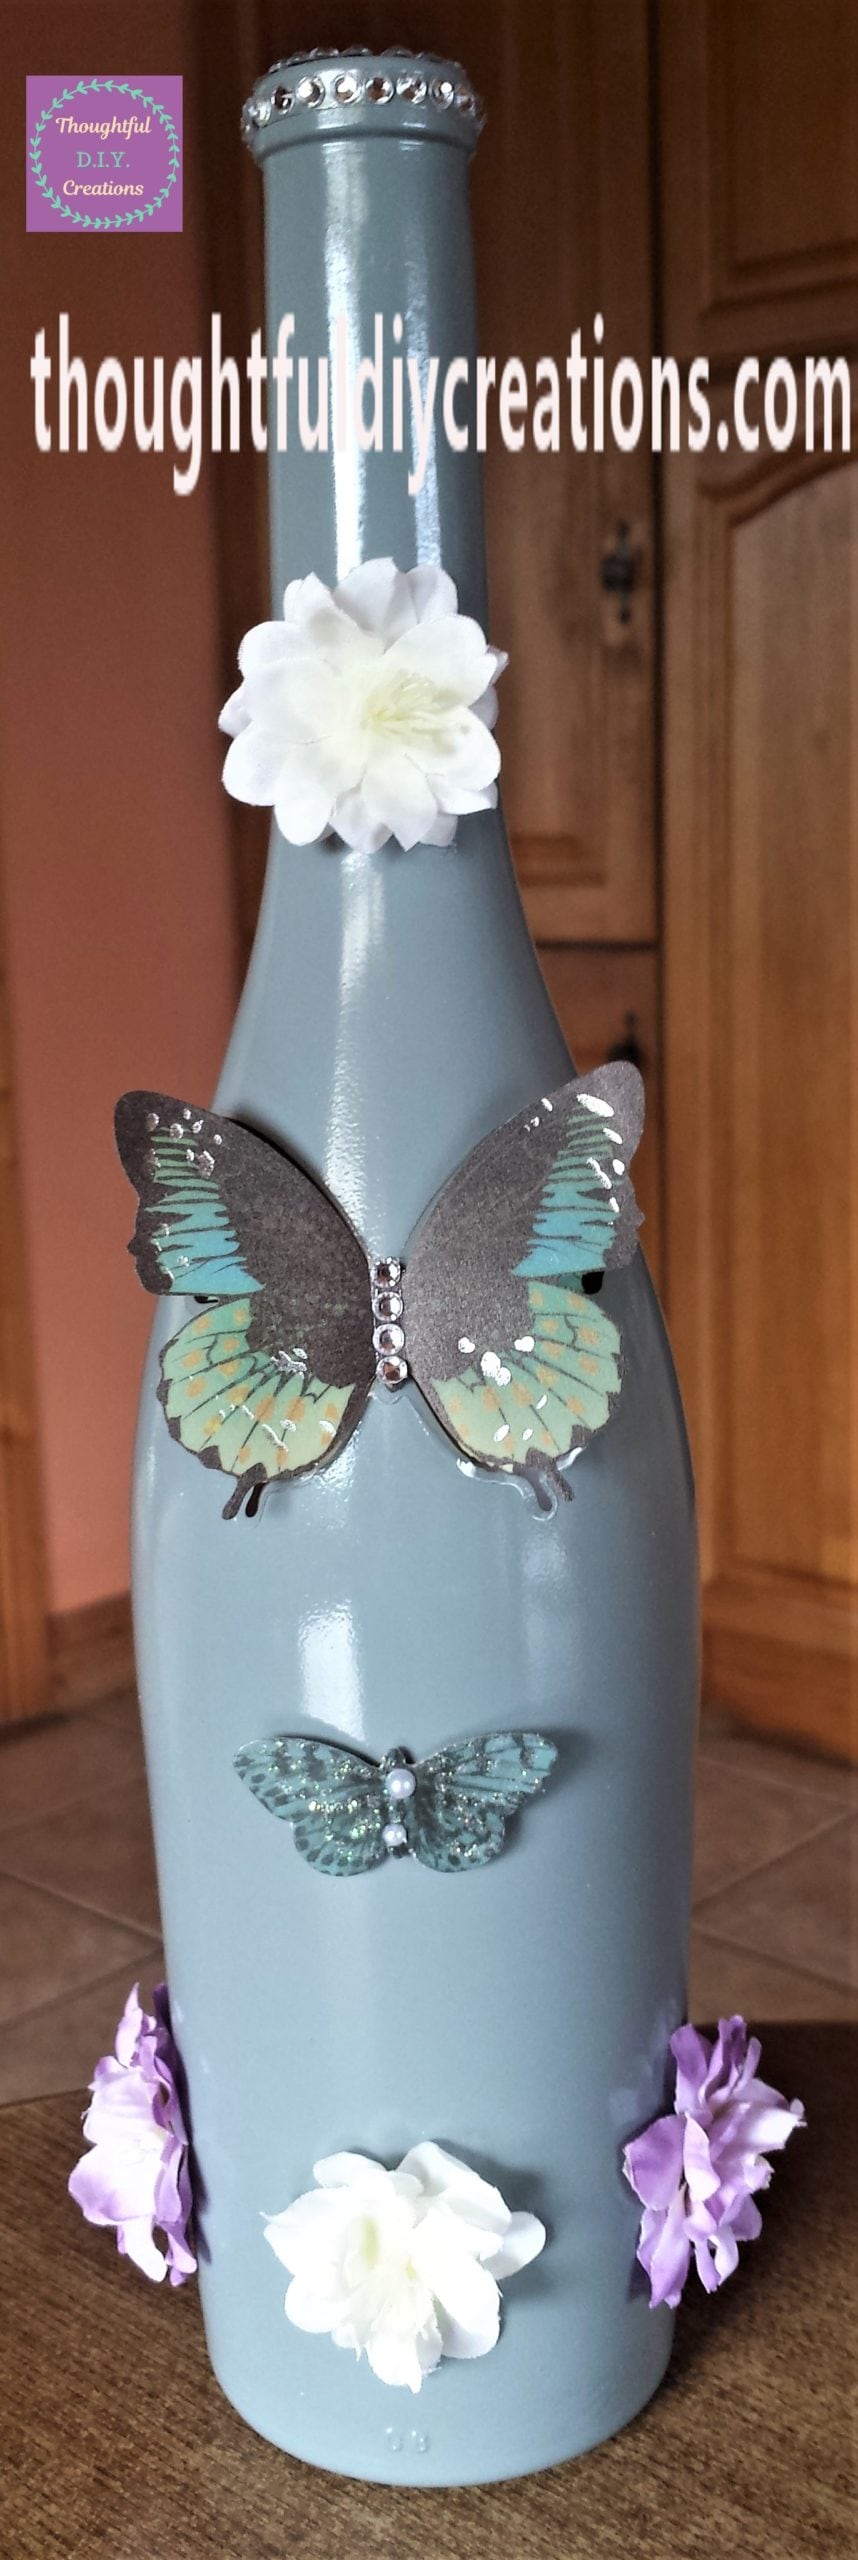
I hope you are all well. In Today’s Tutorial I will show you how I transformed a plain Wine Bottle into a Spray Painted, Butterfly and Flower embellished Altered Bottle. I hope it provides you with some ideas of what to do with your used Bottles.
Preparing the Bottle for Crafting
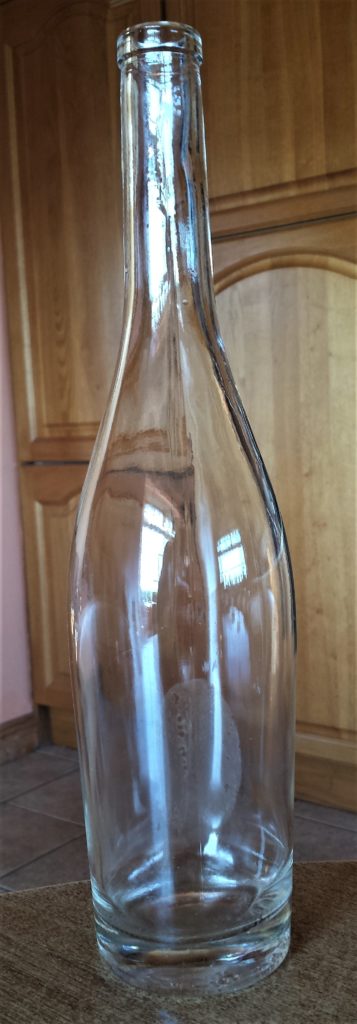
I had an empty wine bottle and I adored the long, elegant shape to it, I knew it would be perfect for up-cycling. I soaked the wine bottle in the sink with warm water and washing-up-liquid for an hour. This helped the label to soften and was much easier to peel off. I removed the label and rinsed any residue from the bottle and dried it.
Spray Paint Recommendations
I brought the Wine Bottle out to the shed to spray paint. Always Spray Paint in a well ventilated area. Open doors and windows and leave the area as soon as you can after spray painting to avoid inhaling any fumes.
Setting Up Props for Spray Painting
I put a rake laying flat on a table with the spikes facing upwards. I put the opening of the bottle over one of the spikes of the rake. This kept the bottle balanced and sturdy. I used the rake as my prop to keep the bottle in one place while spray painting. It ensures I can spray paint every angle of the bottle without having to touch or move it and risk messing up the spray paint.
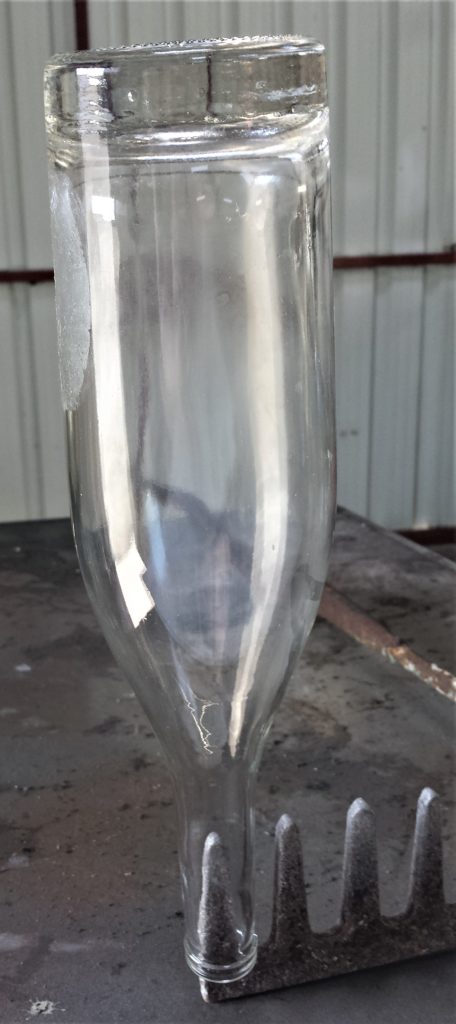
The table also provides a nice height and angle for spray painting, I don’t need to stoop down too low or reach up too high when applying it. You can use whatever props you have in your home or shed that will fit and suit your Bottle, just keep in mind some spray paint will get on the object you choose, so don’t pick anything too good for that reason.
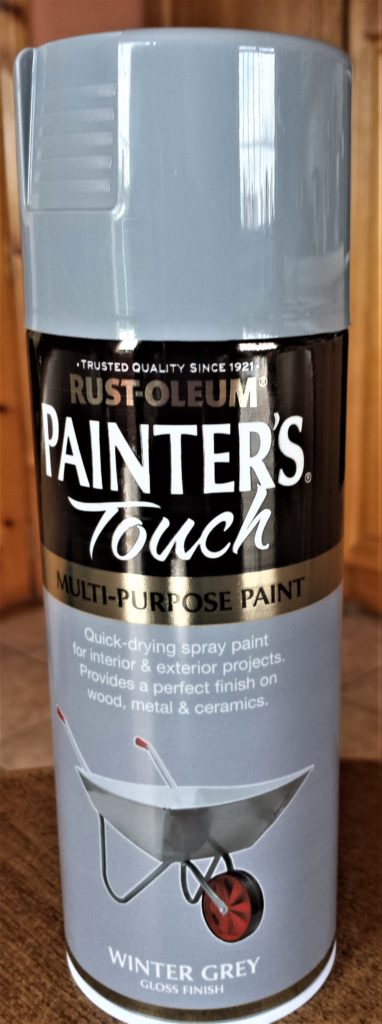
The Spray Paint I used was ‘RUST-OLEUM Painters Touch Multi-Purpose Paint in Winter Grey in Gloss Finish’. Rust-Oleum Gloss Winter Gray.
Spray Painting the Altered Bottle
I shook the Can of Spray Paint from side-to-side for about a minute. I removed the lid and held the spray can about 20 cm away from the bottle. I started by spraying the base of the bottle. I then sprayed from the bottom of the bottle to the top in one go; 1 straight line down.
I gave the can a quick shake and then sprayed the next section of the bottle; from the bottom to the top. I continued with this process the whole way around the bottle until it was covered evenly with 1 layer of spray paint. I gave the can a quick shake after every 2 lines sprayed. This whole process only took a minute or two. Rust-Oleum Gloss Winter Gray.
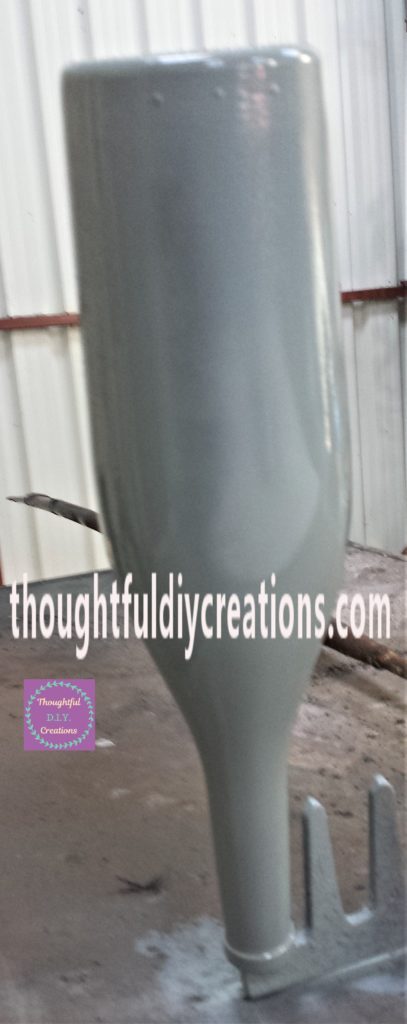
I returned to the shed an hour later and applied the second layer of spray paint using the same process as the first layer.
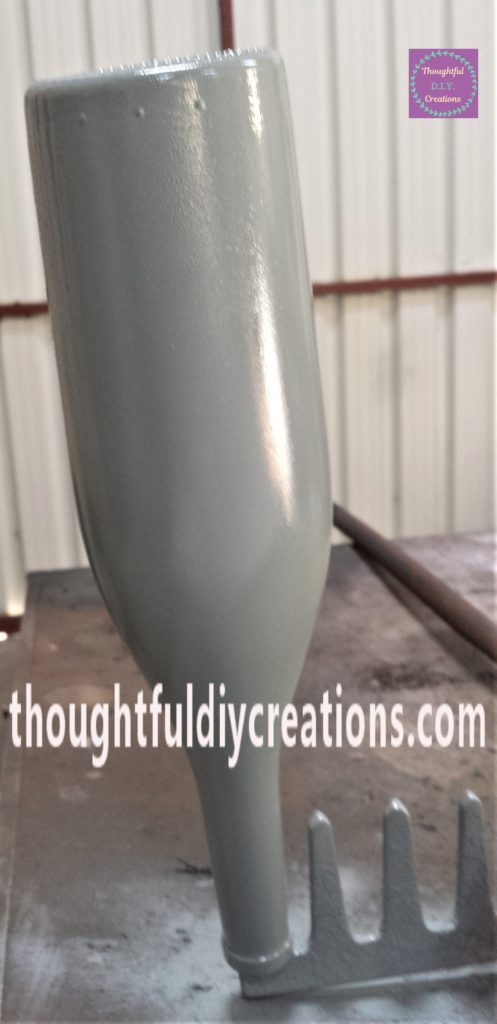
I waited another hour and then applied the third and final layer of spray paint to the wine bottle. Rust-Oleum Gloss Winter Gray.
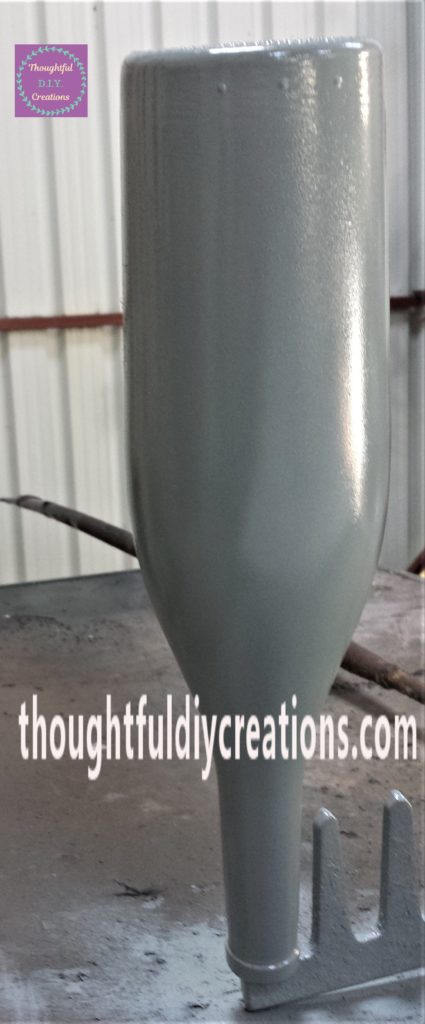
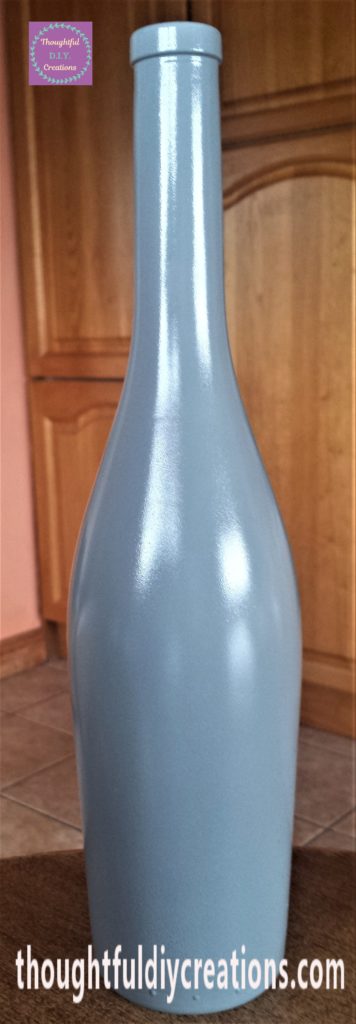
After the final spray paint application I left the bottle in the shed for 48 hours to cure. I brought the wine bottle back inside after the 2 days. I was delighted with the spray paint results. I loved the colour, sheen and overall appearance of the bottle.
Adding a Butterfly to the Altered Bottle
I wanted the Bottle to be a decorative, display piece so I thought adding a Butterfly would enhance the appearance. I had a Pack of 3-D Butterfly Wall Stickers which I thought would complement the bottle. 3D Butterflies Wall Stickers.
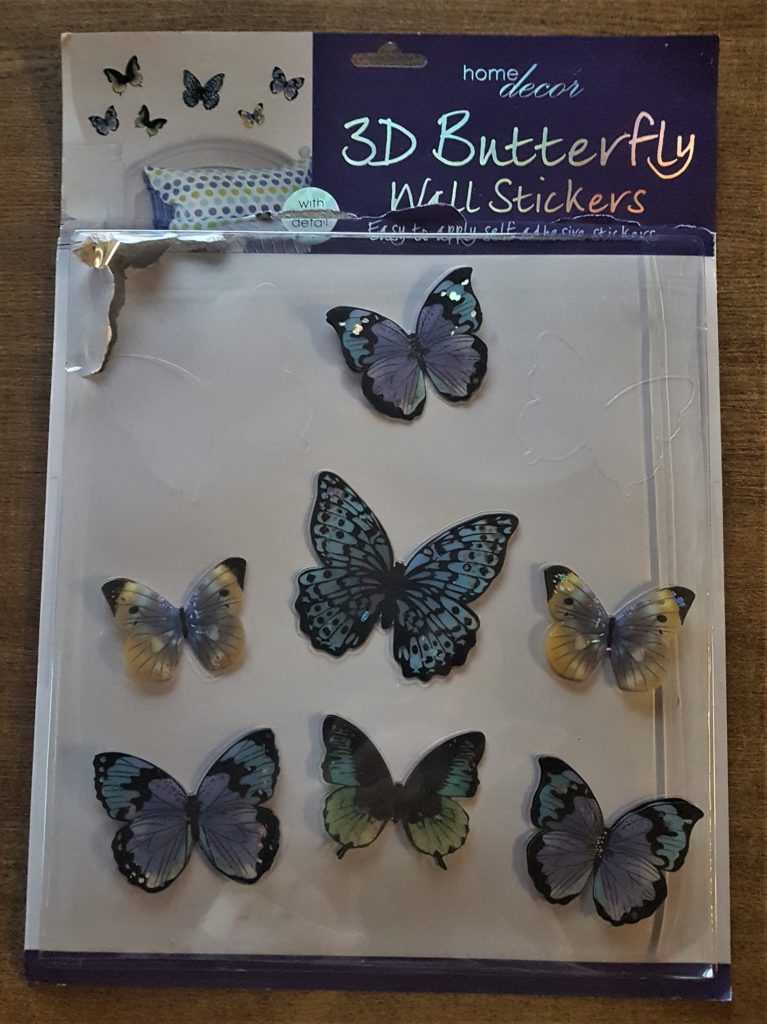
I chose a green and black butterfly and attached it to the bottle. 3D Butterflies Wall Stickers.
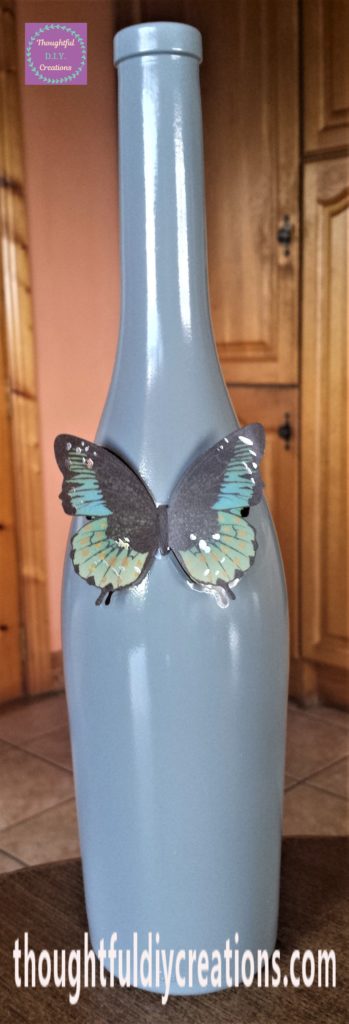
I thought the center of the butterfly would stand out more if I added some bling to it. I bought a Pack of Clear Self-Adhesive Gem Stones which were the perfect size. Self-Adhesive Rhinestone Sticker 4950 Pieces.
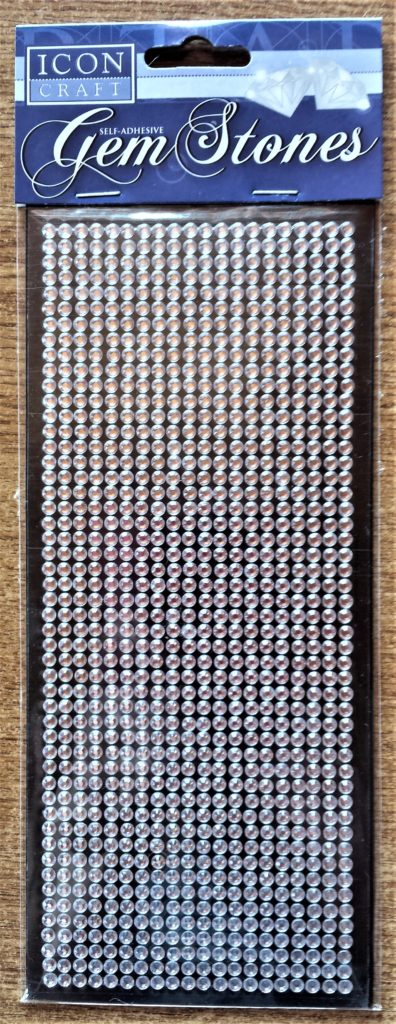
I cut a strip of 4 gemstones from the clear backing sheet.
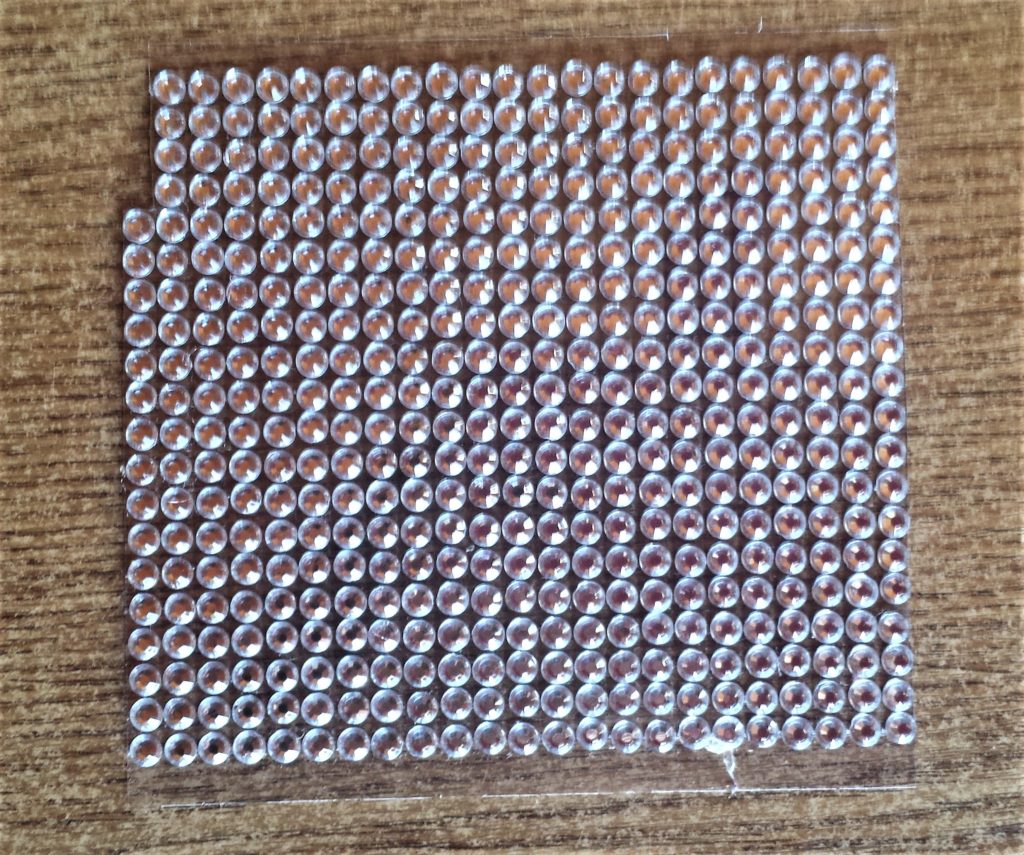
I removed the gemstones from the clear backing and added them to the mid-section of the butterfly. Self-Adhesive Rhinestone Sticker 4950 Pieces.

Flowers for the Altered Bottle
I bought some purple and cream artificial flowers to add to the altered bottle. Artificial Flowers Mini Silk Rose.
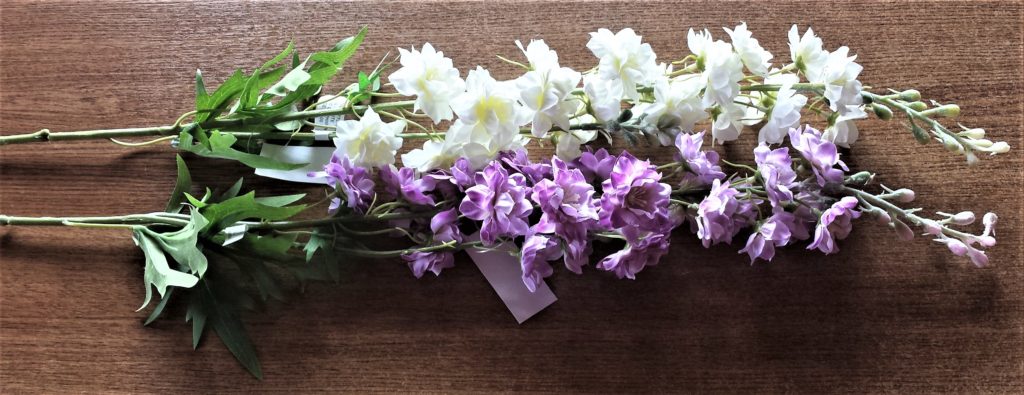
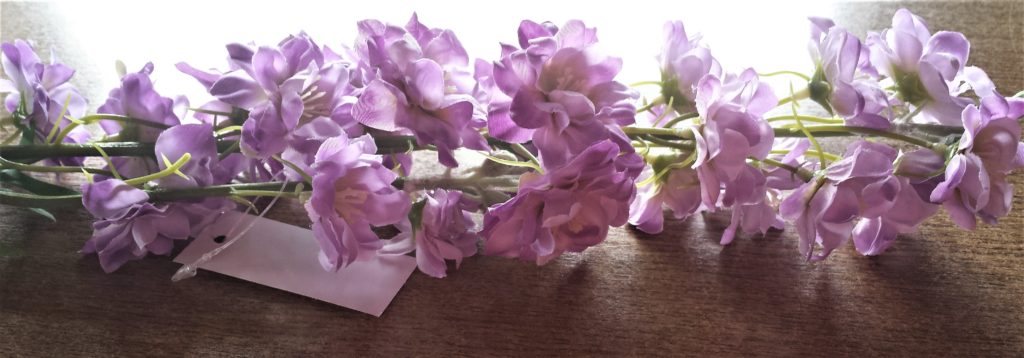
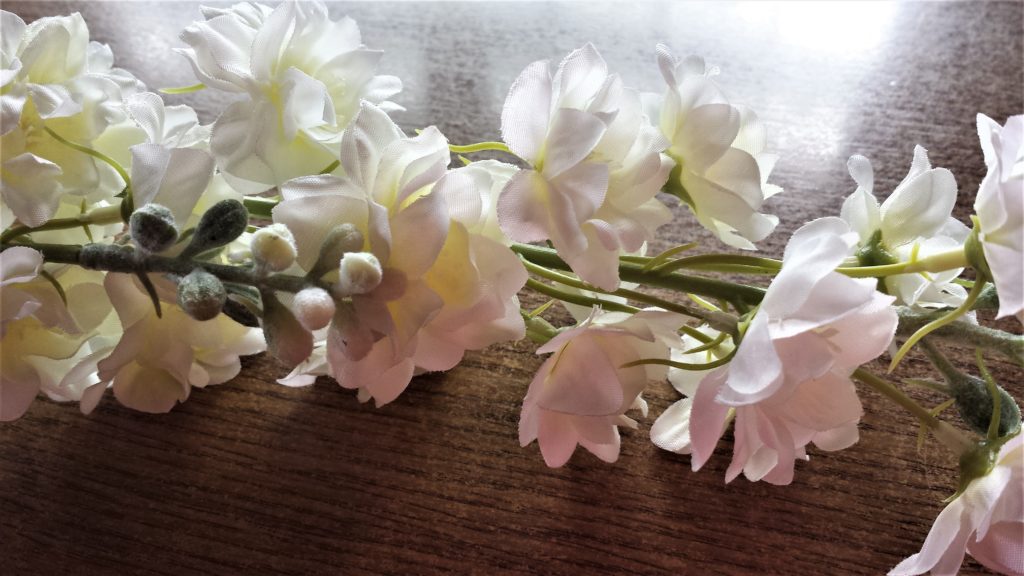
I pulled off a few flower heads from their stems from both colours of flowers. Artificial Flowers Mini Silk Rose.
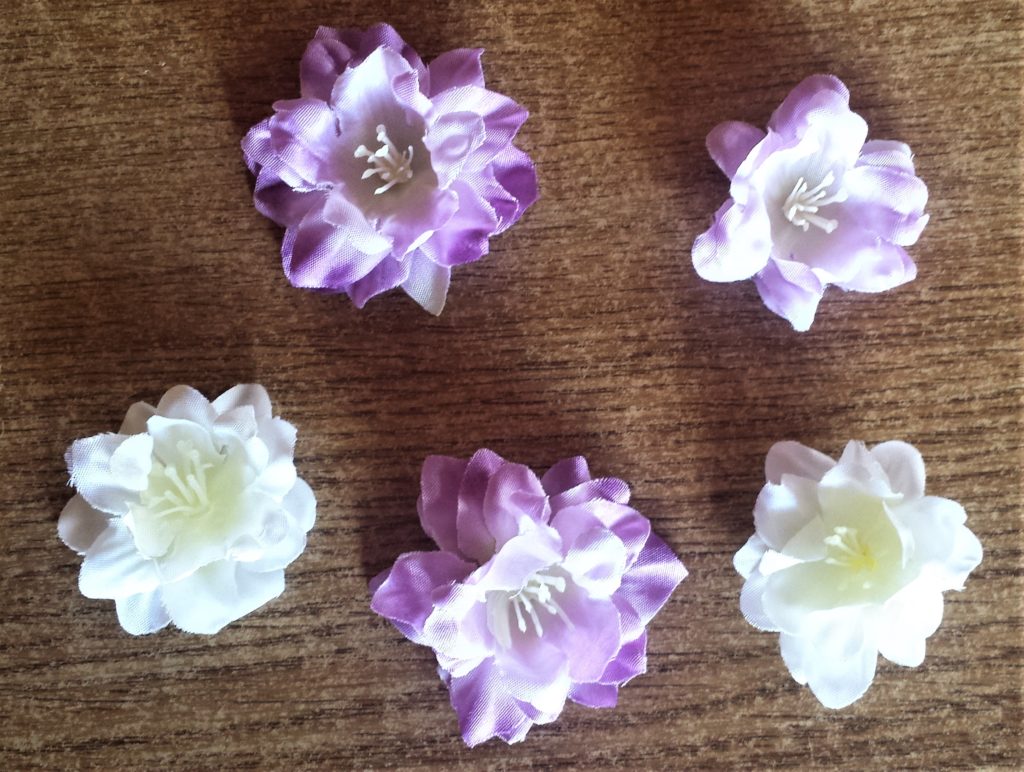
I plugged in my hot glue gun and let it heat up for 5 minutes. I pulled off the green leaf from the back of the flower. Hot Glue Gun.
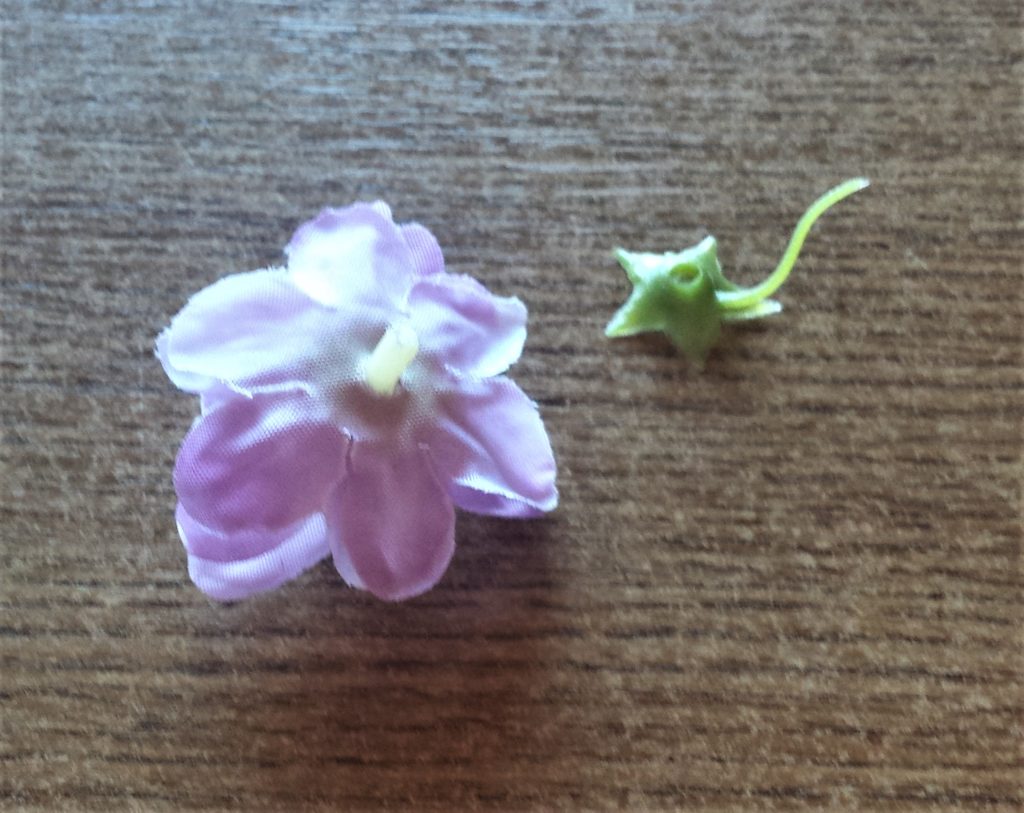
I cut off the plastic part sticking out of the back of the flower using a scissors.
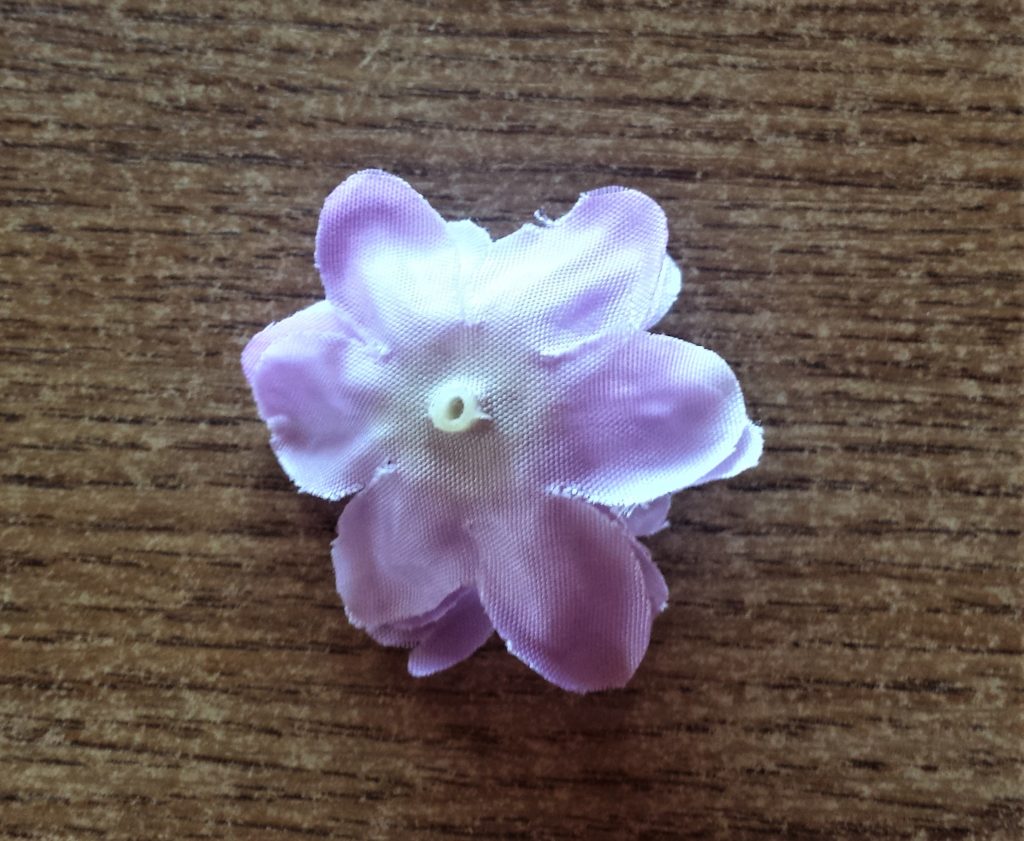
It was now nice and flat and easy to attach to an object. I repeated these steps for the other flower heads and then hot glued them one-by-one to the altered bottle. Artificial Flowers Mini Silk Rose.

Adding more Embellishments to the Bottle
I added a strip of the clear self-adhesive gemstones to the top and side of the bottle. Self-Adhesive Rhinestone Sticker 4950 Pieces.
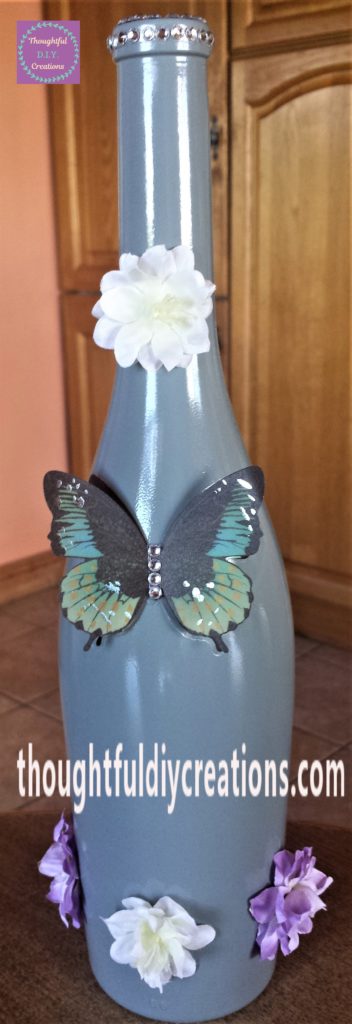
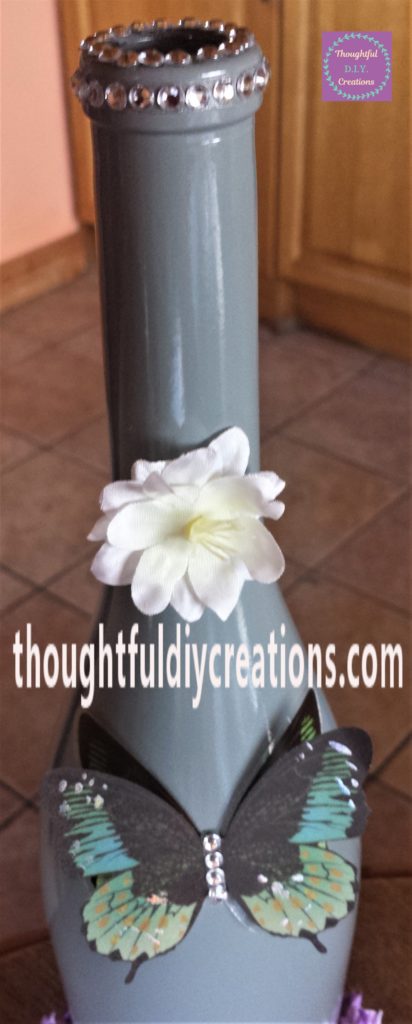
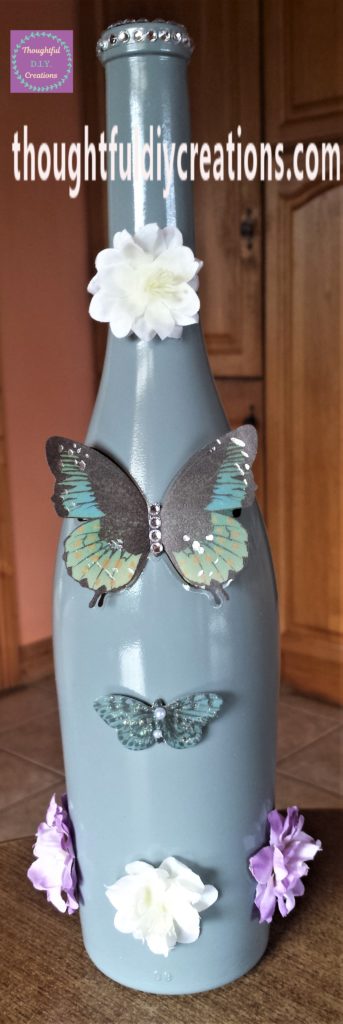
I finished the D.I.Y. Altered Bottle by adding a smaller green and black butterfly sticker with pearls in the mid-section, to the bottle in between the bigger butterfly sticker and the flowers. Violette Stickers Butterflies.
Conclusion
I loved the outcome of this craft. I wanted to keep it simple so that the Altered Bottle could be moved from room to room over the years without feeling out of place in a certain room. I love the colours of the bottle and embellishments, I think they all complement one another. It has a pretty, welcoming homely feel to it and I think it is a nice addition to any home decor.
I hope you gained some tips from this Tutorial whether from Spray Painting for the first time or Altering a Bottle in any way for the first time. My hope is that I can inspire anyone at any age and any level to begin Crafting and enjoy the journey. It is such a fun hobby to get involved in. It’s a great way to use your brain and your hands and enjoy each stage of the creative process. It doesn’t have to be perfect and no-one has to see the finished product if you don’t want them to; just put it away and start again with more experience and knowledge.
It’s amazing how you can transform household materials and change their appearance and purpose. It can be such a shame to throw things out especially when they’re in perfect condition. I hope you give this type of craft a go and see how you can change a plain bottle or jar into a decorative ornament for your home.
If you have any questions or anything you would like to add on this topic just fill out the Comment Box below this Blog Post and I’ll reply as soon as I can.
Thank you so much for taking the time to visit my Blog and reading this Blog Post.
Always Grateful,
T.D.C.
xoxox




-0 Comment-