D.I.Y. Autumn Bunting
Hello my Creative Friends,
I hope you are all well. In Today’s Blog Post I will show you how to make your own Autumn Bunting. It is easy to make and I hope this tutorial will encourage you to get creative and give it a try.
Making the Bunting
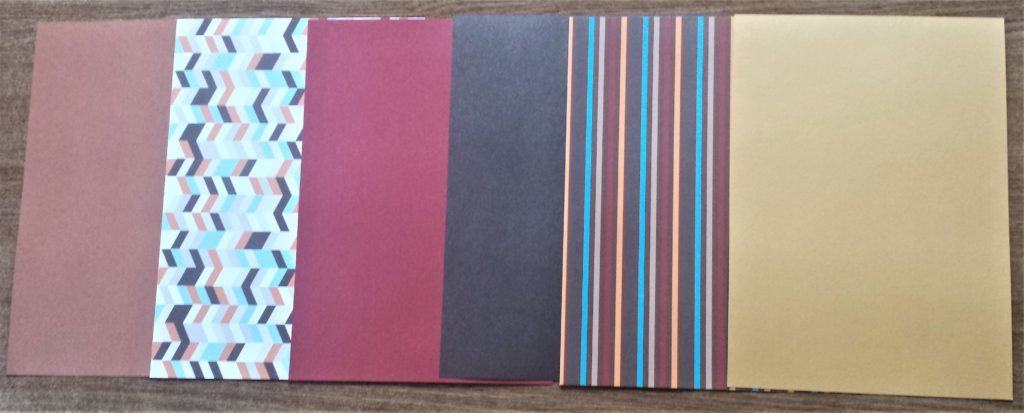
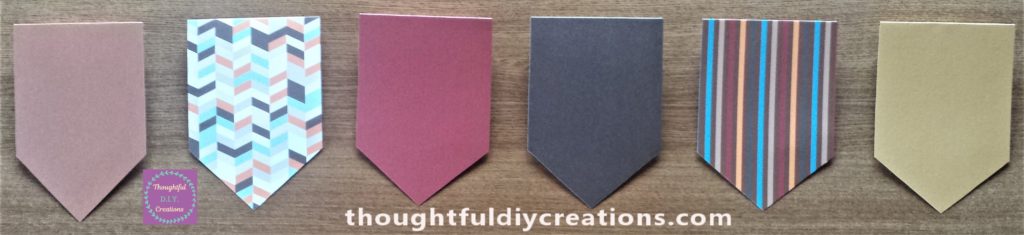
I bought this Variety Cardstock Set a few days ago, and thought the Autumn colours would look lovely on display so I decided to make bunting for the first time. Metallic Cardstock Paper.
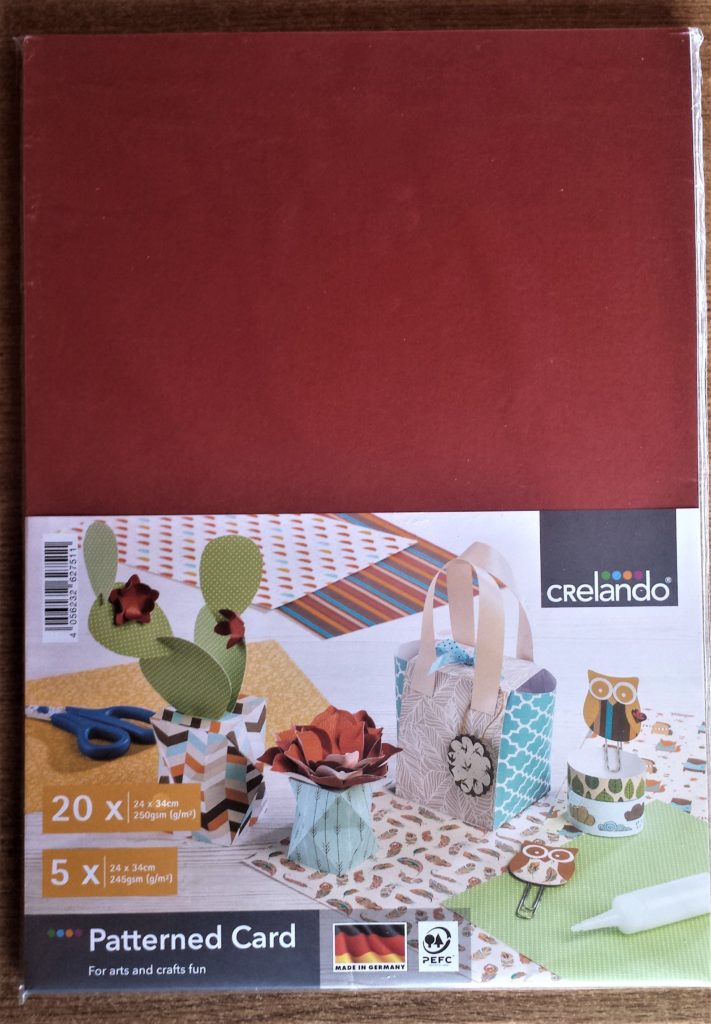
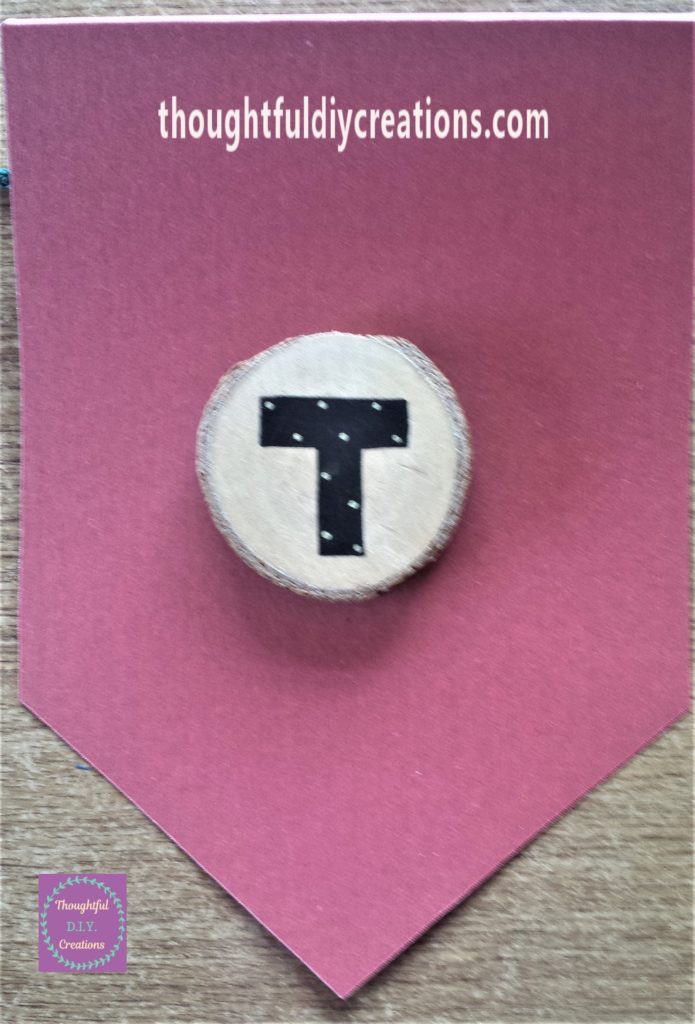
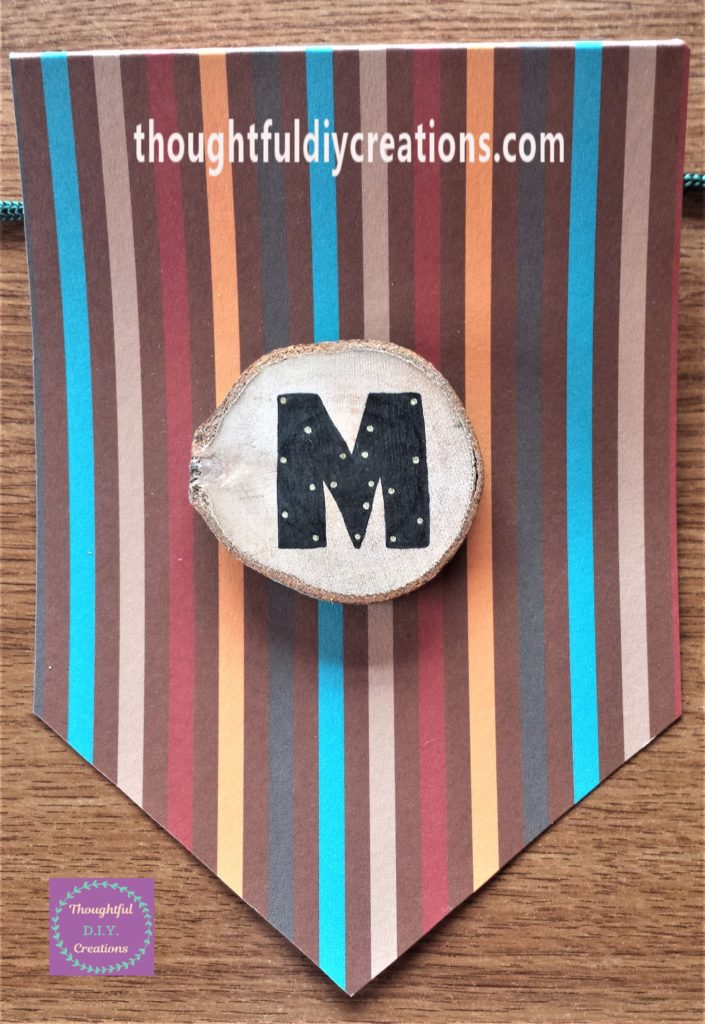
I picked two autumn patterned colour sheets which are 250 (g/m 2), and four plain metallic sheets in various autumn colours these are 245 (g/m 2). A Perfect Autumn Collection Kit.
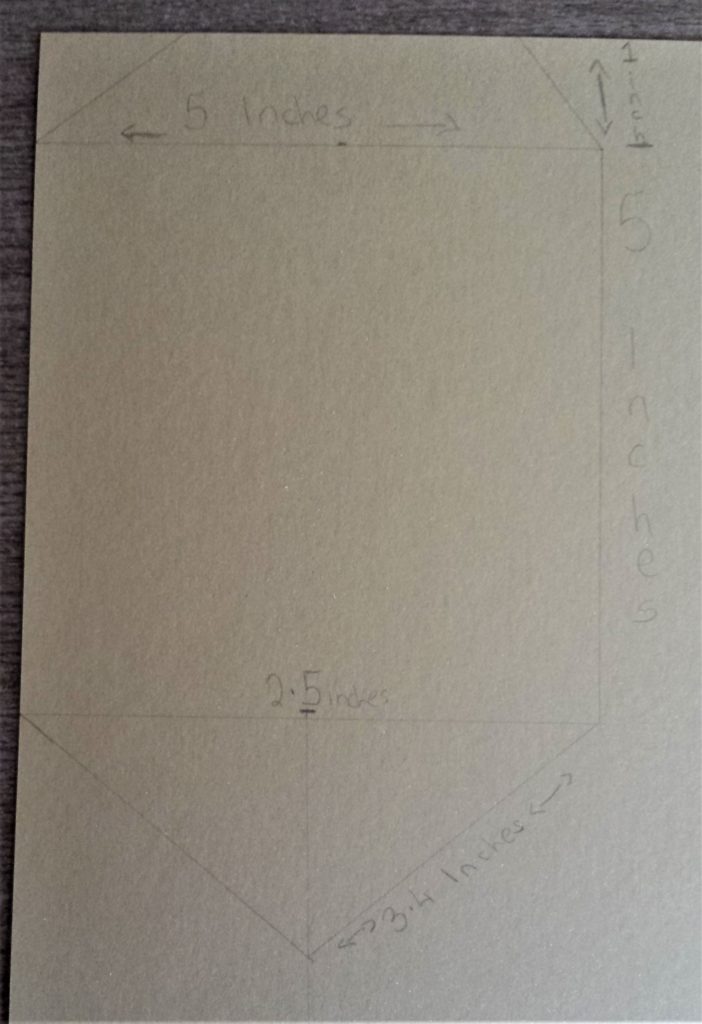
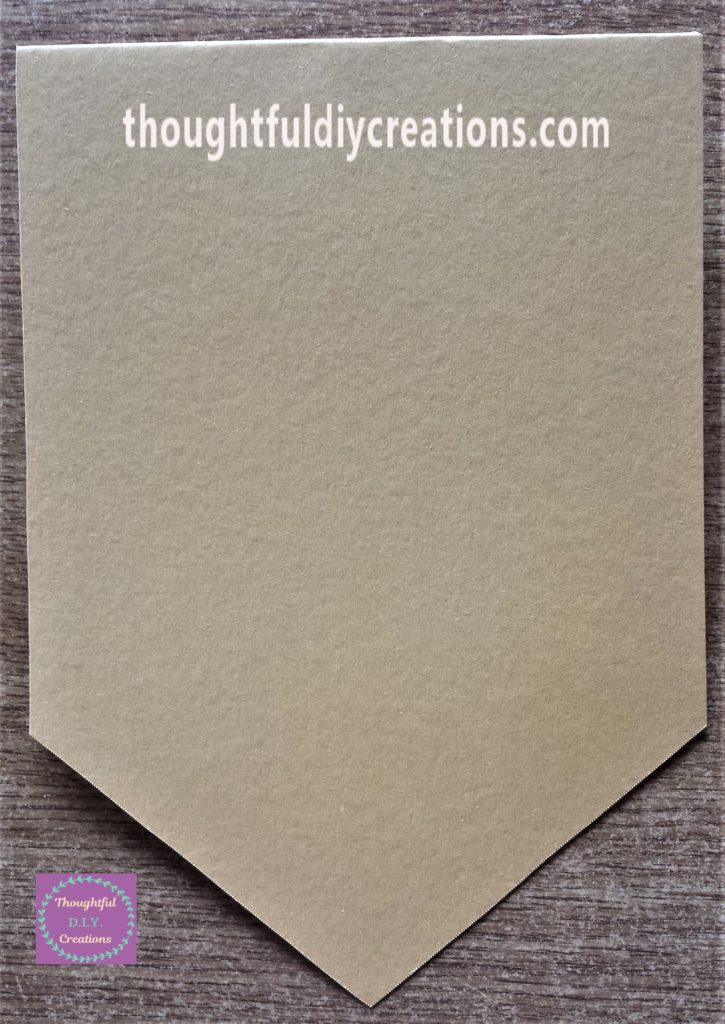
I decided to make my bunting a square shape with a triangle tip at the bottom. You can choose whatever shape you like, if you prefer to use a triangle shape for your bunting; go for it, it’s a personal choice. You could draw out both shapes and see which you prefer.
I made up the measurements for the bunting, guessing roughly what size would be ideal. You can experiment with your own measurements to suit your own requirements. If your having trouble with it you can Google ‘Bunting Templates’ for ideas, and print them out to use as a guideline.
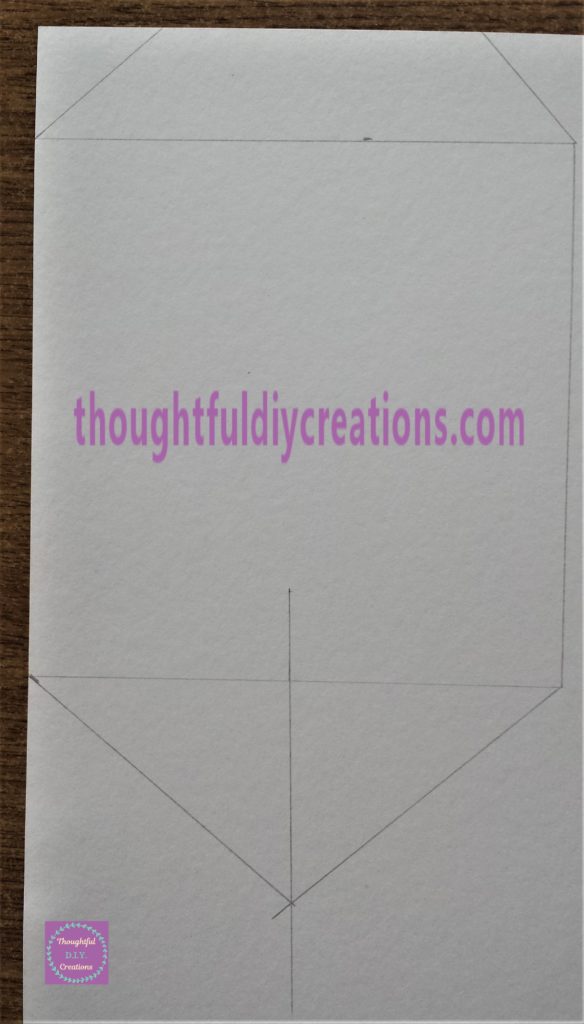
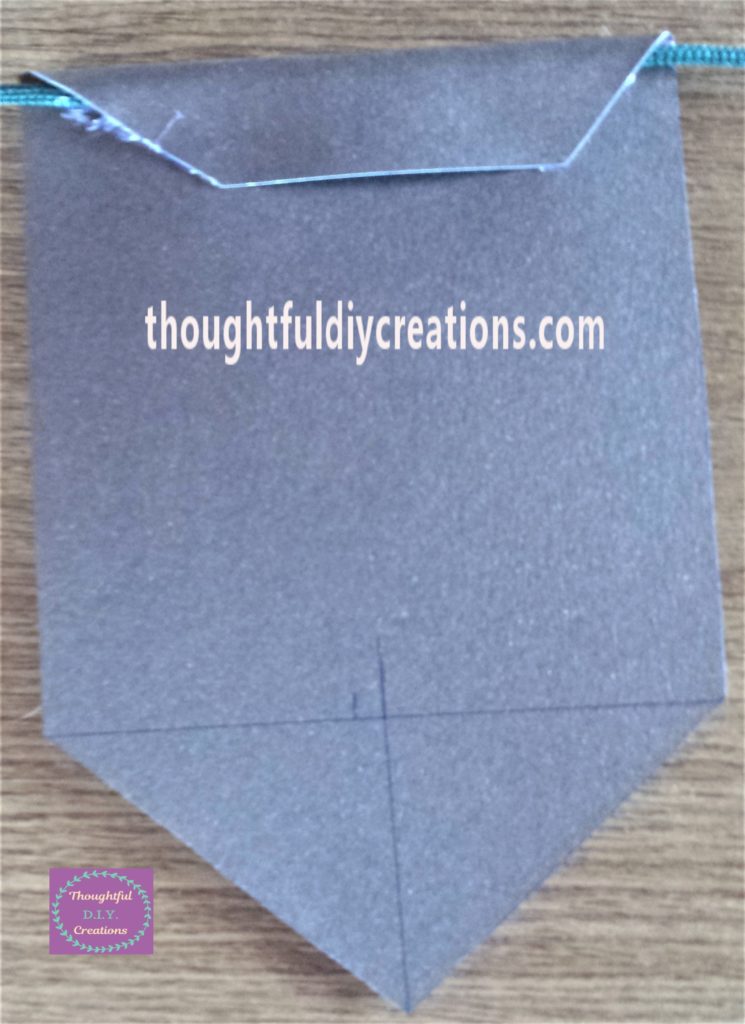
My measurements for the square part of the bunting were 5 Inches in width, and 5 Inches in height. I also added 1 Inch in height to the top of the bunting; this is to wrap around the string and will be going to the back of the bunting. Keep this in mind when deciding on your measurements, you don’t want to lose the size you want for your bunting. I made a line at both edges of the 1 inch line to be cut, to prevent the paper being visible when folded over.
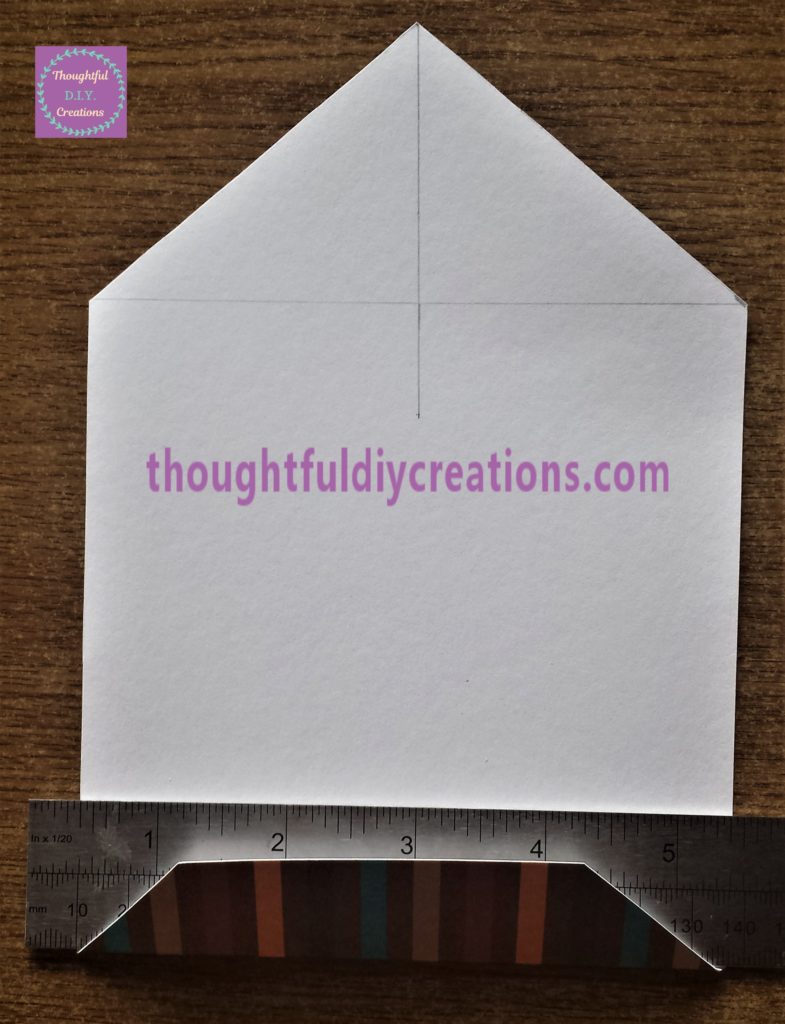
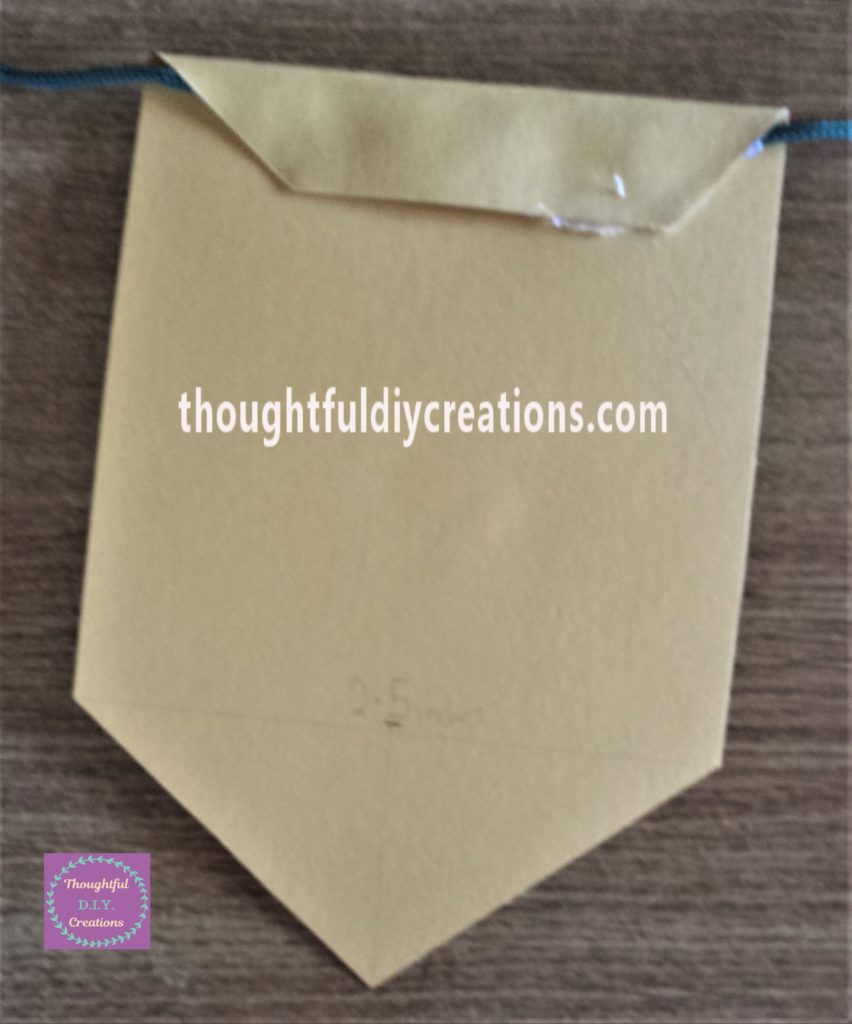
To make the triangle at the bottom of the bunting, I made a mark at 2.5 inches; the halfway mark of the width. I drew a line downwards from this line; this would be where the tip of the triangle meets both sides, to ensure it is even. I got my ruler and put it to the edge of the line measuring the width. I drew a line from the edge to the mid-way line, to get the first part of the triangle. I repeated this step on the other edge of the width to form the triangle. Steel Ruler 12 Inch.
Cutting the Bunting Shape & Folding the Flap to the Back
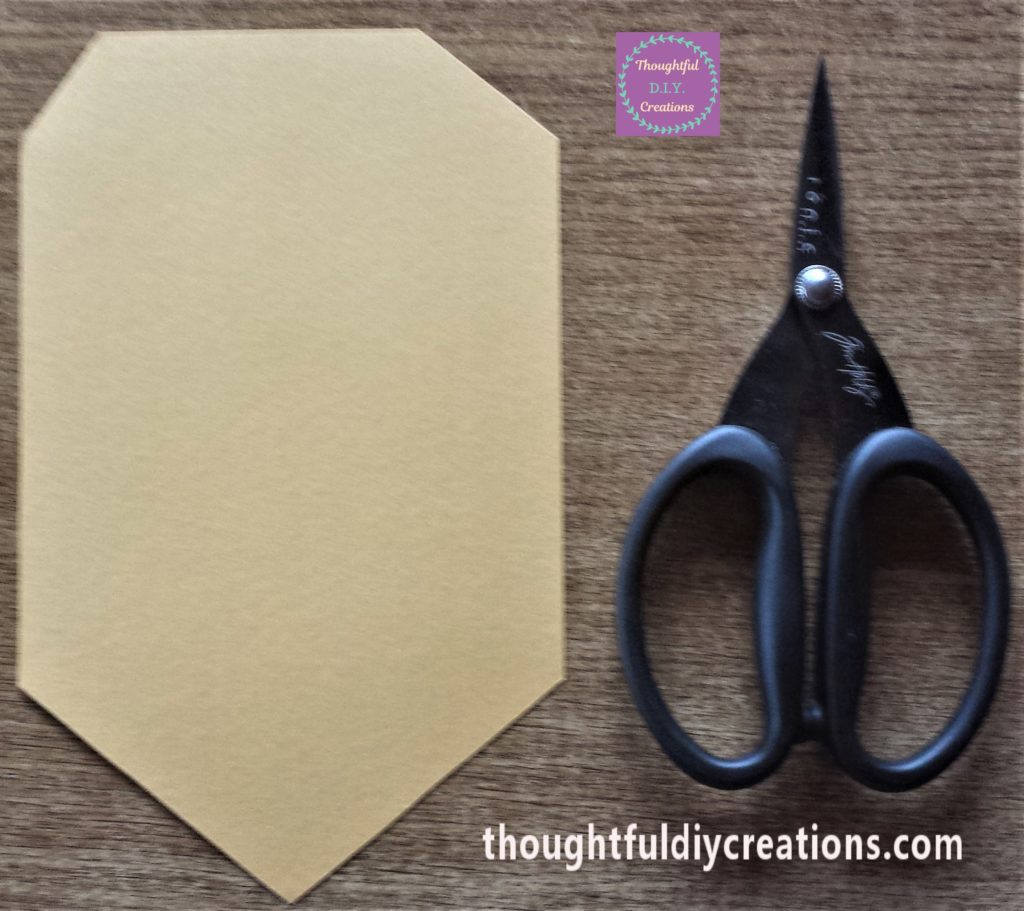
I cut out the bunting shape using my Tim Holtz Scissors. Tim Holtz Scissors.
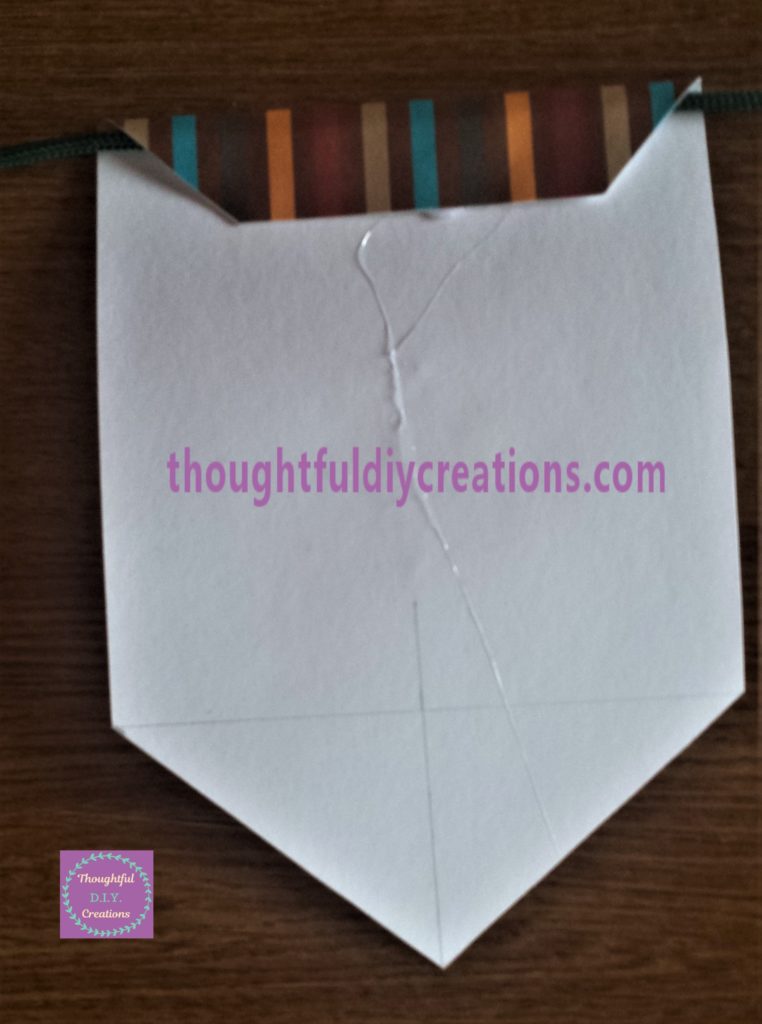
I turned the bunting over and put my ruler along the line 1 inch down. I folded the paper over the ruler to ensure it was straight. Steel Ruler 12 Inch.
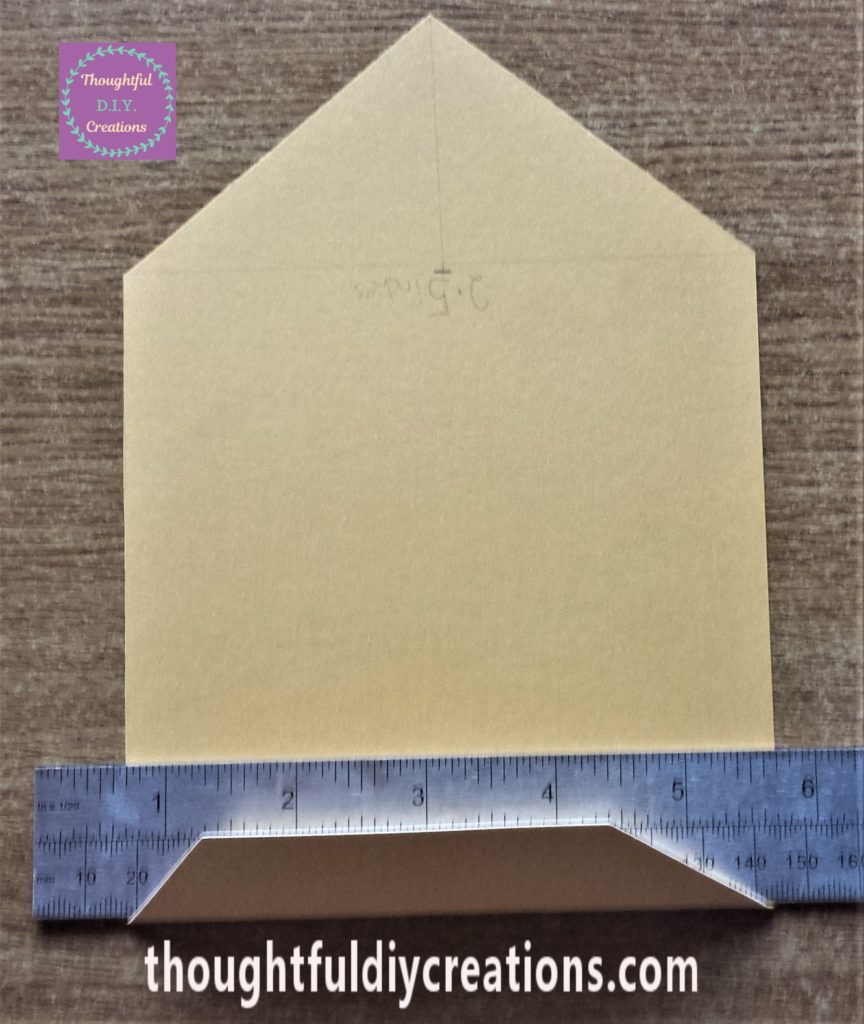
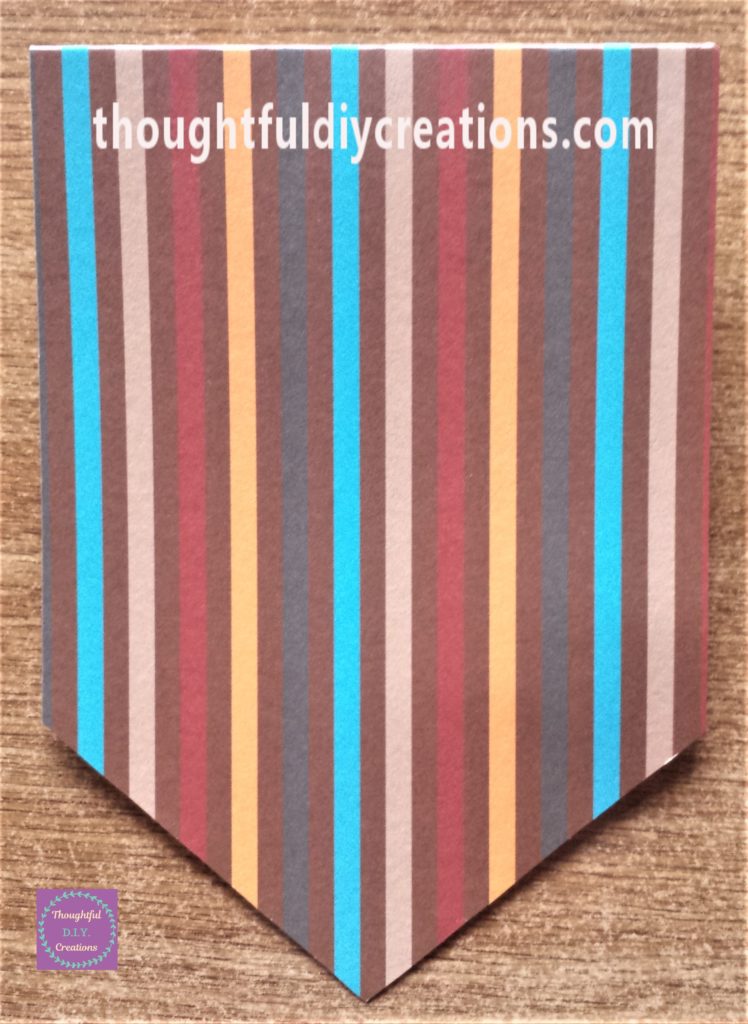
I repeated this process with all the autumn cardstock.
Autumn Circular Branch Pieces
I bought a pack of Circular Branch Offcuts recently. Natural Wood Slices Round. I thought they would be perfect for this Autumn craft.

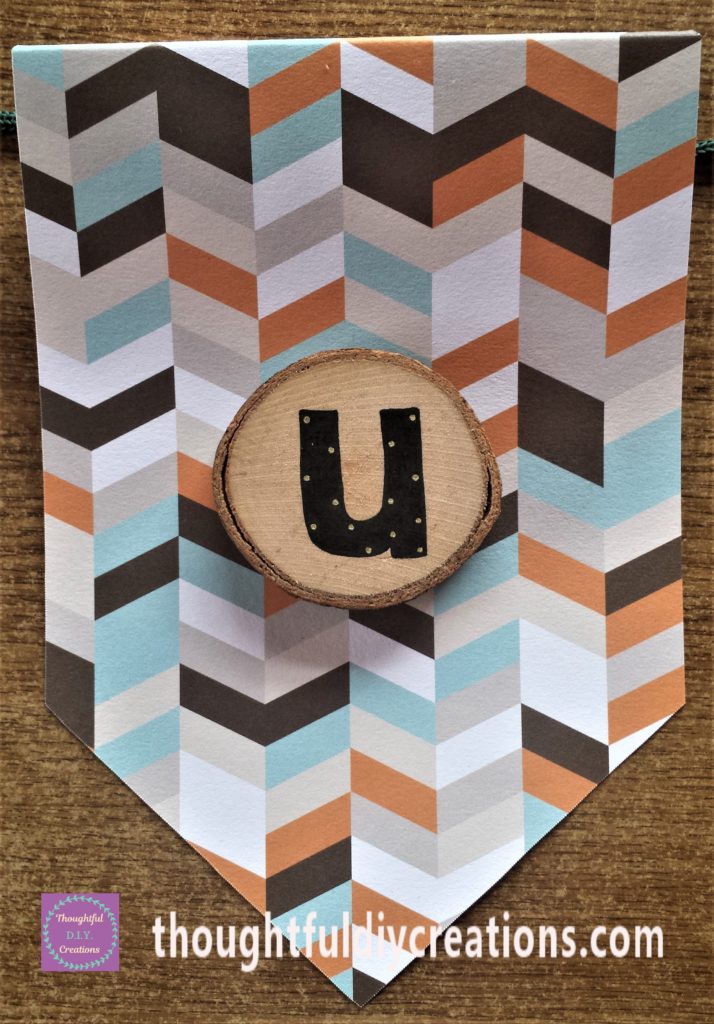
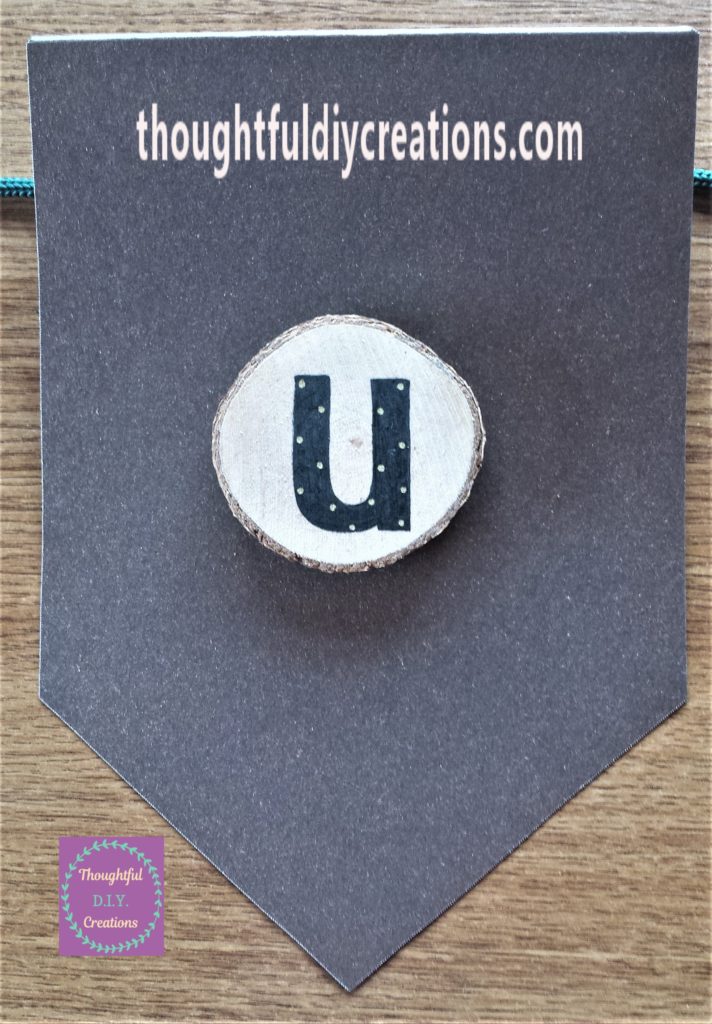
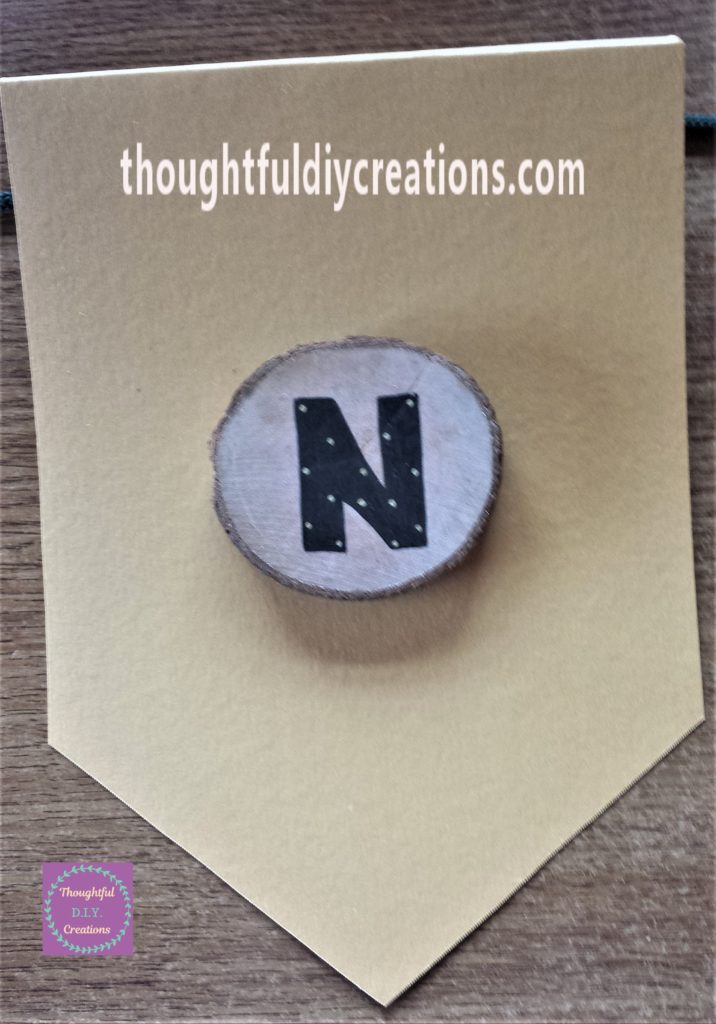
I chose six similar sized branch offcuts to spell out the word ‘AUTUMN’ for the Bunting. Natural Wood Slices Round.

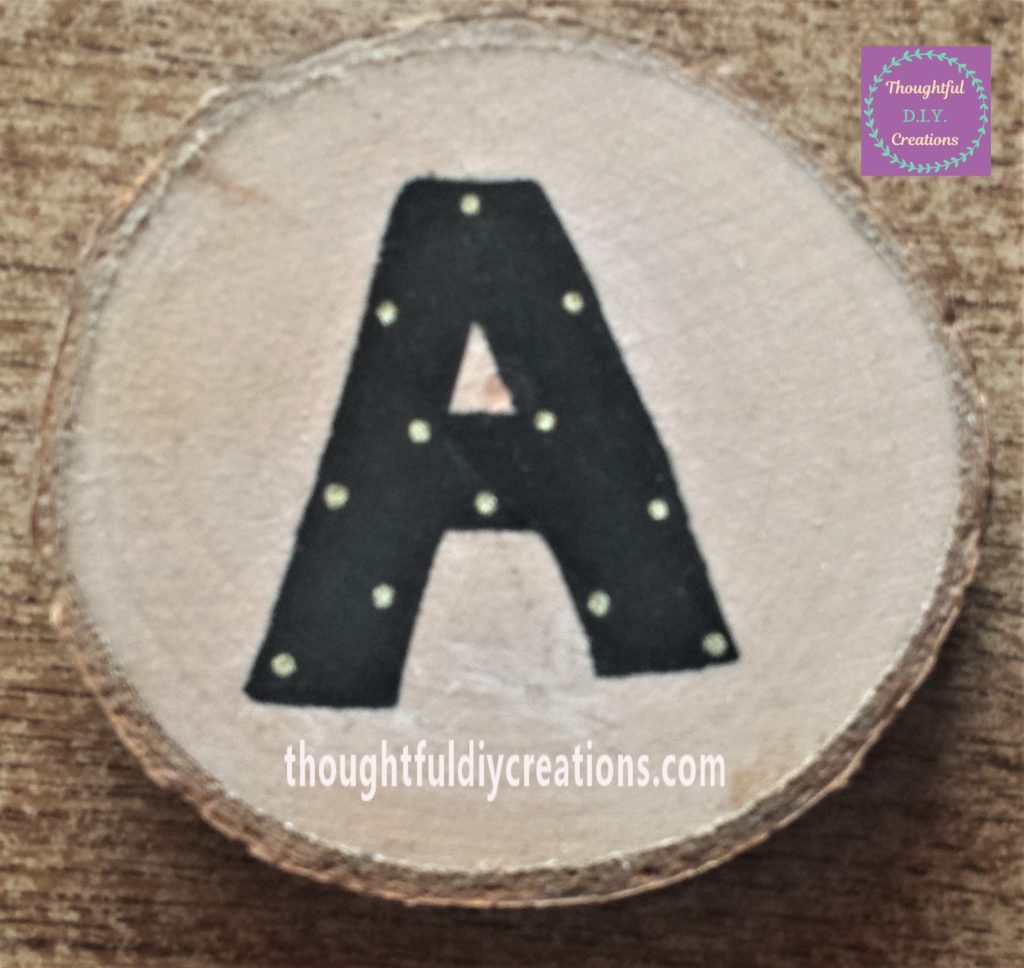
I wrote the word ‘AUTUMN’ on the branch offcuts with a black uniPOSCA paint pen 0.7 mm. Uni Posca Paint Marker Pen.

I filled in the letters using the black paint pen. It is easy to use; just shake the pen for about 10 seconds, then press the nib of the pen up and down on a piece of paper until the paint comes out, then write and colour in as normal.

I gave the letters about 30 minutes for the paint pen to dry fully. I then added little dots to the letters using a gold uniPOSCA paint pen 0.7 mm. Uni Posca Paint Marker Pen.

I gave about 30 minutes for the gold paint pen to dry. It doesn’t take that long to dry I was just being cautious.
Gluing the Branch Pieces to the Bunting
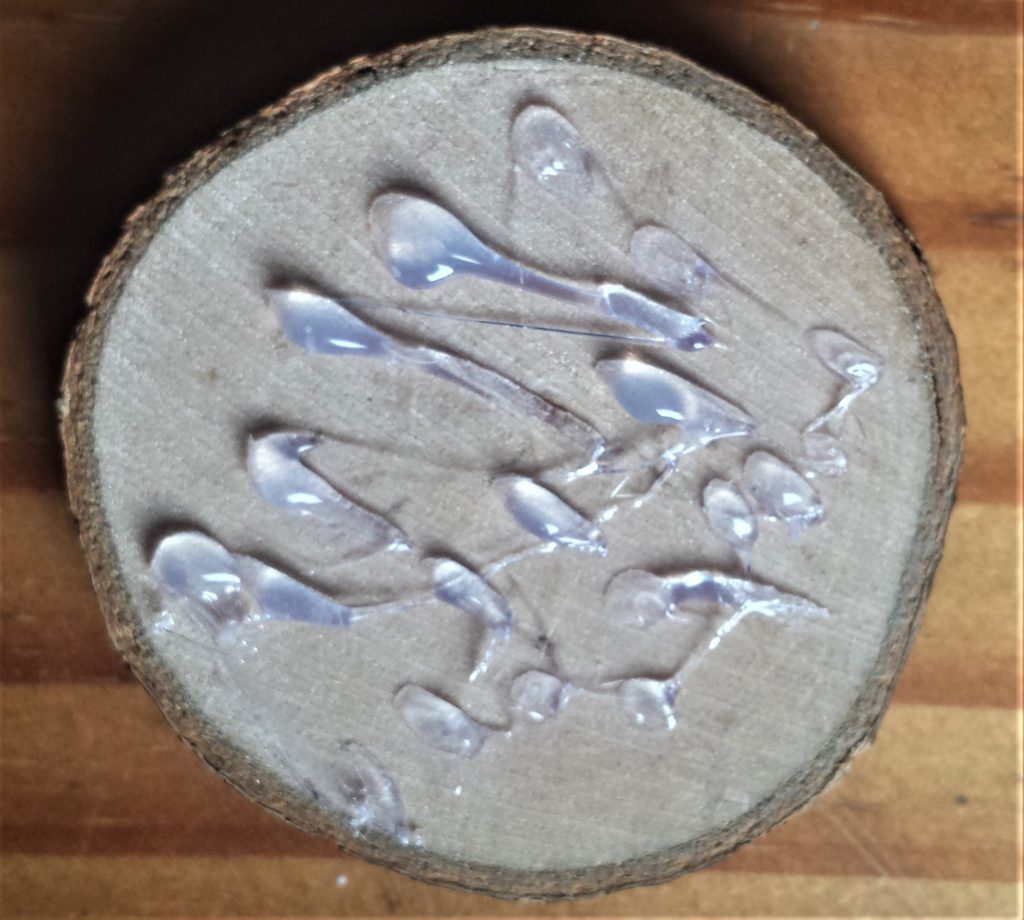
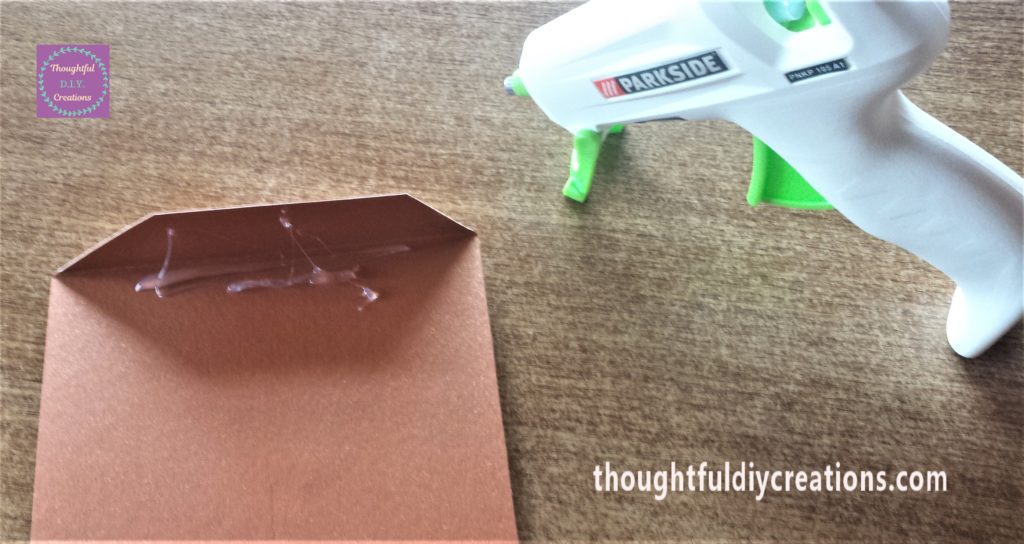
I plugged in my Hot Glue Gun and let it heat up for 5 minutes. I put a generous amount of hot glue on the back of the branch offcut. Don’t put it too near the edges or it might seep through to the paper. Hot Glue Gun.
I pressed the branch offcut into the mid-section of the bunting. I held it in place for about 5 seconds.
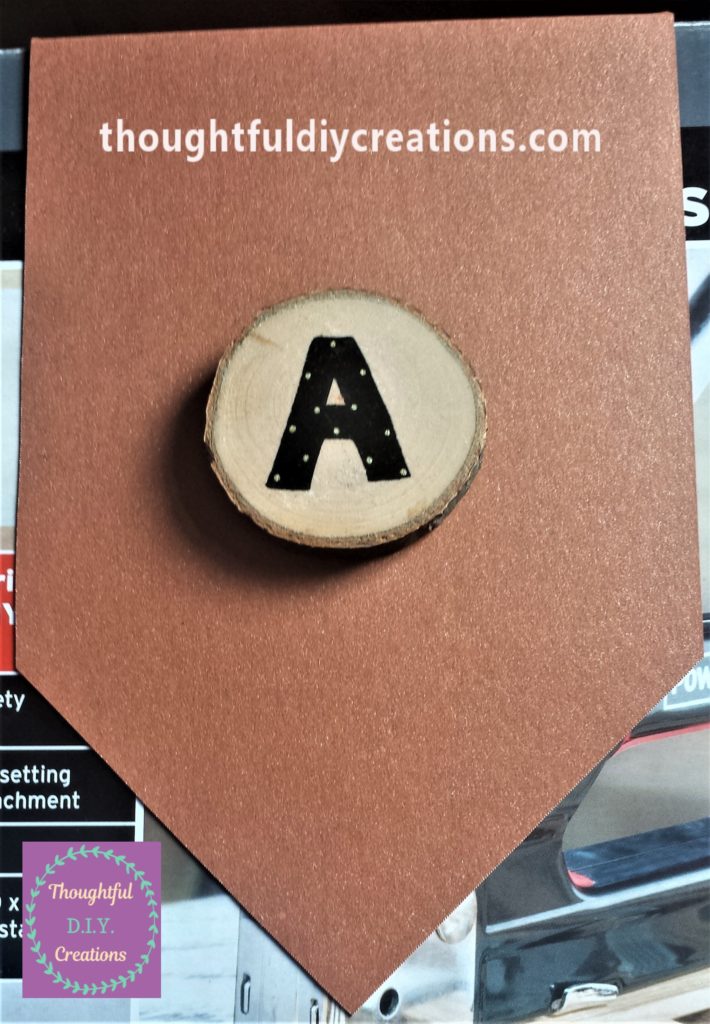
I repeated this process until all the Autumn letters were attached to the bunting.
Gluing the Bunting to the String
I had a dark green string bundle in my craft supplies. It was perfect for this project as it was thick enough to hold the branch offcuts. Braided Macrame Cord.
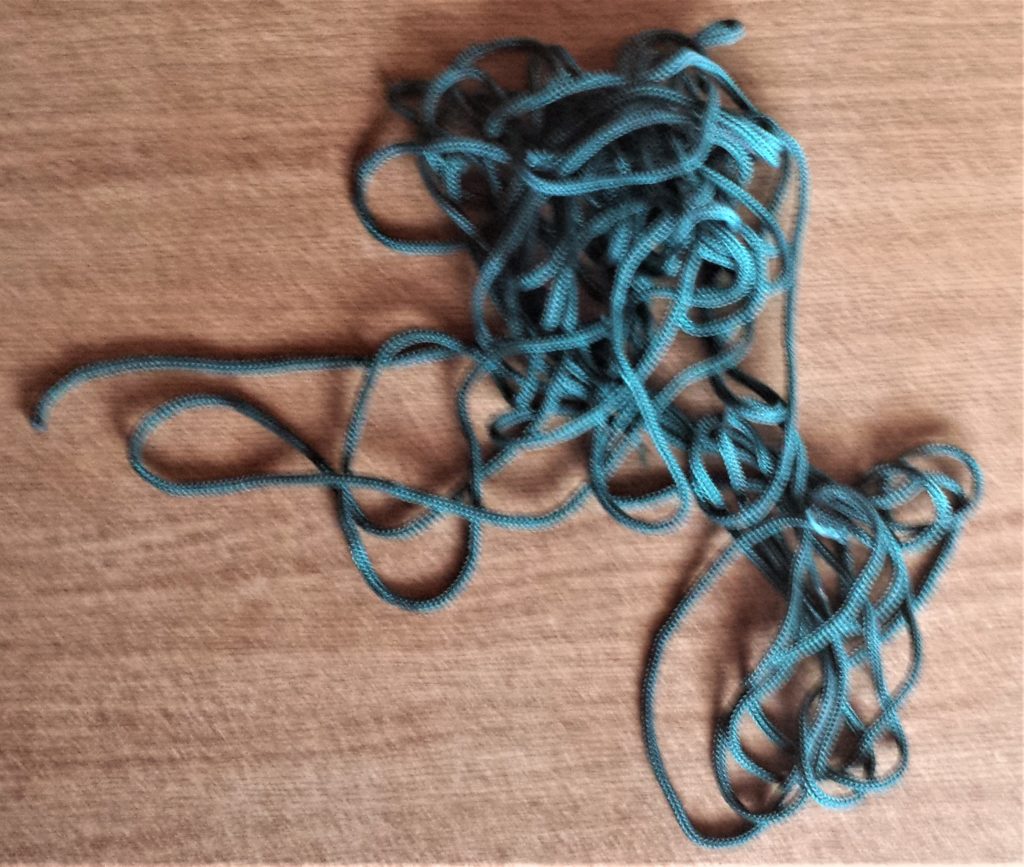
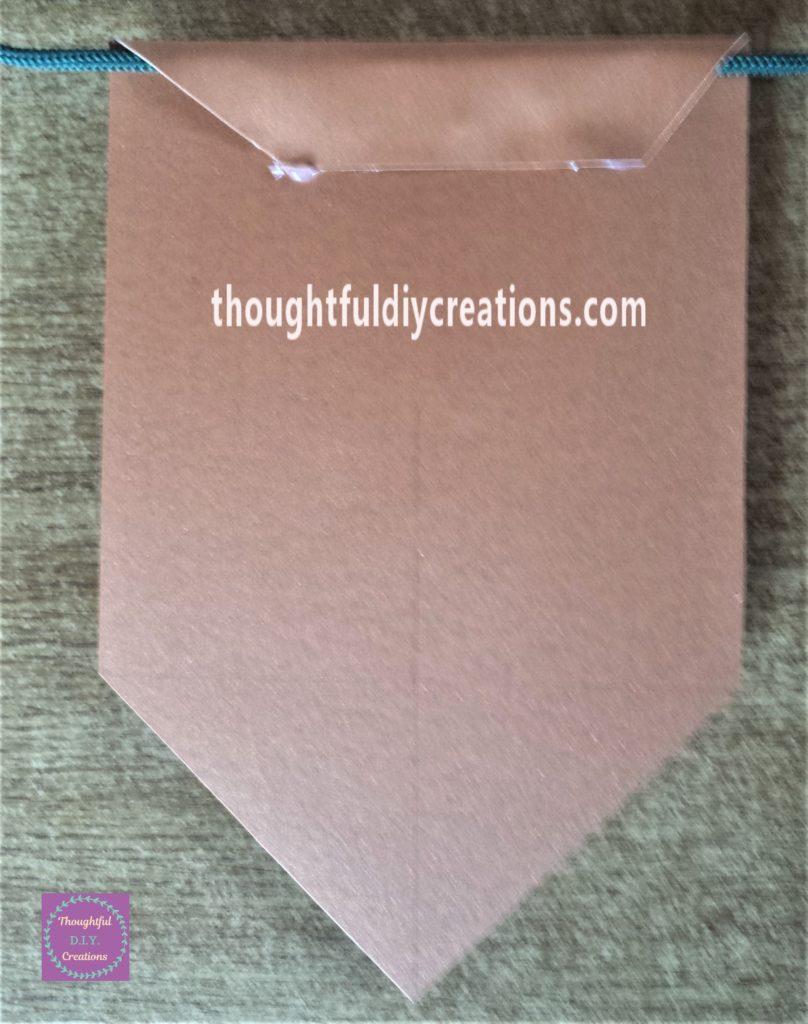
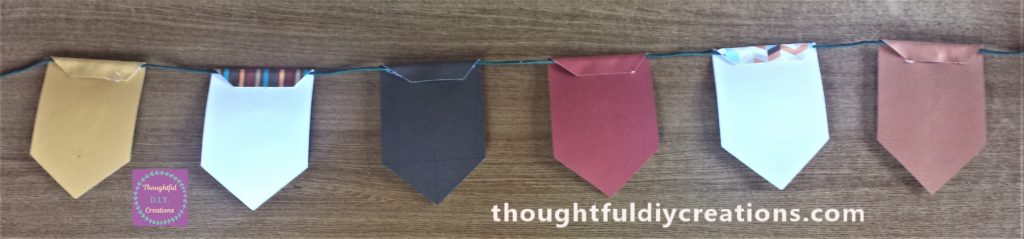
I put the green string across the table ready for the bunting to be attached. I put hot glue on the back of the fold on the bunting. Hot Glue Gun.
I put the green string underneath the fold and held it in place for a few seconds. Braided Macrame Cord.
I put my ruler beside the string and decided to leave 3 inches between each piece of bunting. Steel Ruler 12 Inch.

I repeated the process of hot gluing the string to the back of the bunting. You have to work quickly doing this step as the hot glue dries pretty fast. If it’s dry, just peel it off after a few seconds when it’s cooled down and try again.
You can add as much glue as you need as you won’t see the back.

Gluing the Pine Cones to the String
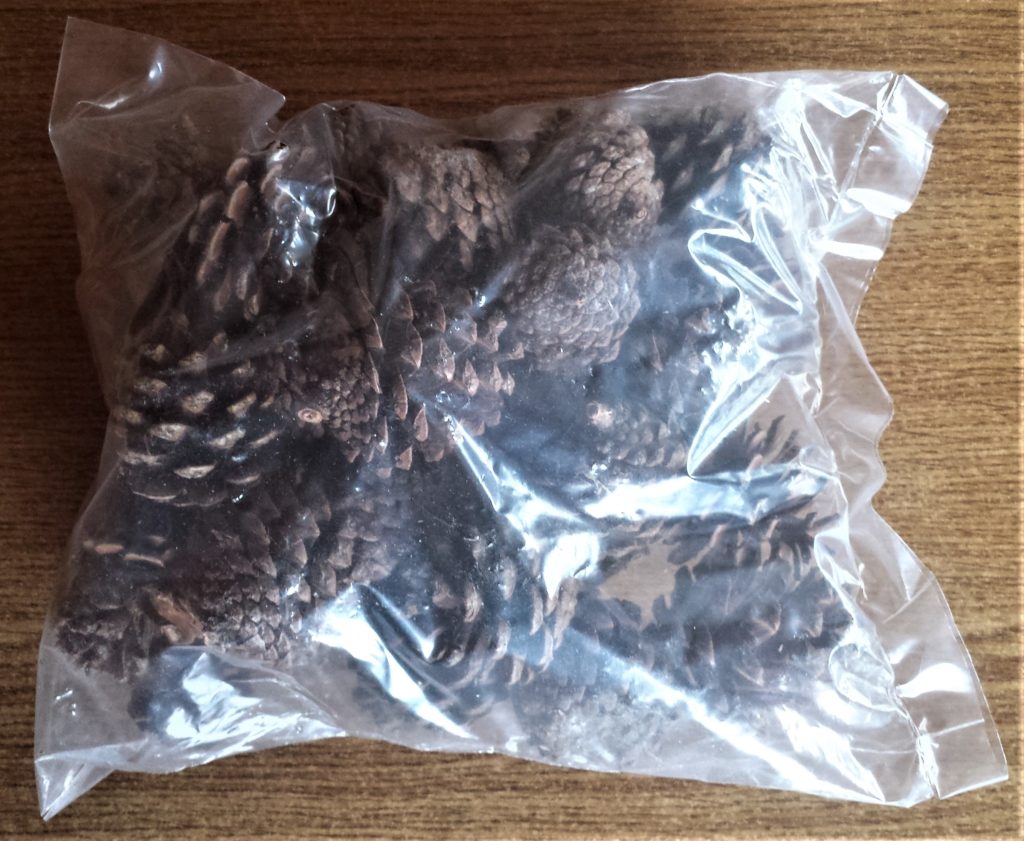
I bought a Pack of Pine Cones recently as I knew they would be needed for Autumn and Christmas crafting. They are so versatile and will never go to waste. Natural Pine Cones.
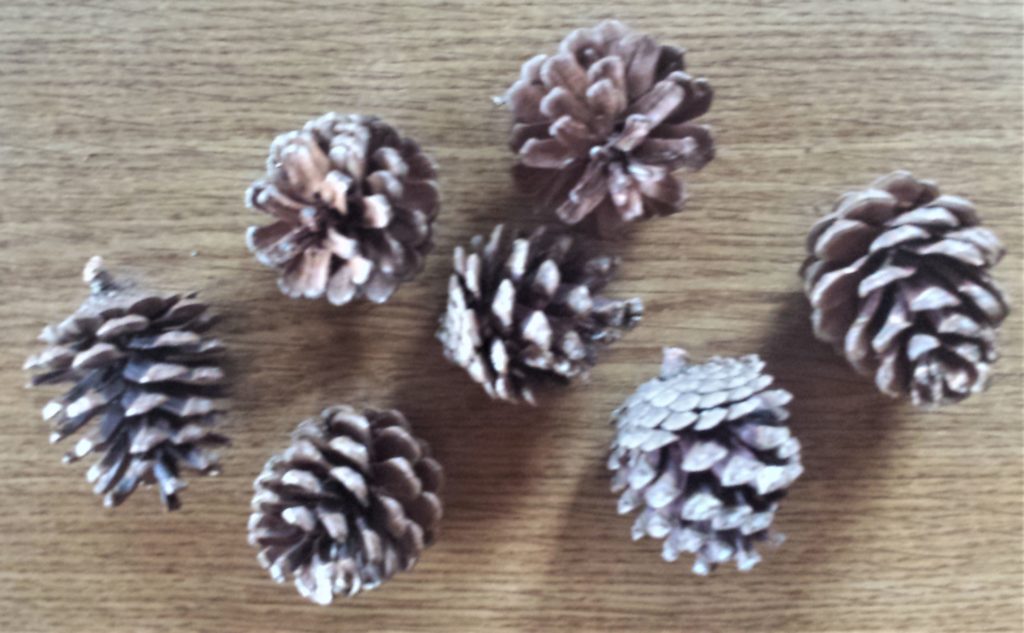
I picked out 7 pine cones to use for the Autumn Bunting.
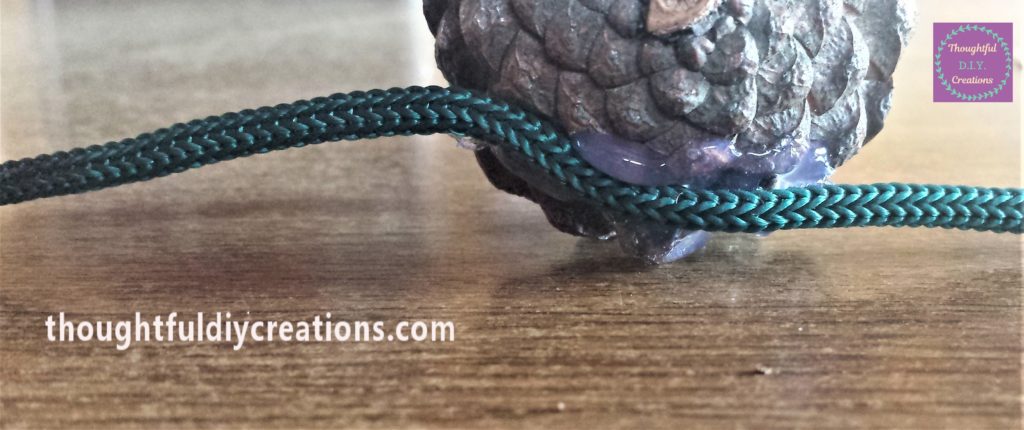
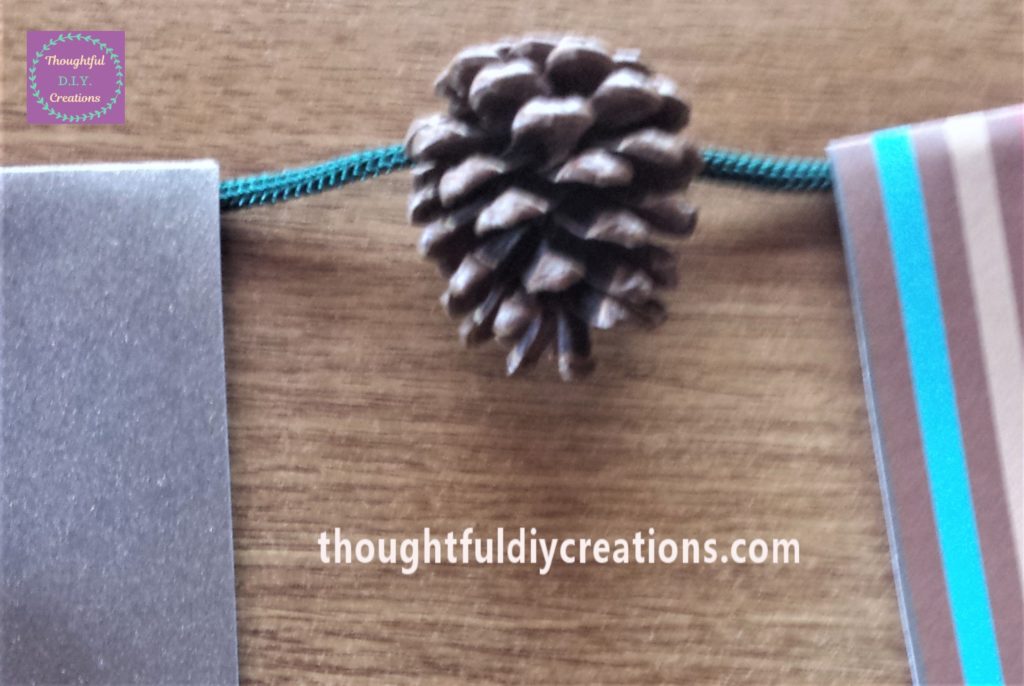
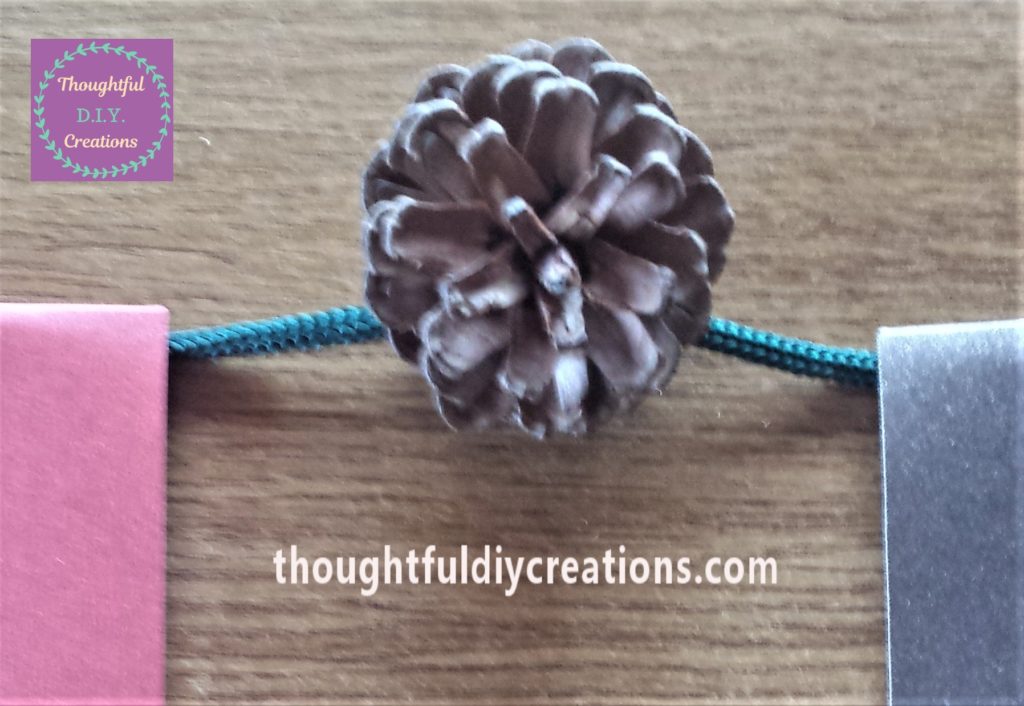
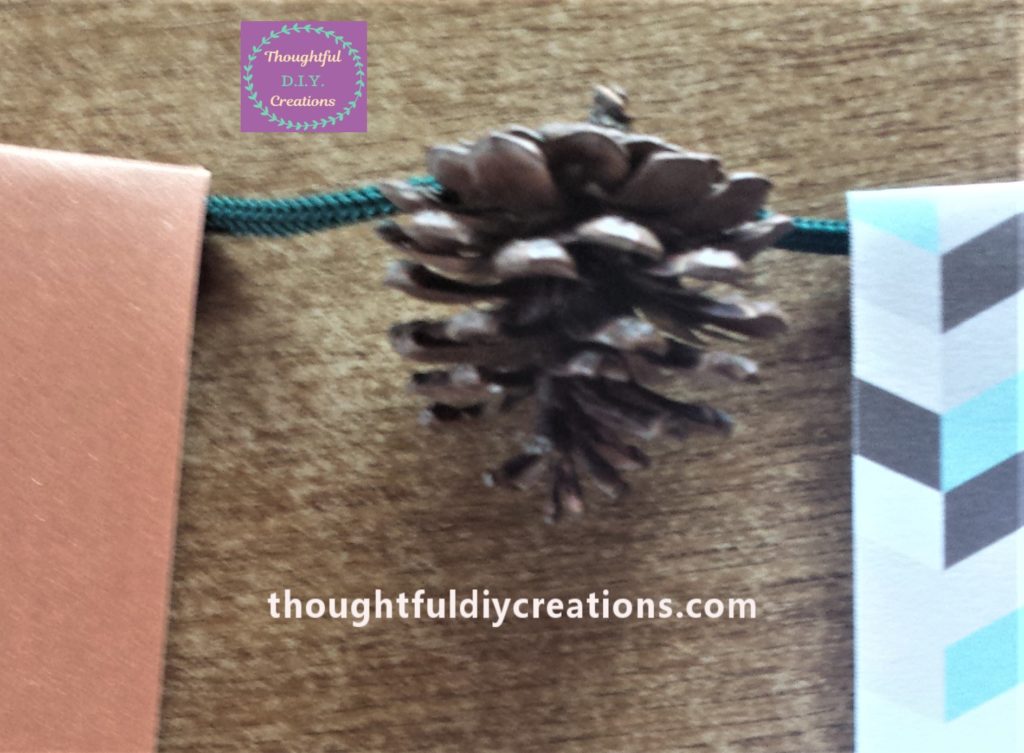
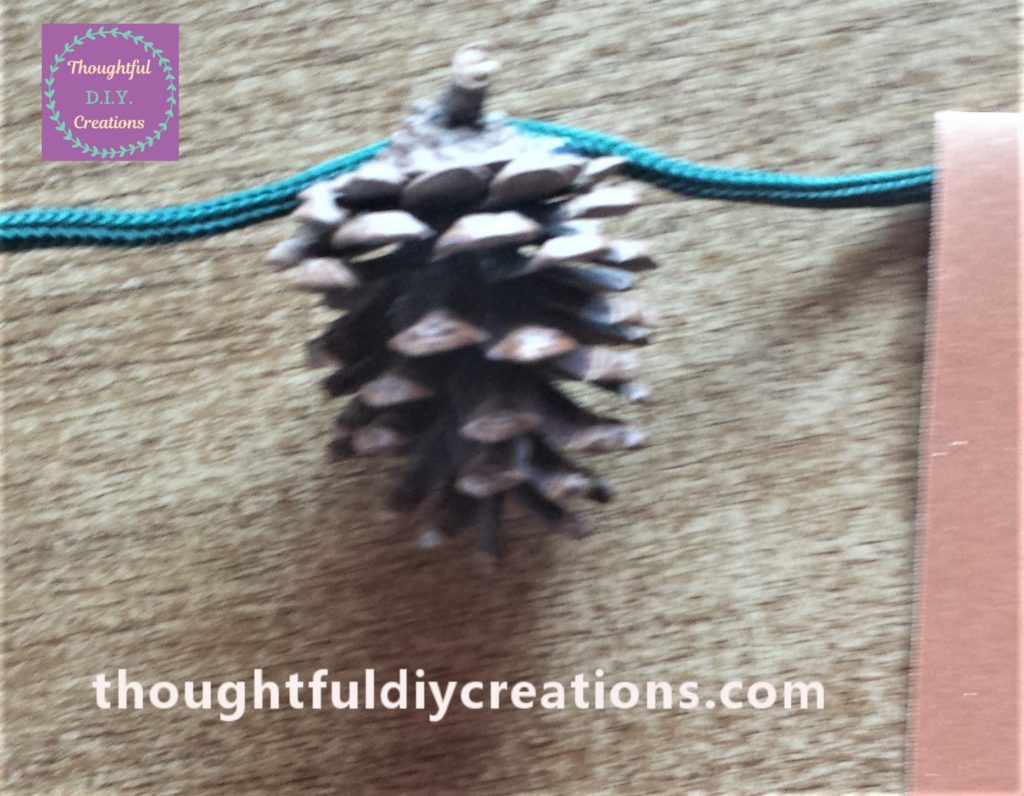
I put hot glue to the back of the pine cone and put the green string over it. I held it in place for a few seconds. Hot Glue Gun.
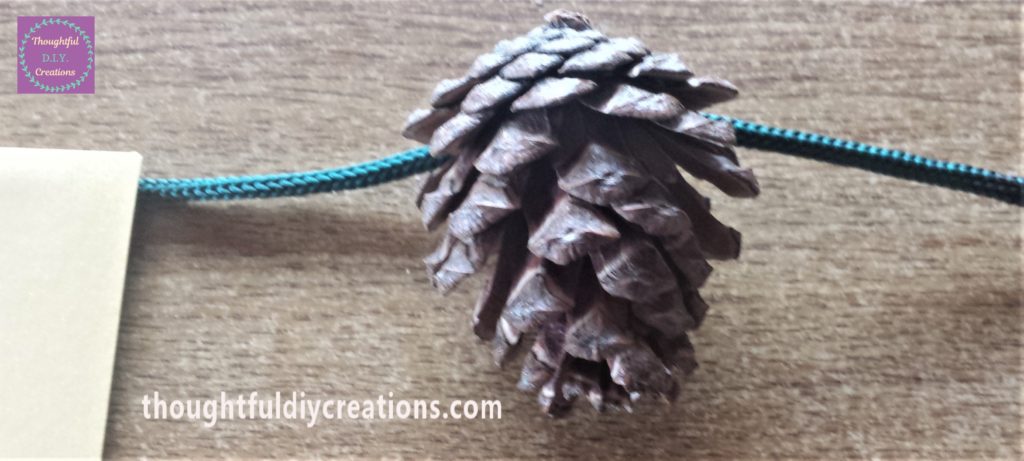
I put a pine cone in between each piece of bunting. Natural Pine Cones. I repeated the process of attaching them with the hot glue.

Conclusion
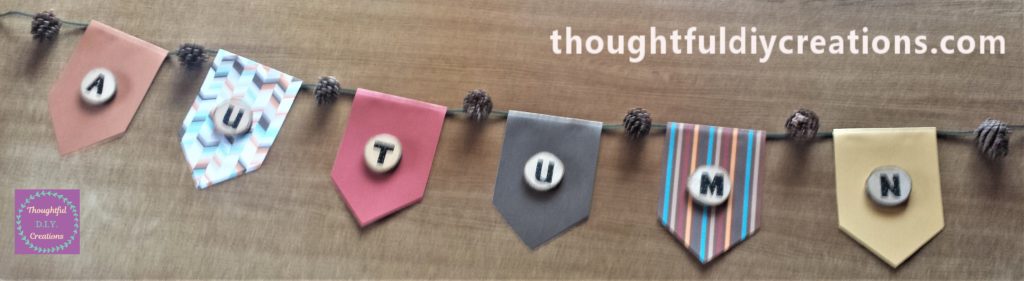
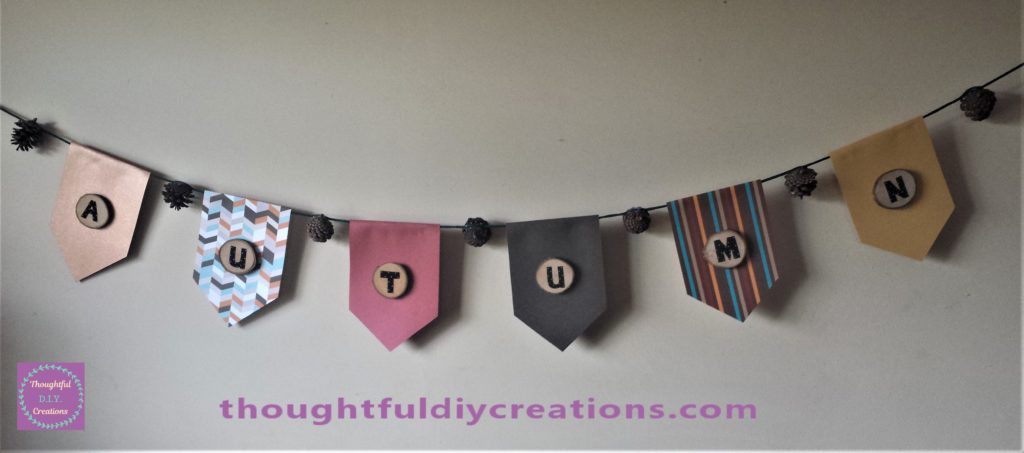
This completed the Autumn Bunting. I was really happy with my first attempt of making bunting. Sometimes we can get an idea of something to make and it turns out nothing like we had hoped, so it’s always good when our vision comes together.
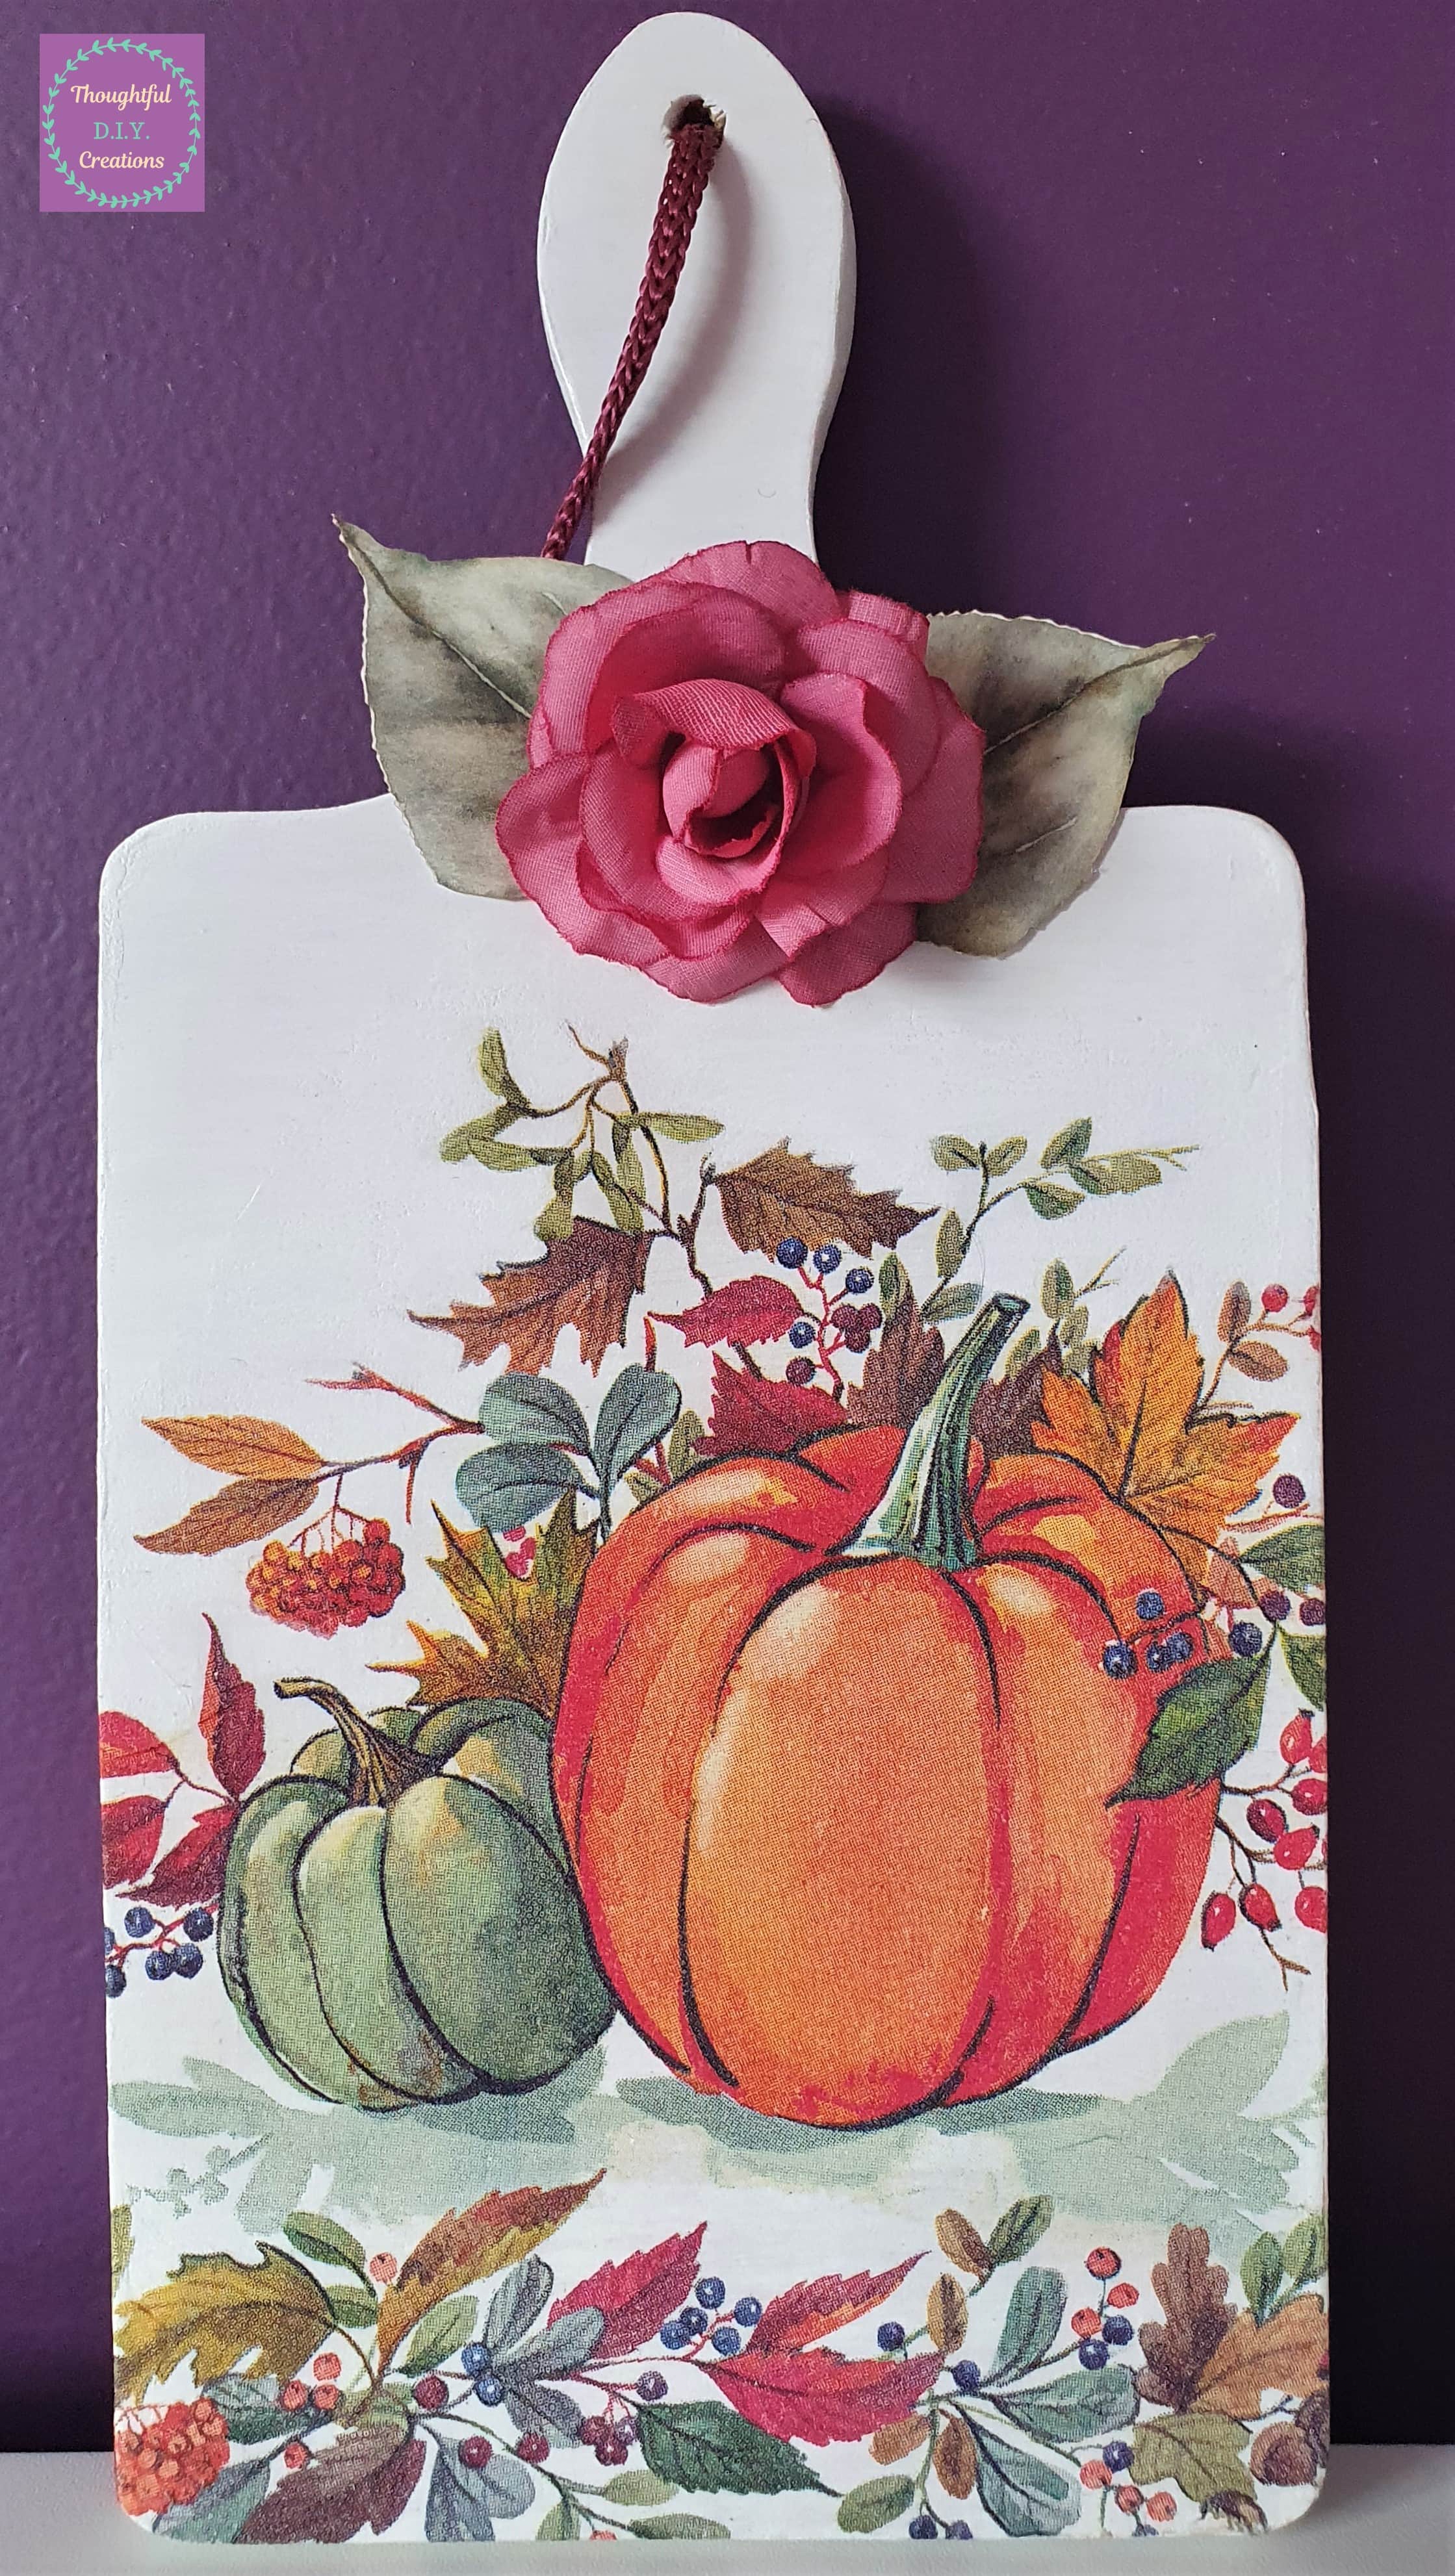
I hope I provided inspiration for making your own bunting. It is a fun and quick craft to complete. Most of the supplies would be in your craft stash or in your home already. You can add other embellishments that you have already, or treat yourself to new autumn embellishments to incorporate into your D.I.Y to decorate your home for the season. Burlap Rose Flowers. Autumn Leaves.
The Bunting would be really nice in your hallway to welcome guests or family members. It would also be lovely in your living / sitting room to go with the nice cosy evenings we will be having soon.
Have you ever tried to make bunting before? I can’t wait to attempt another one for Christmas. You could make one for all the seasons, and fold them up and put them away in a box. They won’t take up much room for storage, and you can re-use them each year. You could also make them for occasions; birthdays, anniversaries, graduations, engagements, weddings, etc. I’m sure family members would appreciate the handmade gesture.
I hope you enjoyed the Tutorial this week.
Thank you so much for taking the time to read my Blog.
Always Grateful,
T.D.C.
xoxox