D.I.Y. Christmas Jars
Hello my Creative Friends,
I hope you are all well. In Today’s Tutorial I will show you how to make your own D.I.Y. Christmas Jars. It is a budget craft; up-cycling used jars in your home and transforming them into seasonal decor you can put on display every year.
Preparing the Glass Jars for Crafting
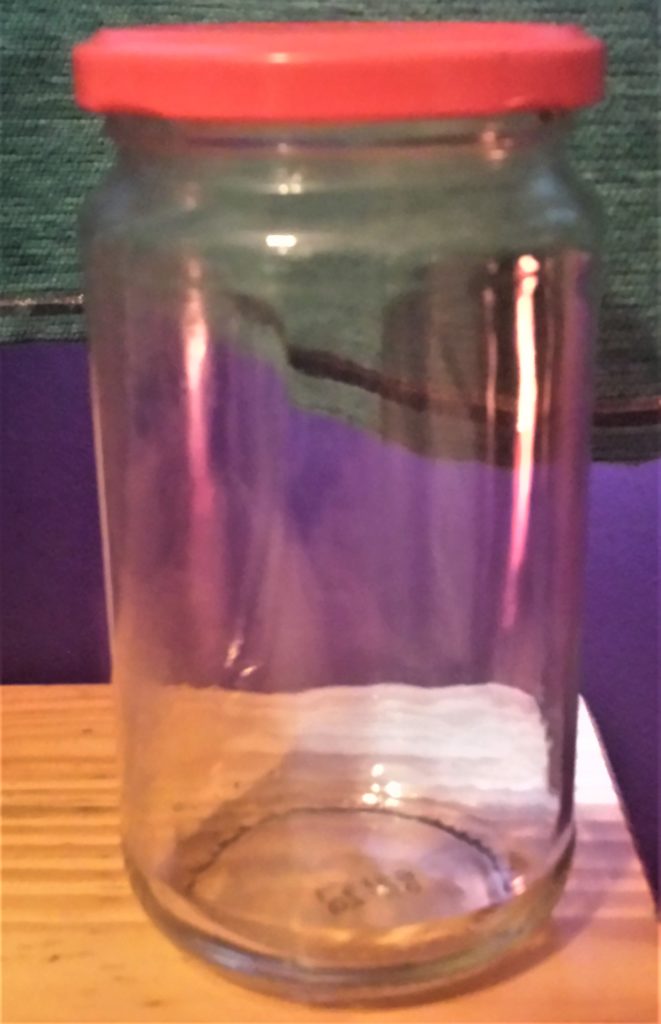
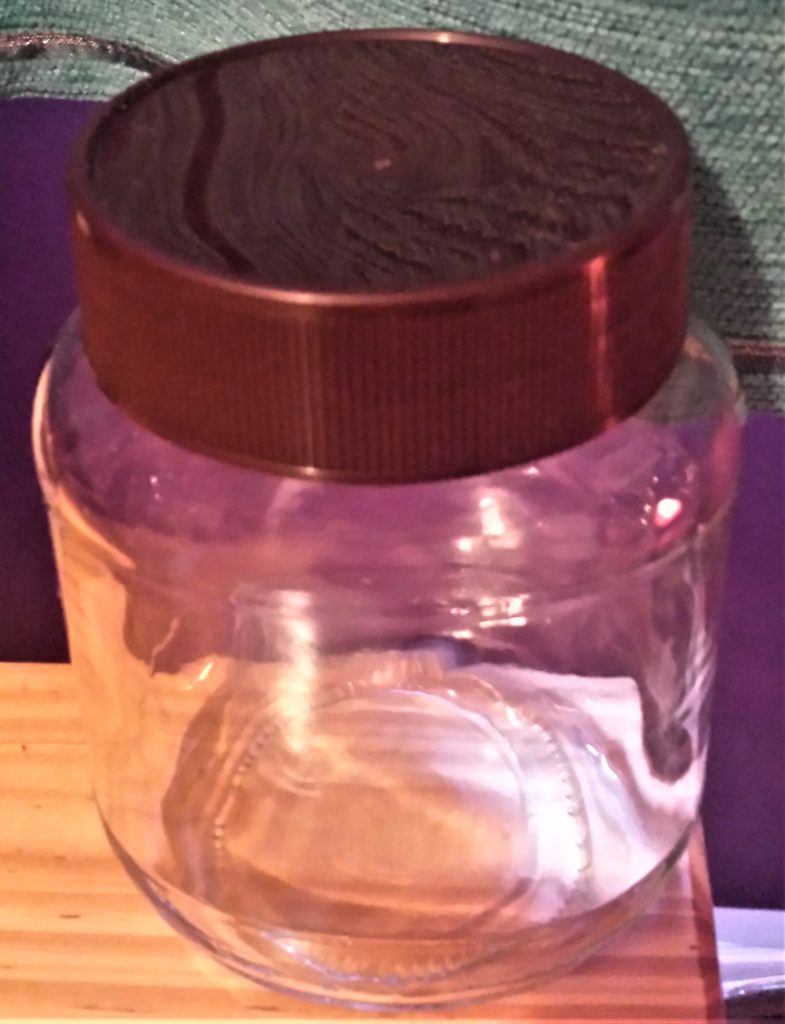
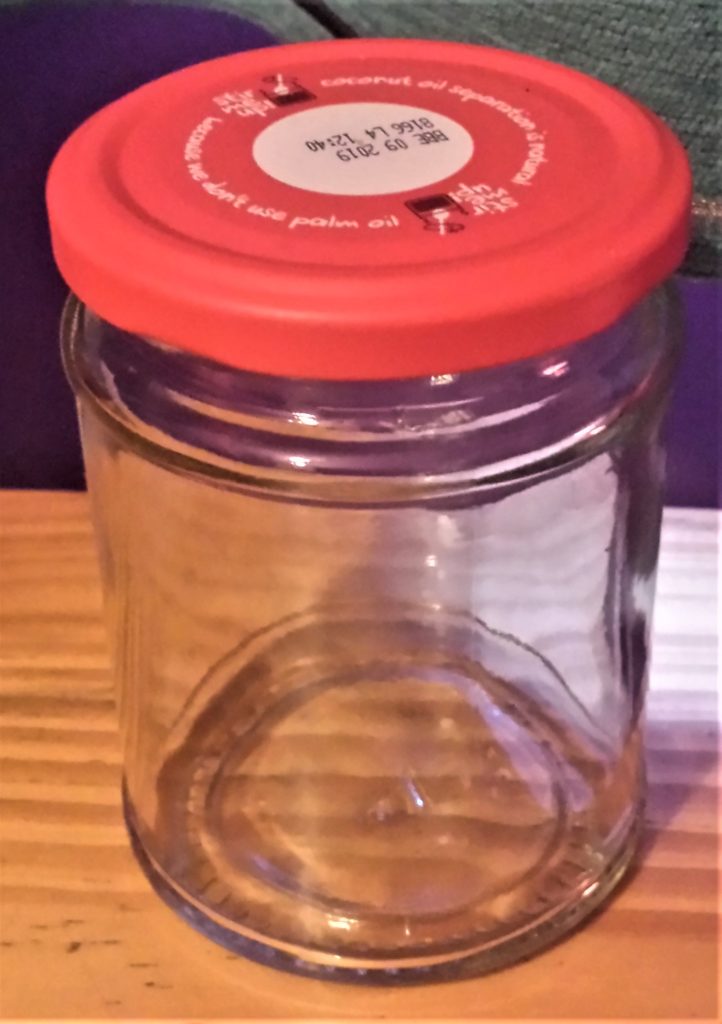
I washed 3 glass jars I had in my stash that I knew would come into use one day. I soaked the jars in the sink with warm water and washing-up-liquid for an hour. I peeled off the labels from each jar, rinsed them and dried them thoroughly.
Painting the Lids of the Jars
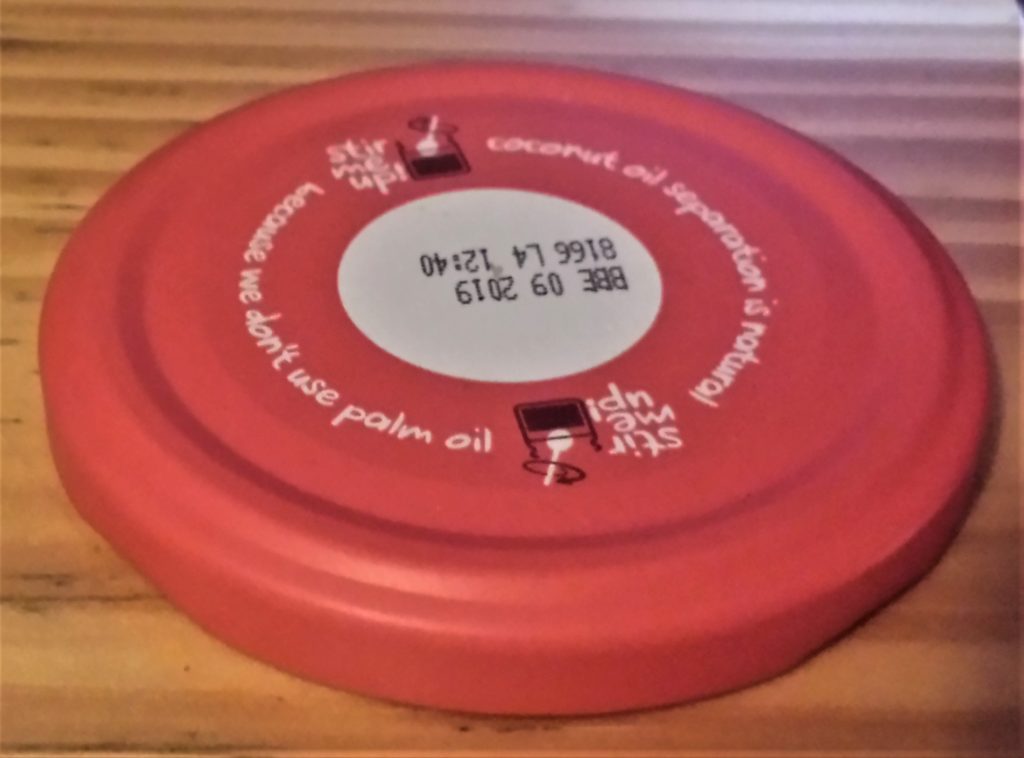
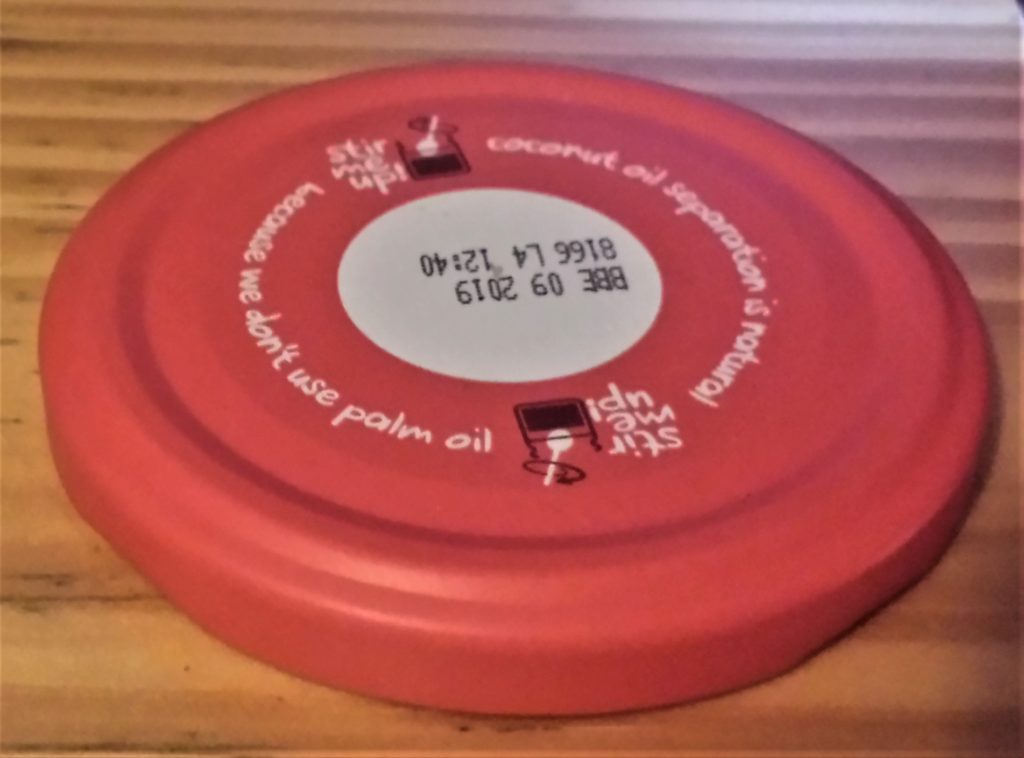
I took the lids off each jar.
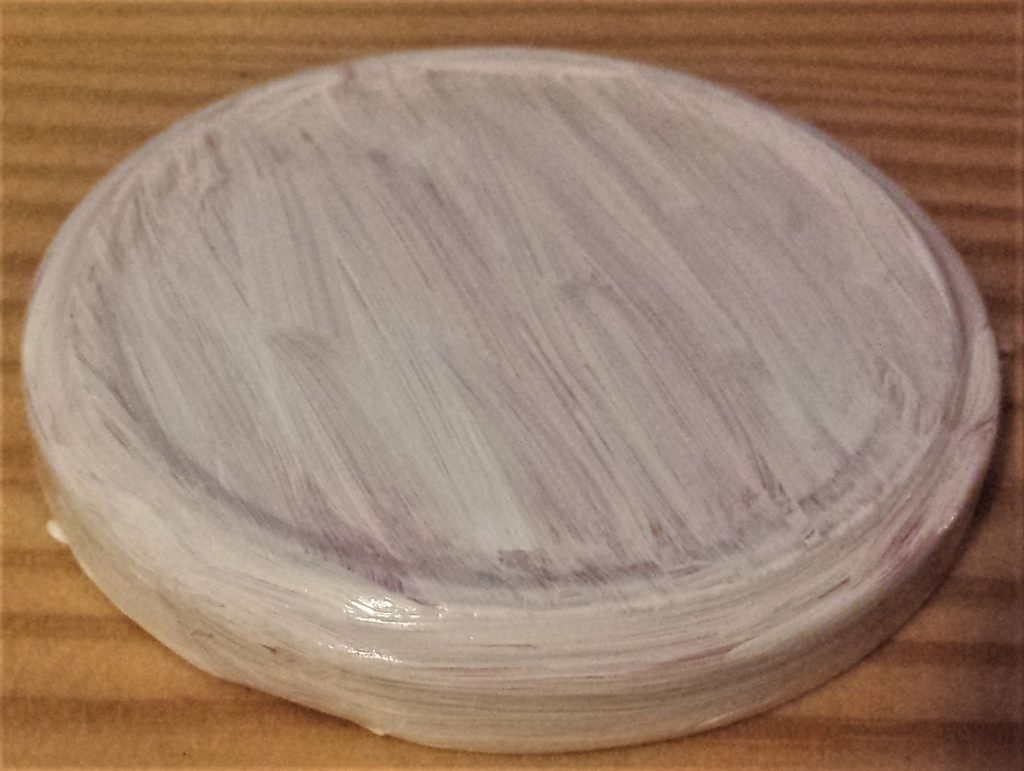
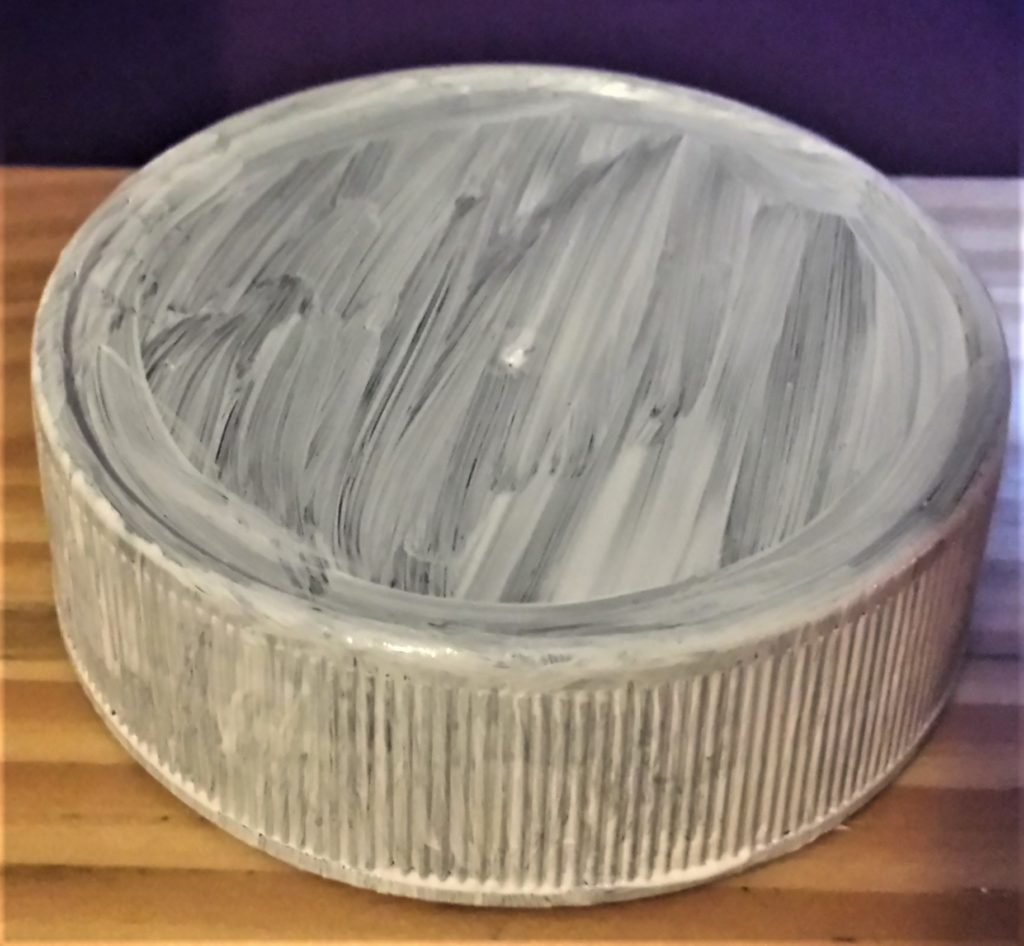
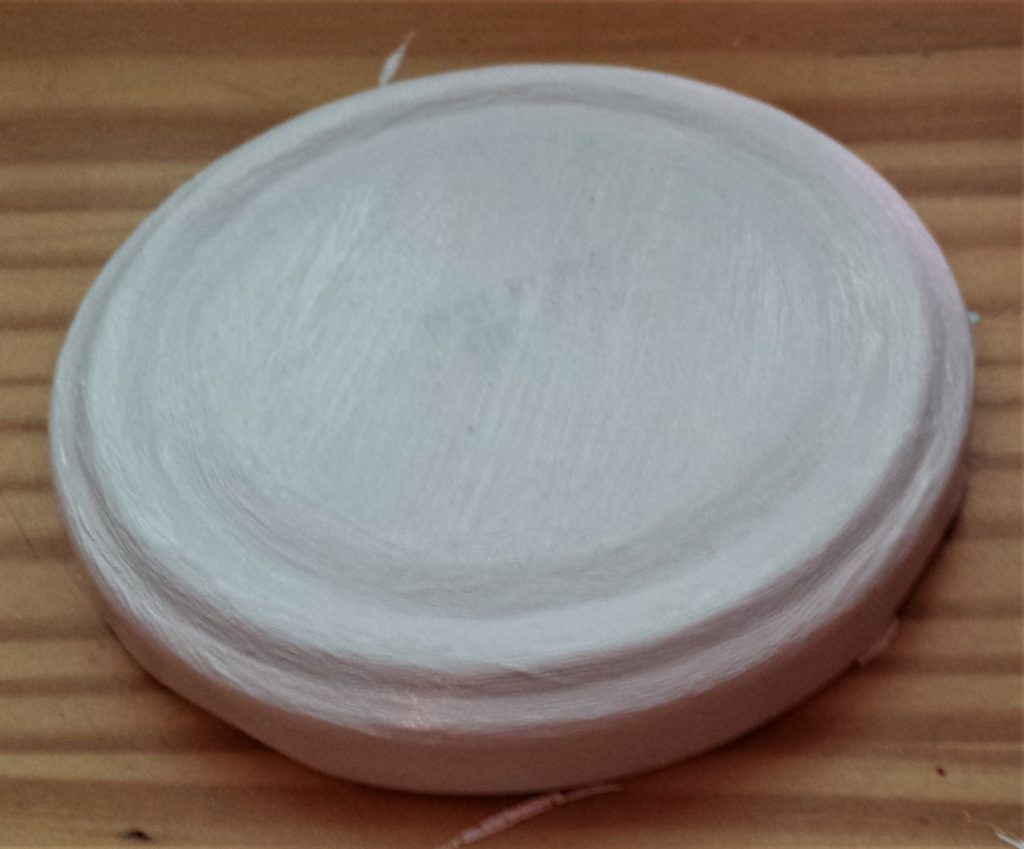
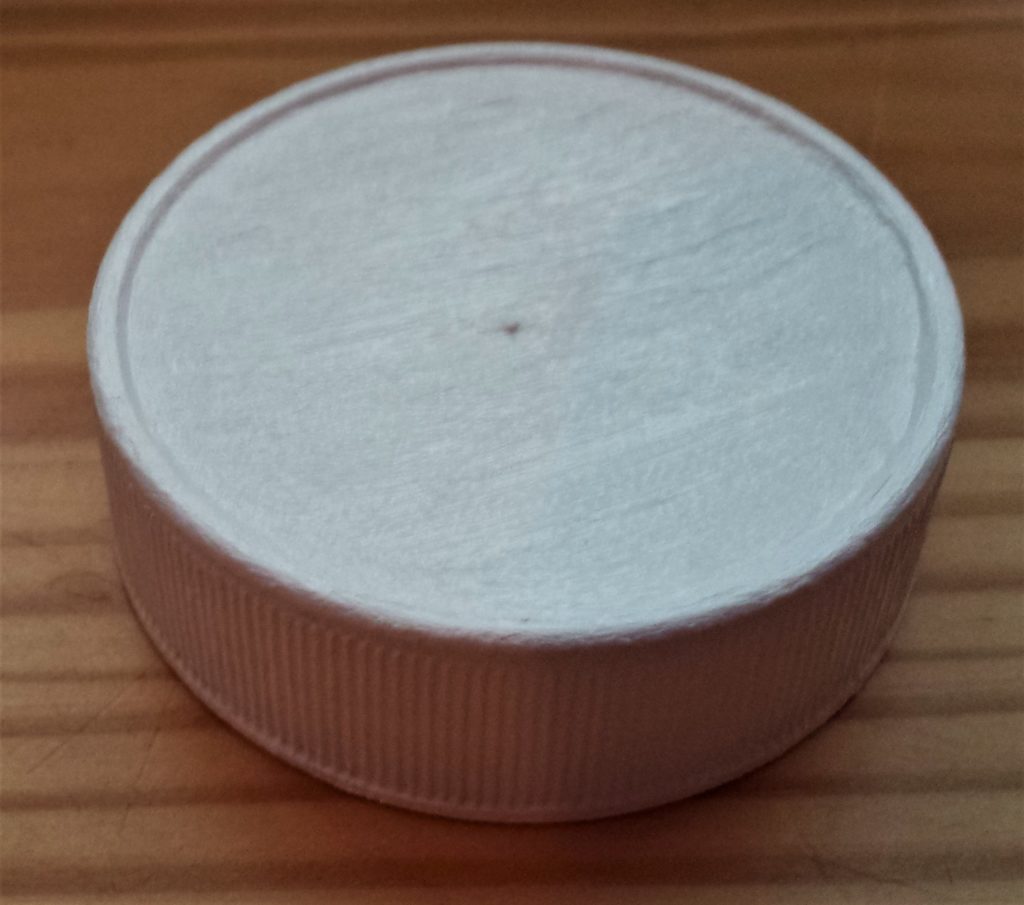
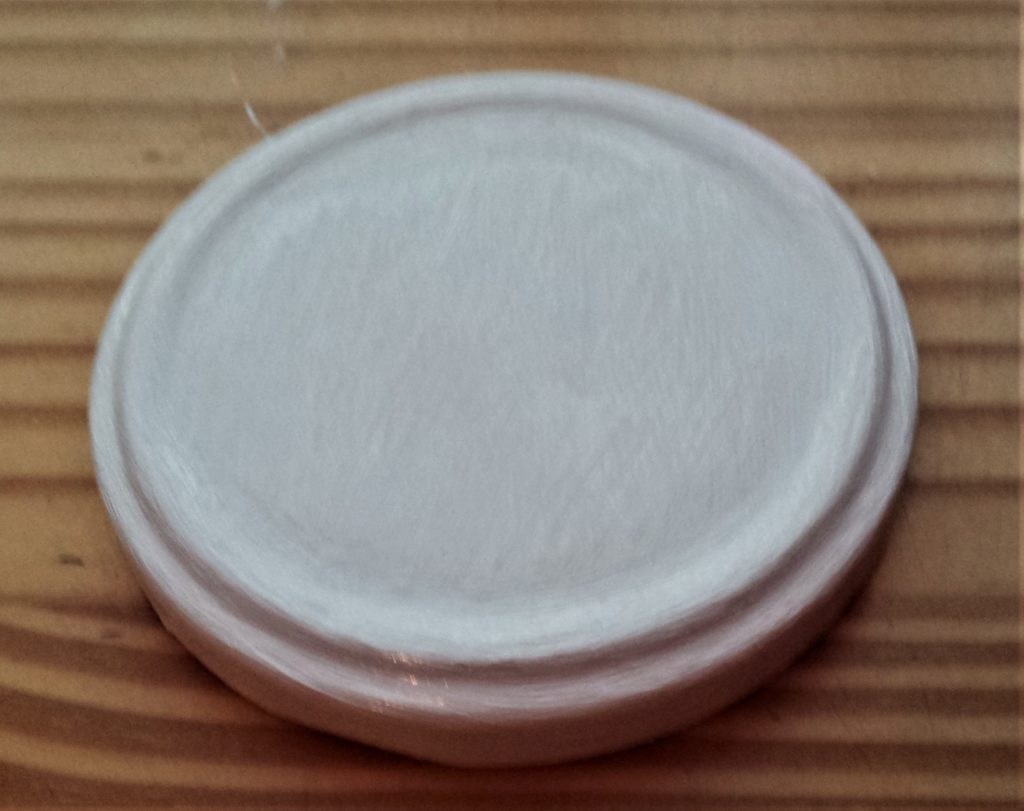
I painted each lid using Acrylic ‘Titanium White’ Paint Acrylic Paint Titanium White. and a flat paintbrush. Flat Paint Brushes Set.
When the paint was dry I added another layer to each lid.
I applied a third layer of white paint when the second layer was dry. Acrylic Paint Titanium White.
One more layer was added to each lid after the third coat of paint was fully dry. Flat Paint Brushes Set.
Setting up the Jars for Spray Painting
I brought the jars out to the shed. I put them upside down on a table. They were now ready to be spray painted.
Always Spray Paint in a well ventilated area. Open doors or windows, and leave the area as soon as your finished spray painting to avoid inhaling any fumes.
Spray Painting the D.I.Y. Christmas Jars No: 1
I started with the biggest jar. The spray paint I used was Silver. Spray Paint Silver.
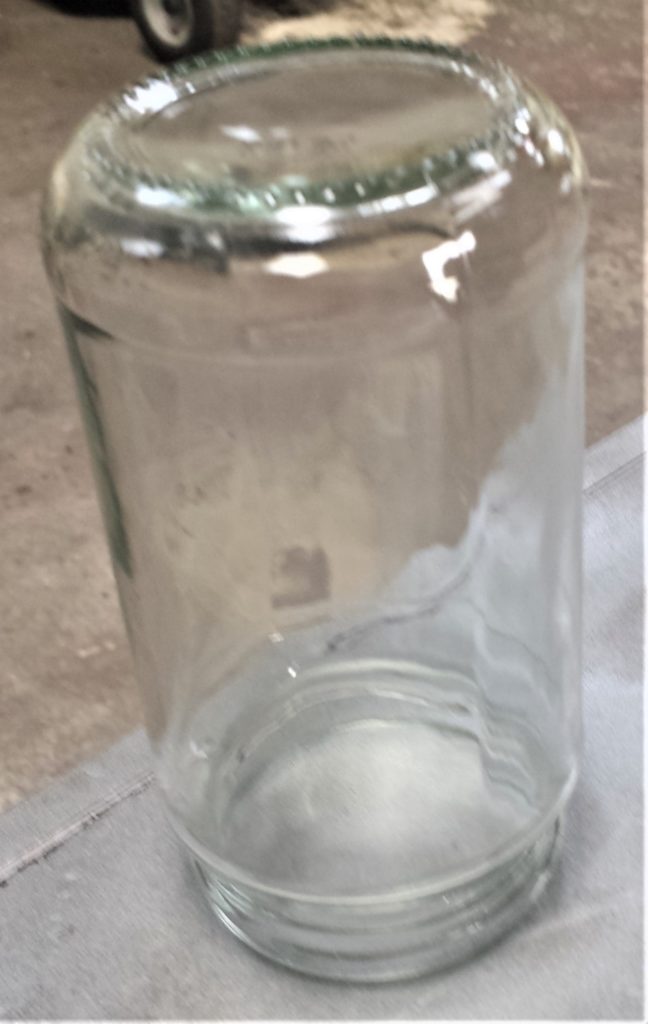
I shook the can of spray paint from side to side for about a minute. I removed the lid and held the can about 30 cm away from the base of the jar. I held my finger down on the nozzle and sprayed the base of the jar. I then sprayed from the base to the top of the jar. I stopped and gave the can a quick shake and then sprayed the next section from the base to the top of the jar. I made my way around the jar until it had one light layer of spray paint. Spray Paint Silver.
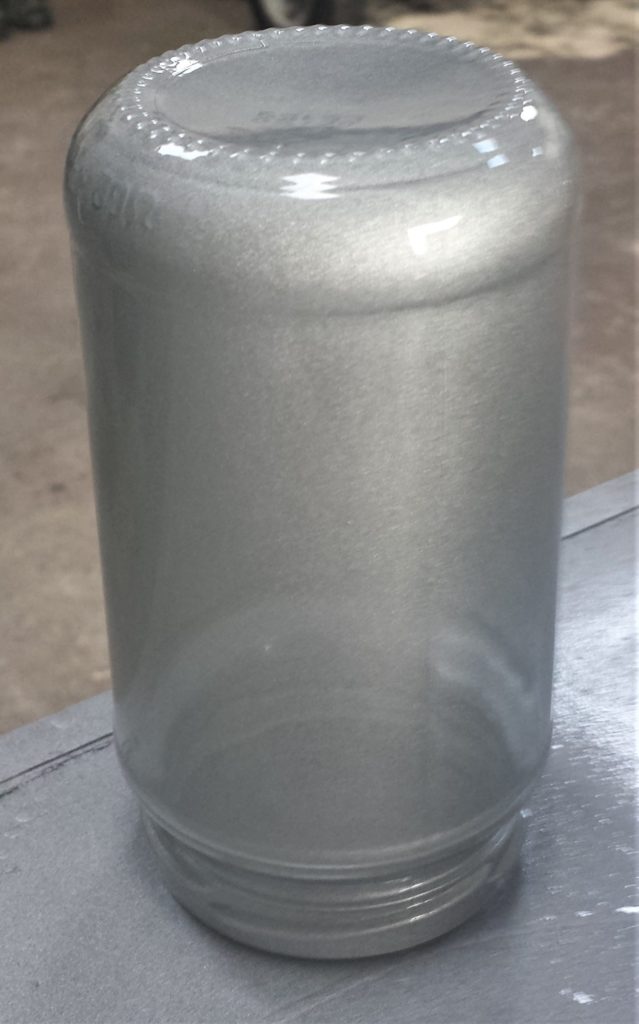
After an hour I returned to the shed to apply the second layer of silver spray paint.
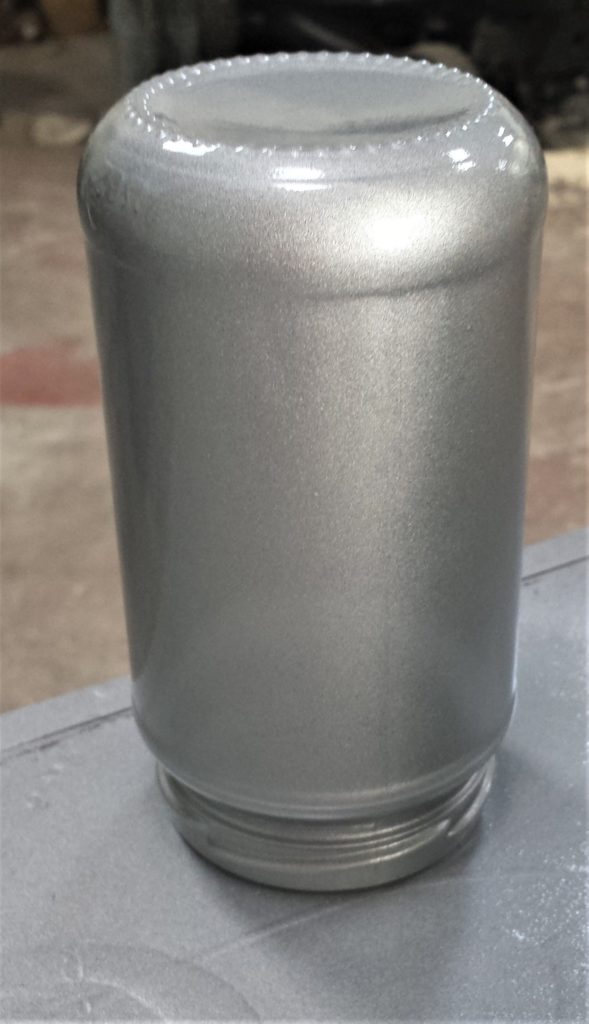
I applied the third coat when the second layer was dry. Spray Paint Silver.
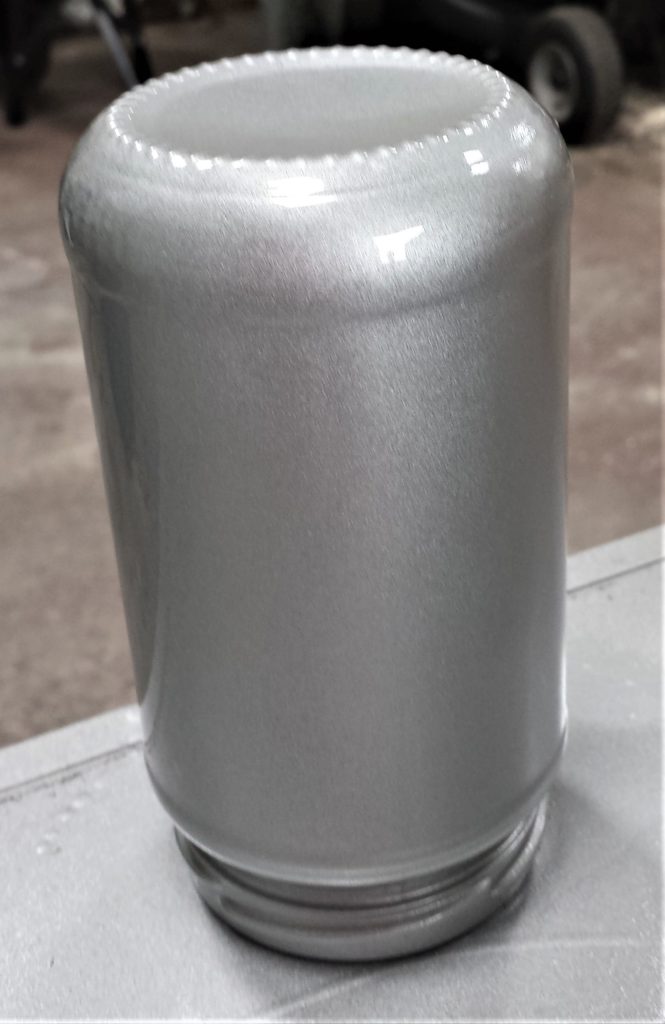
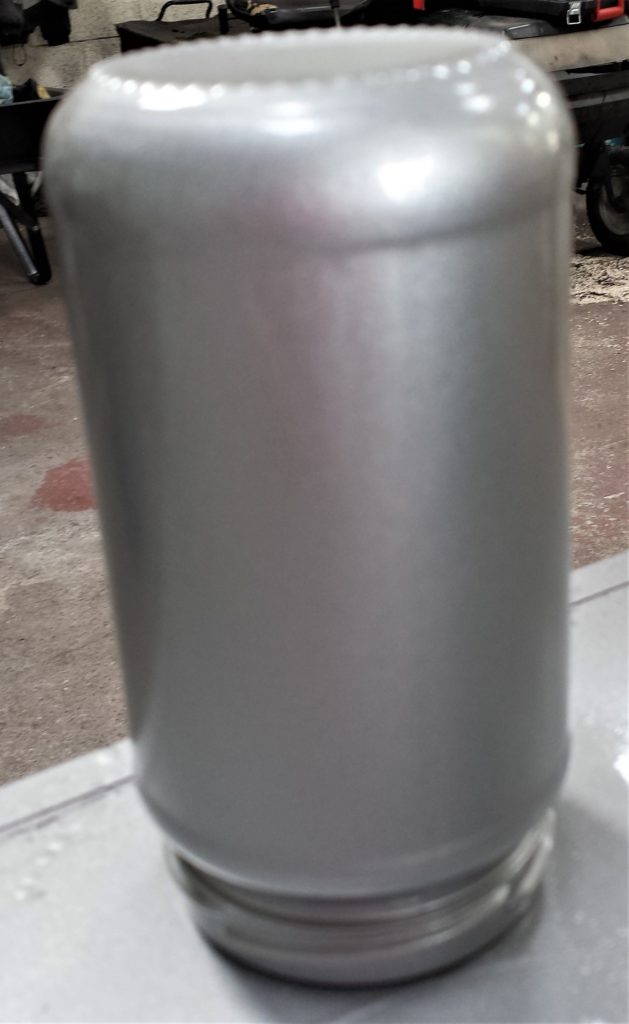
The fourth and final layer of spray paint was applied to the jar after another hour.
Spray Painting the D.I.Y. Christmas Jars No: 2
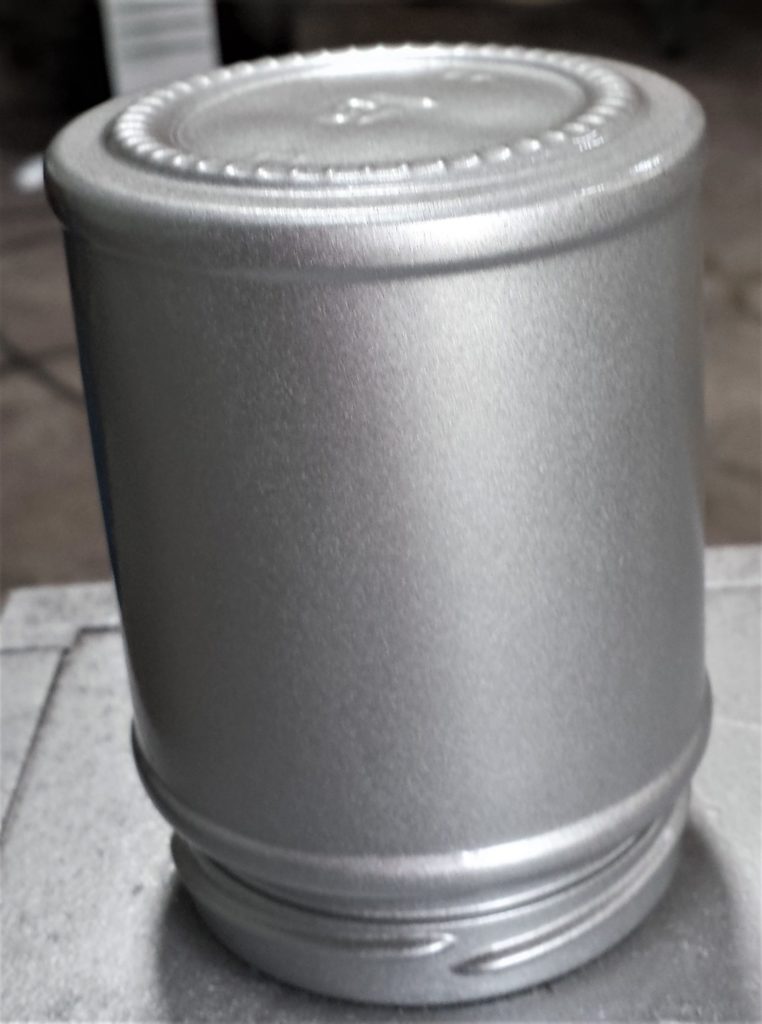
I also spray painted the smallest jar with the silver spray paint. Here it is upside down on the table before being spray painted.
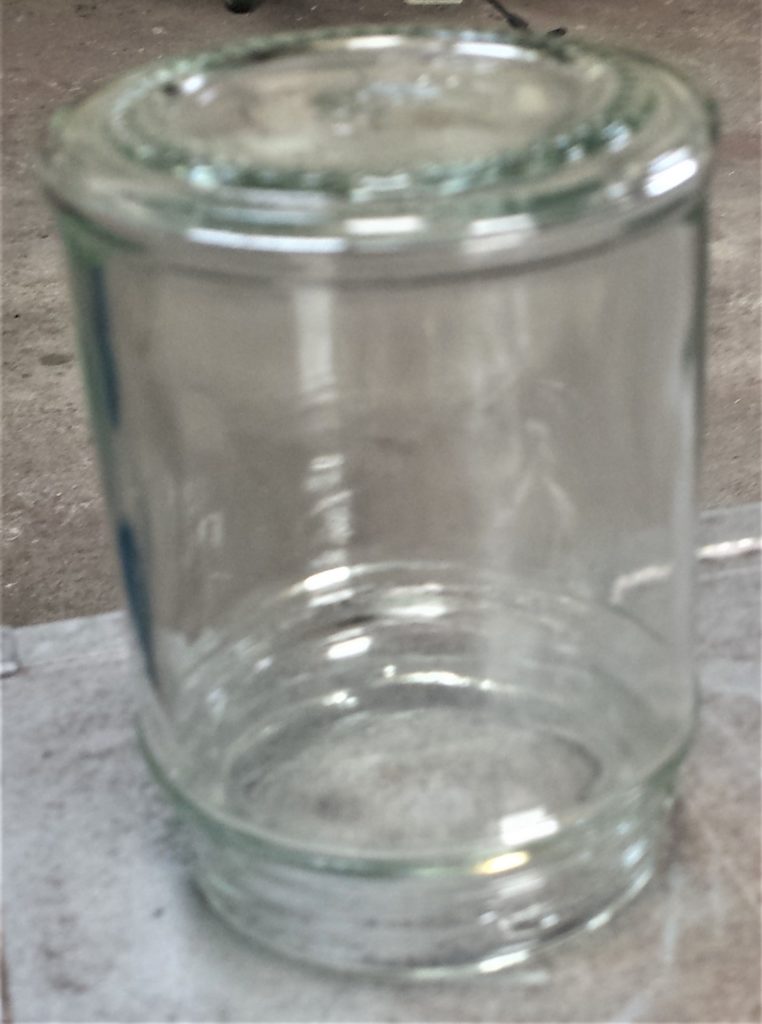
I applied the spray paint in the same way as the first jar also leaving an hour drying time between applications. Spray Paint Silver.
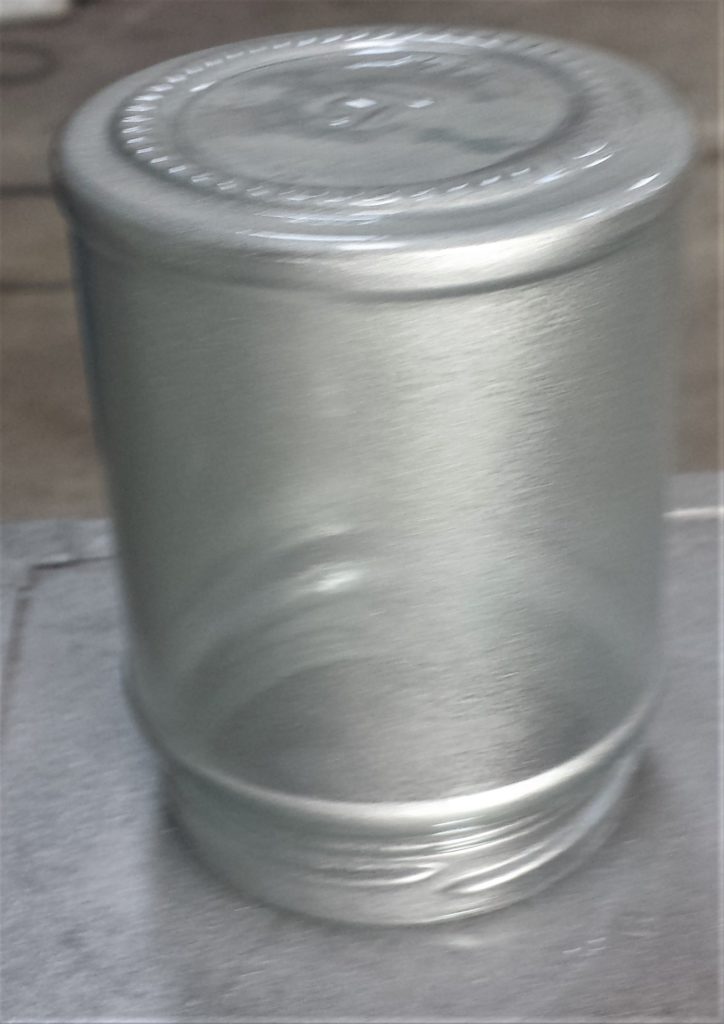
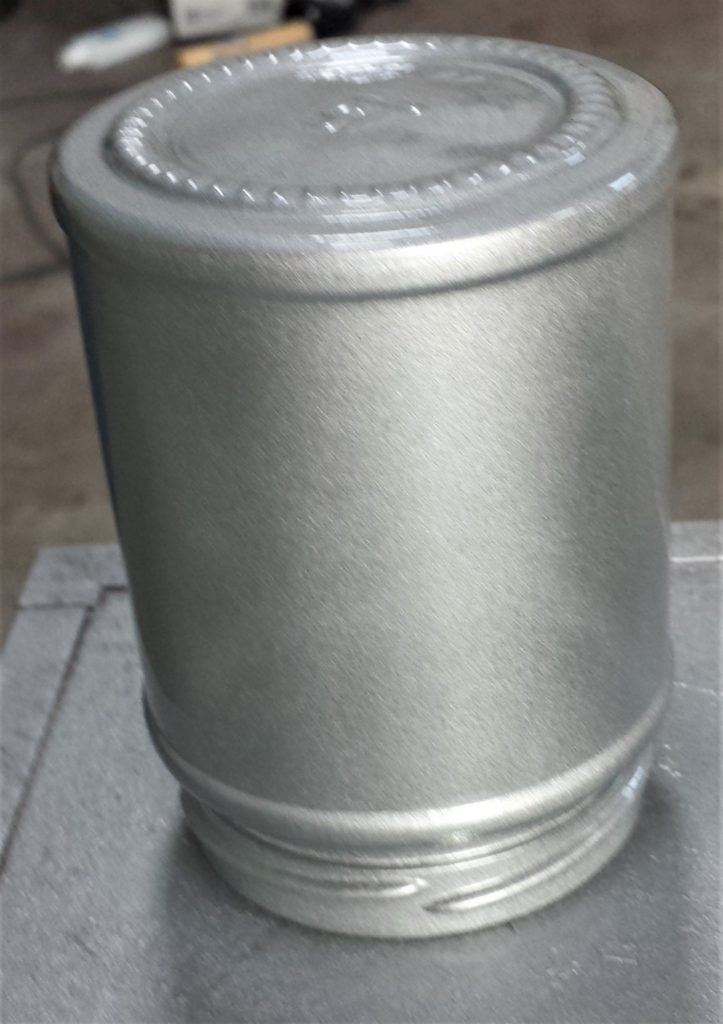
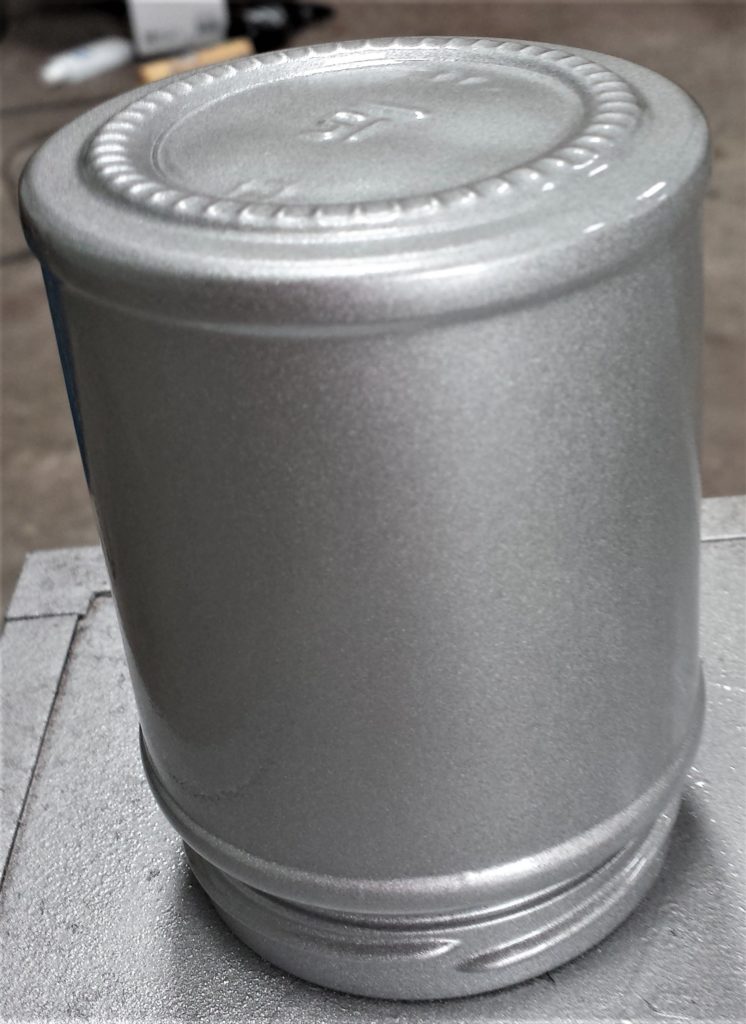
Spray Painting the D.I.Y. Christmas Jars No: 3
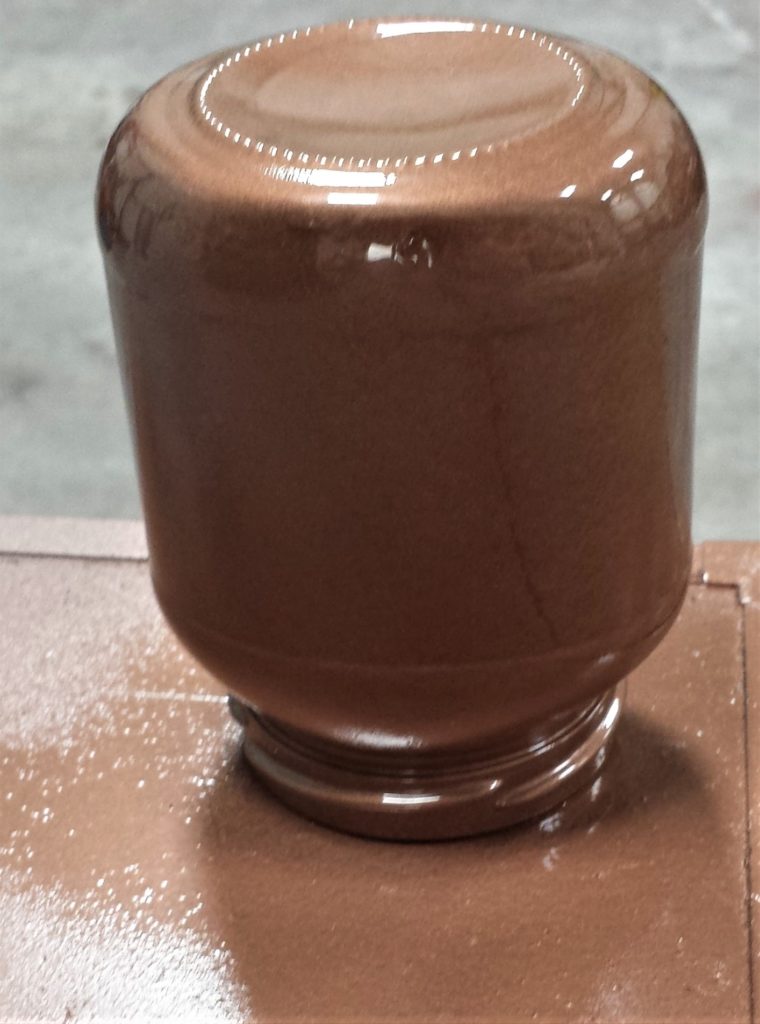
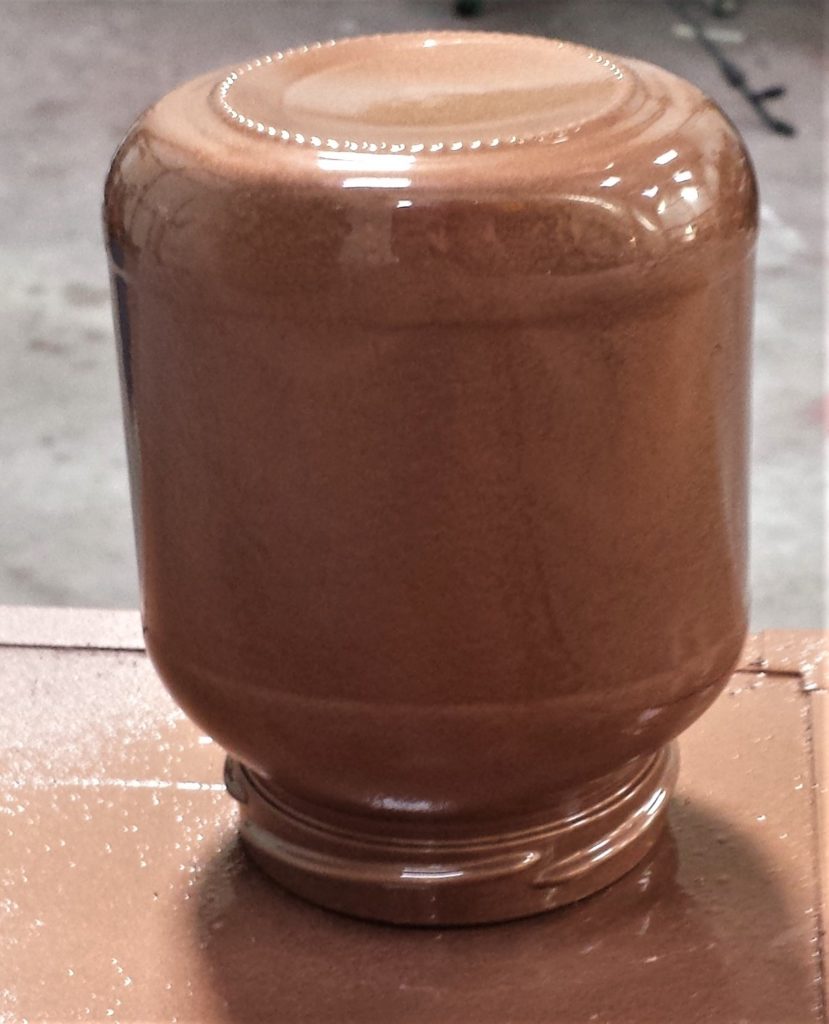
I used a Copper Spray Paint on the third jar. Copper Spray Paint. This is the jar before being spray painted.
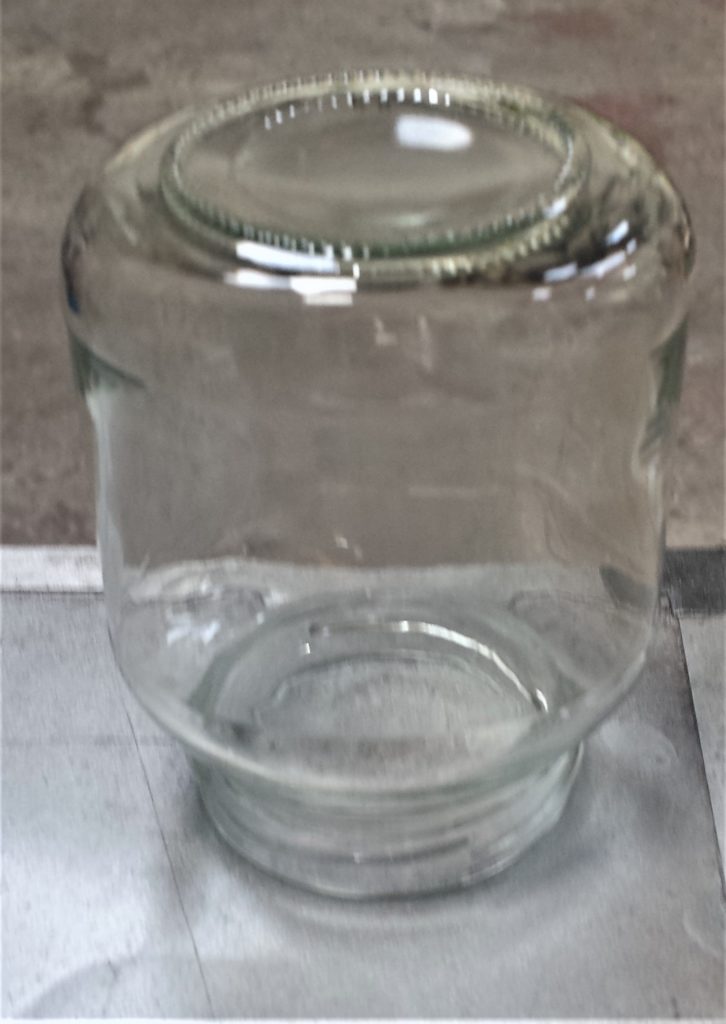
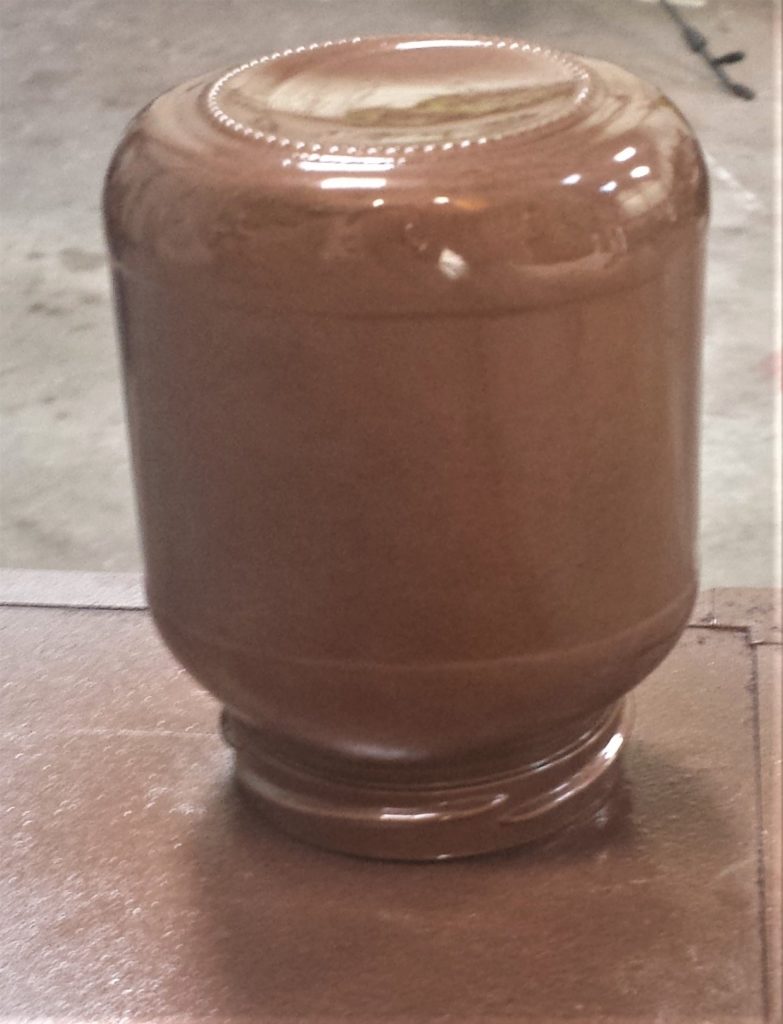
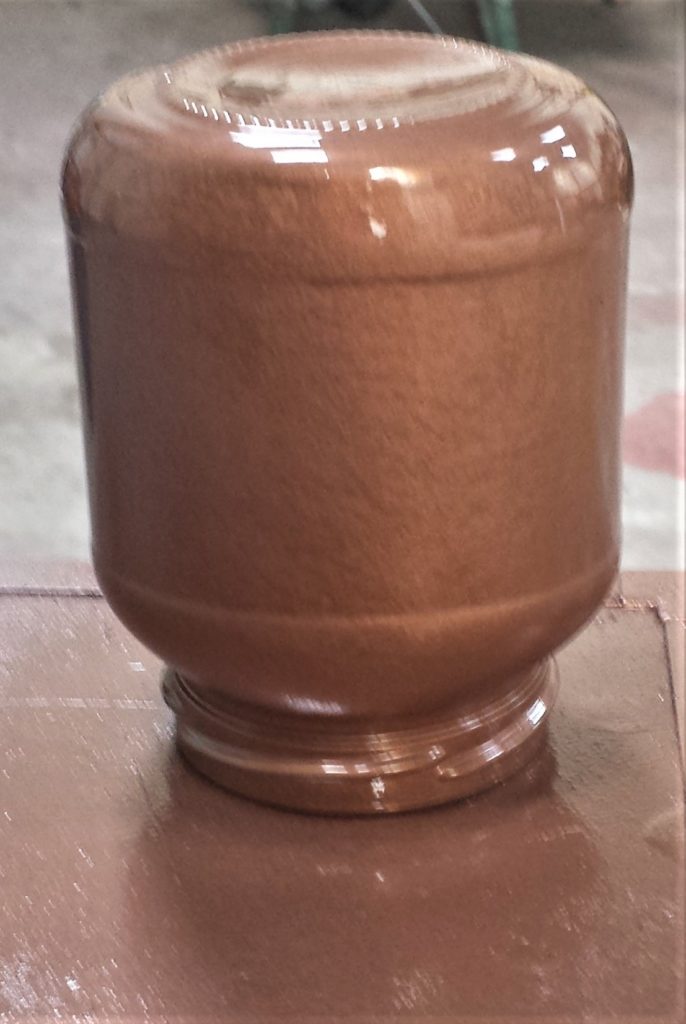
I used the same process as the other jars and gave this jar 4 layers of spray paint. Copper Spray Paint.
Allowing the Jars to Cure
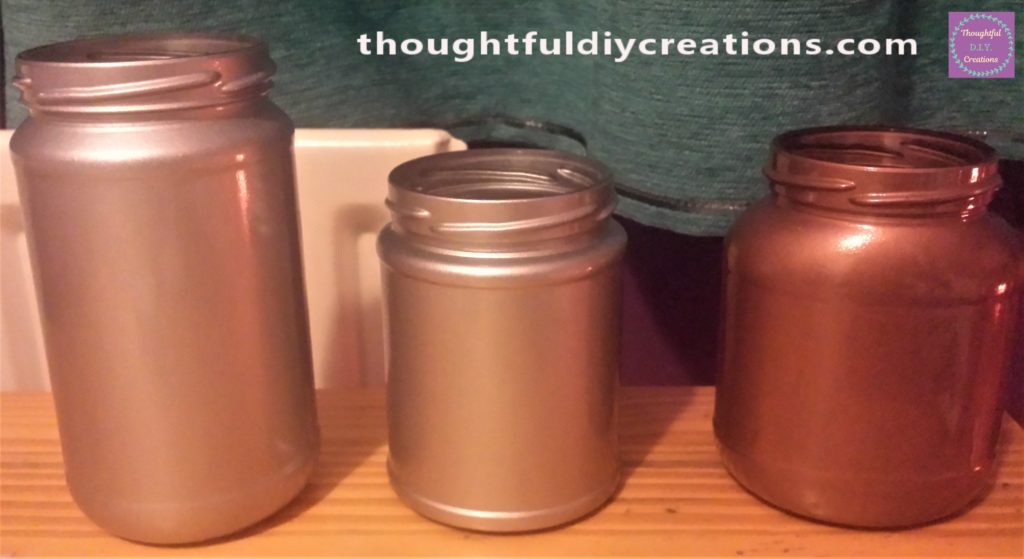
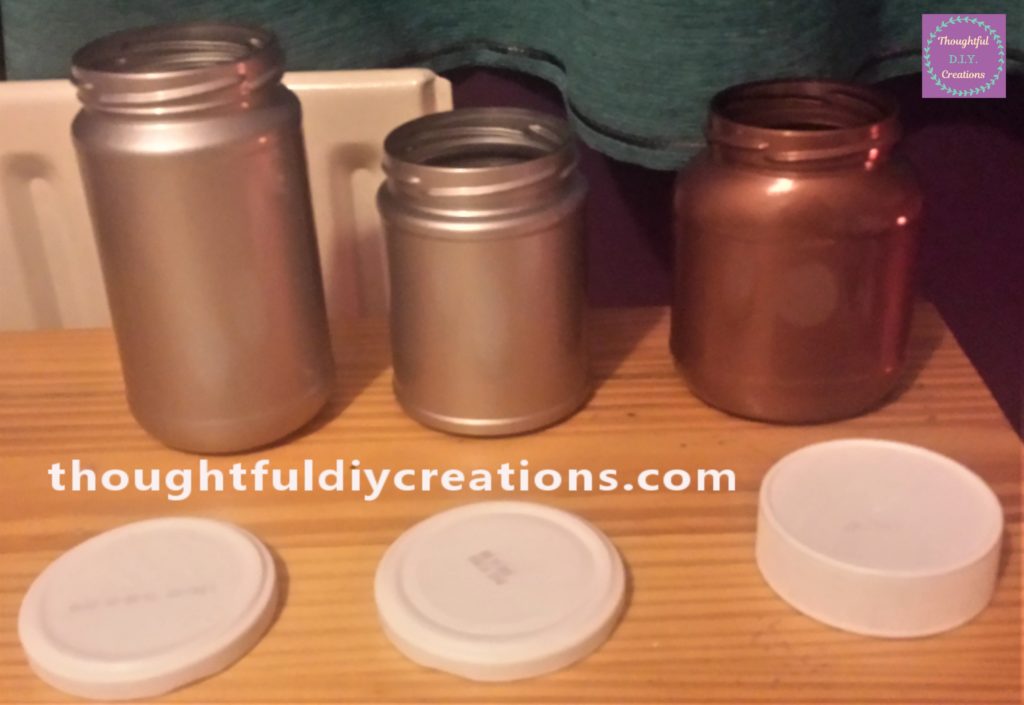
After the fourth layer of spray paint was applied to all 3 jars, I left them to cure in the shed for 48 hours.
I went back out to the shed two days later and brought the jars back inside.
Adding Snow Spray to the Lids
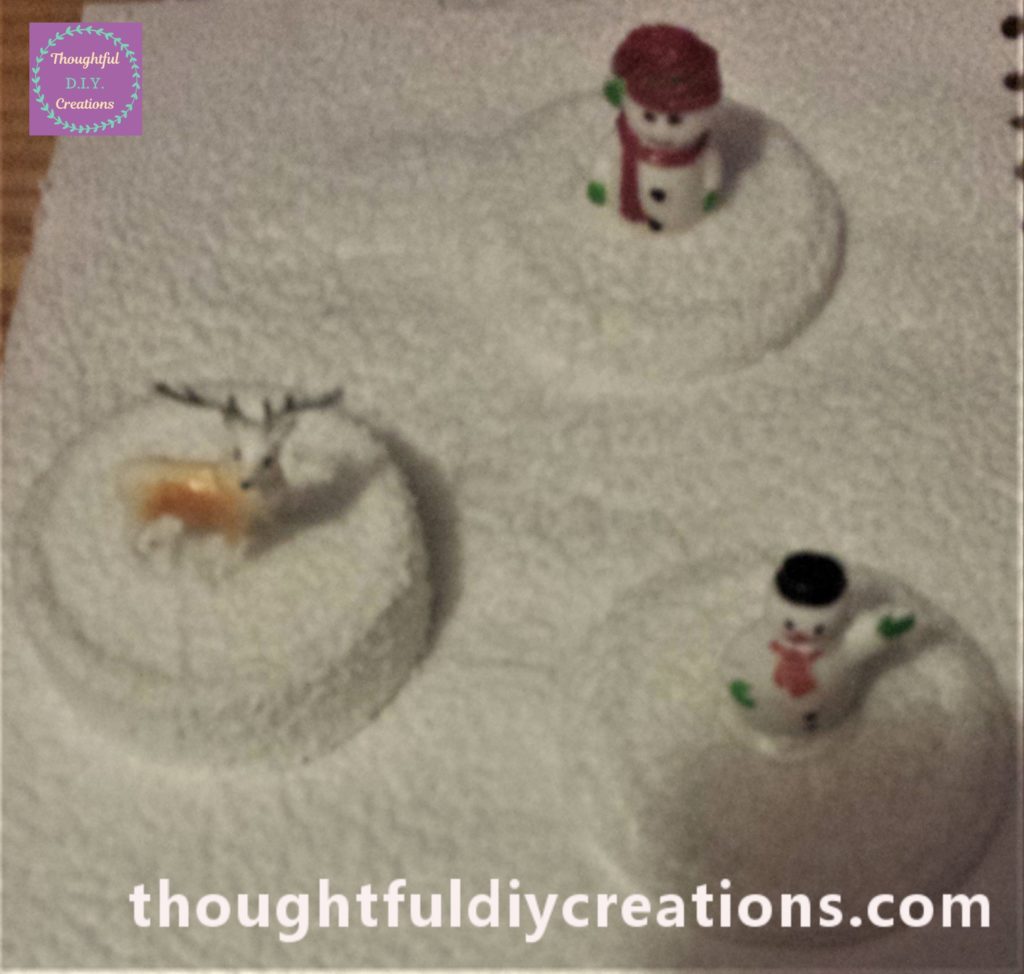
I had a can of Snow Spray and I thought it would create a nice effect added to the lids of the jars. Snow Spray.
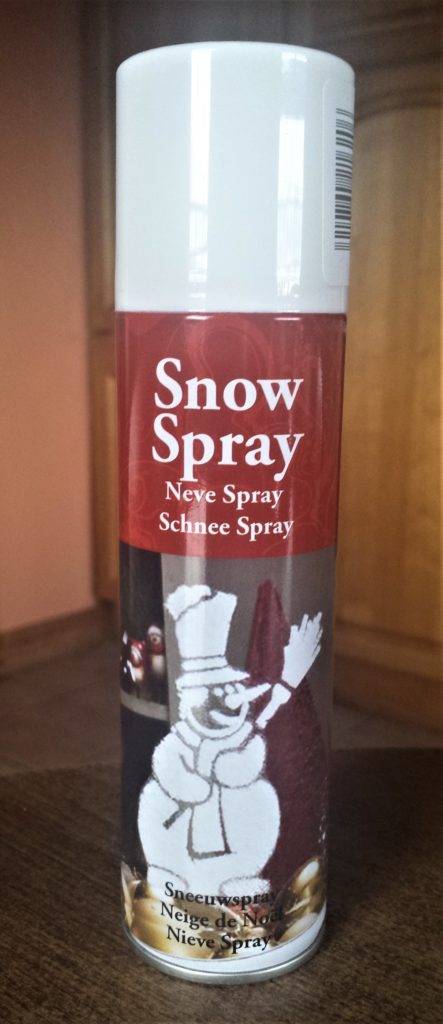
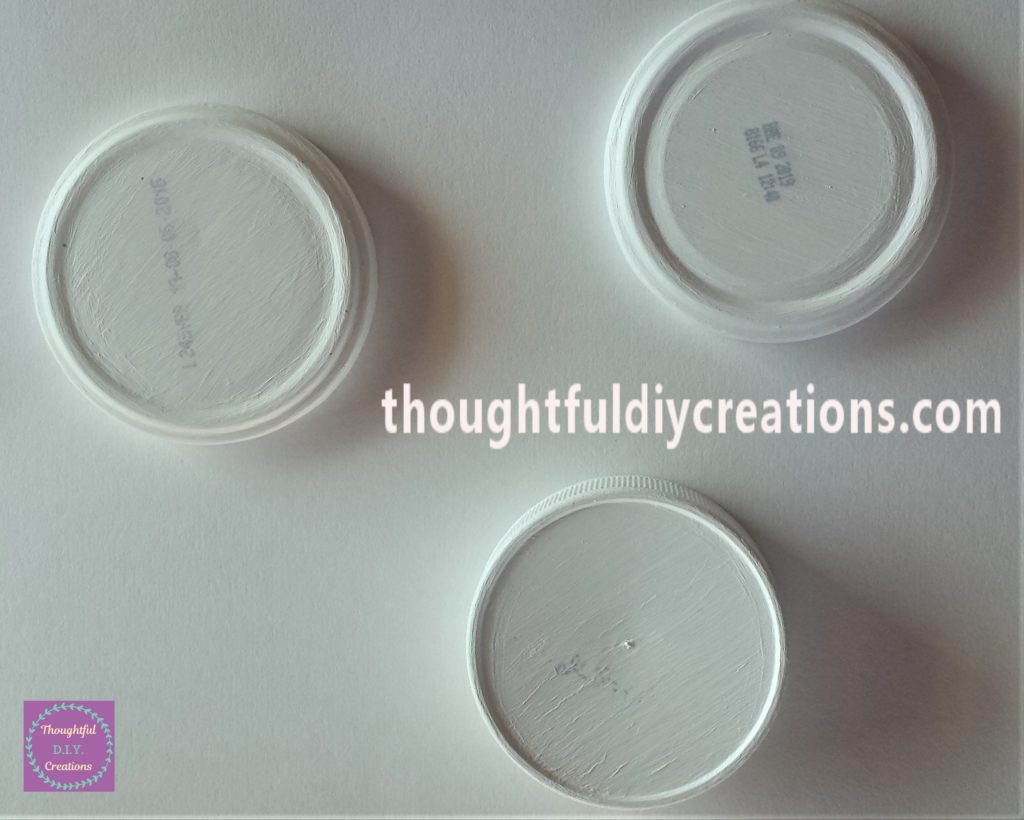
I put the 3 lids on a sheet of white cardstock on the table.
I shook the can of Snow Spray for several seconds. I removed the lid and sprayed each jar lid with snow spray.

I let the snow spray set for a few minutes and then I added a second layer to each lid. Snow Spray.
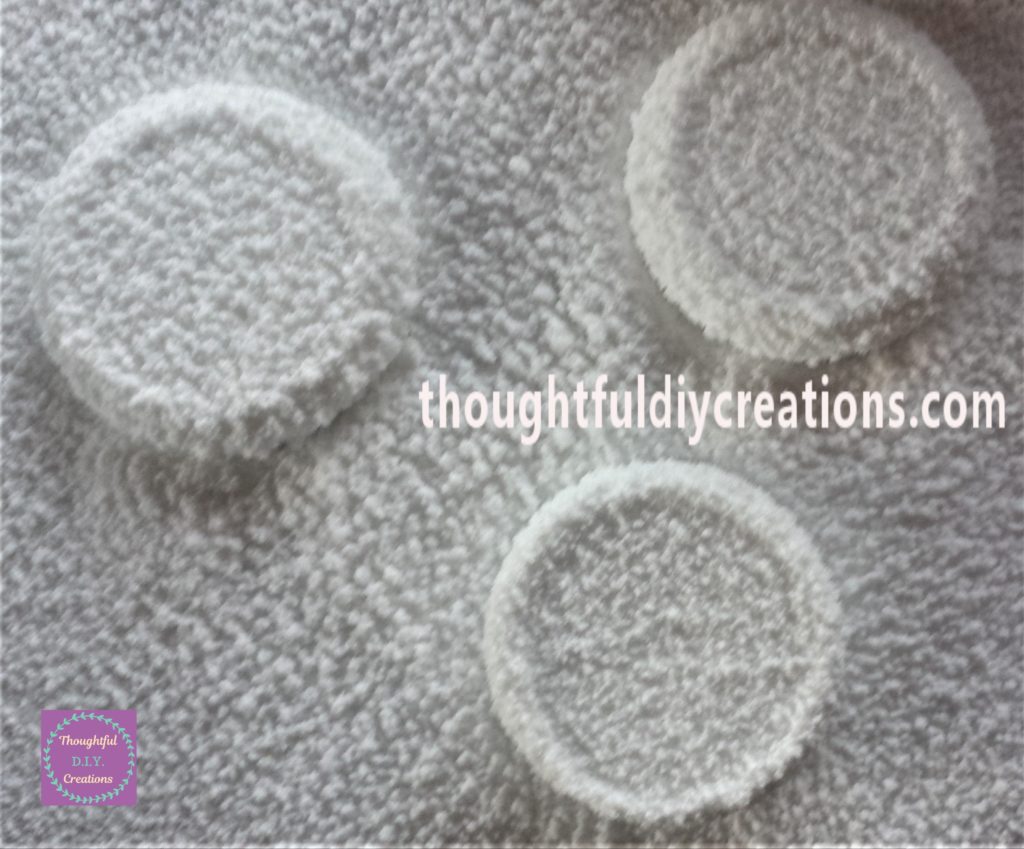
I left the lids to one side for the snow spray to set fully.
Decorating the D.I.Y. Christmas Jars
I wrote a Christmas themed Sentiment on each jar using a ‘Daler Rowney White Acrylic Paint Marker’ in 2-3 mm. Daler Rowney Acrylic Paint Marker.

I shook the paint marker from side to side for several seconds. I pressed the nib of the marker up and down on a piece of coloured paper until paint flowed out of the nib. It is now ready to use.
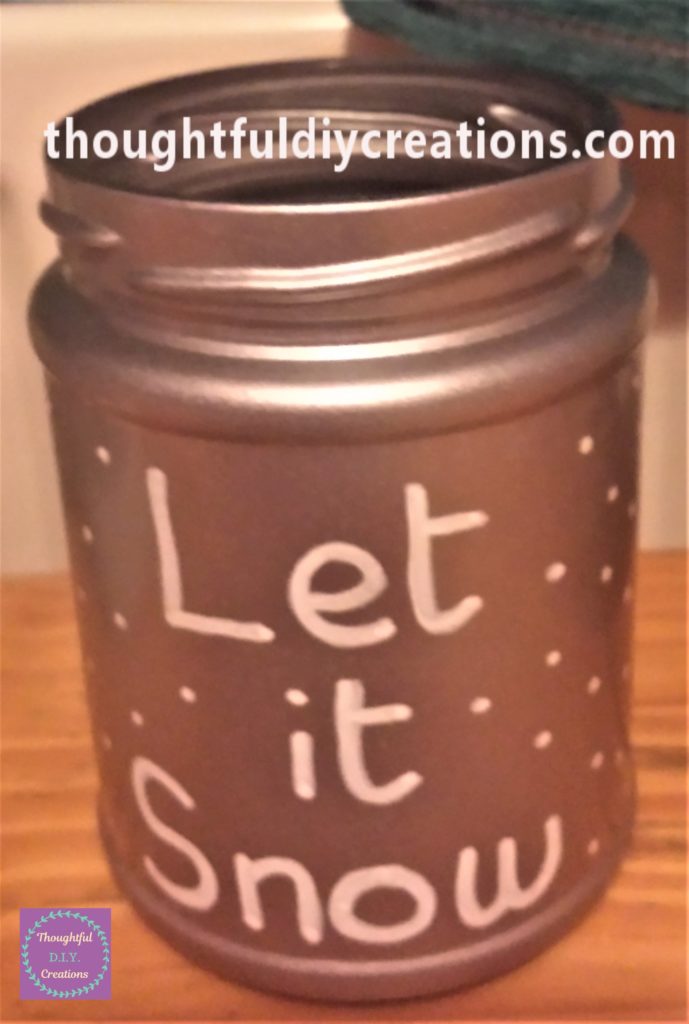
I wrote ‘Let it Snow’ on the small silver jar with the white paint marker. Daler Rowney Acrylic Paint Marker.
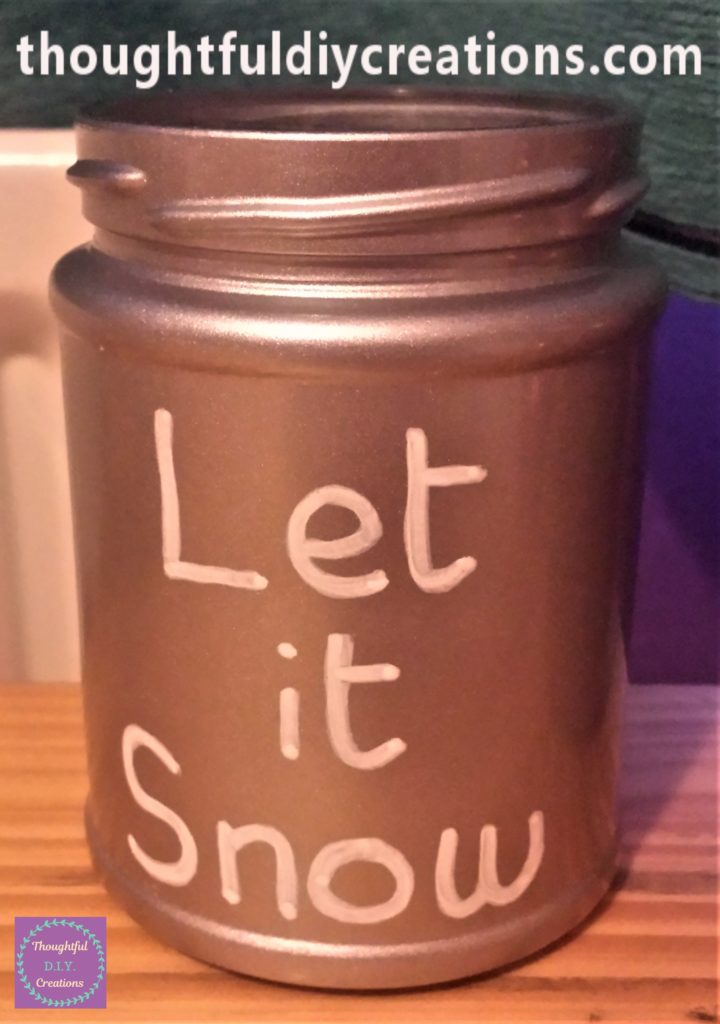
I added white dots for snow all around the jar using the white paint marker.
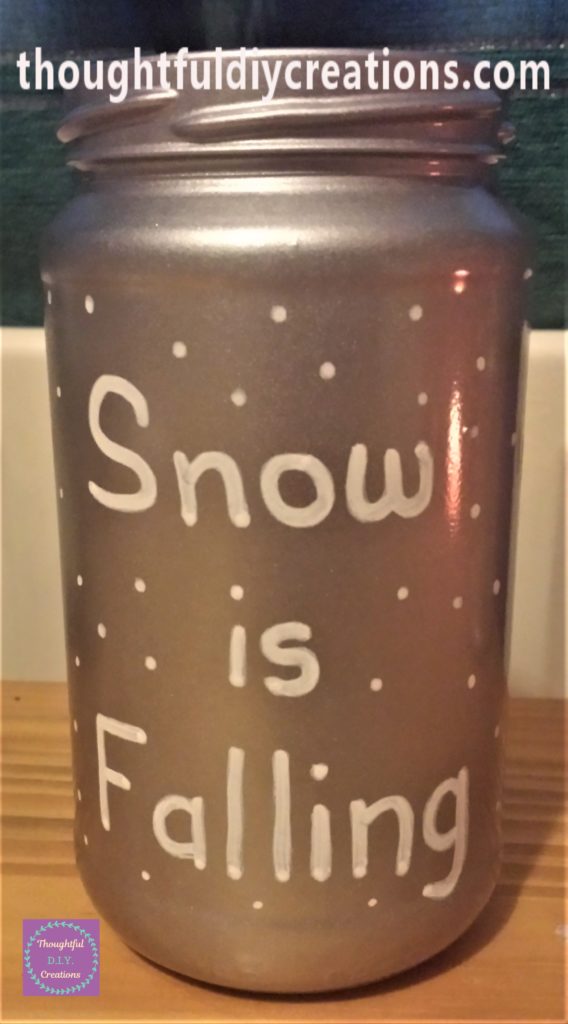
I wrote ‘Snow is Falling’ on the big silver jar and also added white dots all over the jar. Daler Rowney Acrylic Paint Marker.
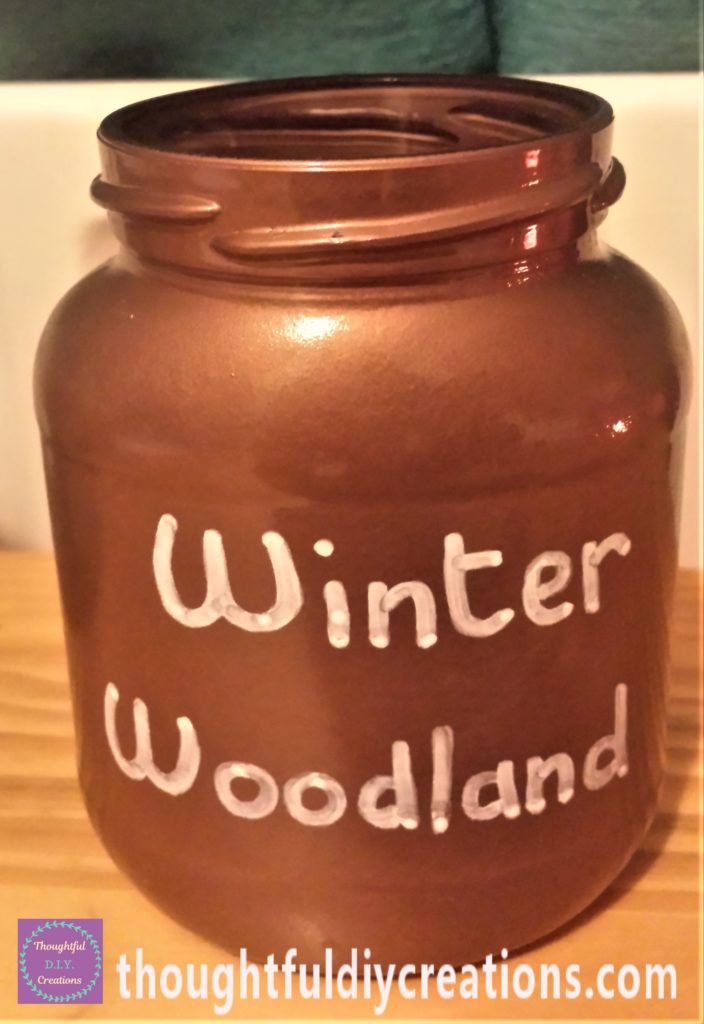
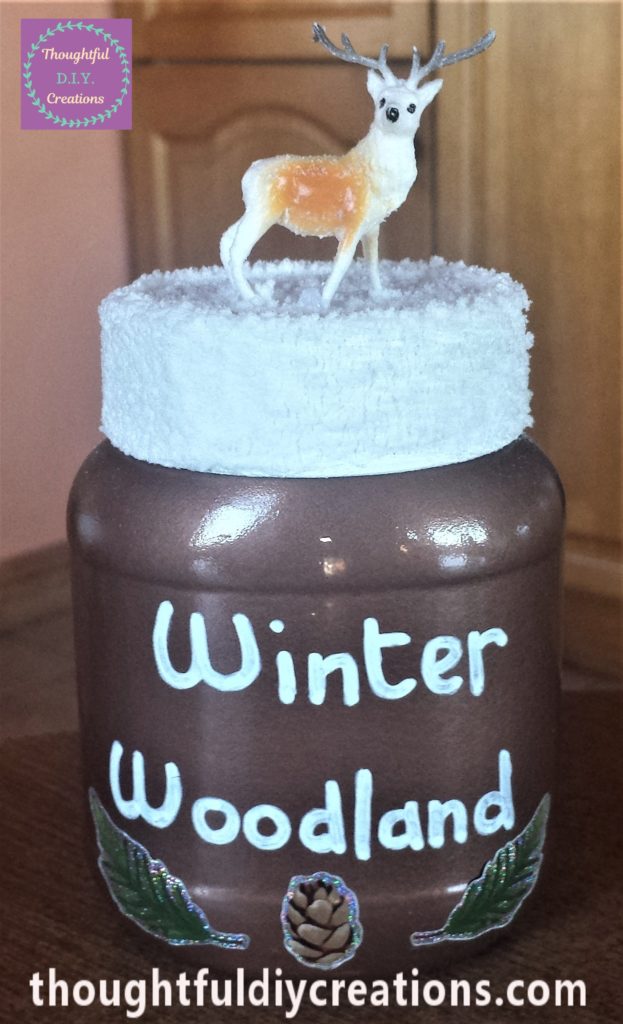
‘Winter Woodland’ was written on the copper jar with the white paint marker. Daler Rowney Acrylic Paint Marker.
Attaching Christmas Figurines to the Lids
I plugged in my hot glue gun and let it heat up for 5 minutes. Hot Glue Gun. I had old ‘Christmas Baking Figures’ in my craft supplies and thought they would be lovely to have on display. Miniature Christmas Decorations.
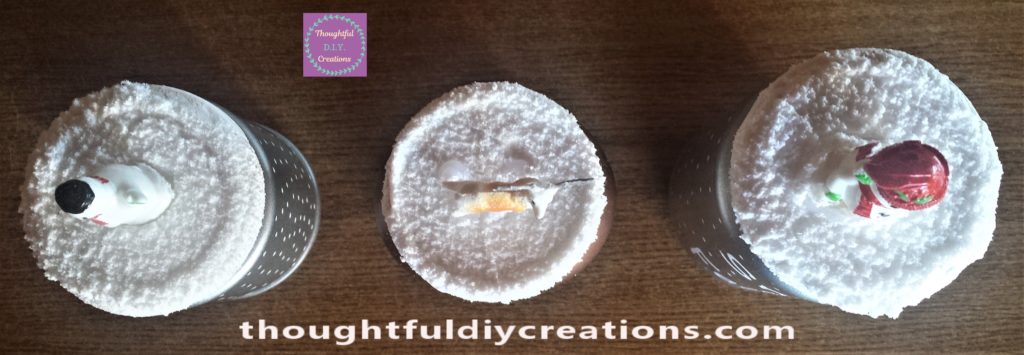
I put hot glue on the bottom of the figurines and held them in place on the lid for several seconds.
Adding Finishing Touches to the D.I.Y. Christmas Jars
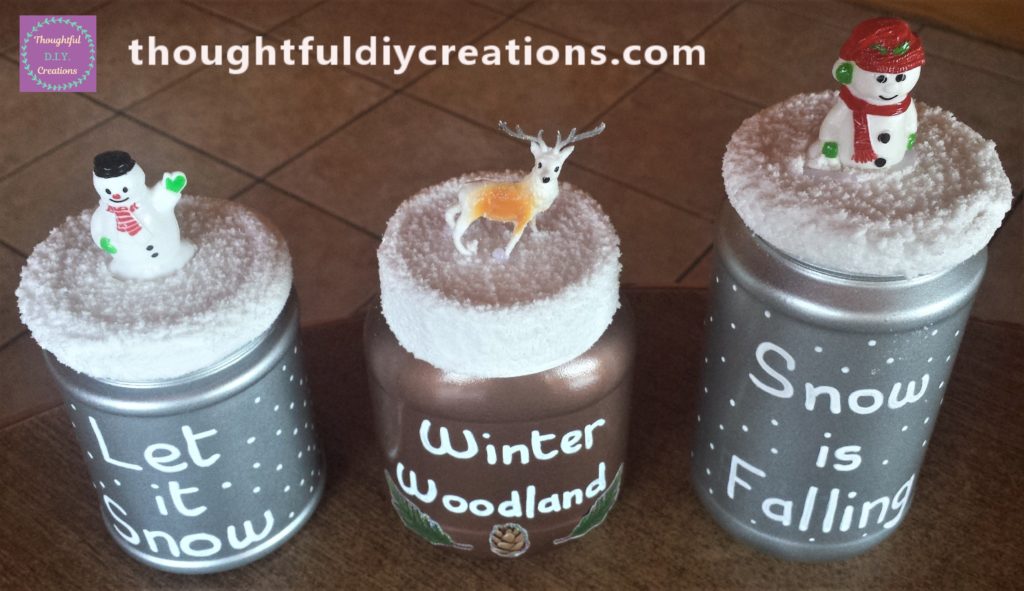
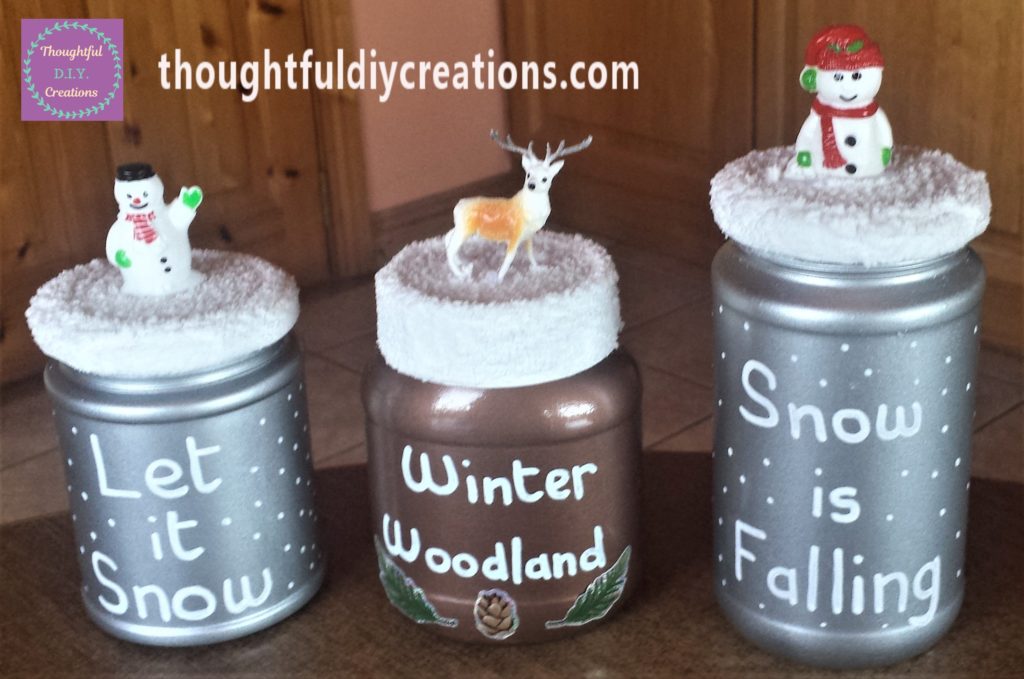
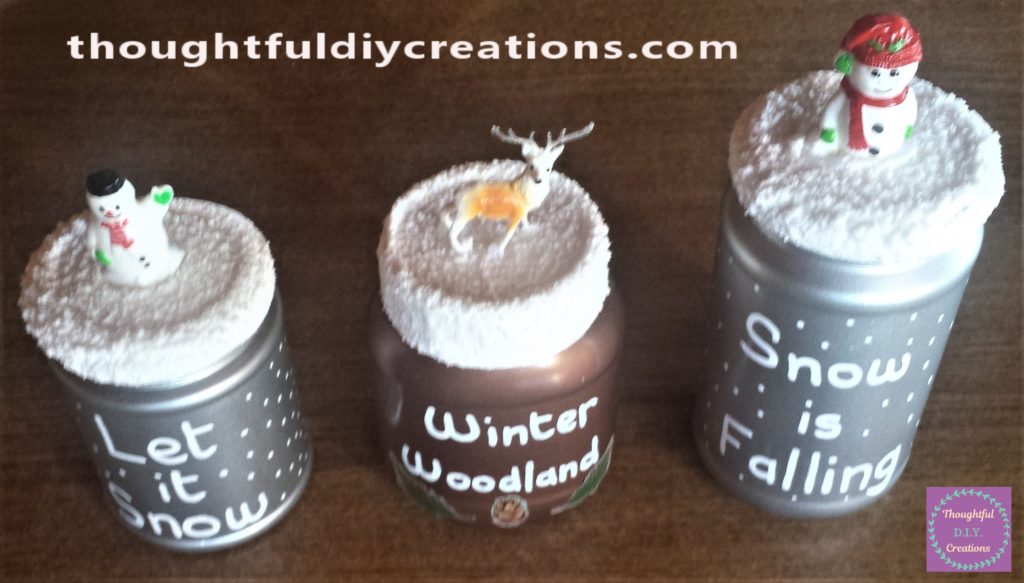
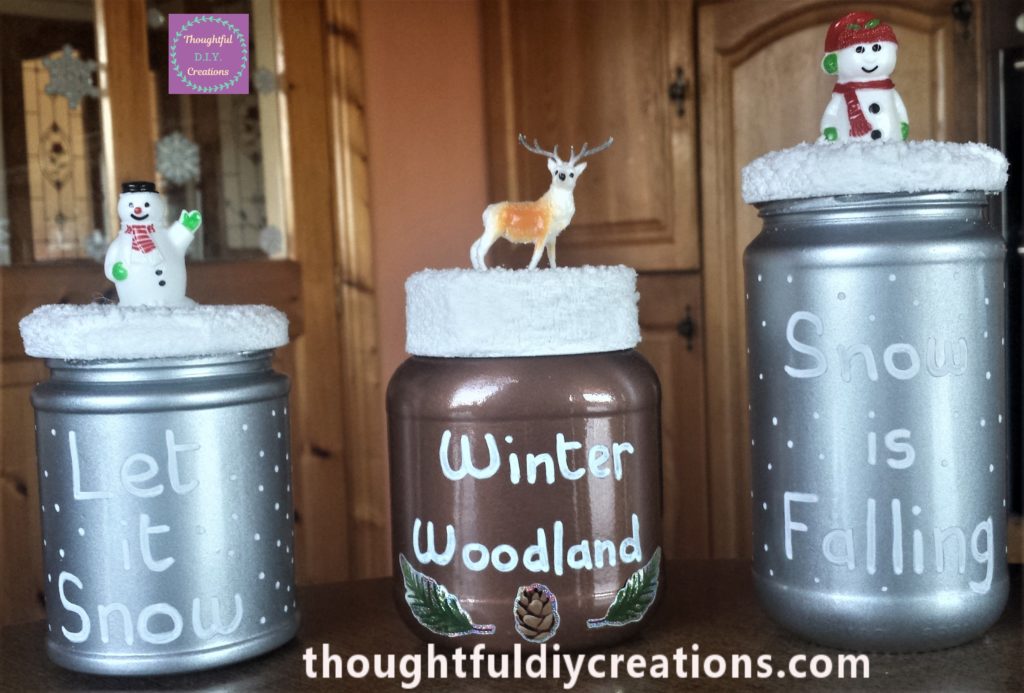
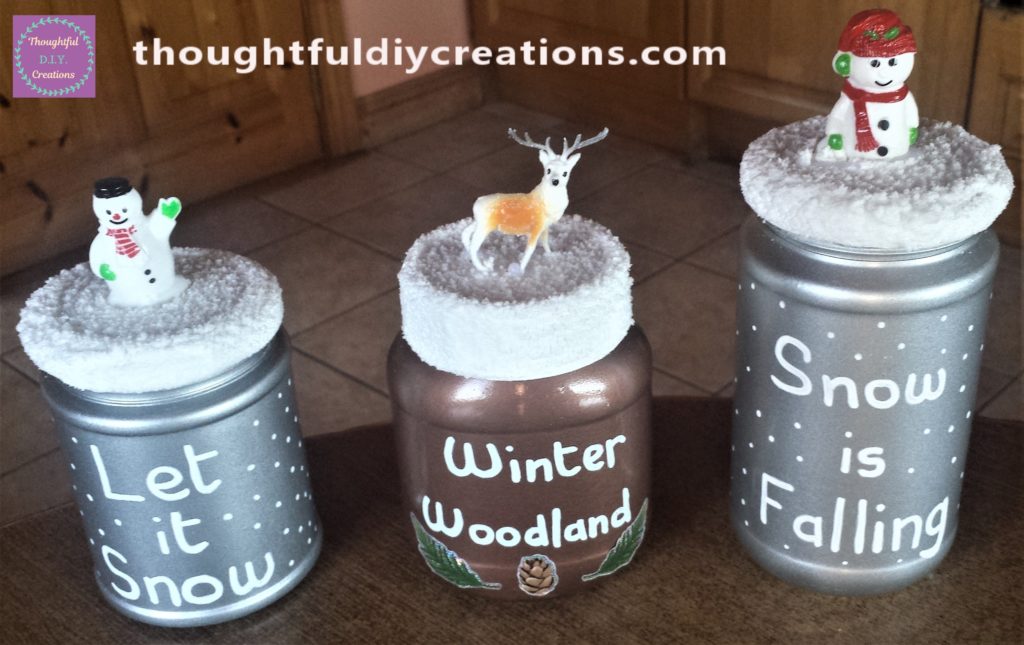
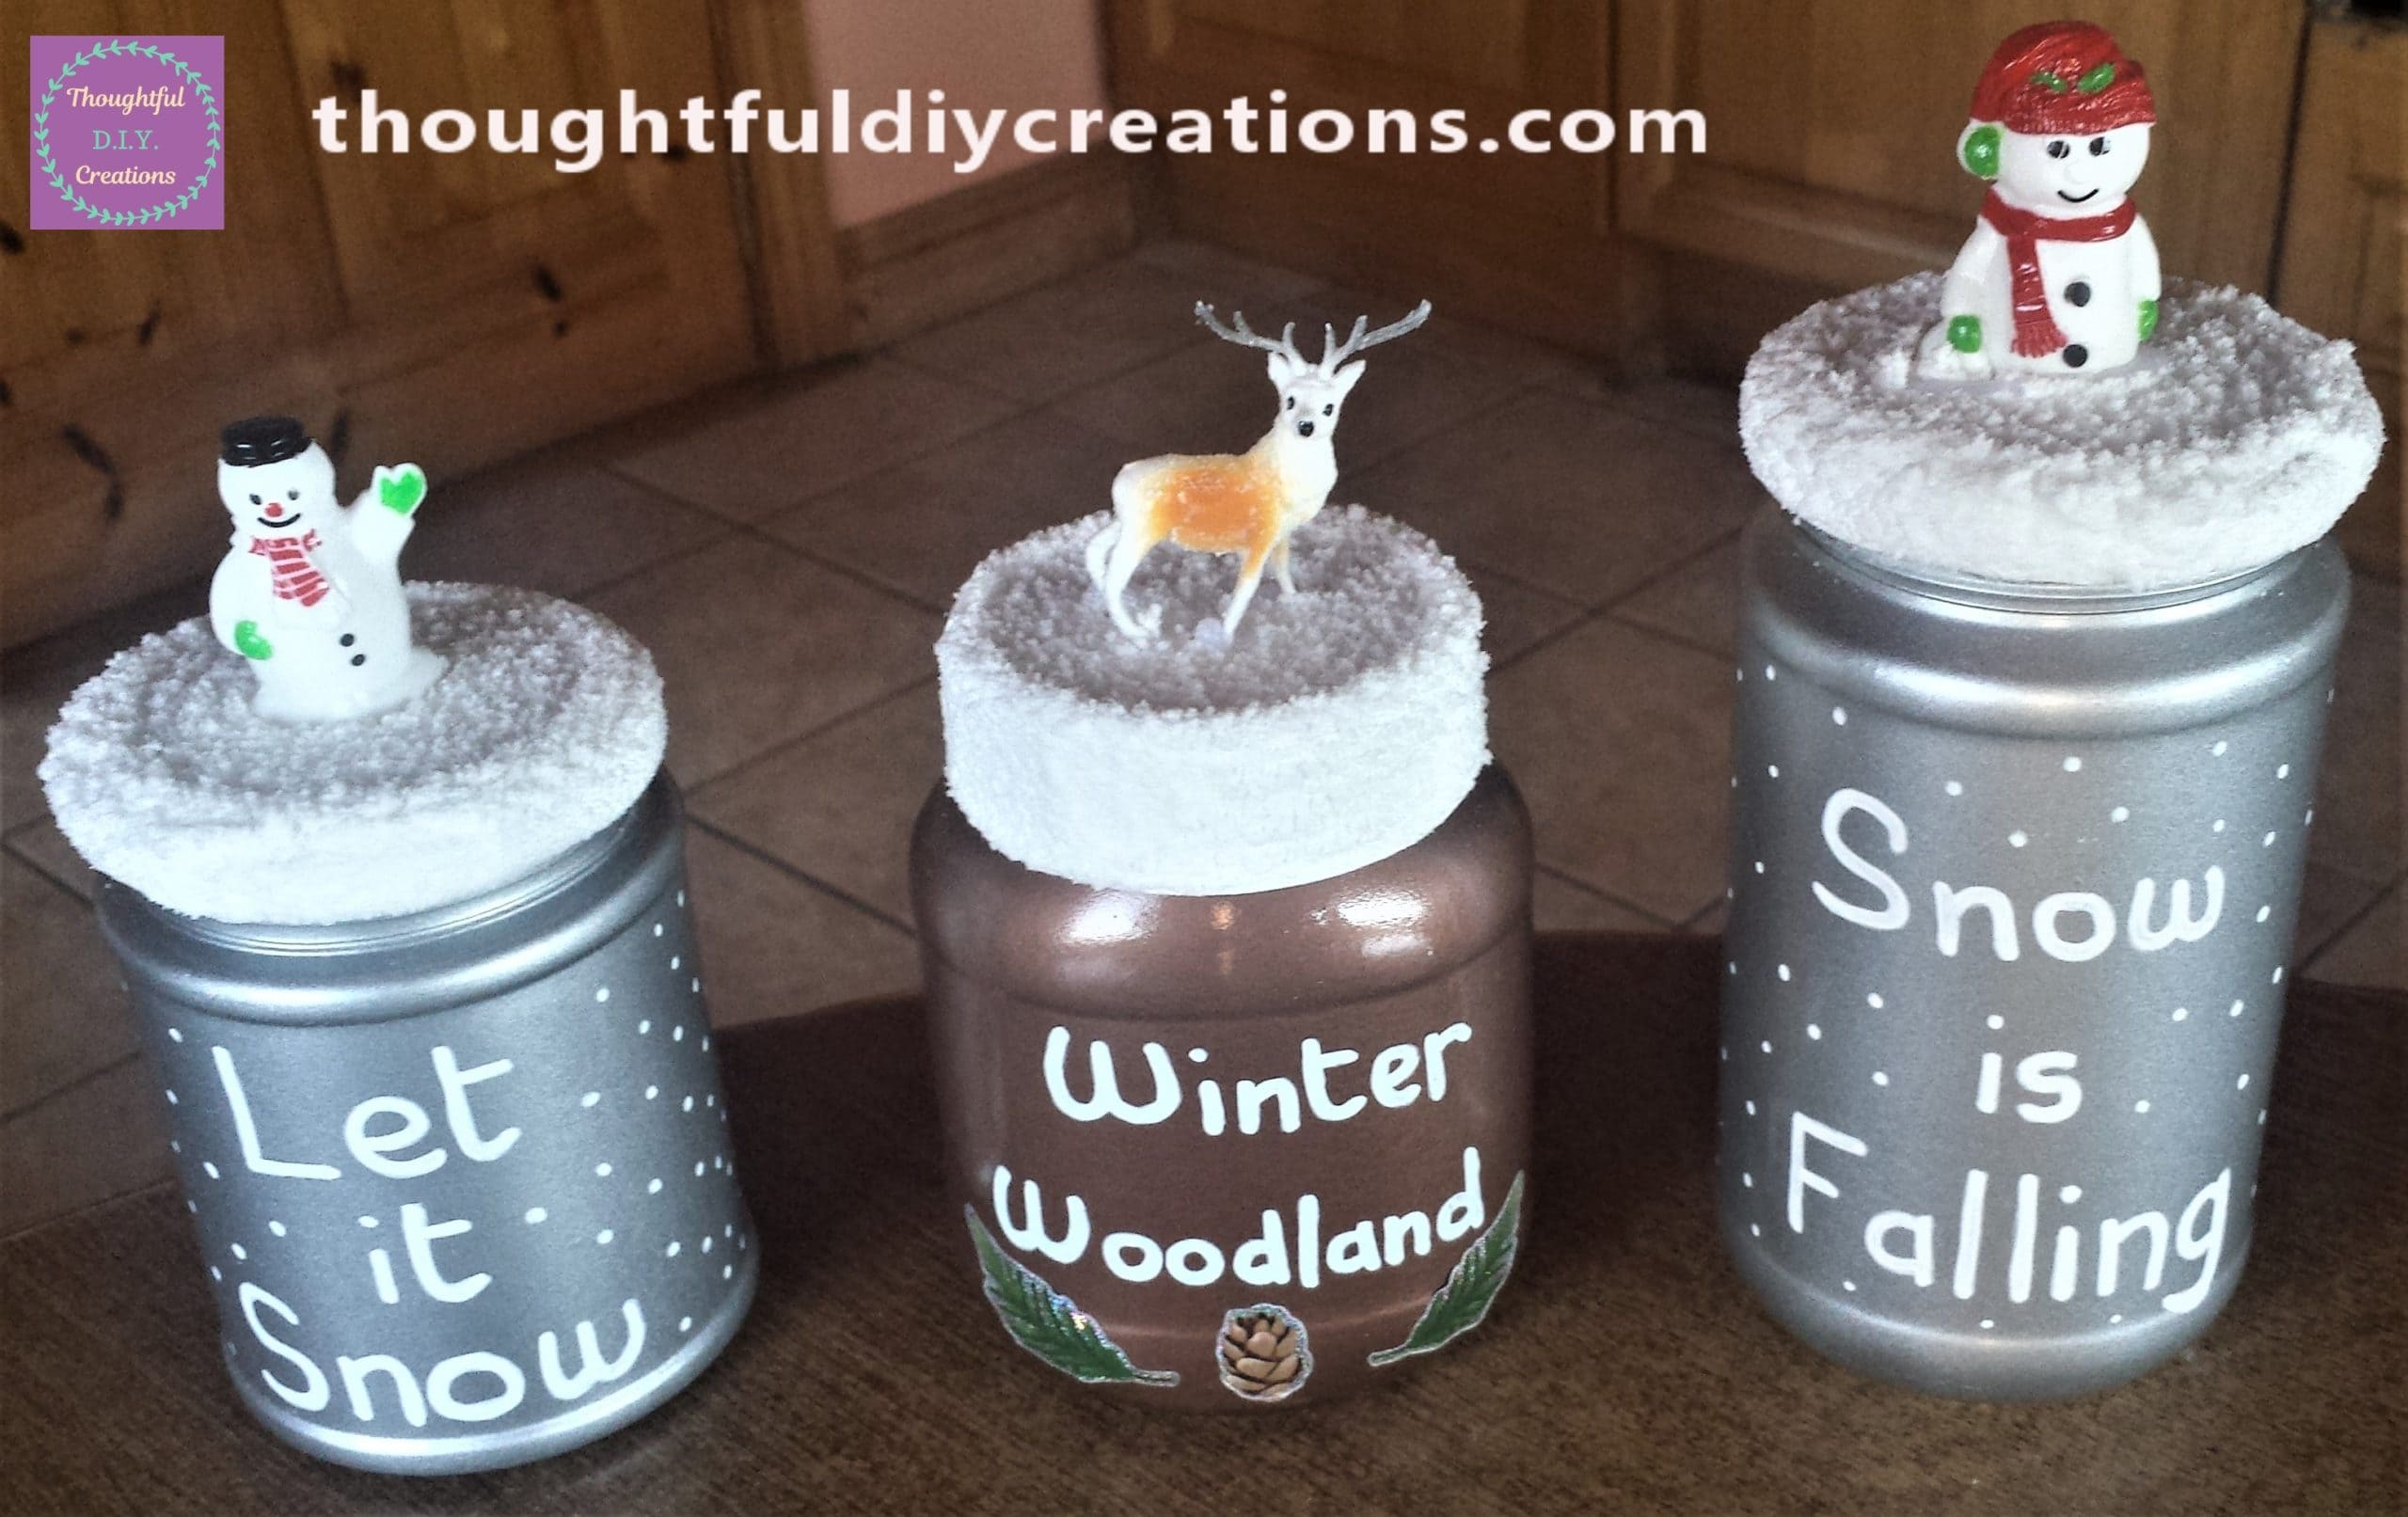
I added a couple more layers of the white paint marker to the jars. I also added 2 stickers of leaves and 1 pine-cone sticker to the bottom of the copper jar. I carefully put the lids back on the jars and this completed the D.I.Y. Christmas Jars. Here are some images of each individual jar.
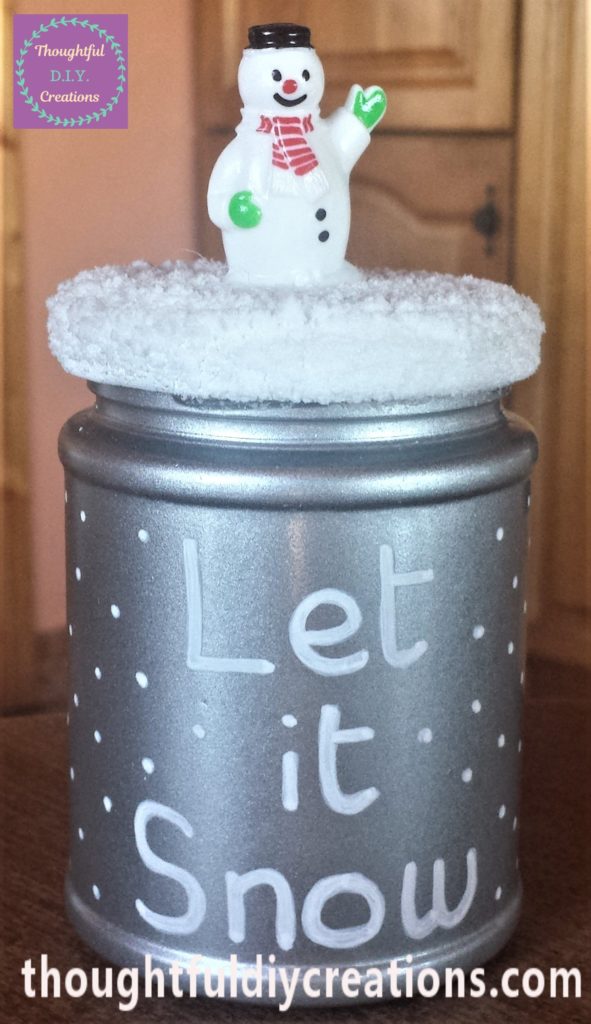
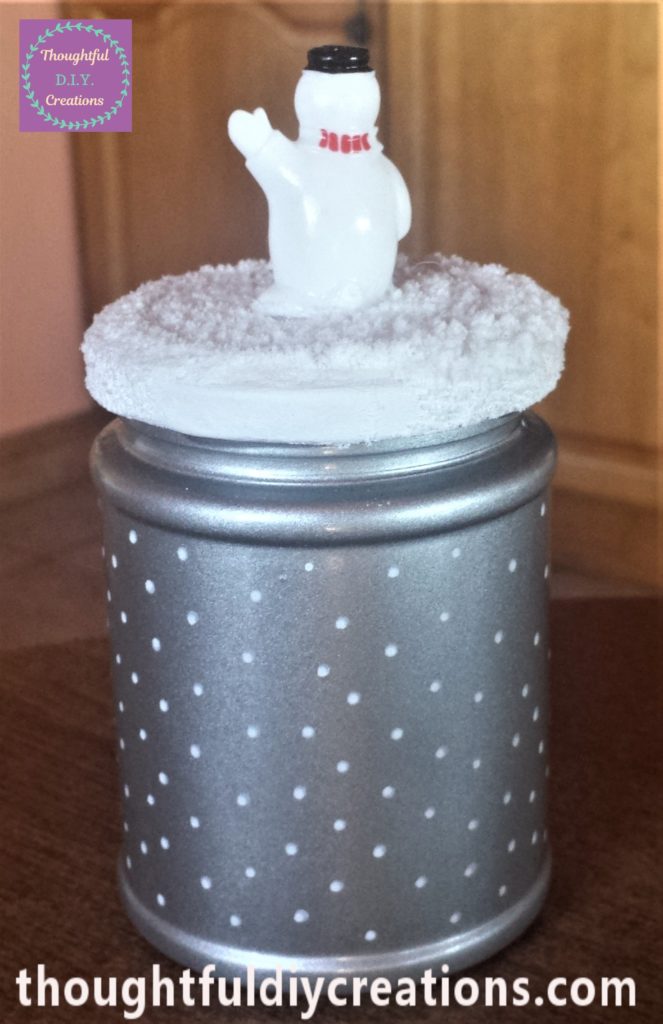
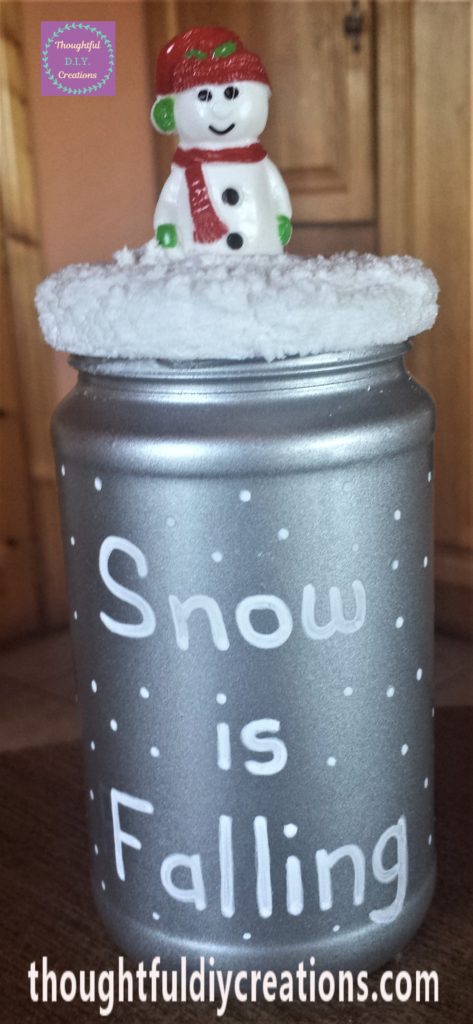
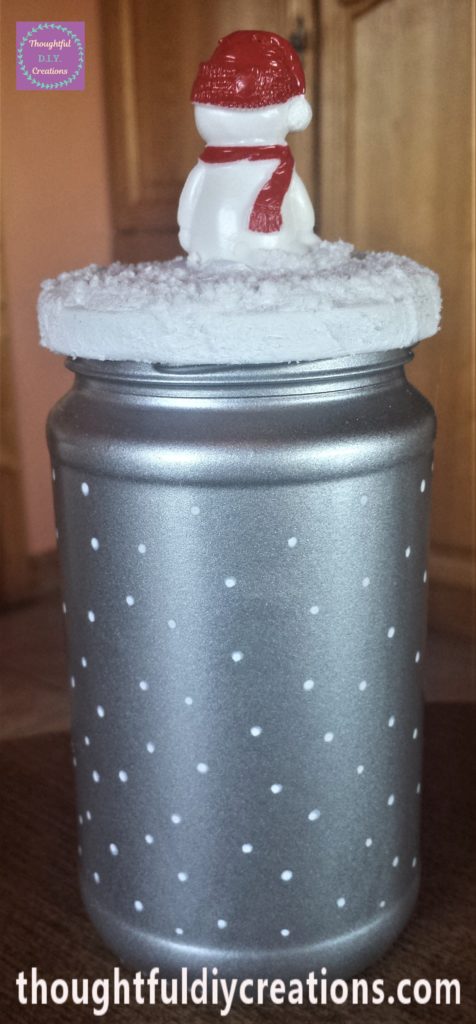
Below are images of all 3 finished D.I.Y. Christmas Jars together.
Conclusion
I was delighted with how the D.I.Y. Christmas Jars turned out. They got a complete transformation. I love that I got to make use of the jars instead of throwing them out. I like how the Christmas Baking Figures were used for a different purpose. I love the fact that the jars can be put on display each year, and they can be put in different places and arrangements to change it up each year.
This is a quick craft to complete; you still have time to make some for Christmas, they would be perfect for Christmas Decor or a last minute gift for someone in your life. If you would like to learn how to Make a Wreath click here; Christmas Wreaths.
I hope you enjoyed the Tutorial and took away some ideas from it. You can change it to suit your preferences. If your colour scheme was gold, you could spray paint the jars gold instead of silver. You could also write different Sentiments on your jars. Another idea would be to add small stickers of snowflakes around the jars.
My D.I.Y. Christmas Jars are more for display but you could use yours to store something in the inside. If I was doing that I probably wouldn’t add the Snow Spray as some bits might come off each time you open the lid. You could add a glitter spray paint to the lid instead or just white, silver or gold spray paint and put a bow on top. You could use the jars for storing Christmas Bows or small embellishments, that way it is serving 2 purposes a Christmas Decorative item and storage container for your supplies.
The D.I.Y. Christmas Jars would also be a thoughtful gift idea for someone. You could add small gift items that they would love to receive. A pair of cosy socks could be folded up and added to a jar, a packet of sweets or a few wrapped mini chocolate bars or biscuits could be included. A hot chocolate set and mini marshmallows could also be added to a jar. It would be a nice gift to give to a teacher, friend, sister, anyone really it can be adapted to whoever you are giving it to.
I can’t believe we are only a week to Christmas, are you all set? This is my last D.I.Y. Christmas Tutorial this year, I’ll have a Tutorial next Wednesday Christmas Day but it won’t be Christmas themed. Happy Shopping, Wrapping Presents and Crafting everyone.
Thank you so much for taking the time to read my Blog.
Always Grateful,
T.D.C.
xxxxx

-0 Comment-