D.I.Y. Christmas Stones
Hello my Creative Friends,
I hope you are all well. In Today’s Tutorial I will show you how to paint your own D.I.Y. Christmas Stones. It is a quick, easy and fun seasonal craft the whole family can get involved in. I hope it inspires you to take time to get creative this Christmas.
Collecting the Stones for Crafting
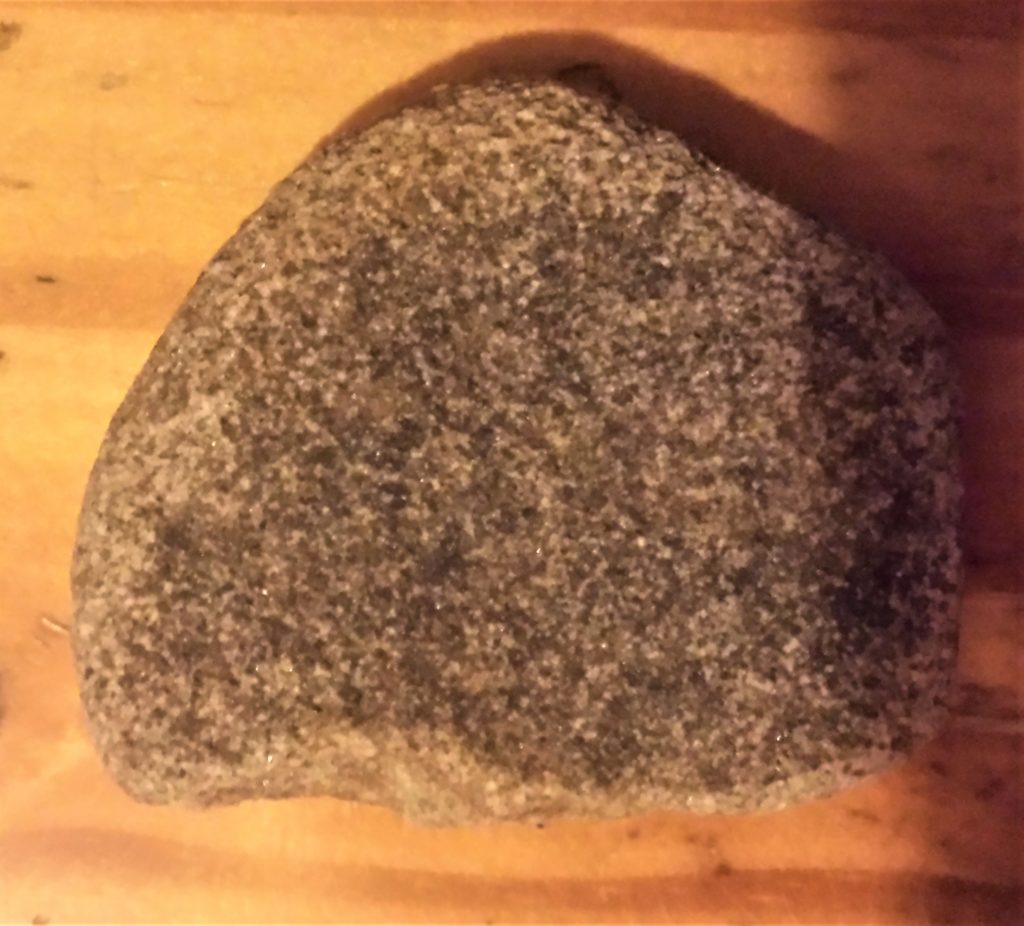
I went for a walk in nature and collected some stones. You can take your time and pick whatever size and shape stones you are drawn to as they can be painted and transformed into different Christmas scenes. The only requirement is that they are mostly smooth to make it easier to paint your sentiment or picture on the stone.
Preparing the Stones for Crafting
I washed the stones one-by-one by holding them over a basin of hot water and scrubbed them lightly with a cleaning brush. I laid the stones down on a towel to dry. I gave them a full day to dry completely and turned them over a few times throughout the day to ensure they were drying evenly on both sides.
D.I.Y. Christmas Stones: No: 1
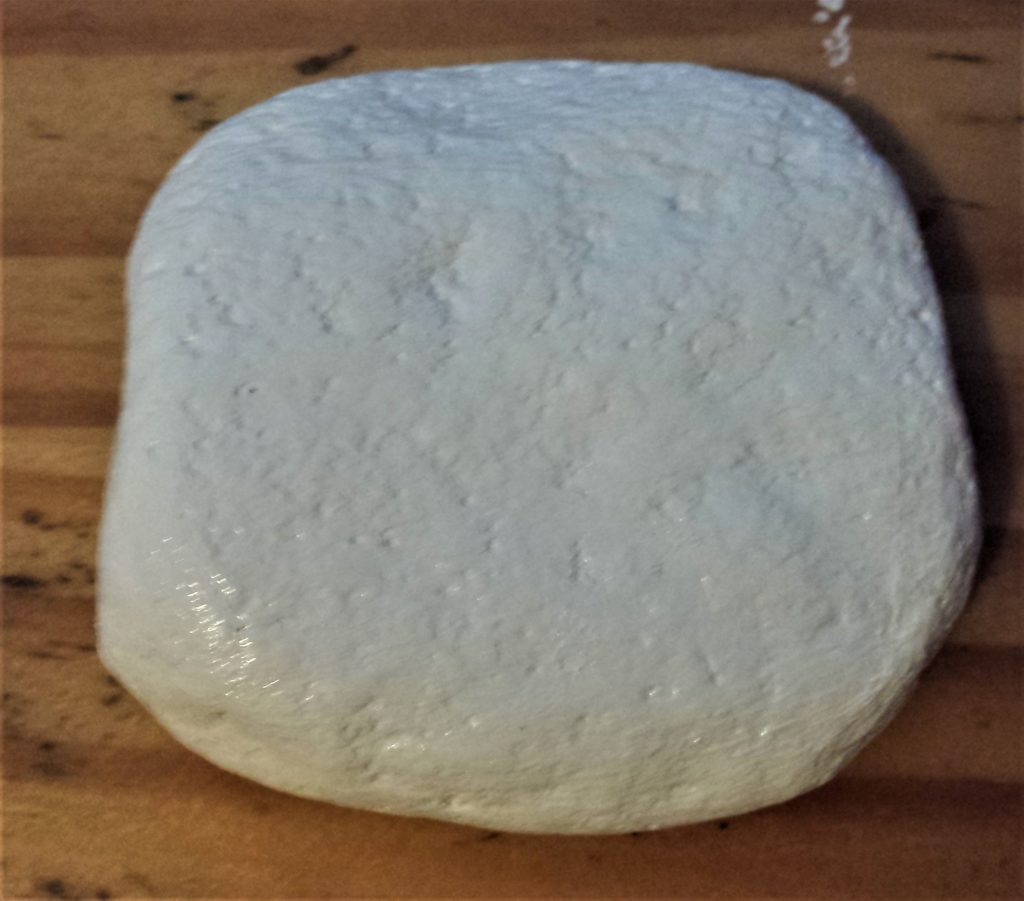
I started with the stone for the center of the D.I.Y. Christmas Stones Display.
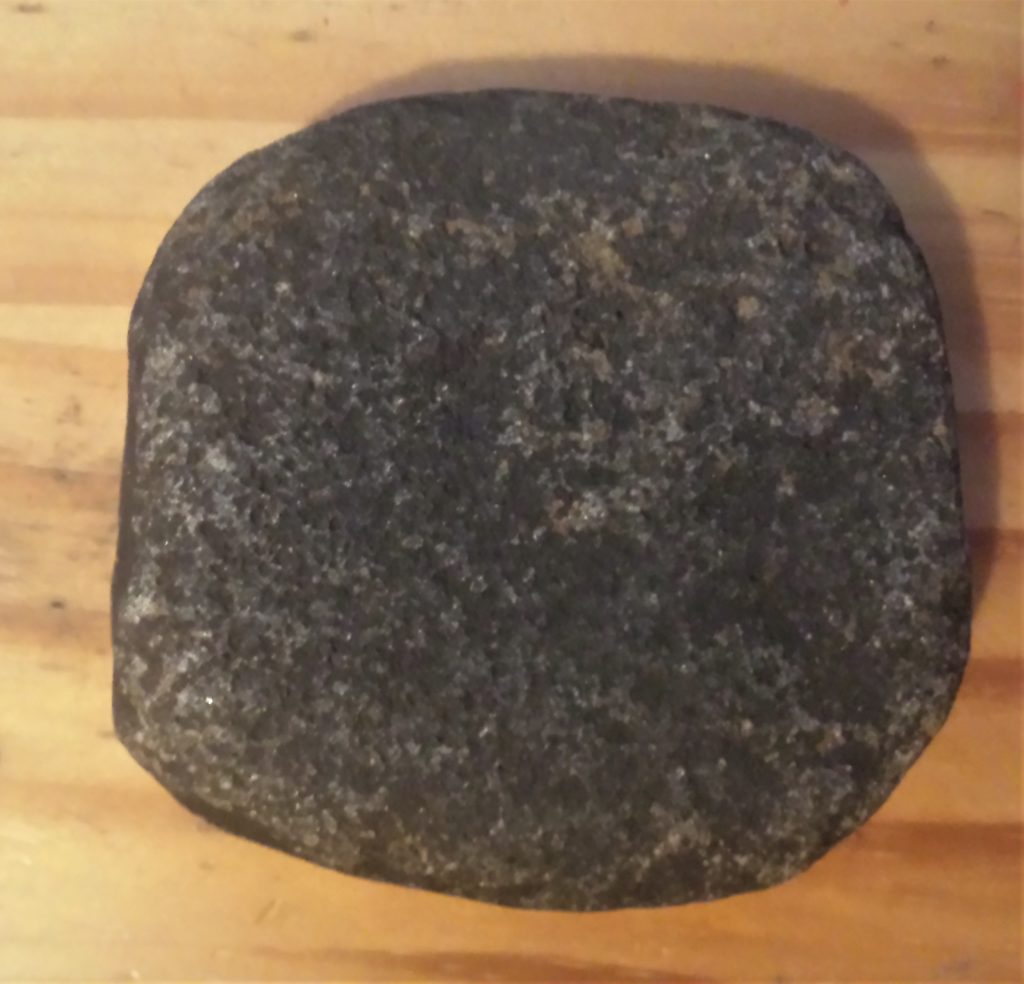
I used ‘Titanium White Acrylic Paint’ to paint the stone. Titanium White Paint. I used a medium size paintbrush. Paint Brush Set. I painted the first layer of paint onto the front and sides of the stone.
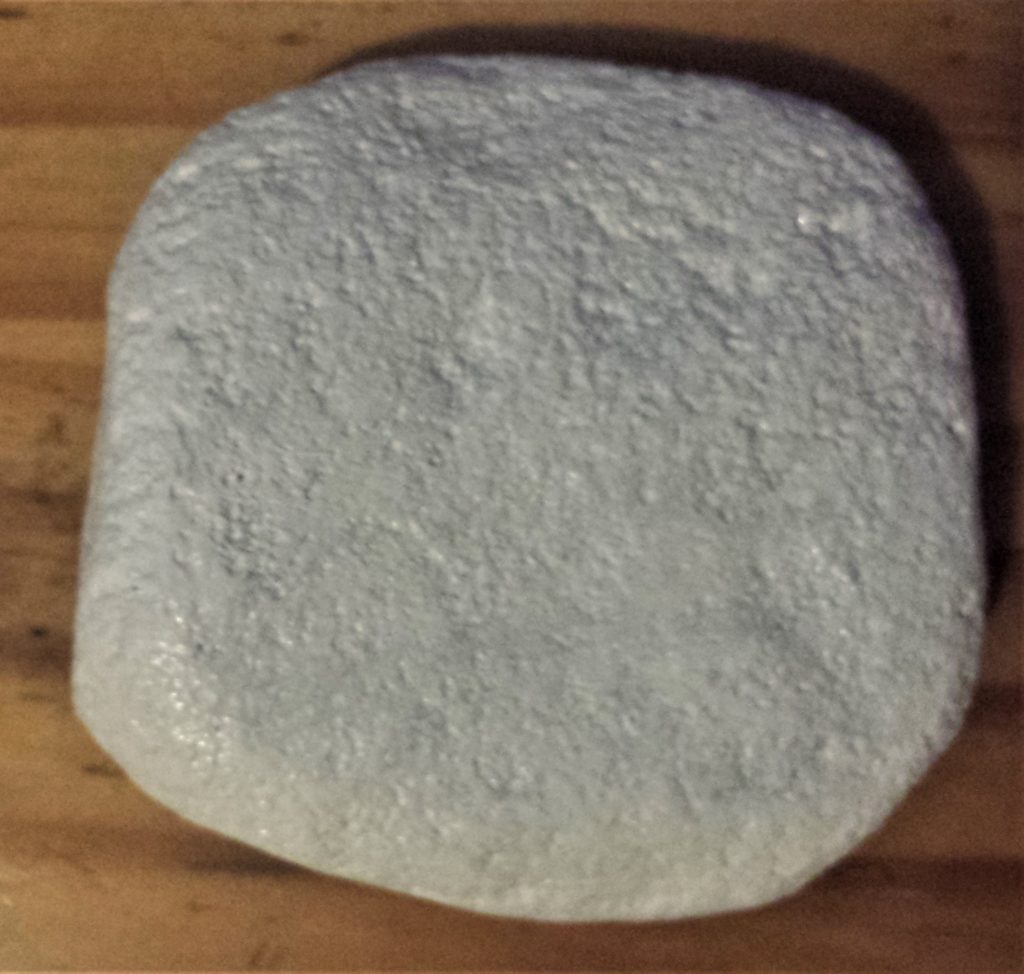
I waited an hour between each layer of paint. I then painted the second layer of white paint onto the stone.
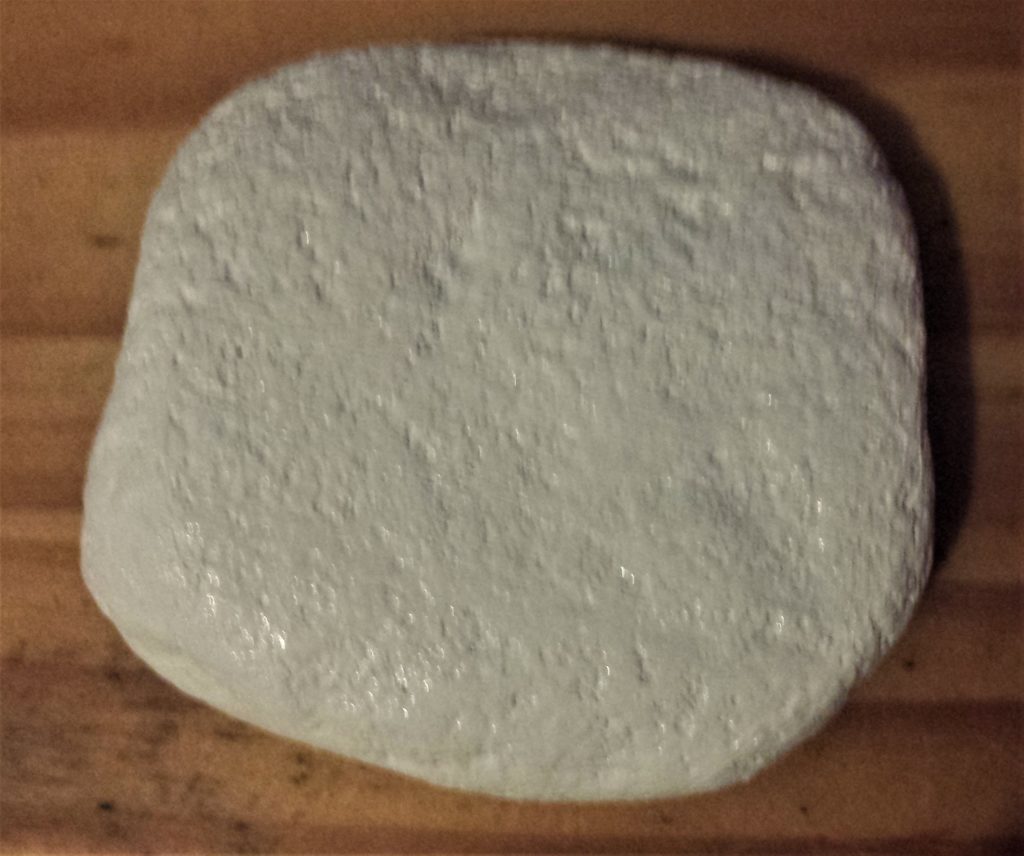
I painted two more layers of paint onto the stone. Titanium White Paint.
I added one more layer of paint to the stone. The next day I painted five layers of white paint to the back of the stone, leaving an hour drying time between each layer. Titanium White Paint.
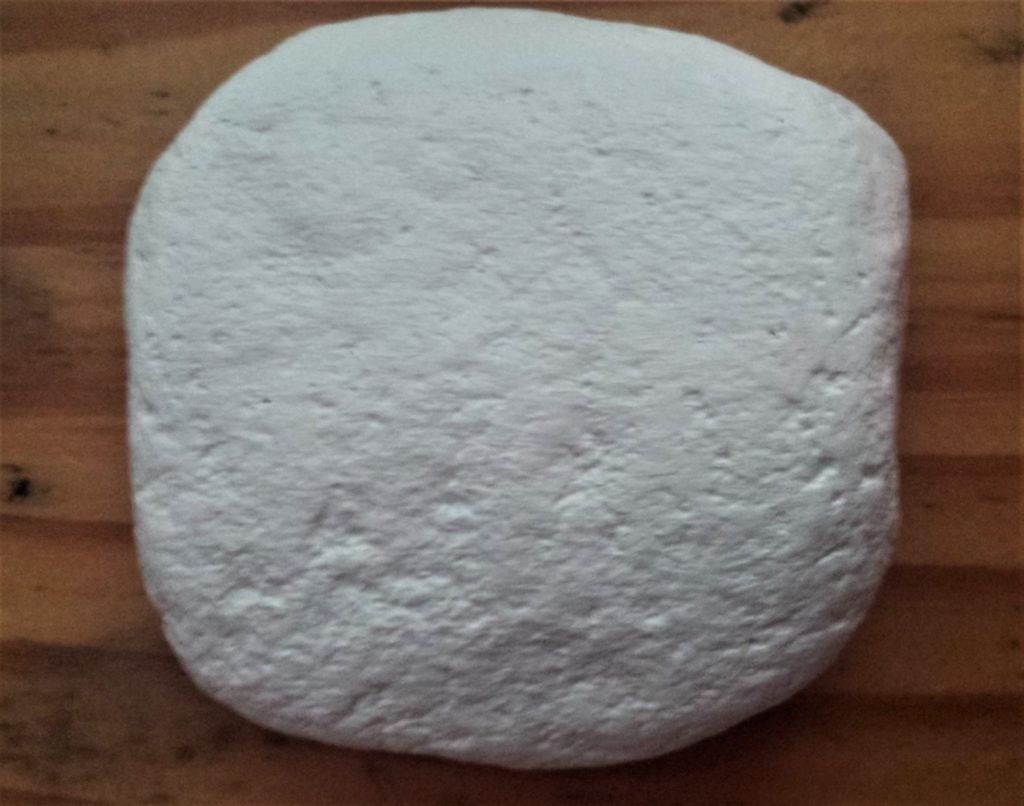
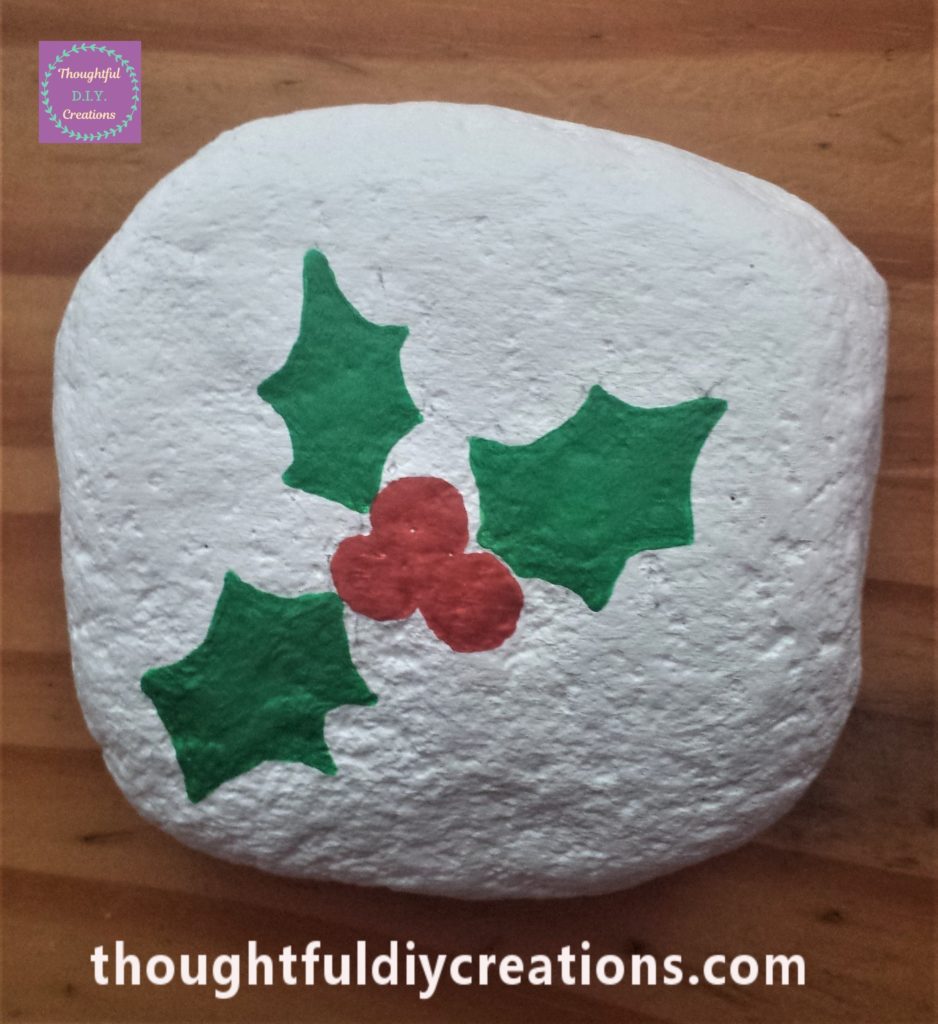
I drew 3 holly leaves and berries onto the stone using a pencil.
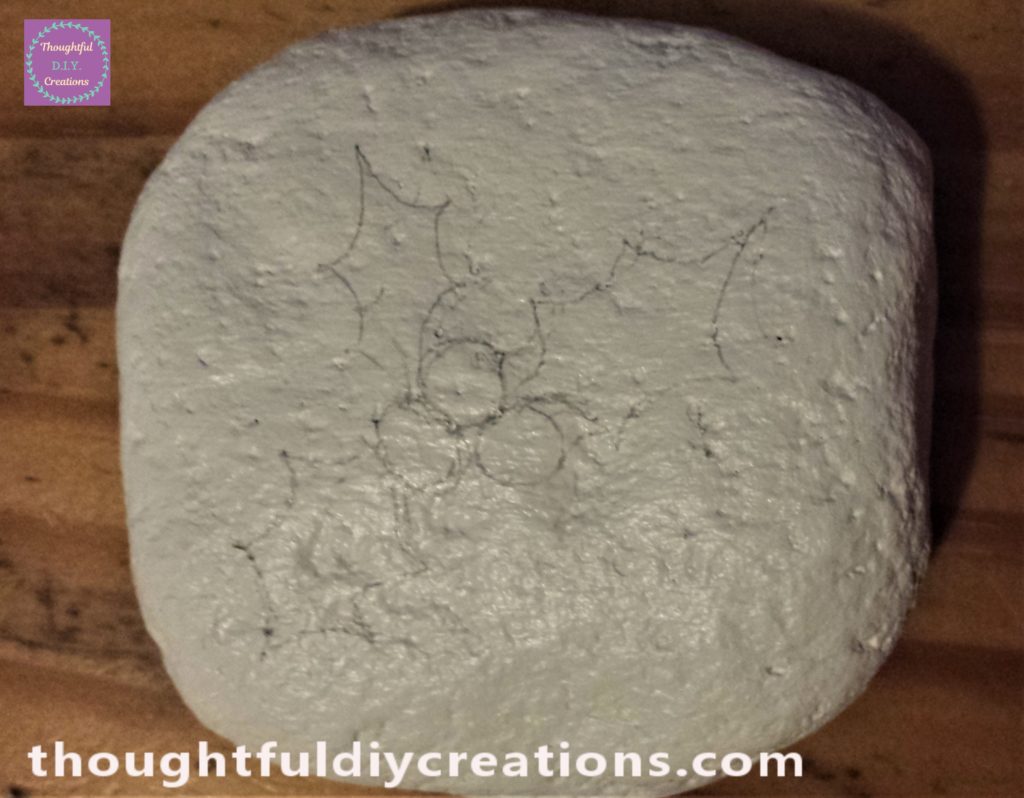
I painted the leaves using ‘Permanent Green Middle’ Acrylic Paint by ‘Winsor & Newton’ and a small fine- tip paintbrush. Paint Brush Set. Winsor Newton Green Paint.
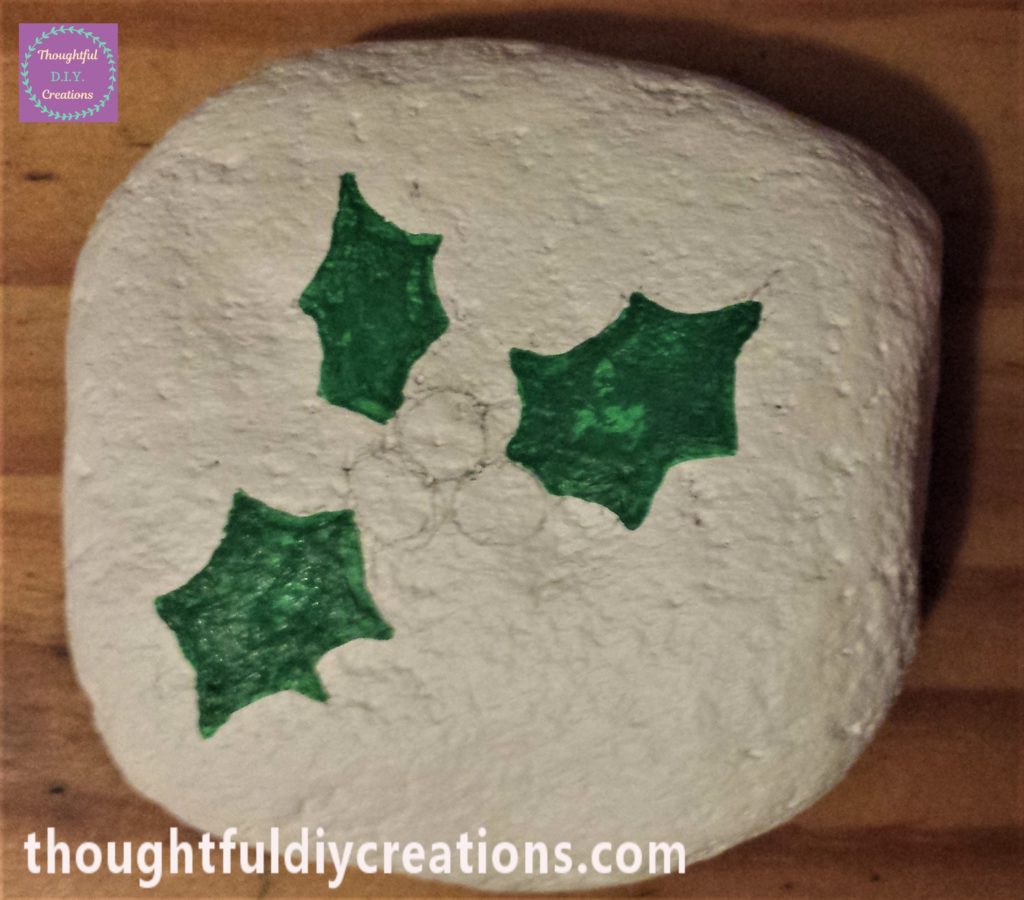
When the first layer of paint was dry I added another to the leaves. Winsor Newton Green Paint.
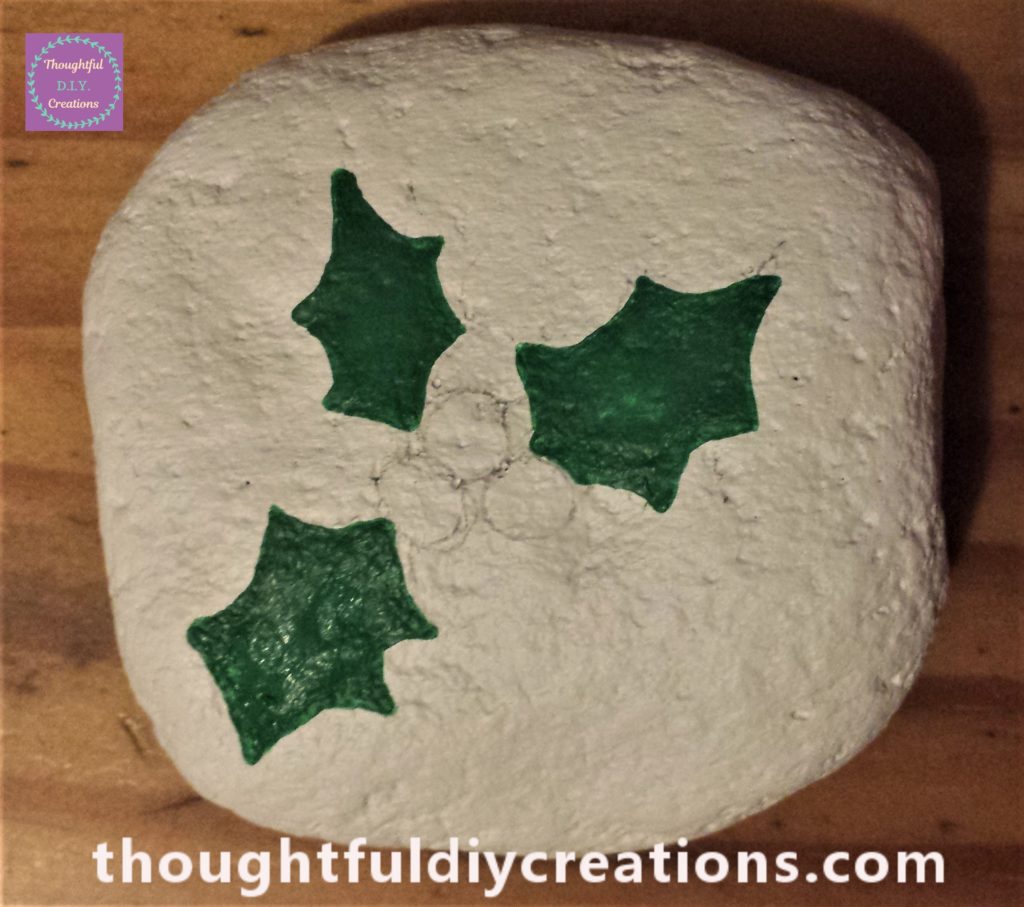
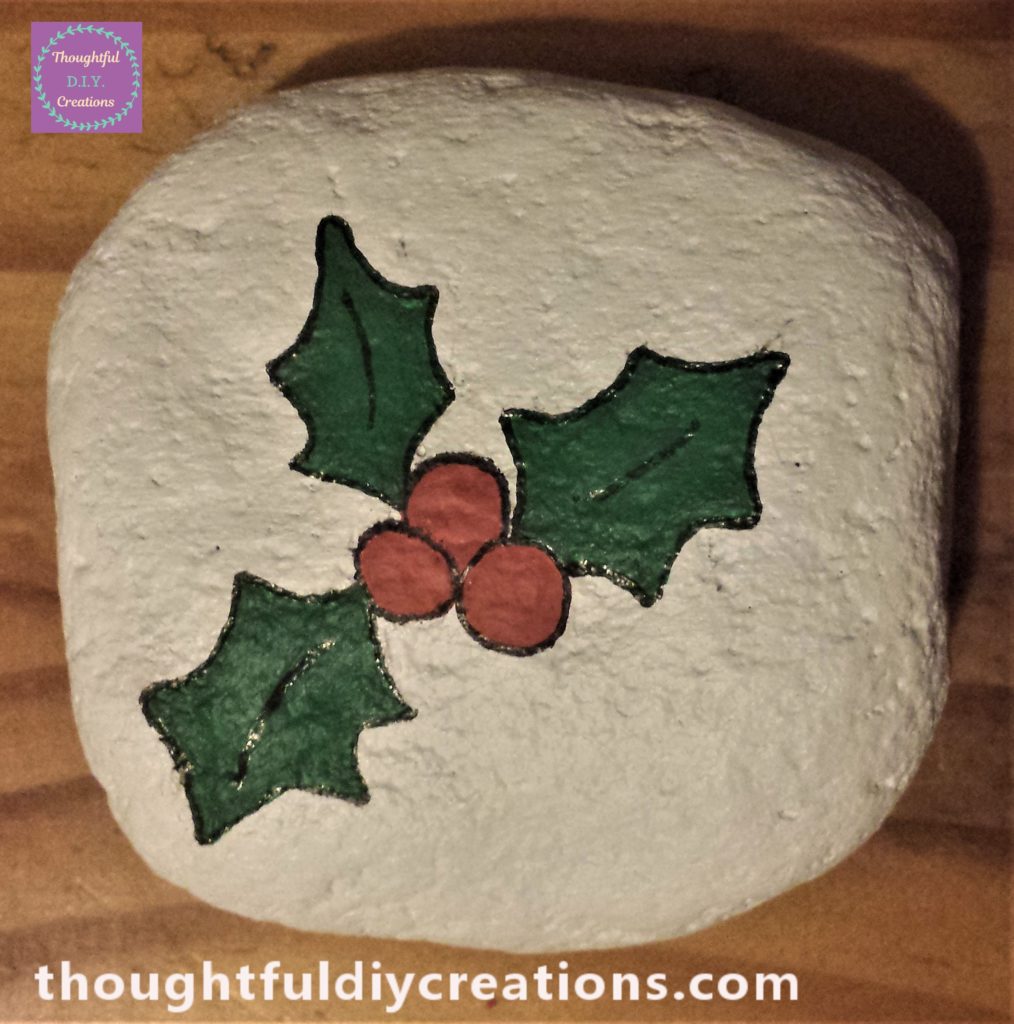
I used a ‘Daler & Rowney Acrylic Paint Marker’ in Red 2-3mm to paint the berries. Daler Rowney Paint Markers.
I used a ‘uni POSCA Acrylic Paint Pen’ in Black 0.7mm to outline the holly leaves and berries. This completed the first of the D.I.Y. Christmas Stones. uni Posca Paint Pens.
D.I.Y. Christmas Stones: No: 2
For the rest of the D.I.Y. Christmas Stones I used ‘Cadmium Red Hue’ Acrylic Paint by ‘Winsor & Newton’ and a small paintbrush. Cadmium Red Hue Paint. Paint Brush Set.
I put some paint into a glass bowl to make it easier to paint each stone. I painted the first layer of paint onto the front and sides of the stone.
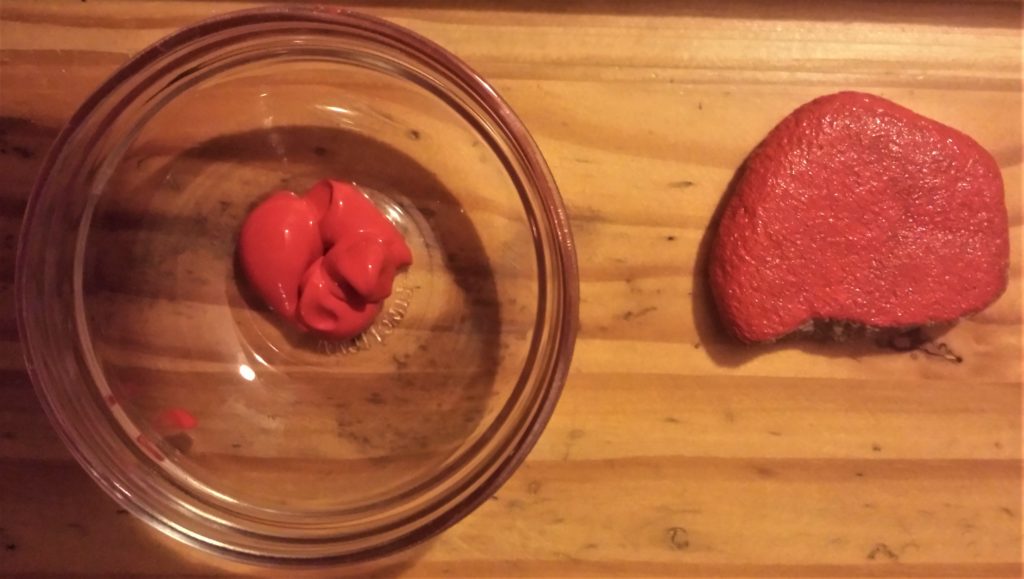
I gave each red stone 4 layers of paint, also leaving an hour between each application. The next day I applied 4 layers of red paint to the back of each stone. Cadmium Red Hue Paint.
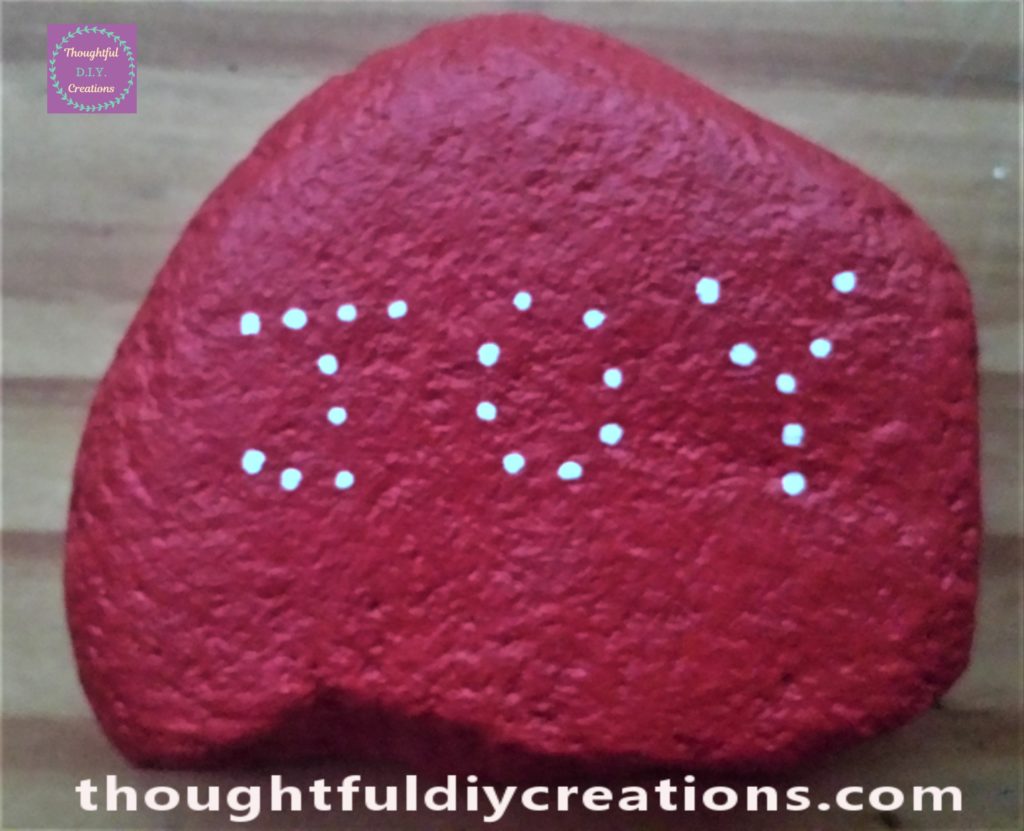
I wrote the word ‘JOY’ onto the first red stone using a ‘uni POSCA Acrylic Paint Pen’ in white 0.7 mm. I applied the word by pressing the nib of the paint pen onto the stone and forming dots.
uni Posca Paint Pens.
I applied a couple more layers with the paint pen allowing time between layers for the paint to dry. This completed the second of the D.I.Y. Christmas Stones.
D.I.Y. Christmas Stones: No: 3
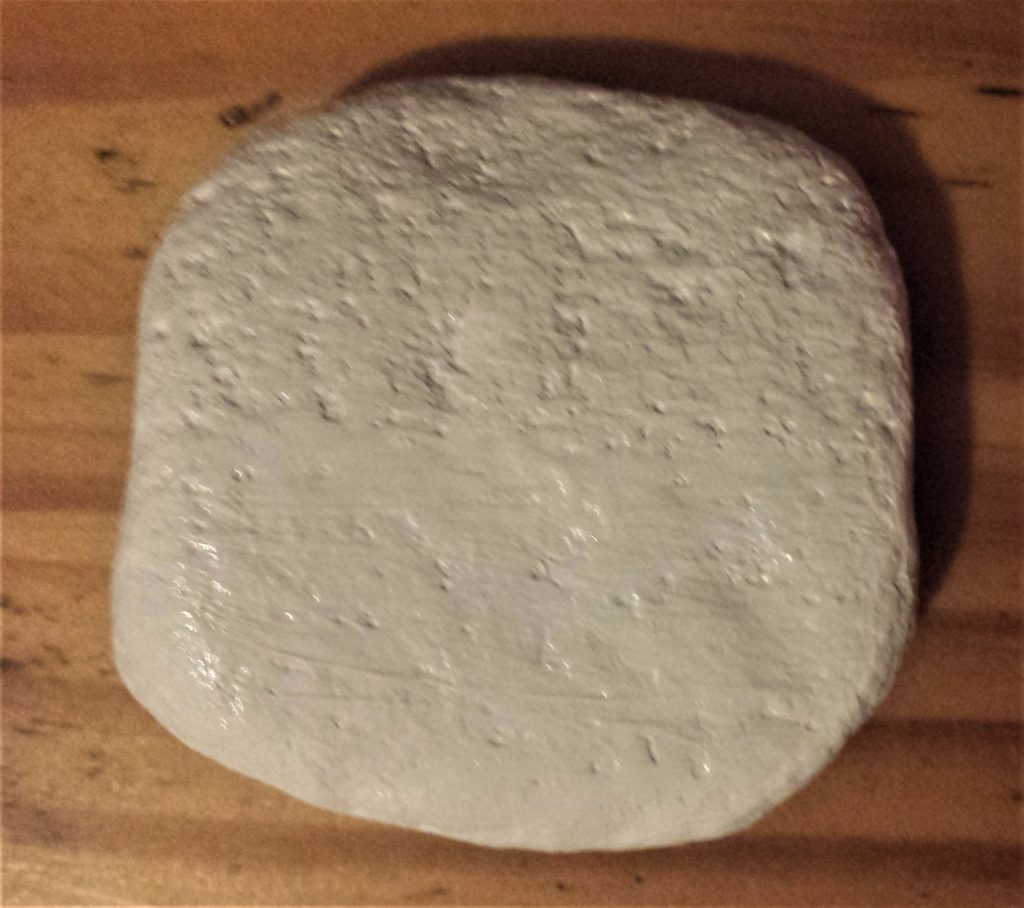
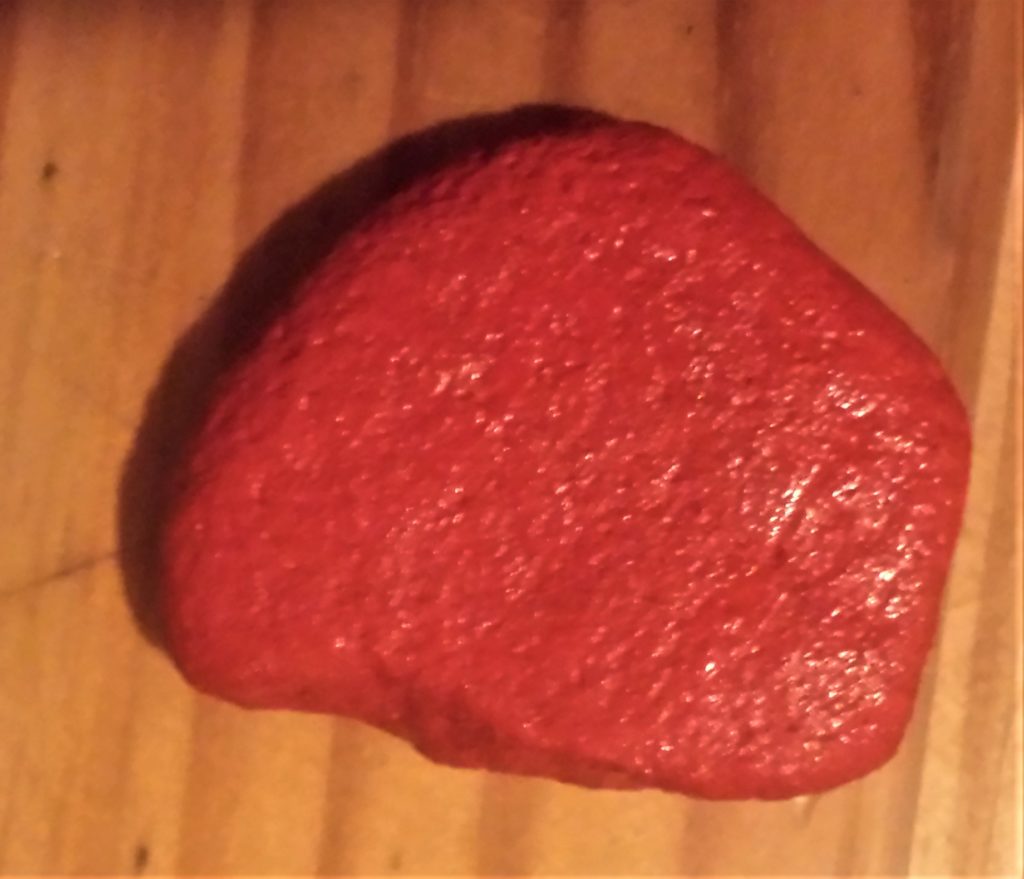
The next stone was also given 4 layers of red acrylic paint. This is it before being painted.
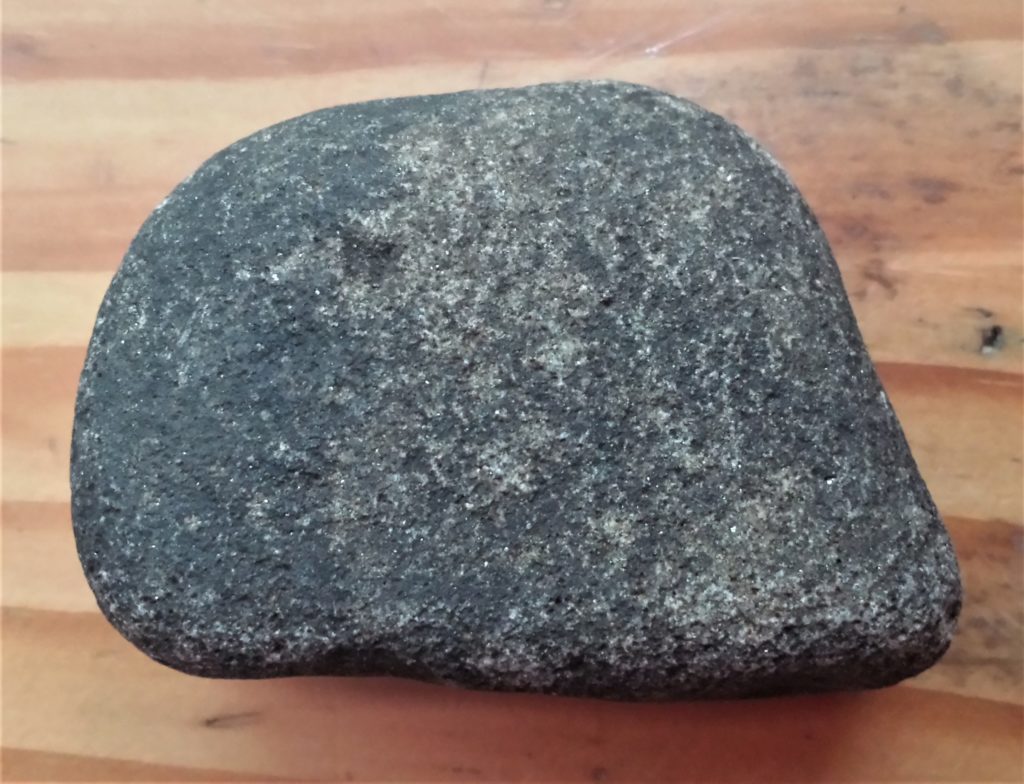
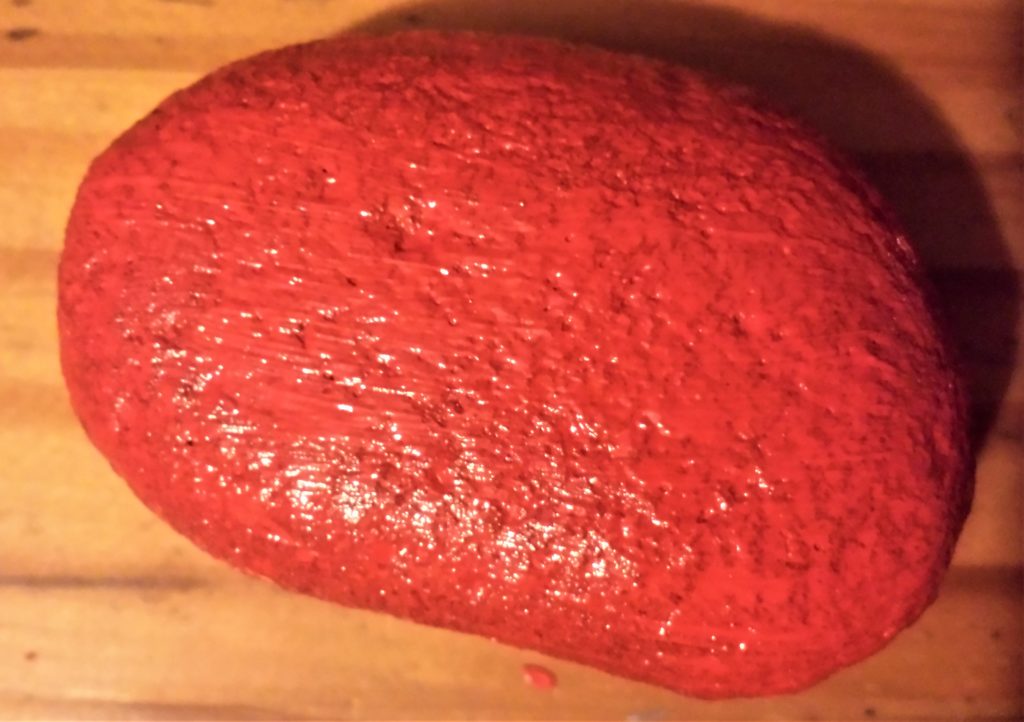
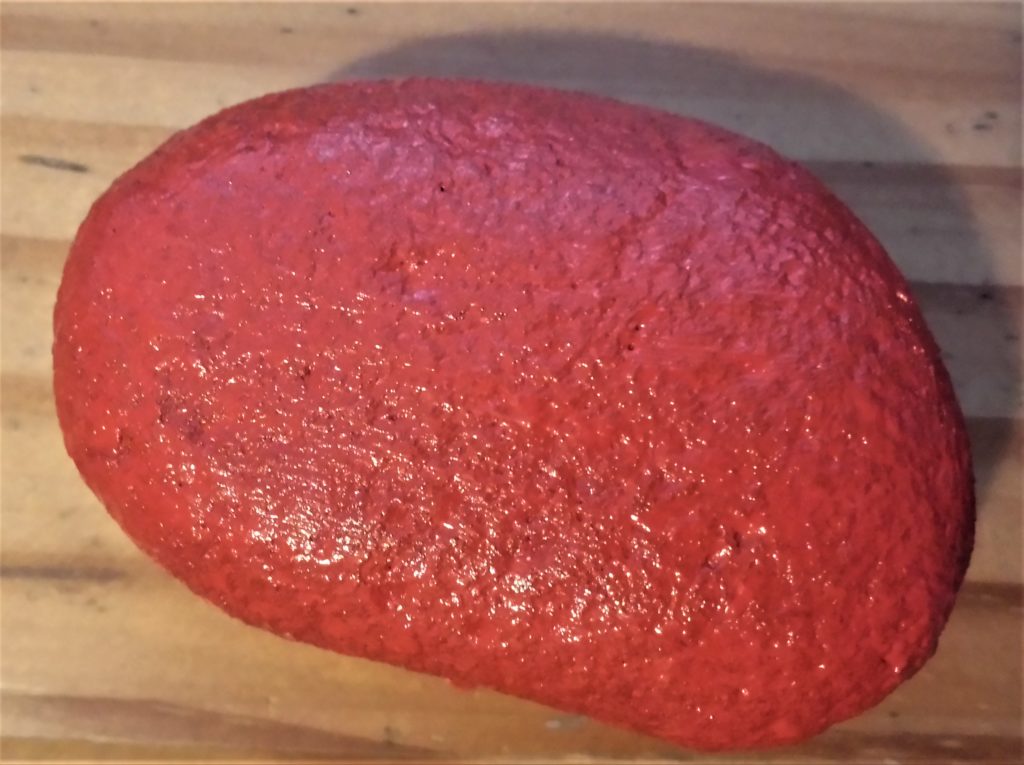
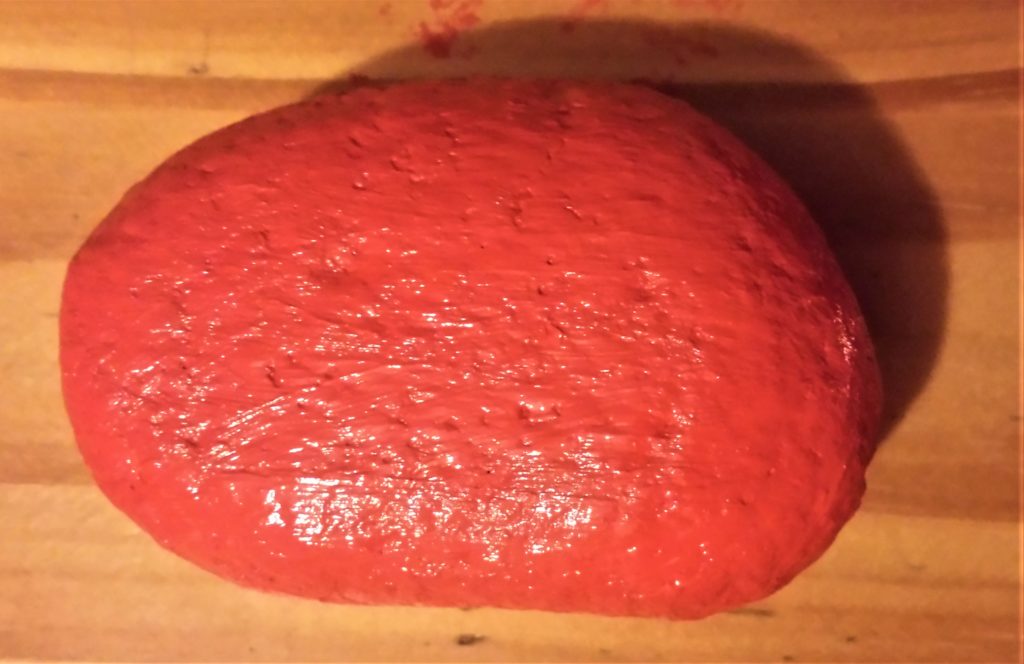
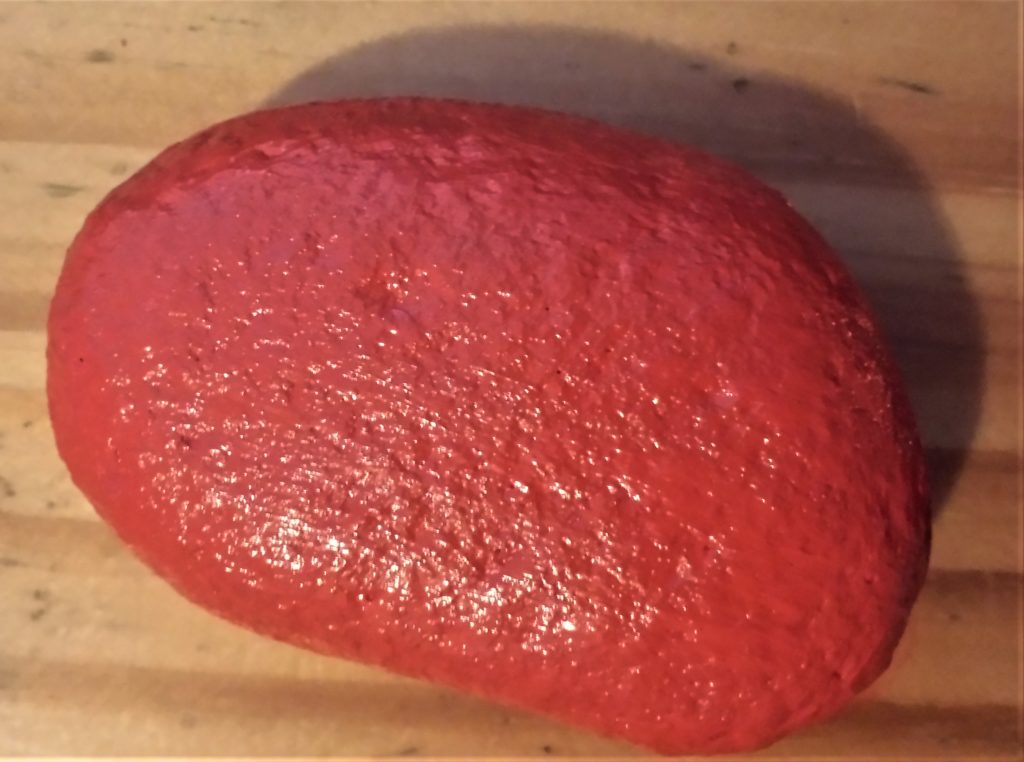
The images below show the stone after each layer of red acrylic paint. Cadmium Red Hue Paint.
For this stone I chose to write the sentiment ‘Merry Christmas’. I used the white paint pen and gave it a few layers for the writing to be clear and bright. This completed number 3 of the D.I.Y. Christmas Stones. uni Posca Paint Pens.

D.I.Y. Christmas Stones: No: 4
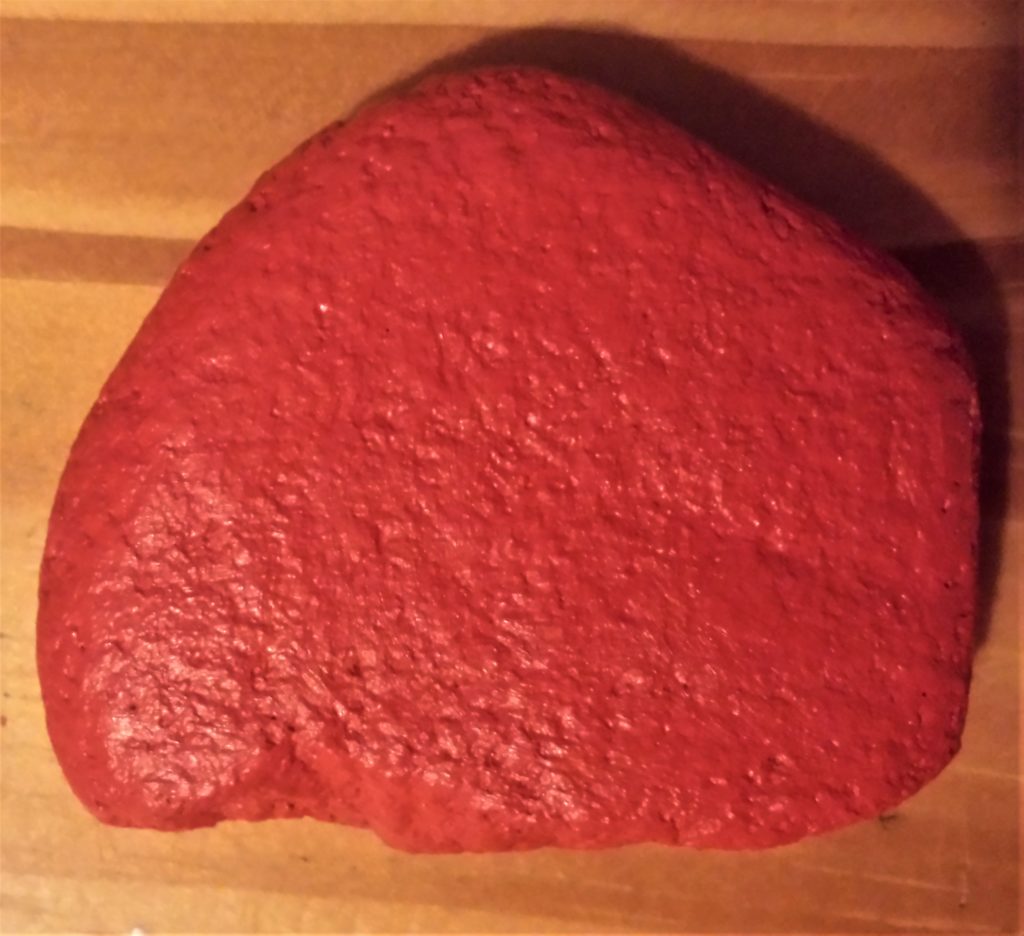
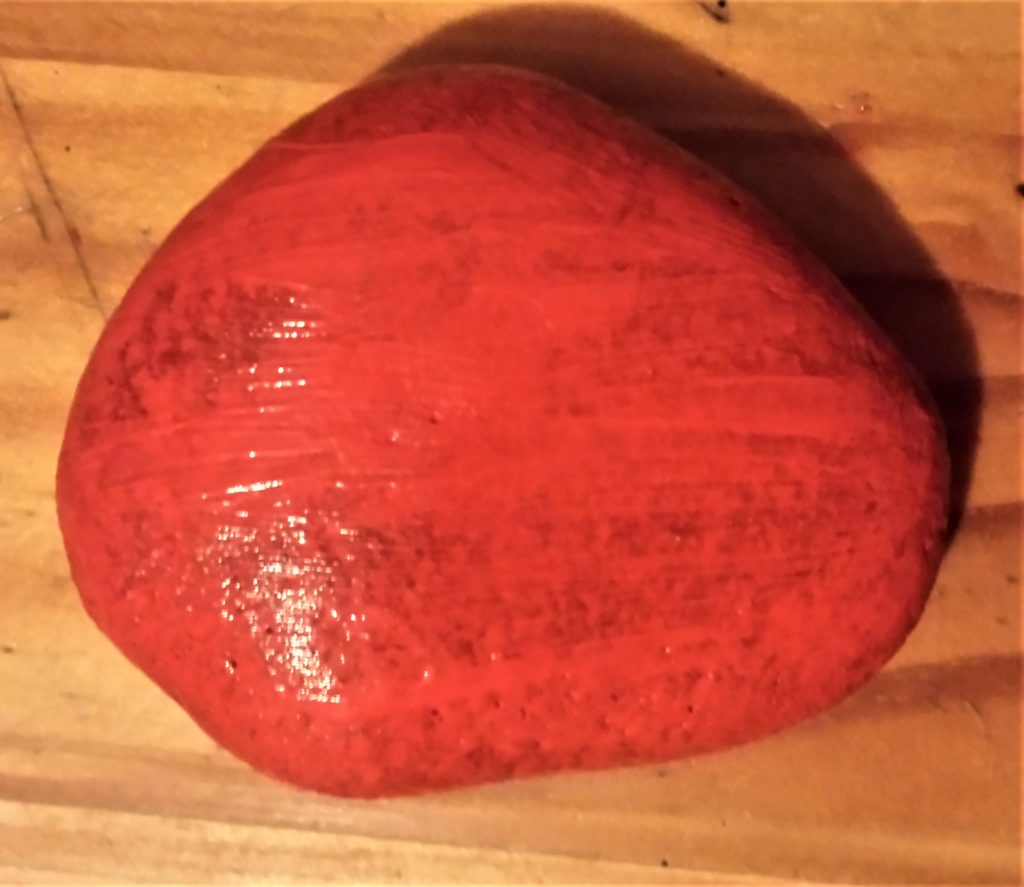
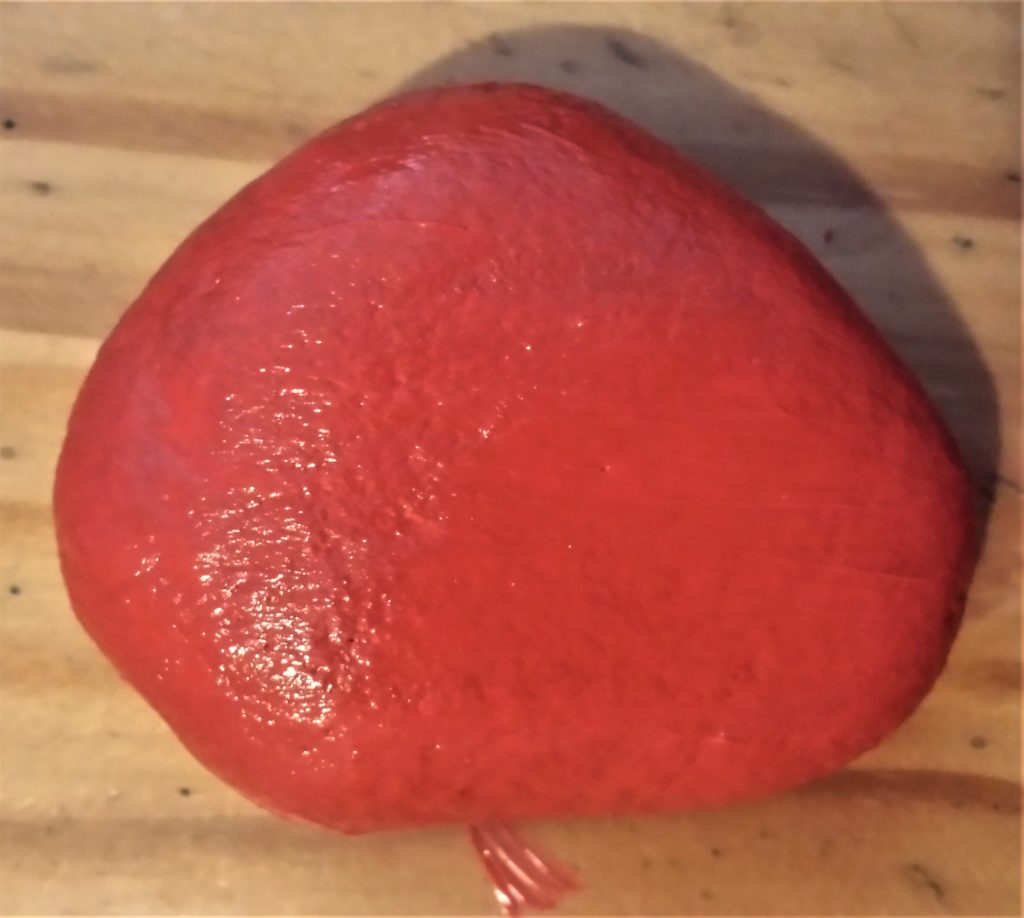
This is the next natural stone prior to being painted.
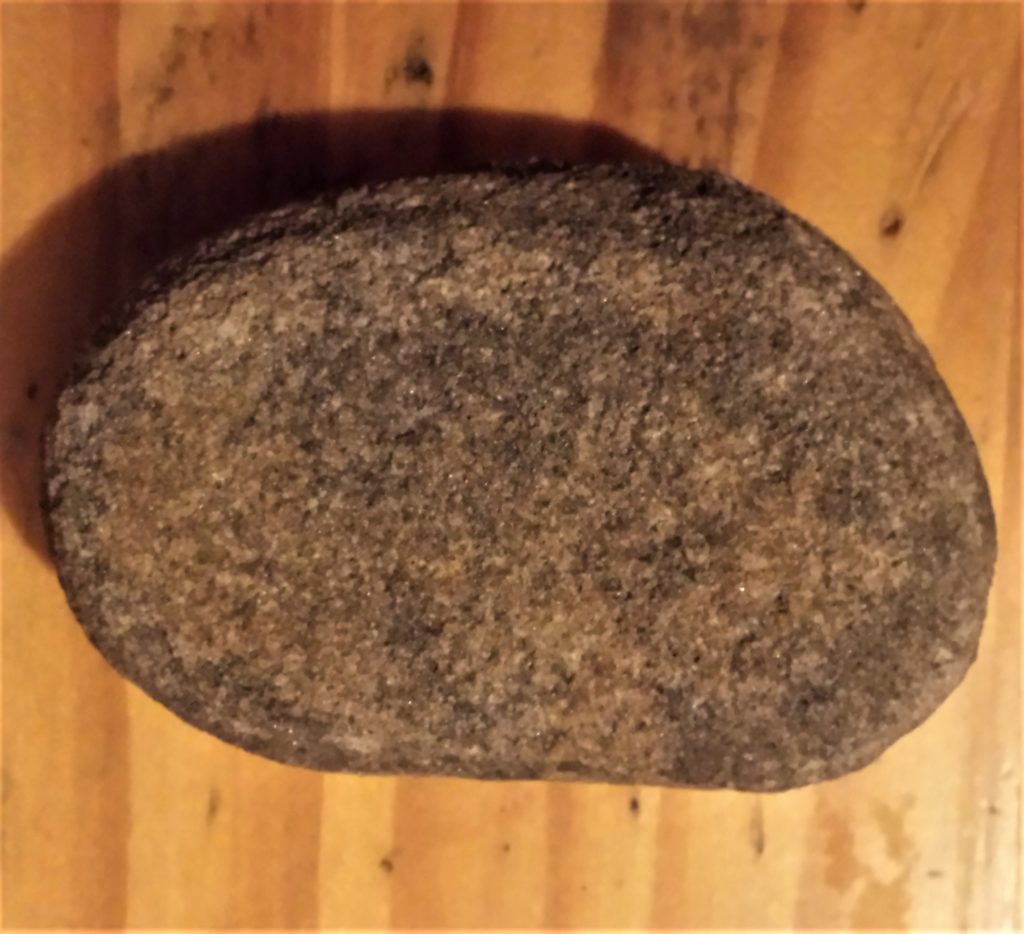
Here it is after each of the four layers of red acrylic paint. Cadmium Red Hue Paint.
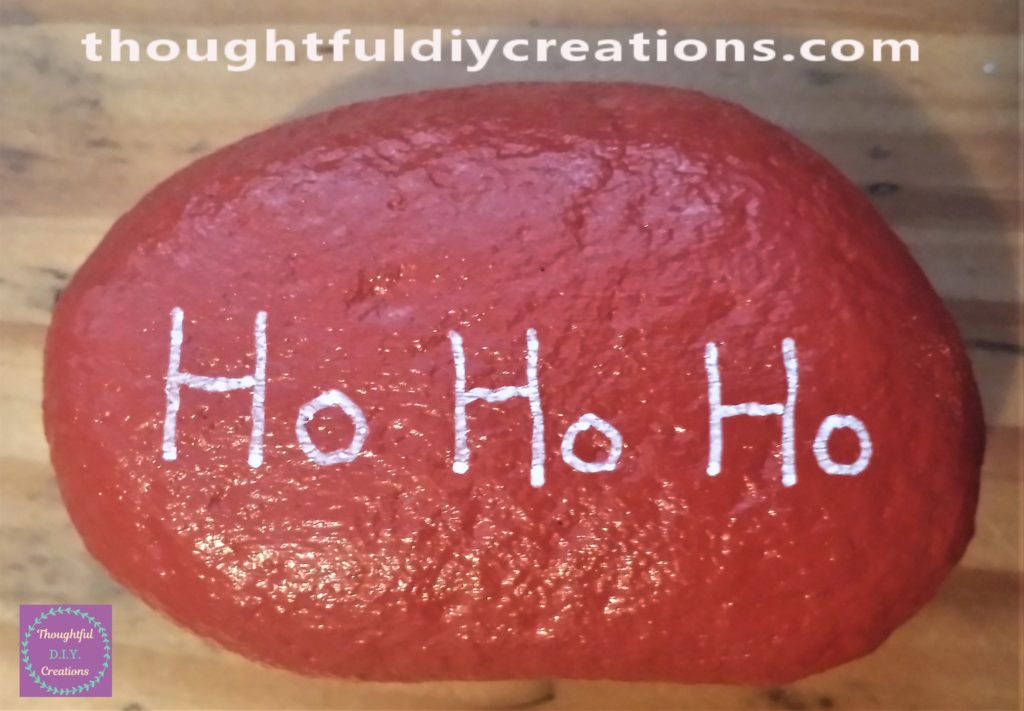
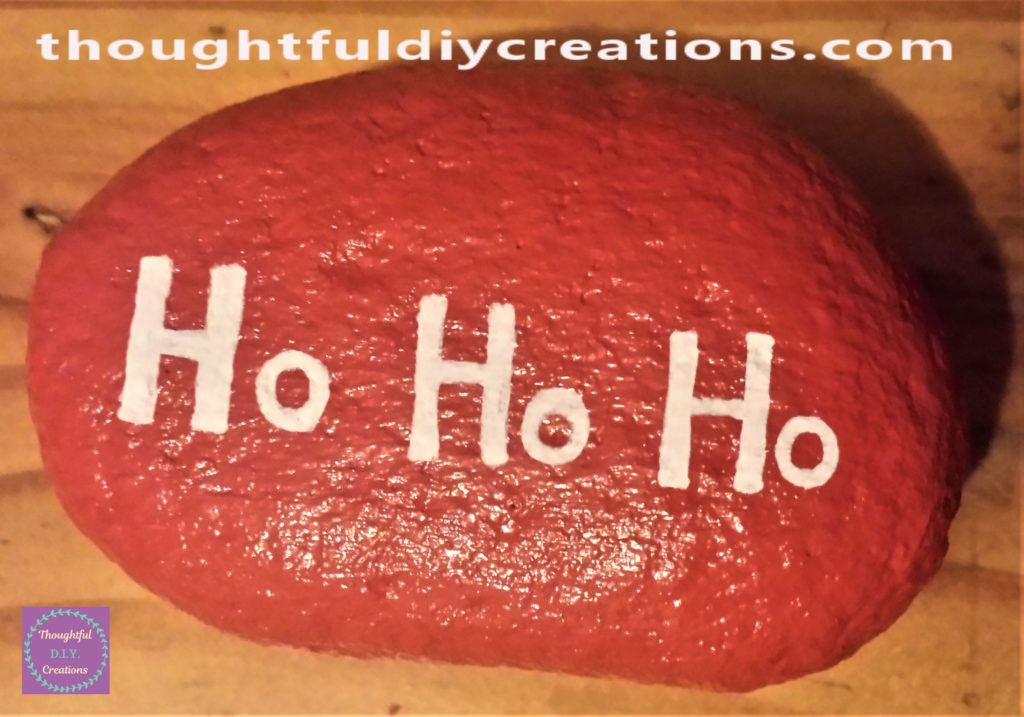
I wrote the words ‘HO HO HO’ on the stone using the white paint pen. I went over it a few times to ensure it was eligible. uni Posca Paint Pens.
D.I.Y. Christmas Stones: No: 5
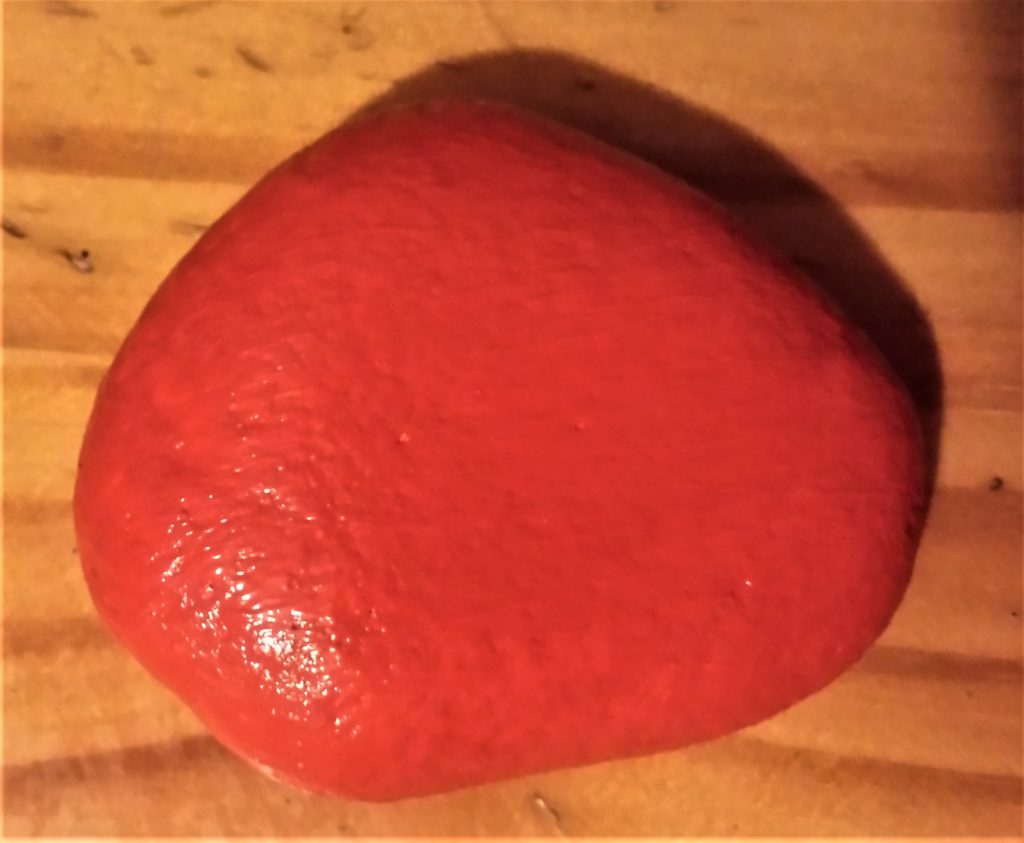
This is the fifth stone before being painted.
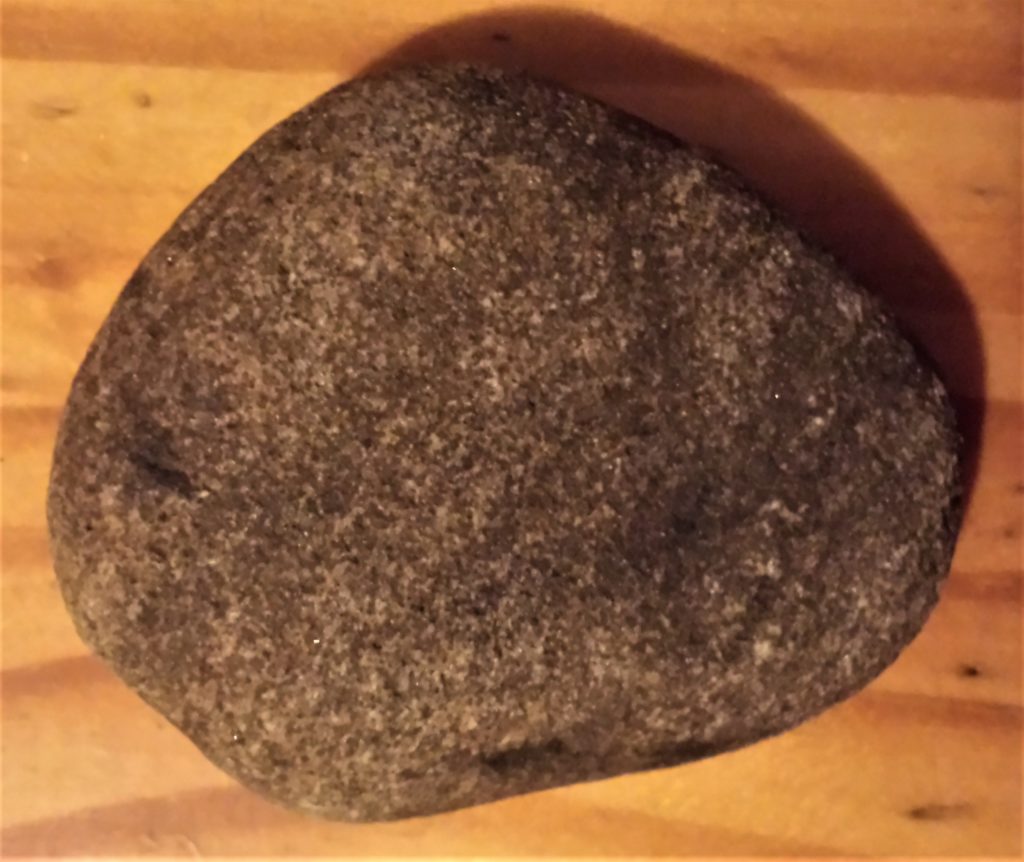
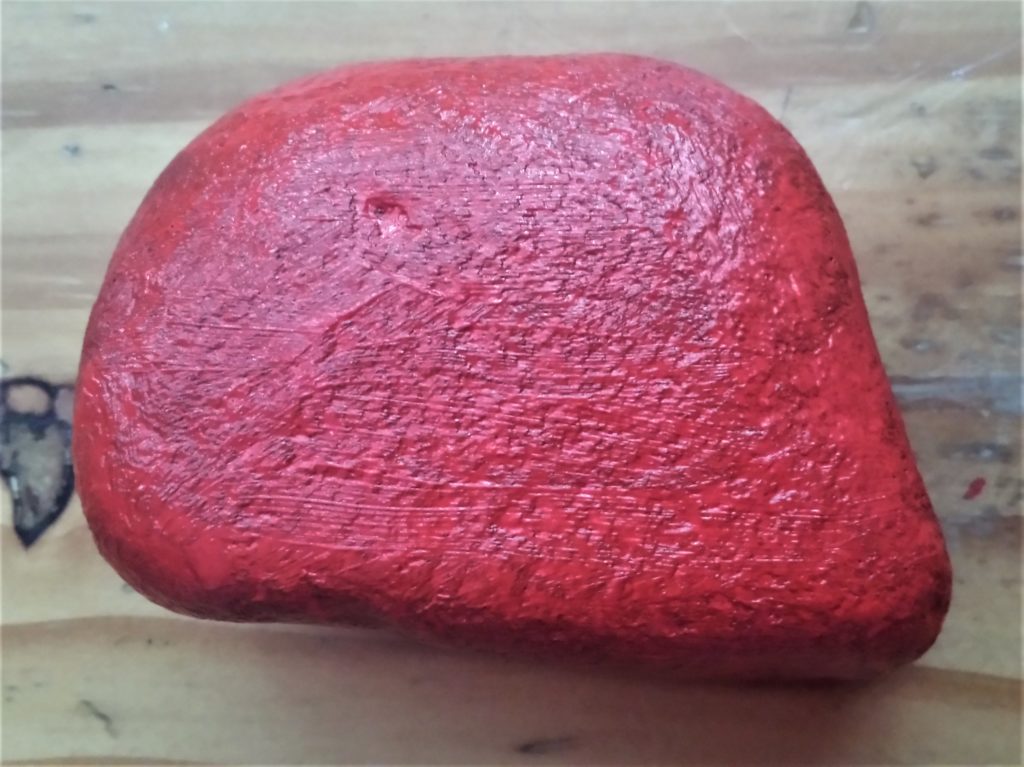
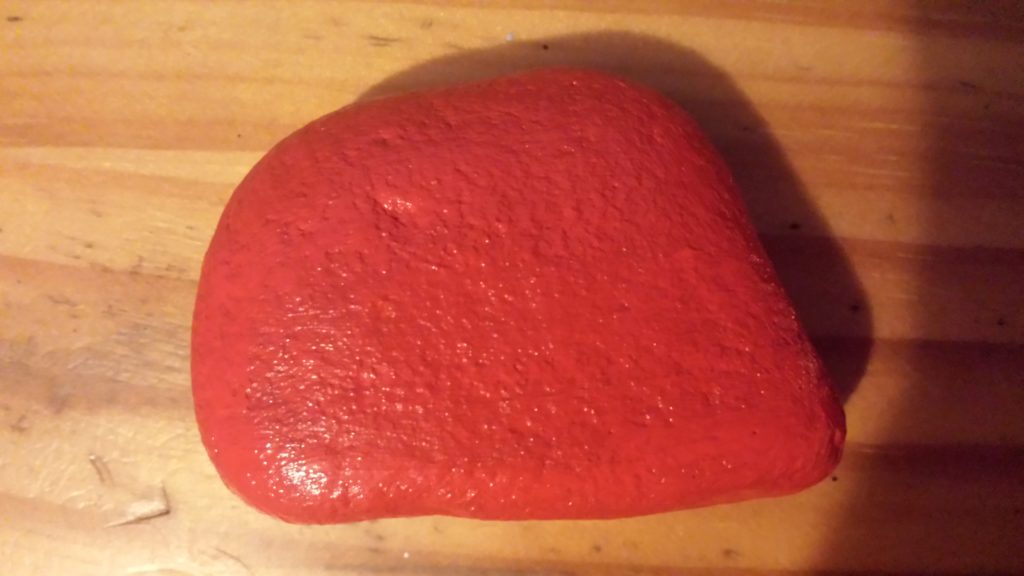
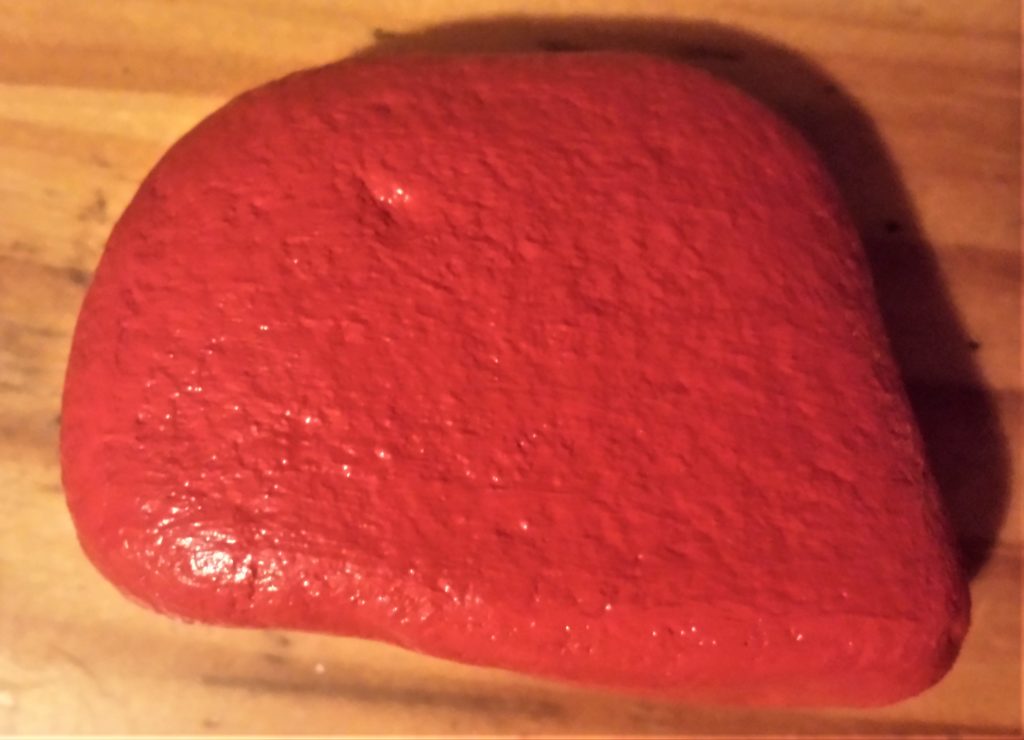
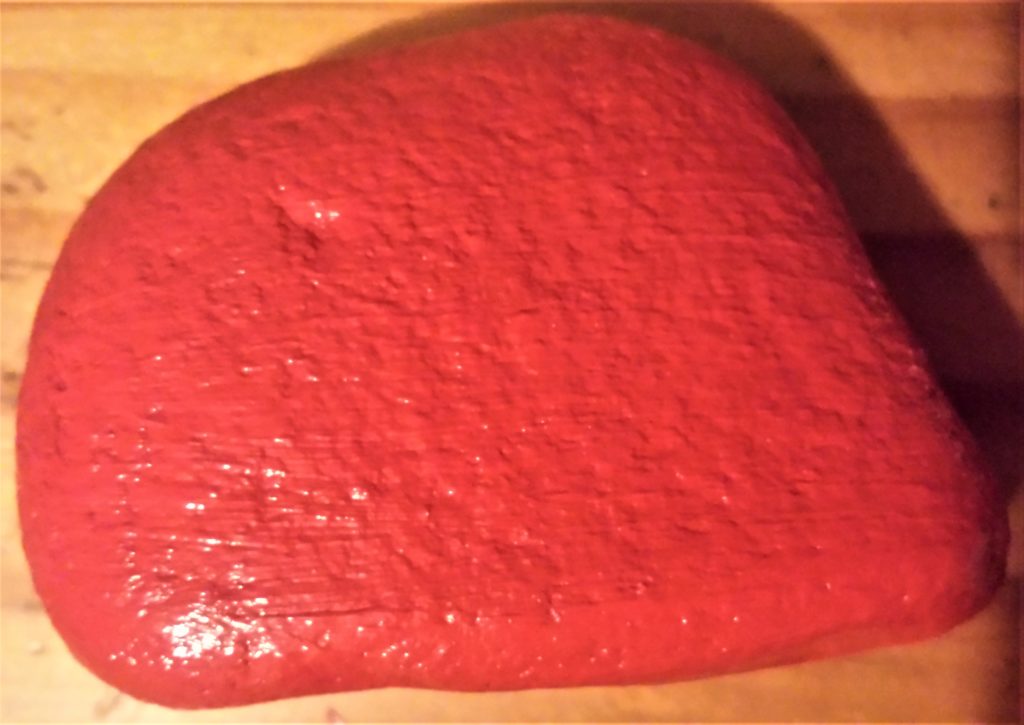
Here are the stages of painting the stone red. Cadmium Red Hue Paint.
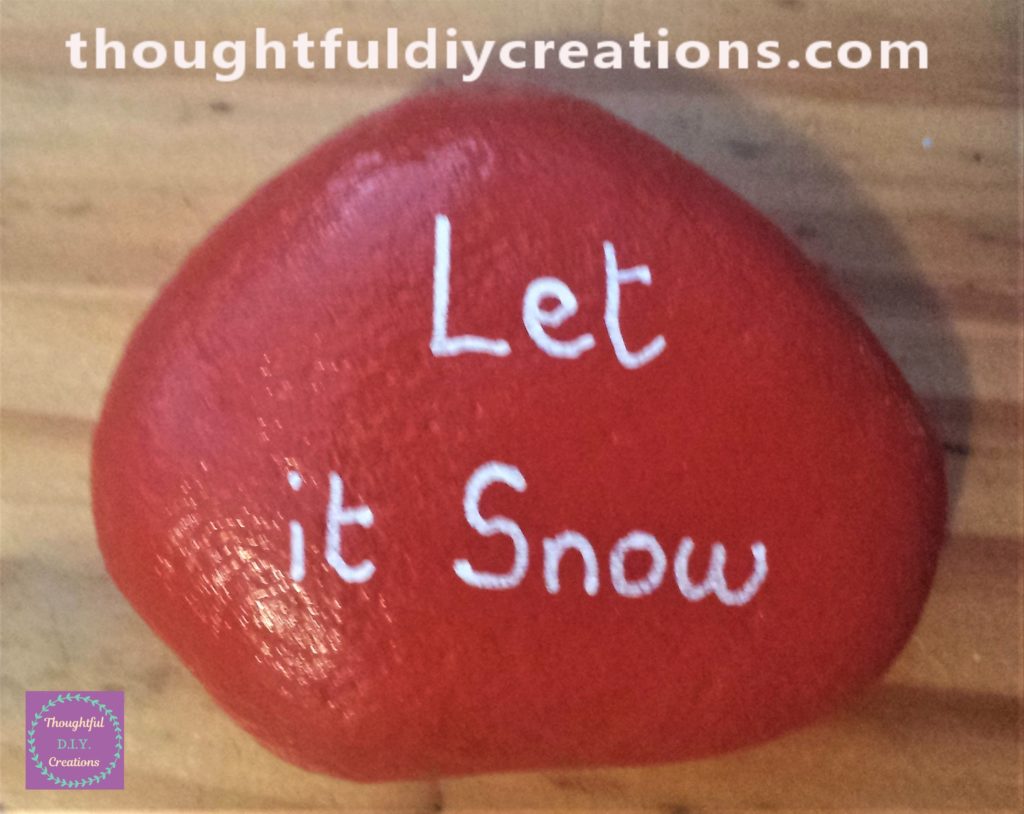
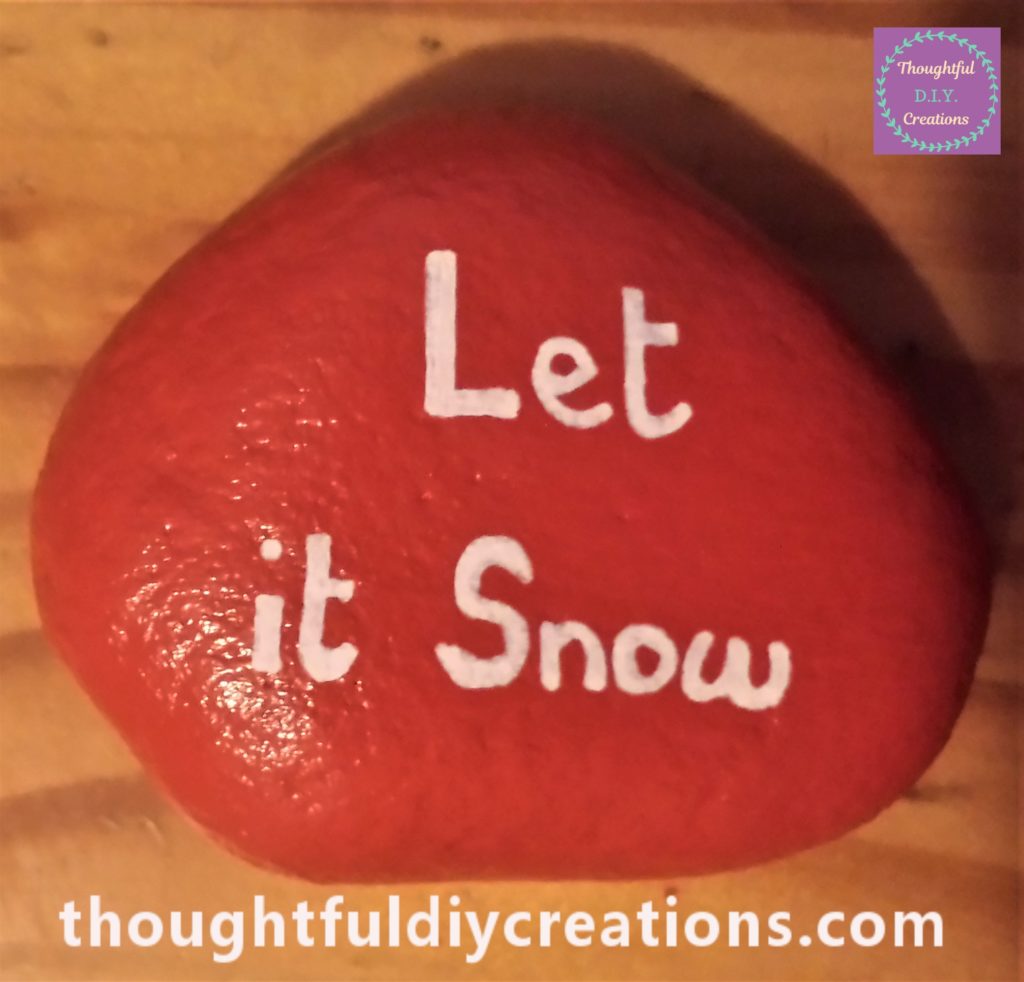
I wrote ‘Let it Snow’ on the last red stone, again using the white paint pen. This completed all the D.I.Y. Christmas Stones. uni Posca Paint Pens.
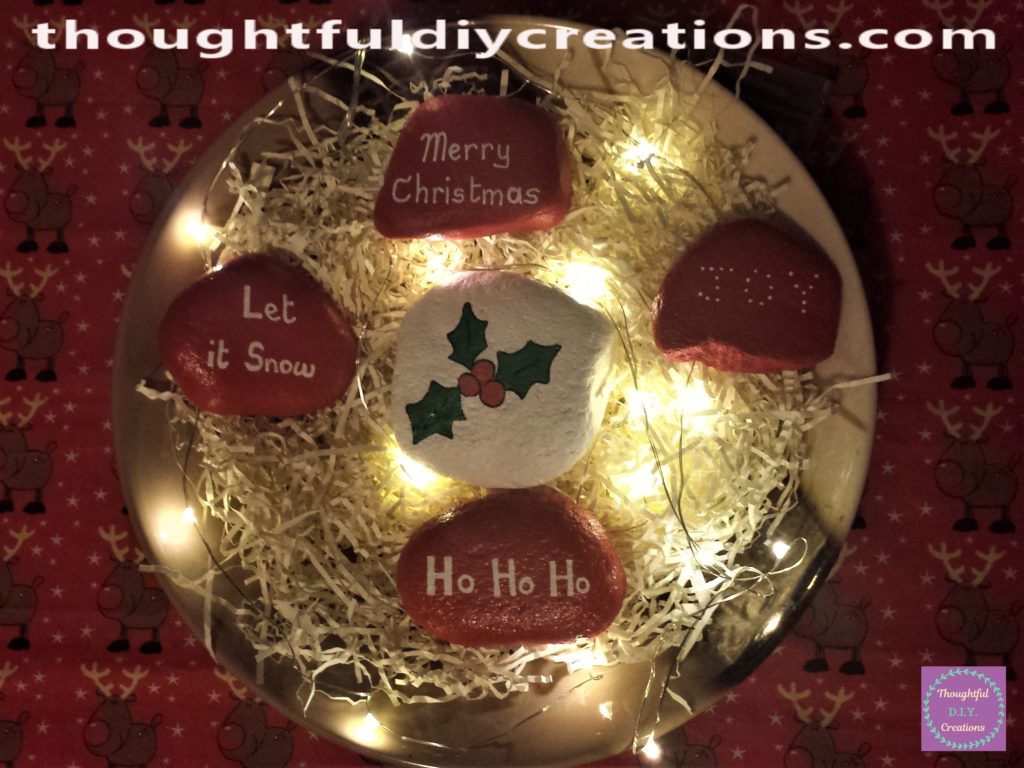
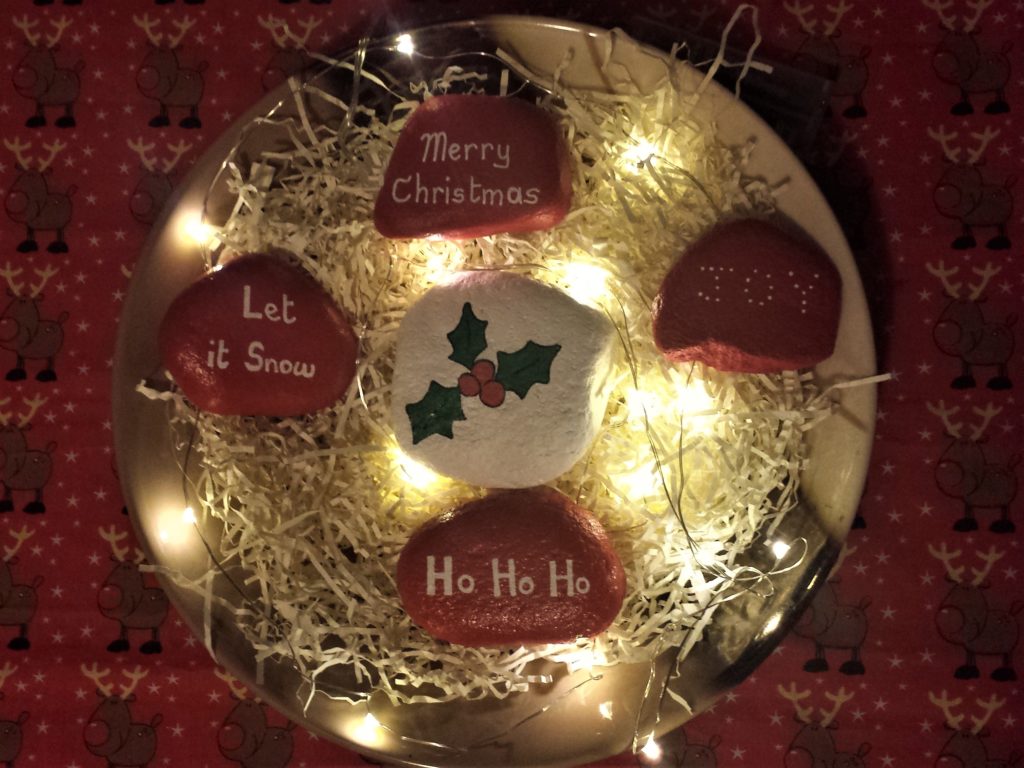
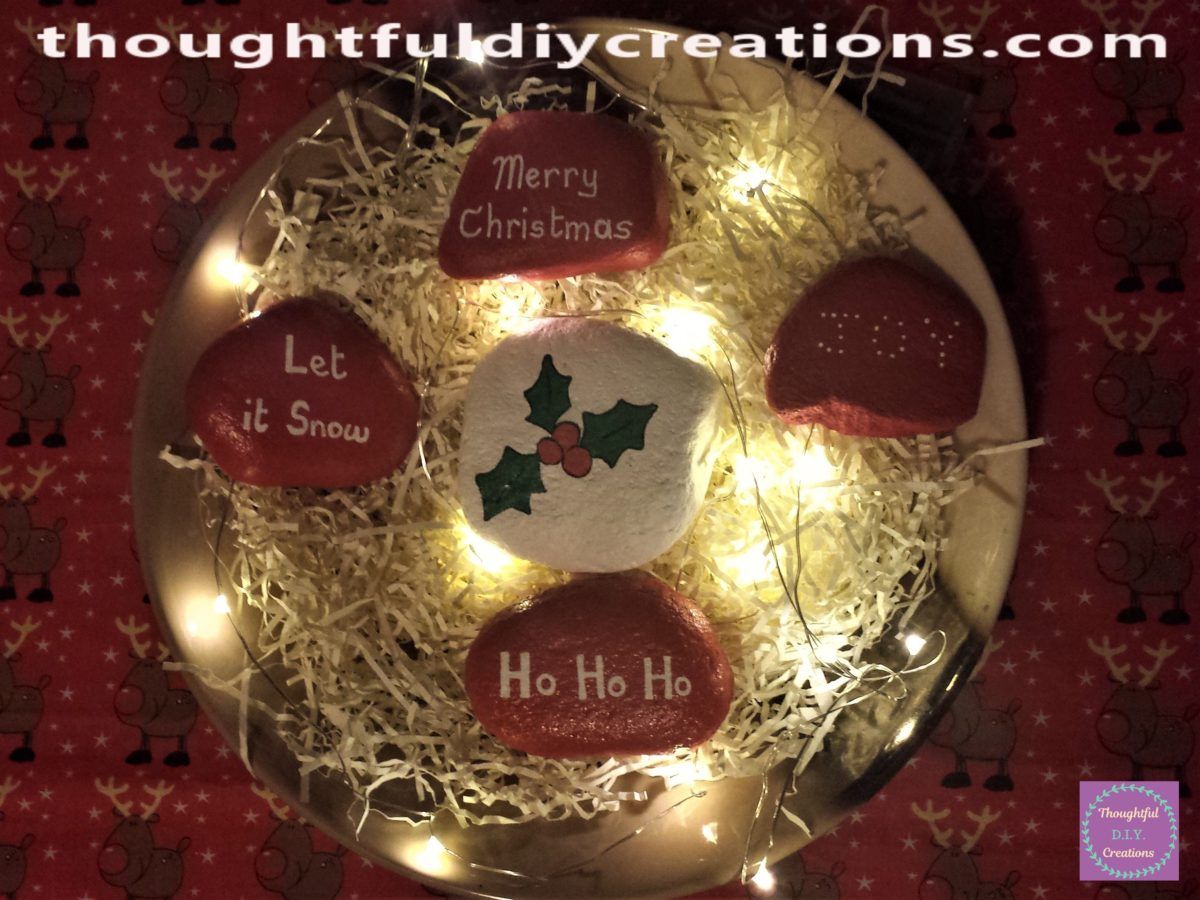
I presented the stones in a bowl with natural coloured raffia. I think this complemented the traditional Christmas colours of the stones. Natural Raffia. I added copper wire LED Lights to finish off the D.I.Y. Christmas Stones Display. I placed the bowl in the middle of a ‘Christmas inspired Fabric’ on a table. LED Fairy Lights.
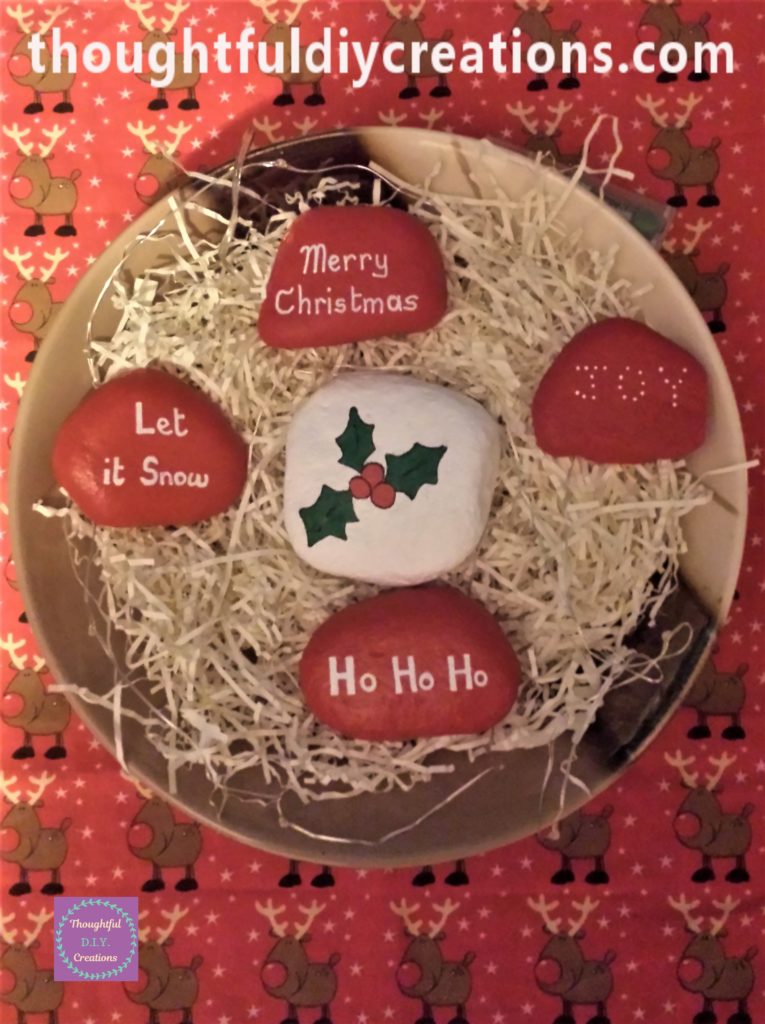
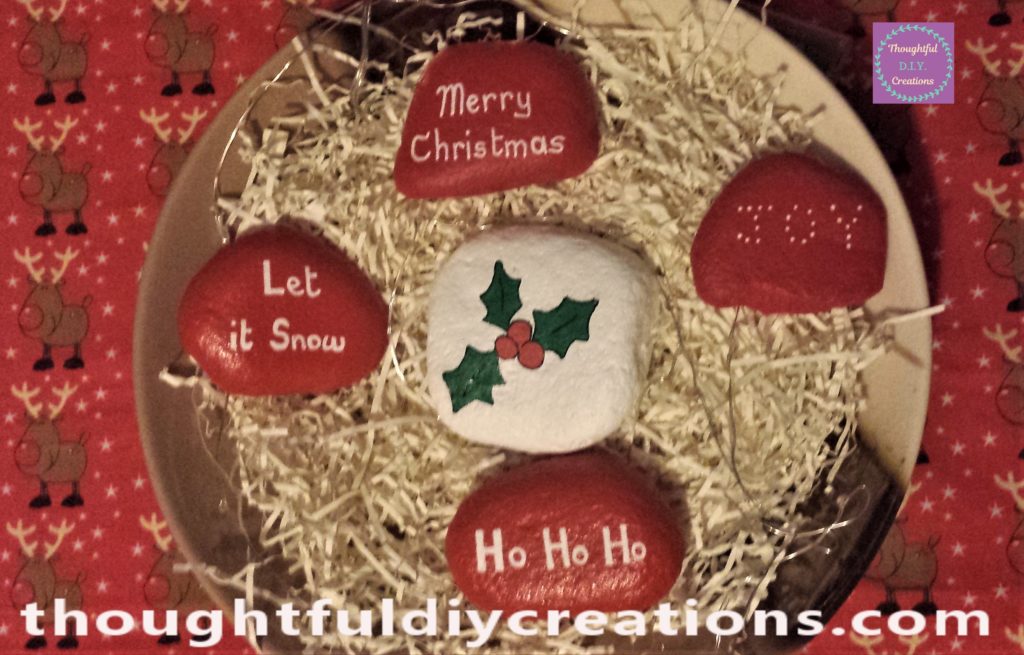
The images below are at night time with the light turned off and the LED Lights switched on.
Conclusion
I’m really happy with the result of the D.I.Y. Christmas Stones. I love the addition of the lights to make them stand out more. They complement my Christmas Decorations this year. They can be moved around each year and displayed differently. If you would like to know more about how I made my other Christmas Crafts, here is my Christmas Wreaths and Decorated Jars Tutorials.
It is such a versatile craft; you can be as simplistic or artistic as you want with your designs. If you have a different colour scheme for Christmas you can paint your stones to suit your decor. They would be lovely painted grey / silver with white writing, and a light pink stone in the center of the display, or you could paint a few stones pink, and a few white, as well as a few silver. It is completely up to you and your preferences. Make as many or as little as you like.
If you have Paint Pens in various colours, you could paint Candy Canes, Santa, an Elf, a Snowman, a Penguin, a Polar Bear, Reindeer, Christmas Night Scene, a Snowflake, or a stack of Presents. The paint pens make it quick and easy to paint small sections without worrying about making a mistake with paint and a paintbrush.
They could also be personalised and would make a thoughtful gift for a neighbour, friend, teacher or family member. The options are endless with what you could write on them. An example would be ‘Merry Christmas from our Home to Yours’, ‘Merry Christmas to a Wonderful Neighbour’ etc.
You could make a Display of Family Names; you could have the Surname on the stone in the center and have each family members First Name on a different Stone with a different colour to the Surname Stone, or each First Name Stone could be the person’s favourite colour.
Painting D.I.Y. Christmas Stones would be a great craft activity for children, especially as it’s winter when it’s too cold to play outside. The material list is minimal making it a budget craft when it can be an expensive time of year. It can provide creativity, imagination, good hand-eye co-ordination and stimulation to children. It’s a good activity for them to engage in if you want to reduce screen time or when they’re bored. The clean-up is also minimal as you just need old newspaper or magazines to put on the table for them to work on, or a cheap plastic easy-to-clean tablecloth as a work surface. Other than that it’s just paintbrushes, paint, paint markers or paint pens. Sharpies or Permanent Markers could also work, I haven’t tried it but I’m sure they could work over paint or if not they could work to write Christmas sentiments on a natural stone.
Children could copy Christmas characters from their Christmas Story books or Colouring books for ideas. They could draw them on first with a pencil and rub out any mistakes before painting them, or an adult could draw a picture on the stone for the child to paint. It would make a great Christmas bonding activity with a child and a memory they will always have.
You could make it a tradition to paint a few stones each year with your children. An idea would be to write the year on the back of the stone and you can see how their artistic skills and imagination improved year by year. The stones are small and easy to store away, they would also be a lovely keepsake to have of your children and are different than a drawing on a sheet of paper. You could give them a couple of the stones back when they are adults, they might want to show their children or just keep it themselves as it would bring back happy memories of their childhood.
I hope you enjoyed this week’s Tutorial and you got some ideas from it. If you have any questions or comments you would like to add on this topic, just fill out the form below, and I’ll be sure to reply.
Thank you so much for taking the time to read my Blog.
Always Grateful,
T.D.C.
xoxox

-0 Comment-