D.I.Y. Christmas Wreaths
Hello my Creative Friends,
I hope you are all well. In Today’s Tutorial I will show you how to make your own D.I.Y. Christmas Wreaths. I have made a traditional one and a modern one. I hope they inspire you to get creative and D.I.Y. your Christmas Wreaths this year.
Rattan Wreaths
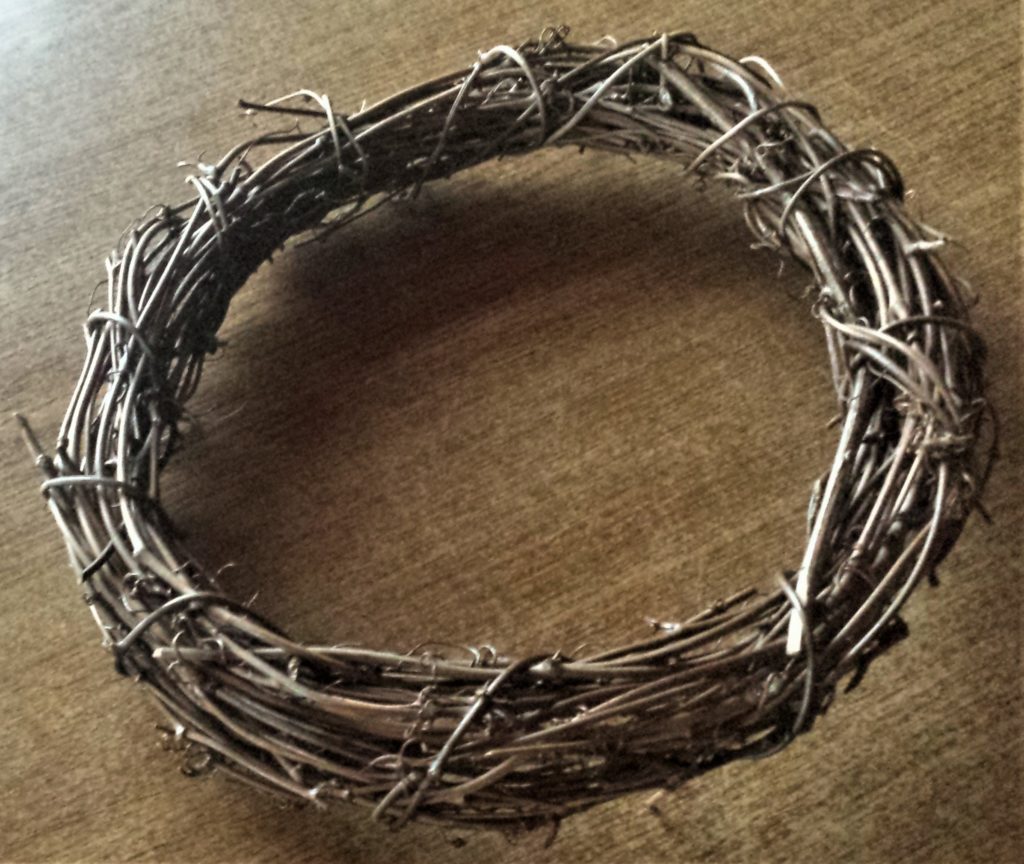
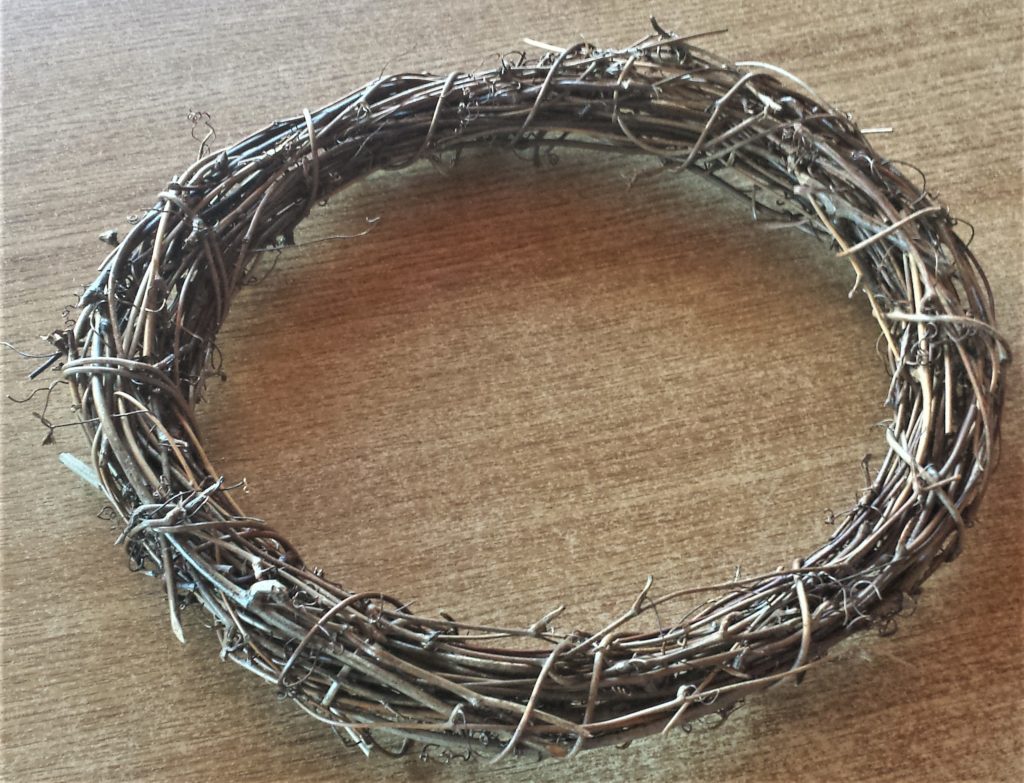
I bought a set of 2 rattan Christmas wreaths. I liked the size of them; they’re not too big and intimidating if you don’t know where to begin with decorating a wreath, and yet they’re not too small either. They’re just right as Goldilocks would say. Natural Rattan Wreath.
Christmas Wreaths (1.) Traditional Wreath
The first wreath I am making is the traditional coloured wreath.
Leaves for the Wreath
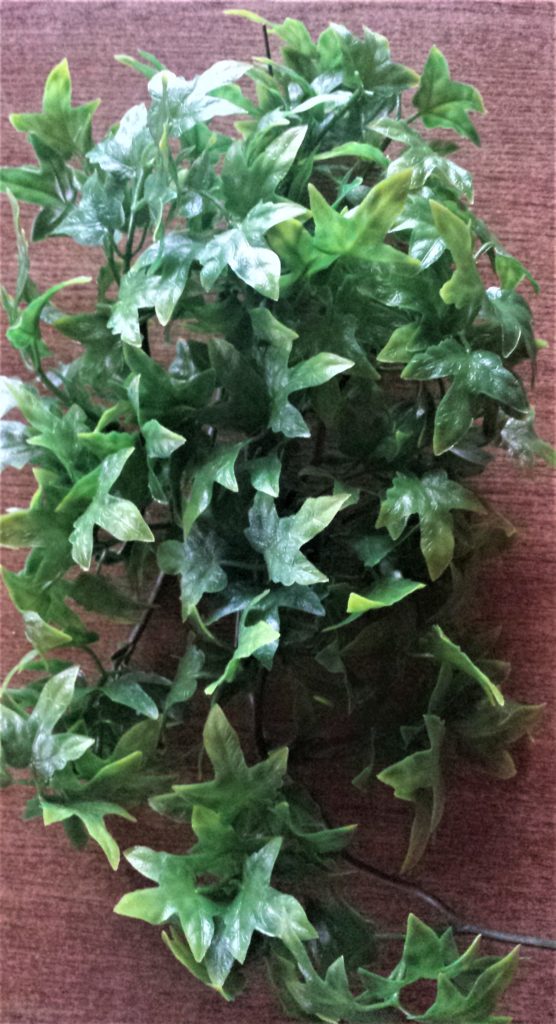
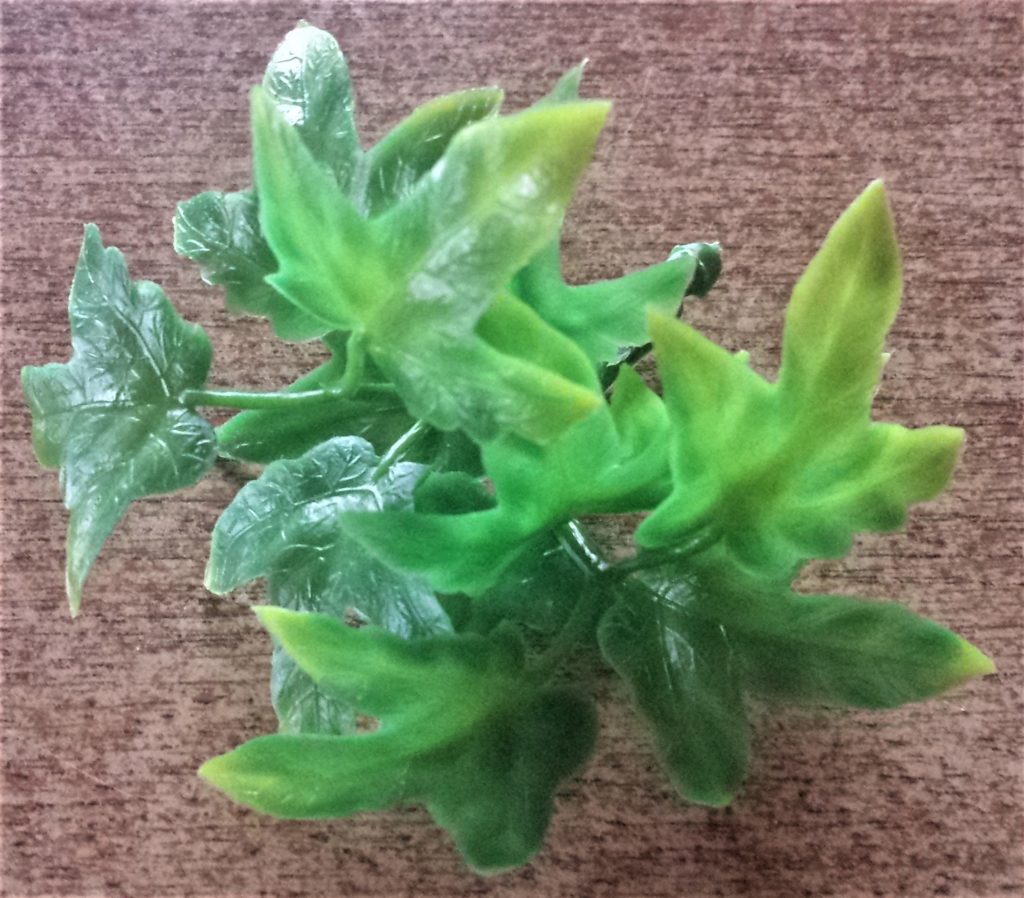
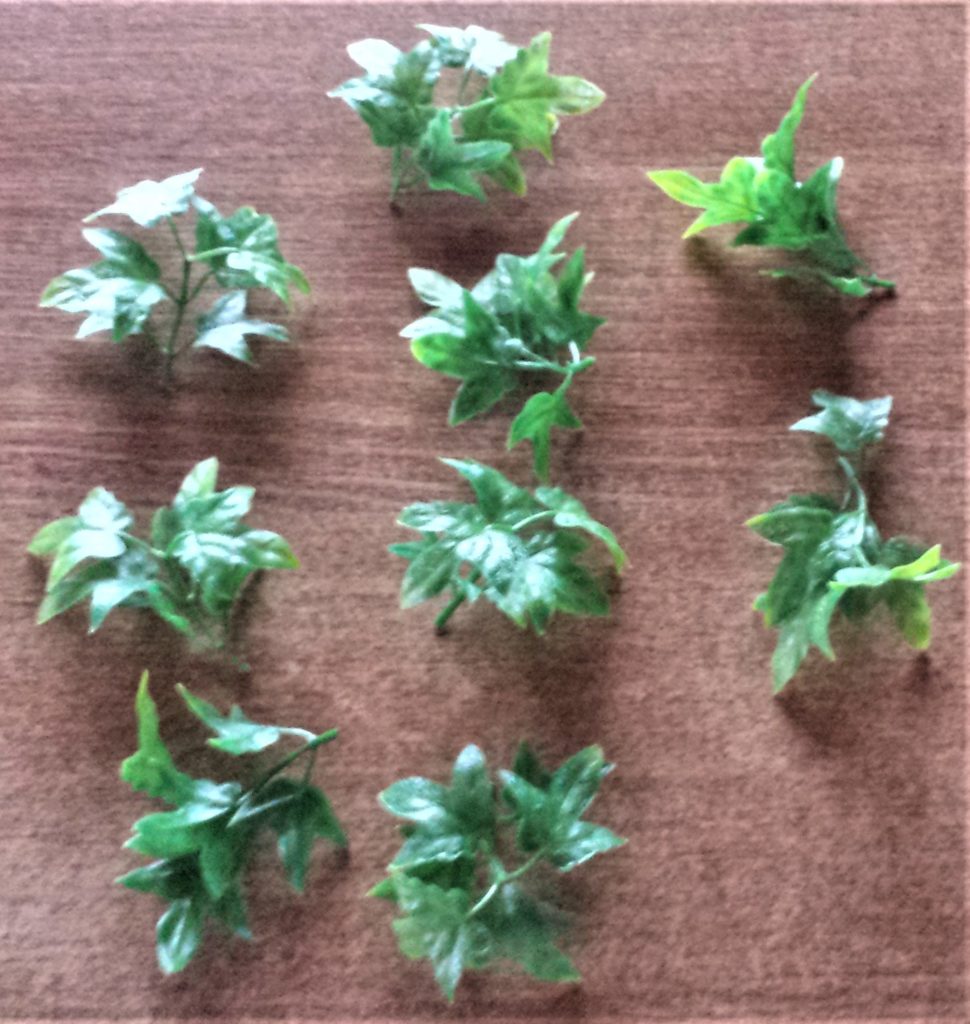
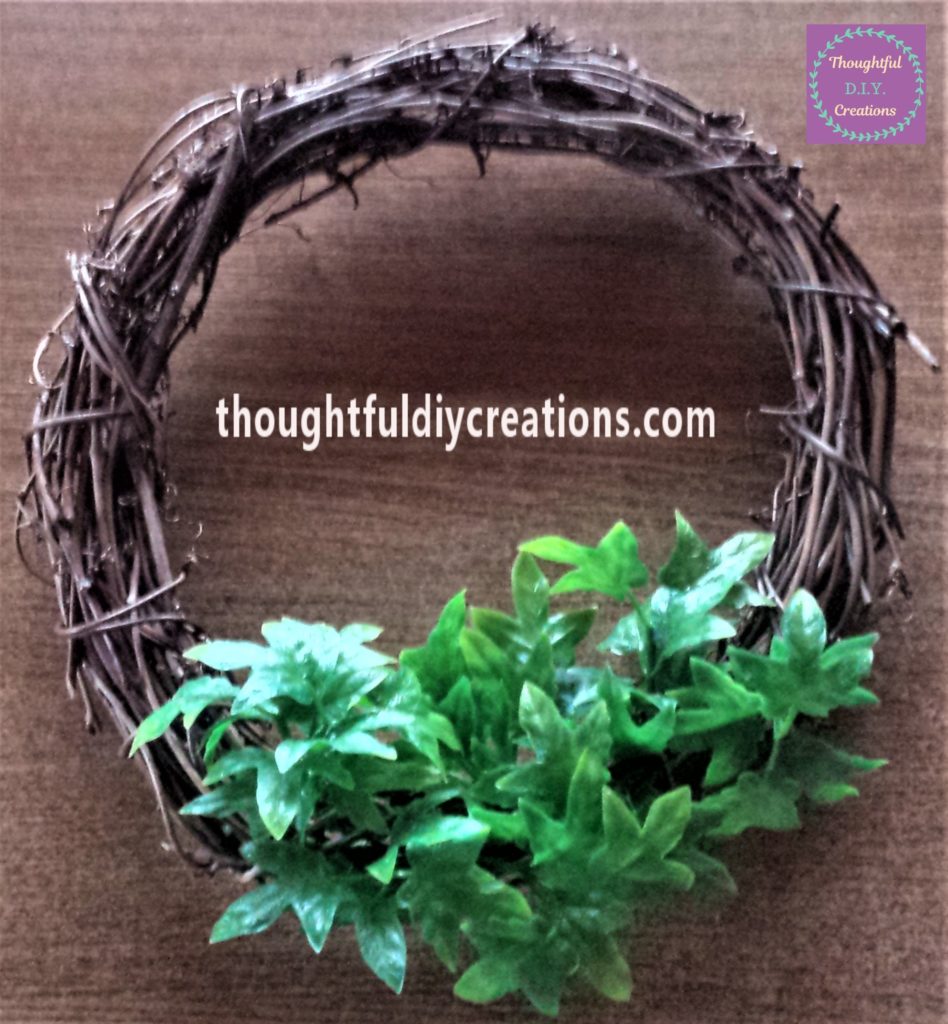
The green leaves I’m using for the wreath are artificial leaves I had in my craft supplies. I think they were bought in the pet shop, they’re for reptile / animal tanks or cages. Artificial Pine Branches.
I cut off a section of leaves using a sharp scissors.
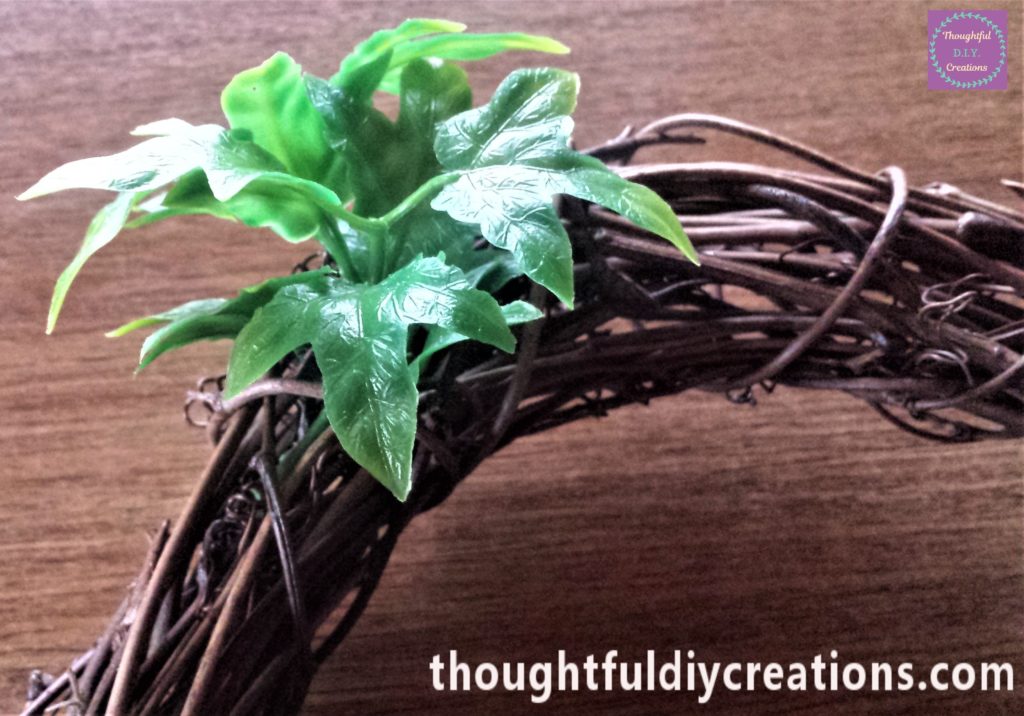
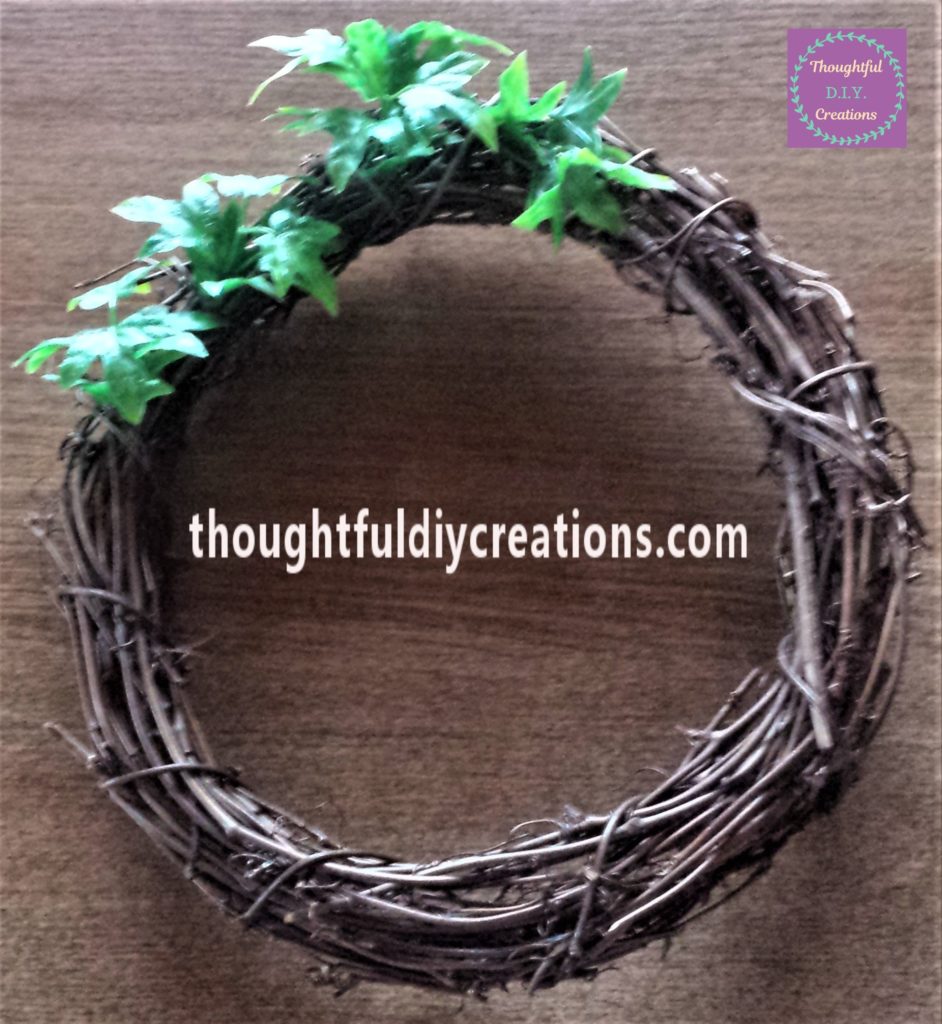
I pushed the section of leaves into a space in the wreath. Artificial Pine Branches.
I cut more sections of leaves from the bunch of leaves.
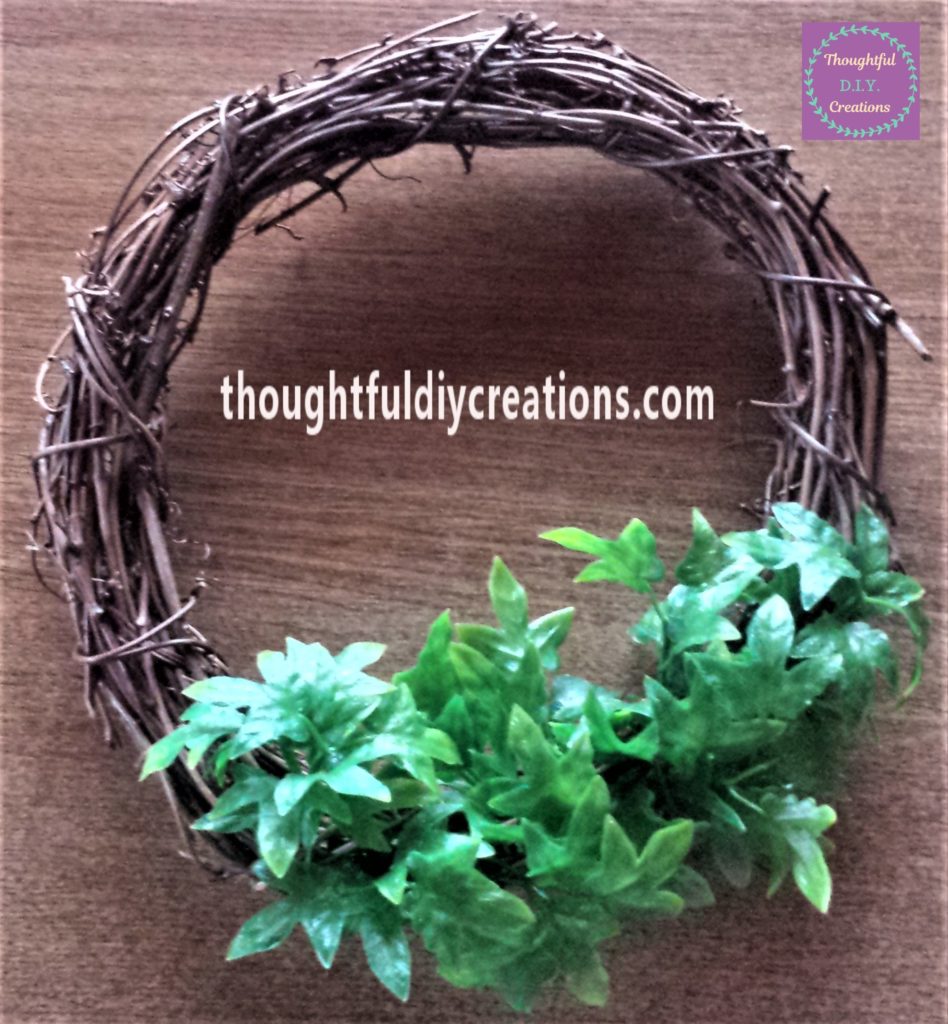
I put more leaves into the wreath. If you are having trouble with them staying in place you could add some hot glue from a glue gun to keep them secure.
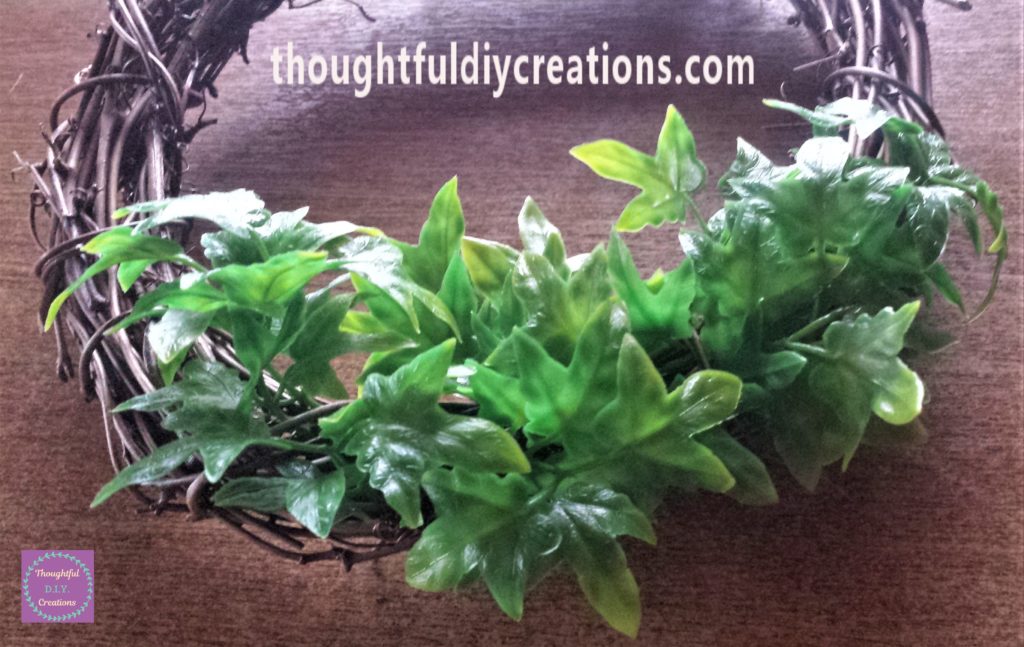
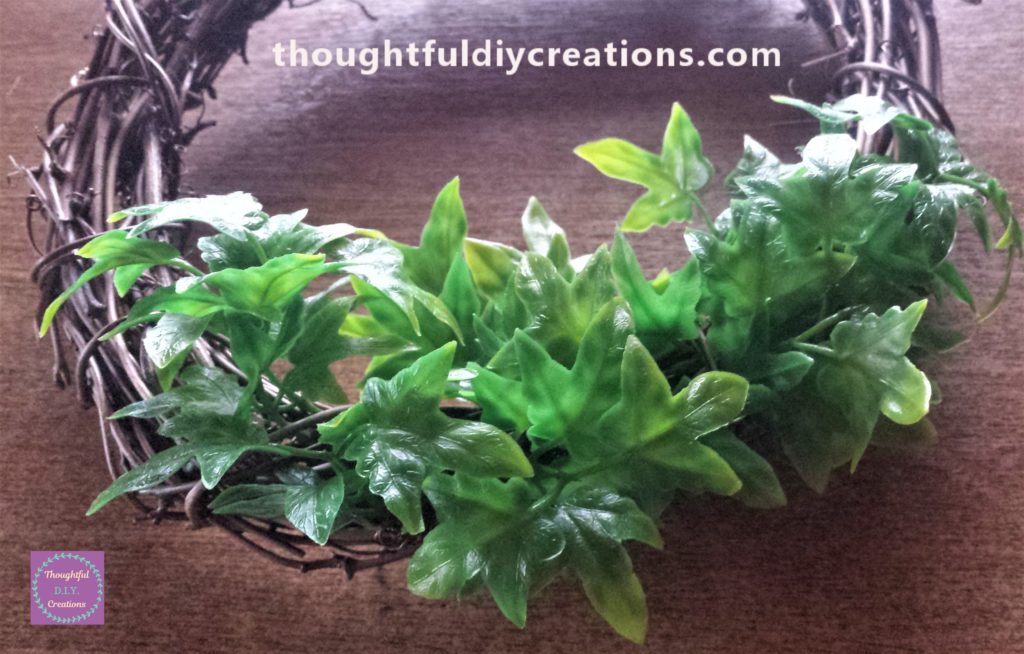
I continued until I had the bottom section of the wreath nice and full with leaves. Artificial Pine Branches.
Berries for the Christmas Wreaths
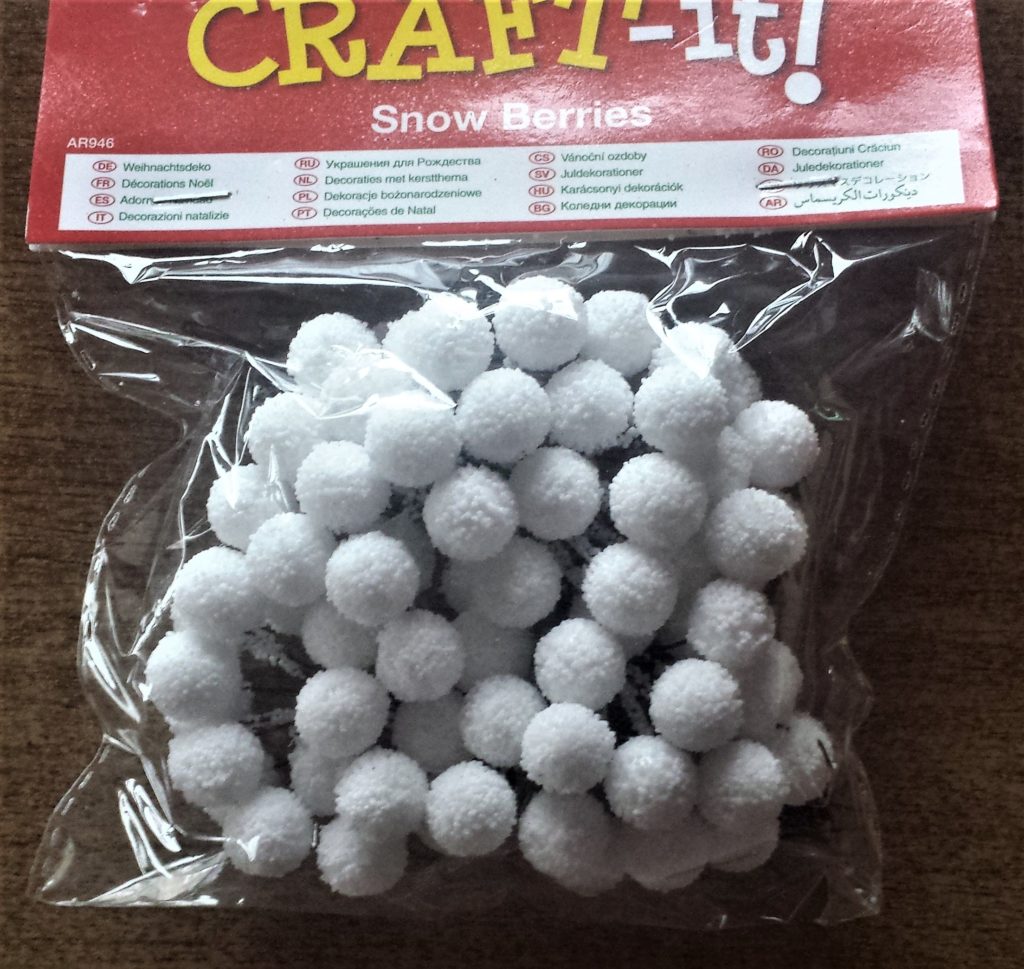
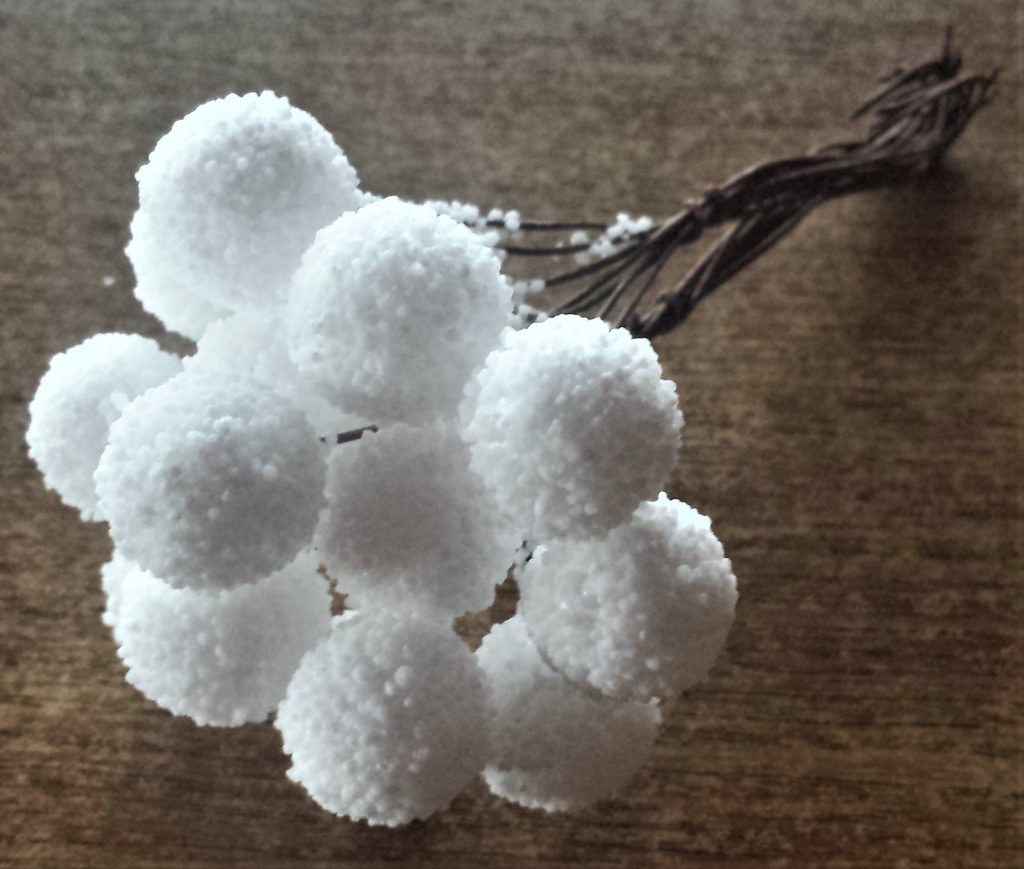
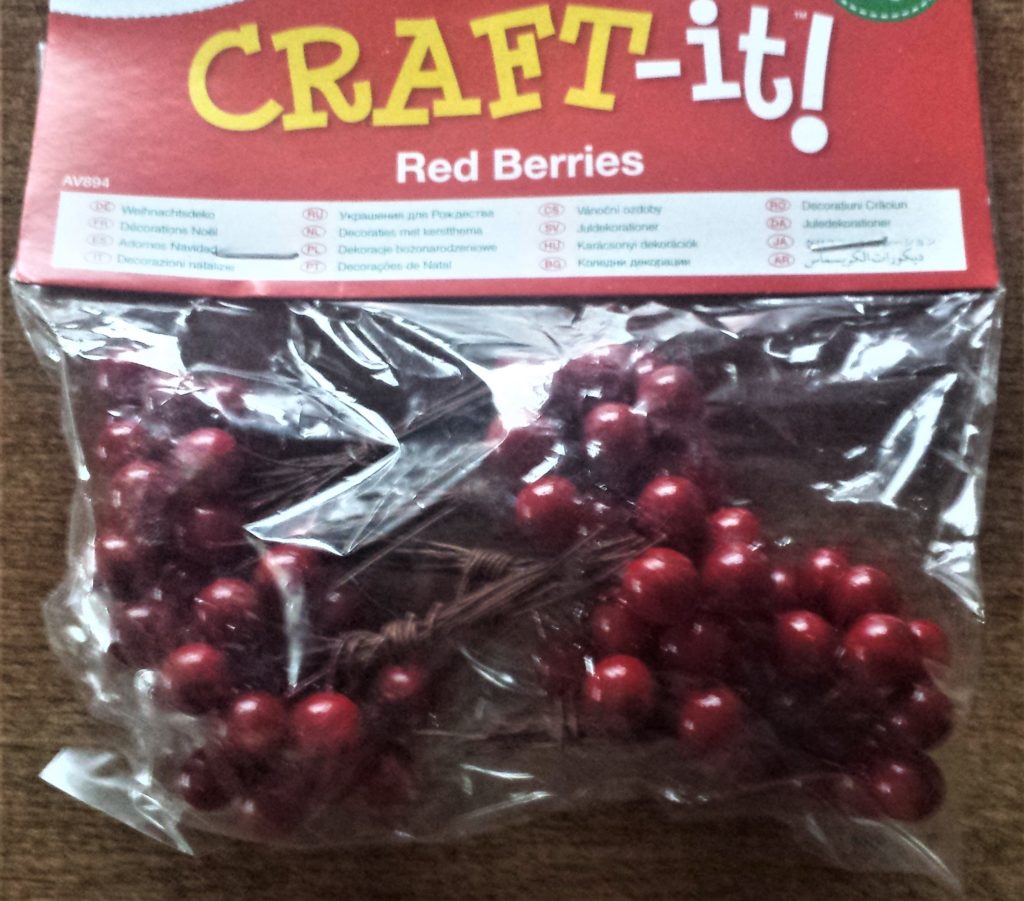
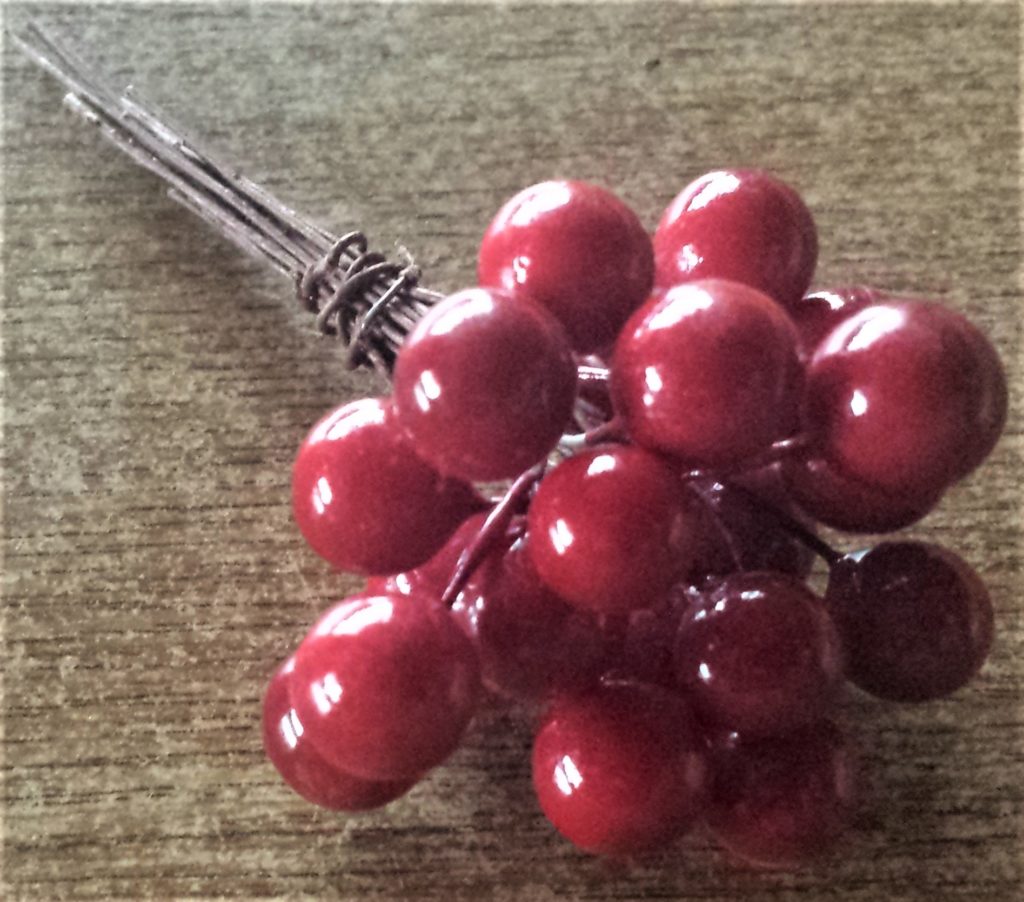
I bought a pack of Snow Berries and Red Berries recently. I thought they would be perfect for Christmas crafting and decided to add them to the Christmas wreath. Red Berries.
I unwrapped each snow berry and red berry from their group and added them individually to the wreath. I pushed the wire stem through the wreath and wrapped the wire to the back of the wreath to secure it in place.
I continued with this process until I had an even amount of berries added to the leaves. Red Berries. I liked the contrast of the red and white colours.
Vine Stars for the Wreath
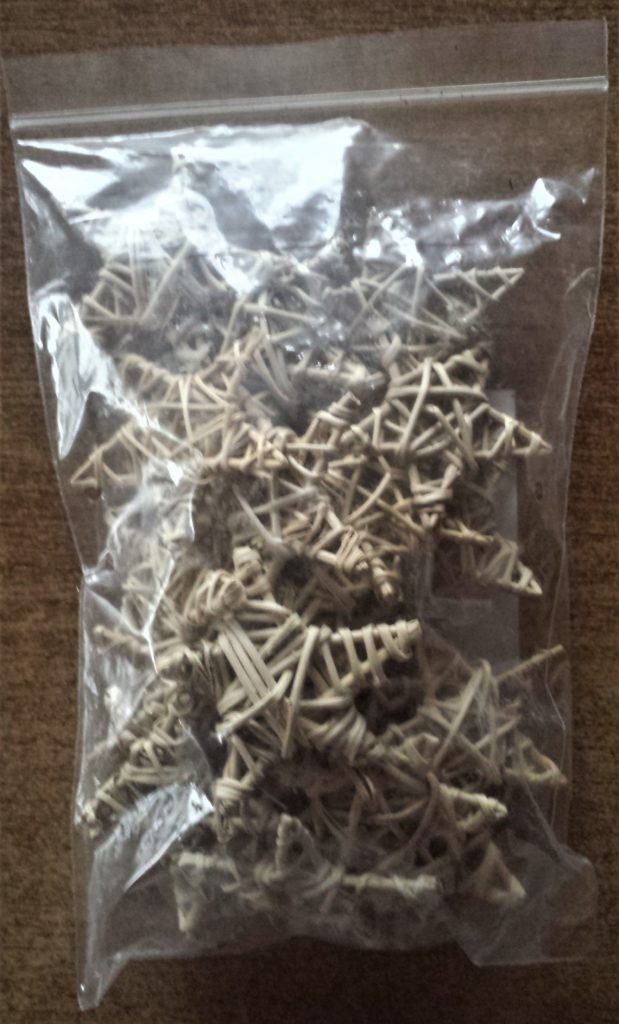
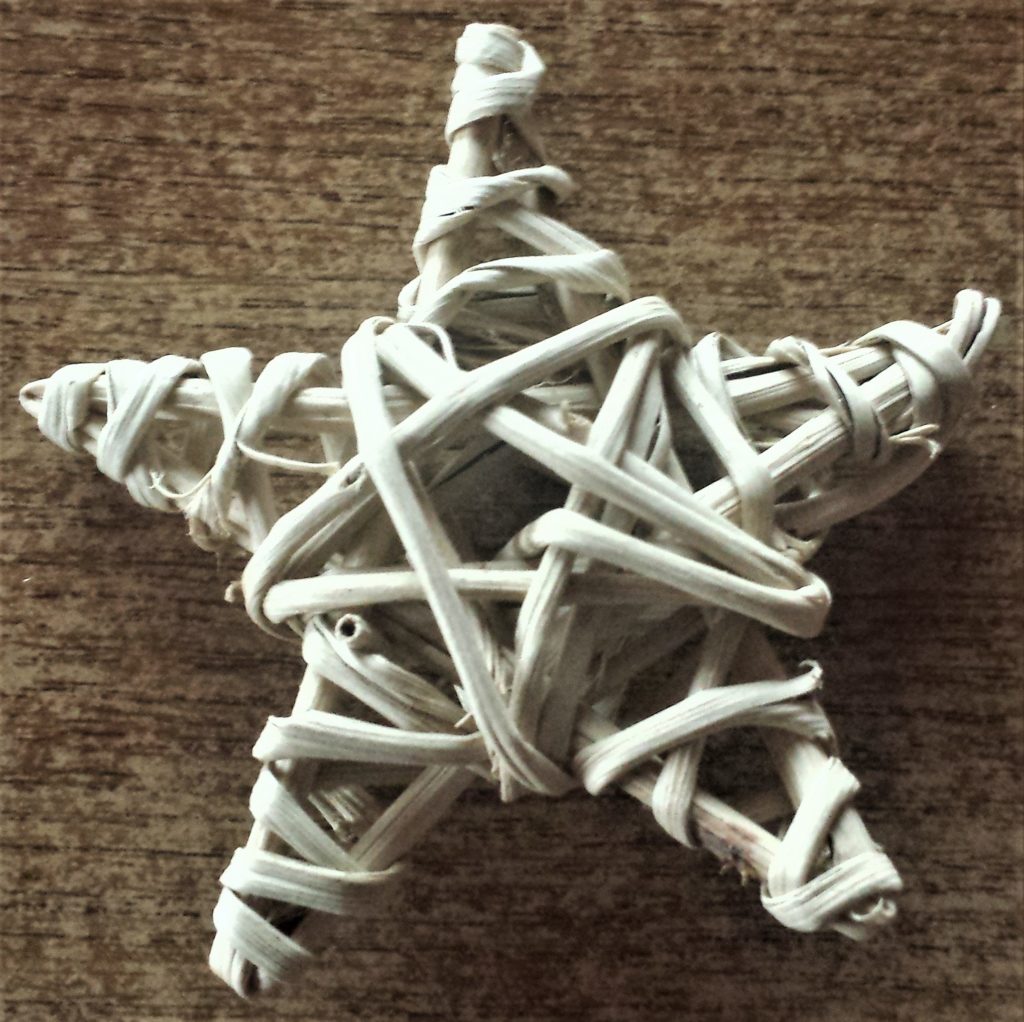
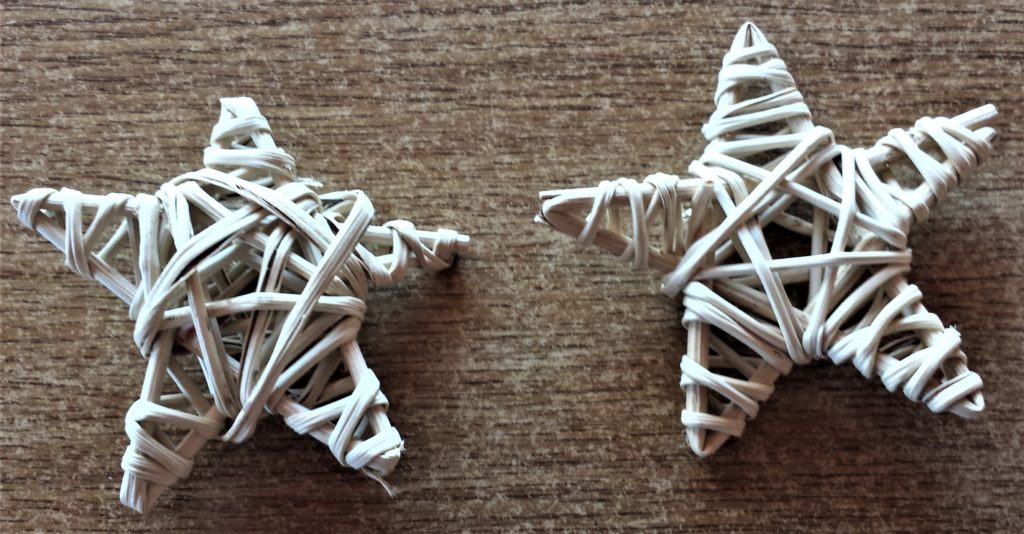
I had a pack of Vine Stars that I thought would complement the wreath. I loved the natural colour; it went with the traditional theme of this wreath. Wooden Stars.
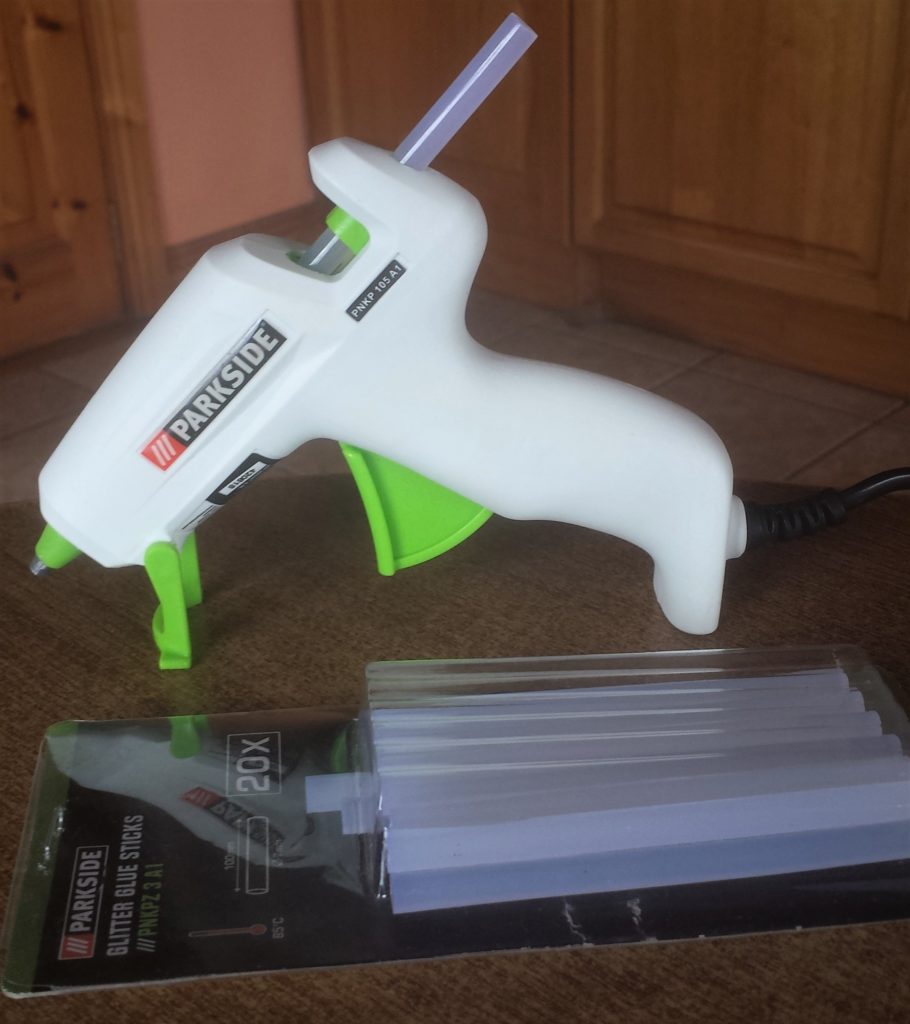
I plugged in my hot glue gun and let it heat up for 5 minutes. Hot Glue Gun.
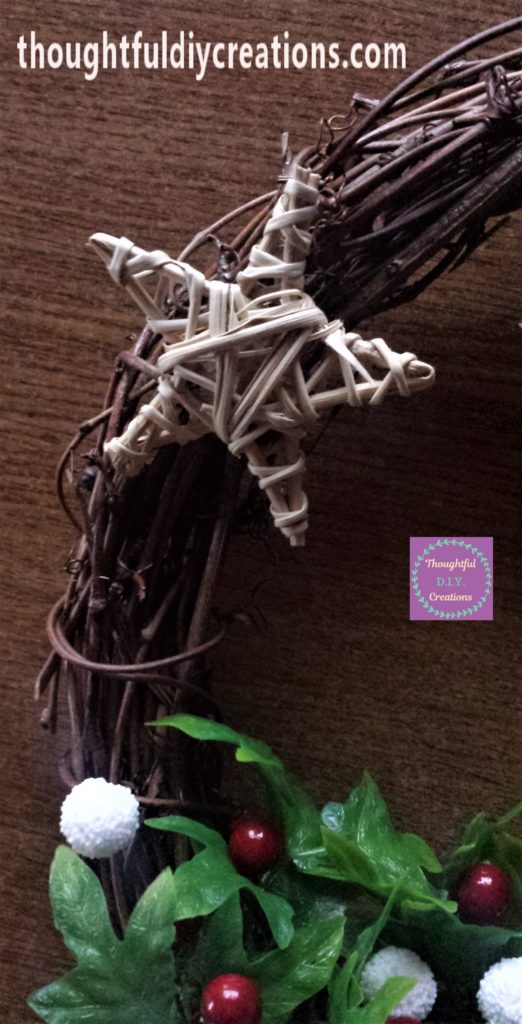
I put hot glue on the back of the star and held it onto the side of the wreath for about 10 seconds. Star Cutout.
Bells for the Christmas Wreaths
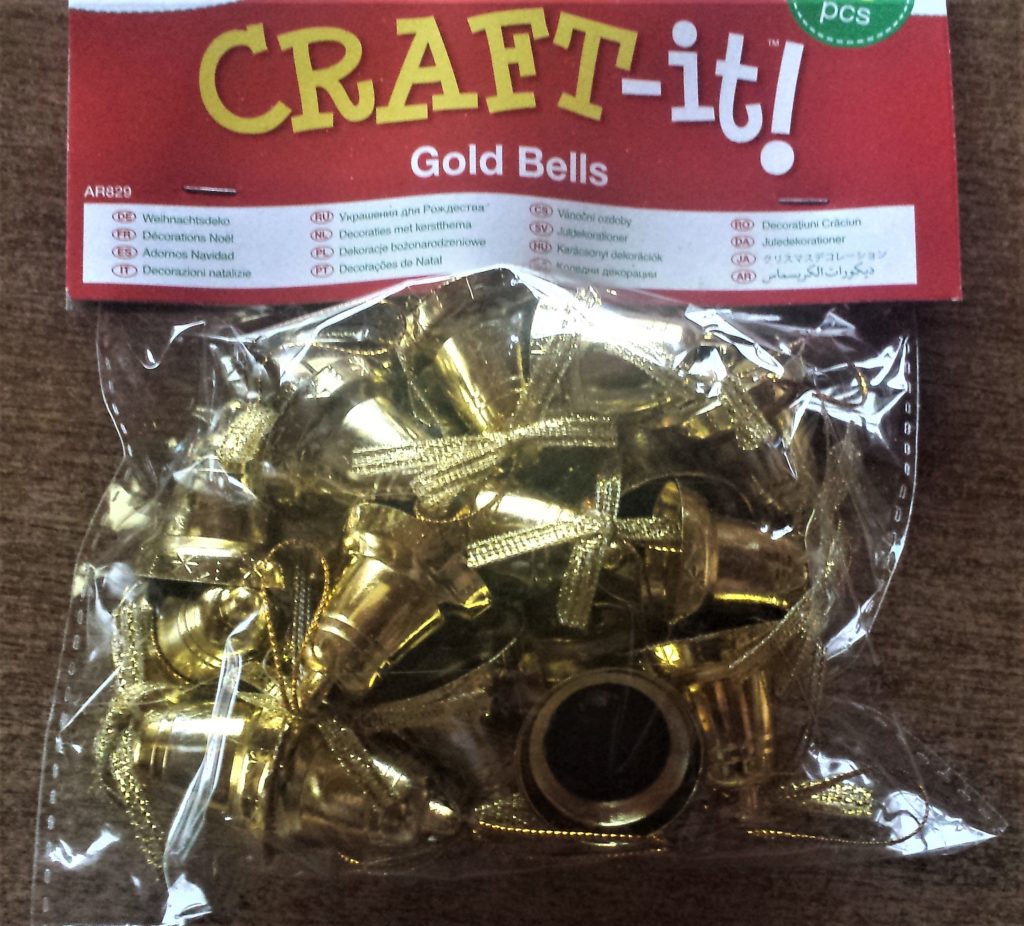
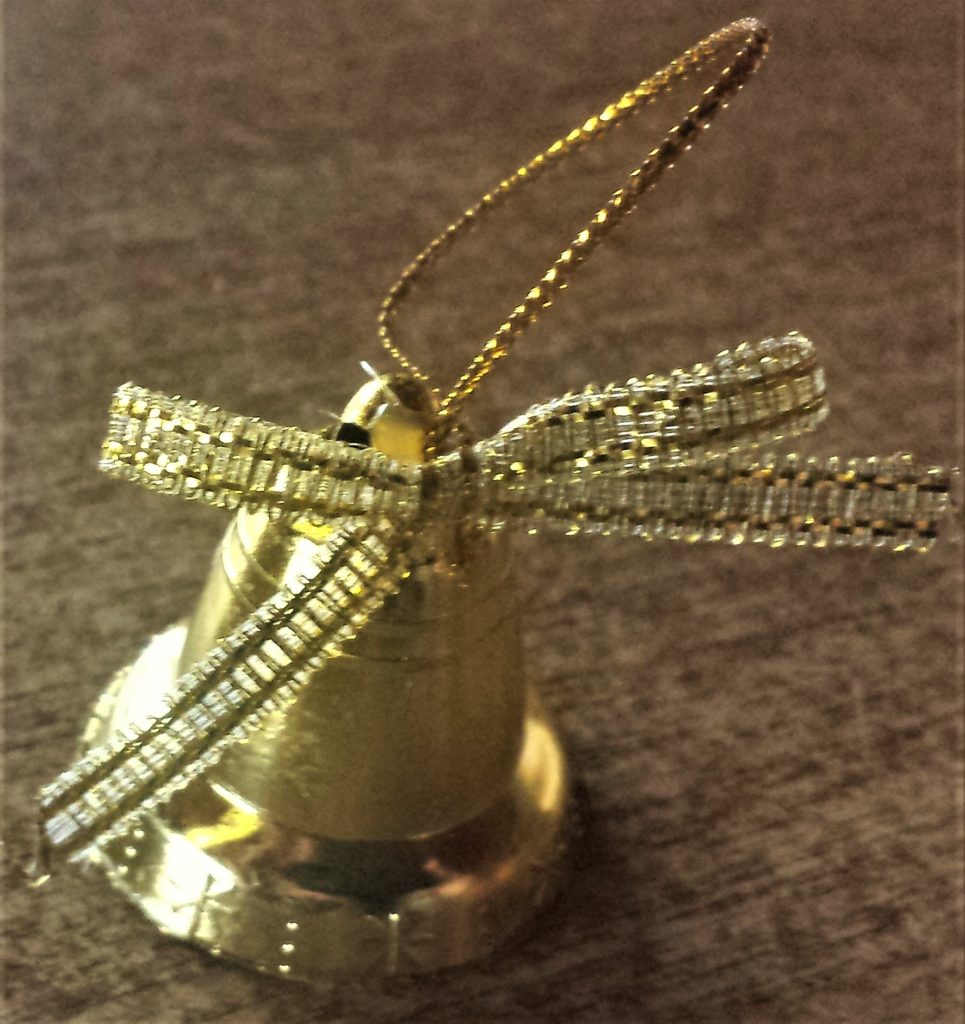
I added two gold Bells to the top of the Wreath. Mini Liberty Bells.
I put hot glue on the back of the wreath and stuck the top of the string from the bells to the glue. Hot Glue Gun.
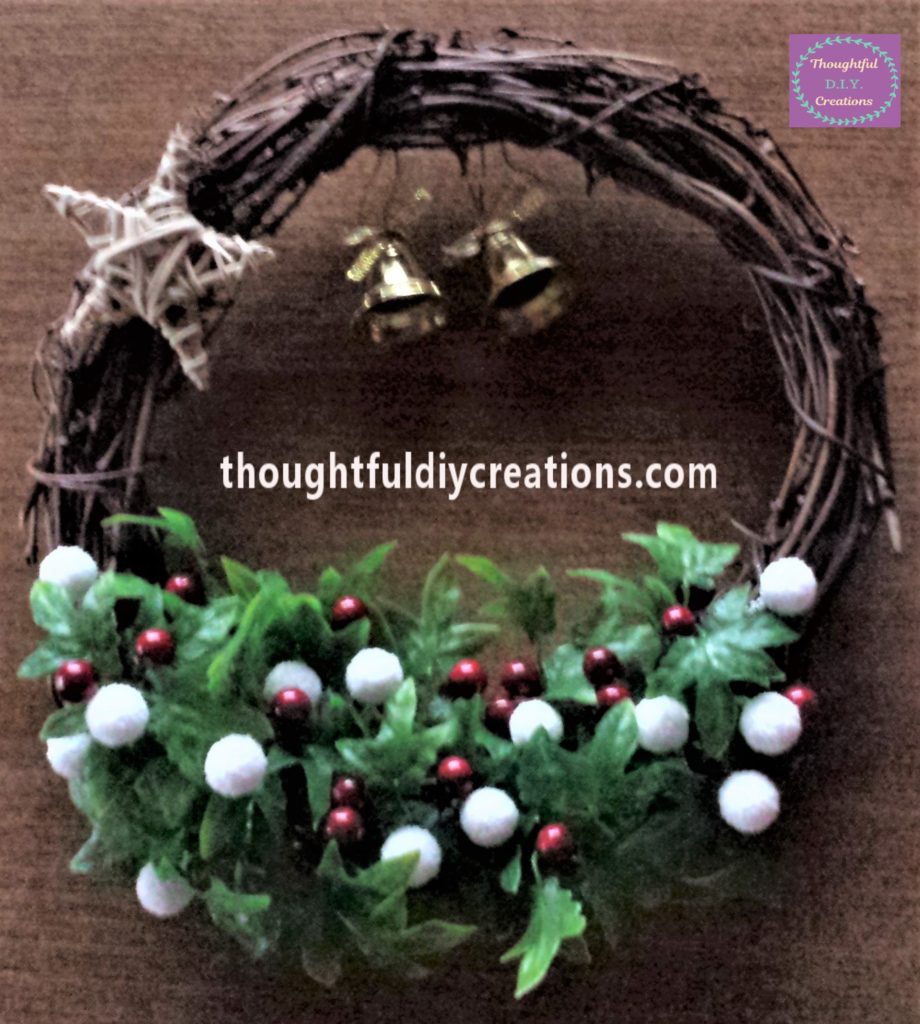
I added another star to the other side of the wreath.
Adding a Bow to the Wreath
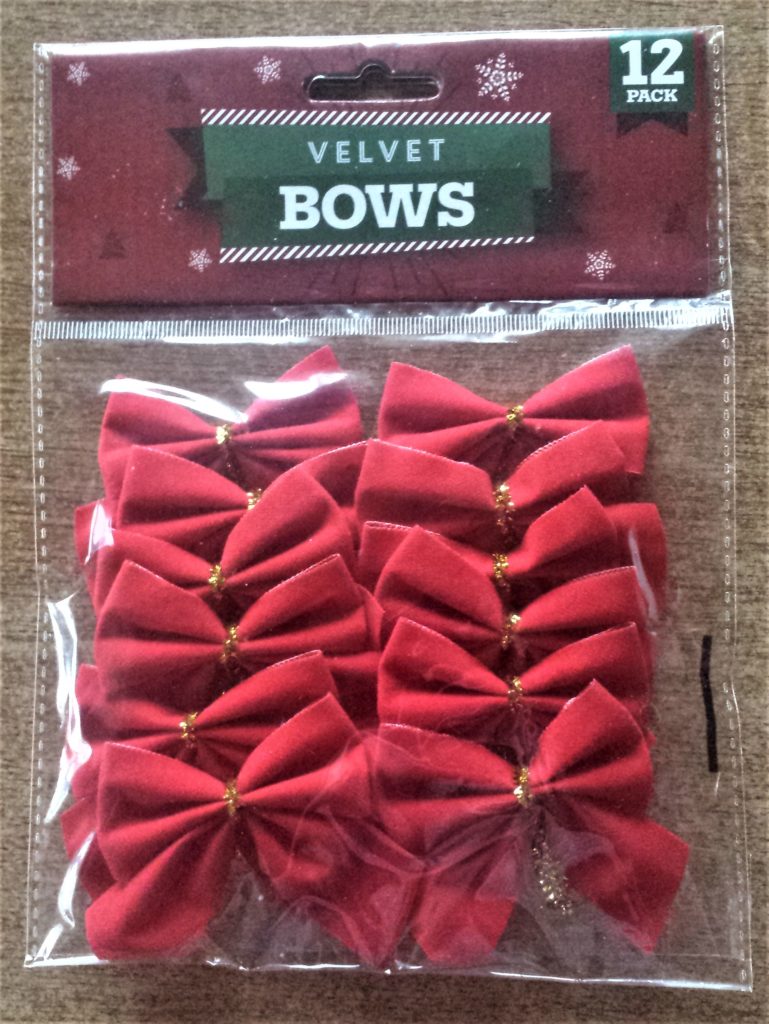
I thought a red Christmas bow would finish off the wreath. Red Metallic Ribbon.
I put hot glue on the back of the bow and stuck it to the top of the wreath. Red Metallic Ribbon.

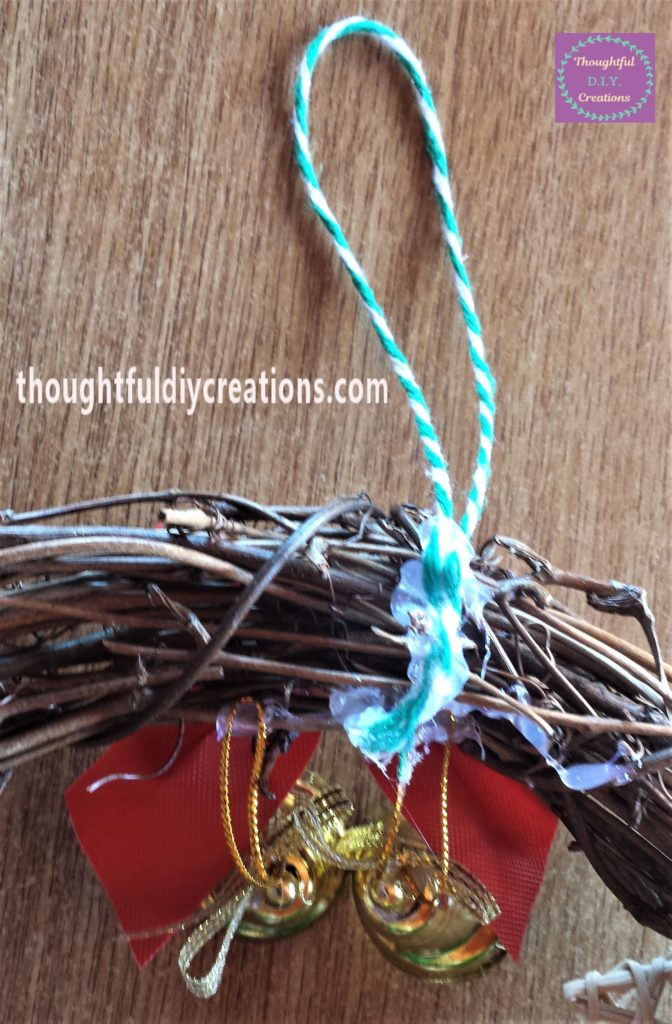
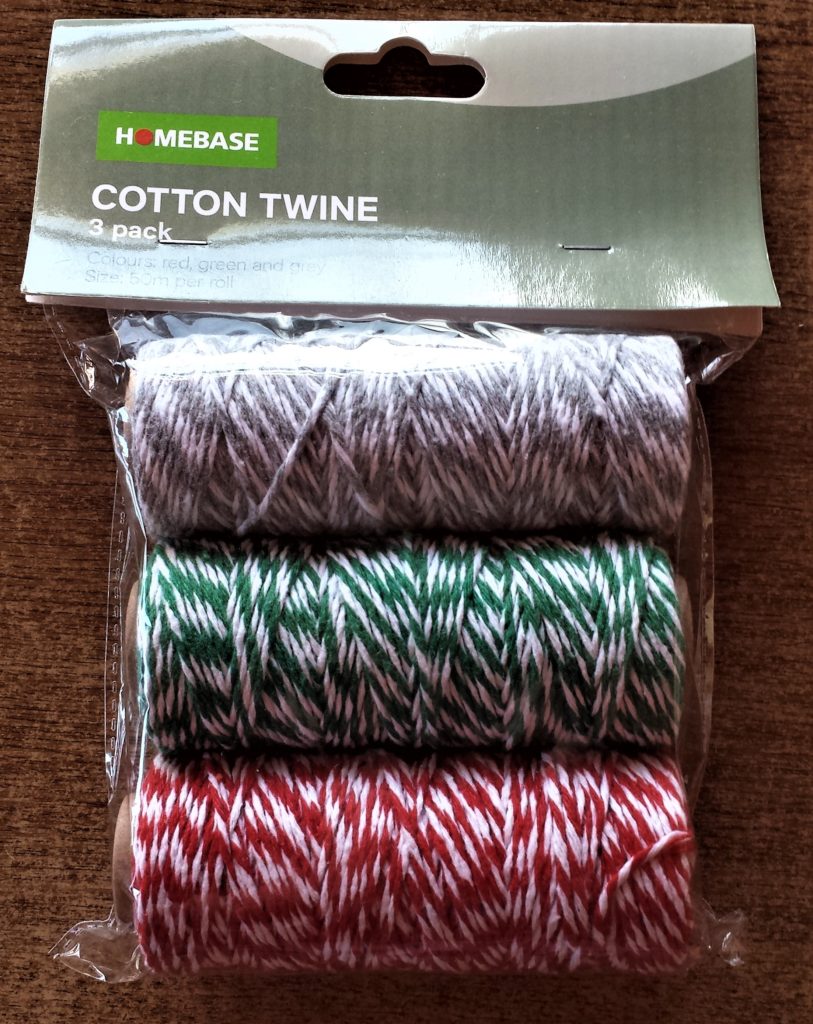
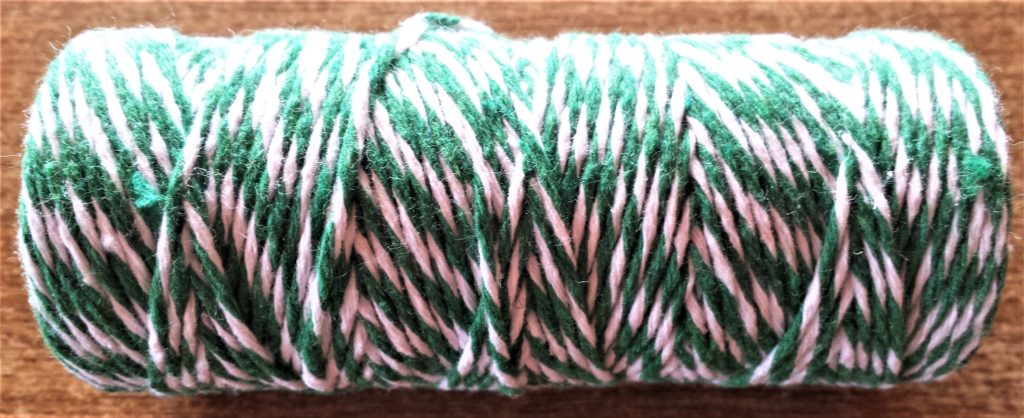
I added a green and white string to the wreath for it to be hung up. Green and Red Cotton Twine.
I cut a piece of the string and put hot glue on the back of the wreath and attached the string to it. Hot Glue Gun.
Finished Traditional Christmas Wreath
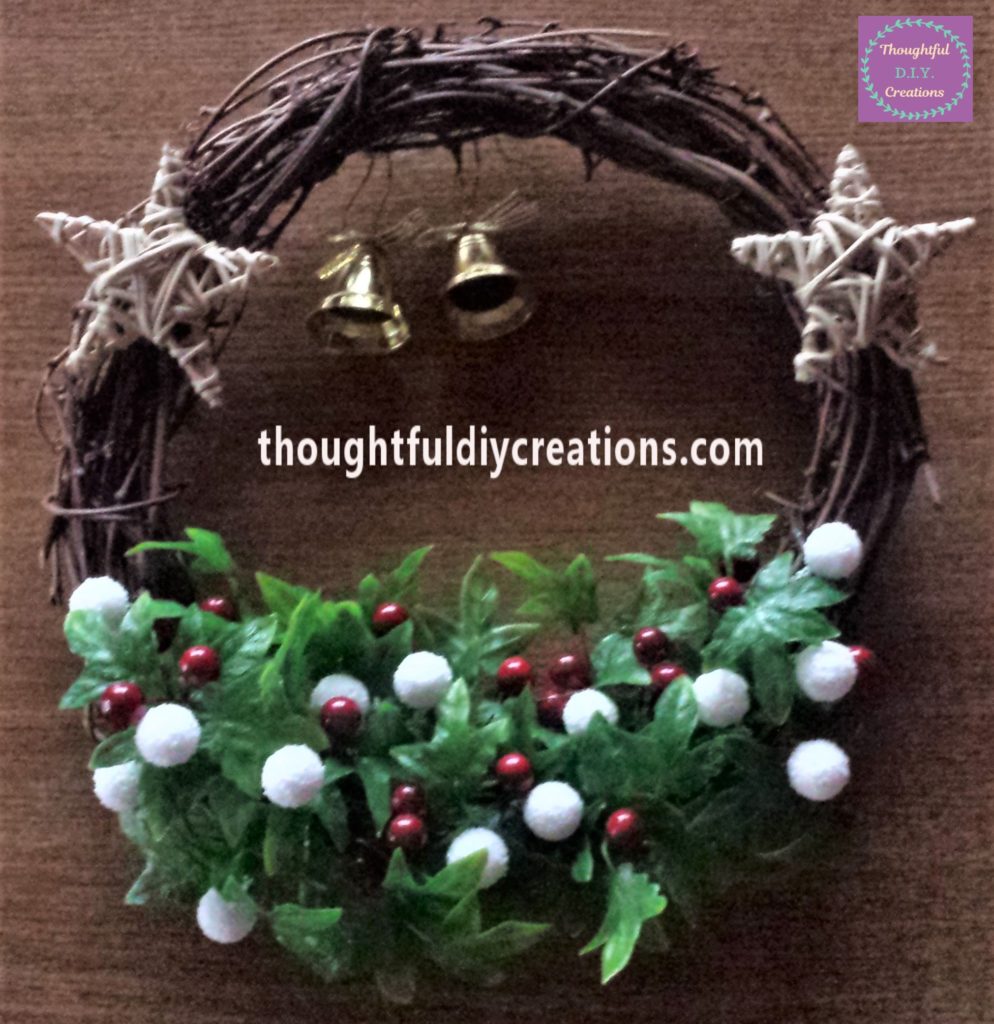
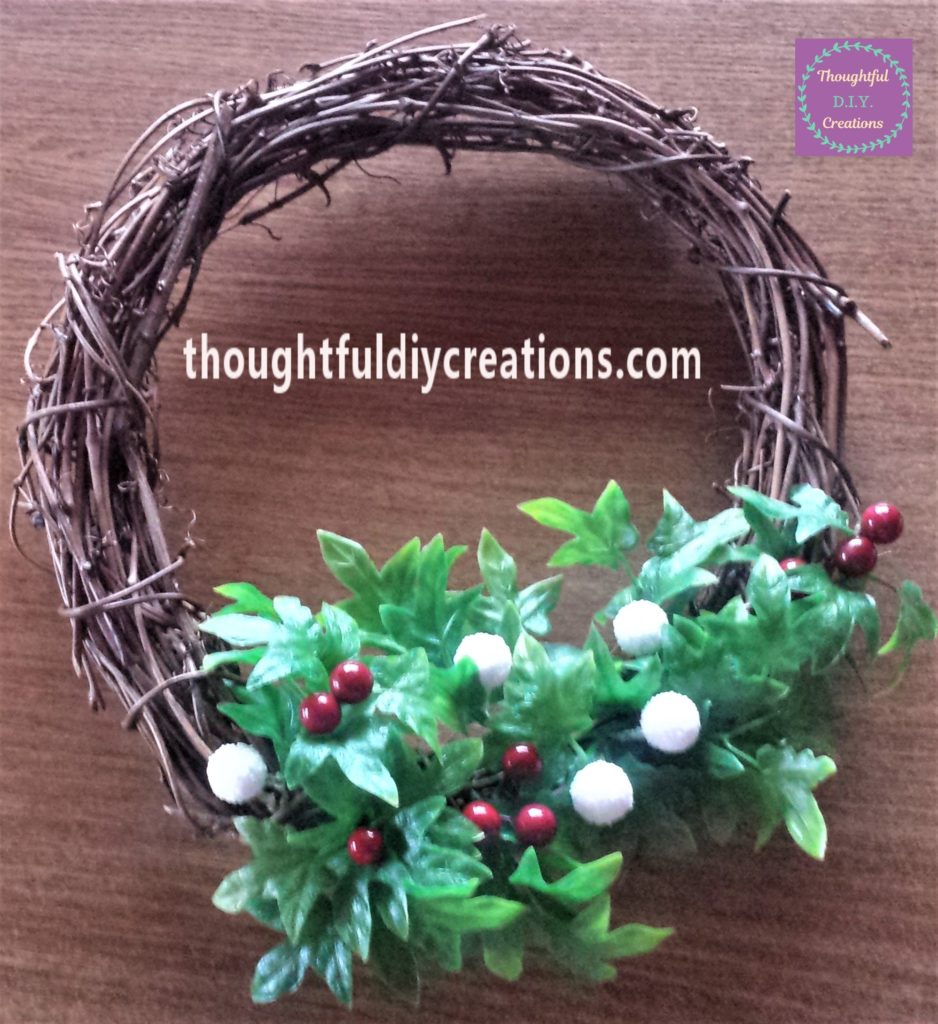
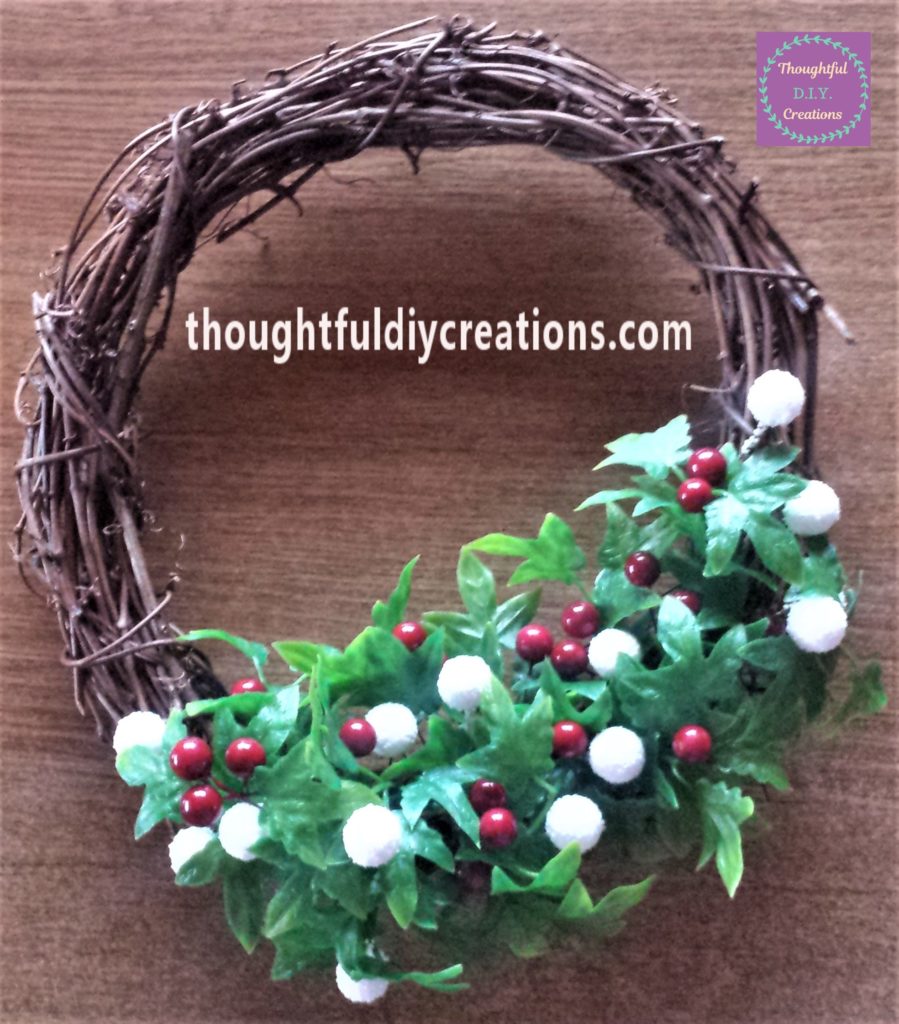
This completed the first D.I.Y. Christmas wreath. Natural Rattan Wreath.

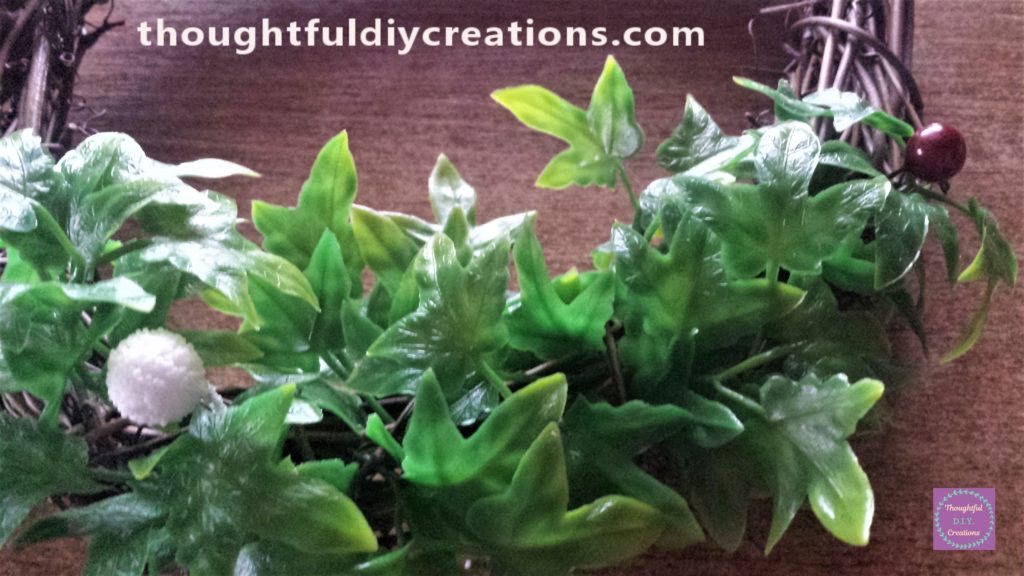
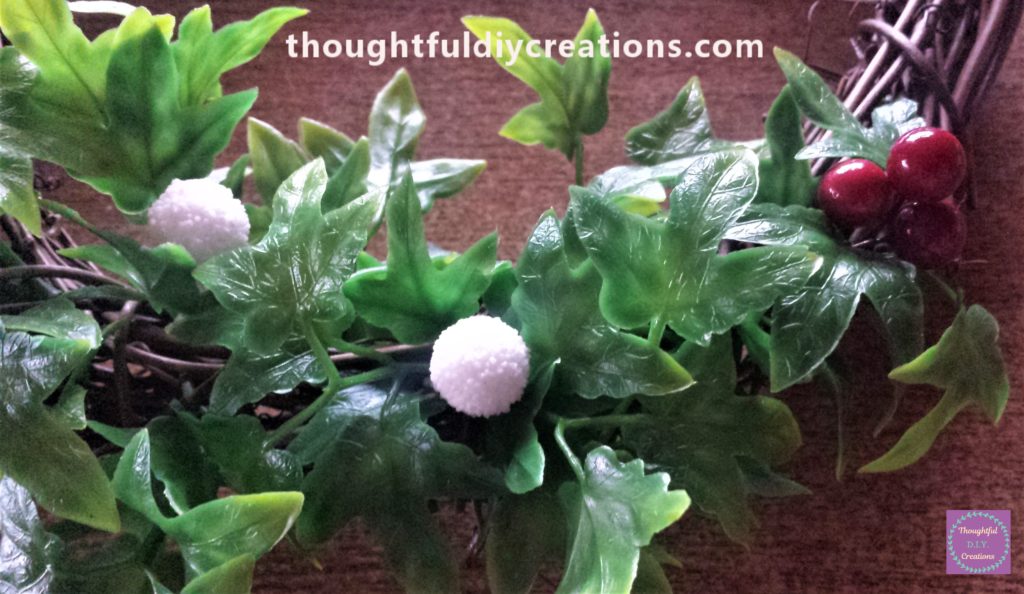
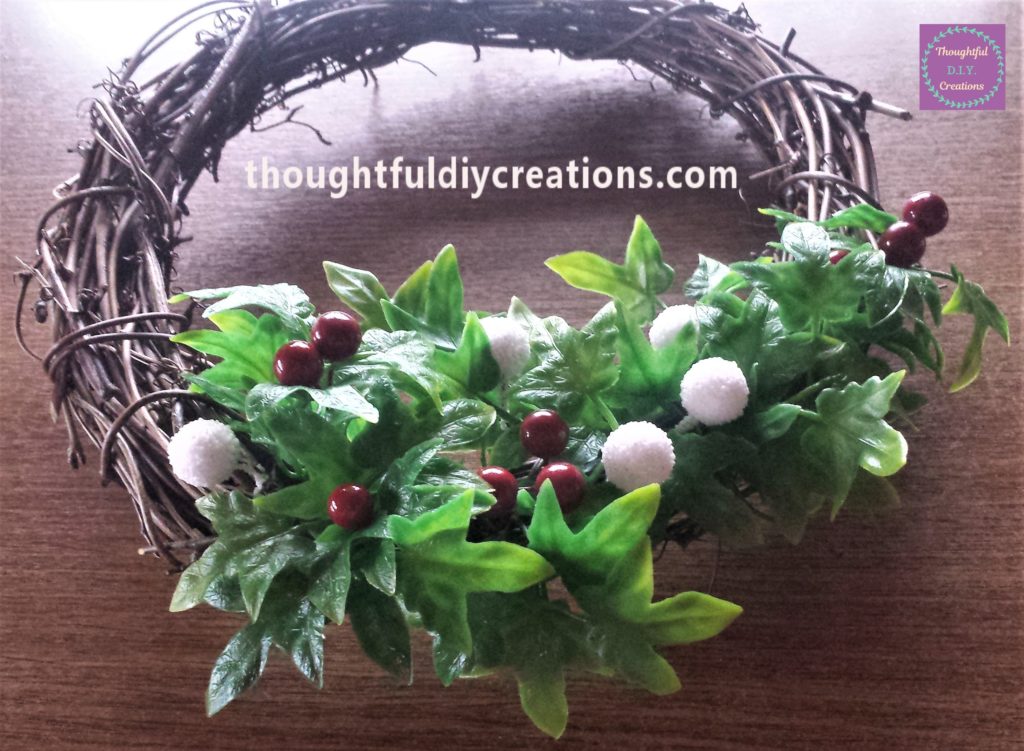
Here are some more photos of the finished Christmas Wreath. I love the rich colours in this wreath. It’s really nostalgic with the leaves and berries looking like holly and the traditional Christmas colours in the wreath.
Christmas Wreaths (2.) Modern Wreath
For my second Christmas Wreath I thought it would be nice to make it more contemporary. I decided to use the colours grey, pink and white as I think they complement one another. Natural Rattan Wreath.
Spray Painting the Wreath
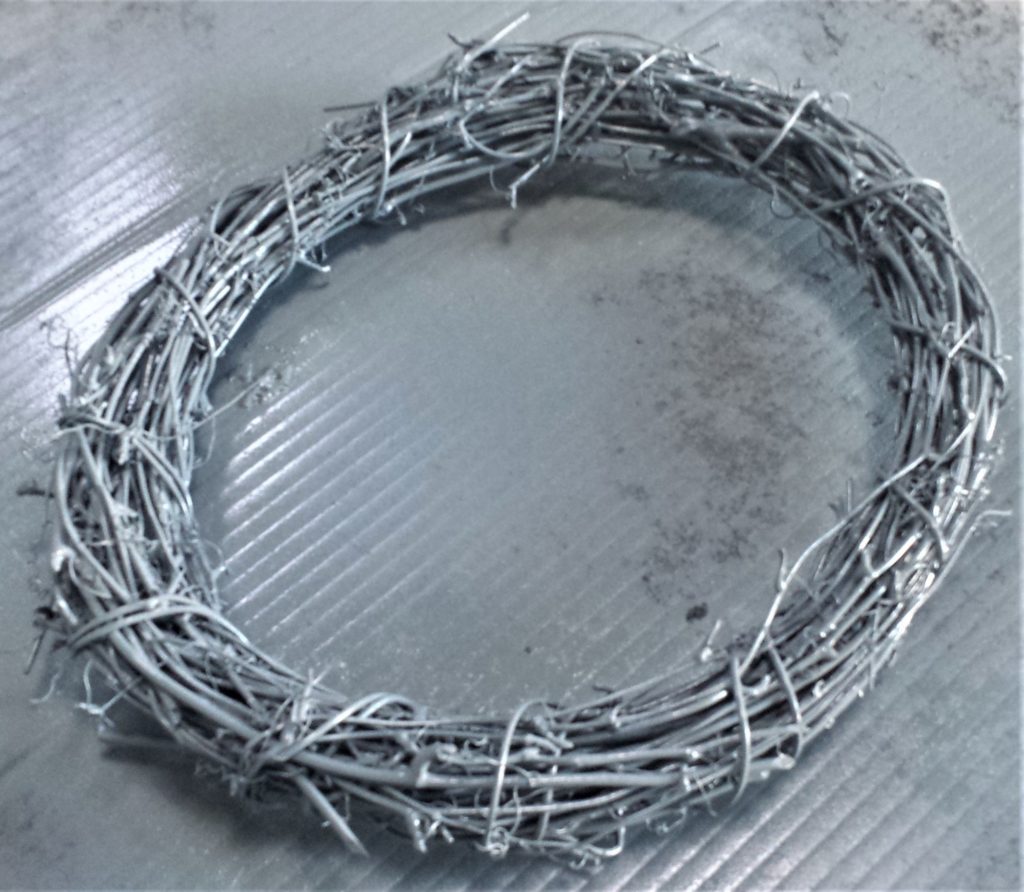
The Spray Paint I used for the Wreath was ‘RUST OLEUM Painters Touch Winter Grey’. Grey Spray Paint.
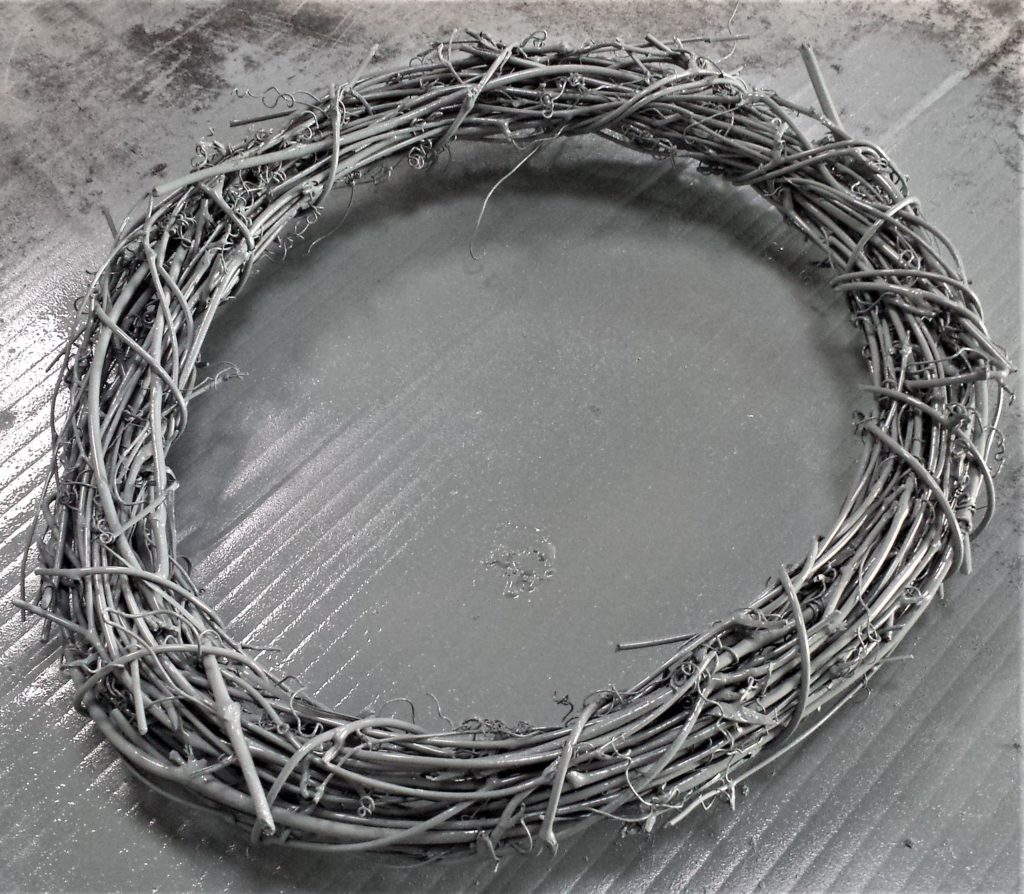
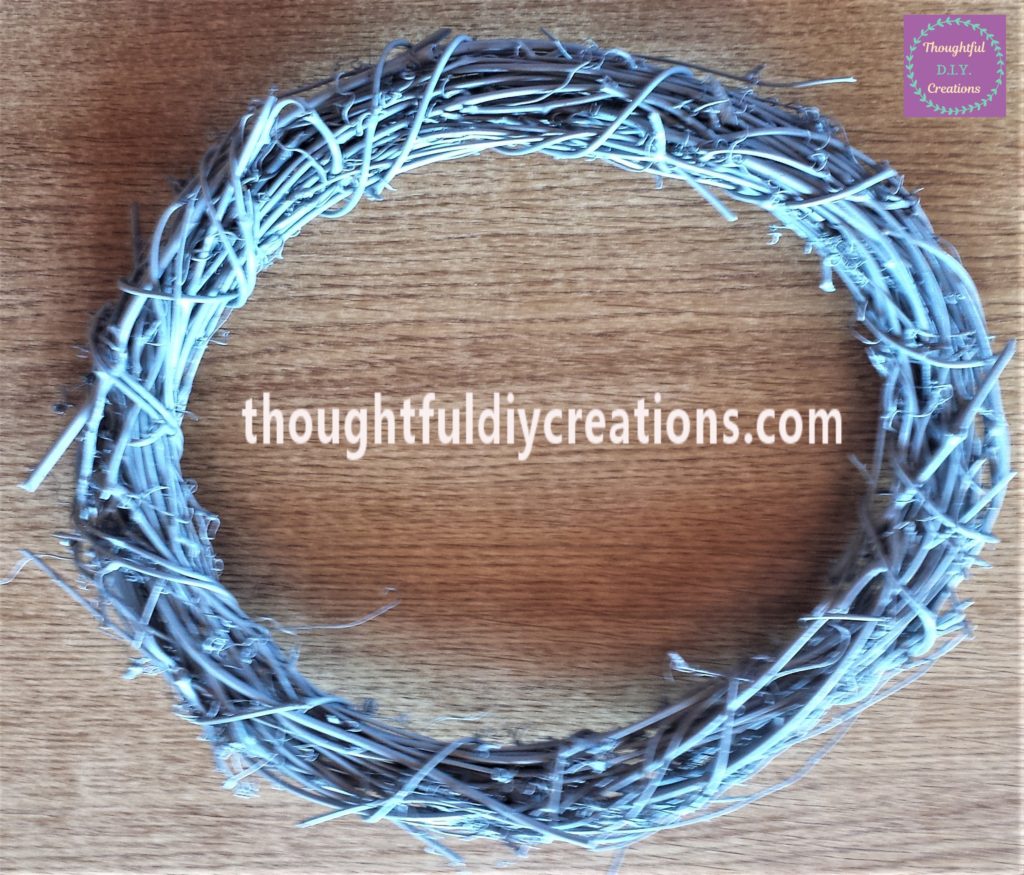
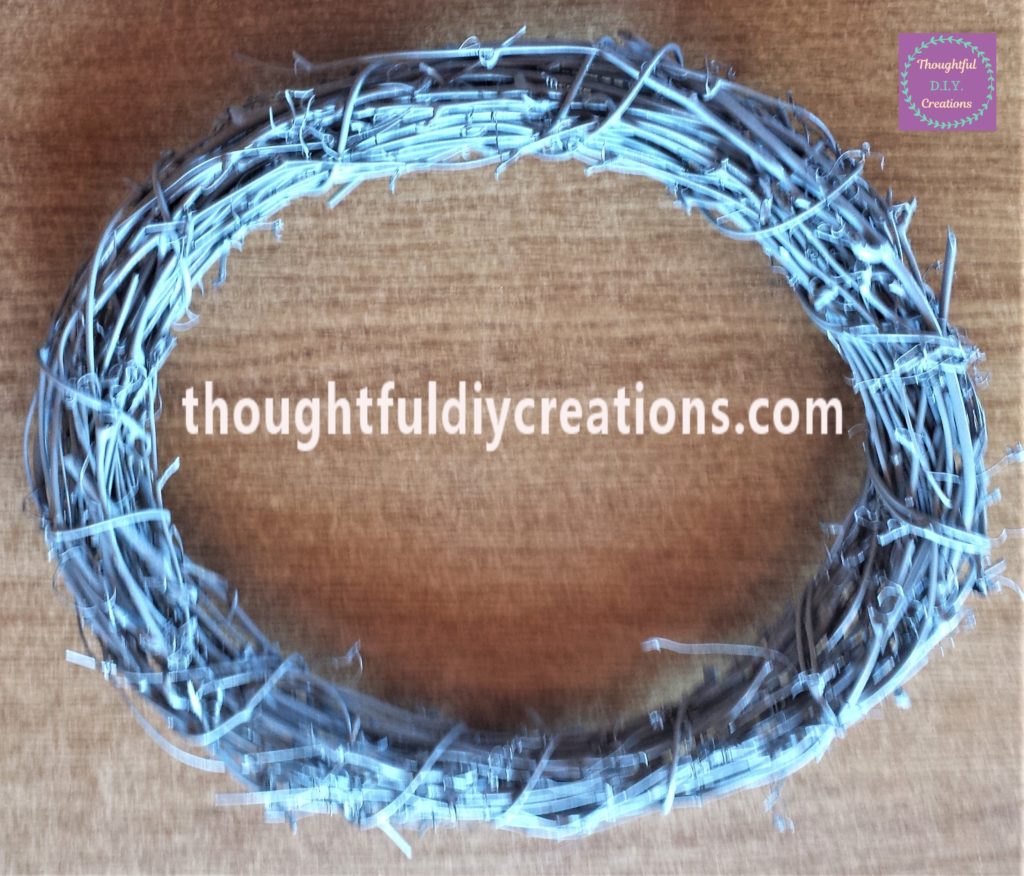
I brought the Wreath out to the shed. I put it on a sheet of cardboard on a table. I shook the spray can for about a minute. I then gave the wreath a layer of grey paint on the front and sides. Grey Spray Paint.
Always spray paint in a well ventilated area. Keep a door or windows open at all times when spraying.
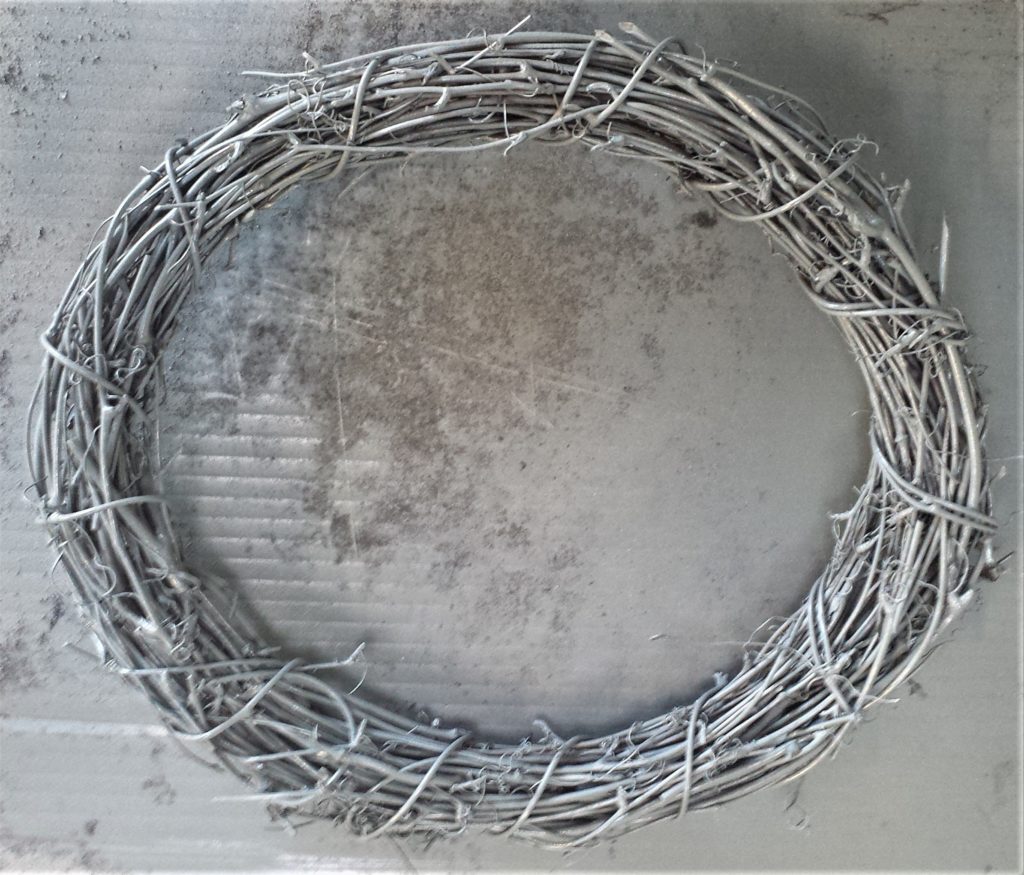
I am using the same type of wreath, bells and stars on this wreath as the traditional wreath. I think it’s really cool how you can change the whole look of something with just a different colour spray paint.
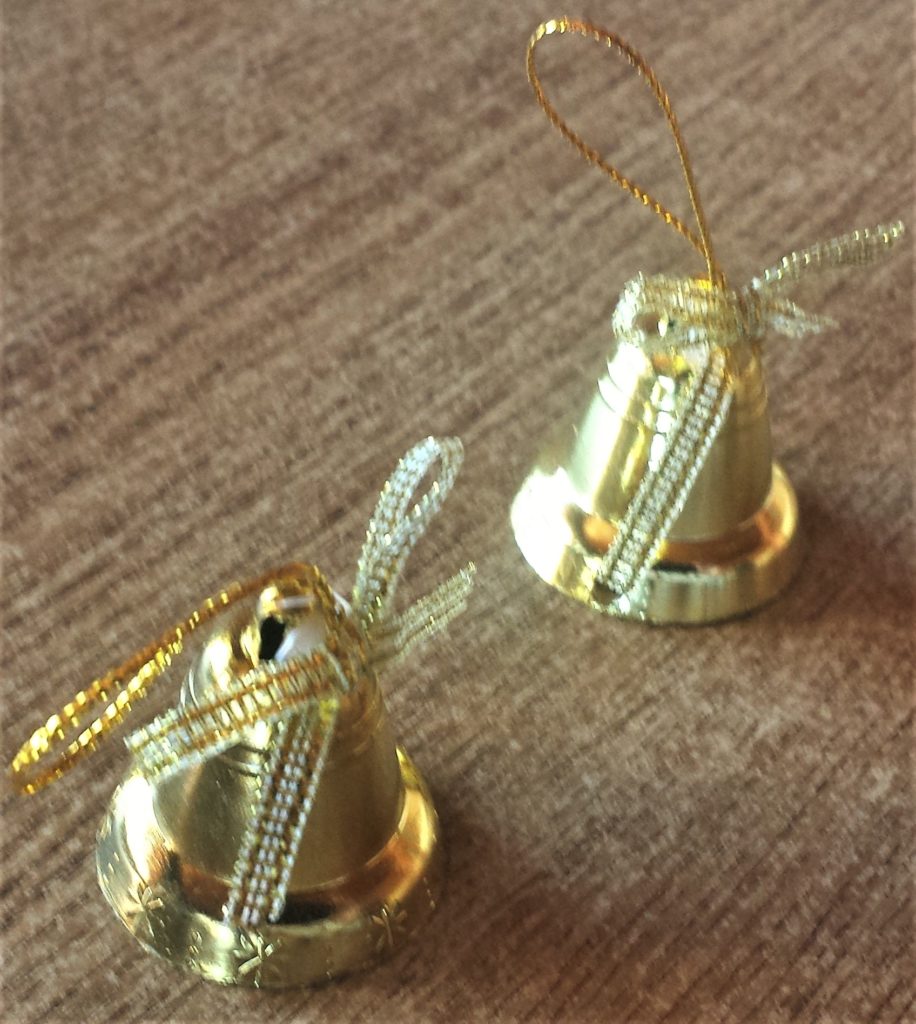
I took two gold bells out of the pack. I am going to spray paint them white to fit in with the contemporary theme. Mini Liberty Bells.
Setting up Props to Spray Paint the Bells
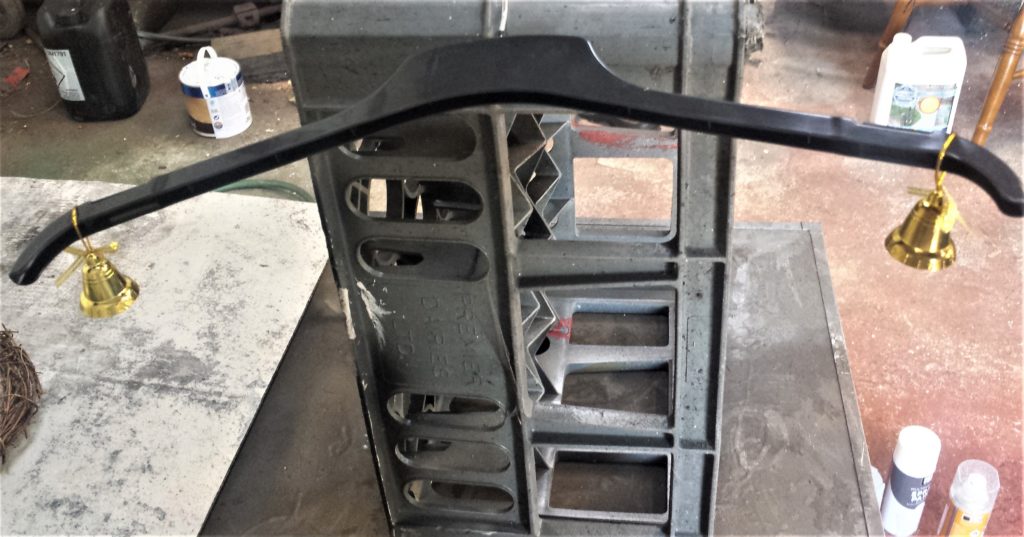
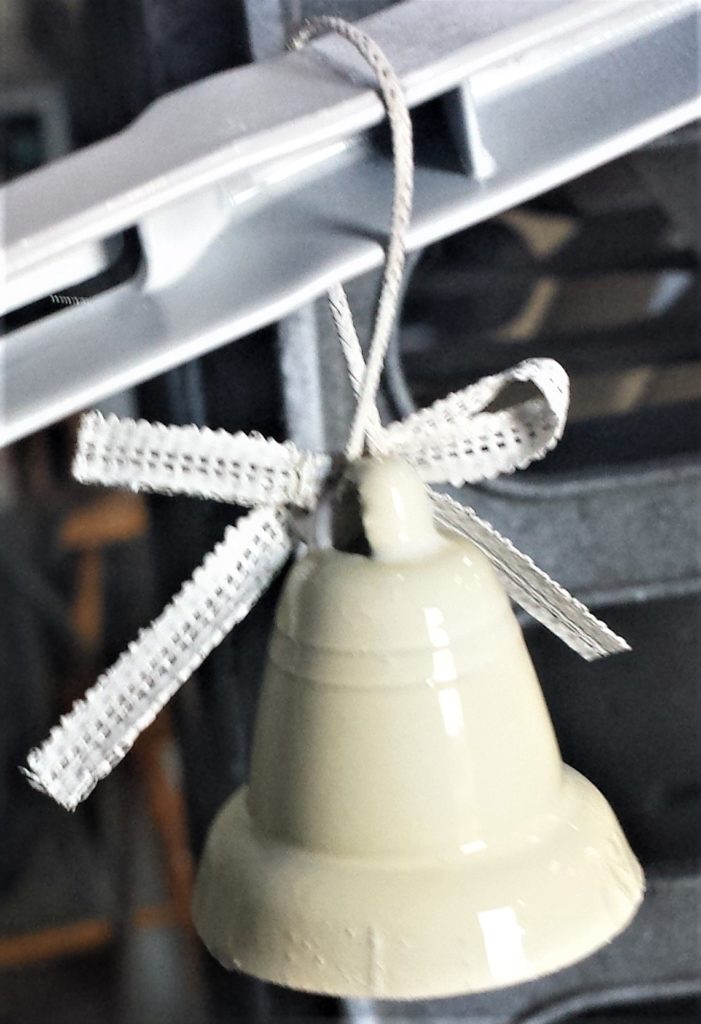
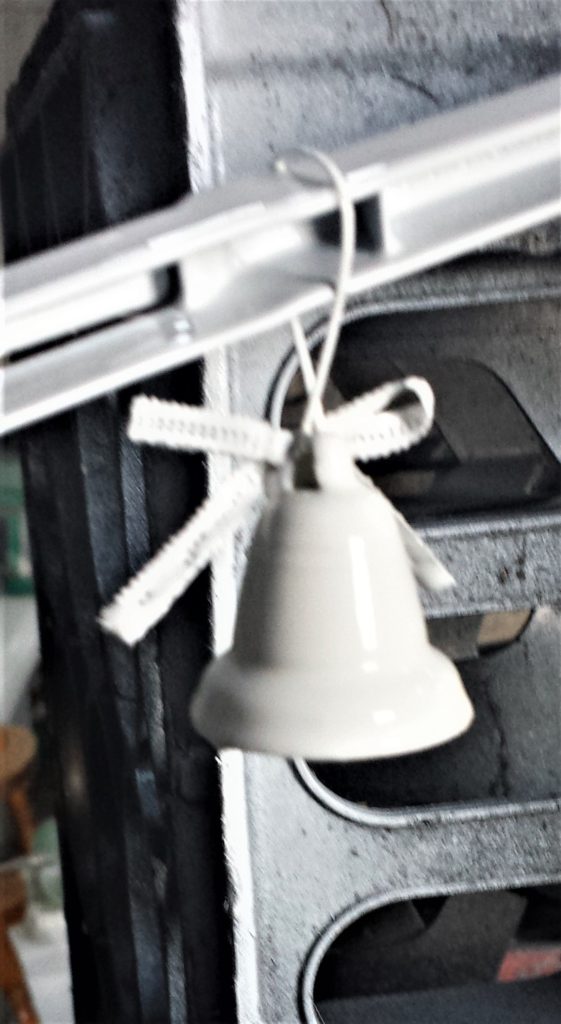
I brought the two bells out to the shed. I put a crate standing up sideways on the table. I hung a hanger out of the crate and put the bells on each side of the hanger. This was to ensure I could spray every angle of the bells without having to touch or move them. You can use whatever props you have in your home or shed which would make the spraying easier.
Spray Painting the Bells
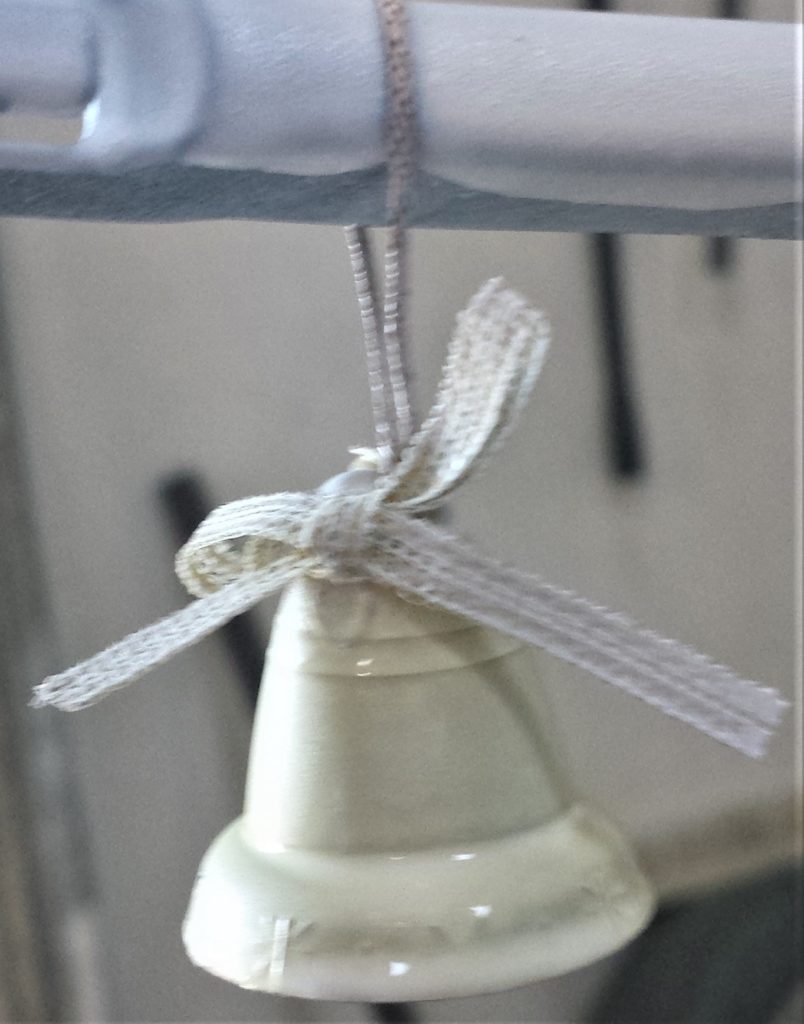
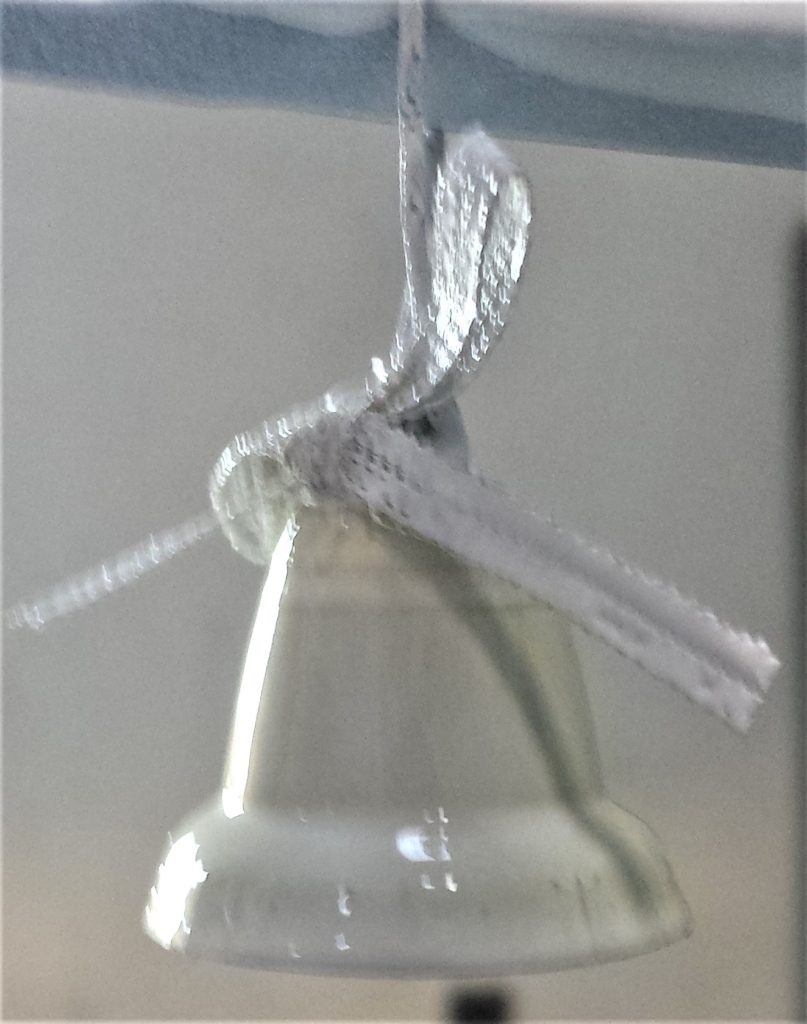
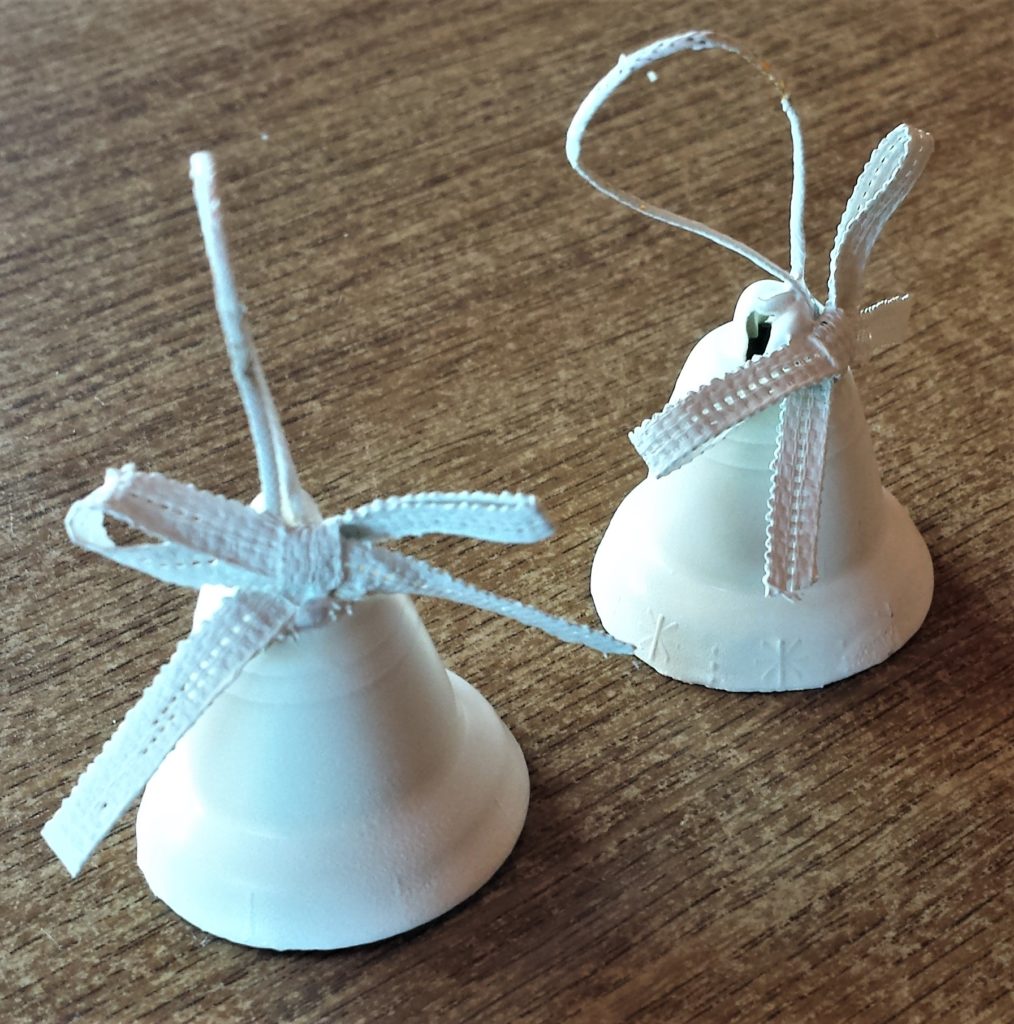
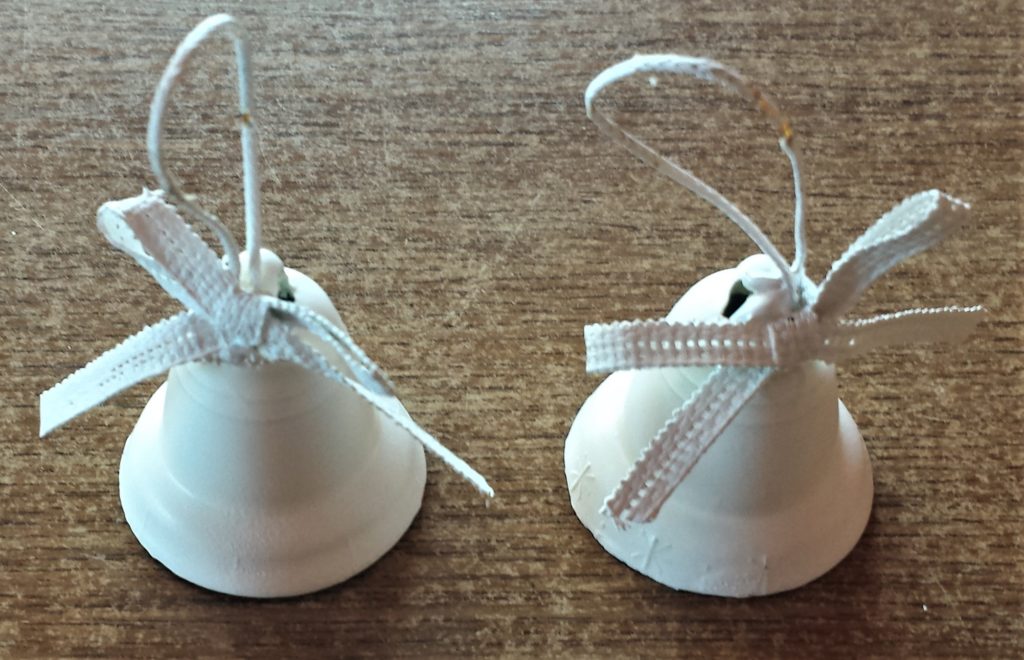
I shook the can of white spray paint for about a minute. I sprayed every angle of each bell and underneath each bell also. White Spray Paint.
Pine Cones for the Modern Christmas Wreath
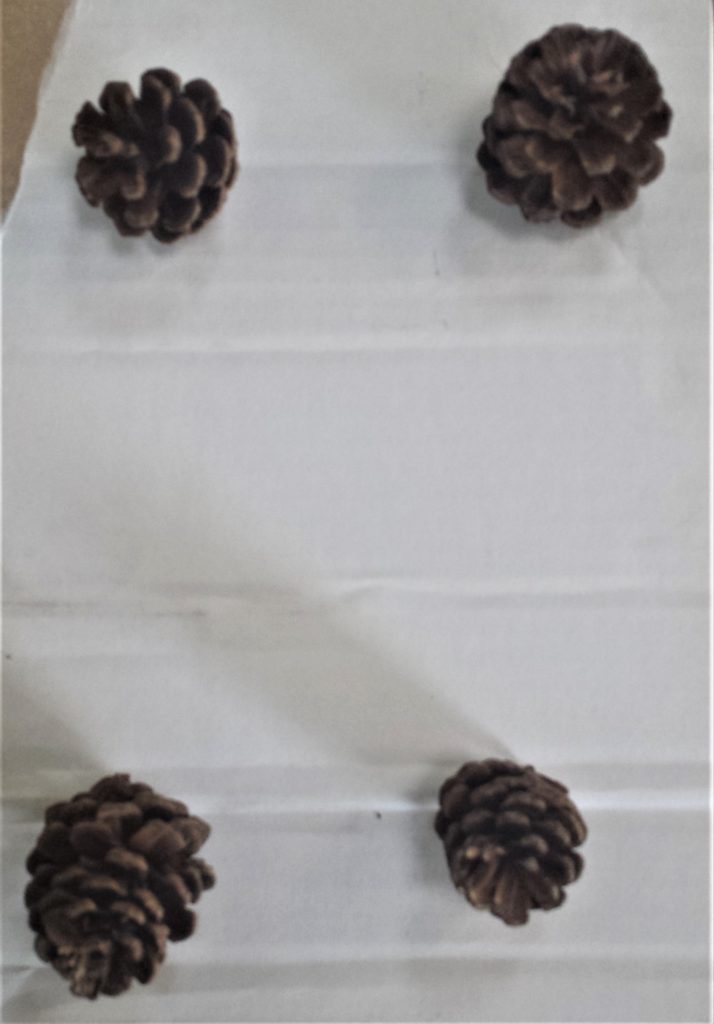
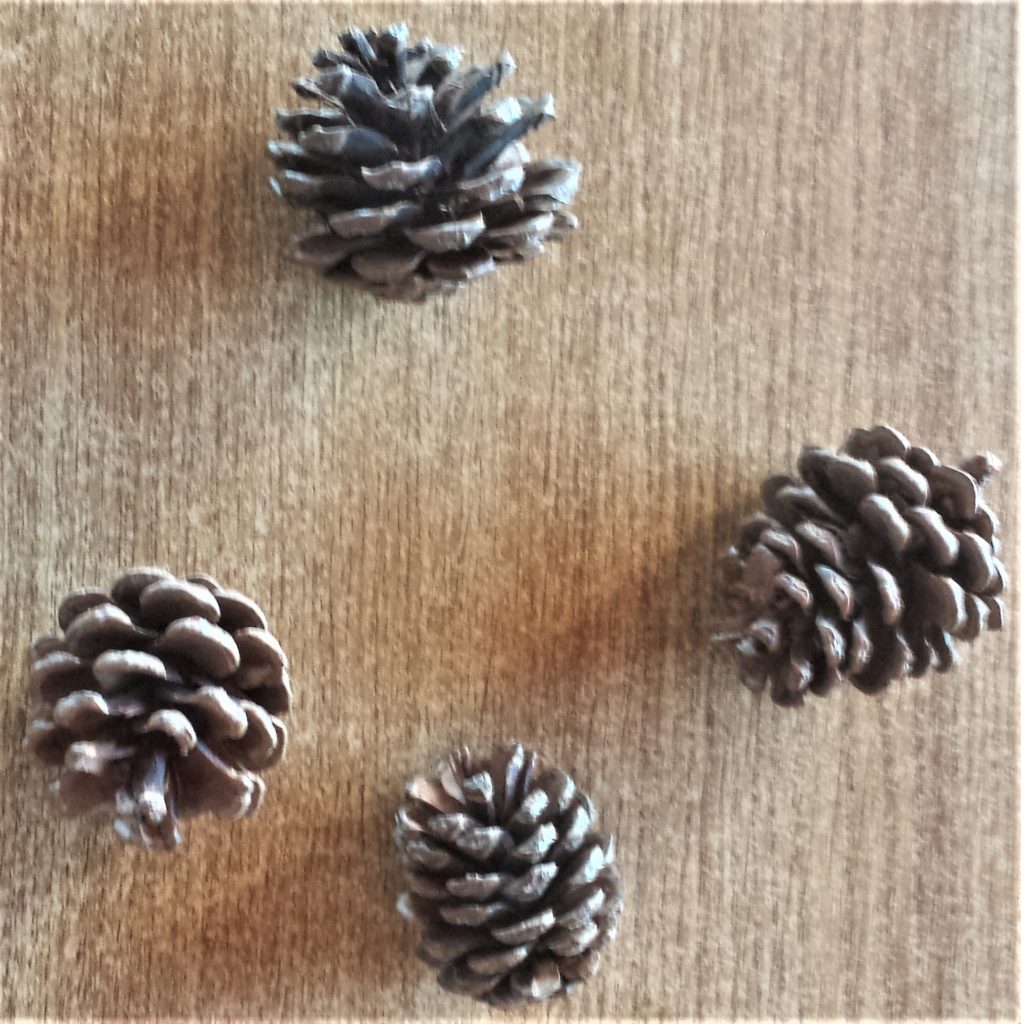
I had a bag of pine cones. I decided to use four of them for this Christmas Wreath. Pine Cones.
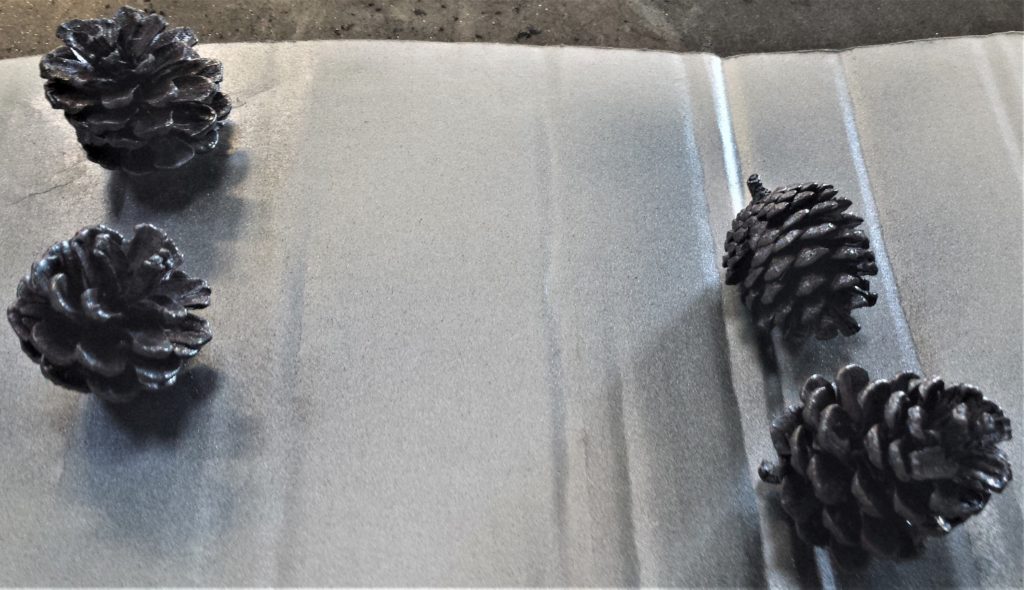
I brought the pine cones out to the shed and put them on a sheet of cardboard on the table.
Spray Painting the Pine Cones
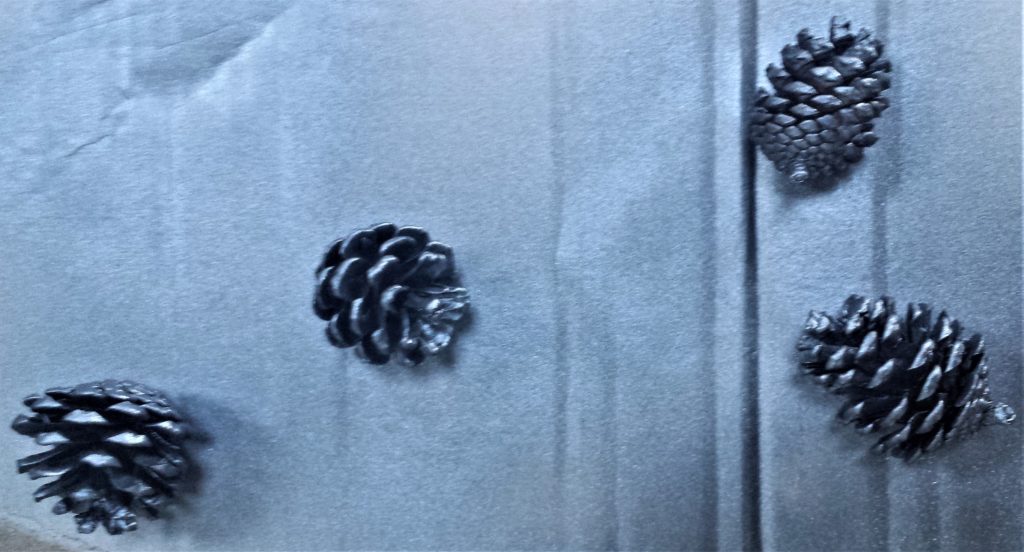
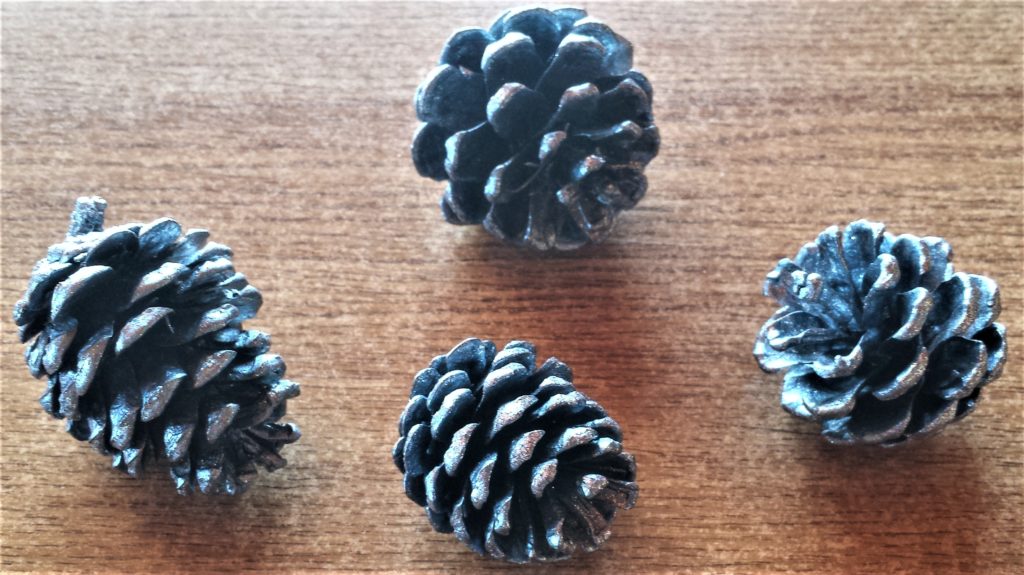
I used a silver metallic spray paint to spray the pine cones. I shook the can for about a minute and sprayed each pine cone. Iridescent Rich Silver Spray Paint.
Second Layer of Spray Paint
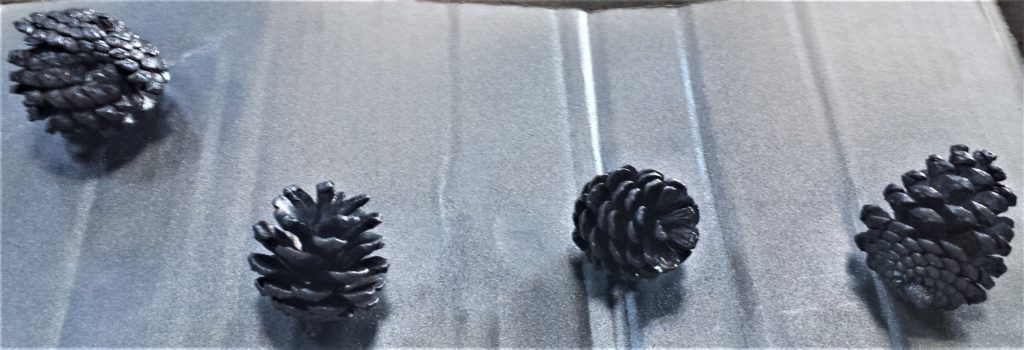
After an hour I gave a second layer of spray paint to the wreath, bells and pine cones. Iridescent Rich Silver Spray Paint.
Third Layer of Spray Paint
I waited another hour then applied another layer of spray paint to the bells and pine cones. The wreath was covered nicely with two coats of spray paint.

Fourth Layer of Spray Paint
I applied a fourth layer to the bells and pine cones when the third layer was dry. This completed the bells. White Spray Paint.
The next day I sprayed the back of the wreath. It only needed 1 layer of spray paint. Grey Spray Paint.
Adding Glitter to the Pine Cones
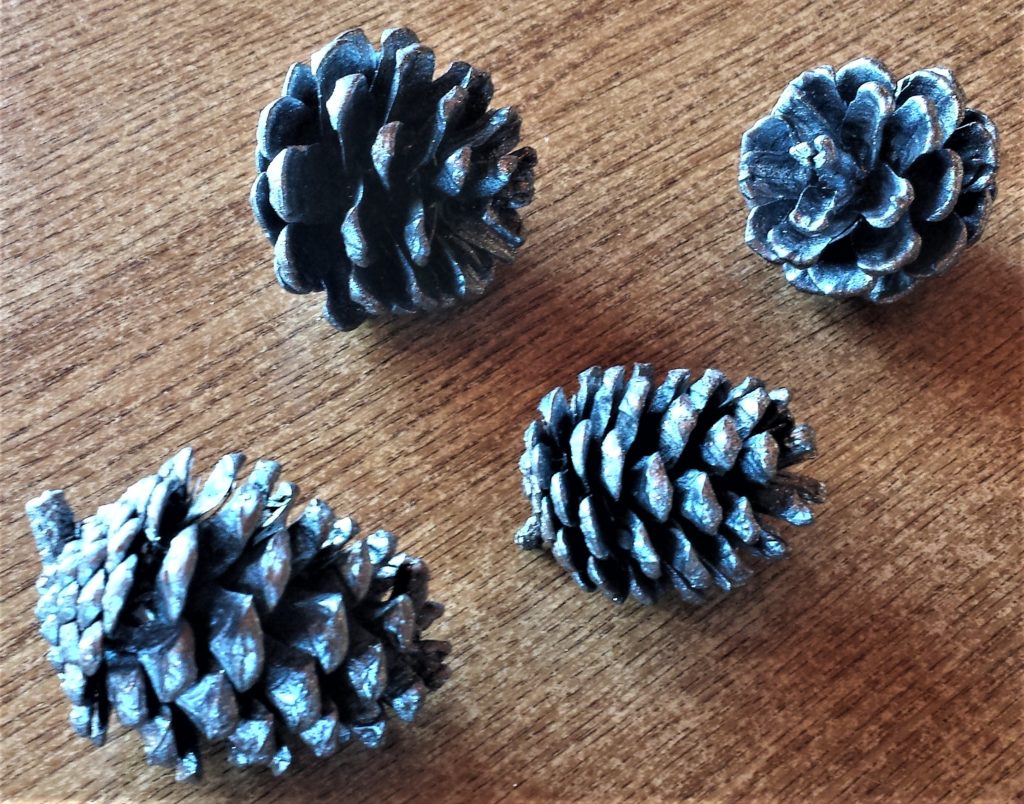
I used a Silver Glitter Spray Paint to spray the pine cones. I thought this would add a nice dimension to the cones, it catches your eye and is also Christmassy; I think that’s a word I’m going with it anyway. Silver Glitter Spray Paint.
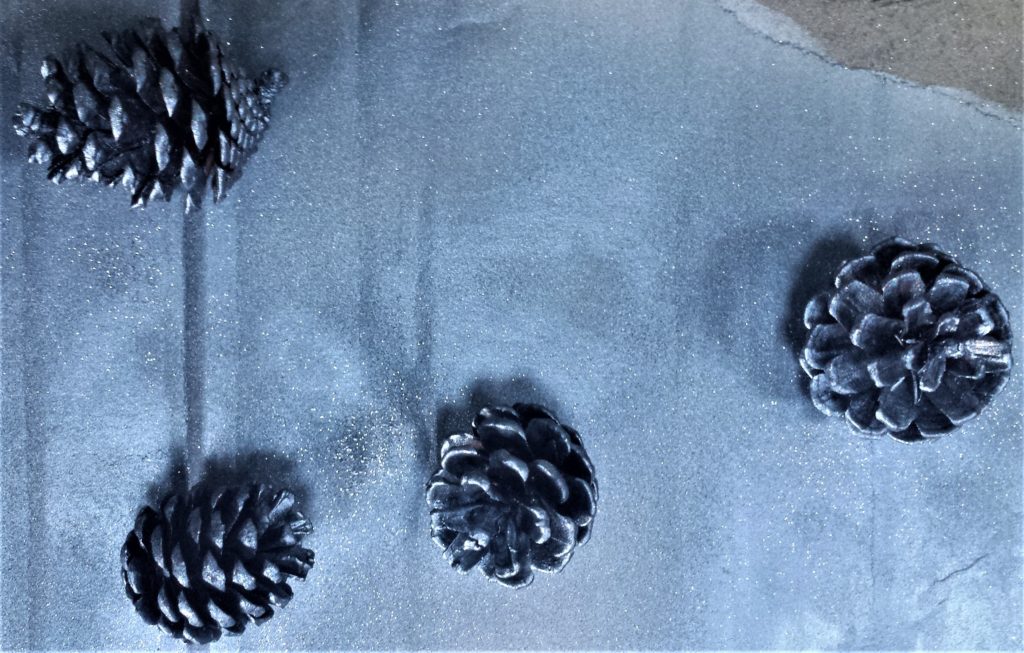
After an hour I sprayed another layer of silver glitter onto the pine cones. Silver Glitter Spray Paint.
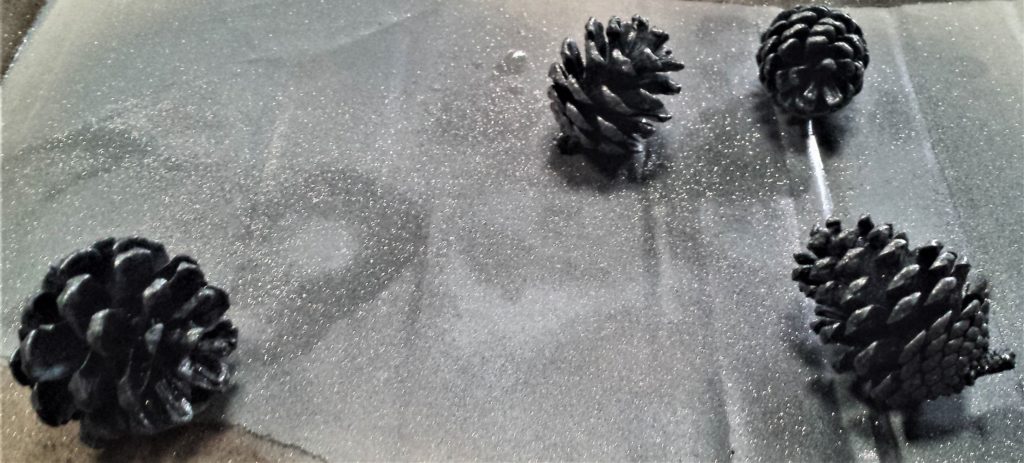
The following day I added a clear top coat to the pine cones to seal the glitter. Aleene’s Spray Gloss Finish Sealer. I left everything in the shed for two days to cure.
I brought everything back inside two days later.
Decorating the Vine Stars
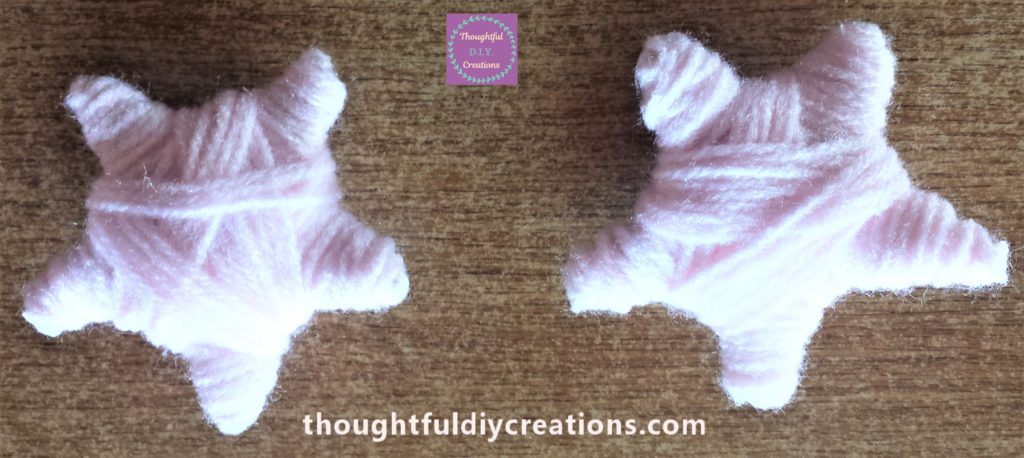
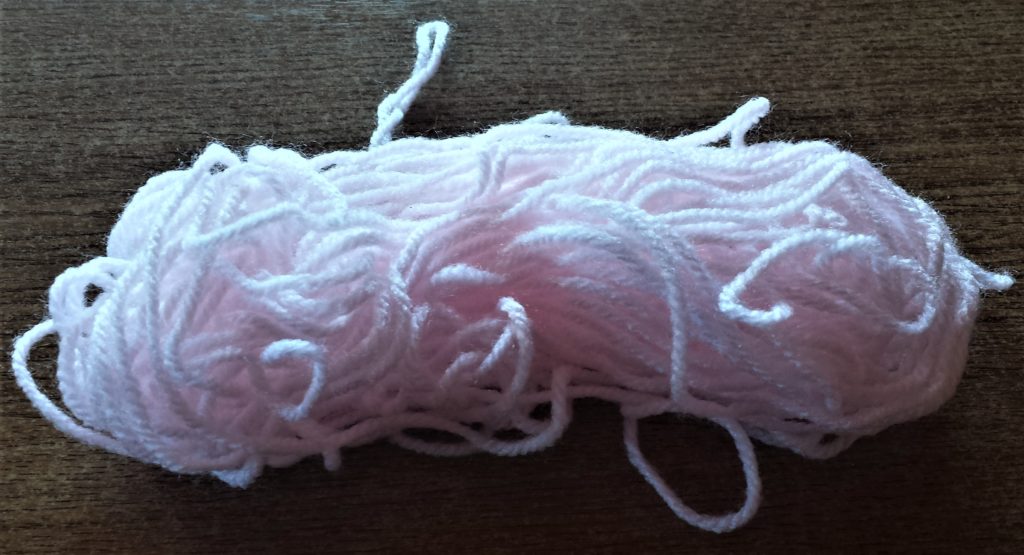
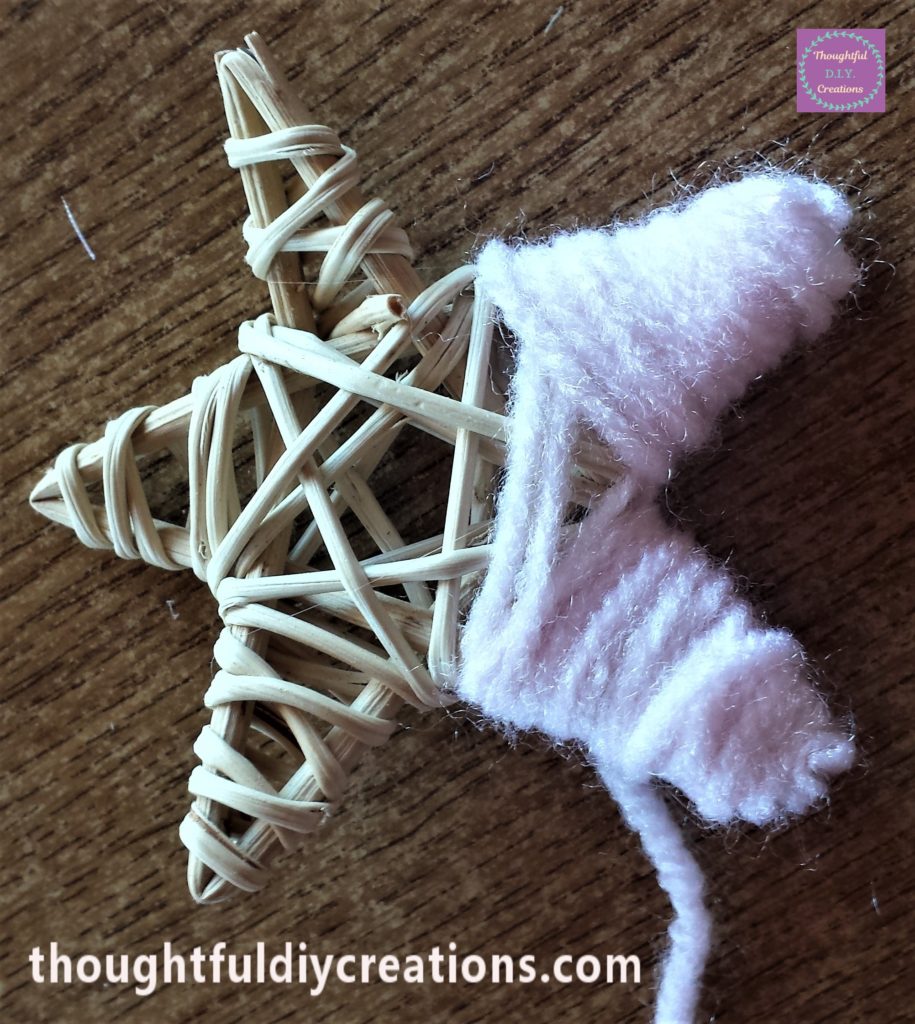
I had some pink wool in my craft supplies, I loved the colour and thought it would look pretty wrapped around the vine stars. Pink Wool.
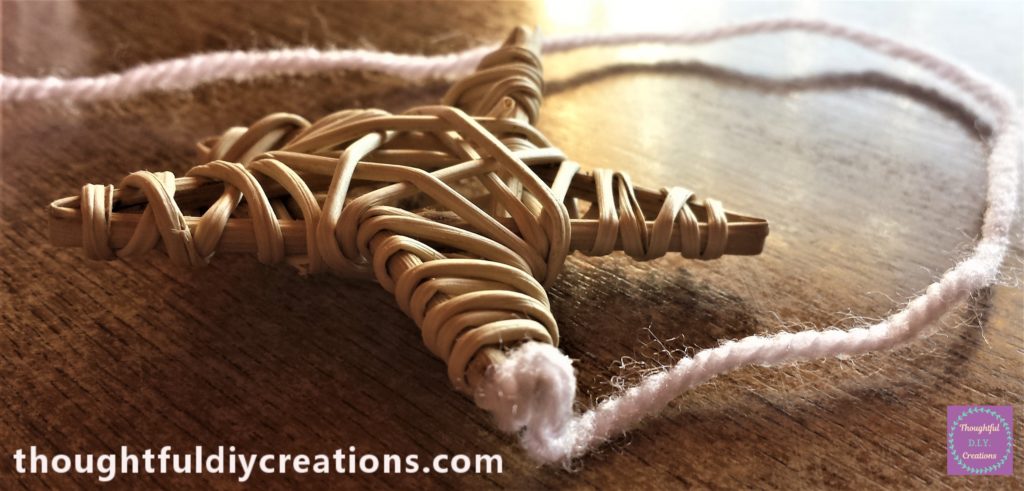
I plugged in my hot glue gun and let it heat up for five minutes. Hot Glue Gun. I put a dab of hot glue on the corner of the star and put the wool over it. I then wrapped the wool around the first segment of the star. Always be careful when using a glue gun as they do get quite hot, mind your fingers you will need them for more crafting. Star Cutout.
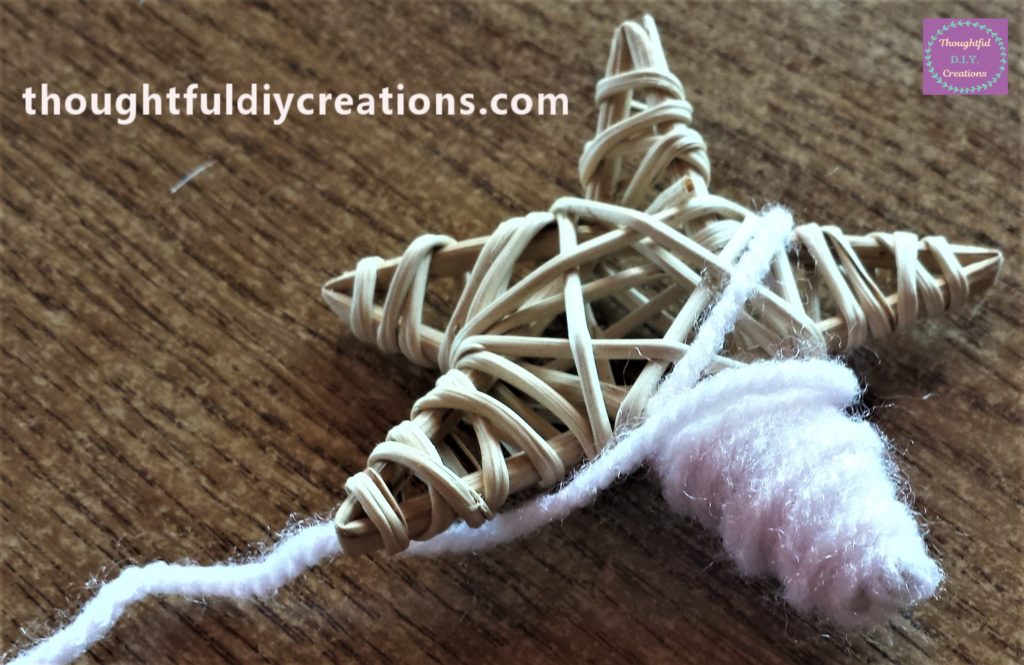
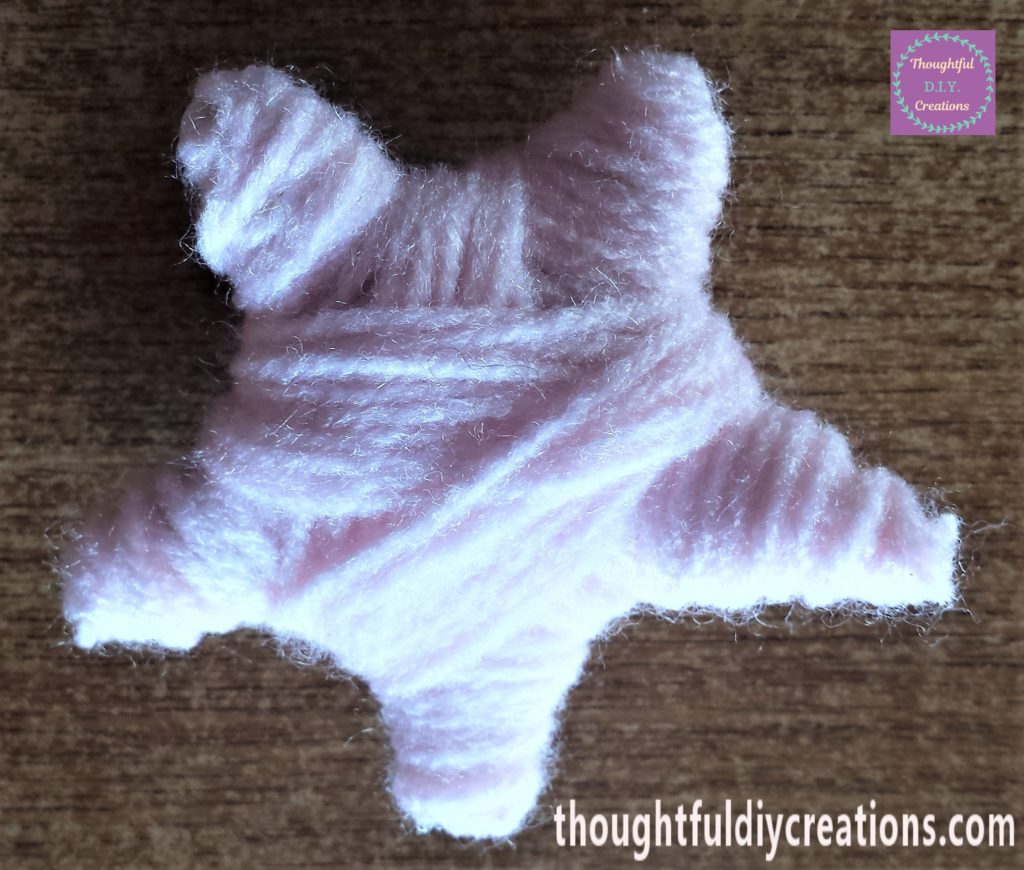
I put hot glue on each corner of the star and then continued to wrap the wool around the rest of the star. When I had it completely covered with wool I put a dab of hot glue in the middle of the star at the back and put the wool on top of it and then cut the wool.
Pink Wool.
I repeated the same steps on the second star. Pink Wool.
Adding the String to the Modern Christmas Wreath
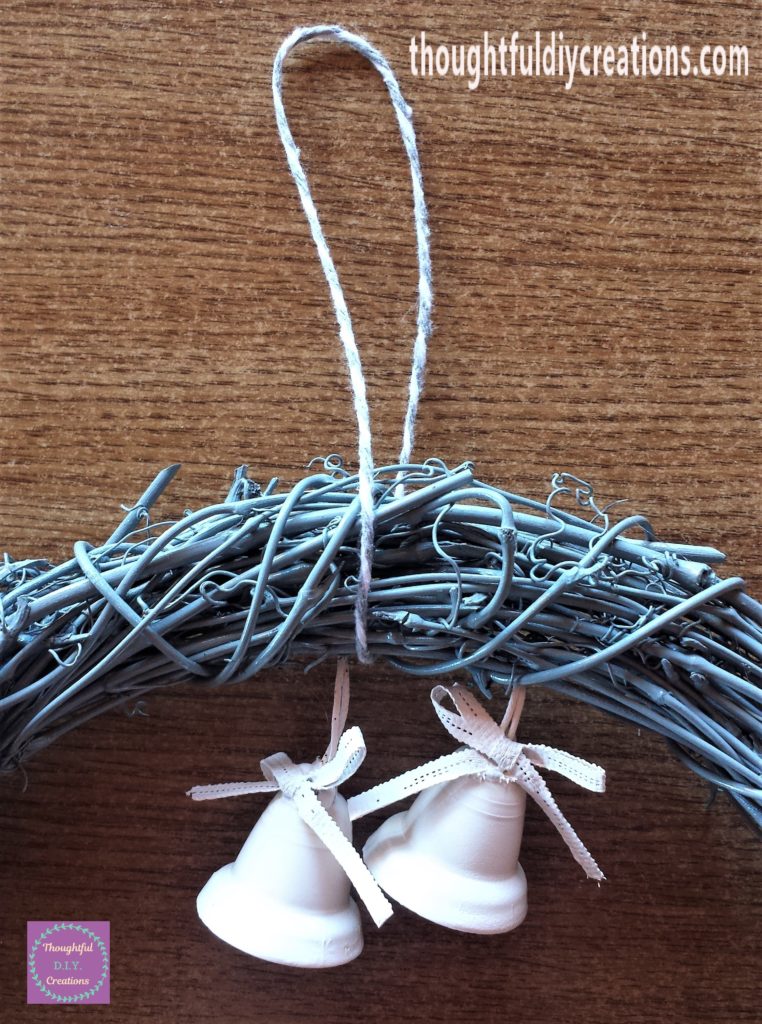
I had grey and white cotton twine which was perfect to add to the wreath to hang it up. Gray Macrame Cord.
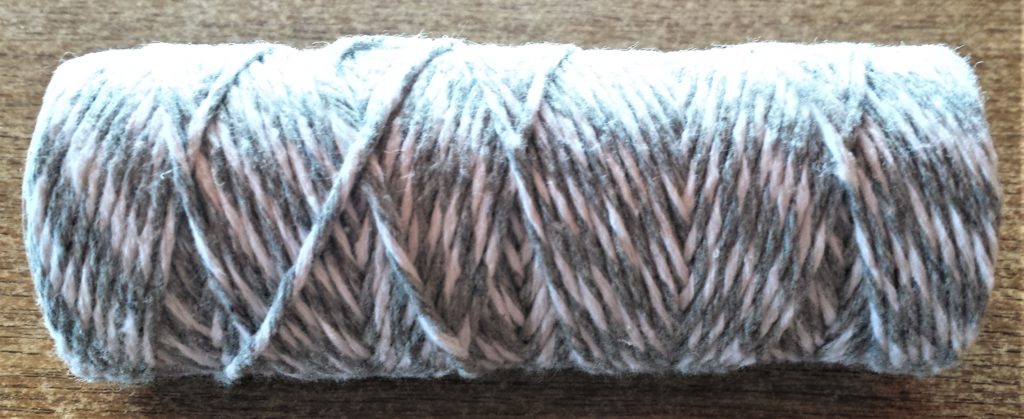
I cut a section from the roll. I put it around the wreath and tied a few knots in it to secure it. Gray Macrame Cord.
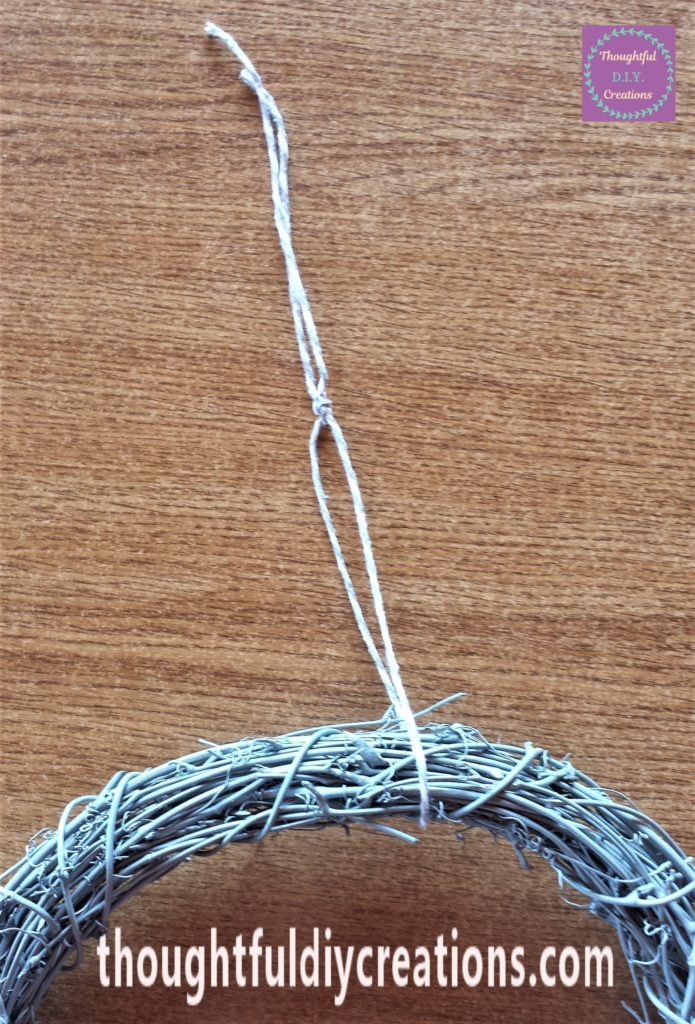
I cut the excess string at the top.
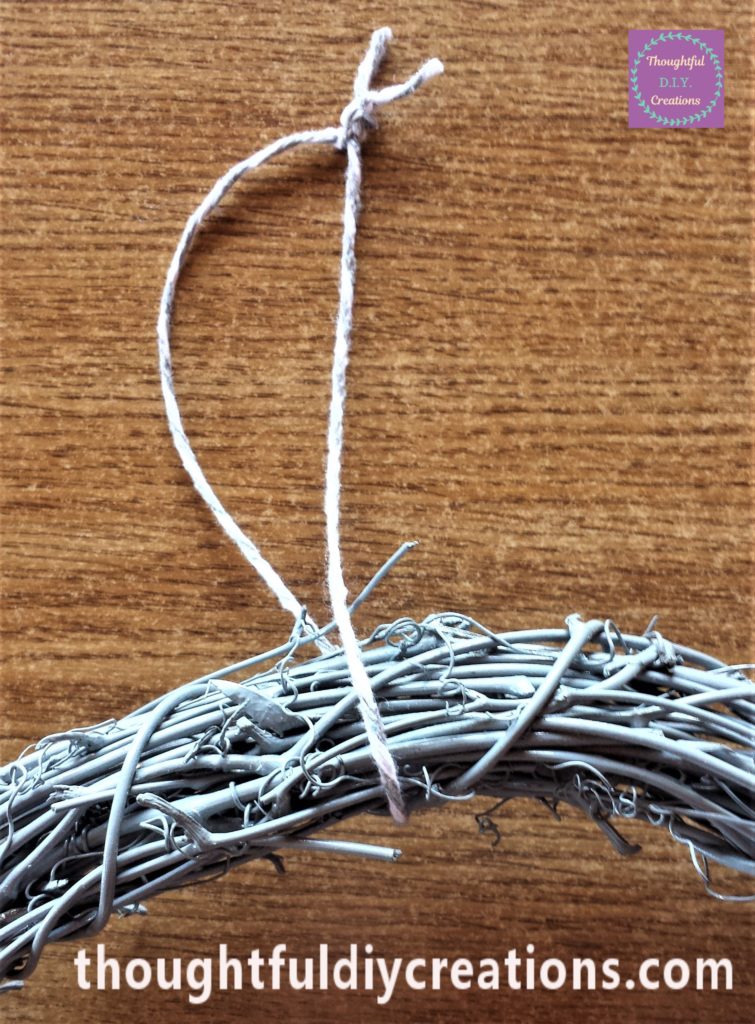
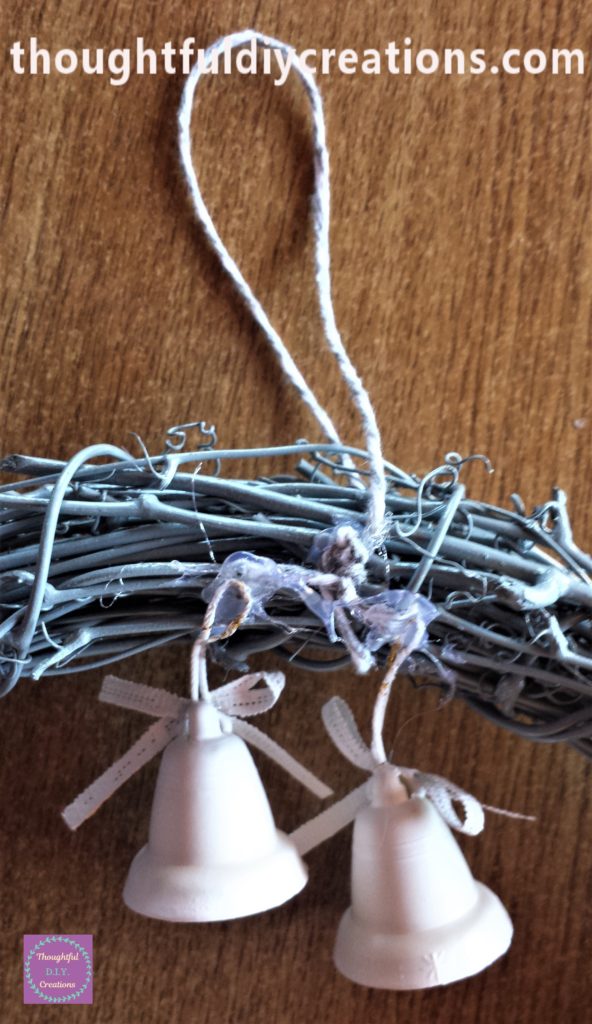
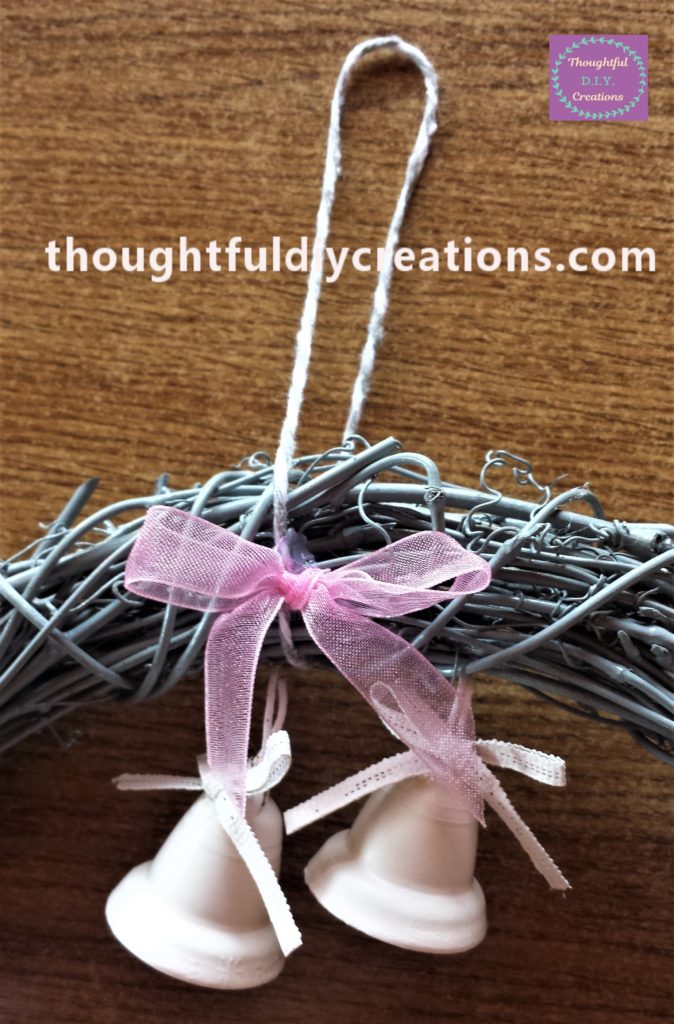
I turned the part of the string with the knot to the bottom of the wreath. I then put hot glue on the back of the wreath and held the string to the glue using a pencil. I put more hot glue to the back of the wreath and added the tops of the strings from the bells.
Hot Glue Gun.
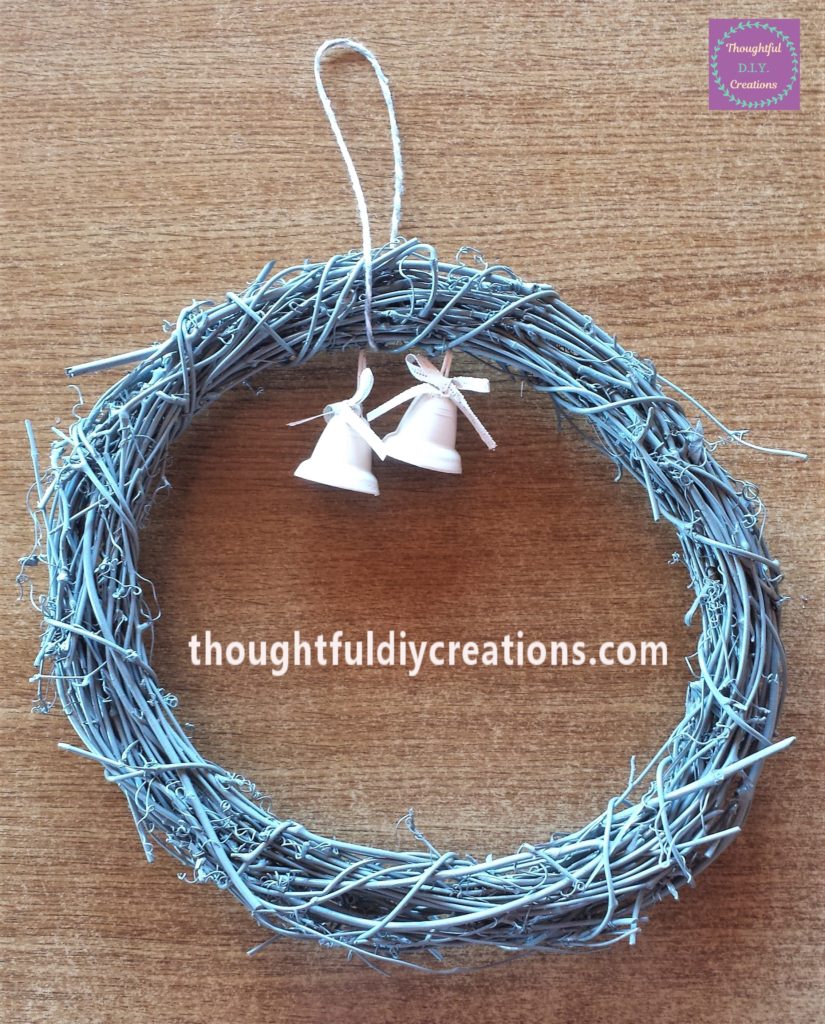
Attaching the Stars to the Wreath
I put hot glue on the back of the star and on the side of the wreath and attached them together. I repeated this on the other side of the wreath with the other star. Hot Glue Gun.
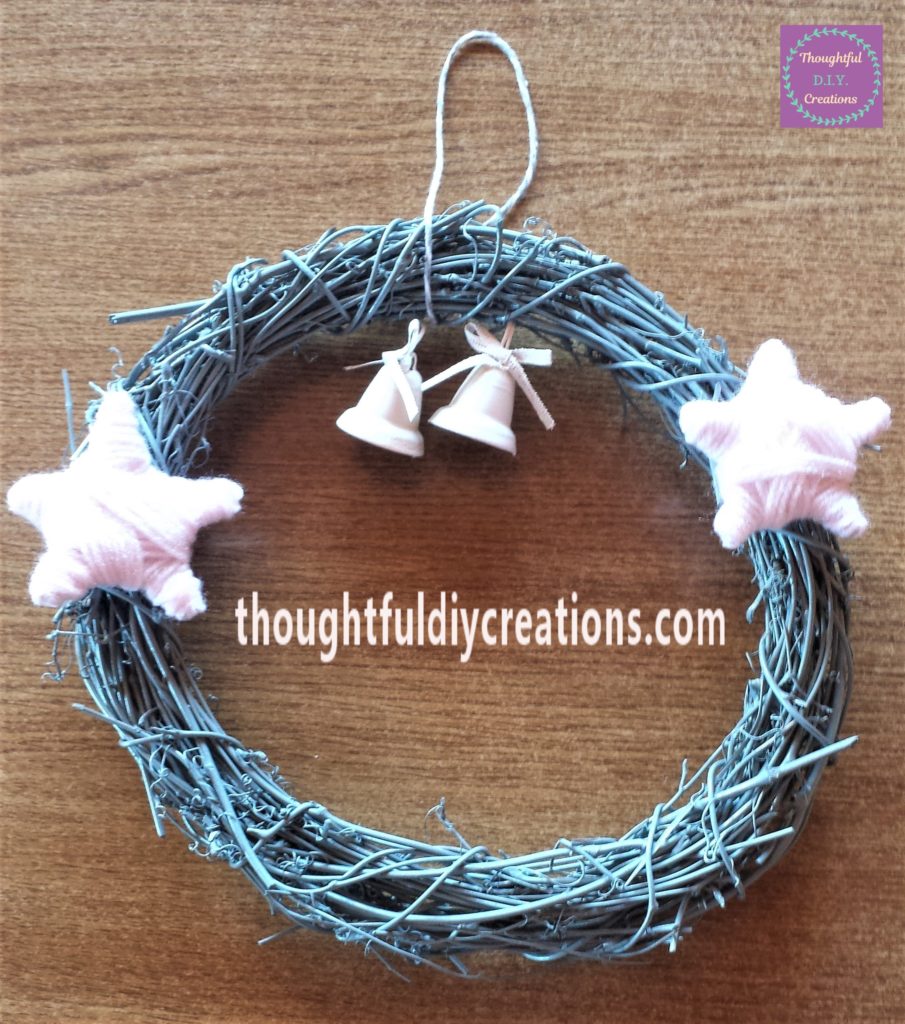
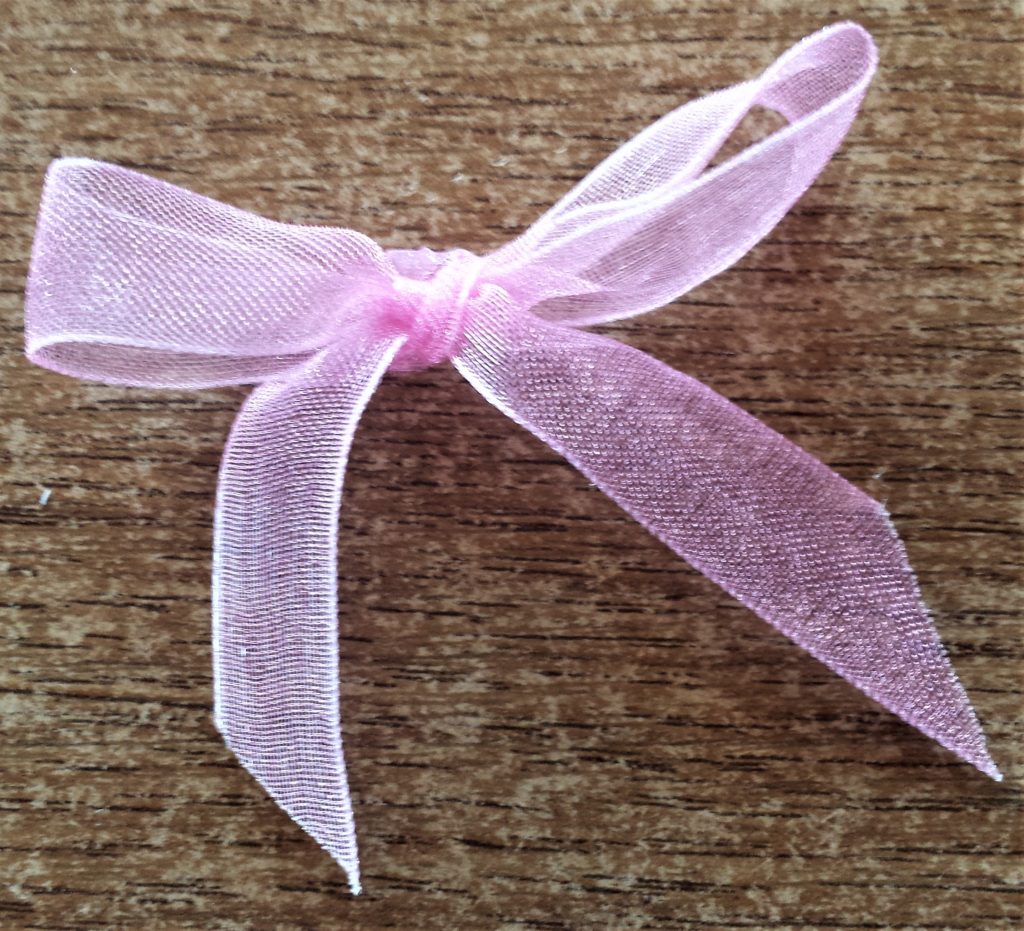
I had a pink ribbon in my craft supplies. I added it to the top of the wreath. I put hot glue in the mid-section on the back of the ribbon and attached it to the wreath. Satin Ribbon Pink.
Flowers for the Christmas Wreath
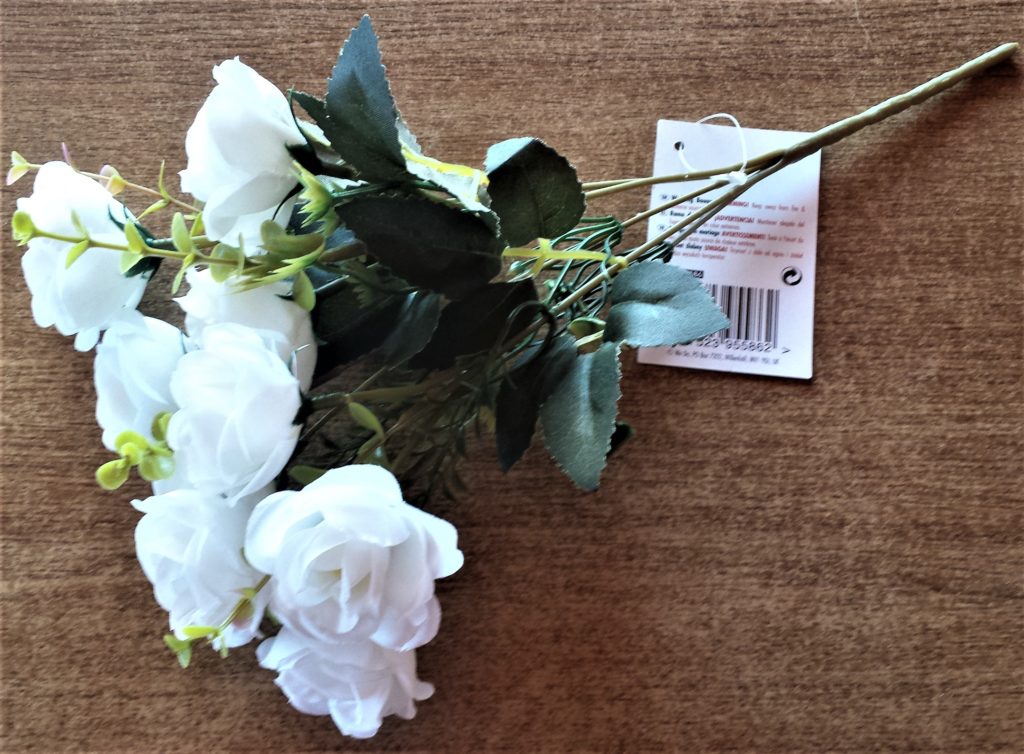
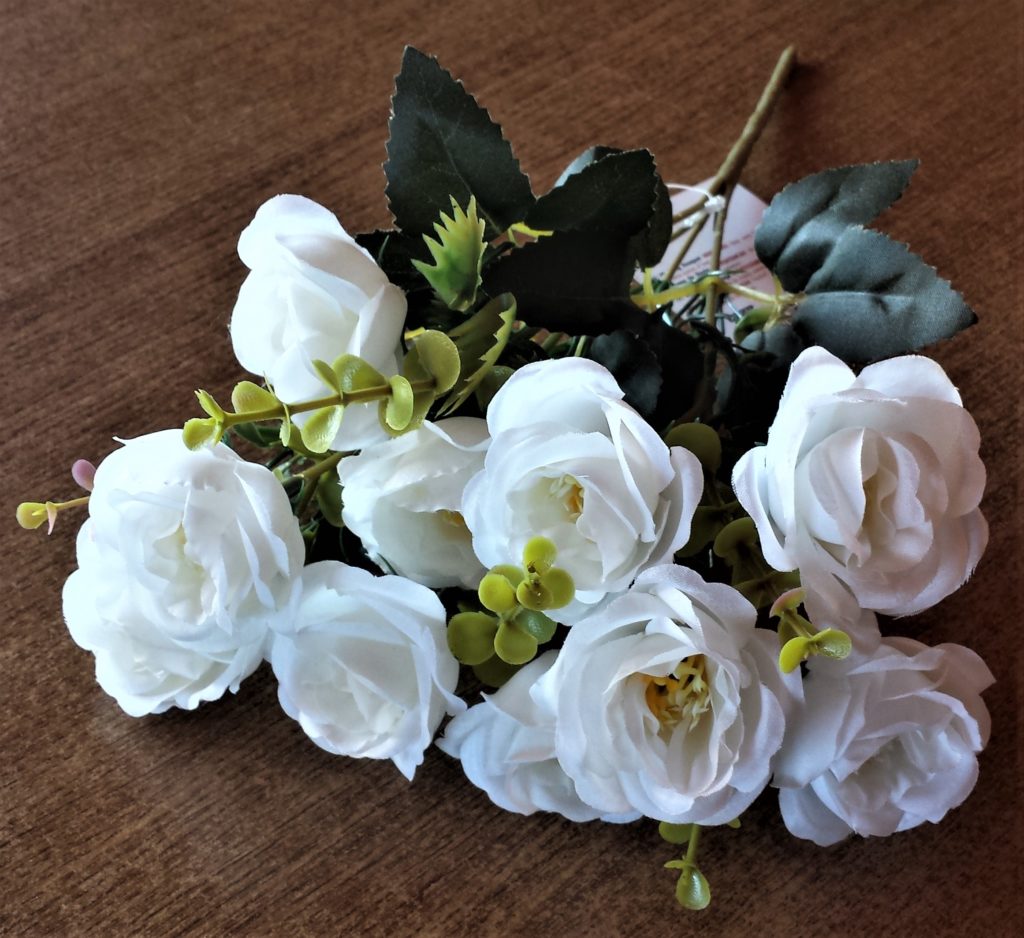
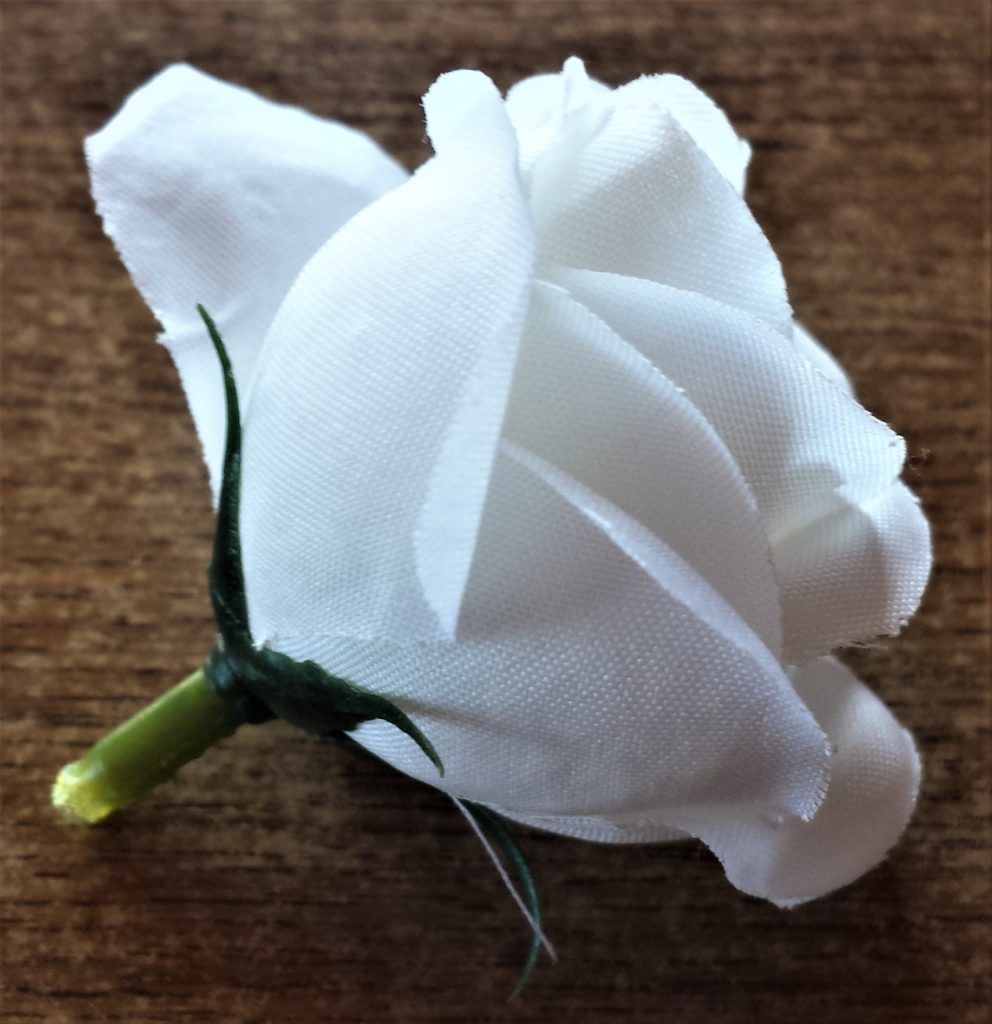
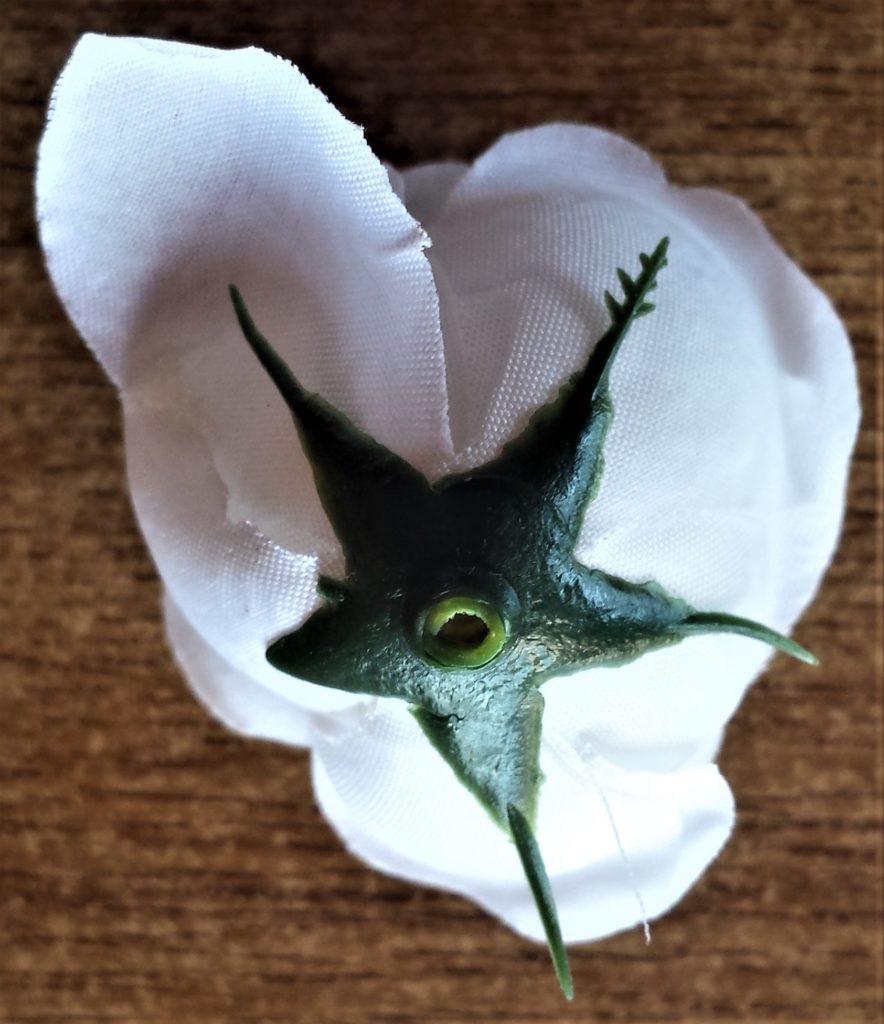
I bought a bunch of artificial flowers a few months ago. I thought they would blend in nicely with the wreath. Artificial Flower.
I pulled the flower head from the stem. I cut the green stalk from the flower using a scissors. Artificial Flower.
Gluing the Pine Cones & Flowers to the Wreath
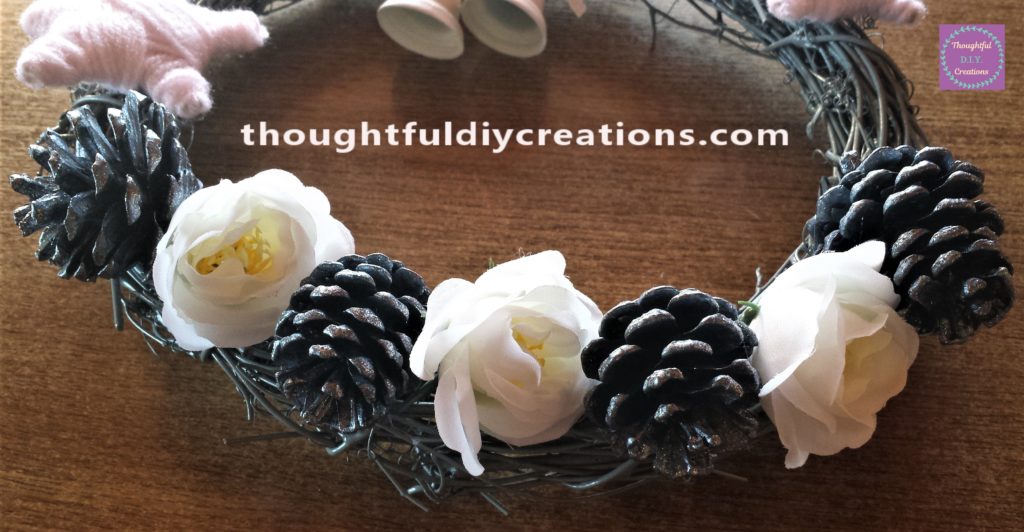
I put hot glue on the back of the pine cone and held it to the bottom of the wreath for about 10 seconds. I then put hot glue on the wreath and the flower and attached it beside the pine cone.
Pine Cones.
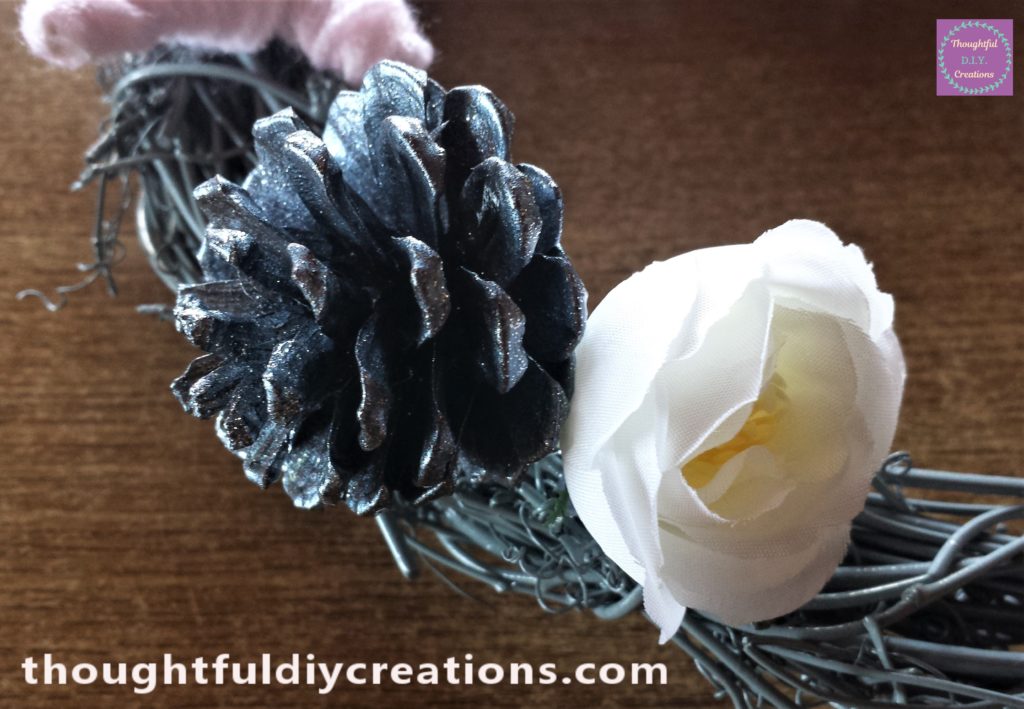
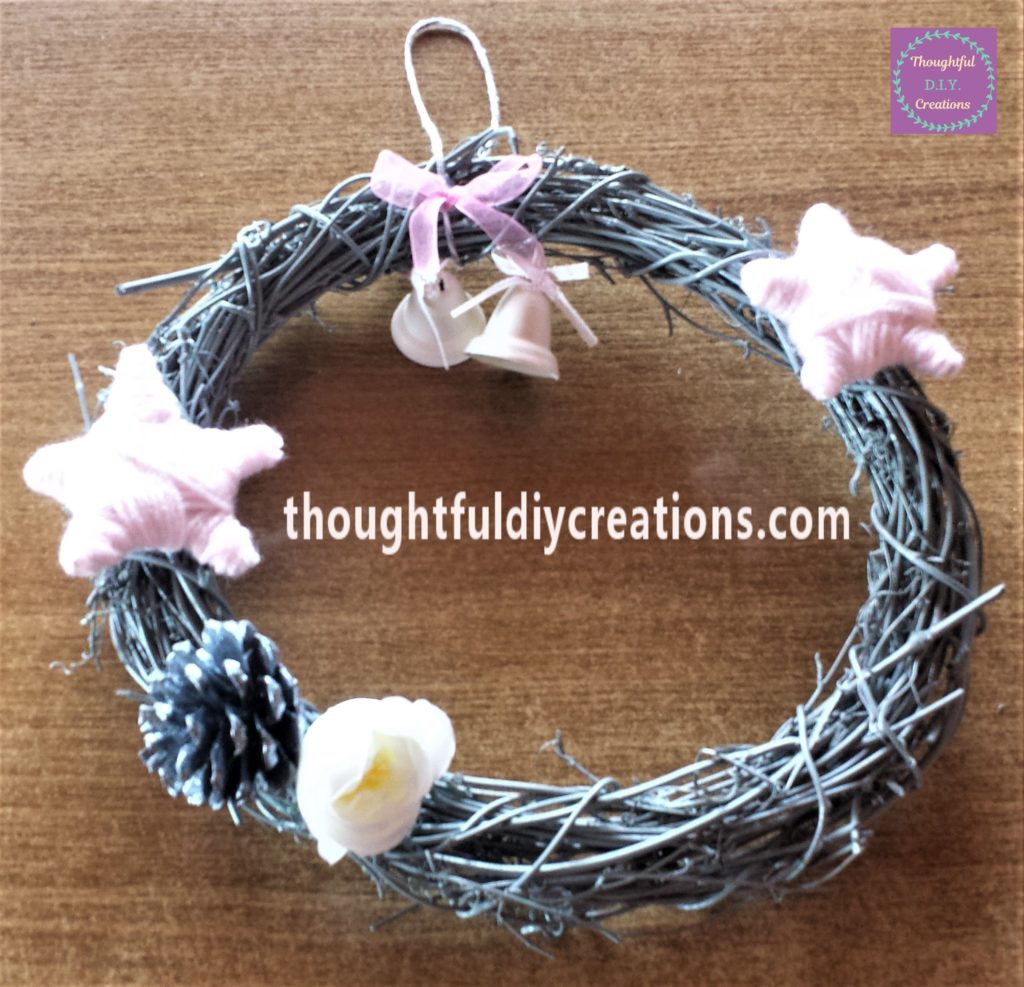
I added another pine cone and another flower to the wreath. Hot Glue Gun. Artificial Flower.
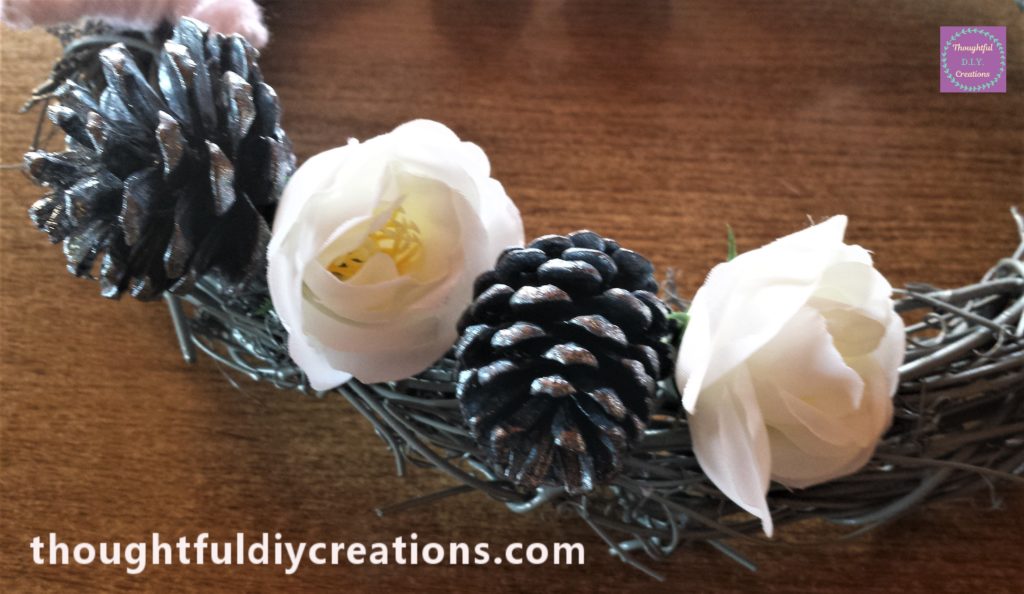
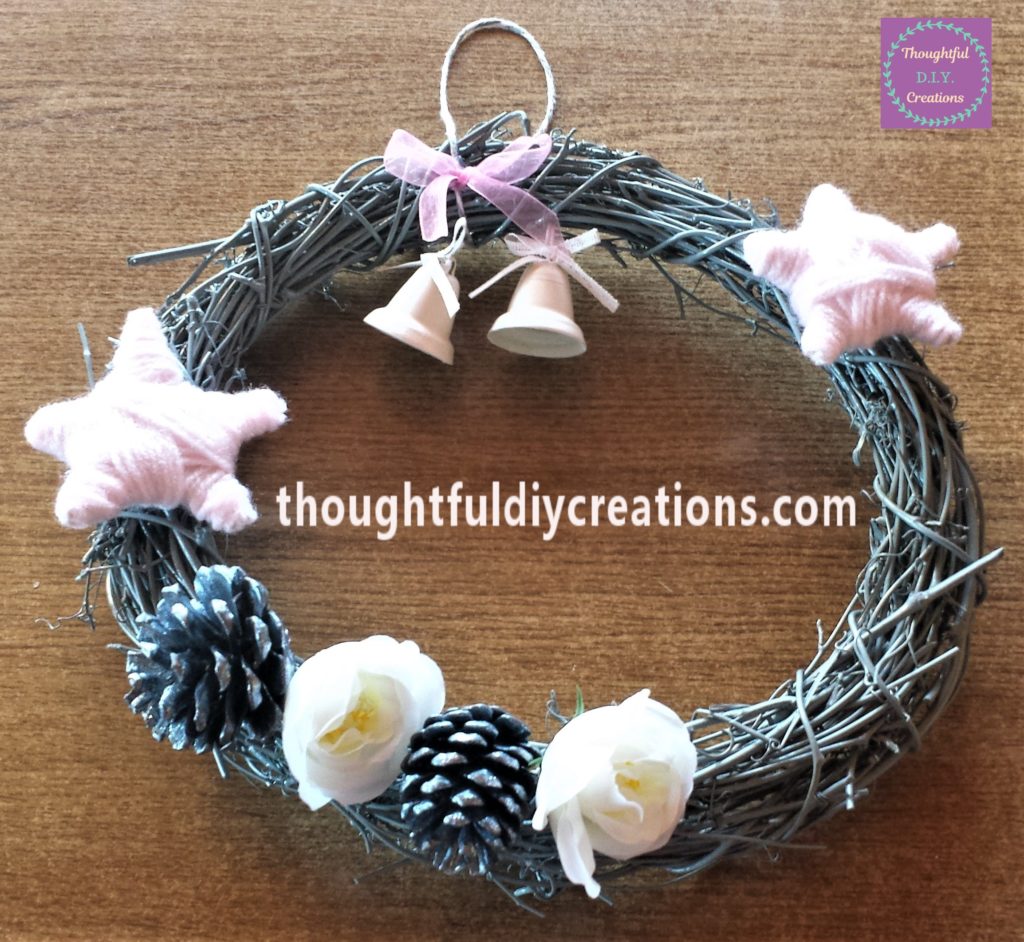
I glued 2 more pine cones and 1 more flower to the wreath. Pine Cones.
Finished Christmas Wreaths
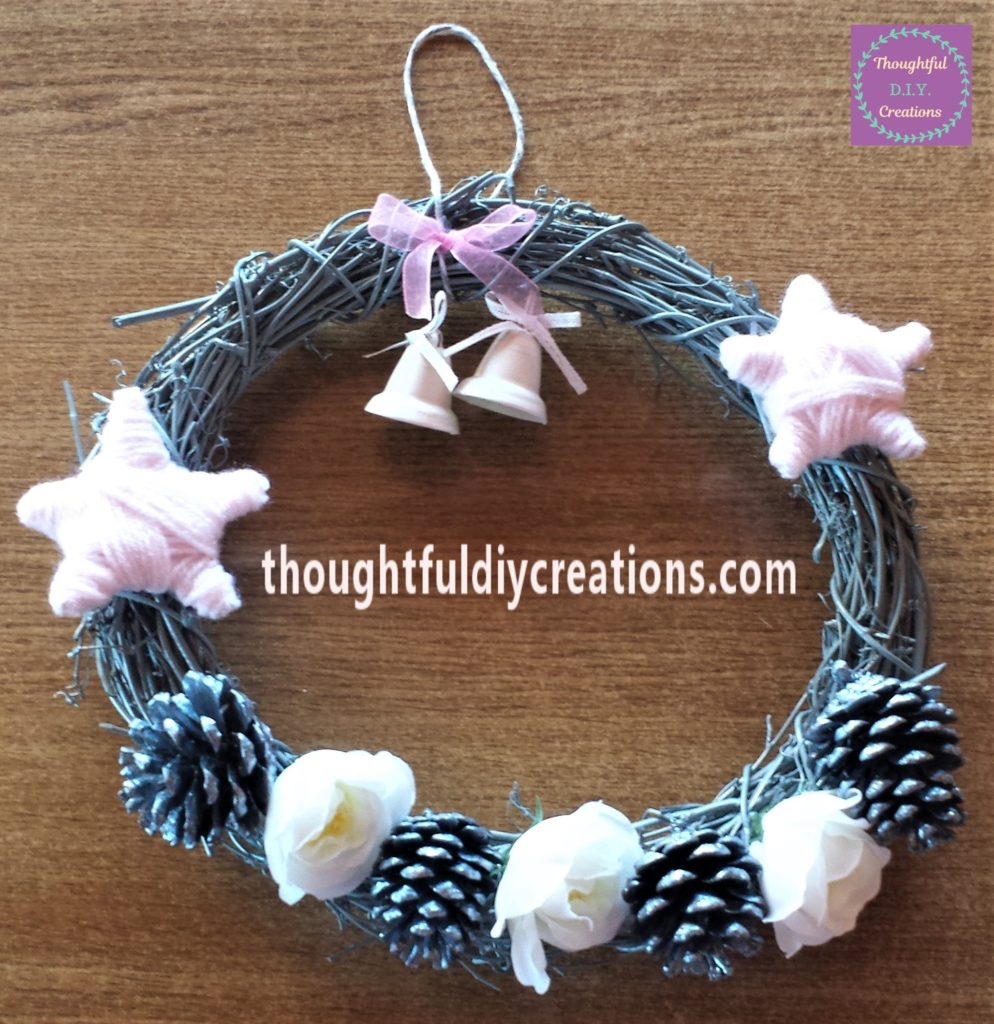
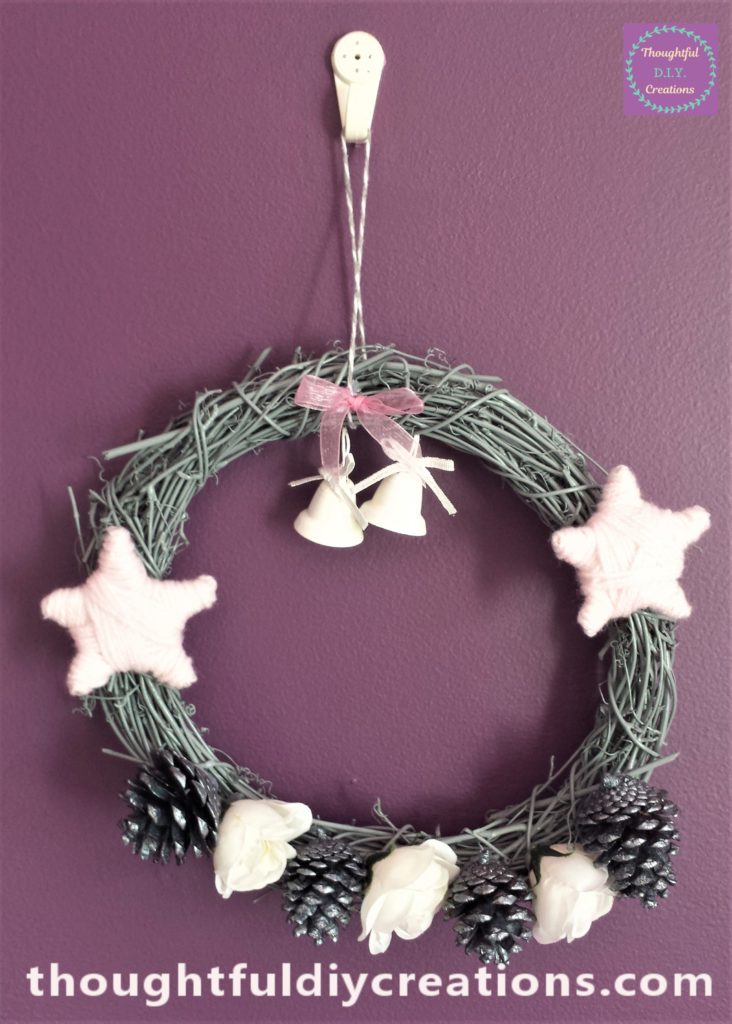
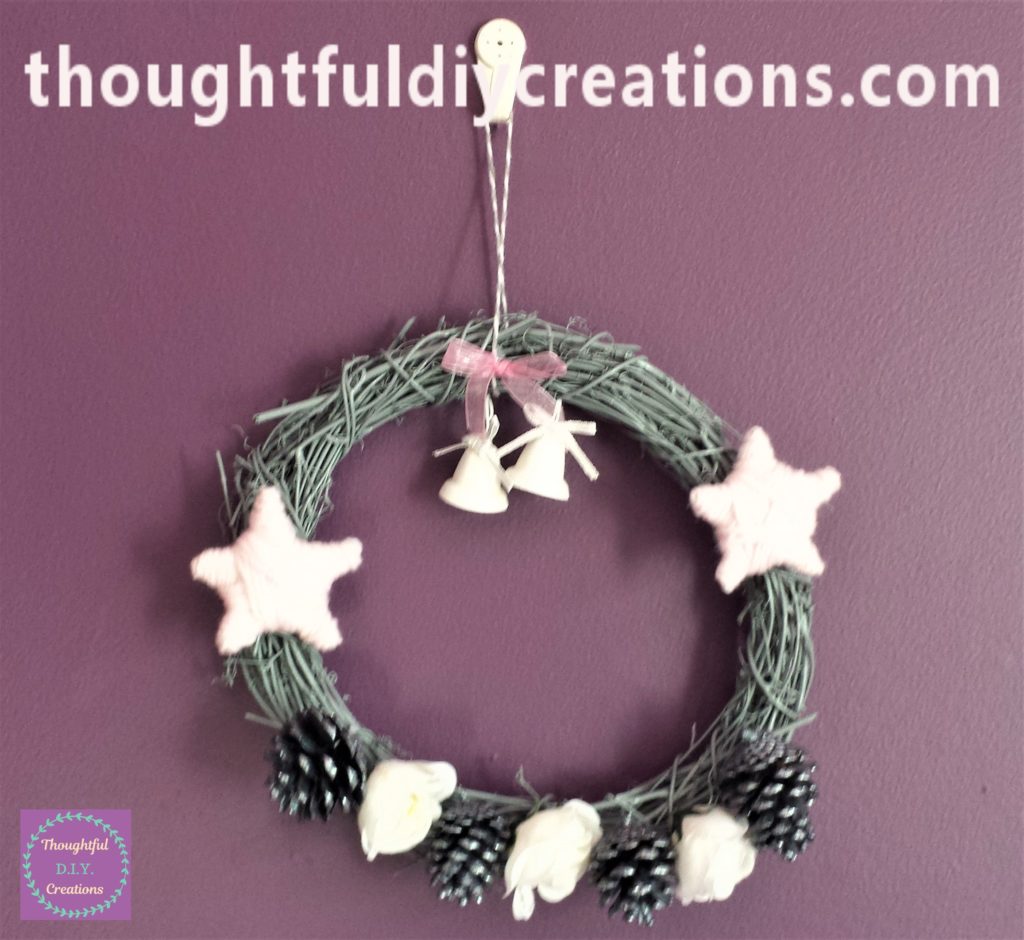
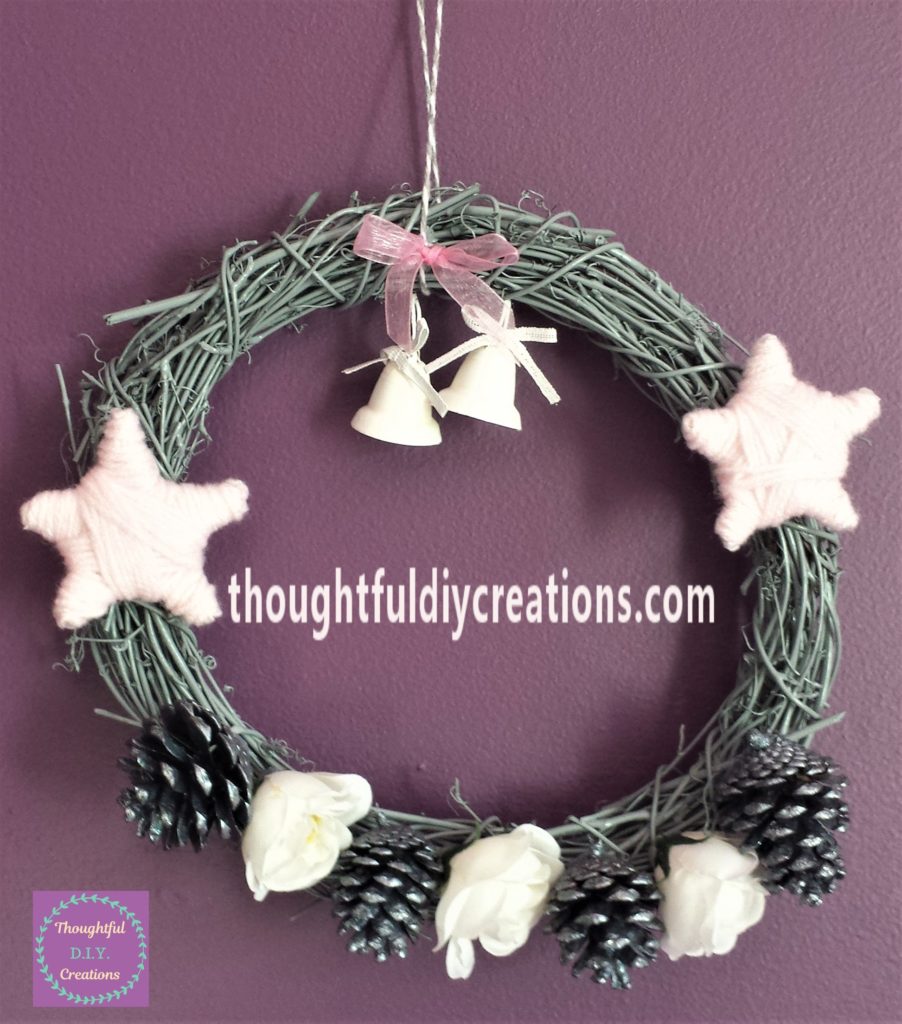
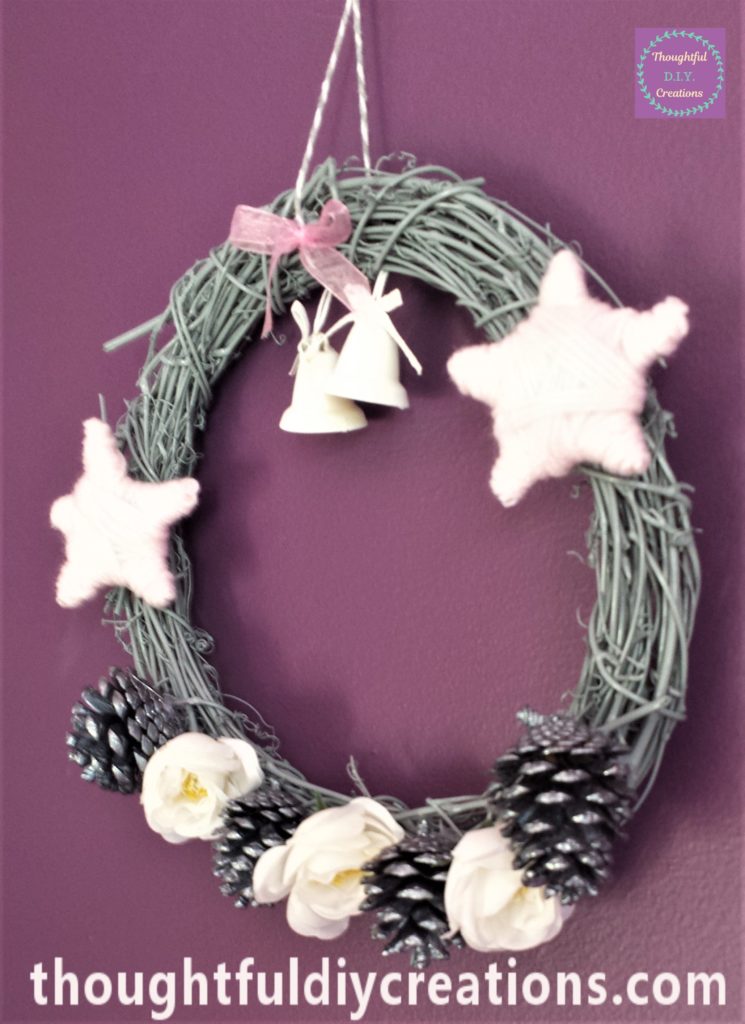
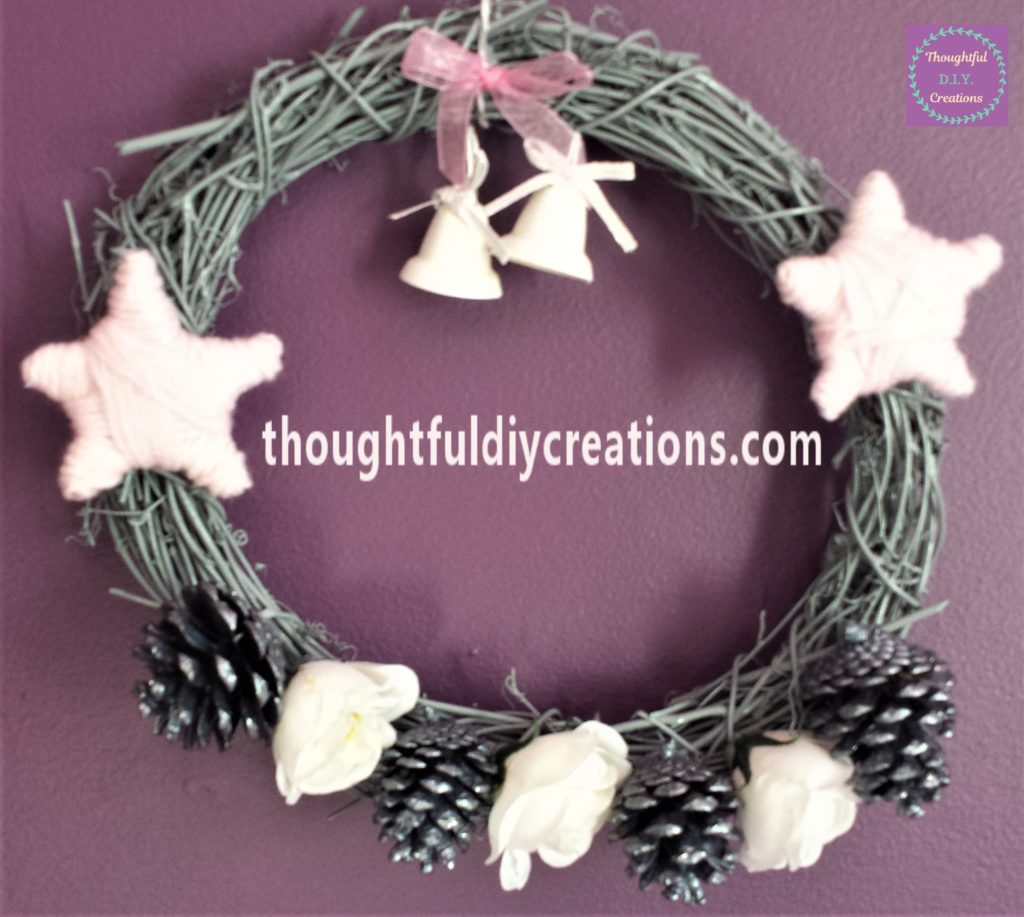
This completed the second D.I.Y. Christmas wreath. Here are some more photos of it hung up on the wall. I love the feminine pastel colours and the hint of sparkle from the pine cones. Natural Rattan Wreath.
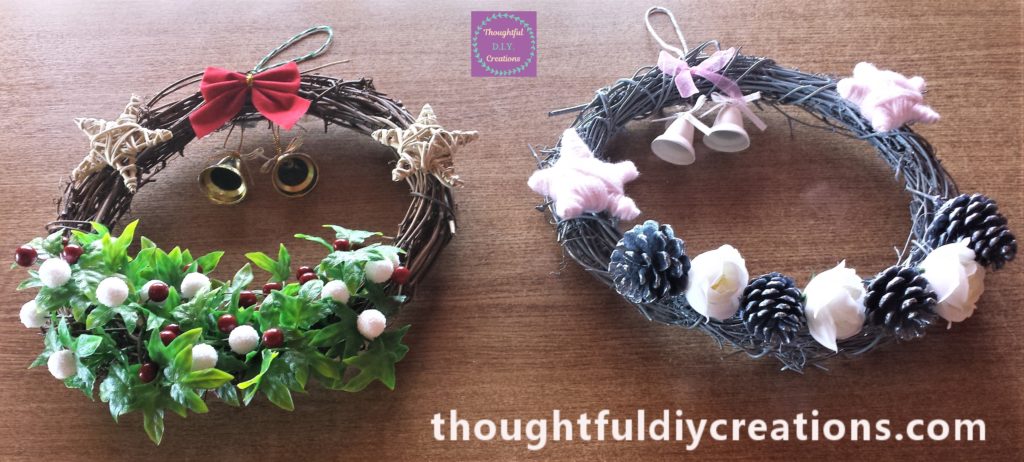
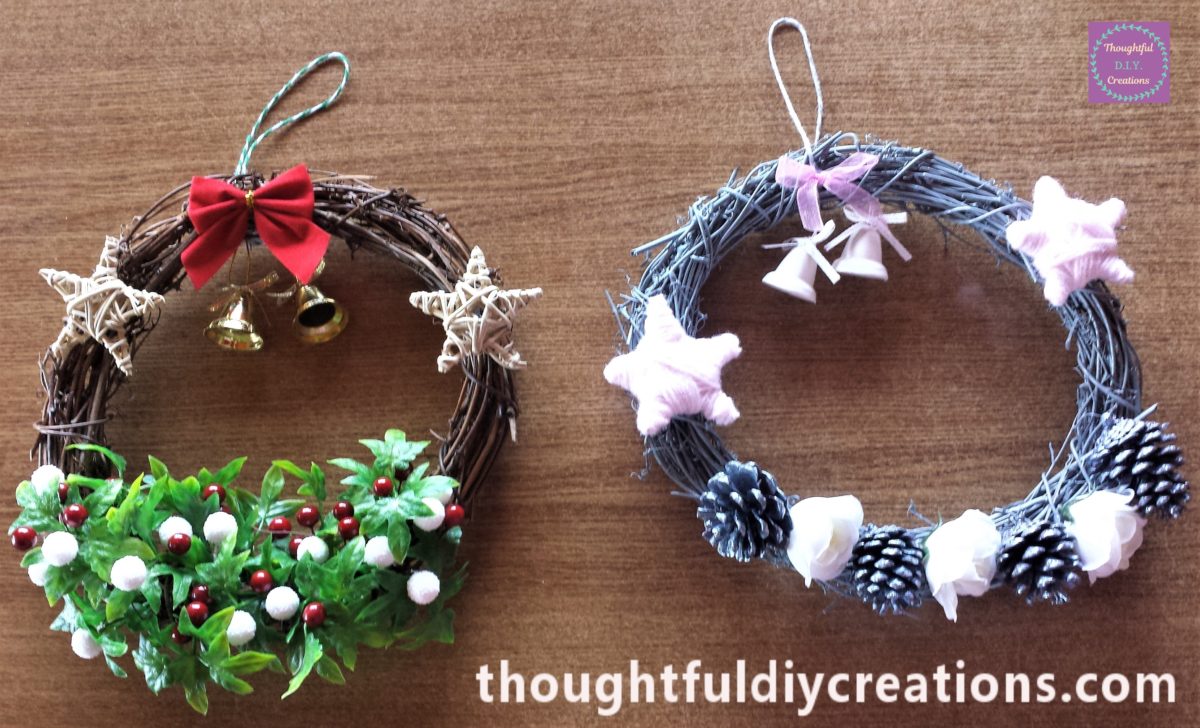
This is the two completed Christmas Wreaths together.
Conclusion
I was really pleased with the outcome of both the D.I.Y. Christmas Wreaths. I like both the traditional and modern colours. I think it’s nice to mix and match. You could have a different colour scheme or theme in two different rooms in your house for Christmas. That way you don’t have to throw out older traditional decorations in favour of modern styles as both are lovely.
I hope this Tutorial was beneficial and you picked up a couple of tips. Have you ever made a wreath before? If yes what materials did you use to create it? I think it’s nice to have a variety of both store bought and handmade decorations.
If you have any questions on either of the Christmas Wreaths just fill out the form below and I’ll reply as soon as I can.
If you would like to make a Grinch Craft, check out my Tutorial; Grinch Bottle.
Thank you so much for taking the time to read my Blog.
Always Grateful,
T.D.C.
xoxox





-0 Comment-