D.I.Y. Feather Angel Wing Canvas
Hello my Creative Friends,
I hope you are all well. In Today’s Blog Post I will show you how to make a Feather Angel Wing Canvas.
The Canvas I used was 30 x 24 x 1.6 cm. It is a ready to use, 3 – fold primed 100% cotton fabric 380 gsm canvas. Arteza Stretched White Canvas, Primed, 100% Cotton.
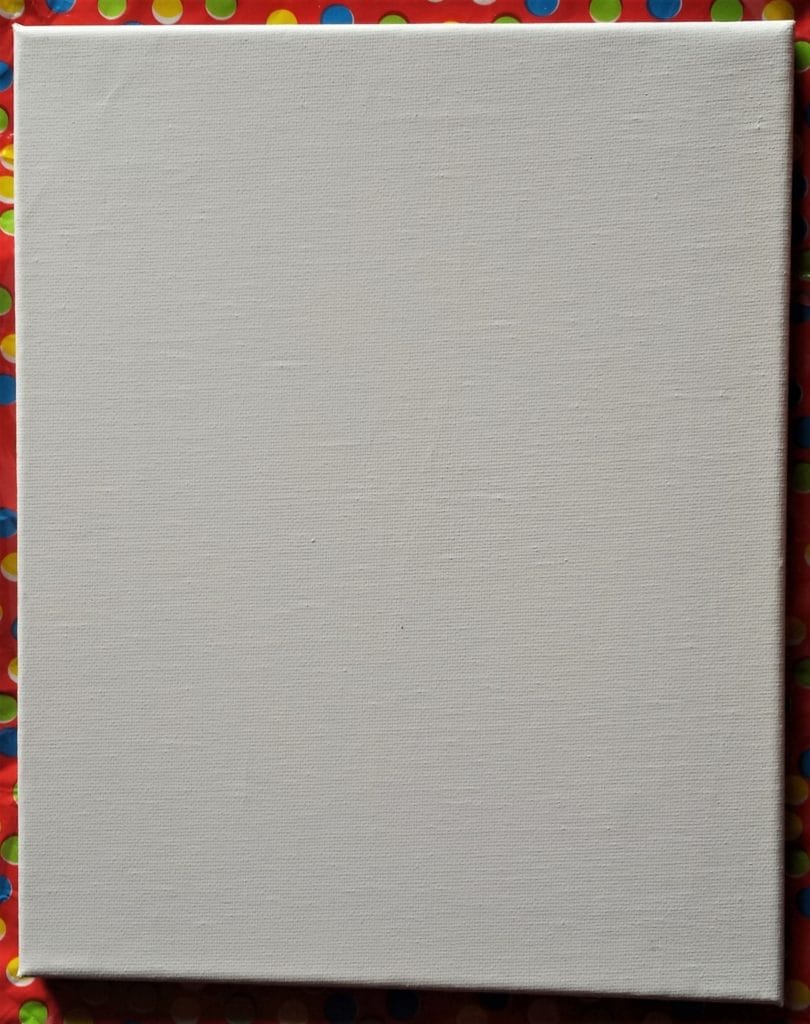
Painting the Canvas
The paint I used was called ‘Twilight Purple’ by Fleetwood. This was a Tester Paint Pot I got when deciding on a colour for a room in my home. Liquitex Basics Acrylic Paint
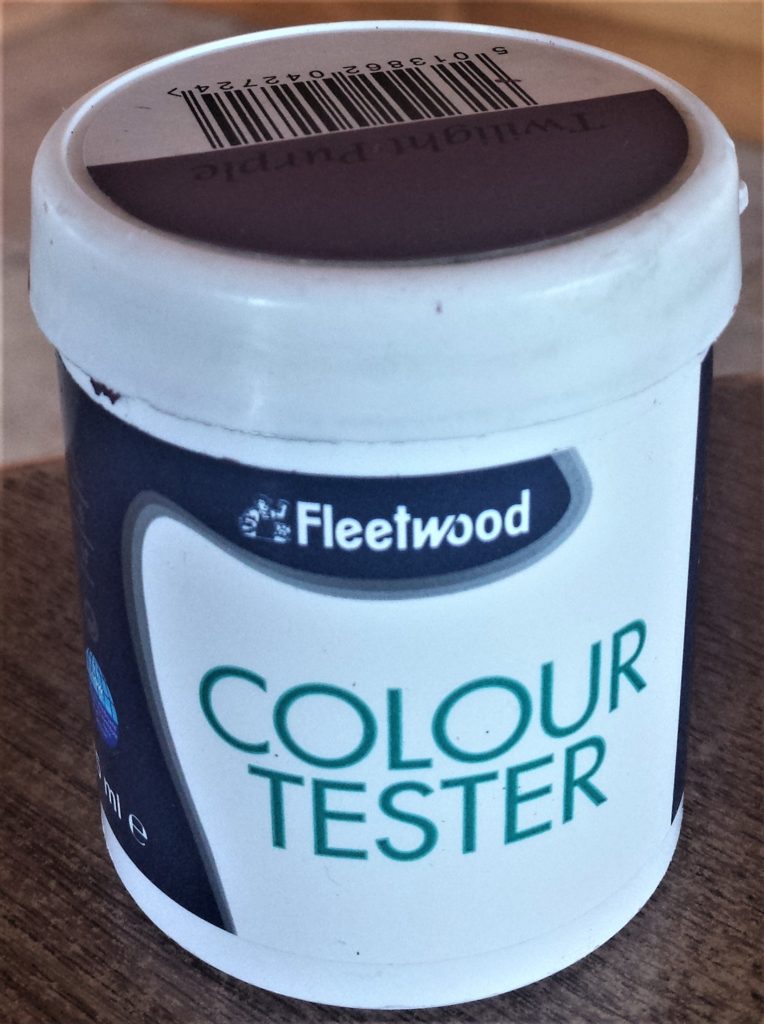
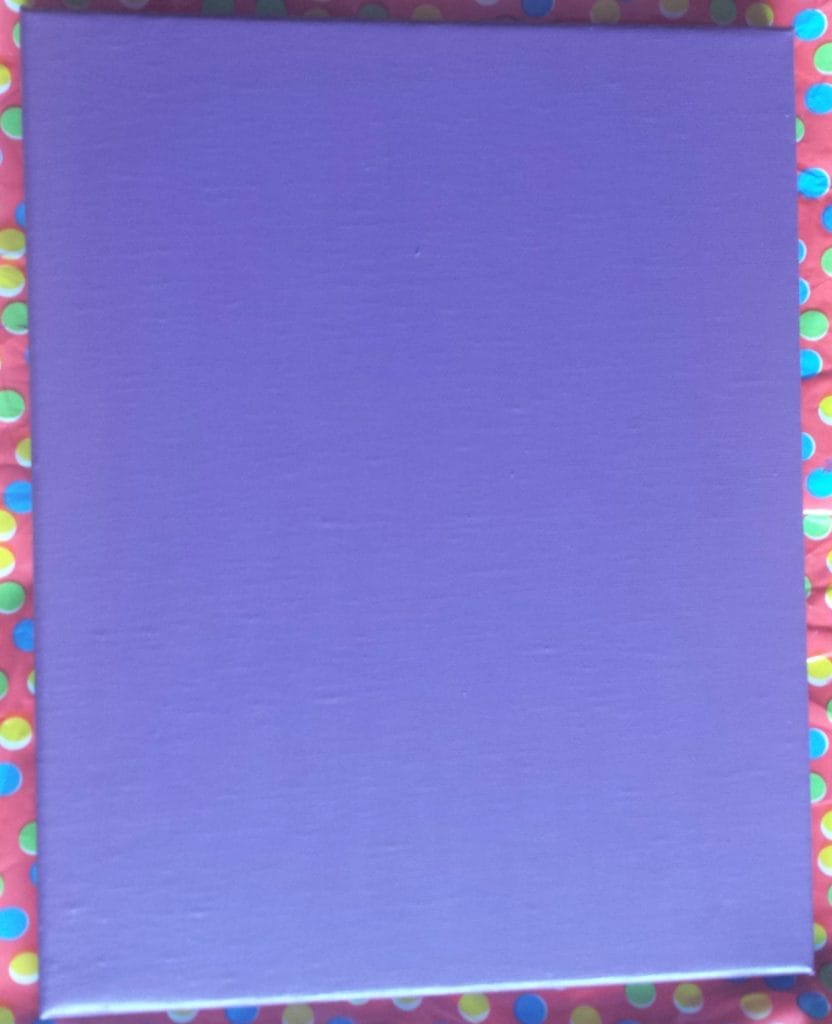
I painted the first layer of purple paint using a flat paintbrush. Paint Brush Set, for Acrylic, Oil and Watercolor.
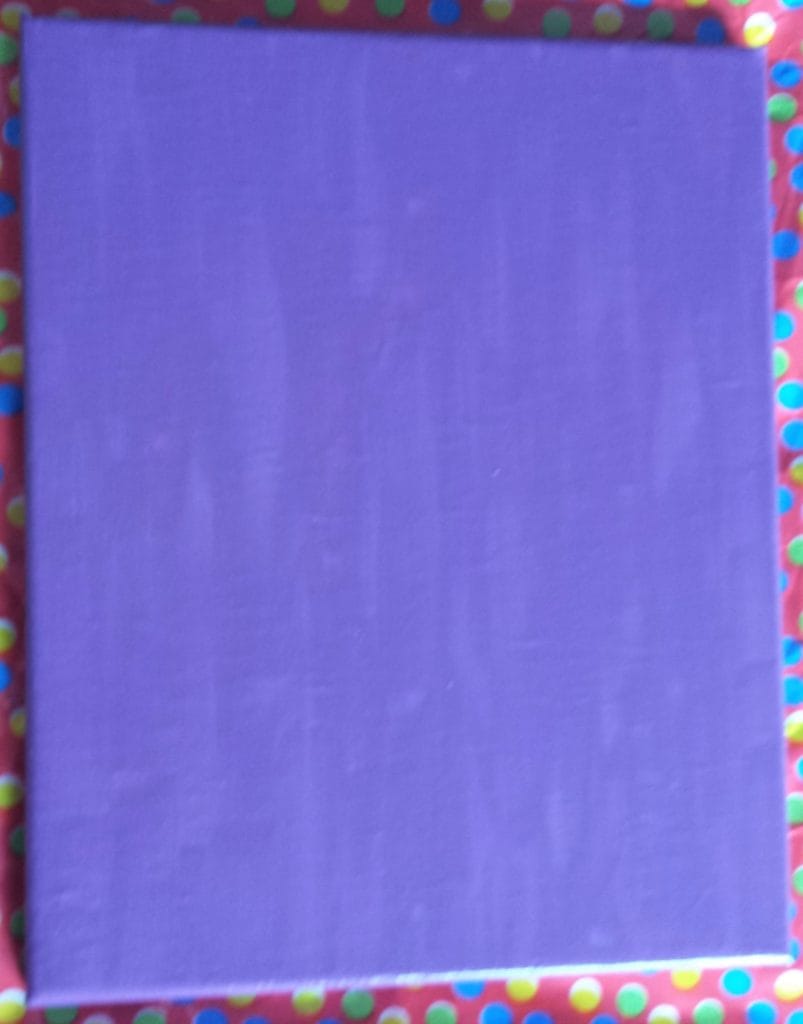
I gave the canvas a second coat of paint when the first layer was completely dry.
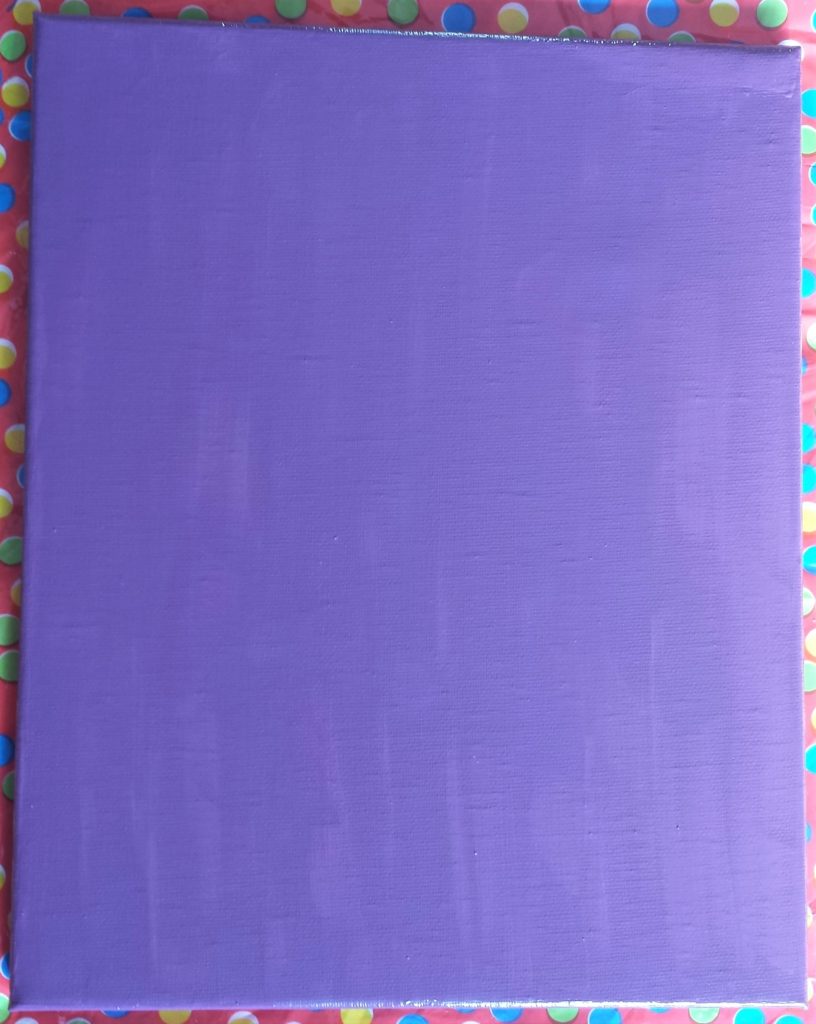
A third and final layer of paint was applied after the second coat was dry. This coat was lovely and smooth, the brush strokes from the paintbrush had disappeared, and the colour was nice and even.
Painting the Back of the Canvas
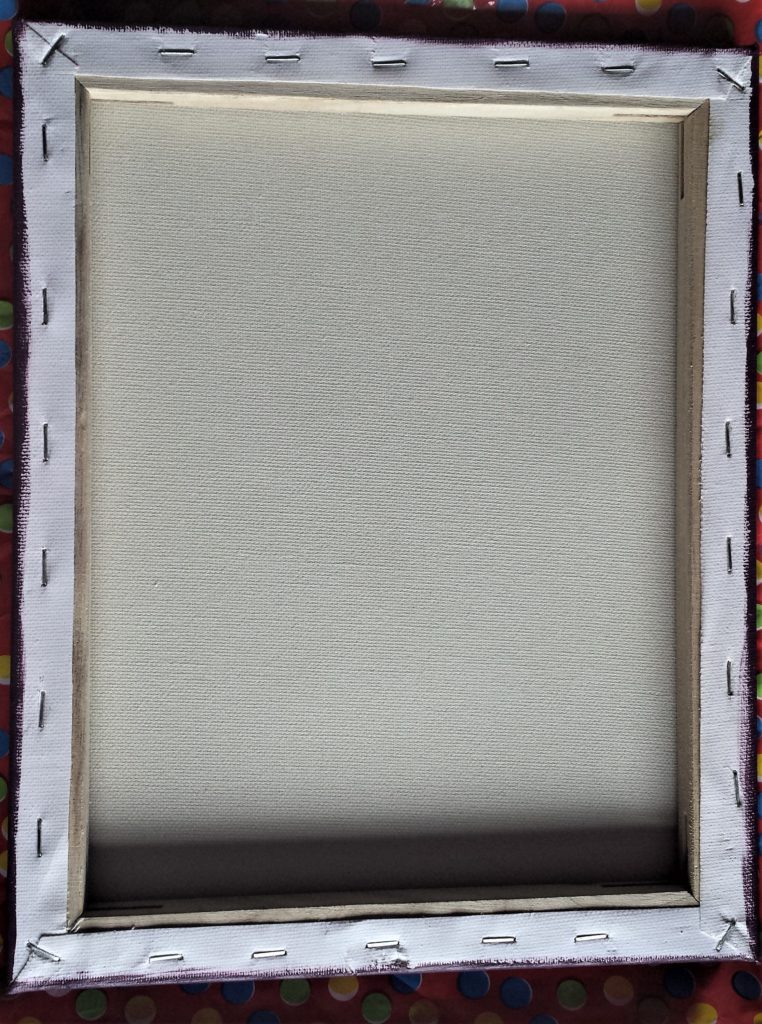
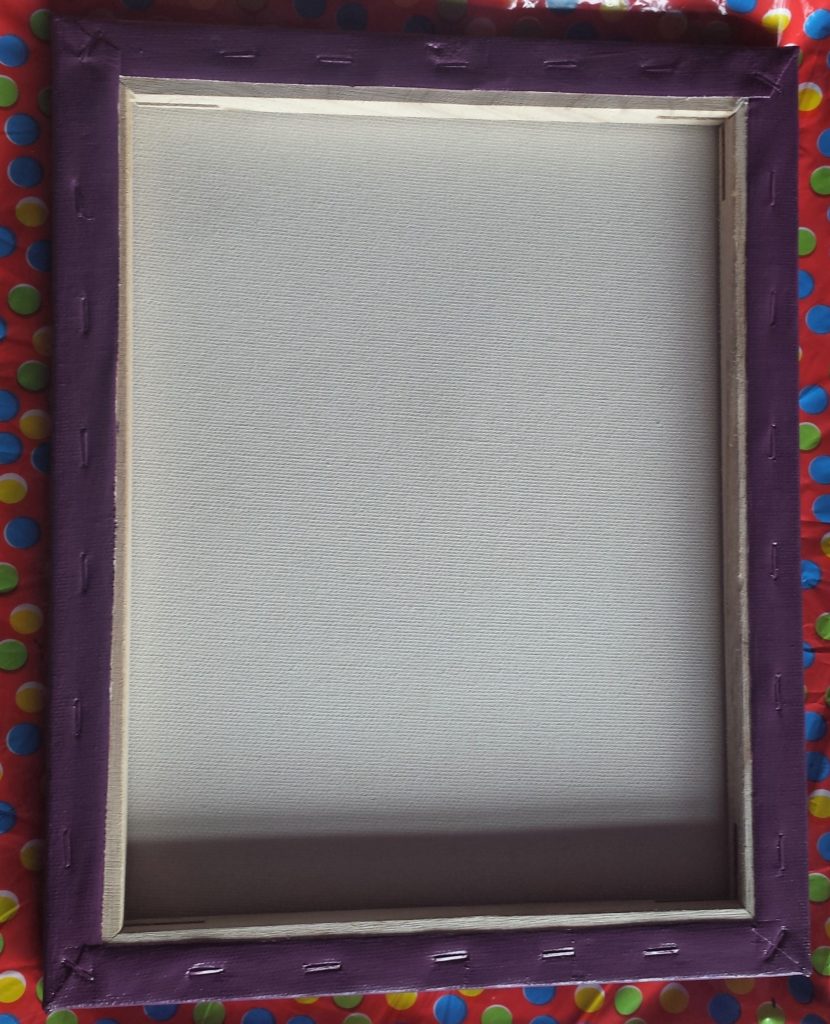
When the canvas was fully dry I turned it over and painted the back. I gave it two coats of paint. This step is optional if you are hanging the canvas on the wall, as you won’t see the back, but I felt it looked more finished by painting the back.
Angel Wing Silhouette
I searched ‘Angel Wing Silhouette’ in Google Images. I found a free to use design that I liked and printed it out on regular printer paper using my printer.
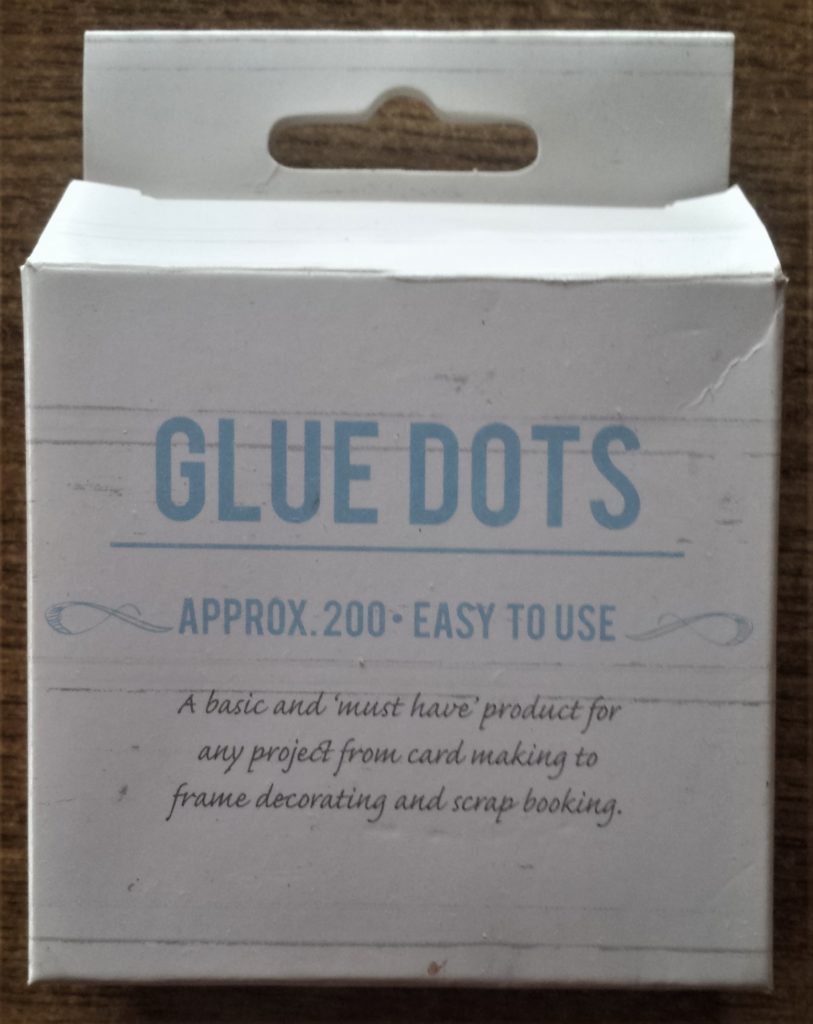
I positioned it where I wanted it on my canvas. To prevent the page from moving off the canvas I attached ‘Glue Dots’ under the sheet. Glue Dots Craft Roll. You could also put masking tape or washi tape on the corners of the page.
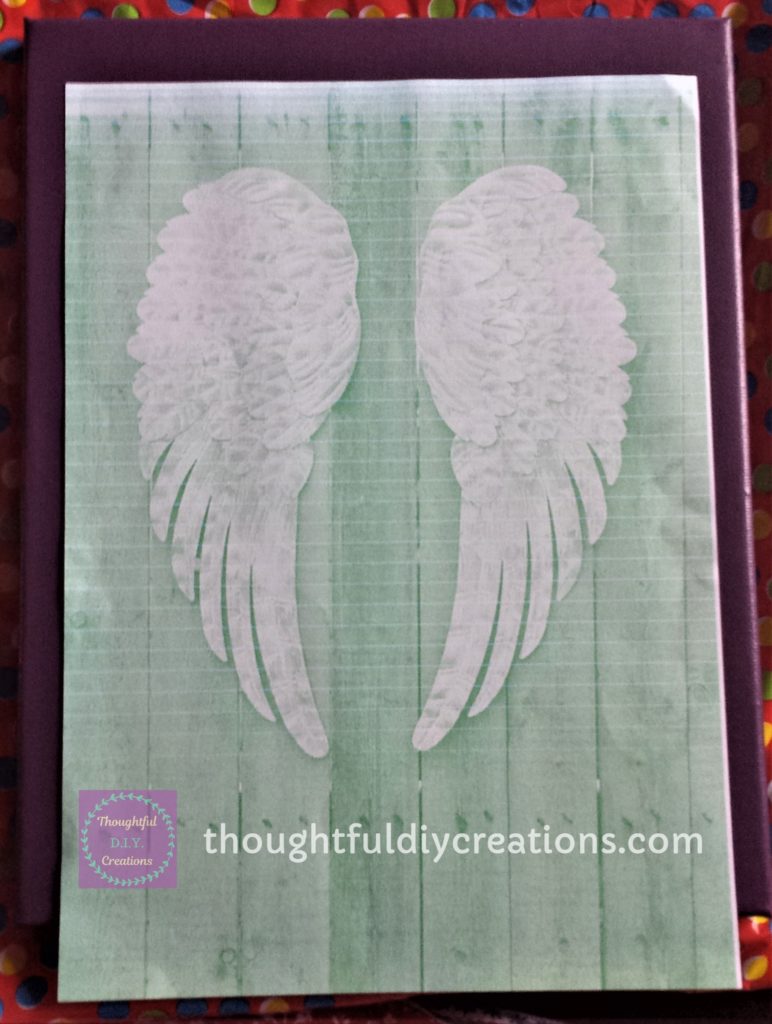
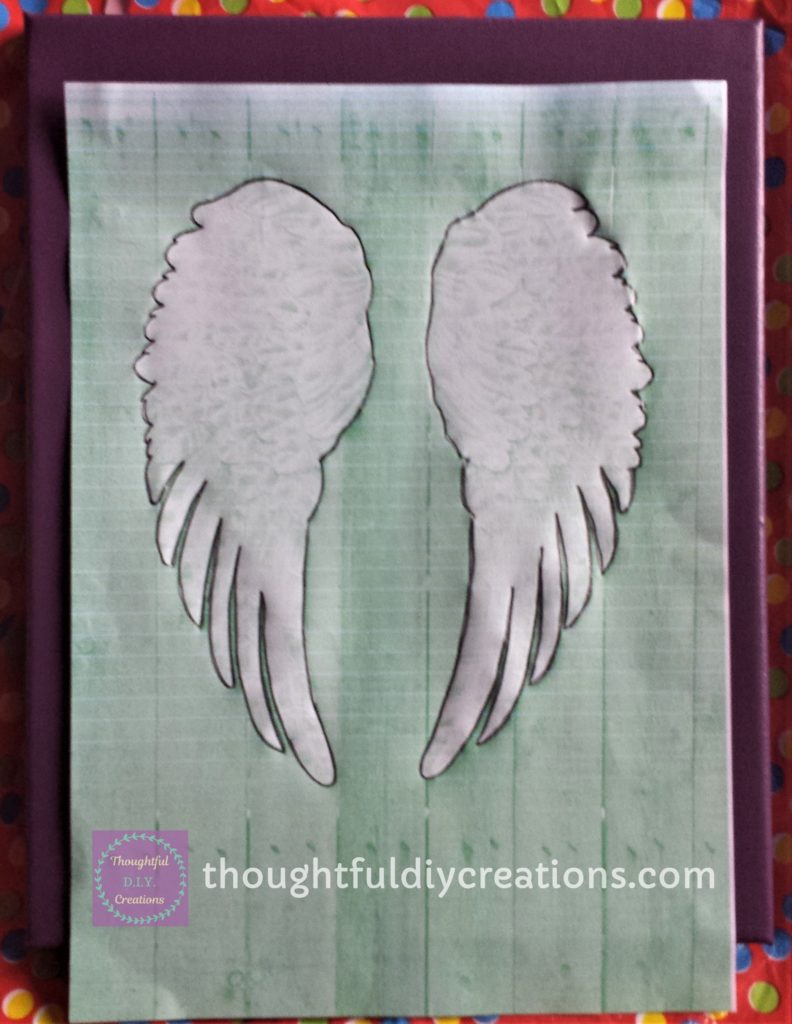
I used a dark pencil ‘8B Graphite Pencil’ and traced around the angel wings. Graphite Pencils, black lead pencils for sketch, shading, drawing.This was done three times to ensure it would be seen on the canvas.

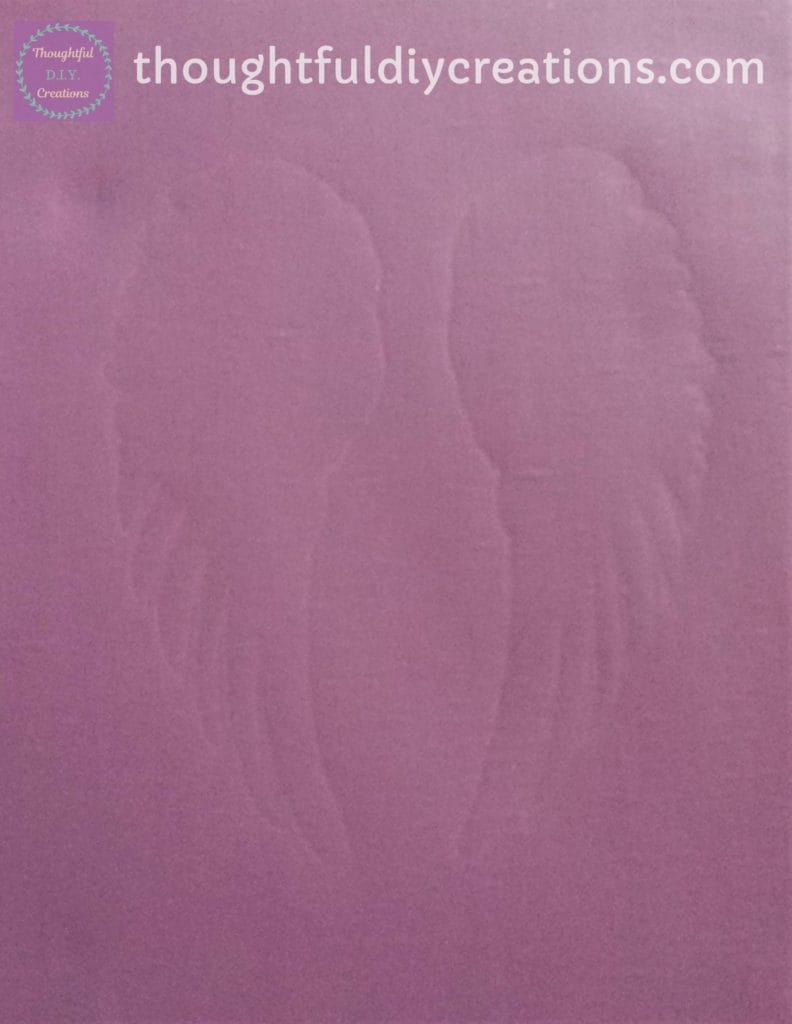
I removed the sheet from the canvas, the outline of the angel wings were now visible on the canvas.
Attaching the Feathers to the Canvas
The feathers I used for this craft were from a packet of 200 white feathers 7 cm from ‘Craft Material’. Feathers for DIY Dream Catchers Earrings Craft Wedding Festival Centerpieces Home Party Decor Baby Shower Decorations
I played around with how I was going to position the feathers on the print-out of the angel wings, before I glued them to the canvas.
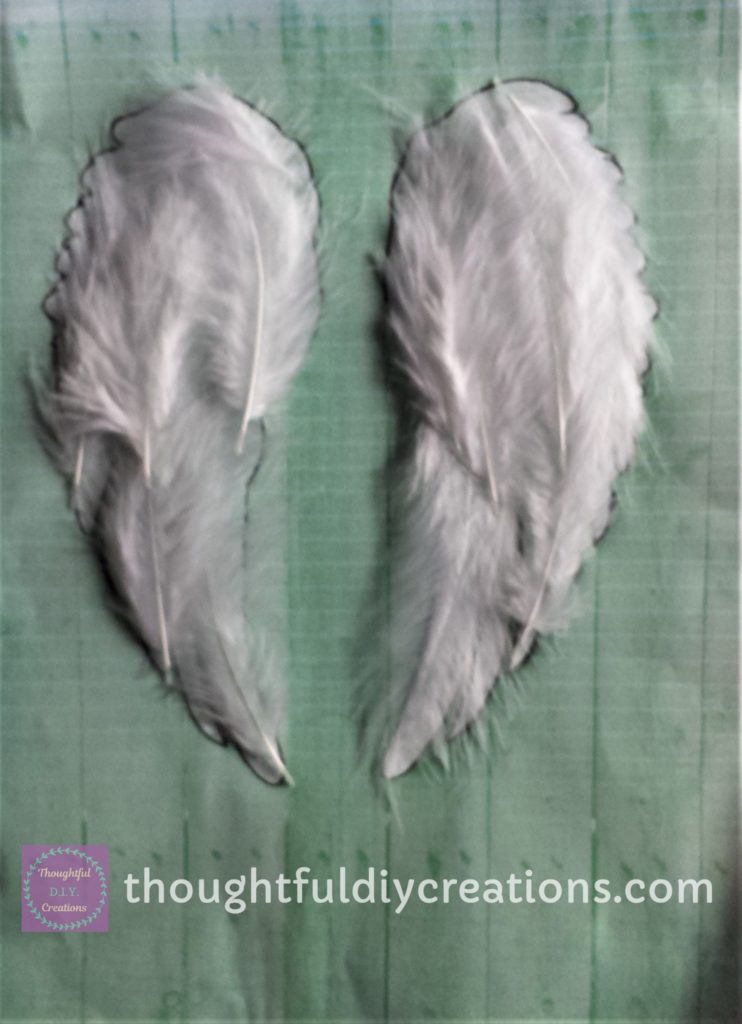
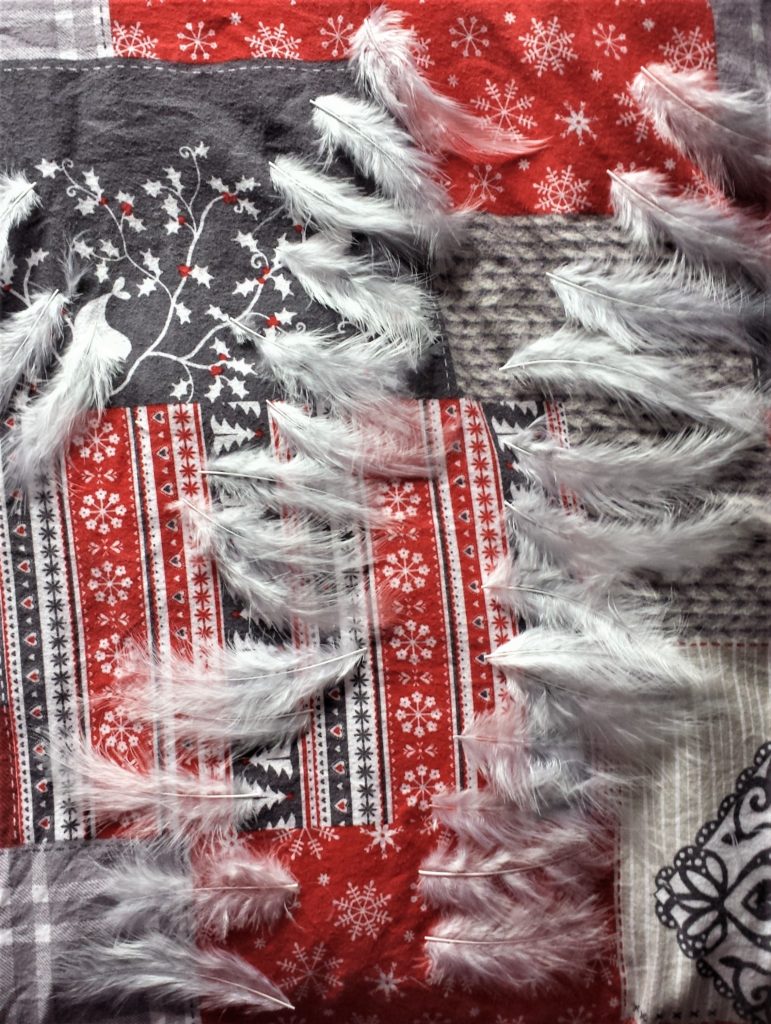
The feathers were placed individually on my work surface to make it easier to pick them up when sticking to the canvas.
I spread glue all over the inside of the angel wings on the canvas.

I stuck the feathers all over the angel wings.
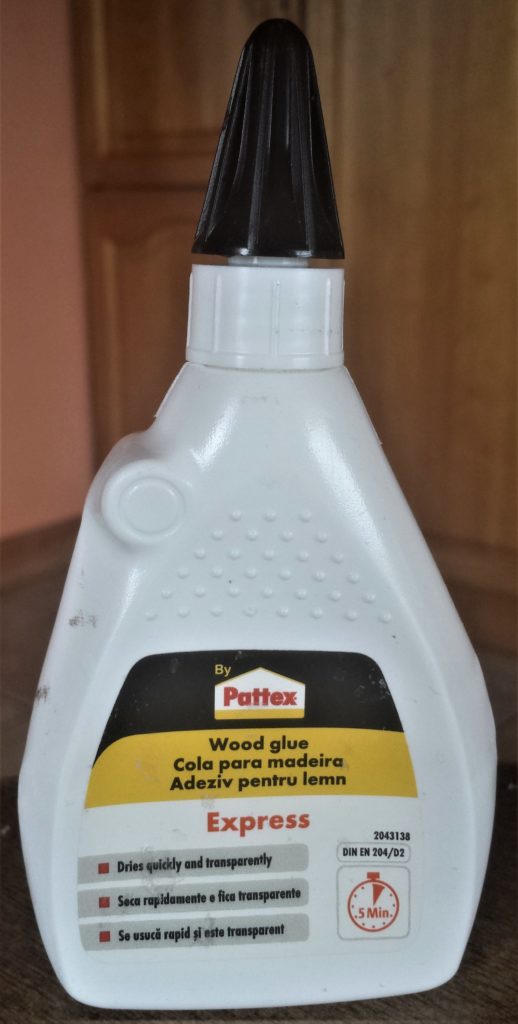
Tip : I started by using ‘Gorilla Wood Glue’ but I noticed it dried a cream colour which was visible through the white feathers. I changed to ‘Pattex Wood Glue’ which dries transparently. Anita’s Tacky Poly Vinyl Acetate Glue.
I added a few layers of feathers until the wings were nice and full.

I trimmed the edges of the feathers on the outline of the wings to give it a cleaner look as they were starting to blend together.
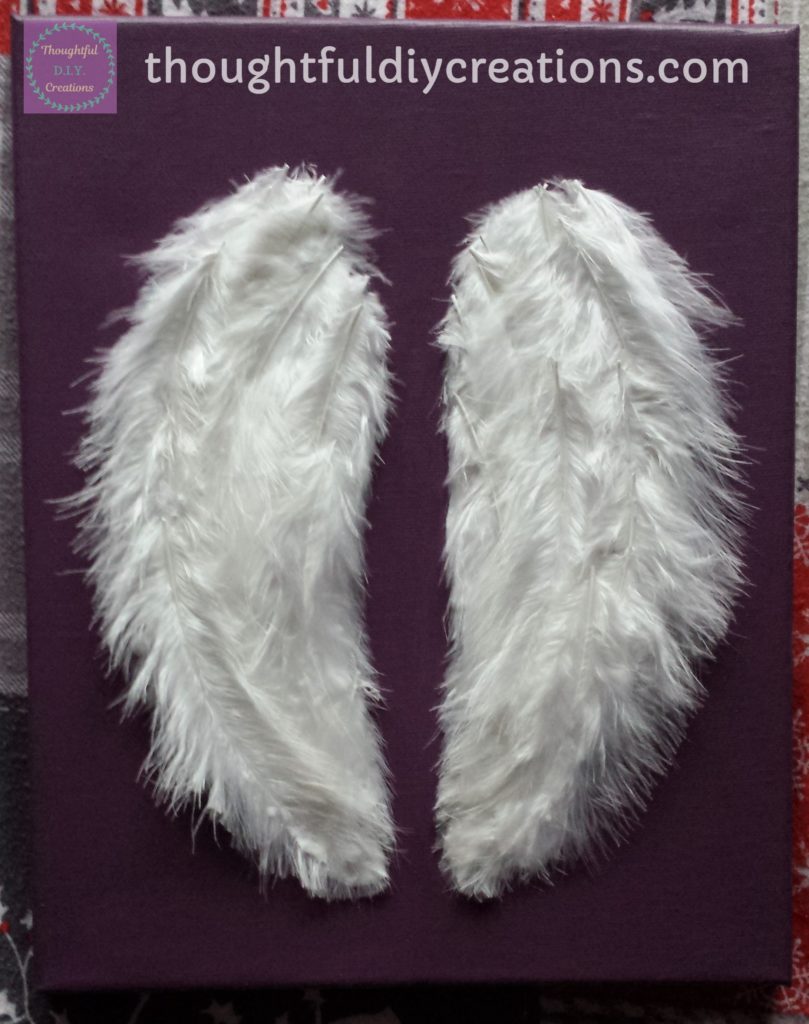
Conclusion
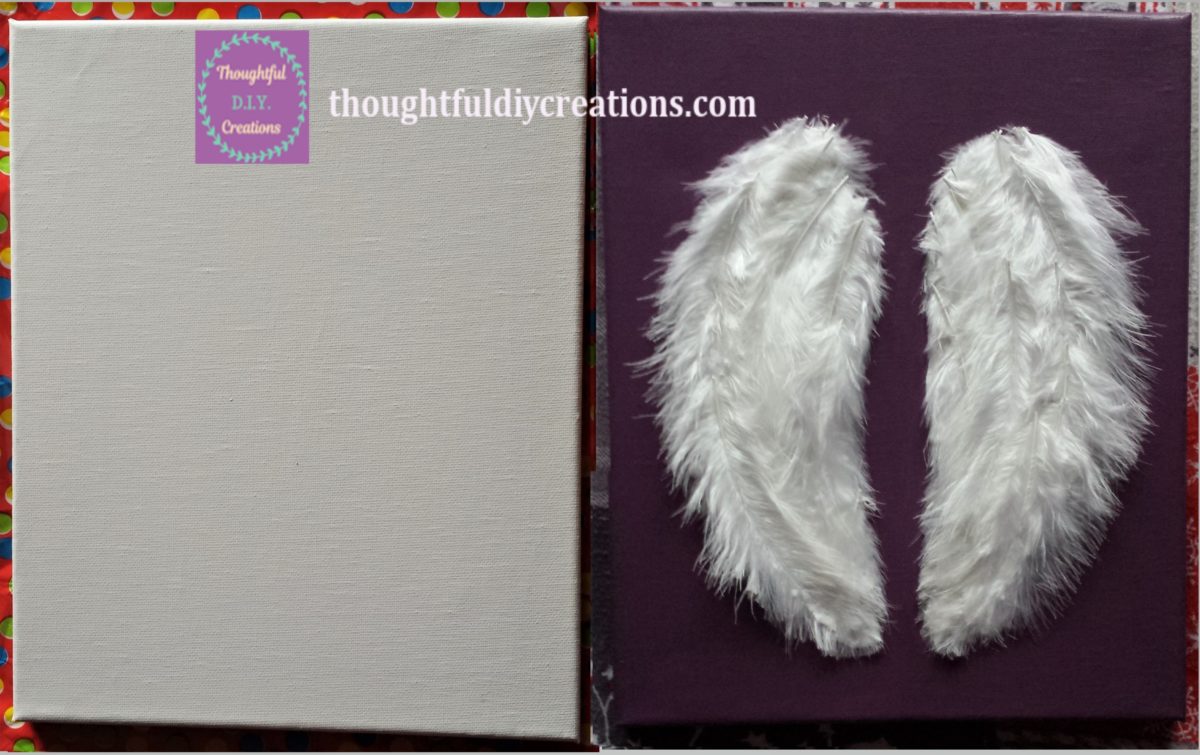
This is the end result of the D.I.Y. Feather Angel Wing Canvas. I was really happy with how it turned out. The wings are nice and bright in contrast to the background.
I hope you enjoyed today’s tutorial. I think it would make a thoughtful gift for a friend or family member, or indeed an added piece of home decor for your own home. It is perfect for anyone who loves feathers or angels. It could also be for ‘In Remembrance’ of a loved one who has passed away. You could hang it on a wall and light a candle on a table or cabinet underneath it with their photograph beside it. You could also use a bigger canvas and personalise it by adding a name with a paint pen. The options are endless.
This is another Optimistic Craft Tutorial that I have made that would brighten up your Home or Office; Positive Quote Jar.
Feel free to leave a comment to let me know if you will give this project a try. It is beginner-friendly and a lovely way to spend a few hours being mindful and creative. If you have any questions about this tutorial please don’t hesitate to ask. Happy Creating everyone.
Thank you so much for taking the time to read my blog.
Always Grateful,
T.D.C.
xoxox




-0 Comment-