D.I.Y. Halloween Sign
Hello my Creative Friends,
I hope you are all well. In Today’s Tutorial I will show you how to make a D.I.Y. Halloween Sign to add to your decorations this year. I hope it will inspire you to get creative and make your own Halloween Sign or Card, feel free to change it around to suit your needs.
I didn’t buy anything new for this Halloween Craft. I have had all the supplies for at least 2 years if not longer. It is therefore a very budget friendly craft. You can mix and match whatever materials you already have, or if you would like to use anything I have used or are in need of some new supplies for your crafting, you can click on any of the links below. It is completely up to you and what your budget allows.
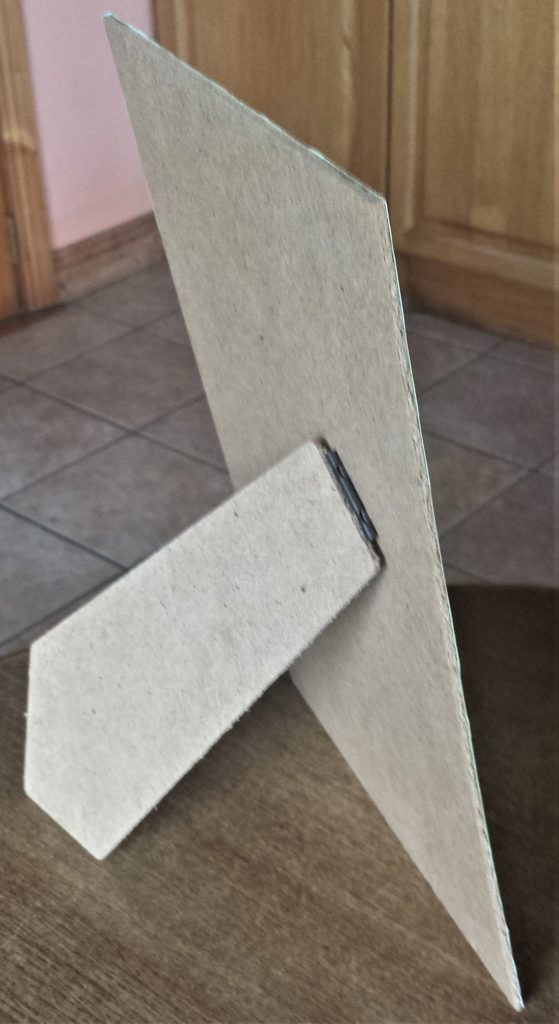
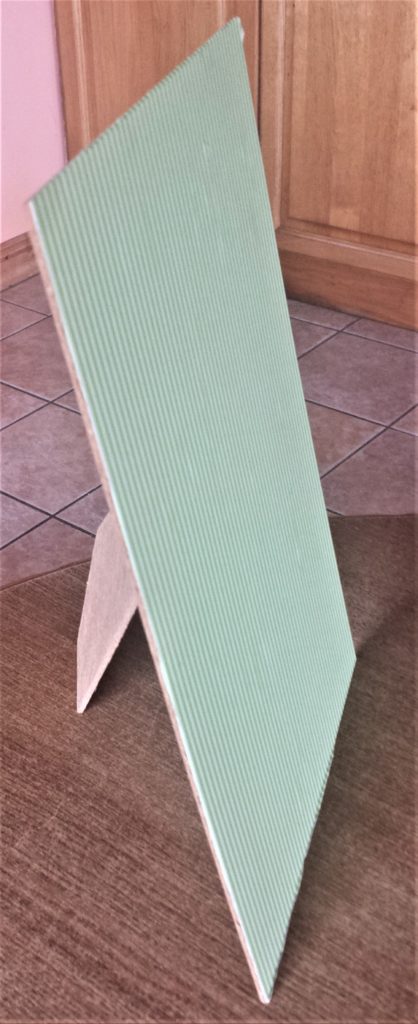
The Frame before this Craft
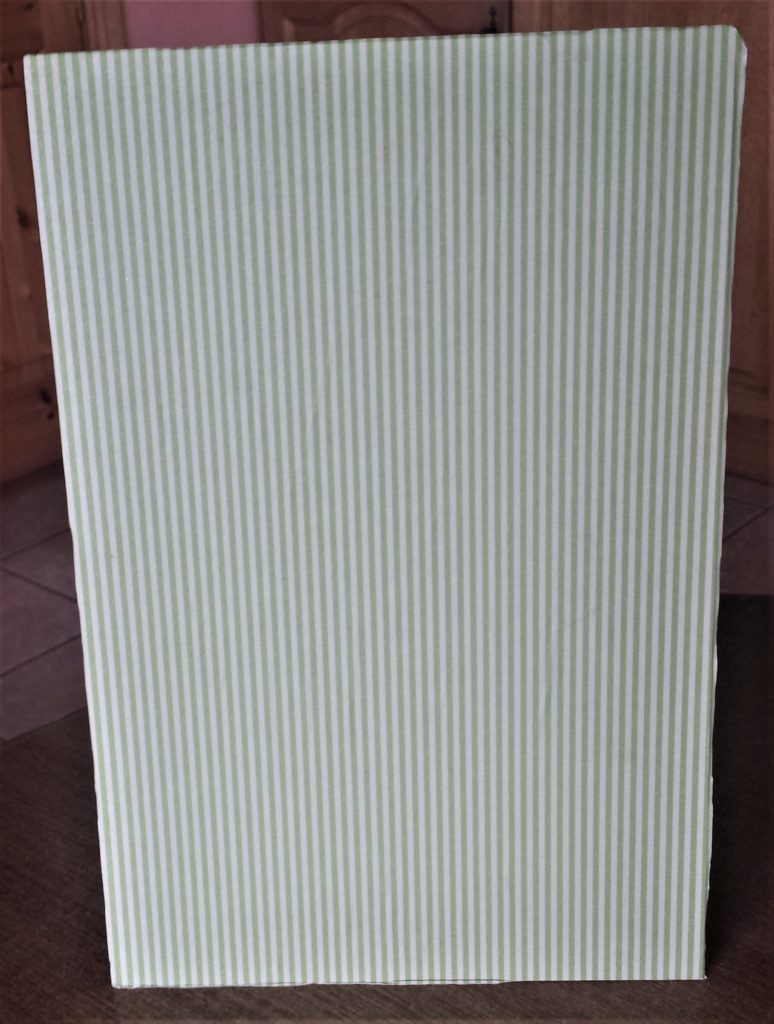
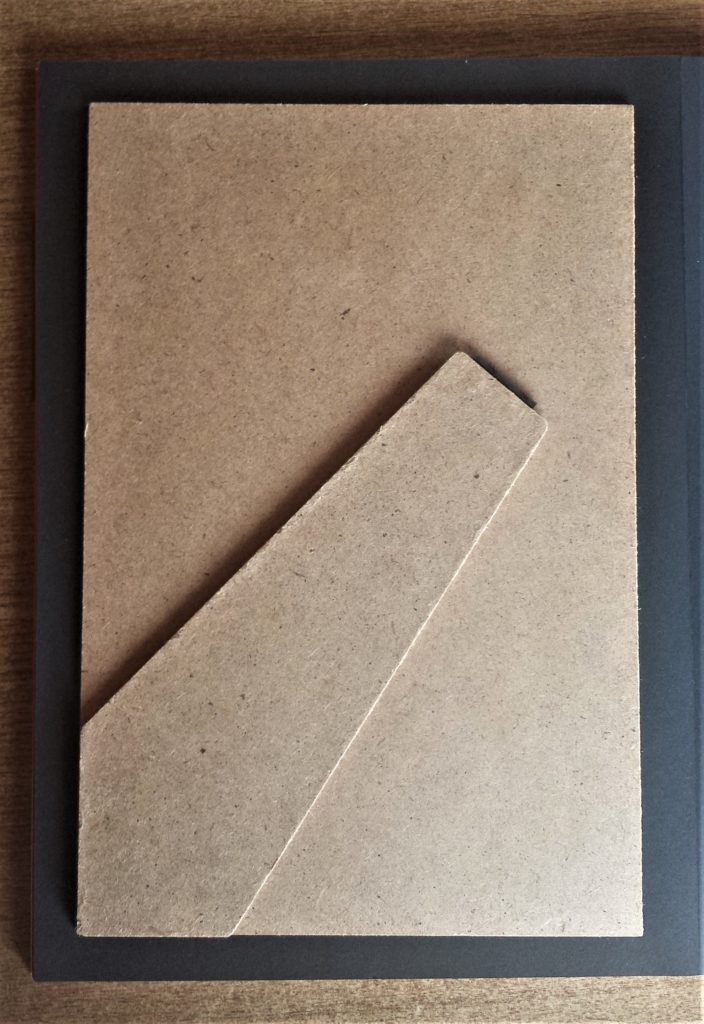
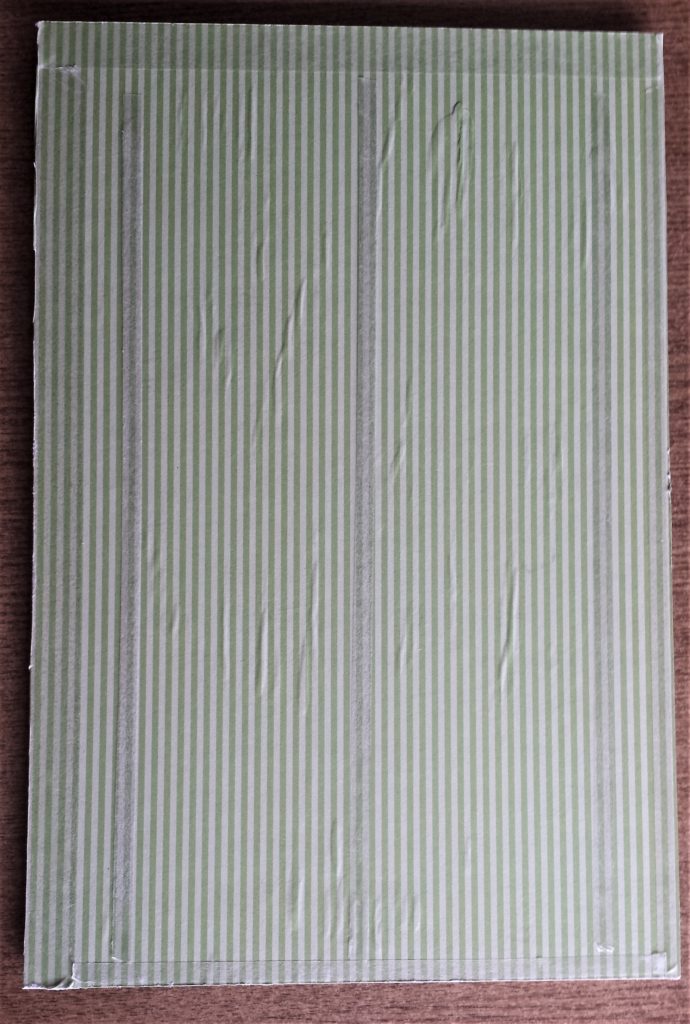
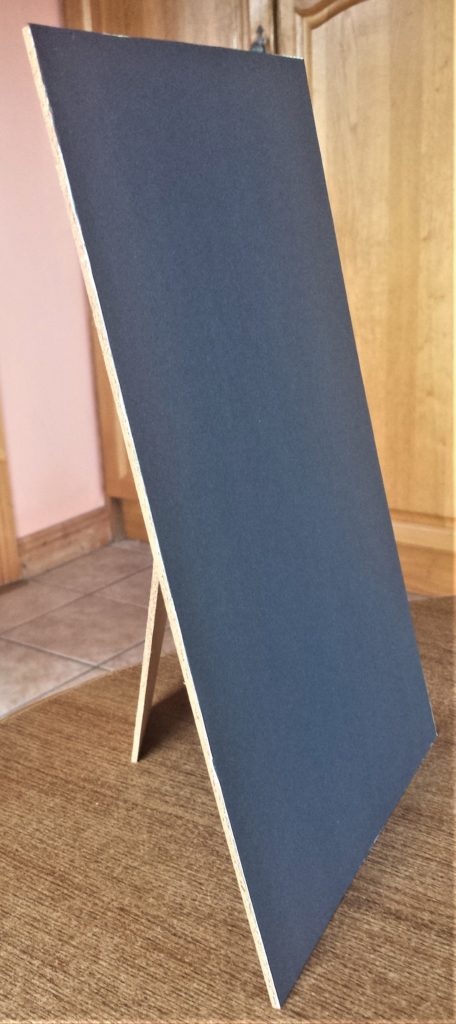
I have had the inside of a frame in my craft supplies for the past few years. I’m not sure what happened to the actual frame it must have got damaged and thrown out. I held onto the inside of the frame as I knew it would be useful one day. I had glued a green sheet of paper to the frame template a couple of years ago. It hadn’t got any further than that. Easel Backs for Frames.
Covering the Frame
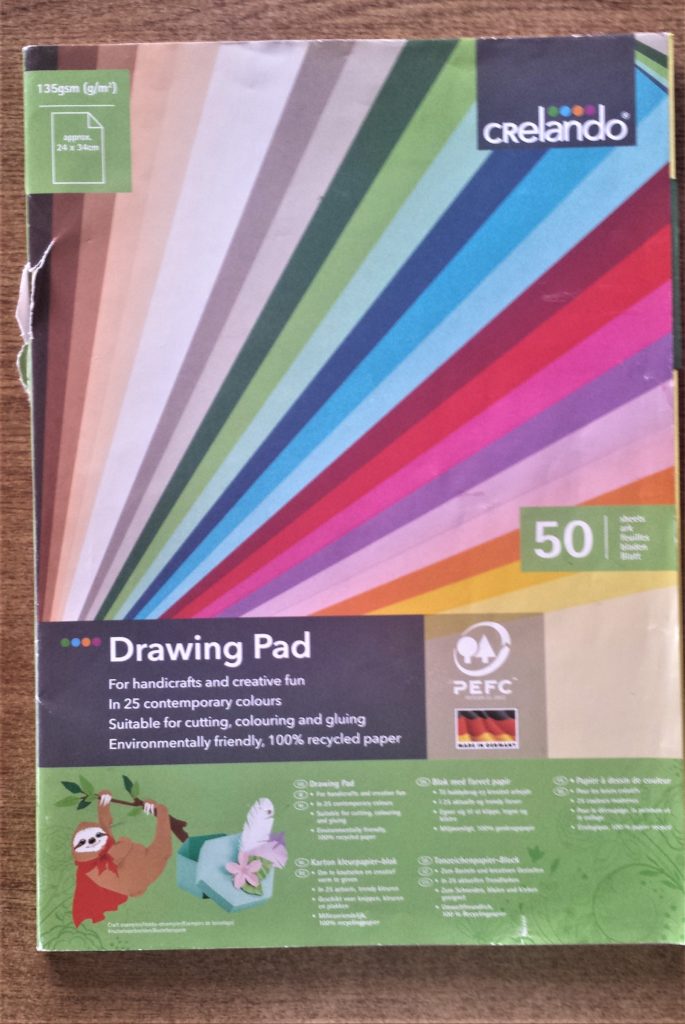
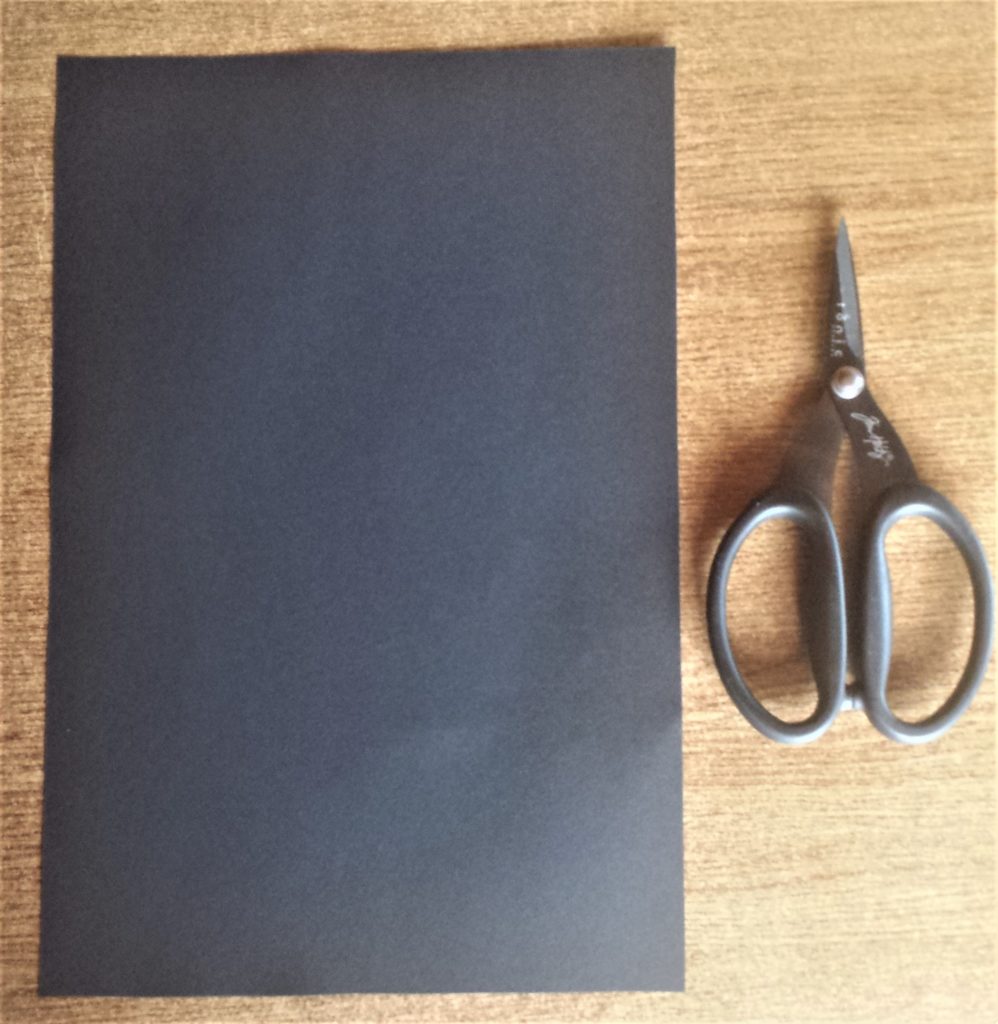
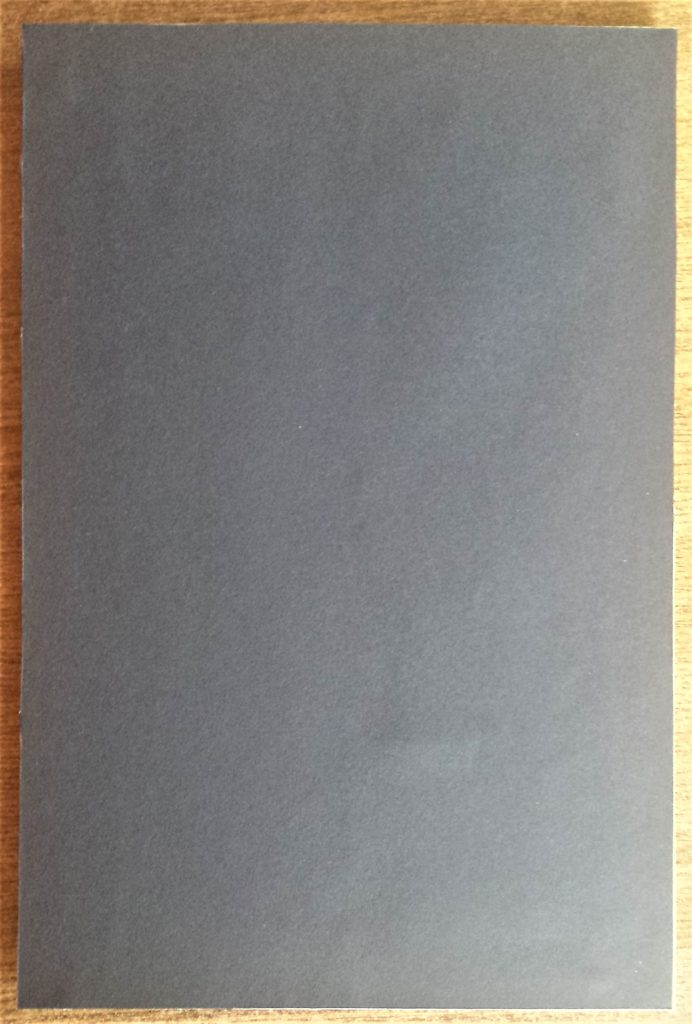
I decided to cover the green striped paper with black paper instead. I had a Paper Pad with a range of colours. Construction Paper Assorted Colors.
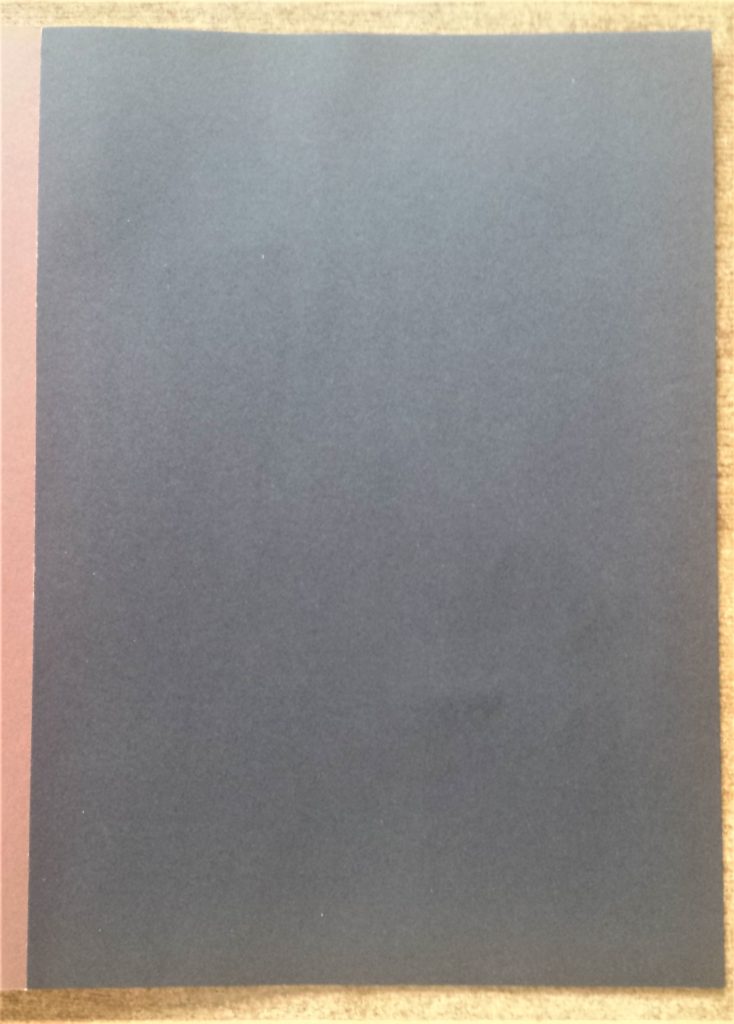
I put the frame face down on the black page and drew around it using a pencil.
I cut it out using my Tim Holtz Scissors. Tim Holtz Titanium Scissors.
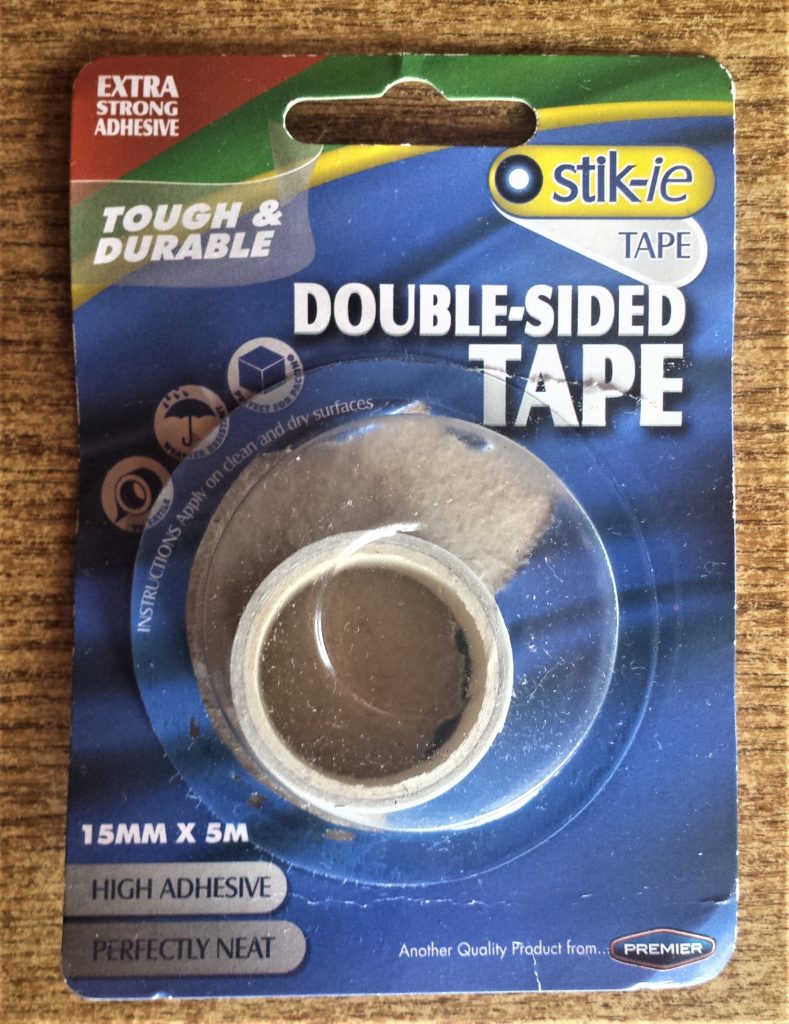
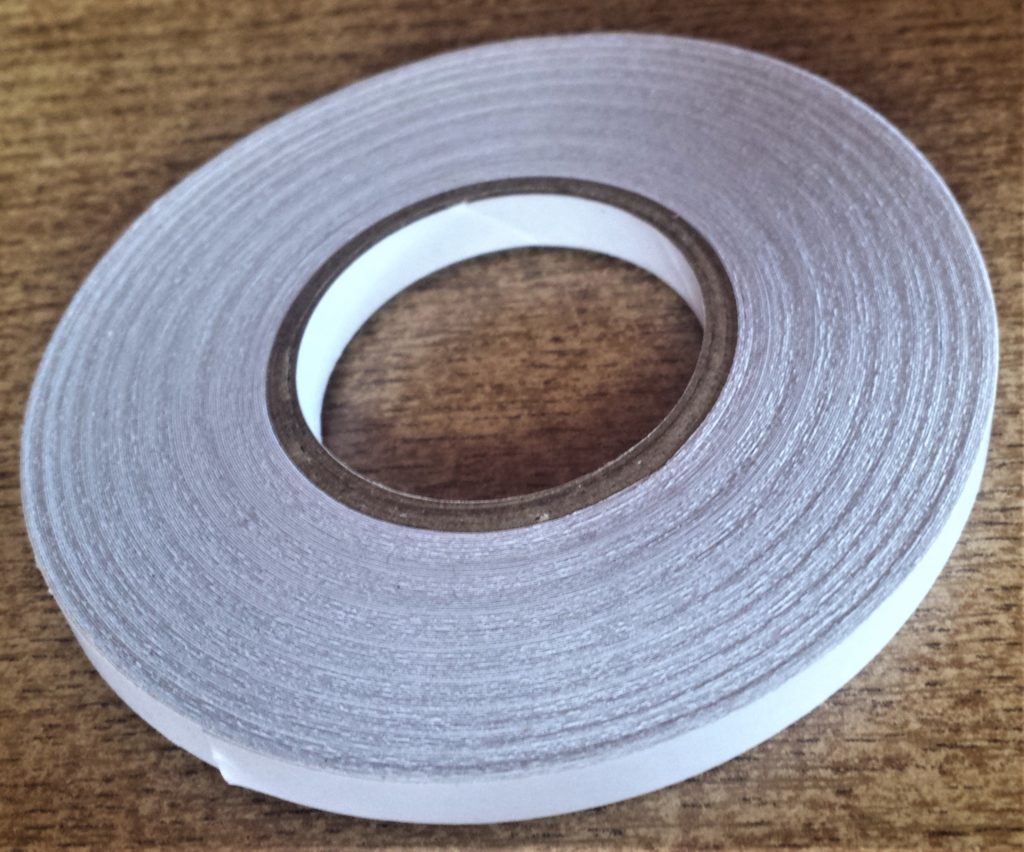
I used two sizes of Double-Sided Tape; I ran out of the bigger sized one so switched to the smaller sized one. Double Sided Tape.
I put the Double-Sided Tape onto the green sheet on the frame.
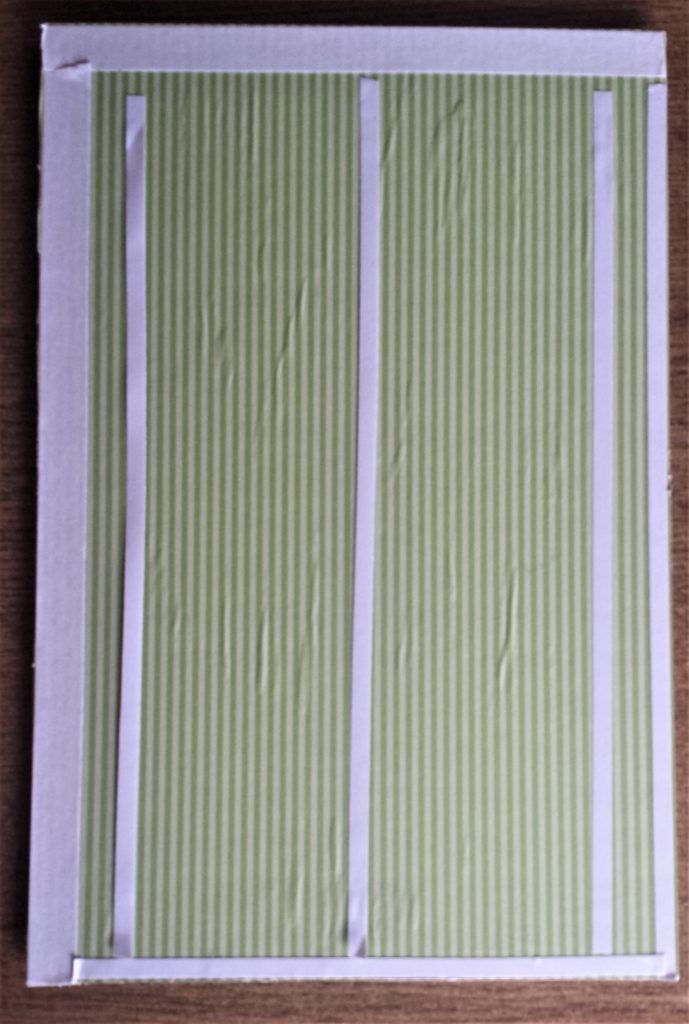
I peeled off the backing on the Double-Sided Tape.
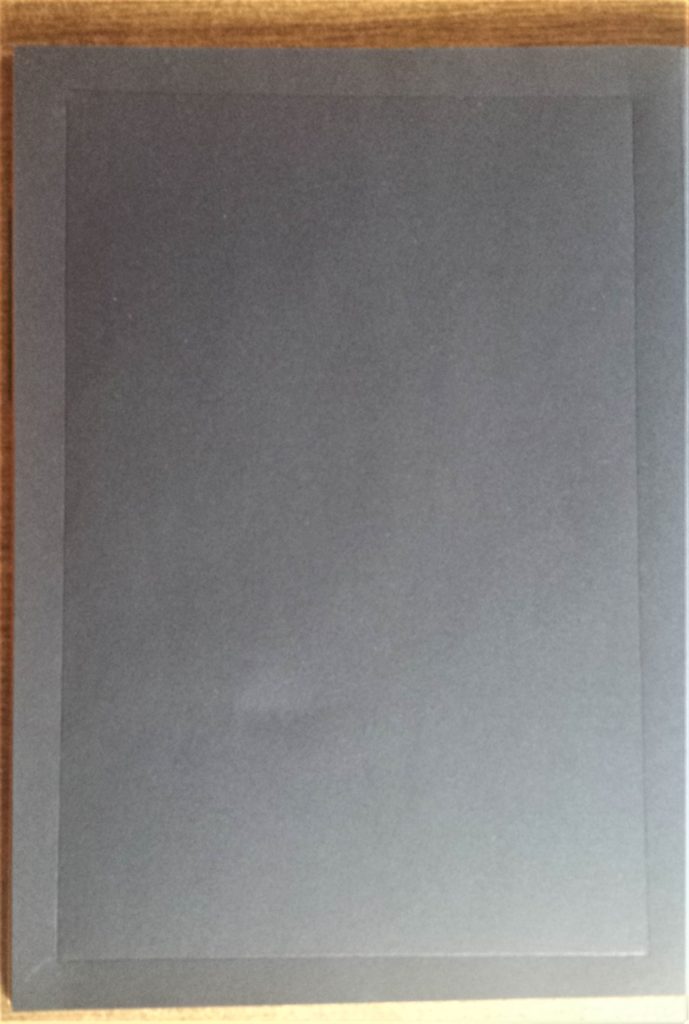
I positioned the black sheet on the two top corners and pressed the sheet to the frame.
Tumble Dryer Sheet
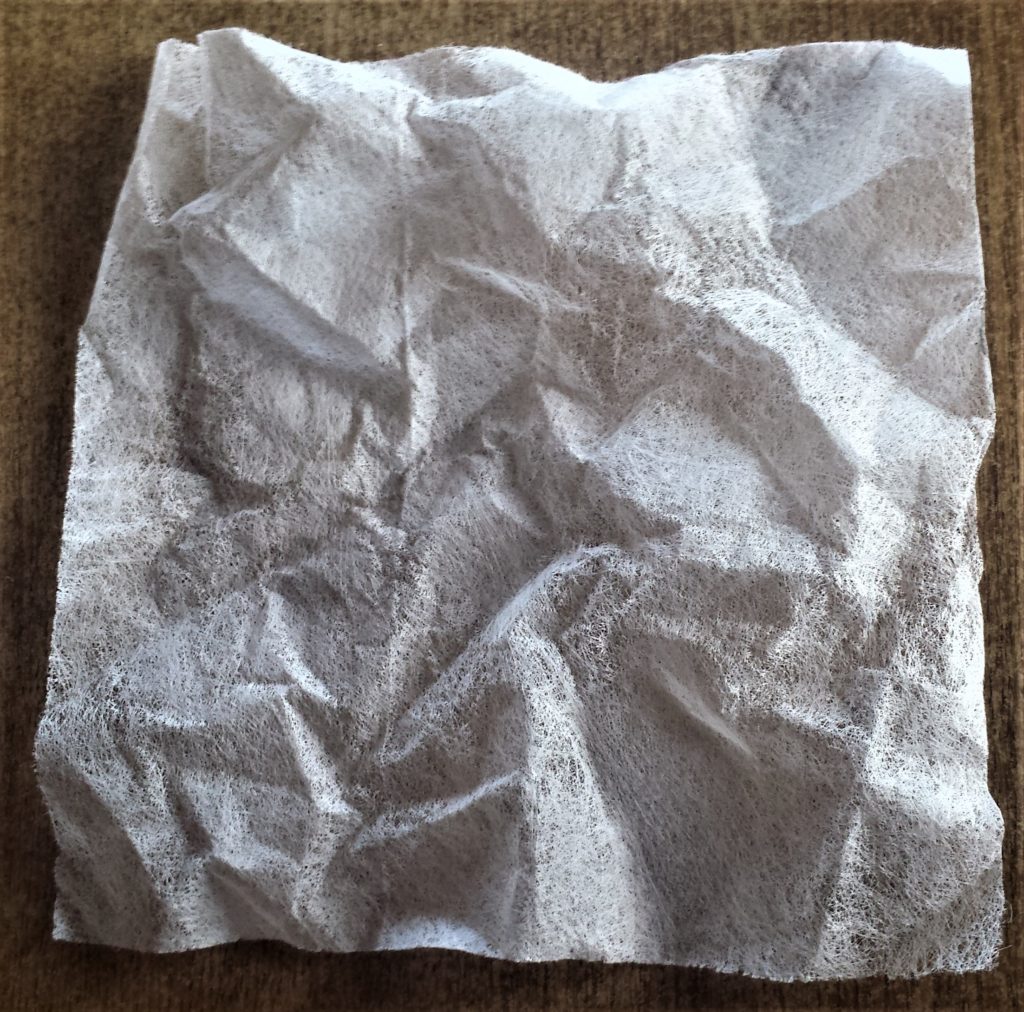
I have been collecting used tumble dryer sheets for a while now. I use them a few times to finish drying my clothes then put them in a box in my art supplies. They still smell lovely. Tumble Dryer Sheets.
I thought this would be the perfect craft for them. I am making a spiderweb. You could also use paper to make these but I loved the colour and texture of the tumble dryer sheet.

Making the Spiderweb
The tumble dryer sheet measured 6 and 1/4 inches in width. I put my ruler to the height and put a mark on 6 and 1/4 inches with a pencil. This is to make it a square shape to get an even result when folding into the spiderweb shape.
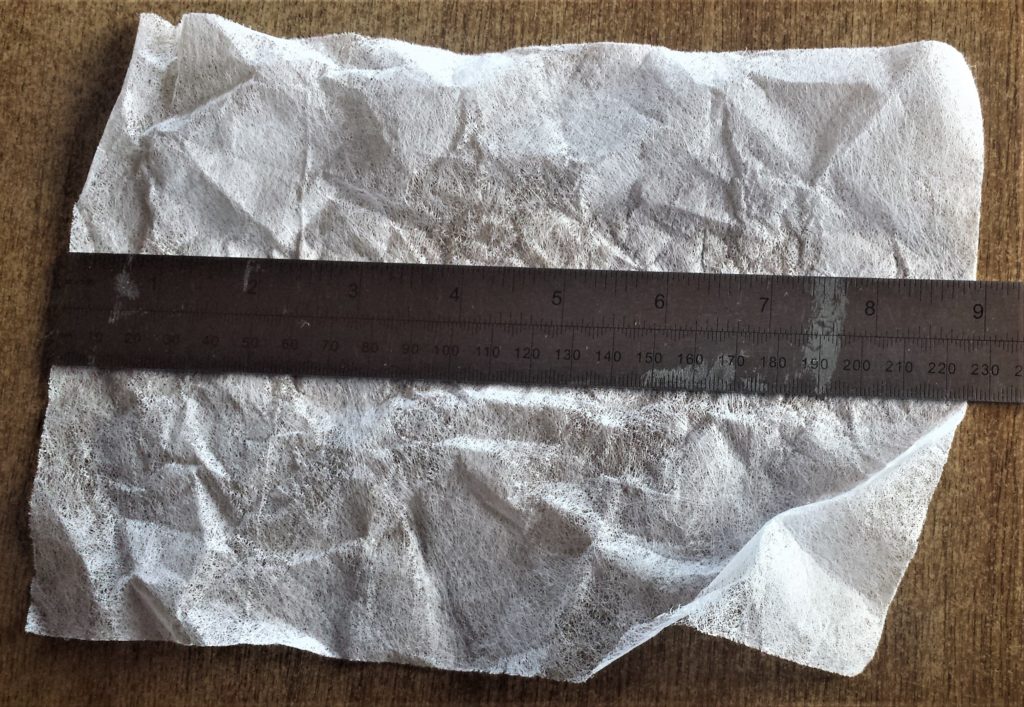
It doesn’t matter what the measurements are as long as the width and height are the same. You can increase or decrease yours if you are using paper depending on what size you want the spiderweb to be.
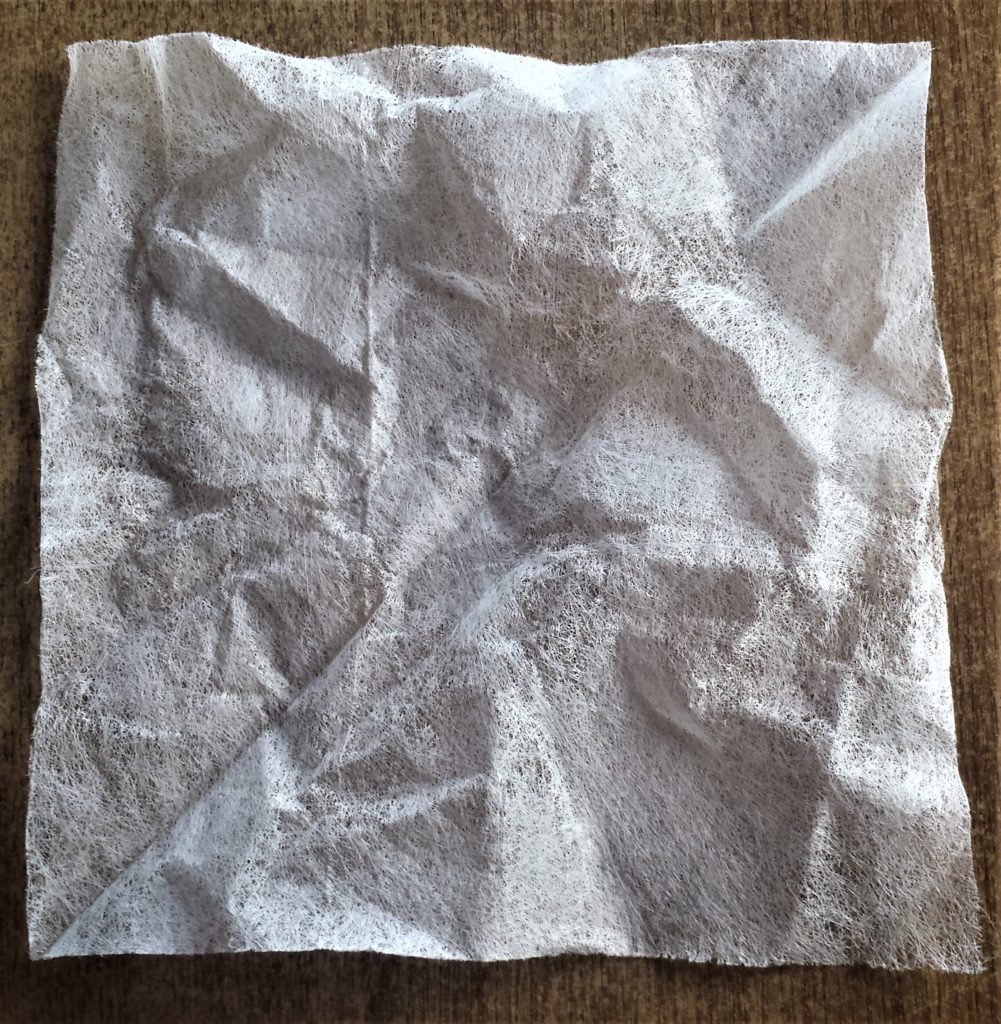
I cut out the line I drew on the tumble dryer sheet.
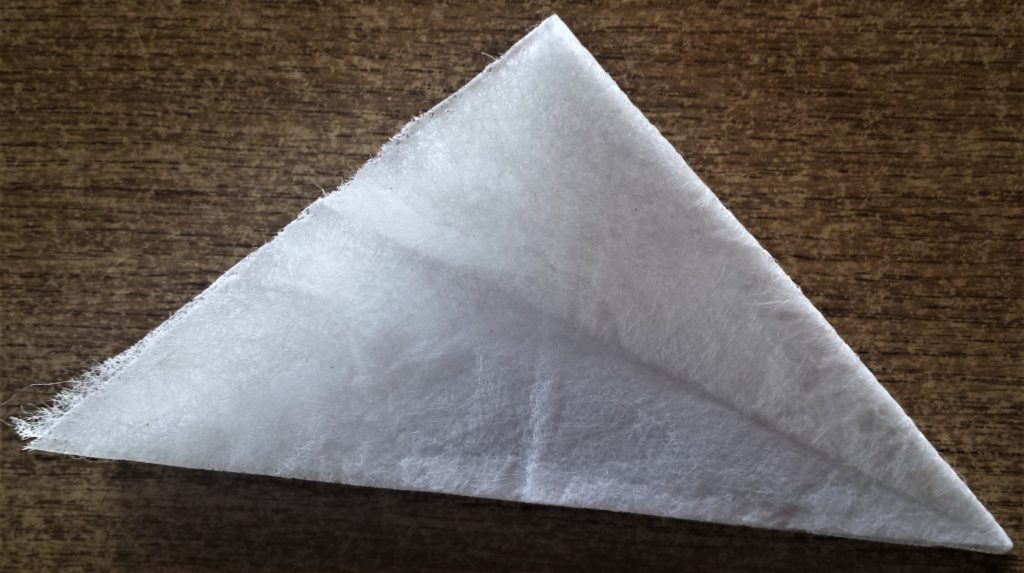
I put one corner of the tumble dryer sheet to the opposite corner to form a triangle, it should fit pretty even as it’s a square shape. You can cut any excess if there is any.
You can see in the photo below; the line on the tumble dryer sheet from one corner to the other from folding it over, I unfolded it to show you the step.
I folded it back over to make the triangle shape.
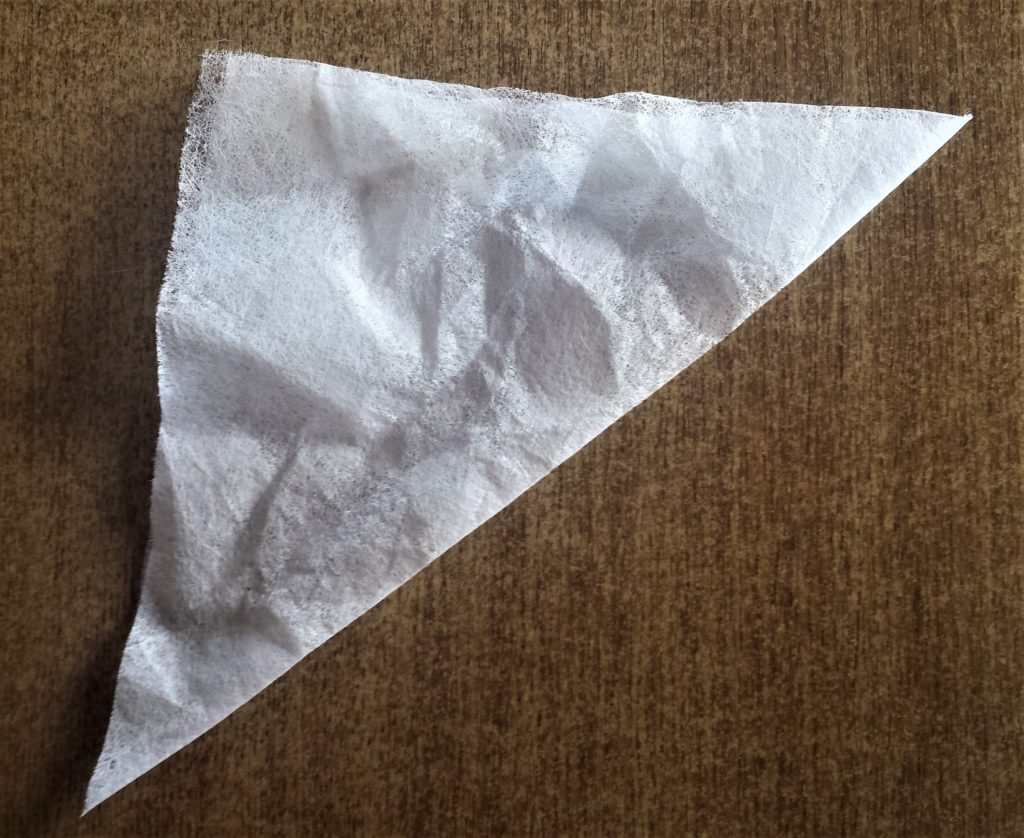
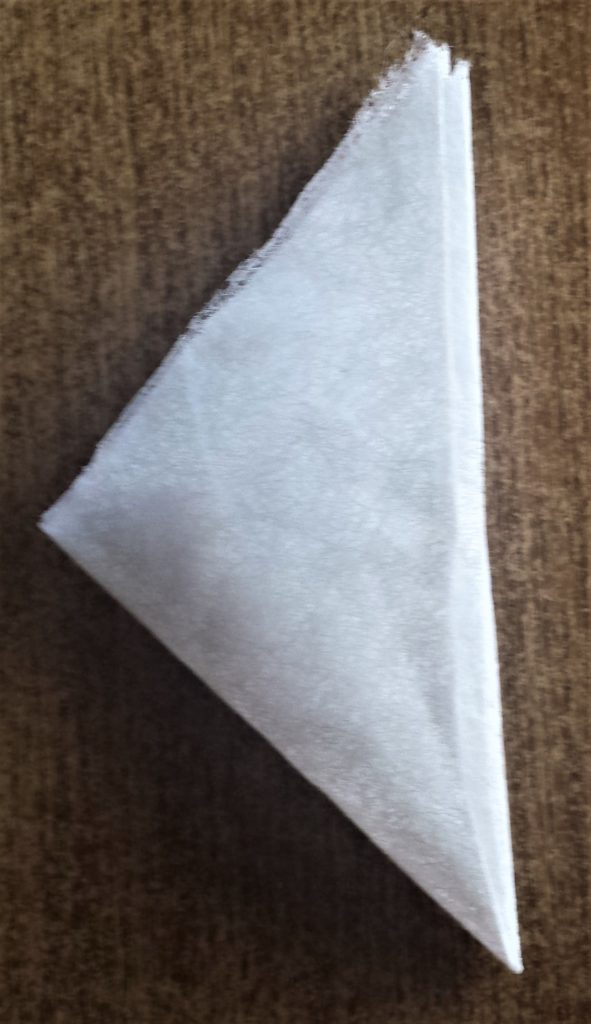
I took the corner on the right and brought it over to the corner on the left and pressed down to make a smaller triangle.
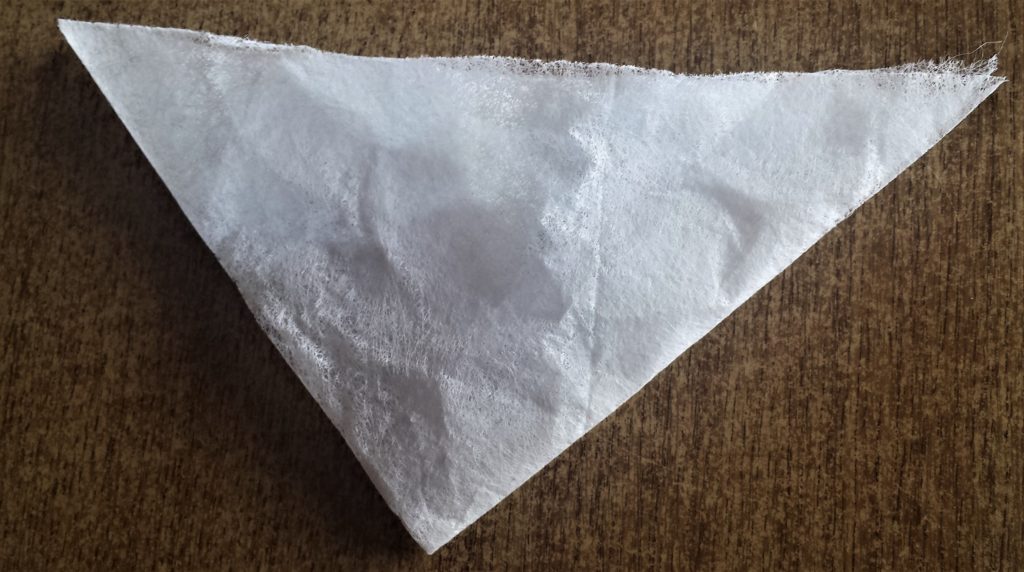
I brought the right corner to the left corner to make it into a smaller triangle again.
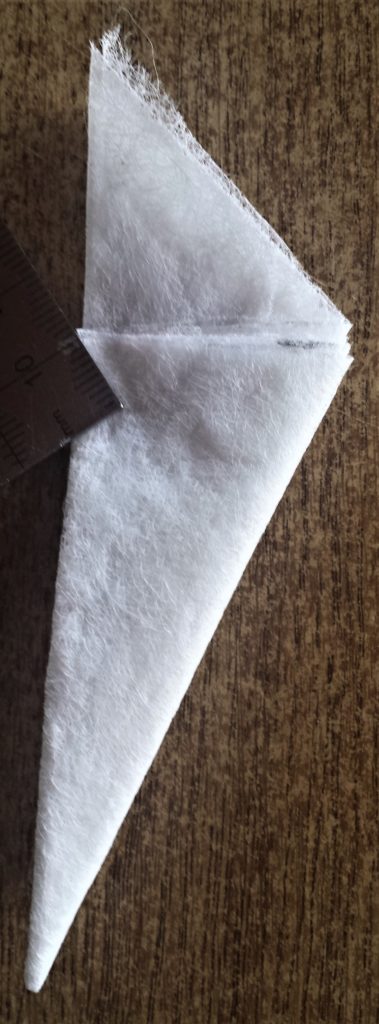
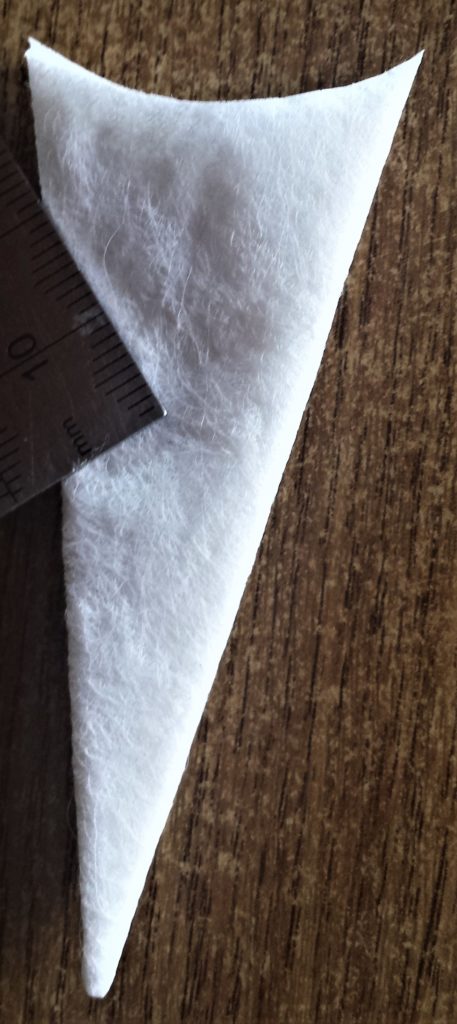
I then brought the right edge of the triangle over to the left edge of the triangle, I smoothed over the edges to line them up and folded. You can see the line across in the photo below.
I cut off the smaller triangle shape sticking out at the top. Titanium Bonded Scissors.
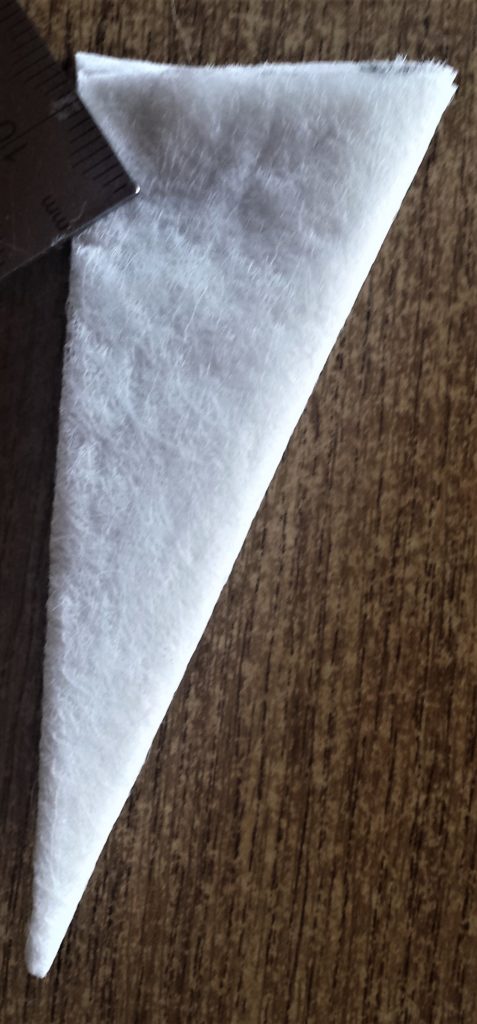
I cut an angle curve shape at the end of the triangle.
I drew the lines for the spiderweb shape on the tumble dryer sheet so I would know where to cut. Draw the lines at a slight angle to go with the curved angle you cut at the end, this will give it the spiderweb shape. Have the gaps fairly even to make it look in proportion. You can draw the lines as close together as you want depending on how thick you want the lines of the spiderweb to be. It’s a personal choice; you can make a few and see which look you prefer.
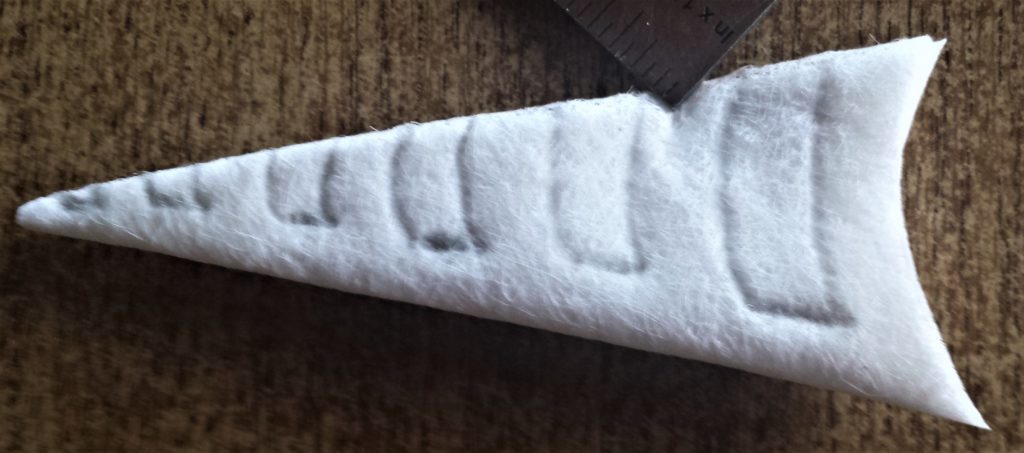
I cut out the lines using a small scissors. I was a bit too keen to see my spiderweb that I accidentally cut the tip off, oops. It actually doesn’t matter as I will be cutting up my spiderweb shape but if I was doing it again I wouldn’t add a line to cut out at the very top of the spiderweb as it doesn’t need it. I thought there would be too much blank space with no lines in the center that’s why I added it, but when I opened it out there was enough lines cut out. In any case be very careful when cutting out the lines, as there is no going back if you make a wrong cut, it’s all trial and error really. Titanium Bonded Scissors.
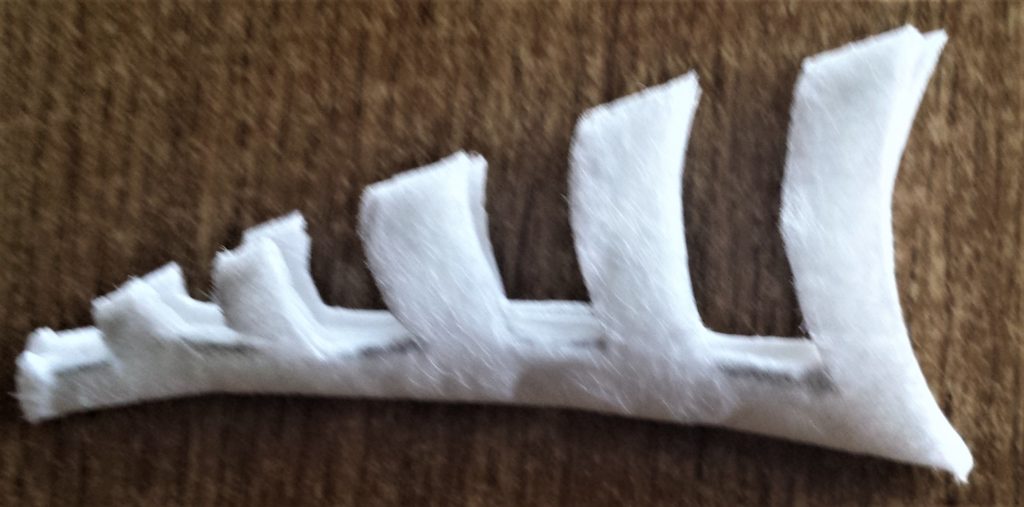
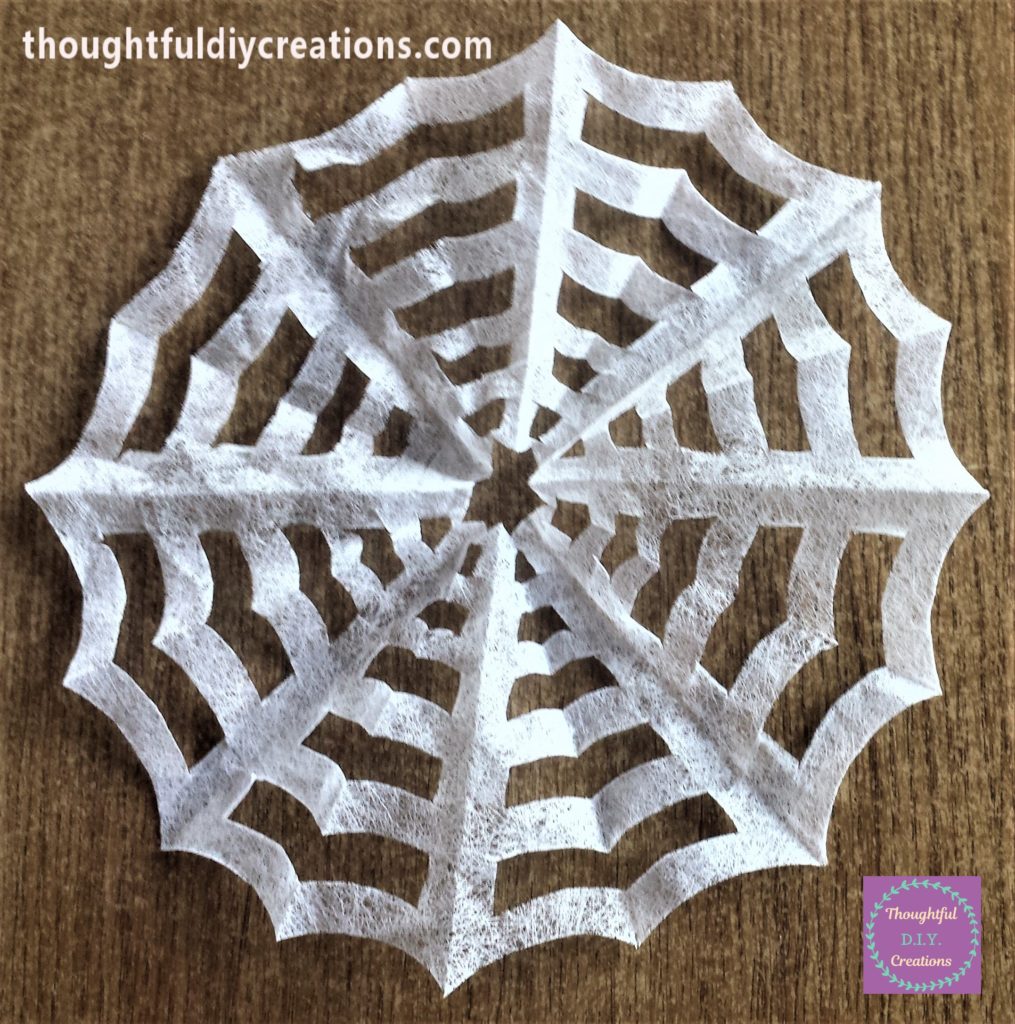
I folded out the tumble dryer sheet to reveal the spiderweb. Tumble Dryer Sheets.
Adding the Spiderweb to the Halloween Sign
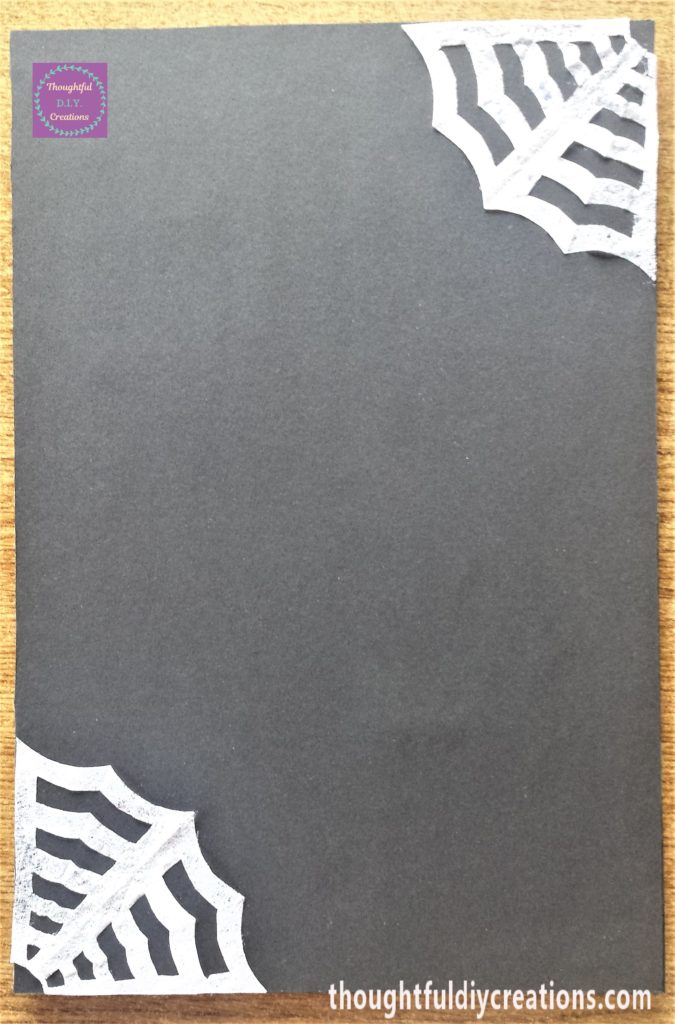
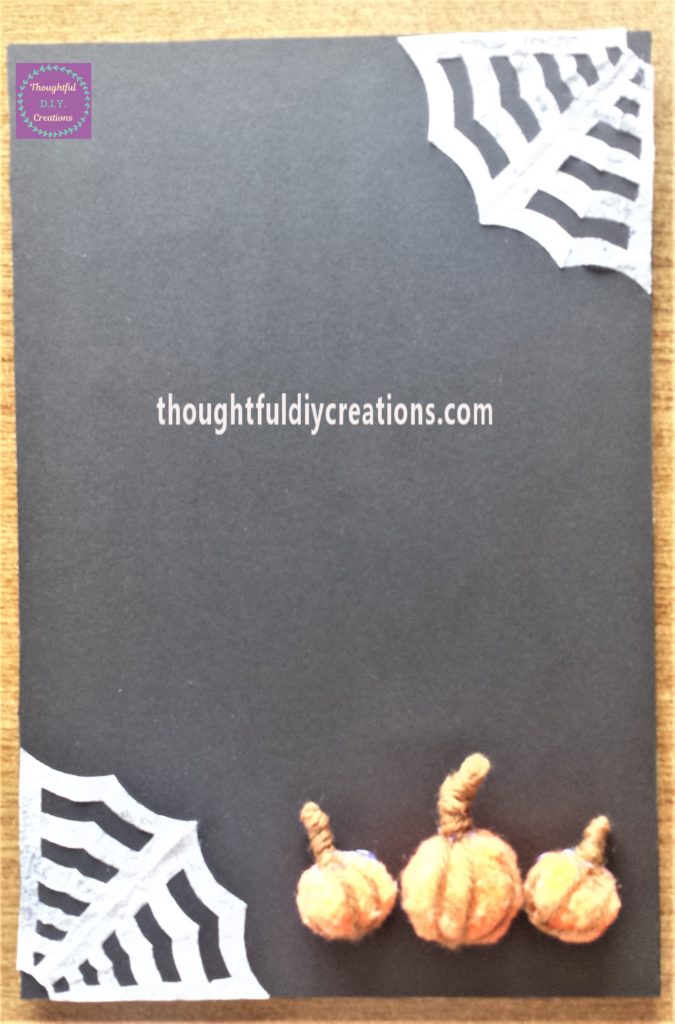
I cut out two sections of the spiderweb to use for the Halloween sign. Titanium Bonded Scissors.

I put pritt stick on the back of the spiderwebs and attached them to the top right hand corner and bottom left hand corner of the frame. Pritt Stick Glue.
Moon and Witch Silhouette
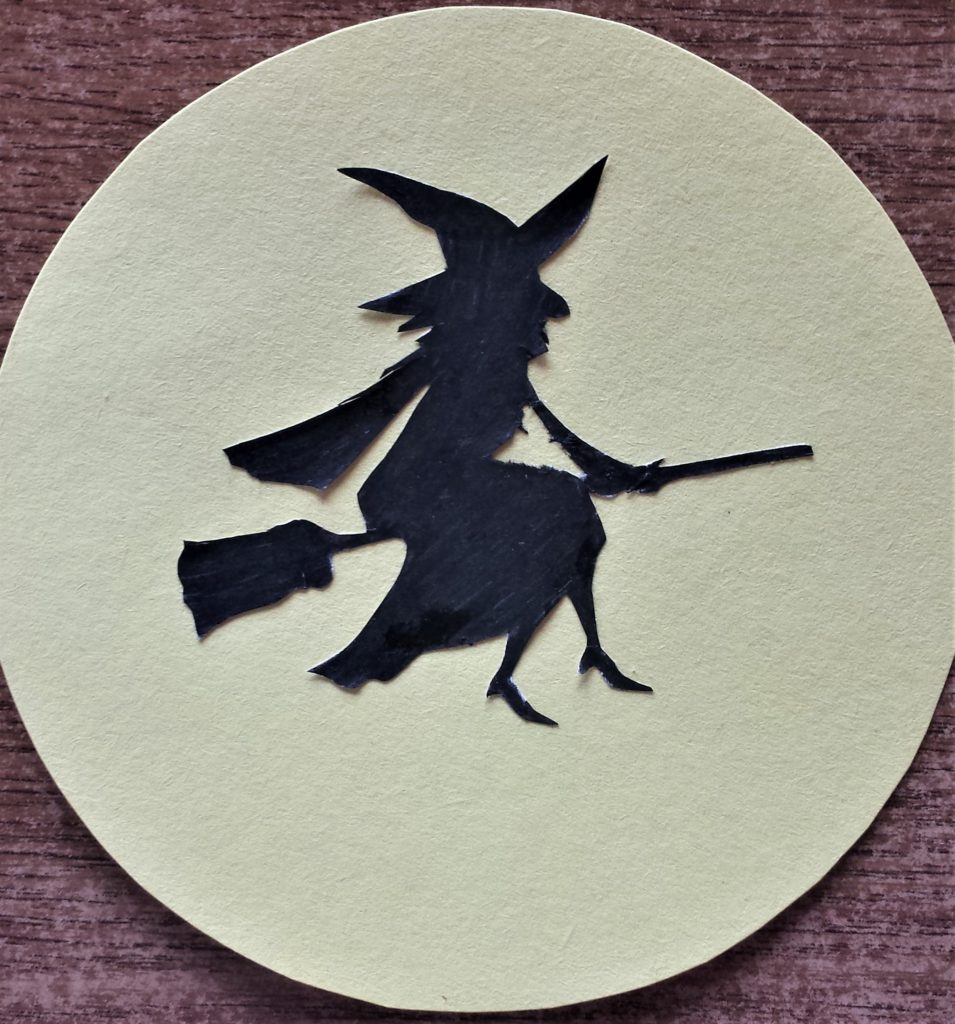
I looked up ‘Witch Silhouette’ in Google Images. I found a free to use design that I liked. I downloaded it and printed it out on regular printer paper. Printer Paper.
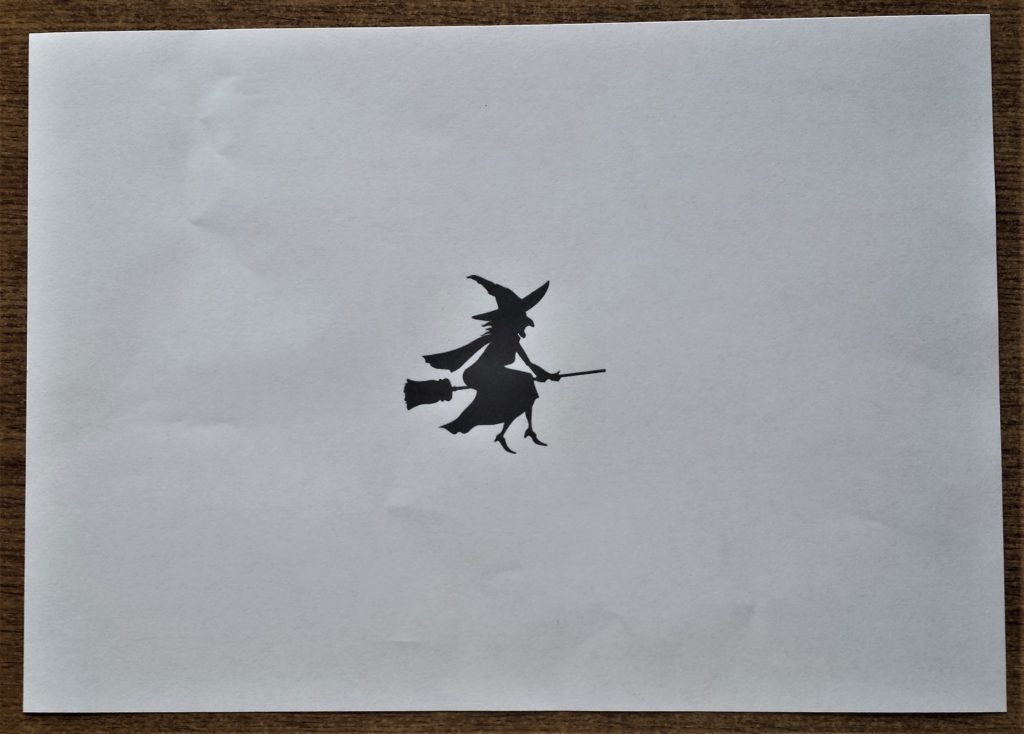
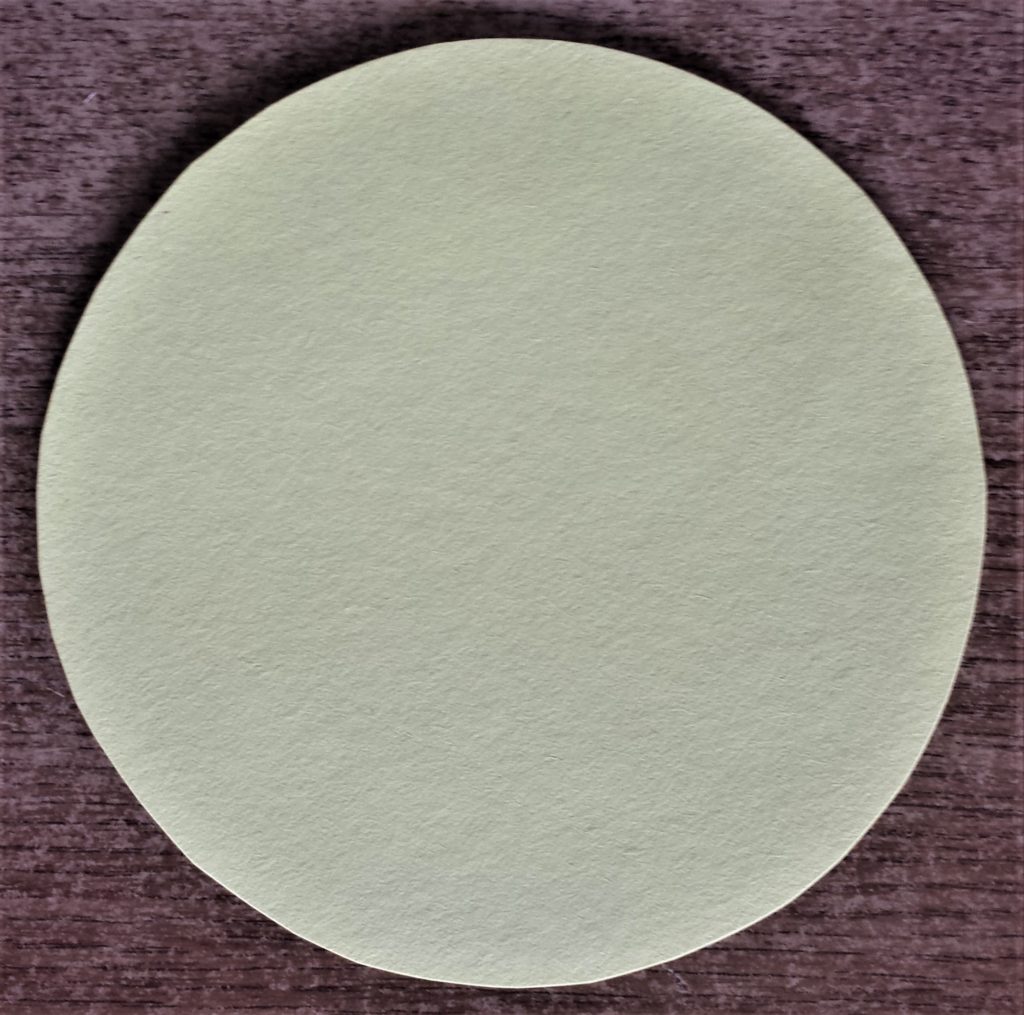
I cut it out using a small scissors. Titanium Bonded Scissors. I had a yellow sheet of paper in the same Paper Pad that I used for the Black sheet. This will be needed to make the moon. Construction Paper Assorted Colors.
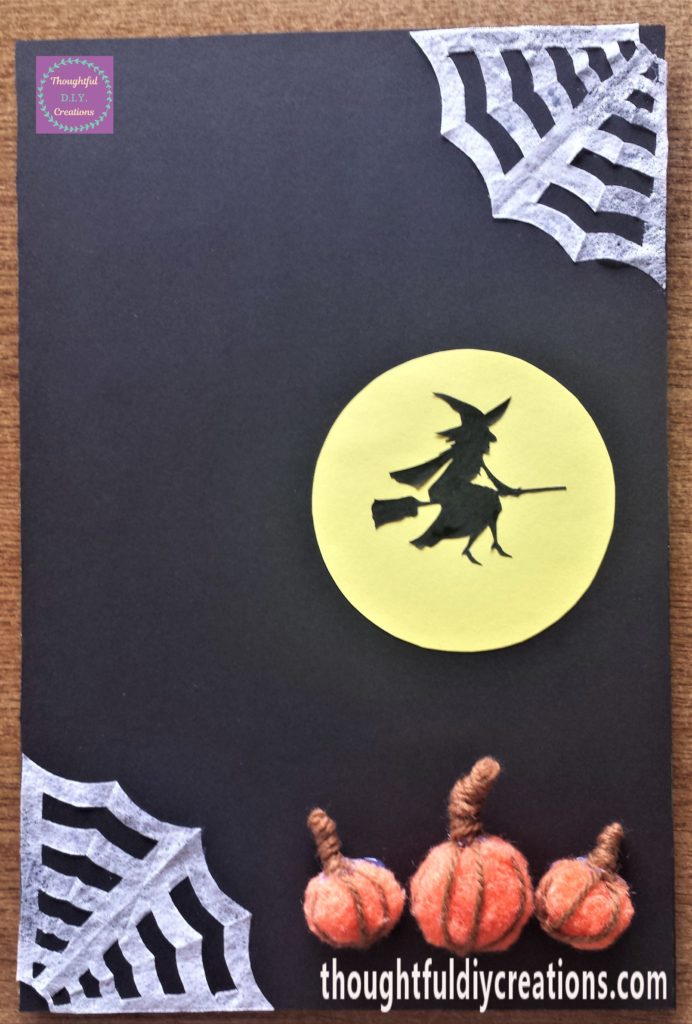
I drew out a circle onto the yellow paper using a plastic measuring container as a template. You can use whatever you have for the size you want your moon to be.
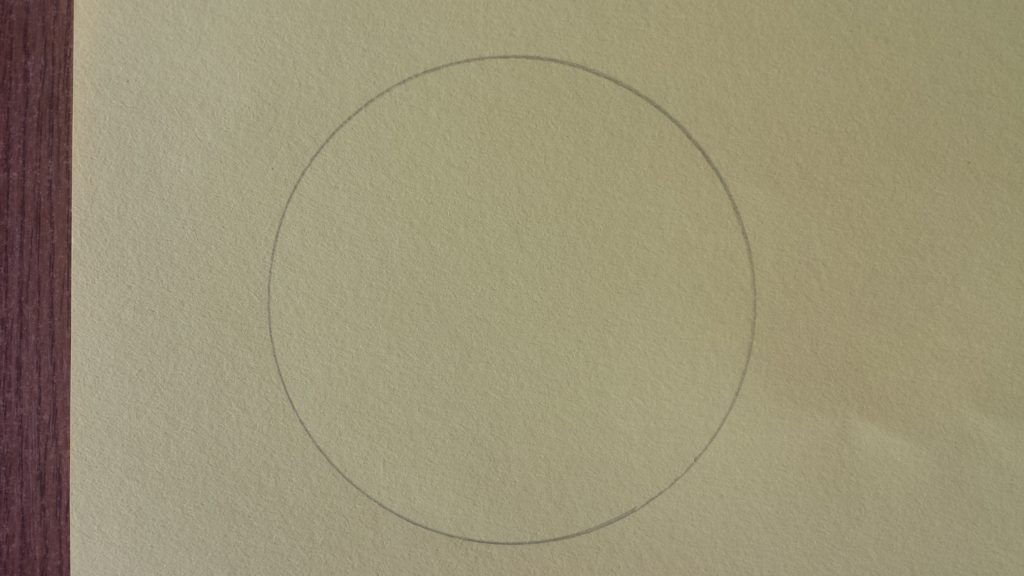
I cut it out. Tim Holtz Titanium Scissors.
I put pritt stick onto the back of the witch silhouette and attached it to the moon. Pritt Stick Glue.
Materials for the Pumpkins
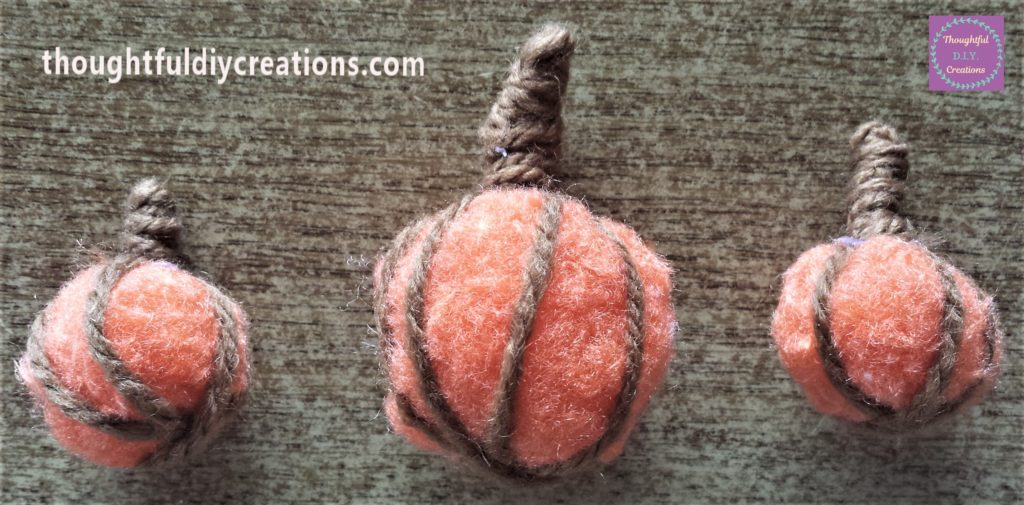
I had 3 orange pom poms in my craft supplies; 1 big one and 2 smaller ones. Pom Poms Assorted Sizes.
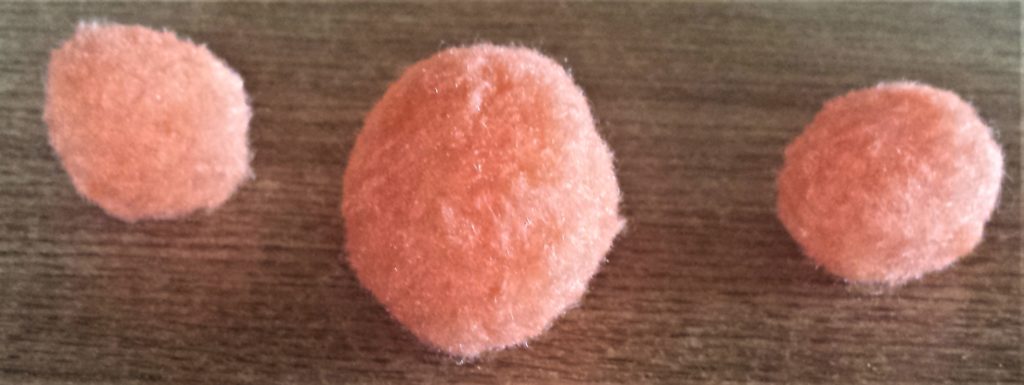
I thought they would be perfect to use as pumpkins for the Halloween sign. I had brown wool that would complement the orange colour. Hand Knitting Yarn Brown.

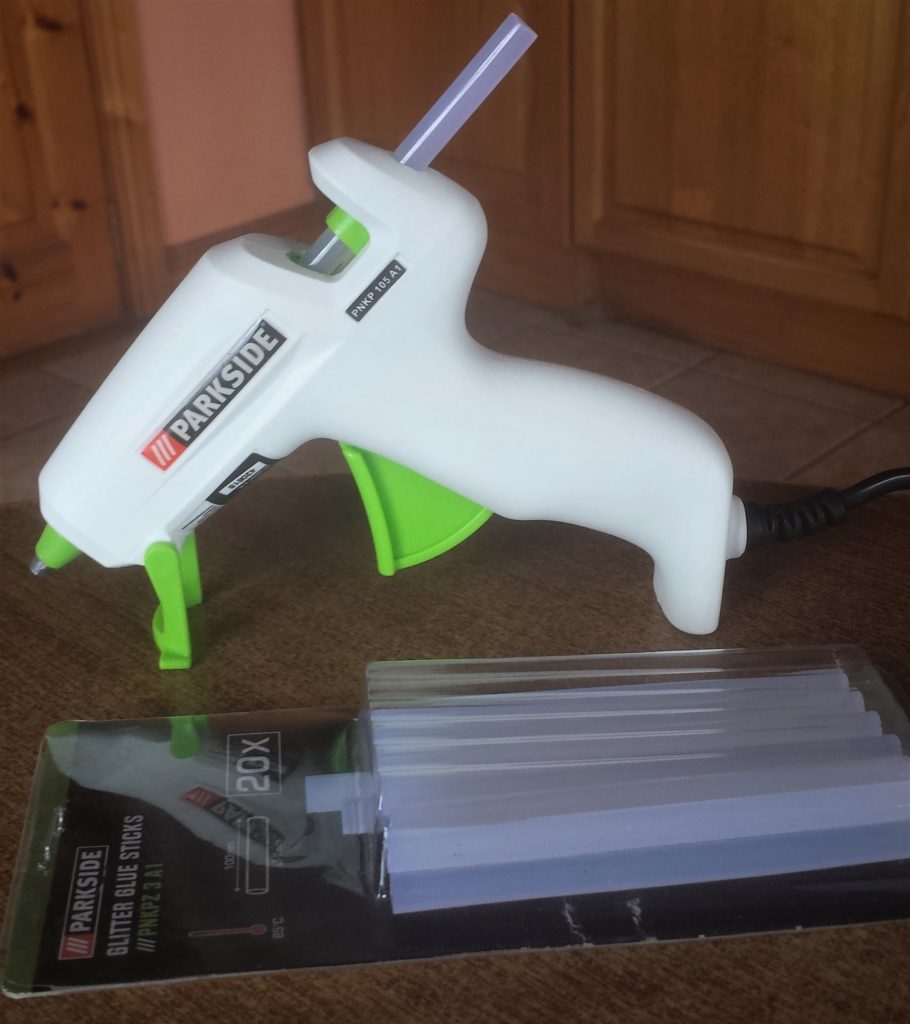
I plugged in my hot glue gun and let it heat up for 5 minutes. Glue Gun.
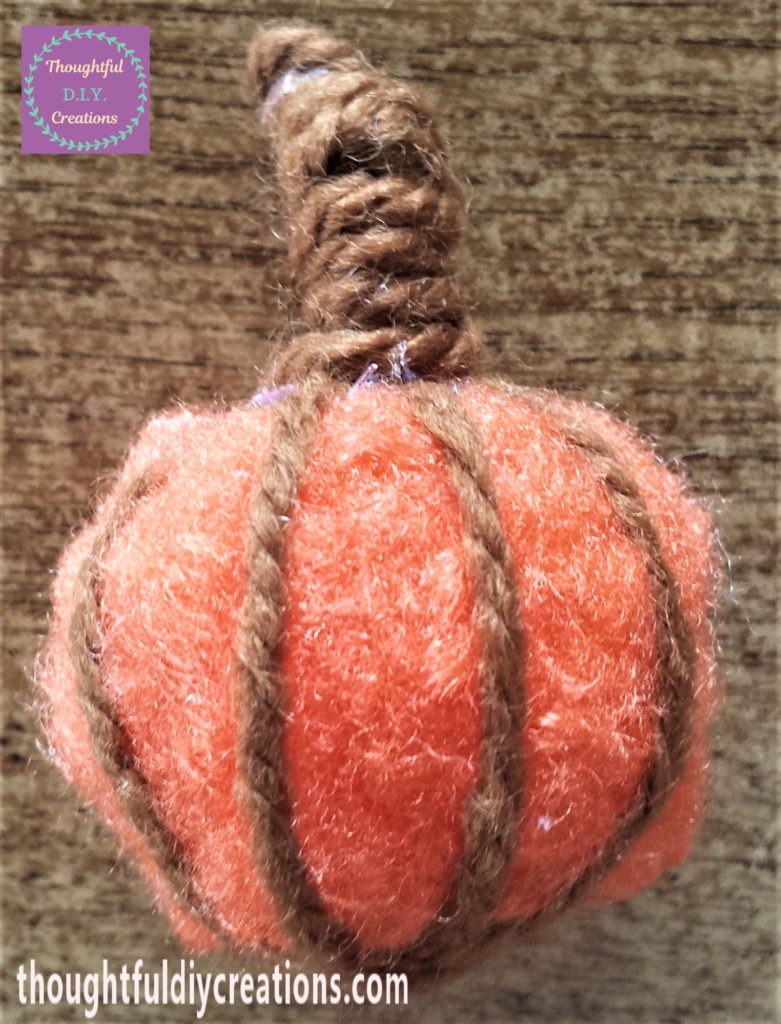
Making the Pumpkins
I put a dot of hot glue on the pom pom and put the wool over it to keep it in place. Glue Gun.
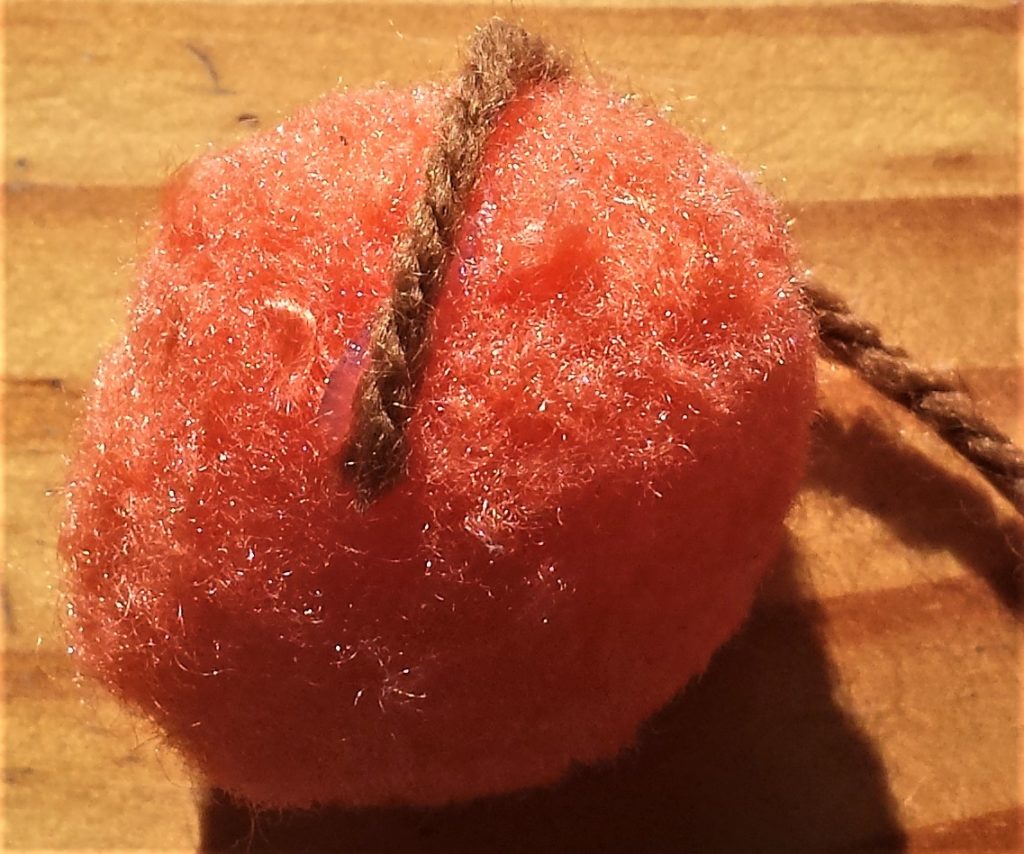
I brought the wool around to meet the first part in the center, I added more hot glue to the mid-section.

I twisted the wool around the pom pom a couple more times until I felt it resembled the layers of a pumpkin. Hand Knitting Yarn Brown.

I didn’t have a brown pipe cleaner but I had a pink one. Pipe Cleaners.
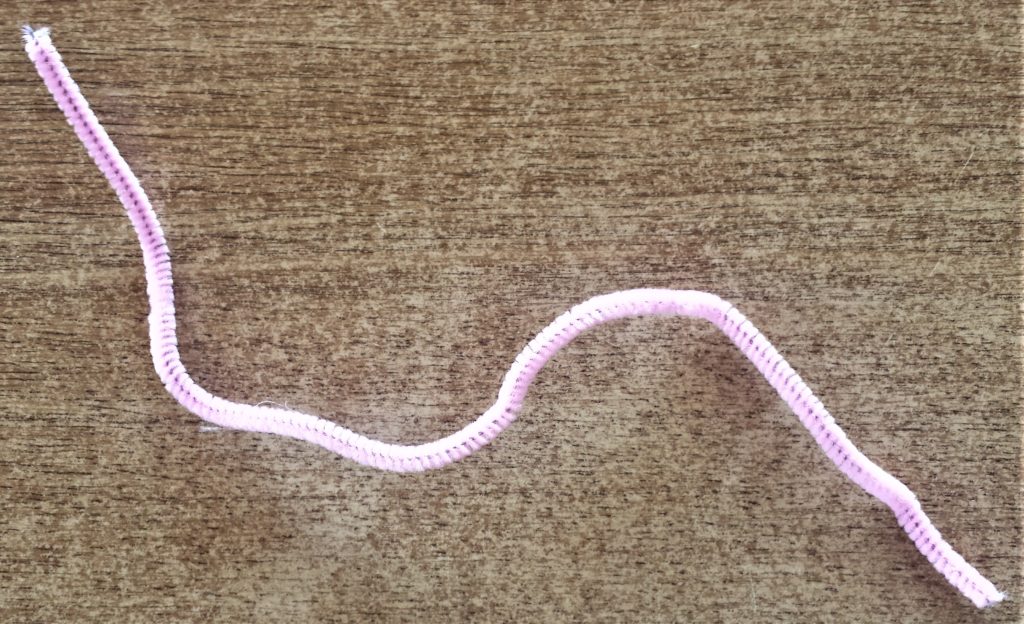
I cut a small section of the pink pipe cleaner, this will be used to make the stalk of the pumpkin. Pipe Cleaners.
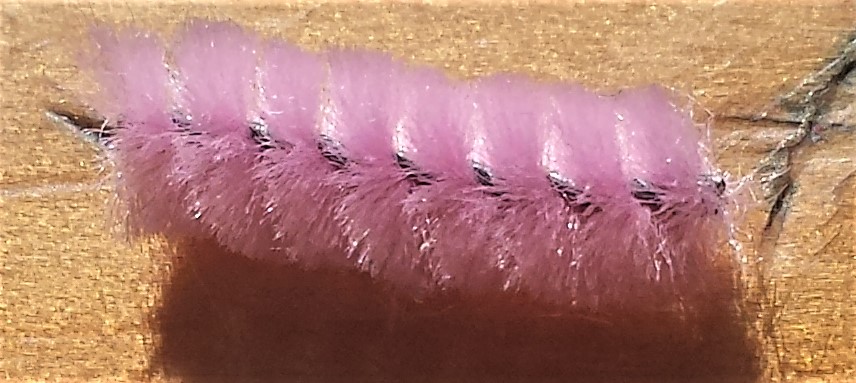
I wrapped the brown wool around the pink pipe cleaner. I added hot glue to the top and bottom of the pipe cleaner to hold the wool in place.
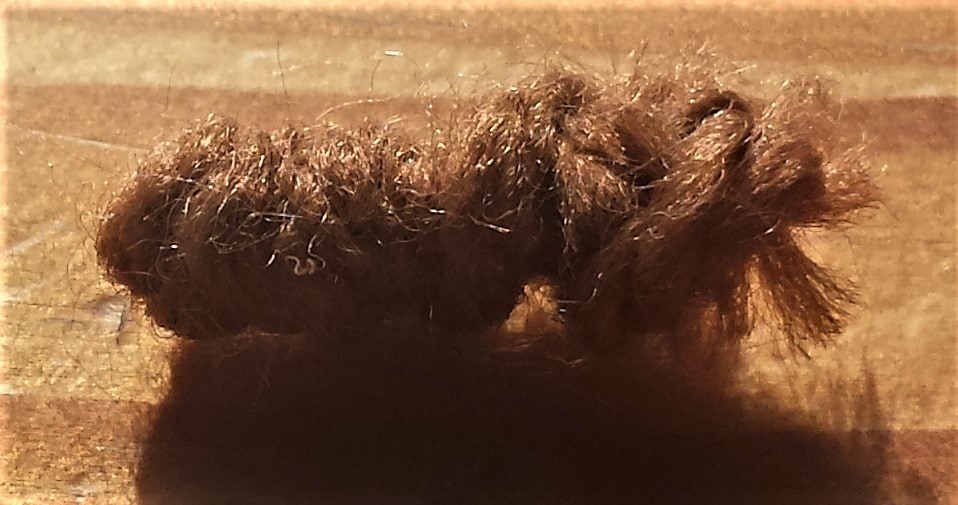
I put hot glue into the mid-section of the pom pom and held the brown wool pipe cleaner into place for a few seconds.
This completed making the pumpkin. I repeated the same steps to make the other 2 pumpkins.
Attaching the Pumpkins & Moon to the Halloween Sign
I put hot glue on the back of the pumpkins and held them into place one by one on the bottom of the Halloween sign.
I put pritt stick onto the back of the moon and attached it to the mid-section of the Halloween sign. Pritt Stick Glue.
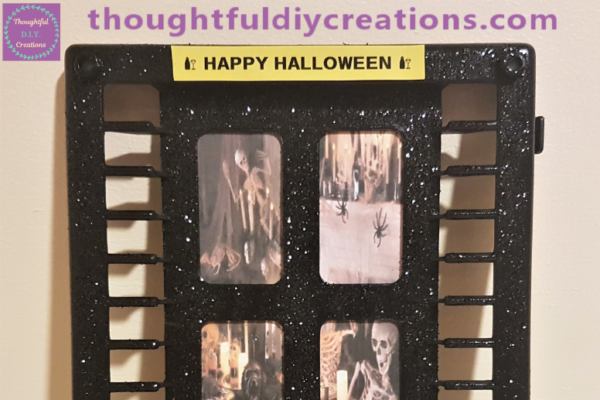
Adding ‘Happy Halloween’ to the Sign
I had a Pack of 6 different Colour Sheets of Glitter Alphabet Stickers. Glitter Foam Stickers.
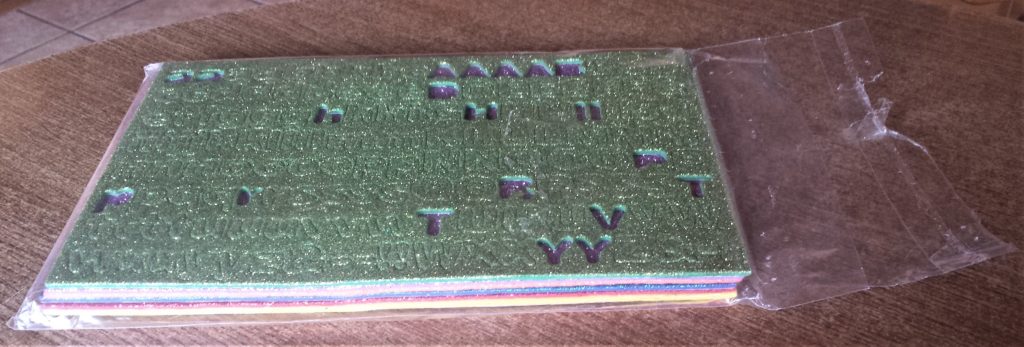
I used the Green, Orange and Purple colours to spell out ‘Happy Halloween’ as they were the perfect Halloween colours.
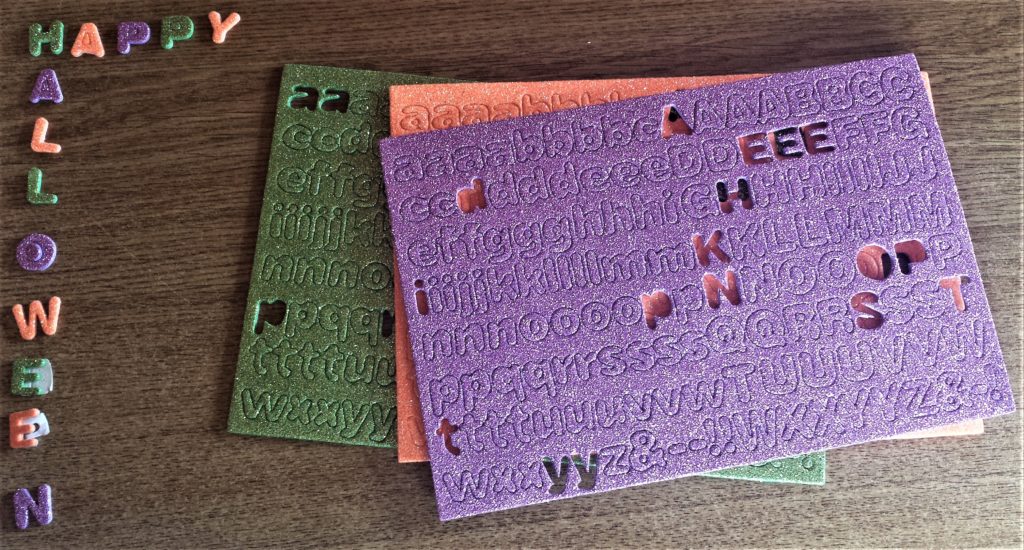
I stuck the Glitter Alphabet Letters to the Halloween sign. Glitter Foam Stickers.
Applying the Finishing Touches
I drew and coloured in a bat on the moon using a uni POSCA Paint Pen in Black 0.7mm. Uni Posca Paint Pen.
I thought the background was missing a little something so I added stars to the night sky. I used a yellow glitter gel pen. Glitter Gel Pens.

I added more stars randomly over the black Halloween sign. Glitter Gel Pens.
I decided to add a bit of sparkle to the corners of the spiderweb. I had a pack of clear gemstone stickers which were just the right size. Rhinestone Stickers.
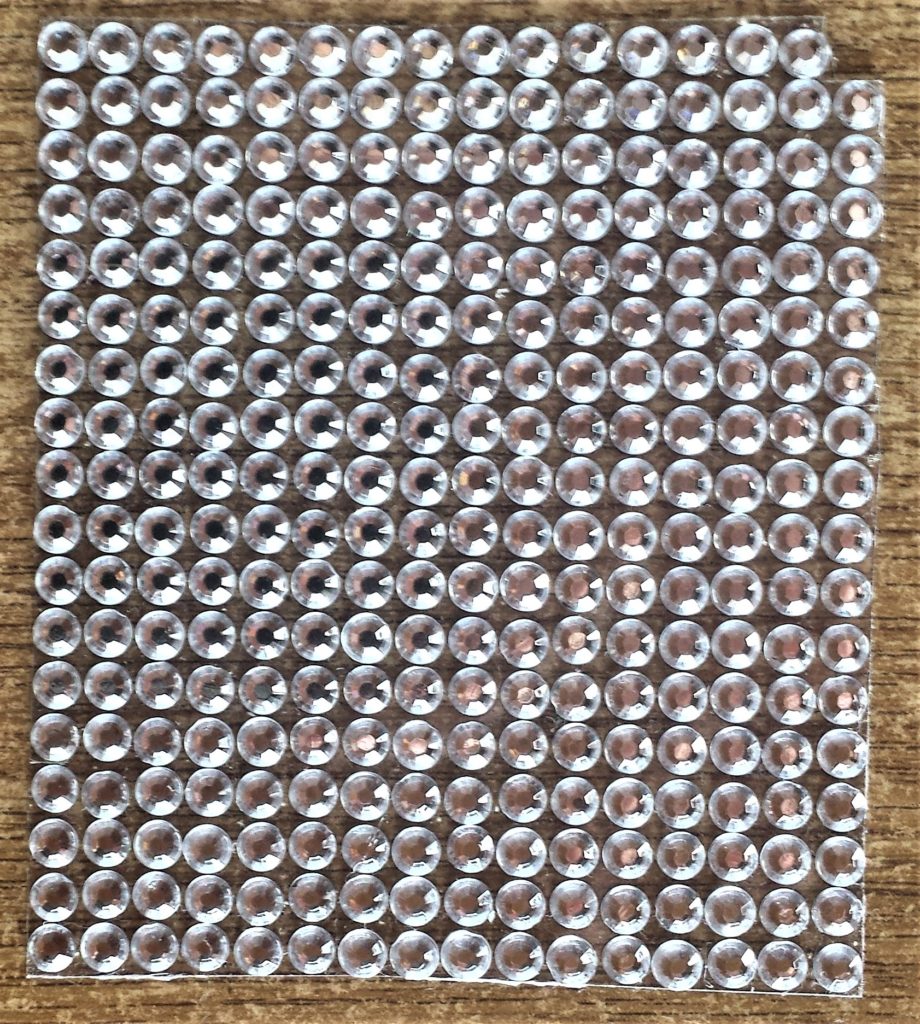
I cut off 6 gemstones and added 3 to each corner of the two spiderwebs. Rhinestone Stickers.
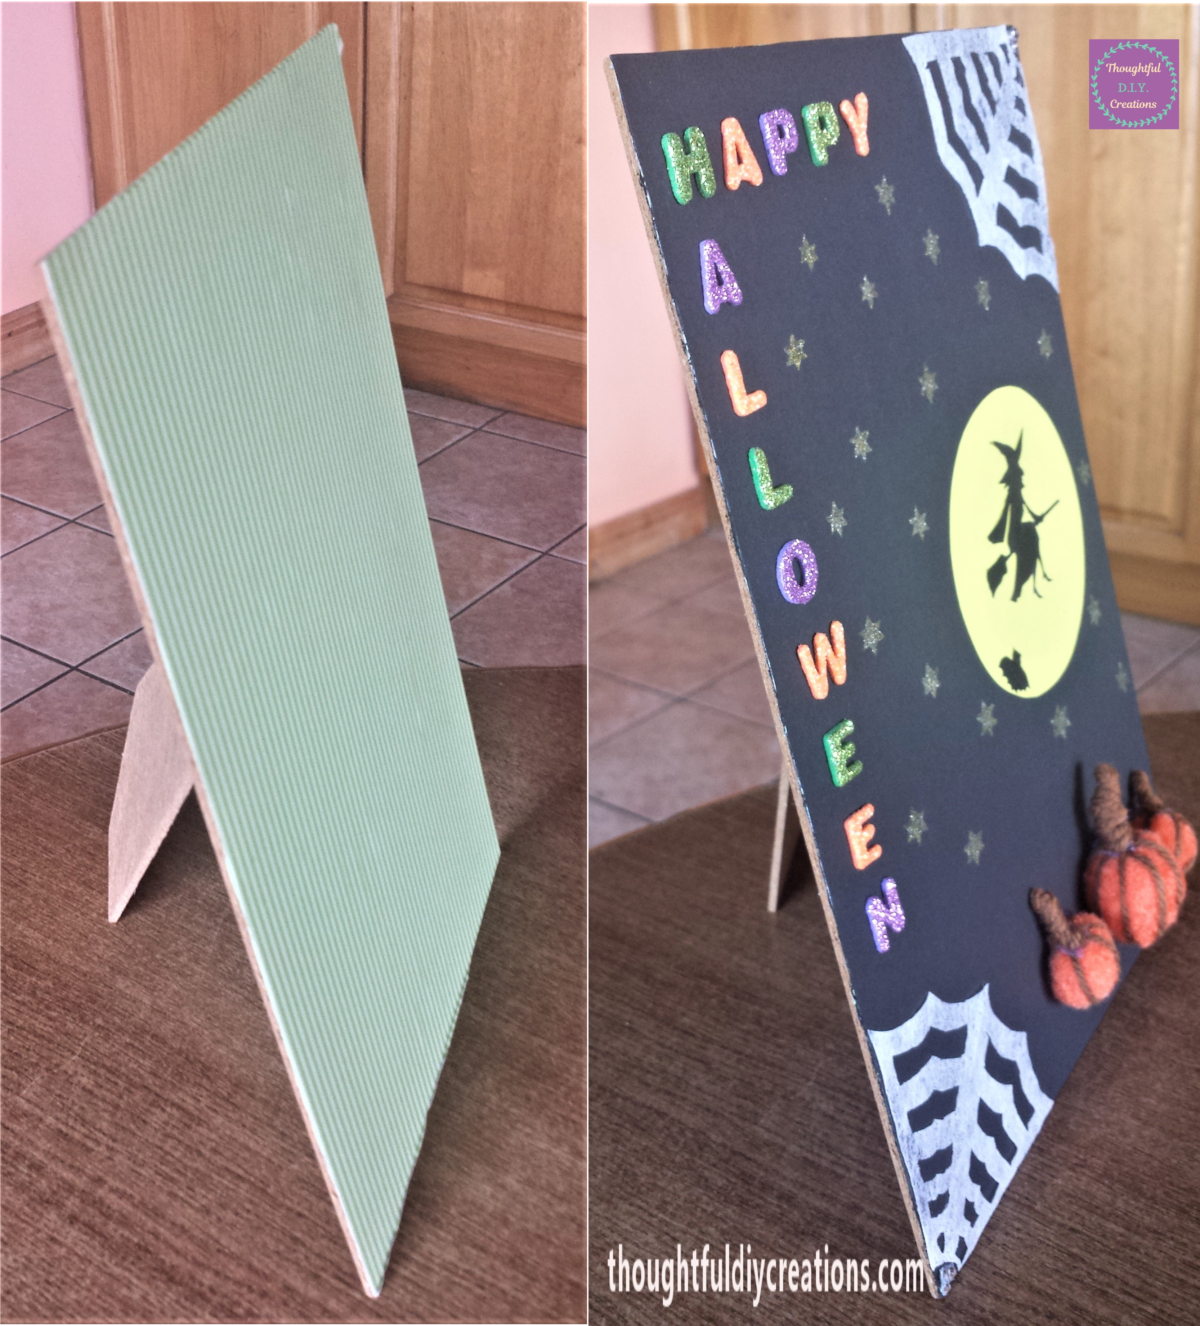
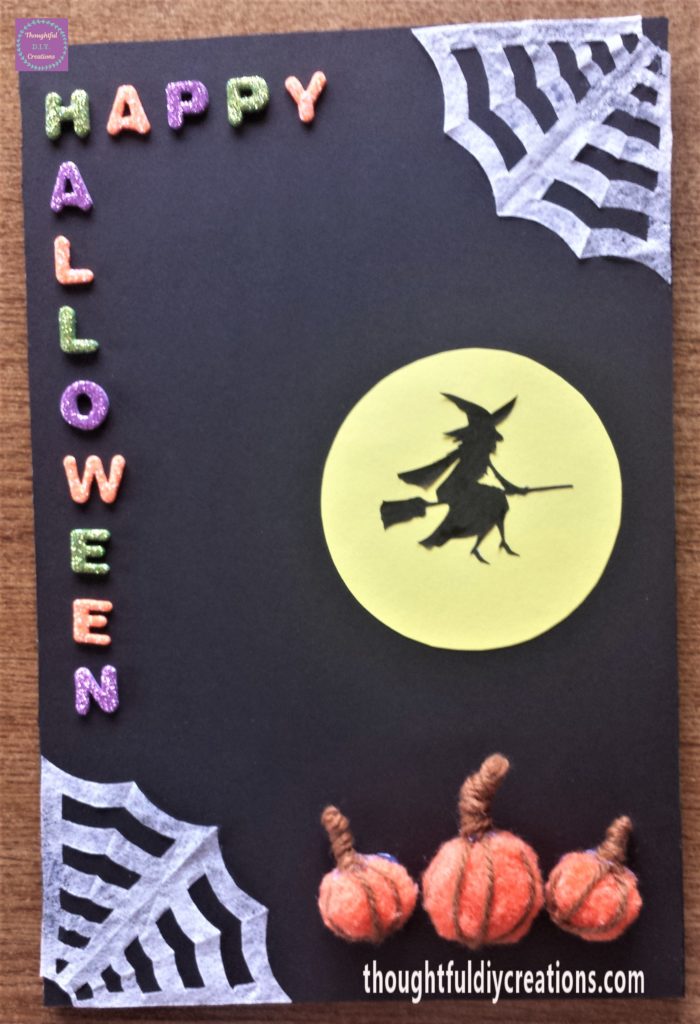
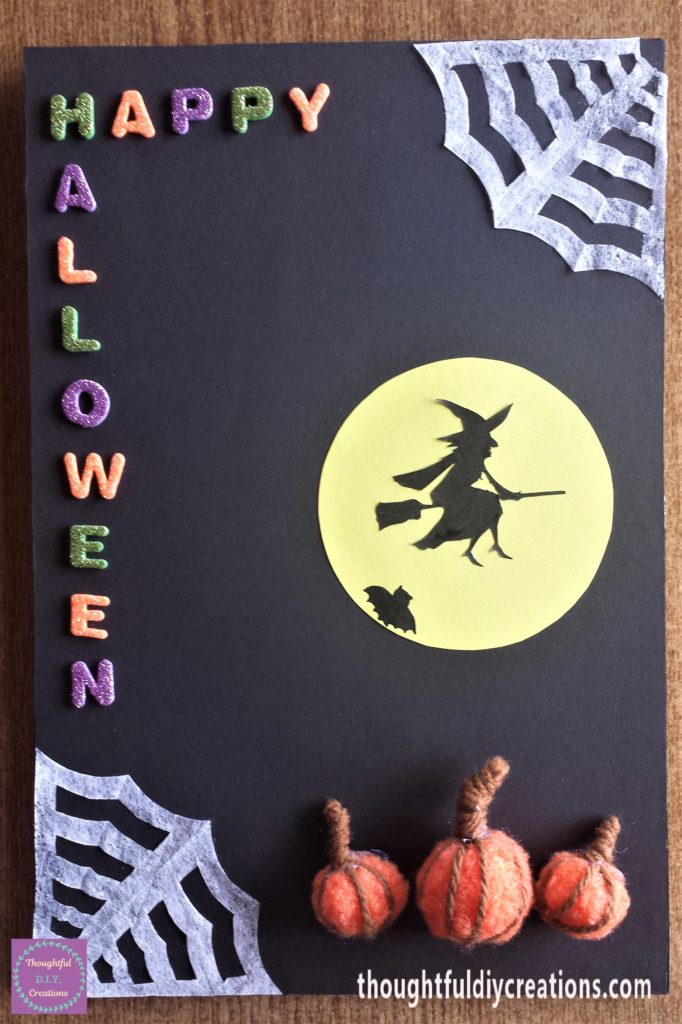
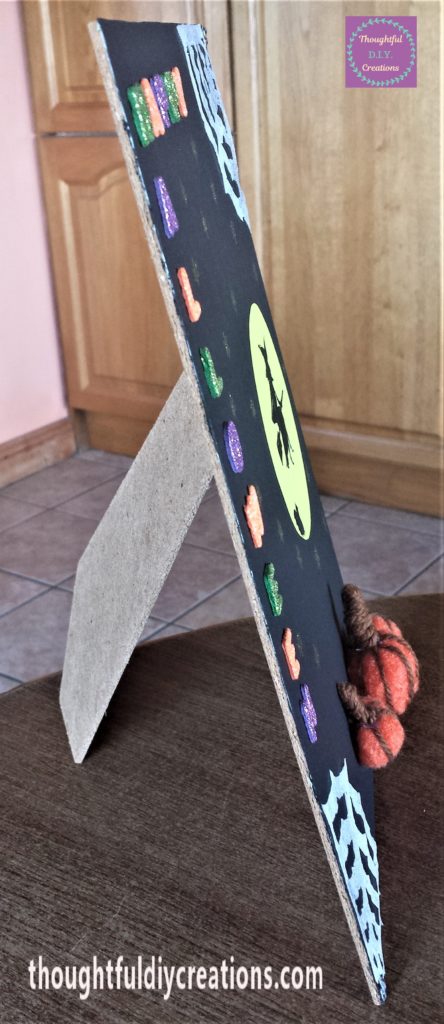
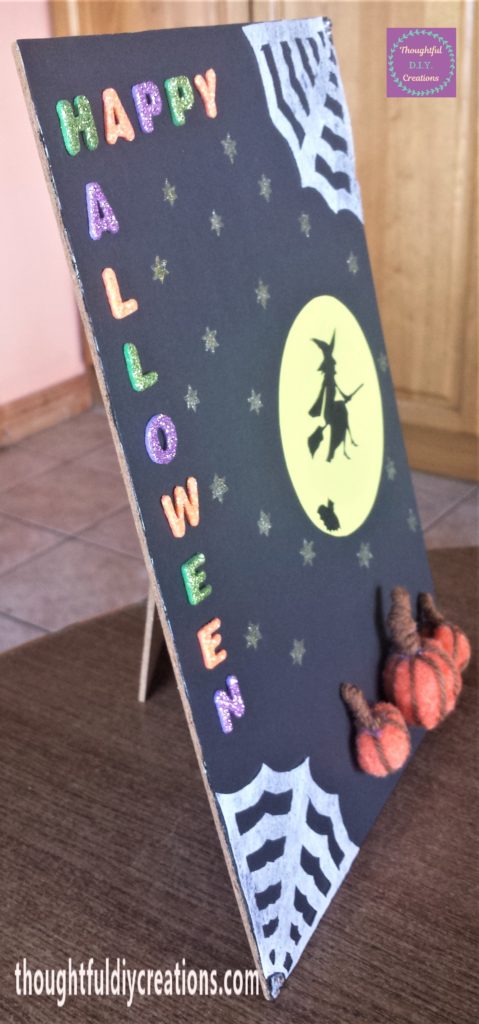
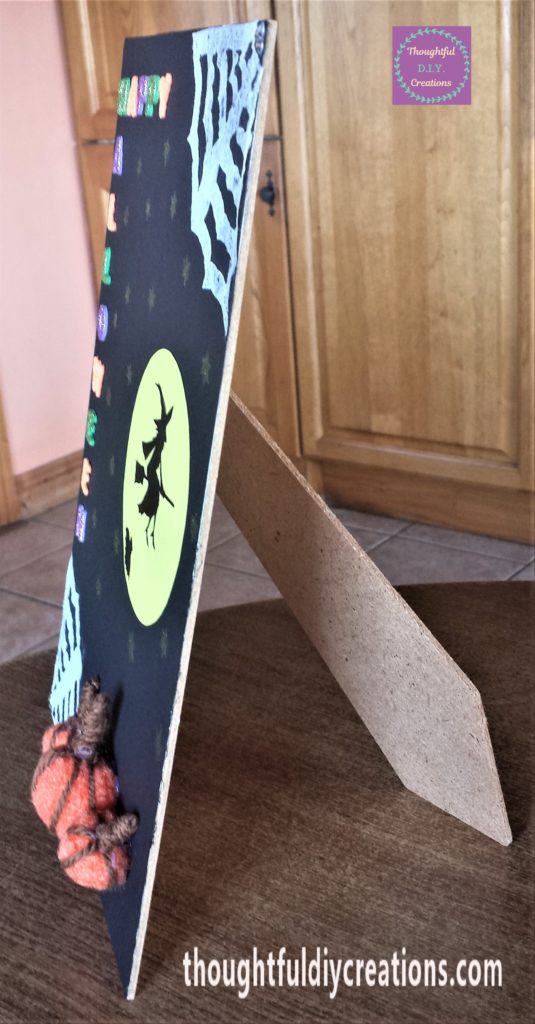
Final Result
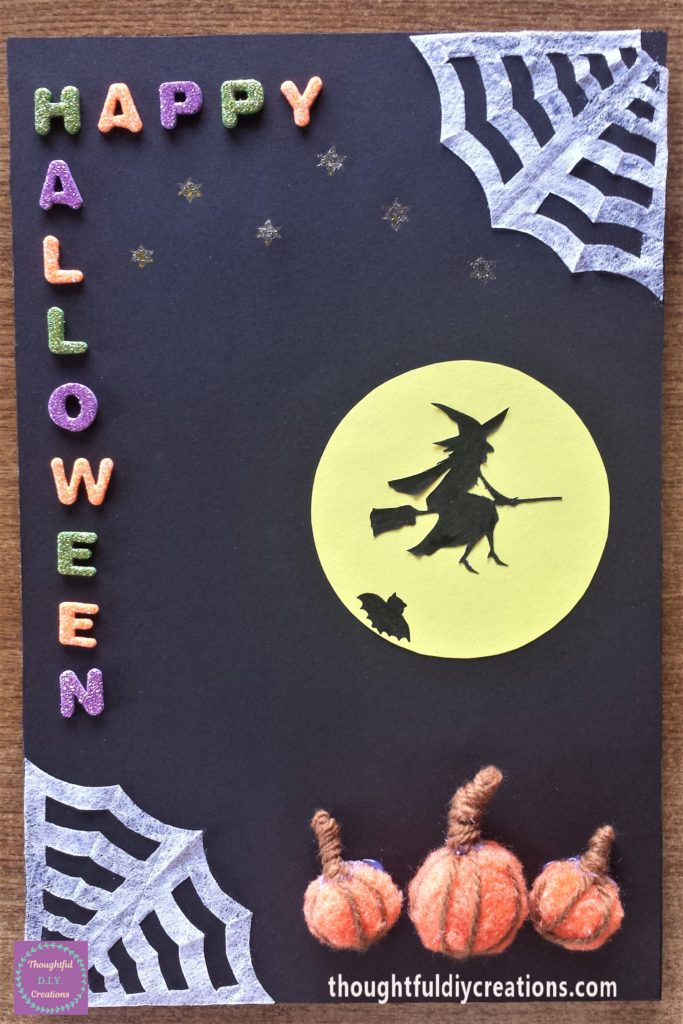
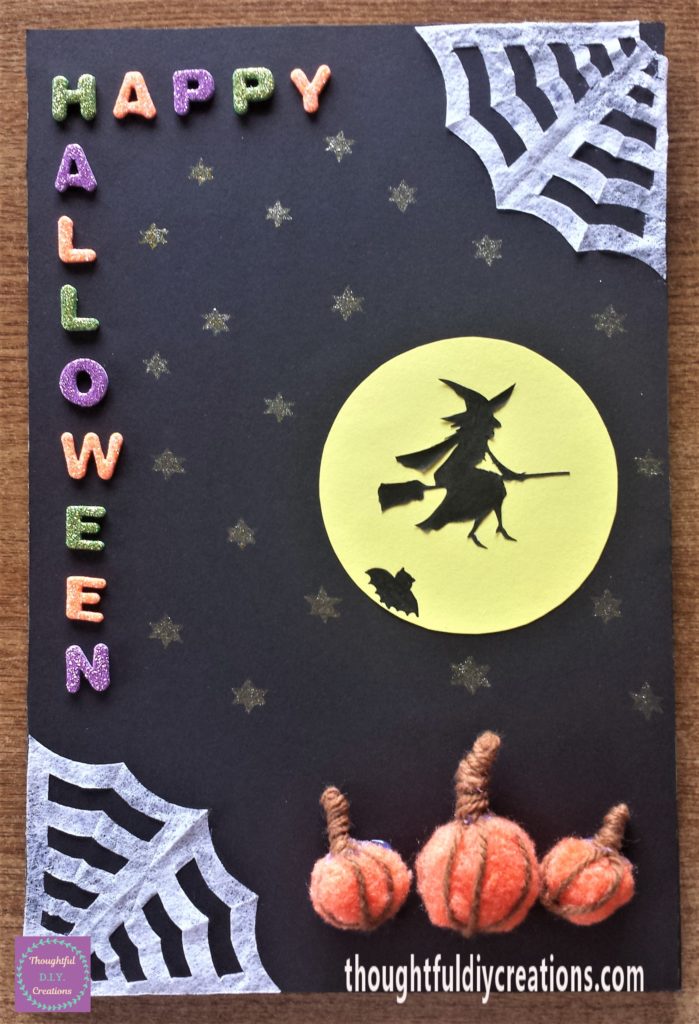
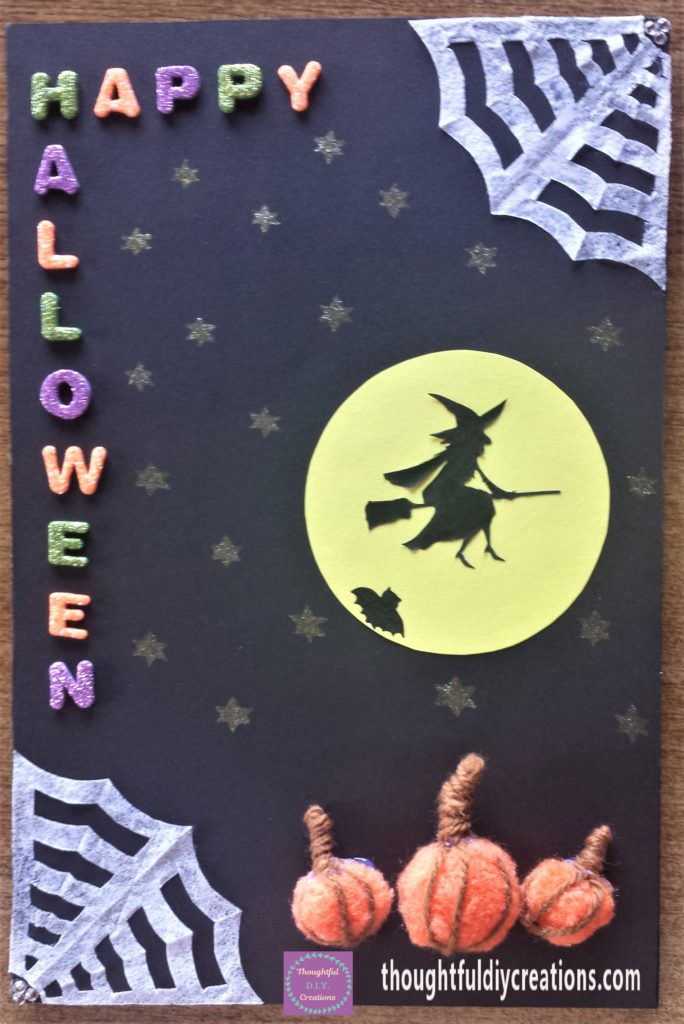
This completed the D.I.Y. Halloween Sign. This is it from different angles.
Conclusion
I was really happy with the outcome of the Halloween sign. I love that I got to use some materials that I had collected for so long. It’s great to make use of what we have already. I love the sparkle from the stars and the glitter alphabet stickers. I like the 3-D effect from the pumpkins.
It’s a fun way to spend an afternoon or evening. It is such a versatile craft as you will have different craft supplies than mine, and you can mix and match old with new to see what you come up with. Have you ever made a Halloween sign before? What materials did you use to make it? Have you any tips to share.
I hope you will attempt some D.I.Y. Crafting this Halloween. I love the mixture of shop bought and handmade decorations. It can be a great sense of achievement knowing you created a piece using your own hands and imagination. If you would like to make a Pumpkin Craft you might enjoy my Pumpkin Bottle.
I hope you enjoyed the Tutorial this week and it provided some inspiration for your crafting. Happy Creating Everyone.
Thank you so much for taking the time to read my Blog.
Always Grateful,
T.D.C.
xoxox