D.I.Y. Hand Painted Chopping Board, with Monogram made from Beer Bottle Caps and Beads
Hello my Creative Friends,
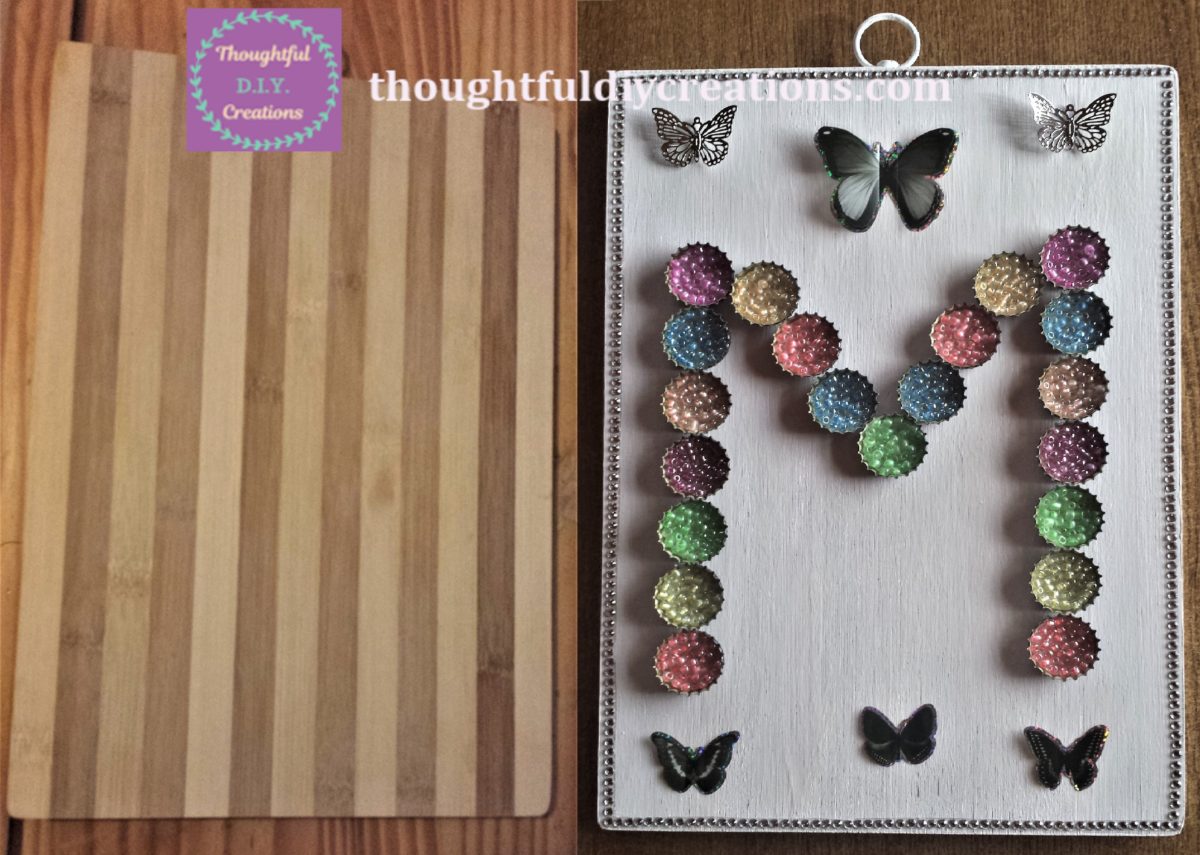
I hope you are all well. In Today’s Blog Post I will show you how to transform a plain wooden Chopping Board into a personalised initial made out of beer bottle caps. It would be a lovely handmade gift idea, or added to your own home decor in your office, bedroom, or living room.
Making the Monogram out of Beer Bottle Caps and Beads
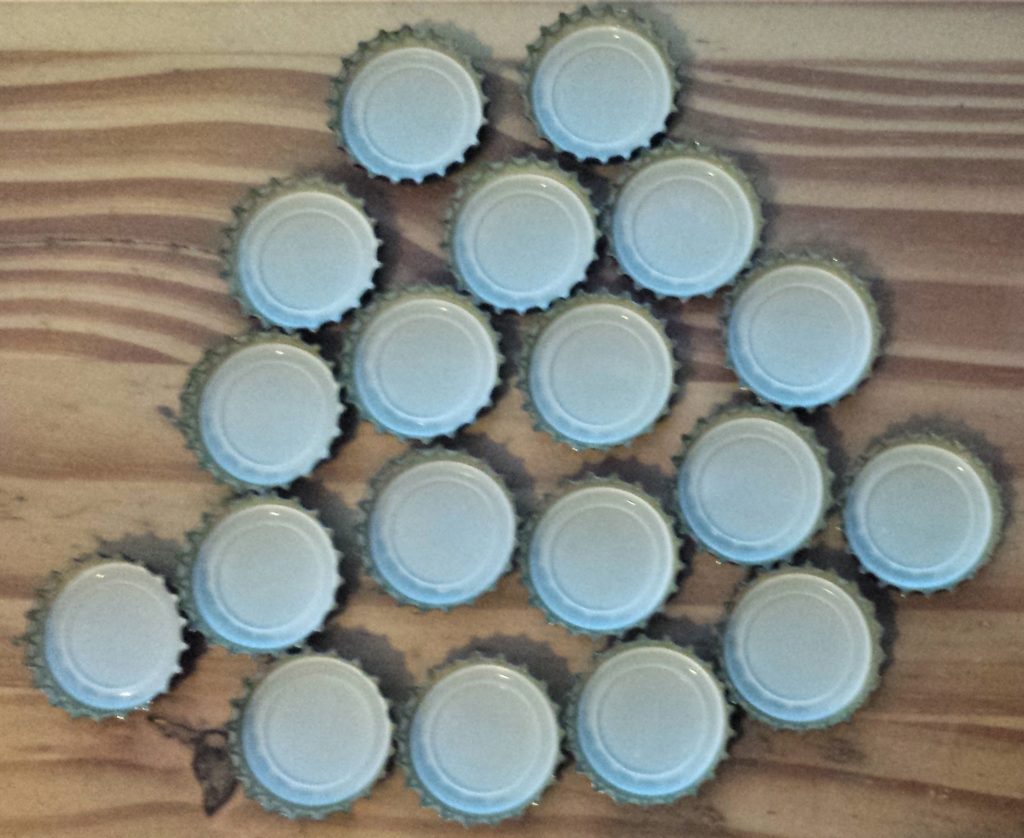
I have been collecting beer bottle caps for a while now. I like the shape of them and knew I would use them in an art and craft project. I also like the fact that it is helping the environment by using them instead of throwing them in the bin. I got 19 beer bottle caps out of the box I had them stored in, and washed them in warm soapy water. I then rinsed them under the tap, dried them, and set them down on my work surface ready to use.
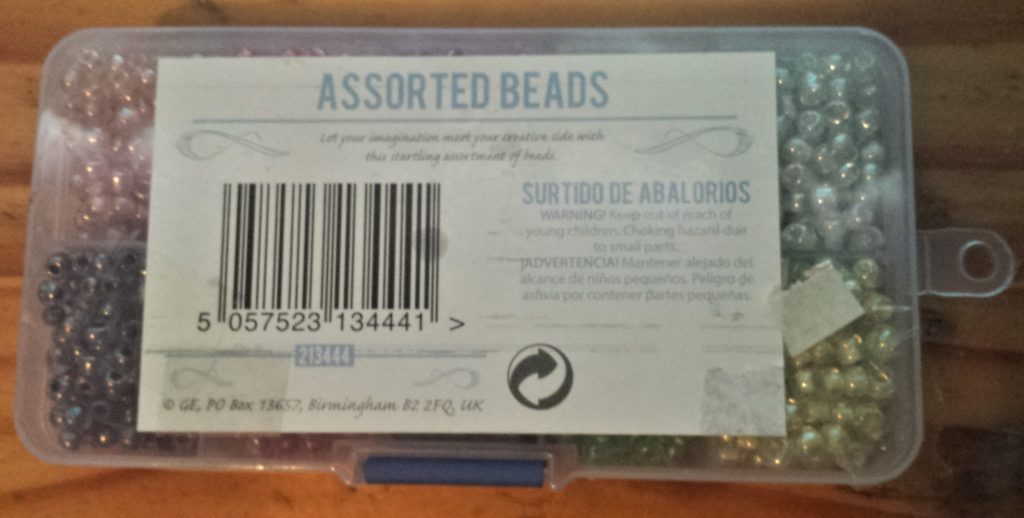
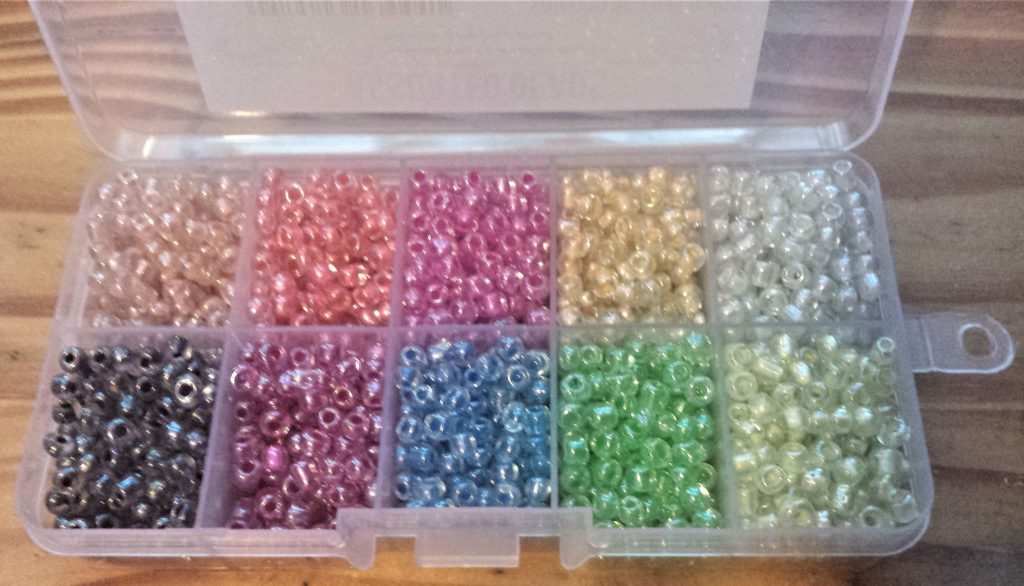
I bought a 10 colour assortment of beads. I loved the colours and how they were already in their separate compartments. They were such good value I had to buy them. Loose Beads.
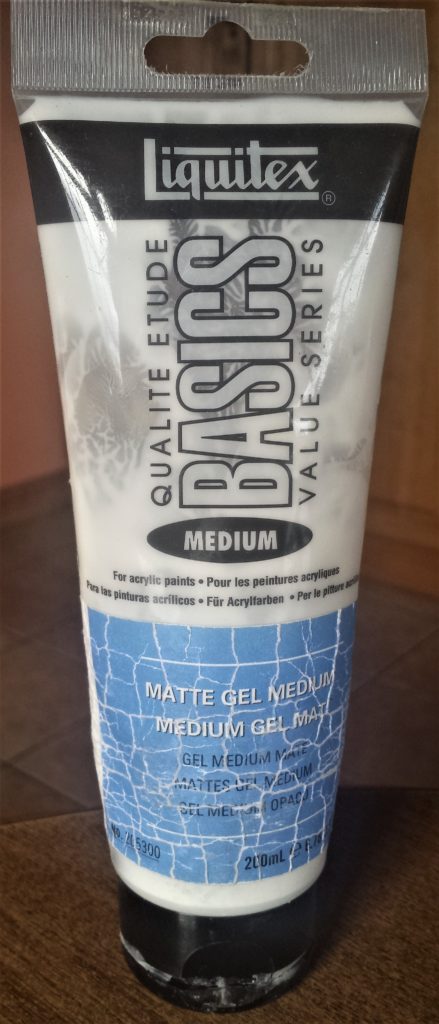
I poured ‘Liquitex Matte Gel Medium’ (glue) into a beer bottle cap, and spread it around using a small paintbrush. Liquitex Ultra Matte Gel. Paint Brush Set.
I added one colour of beads into the bottle cap using my fingers until the bottle cap was filled with beads. I added a small bit more of Liquitex Matte Gel Medium to the top and sides of the beads to ensure they would stay in place. I put the bottle cap to the side to allow it to dry. The matte gel medium dries clear.

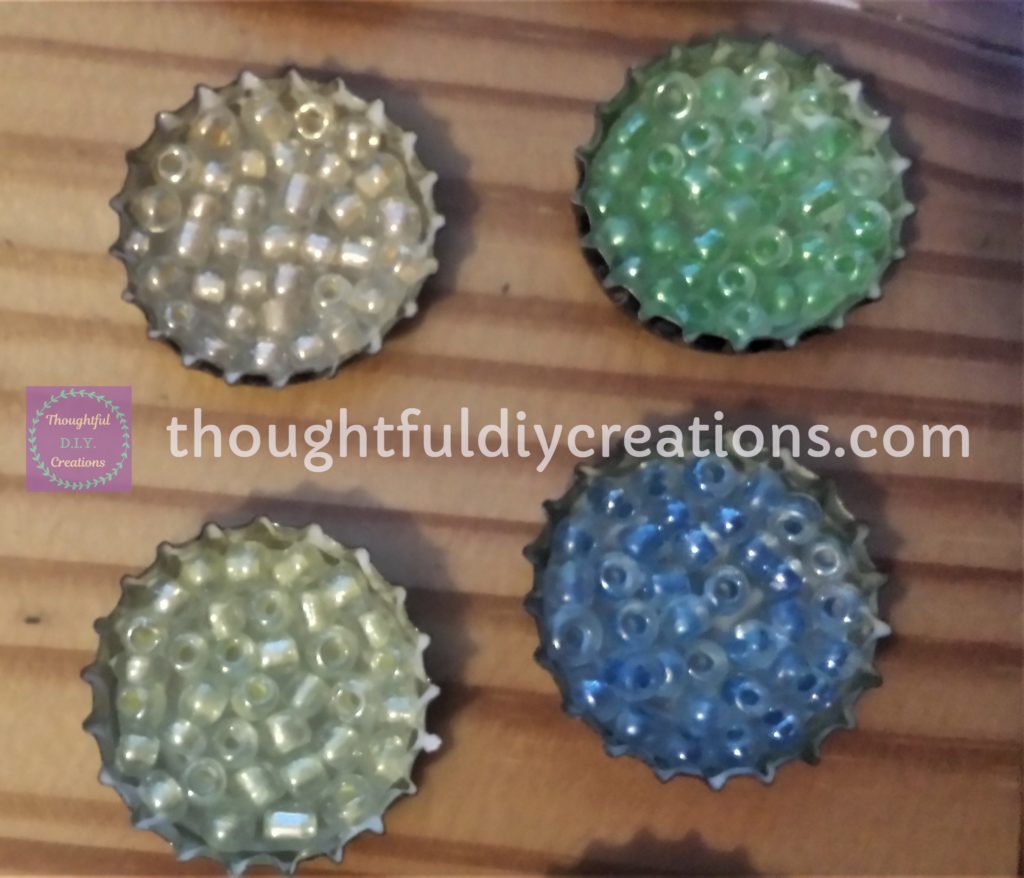
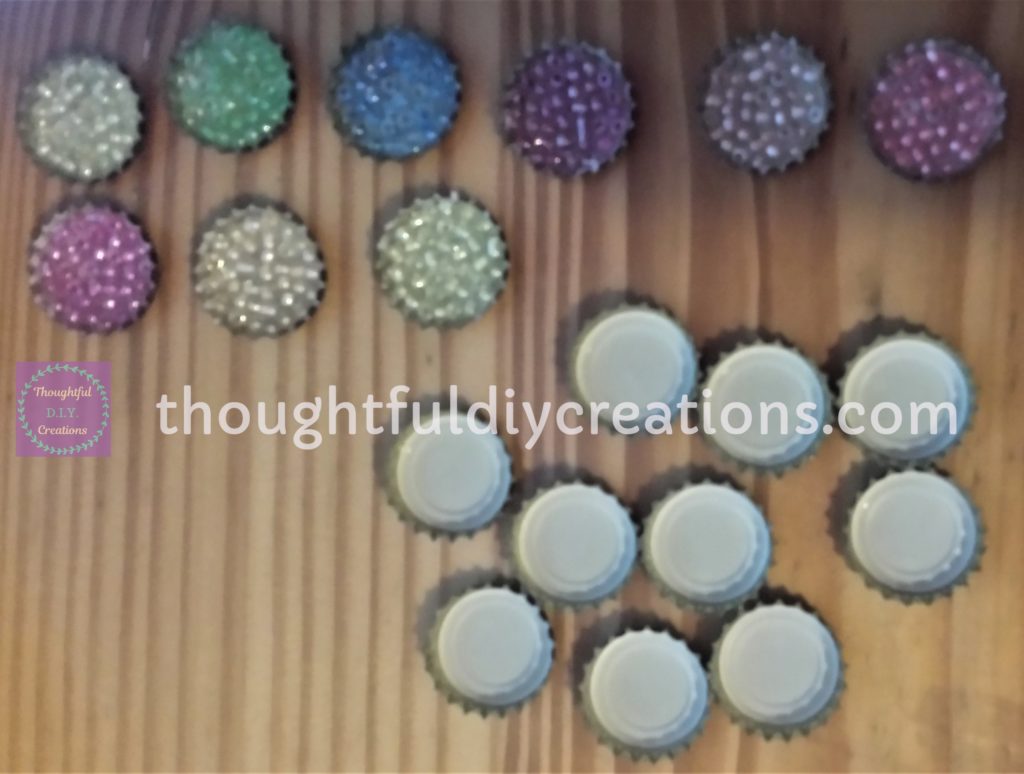
I repeated this process until I had all the beer bottle caps full of beads. I used 8 of the colours in the bead set. I didn’t use the white beads or the dark grey beads. Loose Beads.
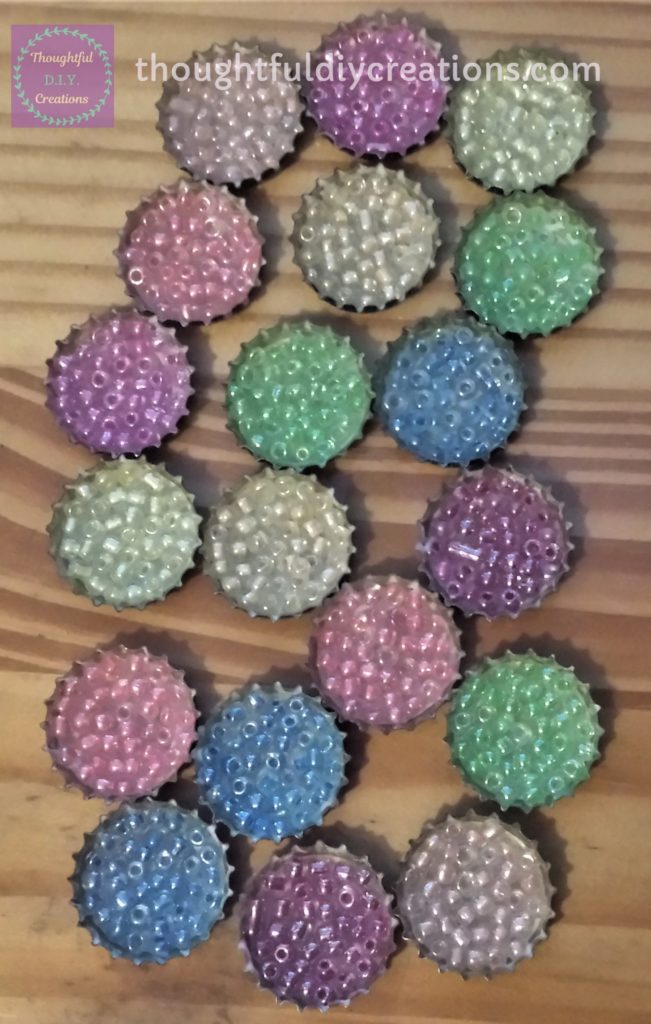
Preparing the Wooden Chopping Board with Gesso
I had a Wooden Chopping Board which I never actually used. I was going to throw it out but it was too good to discard, instead I put it into my box of random art and craft supplies and knew I would use it one day. Does anyone else collect random bits and pieces that you just know will be re-used some way or another? If so please share in the comments below, id love to know what makes it into your random stash of supplies. Bamboo Cutting Board.
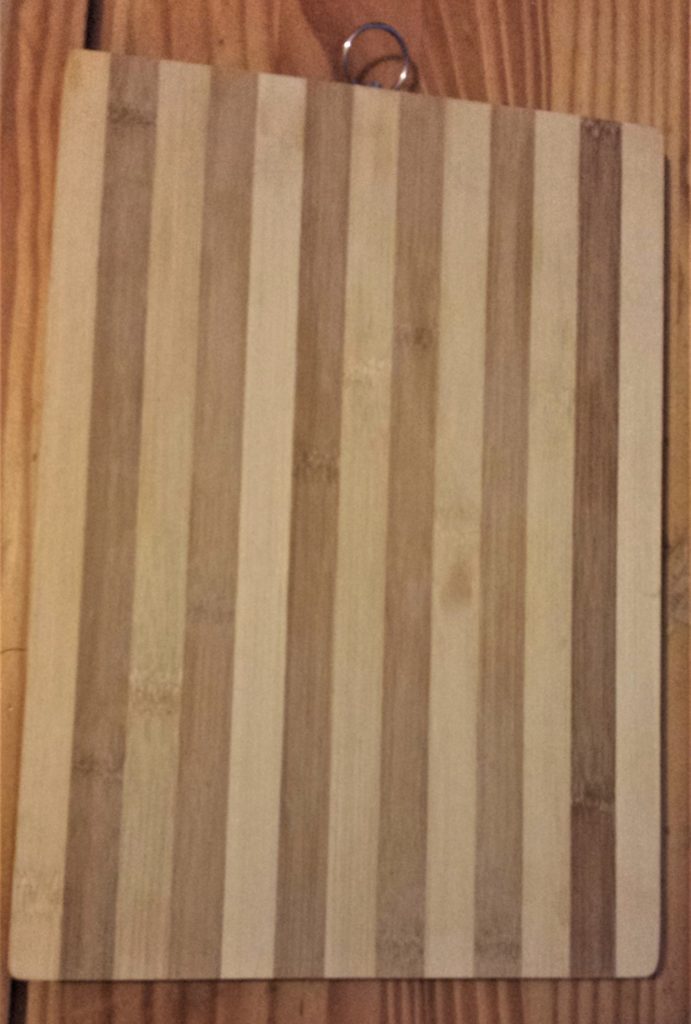
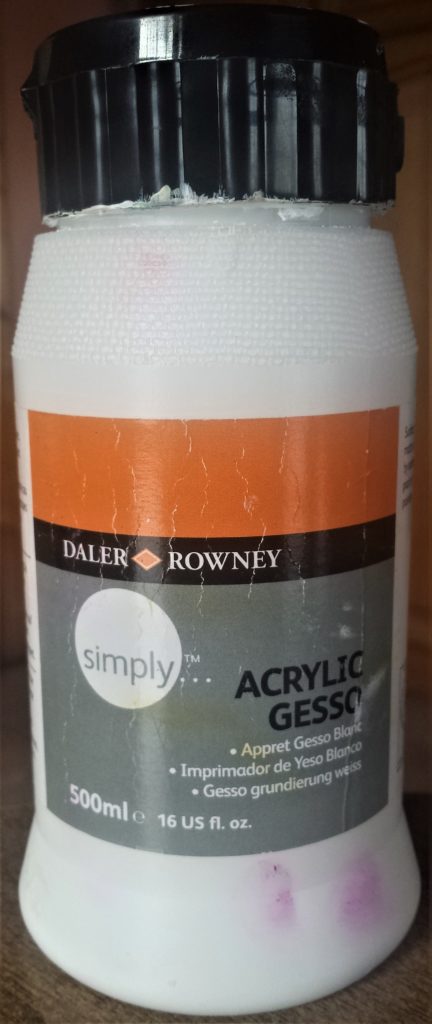
I painted the front and sides of the chopping board with ‘Acrylic Gesso’ using a flat paintbrush. This is priming the chopping board and preparing it for paint and other materials. Liquitex Professional White Gesso. Paint Brush Set.

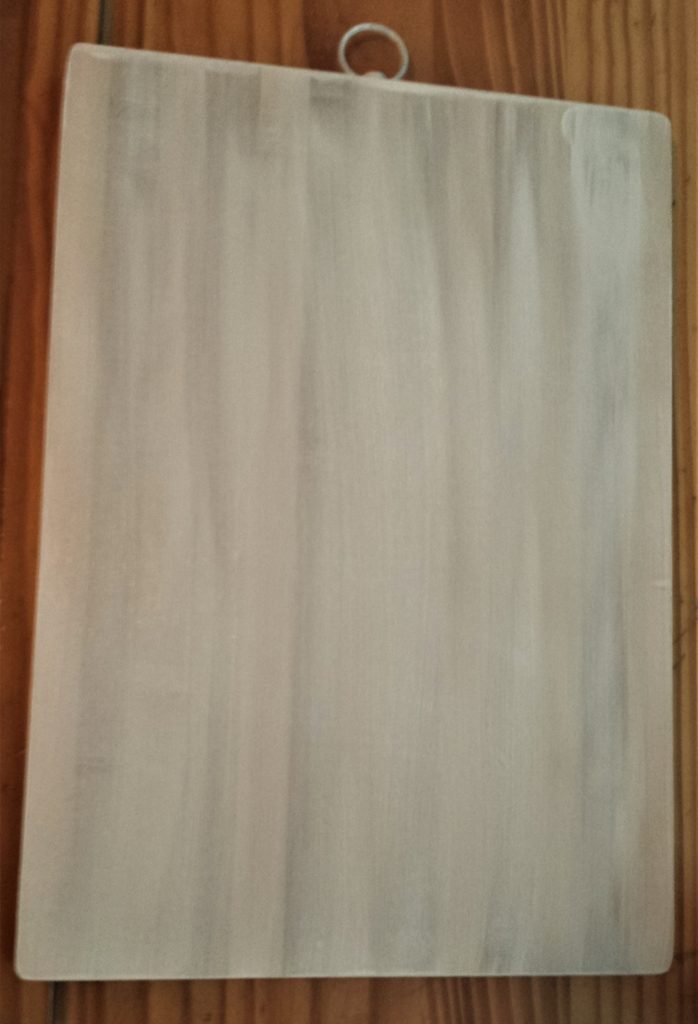
I waited until the first layer of gesso was dry. I then added another layer of gesso to the front and sides of the chopping board. Liquitex Professional White Gesso.
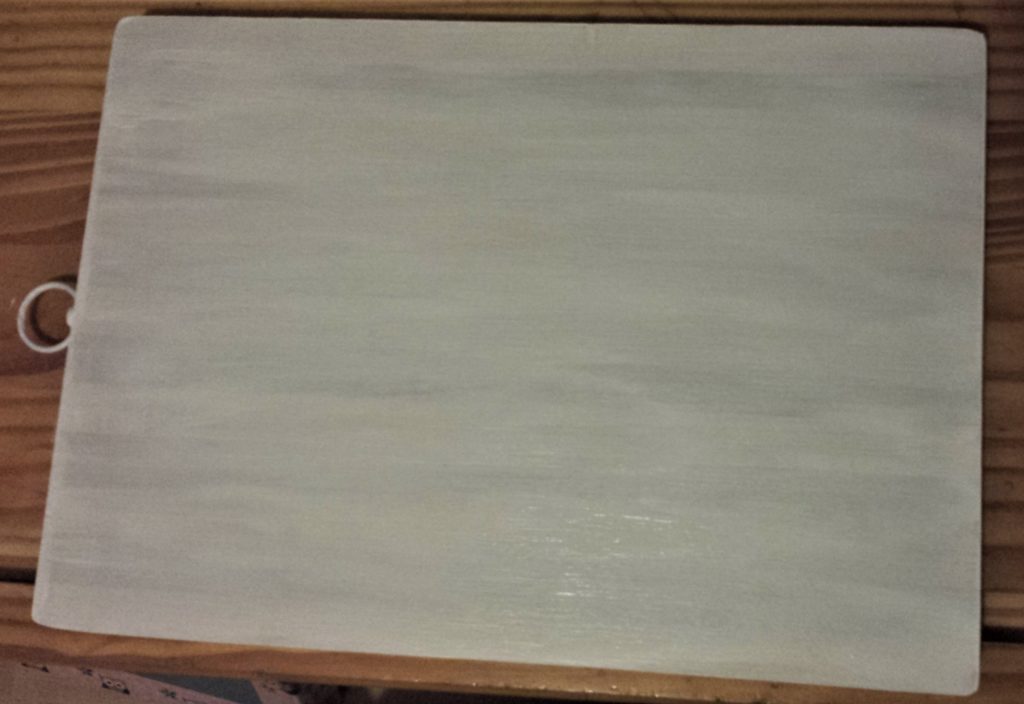
I put ‘Baking Parchment Paper’ on my work surface, when the chopping board was completely dry I turned it over with the painted side facing down on the parchment paper, this was to prevent it from sticking to the table. Non Stick Parchment.

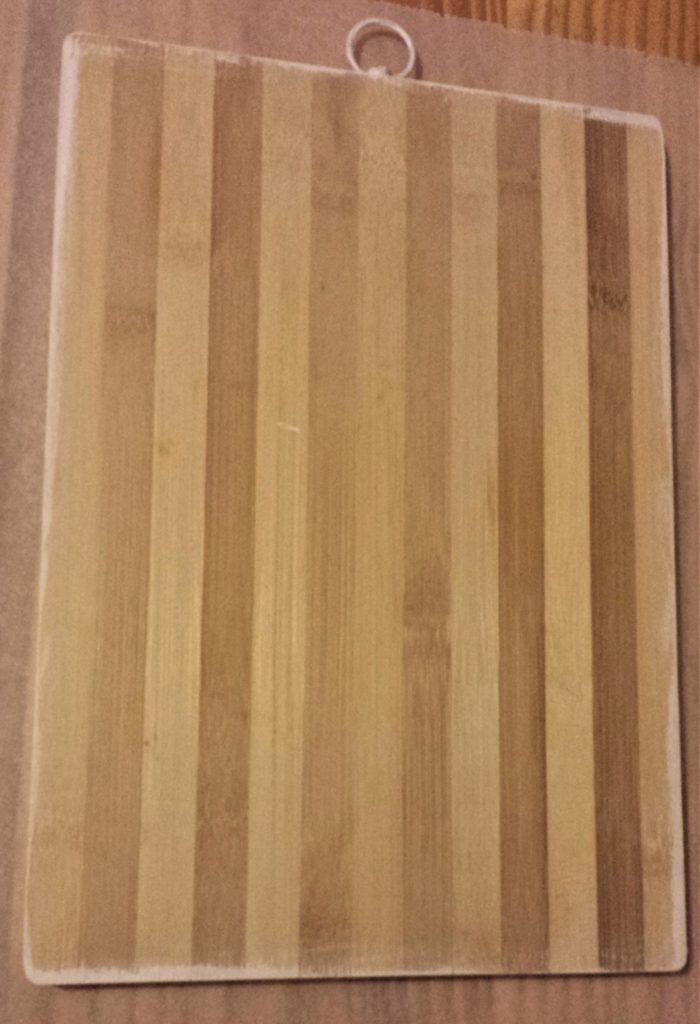
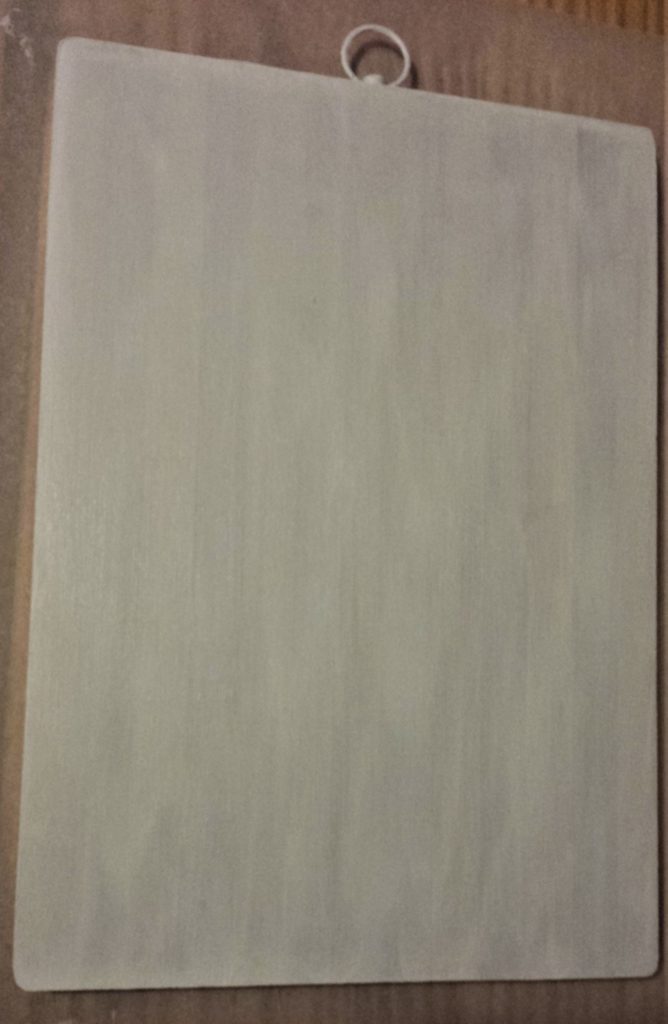
I painted the first layer of gesso to the back of the chopping board. Liquitex Professional White Gesso.
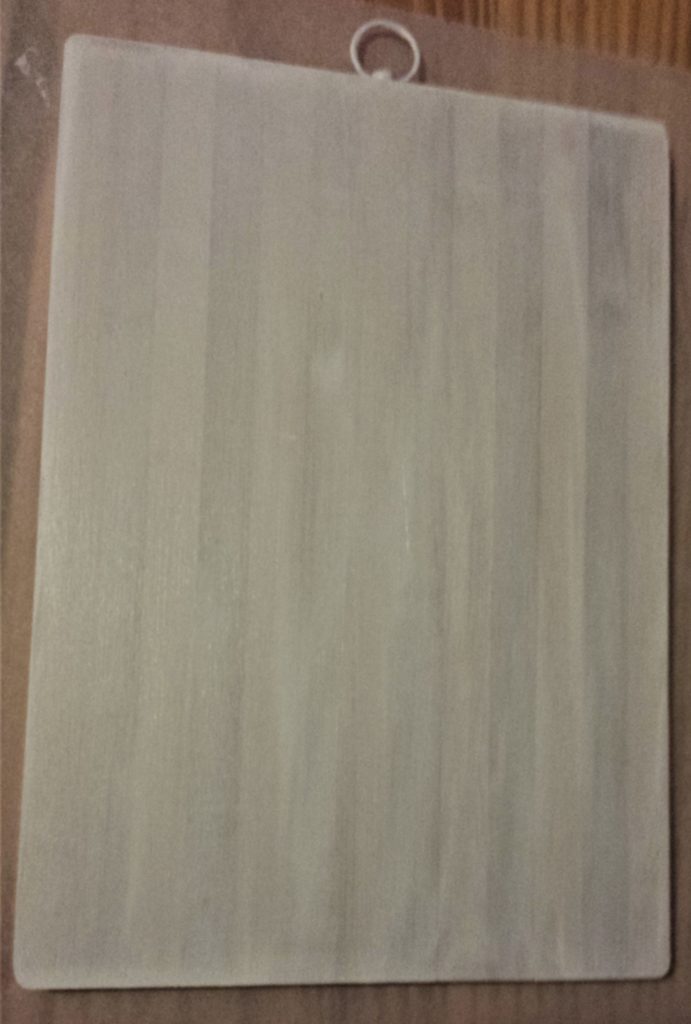
When it was completely dry I added the second layer of gesso to the back of the chopping board. Liquitex Professional White Gesso.
Planning the Layout of the Monogram on the Chopping Board
I am making the initial ‘M’ out of the bottle caps. I played around with how I wanted it to look by placing the bottle cap beads on the chopping board. I mixed them around to see which way looked best.
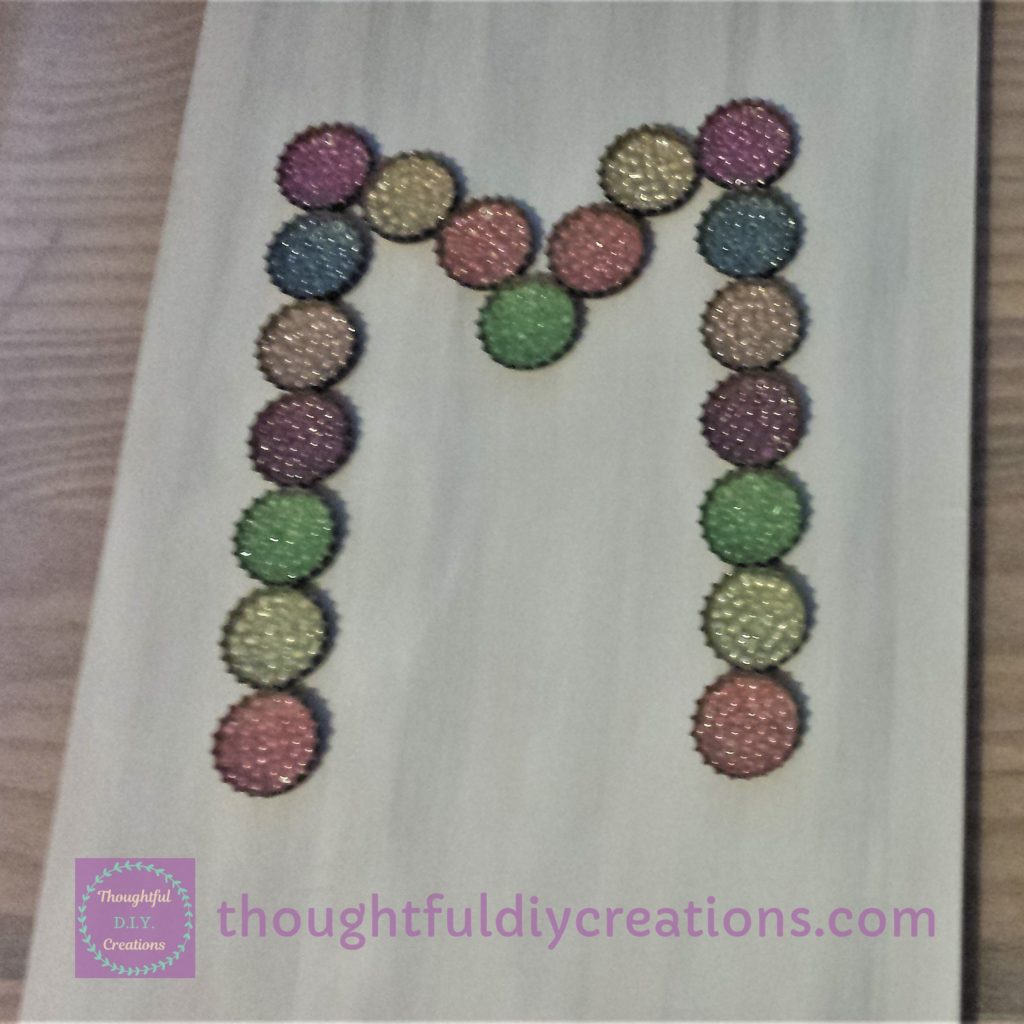
I thought the mid-section of the ‘M’ was out of proportion compared to the length of the letter. I felt it looked a bit short. I added 2 empty beer bottle caps to the mid-section. I liked the addition of the 2 extra bottle caps. It now looked more in proportion.
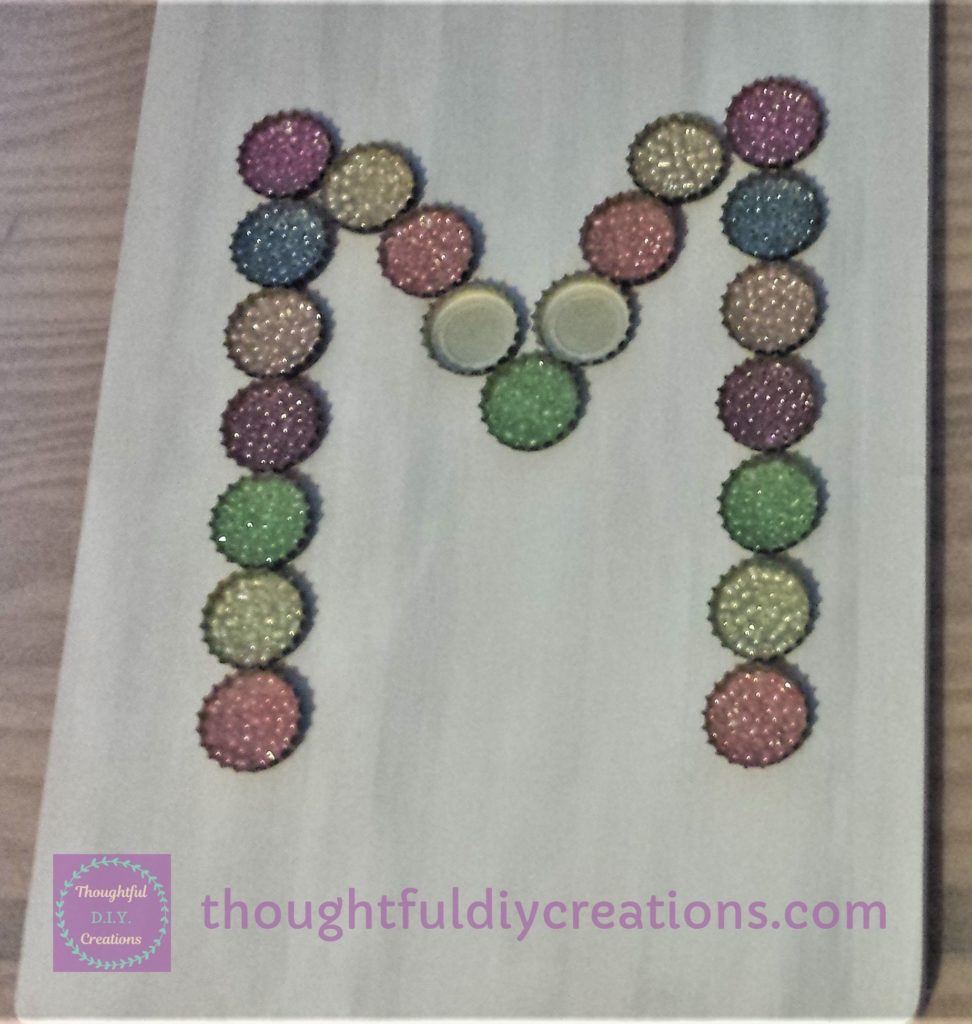
I put Matte Gel Medium into the bottle caps. Liquitex Ultra Matte Gel. I spread it evenly around the inside of the bottle cap with a small paintbrush. Paint Brush Set.
I added the blue beads into both of the bottle caps. I left them to the side to dry. I was now ready to paint the chopping board.
Painting the Chopping Board
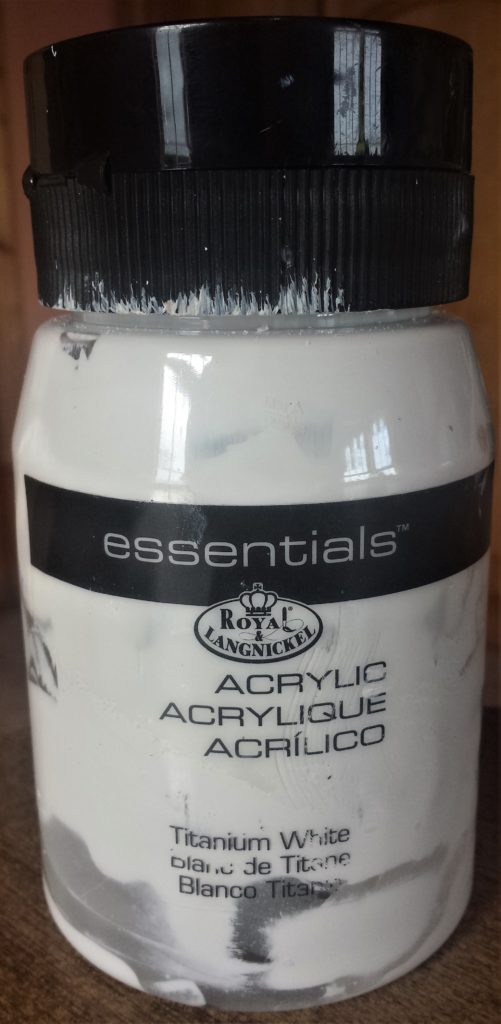
I painted the front and sides of the chopping board. I used ‘Acrylic Titanium White’ paint. Titanium White Paint. I painted it using a flat paintbrush. Paint Brush Set.
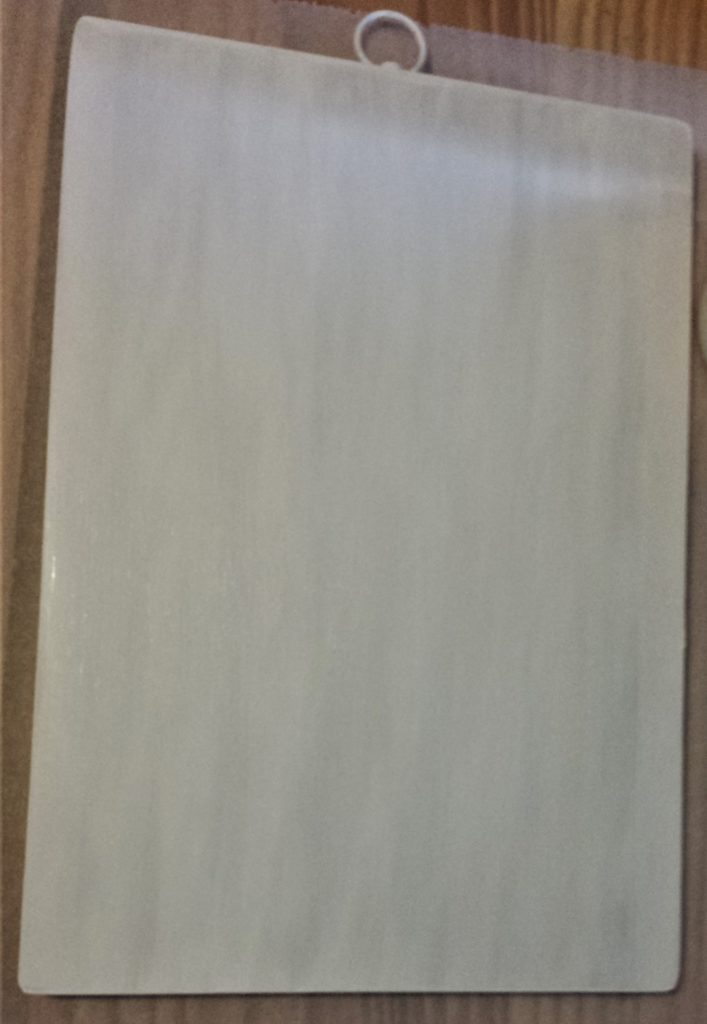
I painted the second coat of paint to the front and sides, when the first layer was completely dry. Titanium White Paint.
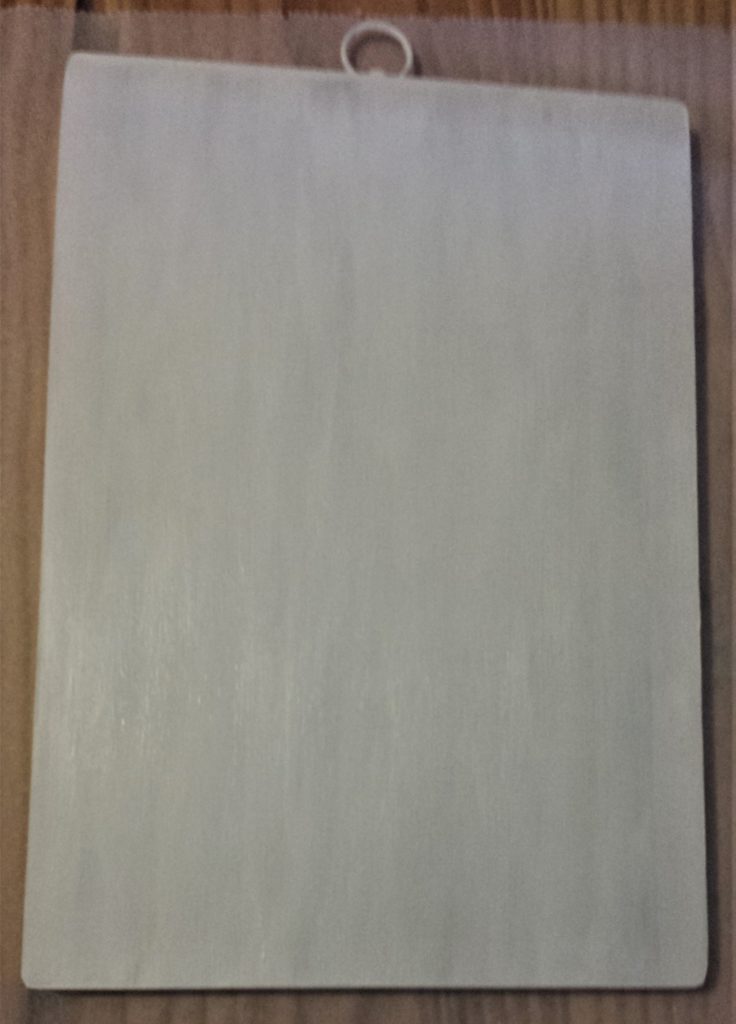
I applied a third and final coat of white paint to the front and sides of the chopping board. Titanium White Paint.
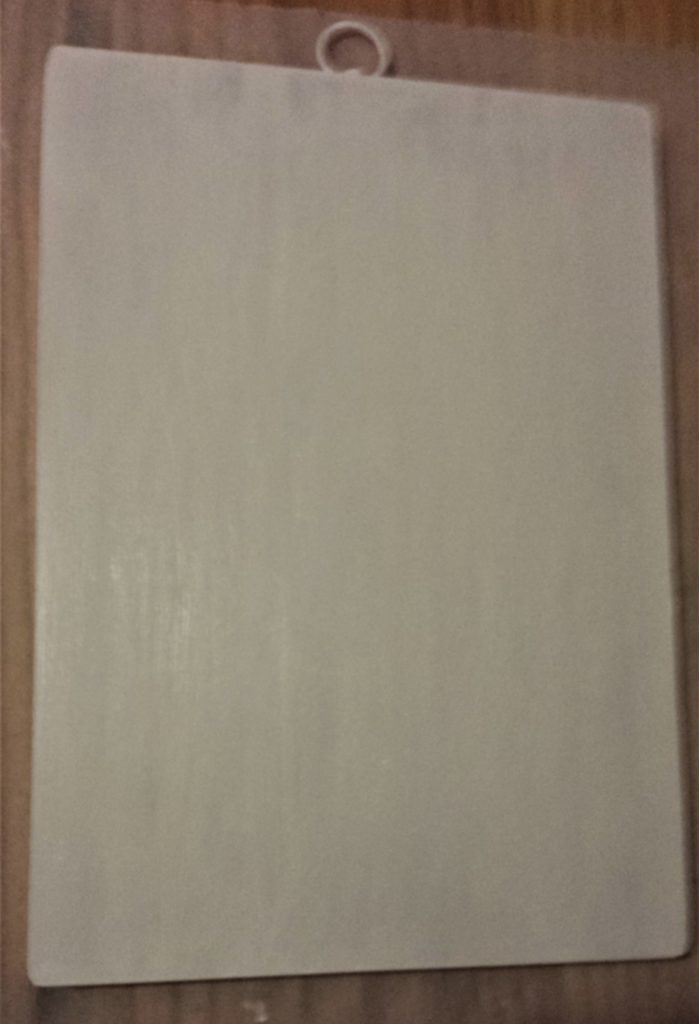
I allowed the paint to dry fully. I turned the chopping board over facing down onto the parchment paper. Non Stick Parchment. I repeated the process of painting the back of the chopping board three times. Titanium White Paint.
Gluing the Monogram to the Chopping Board
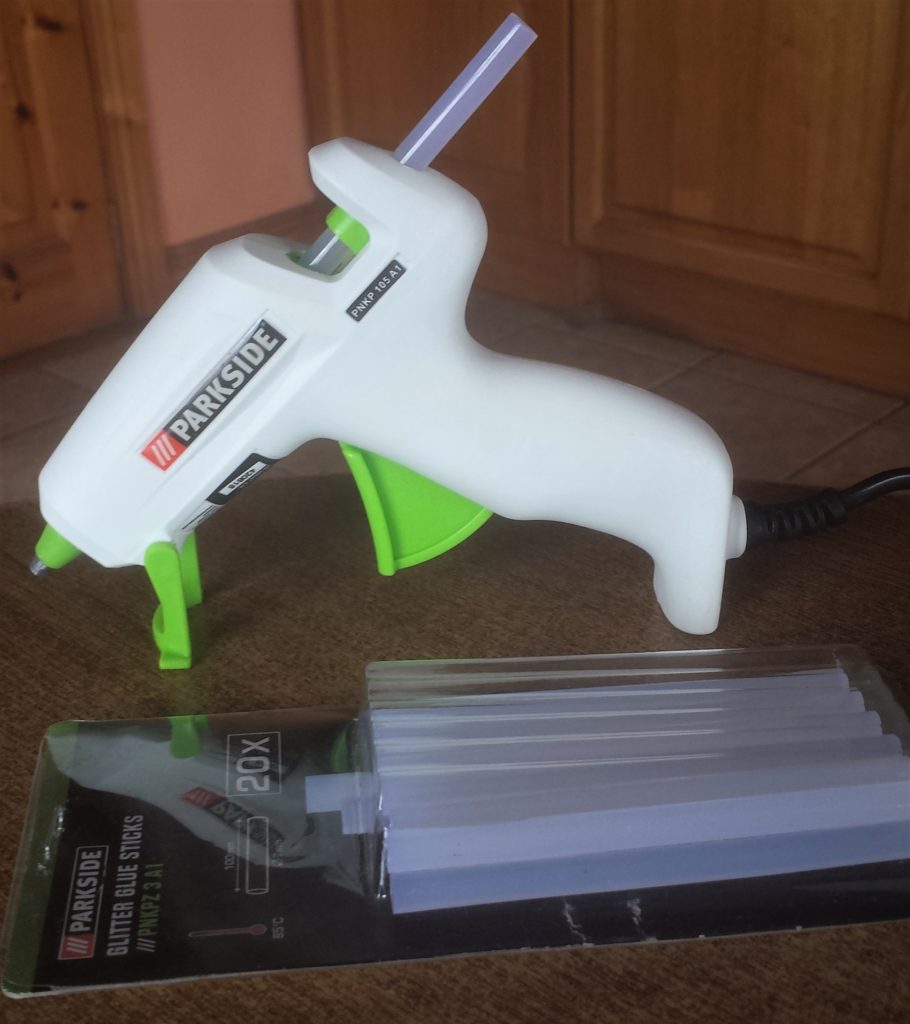
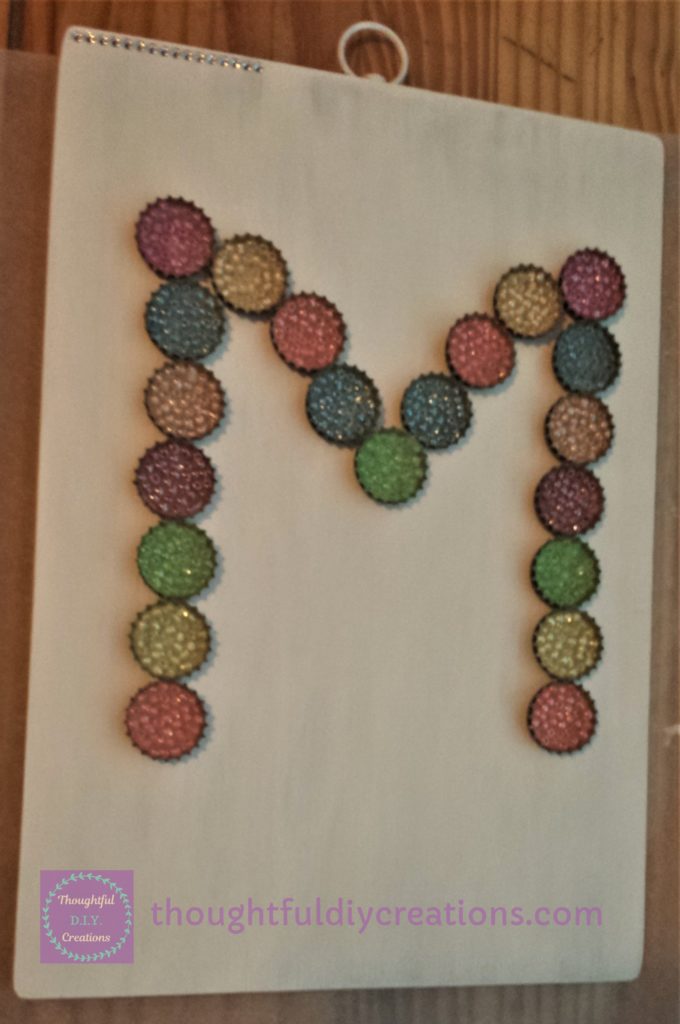
I positioned the bottle cap beads where I wanted them on the chopping board. I attached them to the board one-by-one using a hot glue gun and clear glue sticks. I let the glue gun heat up for about 5 minutes. I put a generous amount of hot glue on the back of the bottle cap. I pressed the bottle cap down firmly in place with my hand for about 10 seconds. I repeated this process until every bottle cap was attached to the chopping board. Be careful when using the glue gun as it can get quite hot, especially when using it for more than a few minutes. Hot Glue Gun.
Adding Embellishments to the Chopping Board
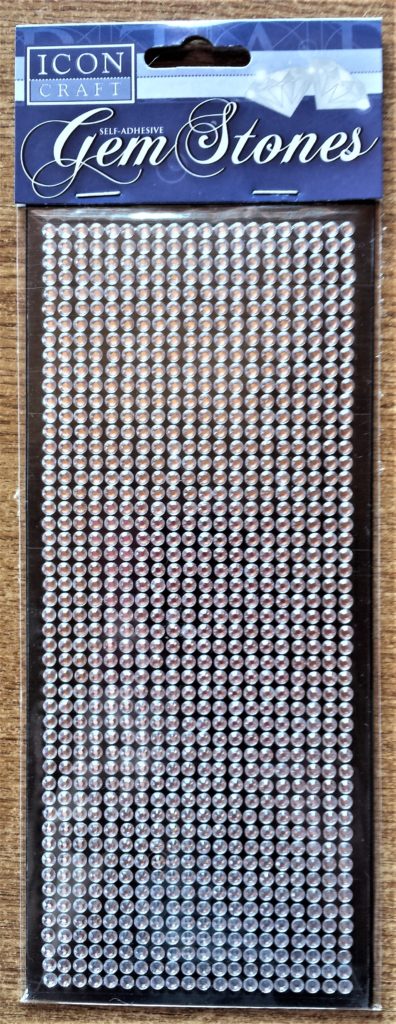
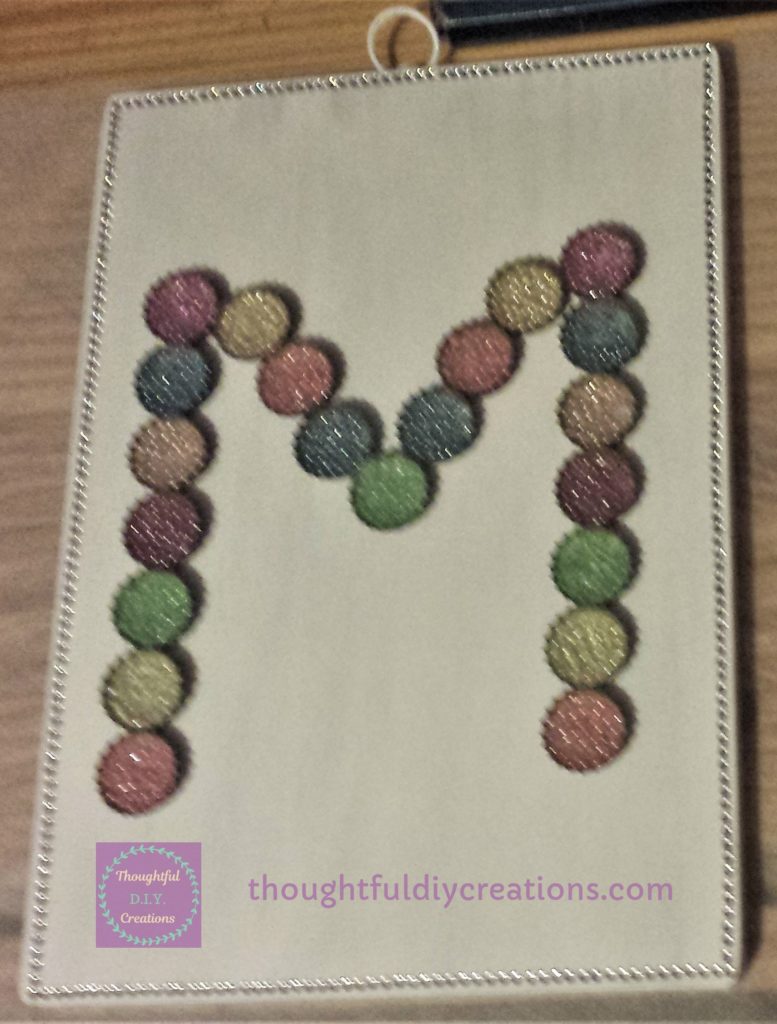
I added clear ‘Self-Adhesive Gem Stones’ to the border of the chopping board. This added a nice sparkle to the board. Colorful Bling Rhinestone Stickers.
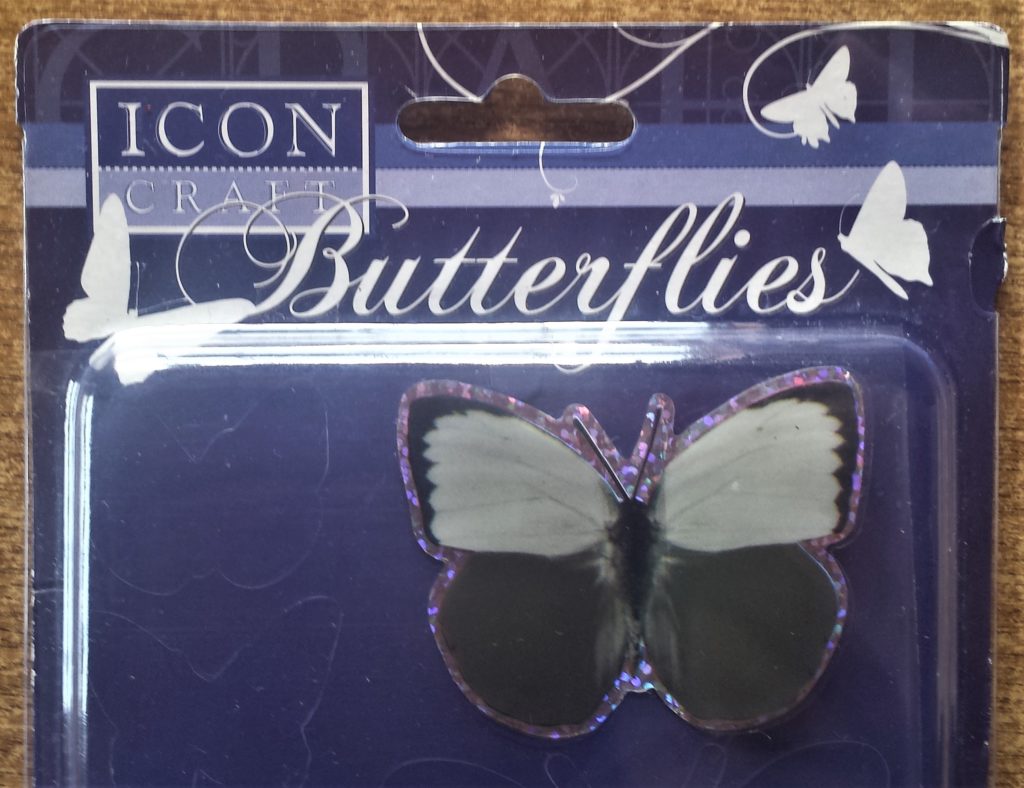
I added a black and grey 3-D sticker of a butterfly. 3D BUTTERFLY Stickers. I stuck this to the top mid-section of the chopping board.
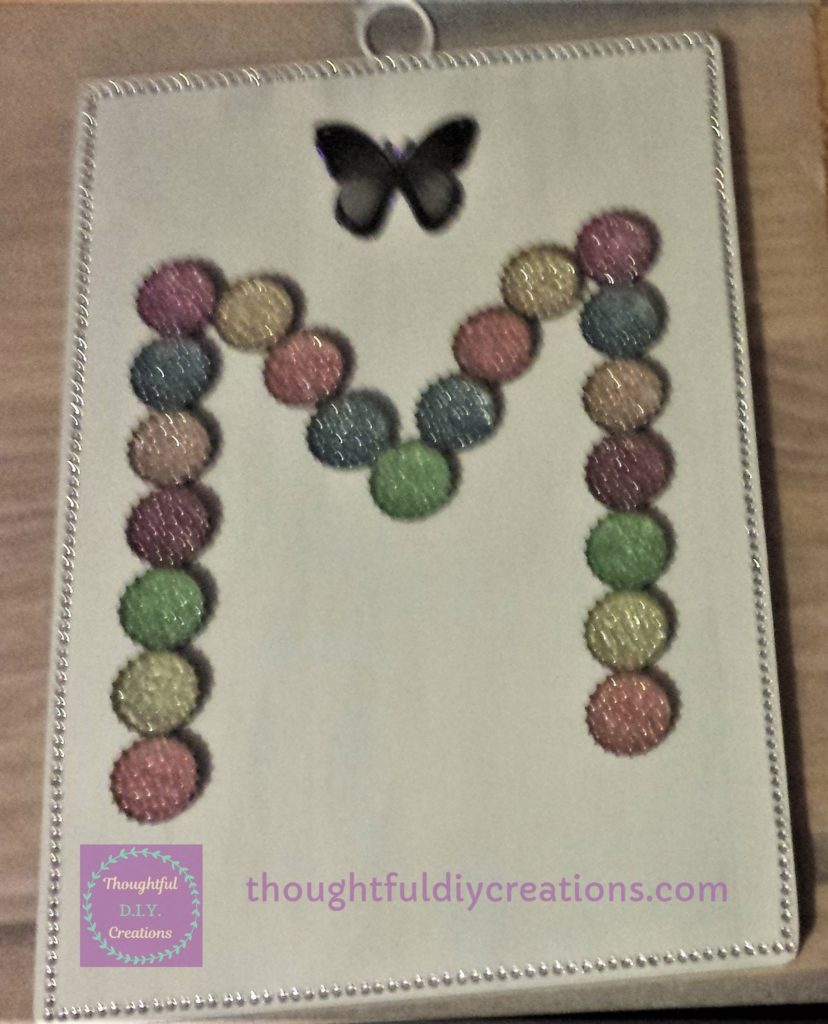
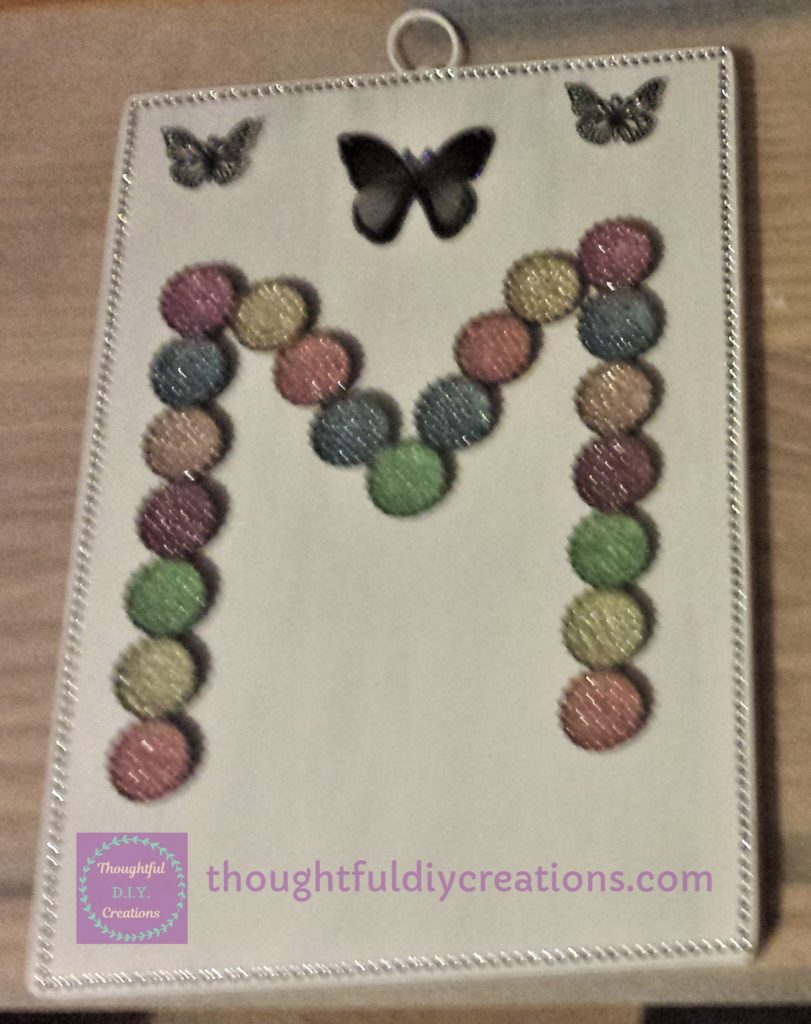
I had 2 silver metal butterflies from a pair of flip-flops. I found the flip-flops so uncomfortable in between my toes. I removed the butterflies from the flip-flops. There were also lovely beads on the flip-flops. I cut them off the string and kept them for a future craft project. I now had some lovely accessories for my crafting, and threw out the flip-flops. 3D Butterfly Stickers Silver.
I bent the butterflies slightly inwards to make them appear 3-D. Their wings are raised from the chopping board. I attached them to the top of the chopping board. I put hot glue on the back of the mid-section of the butterfly. I held it in place on the chopping board for about 20 seconds. I had one finger on one butterfly wing, and my thumb on the other butterfly wing when holding it down on the chopping board, to prevent getting burned from the hot glue. It doesn’t stay hot for long so you can hold the mid section down after 20 seconds to ensure it stays in place. Hot Glue Gun.
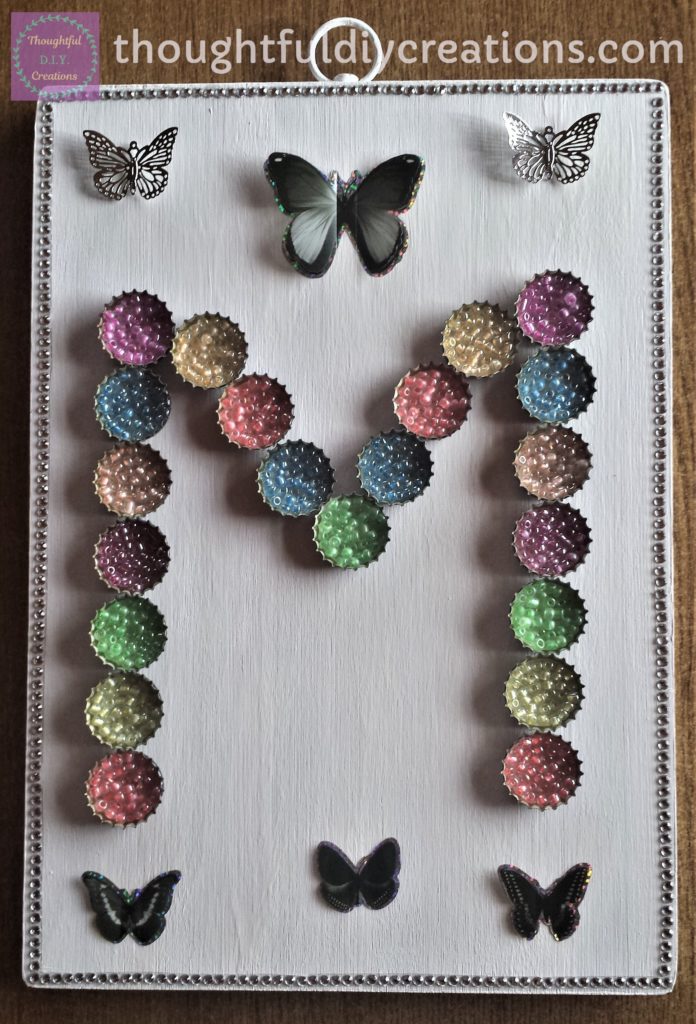
I added 3 more black and grey stickers to the bottom of the chopping board. (Can you tell I love butterflies.)
This completed my hand painted chopping board, with monogram made using beer bottle caps and beads.
Conclusion
I really hope you got some ideas from this tutorial using Re-Purposed Materials. It’s amazing how you can change something you already have in your home, and give it a complete makeover. It just takes a few art supplies and a little imagination. I hope it inspires you to re-purpose an item in your home, and transform it into a unique Creation.
For more Personalised Crafts have a look at some of my other Tutorials; Personalised Frame or Monogram Canvas.
Happy Creating everyone.
Thank you so much for taking the time to read my Blog.
Always Grateful,
T.D.C.
xoxox

-0 Comment-