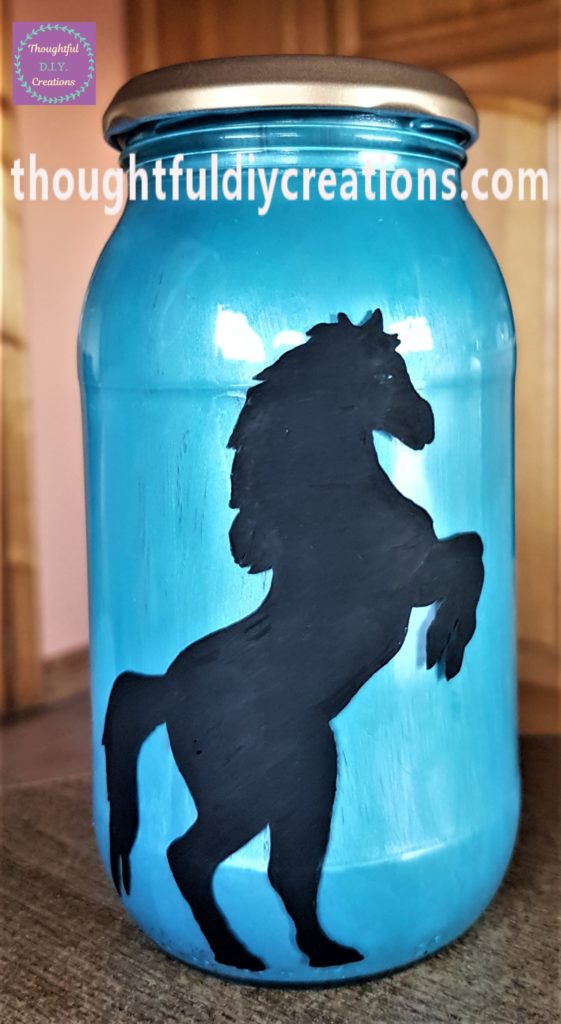
D.I.Y. Horse Silhouette Jar
Hello my Creative Friends,
I hope you are all Well. In Today’s Tutorial I will show you how to make a Horse Silhouette Jar. If you don’t like the image of the Horse it can be changed to whatever you would prefer. I hope this tutorial will provide you with some creative ideas which you can implement into your crafting.
Preparing the Jar for Crafting
I had a used Mayonnaise Jar which I thought would be perfect for this craft. I soaked the jar and lid in the sink with warm water and washing-up-liquid for an hour. This softens the label and makes it easier to peel off the jar. I removed the label and rinsed the jar. I dried the lid and jar.

Finding & Printing the Horse Silhouette
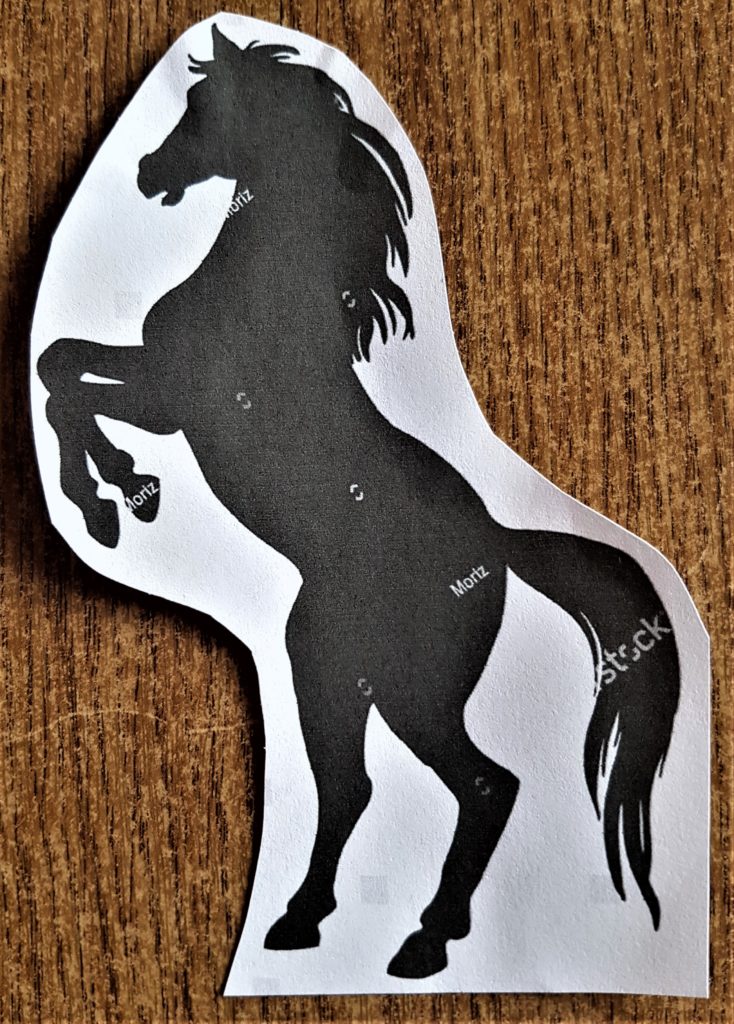
I typed in ‘Horse Silhouette’ into Google Images. I chose a free-to-use design that I liked. I right-clicked on my mouse and chose the ‘Save Image As’ option. I typed in ‘Horse Silhouette’ and saved the Image to my Computer. I went to my Documents Folder and found my saved file.
I right-clicked on my mouse and then clicked Print. I wanted the Image to take up a good bit of space on the jar so I chose the option of Printing the Image Size 9 x 13 cm (4). I unticked the Box that reads ‘Fit Picture to Frame’ to ensure the full image of the horse would be seen when printed. I then Clicked Print, and printed the image on regular printer paper. HP Printer Paper.

Cutting Out & Attaching the Horse Silhouette to the Jar
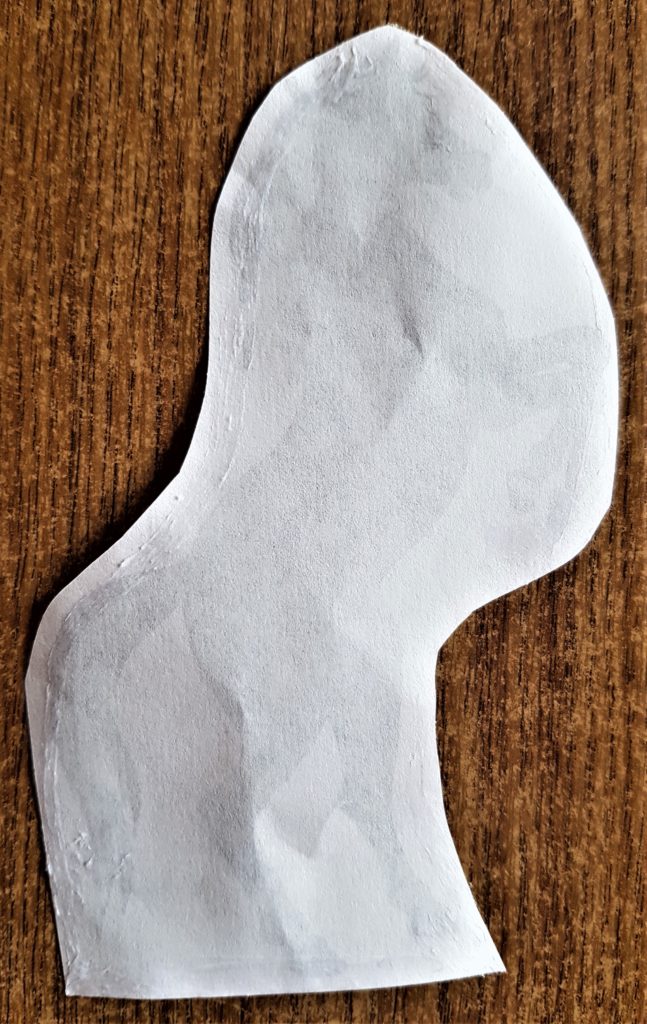
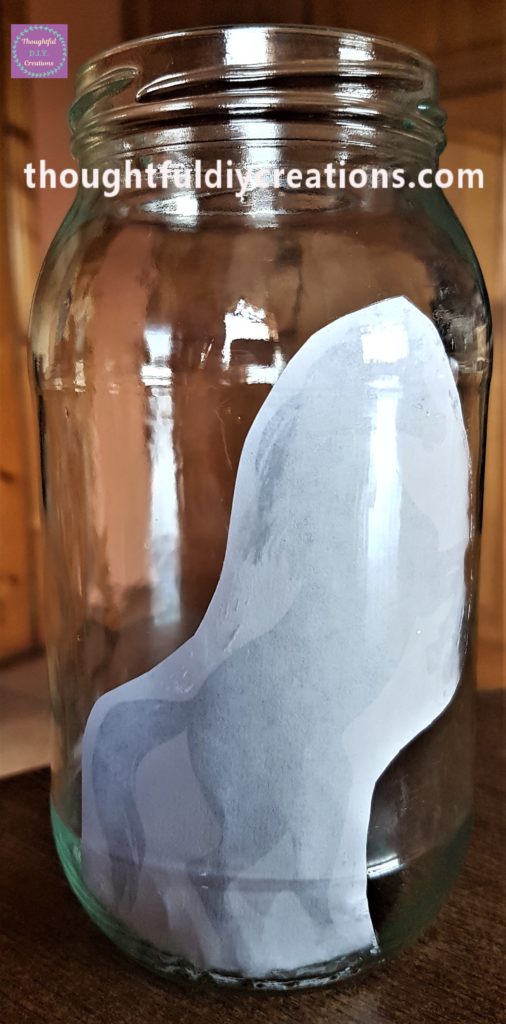
I cut around the Horse Silhouette Image.
I wanted the Horse to face the other direction on my Jar, so I put Pritt Stick all around the edges on the back of the Horse Silhouette Image. Pritt Stick Original Multi Pack.
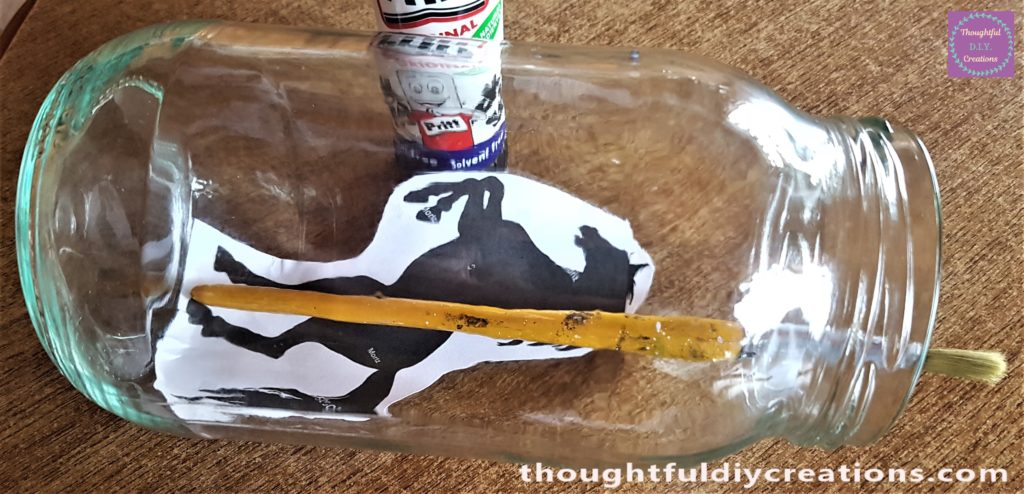
I placed the Image into the Jar.
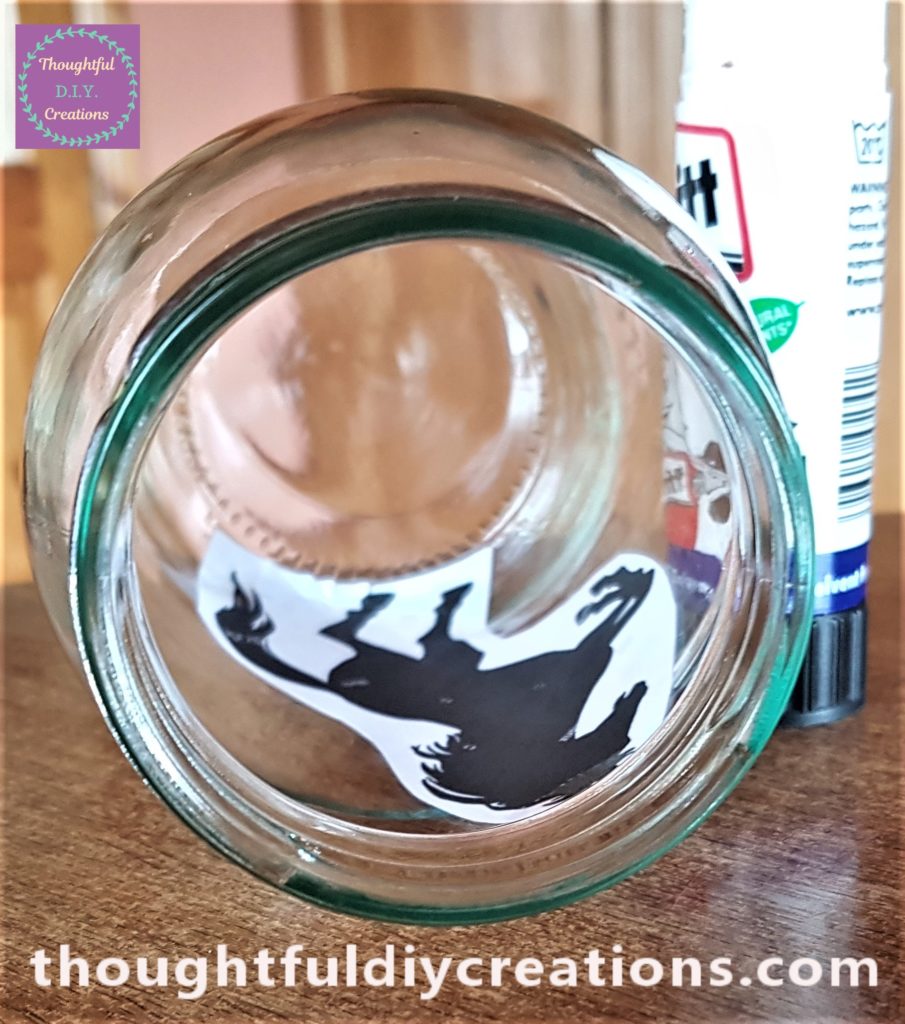
I got a paintbrush and used the handle to press the image into the curves of the jar. Pritt Stick Original Multi Pack.
Painting the Horse Silhouette
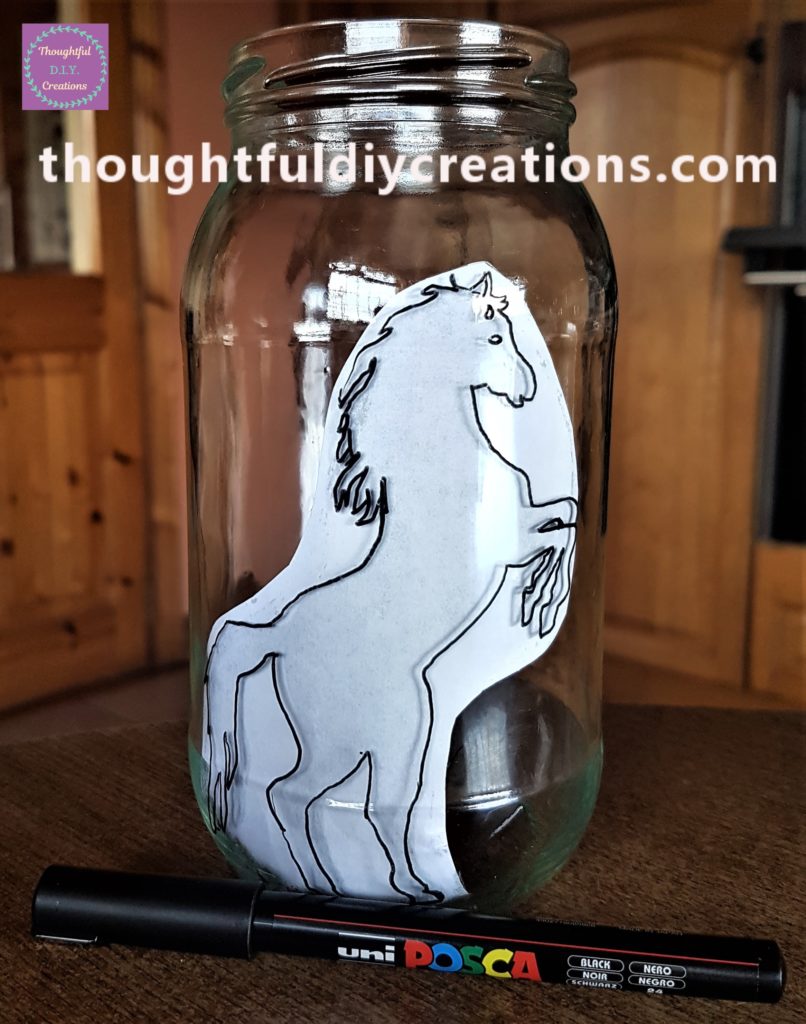
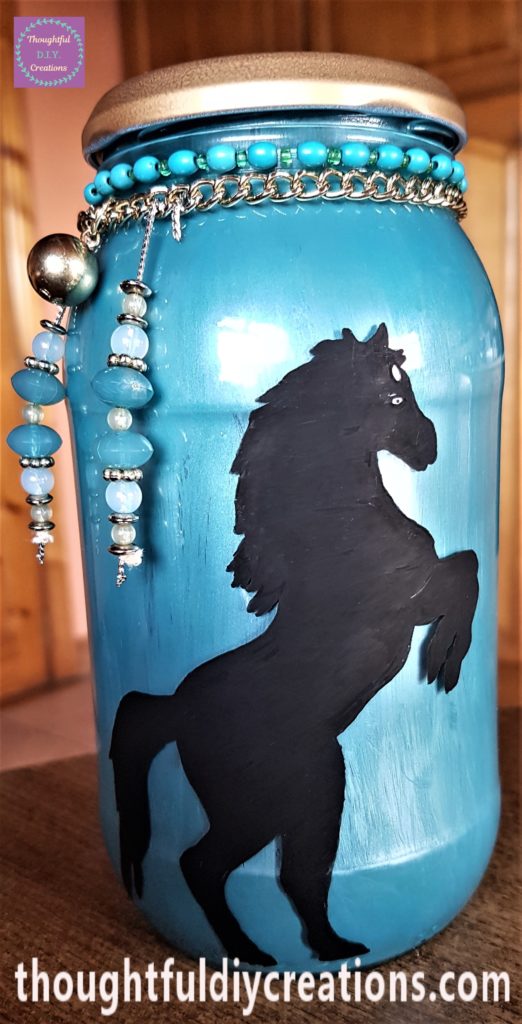
I traced around the Horse Silhouette using a ‘uni Posca Acrylic Paint Pen’ in Black 0.7 mm. uni Posca Paint Pens.
I removed the Horse Silhouette Image from the inside of the Jar and wiped away the pritt stick marks with a baby wipe.
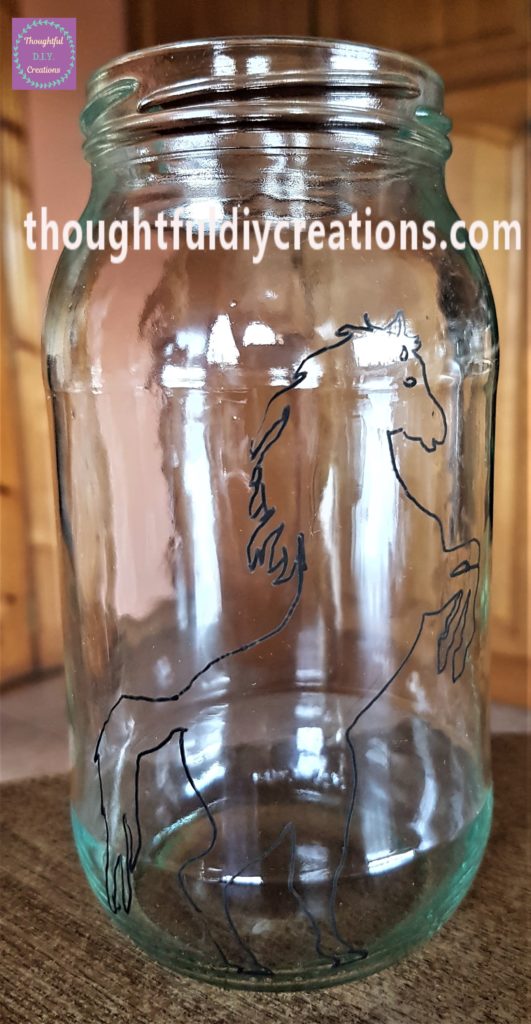
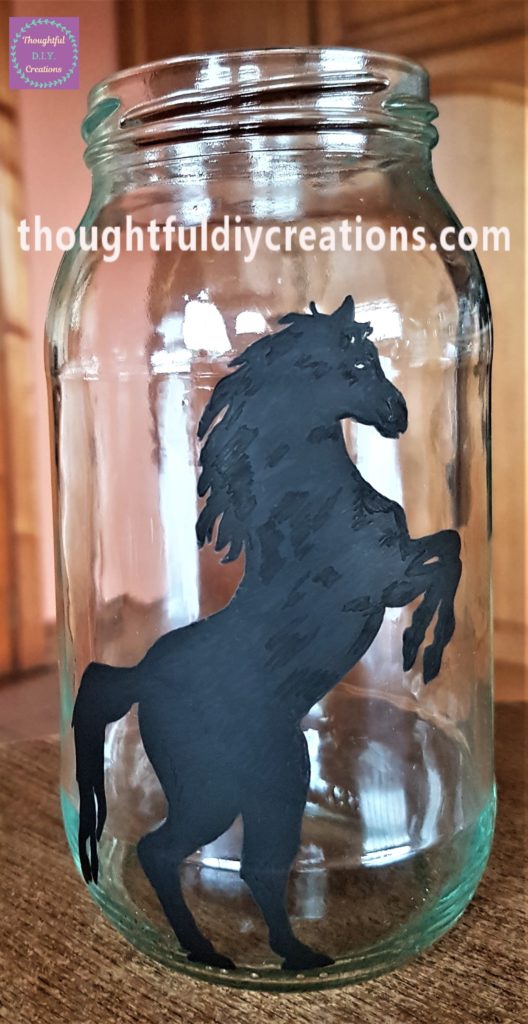
I filled in the Horse Silhouette using the Black Paint Pen. uni Posca Paint Pens.
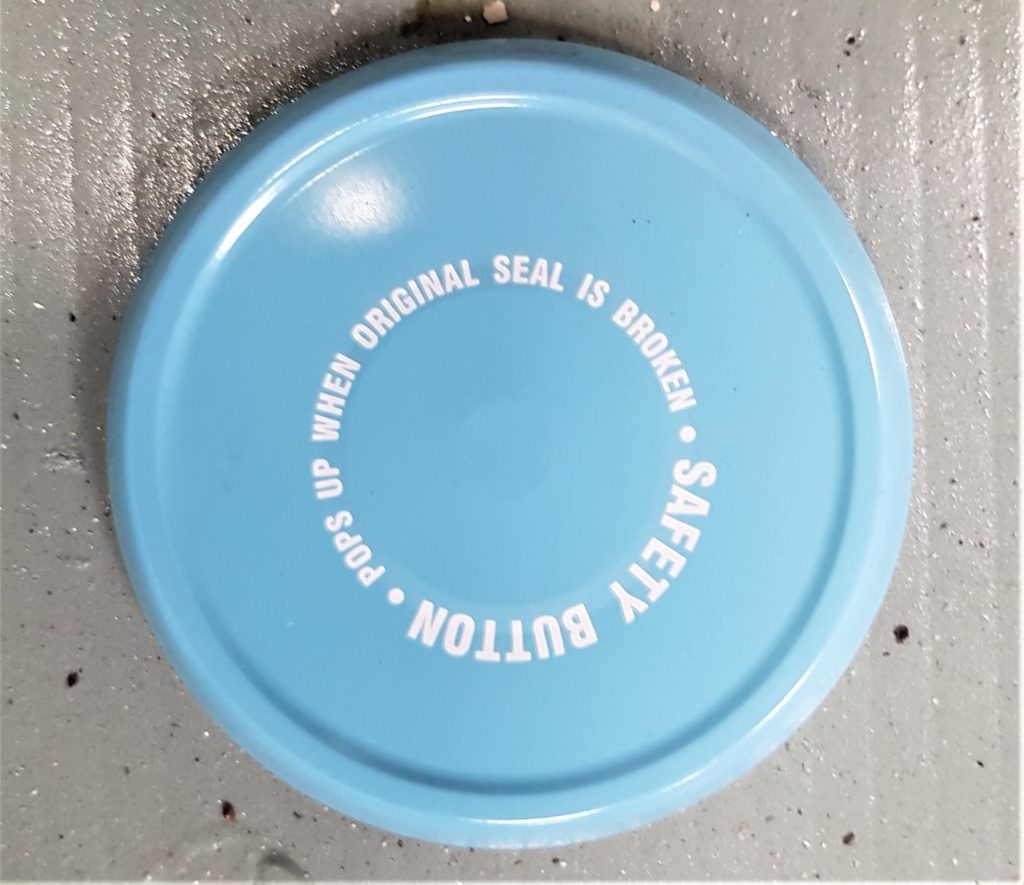
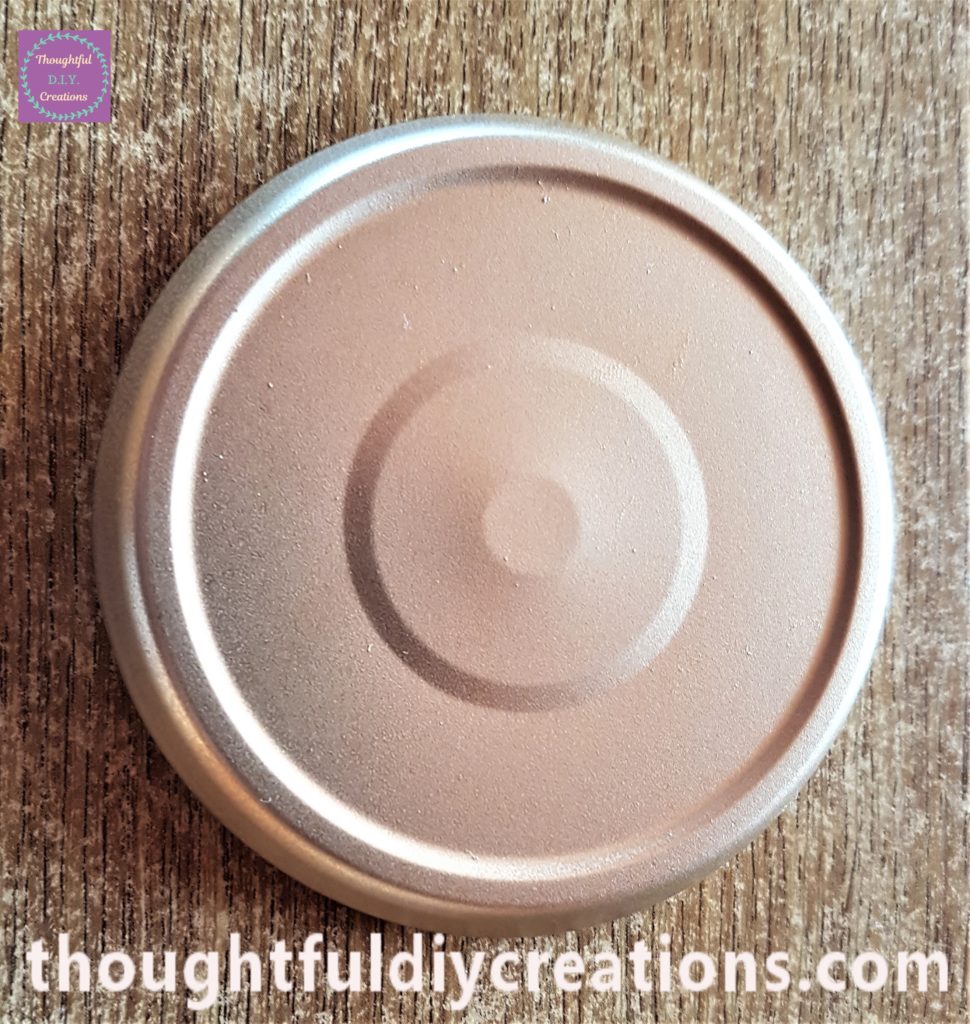
Preparing to Spray Paint the Lid
I brought the lid of the jar out to the shed. I placed it onto a sturdy piece of cardboard.
Spray Painting Recommendations
Always Spray Paint in a well ventilated area. Open Windows and Doors and leave the area as soon as you can after spray painting to prevent inhaling any fumes.
Spray Painting the Lid of the Jar
The Spray Paint I used was Gold in a Metallic finish. I shook the can of spray paint from side-to-side for a minute. I removed the lid from the spray can and sprayed the sides of the lid of the jar. I then gave the spray can a quick shake and sprayed the front of the lid. Spray Paint, Iridescent Antique Gold.
I went back out to the shed after an hour and applied a second layer of spray paint to the lid.
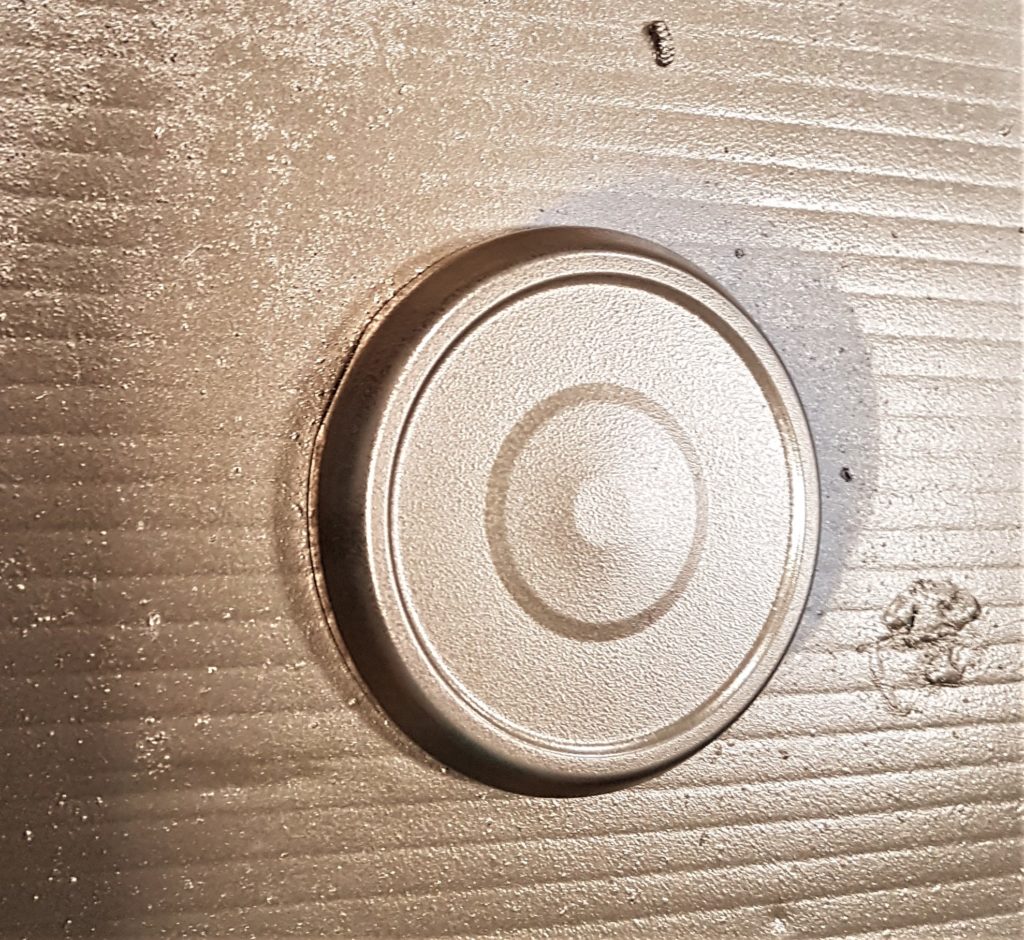
The third and final layer of gold spray paint was applied after another hour. Spray Paint, Iridescent Antique Gold.

Acrylic Paint for the Jar
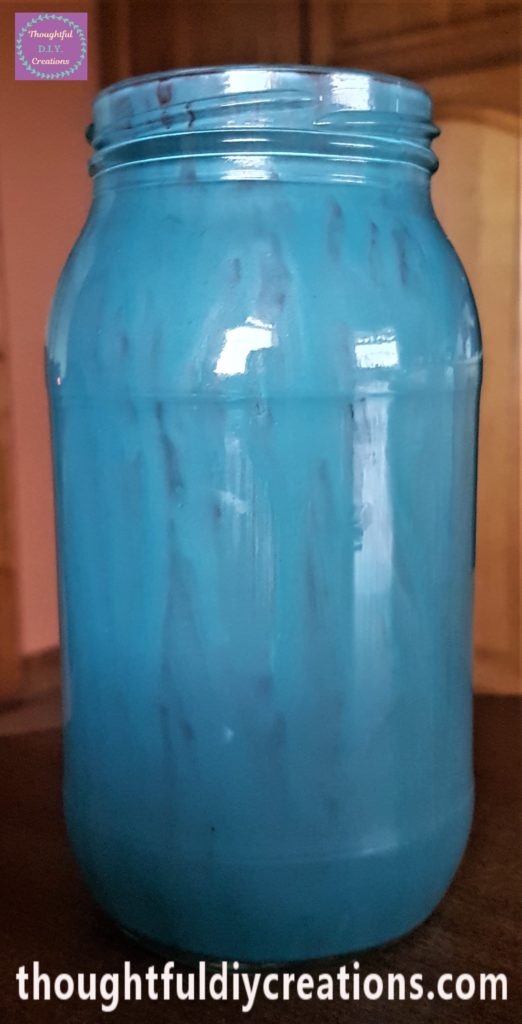
I left the lid in the shed to cure for 2 days after the final layer of spray paint. While I was waiting for the lid to cure I painted the jar. I loved the colour I mixed up for the ‘Live, Love, Laugh Canvas’ that I made a few weeks ago so I decided to use that colour for this jar. Acrylic Paint Set.
Watering down the Paint
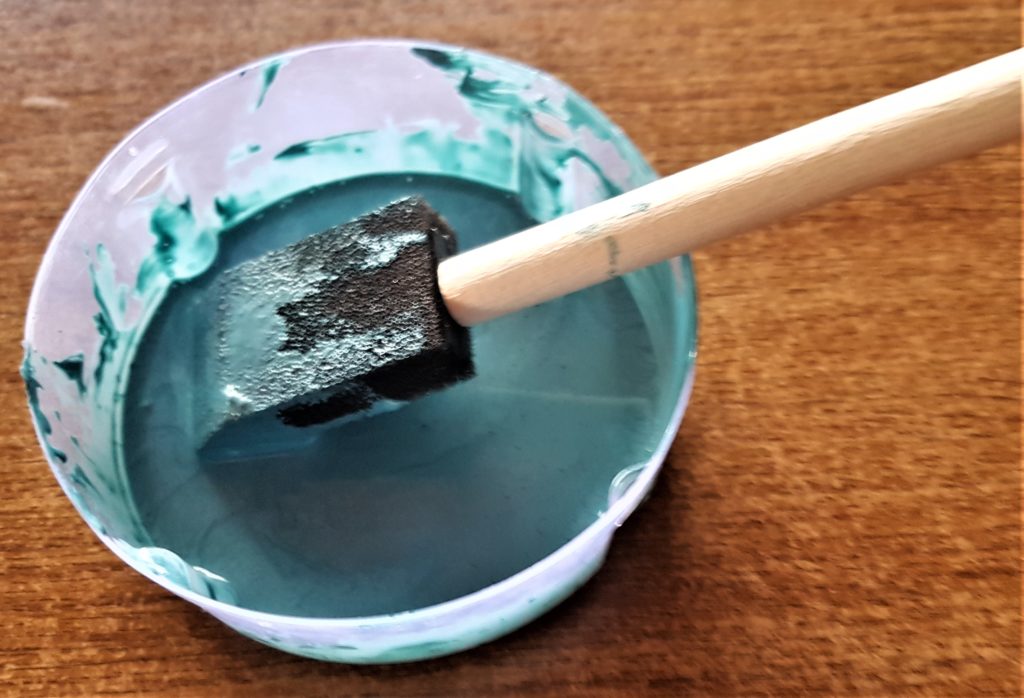
I put a small amount of paint into a lid I had with a foam brush. Foam Brush, 3-Pack.
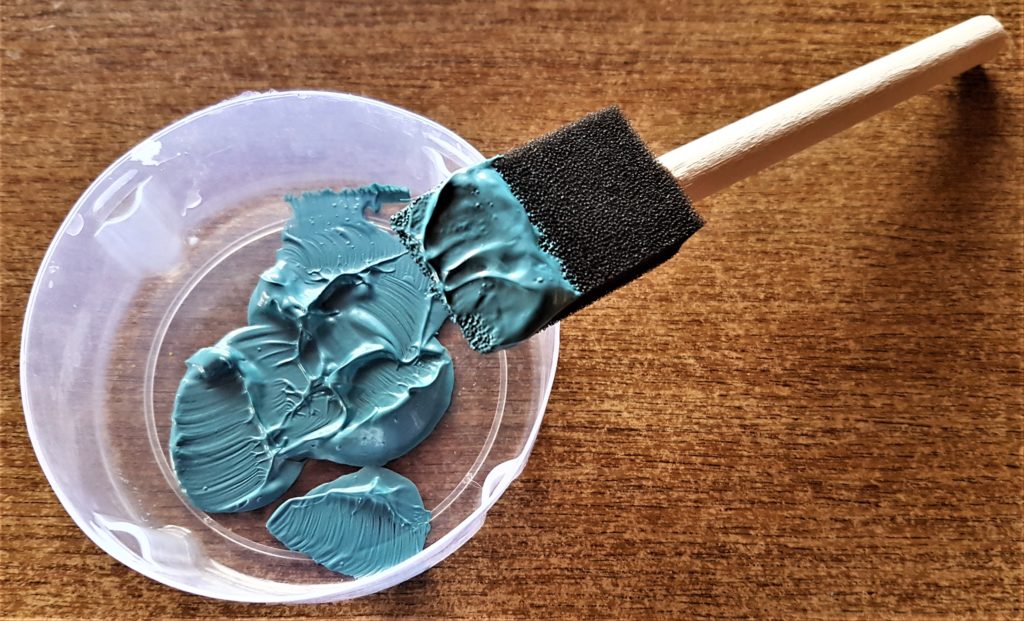
I added some water to the paint and mixed it together.
Painting the Horse Silhouette Jar
I applied the paint and water mixture to the inside of the jar using the foam brush. Foam Brush, 3-Pack.
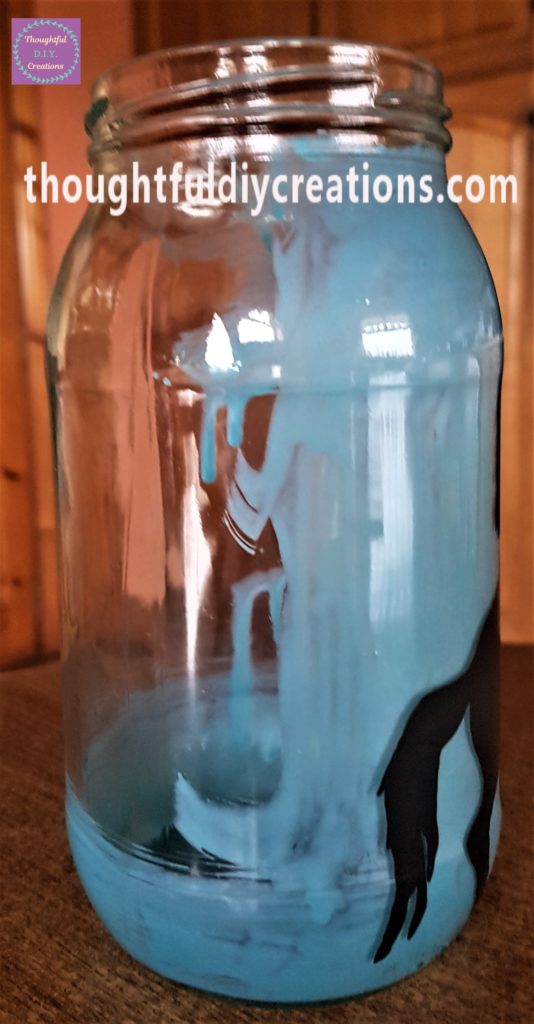
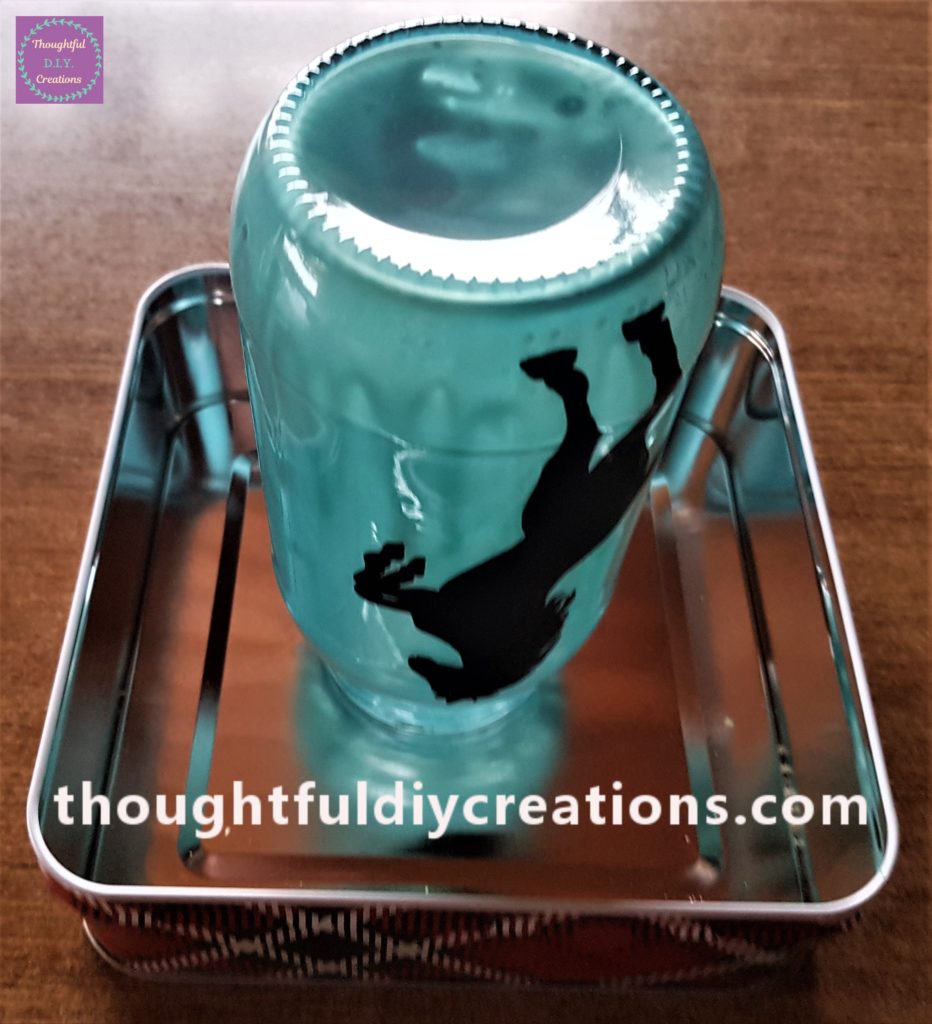
When I had a full layer of the paint and water mixture on the jar I turned the jar upside down in a biscuit tin so that the drips will rise to the top of the jar and the mixture can dry.
The next day I added another layer of the paint and water mixture to the inside of the jar. Acrylic Paint Set.
I put the jar back upside down inside the biscuit tin for the mixture to dry. I brought the spray painted lid back inside from the shed.
Adding a Candle & Paint to the Jar
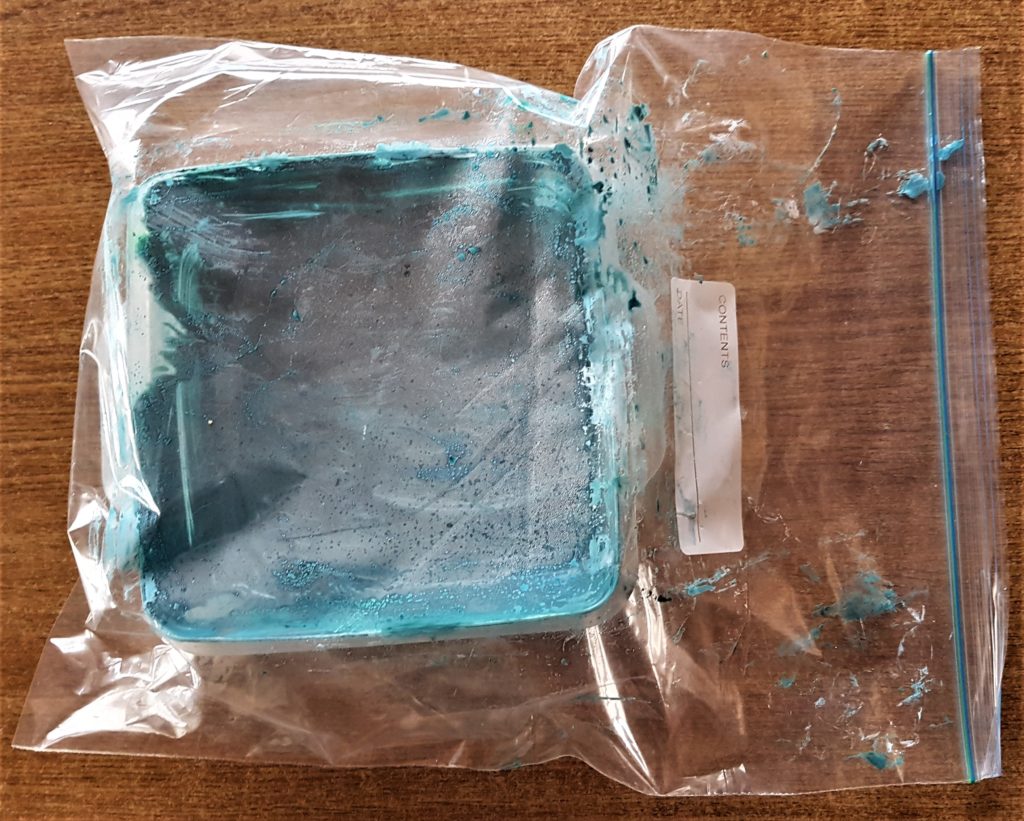
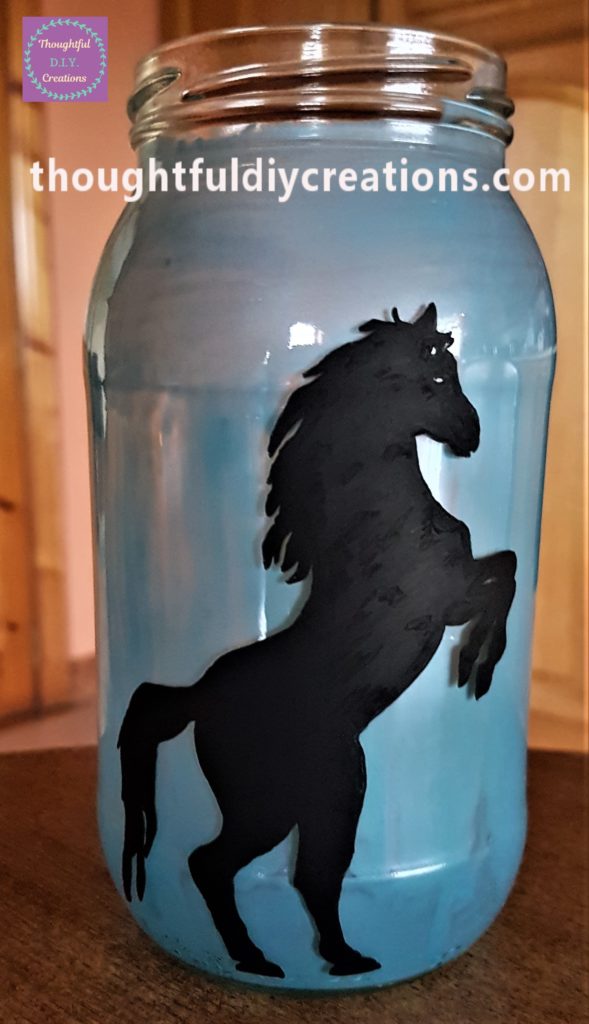
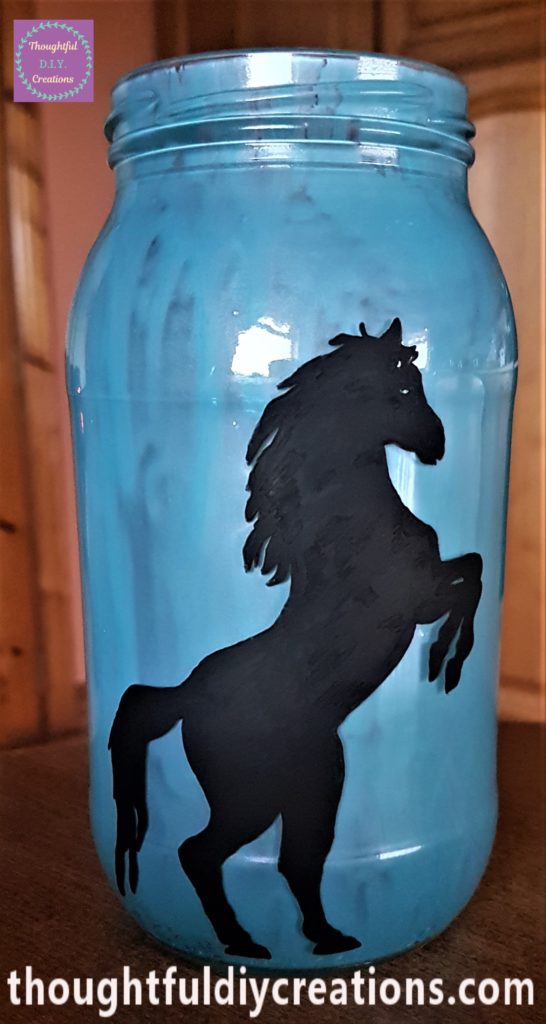
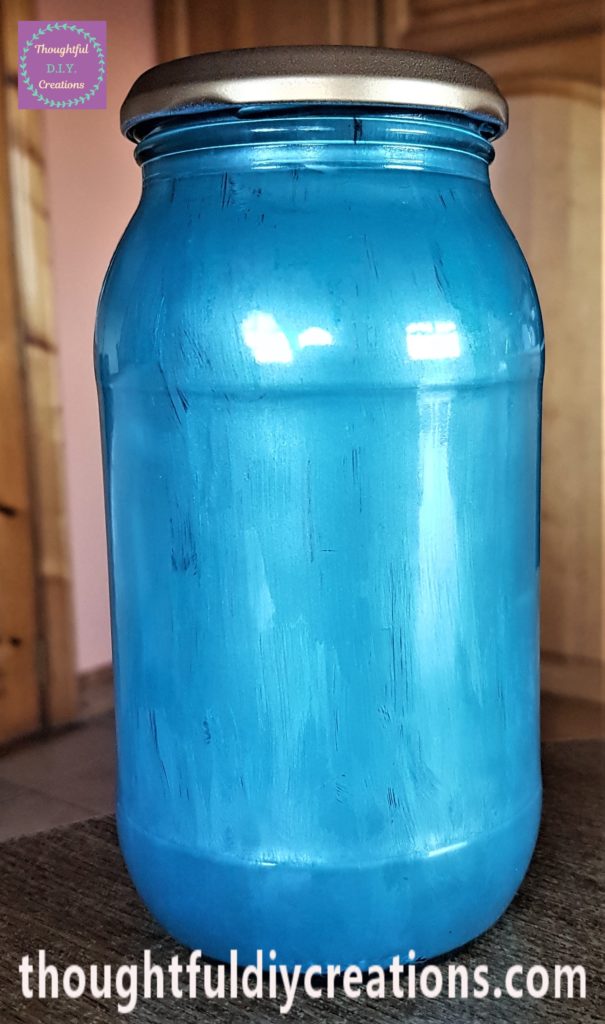
When the paint was dry on the jar I put an LED colour changing T-Light into the jar. I didn’t like the appearance at all, it showed up all the streaks from the jar that weren’t visible without the light and I thought it looked terrible. Since I had applied the Horse Silhouette on the outside of the jar I decided to add more paint to the inside of the jar and not add a t-light at all.
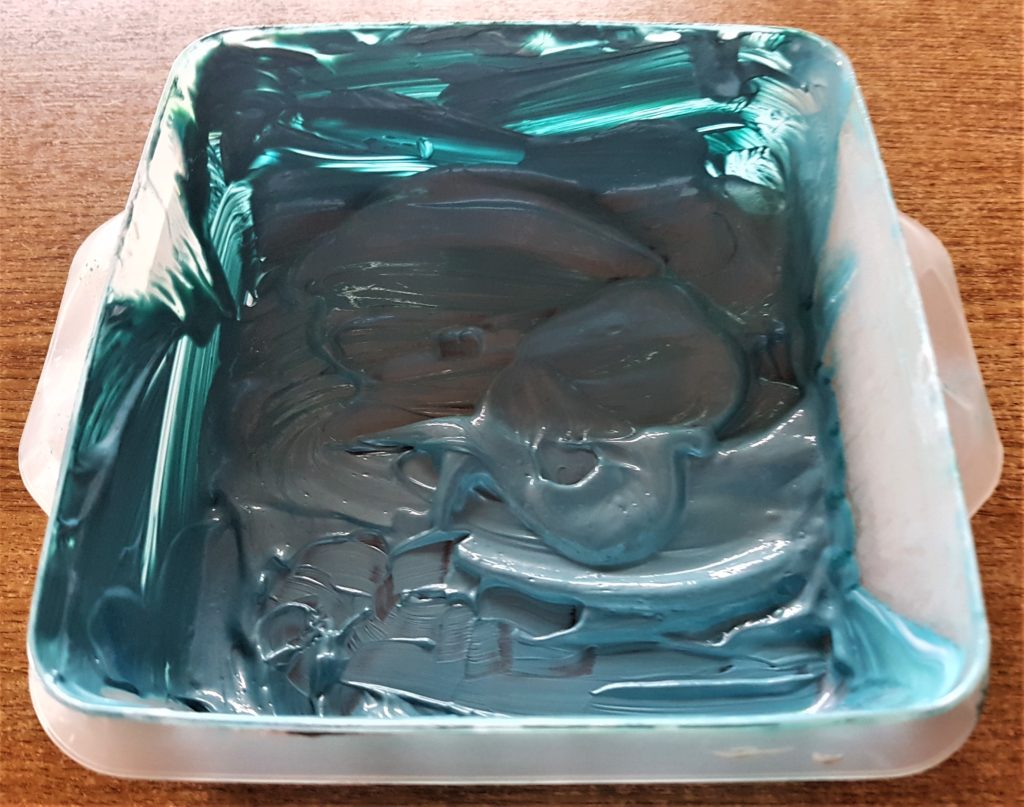
I applied a couple of layers of the teal paint to the jar with a dry foam brush. Acrylic Paint Set.
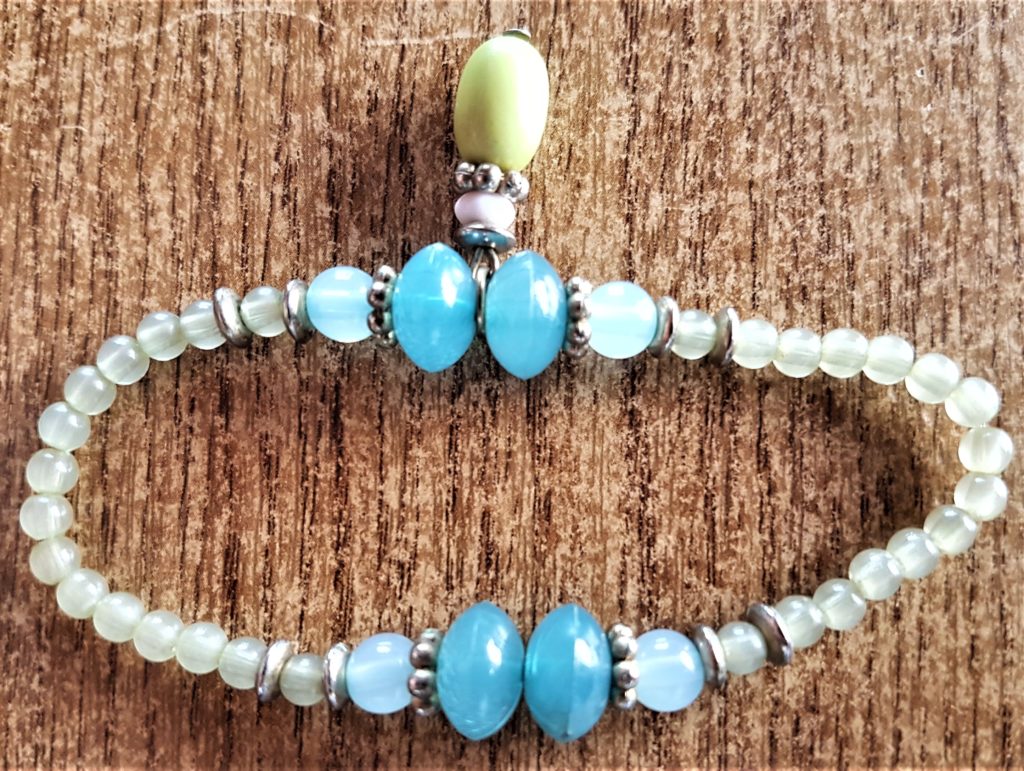
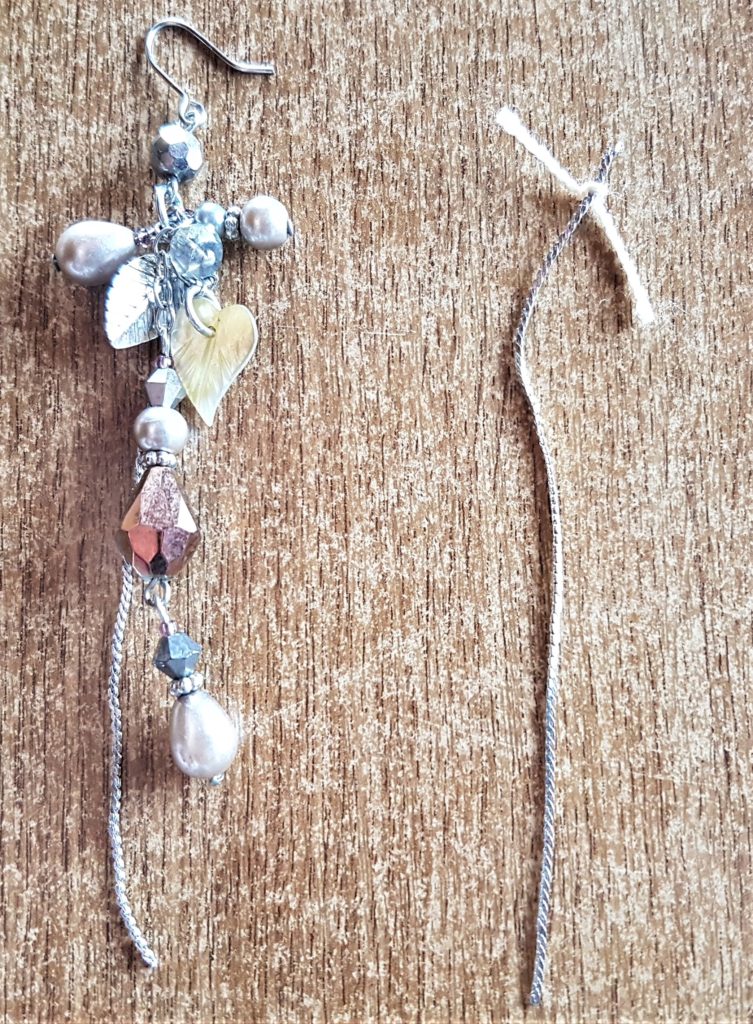
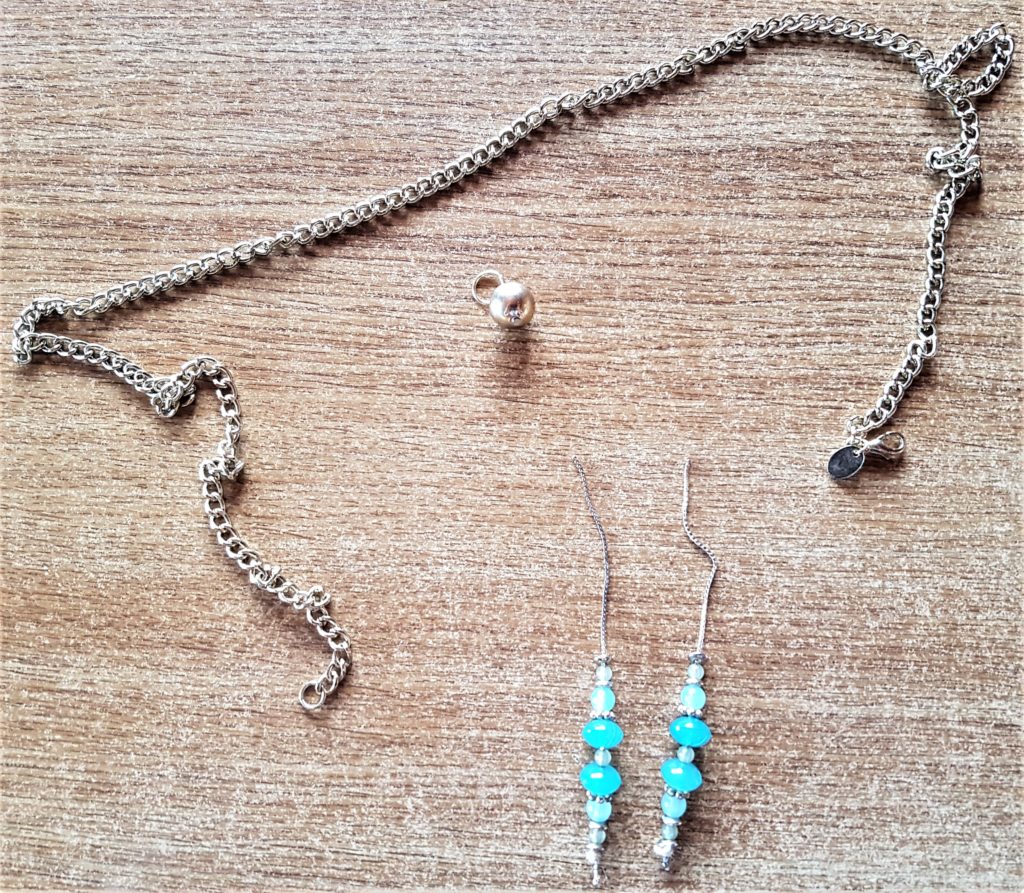
Up-Cycling my Jewellery
I had some old jewellery in my craft stash which I didn’t wear anymore but didn’t want to throw them out. I thought they would be perfect added to this jar.
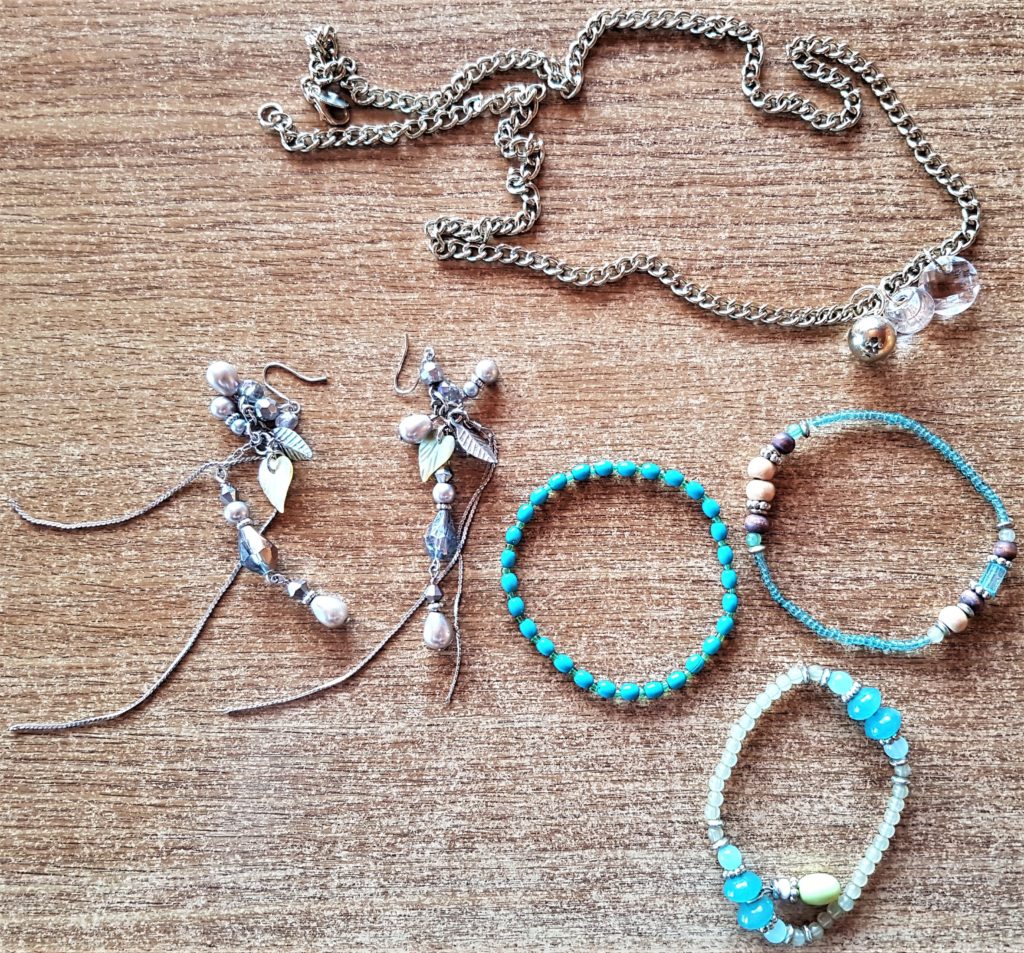
I got one of the beaded bracelets and cut the string on both sides to open it up. I cut the long silver chain from an earring using a strong scissors. I tied a piece of string to the end of the silver chain.
I added the beads from the mid-section of the bracelet to the chain. I repeated this with the chain from the other earring and the second set of mid-section beads from the bracelet.
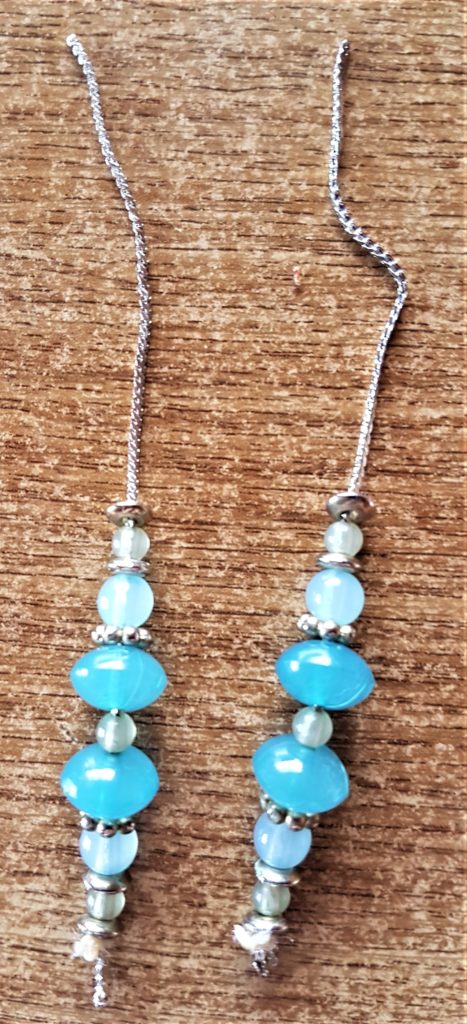
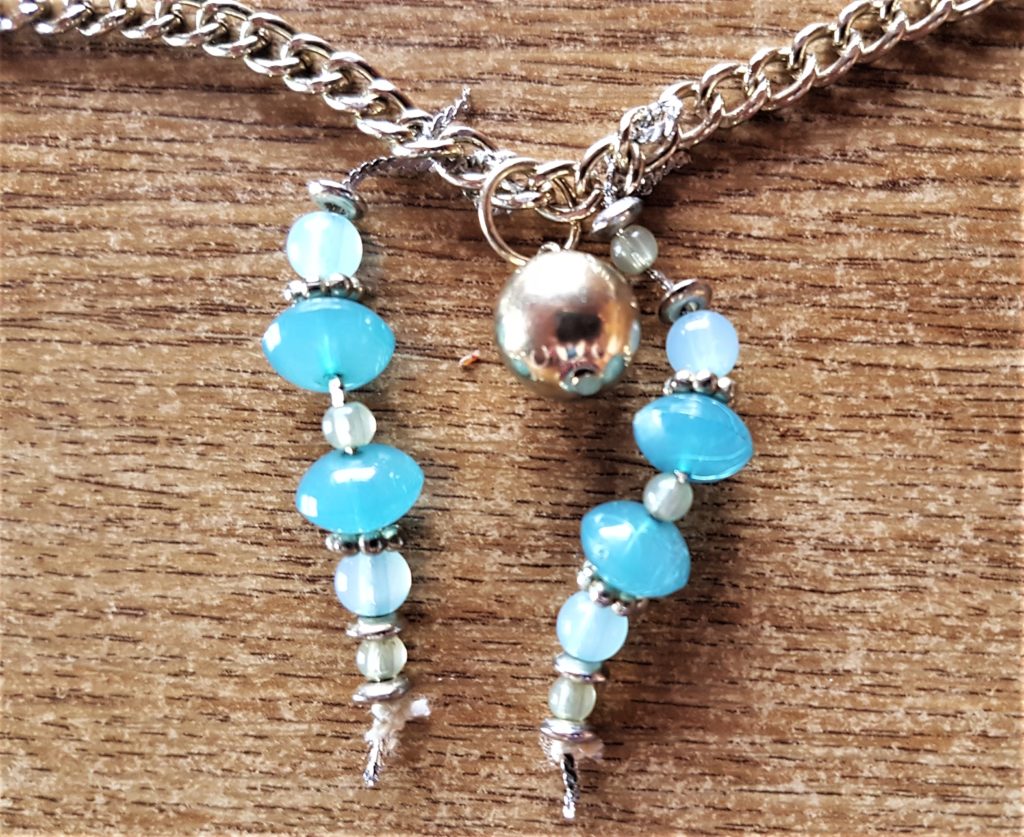
I put the 2 beaded strings through the gaps in the gold chain. I looped the top of the silver beaded chain down through a hole in the gold chain and looped it up another hole. I did this a couple more times until the beaded string was attached to the gold chain securely. I added a gold ball to the gold chain and finally added the other beaded string in the same way as the first one.
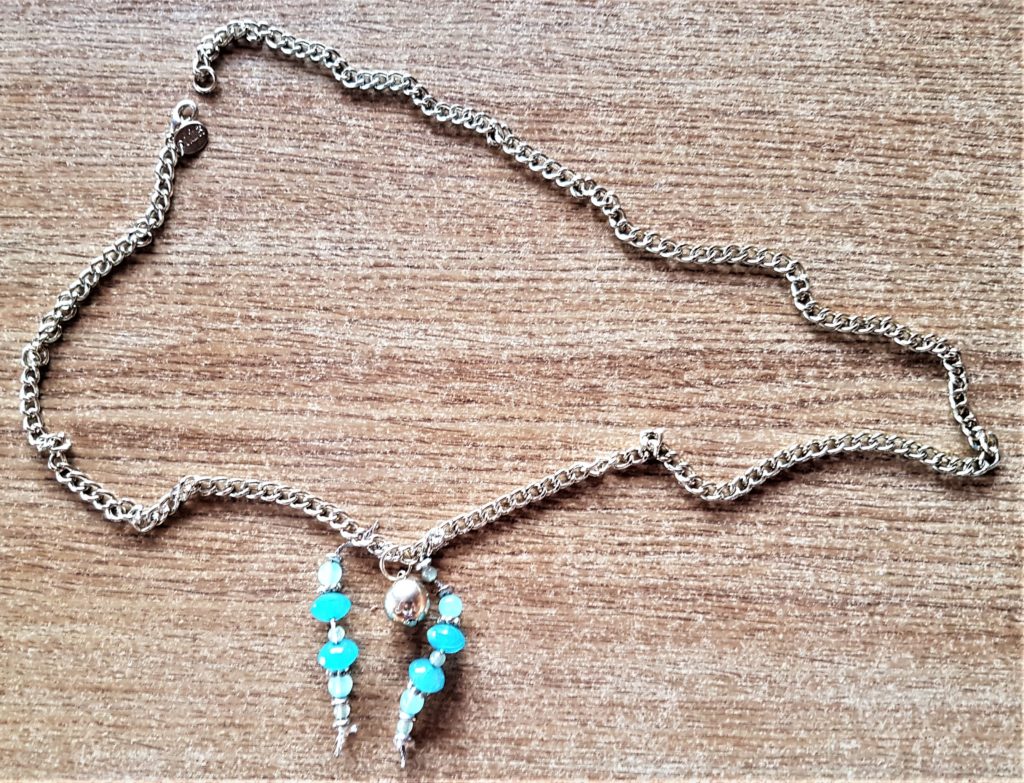
Adding the Jewellery to the Horse Silhouette Jar
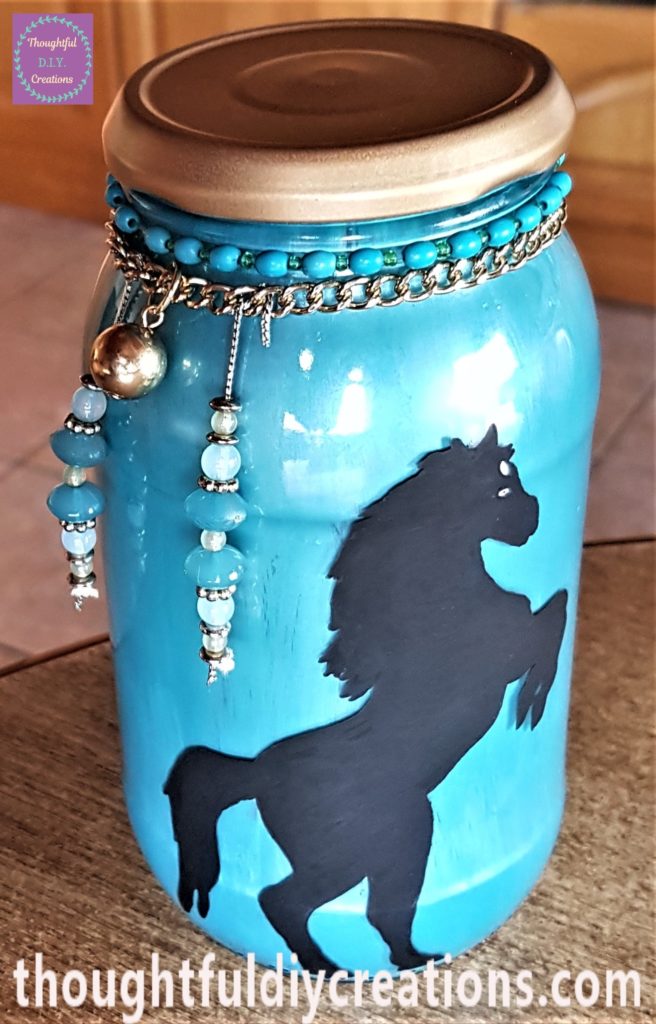
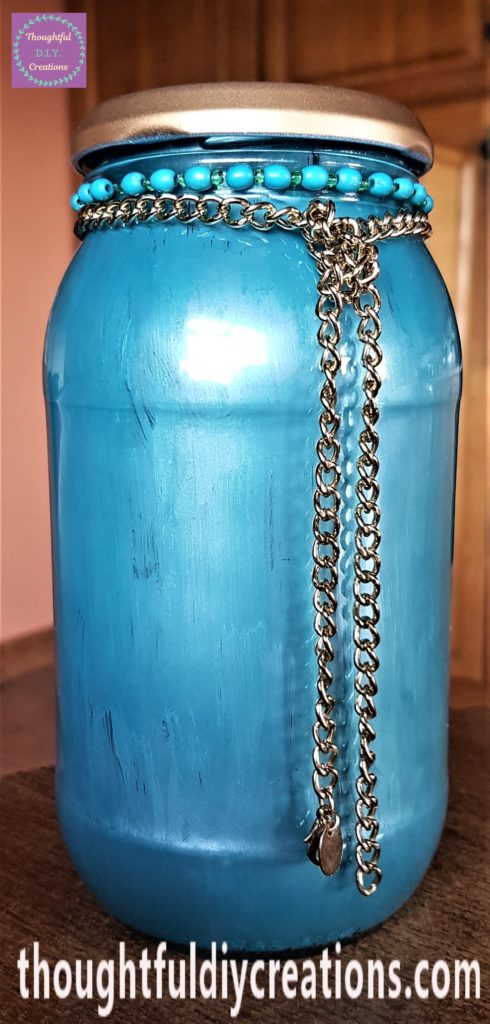
I tied the gold chain around the top of the jar and tied it again to form a knot.
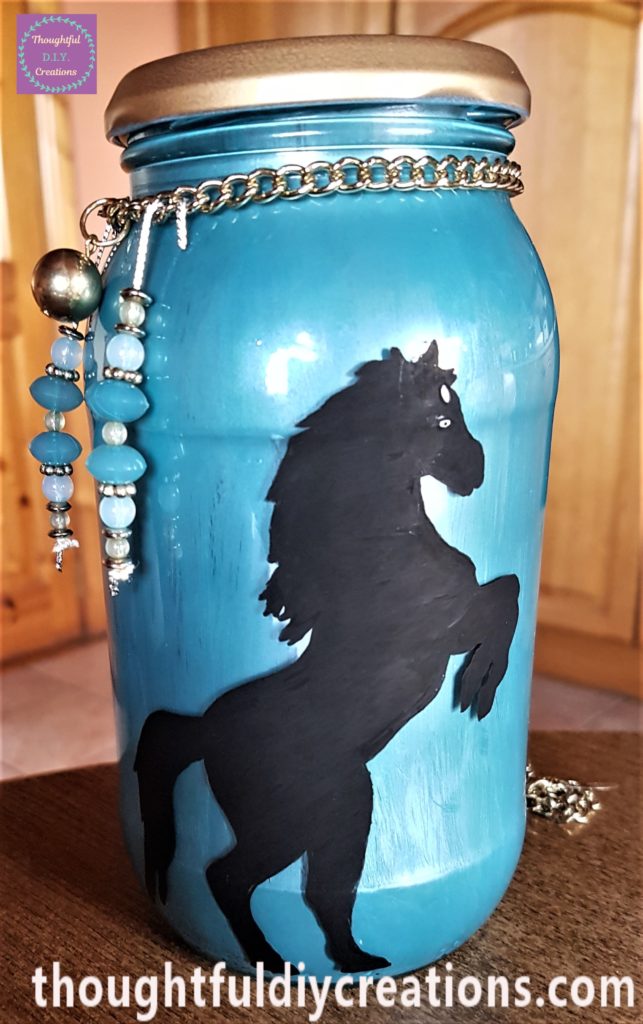
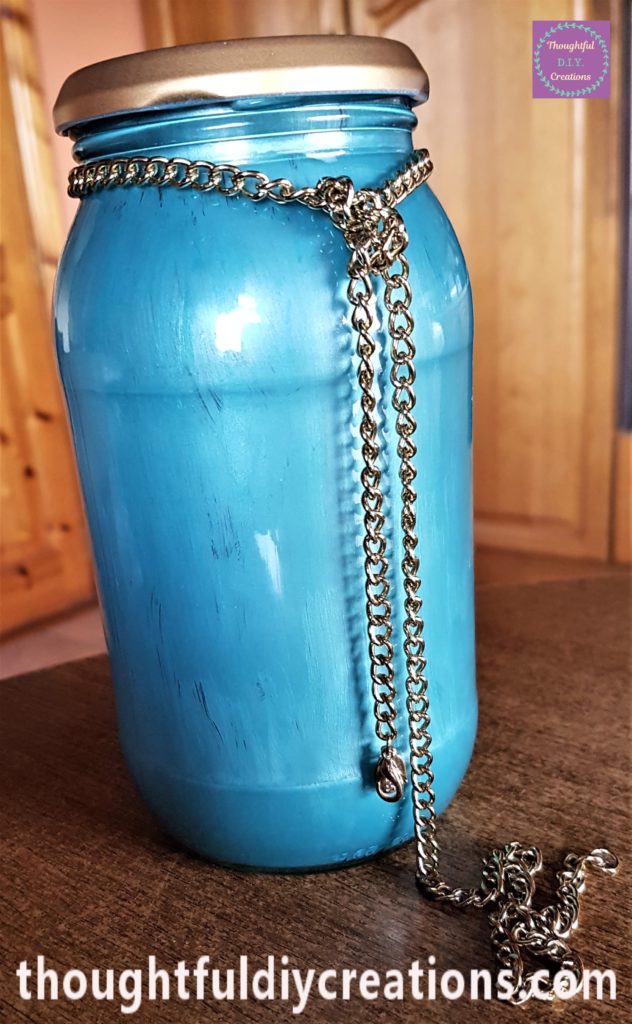
I cut off the excess gold chain with a pliers.
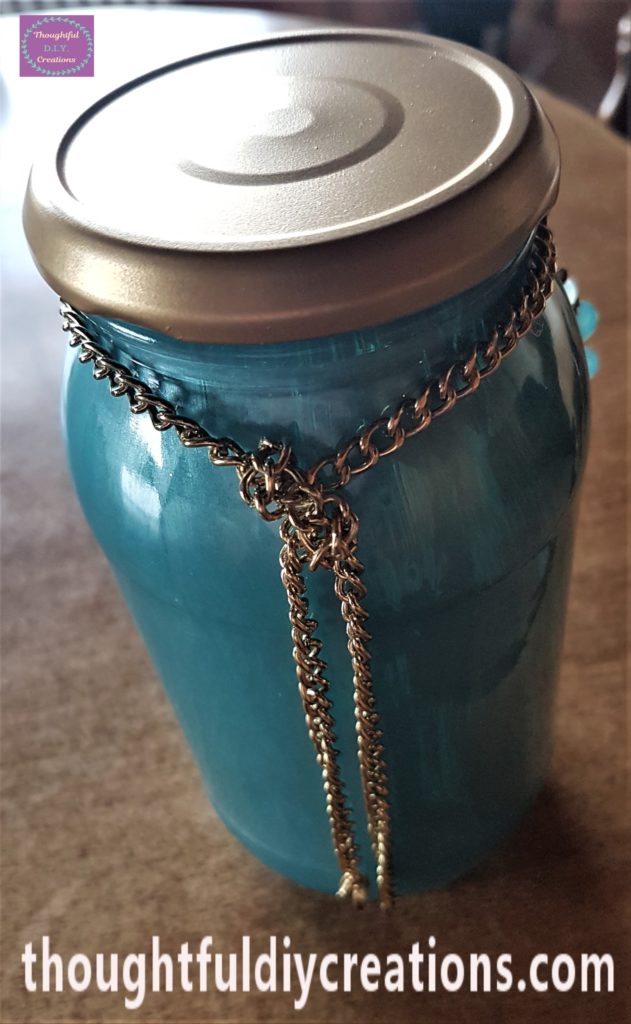
I added a teal beaded bracelet under the lid of the jar.
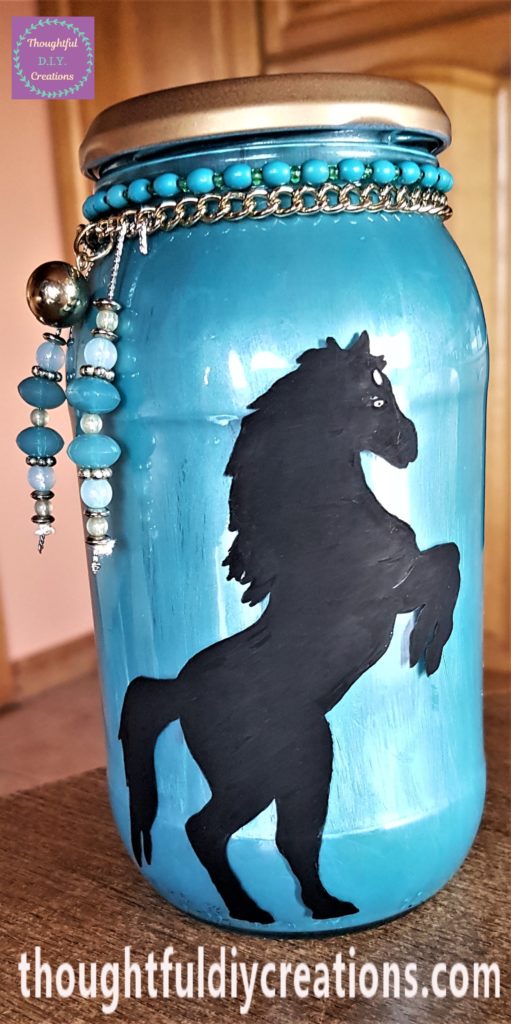
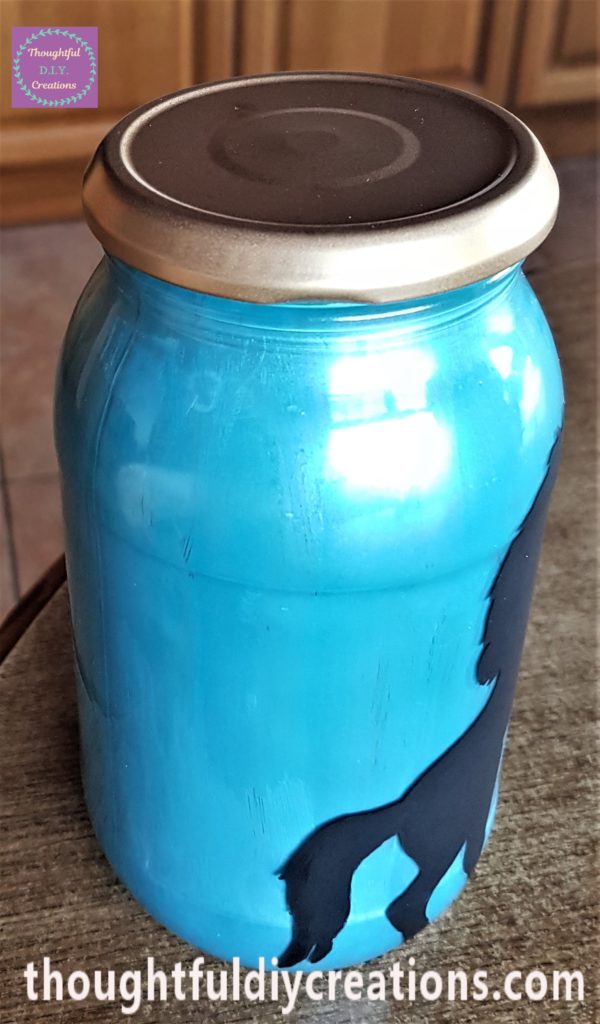
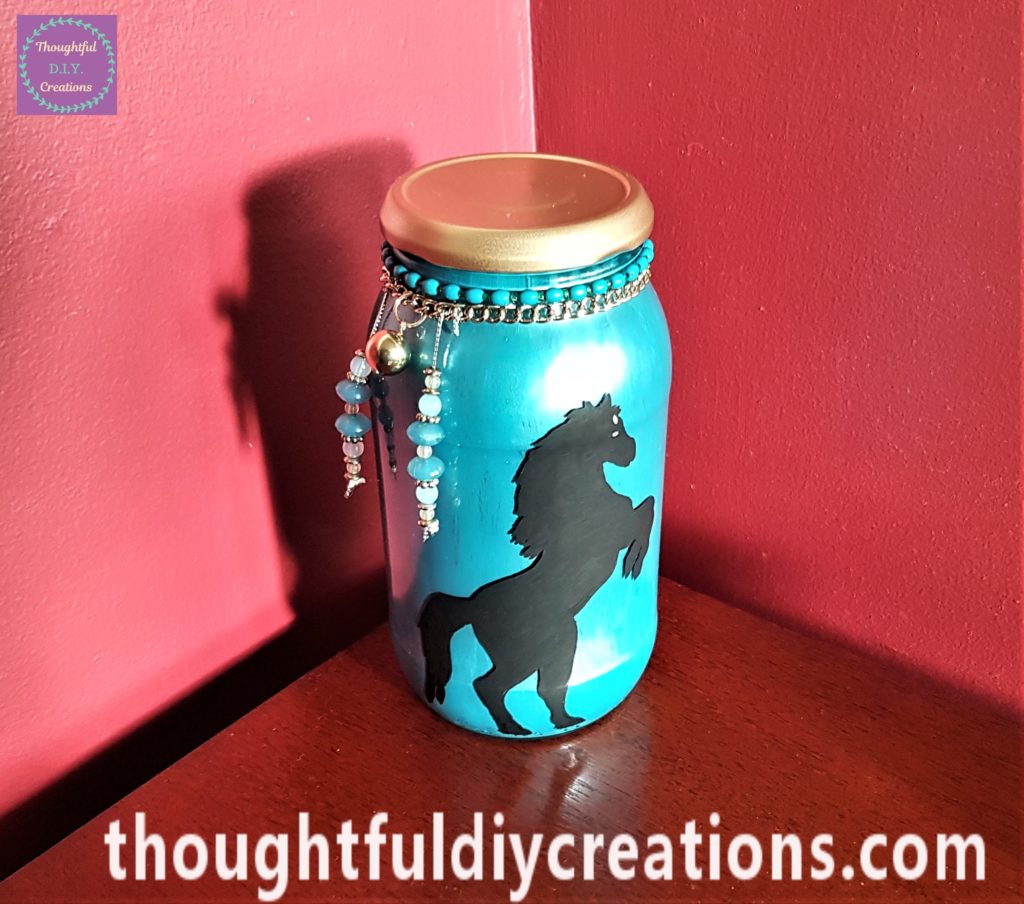
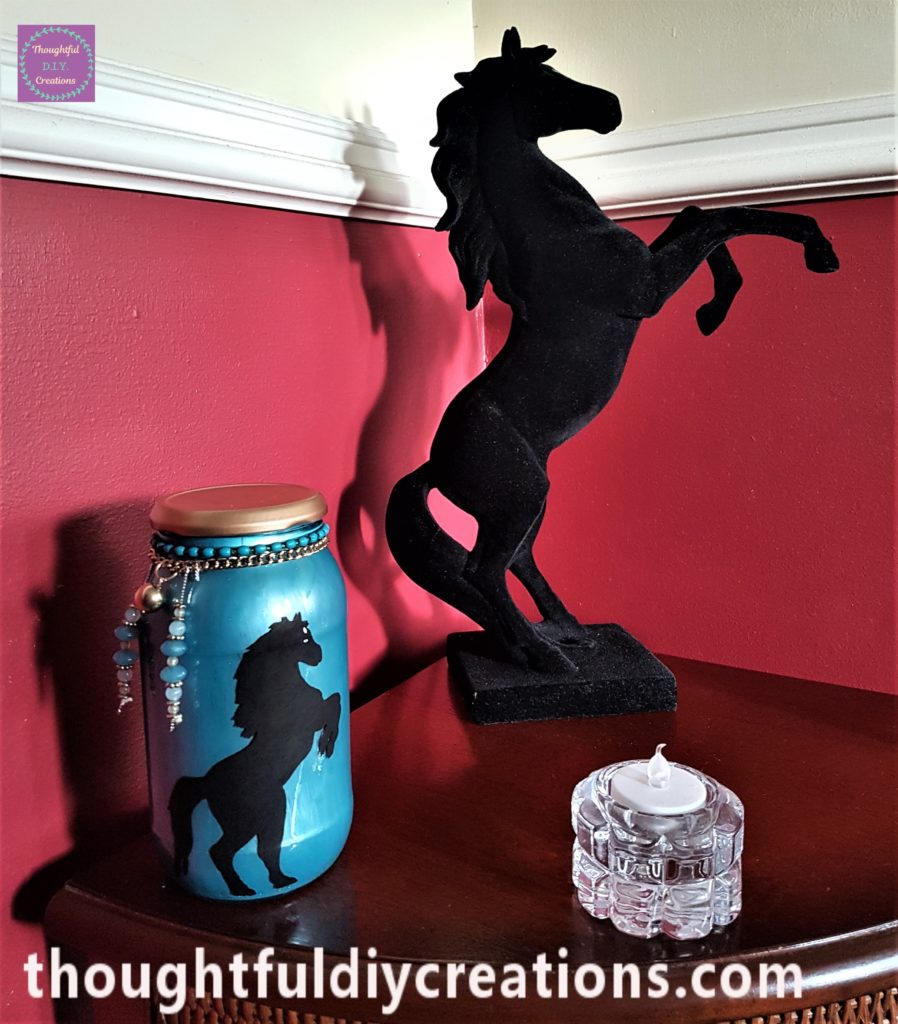
This completed the D.I.Y. Horse Silhouette Jar.
Here is the finished Jar from different angles.
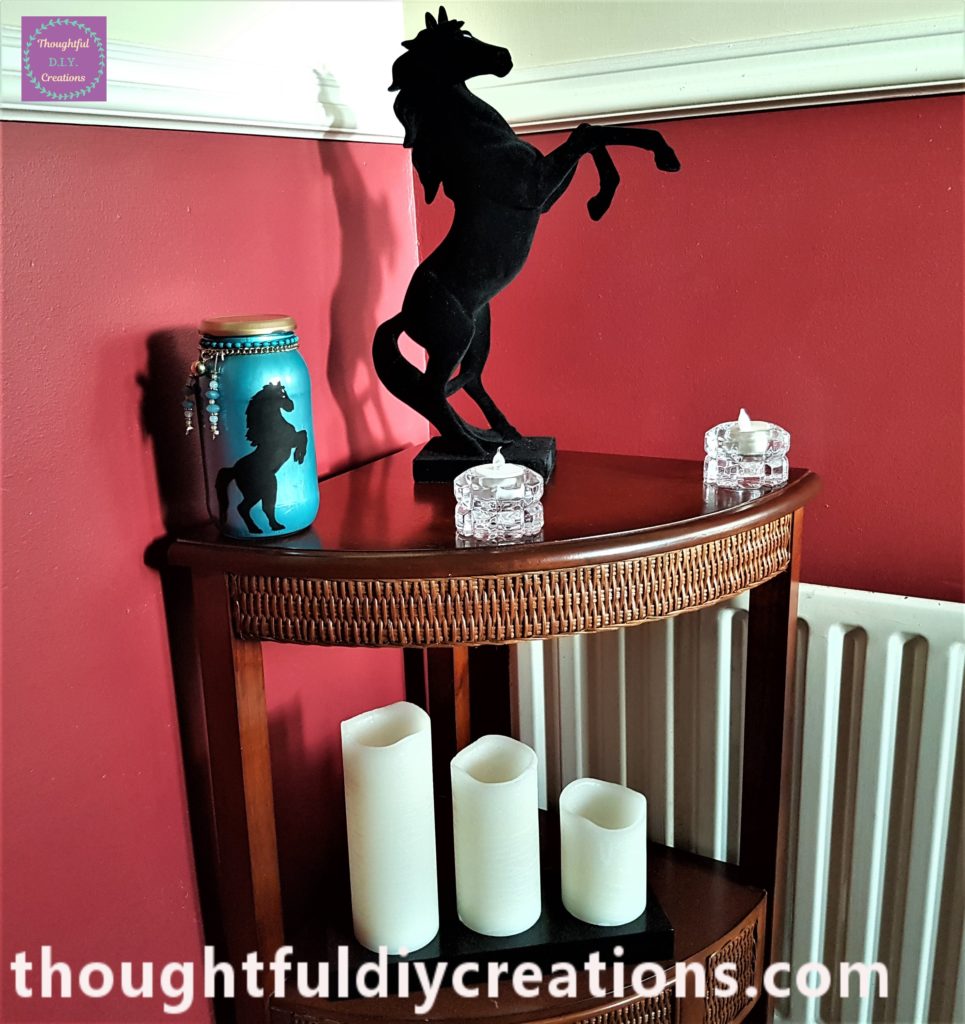
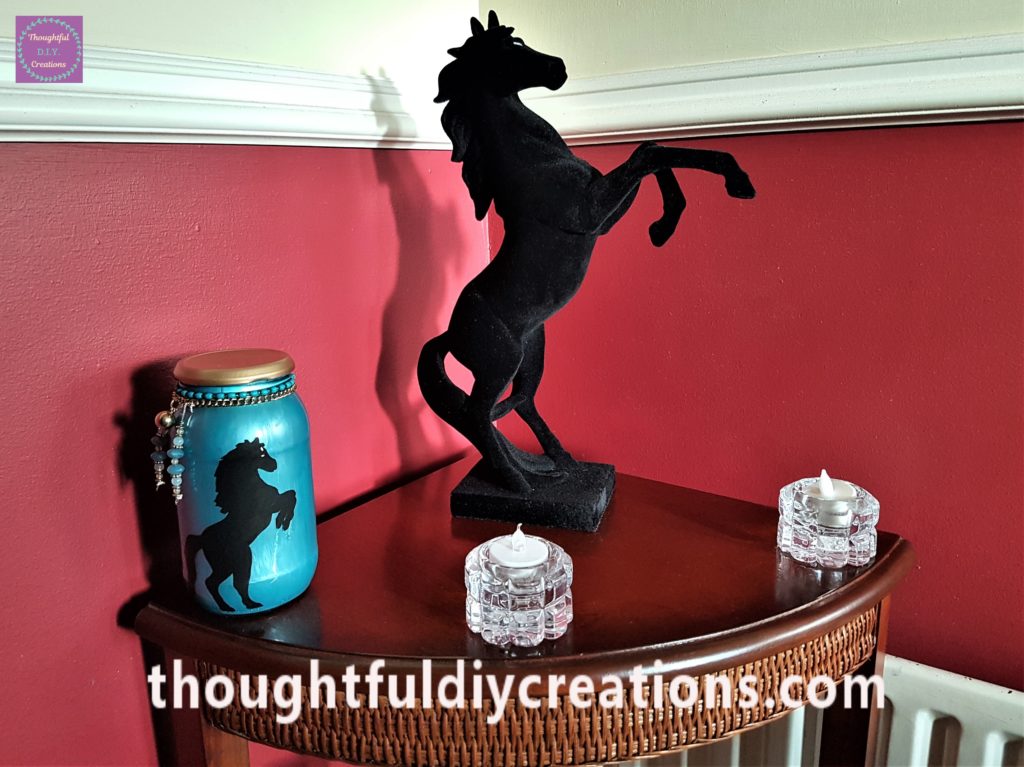
This is the Horse Silhouette Jar on a Table and with other Decorative ornaments.

Conclusion
I was really pleased with the final result of the Horse Silhouette Jar. I love the combination of the teal and gold colours and I like how the Silhouette of the Horse stands out. I think it has a Boho, dreamy and whimiscal feel to it. I love that I got to re-use a jar and jewellery and completely change their appearance.
I hope this tutorial provided you with some ideas for D.I.Y. Decor. You can change the paint colour to any of your own preferences. You could add Glitter Spray Paint to your Jar or Lid. The Silhouette could be anything you like, if you love Dragonflies, Fairies, Unicorns just type it into Google Images and print out the size that will suit your Jar.
The Jar could also be made for Children. If they love a particular Disney or Cartoon Character you could print out a silhouette of it and add it to the inside of the Jar. If you have different colour Paint Pens you could colour in the image on the outside of the jar after tracing it. The best thing about Paint Pens is they are permanent so it will last on your jar and they are so clean and easy to use. uni Posca Paint Pens.
The Jar could be made for a Couple; there are plenty of Silhouette Couple Images to choose from. It would make the perfect D.I.Y. Engagement or Wedding Gift. You could add their Names and Date on the Jar with a Paint Pen. It would be a lovely, thoughtful and unique gift to present to someone.
It could also be made for Men. If they are into Music, Dragons, Skulls, Nature etc. the Jar can be customised to anyone’s hobbies. Different embellishments could be added to the lid or inside the Jar. Examples are fake moss, pebbles, shells, 3-D stickers, flowers etc.
I hope you decide to transform your own Jar Craft. Have fun with it and if it doesn’t work out just come back to it later, you might get more ideas when your not worrying so much on the outcome. It’s such a budget craft and perfect for beginners, just use what you have and then you can purchase some crafting supplies if you get addicted to making different crafts.
If you have any questions on this craft just fill out the Comment Box below this Blog Post and I’ll get back to you as soon as I can.
Thank you so much for taking the time to read my Blog.
Always Grateful,
T.D.C.
xoxox