D.I.Y. Moon & Stars Home Decor
Hello my Creative Friends,
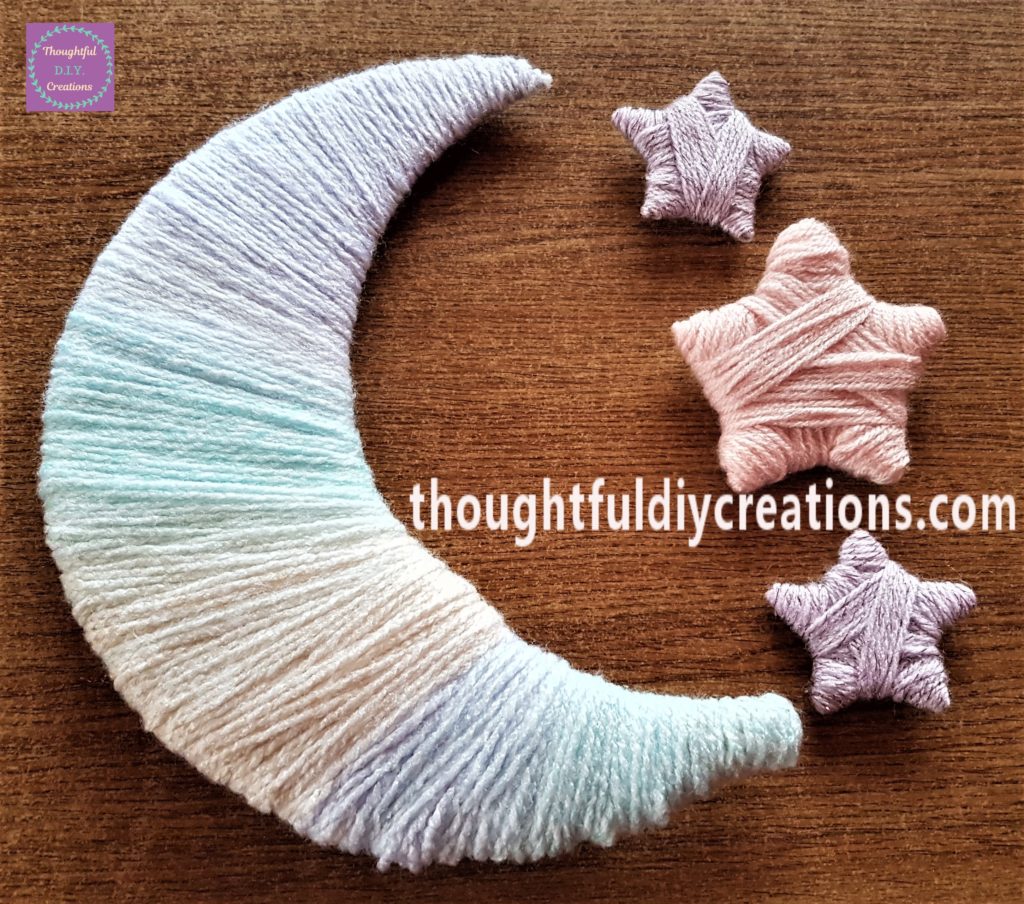
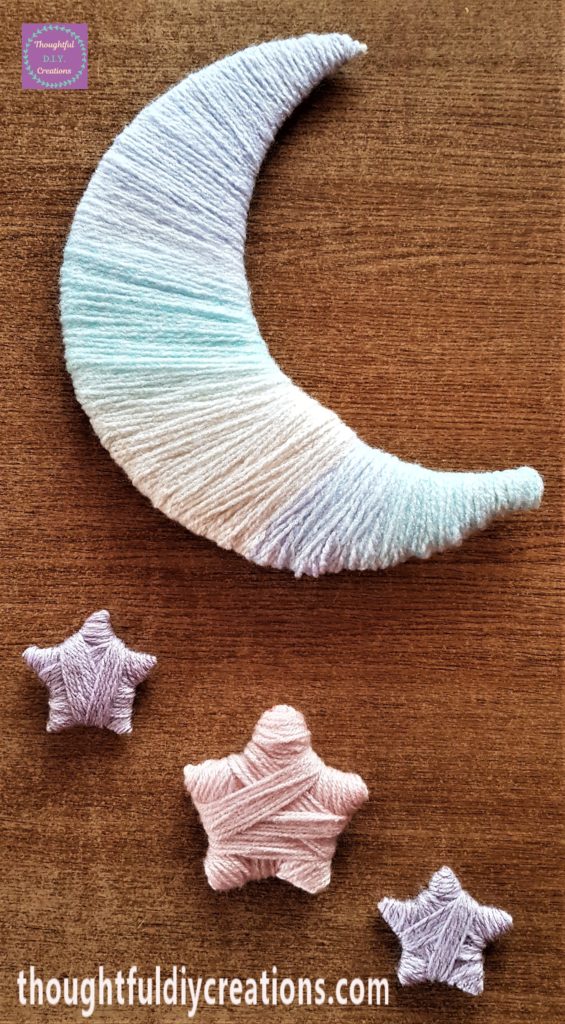
I hope you are all well. In Today’s Tutorial I will show you how easy it is to make your own Moon & Stars for Home Decor. It would be perfect for Nursery Decor, Baby Shower Decor, Child’s Bedroom Decor or for anyone who is interested in Astrology or the Phases of the Moon. It is such a budget friendly craft and I really hope you enjoy it.
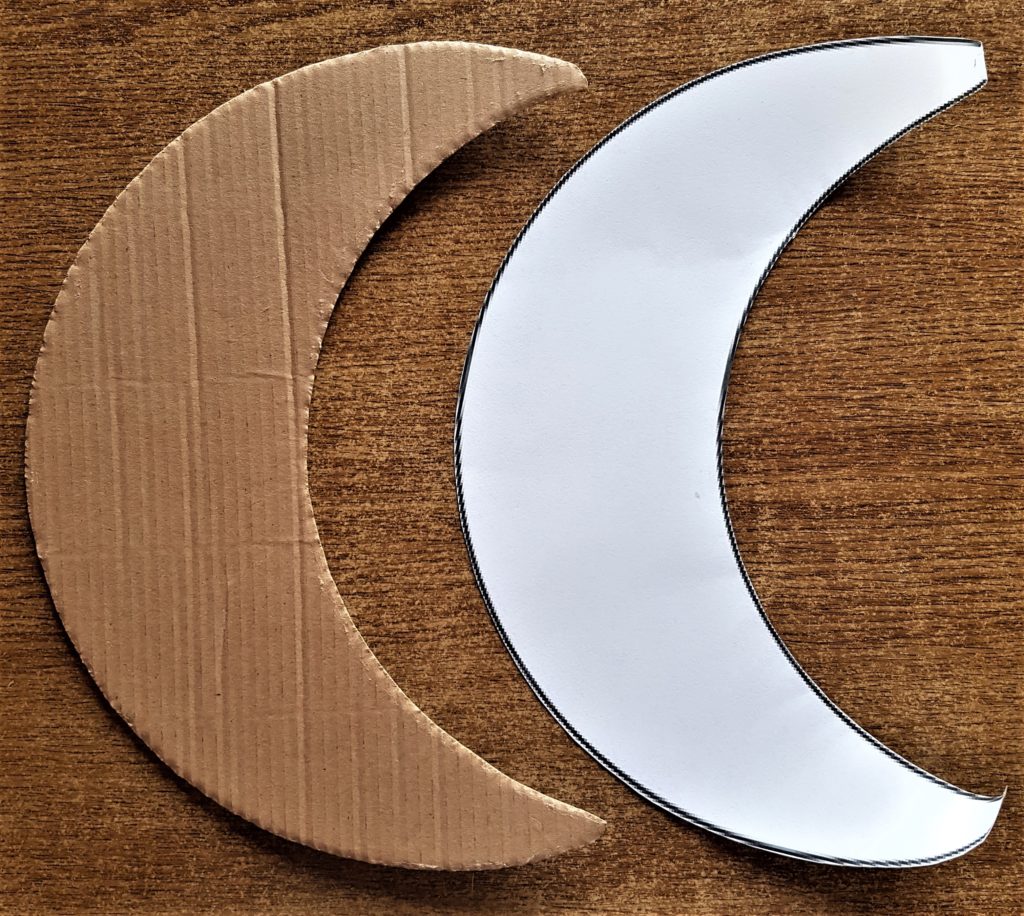
Printing the Moon Template
I looked up ‘Moon Template’ on Google Images. I found a free-to-use Image I liked and saved it to my Computer. I found the Image on my Computer, I right-clicked my mouse, and then clicked Print. I picked the Size Option 20 x 25 cm (1). I unticked the Box that said ‘Fit picture to frame’ to ensure the full template would be printed on the page. I clicked Print and printed the moon template on regular printer paper. I roughly cut around the Image to ensure I was happy with the size. Multipurpose Printer Paper.
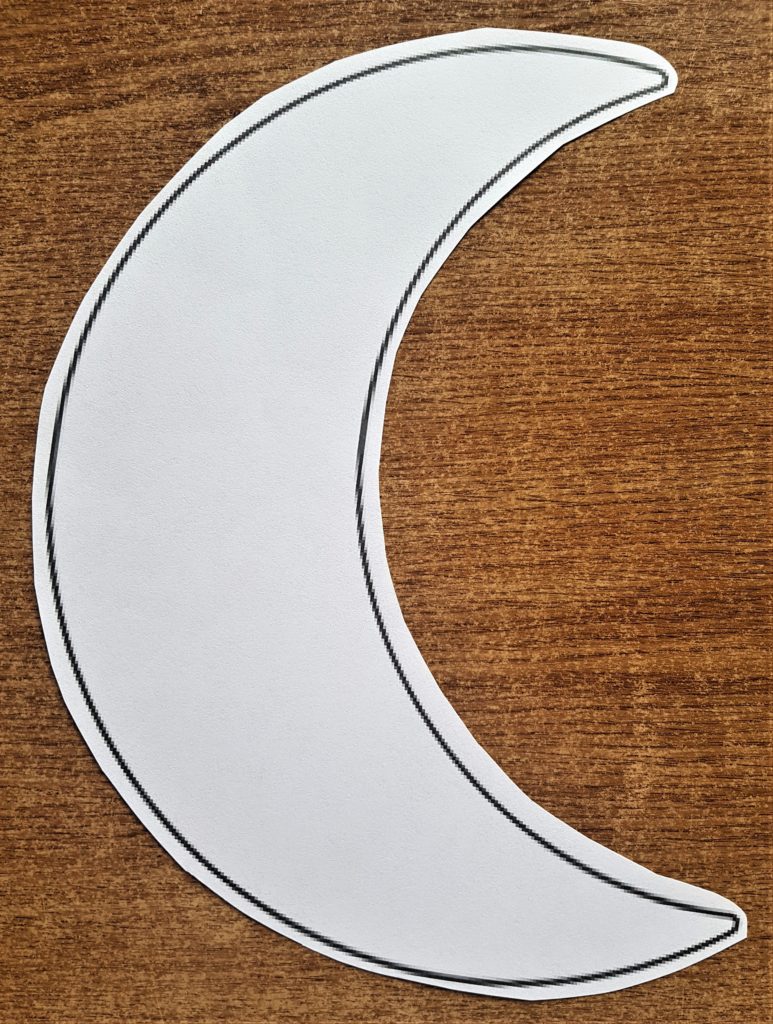
Cardboard for the Moon Template
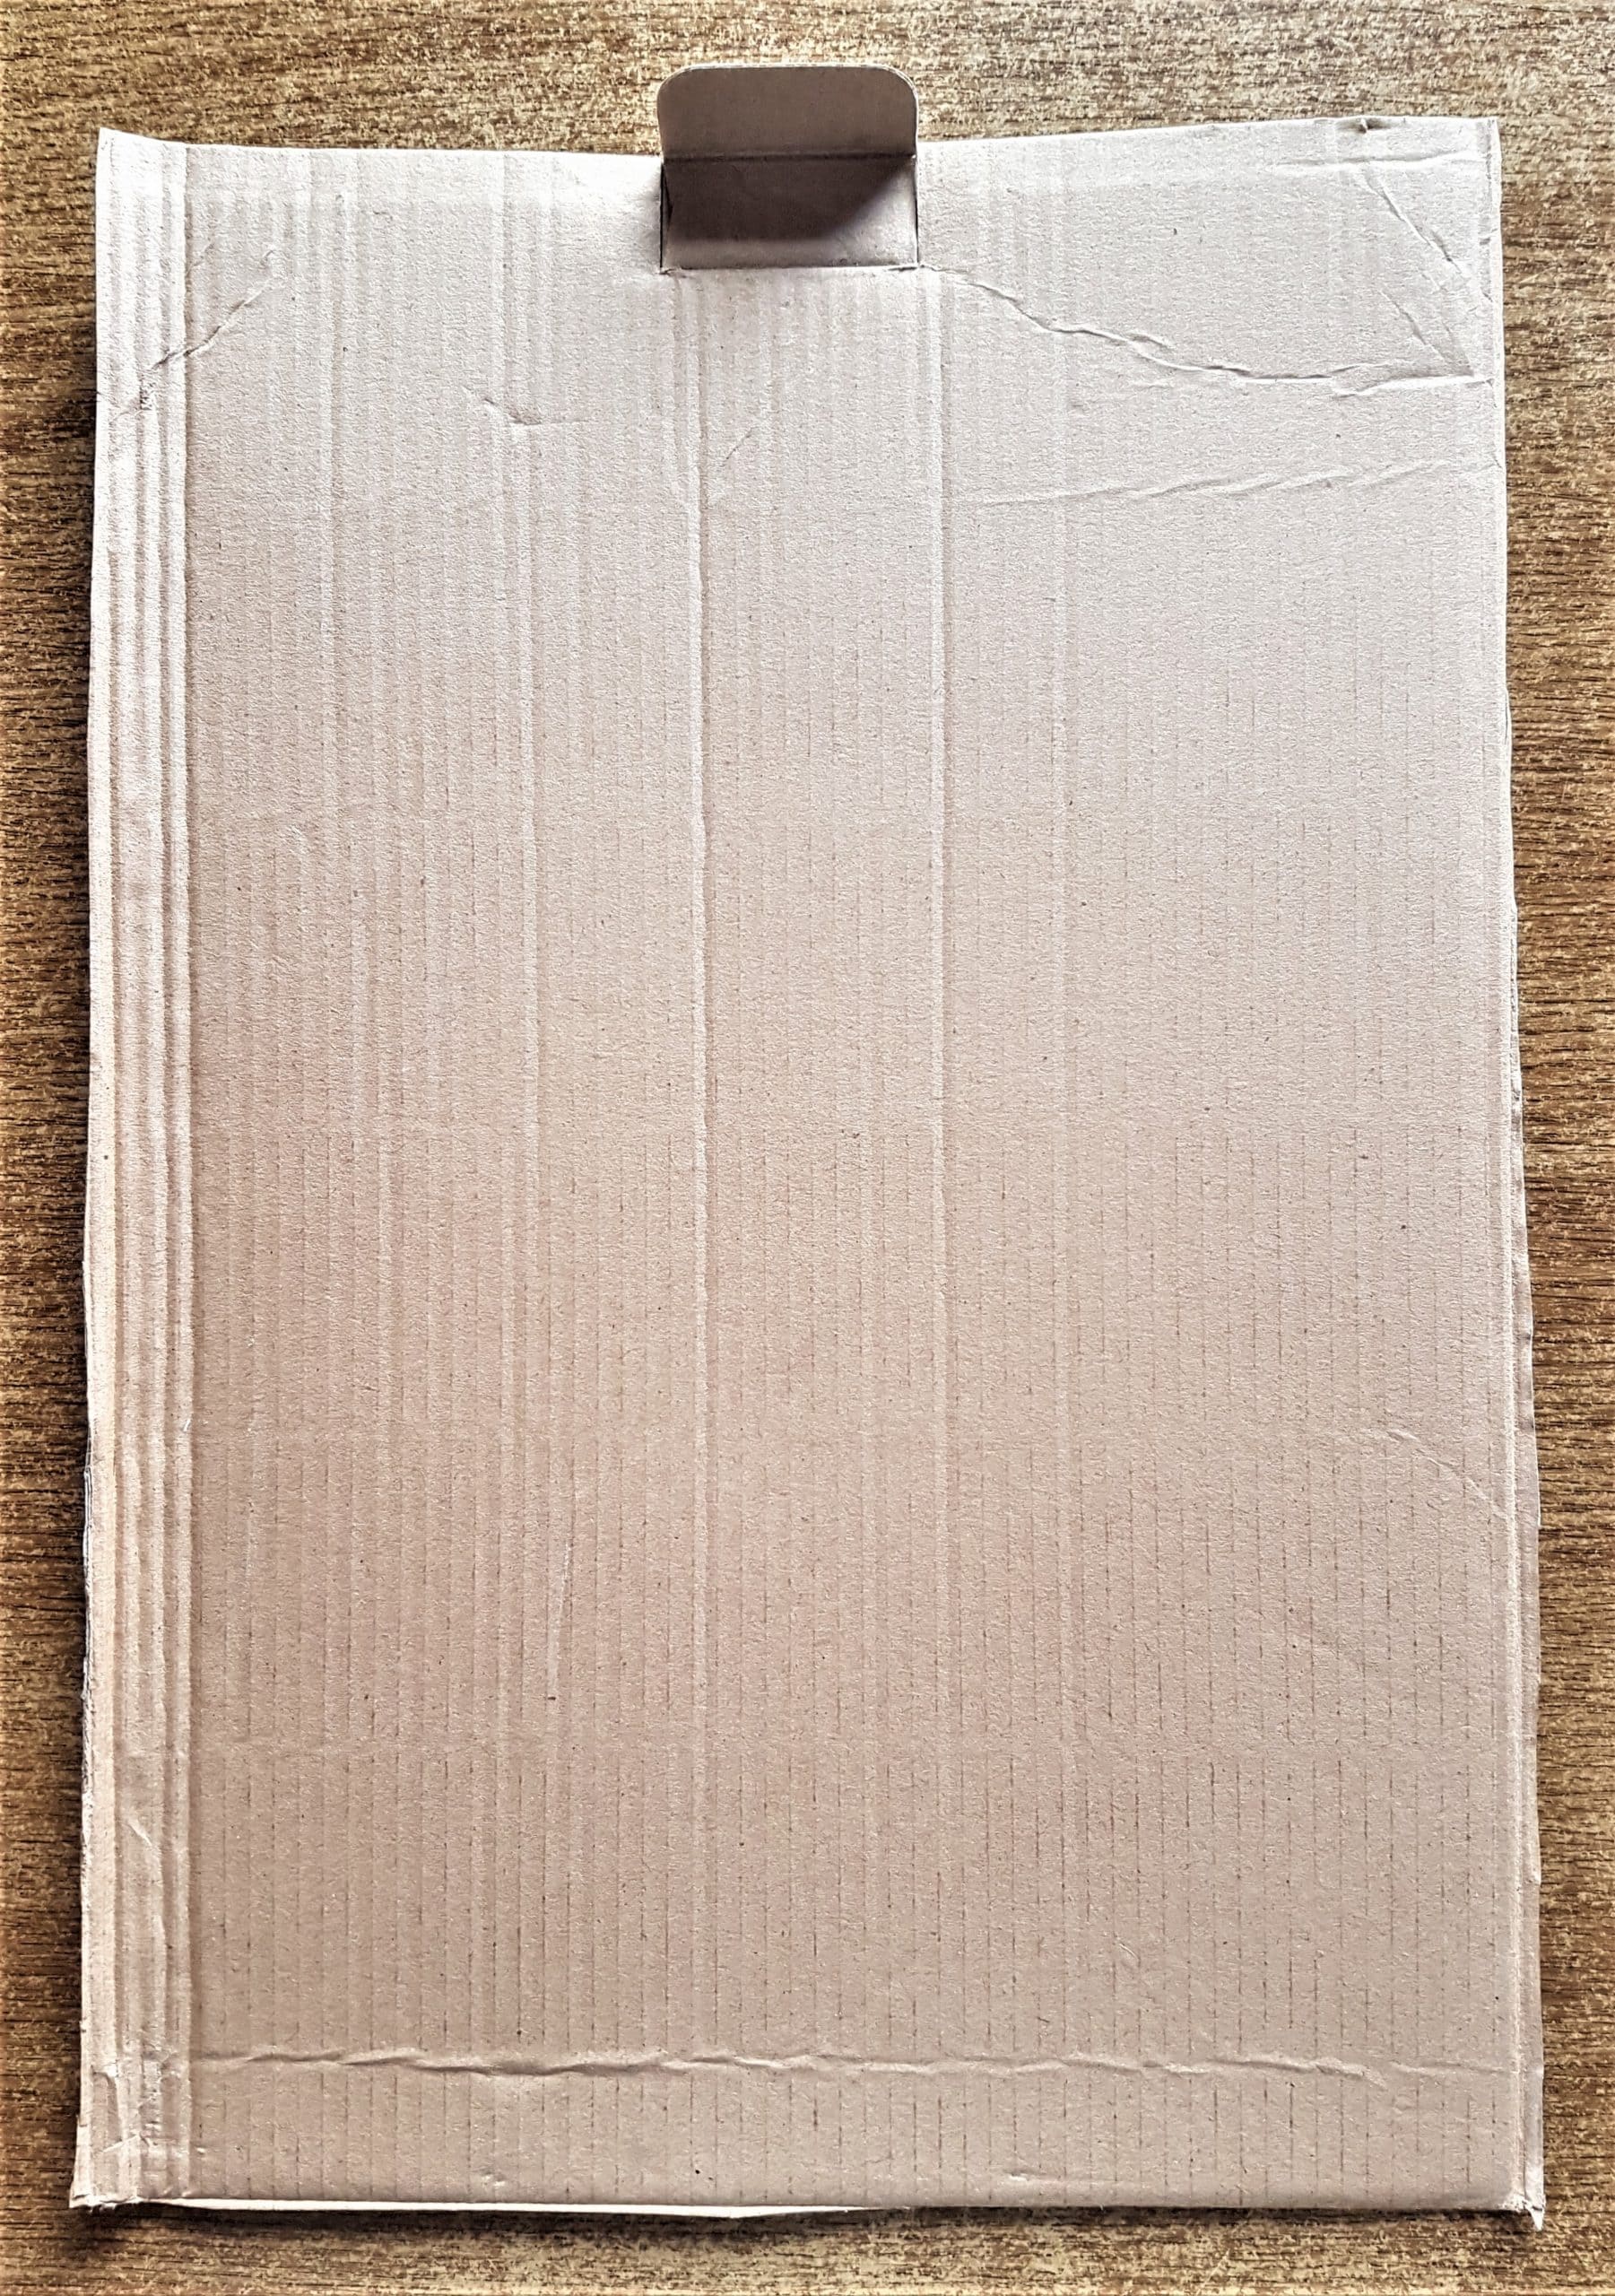
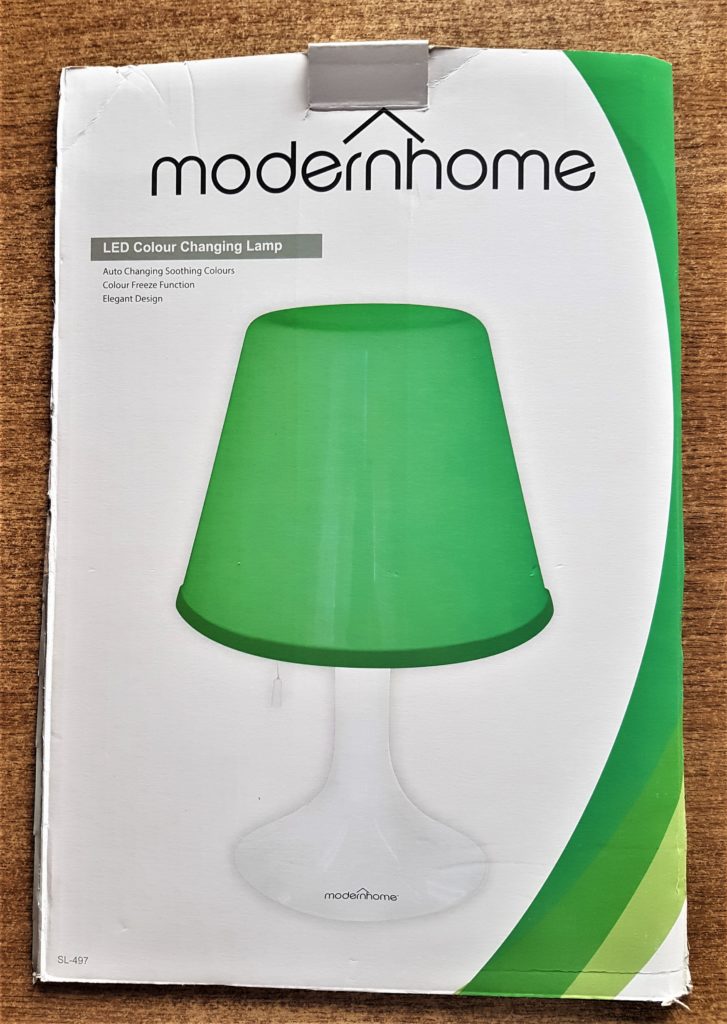
I cut out 1 side of a Cardboard Box I had in my supplies.
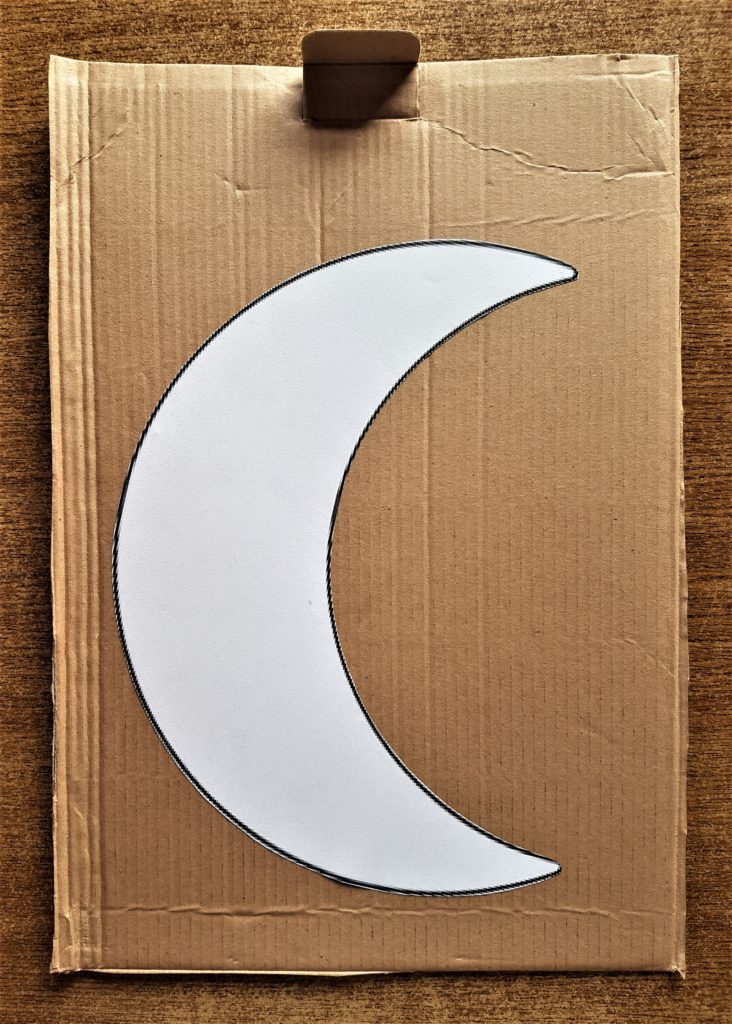
I put the Moon Template Image on the Cardboard Cut-Out.

Making the Cardboard Moon
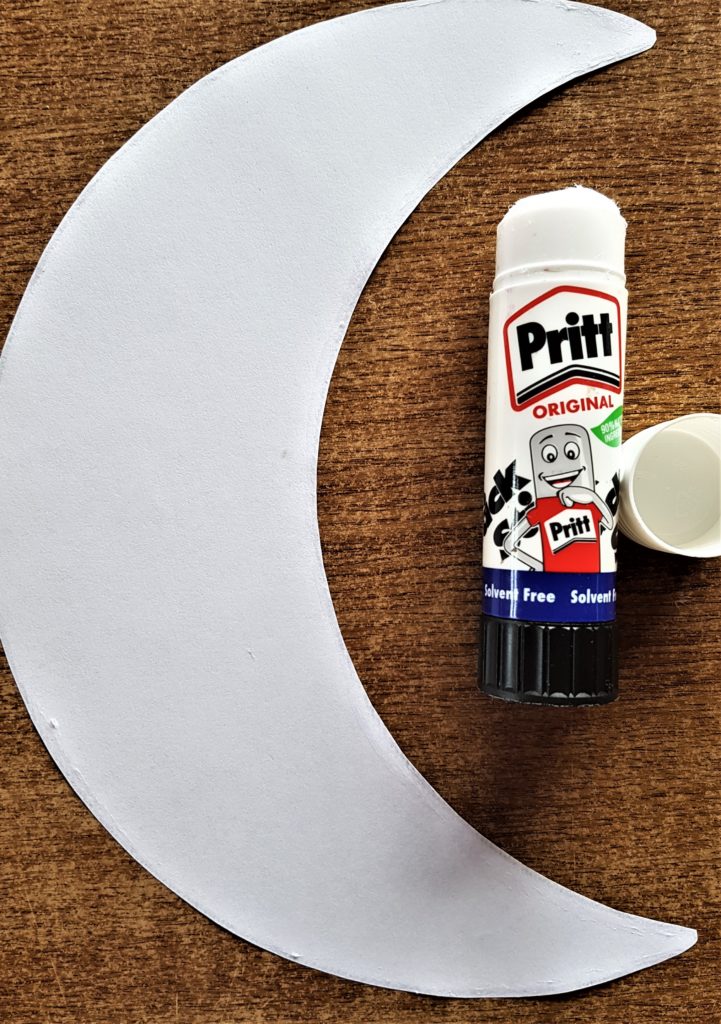
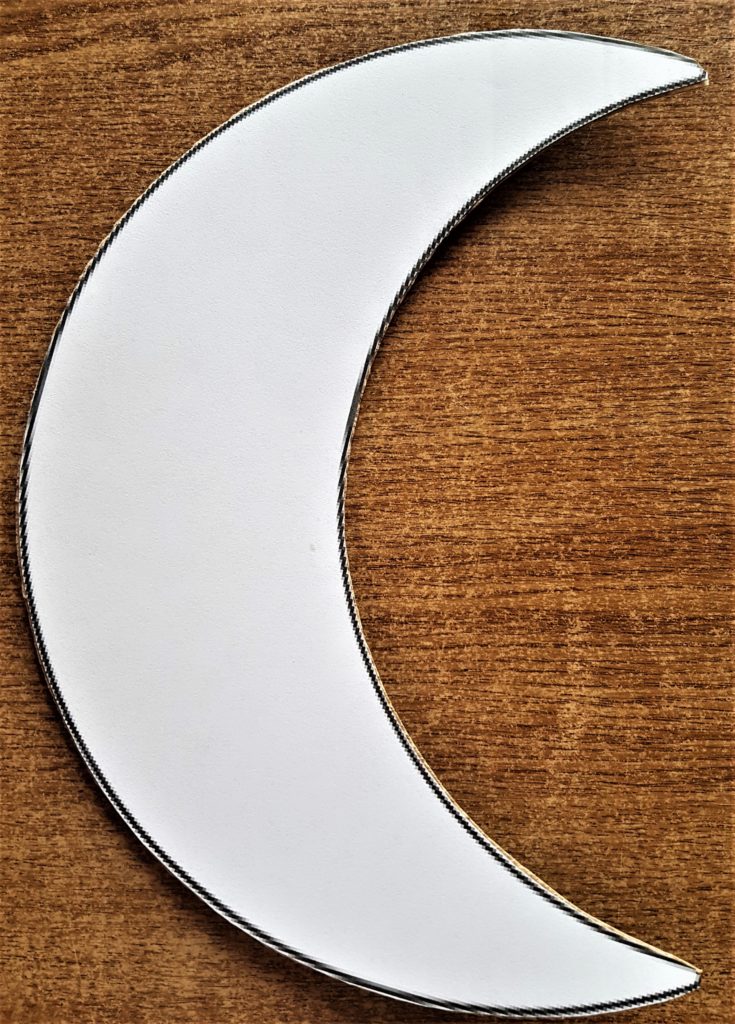
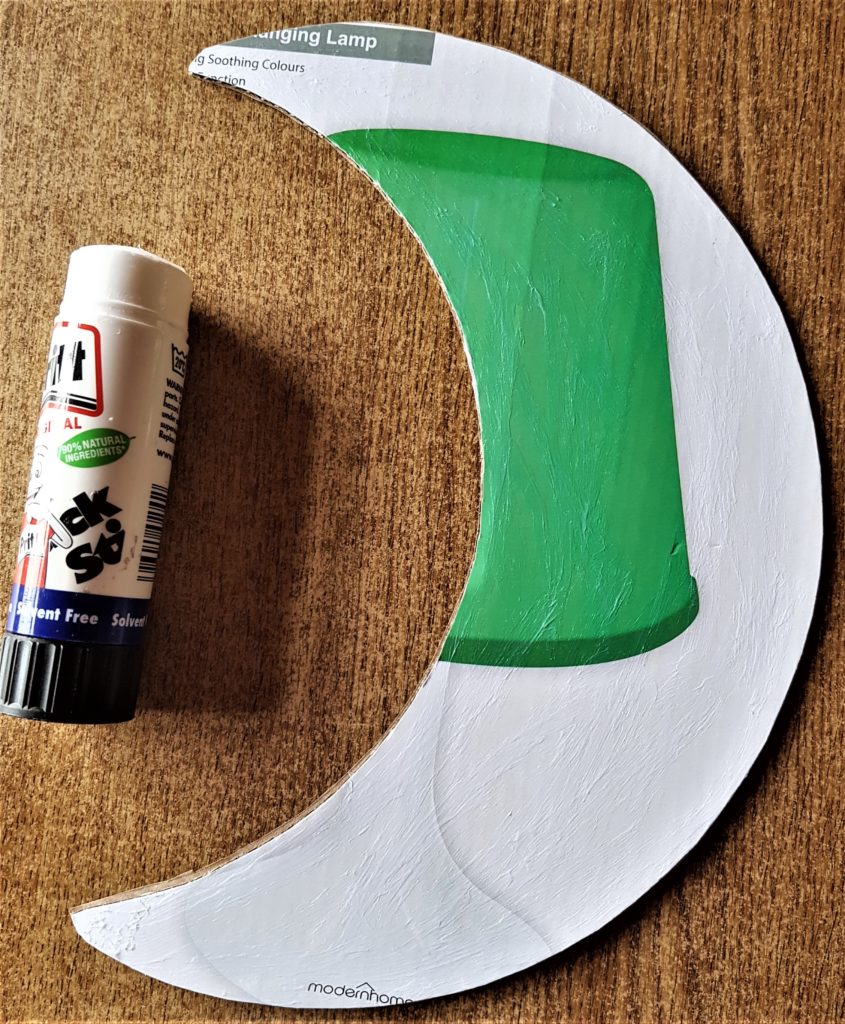
I cut around the lines of the moon template. I put Pritt Stick all around the edges of the moon image and attached it to the cardboard. Pritt Stick Original Multi Pack.
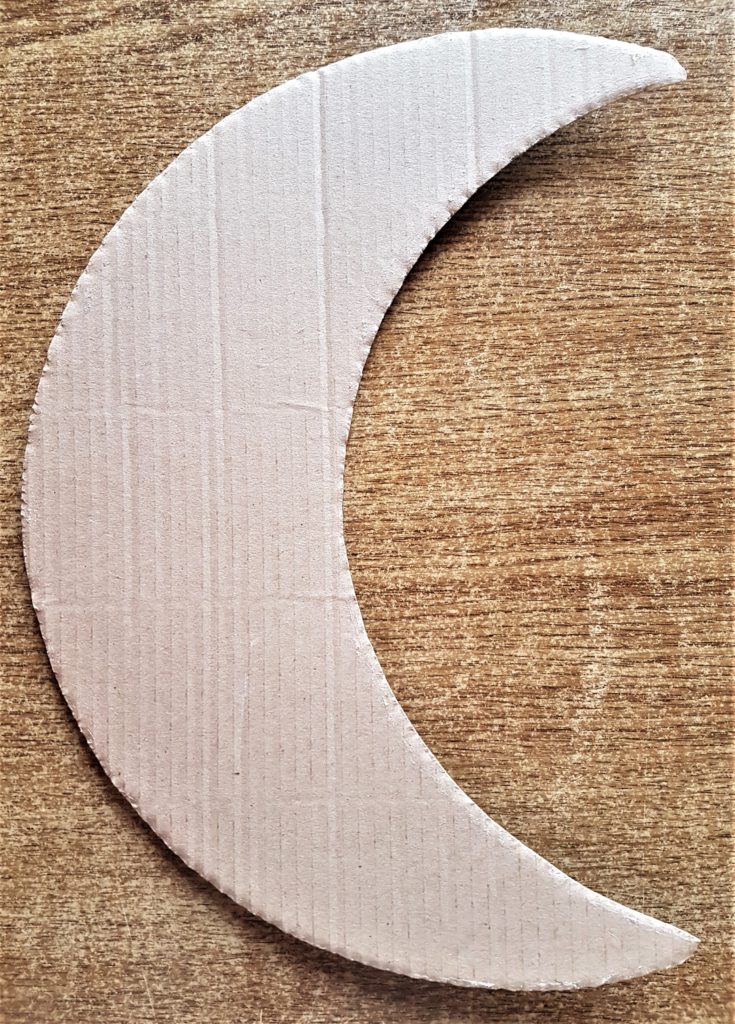
I cut around the moon template on the cardboard using a sharp scissors.
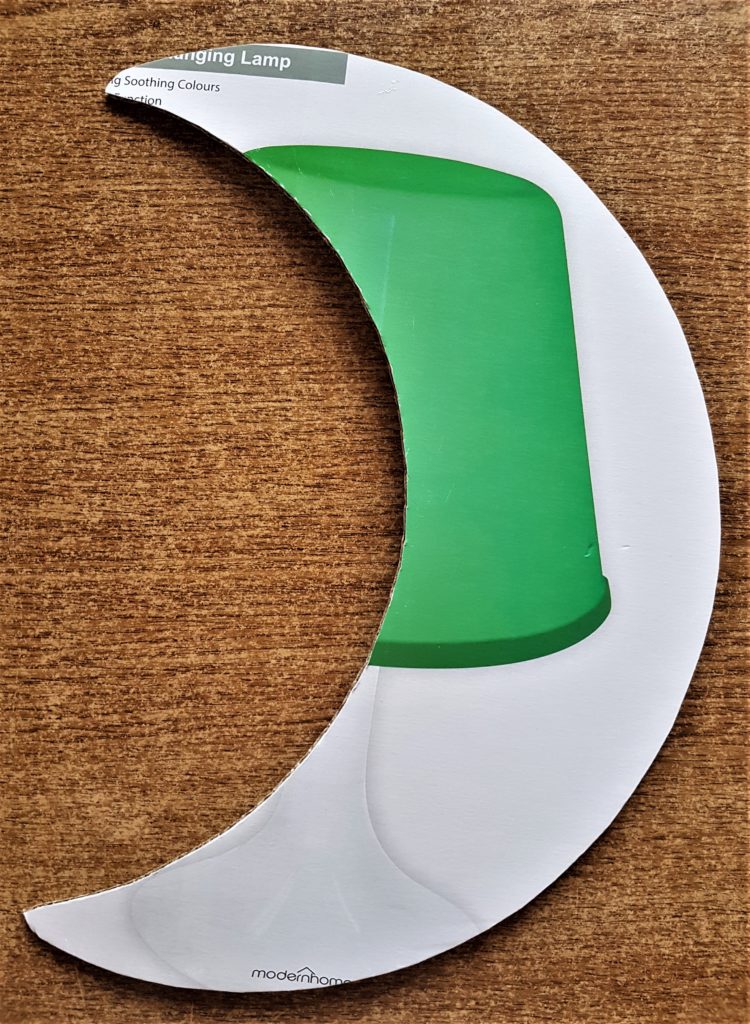
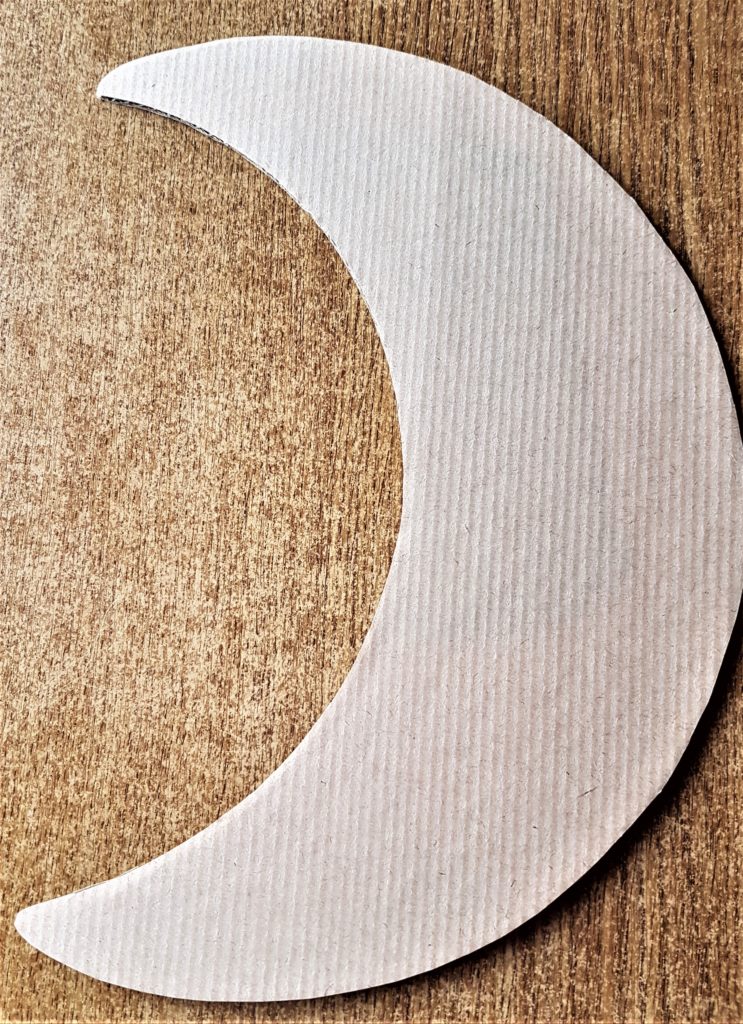
I removed the template from the cardboard.
Adding Brown Paper to the Moon
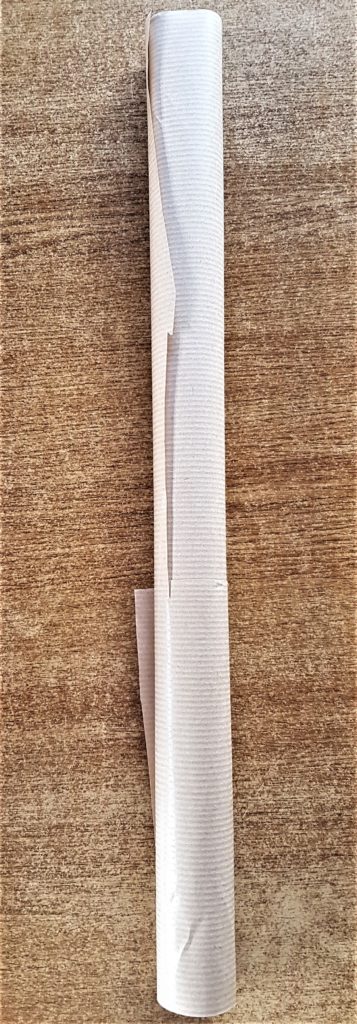
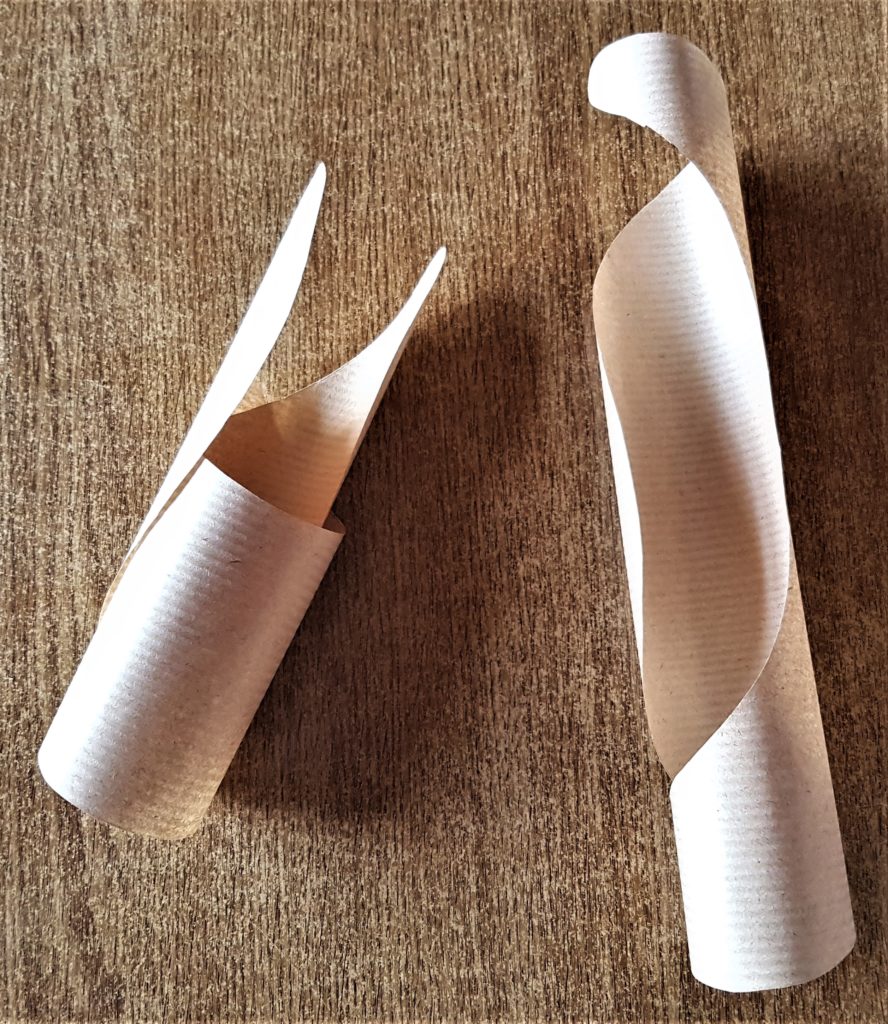
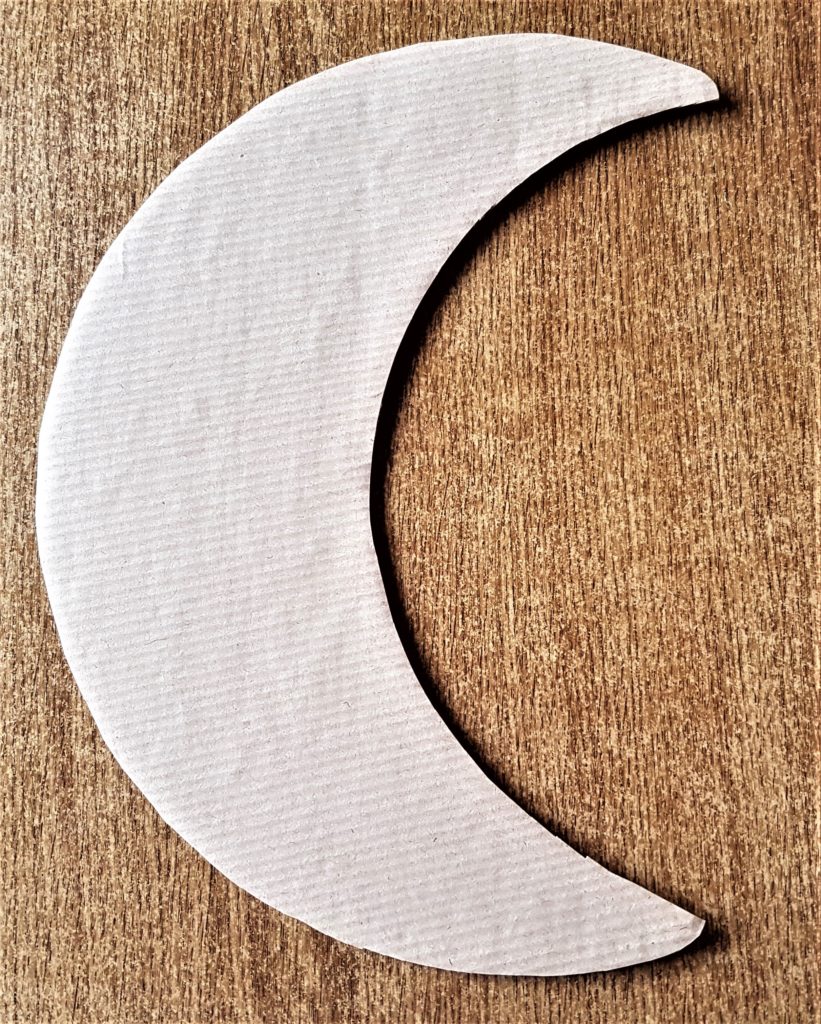
I had a roll of brown paper and decided to add it to the cardboard moon. This isn’t a necessary step if you don’t want it to be. I thought it would give a smoother surface and the front and back of the moon would be the same colour. I traced the moon shape onto the brown paper twice and cut them out. Brown Kraft Paper Jumbo Roll.
I put Pritt Stick on the Cardboard moon and attached the brown paper moon to each side of the cardboard. Pritt Stick Original Multi Pack.
Wool for The Moon
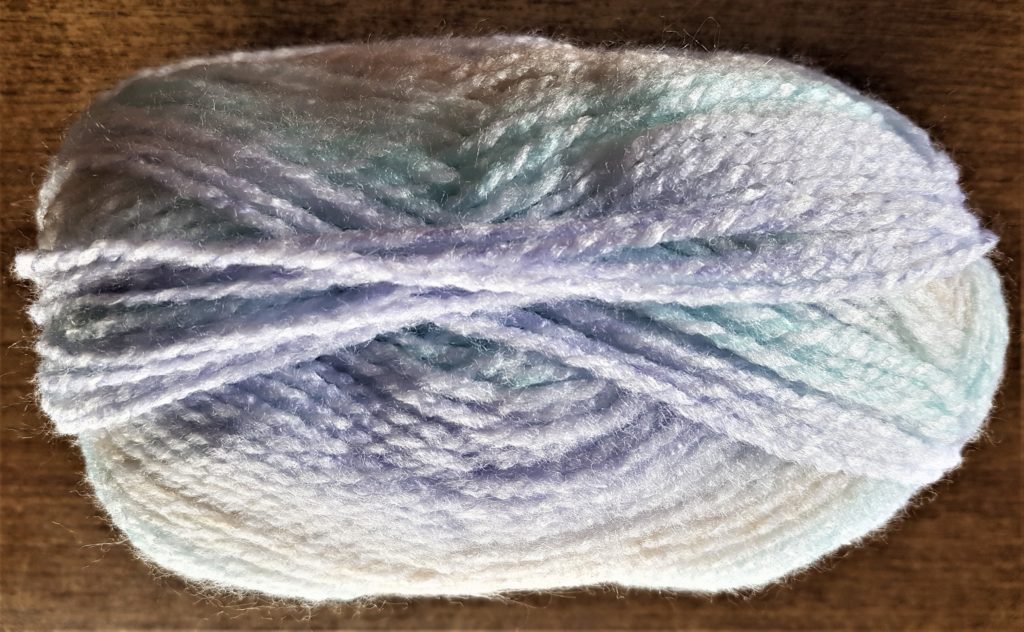
I bought a ball of multi-coloured wool a couple of months ago and I thought it would be perfect for this craft. Knitting Cotton Yarn Multi-Colour.
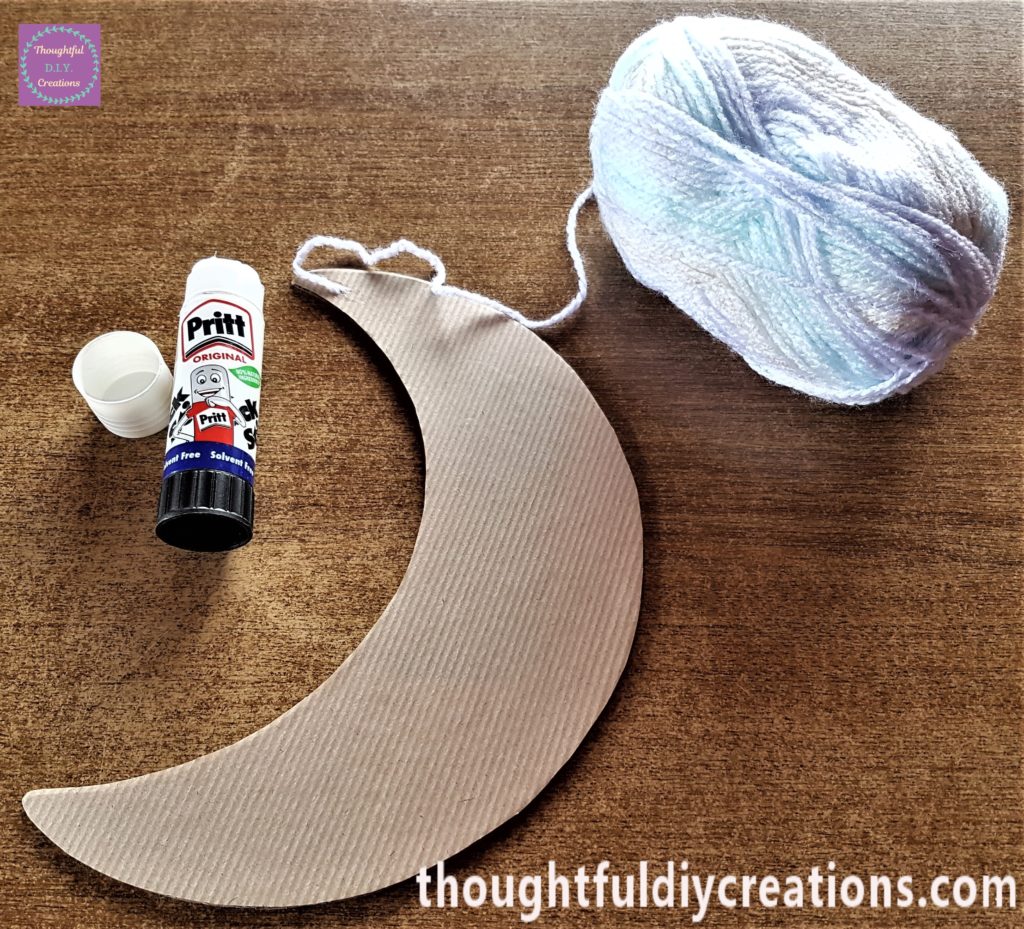
I started by putting some pritt stick on the back of the moon and attaching the start of the wool to keep it in place. Pritt Stick Original Multi Pack.
Adding Wool to the Moon
I then turned the moon around and wrapped the wool around the top of the moon. Knitting Cotton Yarn Multi-Colour.
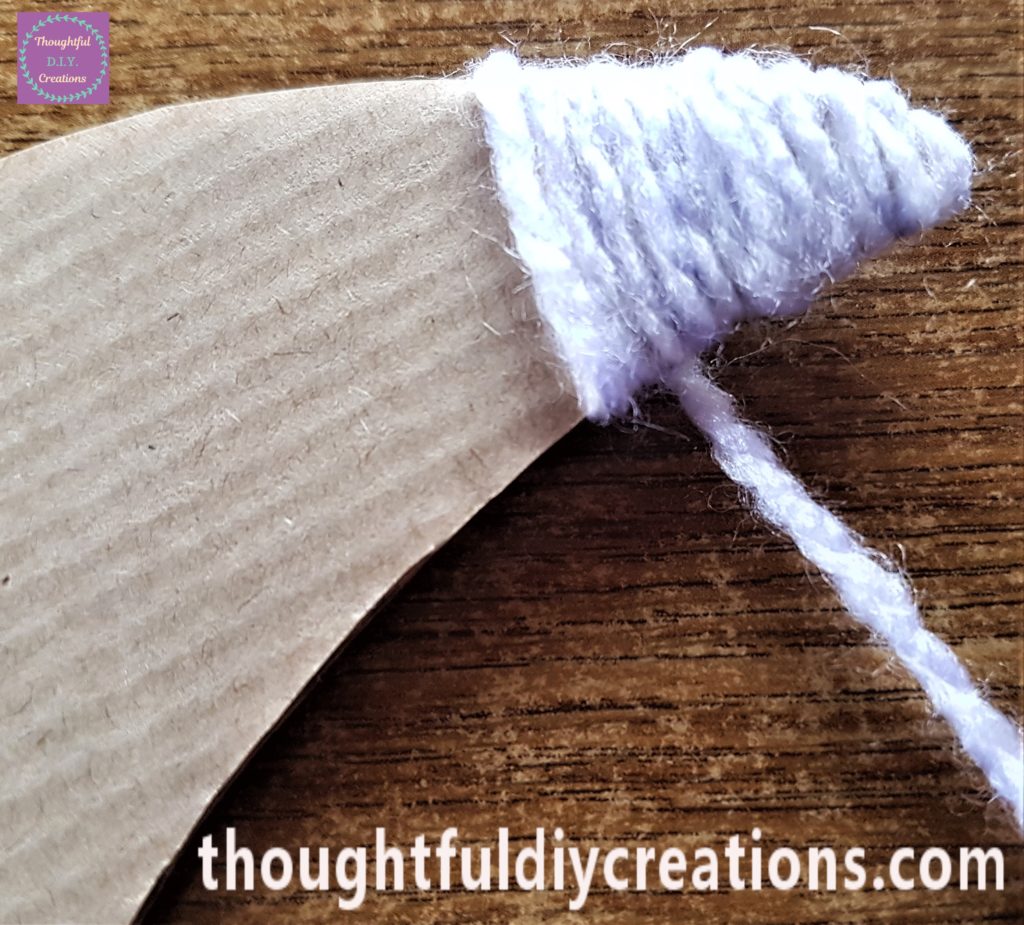
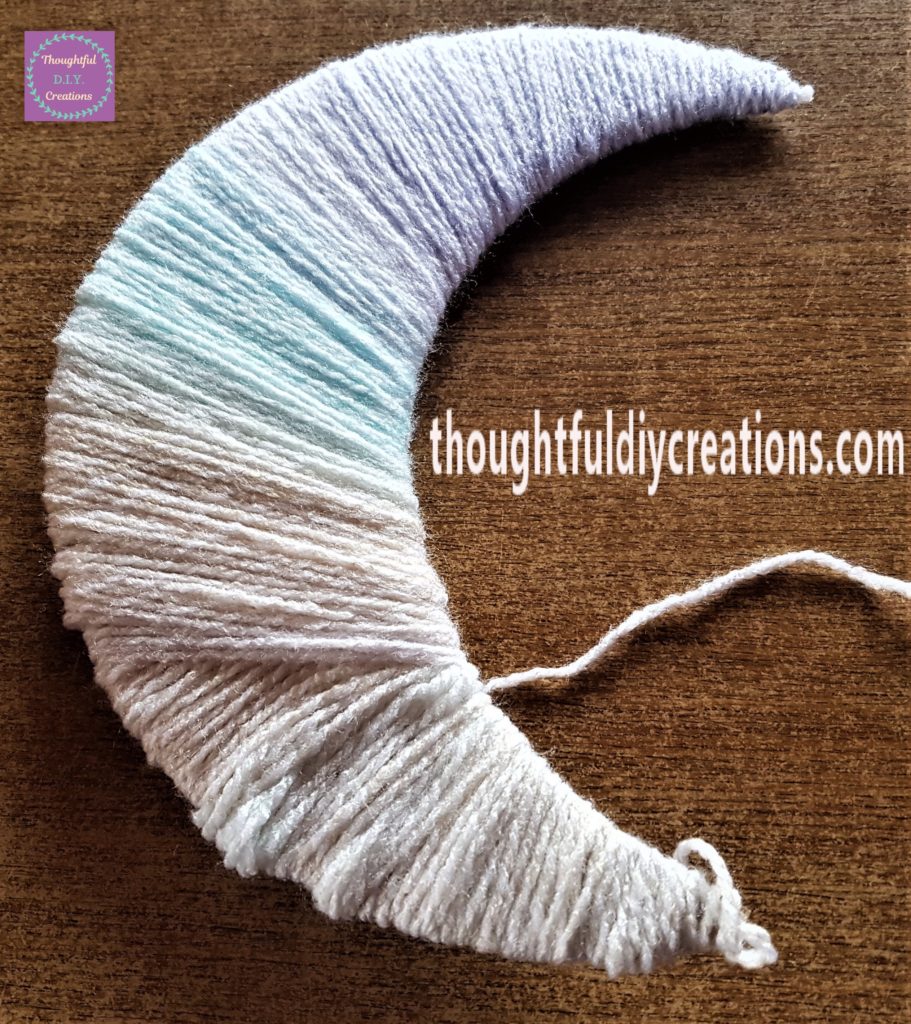
I wrapped the wool around the moon and kept it close together. I worked my way up to the top of the moon and back down again to keep the wool in place at the top. I then continued wrapping the wool down the moon.
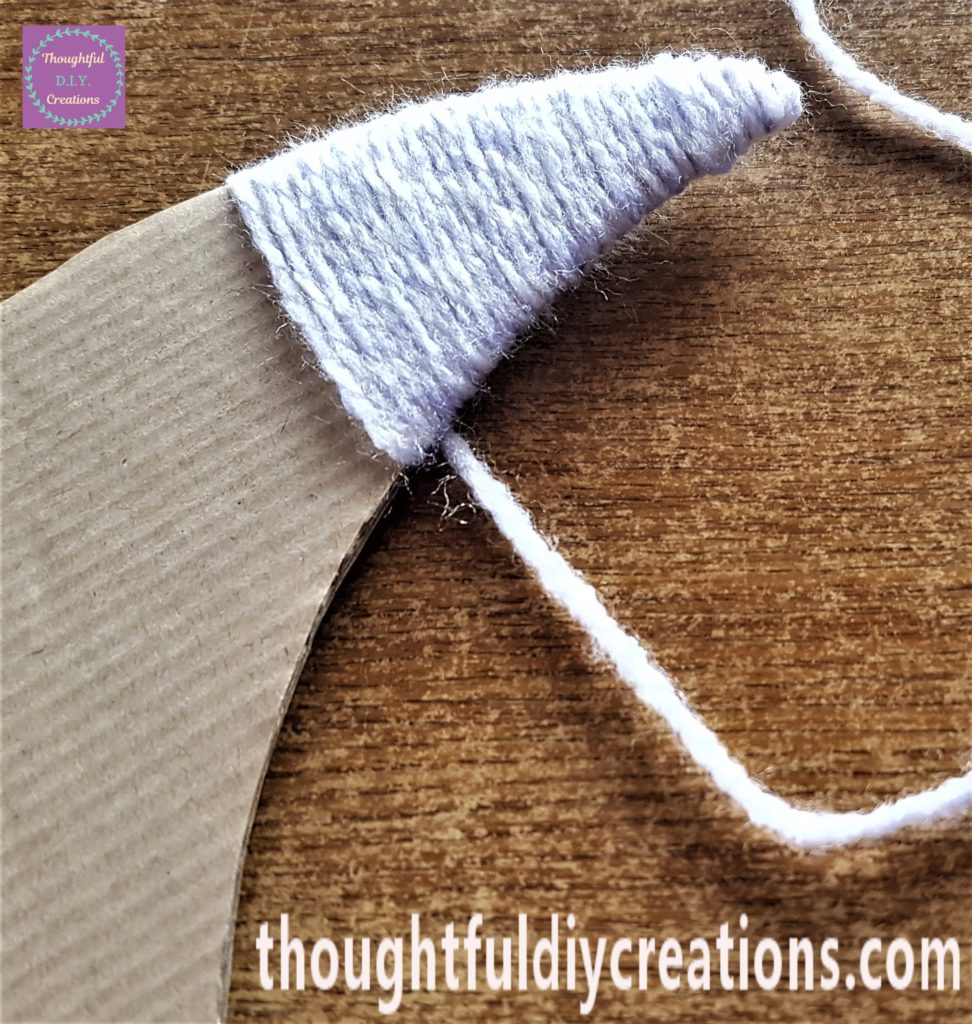
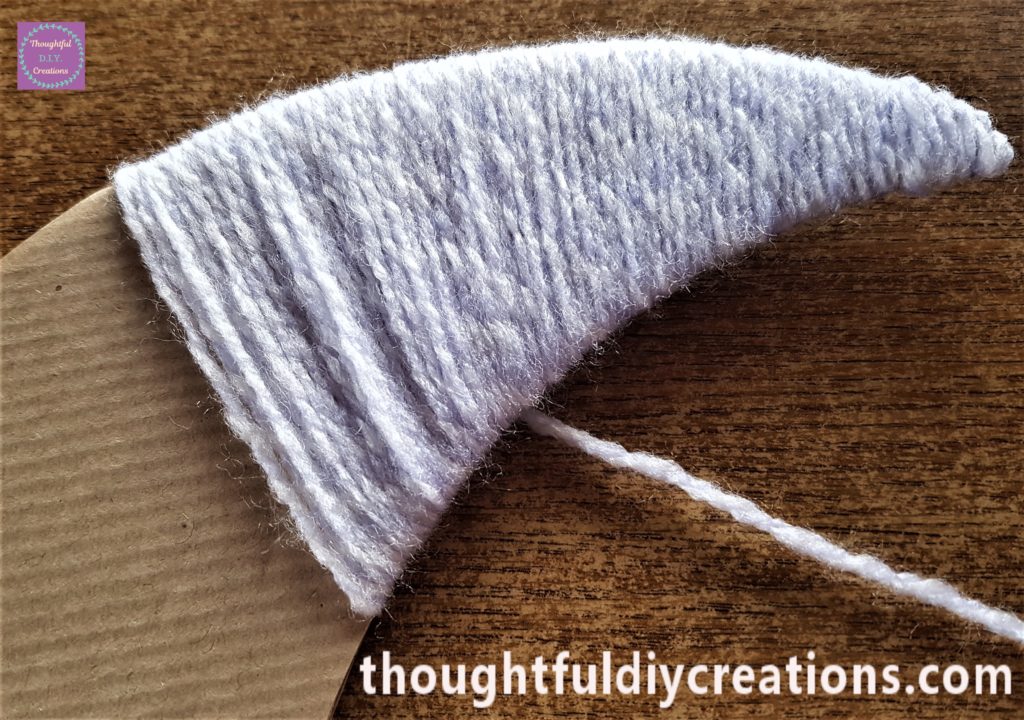
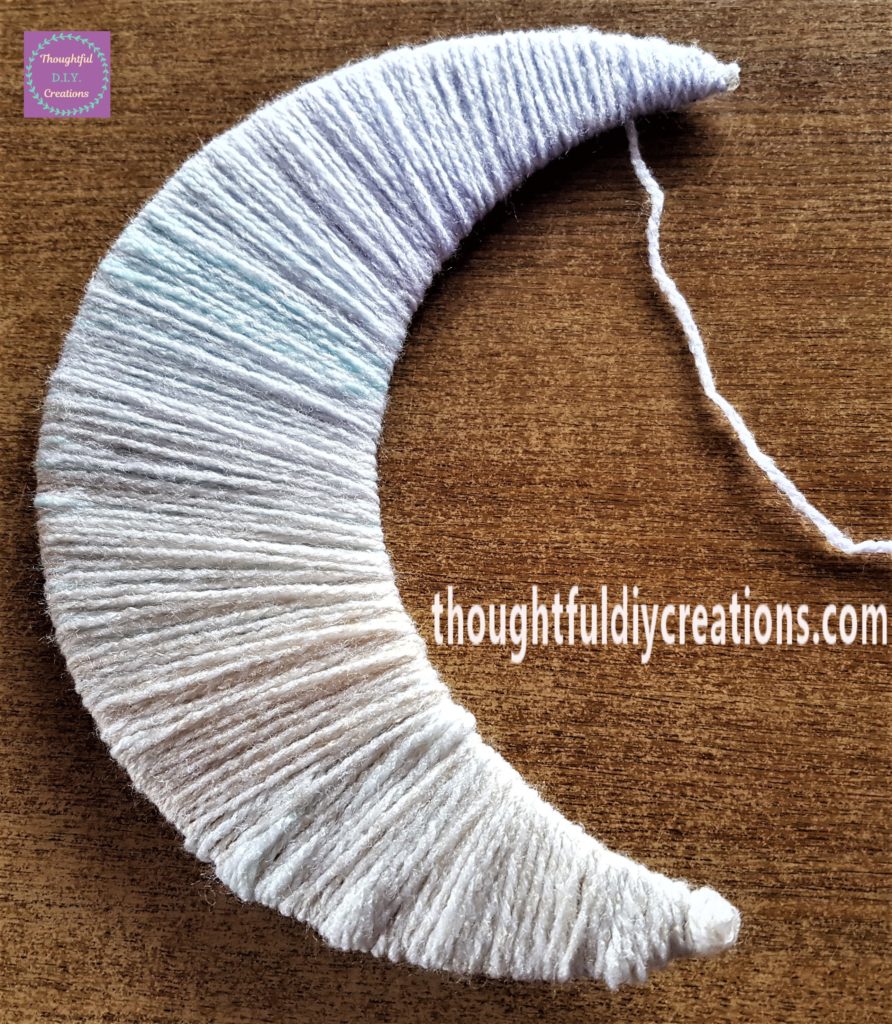
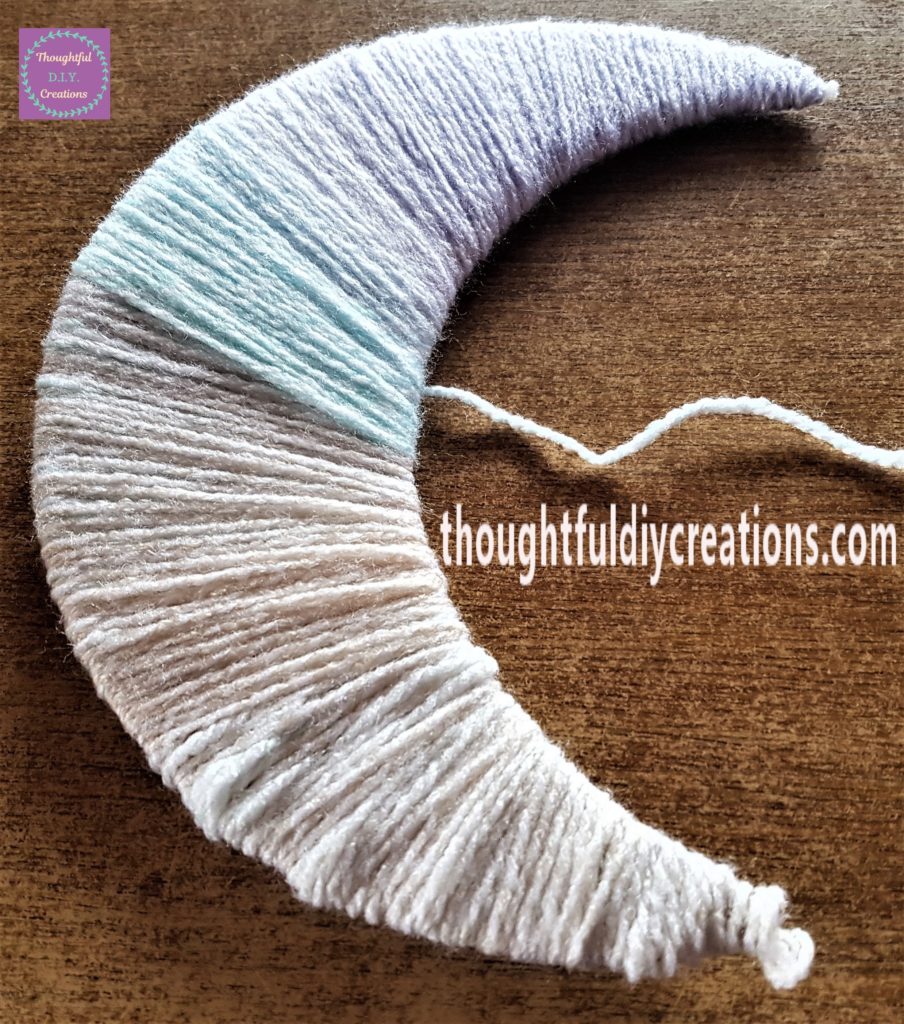
You can start to see the light green shade of the wool in the image below.
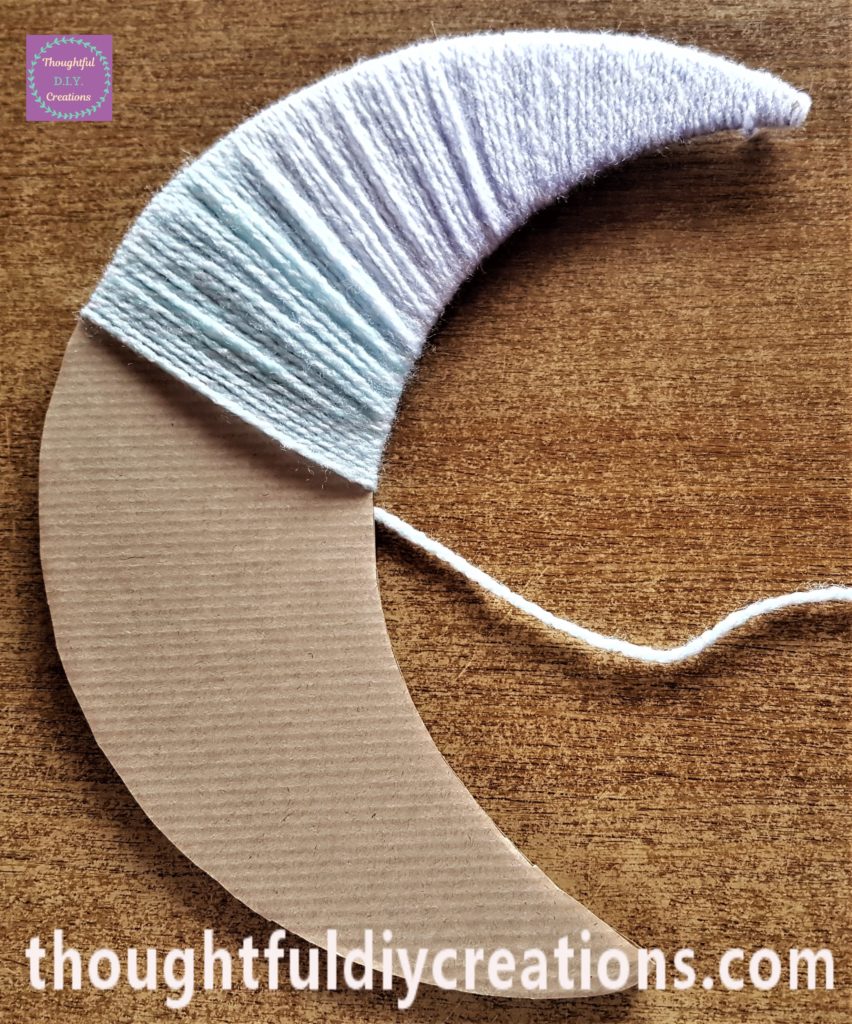
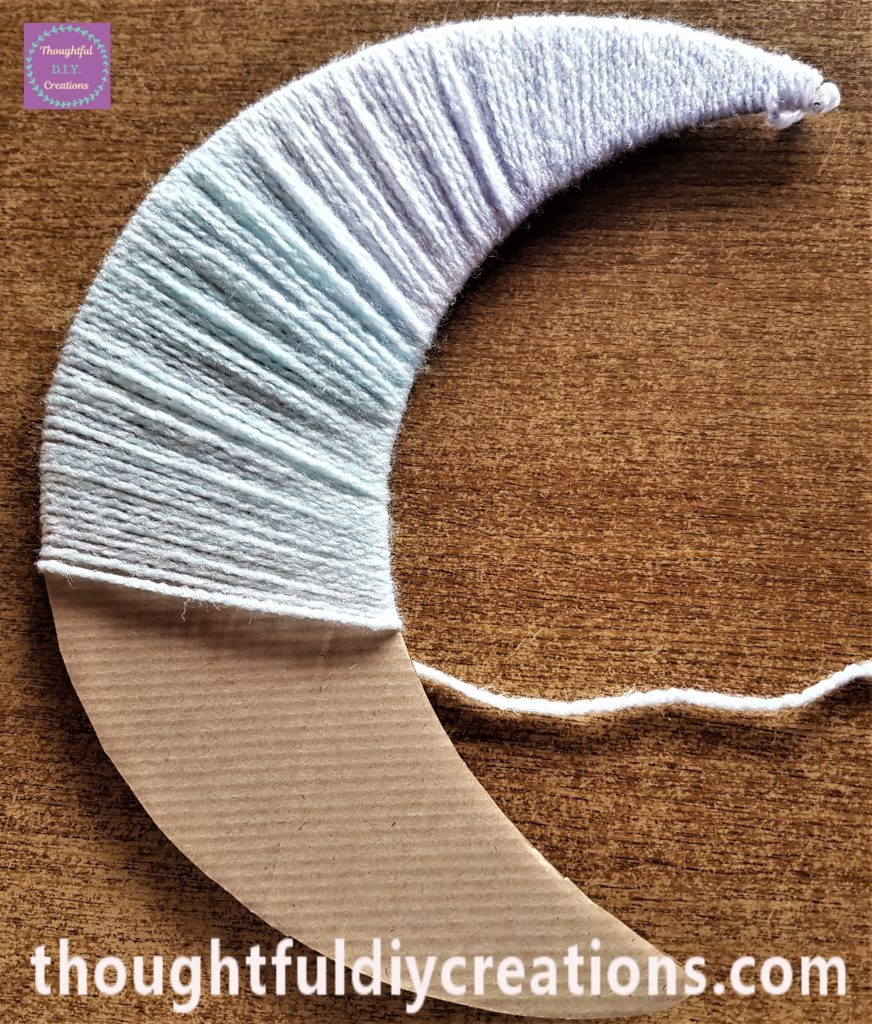
The peach shade of the wool is visible in the photo below.
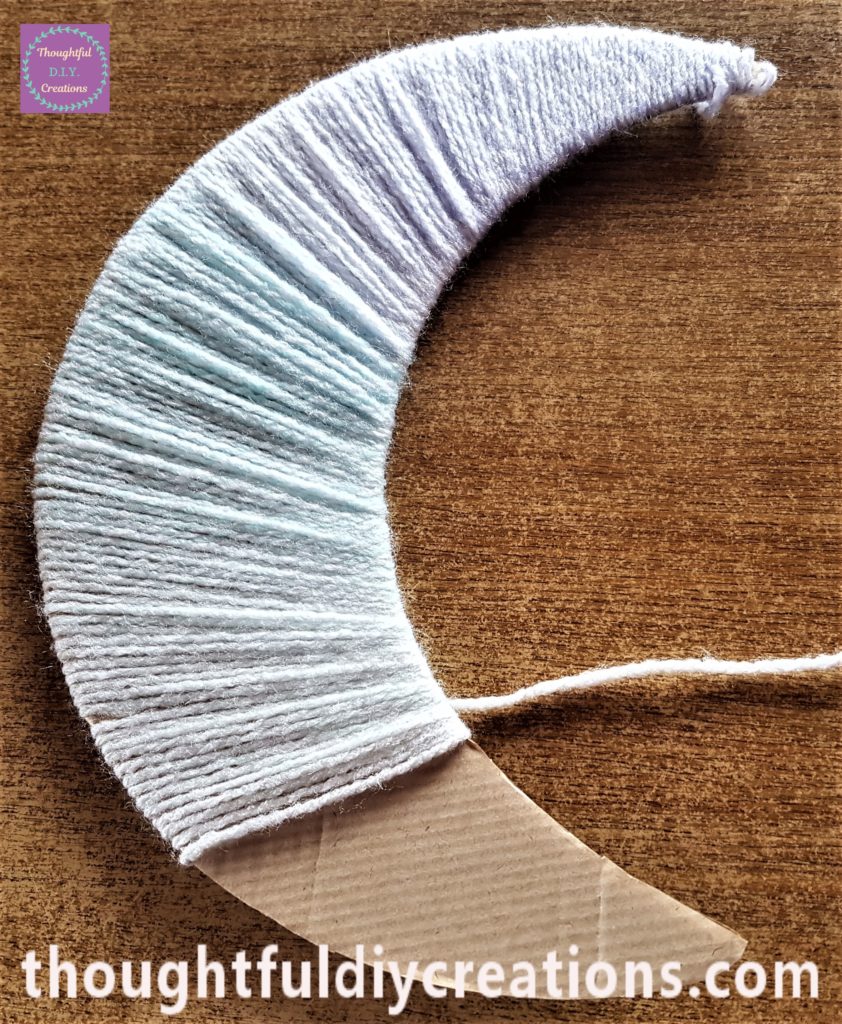
I continued adding the wool to the moon until it had one layer all over. Knitting Cotton Yarn Multi-Colour.
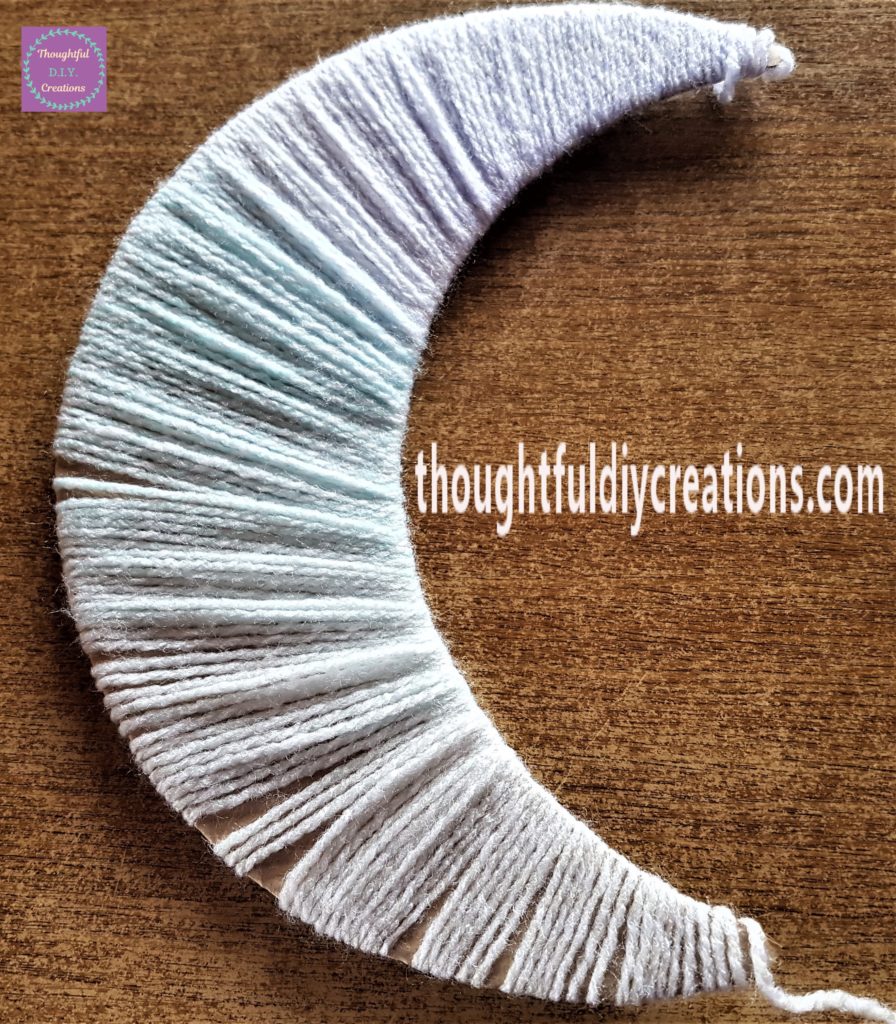
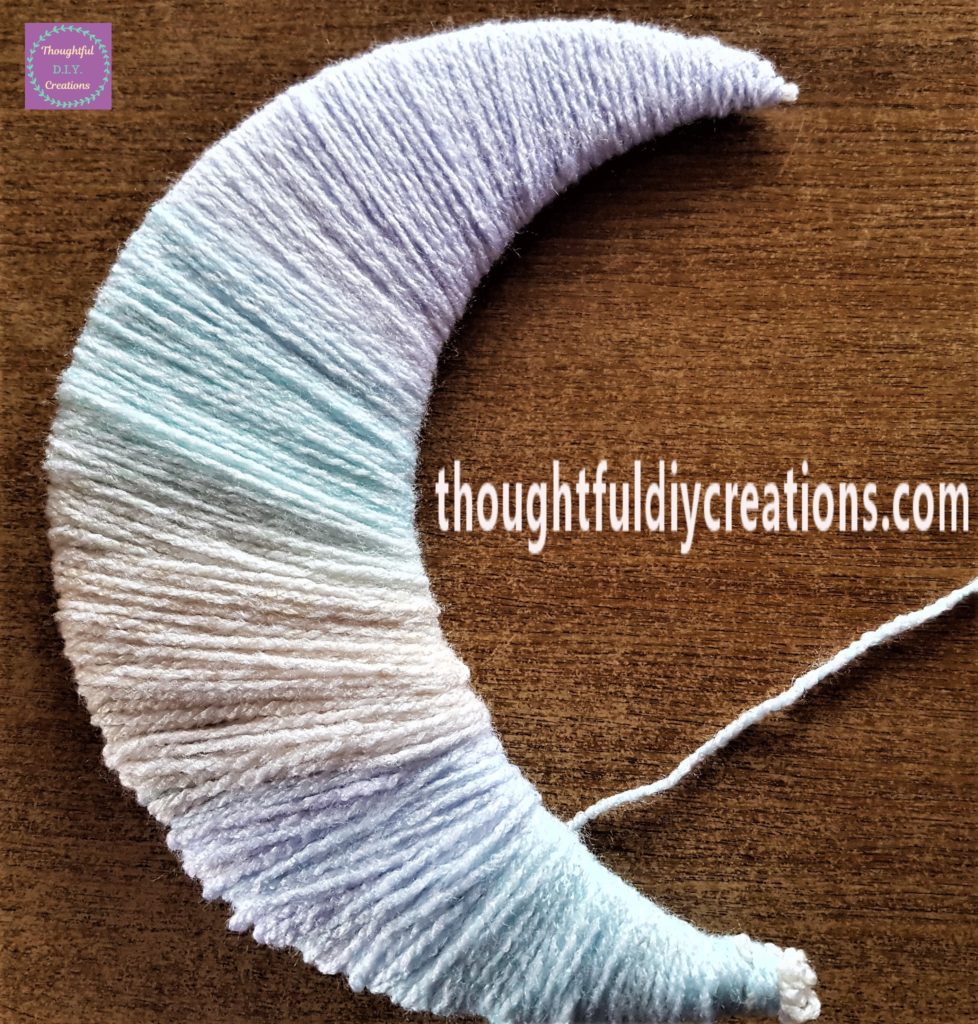
I then worked my way back up the moon by adding another layer of wool and filling in the gaps.
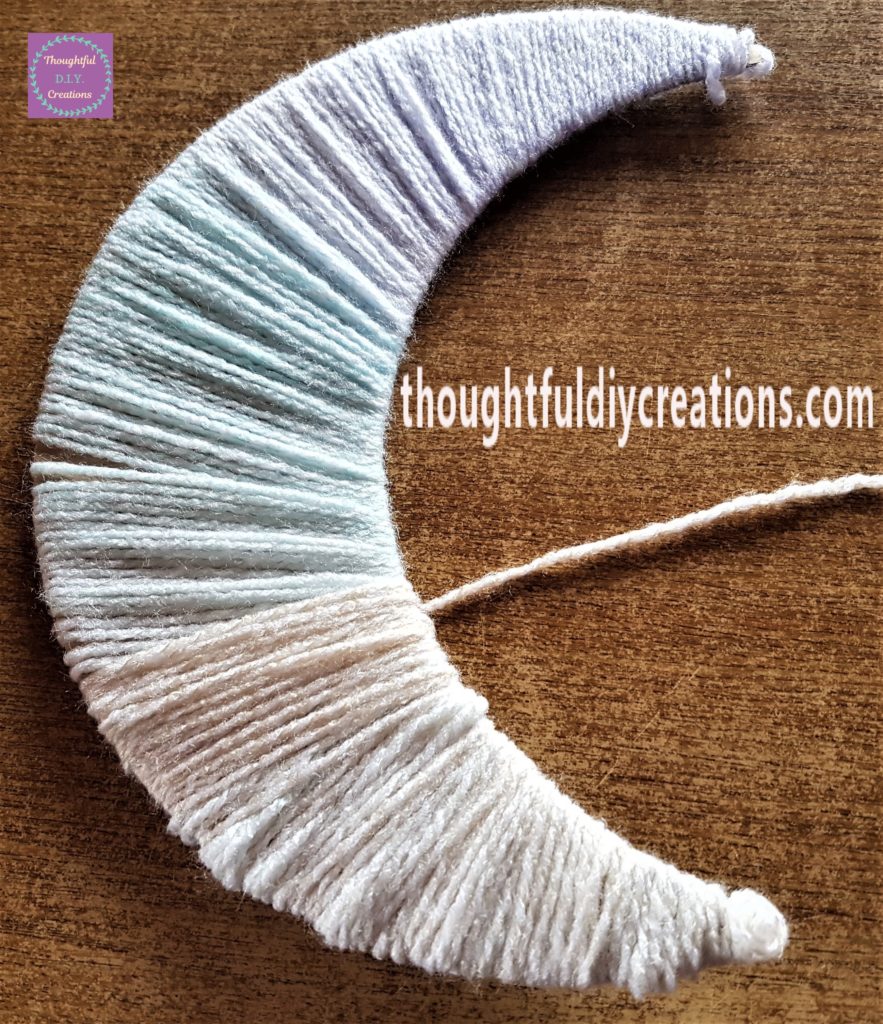
Completing the Wool Moon
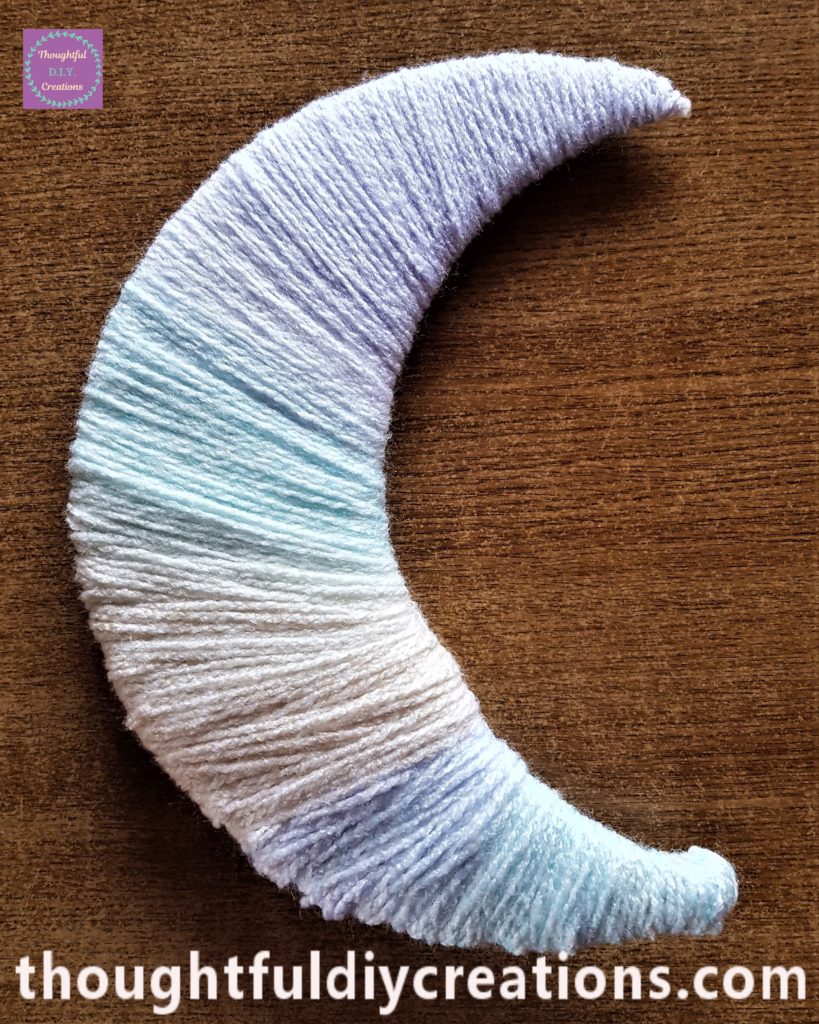
The images below show the stages of the third and final layer of wool being wrapped around the moon. This gave a fuller appearance, the colours of the wool are more visible and vibrant, and all the gaps are filled. Knitting Cotton Yarn Multi-Colour.
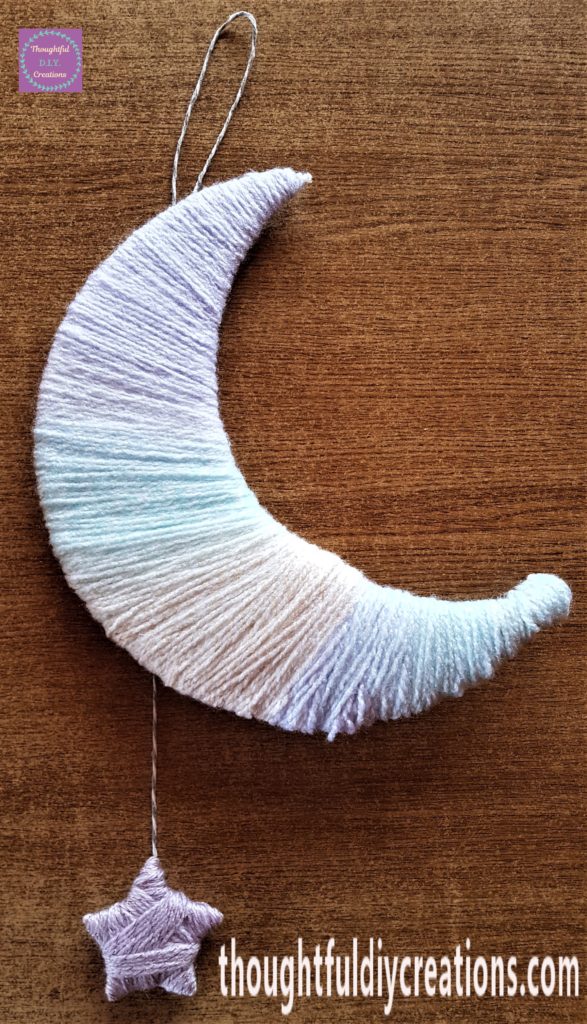
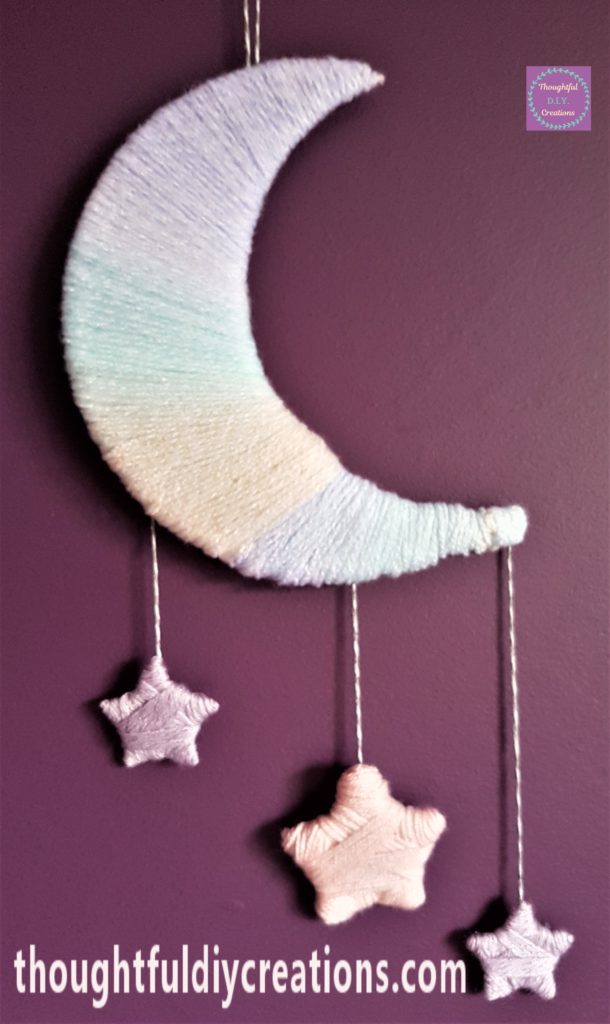
This is how the Moon looked when it was completed. I added hot glue to the back of the moon where I cut off the final piece of wool. Hot Glue Gun.
Making the Star Shapes
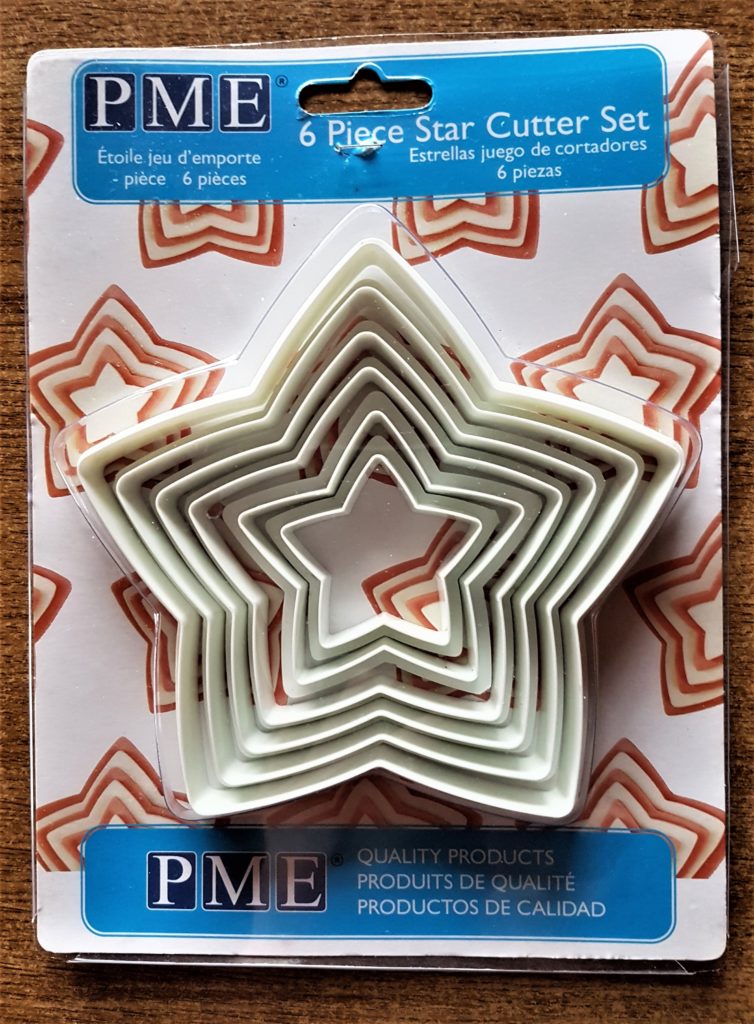
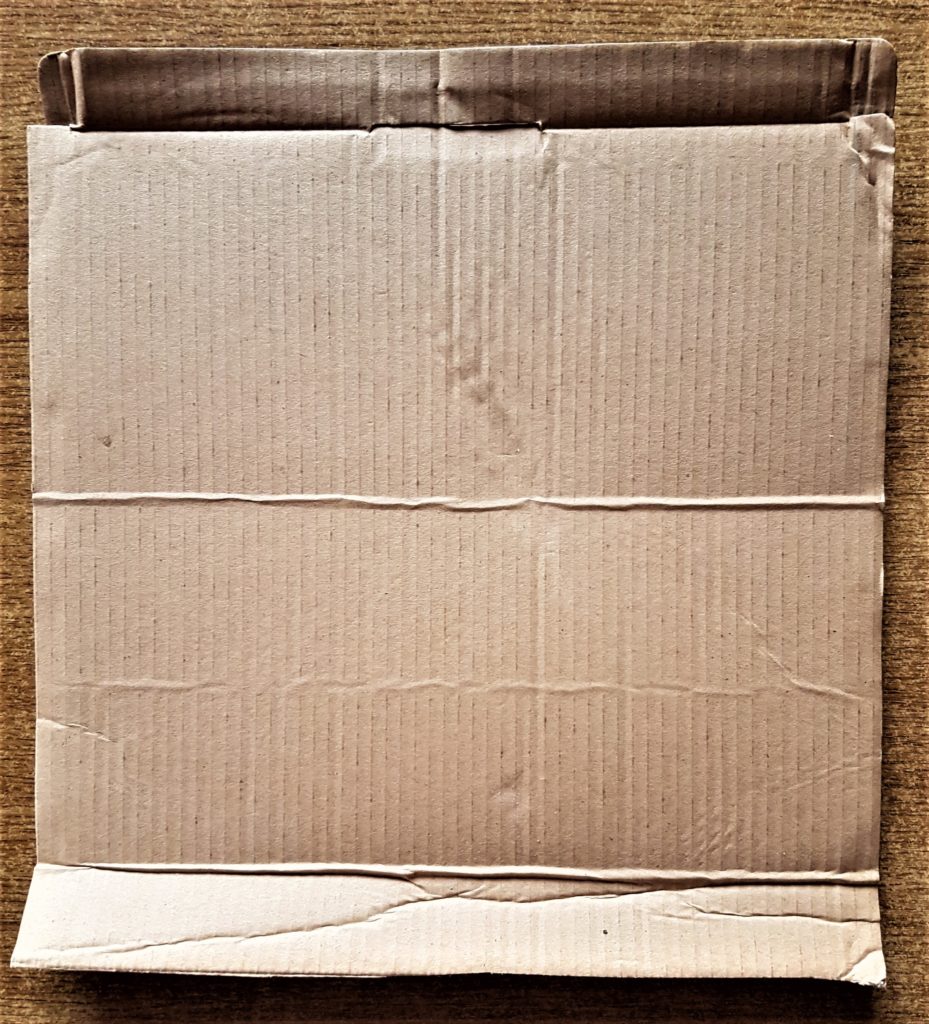
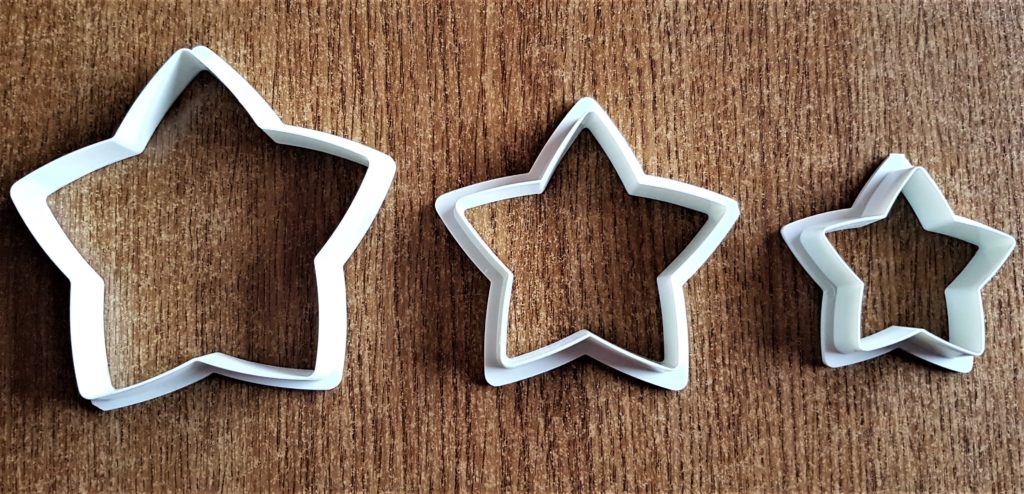
I had a set of Star shapes that I will use as a template. I cut a piece of cardboard from a box I had in my supplies. Set of 6 Nesting Star Cutters.
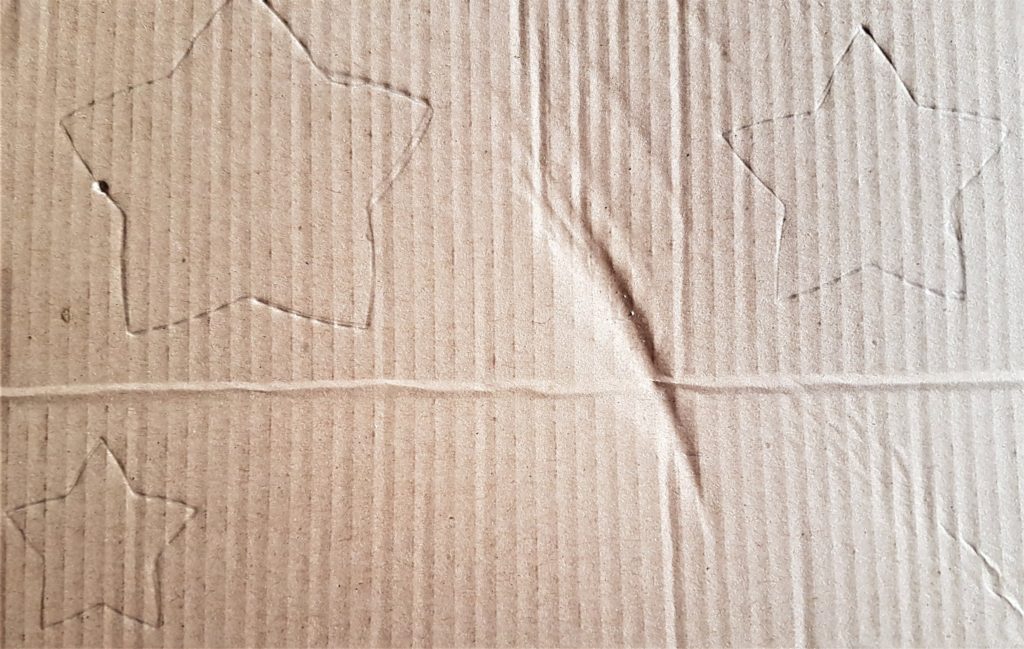
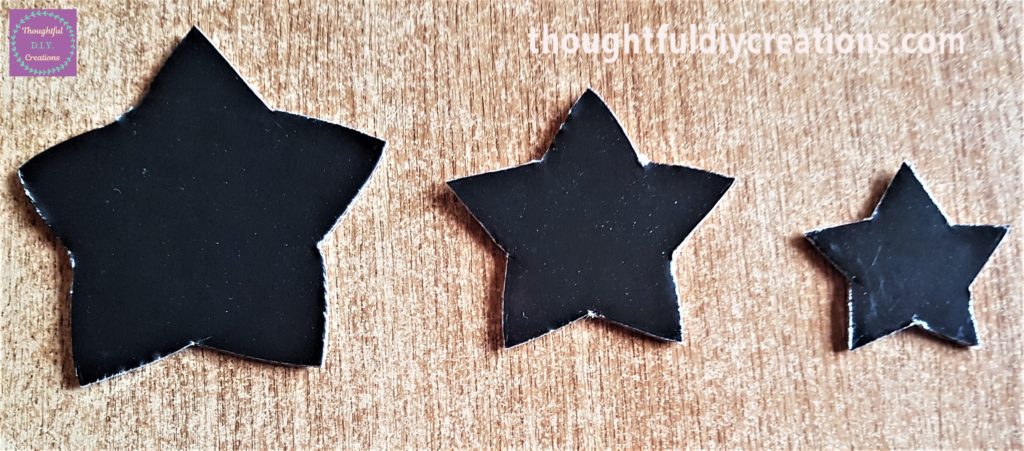
I picked the three smallest star cutters and traced around them with a pencil onto the cardboard.
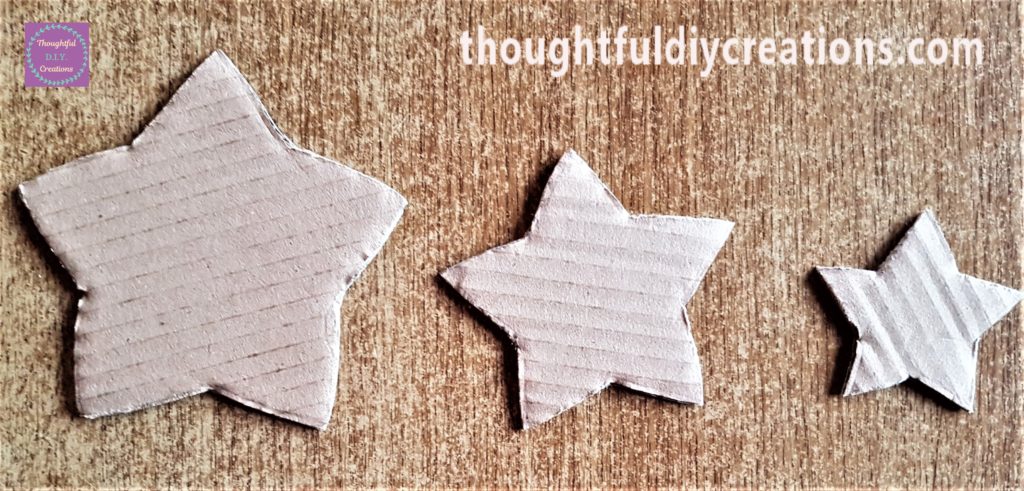
I cut out the 3 cardboard stars using a scissors.
Adding Wool to the Star
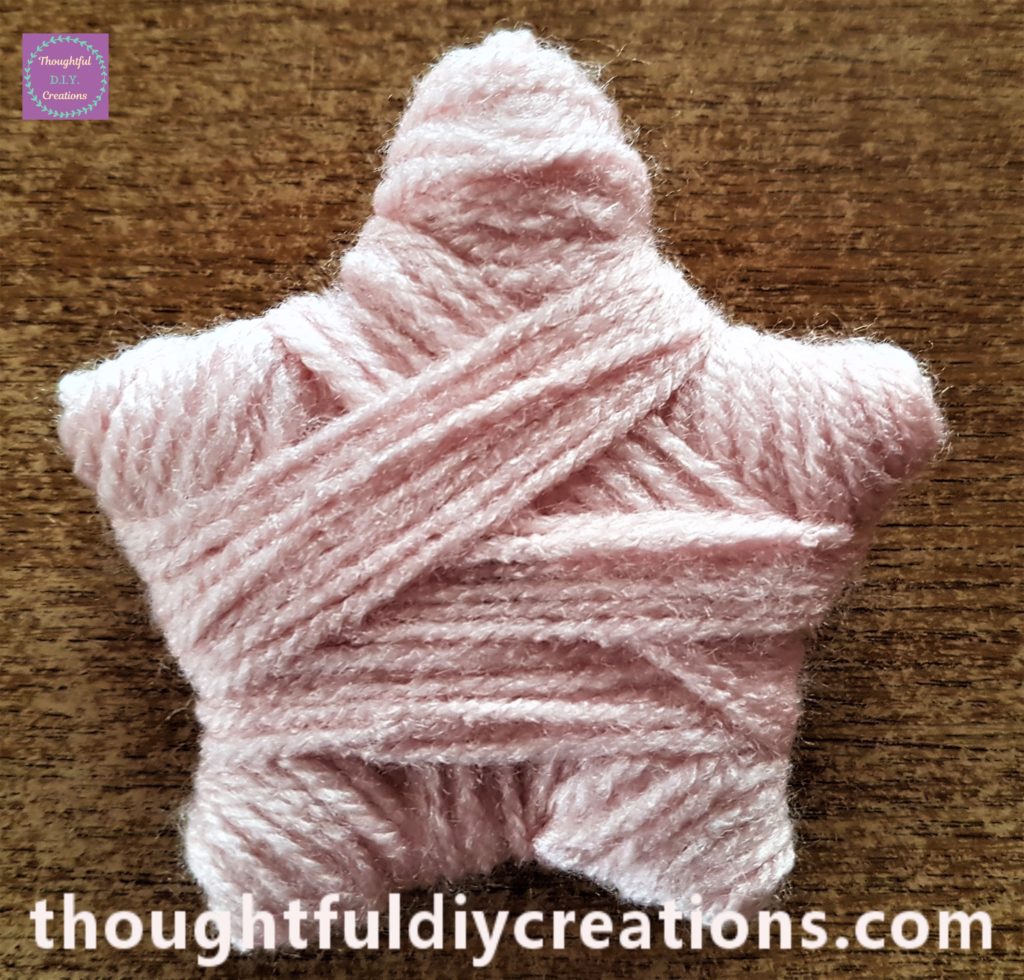
I started with the biggest star. I bought a ball of baby pink wool to complement the pastel wool used for the moon. I plugged in my hot glue gun and let it heat up for 5 minutes. Wool, Blossom.
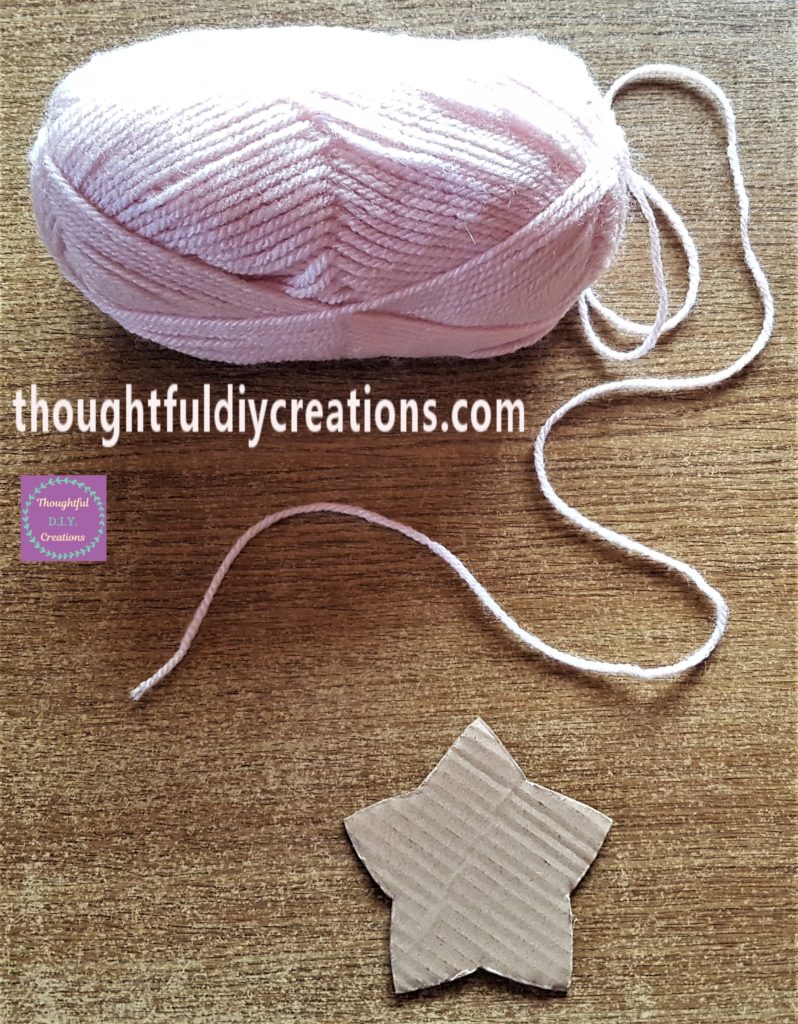
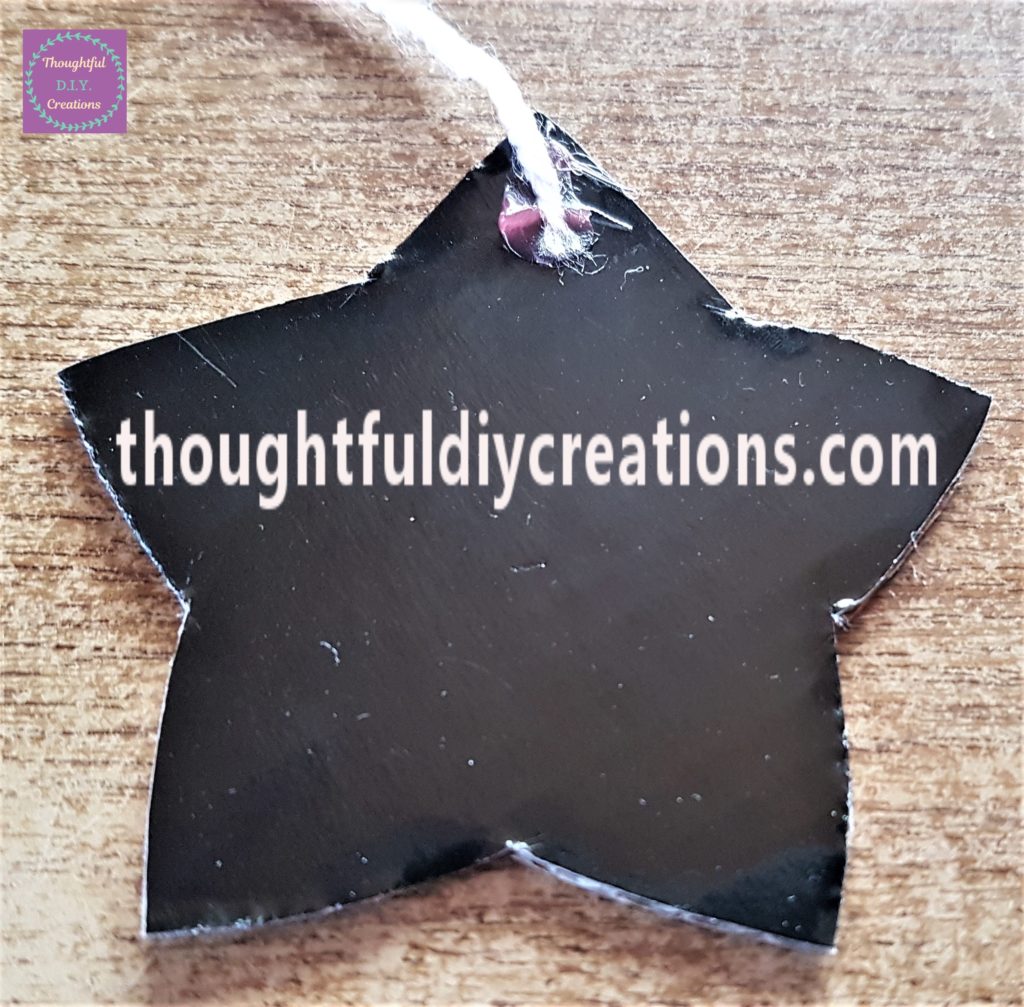
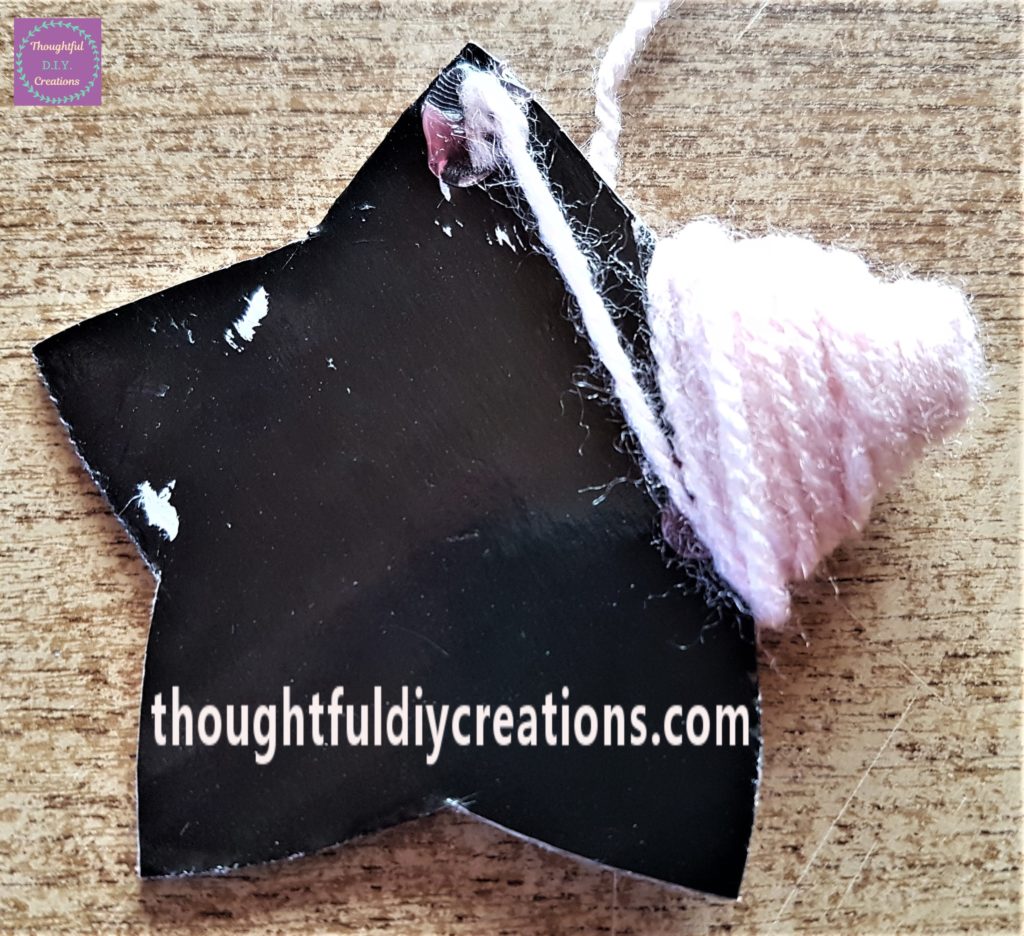
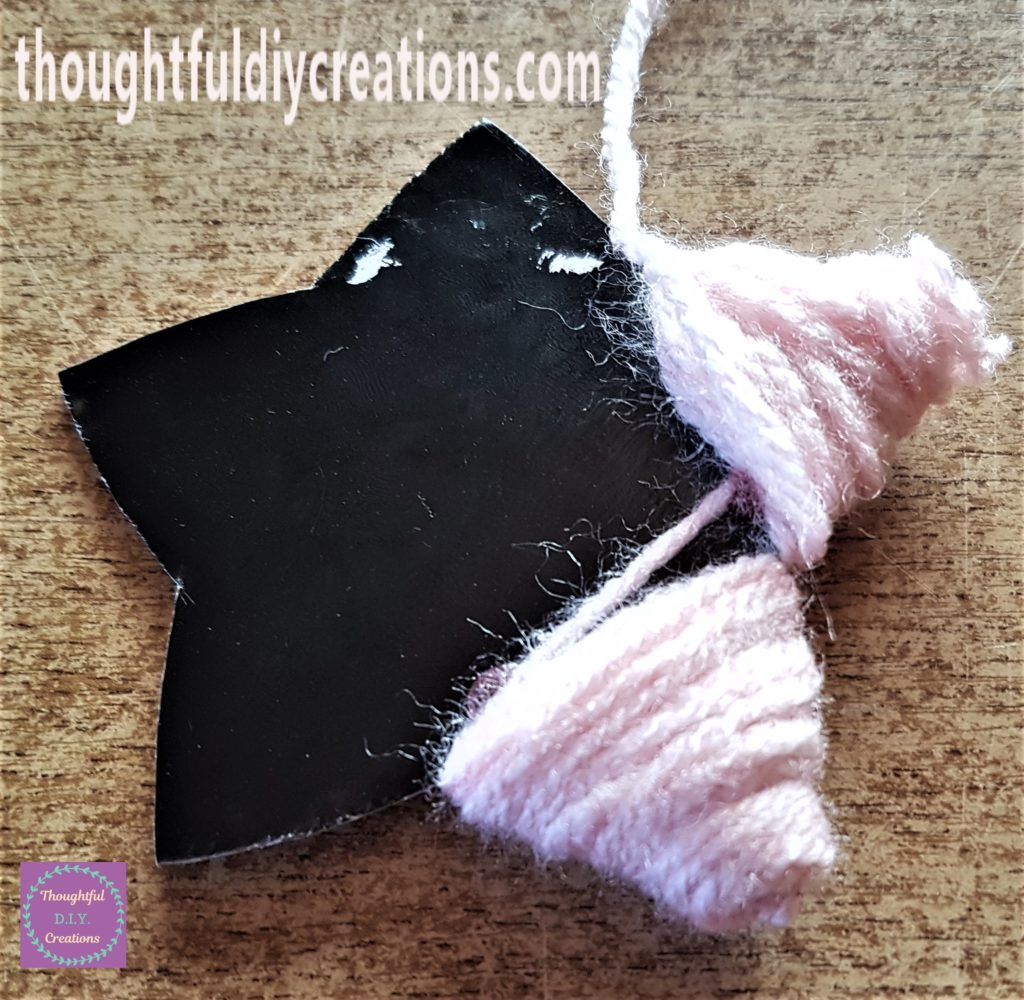
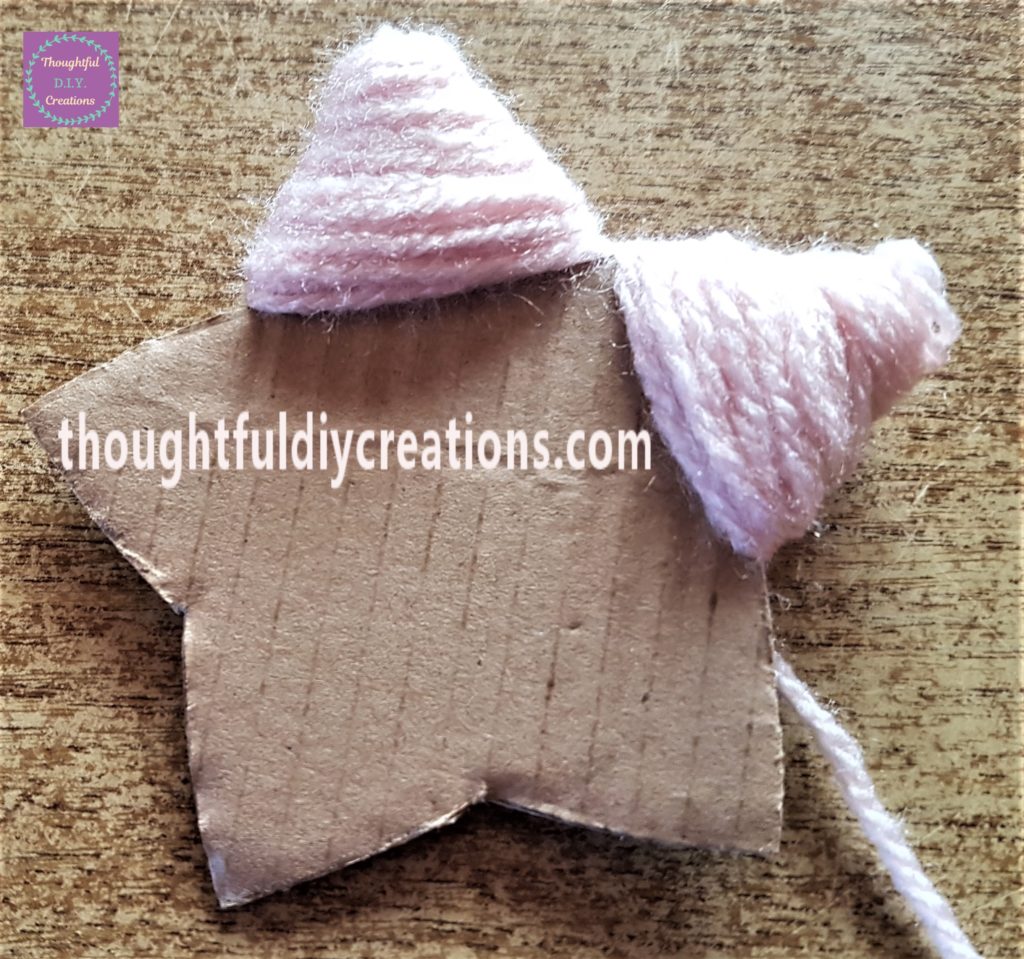
I put a dab of hot glue on the back of the cardboard star and attached the start of the pink wool to it to help it stay in place. I then wrapped the wool around the first angle of the star. I put a dab of hot glue near the edge of the point on the star to help the wool stay in place. I then wrapped the wool over it to cover the glue and wrapped the wool back down the first angle to fill it out more. Hot Glue Gun.
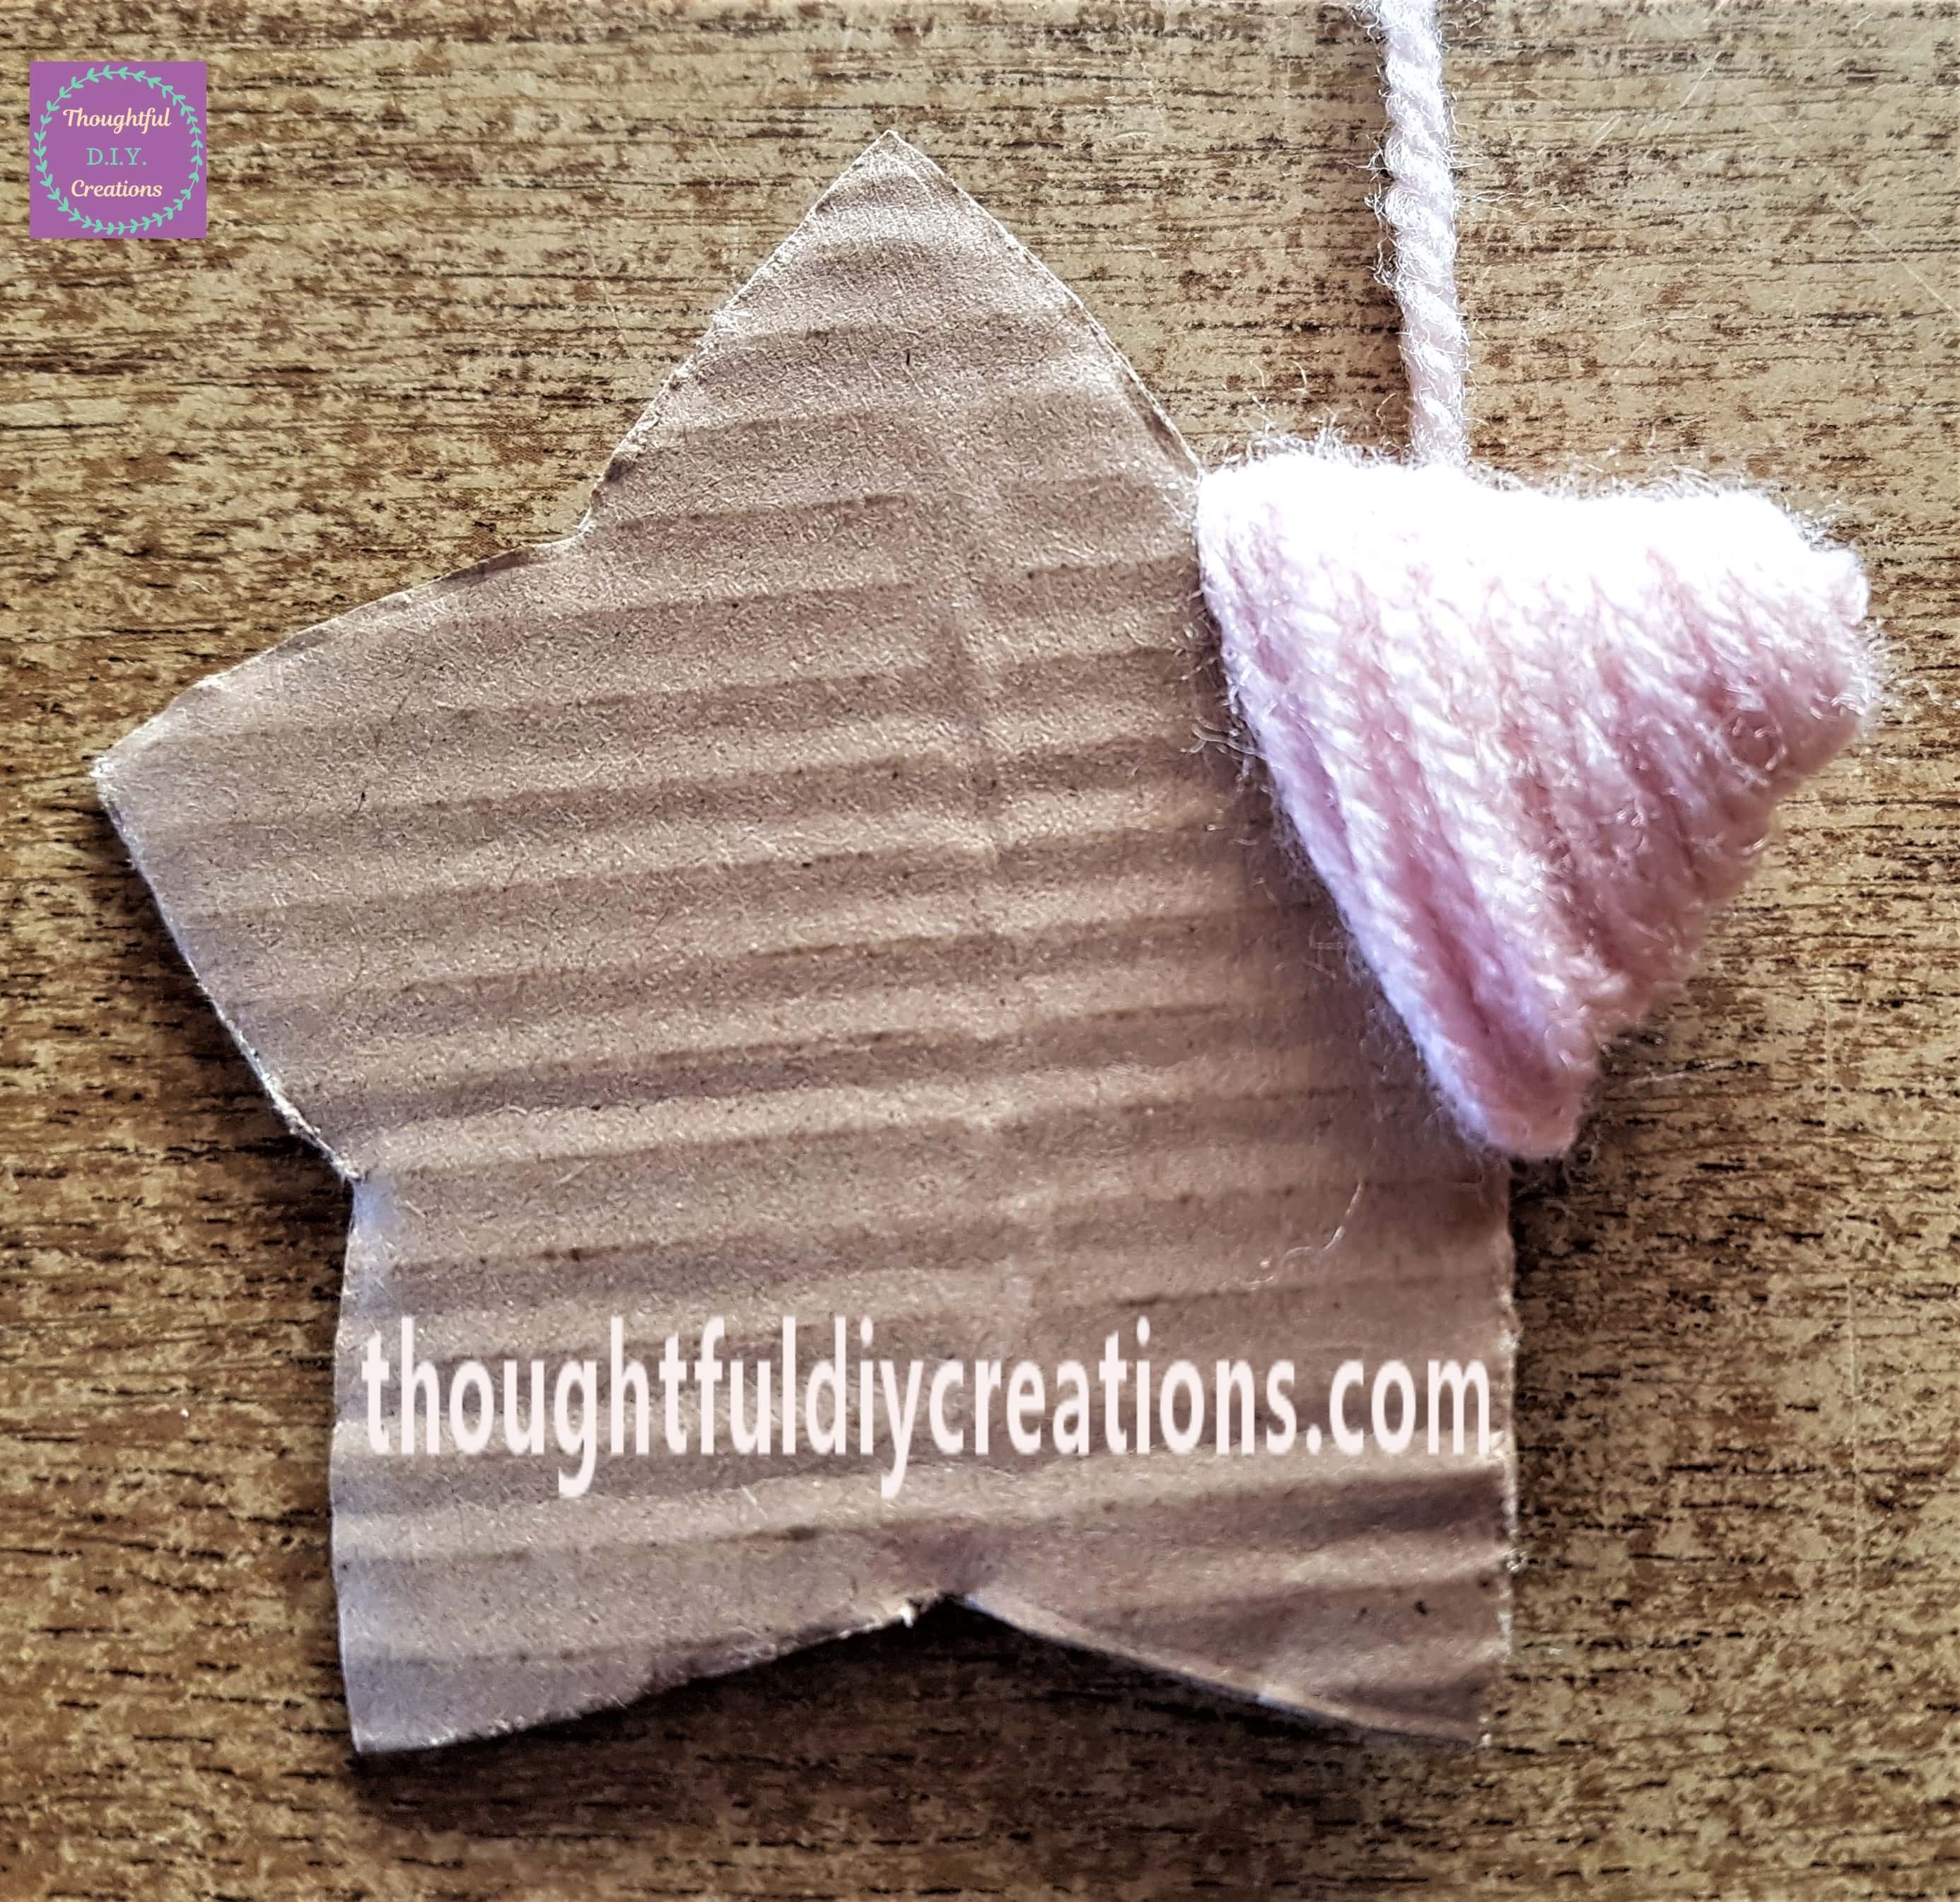
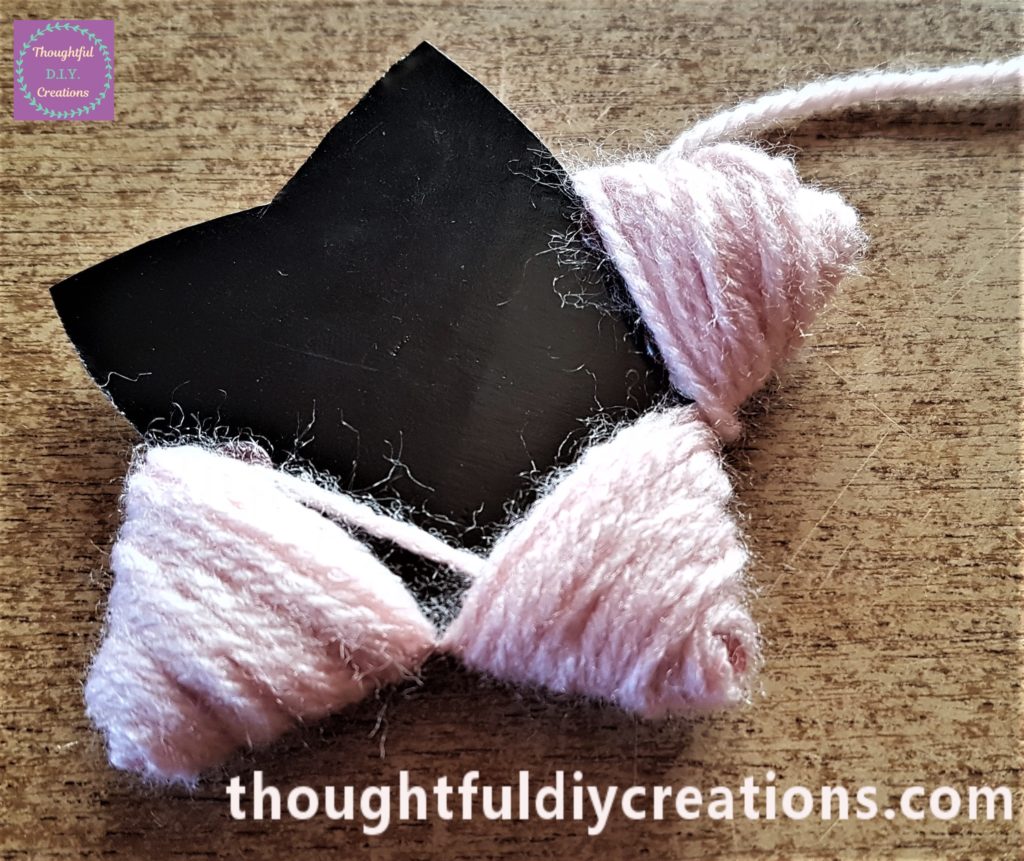
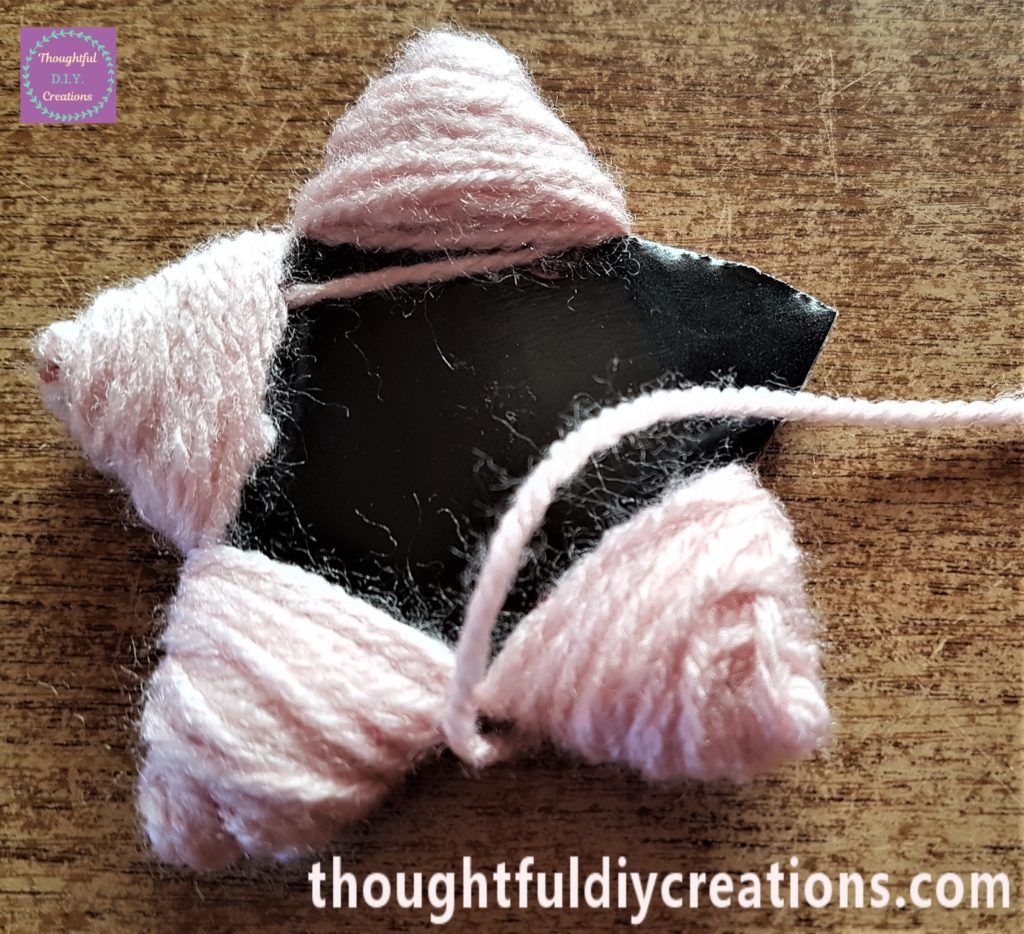
I then moved on to the second angle of the star. I put a strip of hot glue along the line and wrapped the wool over it to keep it in place. I then wrapped the wool around the angle until I got close to the point, I put a dab of hot glue near the edge of the angle, and wrapped the wool over it. I wrapped a second and third layer of wool over the first to fill in any gaps and cover the glue. Wool, Blossom.
Finishing the Wool Star
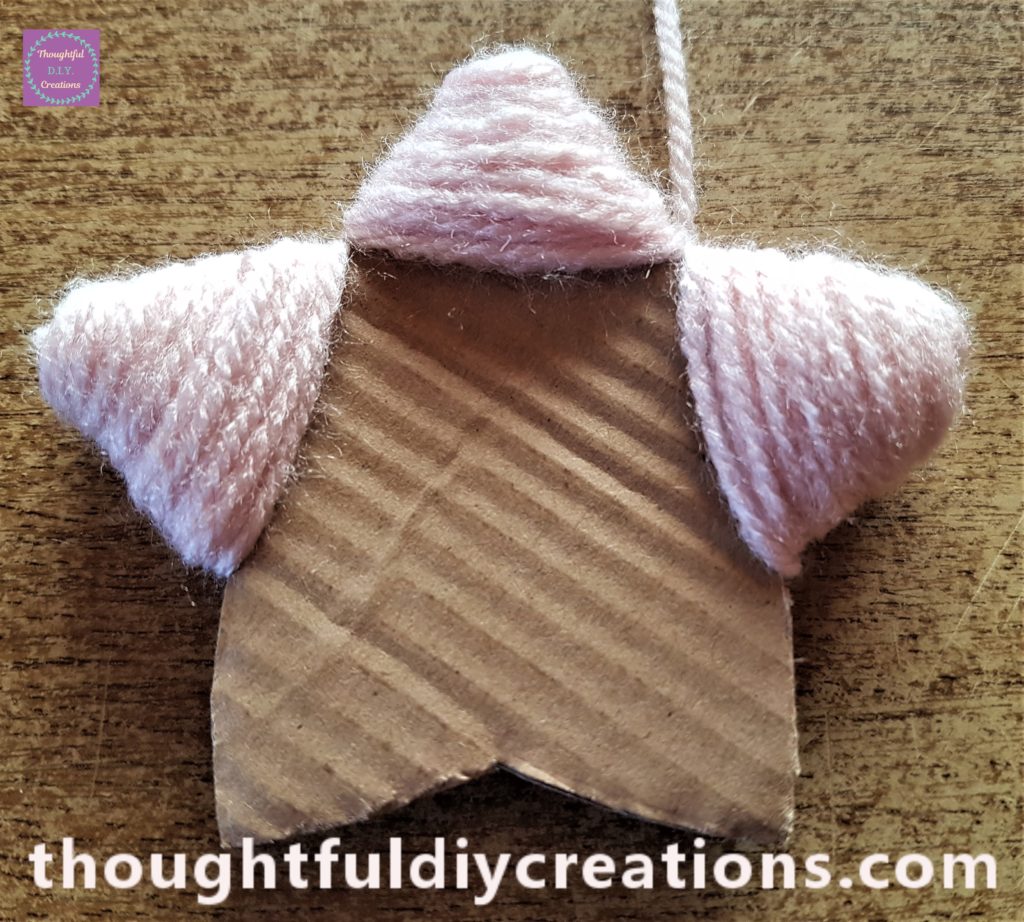
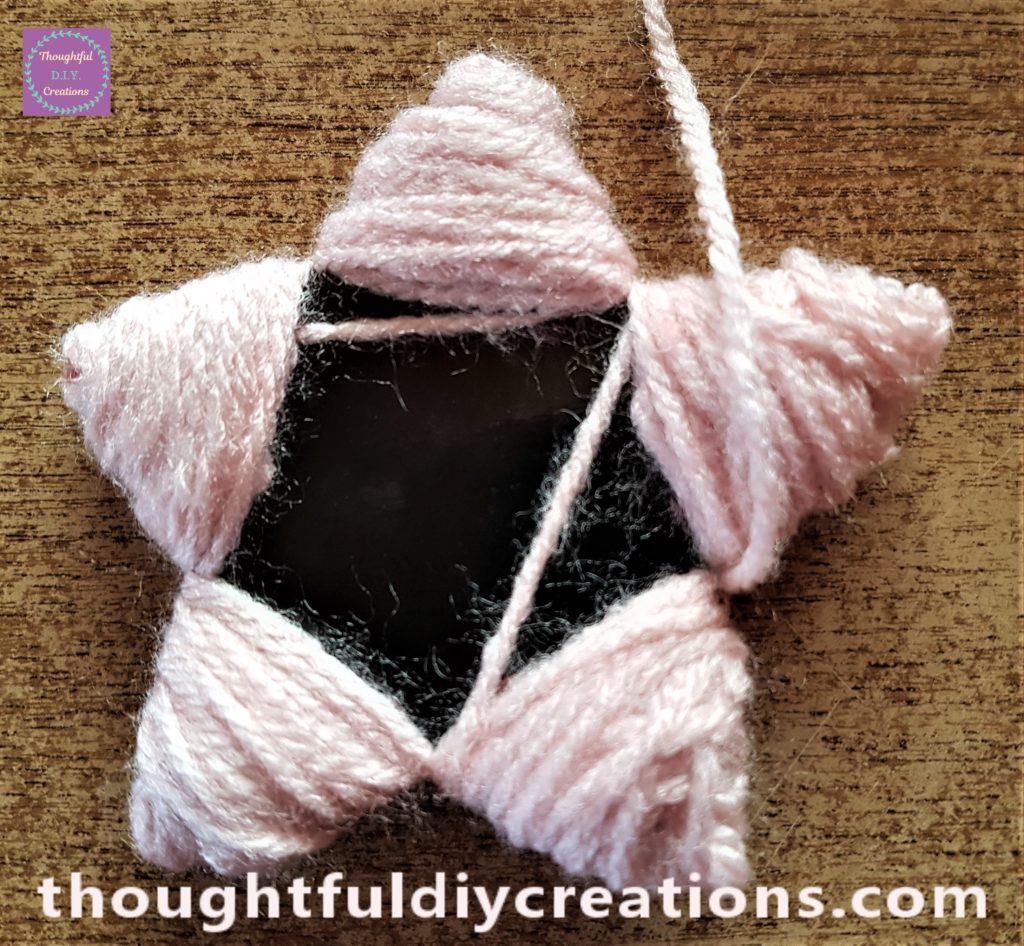
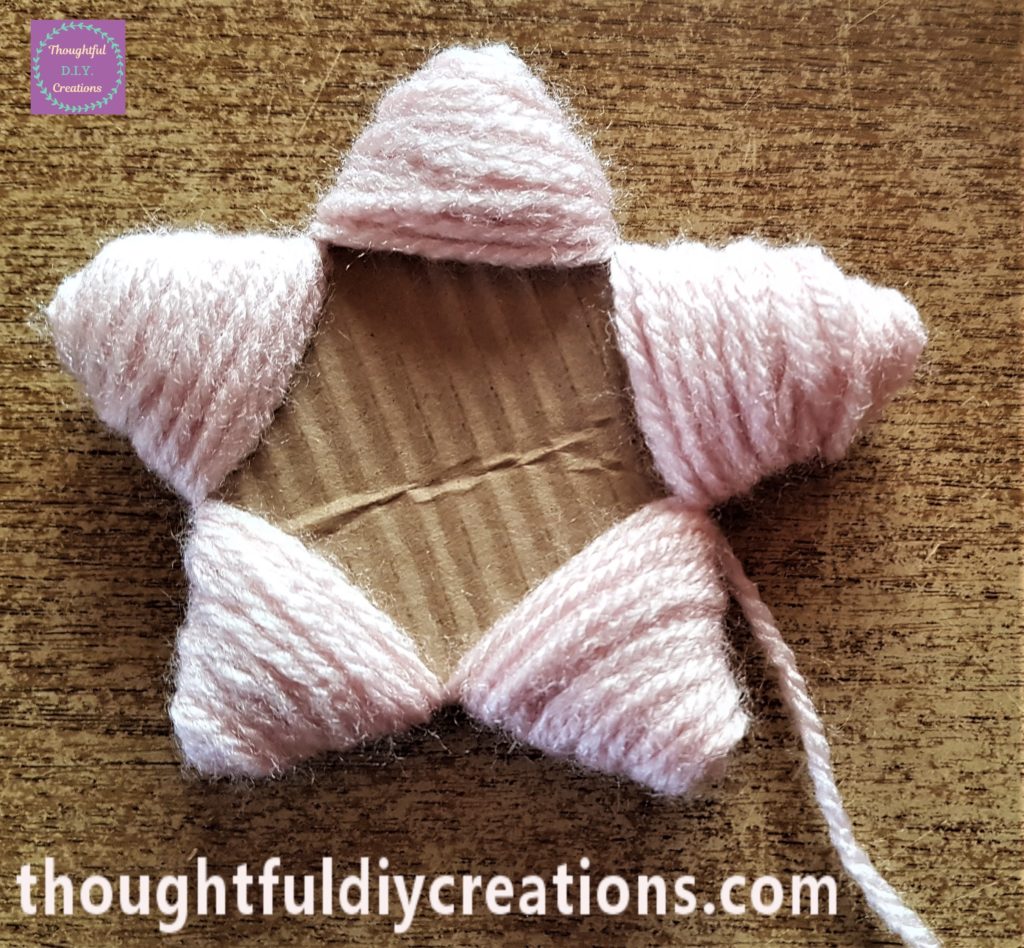
I repeated this process until the 5 angles of the star were covered with wool. Be careful when using the hot glue gun; to prevent burning your fingers hold the wool to the hot glue using an object like a pen as the glue will be very hot. Hot Glue Gun.
I wrapped the wool all around the mid-section of the star until it was fully covered. I cut off the excess wool and hot glued the last strand of wool to the back of the star to keep it in place.
Making the Purple Wool Stars
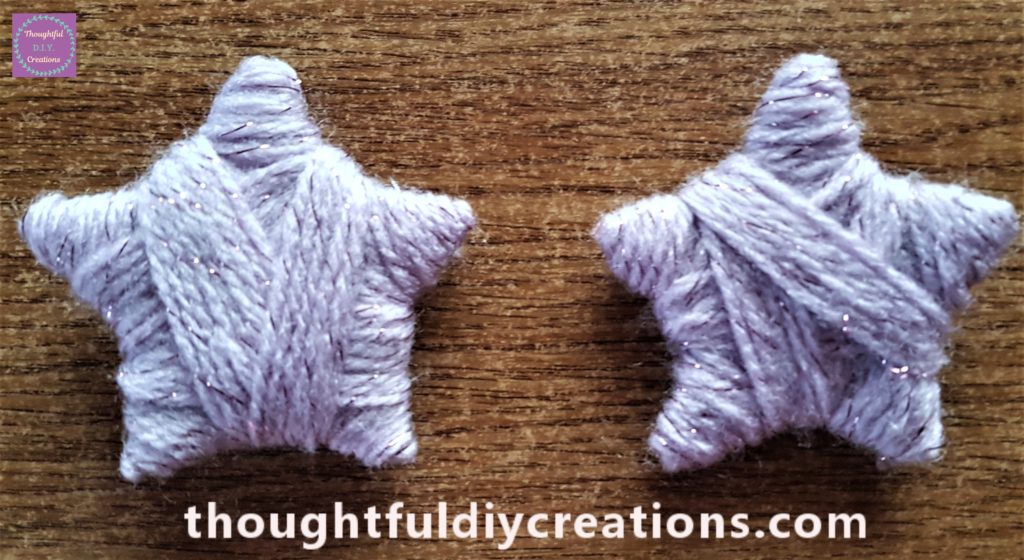
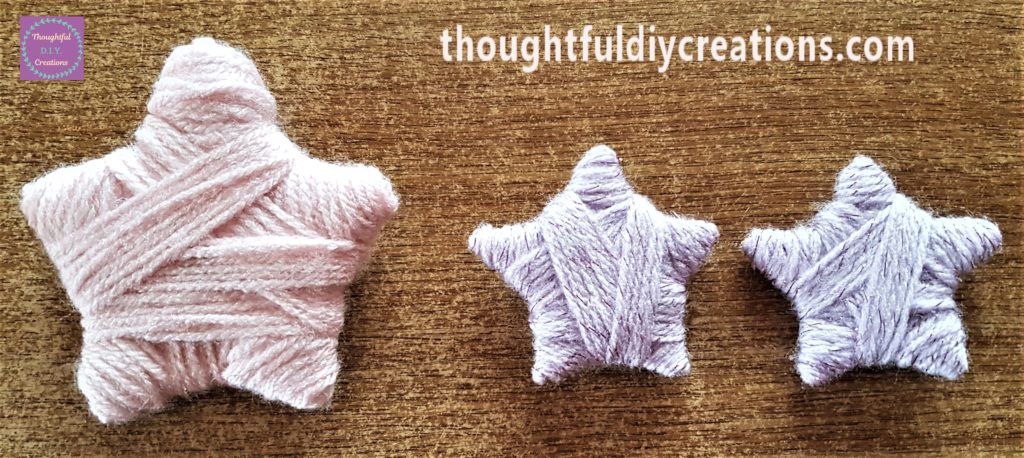
I decided not to use the smallest size star and instead use 2 of the second smallest size star shapes and have the bigger pink star in the middle.
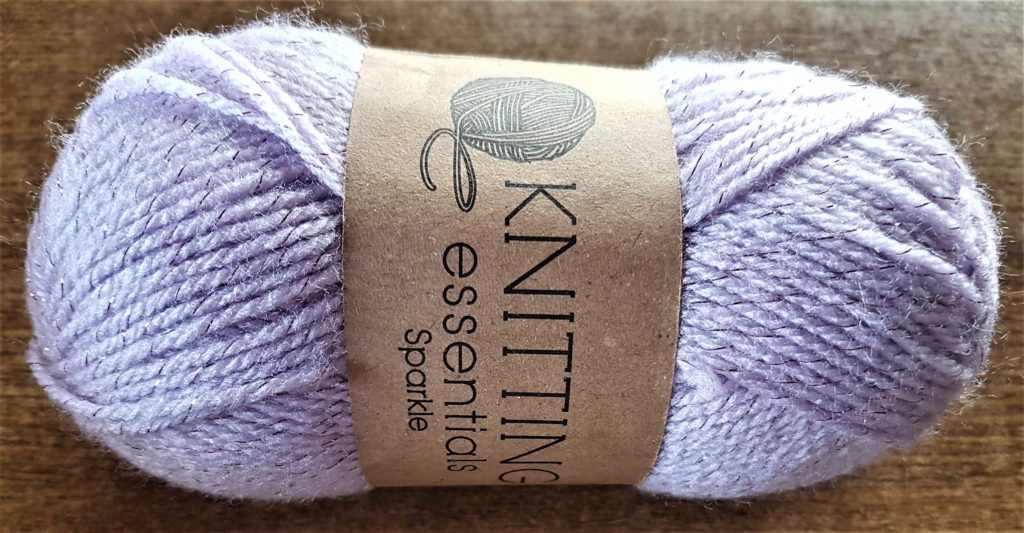
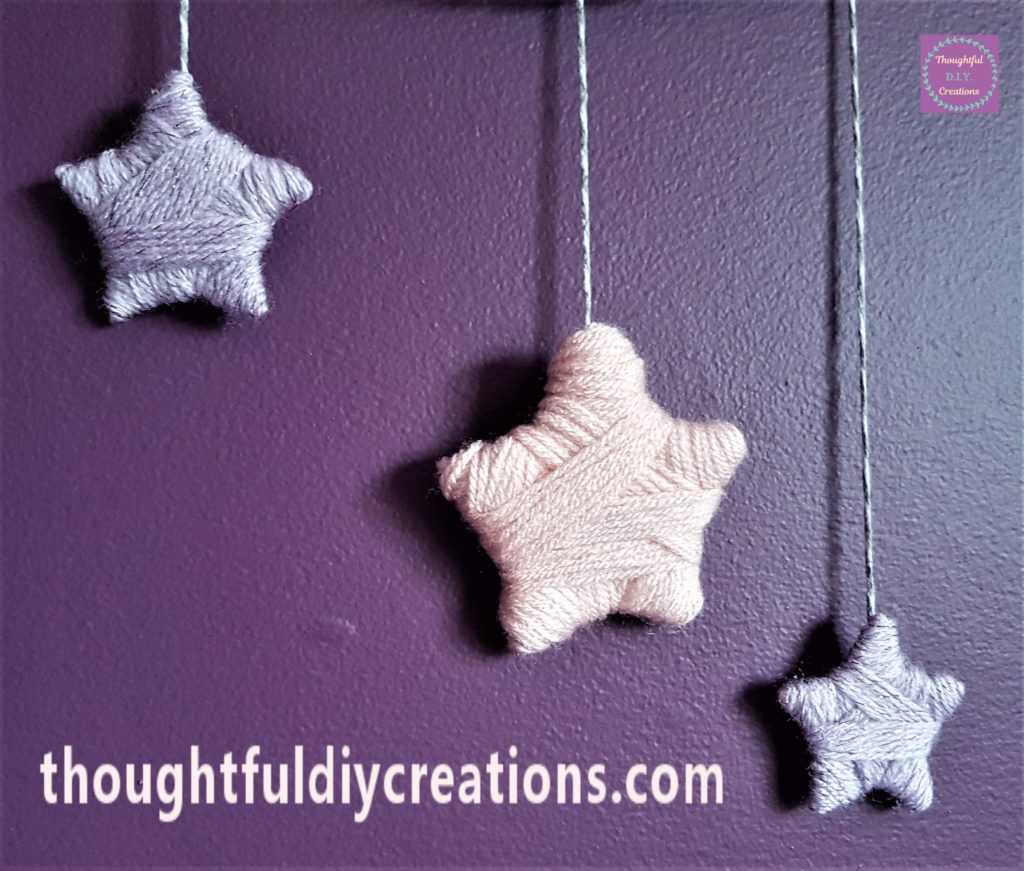
I repeated the very same process of wrapping the wool around the cardboard and using hot glue to keep the wool together. I used purple glitter wool for the 2 medium size stars. Purple Tones Wool.
Twine to Hang the Moon and Stars
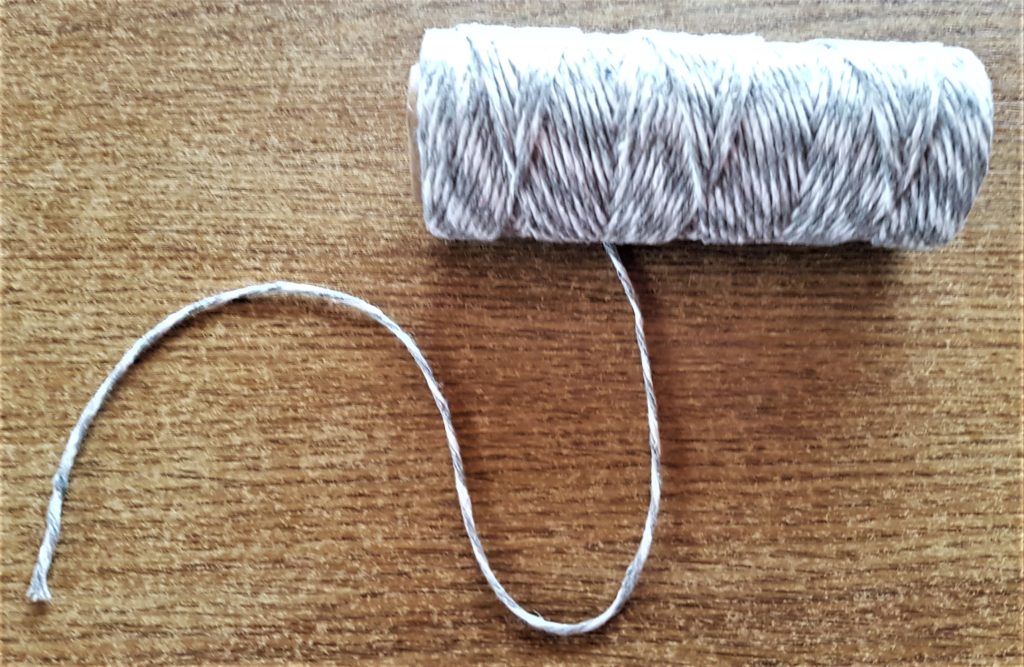
I had a roll of grey and white Bakers Twine that I will use to hang the Moon and Stars. I was going to use the wool but I thought the grey and white cord would be stronger and hold up more. Bakers Twine- Striped Grey.
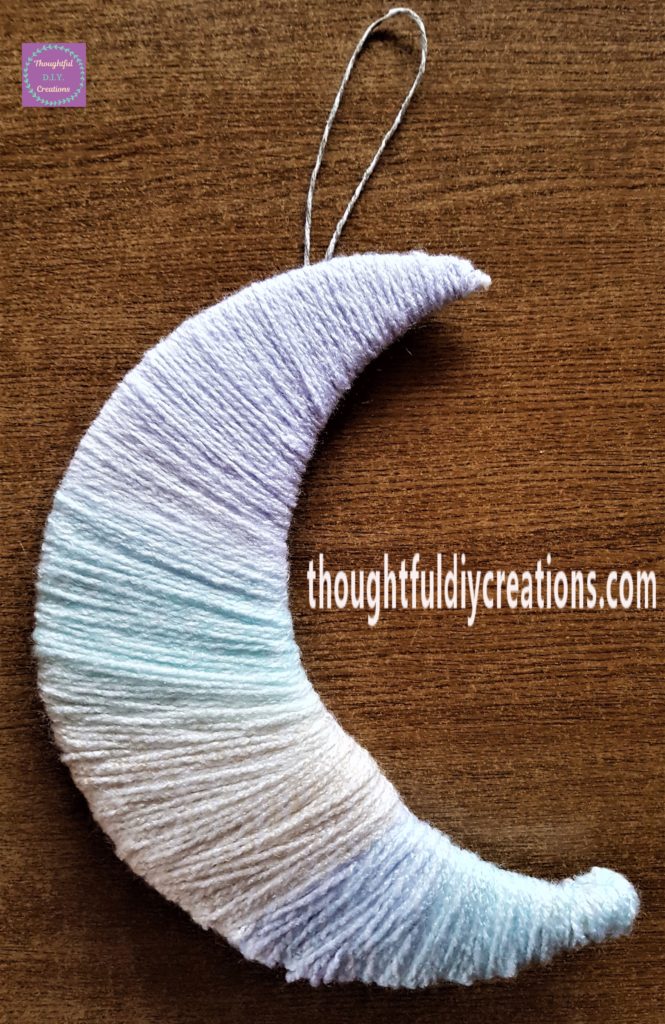
I held the grey and white twine up over the Moon in a loop and cut it at the size I thought would be the right height. I then put hot glue on the back of the moon and held the twine down into it for about 5 seconds using a pen.
Attaching the Twine to the Moon and Stars
I got the grey and white twine and held the string down behind the Moon to see what size would look nice for the first star. I then cut the string and added hot glue to the back of the moon and held the string into the glue using the pen. I then put hot glue on the top half on the back of the star and attached the bottom part of the string to the star. Bakers Twine- Striped Grey.
Completing the Moon and Stars
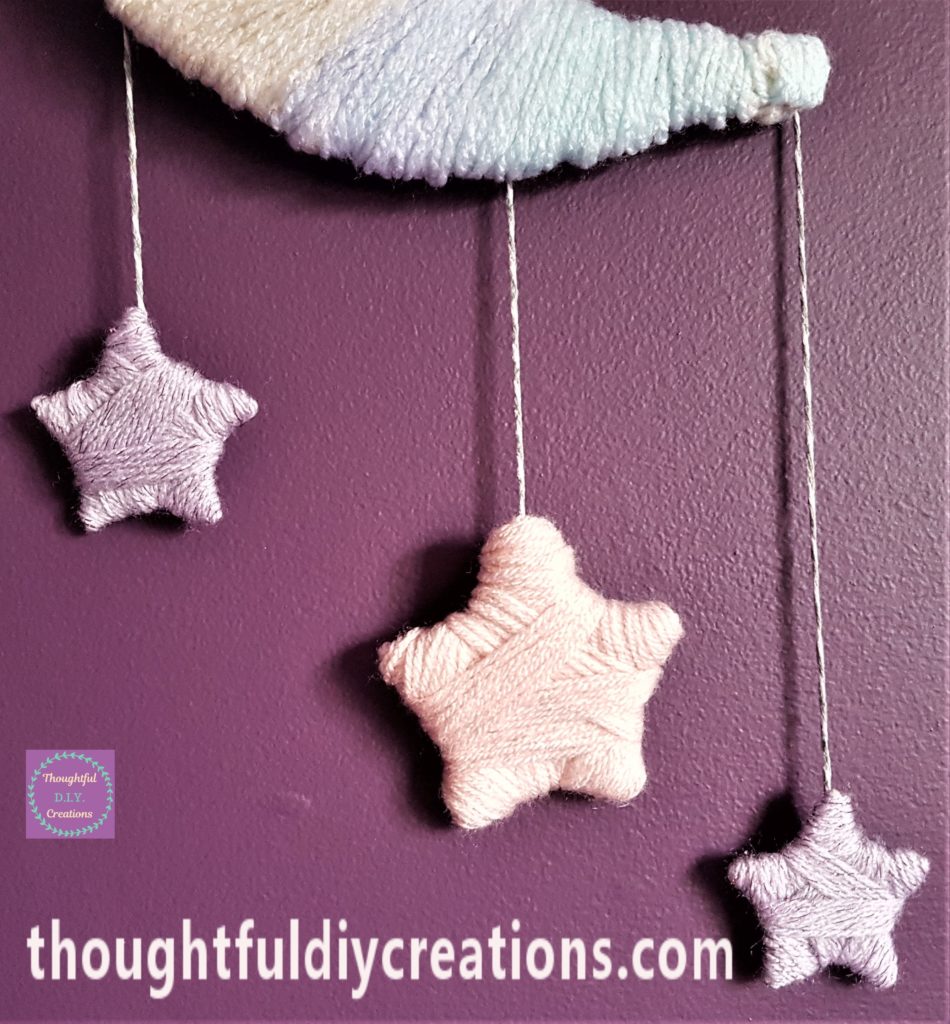
I repeated these steps with the next 2 stars. I wanted the stars to come down in an angle so the top of the second star was added across the bottom of the first star, and the third star was added at the top of the second star, that was how I guessed the lenght of the string and where to attach it to the moon. I hope that makes sense, I think the images show what I mean. Hot Glue Gun.
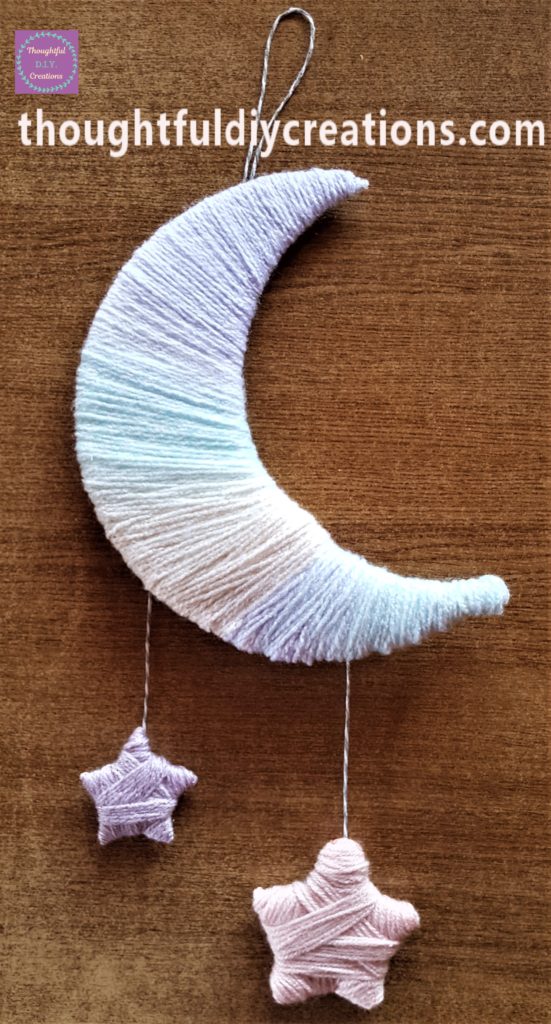
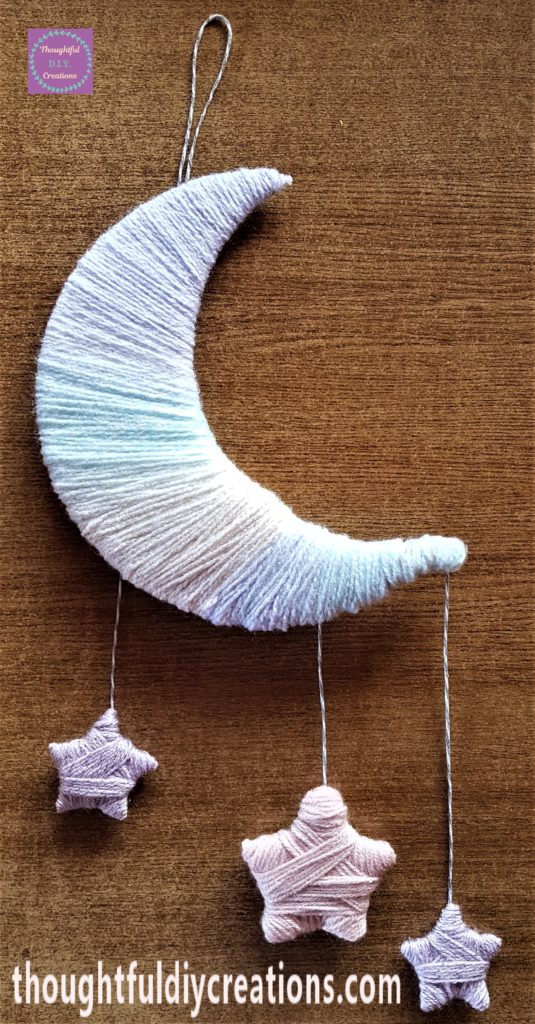
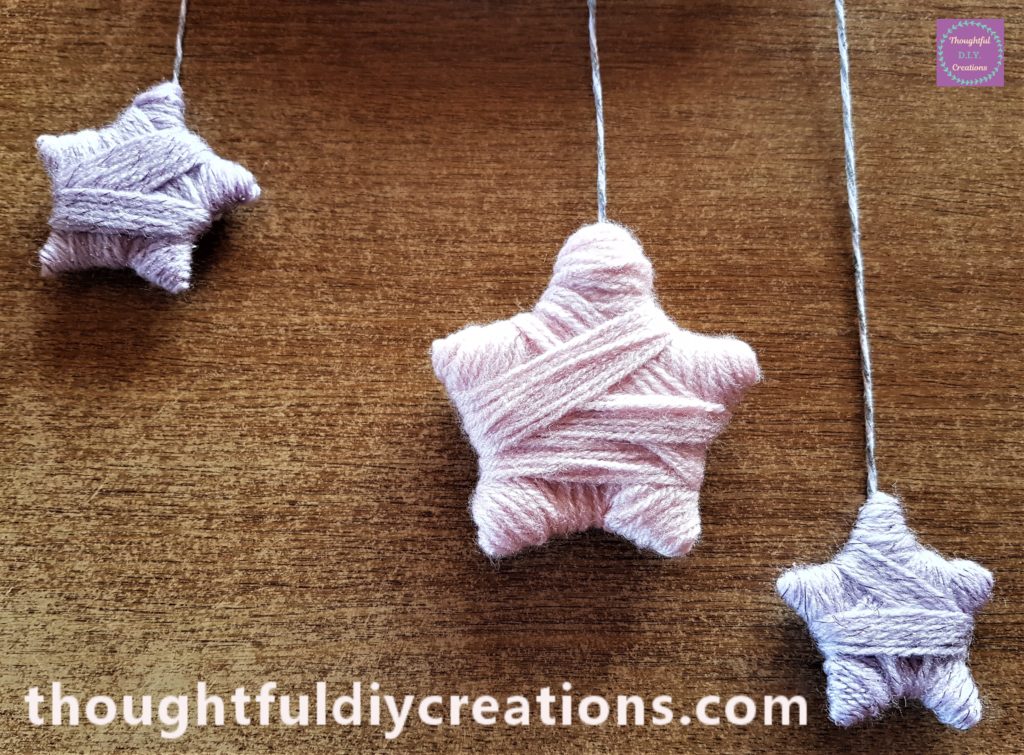
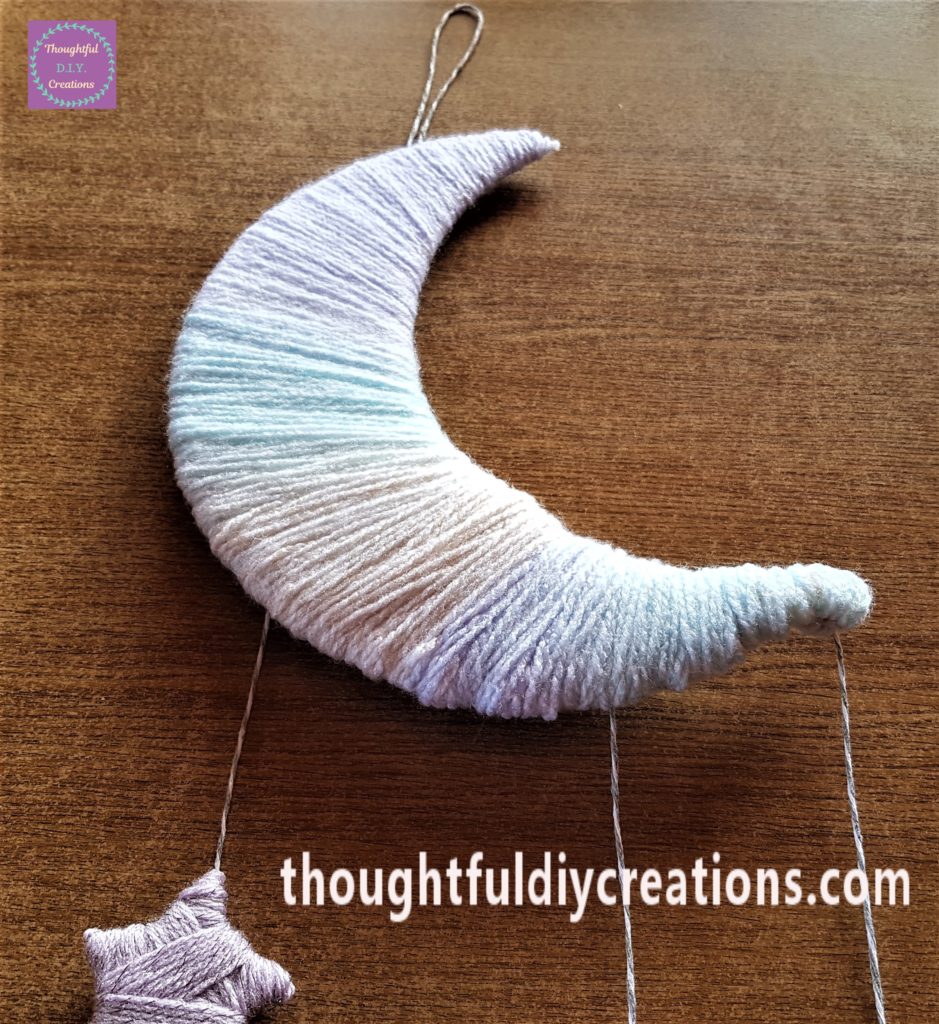
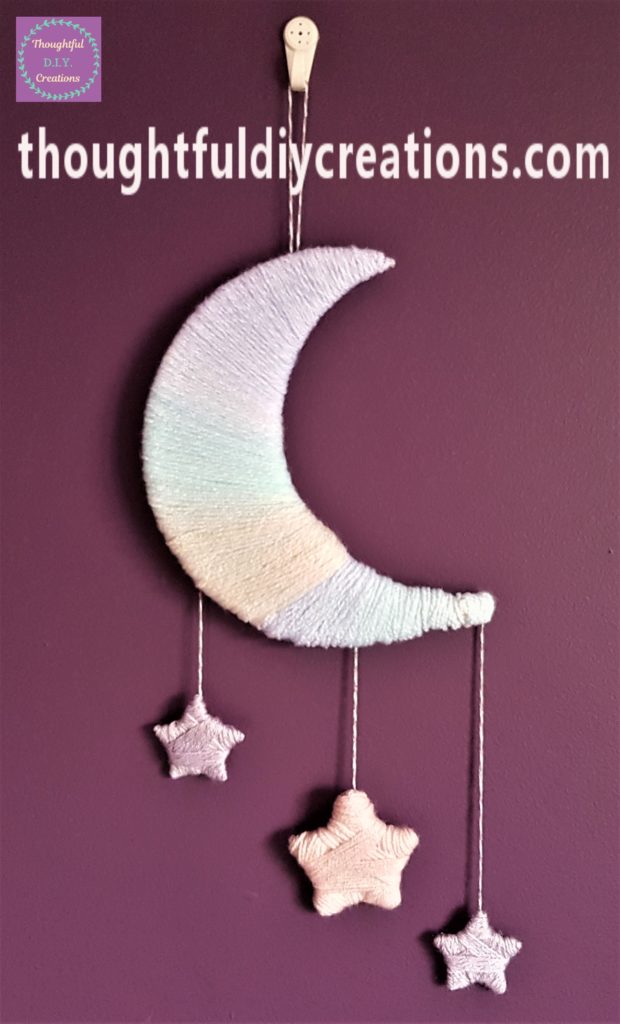
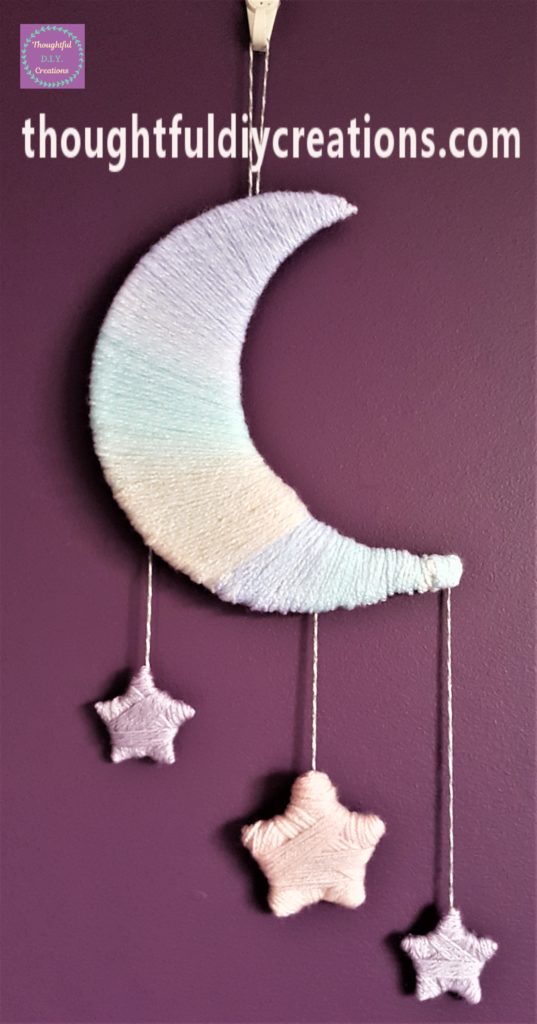
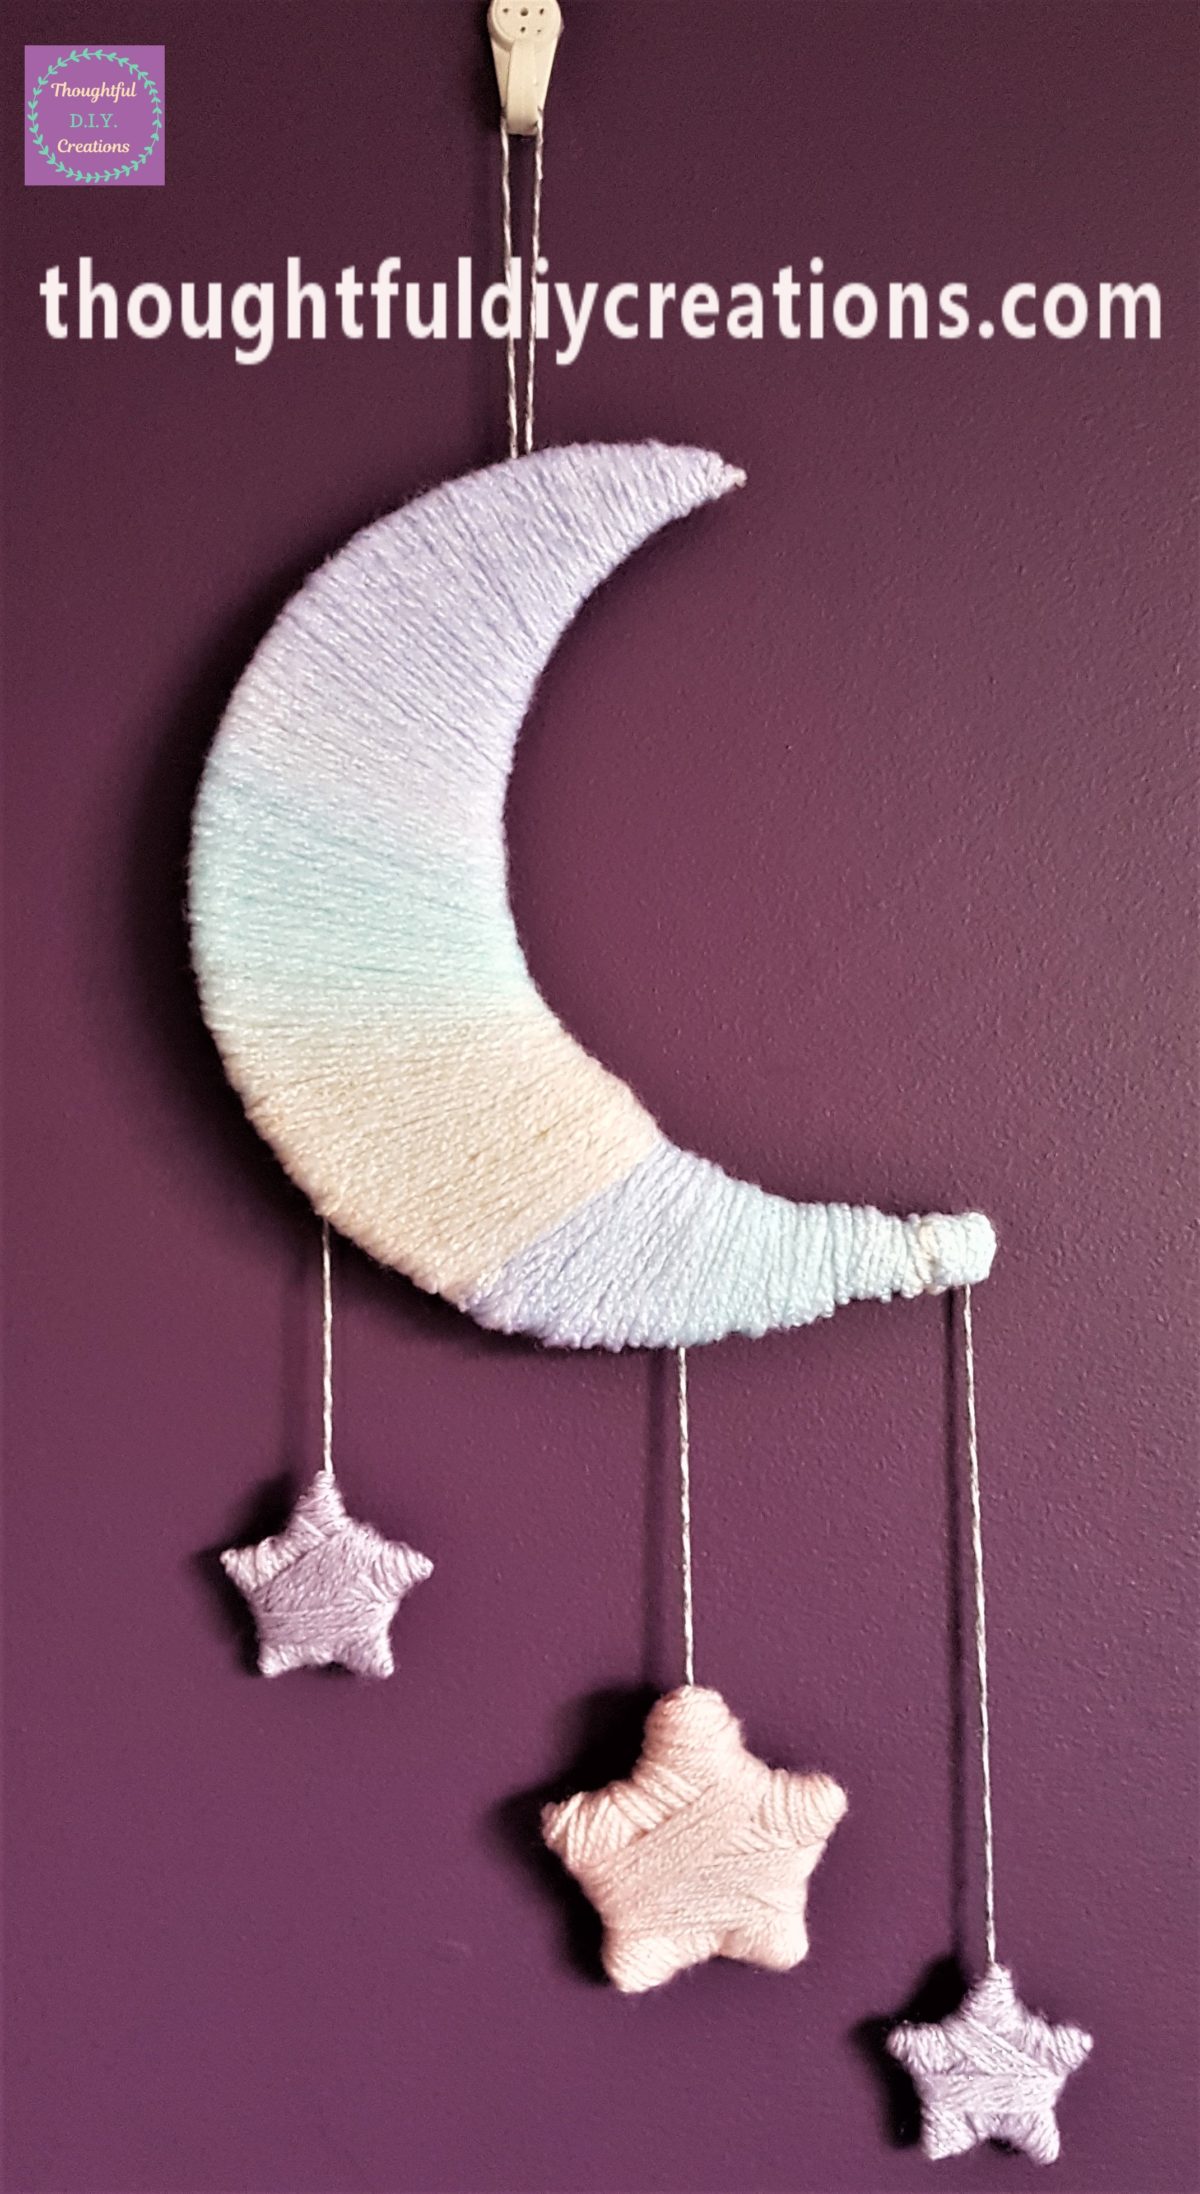
This completed the D.I.Y. Moon and Stars. Here are more images of the finished project hung up on the wall.
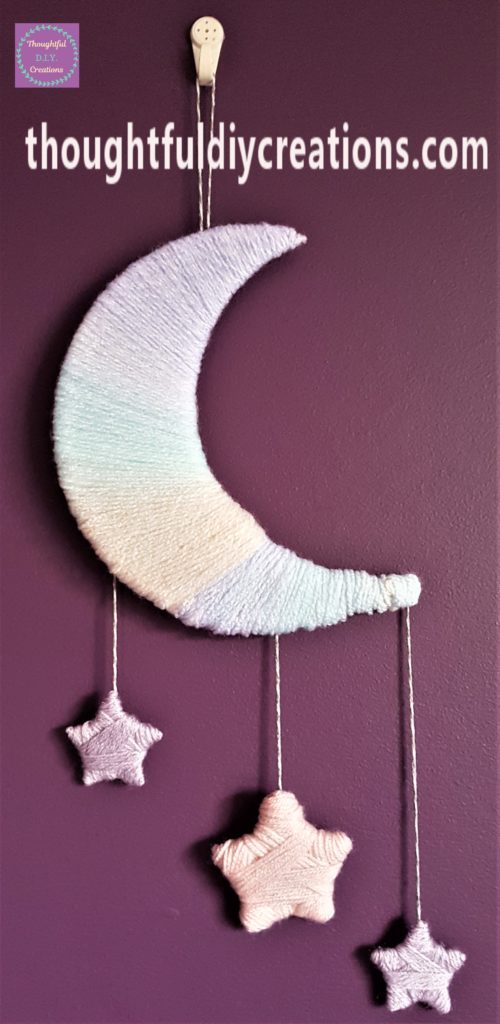
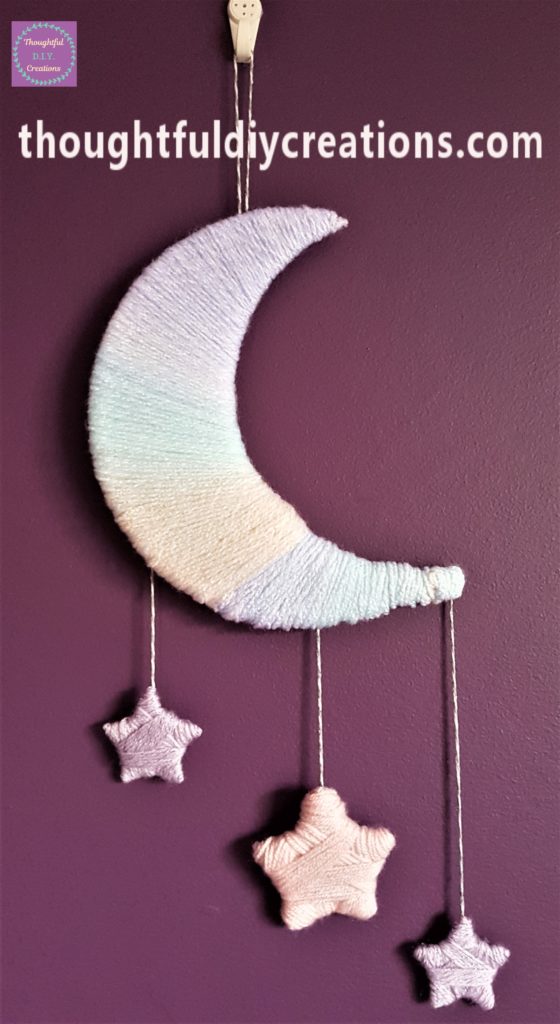


Conclusion
I was delighted with the final result of the Moon and Stars. I like the addition of the grey and white twine, I think it complements the other colours and stands out more than if I just went with the wool. I love the pastel shades on the moon. This Jar Tutorial would complement this Craft; Moon & Stars Light-Up Jar.
I think it’s amazing what 3 materials can make; cardboard, wool, and twine. It is a great way to use your leftover cardboard boxes and incorporate them into Home Decor pieces. This is a great option for a budget craft as most homes have the materials already. Even if you need to buy wool, you will have plenty left over from this craft to make other things. Another Wool Craft I have made; Wool Hearts.
This craft can be completed in a day so it’s also great for anyone with limited time. It could also be completed in stages, the moon could be made one day, the stars another day, and put it all together the following day. It’s up to you and what your time allows.
I think it would be the perfect craft for a Baby Shower and it could then be used for the Baby’s Nursery. You could get all the guests to make one star and add them to the Nursery. It would be a lovely reminder every time you walk into the room and see them that they were made with love by all your friends for your baby. They could be added to a frame or attached all over the wall.
This is a great option for a D.I.Y Present for a Baby especially as you took the time to make it yourself. It would be a lovely handmade, thoughtful gift to receive. It could also be made for D.I.Y. Party Decor for a 1st Birthday or even any age Birthday. It could be hung up on the wall beside Happy Birthday Banners and Balloons and would be the perfect spot for taking all the Photographs.
The wool could be any colour making it a versatile craft. Many people are Spiritual, love Boho Decor or are interested in Astrology or are in tune with the different Phases of the Moon. This Craft can completely work for all your requirements. Black and Gold Wool could look cool on the Moon and Stars. I hope you try different things or materials and make it personal to you.
I hope I provided some Creative Inspiration for your handmade crafts. Let me know if you make it, I’d love to know how it turned out and if you did anything different. If you have any questions or comments you would like to add on this topic just fill out the Comment Box below this Blog Post and I’ll reply as soon as I can.
Thank you so much for taking the time to read my Blog.
Always Grateful,
T.D.C.
xoxox



-0 Comment-