D.I.Y. Skull Bottle & Spray Painted Candle Holders
Hello my Creative Friends,
I hope you are all well. In Today’s Tutorial I will show you how to make a D.I.Y. Skull Bottle and Spray Painted Candle Holders. This is an extremely Budget Friendly Craft as it only required 3 Products to create them and a re-purposed Bottle and 3 Candle Holders which I already had in my home.
Ideas for this D.I.Y. Craft
They are ideal for D.I.Y. Halloween Decor, but they could also be on display all year round for anyone who loves Skulls and the Colour Black, they are also perfect for a Man Cave, or Gothic / Heavy Metal / Rock fans as Home Decor.
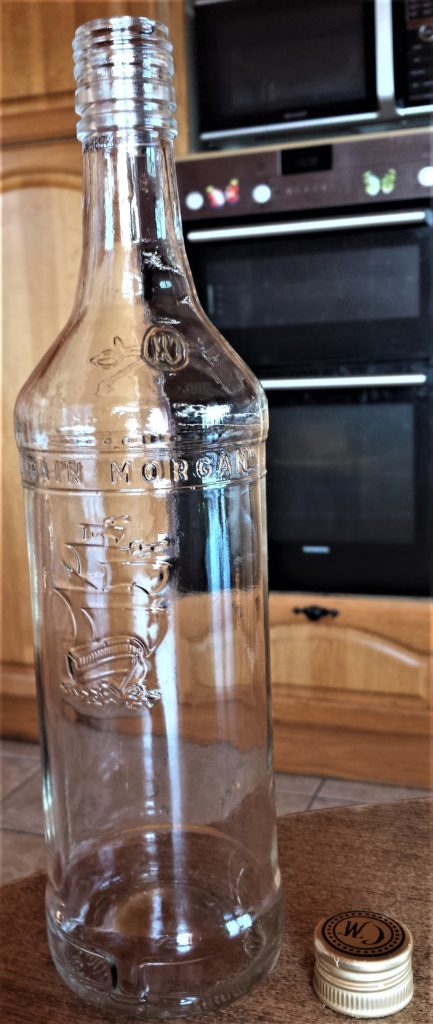
I had this Glass Bottle in my supplies that I wanted to use. I liked the engraving of the ship on it. I thought it went with the Halloween / Skull Theme. You could create a ‘Pirates of the Caribbean’ style Skull on yours if you wish.
Preparing the Bottle for Spray Painting
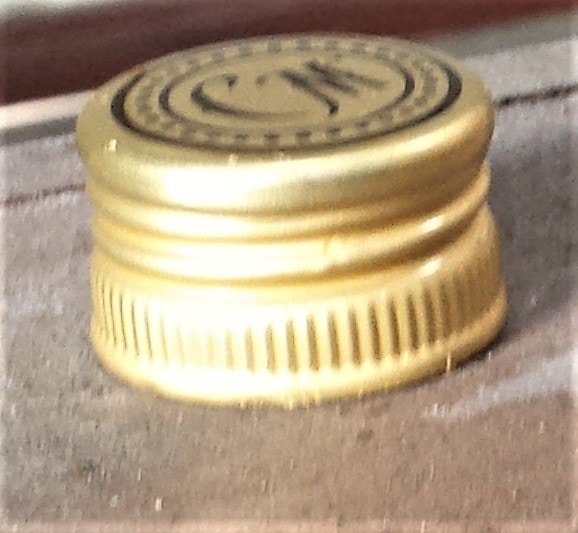
I washed the bottle in the sink with washing up liquid and hot water and let it soak for an hour. I then peeled off the label, rinsed the bottle with warm water, dried it and allowed time for the inside of the bottle to air-dry.
Preparing the Candle Holders for Spray Painting
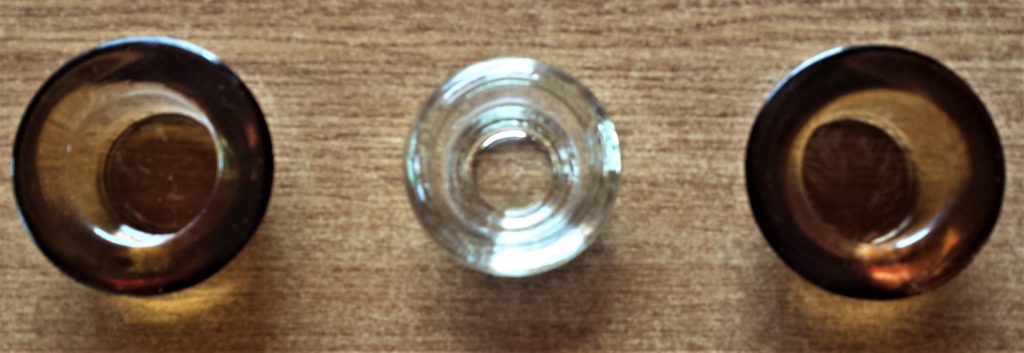
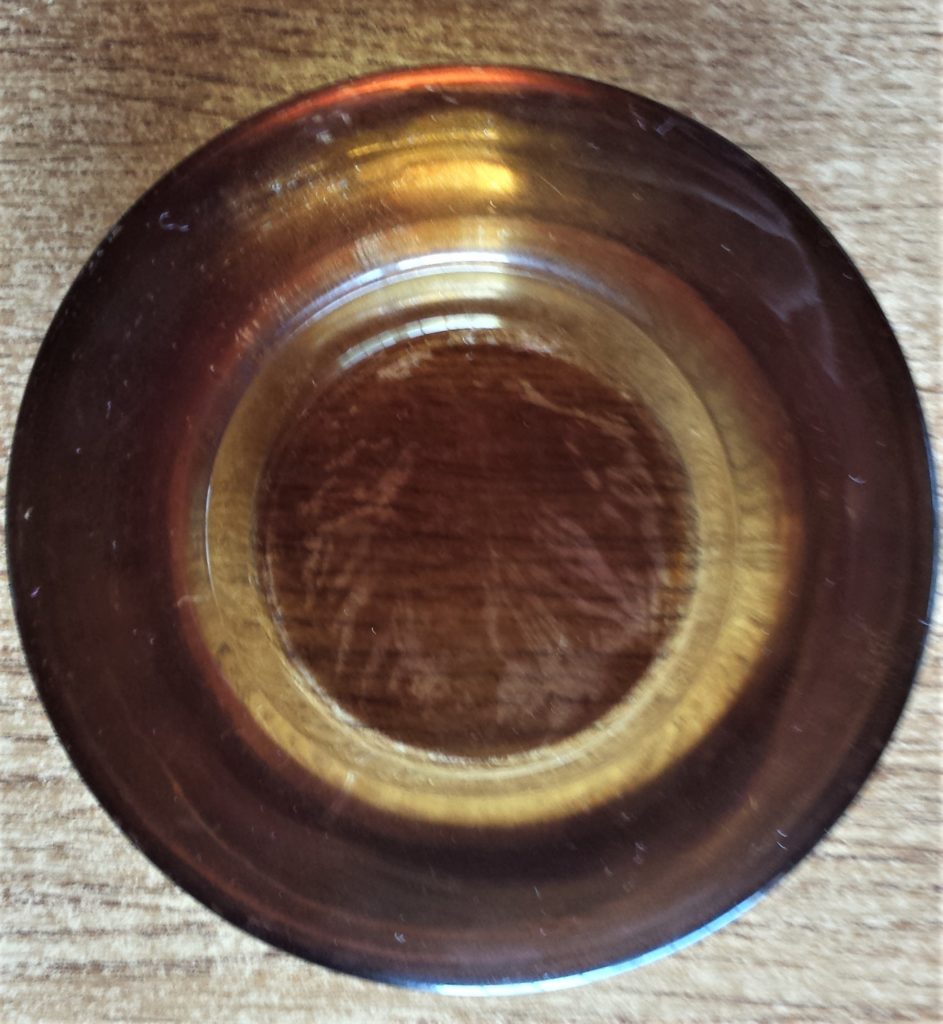
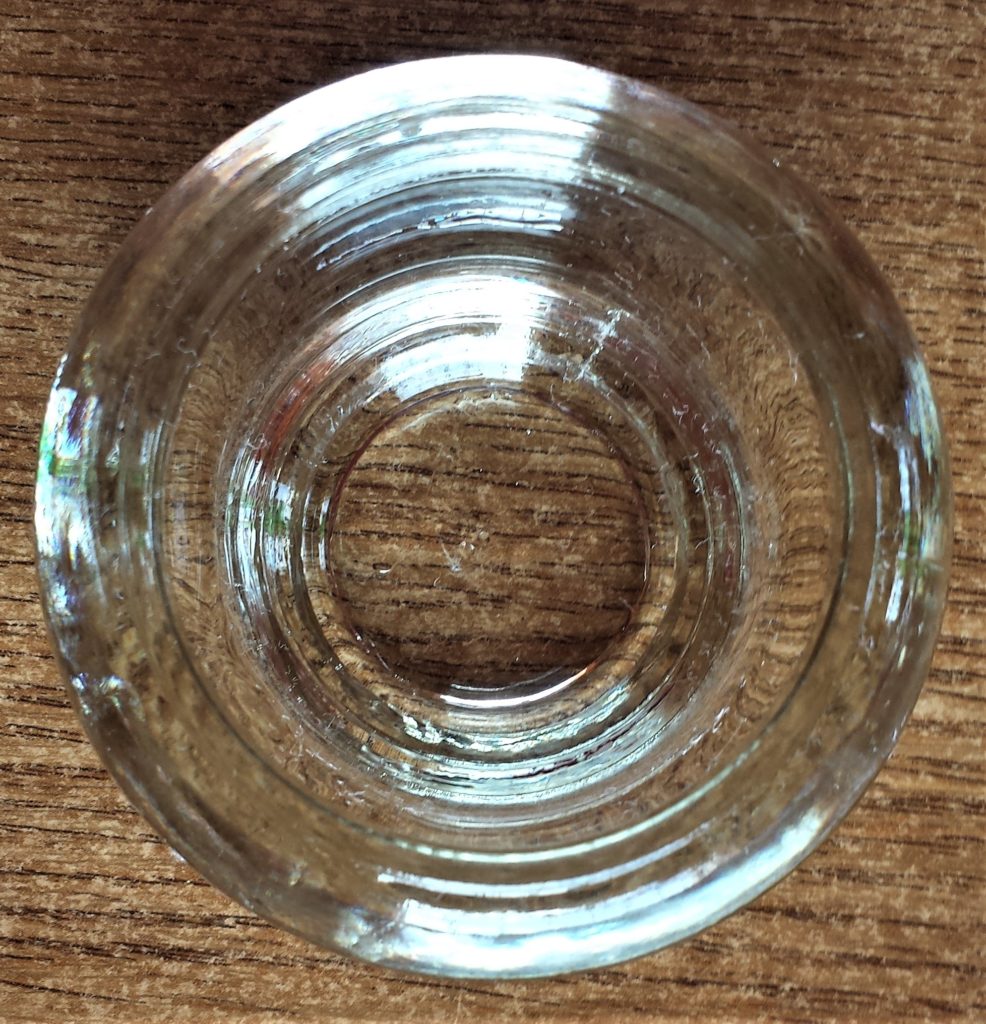
I had 3 old Candle Holders which were a little plain, 1 was Clear Glass, and the other 2 were Brown / Bronze Glass. I washed them with warm water and washing up liquid. I then rinsed and dried them; they were now ready for a makeover.
Setting up Props for Spray Painting
I brought the Bottle, Lid and Candle Holders out to the Shed. I put an old Watering Can on a Table. I put an Iron Bar I found in the shed into the mid-section of the Watering Can to keep it in place. I balanced the Bottle on the Iron Bar. This was a nice height and angle to apply the spray paint. The Bottle is now in place, I don’t have to move or re-position it while I spray paint.

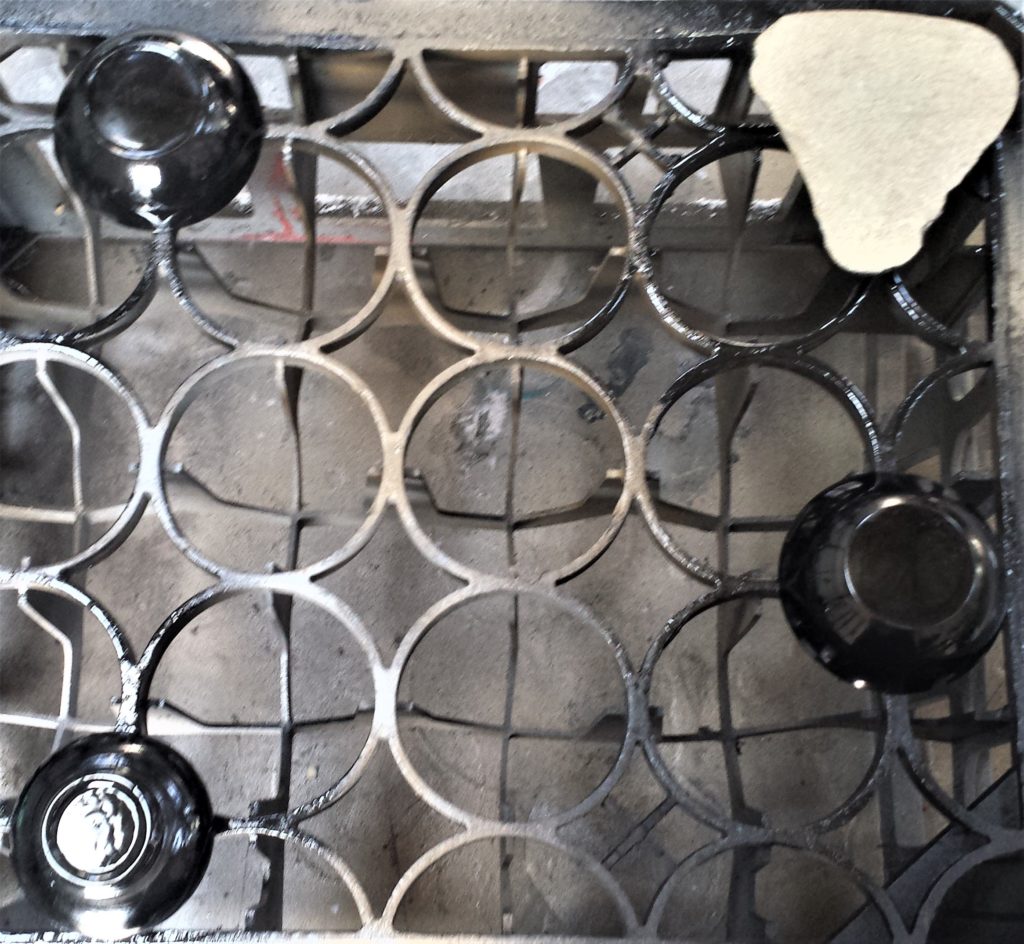
I put the Candle Holders on an old Crate. I also put the Crate on the Table to ensure easy spraying.
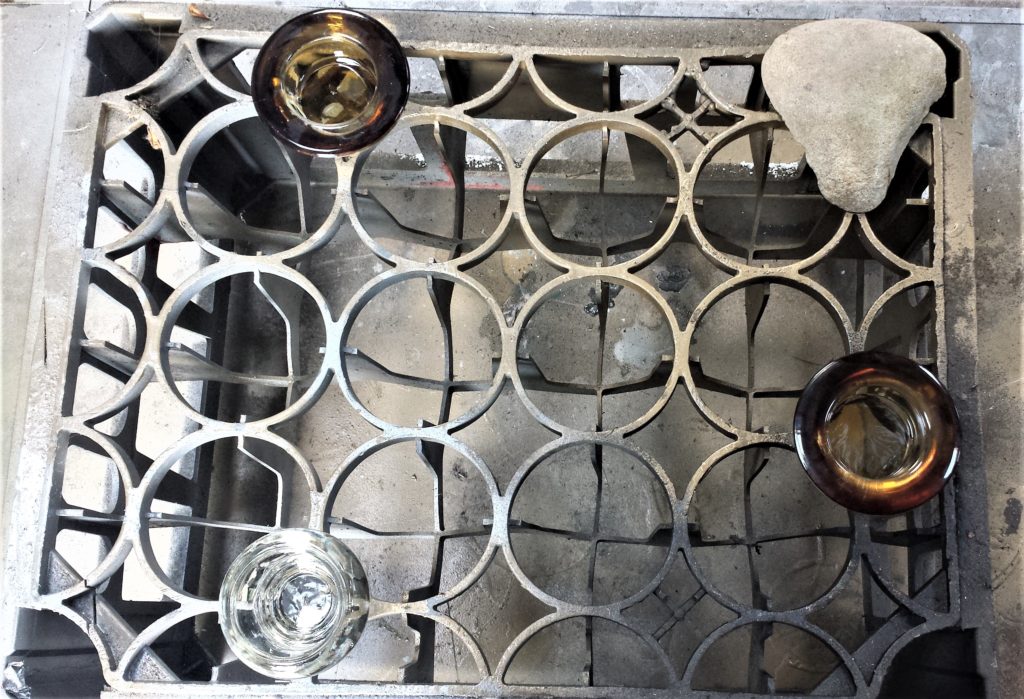
You can use whatever props you have from your home or shed. Just keep in mind some of the spray paint will get onto the object you pick so don’t choose anything too good.
Spray Paint & How To Use
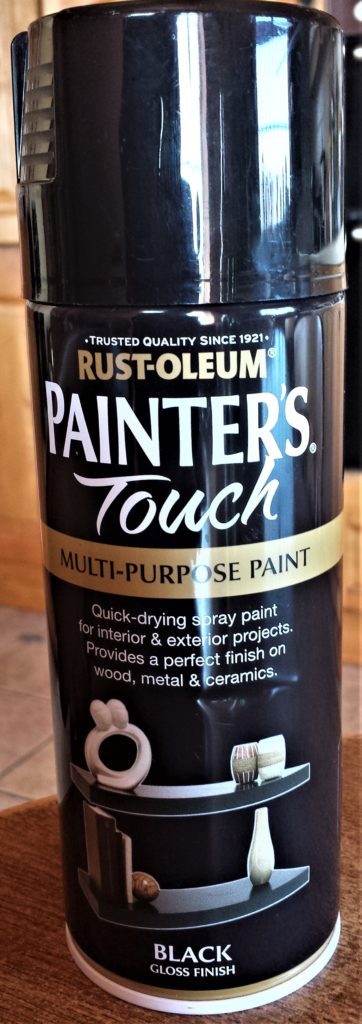
The Spray Paint I used was ‘RUST-OLEUM PAINTERS Touch Multi-Purpose Spray Paint’ in ‘Black Gloss Finish’. Black Spray Paint.
Make sure to Spray Paint in a well ventilated area. I done mine in a big open shed with the side door behind the table wide open. If you have doors or windows in your space open them and leave the room once your finished spray painting.
Spray Painting the Bottle & Lid
I shook the Spray Paint Can for several seconds. I took off the lid and sprayed the base of the Bottle first. I then sprayed from the base to the top of the bottle.
I worked in sections. I would keep my finger down on the nozzle of the spray can from the bottom of the bottle to the top; I didn’t stop mid-way on the bottle or it might cause drips of spray paint then having to spray over the area to try and fix it.
Once I had 1 section done, I gave the can a quick shake then moved onto the next section. I repeated this until I had 1 layer of spray paint on the whole bottle. Black Spray Paint.
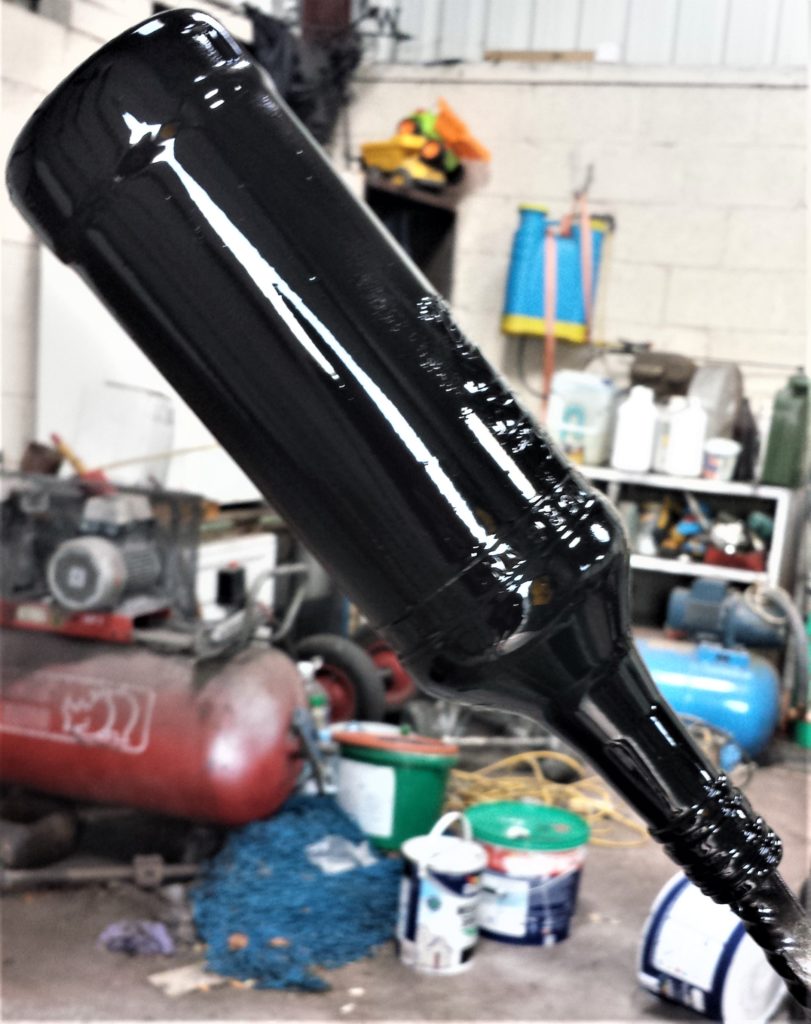
I spray painted the lid of the bottle.
Spray Painting the Candle Holders
I spray painted the inside of the Candle Holders. I shook the can for a few seconds after spraying each candle holder. Black Spray Paint.
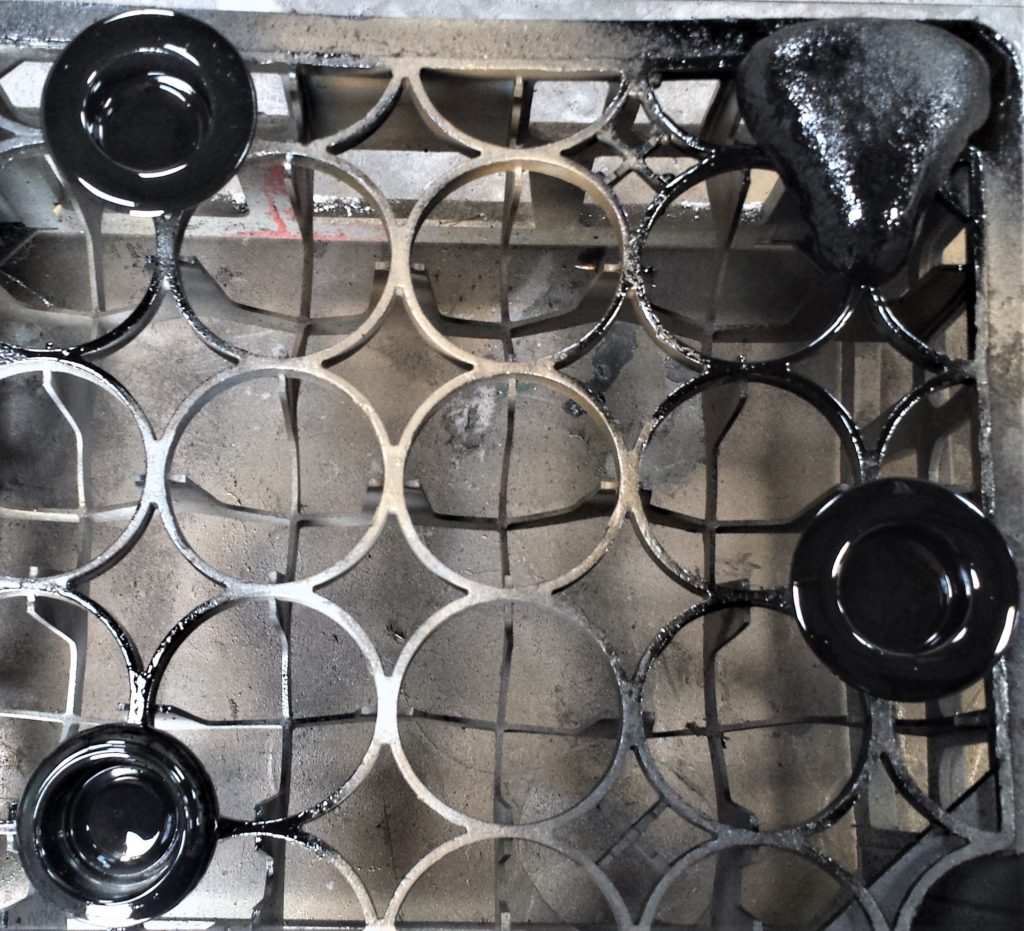
After an hour I applied the second layer of Spray Paint.
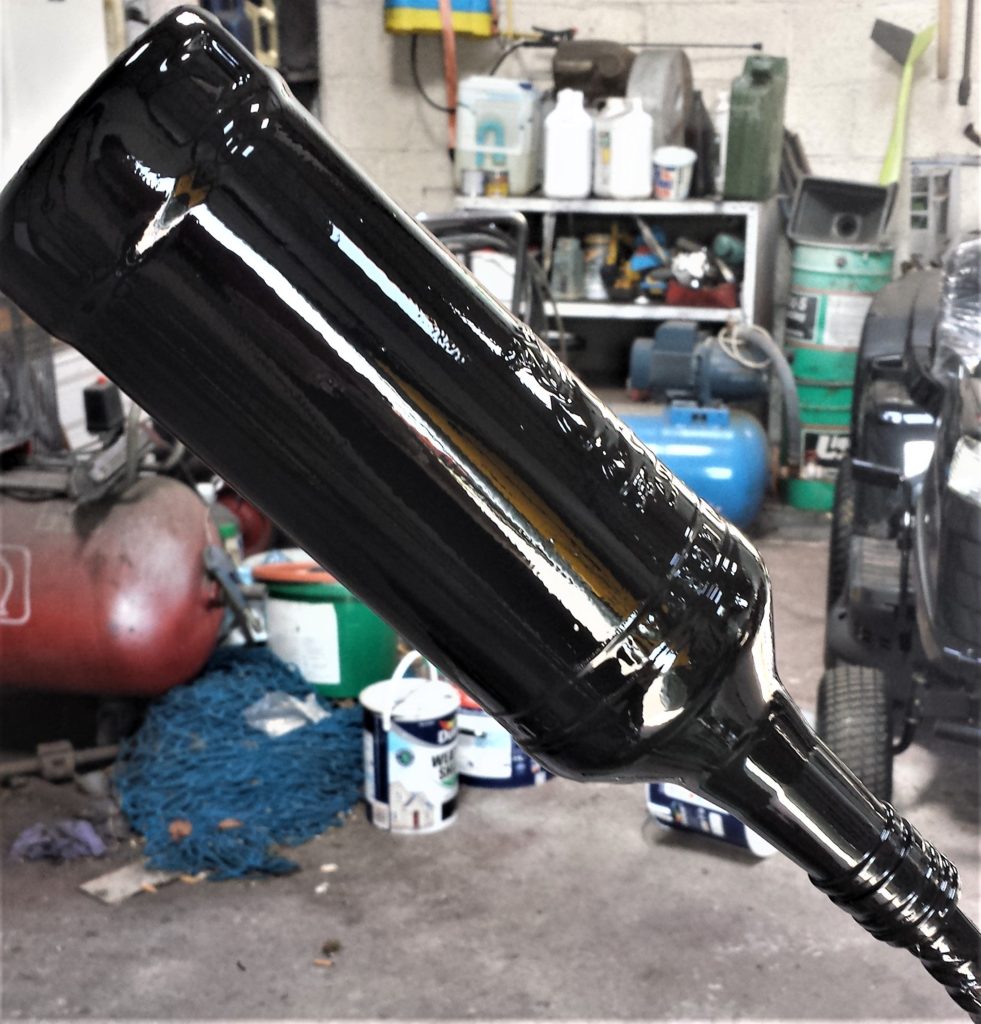
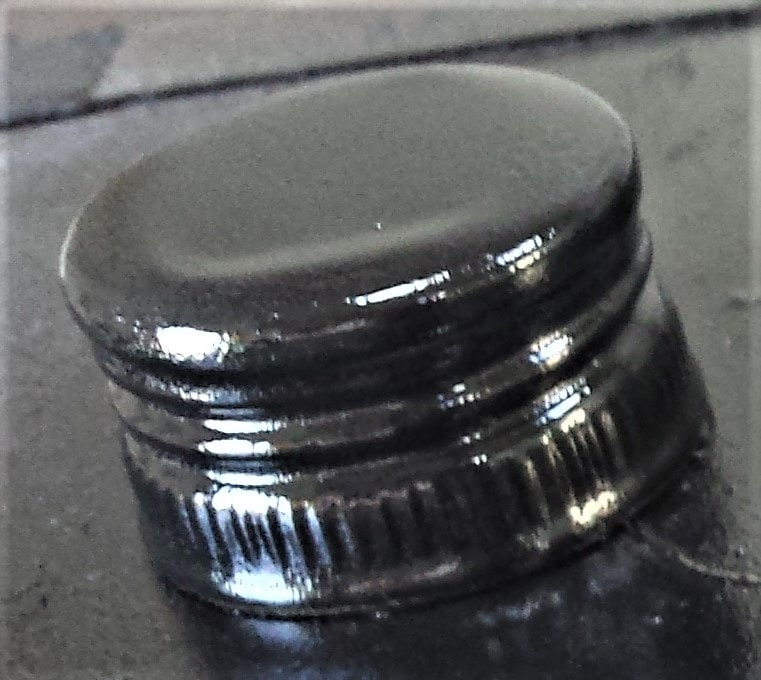
The Bottle and lid were finished after 2 coats of spray paint.
After the second layer of spray paint was applied to the Candle Holders, I left them for two hours, I then turned them over on the Crate and Spray Painted the back of them twice leaving an hour between each layer. Black Spray Paint.
Allowing Time to Cure
I left the Bottle, Lid, and Candle Holders in the shed to cure for 48 hours after the final layer of spray paint. I brought everything inside after the two days.
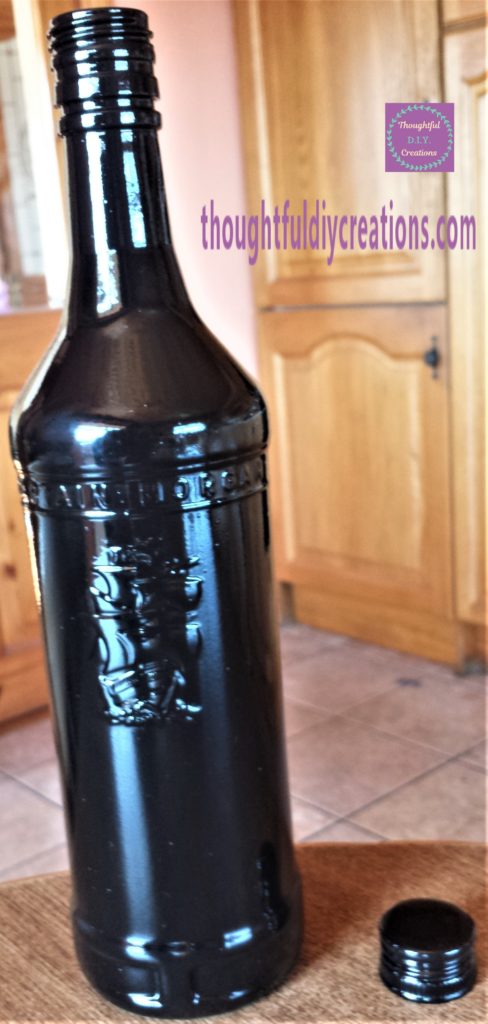
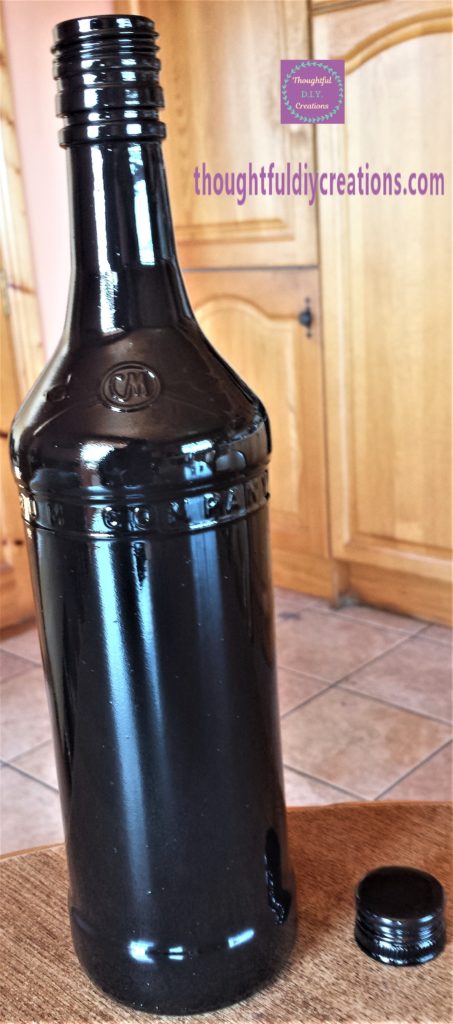

Drawing & Colouring the Skull on the Bottle
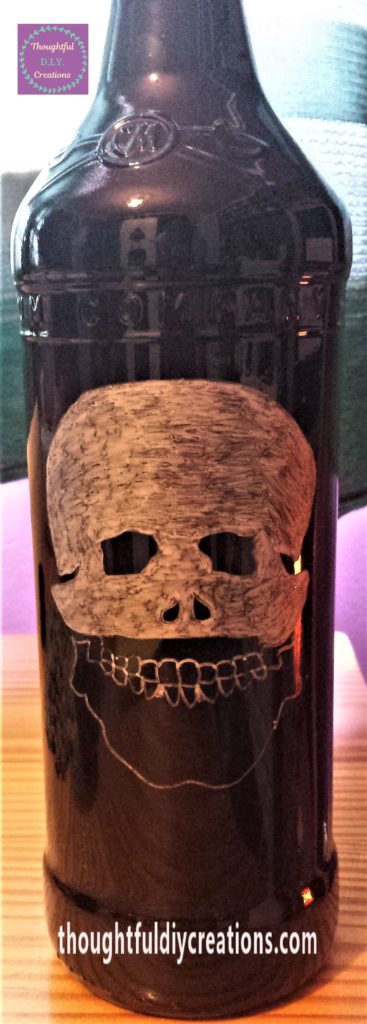
I decided to draw a Skull on the Spray Painted Bottle. I used a ‘uni POSCA Paint Pen’ in ‘Silver 0.7 mm’. Uni Posca Paint Pen.
I drew it freehand, but you can research ‘Skull Templates’ in ‘Google Images’ or ‘Pinterest’ and find a design you like to get an idea of how to draw it.
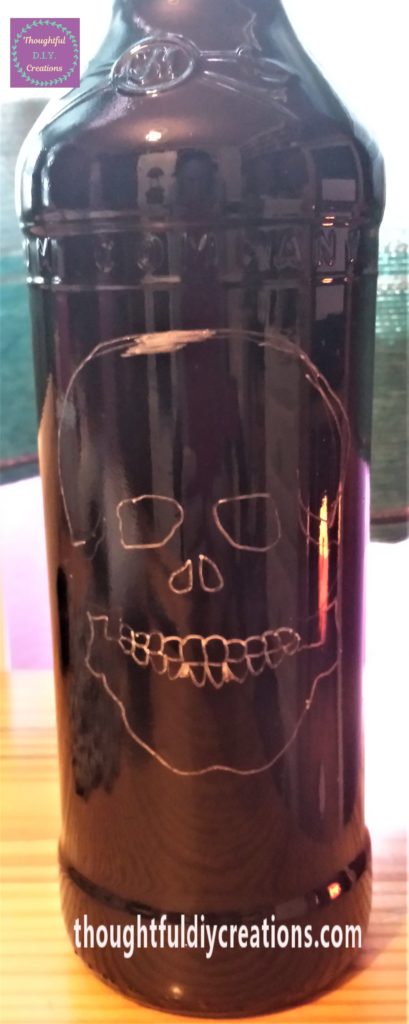
I shaded in the inside of the skull using the Paint Pen. Uni Posca Paint Pen.
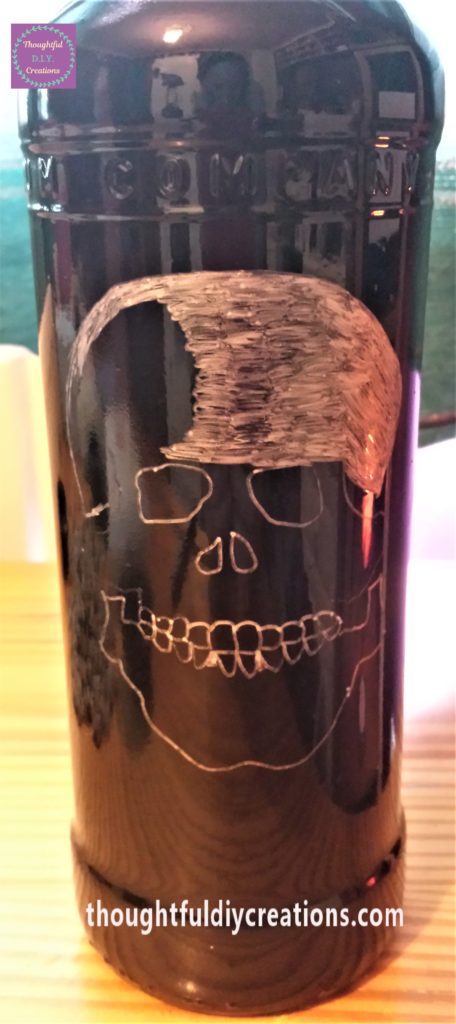
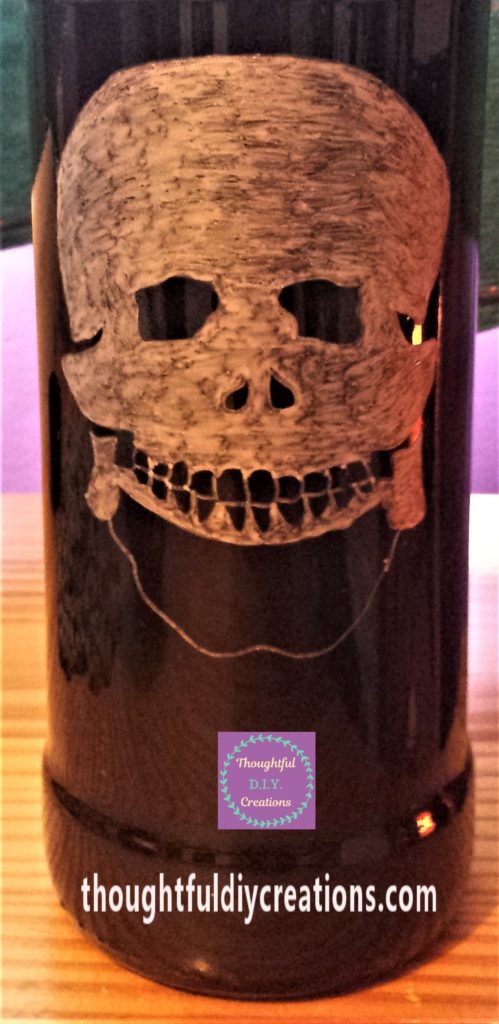
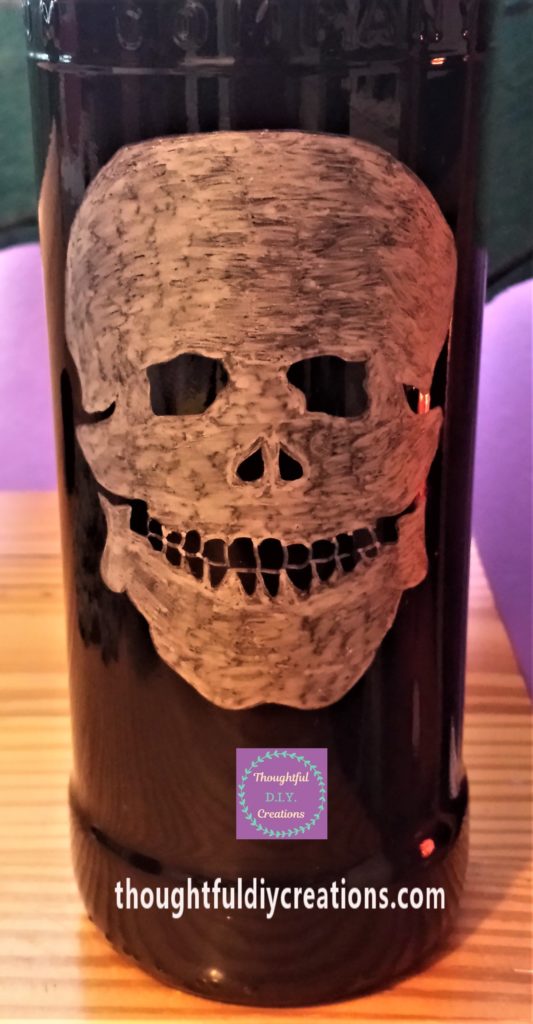
I continued this process until the Skull was completely coloured silver. Uni Posca Paint Pen.
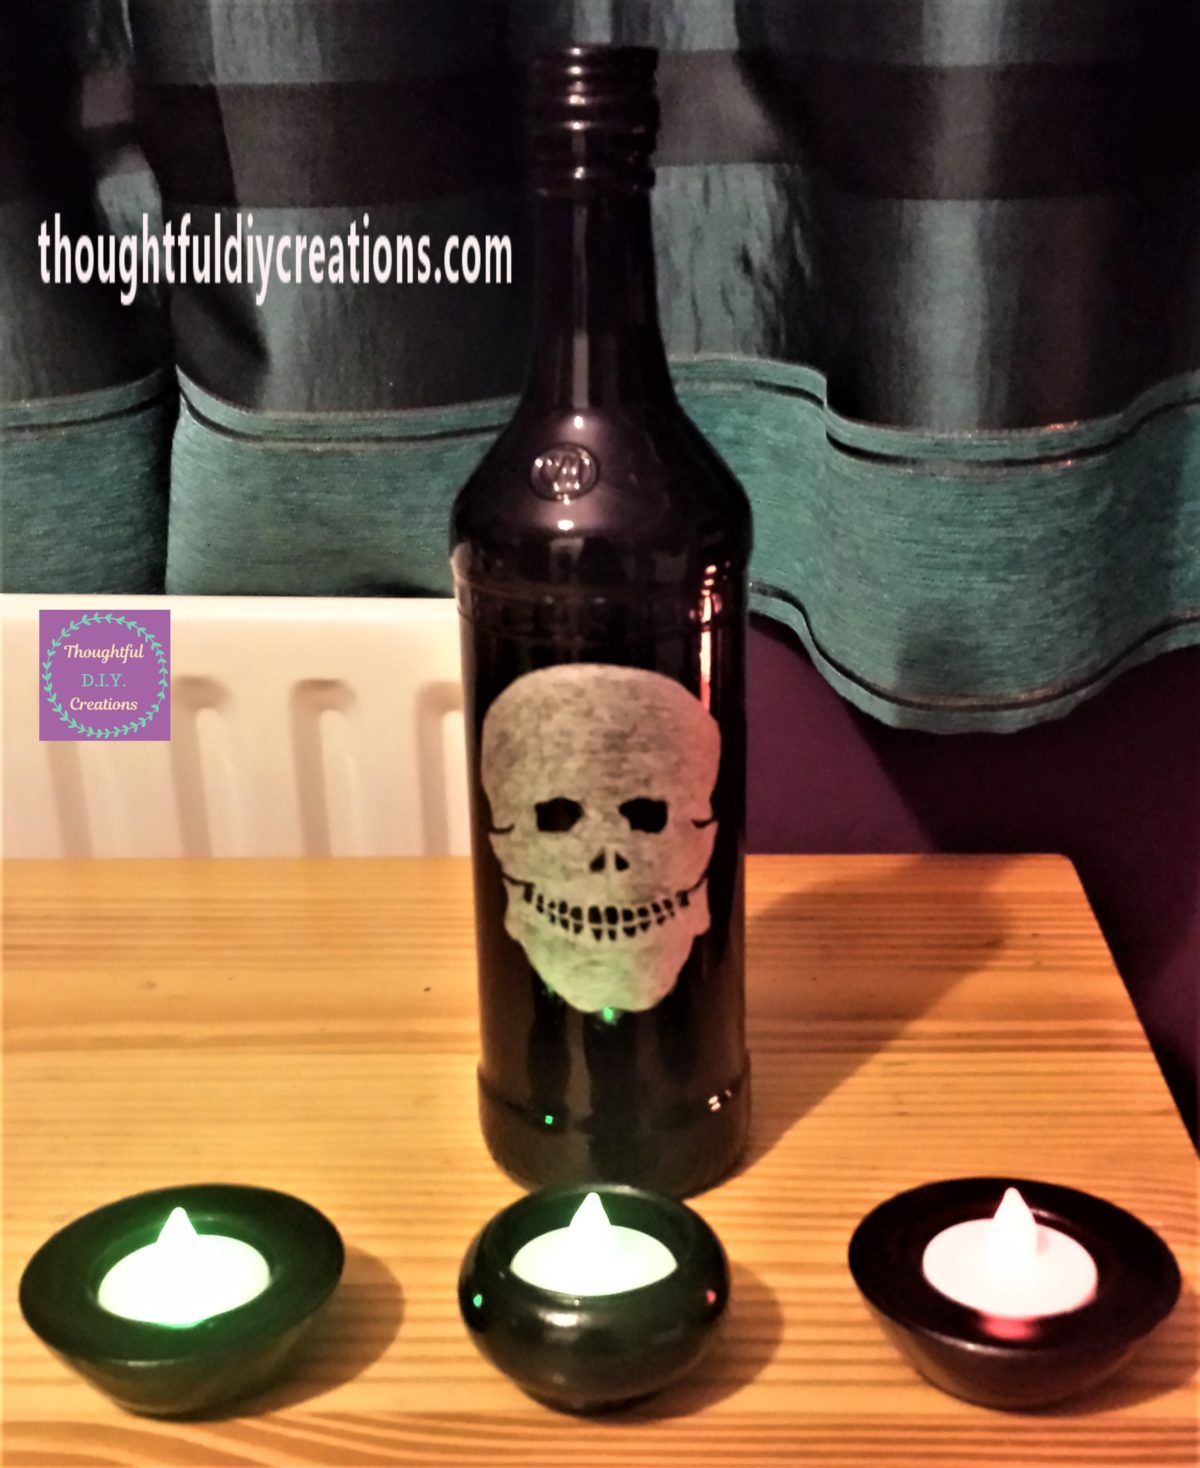
This completed the Skull Bottle. If you want you could add the word ‘Boo’, ‘Caution’, ‘Danger’, or ‘Beware’ on your skull bottle. I liked the simplicity of just having the skull on mine especially against the glossy black spray paint, but if you want to add more interest or embellishments to yours, go ahead and give it a try.
Adding LED Candles to the Candle Holders
I had bought a ‘6-Pack of Colour Change LED T-Lights’ for a previous blog post and had 5 Candles left over, so I decided to use 3 of them for the Spray Painted Candle Holders.


This completed the D.I.Y. Skull Bottle and Spray Painted Candle Holders.
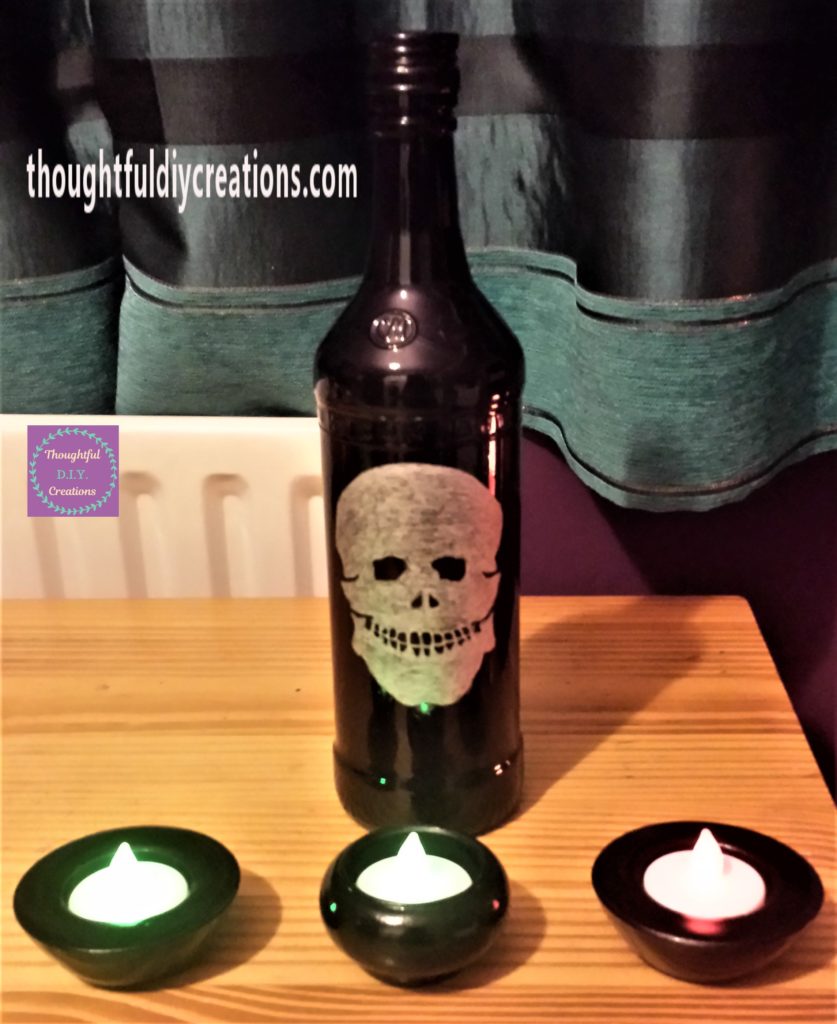
This is the completed D.I.Y. Craft with the light turned off.
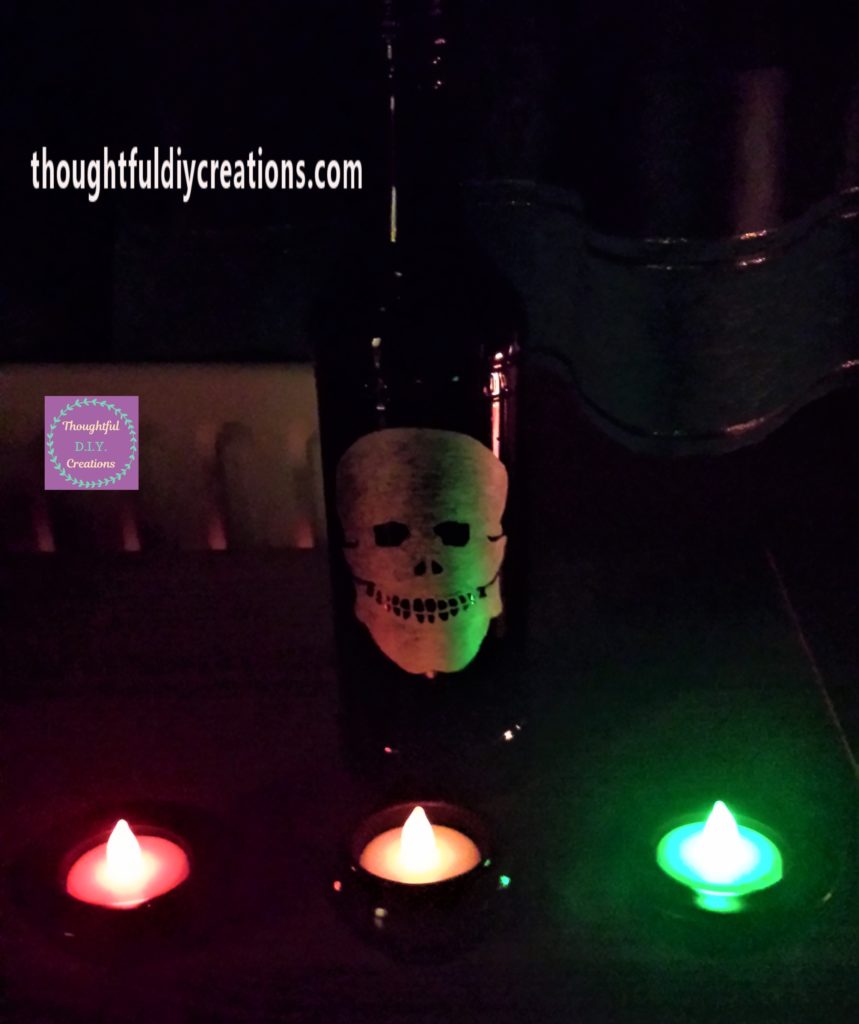
Conclusion
I was pleased with the outcome of this D.I.Y. Halloween Decor Craft. It was a quick and easy project. I liked the silver and black colour combination on the bottle. I loved how the Candle Holders were given a new lease of life. It’s amazing what a couple of layers of Spray Paint can do. I adore the LED Candles, and the range of colours from them. I love the contrast of the colours against the black.
For more Skull Crafts check out my Skull Jar or my Gold Skull Bottle.
I really enjoy using re-purposed materials and changing their appearance. It’s also a budget friendly option for having a base to create on. I hope you found this Tutorial beneficial. If you have any questions feel free to ask them in the Comment Box below this Blog Post and I will answer them as soon as I can.
Have you done much Crafting this Halloween? If you haven’t it’s not too late to start. It doesn’t take long to make a few handmade pieces. If your caught for time try breaking it up into manageable chunks of time. It can be a great way to de-stress after a busy day. It’s amazing what you can get done in 20 minutes. You could take one evening to plan what your going to make, another evening for getting your supplies and work area ready, and another few evenings for Creating. You can have a couple of D.I.Y. Projects completed in less than a week and have time to display them around your home for Halloween.
You could start a Craft Club with a couple of friends one evening a week. You could take turns hosting, bring and share your craft supplies and ideas and have fun bonding with like minded individuals. It’s amazing what you can learn from other people and how they think and create. It’s also good for your mental health being surrounded by similar people and being mindful and creative.
I hope this helps if you were stuck for Ideas or where to start.
Thank you so much for taking the time to read my Blog.
Always Grateful,
T.D.C.
xoxox


-0 Comment-