D.I.Y. Skull Jar
Hello my Creative Friends,
I hope you are all well. In Today’s Tutorial I will show you how to make a D.I.Y. Skull Jar. It is a versatile craft as you can easily change the picture of the skull to whatever else you would like to have on your jar instead. It is an easy-to-do craft and I hope you enjoy it.
Preparing the Jar for Crafting
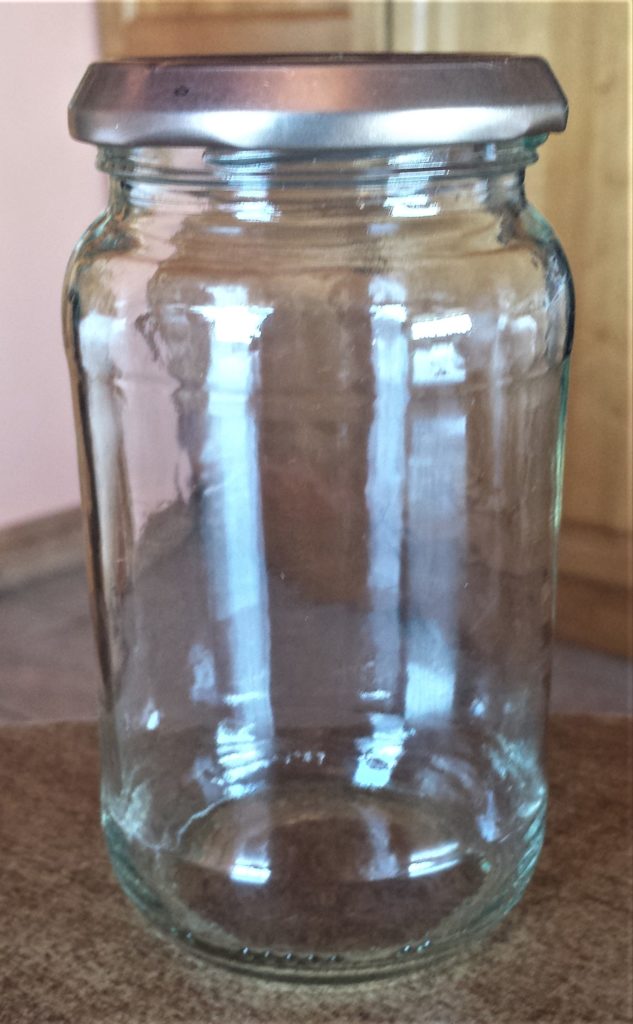
I have a box of jars I have collected to use for crafting. I picked out a jar to use for this craft. I soaked it in the sink with warm water and washing-up-liquid for an hour. This helps to loosen the label and it peels off easier. I removed the edges of the label with a cloth. I rinsed and dried the jar and lid.
Skull Template for the D.I.Y. Skull Jar
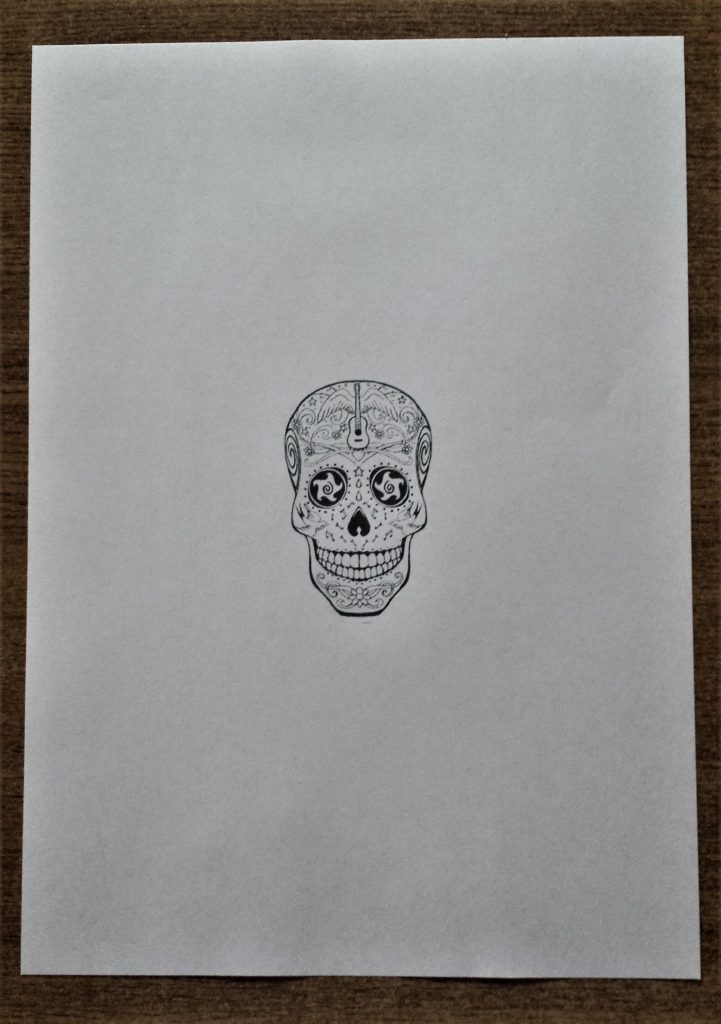
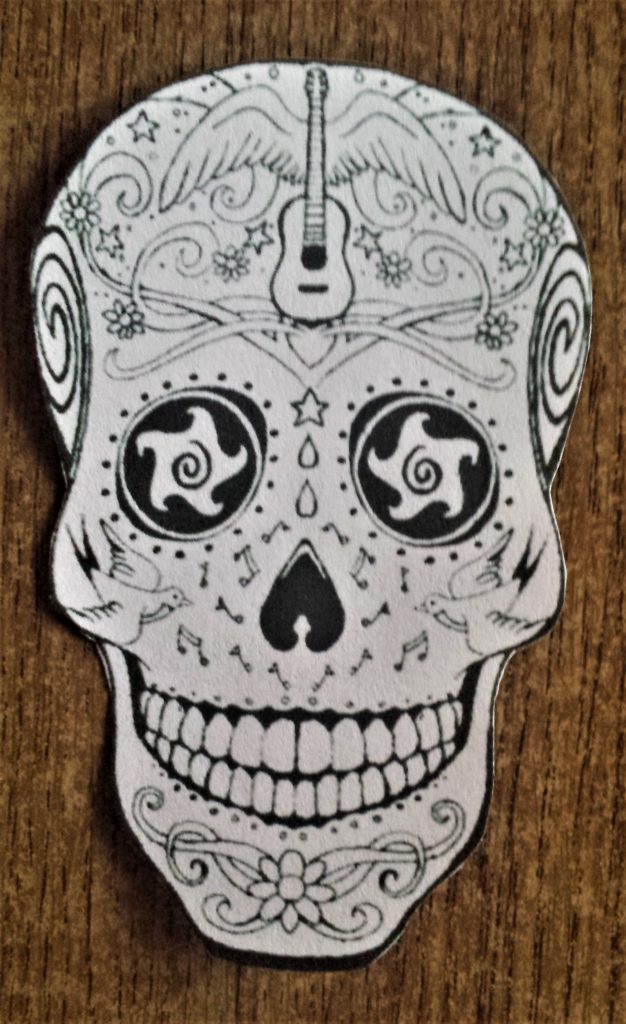
I wanted the jar to have the outline of a skull on the front of it. I looked up ‘Skull Template’ in Google Images. I picked a free-to-use design that I liked. I downloaded the image to my computer. I clicked on the Downloads Folder and clicked on the Skull Image. I pressed Print, and chose the size to be where you have 9 Images on the 1 page. I printed it out on regular printer paper. Printer Paper.
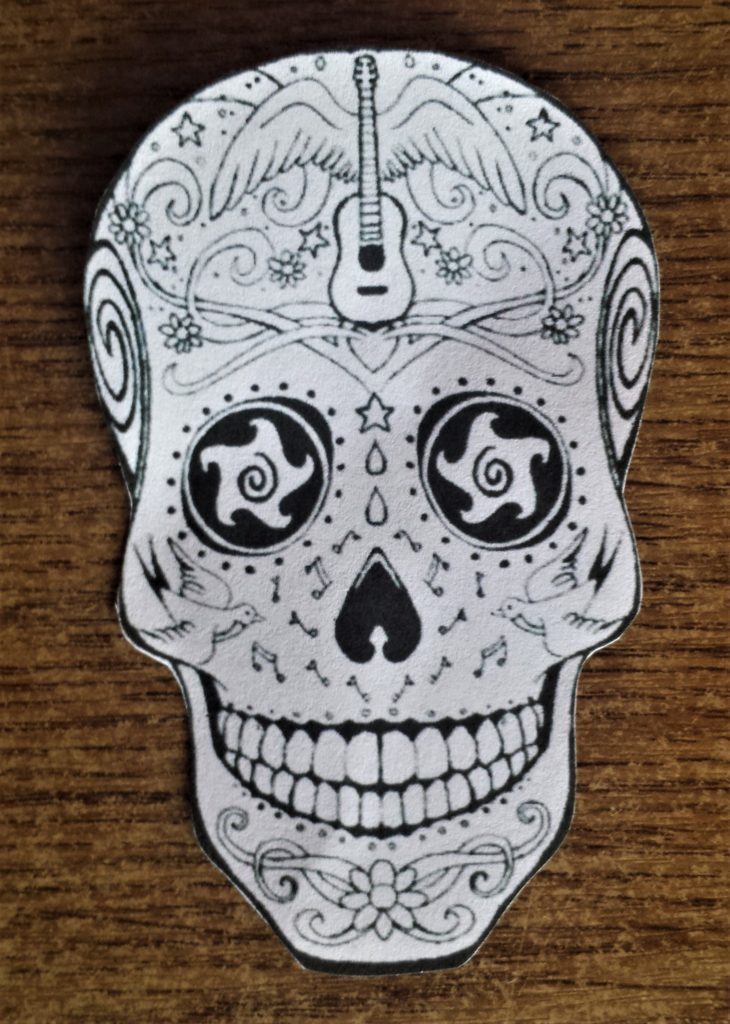
I cut out the picture of the skull using a small, sharp scissors.
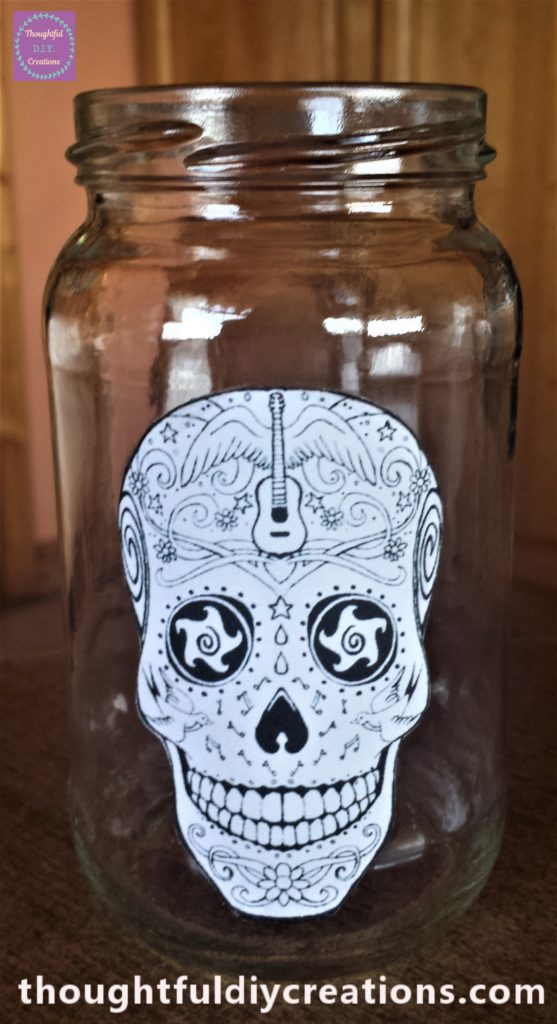
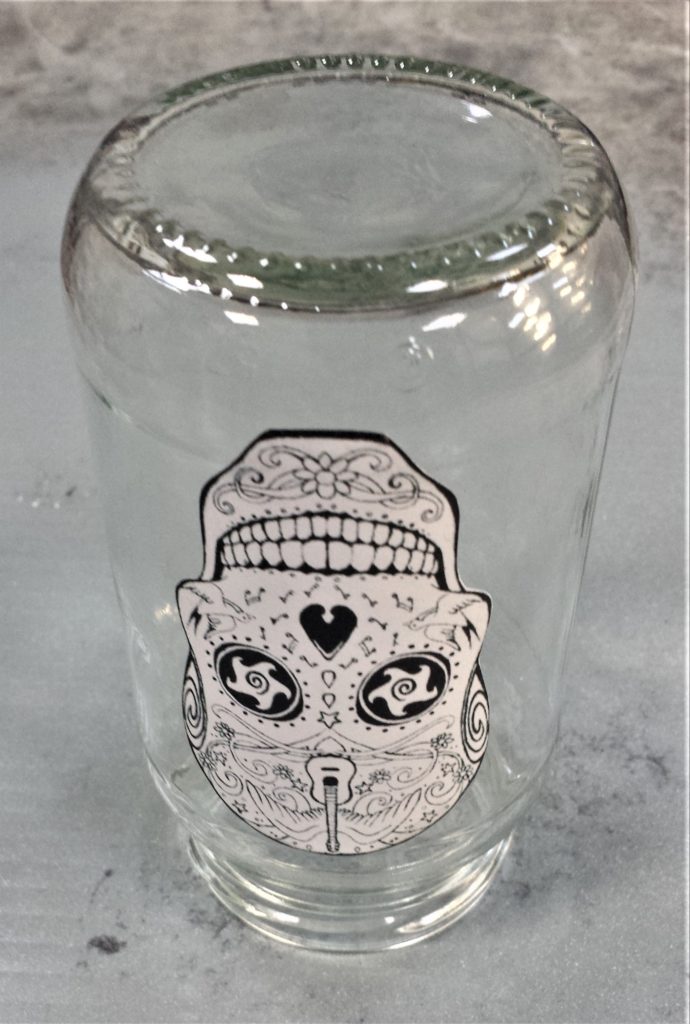
I put pritt stick on the back of the skull along all the edges and stuck it to the front of the jar. Pritt Stick.
Preparing to Spray Paint
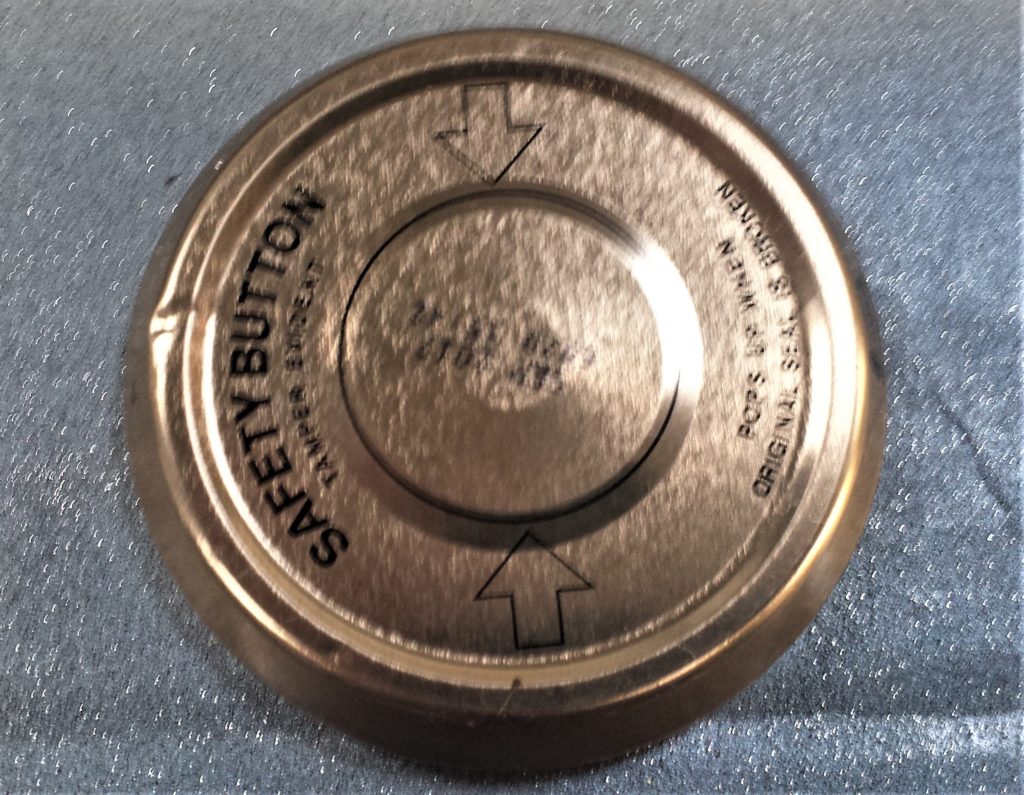
I brought the jar and lid out to the shed. I put the jar standing upside down on a table. I put the lid on the table ready for spray painting.
Spray Paint Recommendations
Always Spray Paint in a well ventilated area. Open windows and doors, and leave the area as soon as your finished spray painting to ensure you don’t inhale any unnecessary fumes.
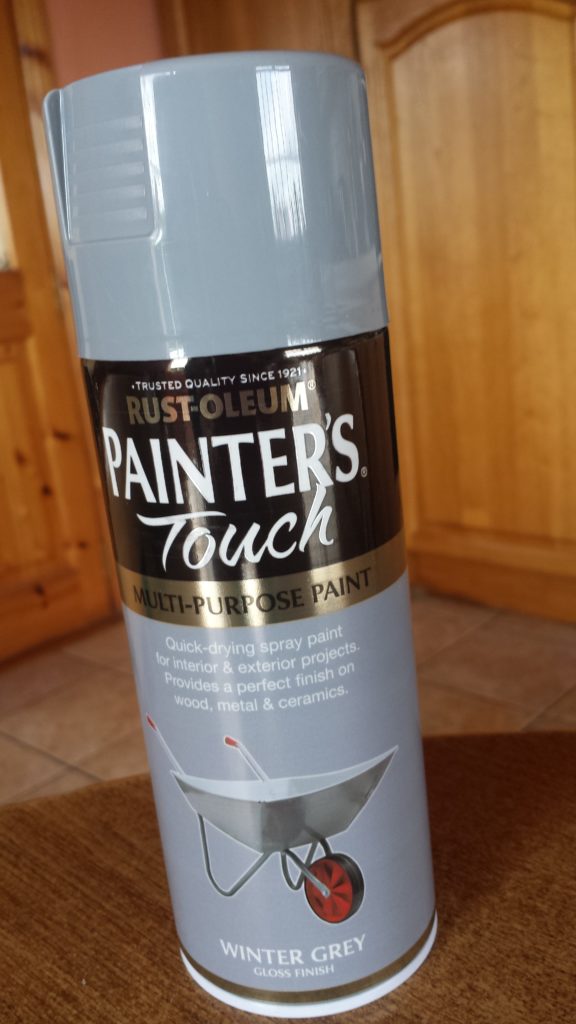
The Spray Paint I used for the D.I.Y. Skull Jar was ‘RUST-OLEUM, Painter’s Touch, Multi-Purpose Paint in Winter Grey, Gloss Finish’. Rust-Oleum Spray Paint.
Spray Painting the D.I.Y. Skull Jar
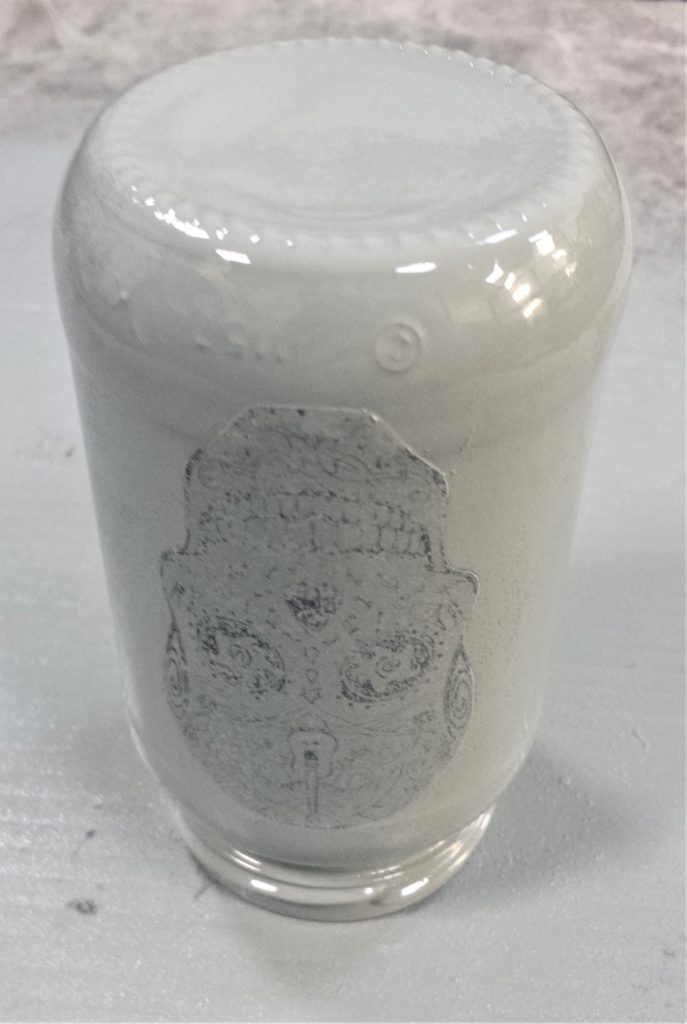
I shook the spray can from side-to-side for a minute. I removed the lid and held the can about 30 cm away from the base of the jar. I pressed the nozzle down on the spray can and sprayed the base of the jar. I then stopped and gave the can a quick shake.
I held the spray can 30 cm away from the bottom of the jar. I sprayed from the bottom of the jar to the top; 1 straight line down with spray paint. I then moved onto the next section and sprayed from the bottom of the jar to the top. I stopped after every second line down and gave the can a quick shake before moving on. I did this until I had 1 layer of spray paint on the whole jar. This whole process only took a minute. Rust-Oleum Spray Paint.
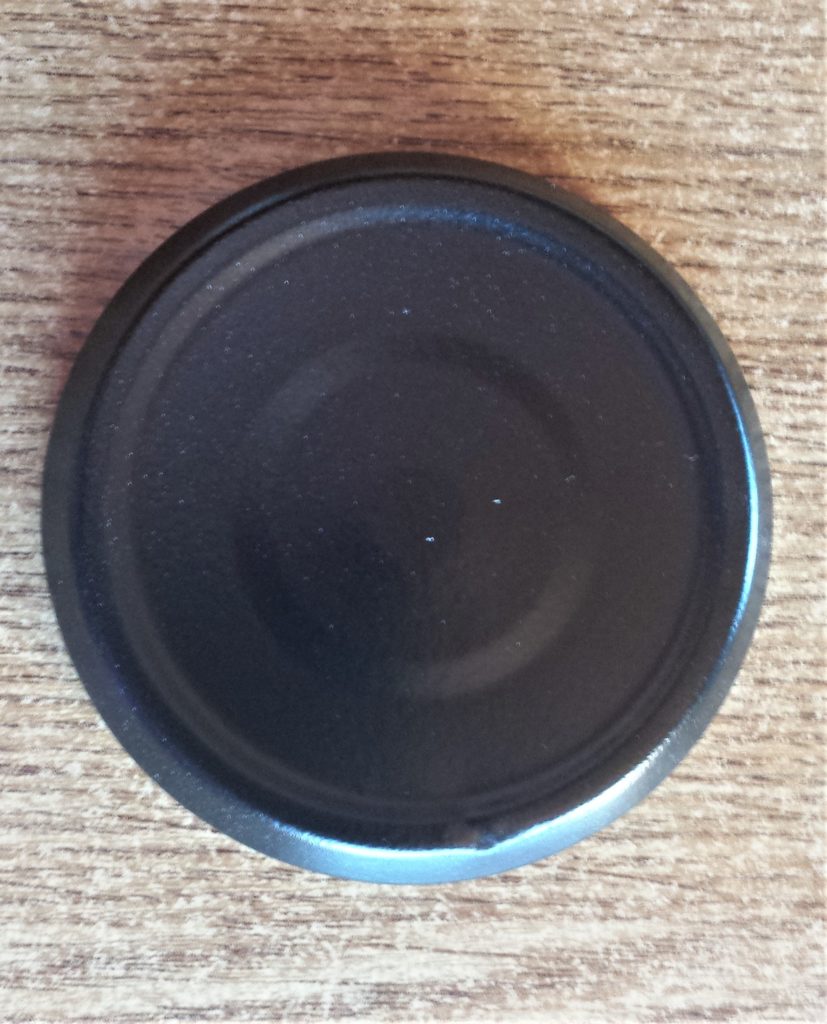
The Spray Paint I used for the lid was ‘RUST-OLEUM, Painter’s Touch, Multi-Purpose Paint in Black, Matte Finish’. I gave the can a shake for a minute. I removed the lid from the spray can and sprayed the lid of the jar. Rust-Oleum Spray Paint.
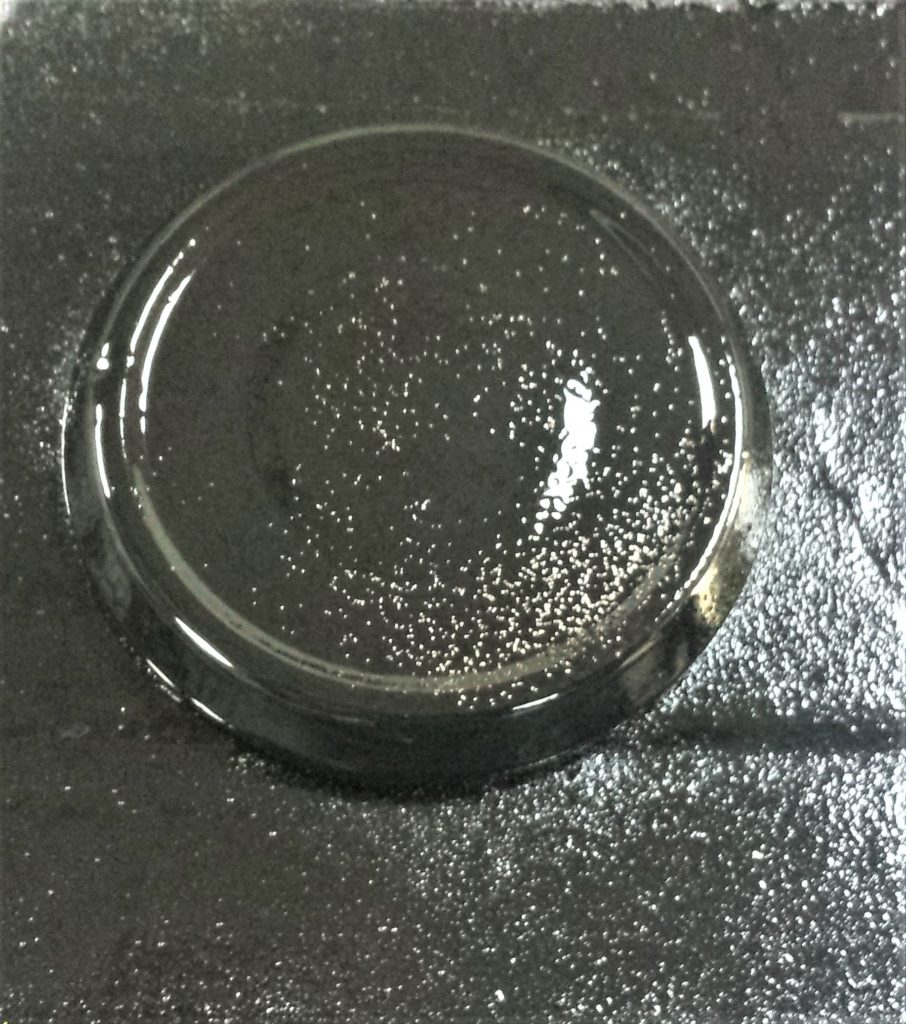
I went back out to the shed an hour later and applied the second layer of spray paint to the jar and lid.
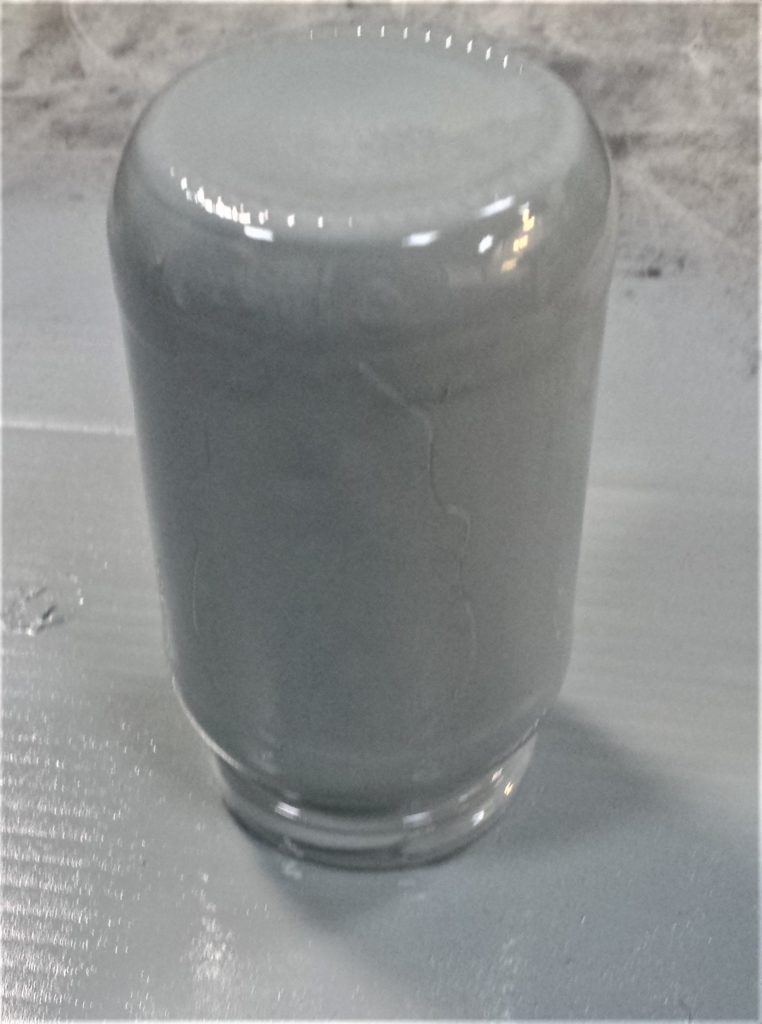
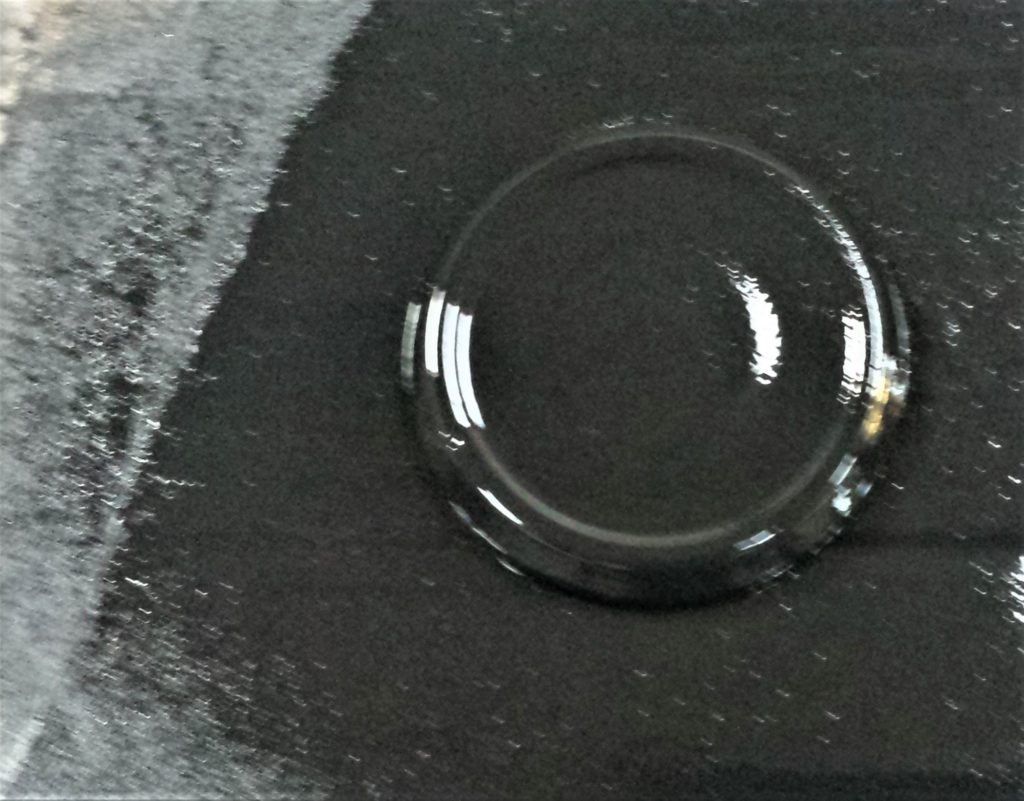
The third and final layer of spray paint was applied to the jar and lid after yet another hour. Rust-Oleum Spray Paint.
Removing the Skull Image
The next day I went out to the shed to remove the skull picture from the jar. I started in the middle of the picture and tore it with my fingers.
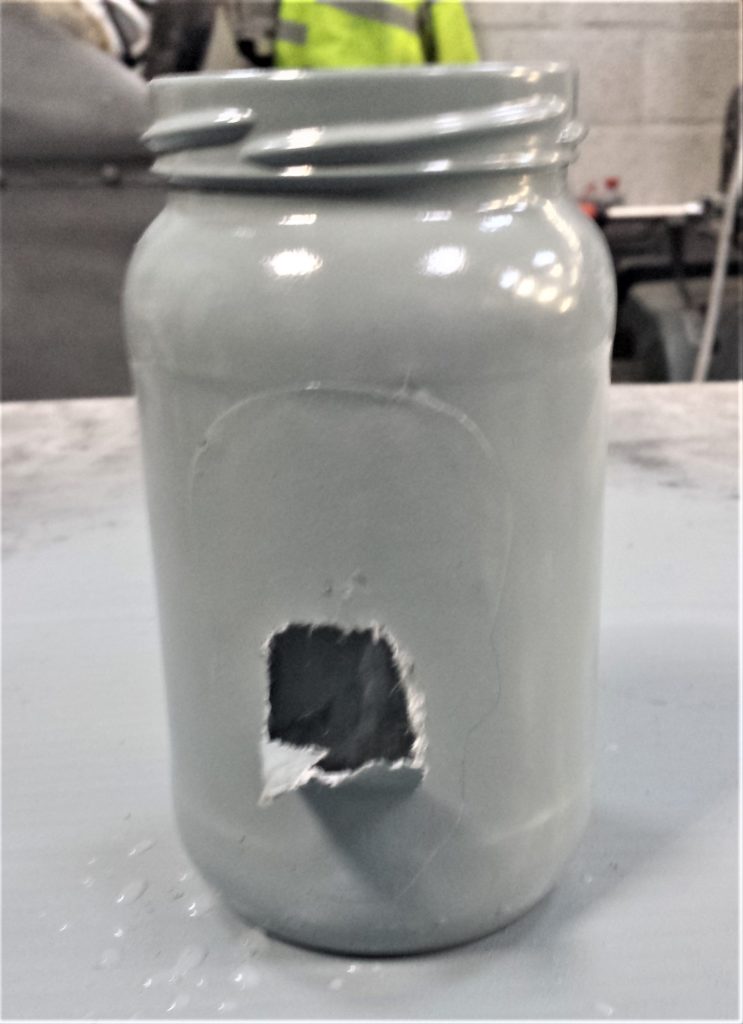
I brought the jar inside and carefully removed the rest of the skull picture.
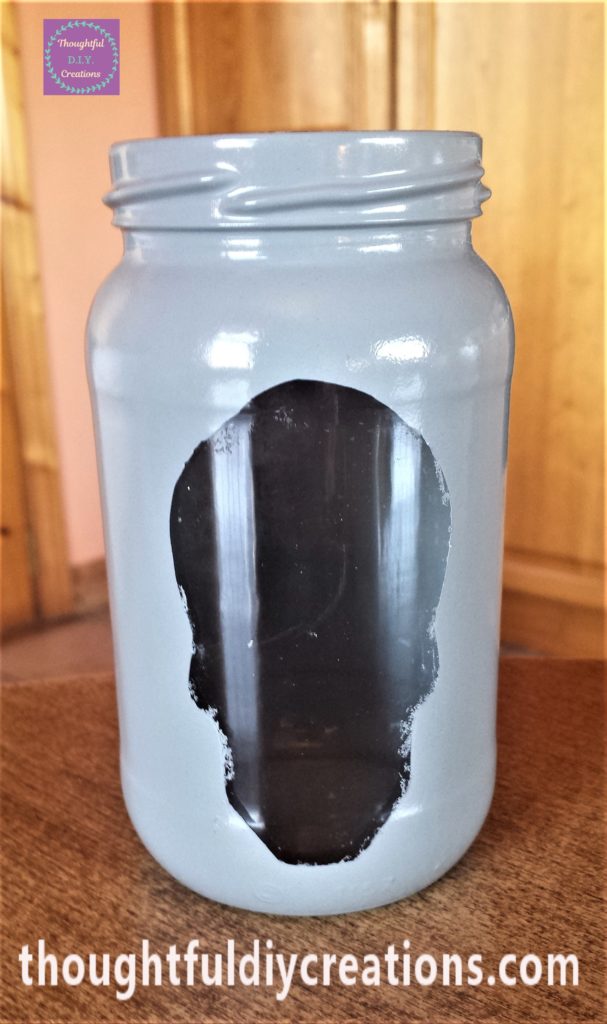
I removed the excess spray paint around the edge of the skull carefully with a baby wipe. I put an LED Colour Change T-light candle inside the jar to see how it was coming together. I put the lid back on the jar. Color Changing Led Tea Lights.
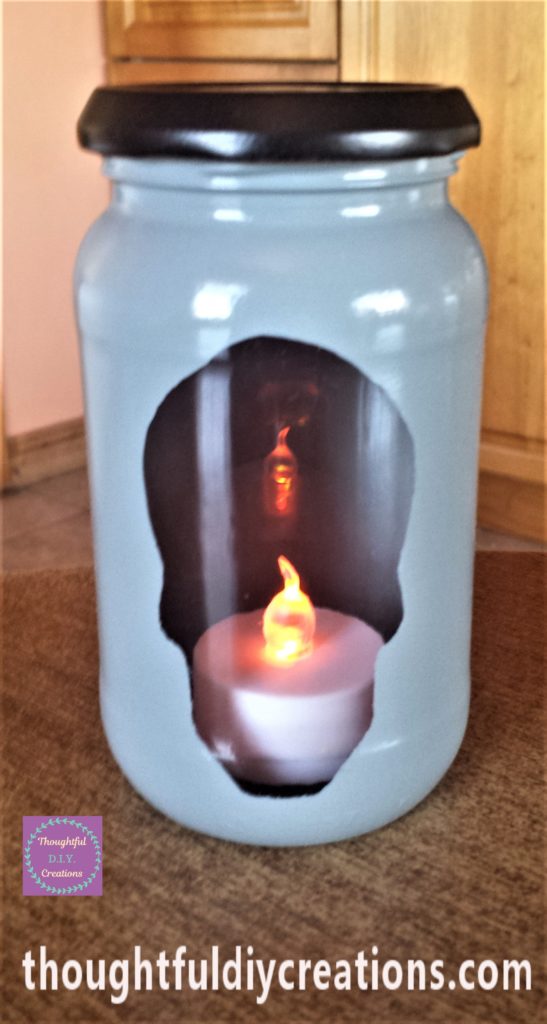
Adding Sealant to the D.I.Y. Skull Jar
I was happy with how it looked. I brought the jar and lid back out to the shed. I gave the jar a layer of ‘Clear Lacquer Spray Paint in Gloss Finish’ to seal the paint especially around the skull to ensure it doesn’t chip. Lacquer Spray, Gloss Clear.
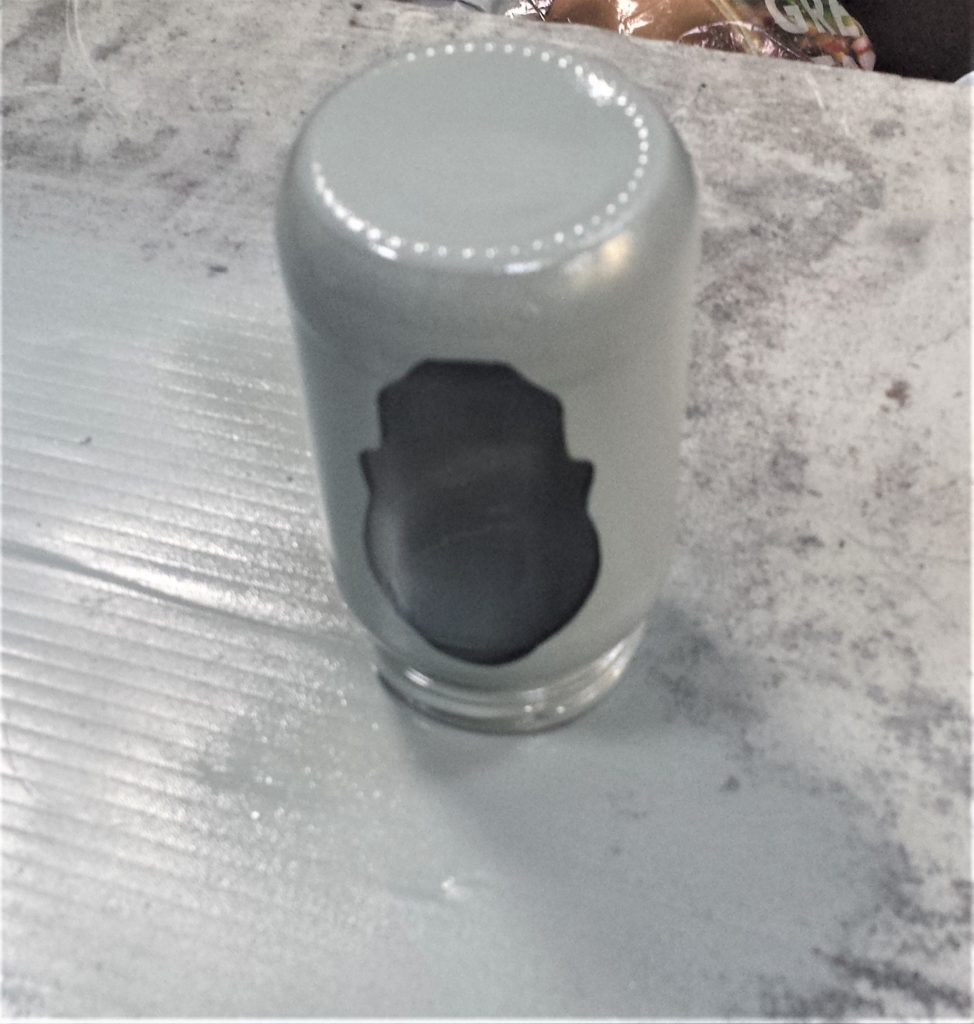
After an hour I applied a second layer of the ‘Clear Gloss Sealant’ to the D.I.Y. Skull Jar. Lacquer Spray, Gloss Clear.
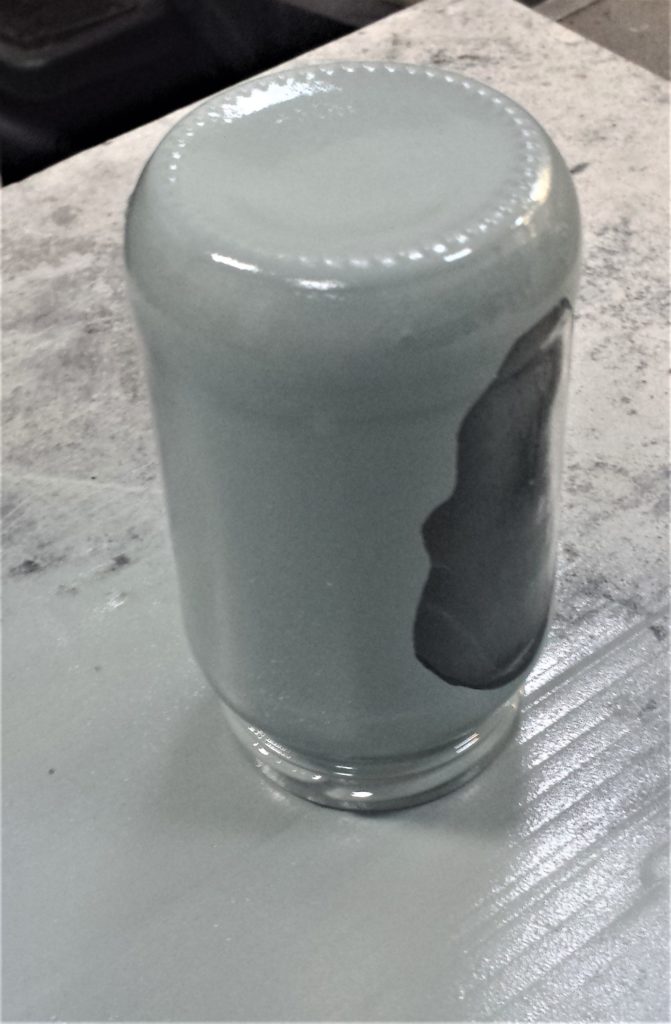
I left the jar and lid in the shed for 48 hours to cure. They were then brought back inside 2 days later.
Skull Image for Inside the Jar
I thought it could be a good idea to have the picture of the skull on the inside of the jar and the detail could be seen when the colour changes on the LED Candle.
I turned on my computer and clicked Downloads, I found the Skull Image, clicked on it, and printed it the same way and size as the first time. I cut it out using a small scissors. Printer Paper.
I put pritt stick on the back of the skull image and placed it at the back on the inside of the jar. Pritt Stick.
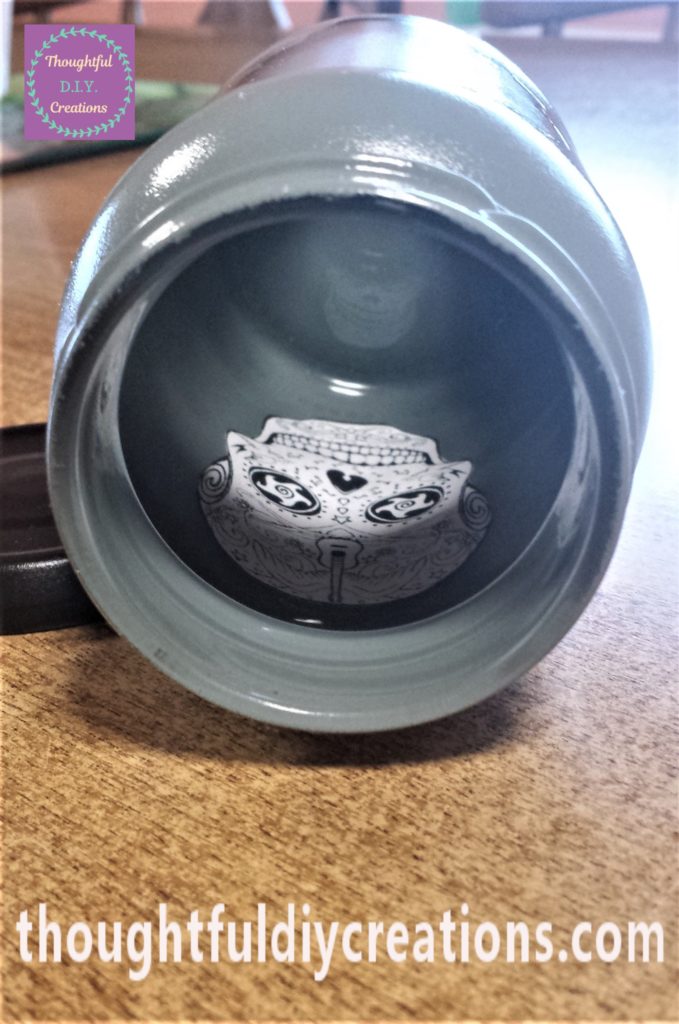
I carefully rolled a pen along the skull image especially around the edges to ensure it was stuck down properly.
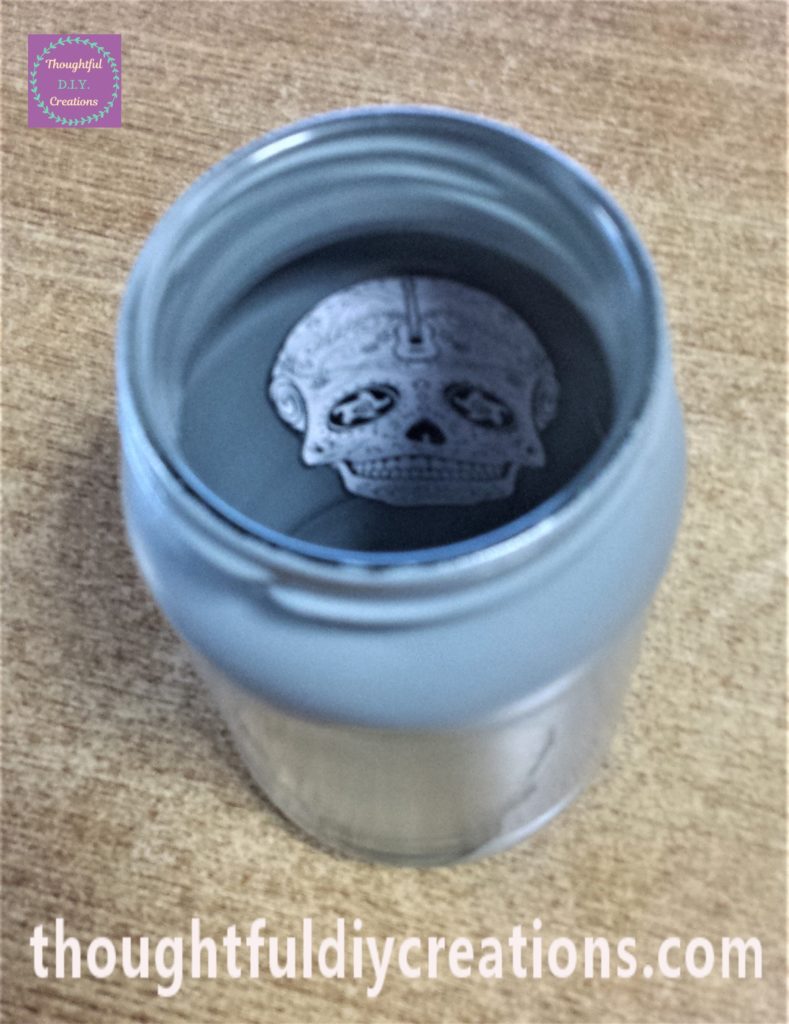
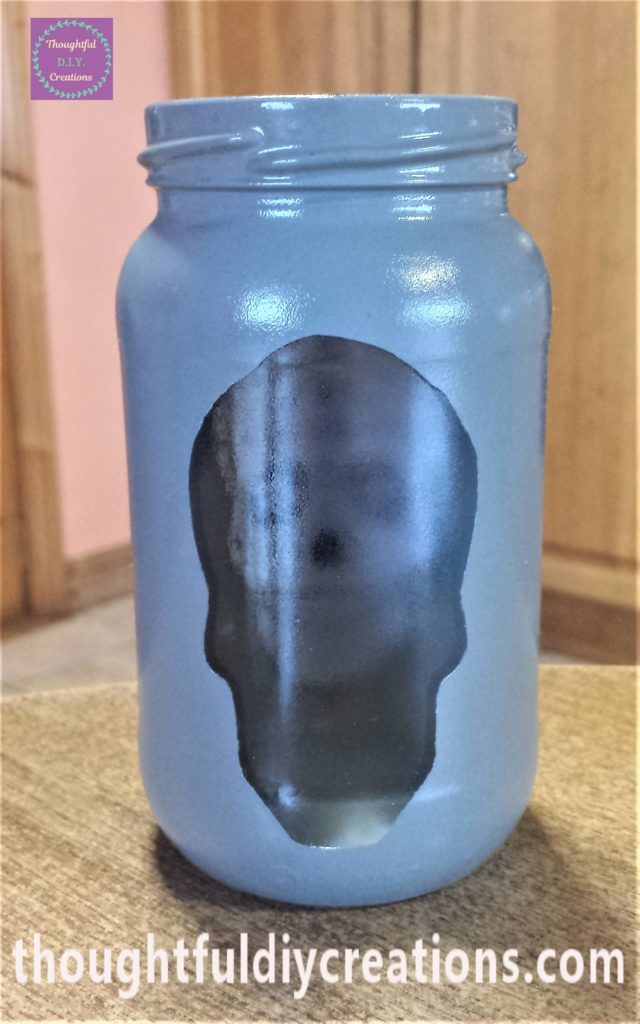
Adding the Candle to the D.I.Y. Skull Jar
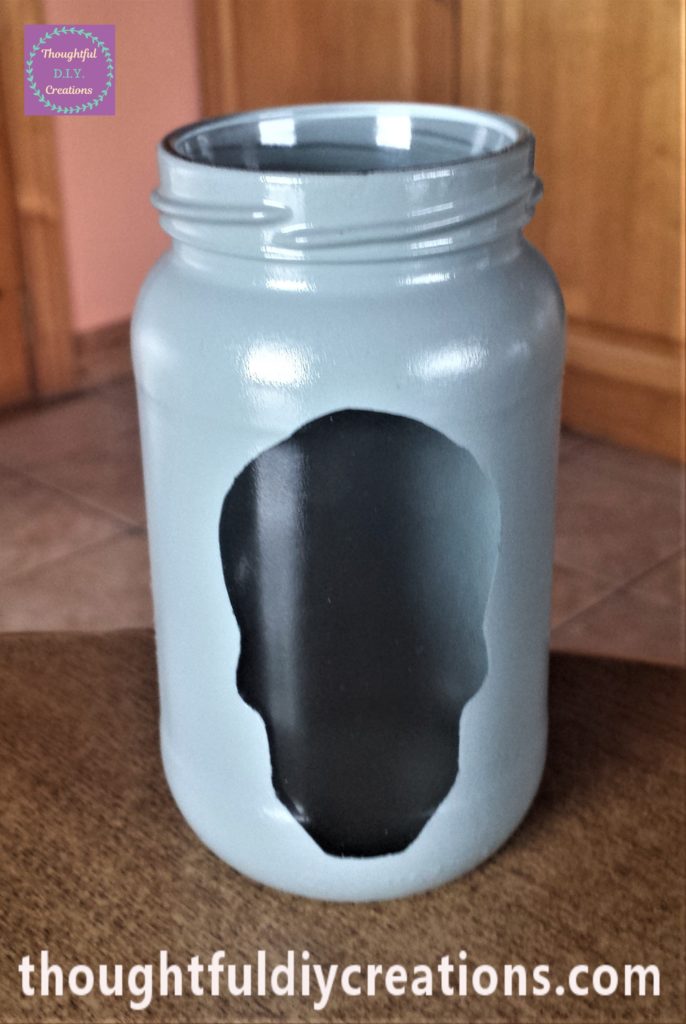
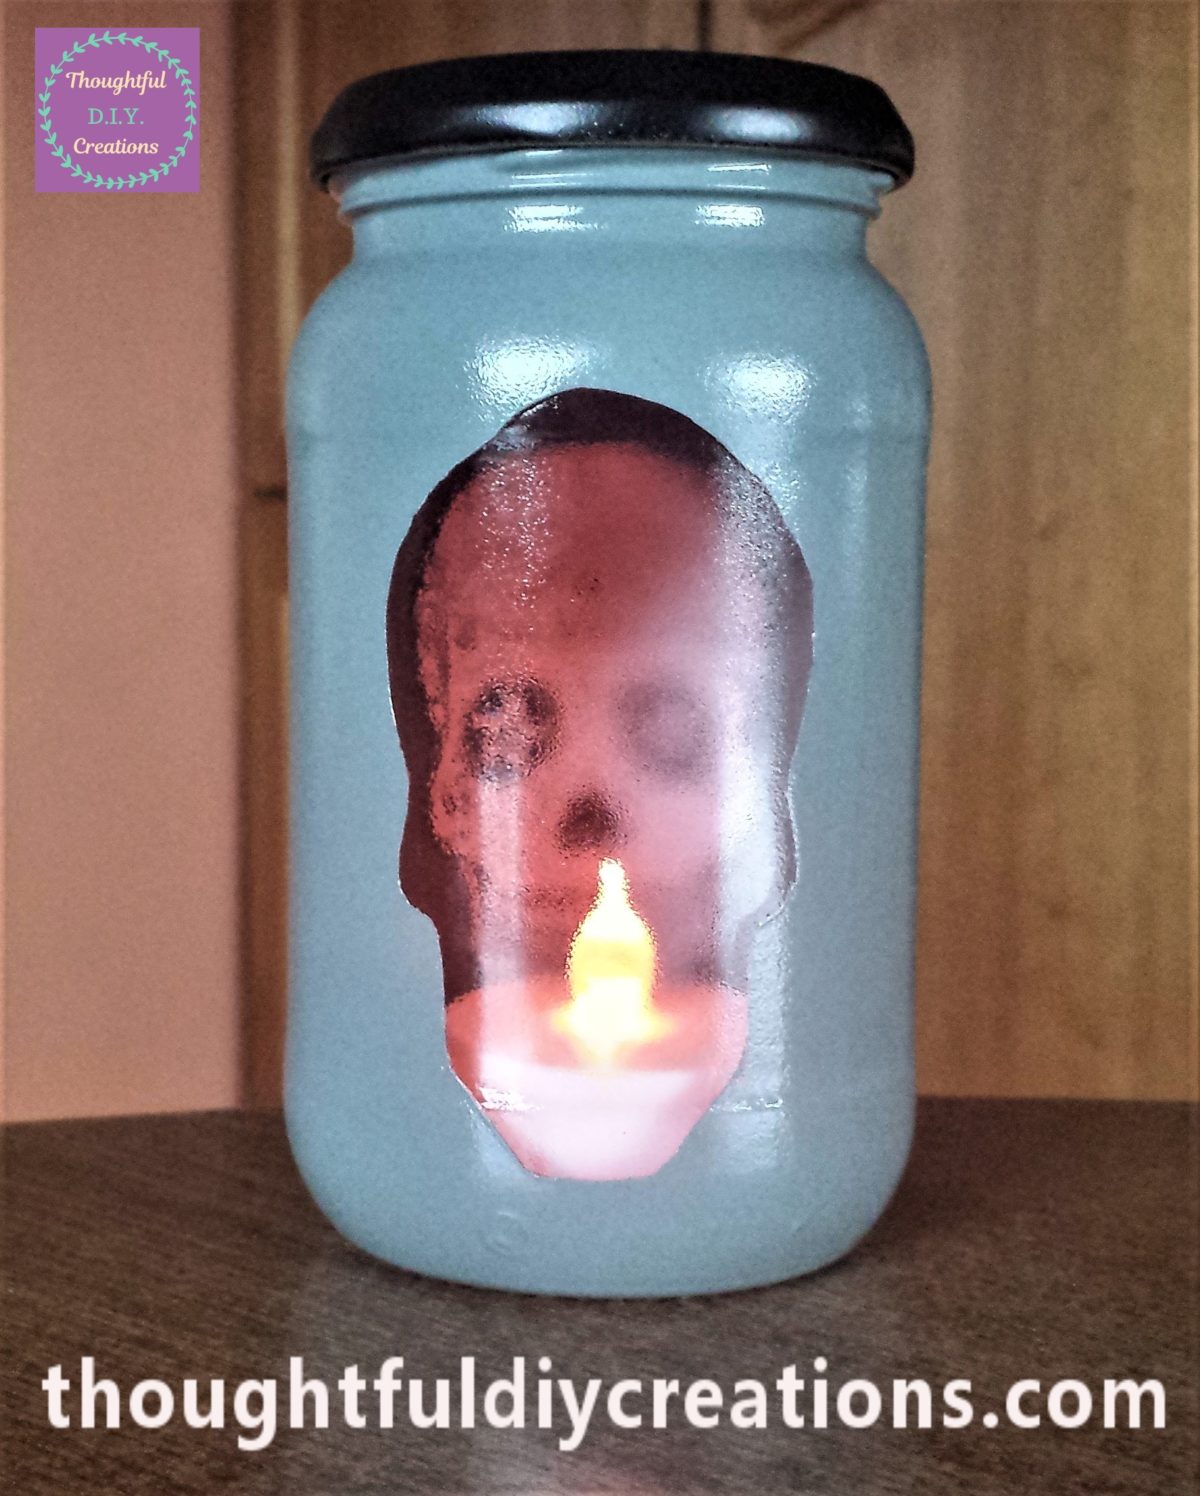
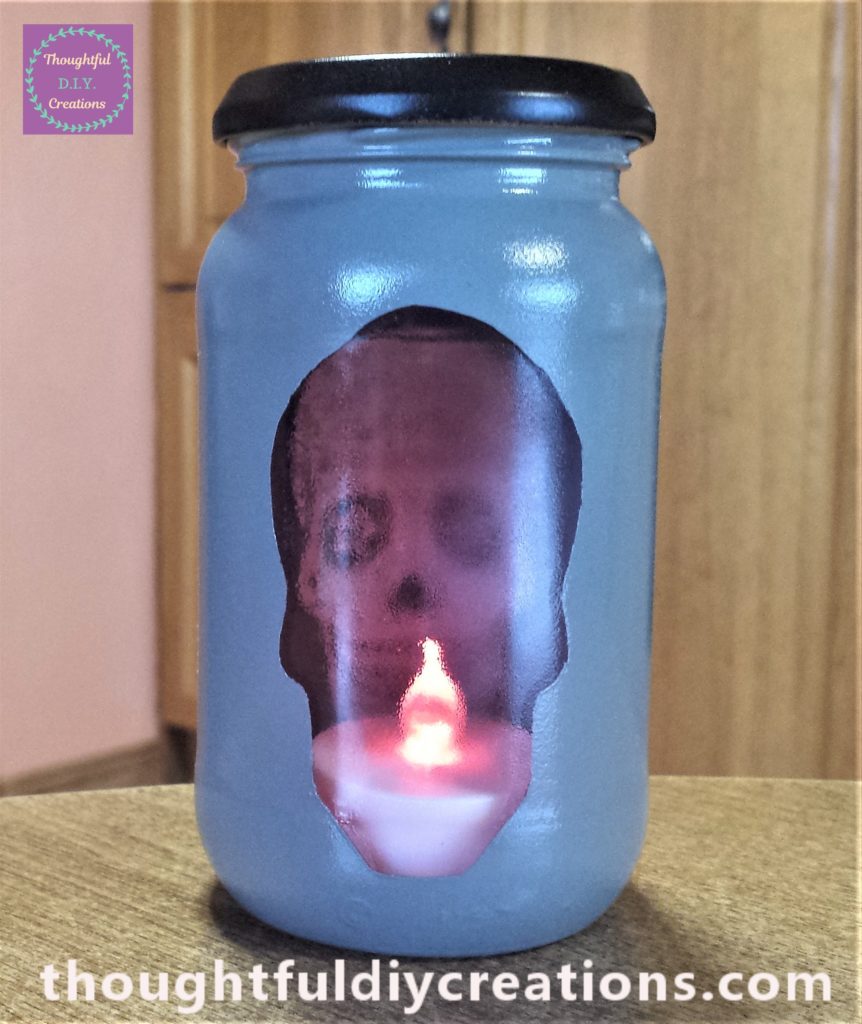
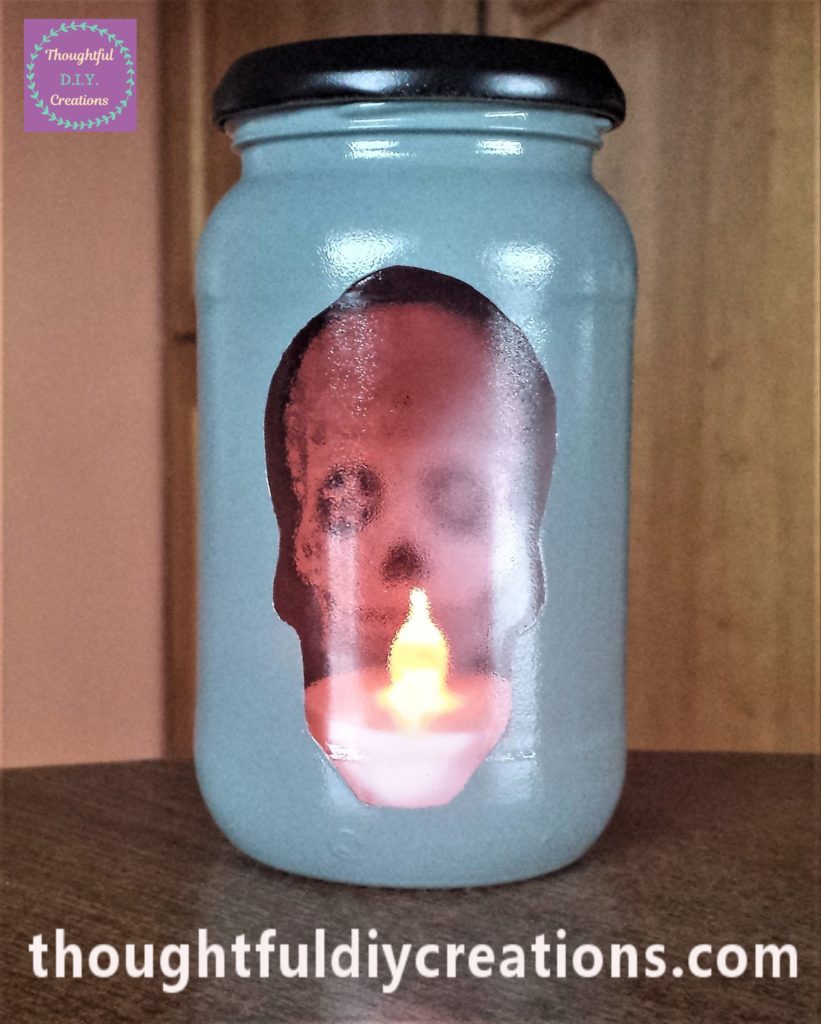
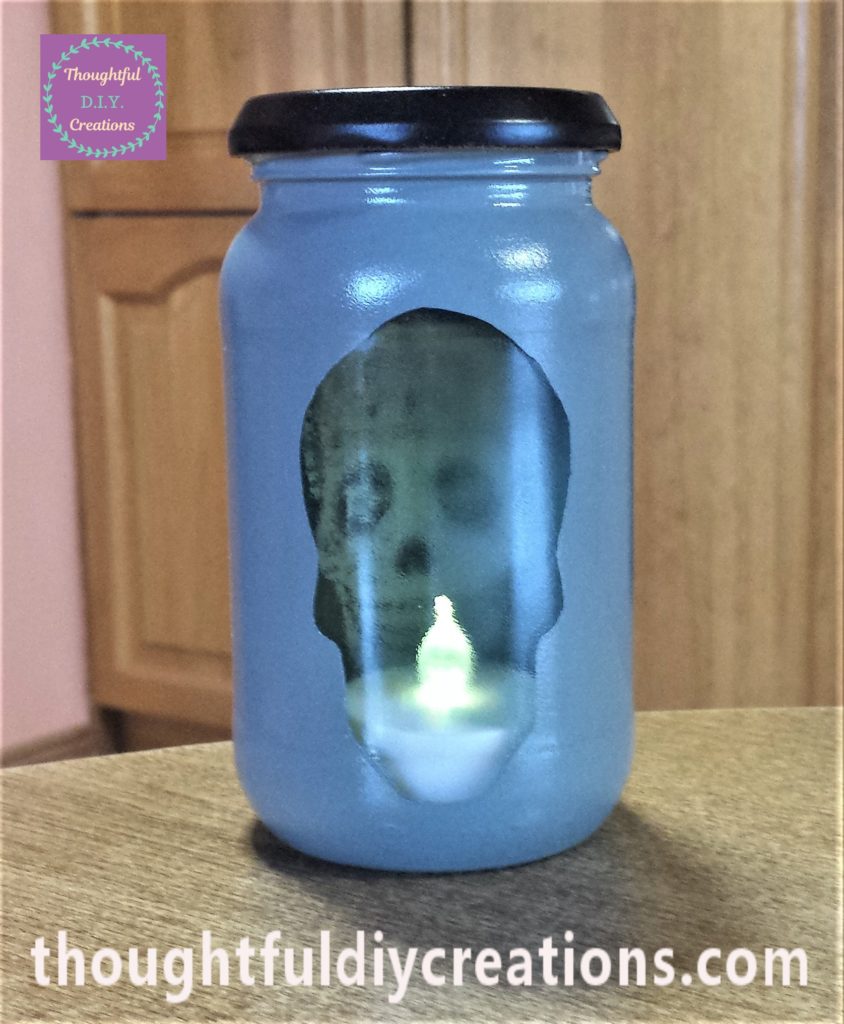
I put the LED Colour Change T-light Candle into the jar and put the lid on the jar. This completed the D.I.Y. Skull Jar. Color Changing Led Tea Lights.
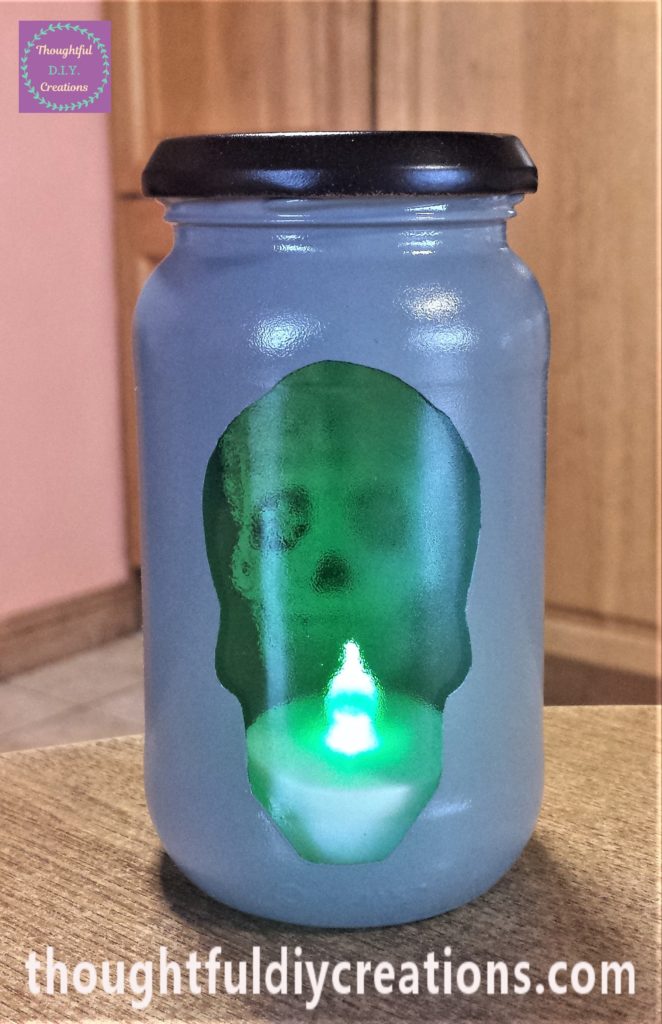
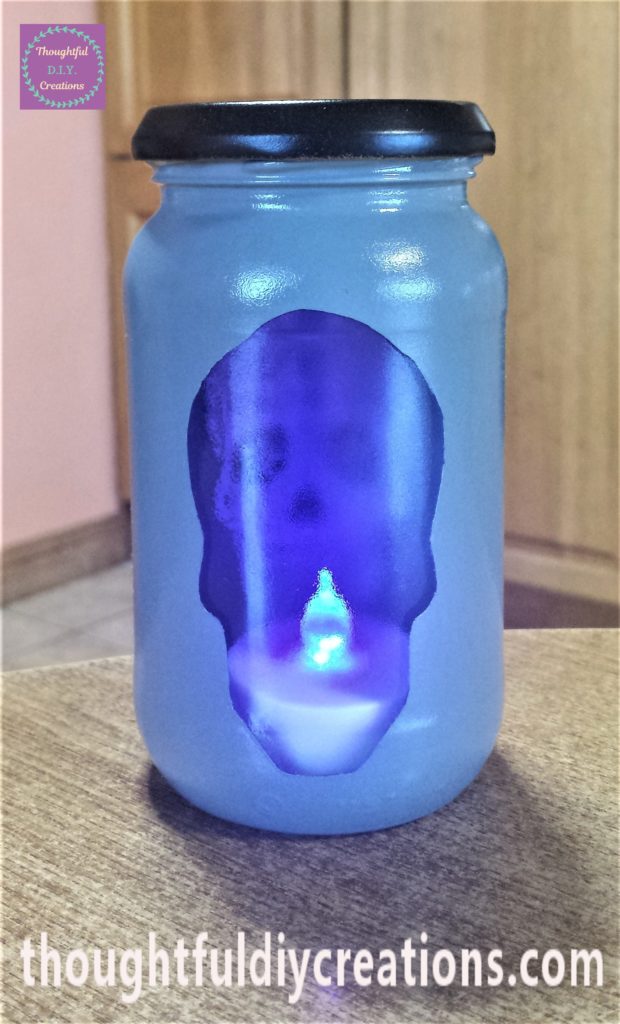
Here are some more images of the different colours from the t-light.
Conclusion
I was really impressed with the completed D.I.Y. Skull Jar. I wasn’t sure if the skull picture would come off the jar easily, or if it would cause the spray paint to crack or chip. I was really happy with my method. If you have sticker paper you could print your image on that, but the pritt stick worked fine for me. It looks really cool at night with the light turned off, but photographs at night never come out too clear.
If you love Skulls here are more Projects I have made; Skull Bottle. or Up-Cycled Whiskey Bottle.
It is such a budget craft as all your really buying is spray paint, and you could already have some in your home or shed. The jar is up-cycled and most homes have printer paper, scissors, and pritt stick. I hope it inspires you to make a decorative jar of your own. You can use whatever colour spray paint you want, they come in a huge variety of colours.
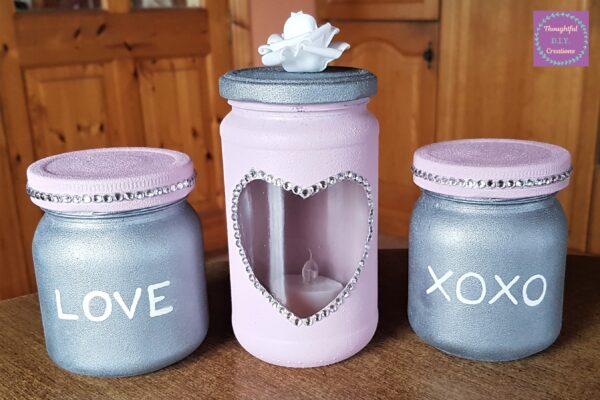
The picture could be changed to something completely different. As it’s coming up to Valentines Day you could put a picture of a love heart on the jar. You could spray paint the jar white or red. It would work all year round or even if you don’t have a partner, it would make pretty, feminine bedroom or home decor.
Another idea would be a picture of a Butterfly, a Unicorn or a Fairy Silhouette on the jar, I think I will try one of those next. It can be anything you are into, it would also make a thoughtful D.I.Y. Gift idea for someone in your life.
You could put a 3-D Sticker on the inside of the jar for added effect, and trace around the outer shape on a piece of paper and stick it to the front of the jar before spray painting. The whole jar could be spray painted and the 3-D or 5-D Sticker could be put on the outside of the jar, and don’t use a candle, or if you want to use a candle you could spray just 1 layer of spray paint for a transluscent effect.
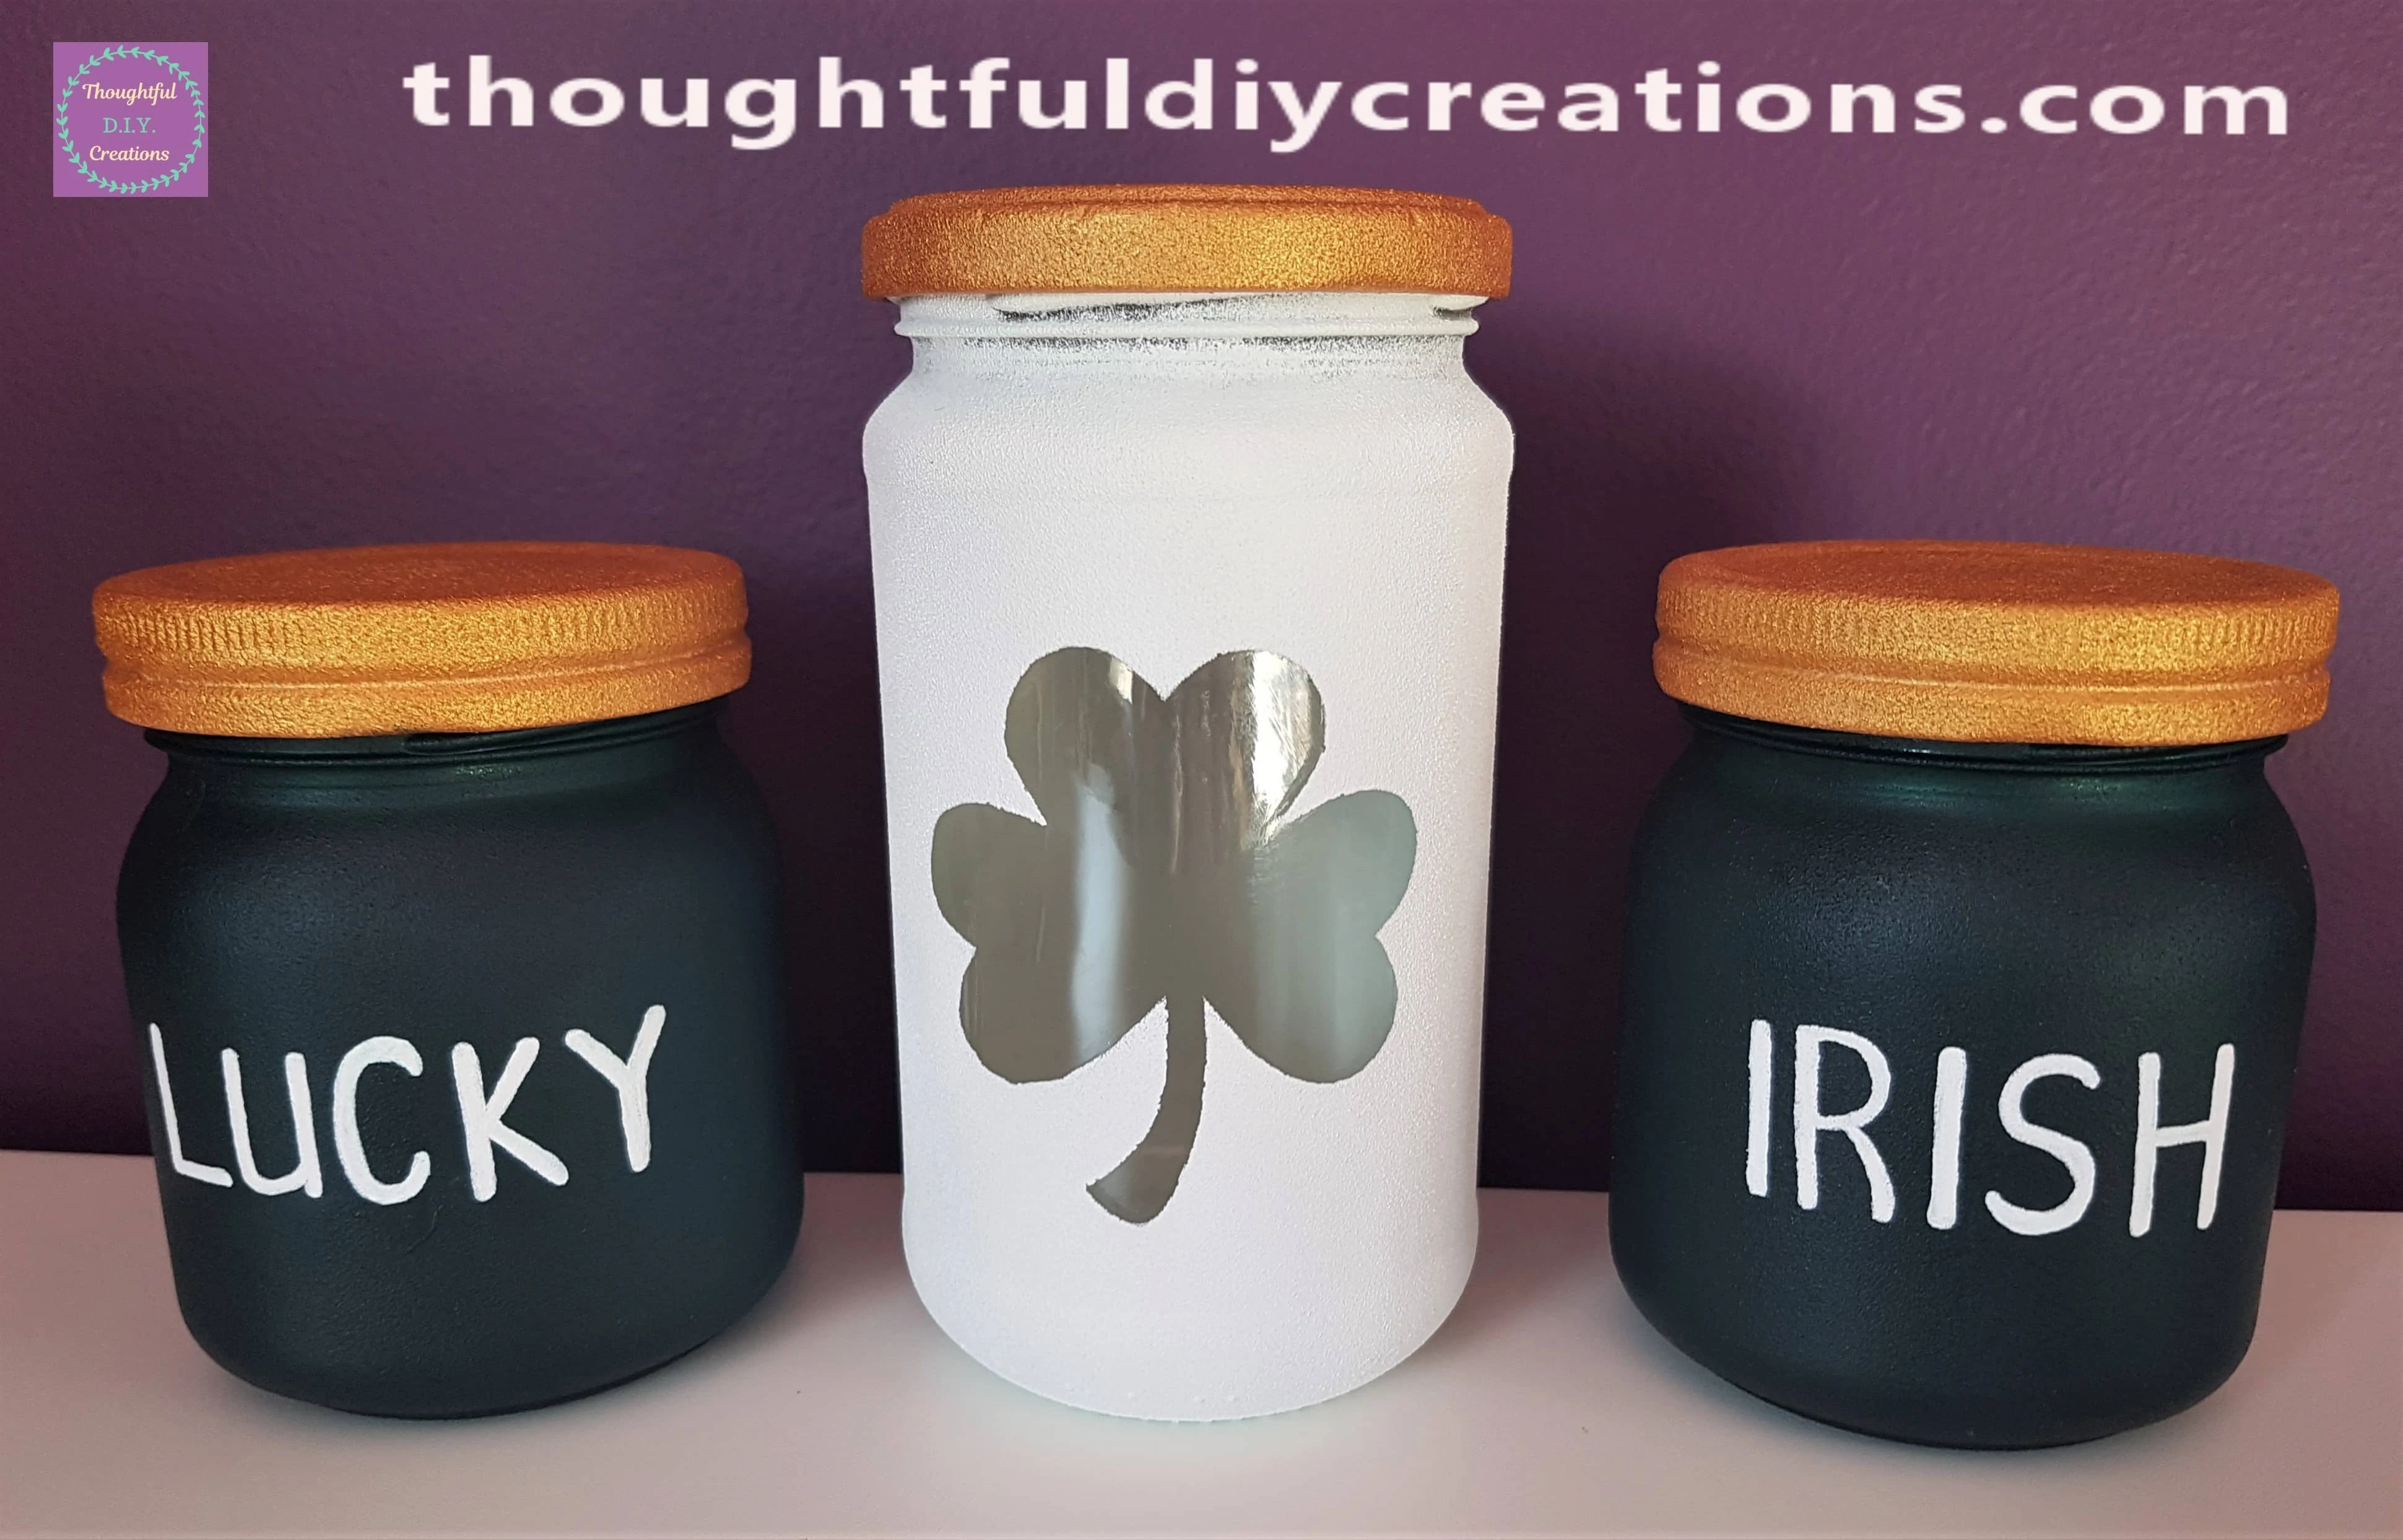
The jar could be decorated further if you wish. A ribbon could be tied around the top of the jar. You could write a Name / Quote / Sentiment on the jar with a Paint Pen. Foam flowers could be added to the lid. The options are endless really.
I hope I provided some inspiration for your Up-cycling jar crafting. Let me know if you decide to make any and how they turn out. I hope it goes well for you.
Thank you so much for taking the time to read my Blog.
Always Grateful,
T.D.C.
xxxxx


-0 Comment-