D.I.Y. Snowman Family Frame
Hello my Creative Friends,
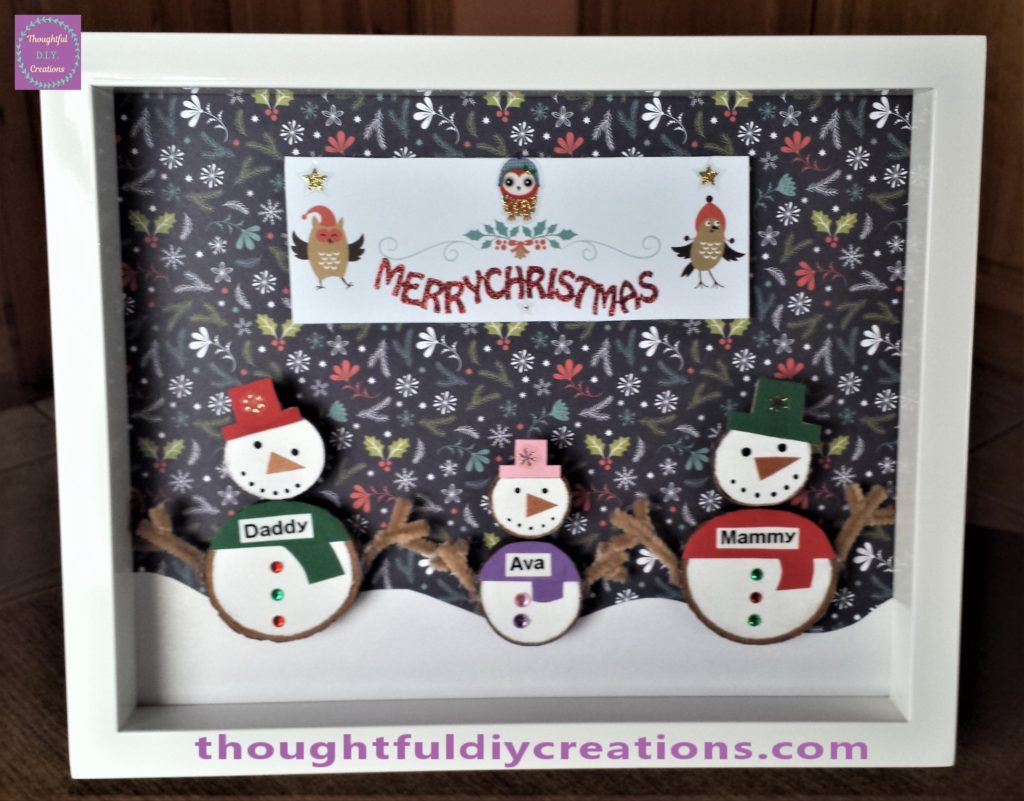
I hope you are all well. In Today’s Tutorial I will show you how to make a D.I.Y. Snowman Family Frame. It would make a really thoughtful personalised D.I.Y. gift for family members or friends, or you could make it for your own family. I hope you enjoy the tutorial and pick up a few tips.
Frame for the Snowman Family
I bought a Shadow Box Frame for this Craft. I loved the colour white for a Christmas themed Craft. White Shadow Box Frame.
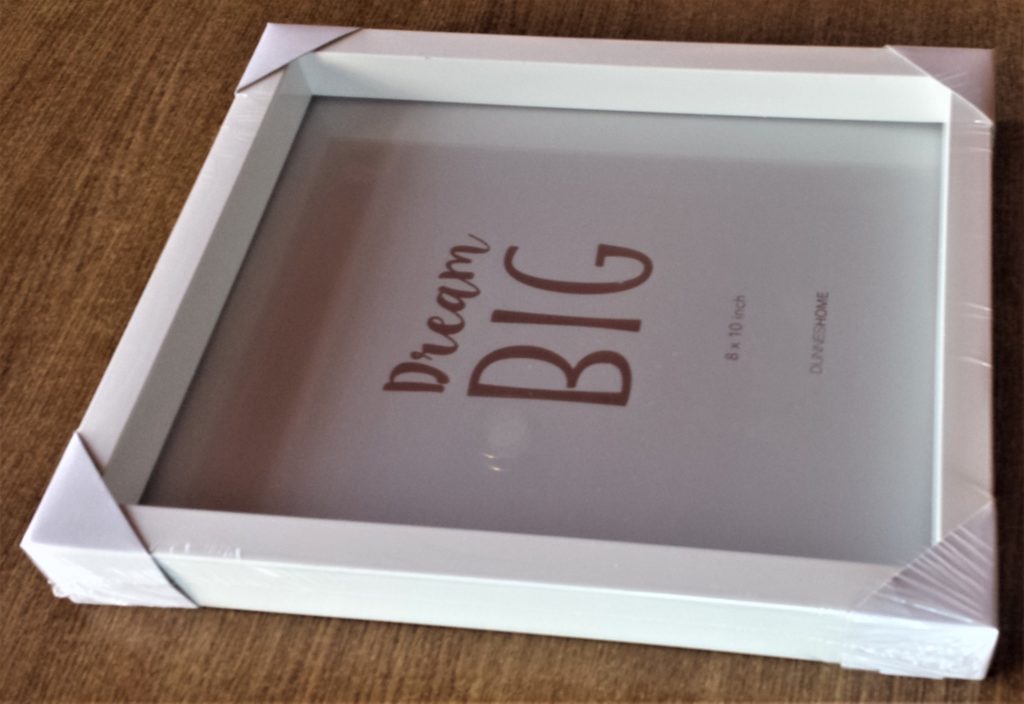
I took off the clear wrapping and opened up the frame.
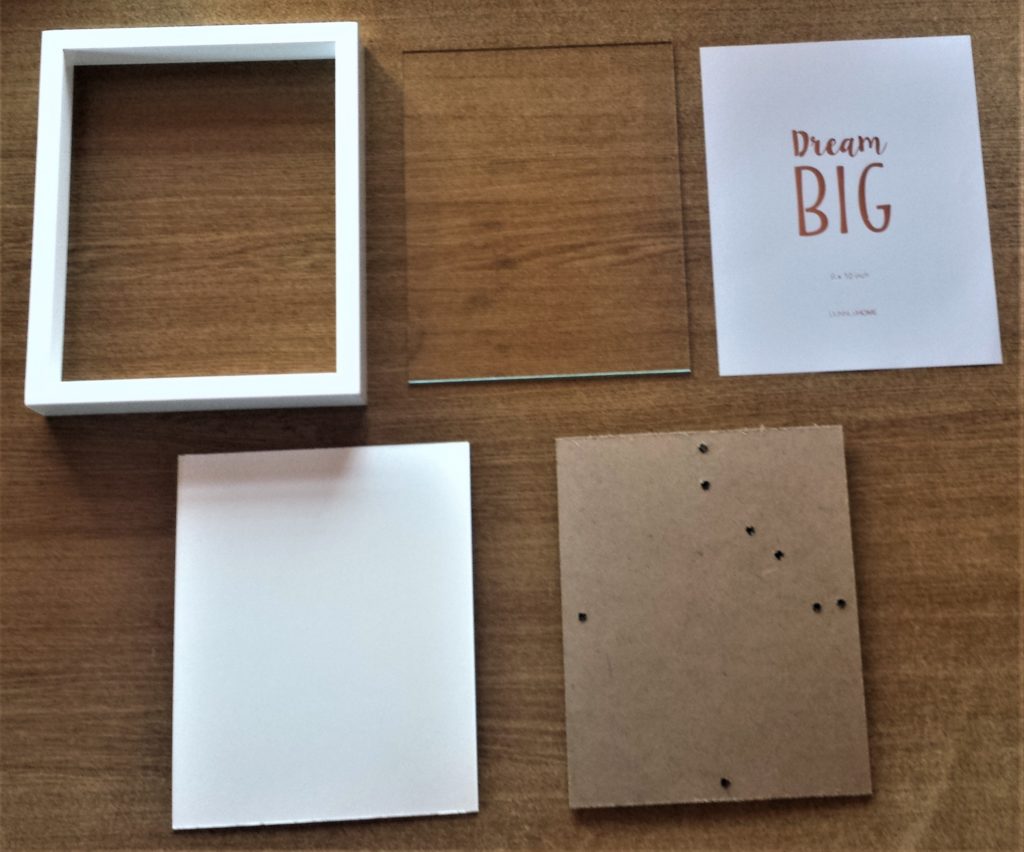
I won’t need the ‘Dream BIG’ Sheet so I put that into my paper stash to use in another project.
Christmas Paper for the Background of the Frame
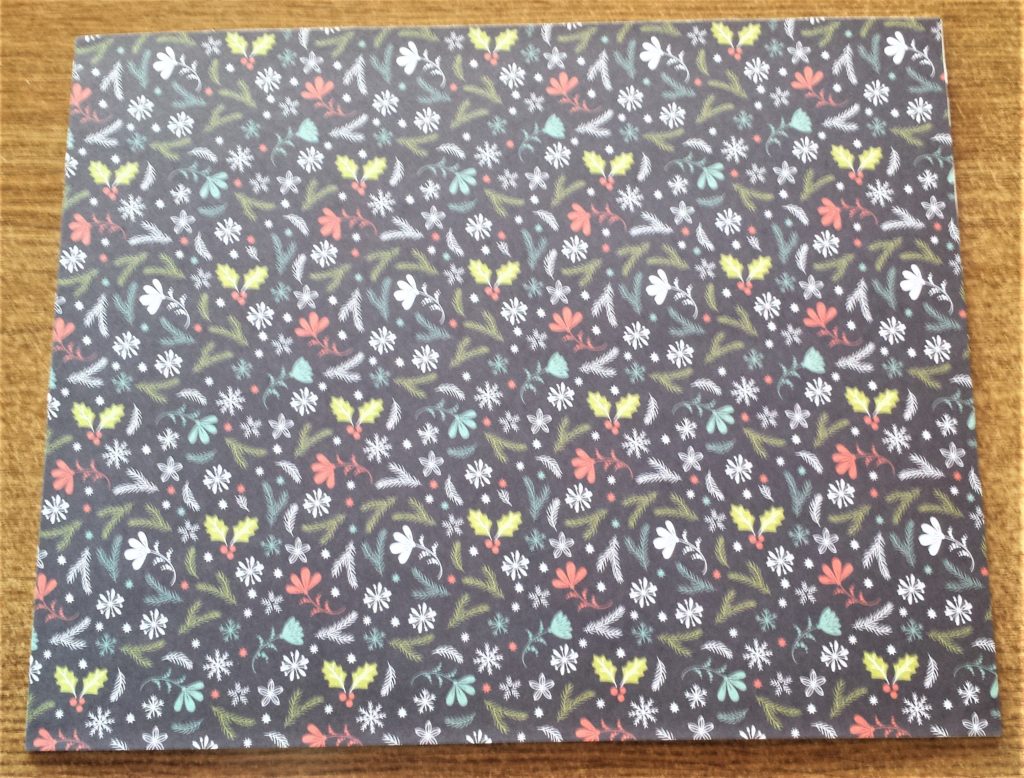
I bought a Paper Set in September which had Autumn, Nature, and Christmas Inspired Paper. For this Craft I chose a navy Christmas design with various Christmas elements on it. White Christmas Cardstock. Love Winter Collection.
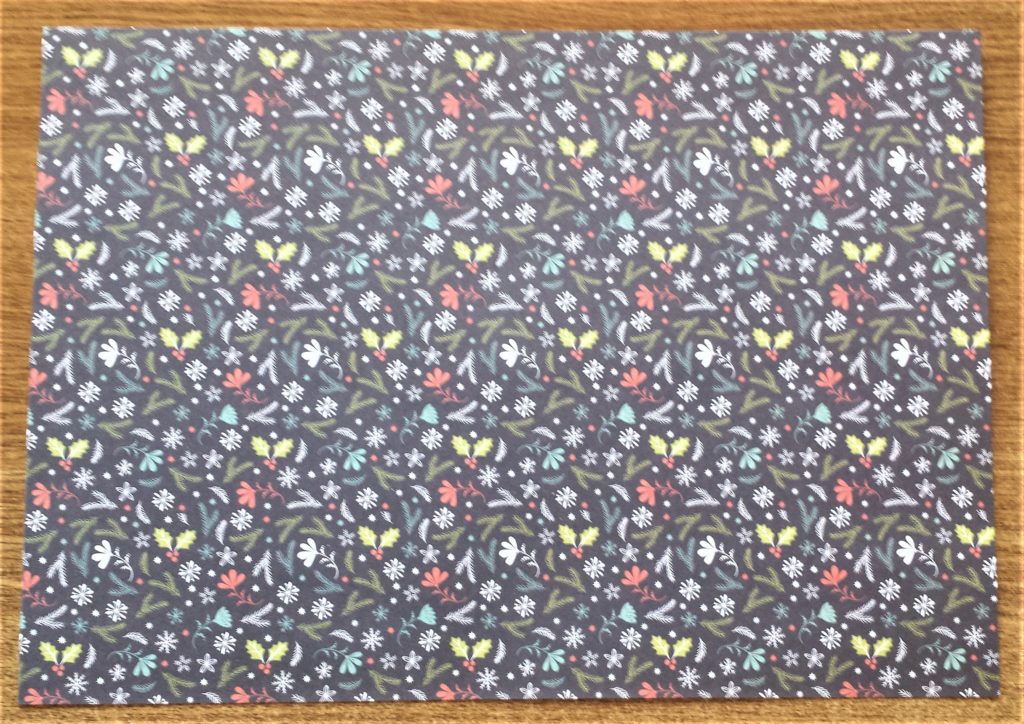
I turned the Christmas paper over and put the white canvas board from the frame facing down onto the Christmas paper. I drew around the canvas board onto the Christmas paper with a pencil. Love Winter Collection.
I cut the Christmas paper to fit the Canvas board for the frame. White Christmas Cardstock.
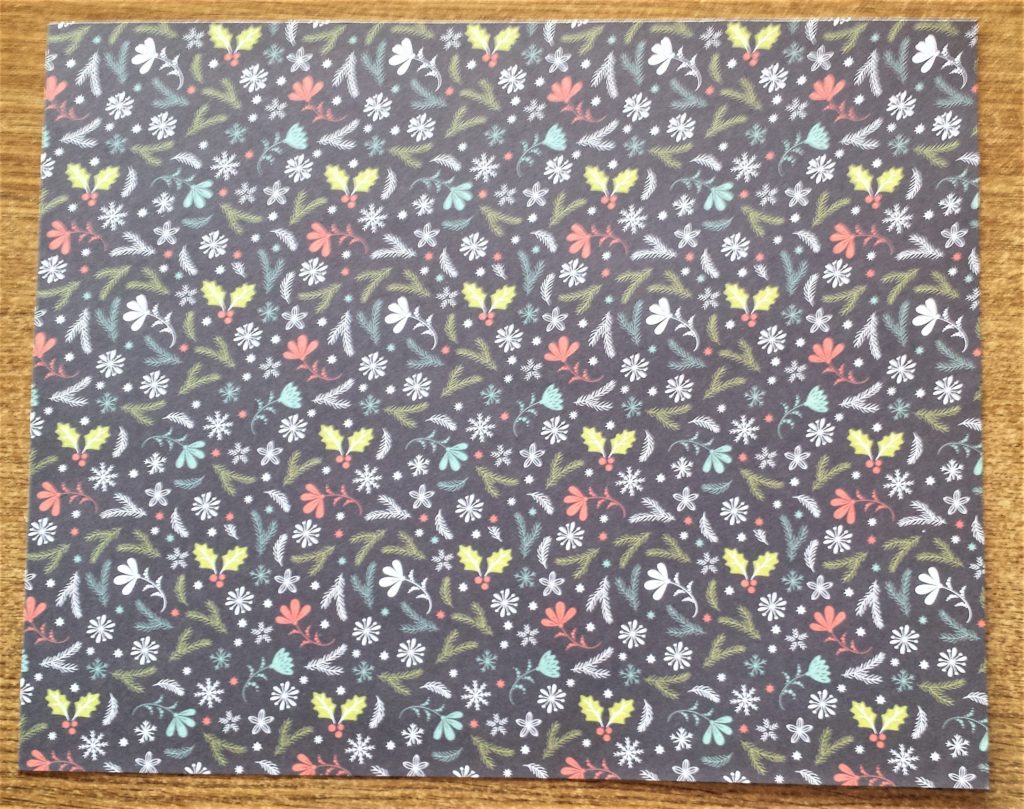
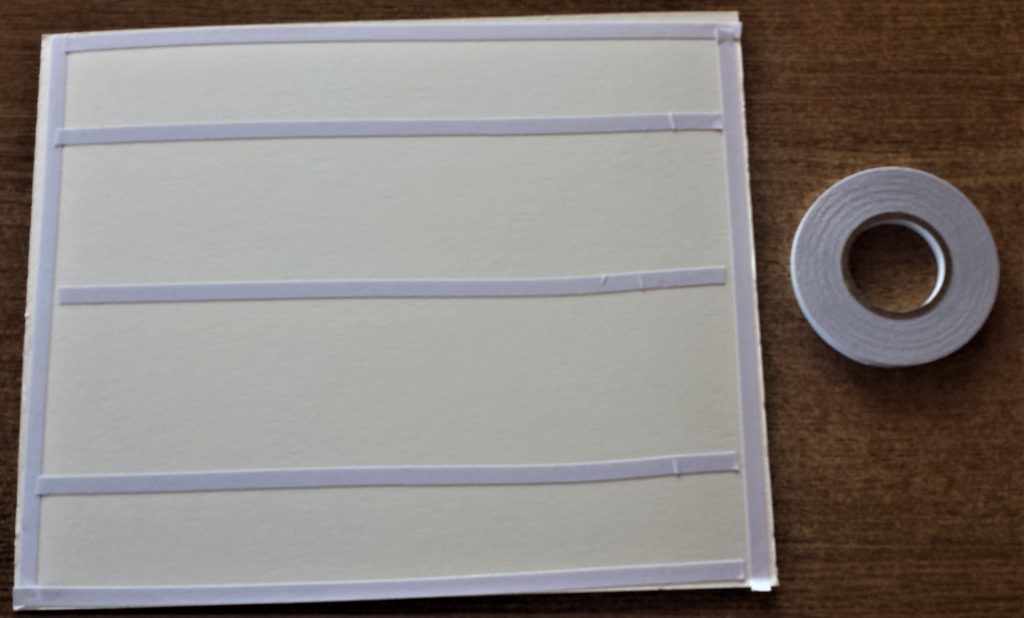
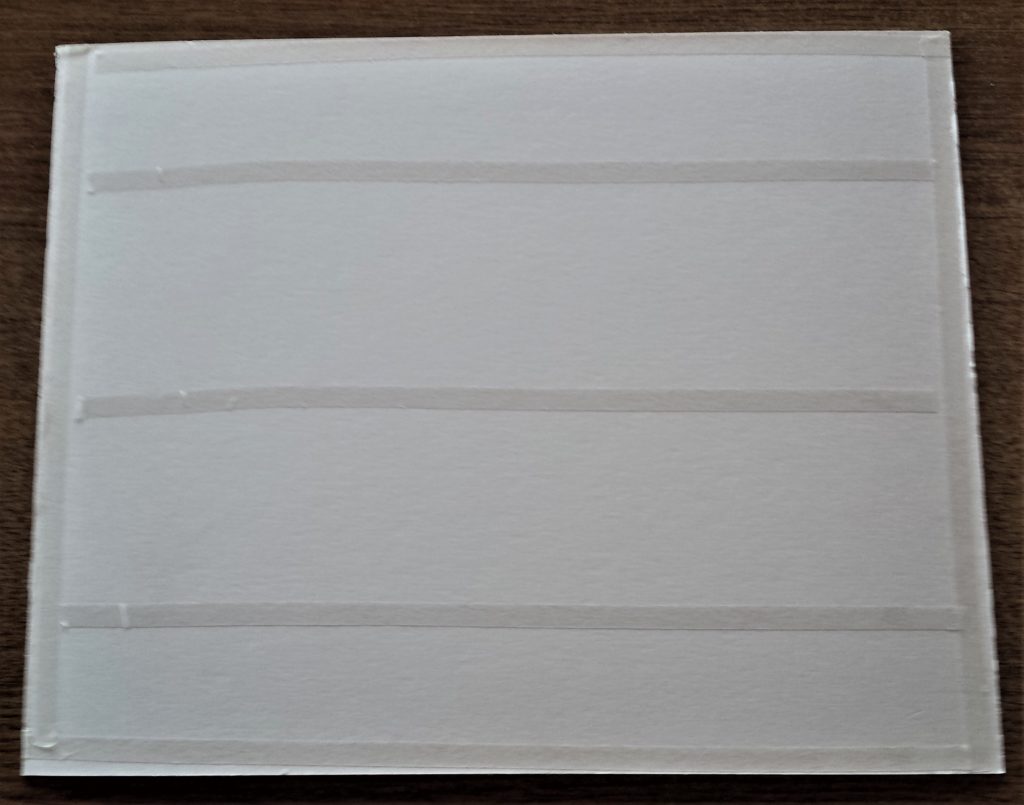
I put double- sided tape on the edges of the white canvas board as well as on the inside of the canvas board. I removed the backing of the double-sided tape. Double Sided Tape.
I carefully placed the Christmas paper on top of the canvas board and smoothed them together using my hand. White Christmas Cardstock.
Wood Slices for the Snowman Family
I bought a bag of various sized Wood Slices in September, they are perfect for Autumn / Fall and Christmas / Winter Crafts. Wood Slices.
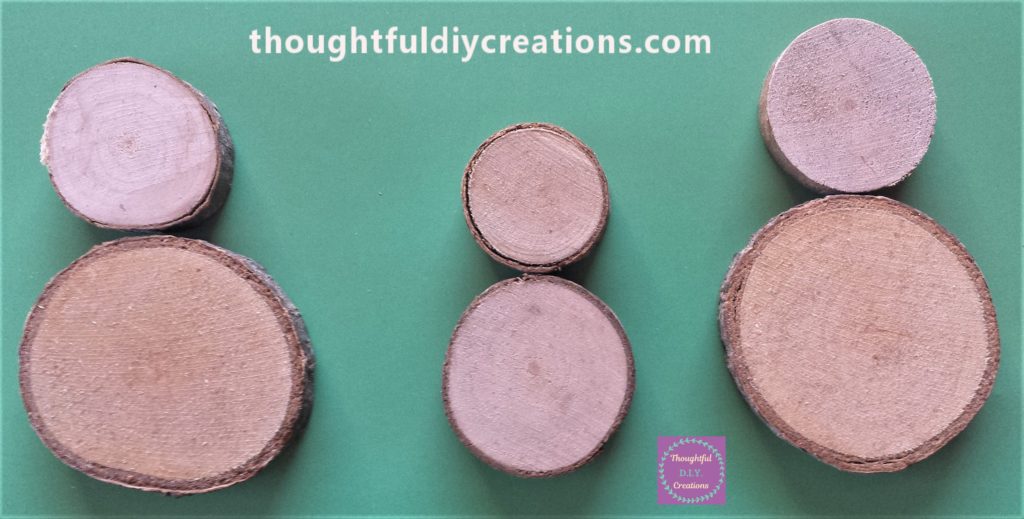
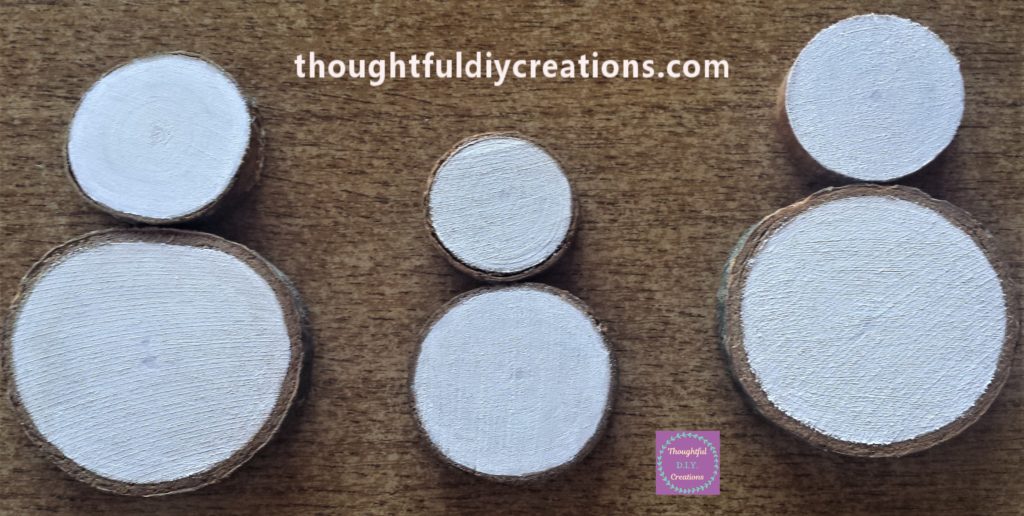
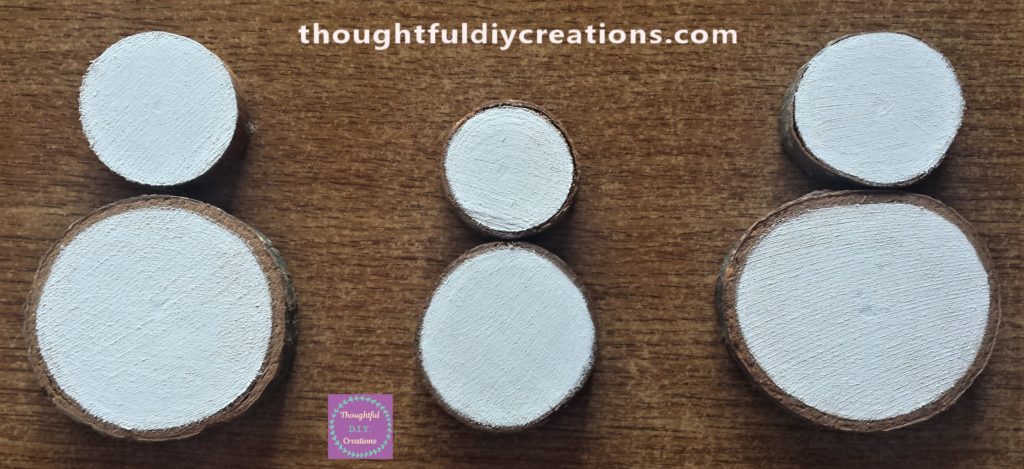
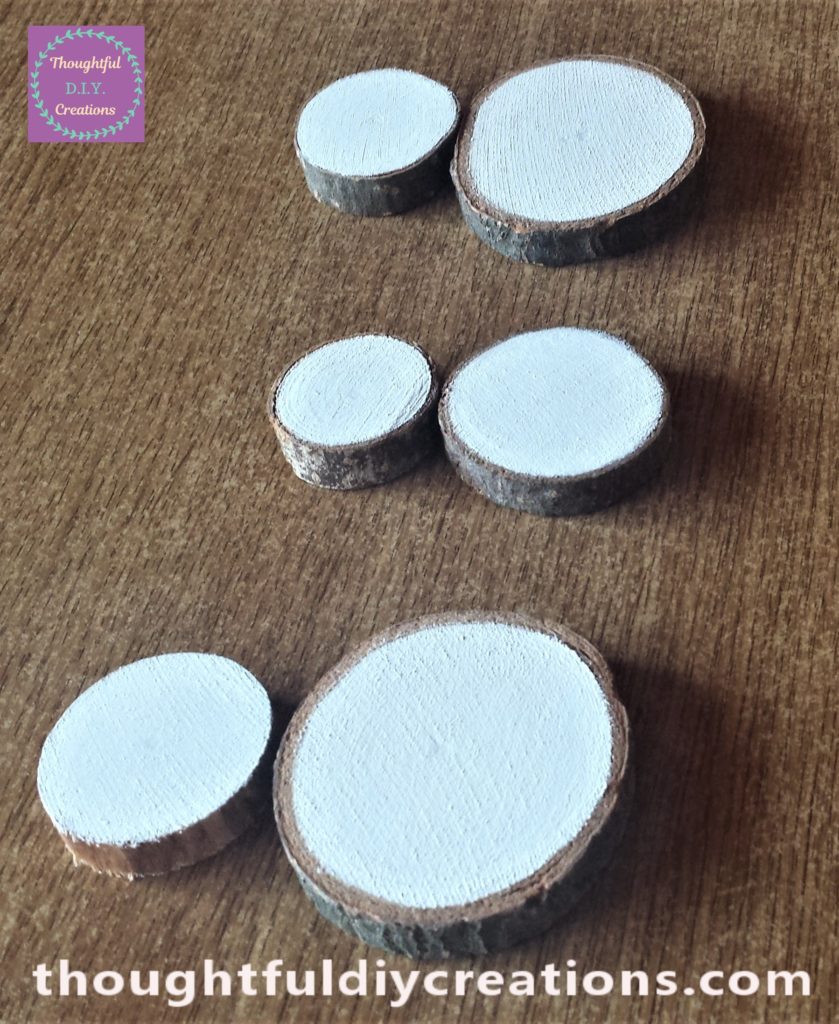
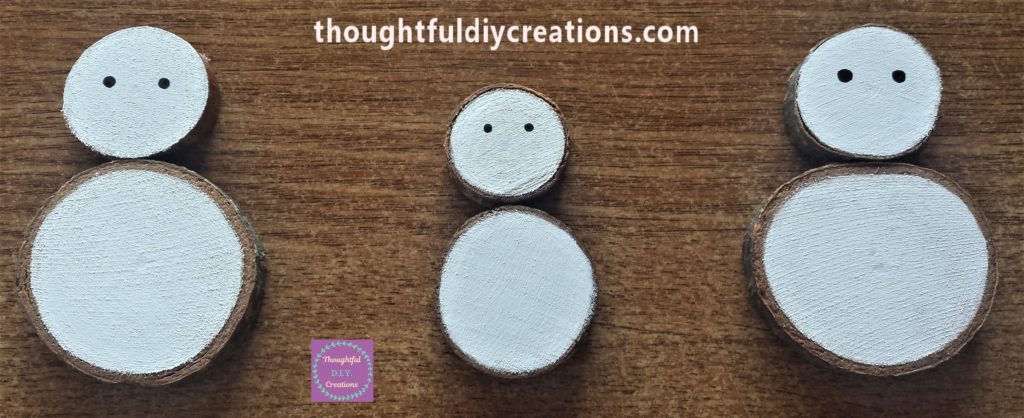
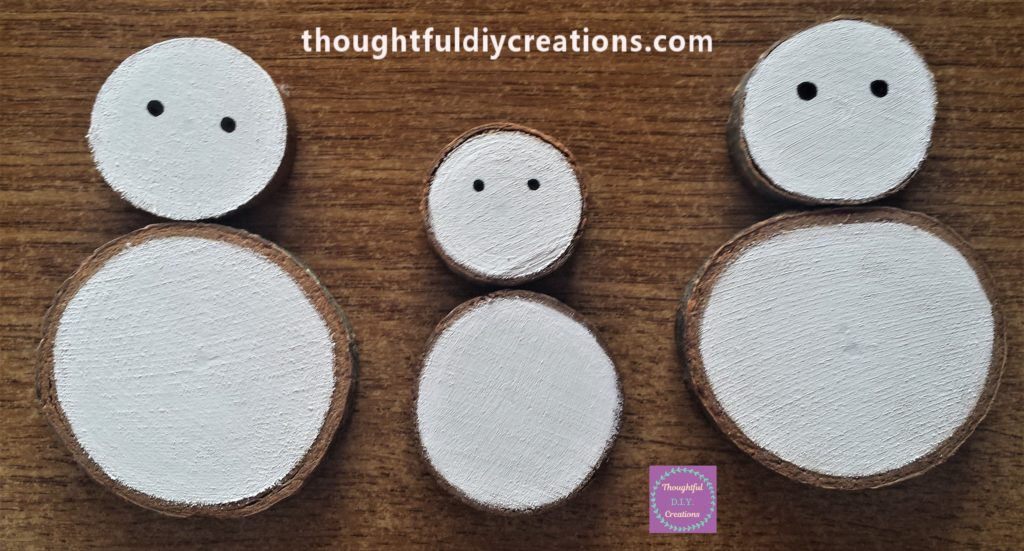
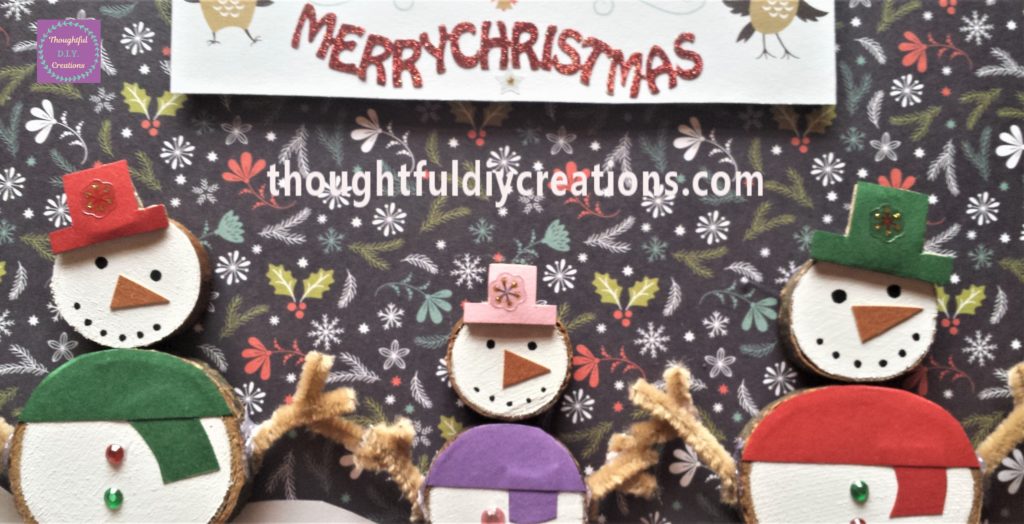
I picked six wood slices to use for this craft. I am making a Snowman Family; a Daddy Snowman, a Mammy Snowman, and a Baby Snowman. I picked 3 smaller wood slices for the Snowmens’ heads and 3 bigger wood slices for the Snowmens’ bodies. Wood Slices.
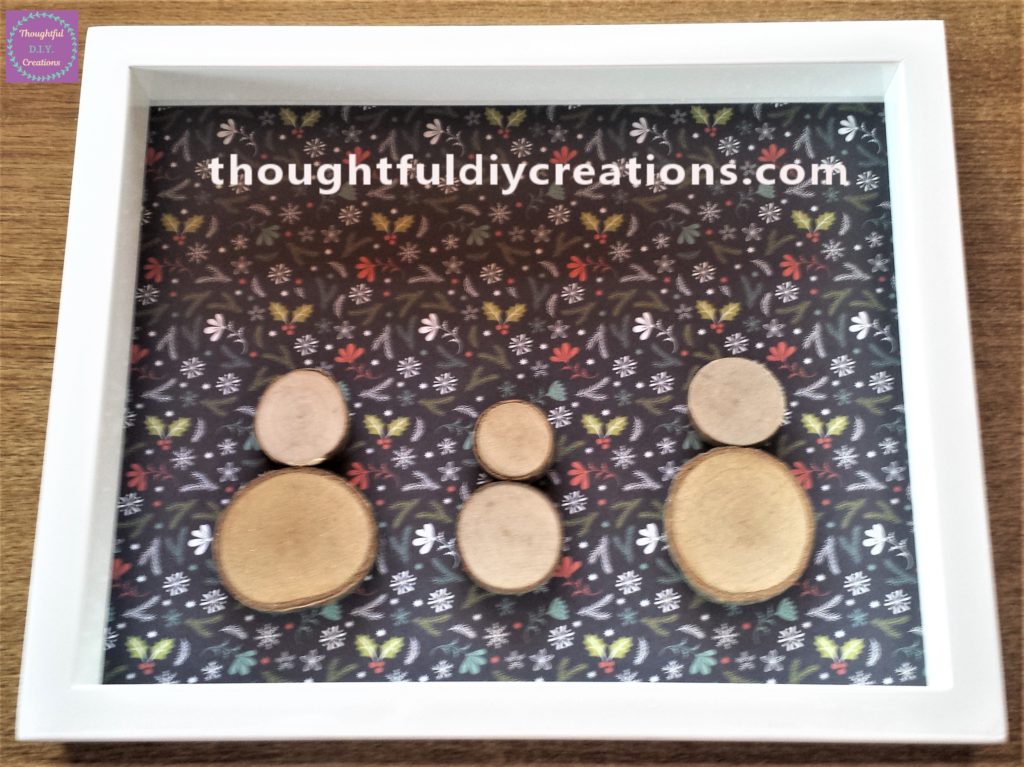
I put the 3 Snowmen on the Christmas Paper and put the frame over it to see how they looked. White Shadow Box Frame.
Making Snow for the Frame
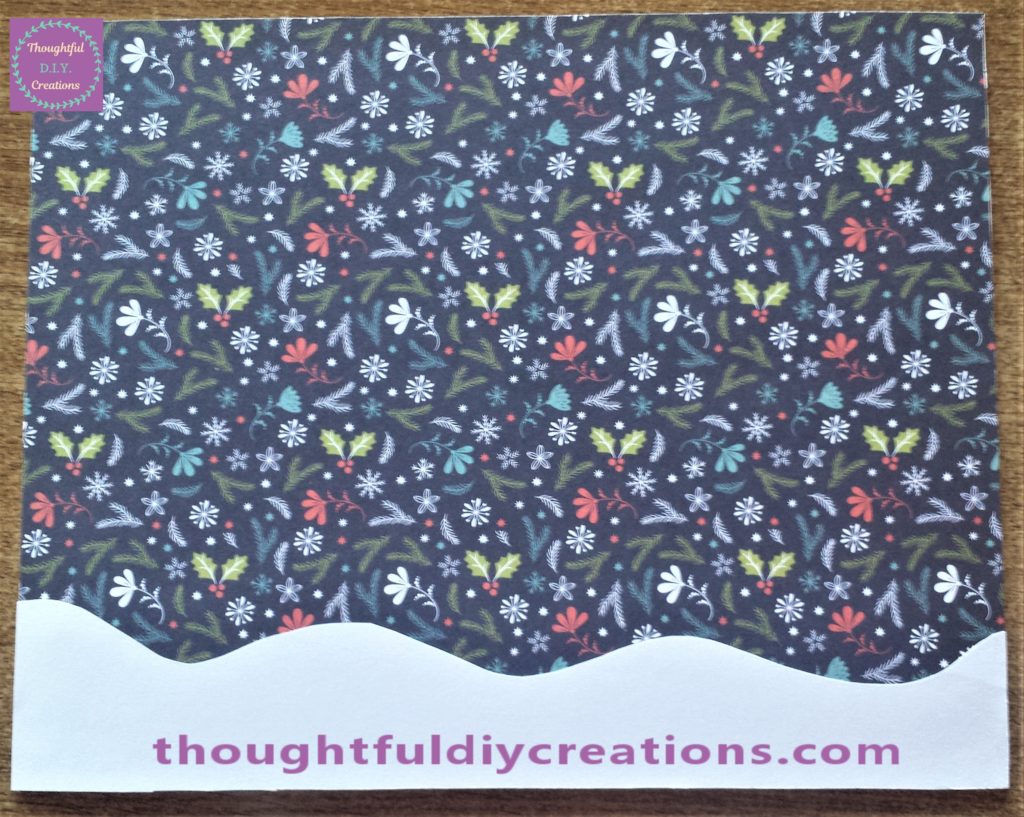
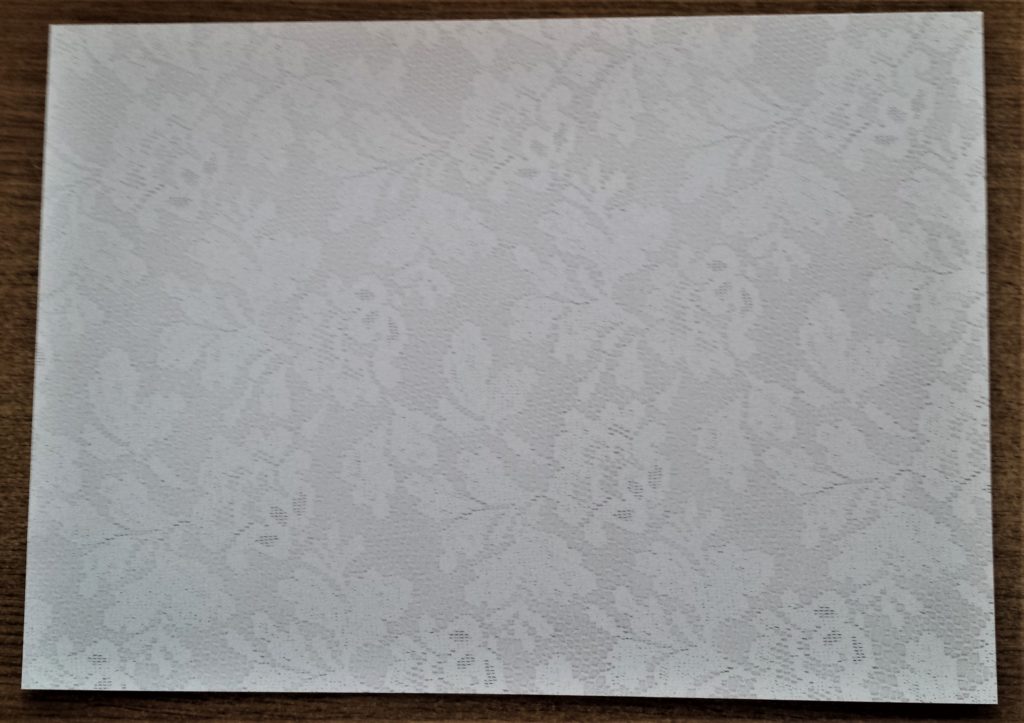
I was happy with their composition and thought that snow underneath the snowmen would add to the winter scene. I had a pack of lace effect paper. The back of the lace effect paper had a satin glimmer to it and I thought that would be perfect to use for the snow. Glitter Cardstock Paper.
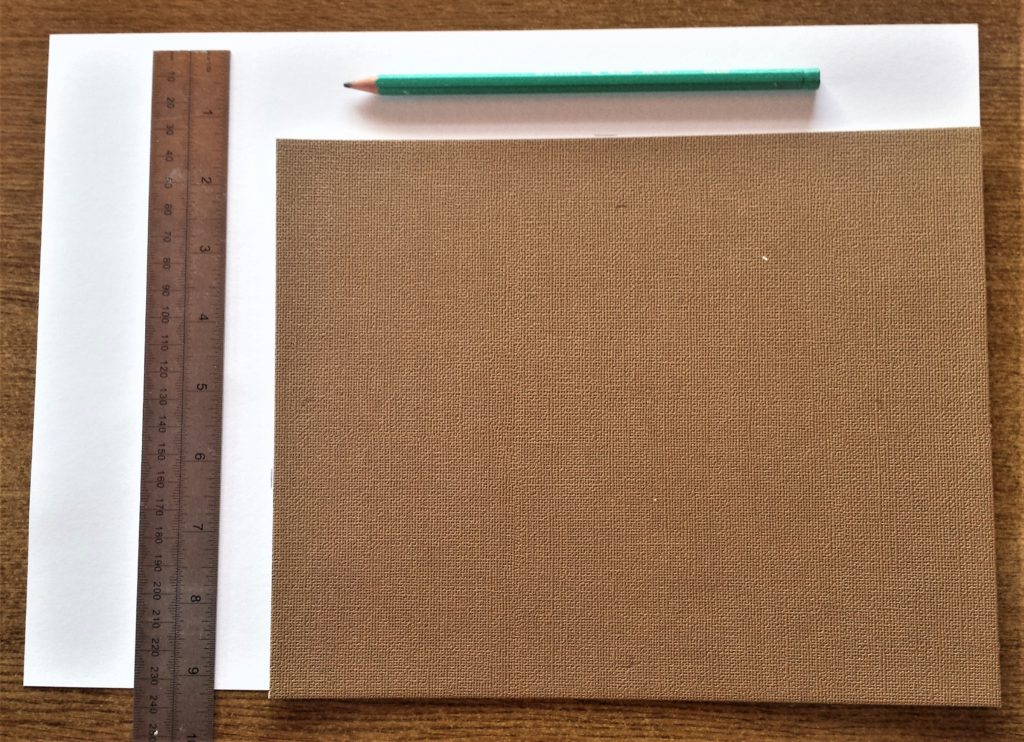
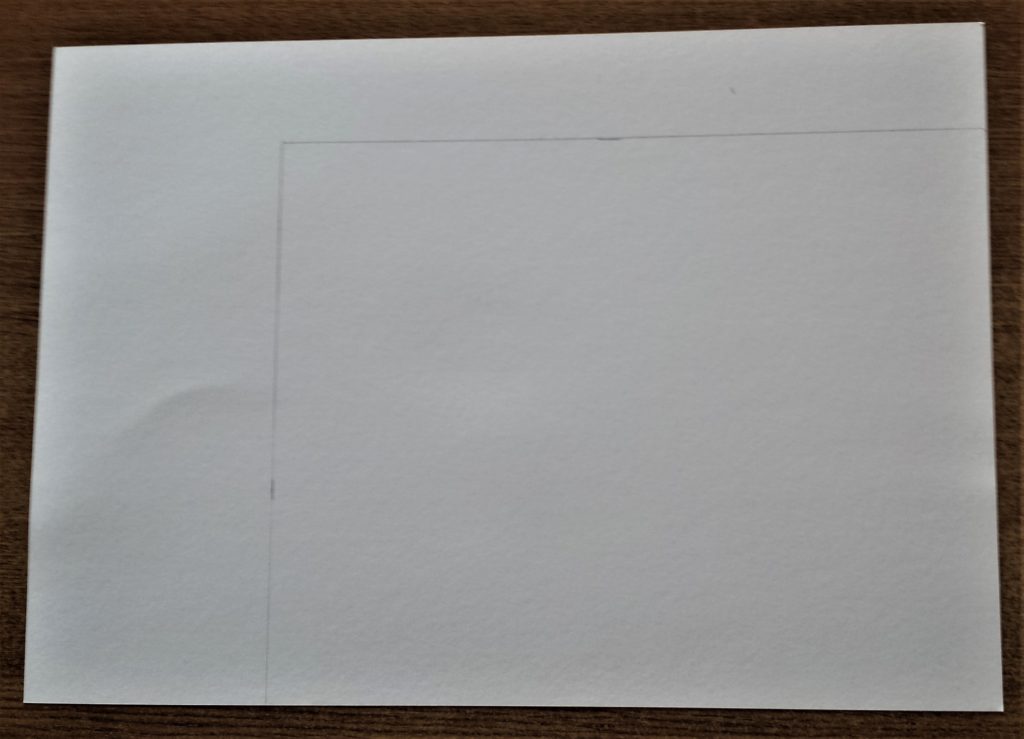
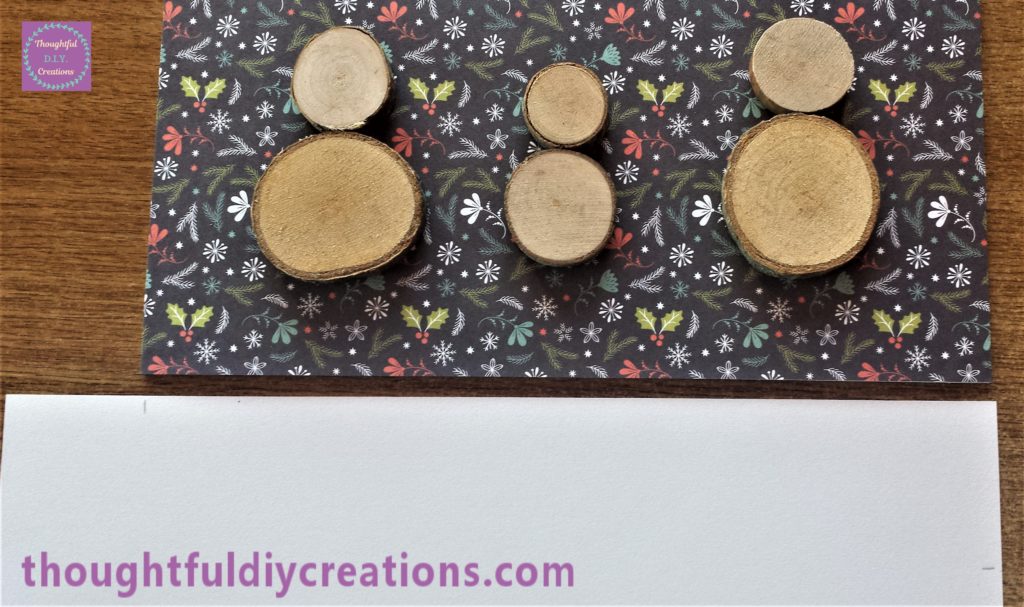
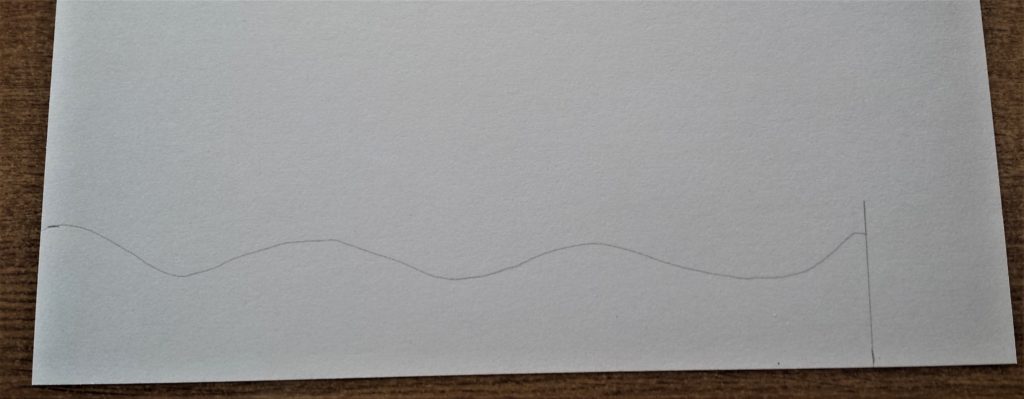
I put the white paper beside the Christmas paper and made a mark on the white sheet with a pencil at how far I wanted to go up for the snow. I then turned the white sheet upside down and put it under the Christmas paper and made a mark at the width of the Christmas paper. I then turned the white sheet back upright and drew a wavy design on the page to reflect hills of snow. Glitter Cardstock Paper.
I cut out the snow and glued it to the Christmas paper using Pritt Stick. Pritt Stick.
Painting the Snowman Family
I put the Snowman Family on the Snow scene and thought they would look better painted white to blend in with the snow. I painted them using Titanium White Acrylic paint and a small paintbrush. I gave each Snowman three coats of paint. Titanium White Paint.
Paper for the Snowmen Hats and Scarves
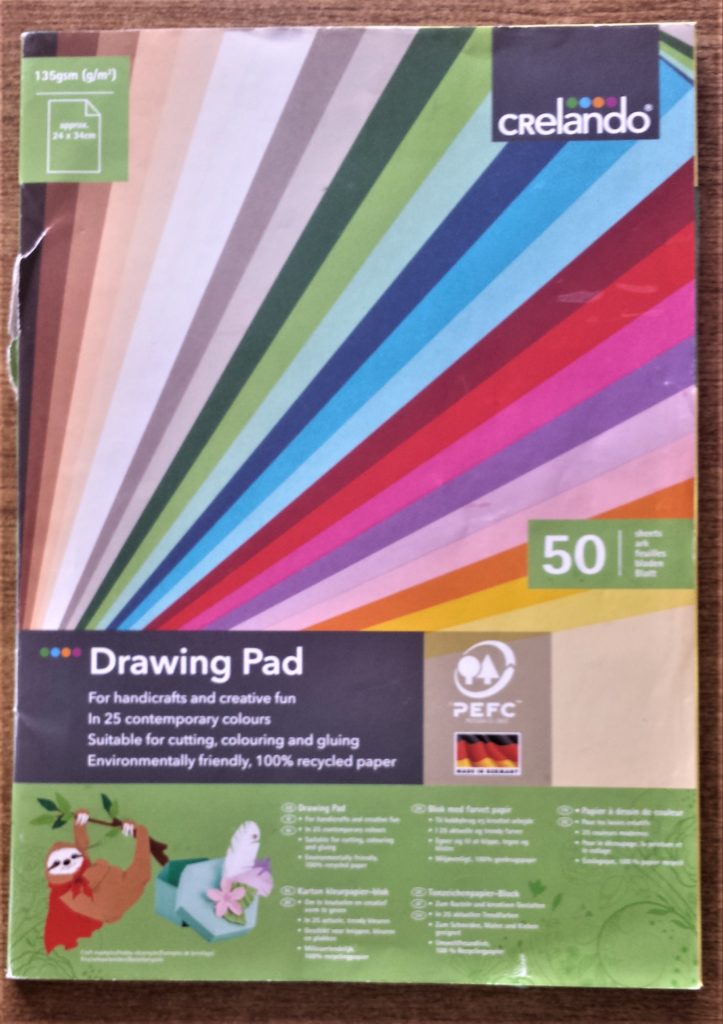
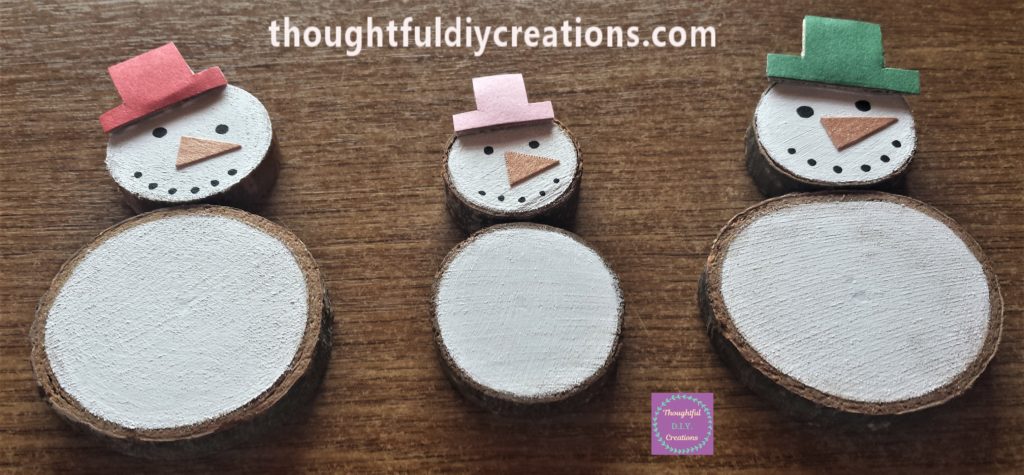
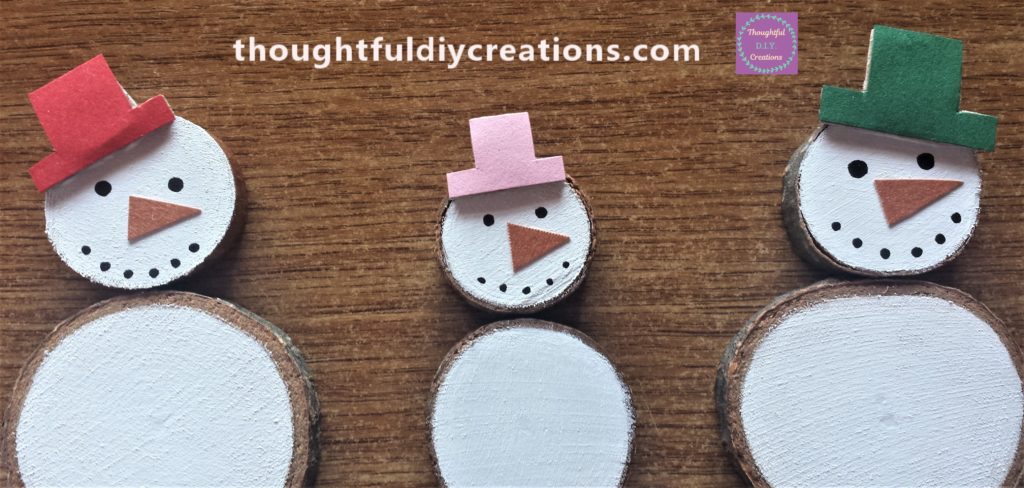
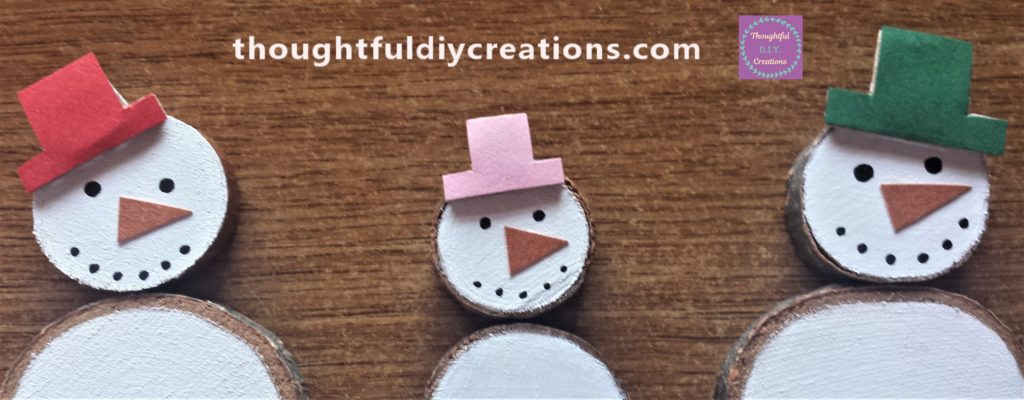
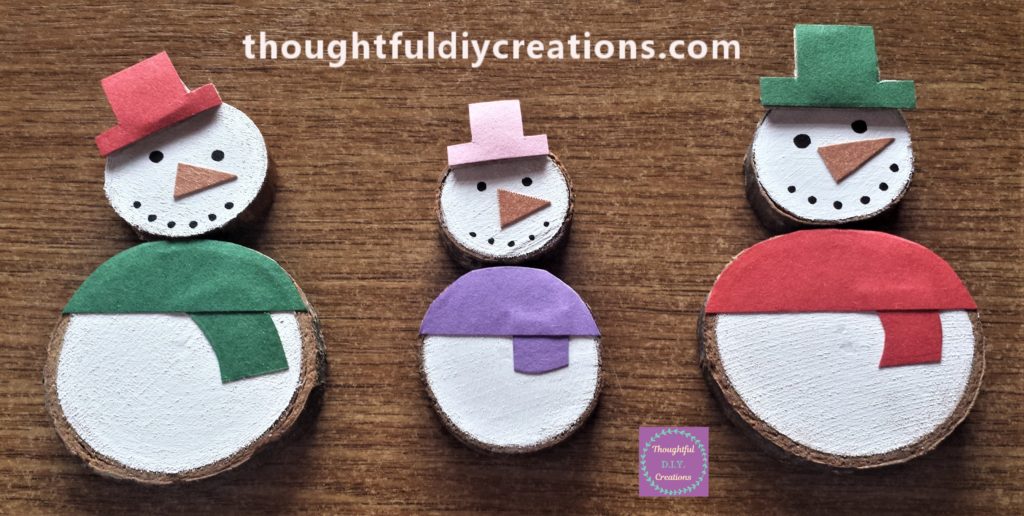
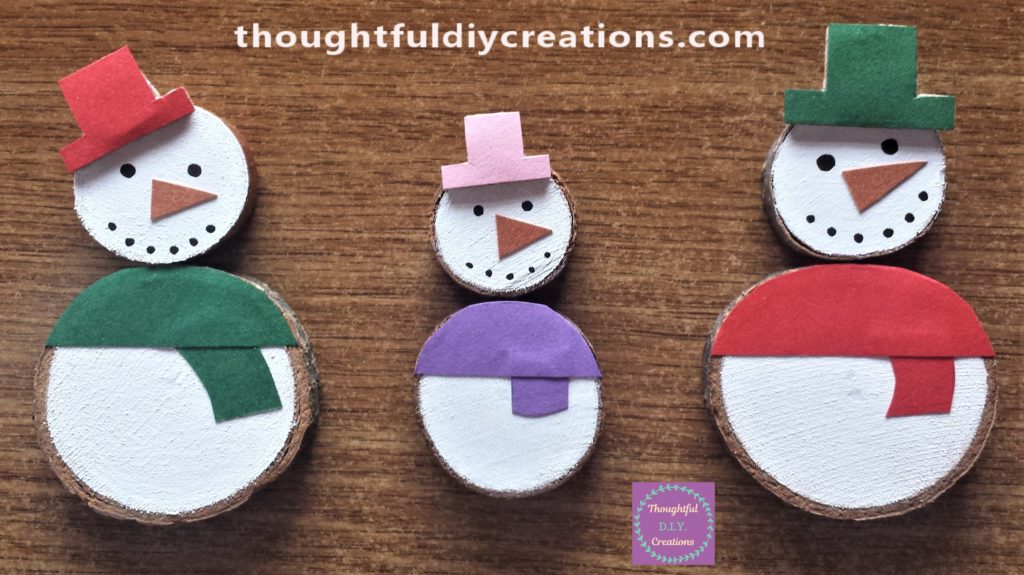
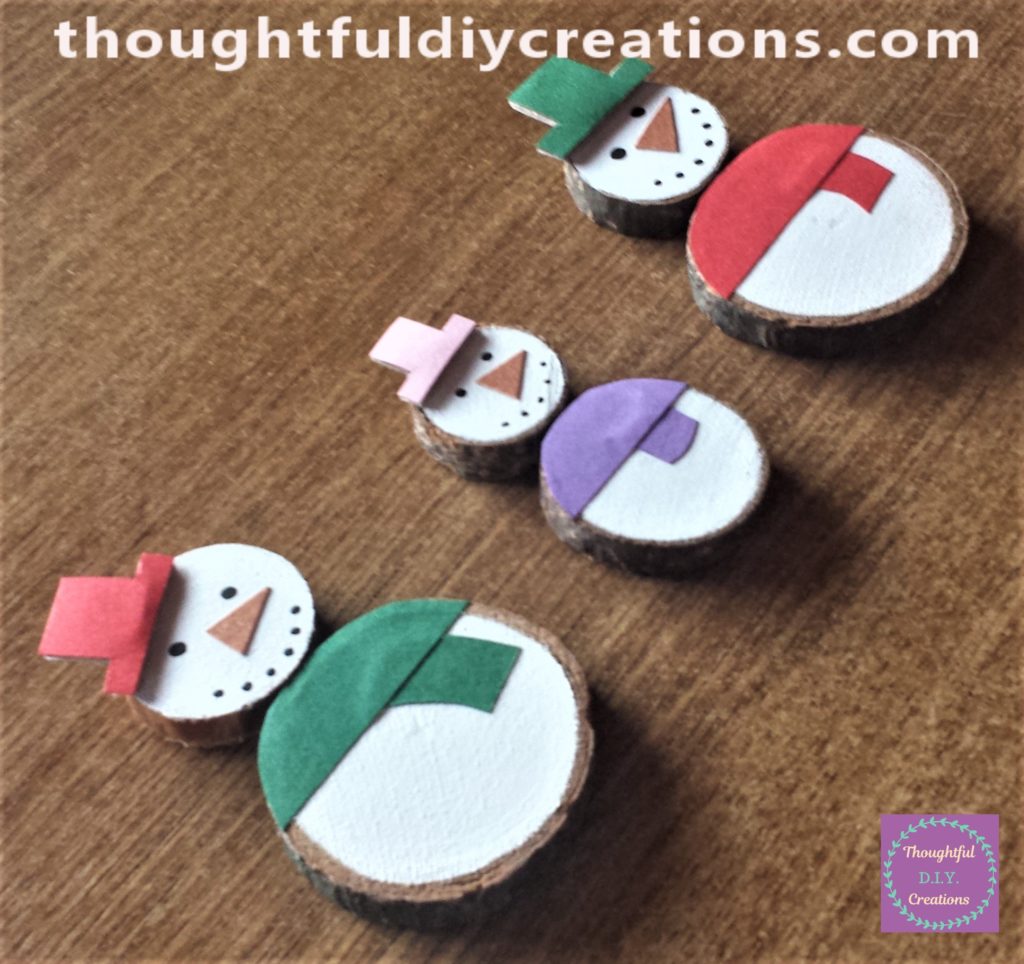
I made hats and scarves for the Snowman Family out of Coloured Paper. I made a red hat and green scarf for the Daddy Snowman, a green hat and red scarf for the Mammy Snowman and a pink hat and purple scarf for the Baby Snowman. Crayola Bulk Construction Paper.
Making the Hats for the Snowman Family
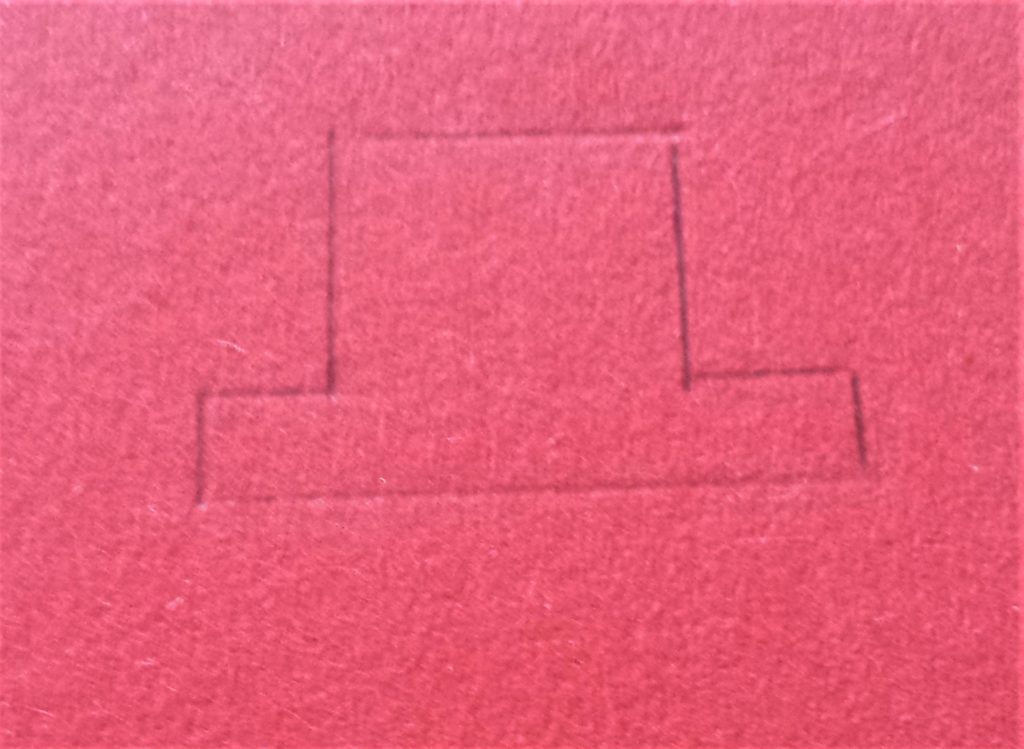
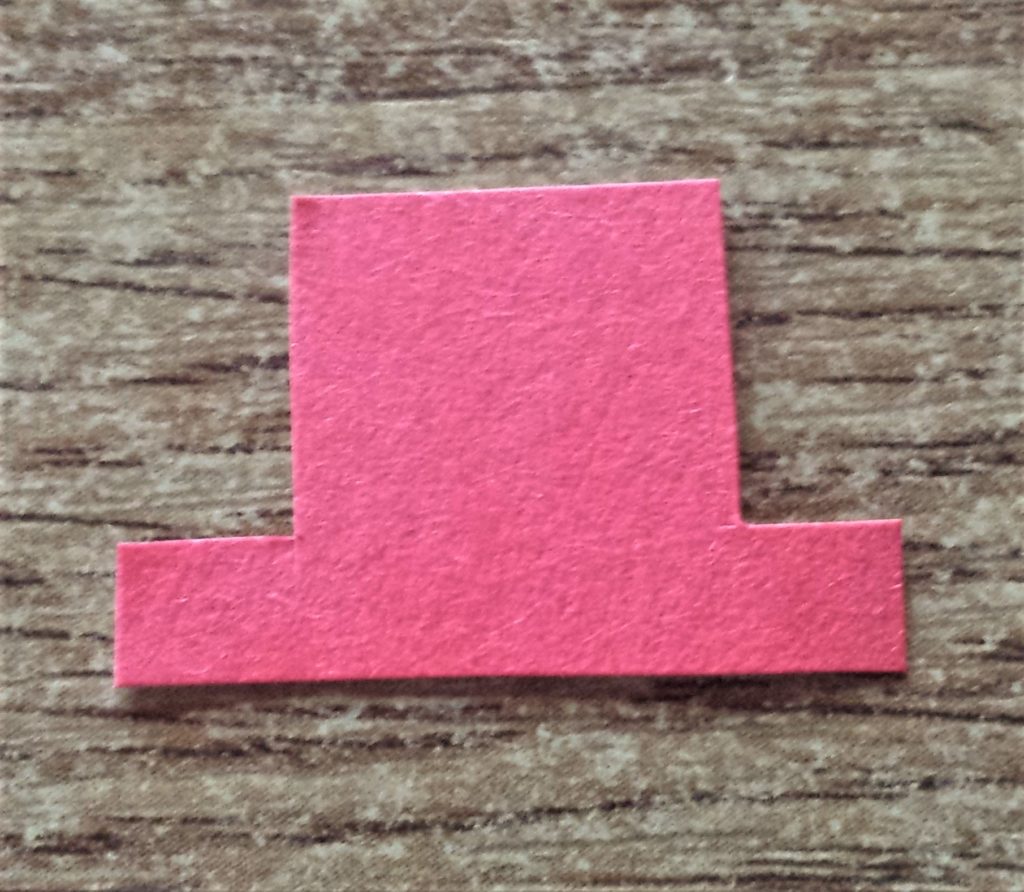
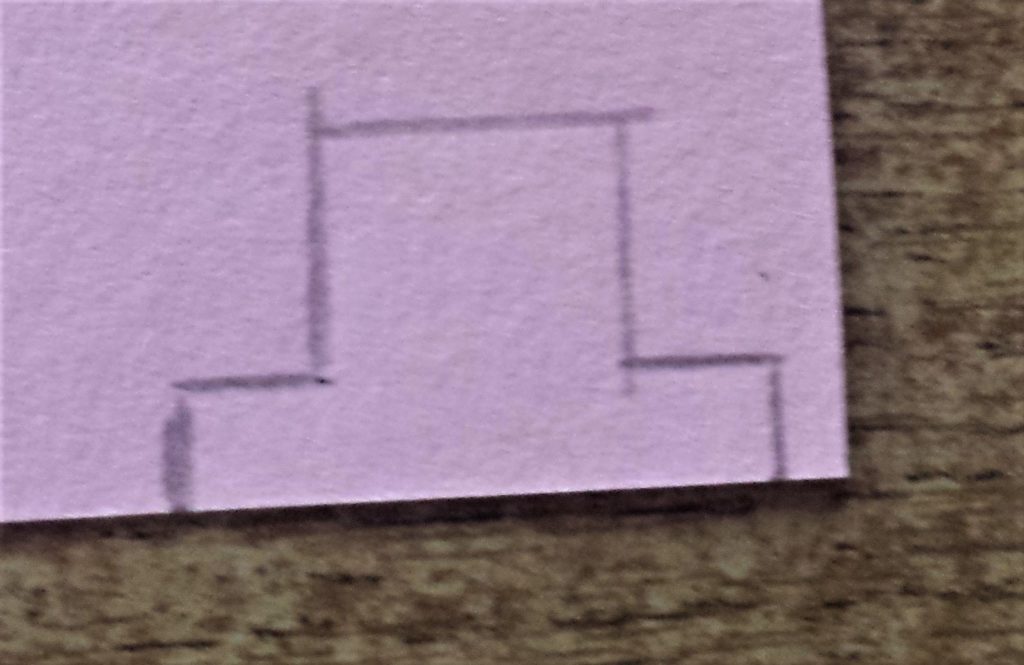
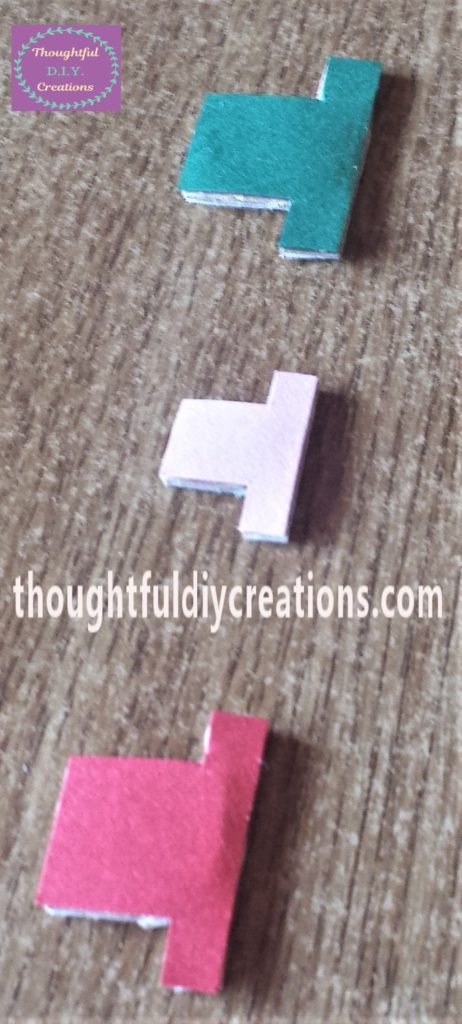
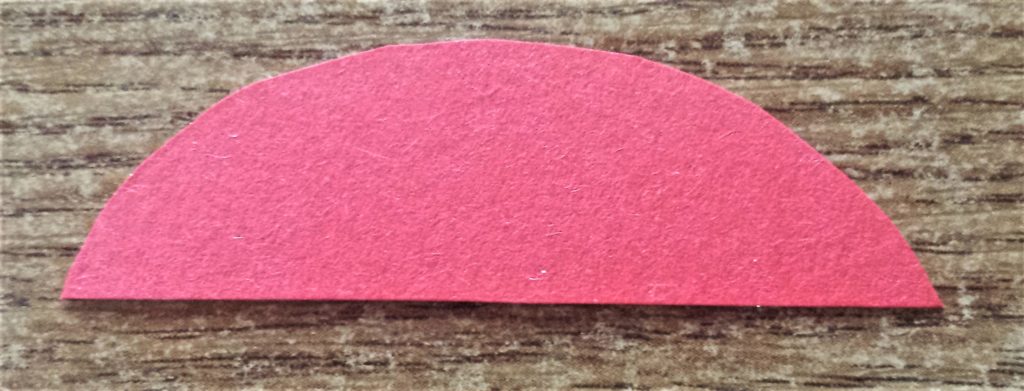
I drew a hat on the Red Paper with a pencil. I cut it out using a small scissors.
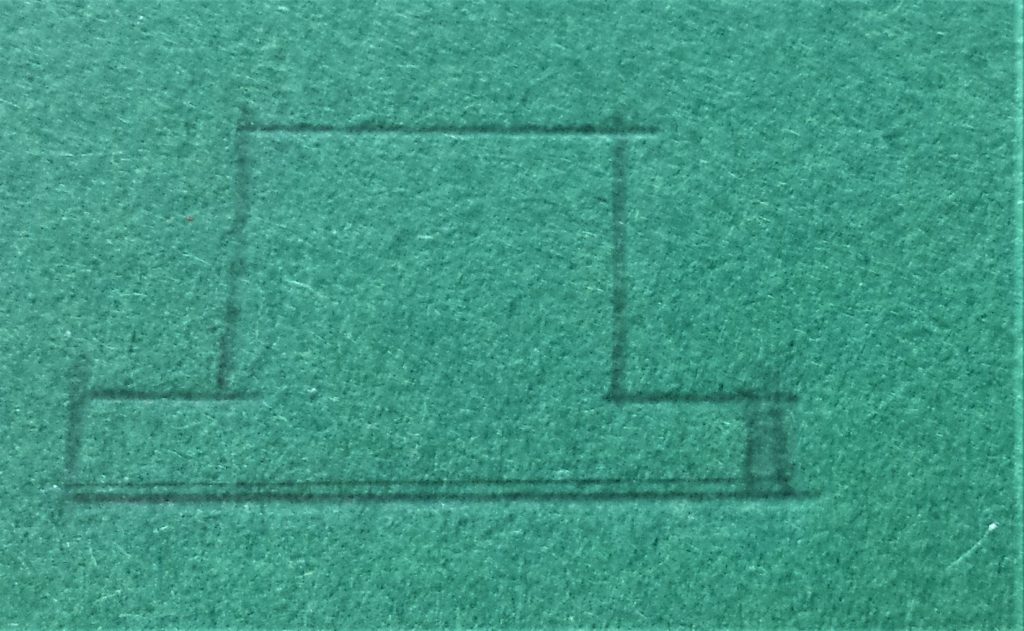
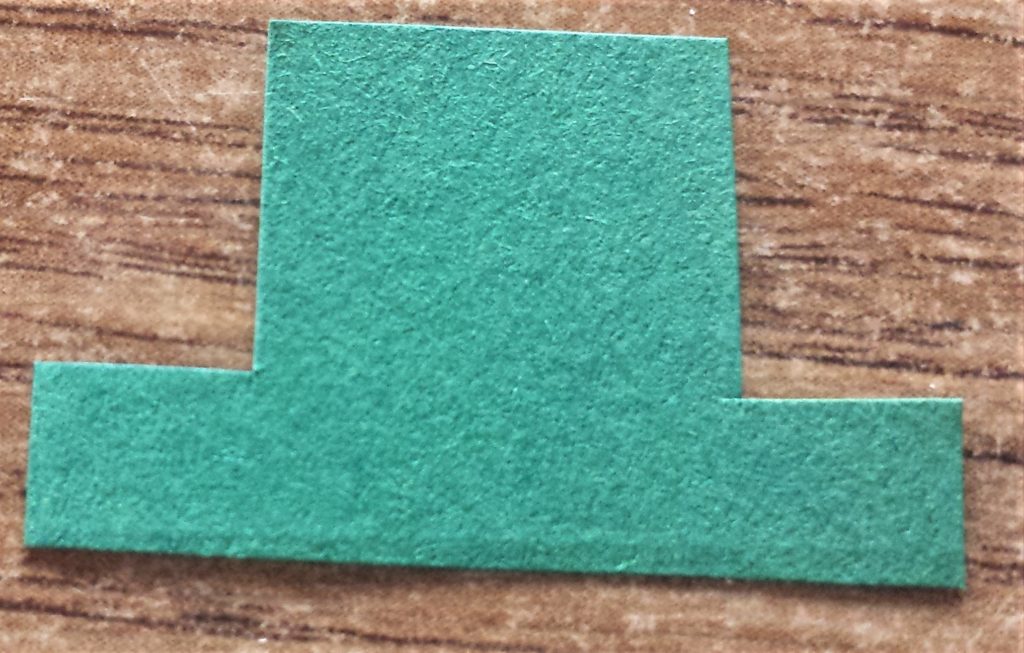
I repeated these steps with the green and pink hats. I made the pink hat smaller for the baby snowman. Crayola Bulk Construction Paper.
I added cardboard to the hats to make them a little stronger. I used cardboard from a box I had, you can use anything you have; a cereal box would work fine.
I put each hat one-by-one on the cardboard, drew around each hat, cut out the hat and glued the coloured paper to the cardboard using pritt stick. Pritt Stick.
Adding the Eyes to the Snowmen
I used a ‘uni POSCA Paint Pen’ in Black to draw the eyes and mouth on the Snowman Family. I shook the paint pen for several seconds and then pressed the nib of the pen up and down on a sheet of paper until the paint flowed to the tip. It is now ready to use. Uni Posca Paint Pen.
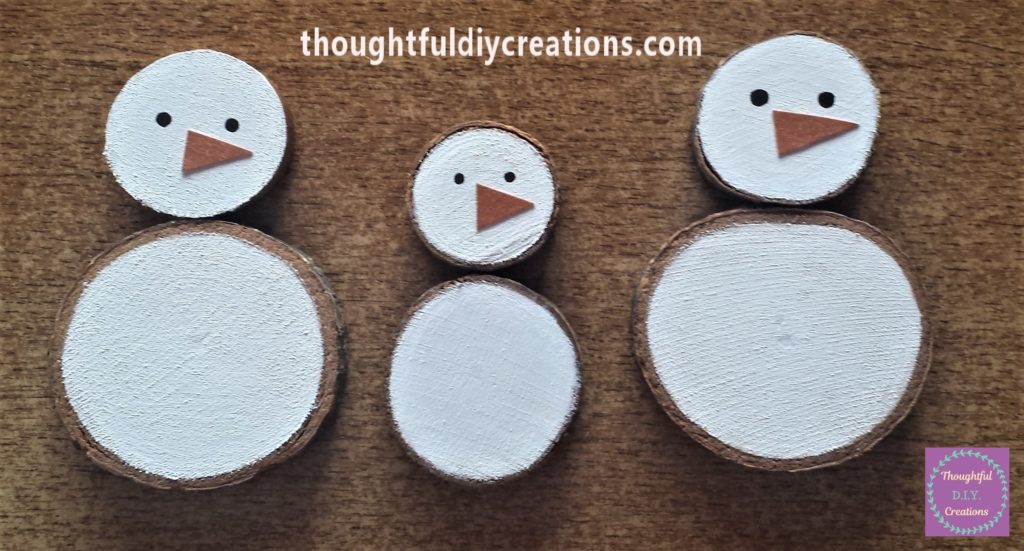
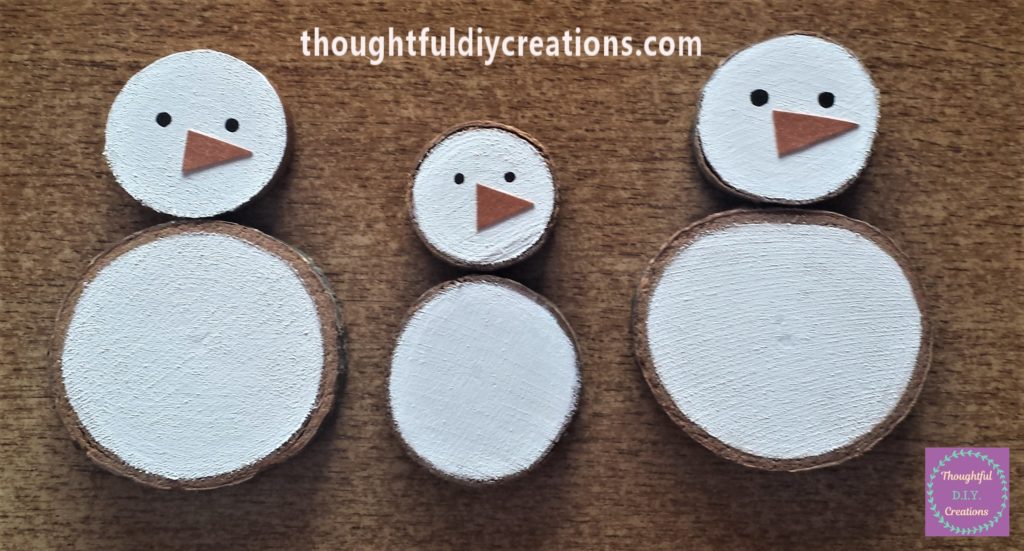
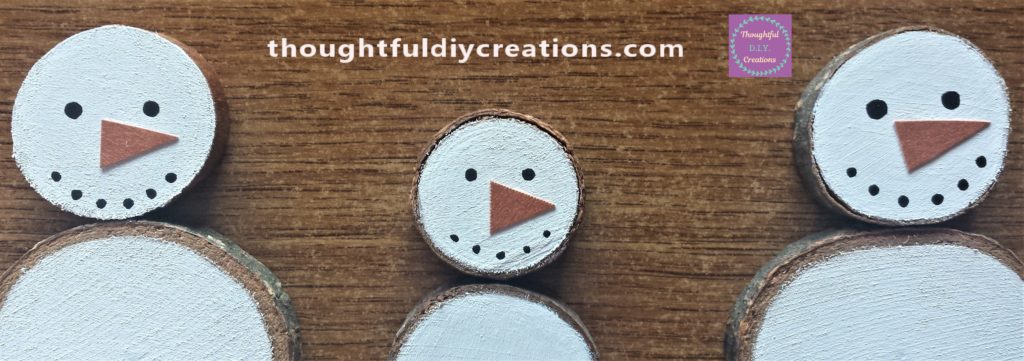
I put two dots on each snowman face for the eyes. Uni Posca Paint Pen.
Making the Nose for the Snowman Family
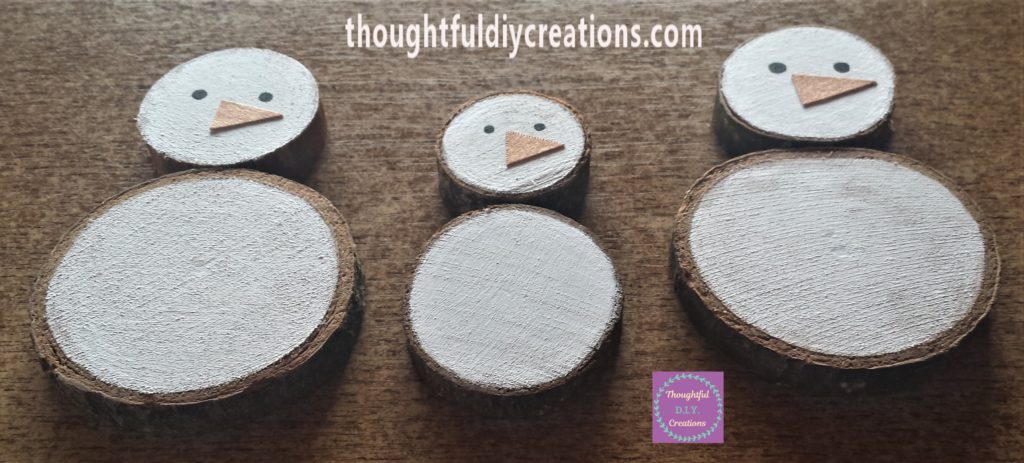
For the nose I used a metallic orange cardstock that came with the Autumn/Nature/Christmas pack. I used this cardstock on the Autumn Bunting Tutorial. Glitter Cardstock Paper.
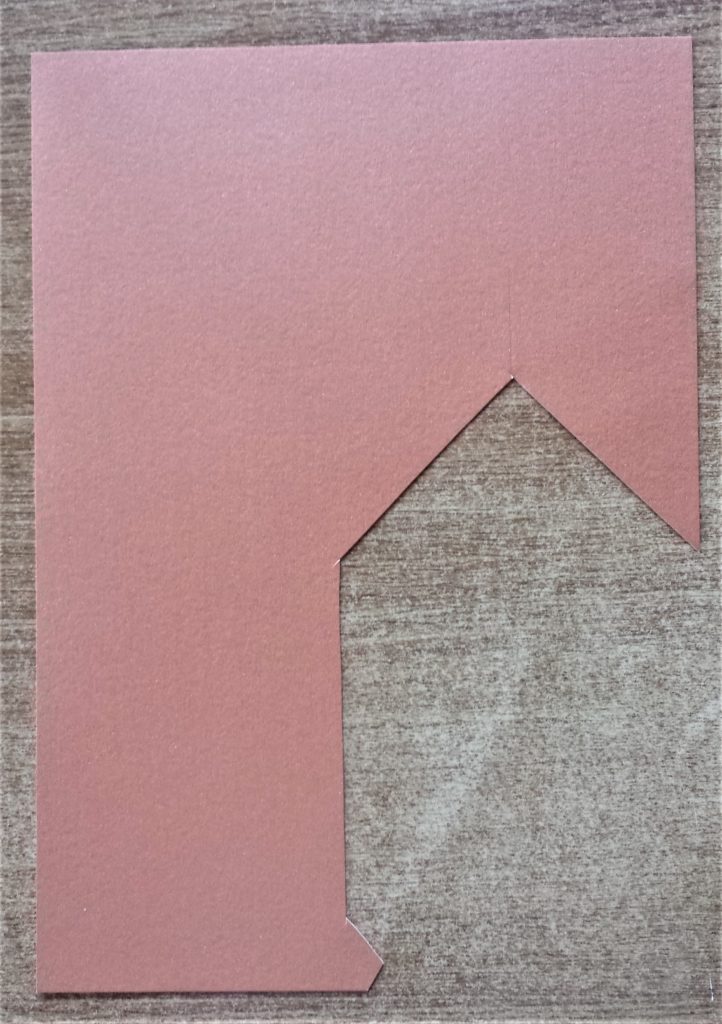
I drew 3 triangle shapes for each snowman nose and cut them out. Glitter Cardstock Paper.
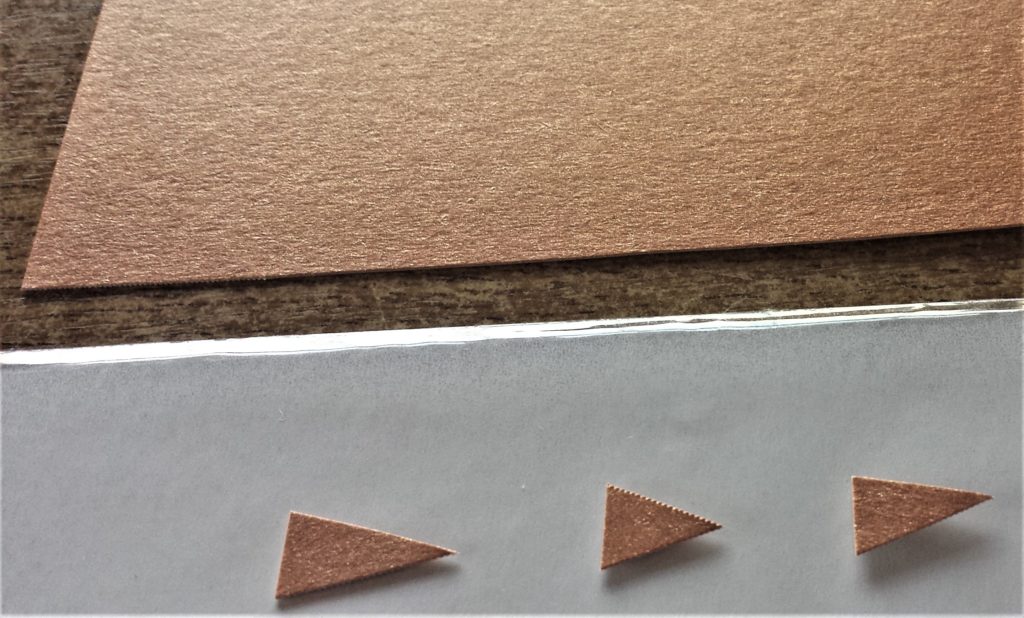
I used ‘Anita’s Tacky PVA Glue’ to glue each nose to the faces of the Snowman Family. Anita’s Tacky Glue.
Adding the Mouth for each Snowman
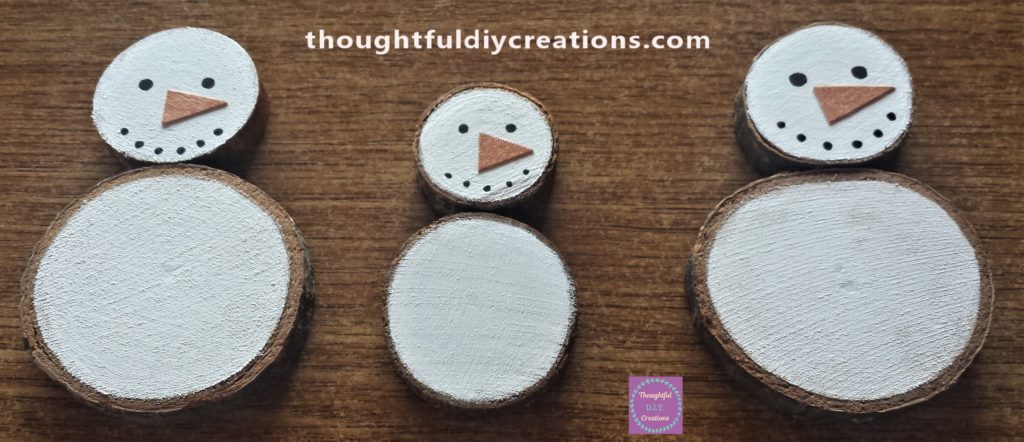
I used the black paint pen to draw 6 dots on the Mammy and Daddy Snowman for their mouth and 5 black dots for the baby snowman’s mouth. Uni Posca Paint Pen.
Making the Scarves for the Snowman Family
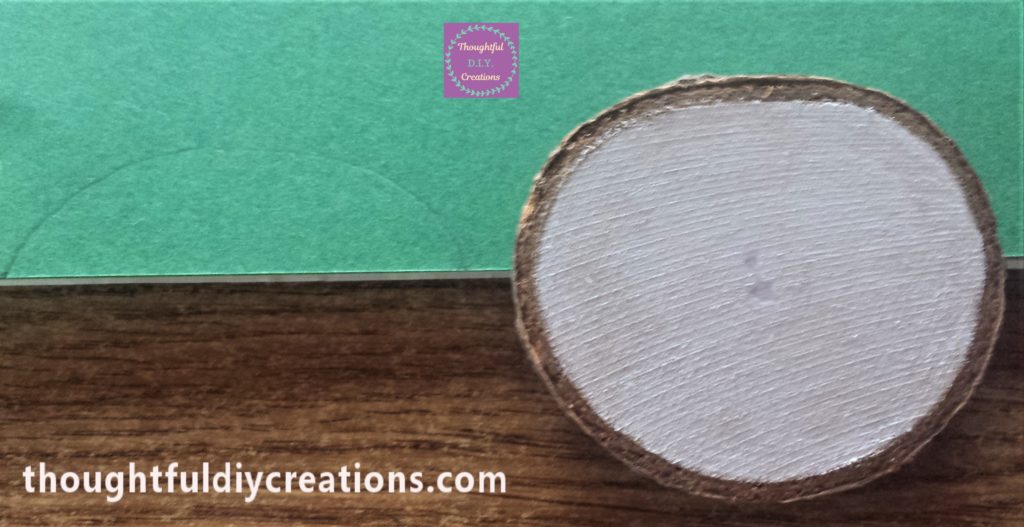
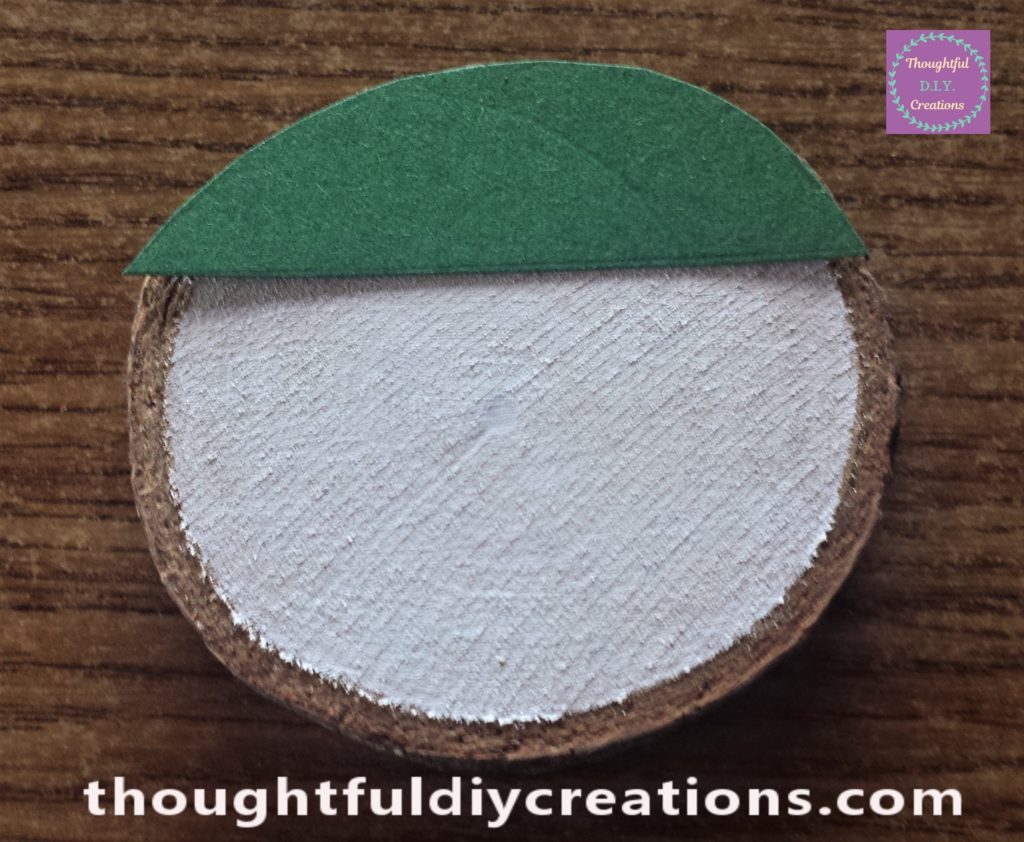
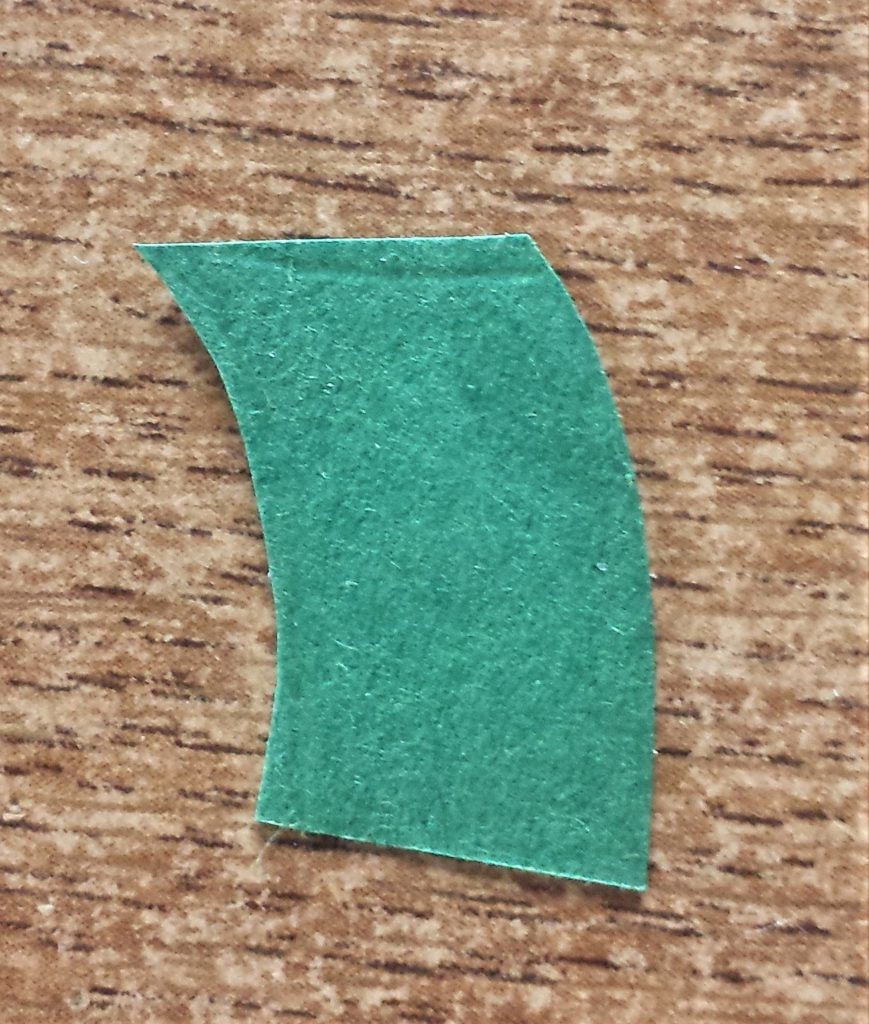
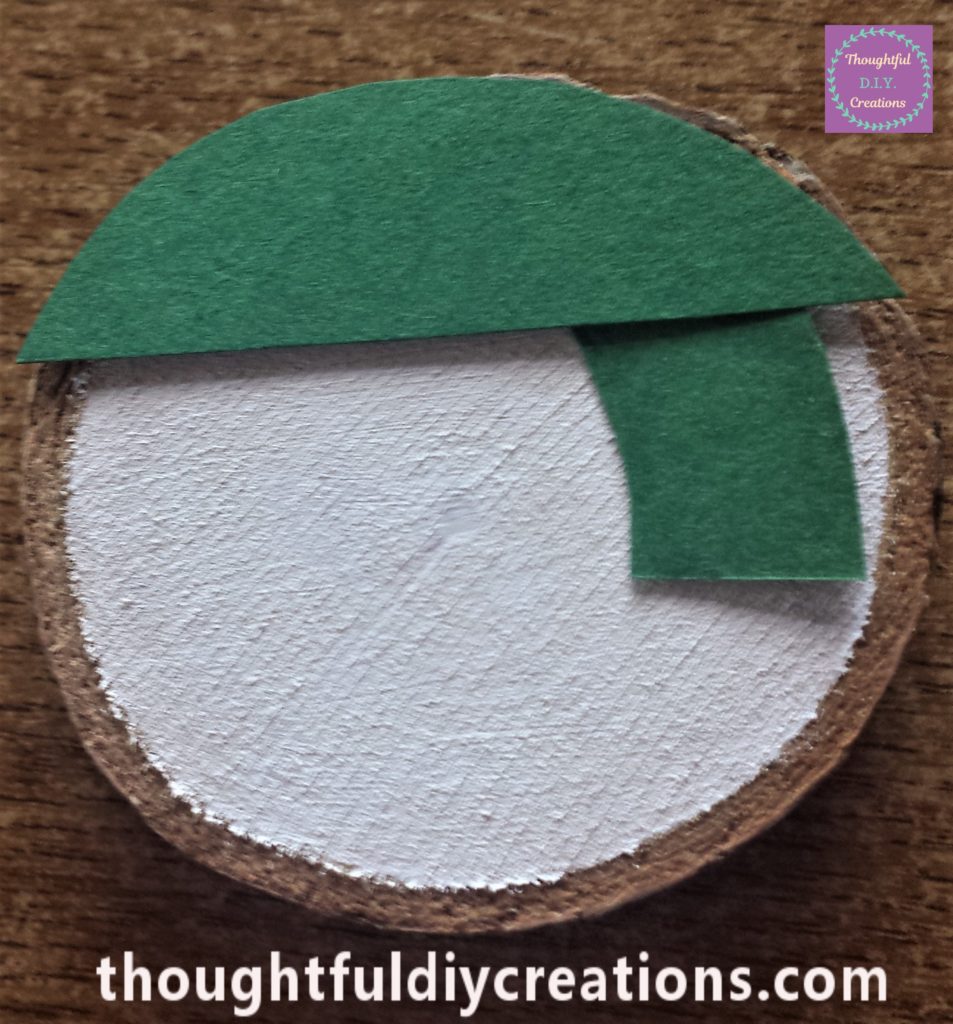
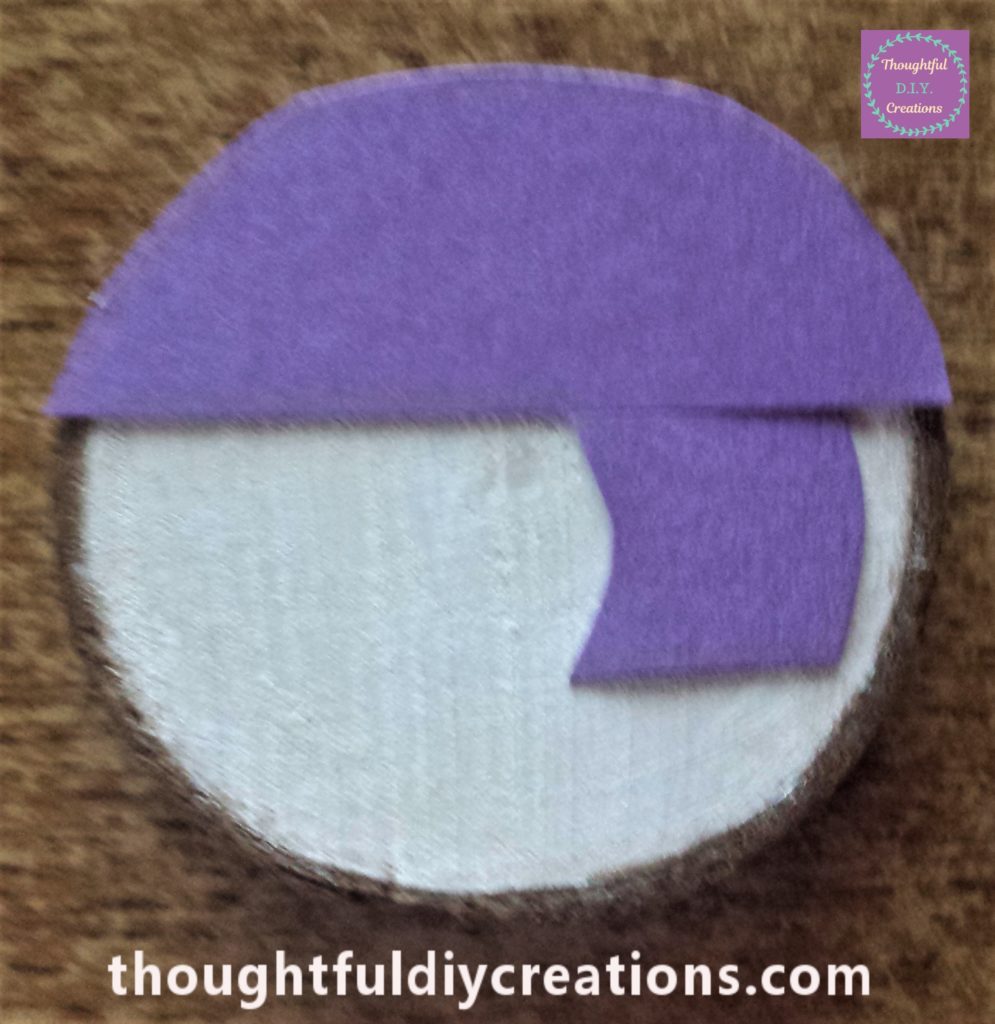
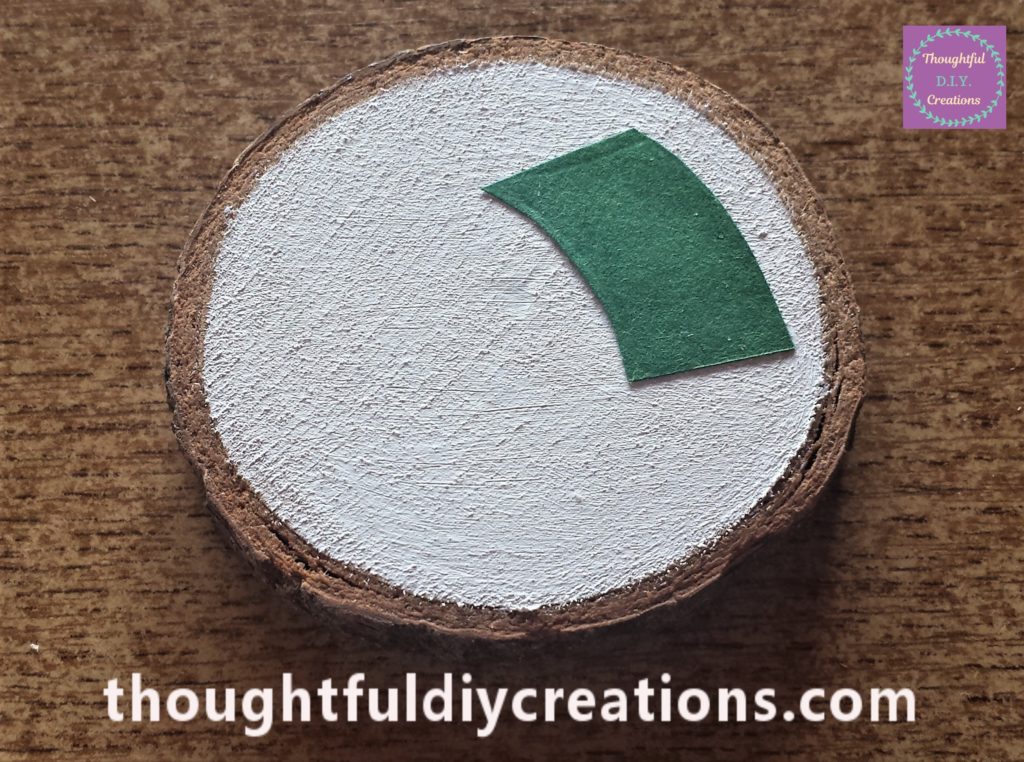
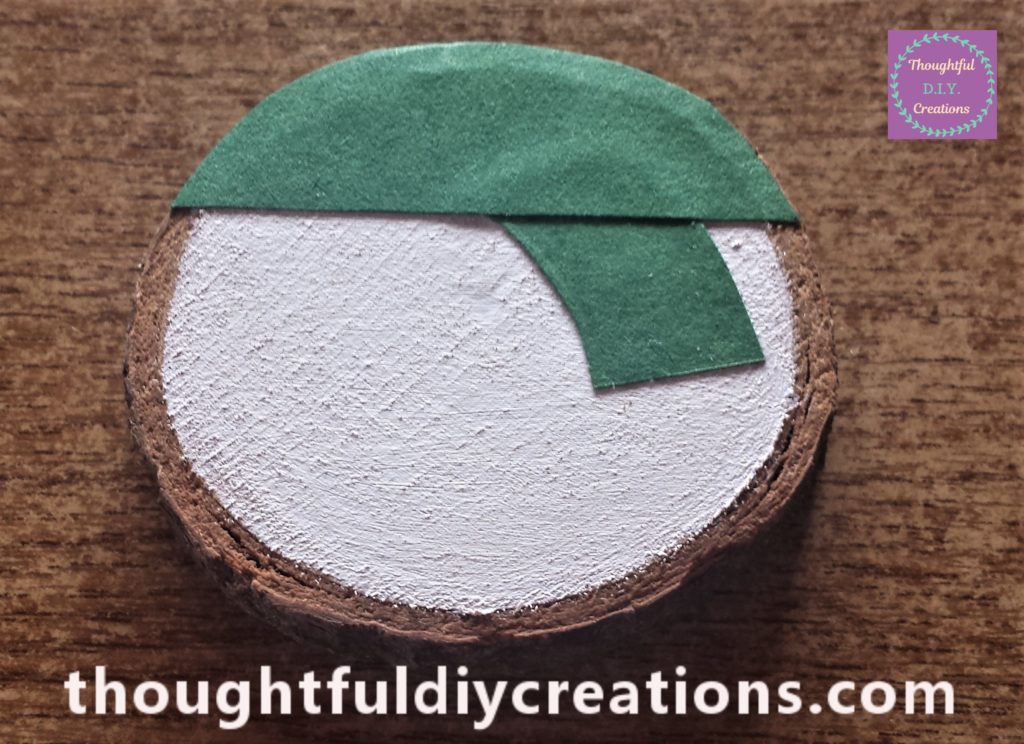
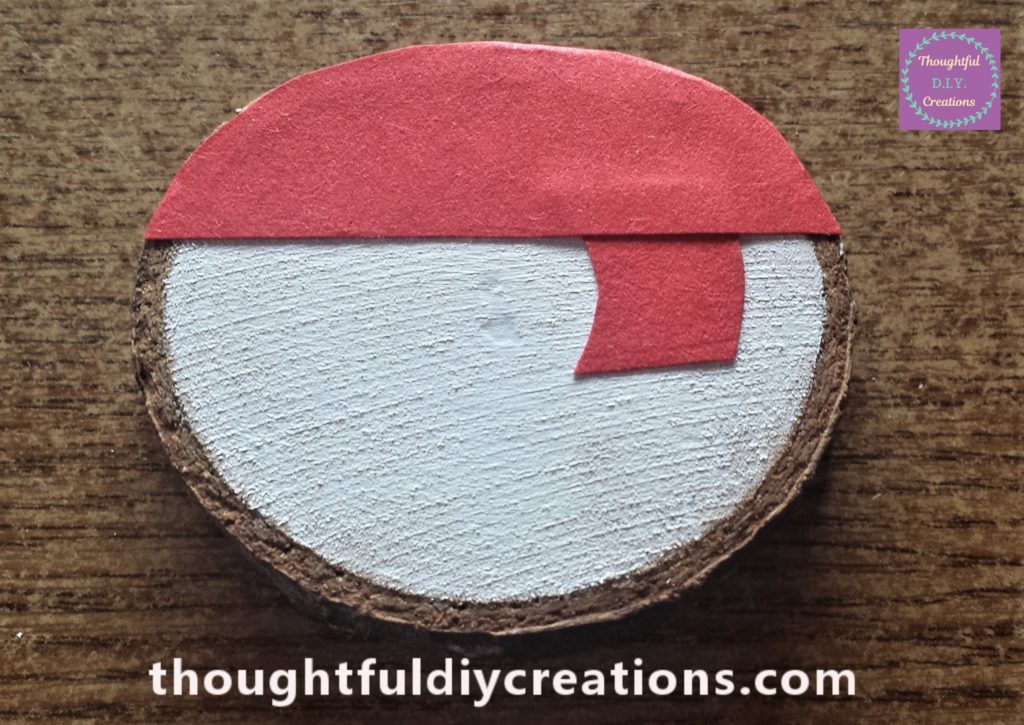
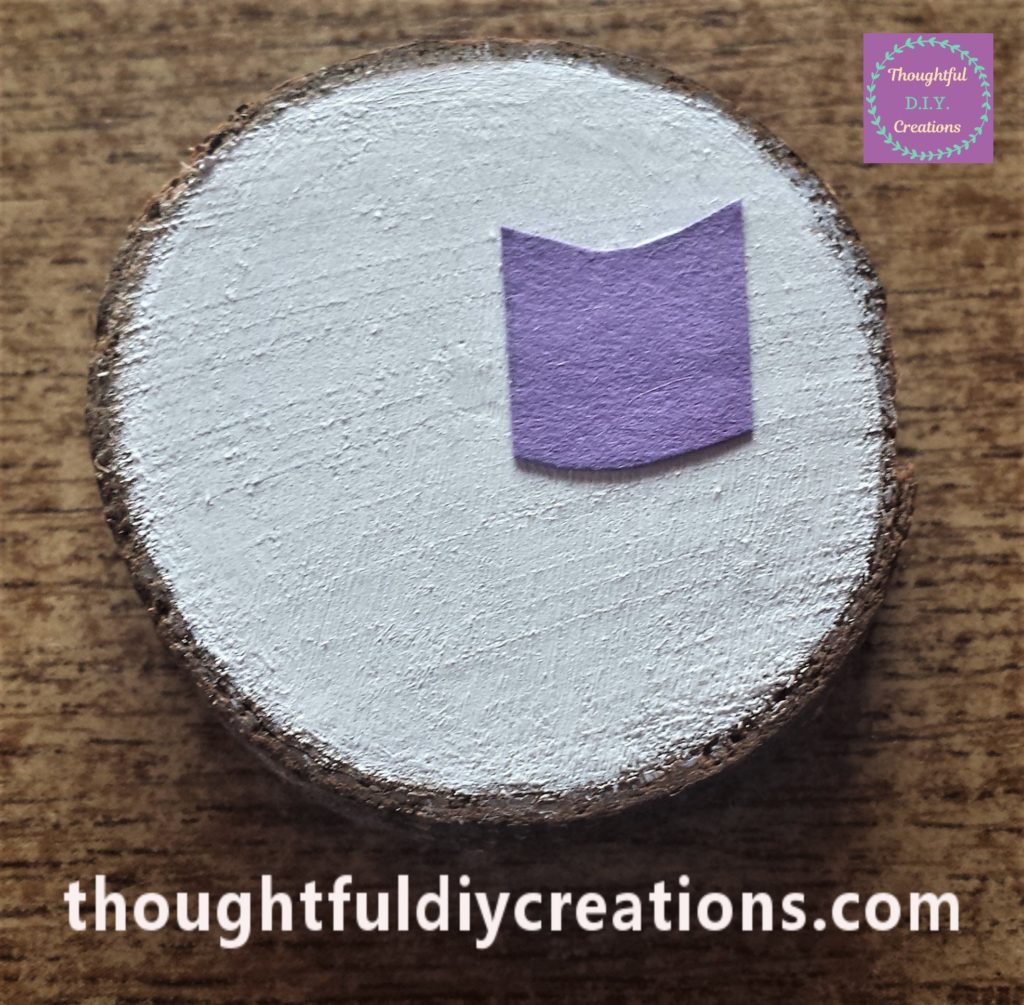
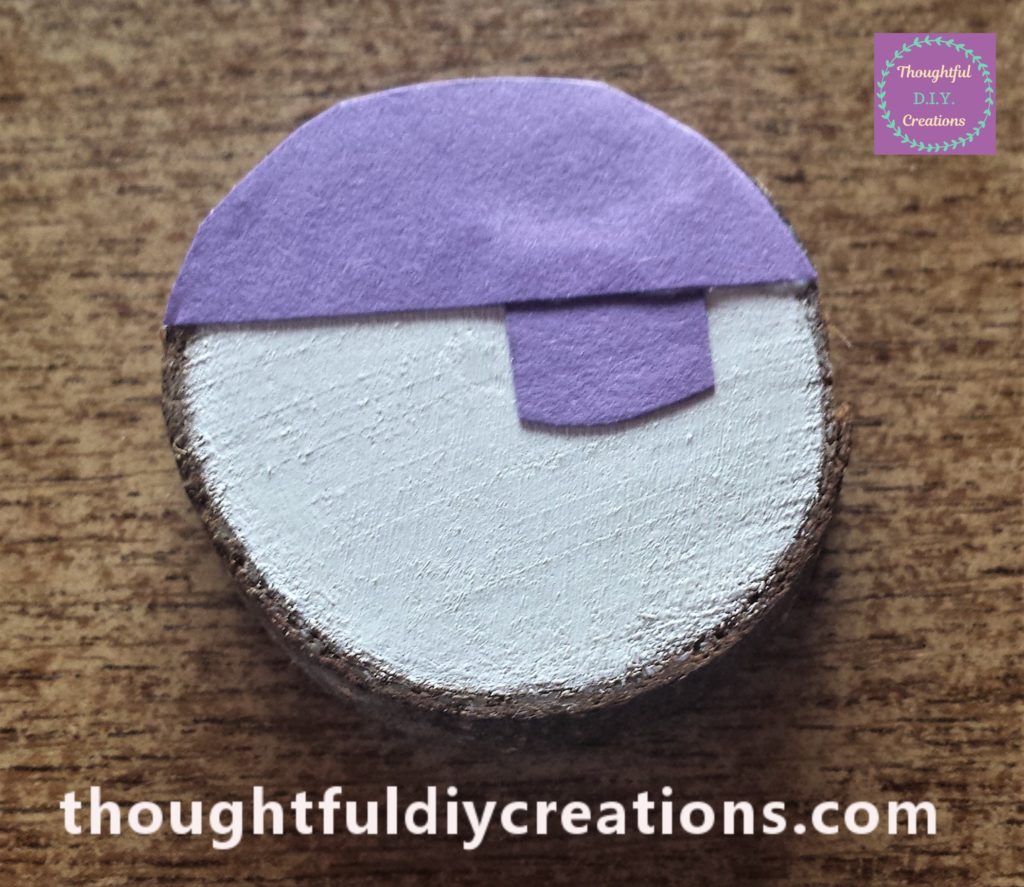
To make each of the snowman’s scarves I put the top part of the snowman’s body on the coloured paper and drew around it; I now had the correct width scarf for each snowman. I then cut out the first part of each scarf.
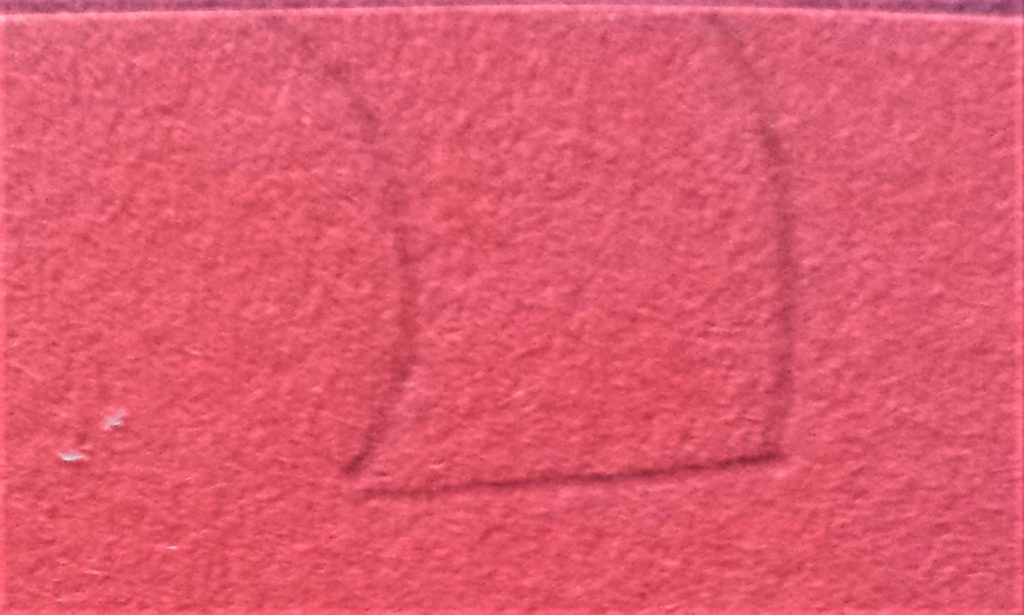
I drew the bottom part of the scarf on each of the coloured papers and cut them out. Crayola Bulk Construction Paper.
Attaching the Hats and Scarves to each Snowman
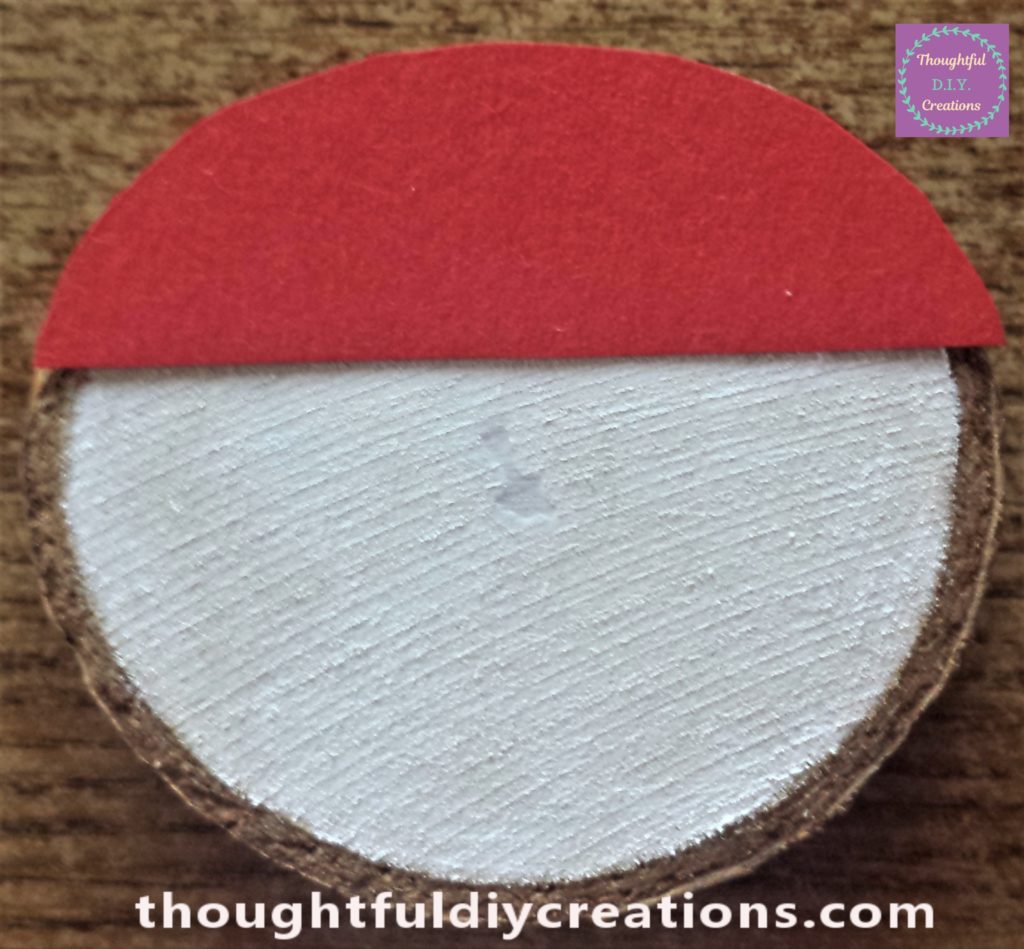
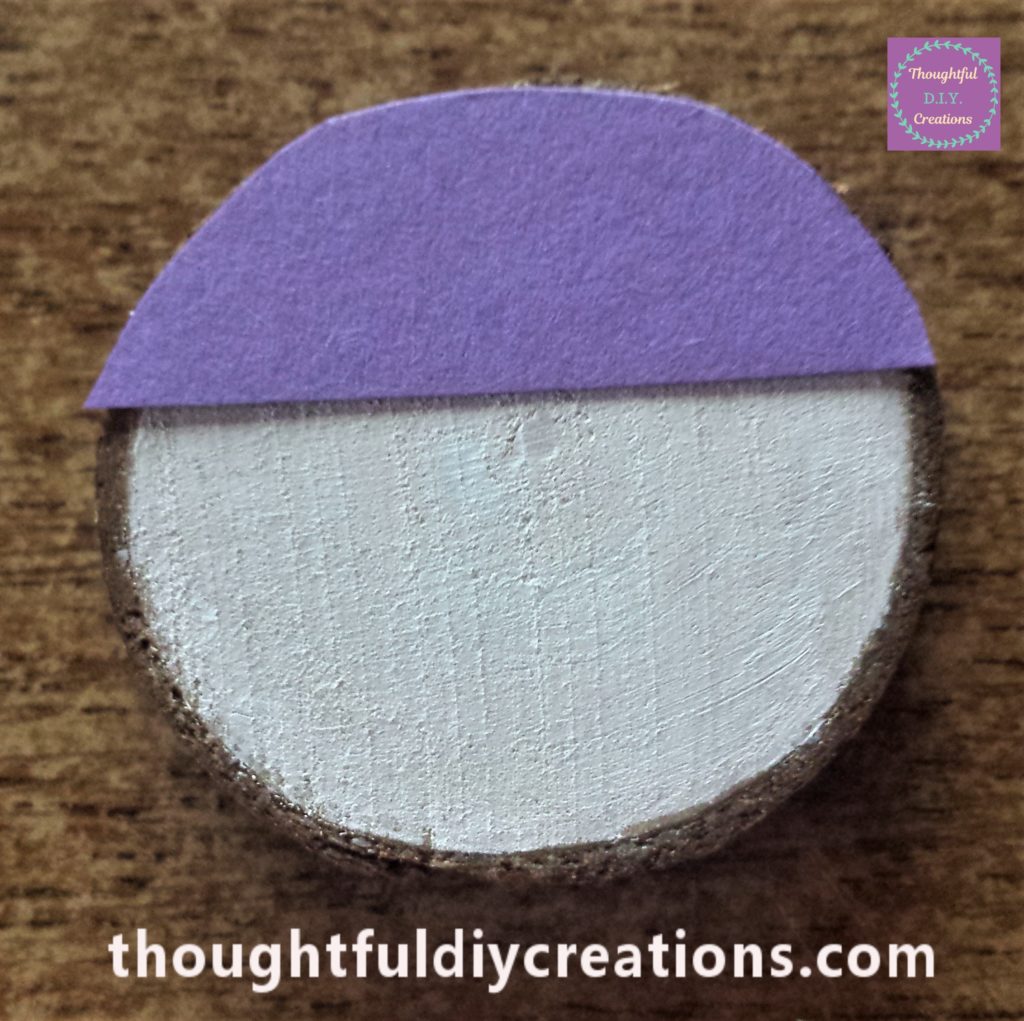
I attached the hats to the Snowman Family using ‘Anita’s Tacky PVA Glue’. I held the hat in place with my fingers for about 10 seconds. Anita’s Tacky Glue.
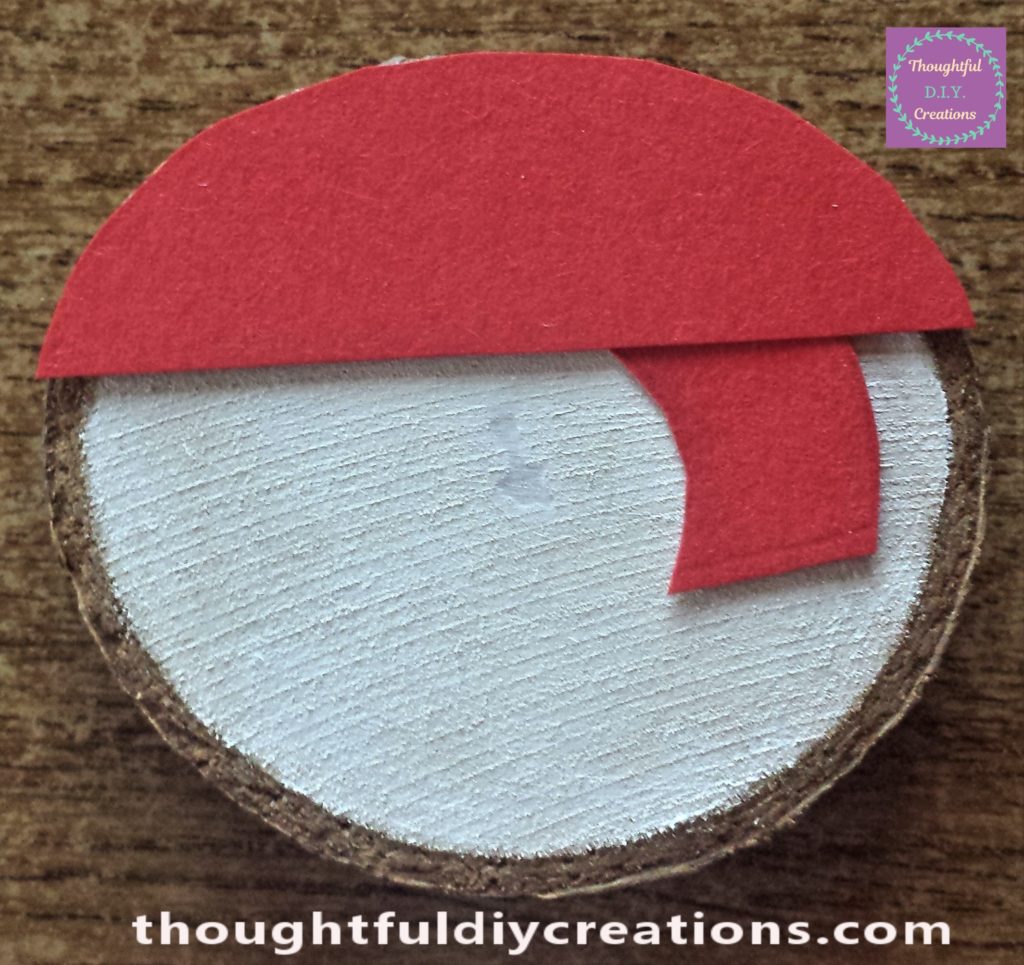
I also used the Tacky glue to attach the scarves. I put glue onto the back of the bottom part of the scarf with a paintbrush and pressed it onto each of the snowman’s bodies. I then attached the top part of each scarf over the bottom part and held it in place for a few seconds. Anita’s Tacky Glue.
The snowman family now had their face, hat and scarves completed.
Gemstone Stickers for the Snowmen Buttons
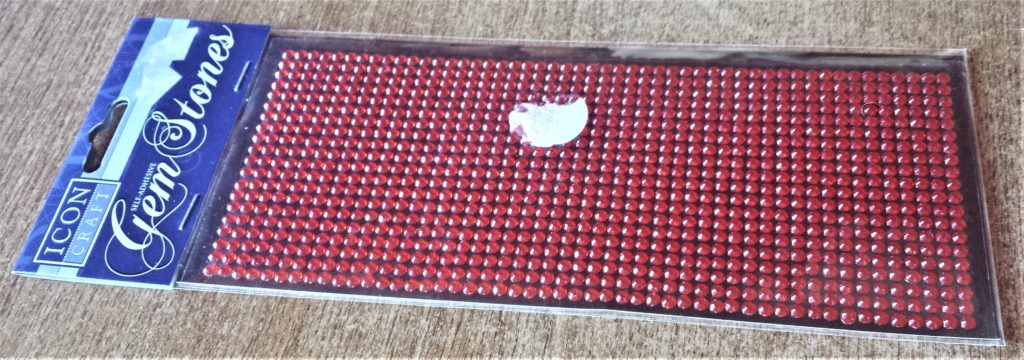
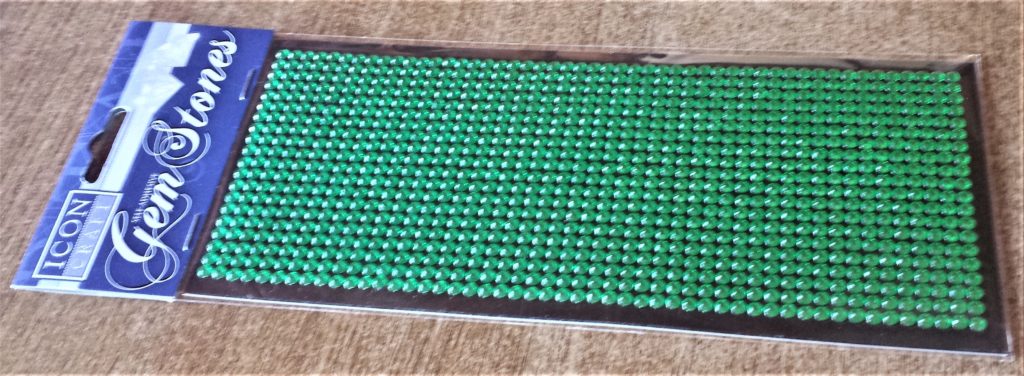
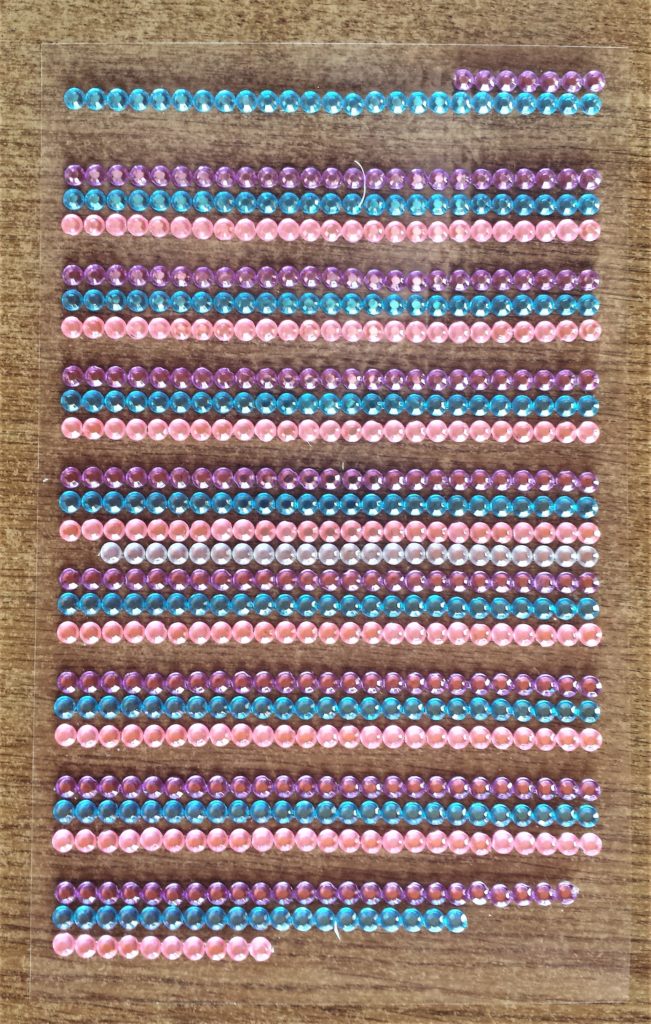
I bought red and green Christmas Gemstone stickers and I had a pack of pink, purple, blue and clear Gemstone stickers already. I thought these would be cute to add to the snowmen bodies for buttons. Multicolor Rhinestone Sticker Sheet.
Gluing the Buttons to the Snowmen
I added a little bit of tacky glue to the back of each gemstone sticker to ensure they wouldn’t fall off. Anita’s Tacky Glue.
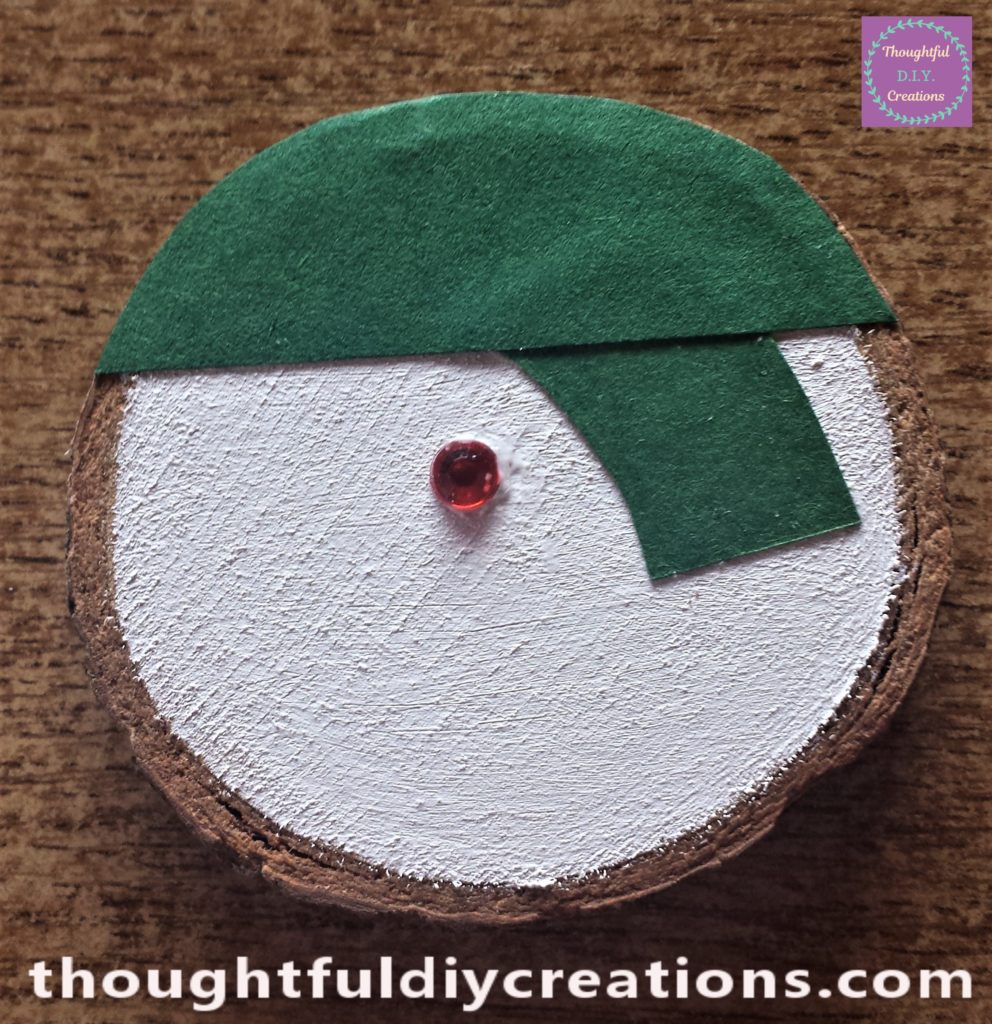
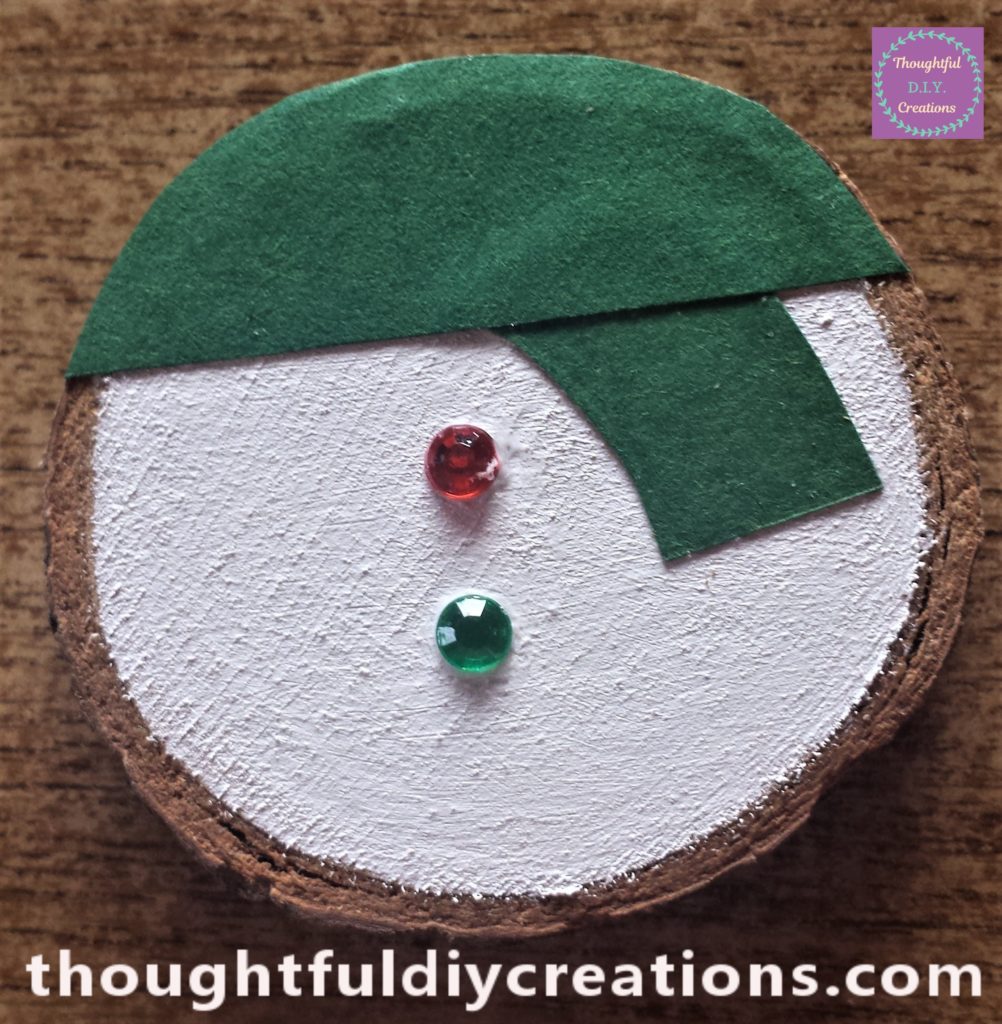
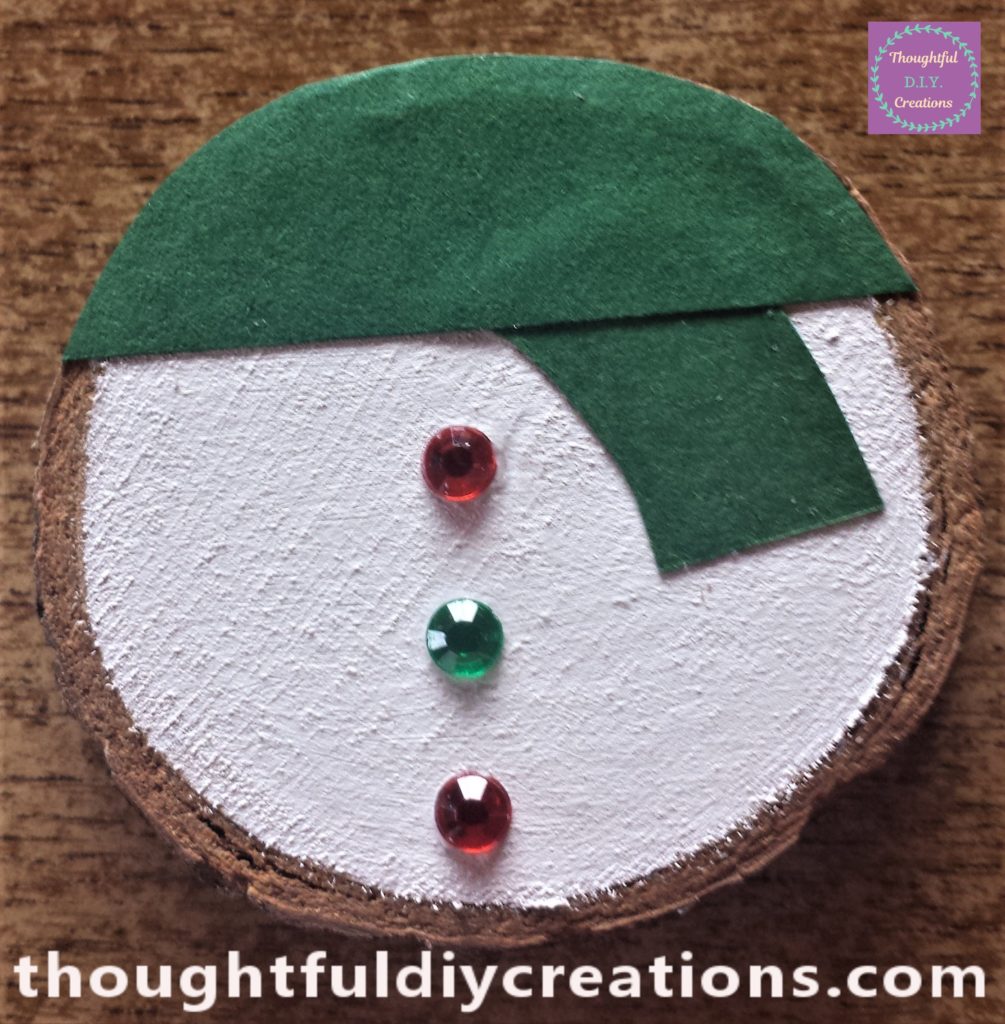
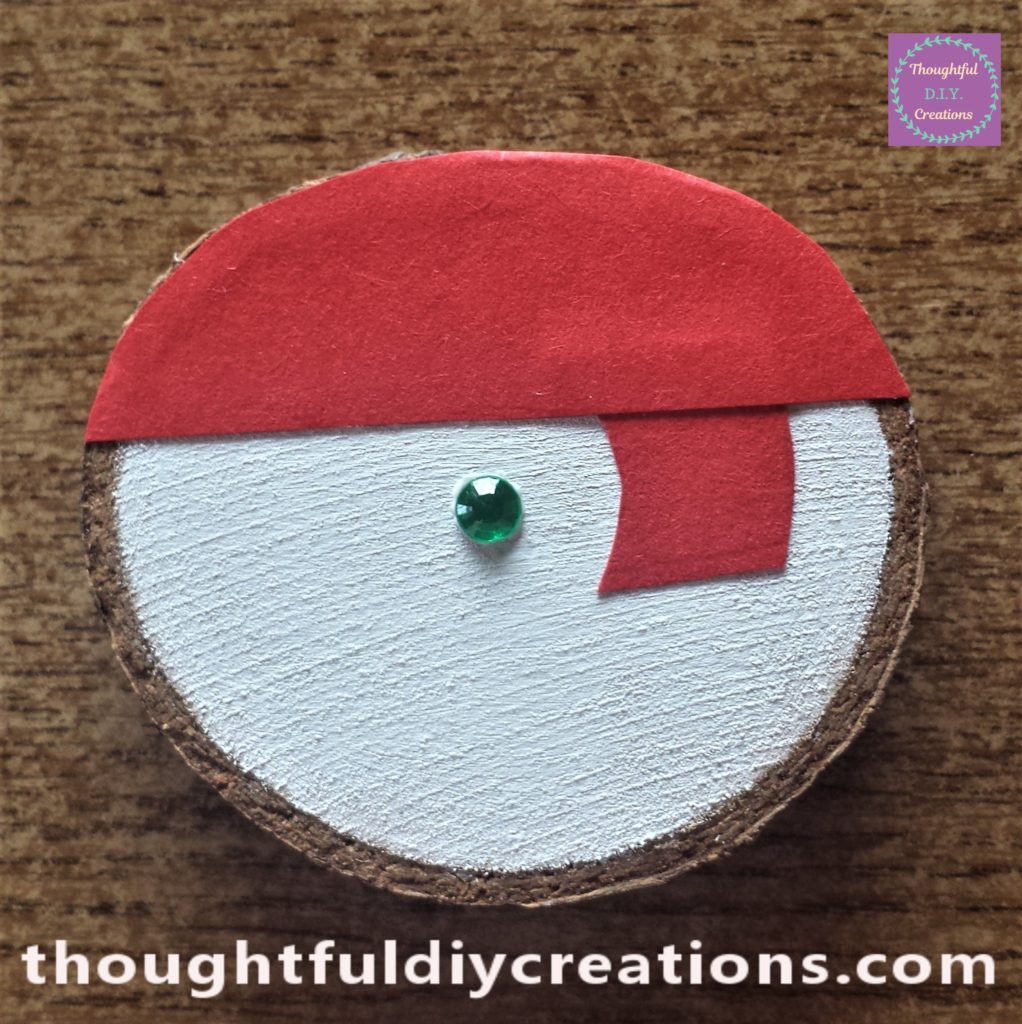
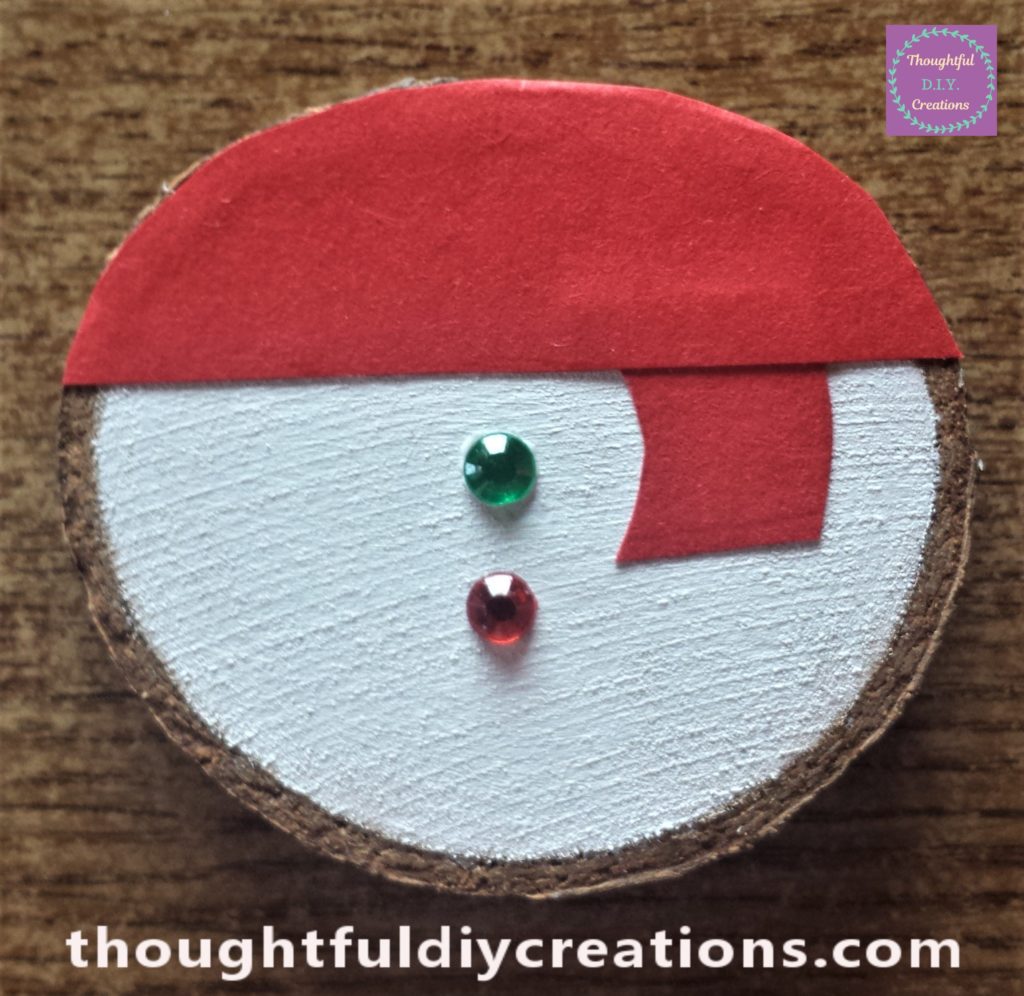
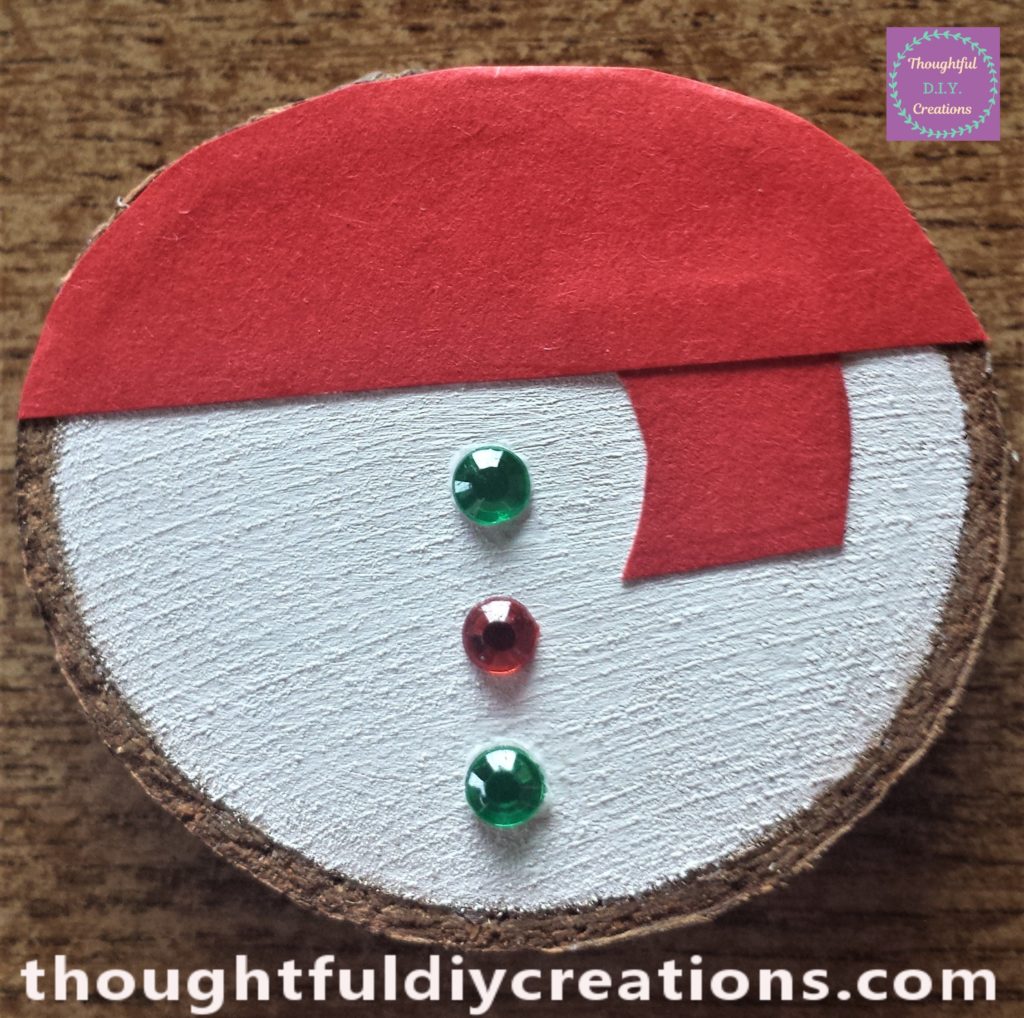
I started with the Daddy Snowman and pressed down a red gemstone sticker on the body and held it in place for a few seconds. I then added a green gemstone sticker and finished it off by attaching one more red sticker. This completed the Snowman’s buttons. Multicolor Rhinestone Sticker Sheet.
I added the gemstone stickers to the Mammy Snowman next; I arranged her stickers in the opposite order to the Daddy Snowman. I started with a green sticker, then added a red sticker and finally added another green gemstone. This completed her buttons.
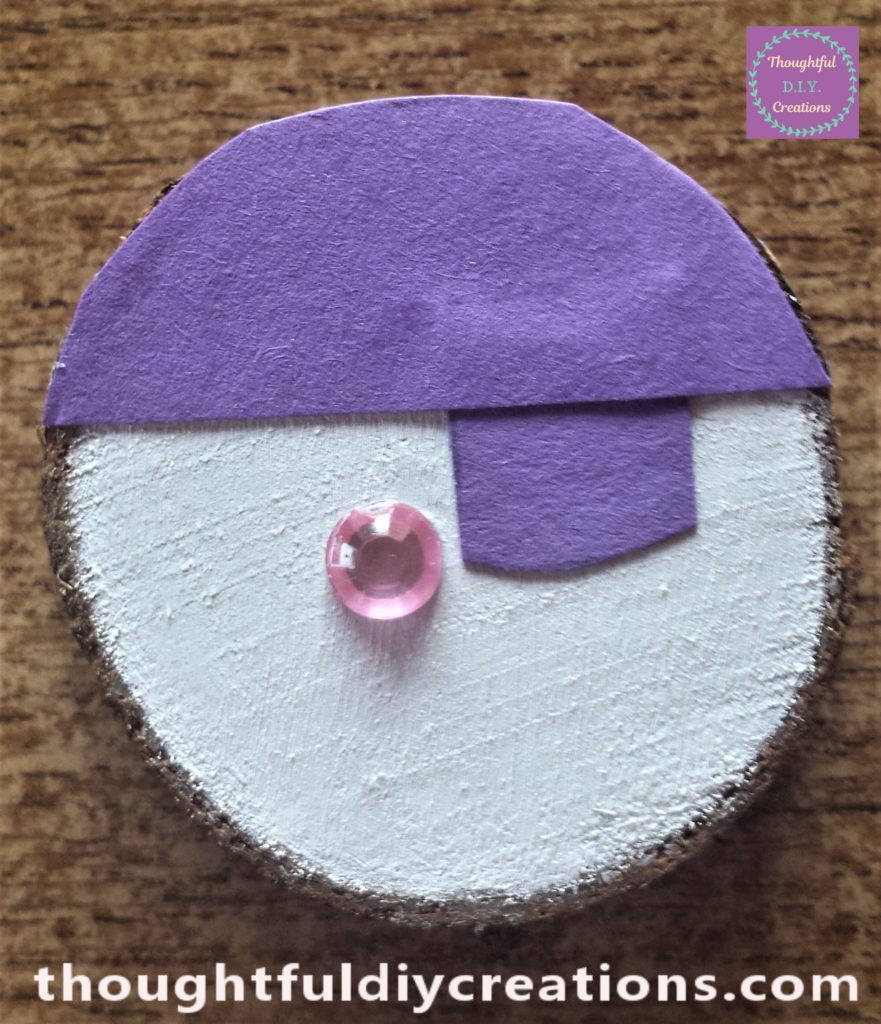
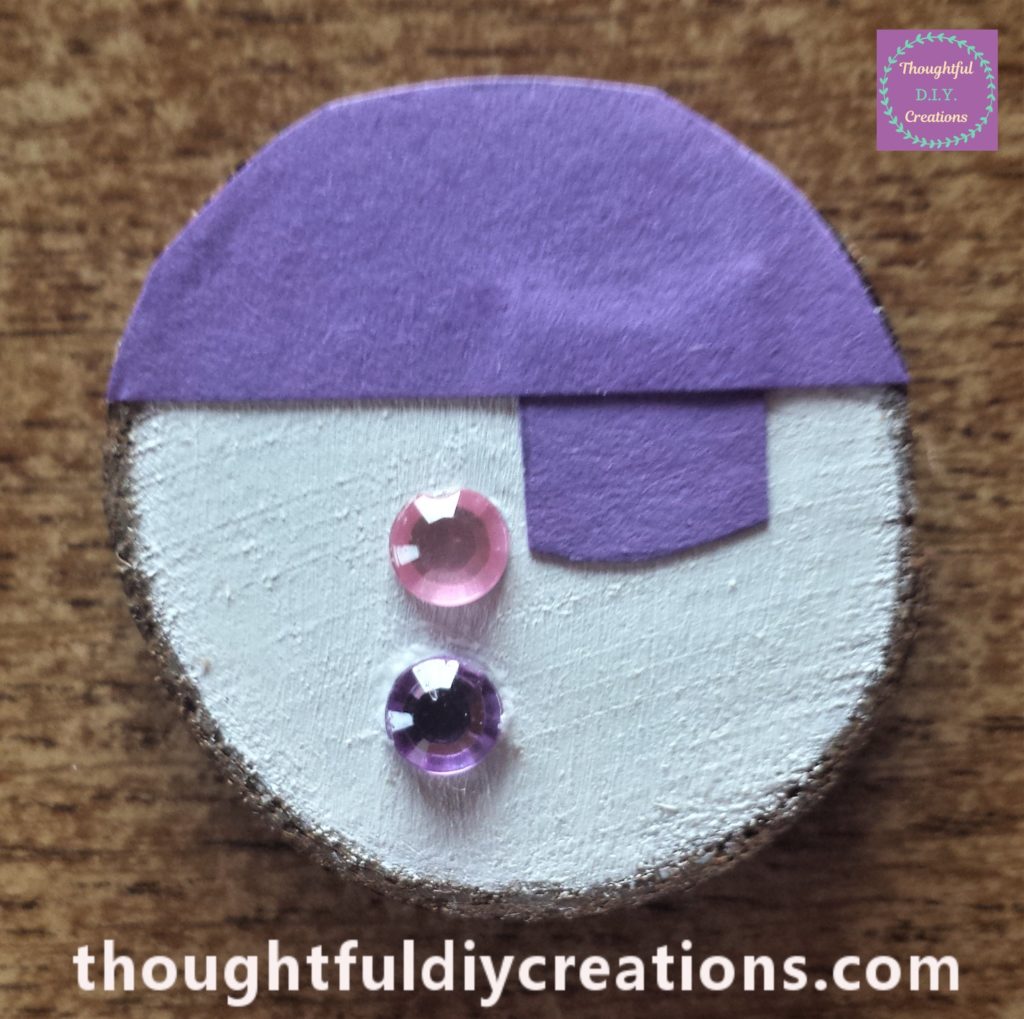
I stuck a pink and purple gemstone to the body of the Baby Snowman and this completed her buttons. Multicolor Rhinestone Sticker Sheet.
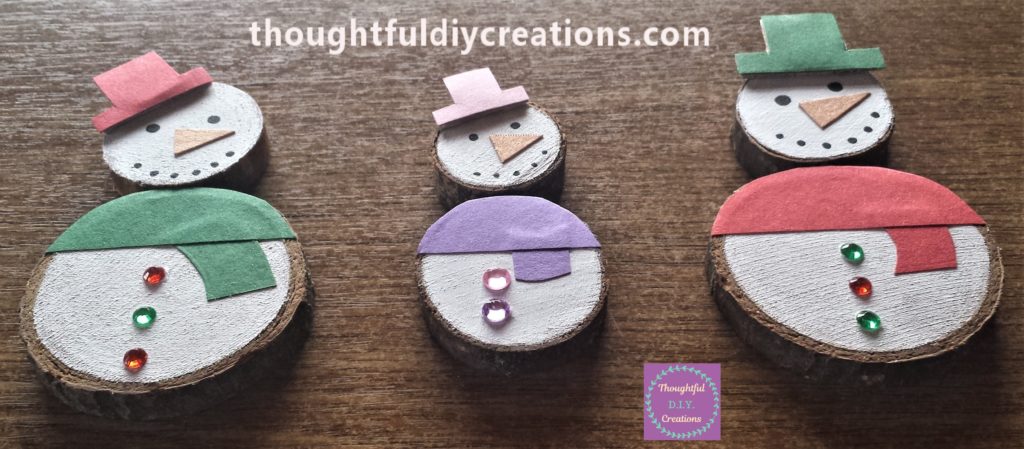
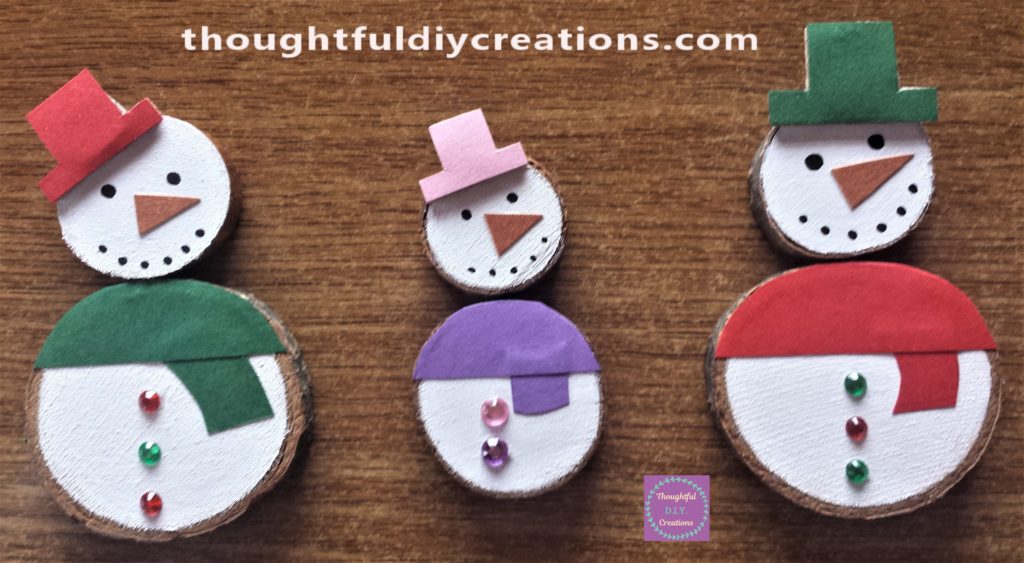
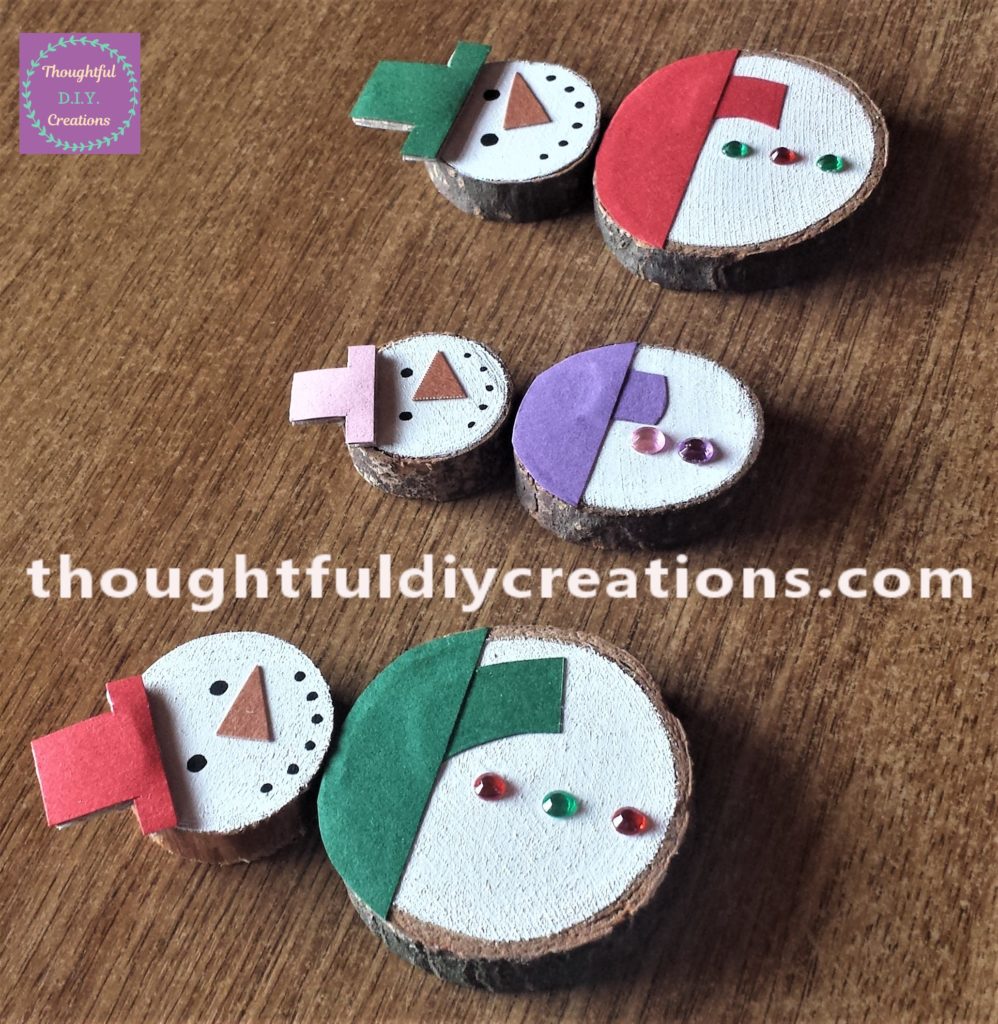
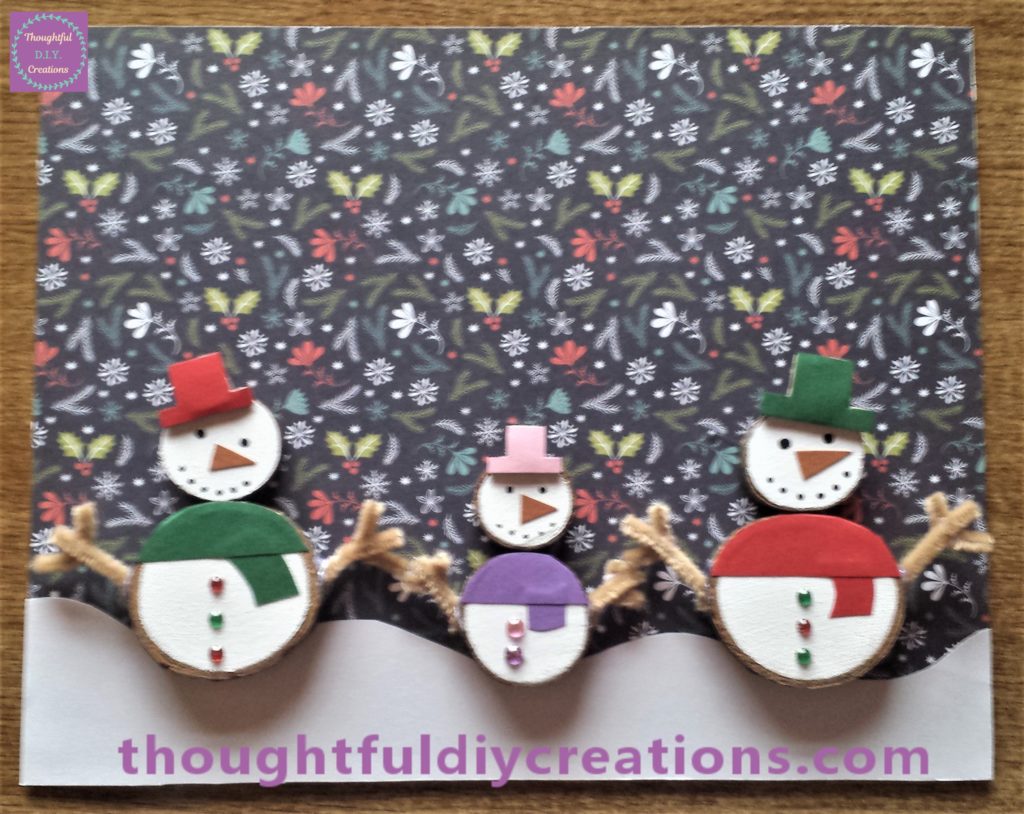
This is what the Snowman Family looks like so far.
Pipe Cleaner for the Snowmen Arms
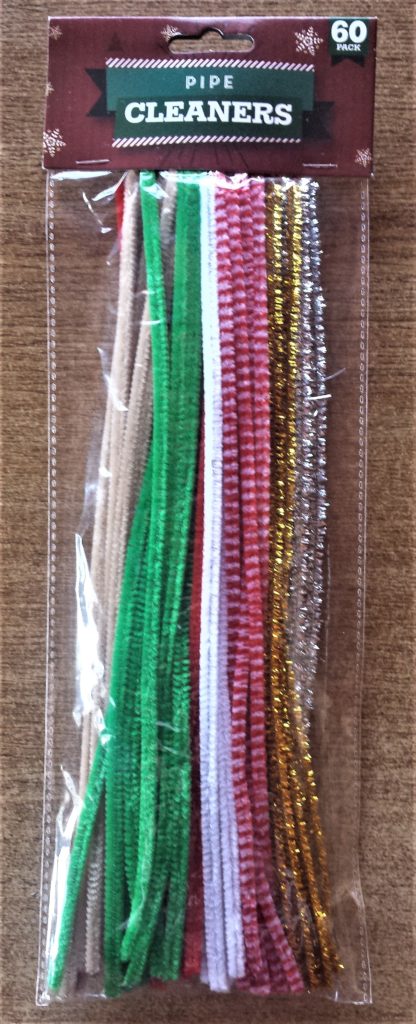
I bought a pack of Christmas Inspired Pipe Cleaners. They are so versatile and can be added to so many different crafts. I chose the light brown pipe cleaner from this pack to make arms for the Snowman Family. Pipe Cleaners.
Making the Arms for the Snowman Family
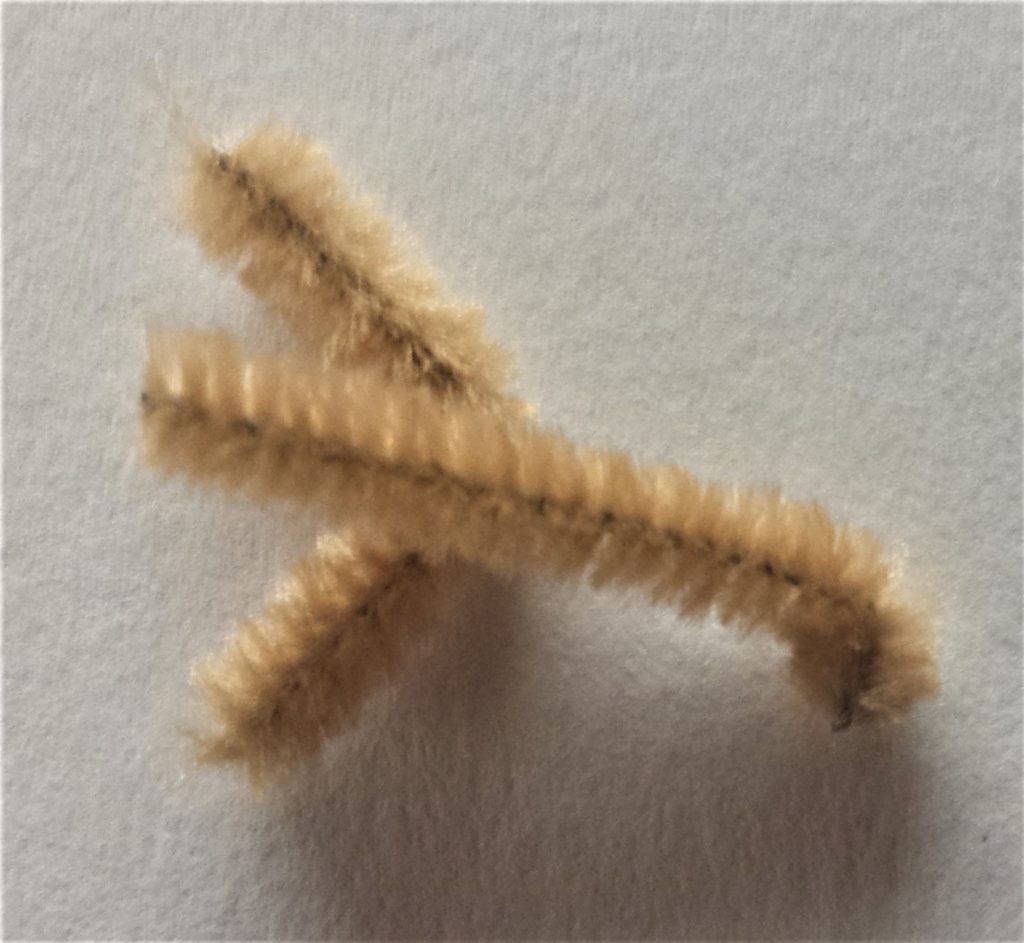
I cut 12 pieces from the one brown pipe cleaner for the Snowmen arms. Pipe Cleaners.
I put the pipe cleaner up to each snowman body and picked a size for the arm that I thought looked in proportion to the body. I then cut the pipe cleaner at that mark. I put the cut pipe cleaner under the big pipe cleaner to use as a reference and cut another arm the same size.
I then cut a smaller size pipe cleaner to use as fingers for the snowman. I put that cut piece under the big pipe cleaner and cut another same size pipe cleaner for the other fingers for the other snowman hand. Pipe Cleaners.
I repeated these steps for the other 2 snowmen. I then twisted the top pipe cleaners in slightly so that it would have more of a grip to the body of the snowman when gluing.

I curled the smaller finger pipe cleaner into a curved shape.
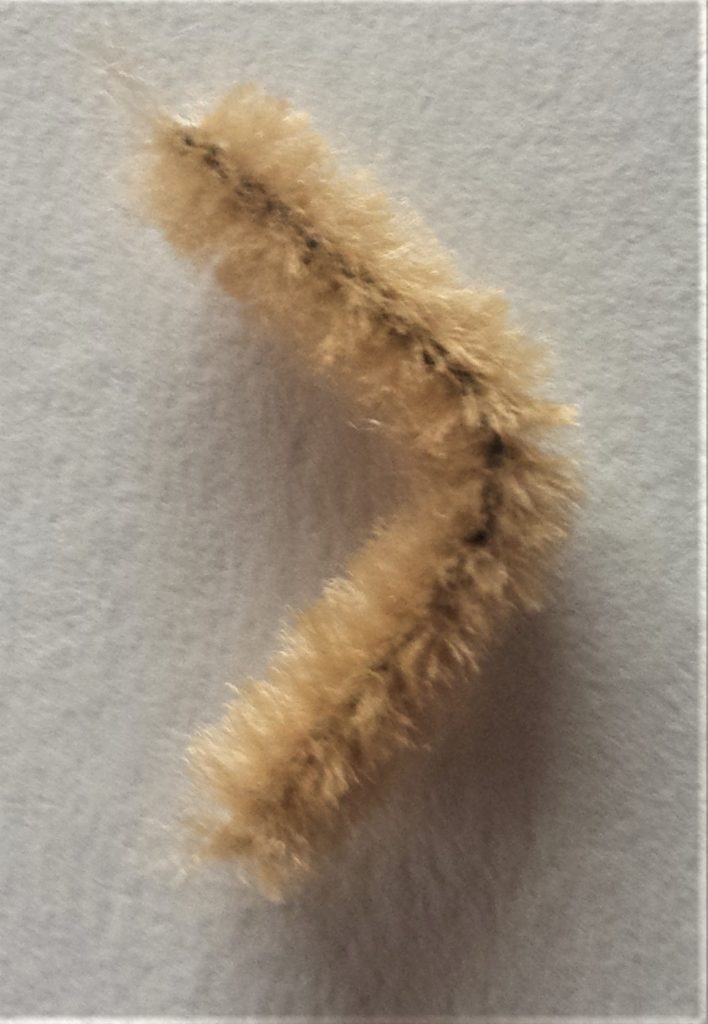
I plugged in my hot glue gun and let it heat up for 5 minutes. I added hot glue to the front of the mid-section of the curved pipe cleaner and attached the bigger pipe cleaner to it to form the arm. I held it in place for a few seconds and the first snowman arm was complete. Hot Glue Gun.
Attaching the Arms to the Snowmen Bodies
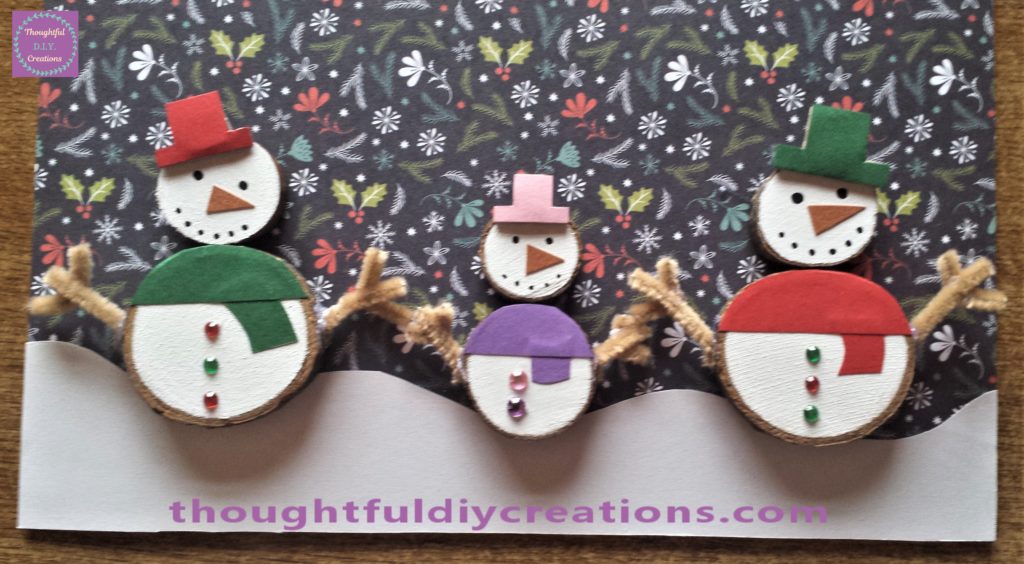
I repeated these steps until all 6 snowmen arms were complete. I then put hot glue on the twisted-in part of the arm and attached it to the snowman body. I held it in place for about 10 seconds. Hot Glue Gun.
Be careful with the hot glue; you can press the pipe cleaner into place using a pencil or any other object you have nearby. I continued with this process until all the arms were attached to the Snowman Family.

I positioned the Snowman Family onto the Christmas Paper Board. I then attached them one-by-one to the board using hot glue and pressing each wood slice onto the board for about 10 seconds to ensure it was attached. Hot Glue Gun.
Christmas Paper for the Frame
I had a Christmas design card from the same Autumn / Christmas pack I used for the Board of the frame. Perfect Christmas Collection.
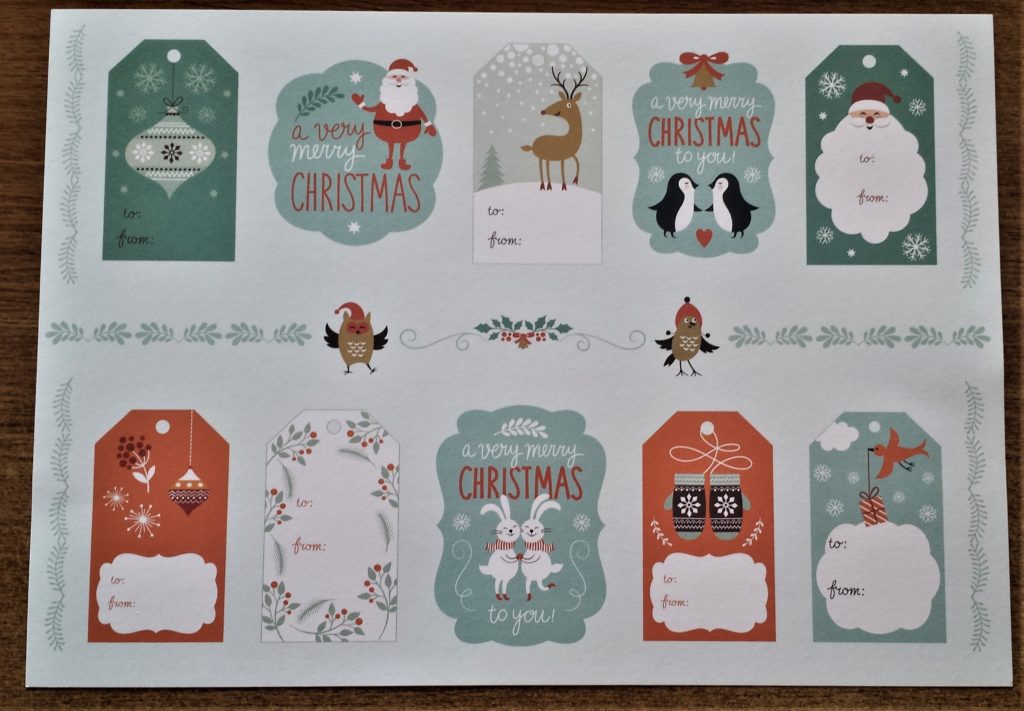
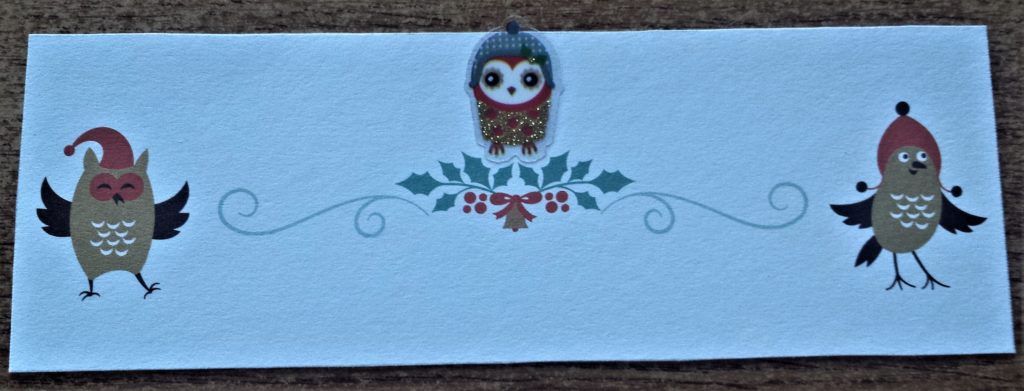
I am using the mid-section of the page for this Craft. I drew a rectangle around the owls to cut out and use for this frame. Perfect Christmas Collection.
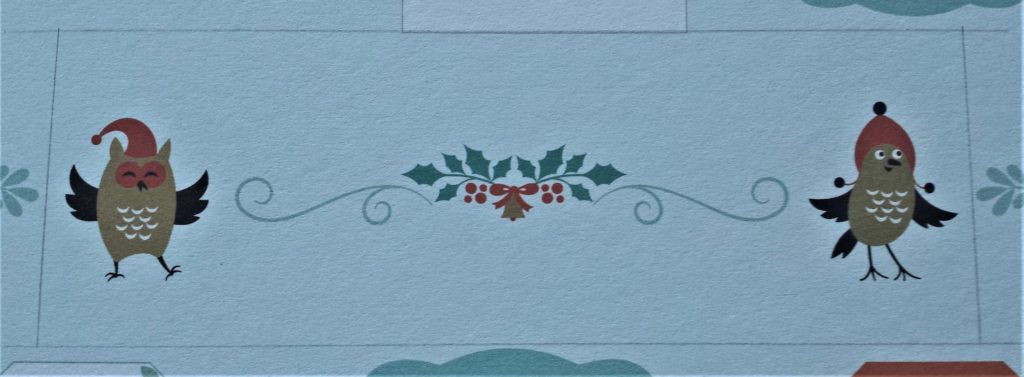
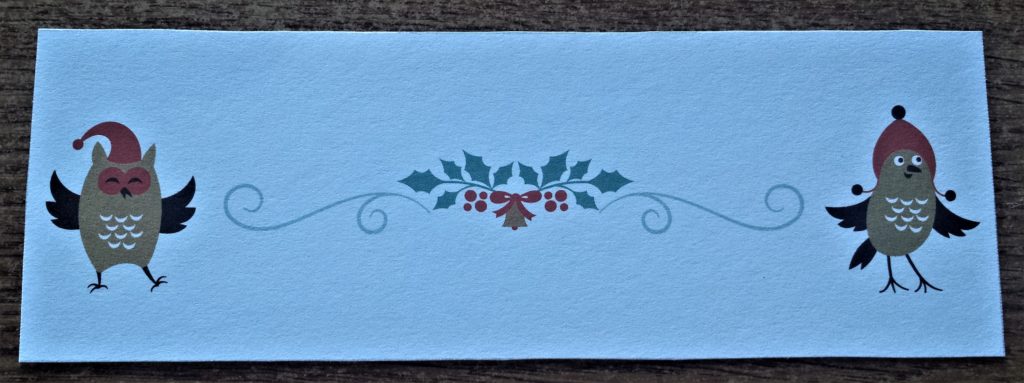
I cut it out using a small sharp scissors.
Adding Stickers to the Christmas Paper
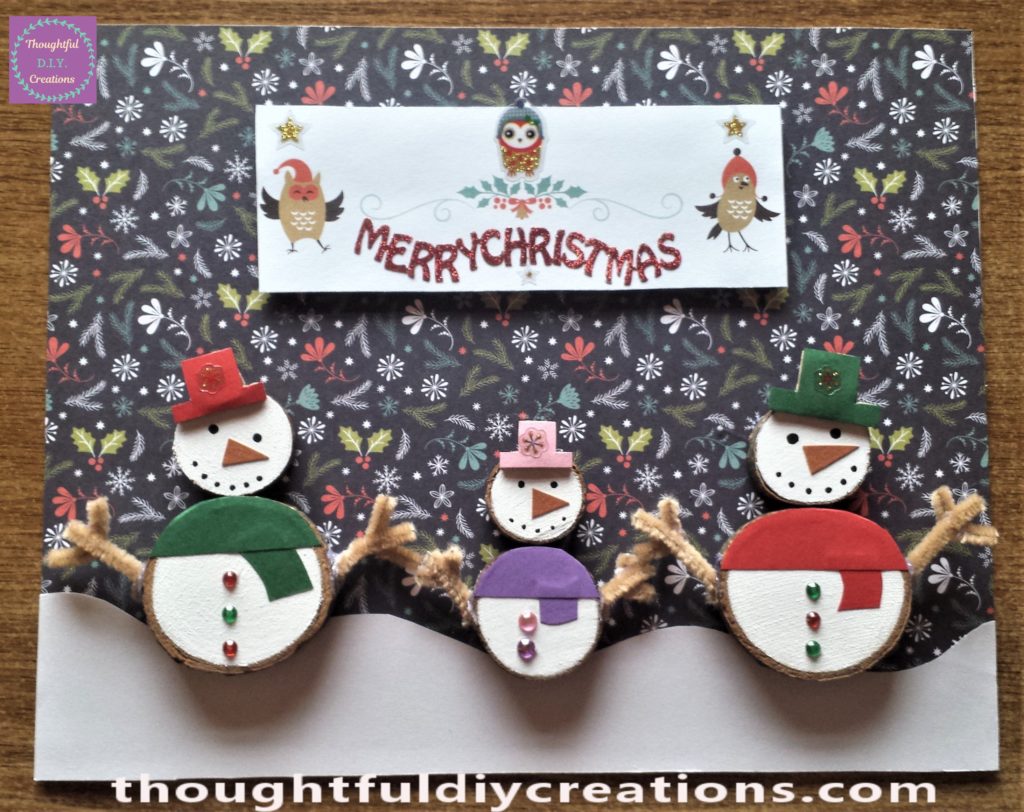
I bought a Christmas set of stickers recently. I added a sticker of a small owl to the center of the cut out Christmas card. I thought this suited the picture as the other 2 owls on the card had Christmas hats on them as well and they looked like the Daddy and Mammy owl and the small owl looked like a baby owl. They were also in the same position as the Snowman Family on the frame so I think they blended in well. Together for Christmas Cardstock Stickers.
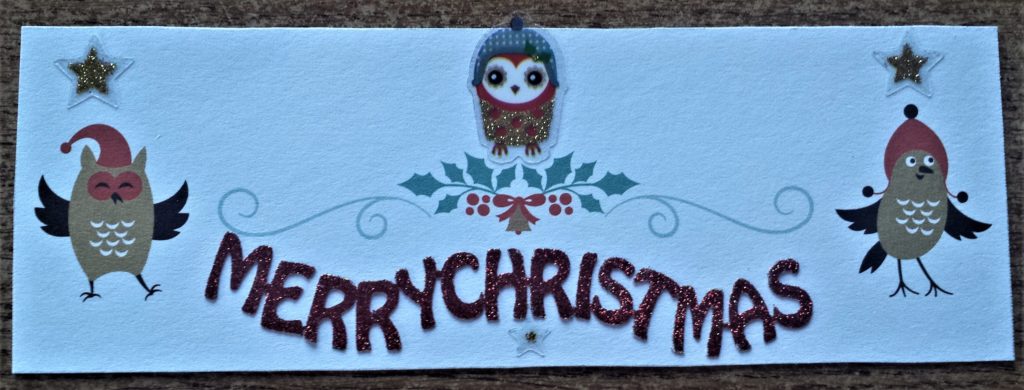
I had a glitter Sticker set of the words ‘Merry Christmas’. I cut out one red ‘Merry Christmas’ sticker from the pack and attached it to the Christmas card under the bells and holly. I also added a gold star sticker to the two top corners of the card and one clear and gold star sticker on the bottom center of the card. Together for Christmas Cardstock Stickers.
Attaching the Christmas Card to the Frame
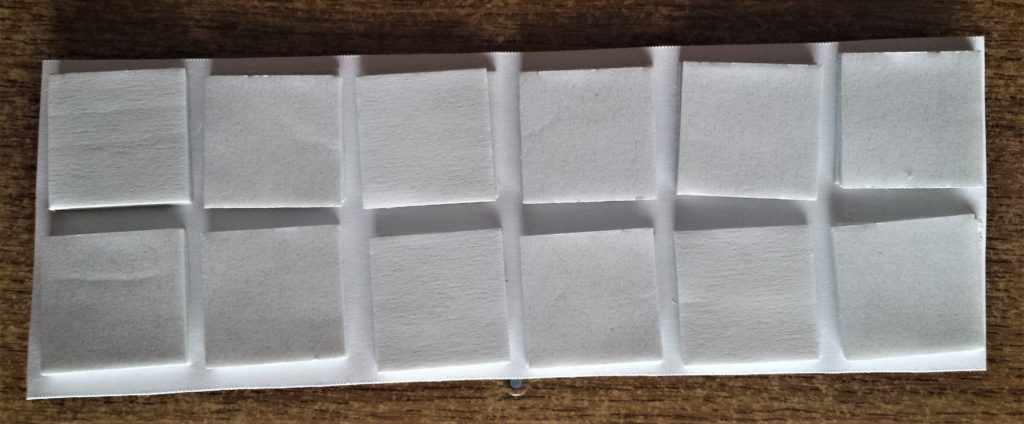
I wanted the Christmas card to stand out on the frame so I added 12 double-sided foam square stickers to the back of the card. I wanted it to be more raised so I added another 12 stickers on top of the 12 I had already stuck down. 3D Square Dual-Adhesive Foam.
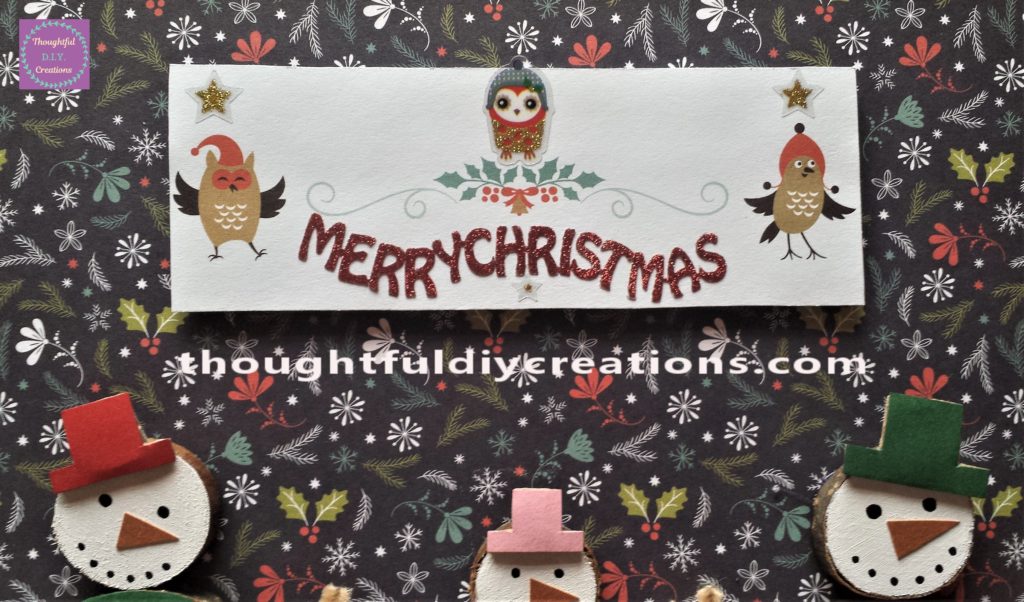
I carefully attached the Christmas card to the Christmas scene. I pressed down each square to ensure it was stuck to the board.
I added a sticker of a snowflake to each of the hats on the Snowman Family. Christmas Glitter Stickers.
Label Maker for adding Names
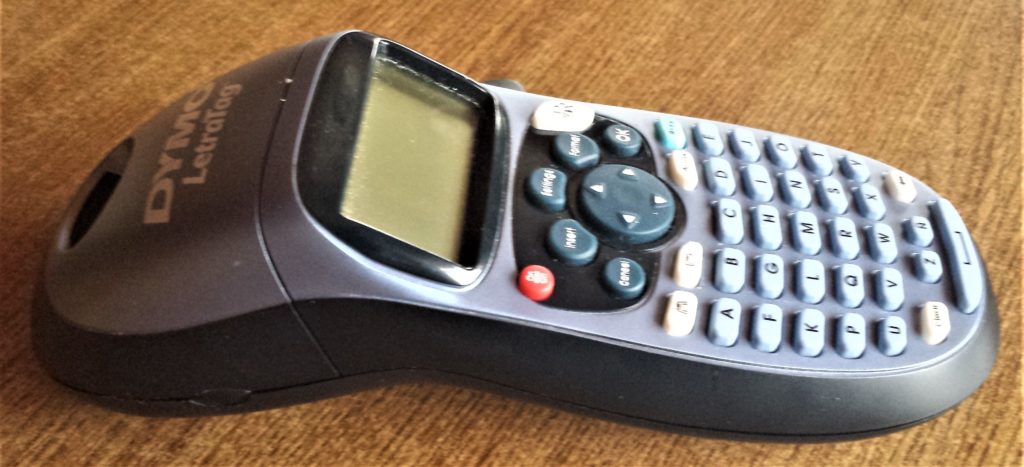
To personalise the Snowman Family I used my ‘DYMO LetraTag Label Maker’. This is so handy to have for all kinds of Crafts and Card Making. DYMO Label Maker.
Making the Names for the Snowman Family
I typed out ‘Daddy’ in size Large and pressed Print. I cut off the print-out by pressing the button on the right-hand side of the label maker. I put it up to the scarf of the Daddy Snowman and thought there was a bit of white space around the word Daddy so I cut it a bit smaller. I then removed the backing sticker from the word ‘Daddy’ and attached the label to the scarf.
I repeated this process for the ‘Mammy’ and ‘Ava’ labels.
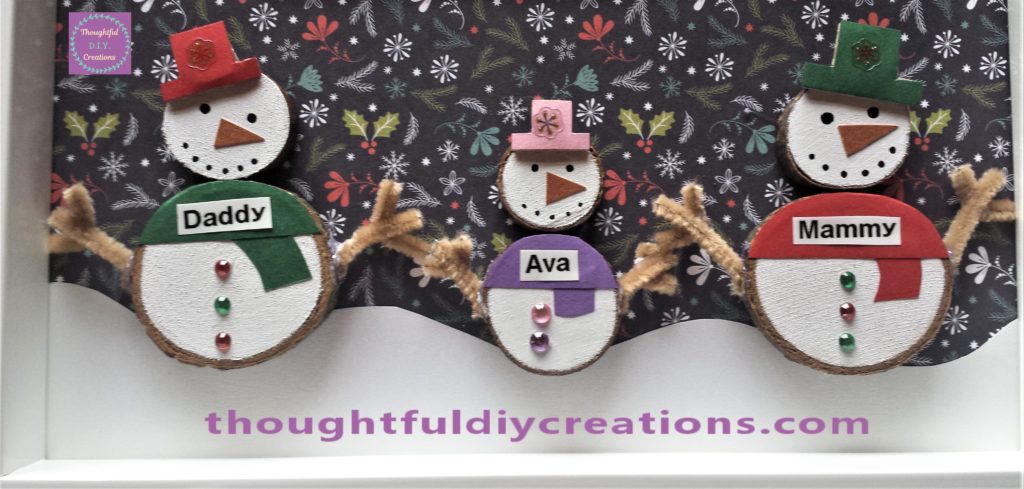
I put the Christmas scene board back into the frame. I put the glass back in behind the board to ensure the frame wasn’t loose. I then attached the backing of the frame and closed it up.
White Shadow Box Frame.
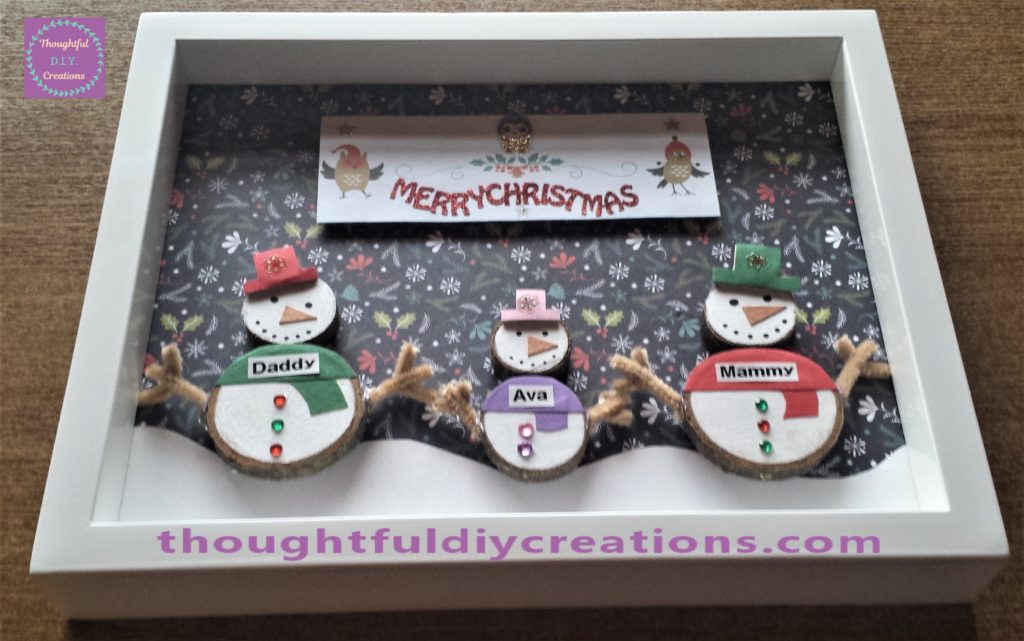
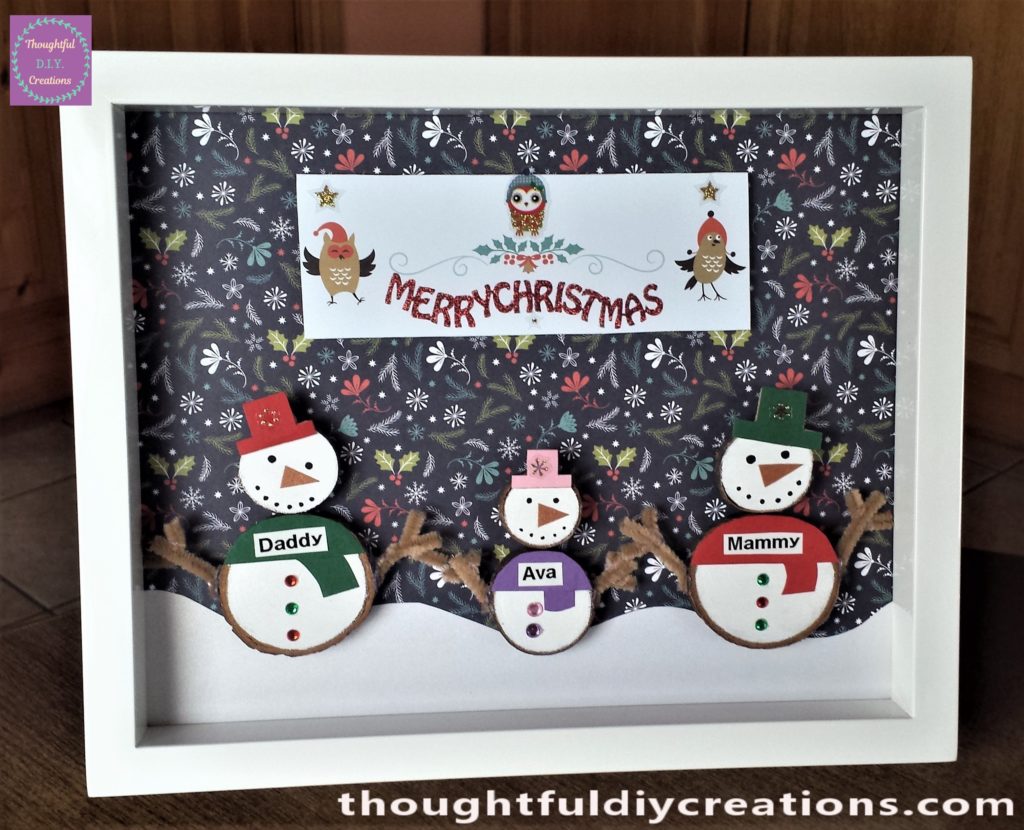
This completed the D.I.Y. Snowman Family Frame. Here are some images of the frame upright.
Conclusion
I hope you enjoyed this week’s Tutorial and got some ideas from it. I was really pleased with the outcome of this craft. It is something that can be put on display and be part of the Christmas Decorations each year. It can be hung up on the wall, on a door or used standing as a Frame on a side-table, cabinet, shelf or anywhere you want it really. The options are endless.
You could use different materials than what I used, you can use what you have in your home already or treat yourself to new supplies if you need them. You could use felt for the scarves or Christmas designed paper. You could use a paint pen for the buttons. Another option would be to use part of a thin snow blanket for the snow.
The Frame also works in Portrait or landscape. You can choose whichever way you prefer.
This D.I.Y. Snowman Family Frame could work for so many different family members. You can change the colours and style to suit your preferences.
You could make two Snowmen as a gift for either Parents, Grandparents or an Aunt and Uncle. You could also make two snowmen for a couple who are going out, engaged, or married.
If you have a few children you could make a frame for the adult or parent snowmen and another frame for the children snowmen if there isn’t enough room in the frame for everyone. You could choose cuter kiddie Christmas paper for the background of the childrens’ frame and a more elegant grown- up style Christmas paper for the adults frame. You can personalise it how you wish. Winter is Coming Collection Kit.
It could also work as a D.I.Y. Gift for a Teacher, or a best friend or neighbour. Have fun with playing around with different options.
I hope this Tutorial was beneficial and you try to make your own D.I.Y. Snowman Family Frame. Let me know how you get on, id love to know how it goes for you.
If you have any questions about this craft just fill out the Comment Box below and I’ll reply as soon as possible.
Thank you so much for taking the time to read my Blog.
Always Grateful,
T.D.C.
xoxox





-0 Comment-