D.I.Y. Spiderweb & Cat Jar for Halloween
Hello my Creative Friends,
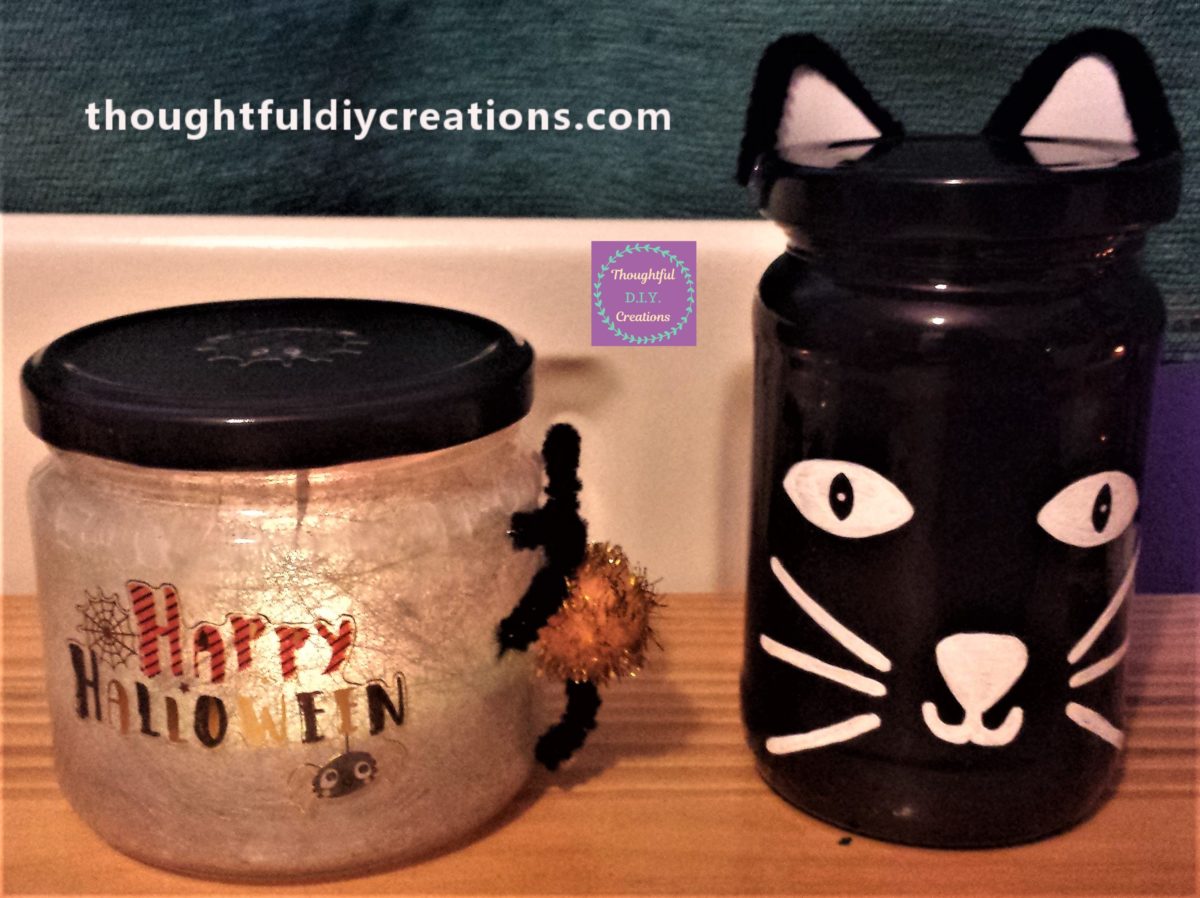
I hope you are all well. In Today’s Blog Post I will show you how to make a Spiderweb and a Cat Jar for Halloween. I hope it will give you inspiration to make some D.I.Y. decorations this Halloween.
Preparing the Jars for Crafting
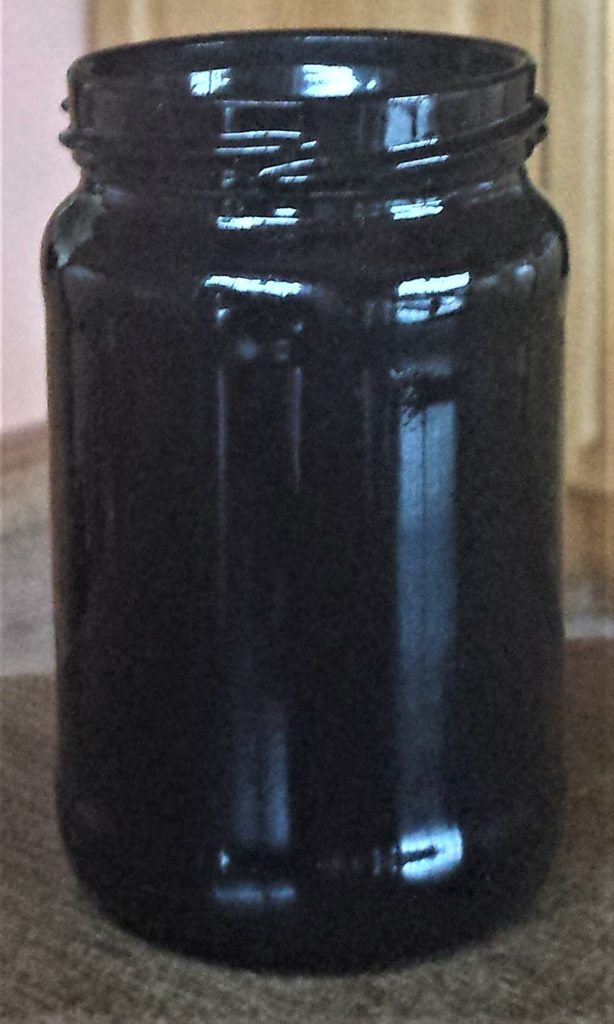
I had two different sized jars in my collection that I decided to use for this craft. I soaked the jars in the sink with washing up liquid for an hour. I then peeled off the labels, rinsed and dried the jars.
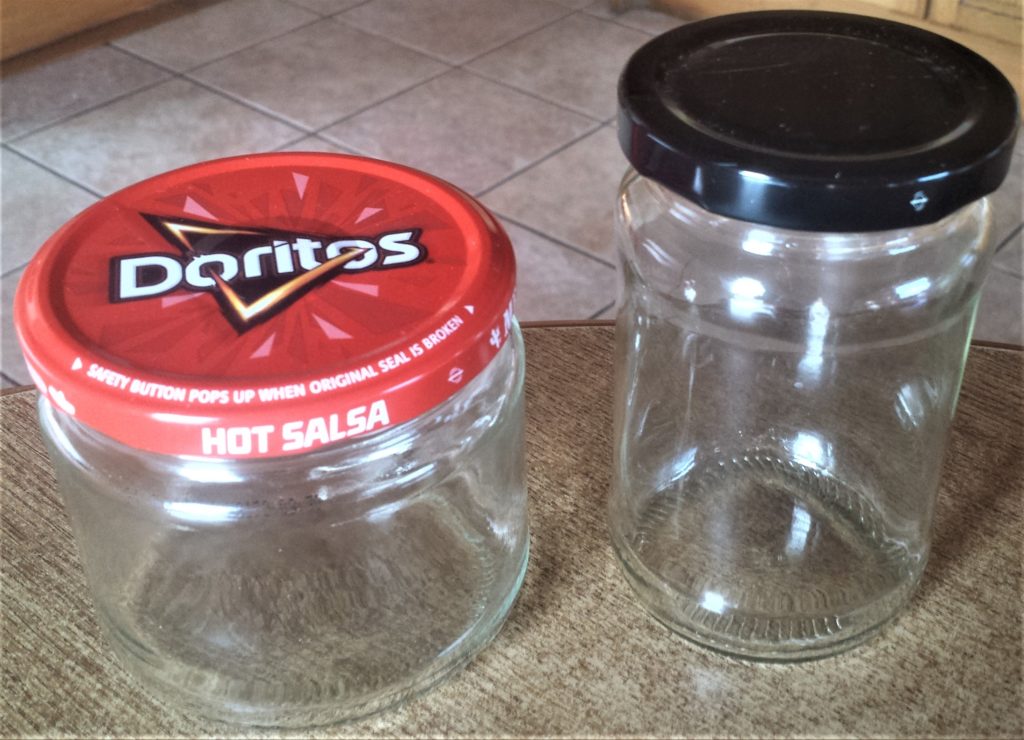
The small jar will be a Spiderweb jar and the bigger jar will be a Cat jar.
Preparing to Spray Paint
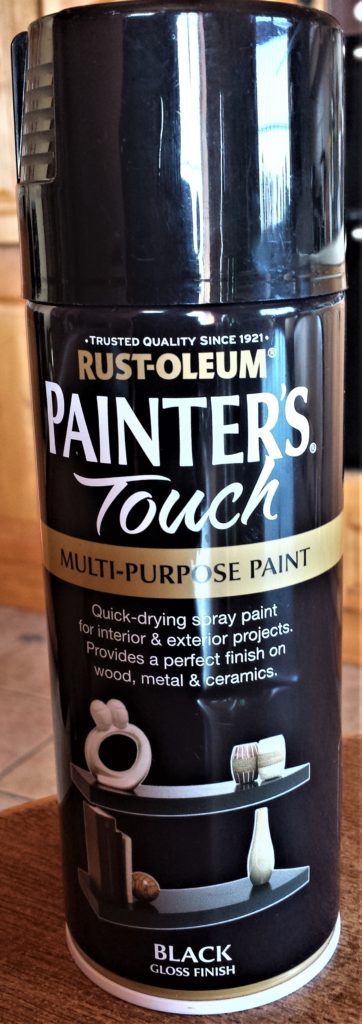
I spray painted the Cat jar and the lid of the Spiderweb jar Black. The Spray Paint I used was ‘RUST-OLEUM Painter’s Touch Multi-Purpose Spray Paint in Black Gloss Finish’. RUST-OLEUM Spray Paint.
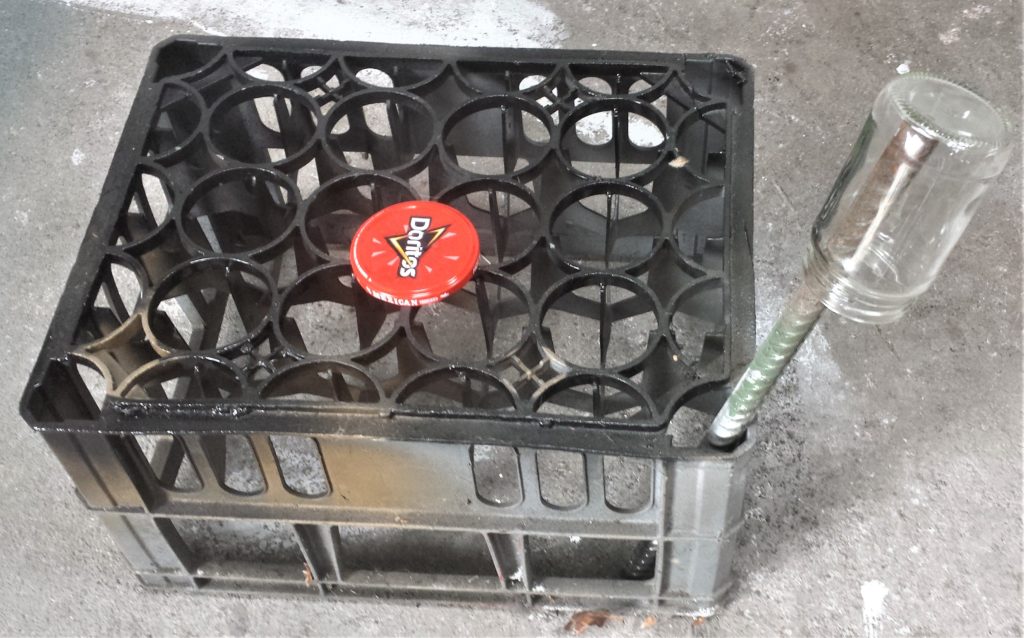
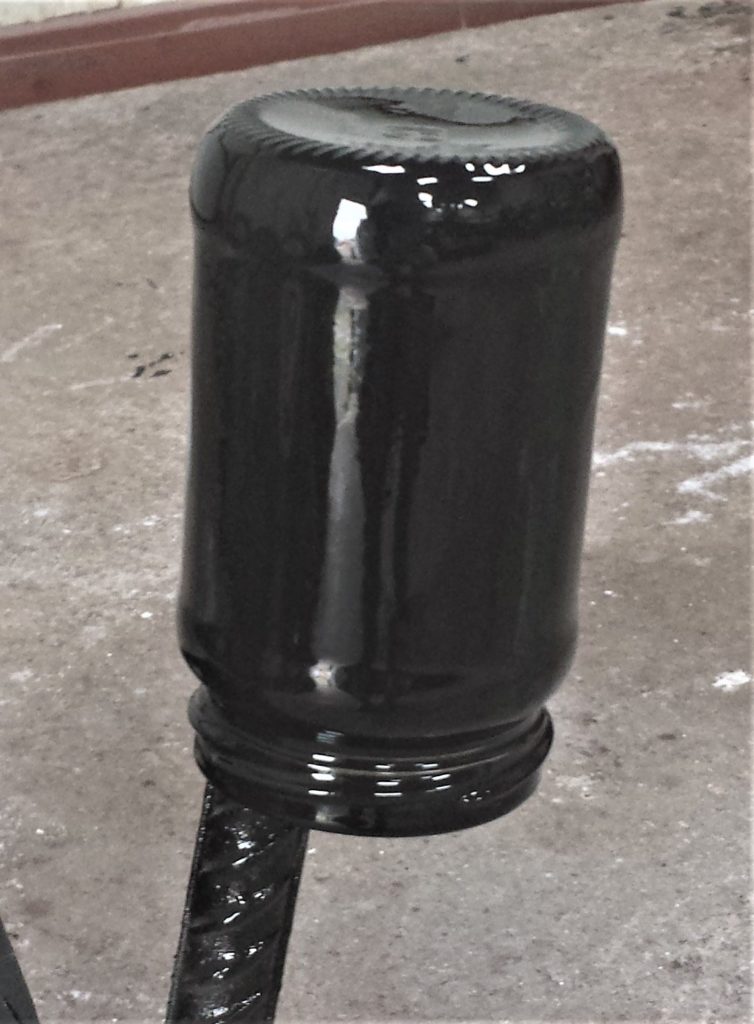
I brought the lid and jar out to the shed. I got an old crate and put an iron bar that was in the shed through a gap in the crate; this was to balance the jar ensuring I would be able to spray paint every angle of the jar without moving it. You can use whatever you have in your home or shed to hold your jar, anything old that you don’t mind getting spray paint on. I put the lid of the spiderweb jar on the crate.
Make sure you spray paint in a well ventilated area. If there are windows and doors open them, and leave the area once the spray painting is complete.
Spray Painting the Lid & Jar
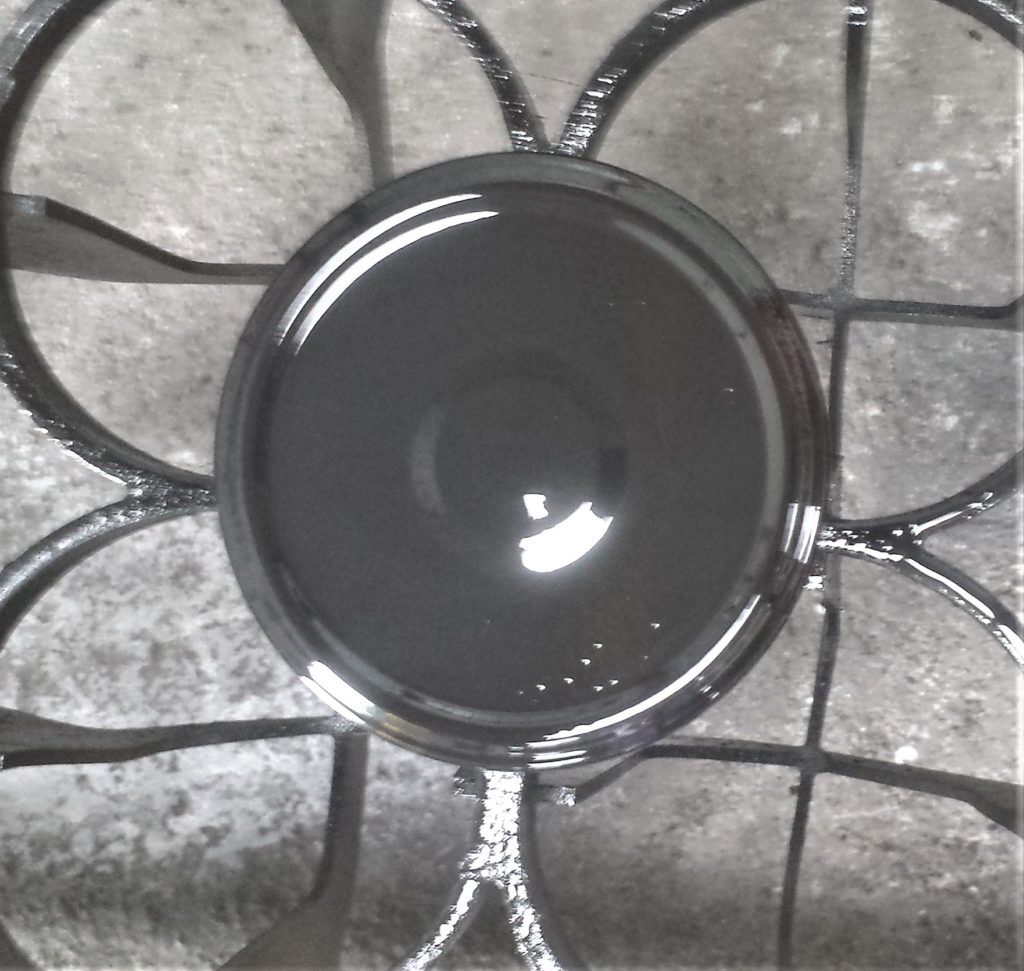
I shook the spray can for about 30 seconds. I gave the lid one even coat of spray paint. RUST-OLEUM Spray Paint.
I sprayed the base of the jar first. I then sprayed from the base to the top of the jar. I sprayed one section at a time, giving the spray can a quick shake in between the sections. I continued until I had one full coat of black spray paint on the jar.
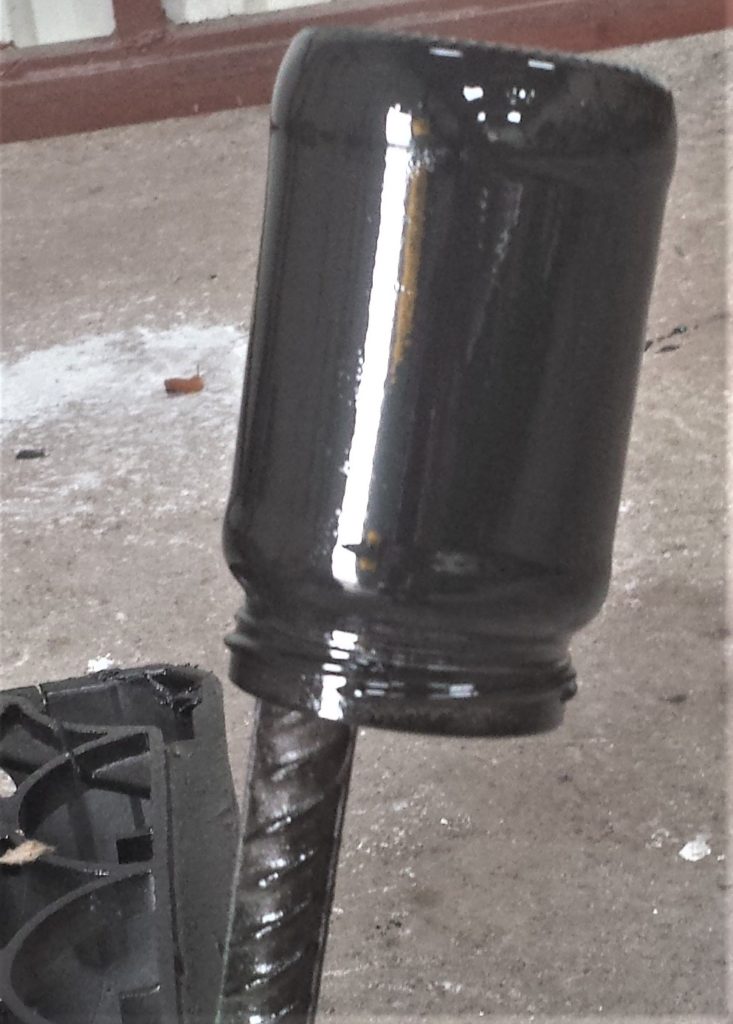
After an hour I went back out to the shed and gave the lid and jar one more coat of spray paint. I love spray painting as it’s so quick, it’s literally all done in a few minutes.
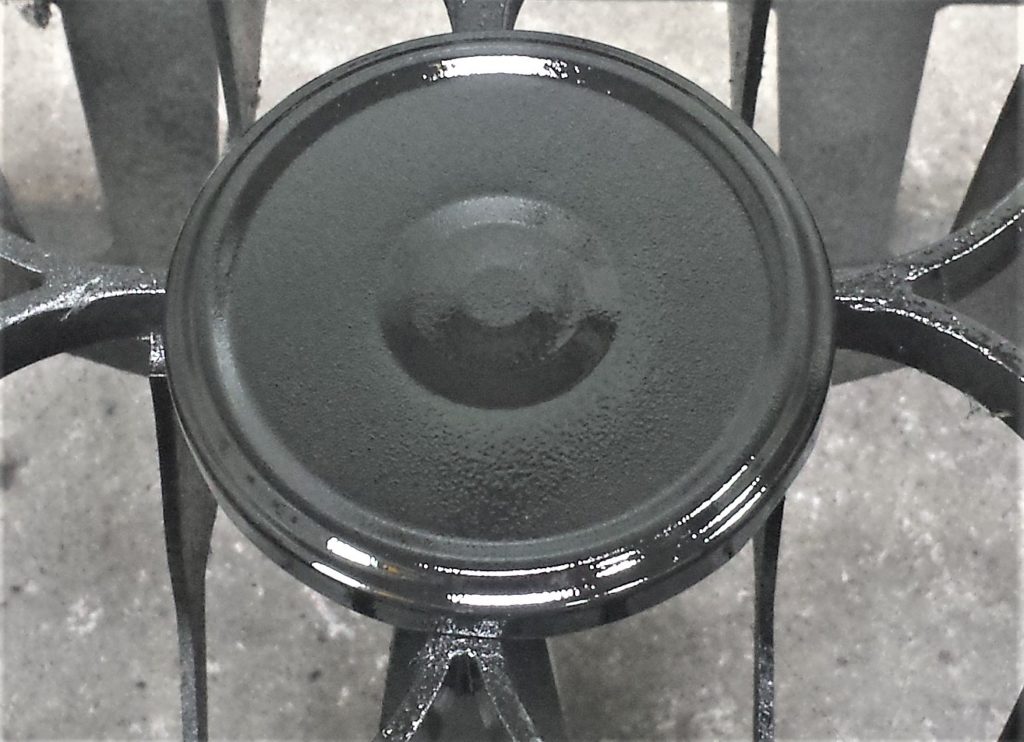
Two coats of Spray paint was plenty. I left the lid and jar in the shed to cure for 48 hours.
I brought them back inside two days later, they were now ready to decorate.

Drawing & Painting the Cats Face
I put the small lid back on the cat jar, this didn’t need to be spray painted as it was already black, and it didn’t have any barcode or writing on it.
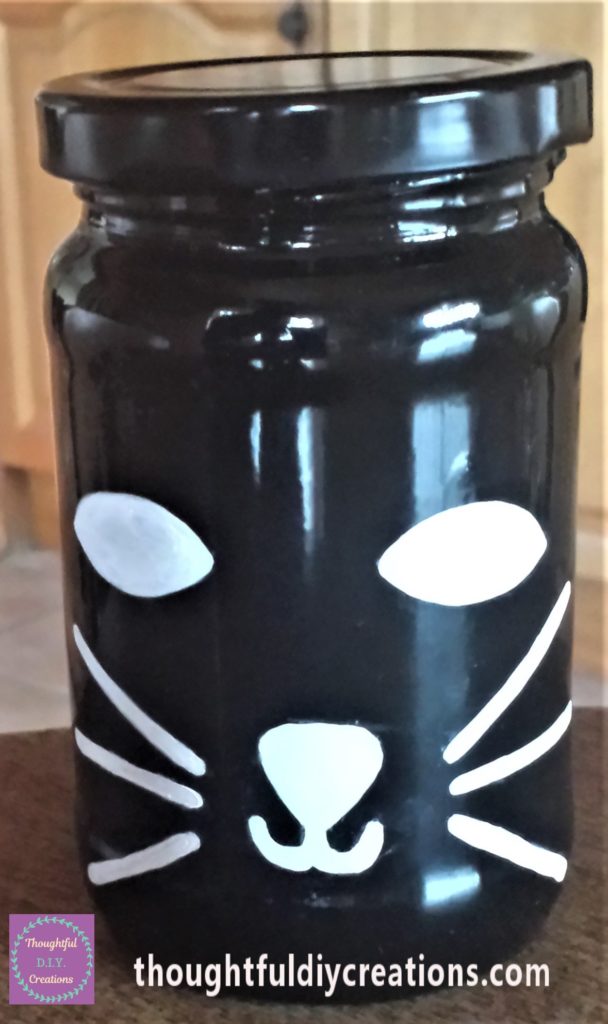
I drew the cats face on the bigger jar. I used a ‘Daler & Rowney Acrylic Paint Marker in White 2-3 mm’. Daler Rowney Acrylic Paint Marker.

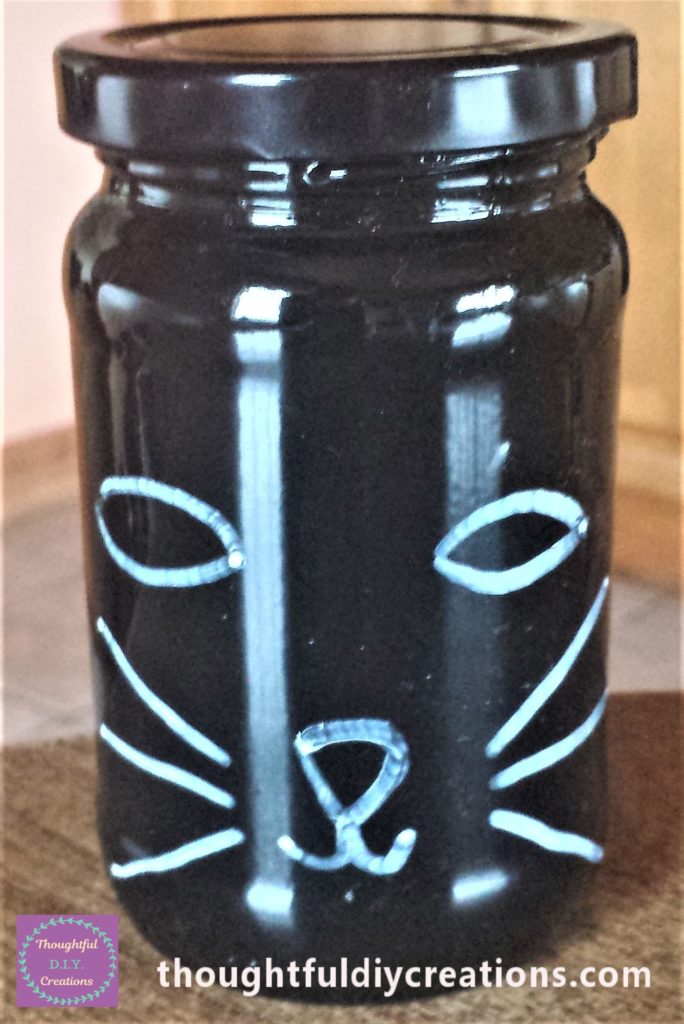
I filled in the cats eyes and nose, and went over the whiskers two more times using the white paint marker.
I added black to the cats eyes, I used a ‘Daler & Rowney Acrylic Paint Marker in Black 2-3 mm’. Daler Rowney Acrylic Paint Marker.

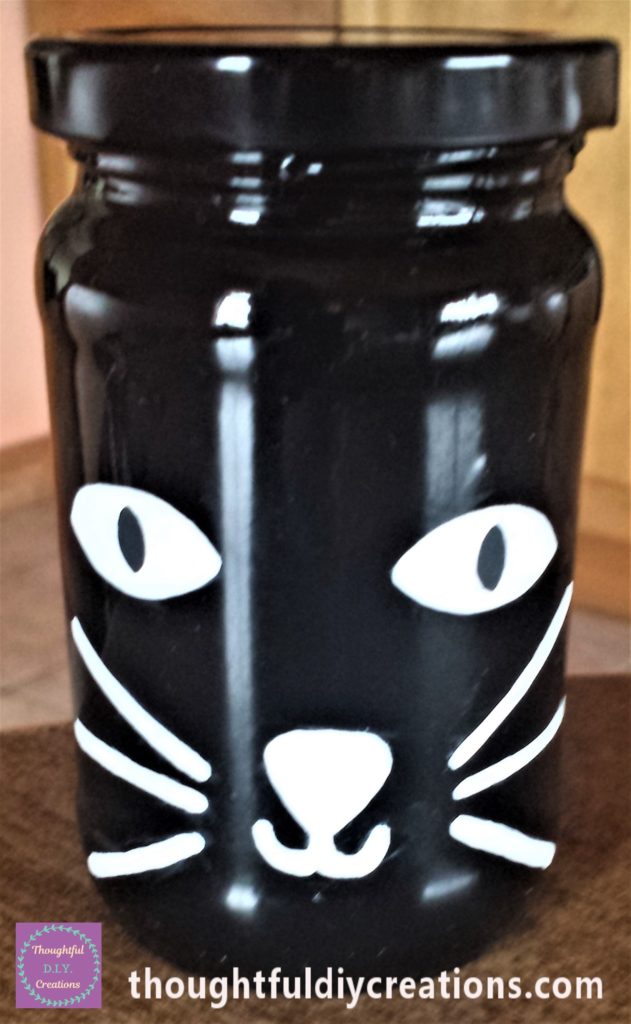
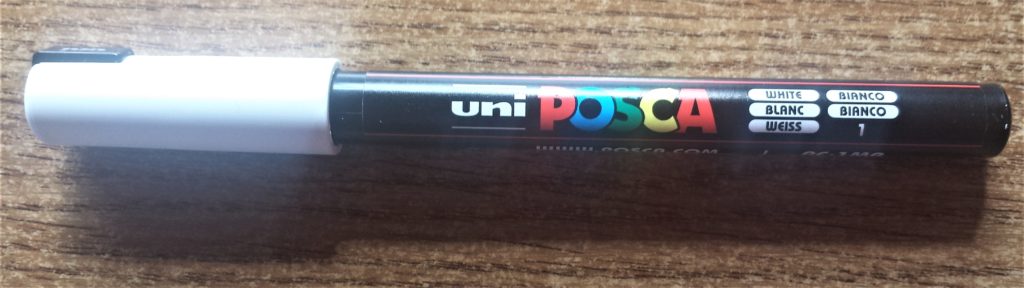
I finished the cats eyes by adding a white dot using a ‘uni POSCA Paint Pen in White 0.7 mm’. uni Posca Paint Pen.
Making the Cats Ears
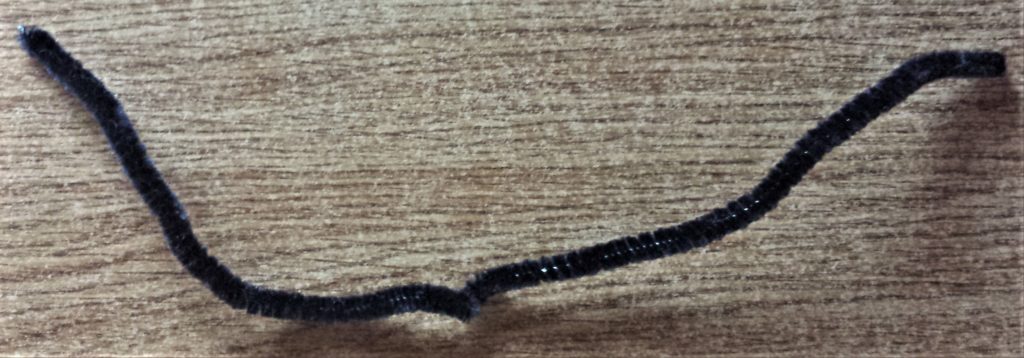
To make the cats ears I used a black pipe cleaner Pipe Cleaners. and white foam card. Foam Sheets.
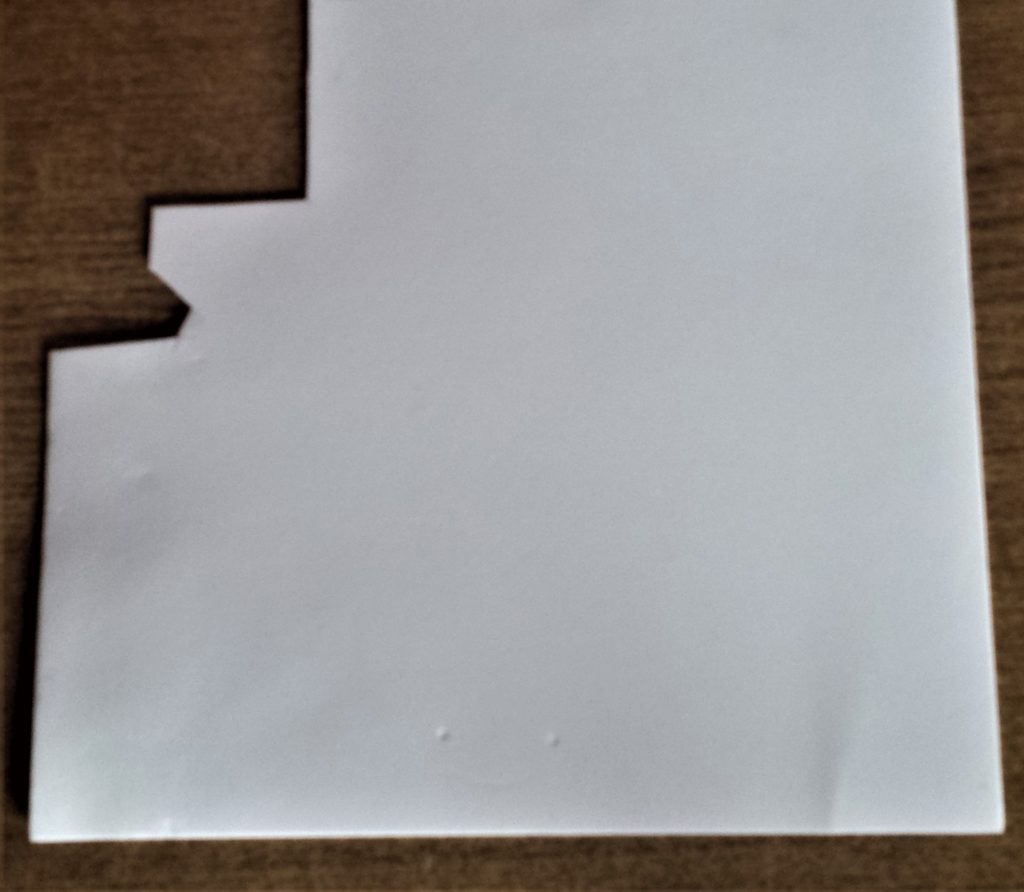
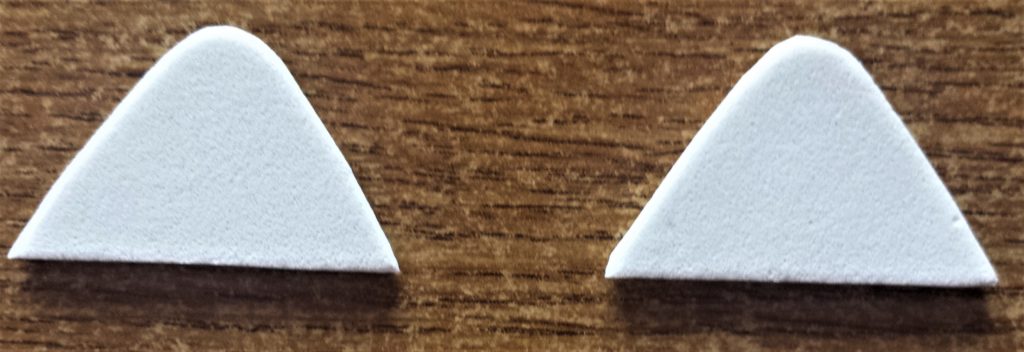
I drew two triangle shapes on the white foam card with a pencil.

I cut out the triangle shapes using a small scissors.
I put the pipe cleaner around each triangle shape to see what size it needed to be, then cut them using a strong scissors.
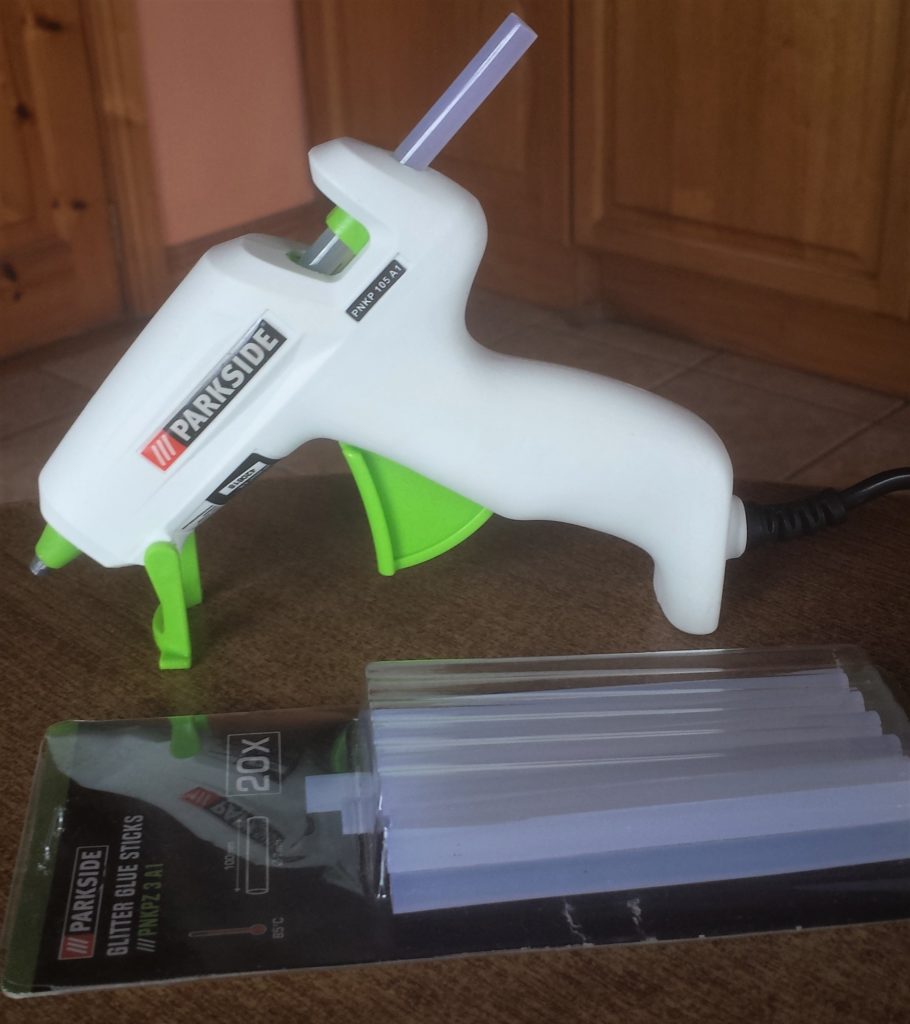
I plugged in my hot glue gun and let it heat up for 5 minutes. Glue Gun.
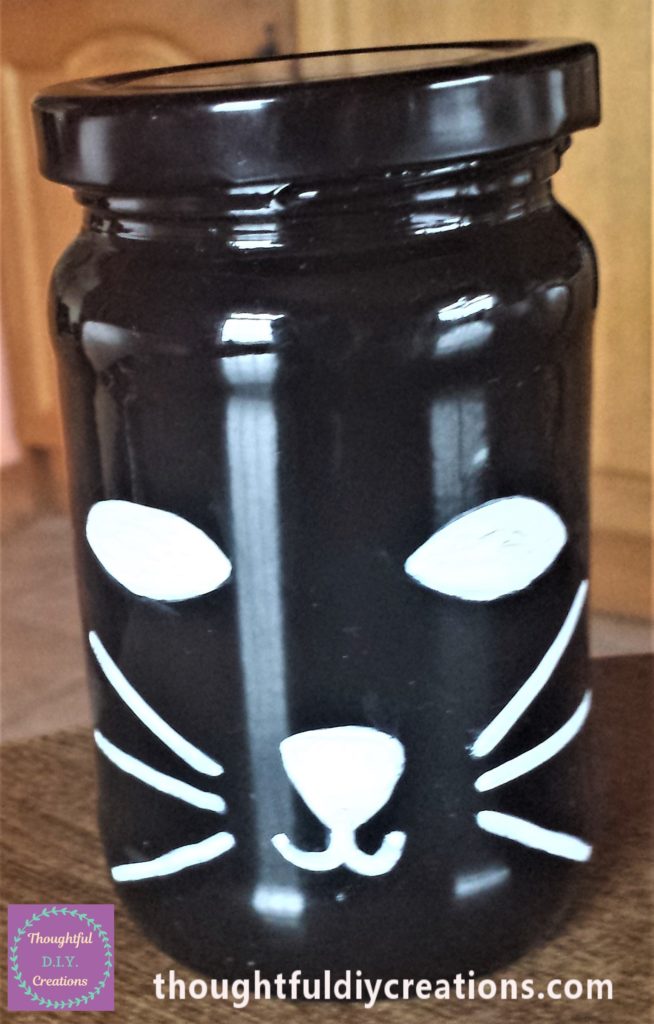
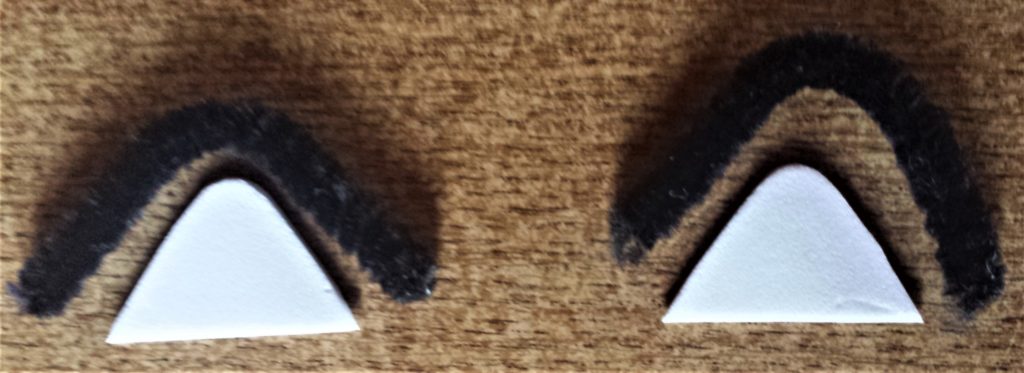
I put hot glue around the edge of the white foam triangle and stuck the pipe cleaner to it. I repeated this step for the other ear.
I then put hot glue along the bottom of each ear and attached them one by one to the edge of the lid. Glue Gun.
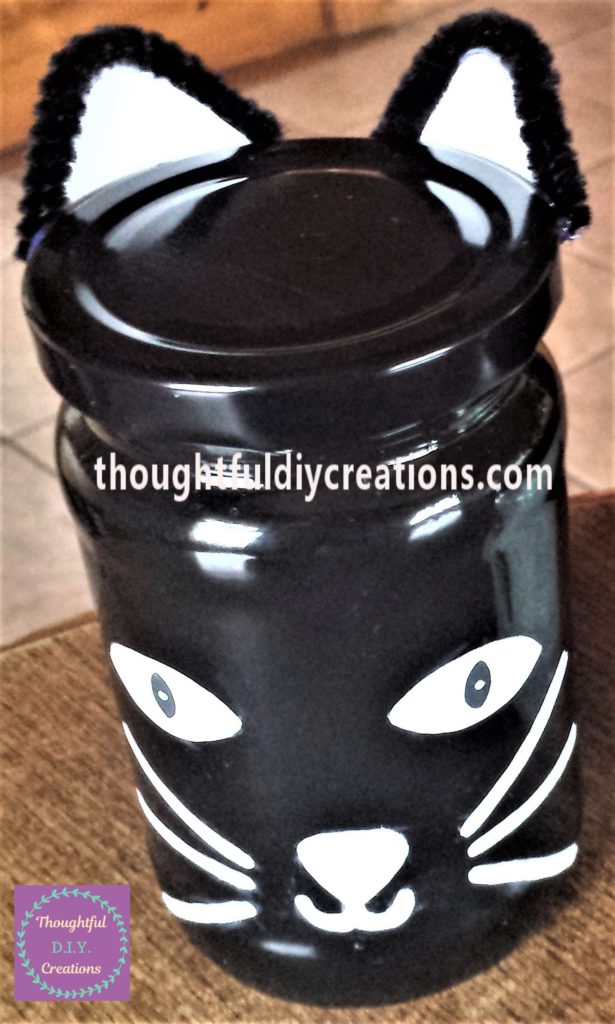
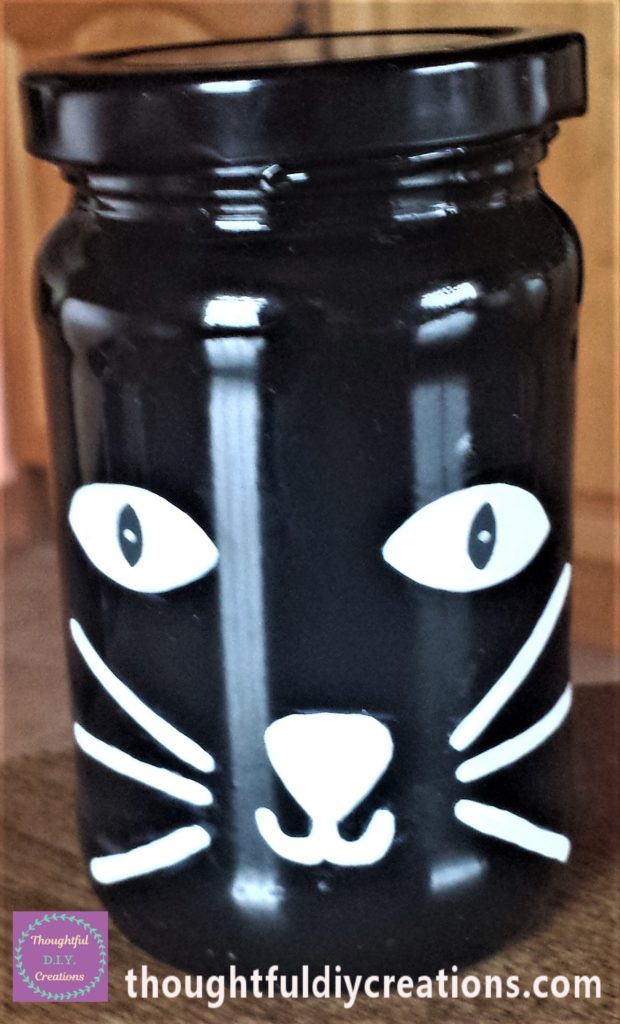
This completed the Cat Jar. I was pleased with the outcome. You can use different materials if you like for your cat jar, play around with your craft supplies to see what your happy with.
Adding the Spiderweb Effect to the Small Jar
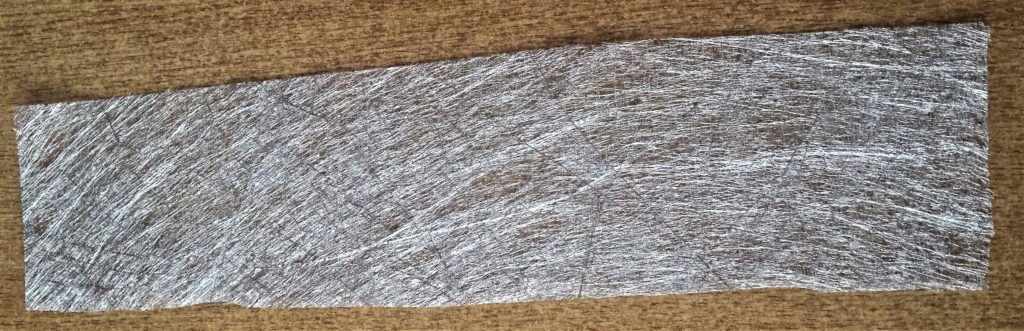
I had a pack of A4 Metallic Fabric Paper. I thought the silver colour would be perfect for a spiderweb effect. Mulberry Paper Sheet.

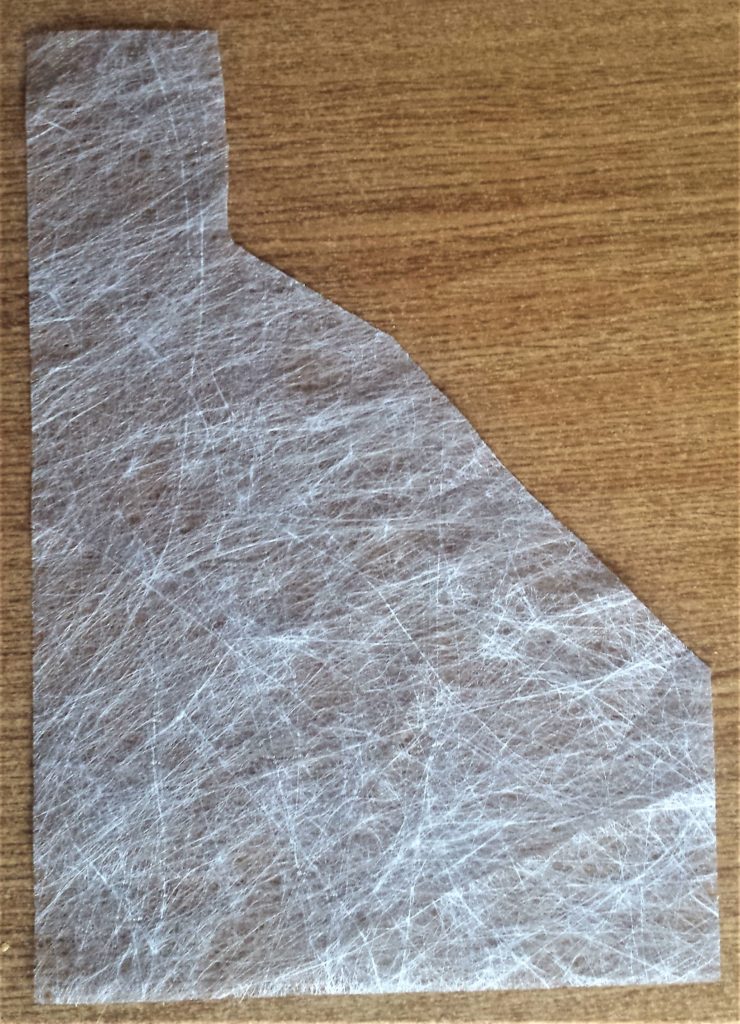
I put the silver fabric paper around the jar to see what size I needed. I cut the fabric paper. Spiderweb Stencil.
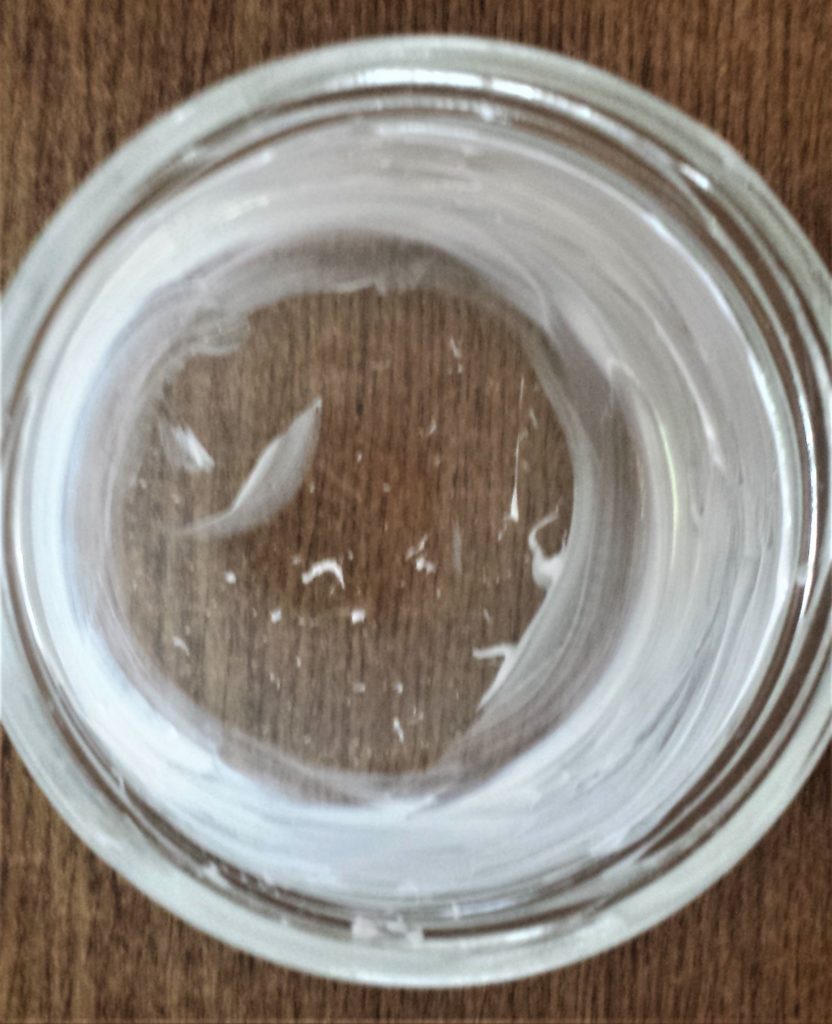
I squirted blobs of Matte Gel Medium (Glue) into the jar. Gel Medium Matte.

I spread the glue evenly around the jar using a small paintbrush. Paint Brush.
I put the silver fabric paper into the jar and put it into place using the other end of the paintbrush. I squirted more matte gel medium into the bottom of the jar. Gel Medium Matte.
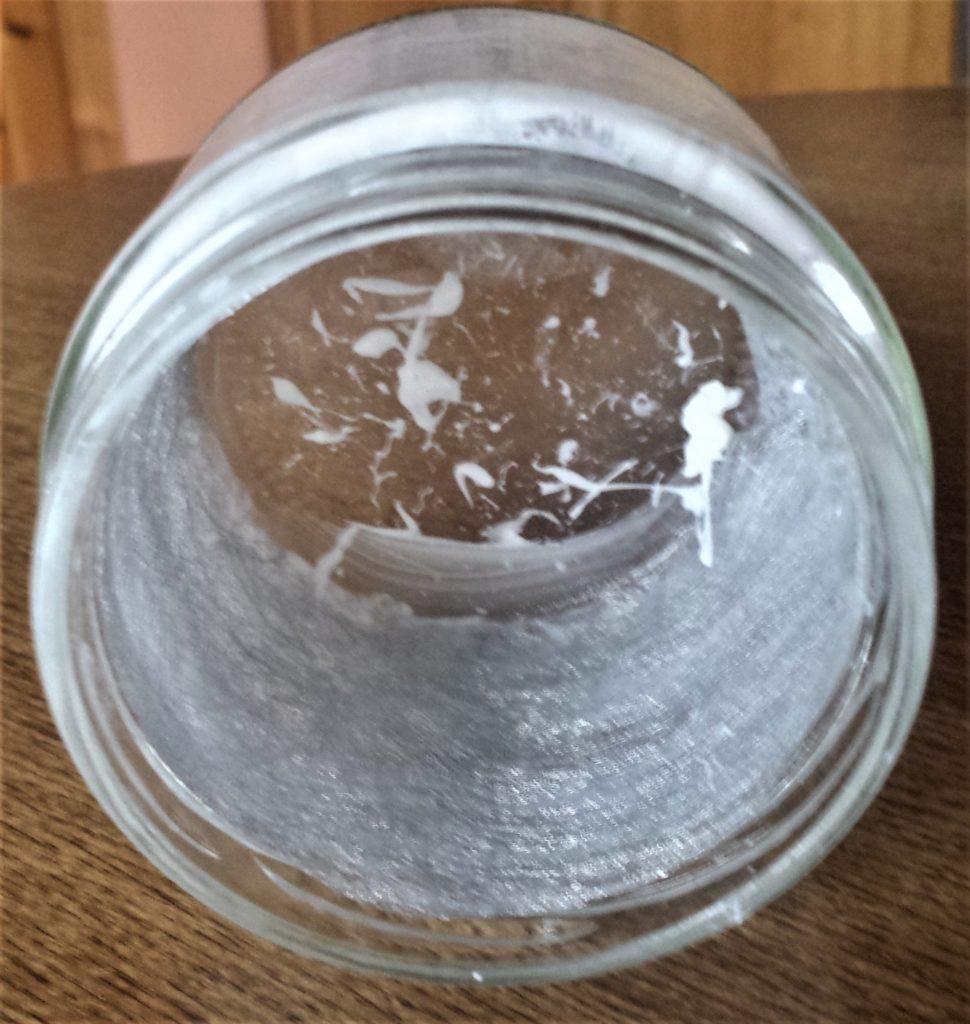
I spread the glue over the top of the fabric paper and along all the edges. Gel Medium Matte.
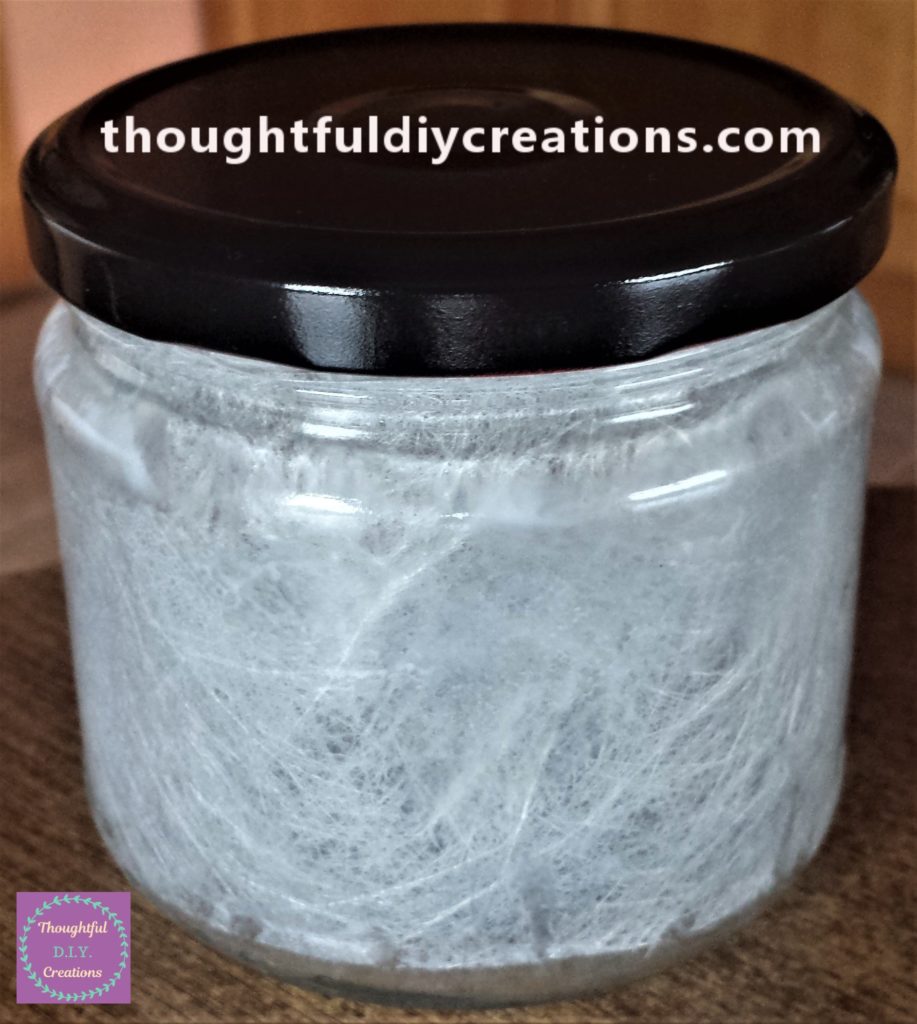
I allowed a day for the glue to dry fully. Halloween Ribbon.
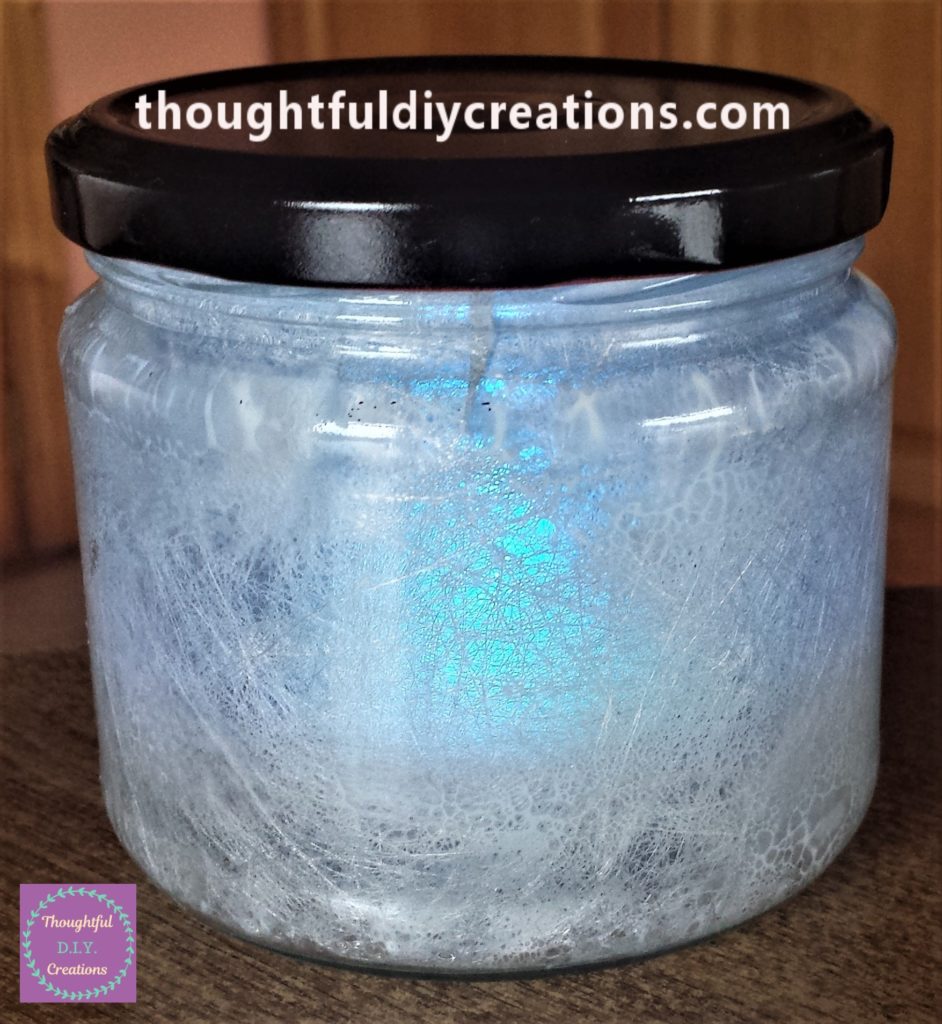
Adding the T-Light to the Spiderweb Jar
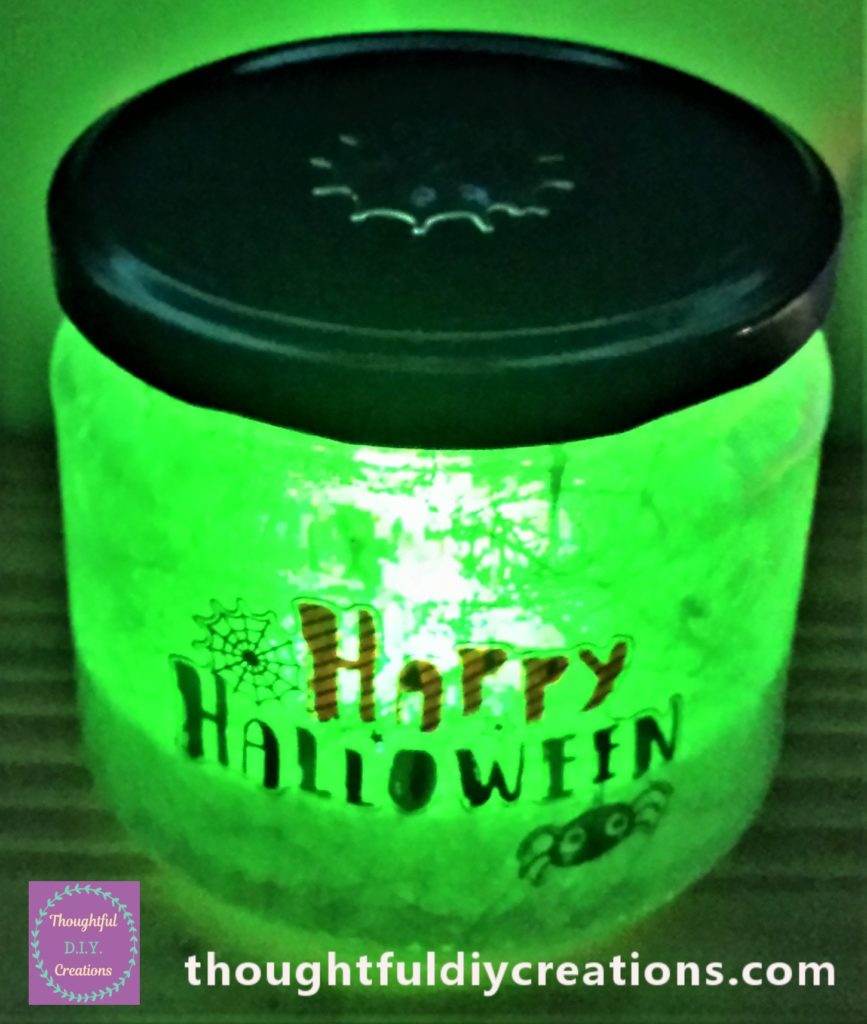
I had a 6 pack of ‘Coloured LED T-Lights’. I thought it would create a lovely effect on the jar.
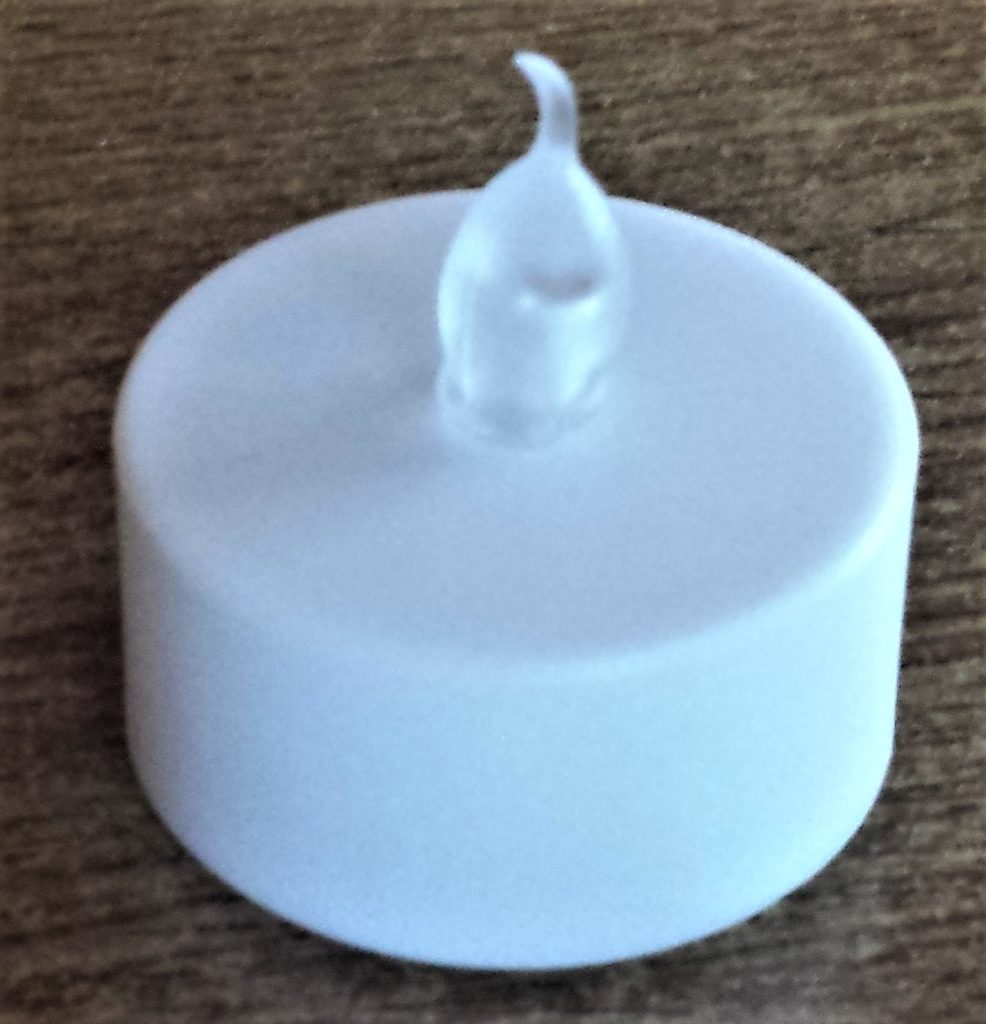
I turned the switch on for the T-light and put it into the jar. I put the lid back on the jar.

Halloween Stickers for the Jar
I bought a sticker set a couple of weeks ago, it had a Halloween section in the pack. I love how cute they are; they would be perfect for small children as they’re not scary or creepy looking, they could make cards with them or decorate other crafts with them too. Happy Halloweens Stickers.
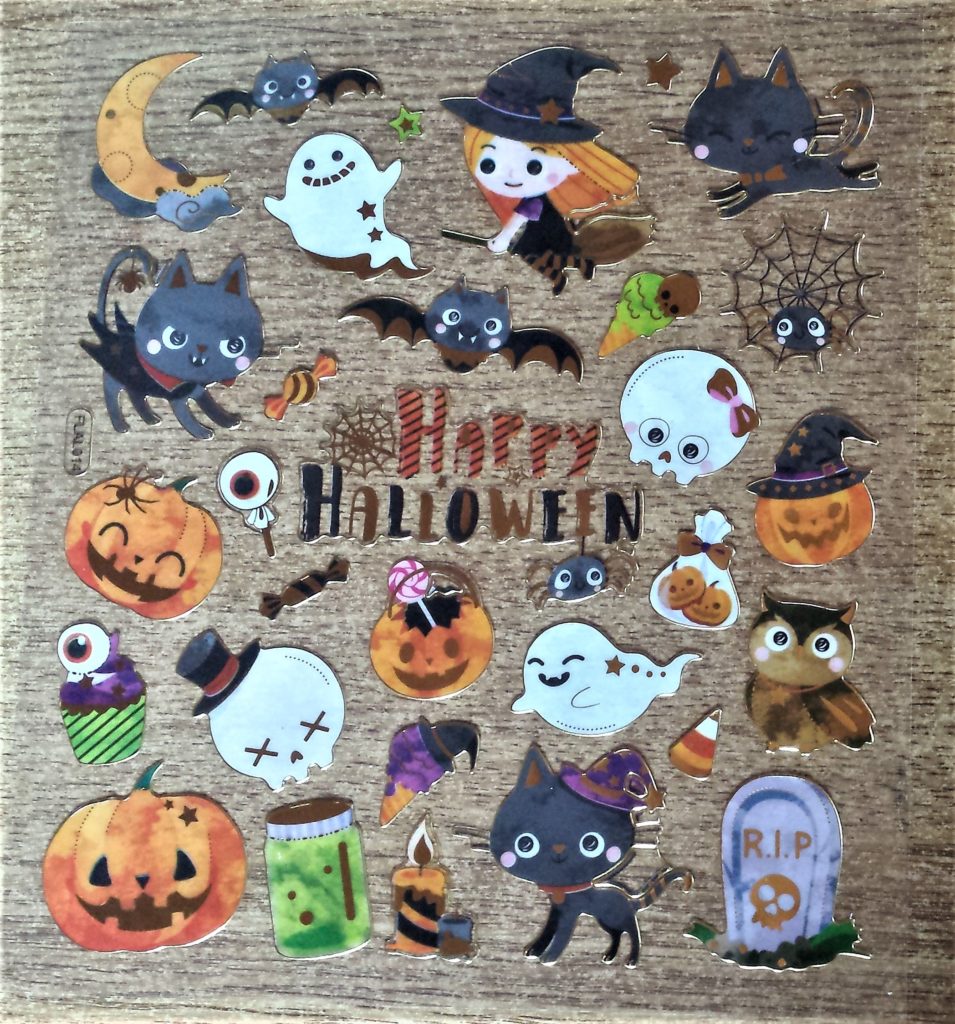
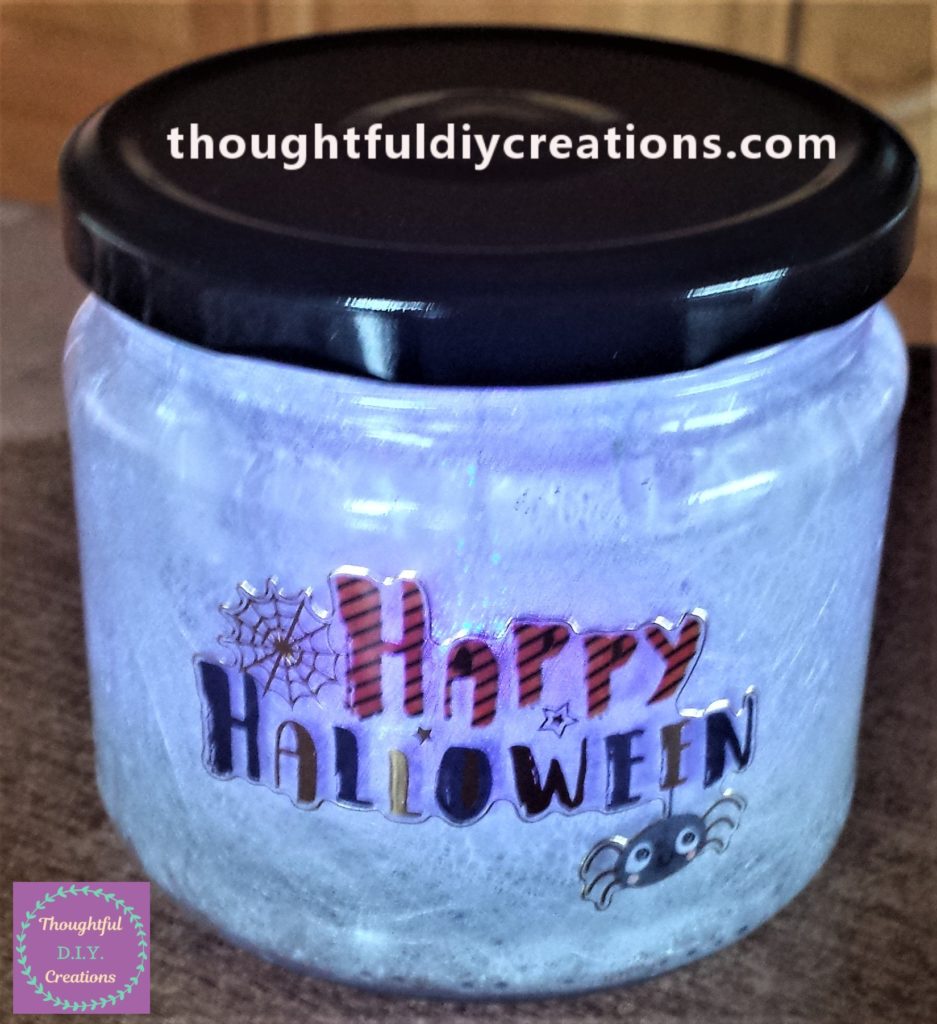
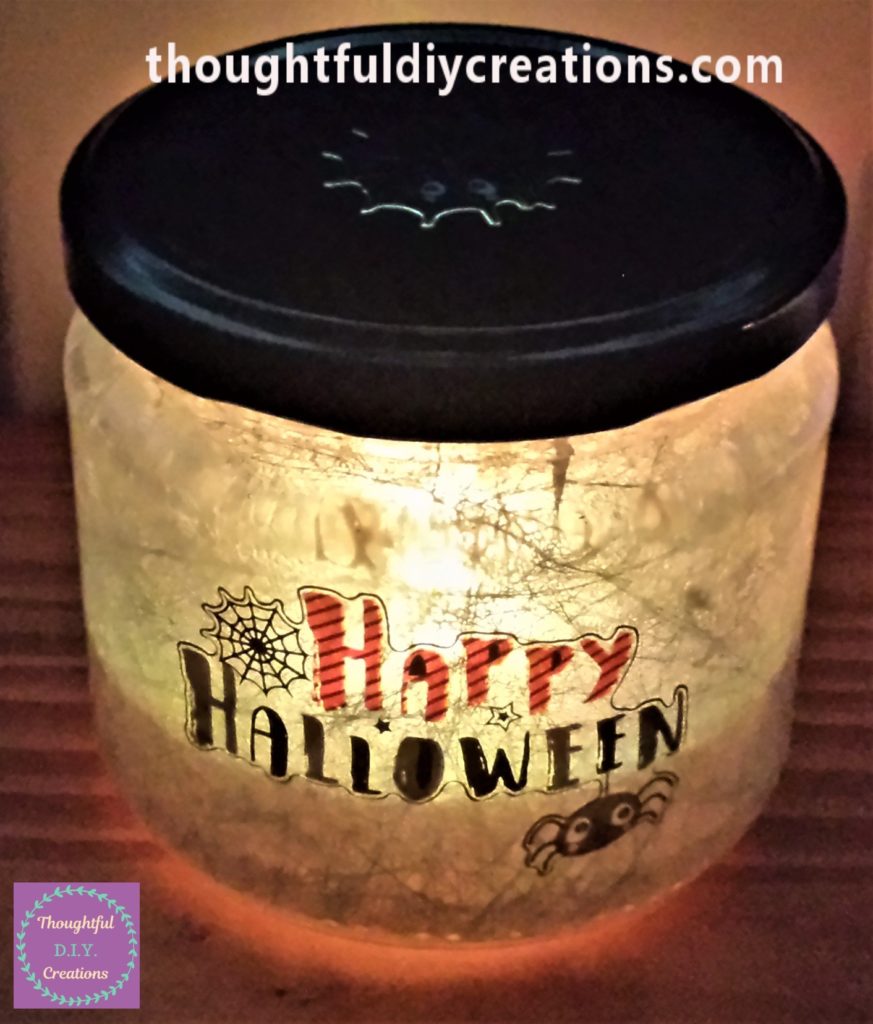
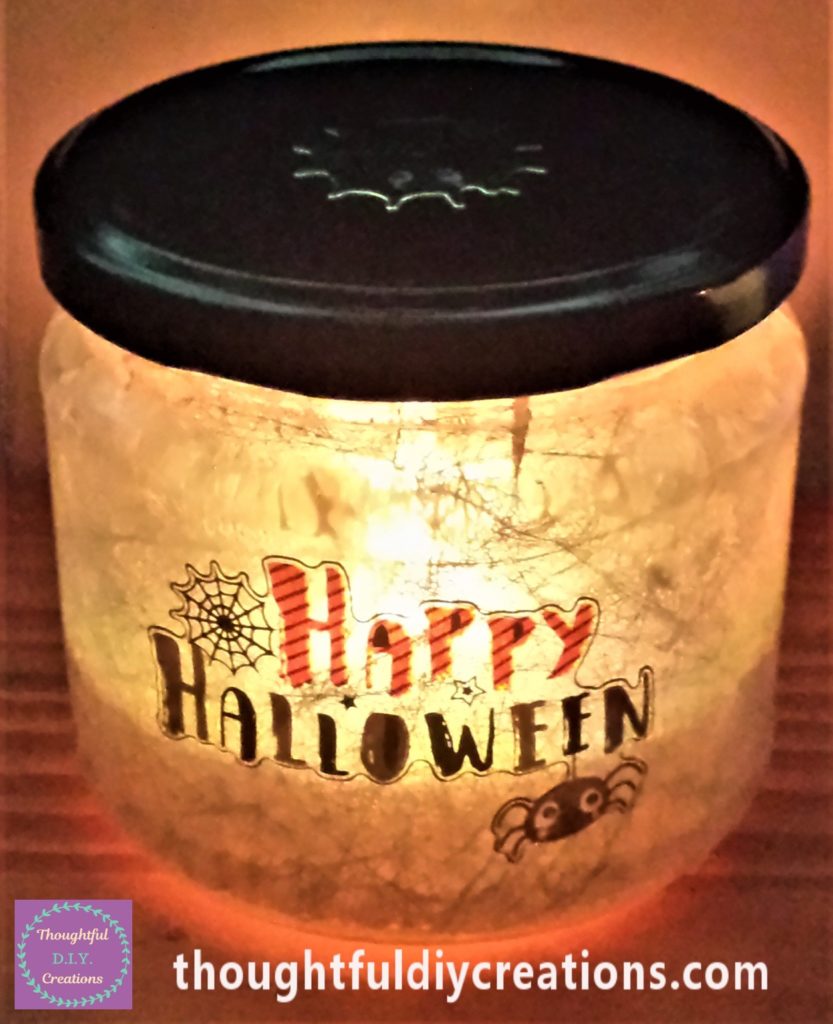
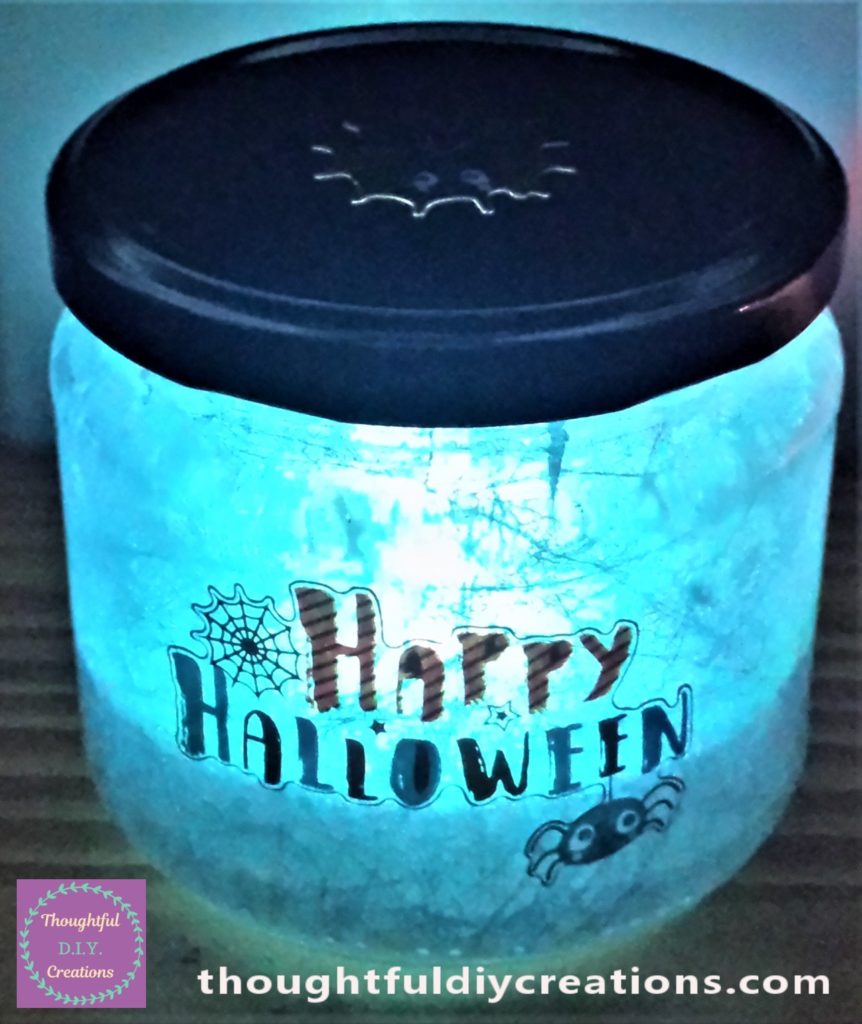
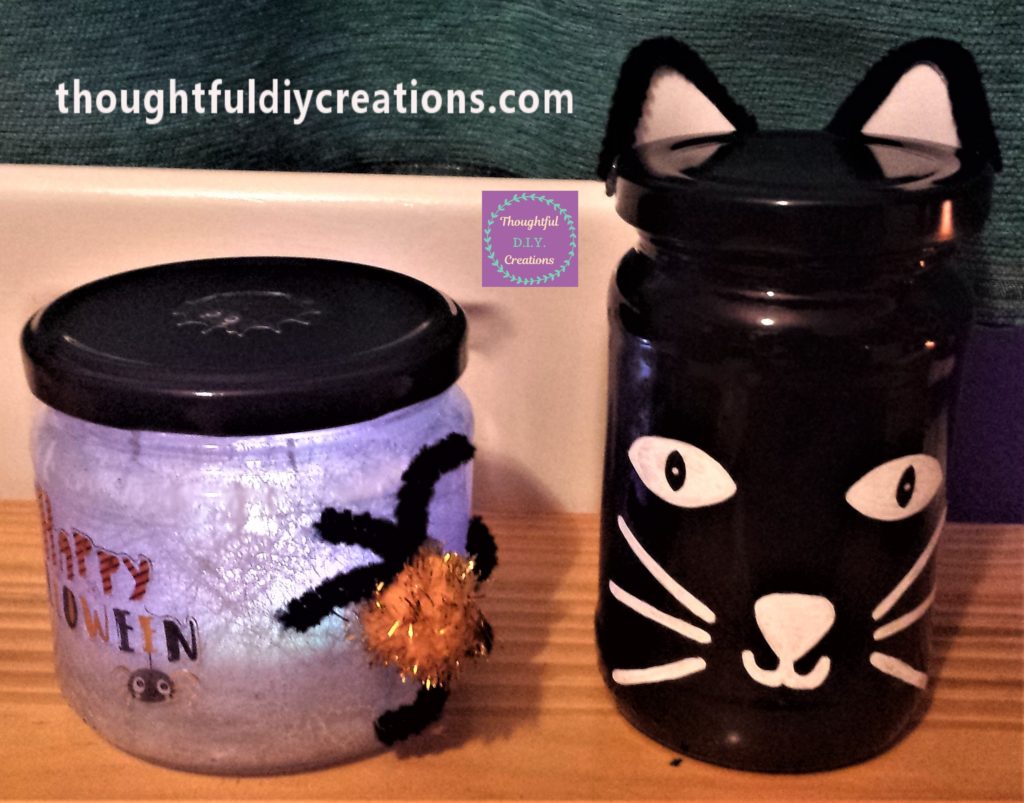
I thought the Happy Halloween Sticker with the Spider and web would be perfect for the jar. I put it on the mid-section of the jar.
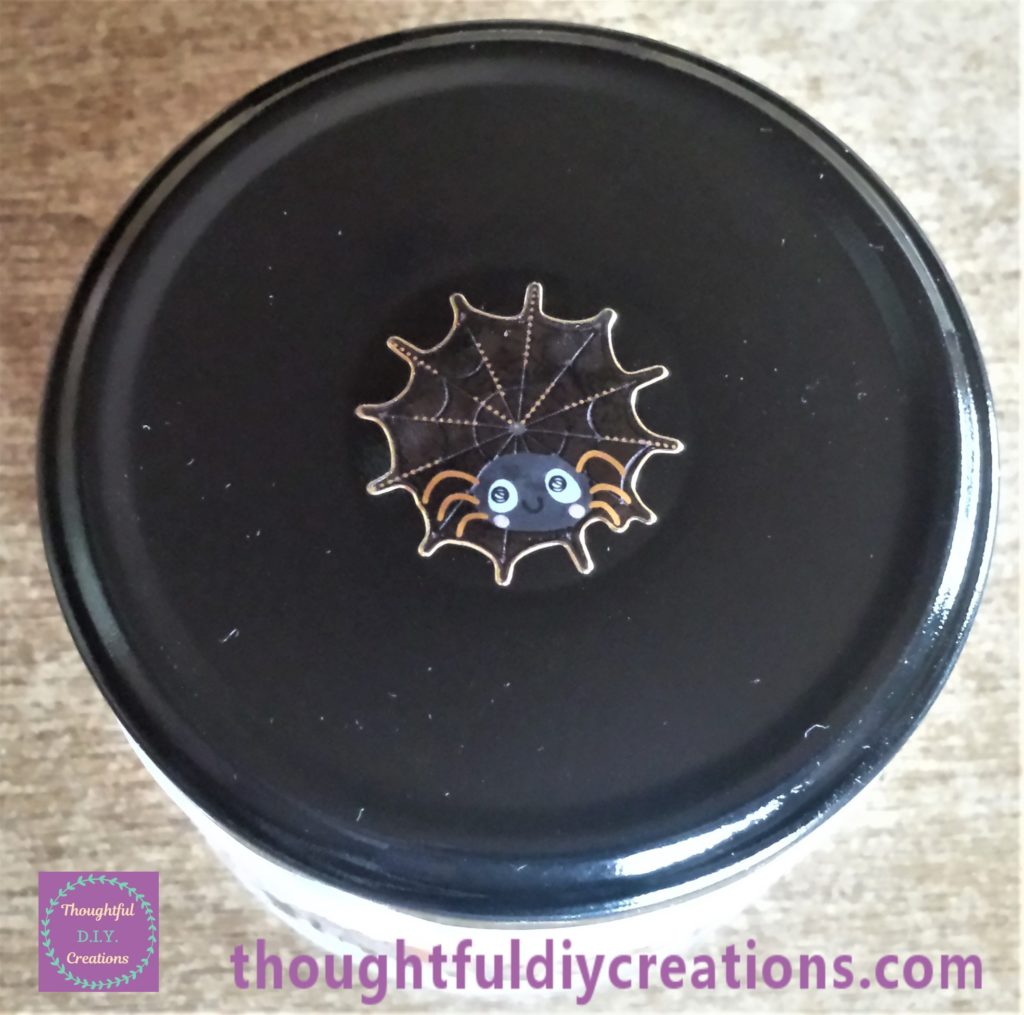
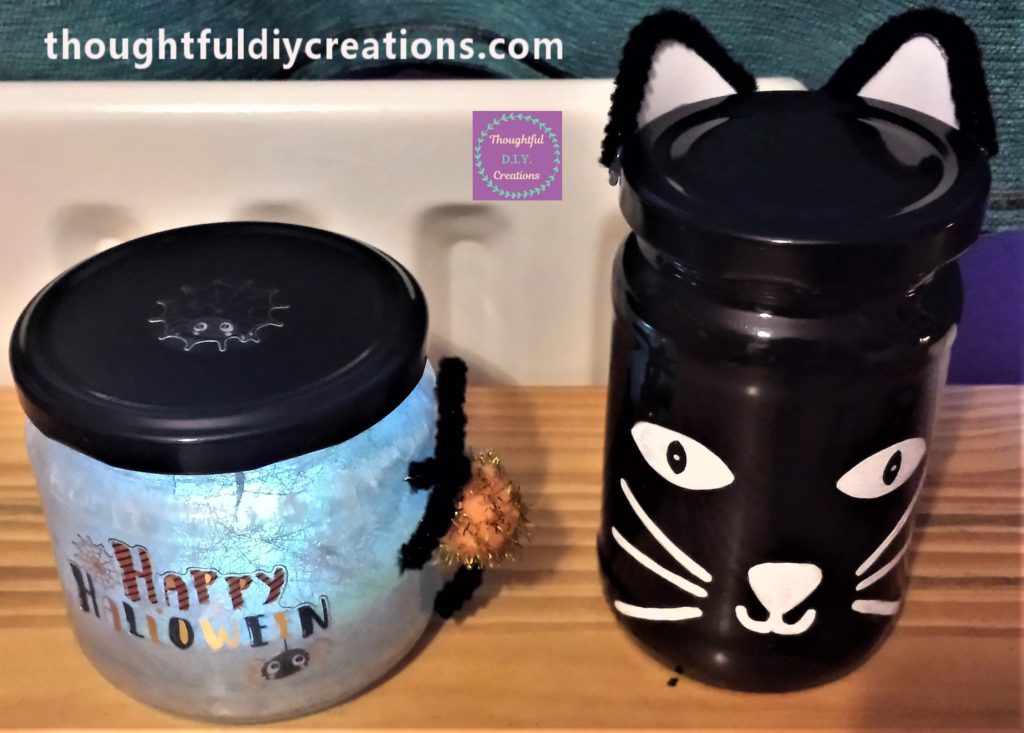
I put a smaller sticker of a spider and spiderweb on the lid of the jar. Happy Halloweens Stickers.
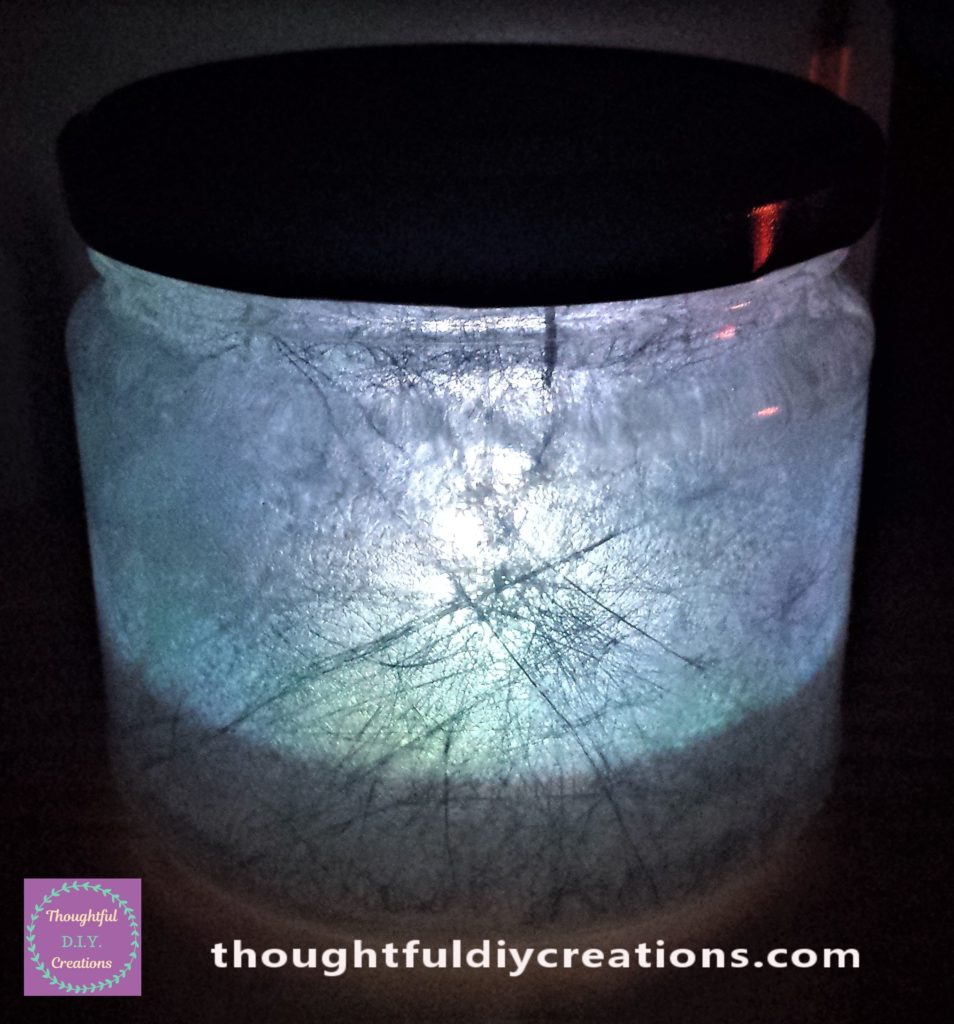
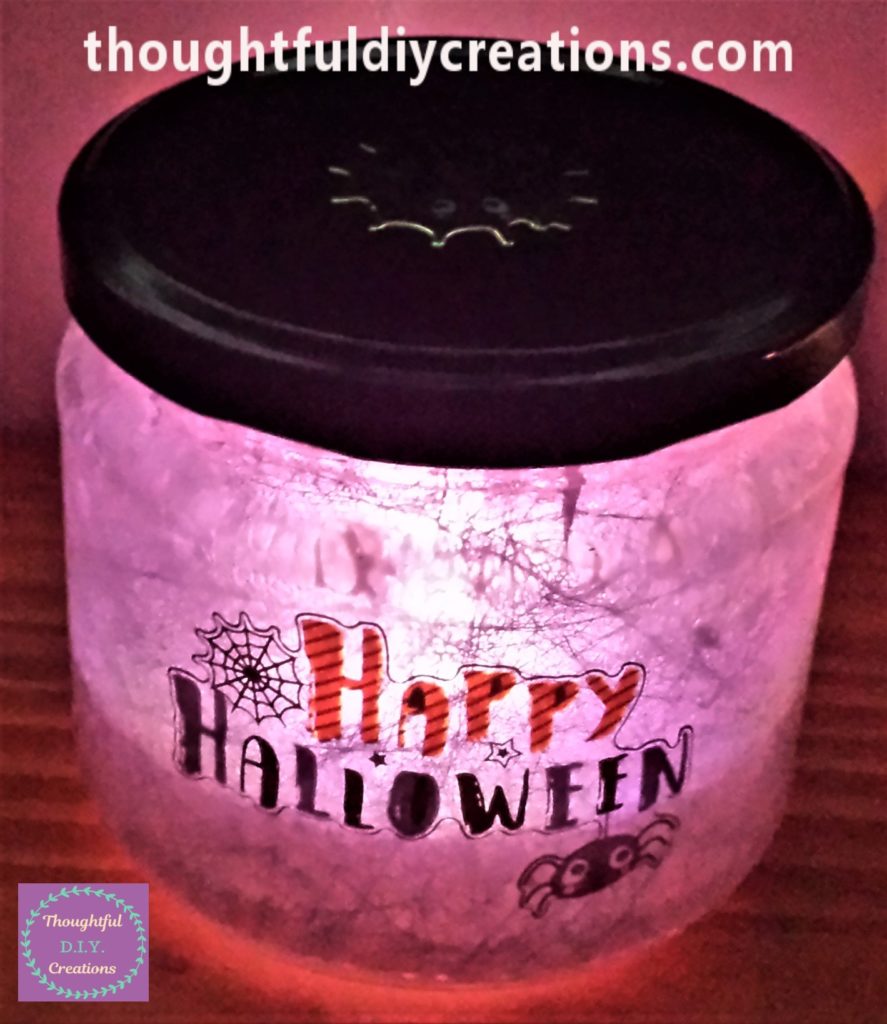
I put the lid back on the jar. I absolutely loved the colour combinations from the LED T-Light. It’s also great knowing it’s safe; you don’t have to worry about blowing out a candle or anything catching fire. It also adds a glowing atmosphere / ambience in the room, and highlights the spiderweb on the jar.
Making the Spider
I made a spider to complete the jar. I used a black pipe cleaner and a yellow / orange glitter pom-pom. I cut the pipe cleaner into three similar sized sections using a strong scissors. Kids Craft Supplies.
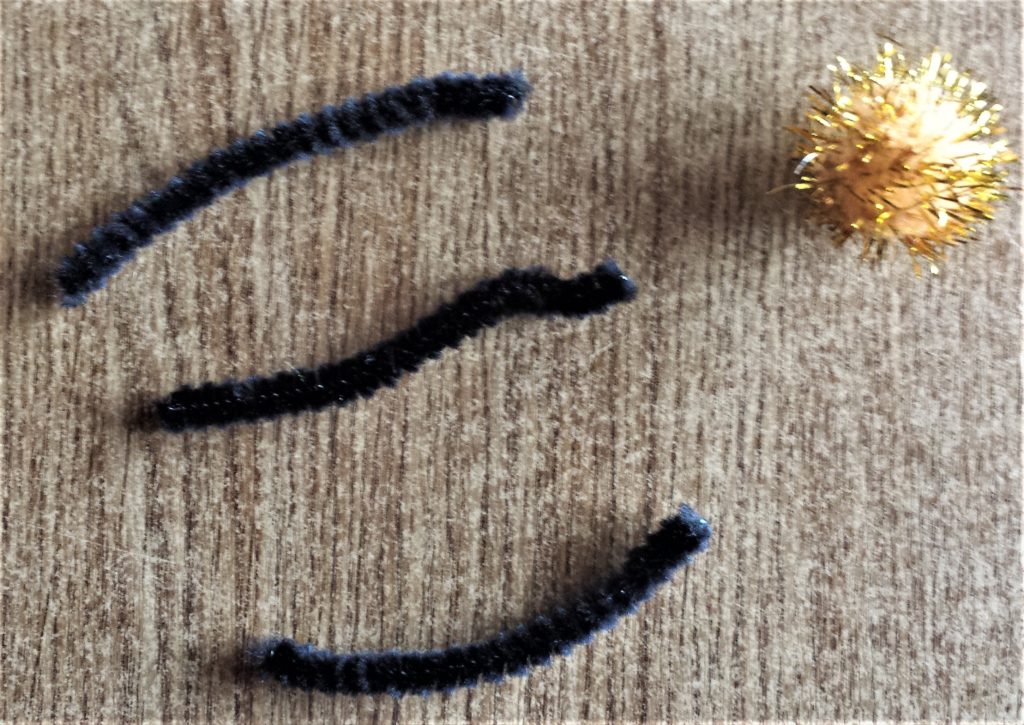
I twisted the first and the third pipe cleaner into a curled out shape. Kids Craft Supplies.

I put hot glue in the mid side sections of the pipe cleaners and glued them together. I then put hot glue on the bottom of the pom-pom and stuck it to the mid-section of the pipe cleaners. Glue Gun.
Mind your fingers doing this part as the glue will be hot, push the pipe cleaners together quickly, then hold them in place for a few seconds using any object you have nearby.
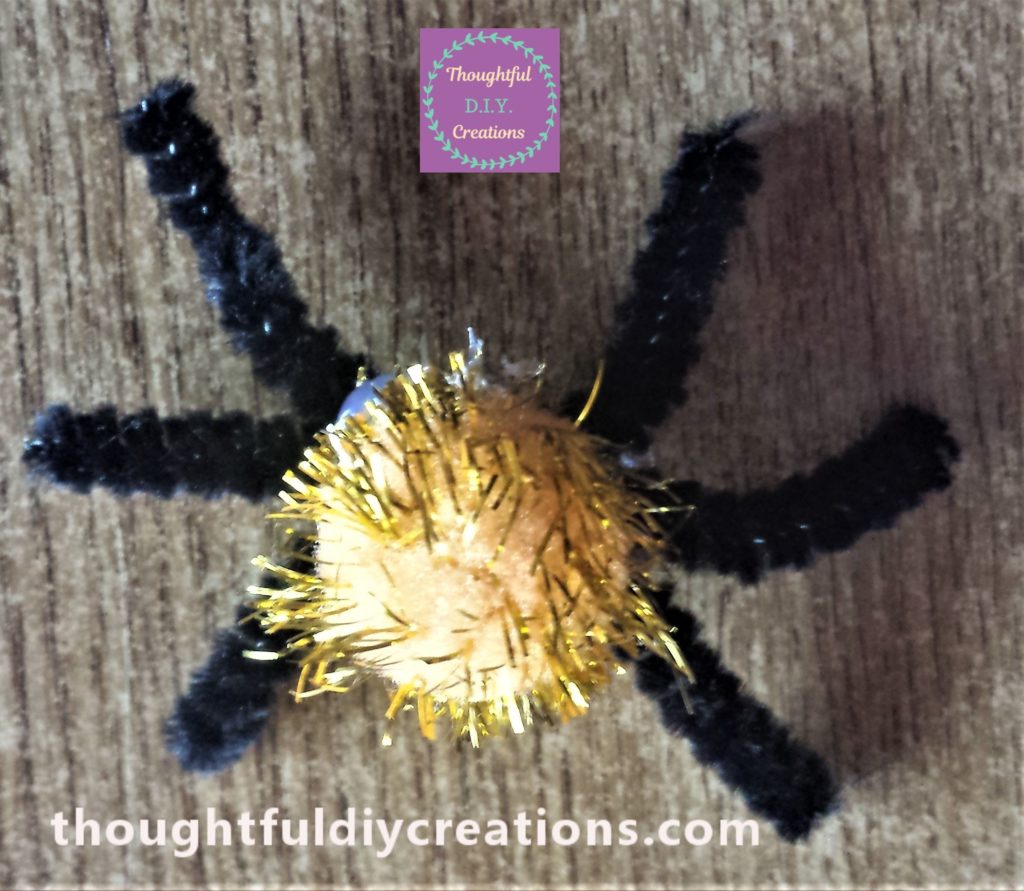
I put hot glue on the back of the mid-section of the pipe cleaners and attached it to the jar. Glue Gun.

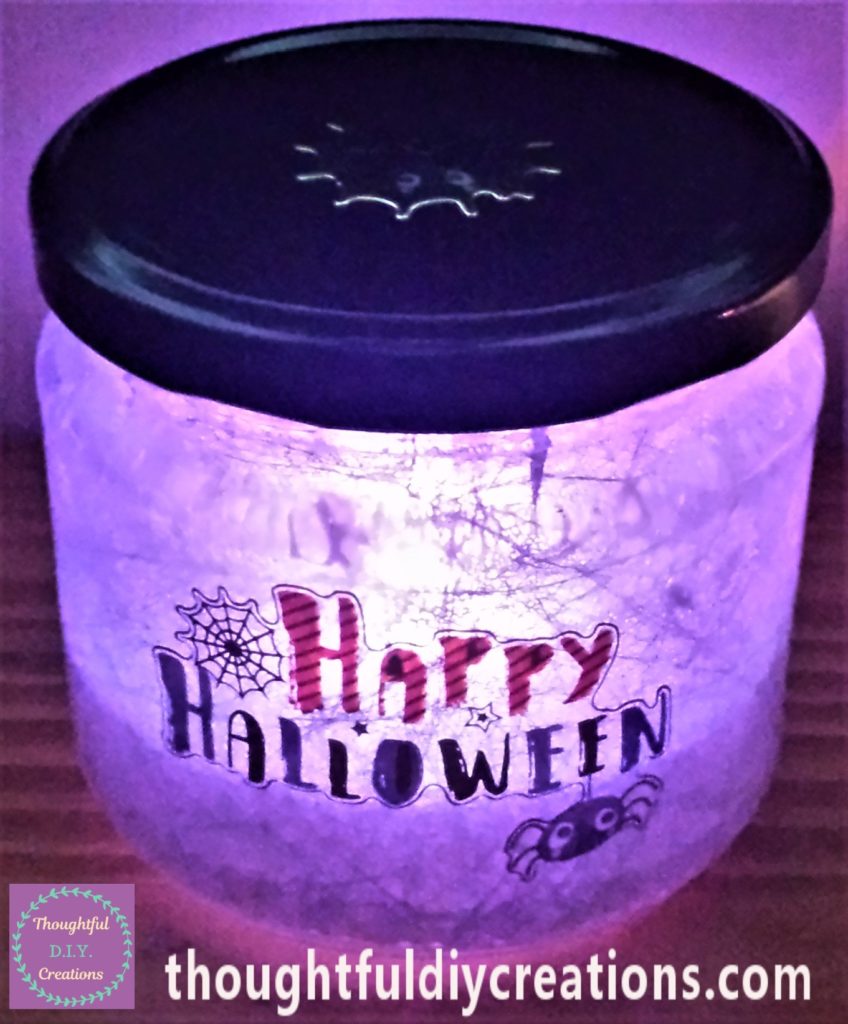
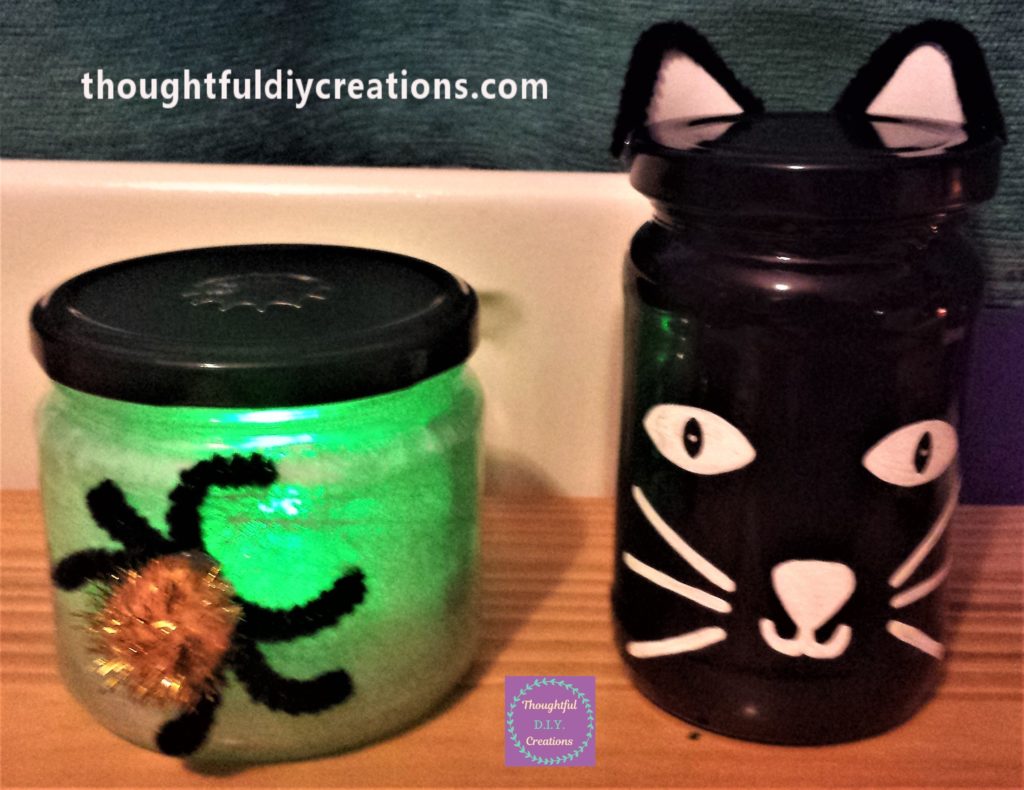
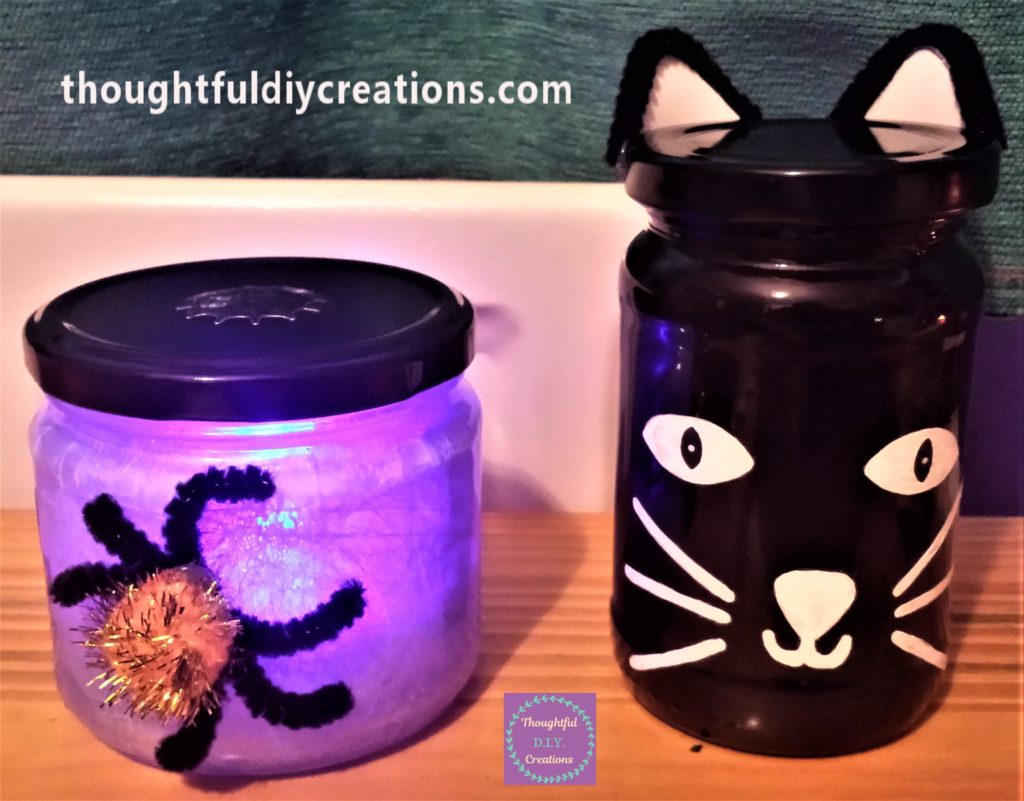
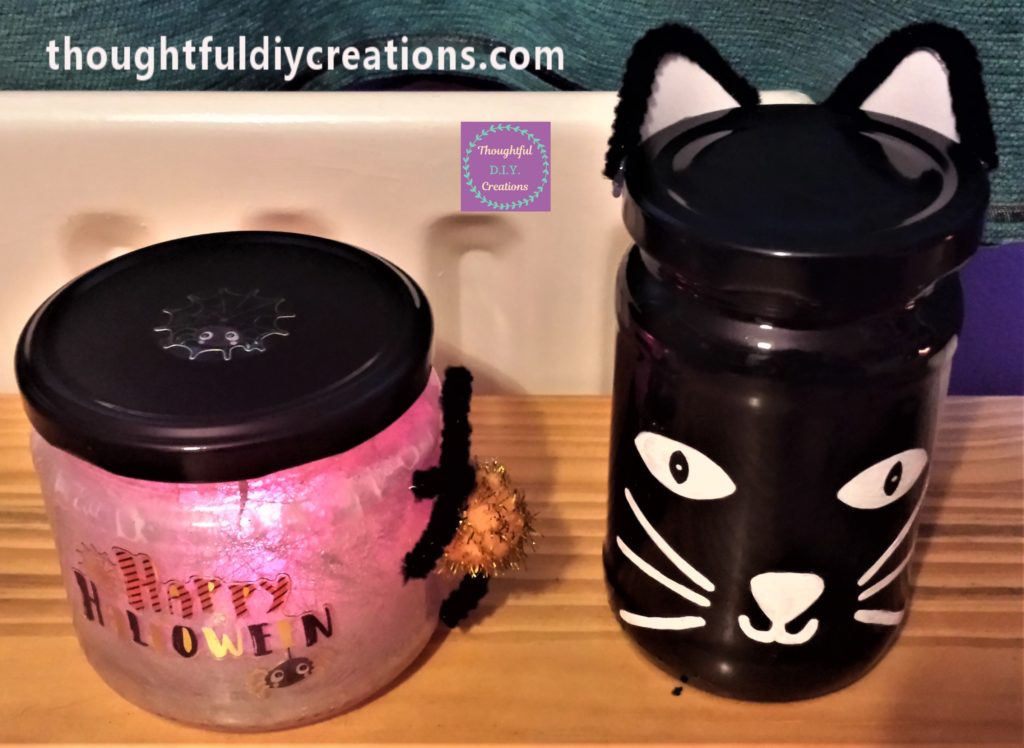
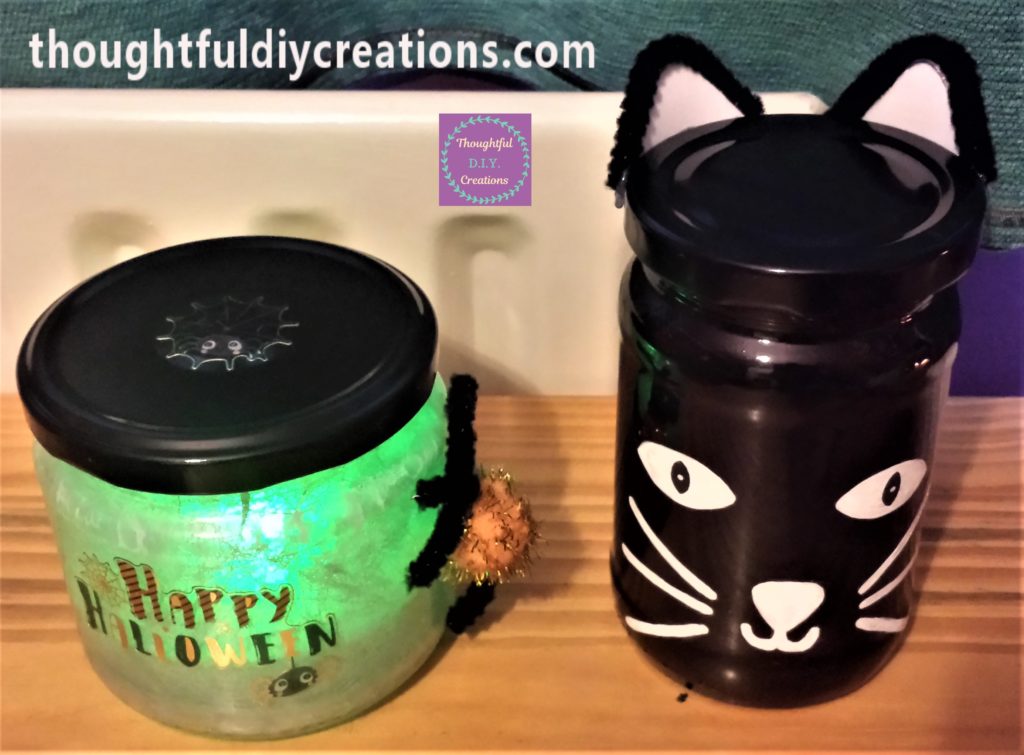
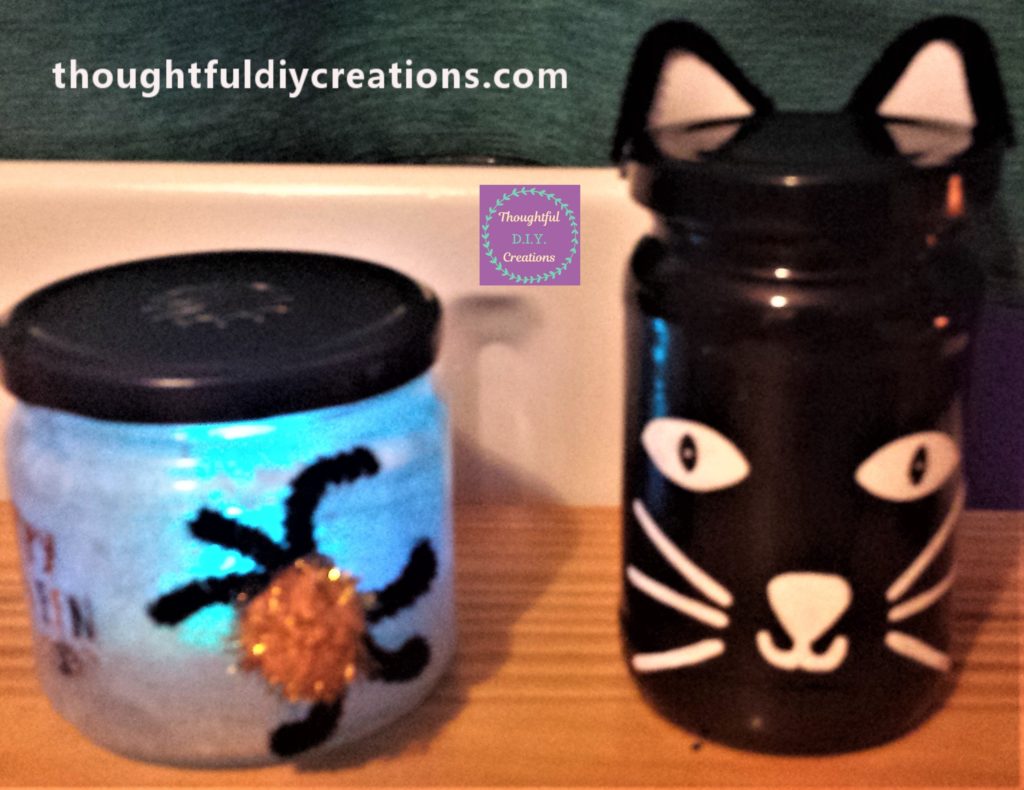
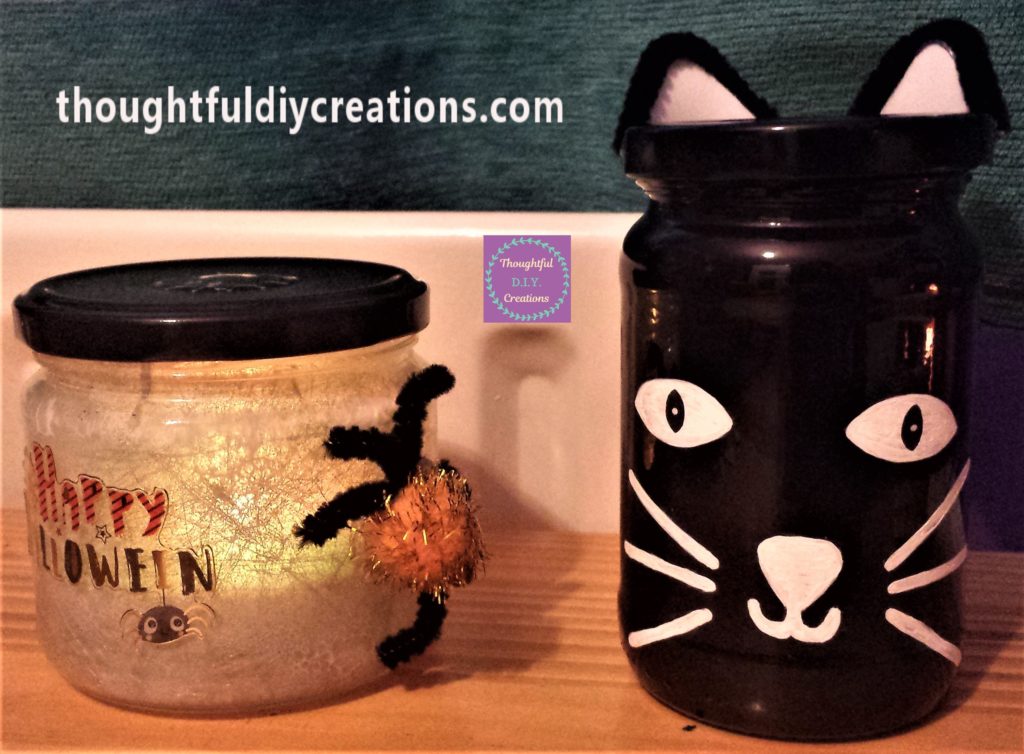
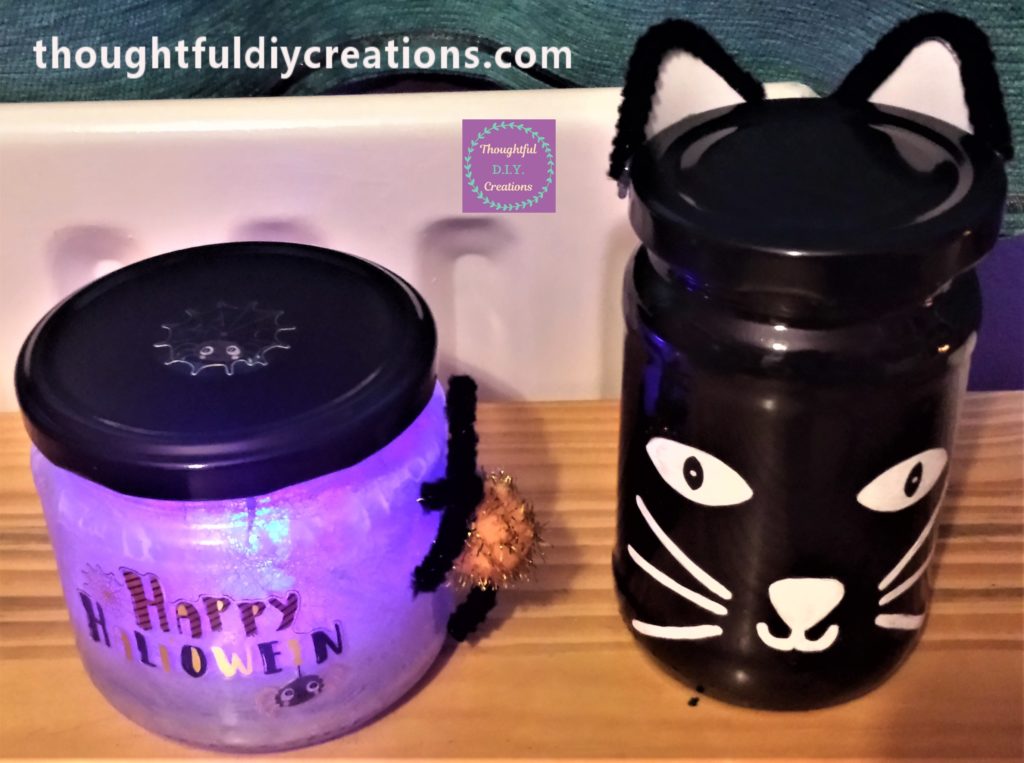
This completed the Spiderweb Jar and the Cat Jar. I think they complement one another really well. I like how the Cat jar is a striking black & white, and the spiderweb jar is also black & white without the candle on, and in the evening the colour change from the candle adds interest and Halloween colours.
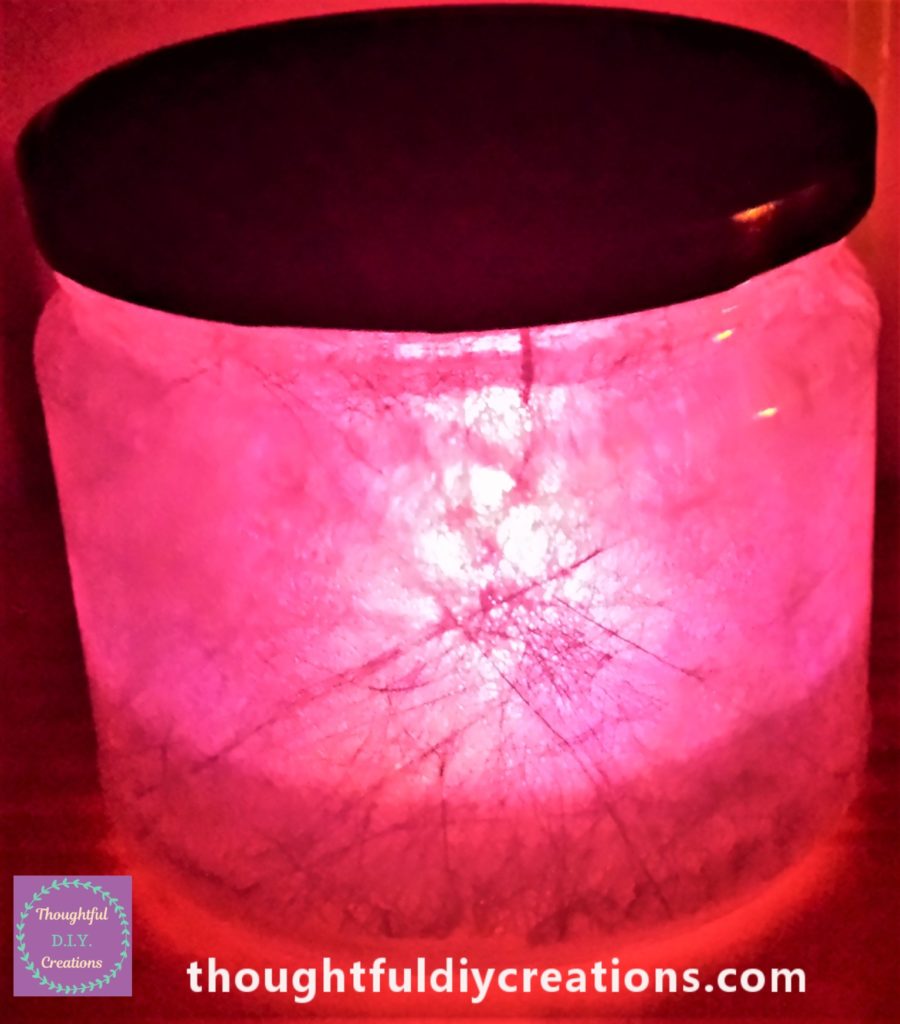
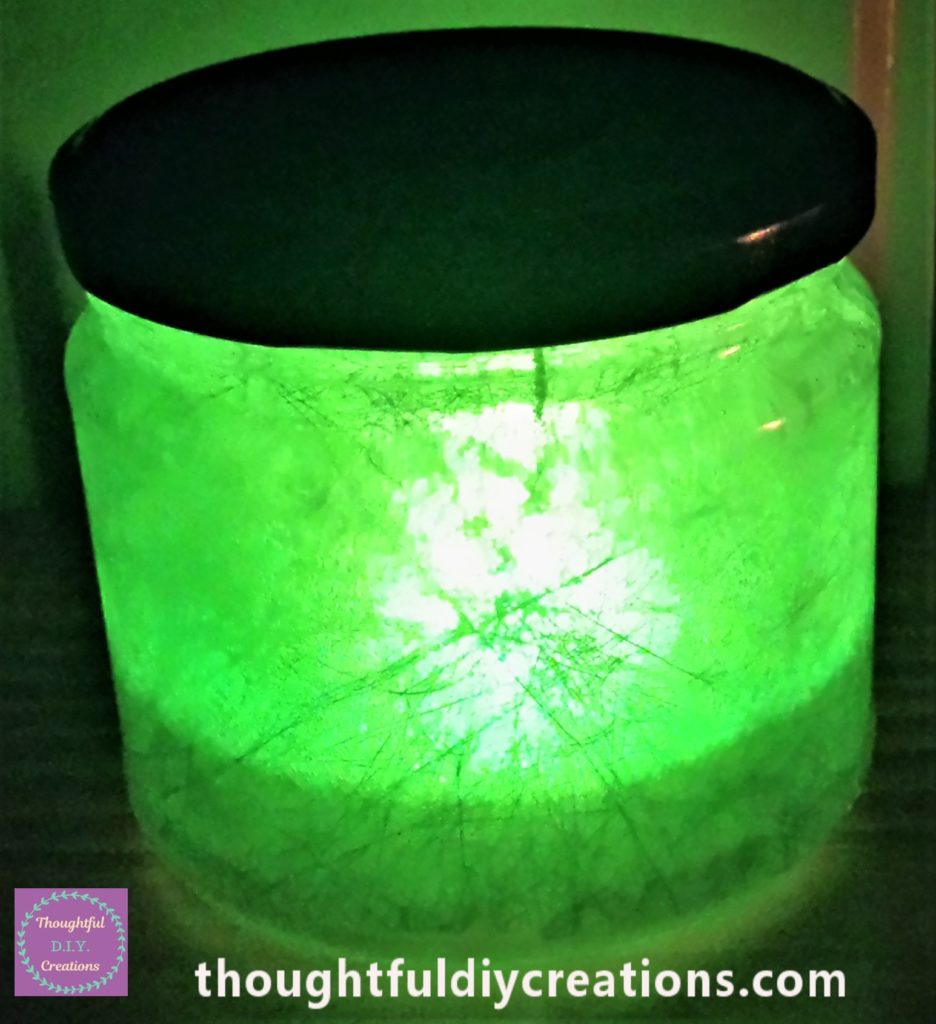
This is the Completed Craft with different colours from the t-light candle and the spiderweb jar at different angles.
Conclusion
I hope you enjoyed this weeks Tutorial. I think it’s great to transform a plain jar into a handmade craft. They are so versatile; you can use various materials to make each of them completely unique.
You can re-use them each year for your Halloween decor. You could change them up by putting them in a different place and adding different decorations beside or around them; either more D.I.Y. items or bought items or a mixture of both.
I have so many Jars collected, and plenty more ideas so stay posted in the coming weeks for more inspiration on D.I.Y. Halloween Jars.
I hope you will attempt some Halloween Crafting this year. It is a lovely way to spend an afternoon or evening. If you have children / nieces / nephews / grandchildren it would be a great bonding experience to get creative with them. There’s nothing like a child’s imagination, and enthusiasm. They will have plenty of ideas to share.
Here is a Pumpkin Bottle Craft that I have made which is also a budget option for Decorating.
It’s amazing what you can make out of their and your own craft supplies as well as household materials. Have a good look around your home before you throw something in the bin and see if you can use it in your arts & crafts instead.
It doesn’t have to be perfect, just using your hands / creativity and putting your ideas into action is what it’s all about. Have fun with it, don’t take it too seriously, if it doesn’t turn out like you hoped, try again another day, or try a different method, practice makes perfect. Remember if you don’t try you won’t succeed.
If you have any questions or would like to comment on this Tutorial just pop a message in the Comment box below and I will reply as soon as I can. Happy Creating Everyone.
Thank you so much for taking the time to read my Blog.
Always Grateful,
T.D.C.
xoxox