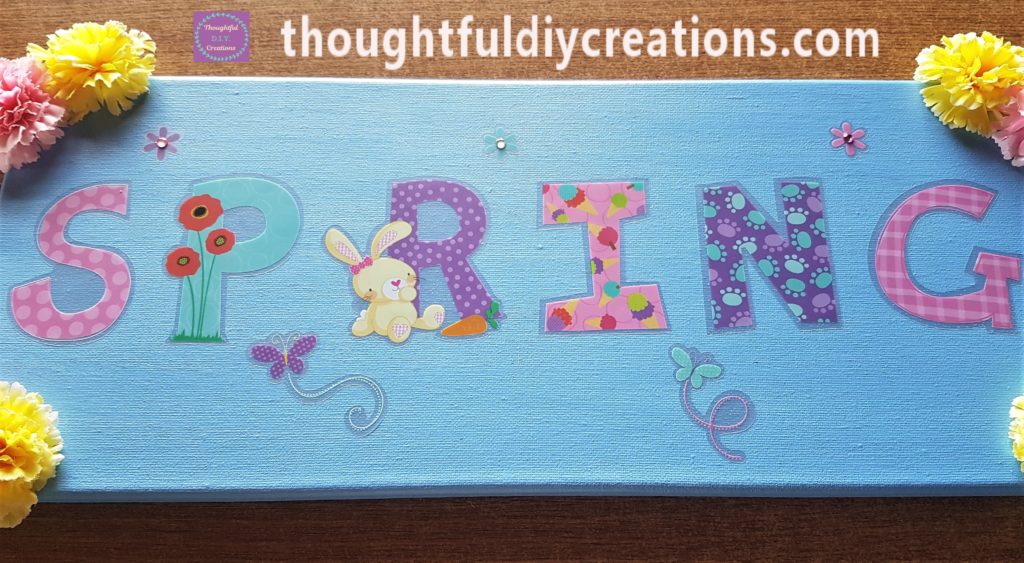
D.I.Y. Spring Canvas
Hello my Creative Friends,
I hope you are all well. In Today’s Tutorial I will show you how to make your own D.I.Y. Spring Canvas. It only requires a few materials and it’s a great way to spend an afternoon. The weather has been lovely here in Ireland lately and this bright Spring Canvas complements the season.
Canvas for Crafting
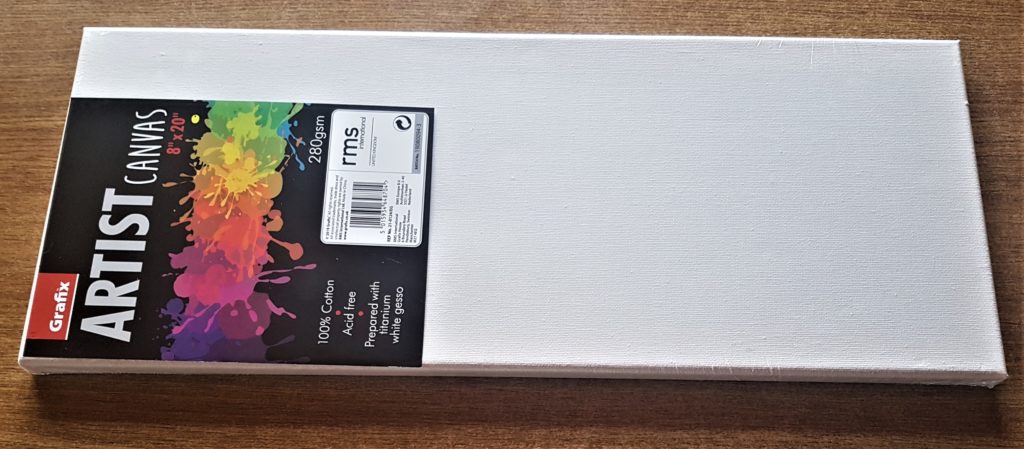
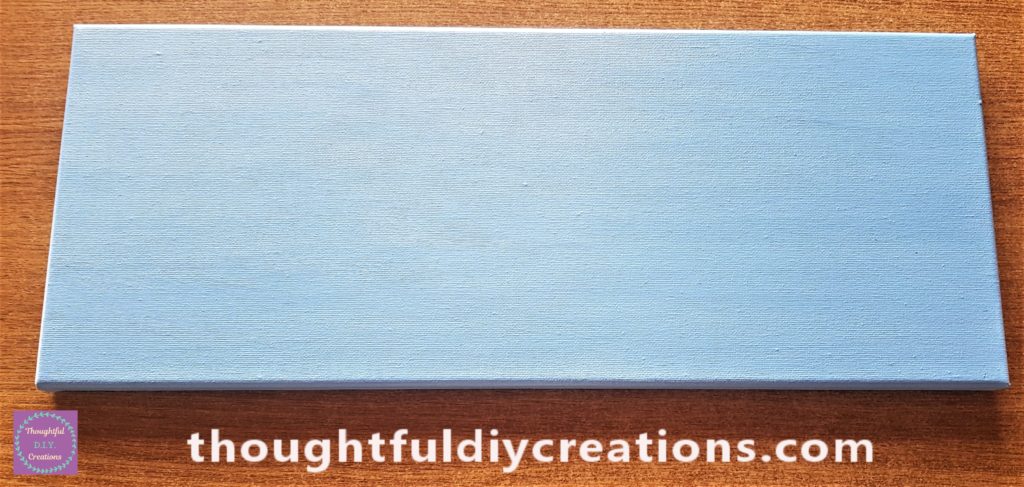
I bought an 8″ x 20″ Canvas a couple of months ago. Canvas 8×20″
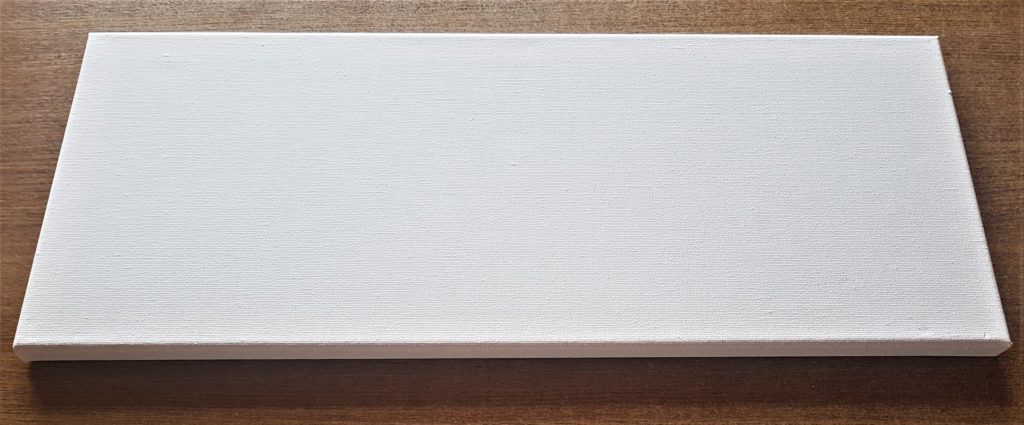
This is the Canvas out of the Clear Wrapping. Canvas 8×20″
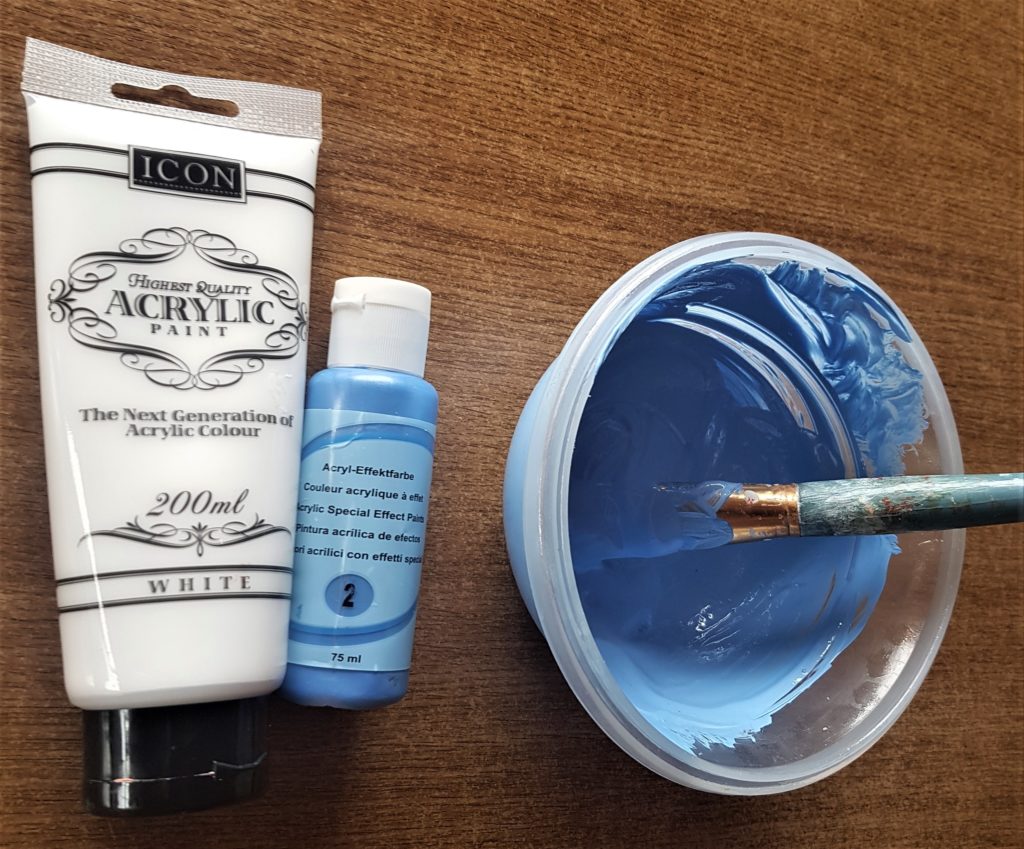
Mixing Paint for the Spring Canvas
I wanted a lovely light sky blue colour for the Spring Canvas so I mixed some White Acrylic Paint with a Blue Acrylic Paint I had to make it a lighter shade of Blue. ACRYLIC PAINTS ASSORTED COLOUR.
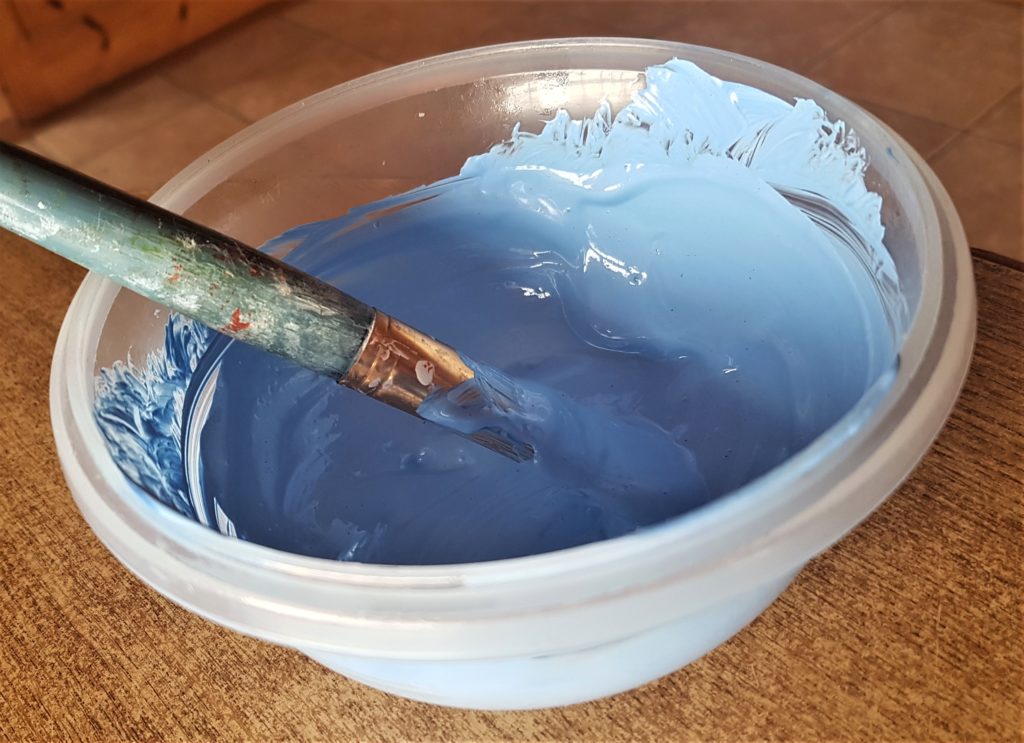
This is a close-up of the Paint mixture in a plastic bowl.
Painting the Canvas
I used a flat 1 inch Paintbrush and Painted the first coat of the Blue Paint onto the Canvas.
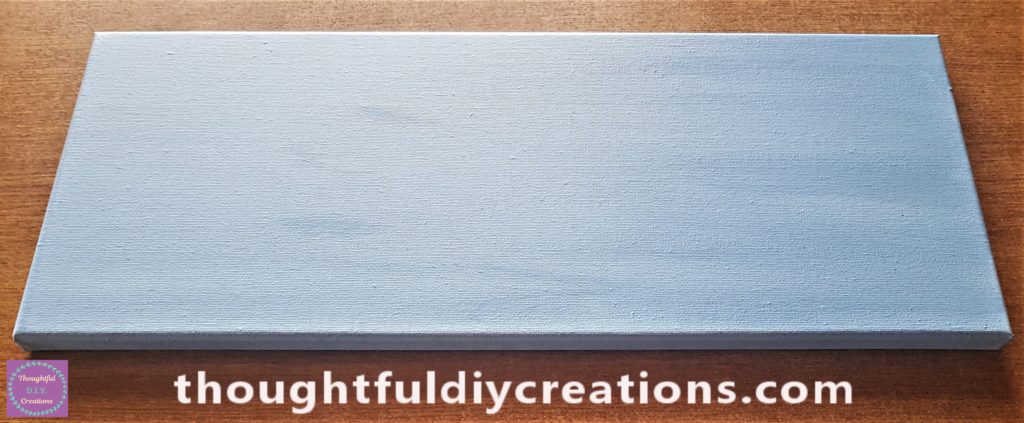
This is another view of the Canvas after the first coat of Paint. ACRYLIC PAINTS ASSORTED COLOUR.
I waited about an hour for the Paint to be fully dry and then I applied the second coat of Paint to the Canvas.
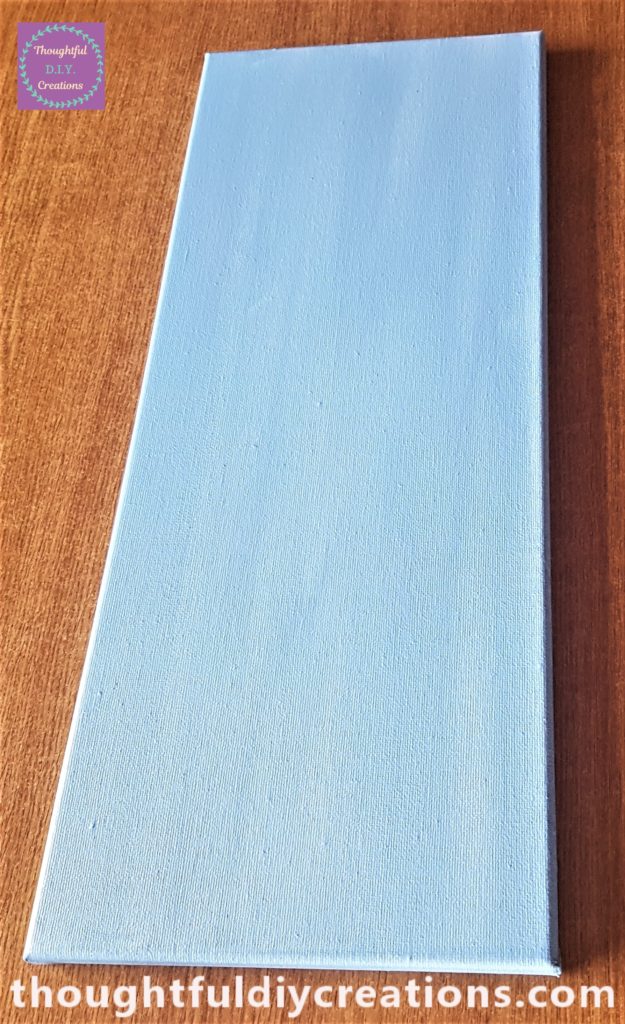
Side view of the Canvas after the second coat of Paint. ACRYLIC PAINTS ASSORTED COLOUR.
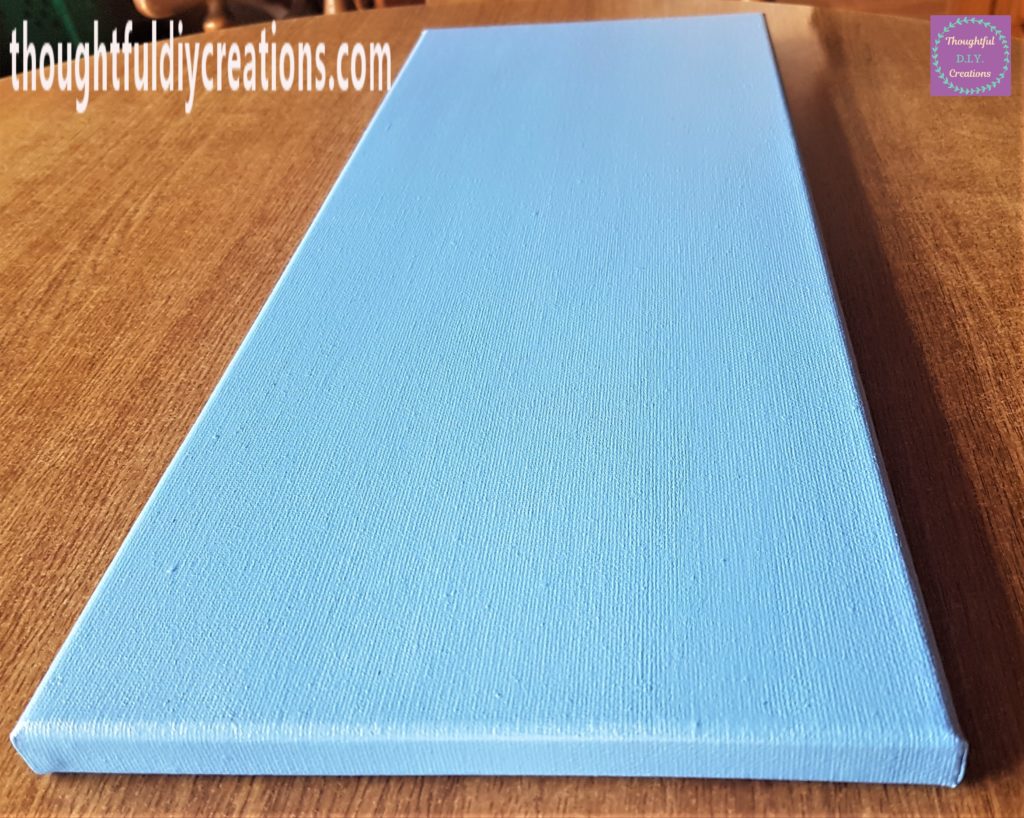
I was really happy with the colour and the coverage so I felt that two coats of Paint was plenty.
Flowers for the Spring Canvas
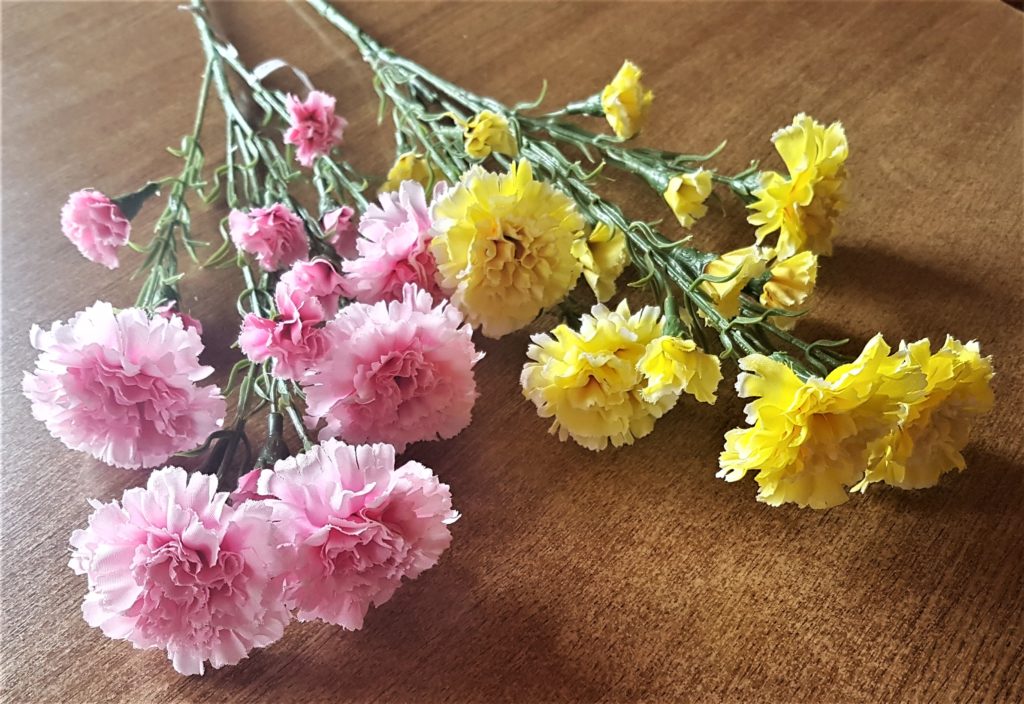
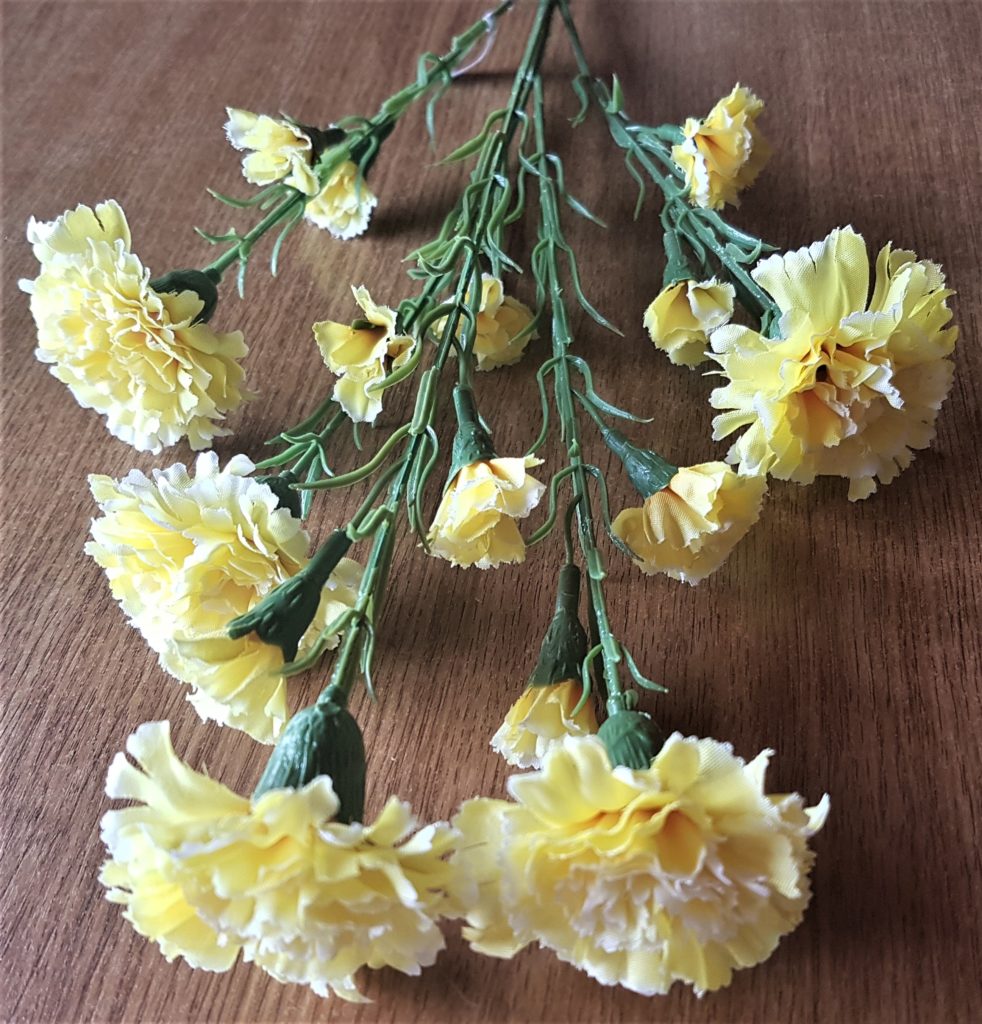
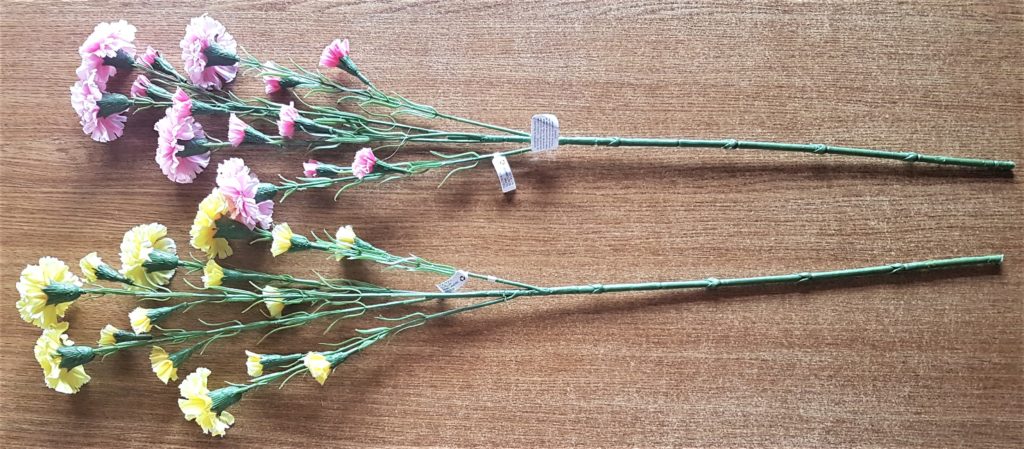
I bought a bunch of faux pink flowers and a bunch of faux yellow flowers about a month ago. I thought they would be perfect for Spring Crafting. Artificial Flower Bouquet.
Removing the Flower Heads from the Stems
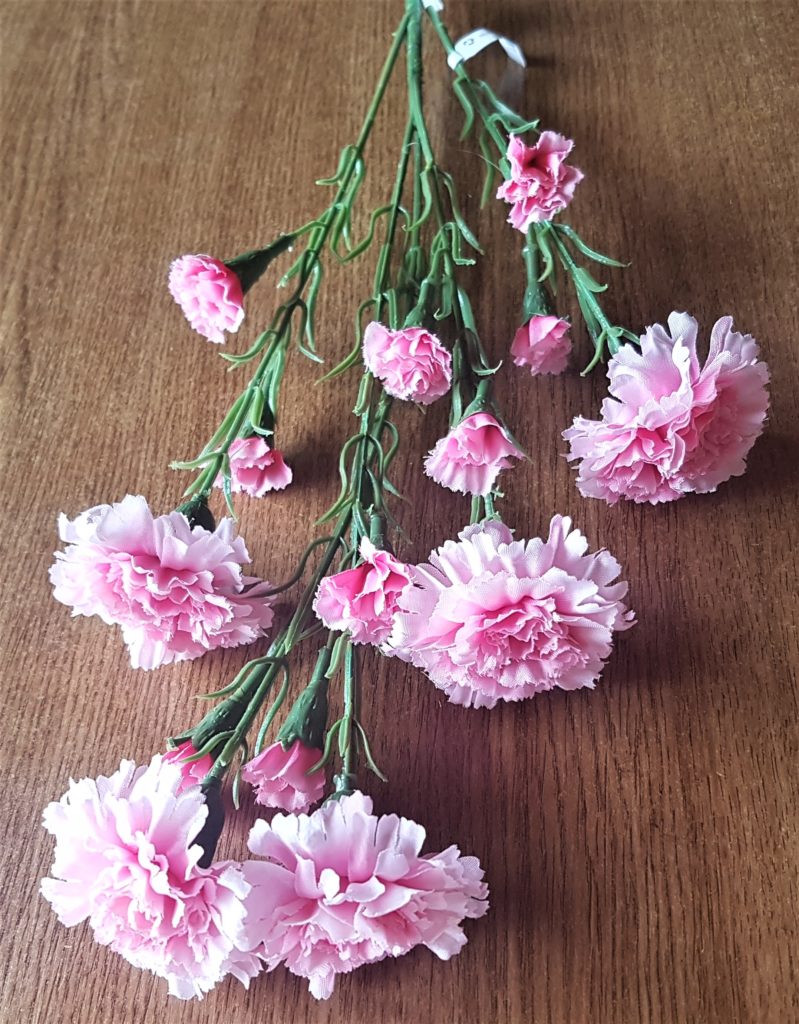
I pulled a pink flower head from it’s stem.
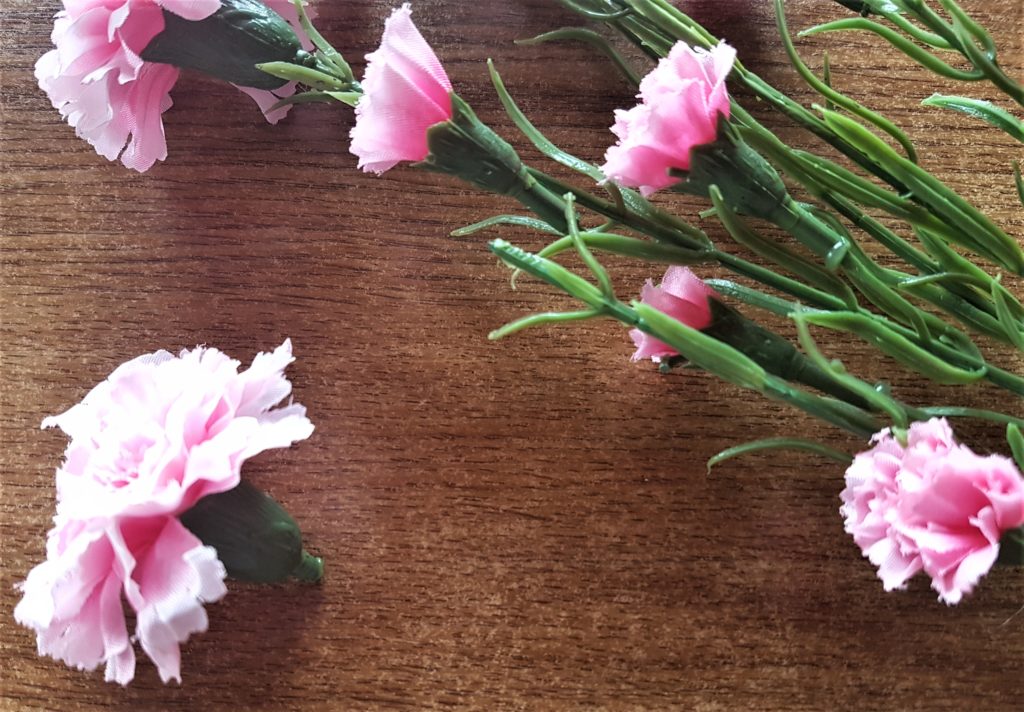
This is a close-up of the flower head. Artificial Flower Bouquet.
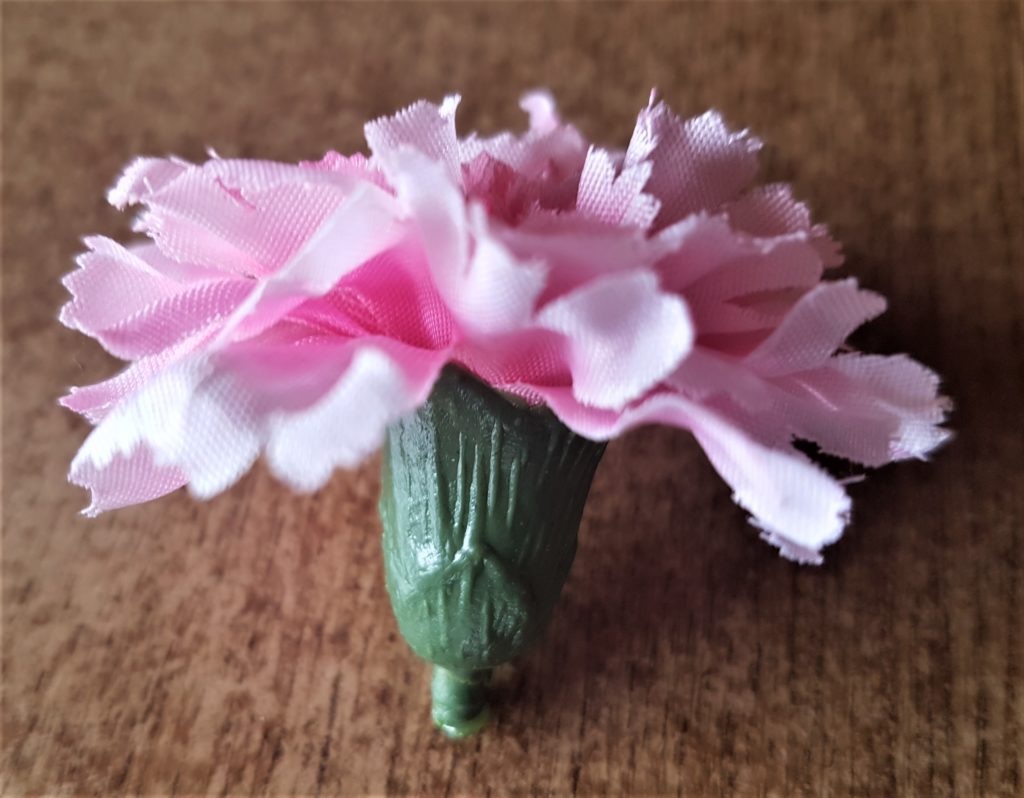
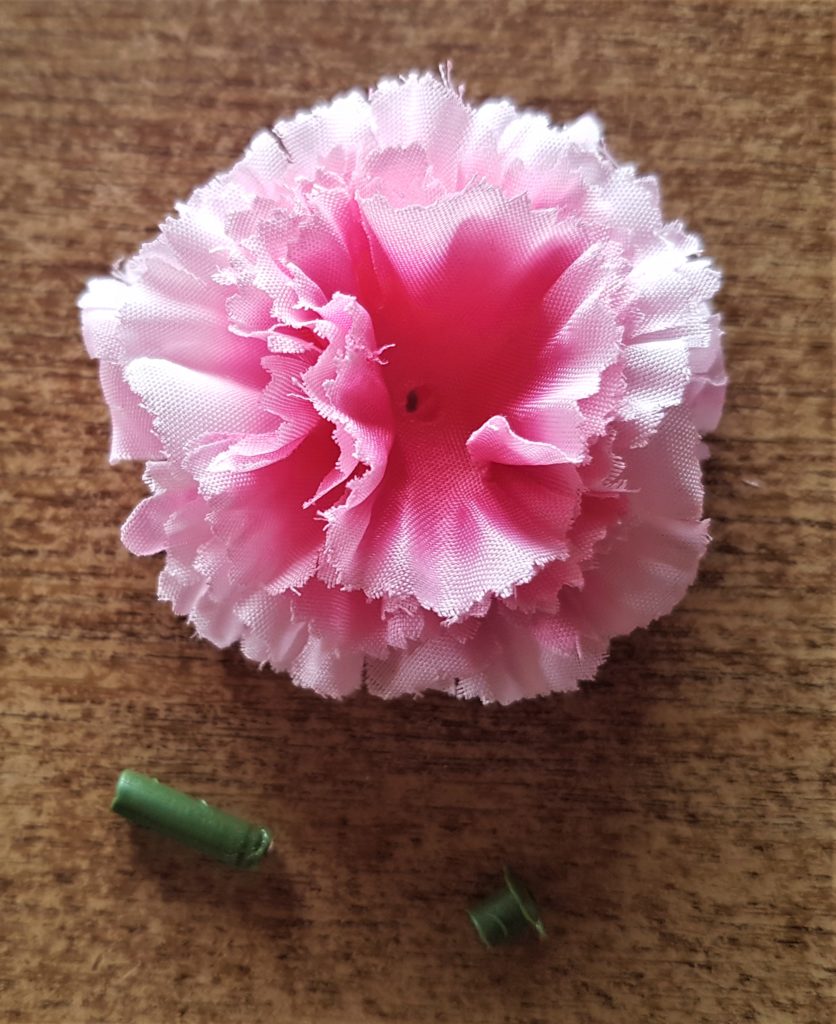
I pulled the bulb part from the flower.

I cut the stem from the flower to ensure I could glue the flower head flat to the canvas. I removed the top green part that was holding each petal together in the center of the flower. Artificial Flower Bouquet.
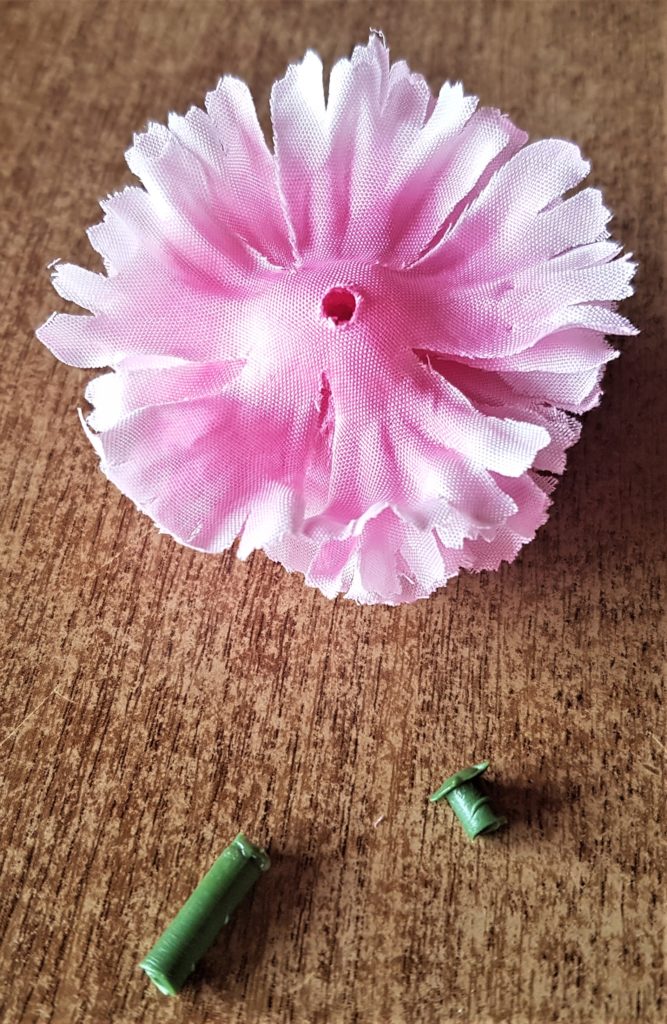
This is the flower turned back to it’s front with the stem and green part removed.
Hot Gluing the Petals back Together
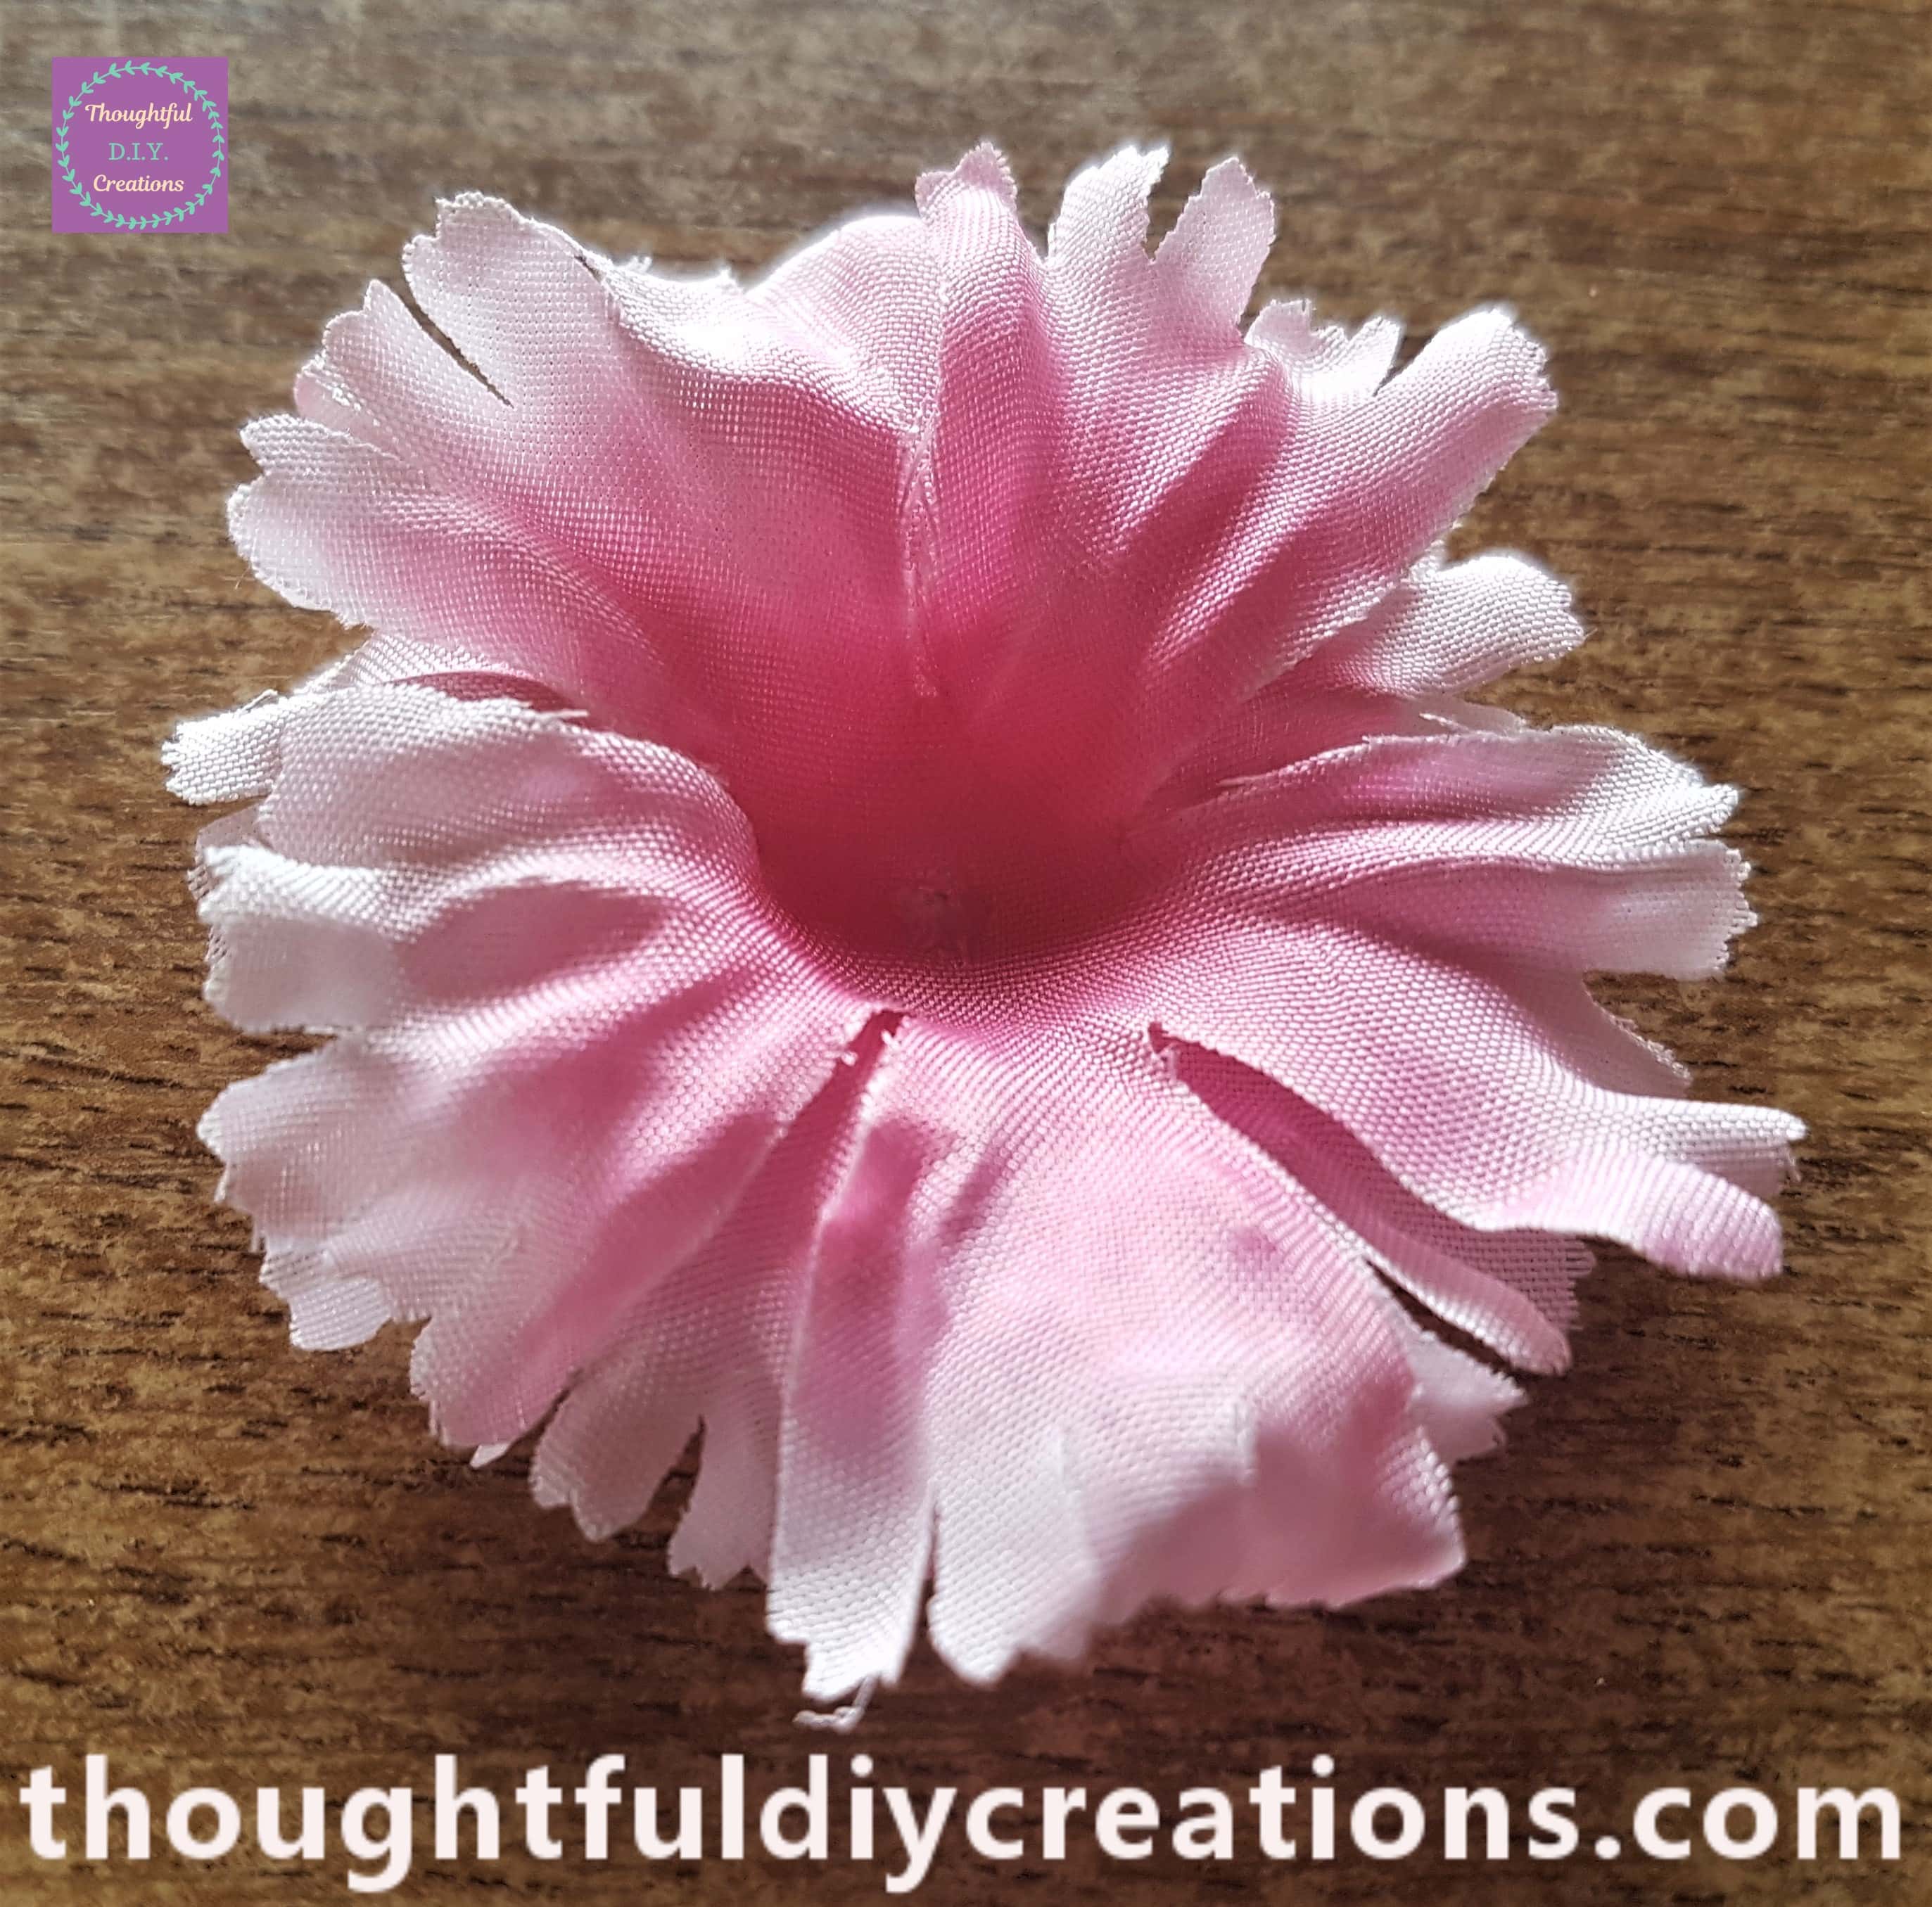
When I cut the stem from the flower head, the flower had lost it’s shape, that’s why I removed the top part as well. I decided to hot glue each petal back together to revive the flower form. I plugged in my Hot Glue Gun and let it heat up for 5 minutes. I separated each petal from the flower. There were 8 in total. Hot Glue Gun.

I got the largest petal as that will be the base. I put a dab of clear hot glue into the center of the petal and attached the center of the next size petal to it. Hot Glue Gun.
You can use a wooden skewer or anything you have handy to hold the petal to the glue as it will be hot and you could burn your finger. This is the 2 Petals hot glued together beside the rest of the petals.
I hot glued the center of the next petal to the flower.
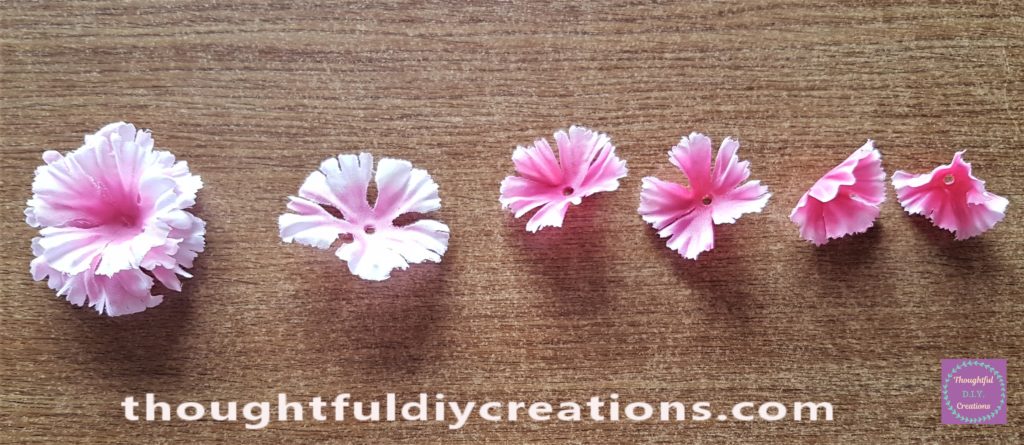
I added the next petal to the flower. Artificial Flower Bouquet.

I only put hot glue on the center of the petal so that the flower had shape, you can ruffle up the petals if you want. I attached the next petal to the others. The flower is now taking shape.
I added the third last petal to the flower. Hot Glue Gun.
This is the flower with only 1 more petal to be added.
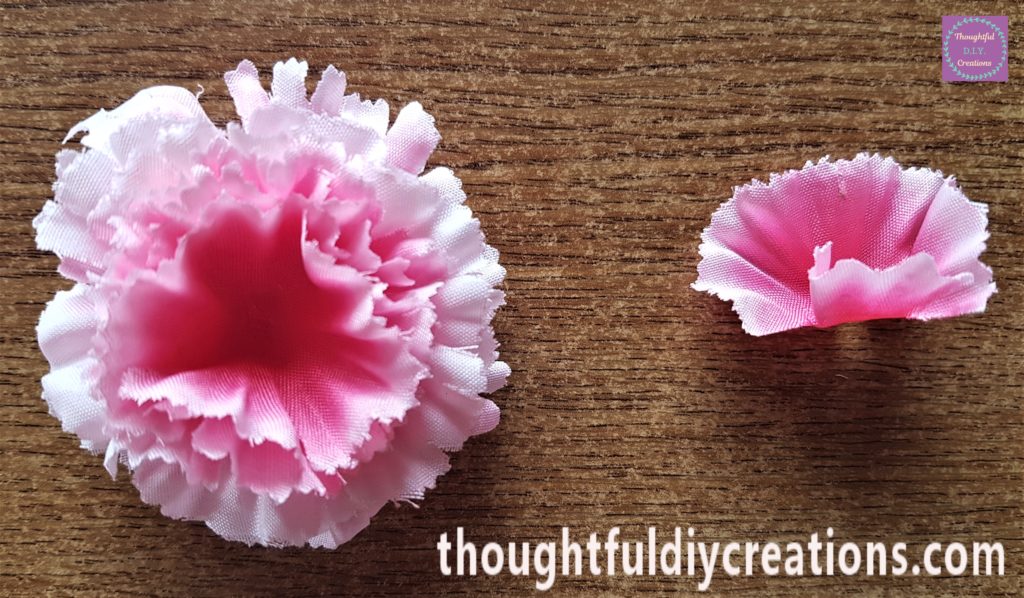
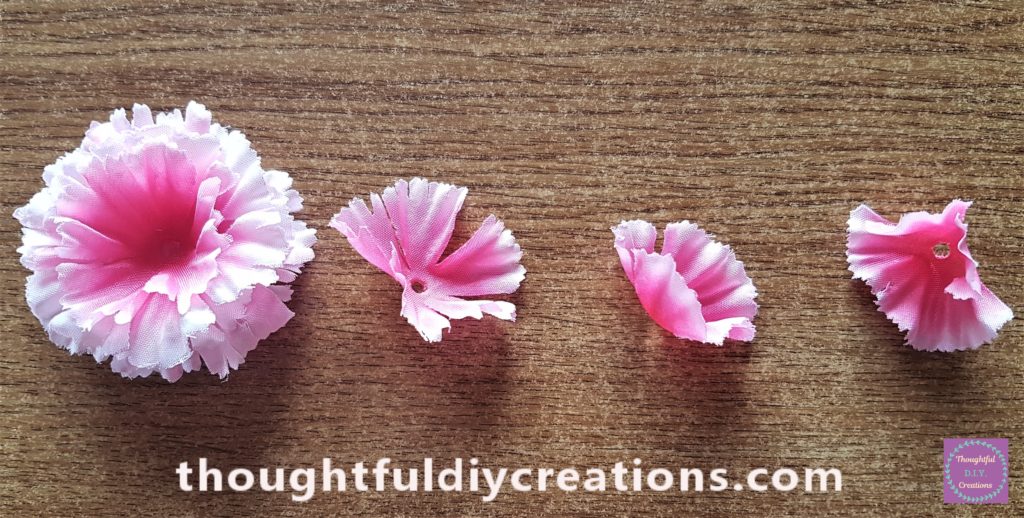
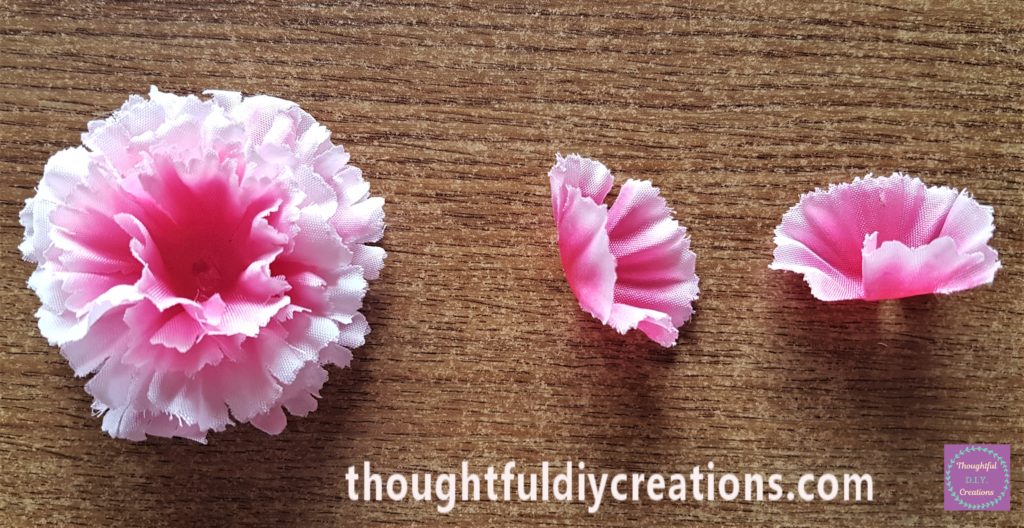
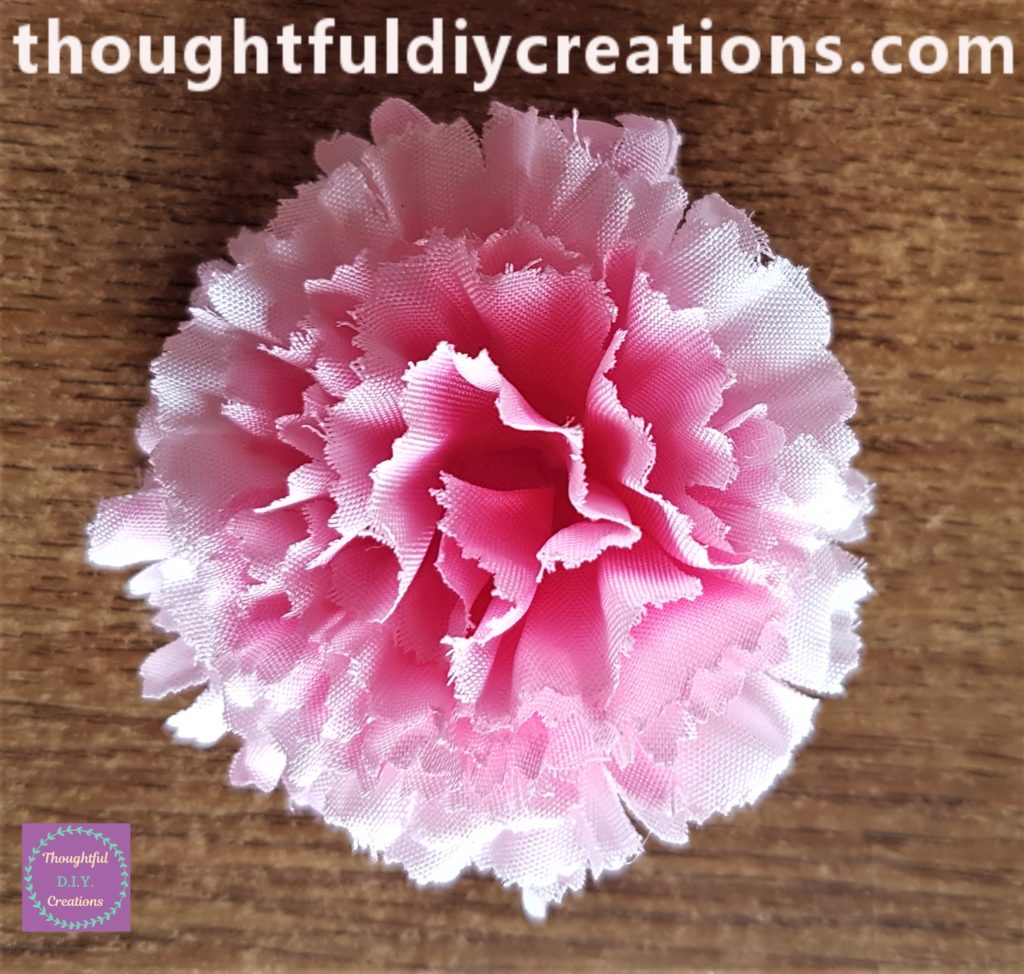
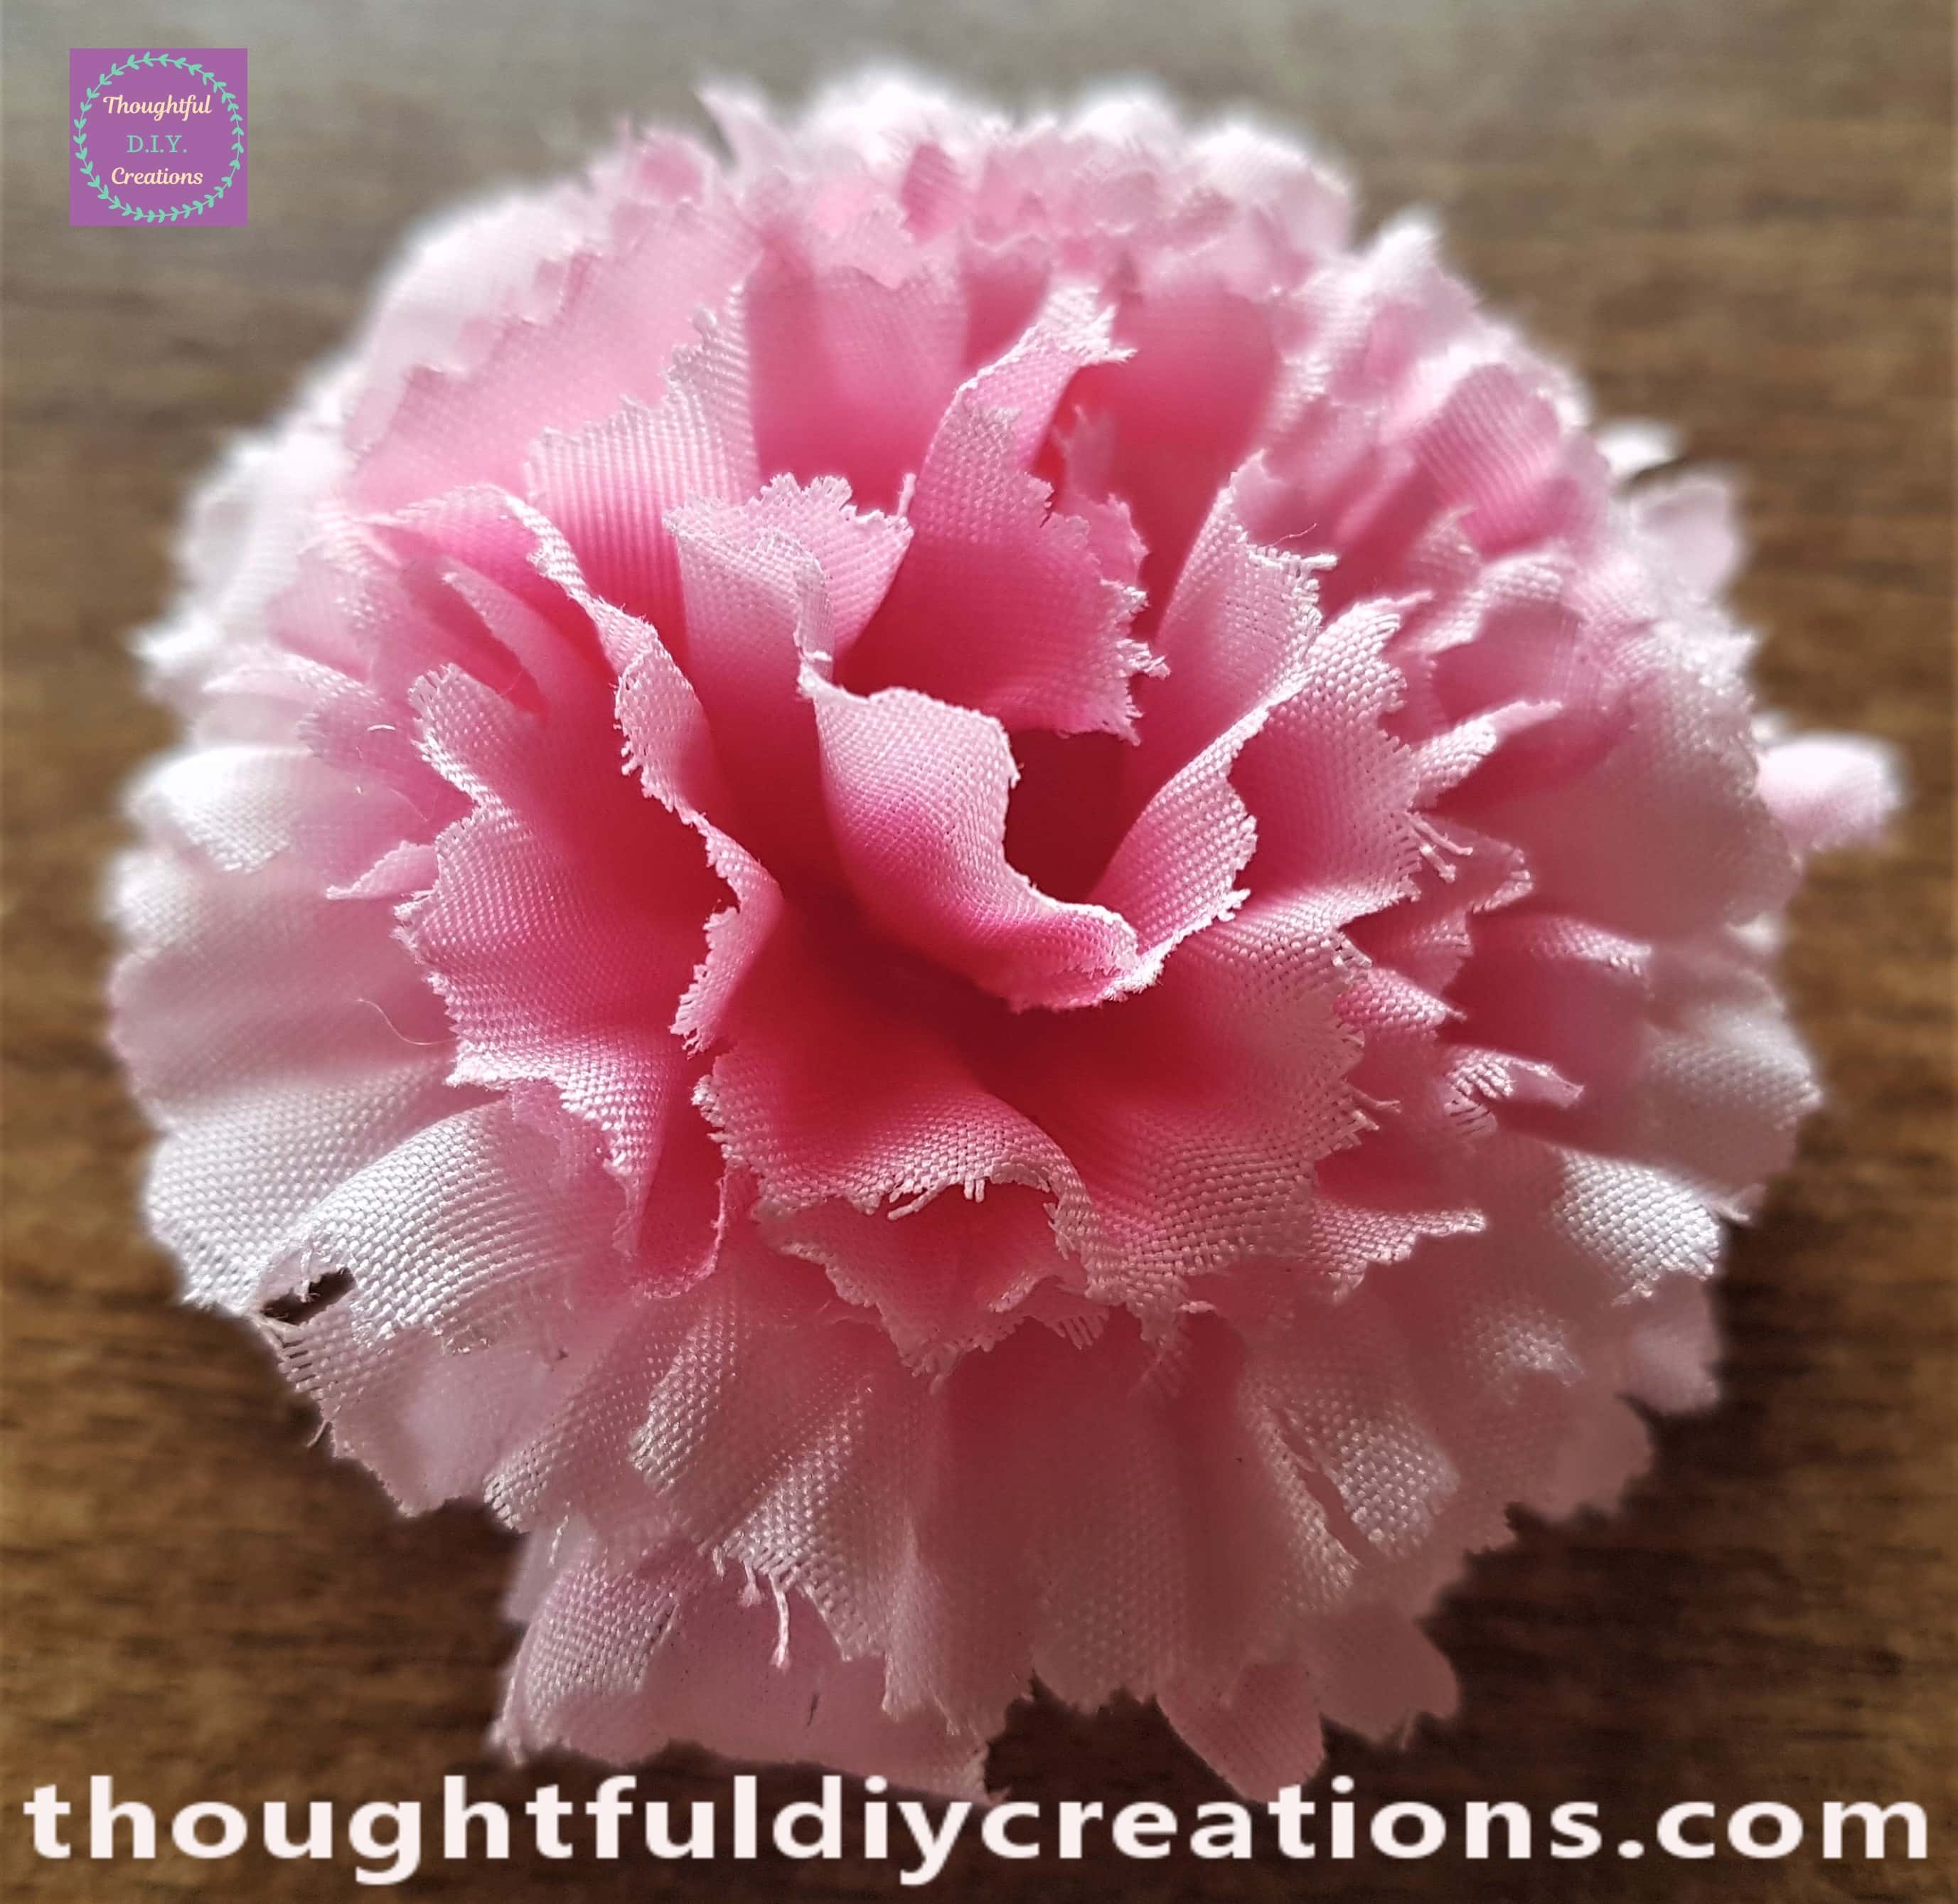
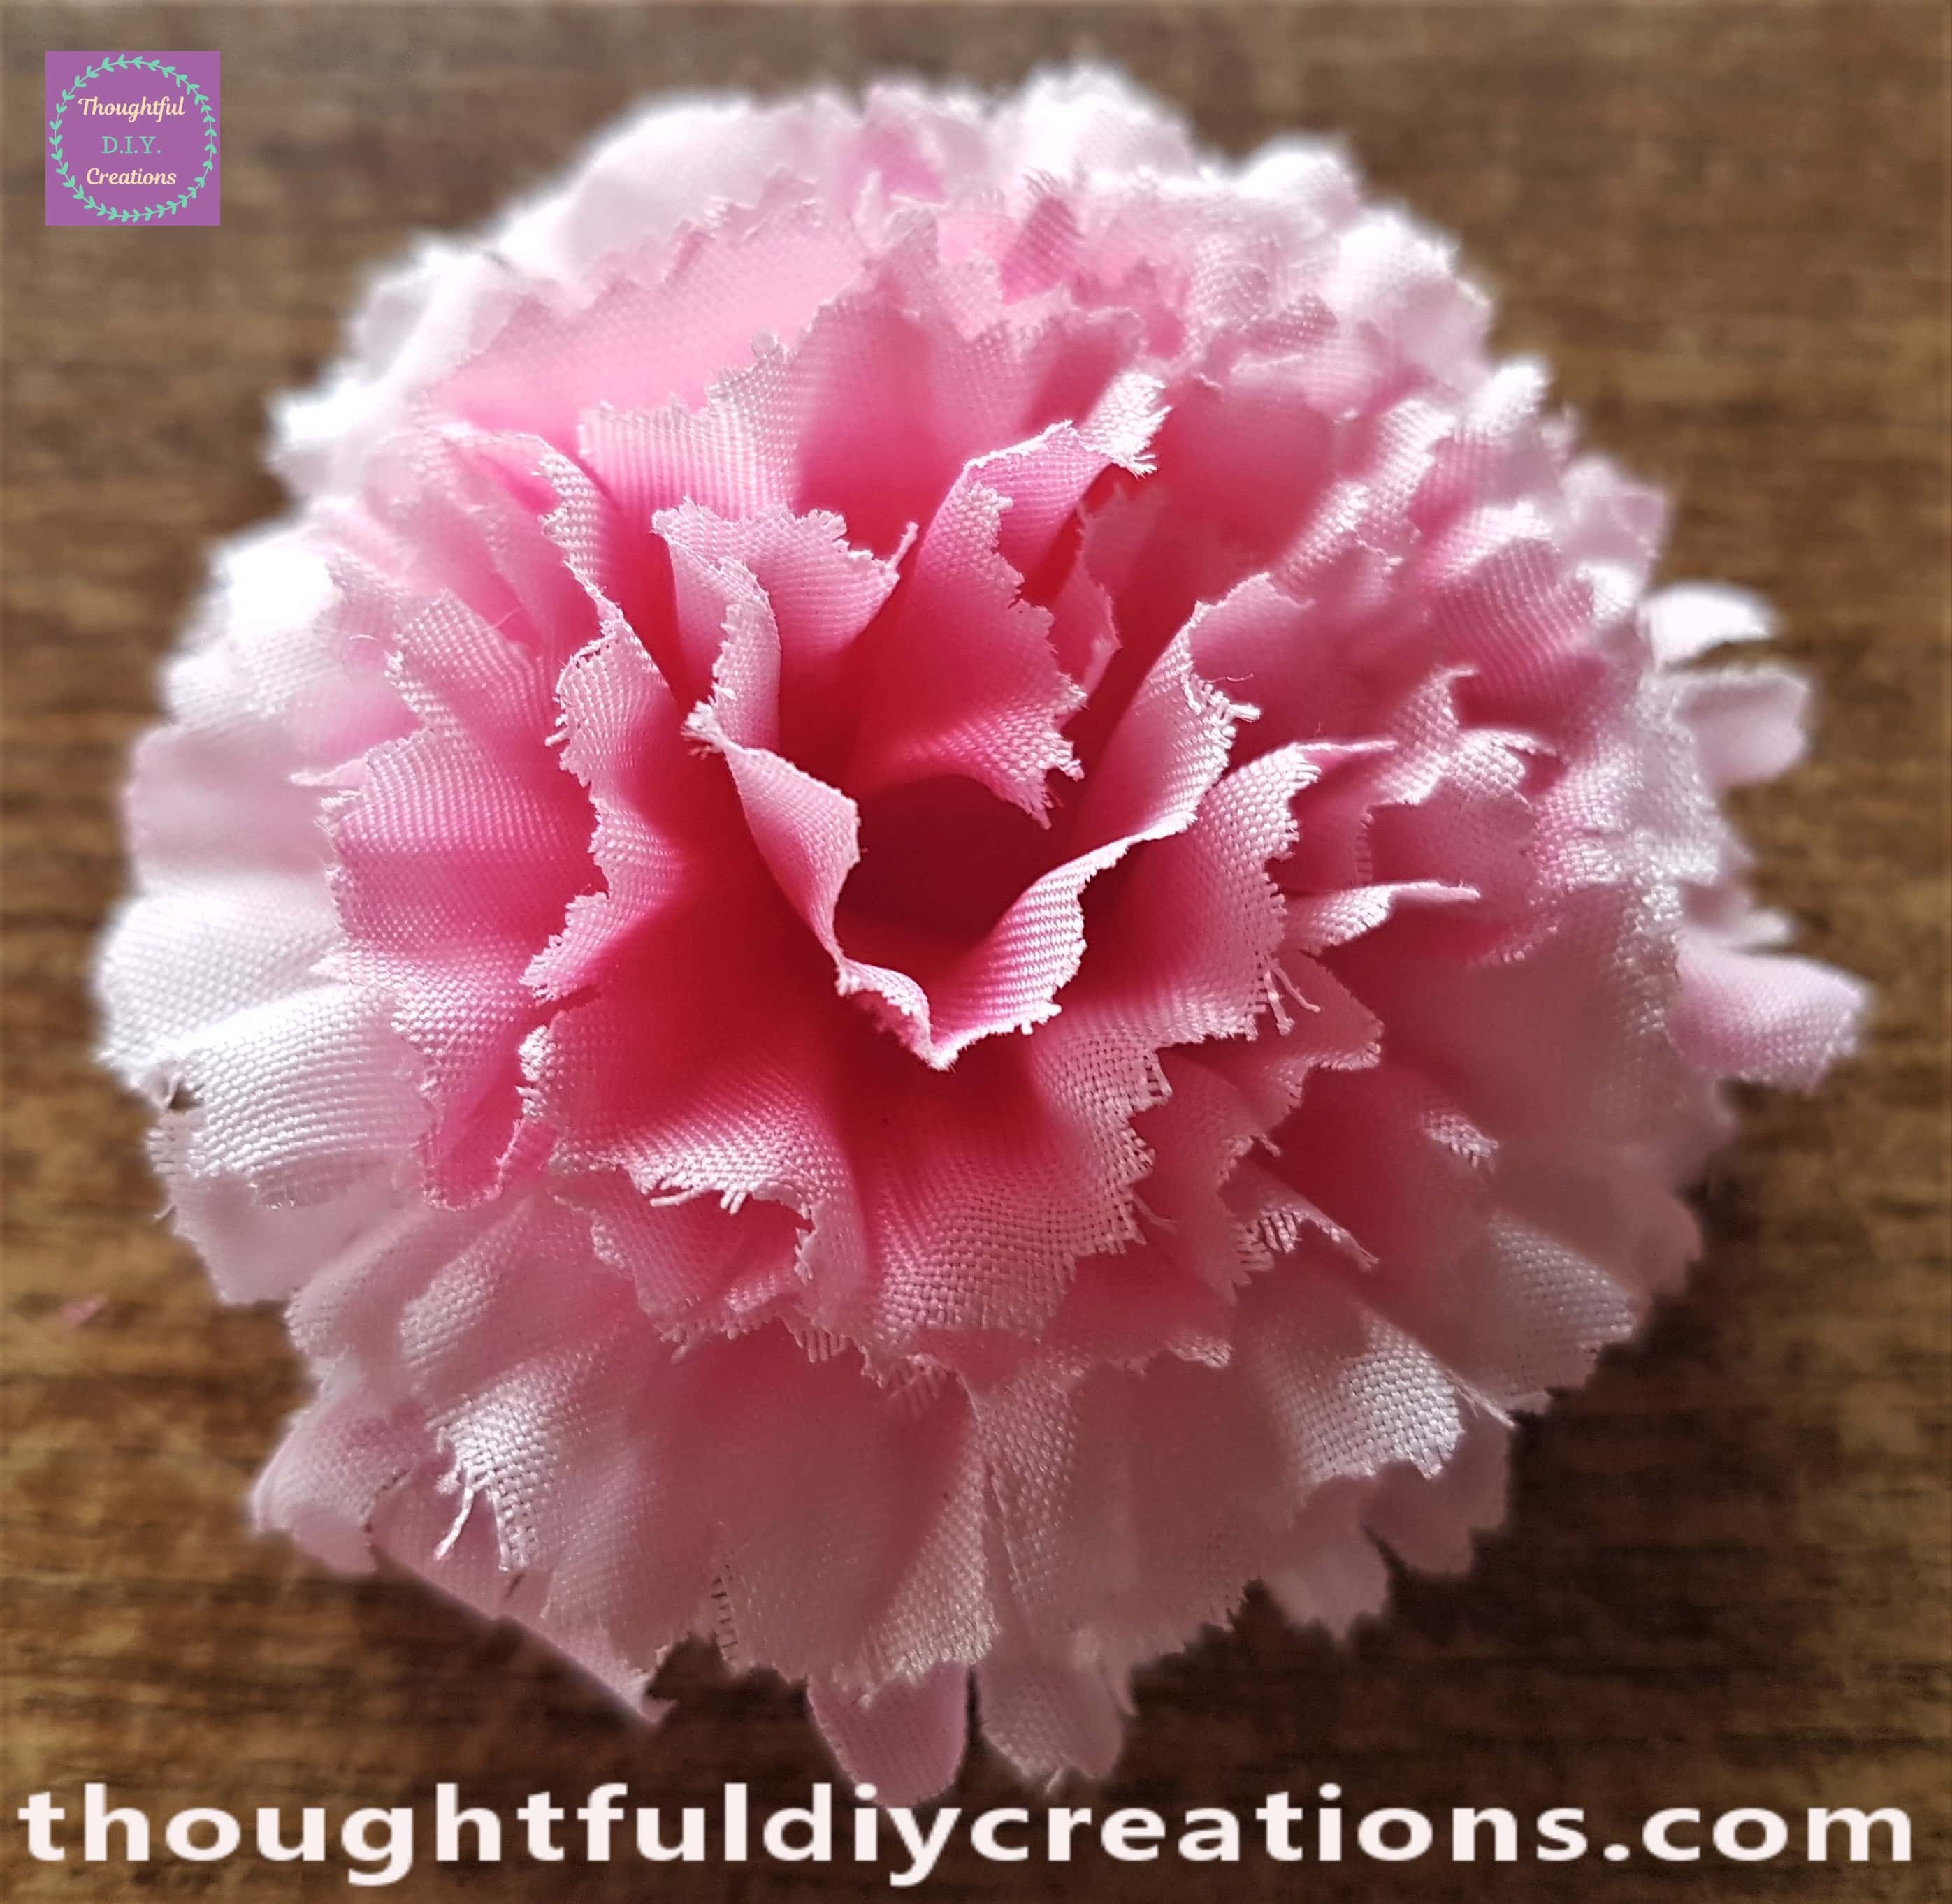
Here is the completed flower with all the petals hot glued to the previous petal. Hot Glue Gun.
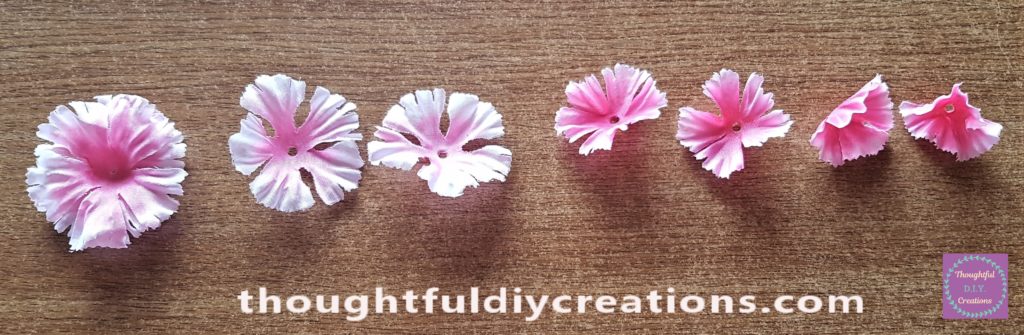
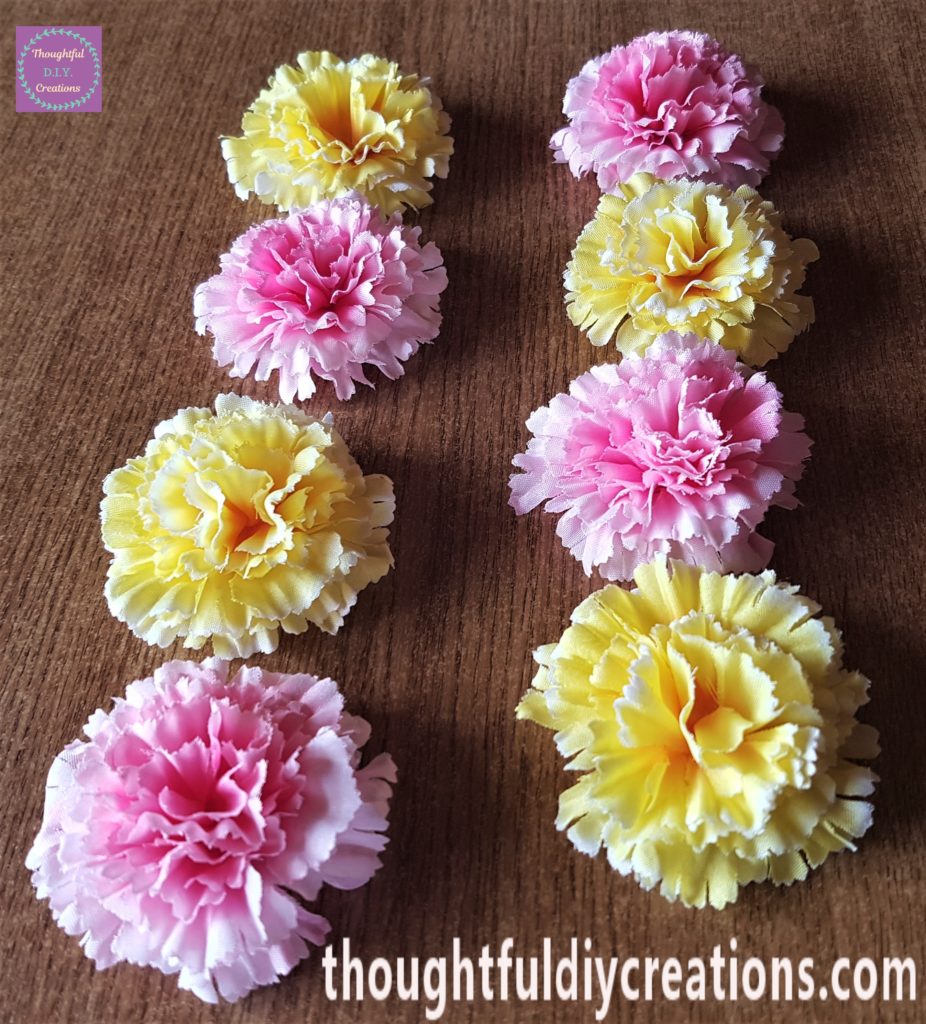
I repeated the very same steps for 7 more flowers, 3 more pink flowers and 4 yellow flowers. Artificial Flower Bouquet.
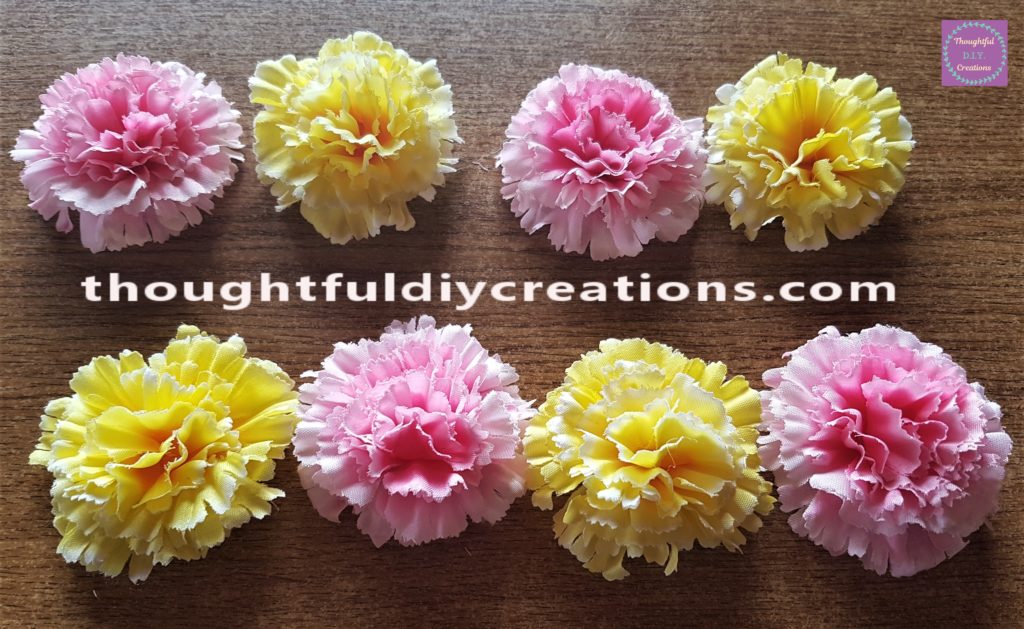
Here is a side view of the completed eight flowers.
Attaching the Flower Heads to the Canvas
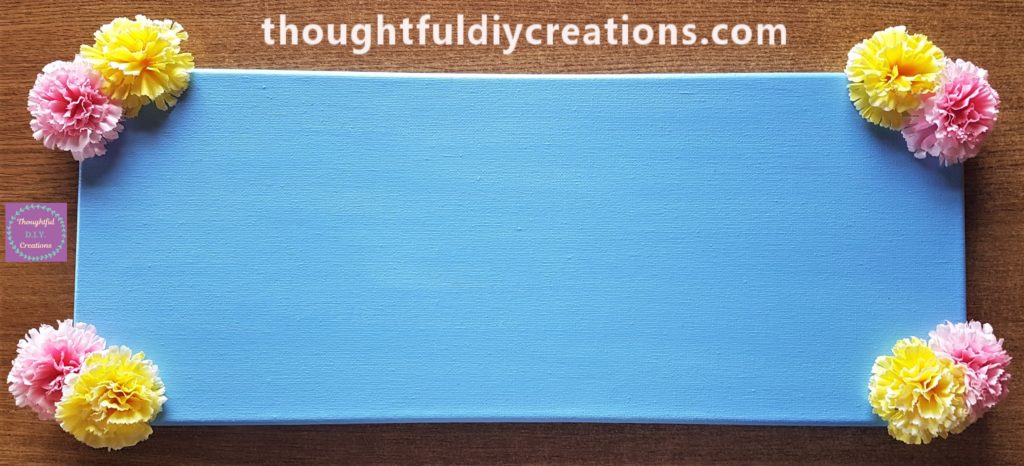
I hot glued the flowers one-by-one to the canvas. I put 2 flowers in each corner of the canvas to frame it. I put hot glue on the back of each flower and held it to the canvas for a few seconds.
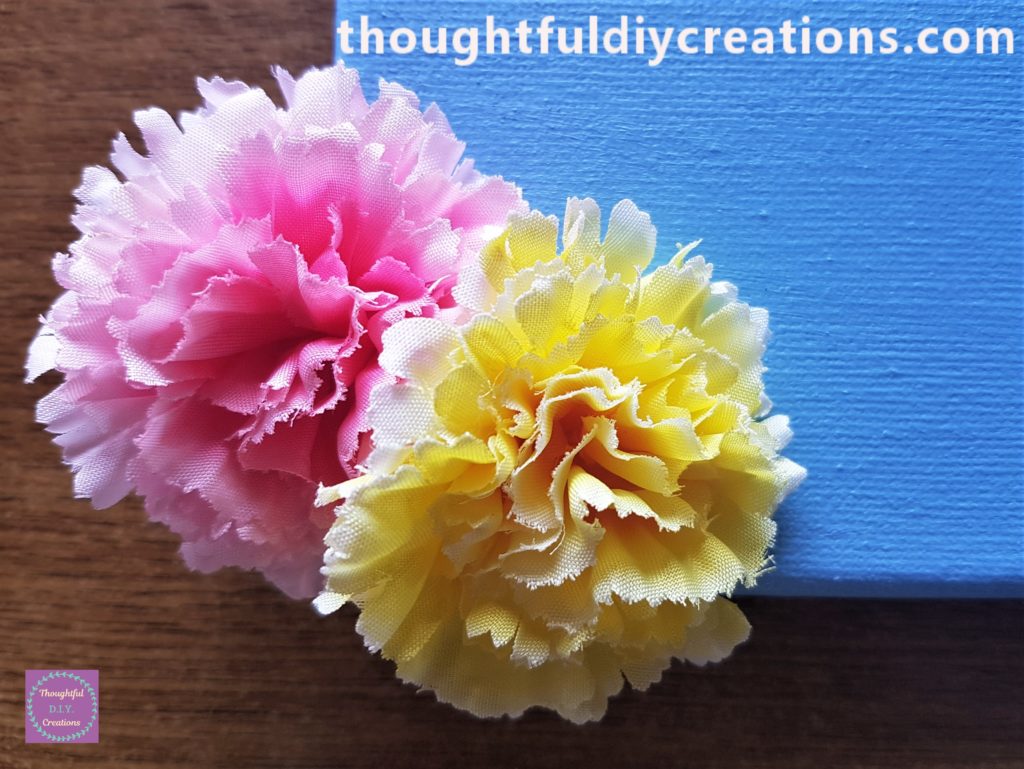
This is a close-up image of the bottom left hand corner of the Canvas showing the hot glued Pink and Yellow Flower. Artificial Flower Bouquet.
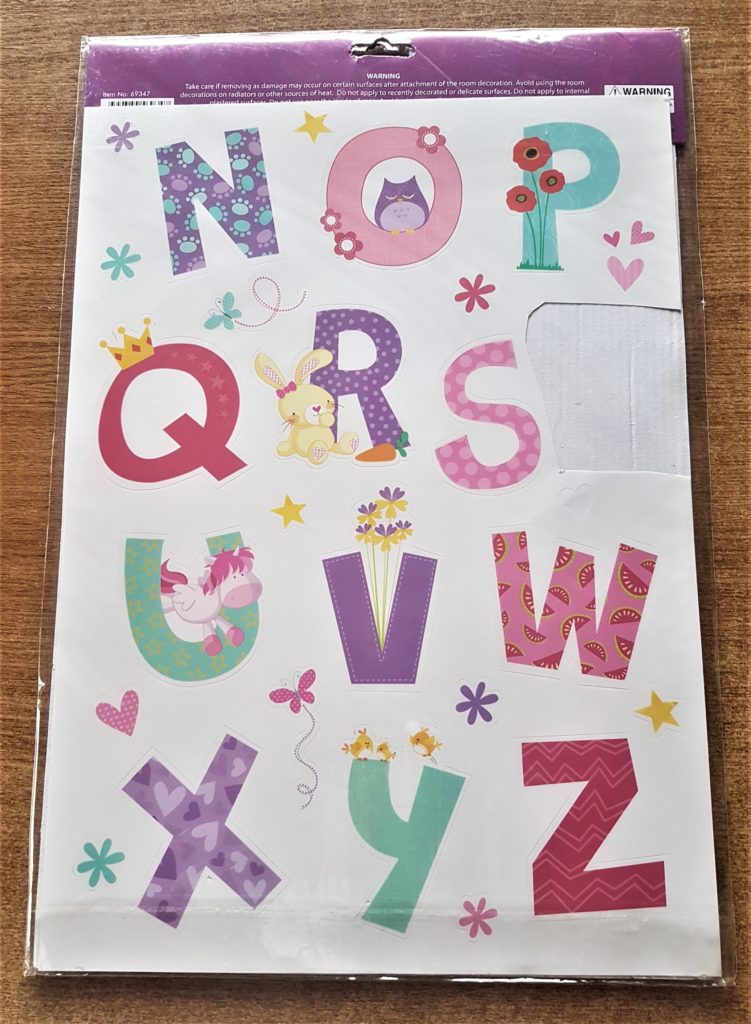
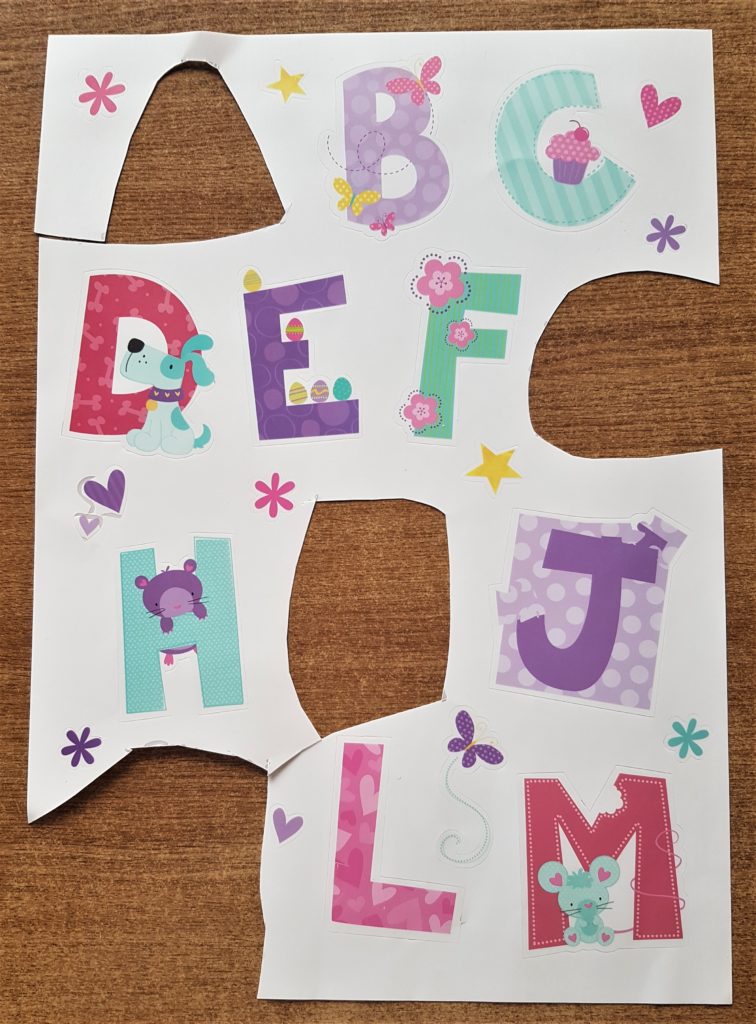
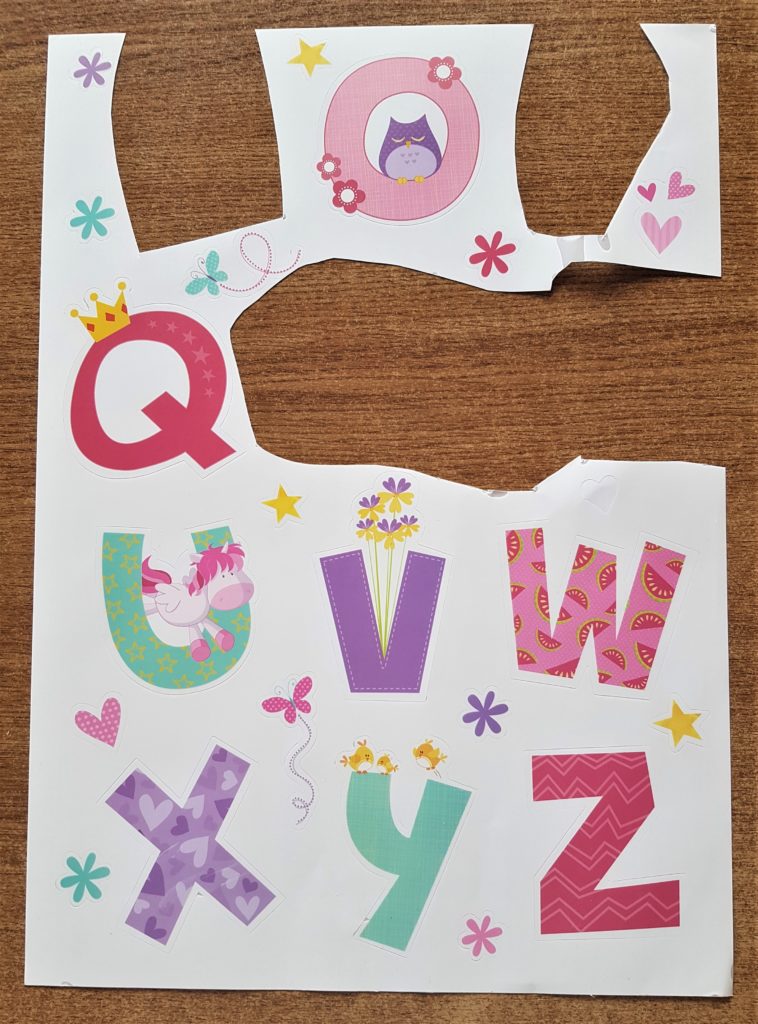
Stickers for the Spring Canvas
I had a Pack of Alphabet Wall Stickers. I used them a few months ago to make a Personalised Child’s Frame. You can find that Tutorial in the ‘Frame Craft’ under Categories if you are looking for ideas on how to Personalise your Child’s Room. I thought they would be cute to add to the Canvas for this Craft.
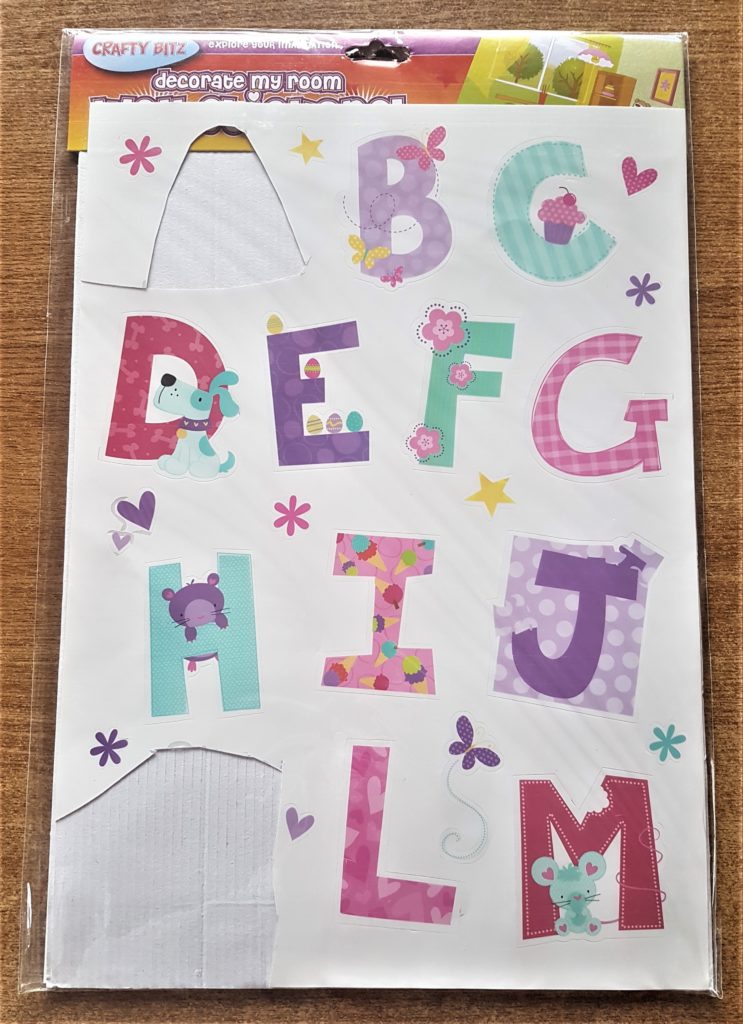
This is the second sheet of the Alphabet Wall Stickers.
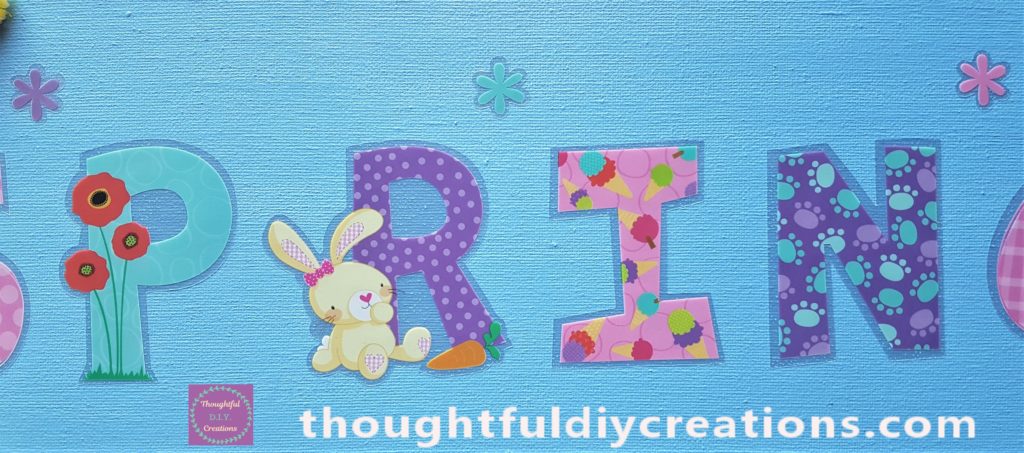
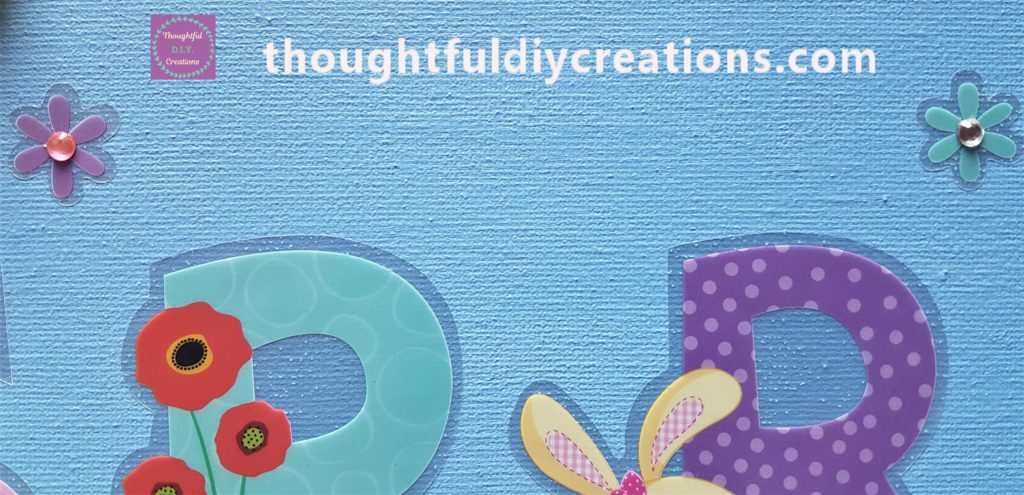
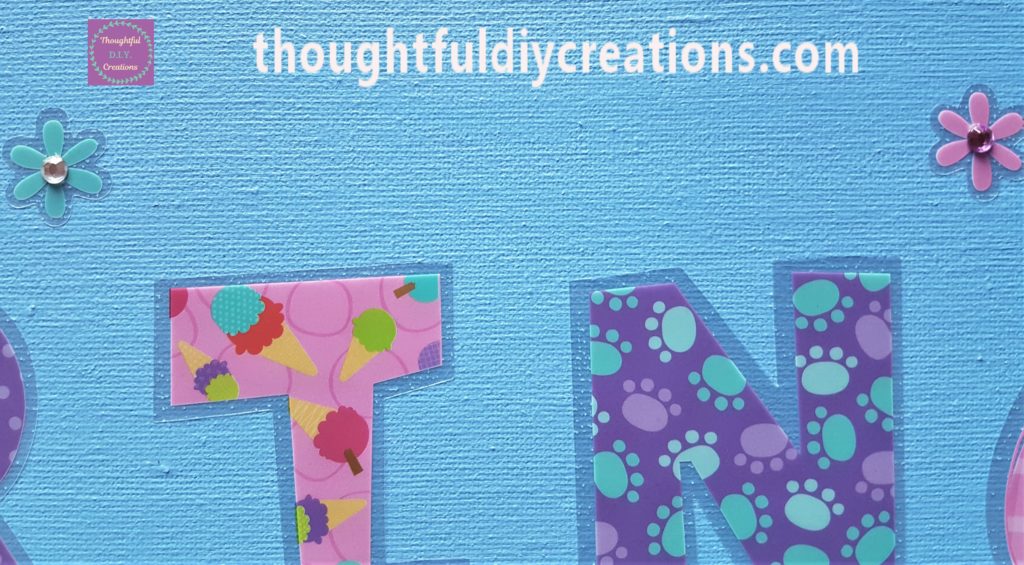
I cut around each of the letters to spell the word SPRING. Wooden Capital Letters.

I put the letters on the Canvas to give myself an idea of where to place them. Wooden Capital Letters.

I was happy with the placement so I removed each sticker from the white backing and attached them to the Canvas.
This is a side view of the Canvas with the stickers attached. Wooden Capital Letters.
Adding Stickers to the Canvas
There were some lovely co-ordinating stickers on the Alphabet Sticker Sheets. 3D Handmade Stickers Spring Flowers.
I chose a Purple, Green and Pink Flower Stickers and attached them to the top of the Spring Canvas. 3D Handmade Stickers Spring Flowers.
A close-up of the Flower Stickers.
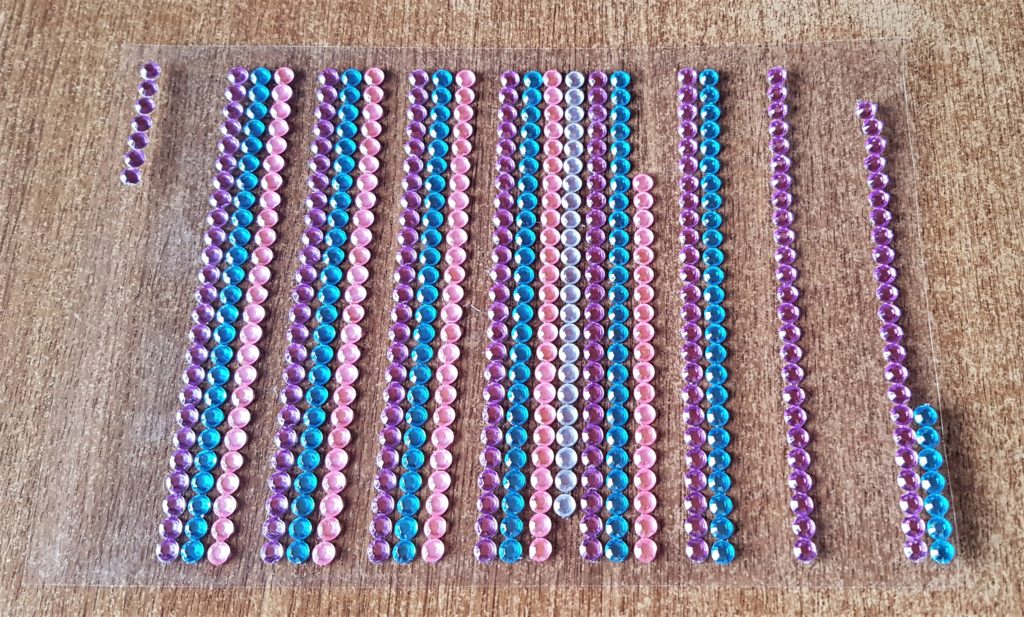
I wanted to add a bit more bling to the flowers. I had a multi-coloured Self-Adhesive Gemstone Sheet in my craft supplies. Rhinestone Stickers.
I added a Pink Gemstone Sticker to the Purple Flower, a Clear Gemstone Sticker to the Green Flower and a Purple Gemstone Sticker to the Pink Flower. Rhinestone Stickers.
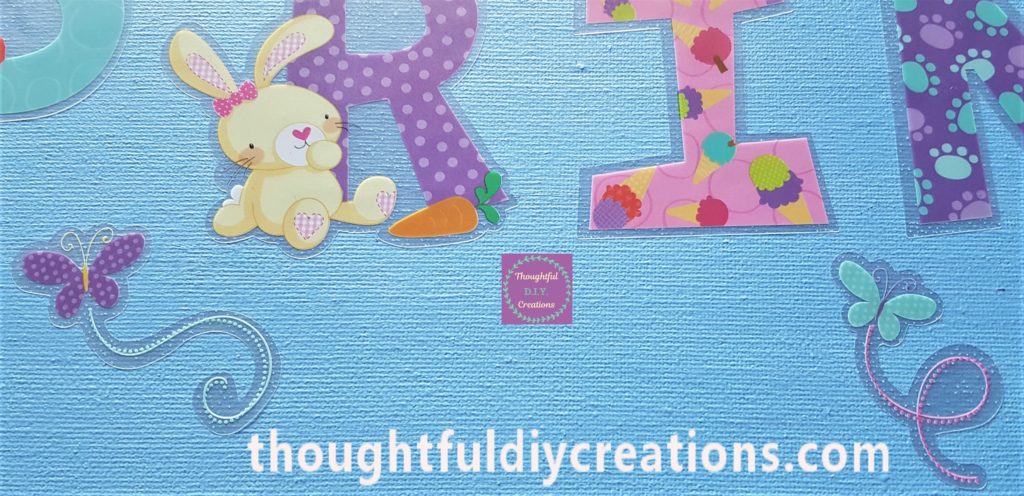
I added a Purple Butterfly Sticker and a Green Butterfly Sticker to the bottom of the Spring Canvas. 3D Handmade Stickers Spring Flowers.
Here is a closer image of the Butterfly Stickers.
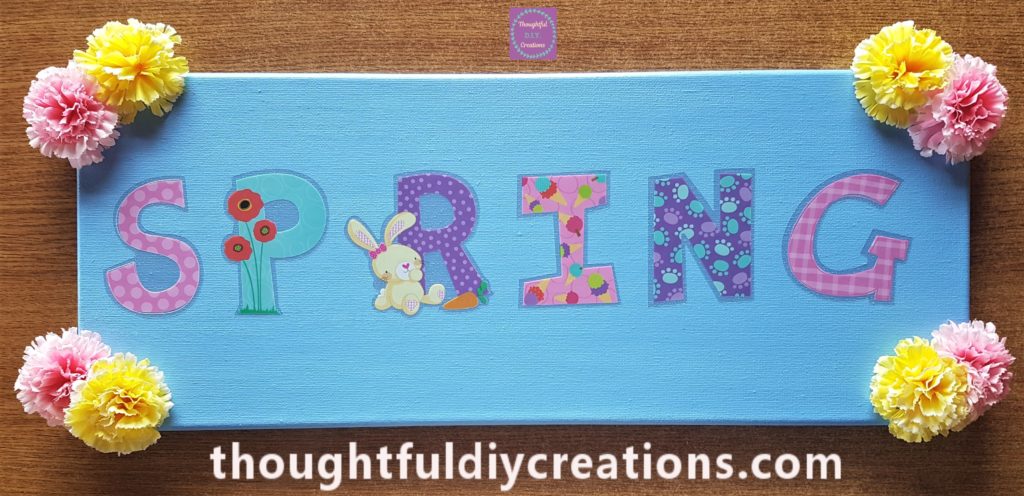
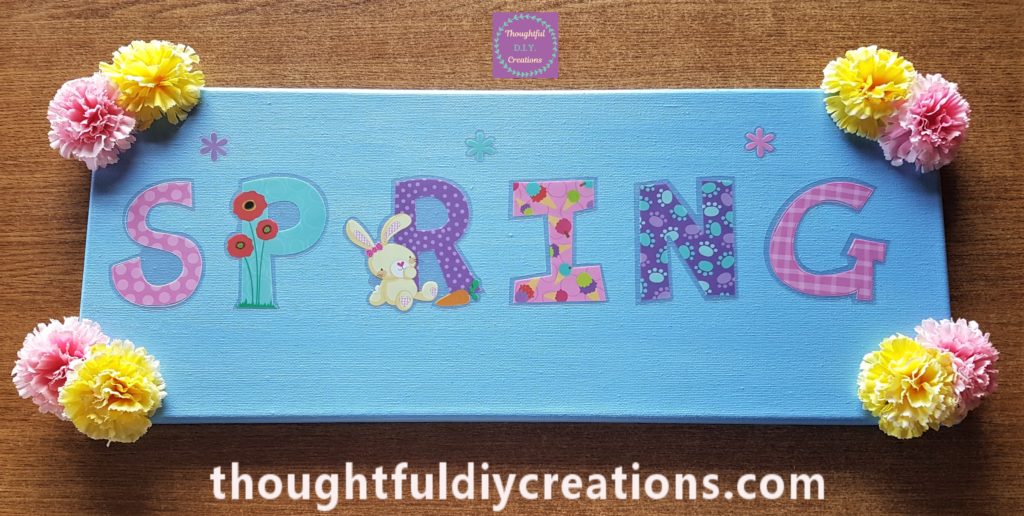
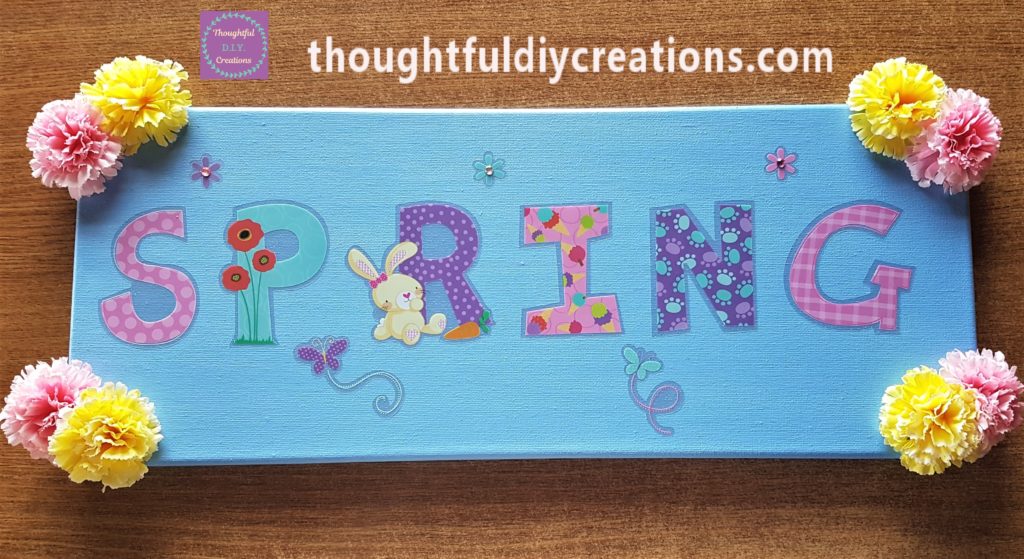
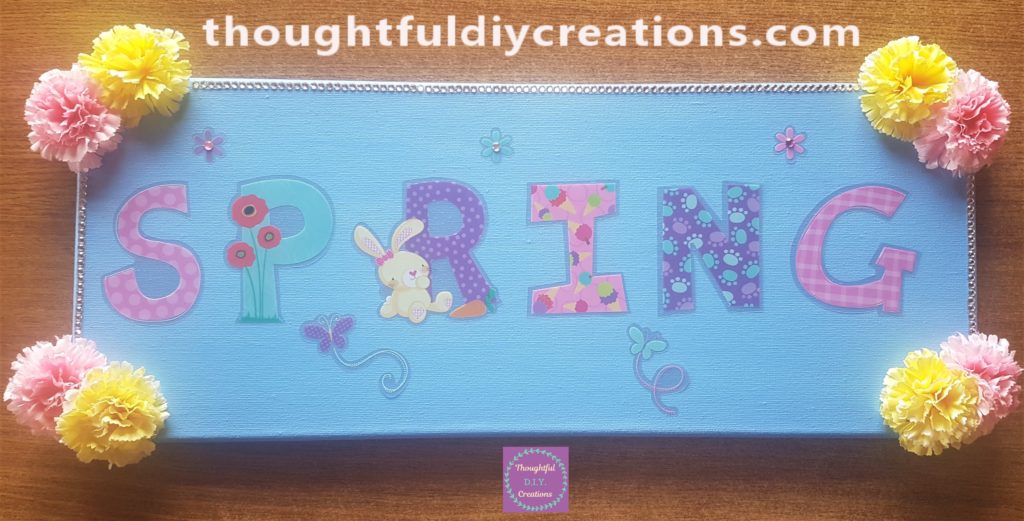
This is a full view of the Spring Canvas.

Finishing Touches to the Spring Canvas
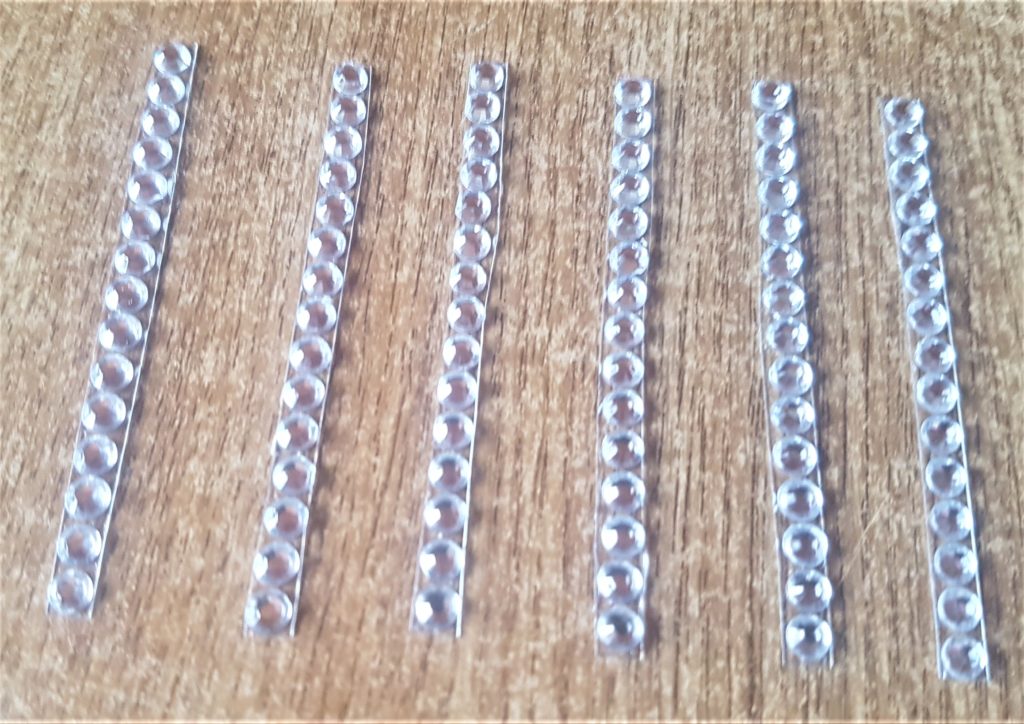
I had a Pack of Clear Self-Adhesive Gem Stones. Clear Self Adhesive Rhinestones.
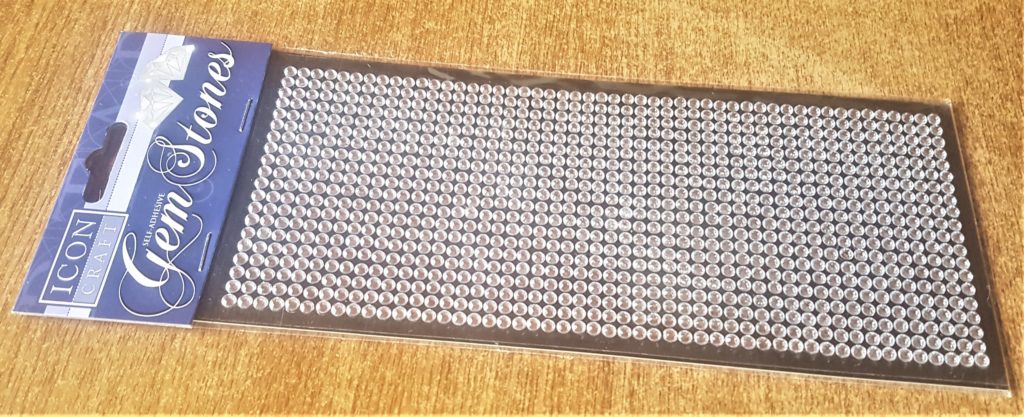
I thought it would finish off the Spring Canvas if I added the Gemstones all around the Canvas as a border. I removed a strip of Gemstones from the clear backing and attached it to the side of the Canvas. Clear Self Adhesive Rhinestones.

A full view of the Canvas with one side of gemstones added.
I added another strip of Gemstones to the other side of the Spring Canvas.
I cut the gemstones into strips, it makes it easier to remove from the clear backing and keep the adhesive attached to each gemstone by applying them in one go.
I attached a strip of gemstones to the top of the Spring Canvas. Clear Self Adhesive Rhinestones.

I continued adding the gemstones until the top of the Canvas was covered.
I repeated the process on the bottom of the Spring Canvas. Clear Self Adhesive Rhinestones.
Slightly closer view of the gemstones attached to the Canvas.

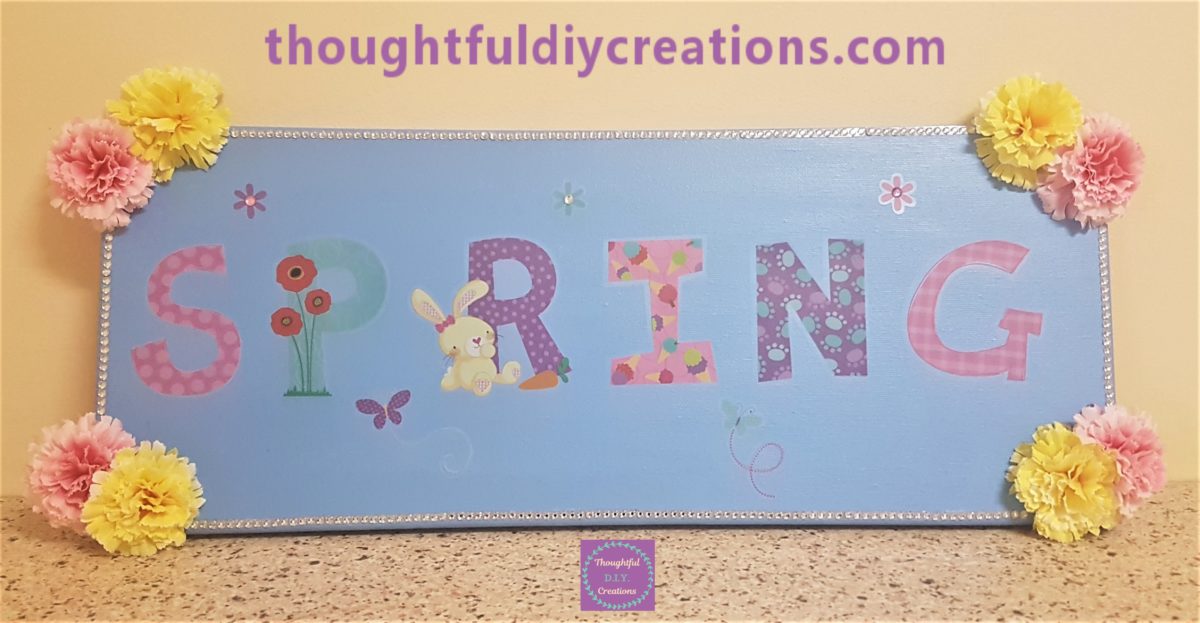
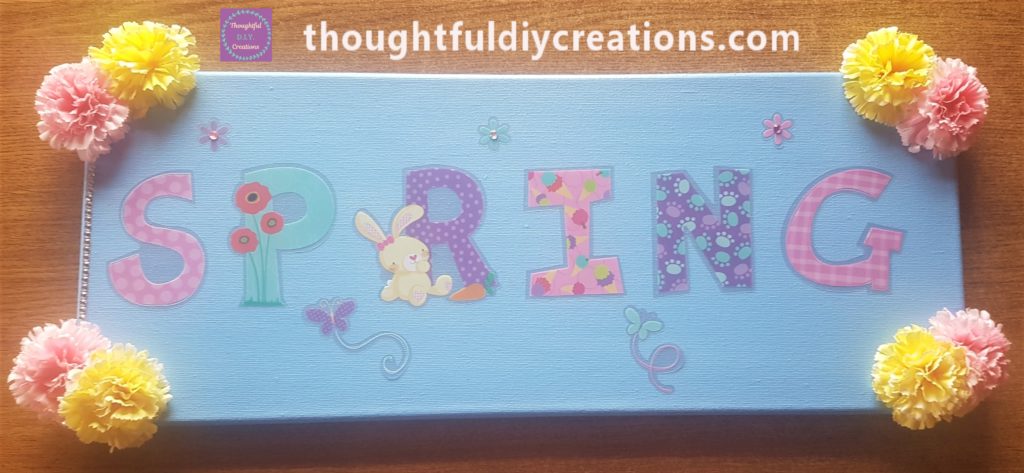
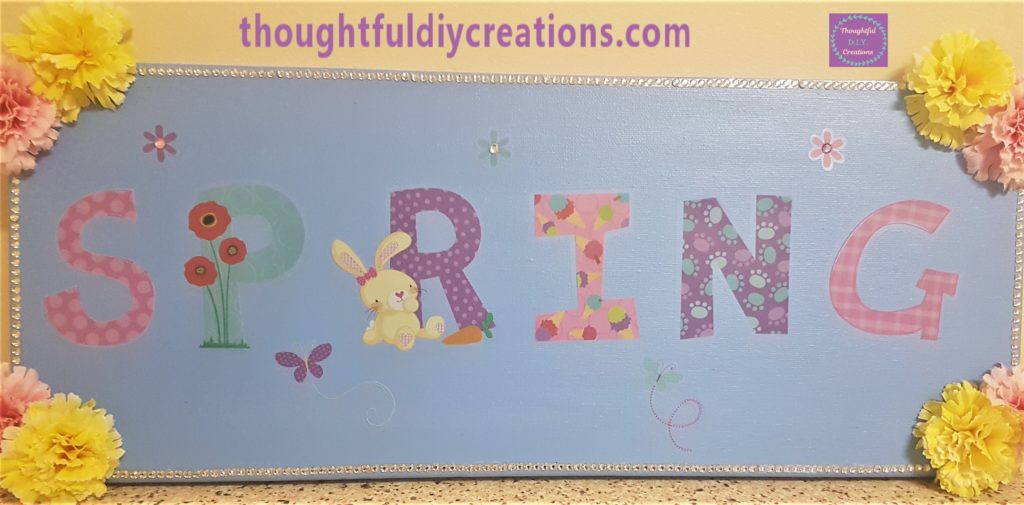
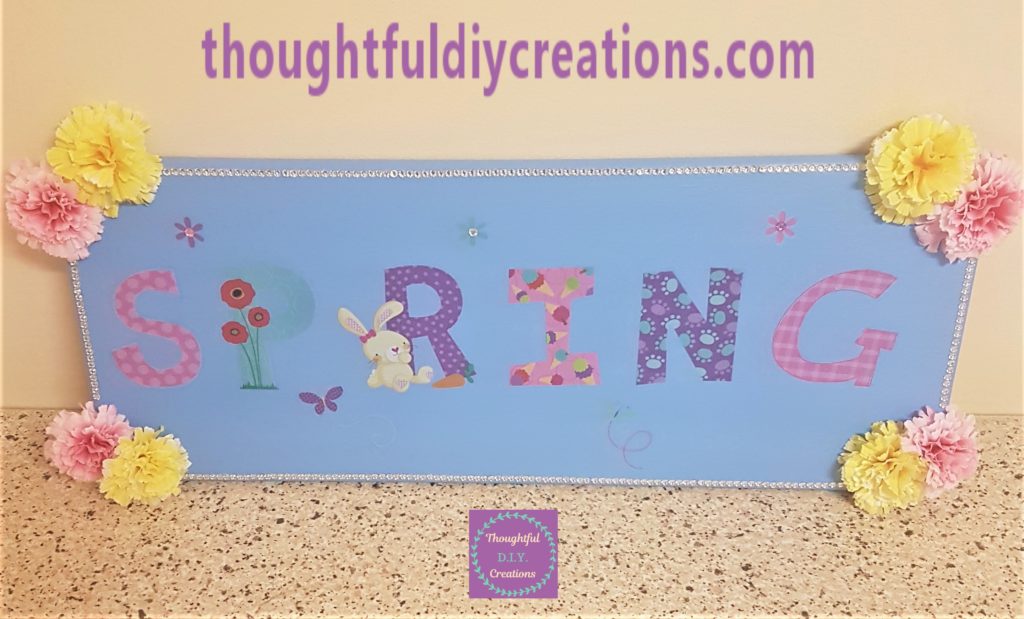
This Completed the D.I.Y. Spring Canvas.
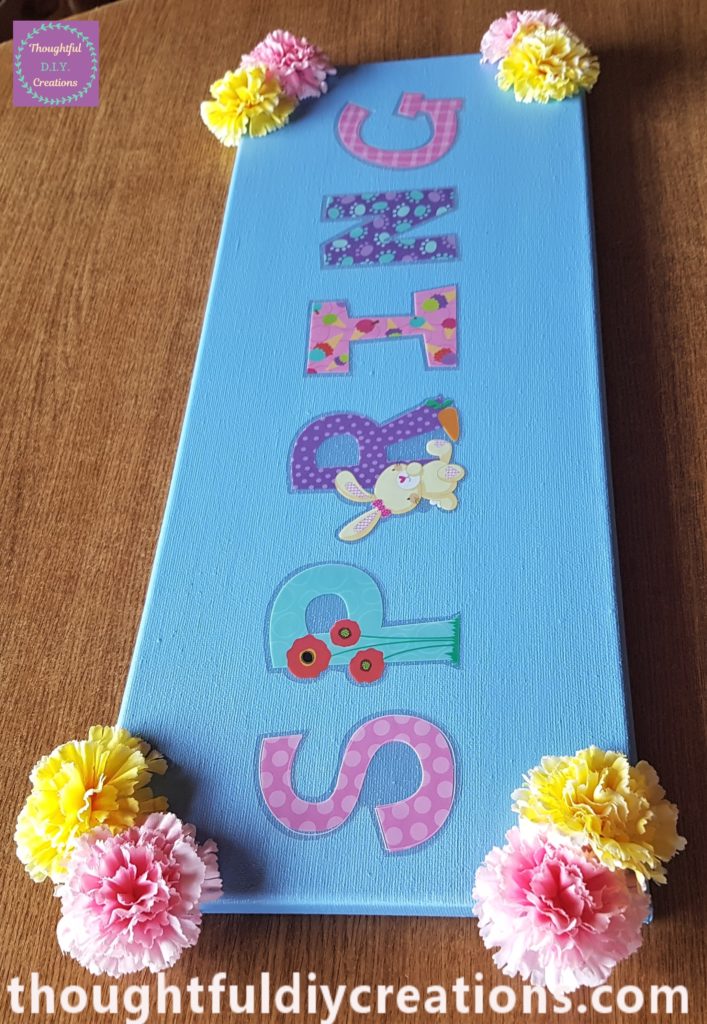
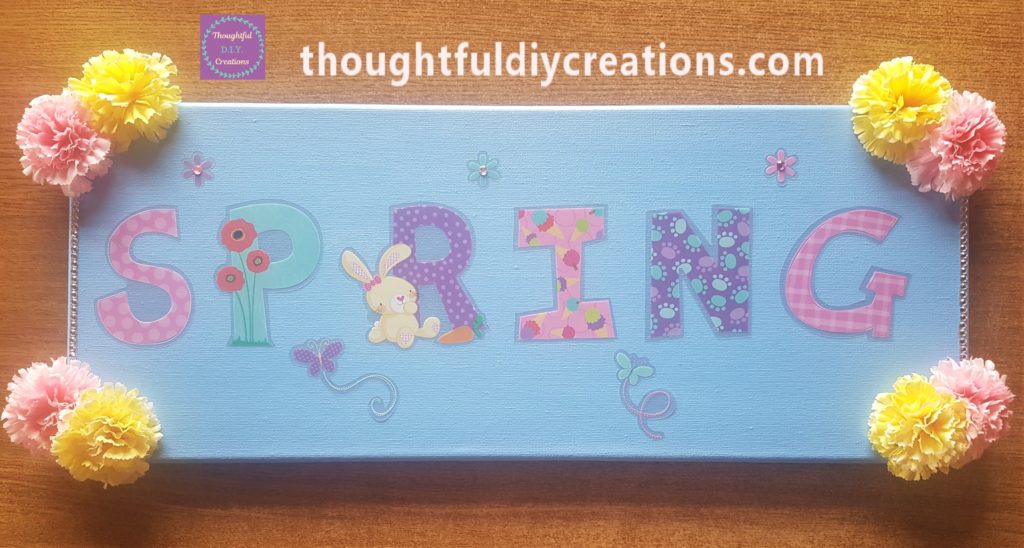
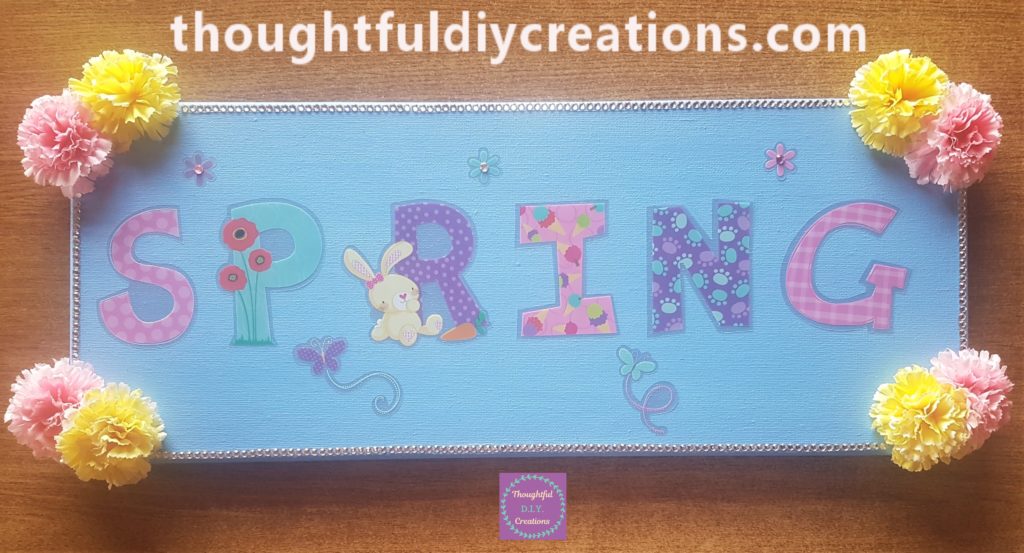
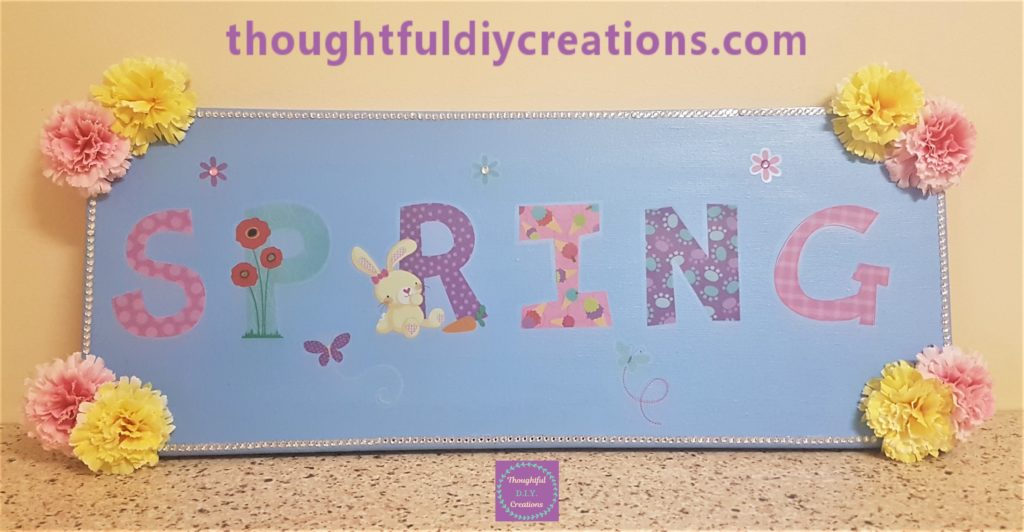
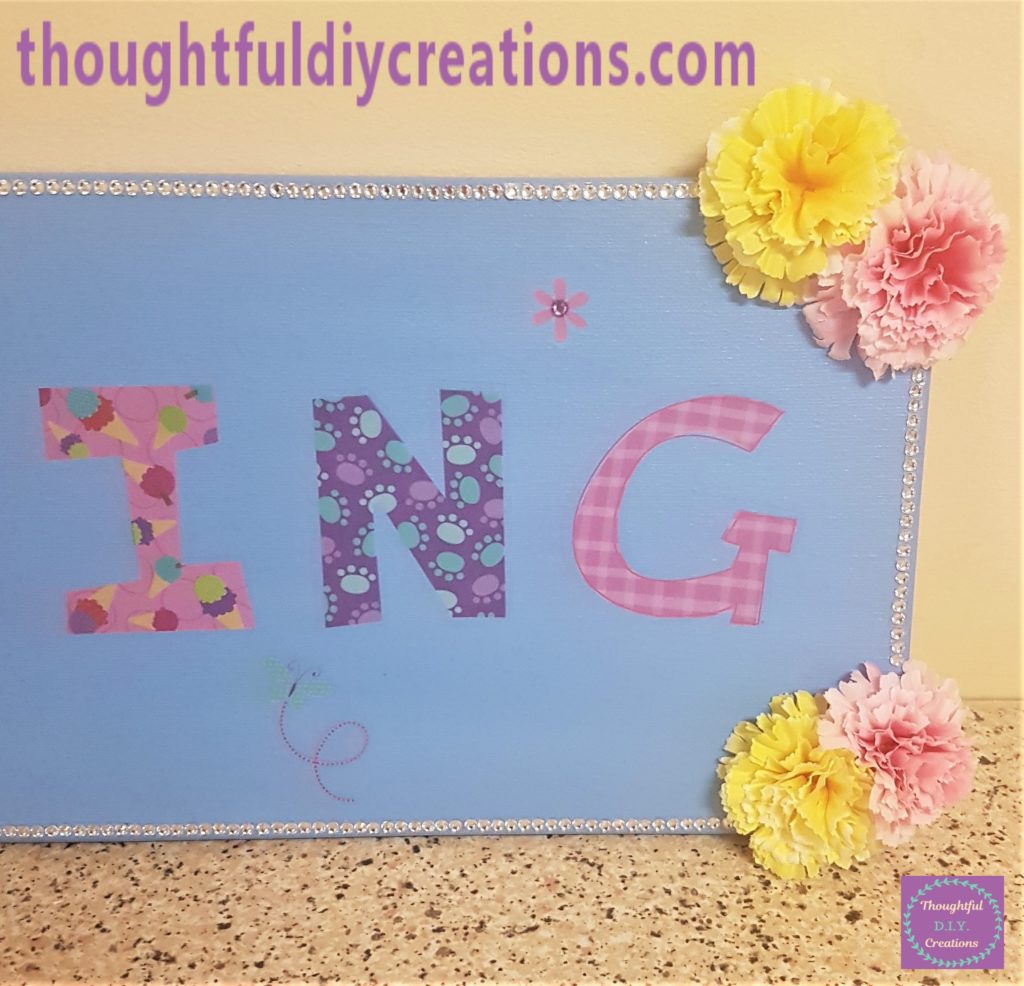
Here are some more images of the finished Canvas.

Side angle of the Spring Canvas.
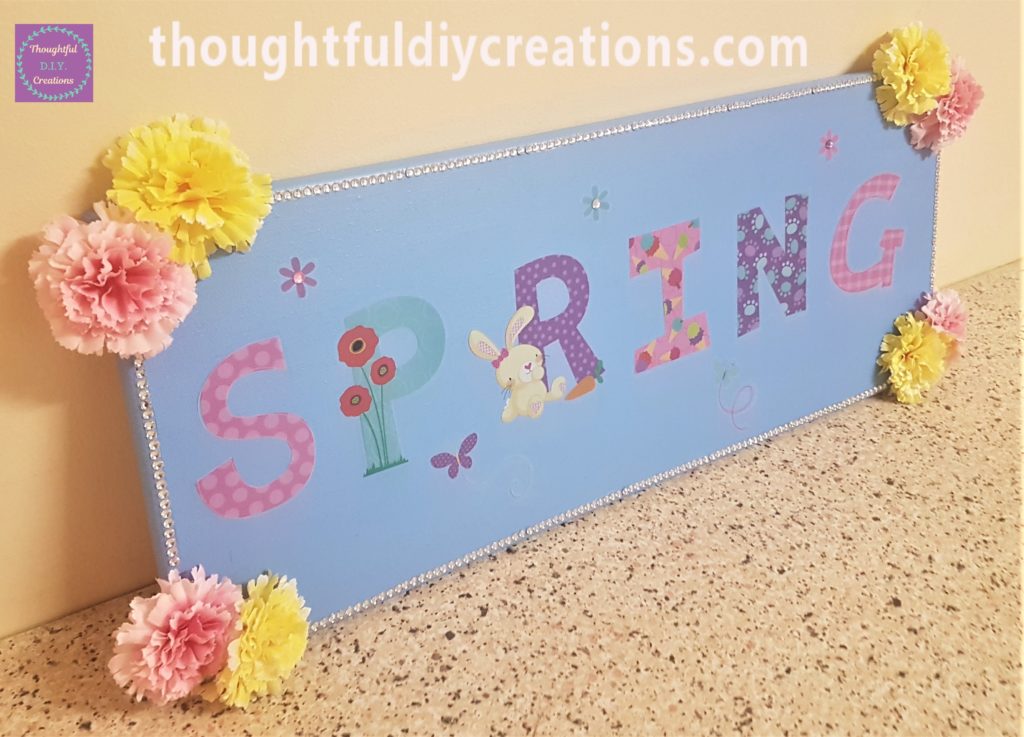
The other side view of the Canvas.


Close-up image of the first half of the Canvas.

Close-up view of the second half of the Canvas.
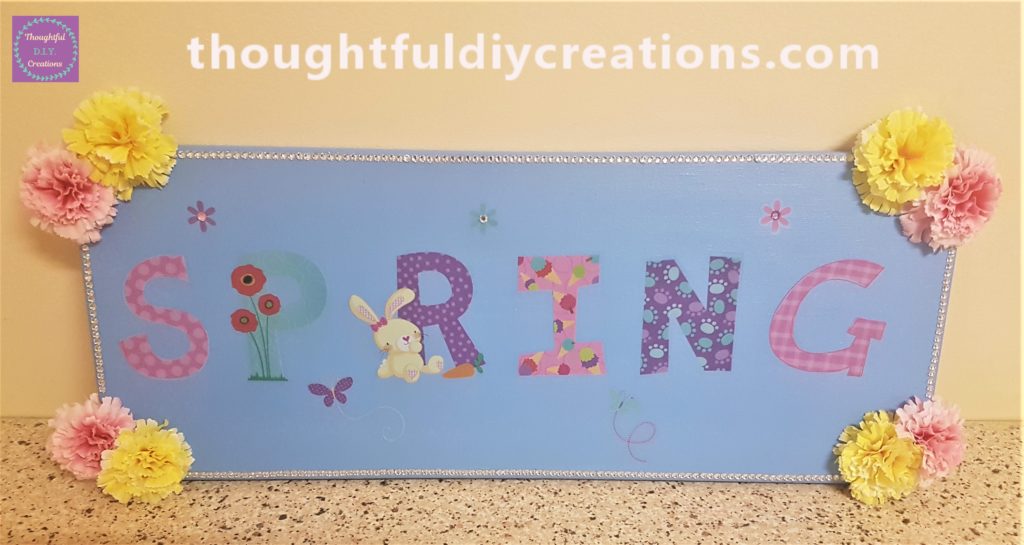
Final Image of the Spring Canvas.
Conclusion
I was really happy with the outcome of my Spring Canvas. I think it’s a cute piece of Home Decor to display each year. I like how colourful it is and the Flowers and Gemstones add to the finished appearance.
I hope it inspires you to do some Spring Crafting. Working with colours and images you like can brighten your mood and lift your spirits. It is a budget craft as there were only a handful of supplies needed to make this Spring Canvas.
You can use different materials than I used if you like, you can use my tutorial as a guide and change whatever you want to make your Spring Canvas unique to you. Have a look at what is in your craft supplies and mix and match a few things to make a new Spring Craft.
Let me know if you give this kind of Craft a try, I’d love to know how it turned out for you. If you have any questions don’t hesitate to ask.
Thank you so much for taking the time to read my Blog,
Always Grateful,
T.D.C.
xoxox