D.I.Y. ‘The Grinch’ Bottle
Hello my Creative Friends,
I hope you are all well. In Today’s Tutorial I will show you how to make a D.I.Y. ‘The Grinch’ Bottle. It is a quick, fun and budget-friendly Christmas Craft which I hope you enjoy and try to make yourself.
Preparing the Bottle for Crafting
I started this craft by soaking an empty wine bottle in the sink with warm water and washing up liquid for about an hour. This softens the label and makes it easy to peel off. I removed the label, then rinsed and dried the wine bottle.

Preparing the Bottle for Spray Painting
I brought the wine bottle out to the shed to spray paint. I took the lid off the bottle and put it on the table in the shed. I put an old watering can on the table and balanced the wine bottle on the spout of the watering can. This is to ensure I can spray paint every angle of the bottle without having to move the bottle. You can use whatever props you have in your home or shed to balance your bottle, just keep in mind spray paint will get on part of your prop so don’t choose anything too good.

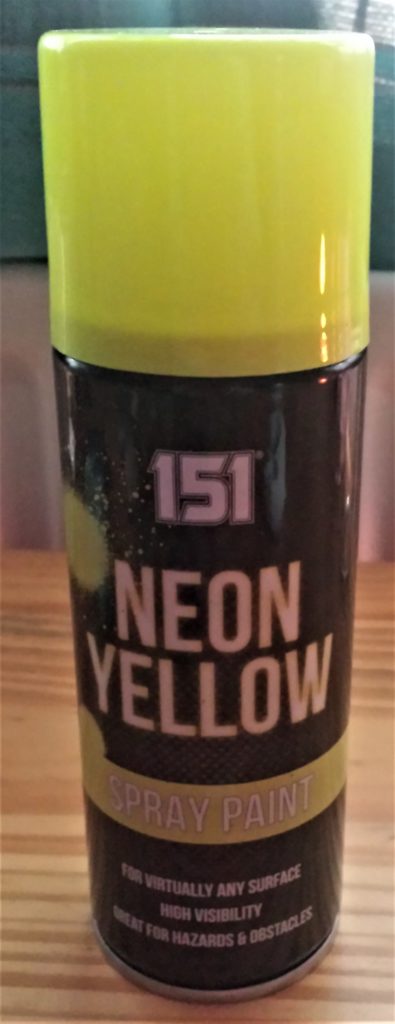
Spray Paint I used for this Craft
Remember to Always Spray Paint in a well ventilated area. I done mine in a big open shed with the side door behind me wide open. Leave the area as soon as you are finished spray painting in order to prevent inhaling any fumes.
The Spray Paint I used was ‘151 Neon Yellow Spray Paint’. Spray Paint Fluorescent Yellow. This colour turned a lime green because it was sprayed on a dark green bottle. If you were spraying on a clear wine bottle you would use a Neon Green Spray Paint. Spray Paint Lime Green.
Spray Painting the Bottle & Lid
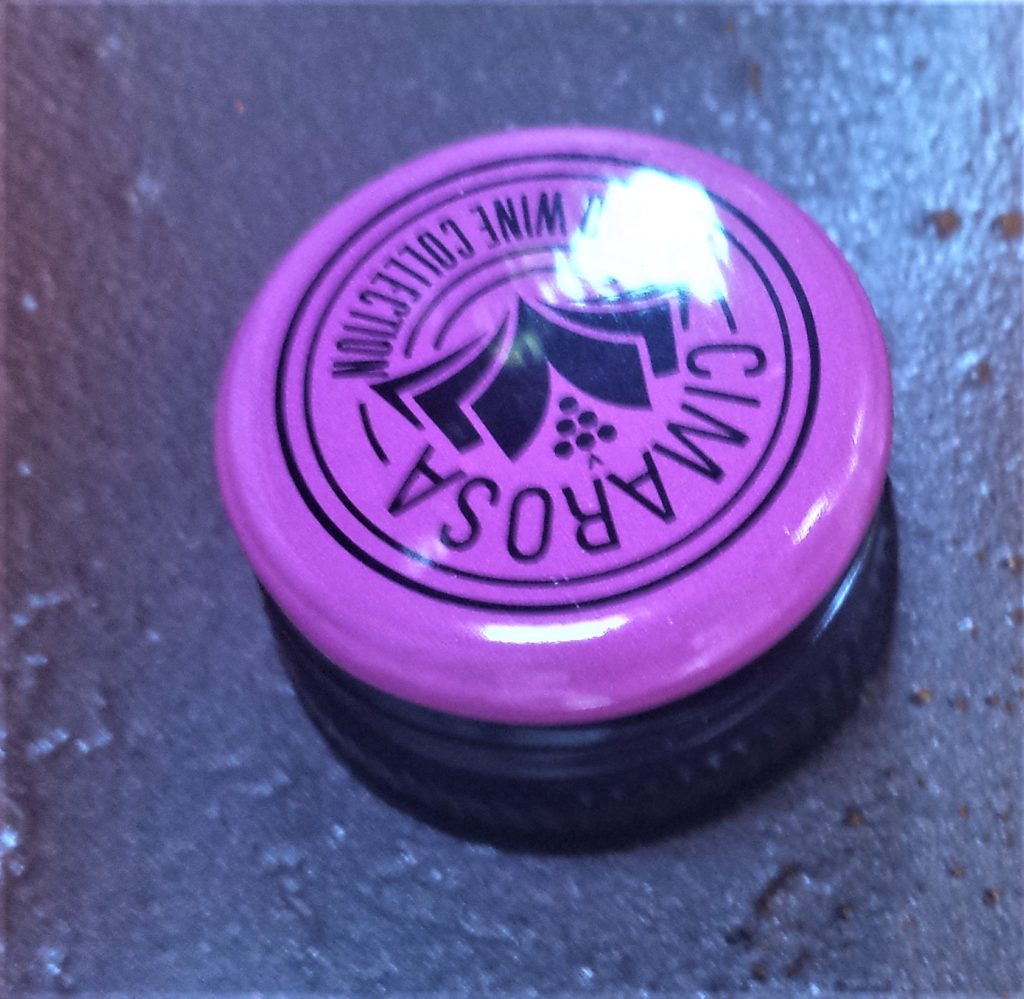
I shook the spray can from side-to-side for about a minute. I took the lid off the spray can and held the spray can about 30 cm away from the wine bottle. I pressed my finger down on the nozzle of the spray can and sprayed the base of the wine bottle first. I then stopped and sprayed from the base to the top of the wine bottle in one go and then stopped again and moved on to the next section. I gave the spray can a quick shake before moving on to the next section and repeated the process of spraying from the base to the top of the wine bottle until the bottle was covered with one layer of spray paint. I then spray painted the lid of the wine bottle. Spray Paint Fluorescent Yellow.
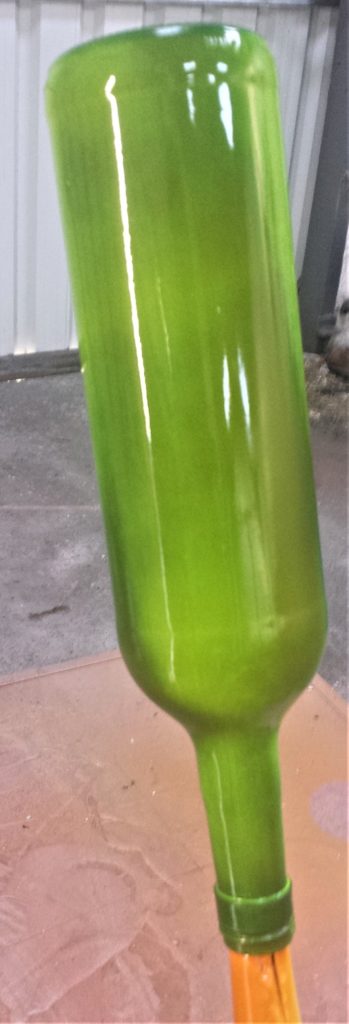
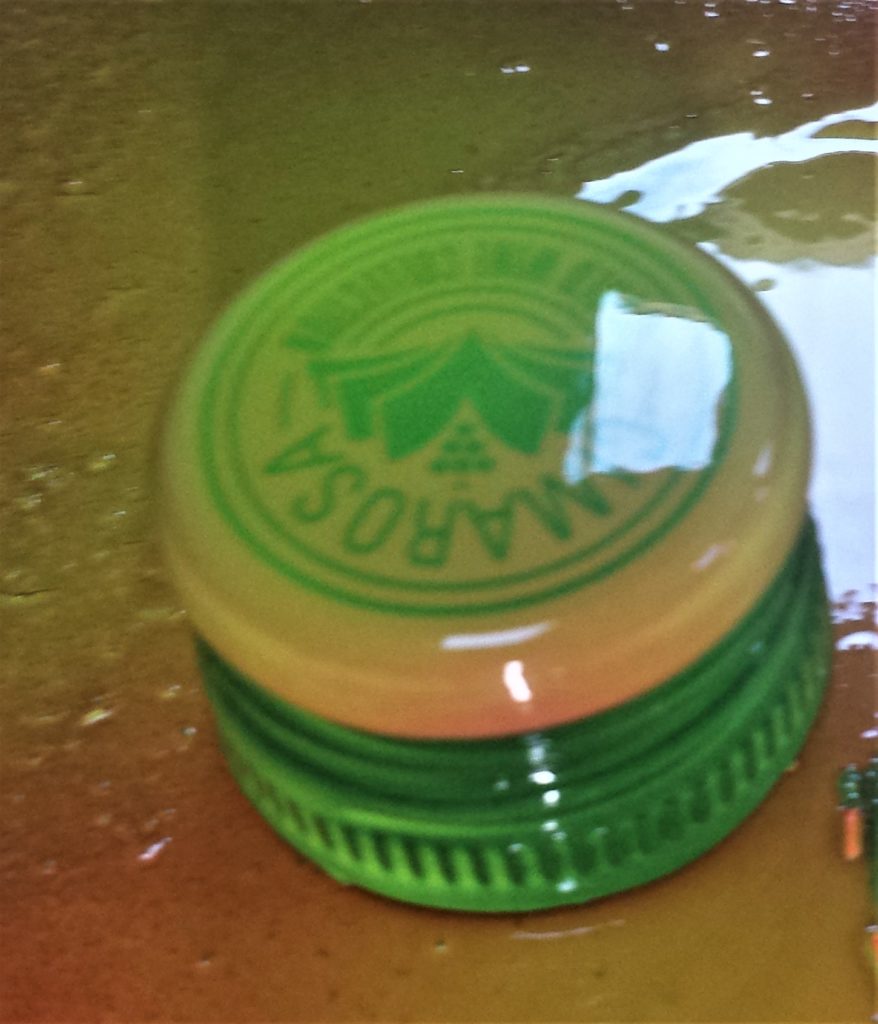
I left the bottle and lid to dry for an hour and then I returned to the shed and applied the second layer of spray paint to each item. Spray Paint Lime Green.
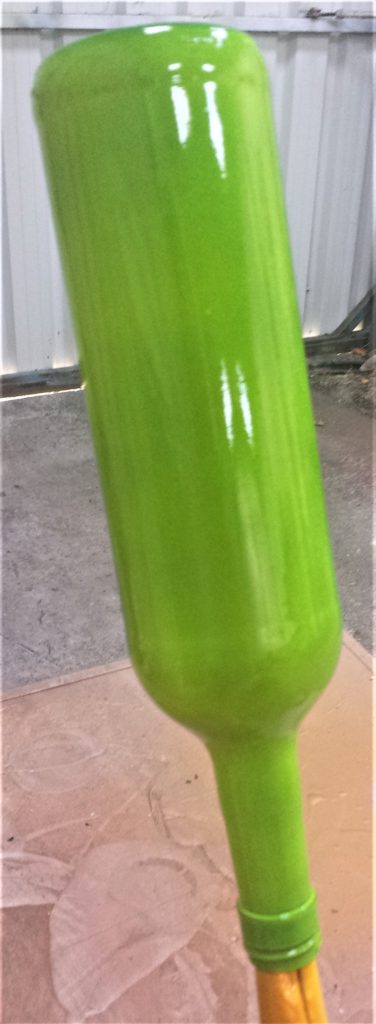
After another hour the third coat of spray paint was applied in the same way. Spray Paint Fluorescent Yellow.
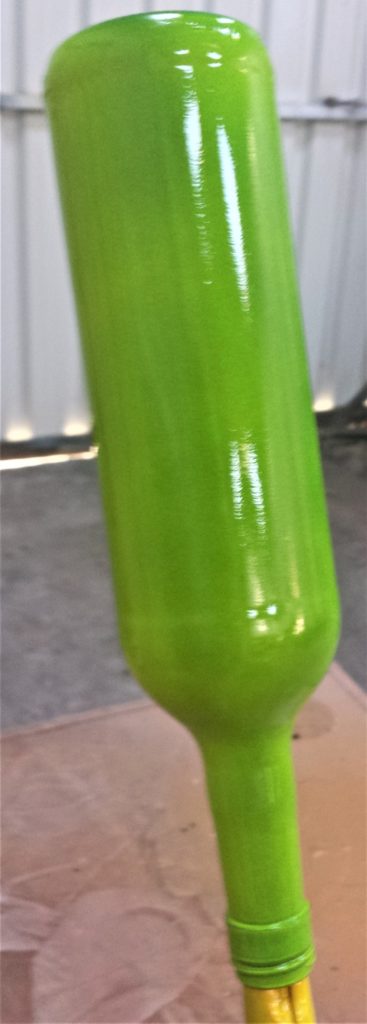
The fourth and final layer of spray paint was applied after yet another hour. Spray Paint Lime Green.

I left the bottle and lid in the shed to cure for 48 hours after the final layer of spray paint.
After the 2 days I brought the bottle and lid back inside. I was really happy with the appearance, I thought it was the perfect colour for The Grinch.

Finding Inspiration for The Grinch
I looked up ‘The Grinch’ on Pinterest to find images for inspiration for drawing his face. I looked at a few different pictures and got ideas from each one. I then done my own interpretation based on a few pictures I had seen.
Drawing the Mouth & Nose of The Grinch
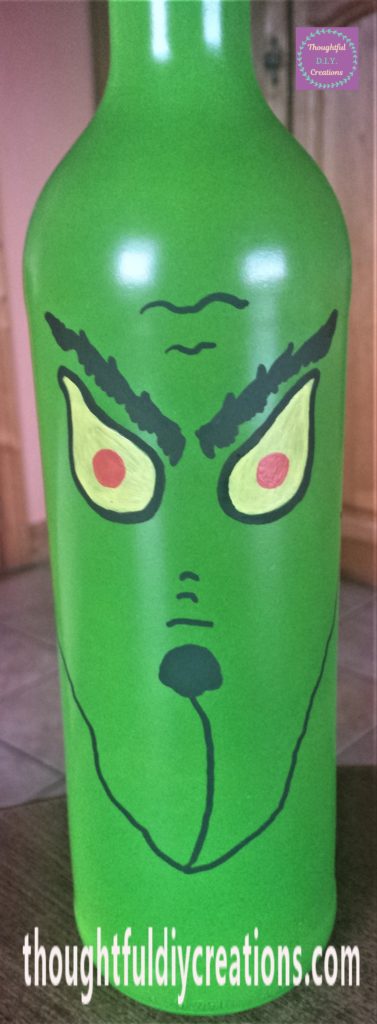
I used a black ‘Daler Rowney Acrylic Paint Marker’ in 2-3 mm to draw the face of The Grinch. Daler Rowney Paint Markers.

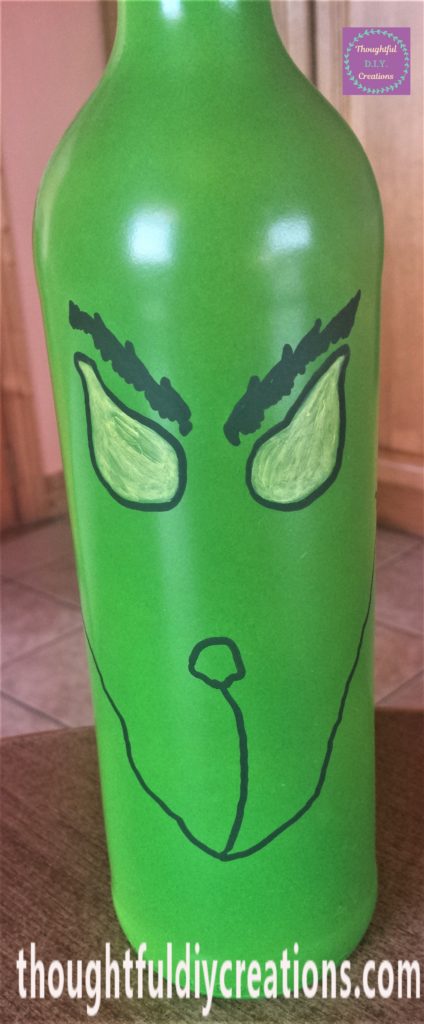
I shook the paint marker up and down for several seconds. I then pressed the nib of the marker up and down on a piece of paper until paint flowed out, it is now ready to use. I drew the mouth and nose of The Grinch onto the green bottle using the black paint marker. Daler Rowney Paint Markers.

Adding the Eyes & Eyebrows to The Grinch
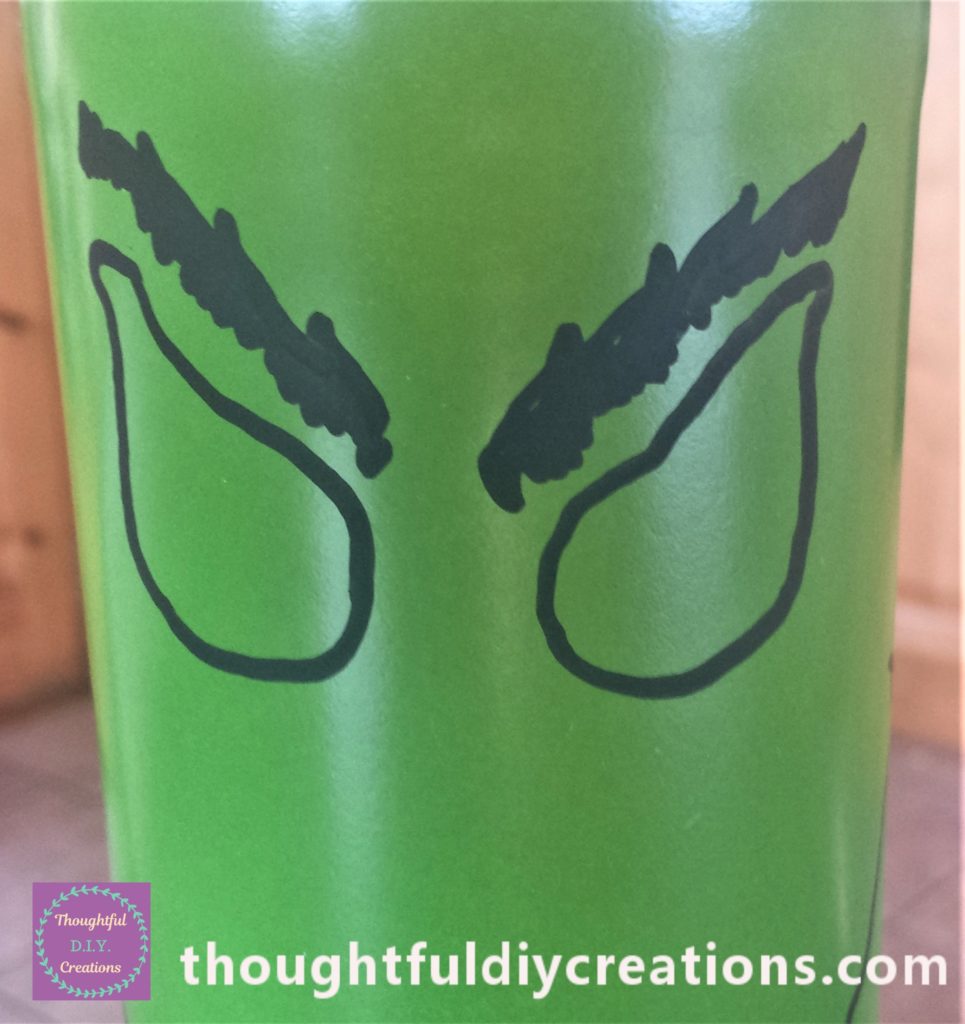
The outline of the eyes and the eyebrows were drawn onto the bottle next. Daler Rowney Paint Markers.
Filling in The Grinch’s Eyes
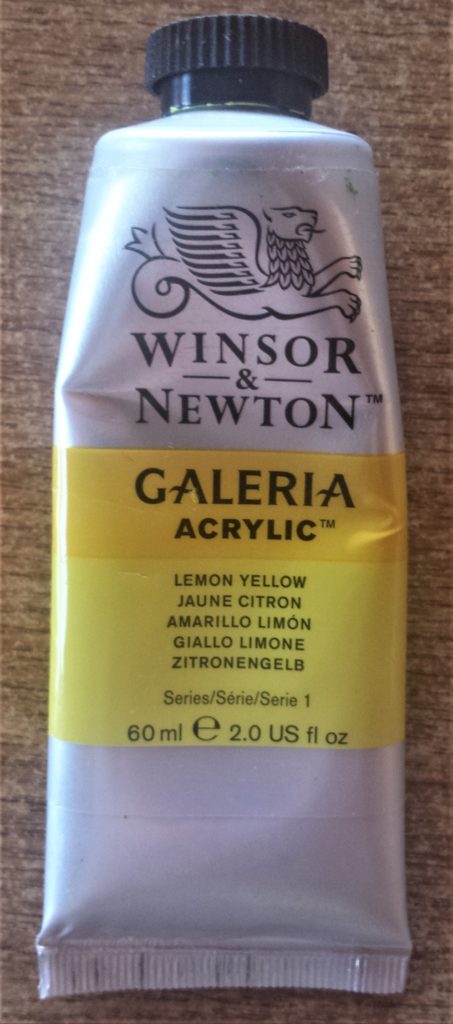
I used ‘Winsor & Newton Lemon Yellow Acrylic Paint’ to fill in the eyes of The Grinch. Winsor & Newton Yellow Paint. I painted them using a fine tip paintbrush. Fine Detail Paint Brush Set.

I applied a few more layers of the yellow paint to the eyes leaving about 15-20 minutes between each layer. Winsor & Newton Yellow Paint.
I used a red ‘Daler Rowney Acrylic Paint Marker’ in 2-3 mm to paint the middle of the eyes. I also added lines over The Grinch’s nose and on his forehead using the black paint marker. Daler Rowney Paint Markers.
Making the Hat for The Grinch
I had a Santa hat which was too small for anyone in my family to wear, it was also too big to put on top of any Christmas ornaments / decorations we had. Every year it was taken down from the attic but never actually used for anything.
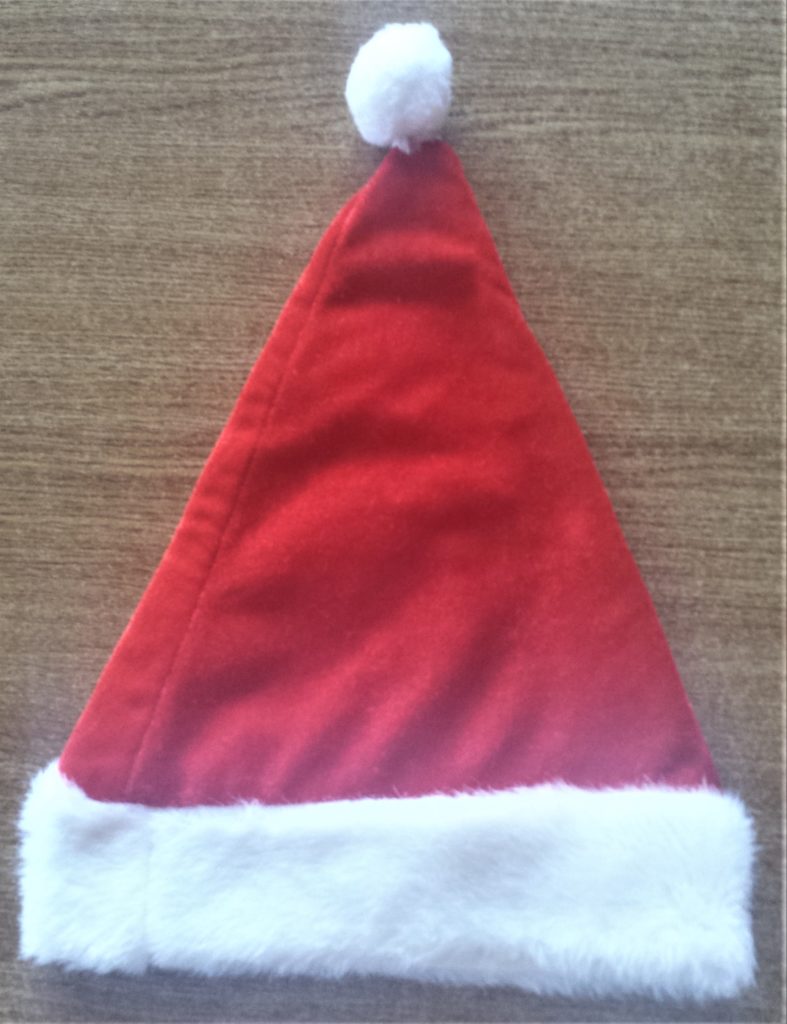
I decided to make use of it and up-cycle it for this craft. I am making a Santa hat to fit The Grinch. I cut off one side of the Santa hat to use as well as the pom pom. Mini Felt Santa Hats.
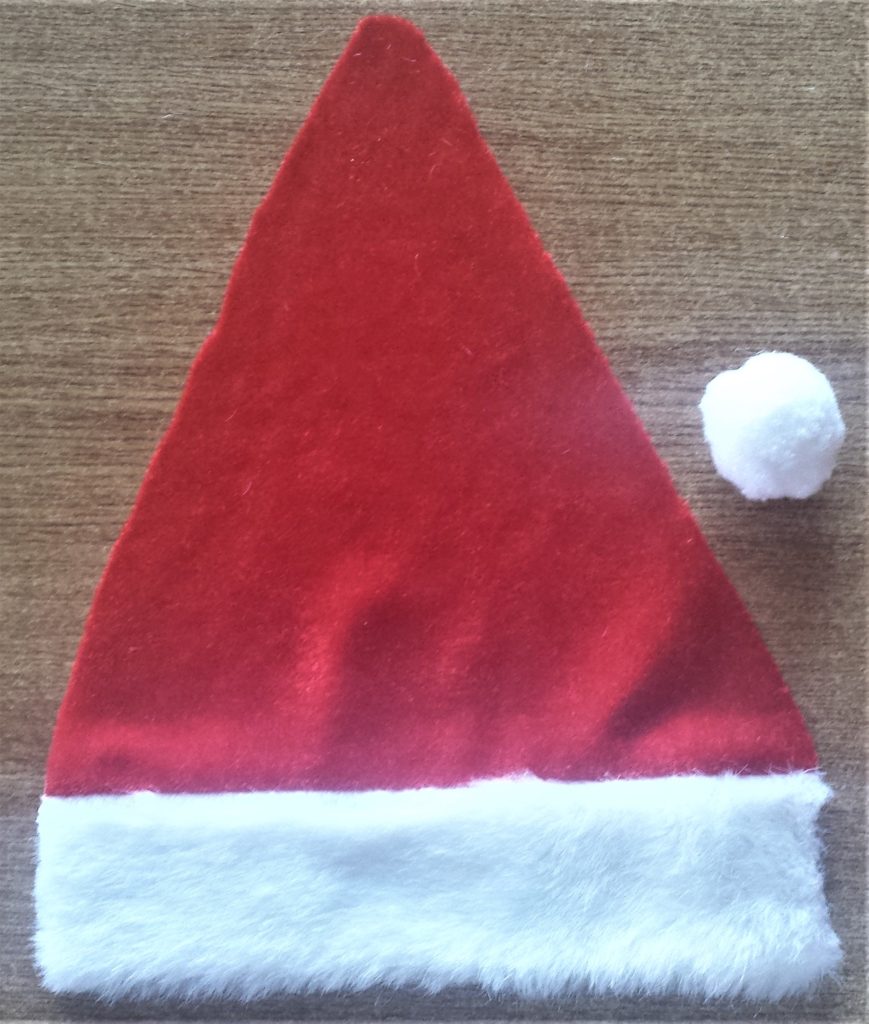
I plugged in my hot glue gun and let it heat up for 5 minutes. Hot Glue Gun. I turned the Santa hat around to the back.
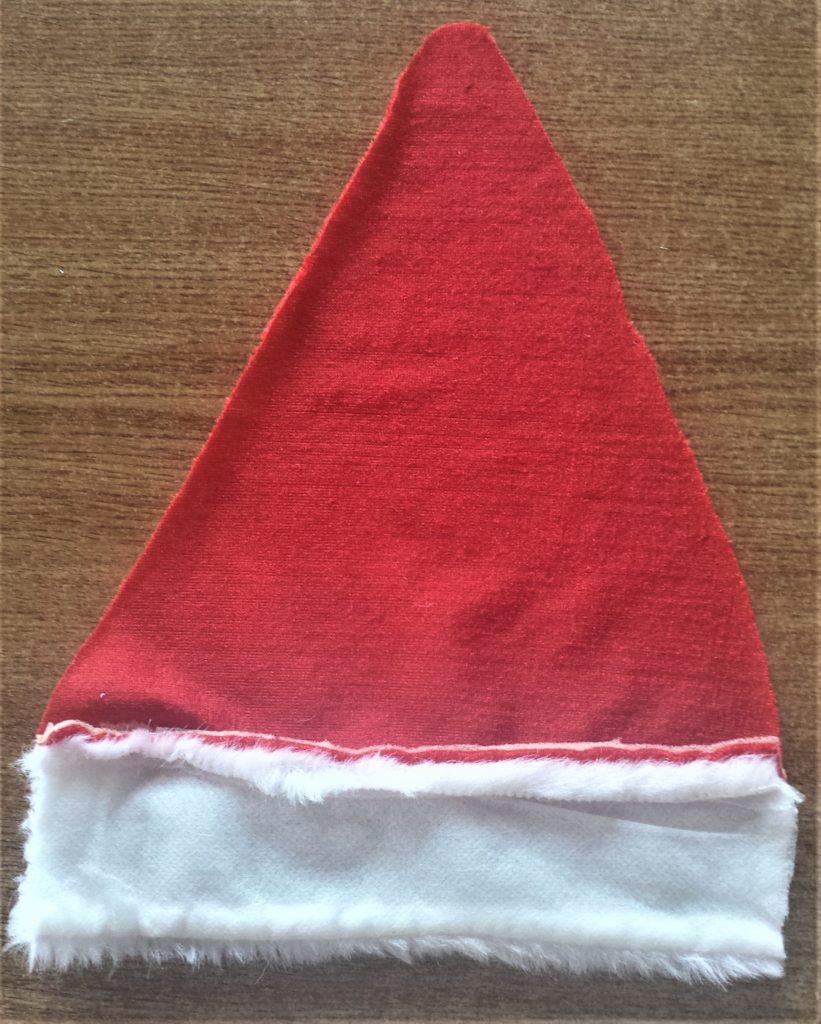
I put hot glue along the outer edge of the white fur and rolled the white fur over in half and gluing it in place. I put hot glue along the top edge of the white fur and pressed the bottom half of the fur to the hot glue on the top half. I applied the hot glue in sections then pressed the fur to it and repeated the process until the whole bottom half of the fur was attached to the top half. I put some hot glue along the other outer edge of the fur and held it in place for a few seconds . This made the white fur half the size it was, it is now more in proportion for using as a Santa hat for The Grinch bottle. Hot Glue Gun.
Always be careful when using the hot glue gun, you can use a pencil or any other object you have nearby to hold the fabric in place for a few seconds as the glue will be hot and you might burn your fingers.
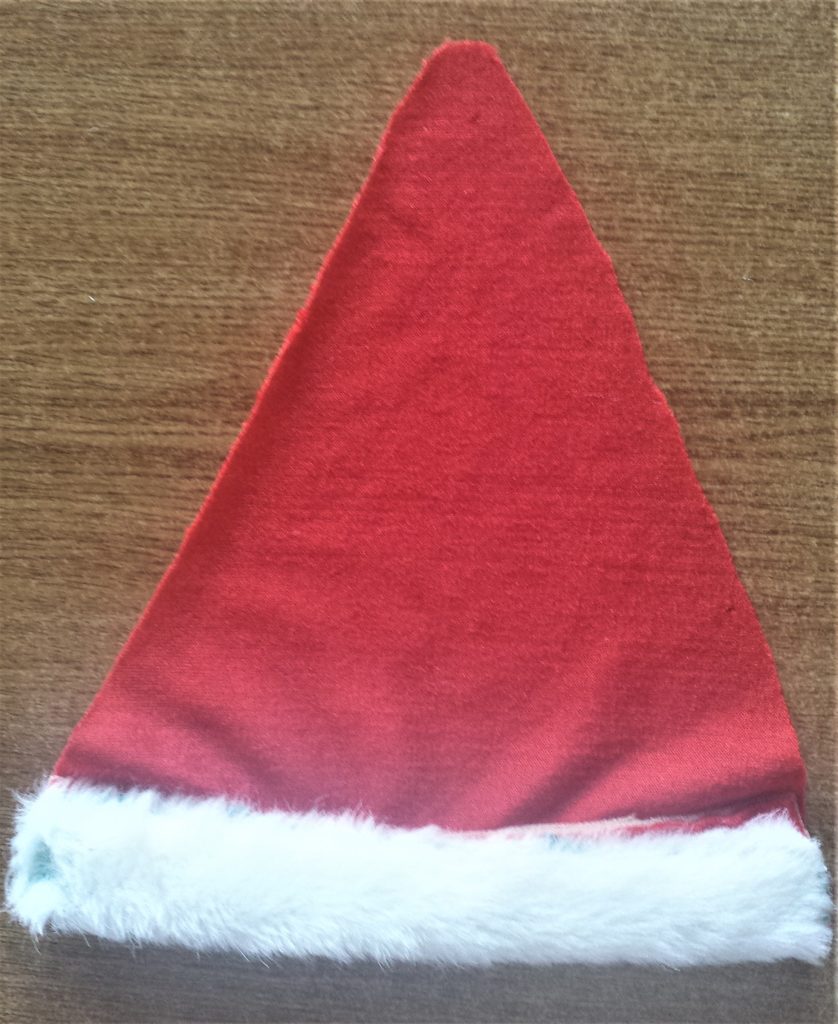
This is the front view of the Santa hat with the white fur halved in size. Mini Felt Santa Hats.
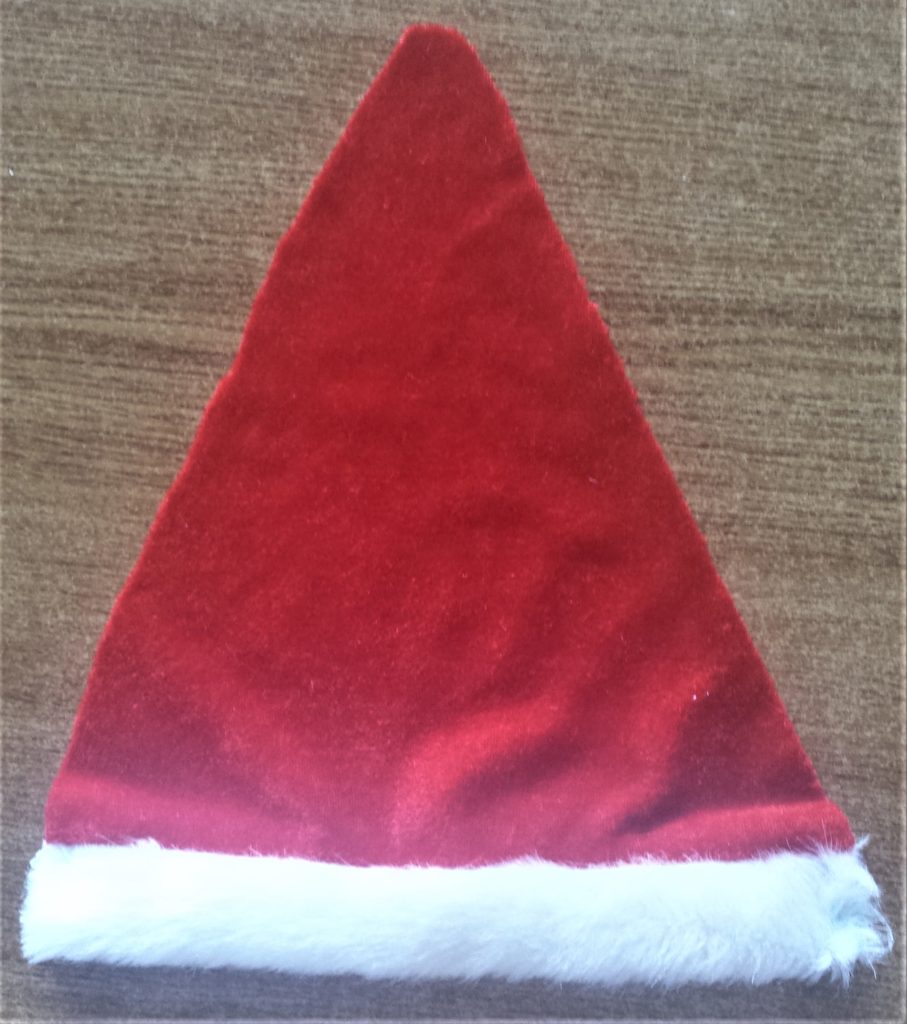
I turned the Santa hat back over and put hot glue all along one edge of the hat and pressed the other half of the hat into the glue to form the hat shape. I put glue along the red opening of the hat and pressed the fabric together to close the hat. Hot Glue Gun.
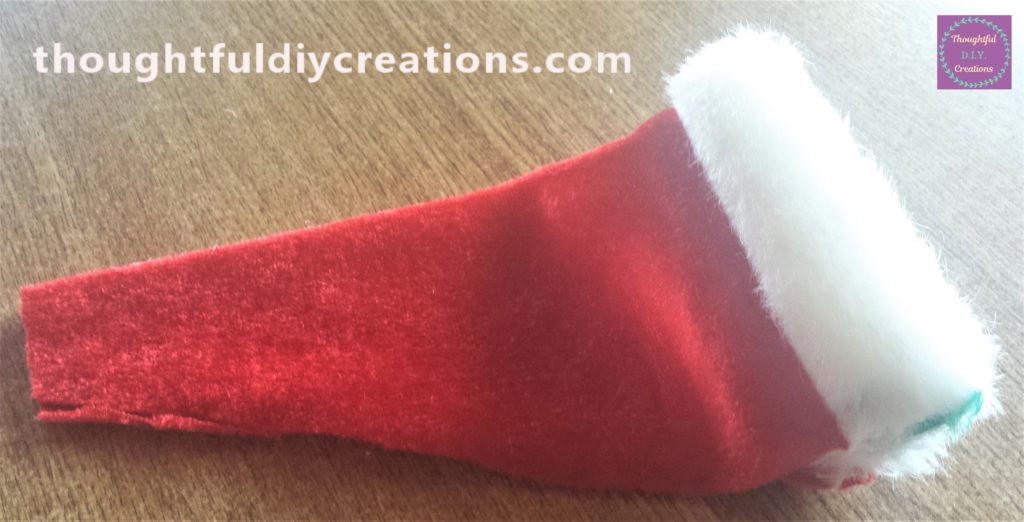
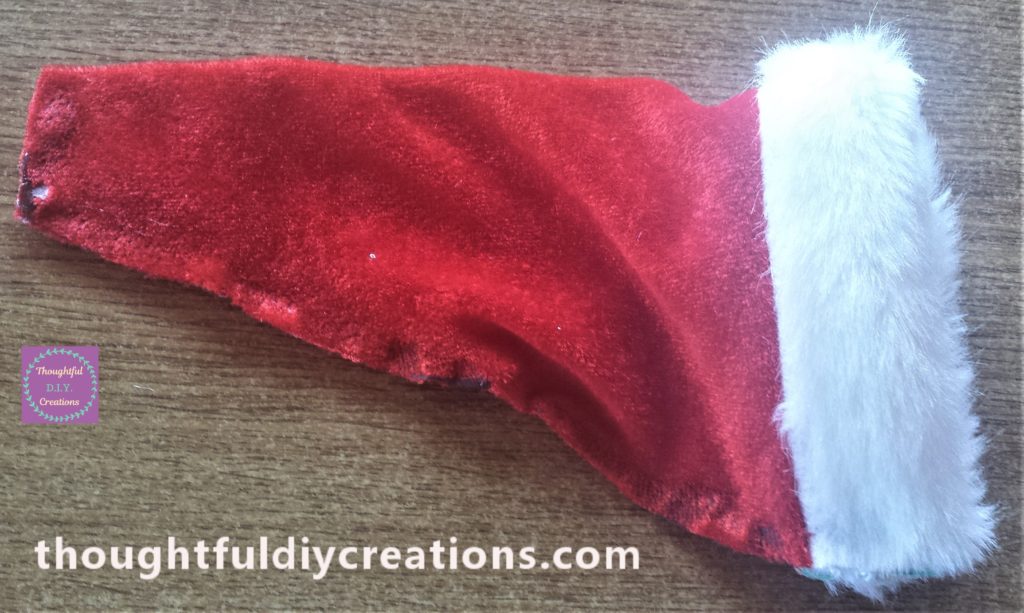
Note: I didn’t have any clear glue sticks left so I ended up using green as it was already in my glue gun. Most of the glued edges of the hat will be put to the back center of the bottle and won’t be seen anyway. A little bit might be seen on the pom pom if you look closely but I don’t think it’s too bad. I would advise to use clear glue sticks if you have them but don’t be afraid to use what you have already. You can sew the hat together instead if you want to but the hot glue is a quick way to get it attached. It’s up to you whichever way you prefer, just go with that.
I was ready to attach the pom pom when I realised I shouldn’t have hot glued the opening of the hat (oops) so I snipped off the top section of fabric from the hat.
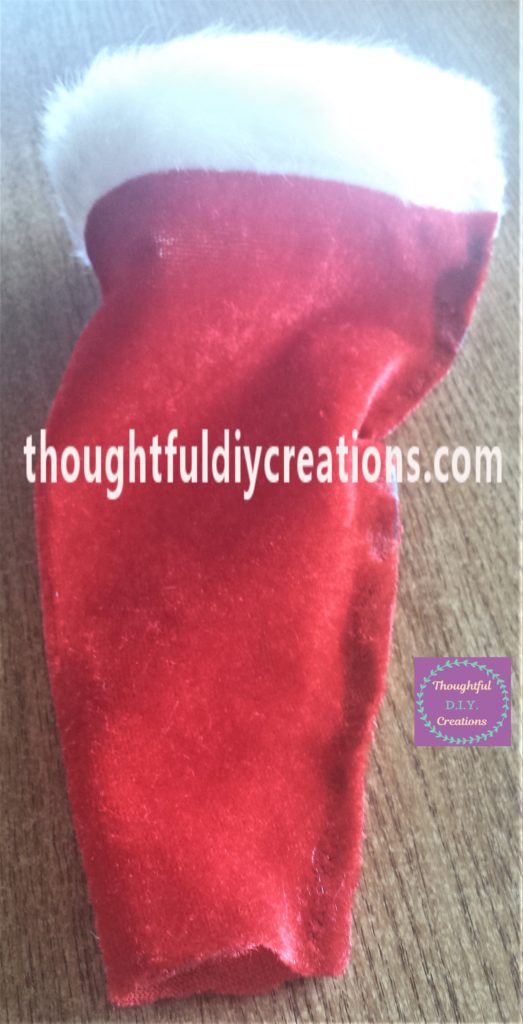
I then put hot glue all around the middle section on the back of the pom pom and held it to the opening of the hat for a few seconds. Mini Felt Santa Hats.
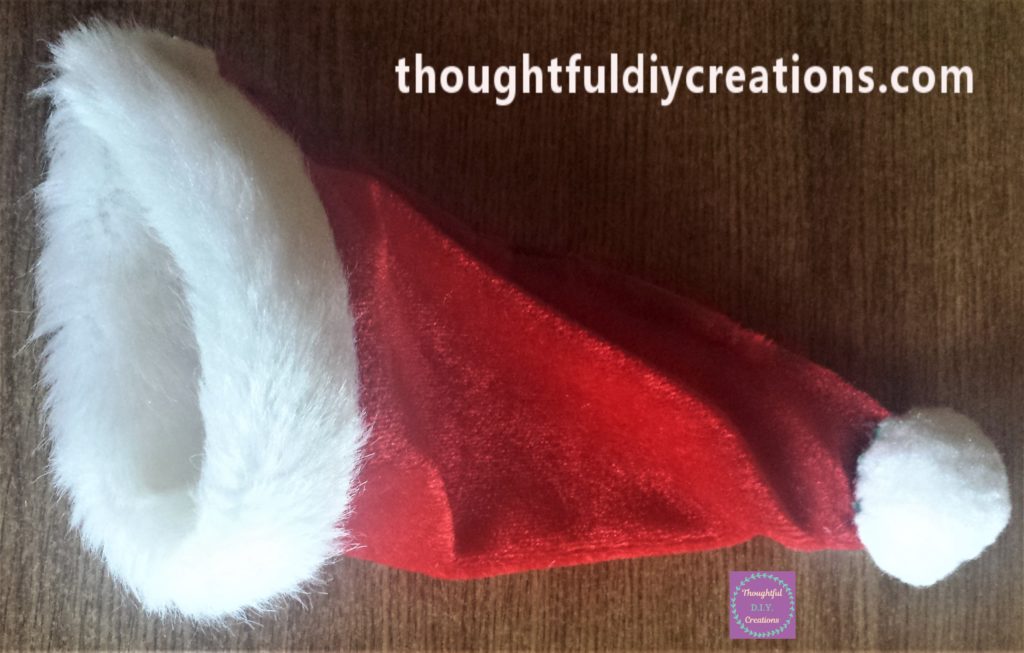
I used a black ‘uni POSCA Paint Pen’ 0.7 mm to outline the red part of the eyes on The Grinch. uni Posca Paint Pen. I then placed the Santa hat on top of the bottle.
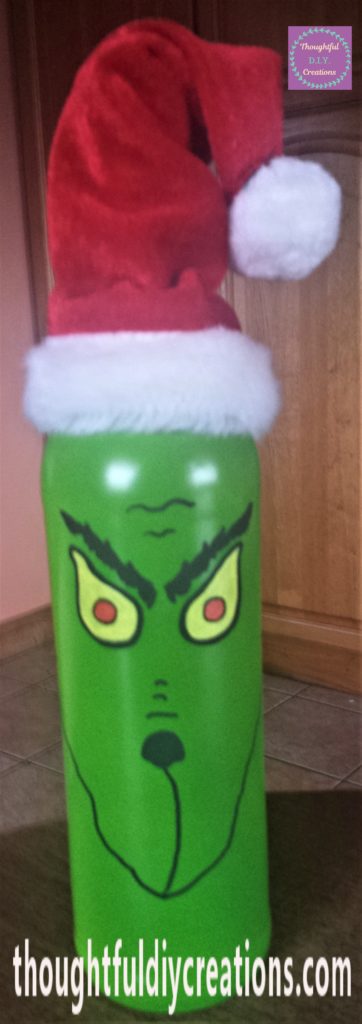
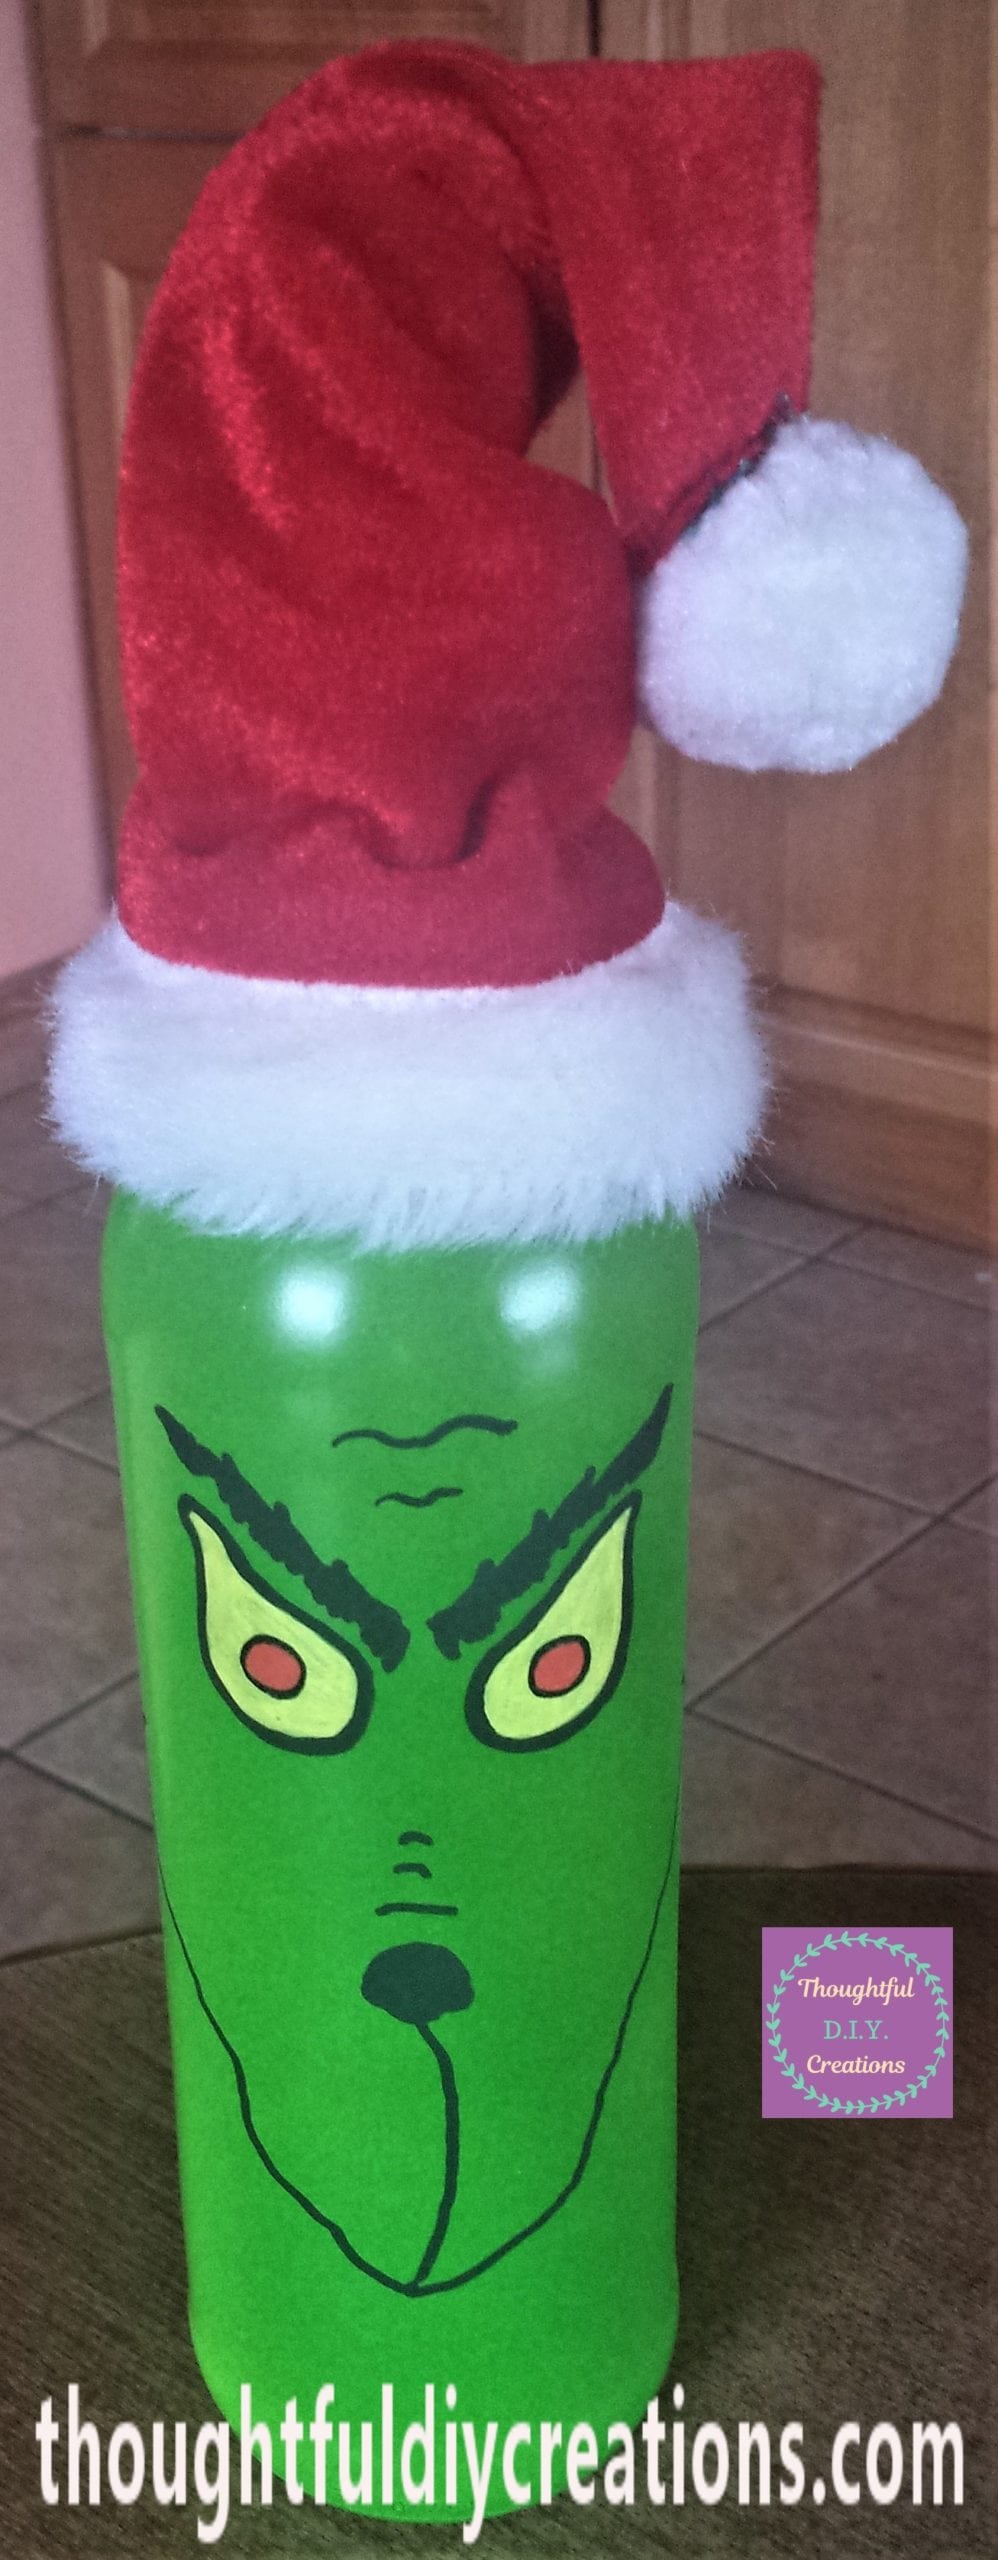
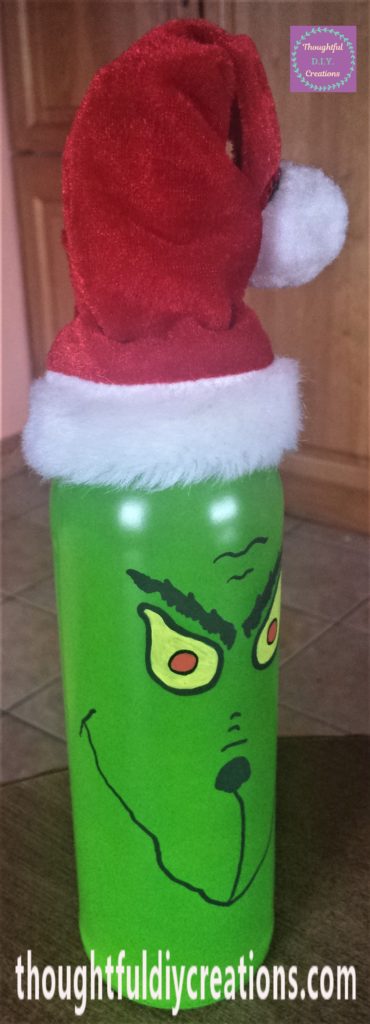
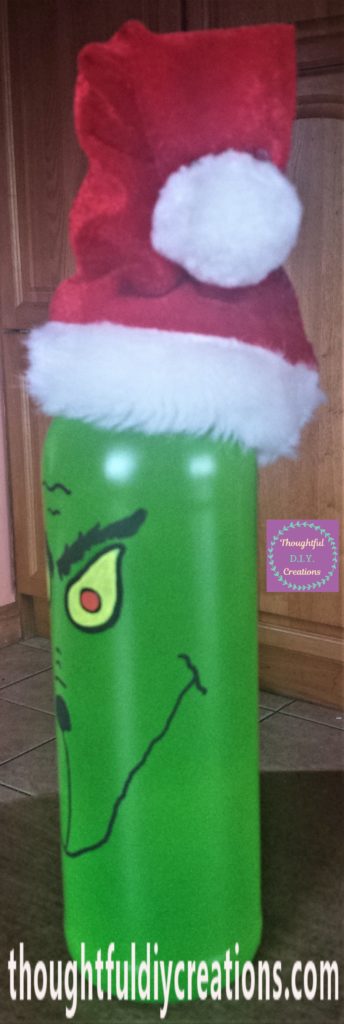
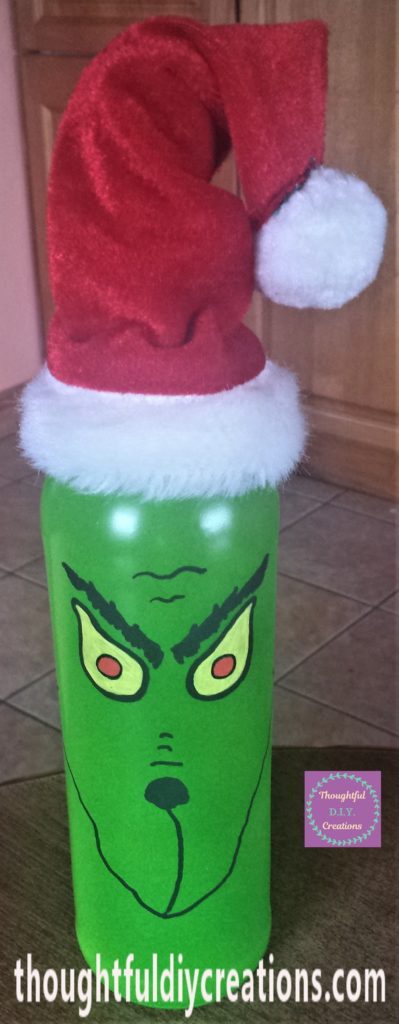
This completed my D.I.Y. ‘The Grinch’ Bottle. Here is the completed craft from different angles.
Conclusion
I was pleased with the outcome of my D.I.Y. ‘The Grinch’ Bottle. I think he is different and he will be a nice addition to my Christmas Decorations. It was a fun craft to make and I hope it inspires you to make your own Christmas characters out of bottles. It is a great way to re-use bottles instead of throwing them out and is a budget friendly option for Christmas Decor.
Have you ever made any crafts of The Grinch before? If yes, how did they turn out? and did you use different materials than I did? I think it’s amazing how people can make the same thing but with different materials, or even using the same materials and can make it look completely different. We all have our own unique way of doing things.
There are so many other options of what you can turn your bottles into; examples are an elf, a snowman, a penguin or Santa. You could add buttons, felt, stickers, or pipe cleaners to your Christmas character to add to their appeal. Have fun going through your craft stash or your children’s art & craft supplies to see what you could add to your bottle craft.
I hope you enjoyed this week’s Tutorial and you got some ideas from it. If you have any questions on this craft just fill out the Comment box below this Tutorial and I will reply as soon as I can.
Thank you so much for taking the time to read my Blog.
Always Grateful,
T.D.C.
xxxxx






-0 Comment-