D.I.Y. Up-Cycled Prosecco Bottle
Hello my Creative Friends,
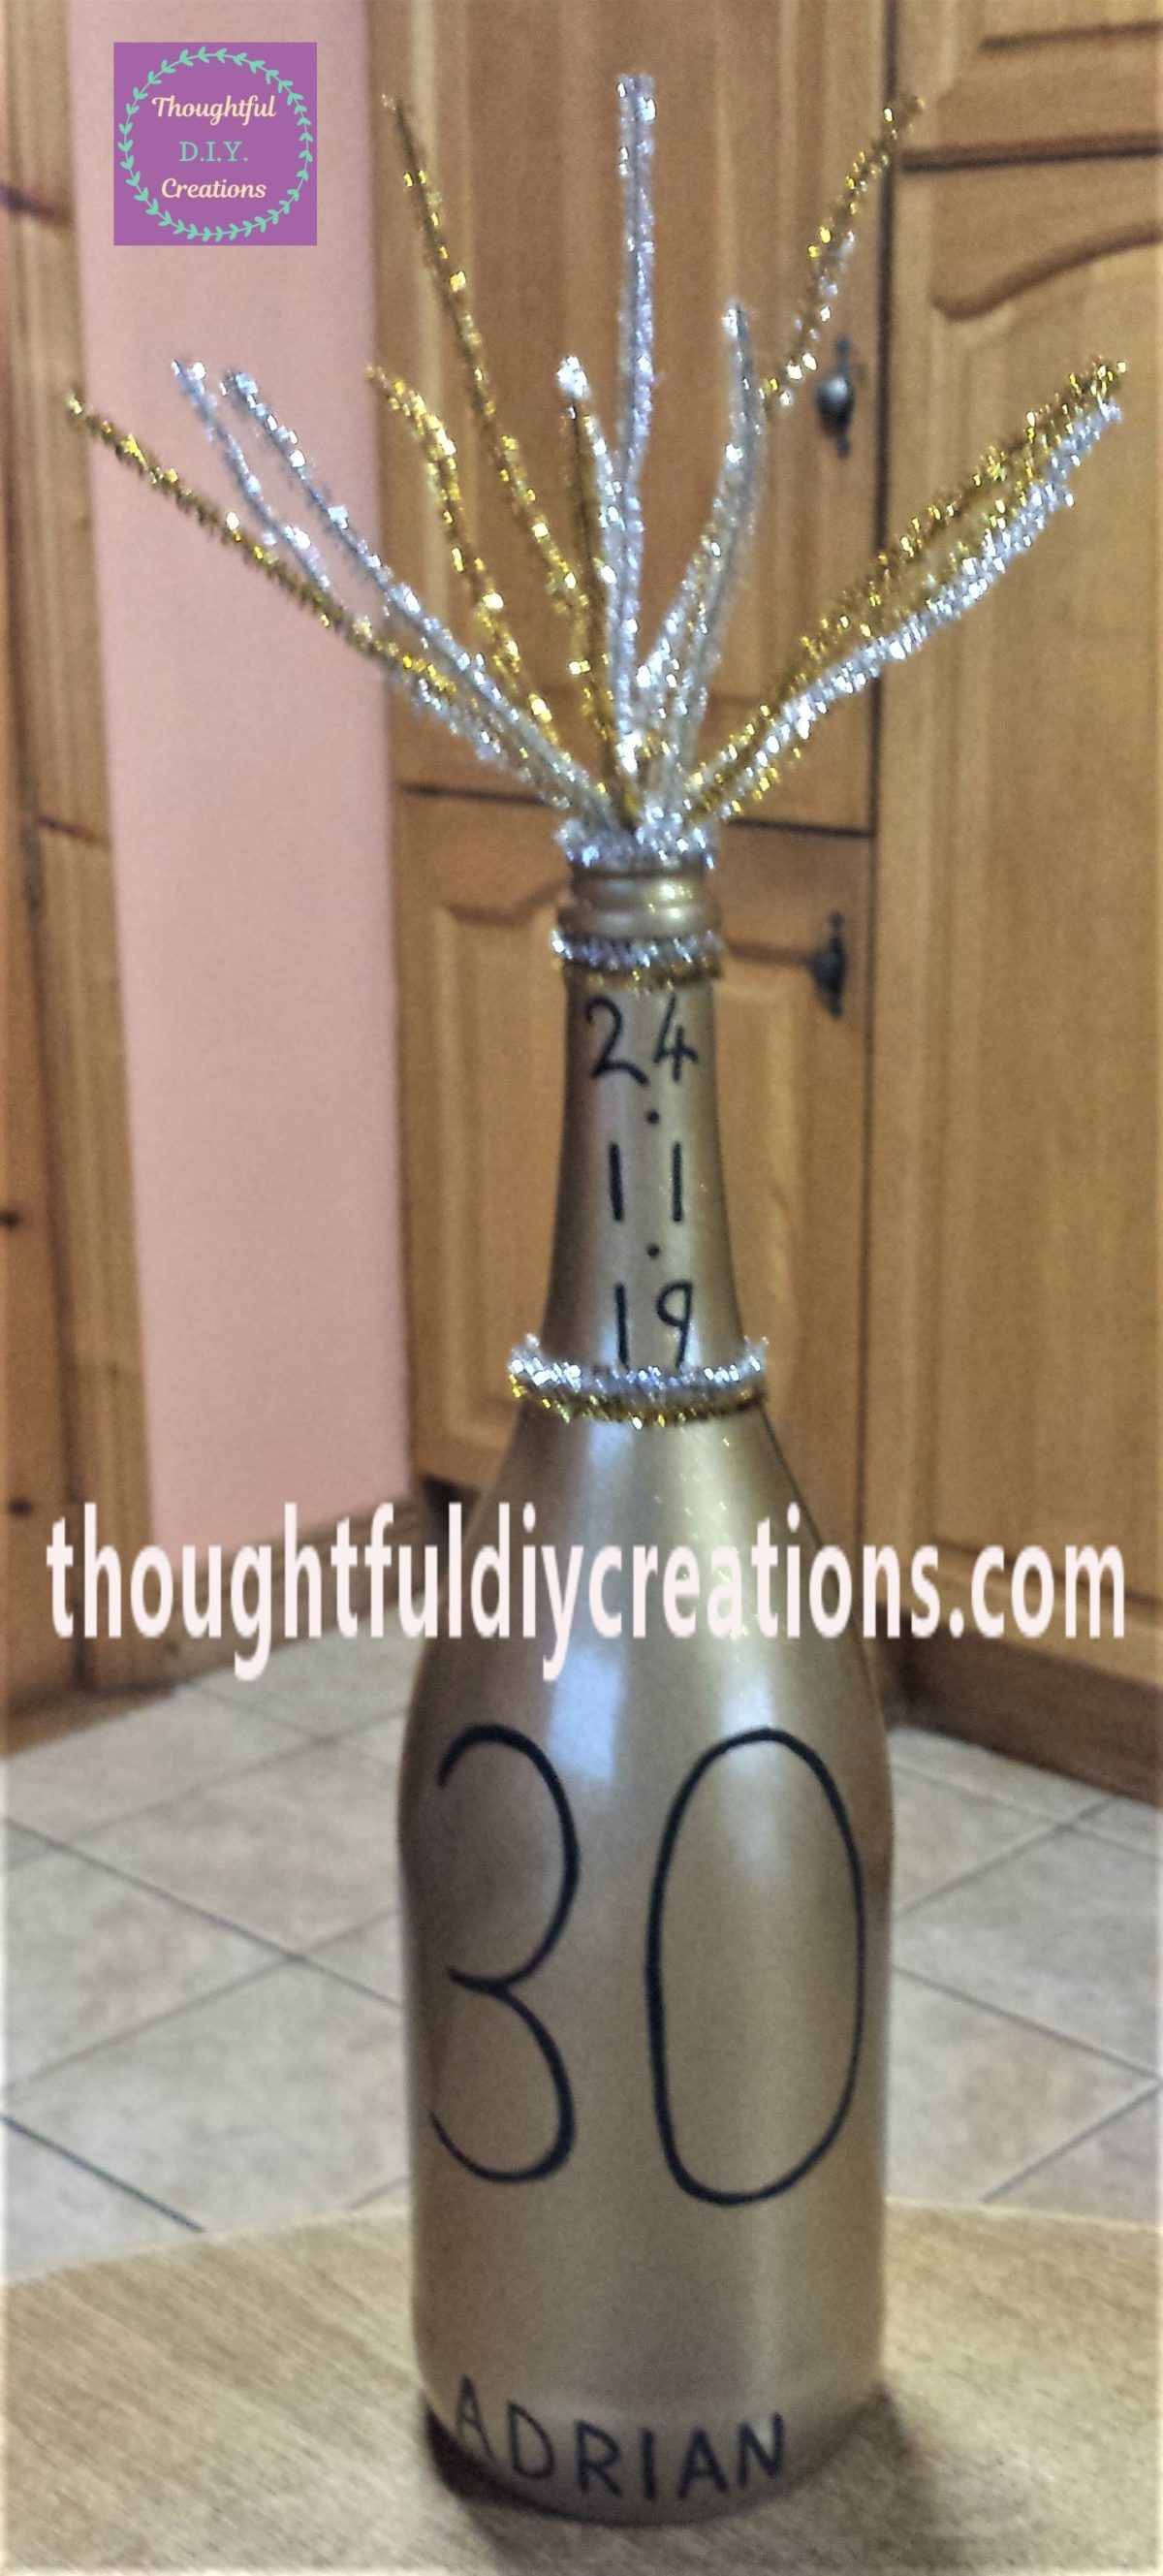
I hope you are all well. In Today’s Tutorial I will show you how to transform a D.I.Y. Up-Cycled Prosecco Bottle into a Celebration Bottle. It would make a thoughtful D.I.Y. gift or table-piece / party decor for any celebration. I hope it provides you with some creative ideas for any parties you are planning.
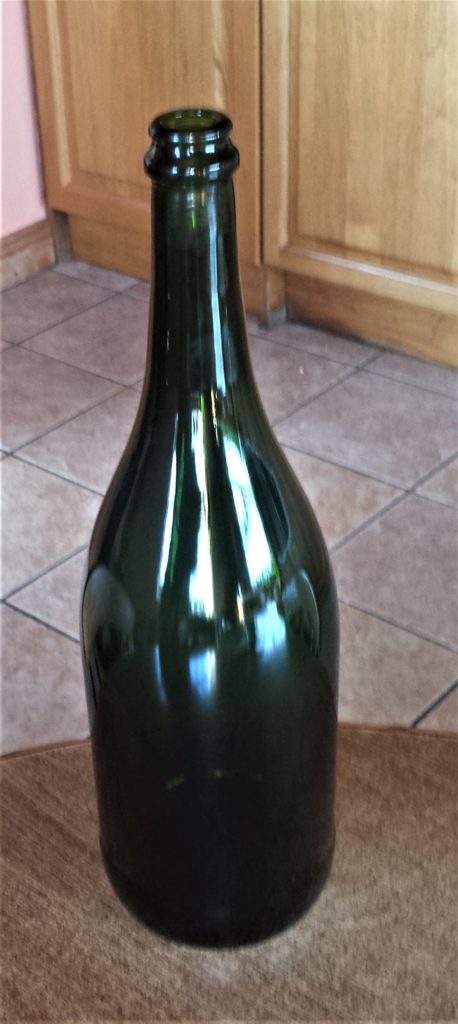
Prosecco Bottle before Crafting
I had a big Prosecco Bottle in my box of supplies that I had collected. I loved the size of the bottle and knew it would be lovely turned into a Personalised Gift for a Milestone Birthday.

Washing the Prosecco Bottle
I put the Bottle in the sink with warm water and washing-up-liquid to soak for an hour. This softens the label and makes it easier to peel off. I removed the label, rinsed the bottle under the tap and dried the bottle.

Finding a Prop for Spray Painting the Up-Cycled Bottle
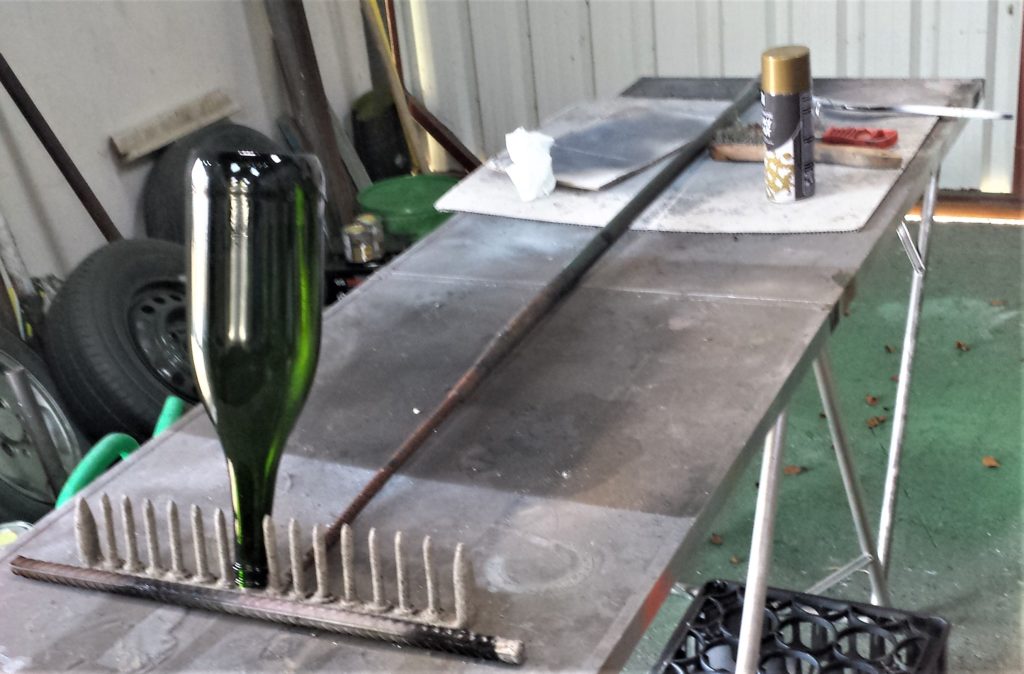
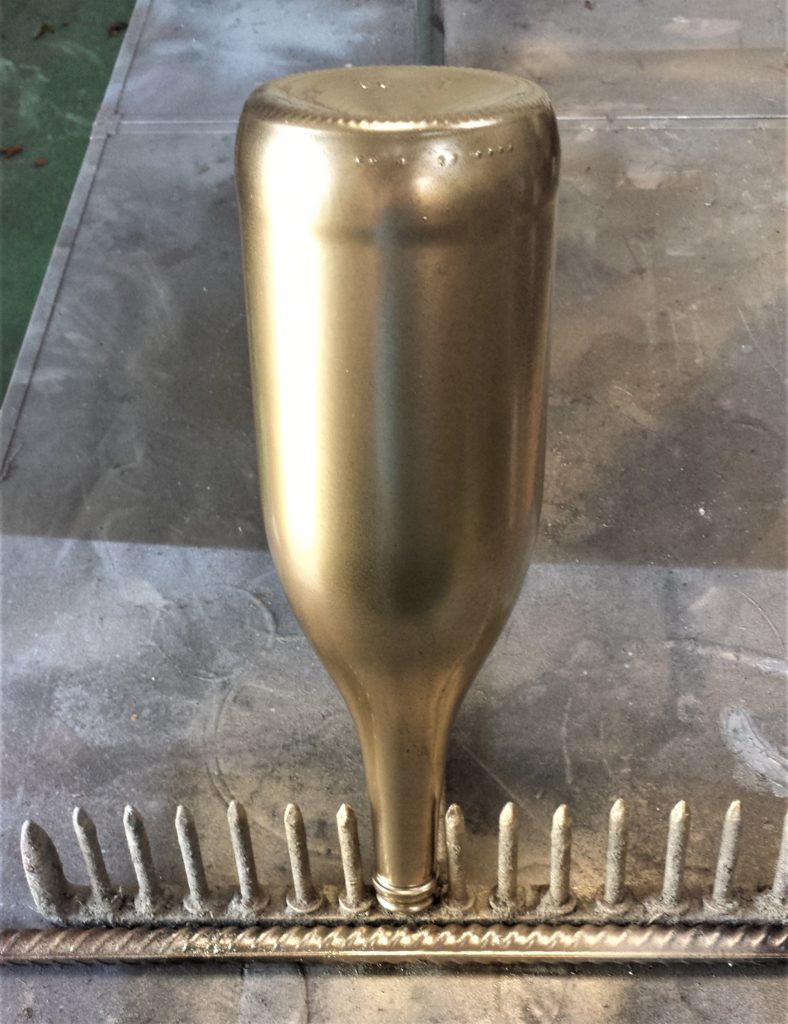
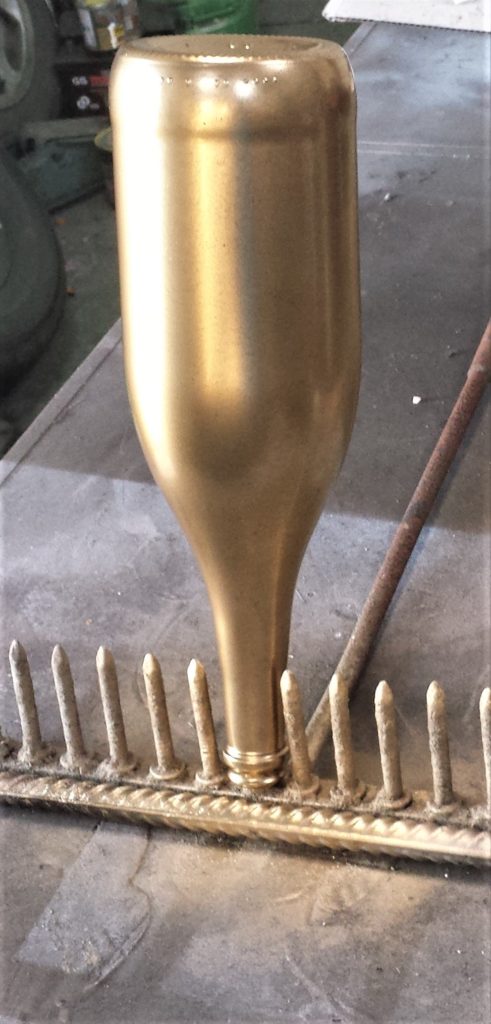
I brought the Bottle out to the shed. I looked all around to find the perfect prop to hold the bottle in place while spray painting. After trying a few different objects which didn’t work I settled with a rake.
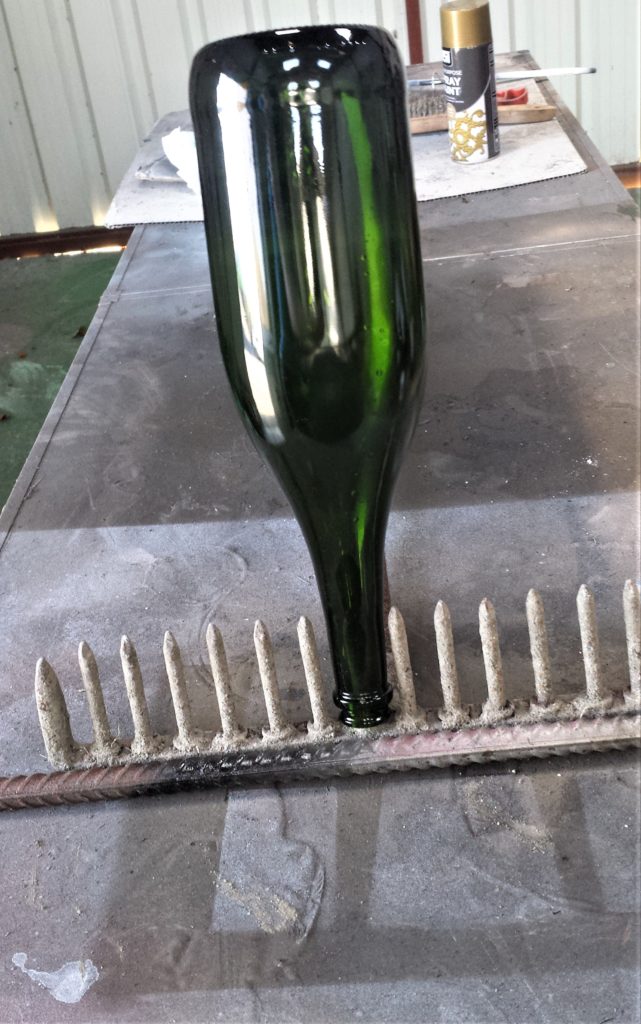
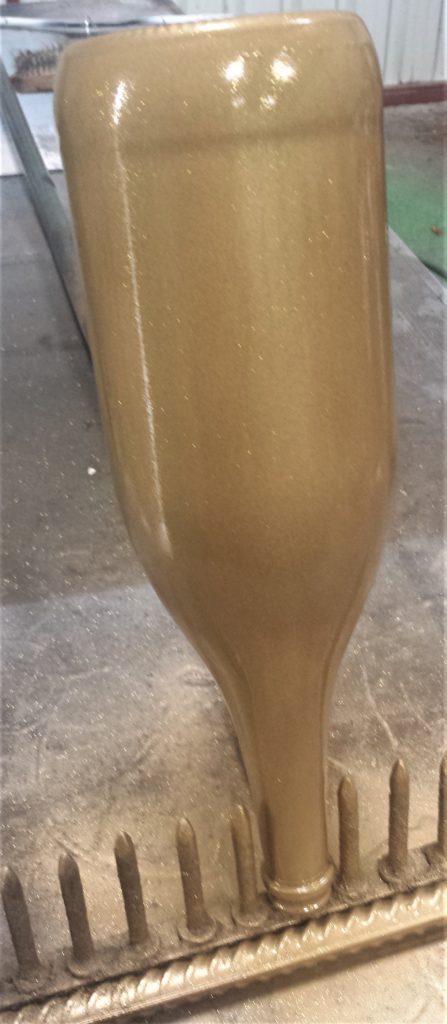
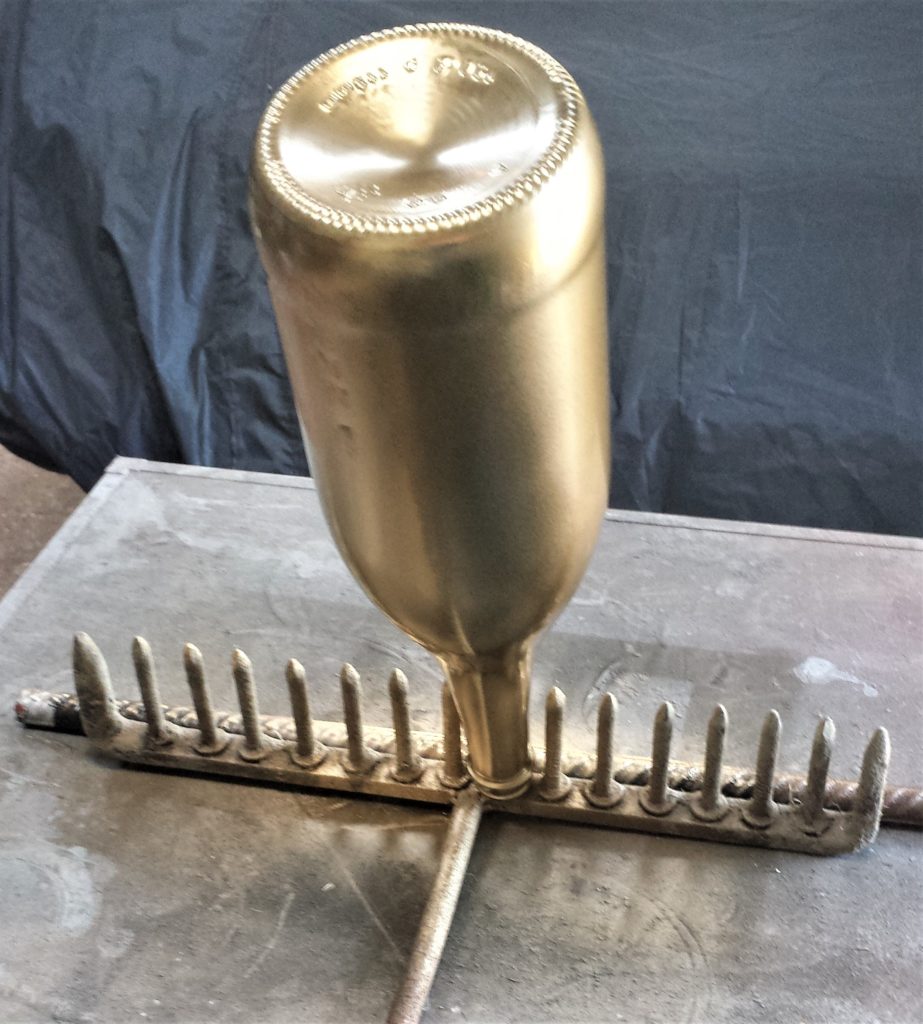
I put the rake lying flat down on the table in the shed. I put the top of the Bottle over one of the spikes in the middle of the rake. This held the bottle in place nicely, it was secure and didn’t budge. I put an iron bar in front of the rake to ensure it stayed in place.
It doesn’t matter what you use as a prop, just keep in mind some spray paint will get on your chosen object. I wouldn’t choose anything too good for that reason.
Spray Painting Recommendations
Always spray paint in a well ventilated area. You don’t want to be breathing in any unwanted fumes. Open doors and windows and leave the area as soon as you are finished spray painting.
Spray Painting the Up-Cycled Bottle
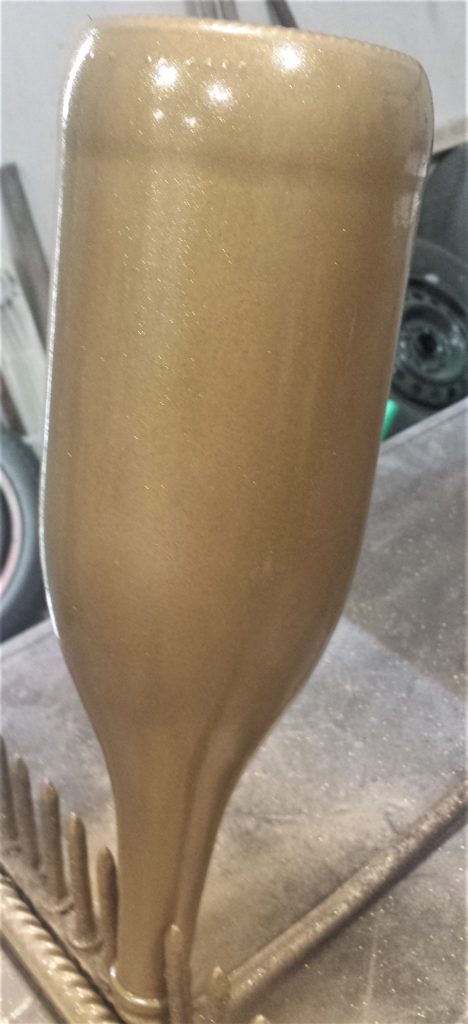
I started by spraying the bottle with a ‘Gold Spray Paint’. I shook the spray can from side-to-side for a minute. I took the cap off the can and held the spray can about 30 cm away from the base of the bottle. I sprayed the base of the bottle. I then sprayed from the base to the top of the bottle; 1 straight line down. I stopped, gave the can a quick shake and sprayed the next section from the base to the top of the bottle. I continued this process until I had 1 even layer of spray paint on the whole bottle. Spray Paint Antique Gold.
An hour later I returned to the shed to apply the second layer of spray paint. Spray Paint Antique Gold.
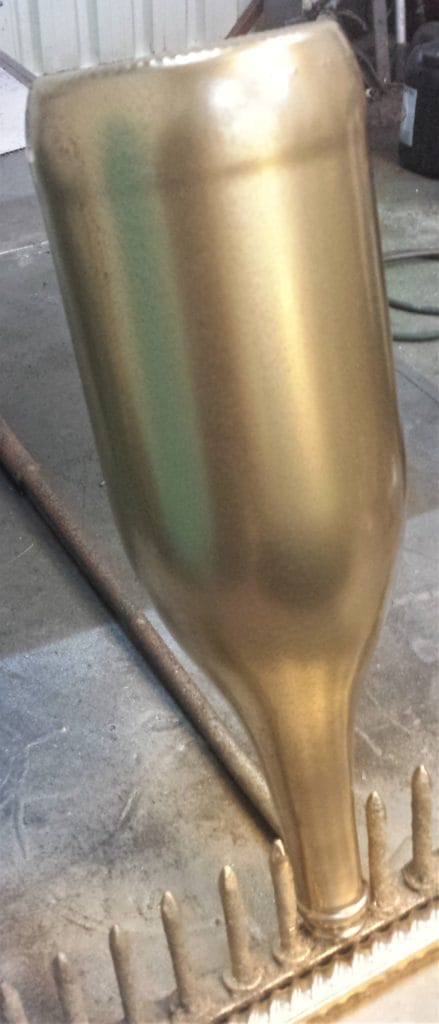
I gave the bottle a third coat of spray paint after another hour.

Adding Glitter Spray Paint to the Up-Cycled Bottle
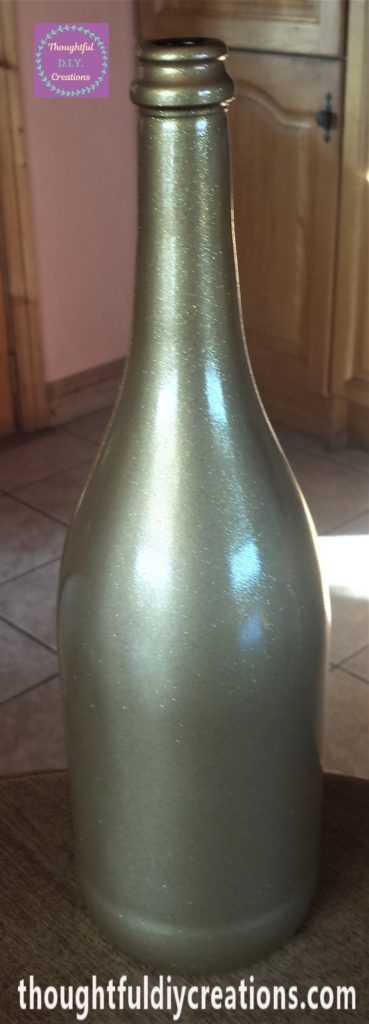
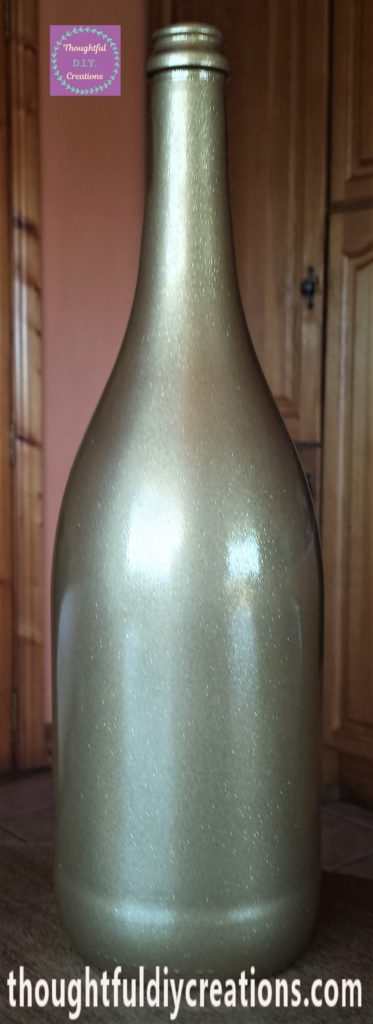
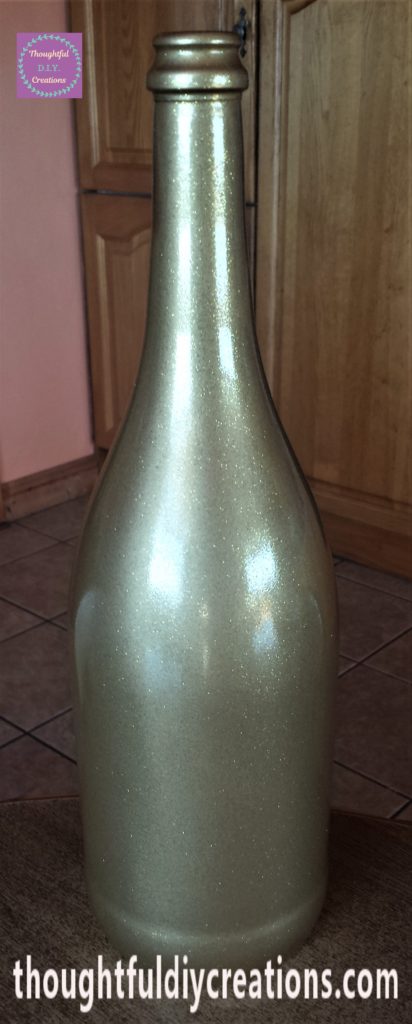
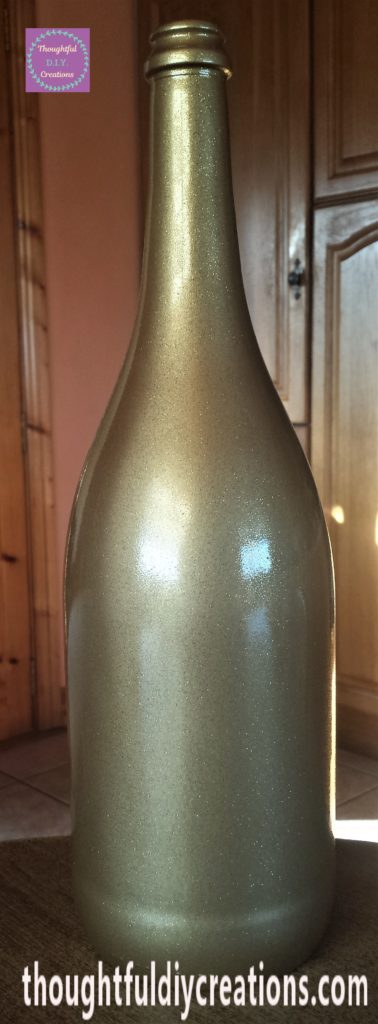
The next day I applied a ‘Glitter Gold Spray Paint’ to the Bottle. I applied the spray paint the same way as the Gold Spray Paint. I gave the Bottle 2 layers of Glitter Gold Spray Paint, leaving an hour between the first application. Glitter Gold Spray Paint.
Adding Top Coat to the Bottle
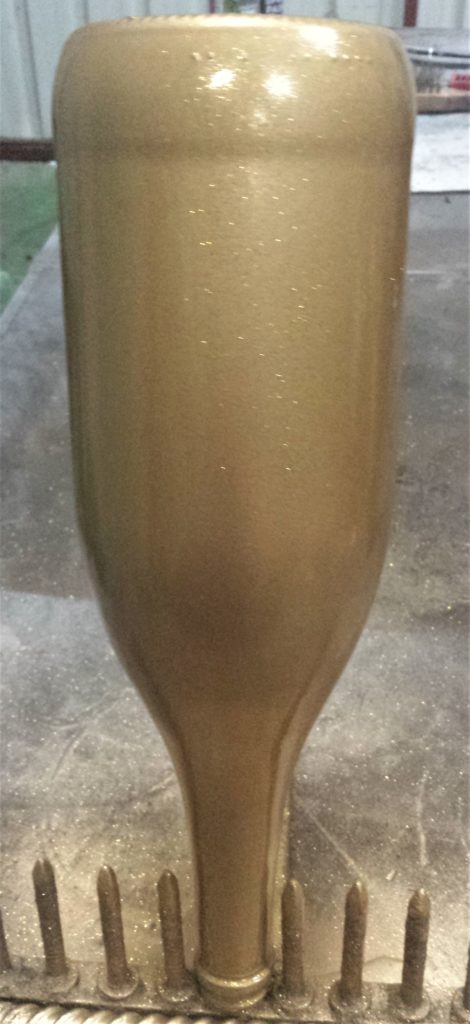
The next day I applied 1 layer of a ‘Clear Top Coat’ all over the Bottle. This was to ensure the Glitter was sealed and to prevent the Spray Paint from chipping. Spray Gloss Sealer.
Allowing Time for the Up-Cycled Bottle to Cure
I left the Bottle to cure in the shed for 48 hours after the final layer of spray paint.
After the 2 days had passed, I brought the Bottle back inside.
Acrylic Paint Marker for Personalising the Bottle
I wanted to personalise the Bottle and to do this I used a ‘Daler Rowney Acrylic Paint Marker’ in Black 2-3 mm. Acrylic Paint Marker Black.

I shook the Paint Marker from side-to-side for several seconds. I then removed the lid and pressed the nib of the marker up and down on a piece of paper until paint flowed out of the tip. It is now ready to use.
Personalising the Up-Cycled Bottle
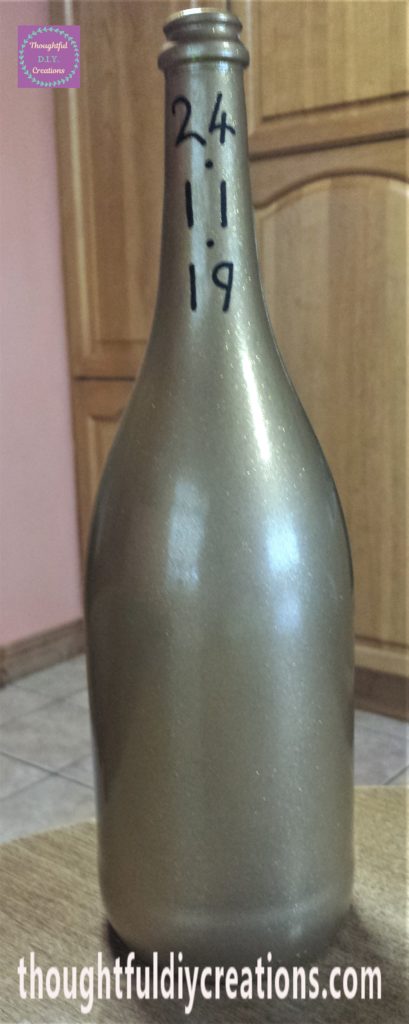
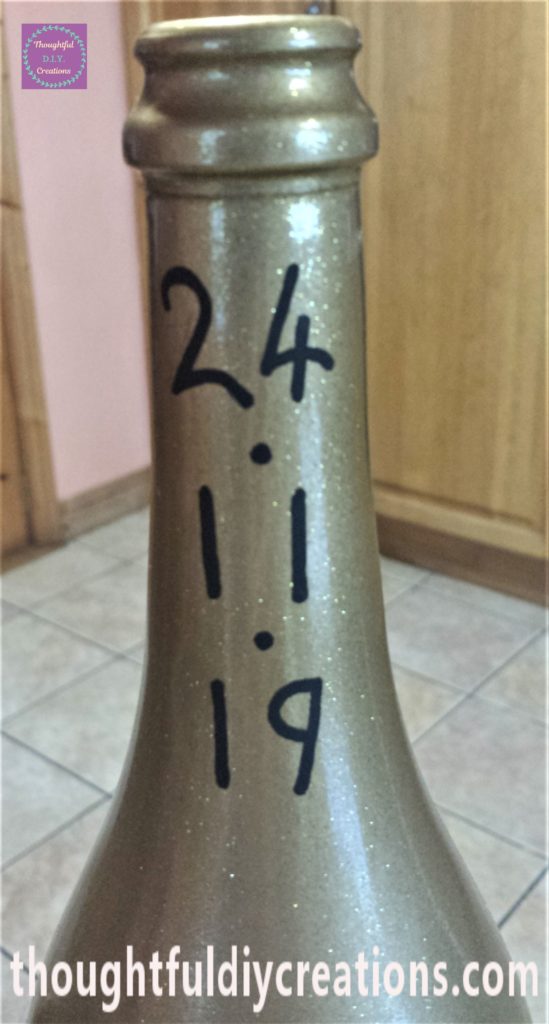
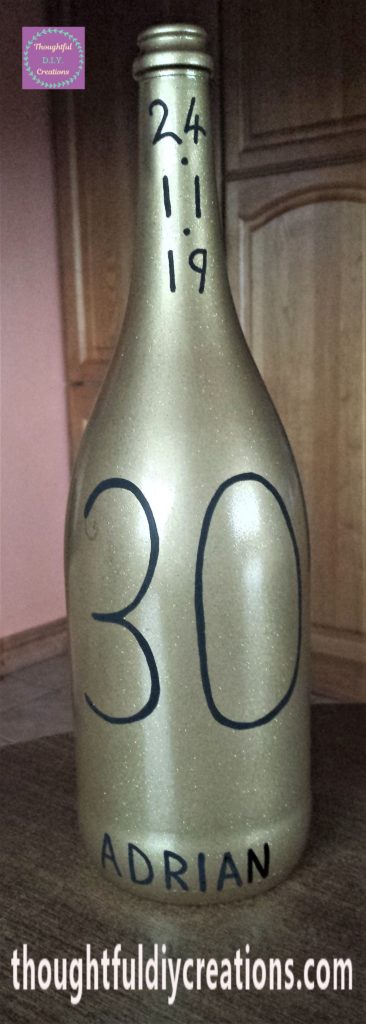
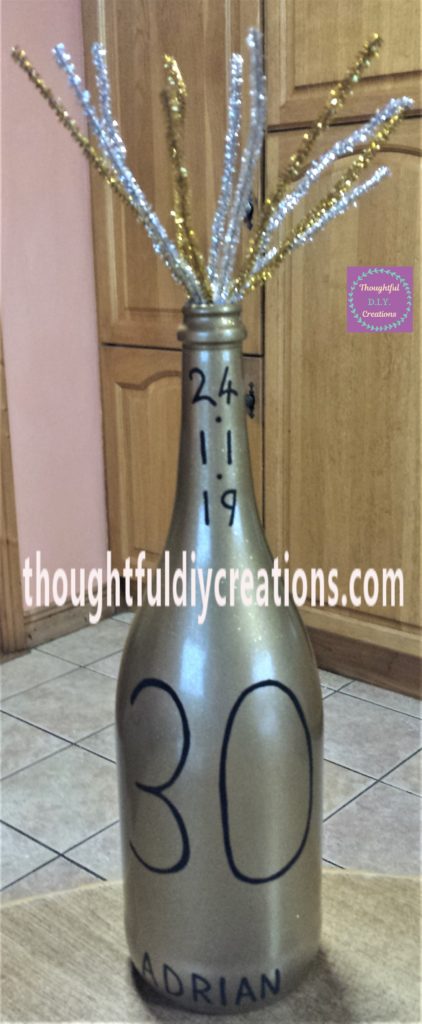
I wrote the date of the recipients Birthday along the neck of the bottle using the Paint Marker. This is how we write the date in Ireland and a lot of other countries, but I know in America they write the month before the day, so you can just change it to suit your location.
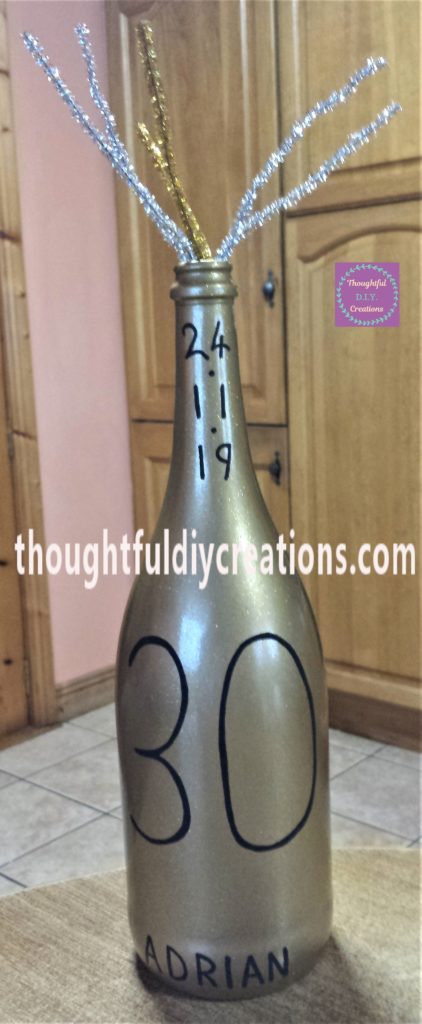
I drew the number 30 in the middle of the bottle using the Paint Marker. Acrylic Paint Marker Black.
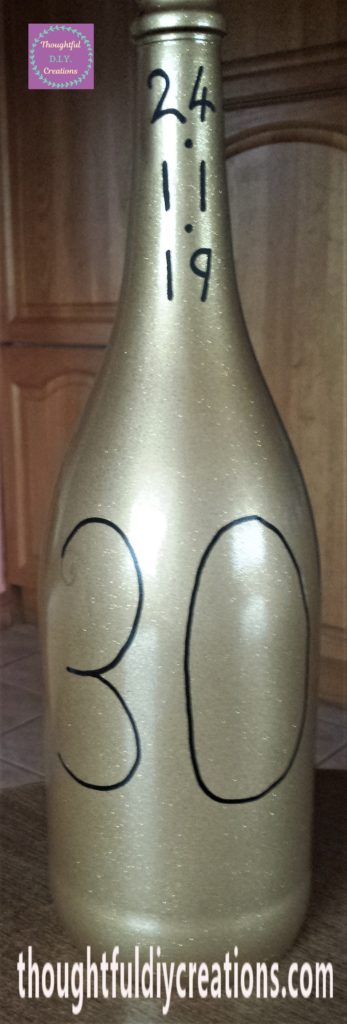
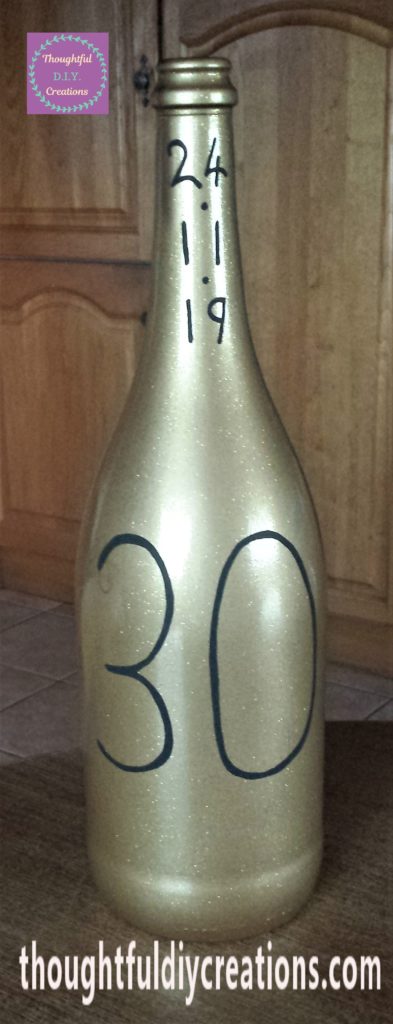
I went over the number 30 a couple more times to make it slightly wider. I waited about 15 minutes between each layer with the paint marker.
I added the name ‘ADRIAN’ along the bottom of the bottle, again using the black paint marker. Acrylic Paint Marker Black.
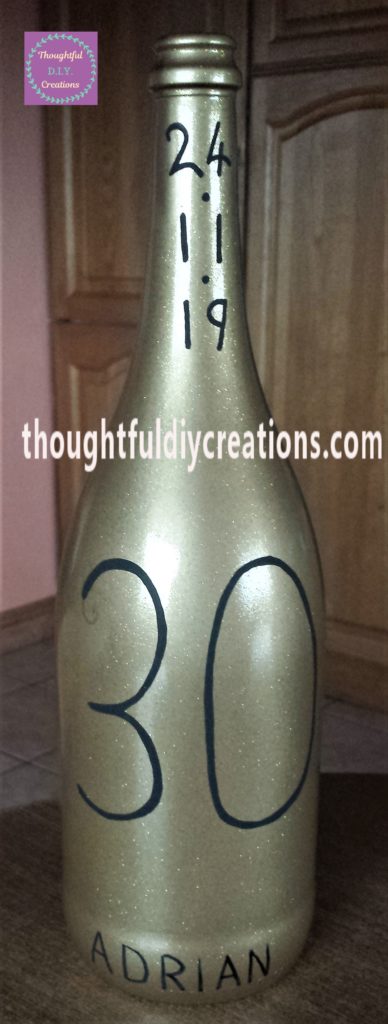
I added another layer of the paint marker to the name after about 15 minutes.
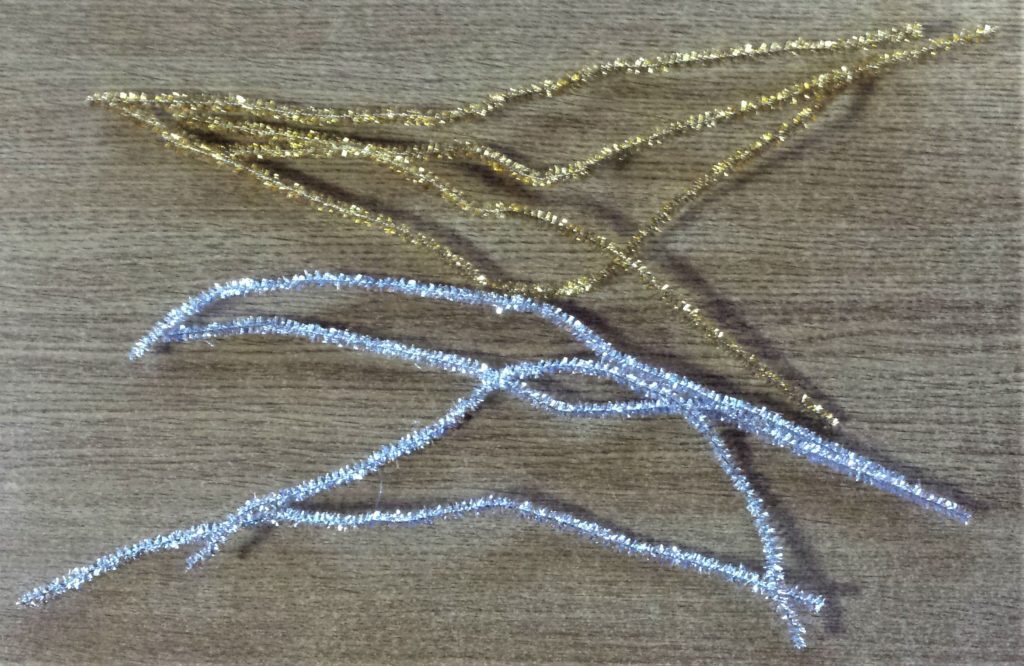
Silver & Gold Glitter Pipe Cleaners
I had a pack of pipe cleaners and I thought they would add to the sparkle of the bottle. I picked 4 Glitter Silver and 4 Glitter Gold Pipe Cleaners to use for this craft. The aim of the pipe cleaners is to make it look like champagne spraying / popping out of the bottle. I liked this idea for a Milestone Birthday as it’s a Celebration and I thought it could look unique. Glitter Sparkle Pipe Cleaners.
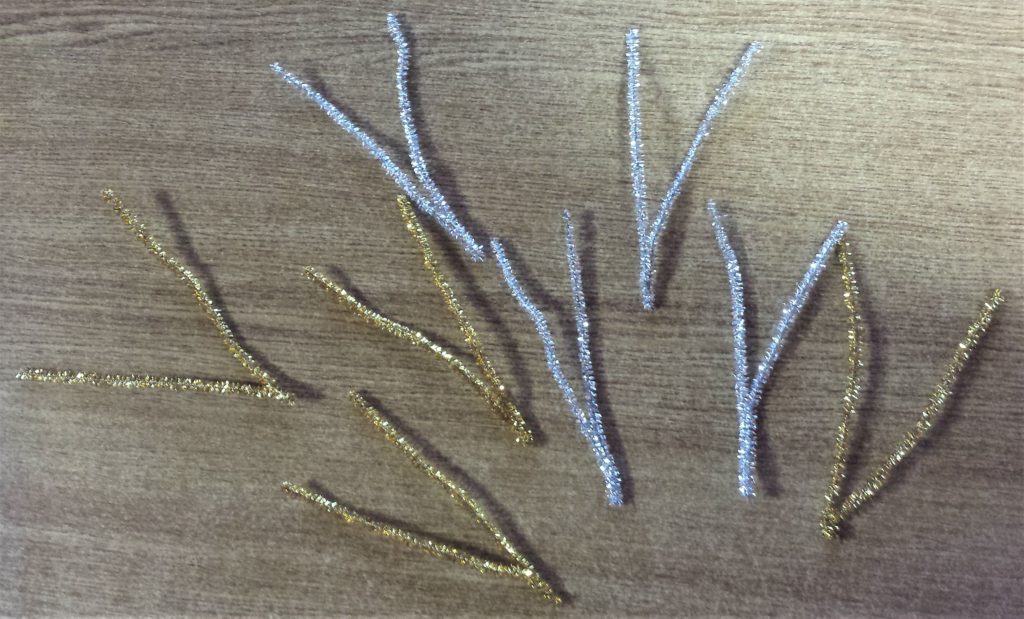
I twisted each pipe cleaner in half and squeezed in the bottom part together, with my fingers for a couple of seconds.
Attaching the Pipe Cleaners to the Bottle
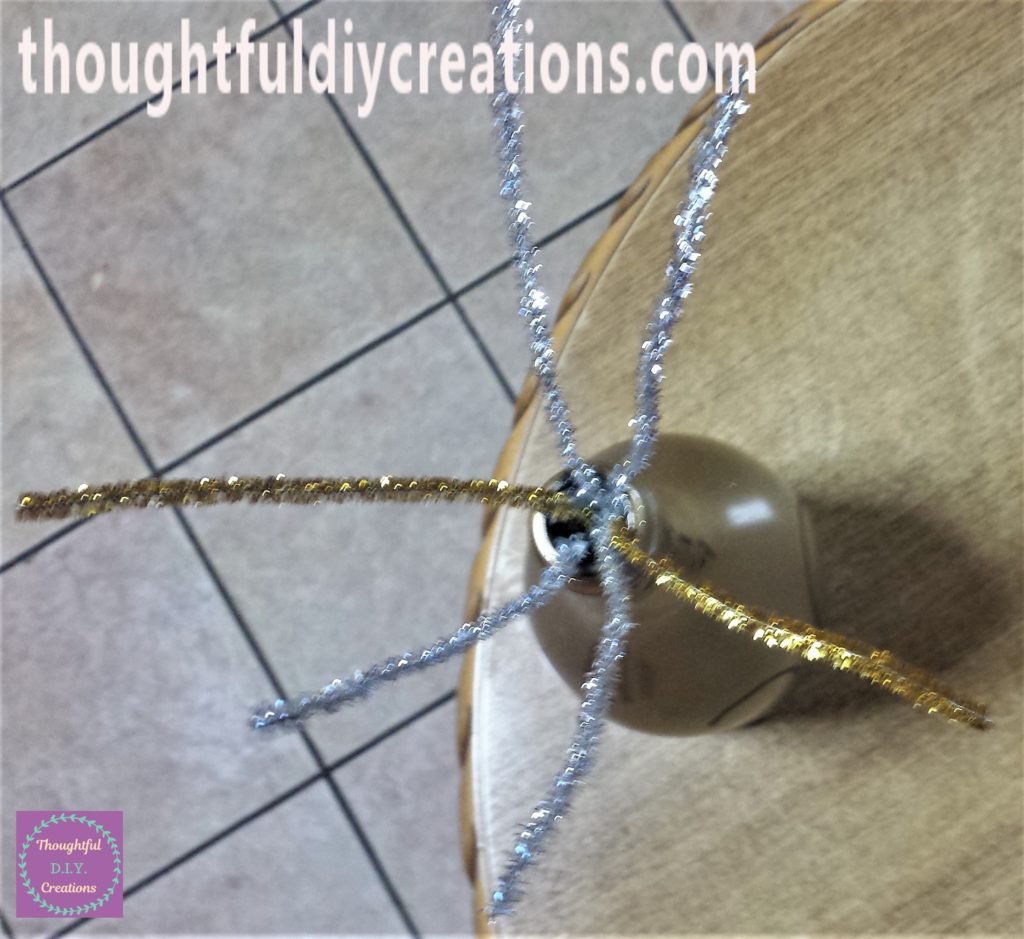
I plugged in my hot glue gun and let it heat up for 5 minutes. I put hot glue on each twisted in side on the bottom of the pipe cleaner. I attached the first silver glitter pipe cleaner to the inside of the bottle. I held a pencil to the pipe cleaner to help attach each side to the inside edge of the bottle. Hot Glue Gun.
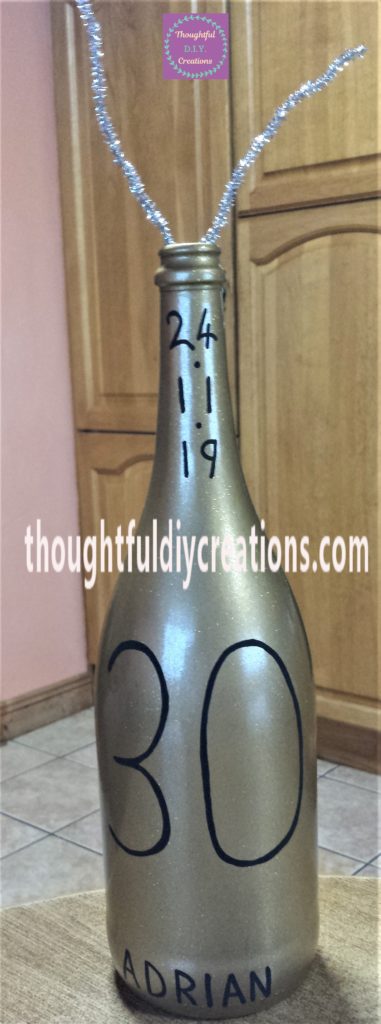
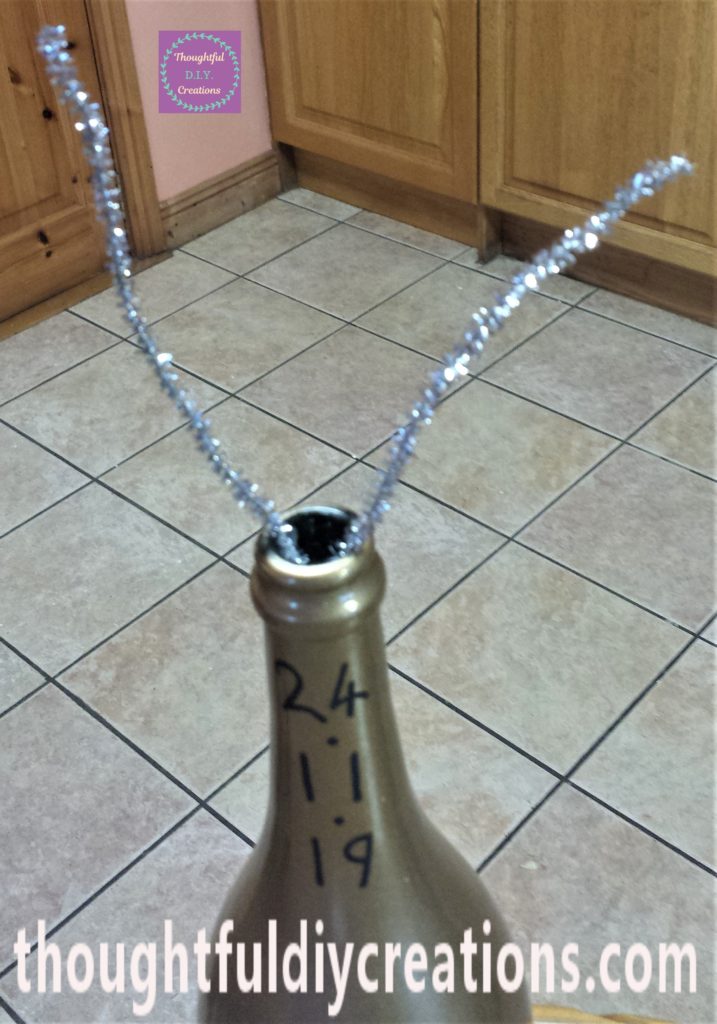
I got a gold glitter pipe cleaner next and added hot glue to each twisted bottom edge. I attached it to the inside of the bottle opposite to the silver pipe cleaner, and hot glued it in the same way as the first pipe cleaner. Glitter Sparkle Pipe Cleaners.
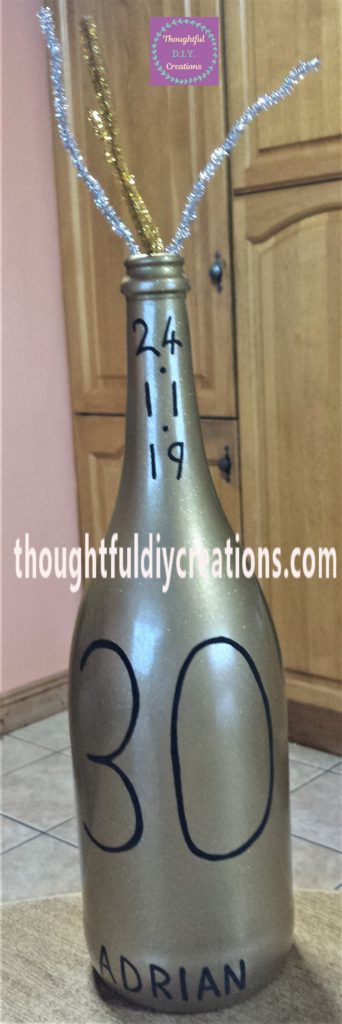
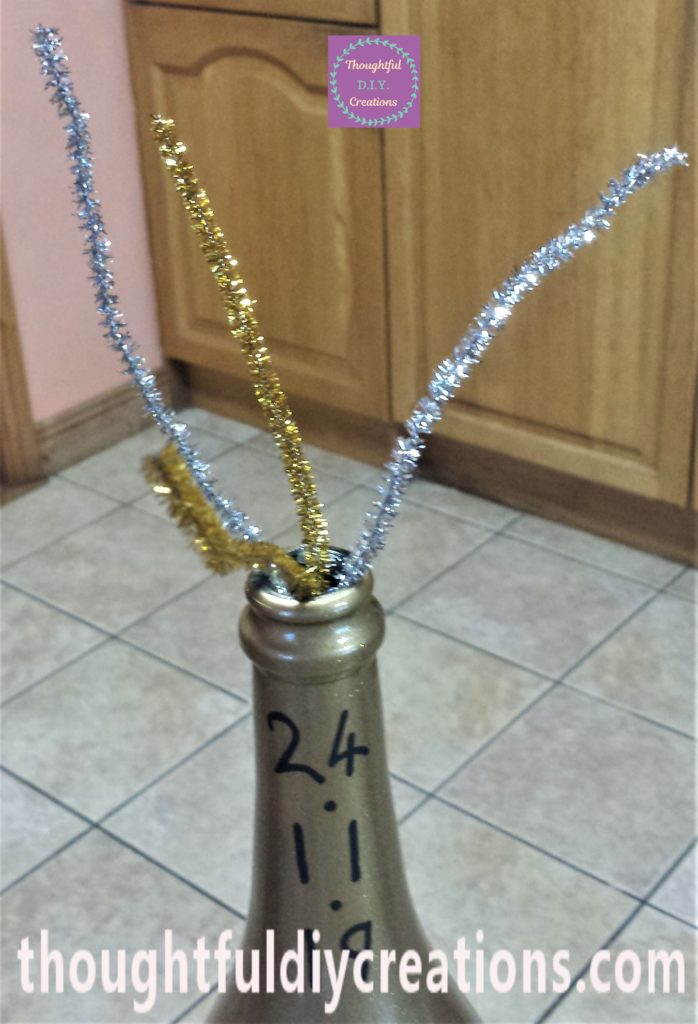
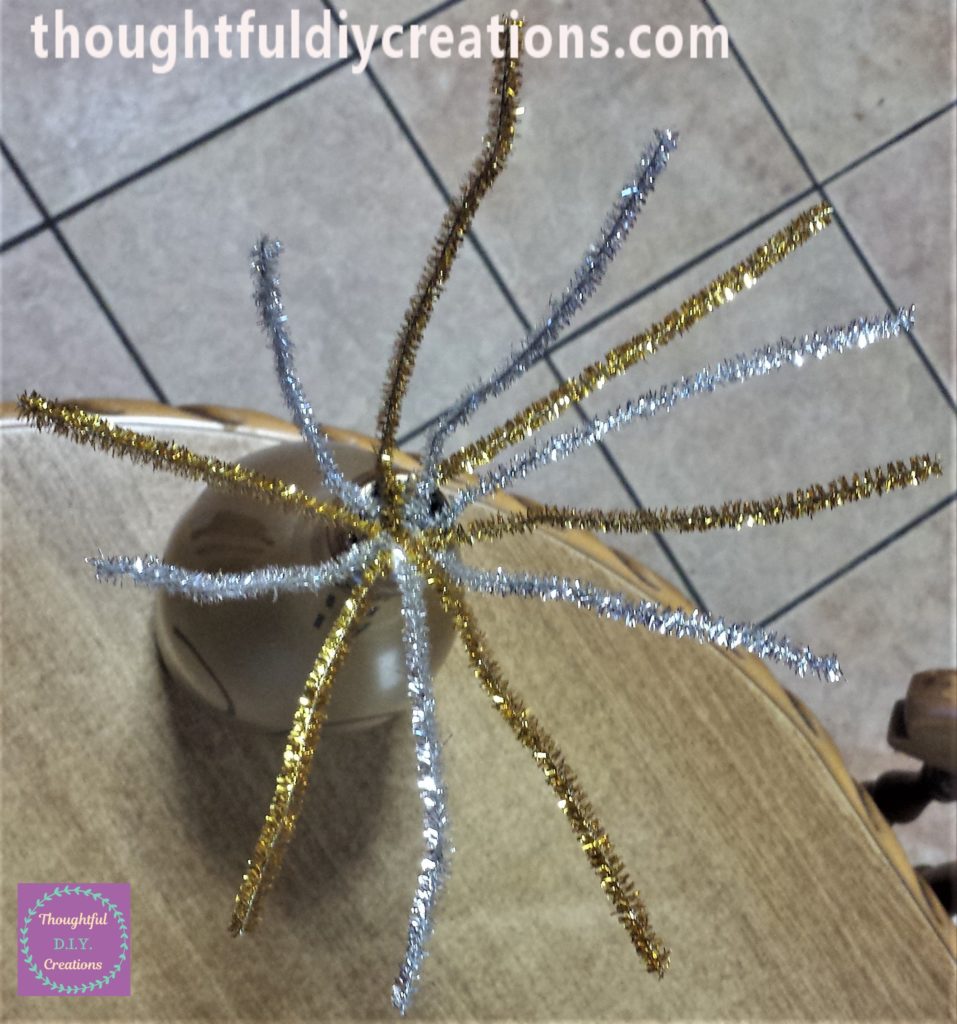
I continued with this process until 6 pipe cleaners were hot glued in different angles, to the inside of the bottle.
For the last silver and gold glittered pipe cleaners I hot glued them together. I put a small bit of hot glue on the bottom edges of the gold pipe cleaner. I then put the silver pipe cleaner around the hot glued edges of the gold pipe cleaner and held it in place for a few seconds. Hot Glue Gun.
Be careful when using the hot glue gun especially when your using it for a while as it is does get quite hot. You can use different objects to hold the attached pieces in place to prevent burning your fingers.
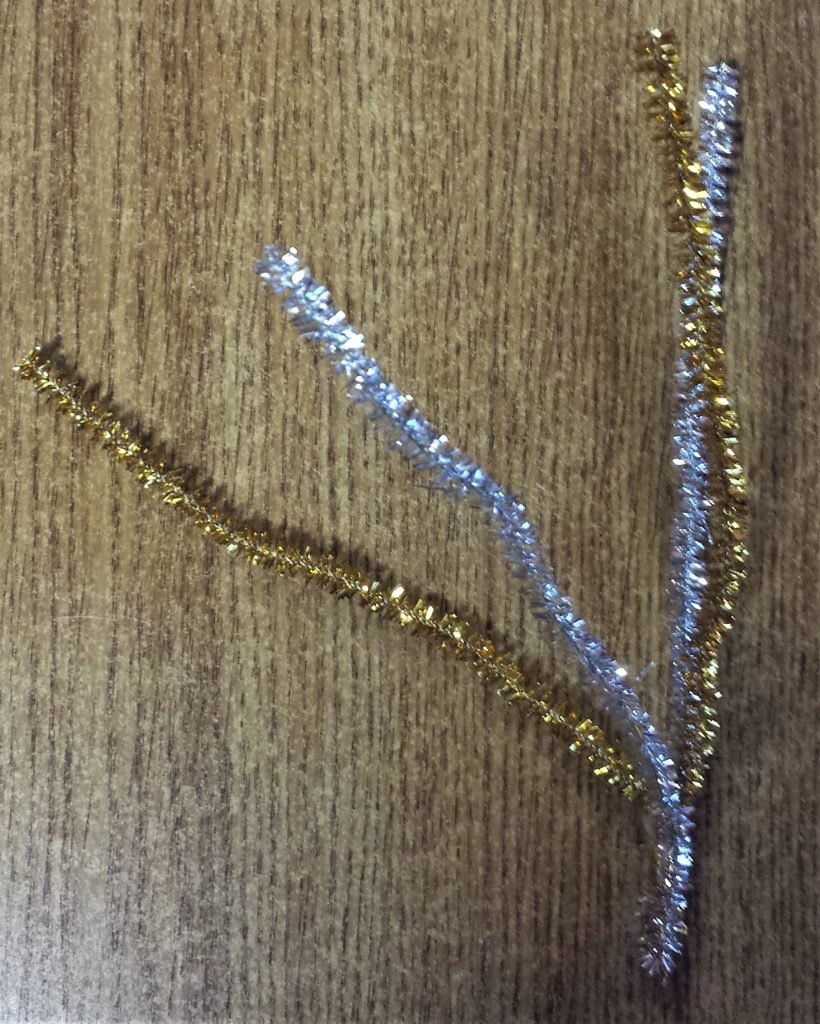
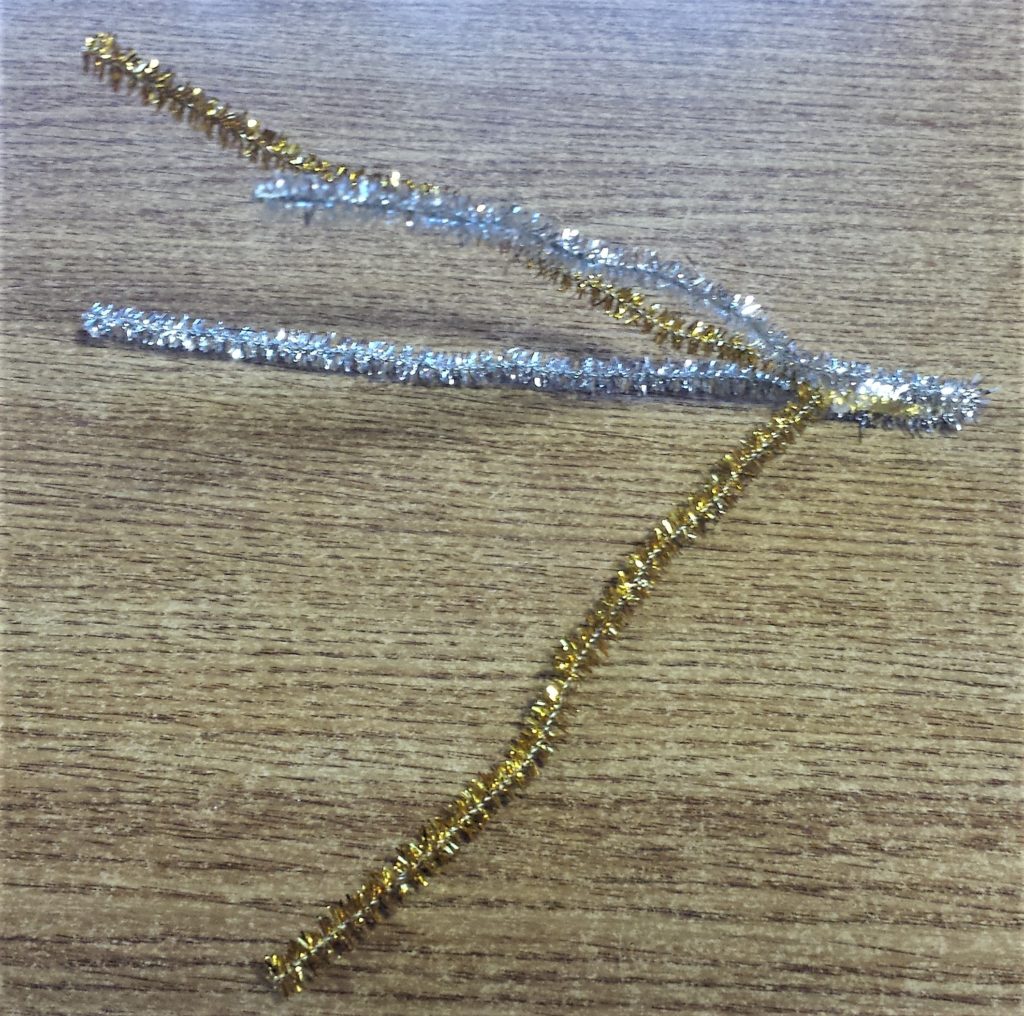
The purpose of these two pipe cleaners is to fill out the mid-section of the other hot glued pipe cleaners in the bottle. I put hot glue on the bottom edges of the 2 pipe cleaners and held this section in the middle of the bottle for a good few seconds until it was attached.
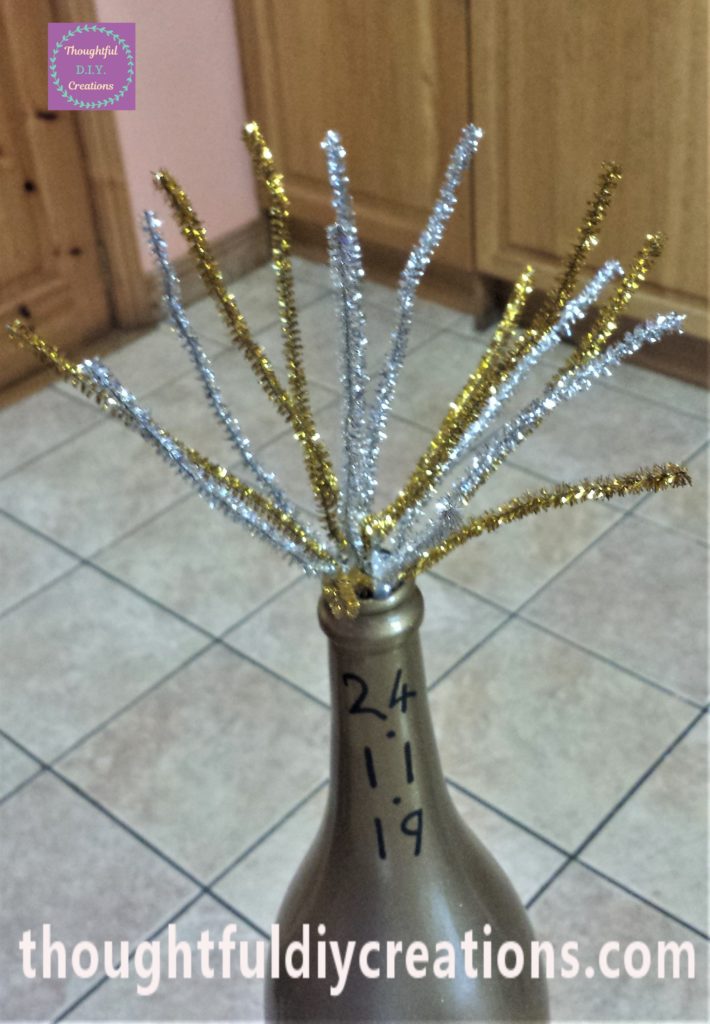
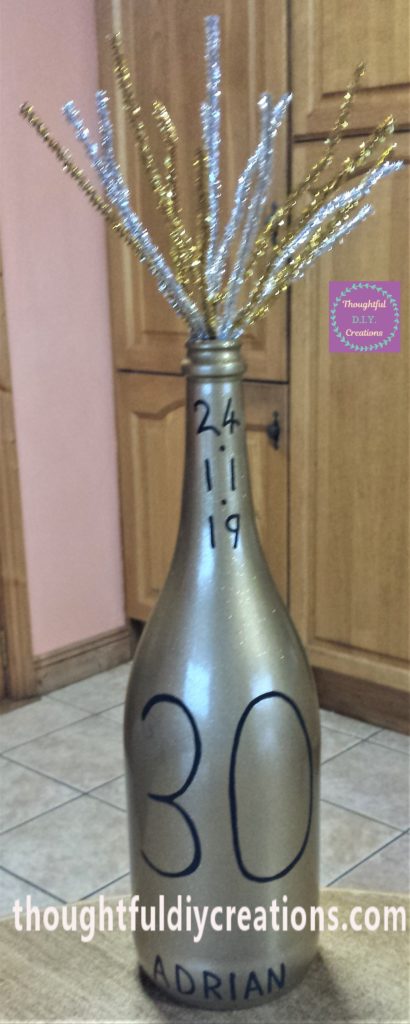
Adding Finishing Touches to the Up-Cycled Bottle
I measured a silver glitter pipe cleaner to fit the top of the bottle. I cut it to size and hot glued it to the top of the prosecco bottle.
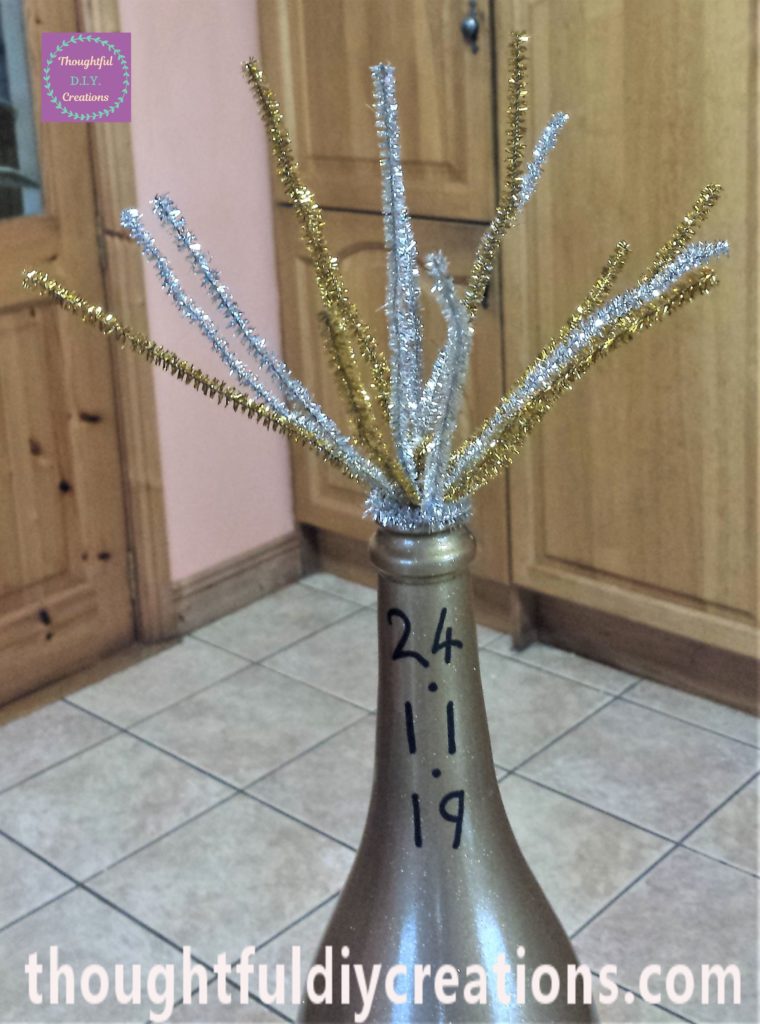
I measured another piece of the silver glitter pipe cleaner to fit the neck of the bottle. I cut it and hot glued it in place.
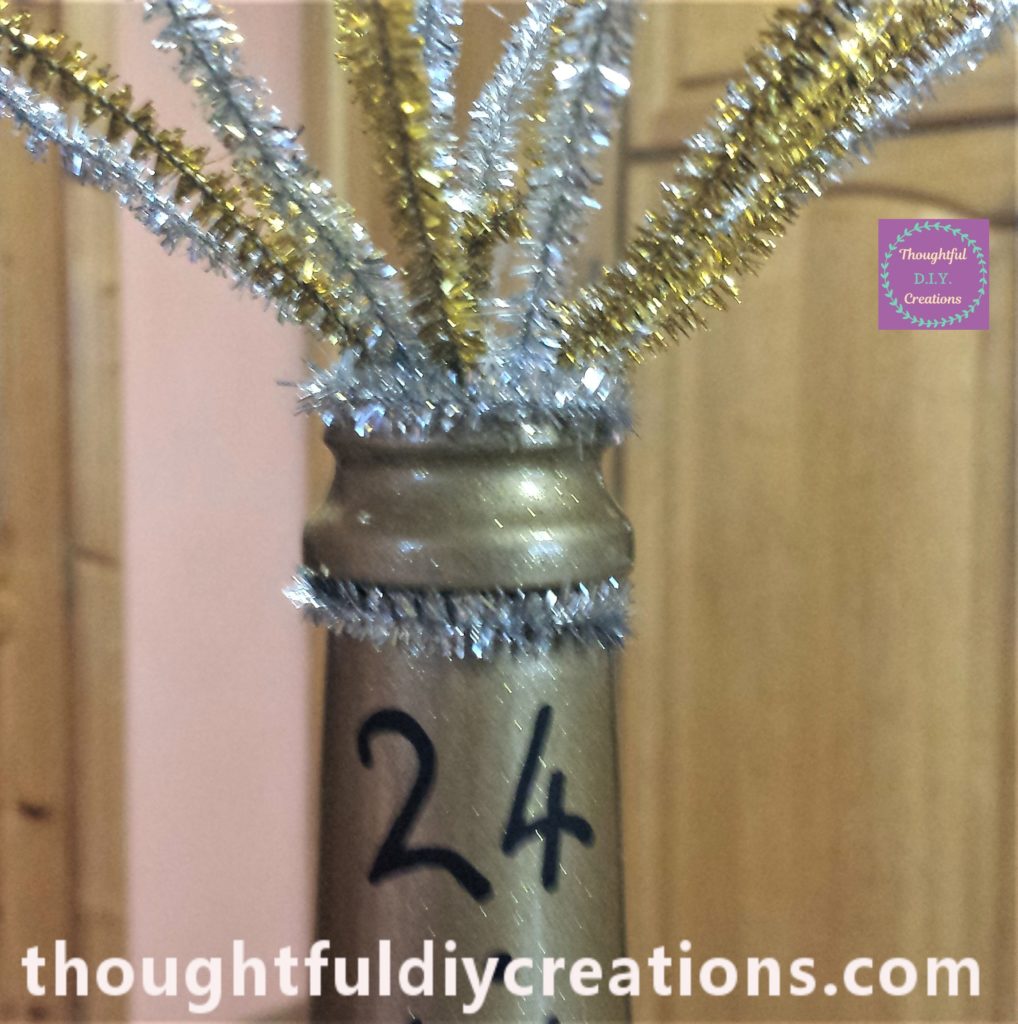
I added 1 silver and 1 gold glittered pipe cleaner to the bottle. I hot glued these one-by-one to the bottle underneath the date.
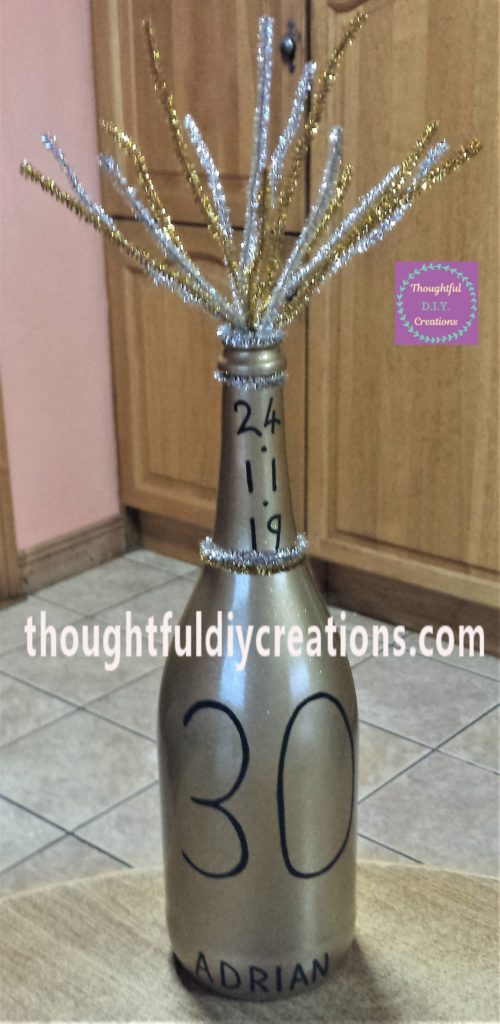
I added 1 more gold glittered pipe cleaner to the bottle. I hot glued it at the top of the date underneath the silver glittered pipe cleaner. I liked the addition of the pipe cleaners, I think they frame the Date.
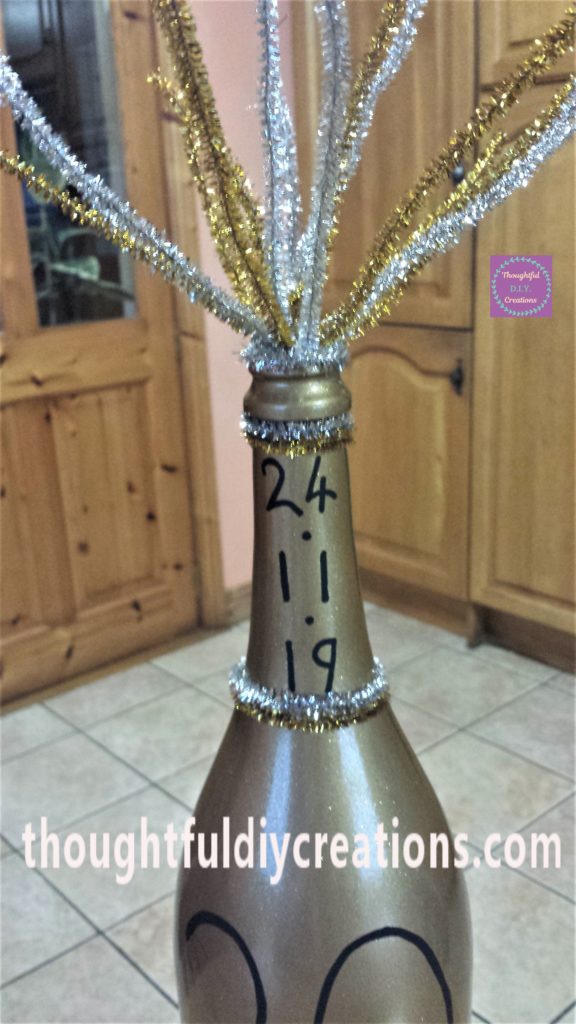
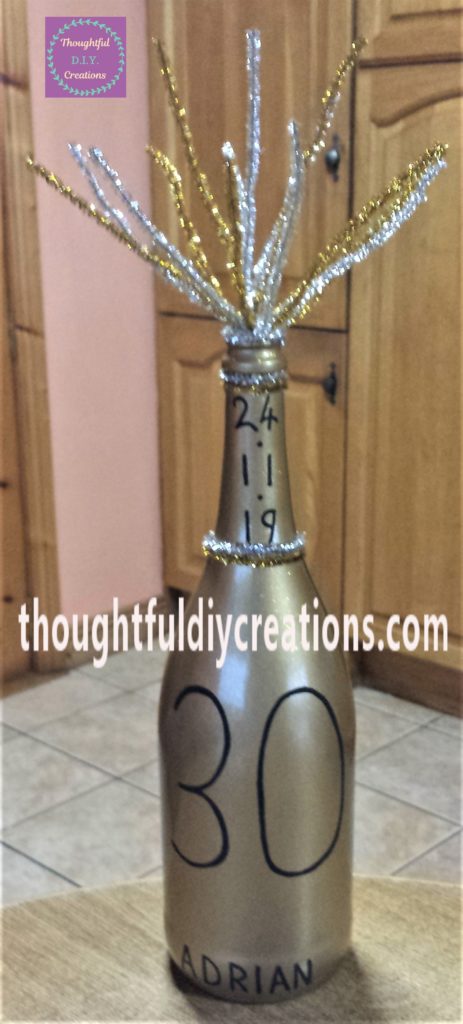
This completed the D.I.Y. Up-Cycled Prosecco Bottle.
Conclusion
I was delighted with the outcome of this craft. I love how versatile crafting can be; a bottle can be changed into a multitude of different variations and uses. I like the effect of the pipe cleaners, I think it added that extra touch to the bottle.
If you have a Cricut or Silhouette Machine you could print out the vinyl of the Name, Date, and Age and stick them to the Bottle. This would give a more polished finish. I don’t have either Machine and I hope this Tutorial inspires you to get creative even if you don’t have all the fancy Crafting Equipment. Please don’t let it hold you back, start with what you have and go from there. I like the handmade and handwritten touch to crafts, I think it adds a personal touch.
This up-cycled bottle craft can be changed in so many ways. I think it would be perfect for a center-piece on a table for New Years Eve. You could write ‘Happy New Year’ on the Bottle. I wouldn’t add a date, that way you can re-use it every year and change the napkins and other minor details to change up the decor each year.
The bottle could also be spray painted any colour, or you could use chalk paint in a colour of your choice. It could be customised for a male or female milestone birthday; 18, 21, 40, 50 etc. It could also be made into an Engagement Bottle, Wedding Bottle, Anniversary or New Home Bottle. You could add embellishments to the bottle to make it more personal.
I hope you enjoyed this weeks Tutorial and got some ideas from it. If you have any questions on this craft or if you would like to share your own Bottle Craft Ideas just fill out the Comment Box below and I’ll reply as soon as I can.
Merry Christmas Everyone, I hope you are all having a Wonderful day surrounded by your nearest and dearest.
Thank you so much for taking the time to read my Blog.
Always Grateful,
T.D.C.
xxxxx

-0 Comment-