Decoupage Napkin Journal Cover
Hello my Creative Friends,
I hope you are all Well. In Today’s Tutorial I will show you how I altered a Journal Cover with a Decoupage Napkin and Paint Splatters. I hope it inspires you to give the Decoupage technique a try and transform some items in your Home.
Journal for Decoupage
I had a 6 and 1/4 Inch in Width and 8 and 1/2 Inch in Height Spiral Hardback Journal. I thought it was the perfect Size and Style to try Decoupage.
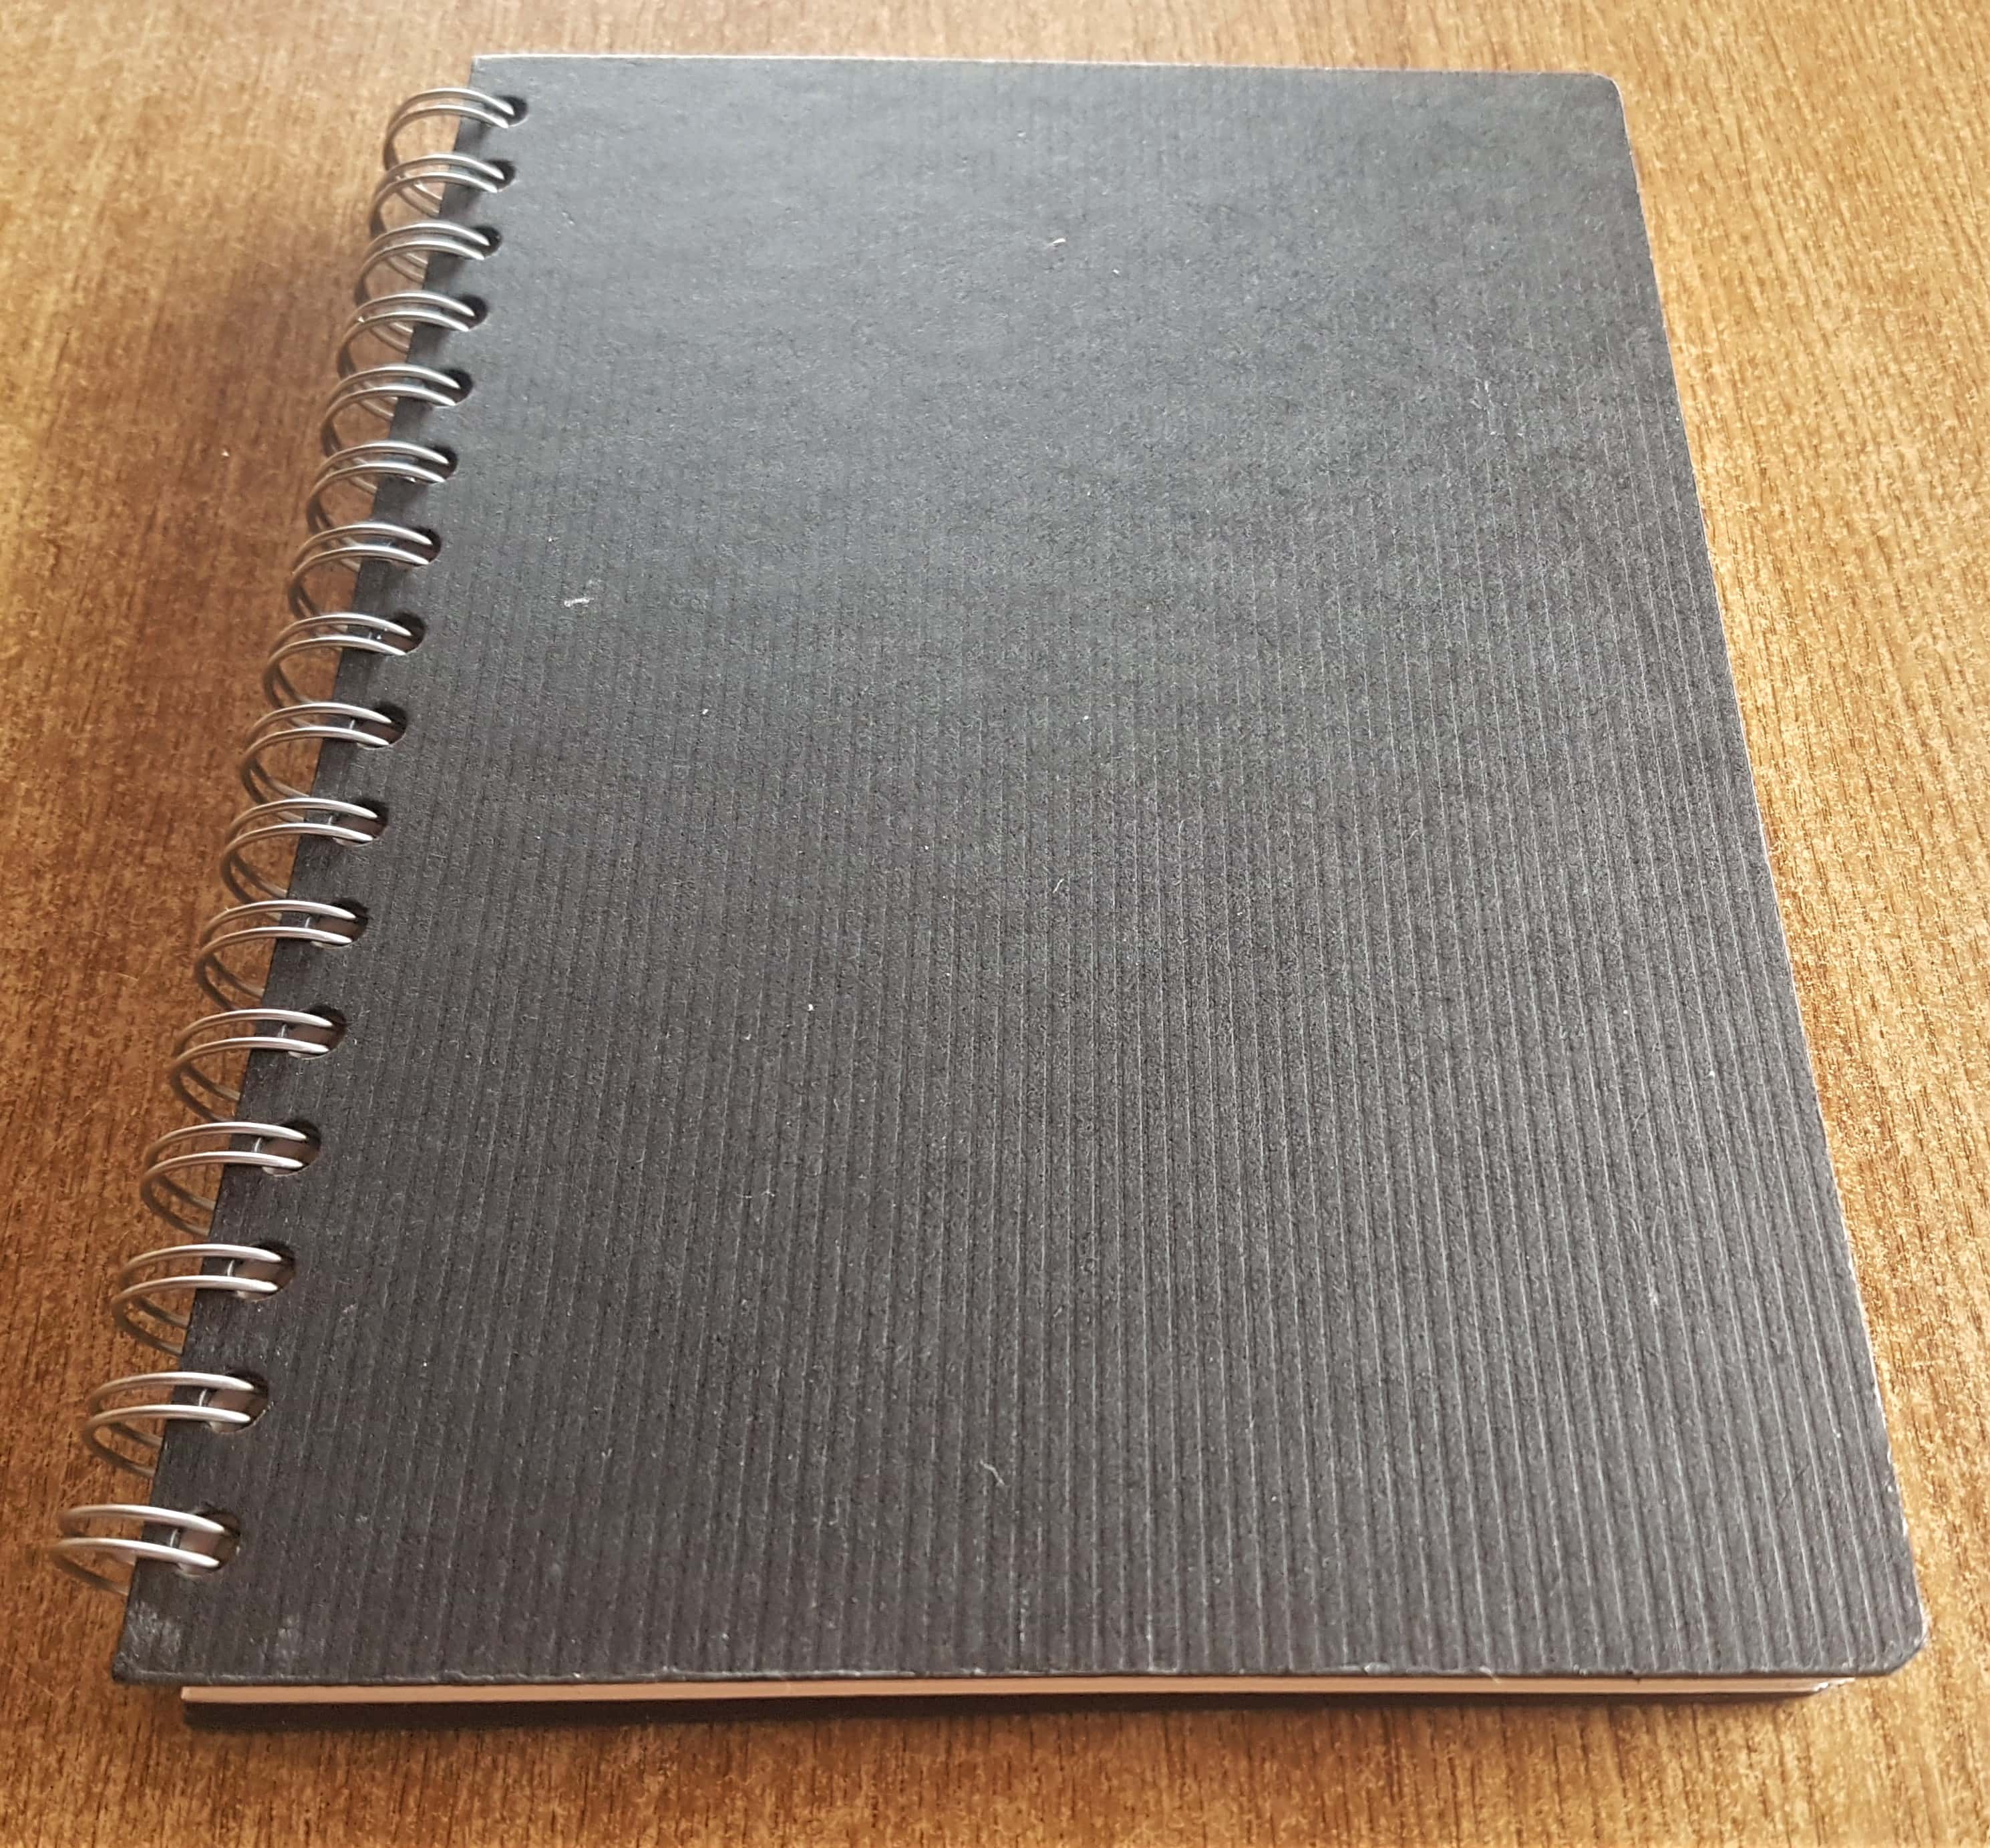
This is the Journal Opened up.
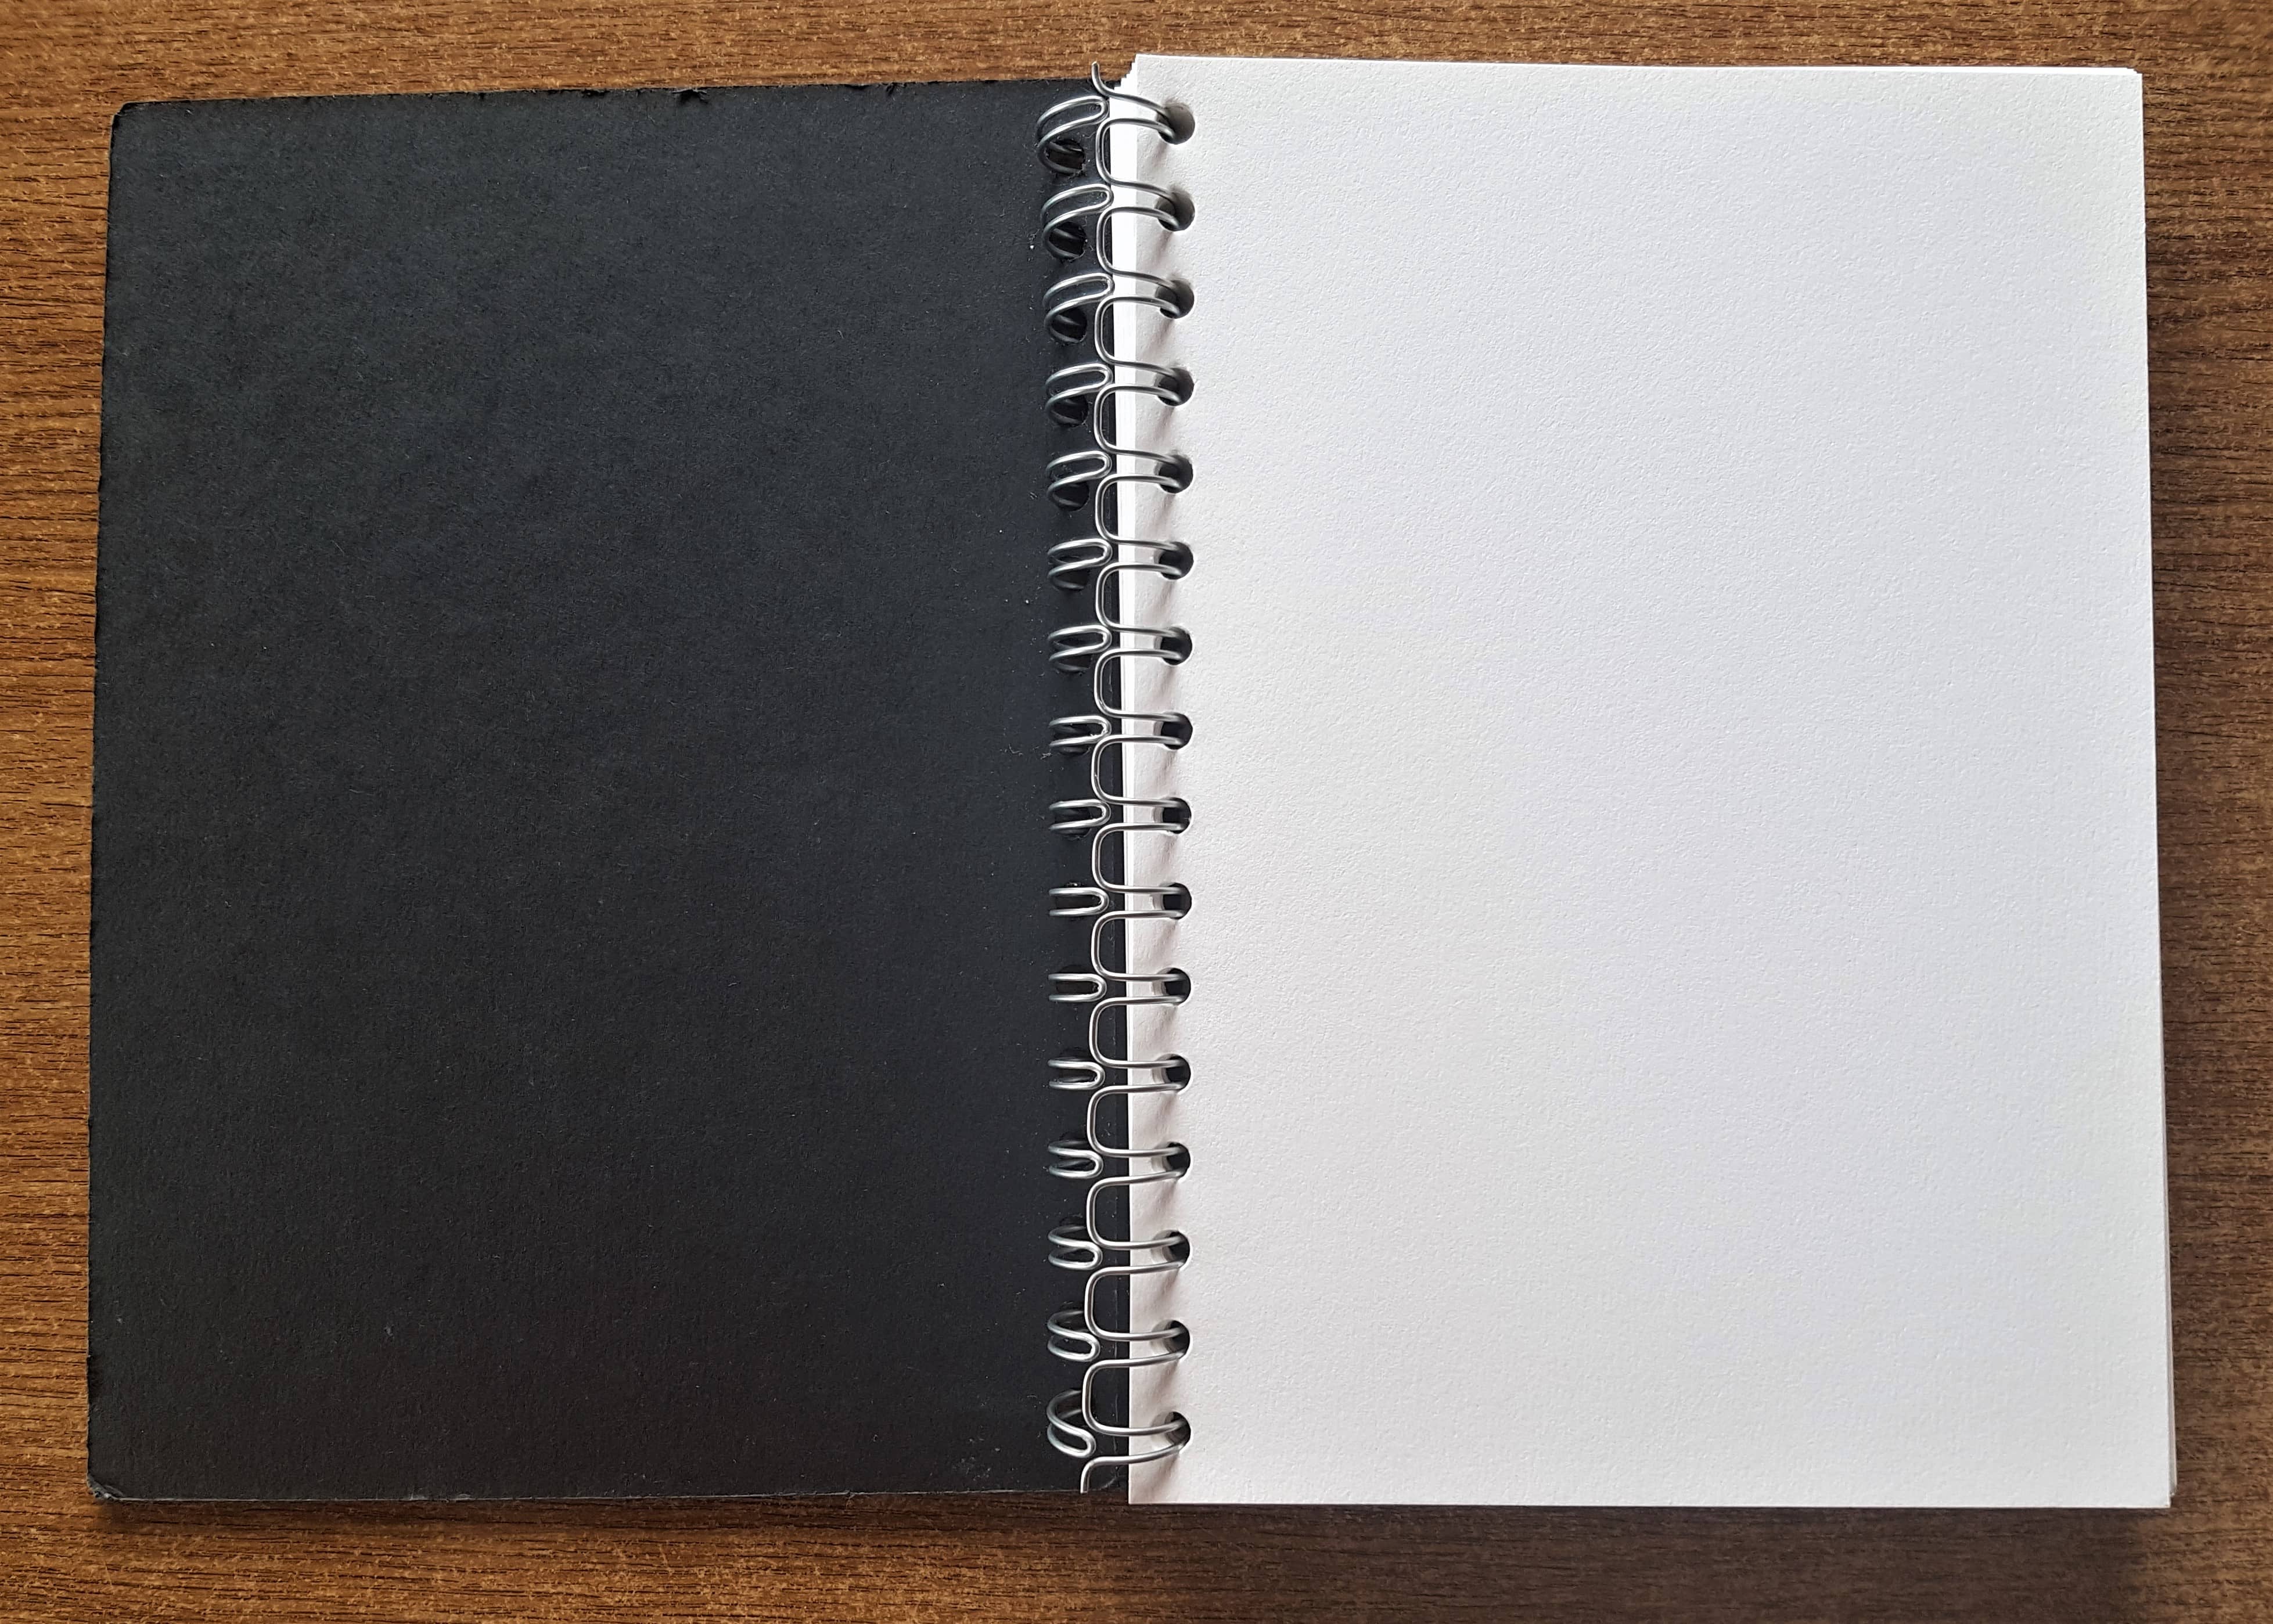
Removing the Covers from the Journal
I loosened each Spiral on the Hardback Journal.
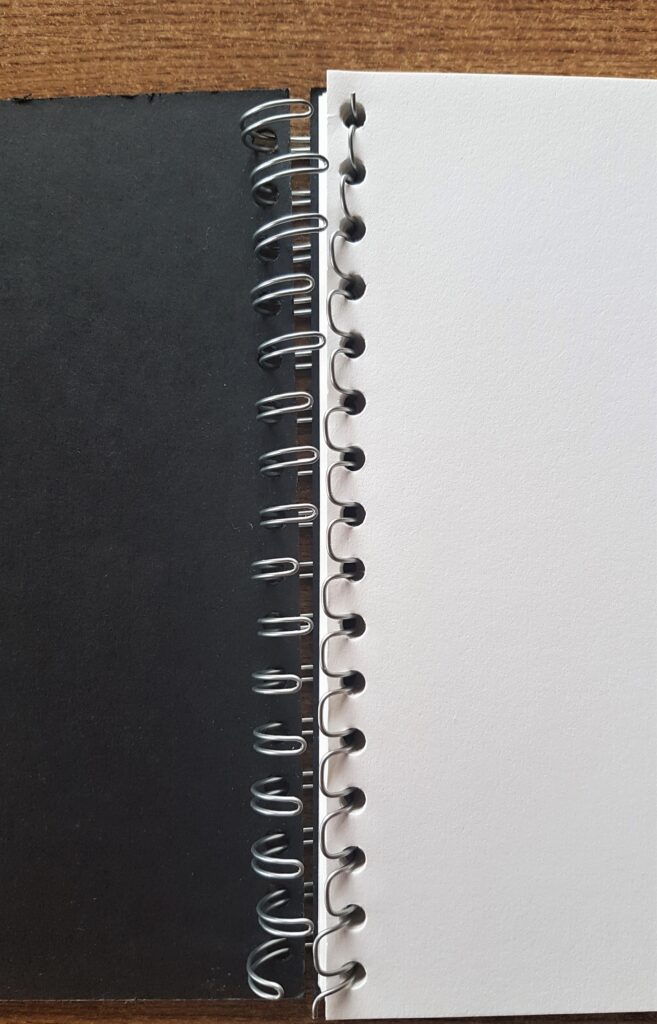
I removed the Front and Back Cover from the Spiral Journal.
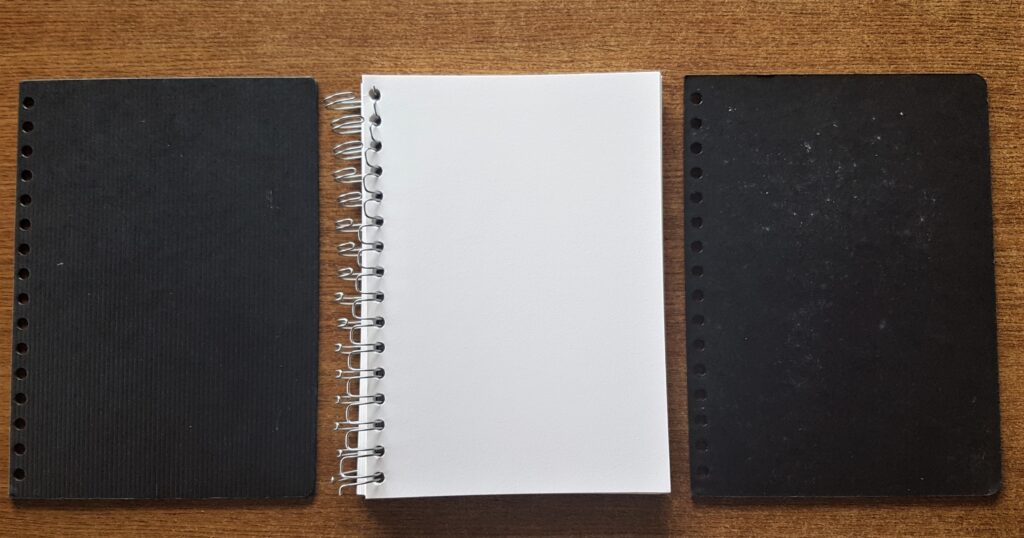
Applying Gesso to the Journal Covers
I applied 2 Layers of ‘White Acrylic Gesso’ to the Front of the Journal Covers using a Flat Paintbrush. This Primes the surface and prepares it for more mediums.
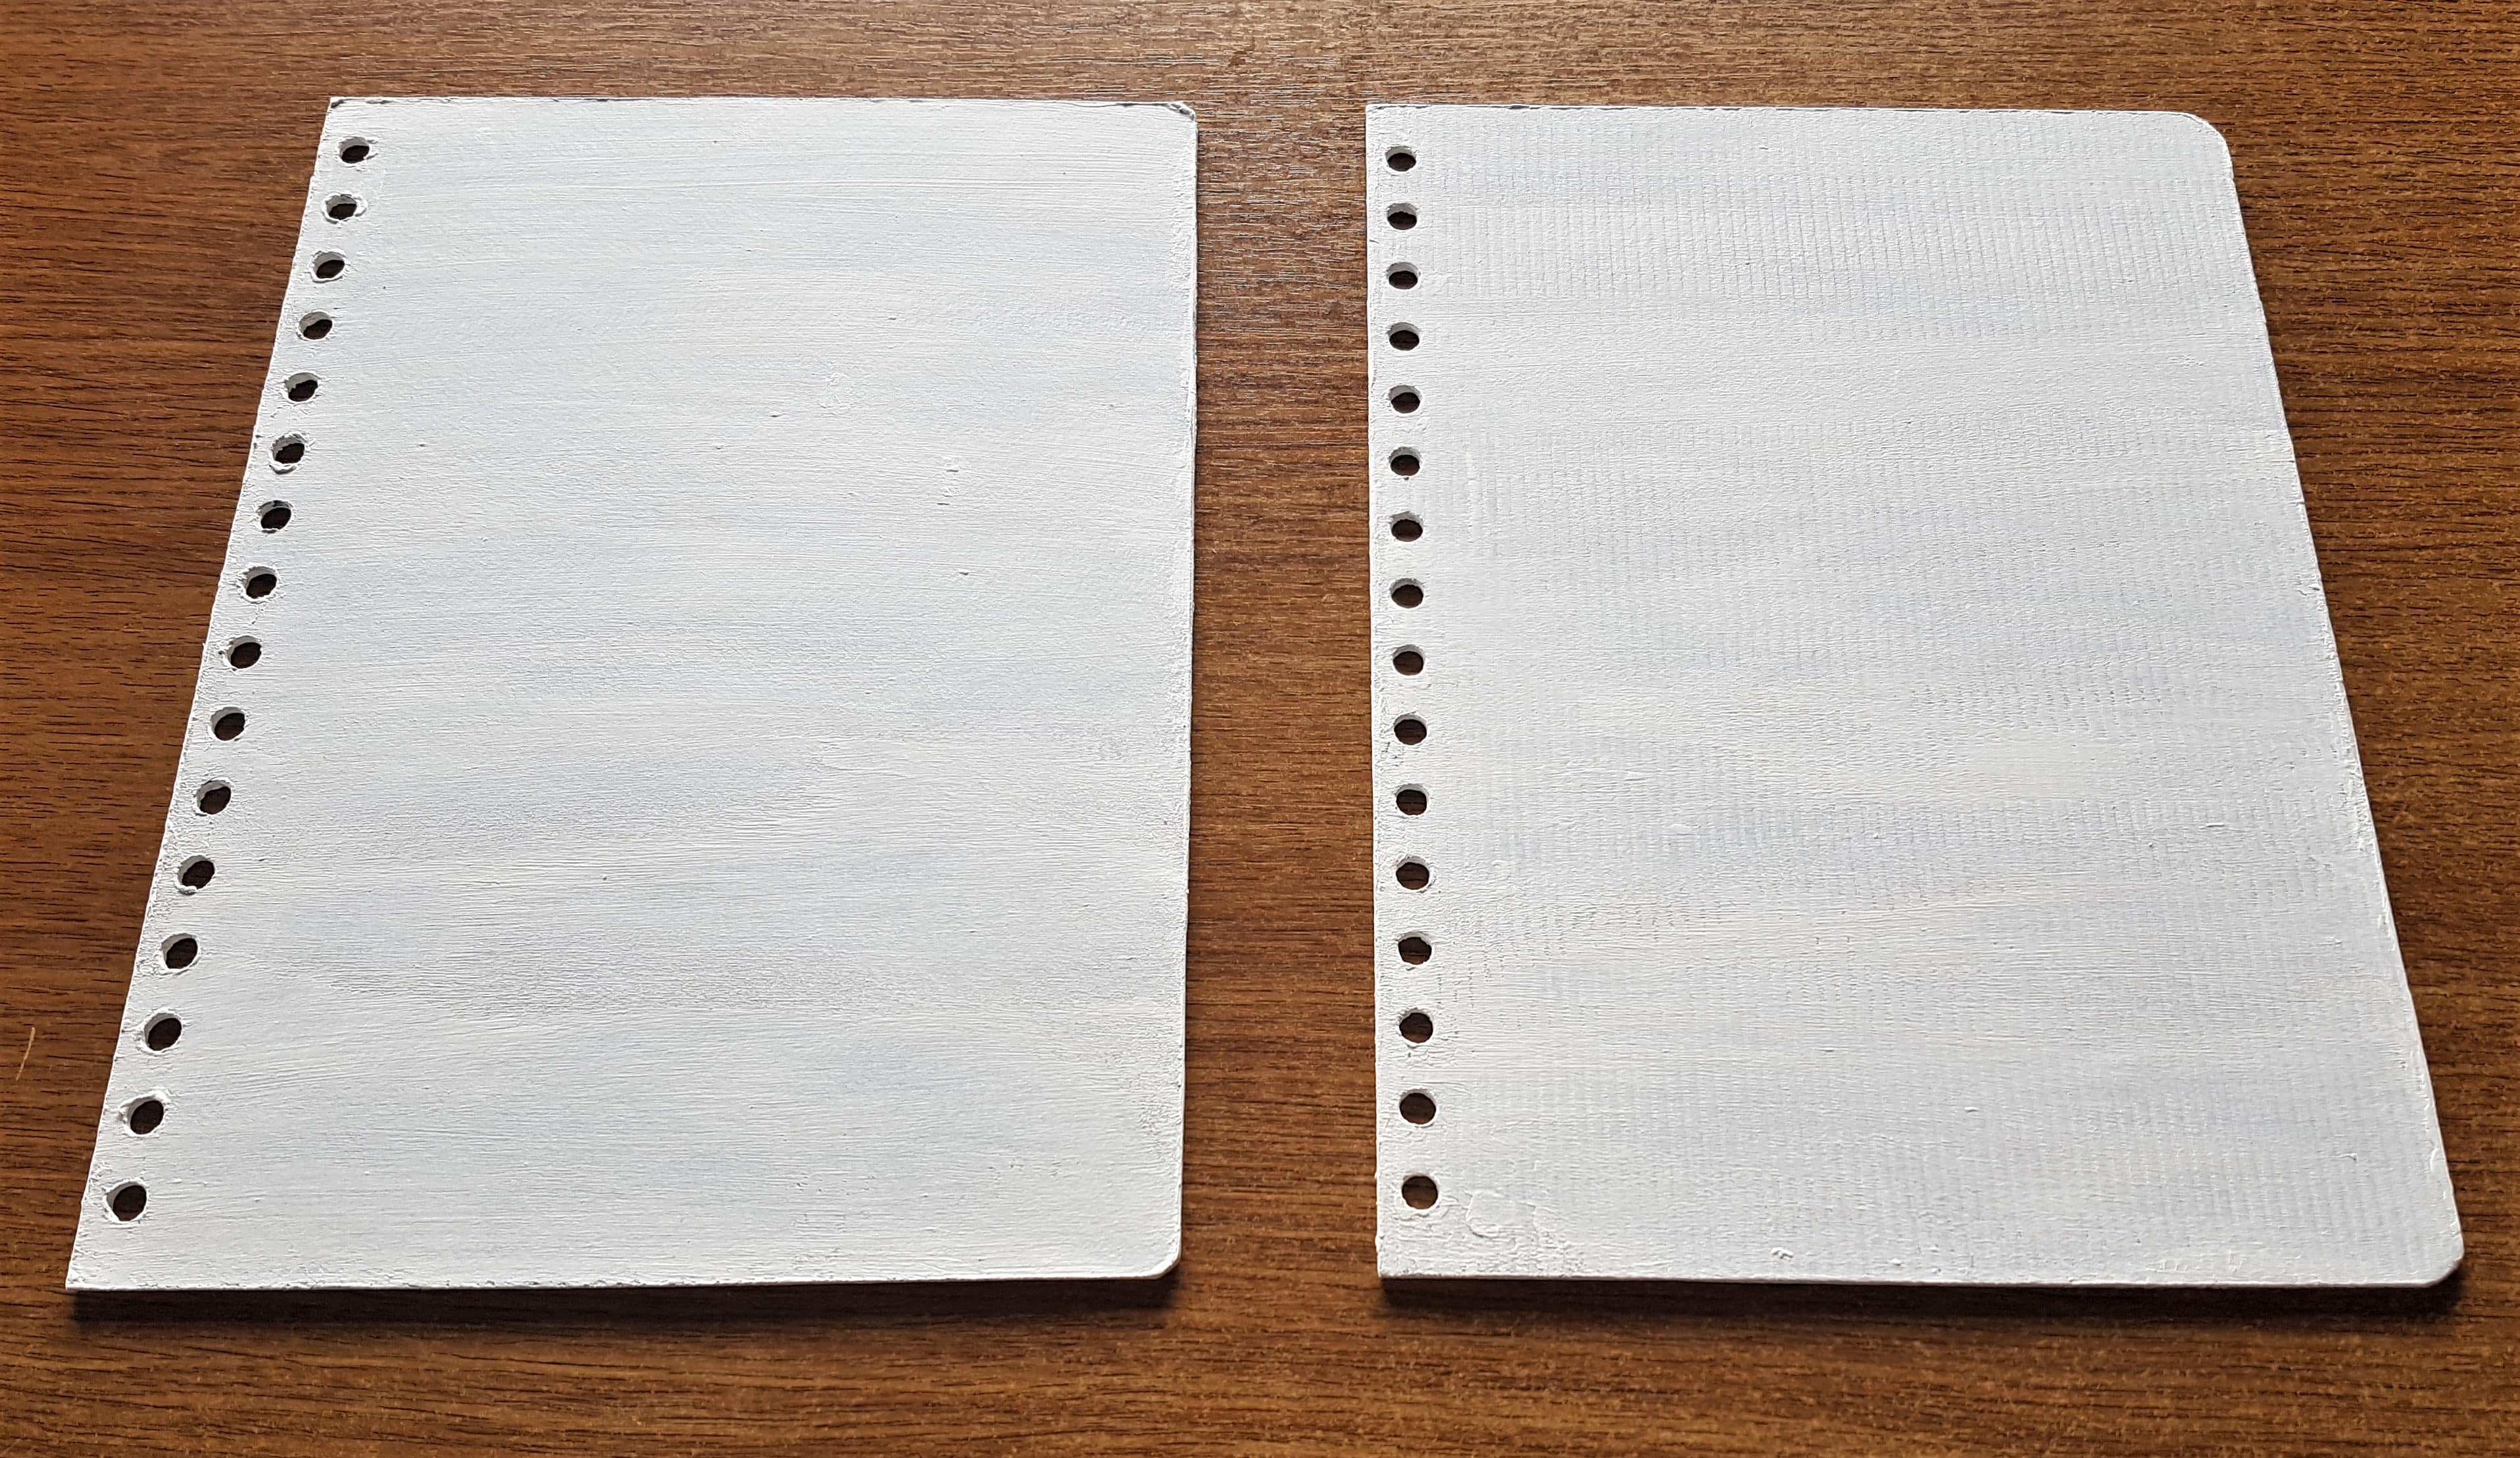
I also applied 2 Layers of Gesso to the Back of the Journal Covers allowing an hour drying time between each layer.
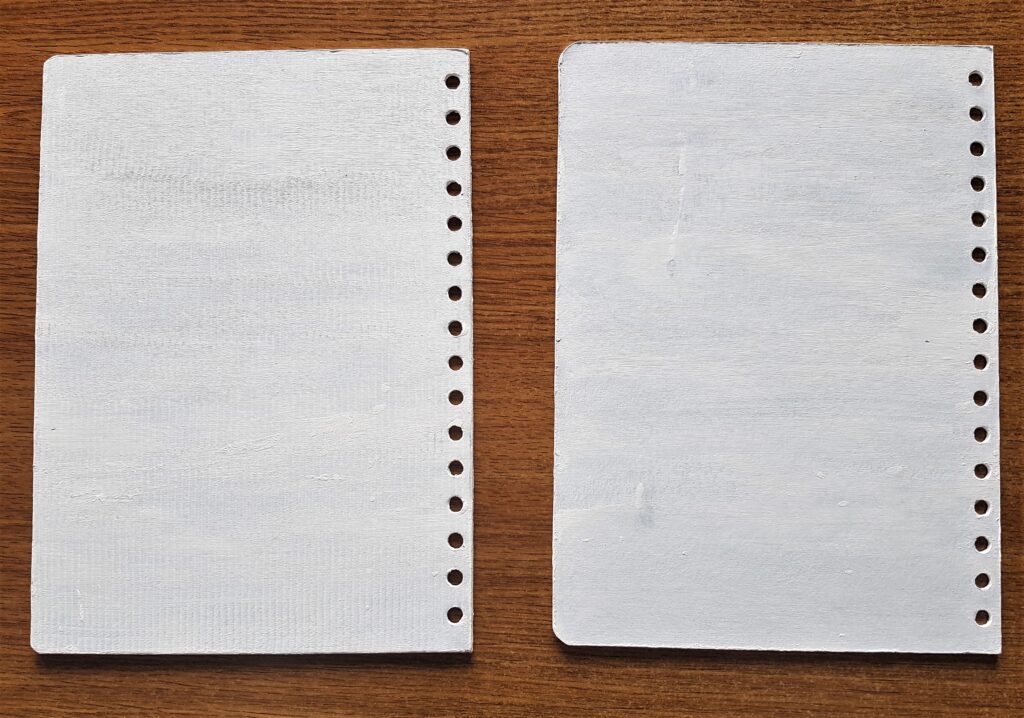
Adding Paint to the Journal
I painted 2 Layers of White Acrylic Paint onto the Front of the Journal Covers when the last layer of Gesso was completely dry.
I added the Paint to cover all the black on the Journal Covers as the Napkin I used has a White Background, so to make it easy to blend the Napkin into the Background and for the napkin image to be visible.
If your Napkin has a colourful background you might not have to add the Paint, a layer or 2 of Gesso could be sufficient. You could also just add White Acrylic Paint if you don’t have Gesso.
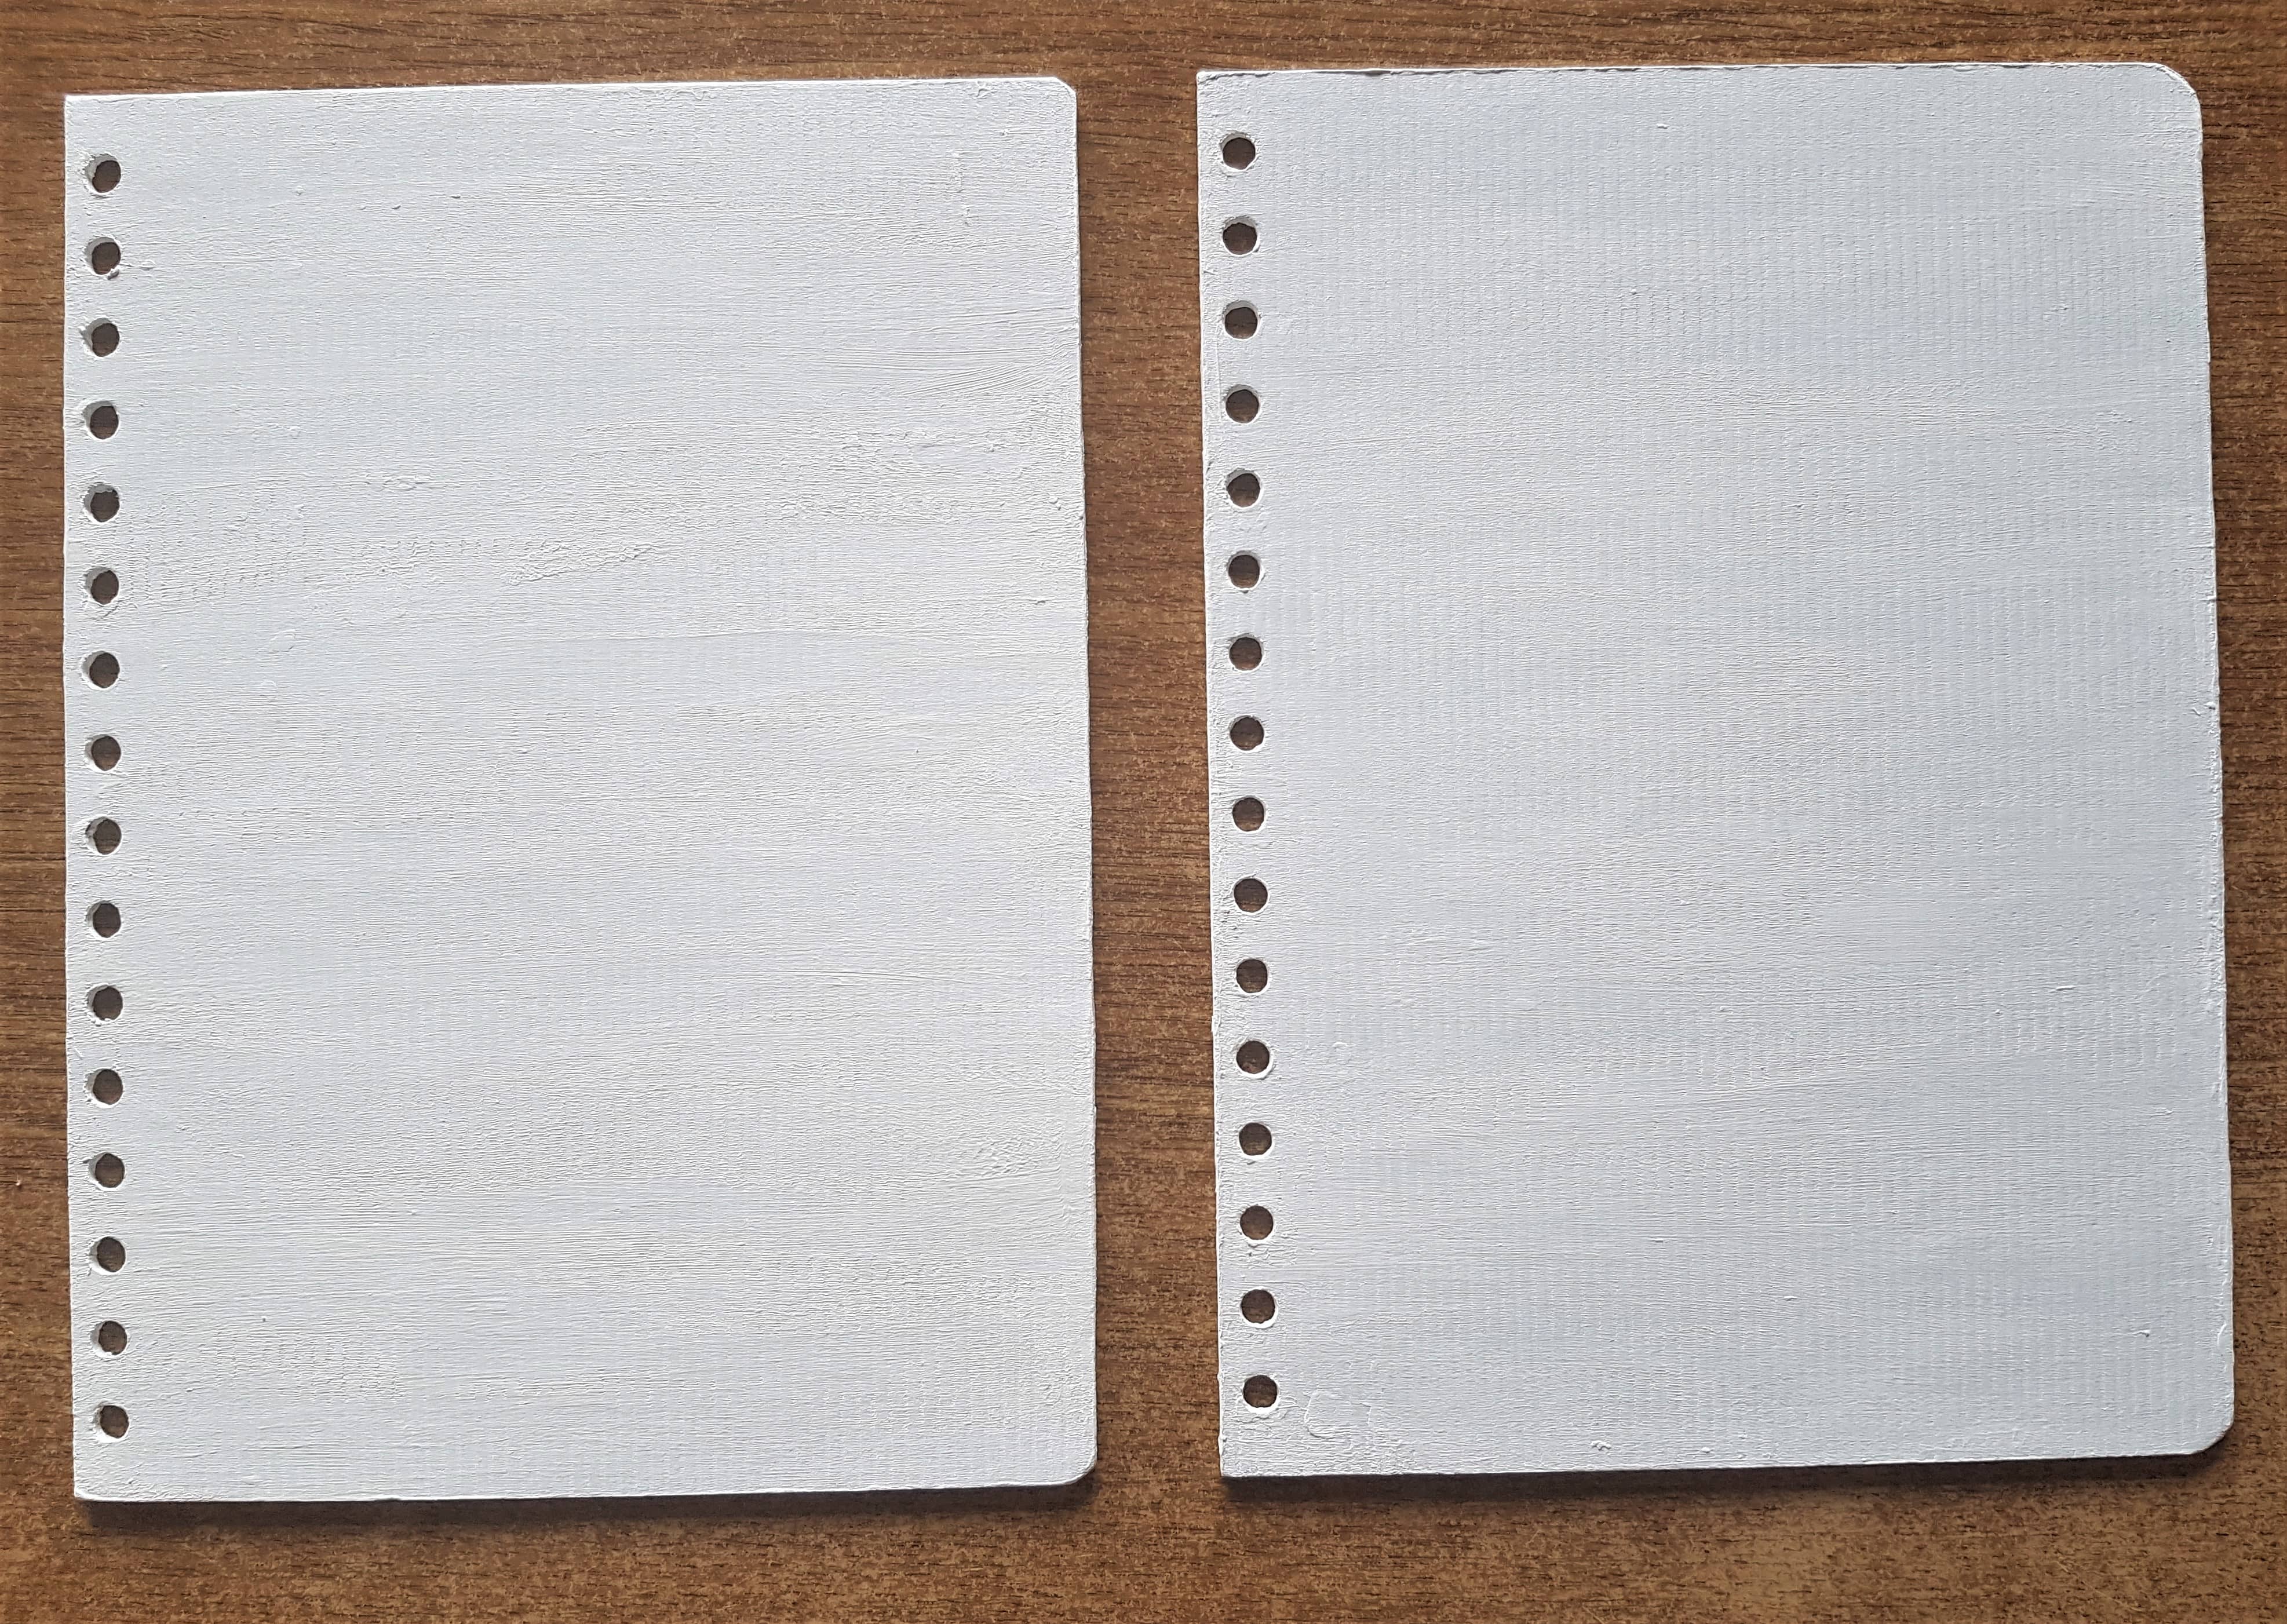
This is the Front Journal Covers after the 2 layers of White Paint were added.
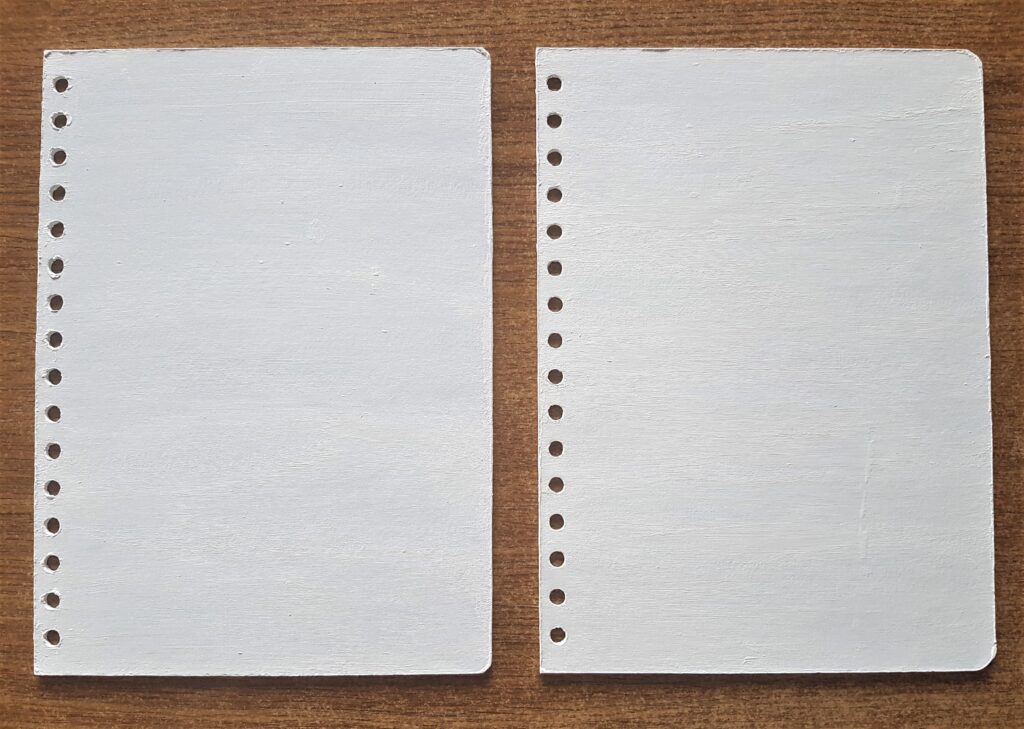
Here is the back of the Journal Covers after White Paint was applied.
Making Splatters for the Inside of the Journal
I got some of my Magenta Pink Acrylic Paint.
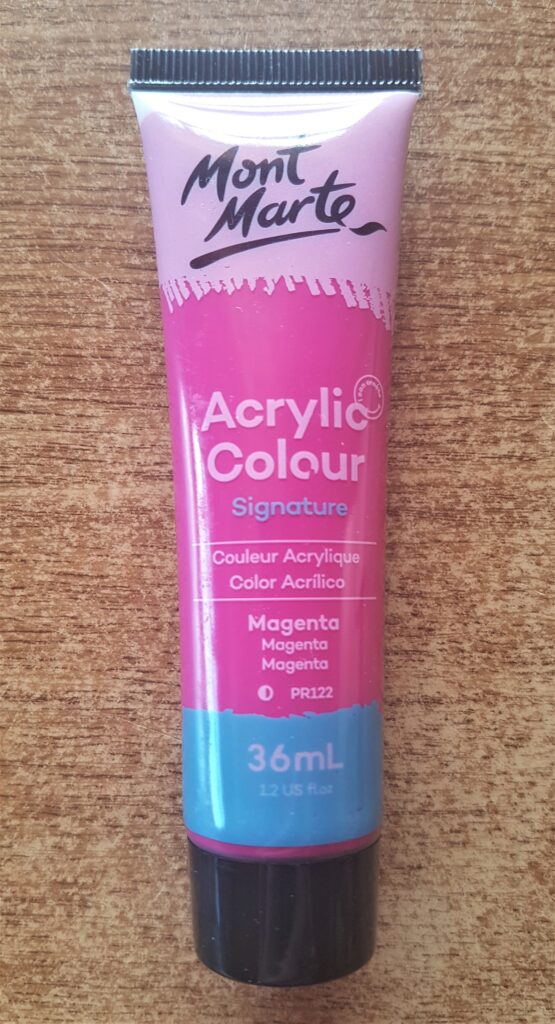
I put a small dab of the Paint into a Lid from a Jar.
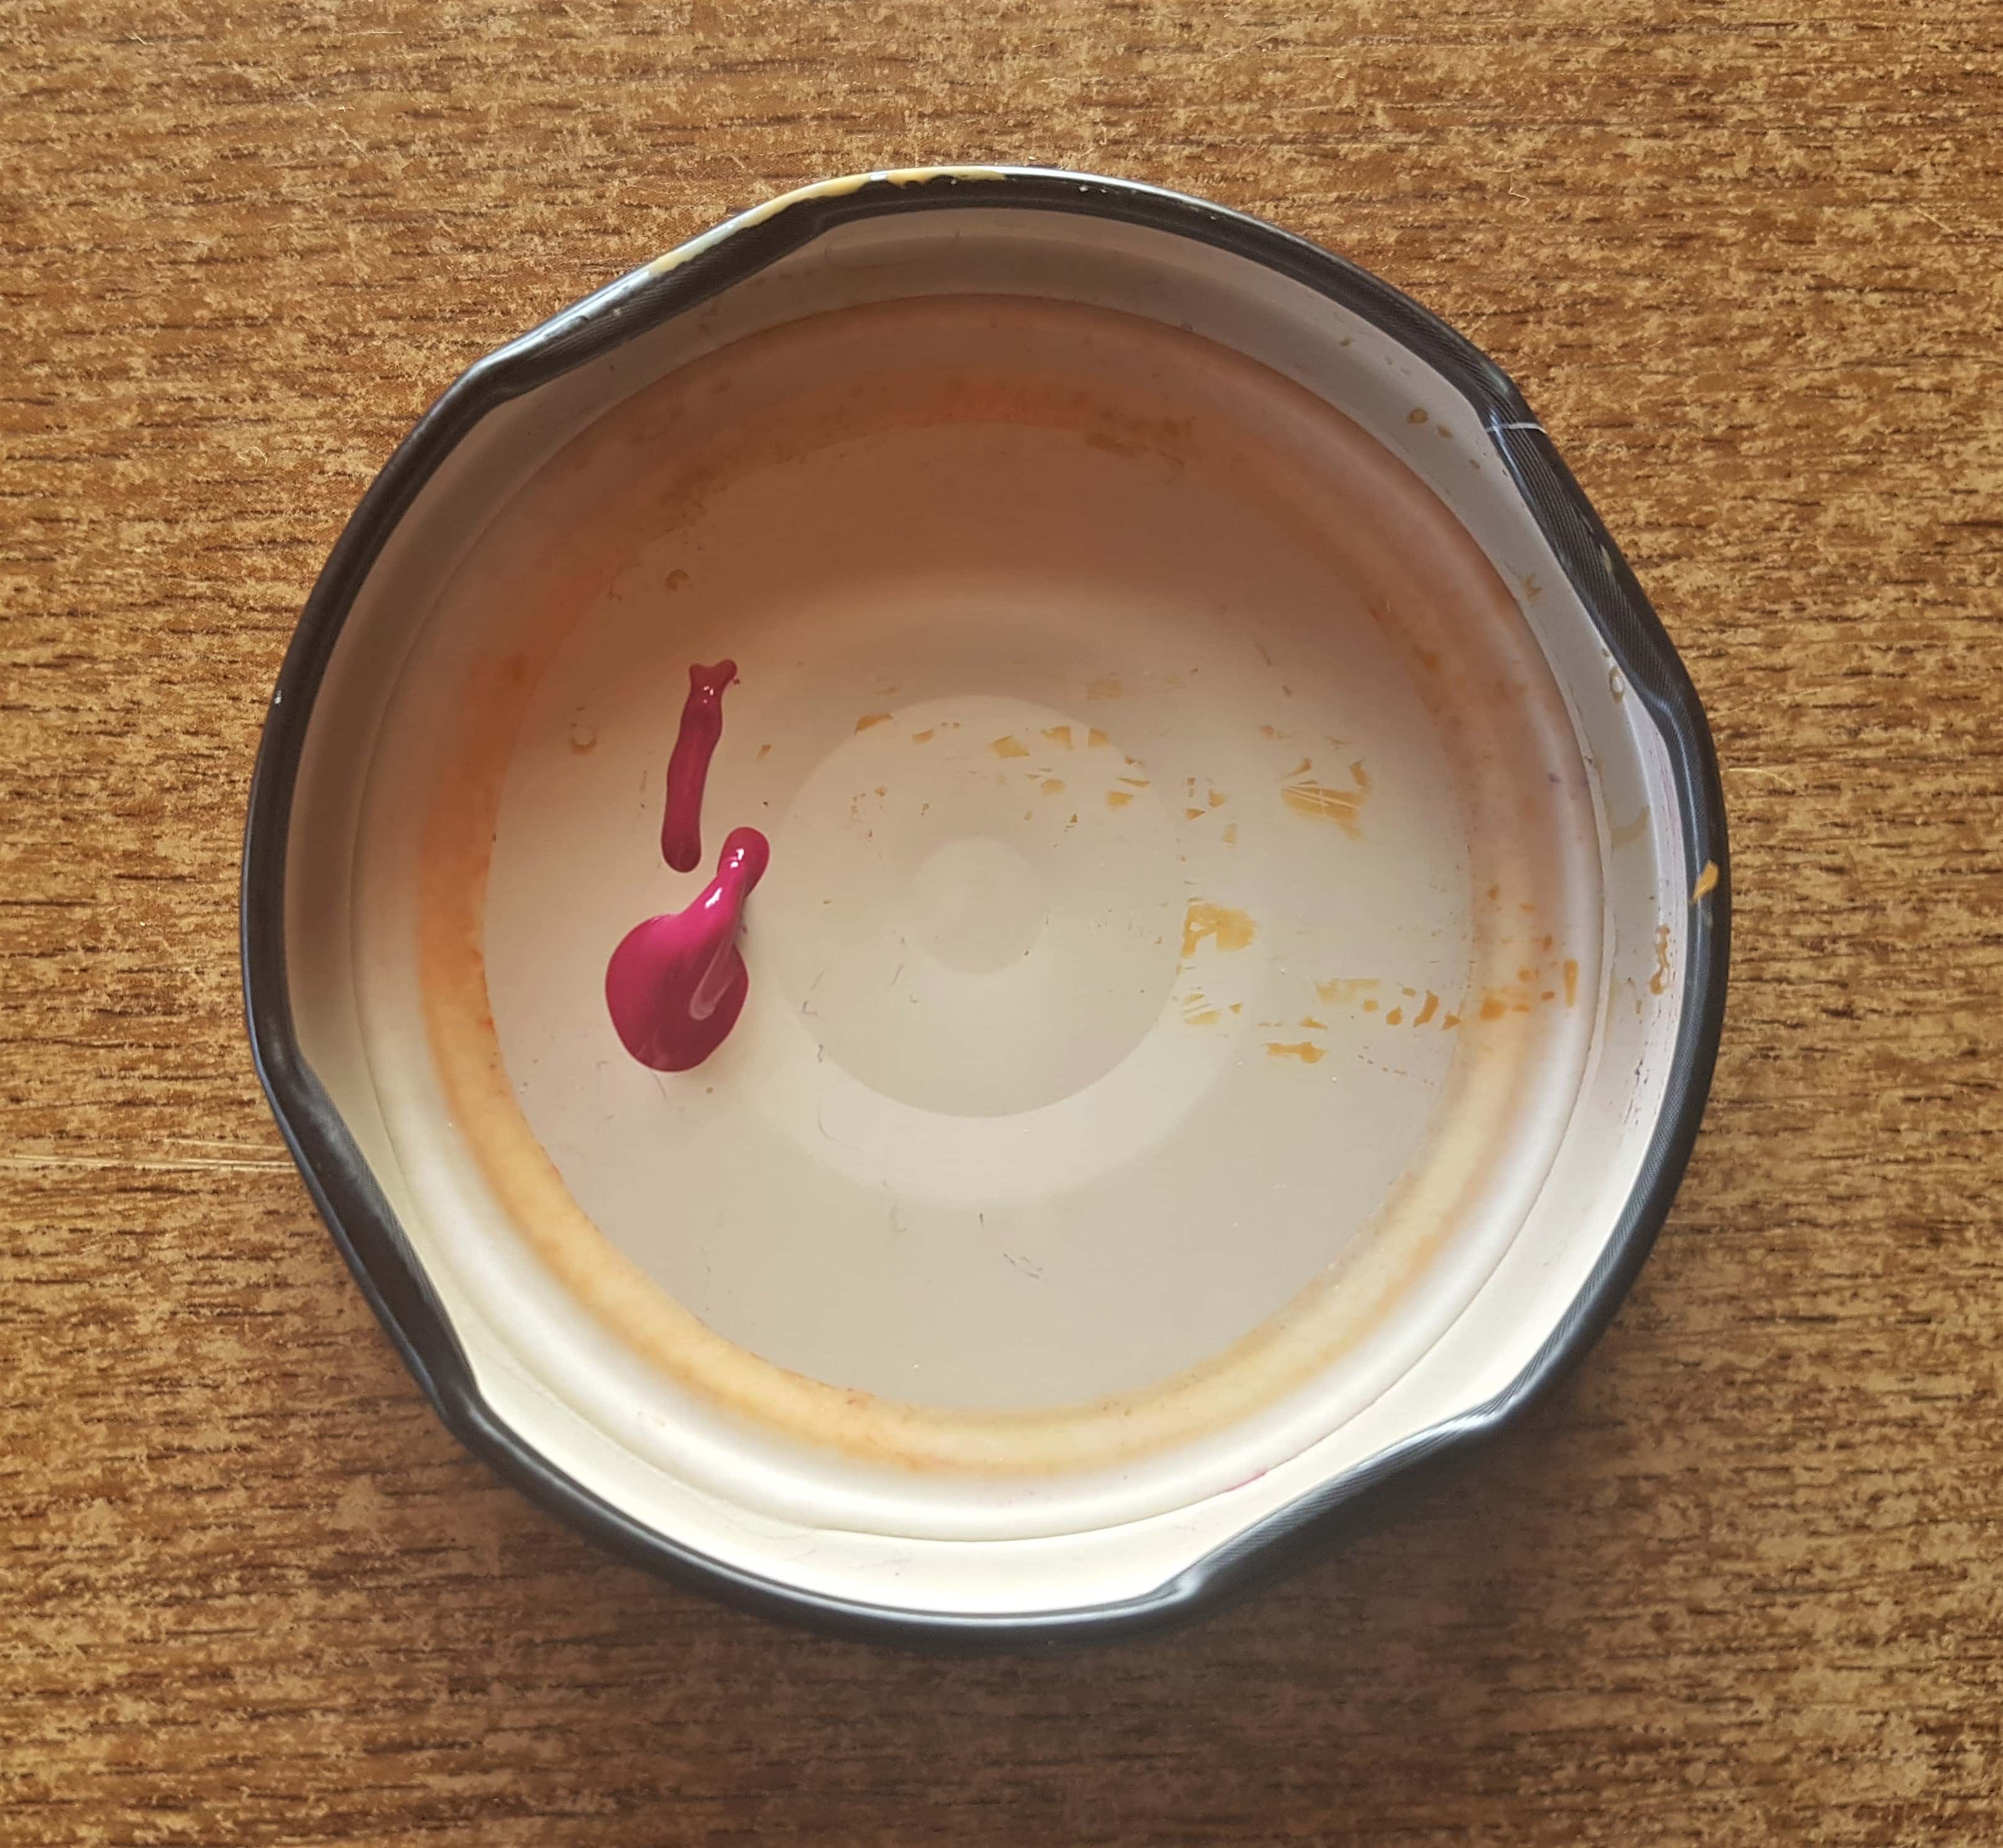
I added a drop of Water to the Lid and mixed it with the Paint to water it down a little. I got a small tip Paintbrush and dipped it into the Paint and Water mixture. I got another Paintbrush and used the handle of it to tap the Paintbrush with Paint on it and held the Paintbrush about 20 cm over the inside of the Journal Covers.
I moved my arm along each Journal Cover tapping the Paintbrush with the handle of the other paintbrush as I went along. I let the dots and blobs of Paint land on the Journal Cover however they wanted; for it to look more free flowing.
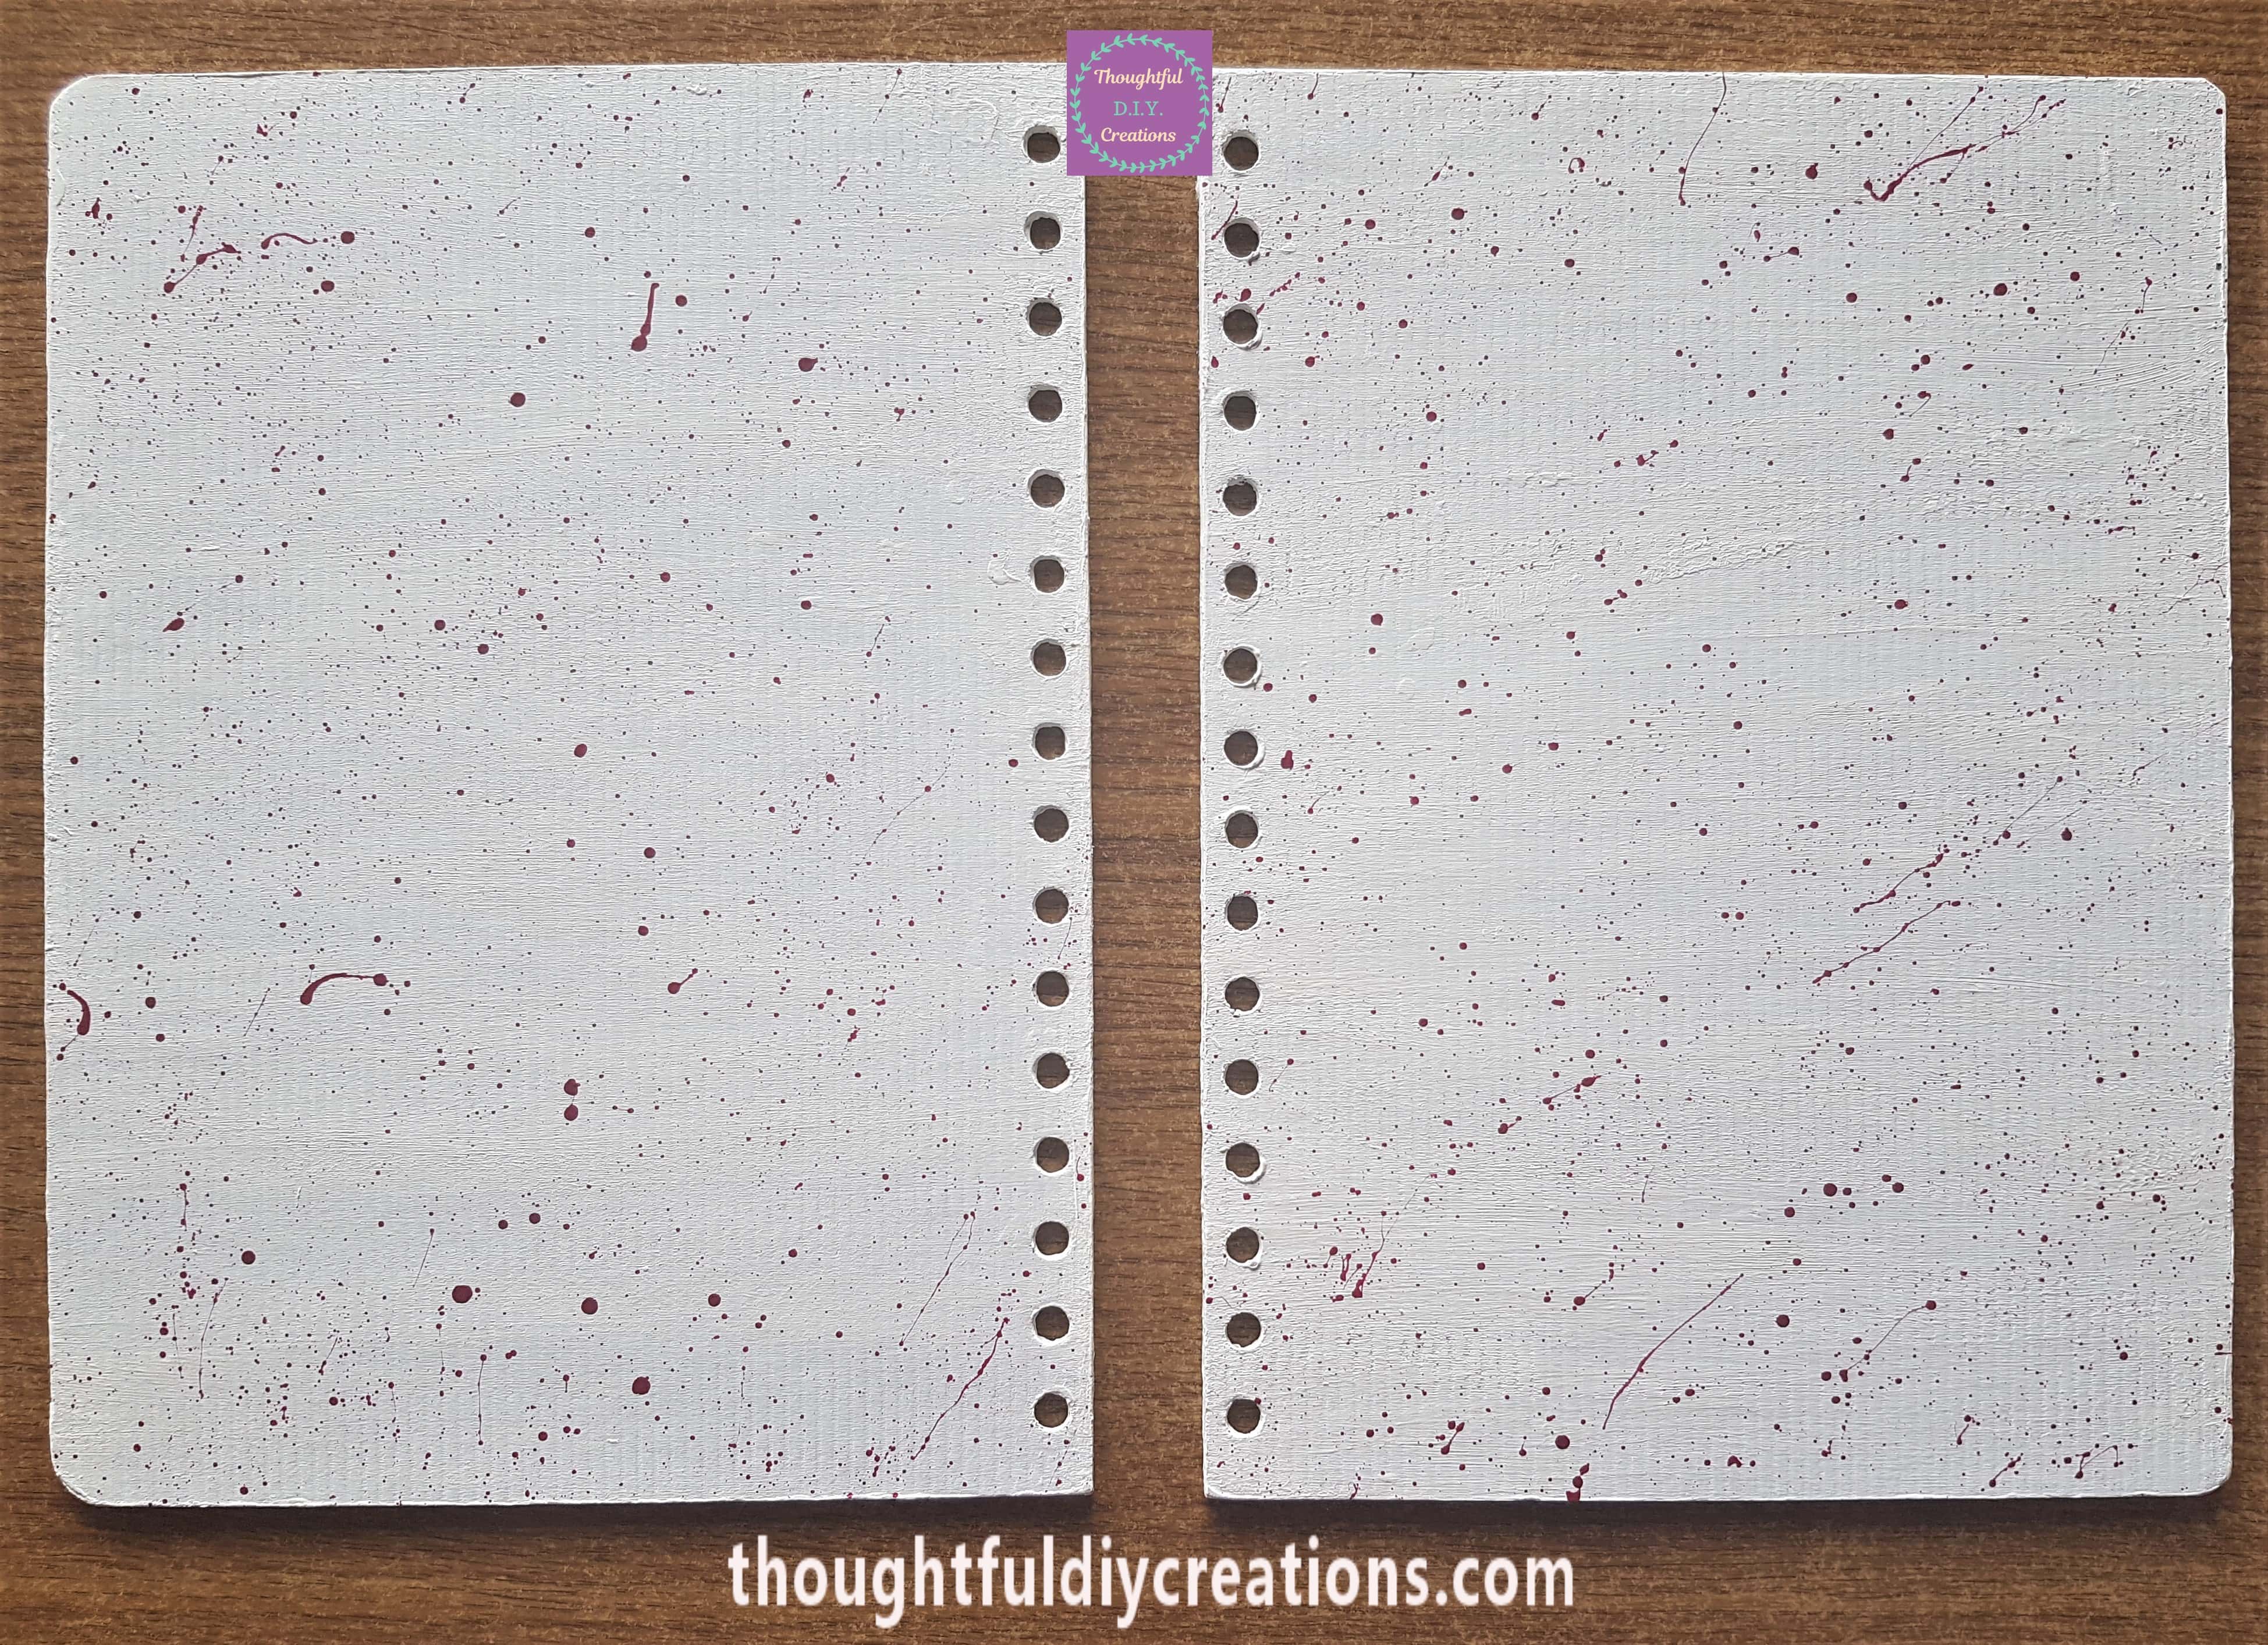
I rinsed out the Lid and Paintbrush. I gave an hour for the Pink Dots to completely dry. I got my Purple Acrylic Paint and added a blob of Paint into the Lid. I added a little water and mixed it with the Paint using a Paintbrush.
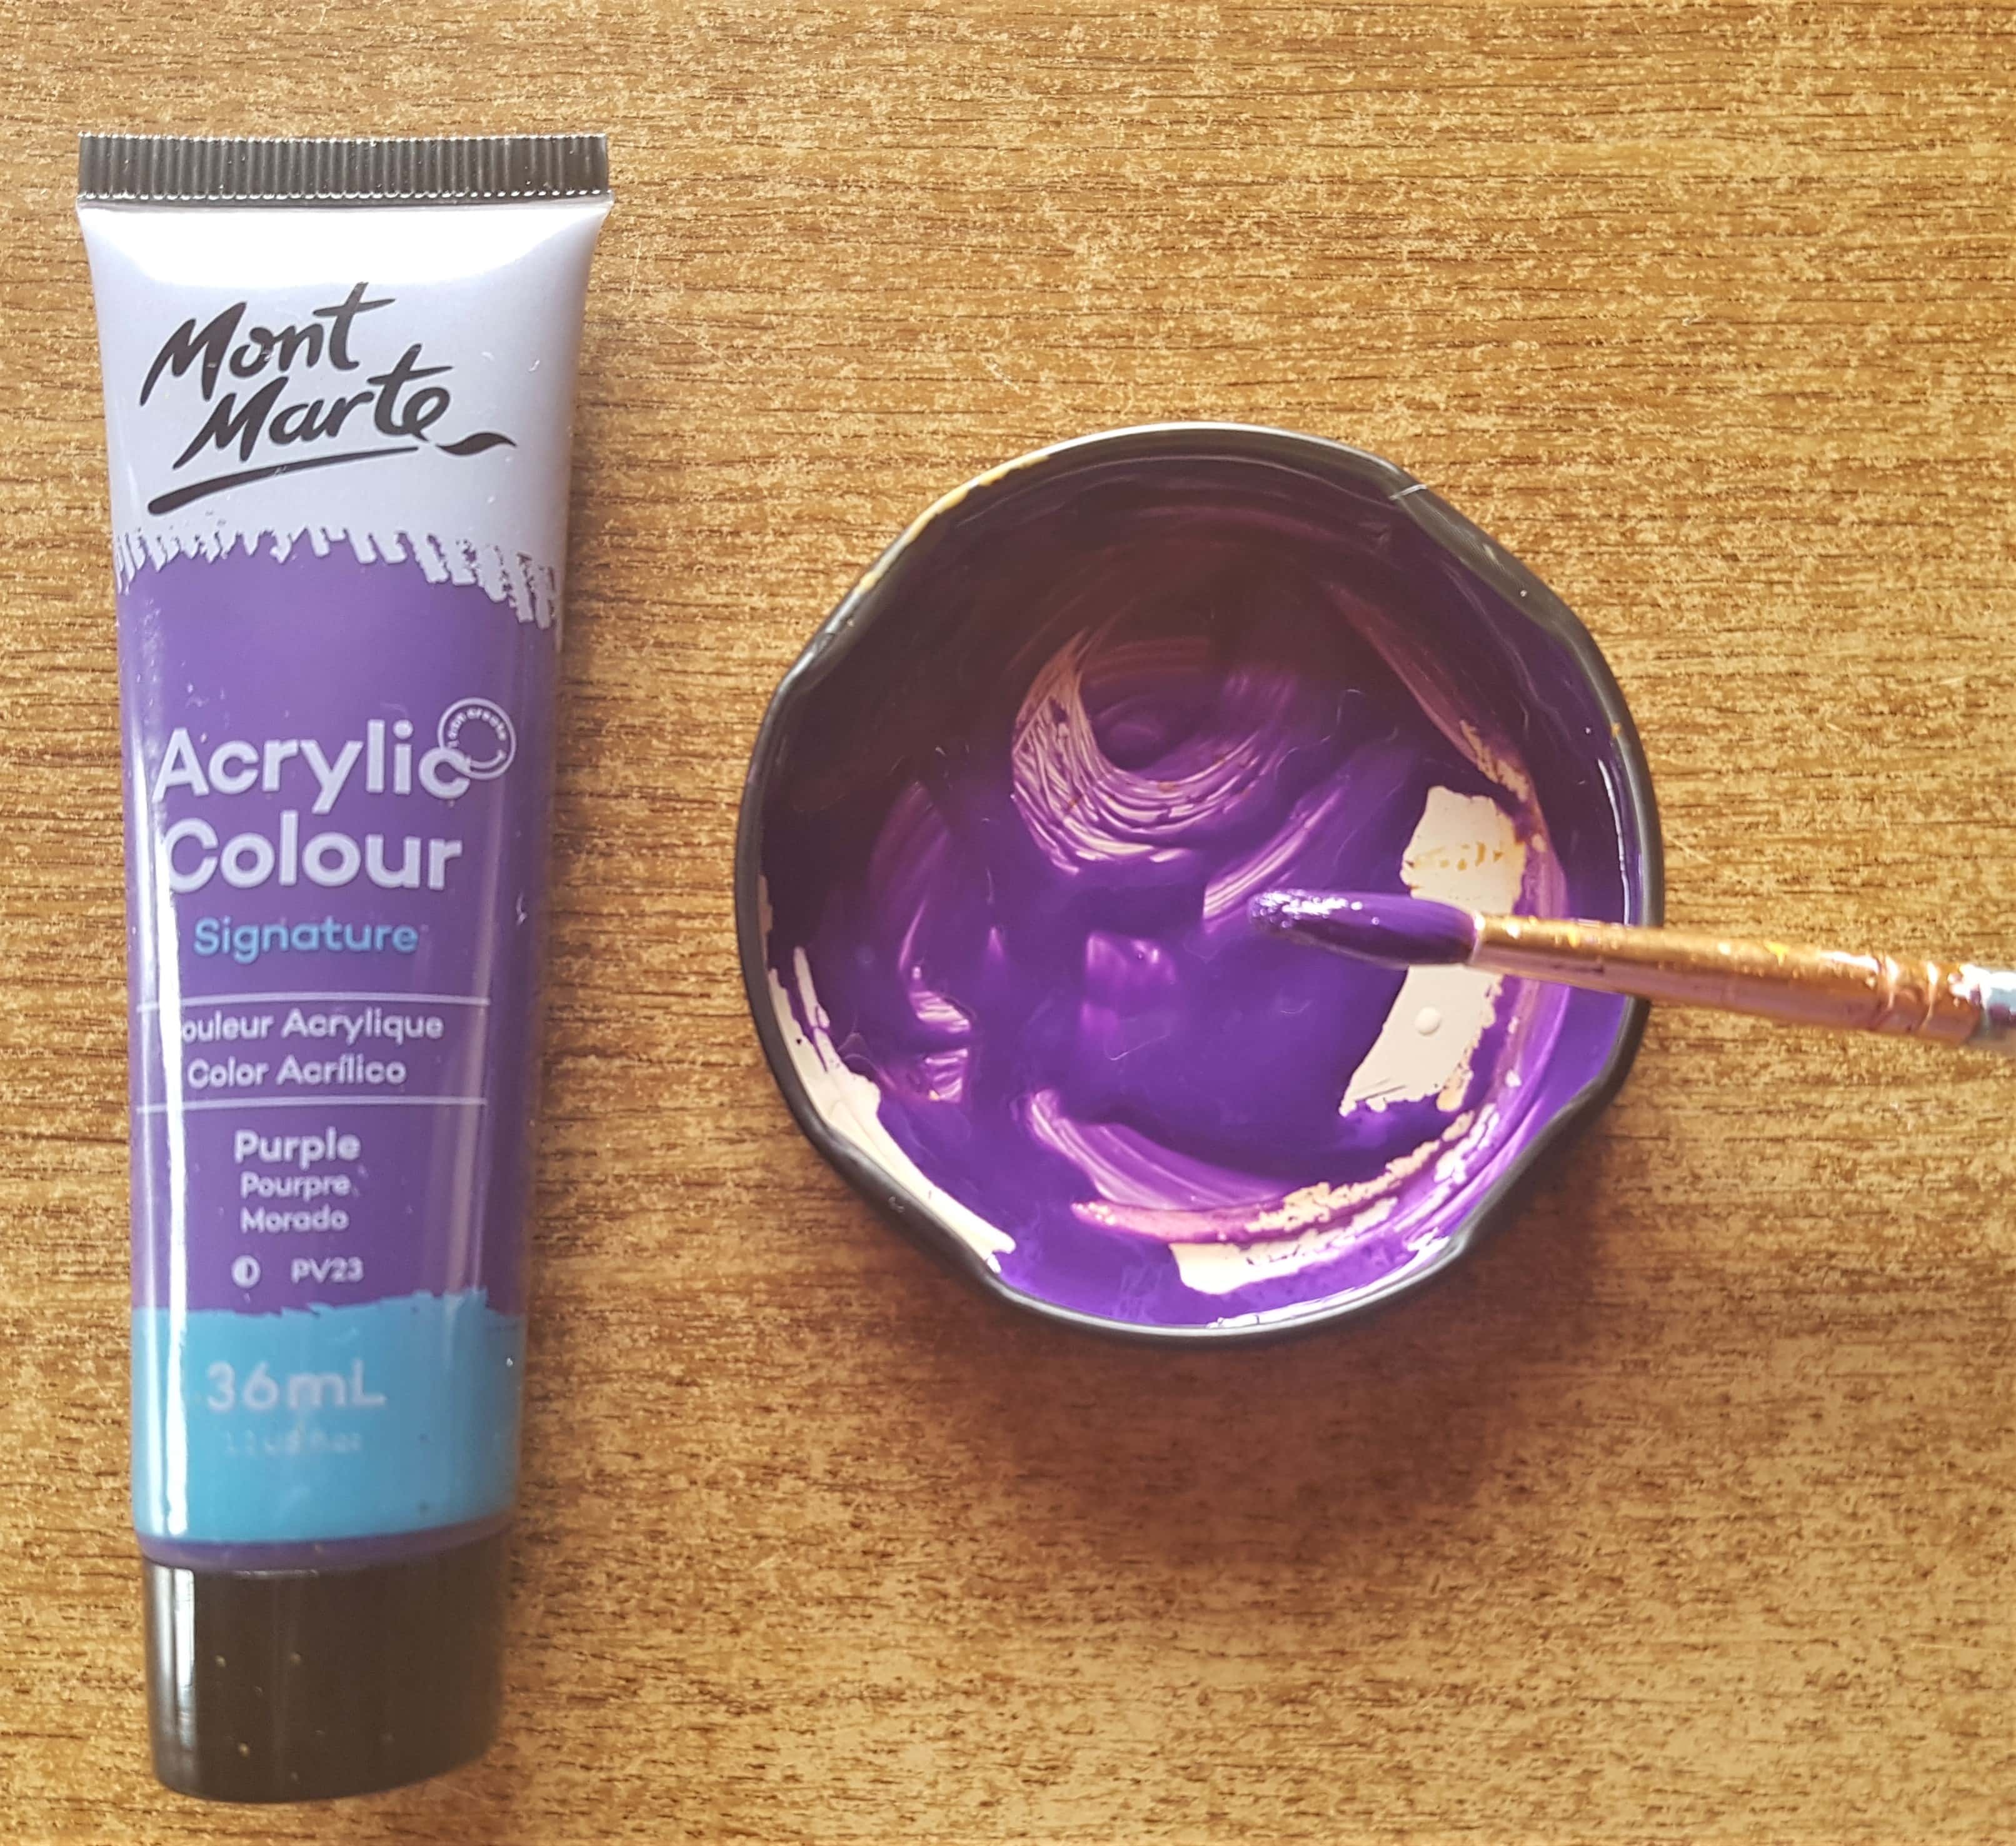
I added Purple Splatters to the inside of the Journal Covers. I focused on white areas to fill out the space.
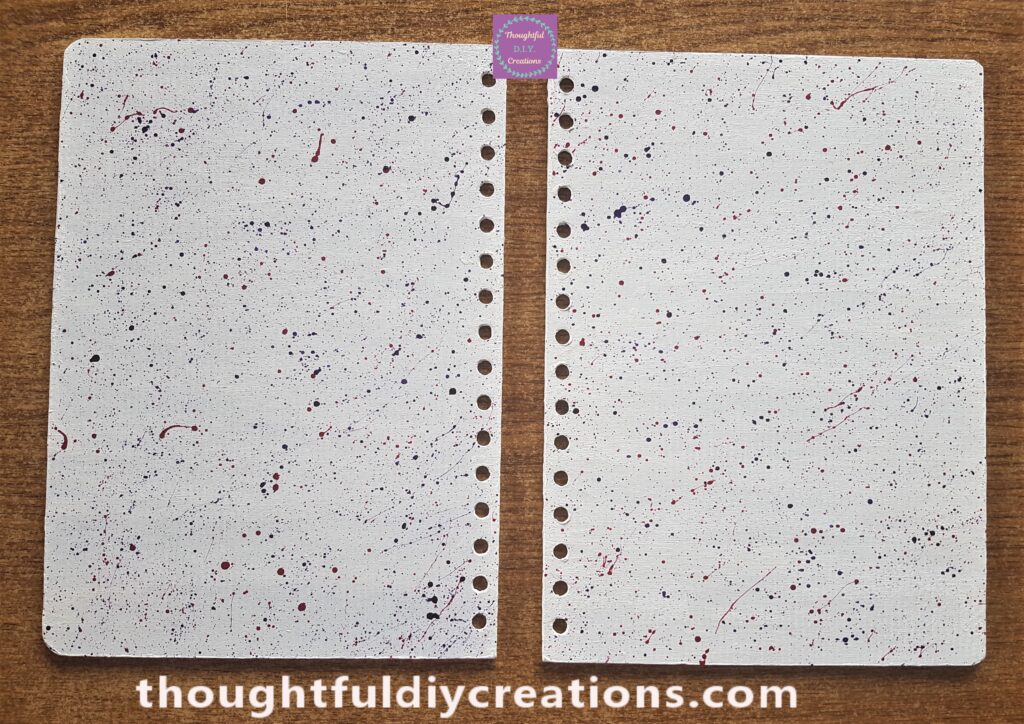
I cleaned the lid and paintbrush afterwards and again allowed an hour drying time. This is to ensure the colours don’t mix and get a muddy colour mixture.
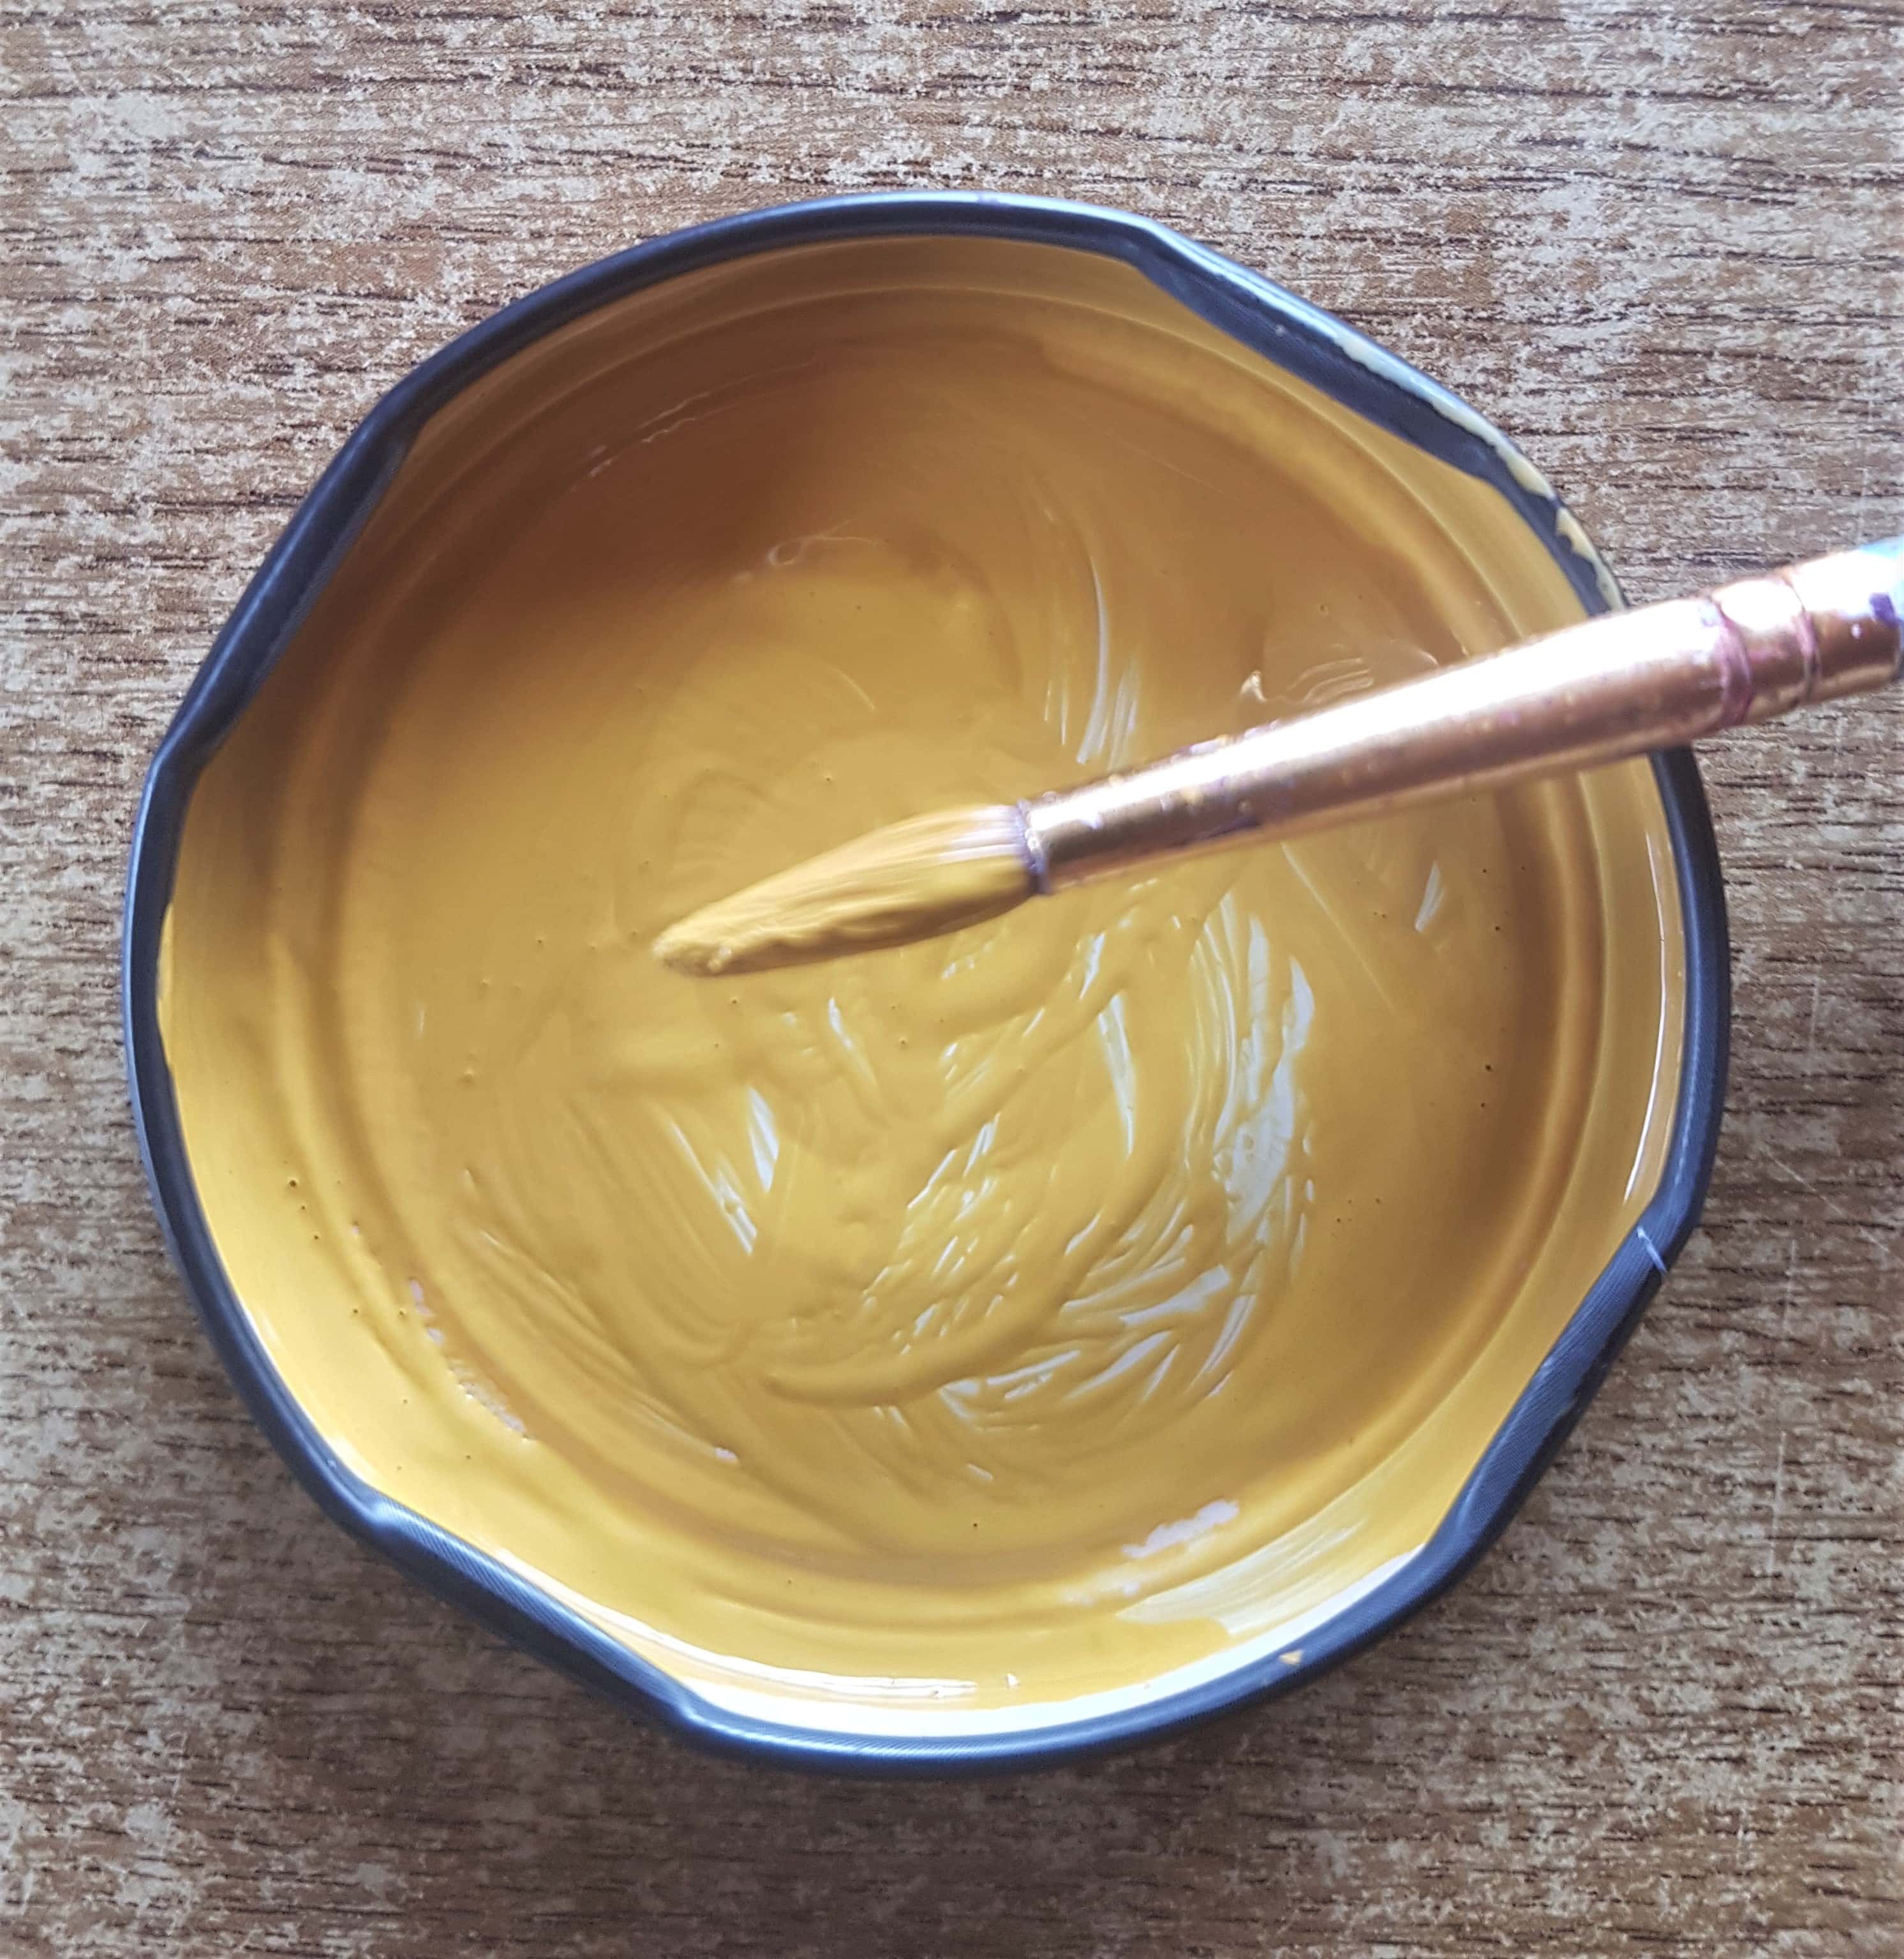
I got my ‘Yellow Ochre’ Acrylic Paint and added some to the Lid. I added some water and mixed it together.
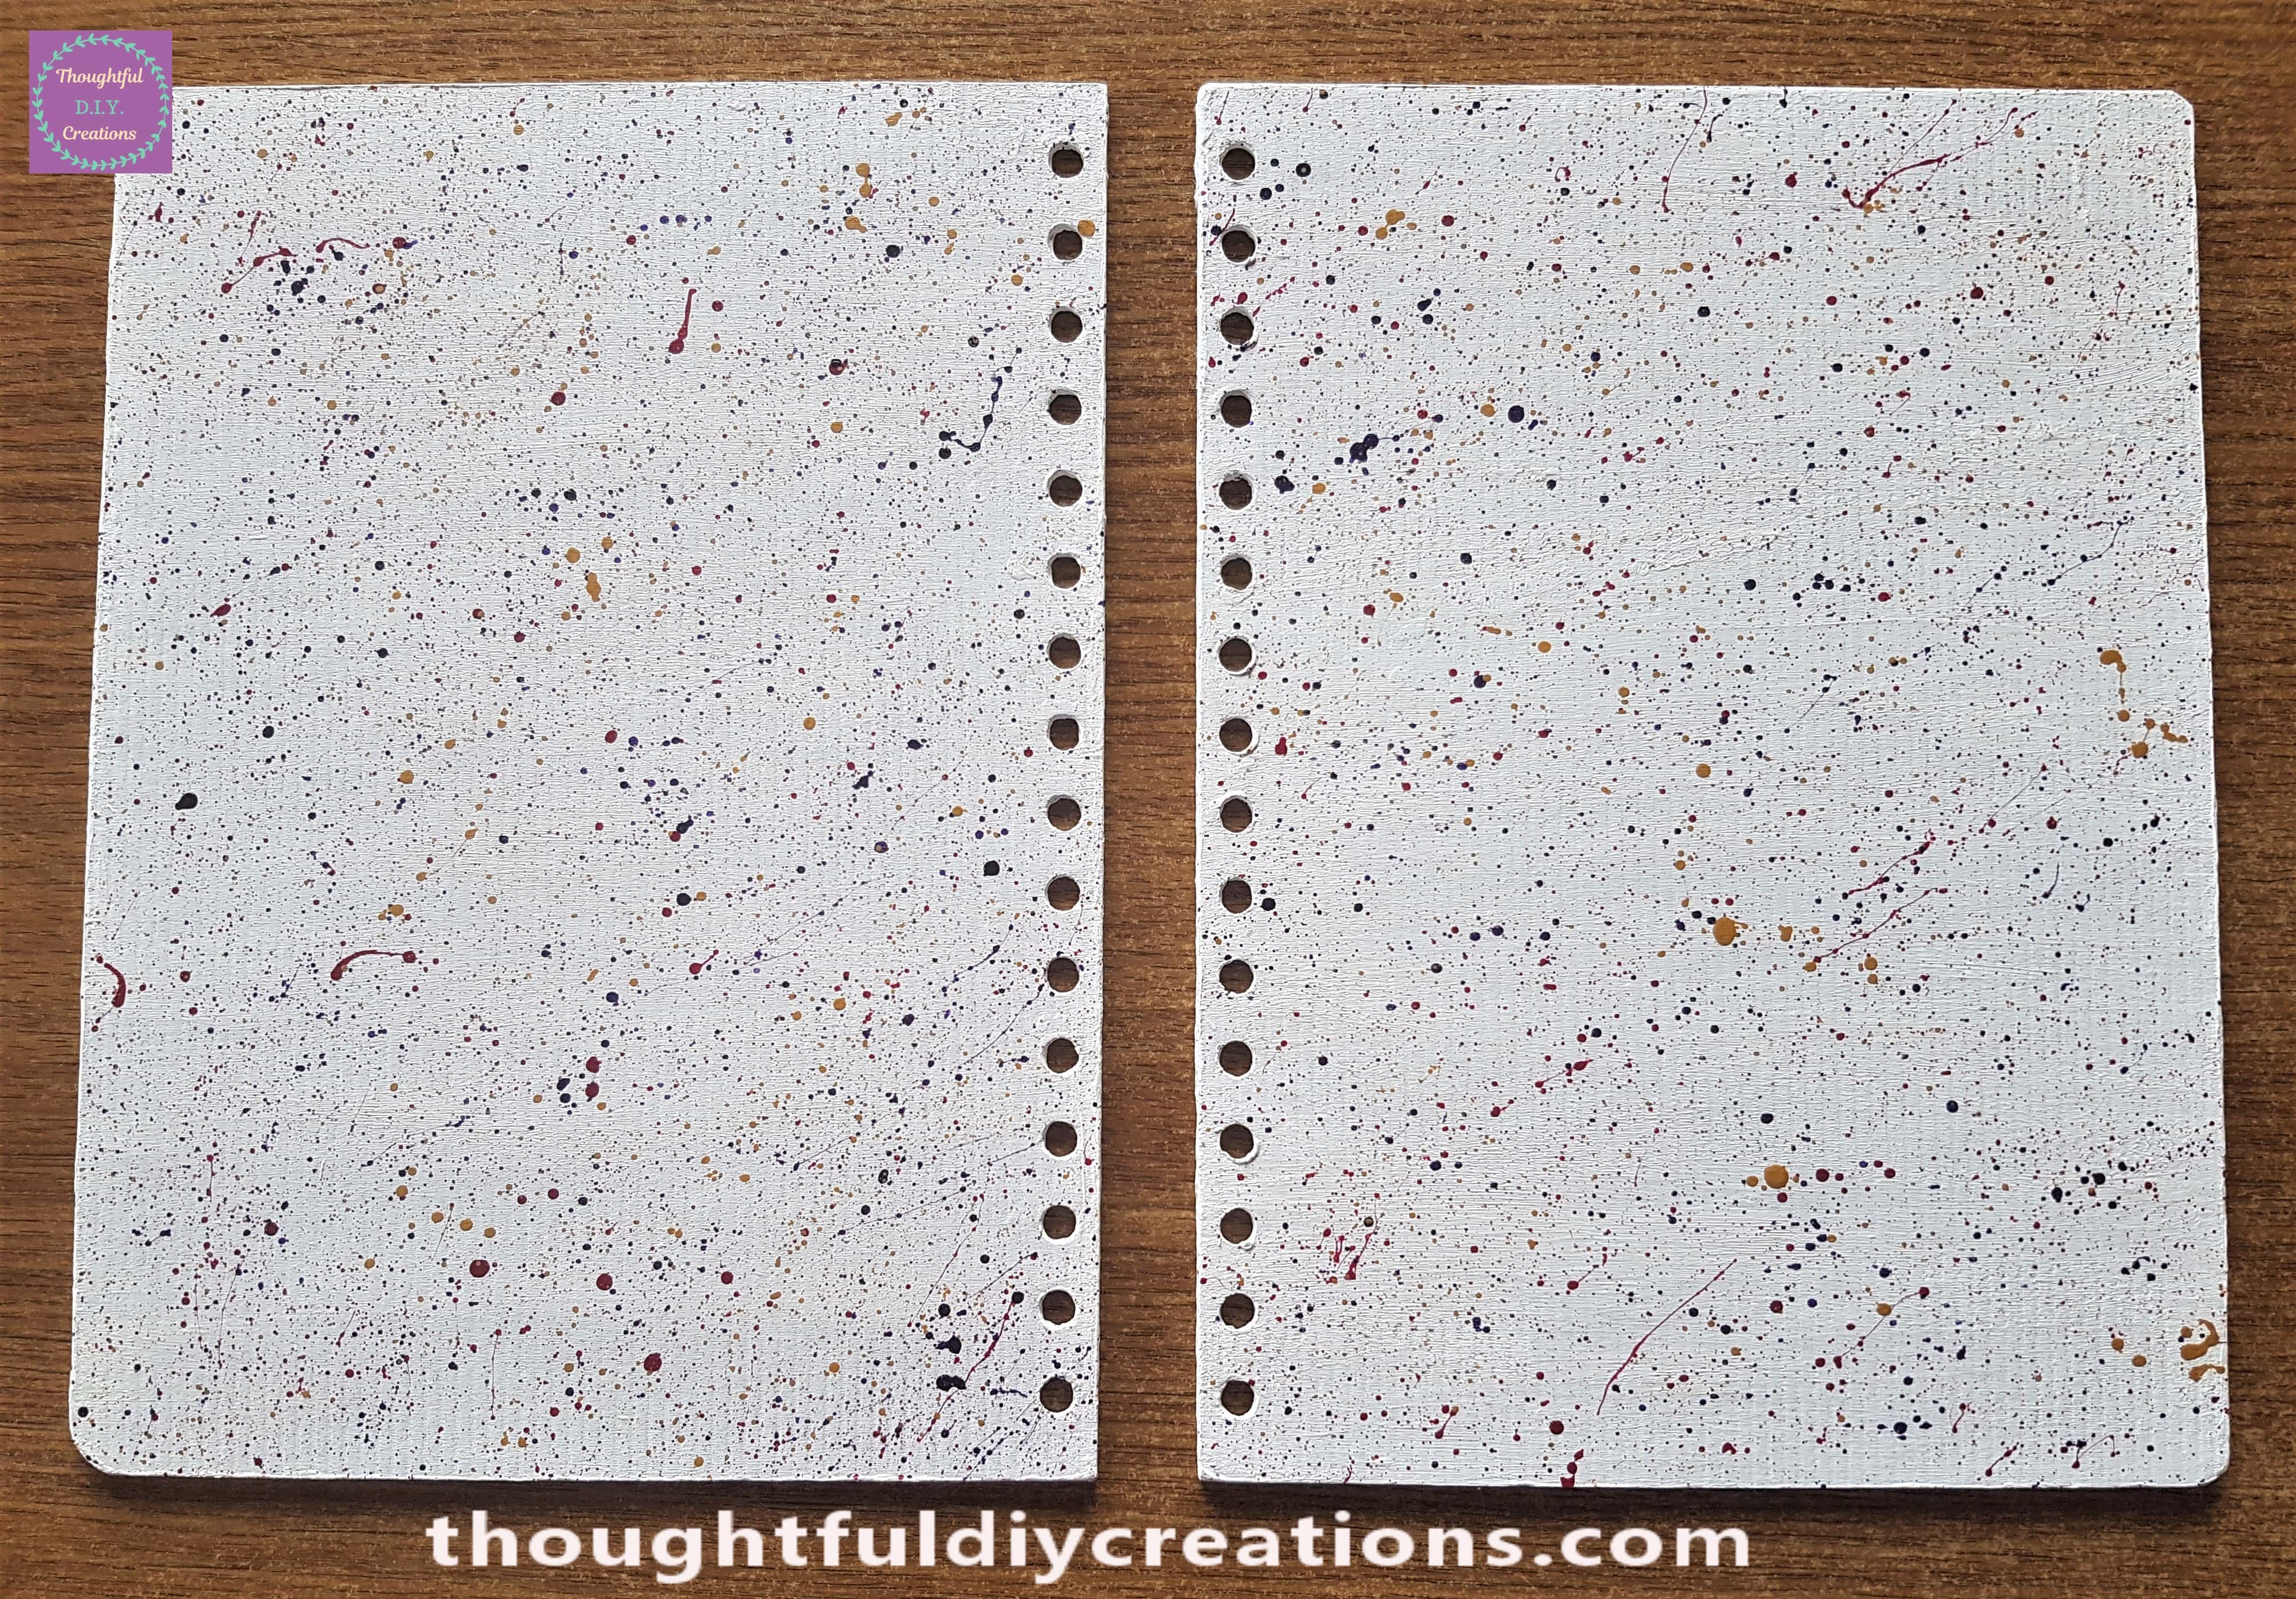
I splattered the Paint over the Journal Covers filling any gaps to Complete the Inside of the Journal.
Preparing to Decoupage
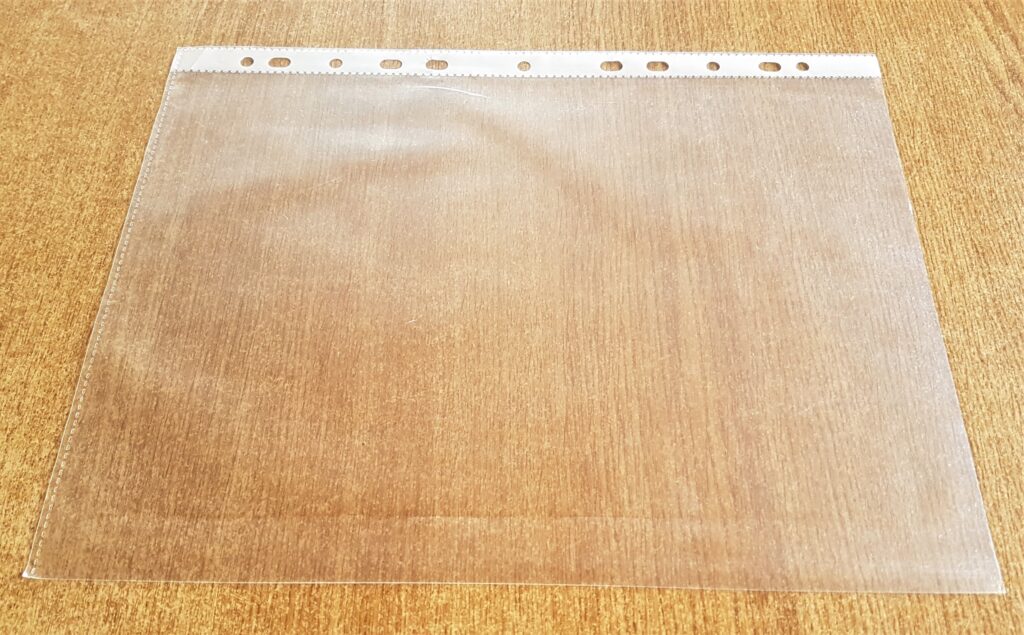
I got a Plastic Punched Pocket Sheet for a Folder and will be using this for Decoupage.
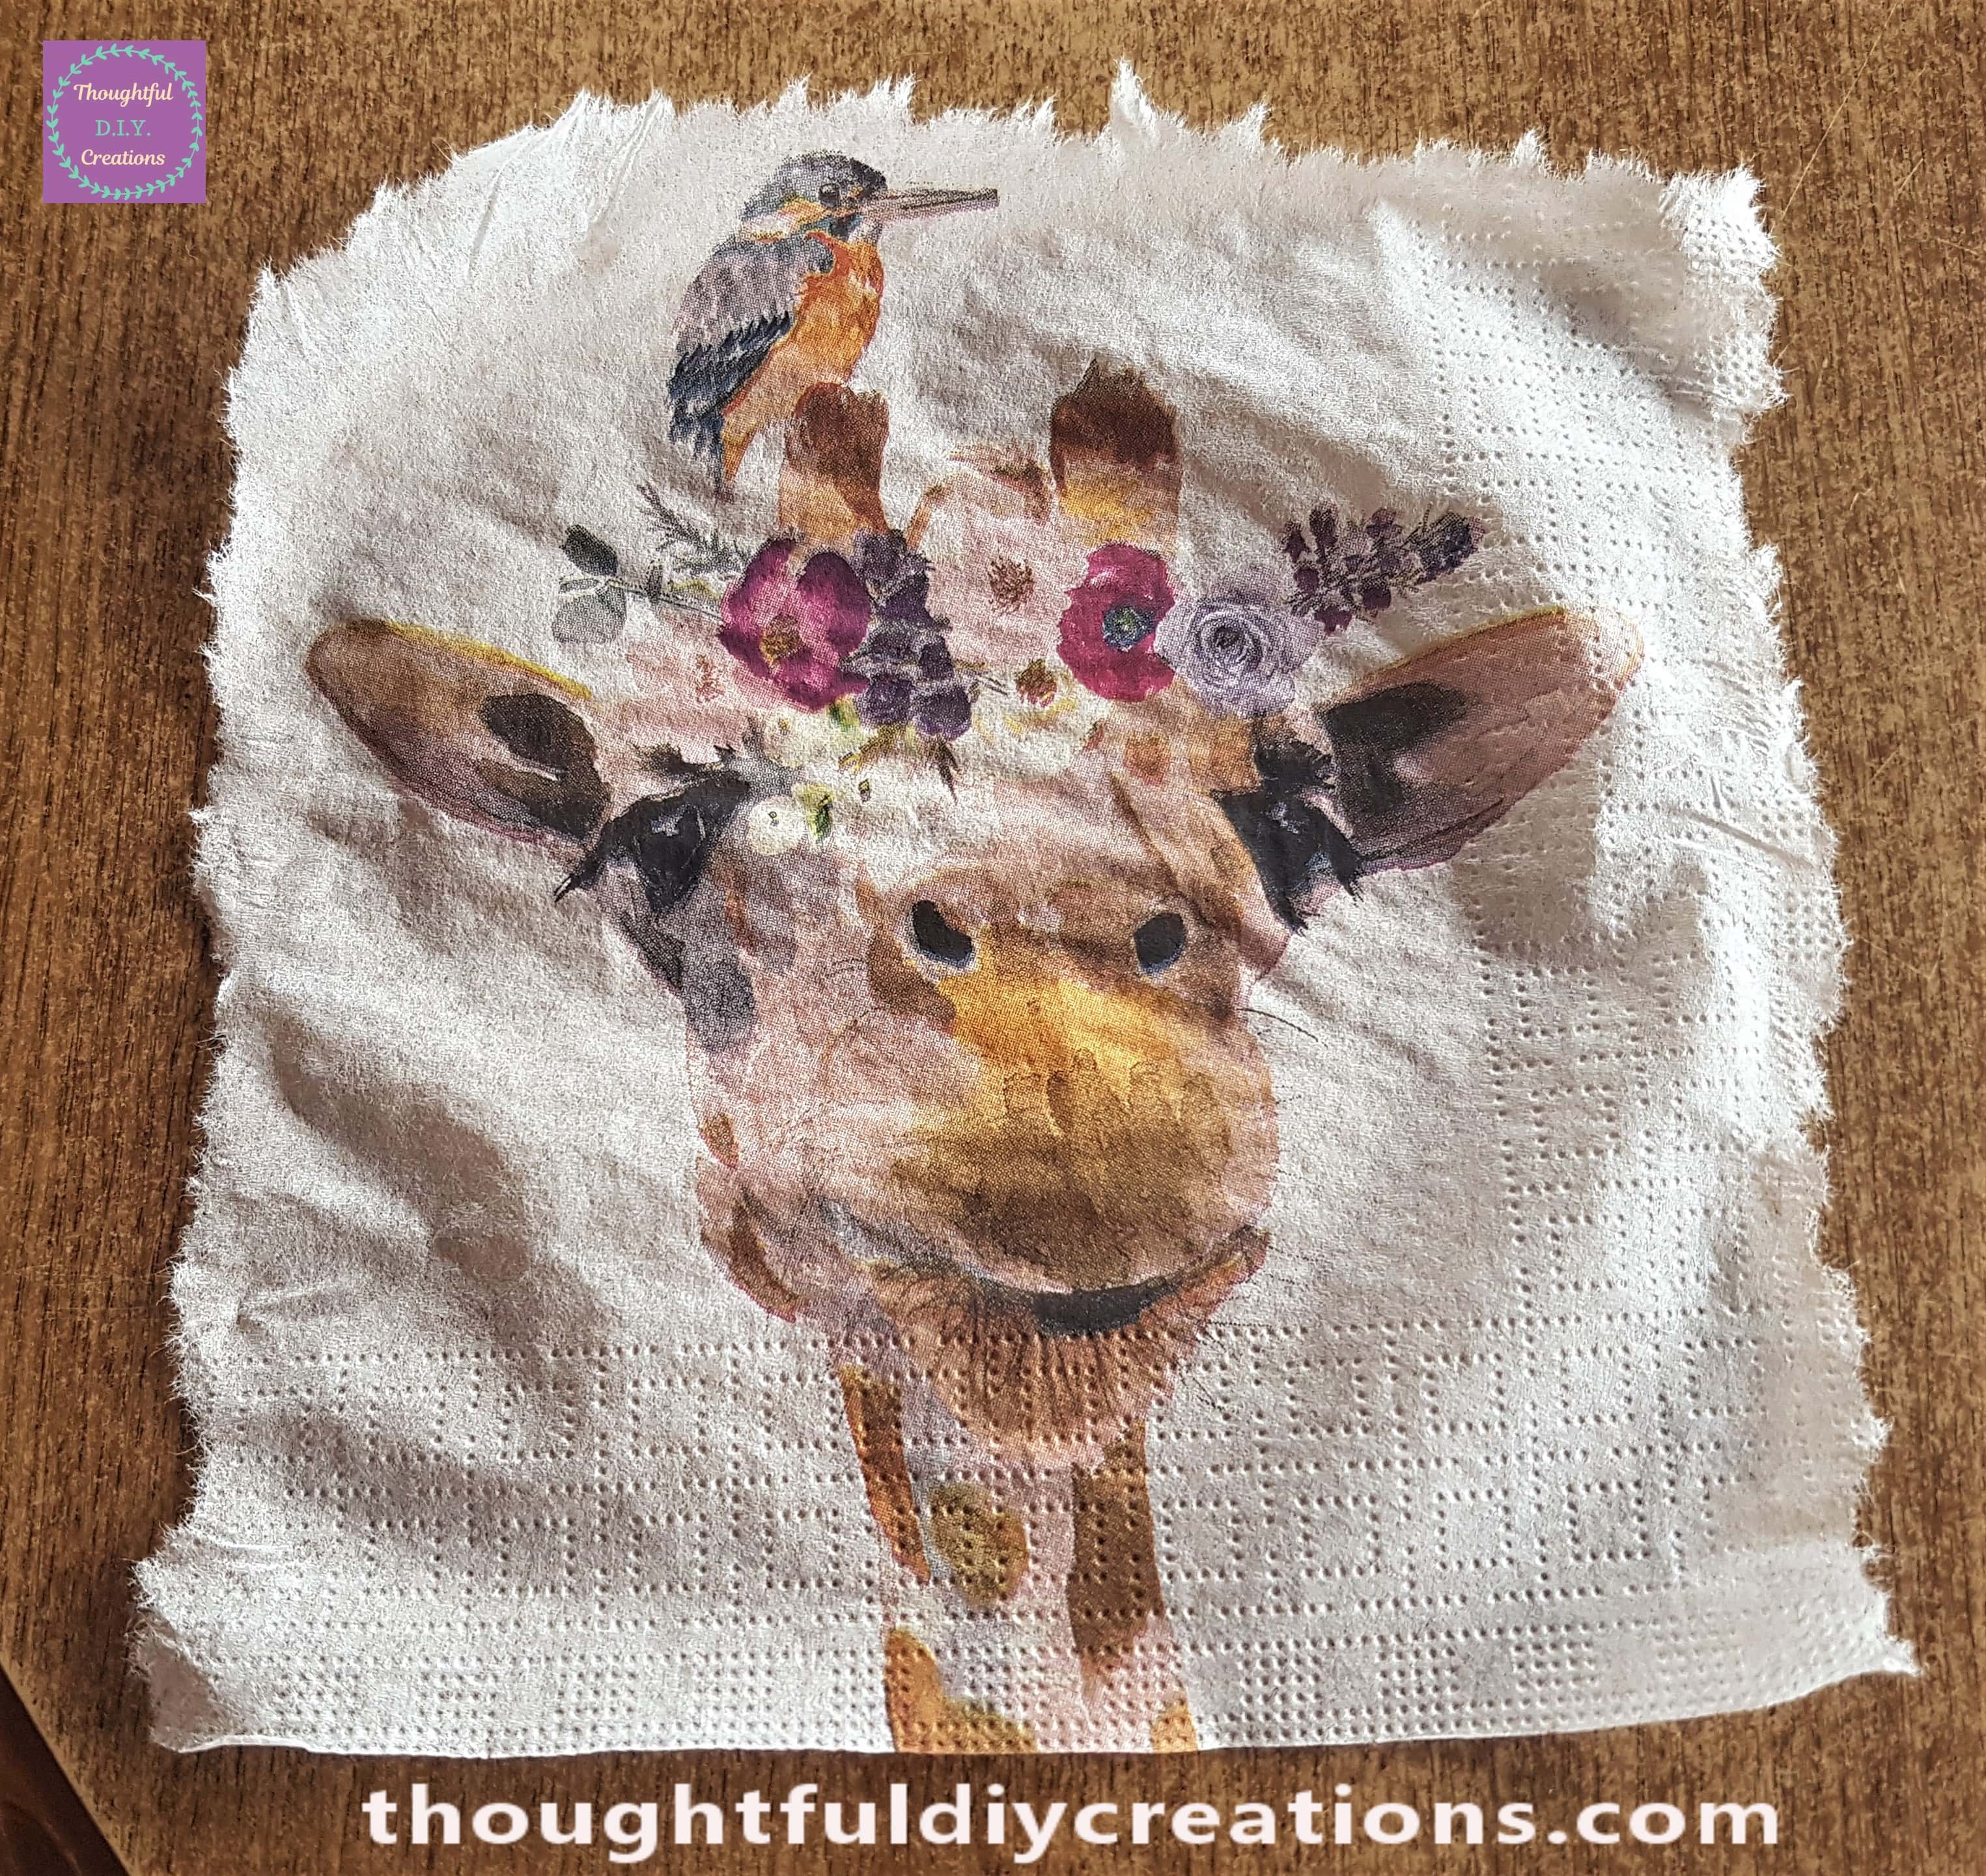
I unfolded my 13 inch x 13 inch ‘Giraffe with Bird and Flowers’ Napkin for Decoupage.
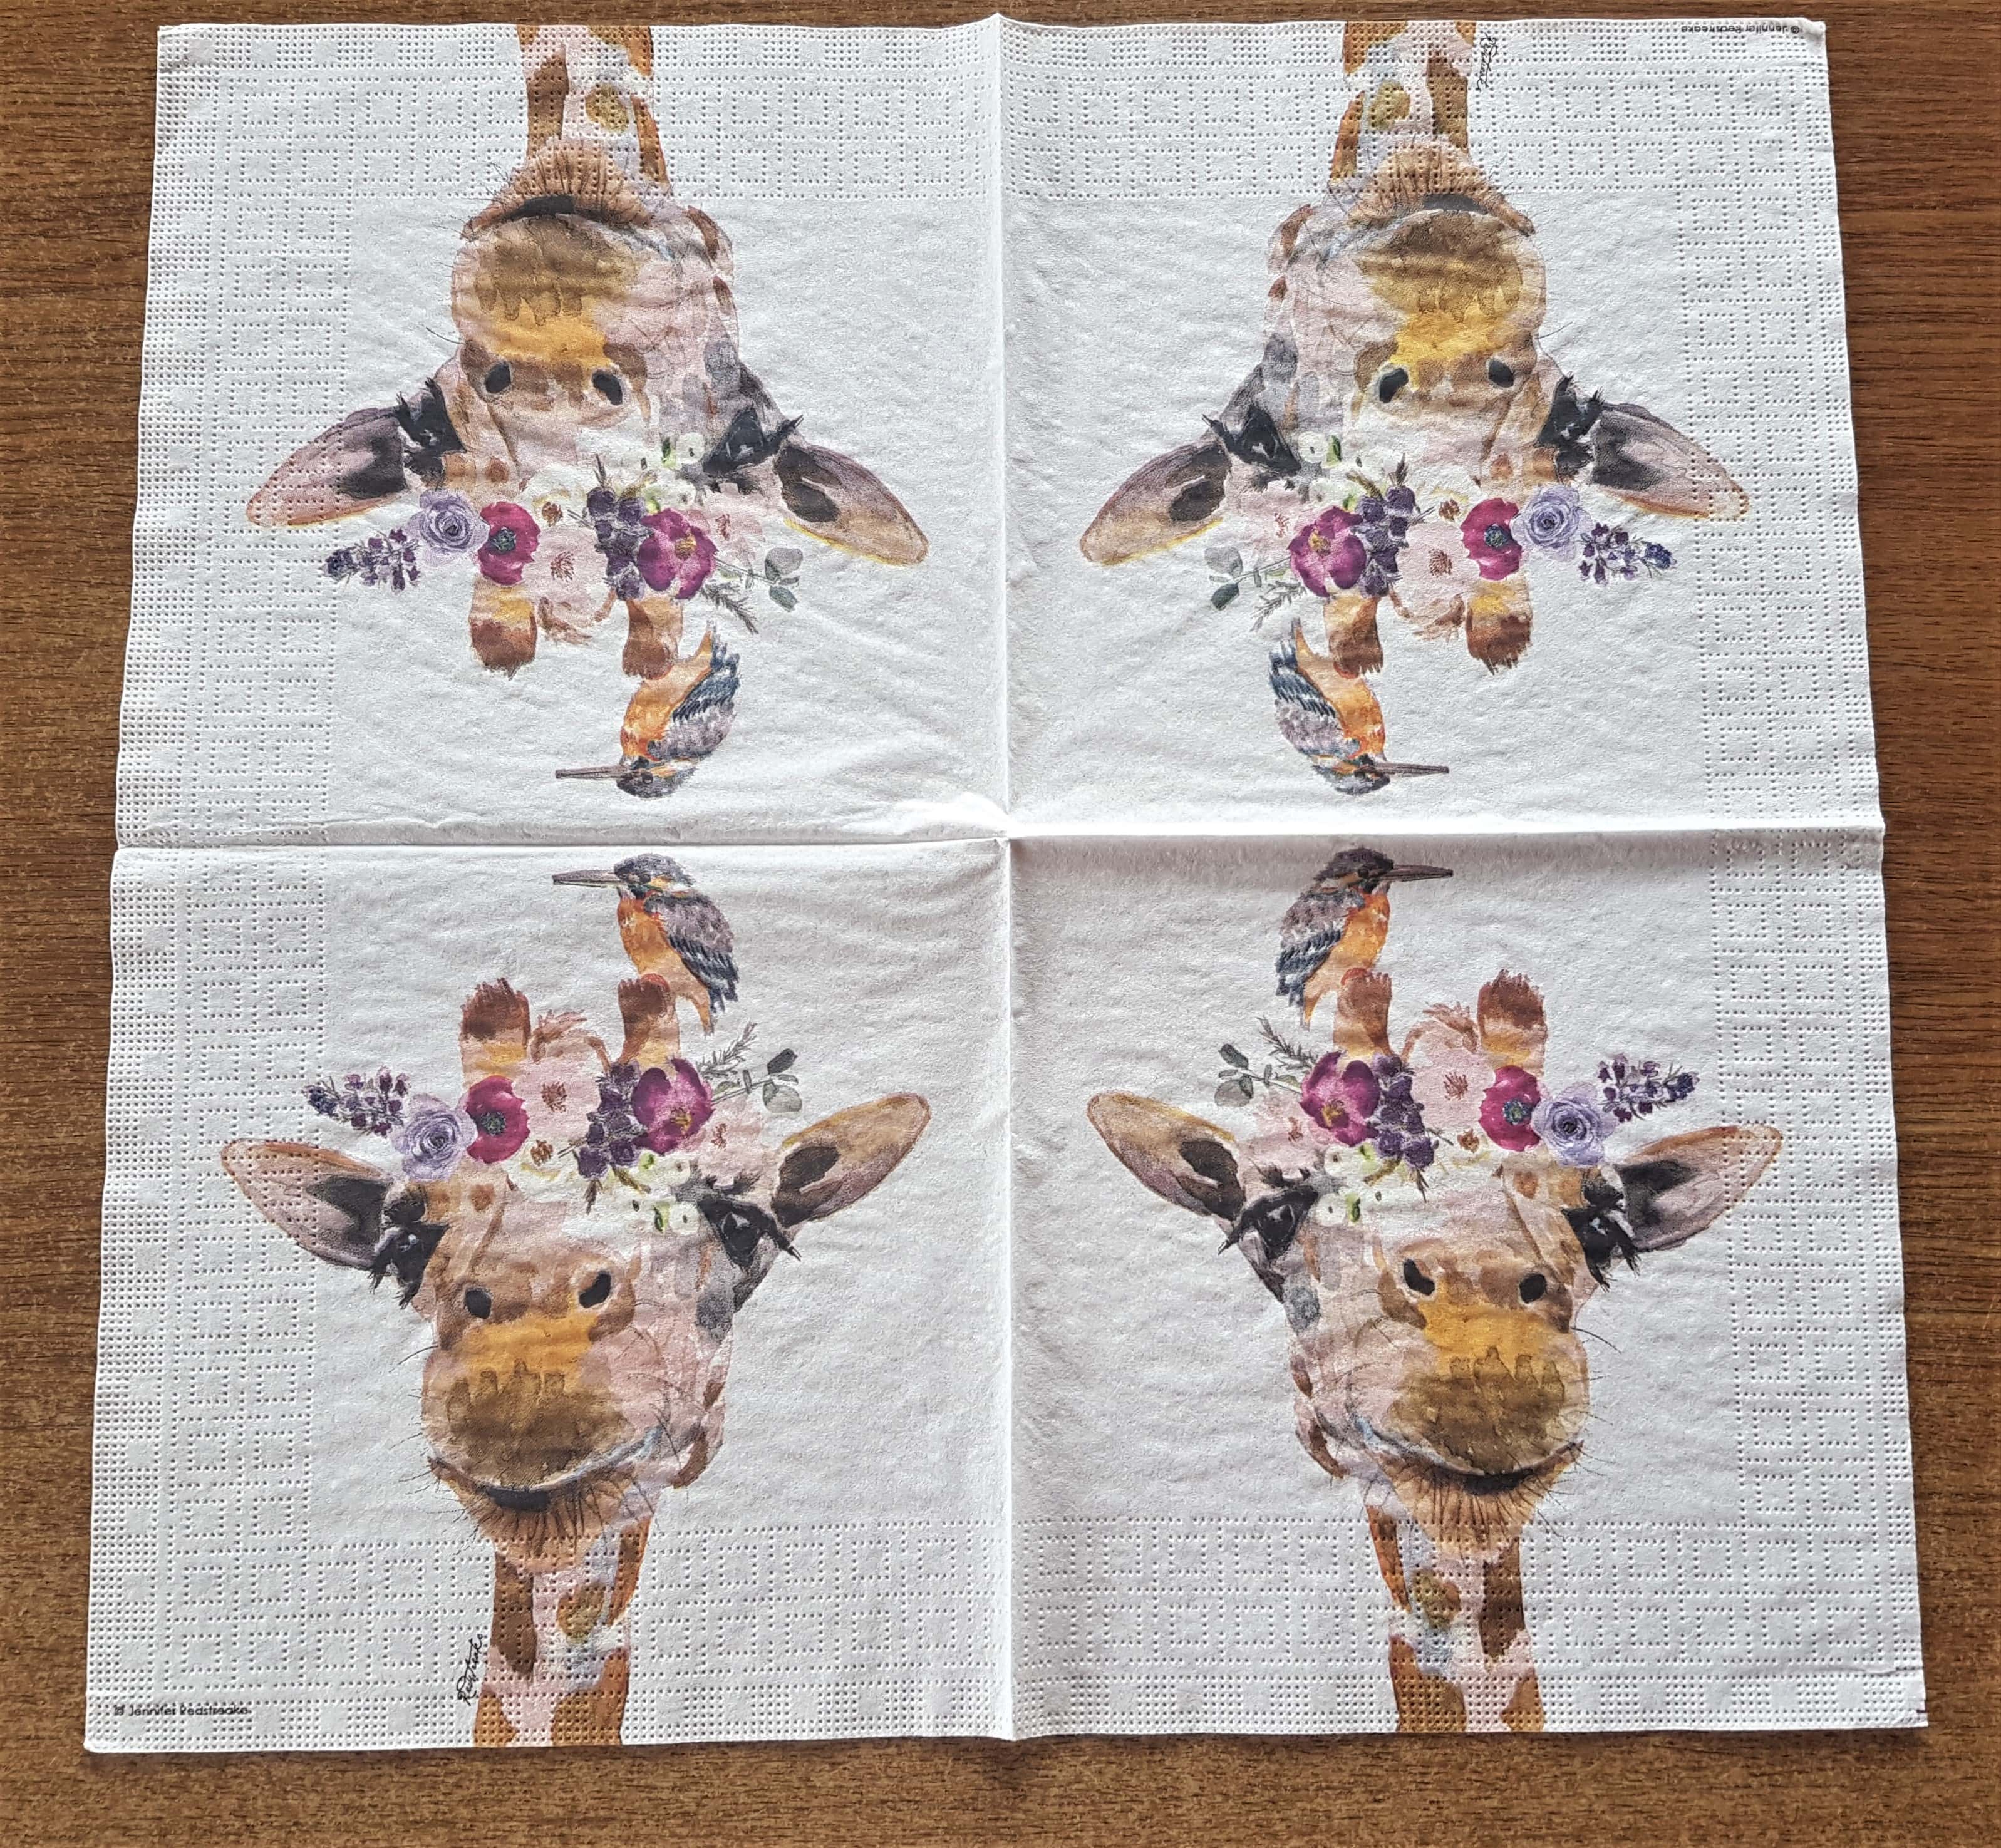
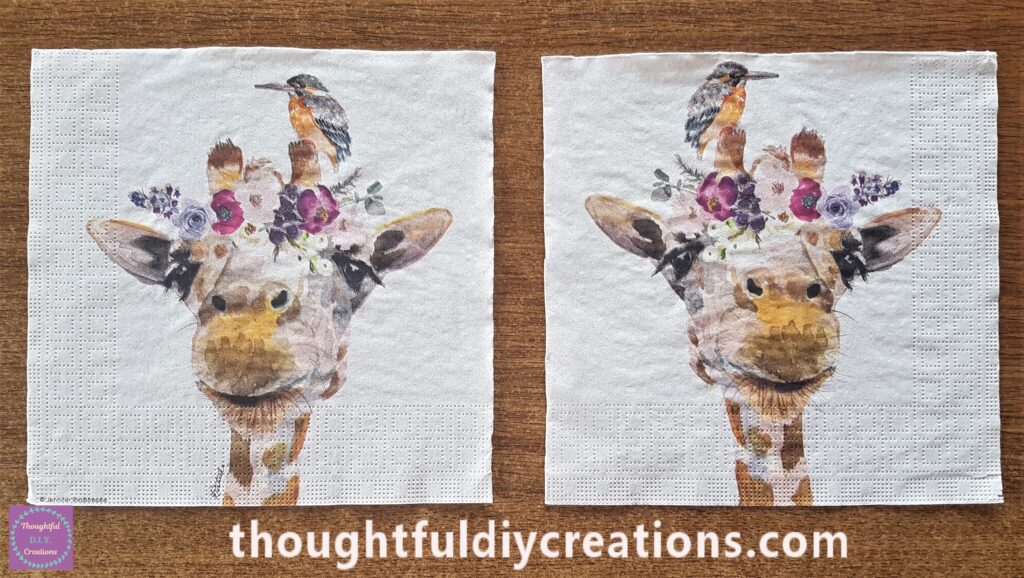
I cut out 2 Giraffe prints from the Decoupage Napkin, one of each design. The Giraffe has it’s head tilted the other way and the Bird is facing the other direction in the second Print.
Napkins usually come in 3-ply. We only need the Print of the Giraffe with Bird and Flowers. I carefully removed the other layers by finding the corner of the layer and pulling it back.
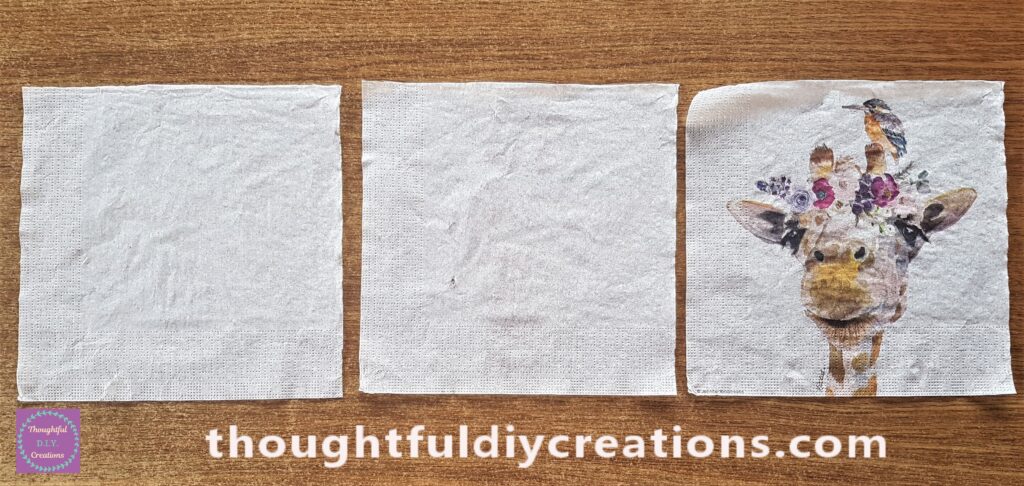
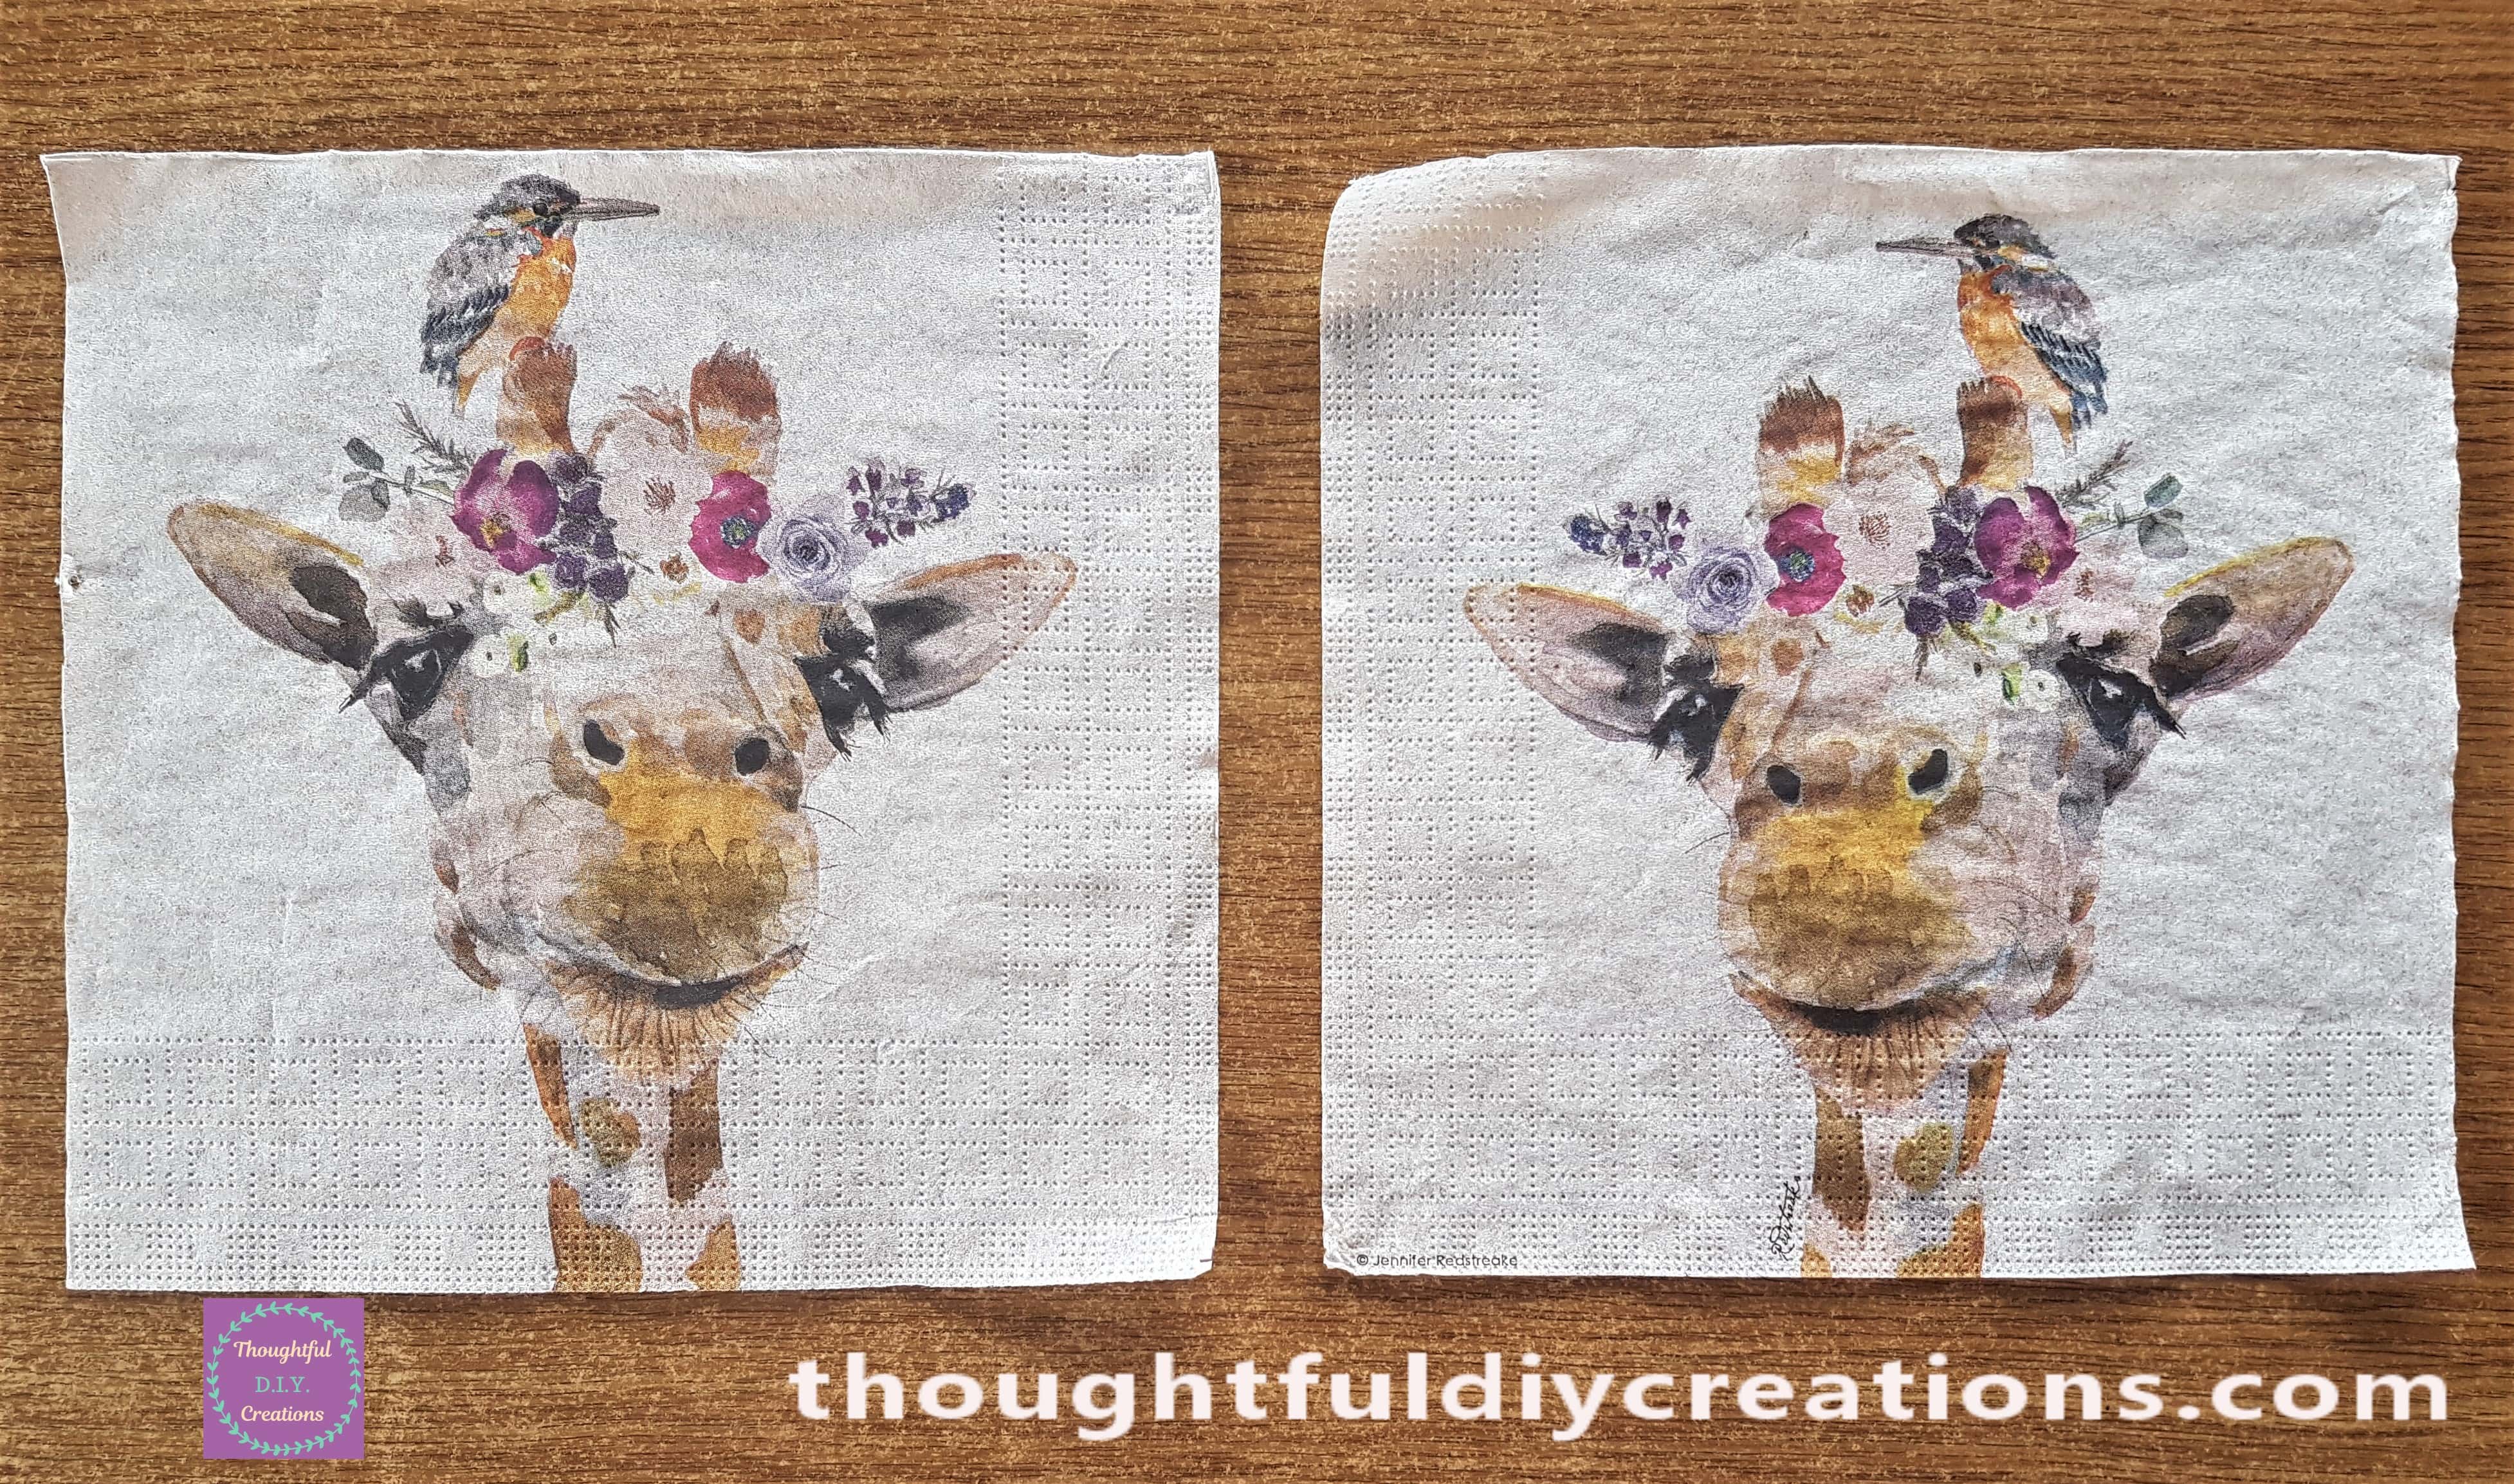
This is the 2 Decoupage Napkins with the other 2 layers removed.
Decoupage Tips
I tore around the Giraffe print. This makes it easier to blend into the background of whatever your attaching the napkin to, if it was cut you would see the sharp lines.
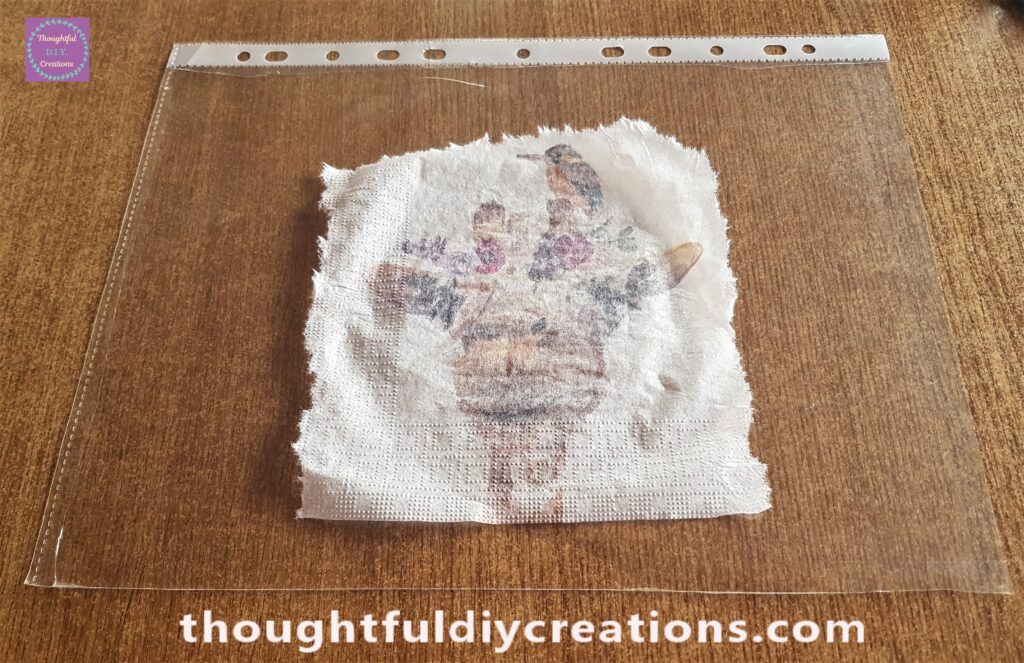
I cut the opening from the Punched Plastic Sheet leaving one flat plastic sheet. I put the Decoupage Napkin face down onto the Plastic Sheet.
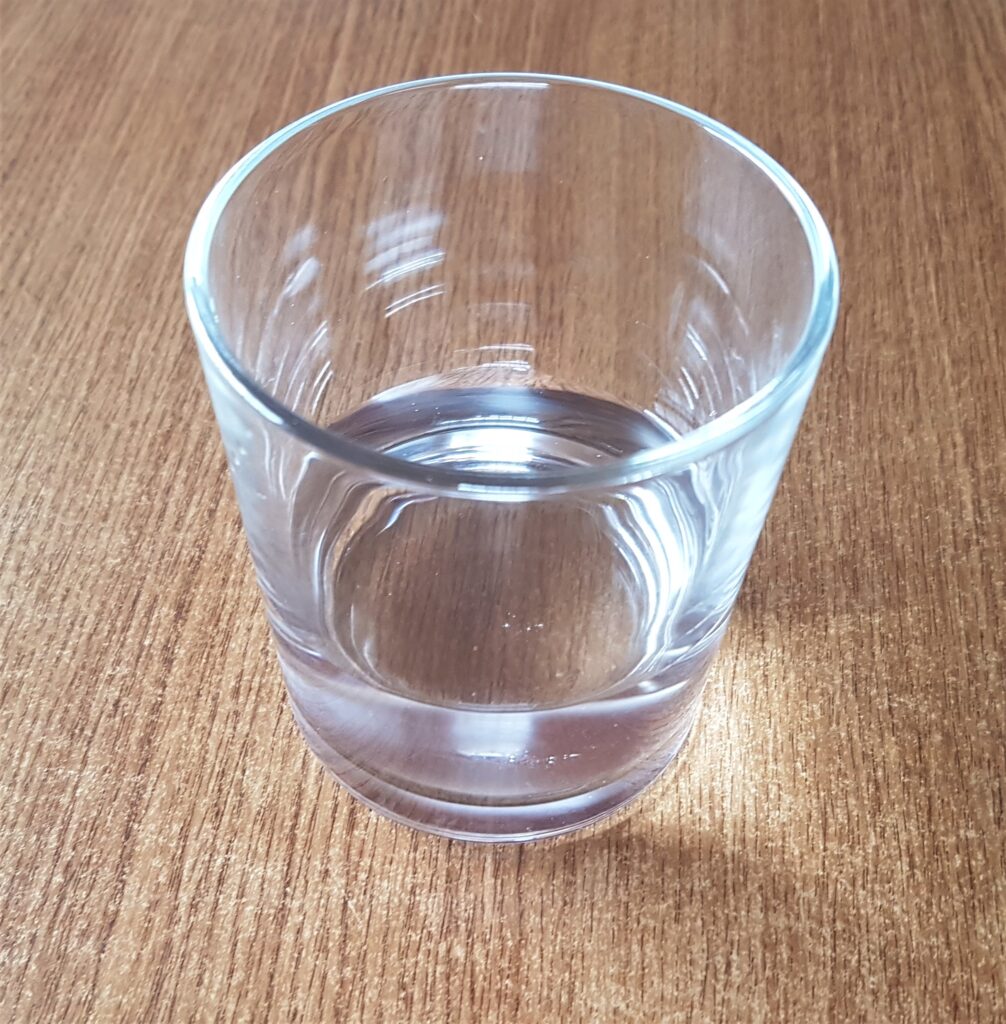
I put some water into a Glass. You could also use a Jar or Bottle, just something easy to pour from.
I saw this Wet Decoupage Technique on ‘Dainty Gifts’ Youtube Channel. Her Name is Iveta and I had never see anyone do it this way before, I thought it would be impossible to get it right without ripping, but her Napkins always looked perfect like they were printed on the surface, so I gave it a try and I’m definitely hooked. It requires lots of patience and taking your time but the results are so worth it.
Adding Water to the Napkin
I poured some water over the Napkin. I lifted the Plastic sheet up by the 2 mid-side sections and carefully rolled the water over every area of the Napkin. I then held the plastic sheet up in the air, the napkin will stay attached, and let the excess water drip down onto the table. I put the plastic sheet further up the table and cleaned the water from the table with Kitchen Paper.
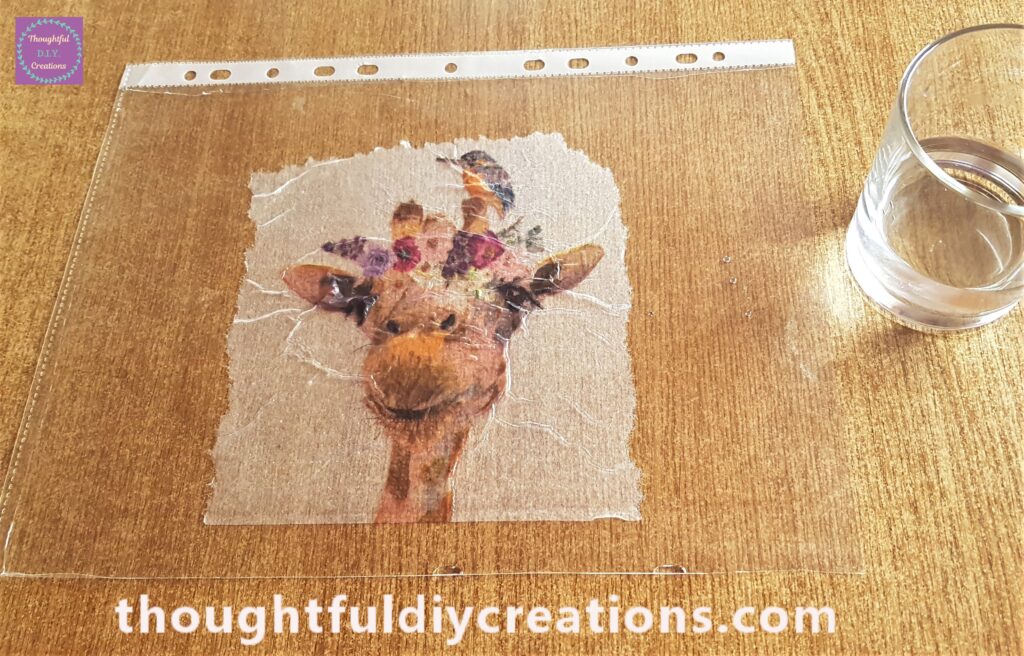
Removing Wrinkles from the Napkin
I started to stretch the corners of the Napkin back with my fingers to remove some wrinkles from the Decoupage Napkin.
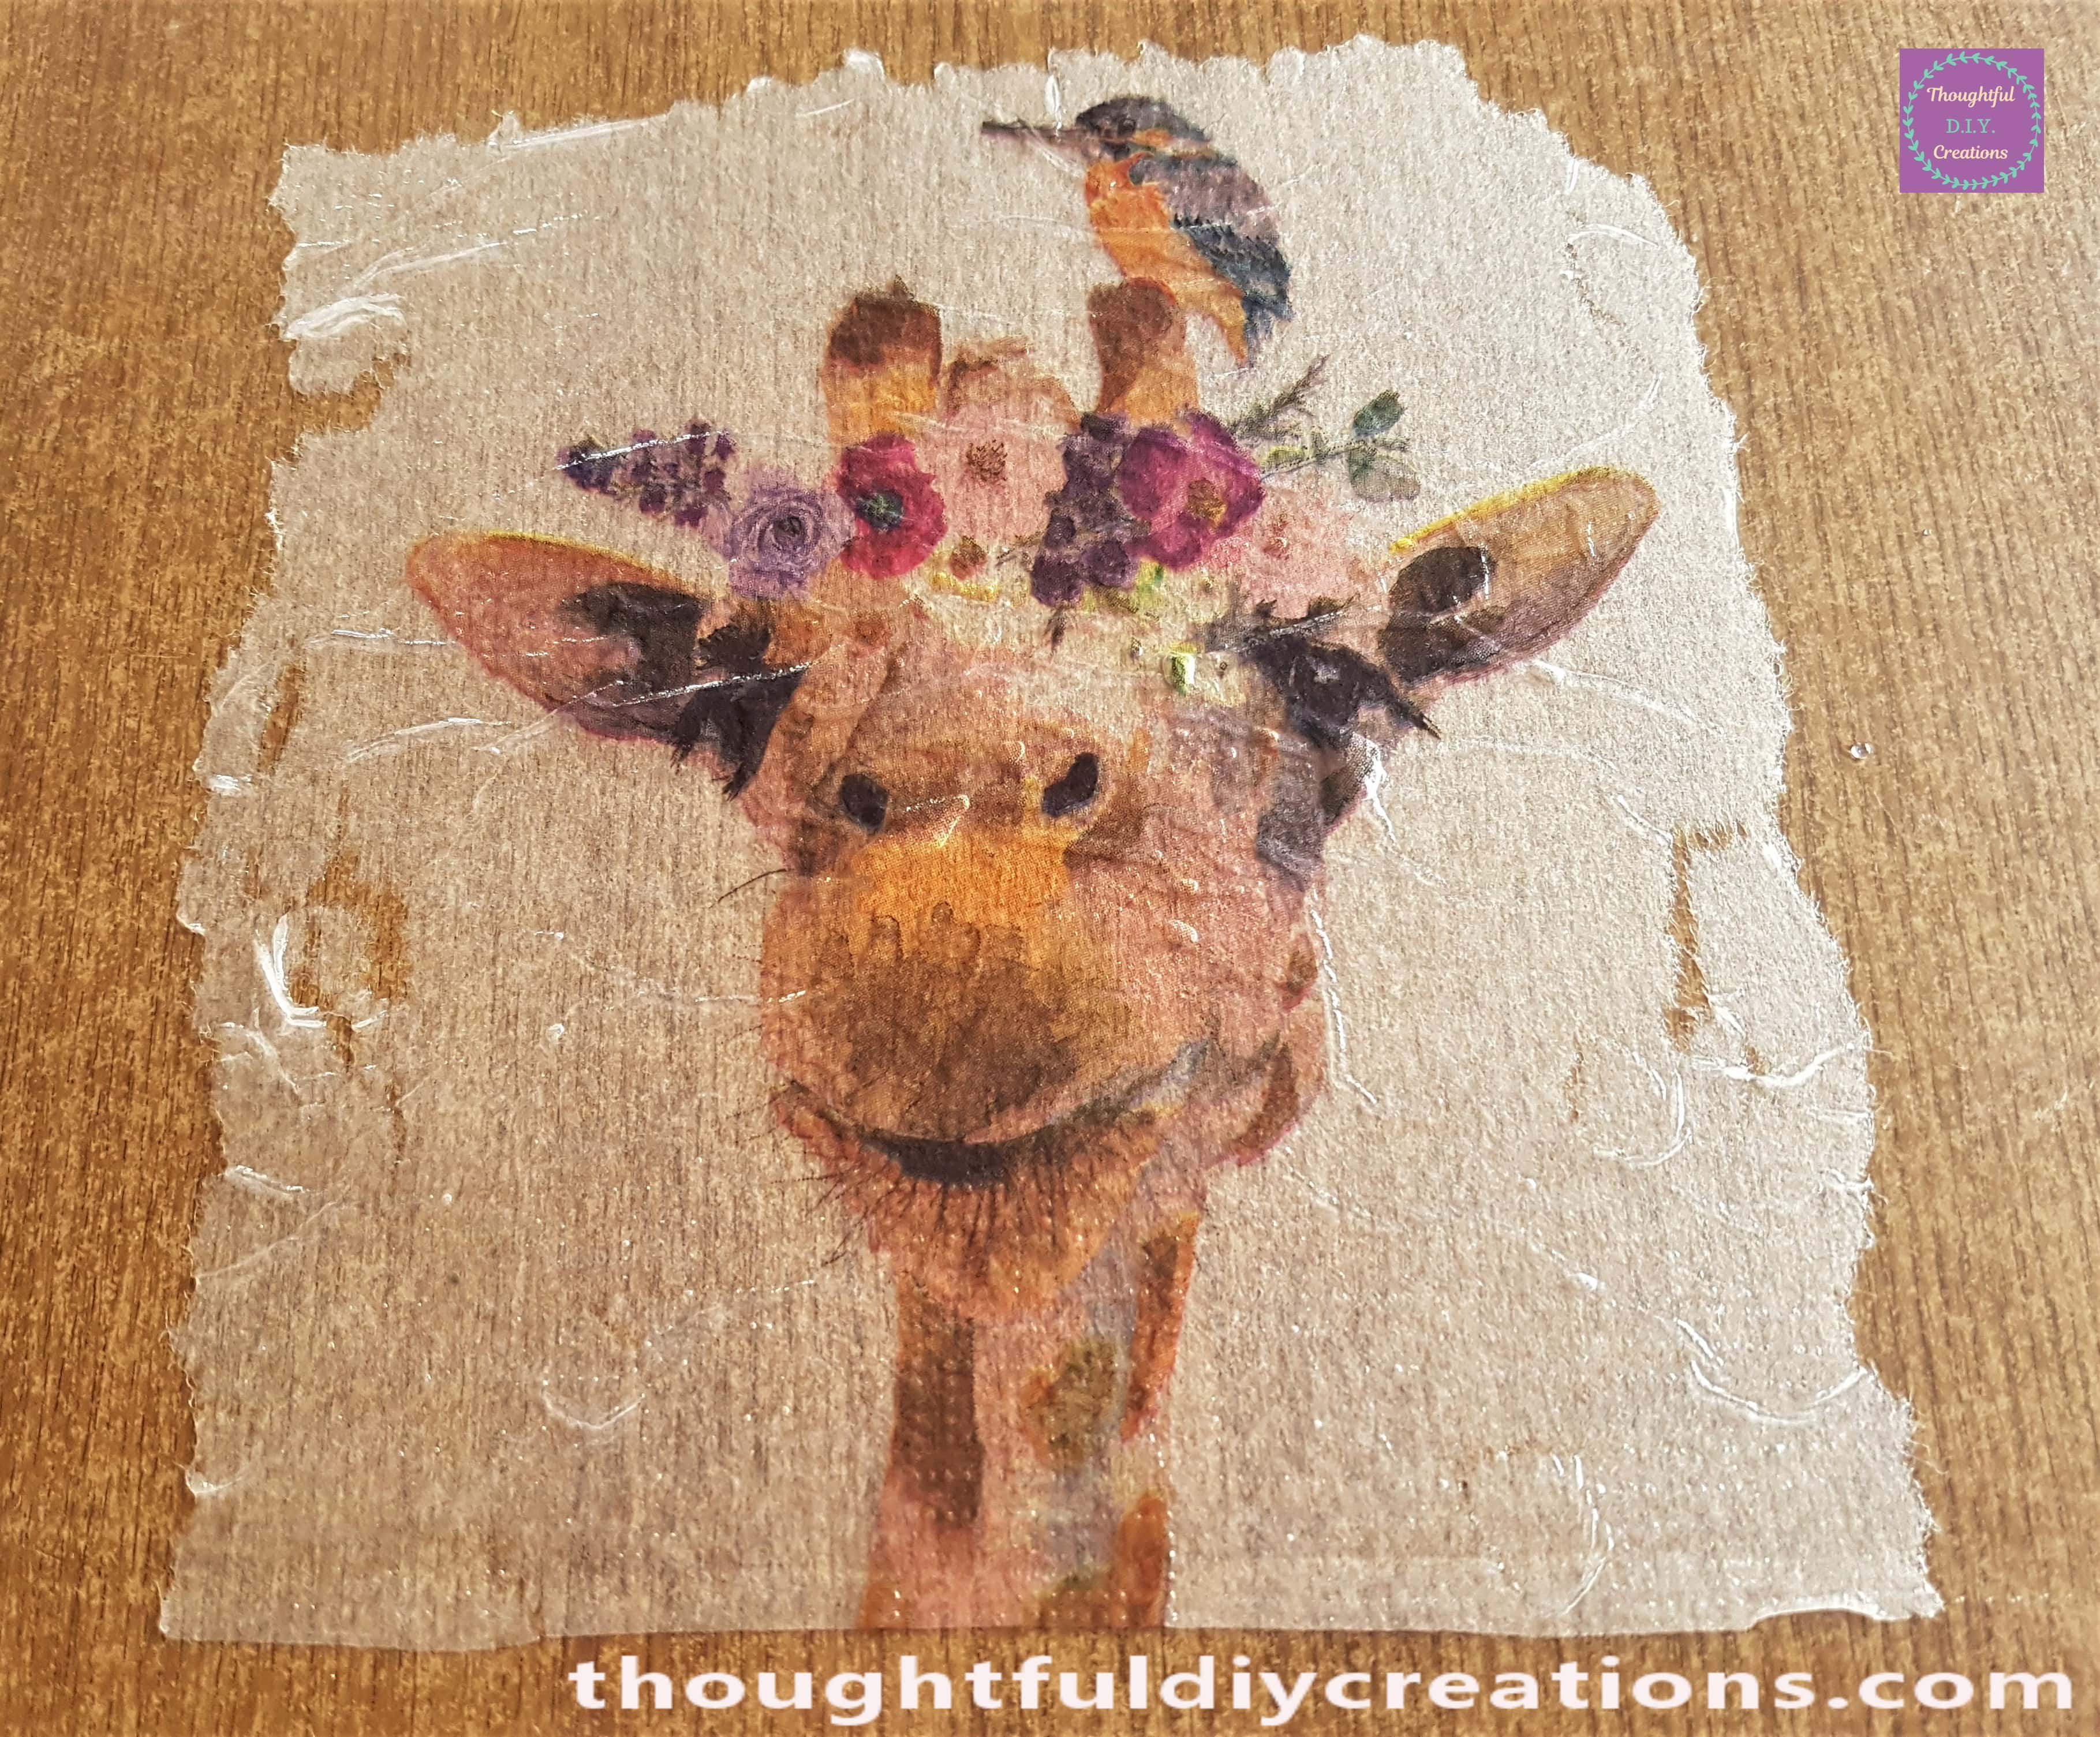
I got a small flat dry paintbrush and carefully started to brush the wrinkles from the Napkin. I started in the mid-section and brushed lightly outwards.
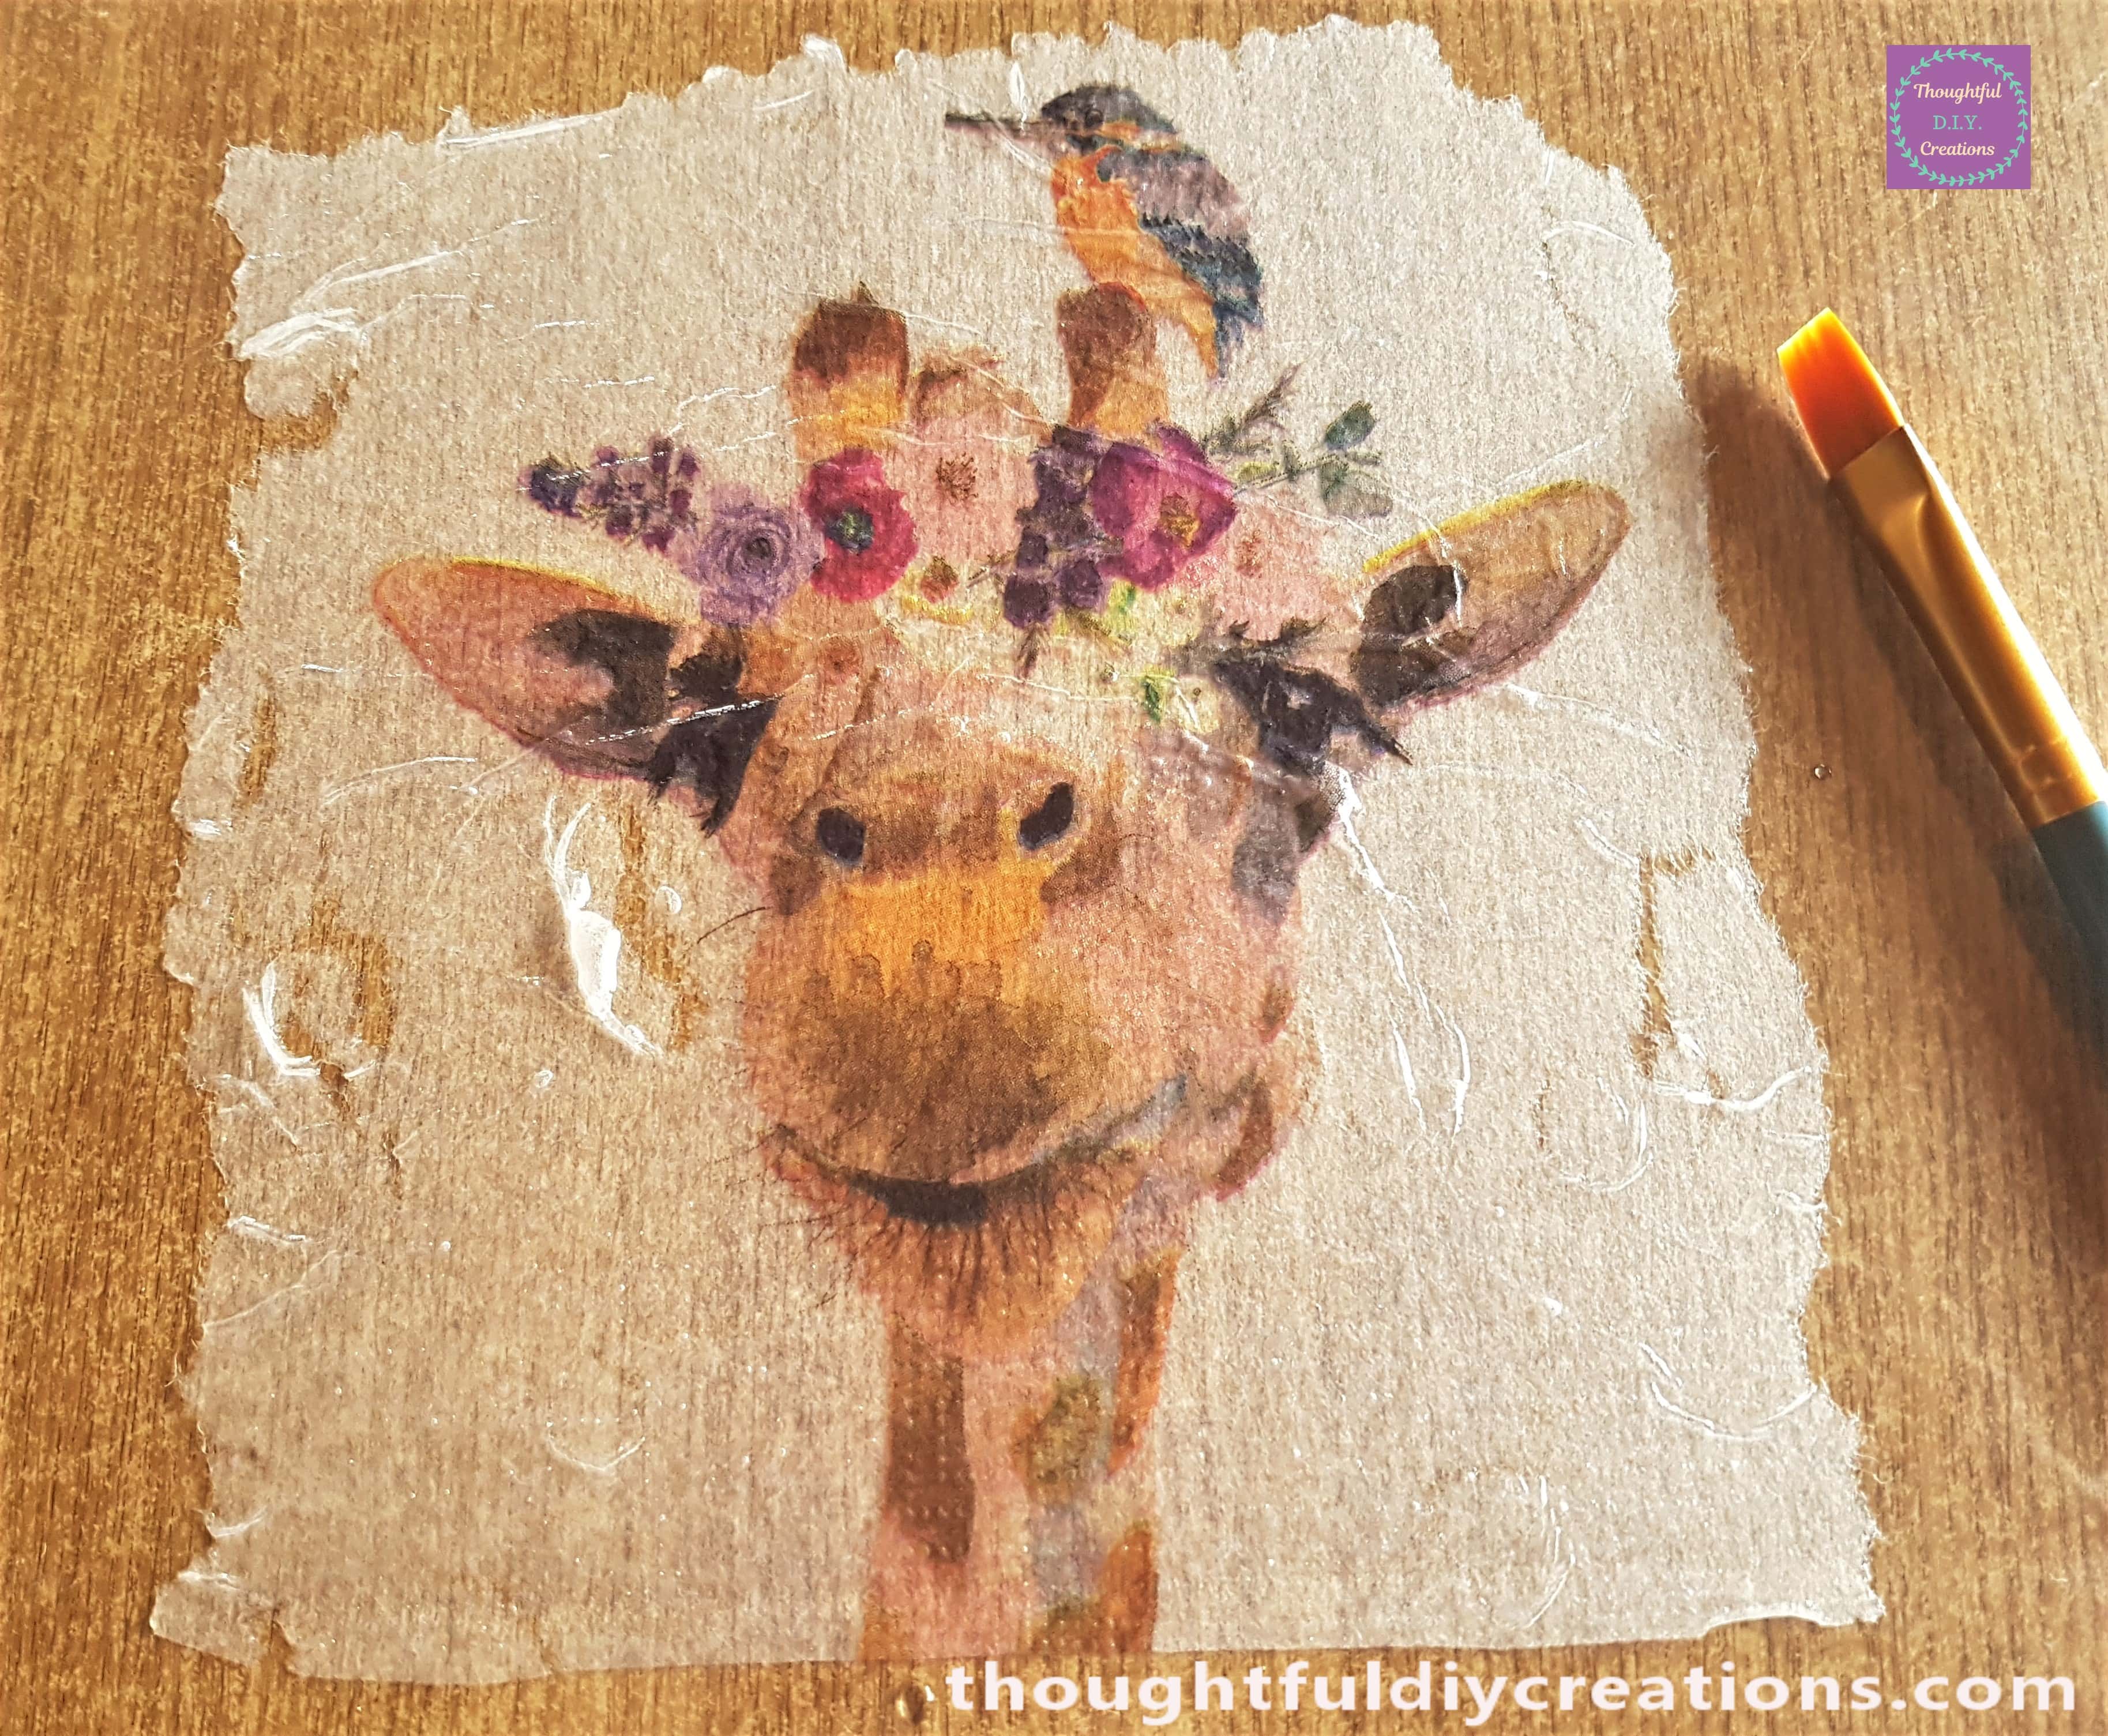
I continued with this process until I had removed all the wrinkles from the Giraffe, Bird and Flowers. Small, light brushstrokes are best. I noticed the white part of the Napkin tore easily but this doesn’t really matter as it’s the Giraffe Print we want which definitely was much better quality.
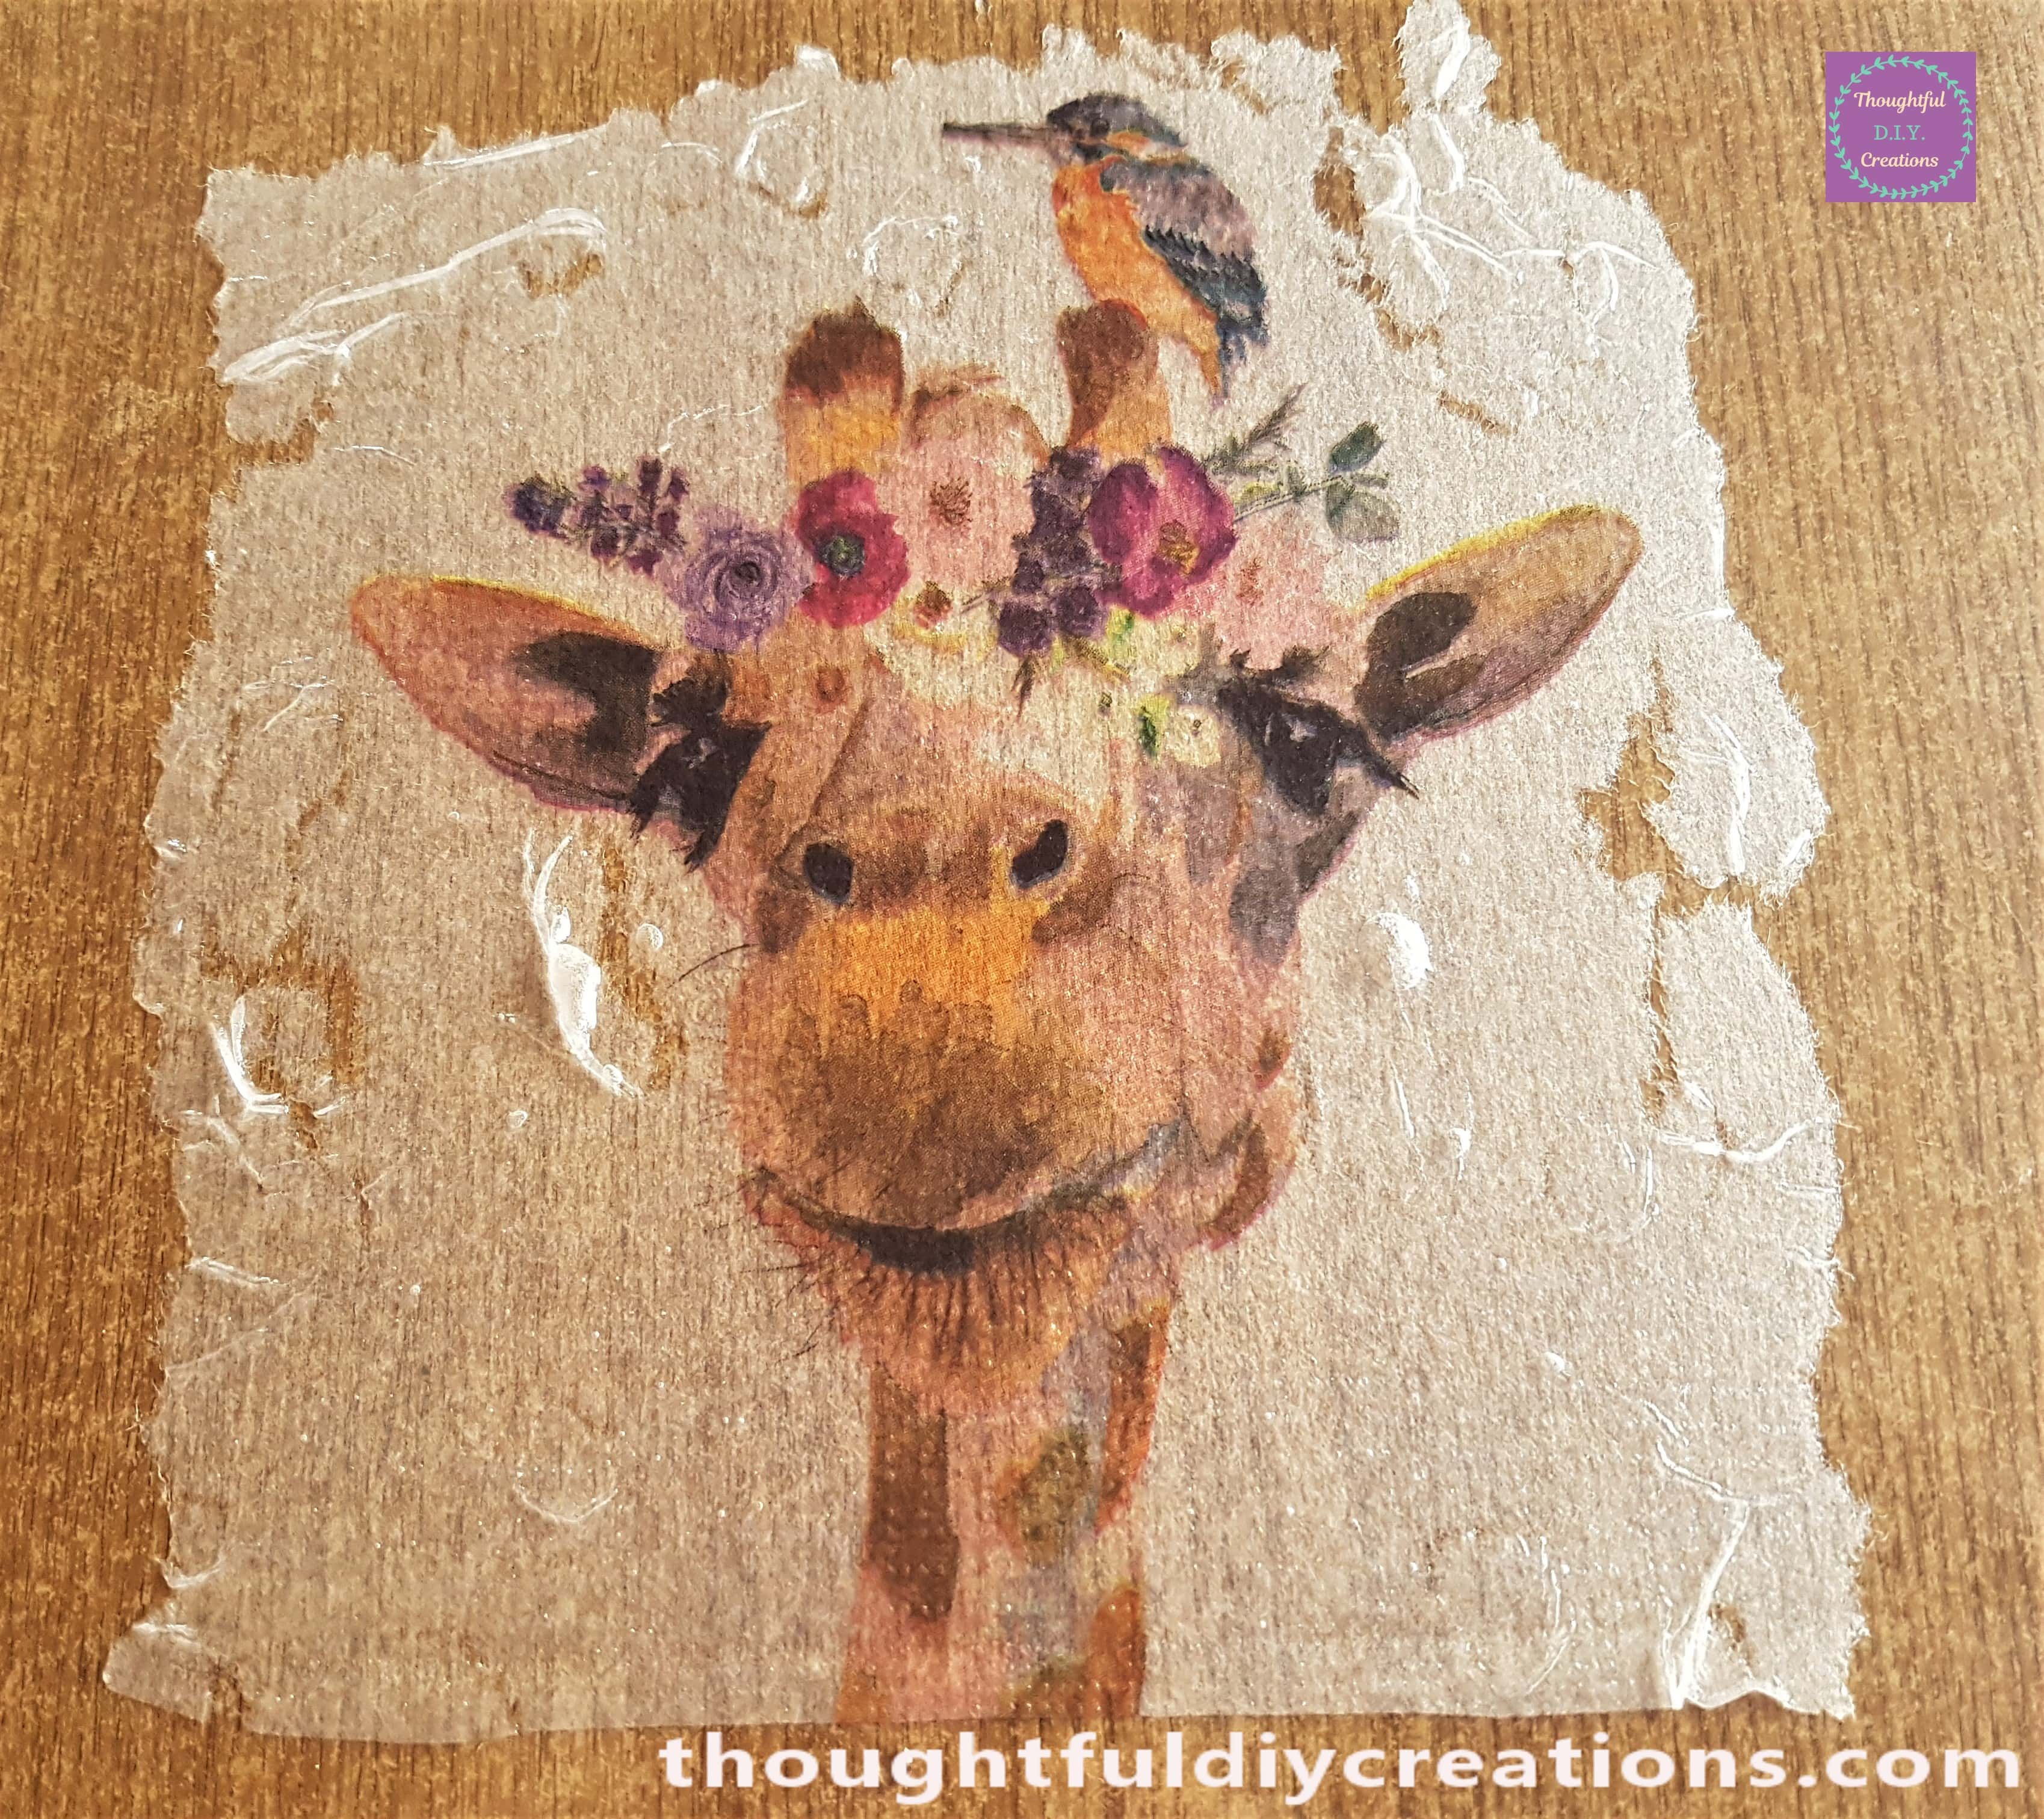
I removed all the tore white parts from the Decoupage Napkin.
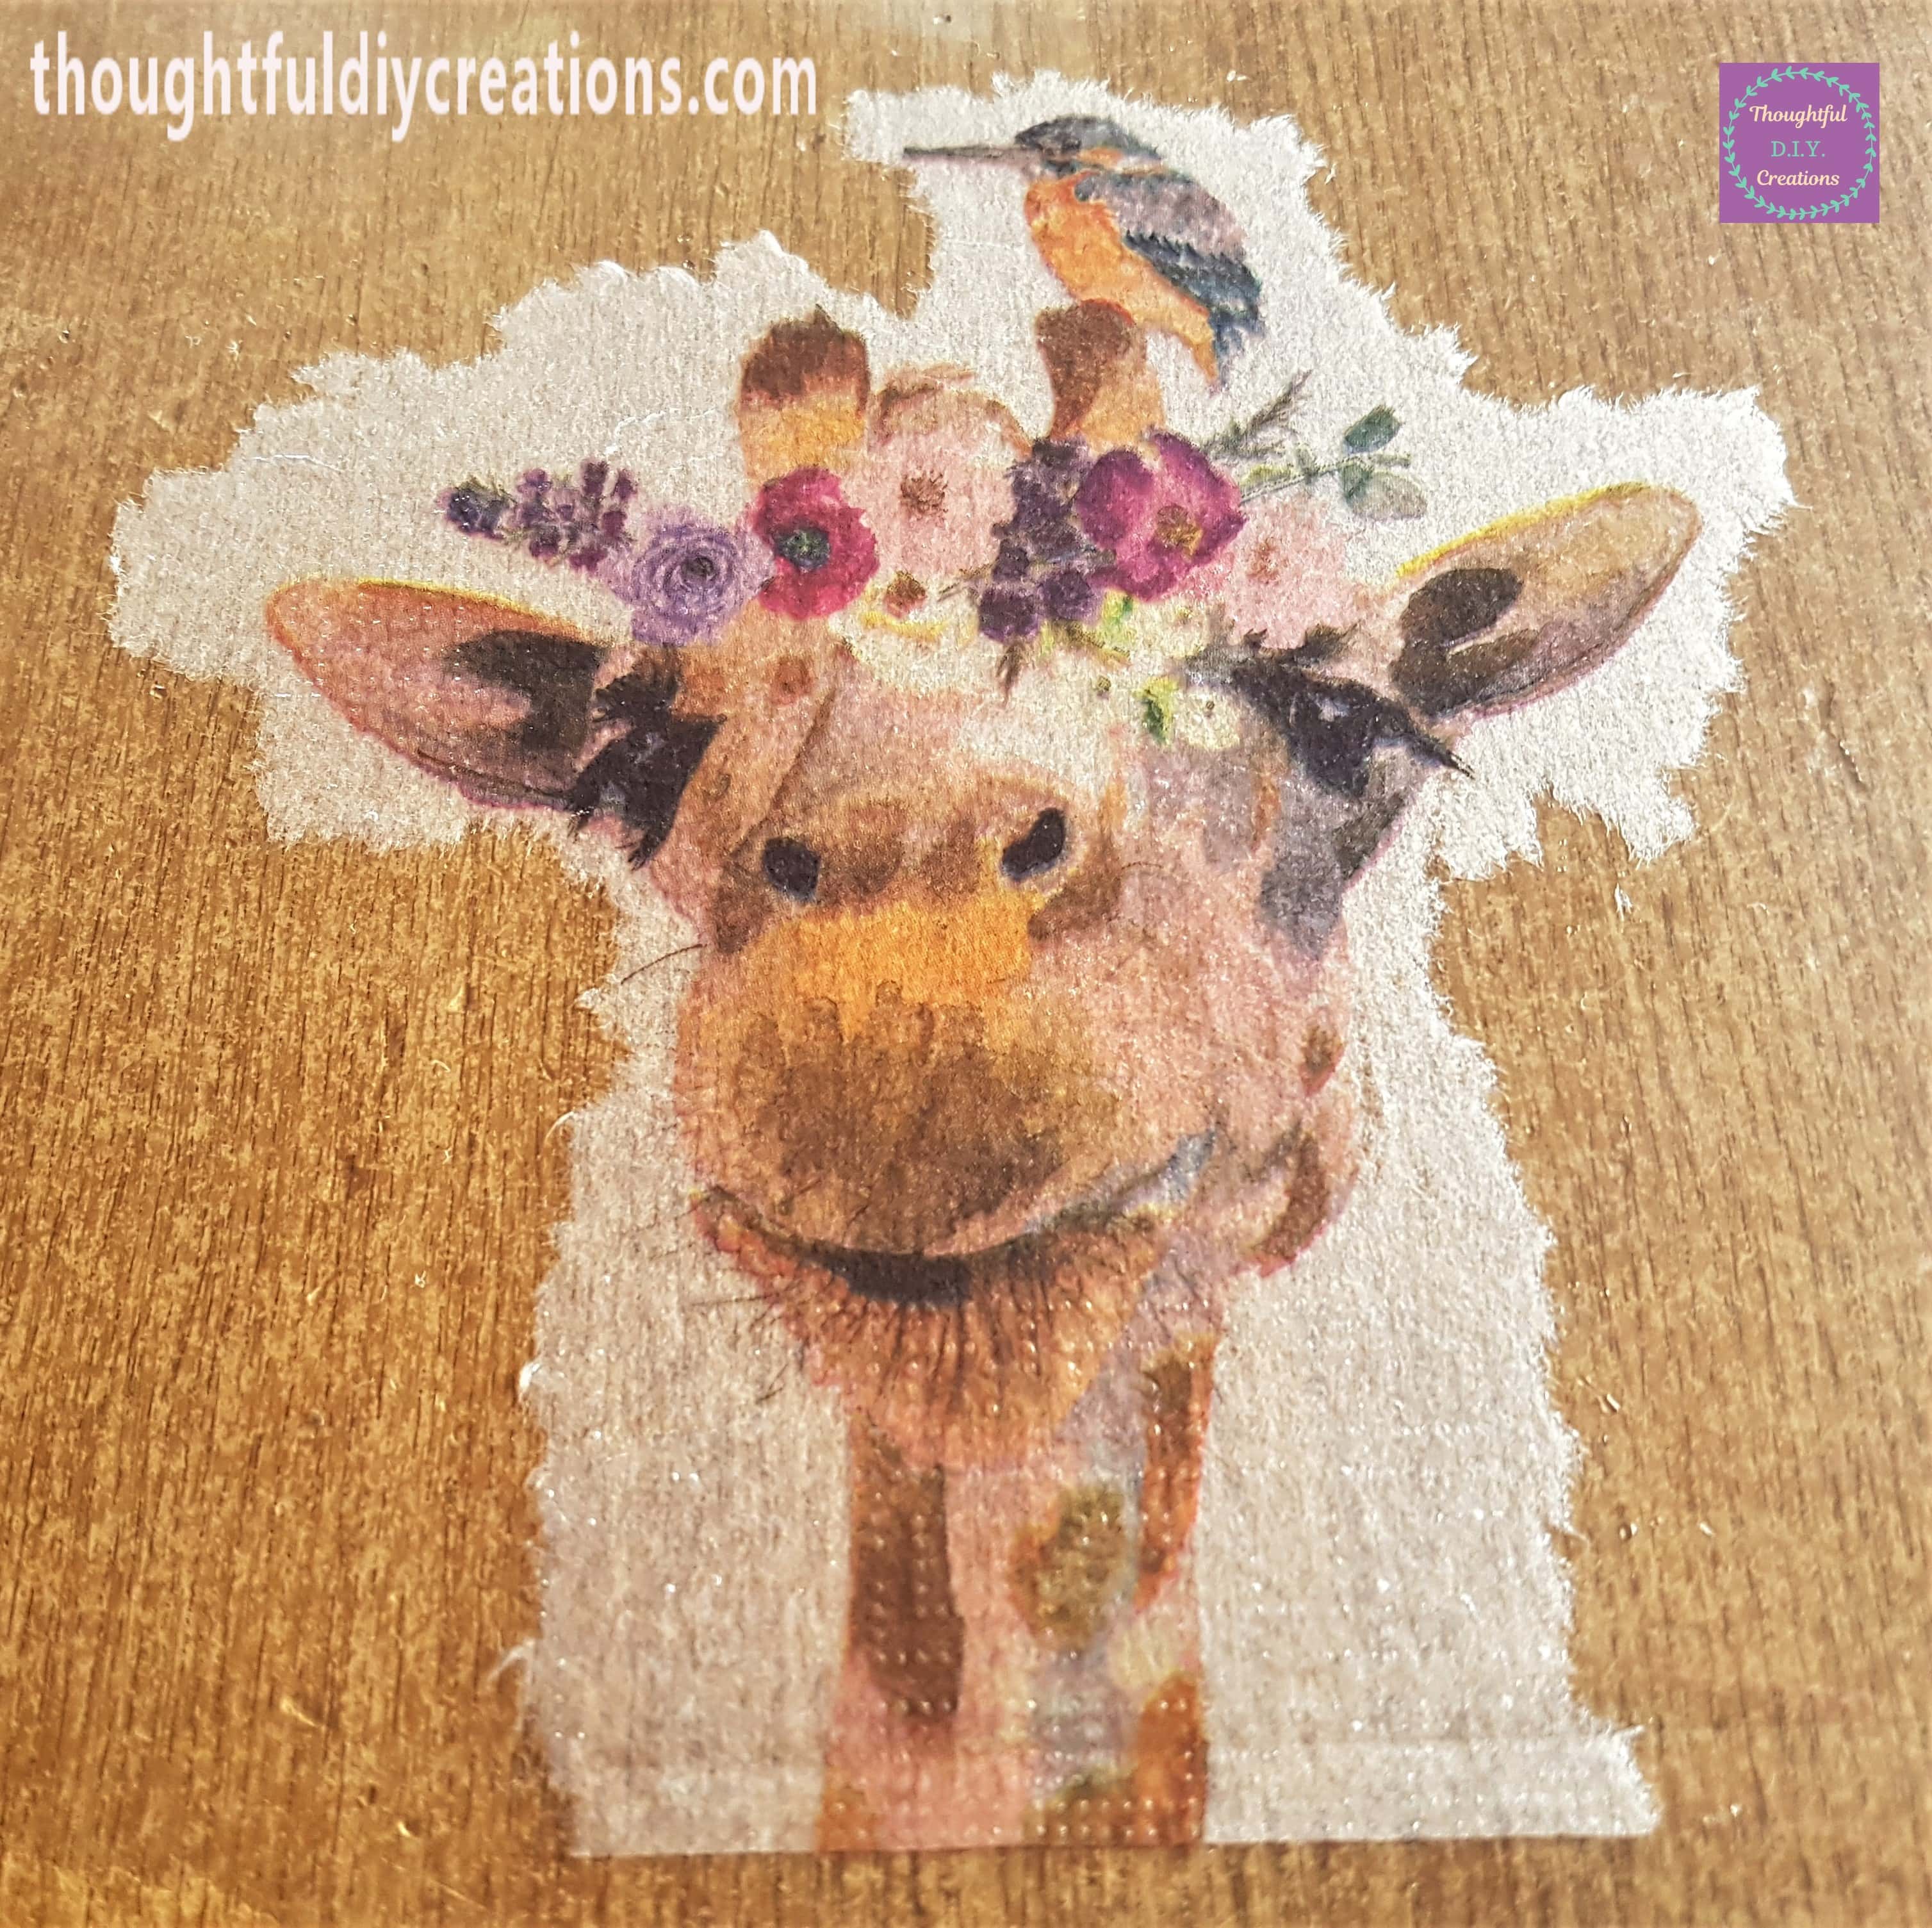
Attaching the Decoupage Napkin to the Journal
I got my Front Journal Cover and put it in front of me on the Table. I lifted up the Plastic Sheet with Napkin attached, I turned it over and positioned it where I wanted it on the Journal Cover. The Giraffe Print was now the right way around.
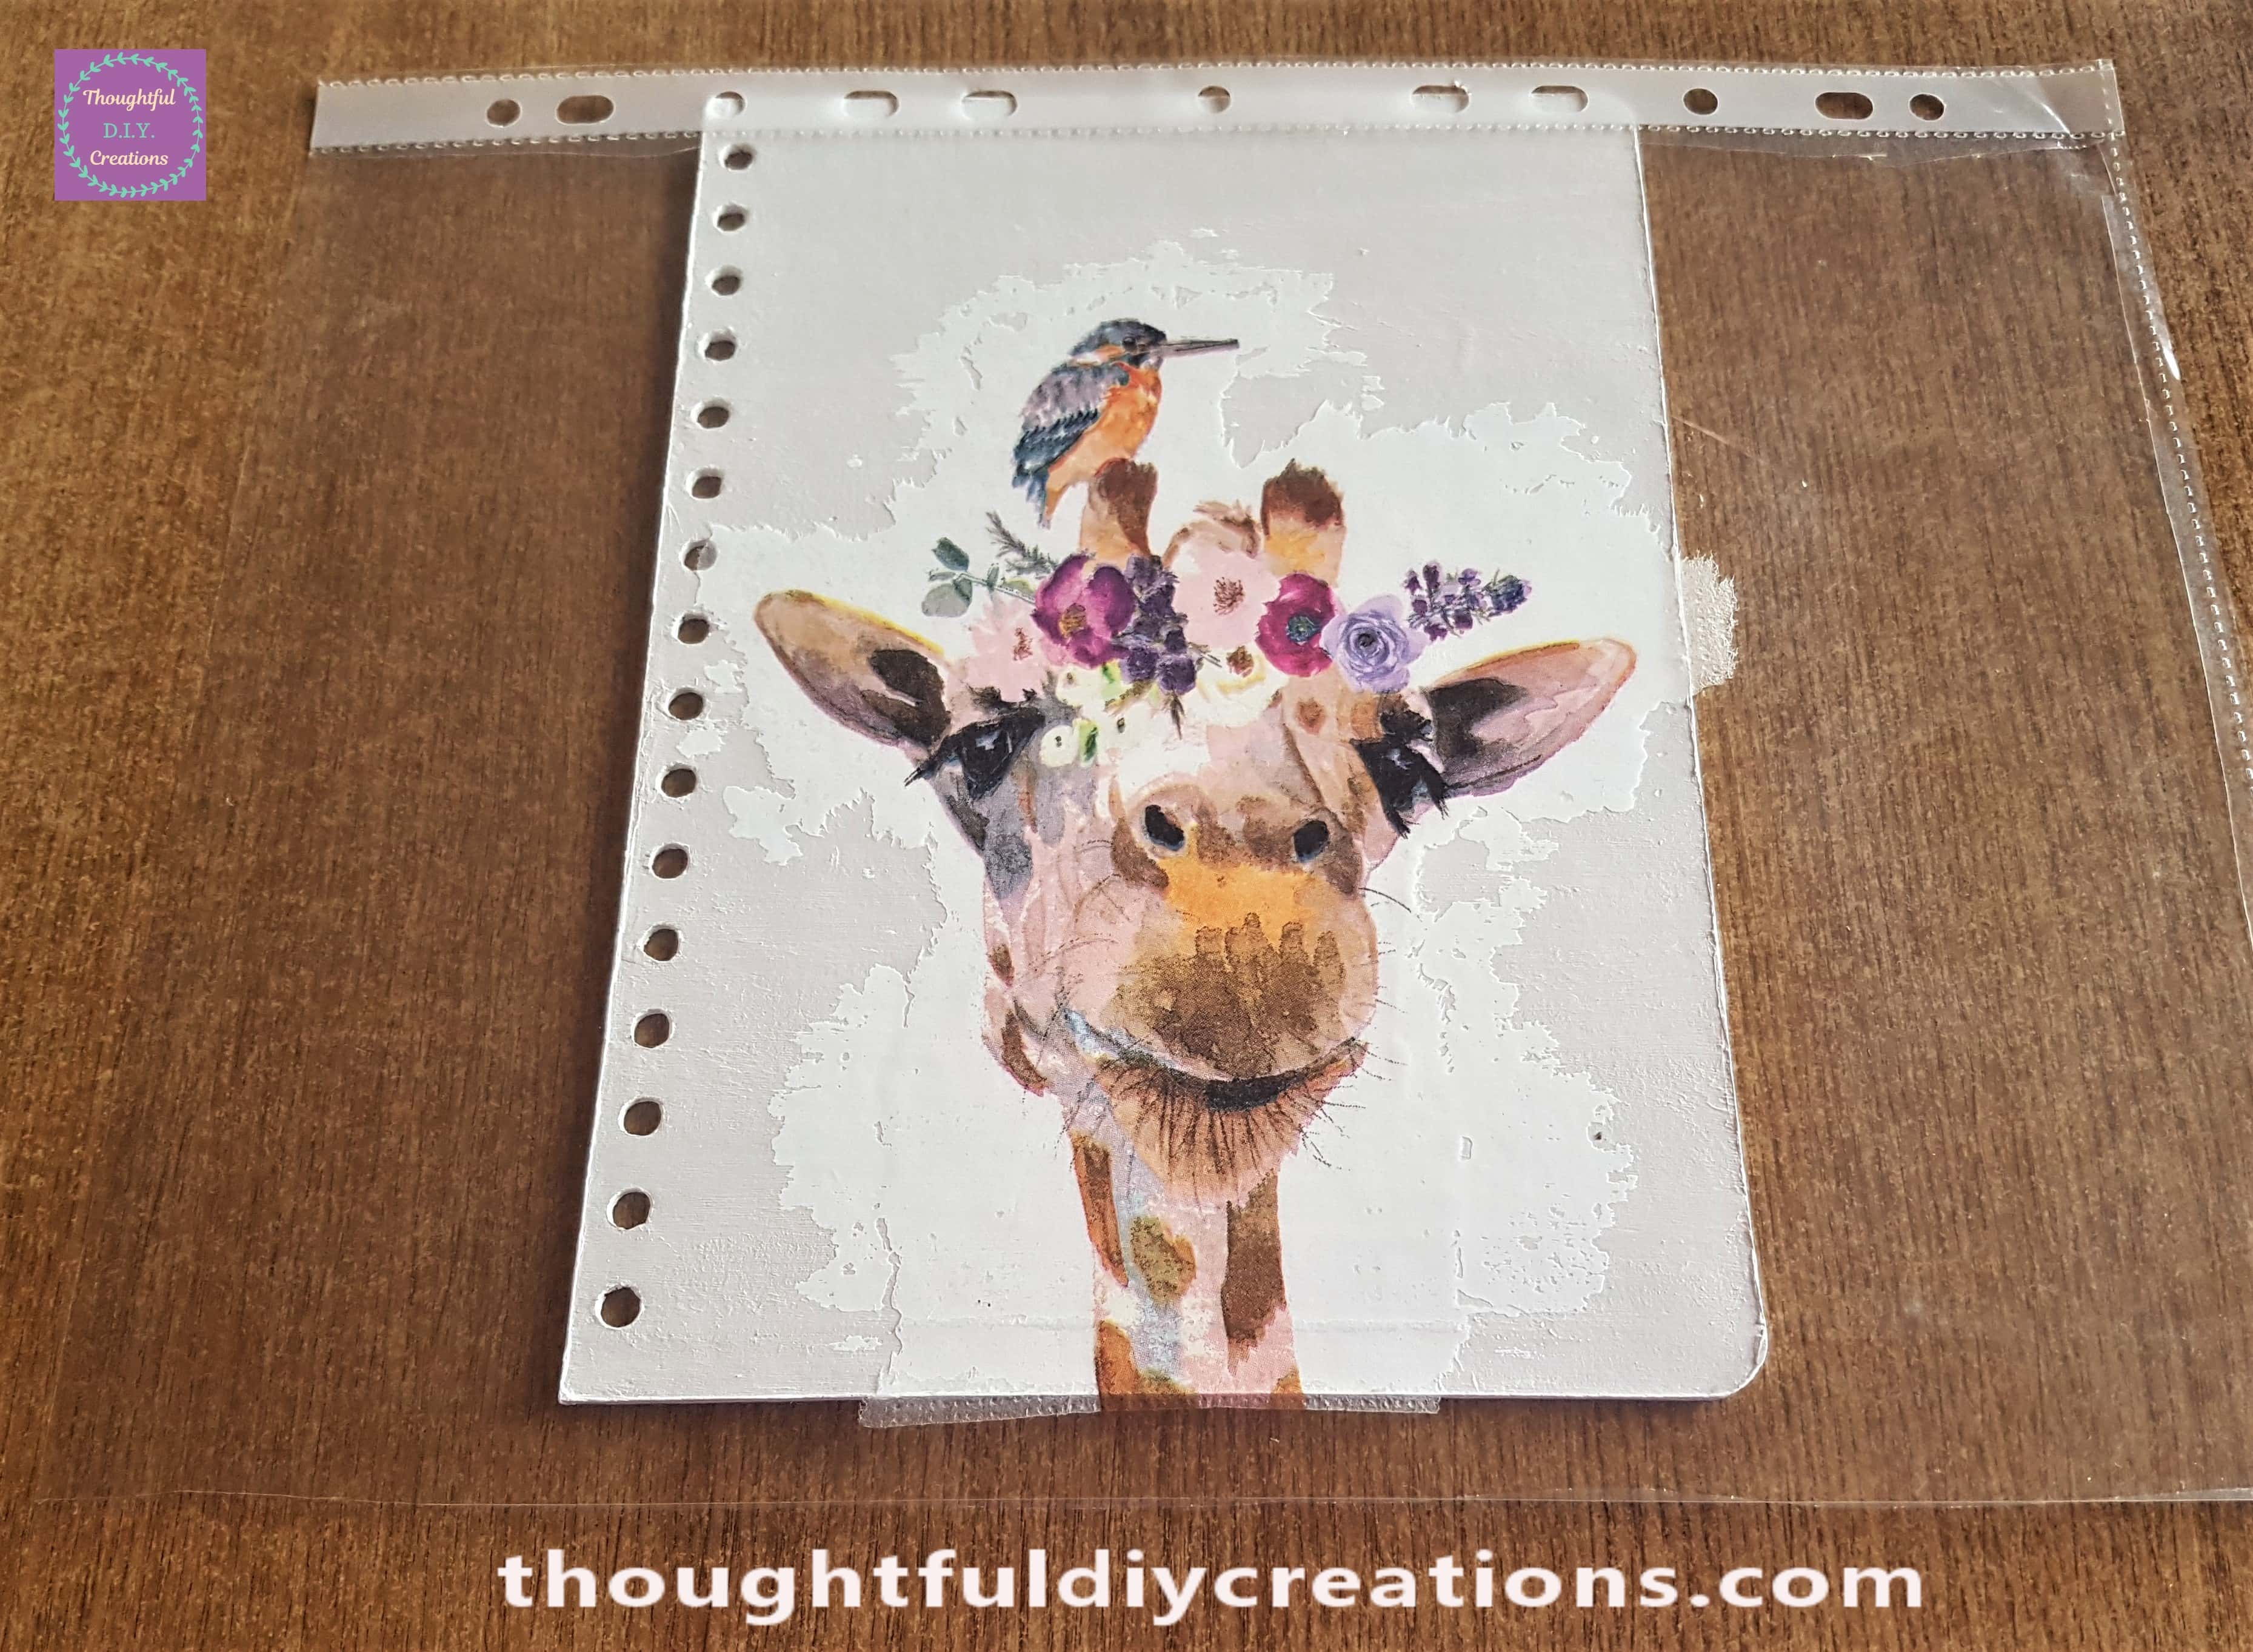
I got a Flat Plastic Card I had and pressed on the Plastic Sheet over the Decoupage Napkin. I pressed from the mid-section of the Giraffe Print outwards and this removed any trapped air-bubbles / excess water as well as attaching the Napkin to the Journal Cover.
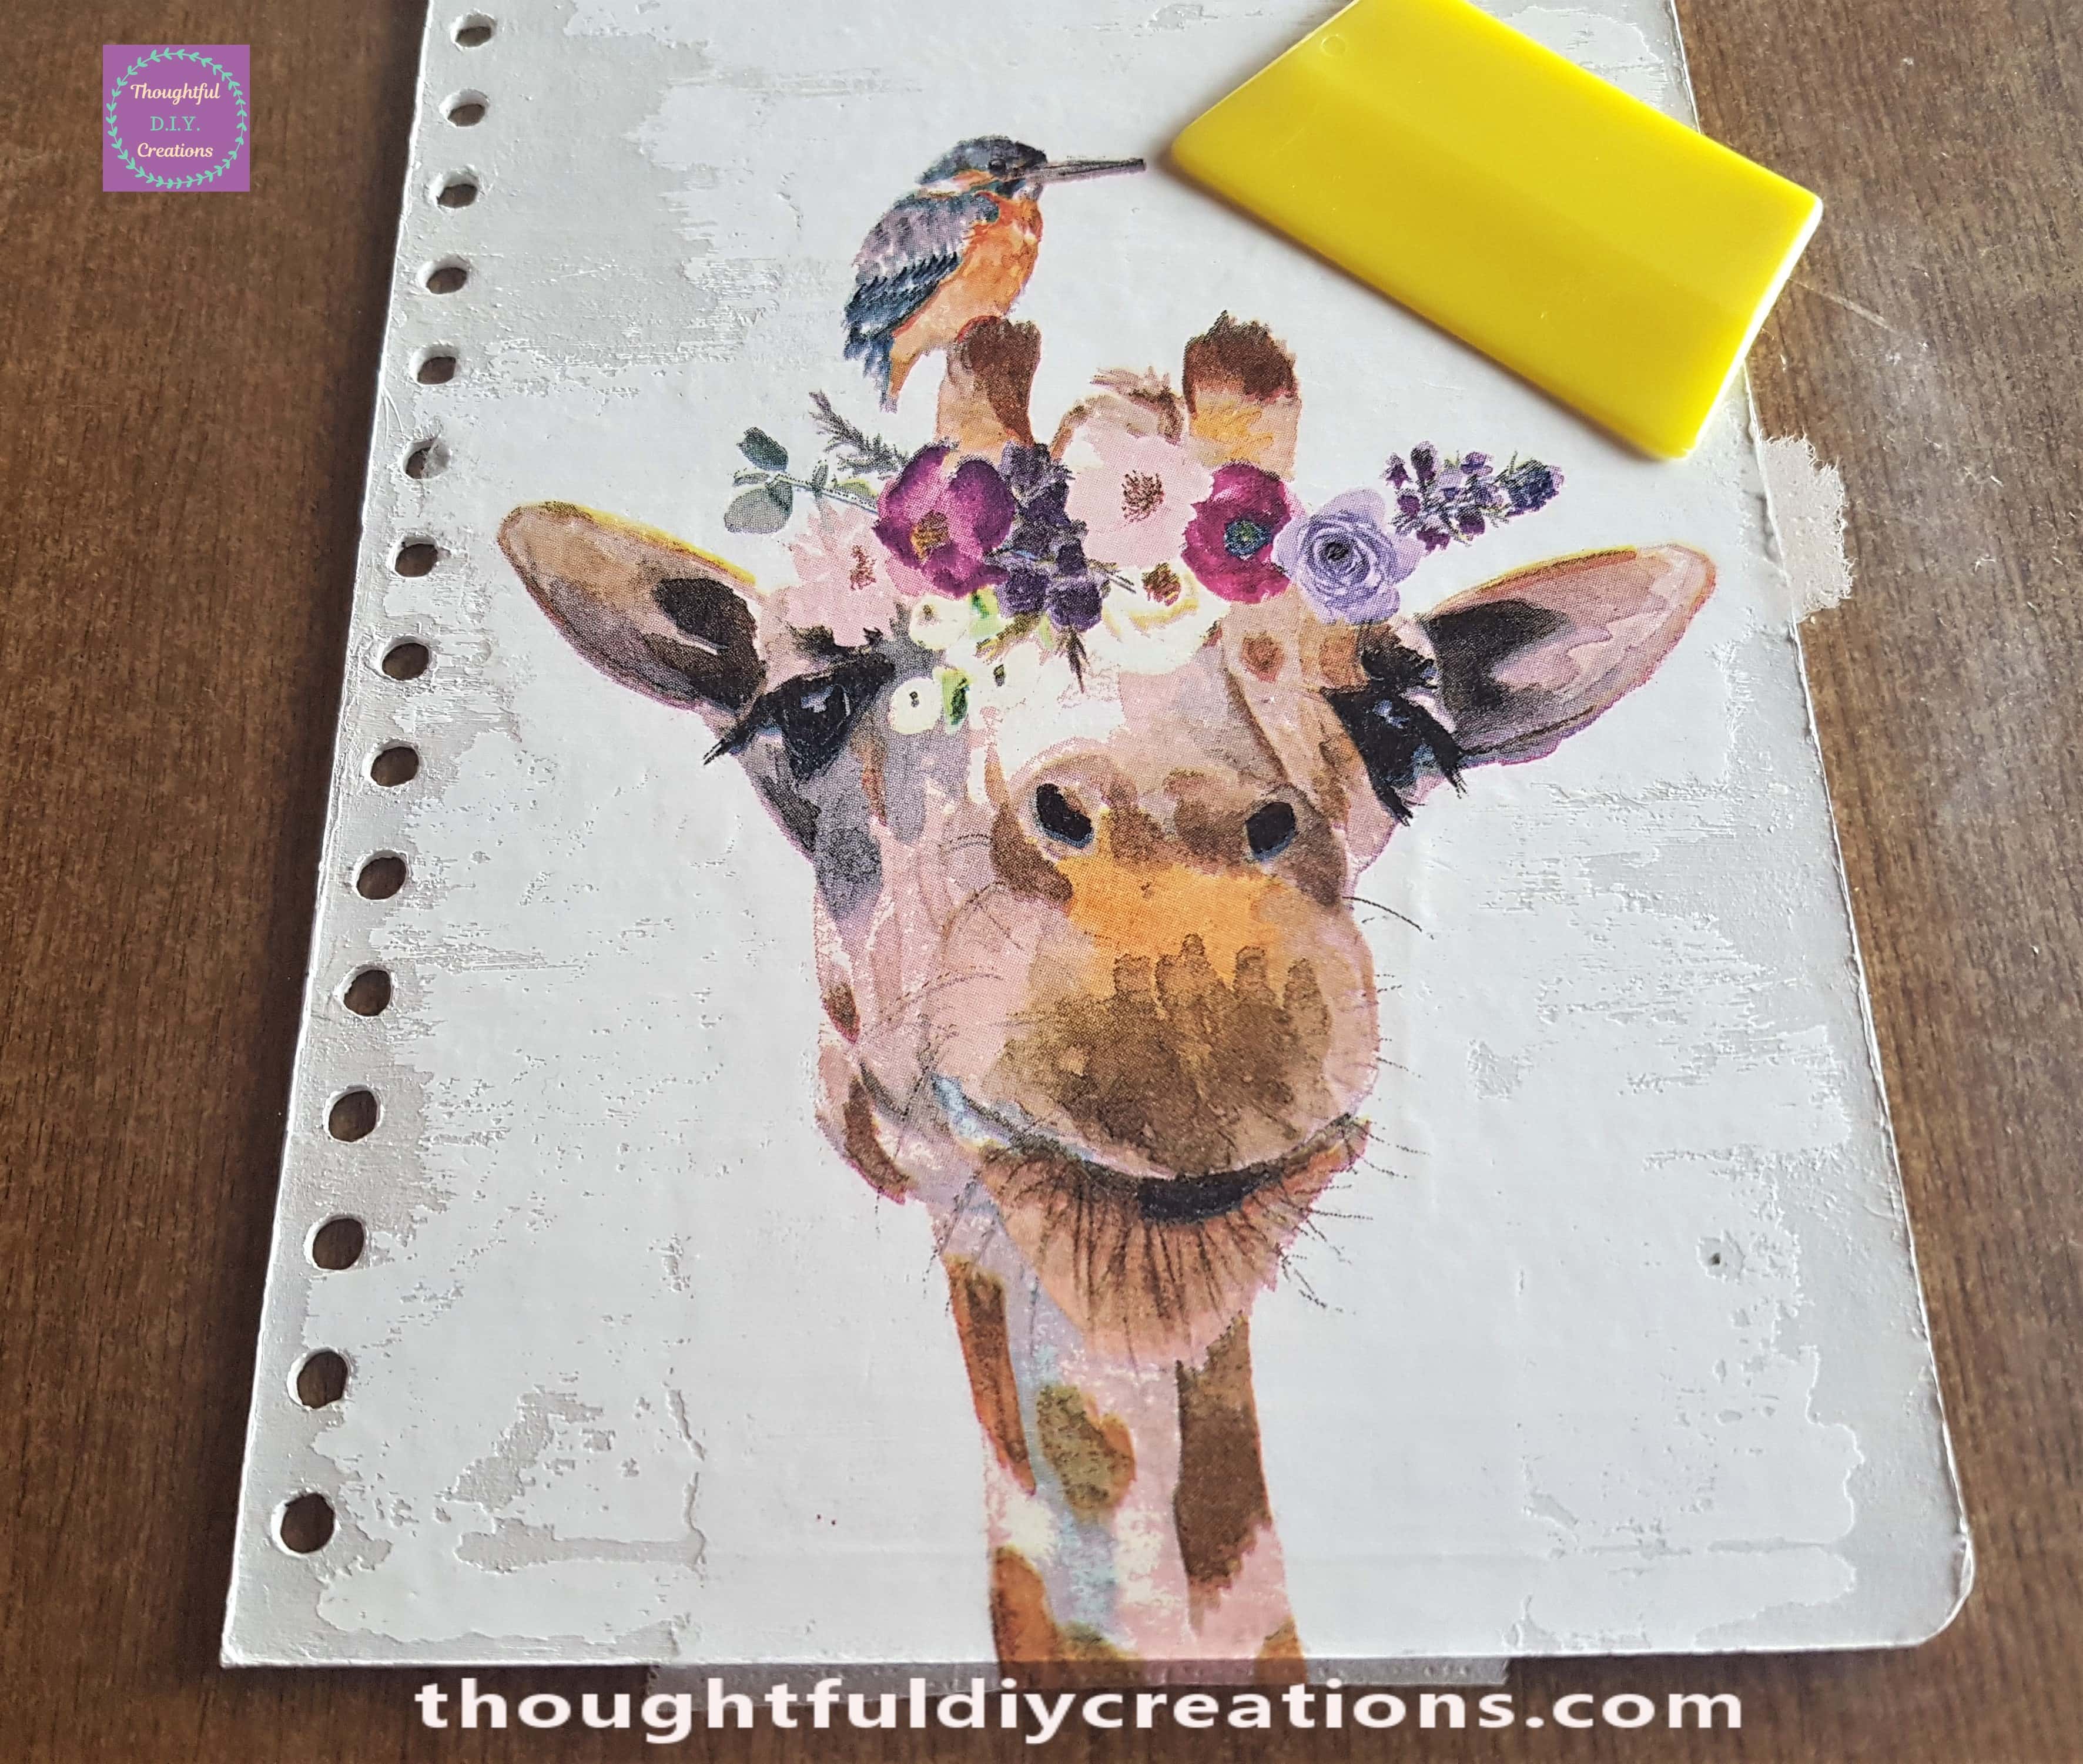
When I felt the Napkin was attached to the Cover securely, I carefully removed the Plastic Sheet from the Journal starting from one corner and peeling back slowly. If it isn’t fully down just put the plastic sheet back and press down again with a flat Card.
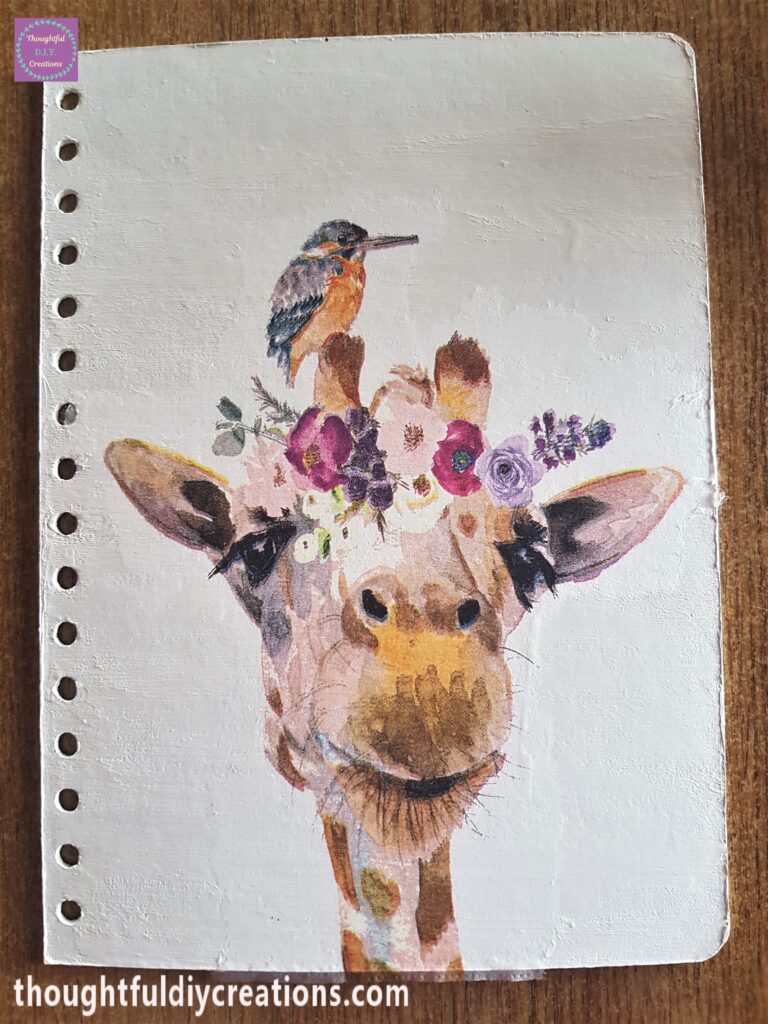
Adding Mod Podge to the Napkin
I got my Mod Podge Gloss and carefully added a layer all over the Napkin starting from the center and brushing outwards to blend into the Journal. Just one layer is enough for now.
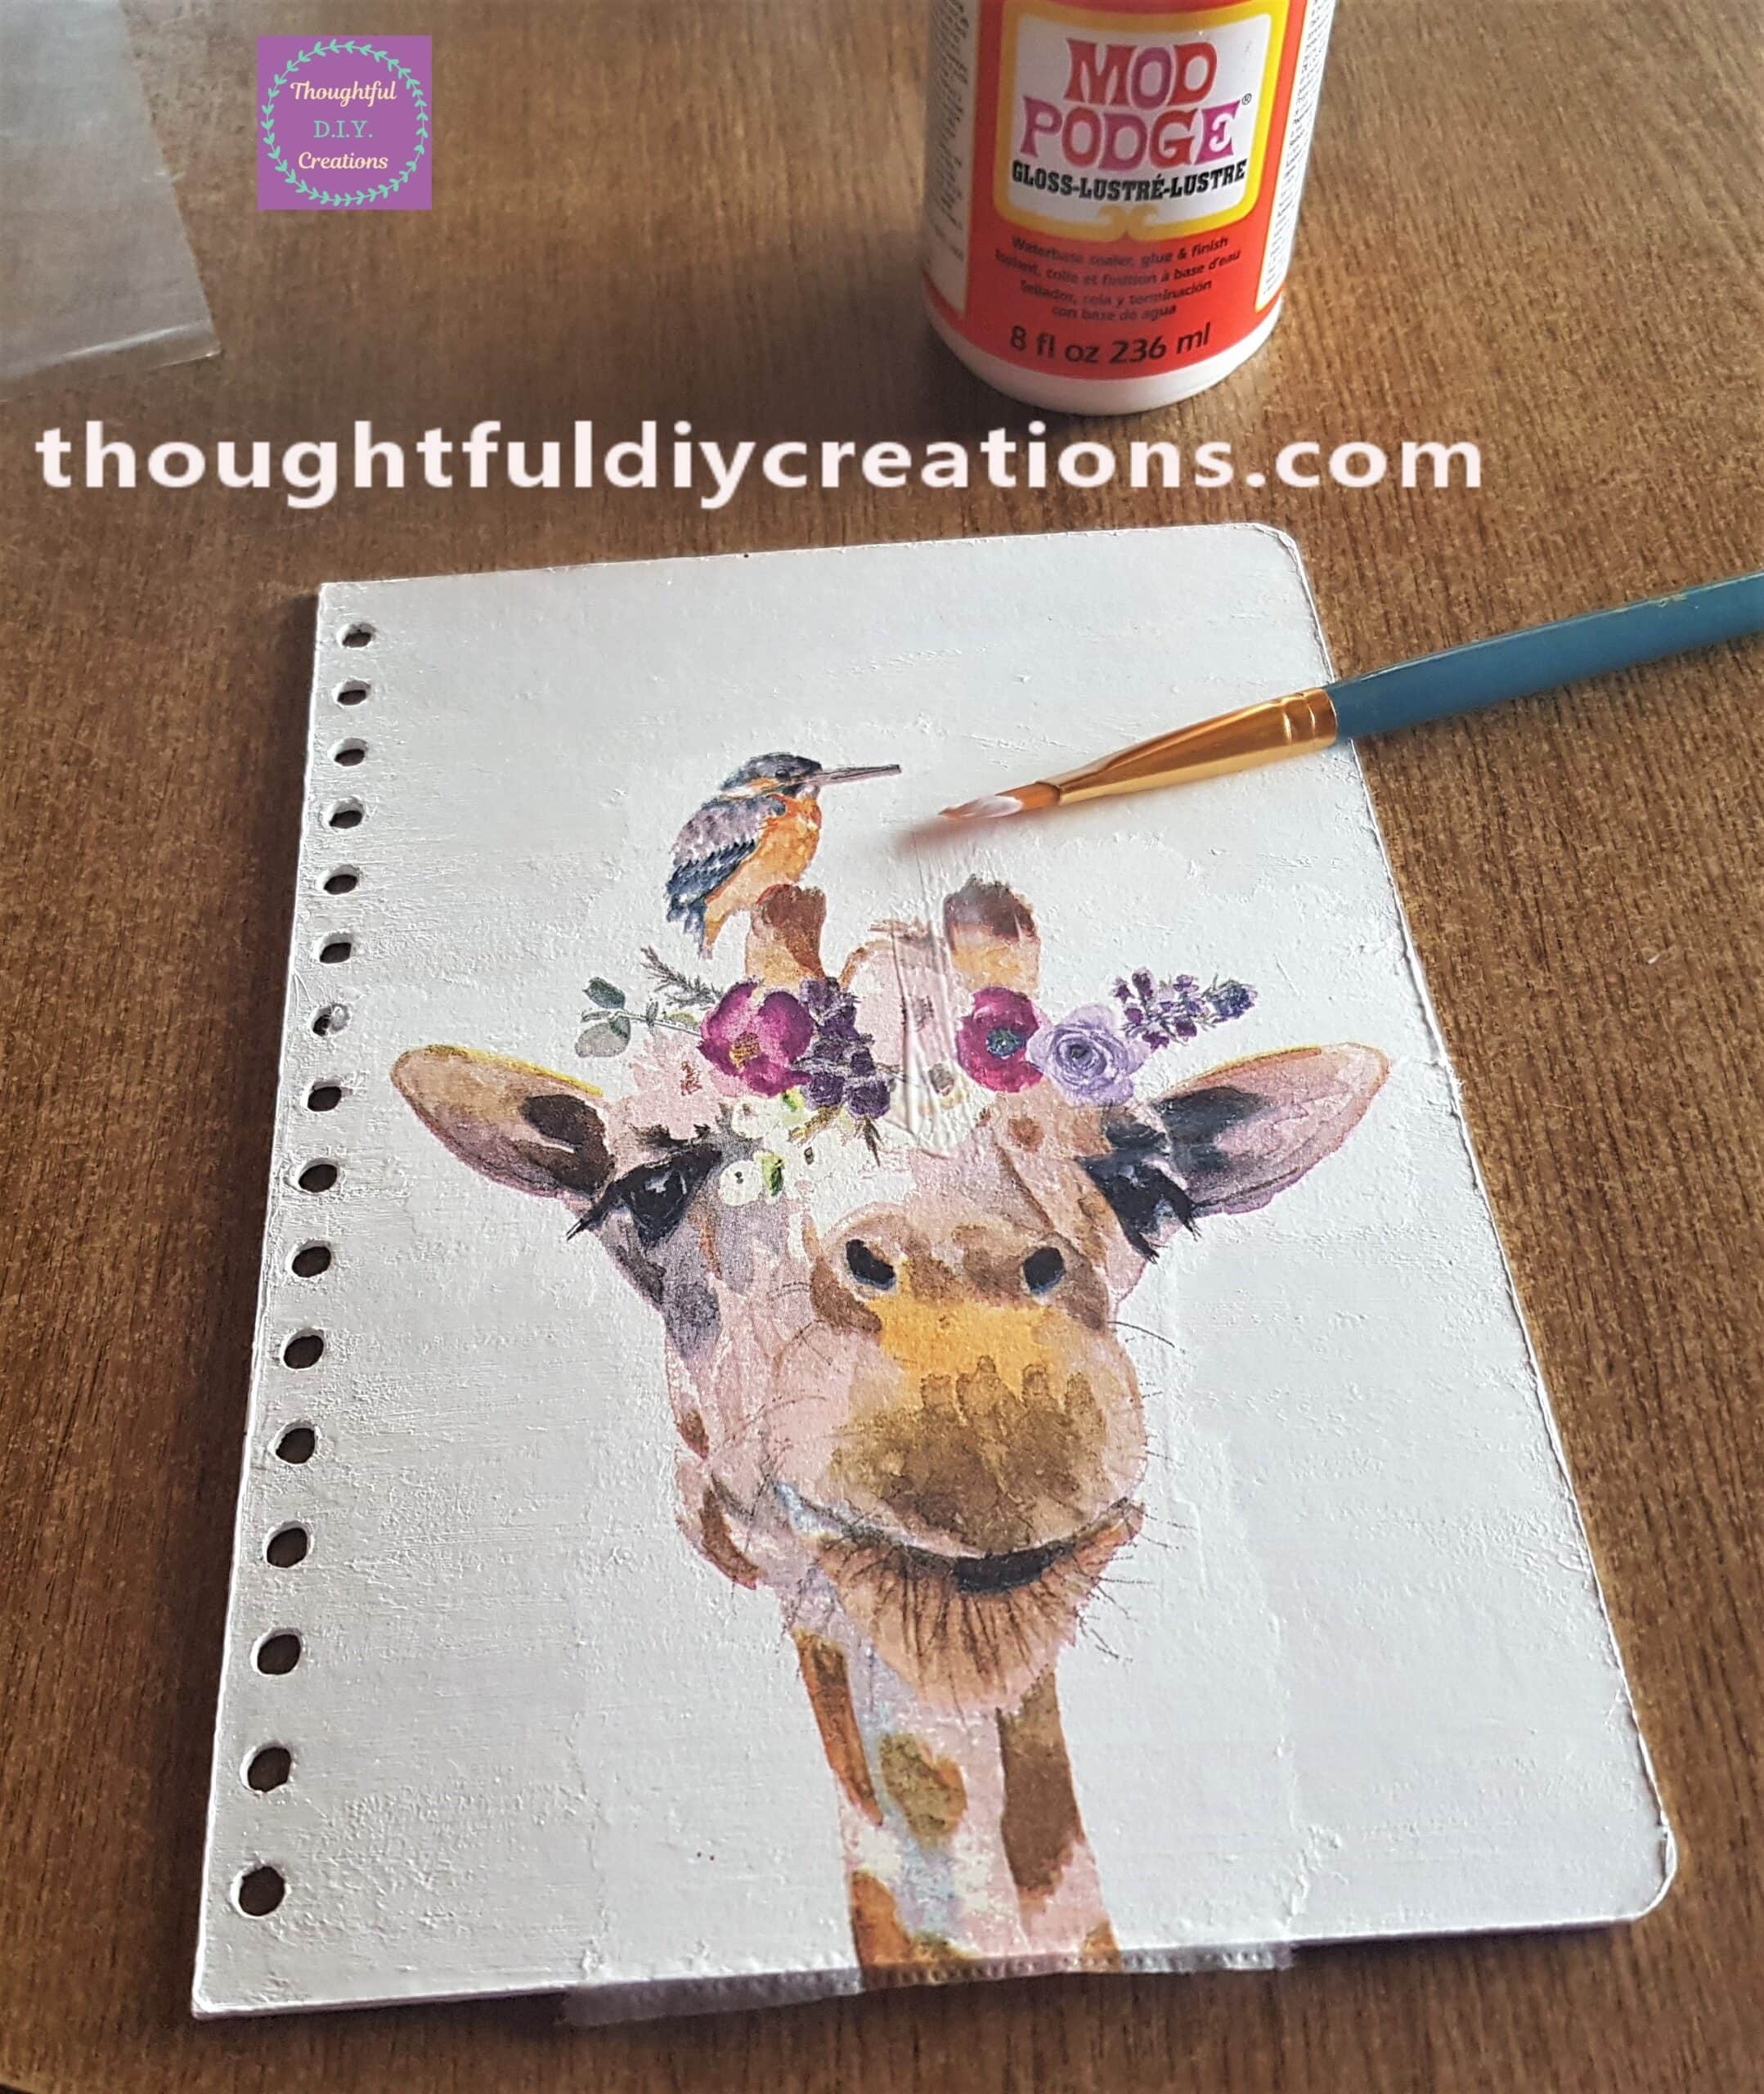
This is the Front Journal Cover with Decoupage Napkin attached with Mod Podge.
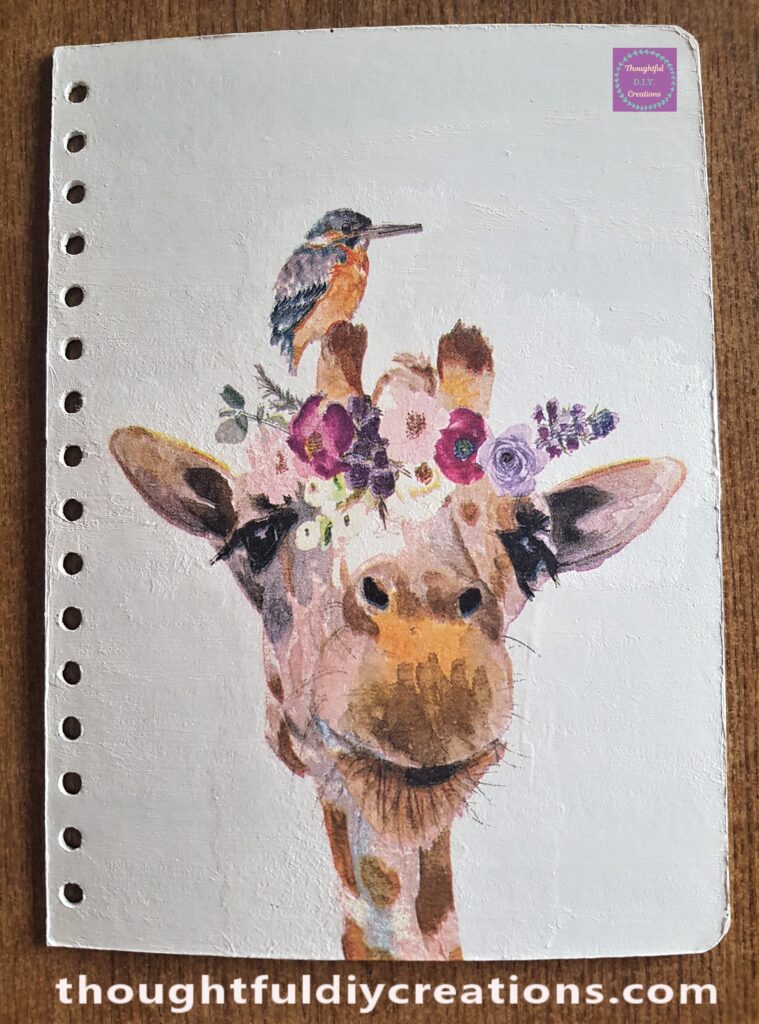
I repeated the exact same process with the second Giraffe Napkin on the Back Journal Cover.
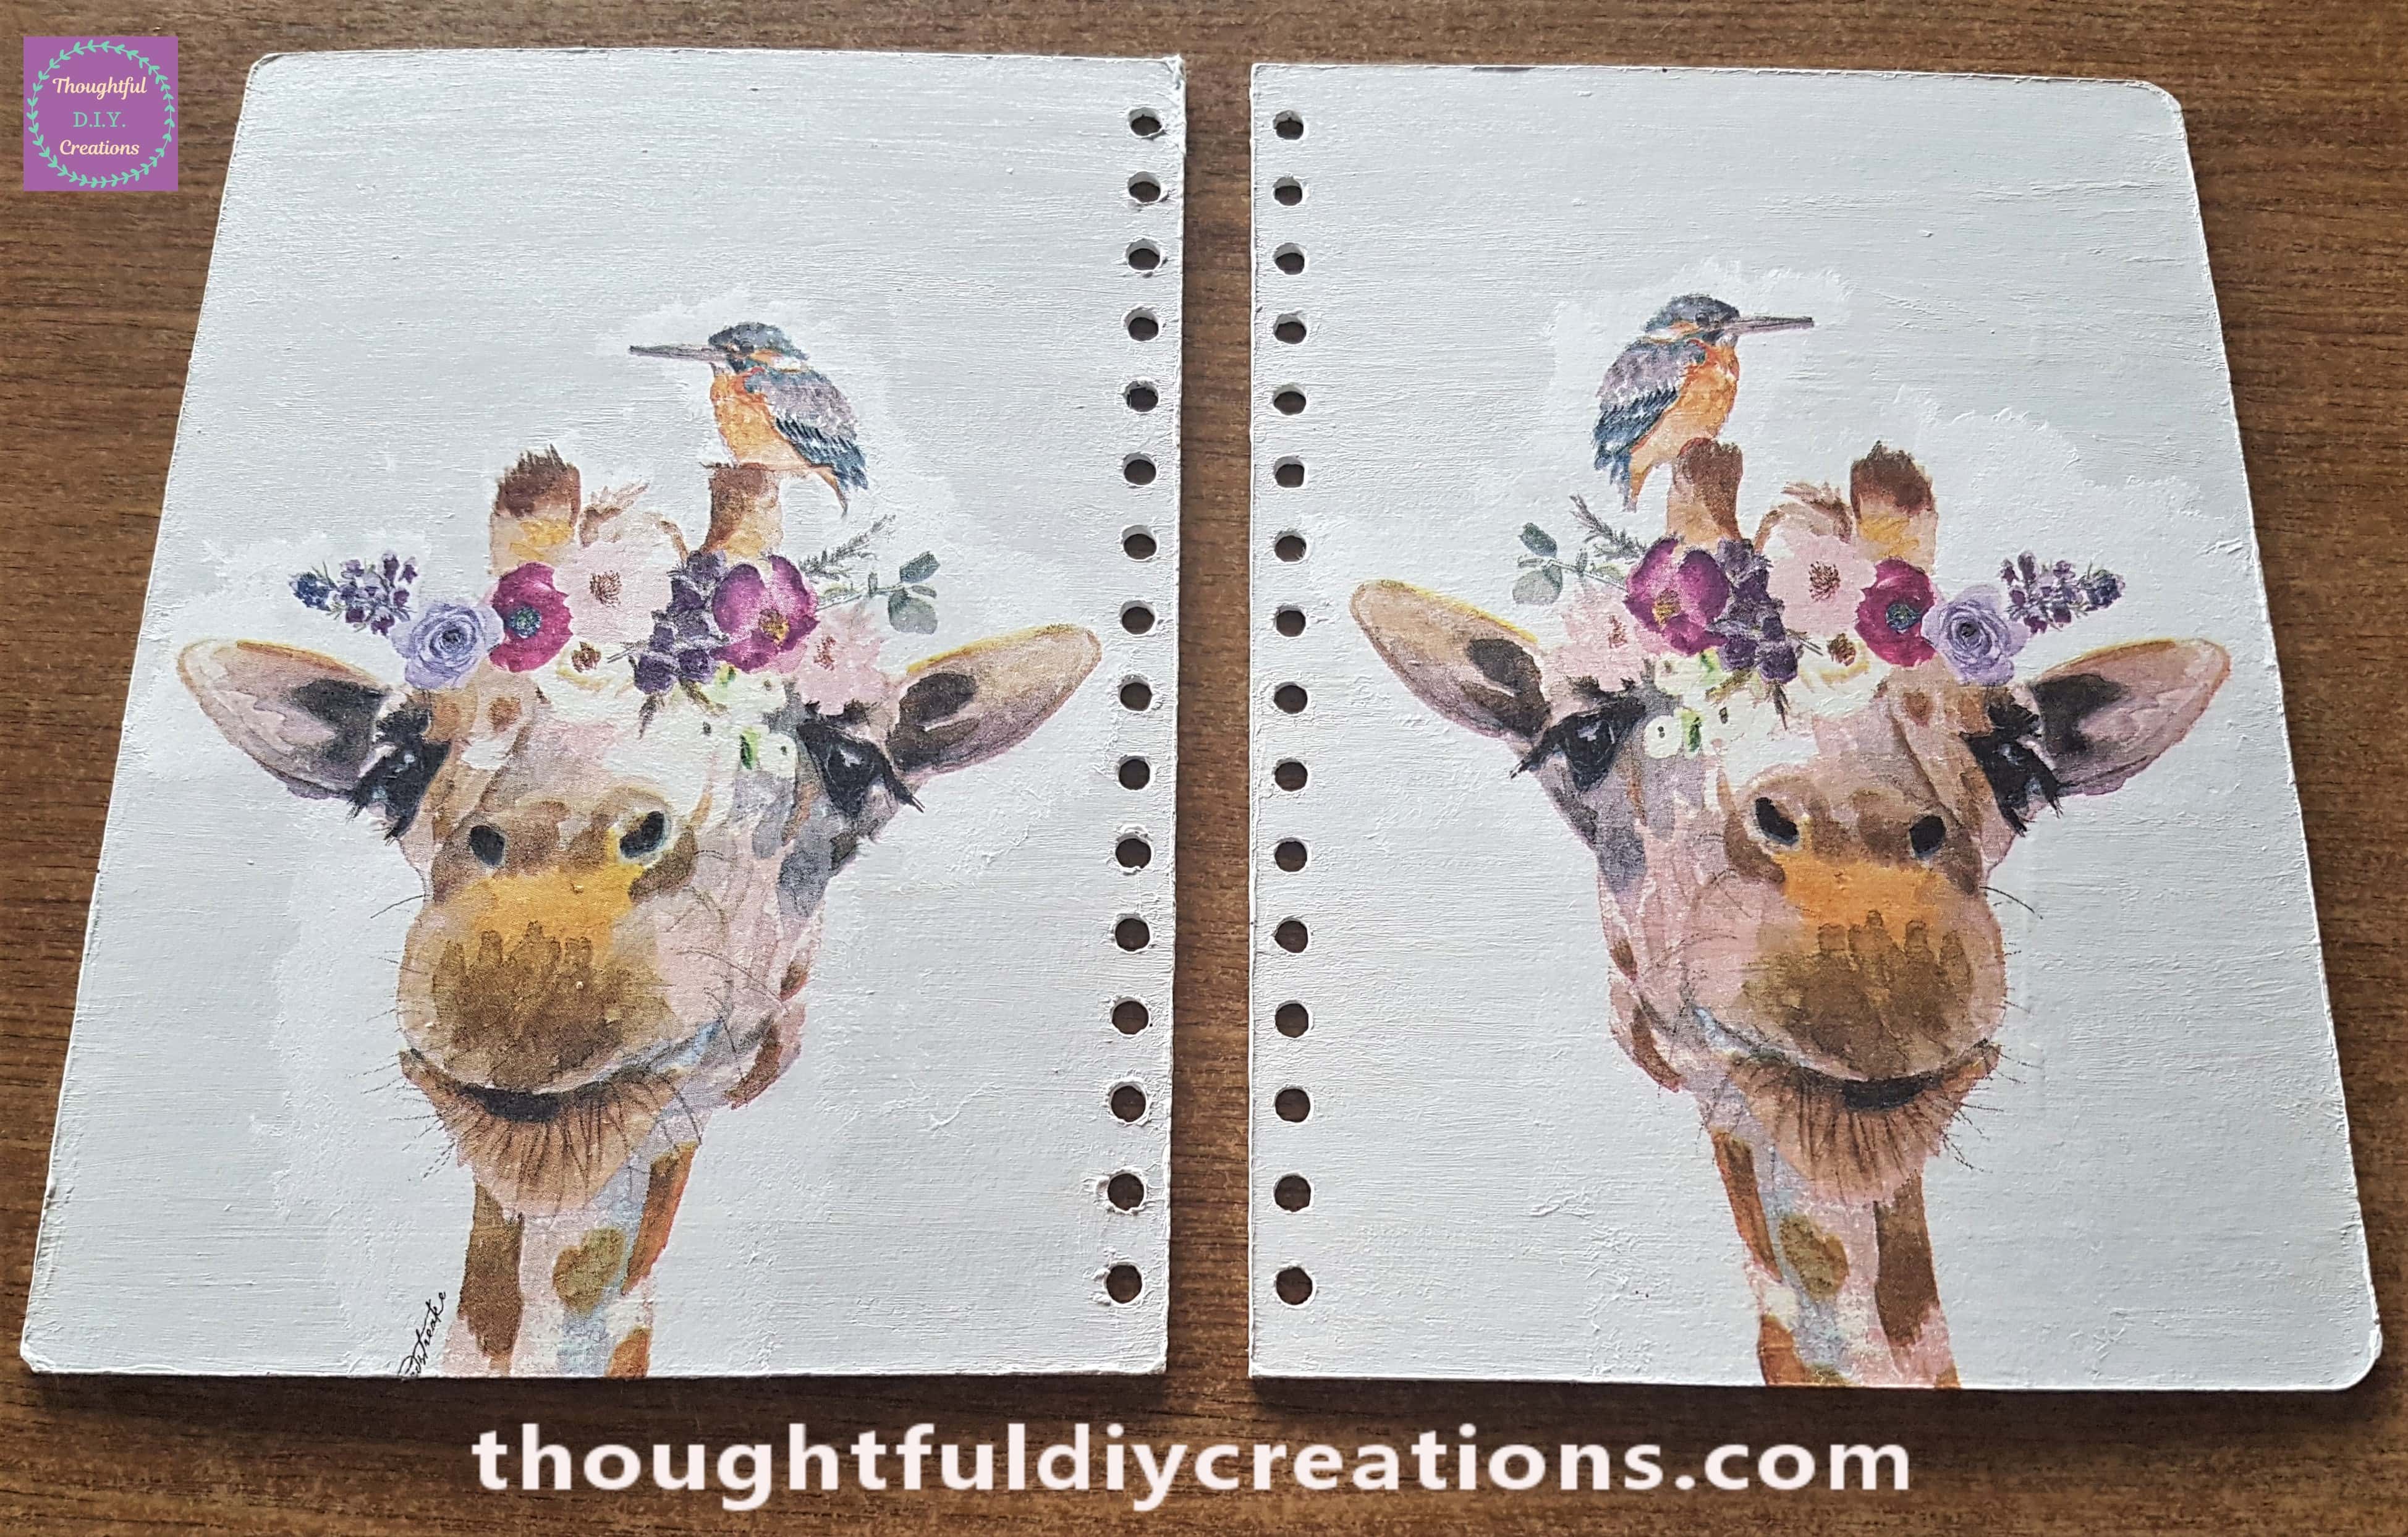
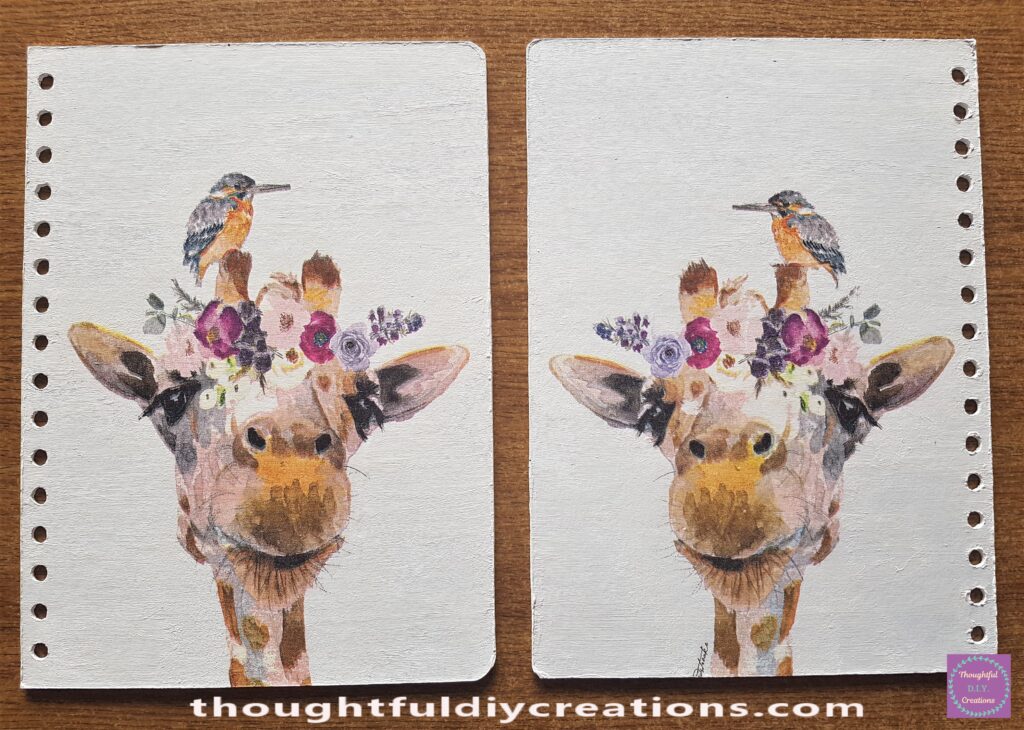
This is the Front and Back Journal Covers with Napkins attached.
Blending the Napkins to the Background
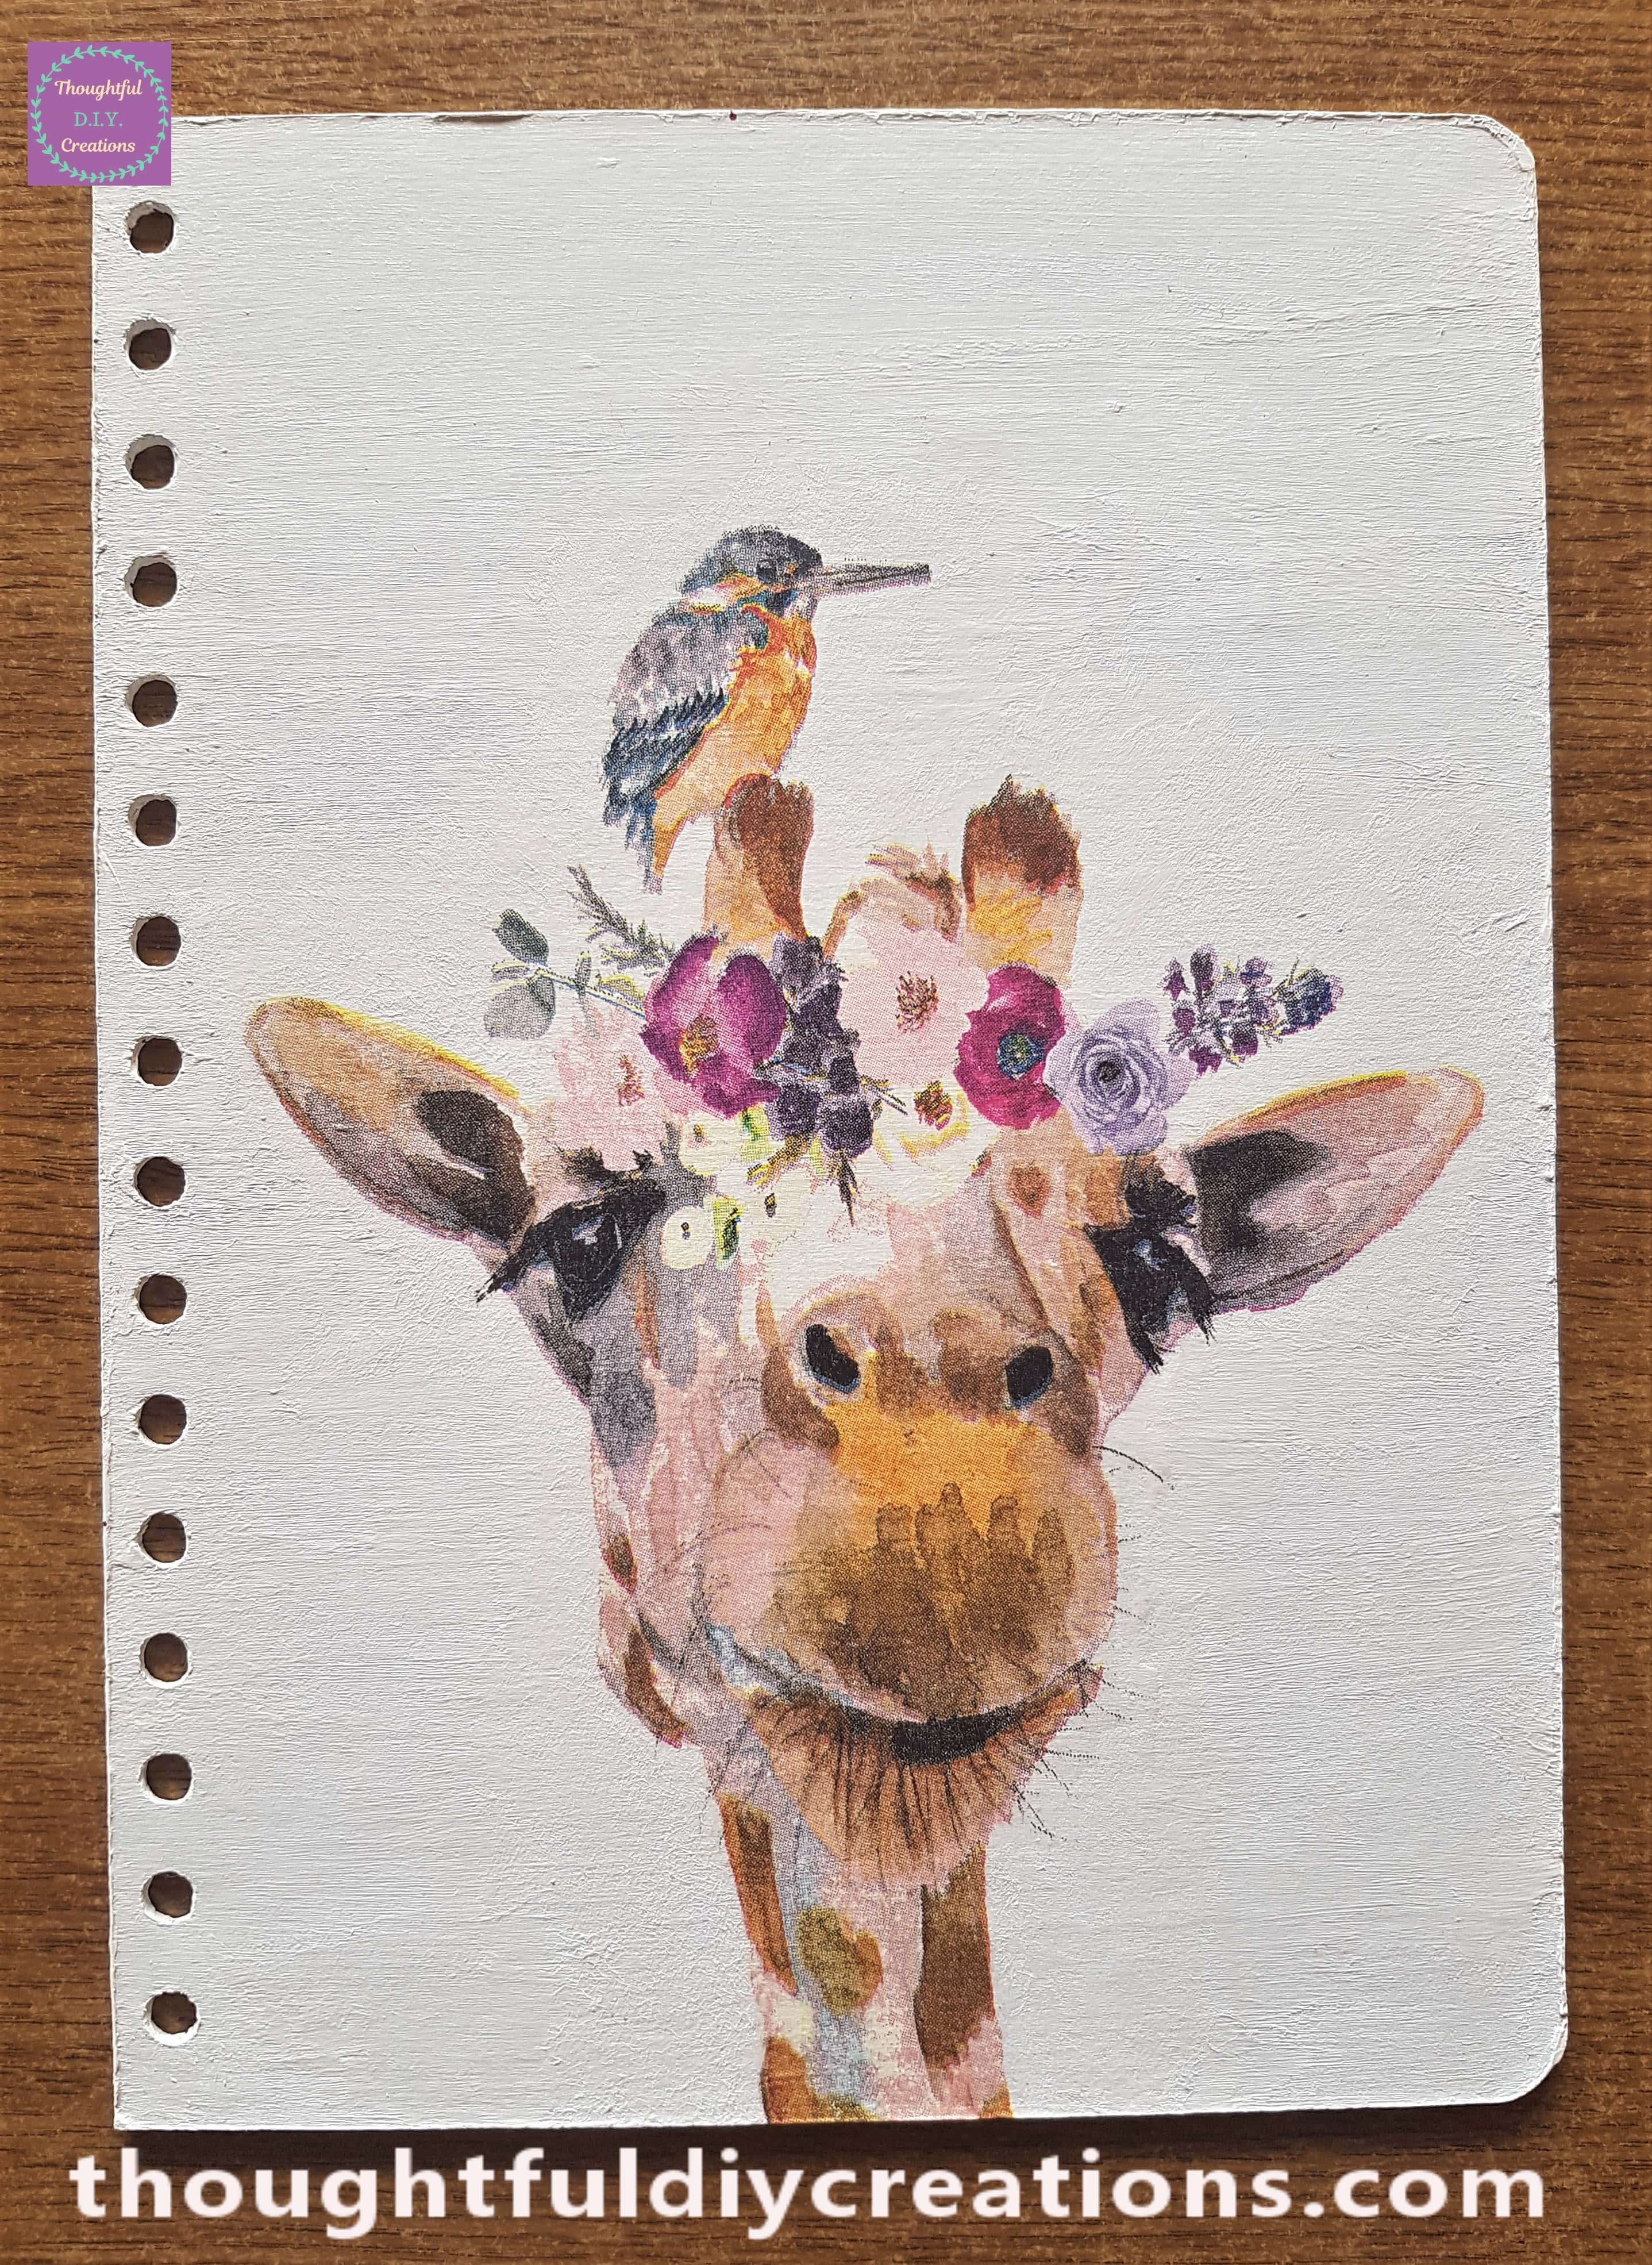
I added 2 layers of White Acrylic Paint on the White Parts of the Napkin and the edges to blend them seamlessly into the background.
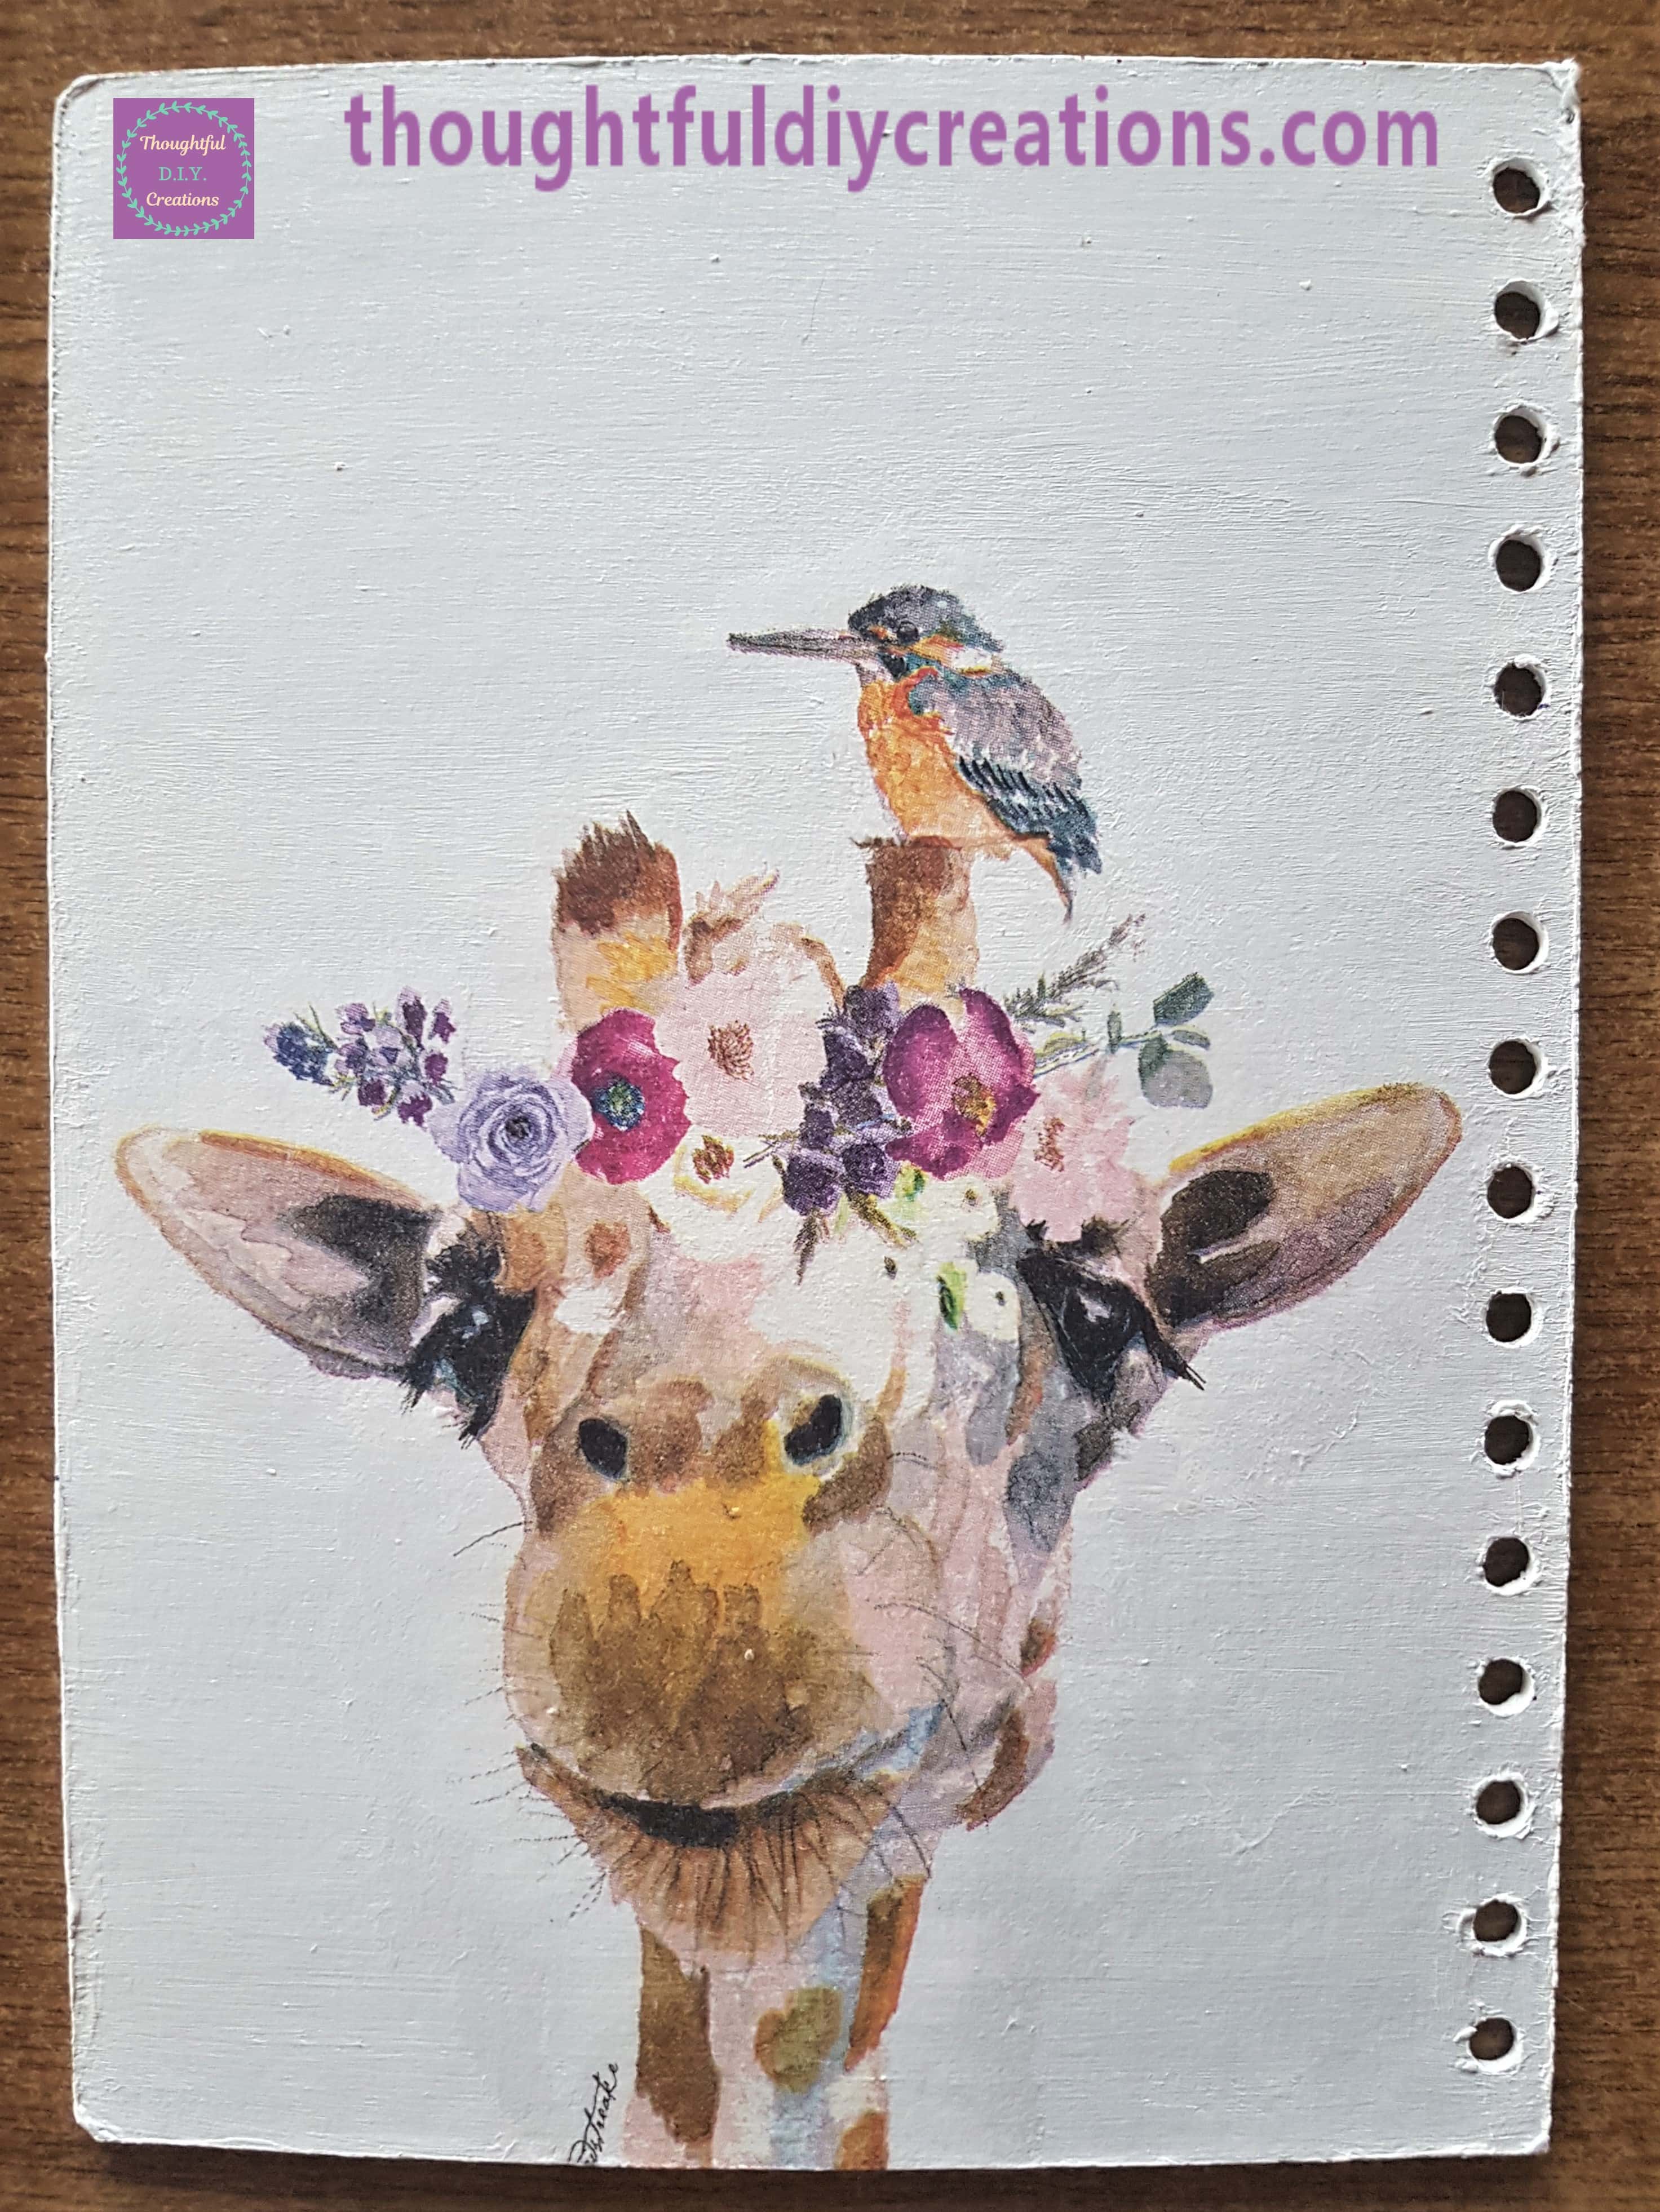
This is the Front Journal Cover after the Paint was added.
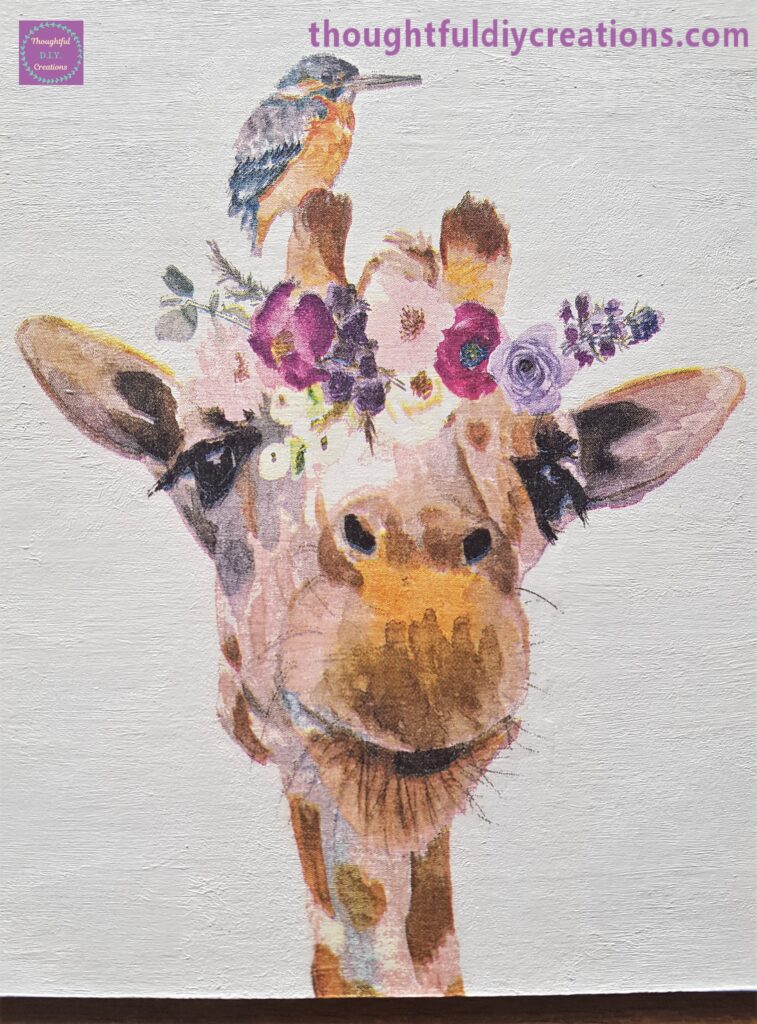
A closer look of the Napkin.
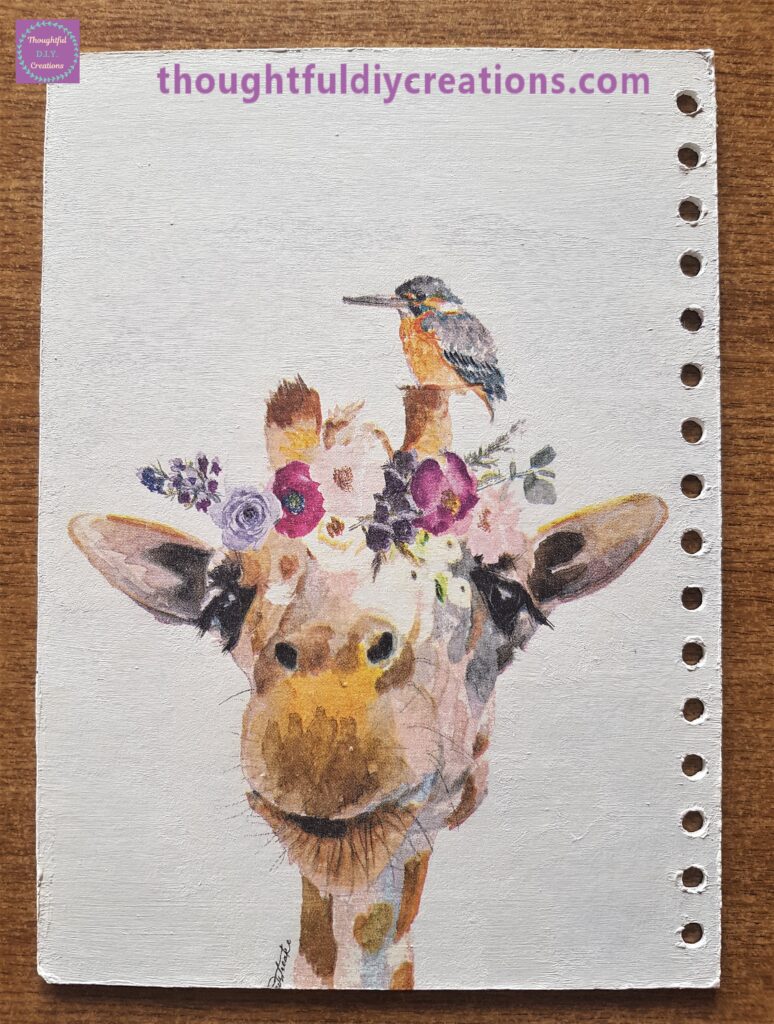
Here is the Back Journal Cover after the White Paint was applied.
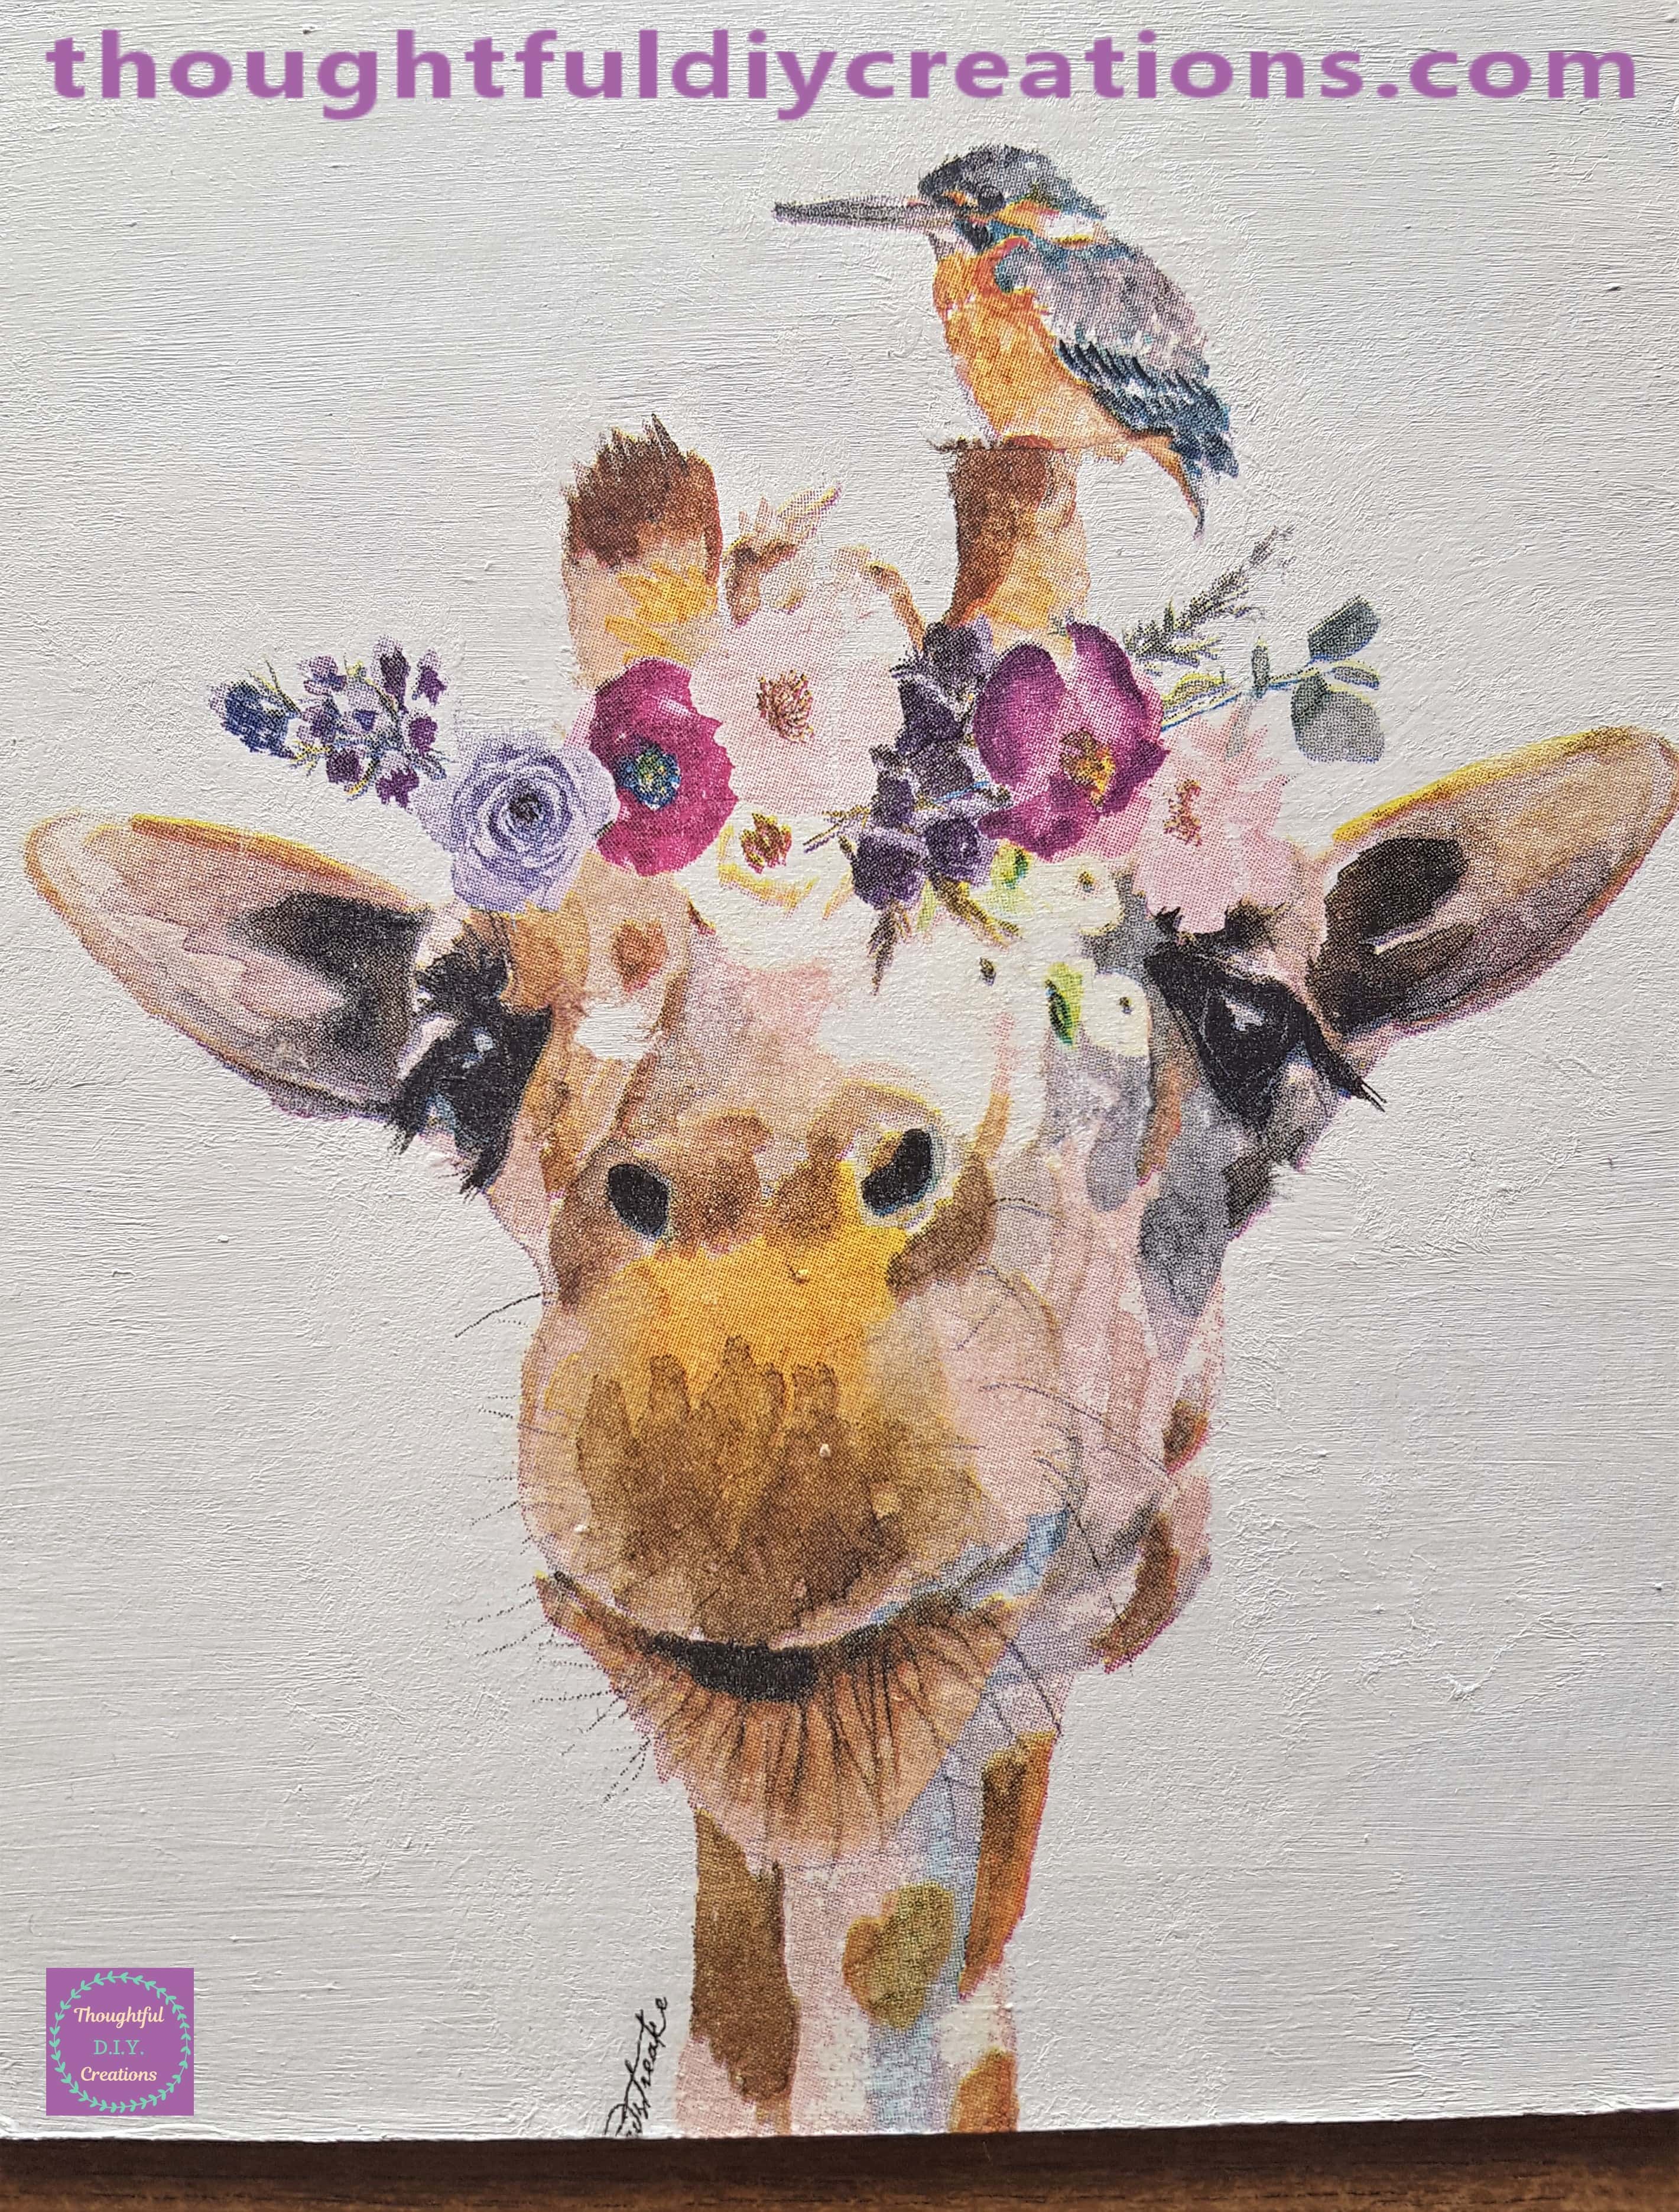
A closer view of the Giraffe.
Adding Paint Splatters to the Journal Covers
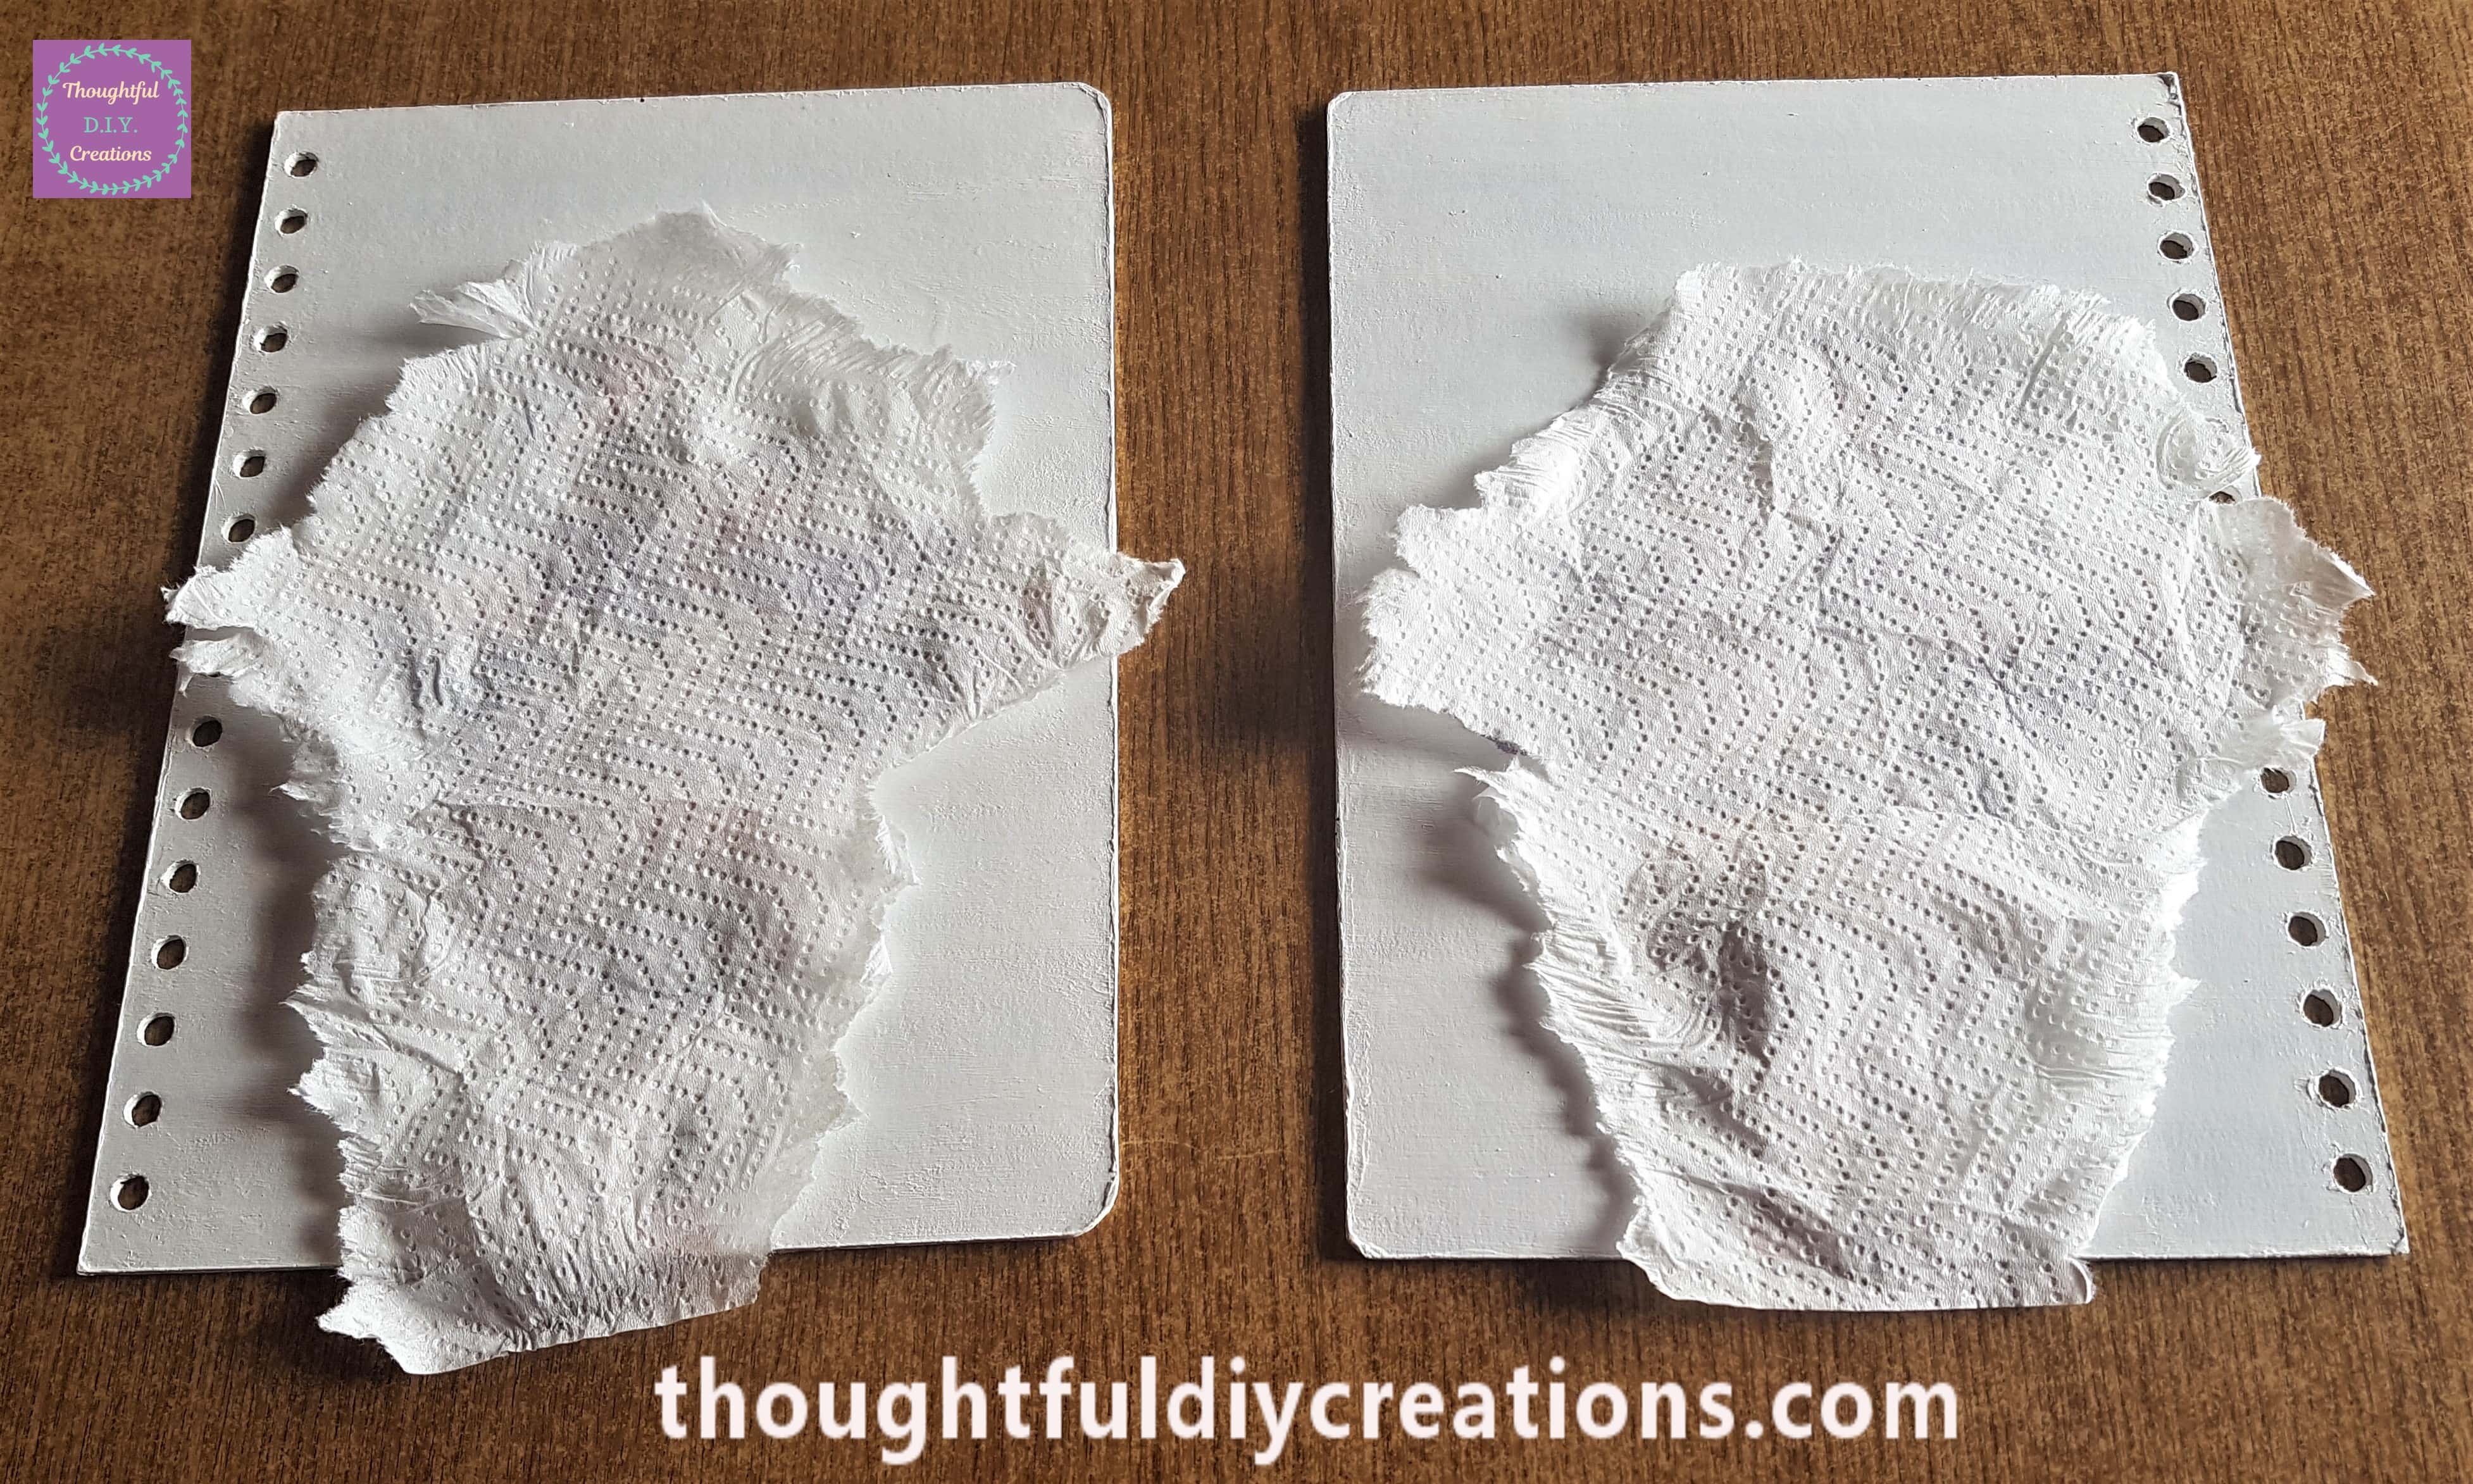
I tore some Kitchen Paper to cover the Giraffe Napkins.
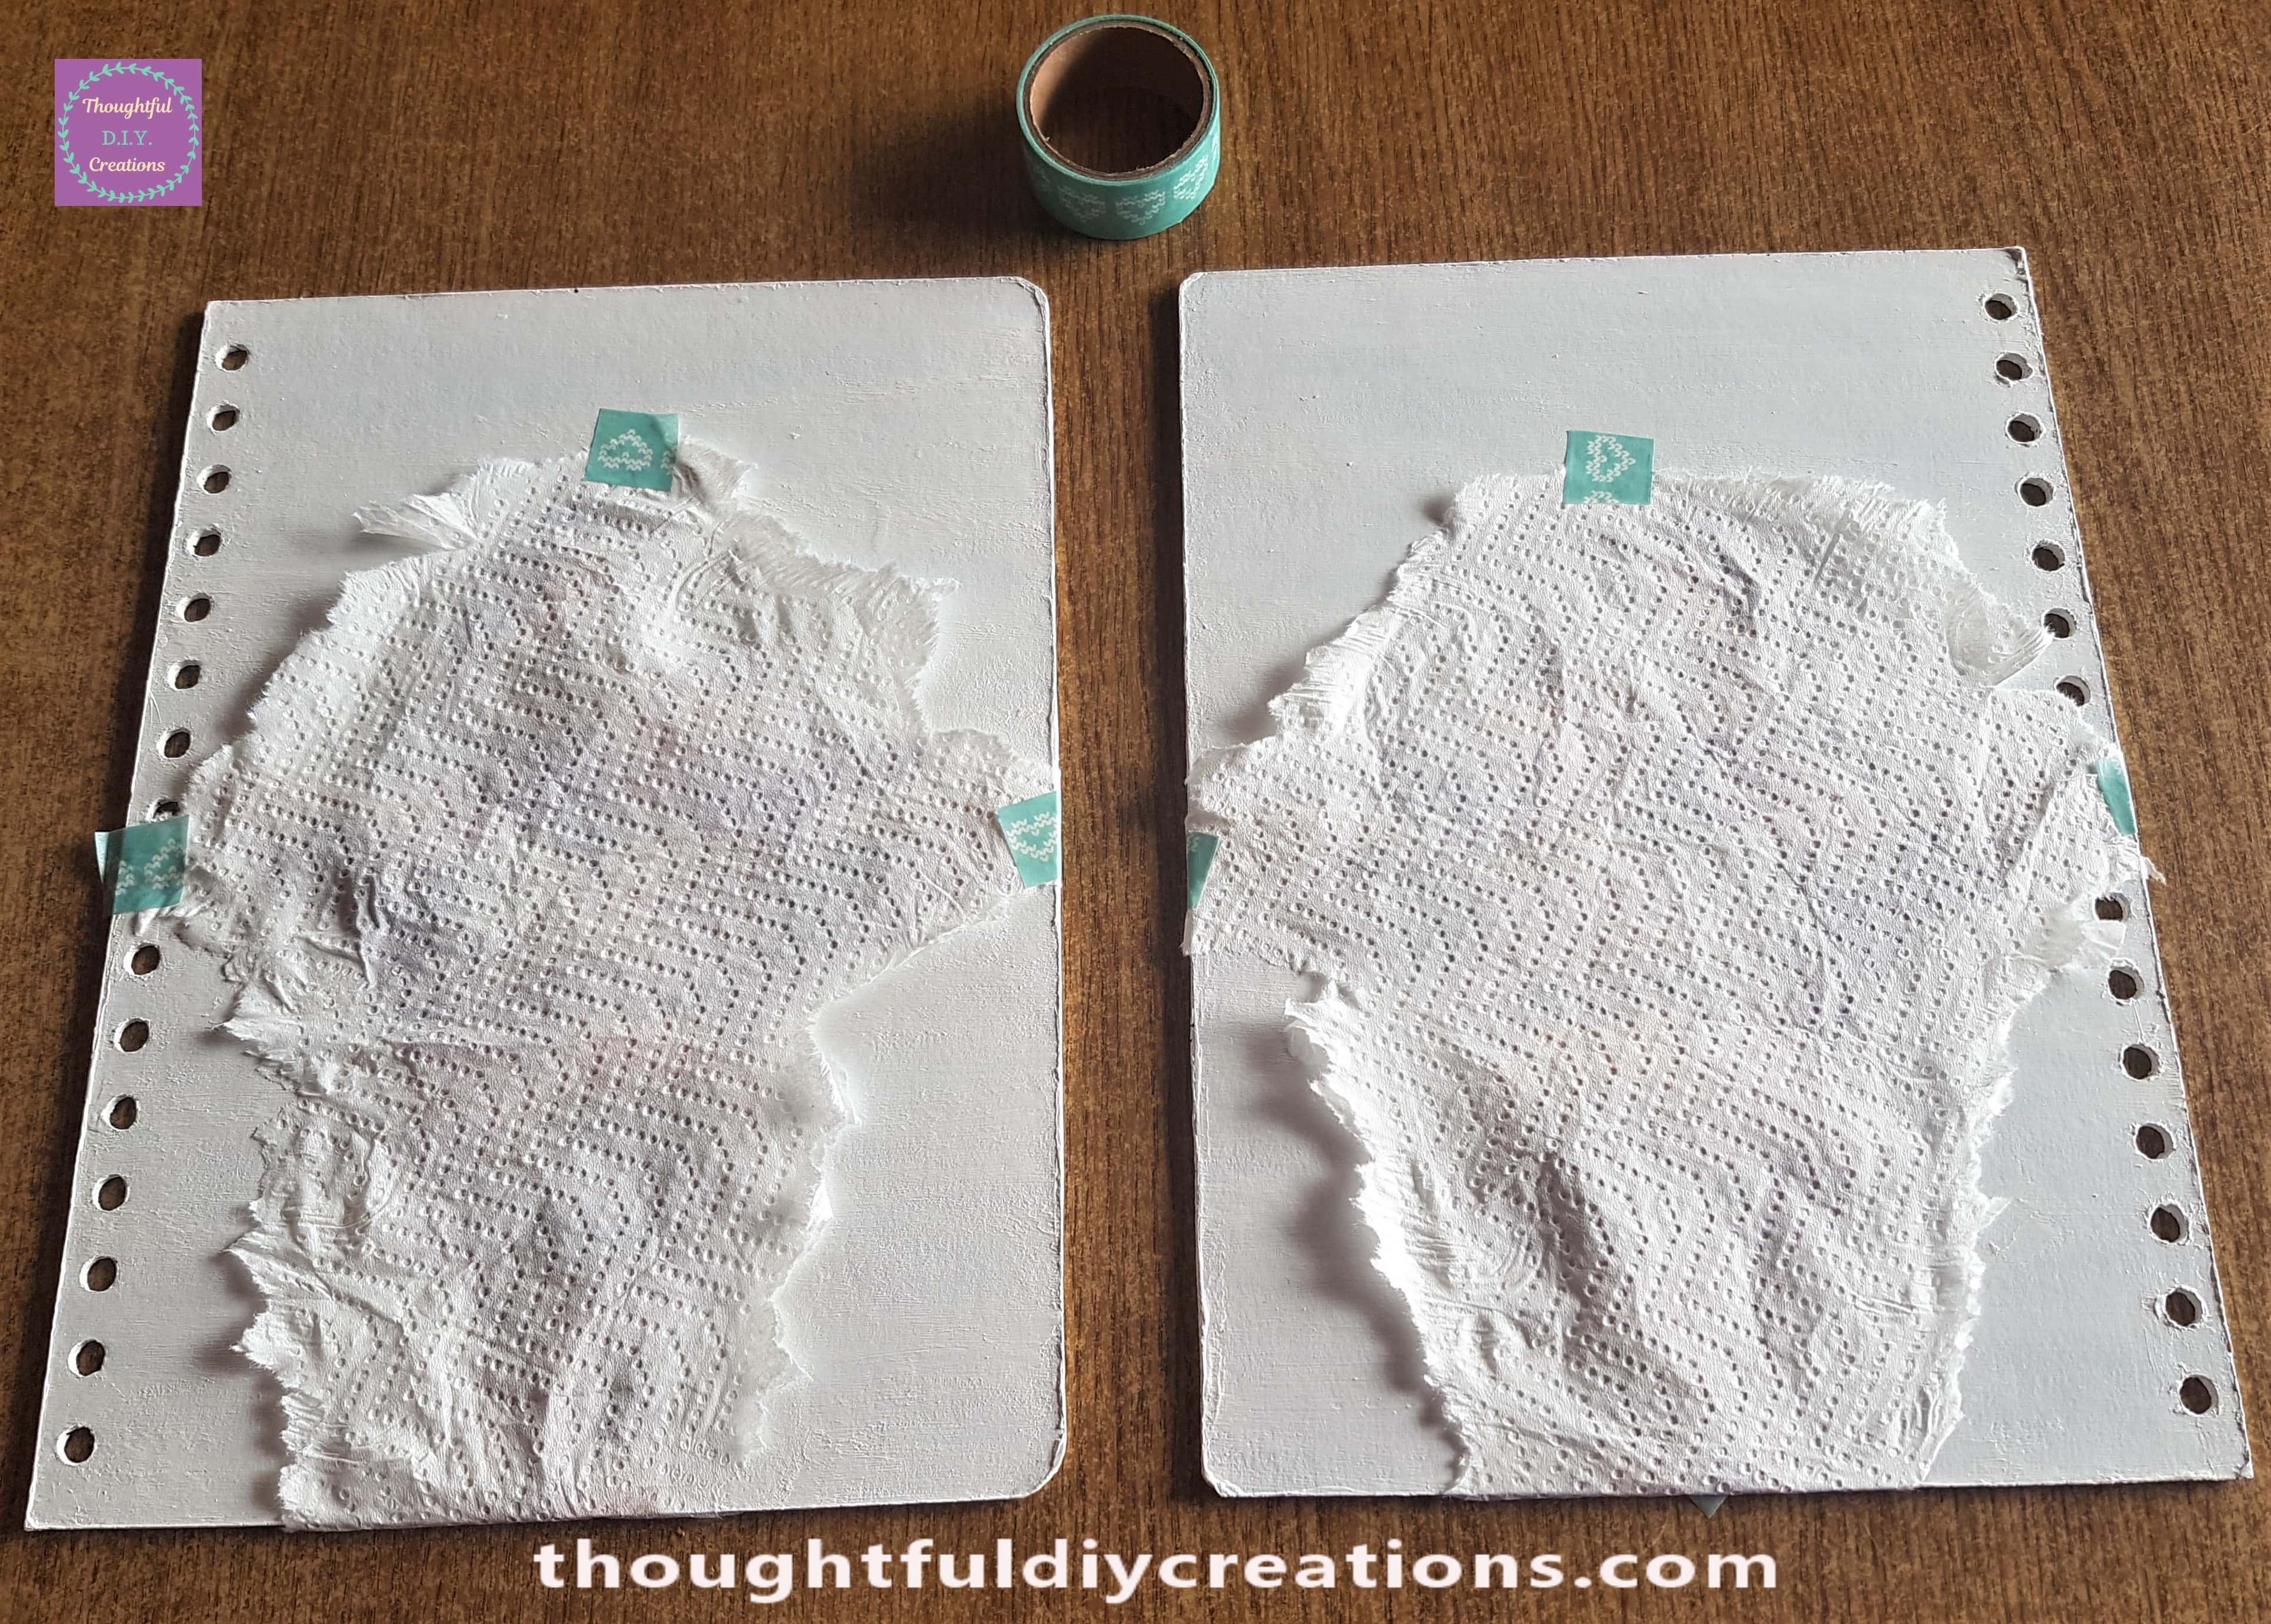
I cut small pieces of Washi Tape and attached it to the corners of the Kitchen Paper.
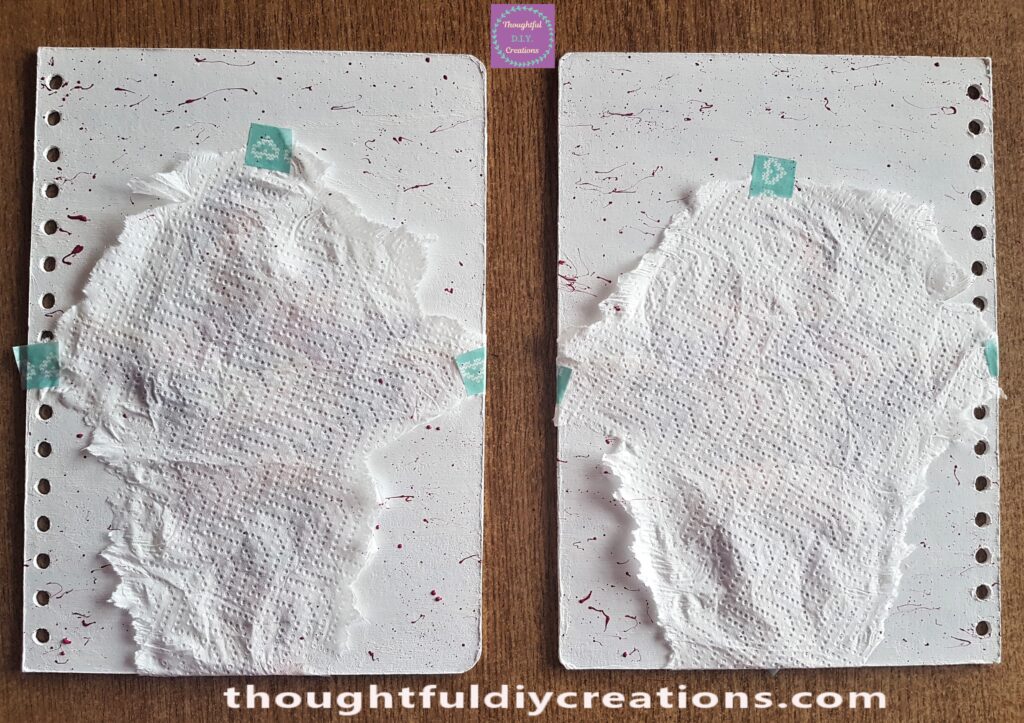
I added Magenta Pink Splatters to the Front and Back Journal Cover in the same way as I applied them to the Inside Journal Covers.
I waited for the Pink Paint to dry and then I added Purple Paint Splatters to the Covers.
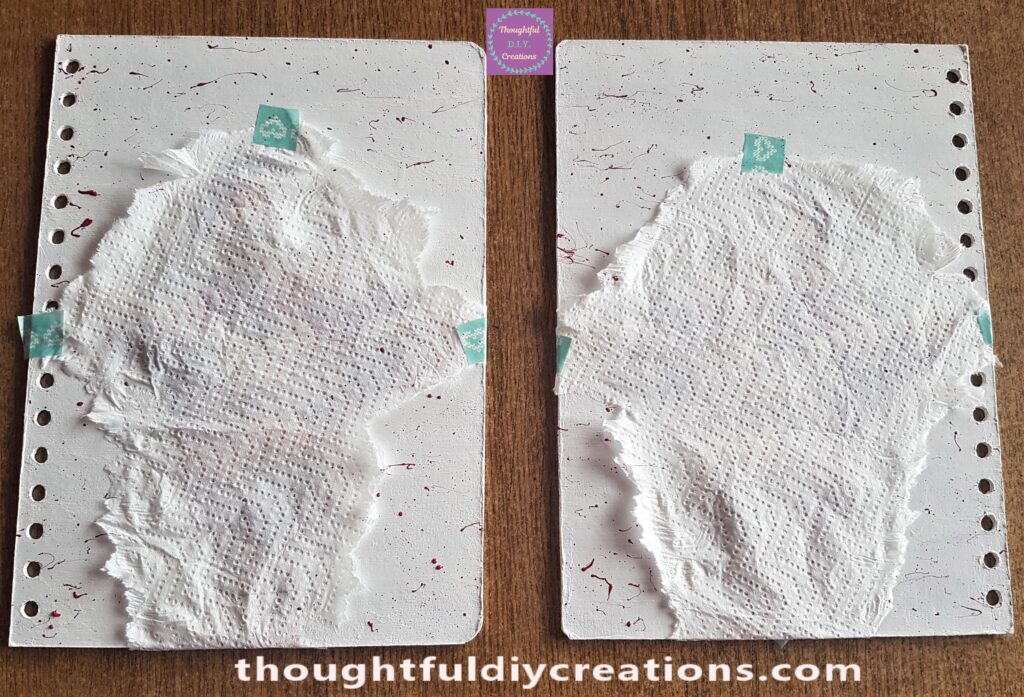
Finally I added Yellow Ochre Paint Splatters when the Purple Paint was dry.
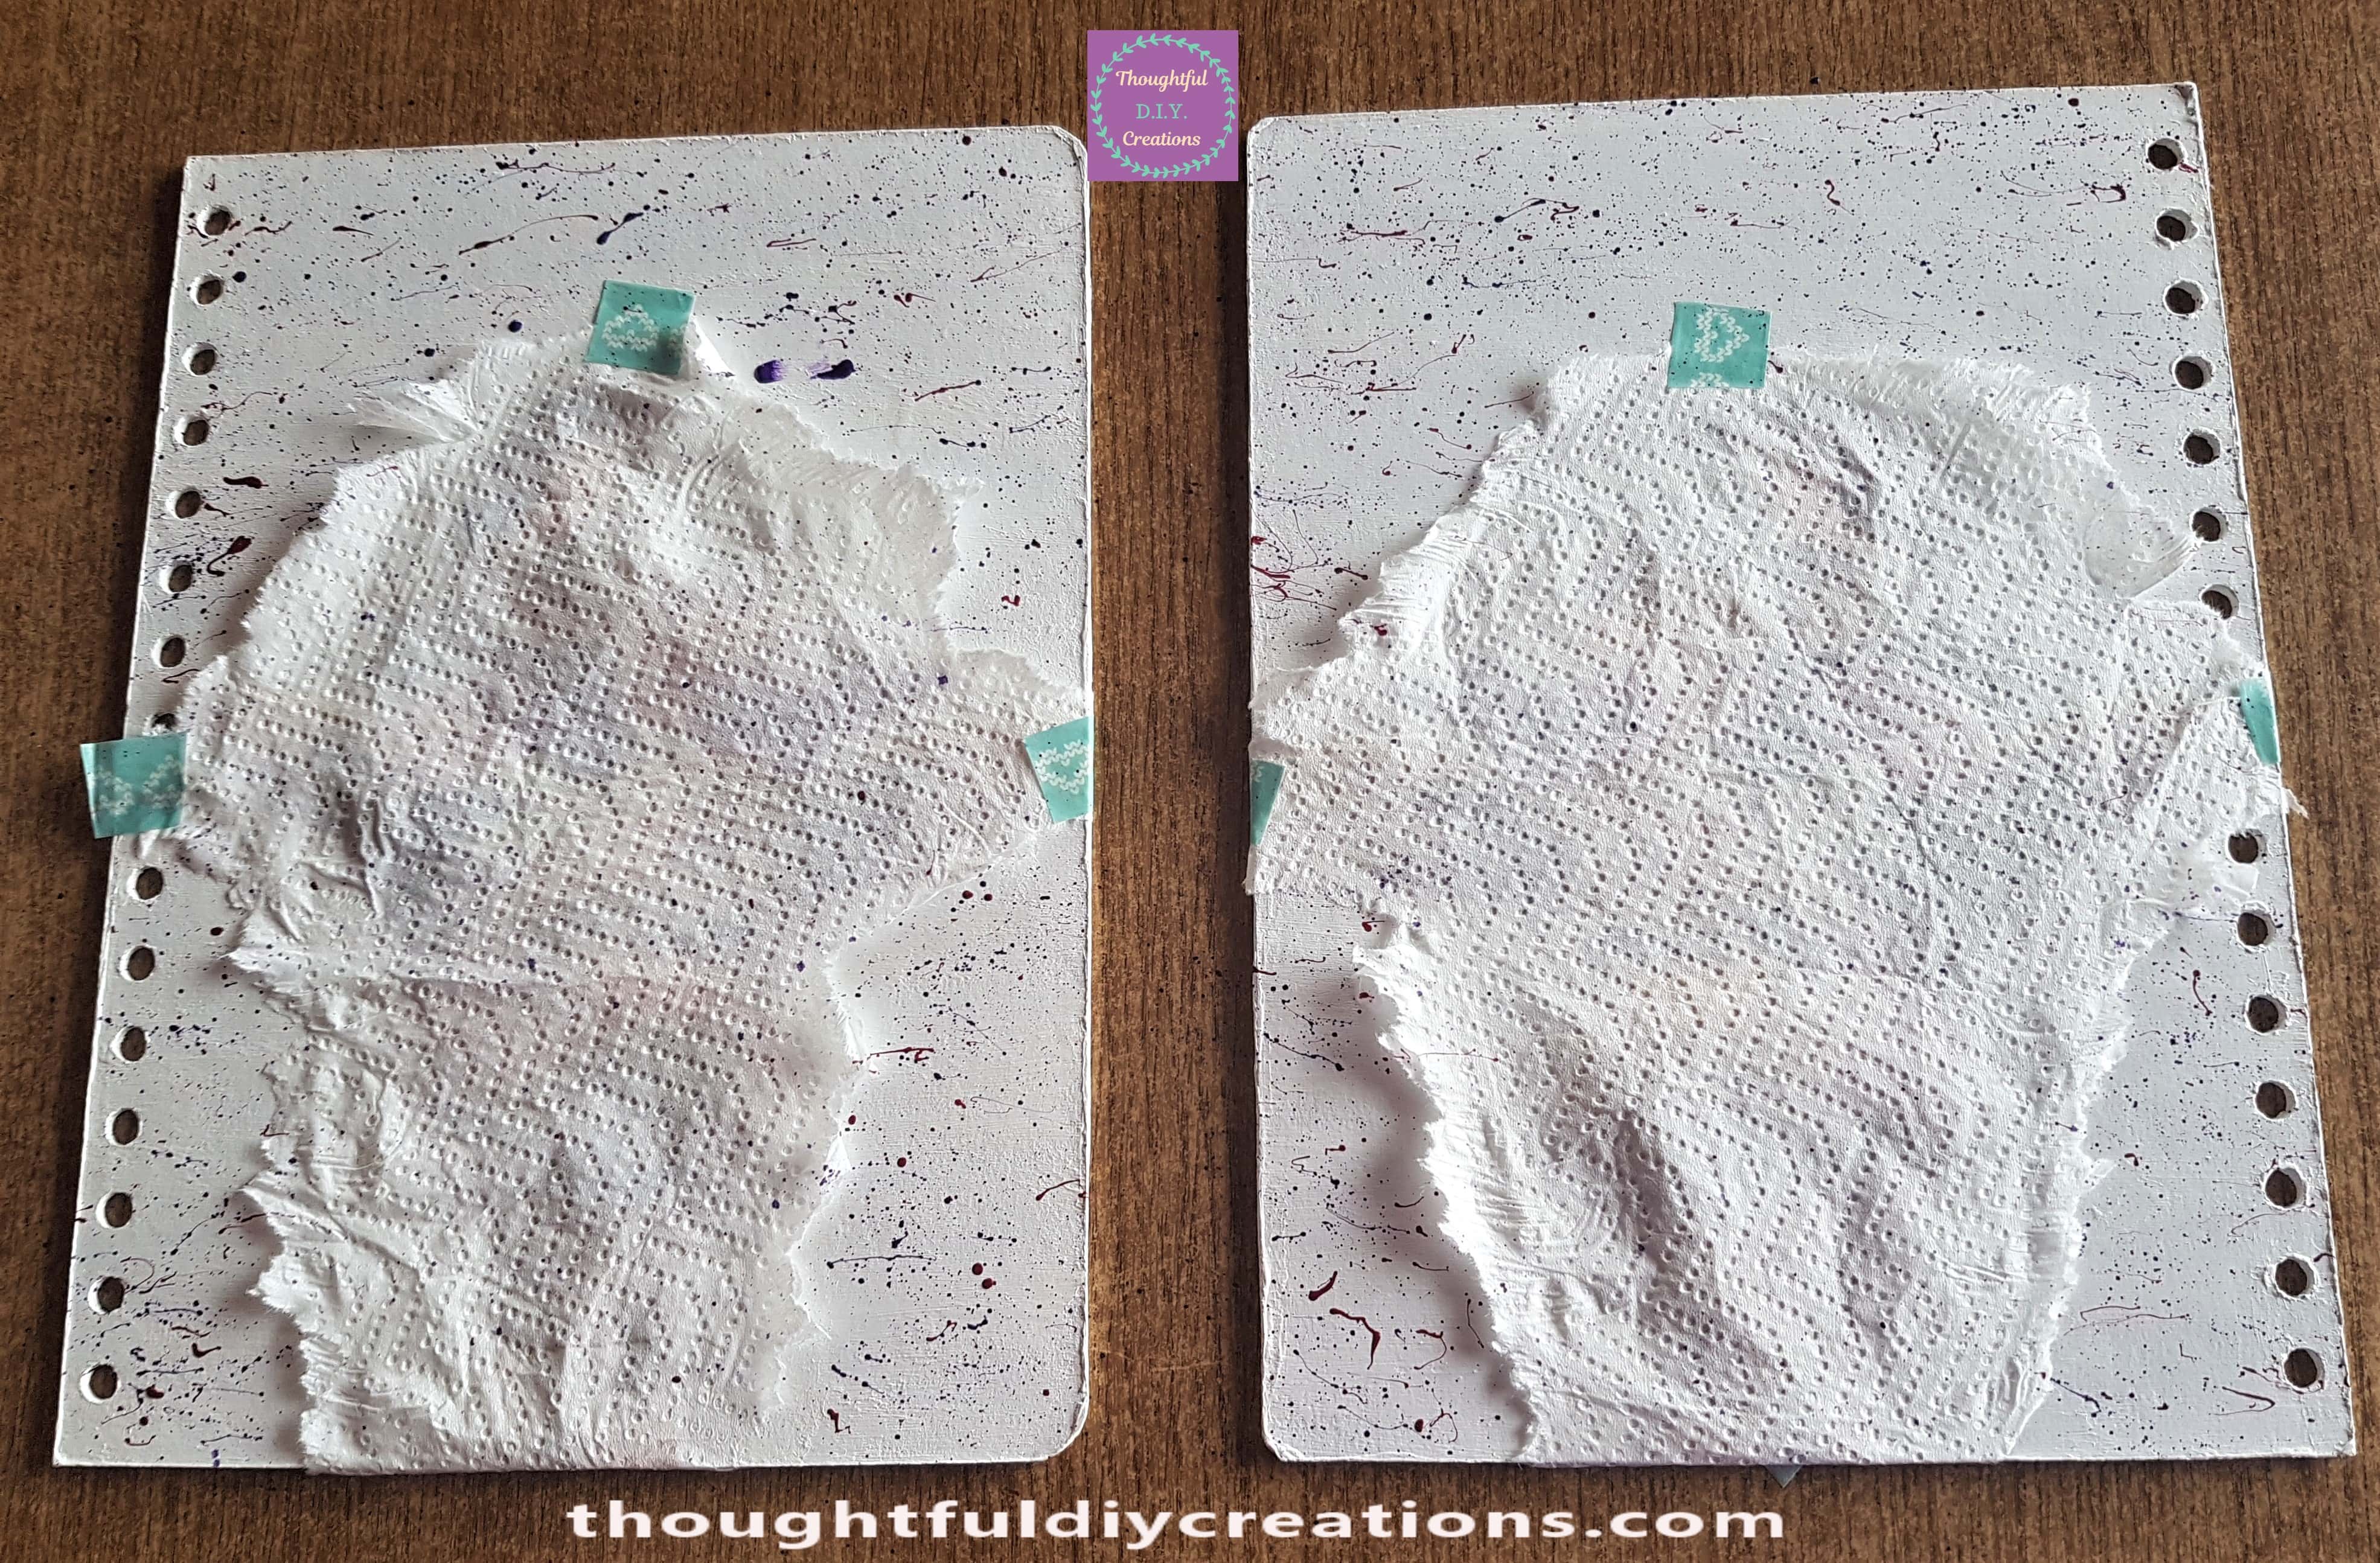
I removed the Washi Tape and Kitchen Paper to reveal the Paint Splatters.
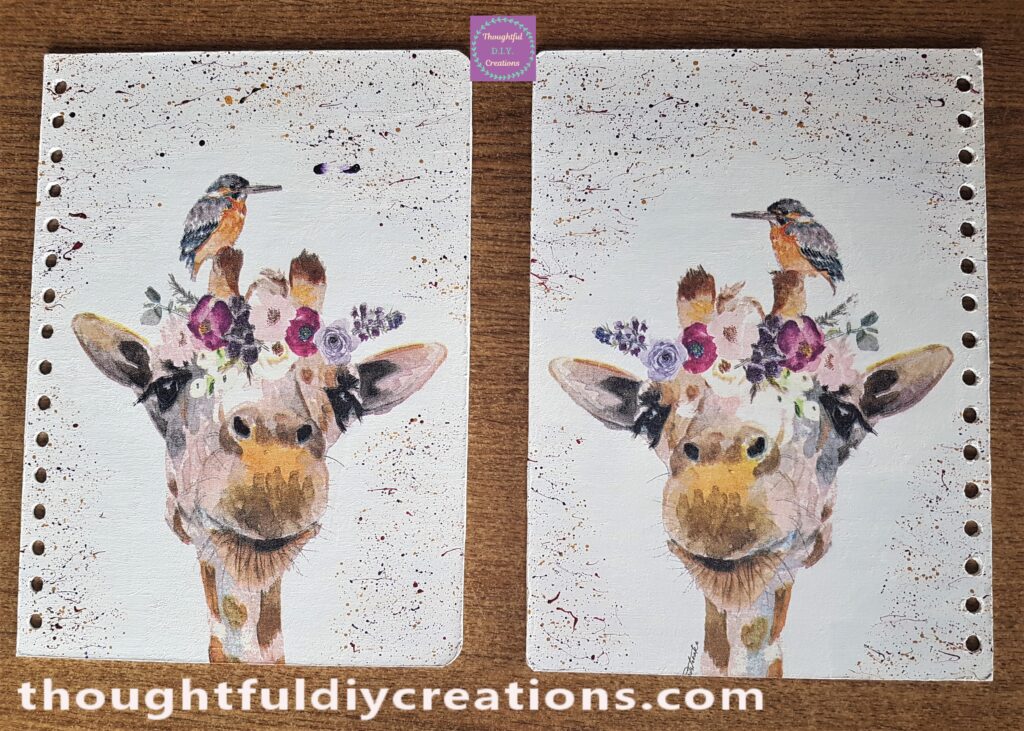
Sealing the Decoupage Journal Covers
The Next Day I got my Clear Interior Water Based Varnish and Paintbrush ready to Seal the Decoupage Napkins.
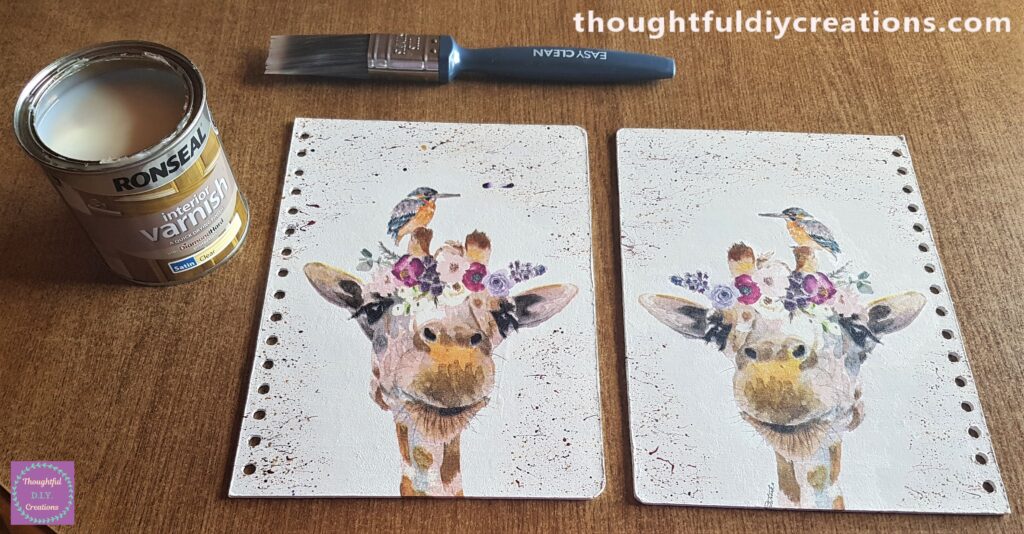
I applied 3 layers of Varnish all over the Journal Covers. I left about 2 hours in between applications.
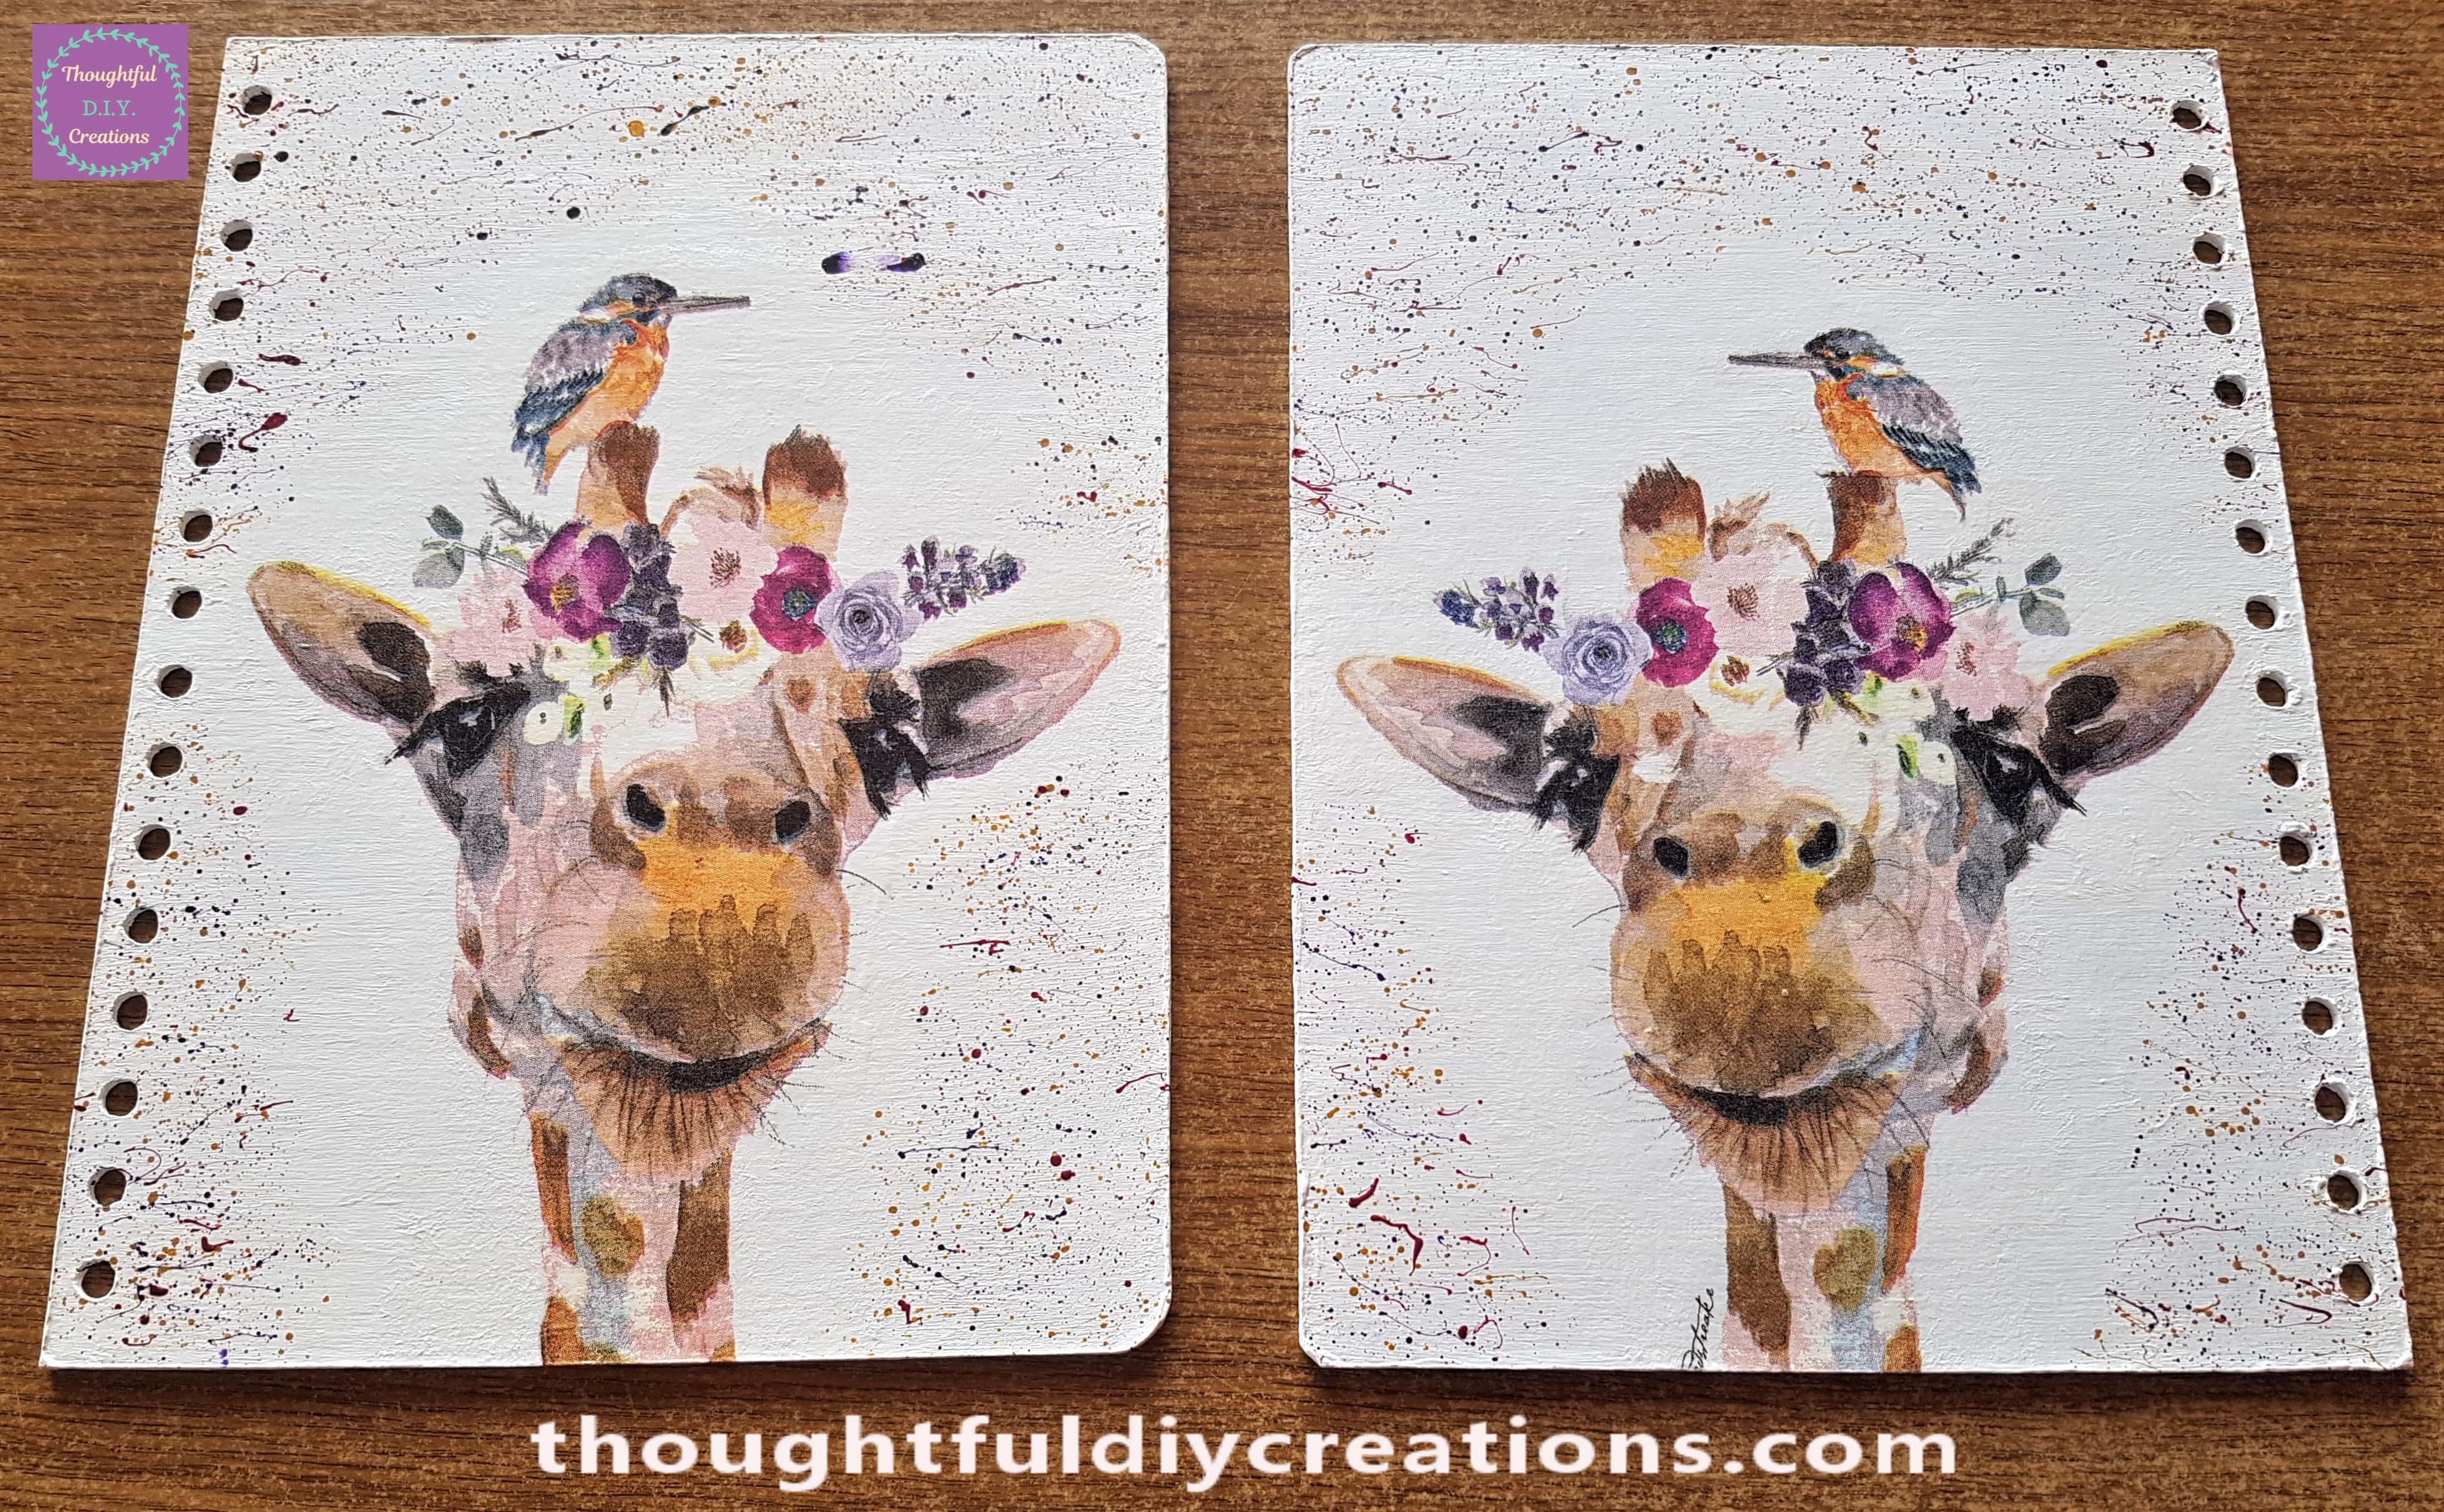
This is the Front Cover after being Sealed.
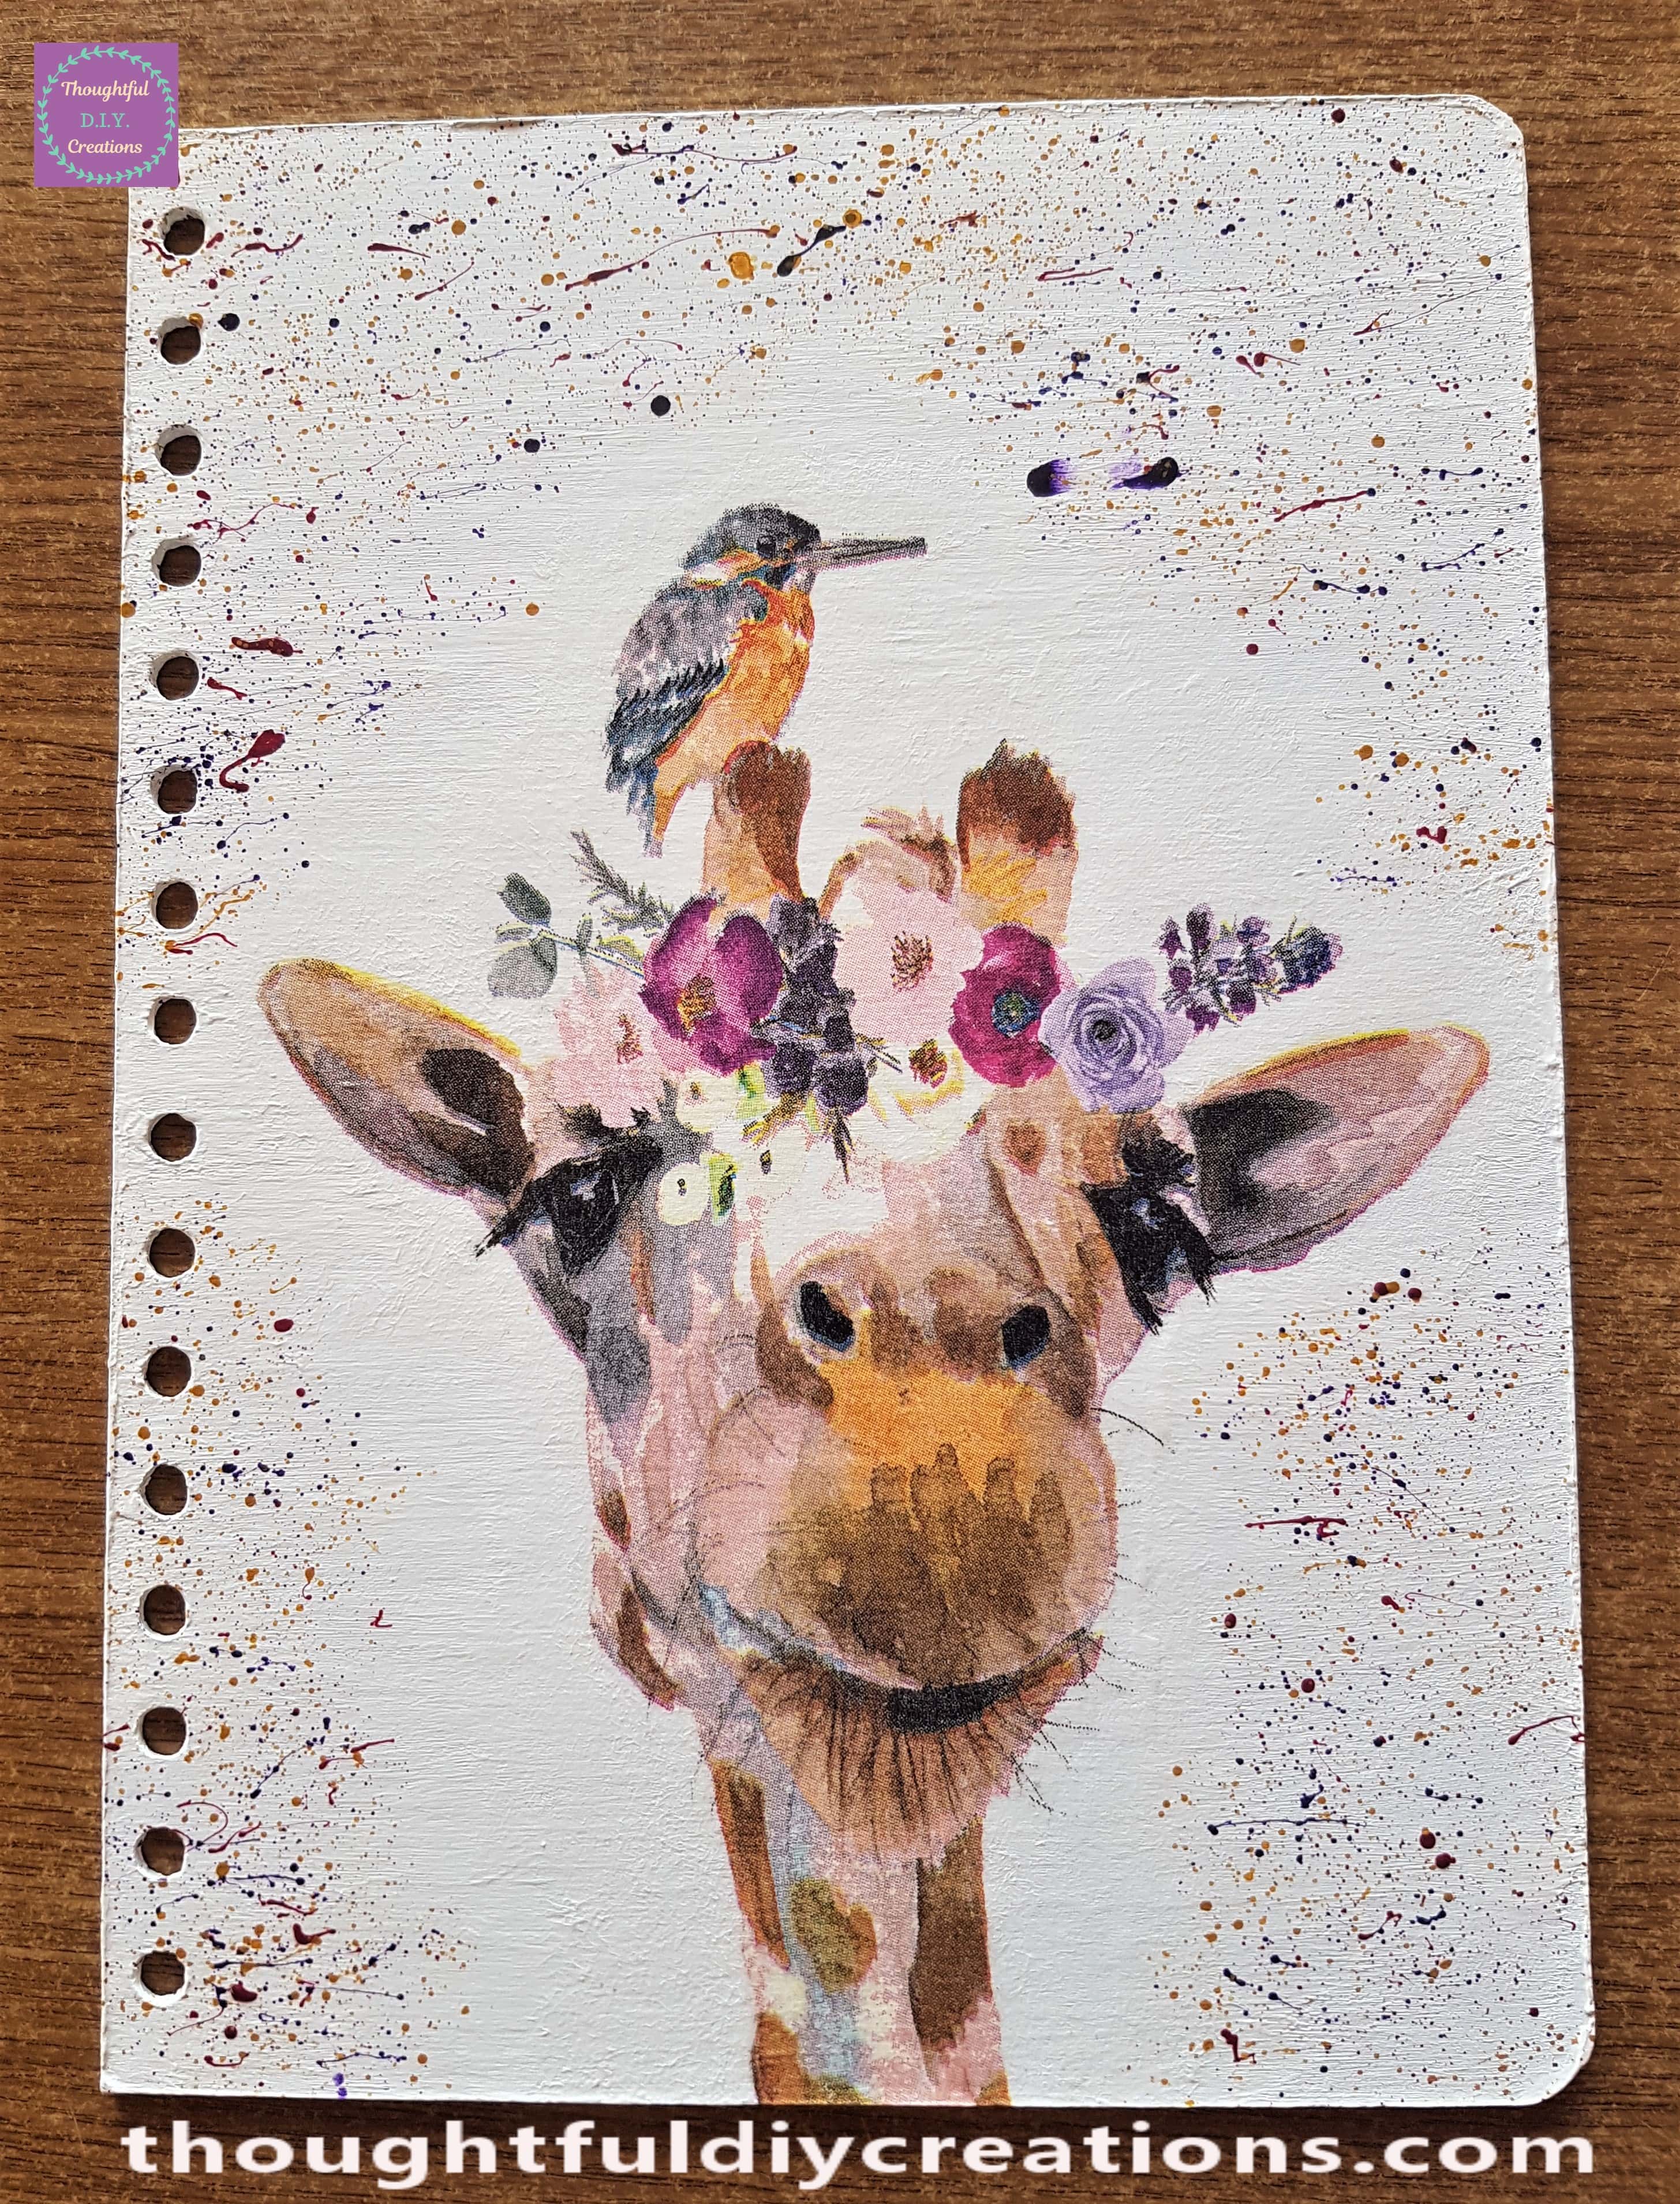
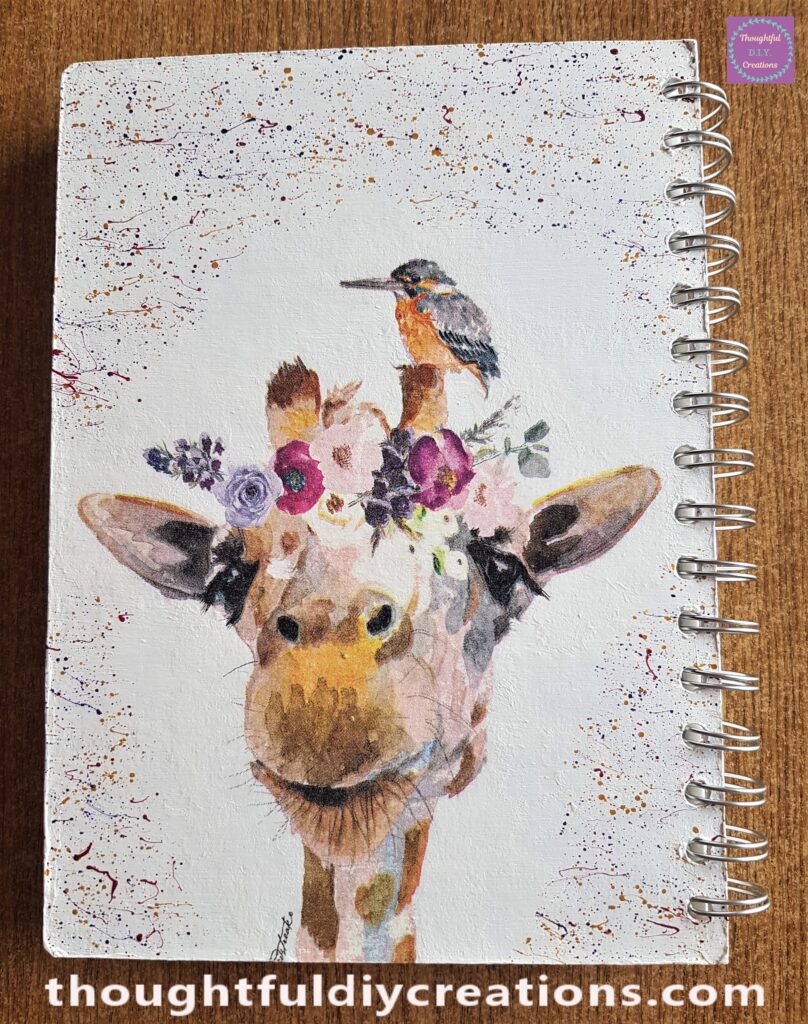
The Back Cover after being Varnished.
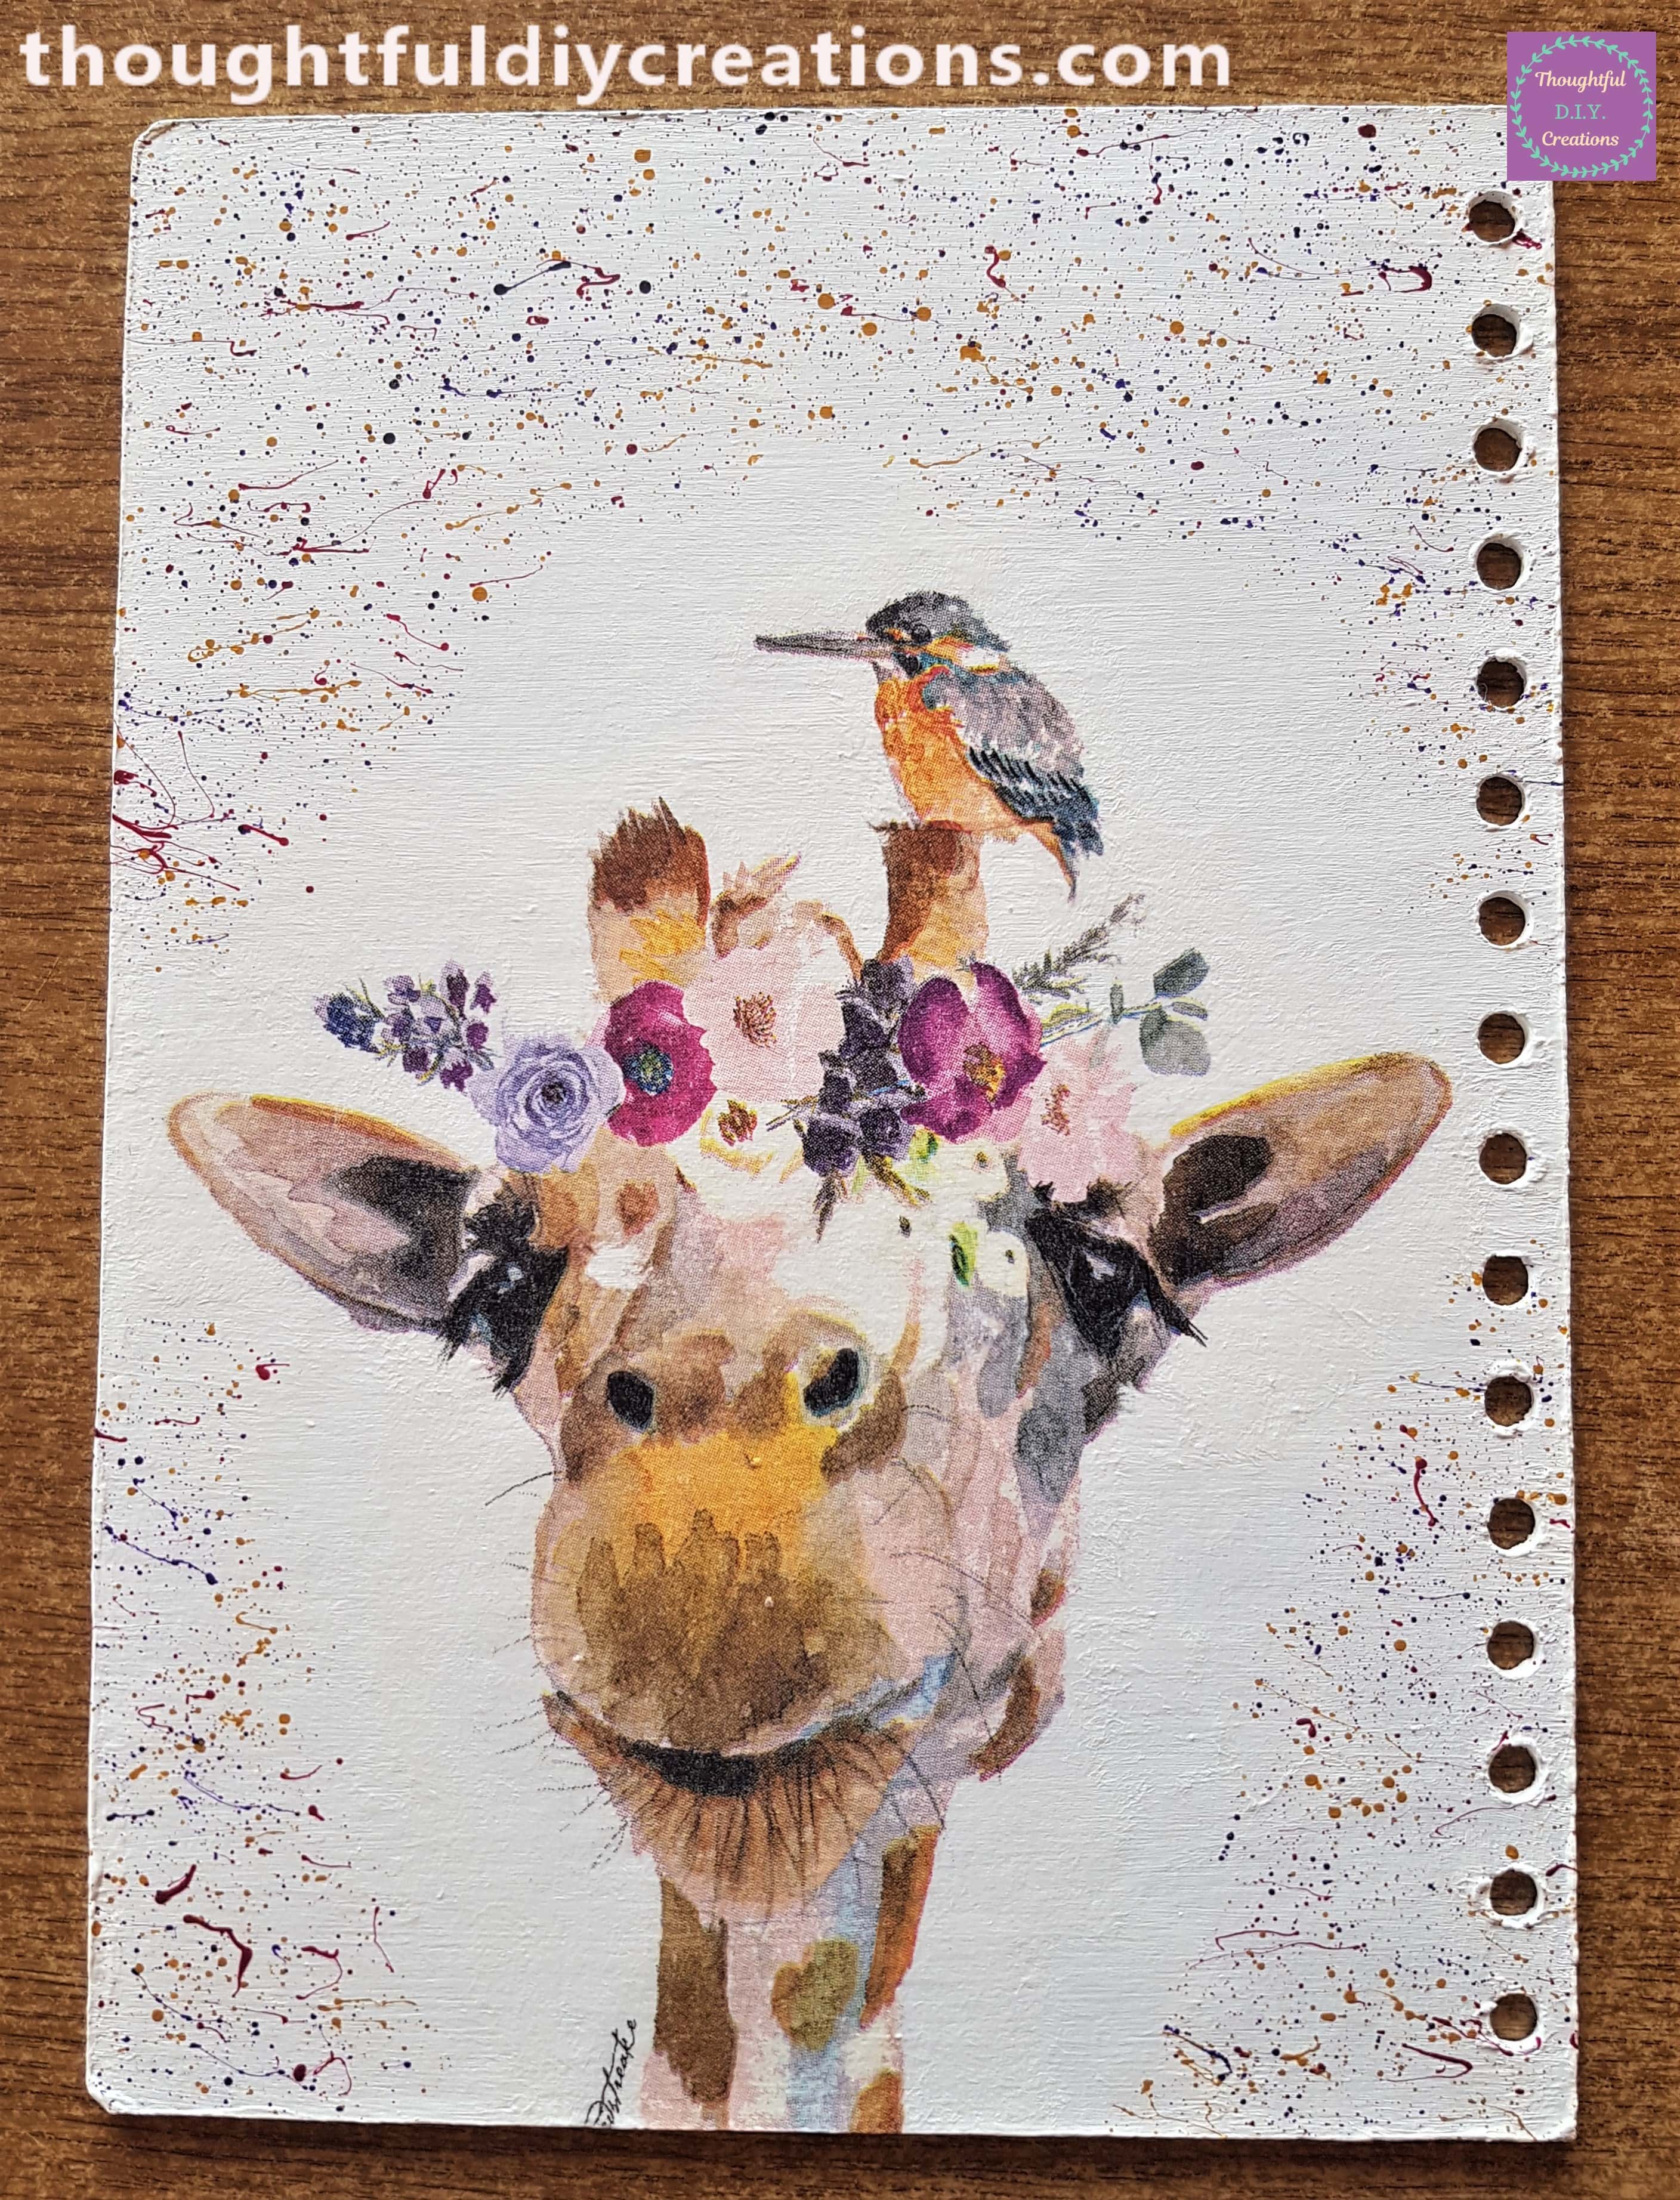
The Decoupage Napkin blended into the background.
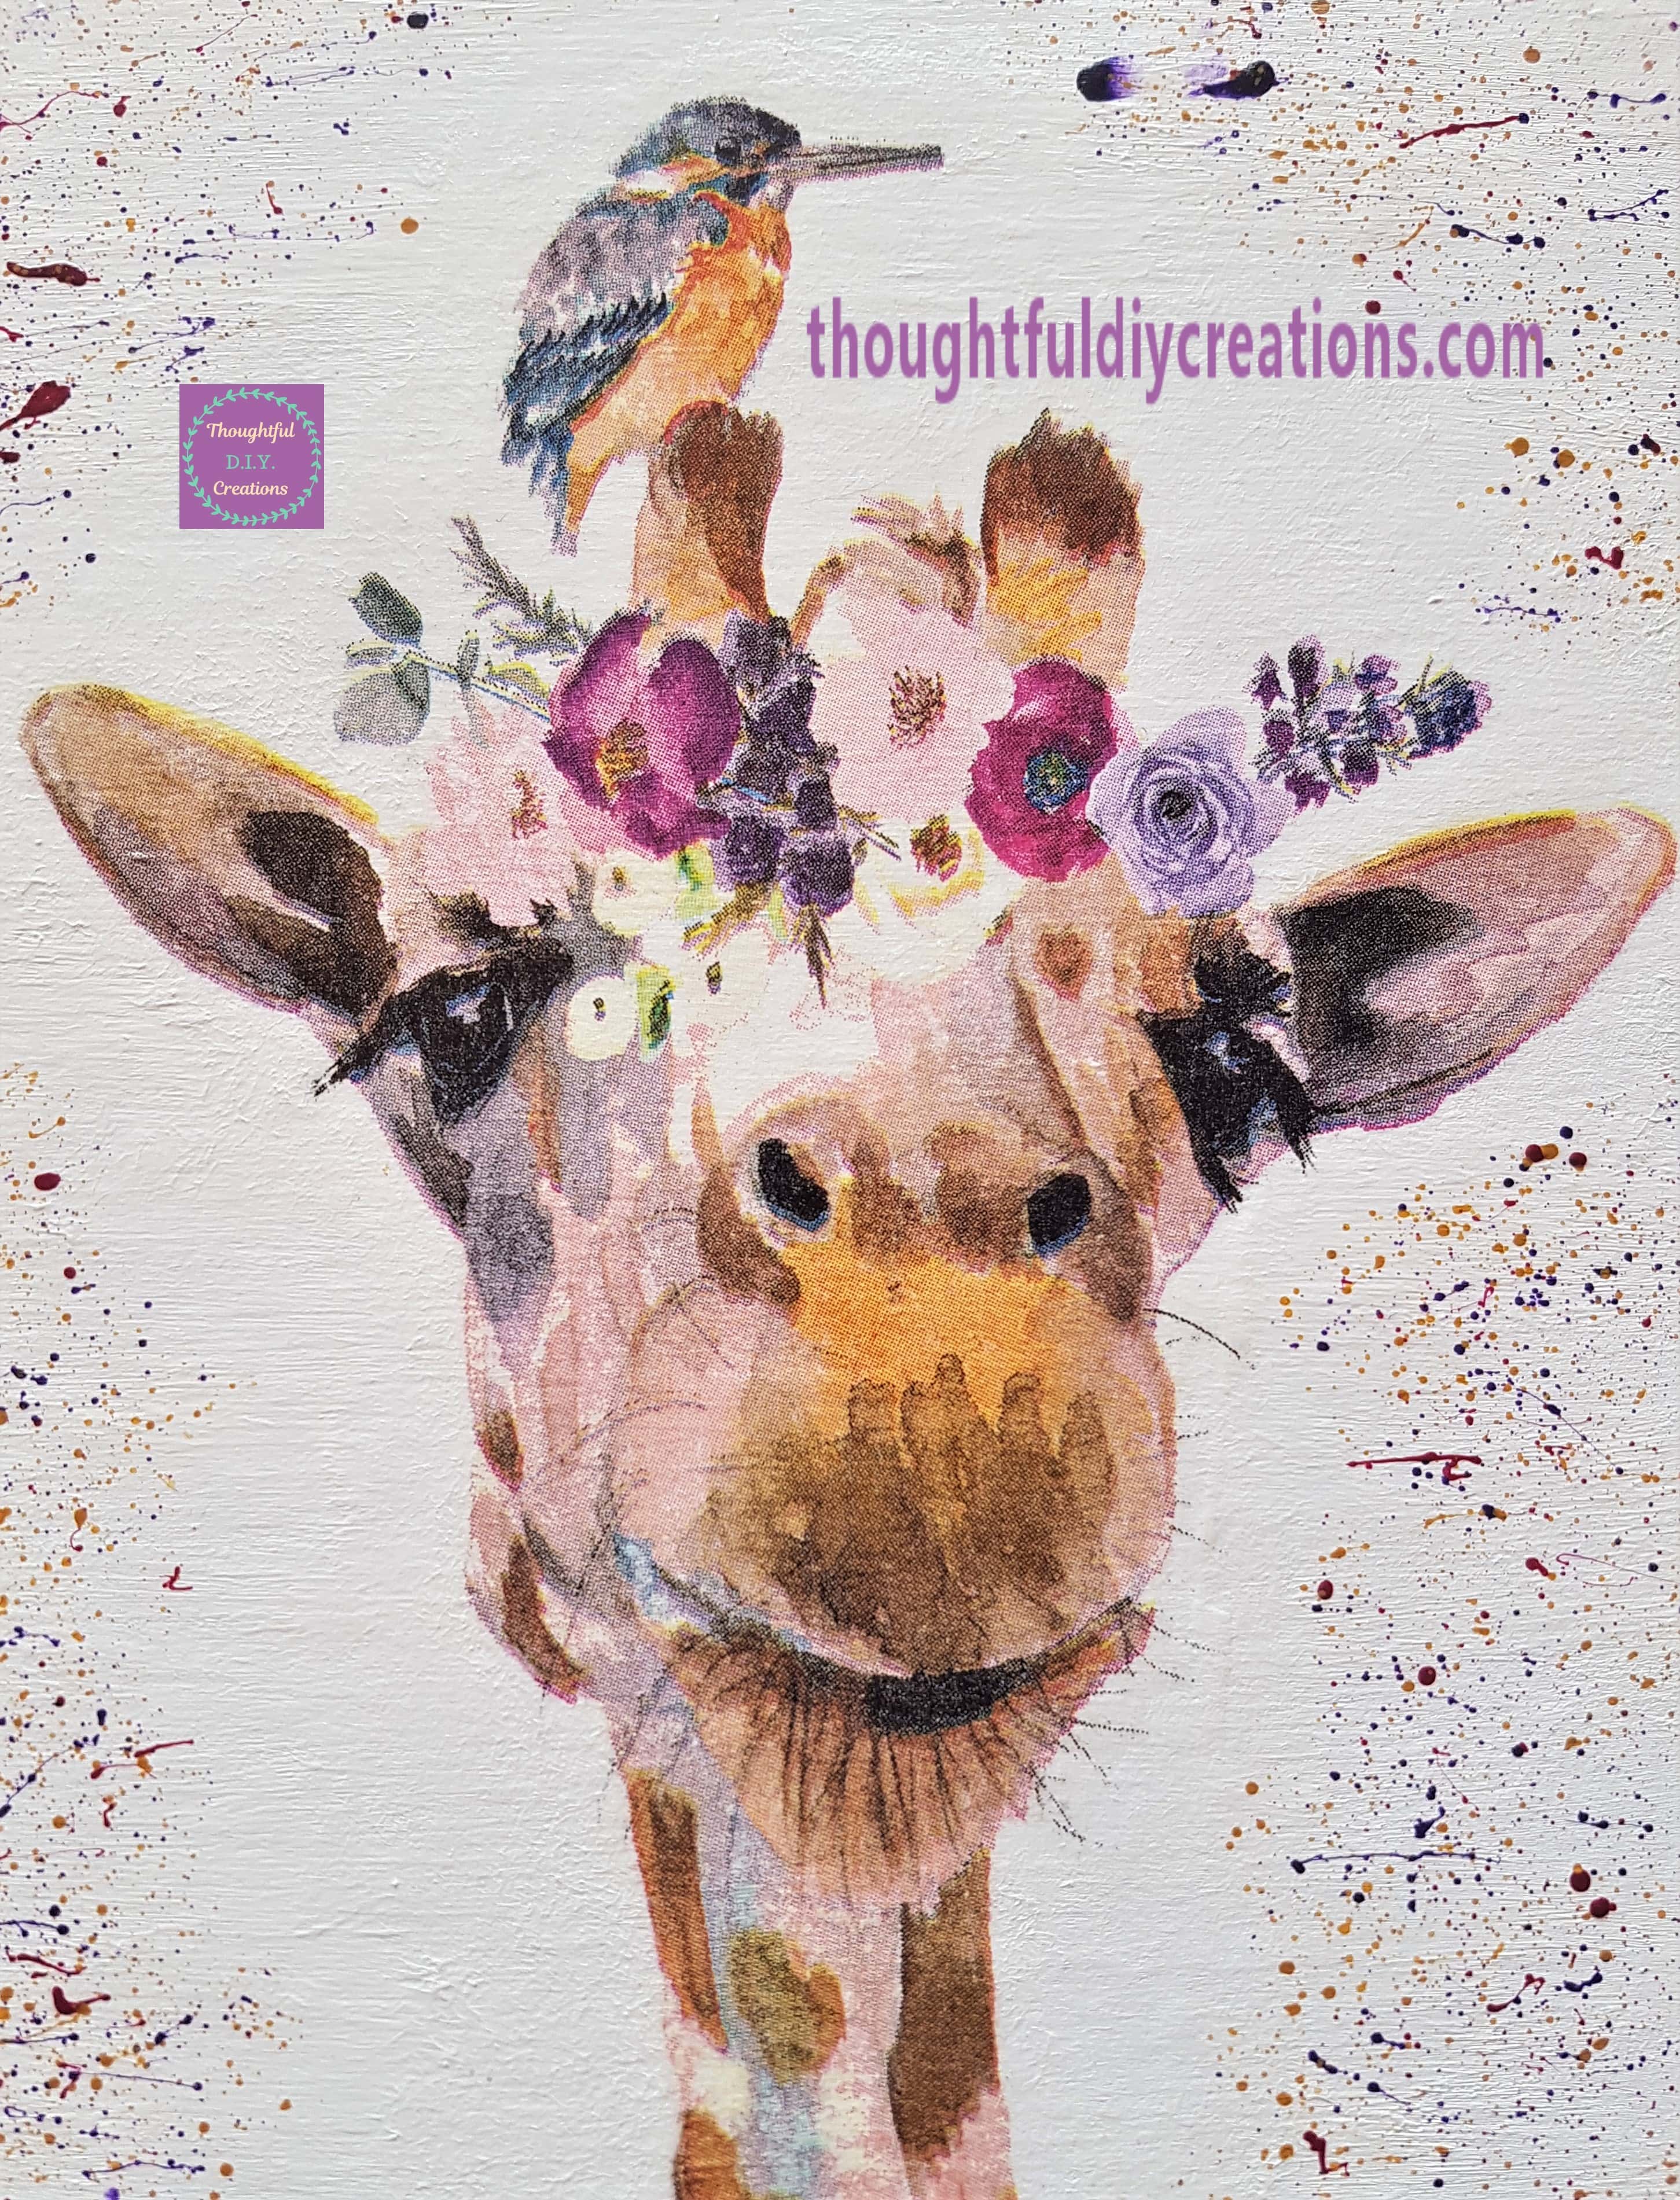
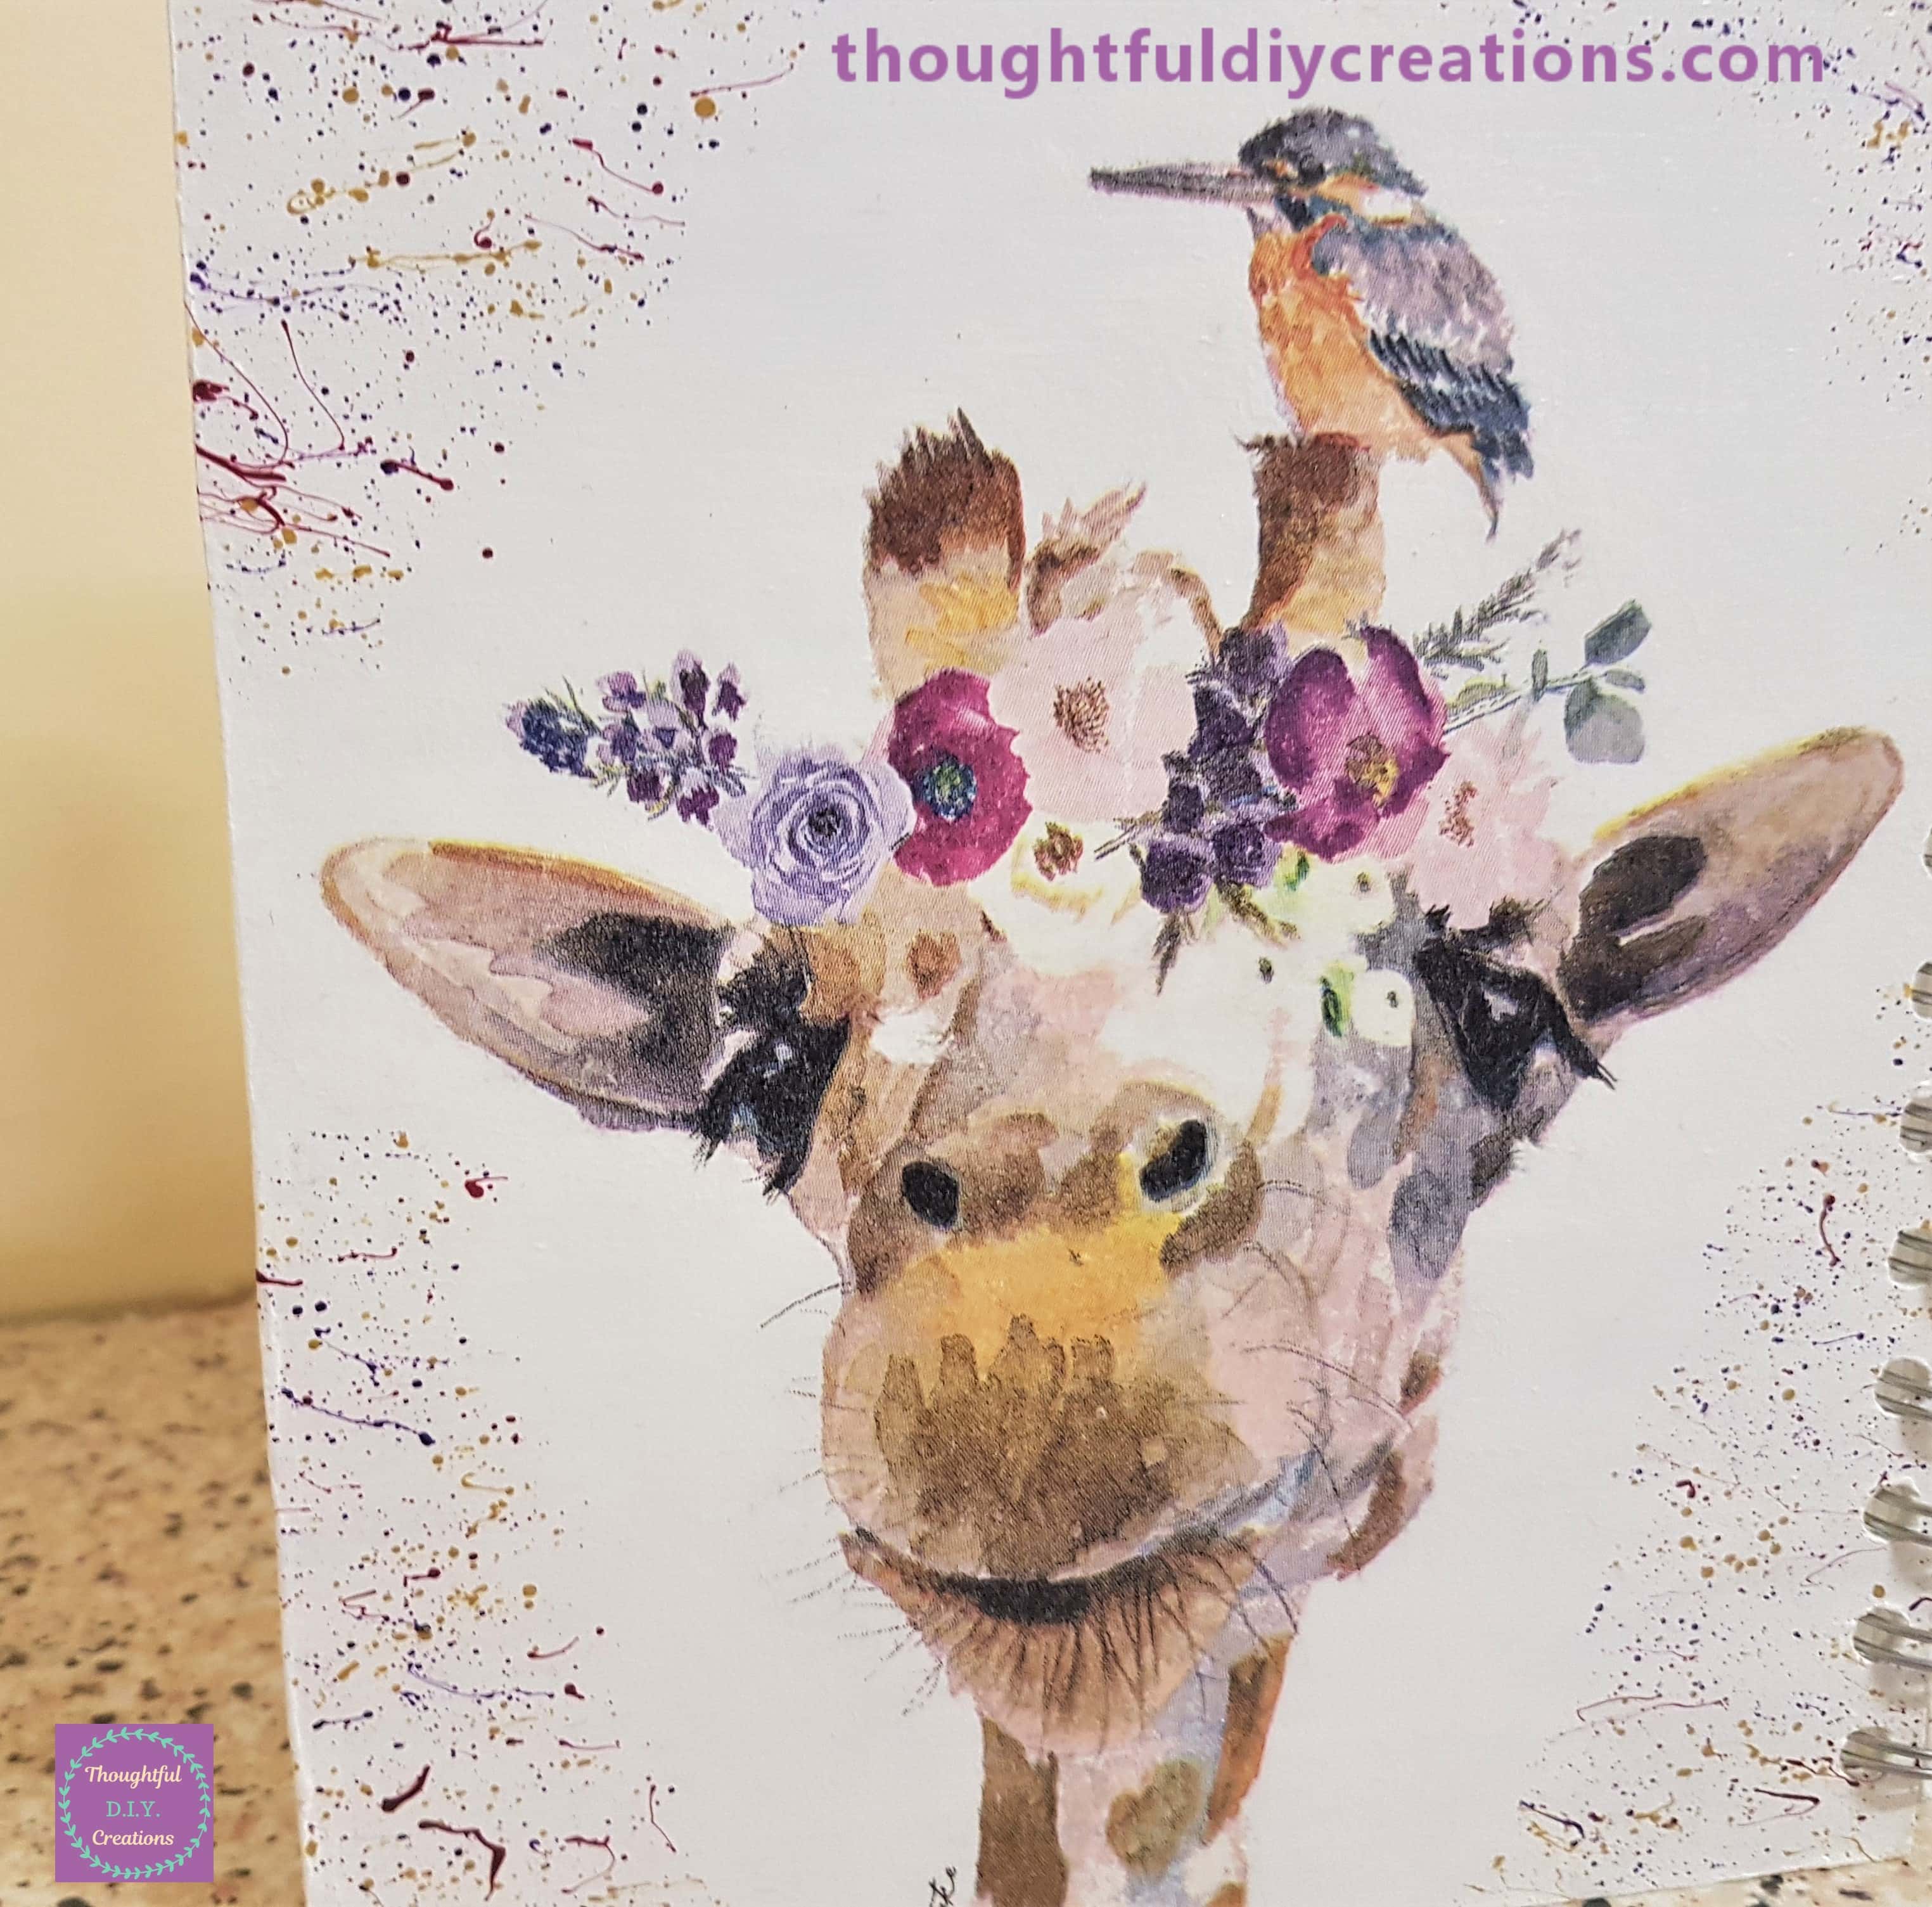
A closer look at the Giraffe on the Back Cover.
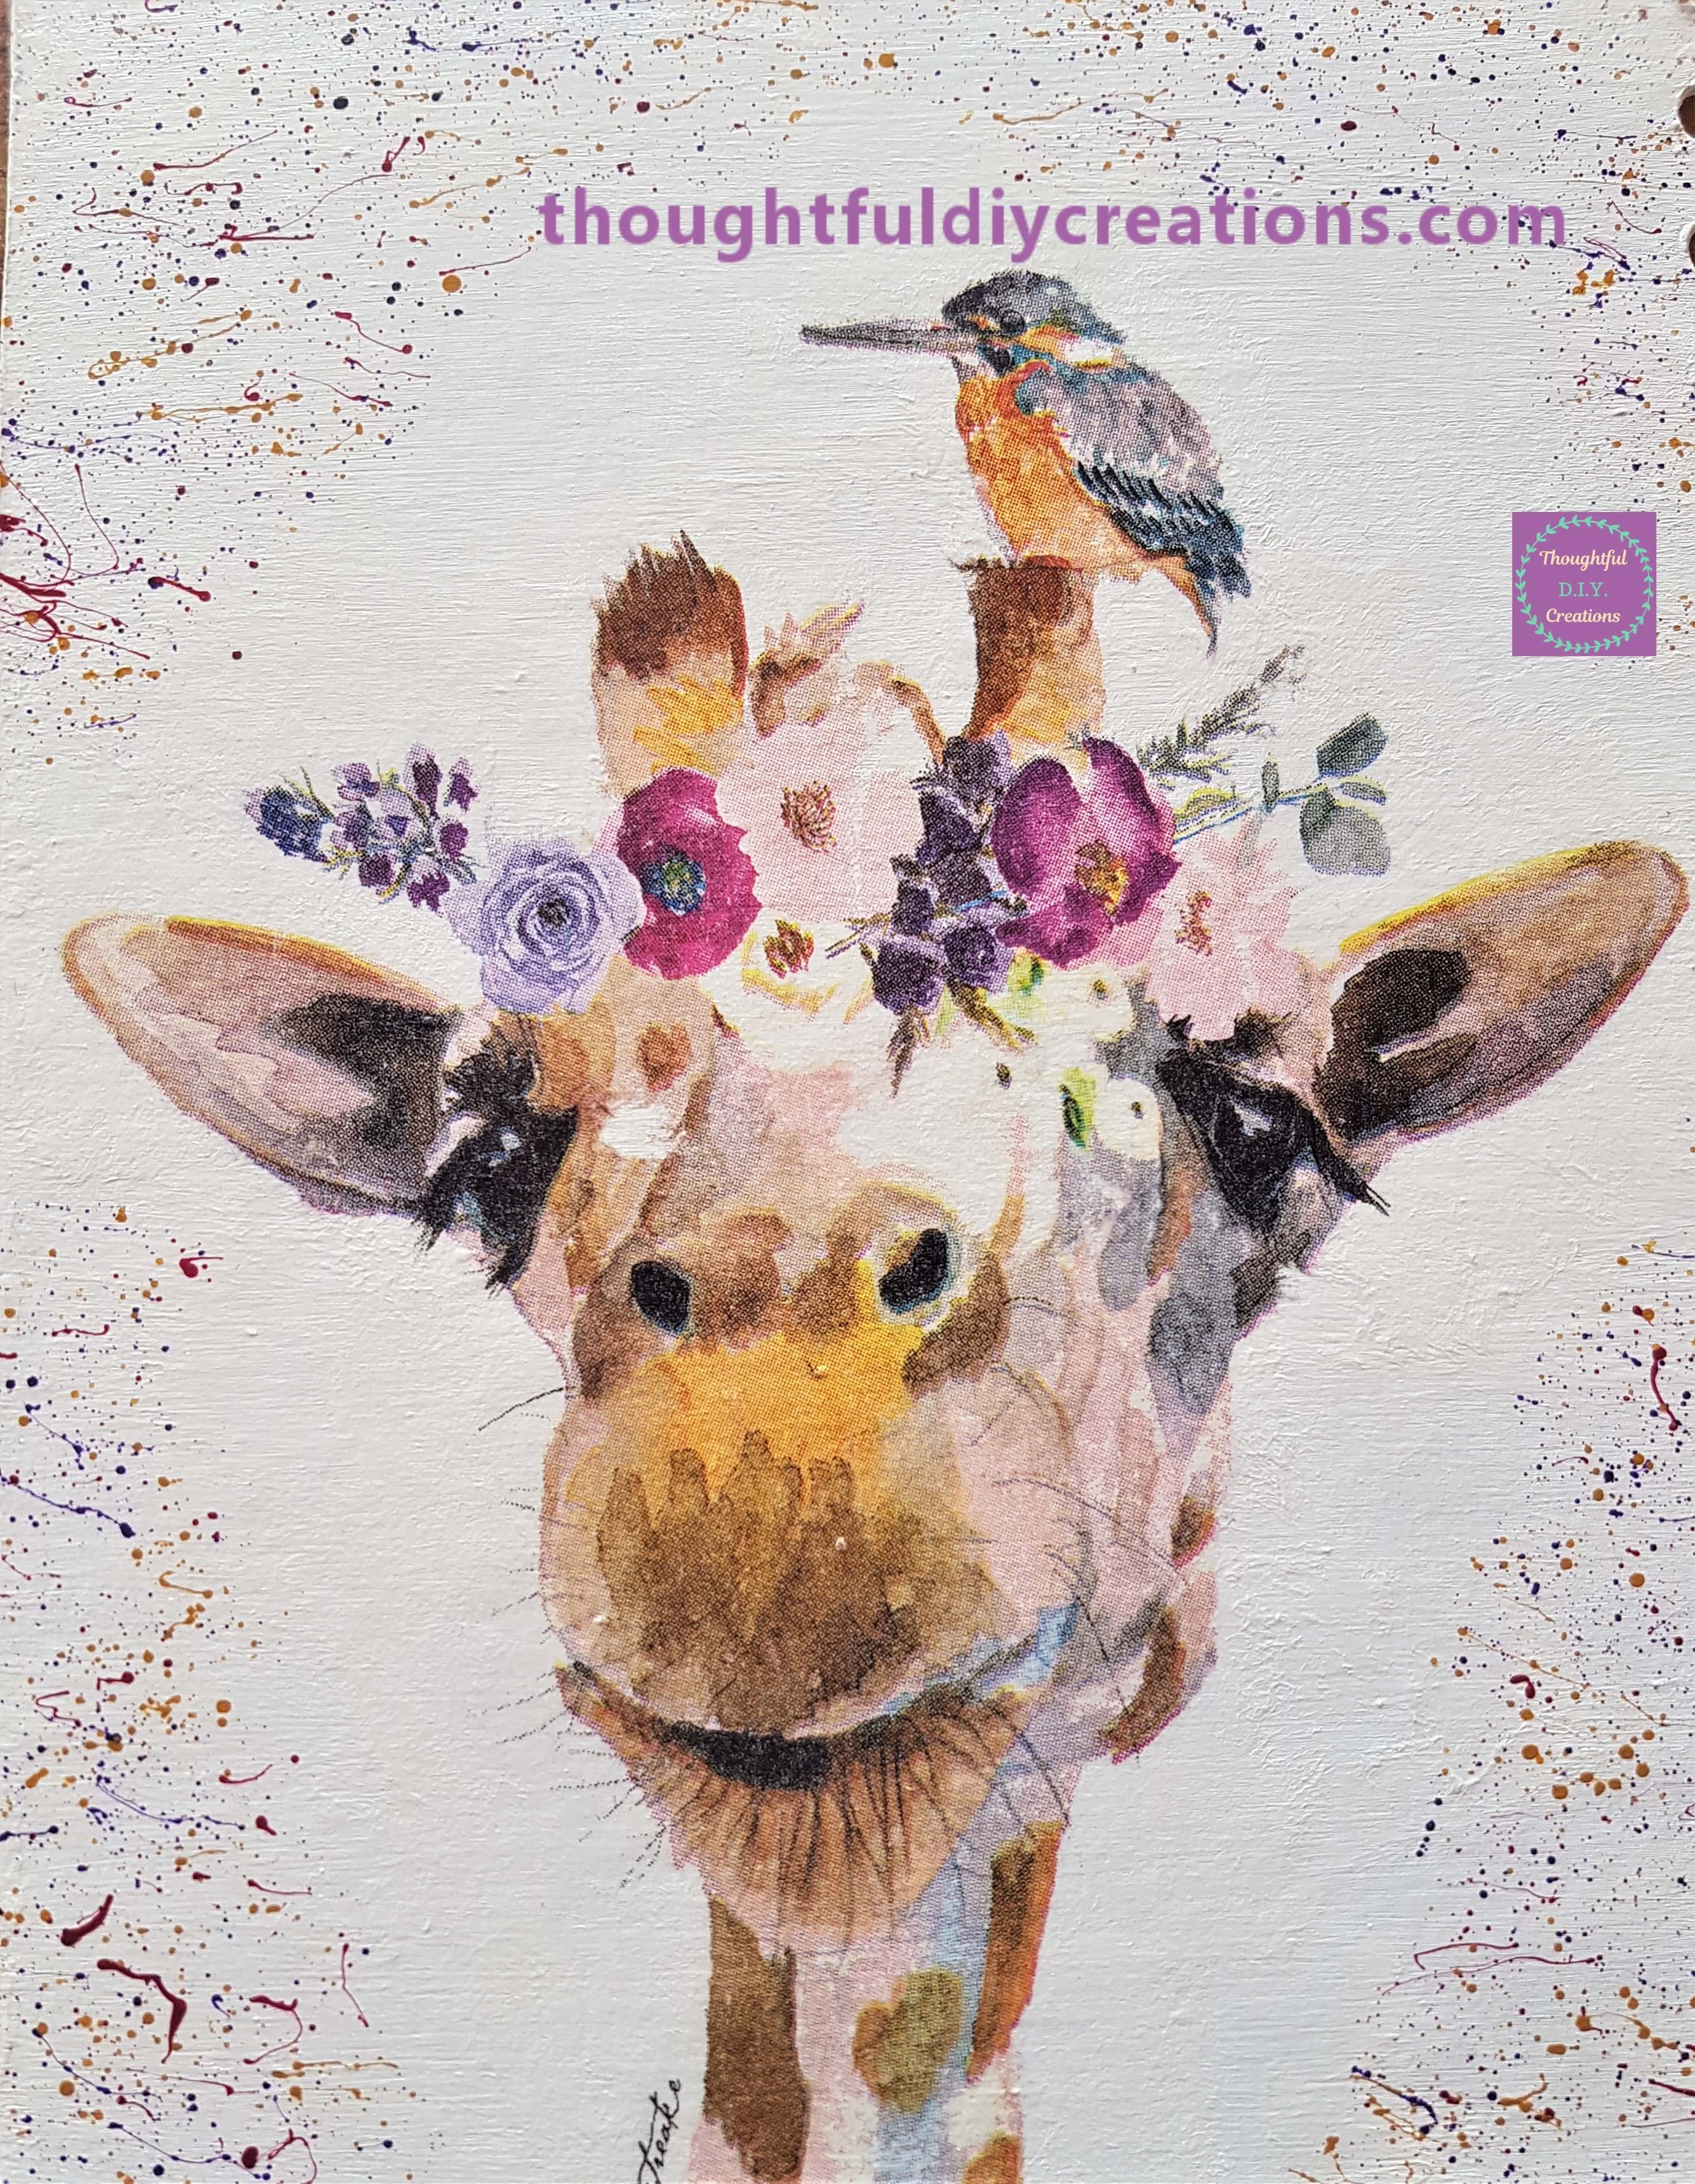
Finishing Touches to the Journal
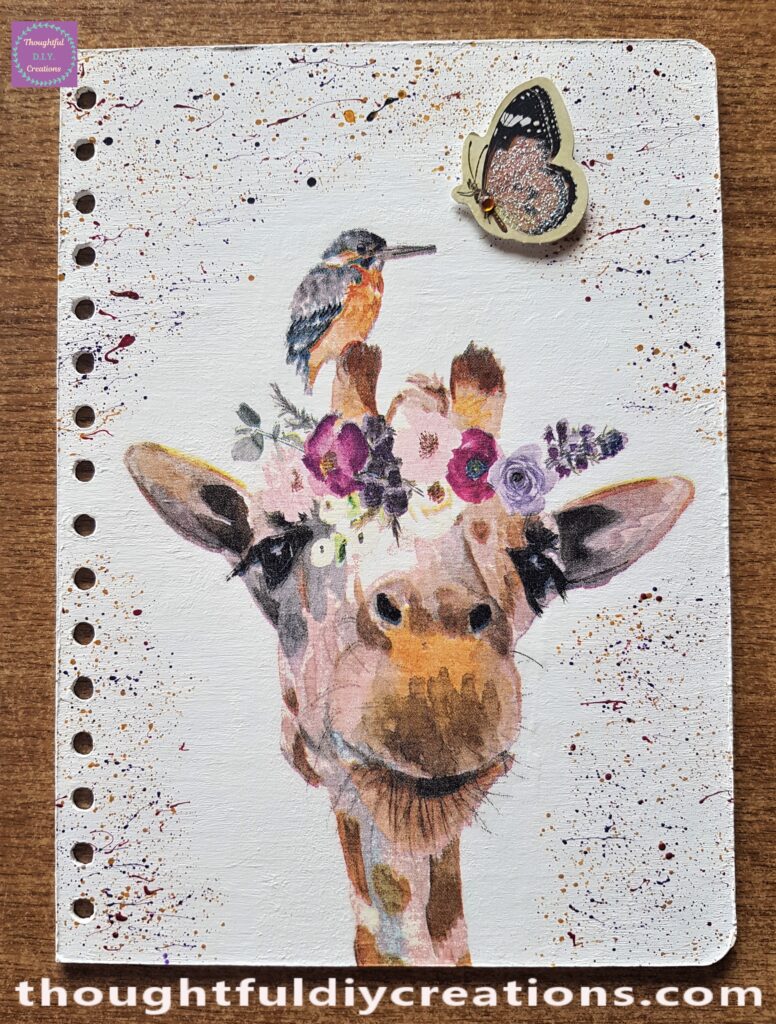
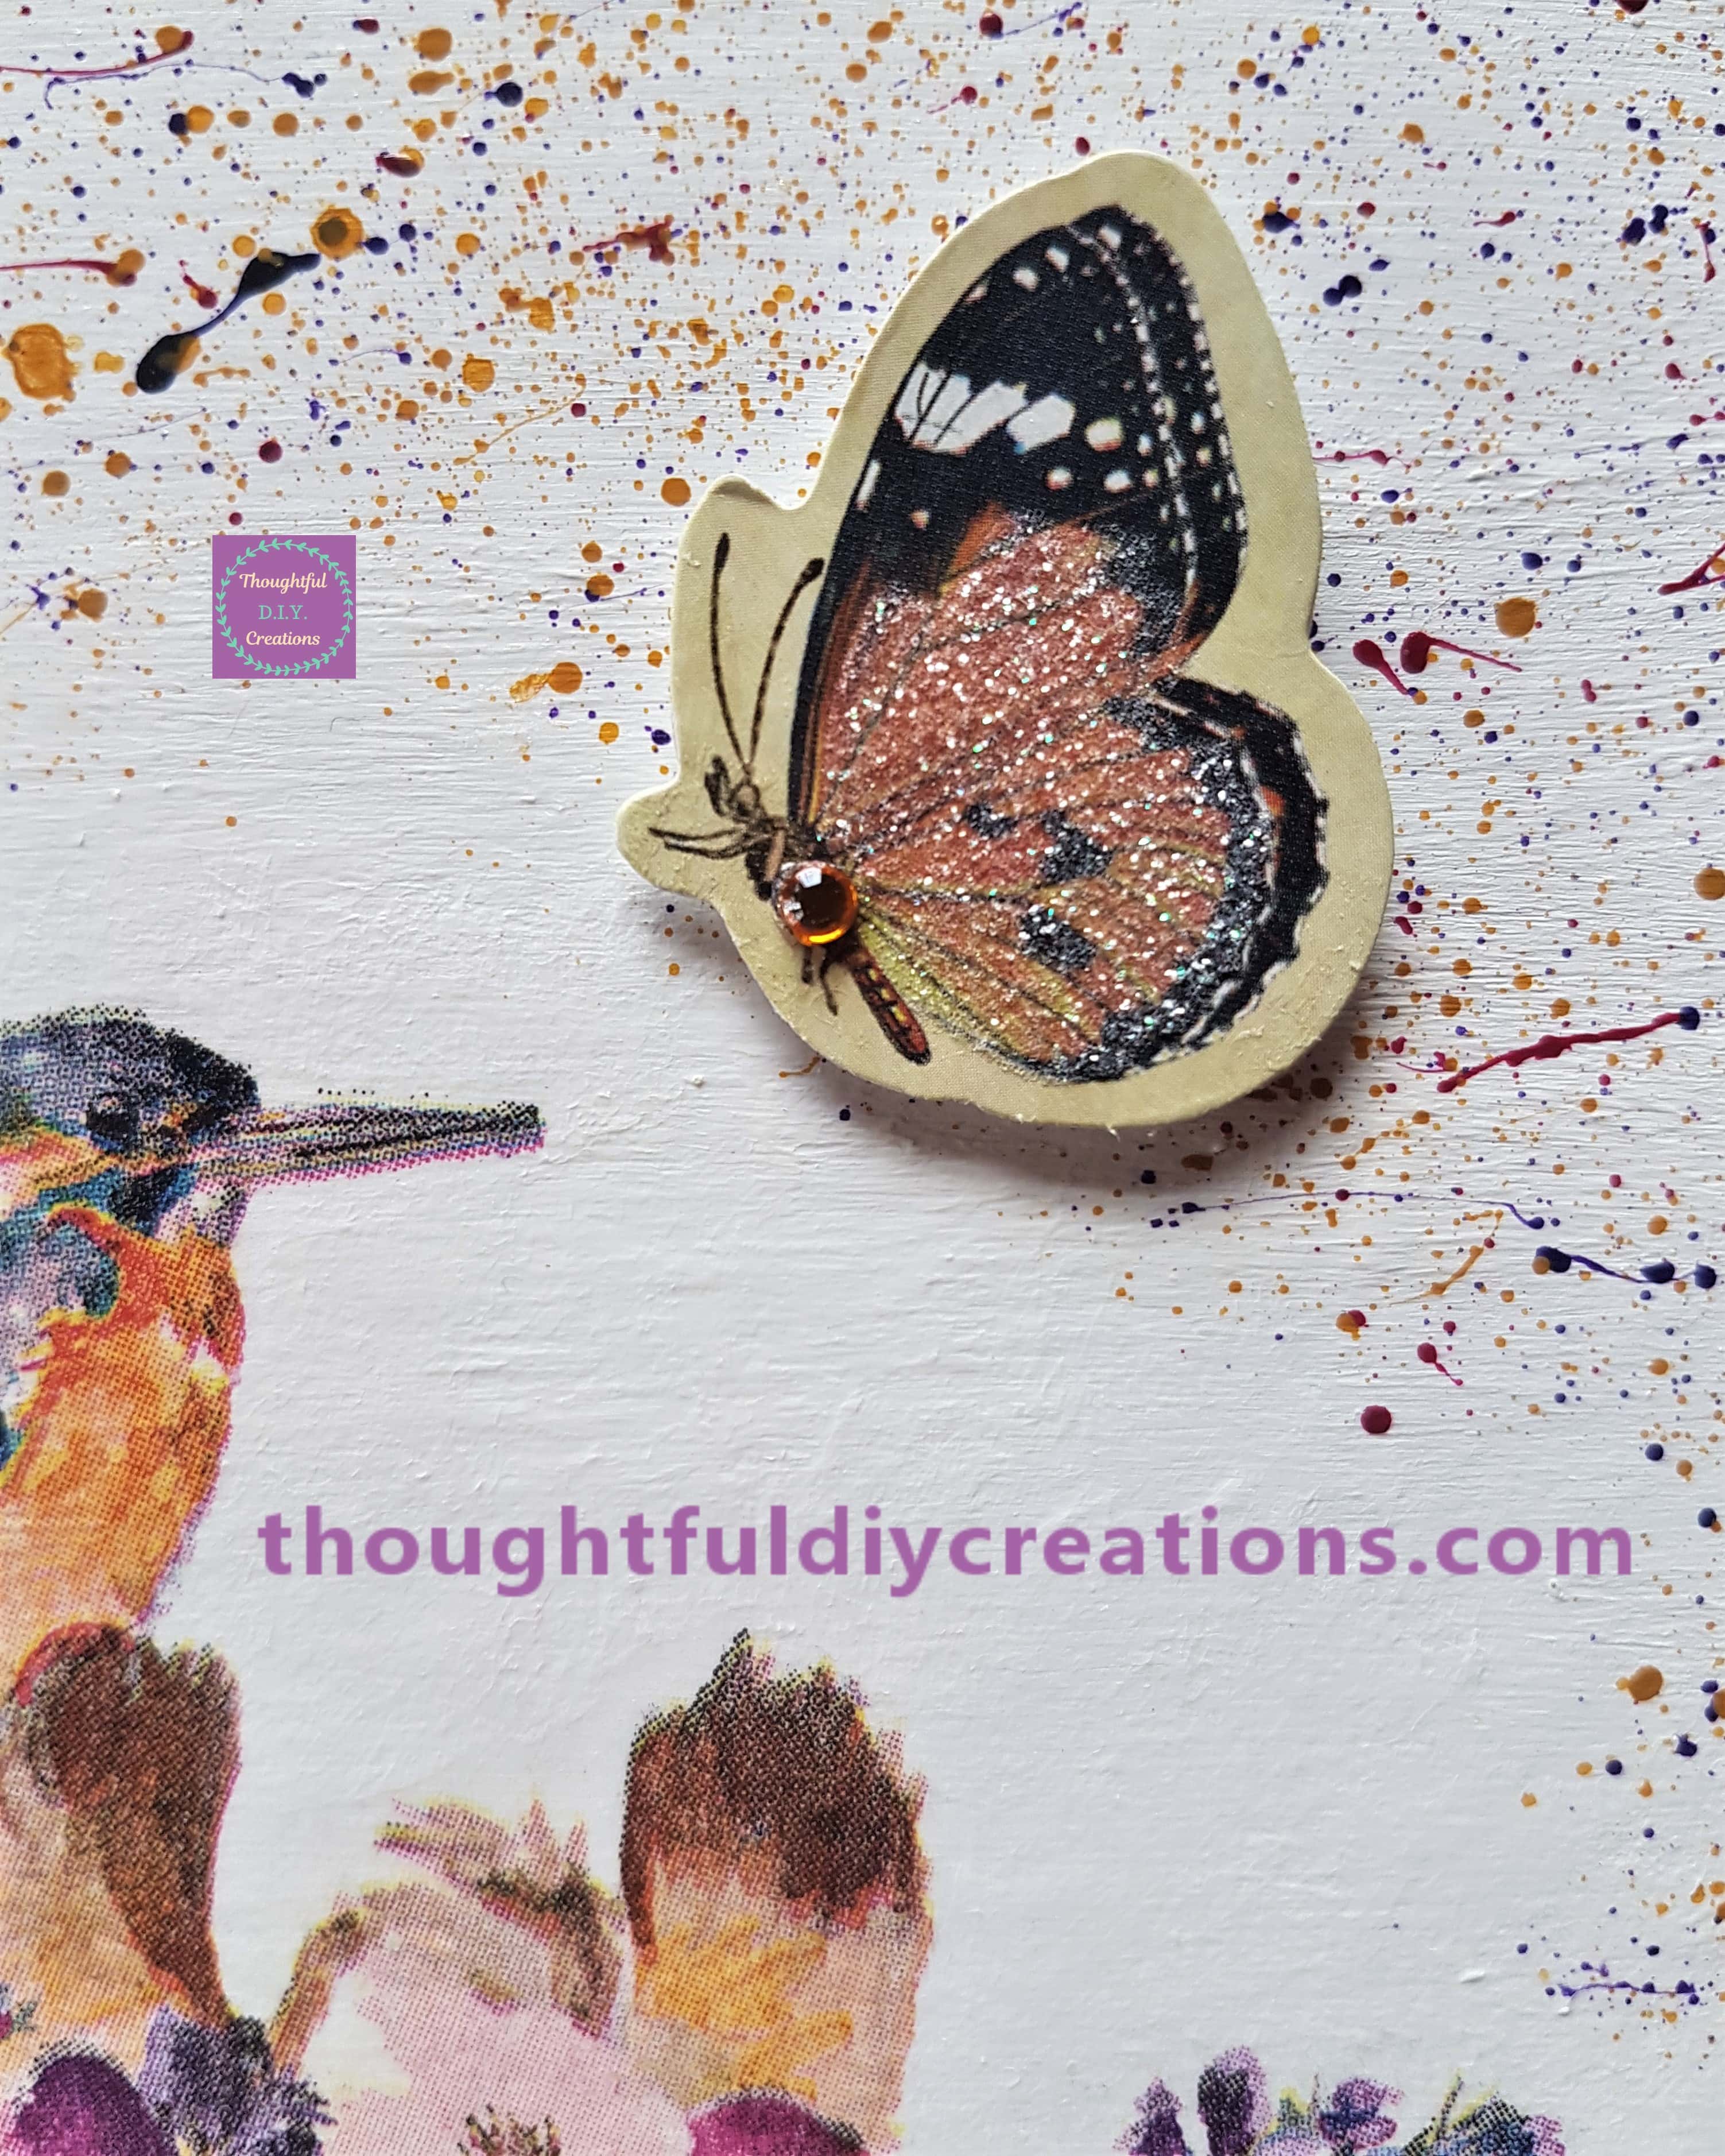
To Finish off the Front Cover I added a Dimensional Butterfly Sticker. It had a foam pad underneath it, I put some of ‘Anita’s Tacky PVA Glue’ on the foam pad to ensure it would stay in place and attached it above the Bird. I thought the Colours complemented the Giraffe.
A closer View of the Butterfly.
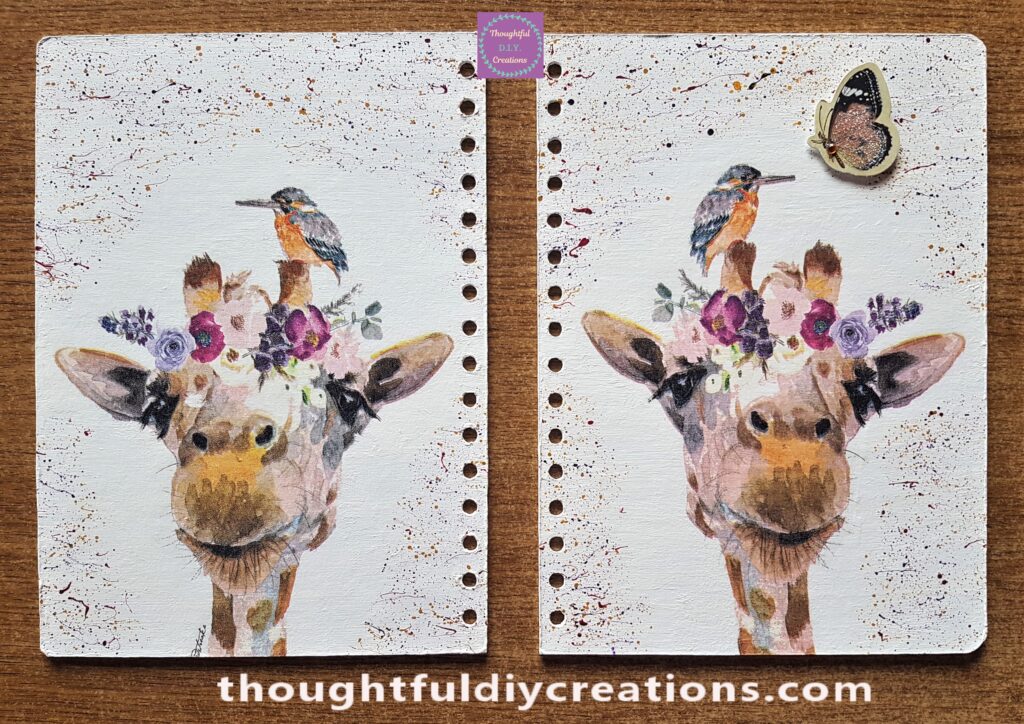
This Completed the Decoupage Napkin Journal Covers.
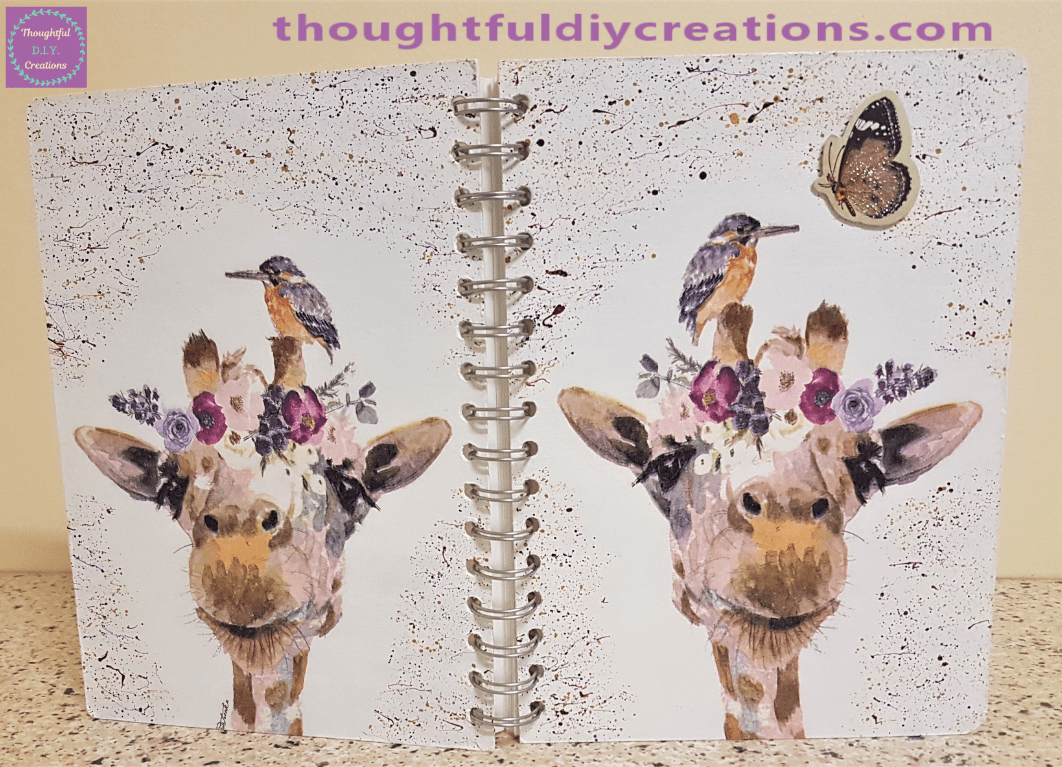
This is the Inside of the finished Journal Covers.
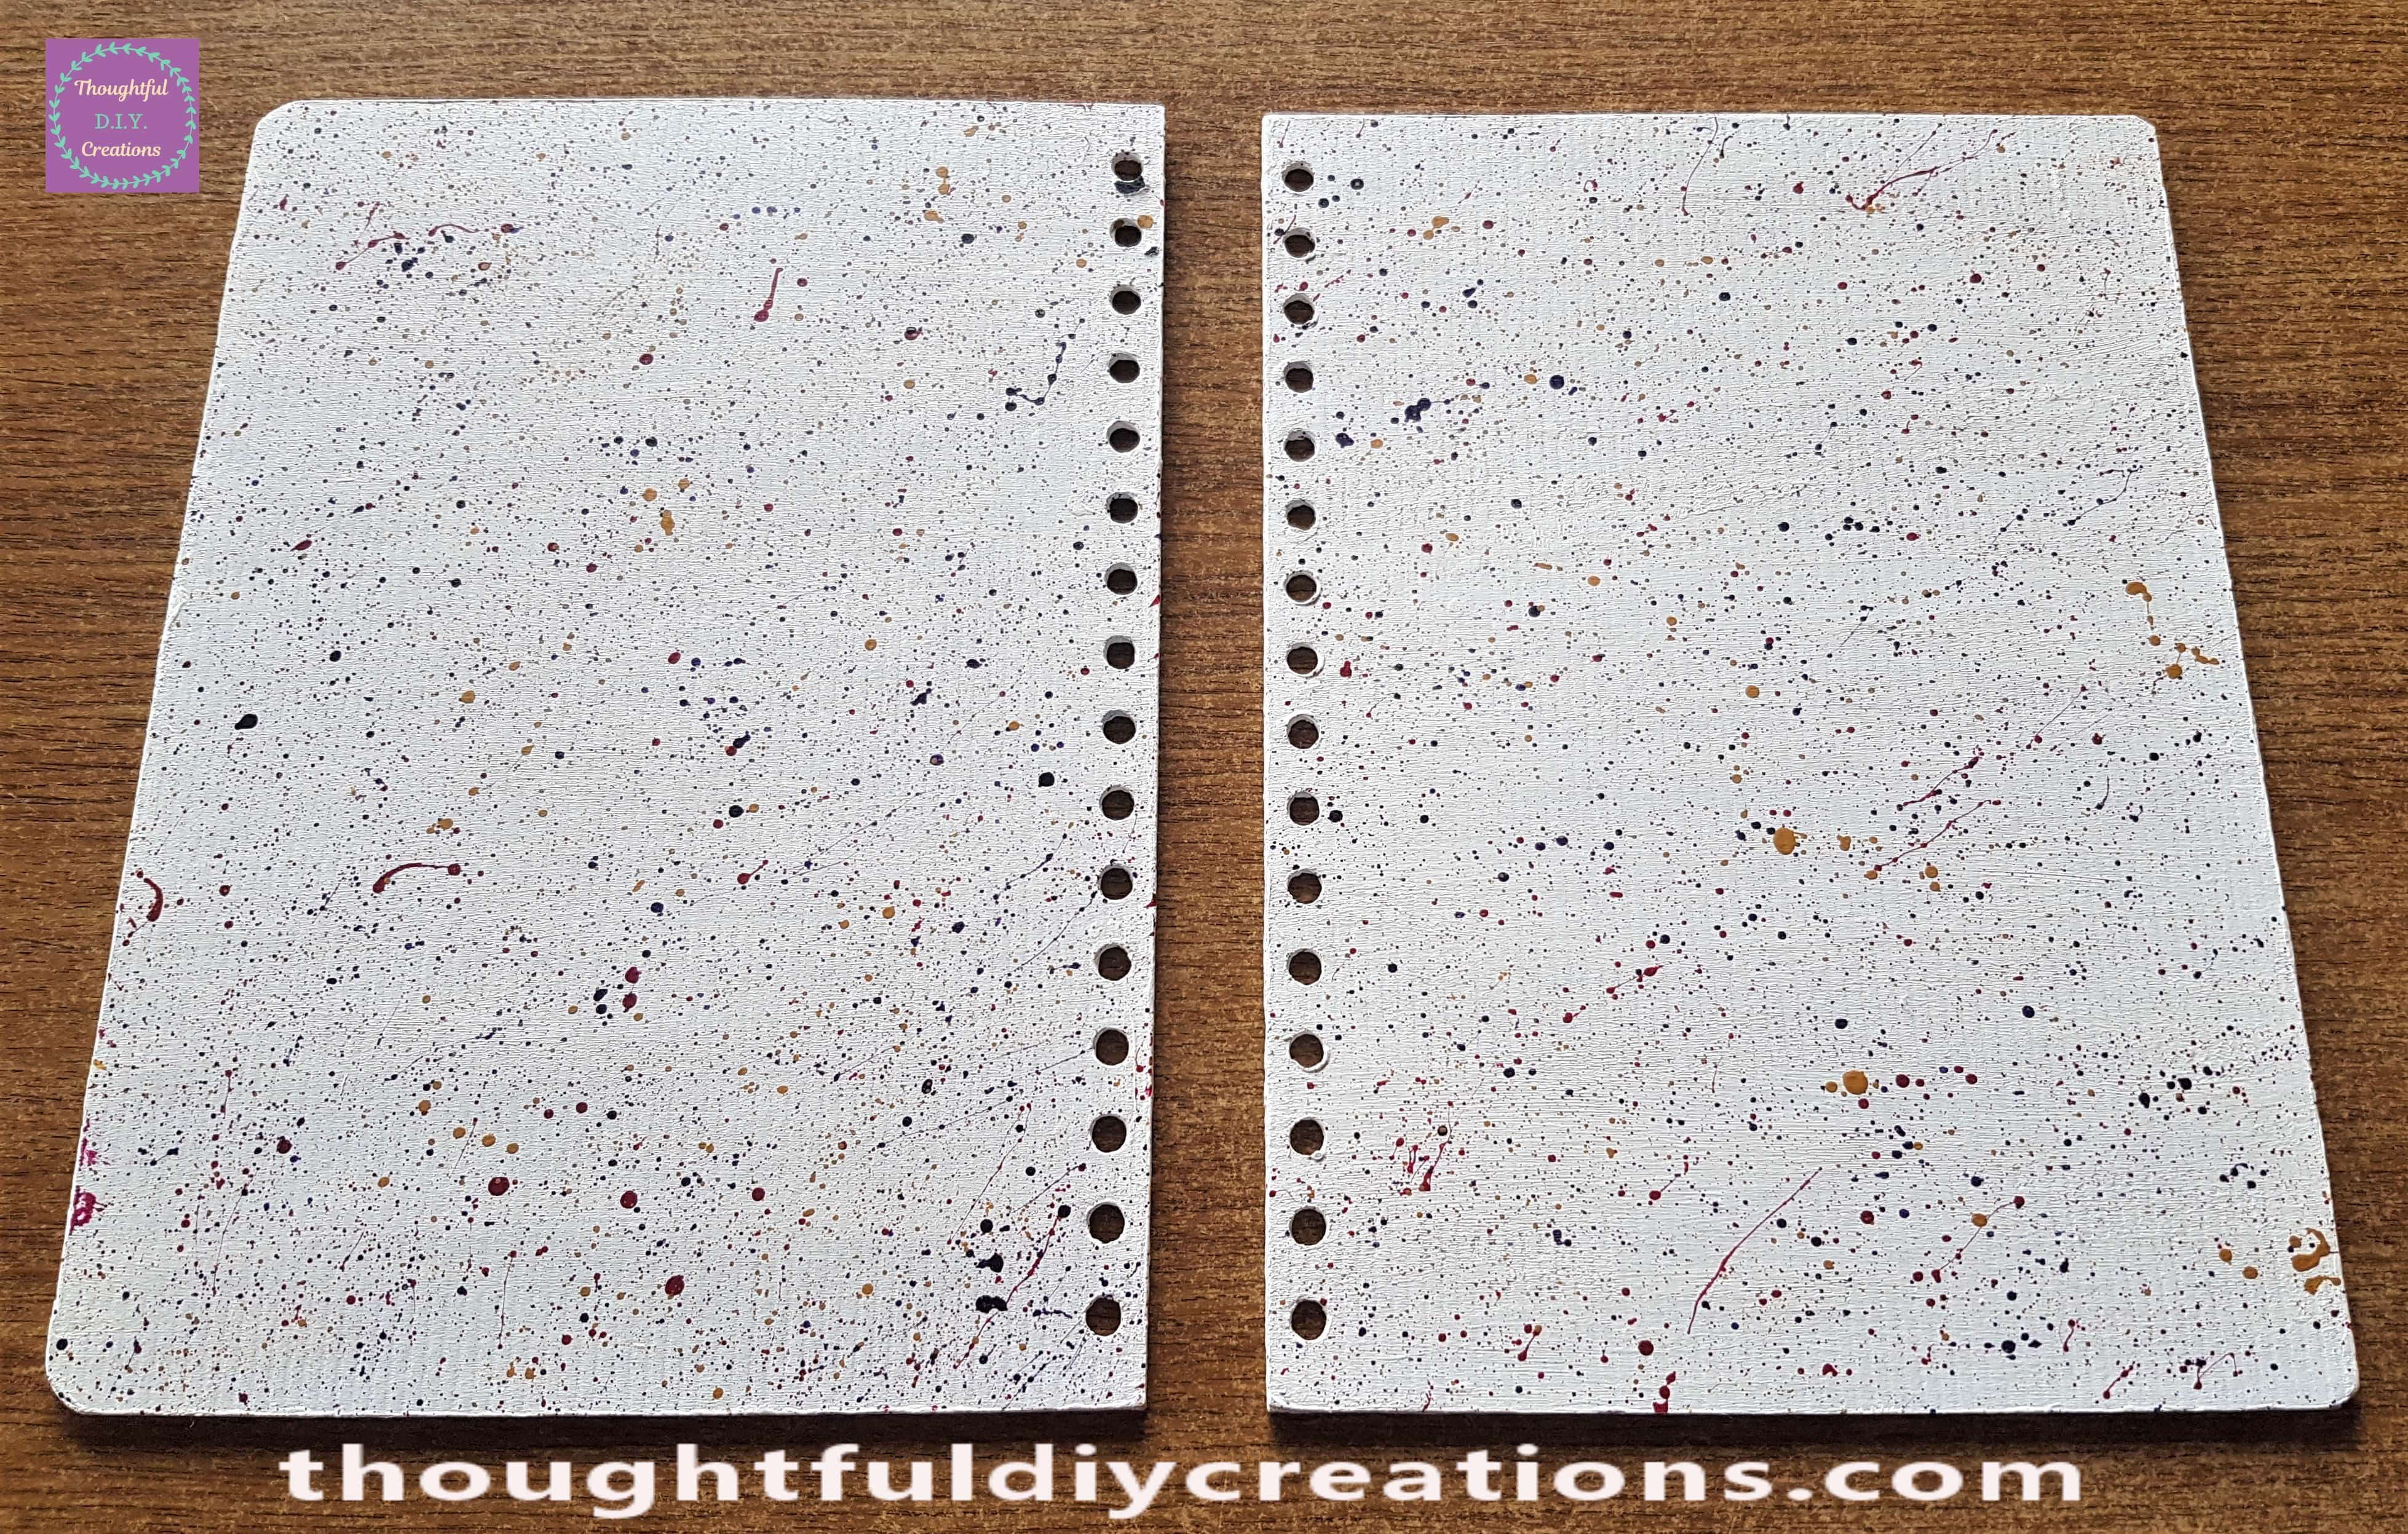
Here is the Journal Covers with the Journal in the middle, ready to be put back together.
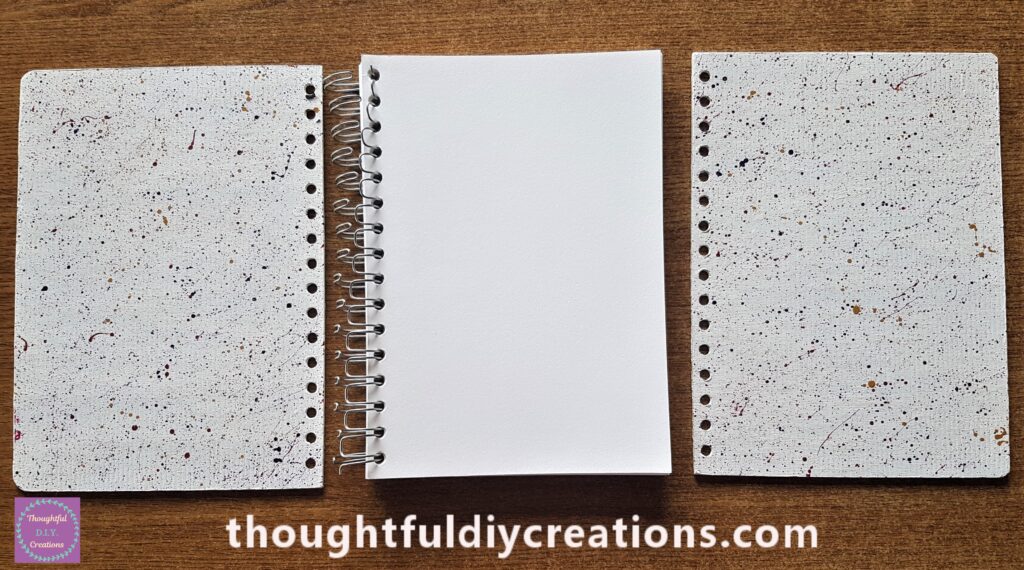
I put the Back Cover on first and then the Front Cover through the Spiral bind and then tightened the Spirals back again.
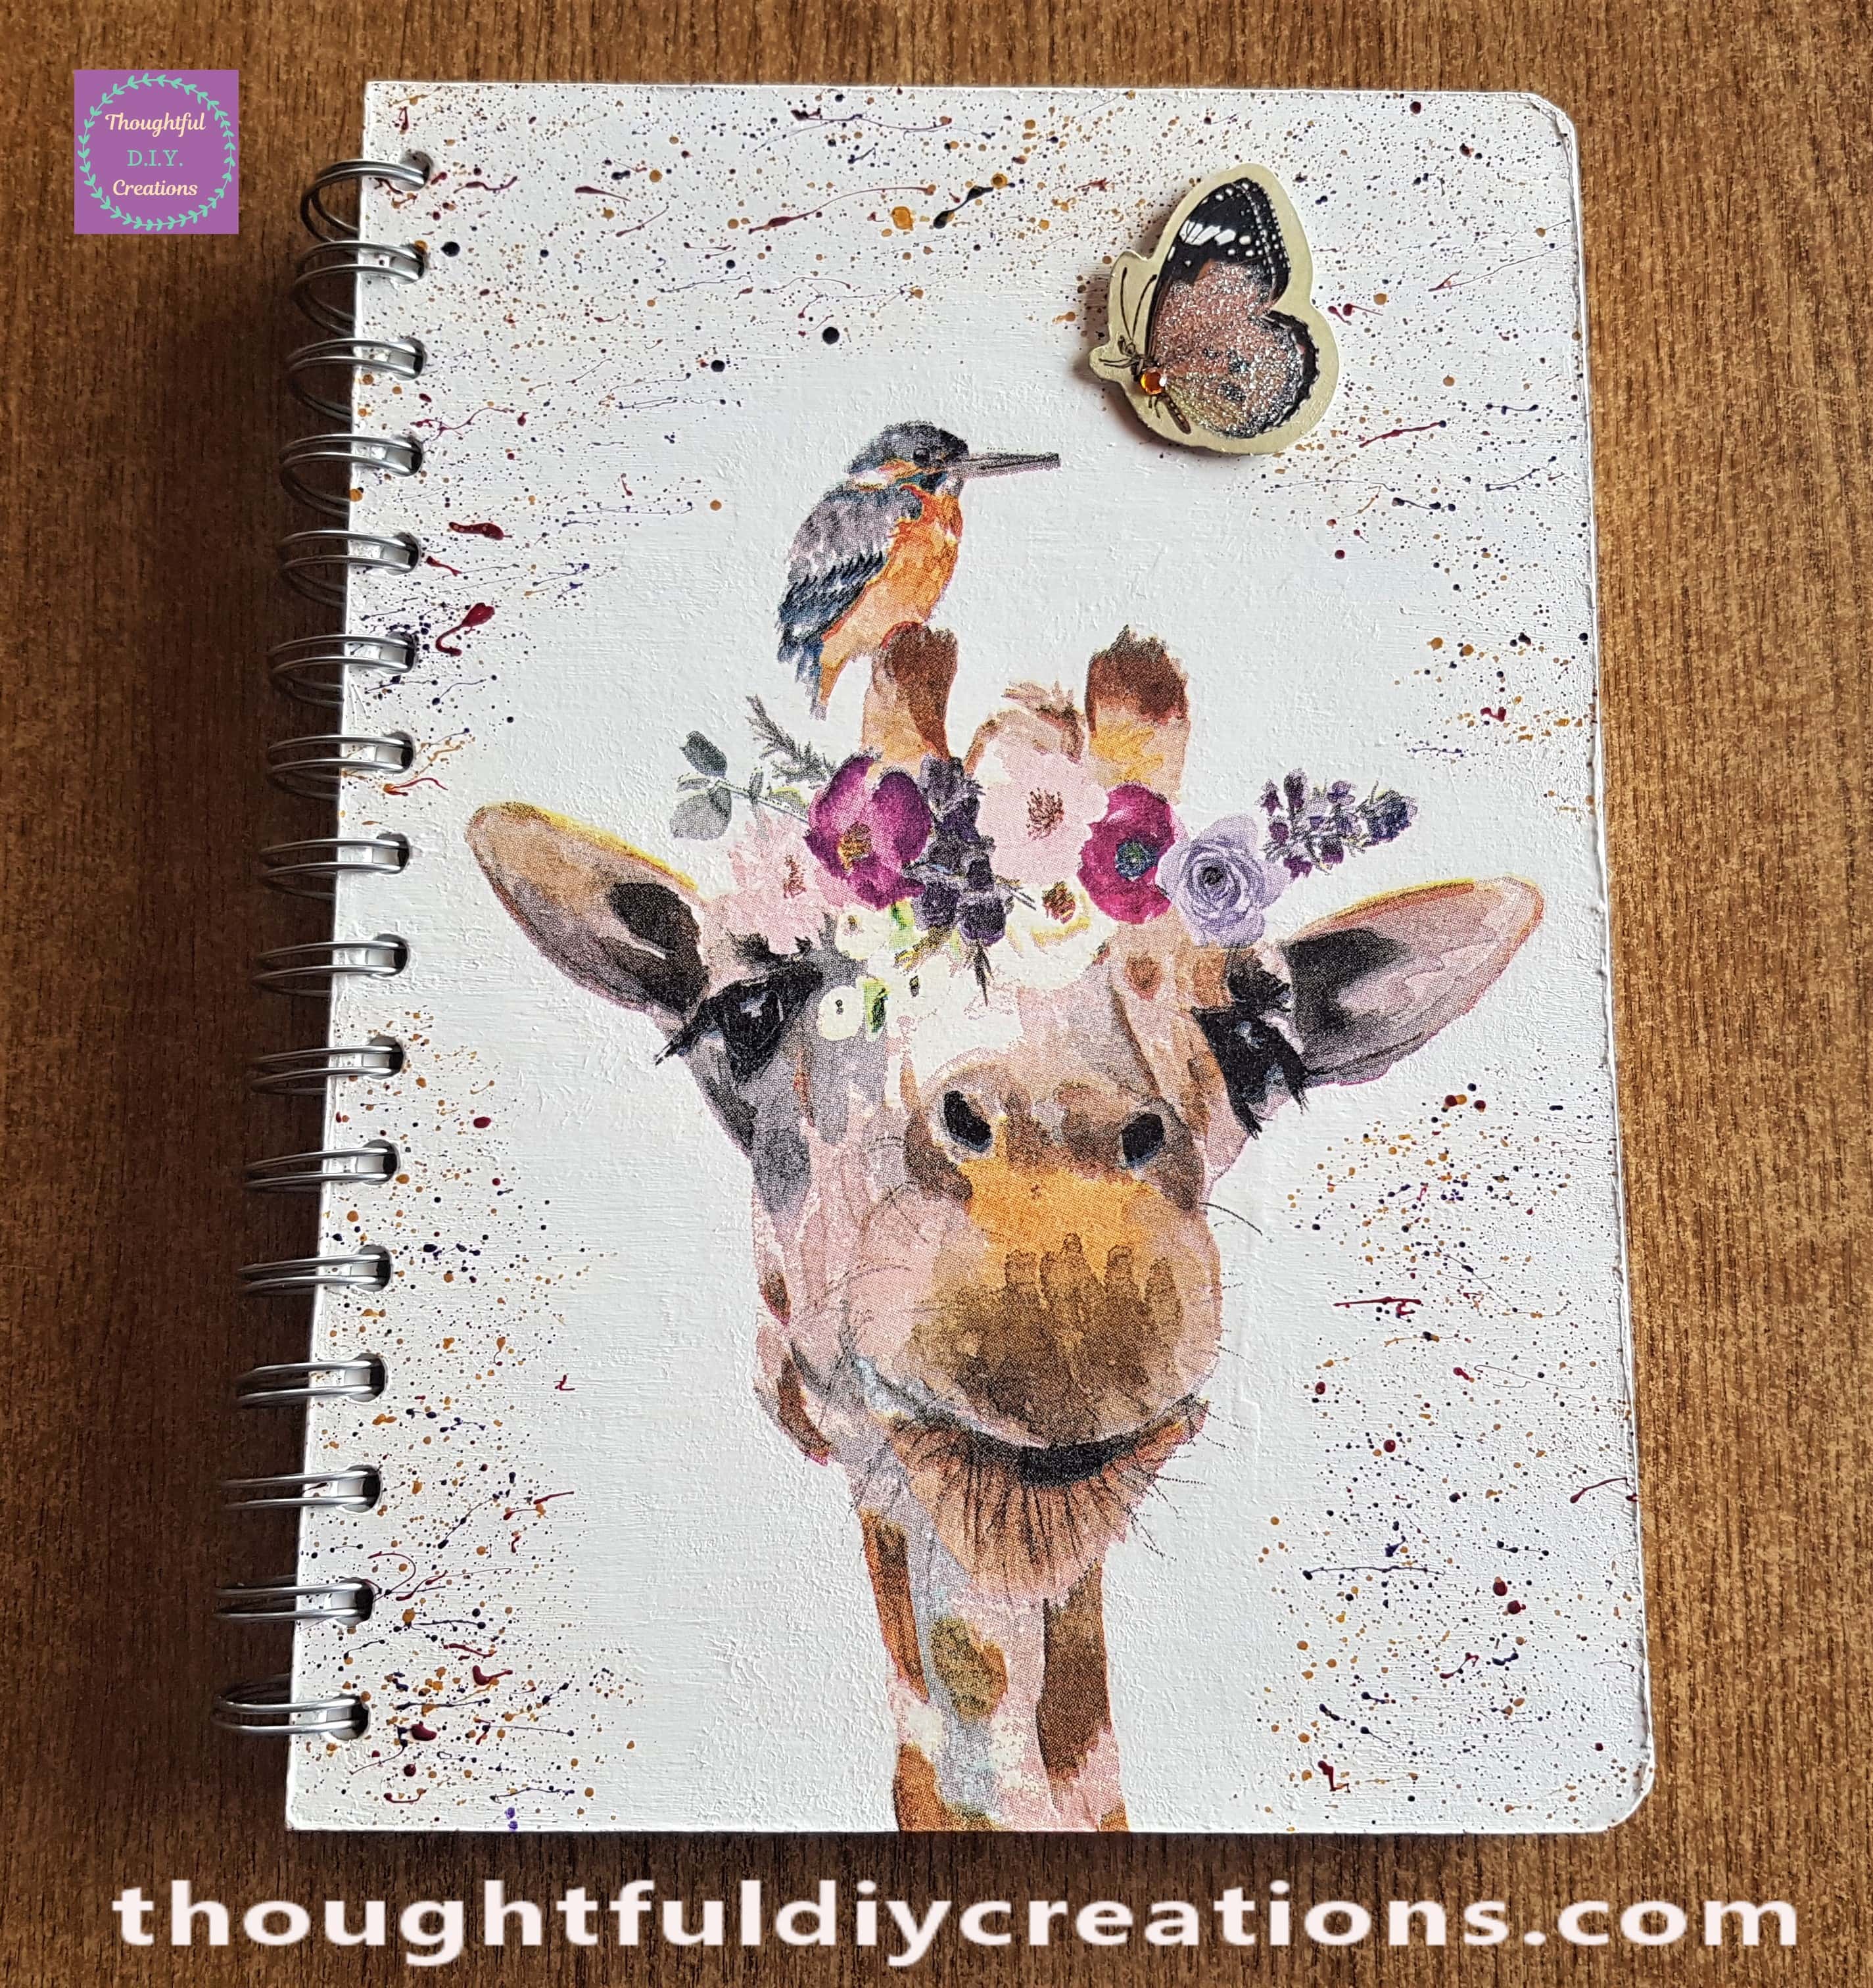
This is the Back cover after being put back into the Journal.
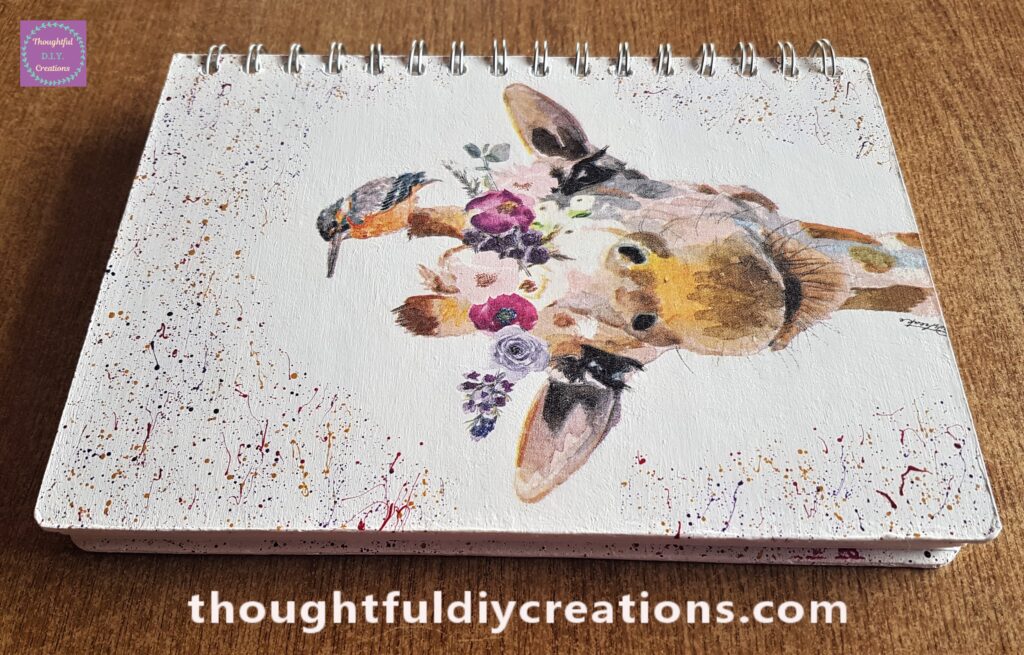
A side angle of the Front of the Journal.

The Side angle of the Back of the Journal.
The Inside Cover of the Back of the Journal.
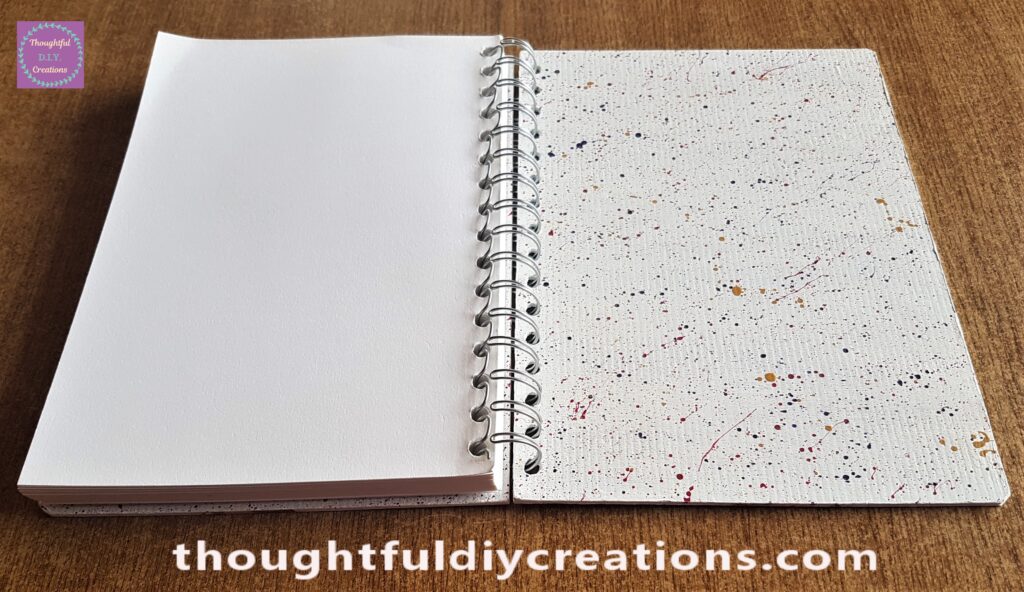
Below is the Inside Cover of the Front of the Journal.

The Decoupaged Journal on Display.

The Front and Back Covers of the Altered Journal.

A closer look at the back of the Journal.
Conclusion
I was delighted with how the Decoupage Journal Cover turned out. I was hoping it would work and have as limited wrinkles as possible but it literally has none. I now love this technique and can’t wait to try it on other objects.
The Journal Cover could probably have been smoother with Gesso and Paint, I did sand it between layers with light sandpaper to try reduce any bumps and overall I was pleased.
I like the addition of the Paint Splatters, they add a fun, carefree feel to the overall appearance and the Colour of the Paints complement the Flowers and the Giraffe. For more ‘Paint Splatters’ Crafts check out my other Tutorials; Live, Love, Laugh Canvas. or Galaxy Painted Box.
I hope this Tutorial inspires you to try Decoupage. It’s a Budget Craft as you don’t need that many materials. You can add more Mixed Media elements if you like such as Moulds and Clay, Decorative Ribbon or Beads, or Stencils and Modelling Paste. The options are endless with how you can change each item you Decoupage. You can make it as simple or elaborate as you like.
Have you tried this technique in your Arts and Crafts yet? If you have I’d love to know what you Decoupaged and what you added to finish off yours. If you have any Questions just Fill out the Comment Box below this Blog Post and I’ll reply as soon as I can.
Thank you so much for taking the time to Read my Blog.
Always Grateful,
T.D.C.
xoxox


-0 Comment-