Decoupaged Chopping Board Tutorial
Hello my Creative Friends,
I hope you are all Well. In Today’s Tutorial I will show you How I Decoupaged and Decorated a Chopping Board. It is perfect to have on Display in the Kitchen as part of Autumn / Fall Decor. Hopefully it Inspires you to try Decoupage in the Future as well as Making your own Seasonal Decorations to Display each Year.
Wooden Chopping Board
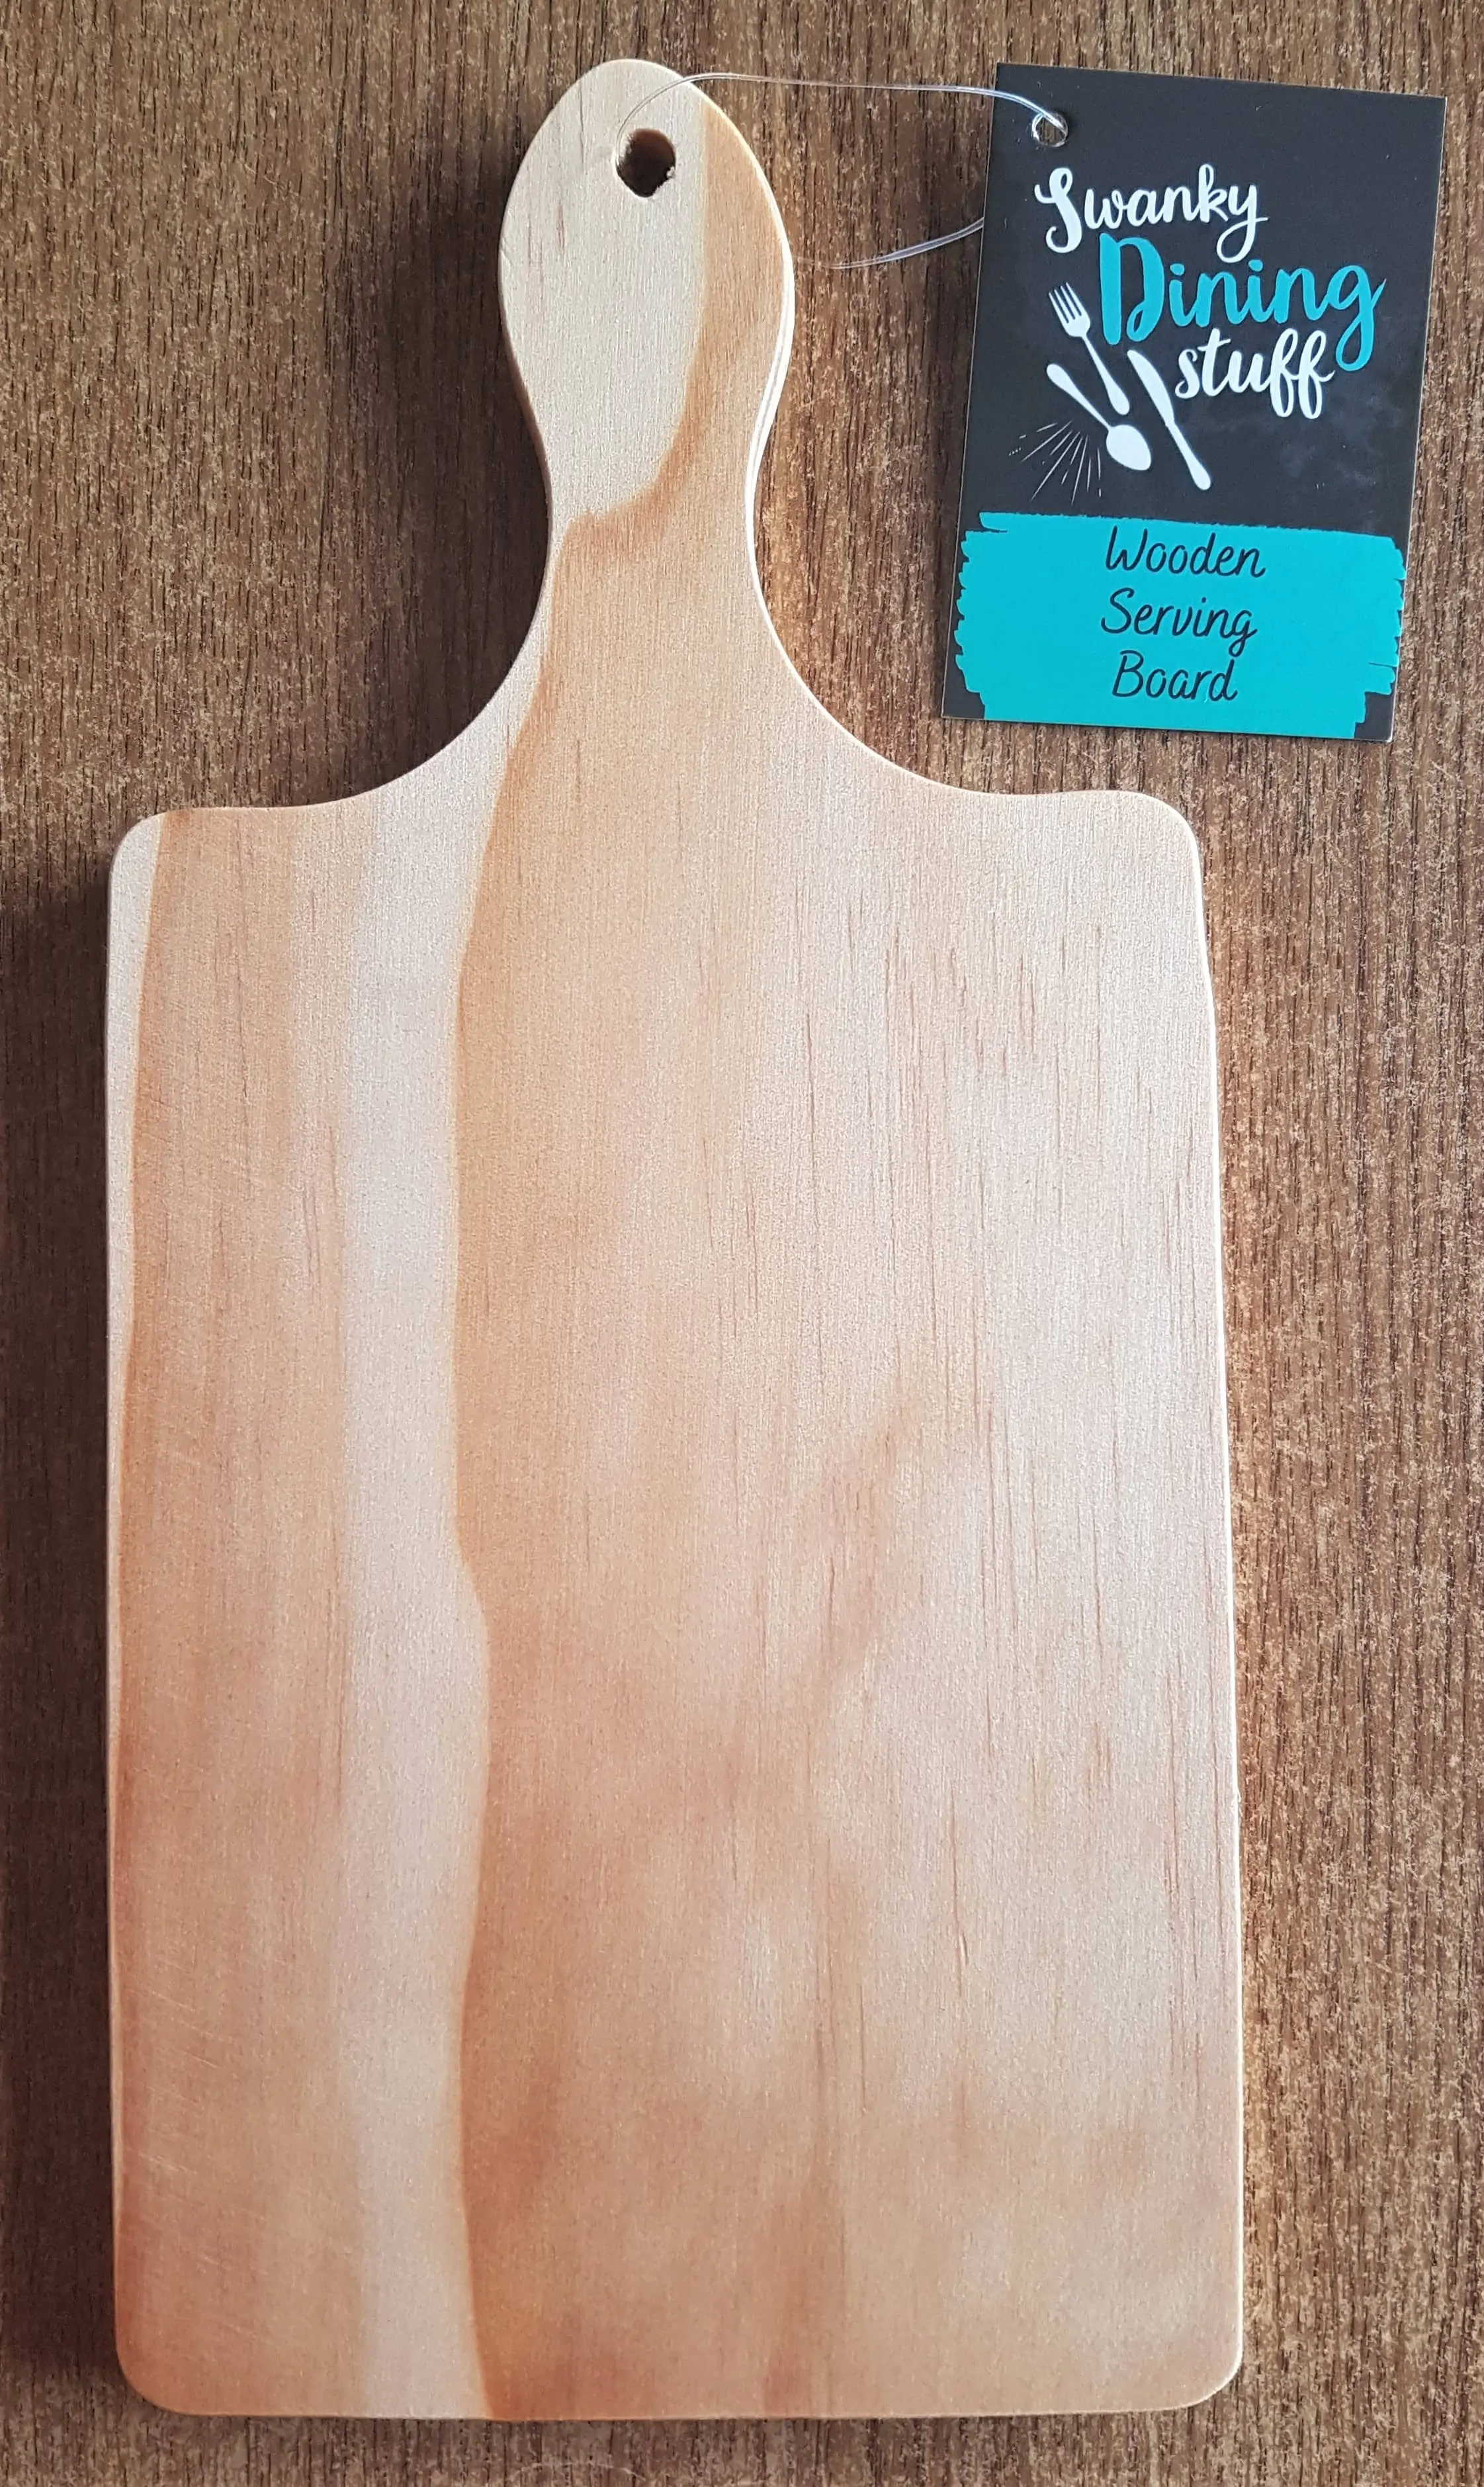
I Bought a Wooden Serving Board in Dealz (Poundland in the U.K) a few months ago. It’s great quality and a nice Size for Crafting.
Painting the Wooden Board
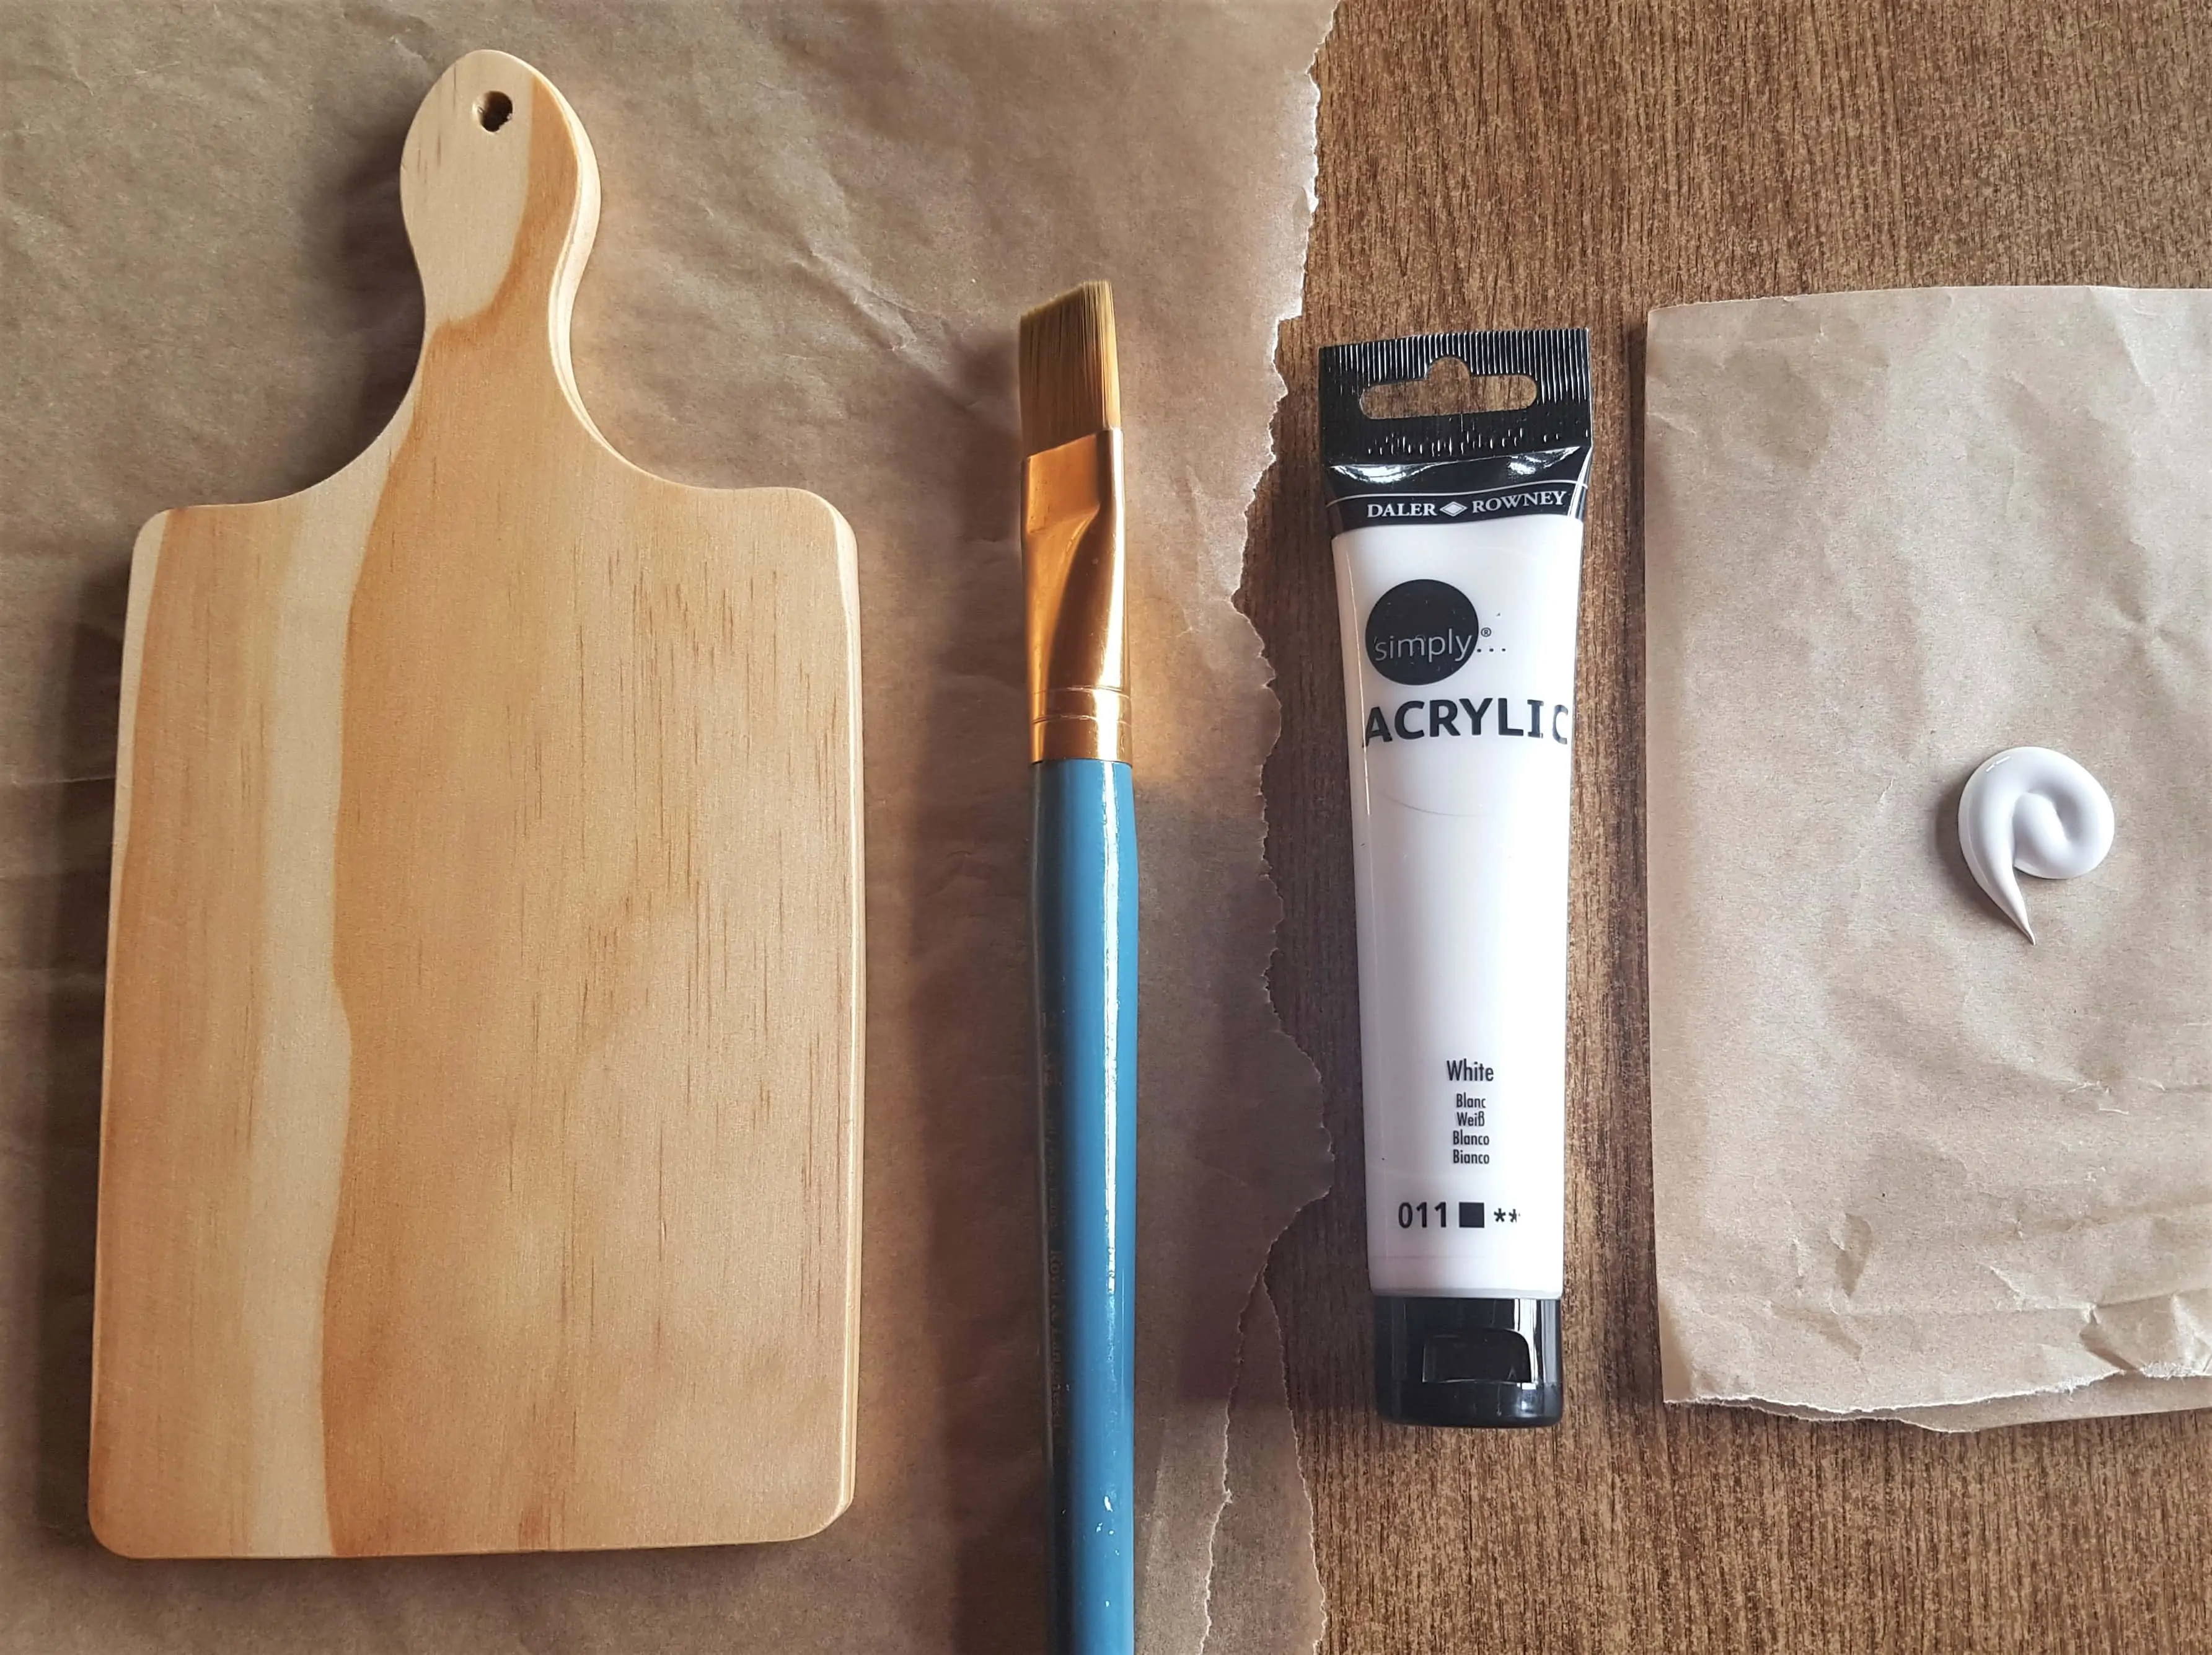
I put some Baking Paper on my Table to protect it while Painting. I also folded up some more Baking Paper to use as a Painting Palette. I got my Flat Paintbrush, White Acrylic Paint and poured some Paint onto the Baking Paper.
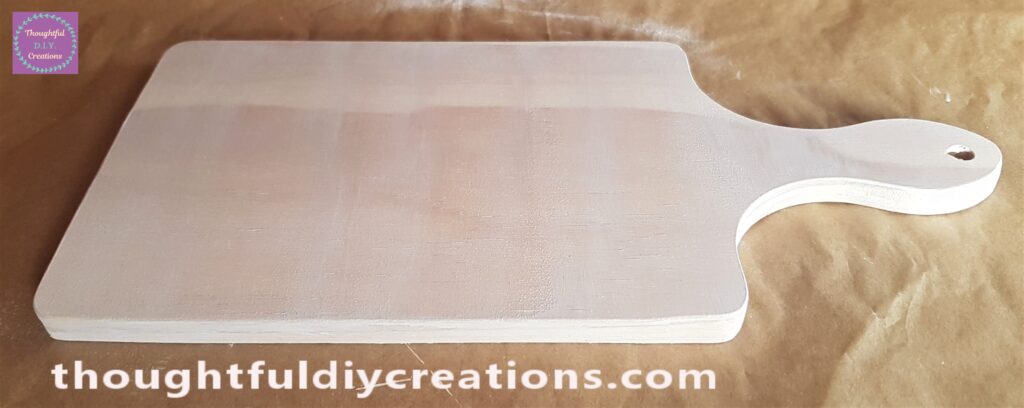
I Painted the Sides and then the Front of the Chopping Board.
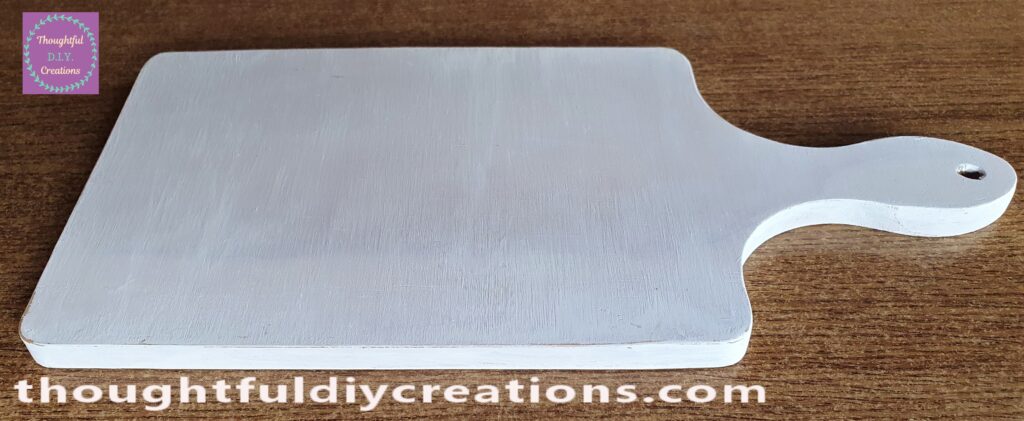
I Painted the Back of the Chopping Board when the Front was fully Dry. I then Painted another layer all over the Chopping Board.
Decoupaged Napkin
I Bought a 4 Pack of Autumn Napkins from Etsy.
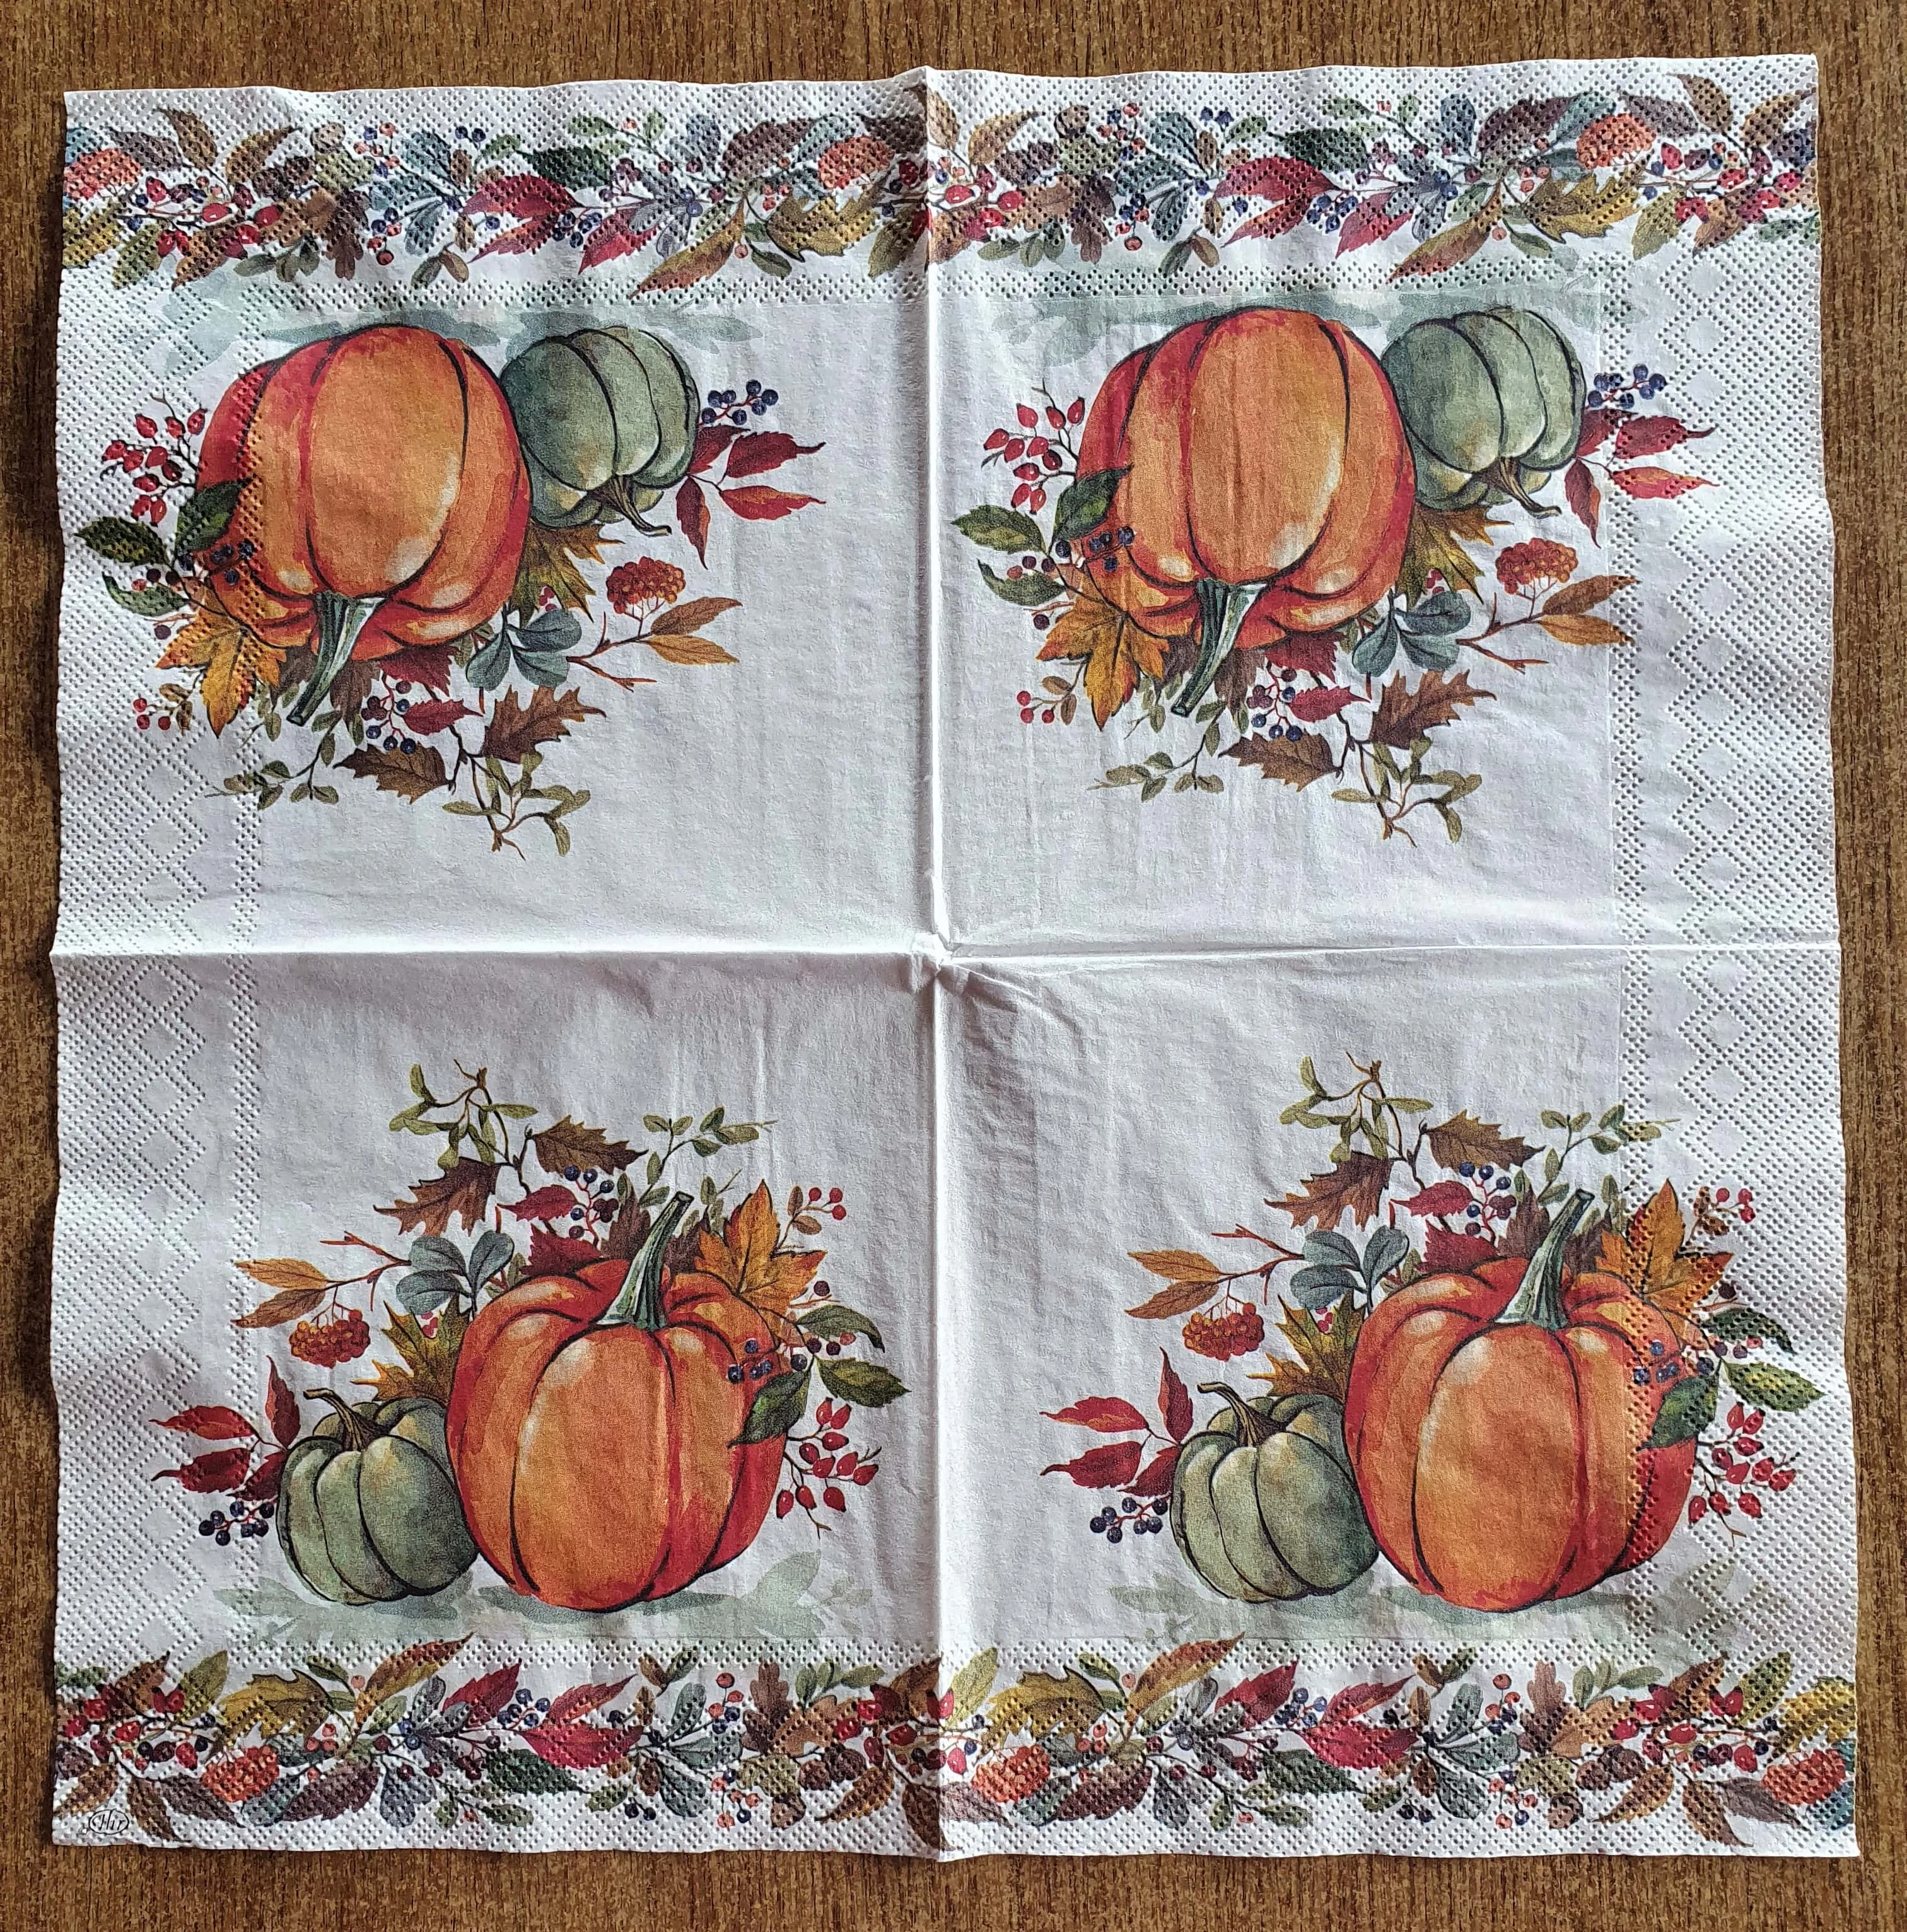
Cutting Out the Design for the Decoupaged Board
I Cut out 1 Square of the Napkin to use for my Decoupaged Chopping Board.
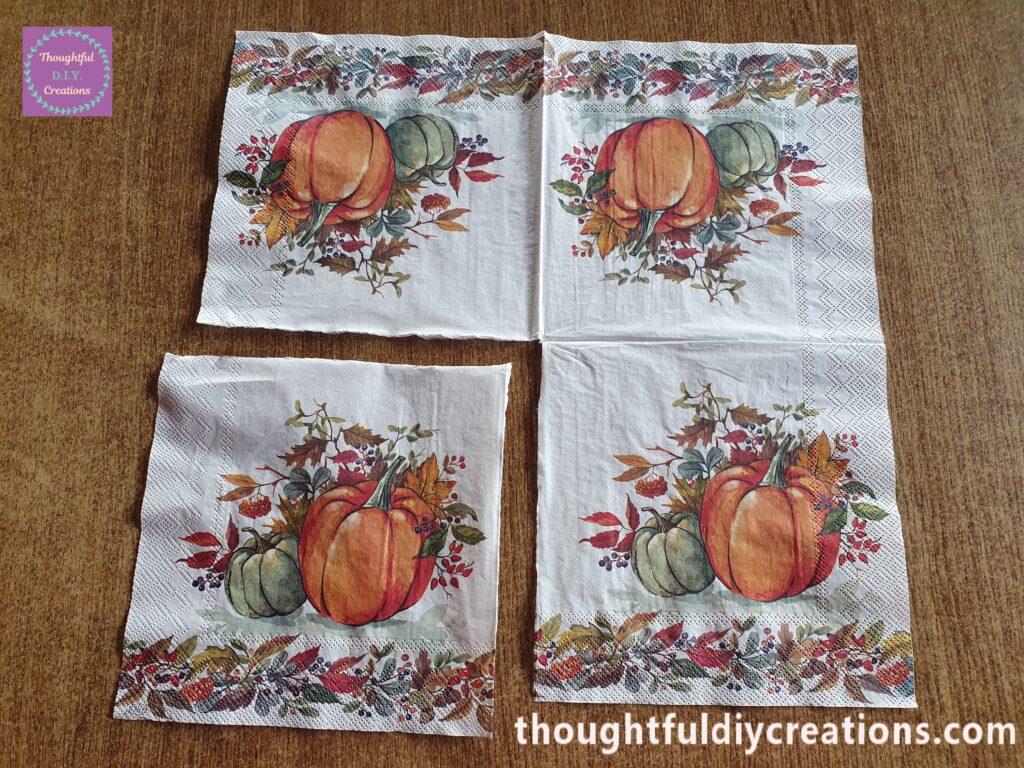
Here is a Closer look at the Design I will be using for my Craft.
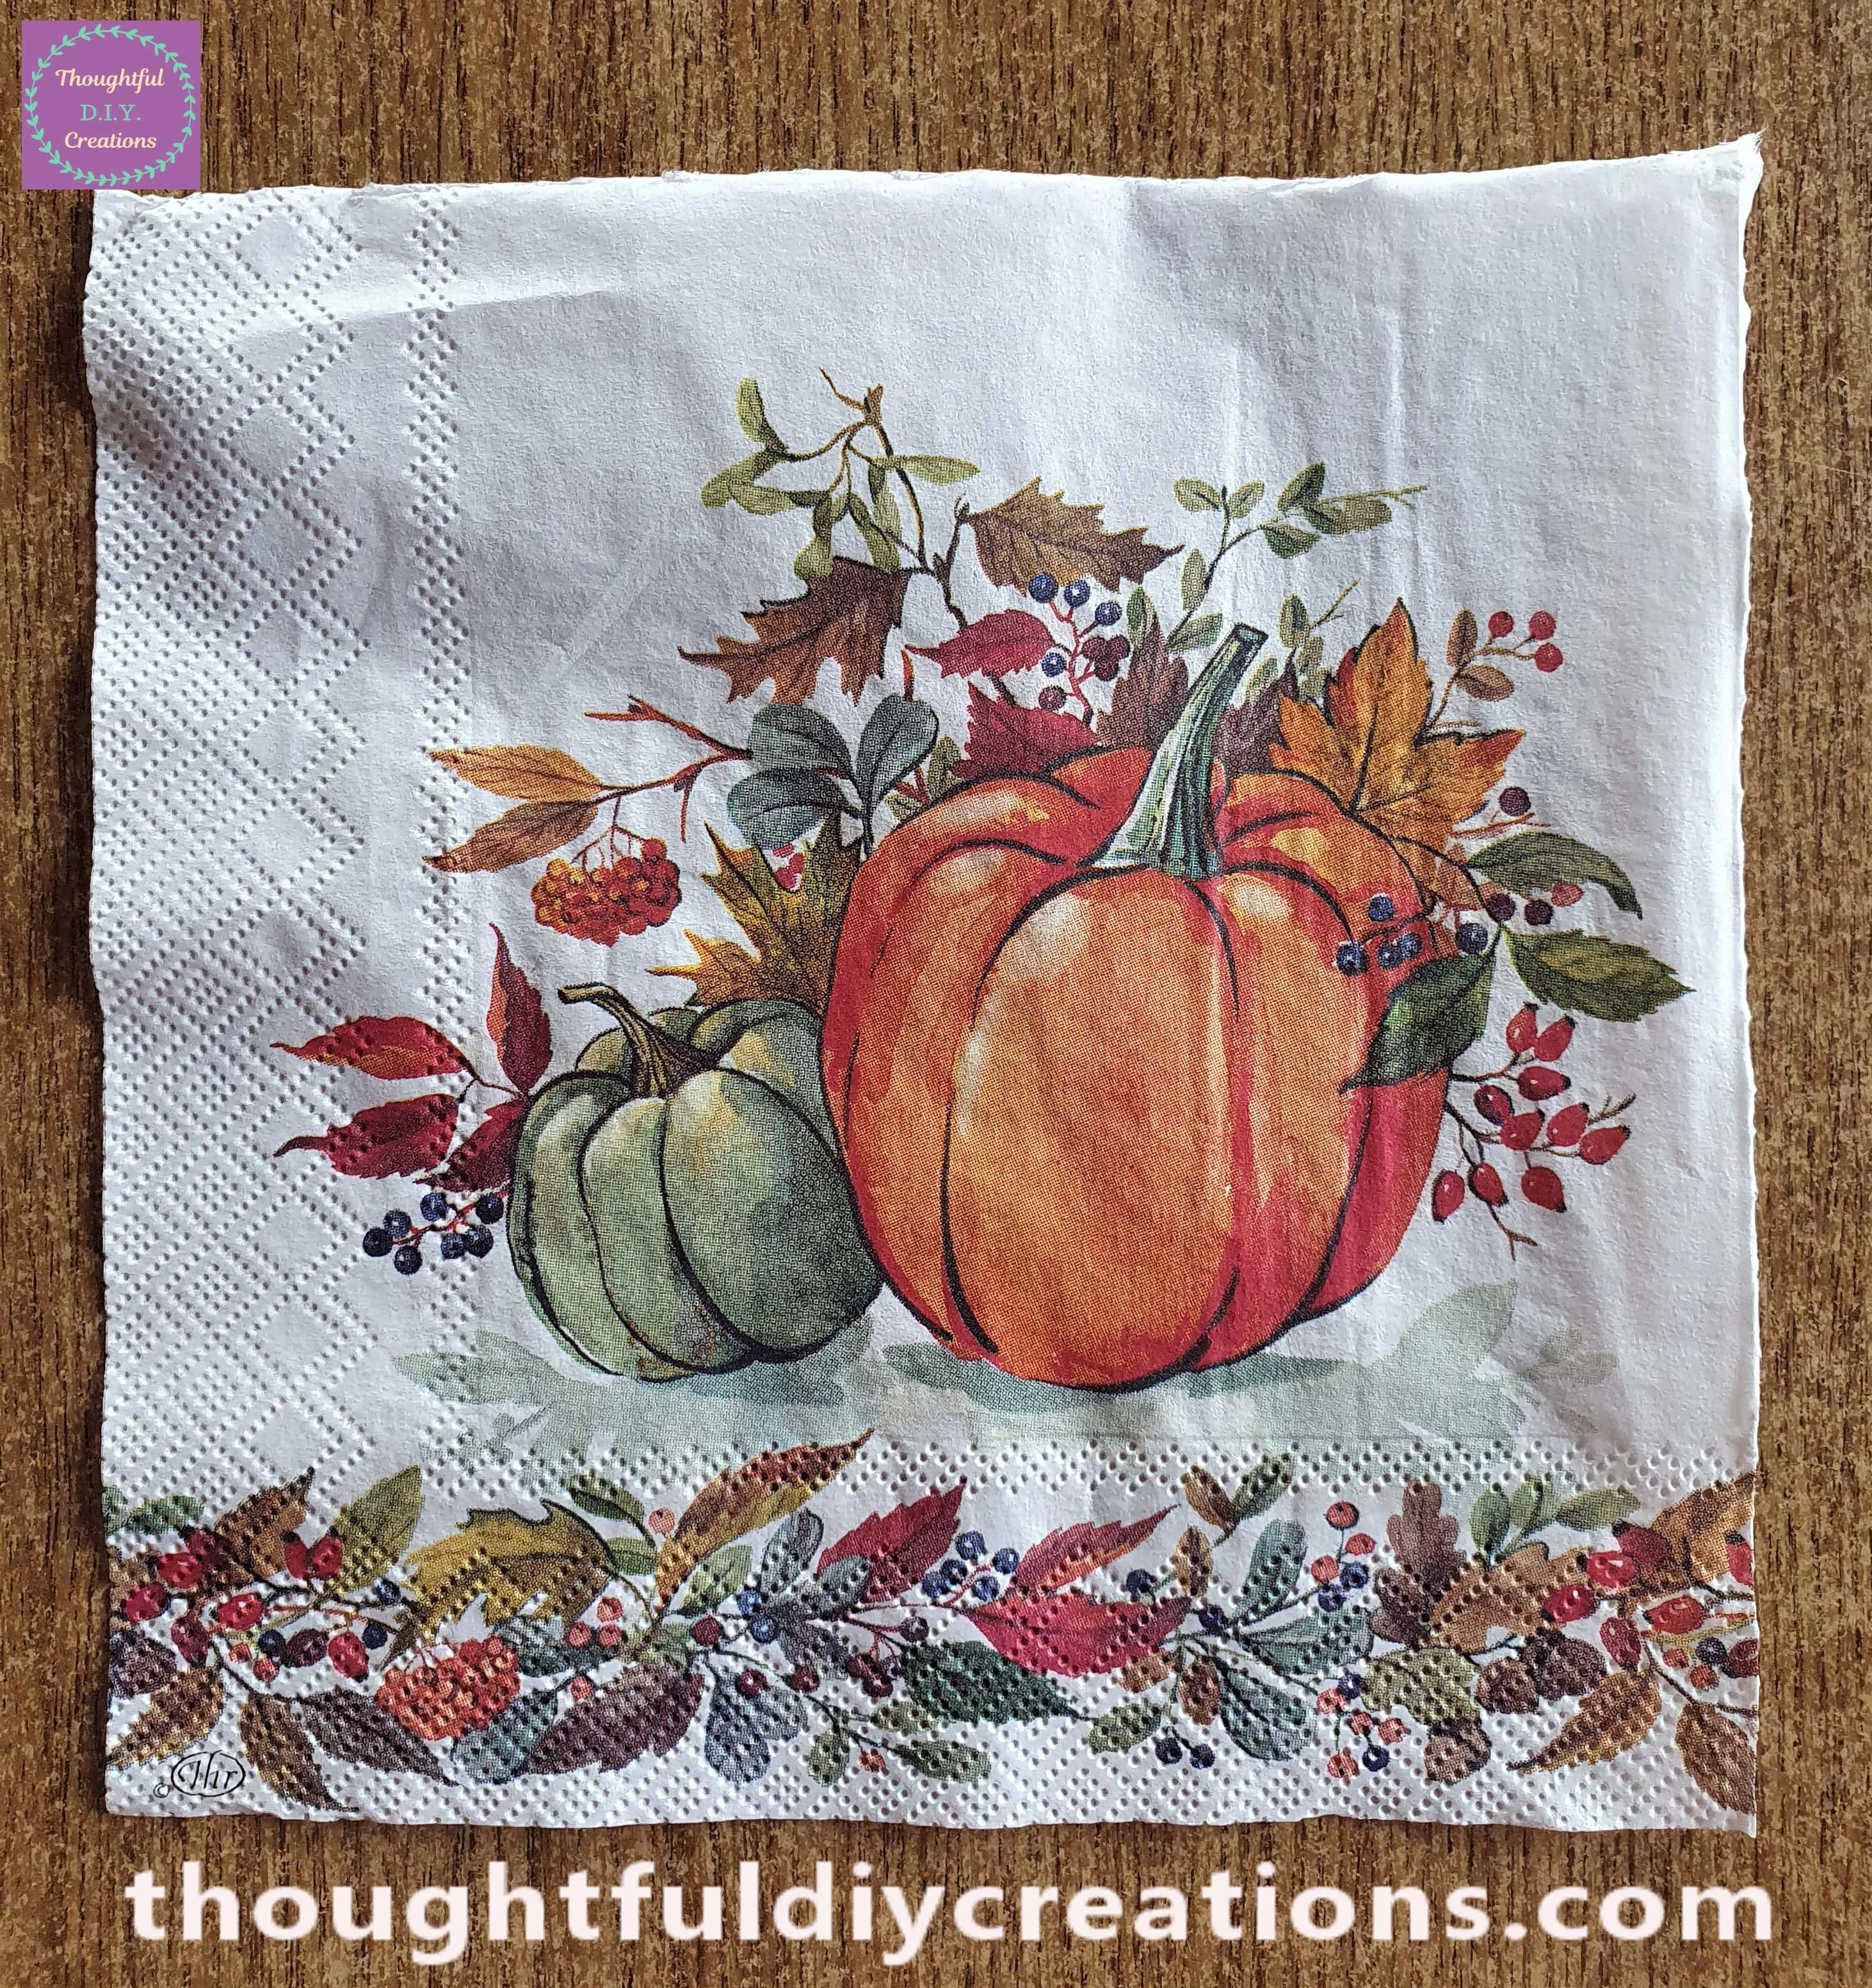
Removing the Layers from the Napkin
A Napkin usually comes in 3-Ply meaning 3 layers; the Top layer with the Design and 2 White Layers underneath. I started at a Corner of the Napkin and carefully separated the layers underneath by pulling them back one-by-one.
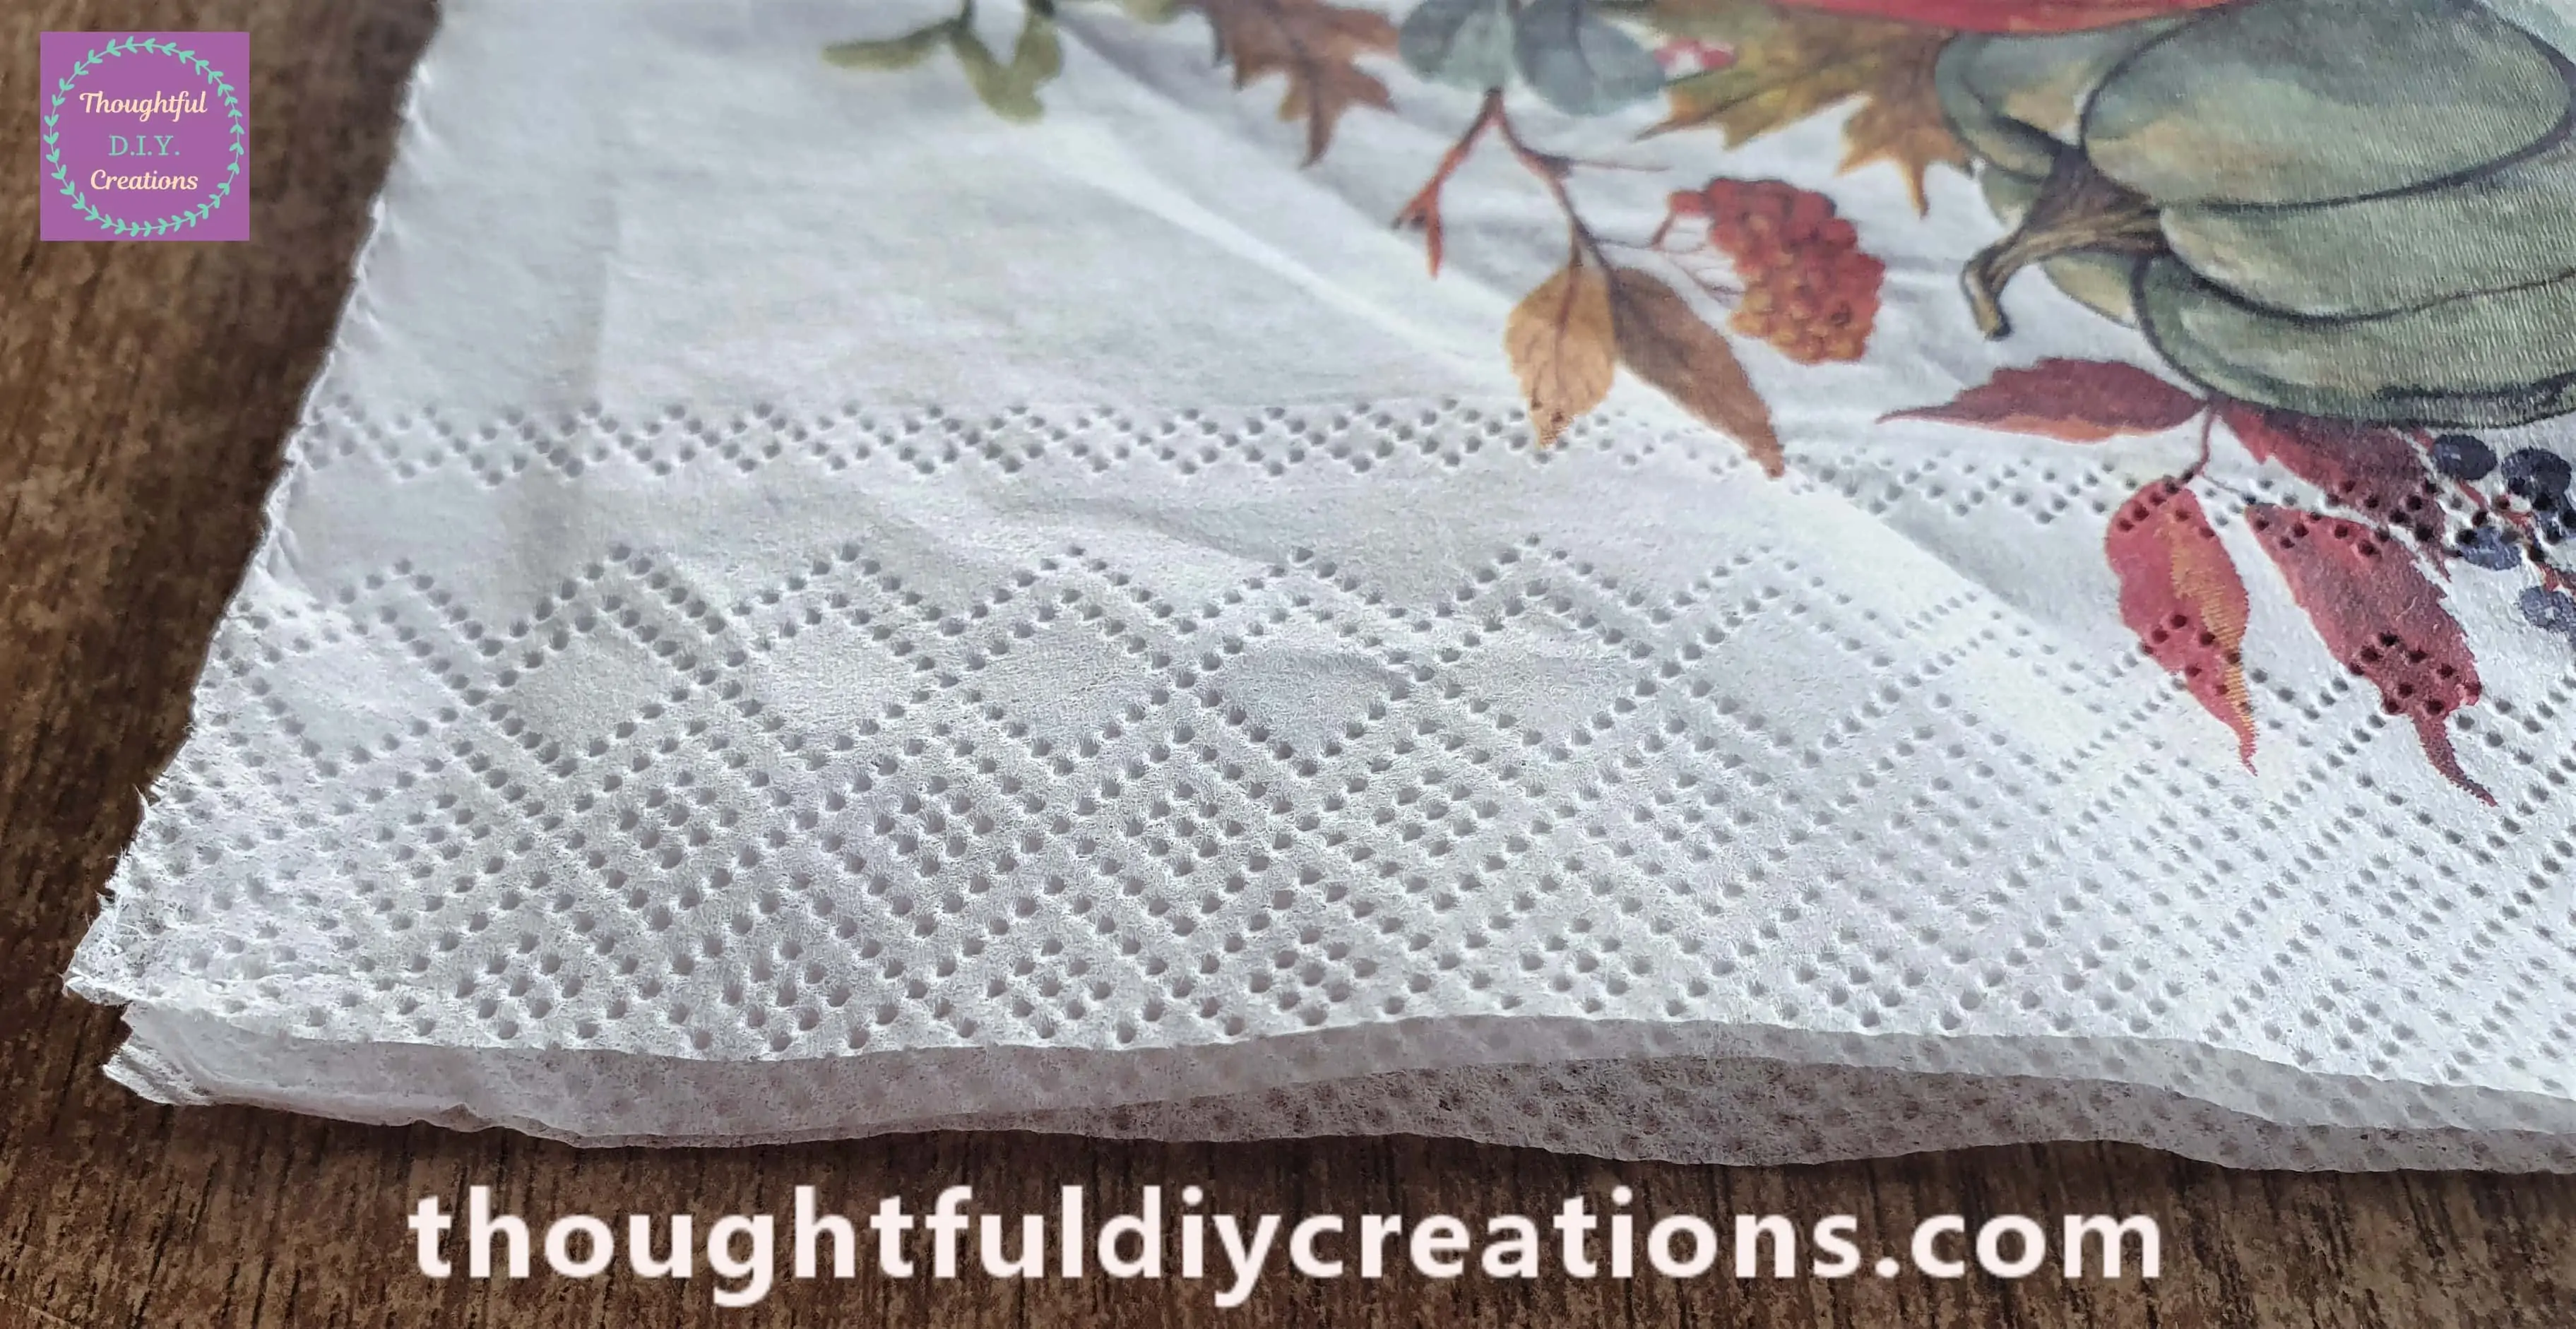
This is how it looks with the 2 bottom layers removed from the top layer.
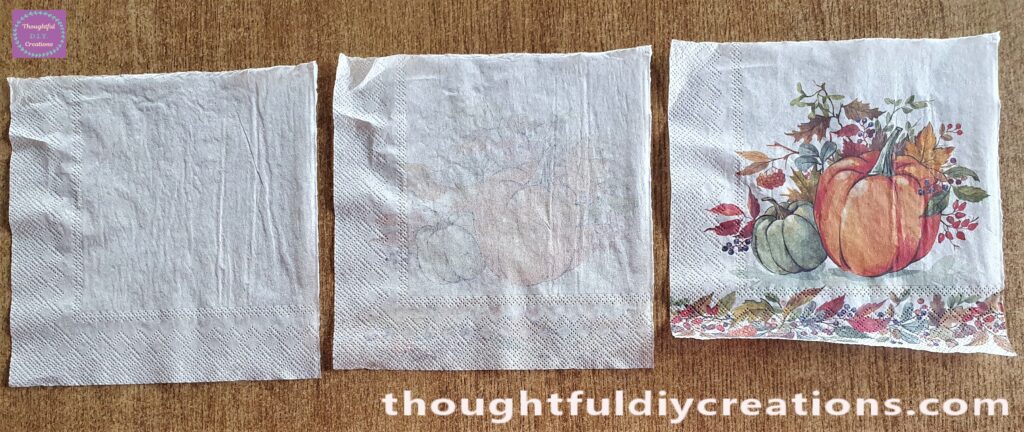
I discarded the 2 white layers as I no longer need them.
Tearing around the Design on the Napkin
I turned the napkin with the design over and began to tear around the design with my fingers.
I held the Napkin in my left hand and kept my thumb on the edge of the design to prevent tearing any part of the design. I then tore the napkin outwards with my thumb and finger on my right hand.
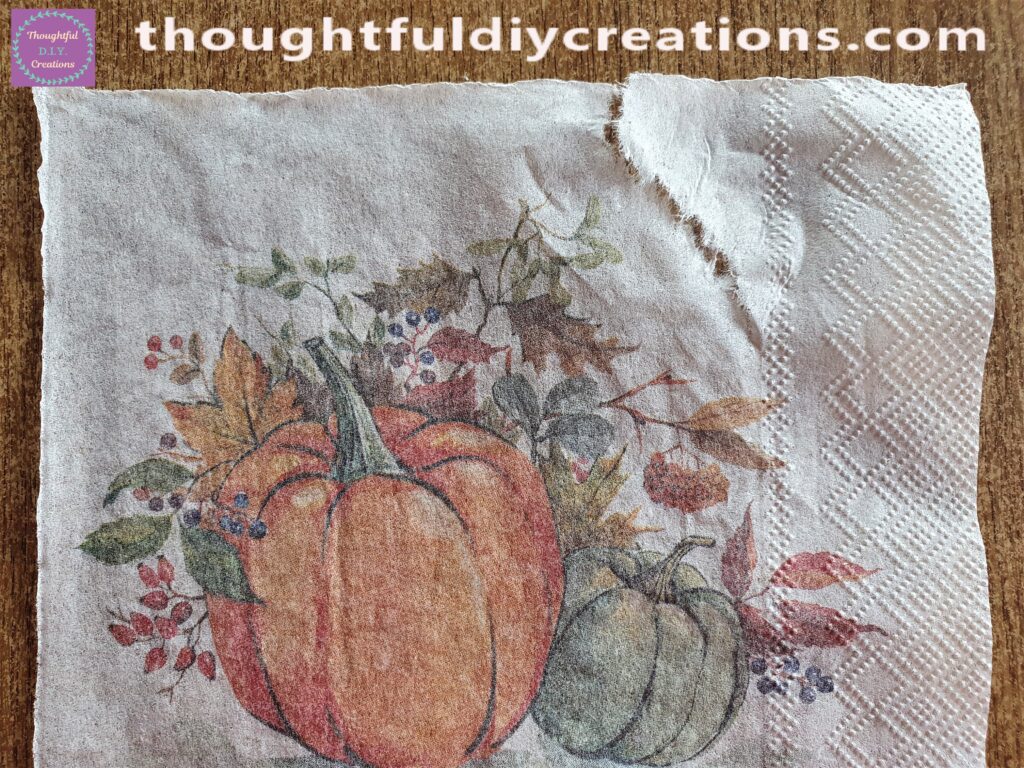
I Continued with this Process until I had tore all around the Design on the Napkin.
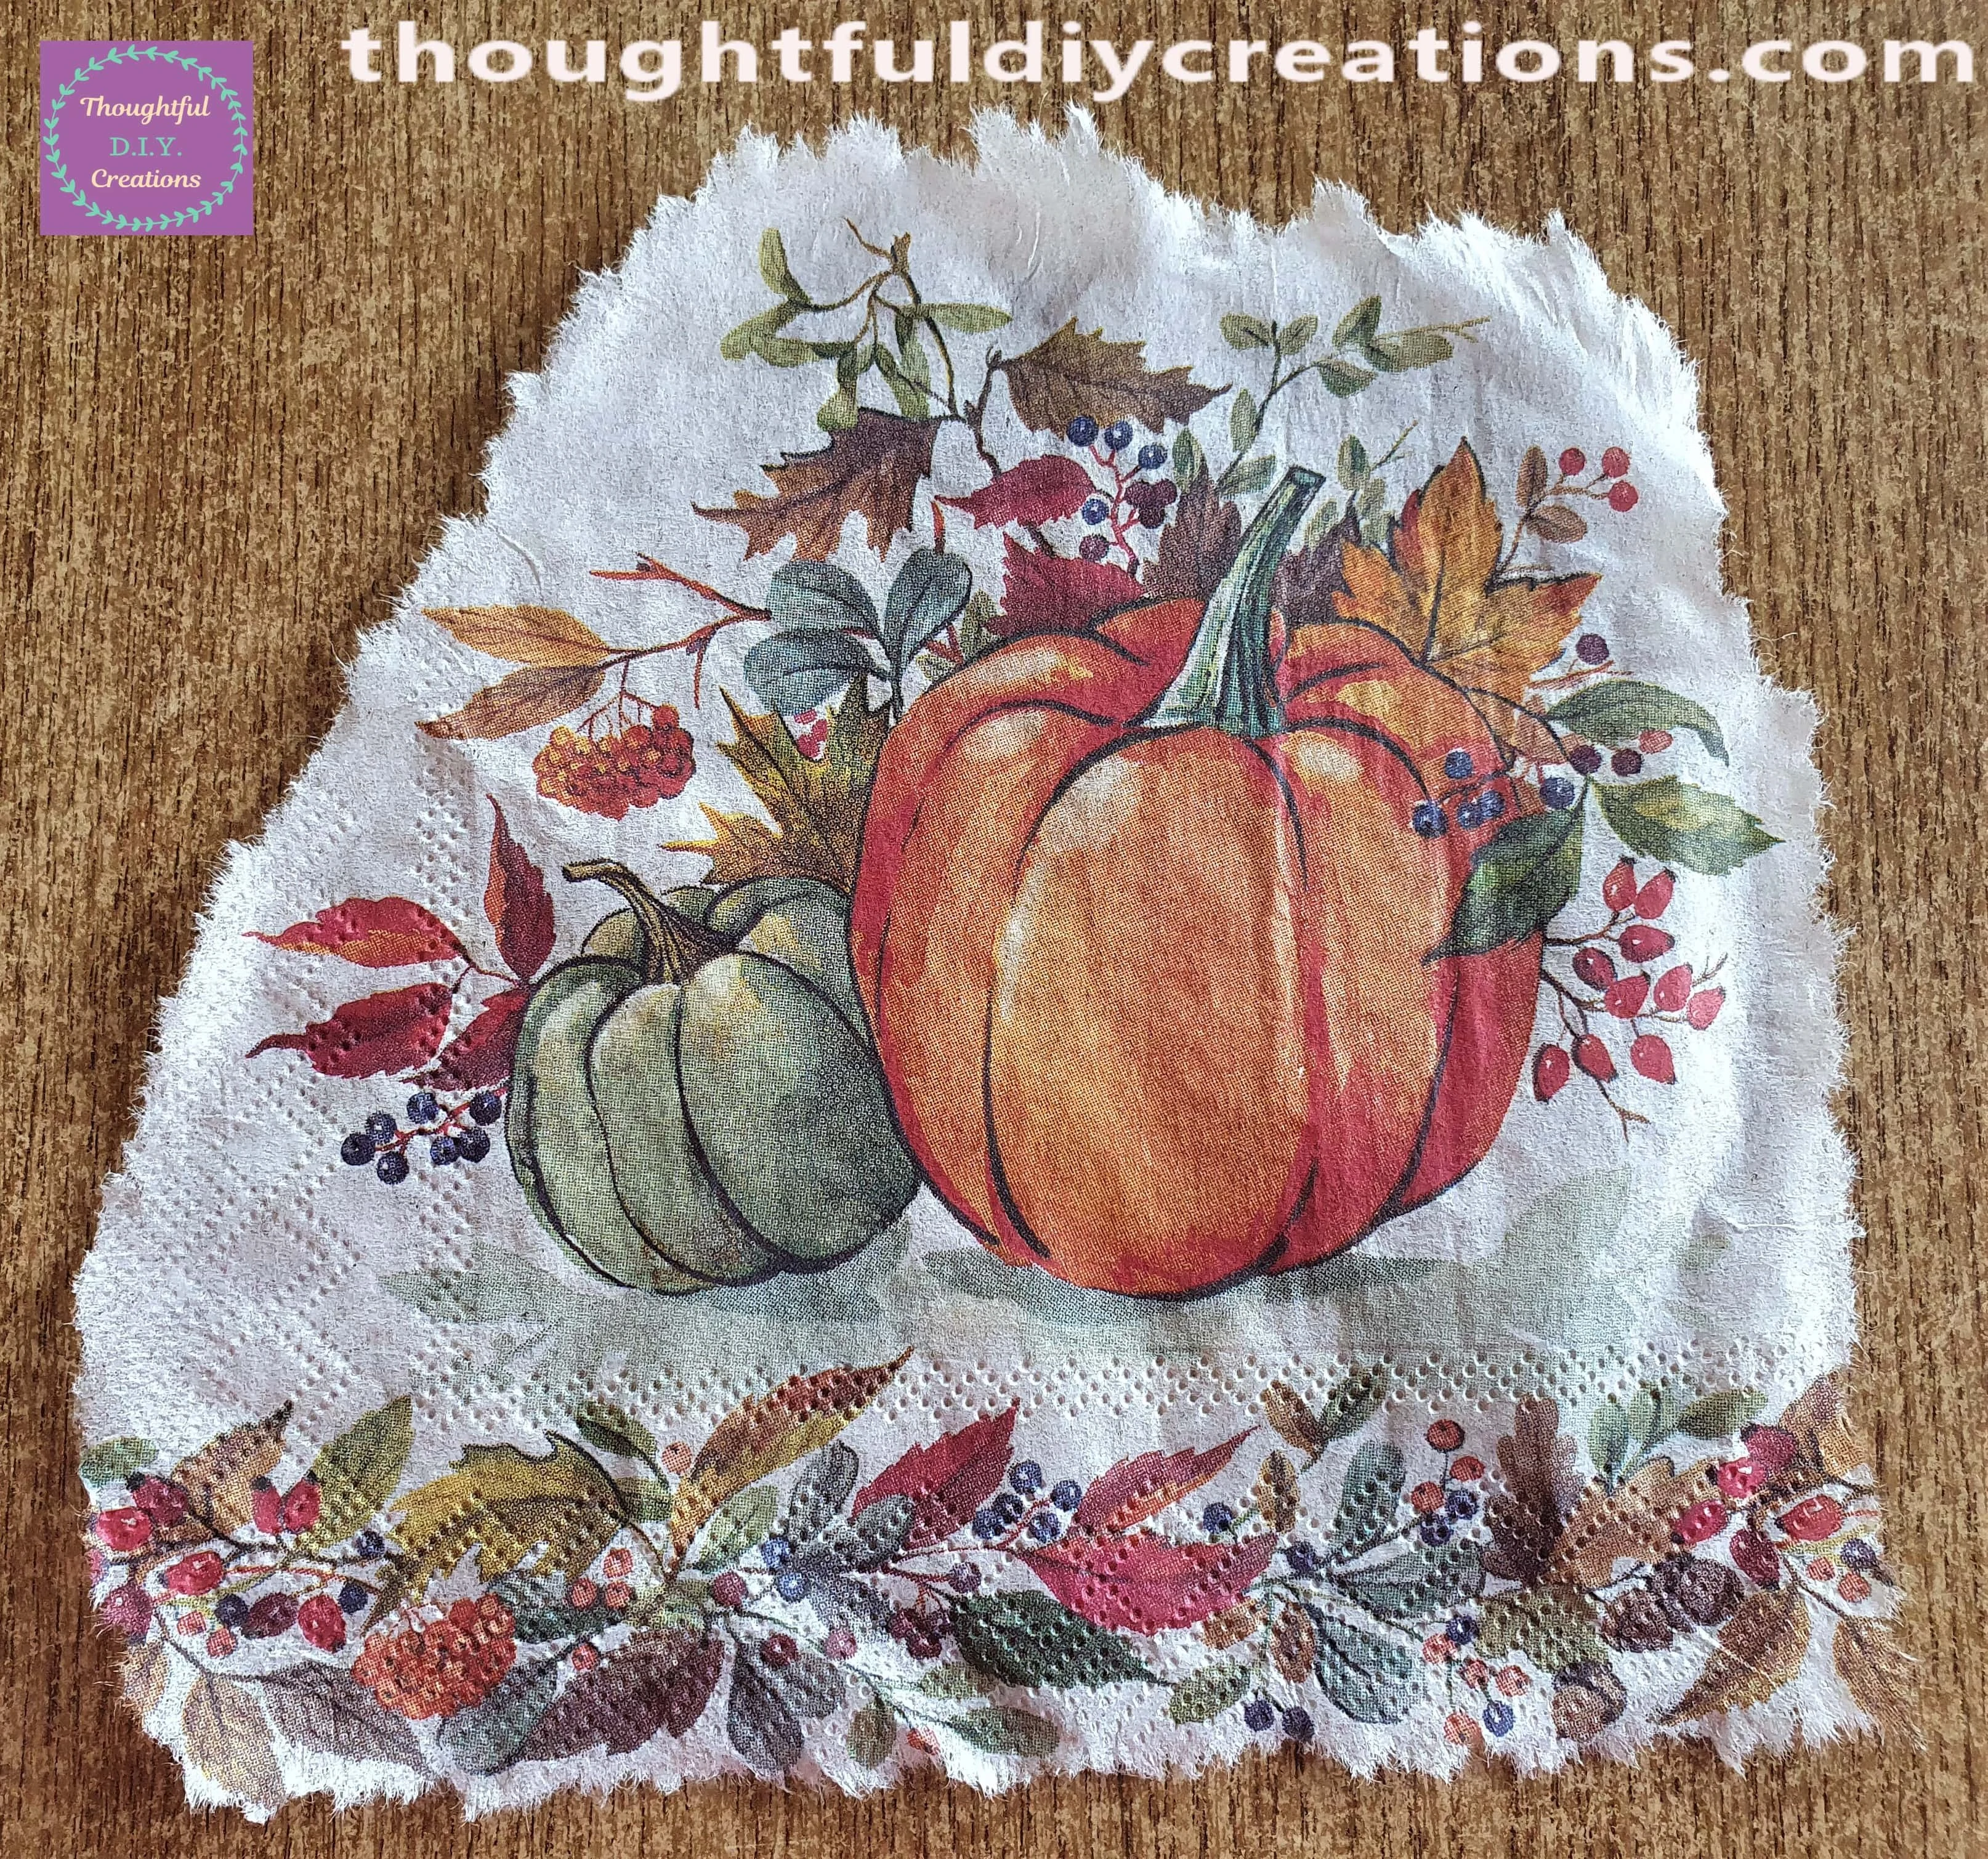
By tearing the Napkin it will be much easier to blend the edges into the background of whatever object you’re Decoupaging it onto. If you Cut around the edges; they would show up as sharp lines on your object and be much harder to disguise.

I turned the Napkin back around and this is the result from tearing close to the Design.
Preparing to Decoupage
I got a Plastic Sleeve for a Folder and Cut the Front Side off.
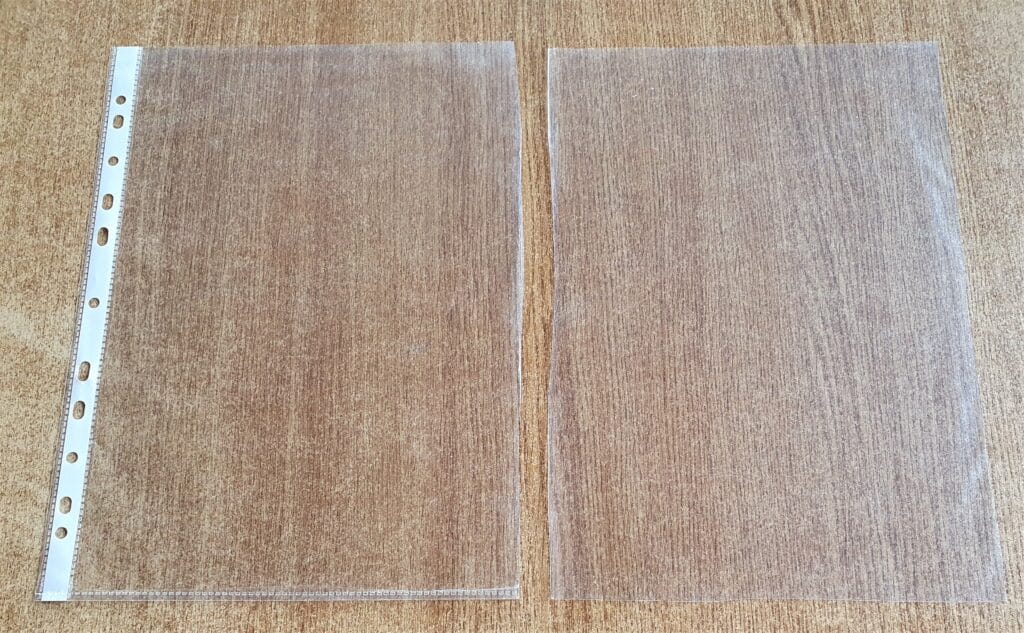
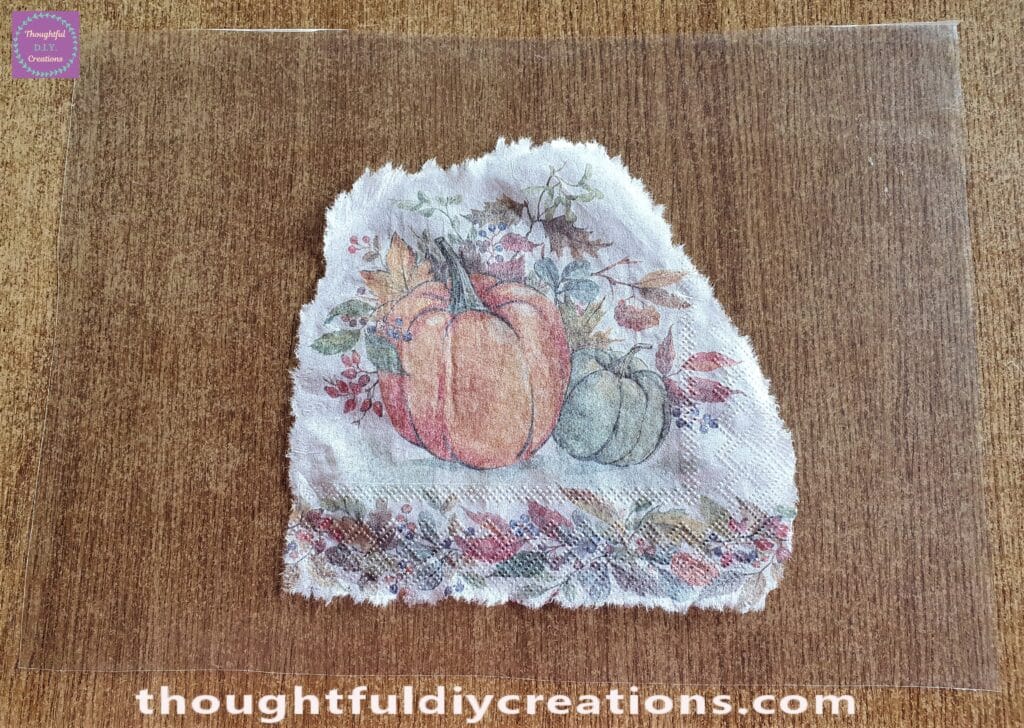
I got the Front Plastic Sheet that I just Cut off and turned it Sideways. I put the Napkin with the Design Facing Down on the Plastic Sheet.
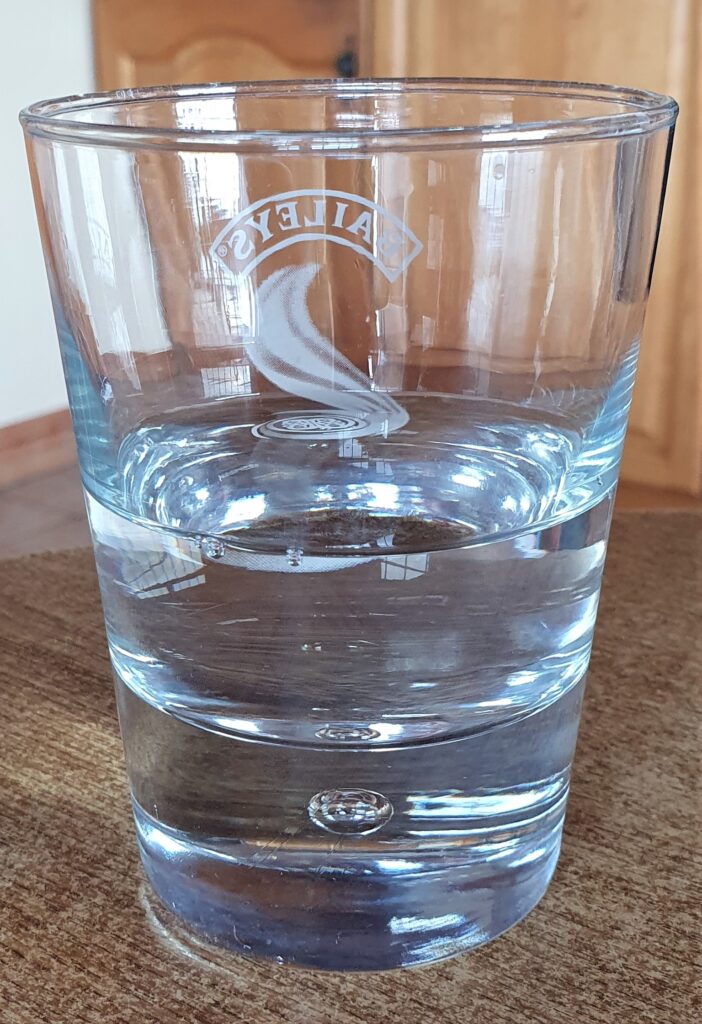
I got a small Glass and filled it about 1/3 of the way with Water.
The Decoupage Process
I Poured some Water on top of the Napkin.
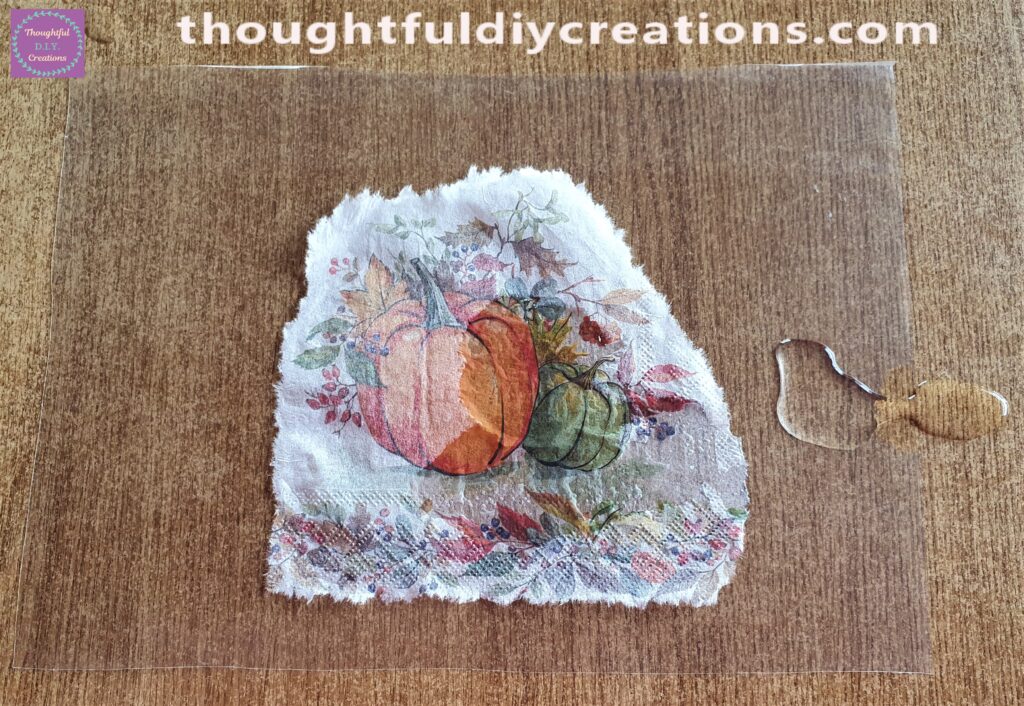
I Poured some more Water on the Top part of the Napkin.
I then picked up the 2 Sides of the Plastic Sheet with my Hands and moved the Sheet slowly up and down in the air. This made the water roll around the Napkin on the Plastic Sheet.
I Continued moving the Plastic Sheet with Napkin raised in the Air until the Whole Napkin was covered with Water.
I then held the Plastic Sheet straight up in the Air to let the excess water drip down onto the Table. The wet Napkin will stay attached to the Plastic Sheet when you’re doing this.
I put the Plastic Sheet with Napkin attached further up on the Table.
I then Dried the Table with Kitchen Paper. I put the Plastic Sheet on top of a Sheet of Kitchen Paper. I dried the excess water around the Napkin on the Plastc Sheet with another piece of Kitchen Paper.
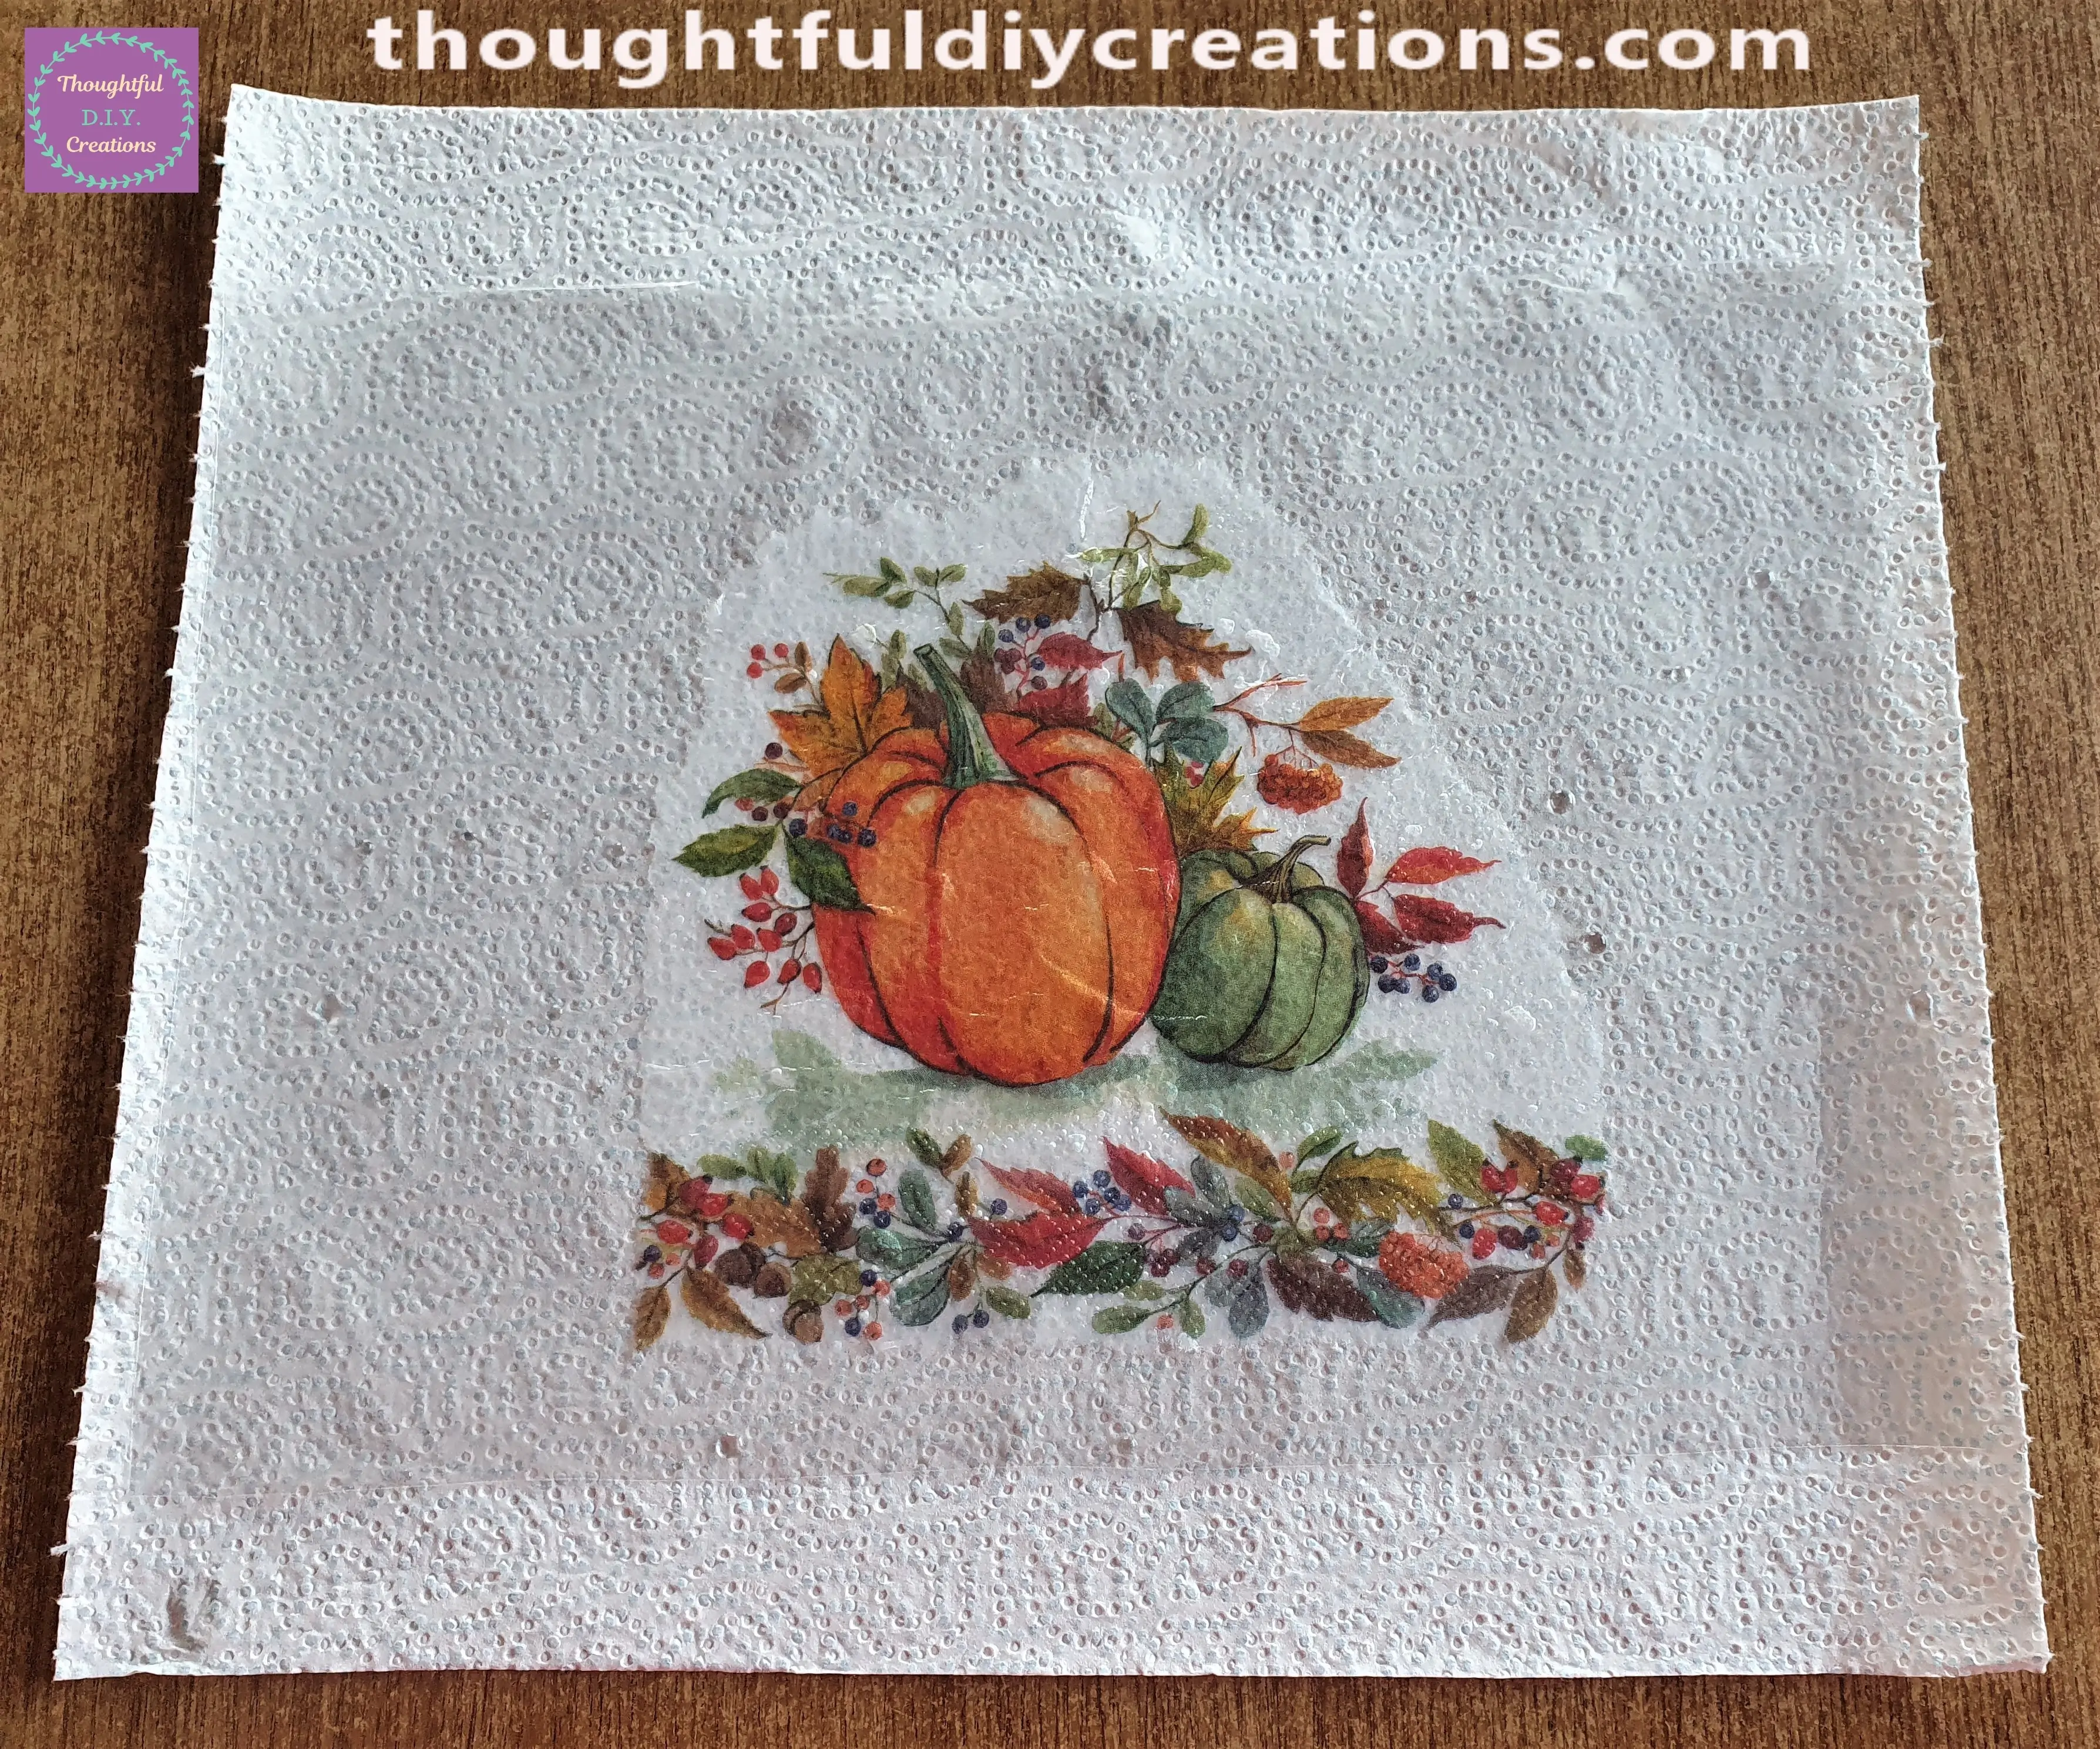
I removed the Kitchen Paper from underneath the Plastic Sheet.
Removing the Wrinkles from the Decoupaged Napkin
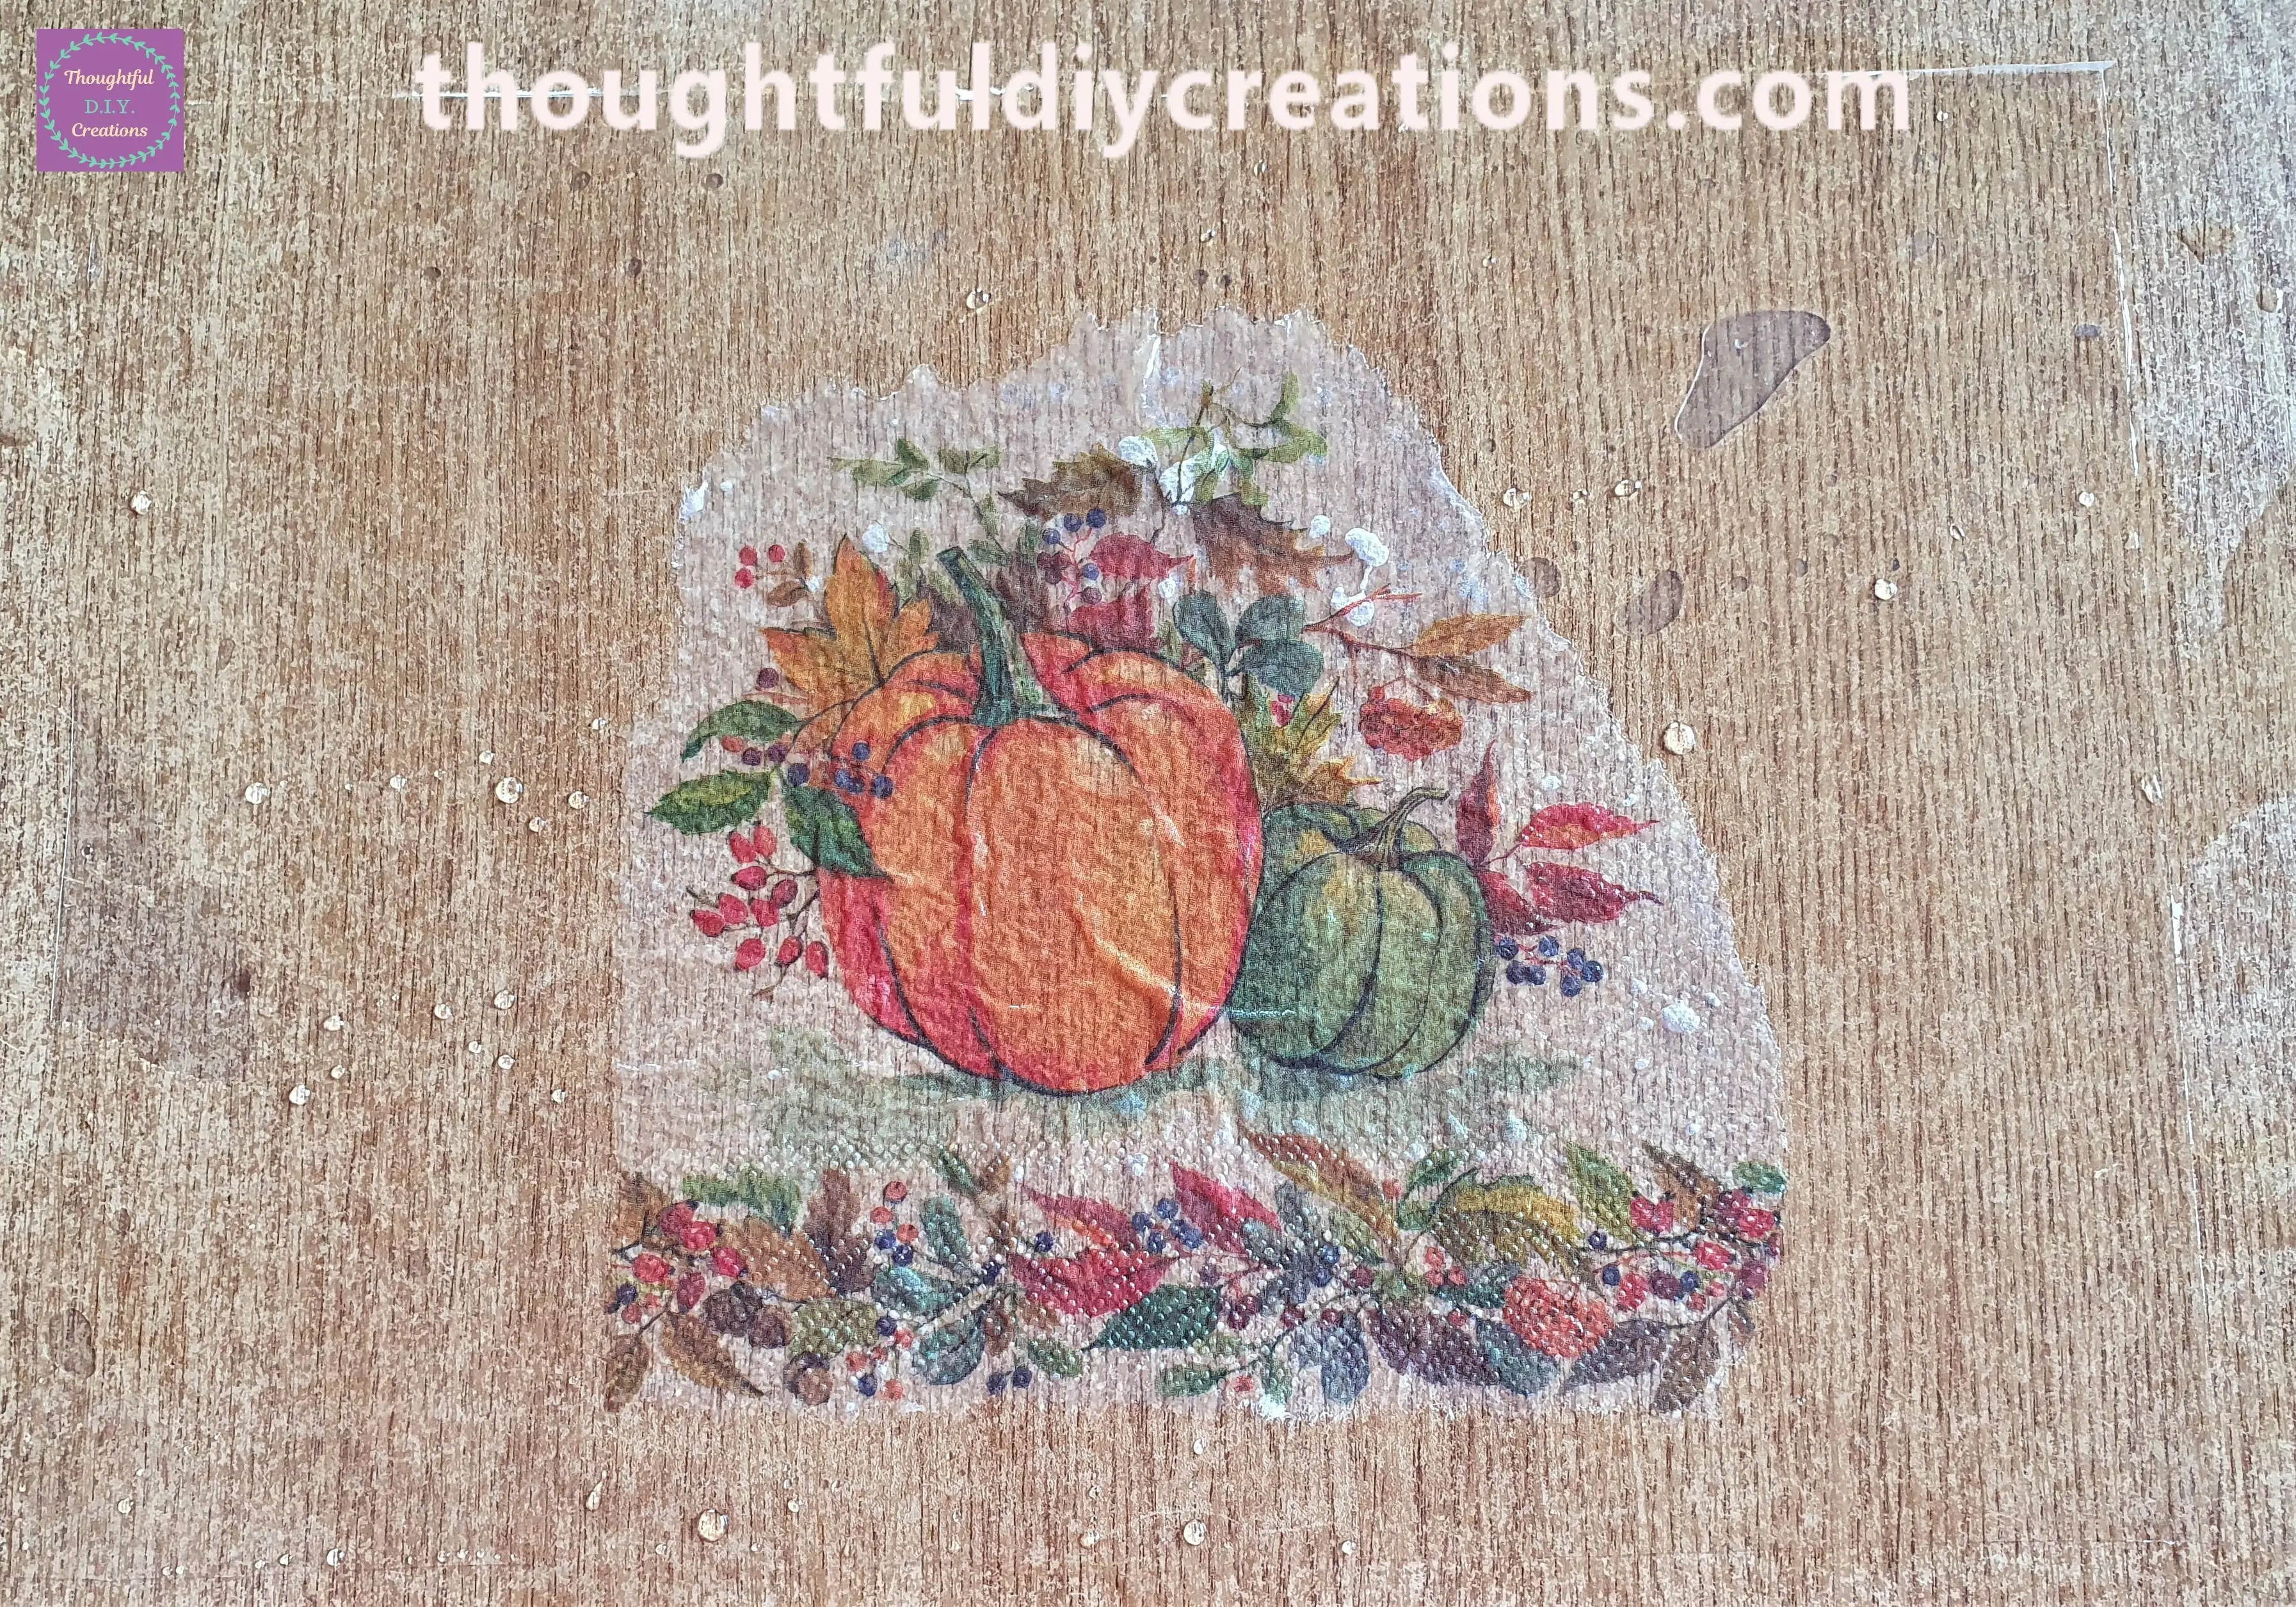
I got a Dry, Flat Paintbrush and started to carefully brush the wrinkles out of the Napkin.
I started in the middle of the Napkin and brushed outwards. The raised bubbles pop out as you brush them.
When the Paintbrush gets wet just brush the bristles againt your left hand to dry it out again and Continue to brush out the Creases on the Napkin.
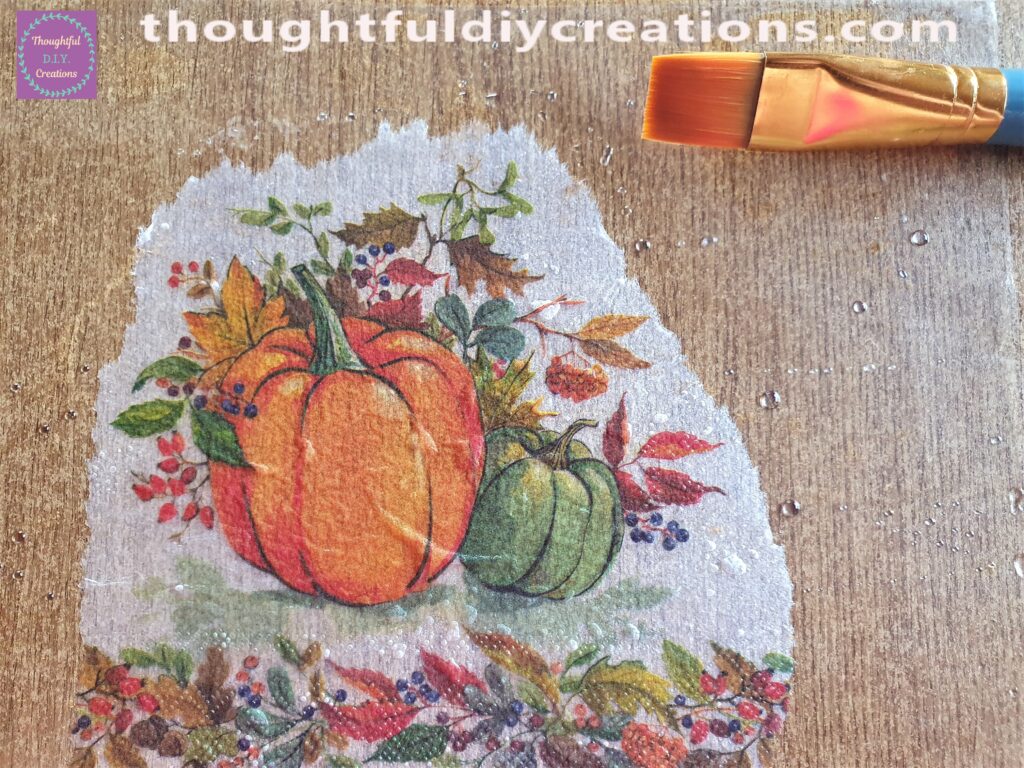
I Repeated this Process until every Wrinkle was removed from the Napkin.
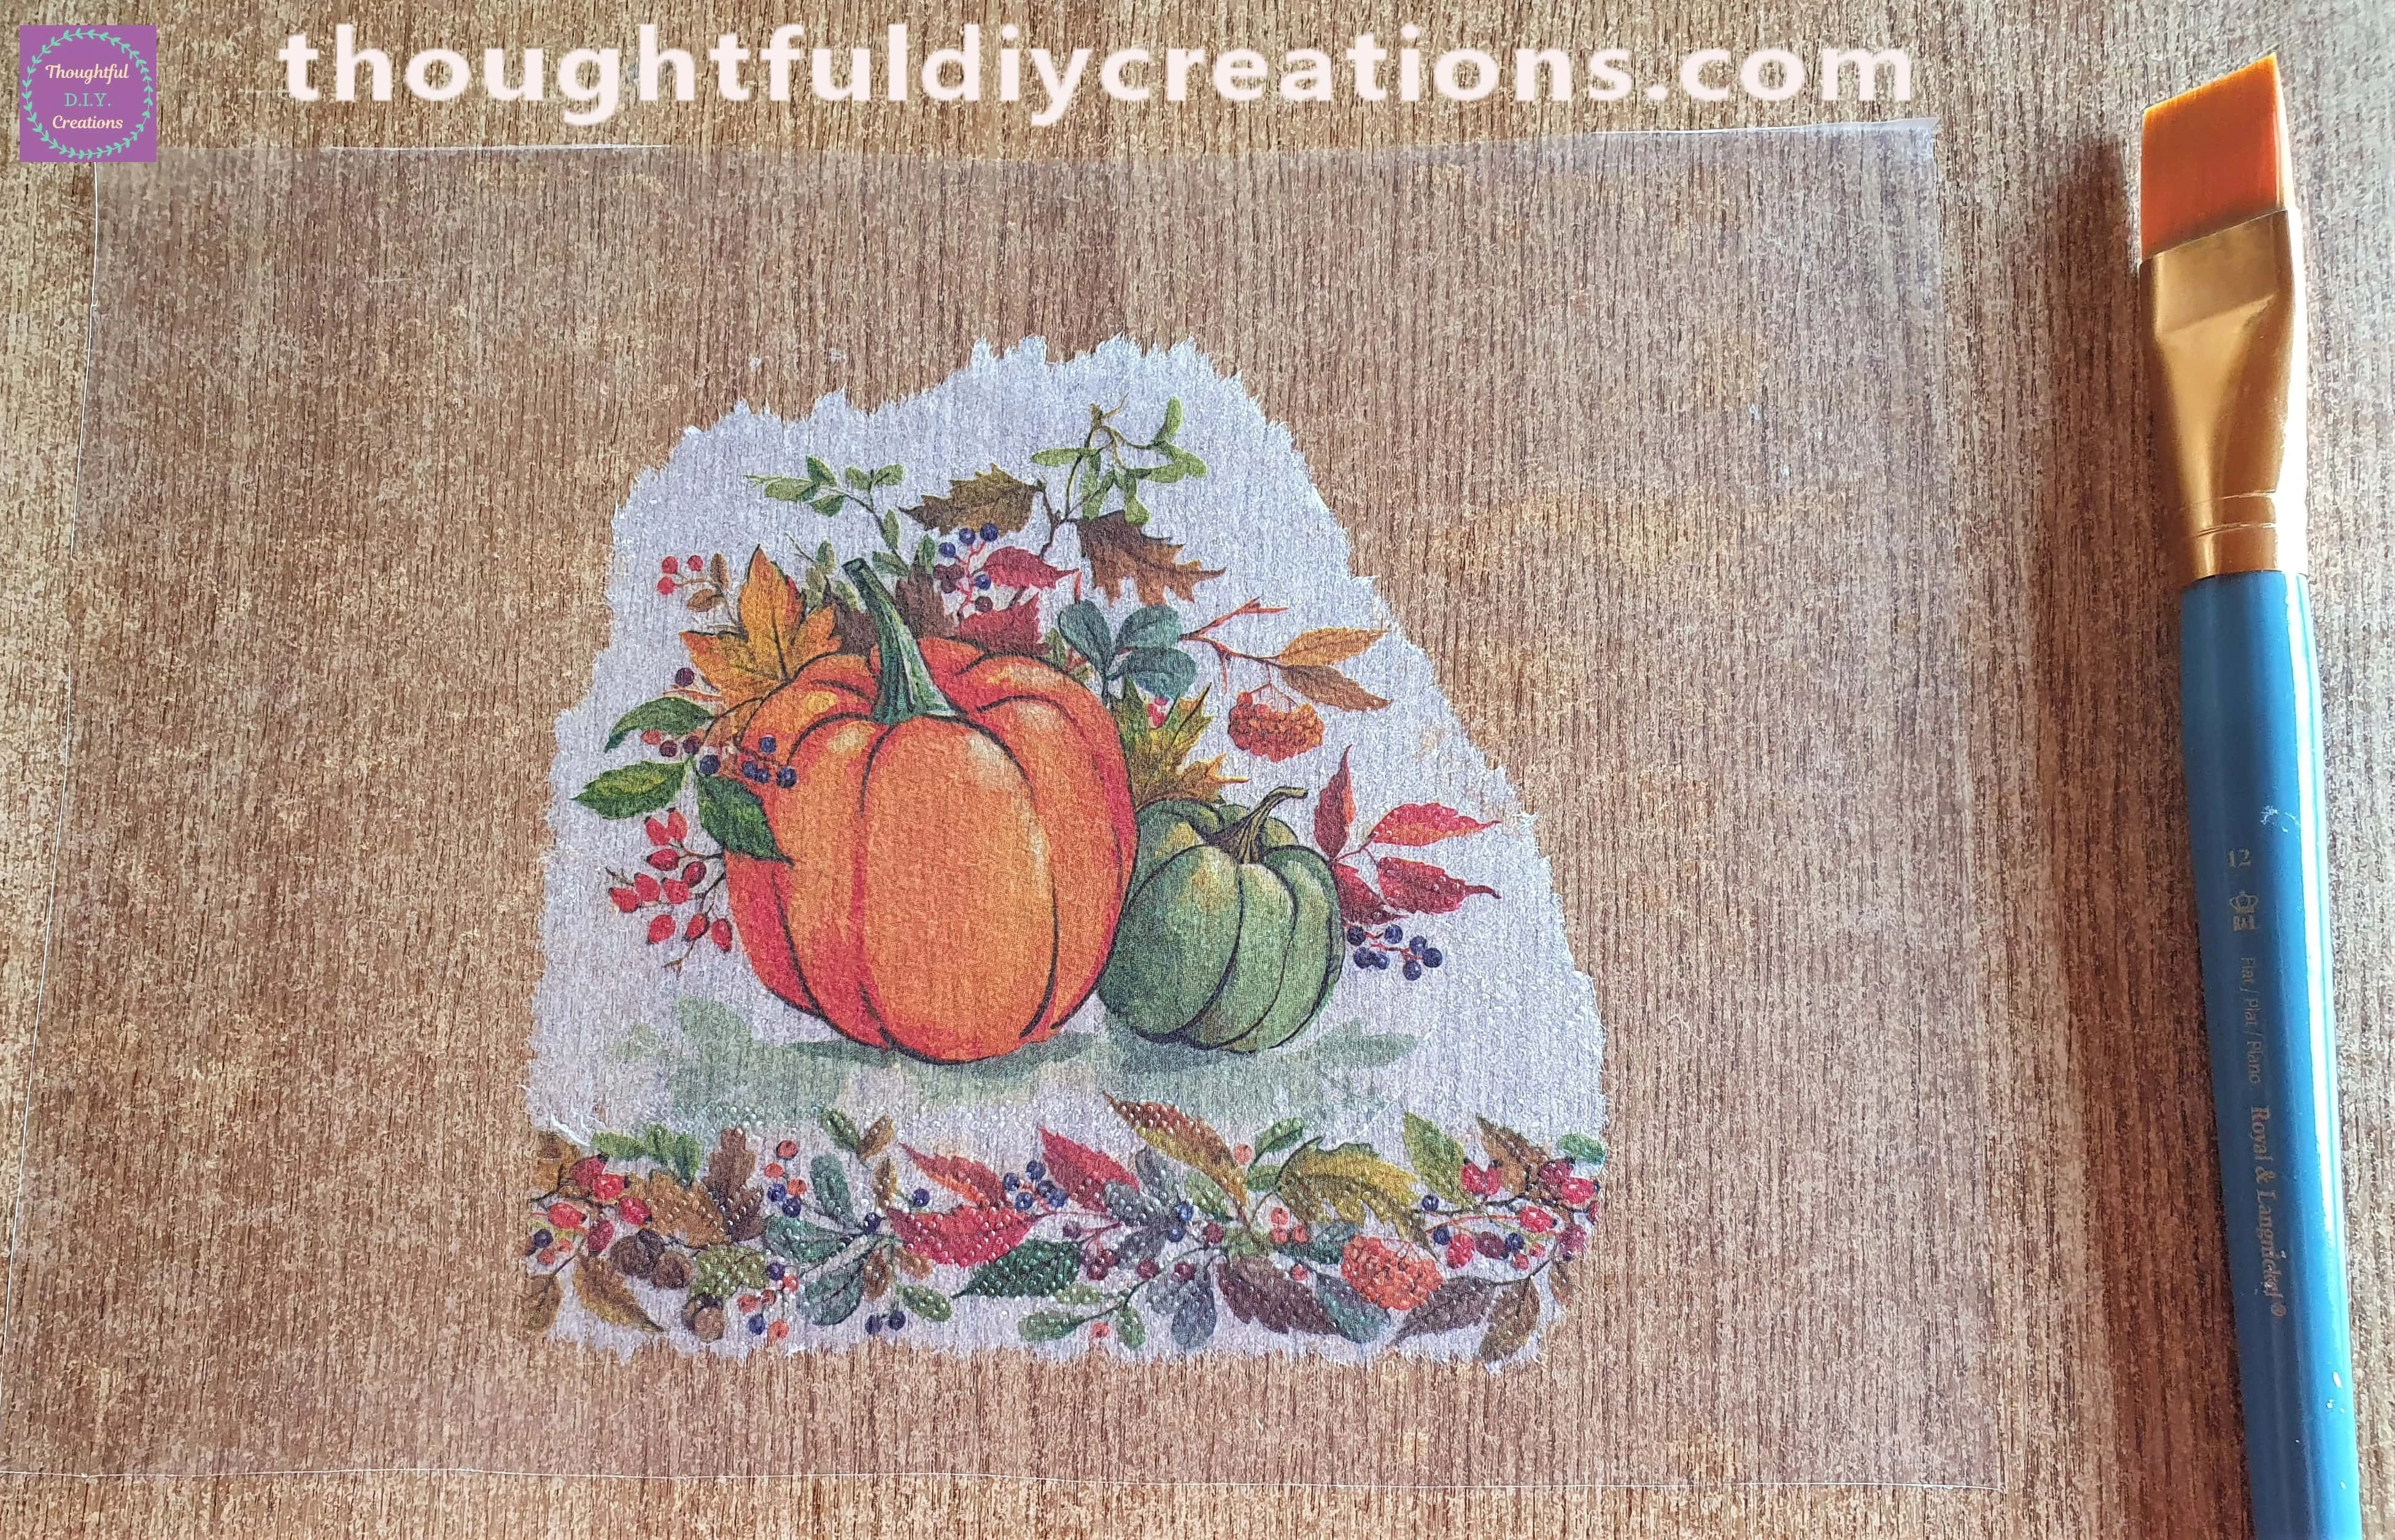
Here is a Closer View of the Napkin with all the Creases removed from using the Brush.
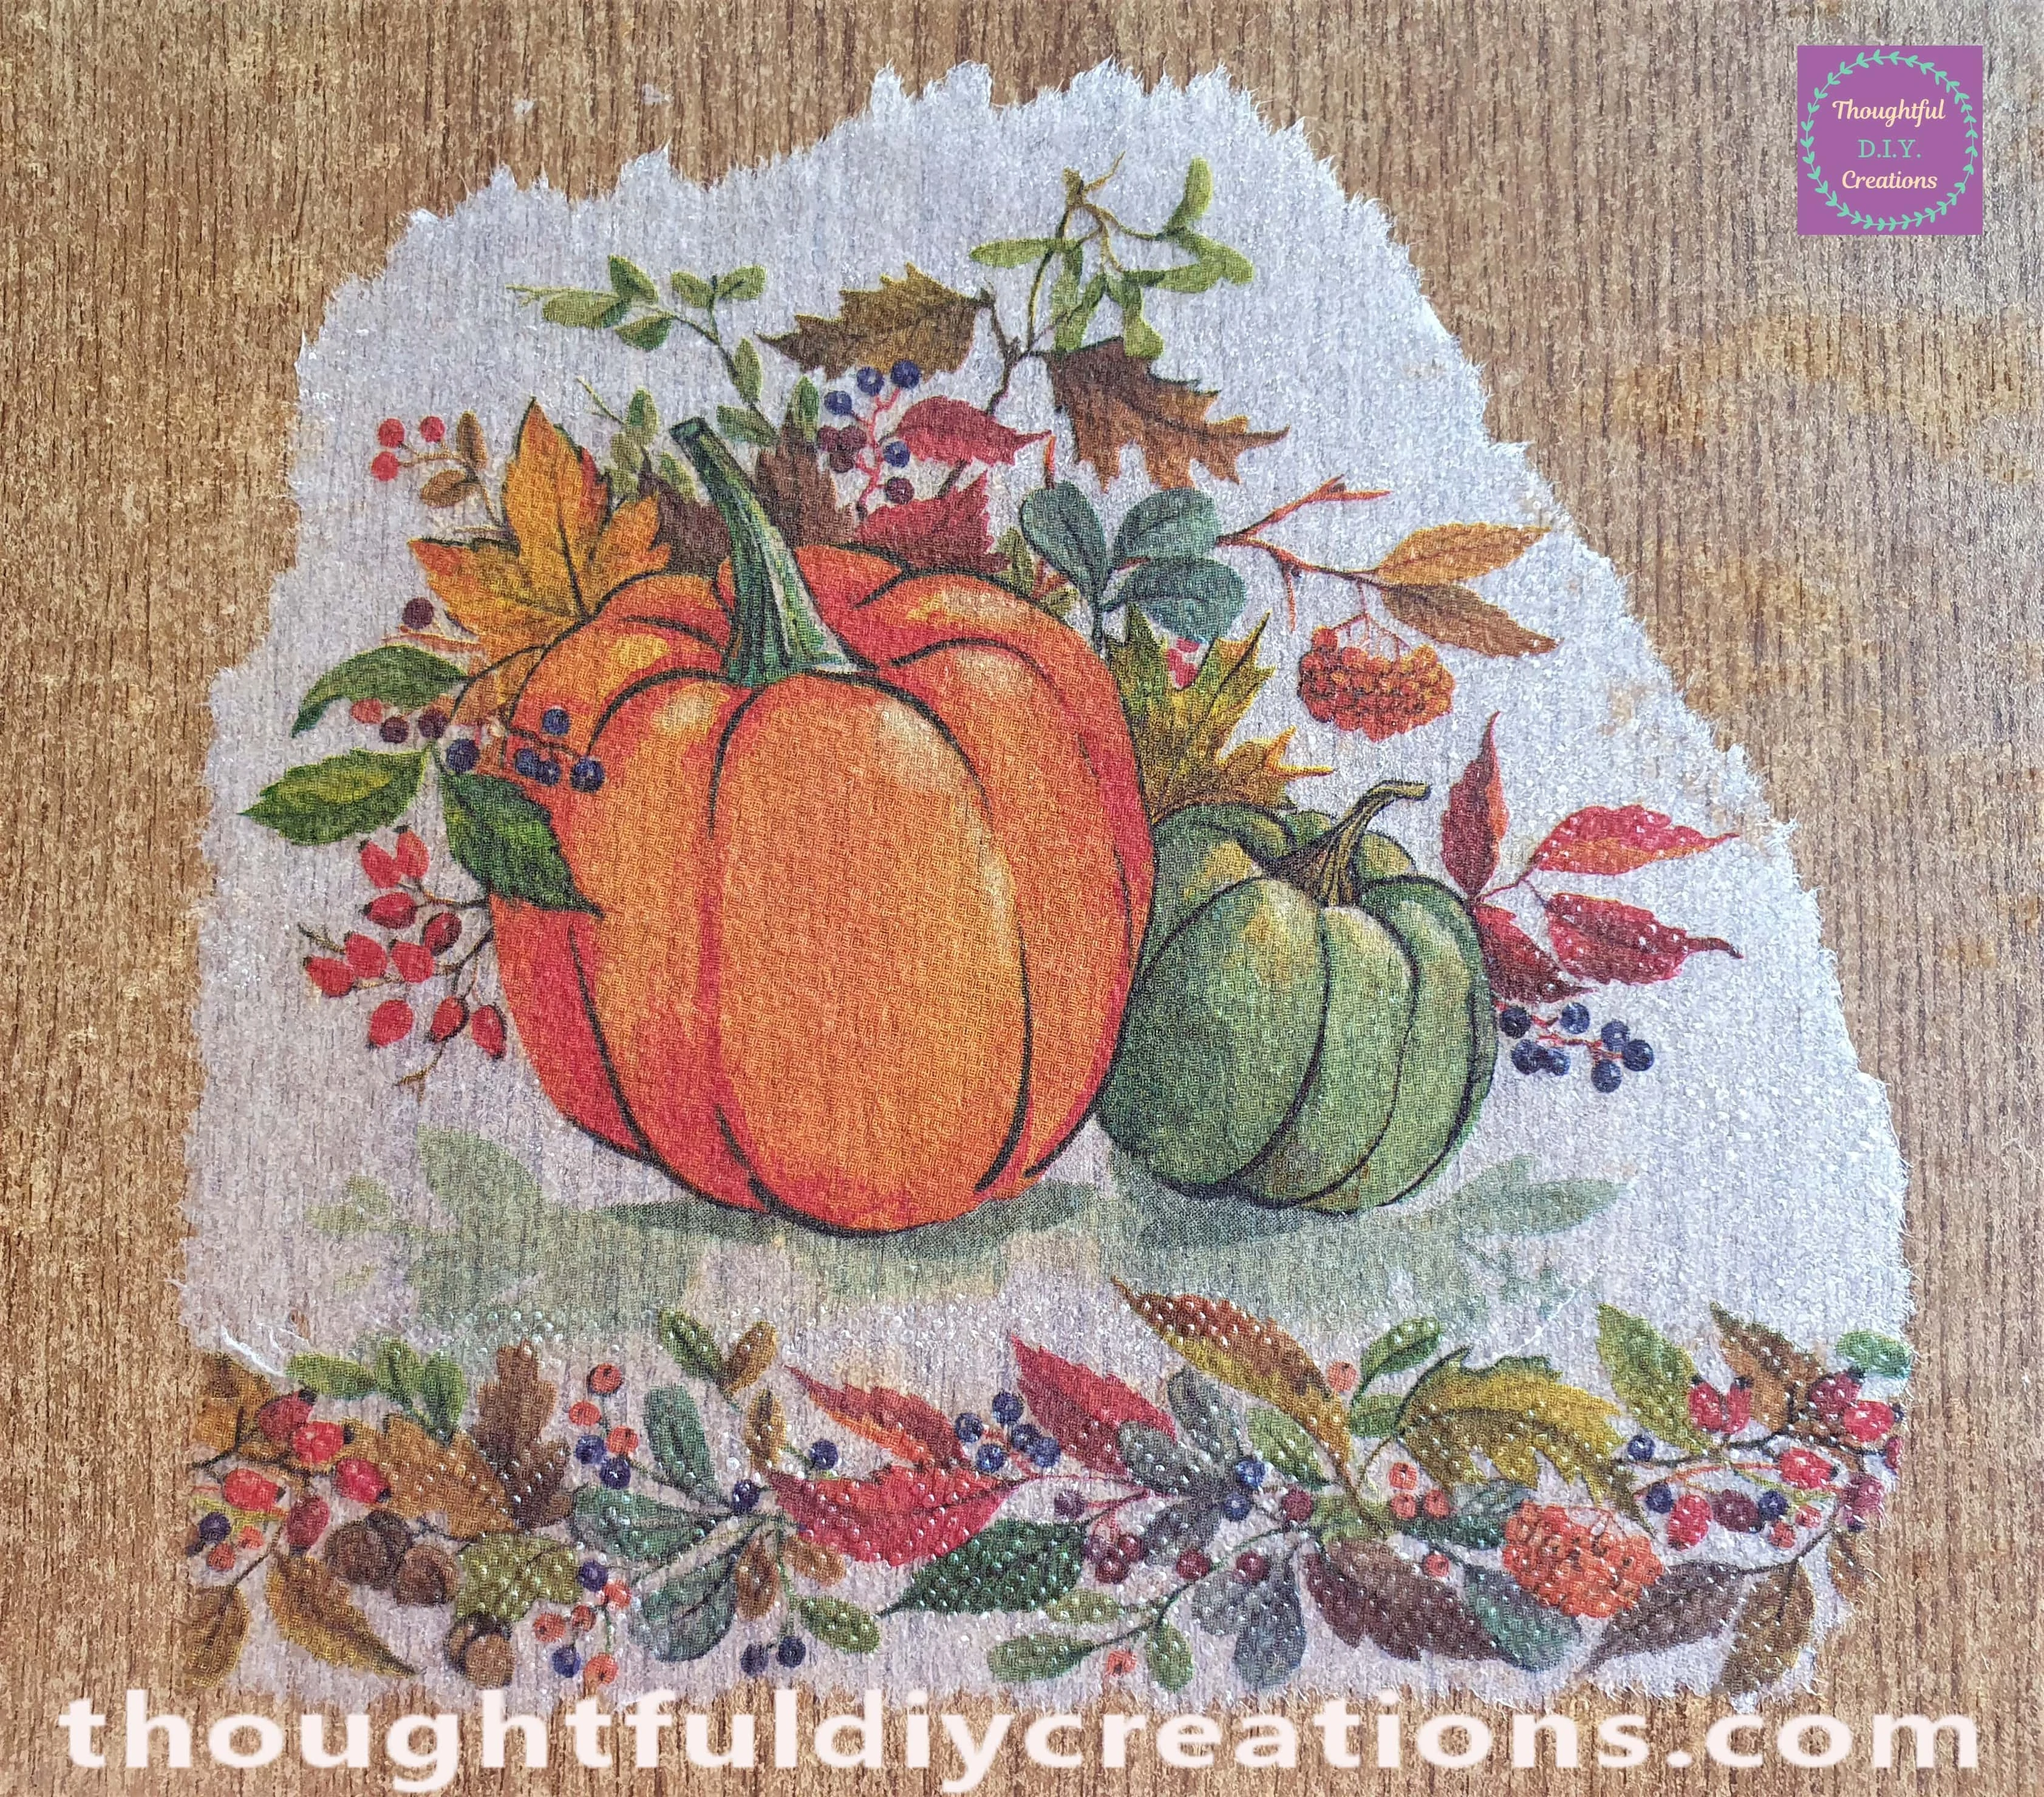
Attaching the Napkin to the Chopping Board
I put the Painted Chopping Board on the Table in front of me. I lifted up the Sides of the Plastic Sheet into the Air and switched it over in my Hands to now have the Napkin facing the right way.
I put the Plastic Sheet down where I wanted it on top of the Chopping Board. The Front of the Napkin is now facing upwards underneath the Plastic Sheet.
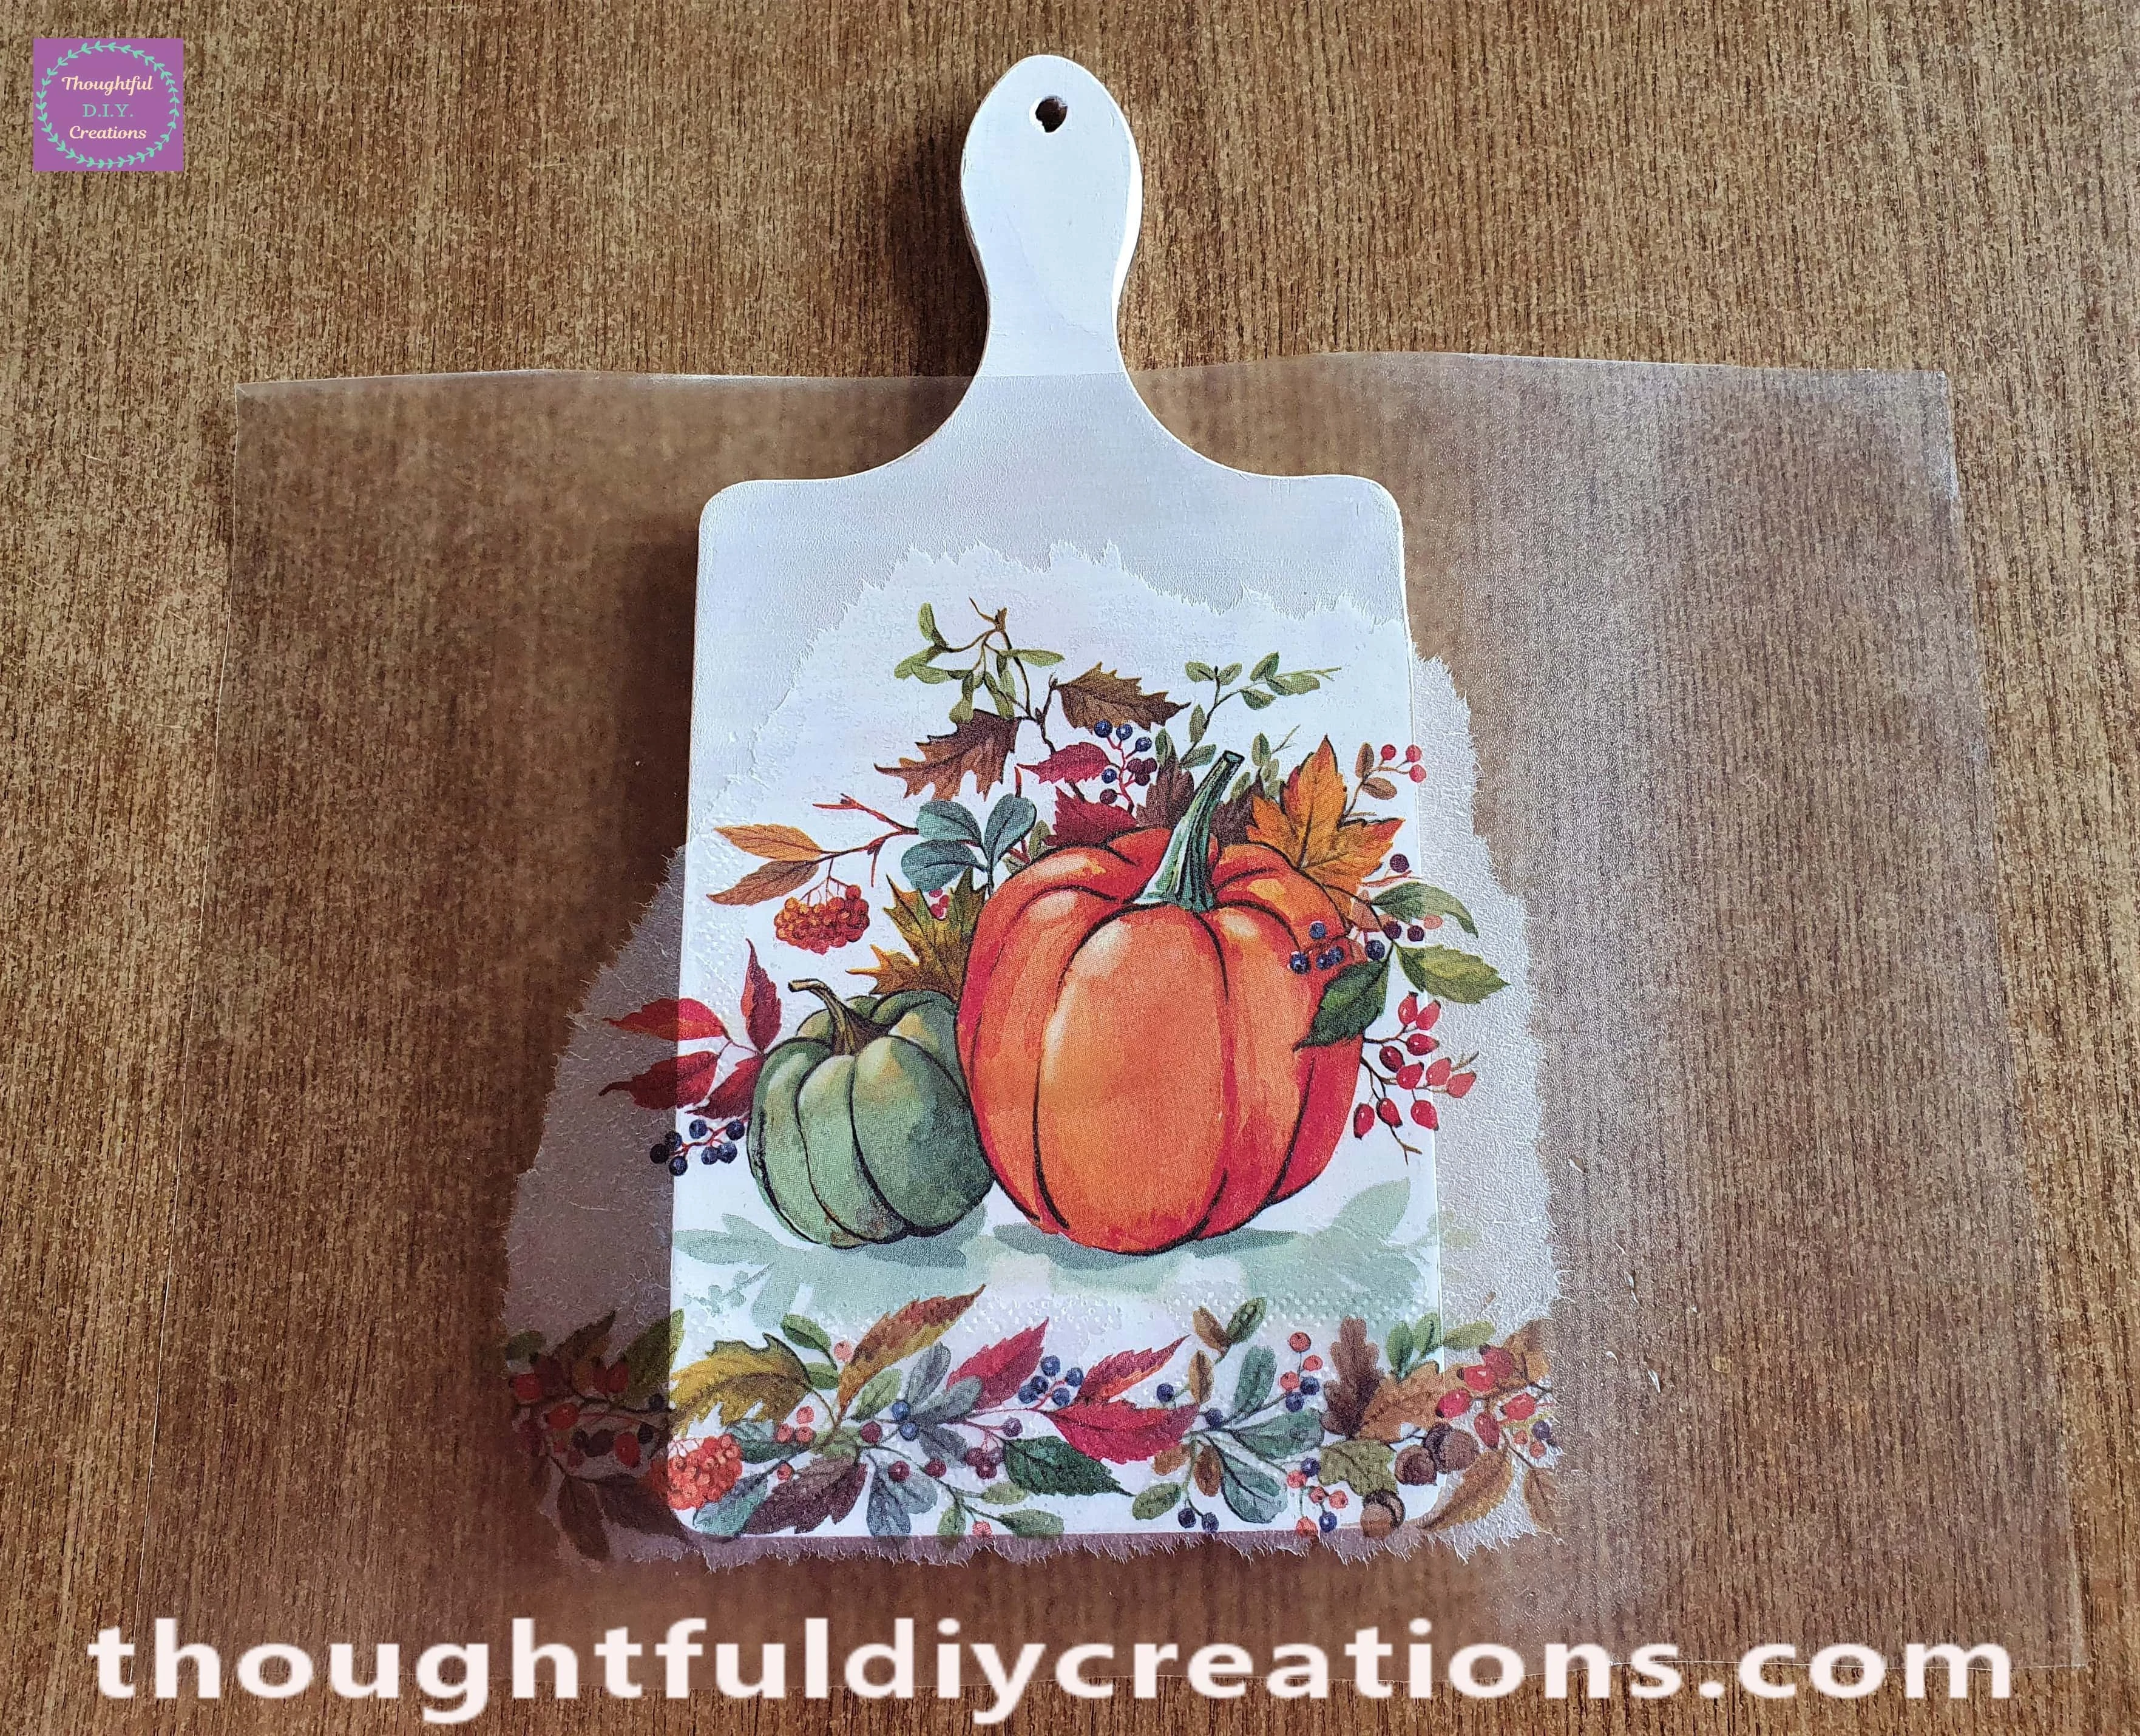
I got my Yellow Squeegee Tool (you can use an old loyalty / debit card if you don’t have a squeegee tool) and pressed downwards over the Plastic Sheet to attach the the Napkin to the Chopping Board.
The excess water will be released at the top and bottom of the Chopping Board.
I worked on the Front of the Chopping Board first and pressed the Yellow Tool all over the Design starting in the center and pressing it outwards to make sure it was being secured to the Chopping Board.
I then folded the Plastic Sheet around the Chopping Board and pressed the Squeegee Tool on the Plastic on the Sides of the Chopping Board one-by-one to attach the Design to the Sides of the Chopping Board.
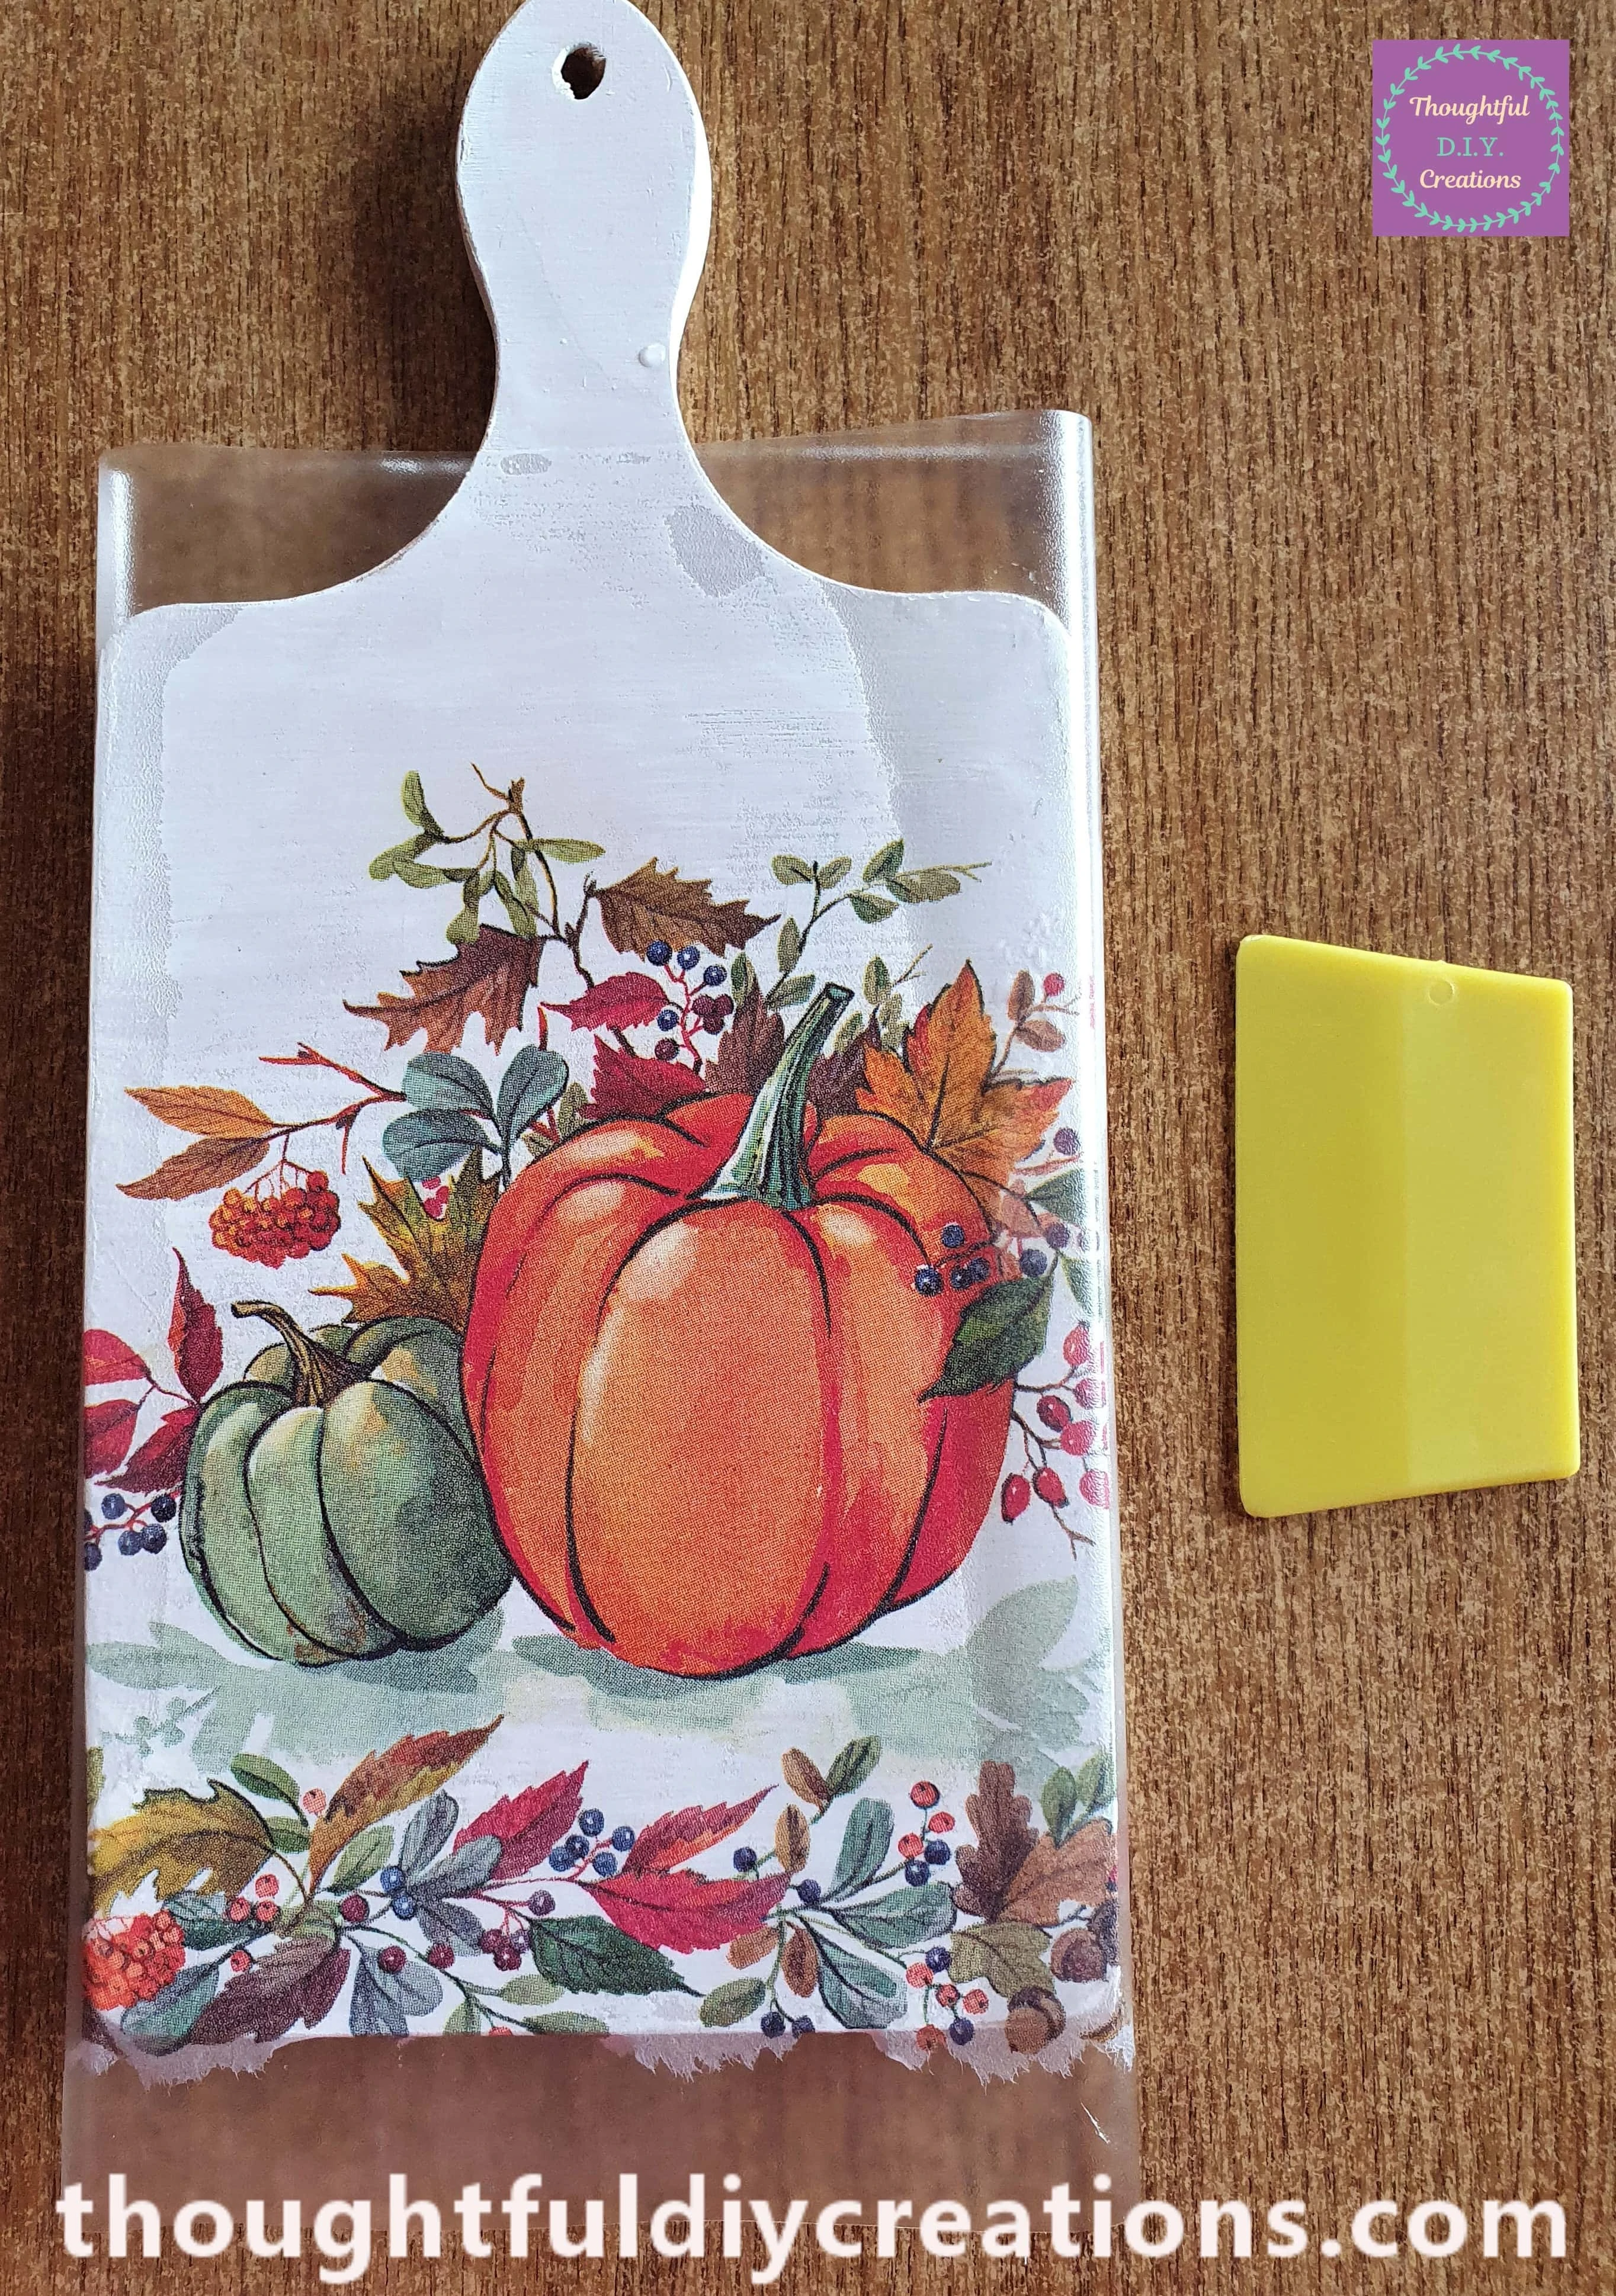
The Napkin being attached to the Side of the Chopping Board.
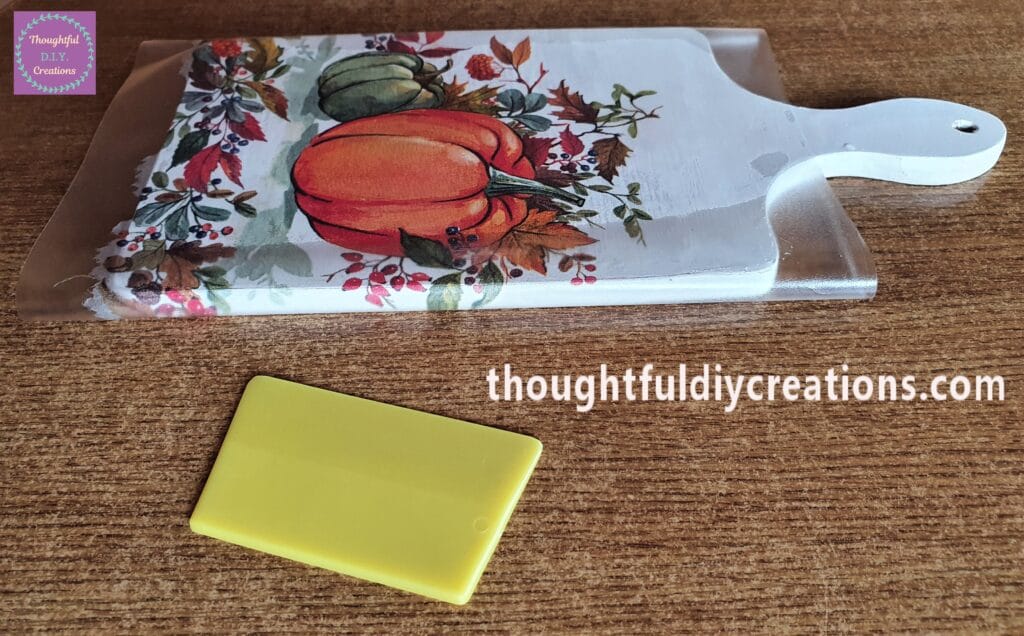
When I felt I had the Napkin Decoupaged to the Chopping Board; I slowly removed the Plastic Sheet. The Autumn Print was now attached to the Painted Chopping Board.
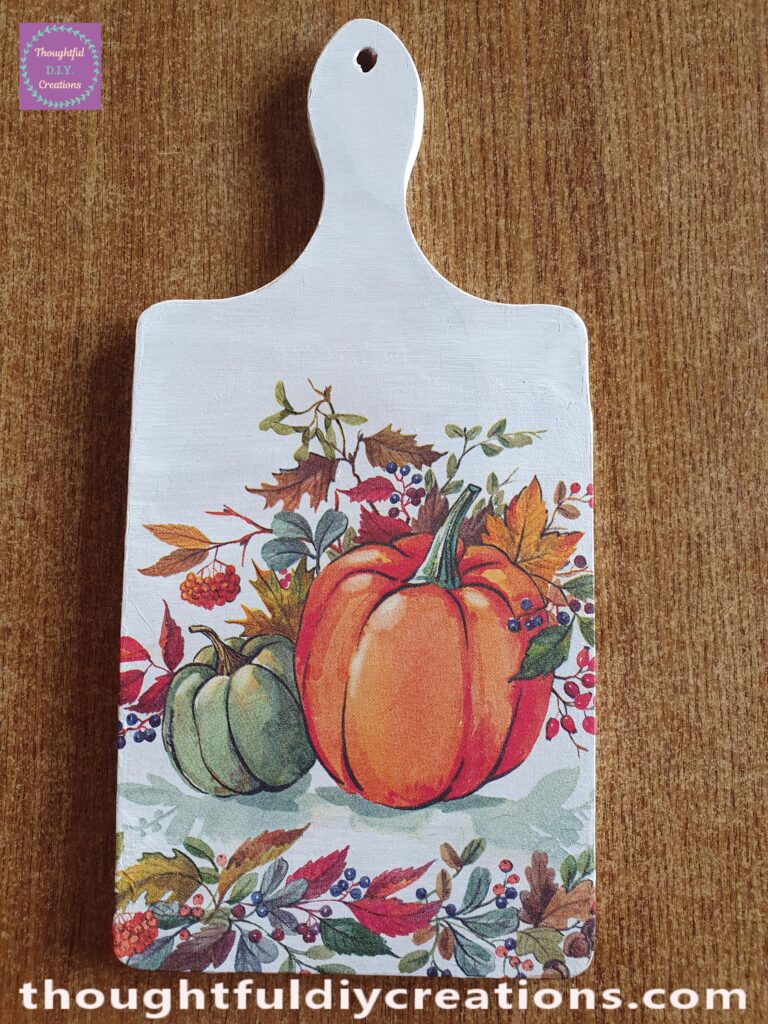
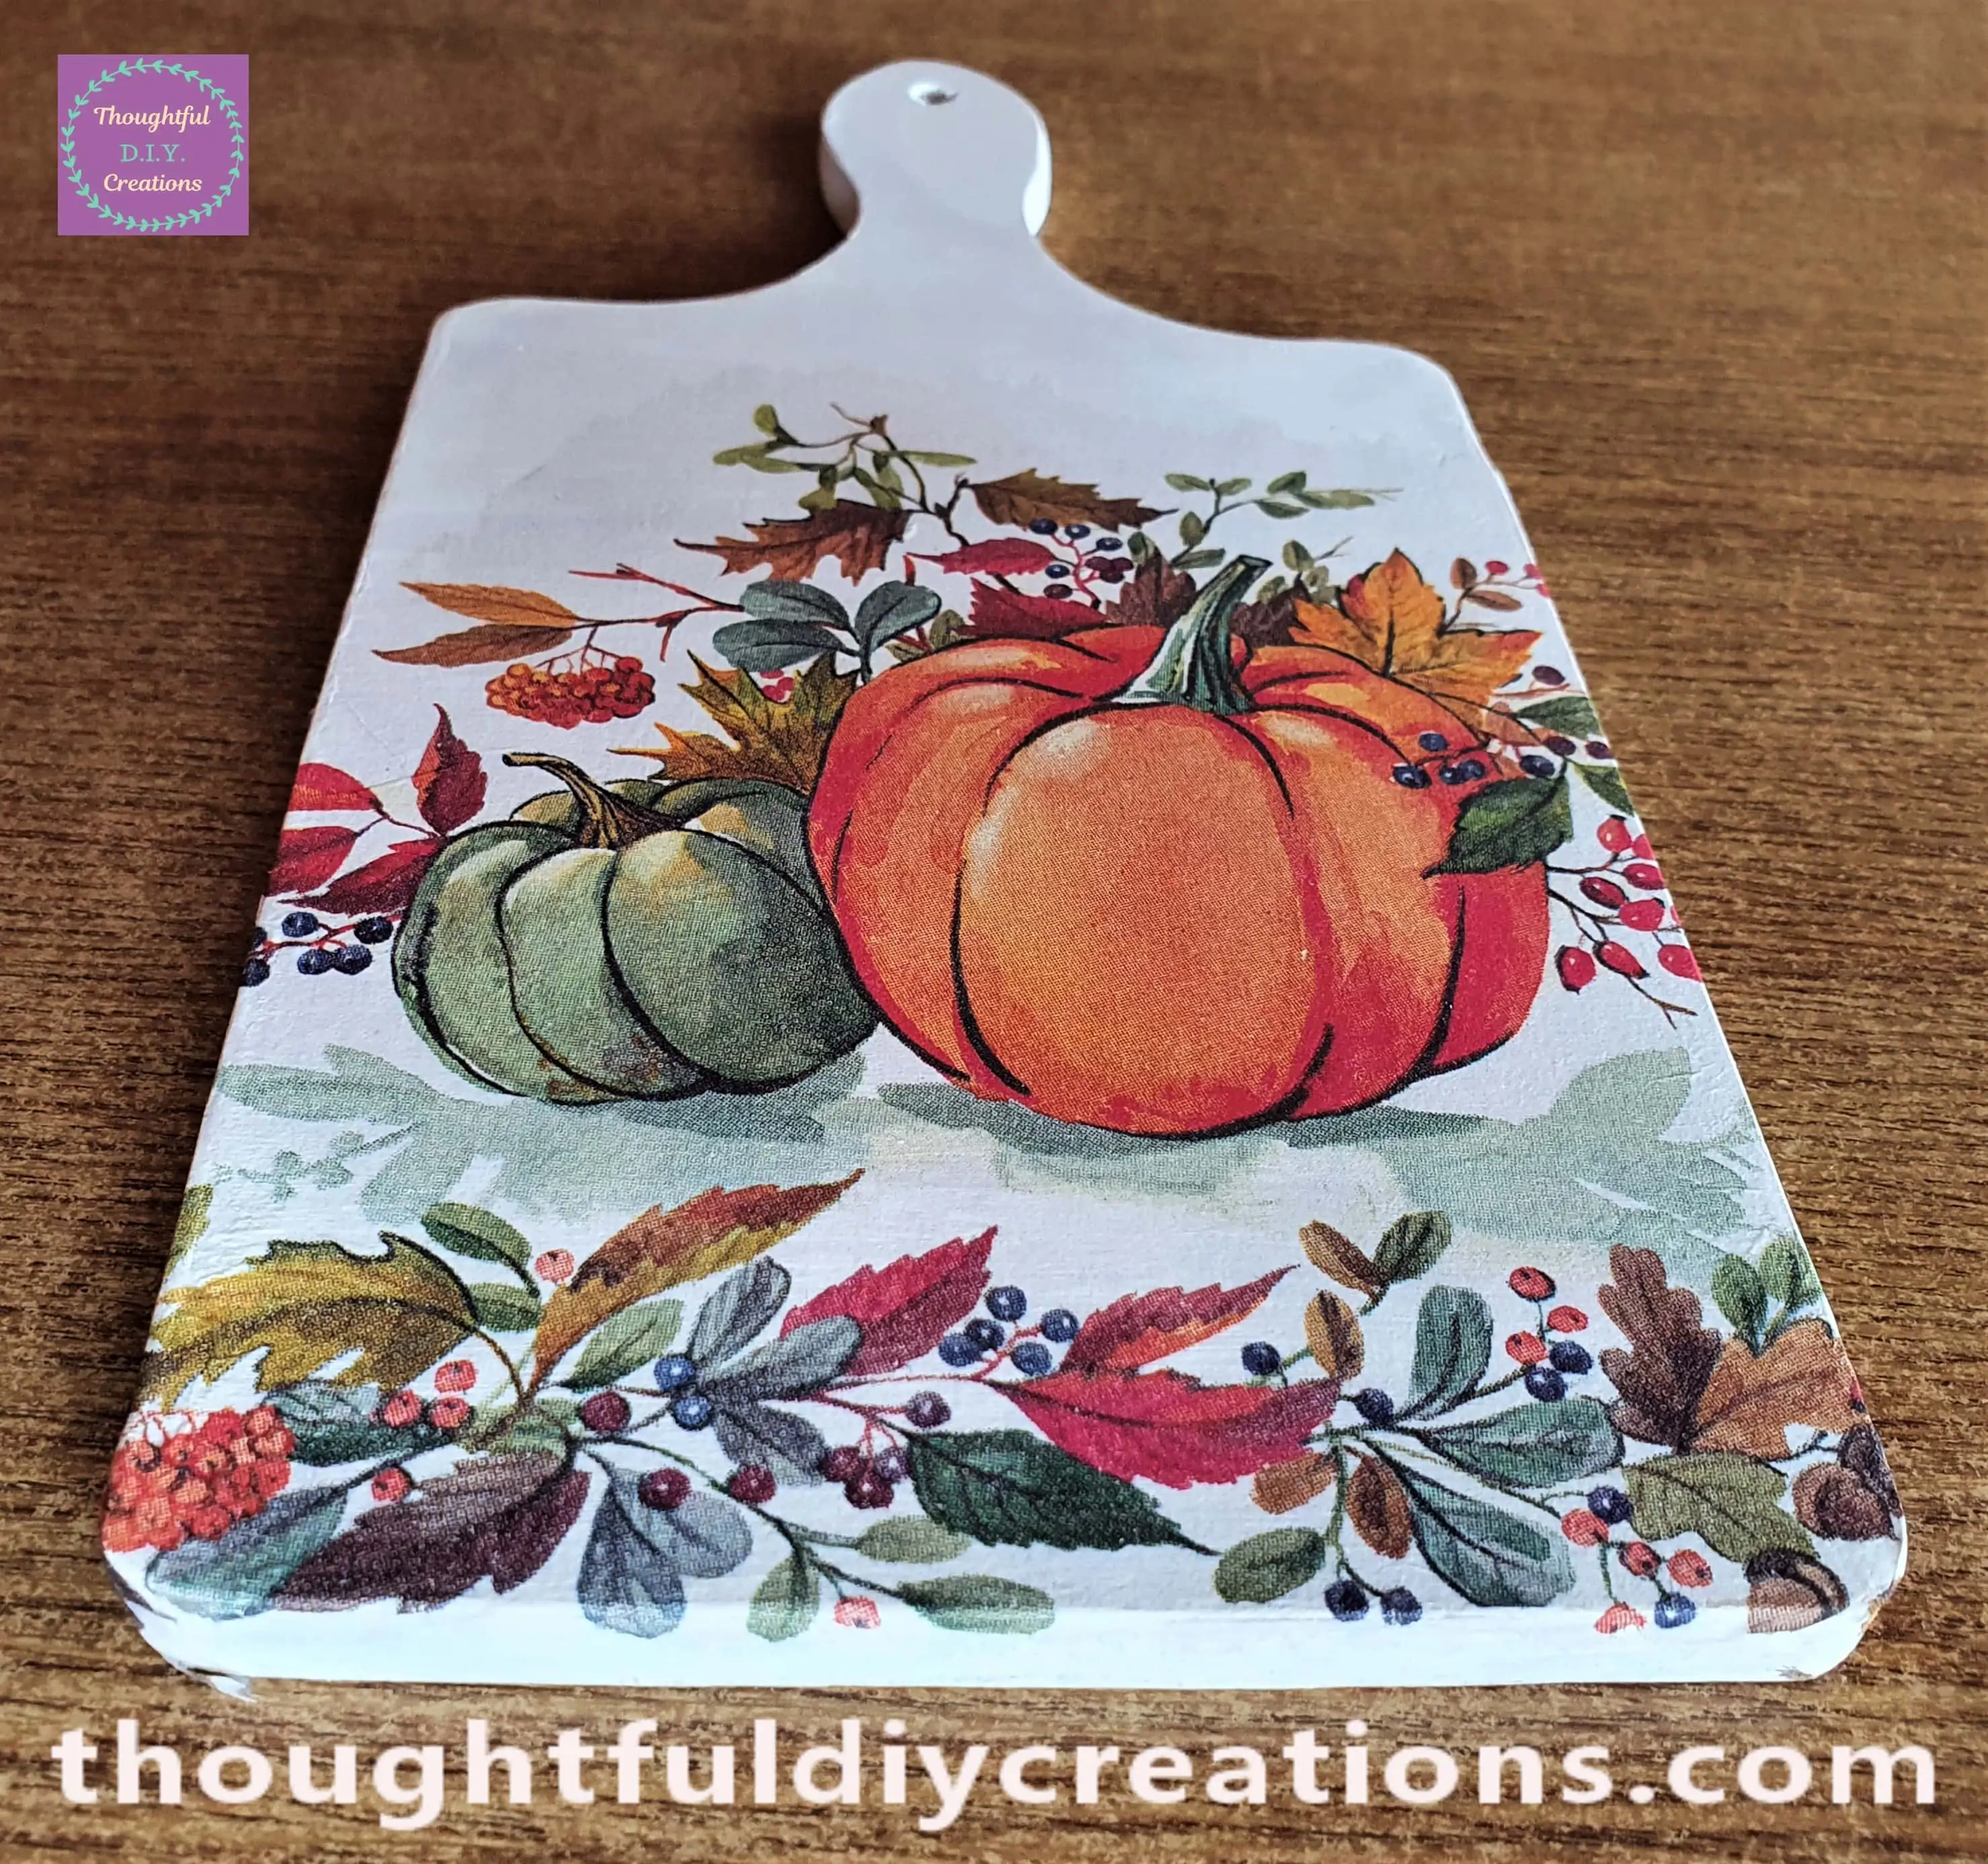
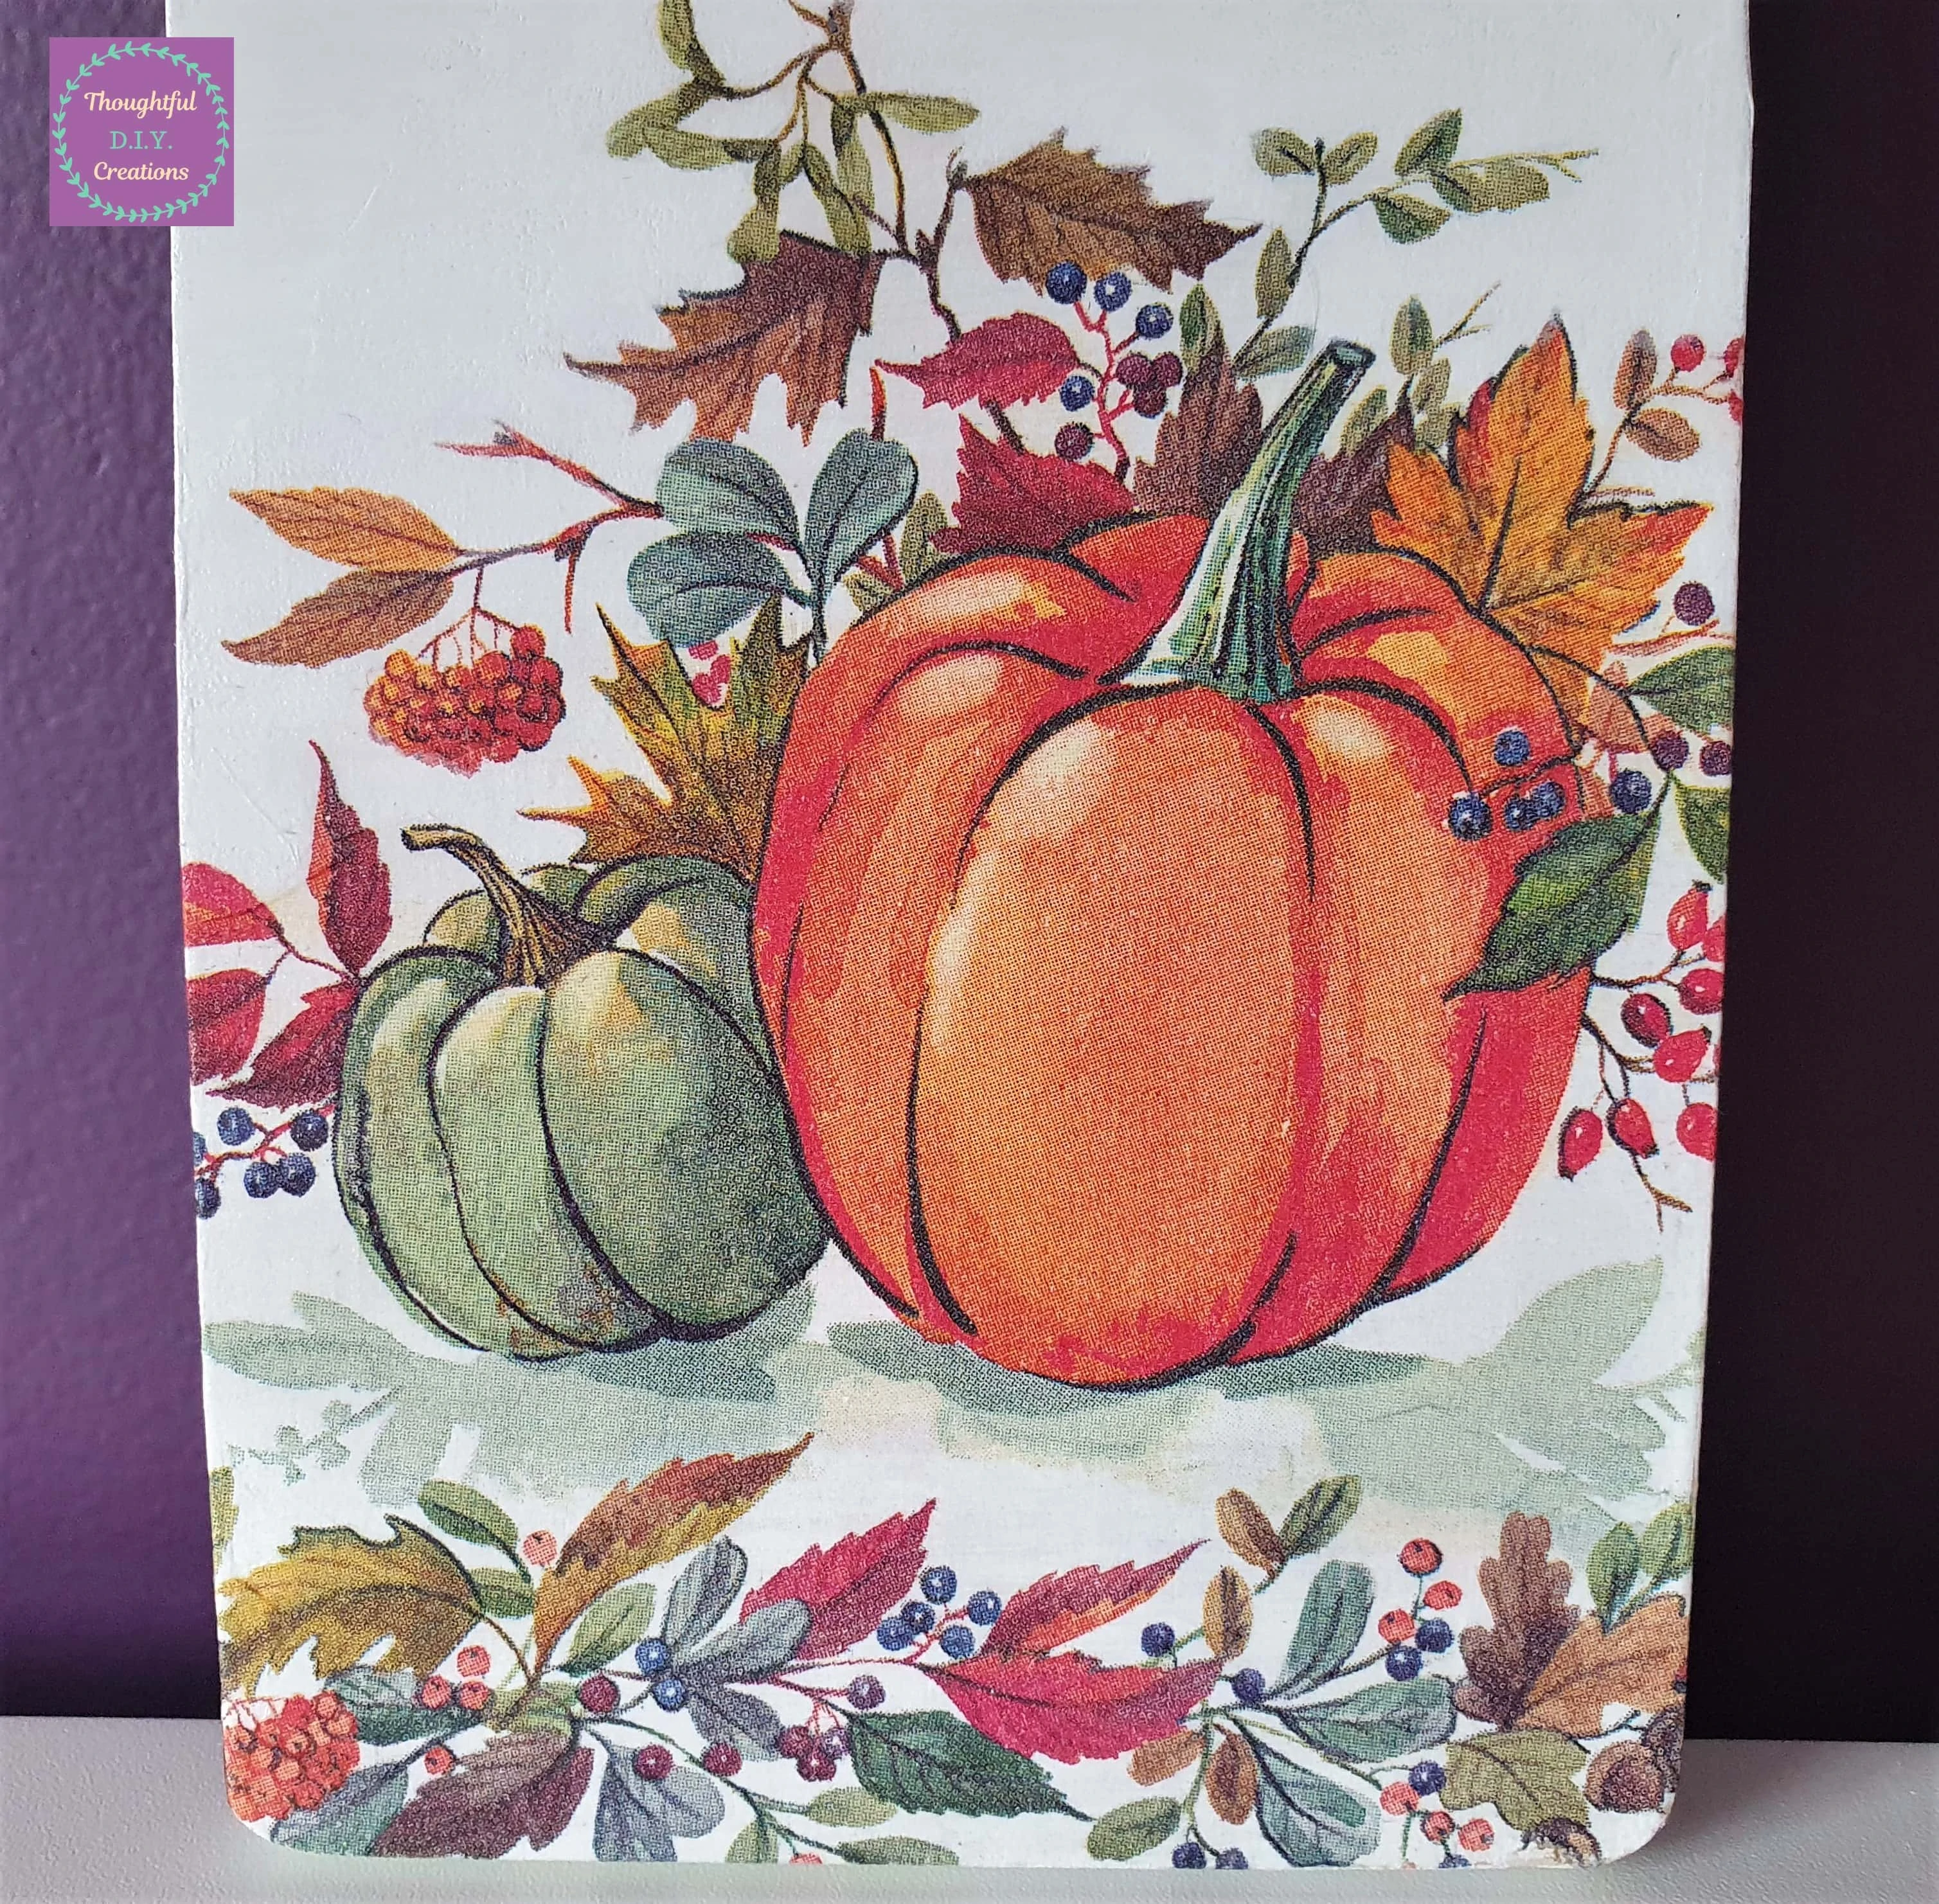
I Love the Result; the Design looks Hand Painted onto the Chopping Board.
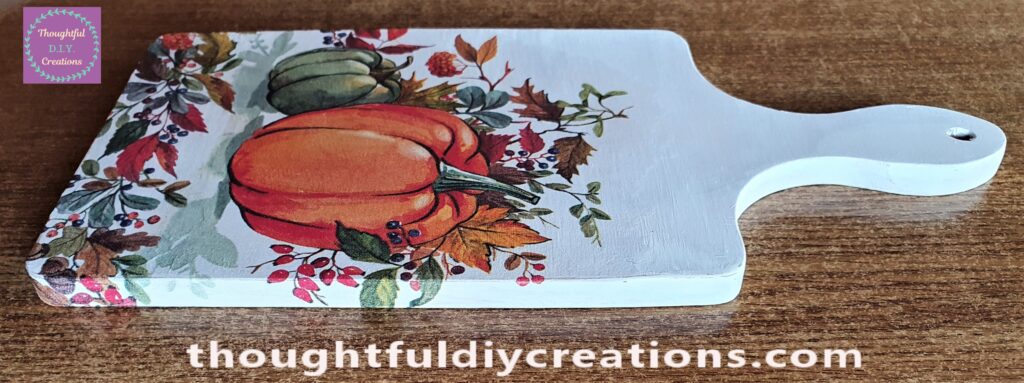
A Side View of the Napkin Decoupaged to the Chopping Board.
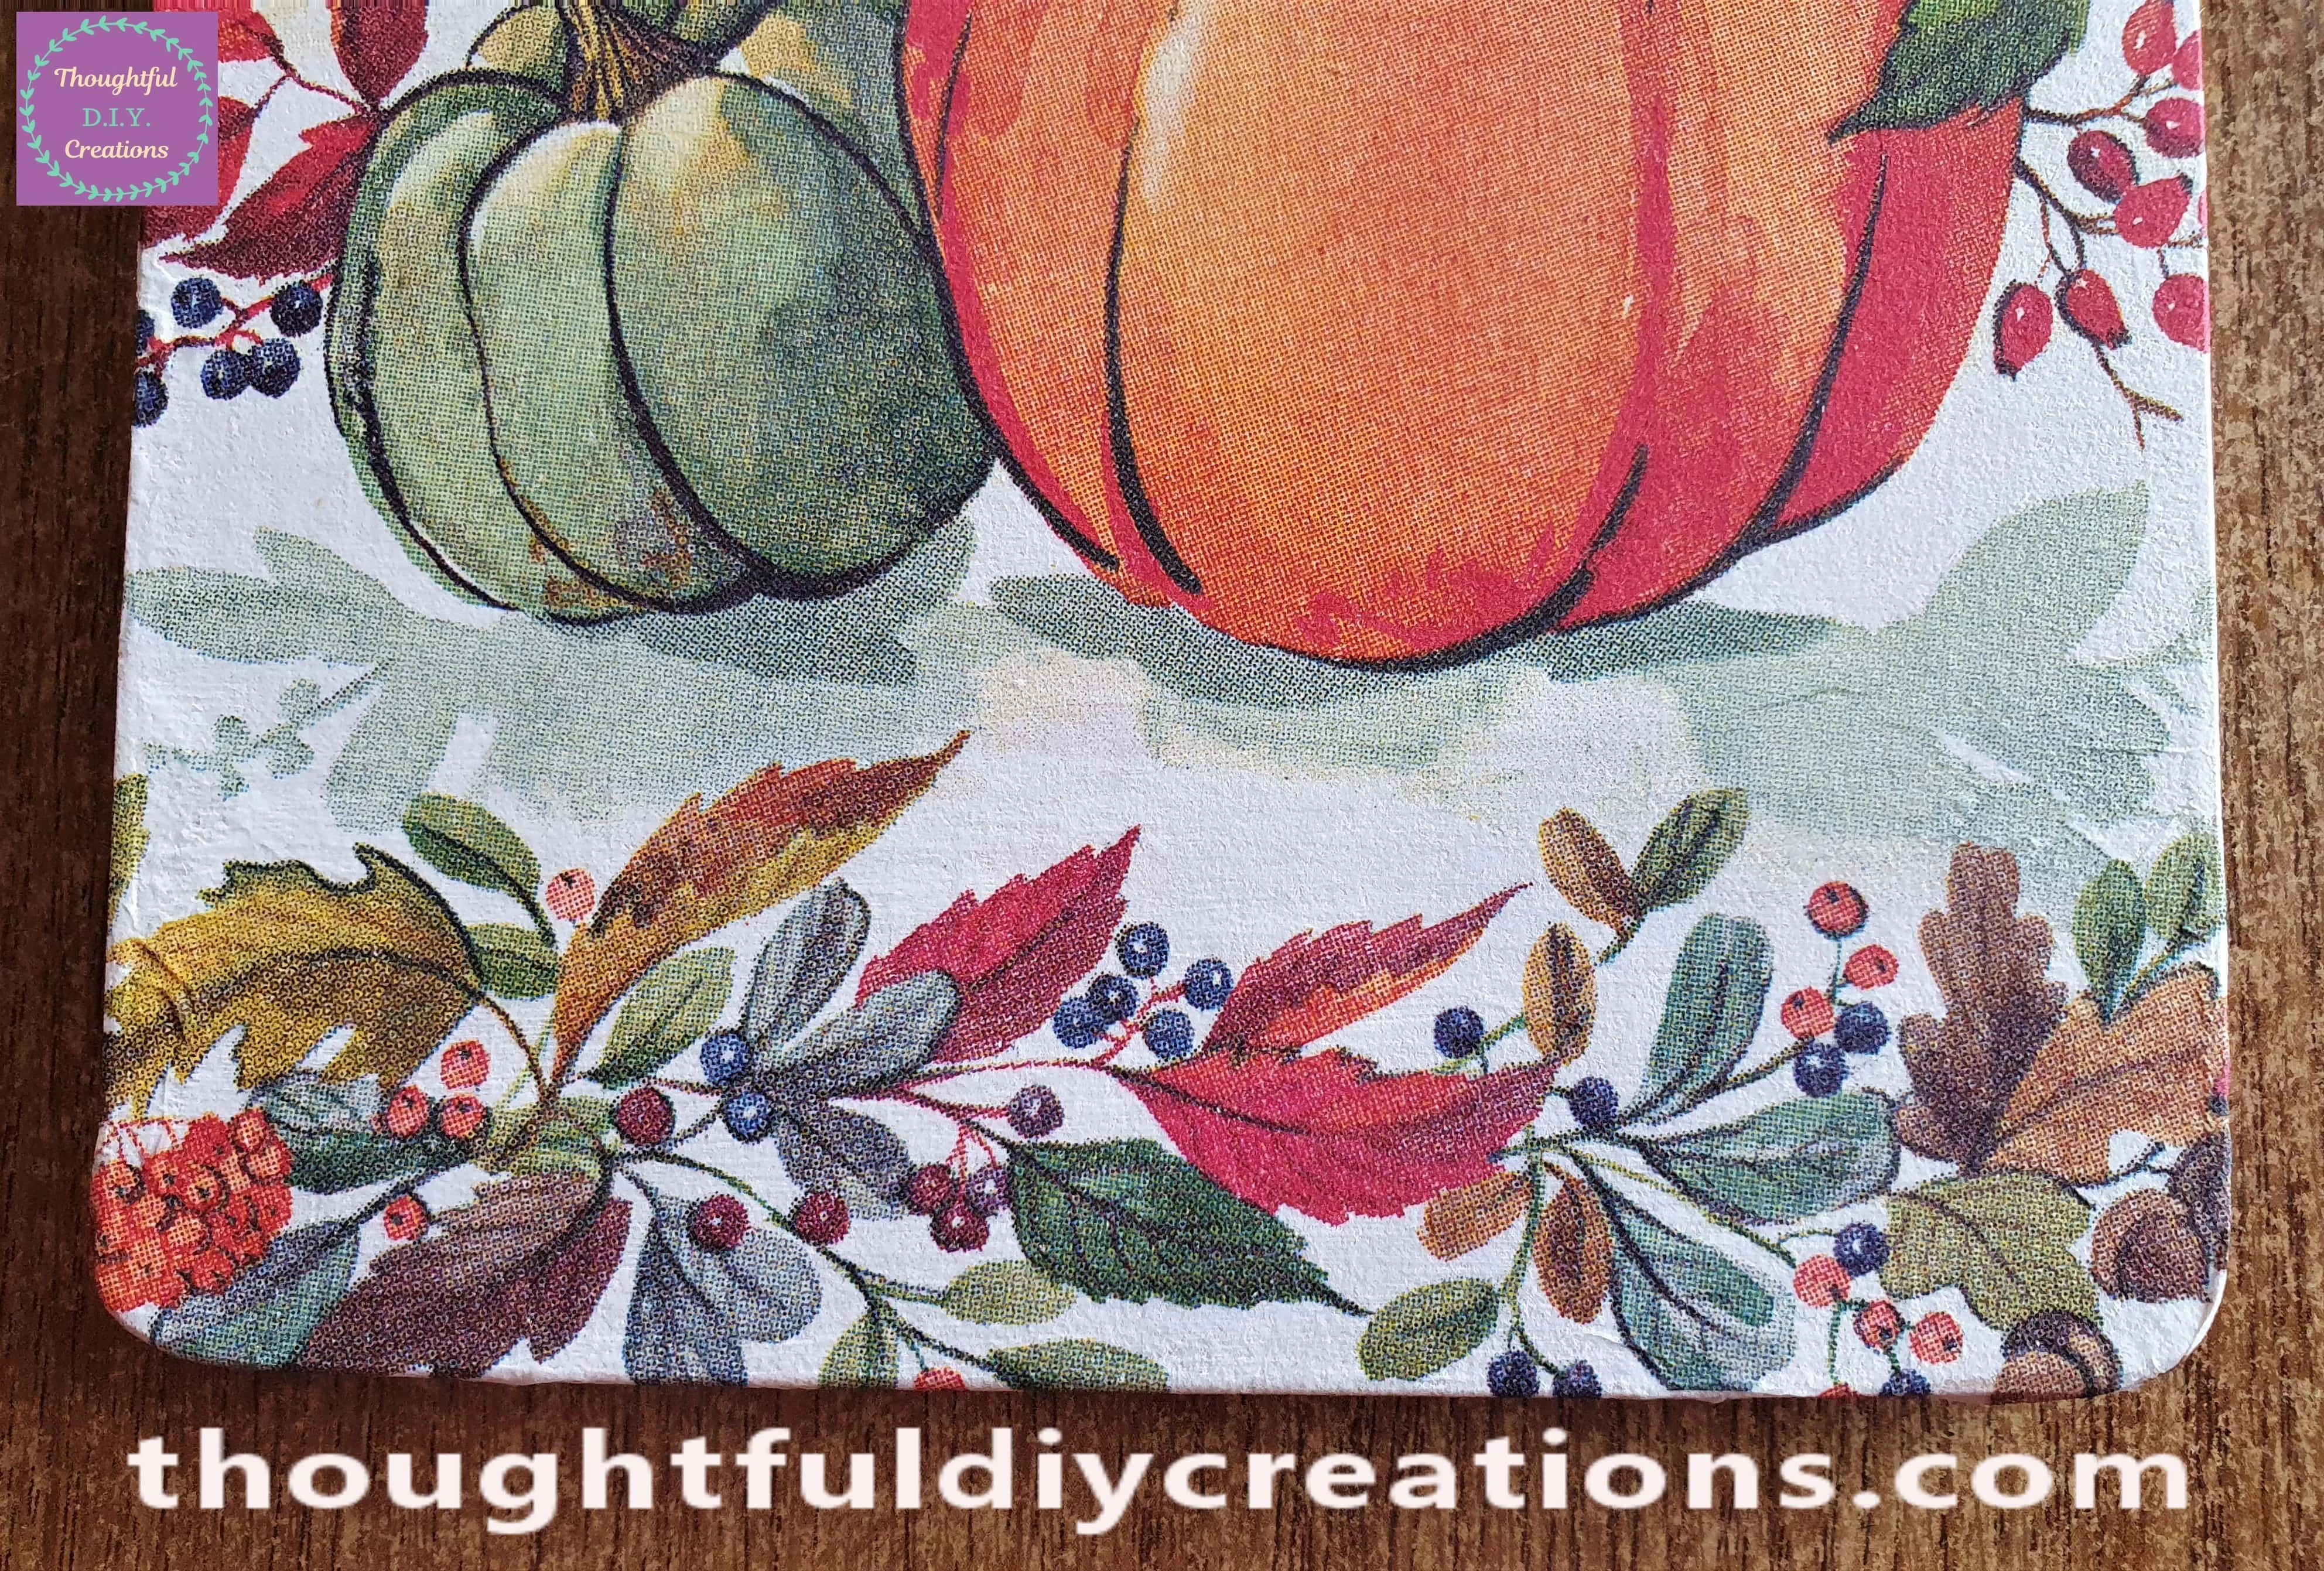
A Closer look at the Autumn Design.
Blending Paint into the Decoupaged Napkin
About 4 hours later when the Napkin was fully dry and secure on the Chopping Board; I got my White Acrylic Paint and a small Paintbrush.
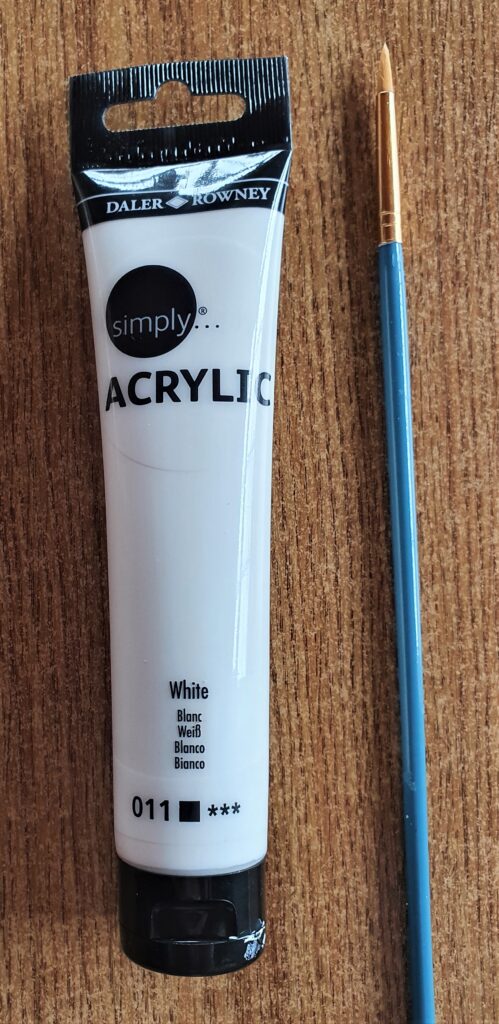
I Painted 2 layers of white Paint over the white parts on the top of the Napkin and on the Top area of the Chopping Board to blend it all together.
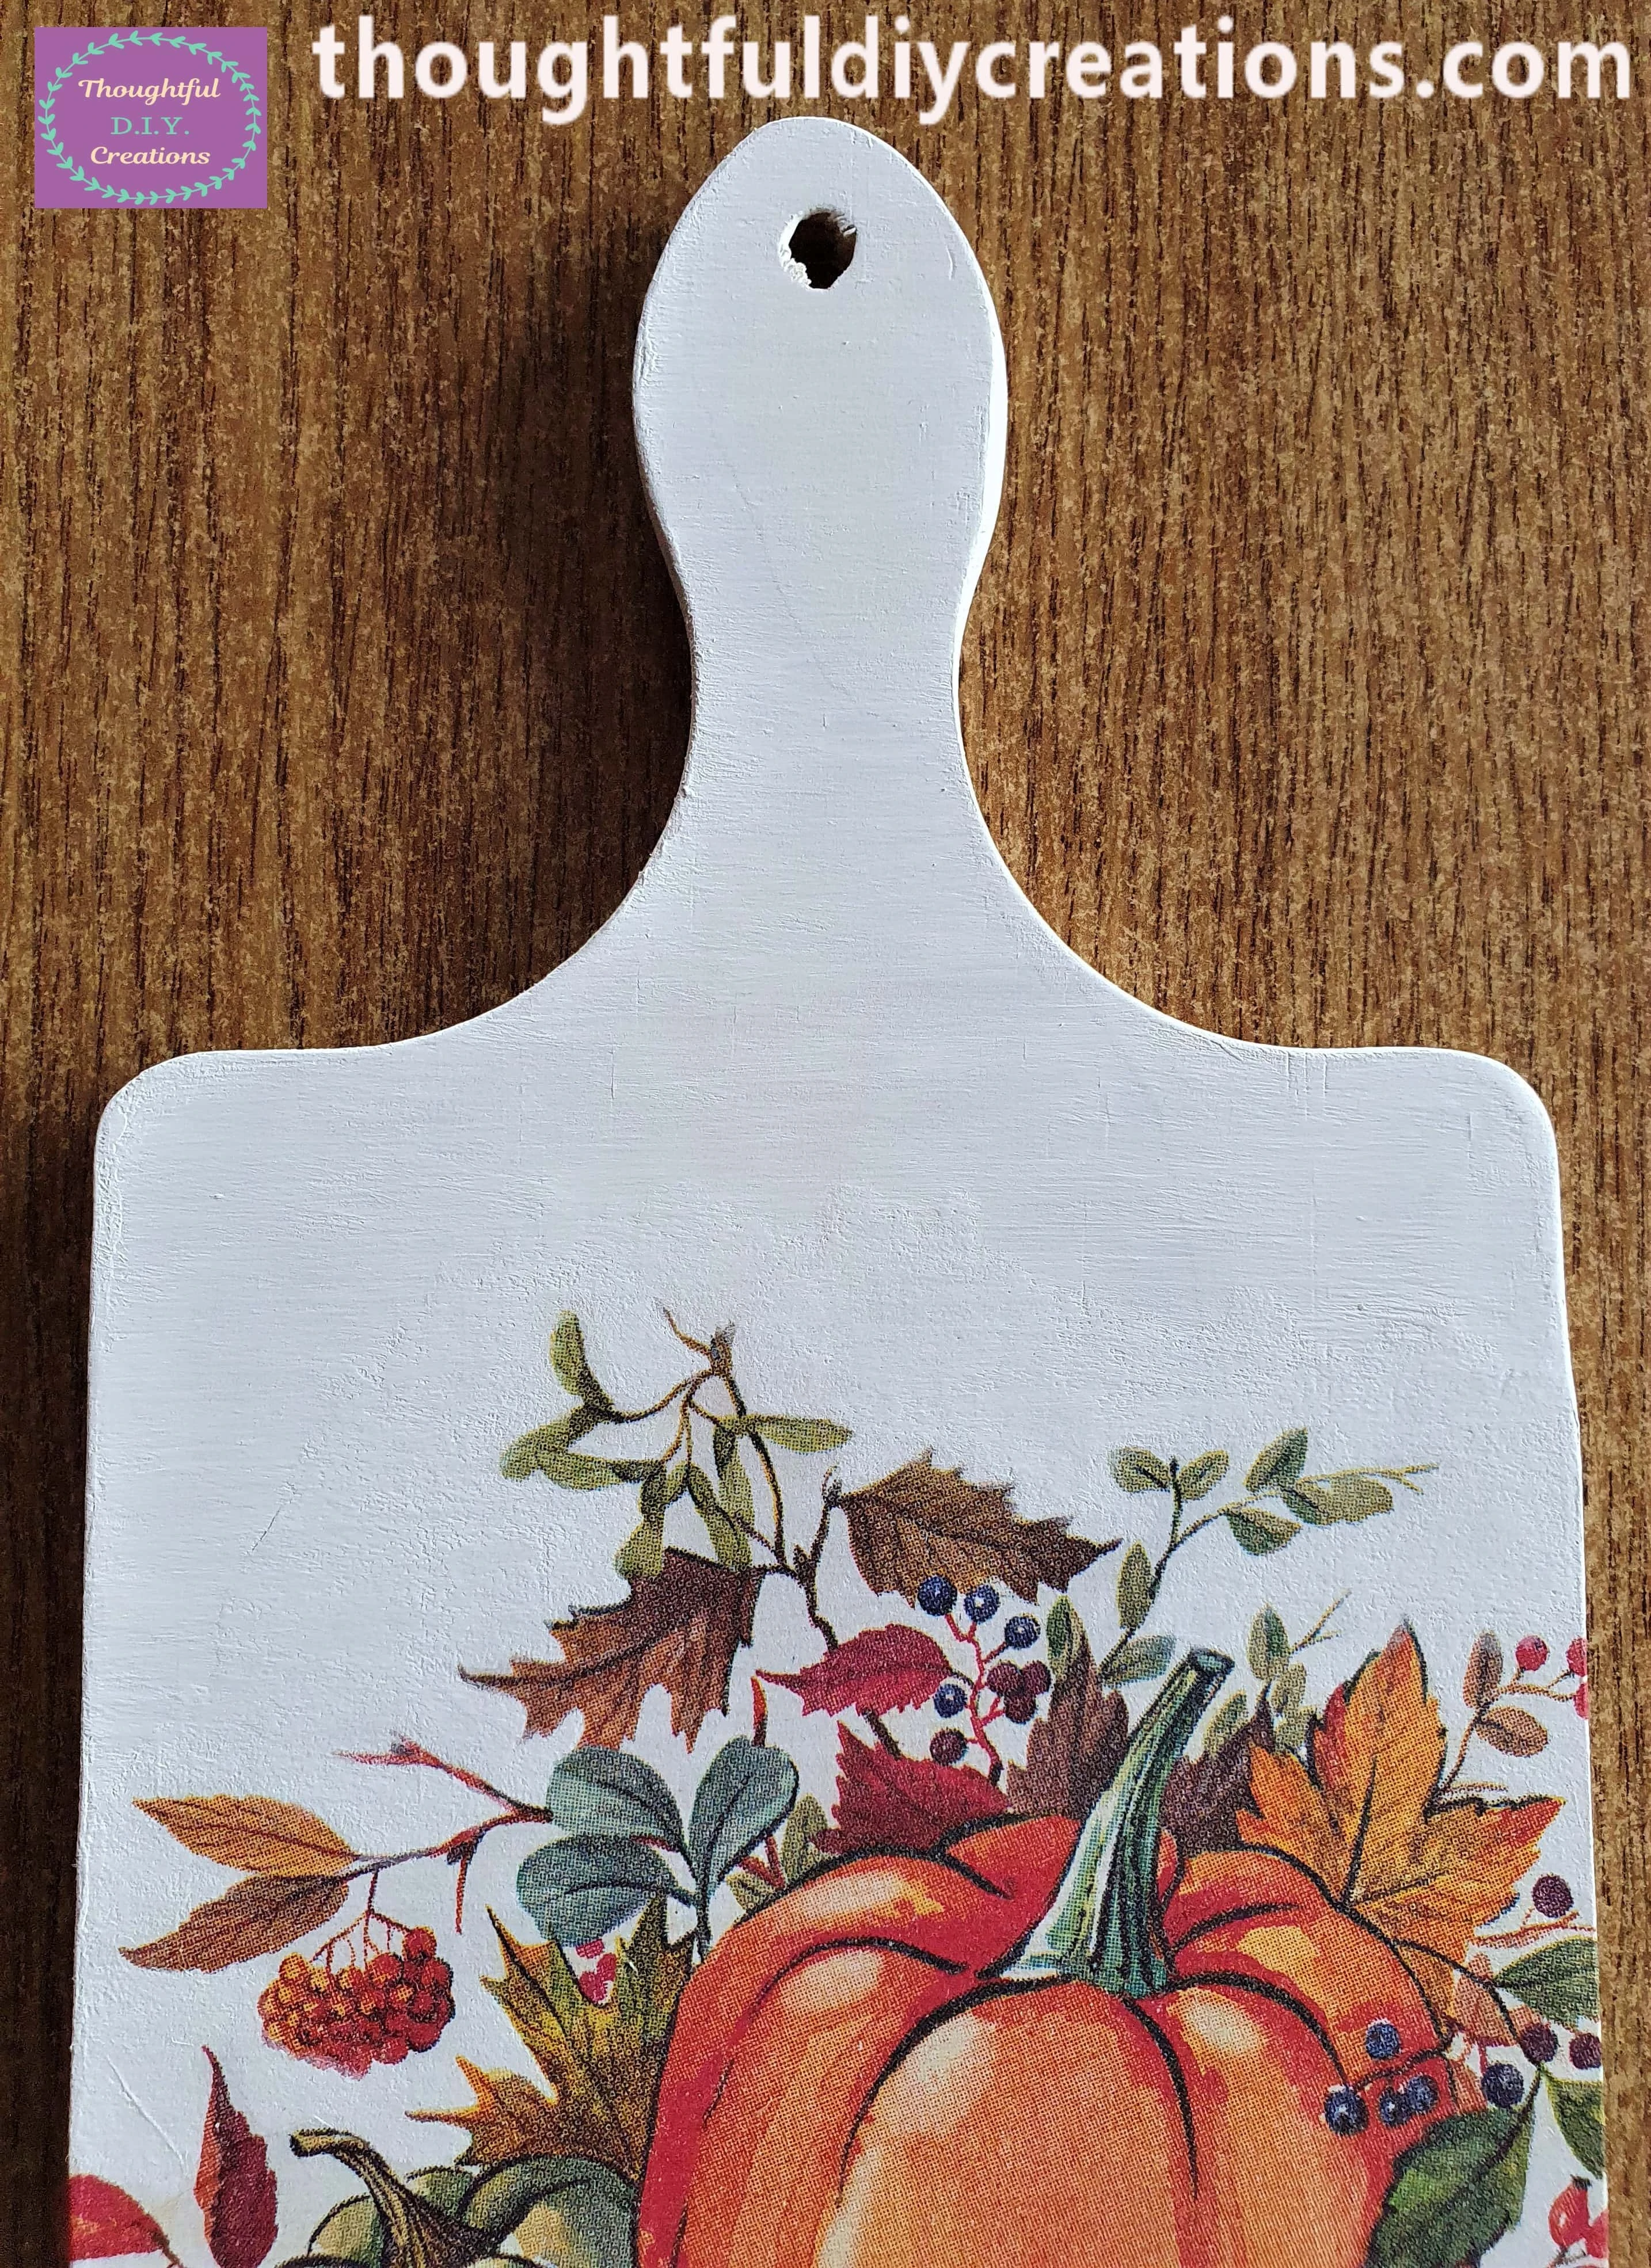
I also added bits of white Paint to the Sides of the Chopping Board where I thought it needed it.
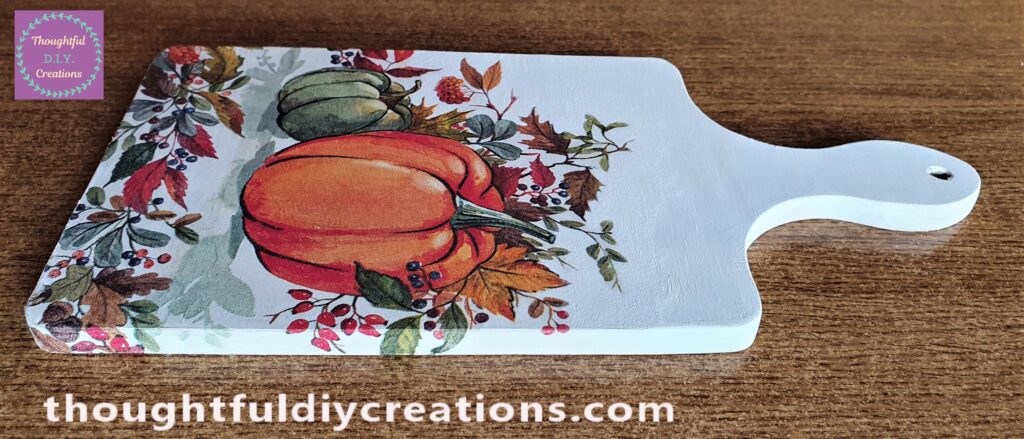
Sealing the Decoupaged Chopping Board
The next Day I put Baking Paper on the Table and got my Mod Podge and a Flat Paintbrush.
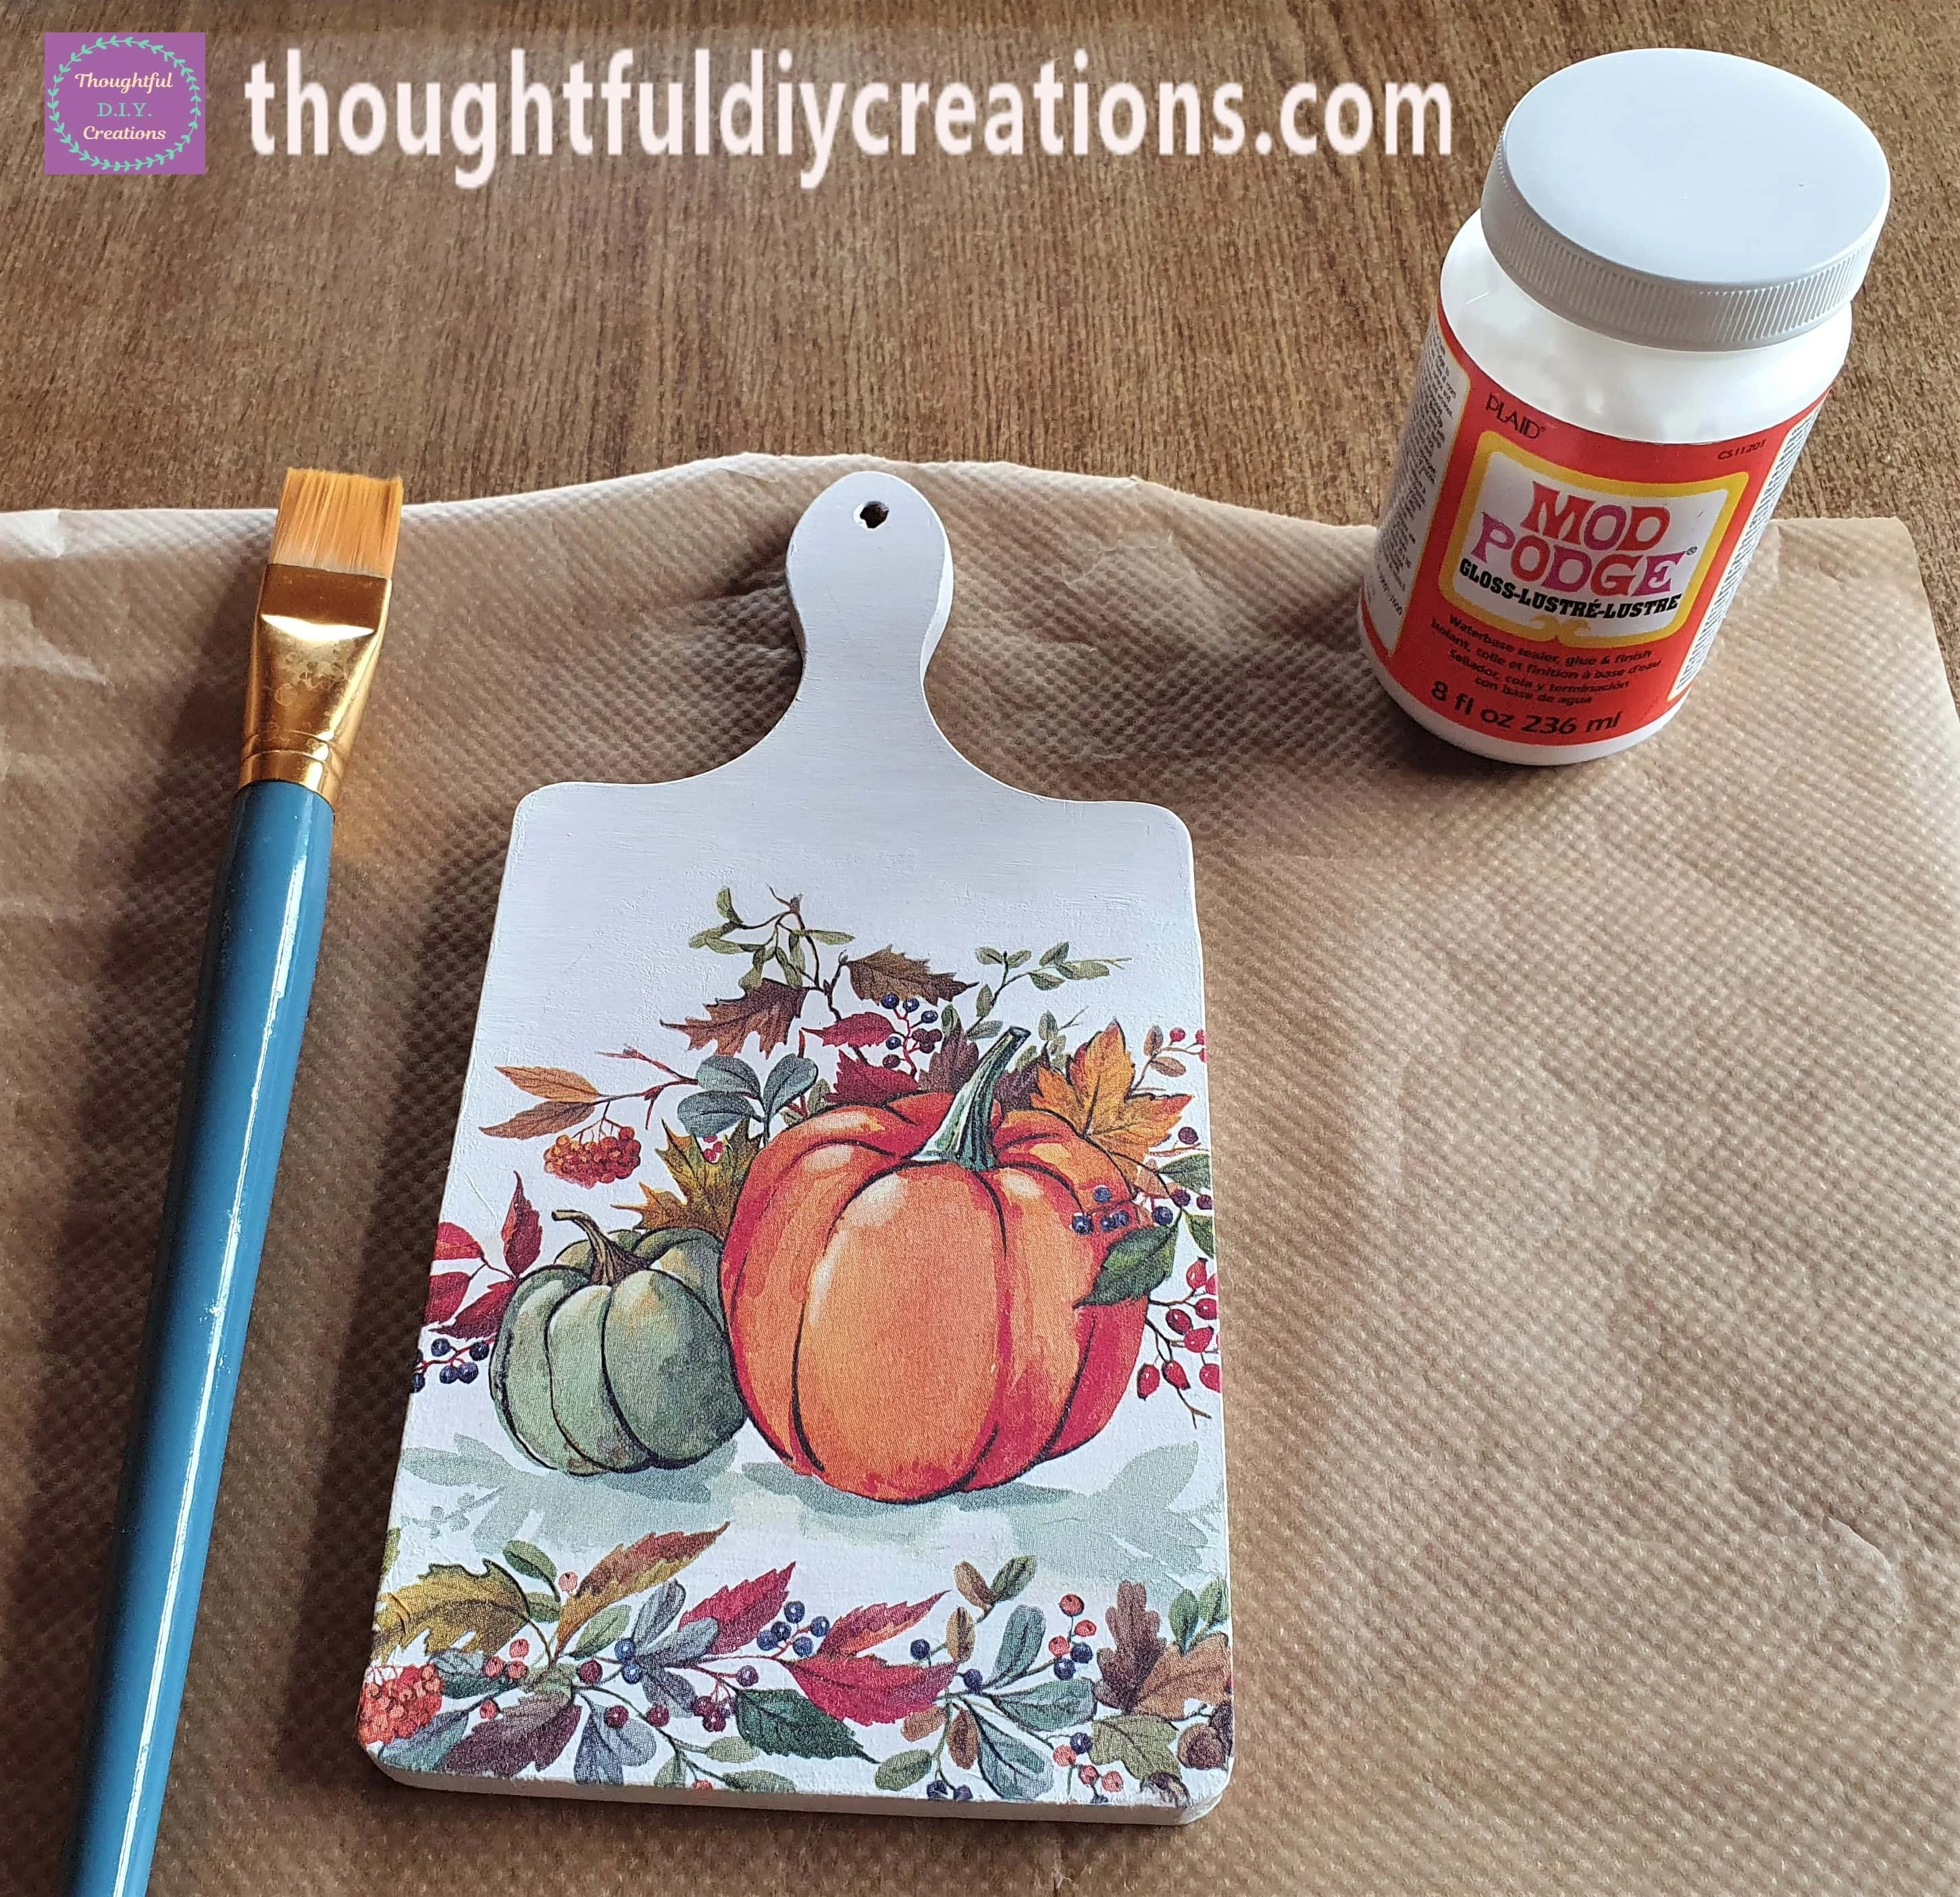
I Painted One layer of Mod Podge onto the Front and Sides of the Decoupaged Chopping Board.
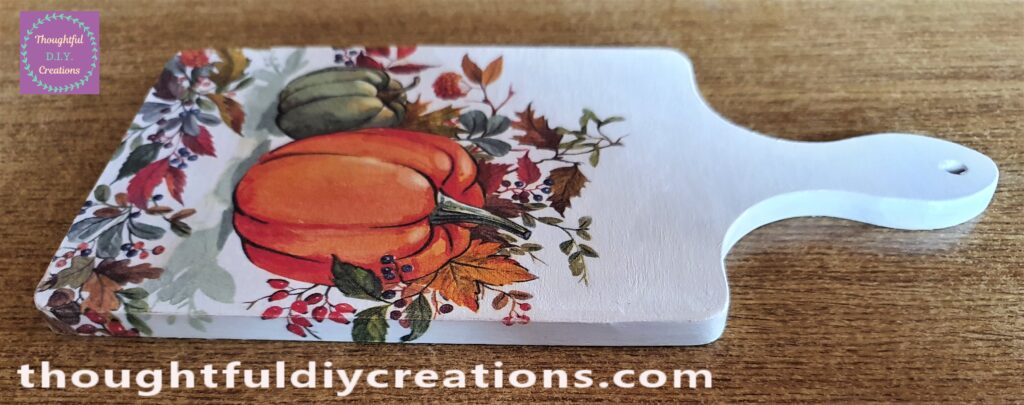
Finishing Touches to the Decoupaged Autumn Craft
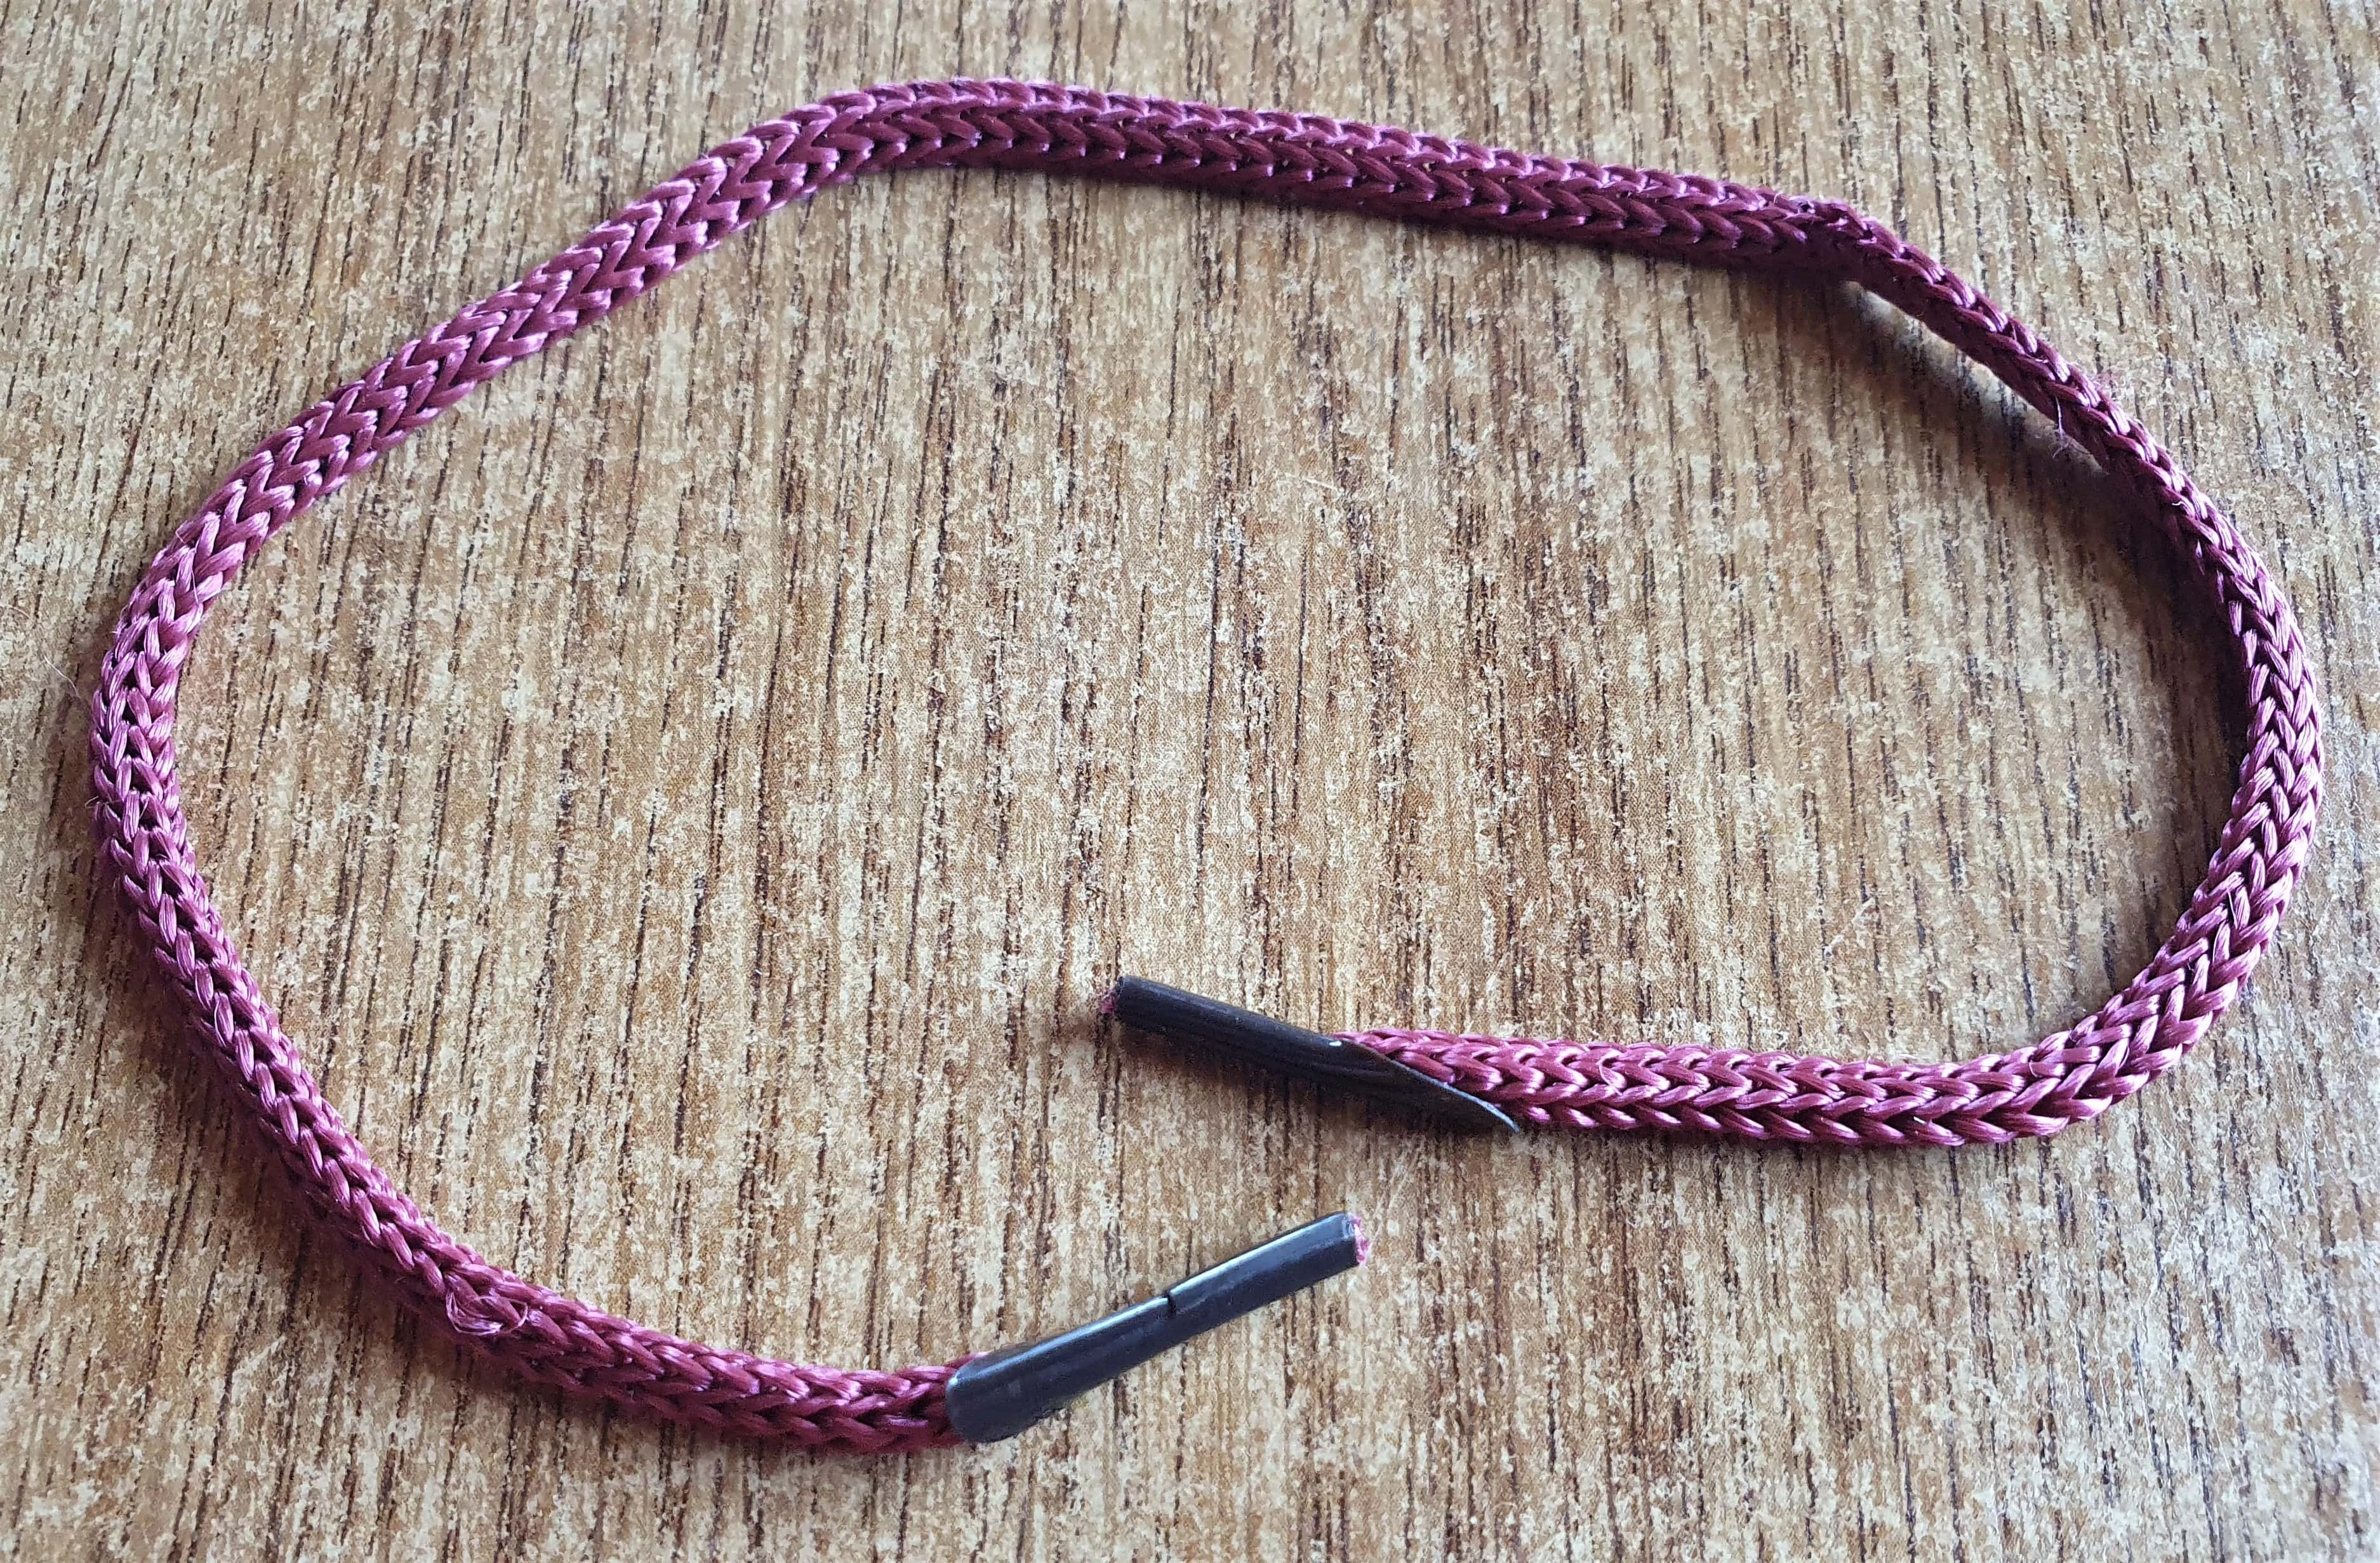
I got a Burgundy Coloured Lace from my Ribbon Supplies.
I put it through the hole at the top of the Decoupaged Chopping Board and tied it in a Double Knot.
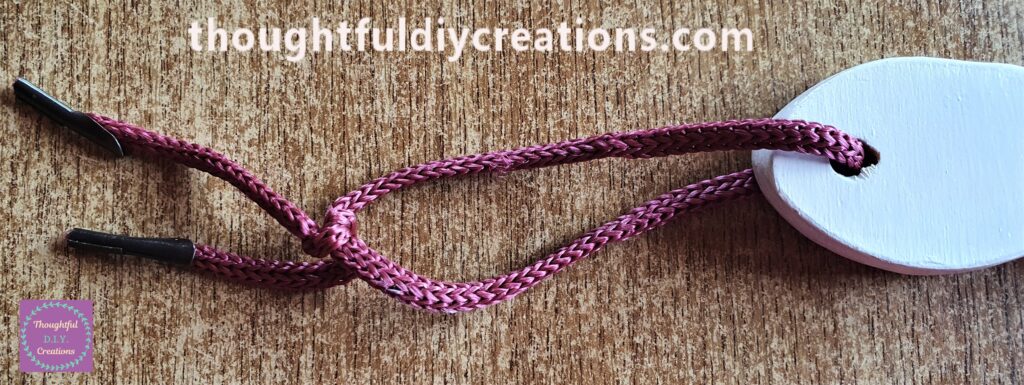
I Cut off the excess Strings around the Knot.
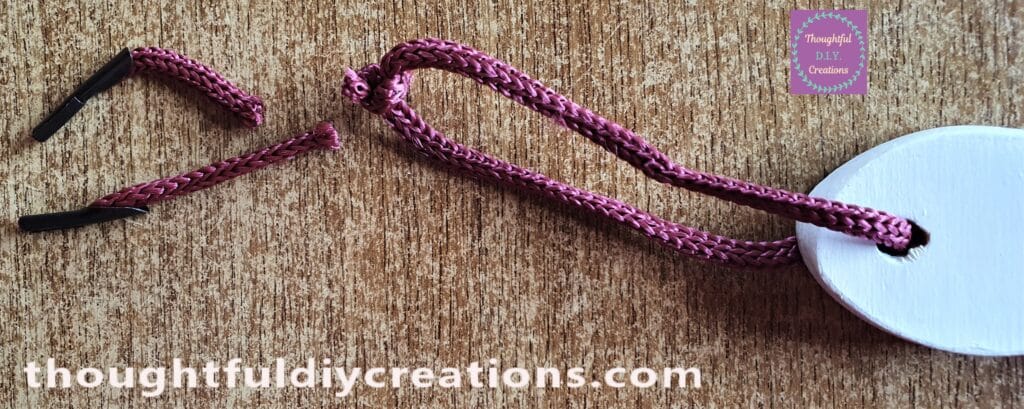
I put the Knot to the back of the Chopping Board.
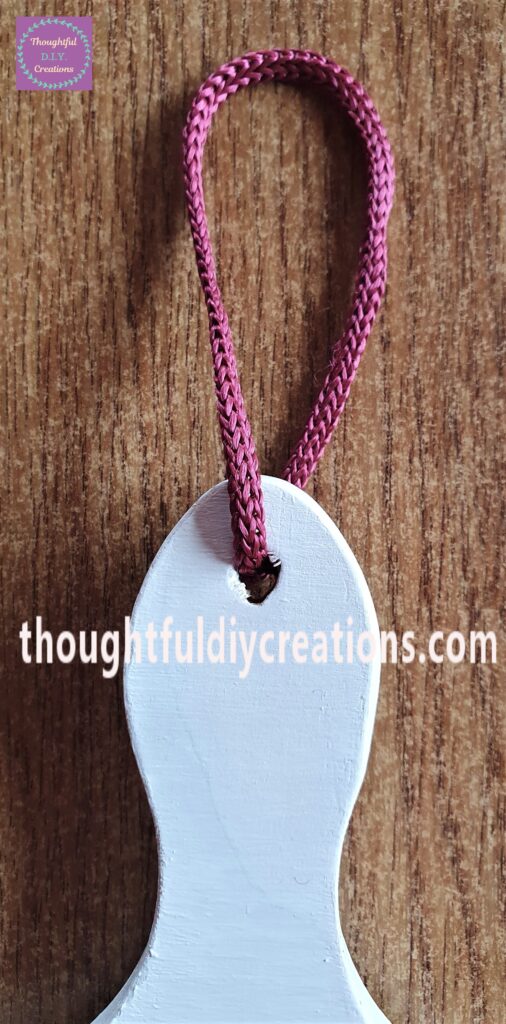
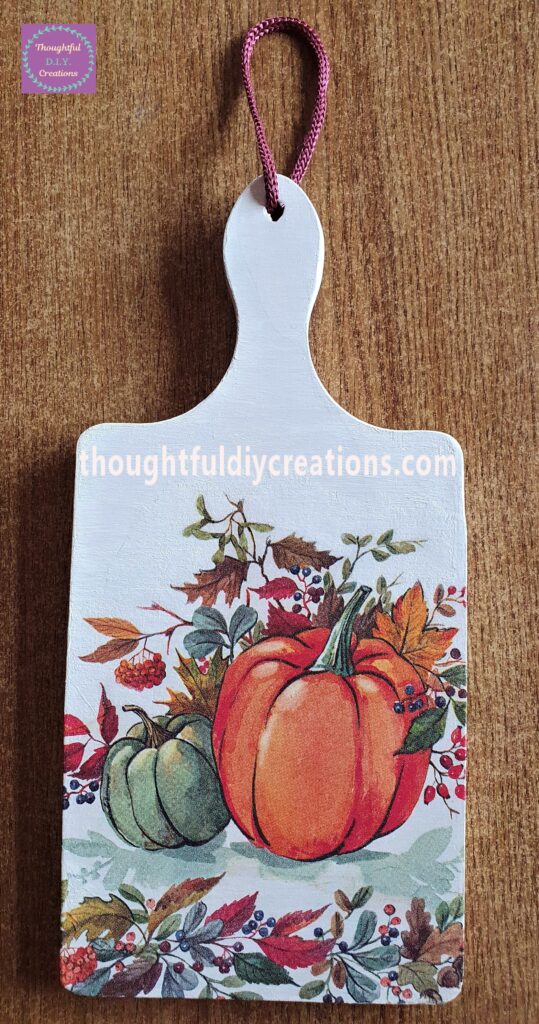
A Full Image with the addition of the Ribbon.
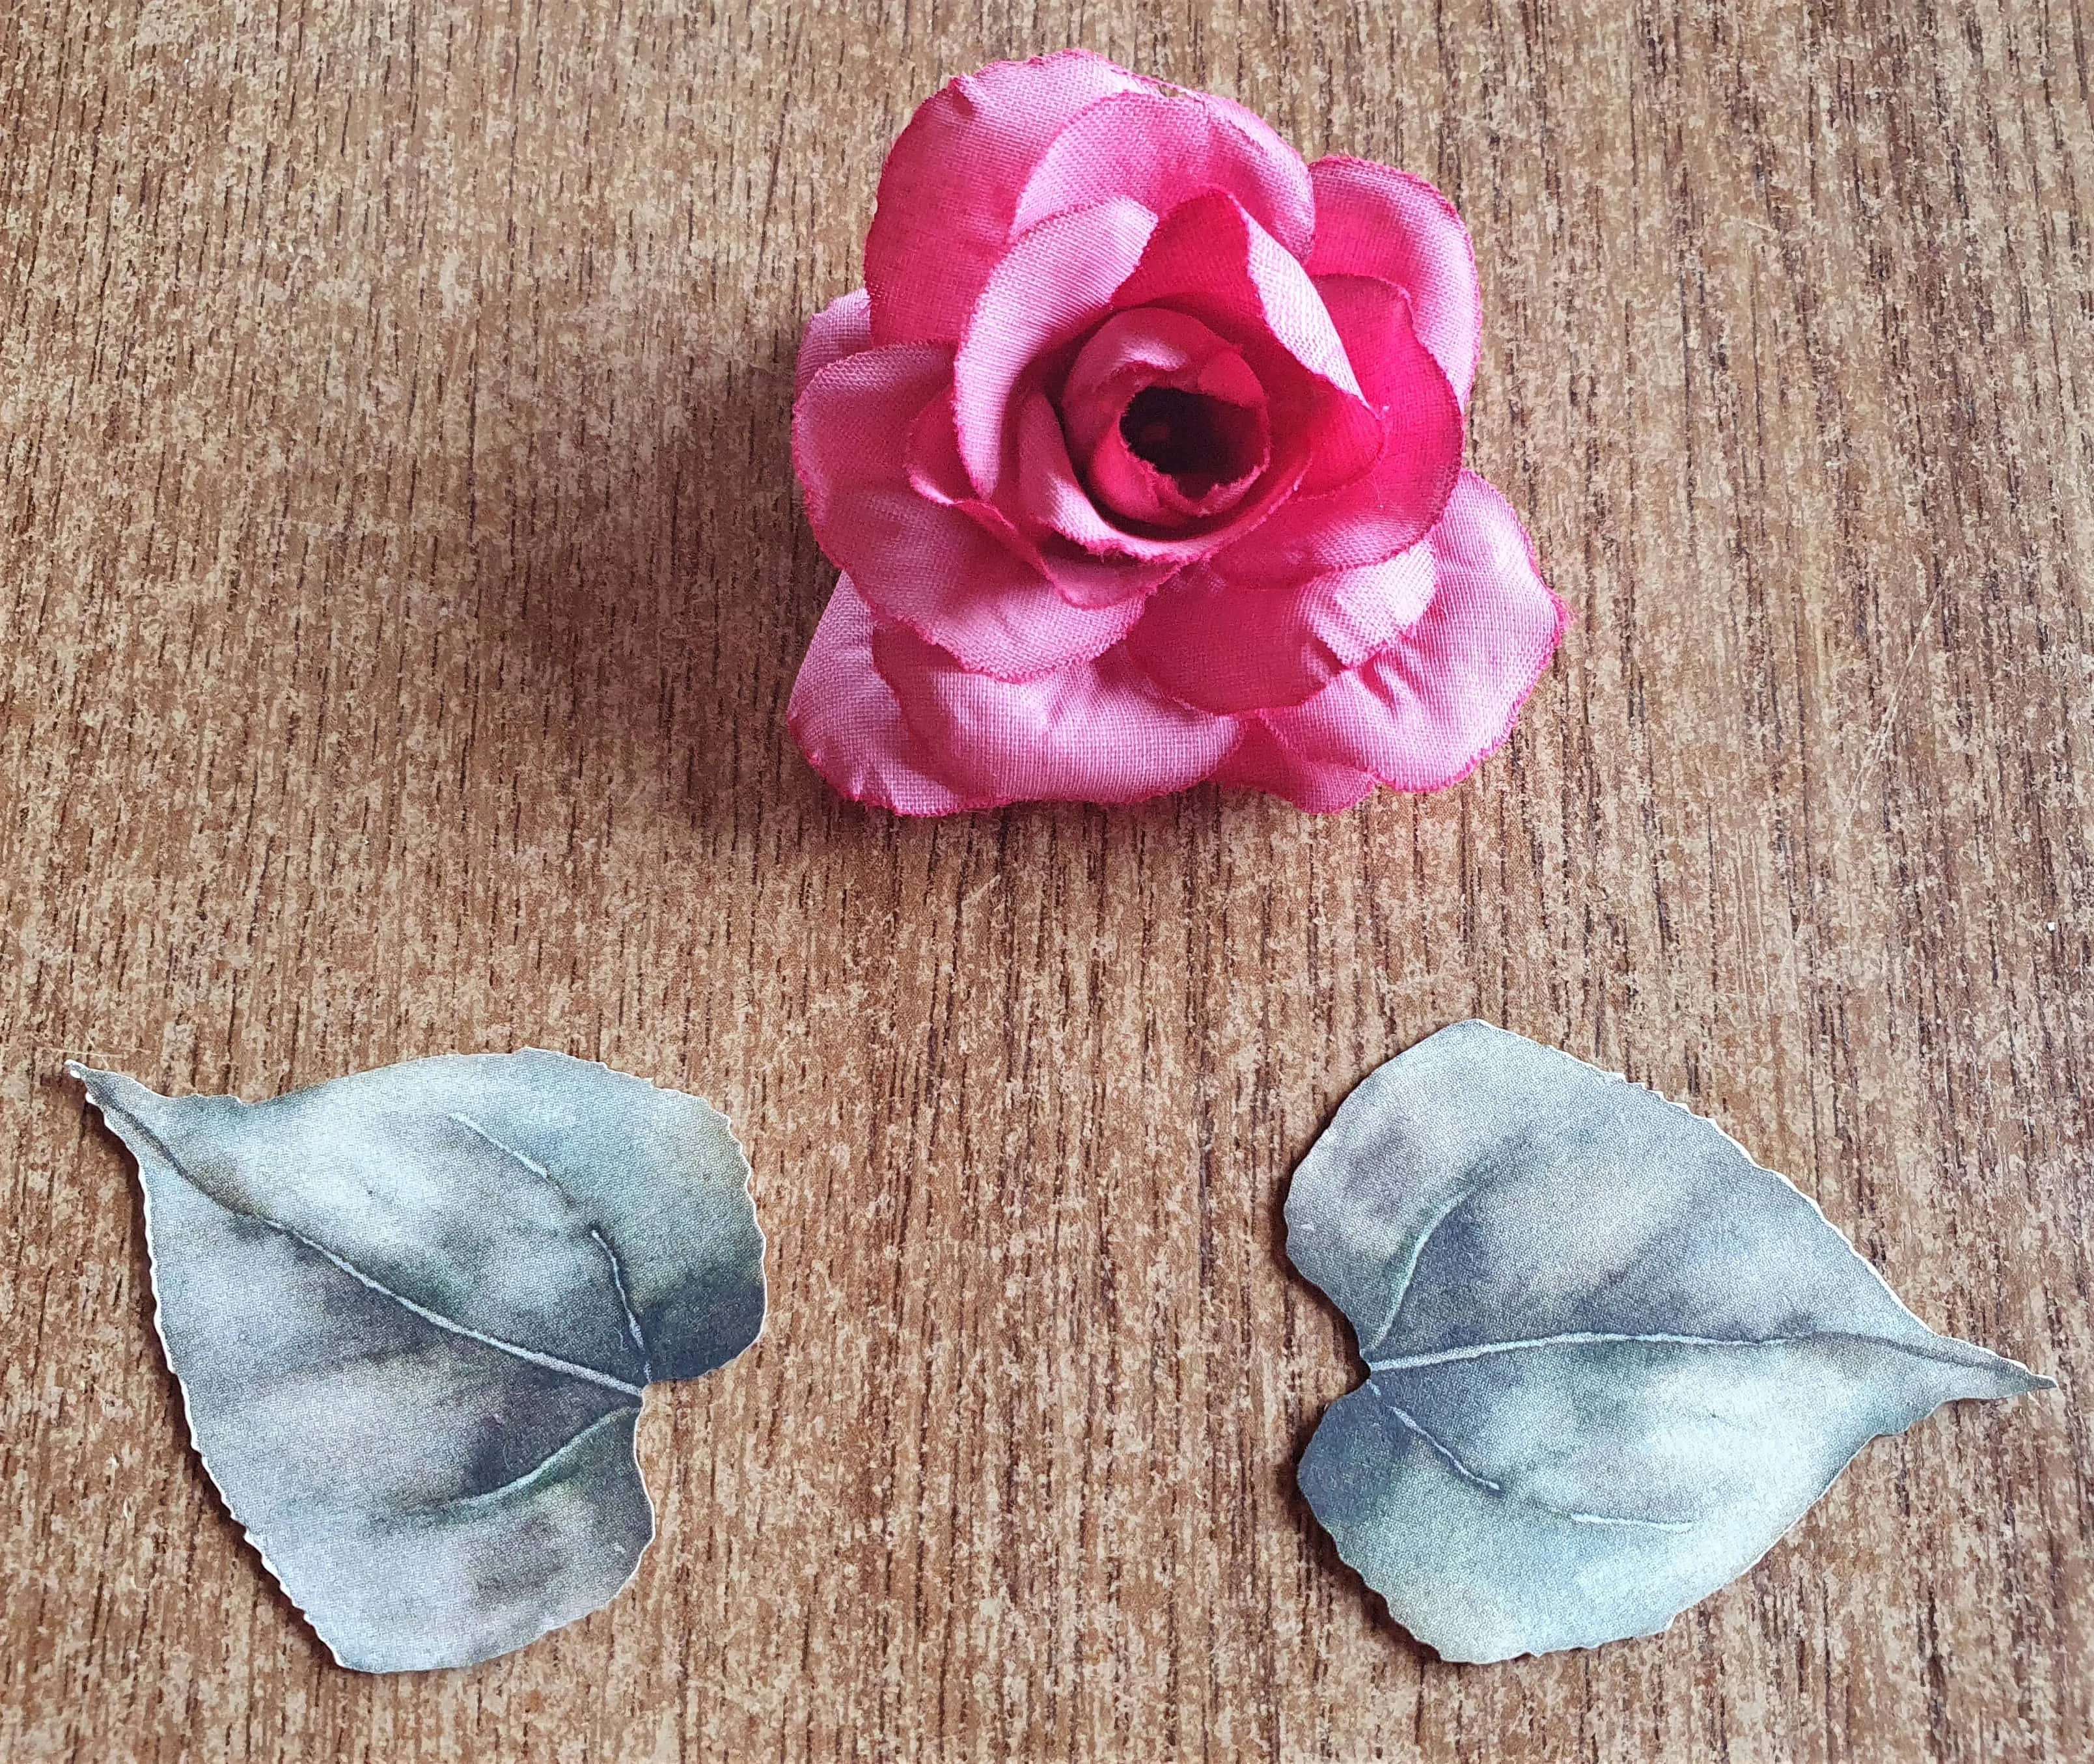
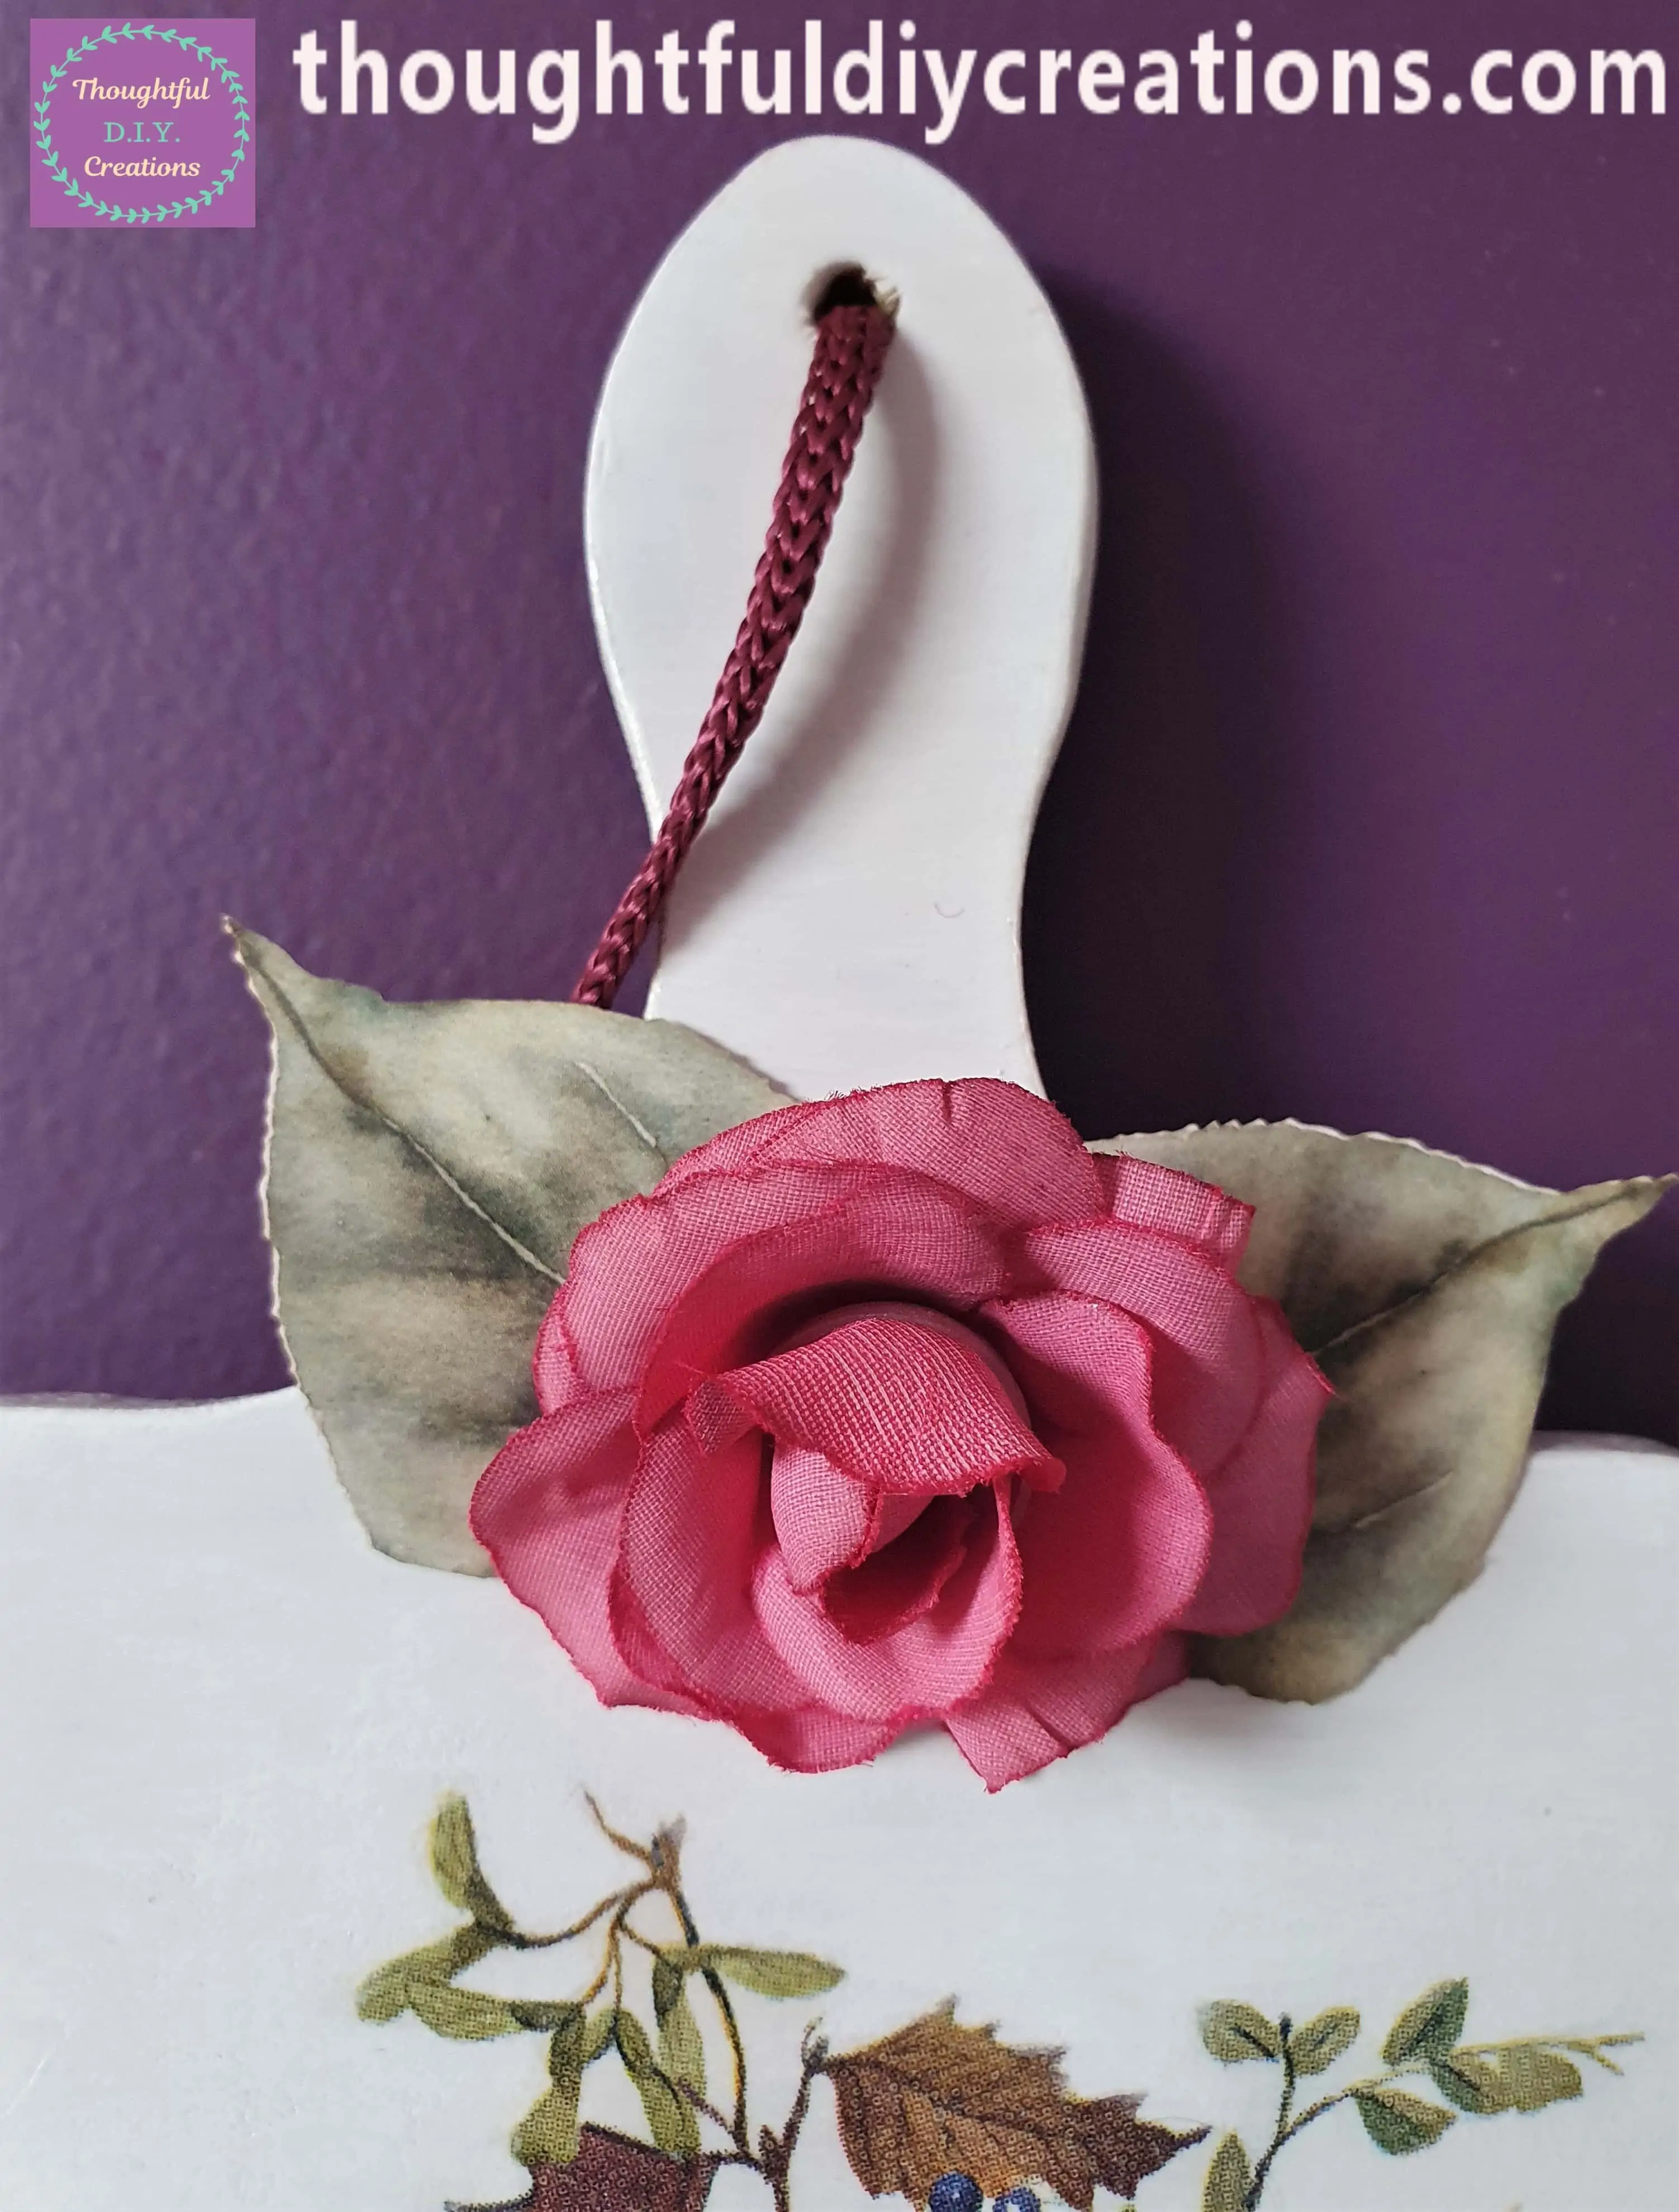
I got a Burgundy Flower and 2 Die Cut Leaves from my Supplies.
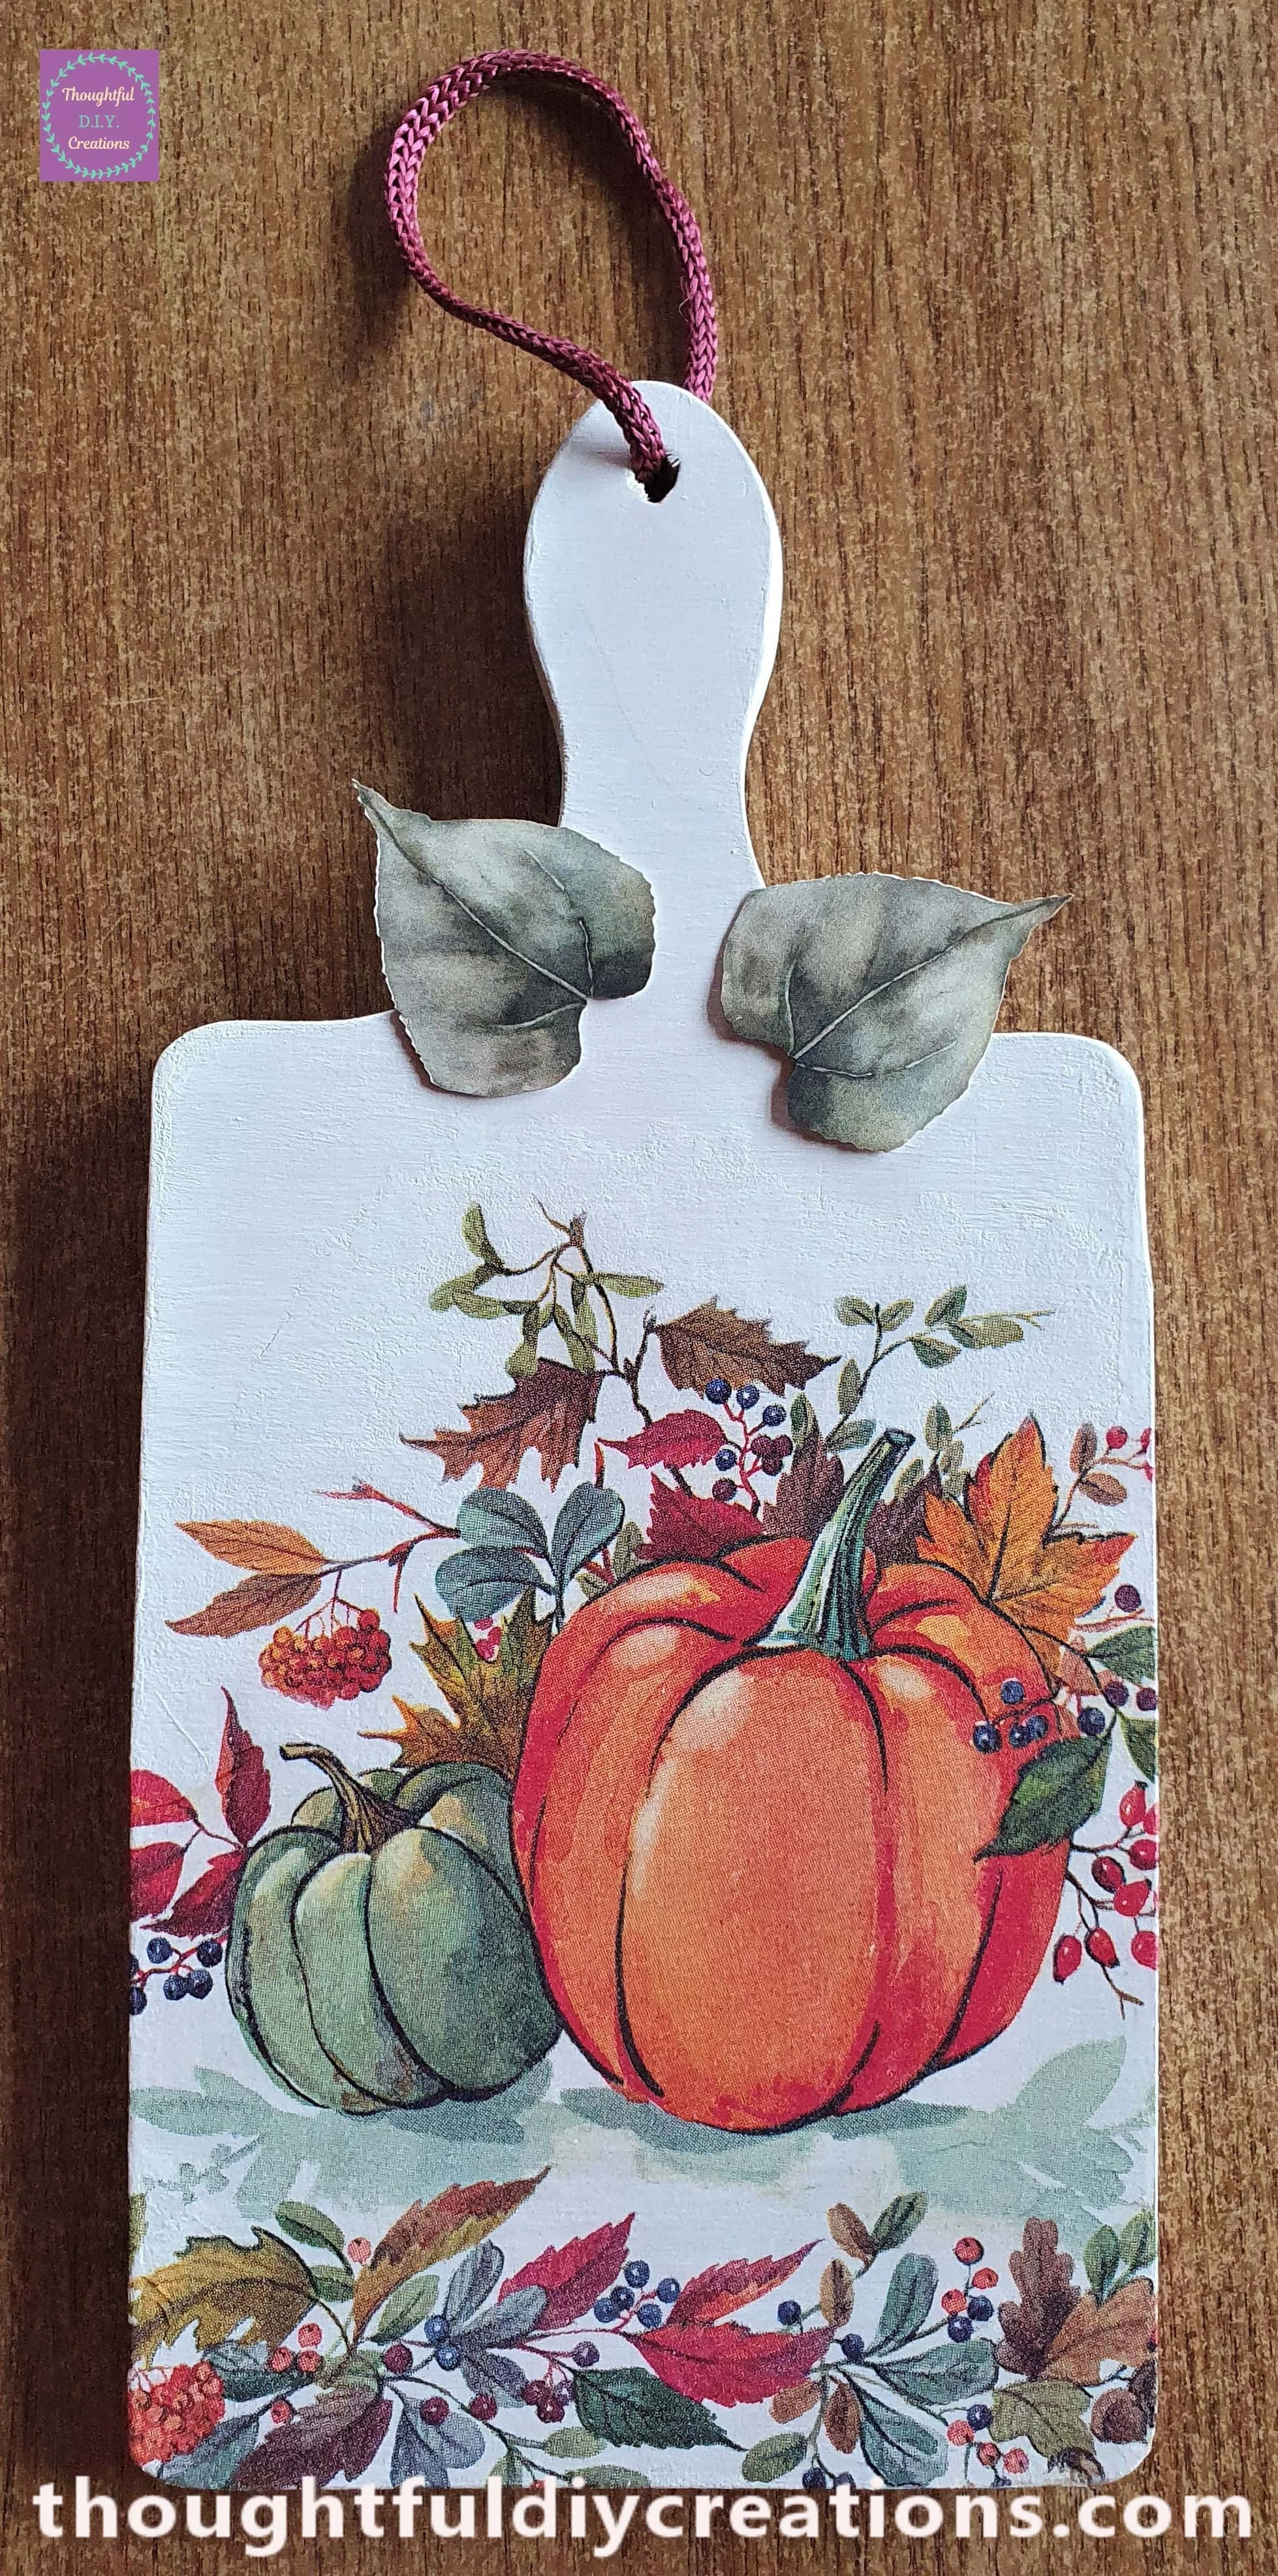
I plugged in my Hot Glue Gun and let it heat up for 5 minutes. I then put a dab of hot Glue behind each leaf one-by-one and attached them to the top of the Chopping Board.
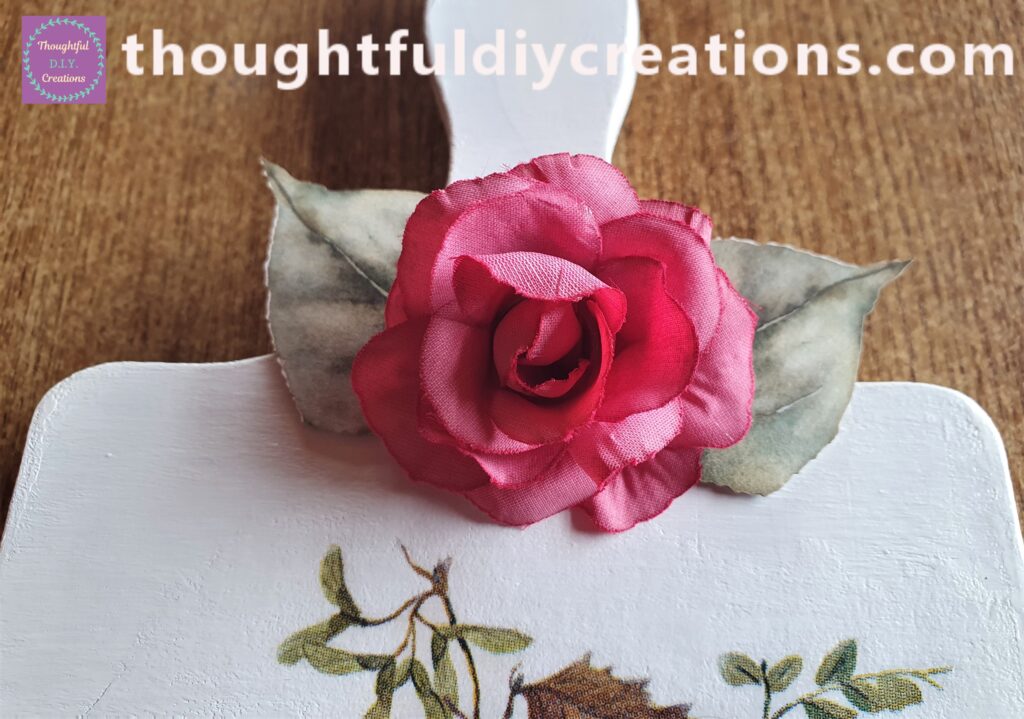
I put Hot Glue behind the Flower and attached it in the center of the leaves.
This Completed my Decoupaged Autumn Chopping Board.
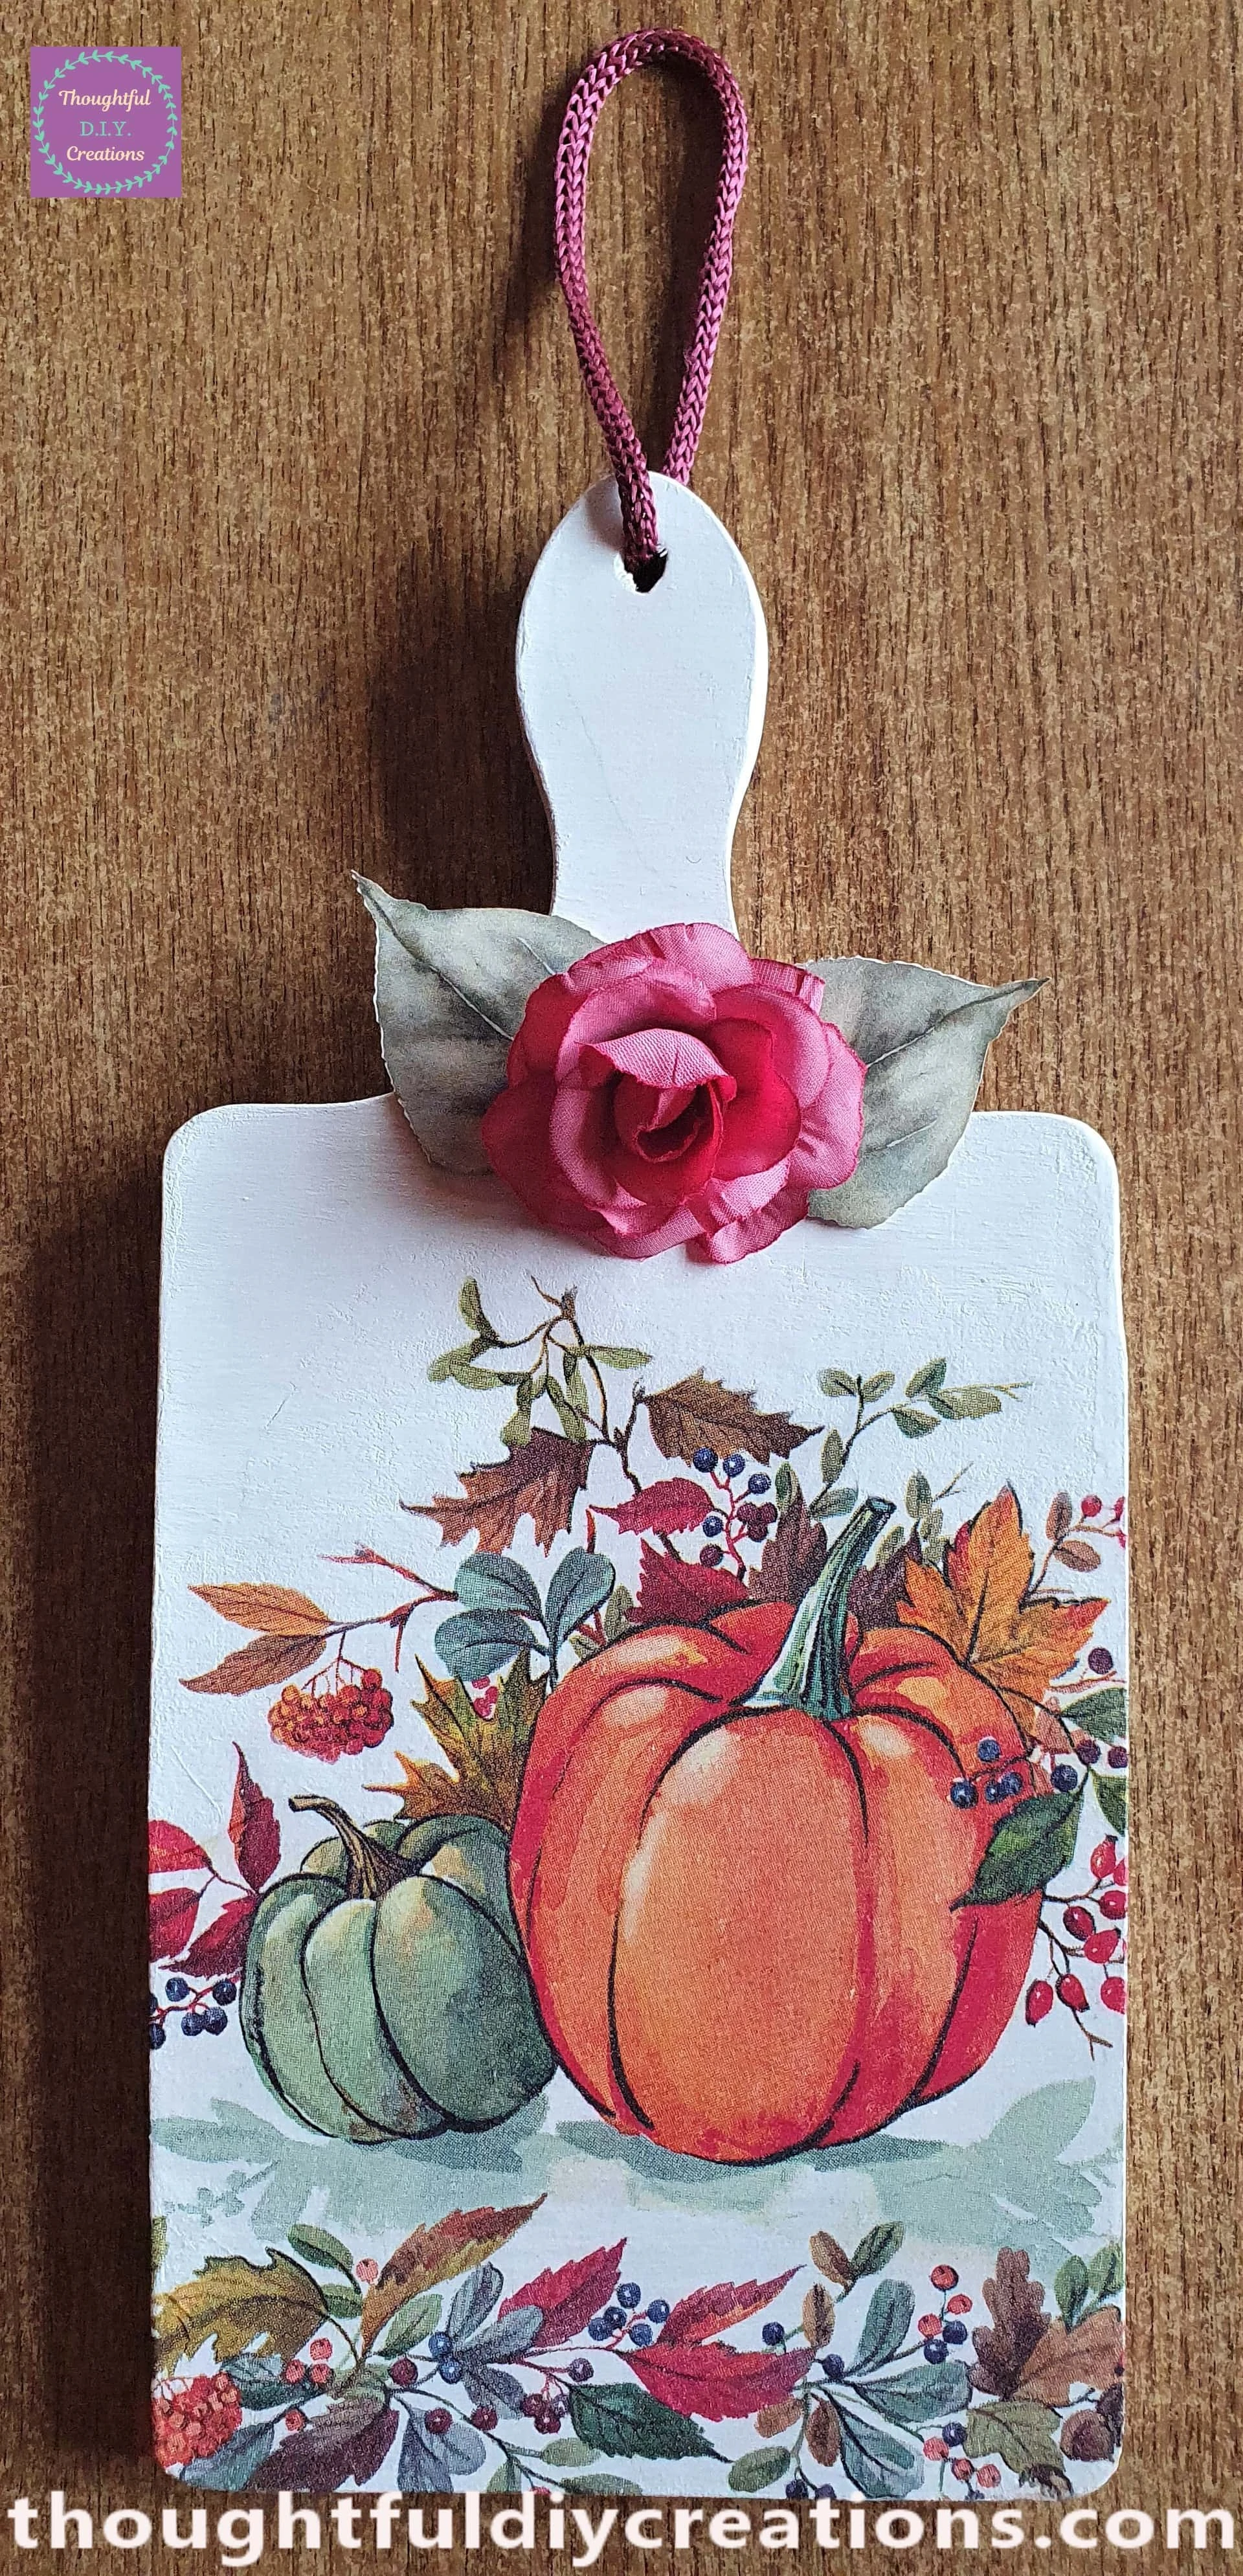
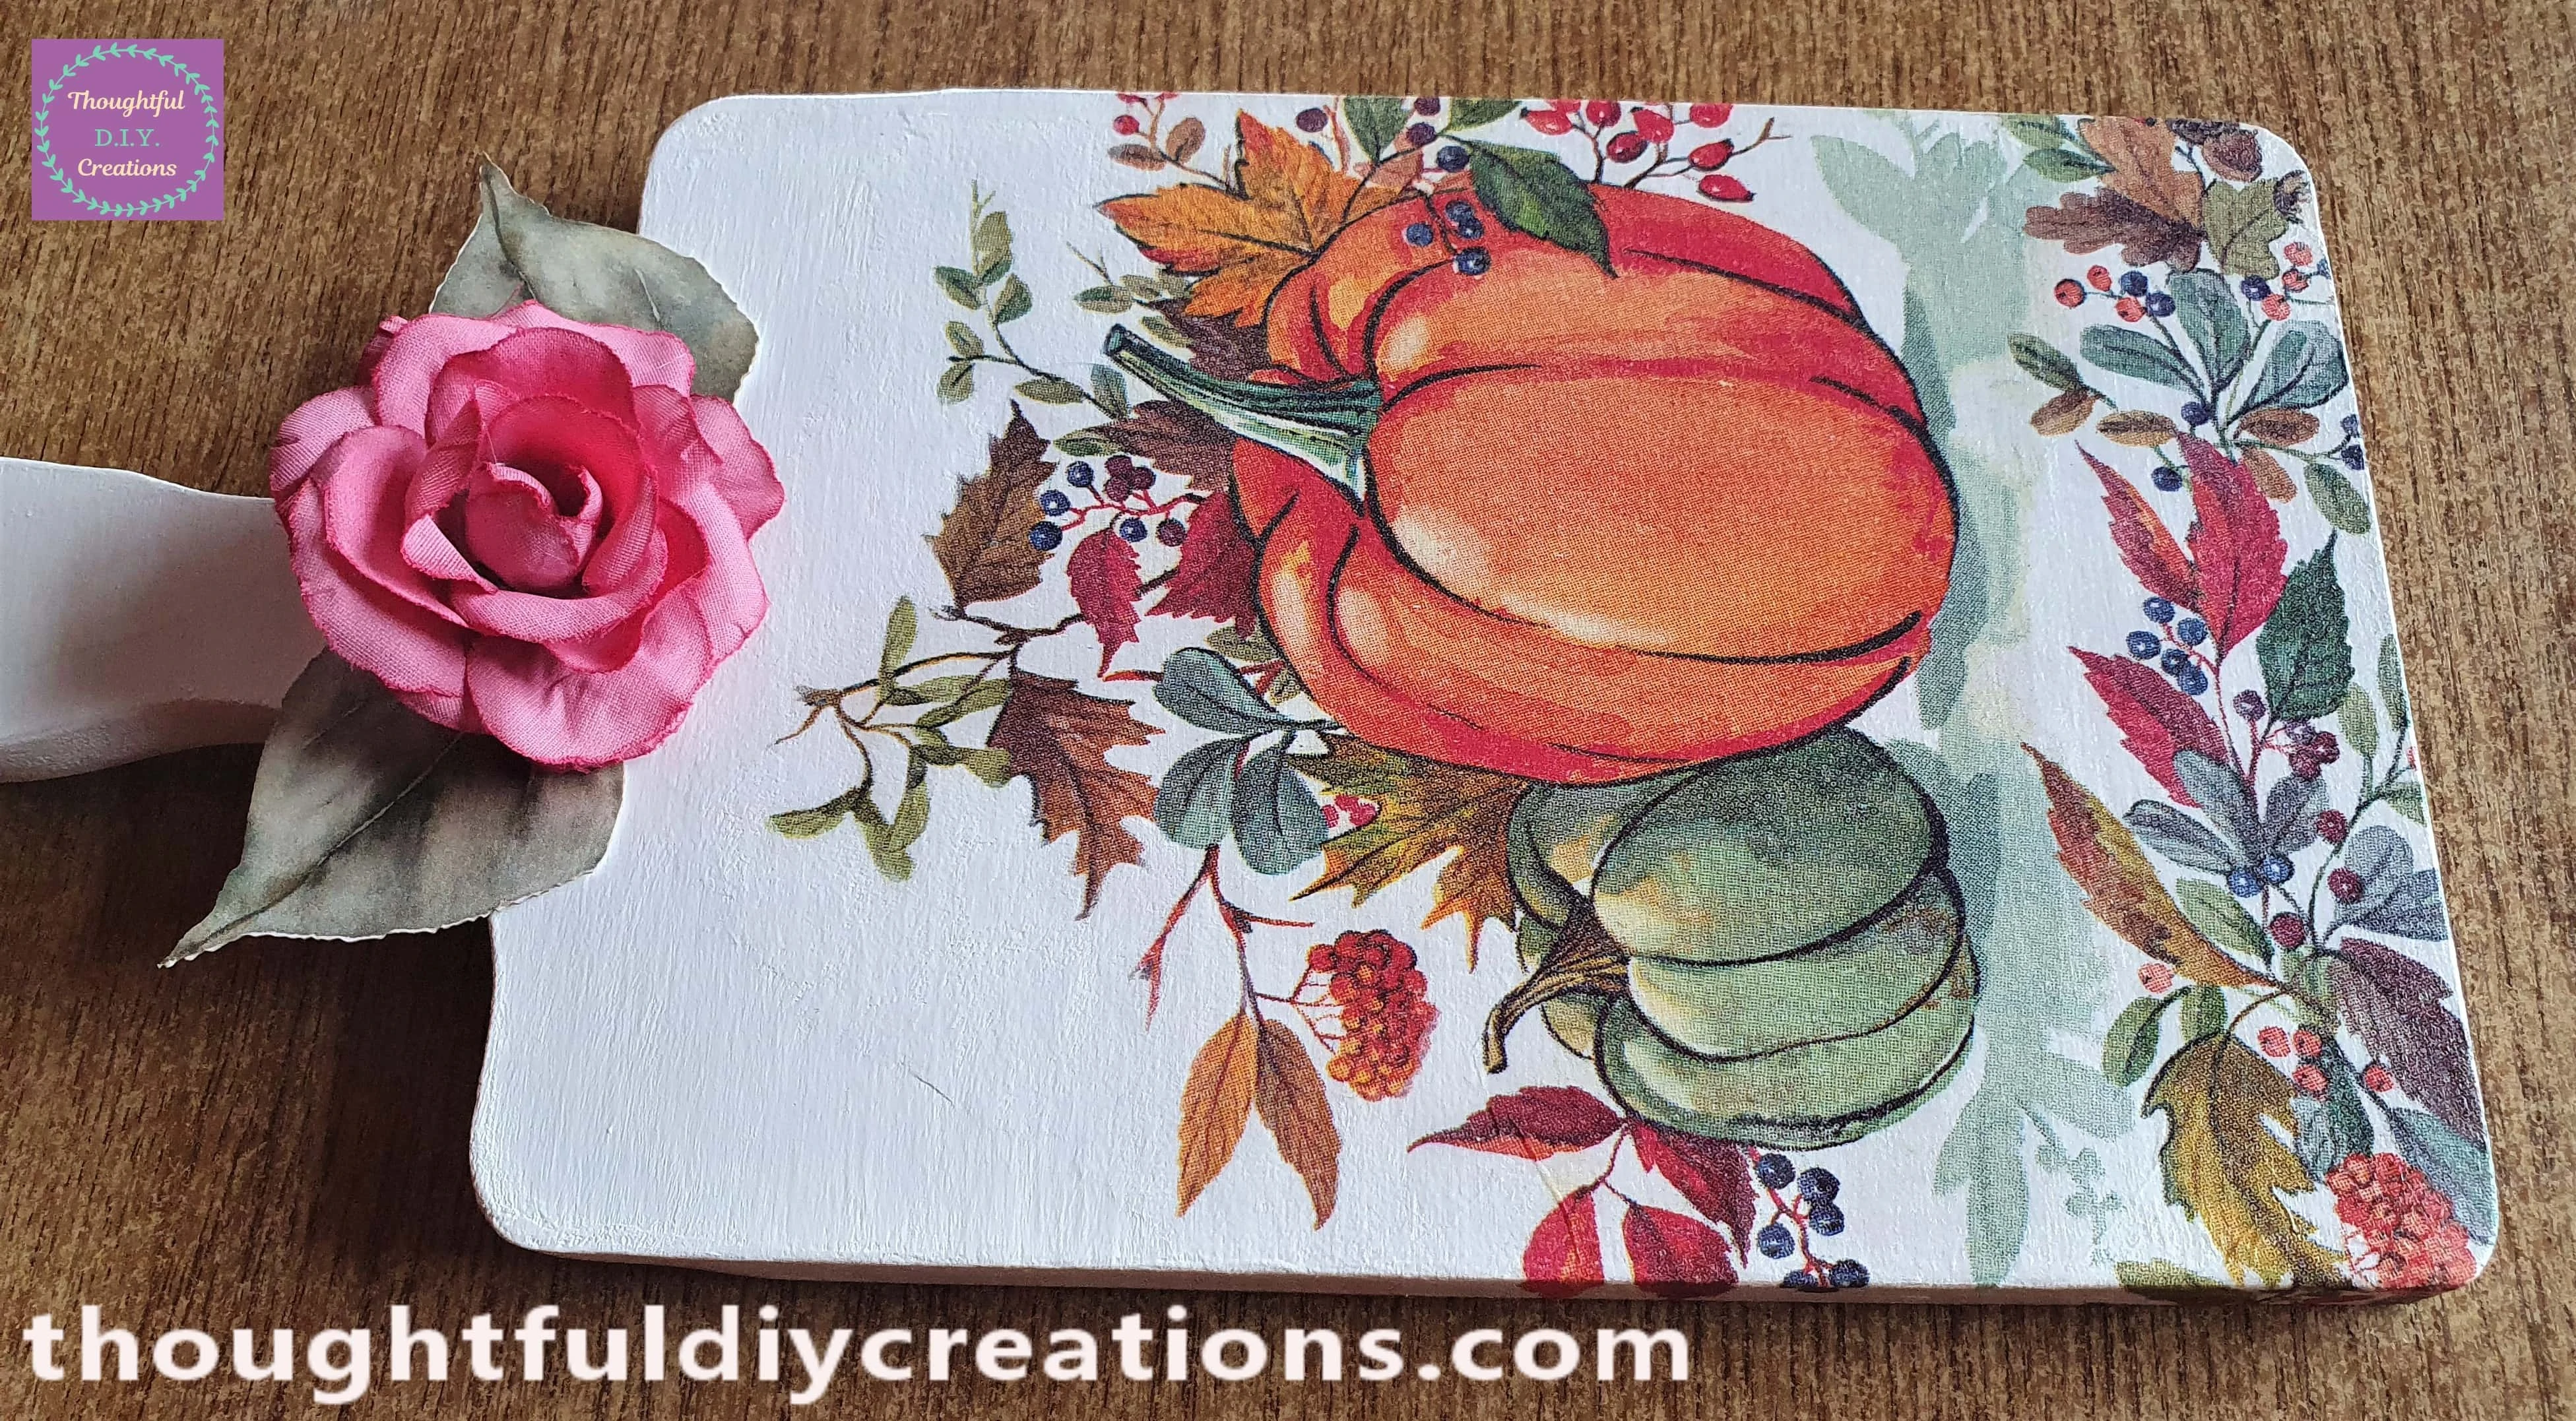
Here are some Side Angles of the Finished Craft.
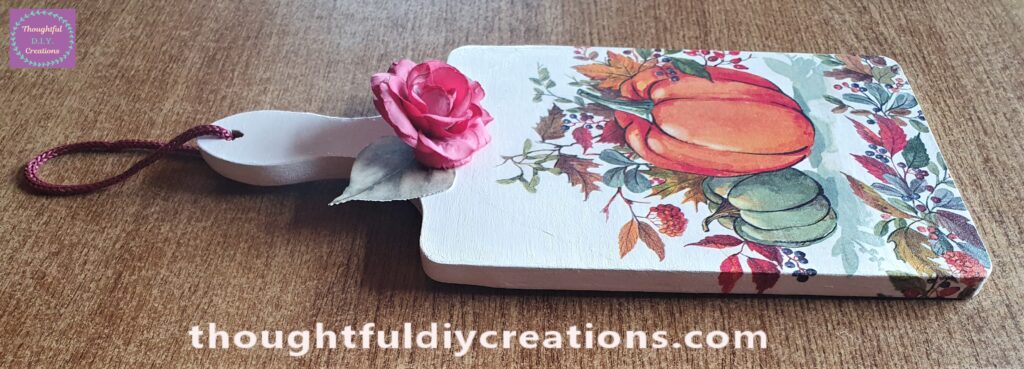
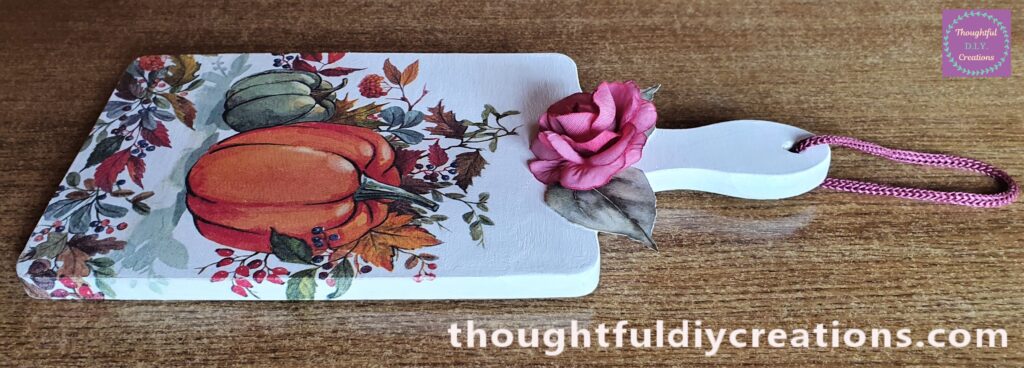
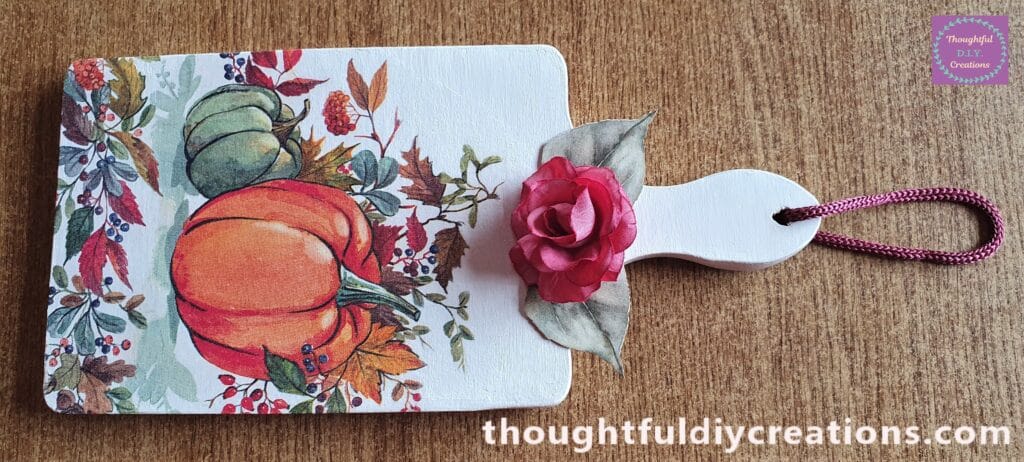
The Chopping Board can be Hung Up on the Wall.
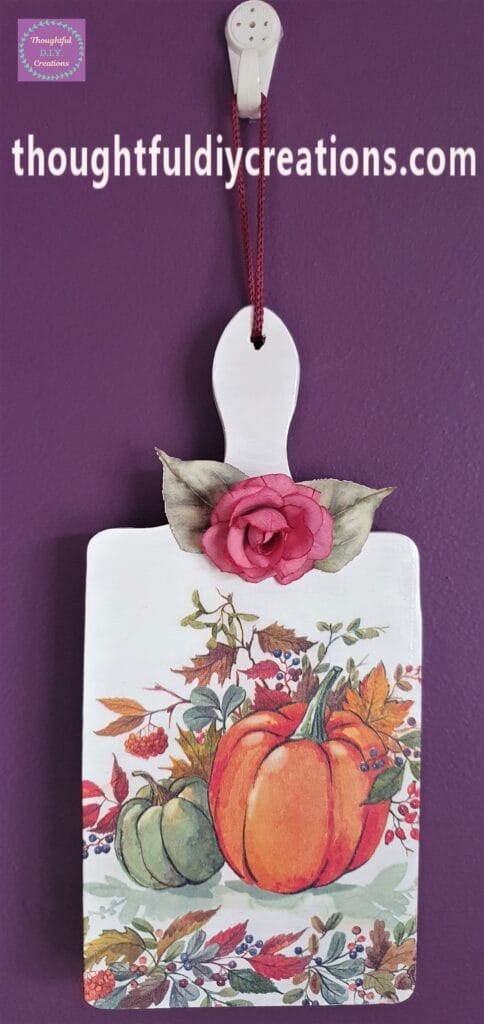
It can also be Displayed leaned against the Wall.
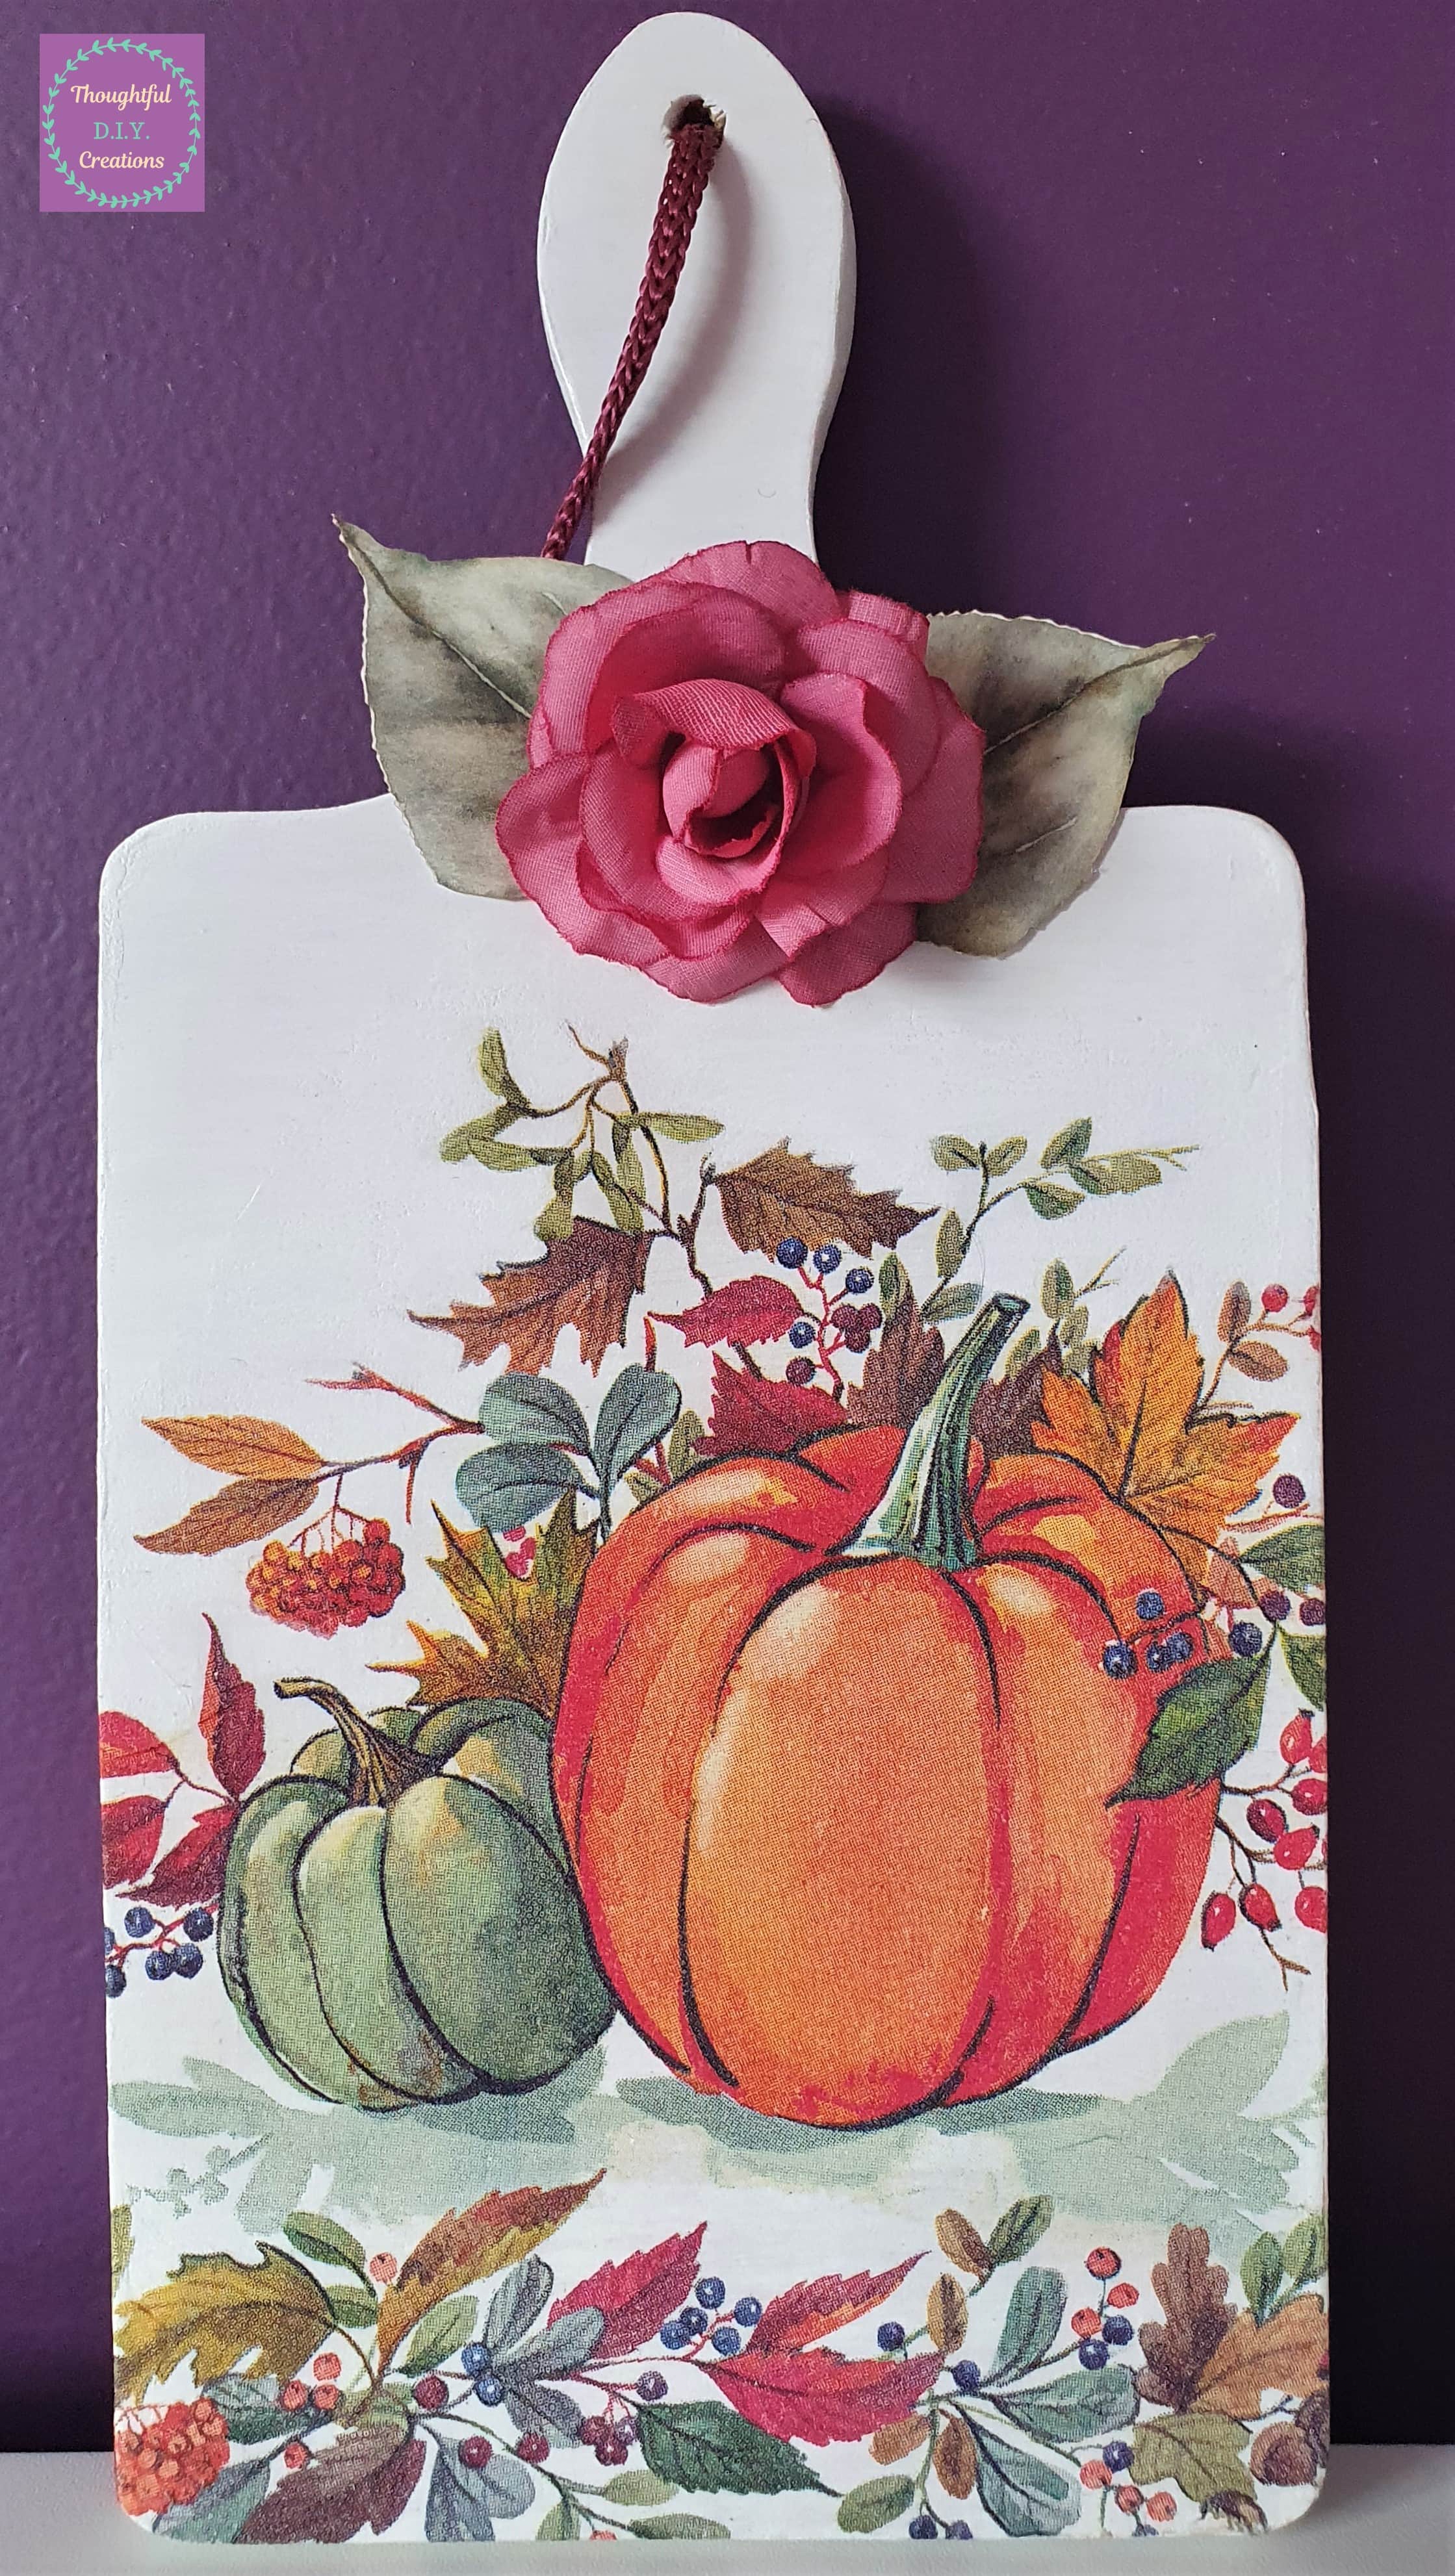
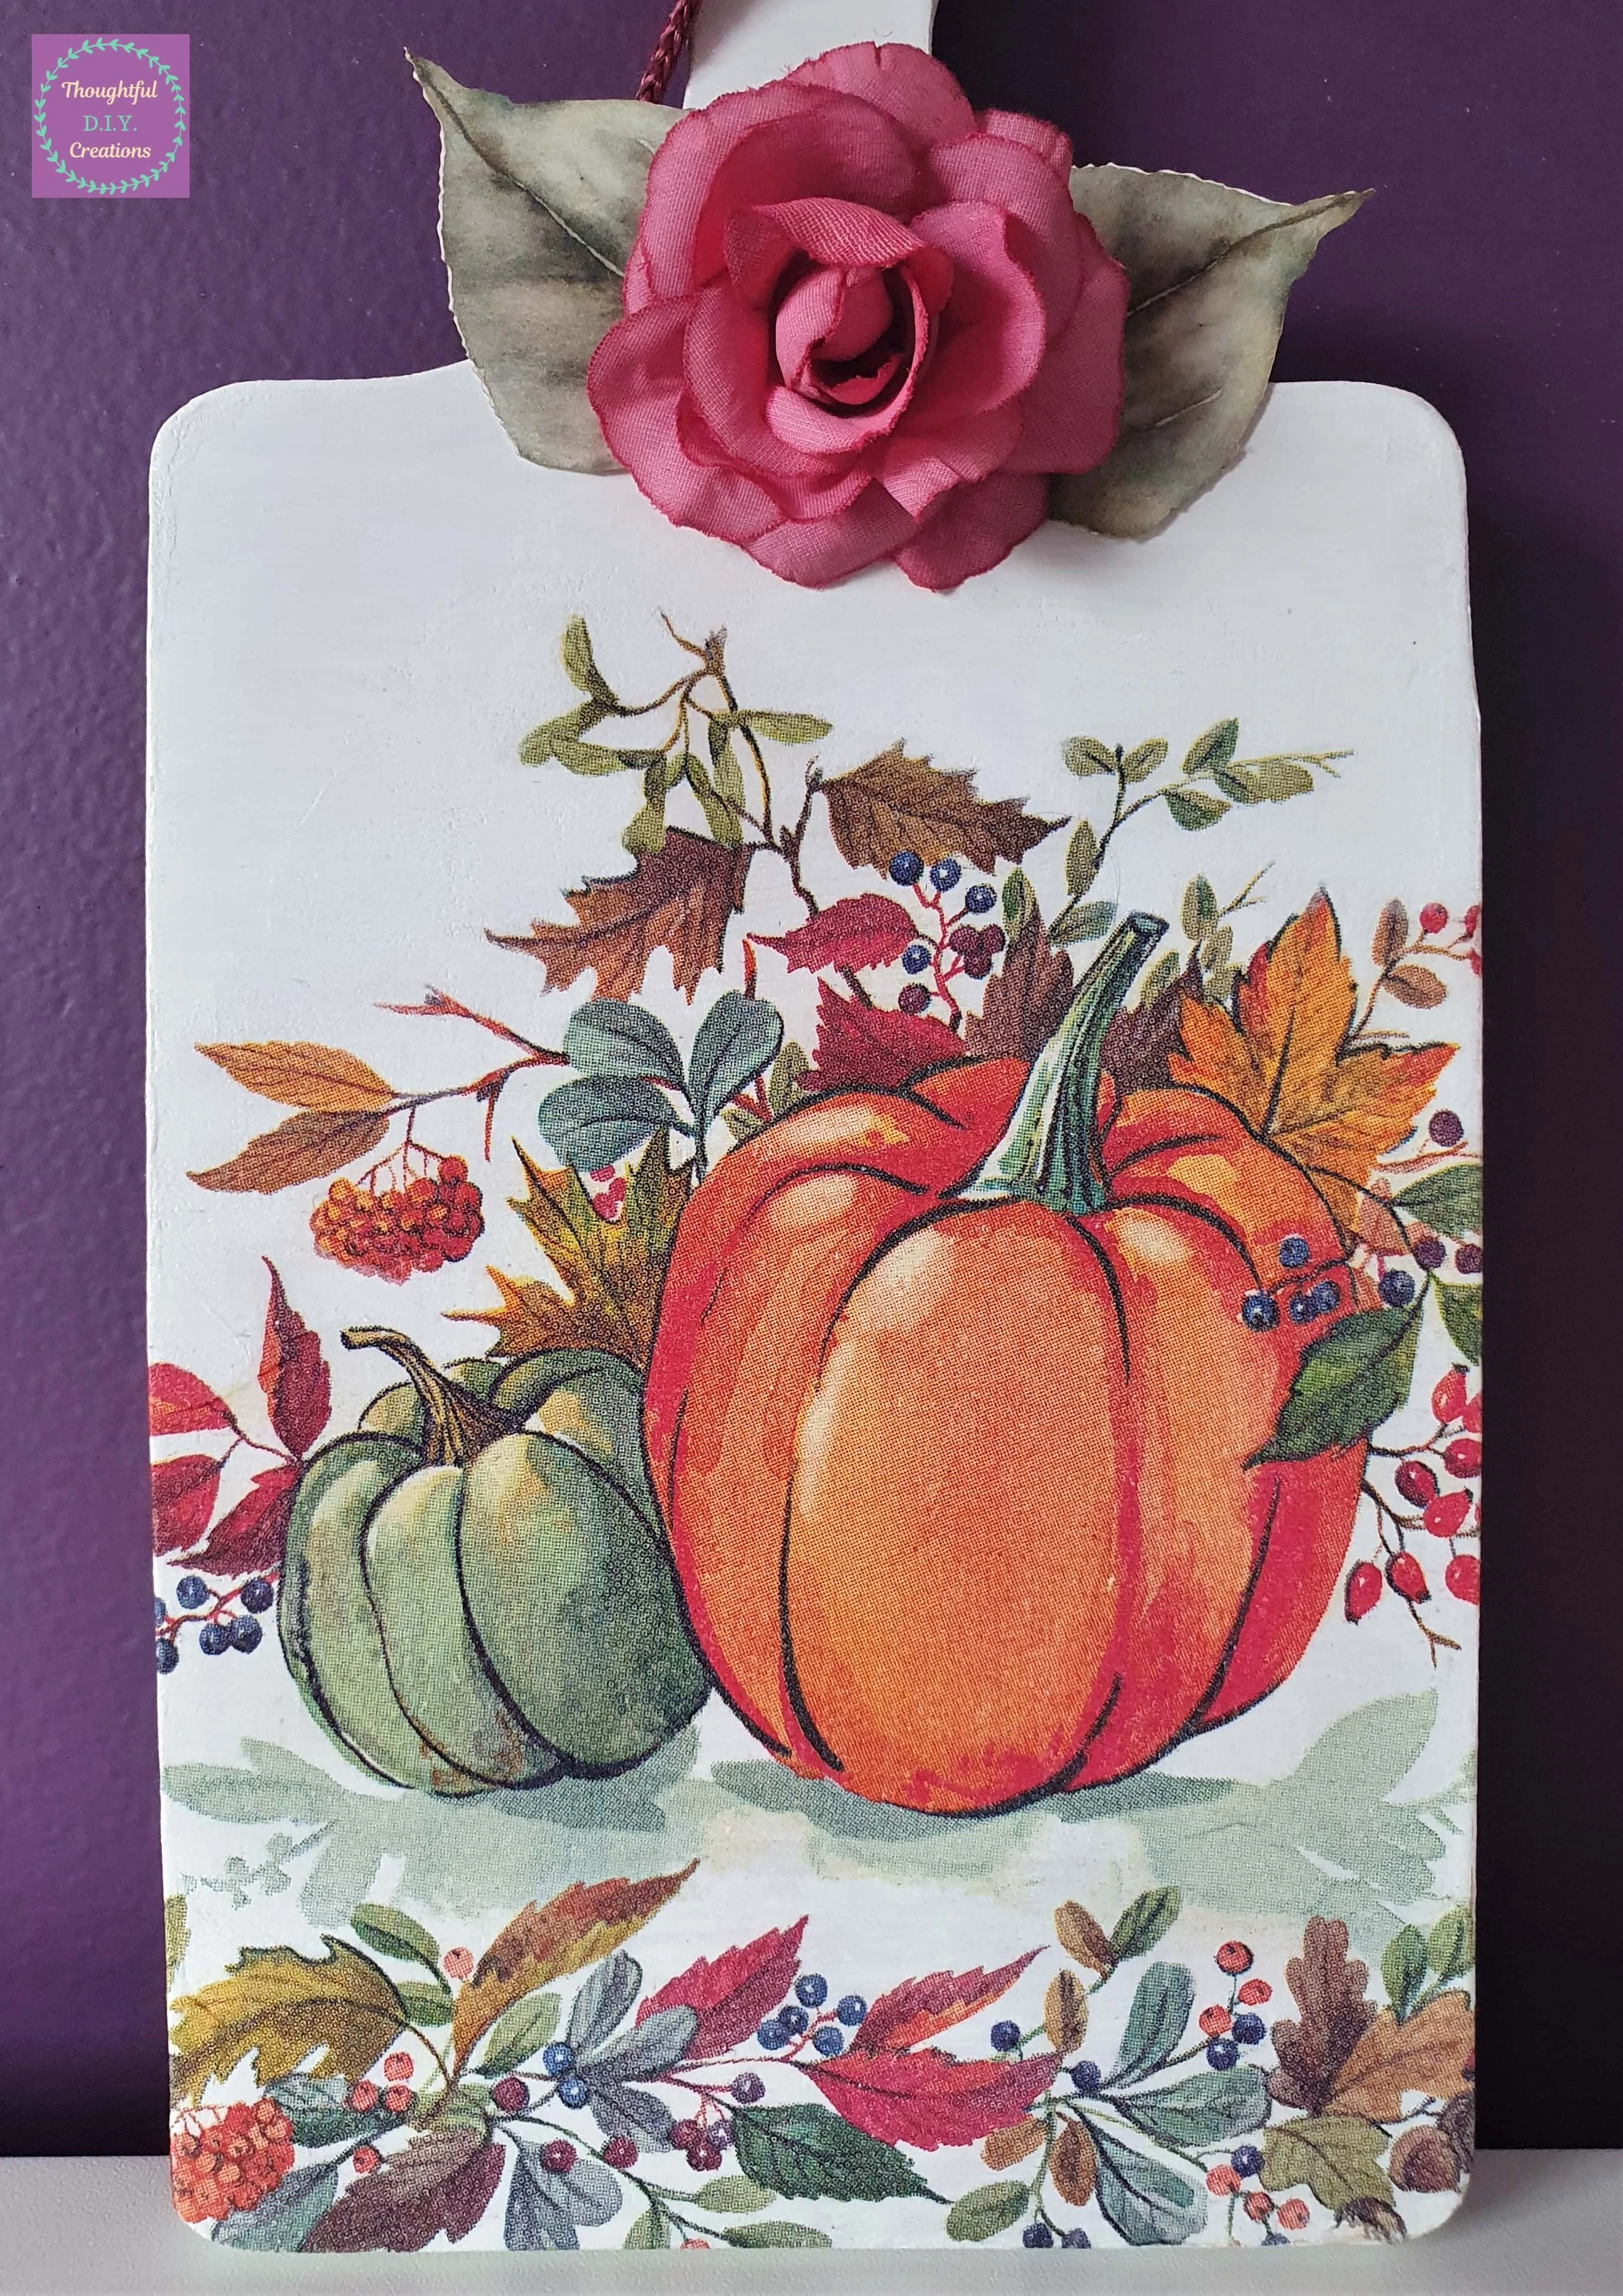
The Final Photo of the Decoupaged Fall Decor.
Conclusion
I’m really Impressed with the Results of the Decoupaged Chopping Board. I adore the Napkin; the Colours and Design are Beautiful. It was also so easy to work with. The Ribbon and Flower were the Perfect additions to finish off the Autumn Display.
I think it would belong in any Kitchen especially to Celebrate this Season. It is also a subtle way to Decorate if you don’t want to go all out and are more into the Simple / Minimalist Decor.
It’s a great alternative for anyone short of Space; if you don’t have the extra room for Pumpkins and large Decor Pieces but still want to Incorporate the stunning Colours of Autumn into your Home.
I Sincerely Hope you Enjoyed my Tutorial and got some Creative Ideas from it. As usual you can put your own spin on your Craft and use different embellishments to Decorate your Chopping Board and make it your own.
If you would like more Fall related Crafts; check out my Autumn Canvas I made a couple of years ago.
If you have any Questions on this Craft; feel Free to Fill out the Comment Box below this Blog Post and I’ll get back to You as soon as I can.
Happy Crafting Everyone.
Thank You So Much for Taking the Time to Read my Blog.
Always Grateful,
T.D.C.
xoxox


-0 Comment-