Dreamcatcher Art Journal Page
Hello my Creative Friends,
I hope you are all well. In Today’s Tutorial I will show you how I made a ‘Dreamcatcher Art Journal Page’ using Acrylic Paint, Ink and Stamps. It is a great option for beginners or for people who want to be Creative but aren’t confident about their Drawing skills, as the stamps will do most of the work. It is a Positive, Boho Inspired Page and I hope you enjoy the Step-by-Step Process.
Art Journal
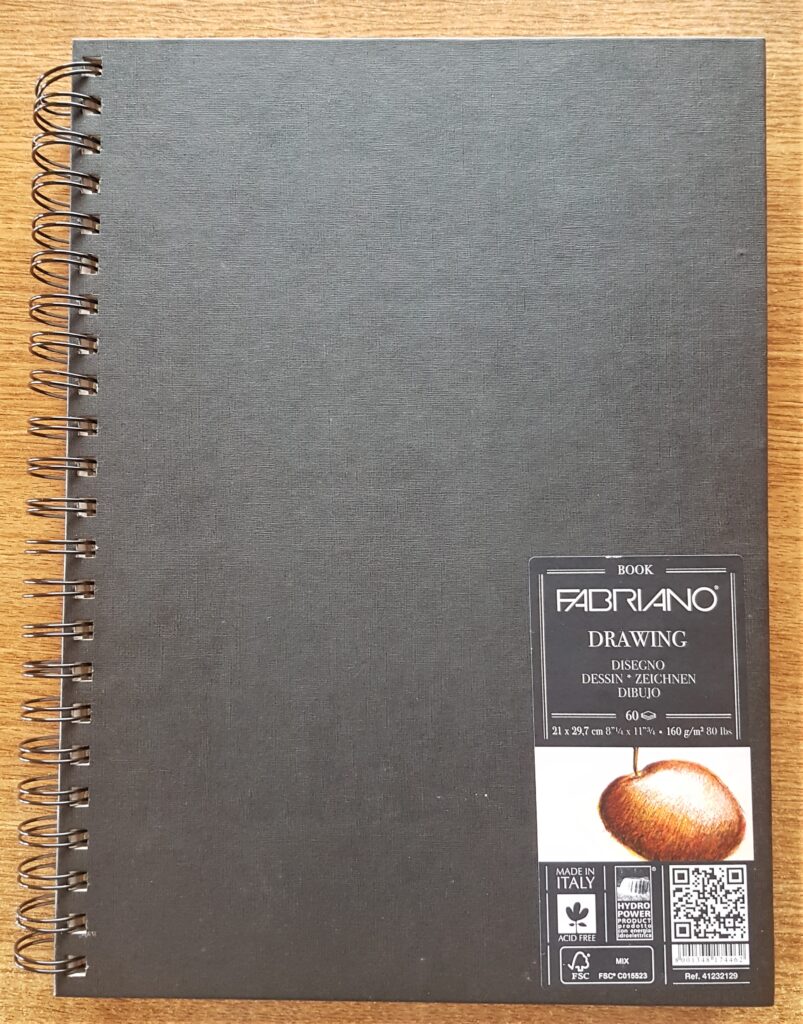
I got my A4 160 gsm Spiral Journal.
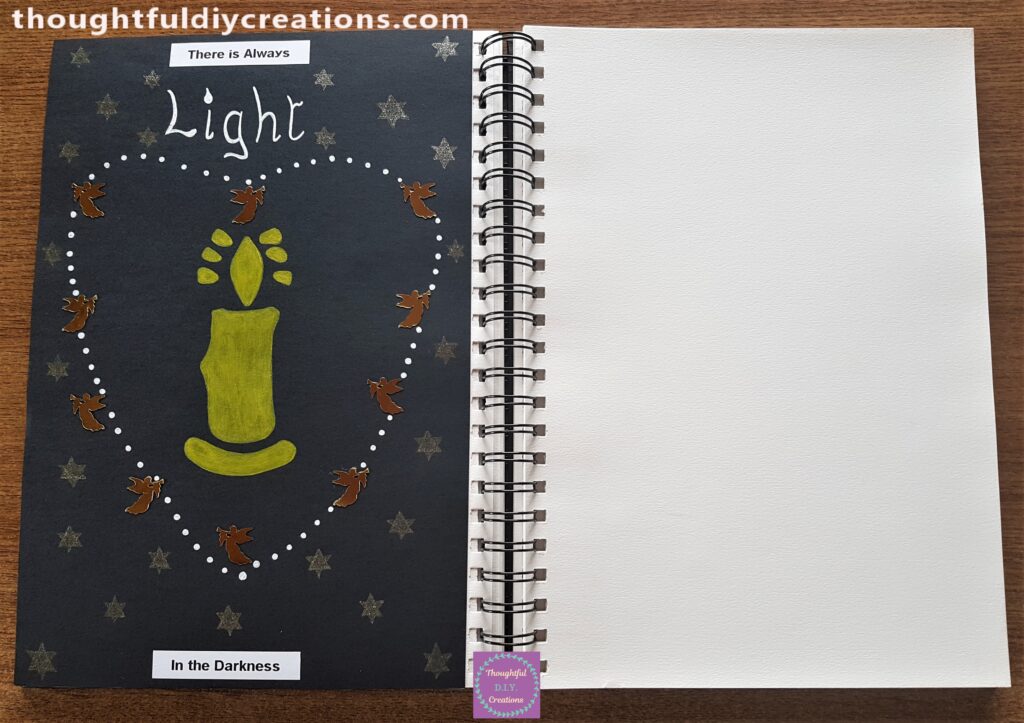
I decided to use the Page beside ‘The Light in the Darkness’ Page I created a couple of months ago.
Preparing to Paint
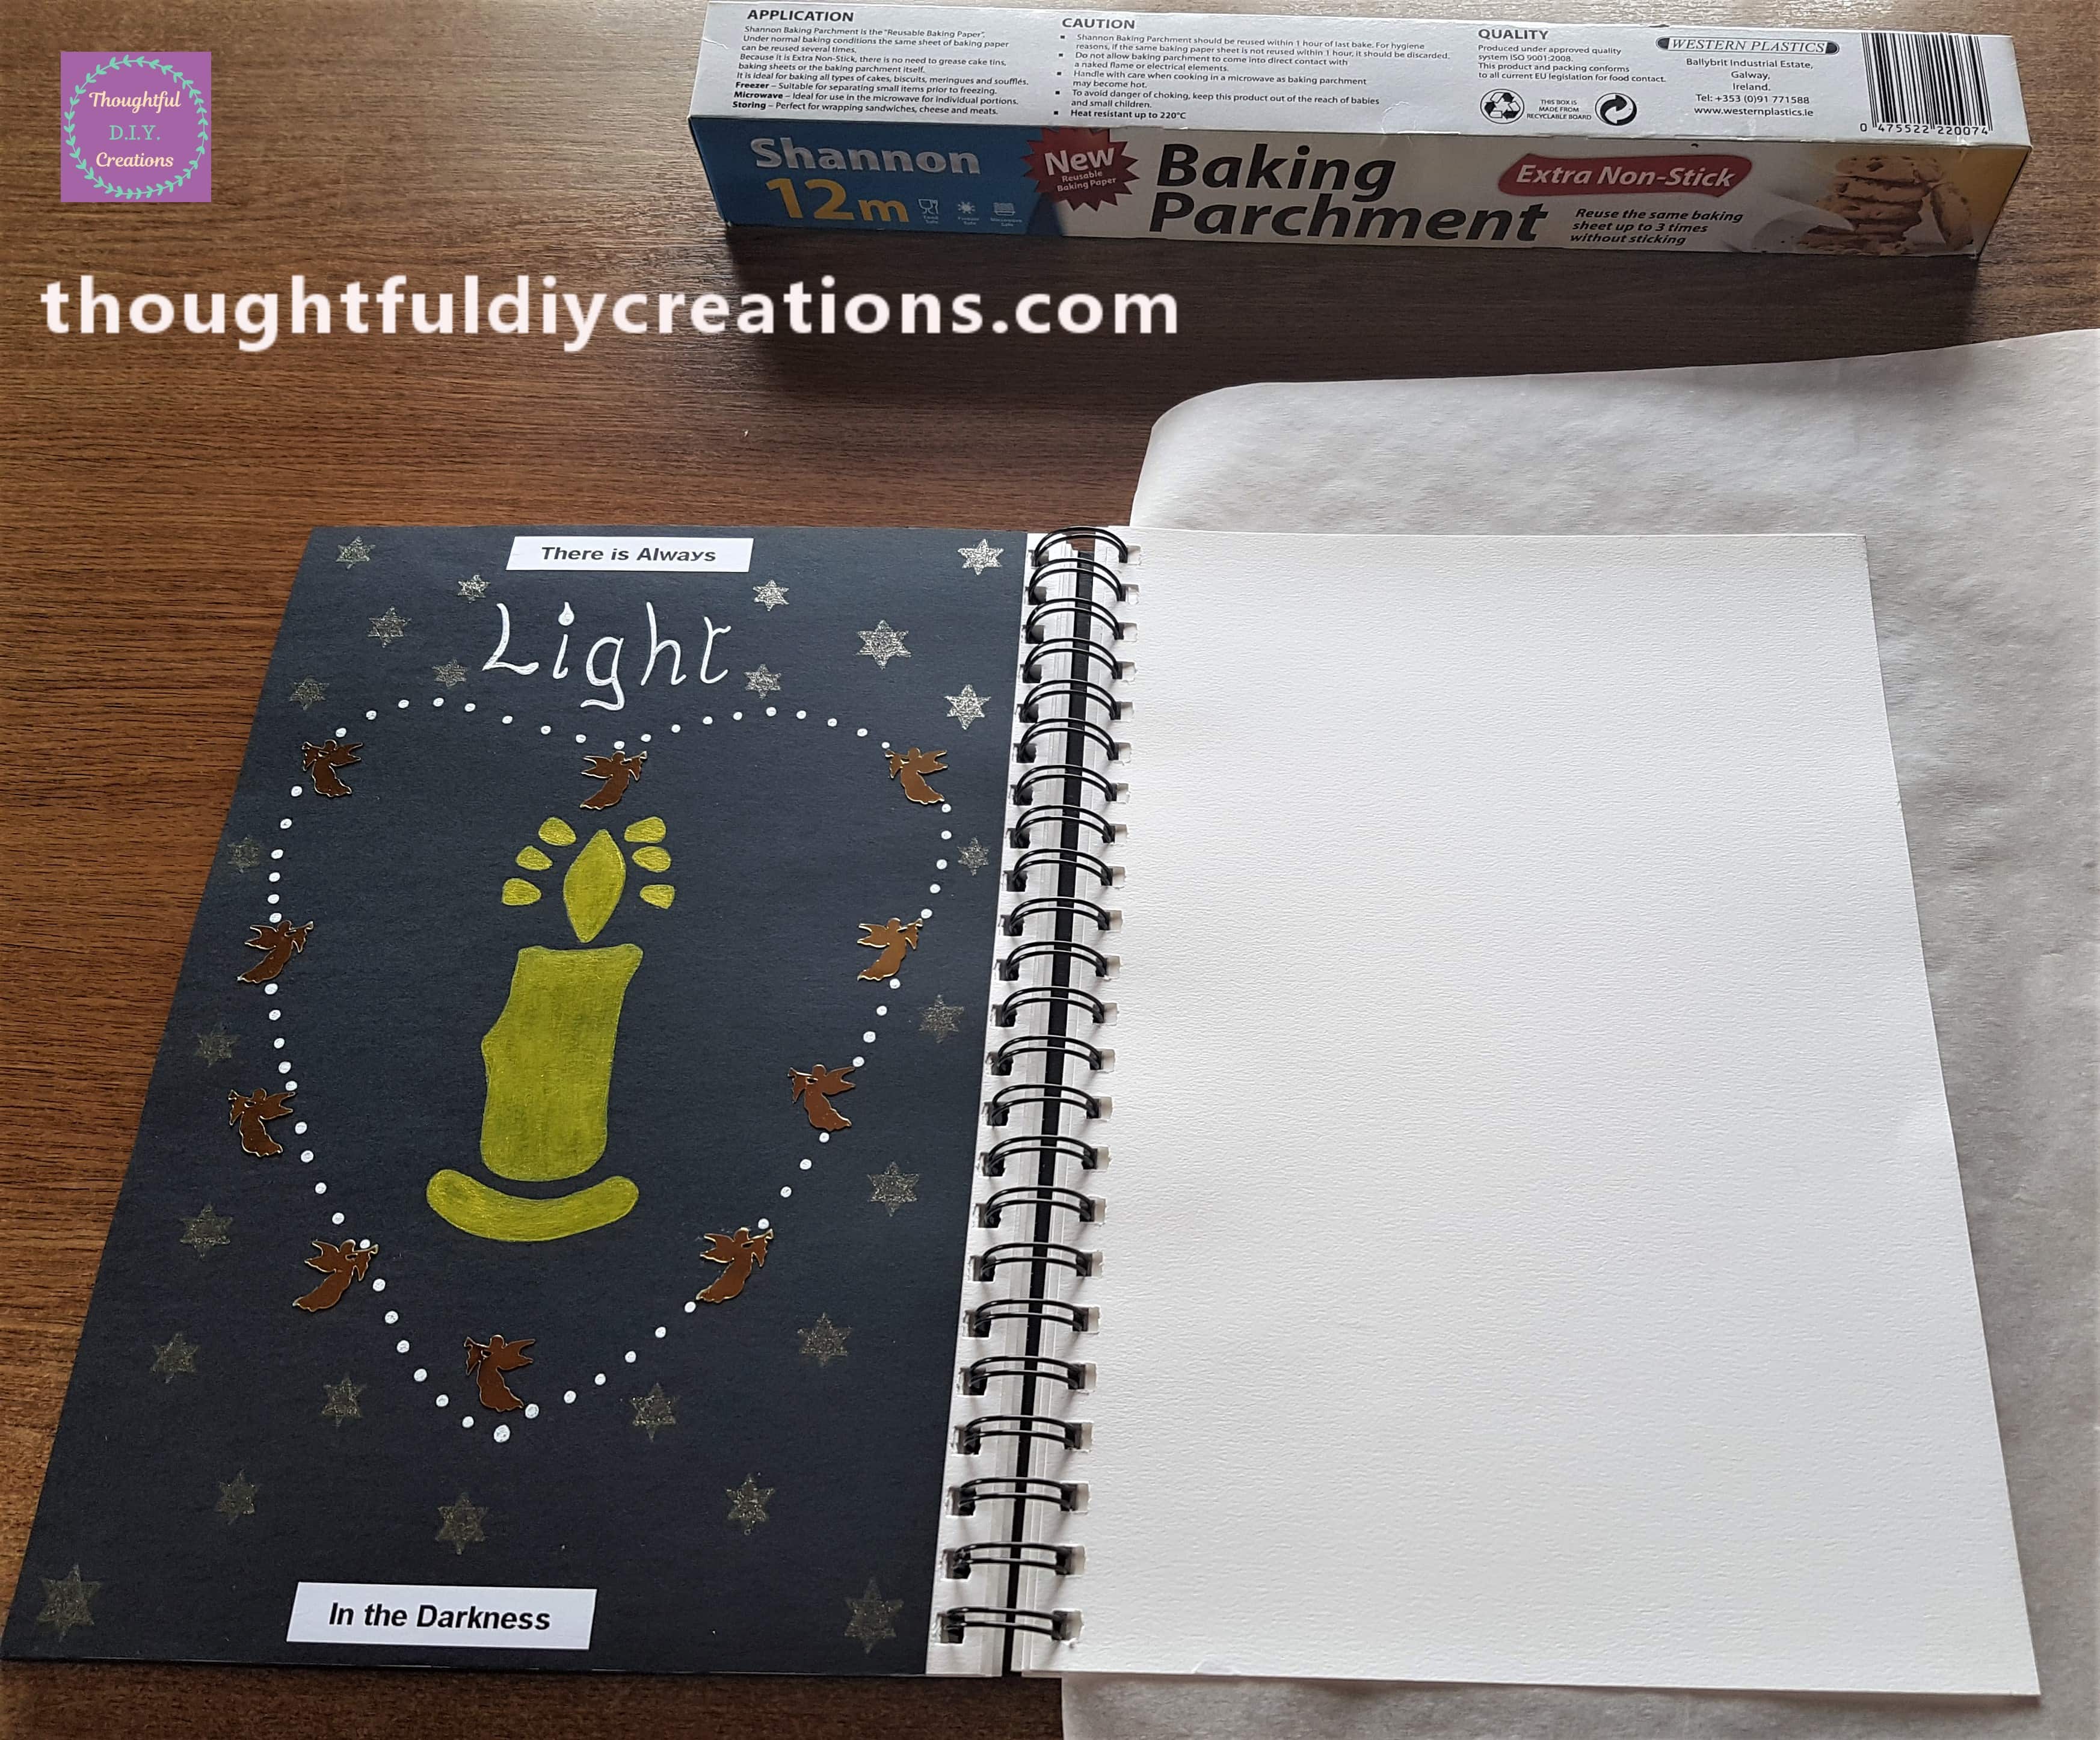
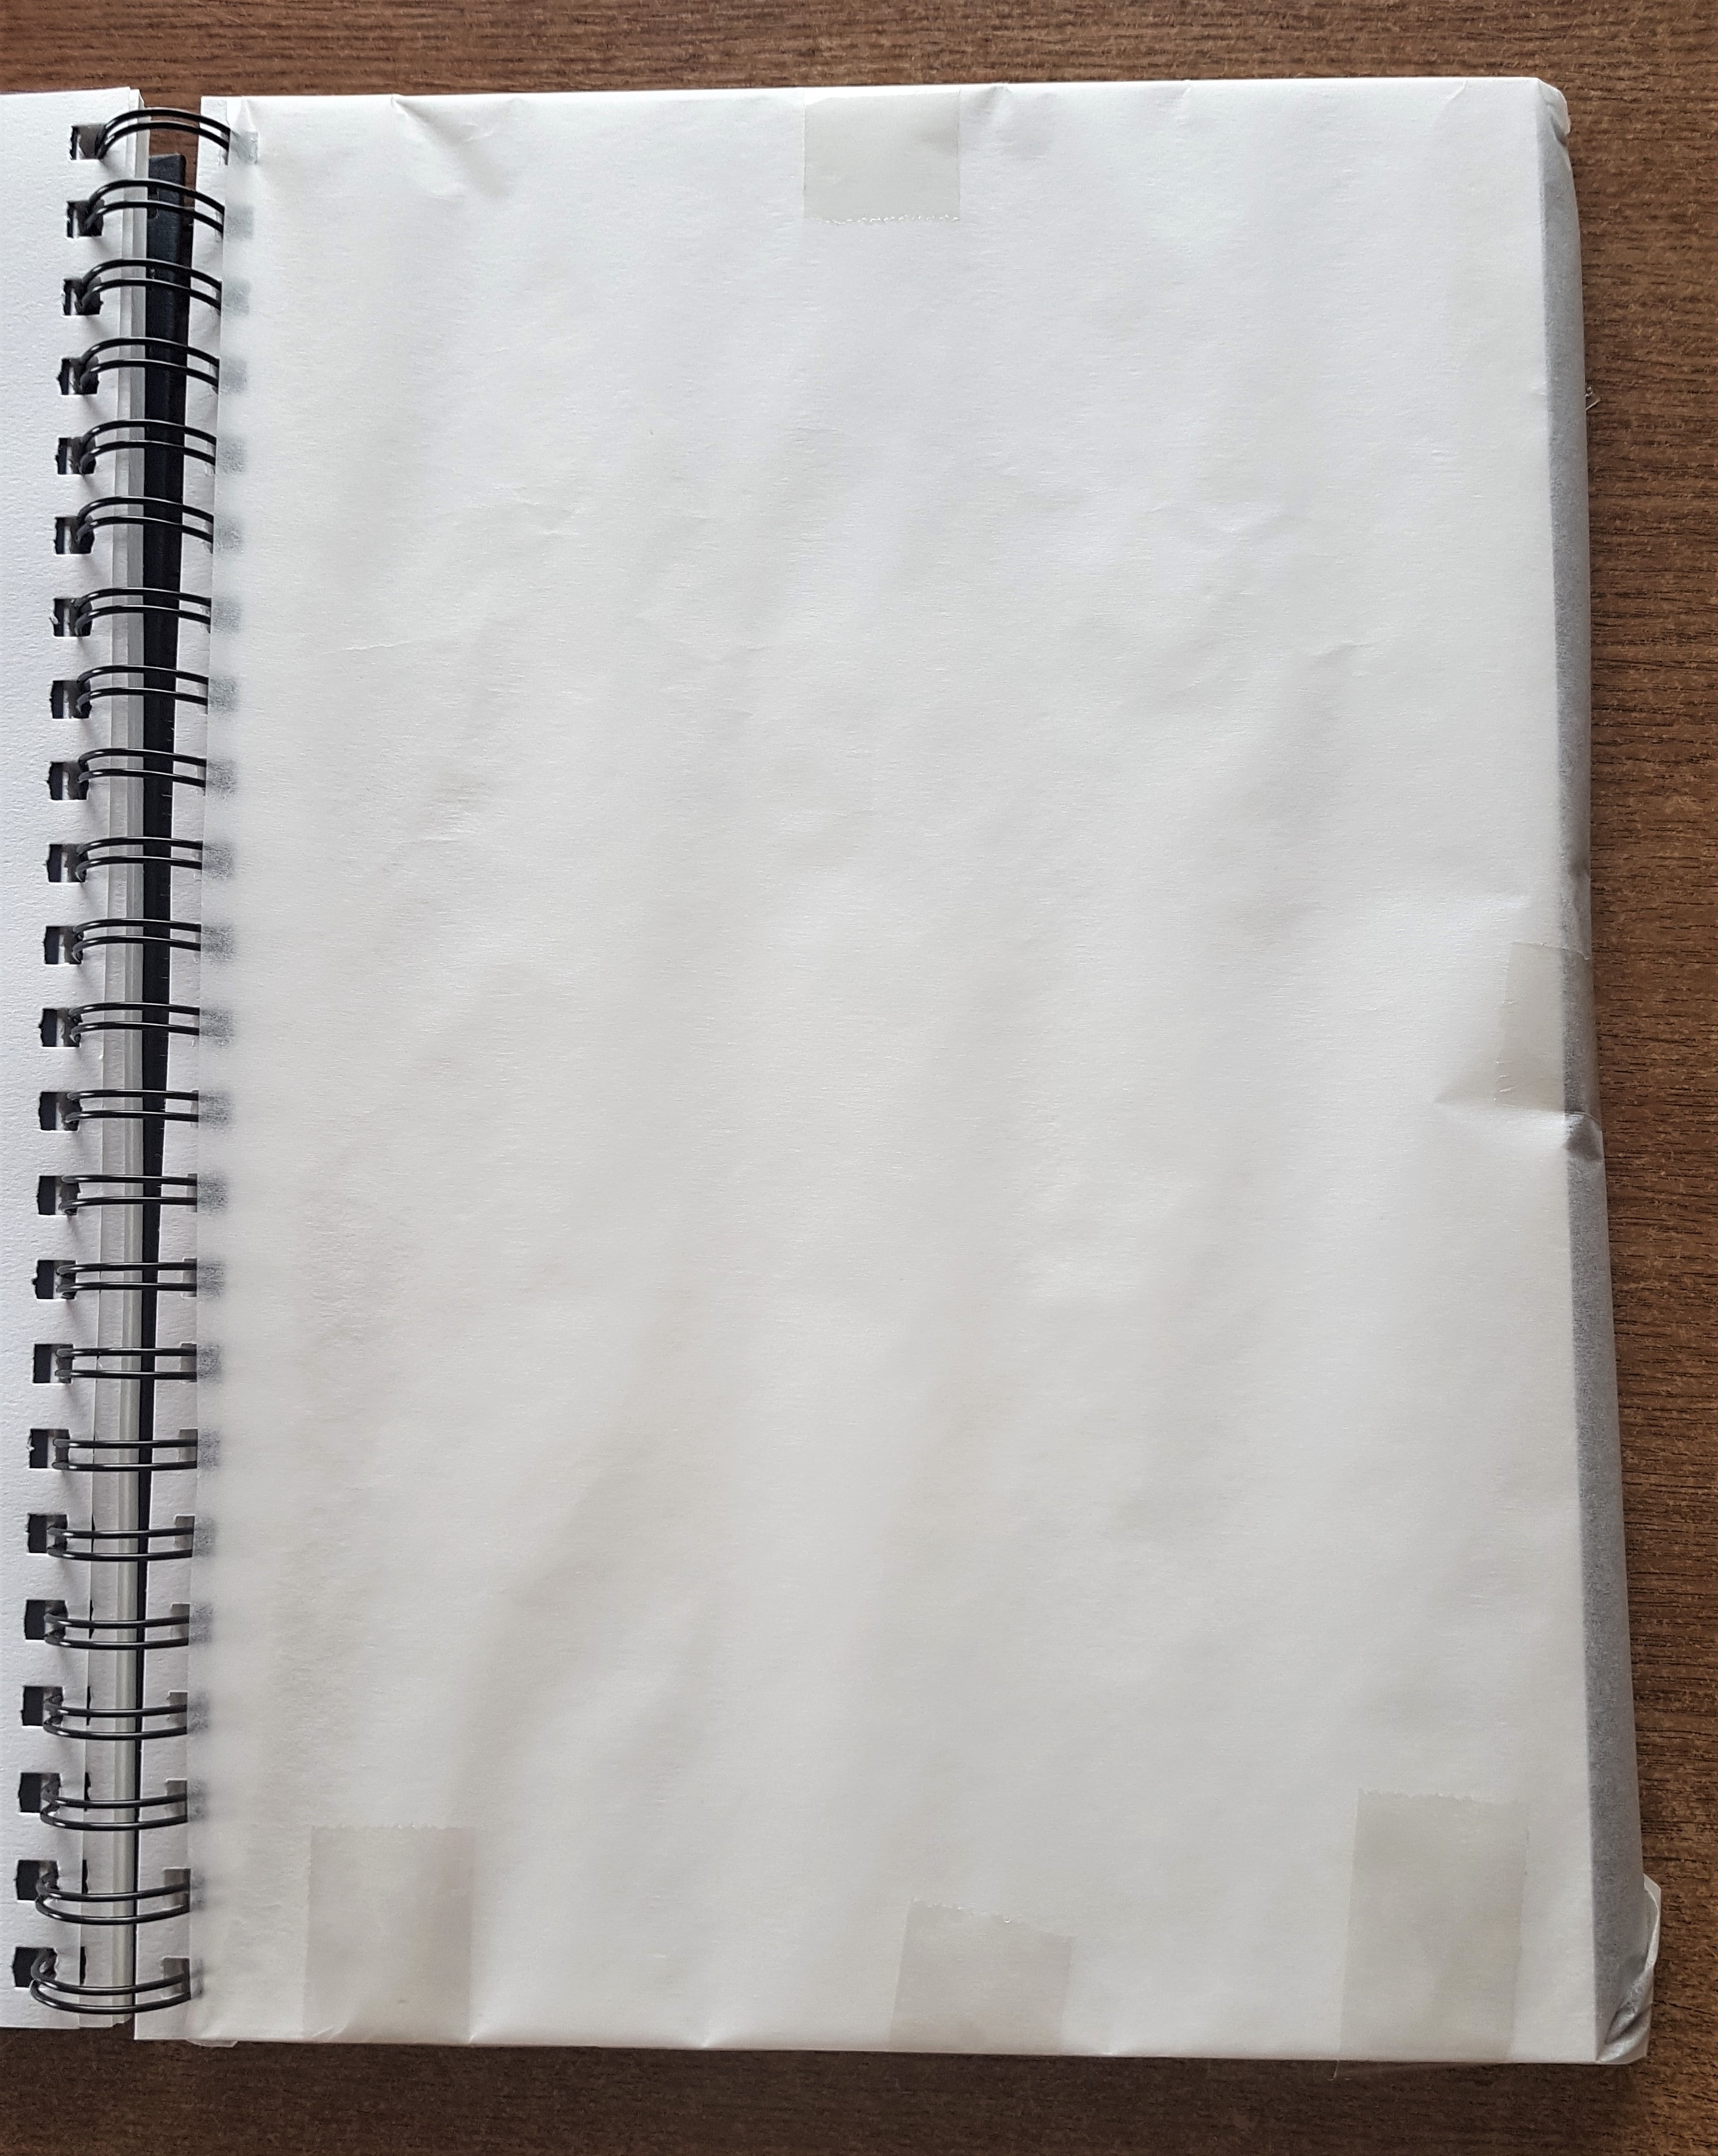
I cut some Baking Parchment Paper and put it on the Page under the one I will be working on. This will prevent Paint getting on the rest of the Pages.
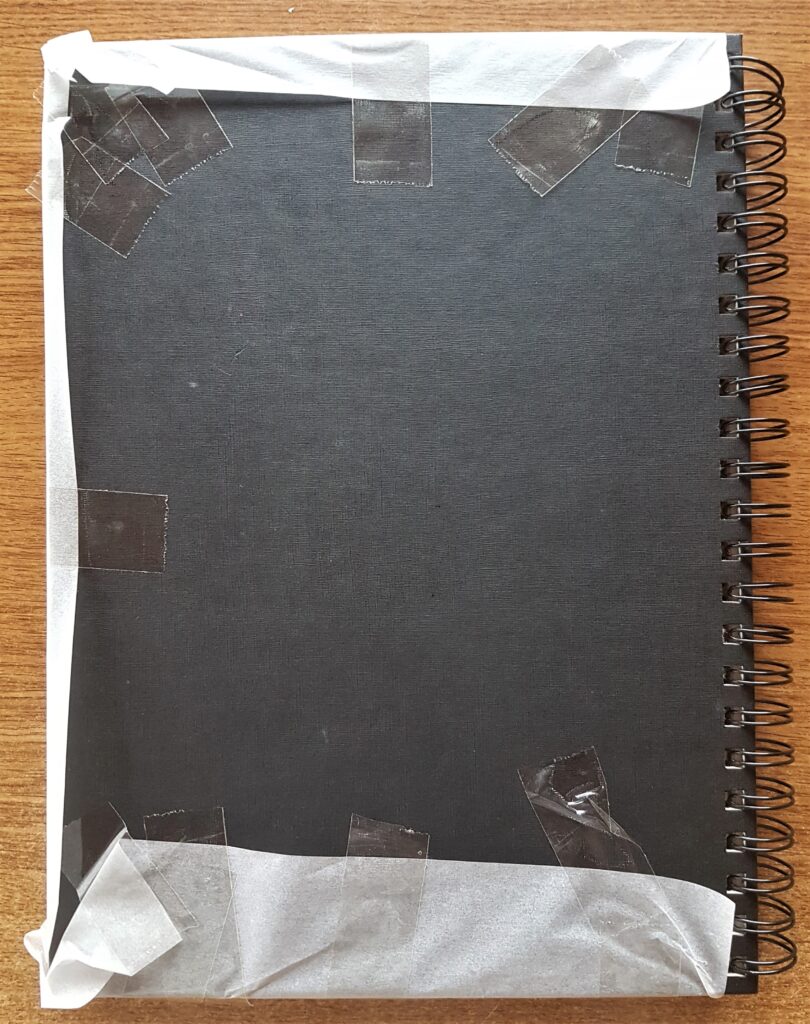
I put Sellotape on three sides of the Baking Parchment Paper and attached it to the back of the Journal to keep it secure.
This is how the Back of the Journal looks.
Acrylic Paint for the Background
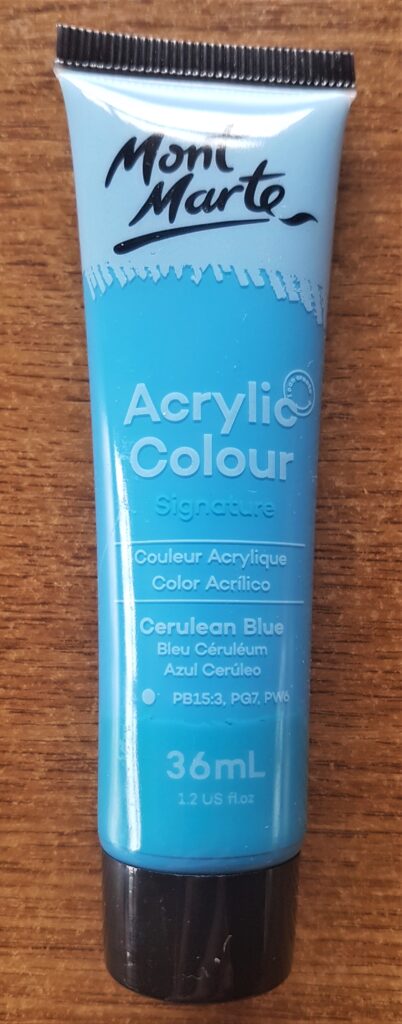
I got my ‘Cerulean Blue’ Acrylic Paint from my paint supplies.
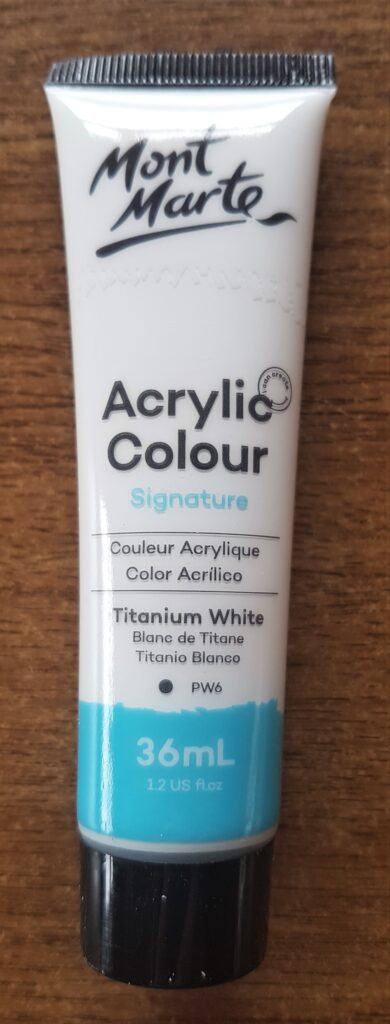
I also got my ‘Titanium White’ Acrylic Paint.
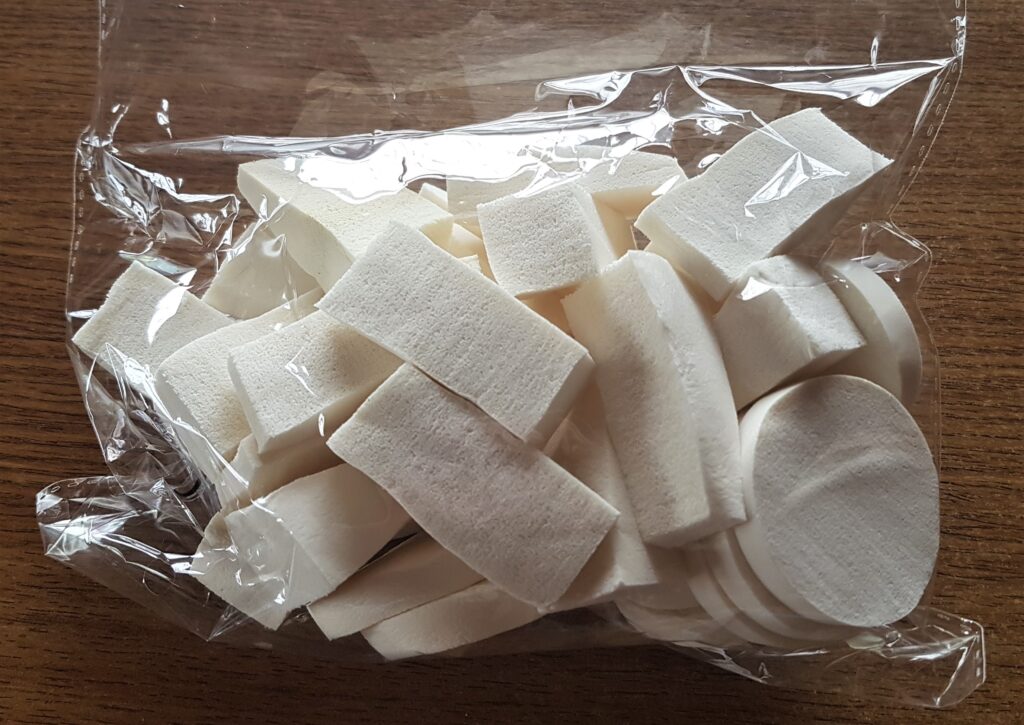
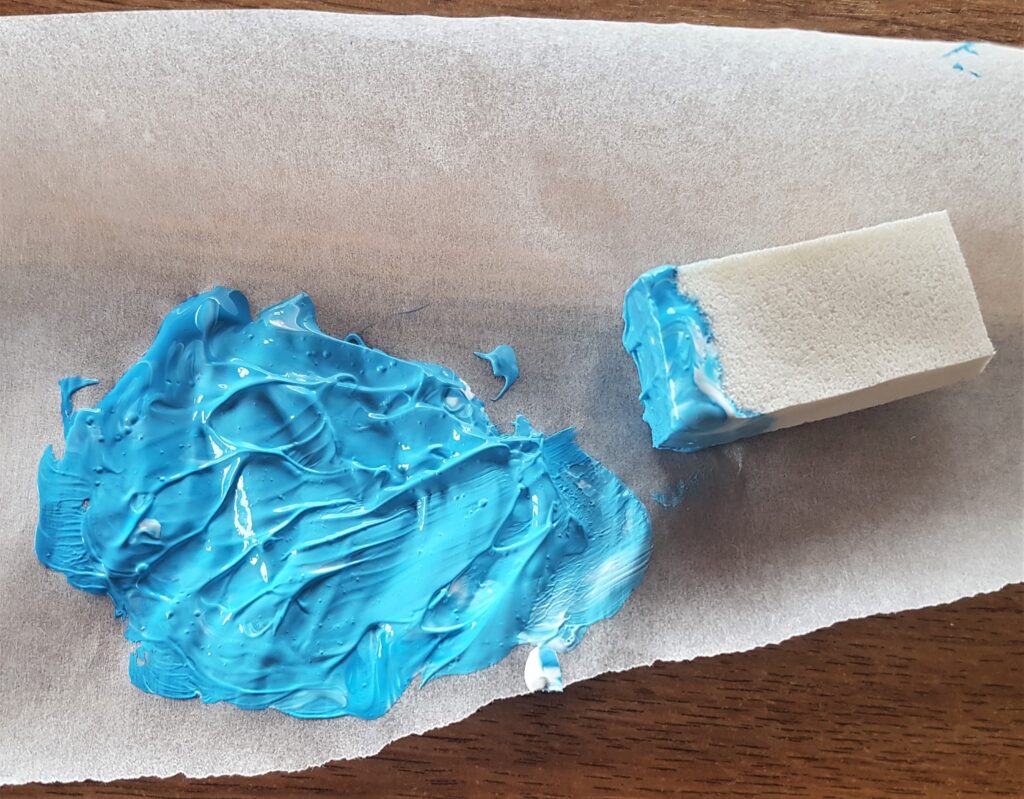
I will use some Make-Up Sponges to apply my Paint.
Mixing Paints for the Dreamcatcher Page
I put some Blue and White Paint onto some Baking Parchment Paper.
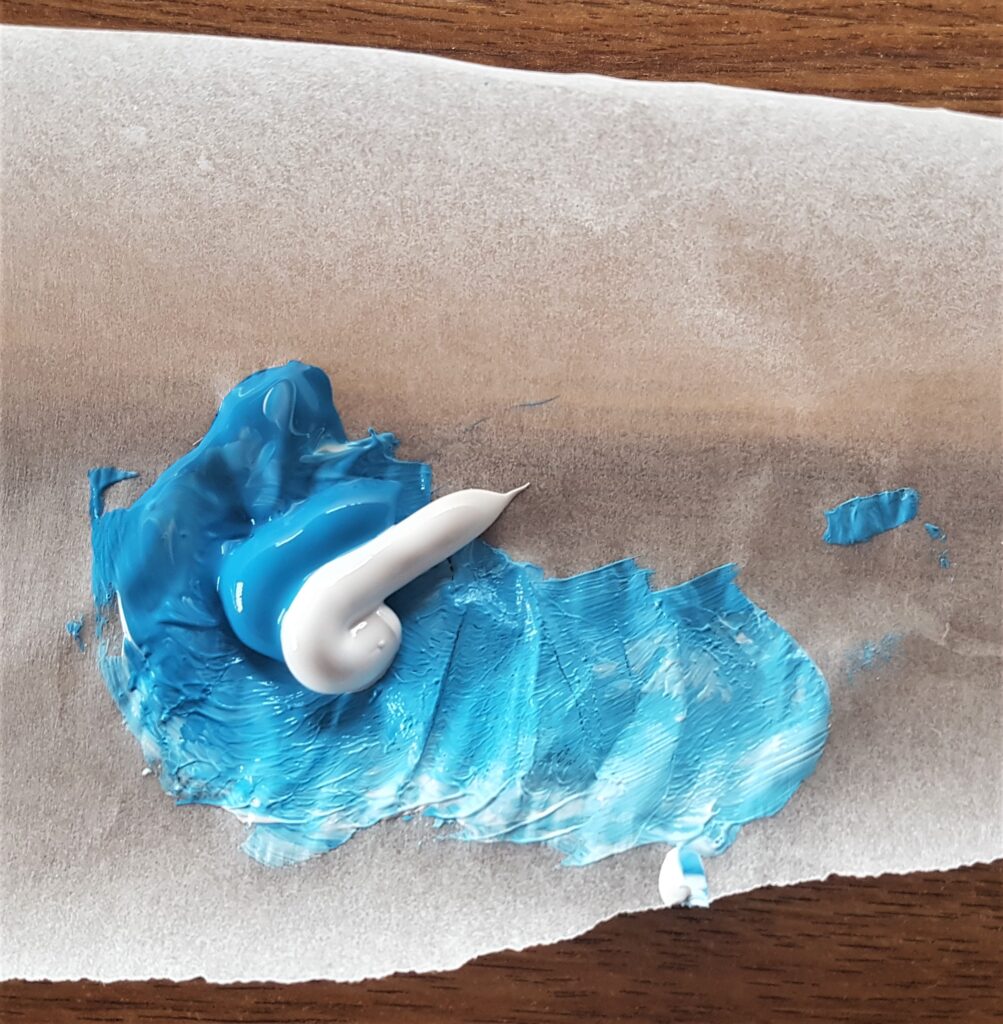
I mixed the two colour Paints together with a make-up sponge to make a slightly lighter shade of blue.
Painting the Sky
I dabbed the Paint mixture onto the Art Journal Page with the make-up sponge.
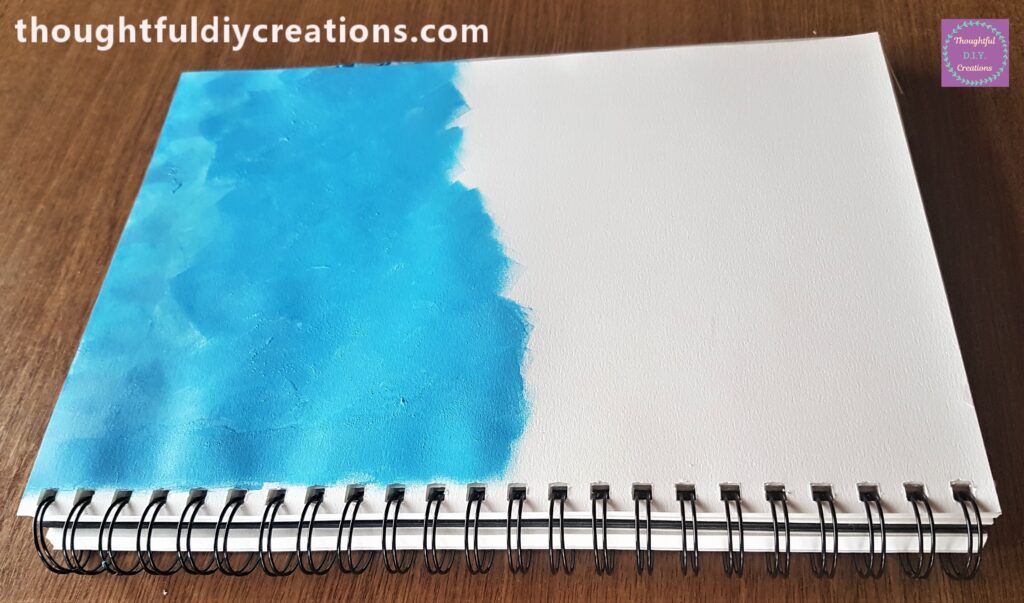
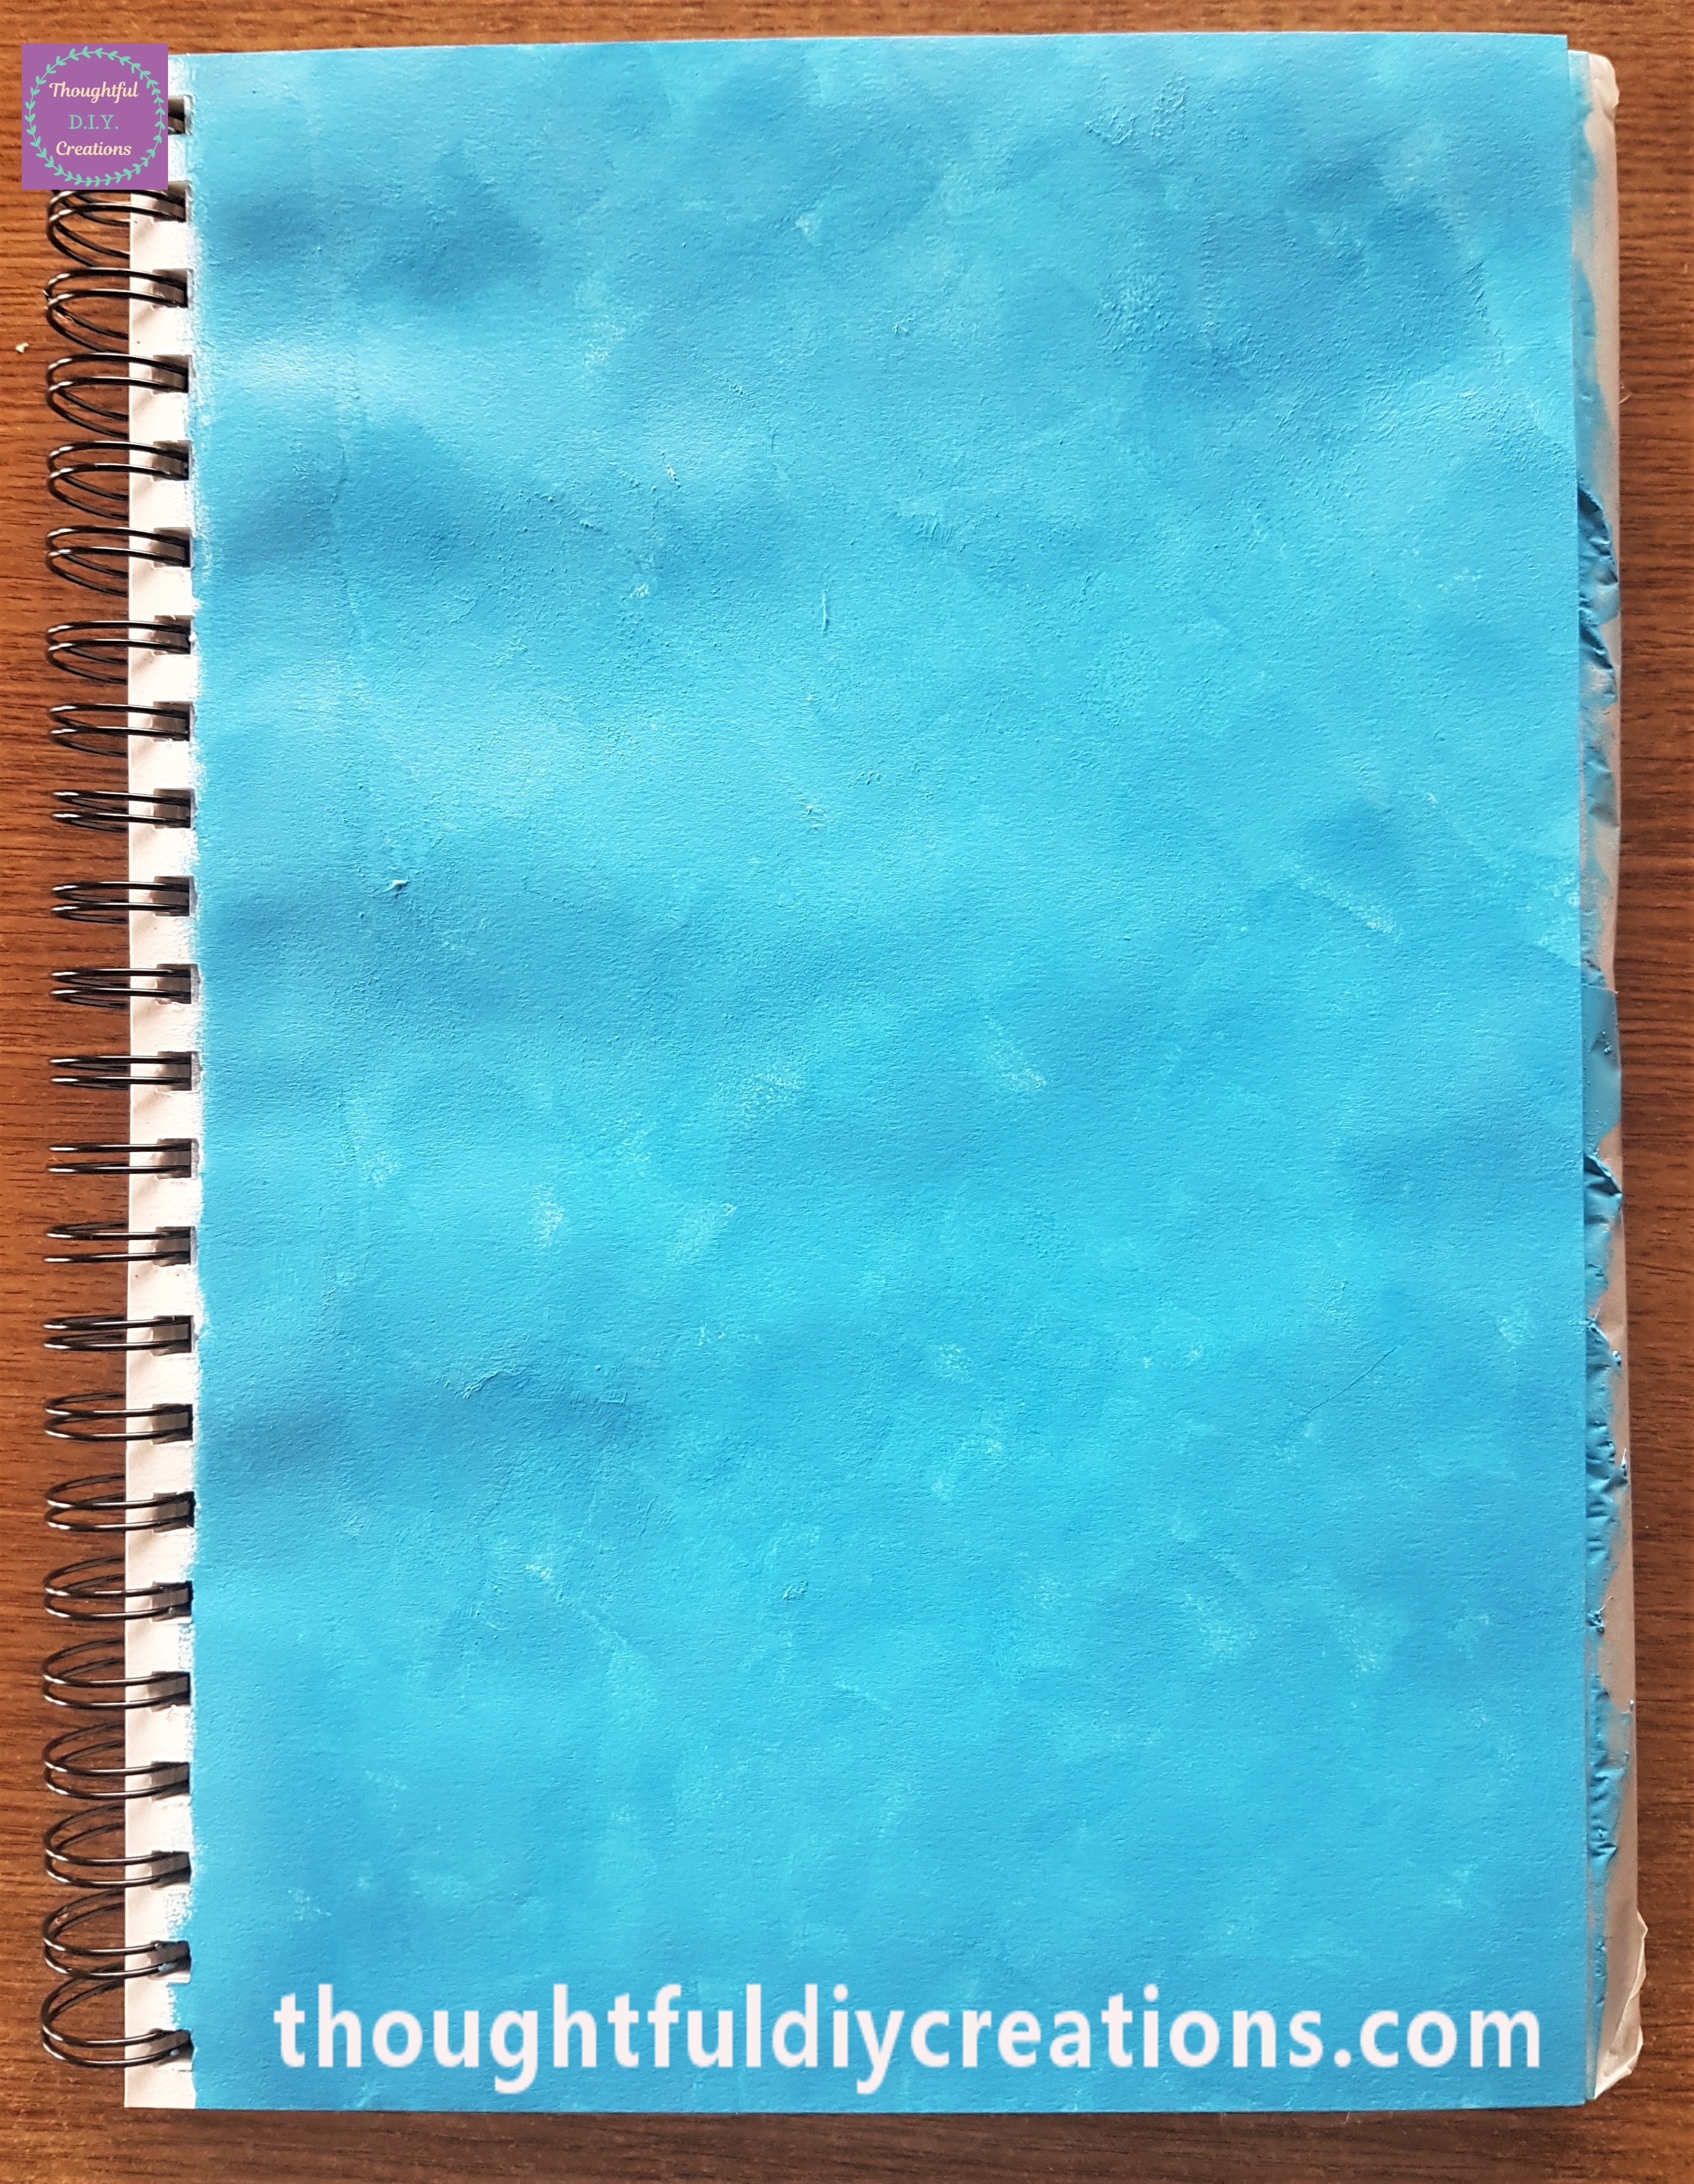
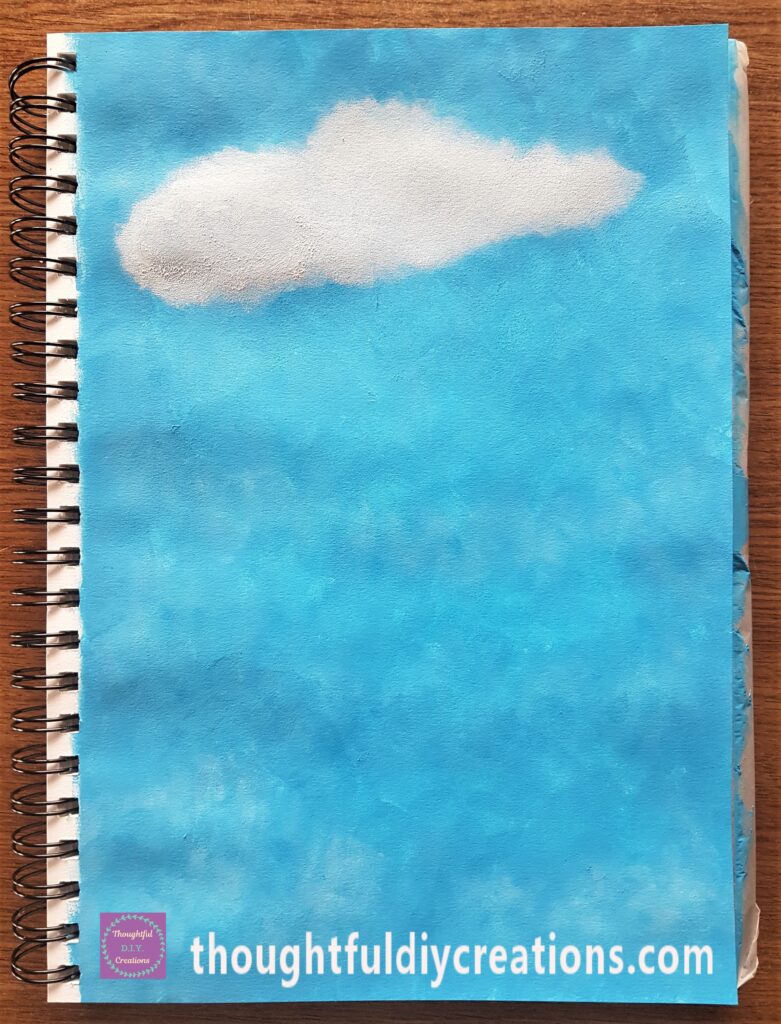
I continued until the Page was full of the Blue and White Paint for the Sky. I added bits of white paint on it’s own with another make-up sponge to add clouds and interest to the page.
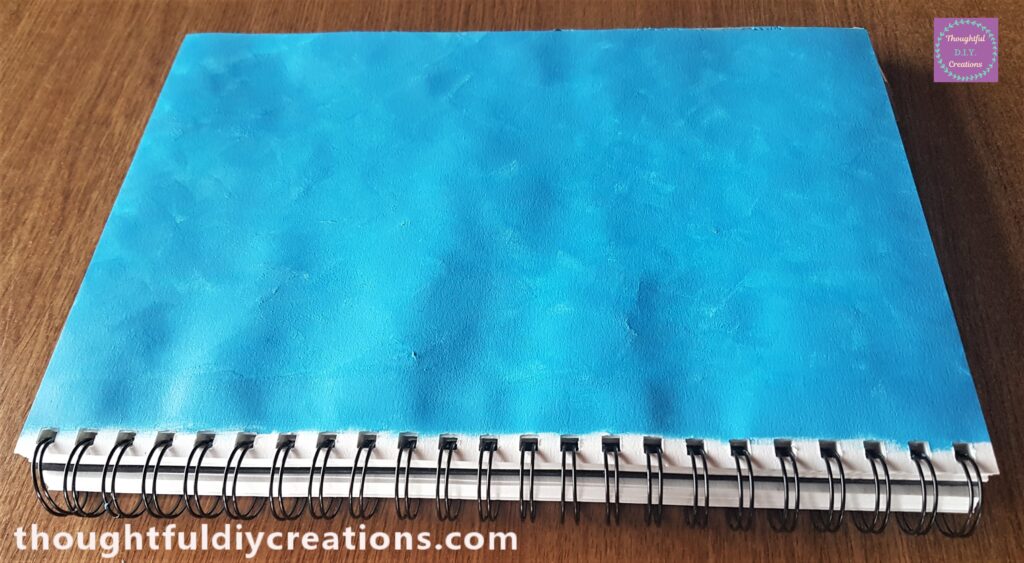
This is a side angle view of the Sky.
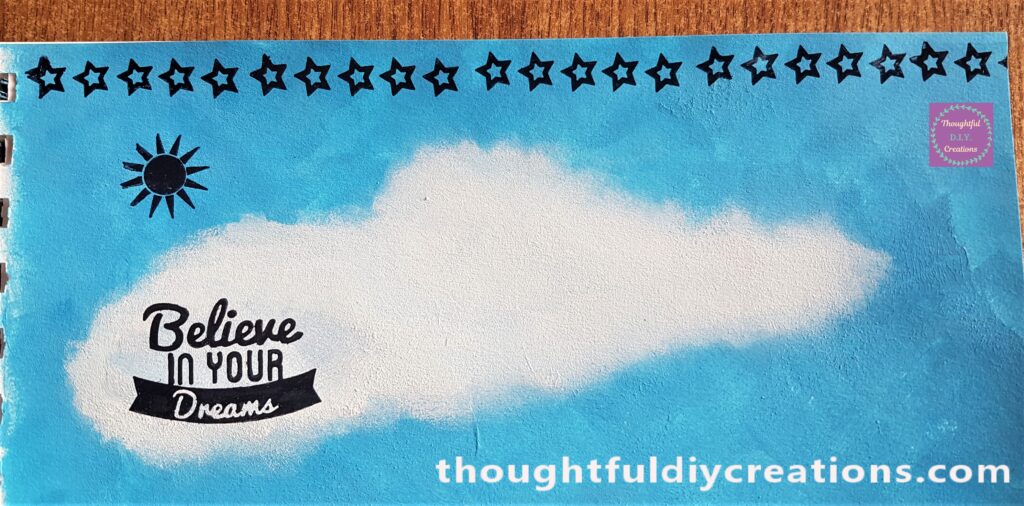
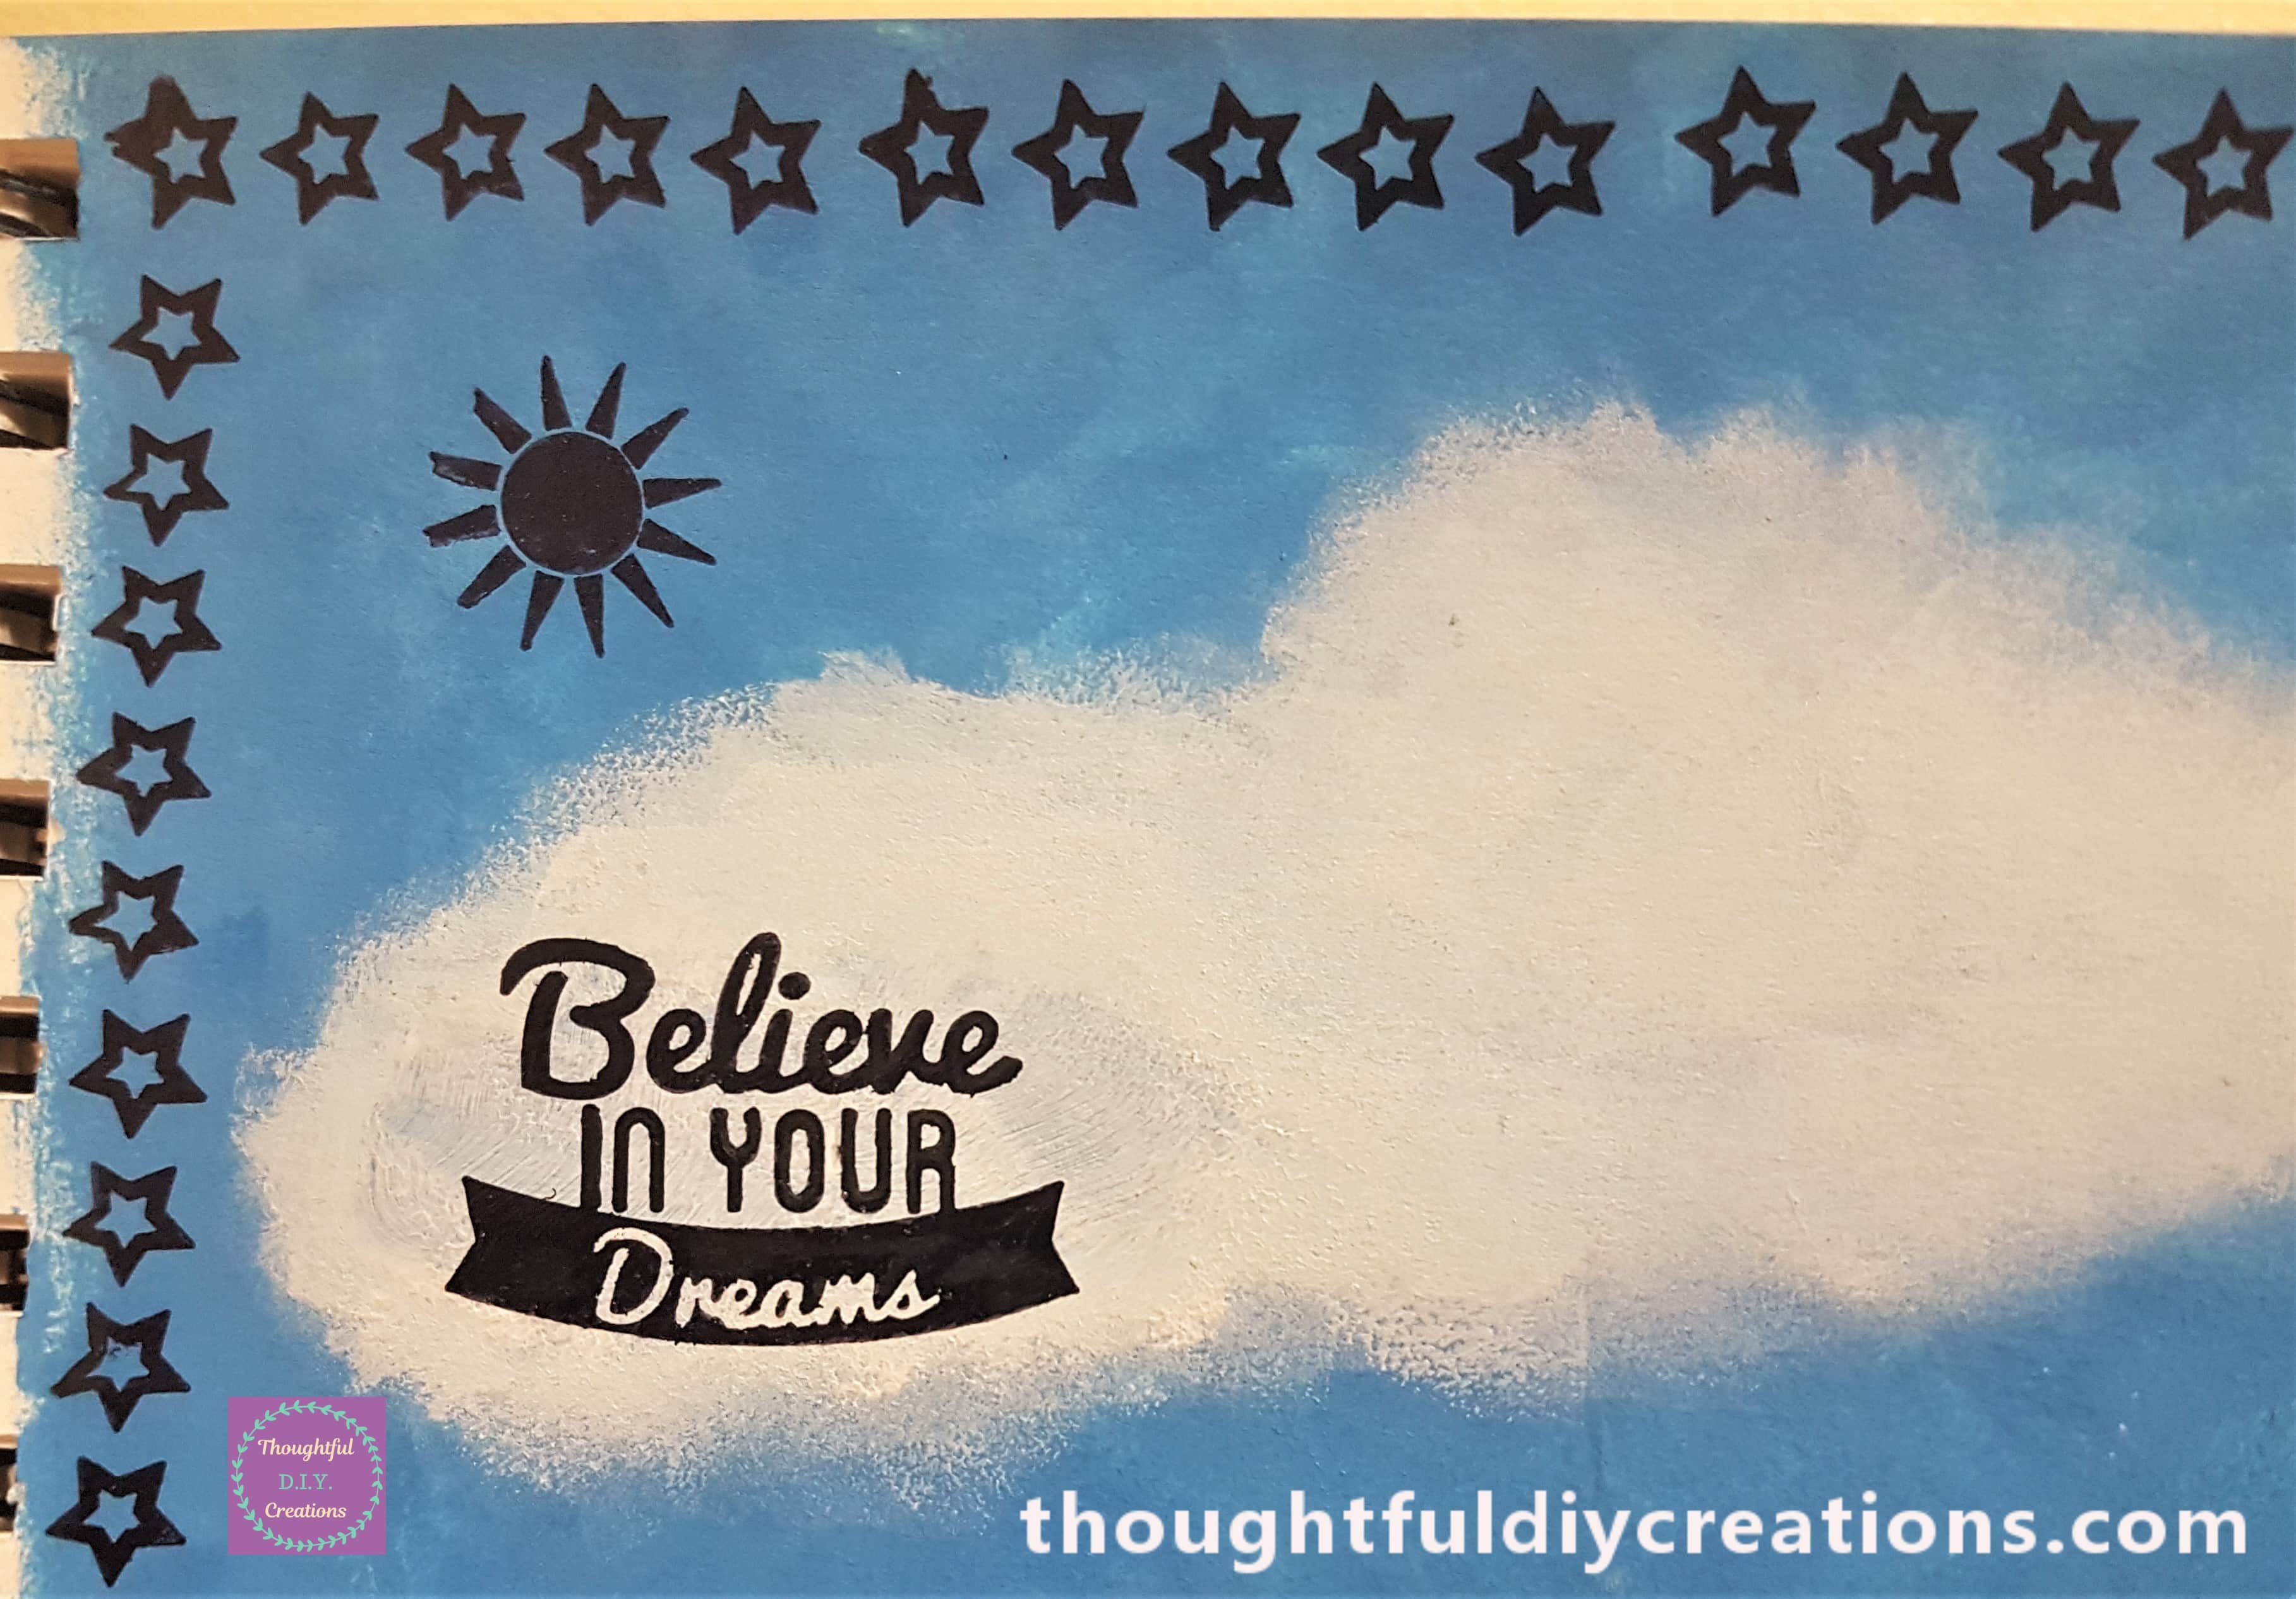
I made a big Cloud on the top of the Page with the White Paint and make-up sponge.
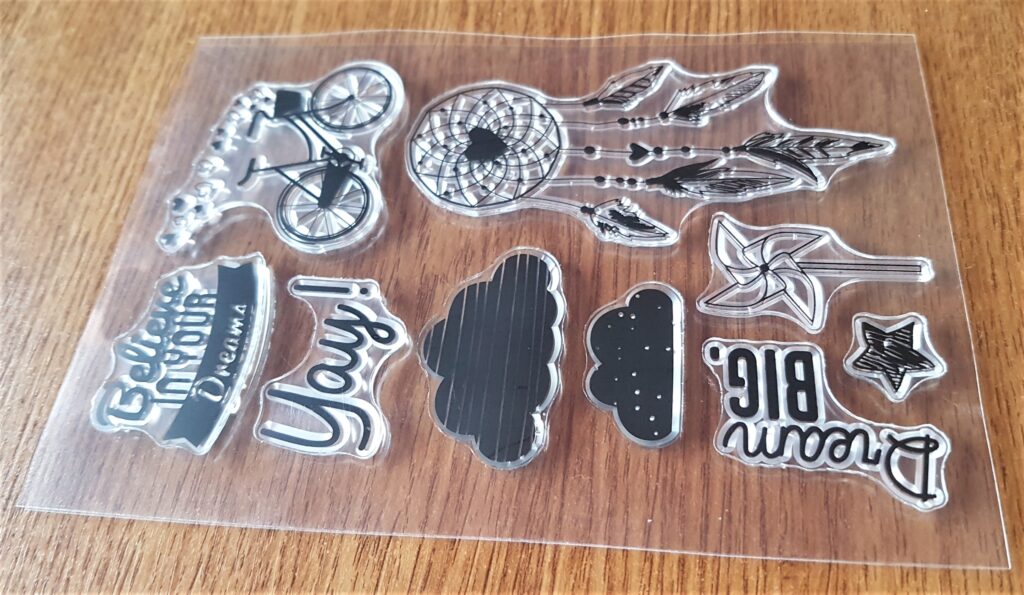
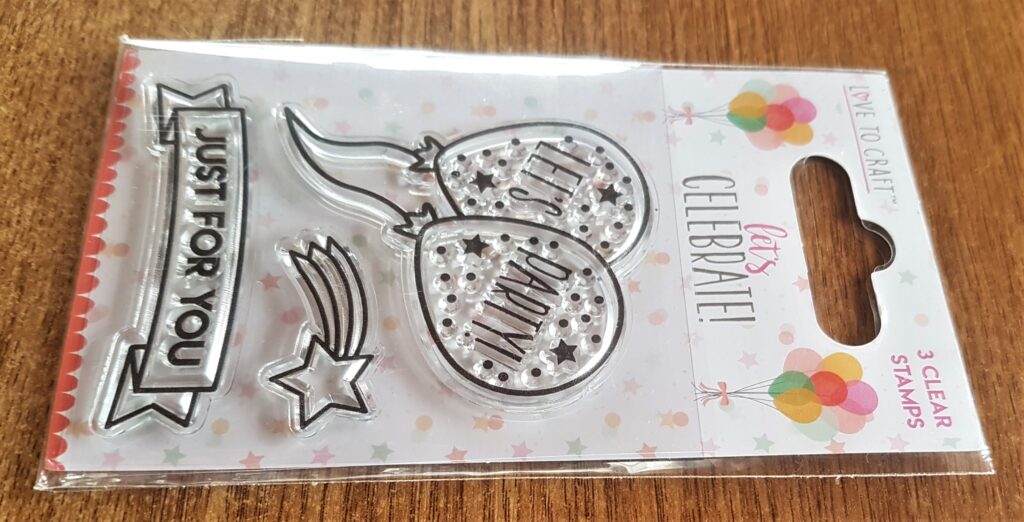
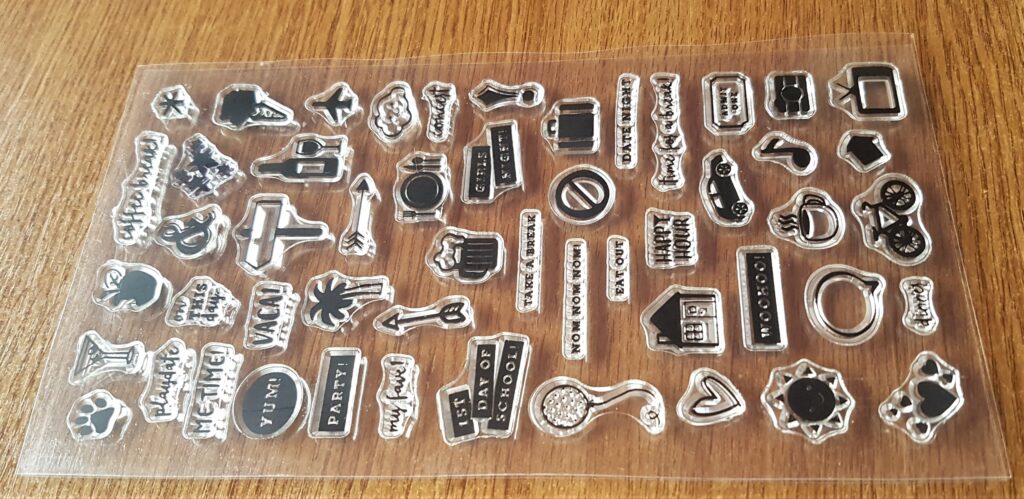
Supplies for Stamping
I was now happy with the Sky part of my Page. I got out my Stamps to build the composition.
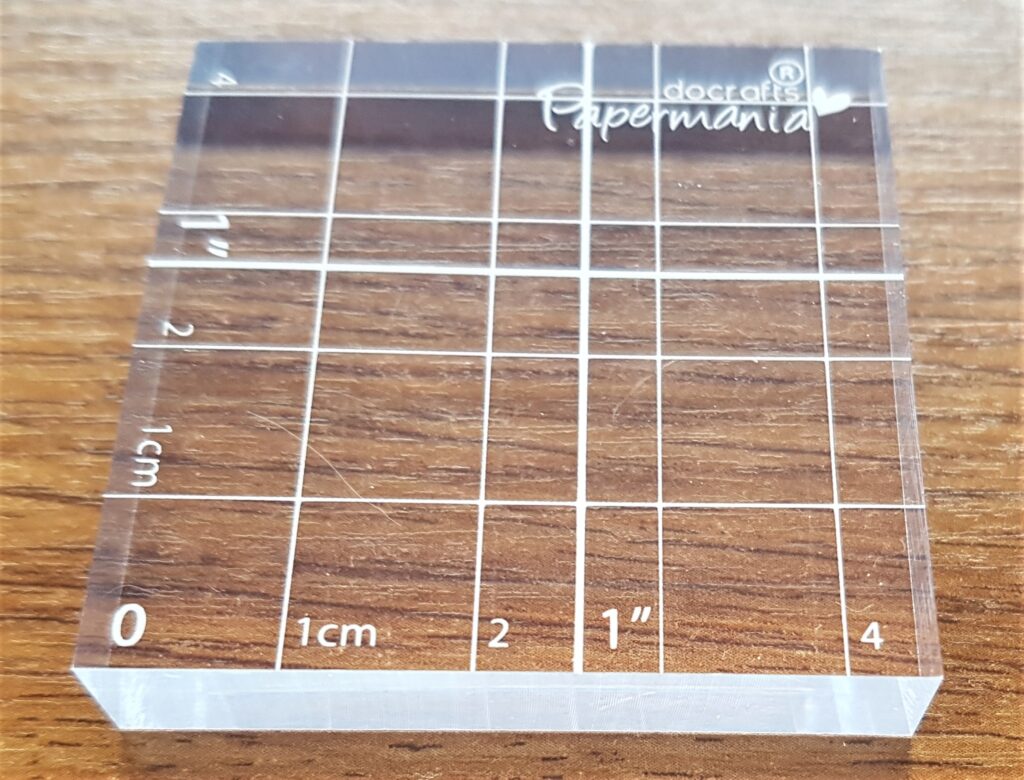
I got my ‘Acrylic Block’ for holding the Stamps.
Stamping Process
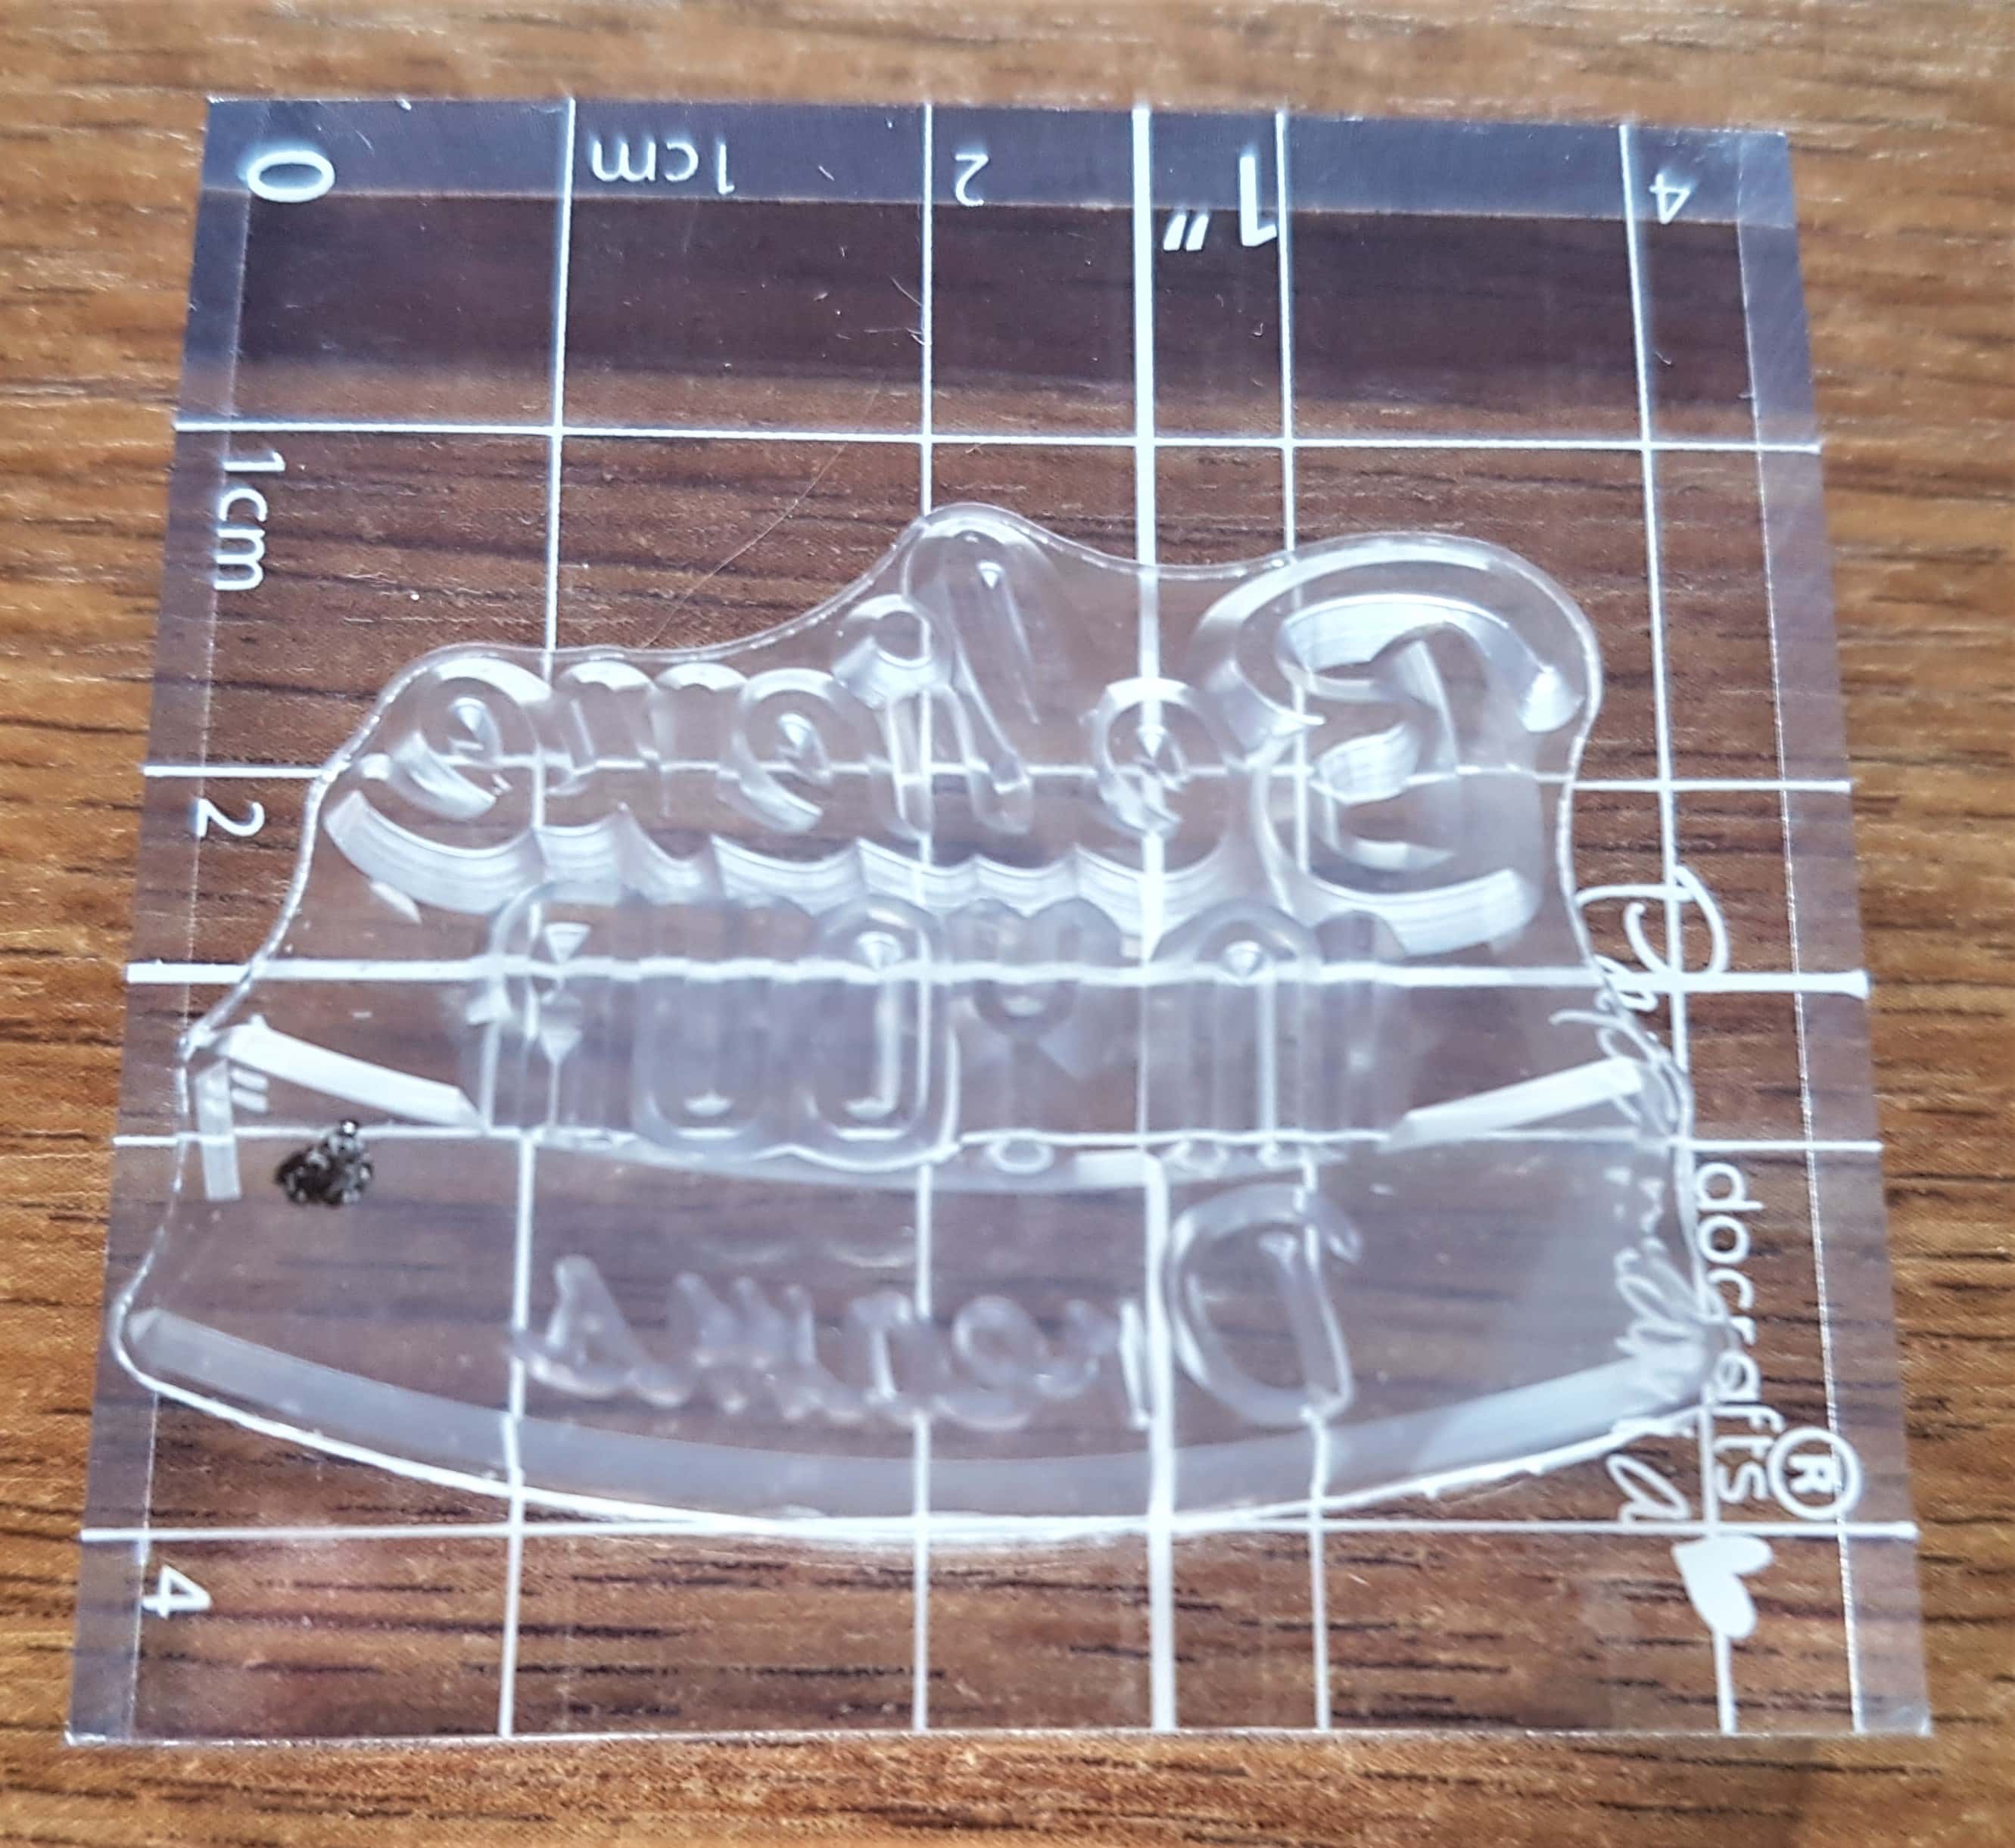
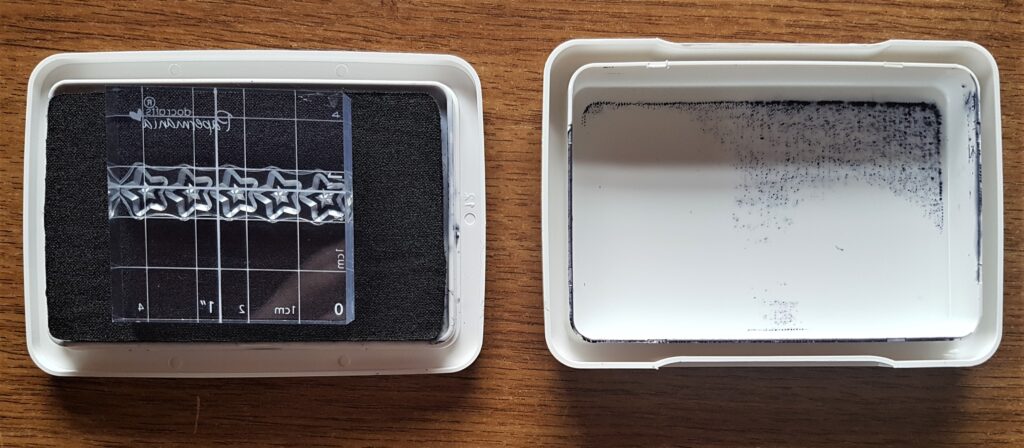
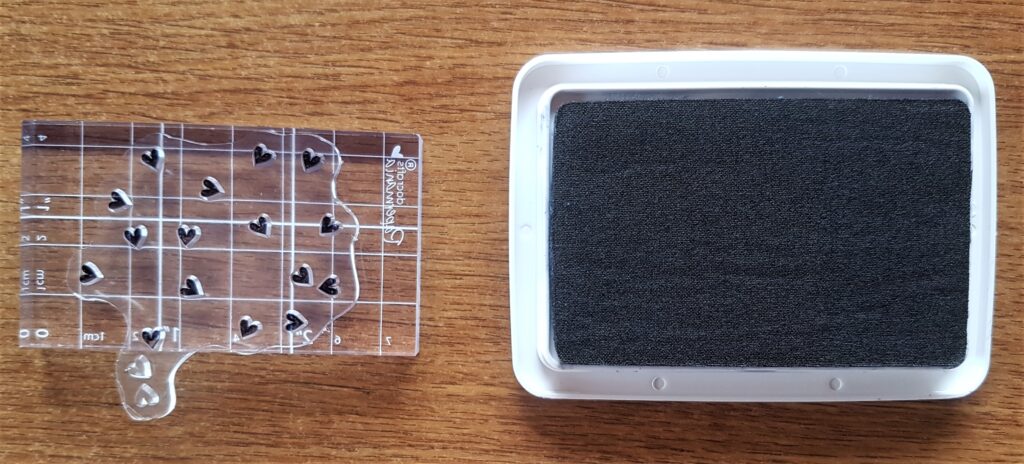
I chose a Stamp ‘Believe In Your Dreams’ and put the flat side of the stamp onto the Acrylic Block. It now stays in place and makes it easier to use the stamp. The grid lines and numbers are handy if you need to line up a stamp accurately.
I got my Black ‘Archival Ink’ from Ranger.
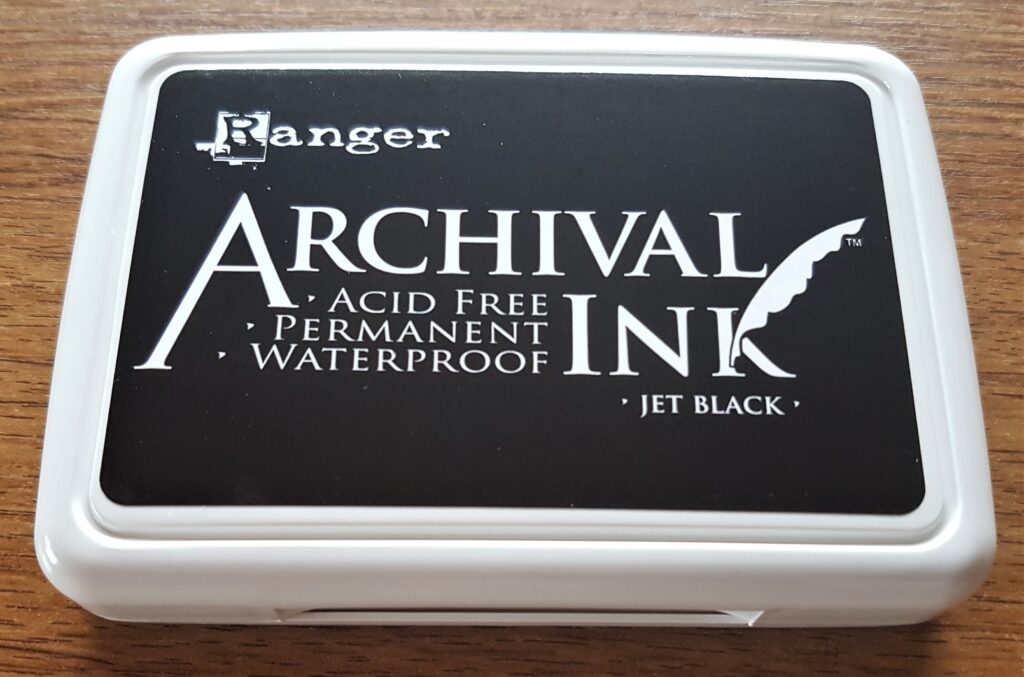
I removed the lid from the Ink Pad, pressed the Stamp into the Ink by holding onto the sides of the Acrylic Block. I pressed the stamp into the ink twice and then held the Stamp onto the Cloud on the Art journal page.

Adding the Dreamcatcher Stamp
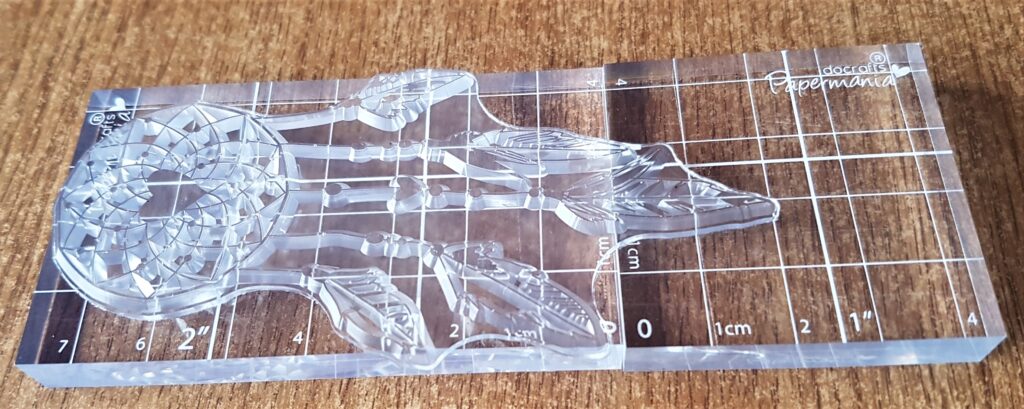
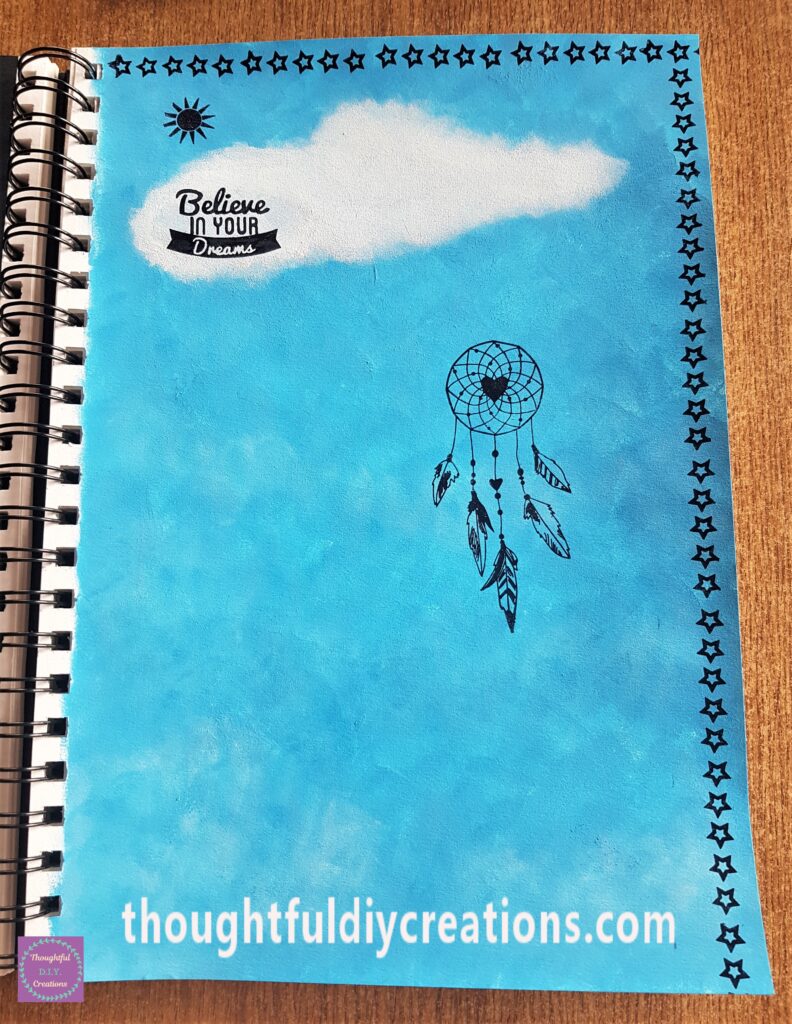
I chose the ‘Dreamcatcher’ stamp from the same stamp set.

I didn’t have an Acrylic Block big enough to hold the Dreamcatcher stamp so I joined two smaller ones together by putting sellotape on the back of the acrylic blocks along both sides where they meet. This worked perfectly.
I again pressed the stamp into the ink twice and held the stamp onto the mid-section on the right hand side of the page. I held it for a few seconds to ensure the stamp would be transferred to the page.
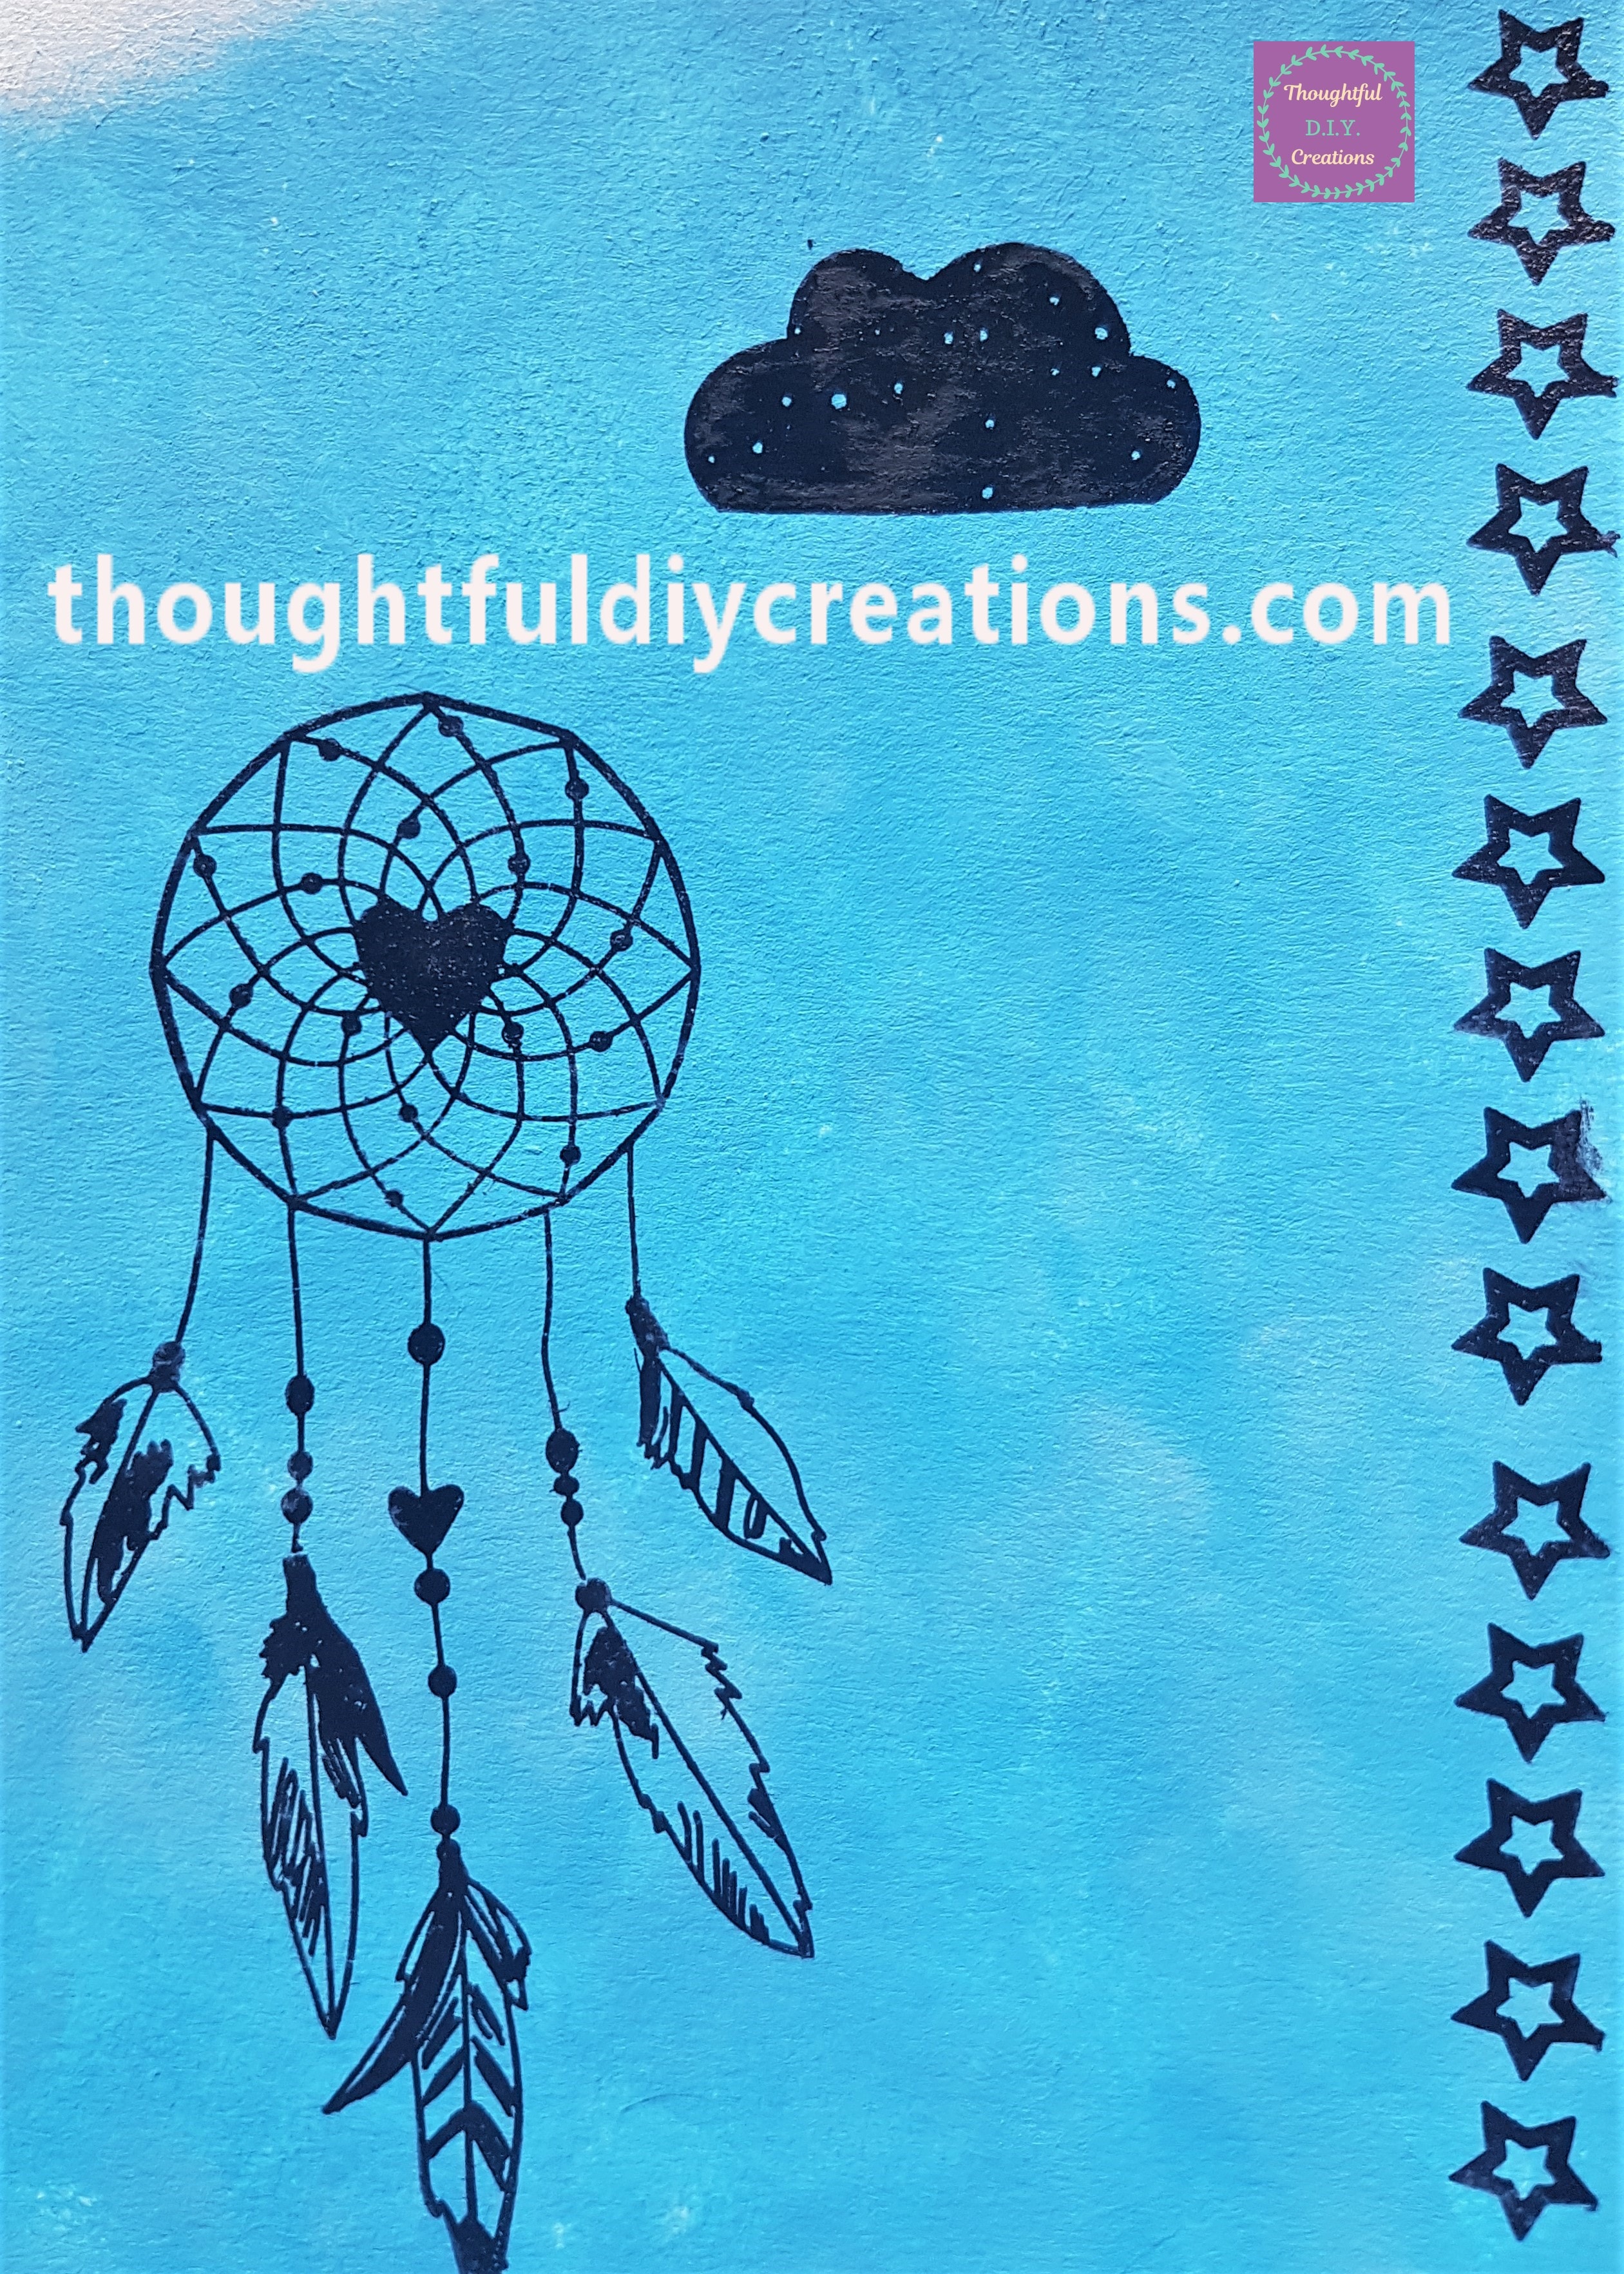
Here is a close-up image of the Dreamcatcher.

I put a stamp of a ‘Sun’ onto the smaller acrylic block.
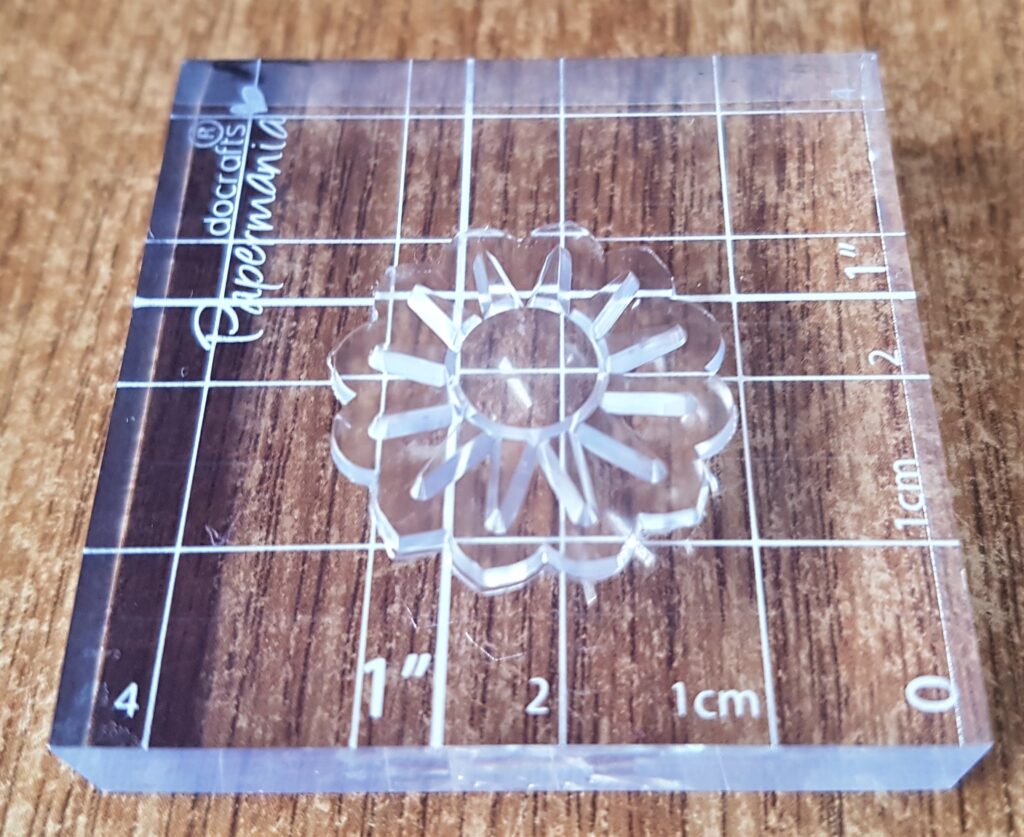
I pressed it into the ink and applied it to the top left hand side of the page.
Making a Border on the Dreamcatcher Page
I got a ‘Row of Stars’ stamp, attached it to the acrylic block and pressed it into the Archival Ink.
I pressed the stamp onto the top left hand side of the page.
I pressed the stamp into the ink again and attached another row of stars beside the first row.
I repeated this process until I had the top of the page filled with a row of stars.
I continued adding a row of stars down the right hand side of the page.
I completed the left hand side of the page next with the stars.
Finally, to complete the border I added the Stars Stamp to the bottom of the Page.
Star and Hearts Stamps
I got another Stamp Set I had in my Collection.
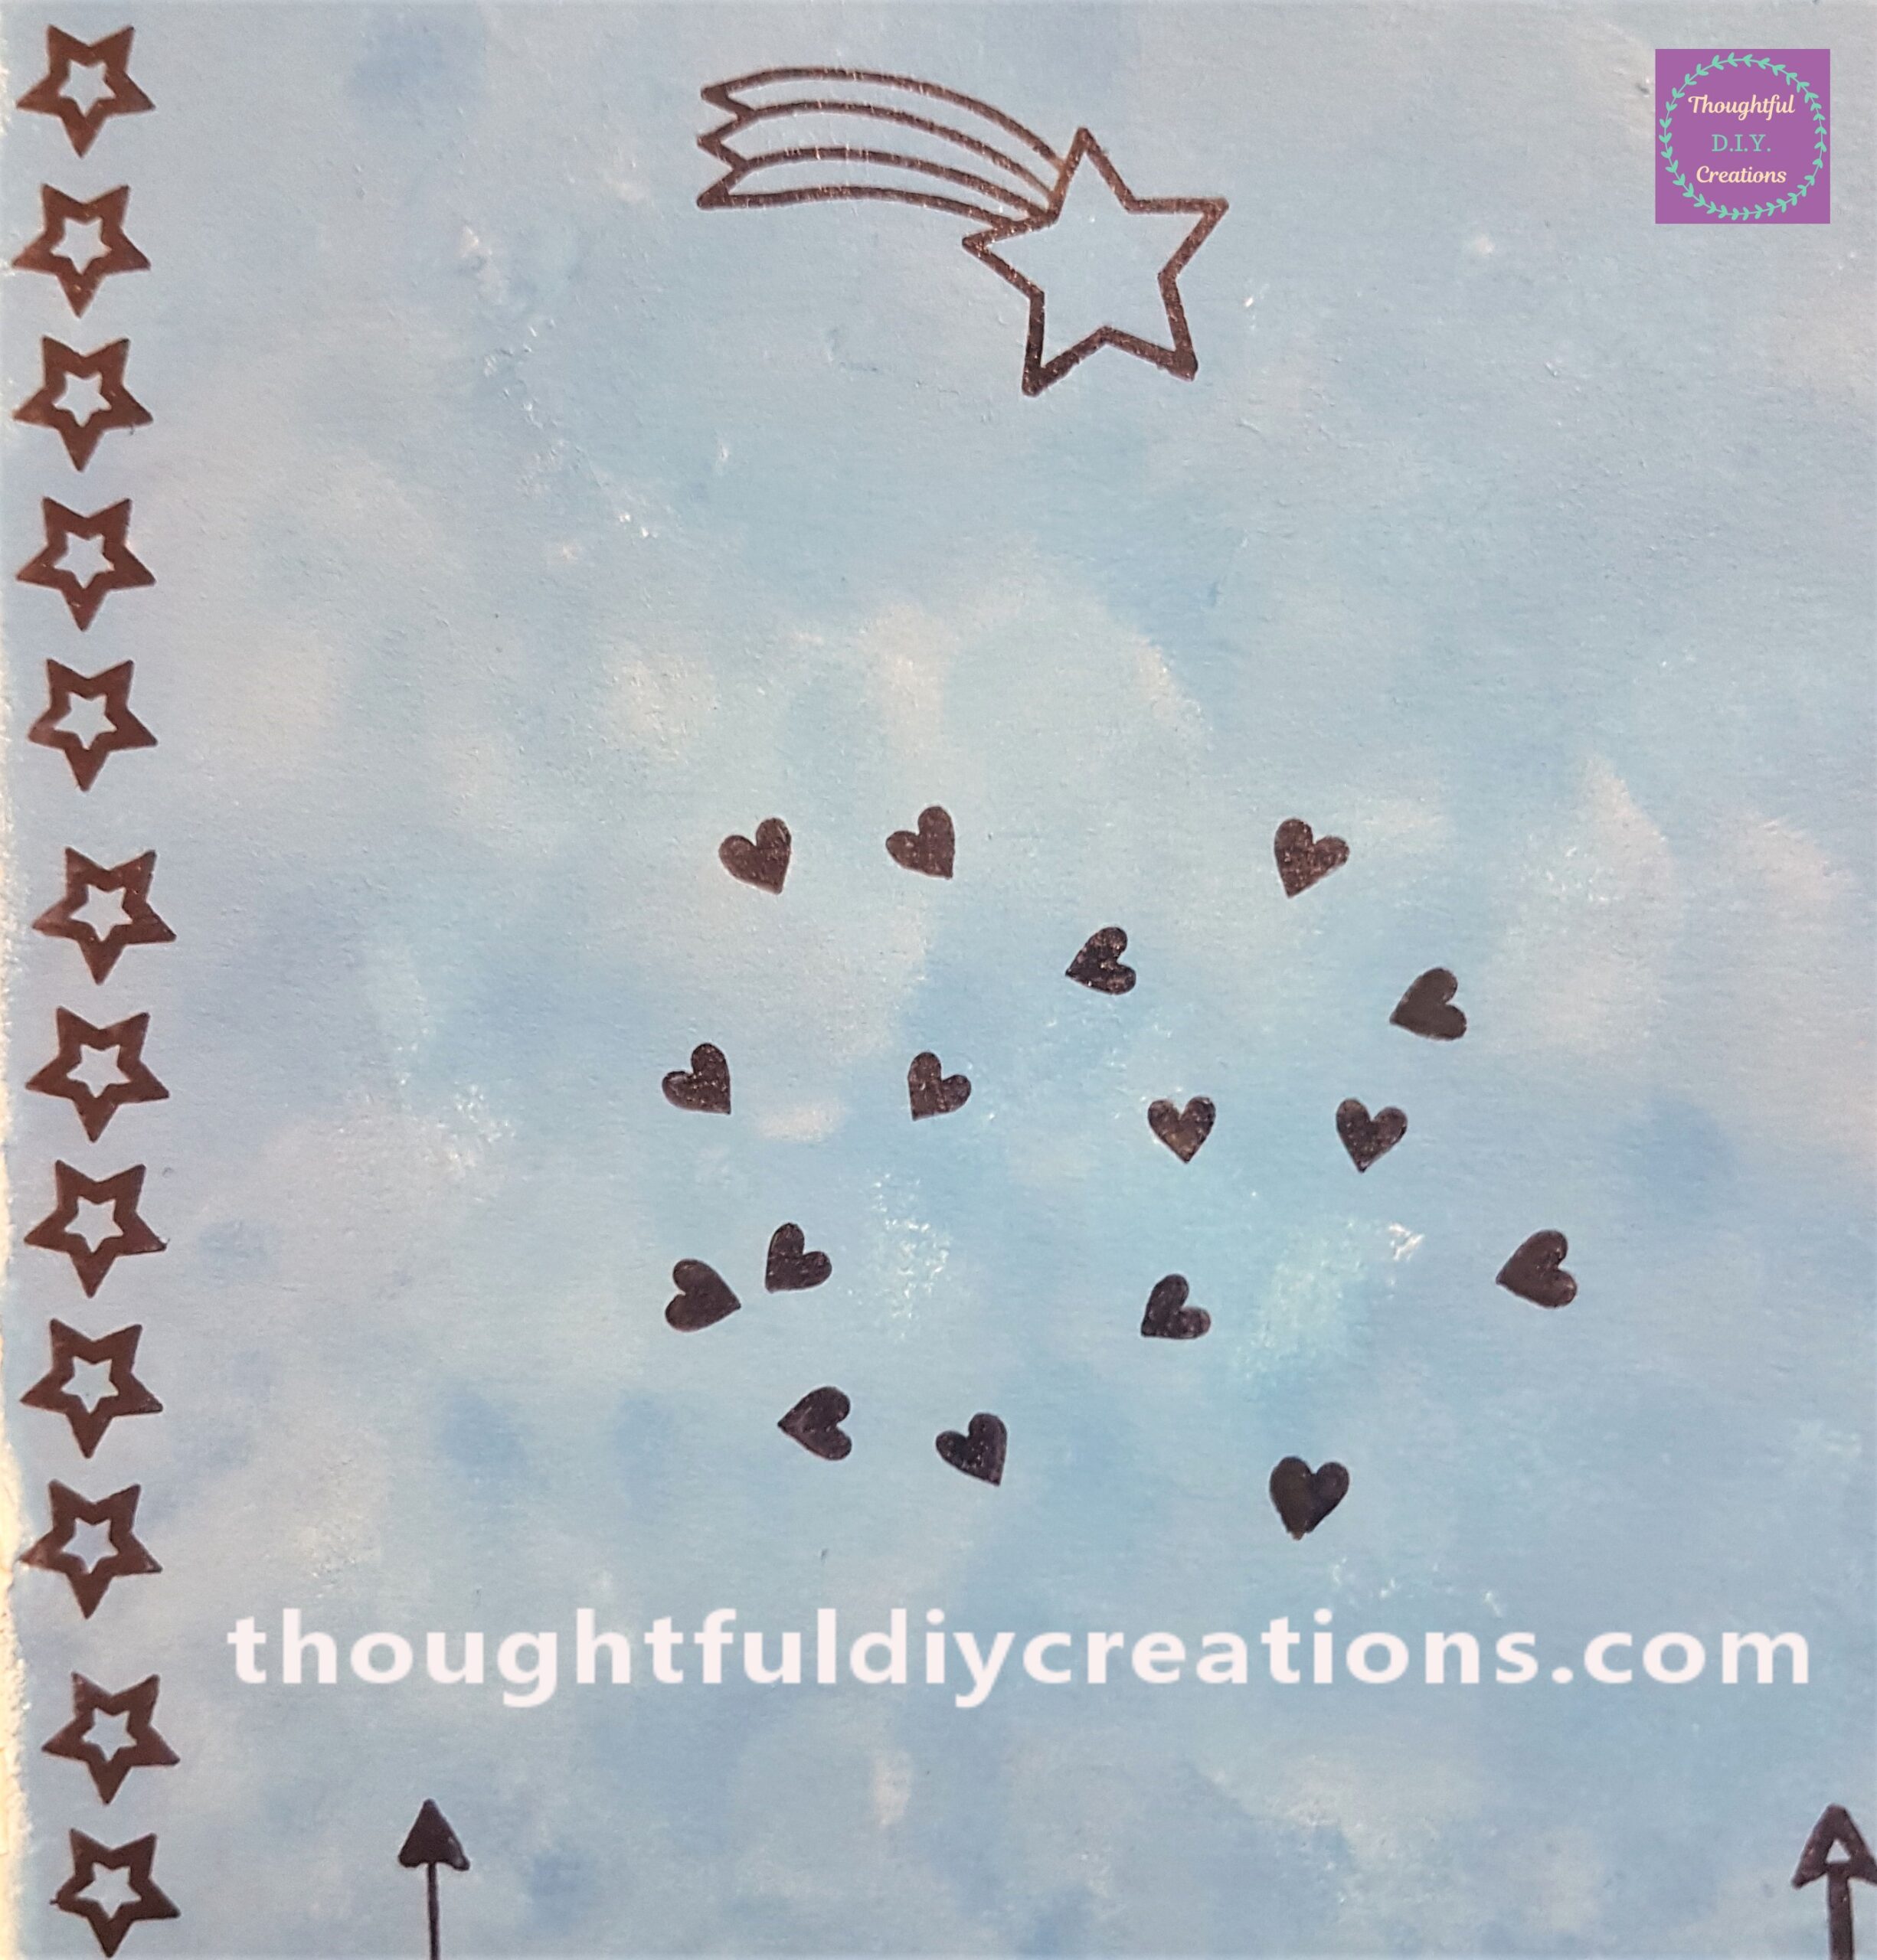
I loved the Stamp of the ‘Shooting Star’. I attached it to the Acrylic Block, pressed it into the Ink and held it down onto the mid-section on the left hand side of the page.
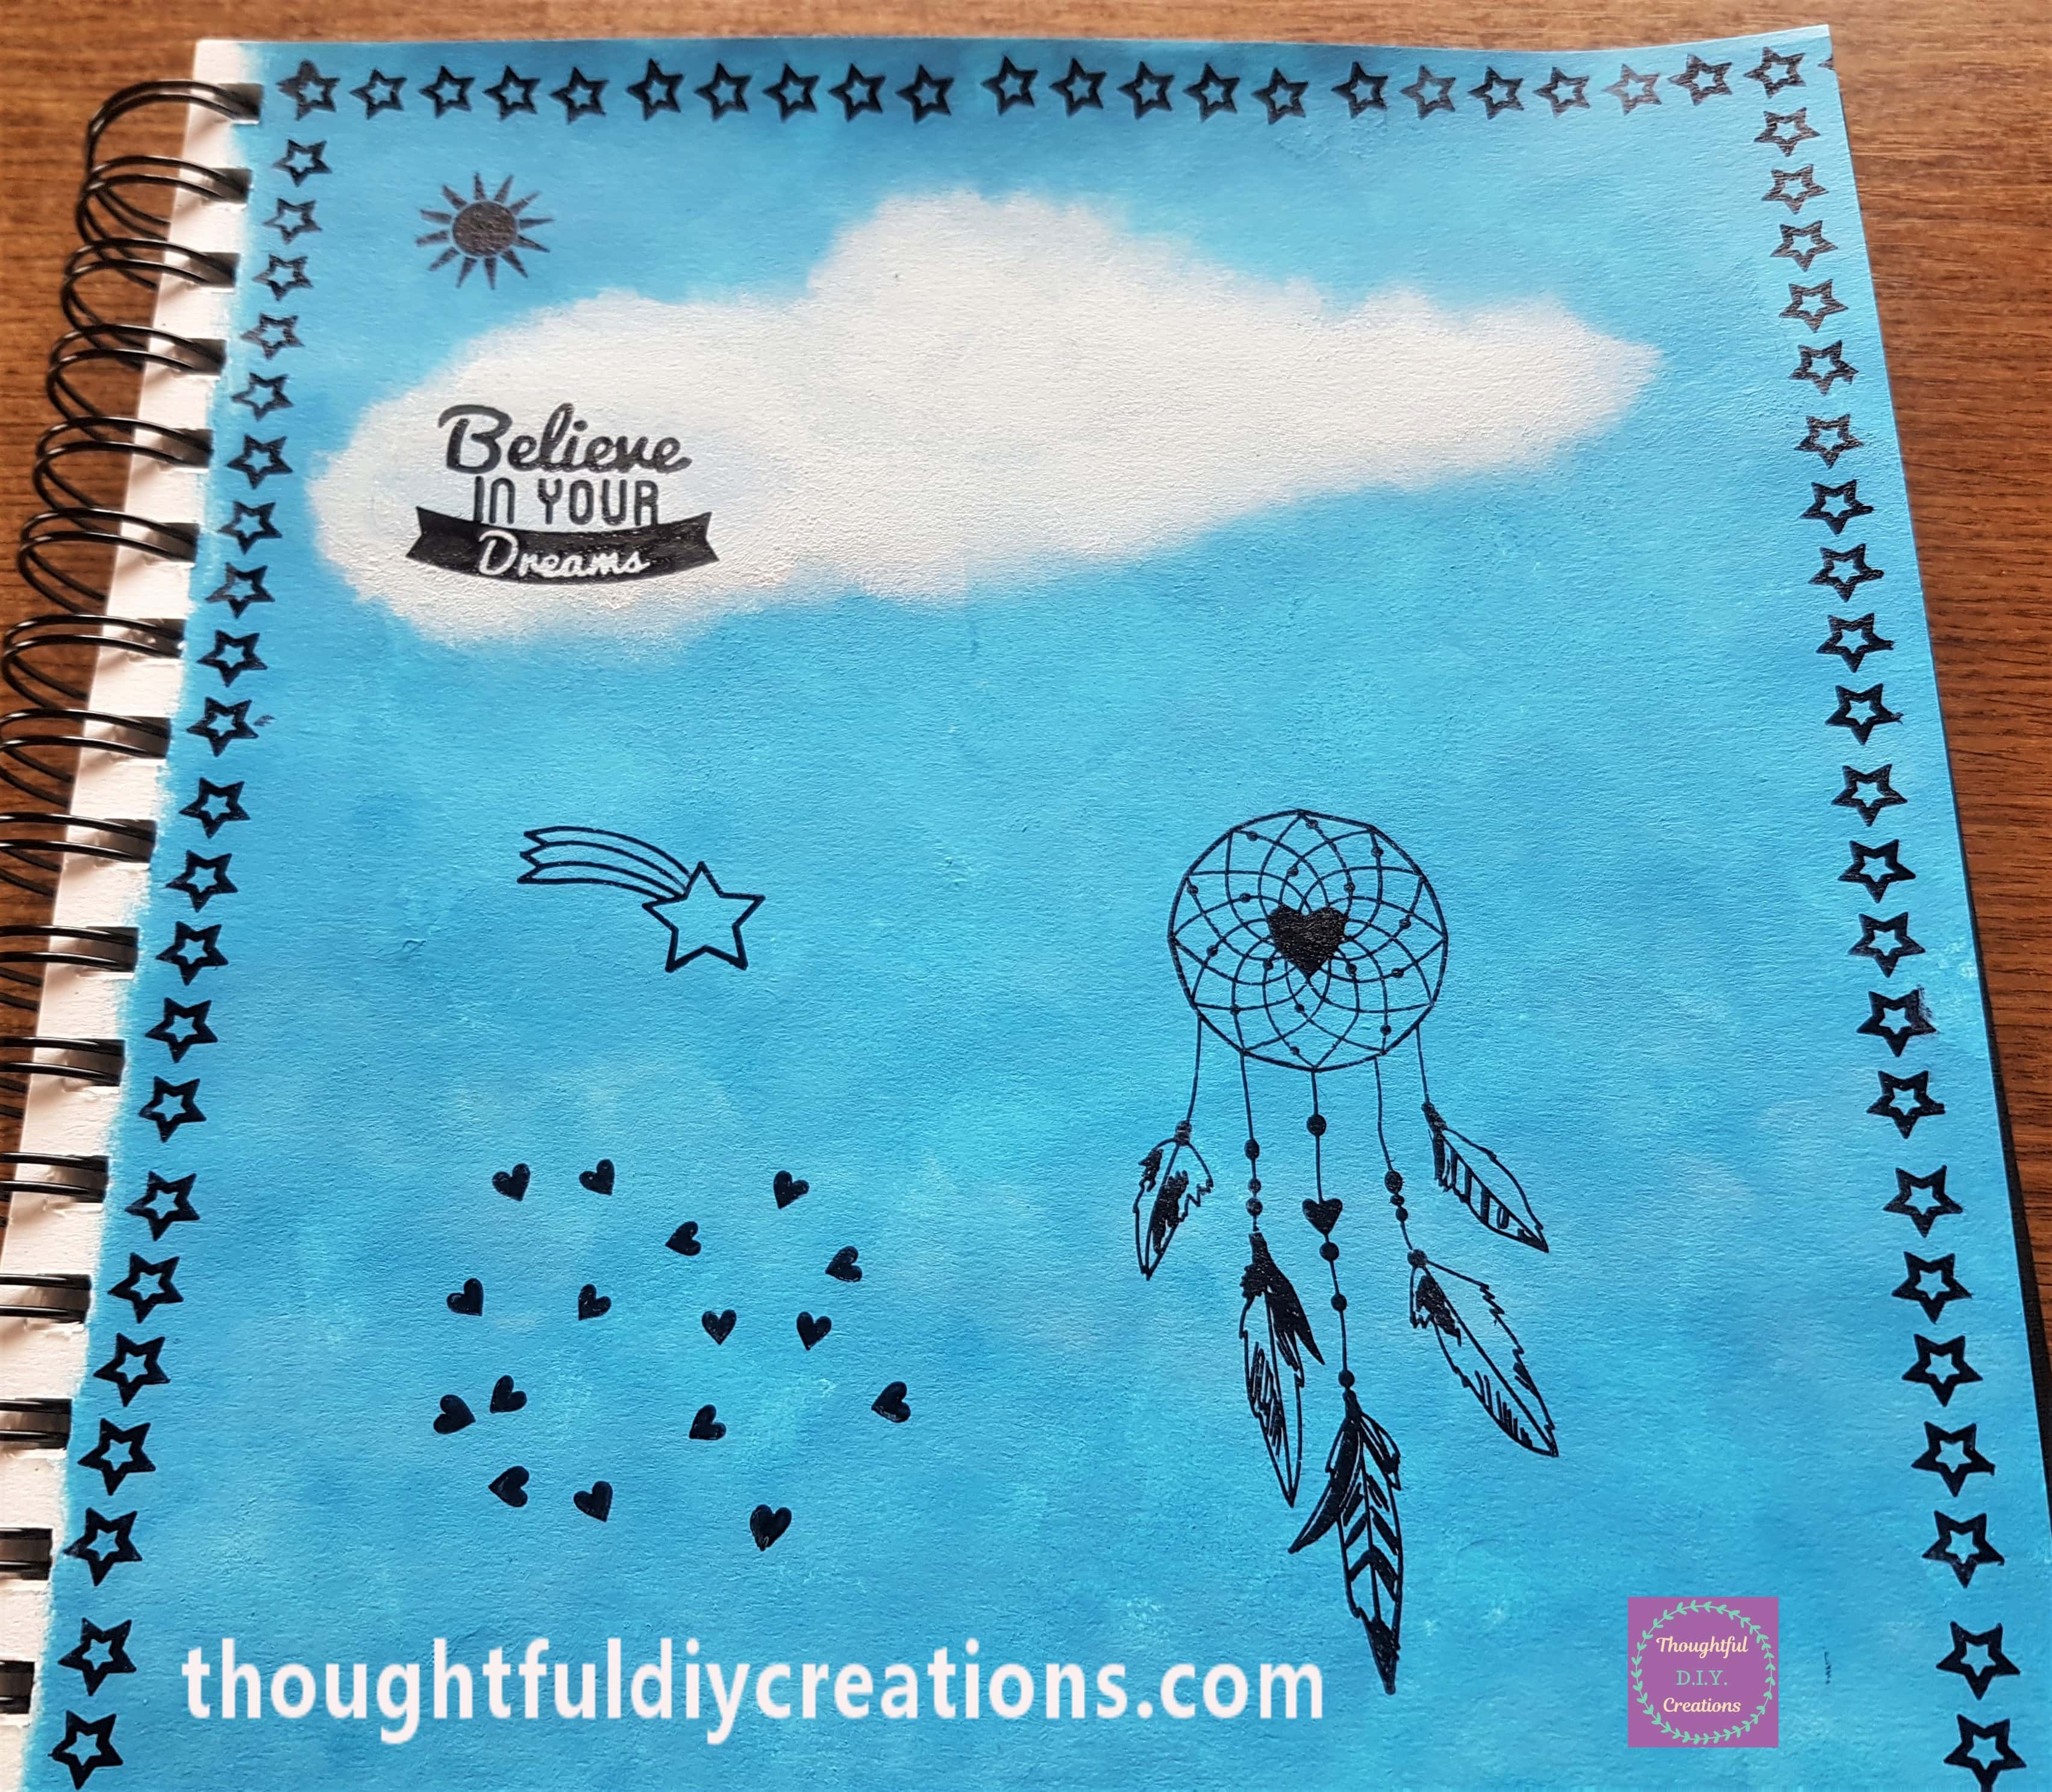
I had a ‘Cluster of Small Love Hearts’ Stamp. I attached it to the bigger Acrylic Block and pressed it into the Ink.
I added the Stamp to the Page under the Shooting Star. I liked the shape of the love Heart Stamp, it reminded me of a Cloud in the Sky.
Adding Arrows and Feathers
I got another Stamp Set. (All of the Stamps I used came in the One Big Set except the Shooting Star Stamp.)
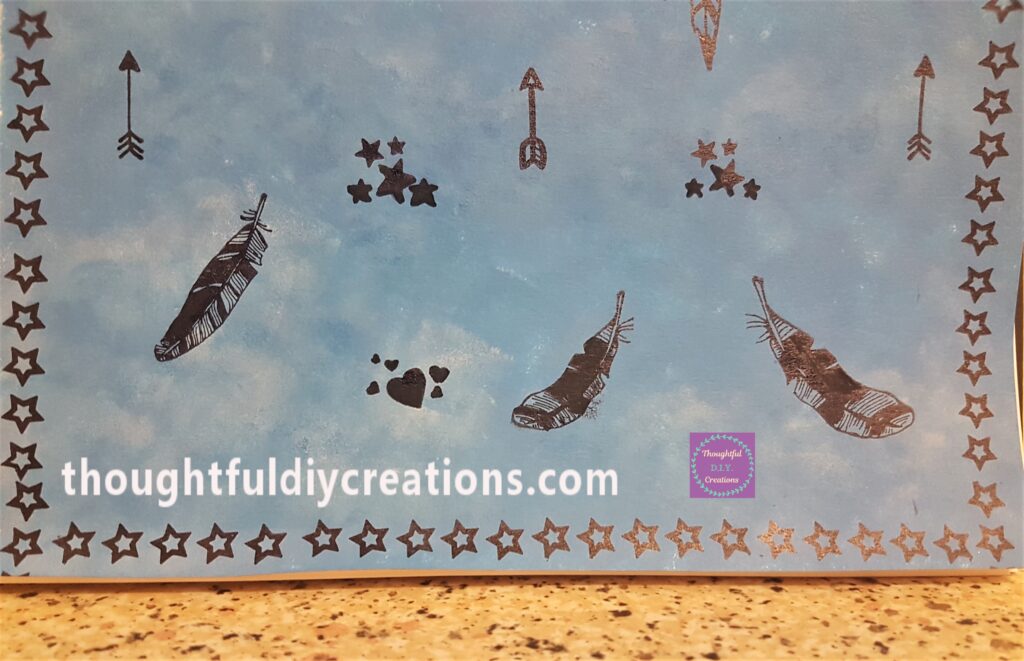
I chose the 2 small ‘Arrows’ from the set. I added them to the Page one-by-one underneath the love hearts.
A ‘Feather’ Stamp was placed onto the bottom section of the page.
I added the first ‘Arrow’ stamp again, this time to the right hand side of the Page. I also stamped a bigger ‘Feather’ onto the Page.
Finishing Touches to the Dreamcatcher Page
I added a small ‘Love Heart Cluster’ Stamp between the first two feathers. I cleaned all my stamps right after using them with a Baby Wipe.
A small ‘Cloud’ stamp was placed over the Dreamcatcher.
A ‘Group of Stars’ Stamp was added twice to the Page in between the arrow stamps.
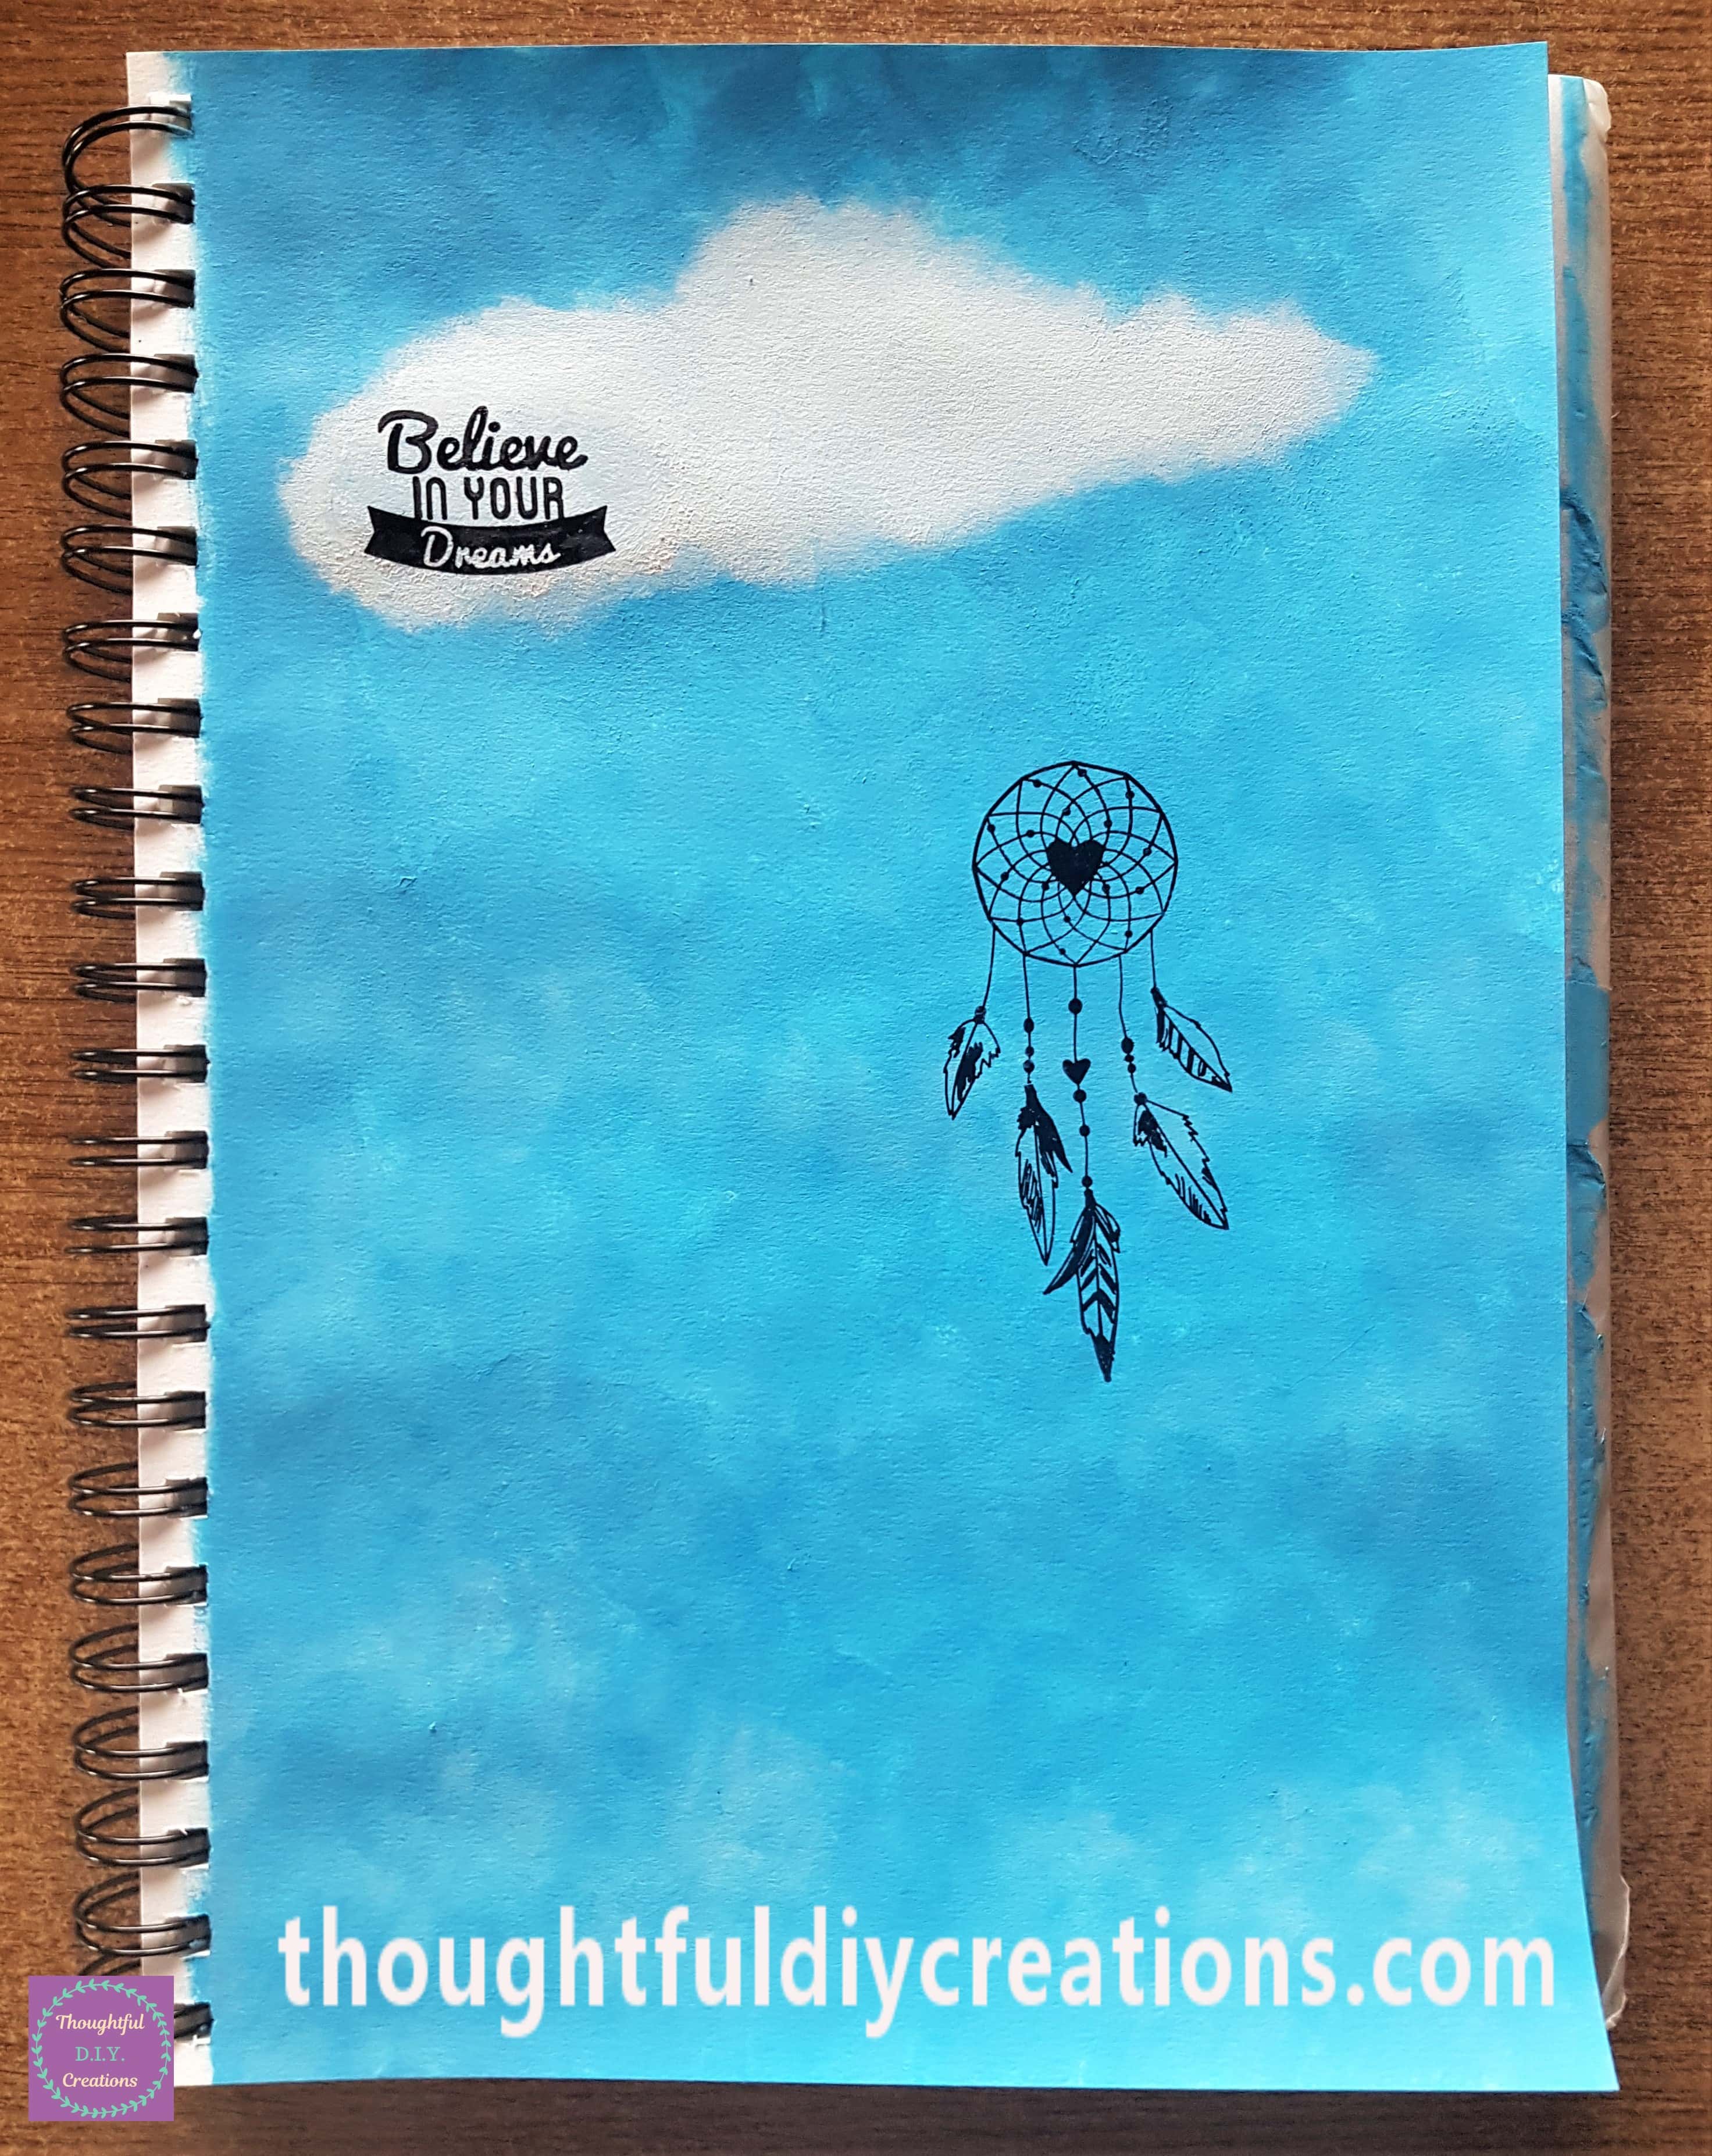
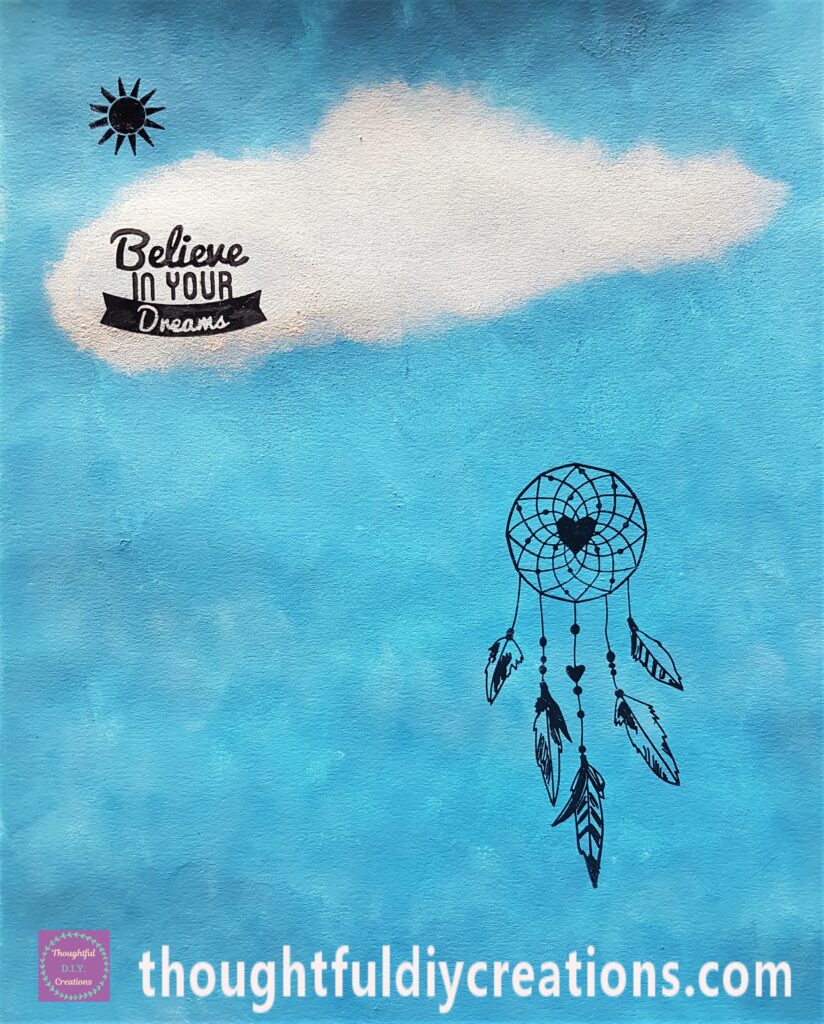
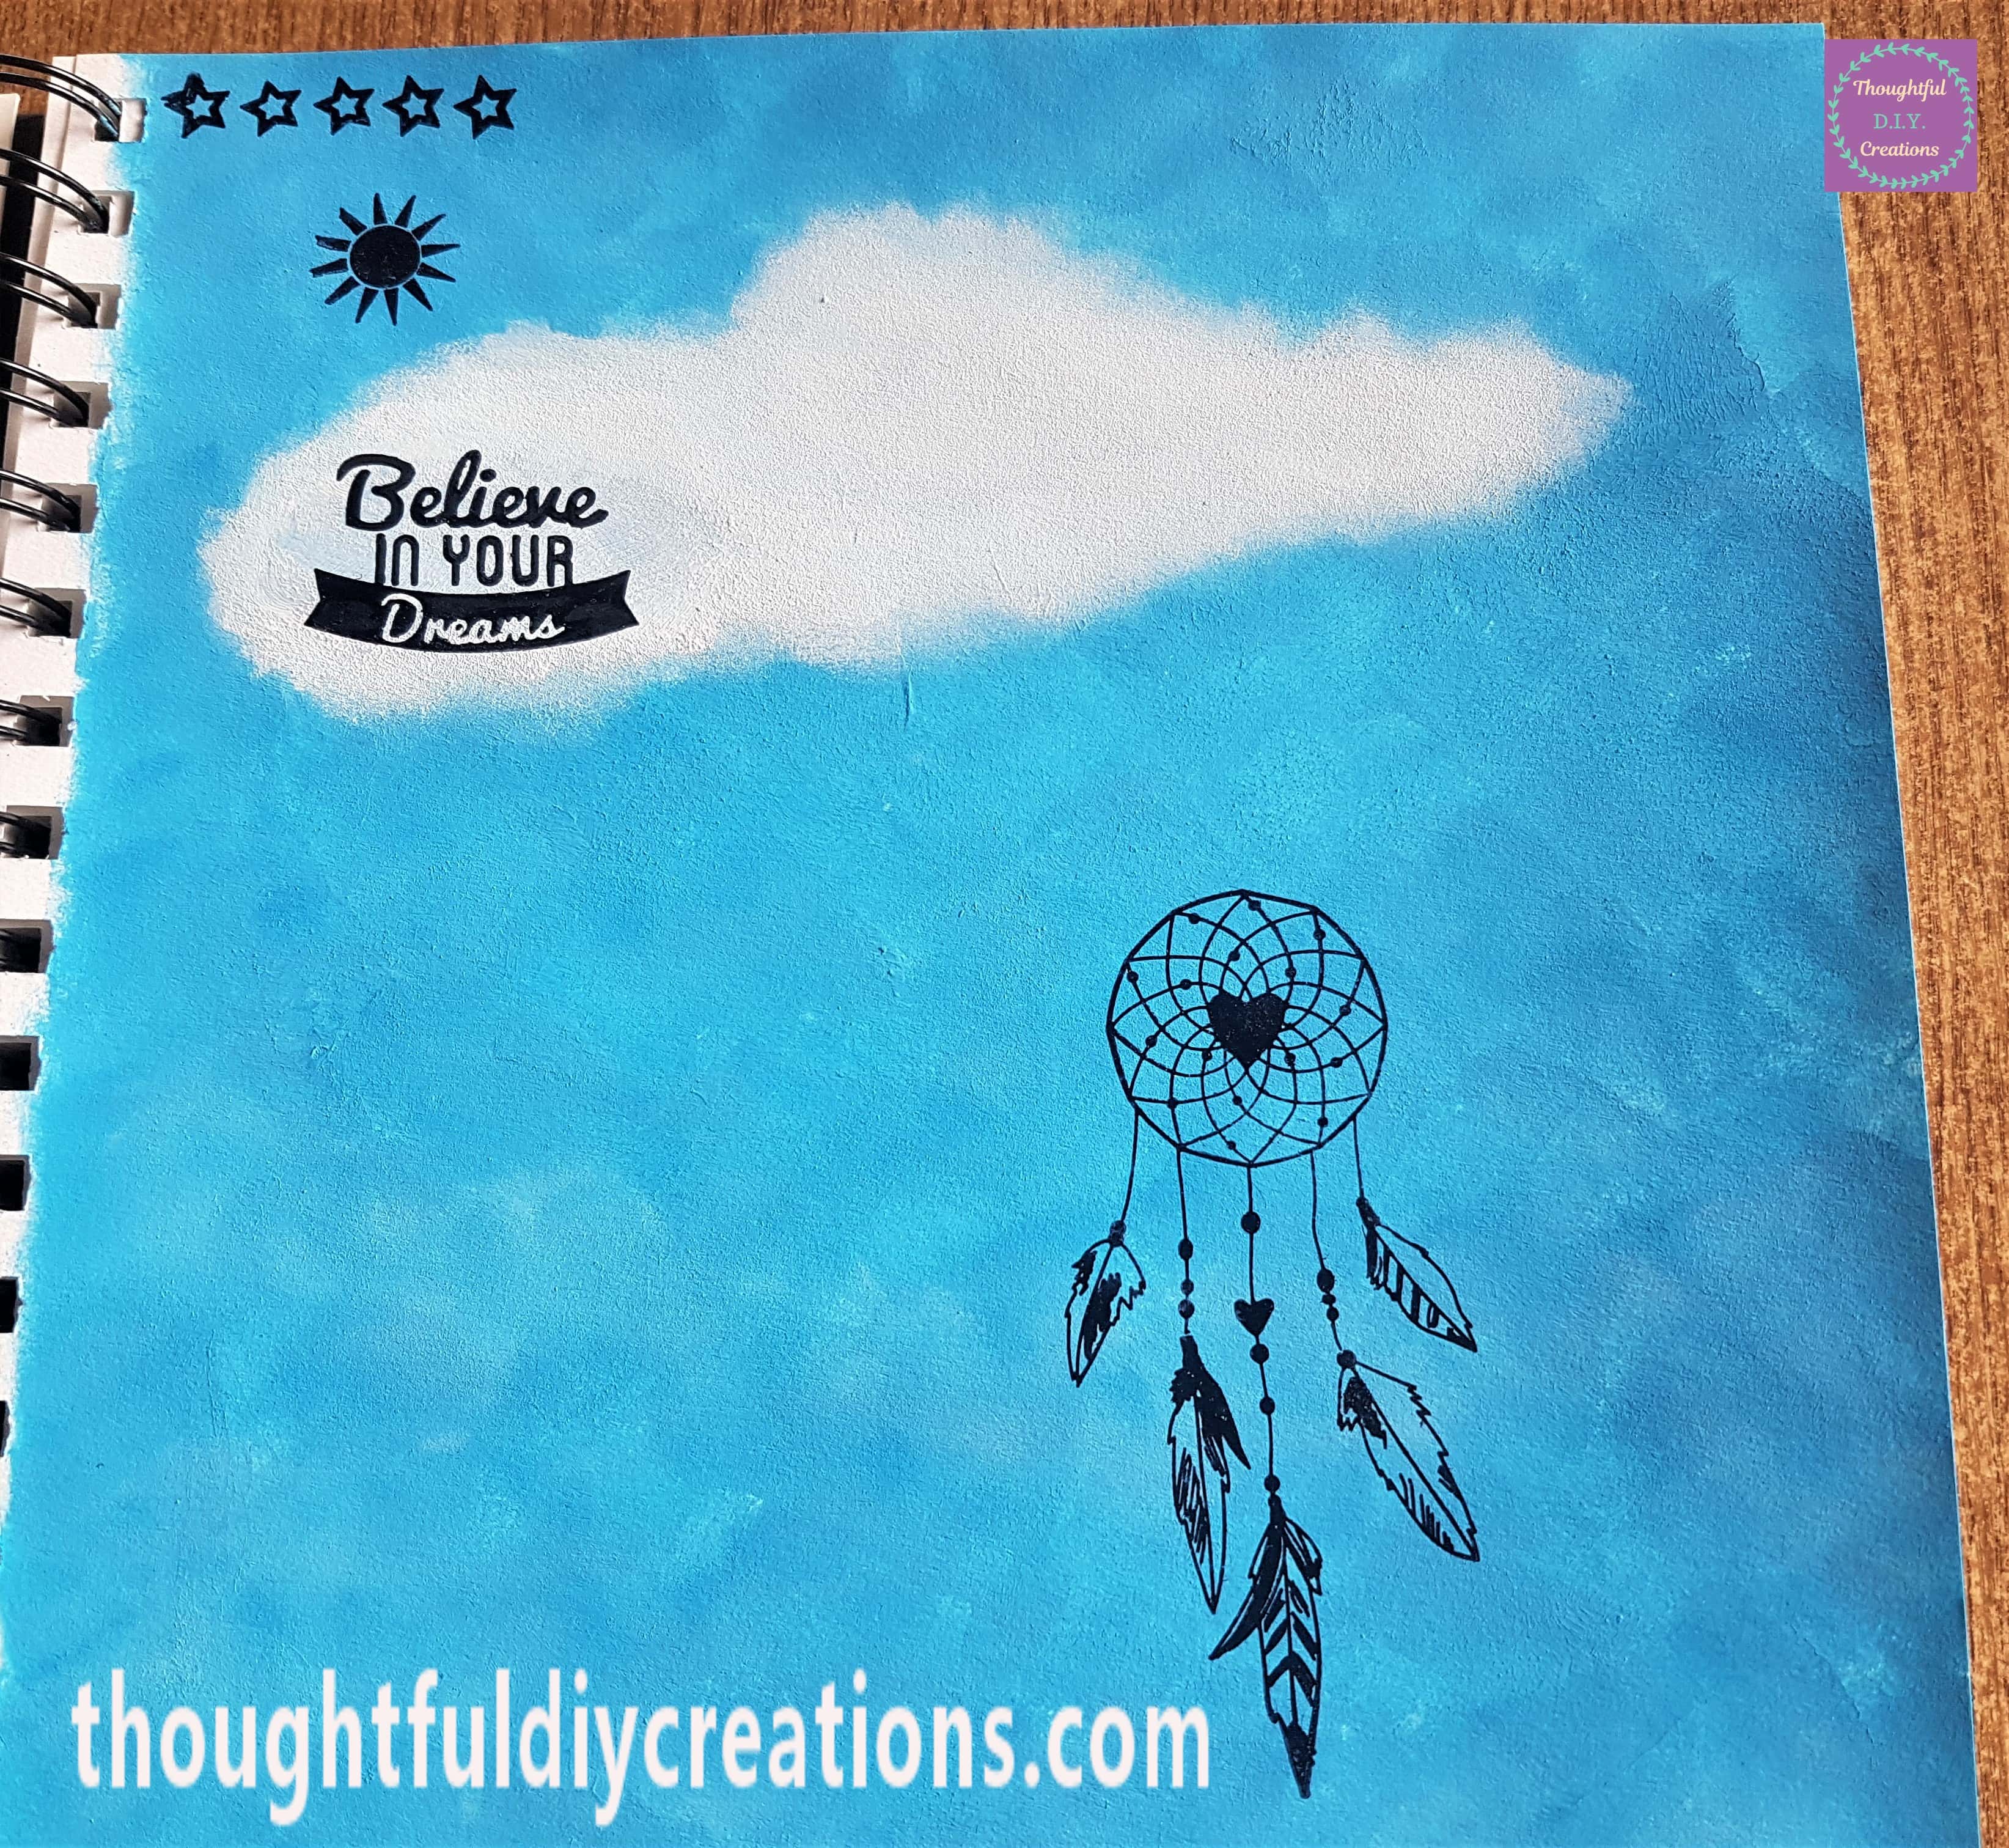
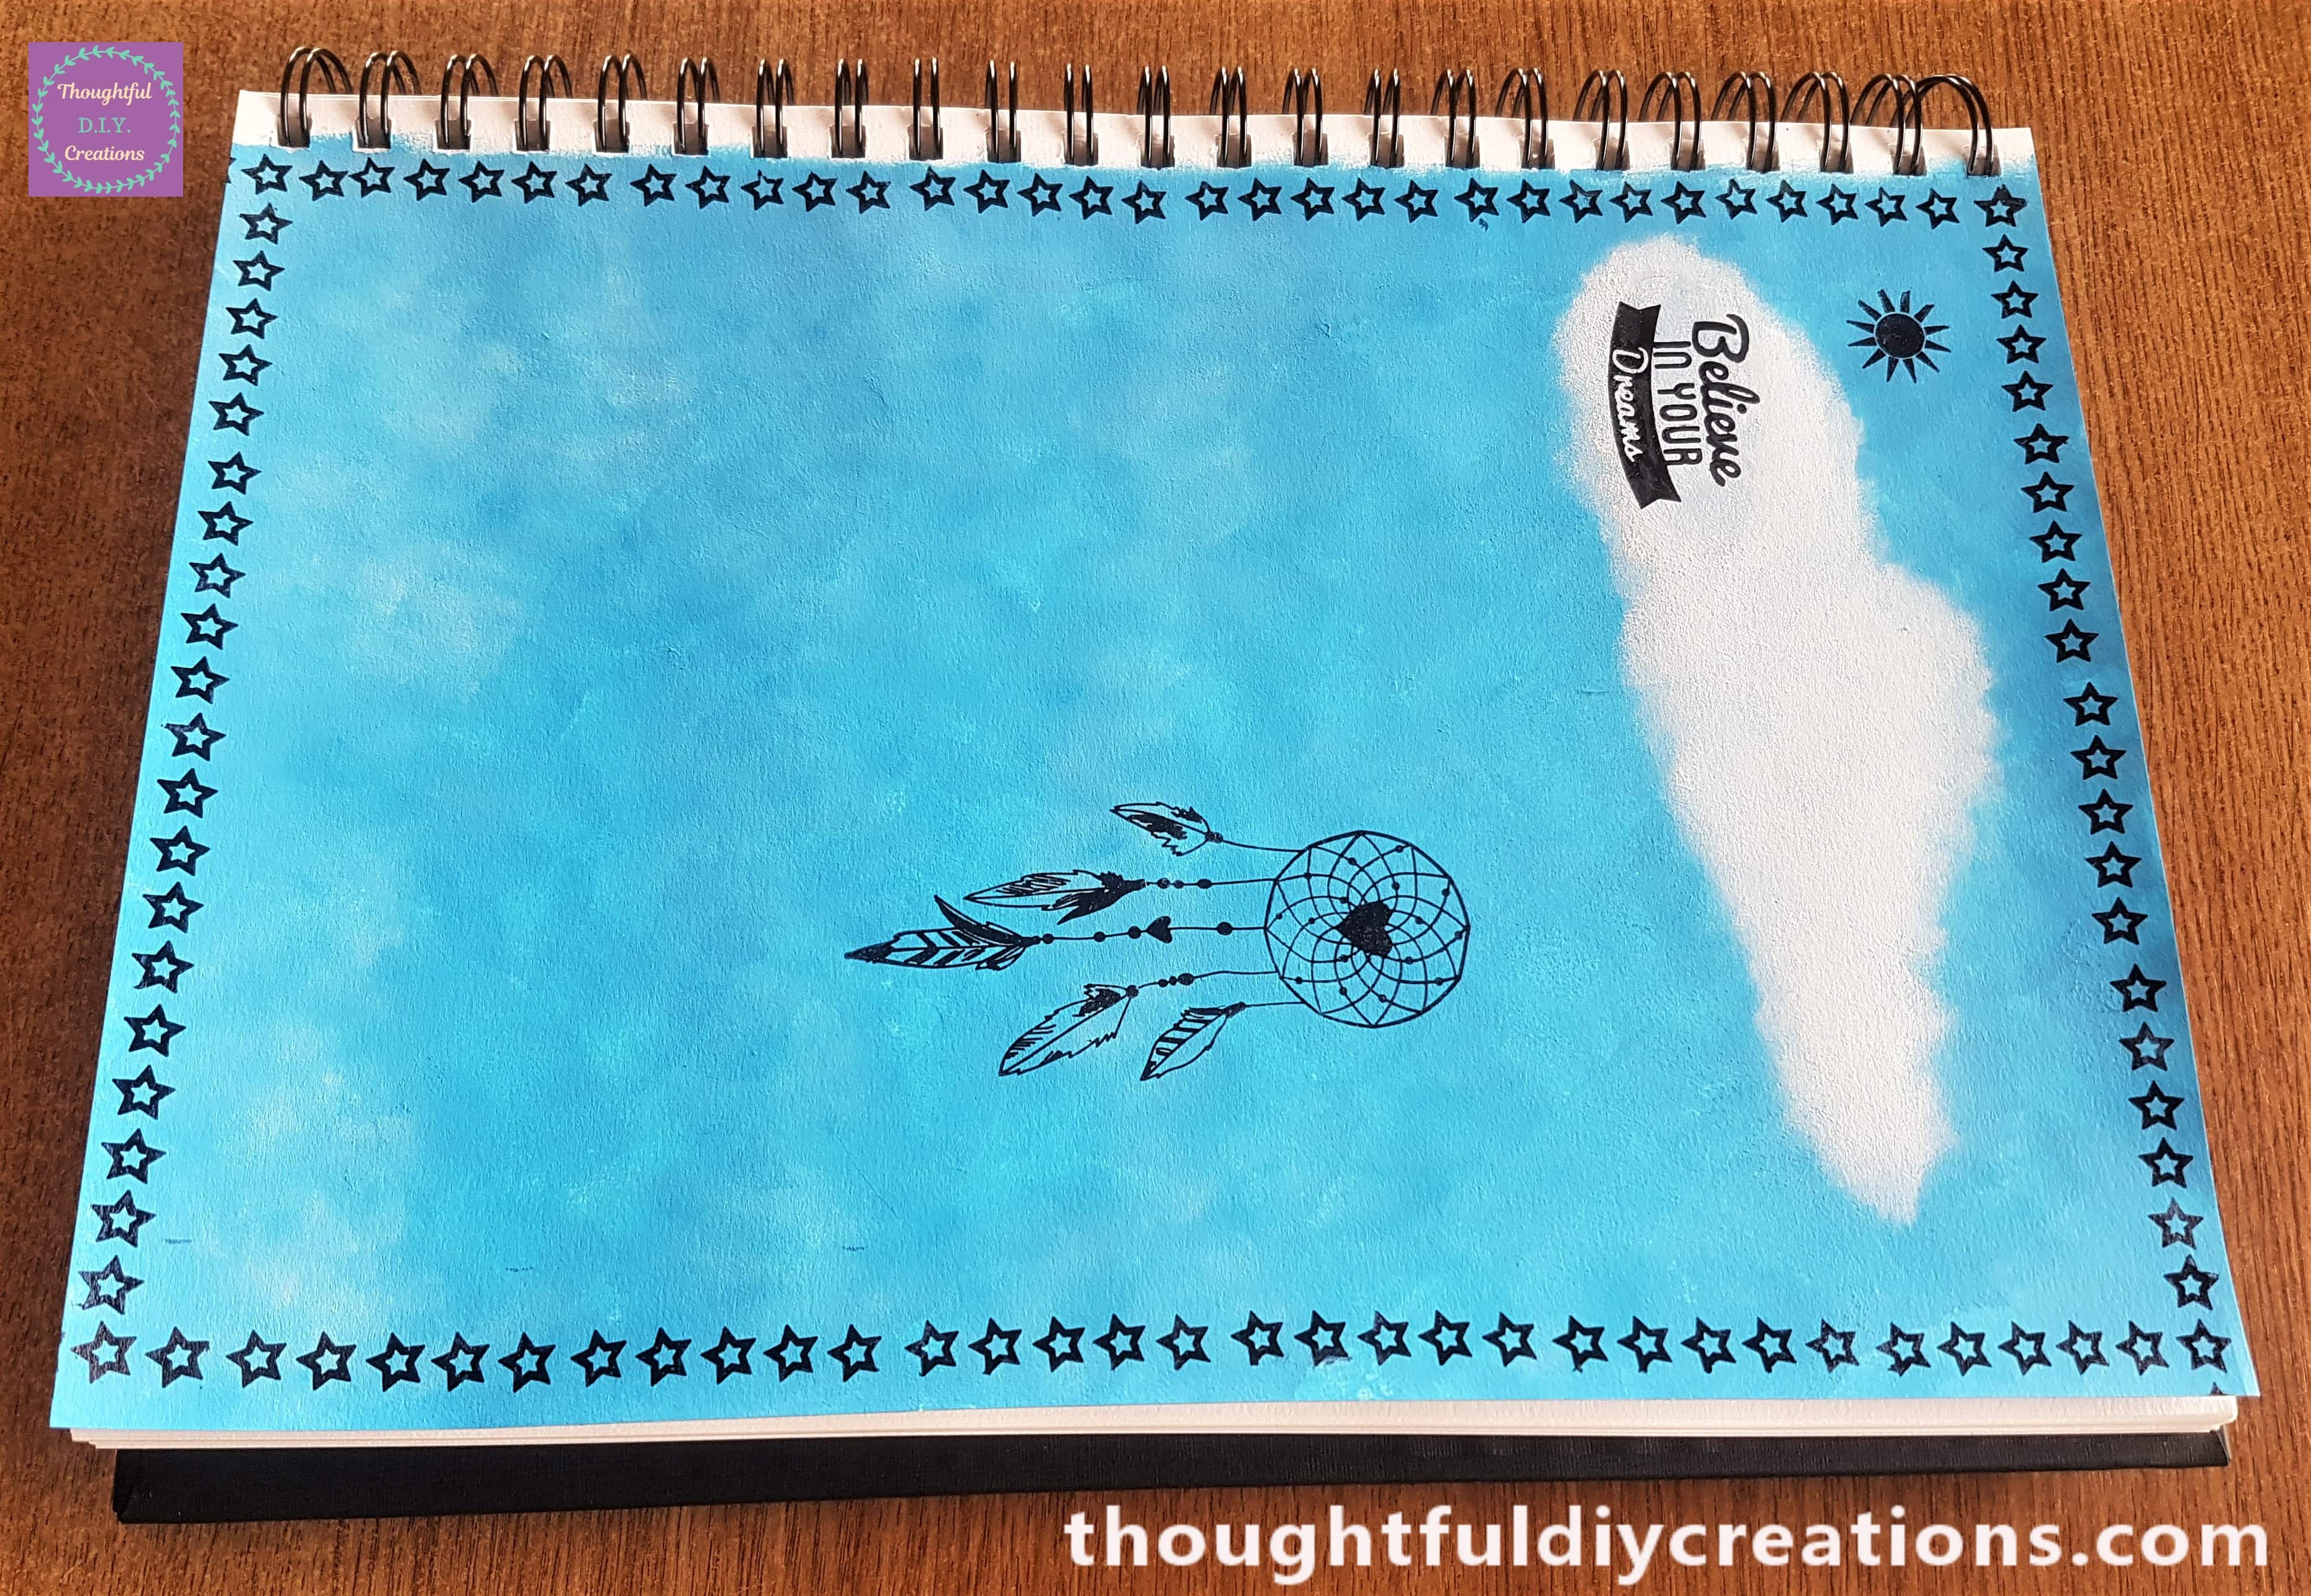
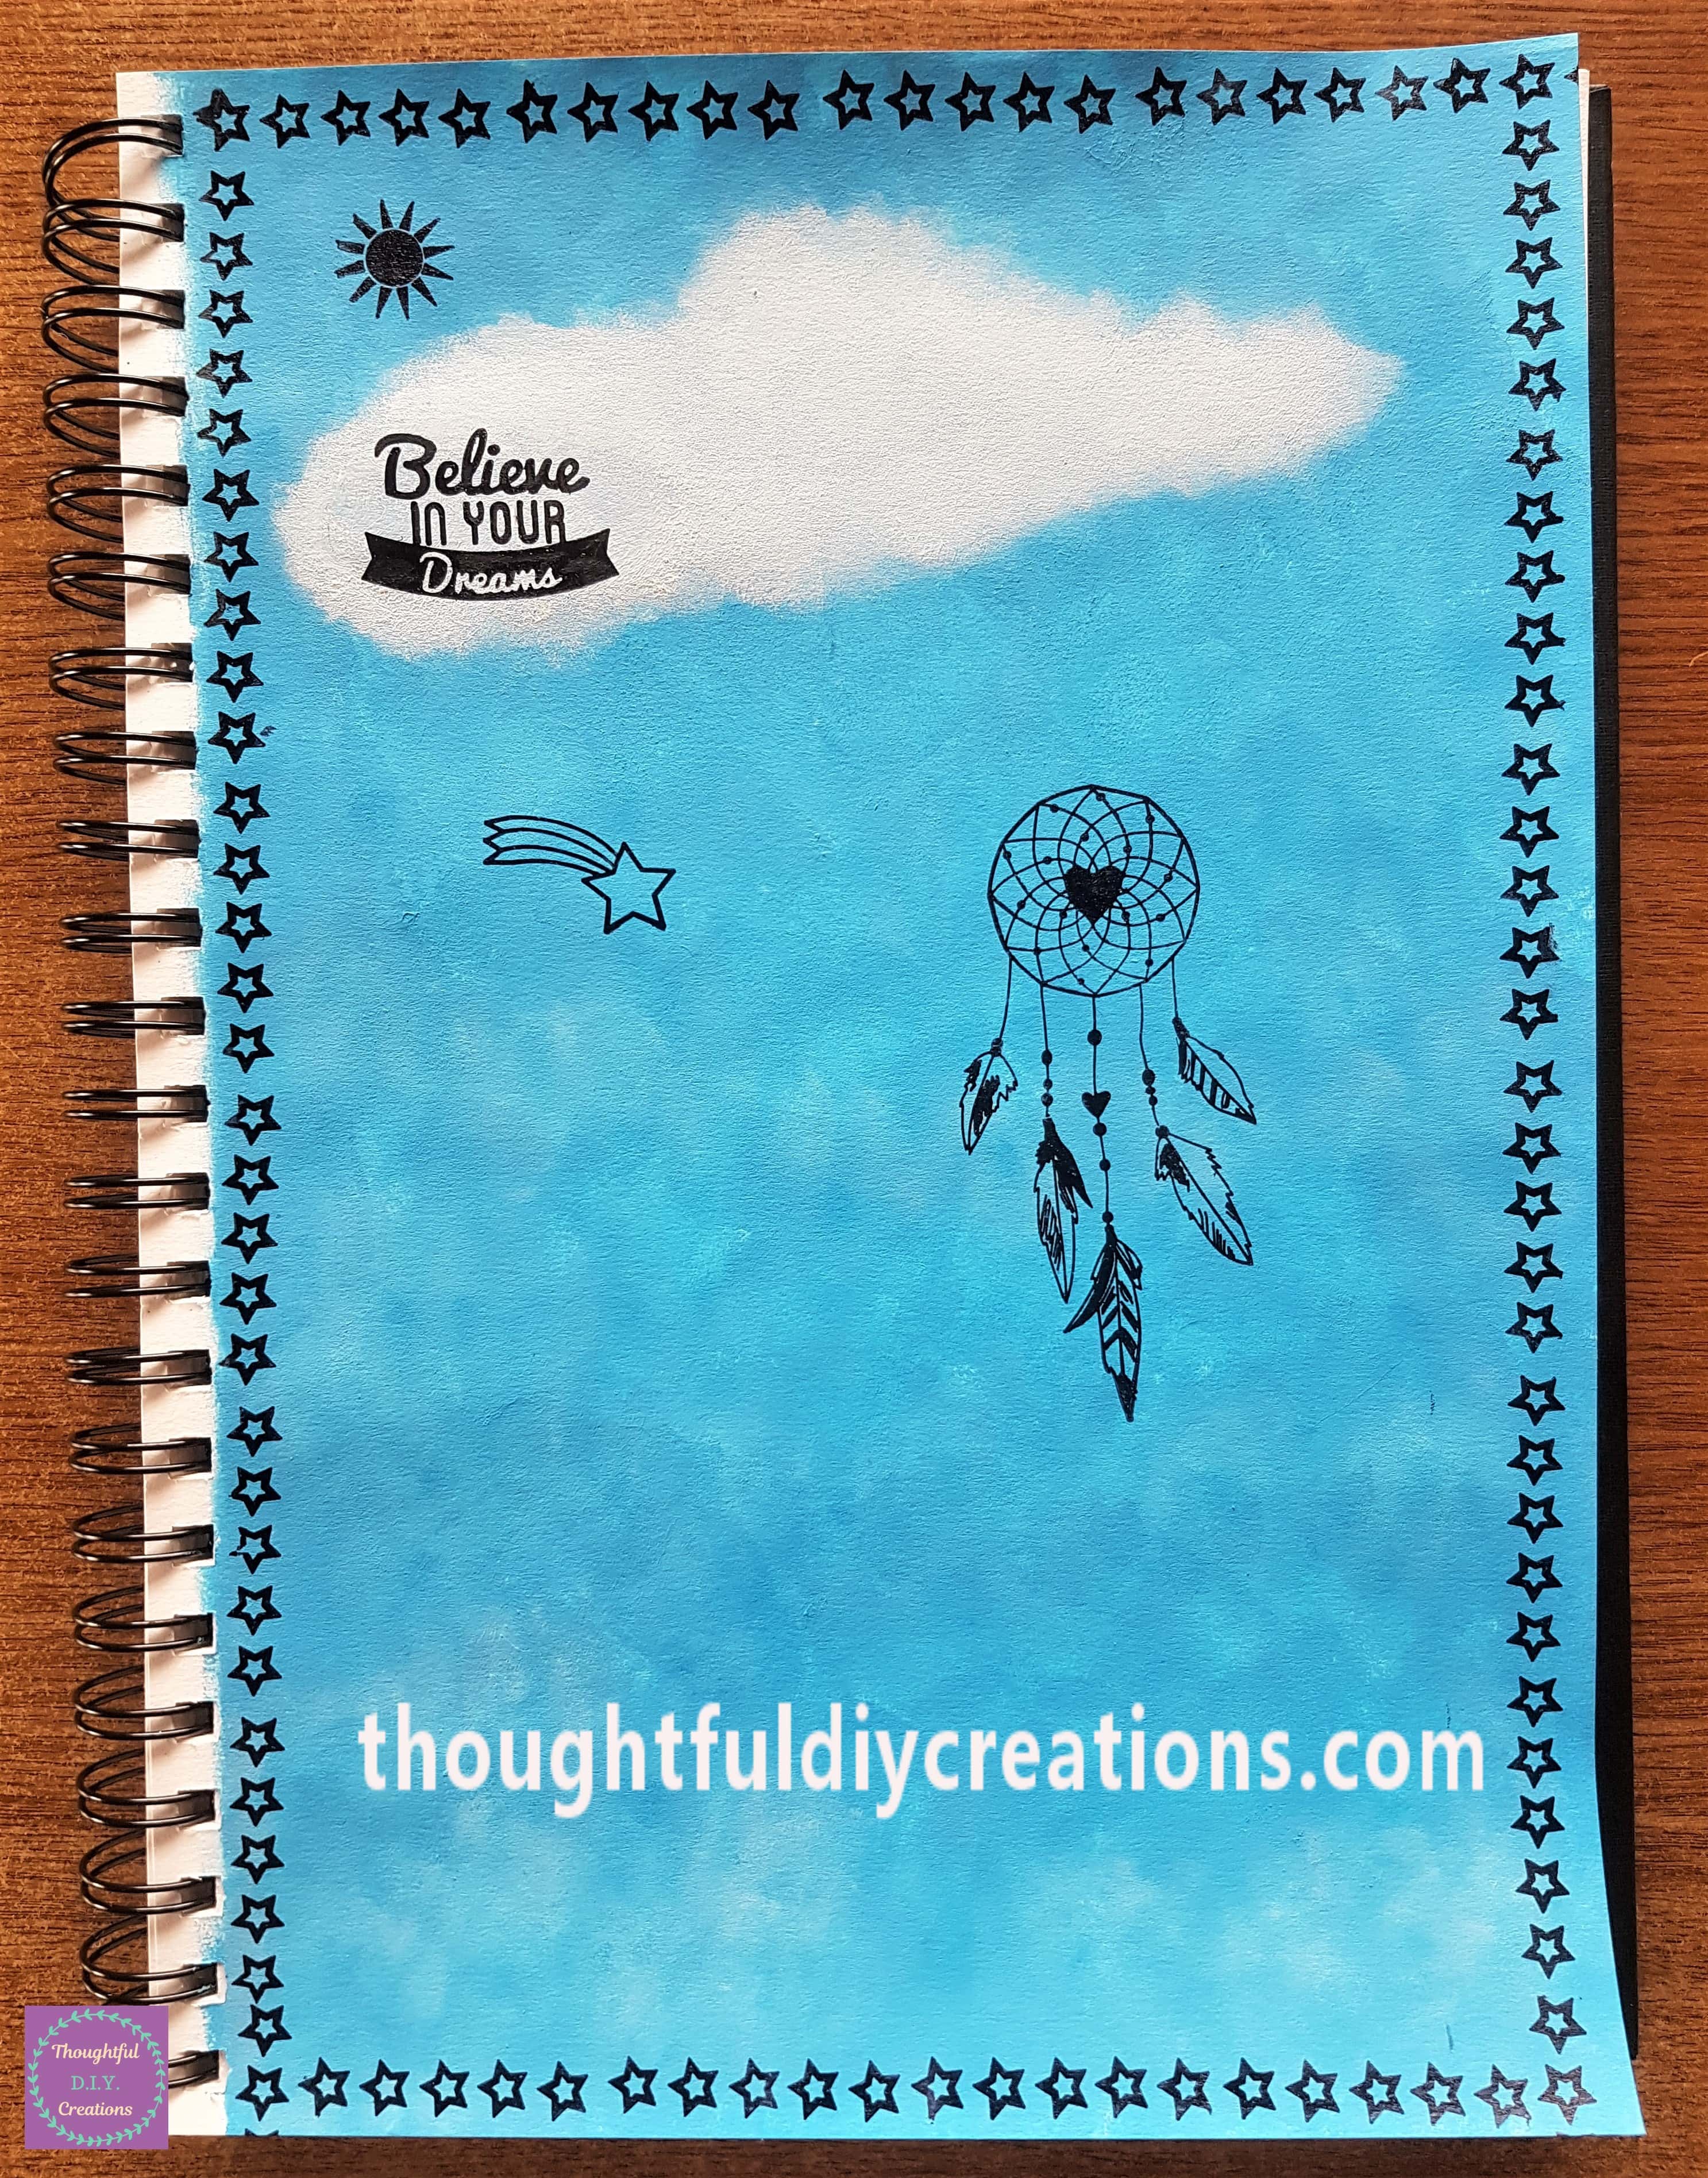
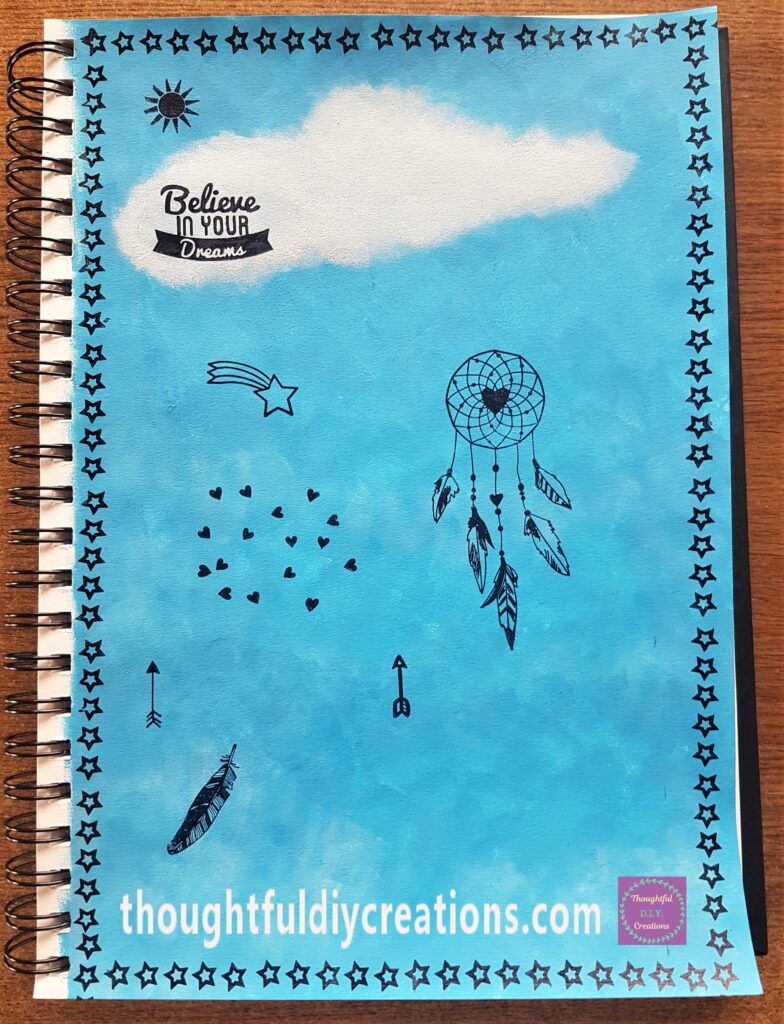
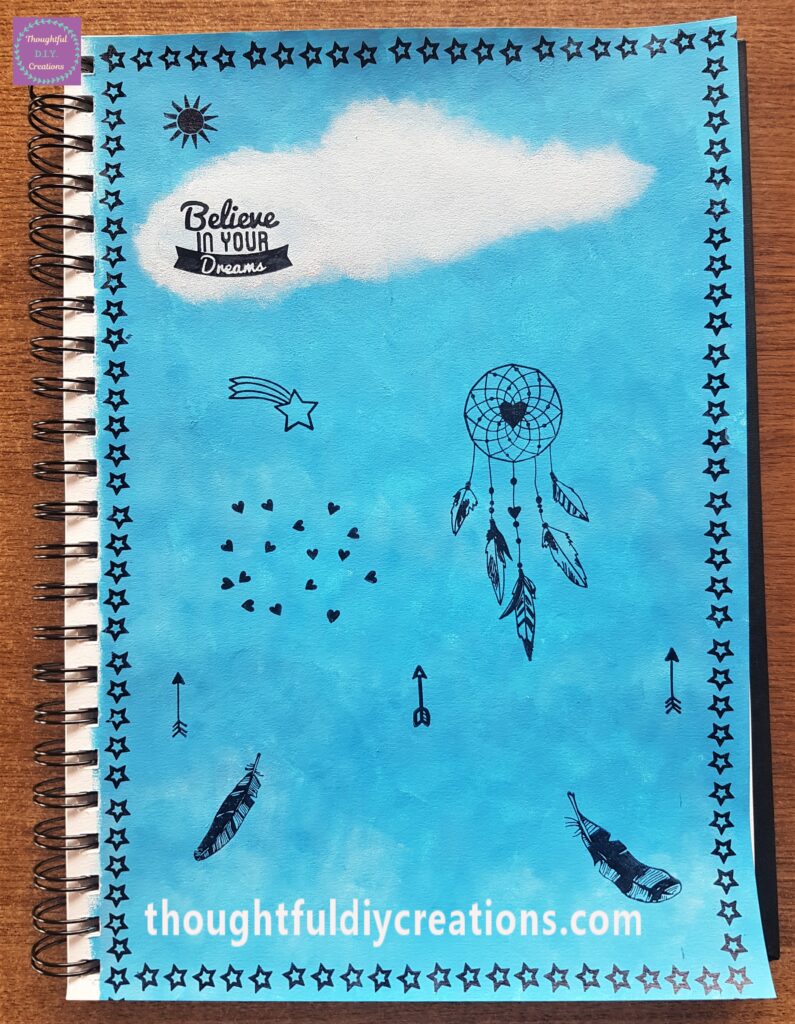
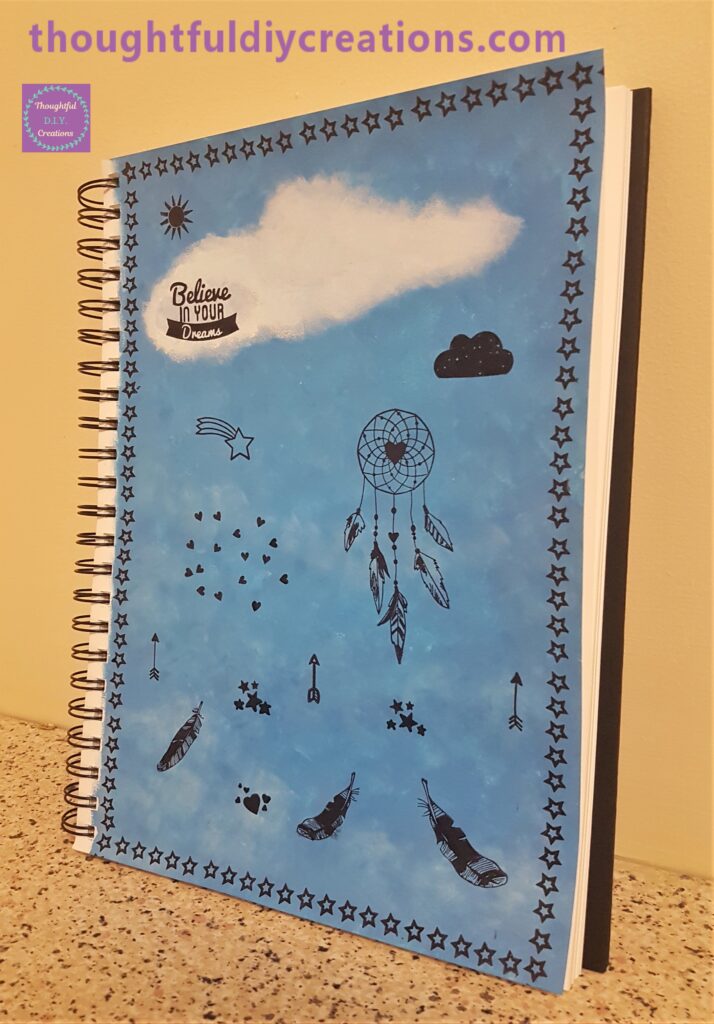
This Completed the Dreamcatcher Art Journal Page.
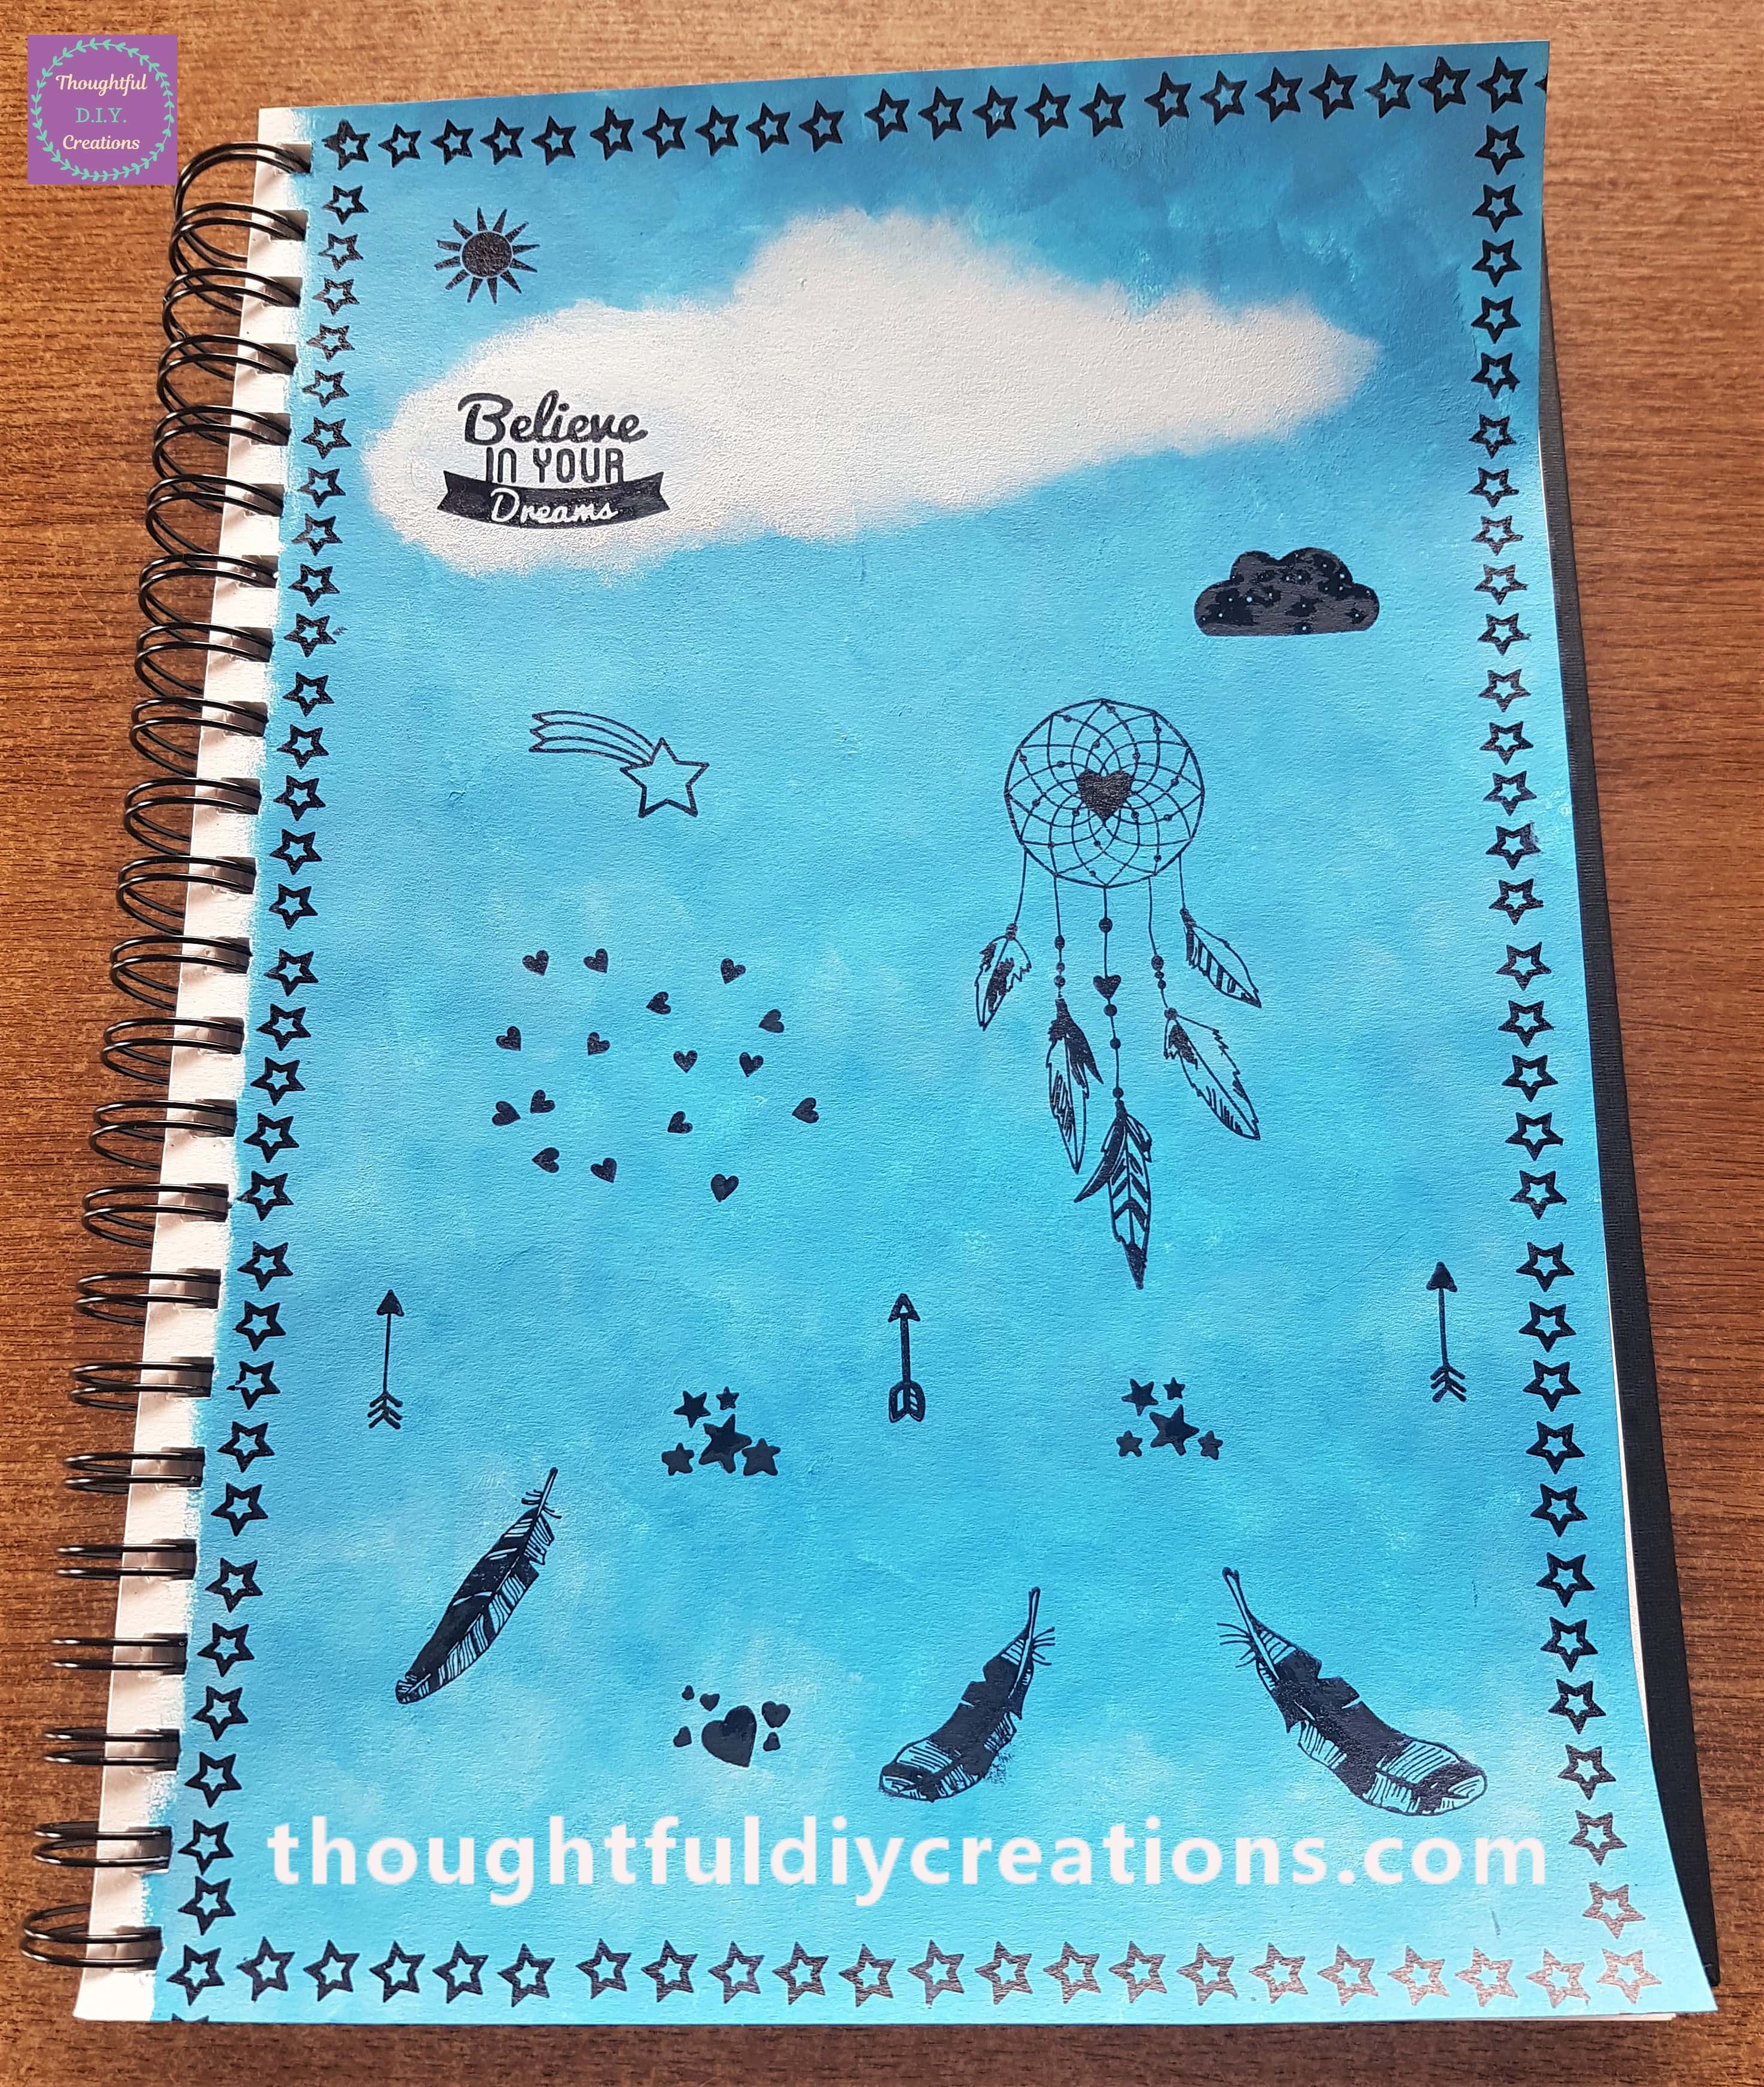
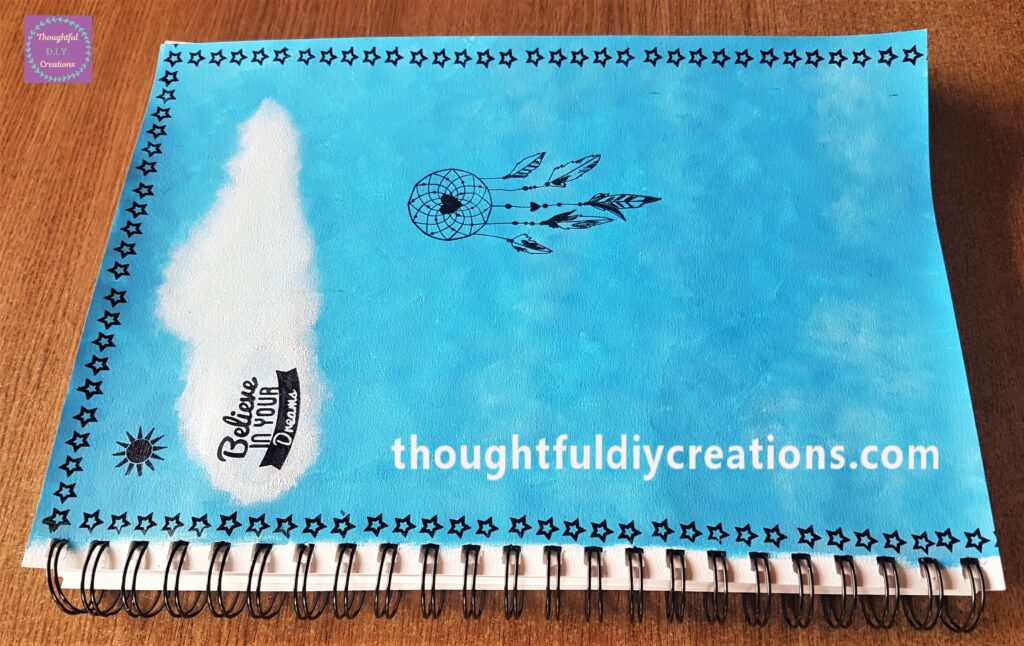
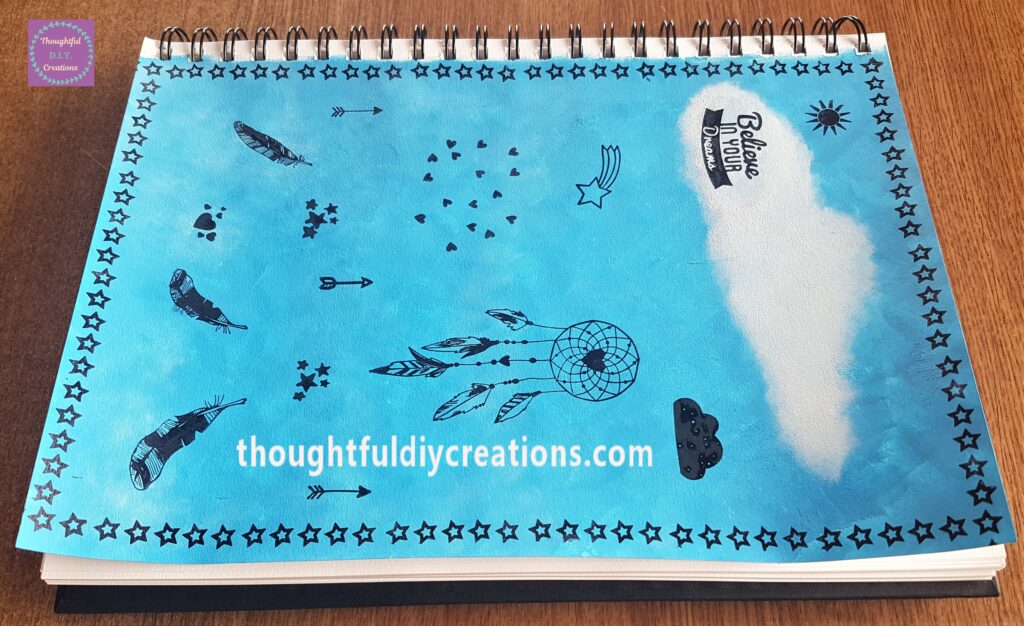
This is a side angle of the finished Page.
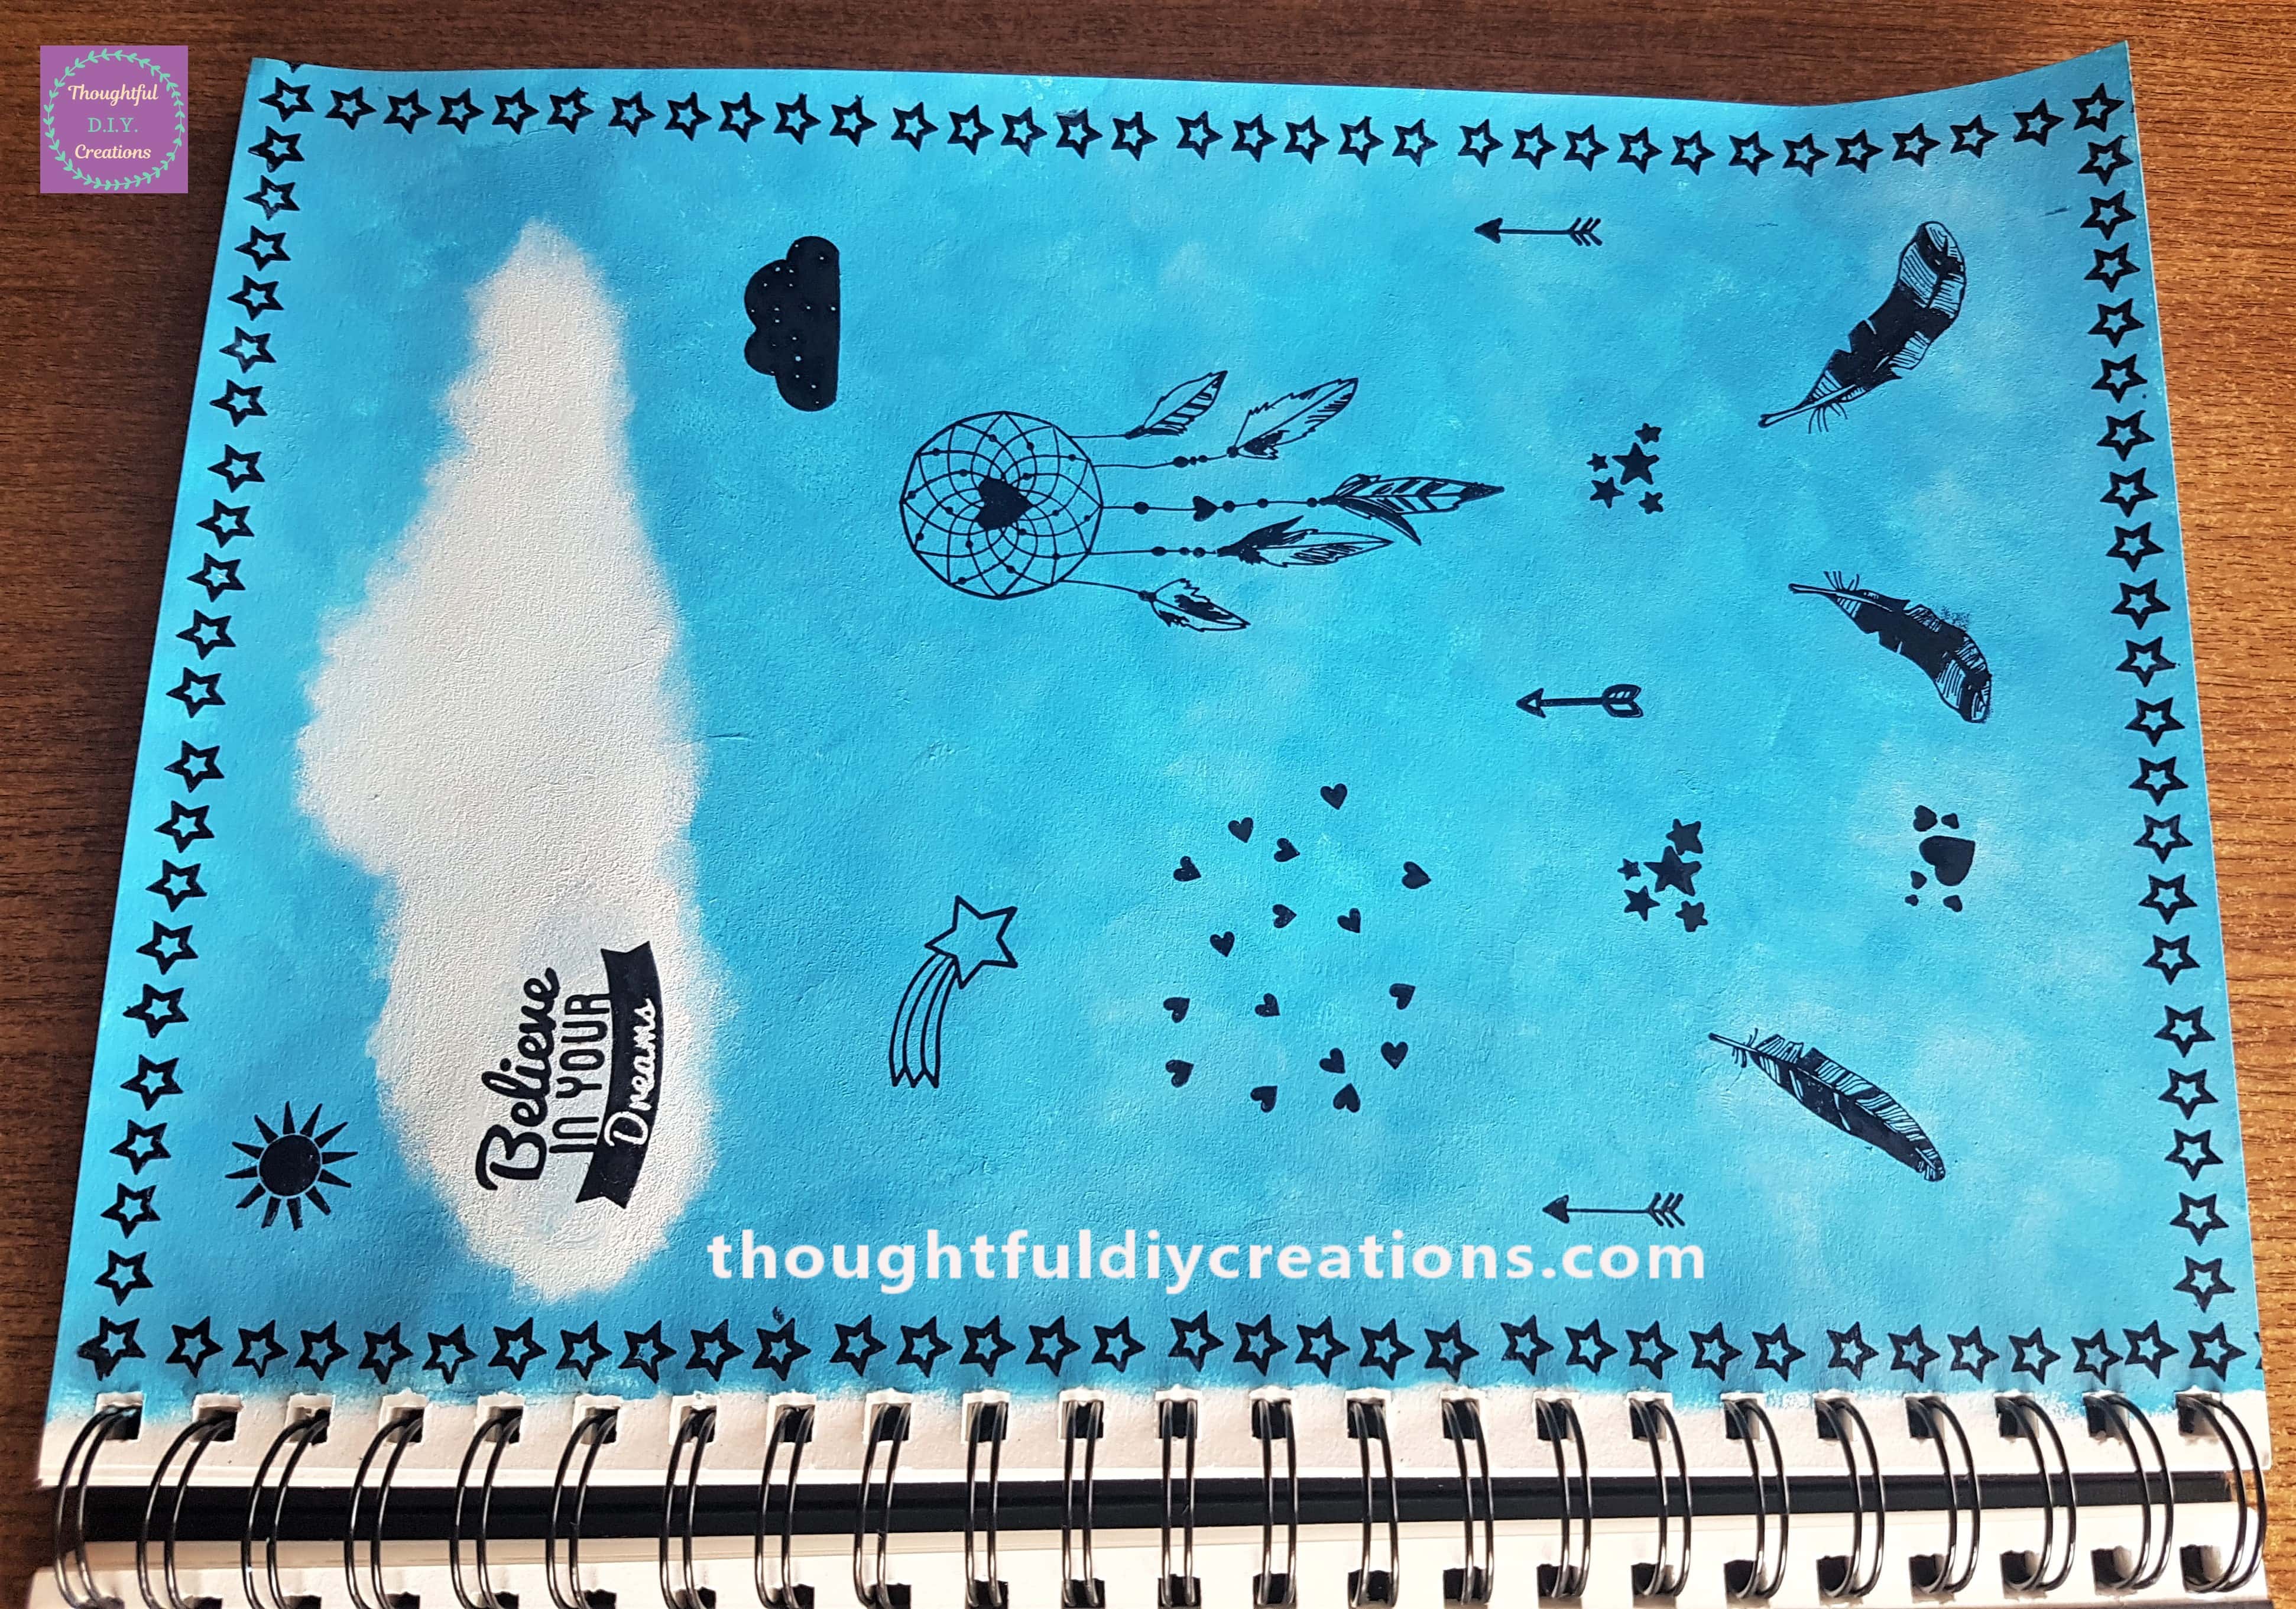
Here it is from the other Side.
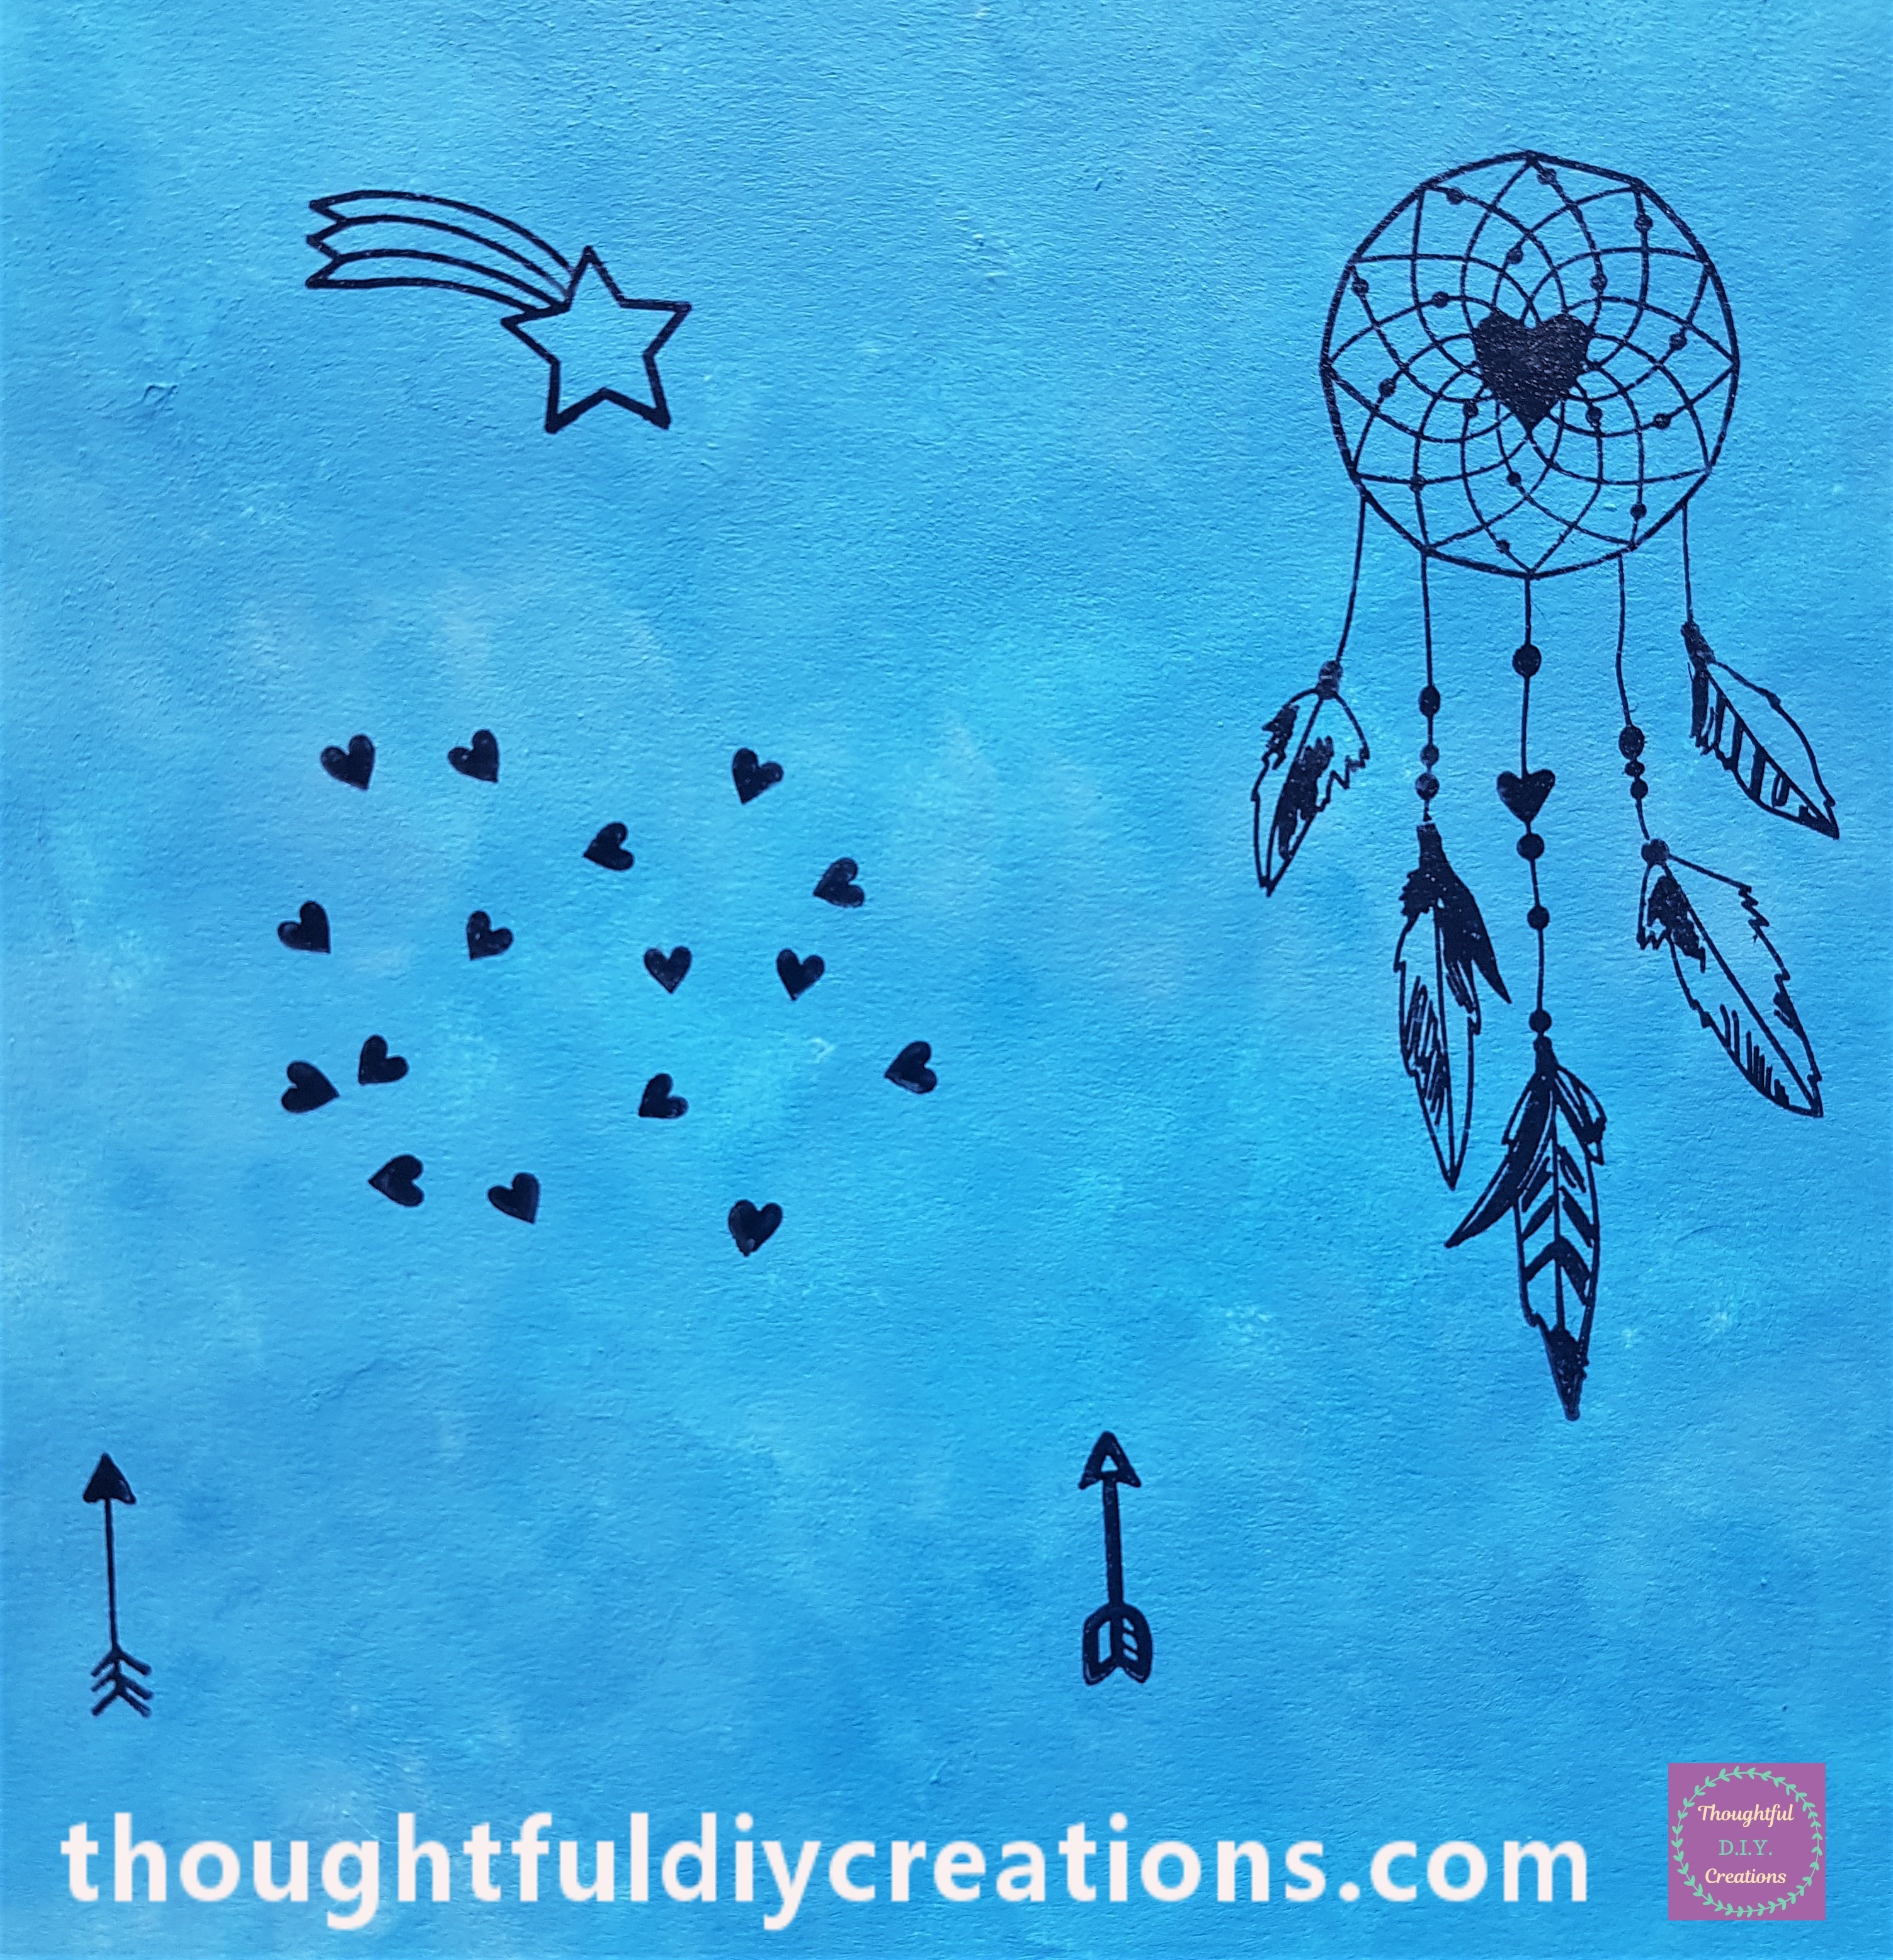
This shows the main elements on the Page.

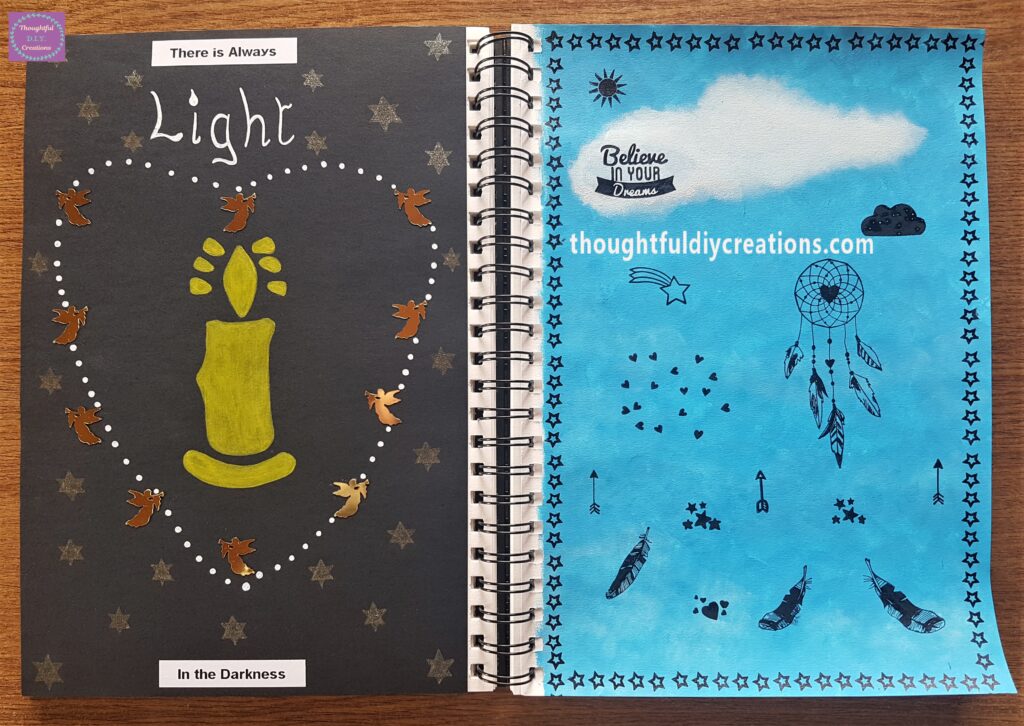
The Completed Dreamcatcher Page beside the Completed Light in Darkness Page.
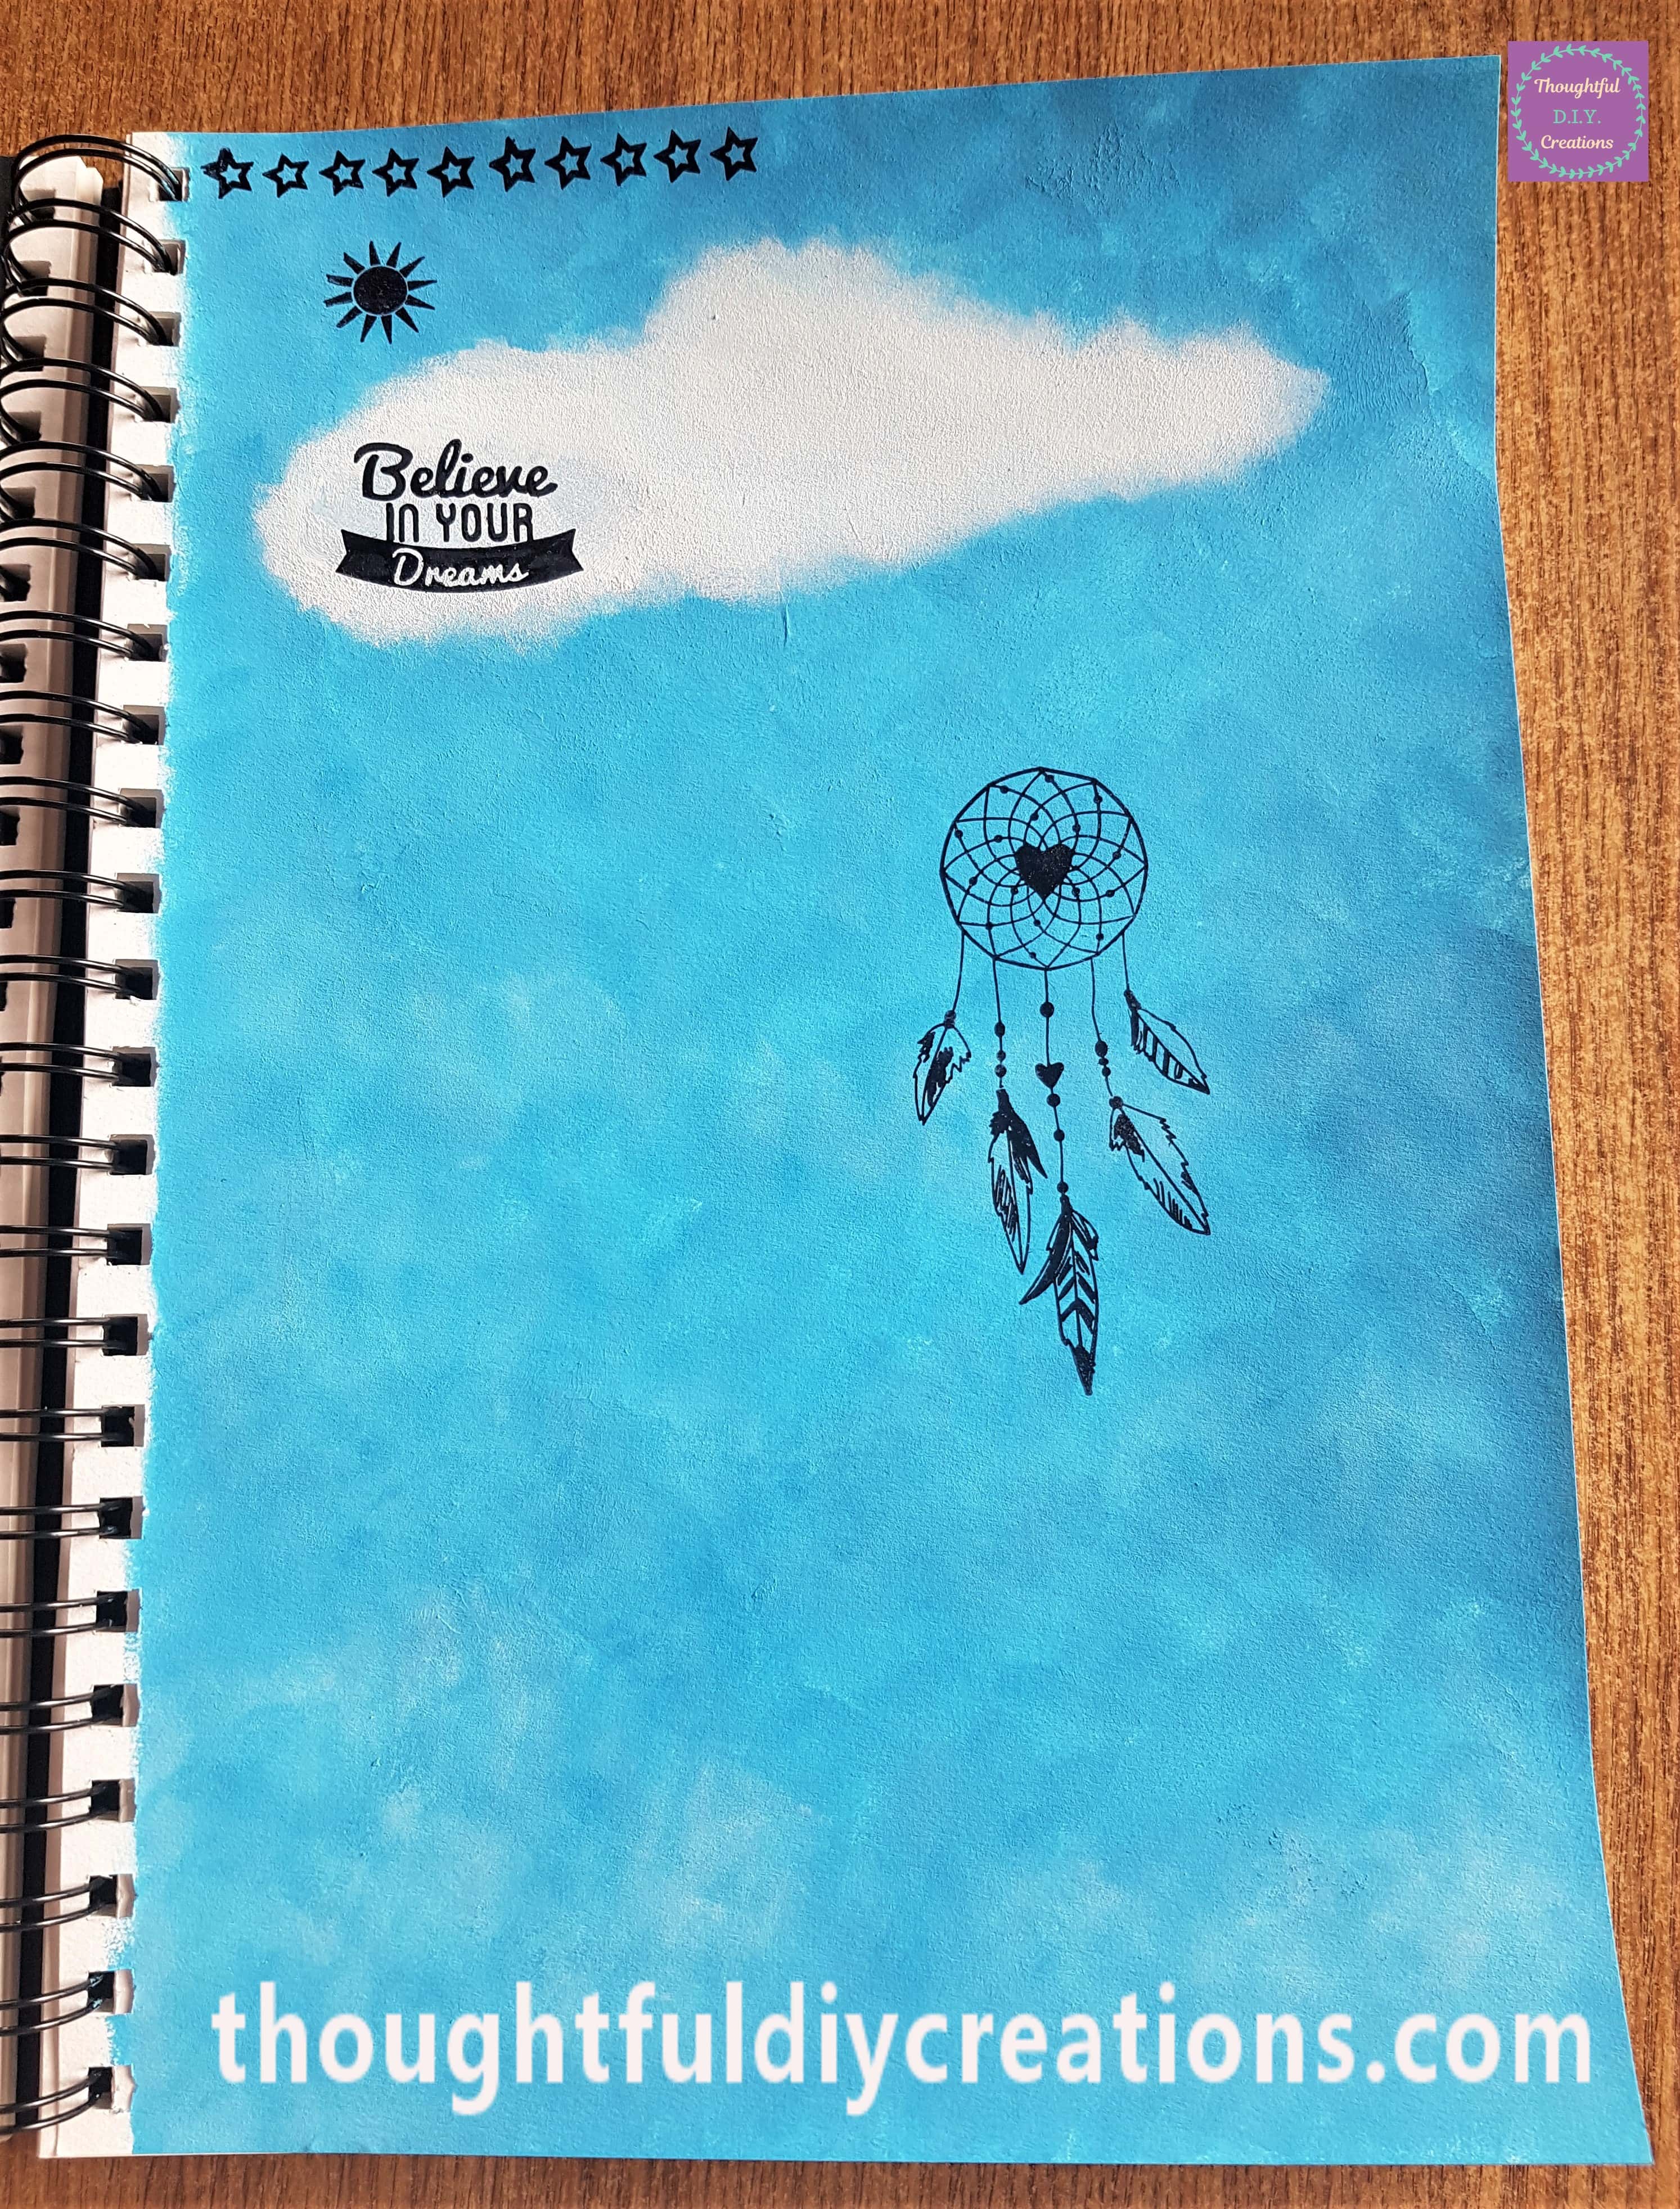
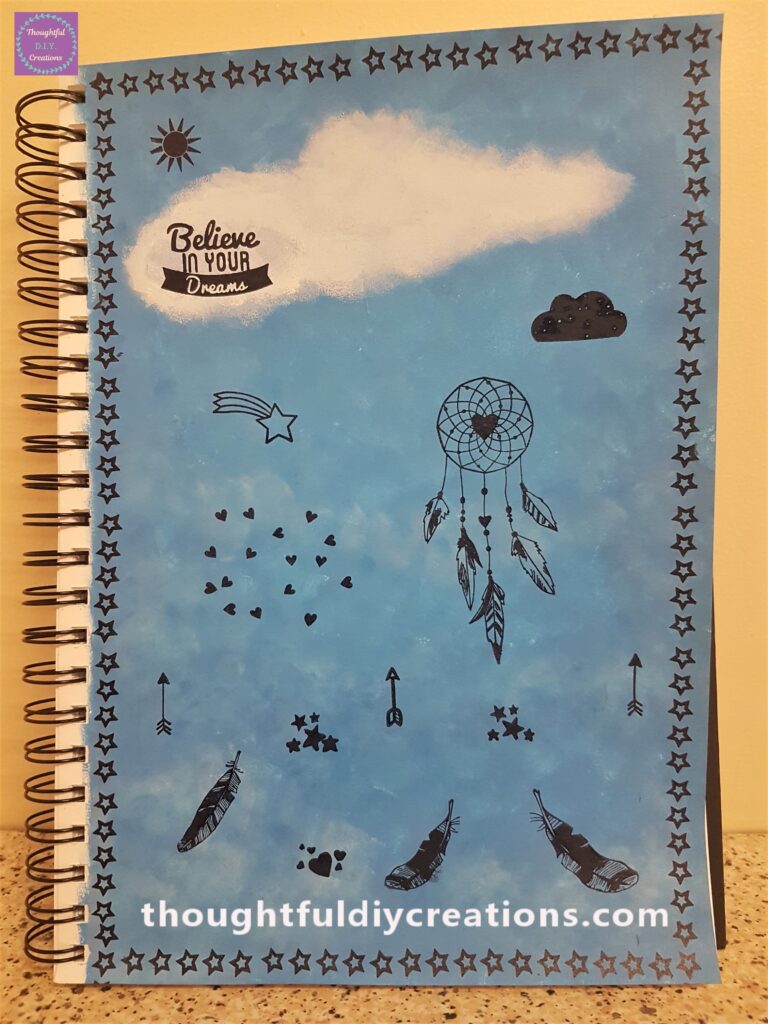
Here is the Dreamcatcher Page standing on Display.
A full side angle view of the Art Journal.
A close-up of the Top of the Page.
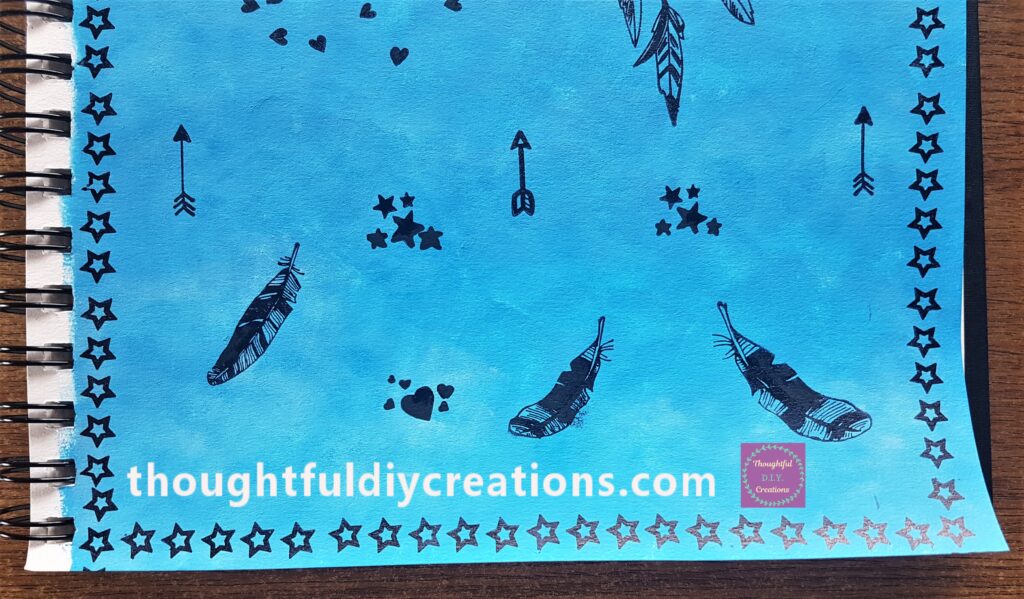
A closer view of the mid-section of the Dreamcatcher Page.
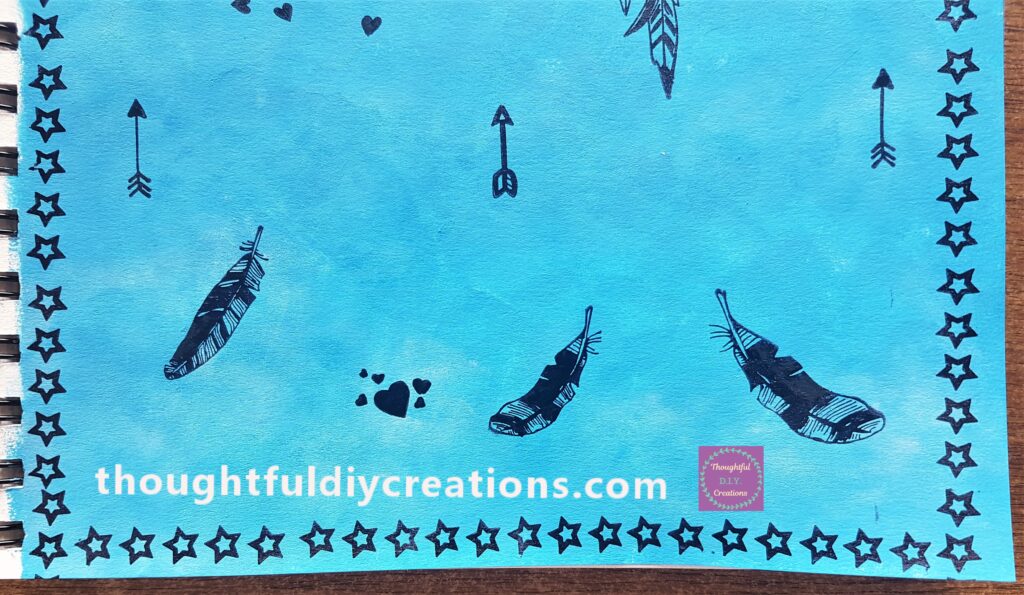
The lower part of the Art Journal Page.
Conclusion
I was quite pleased with how my Dreamcatcher Page turned out. I like how the make-up sponges worked for adding texture for the Sky. I think the Sentiment ‘Believe In Your Dreams’ is important as we all have Dreams we would like to fulfill and sometimes we are afraid to Dream Big and want good things or Success for Ourselves.
We are worthy of our Dreams coming True and being truly Happy. I love Dreamcatchers, and Feathers; they invoke freedom, lightness and beauty. The Sky represents how vast the World is and the unlimited Possibilities available to us each day. The Arrows are for Moving Forward, The Only Way is Up, Going in a New Direction.
My Feather Angel Wing Canvas and Jar with Positive Quote are other examples of Optimistic Home Decor Crafts.
I am new to Stamping but I like how easy they are to use. They are great for when you don’t know how to Start a Page as you can look through your stamps and get ideas in a short space of time. They can also help with drawing skills, as you can copy the stamps and learn how to draw things in more detail.
I hope you enjoyed this weeks Tutorial and maybe learned something new if you are a complete beginner.
Thank you so much for taking the time to read my Blog.
Always Grateful,
T.D.C.
xoxox