Easter Bunny Door Craft
Hello my Creative Friends,
I hope you are all well. In Today’s Tutorial I will show you how to make a cute Easter Bunny Door and Door Sign Craft. It is the perfect D.I.Y. activity to complete with children for Easter. It only requires a few materials and you probably have most of them at home already.
Lollipop Sticks for the Easter Bunny Door
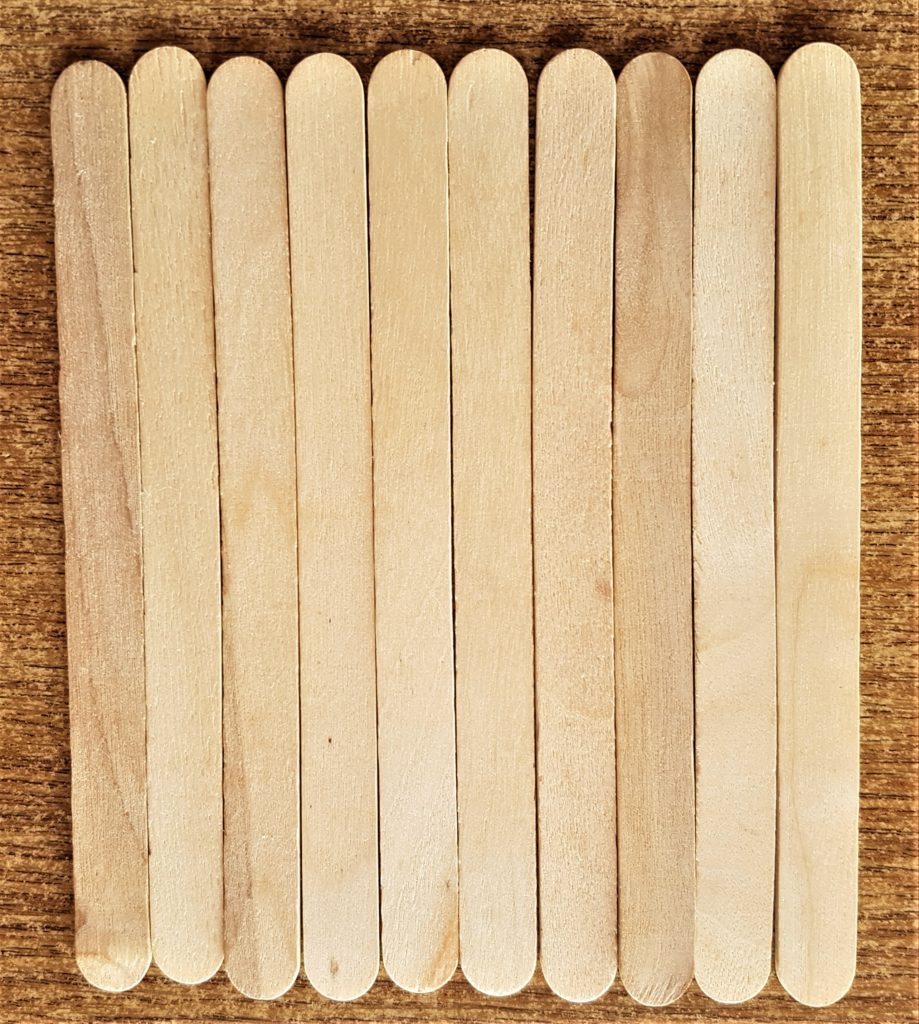
I got some Natural coloured Lollipop Sticks from my craft supplies. Lollipop Sticks Natural.
Painting the Lollipop Sticks
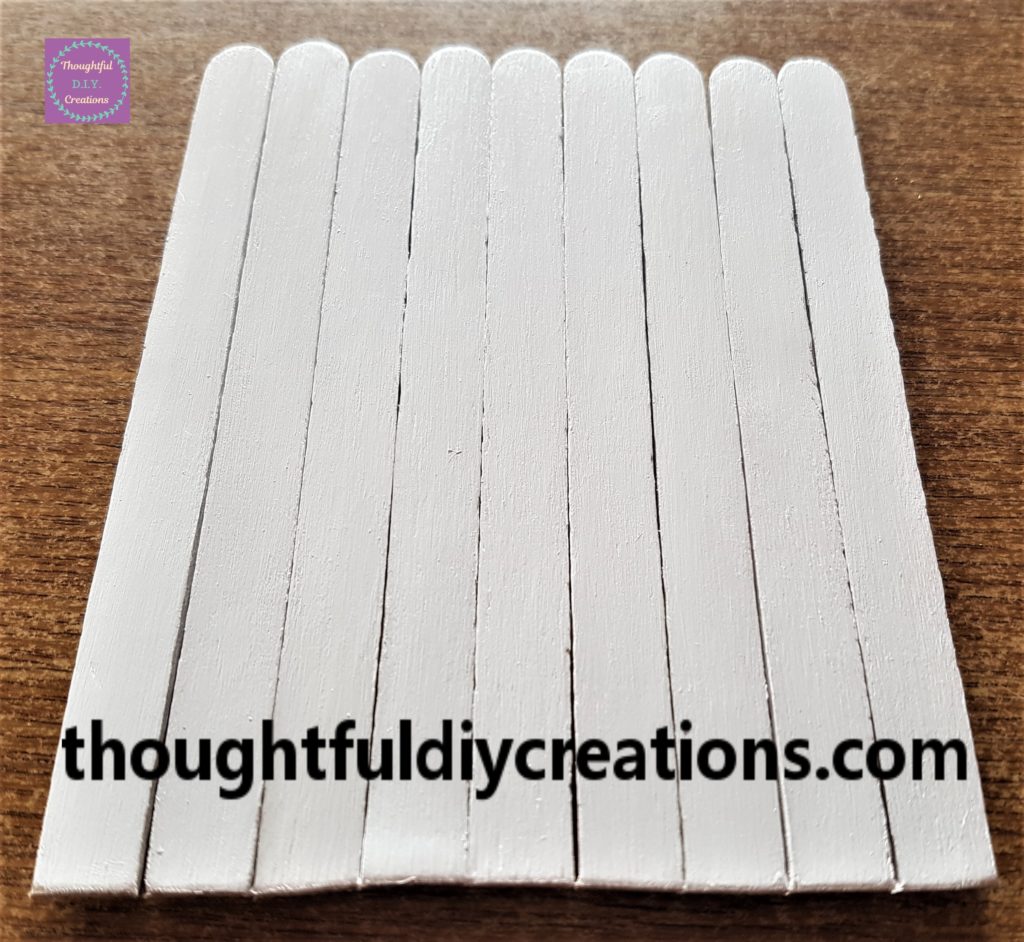
I painted the front and sides of 9 lollipop sticks with White Acrylic Paint and a small paintbrush. Acrylic Paint Titanium White.
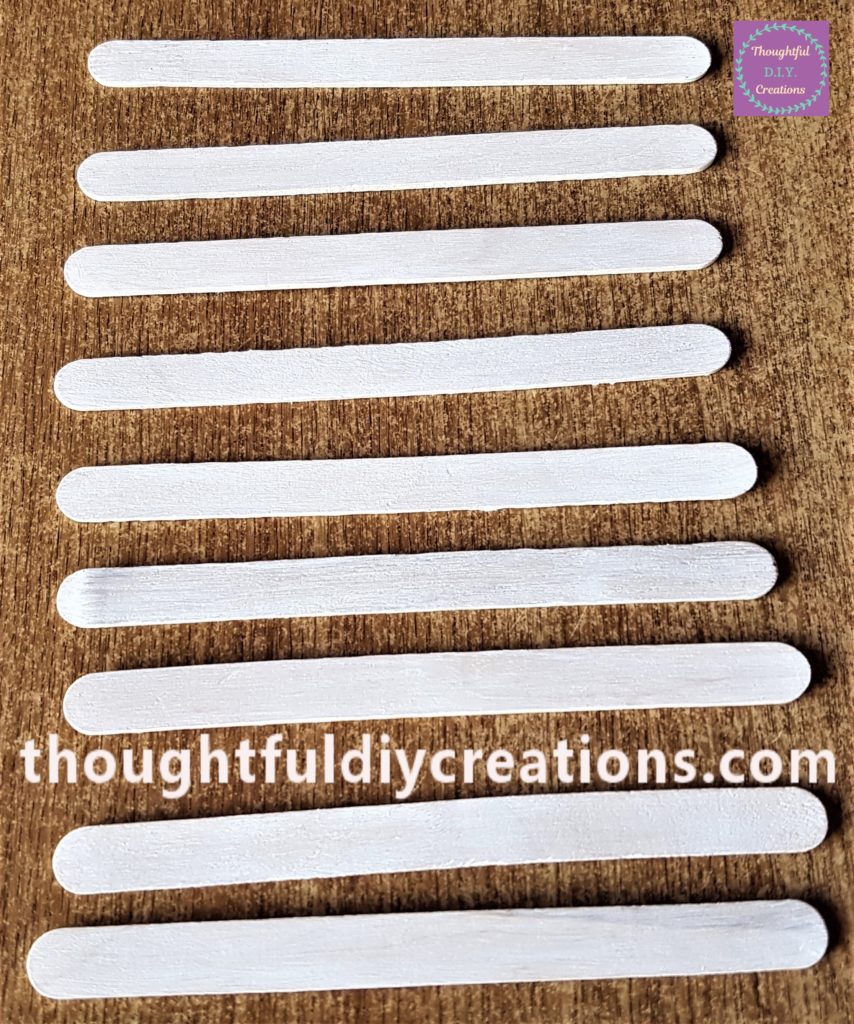
After about 20 minutes I painted the second layer of paint onto the lollipop sticks.
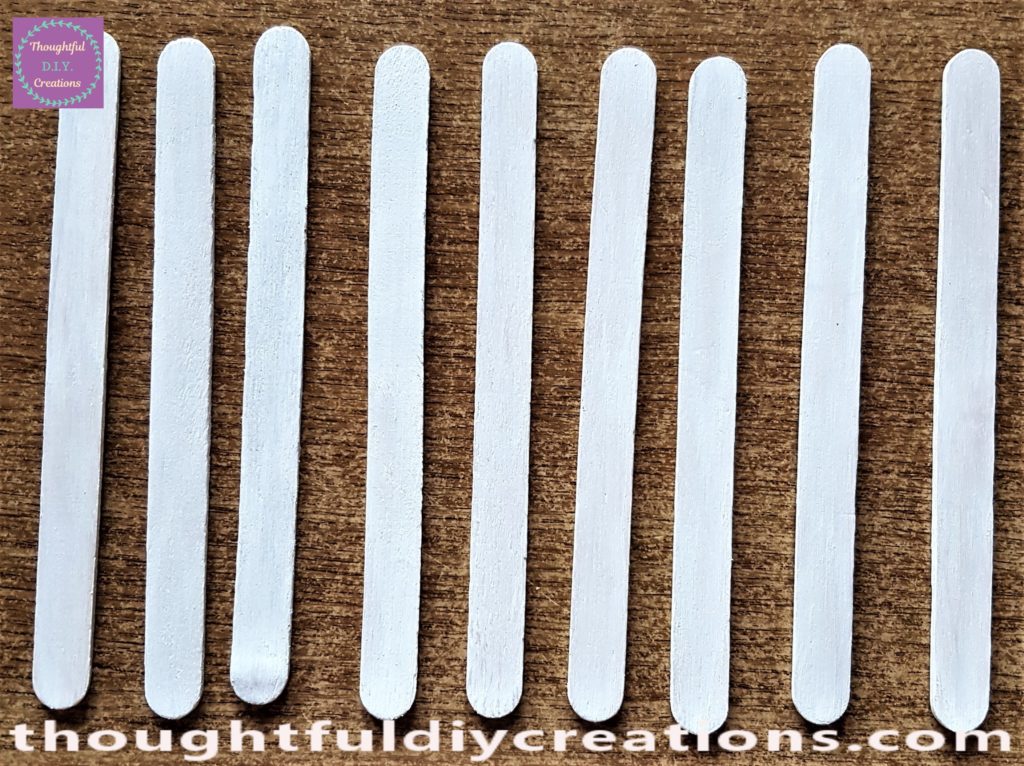
I added the third layer after another 20 minutes. Lollipop Sticks Natural.
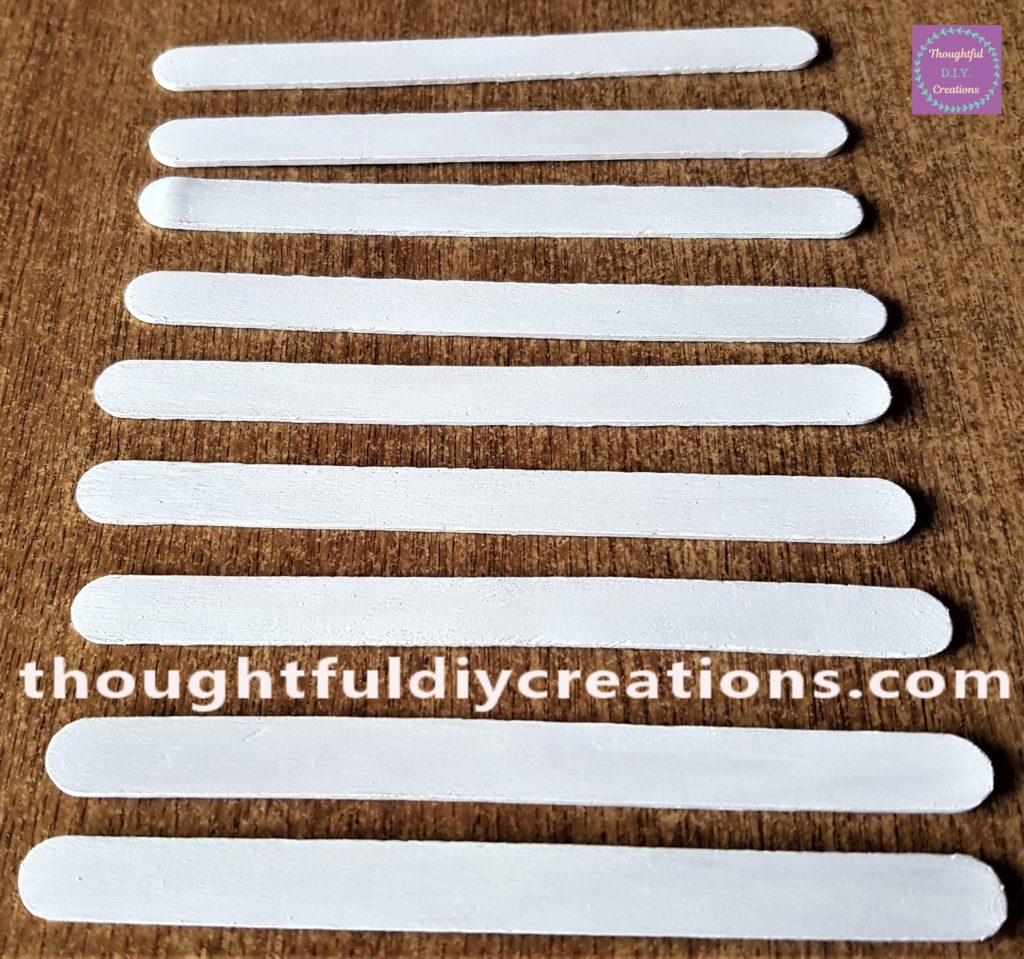
The fourth and final layer was painted in the same way. Acrylic Paint Titanium White.
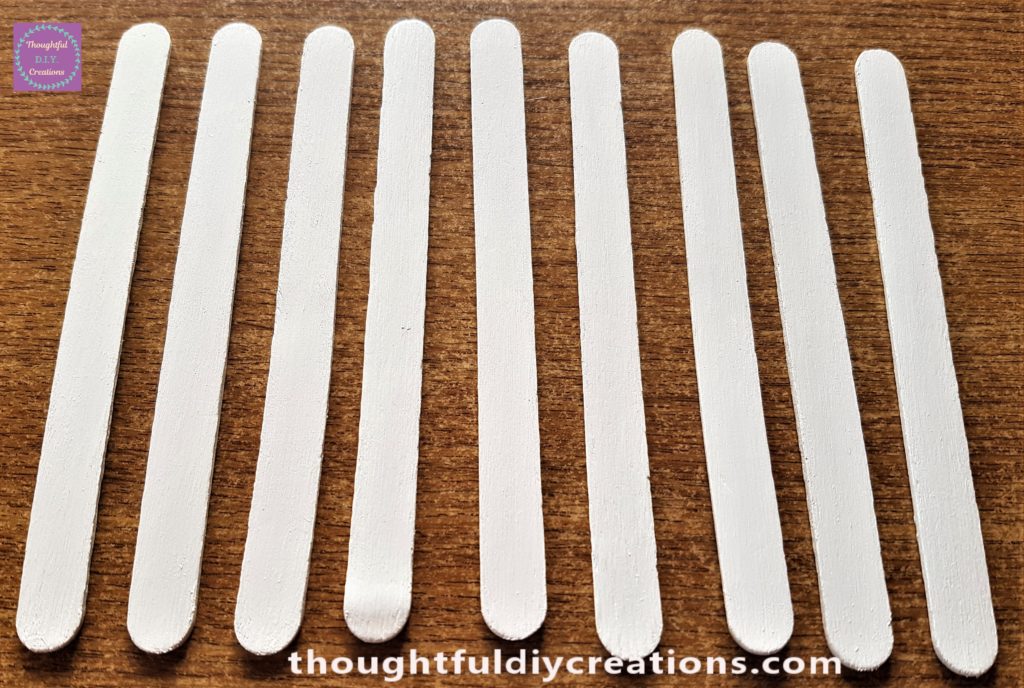
Making the Feet for the Easter Bunny Door
I had 2 wider natural coloured lollipop sticks, these will be used for the Bunny’s feet. Giant Lollipop Sticks.
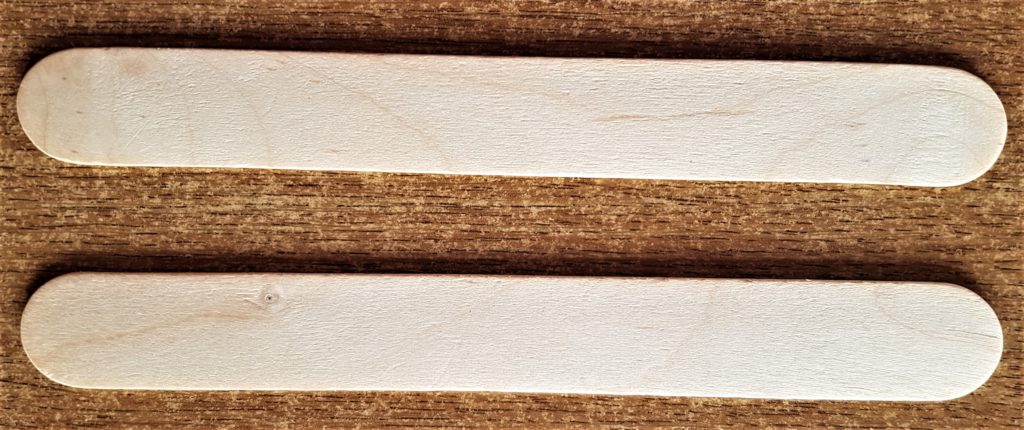
I also painted 4 layers of white acrylic paint onto the wider lollipop sticks. I painted them the same time as the other lollipop sticks. Below is a photo after the first layer of paint.
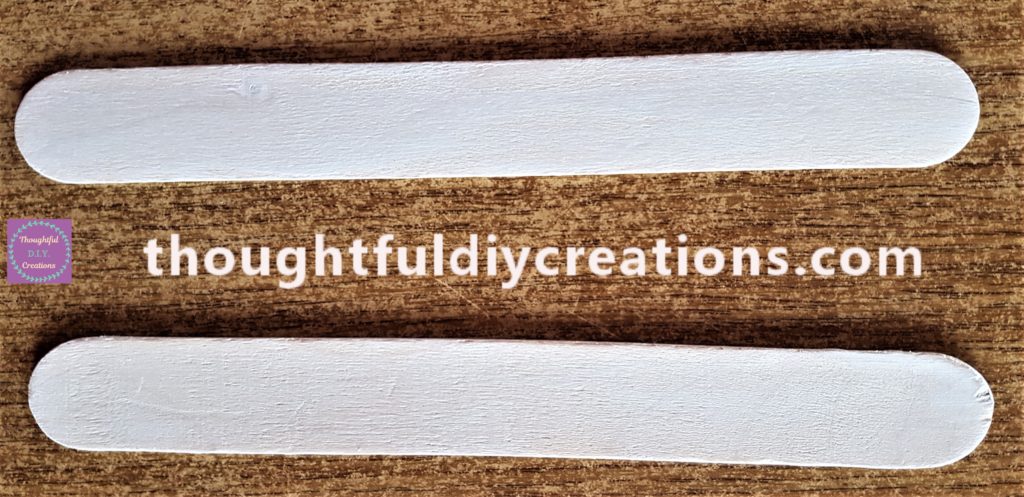
This is after the second layer of white paint. Acrylic Paint Titanium White.
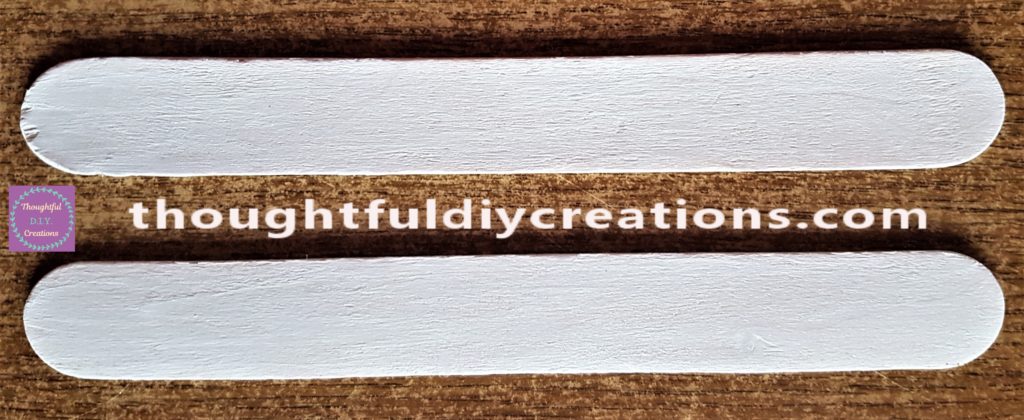
The third layer of paint was applied. Giant Lollipop Sticks.
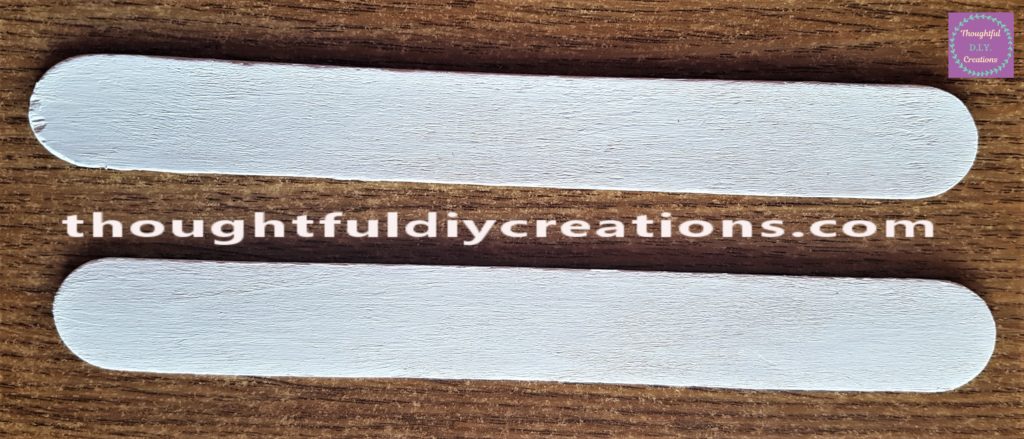
This is the final look after all 4 layers of paint.
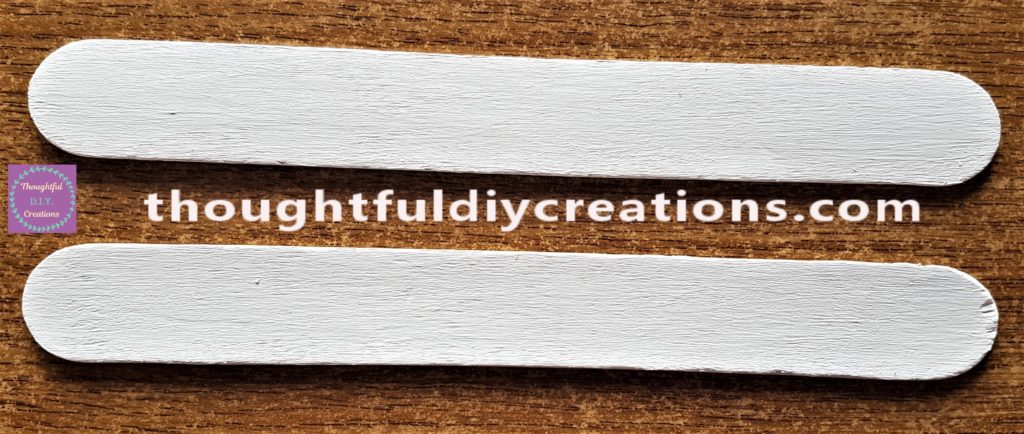
Painting the Door Sign
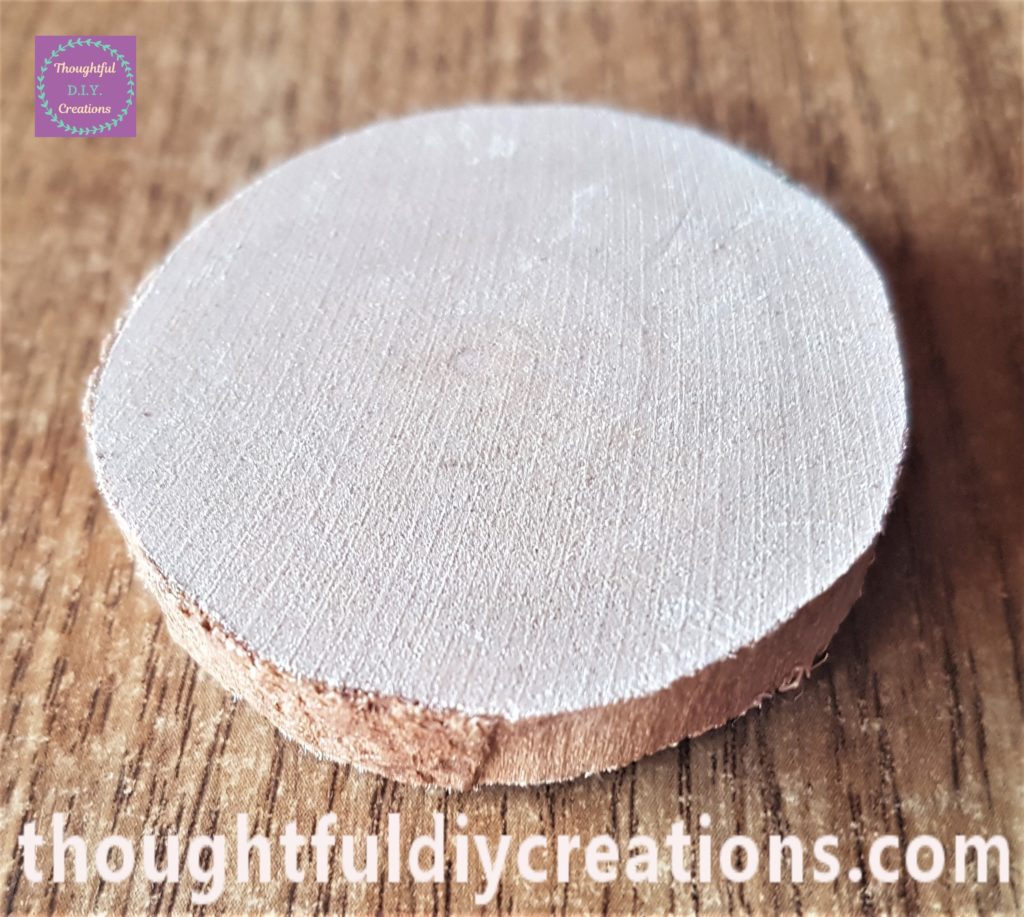
I chose a wood slice from my stash. This will be used for the Bunny Door Sign. Wood Slices.
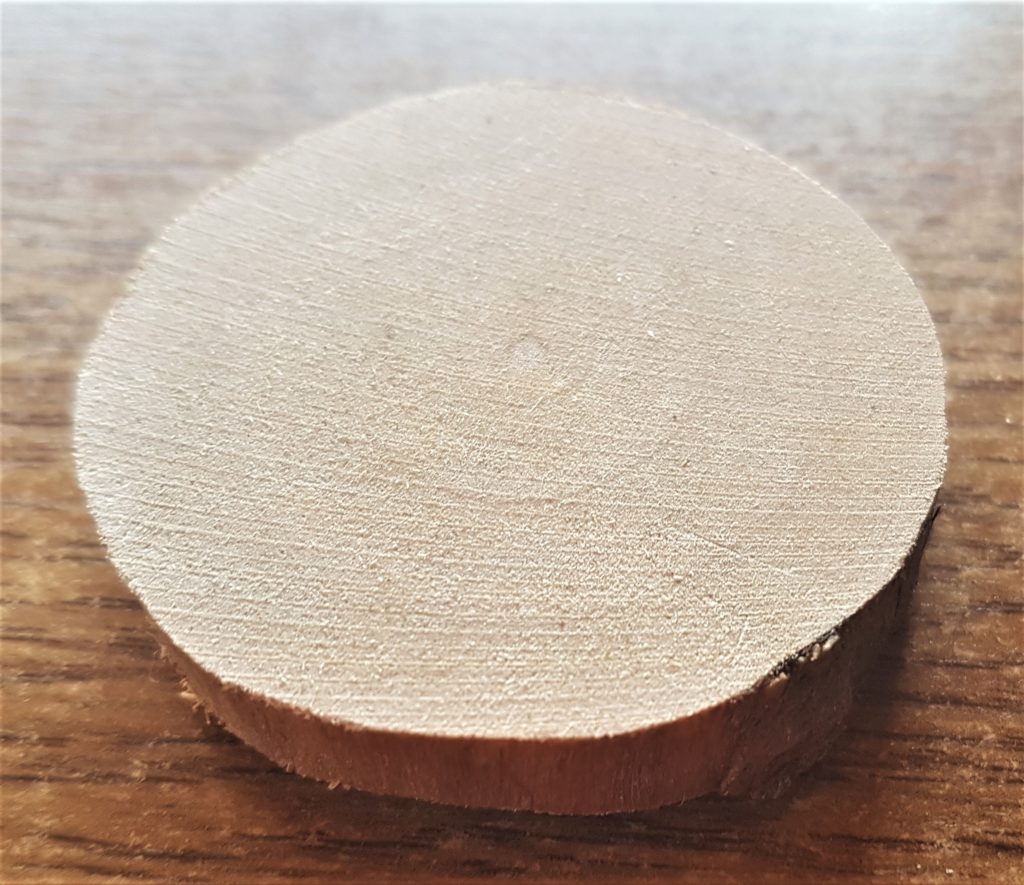
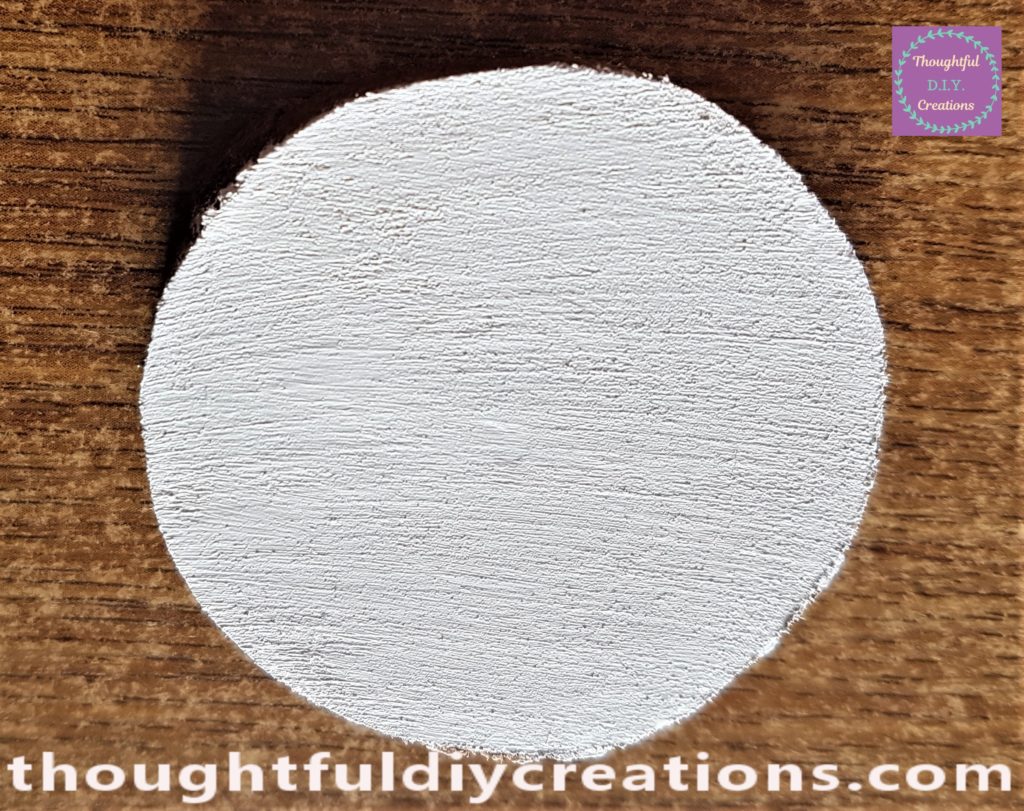
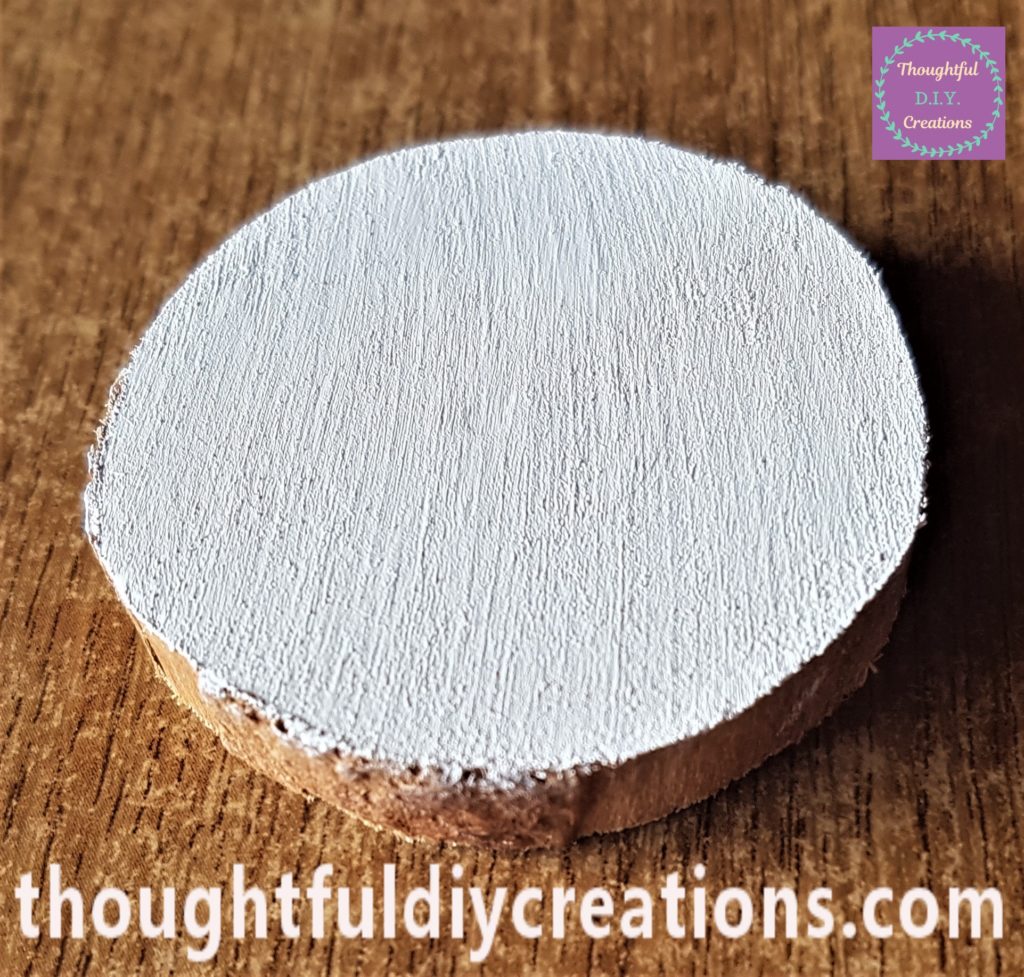
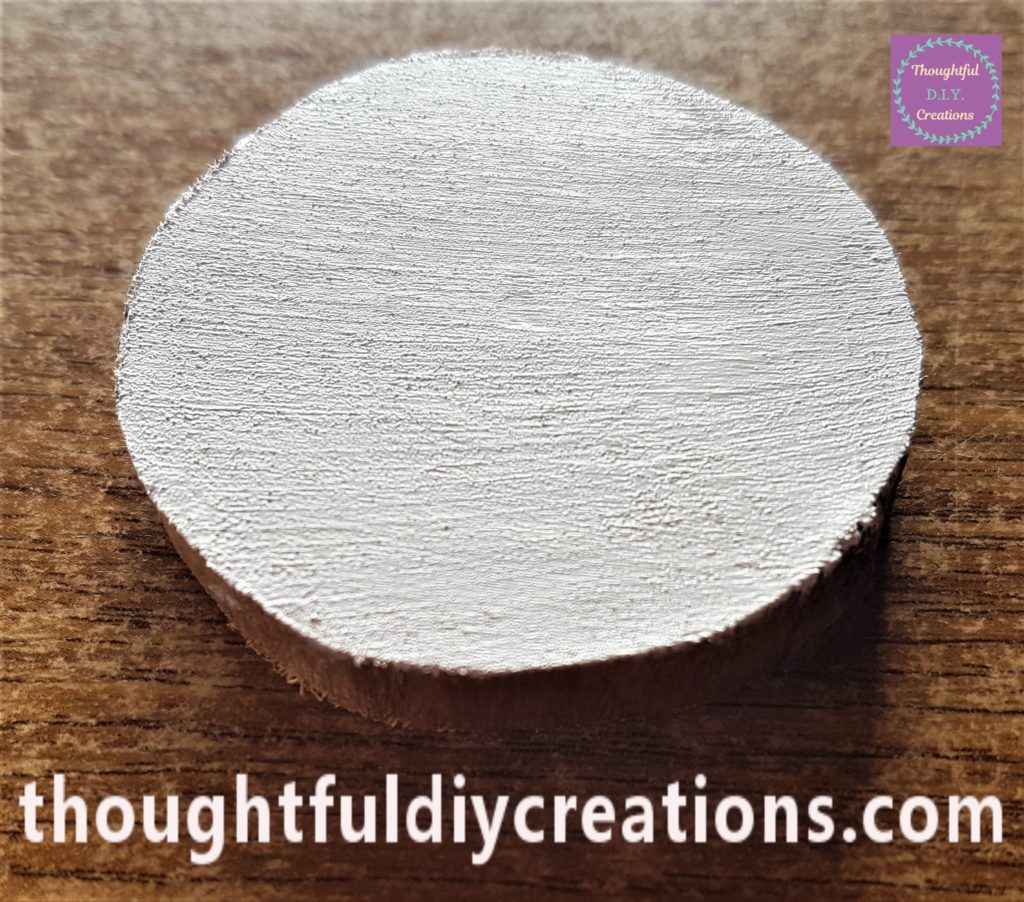
I also painted 4 layers of white acrylic paint onto the wood slice. I painted it the same time as the lollipop sticks to ensure they would all be ready at the same time. It made it easier that everything was painted the same colour so I only needed to clean 1 paintbrush after every layer. Acrylic Paint Titanium White.
Putting the Easter Bunny Door together
I plugged in my Hot Glue Gun and let it heat up for 5 minutes. I got 3 more natural lollipop sticks from the Pack. Lollipop Sticks Natural.
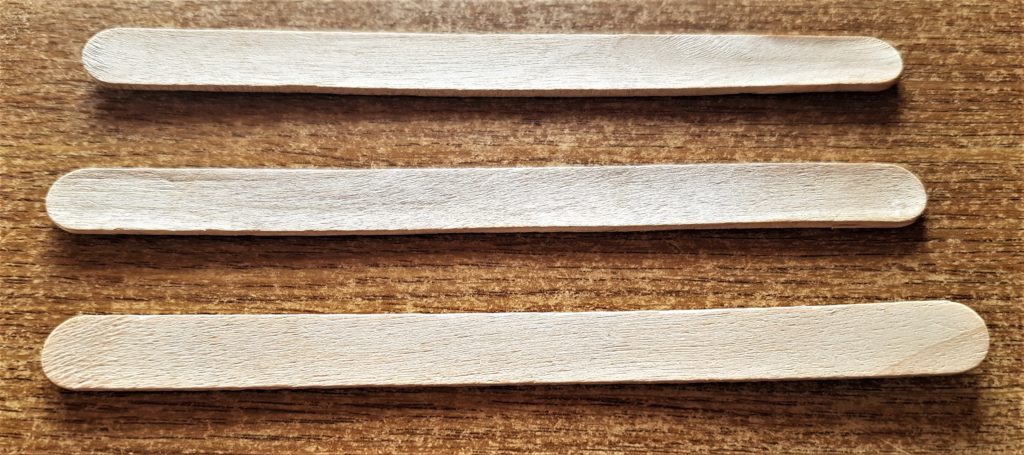
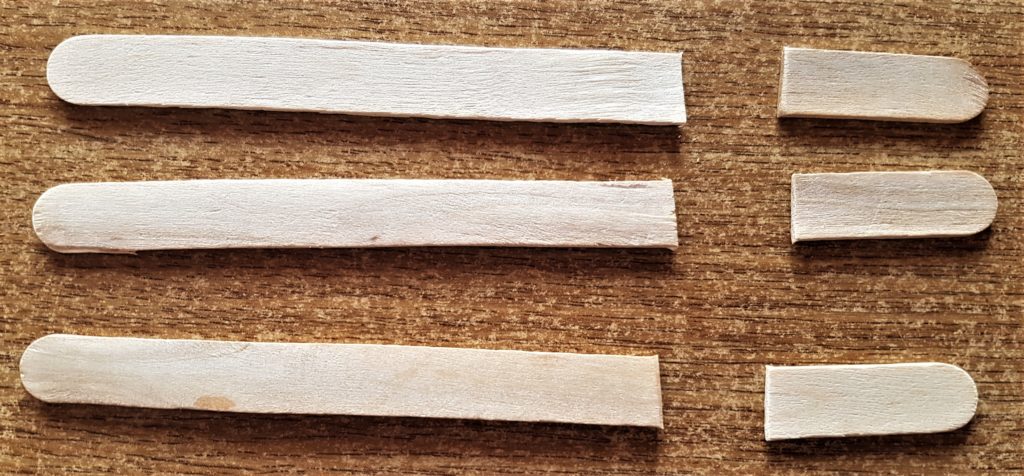
I measured one of the lollipop sticks against the width of the painted 9 white lollipop sticks to get the measurement to cover all of them. I cut the natural lollipop stick to size. I used the cut lollipop stick as a guide for the other 2 lollipop sticks and also cut them the same size.
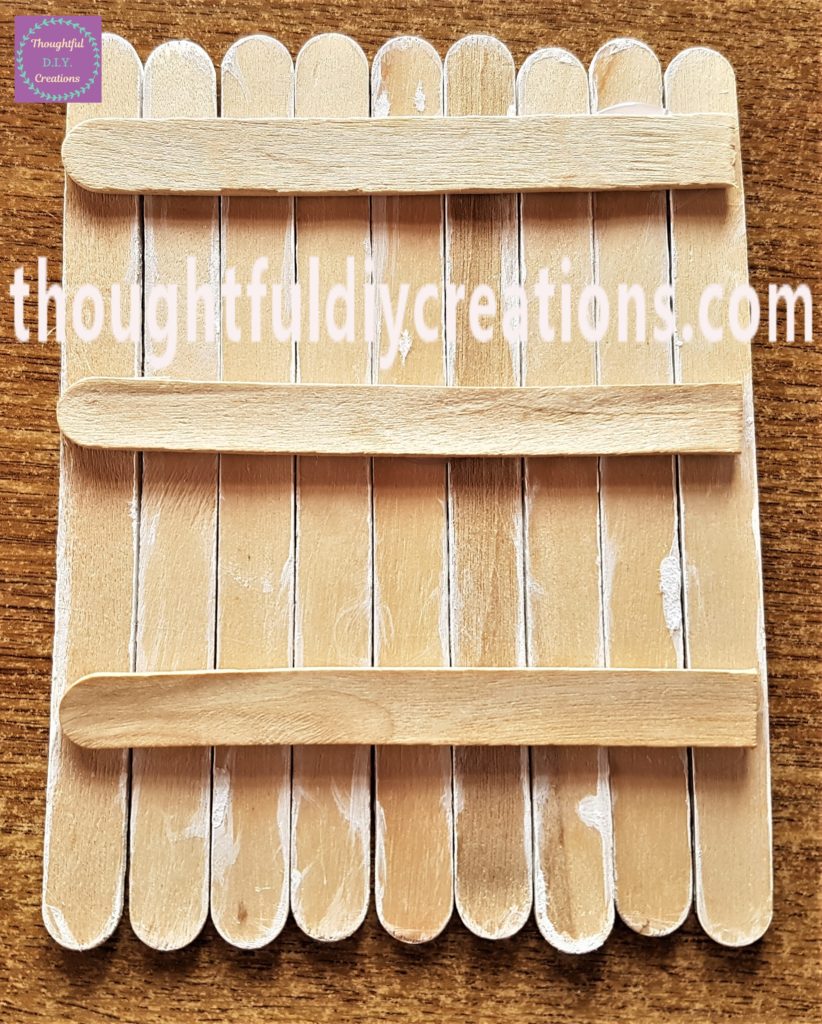
I put hot glue along the back of the longer cut lollipop stick and attached it to the back of the Easter Bunny Door. I repeated this step with the other 2 cut lollipop sticks. I placed 1 near the top of the Easter Bunny Door, 1 near the center and 1 near the bottom to ensure the Easter Bunny Door would be secure. Hot Glue Gun.
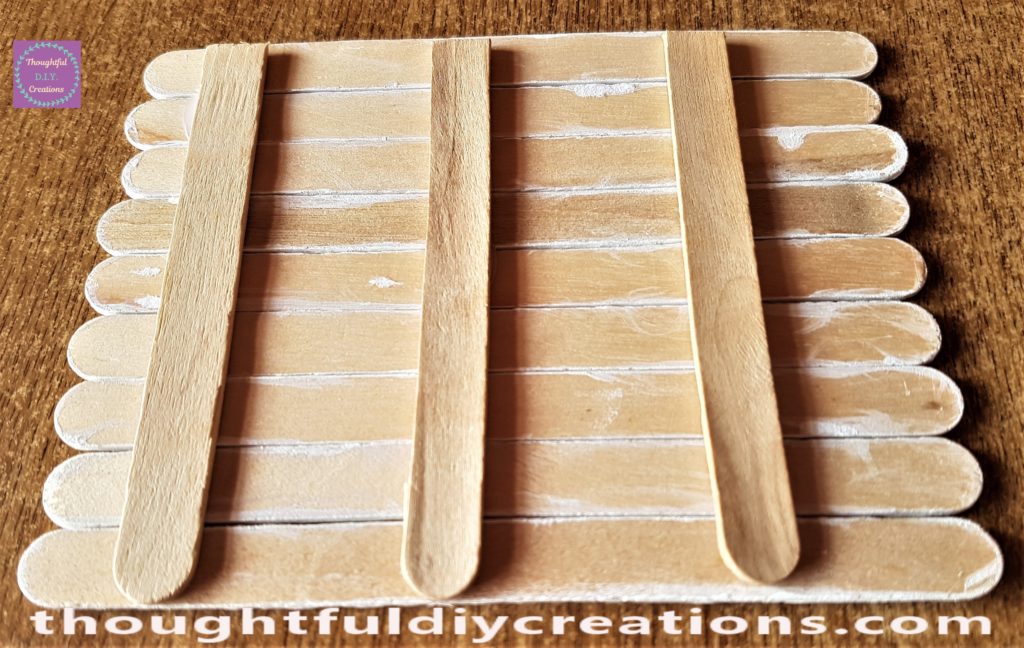
I cut a straight line along the bottom of the Easter Bunny Door to make it easier to attach to the feet.
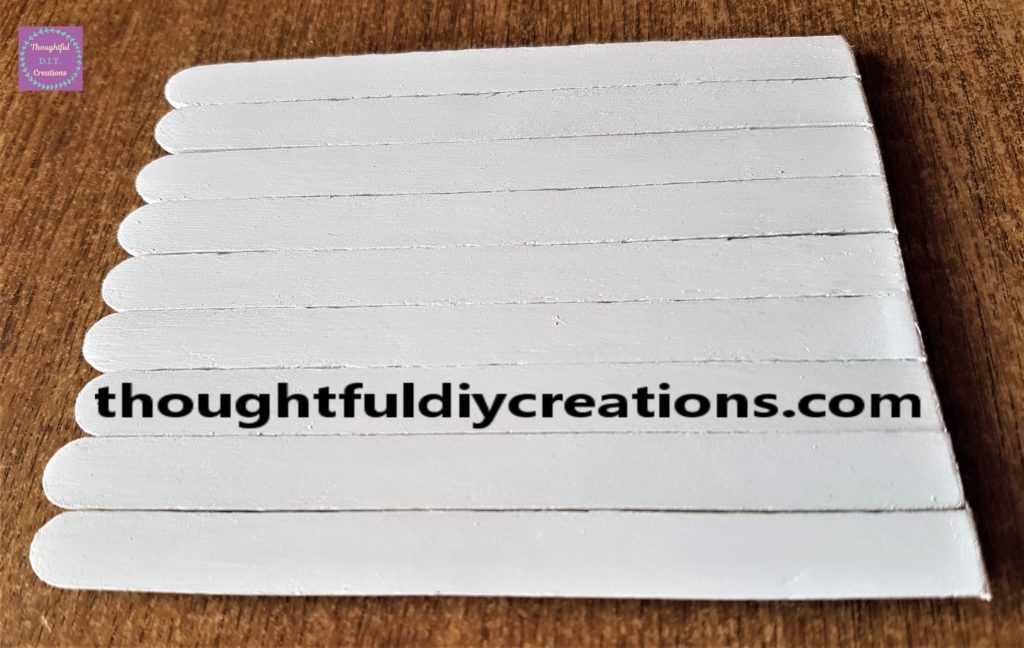
Assembling the Easter Bunny’s Feet
I cut the 2 painted wider lollipop sticks in half.
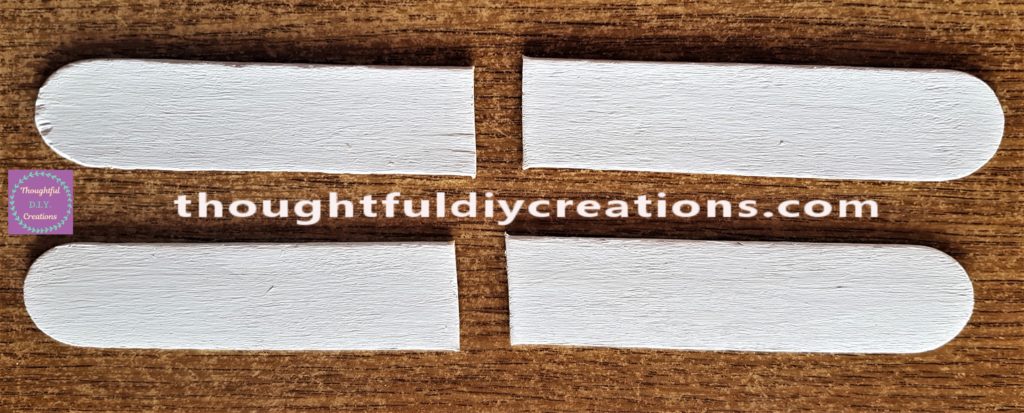
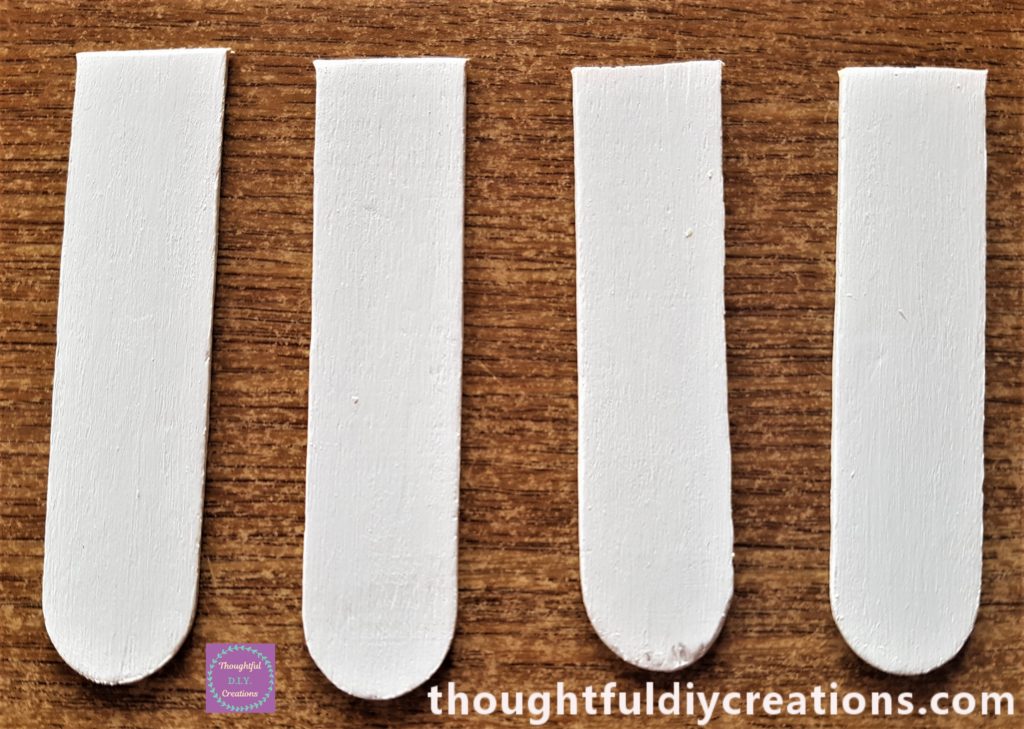
I put 1 lollipop stick further down beside the other lollipop stick to make it look like 2 toes. I hot glued the sides of the lollipop sticks together to make the Bunny’s foot. I repeated this step for the second foot. Hot Glue Gun.
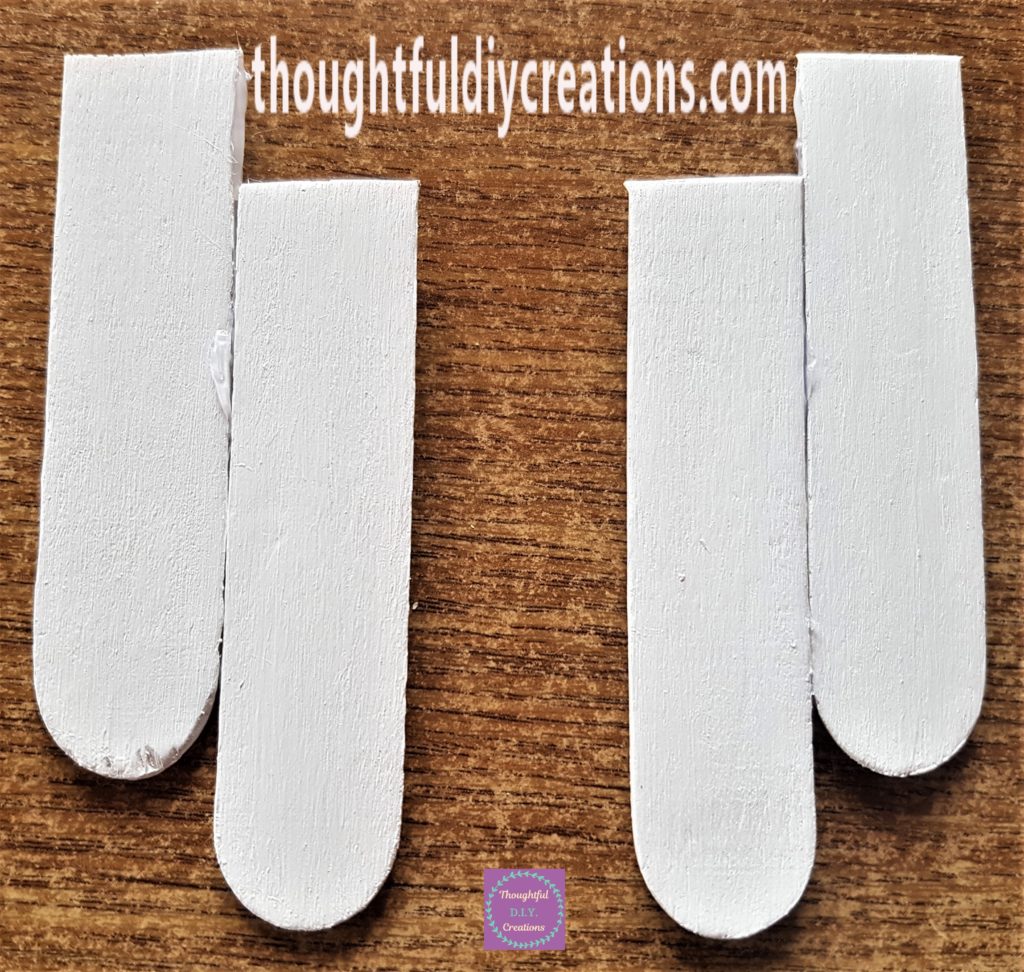
Attaching the Easter Bunny Door to the Feet
I put hot glue along the bottom of the Easter Bunny Door and attached it to the Bunny’s feet. Hot Glue Gun.
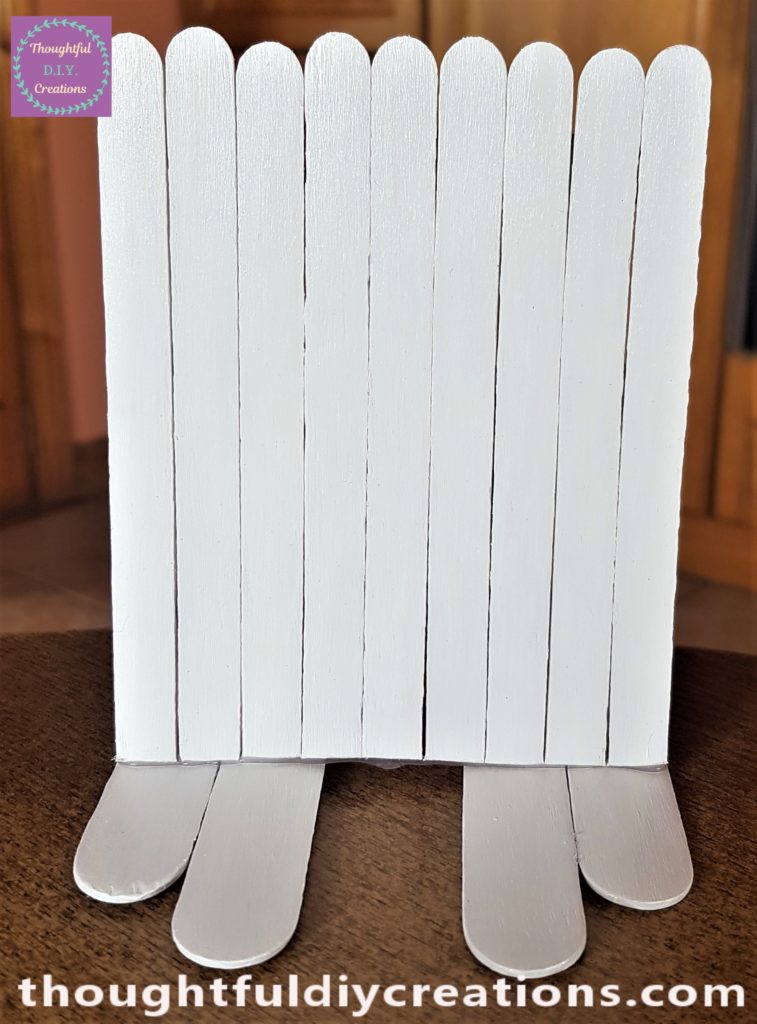
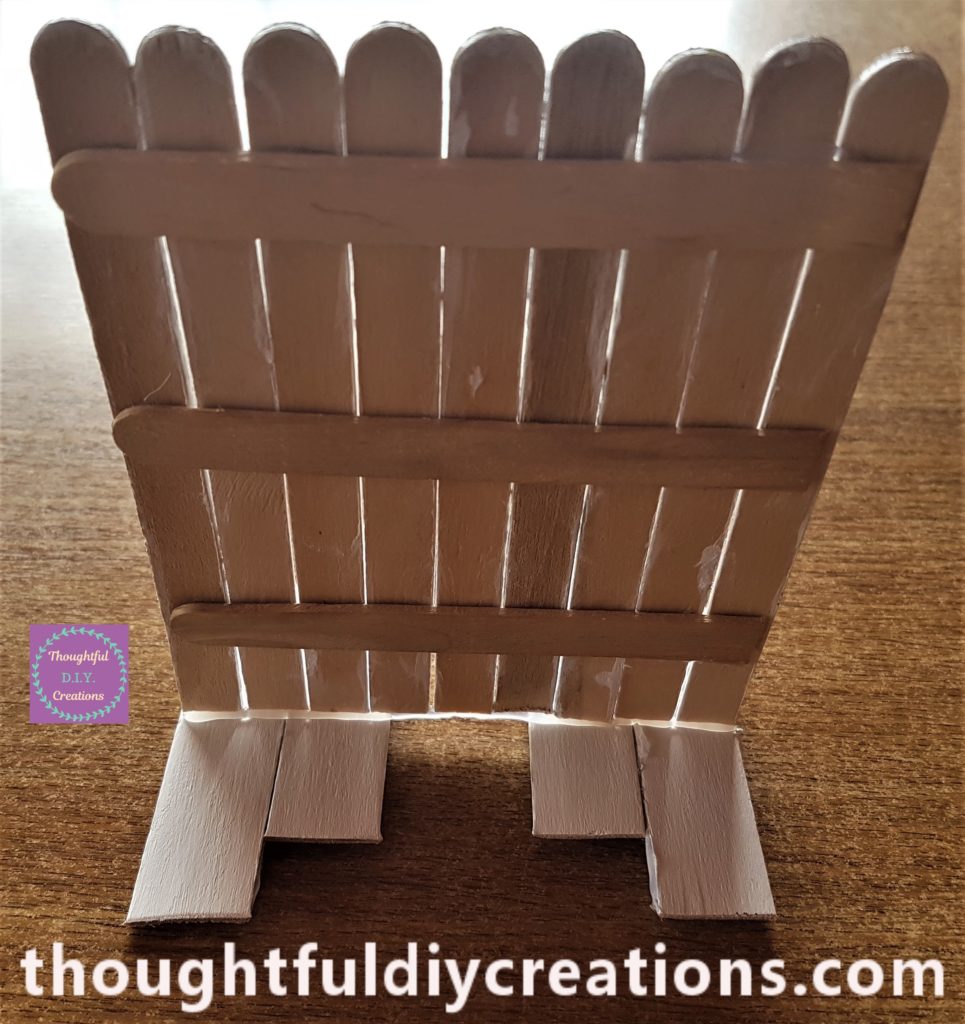
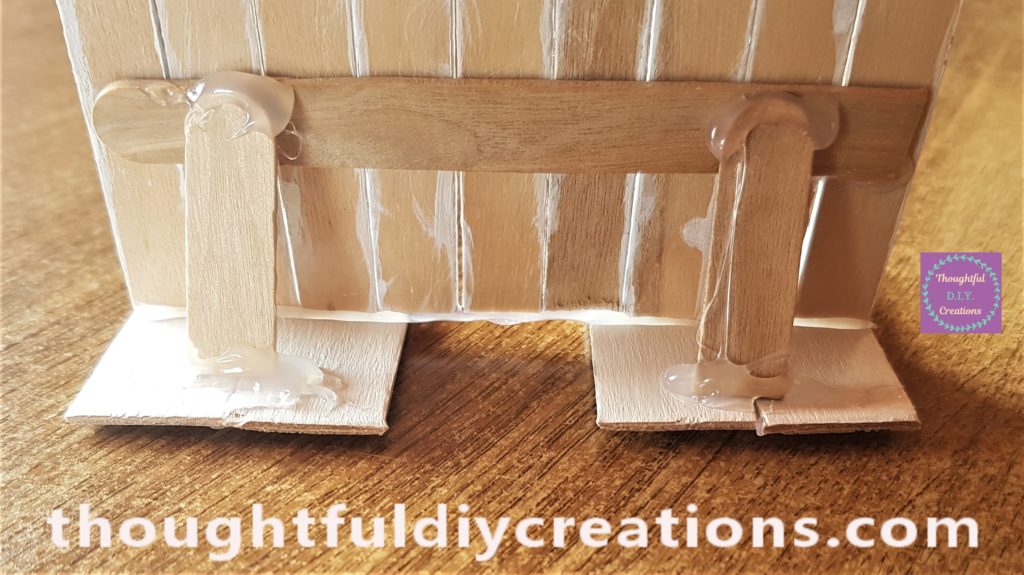
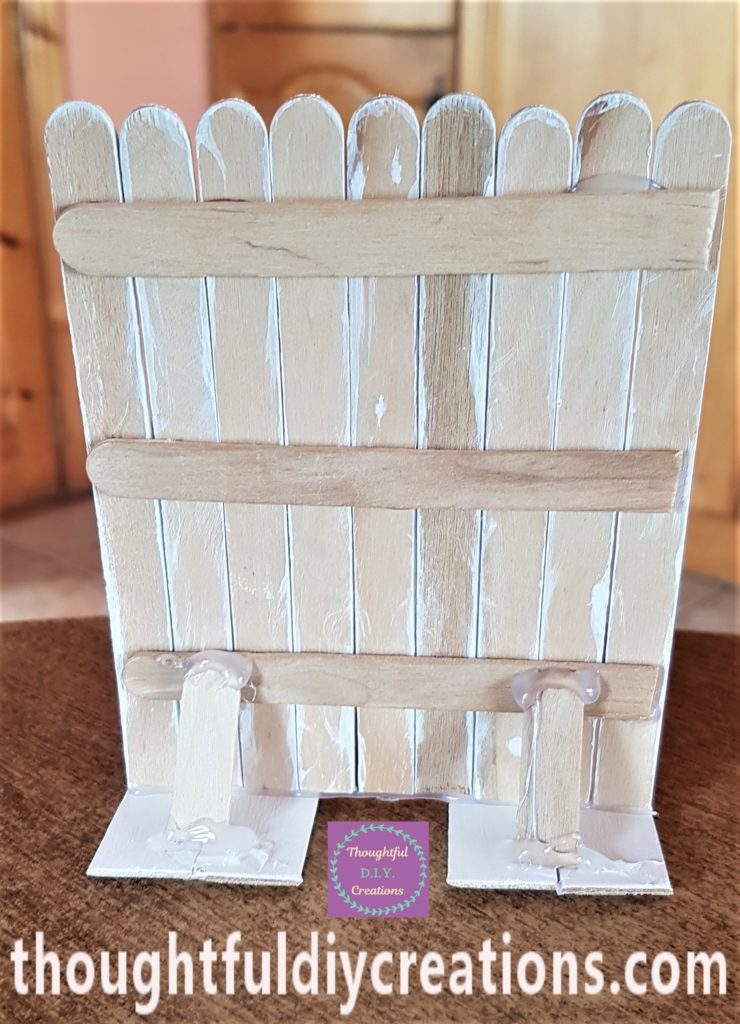
I cut the Bunny’s feet at the back to be the same length. I then hot glued 2 of the smaller cut lollipop sticks from earlier to the back of the Easter Bunny Door for added support. Hot Glue Gun.
Adding the Toes to the Bunny’s Feet
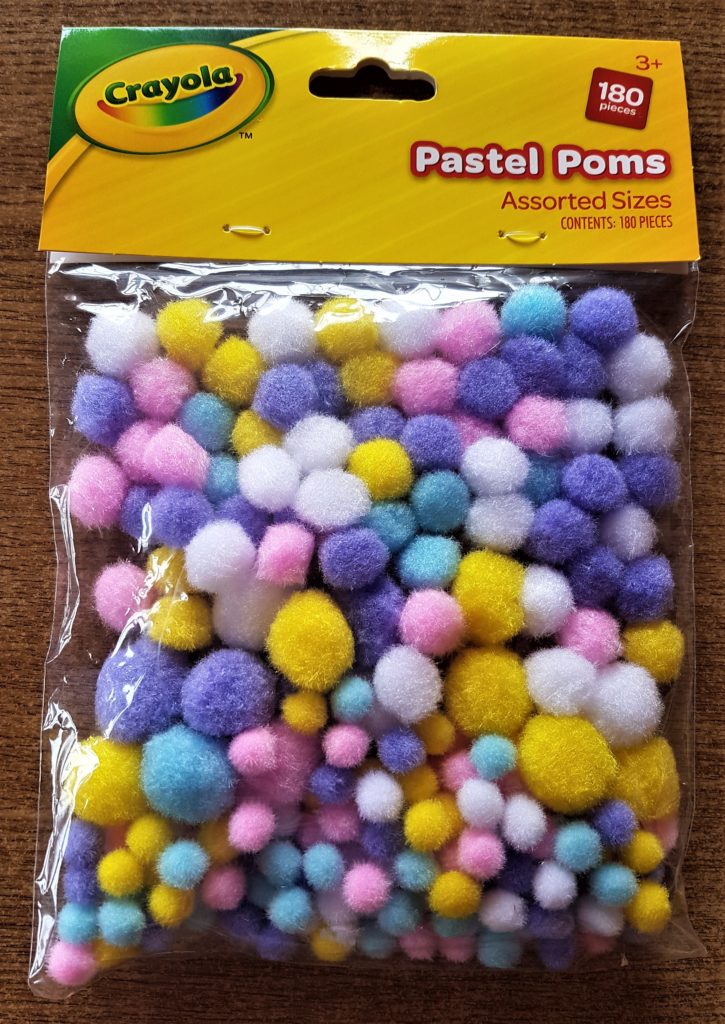
I bought a Pack of Assorted Sizes Pastel Pom Poms. Pompoms and Googly Eyes.
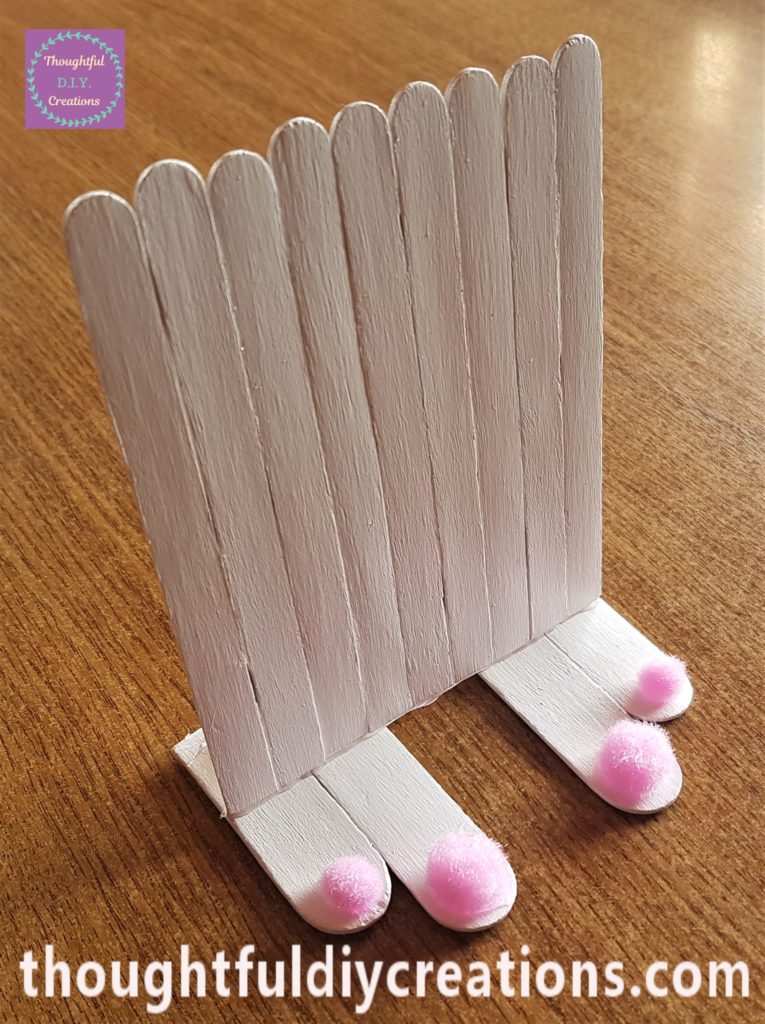
I picked a bigger Pink Pom Pom for the big toe of the Bunny and a smaller pink pom pom for the smaller toe. I put a dab of hot glue on the back of each pom pom and held it onto the Lollipop sticks. Pompoms and Googly Eyes.
Making the Easter Bunny’s Ears
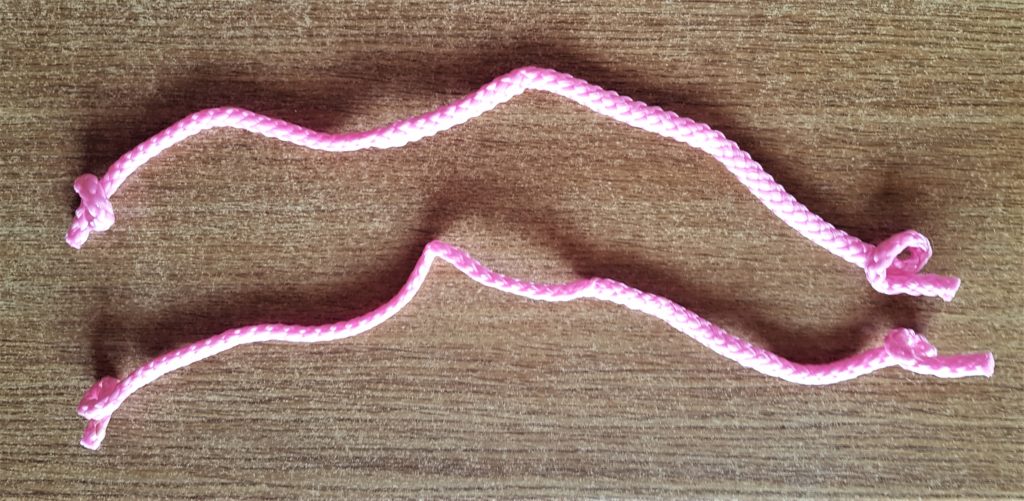
I had a look in my Box of ribbons and found these 2 Pink laces. I think they were the handles of a Gift Bag which I removed and put in my stash. Pink Paracord.
I got a Page of Lace Patterned Paper from the Pack. Floral Embossed Pearlescent Card.
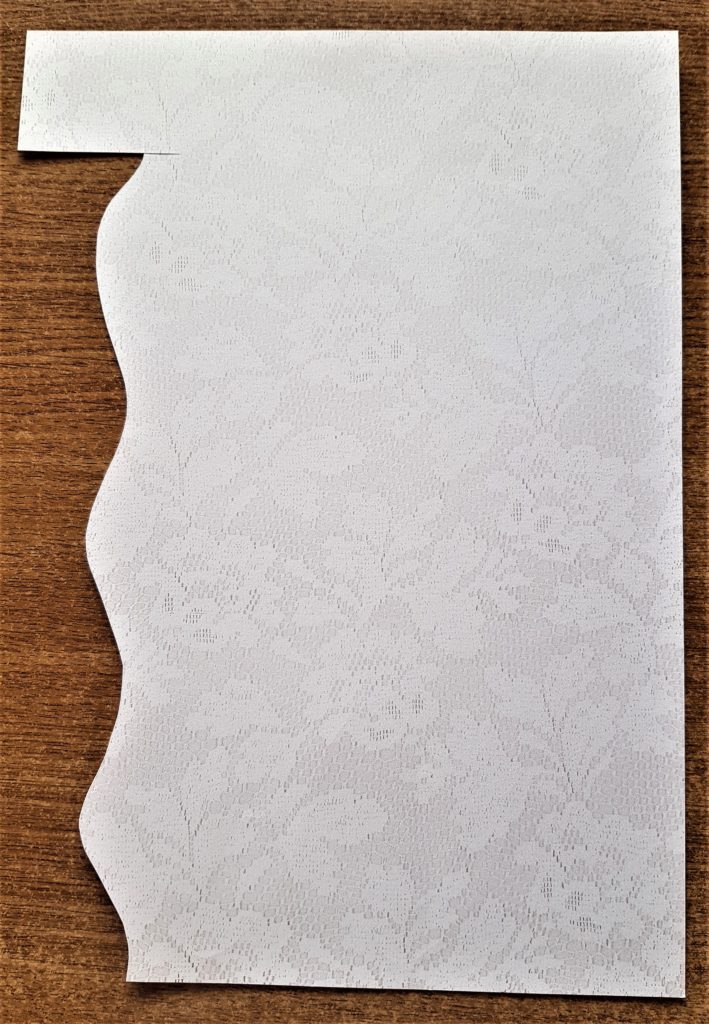
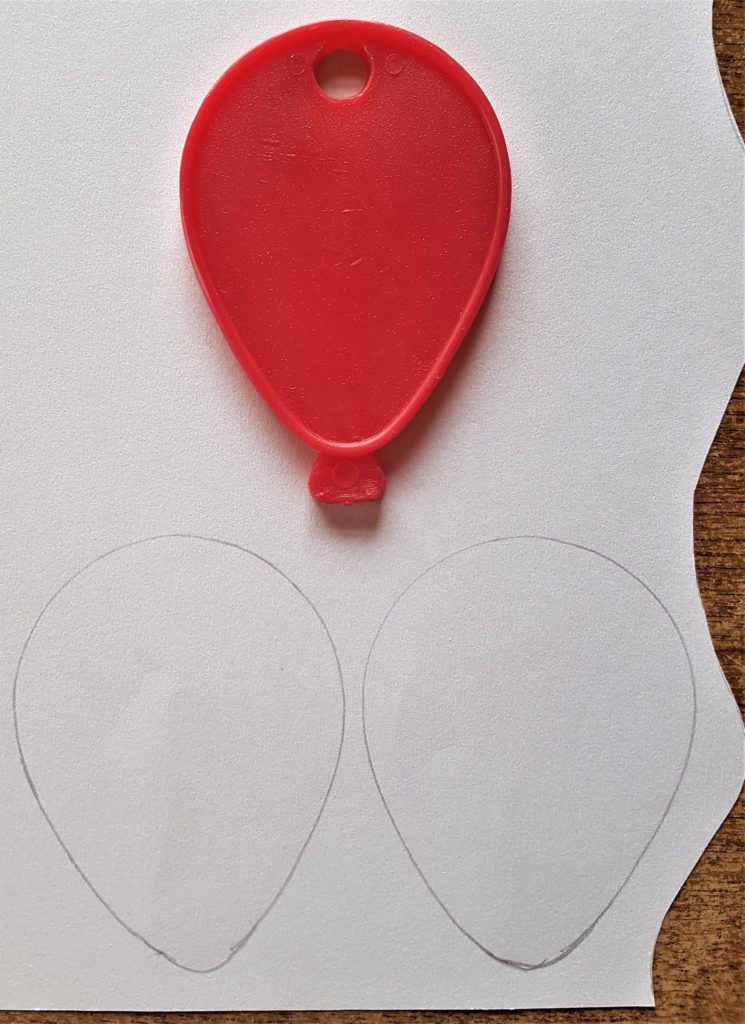
To get the shape of the Bunny Ears I traced around a Plastic Balloon Template I had in my supplies. I drew around it twice on the back of the Lace Patterned Paper. I didn’t add the bottom part of the balloon; I joined the bottom gap with the pencil to form the ear.
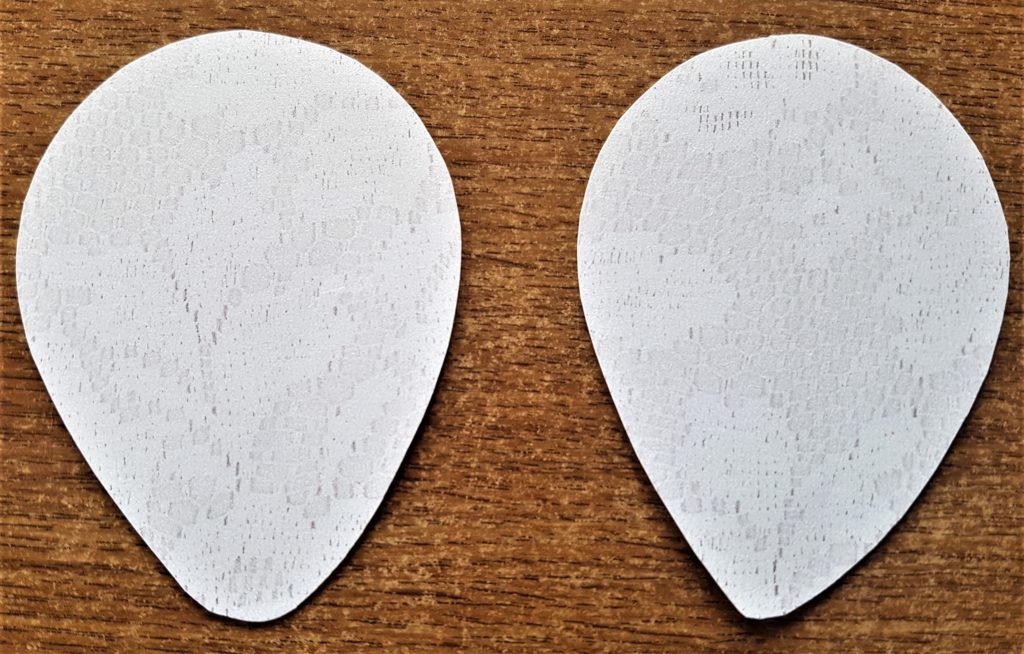
I cut out the 2 Bunny Ear shapes. Floral Embossed Pearlescent Card.
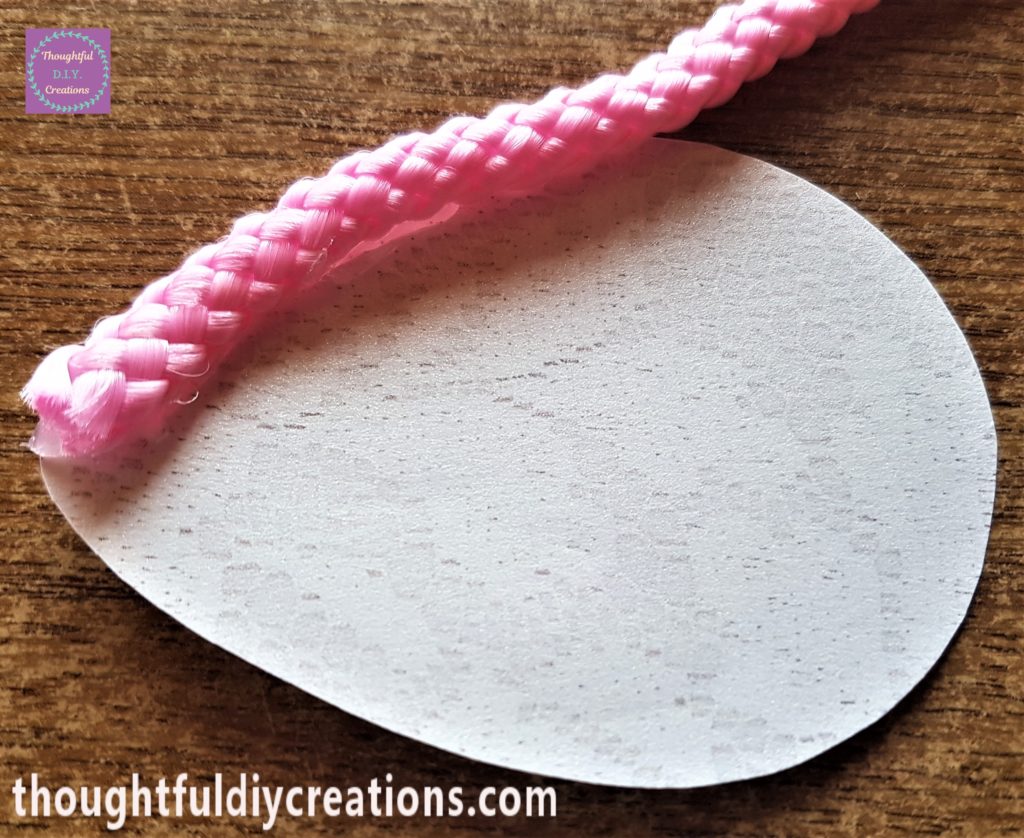
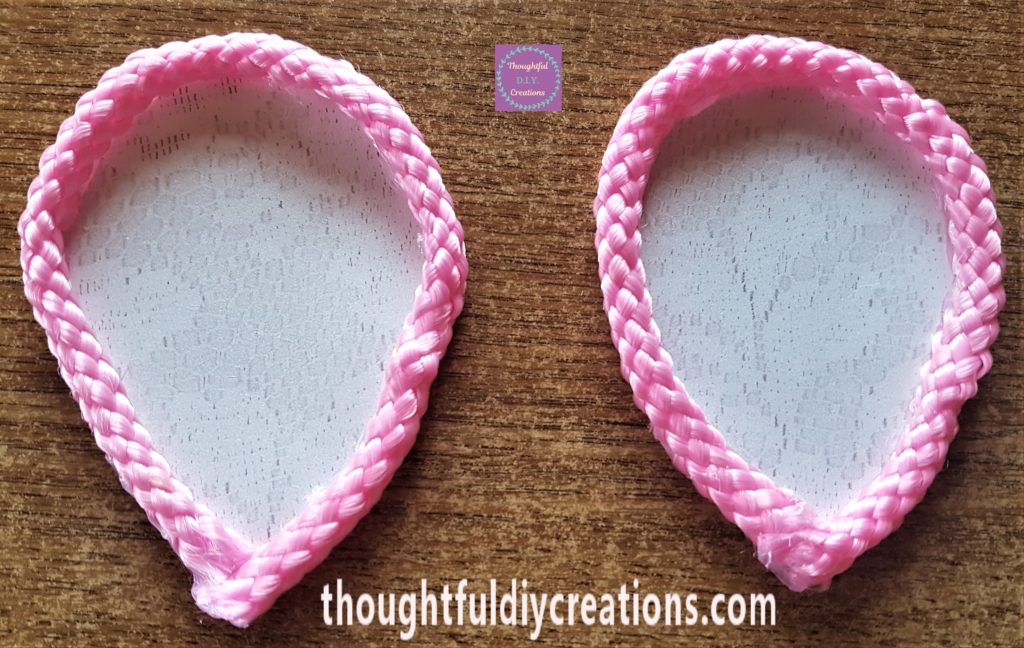
I cut off the curled up part of the pink lace. I then put some hot glue on the back of the lace and attached it to the edge of the lace paper. Hot Glue Gun.
I continued this process of adding a section of hot glue to the lace at a time until the Bunny Ear was covered with the pink lace. I cut off the excess lace and added a dab of hot glue to the 2 joining pieces. Pink Paracord.
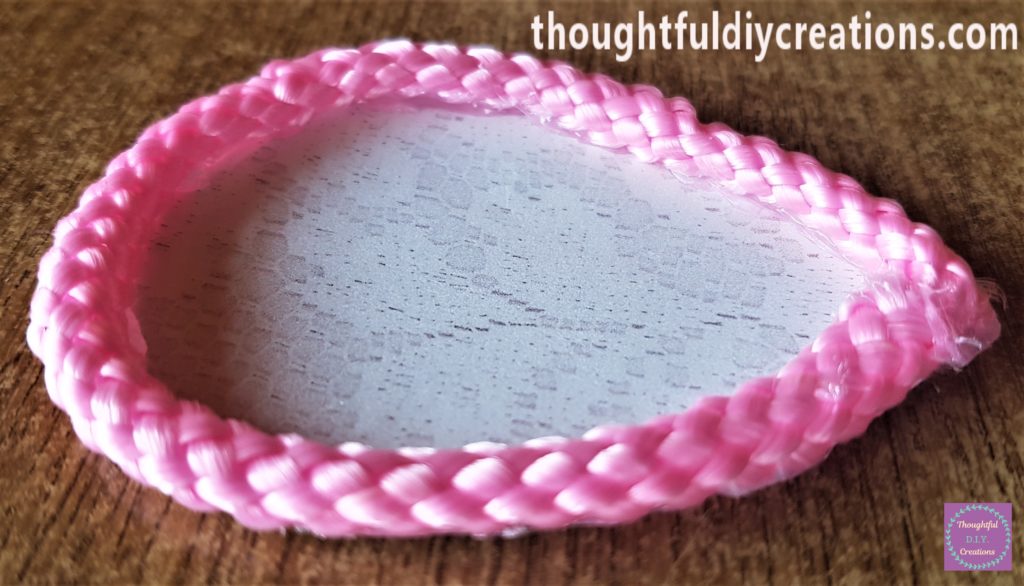
I repeated the same steps to make the second Bunny Ear.
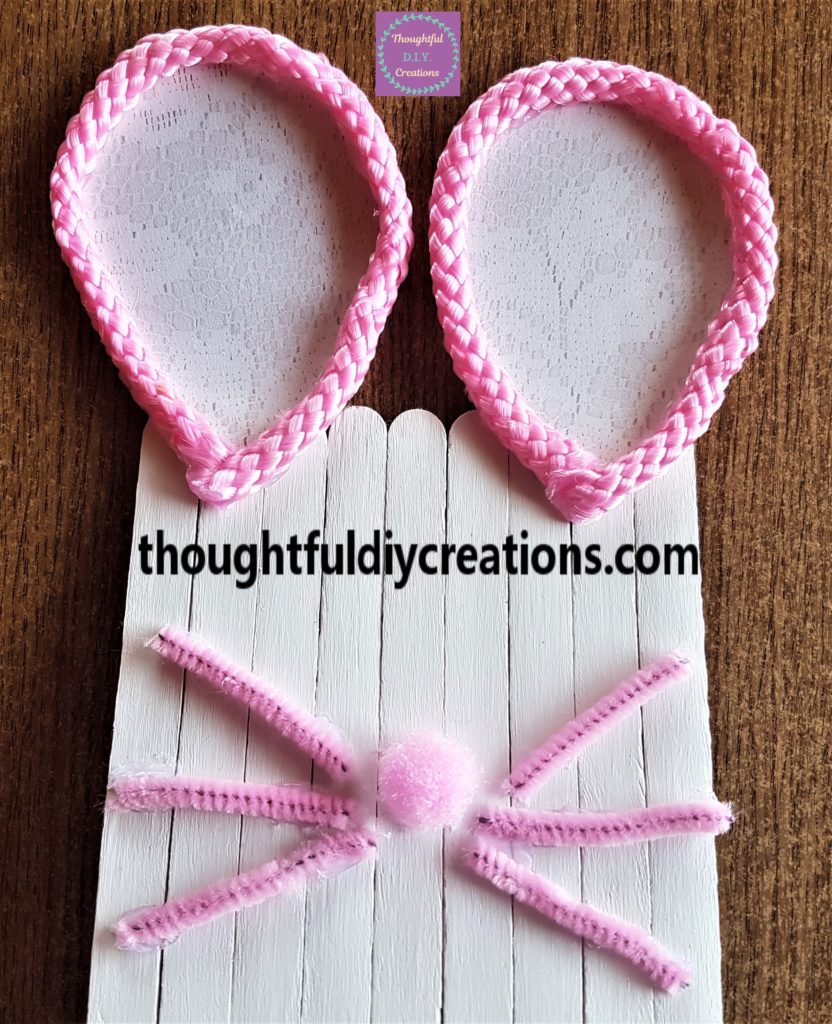
I put hot glue on the back of the bottom section of the Bunny Ear and attached it to the top of the Easter Bunny Door. I repeated this step with the second ear.
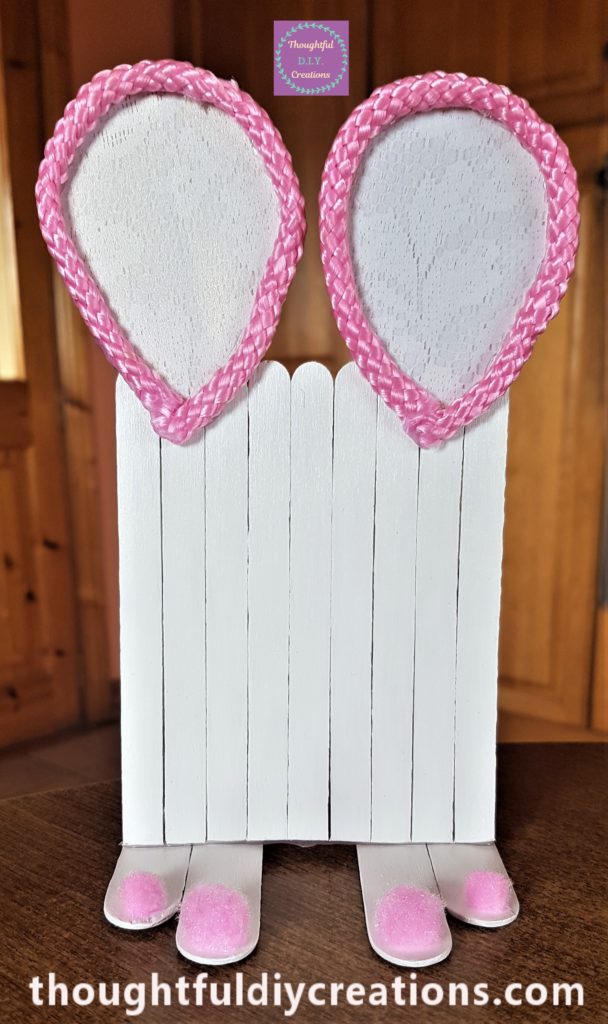
Adding the Face to the Easter Bunny Door
I put a dab of hot glue on the back of a pink pom pom and attached it to the mid-section of the Easter Bunny Door for a nose. This could also double as the Door Knob. Pompoms and Googly Eyes.
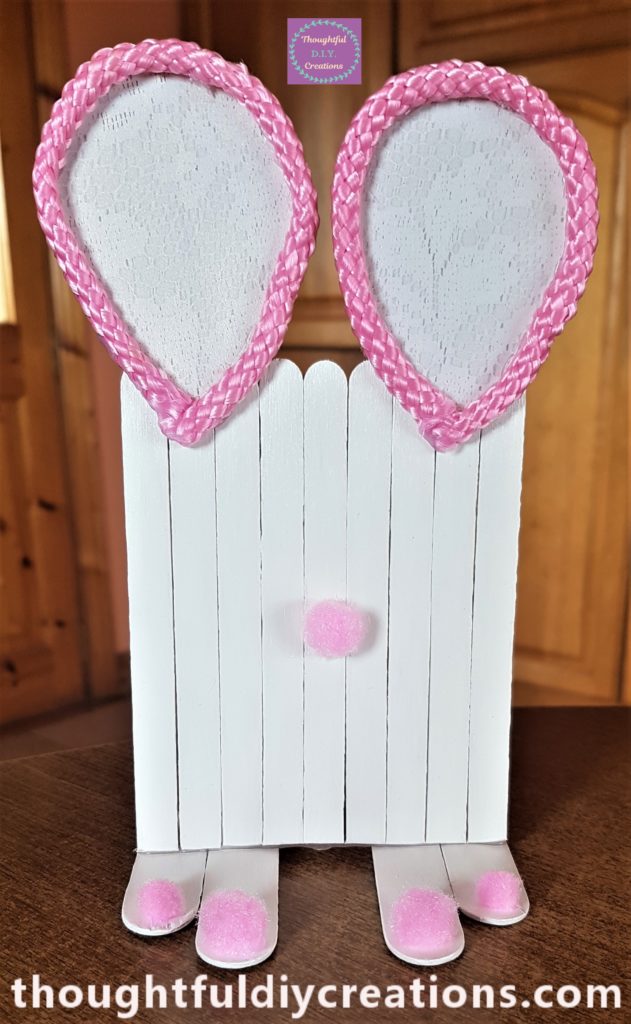
I got 2 Pink Pipe Cleaners for the Bunny’s Whiskers. Pipe Cleaners Assorted Colours.
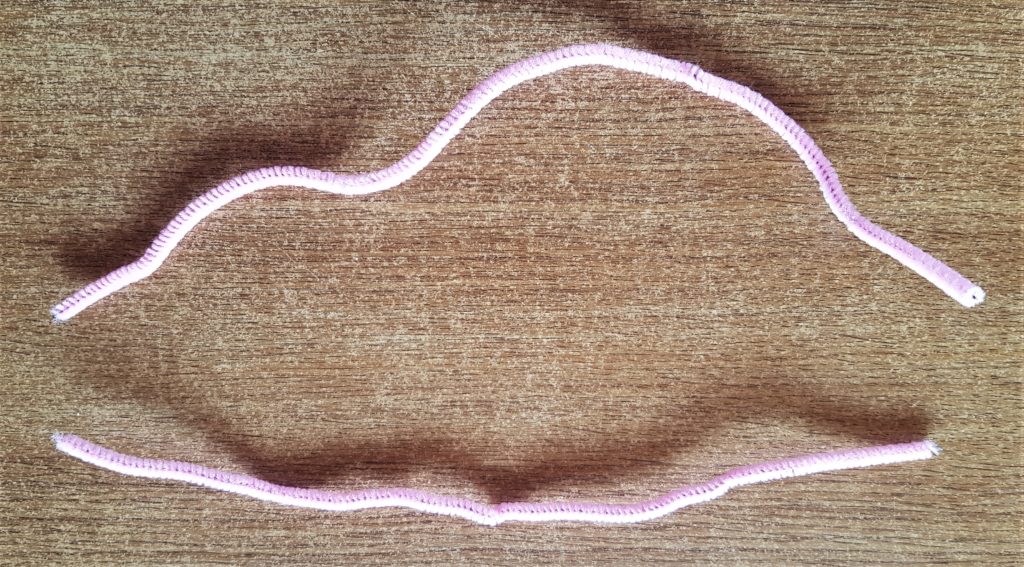
I cut the pipe cleaners into 6 same size pieces.
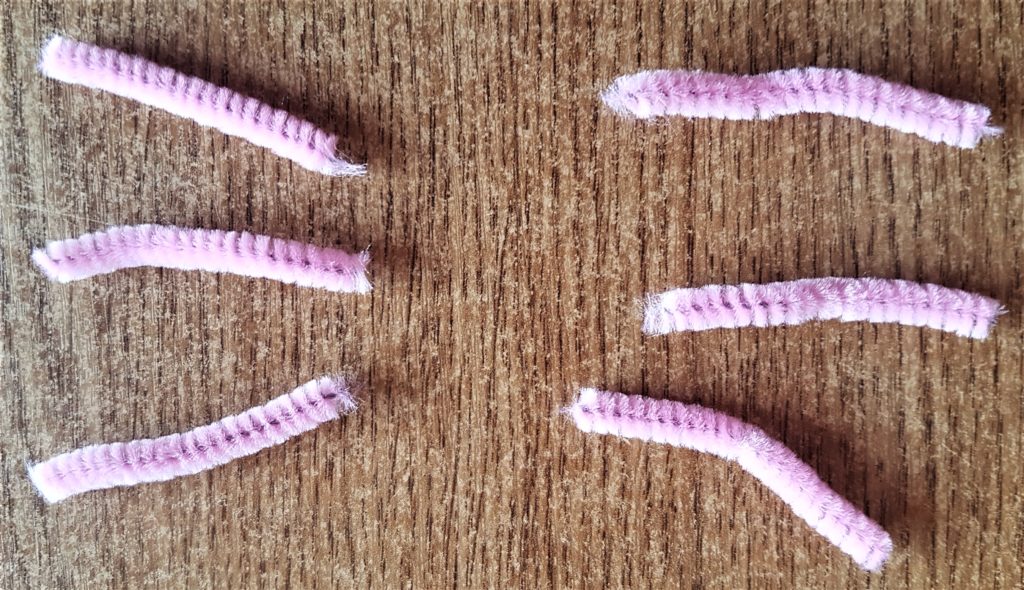
I put a thin strip of hot glue on the back of each pipe cleaner and held them one-by-one to the Easter Bunny Door for it’s whiskers. Pipe Cleaners Assorted Colours.
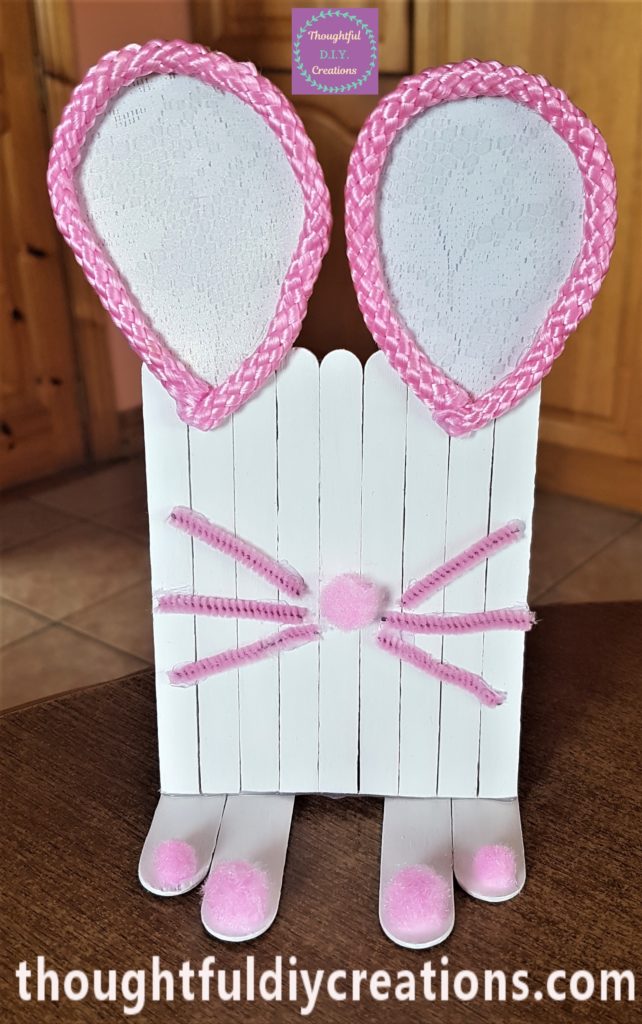
I used my ‘uni POSCA Paint Pens 0.7 mm in Black, Blue and Pink’ to draw the Bunny’s Face. Uni Posca Paint Pens.
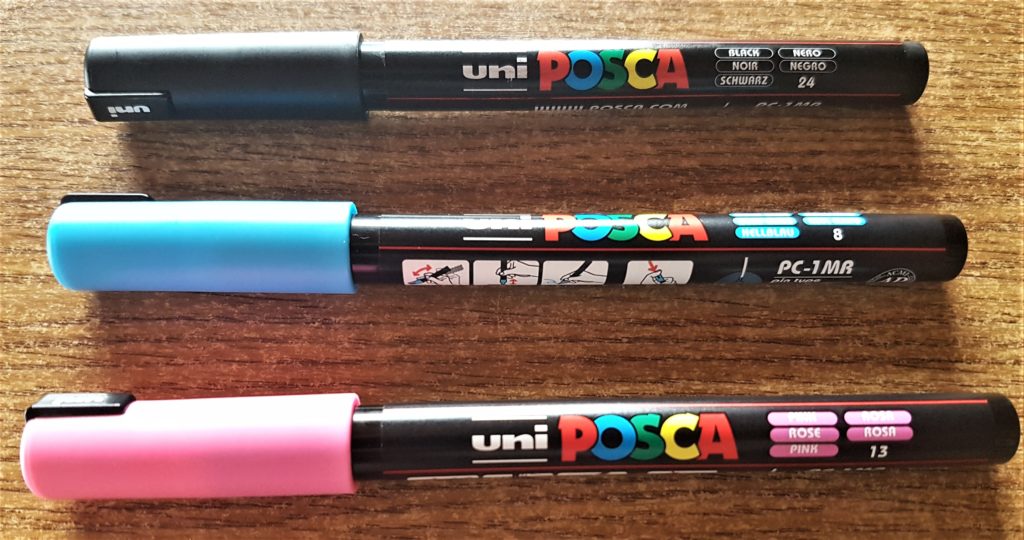
I outlined the eyes, eyelashes, mouth, teeth and tongue with the black paint pen. I gave them about 10-15 minutes to dry, then I coloured in part of the eyes with the blue paint pen and coloured in the tongue with the pink paint pen.
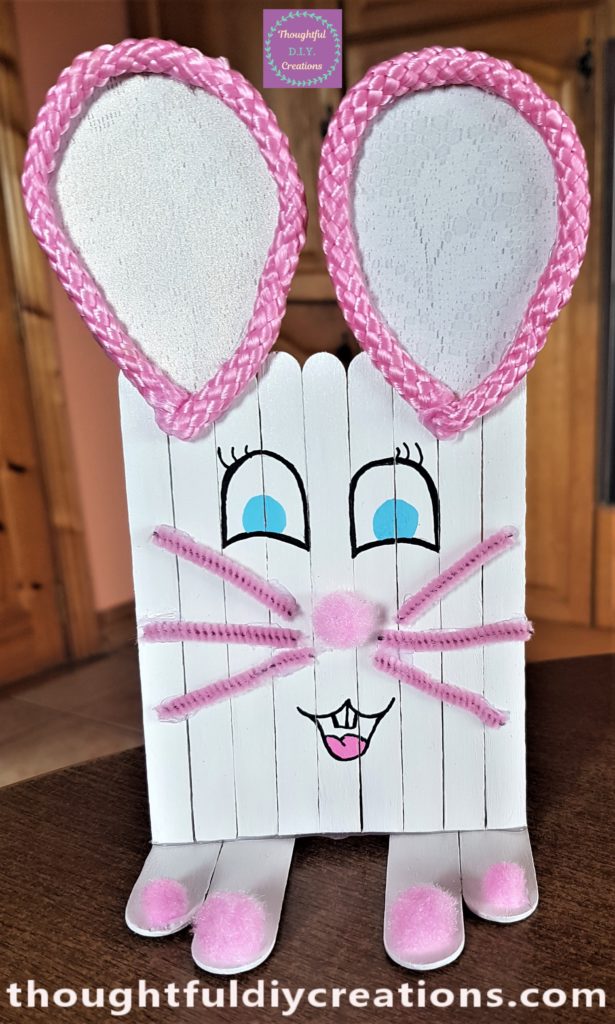
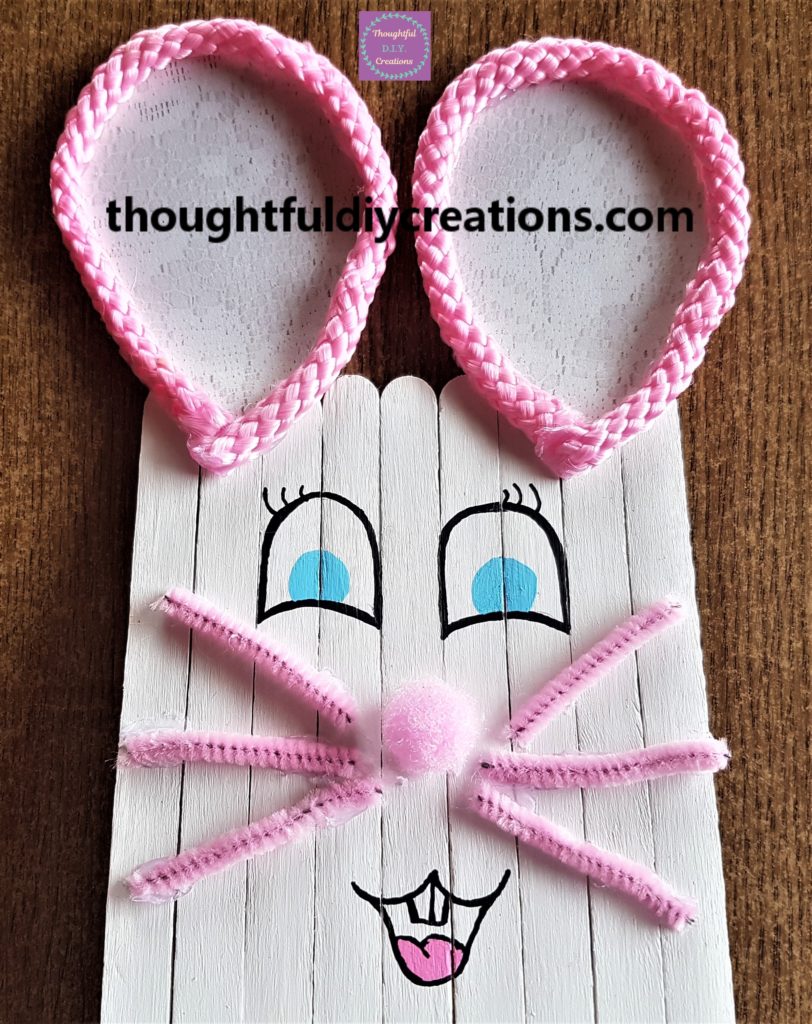
I waited about 15 minutes then added pupils to the eyes with the black paint pen. Uni Posca Paint Pens.
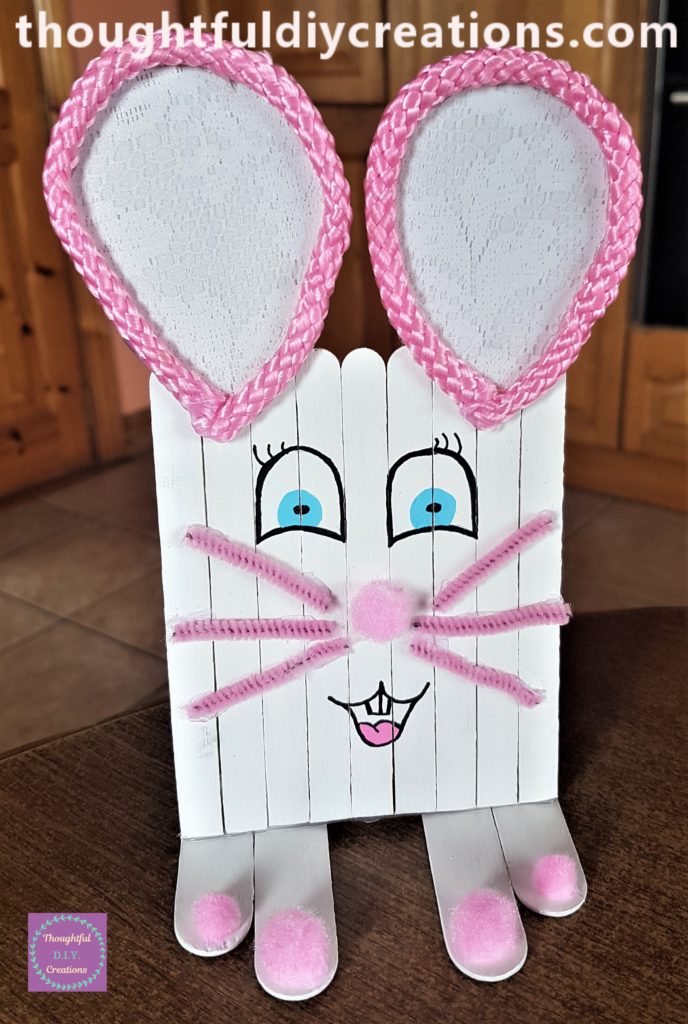
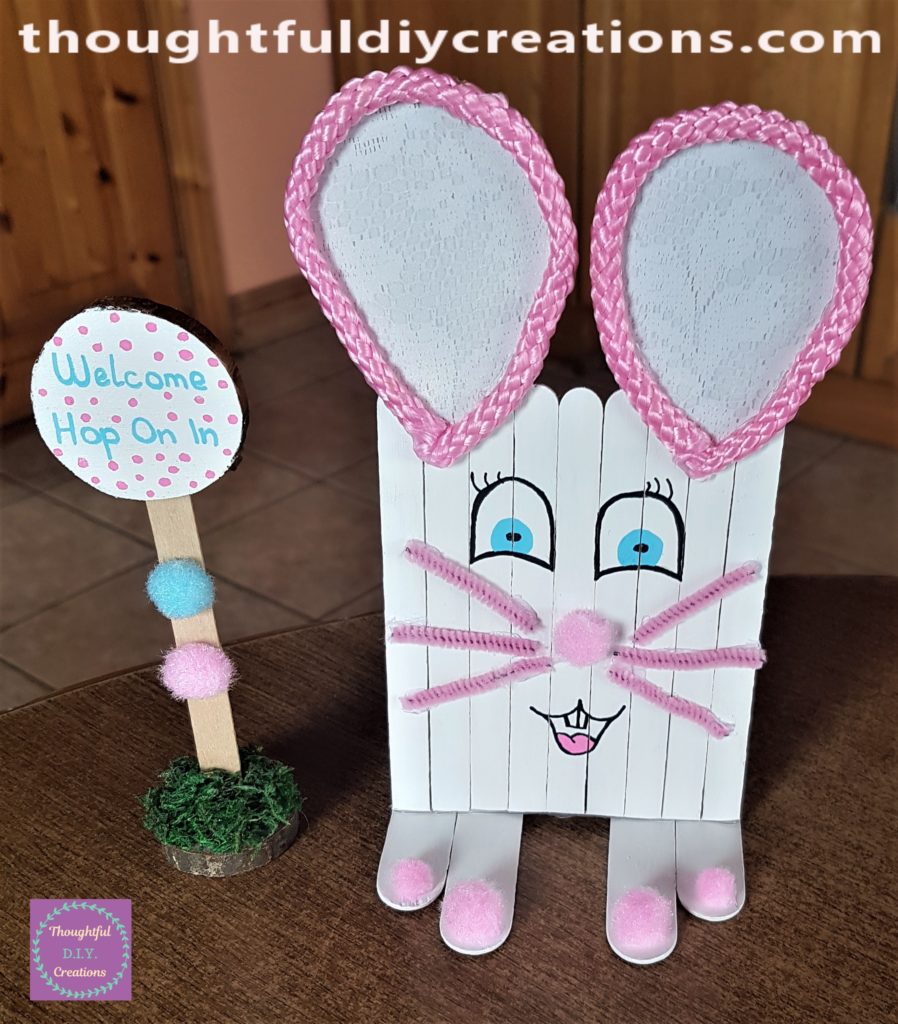
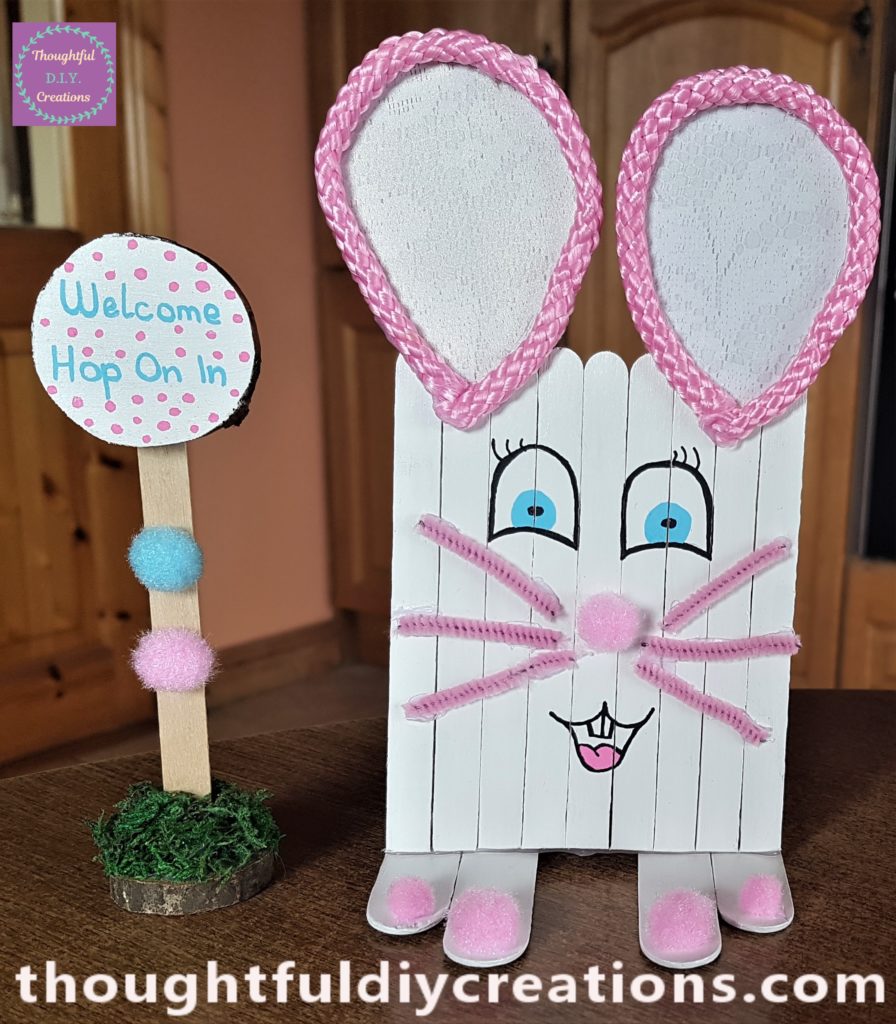
This completed the Easter Bunny Door.
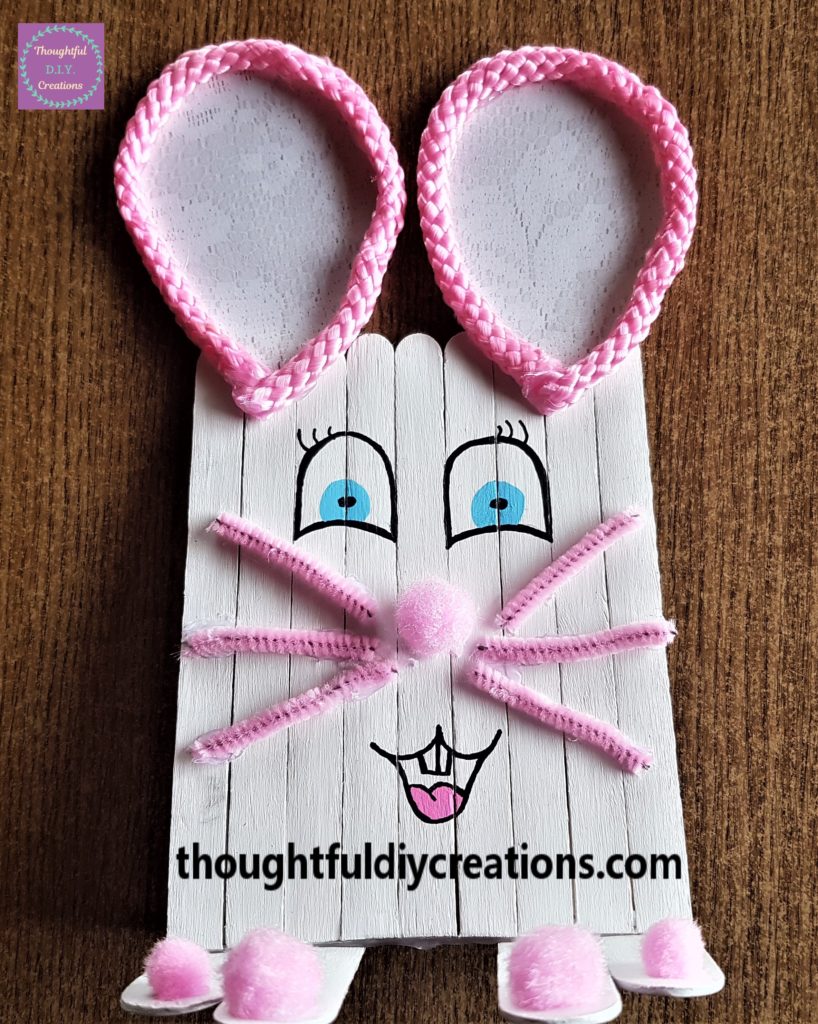
Making the Door Sign
I got a Lollipop Stick and a small Wood Slice for the Sign for the Easter Bunny Door. Lollipop Sticks Natural.
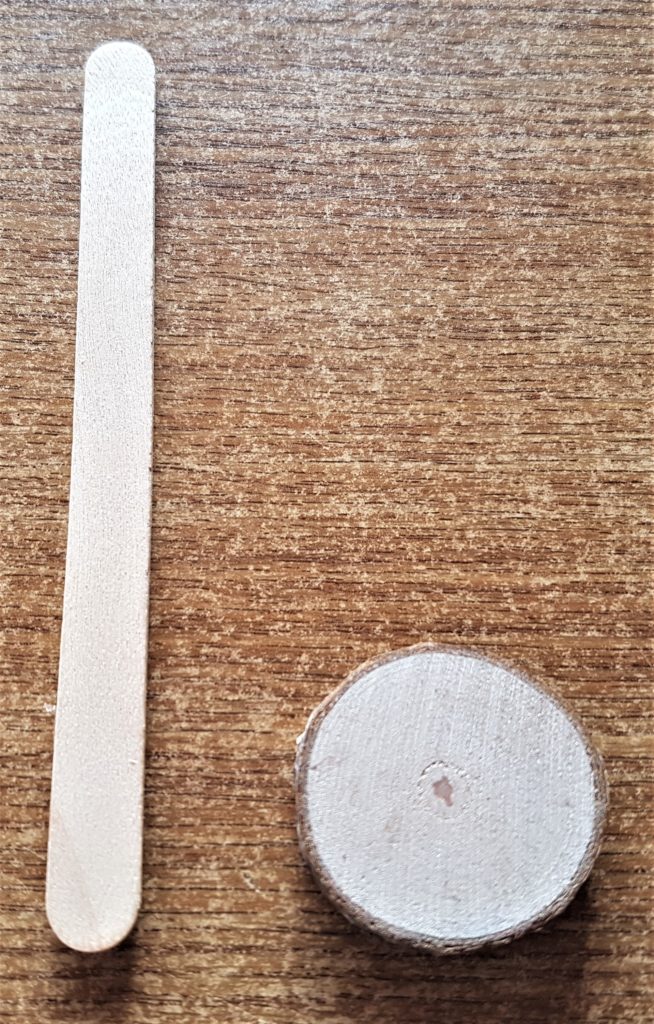
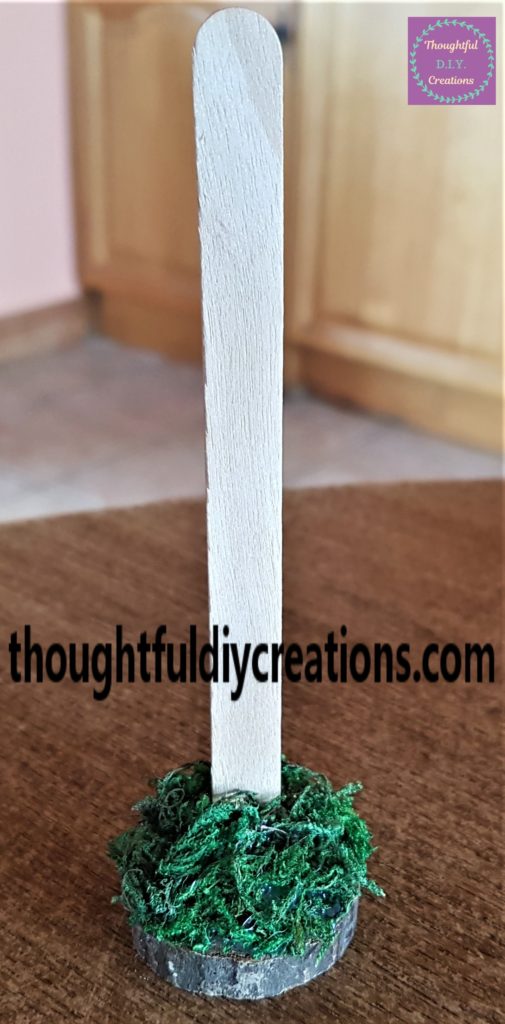
I cut the bottom curve off the lollipop stick and hot glued the lollipop stick to the middle of the wood slice. Hot Glue Gun.

I hot glued dried moss to the wood slice. Dried Moss.
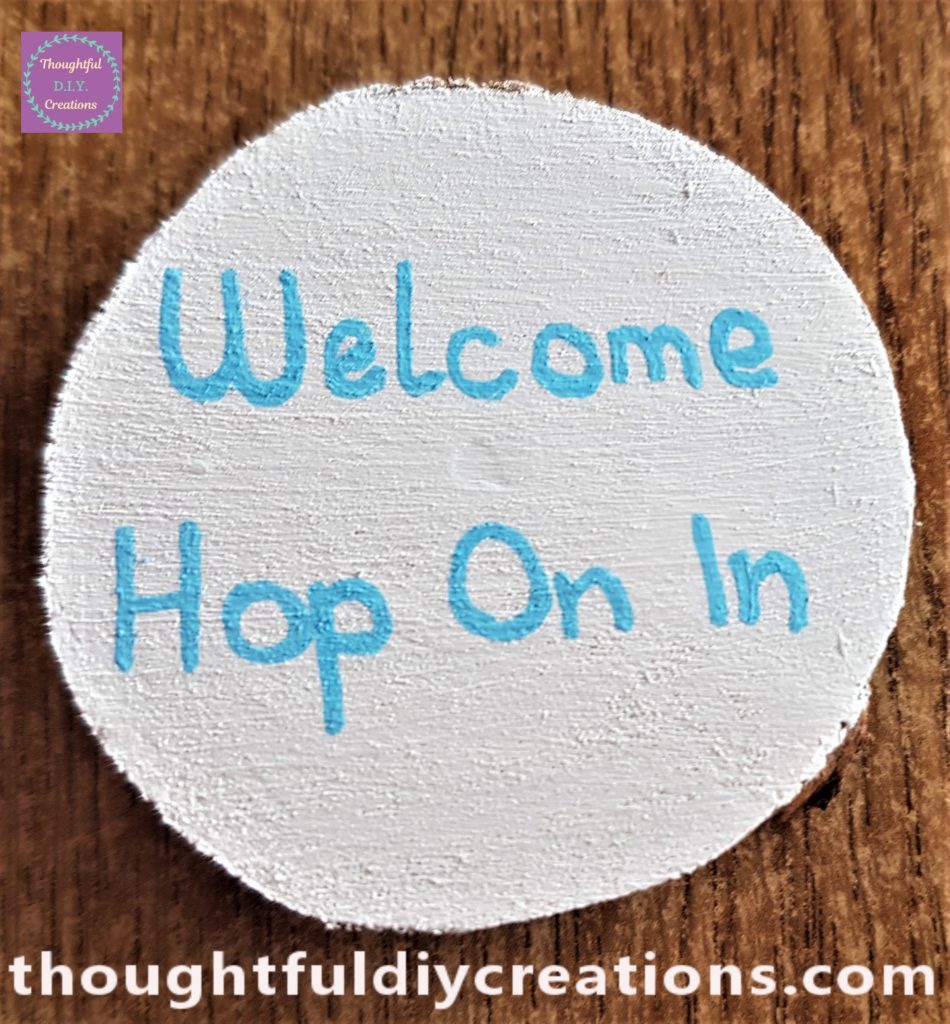
I wrote ‘Welcome Hop On In’ onto the White Painted Wood Slice that I painted earlier. I wrote it with the same Blue Paint Pen that I used for the Bunny’s eyes. Uni Posca Paint Pens.
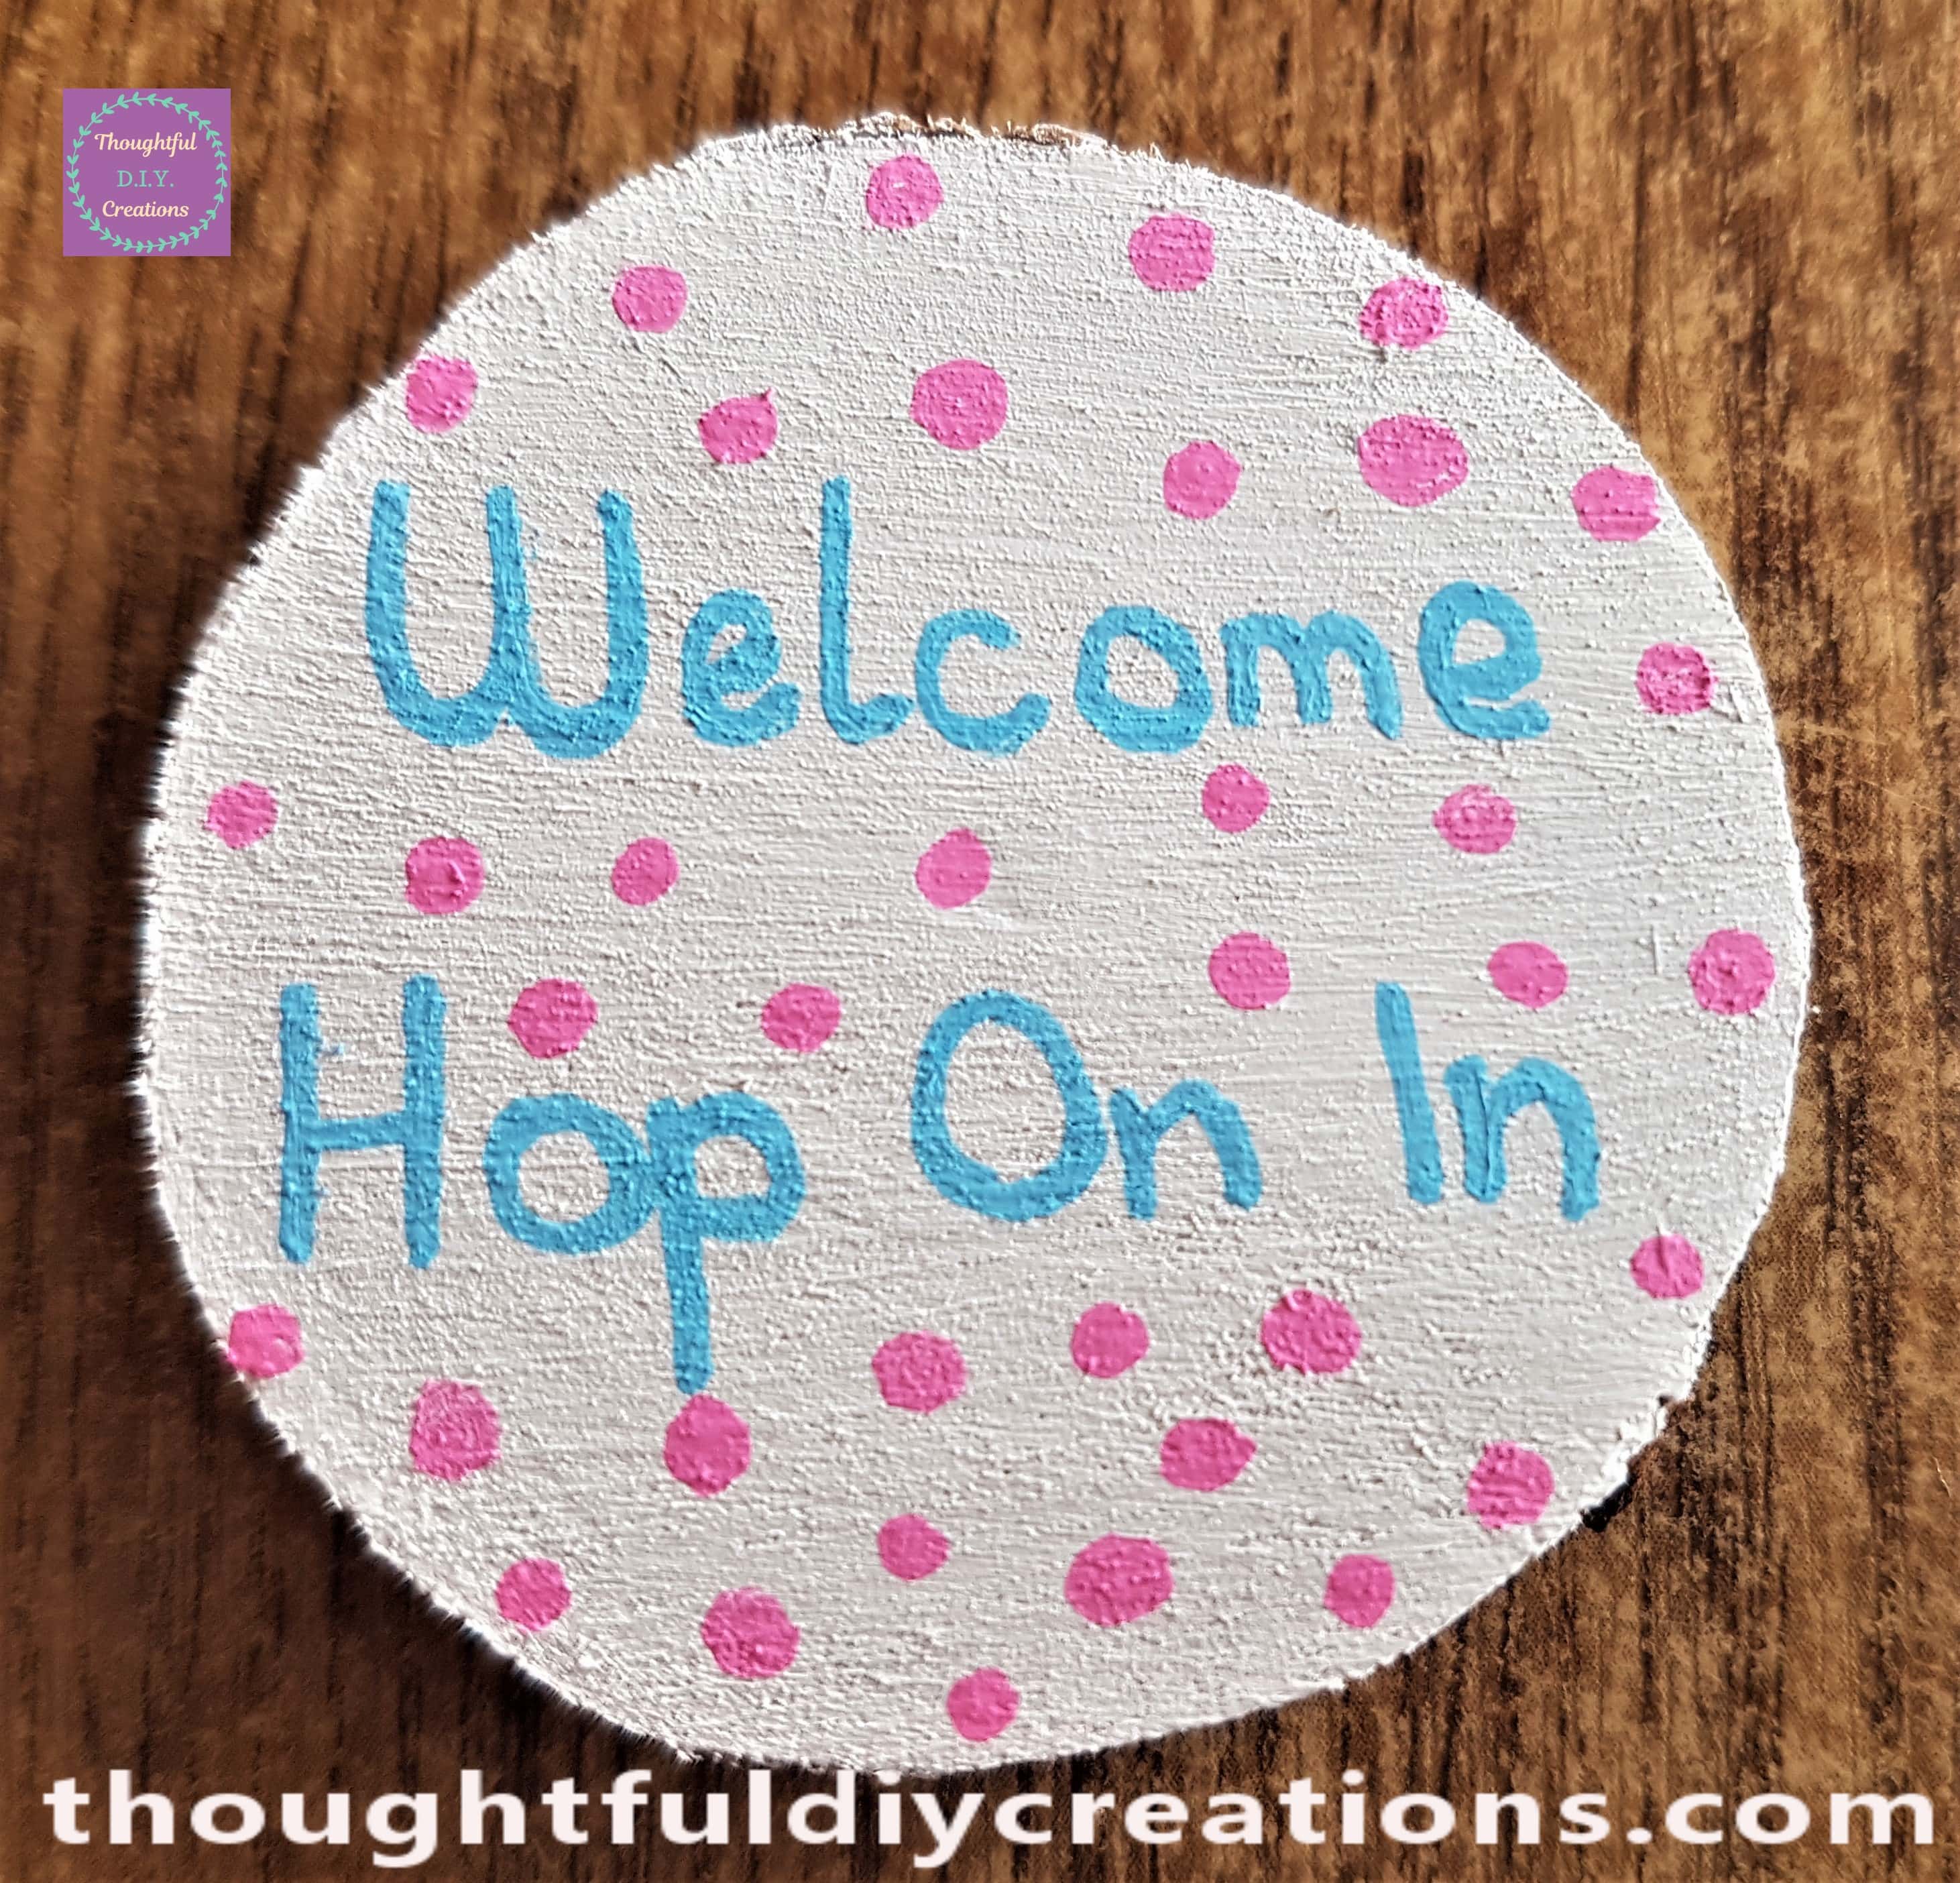
I added Pink dots all around the wood slice. I used the same Pink Paint Pen that I used for the Bunny’s tongue. Uni Posca Paint Pens.
I put hot glue on the bottom part on the back of the painted wood slice and held it in place to the top of the lollipop stick for a few seconds. I then added a blue and pink pom pom to the lollipop stick by putting hot glue on the back of them and holding them in place. Hot Glue Gun.
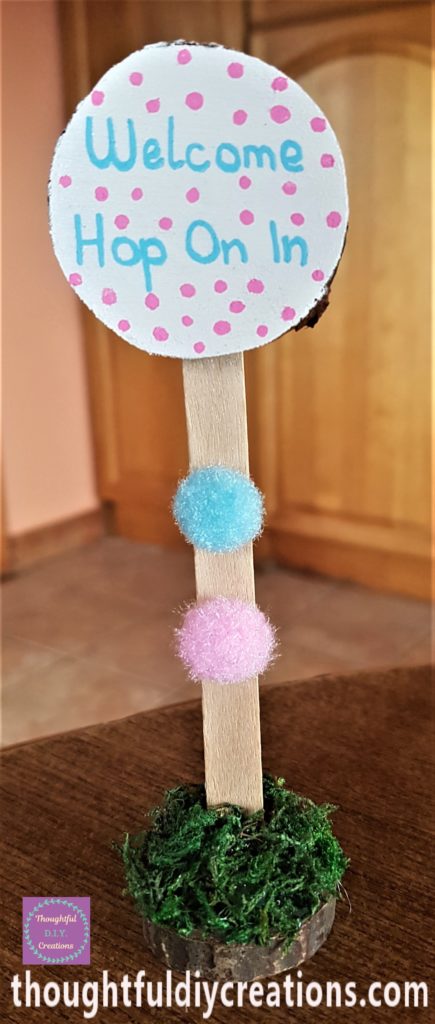
This completed the Easter Door Sign.
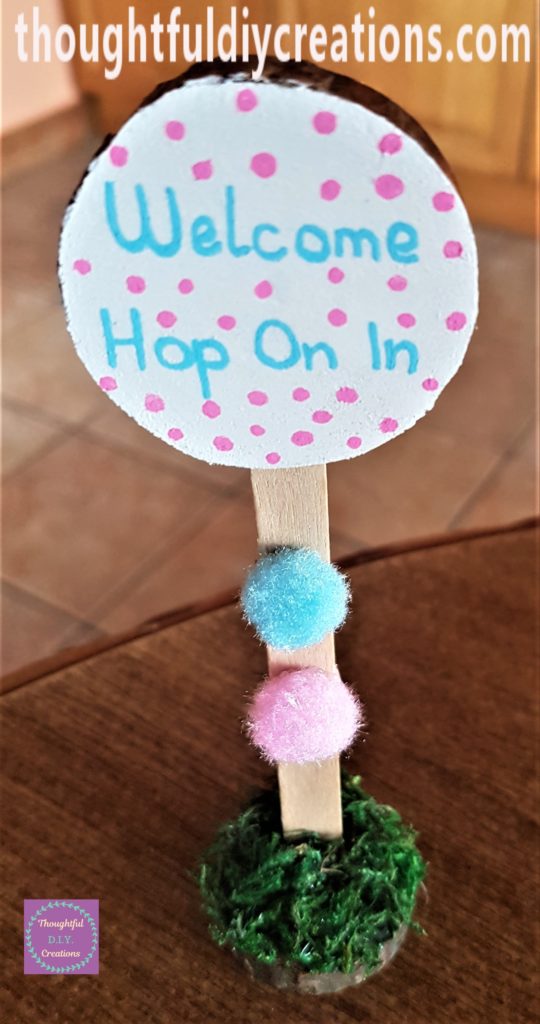
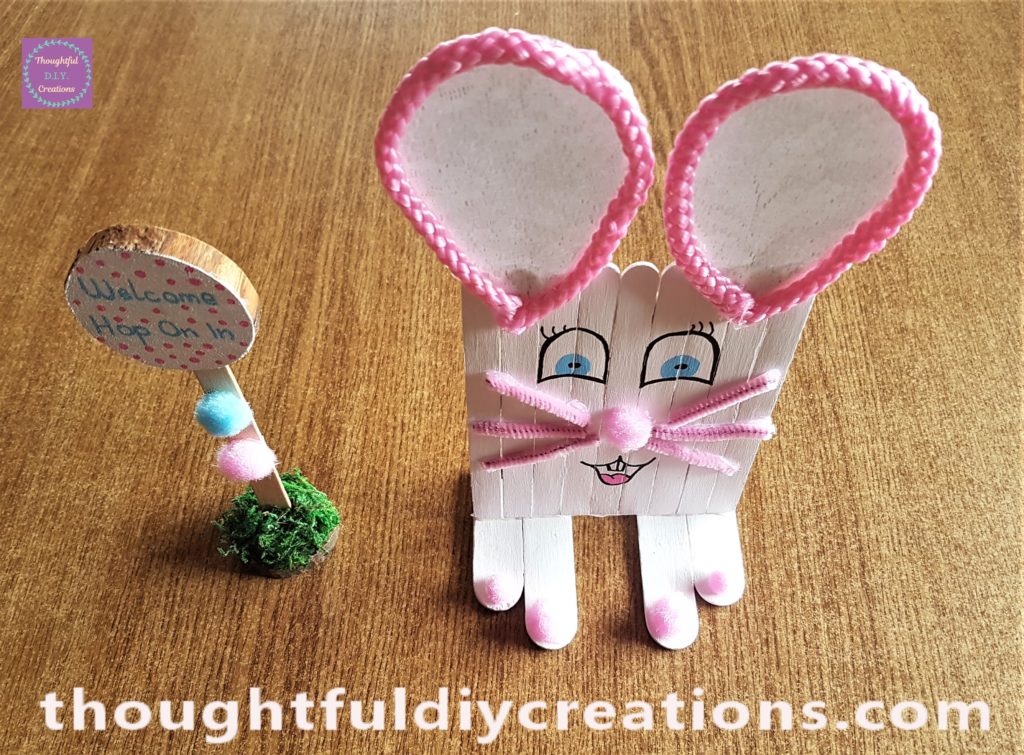
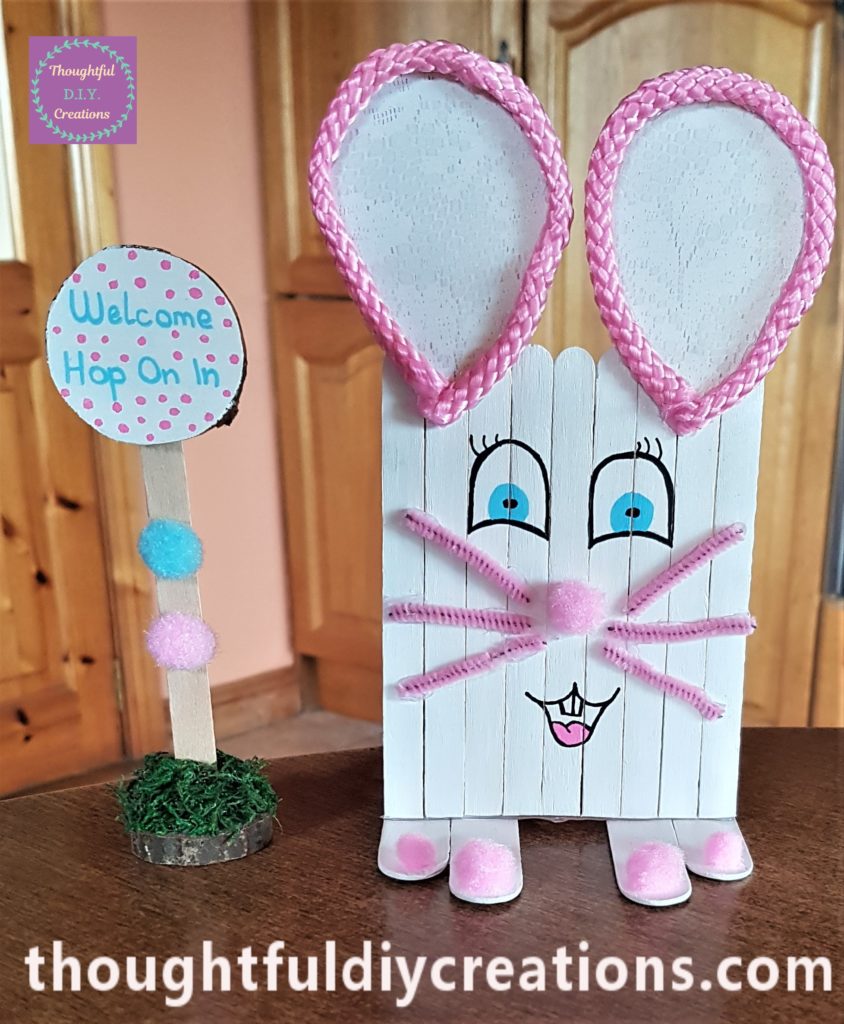
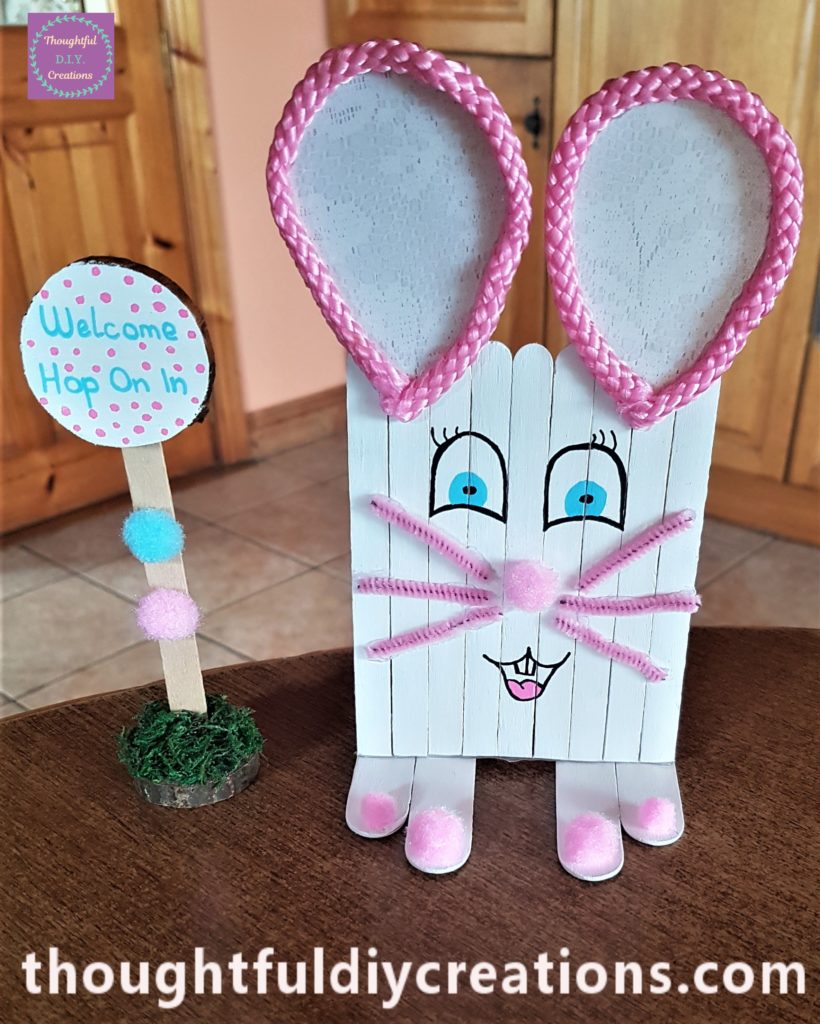
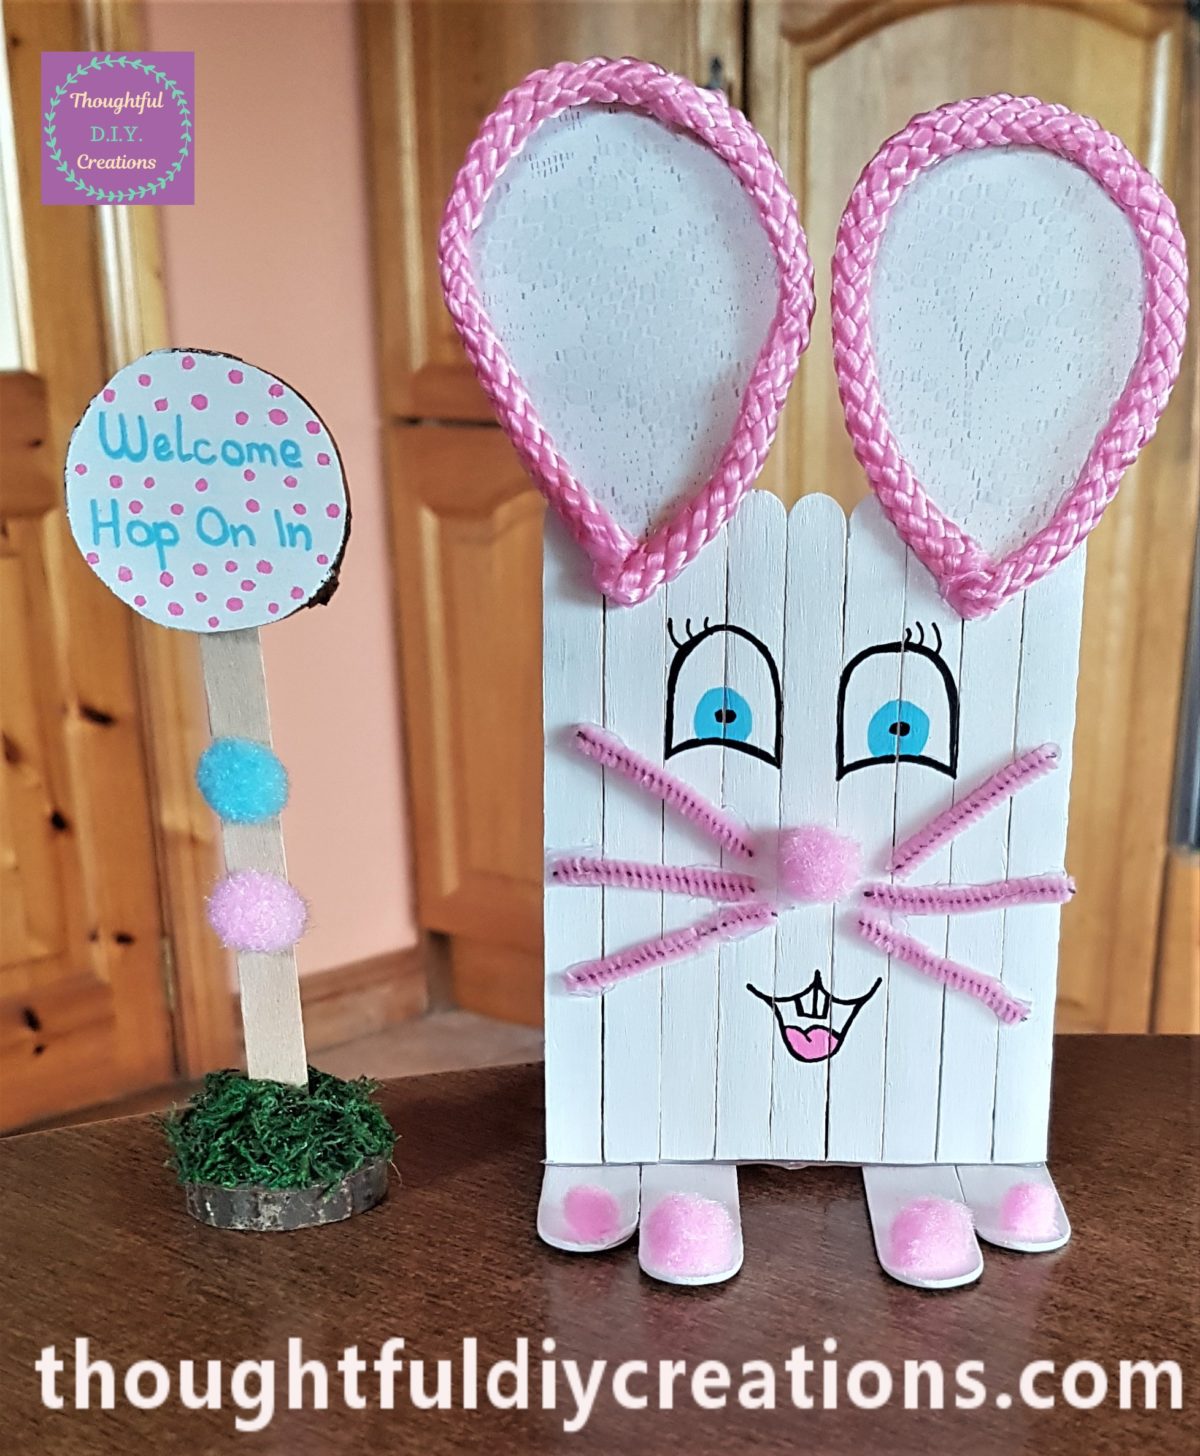
This is the Completed Easter Bunny Door and Door Sign together.

Here are some more images of the Easter Craft.
Conclusion
I was pleased with the final result of the Easter Bunny Door and Door Sign. I think it’s a cute, fun and budget craft to complete for Easter. It’s something that can be easily stored away and put up every year for Easter Decor.
I hope it provided you with ideas of how to decorate with lollipop sticks, pipe cleaners and pom poms as well as wood slices. All of the materials are so versatile, they can be used in so many different ways for seasonal and ordinary arts and crafts activities.
You could change your Easter Bunny Door to suit your own preferences with regards to colour and the paper you choose for the ears. You could write a different sentiment on the Door Sign and add pom poms to the base instead of moss.
You could also make an Easter Chick Door by painting the lollipop Sticks yellow and cutting out orange paper in the shape of an upside down triangle for a beak. You could paint the back of a cereal box orange and cut out feet for the Chick and glue them to the Door. You could also add feathers and googly eyes.
I hope you give this craft a try, let me know how it turns out and if you chose anything different to make yours. It’s a great activity to do with children and hear their thoughts on what they’re going to do to make their Bunny unique. It’s a bit of fun and they get to use their imagination and creativity as well as their brains and fine motor skills. It’s as educational as it is an adorable craft to make. Happy Crafting Everyone.
Thank you so much for taking the time to read my Blog.
Always Grateful,
T.D.C.
xoxox

-0 Comment-