Easter Hamper Tutorial
Hello my Creative Friends,
I hope you are all Well. In Today’s Tutorial I will show you How I Decorated an Easter Hamper. It was mainly made with Household Items I already had at Home and some Chocolate which I bought in LIDL. I hope it provides you with some Ideas if you were thinking of putting an Easter Hamper together for Someone Special in your Life.
Basket for the Easter Hamper
I had a Basket in my Supplies which I thought would be perfect for a Hamper.

Adding Height to the Hamper
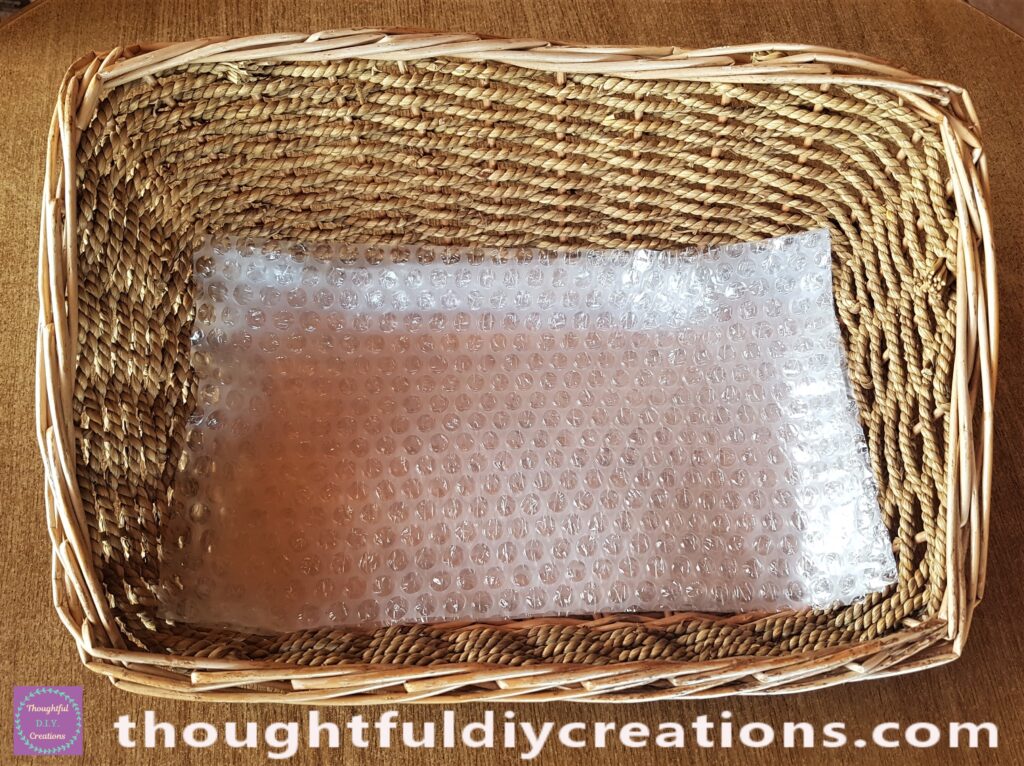
I Cut Out 4 Sections of Bubble Wrap the same Size as the bottom of the Basket.
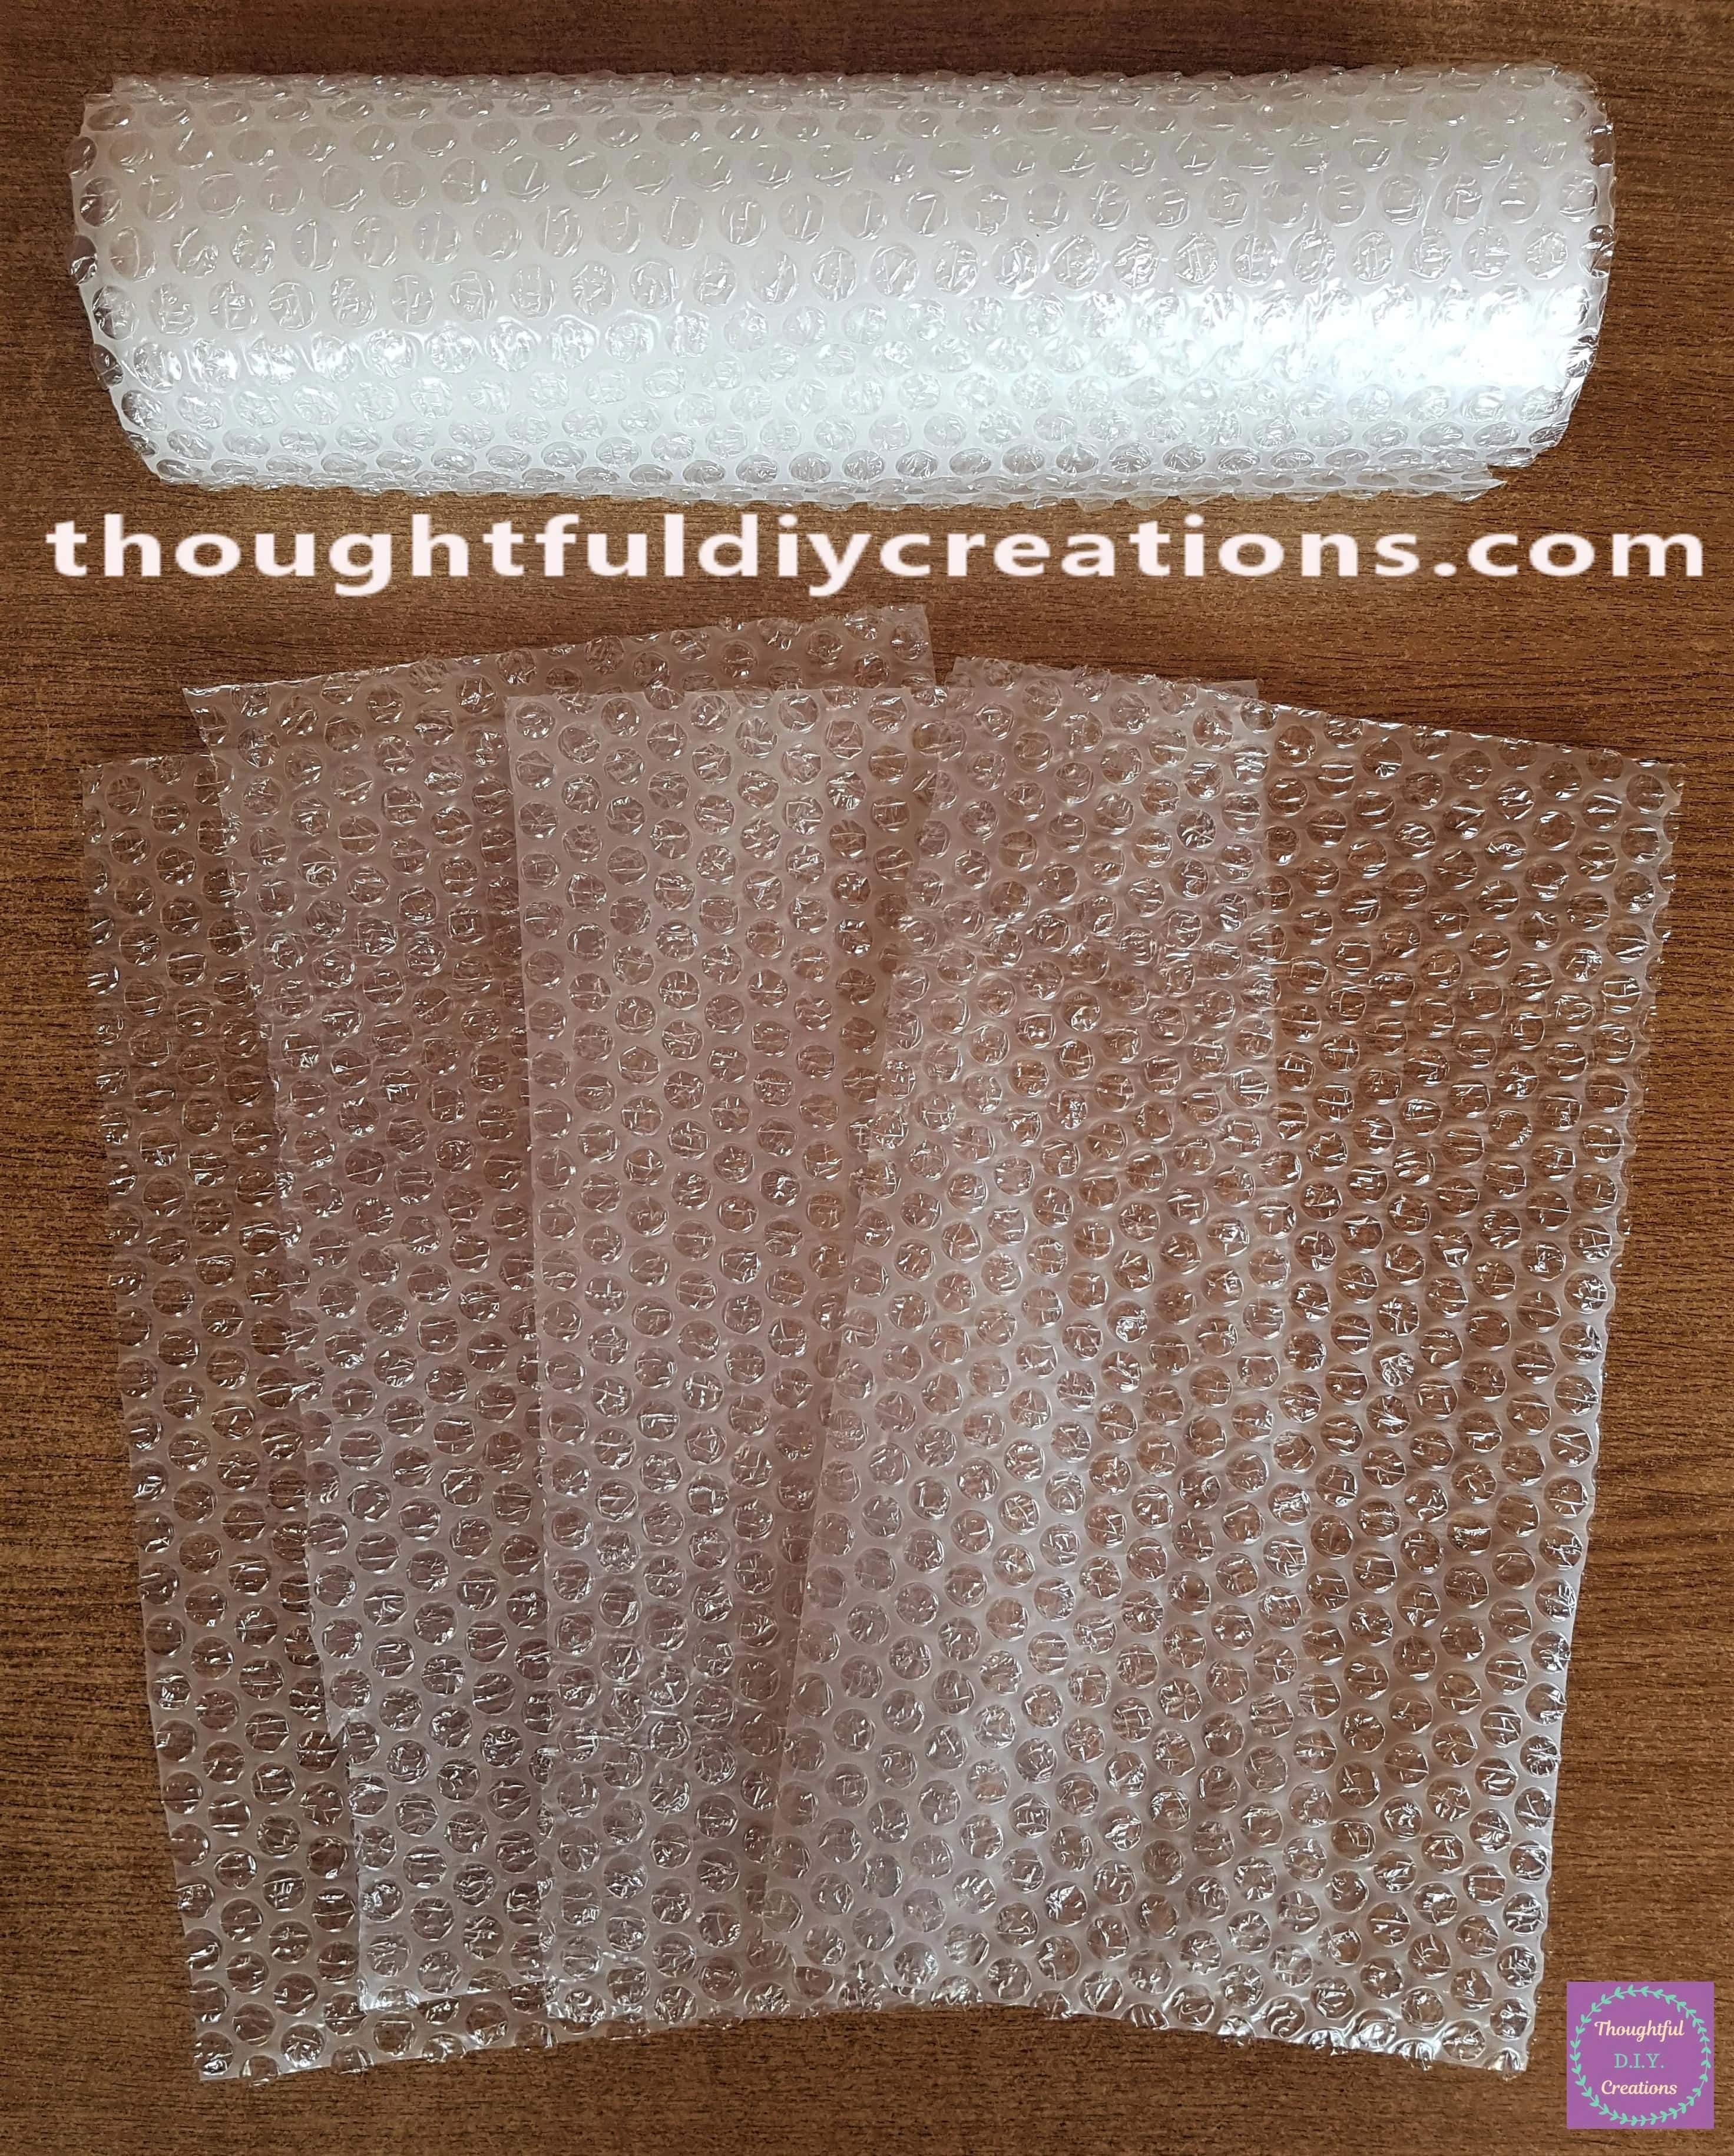
I placed them into the Basket to provide some height to the Easter Hamper.
Filling the Easter Hamper with Raffia
I got my stash of Raffia. This had come in the Gift Box I Re-Purposed into a Galaxy Box.
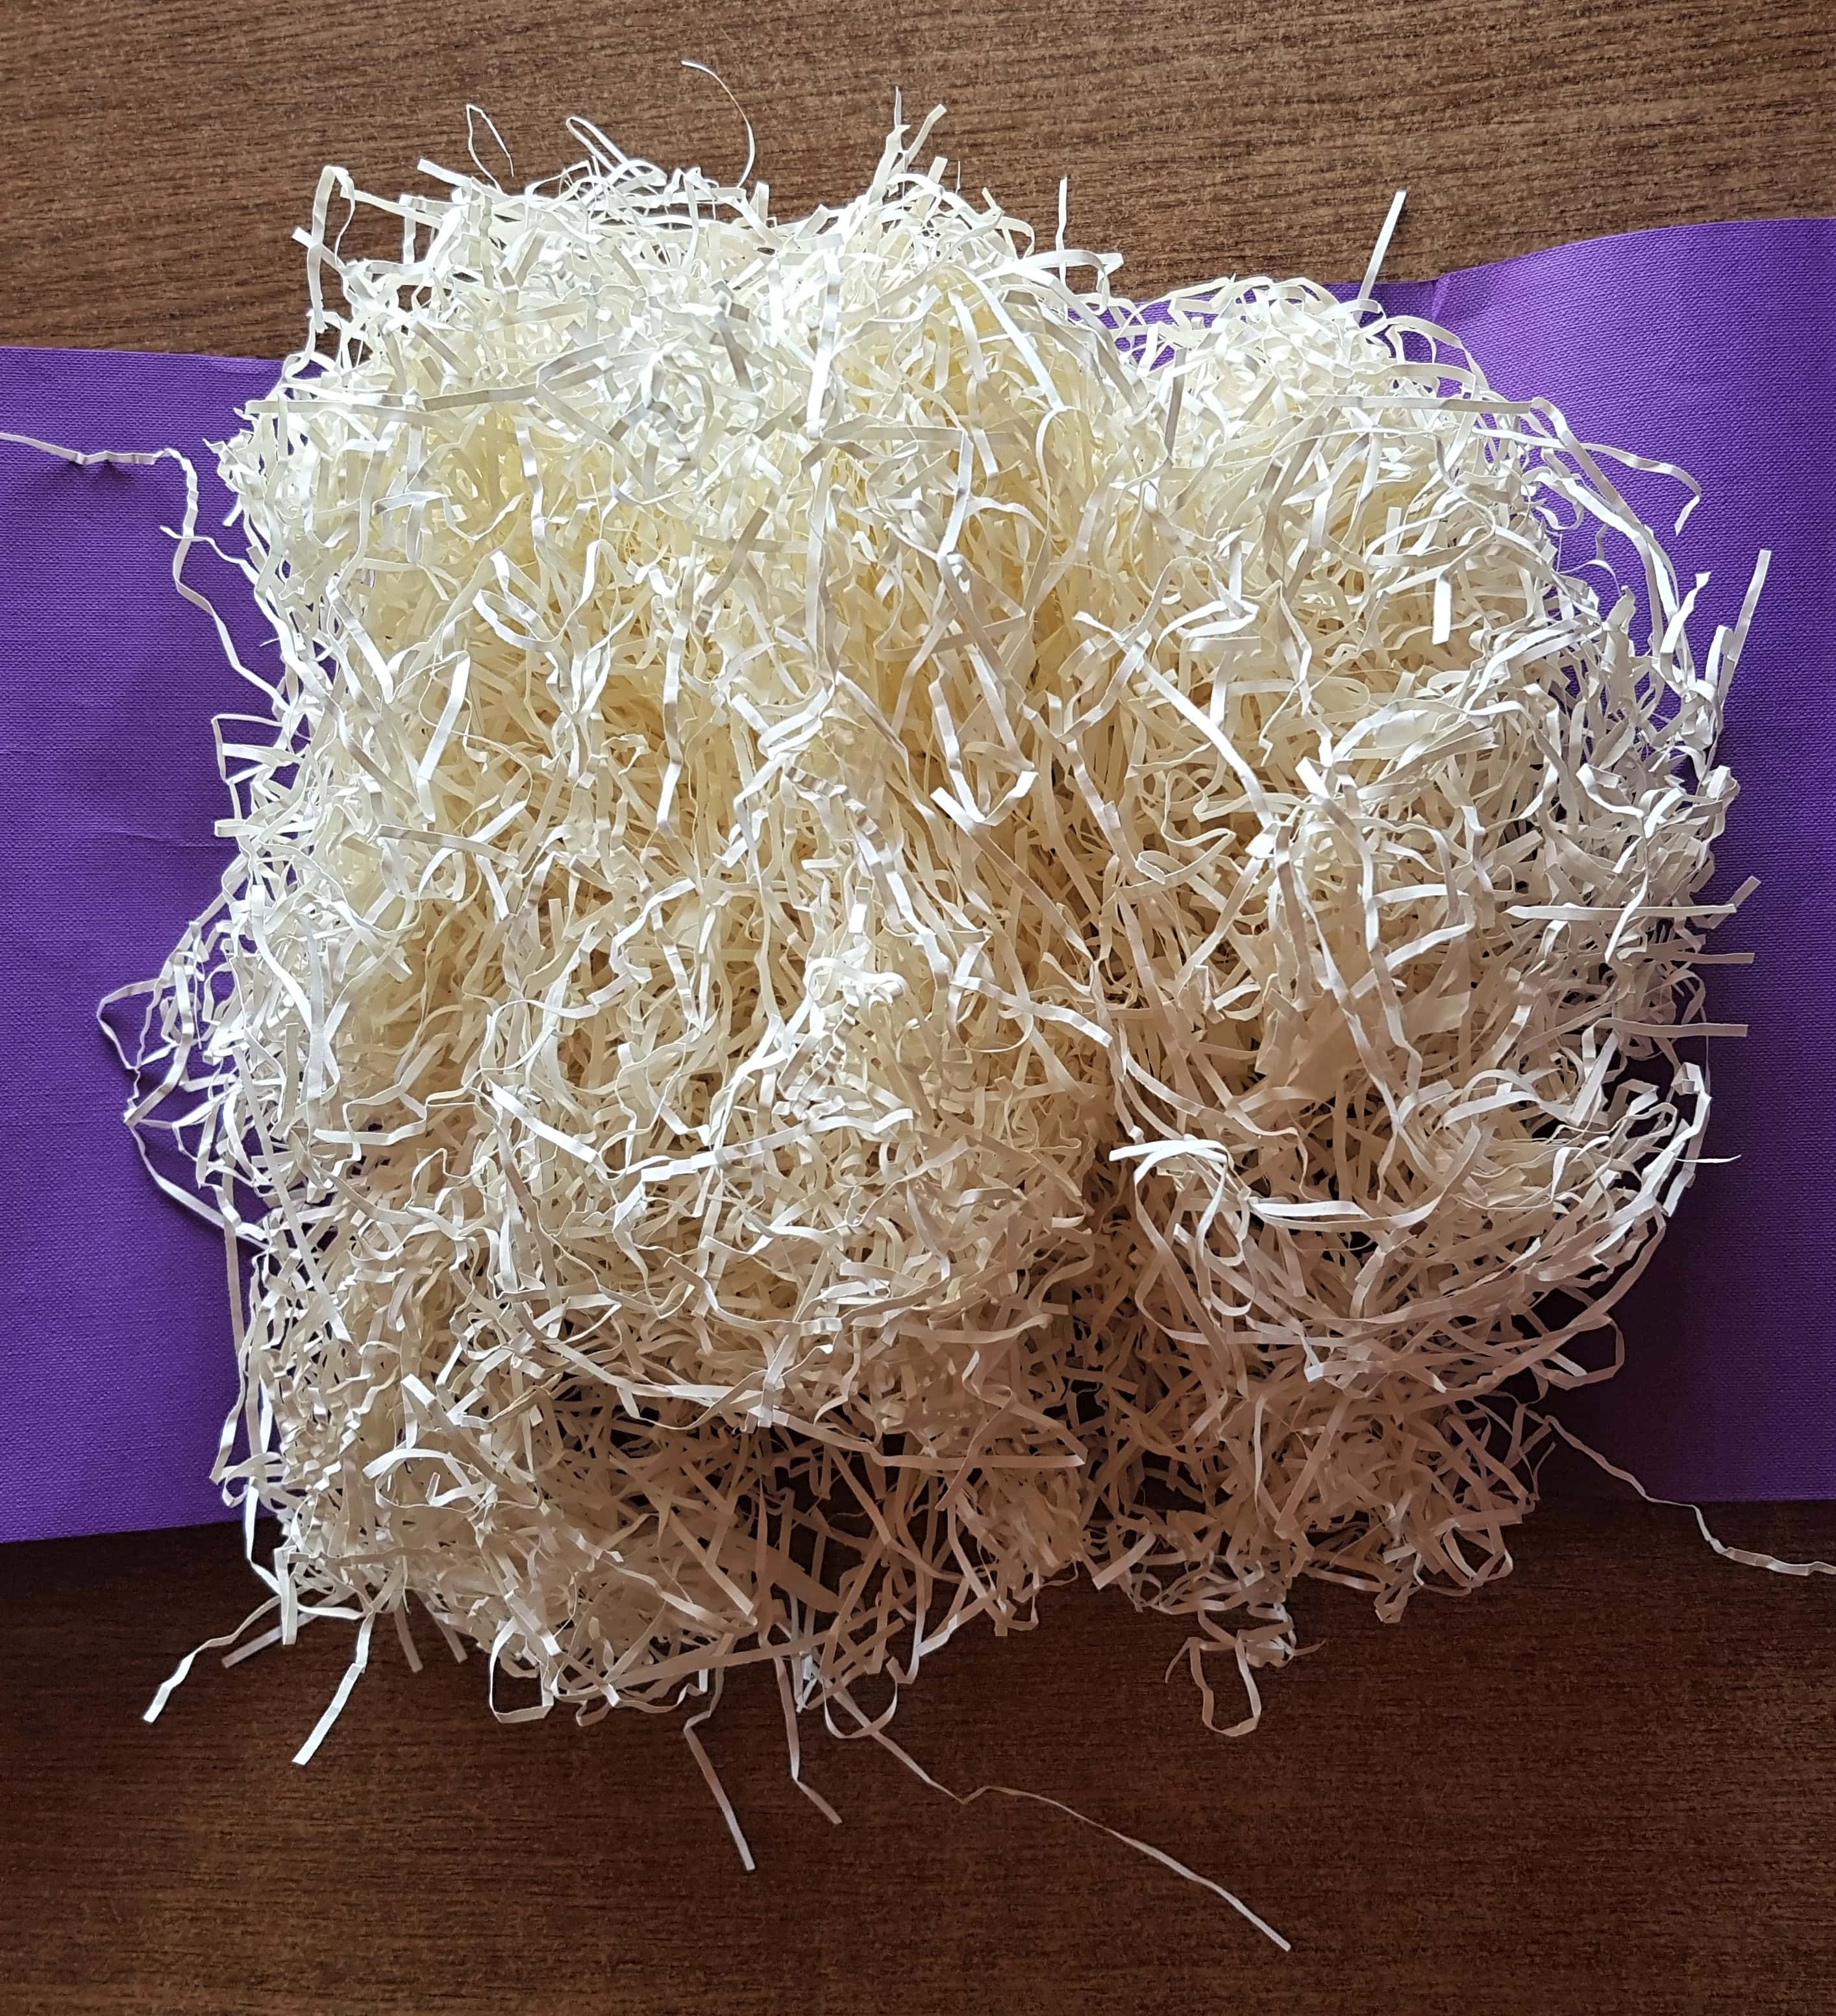
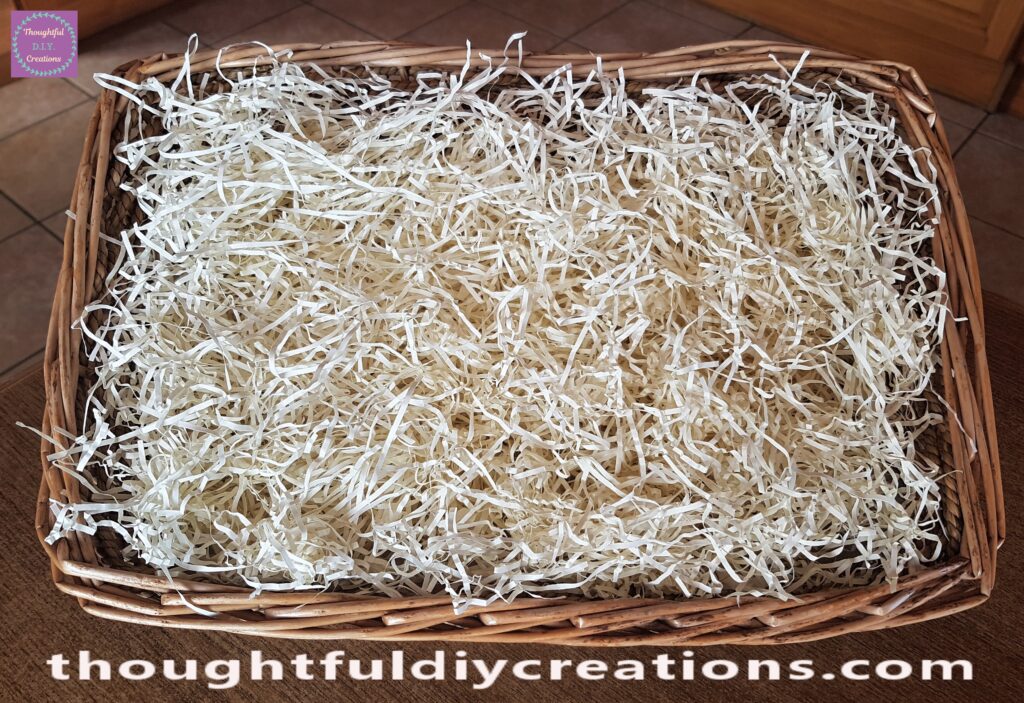
I spread the Raffia around evenly; filling the Easter Hamper.
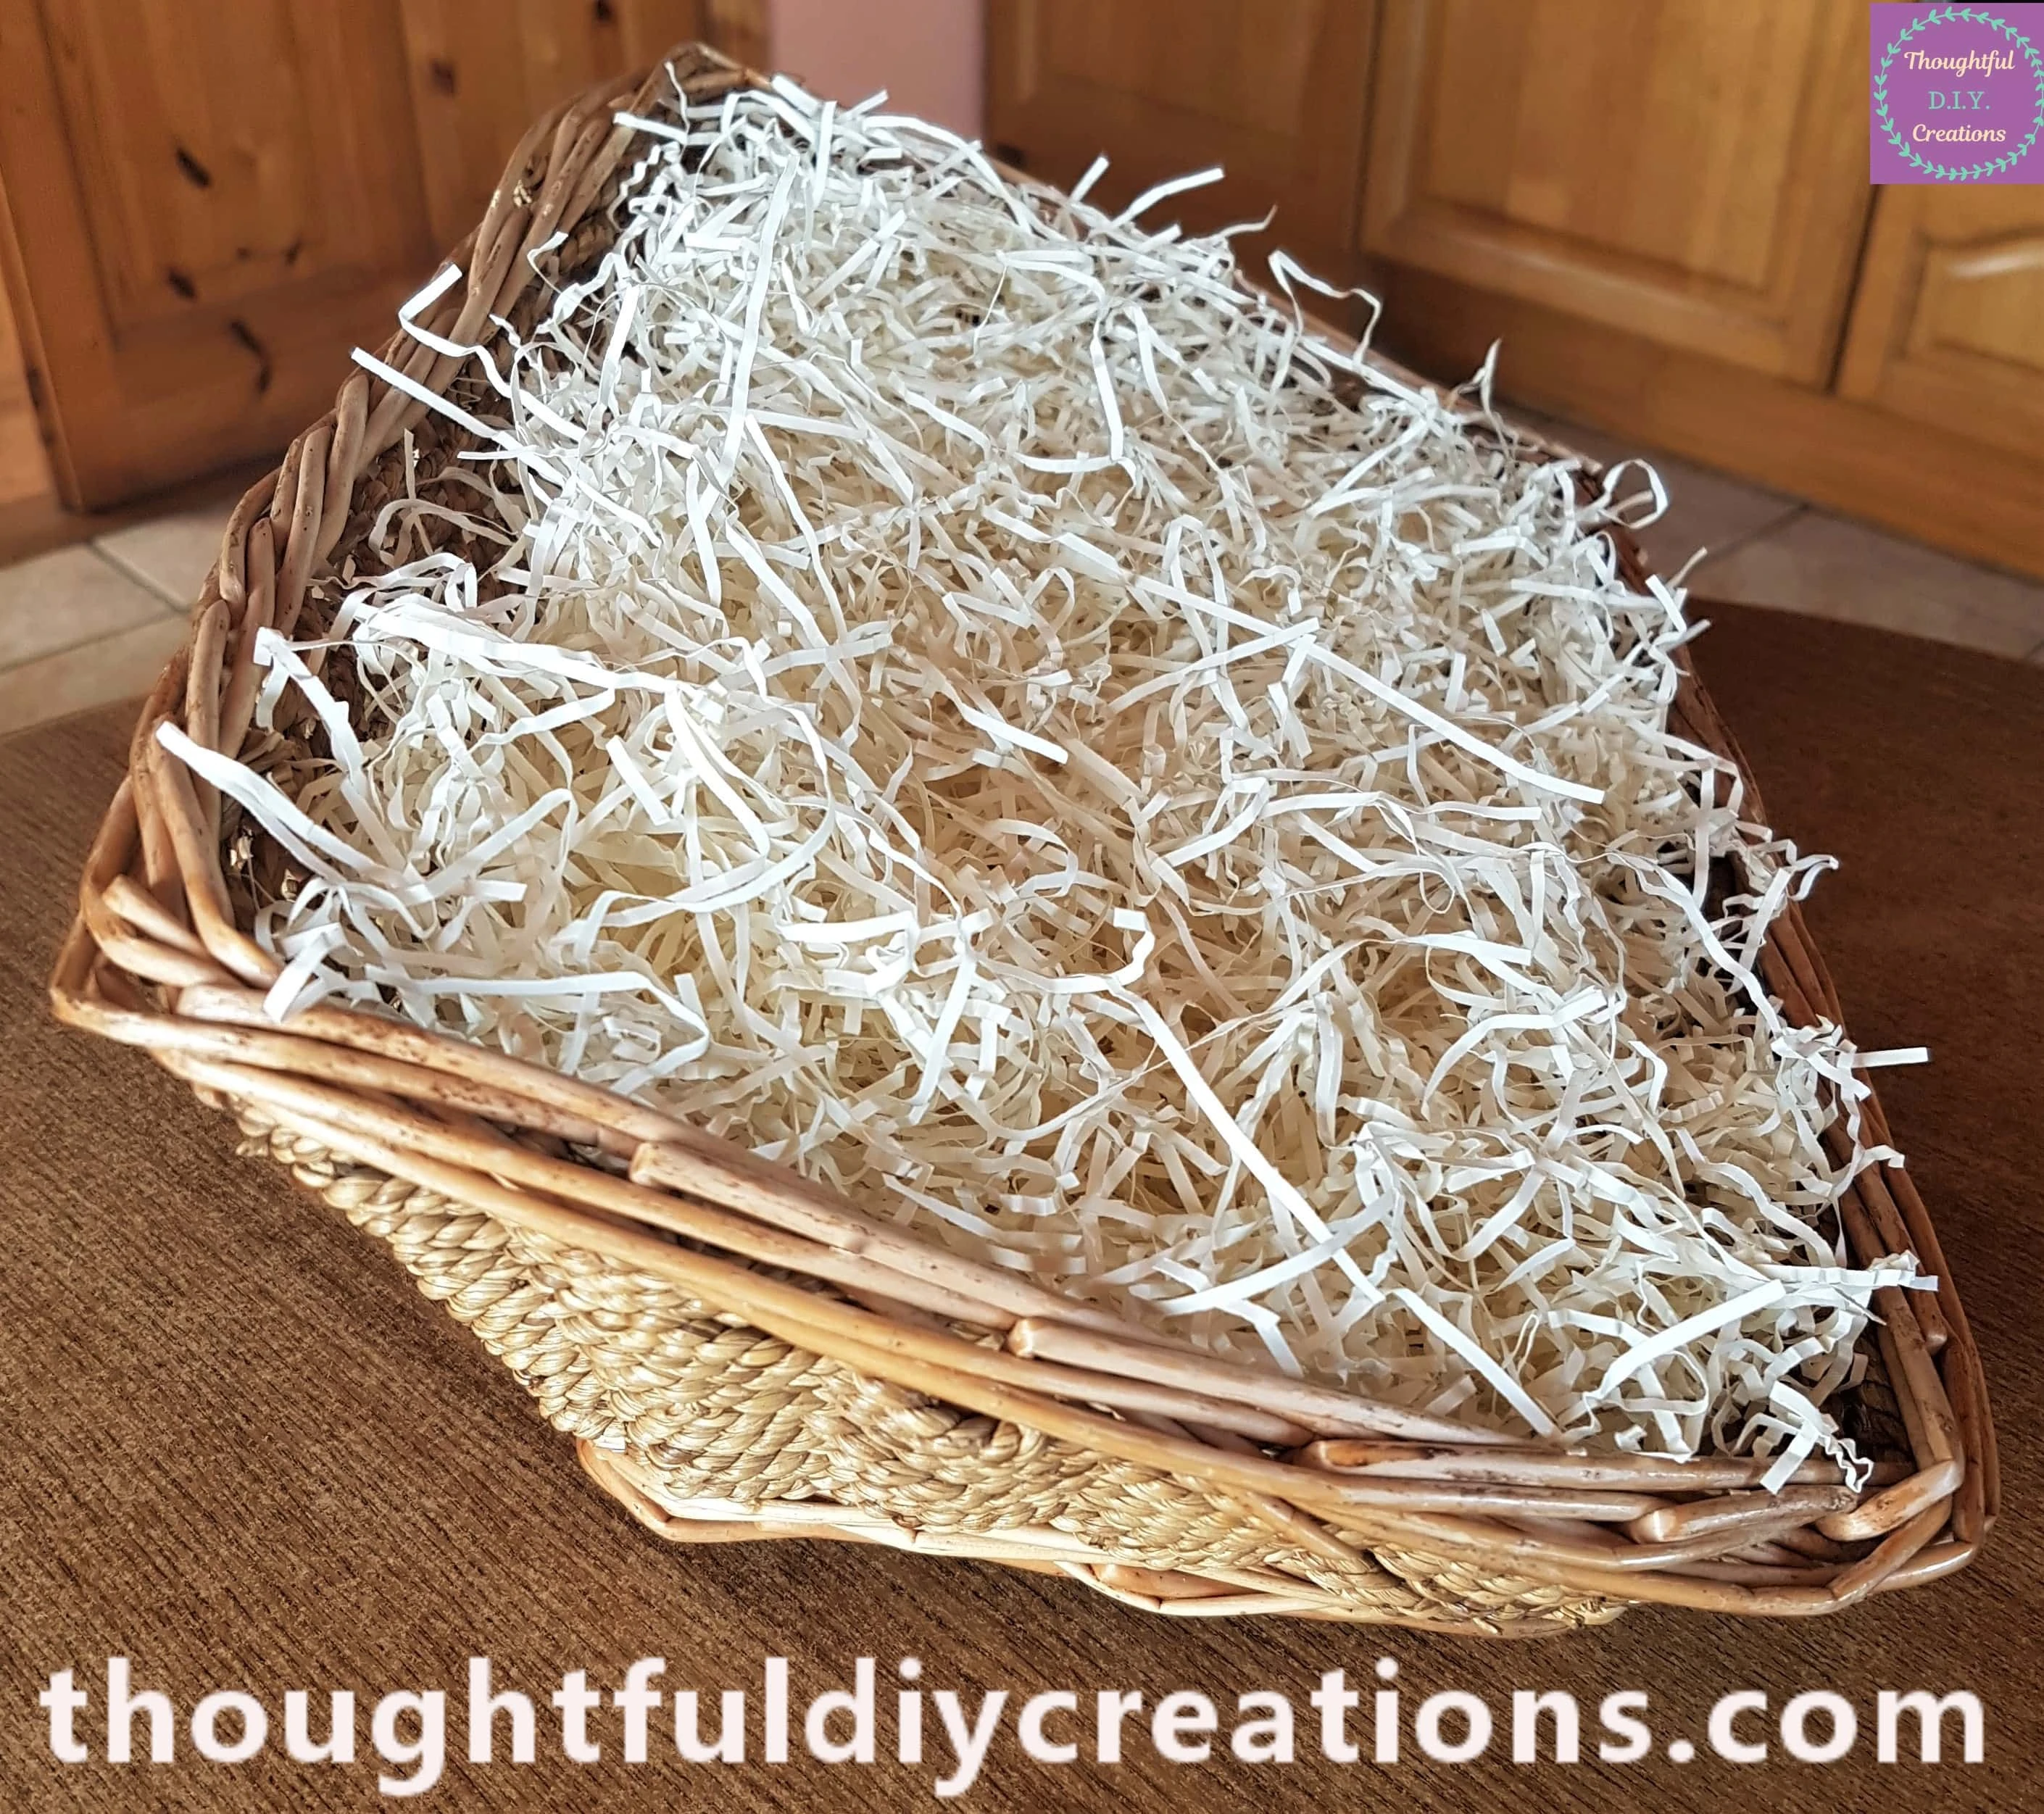
Here is a Side View of the Raffia in the Basket. It provides visual Interest and Texture.
Re-Purposing Household Jars
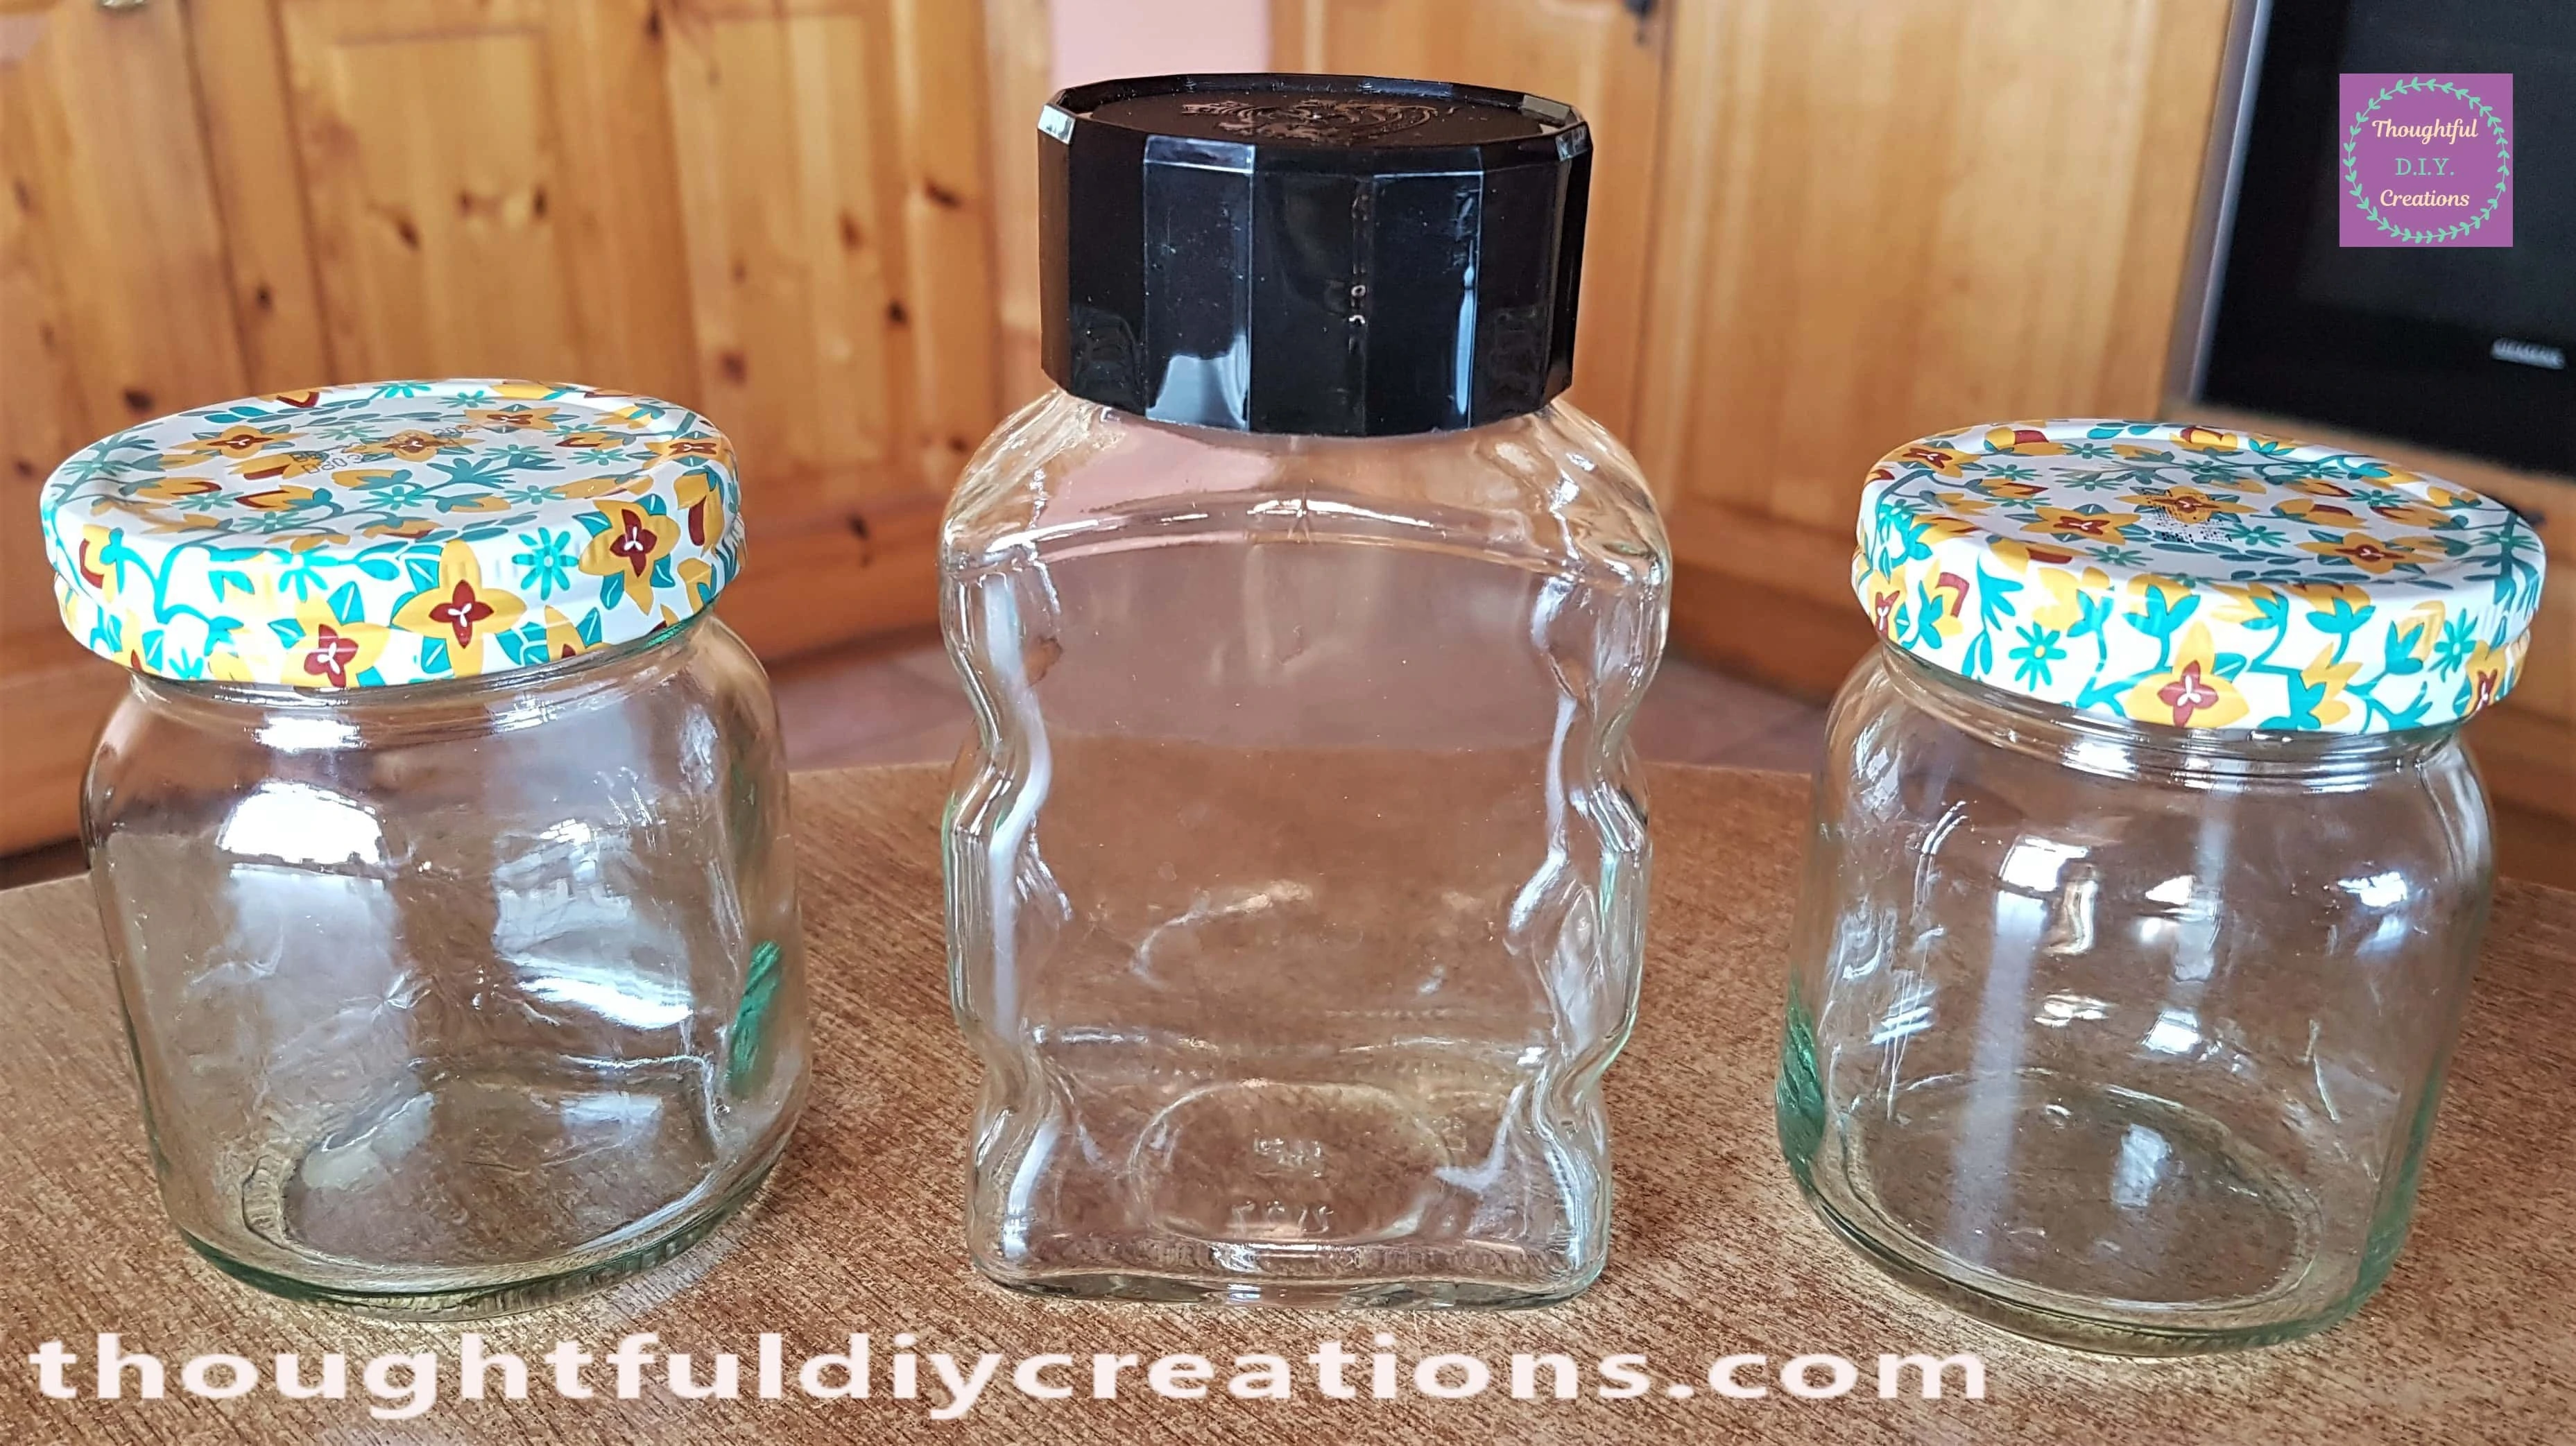
I got 3 Jars from my Collection. The 2 smaller Ones were Jam Jars and the Jar in the middle was a Coffee Jar.
I Cleaned out the Jars and Lids. I peeled off as much of the labels as I could on the dry Jars. I then Soaked the Jars in the Sink with warm water and washing-up-liquid for an hour to soften the rest of the label and make it easier to wash off. I then removed the labels with a Dish-Cloth in the water, then Rinsed and Dried the Jars.
Here are the 3 Jars after being washed, their labels removed and dried.
Decorating the Lids of the Jars
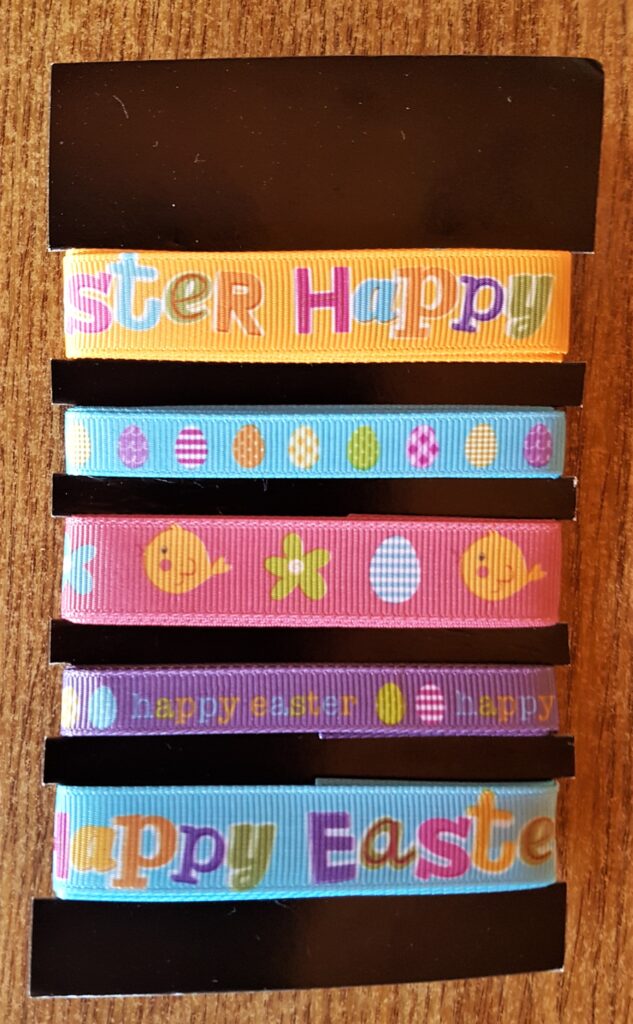
I got my Pack of Easter Ribbons.
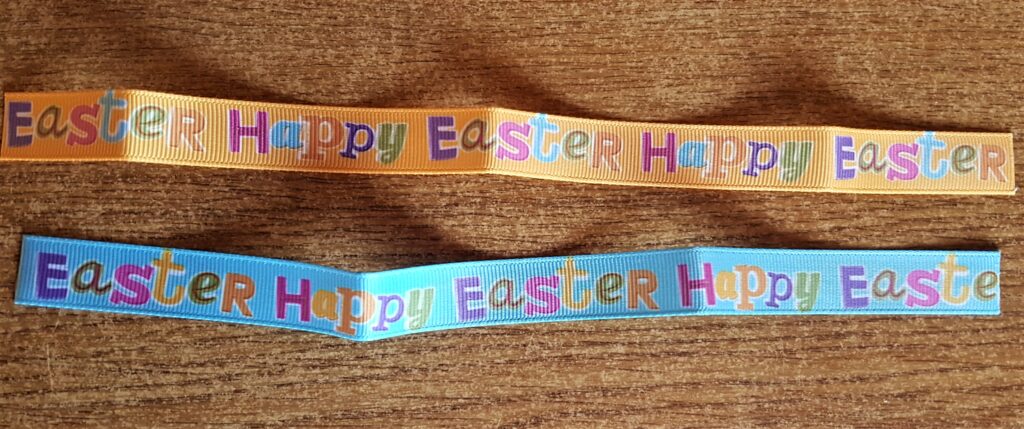
I Cut off a section of the Orange and Blue Ribbons.
I Plugged in my Hot Glue Gun with Clear Glue Stick inside and let it heat up for 5 minutes.
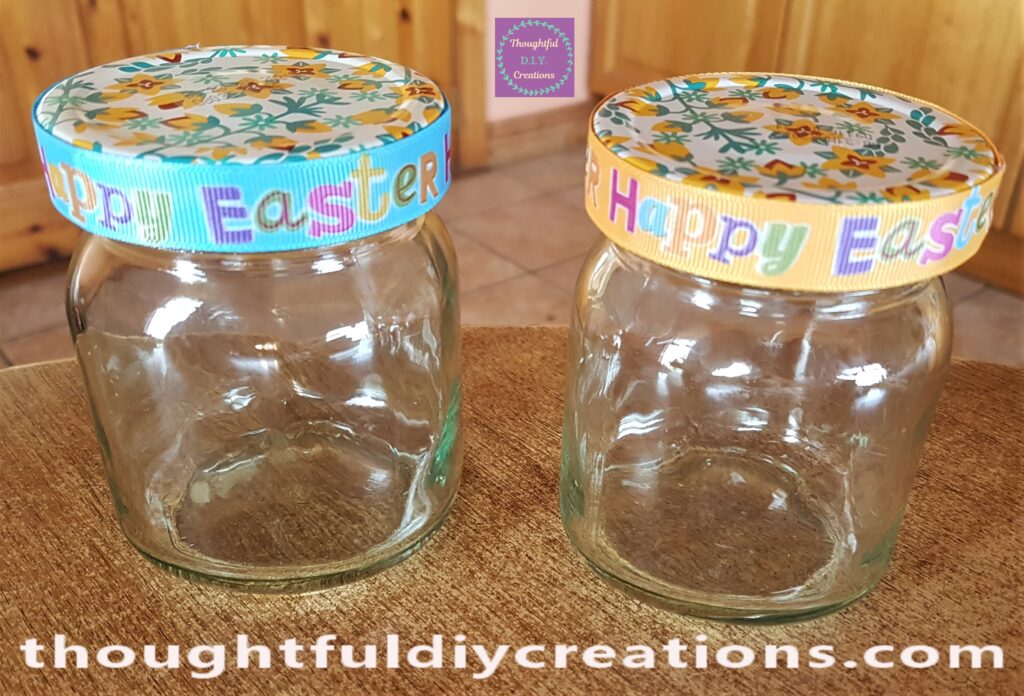
I put a dab of Hot Glue on the Side of the Lid on the smaller Jar. I attached the start of the Blue Ribbon to the Hot Glue and wrapped the rest of the Ribbon around the Side of the Lid. I then put another dab of Hot Glue on the Jar where the start of the Ribbon meets the end and attached the end of the Ribbon to the Glue.
I repeated this Process with the Orange Ribbon and the other small Jar.
Here are the 2 Jars with Ribbons added to the Lids.
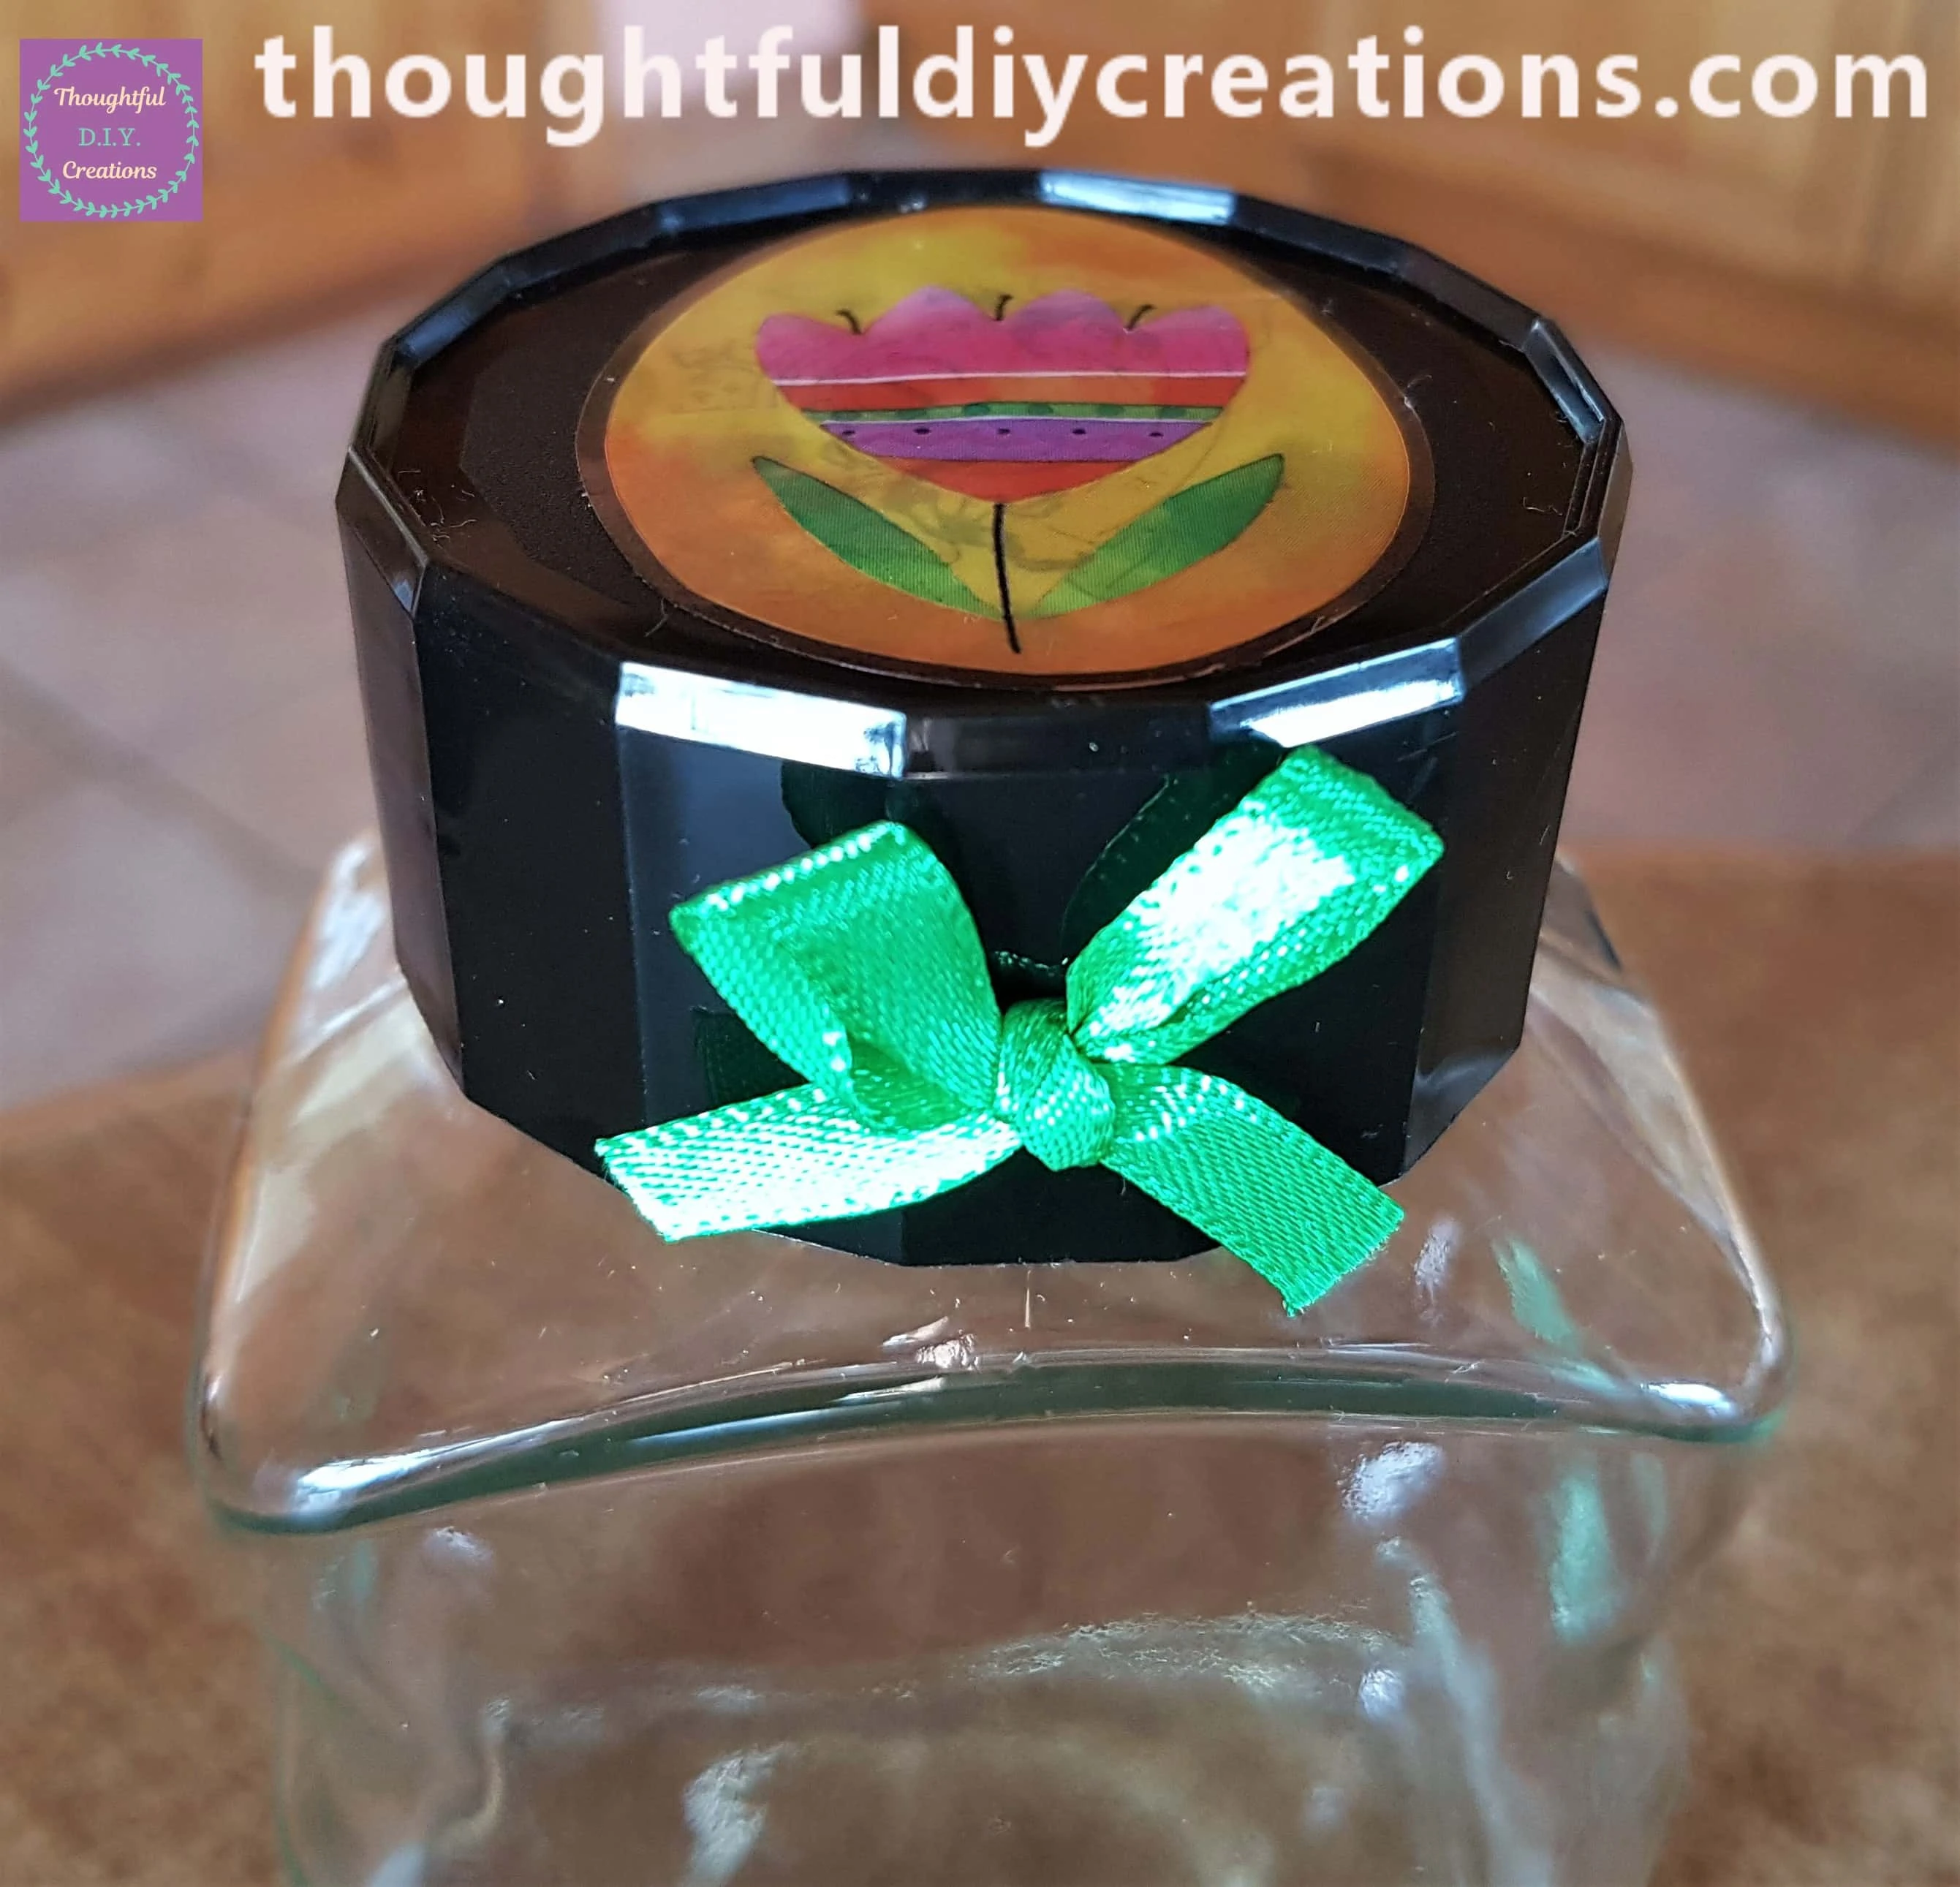
I put a Sticker of an Easter Egg on the Lid of the Coffee Jar to cover up the Logo and attached a Green Bow to the Side of the Lid with a dab of Hot Glue.
Filling the Jars with Easter Treats
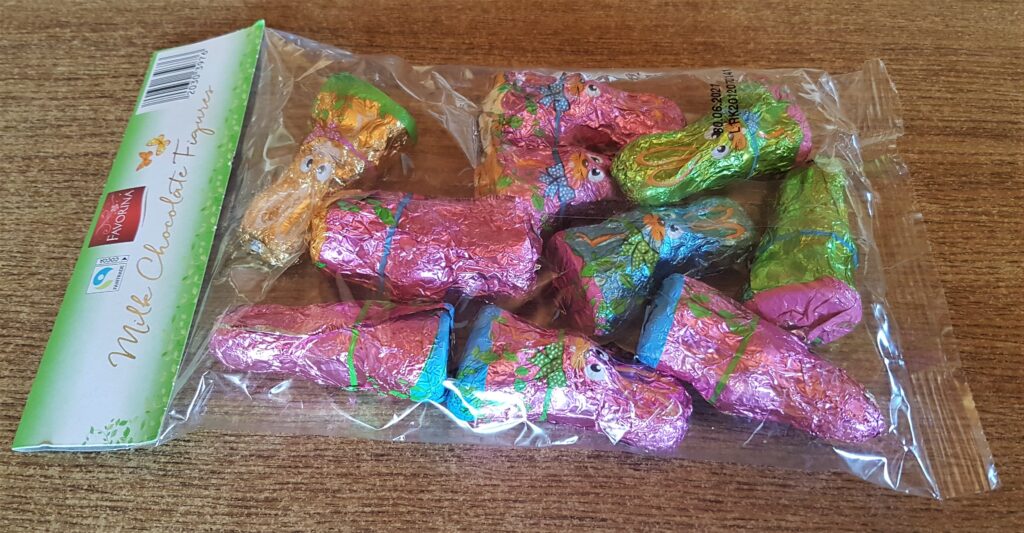
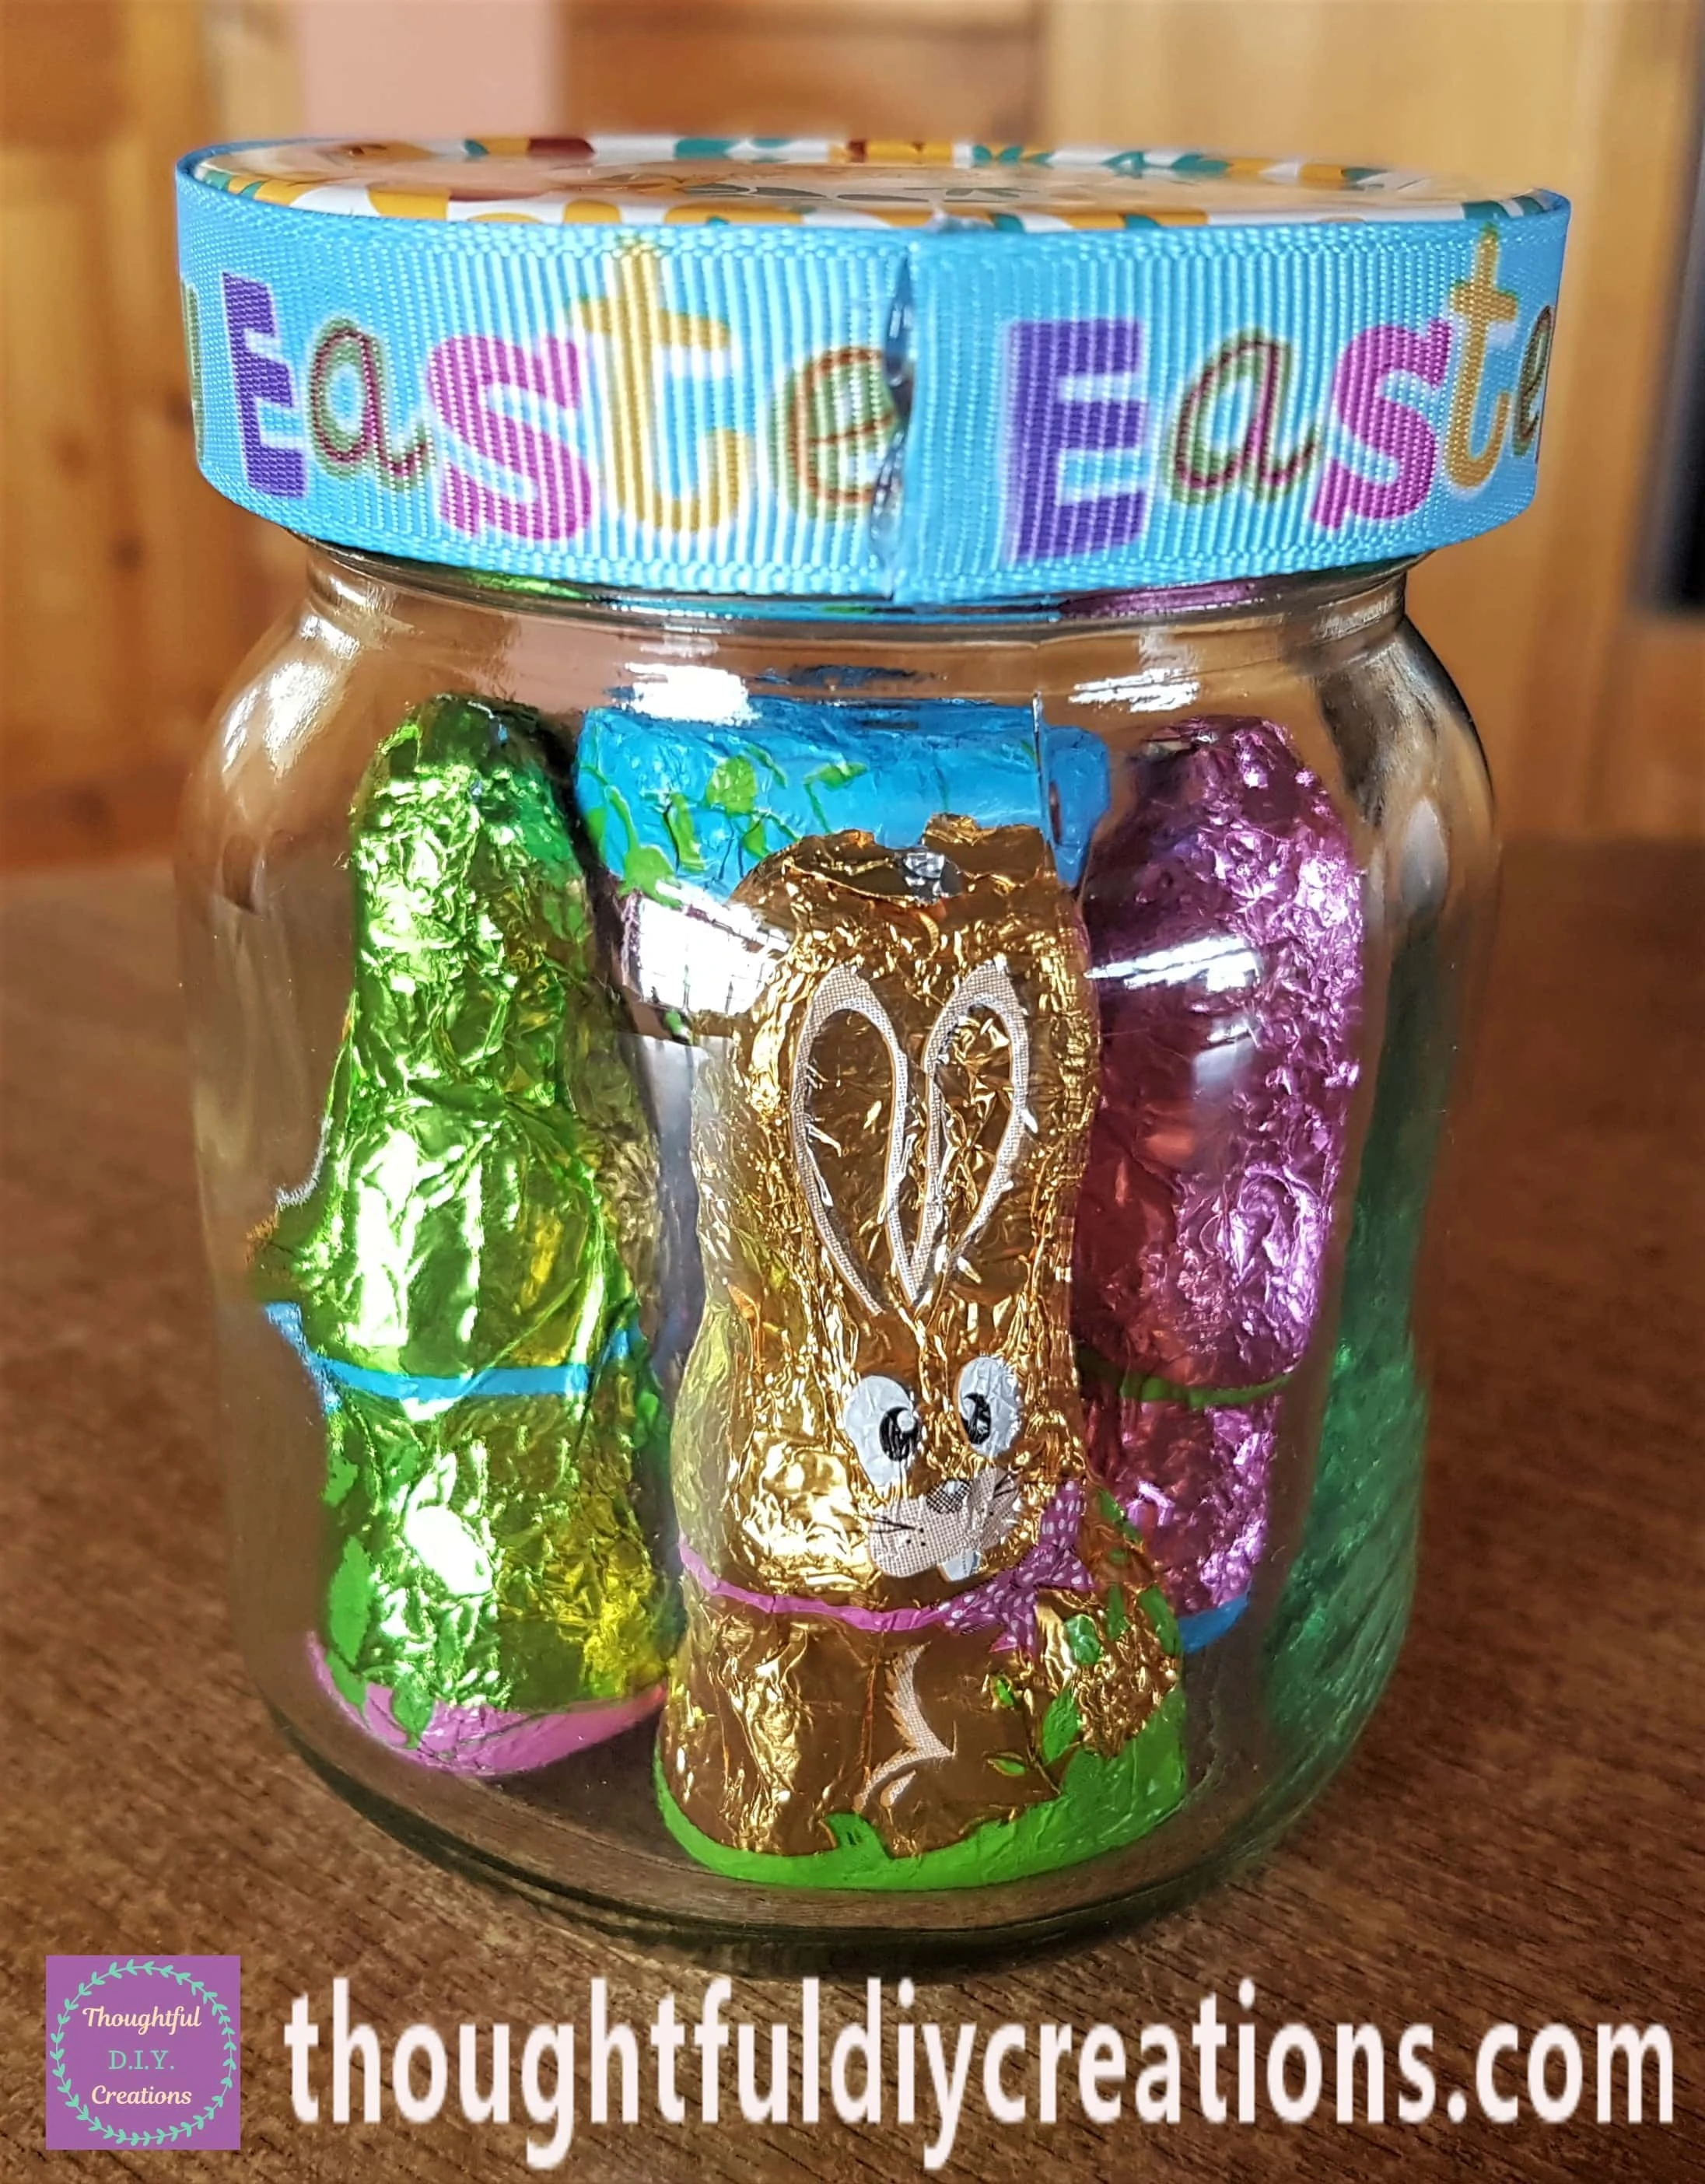
I bought a Pack of Chocolate Easter Bunny Figures in my local LIDL Store.
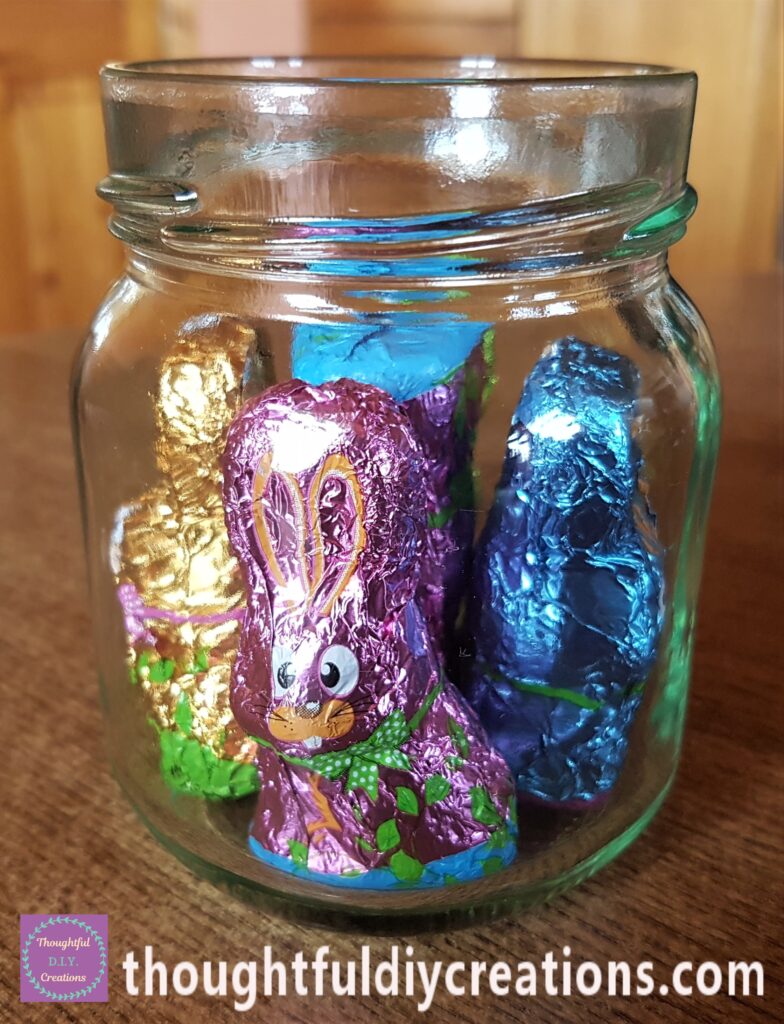
I put 4 of the Easter bunnies standing up-right around the Jar and one Easter Bunny upside down in the center of the Jar to fill it (it wouldn’t fit the other way.)
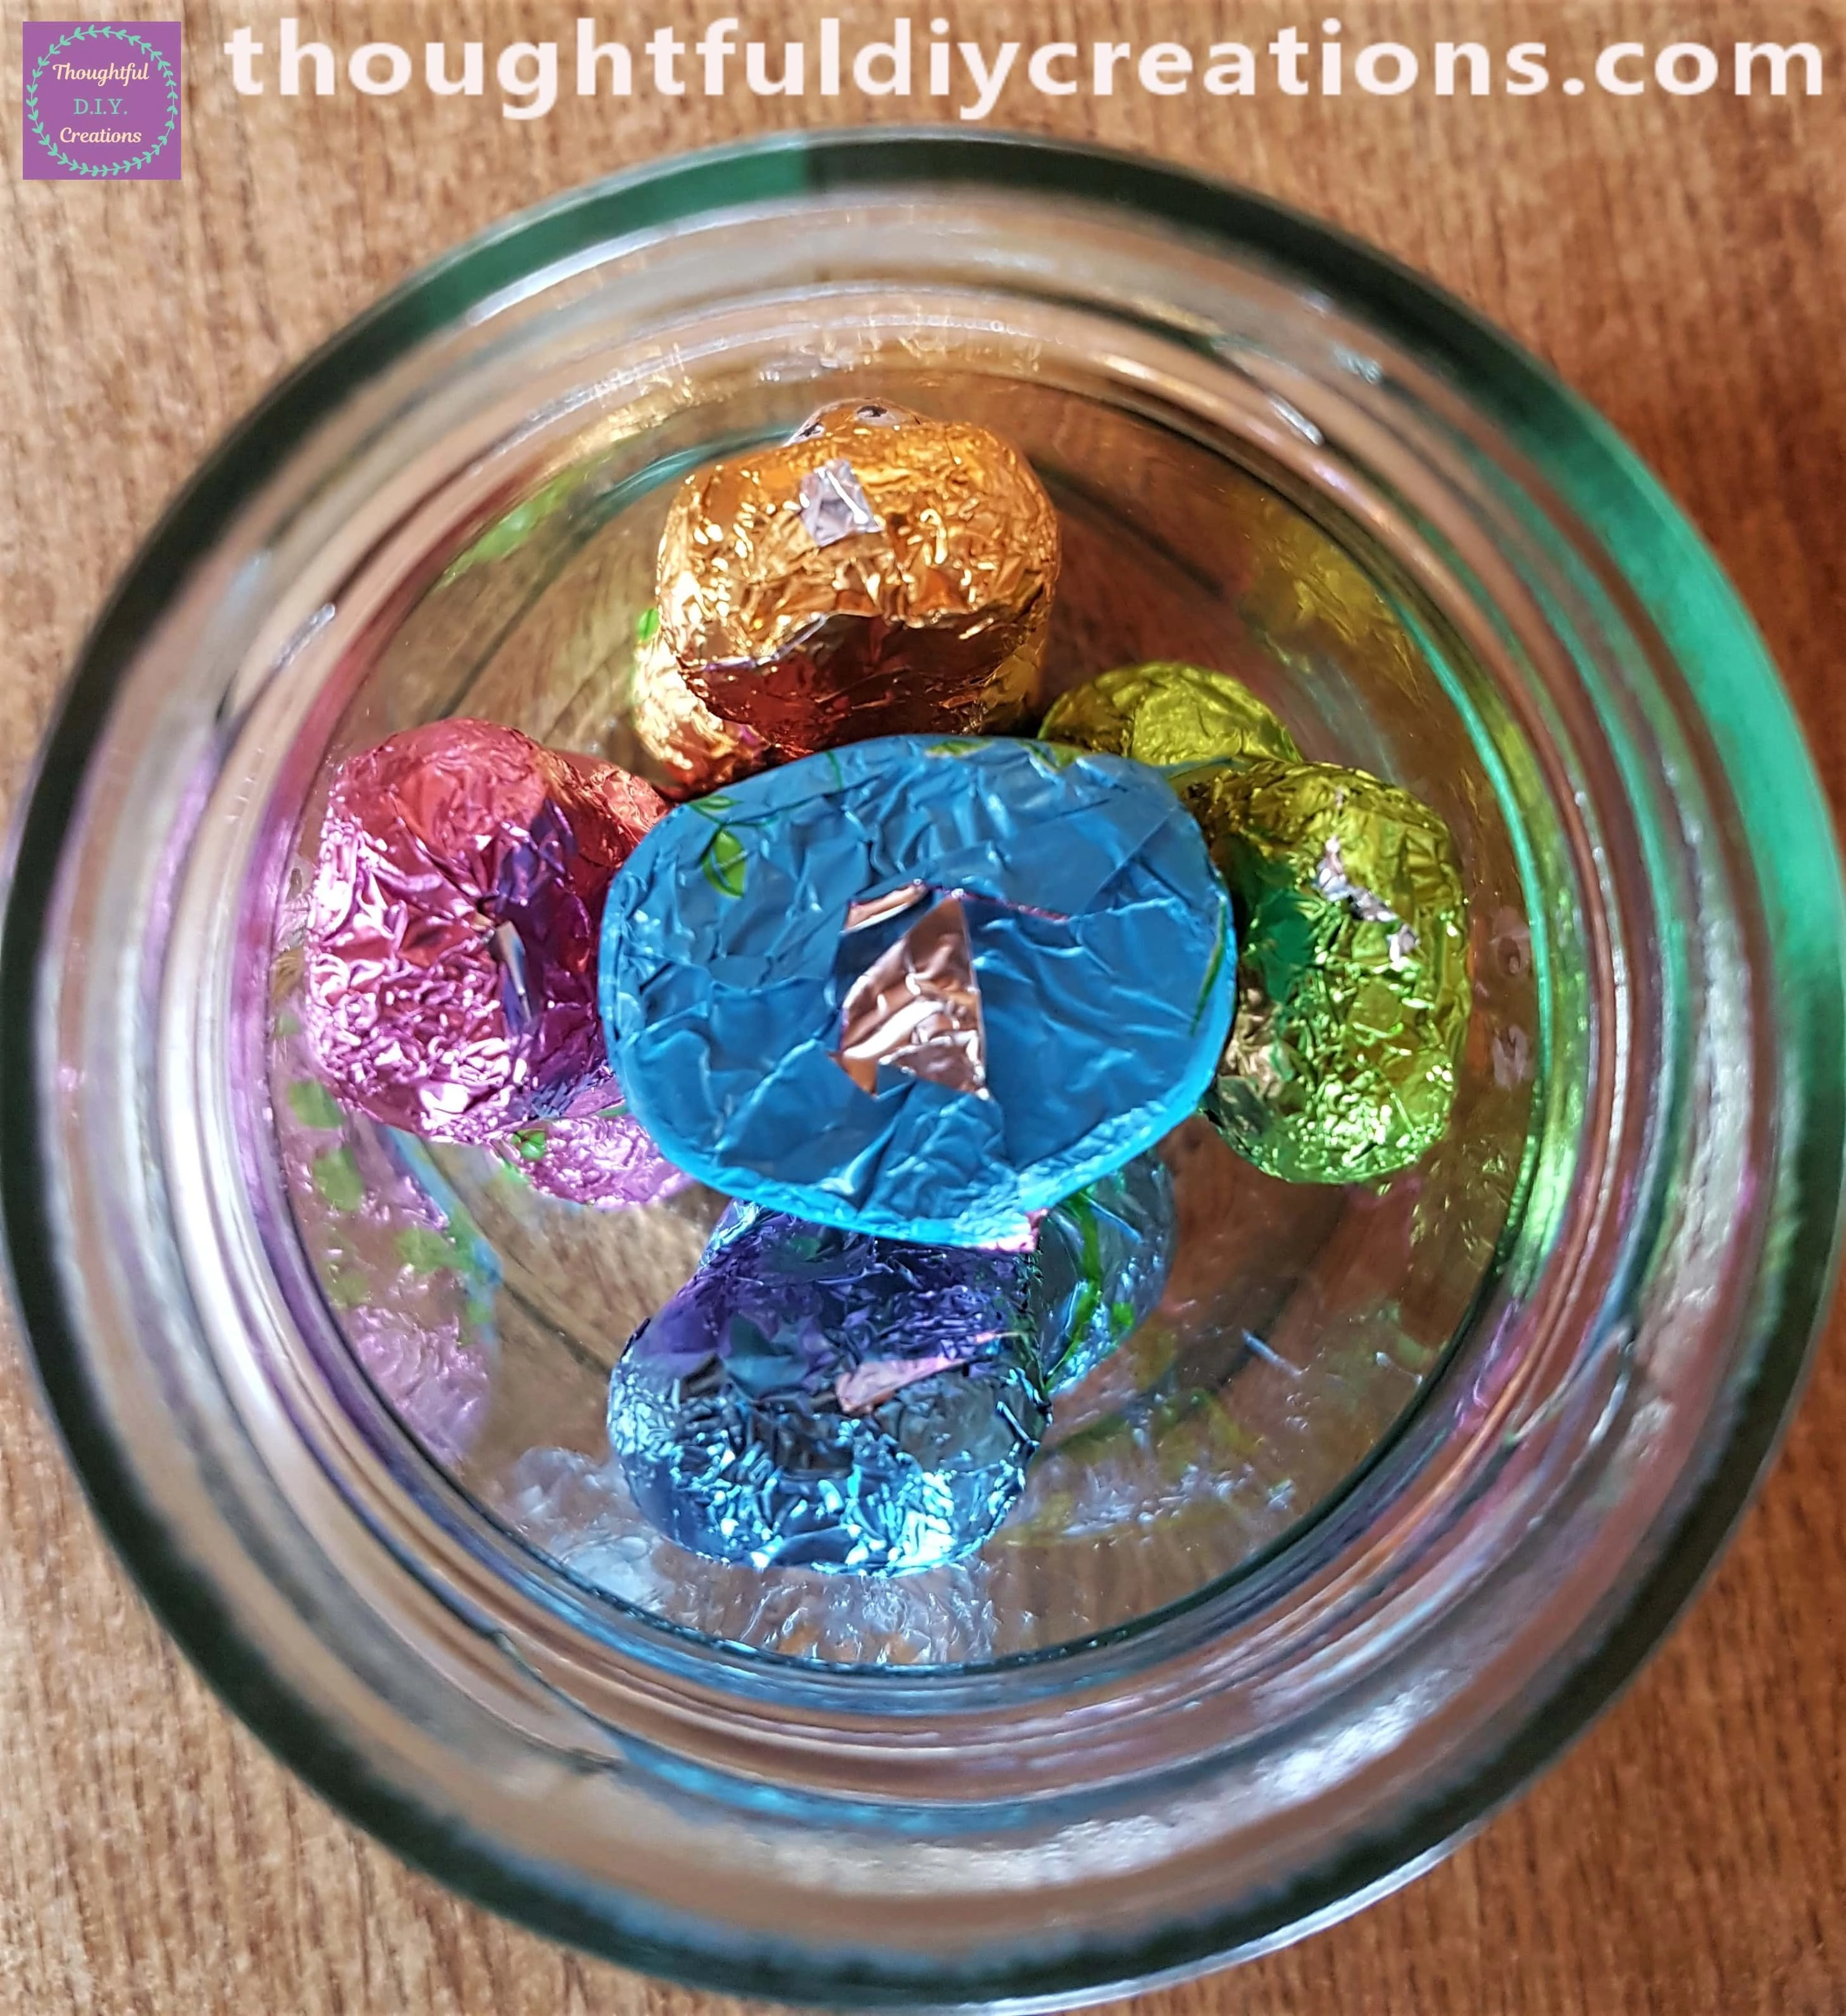
The View looking down into the Jar of the Chocolate Bunnies.
I put the Lid back on the Jar.
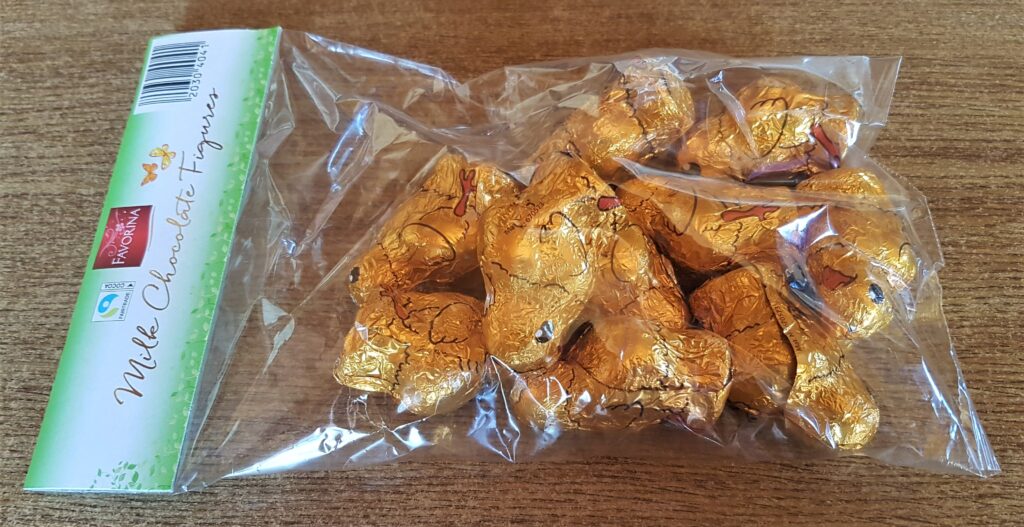
I also bought a Pack of Chocolate Easter Chick Figures.
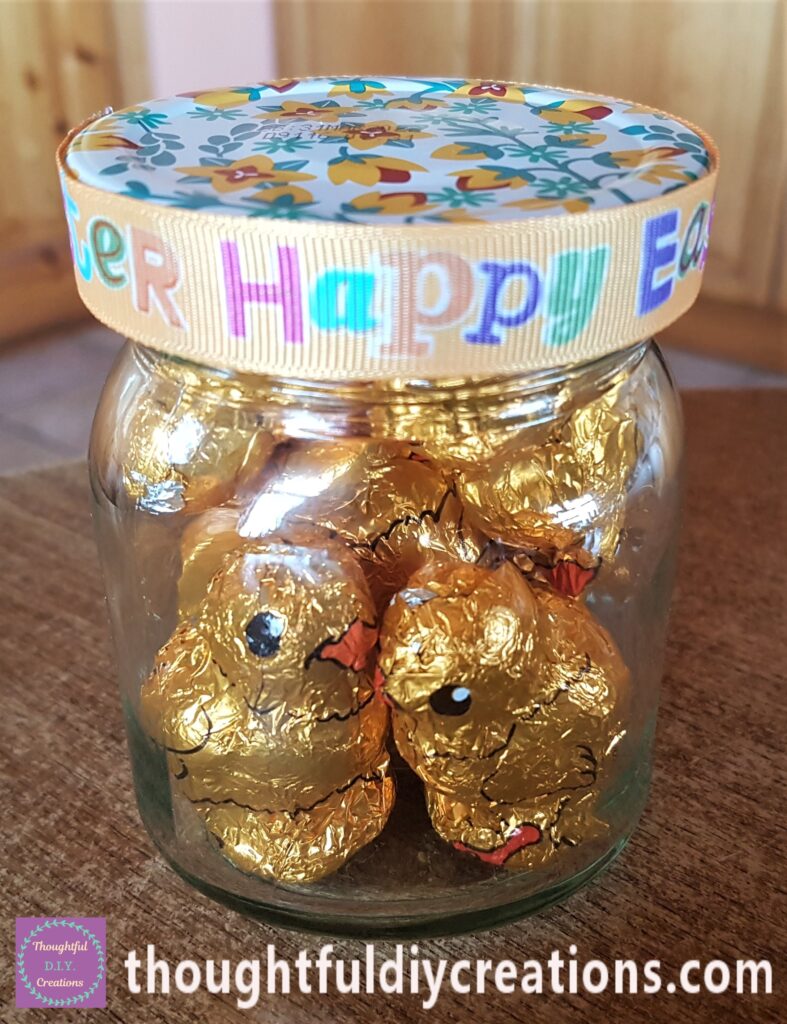
I put some Chicks standing up-right around the inside of the Jar and filled the Jar randomly with the other Chicks.
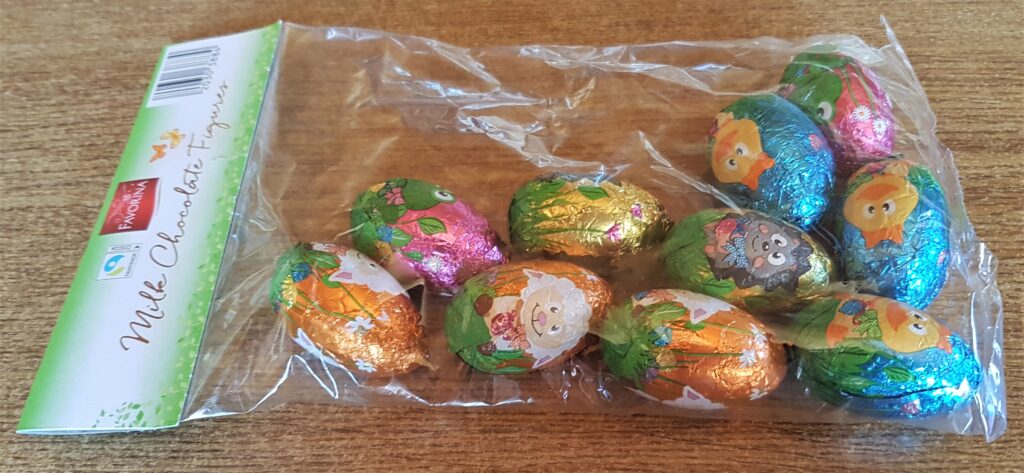
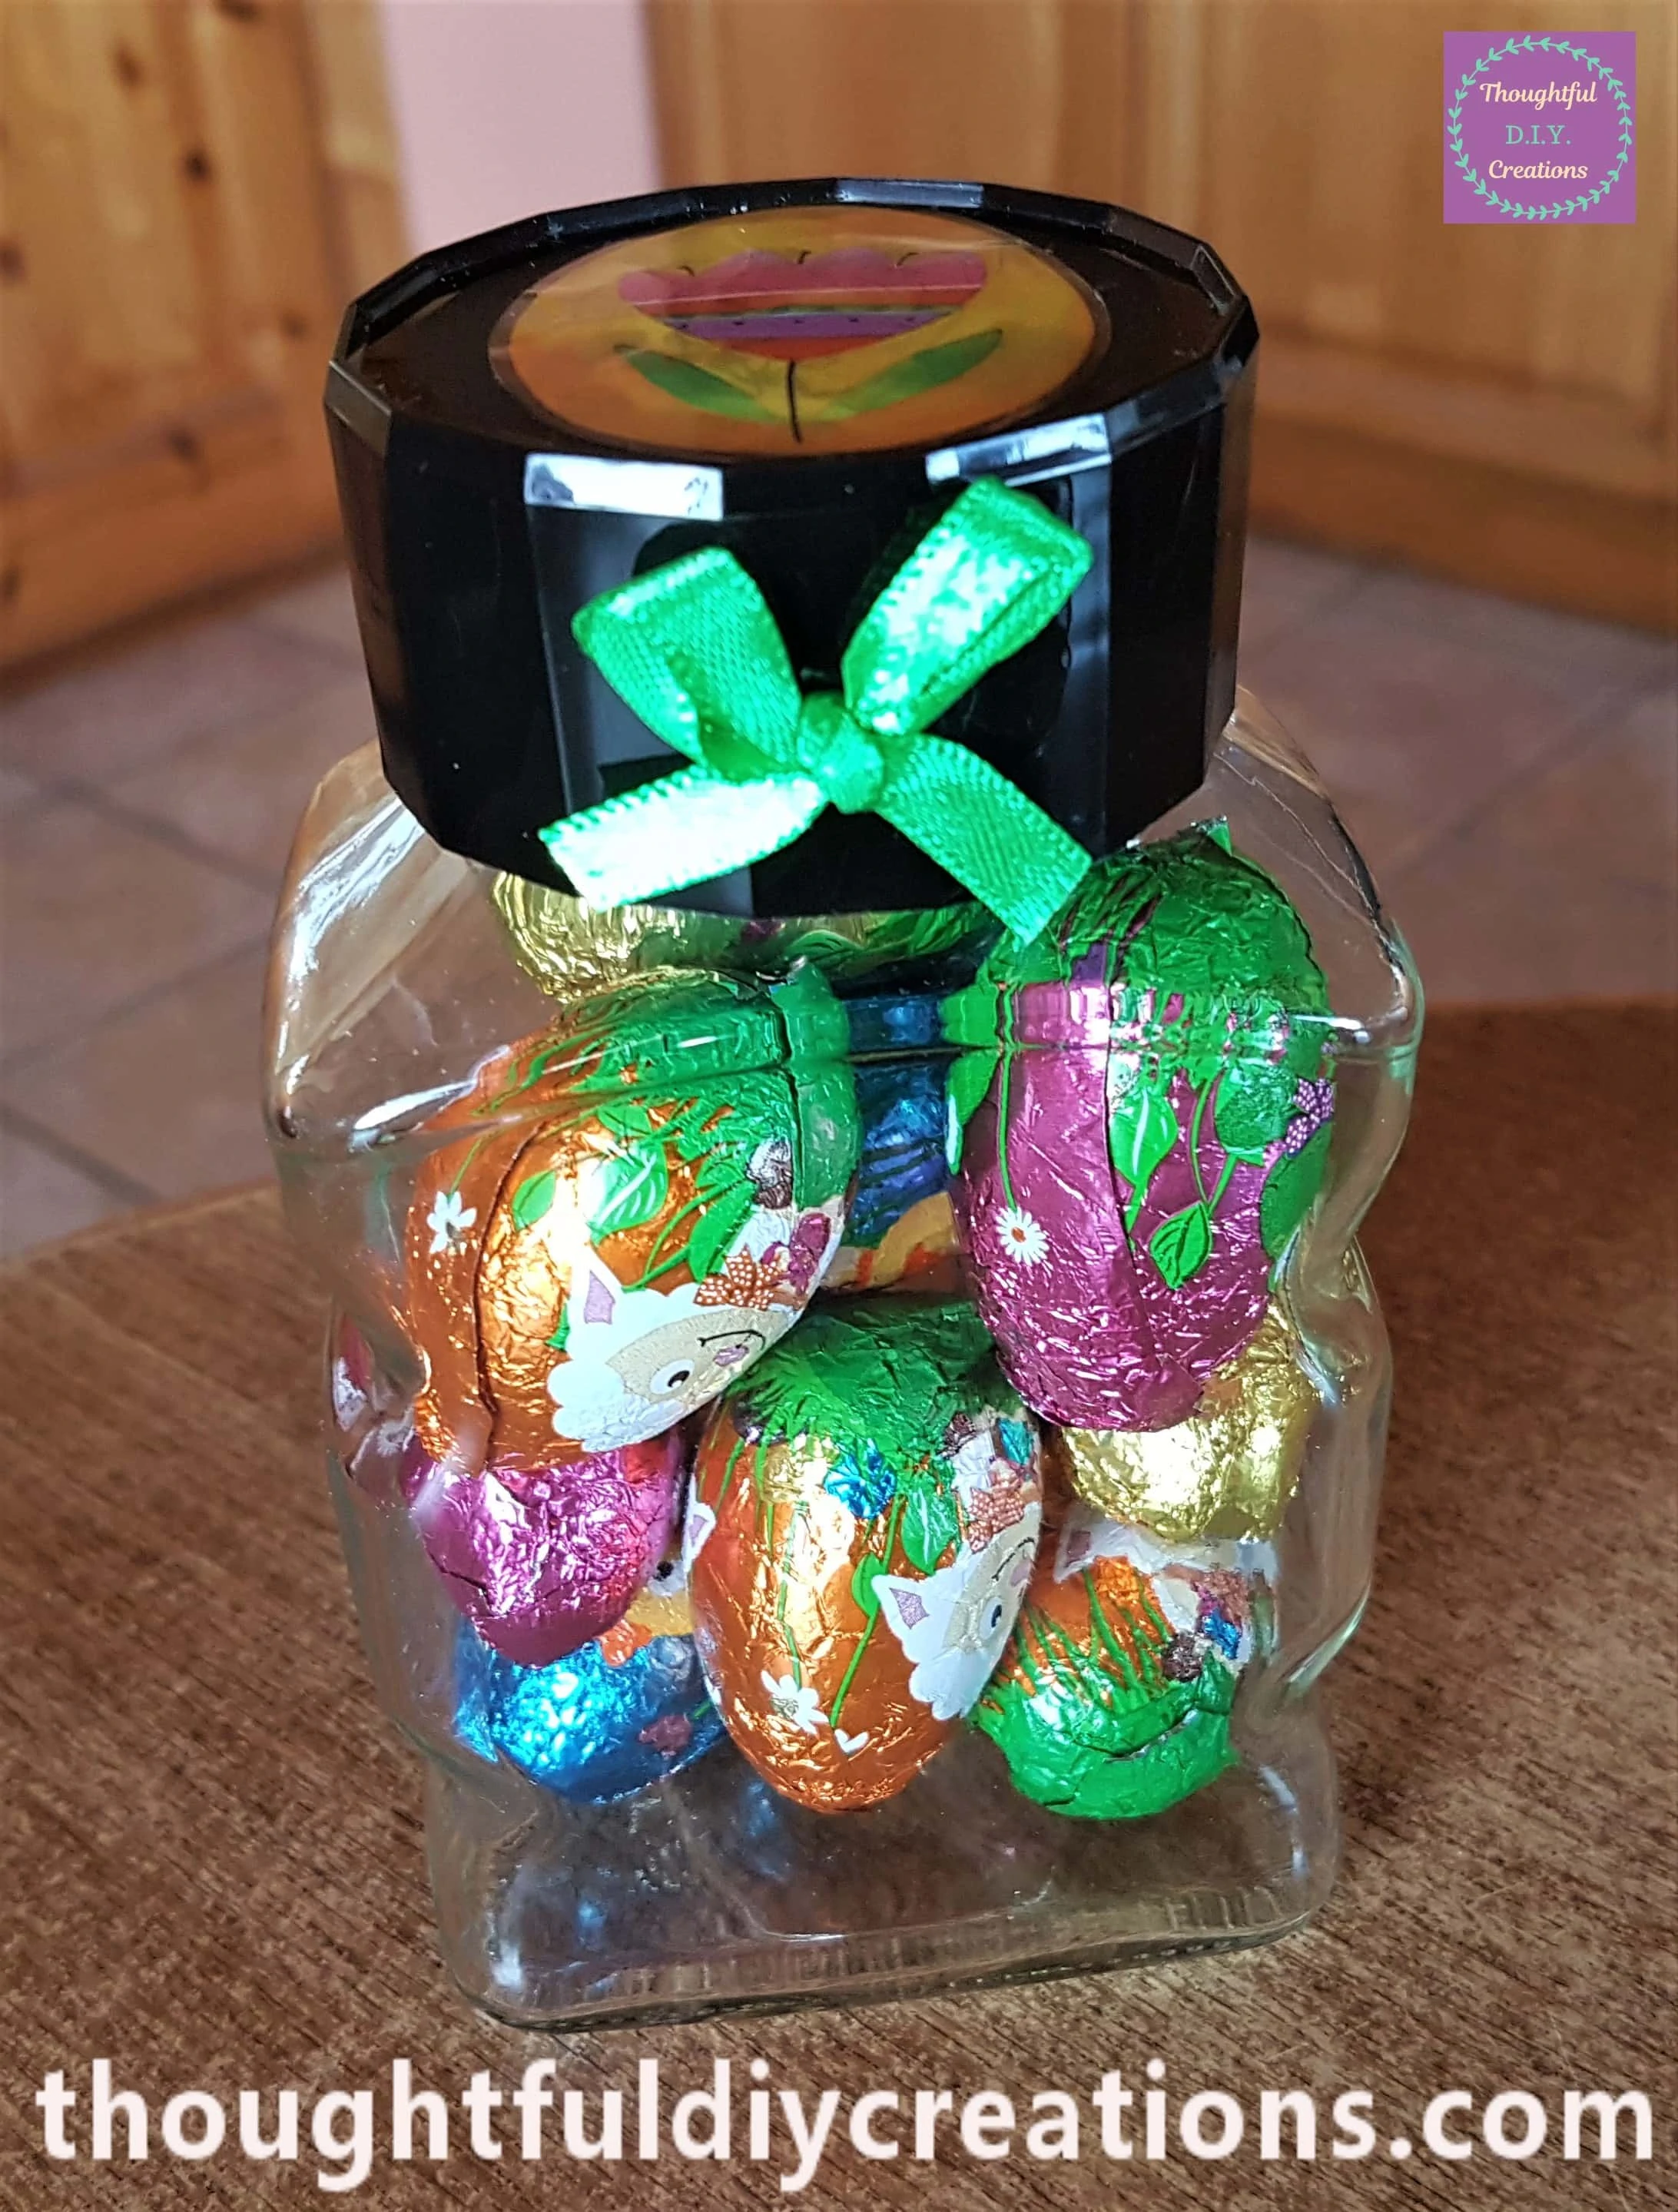
I had a Pack of Chocolate Easter Eggs.
I placed them inside the bigger Jar.
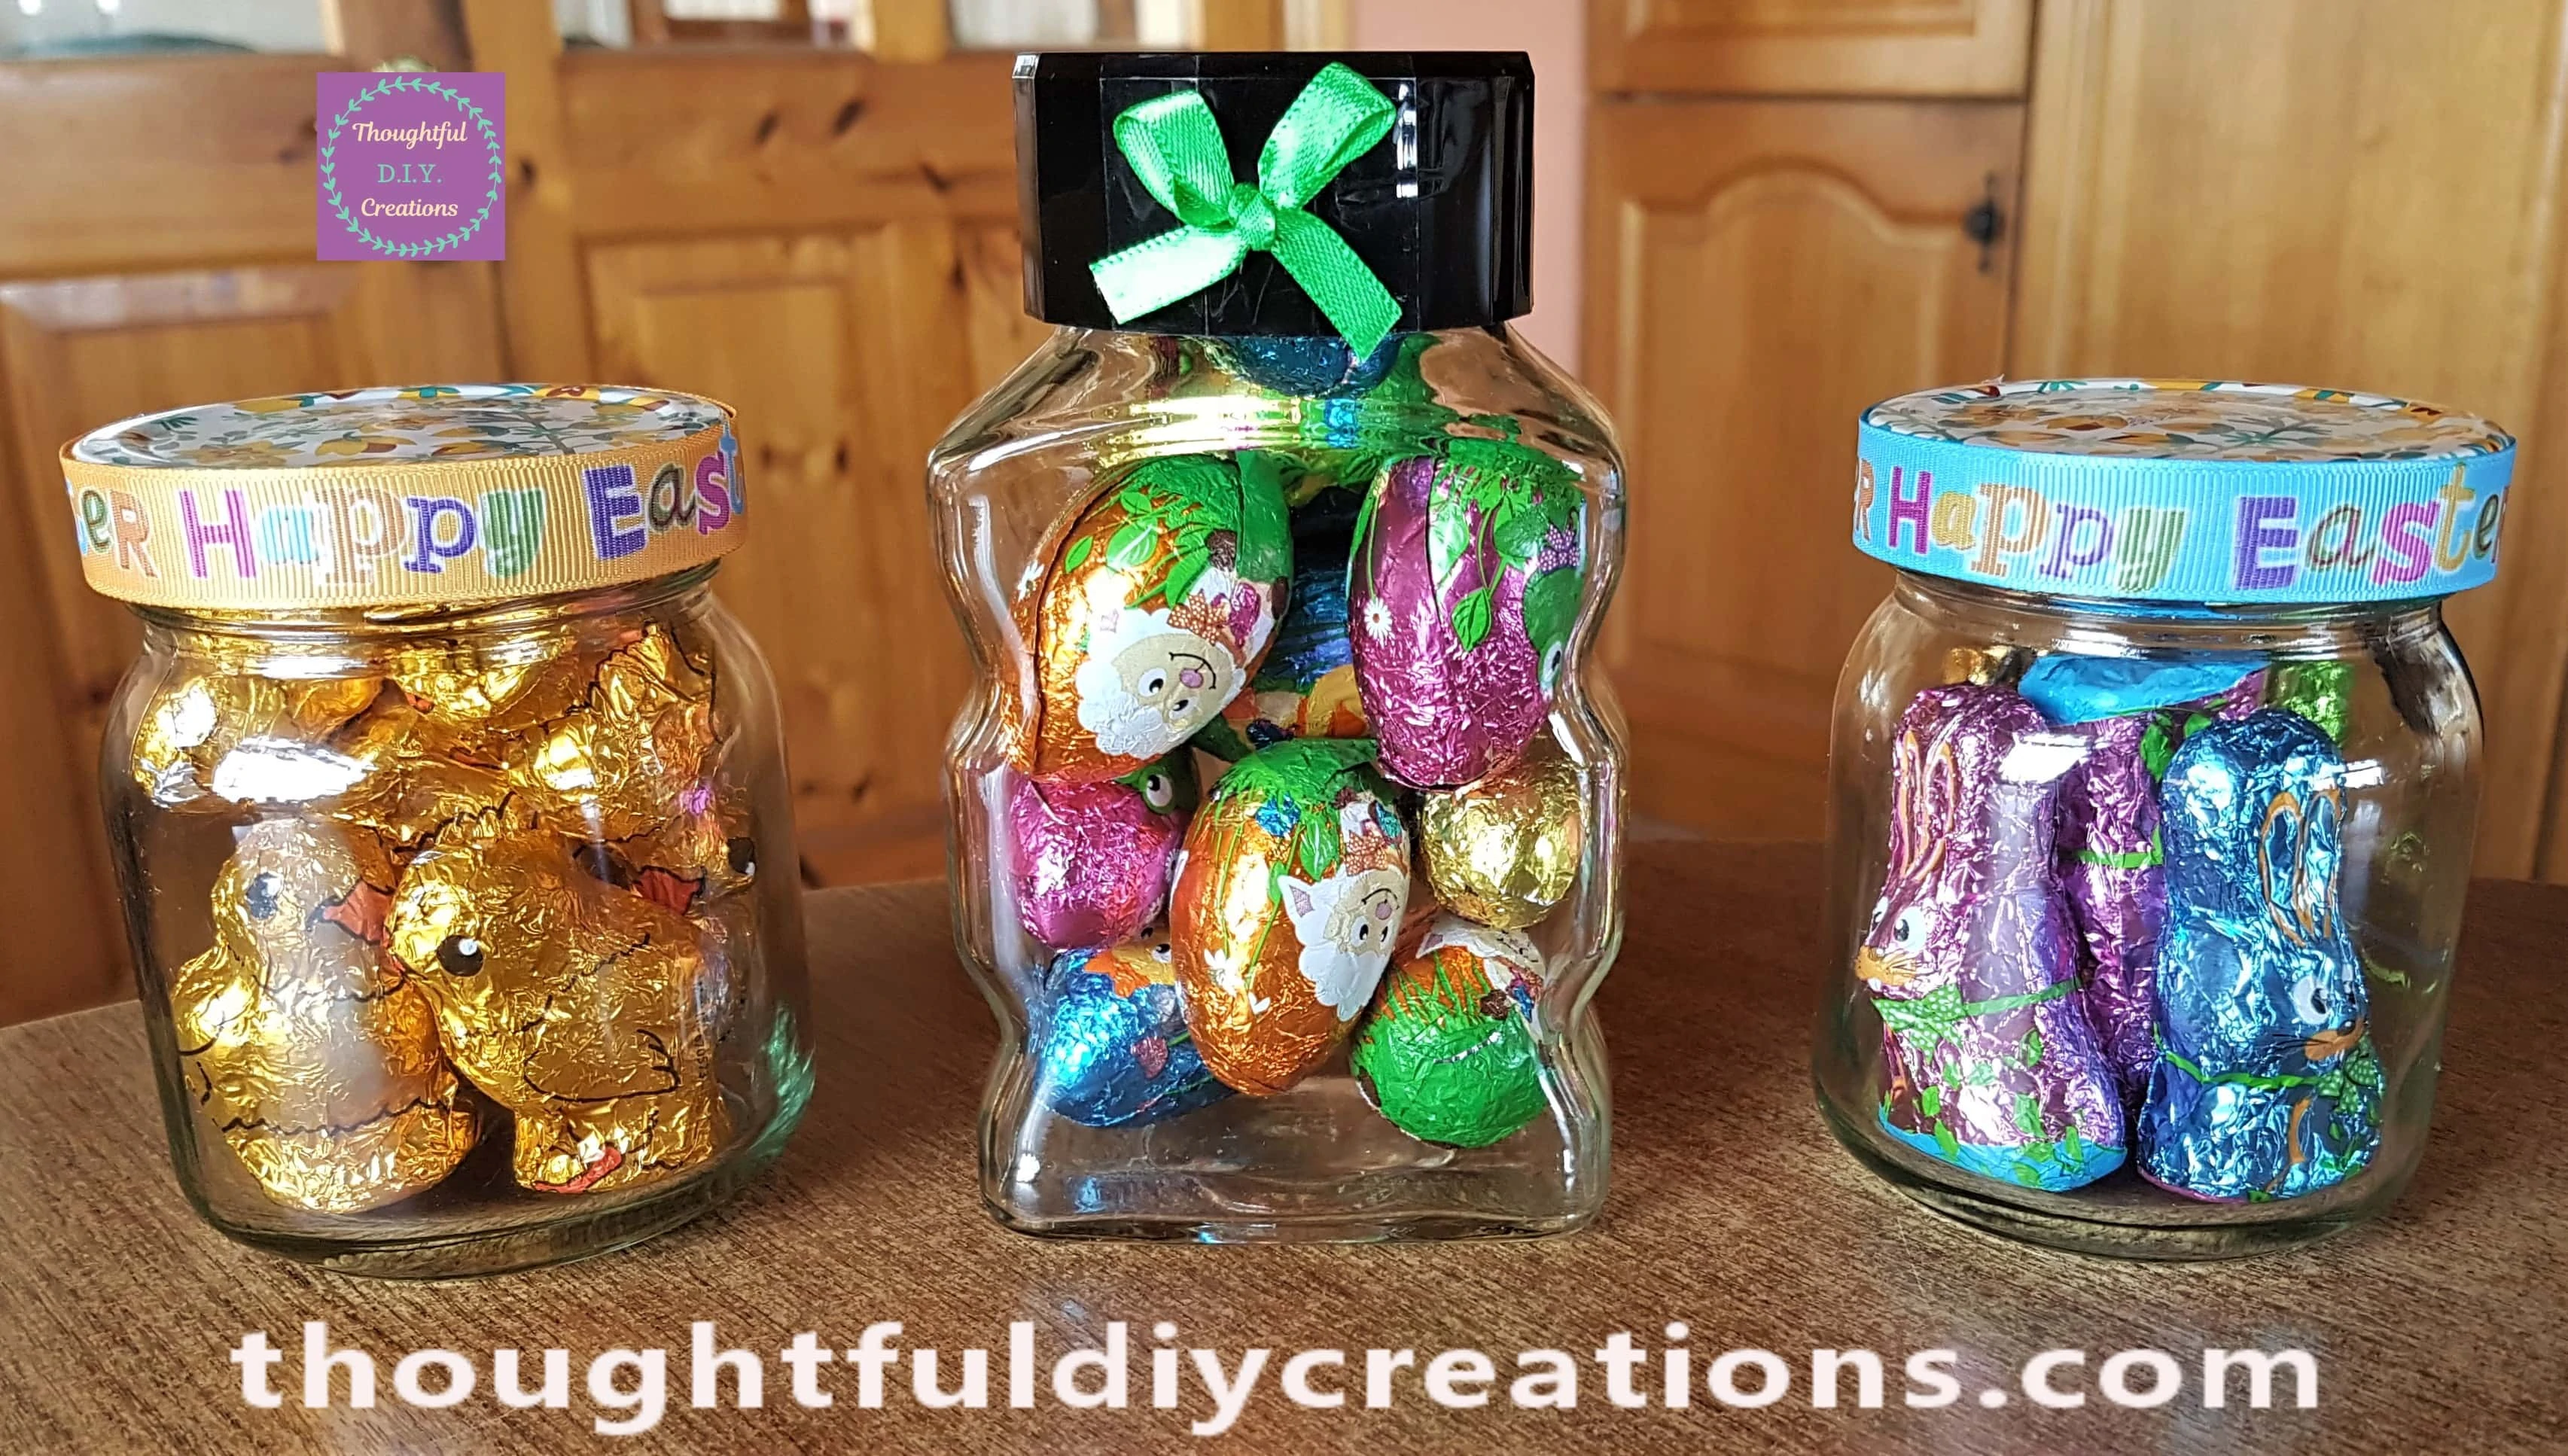
The 3 Jars filled with Chocolate Easter treats.
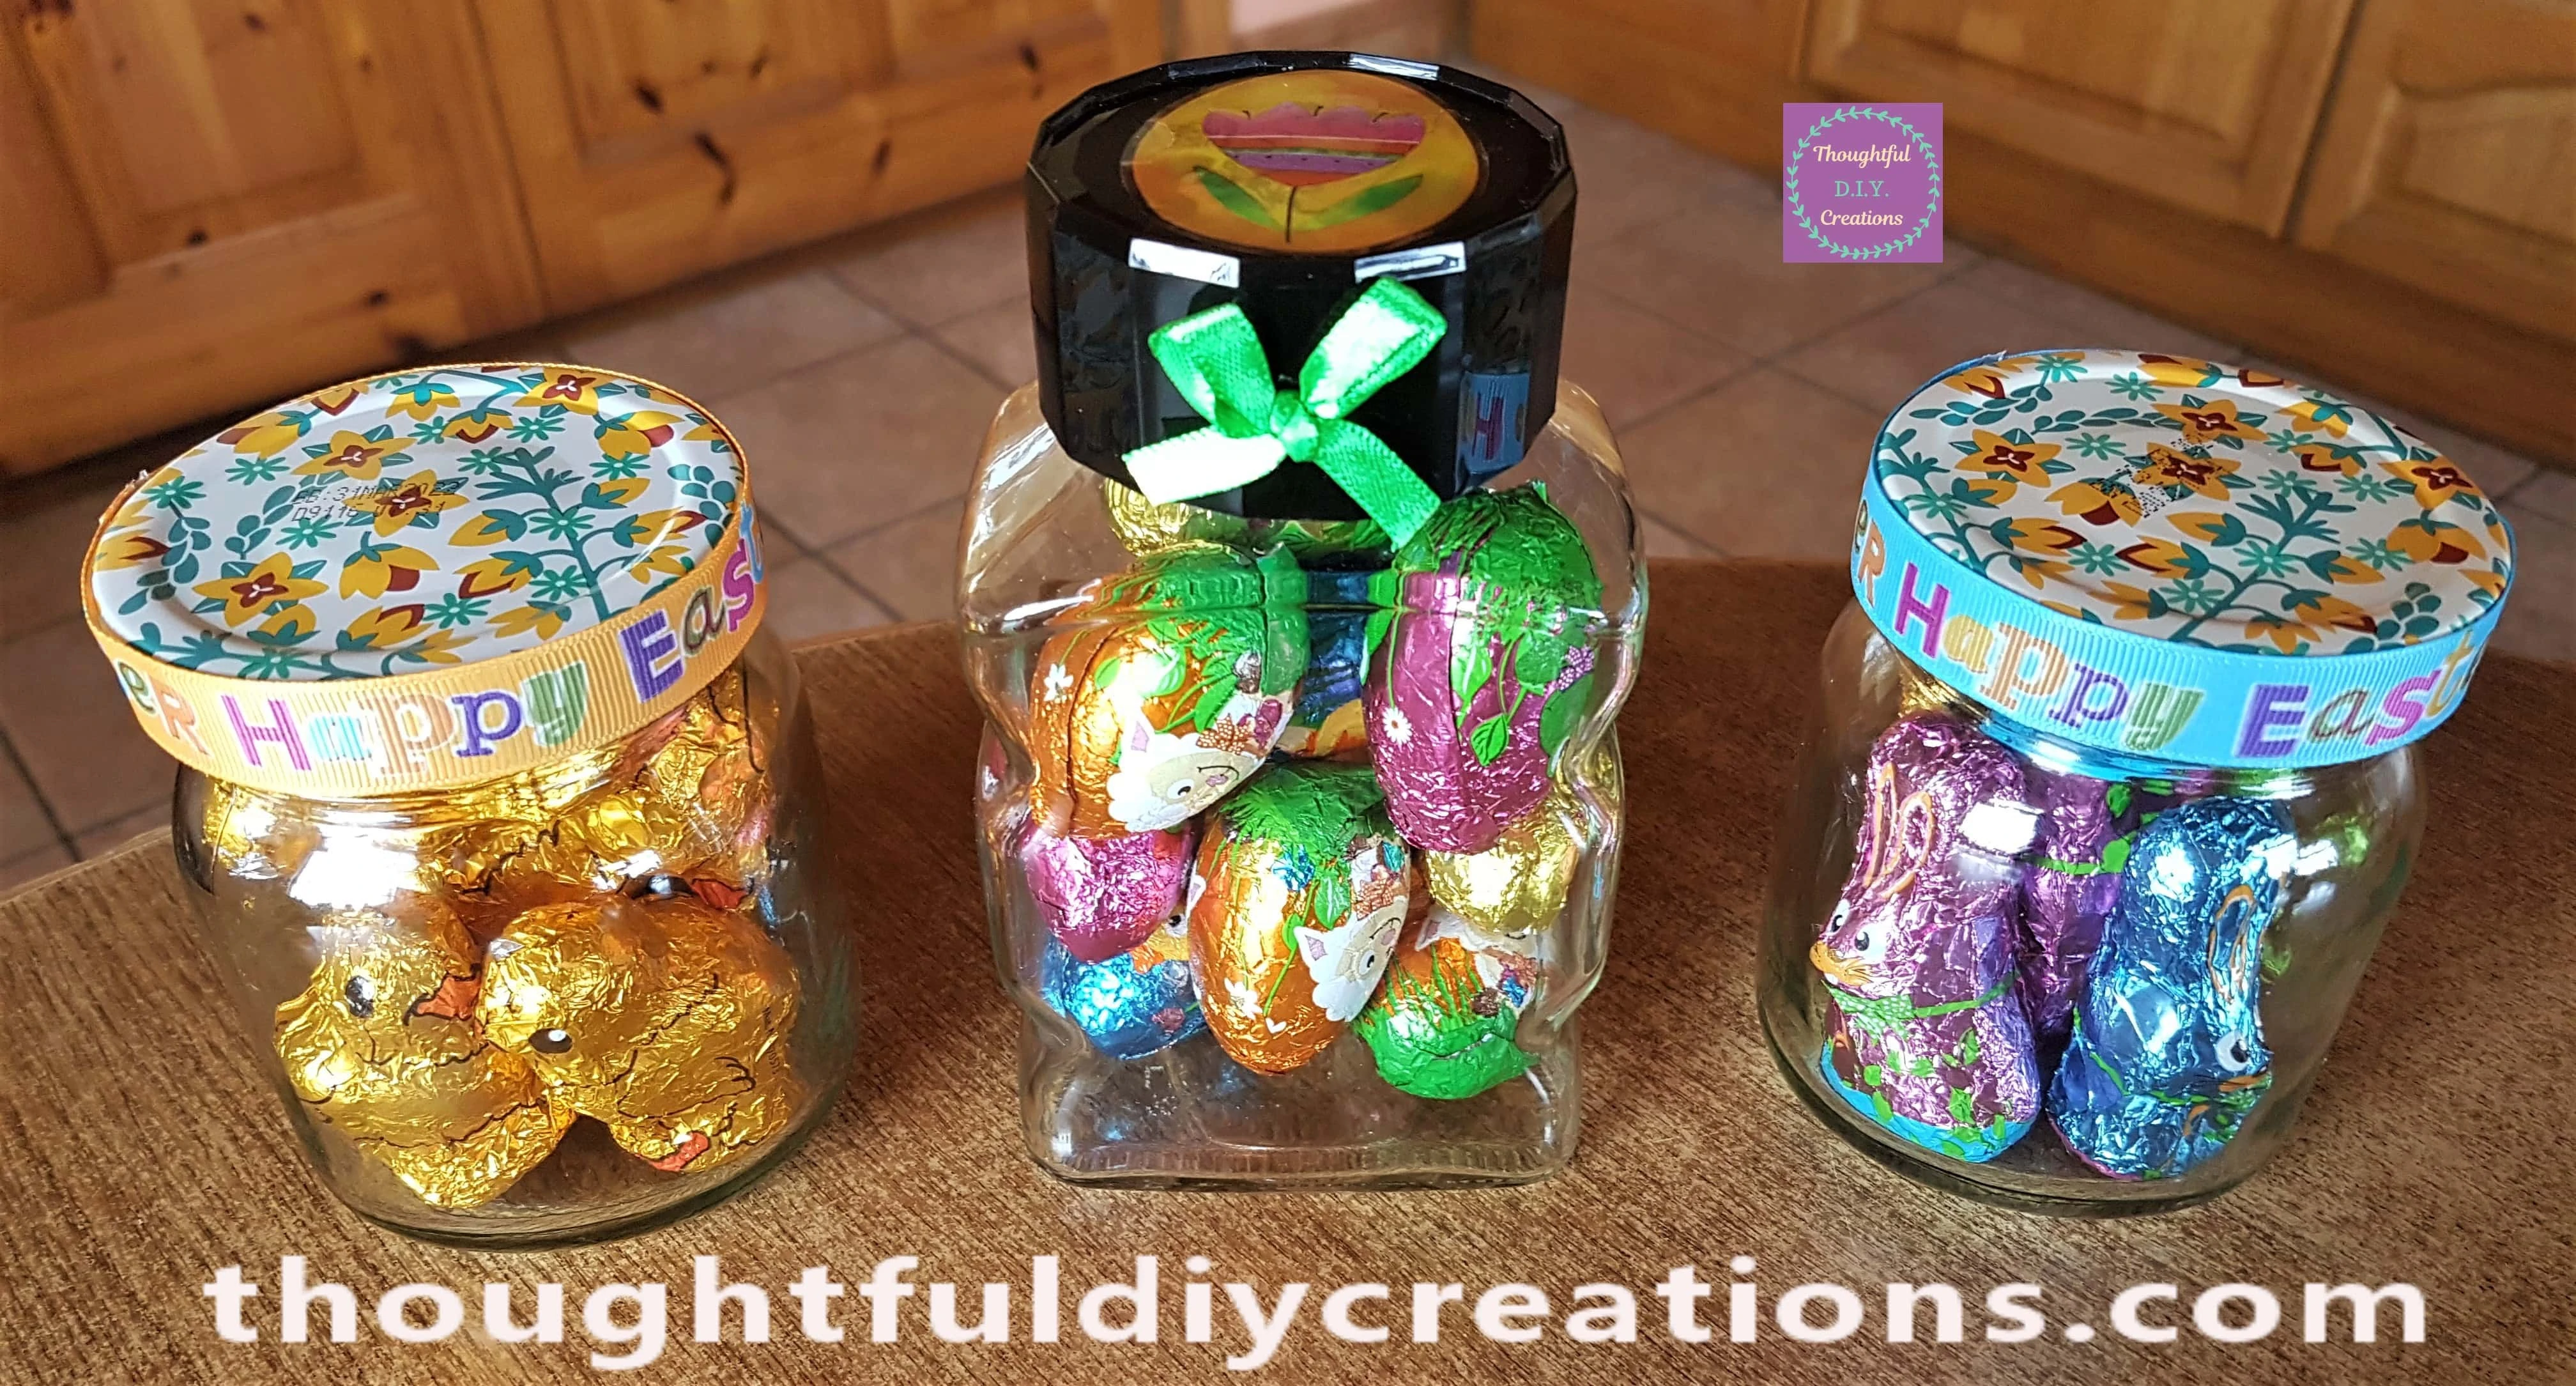
A Closer look at the Jars.
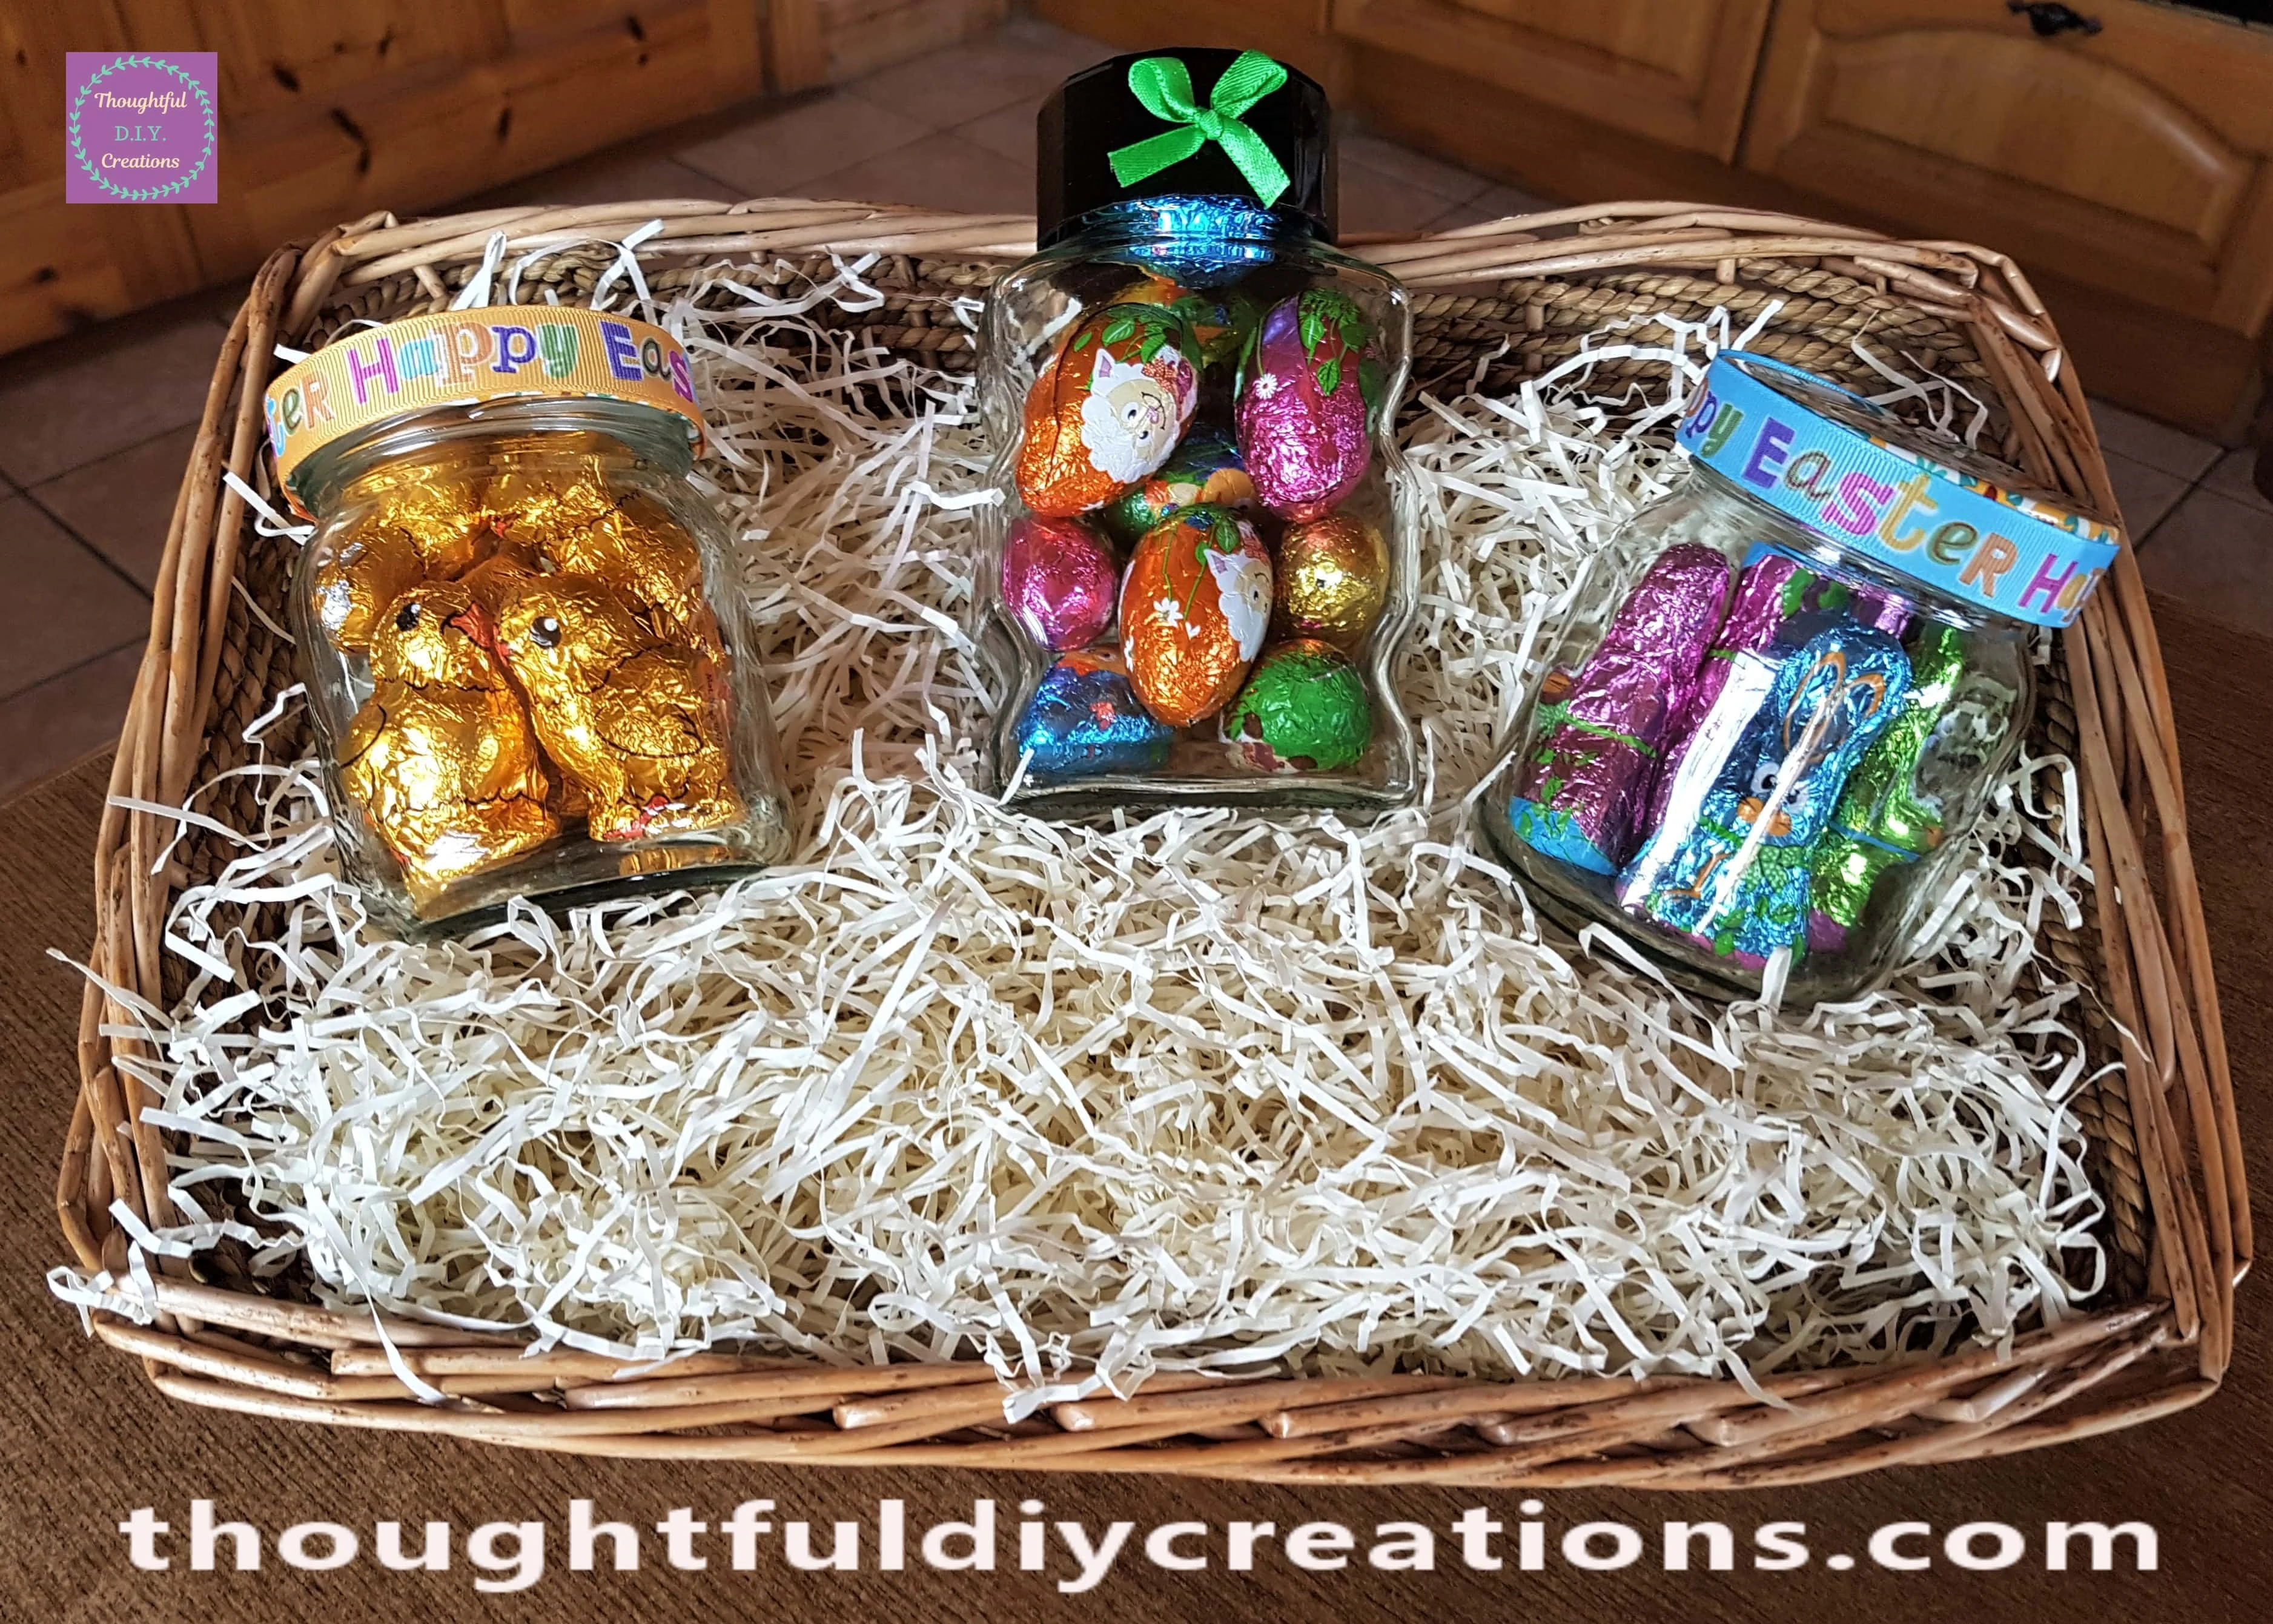
Decorating the Easter Hamper
I placed the Easter Egg Jar in the Center and the smaller Jars each Side of the Easter Hamper.
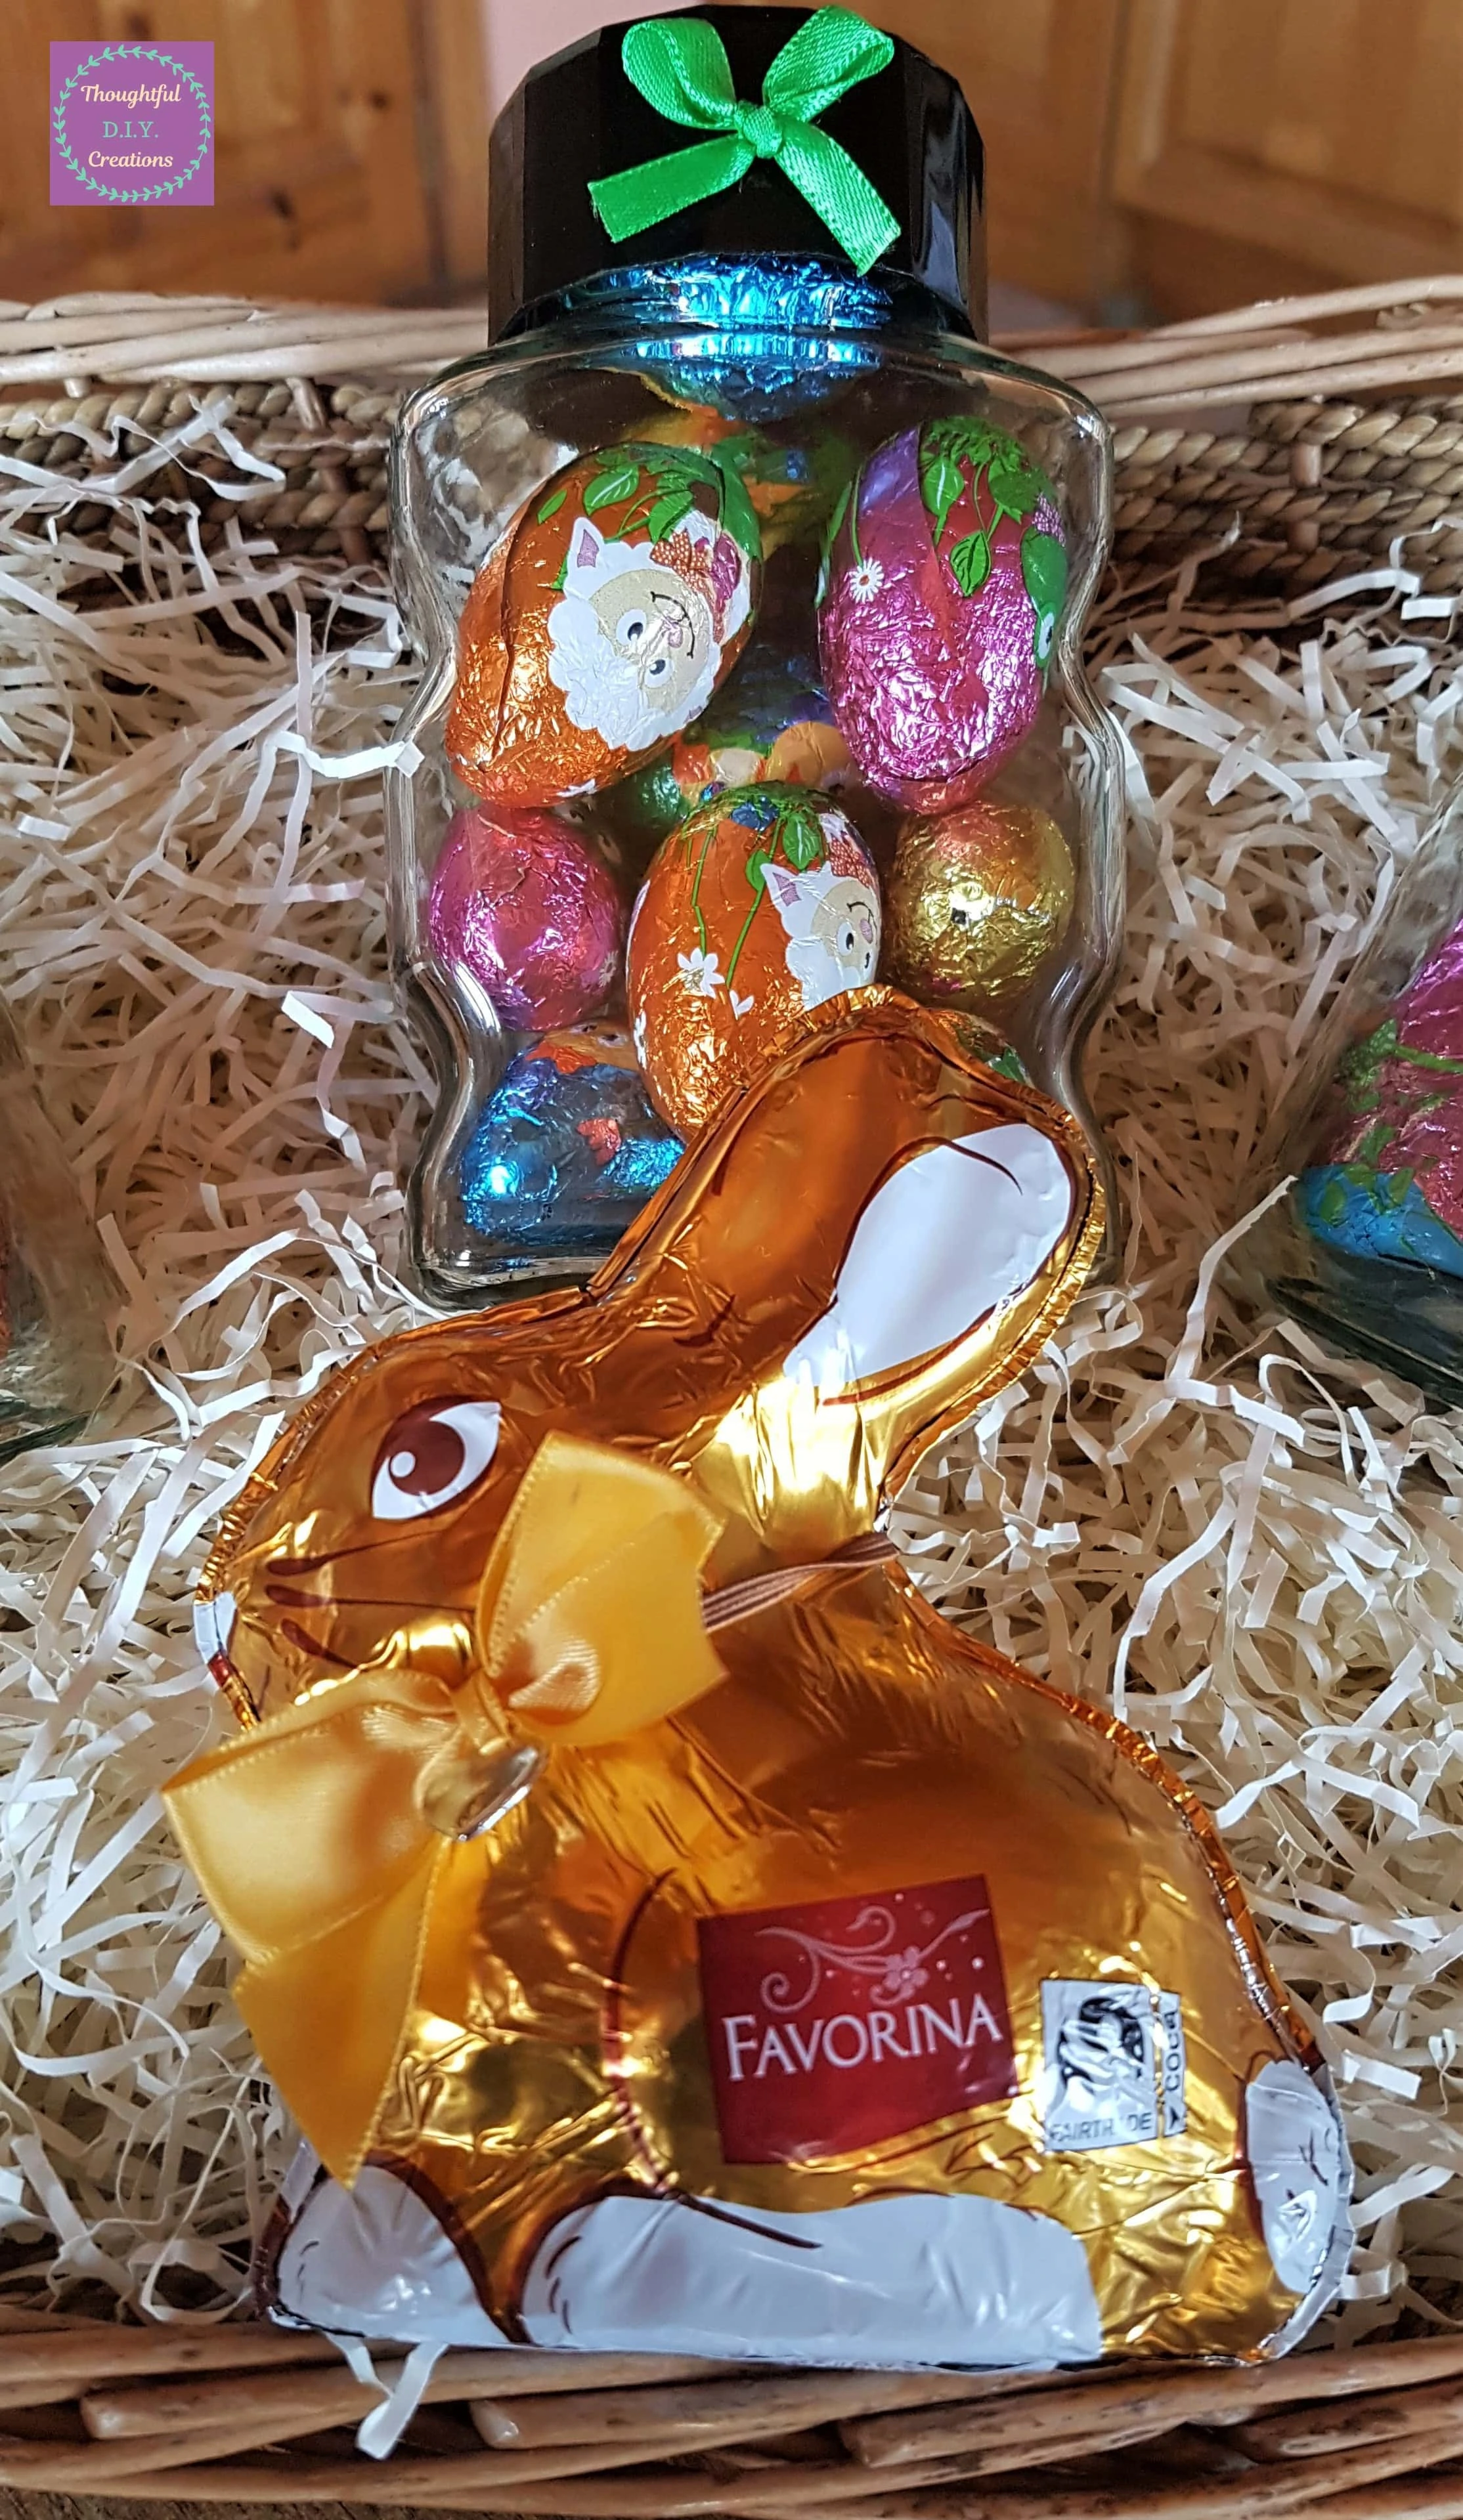
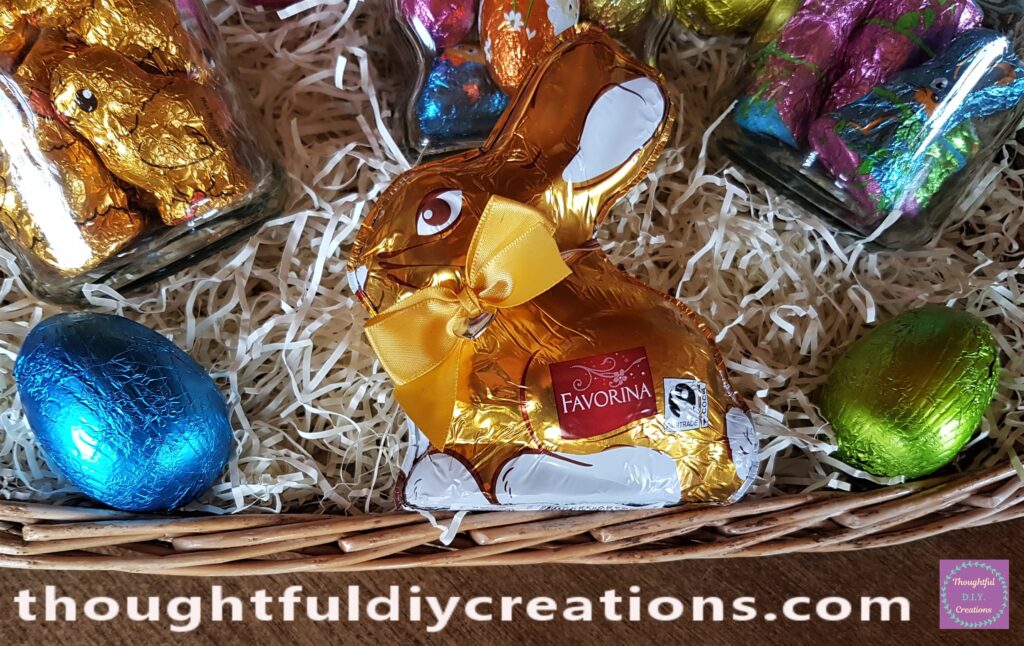
I bought a Gold Chocolate Bunny in LIDL.
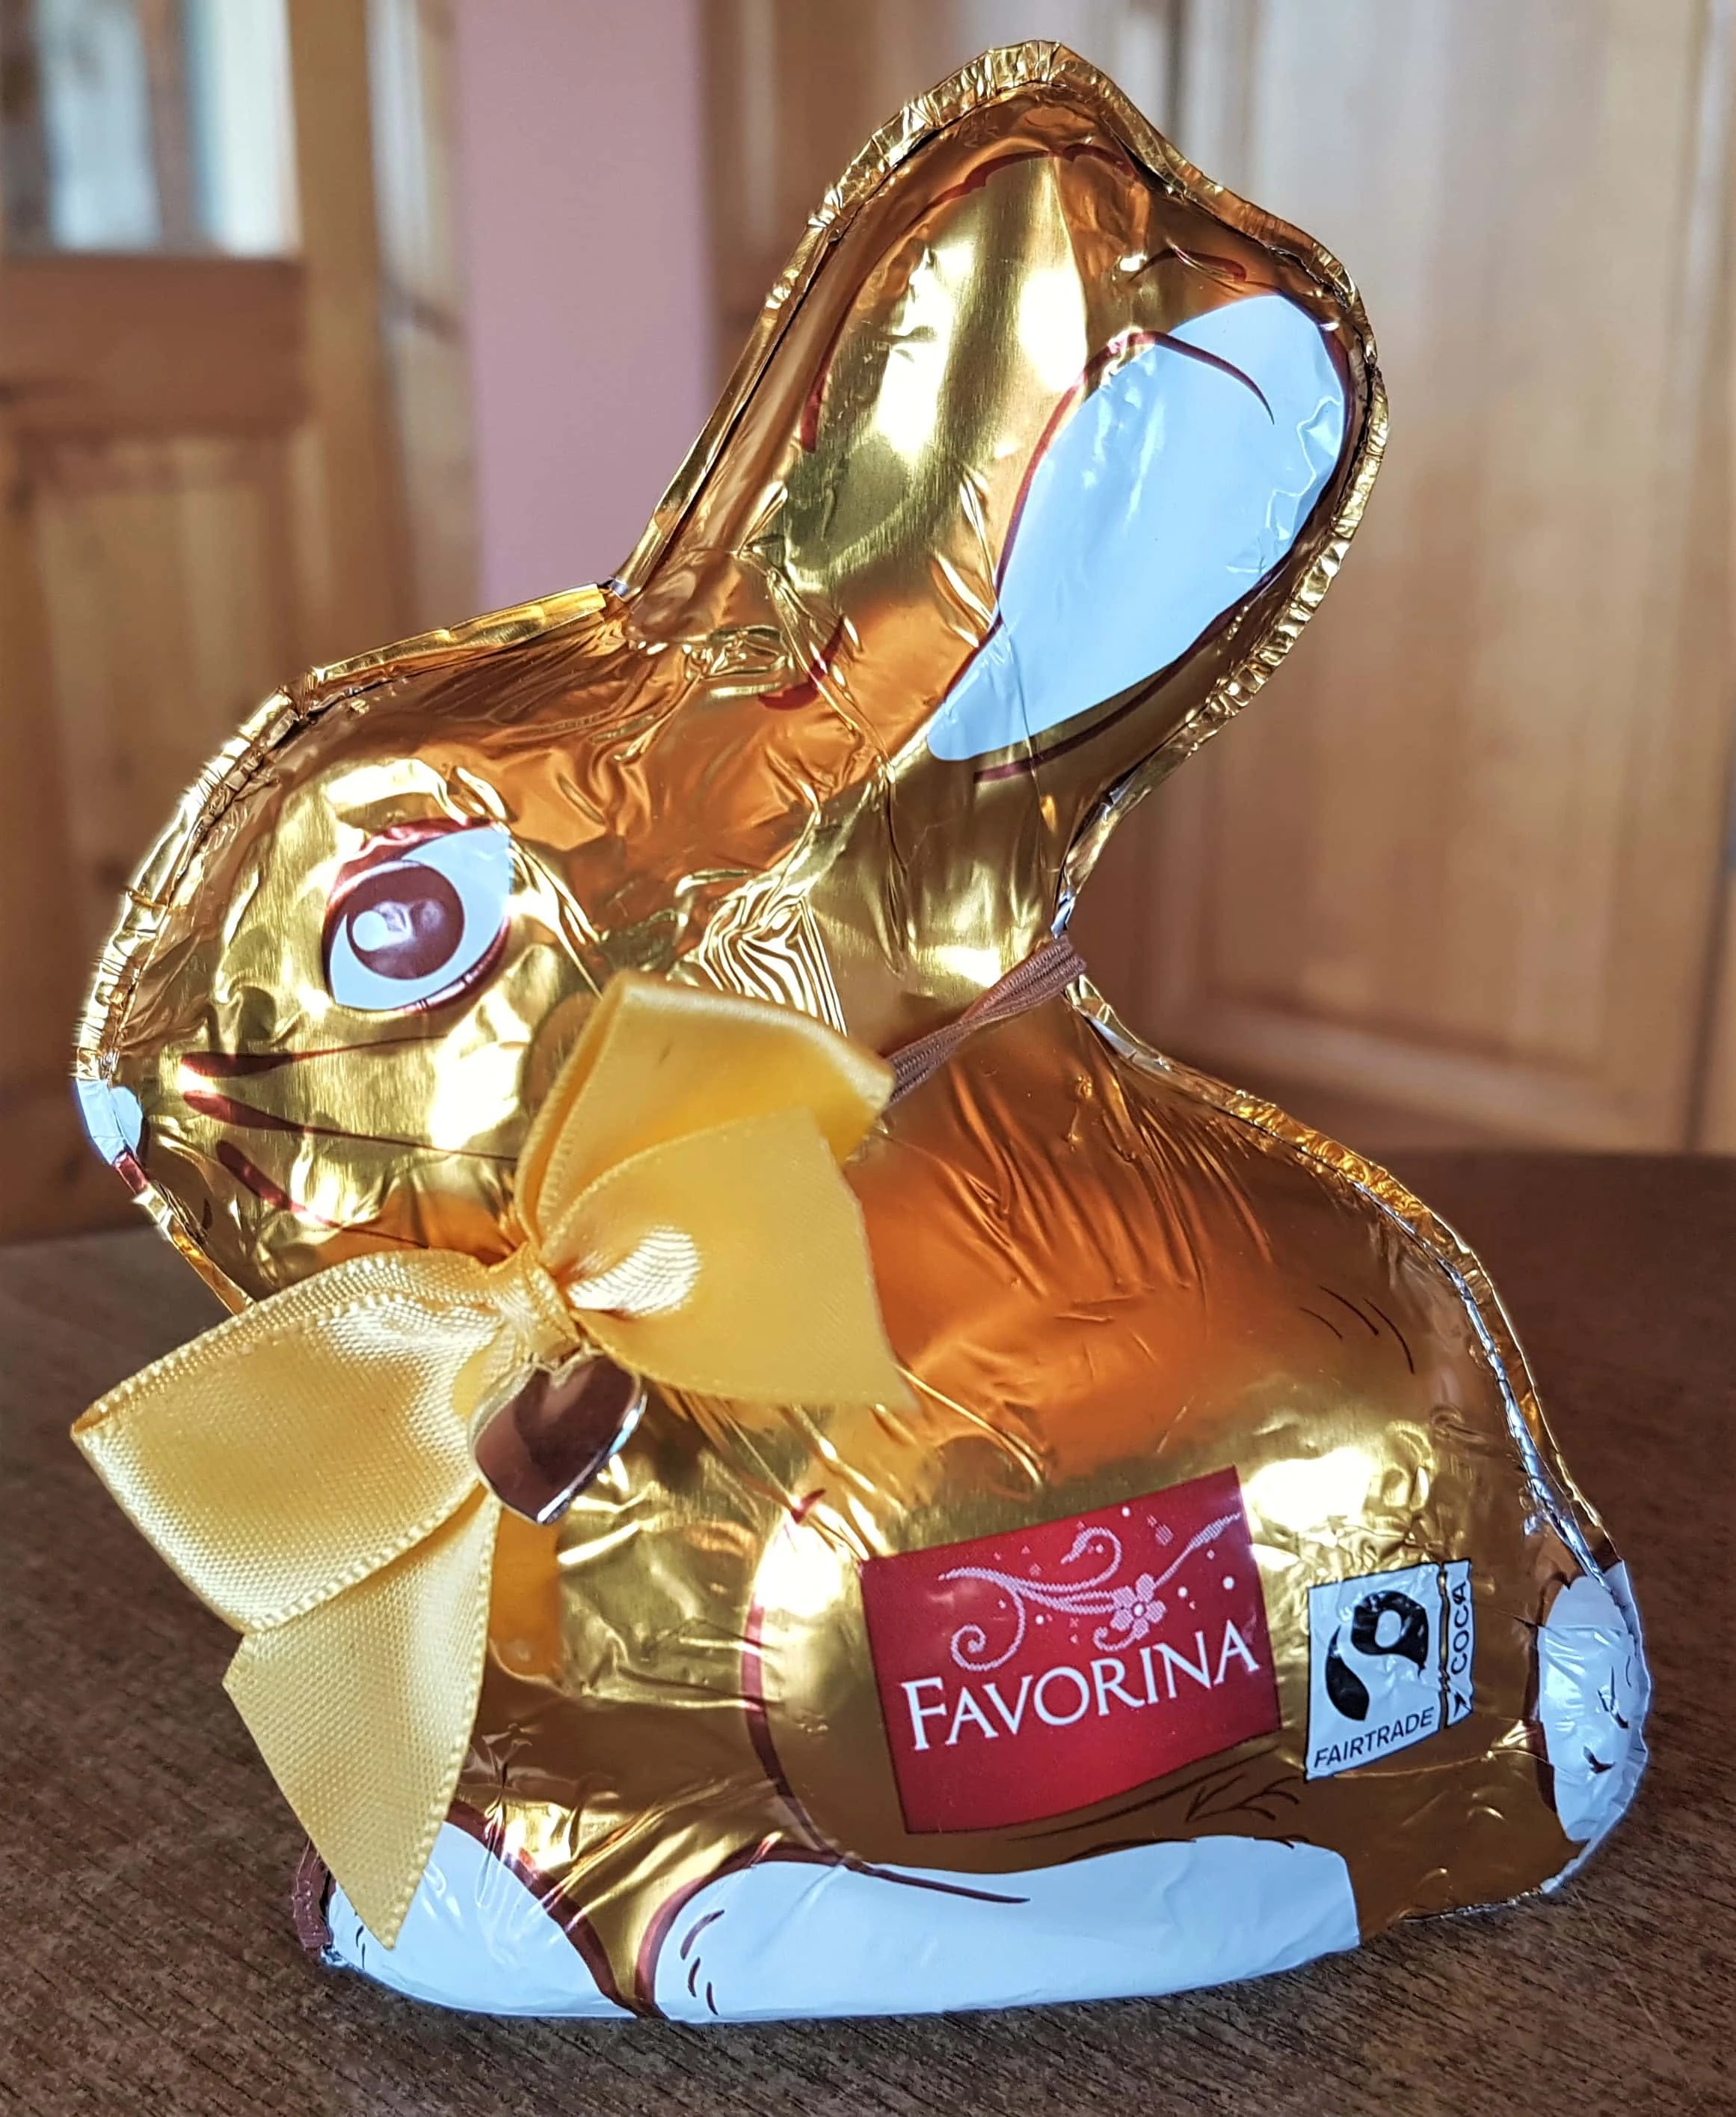
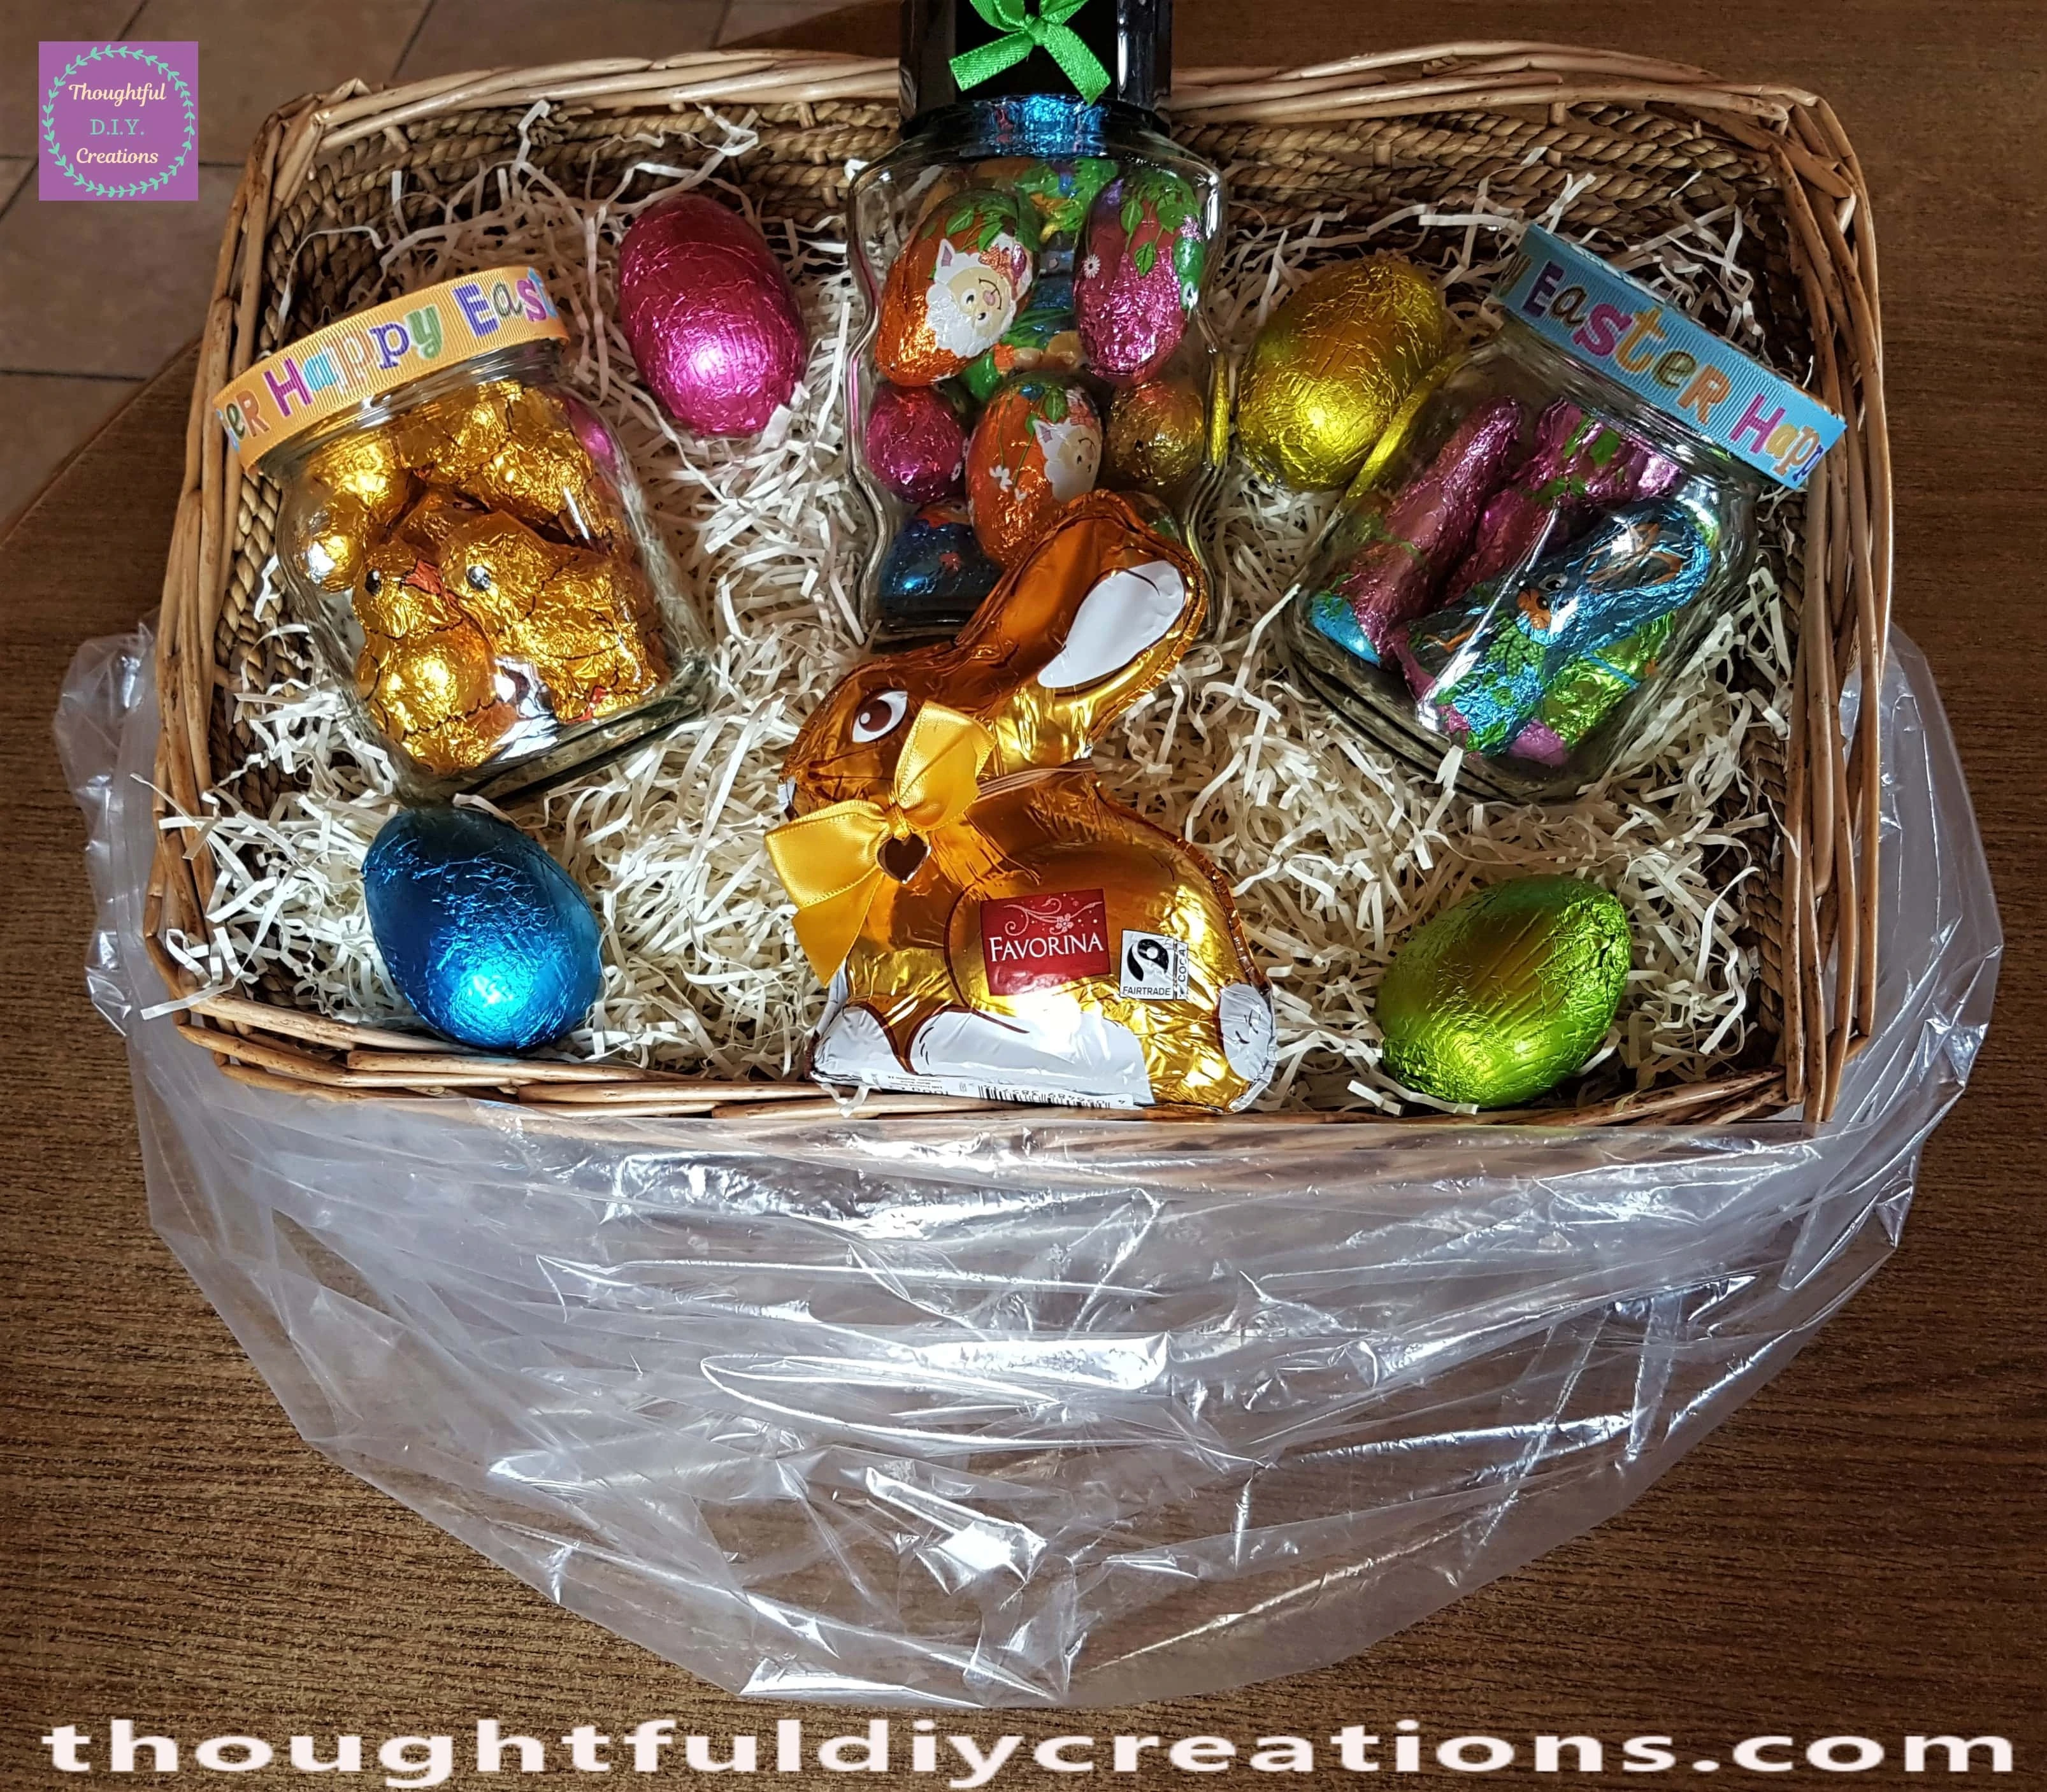
I put the Bunny in the front mid-section of the Easter Hamper.
I bought a Box of Chocolate Easter Eggs.
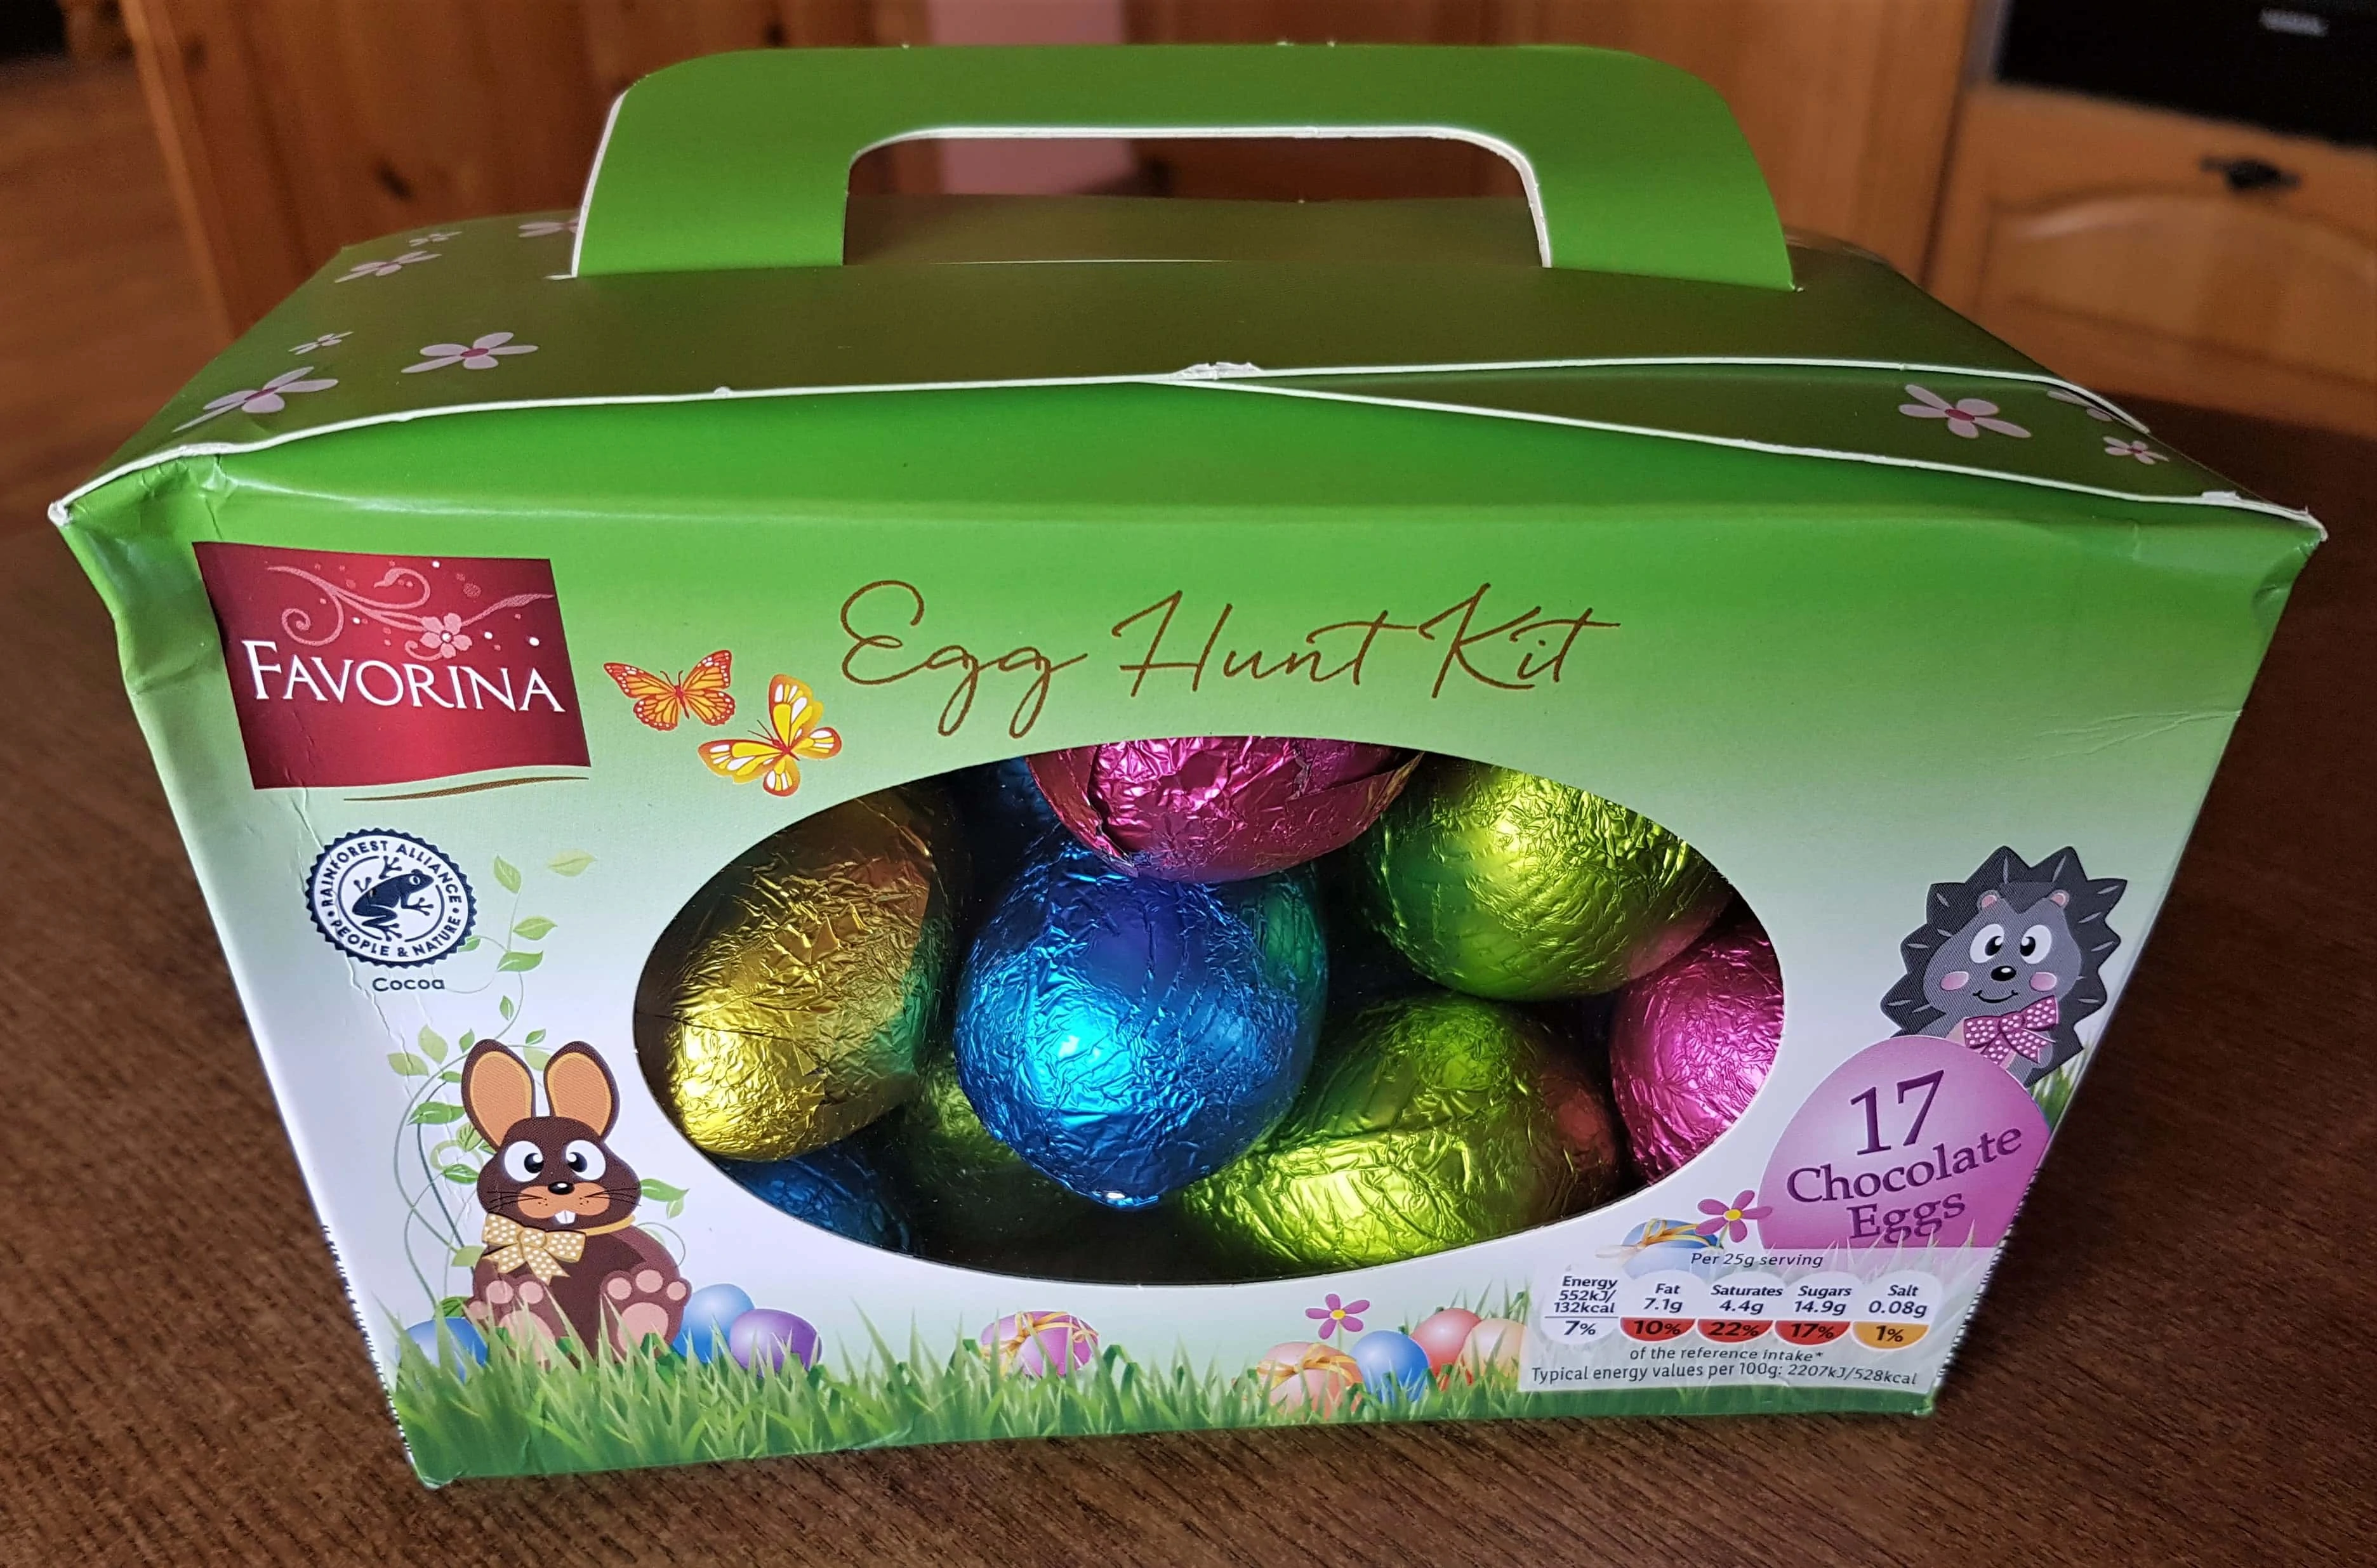
I put 2 of the Easter Eggs between the Jars at the back of the Hamper and 2 more Easter Eggs under the 2 small Jars.
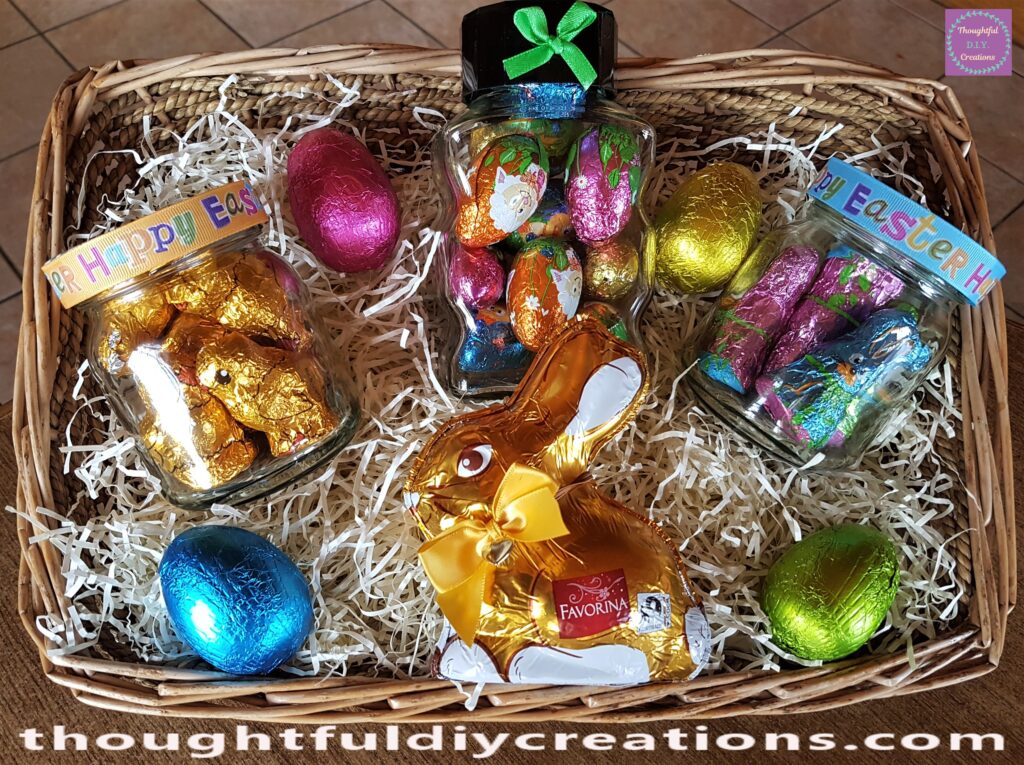
A Closer look at the Easter Eggs.
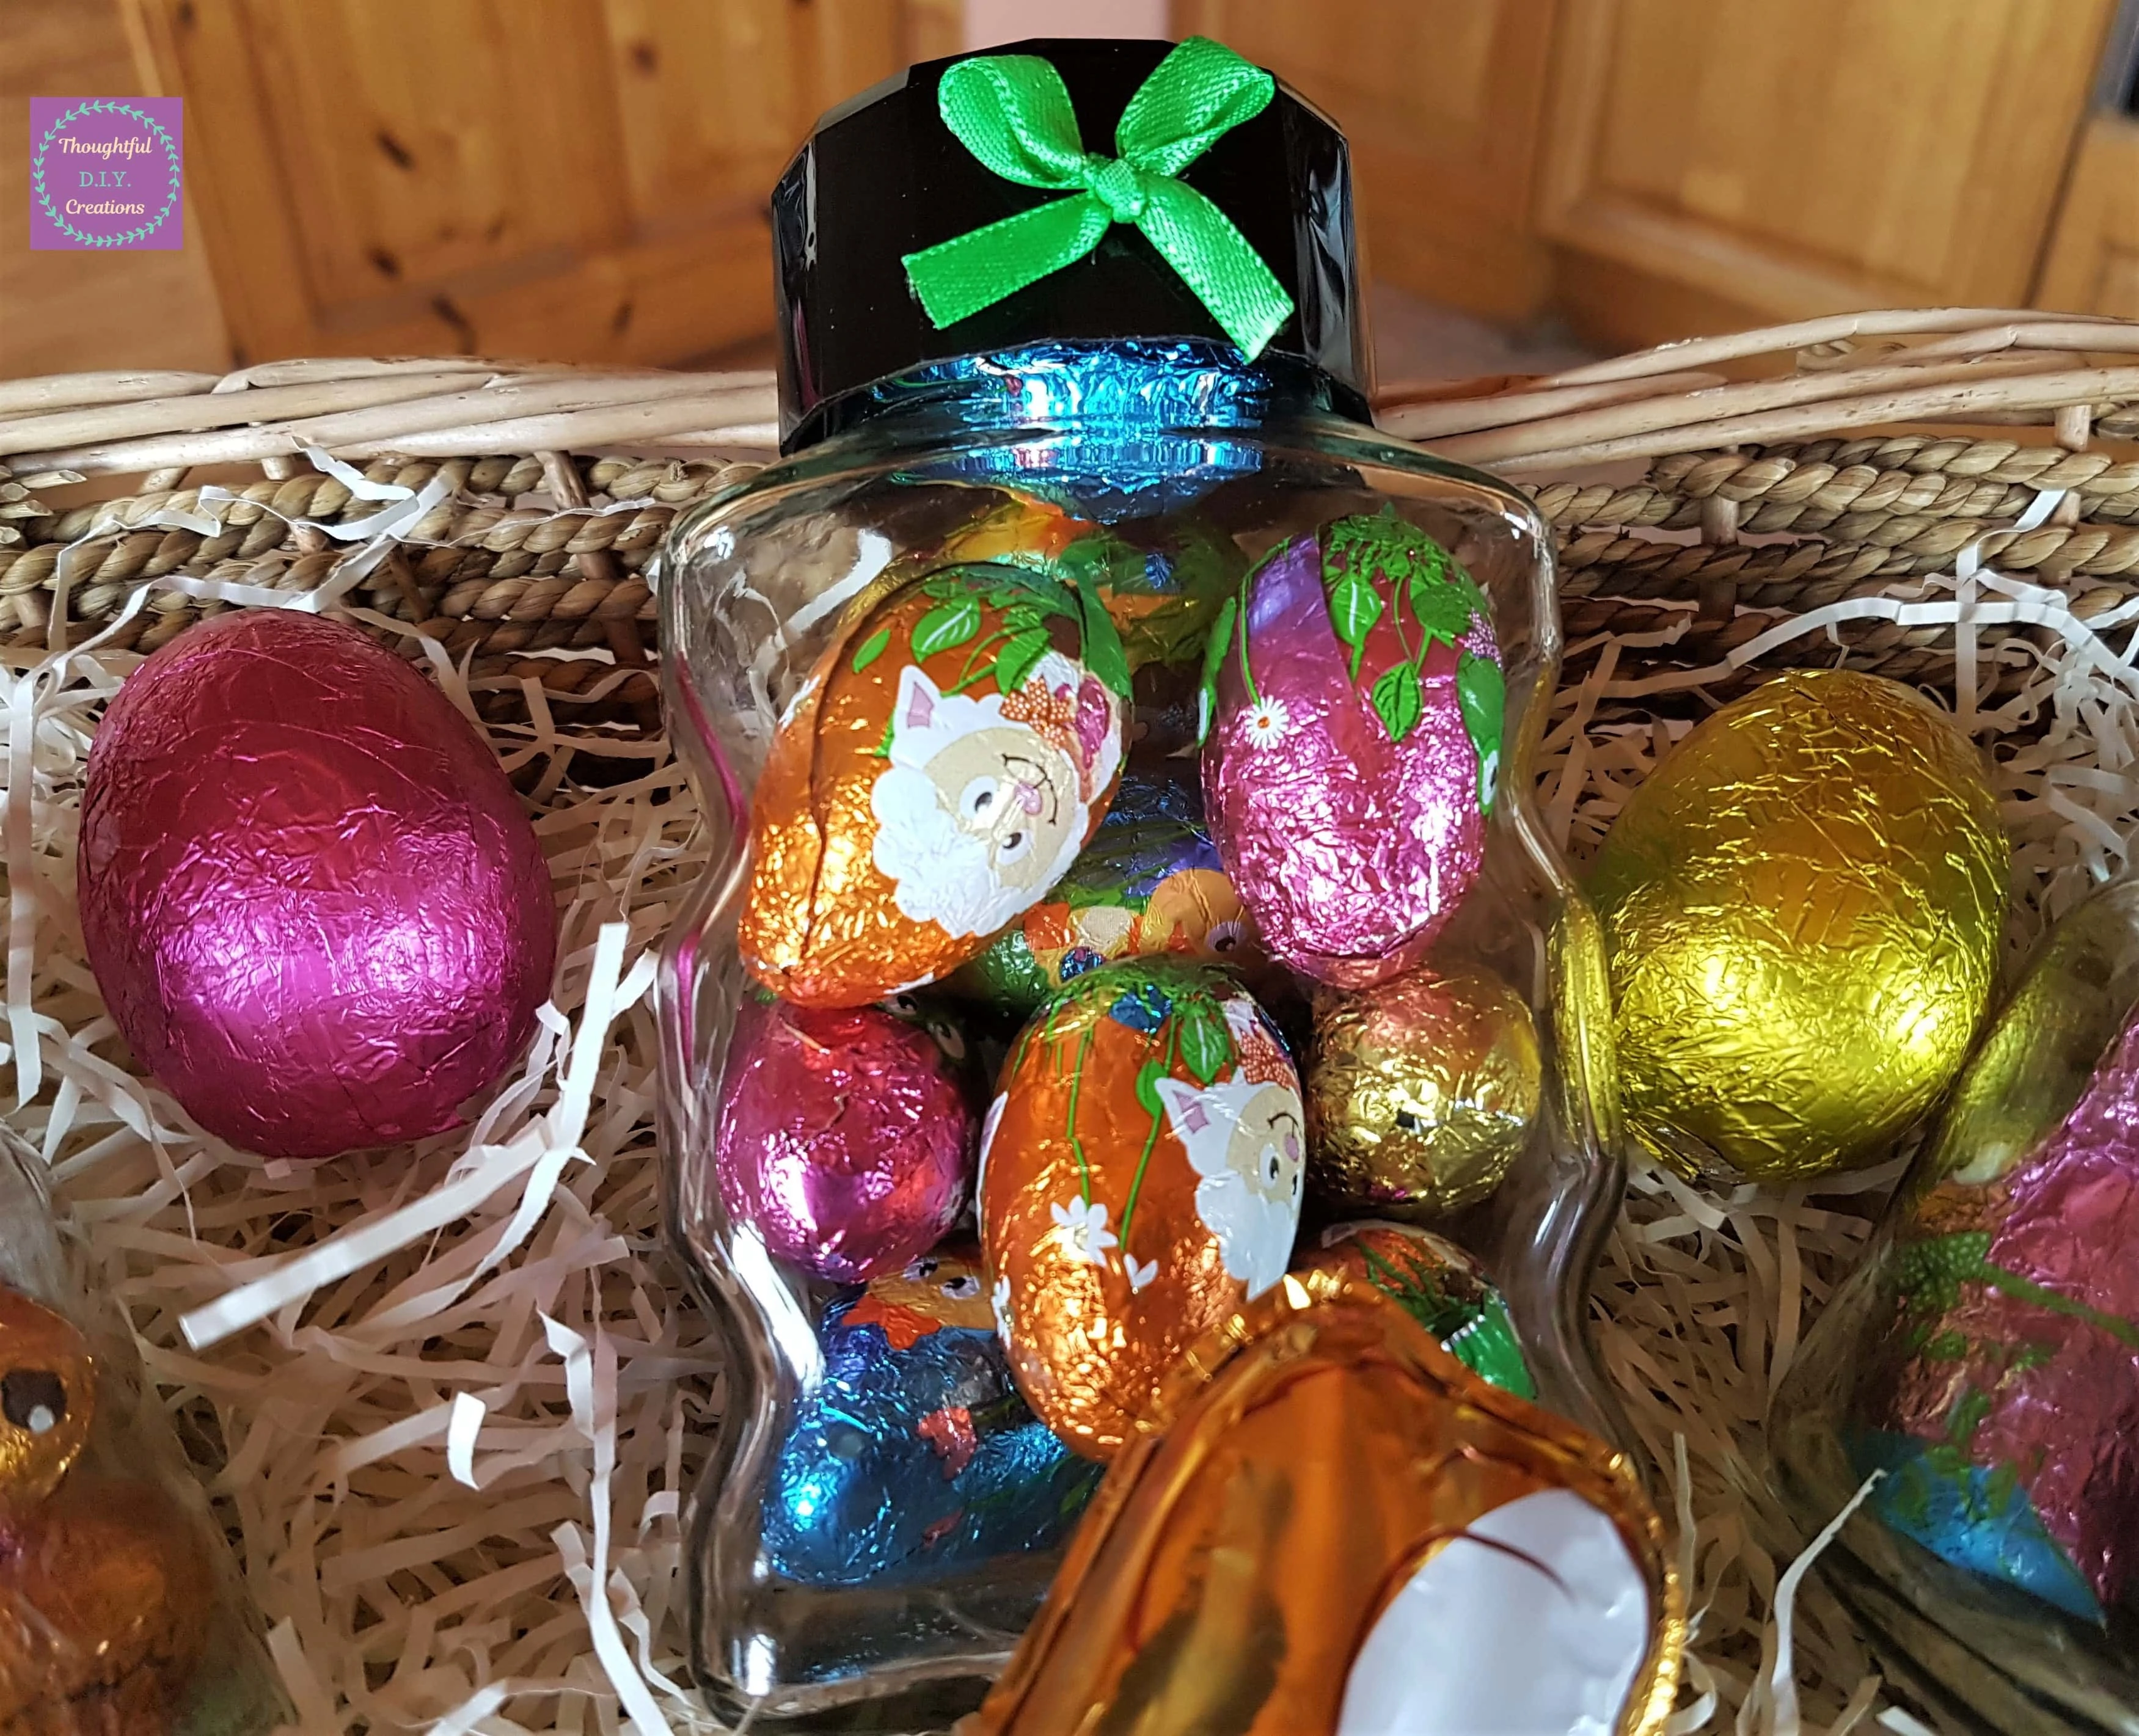
The front of the Easter Hamper.
D.I.Y. Cellophane for the Easter Hamper
I didn’t have any Clear Cellophane to cover my Hamper so I had a look at what I could use instead. I found a spare ‘Clear Plastic Suit / Dress Protector’ in my Wardrobe which I thought could work.
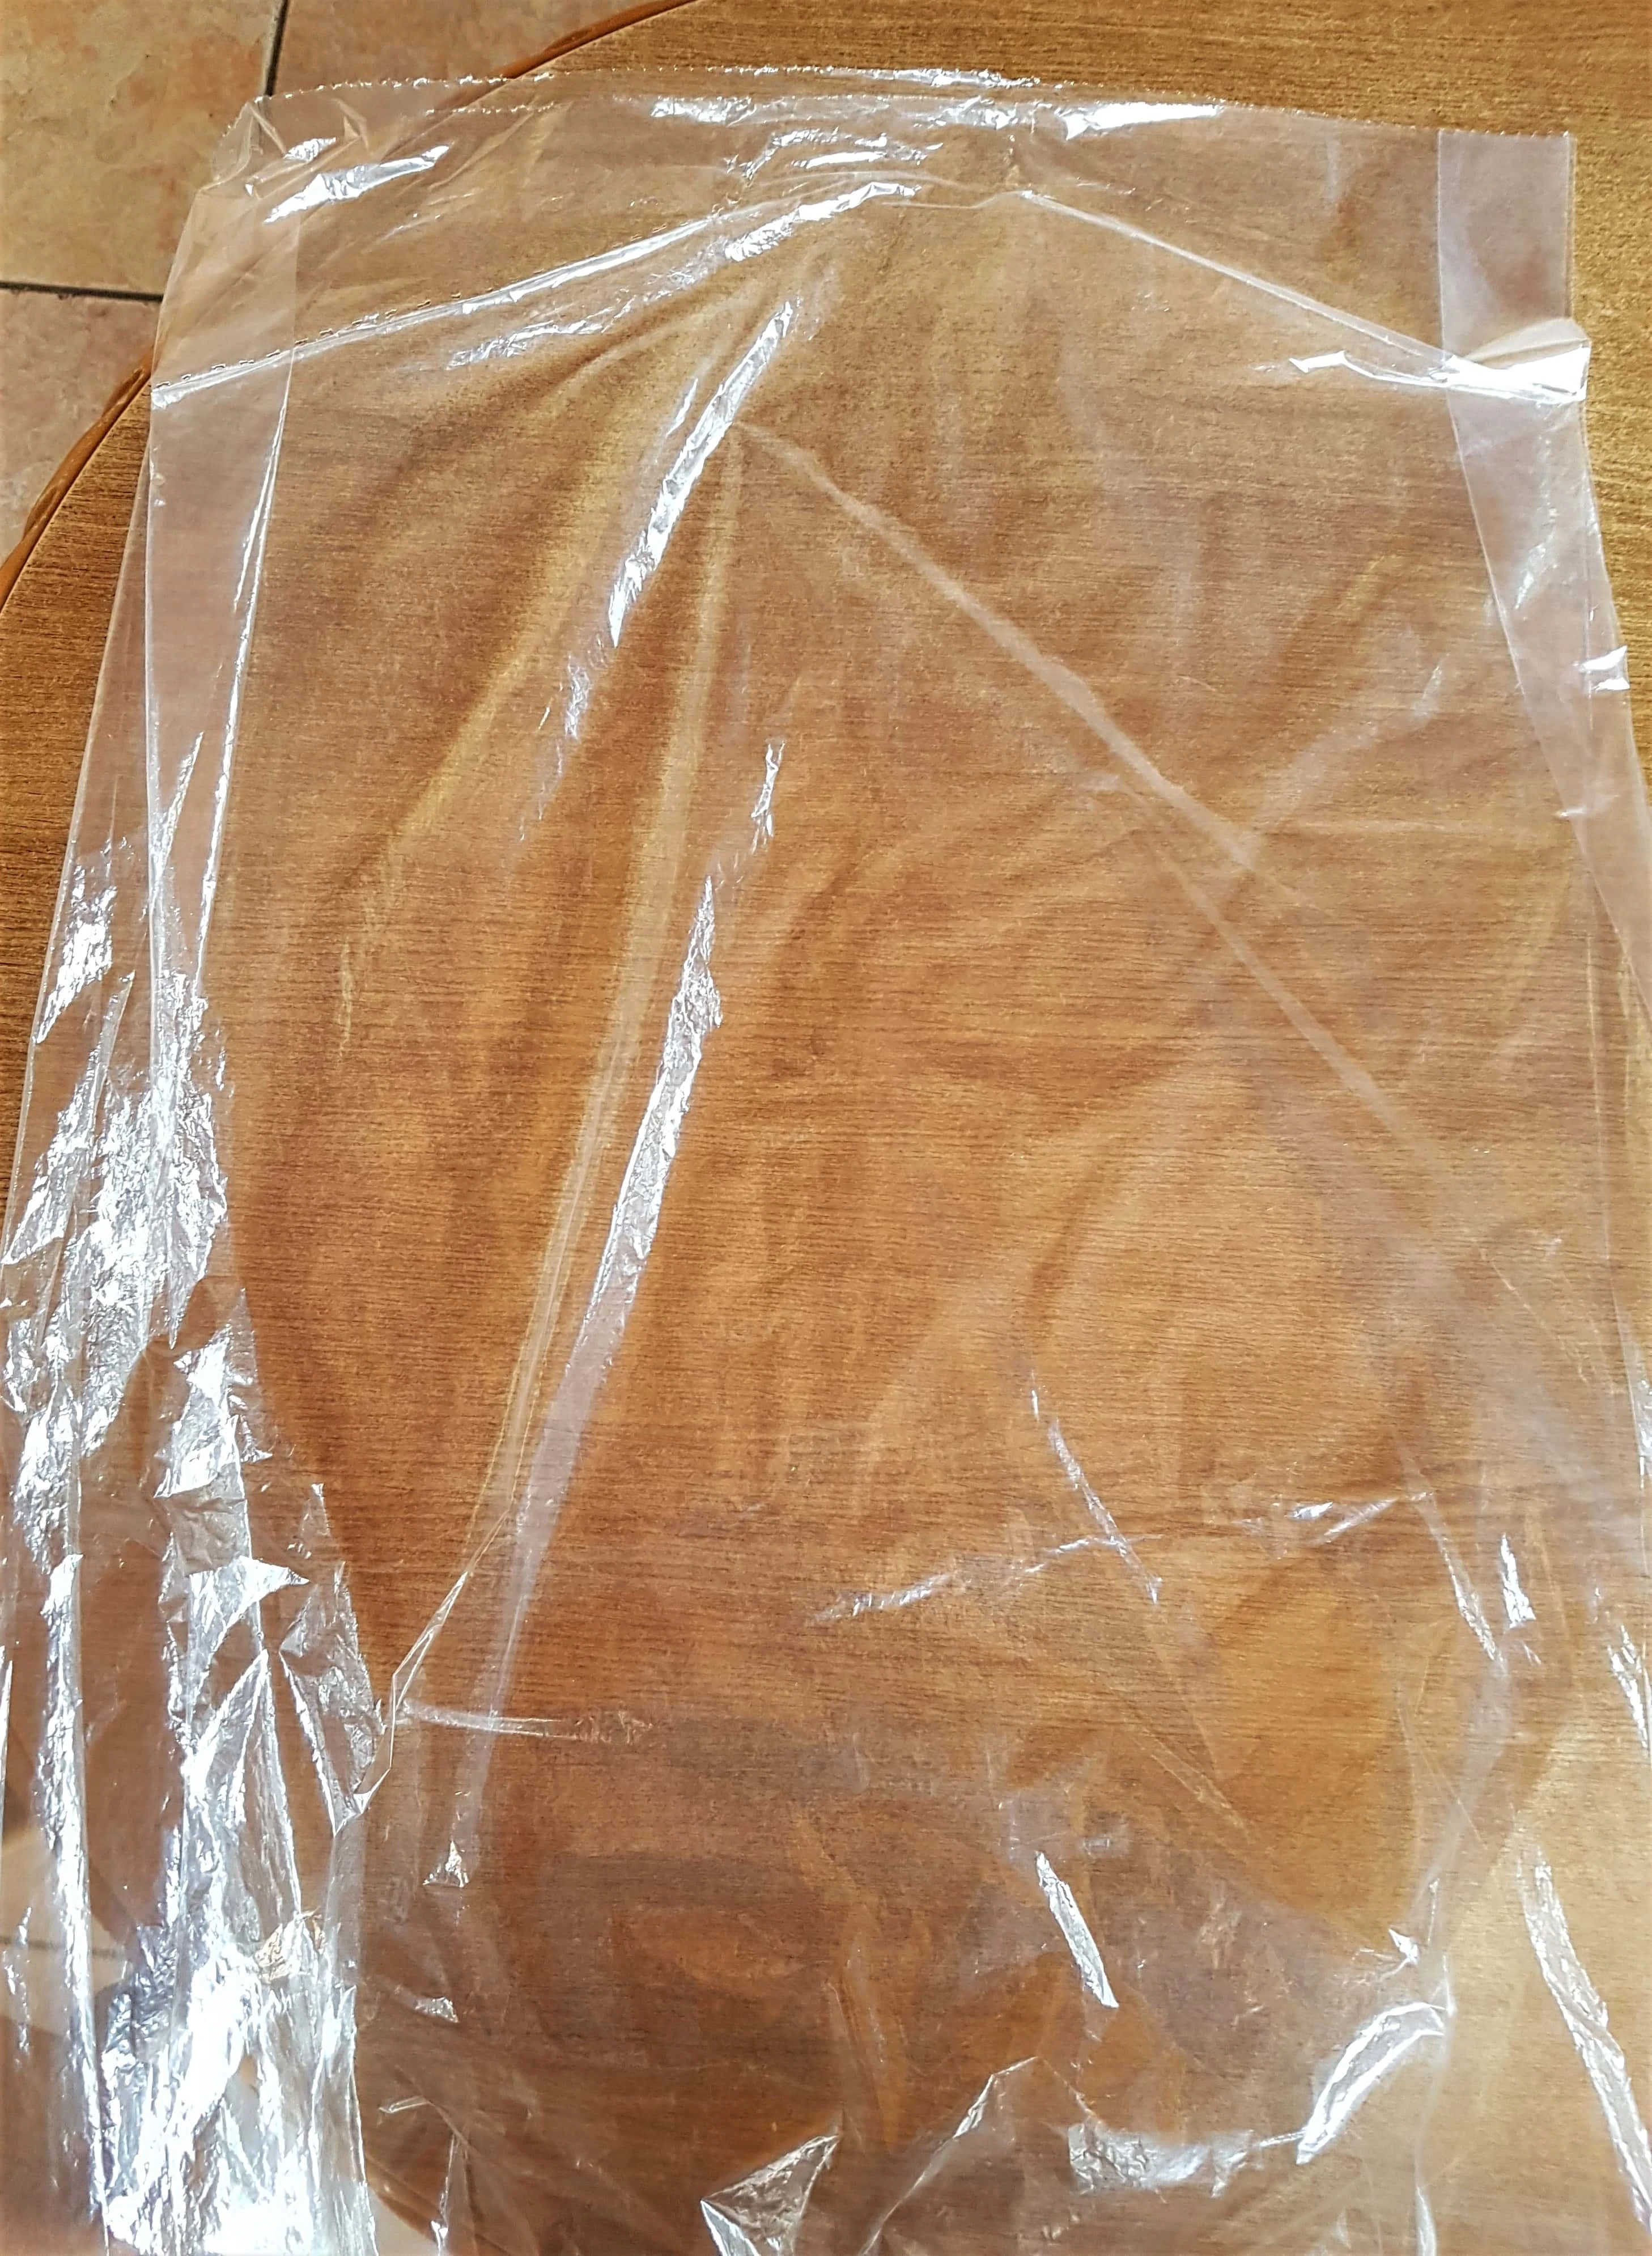
I Opened up the Plastic Protector and left the Top part spread out flat.
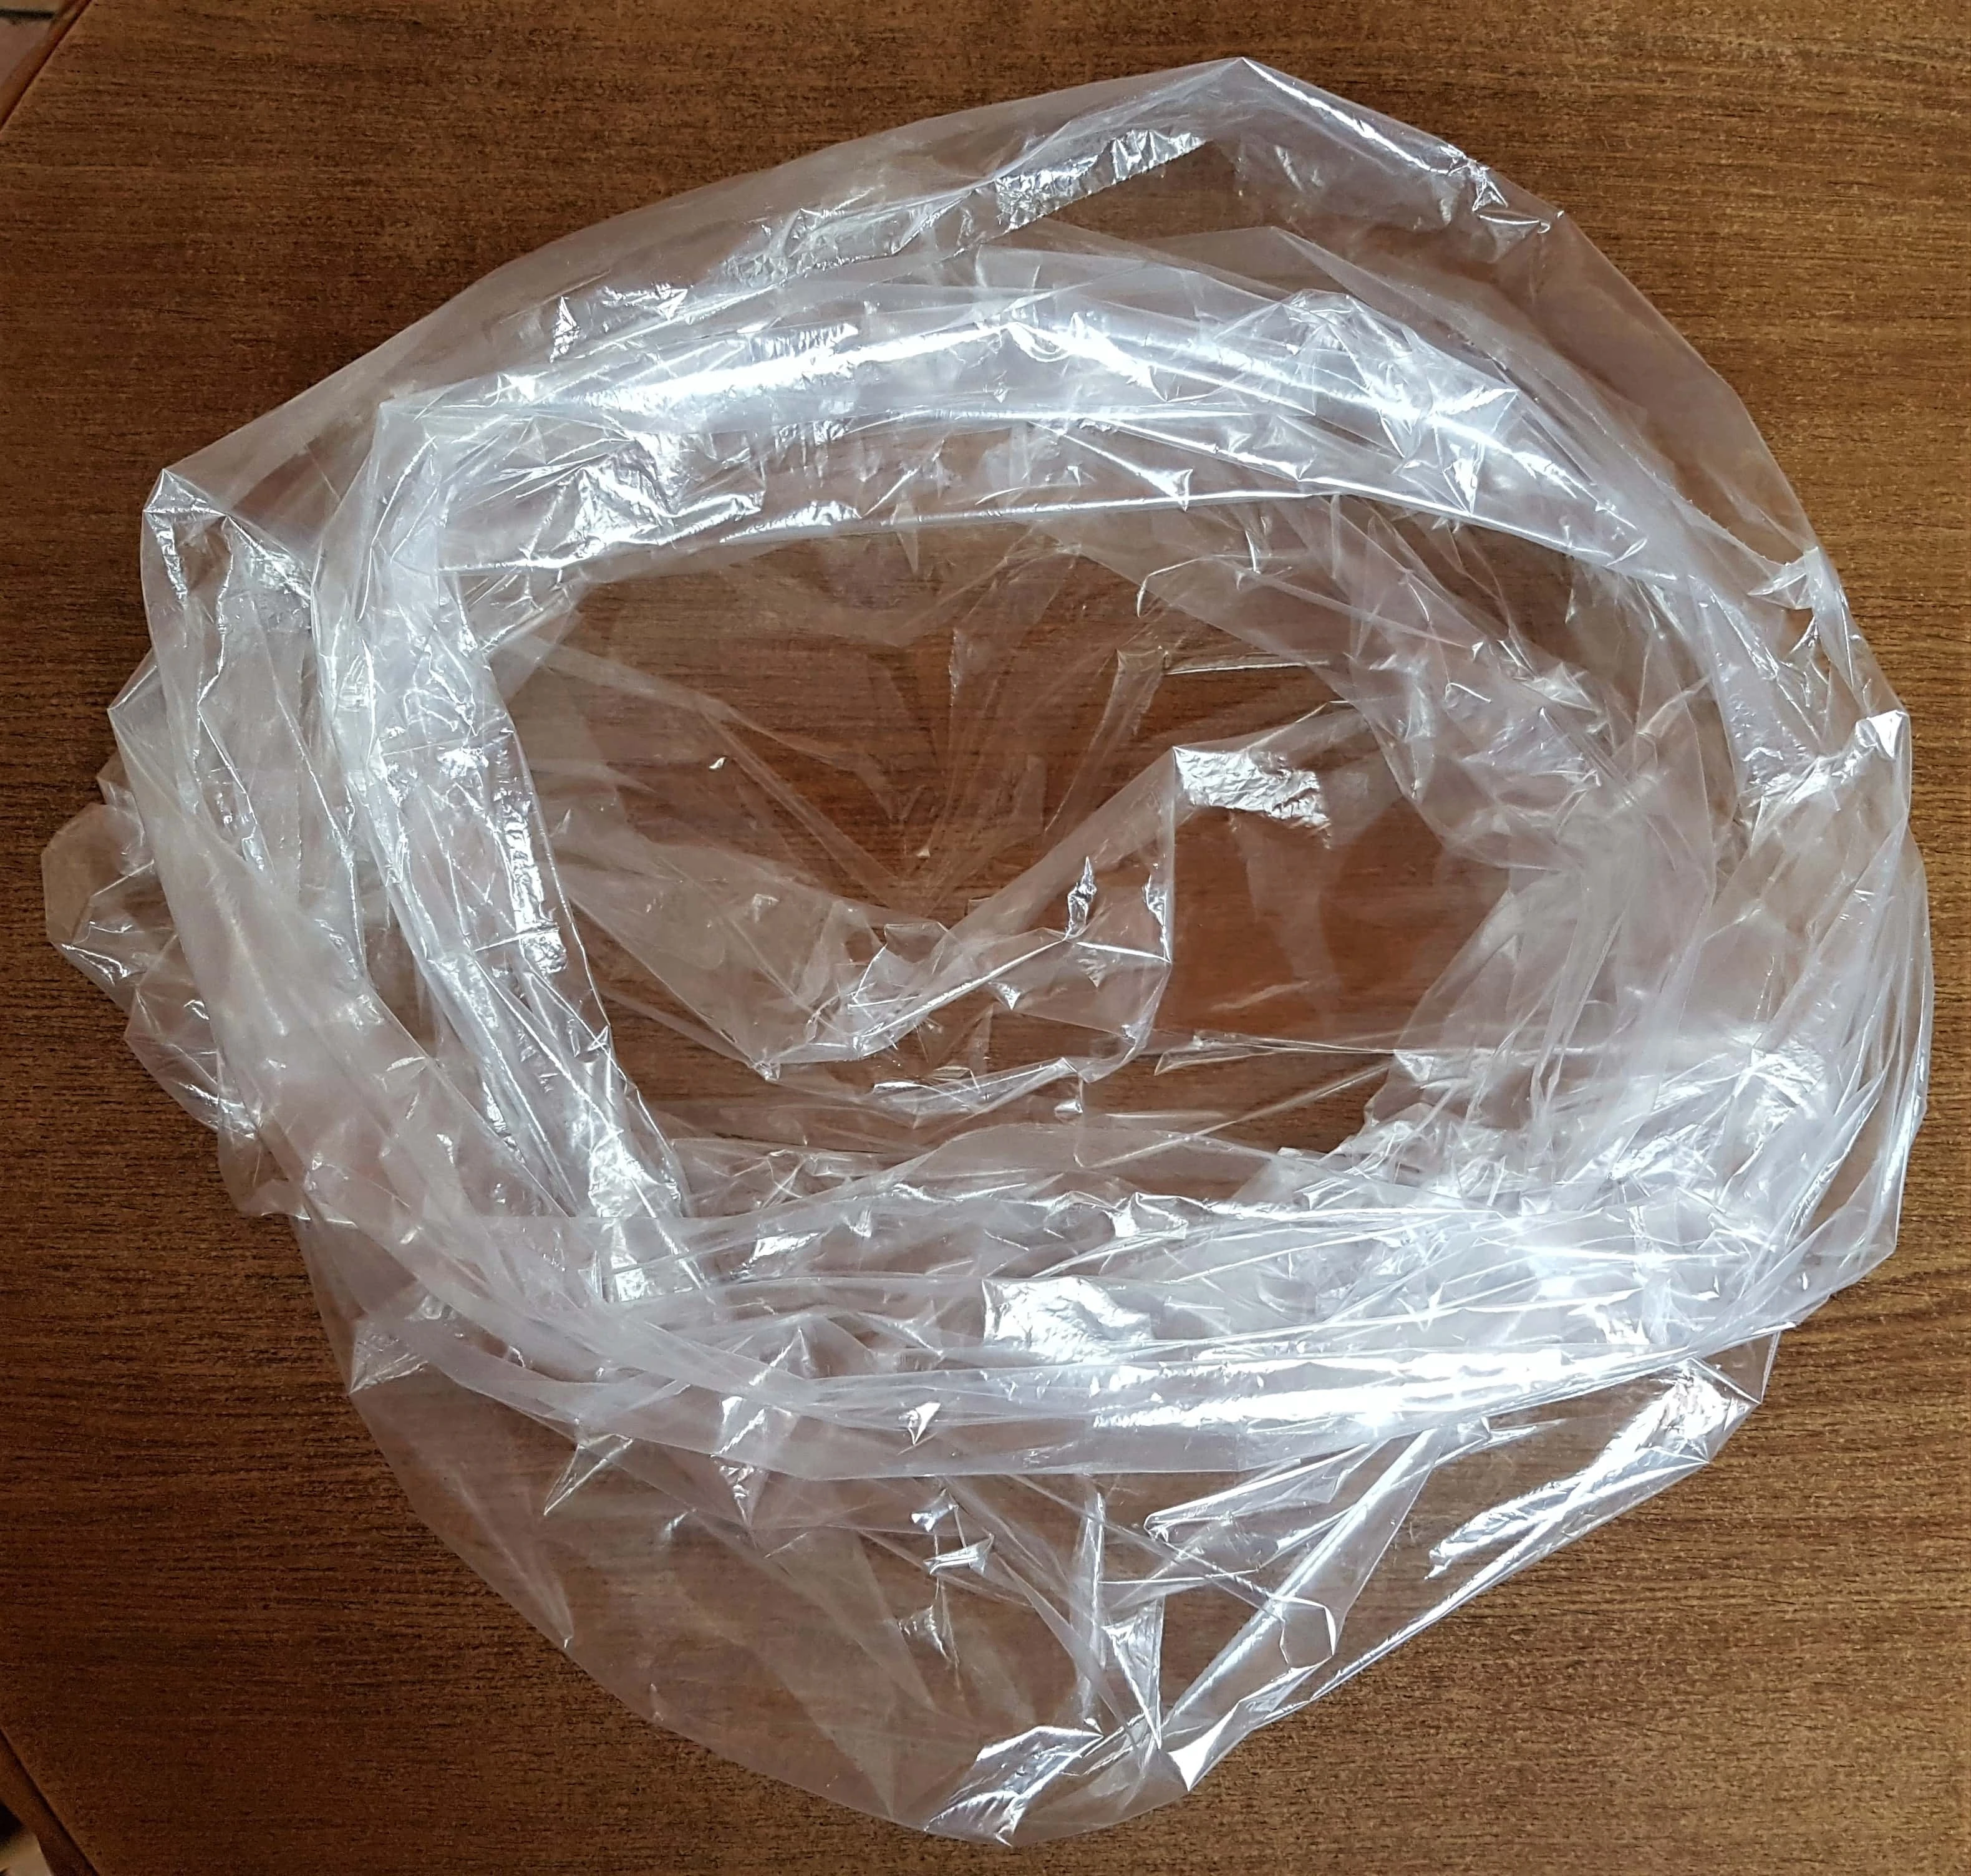
I placed the Easter Hamper on top of the flat opening.
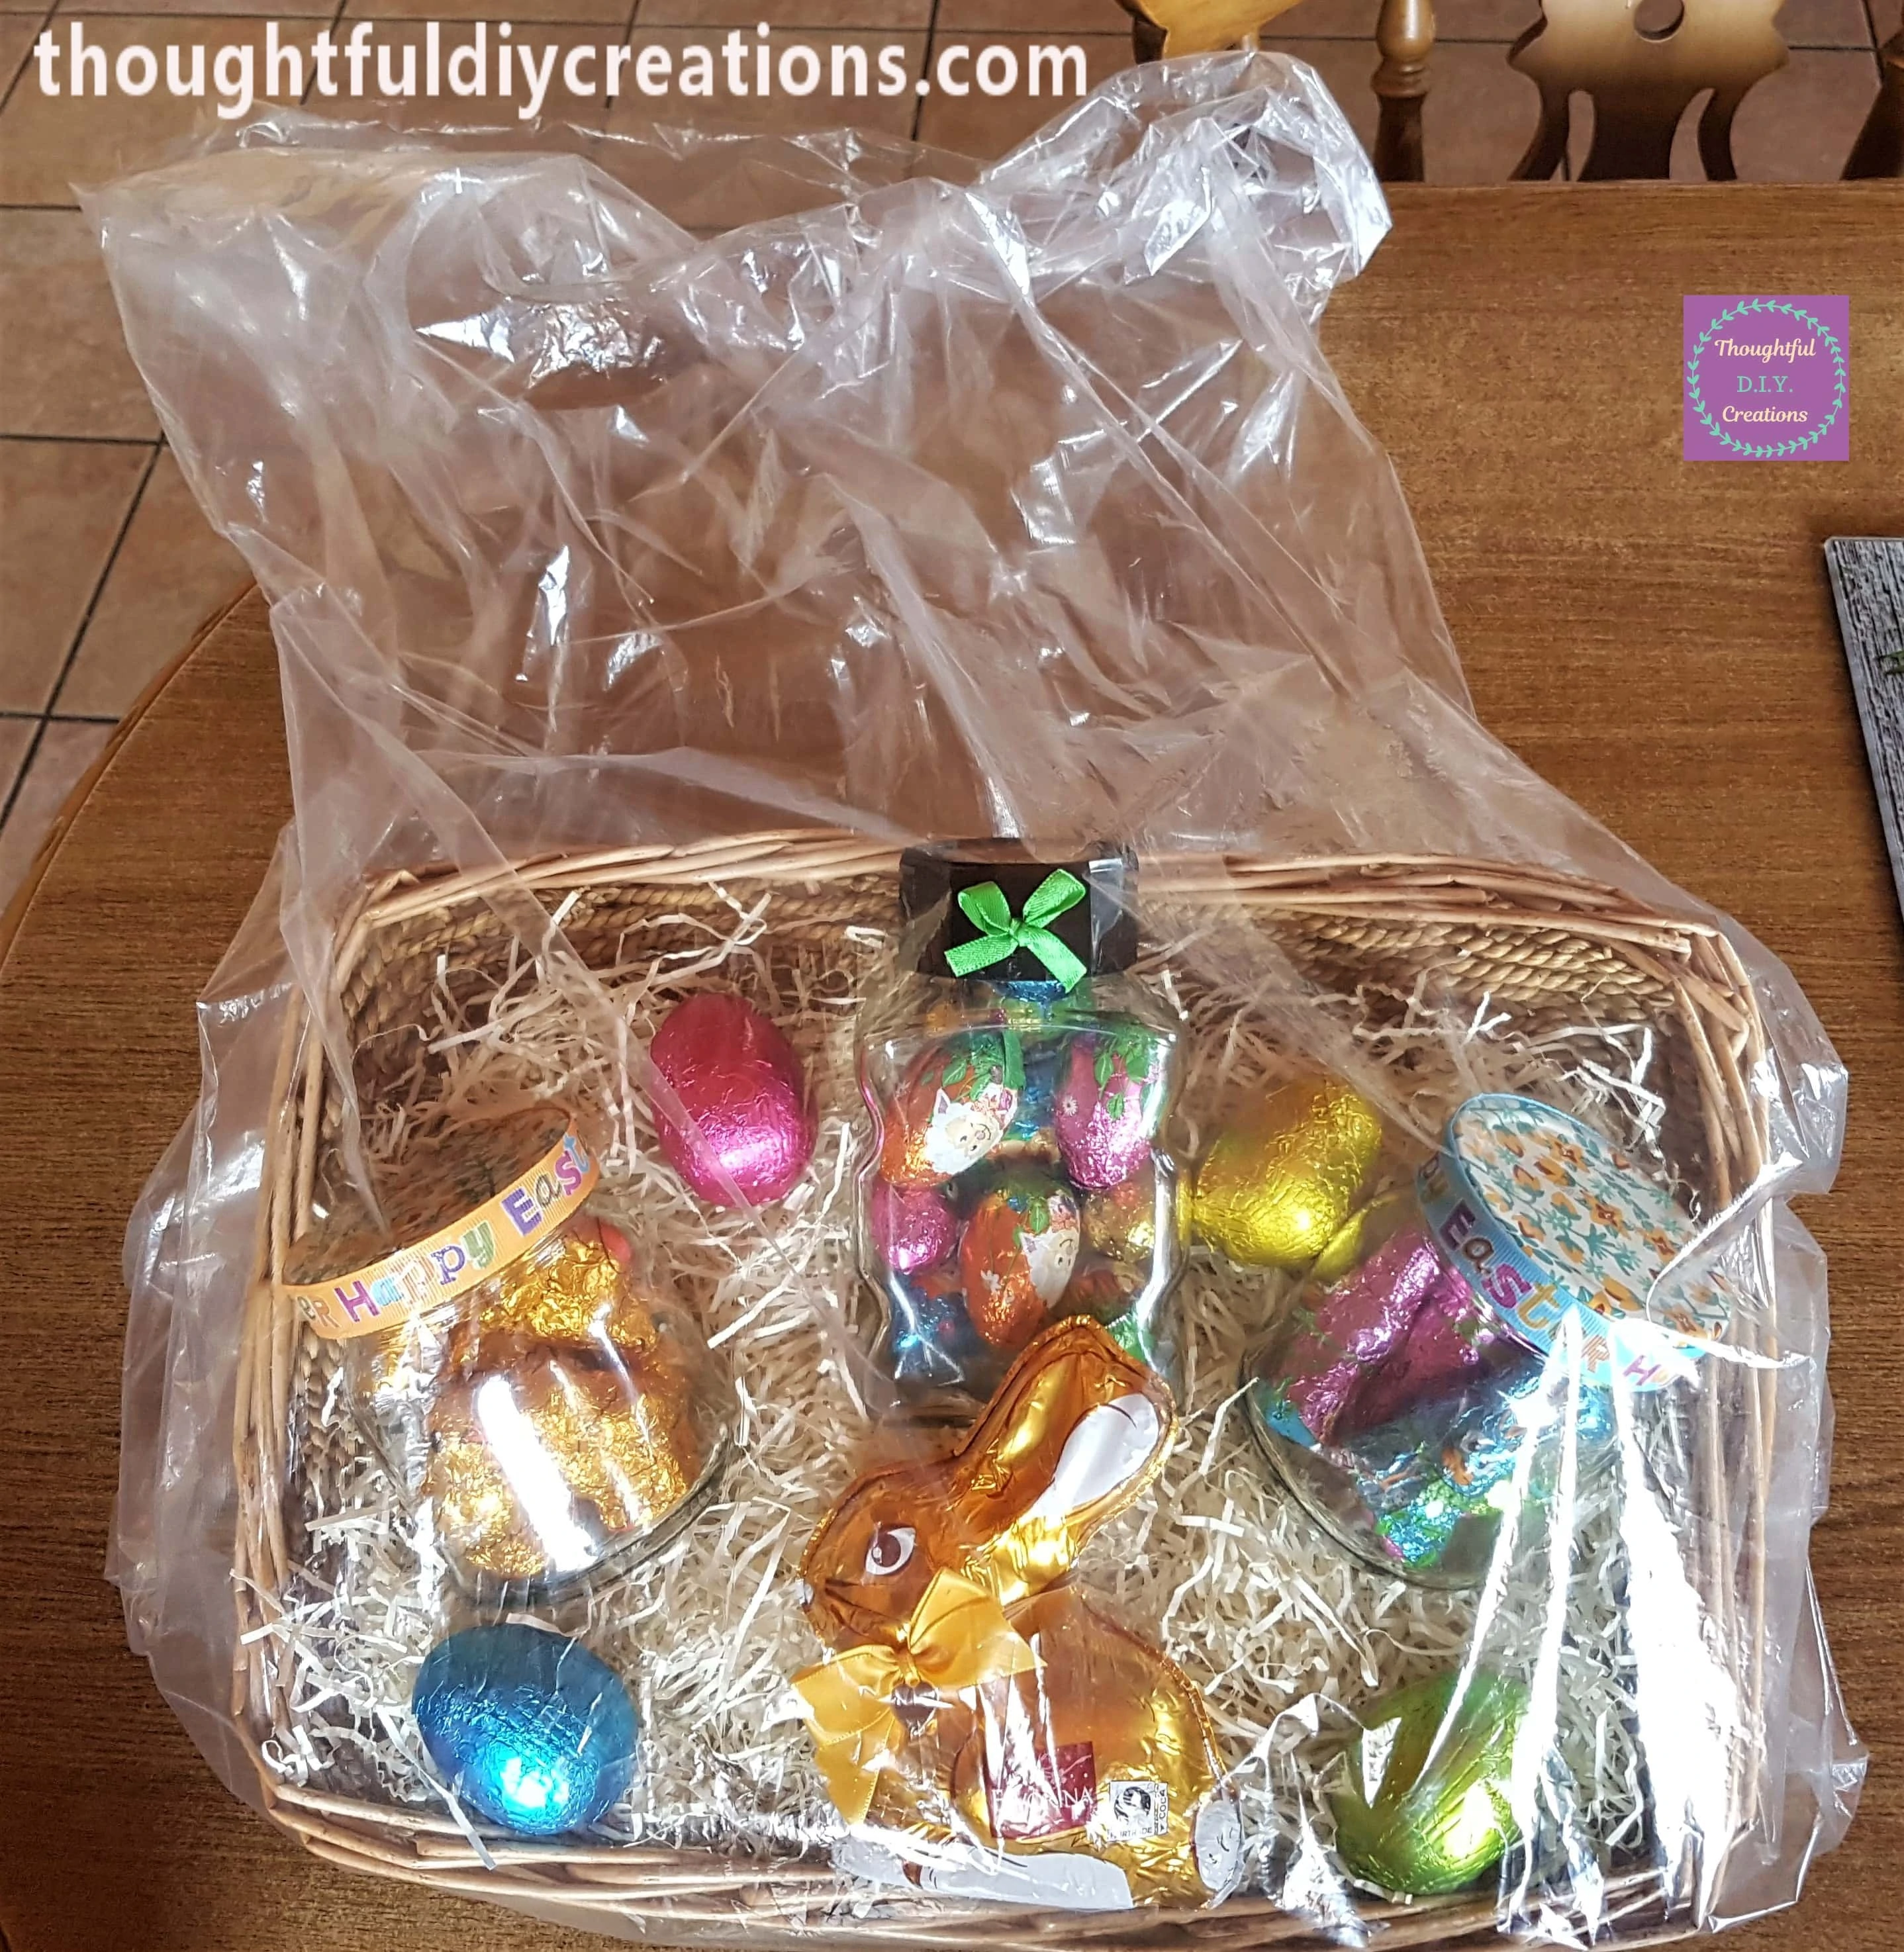
I then pulled the Plastic Protector up over the Hamper.
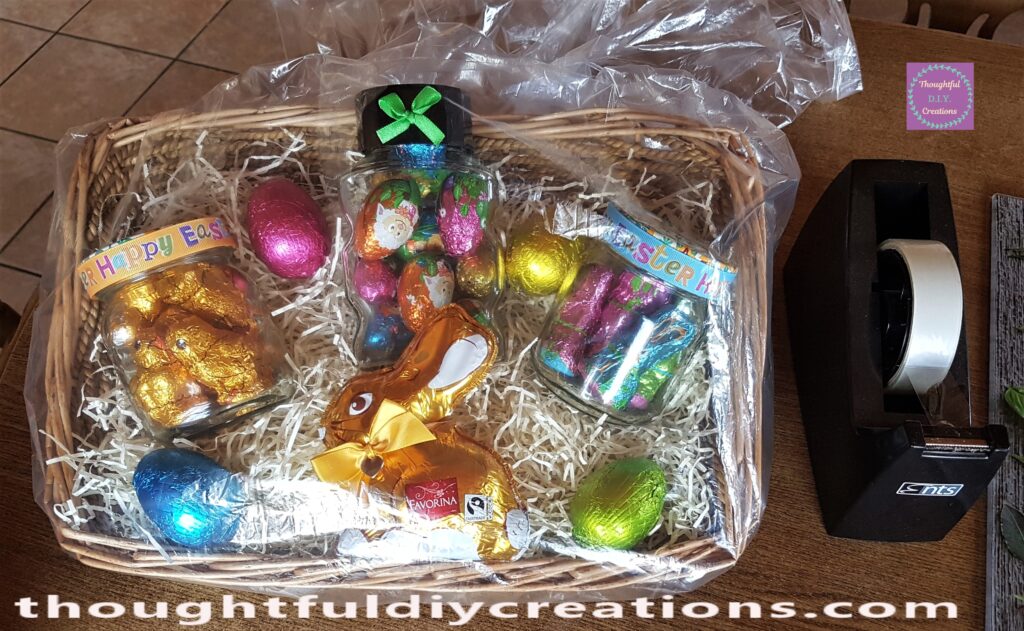
I used Sellotape on the sides of the Hamper to provide a neater appearance.
Finishing Touches to the Easter Hamper
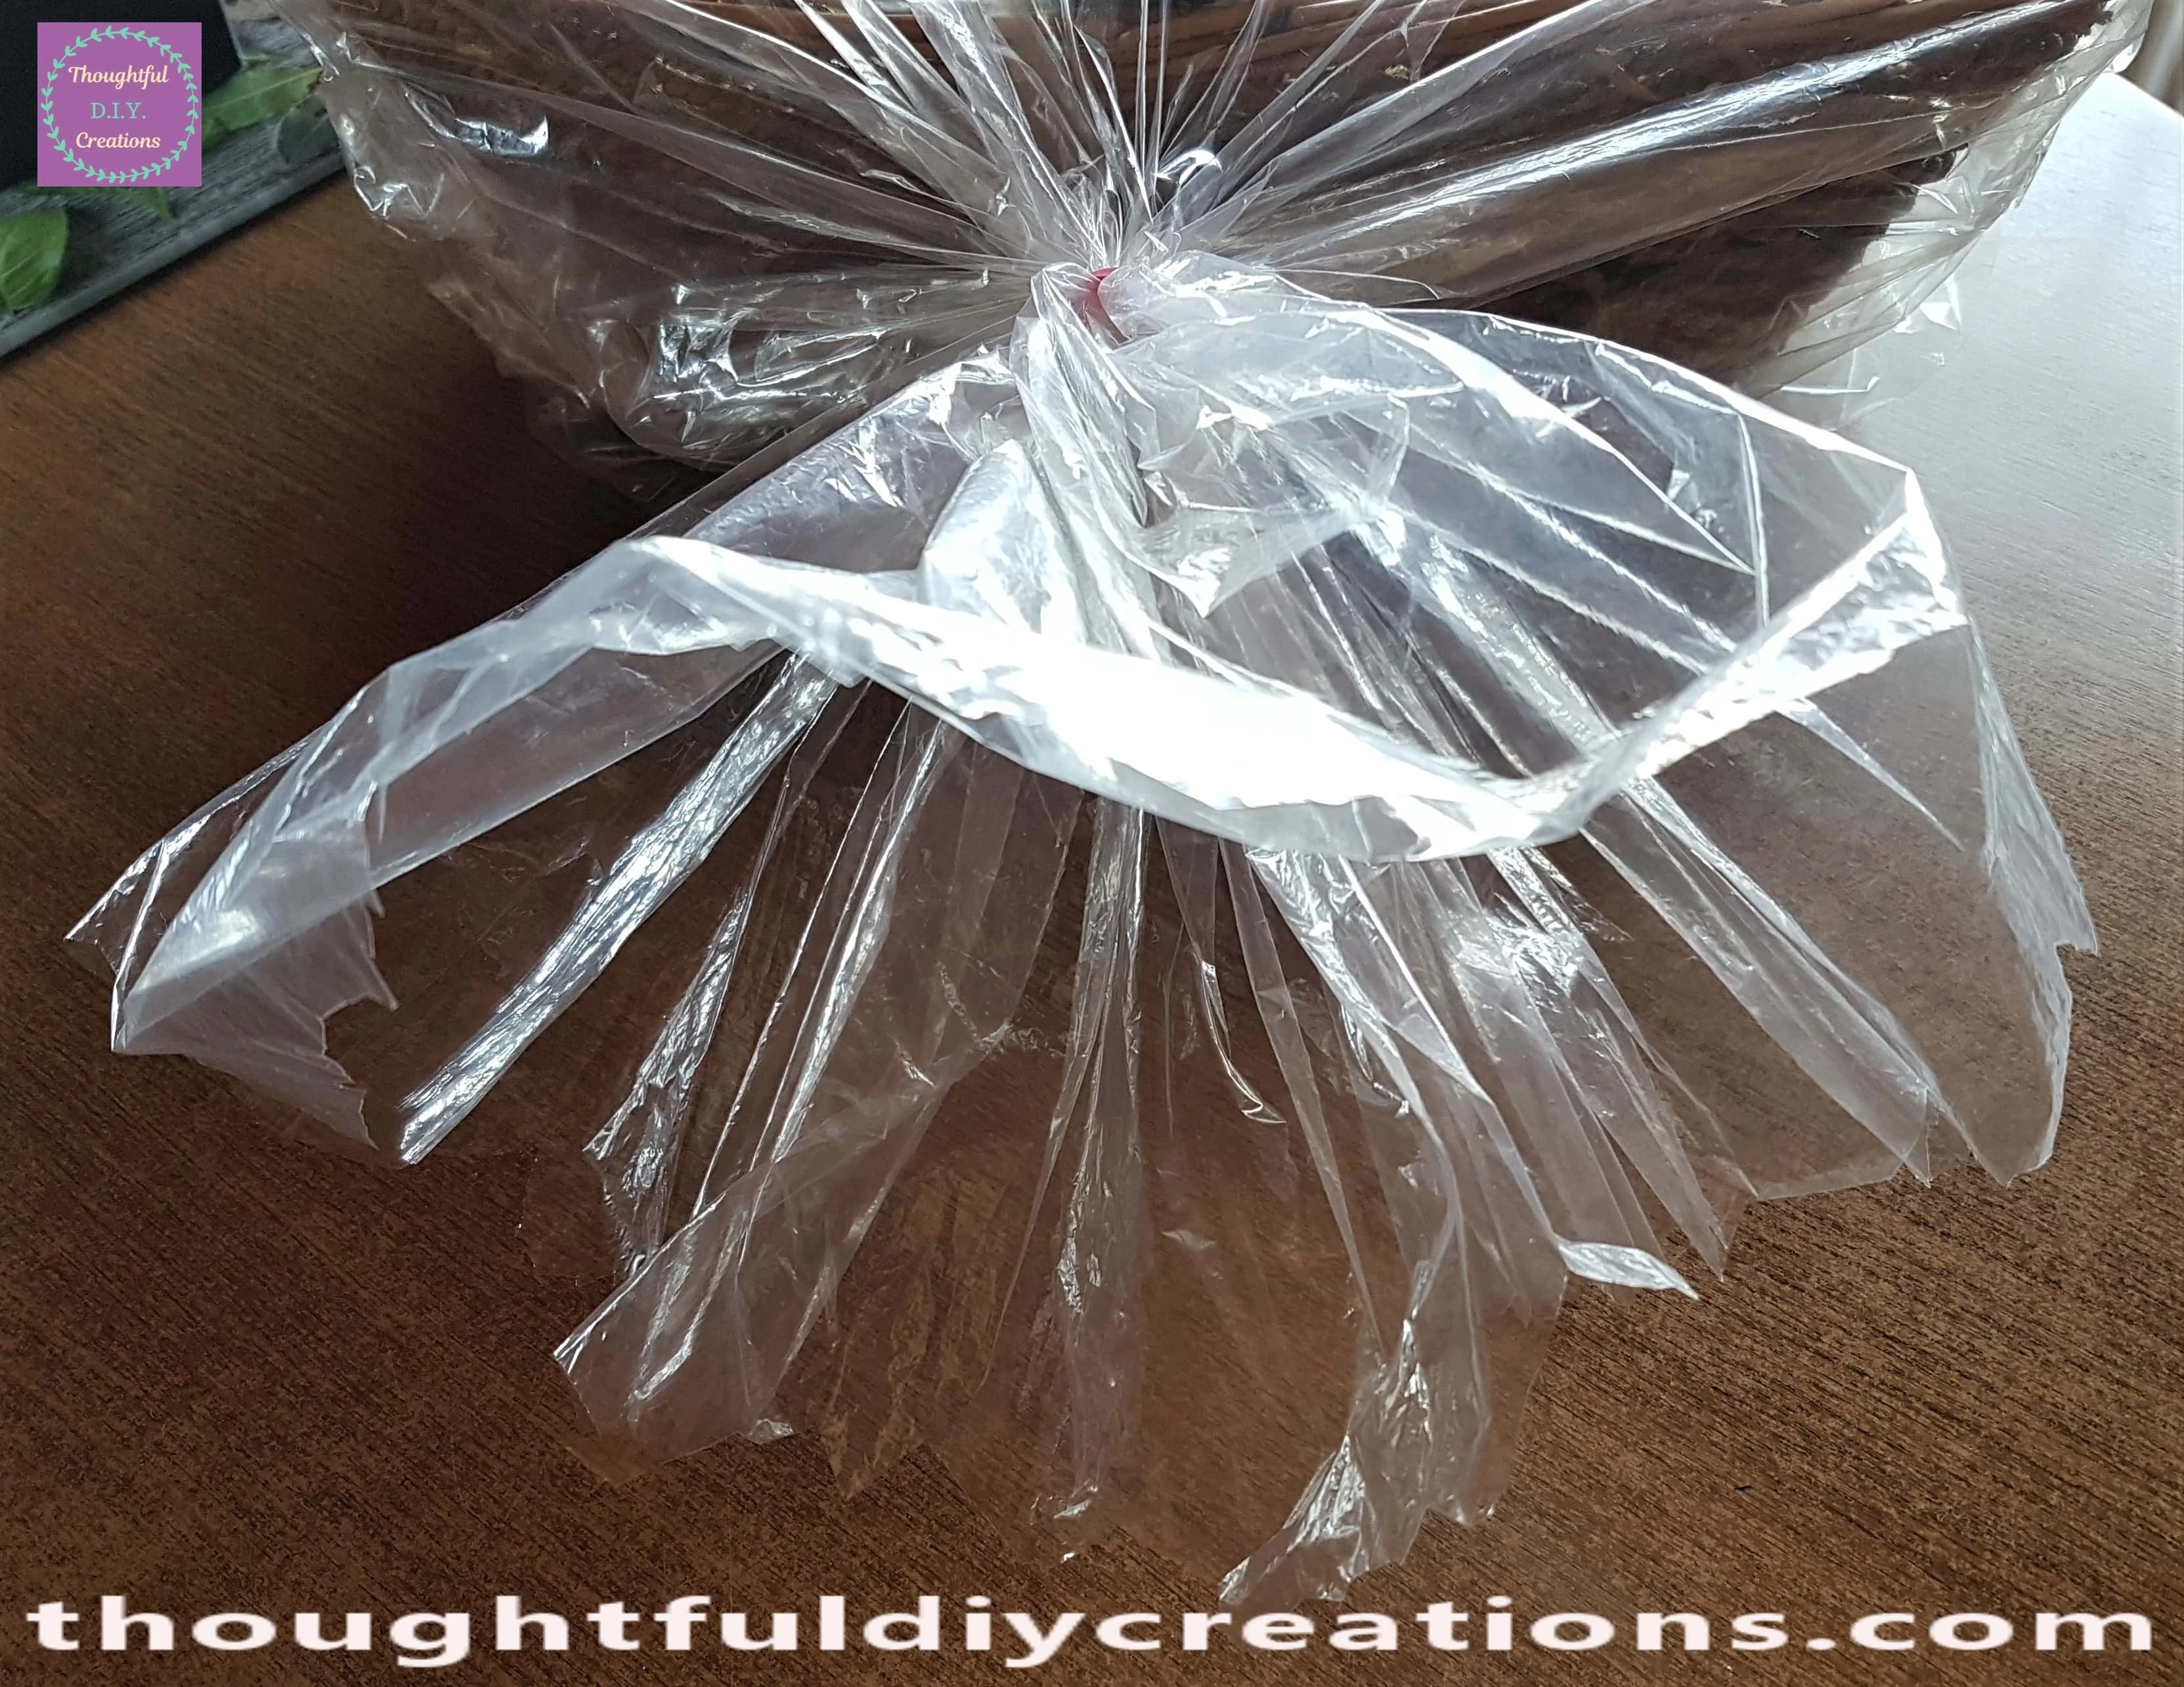
I tied the top of the Plastic Cover with a Pink Elastic Band.
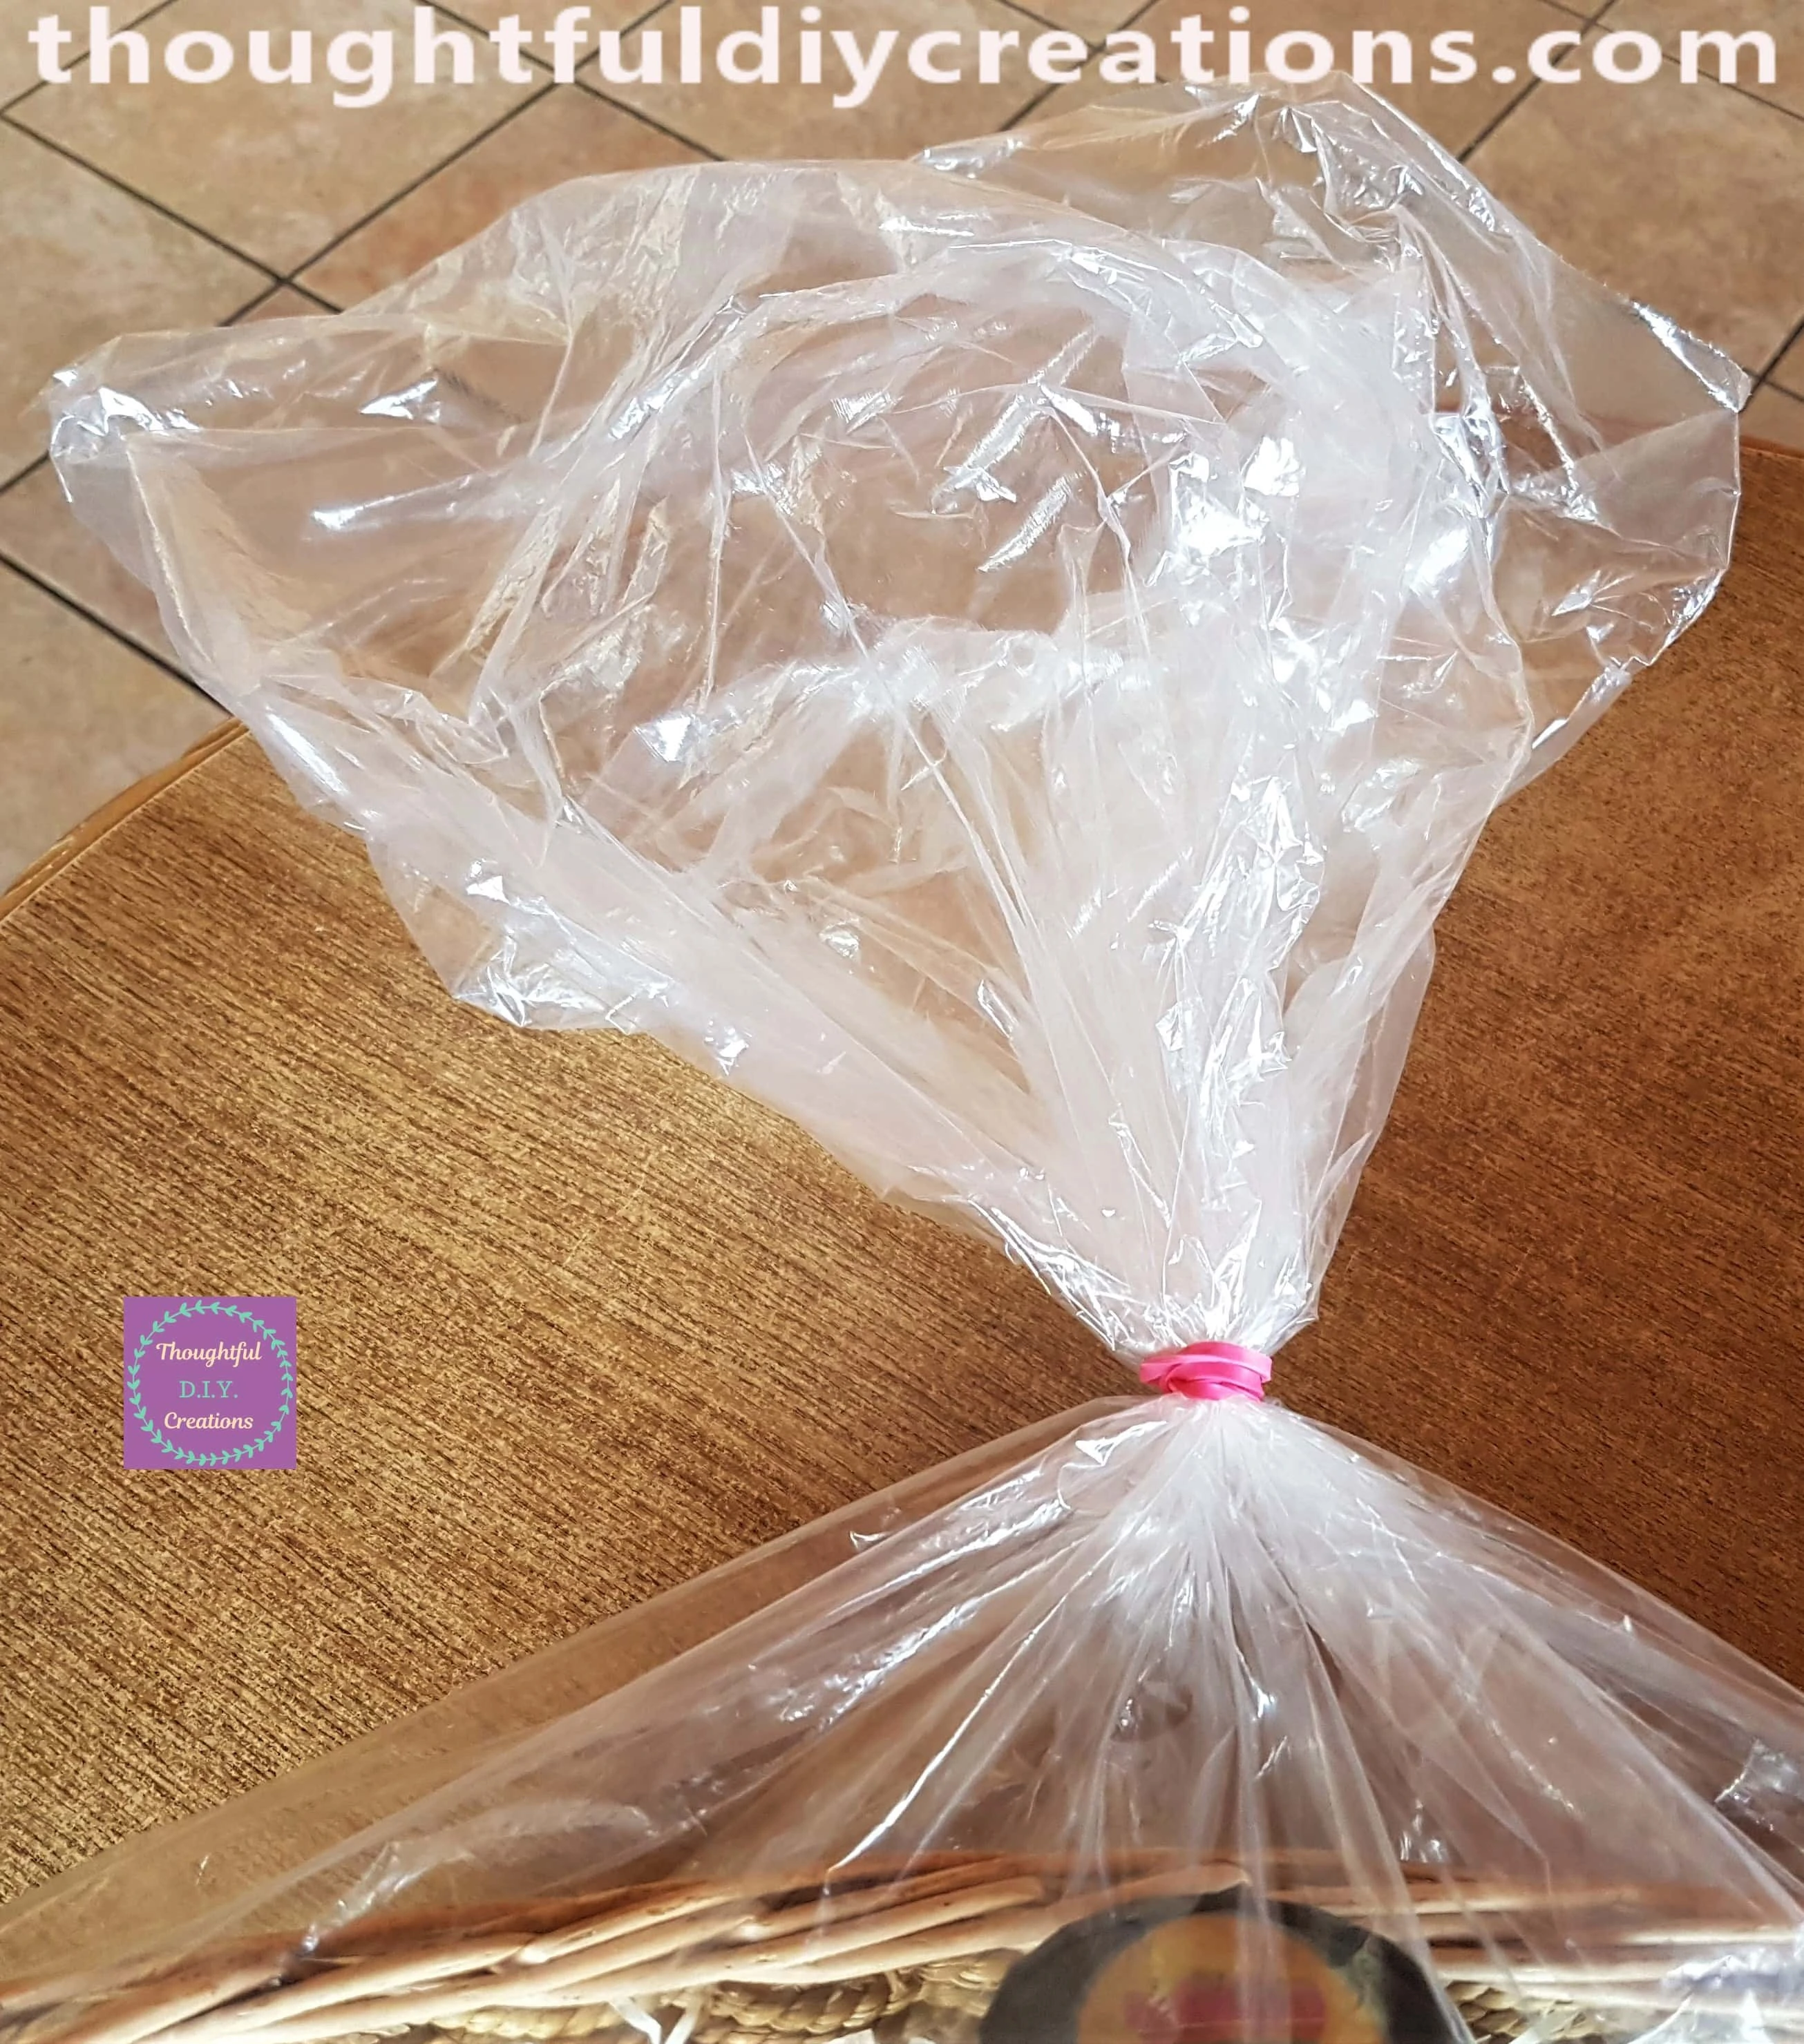
I Cut off the excess plastic at the Top with a Scissors. I held the Scissors facing up and Cut in that direction for half of the Plastic and held the Scissors facing down and Cut downwards for the other half of the Plastic Shape.
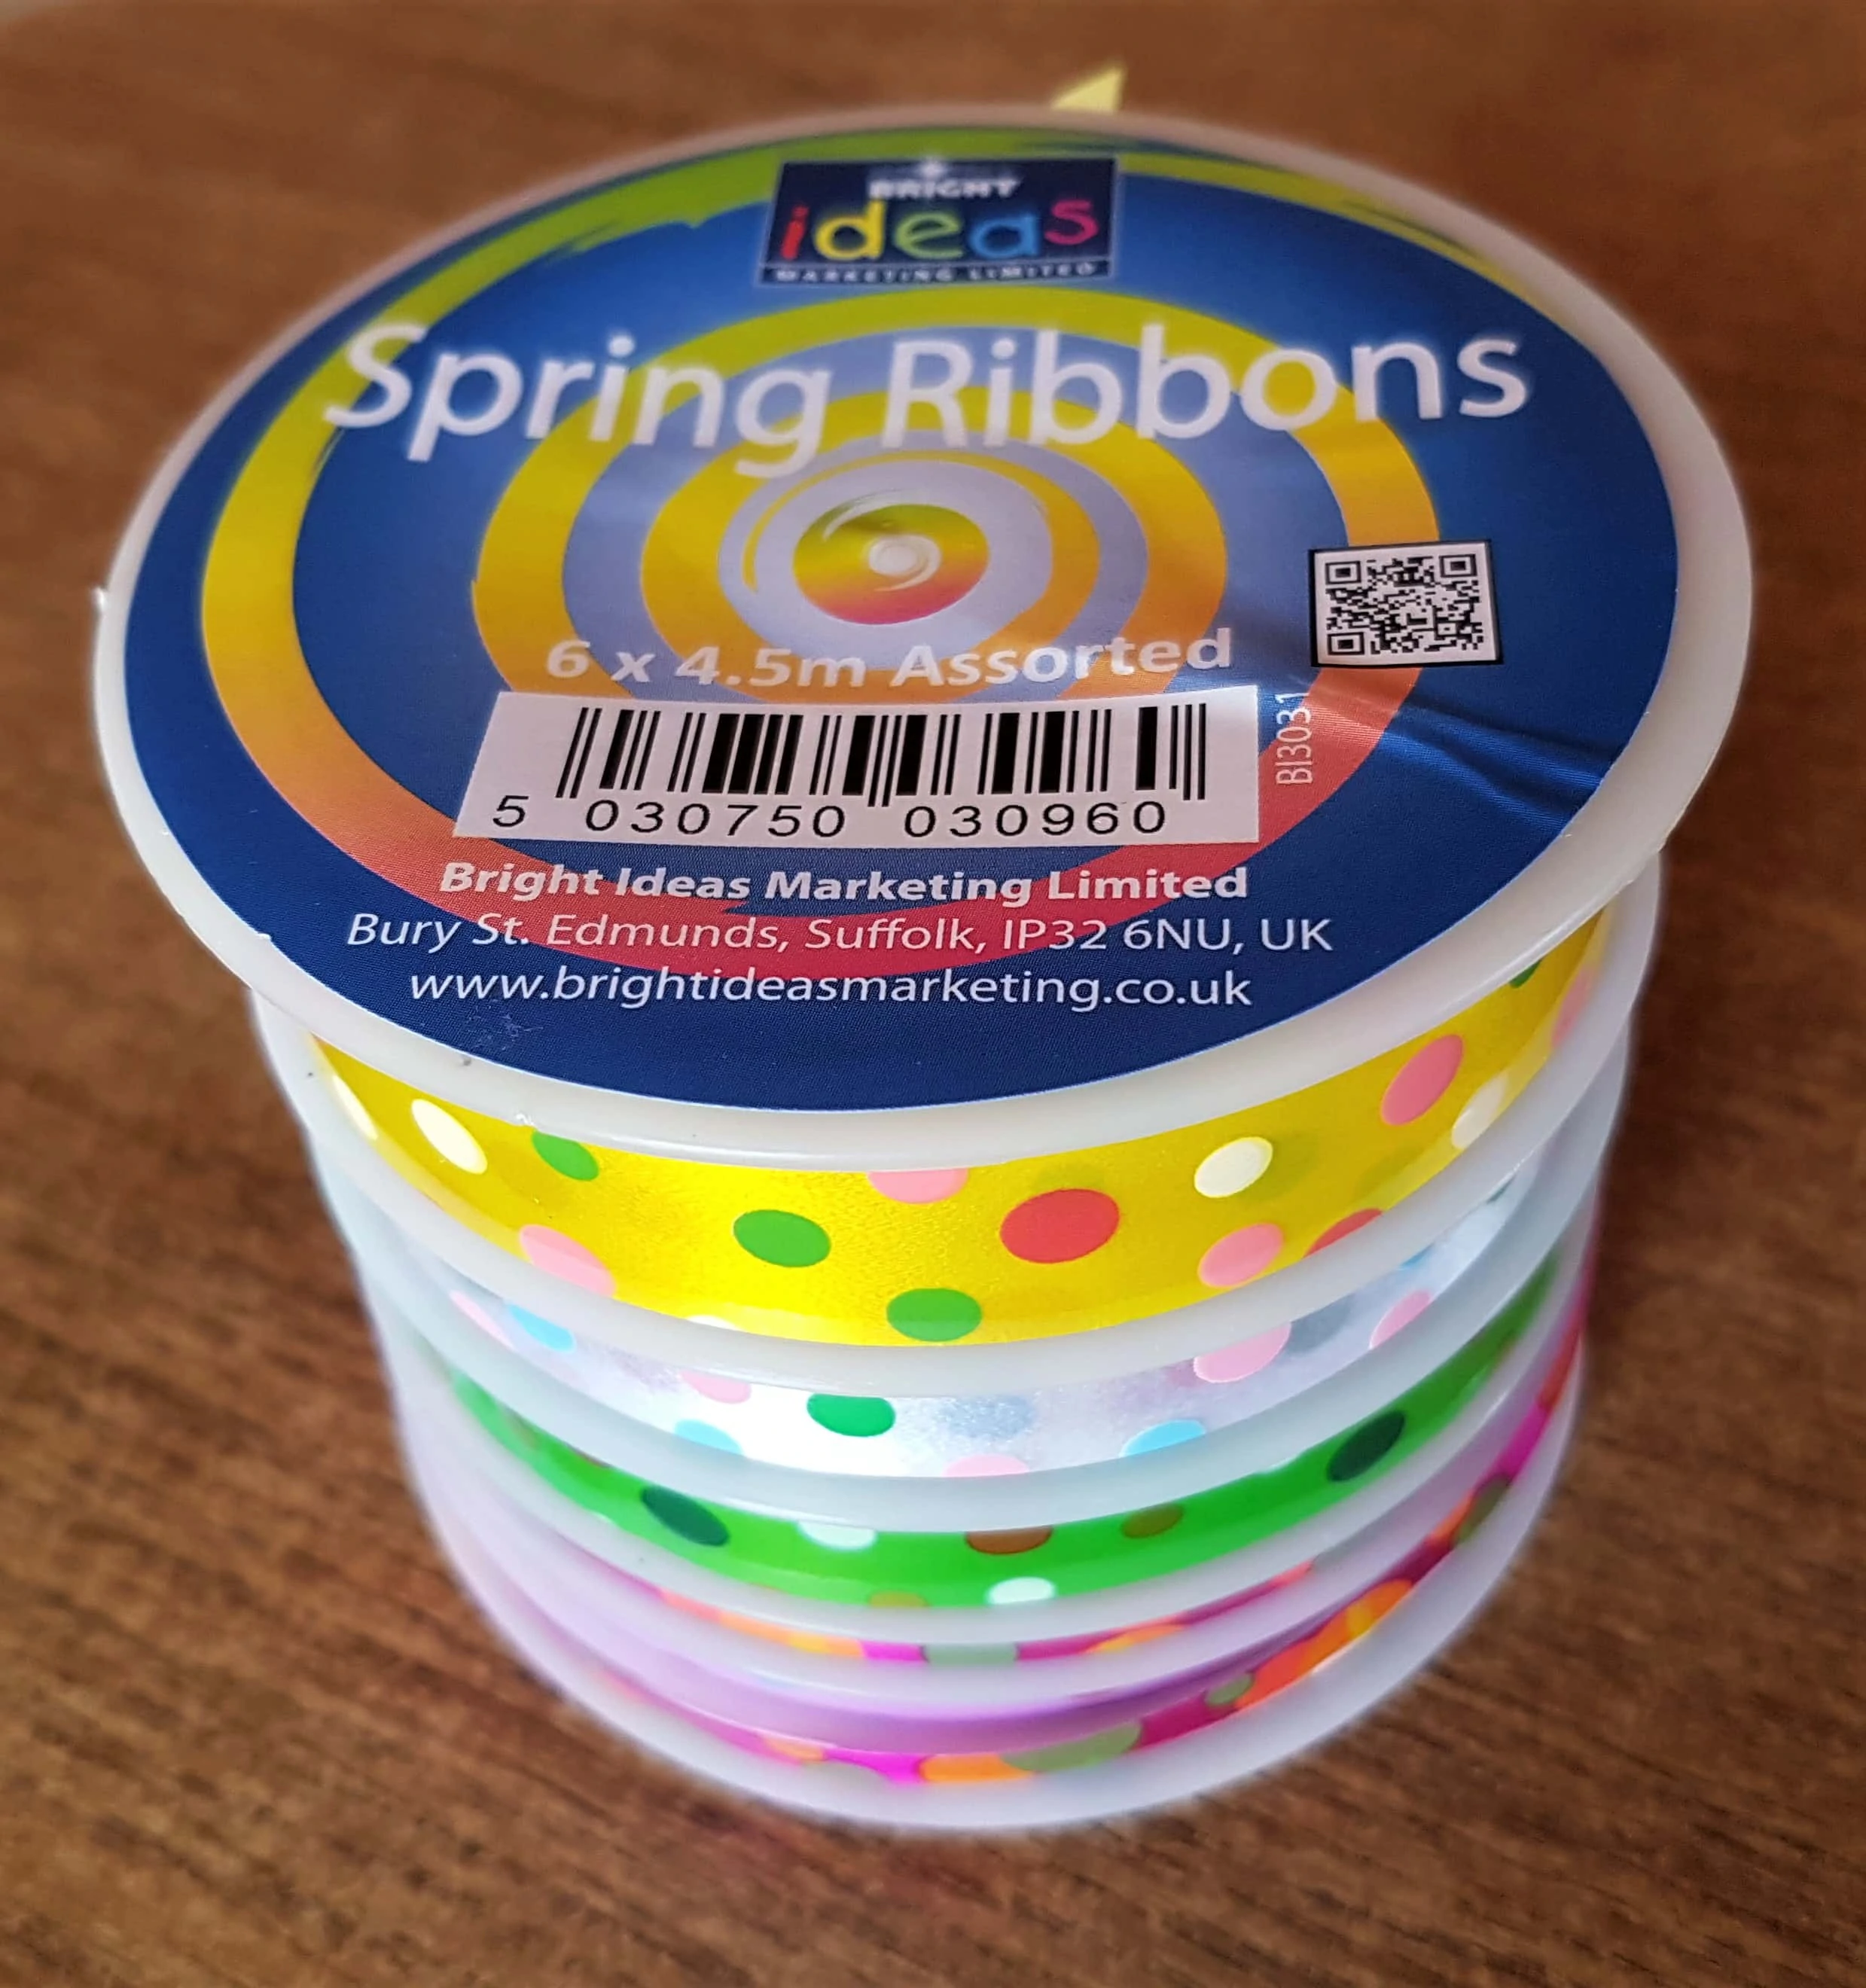
I got my Set of Spring Ribbons which I haven’t used before.
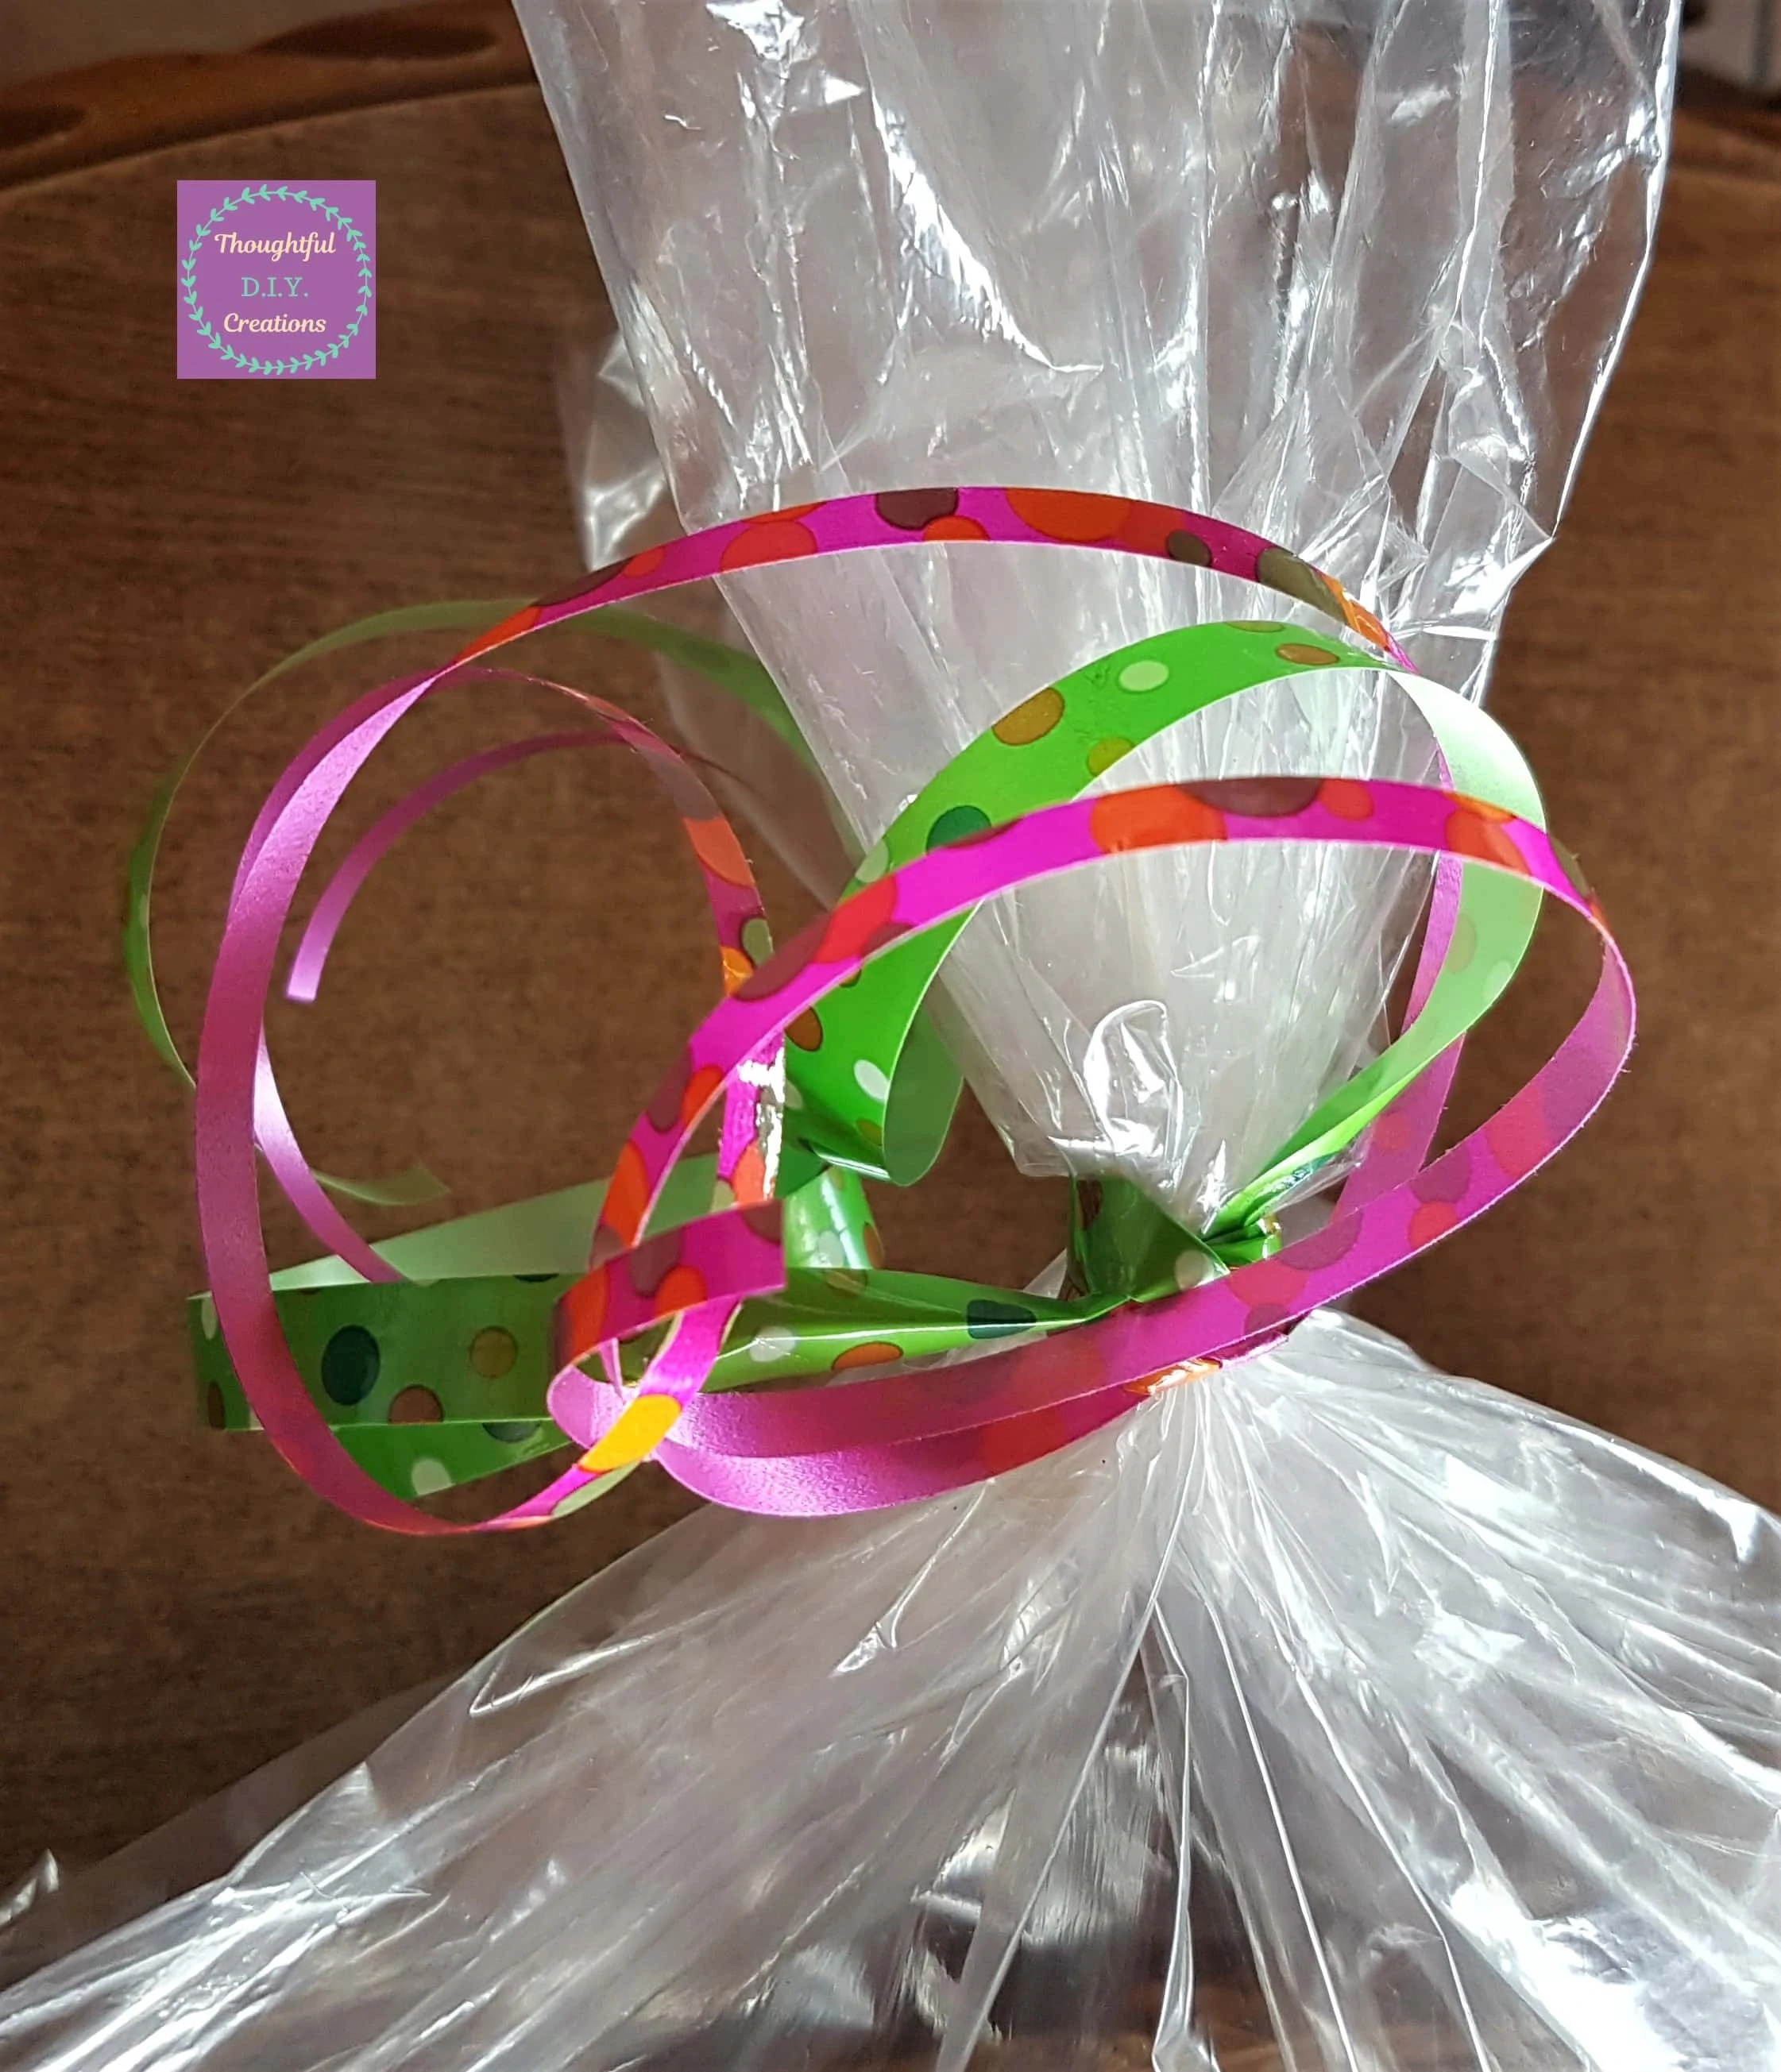
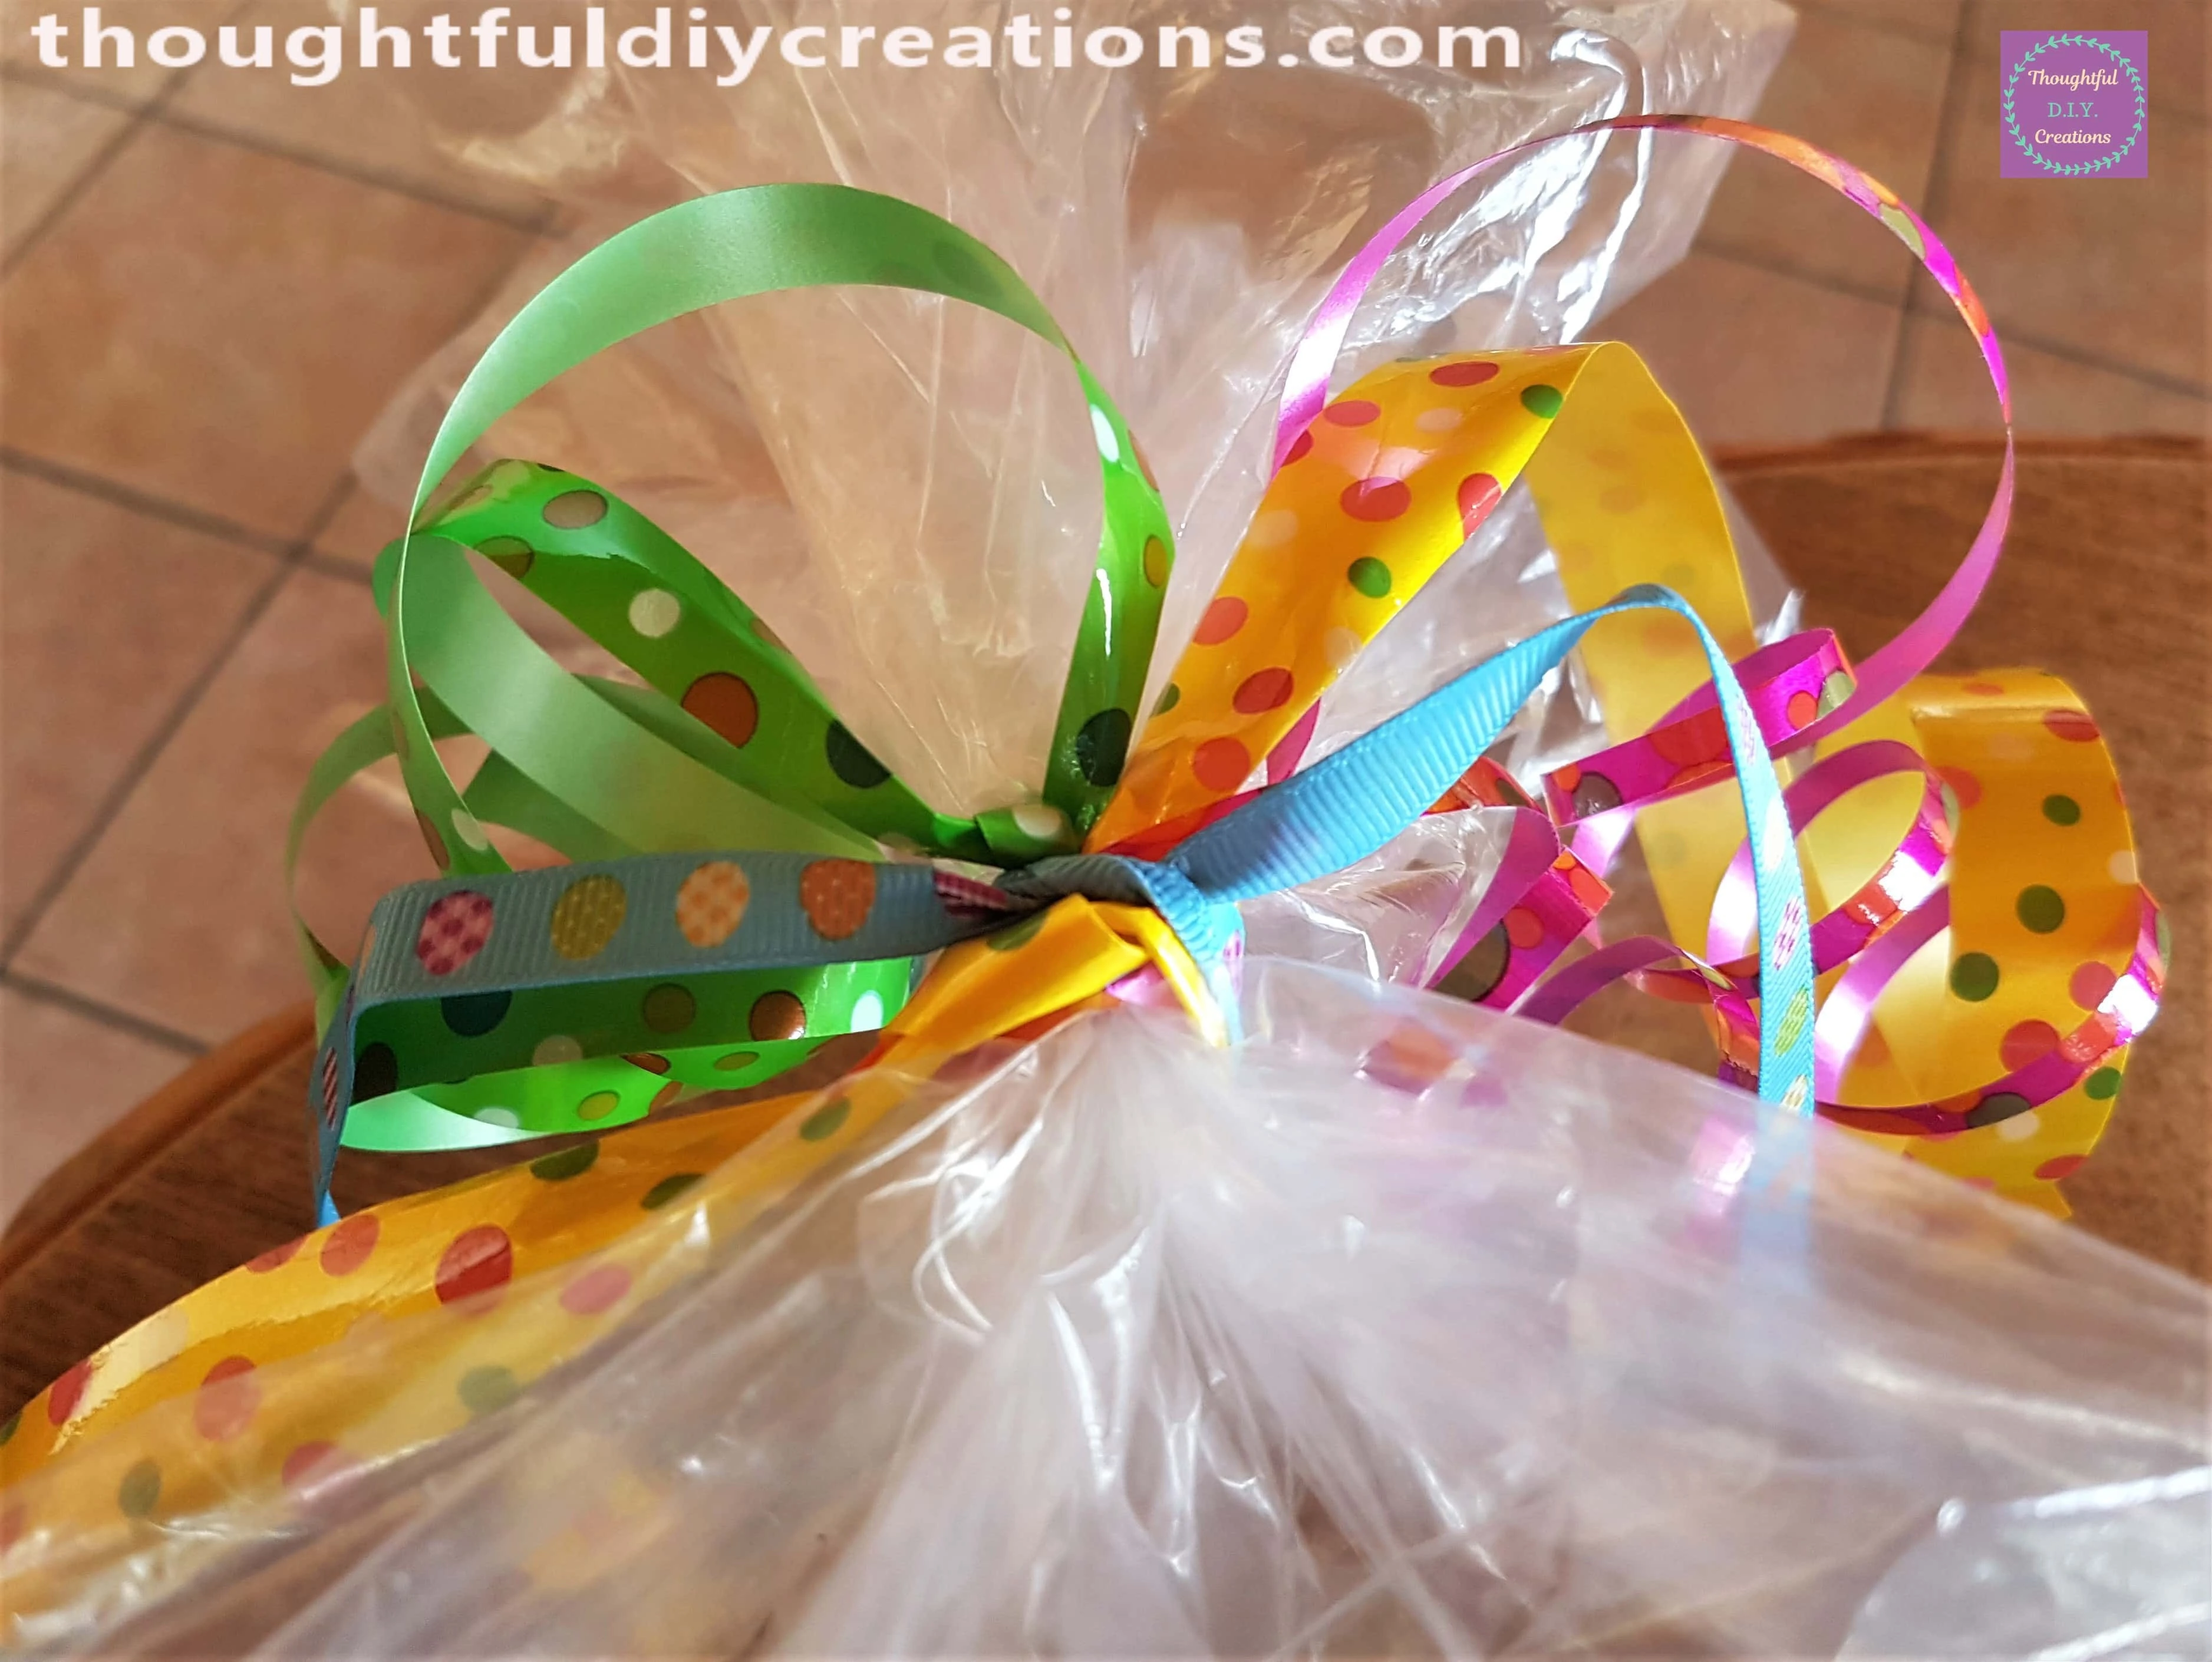
I Cut a Section of Pink and Green Ribbons and tied them one-by-one around the elastic band.
I added the bigger Yellow Ribbon and Curled the Ribbons by pulling each Ribbon with the back blade of a Scissors.
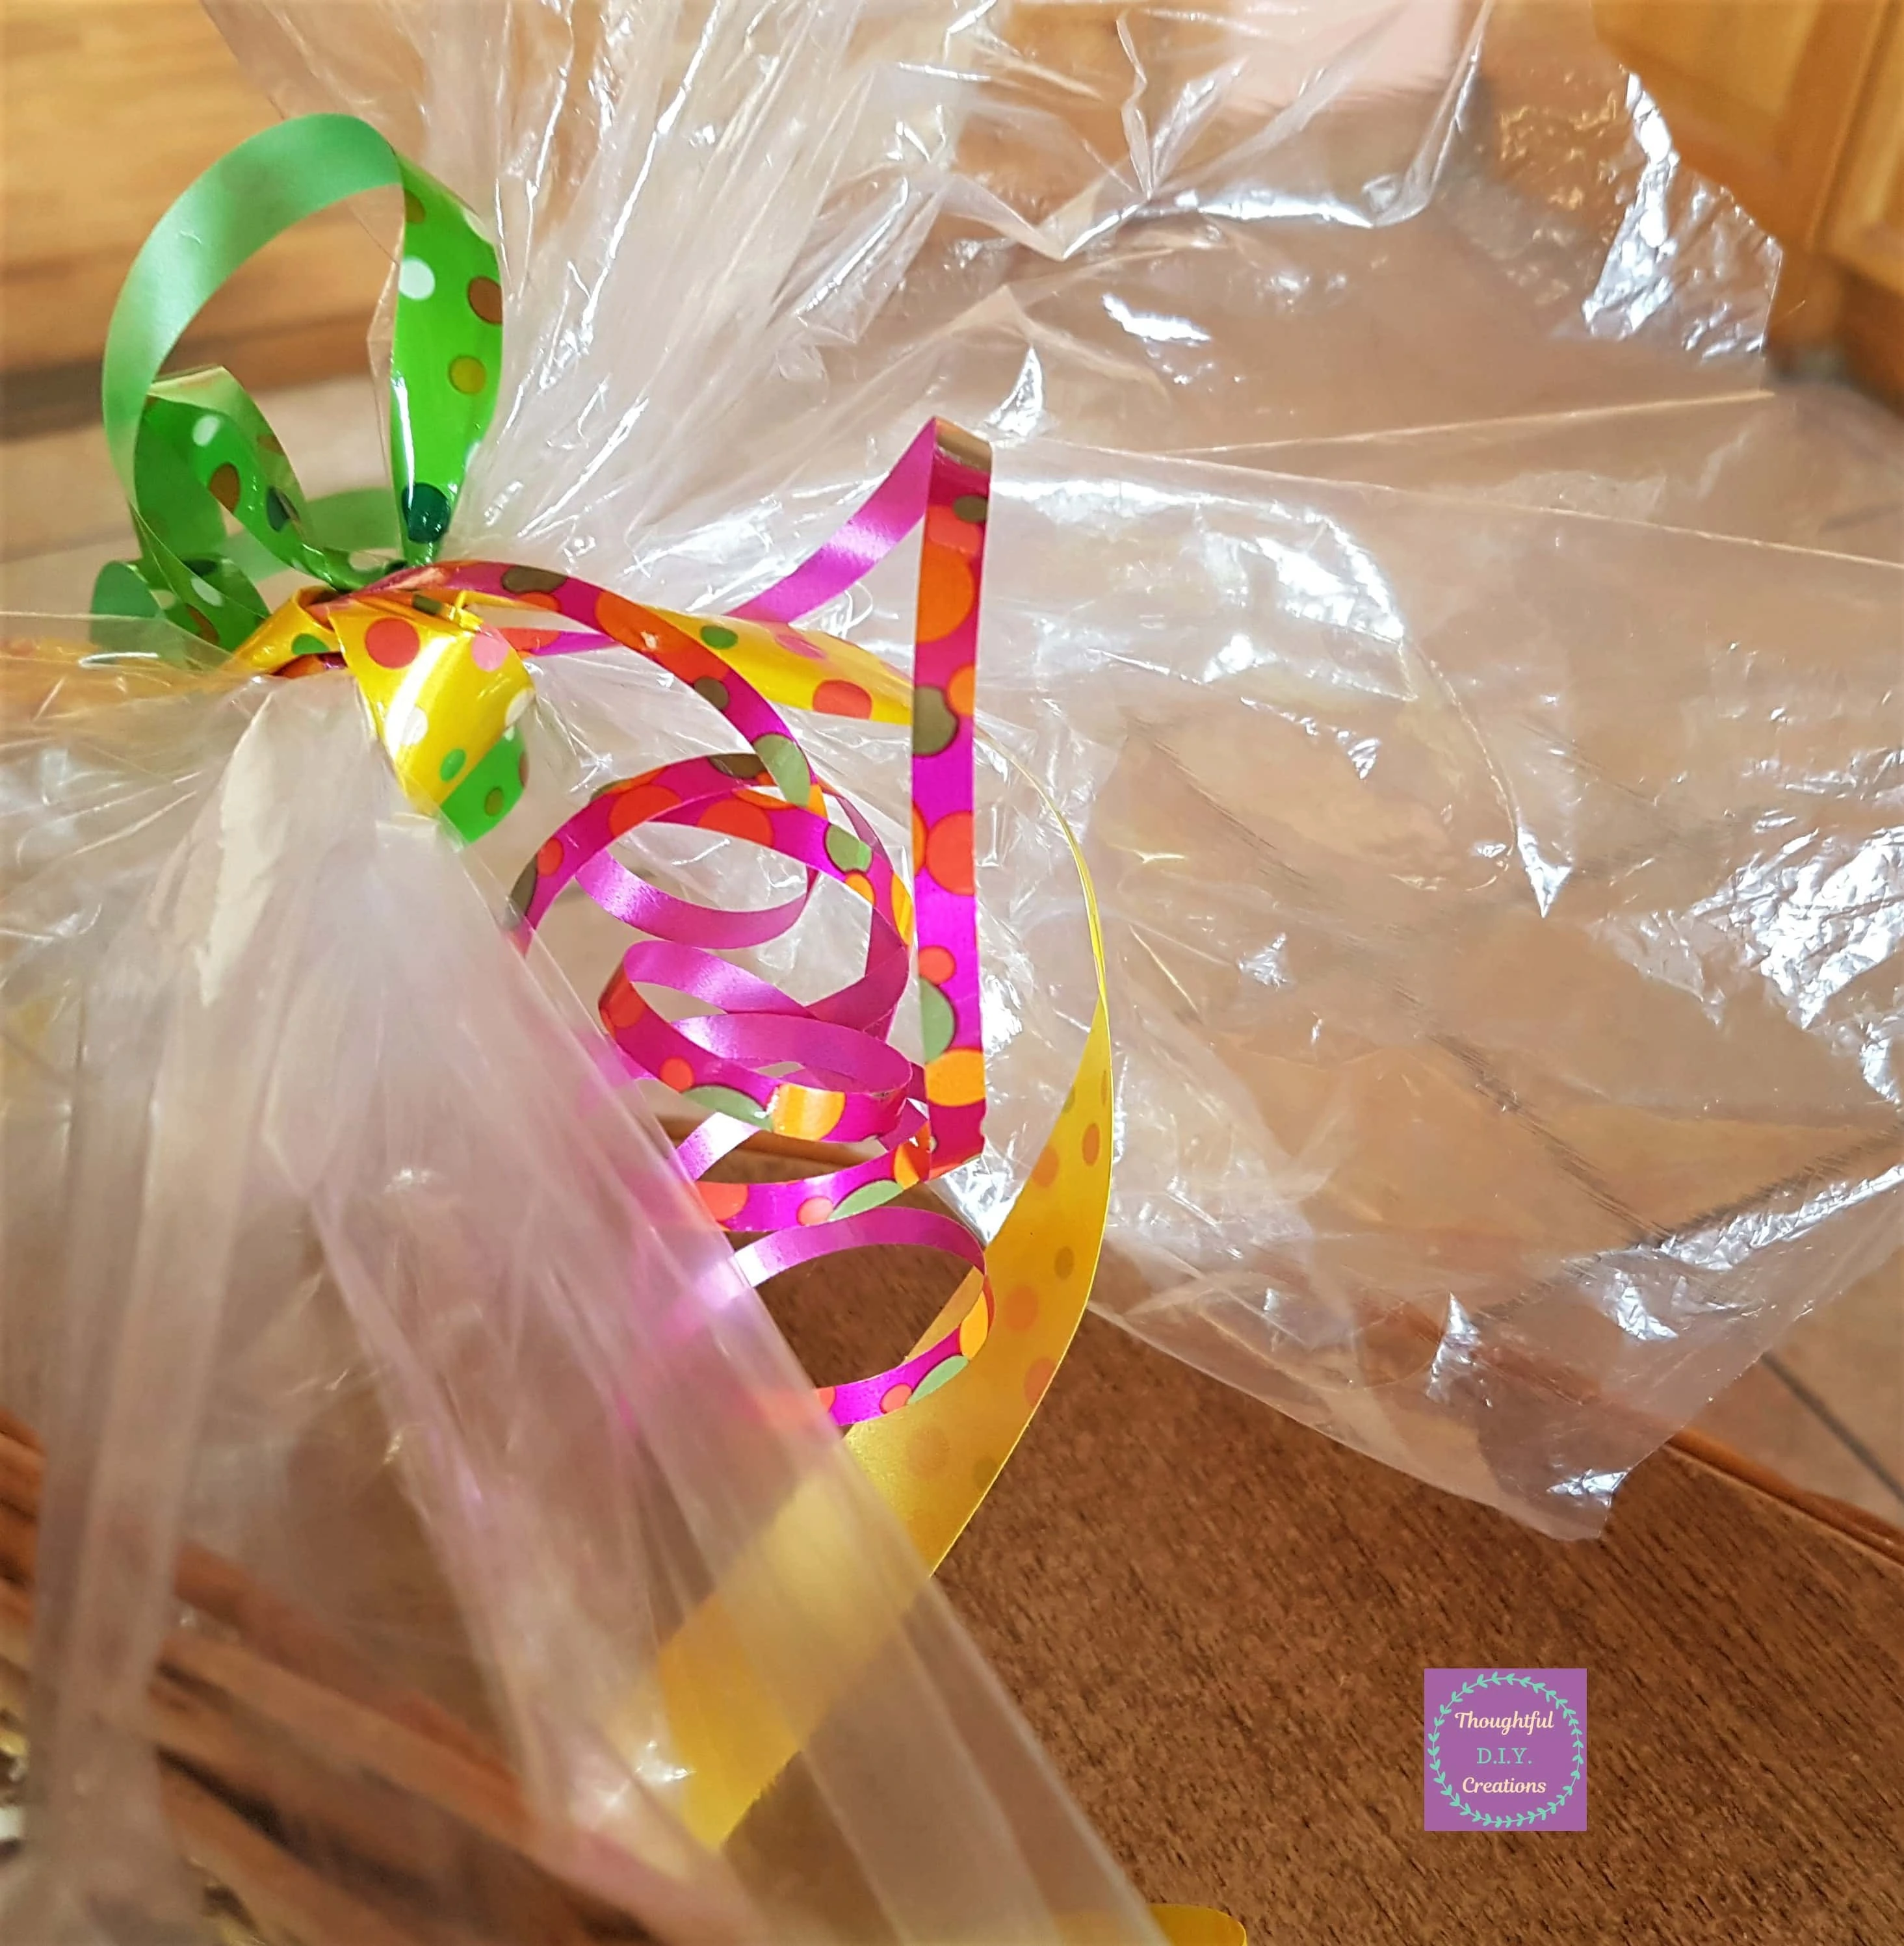
I tied a Blue Easter Ribbon to the Collection.
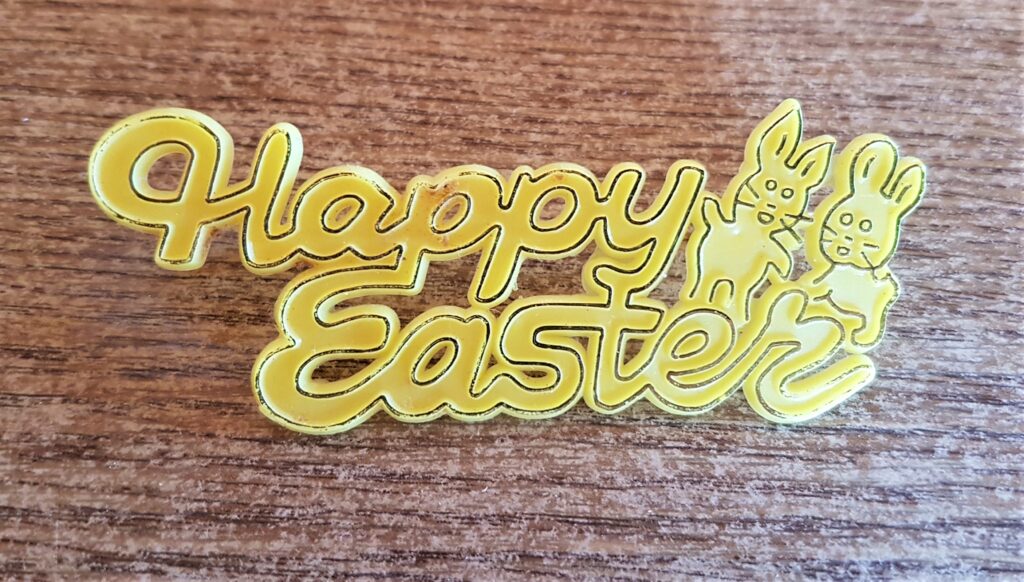
I had a Yellow ‘Happy Easter’ Cake Topper in my Craft Supplies.
I attached it to the Display with some Hot Glue.
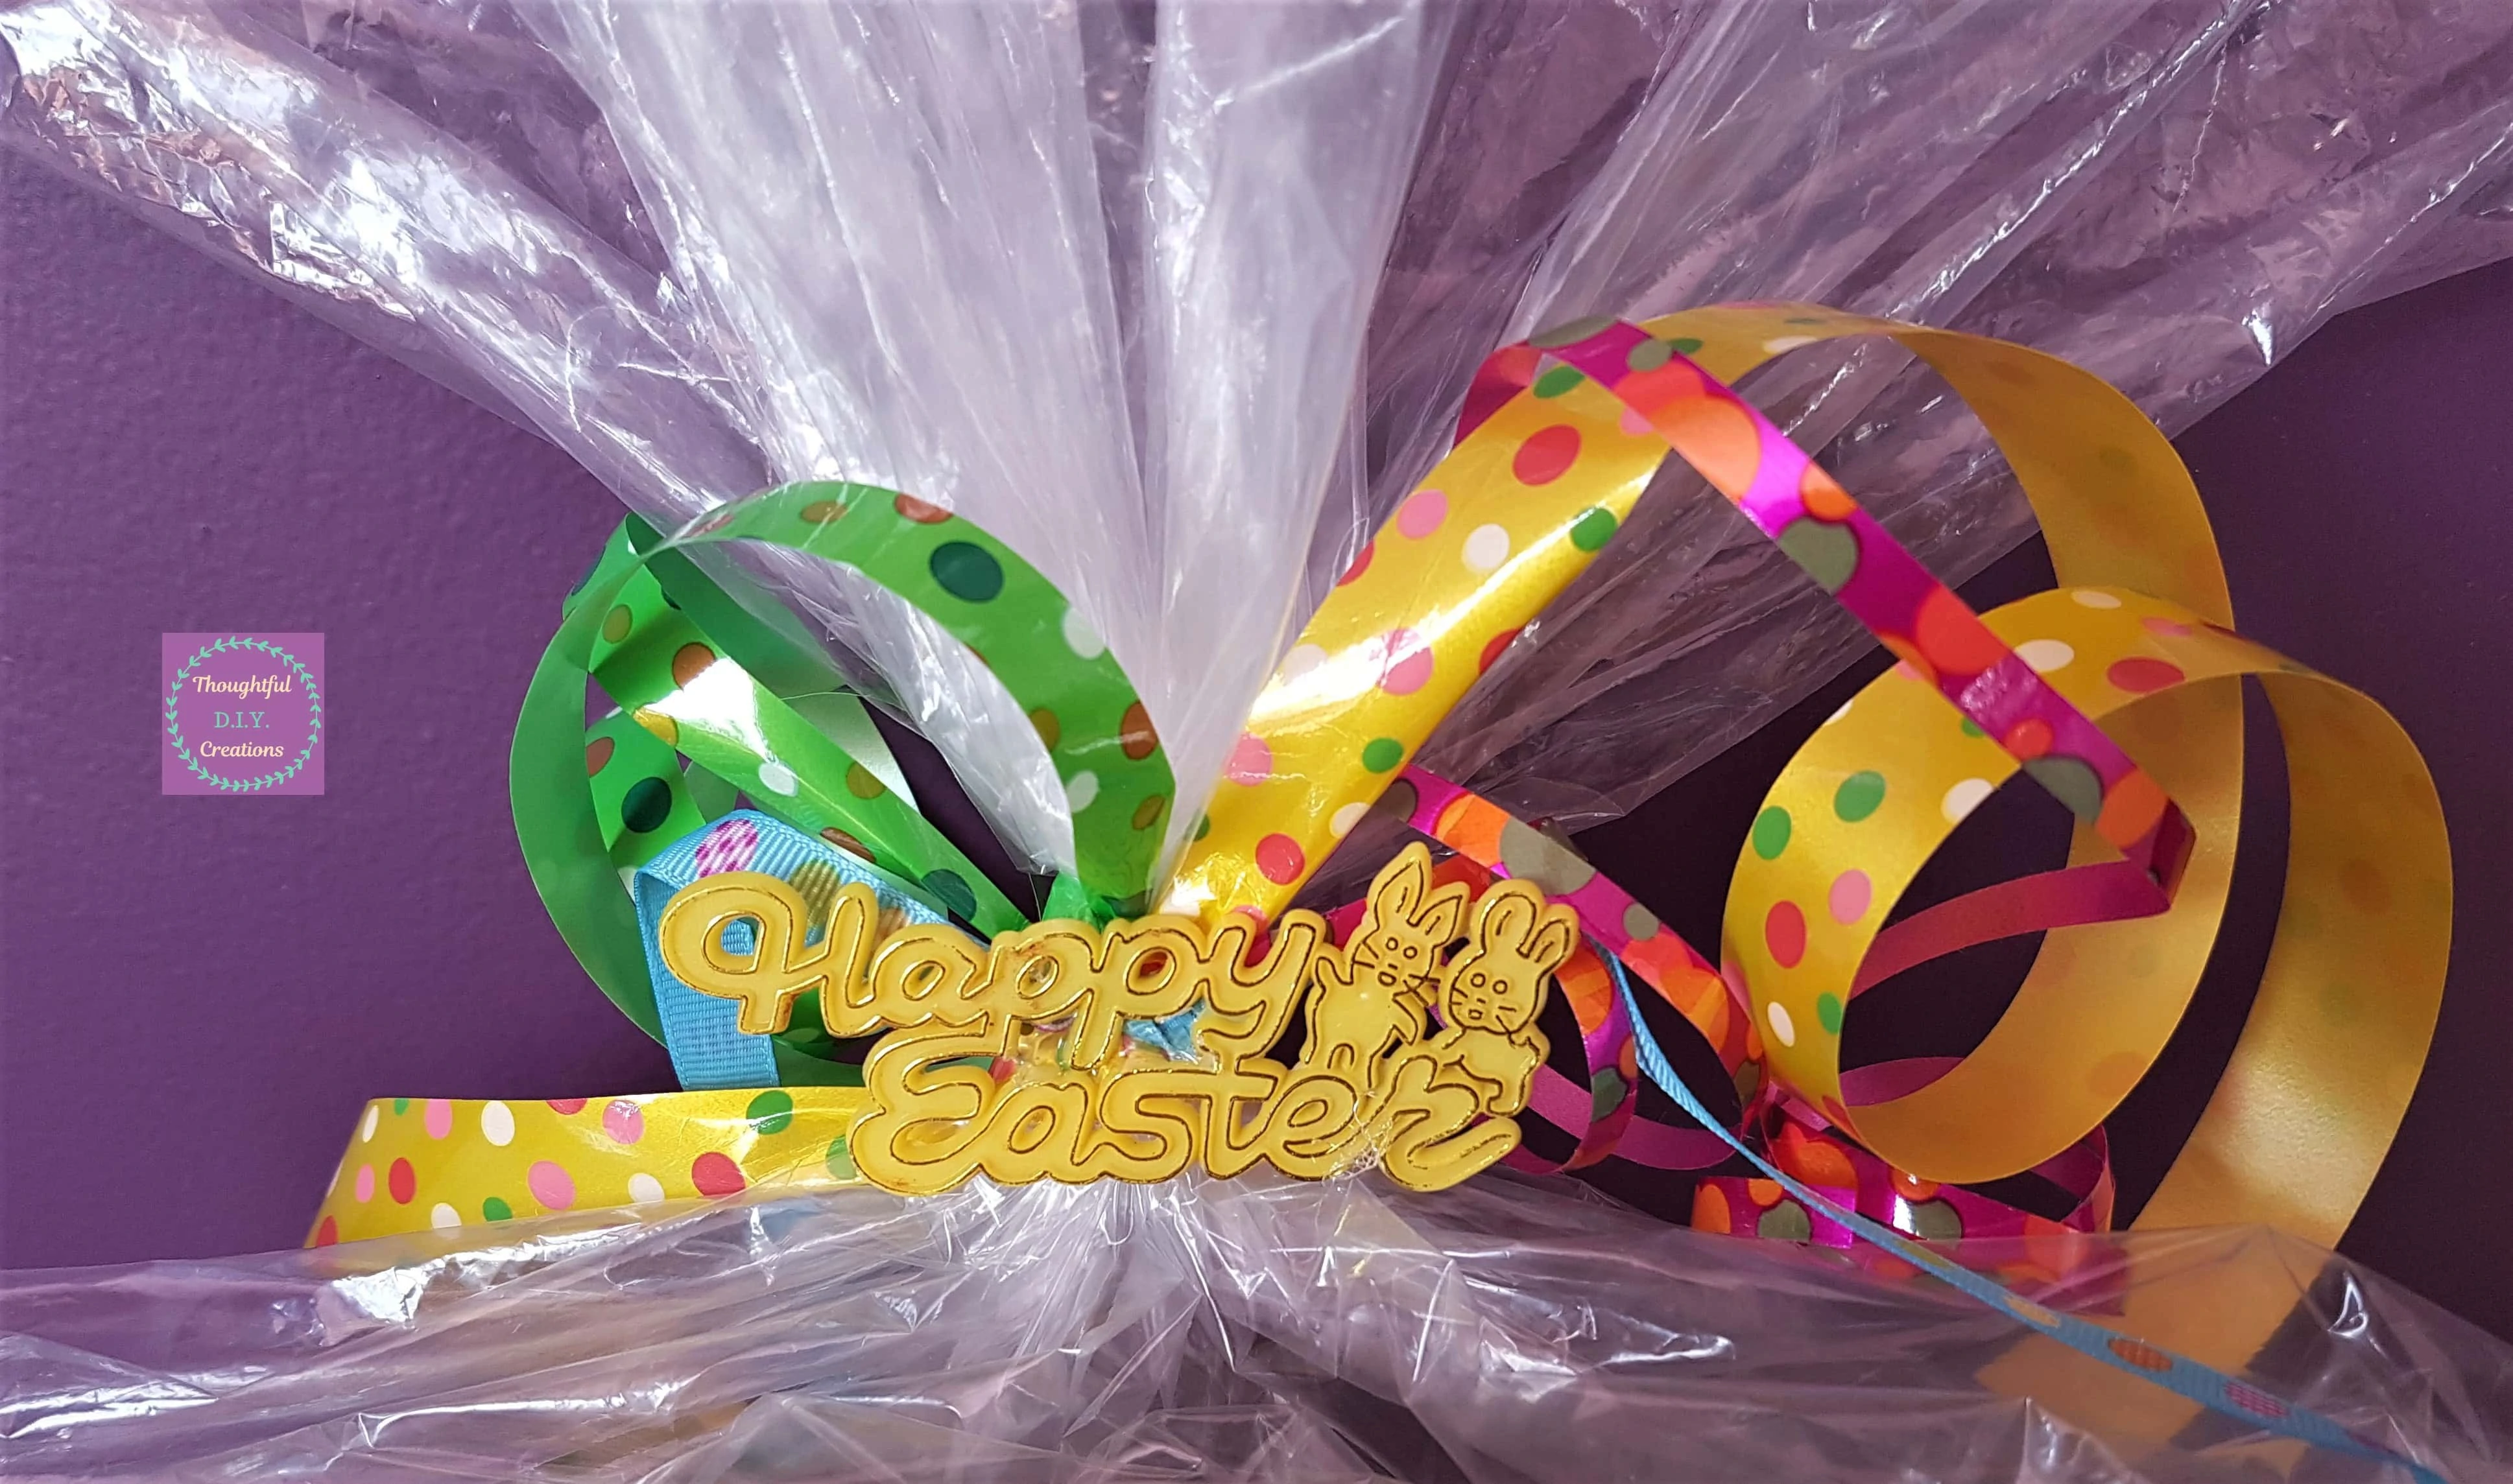
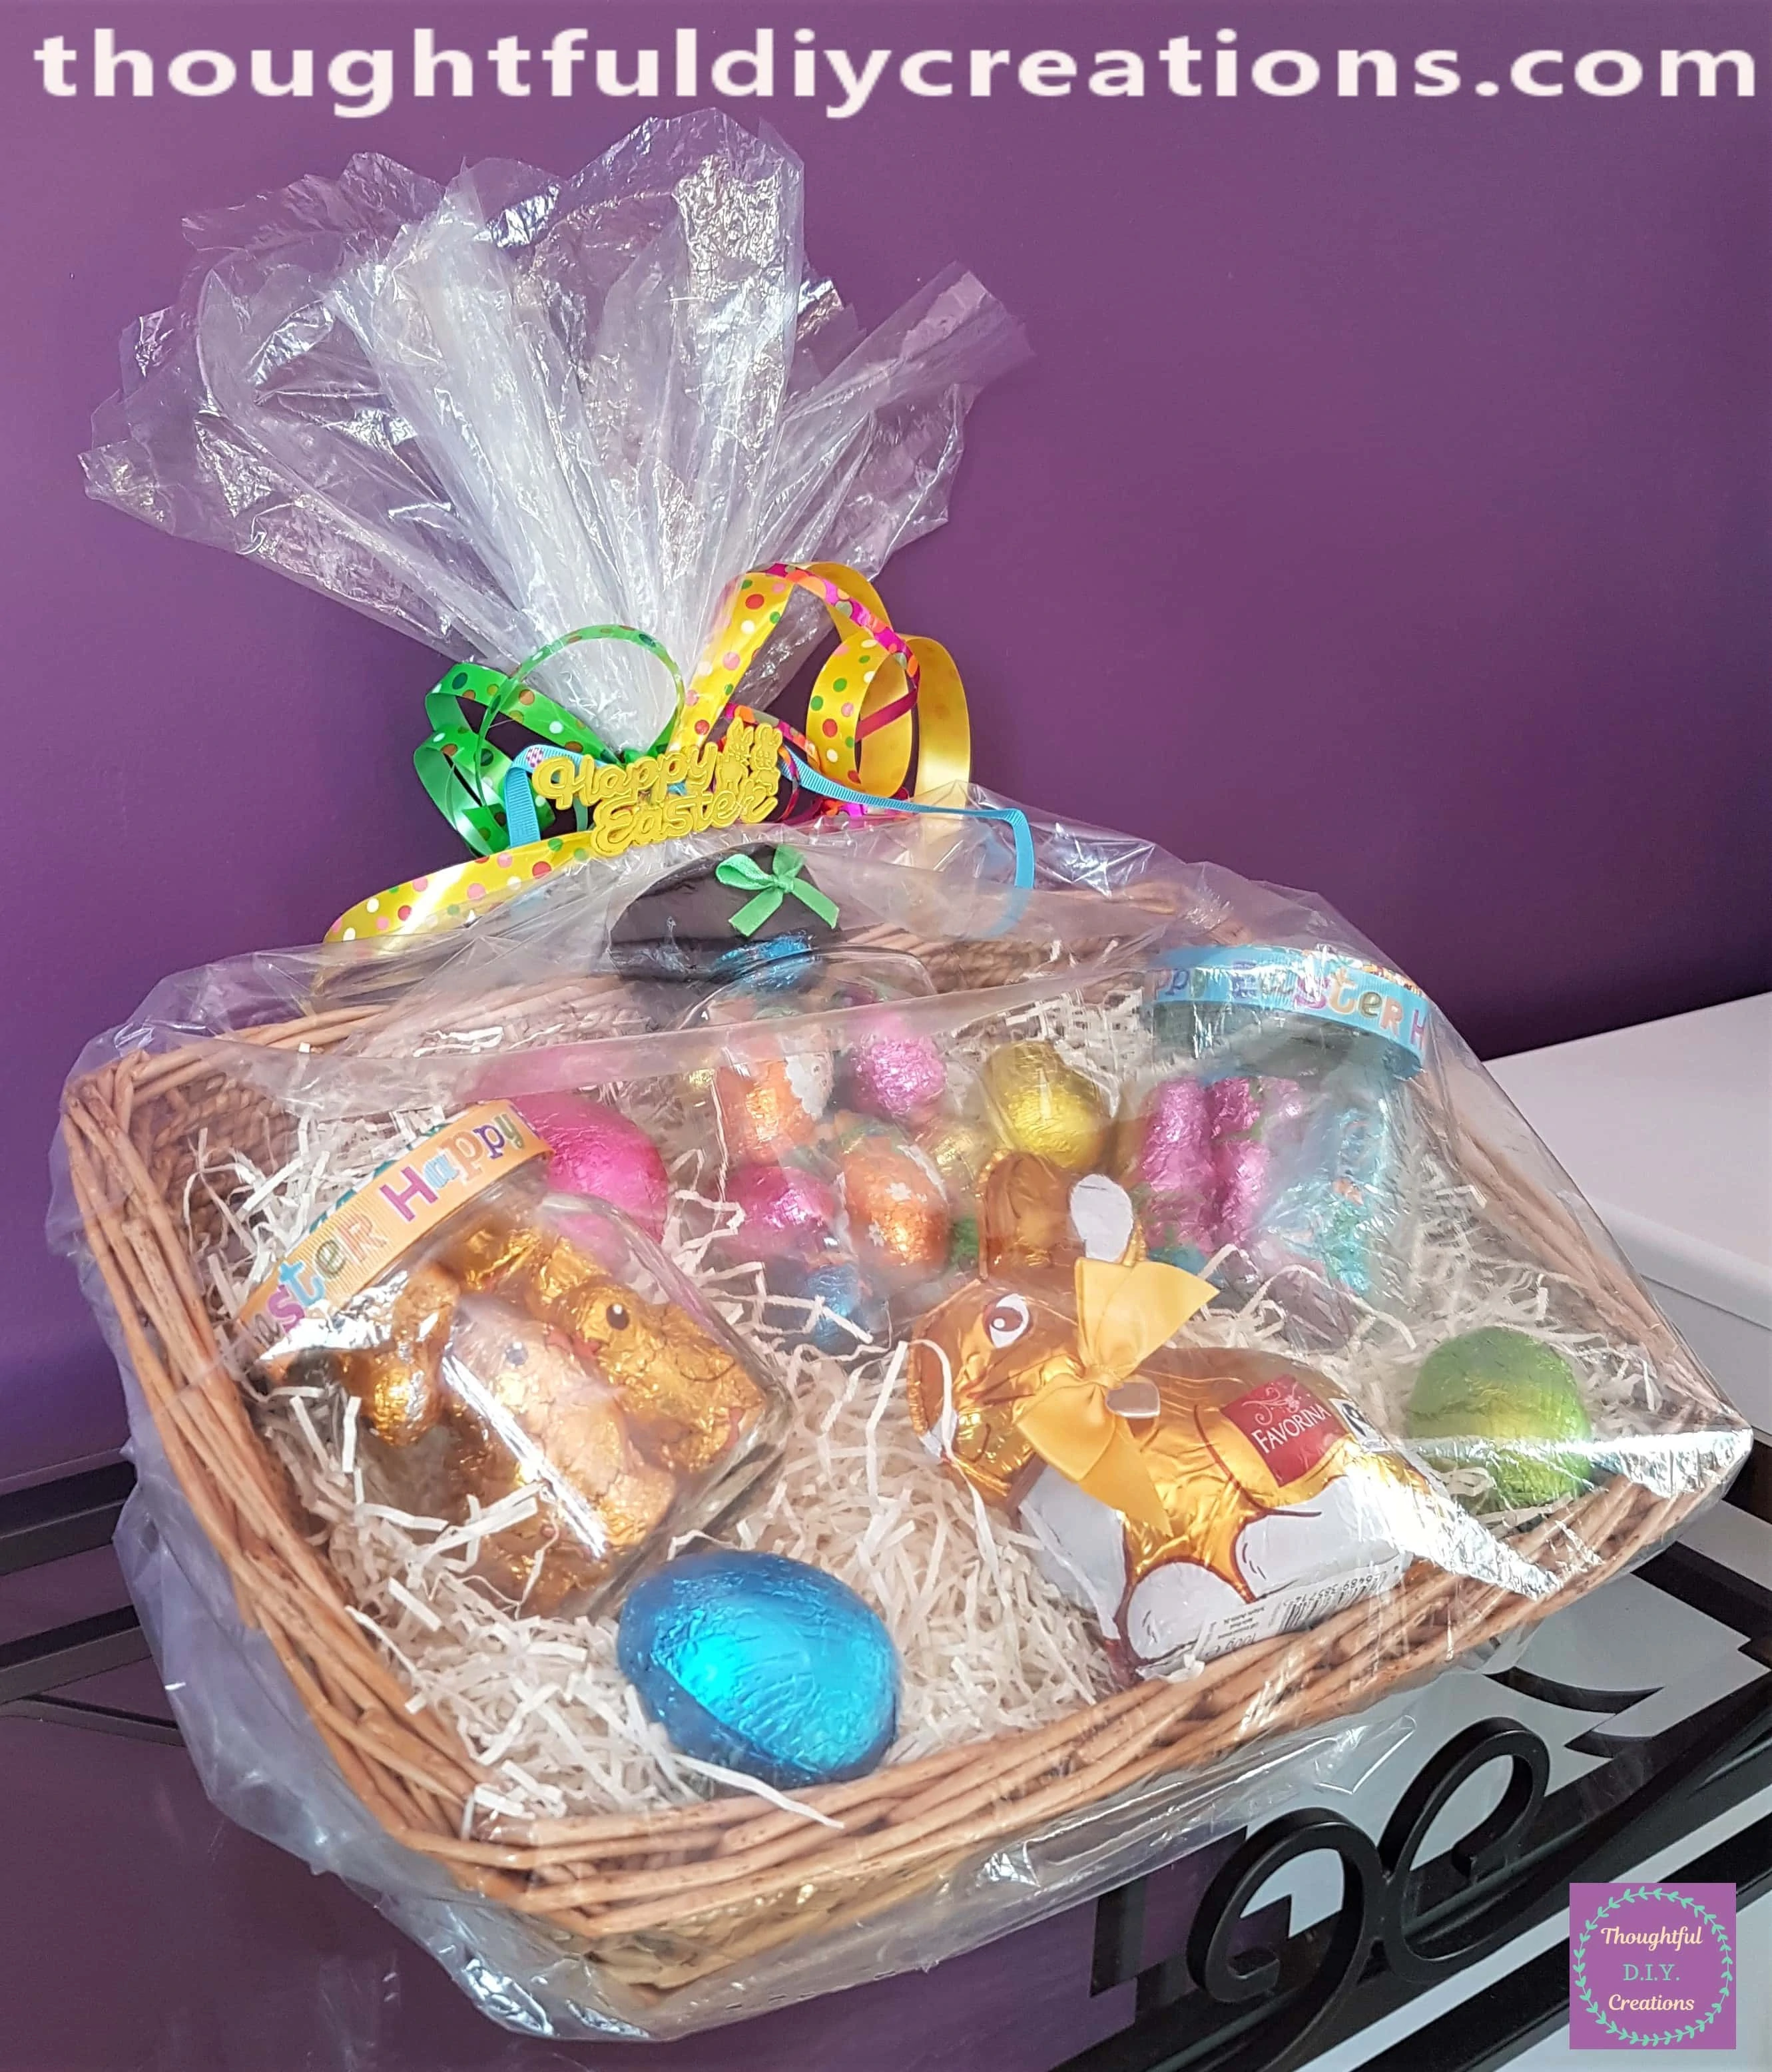
This Completed my Easter Hamper.
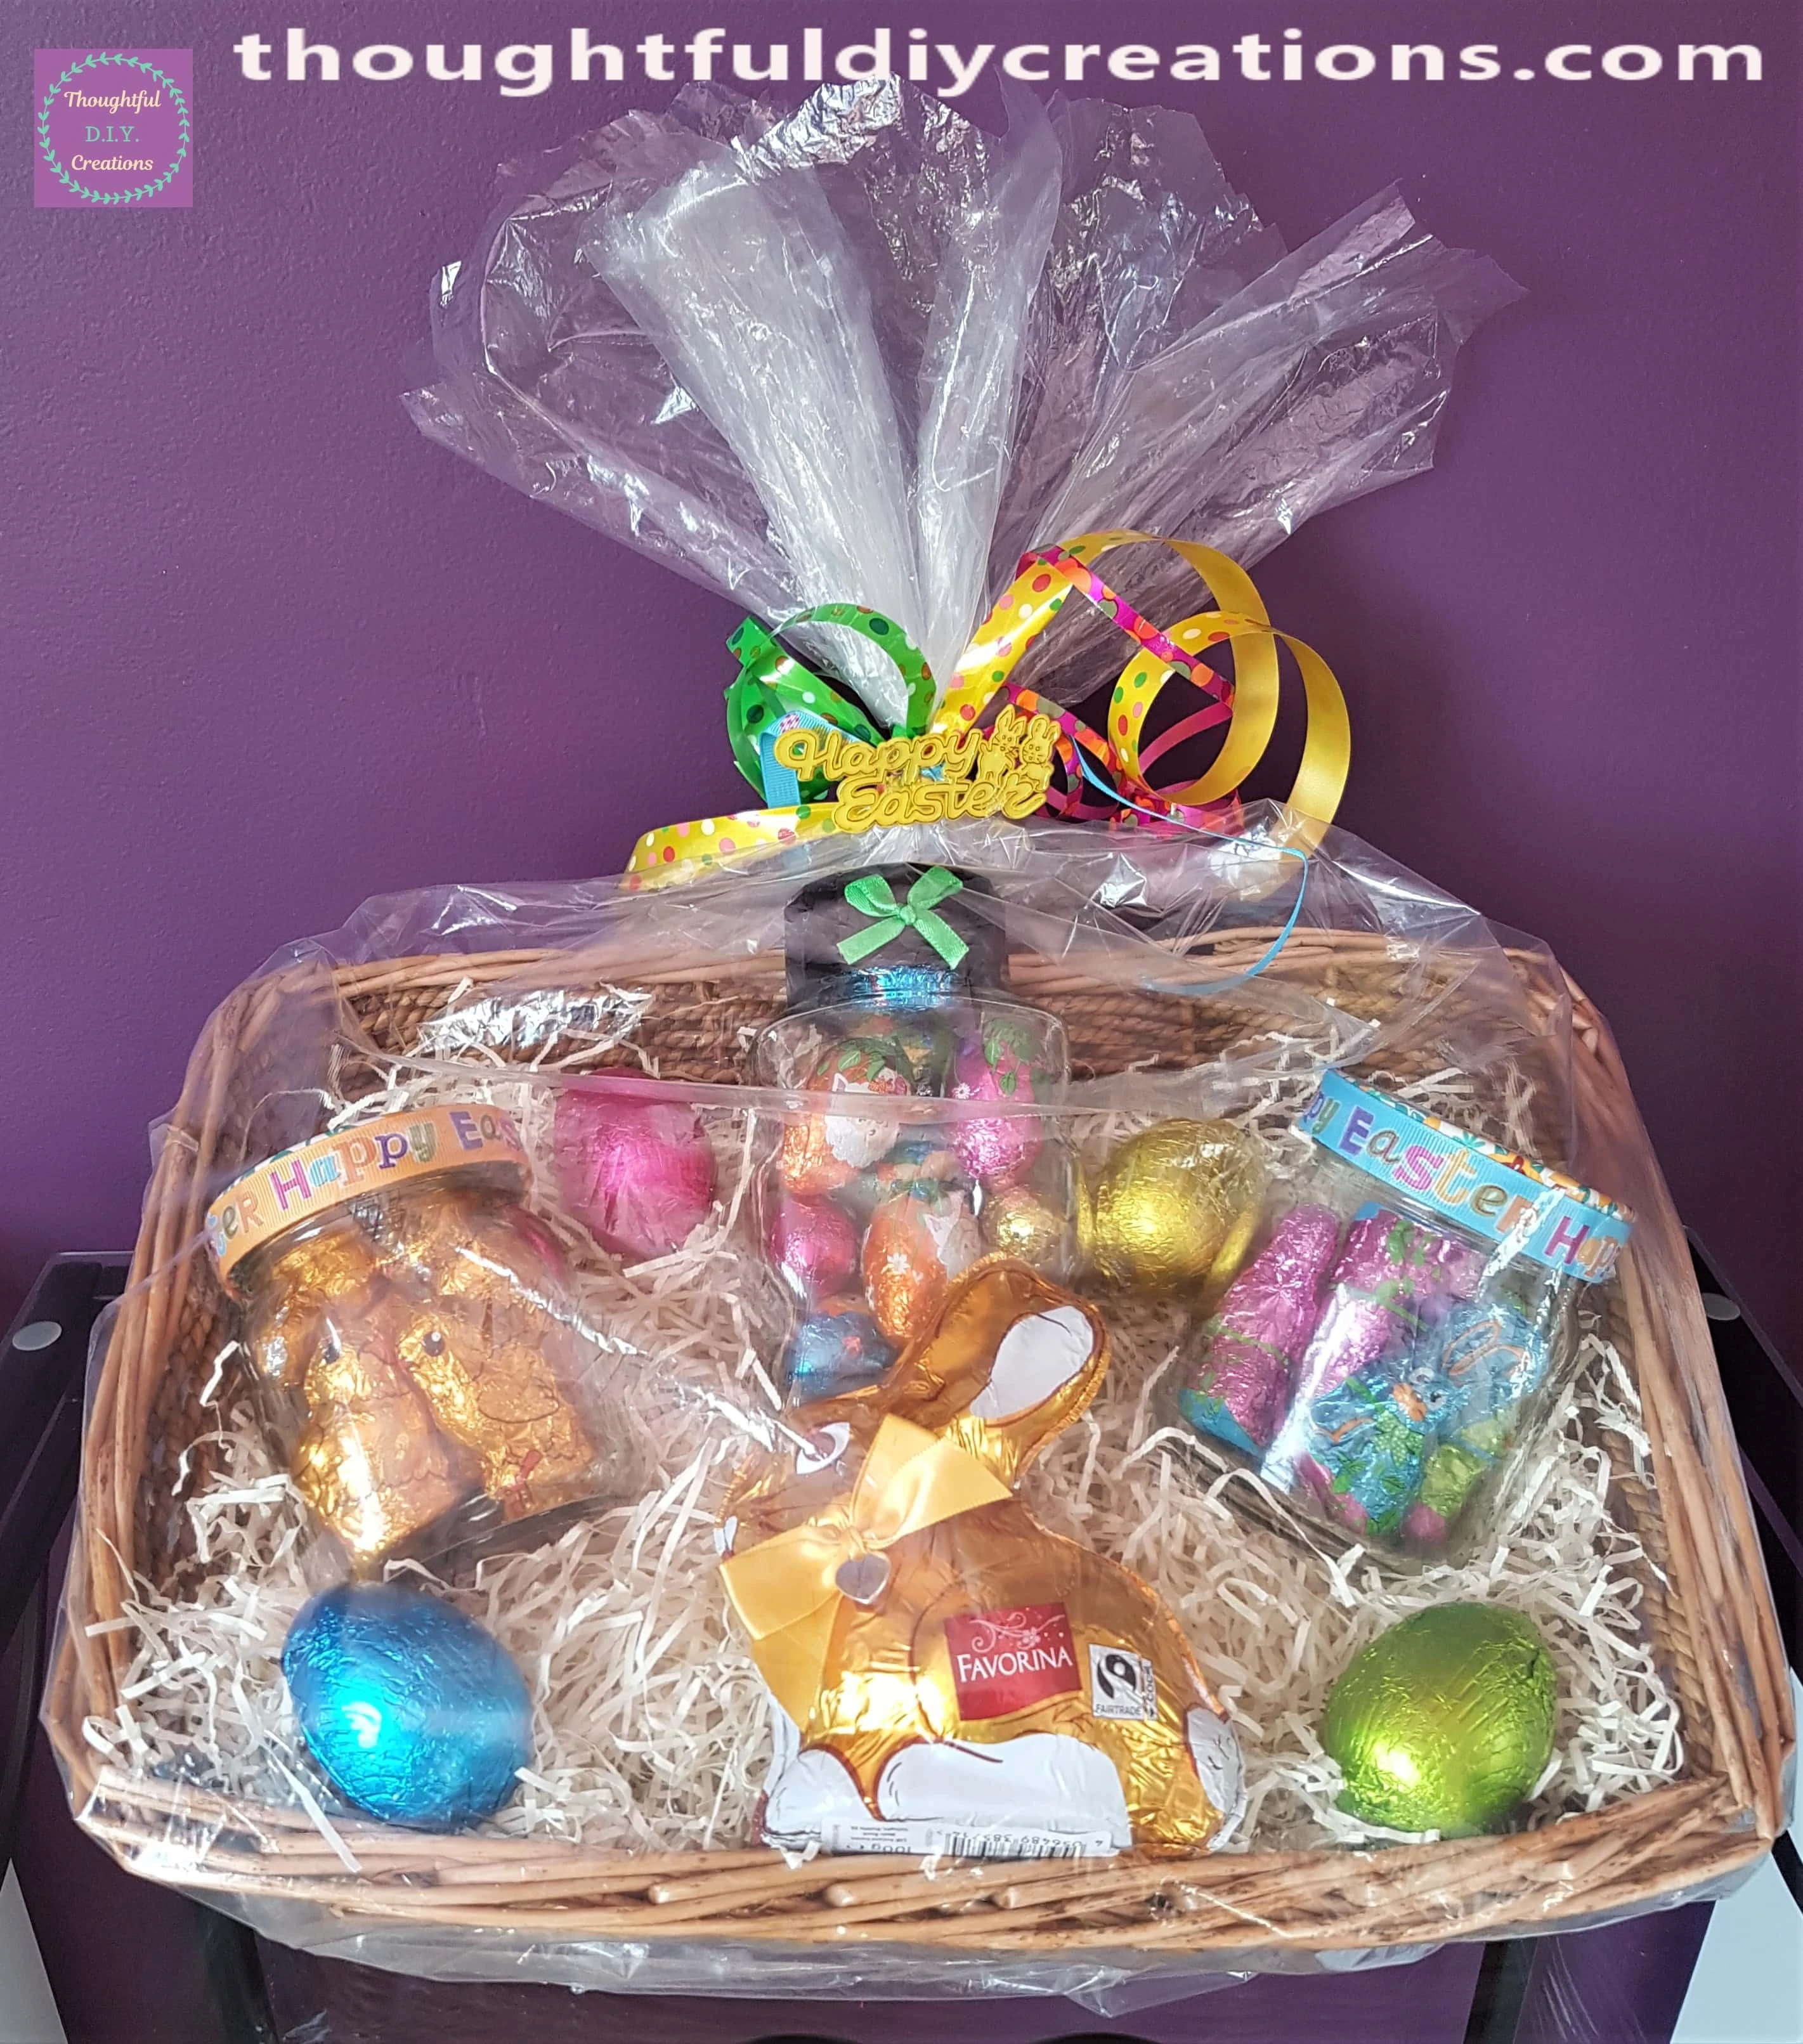
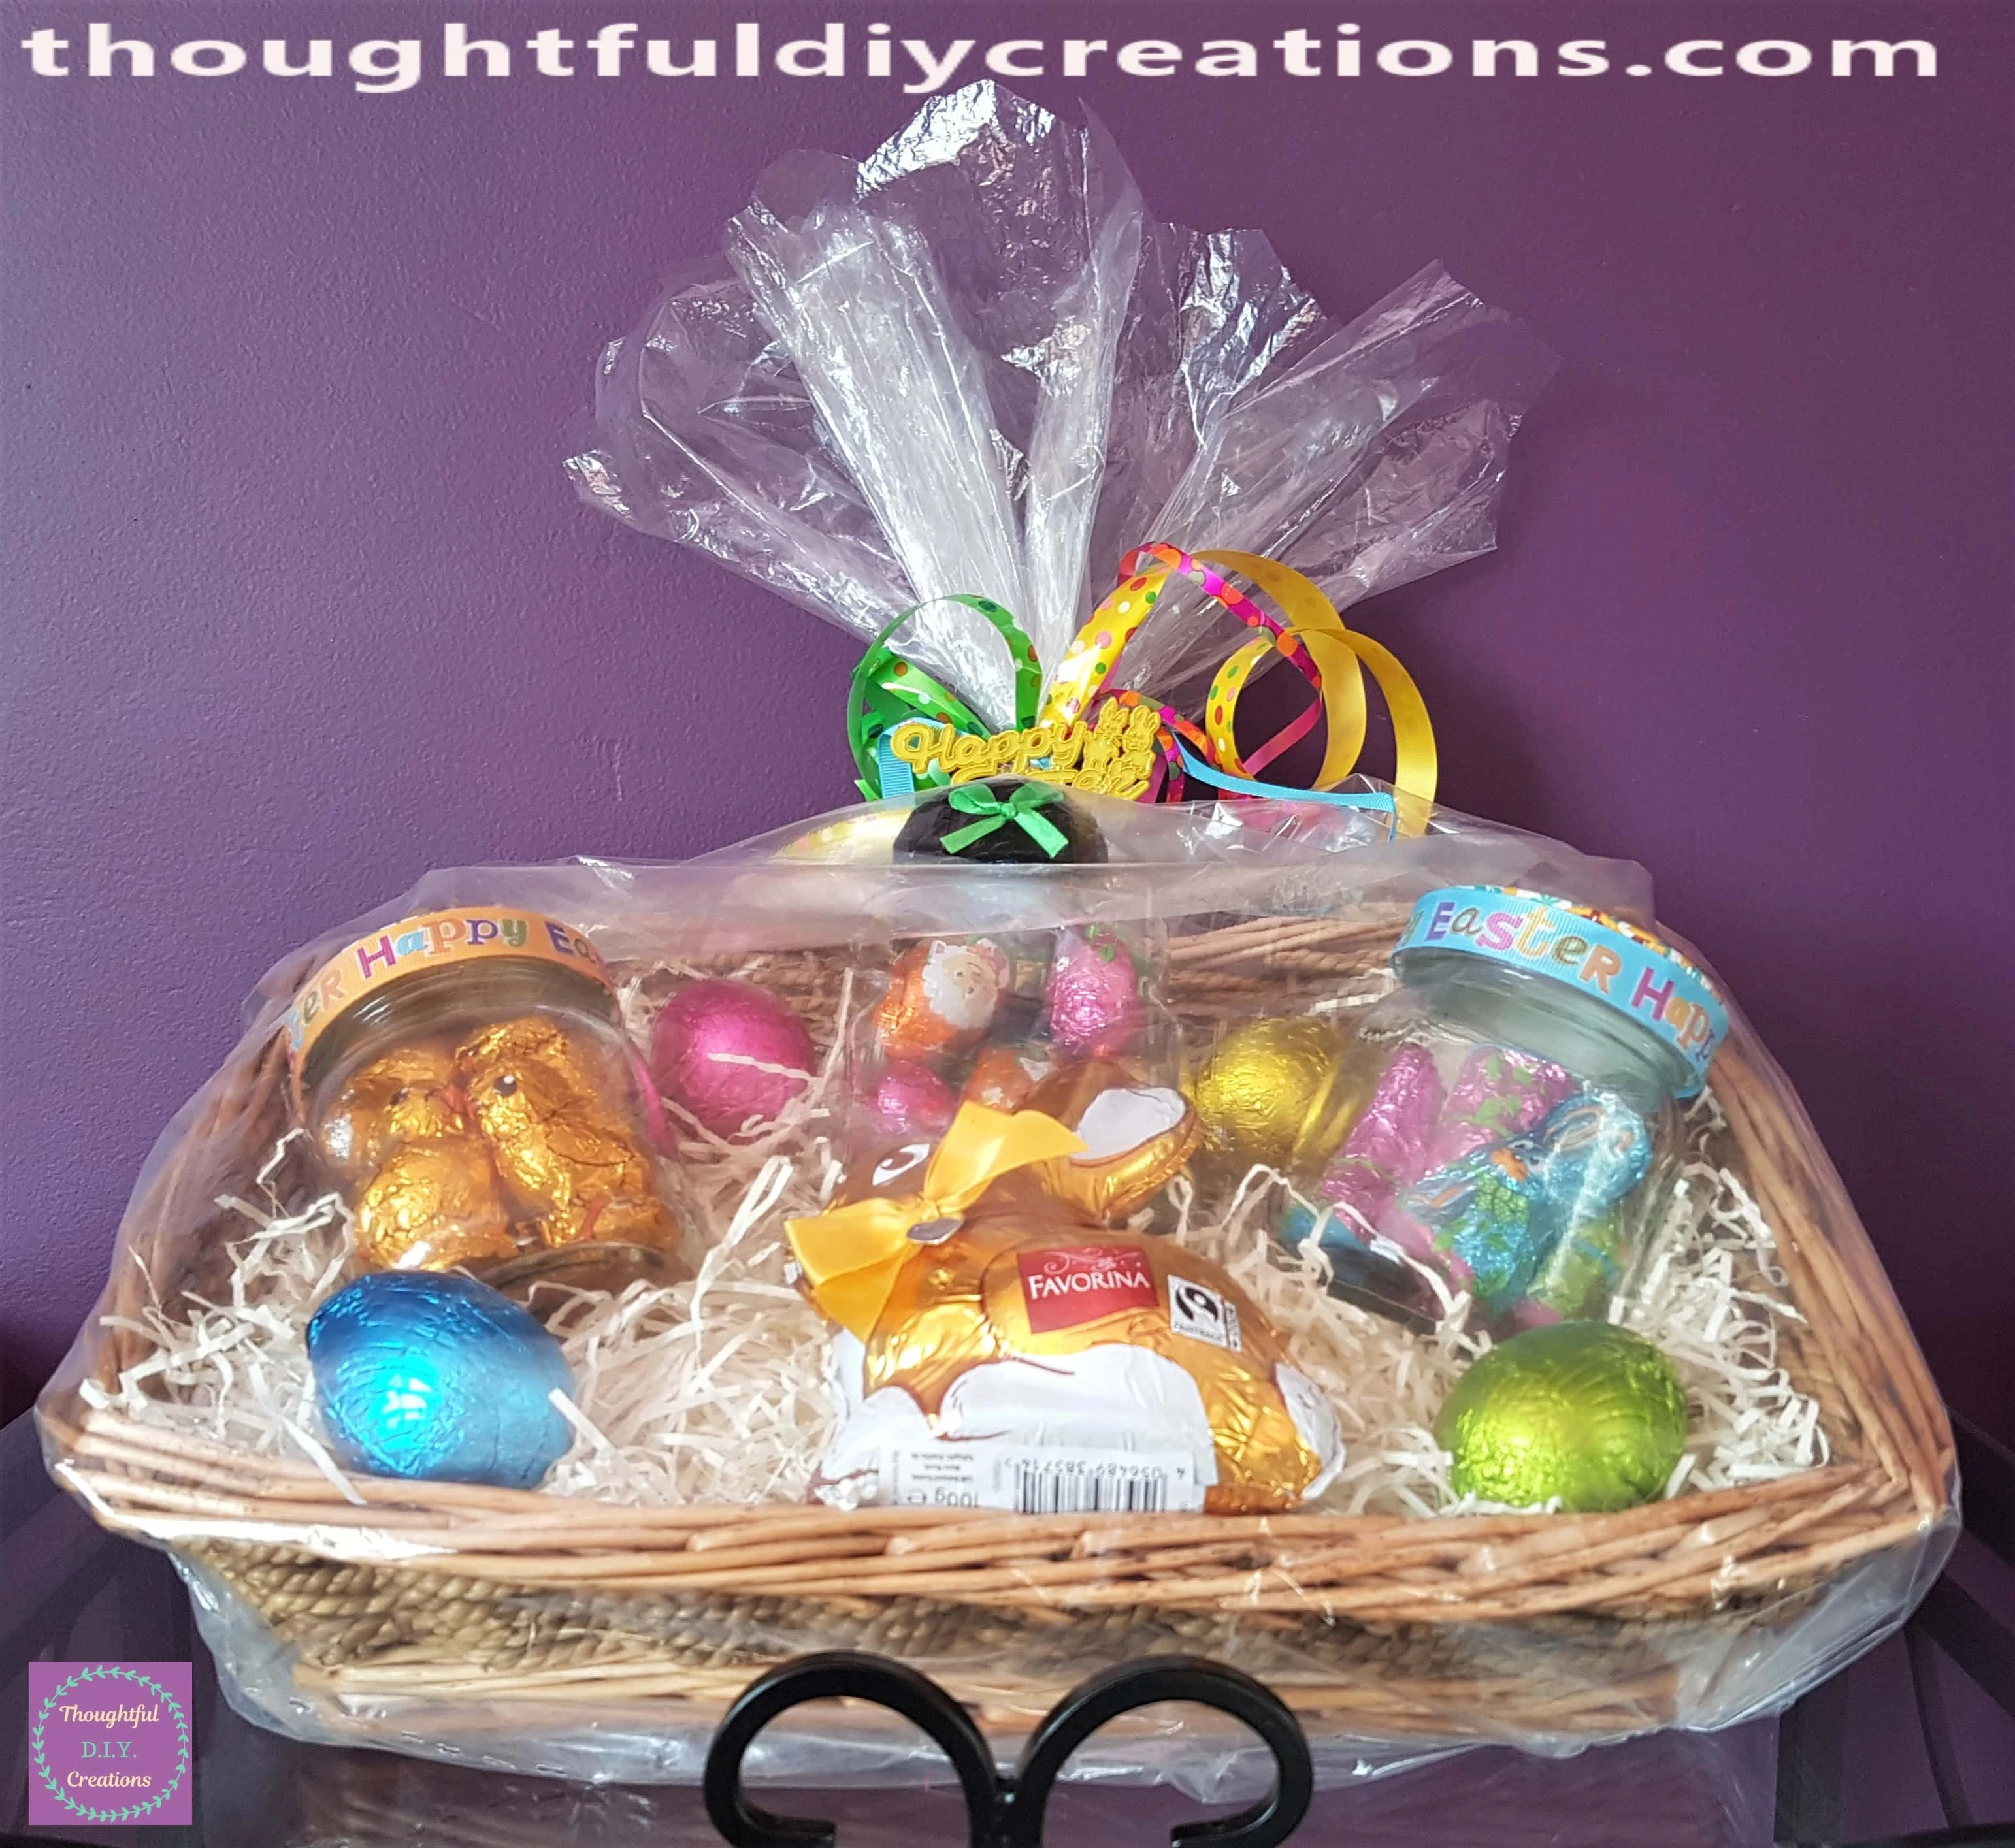
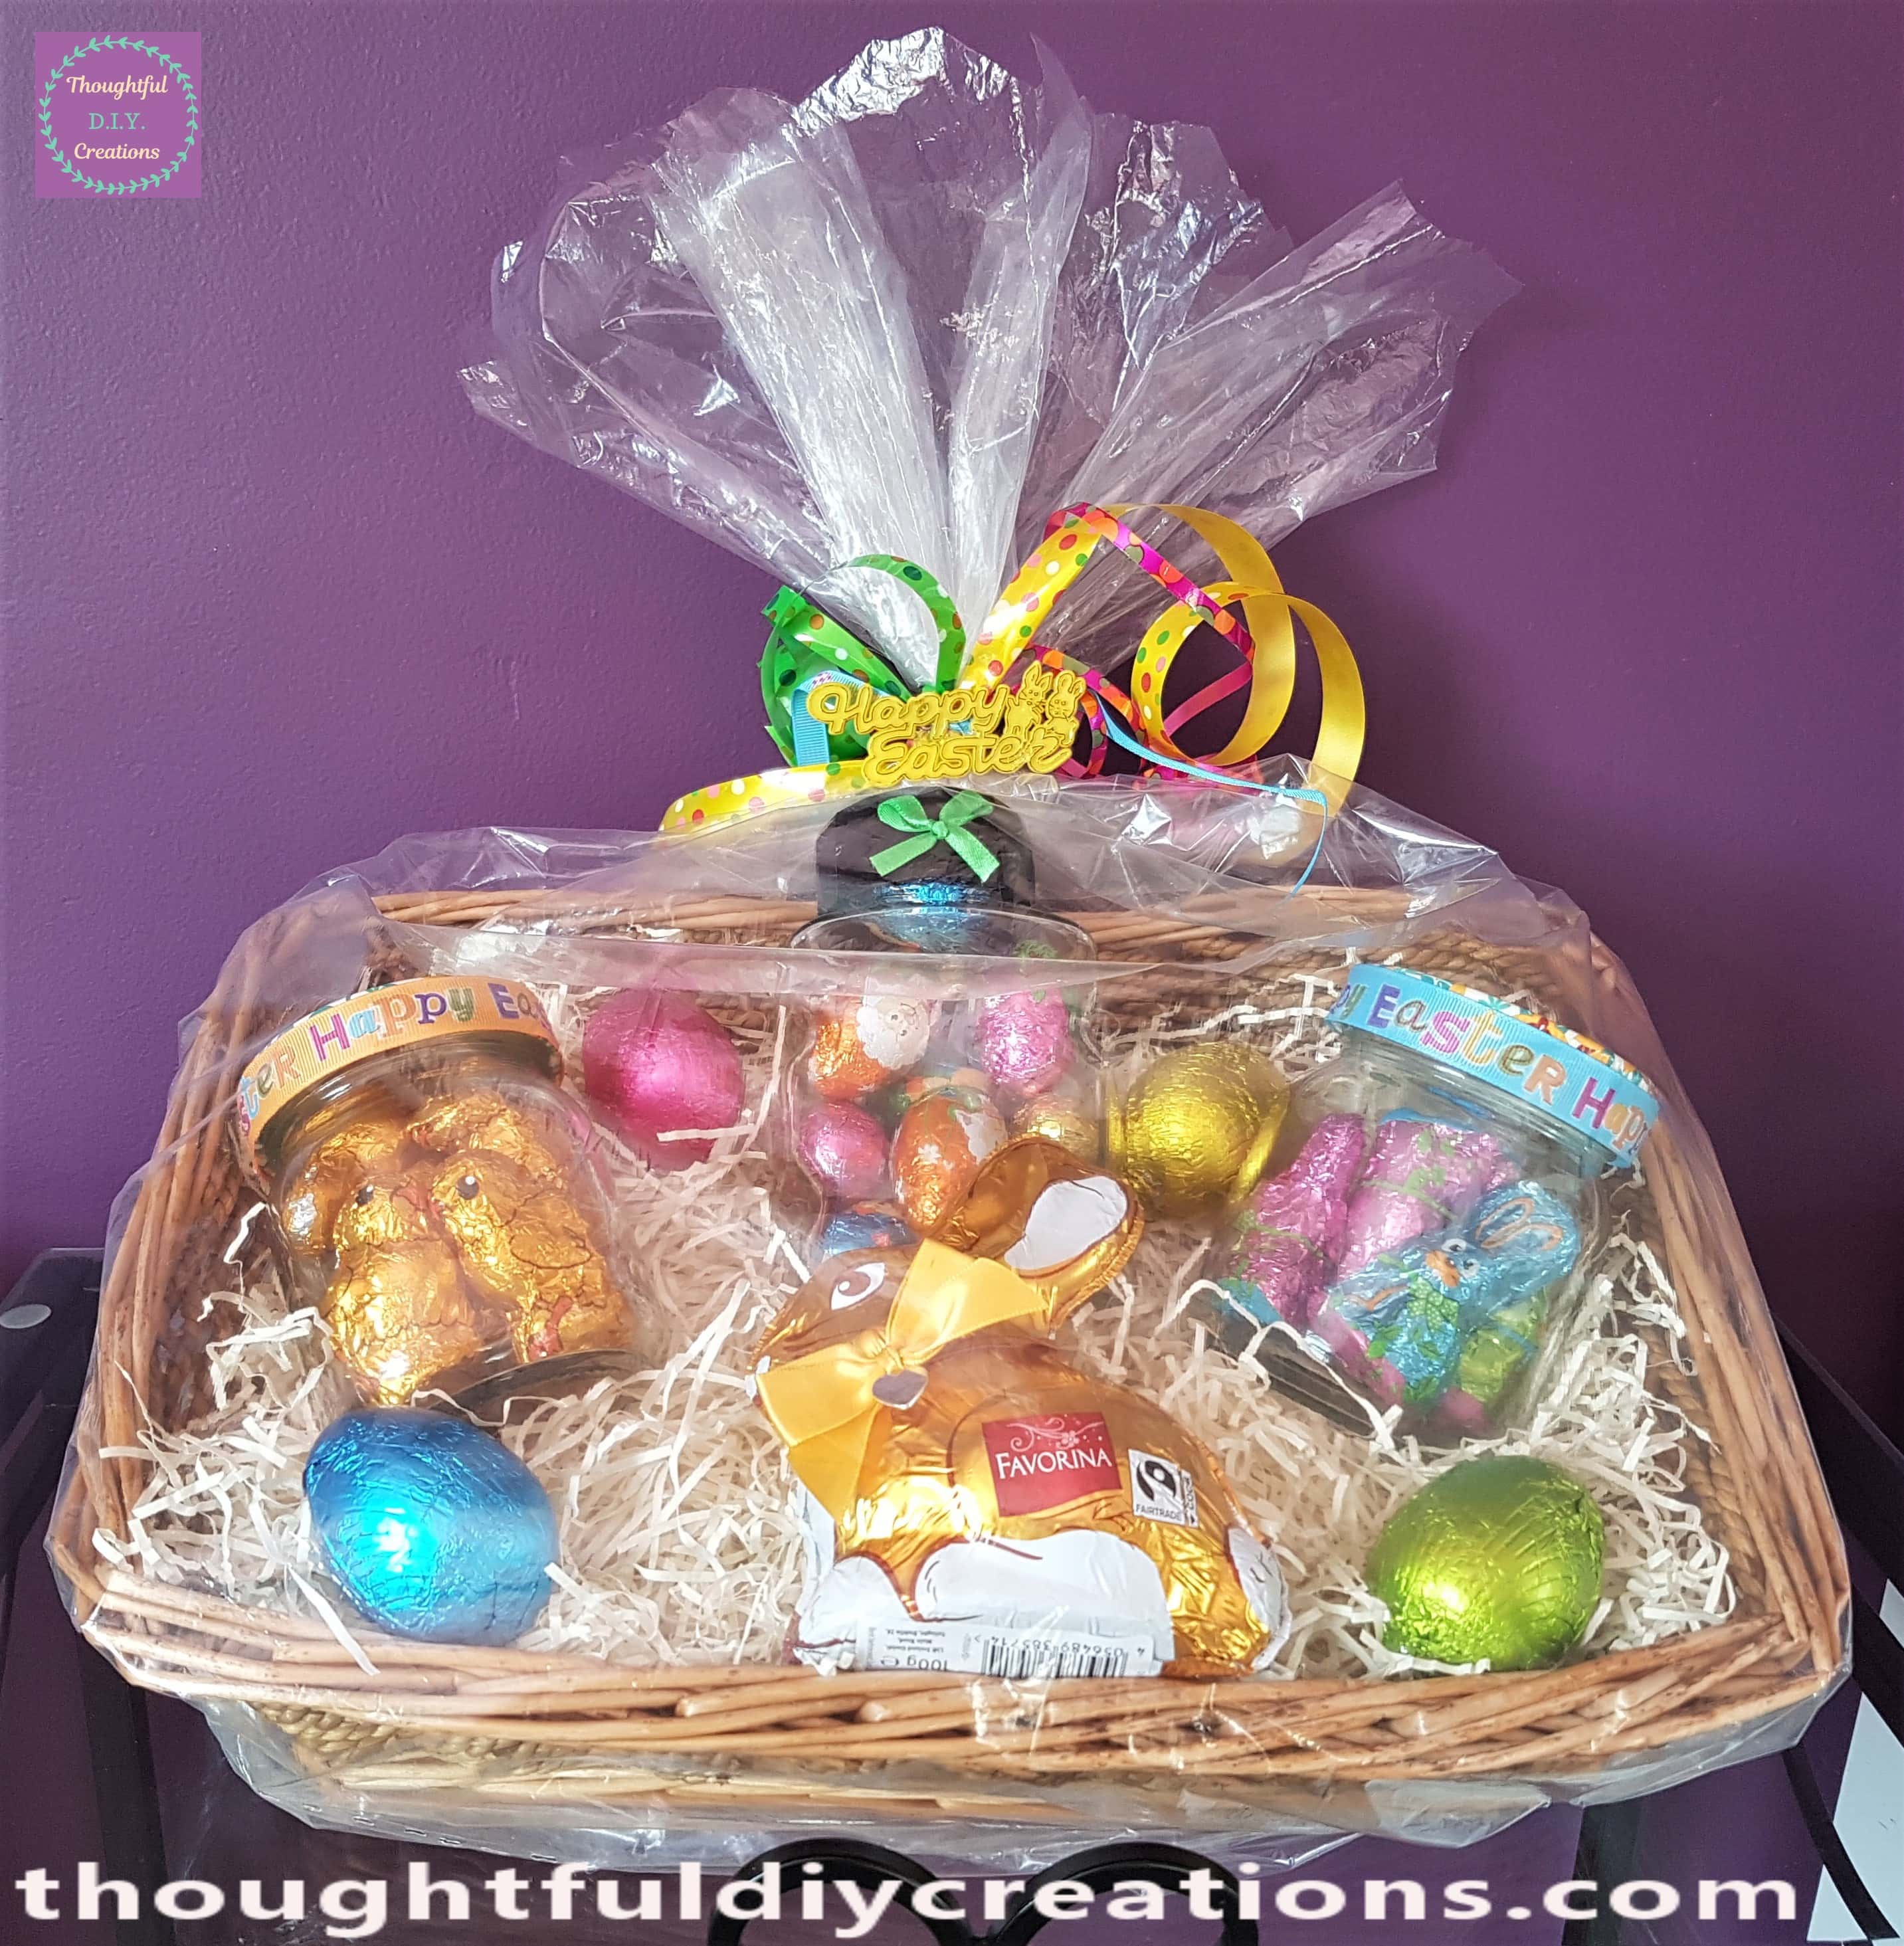
The Final Image of the Hamper.
Conclusion
I Love the Outcome of my D.I.Y. Easter Hamper. It’s amazing how Displaying Treats in a Basket can make them look way more Luxurious / Expensive and more Egg-citing to look at (ha I couldn’t resist) ??? compared to their original plastic packaging.
I’m really Impressed with the Suit Cover used as Cellophane; I think it worked perfectly.The Raffia from my Gift Box came in handy for this Hamper; I hope it has Inspired you to Keep Similar Items like that in the future as they can be Re-Purposed in so many different ways.
Easter can be an Expensive Time and the Chocolate in Lidl or Aldi or any other Discount Store are just as tasty as the more expensive Brands but much Cheaper which is great when Buying for multiple people.
The Hamper Can be Changed to Suit your Preferences and Requirements. You could Add a bigger Easter Egg to yours if you prefer or Decorate it in your Recipients favourite Colours or Snacks.
I think a Hamper like this would be perfect for a few Children in a Family; if you didn’t want yours or the Children your Gifting it to getting too many Large Easter Eggs or too much Chocolate each.
A Family of Three could easily Share this Hamper; maybe add a Chocolate Bunny for each of them and take away One of the Easter Eggs so they have One Each.
Another Option is to Include a Soft Toy, Book, Jigsaw, Colouring Book or Easter T-Shirt instead of the Chocolate Bunny or Egg especially for small Children who would rather Play or have an Activity to enjoy.
I hope you got some Creative Ideas. Happy Easter Everyone.
Thank You So Much for Taking the Time To Read my Blog.
Always Grateful,
T.D.C.
xoxox


